Building a scratch built R677 Bunker containing the PAK43/41 "Scheunentor" 88mm AT Gun

And so my friends, we have come to the end of this big and long adventure of mine.

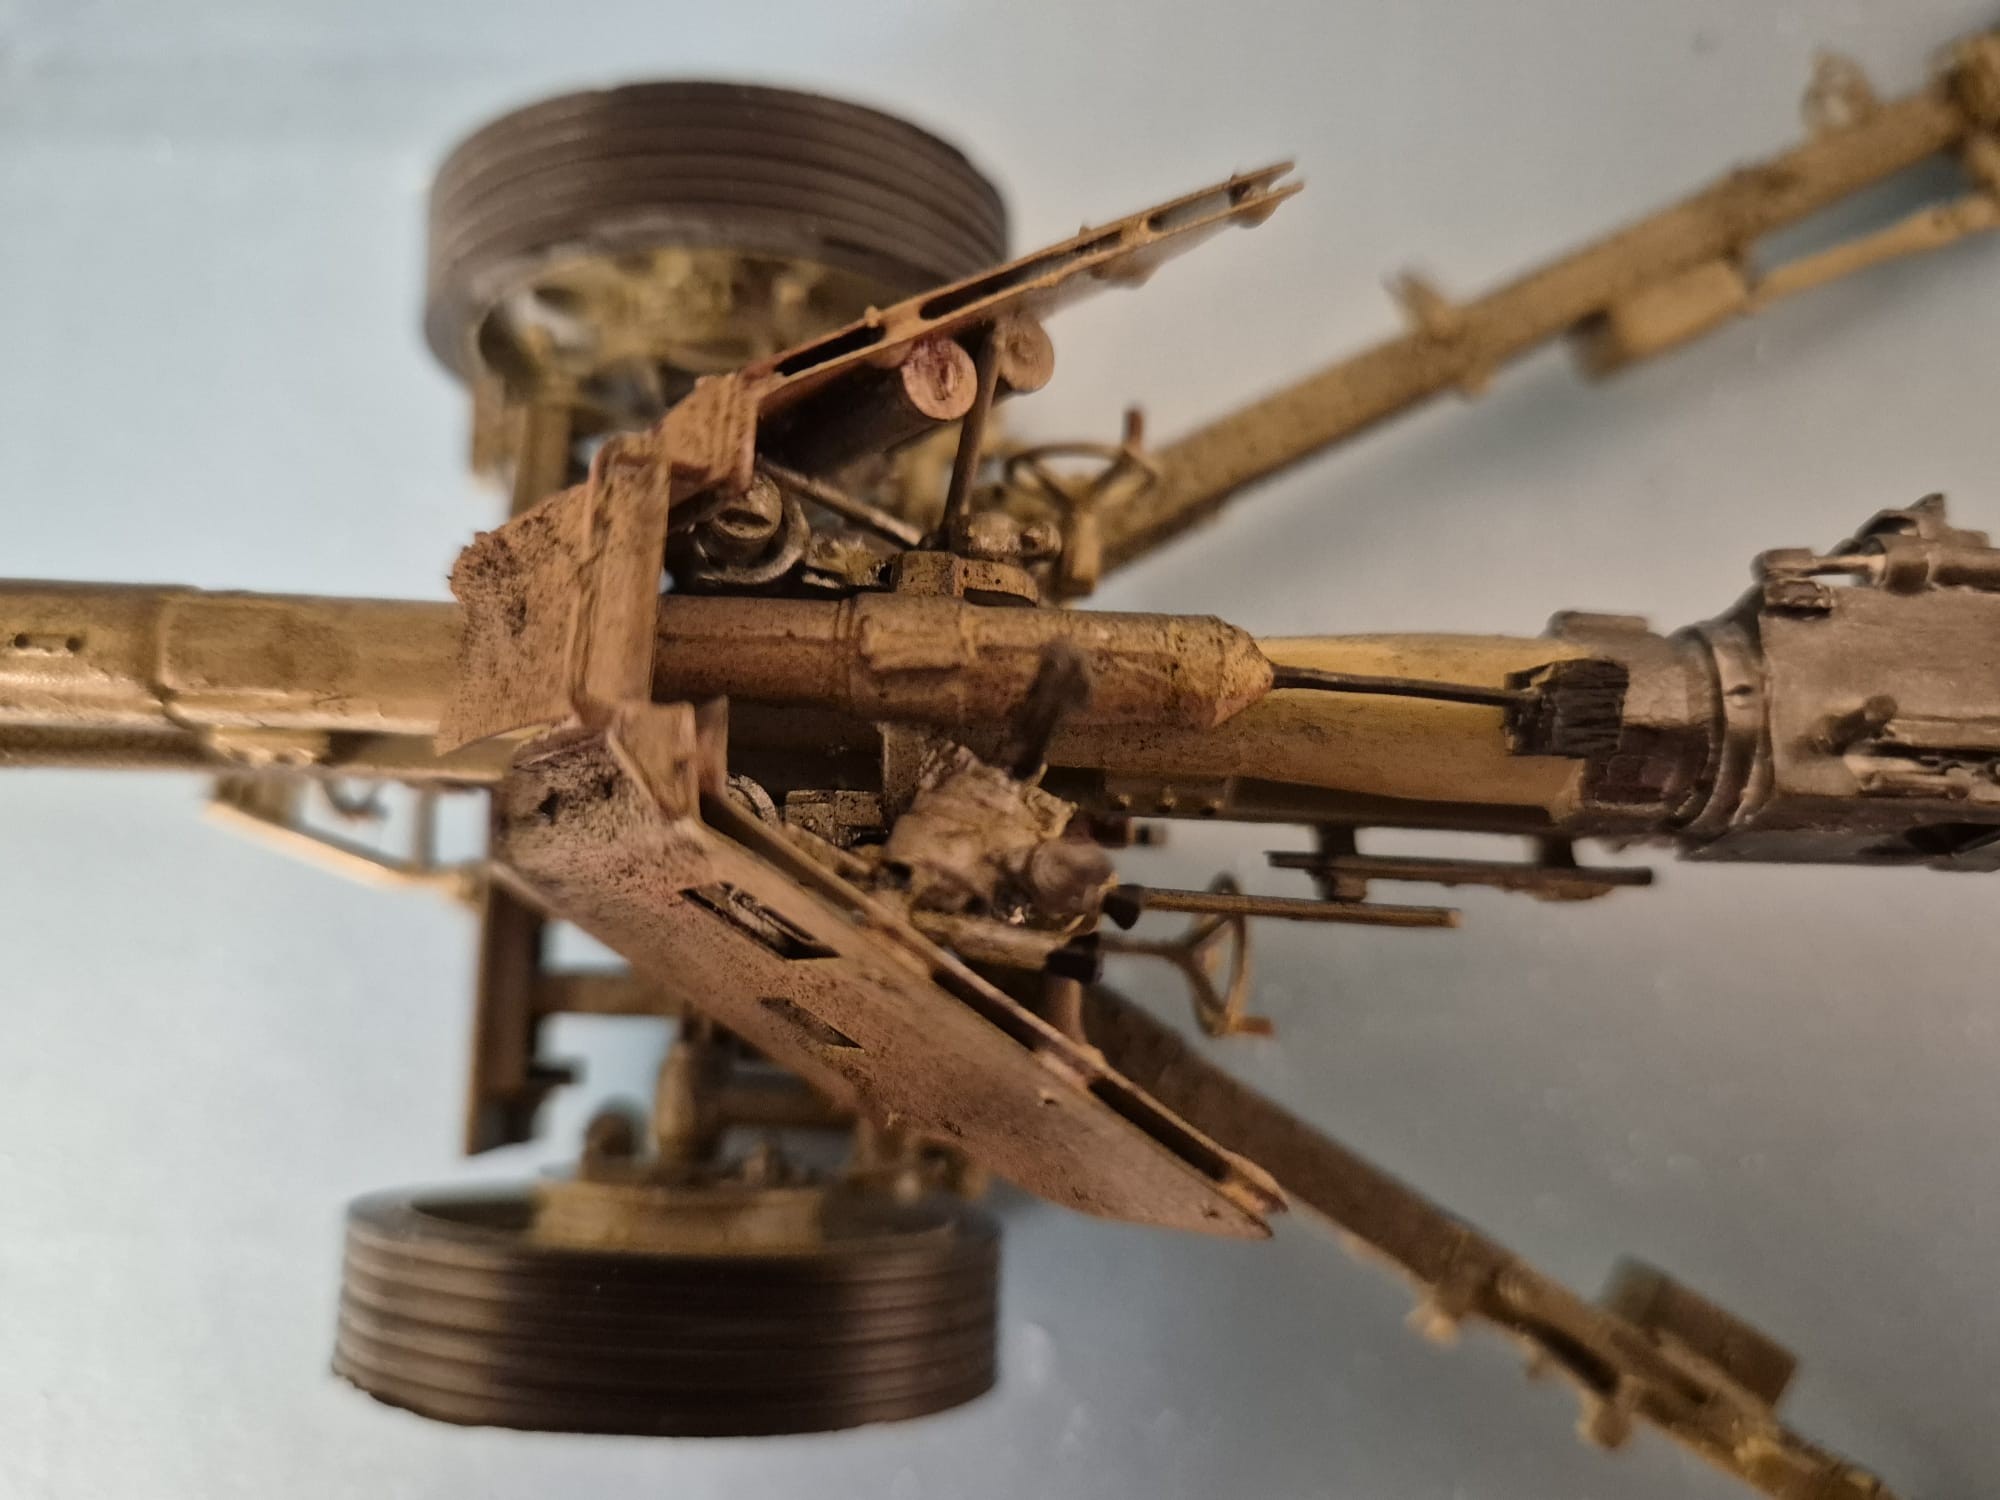
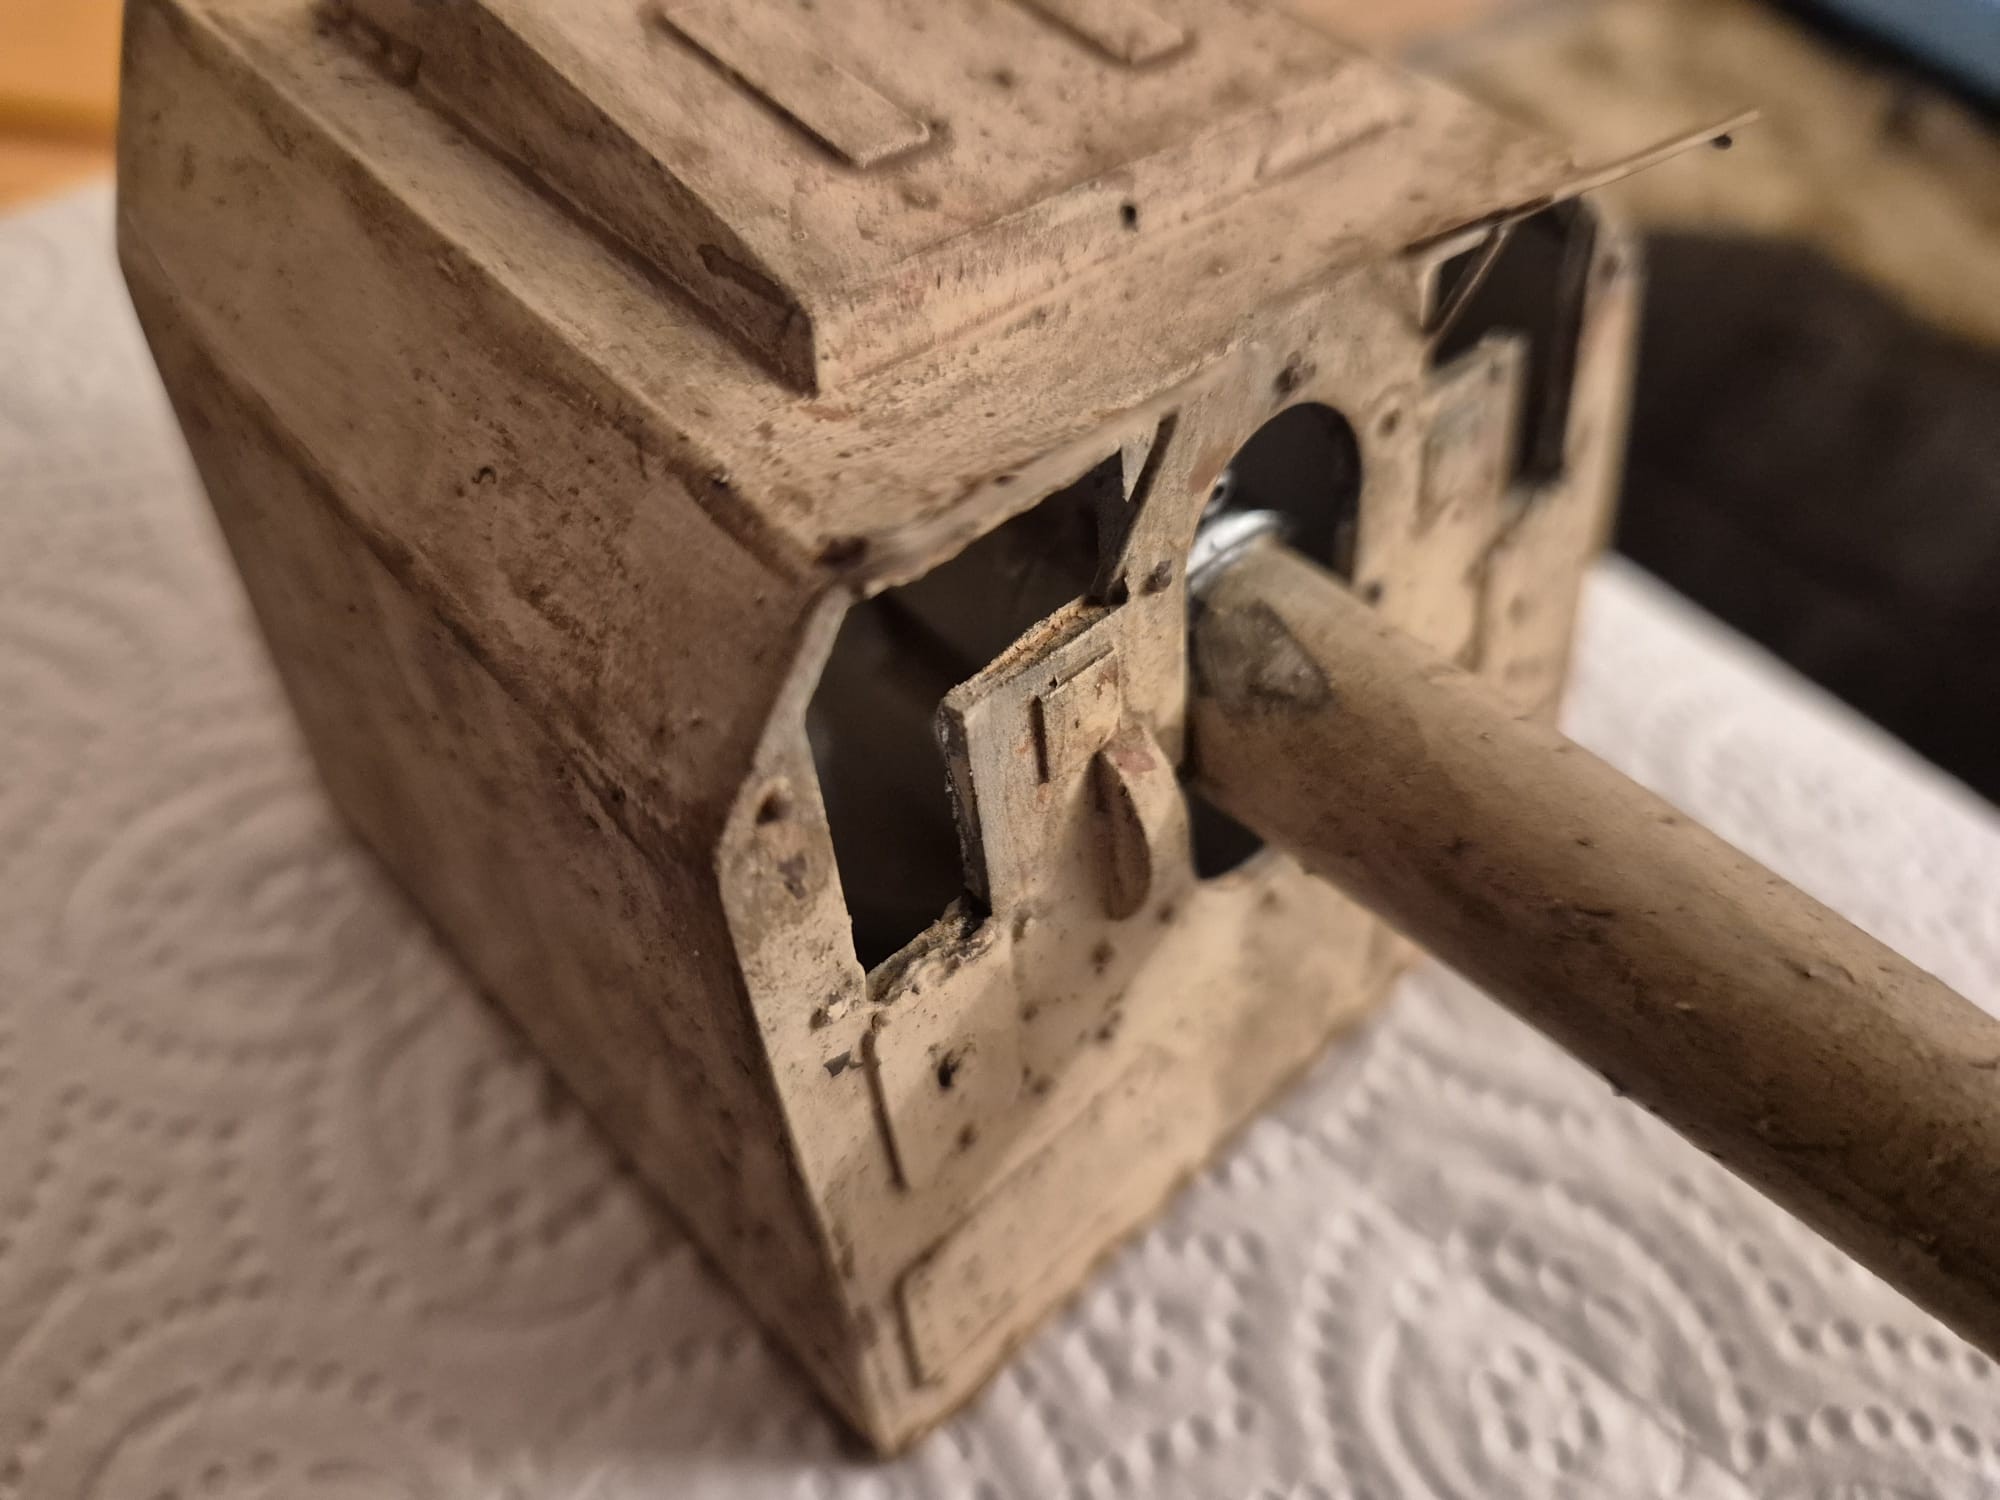
I still had a lot of trouble fixing all the tiny missing bits both to the gun cradle and the gun breach, but somehow I have managed to fix everything to the end, although not to the grade of perfection I would have liked, due to the said badly described and designed instructions.

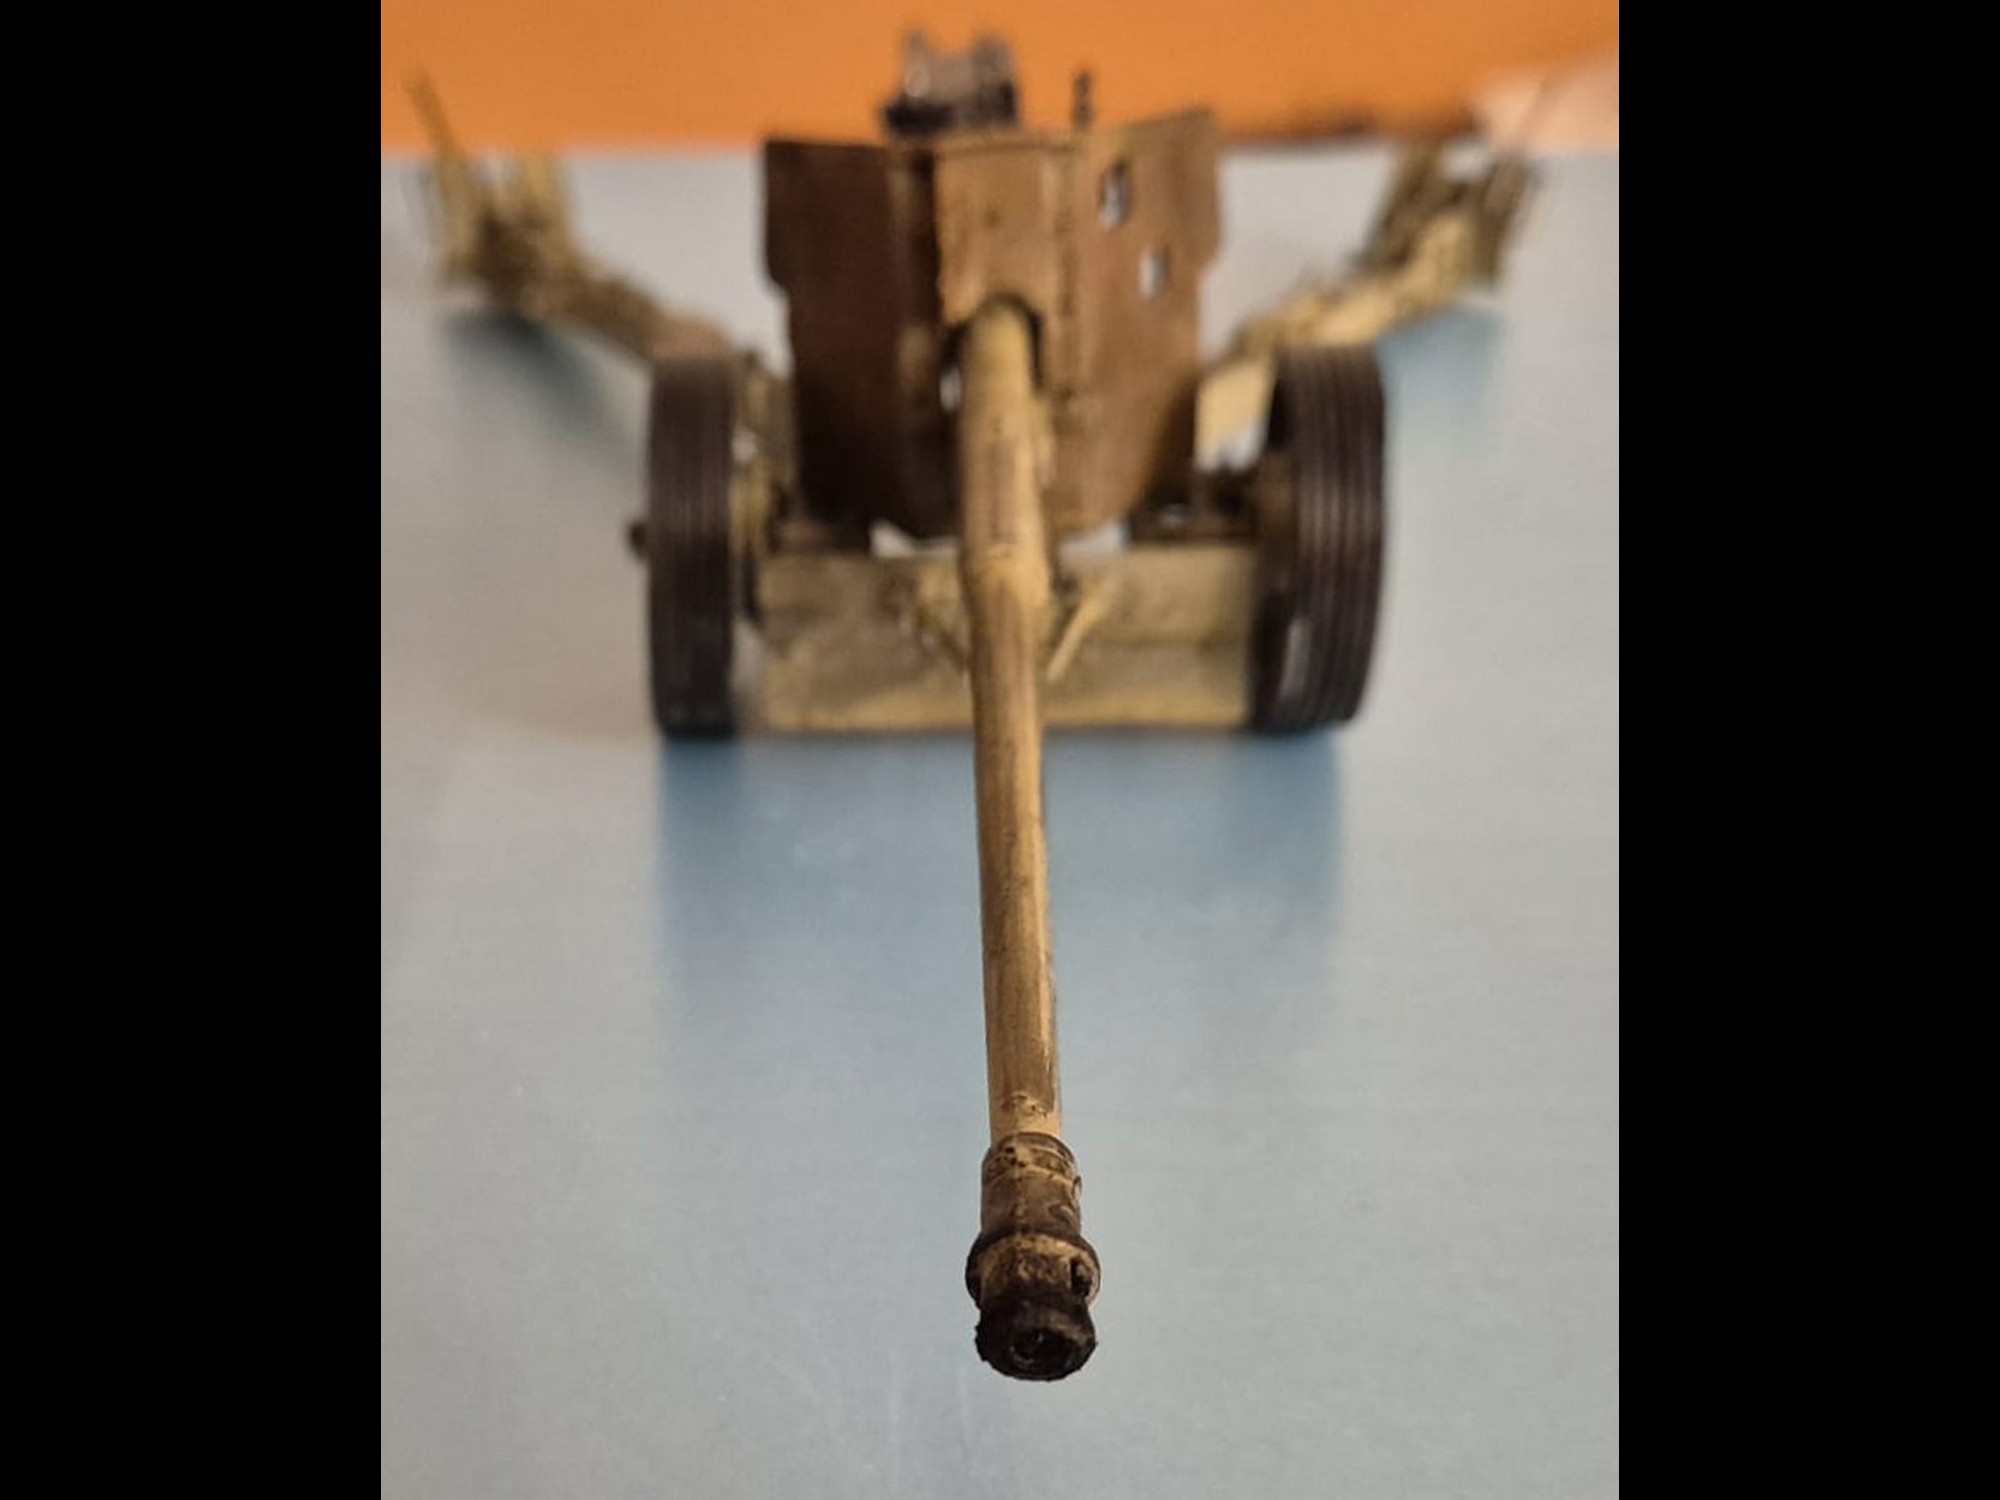
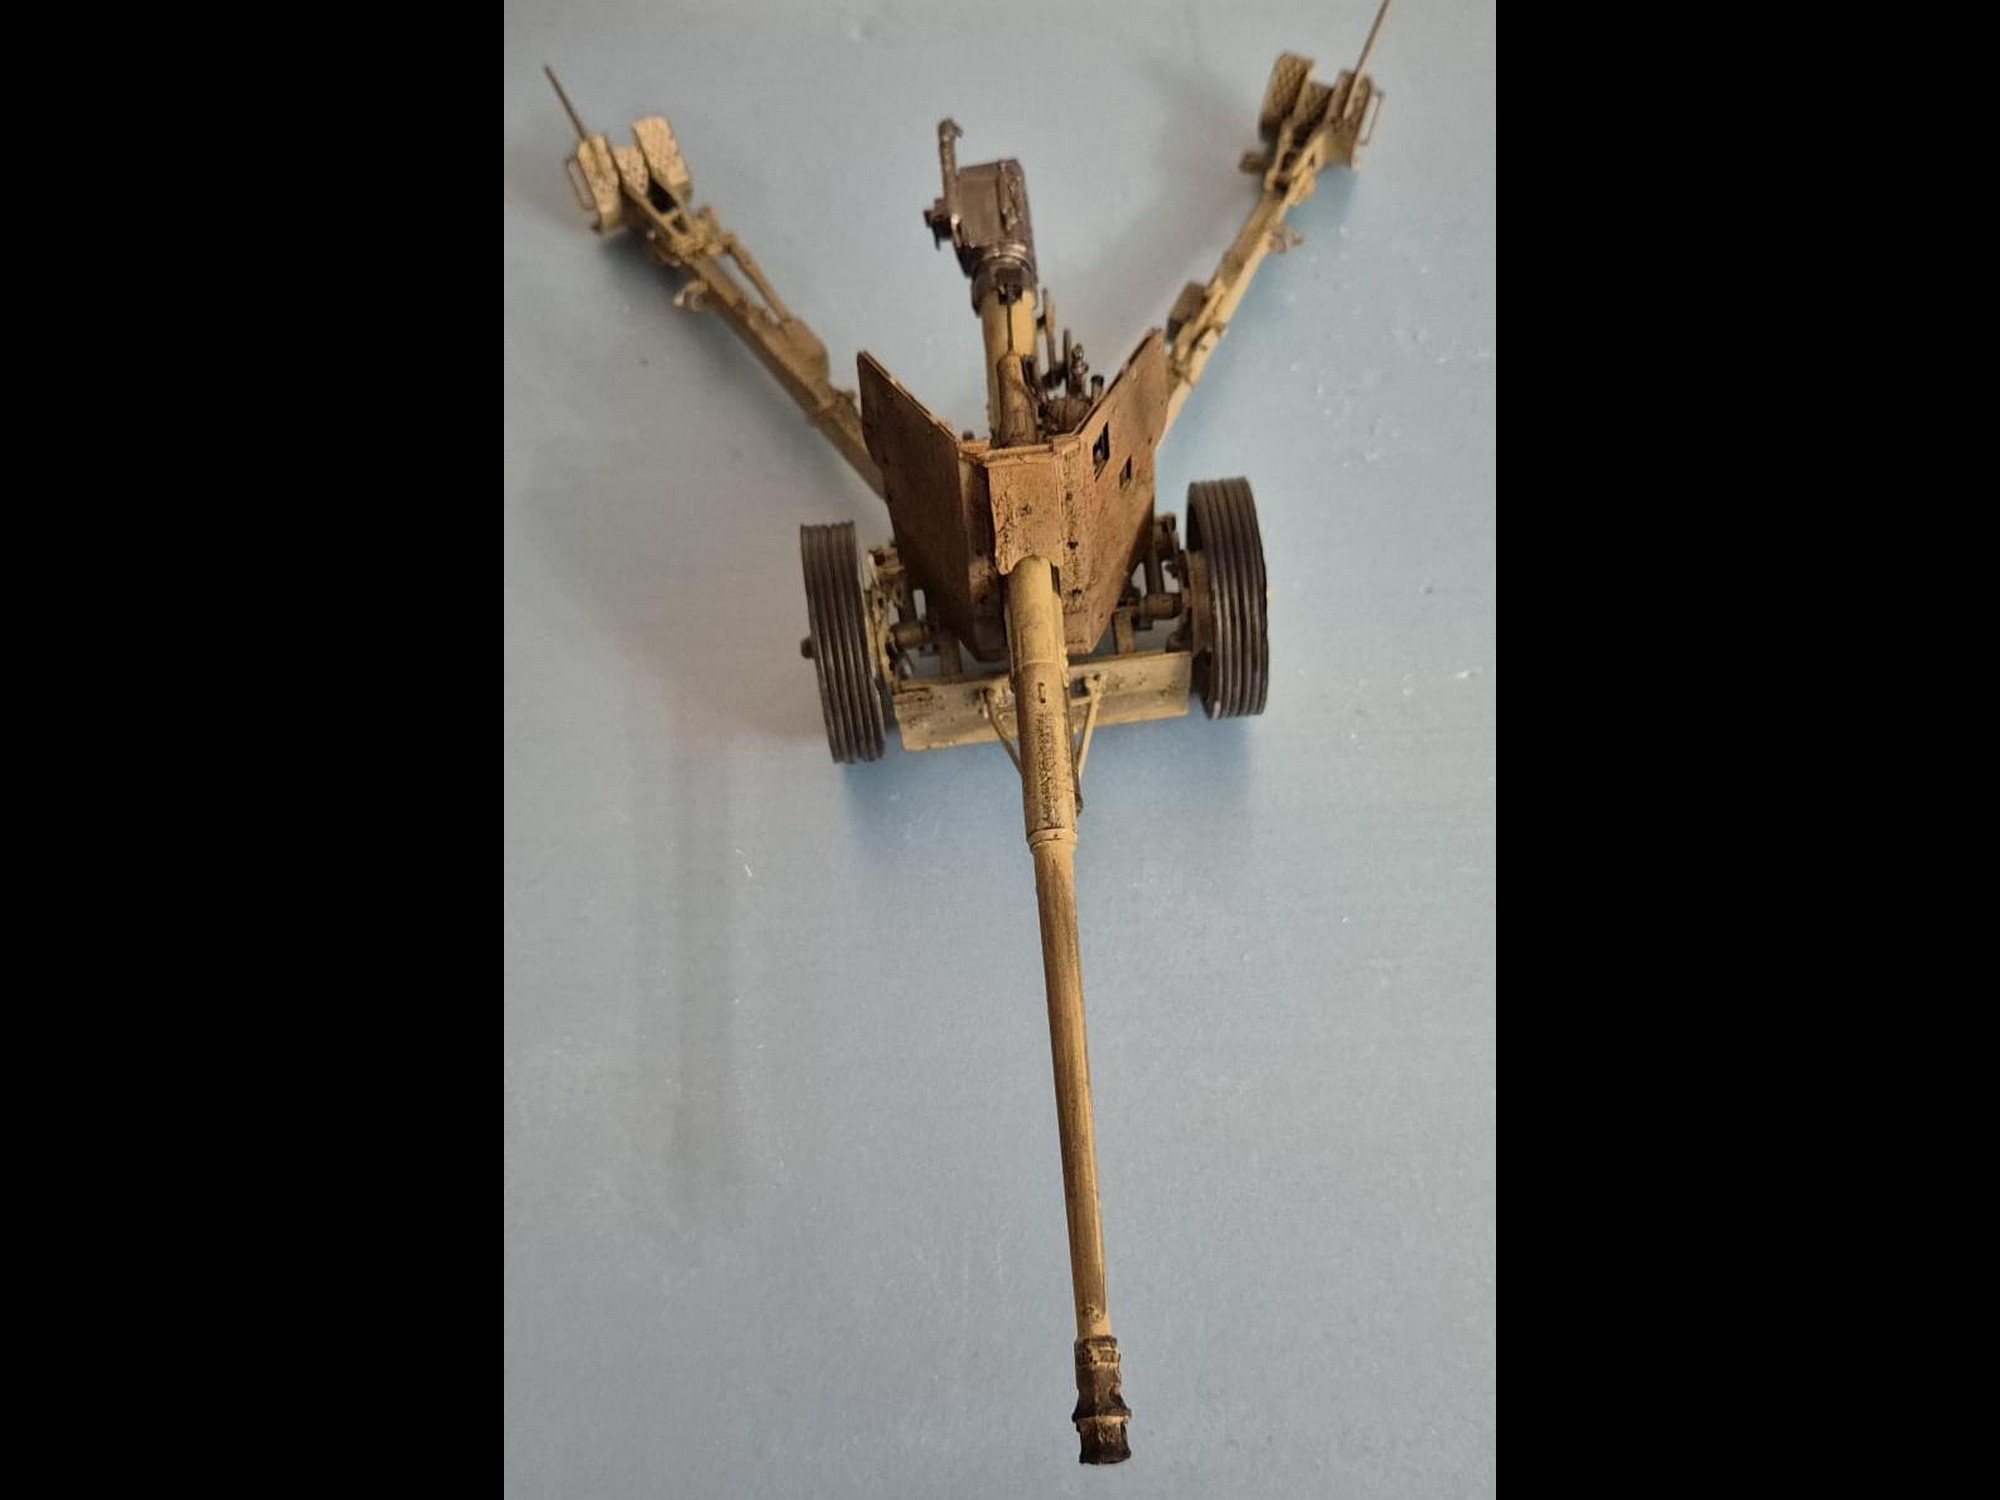
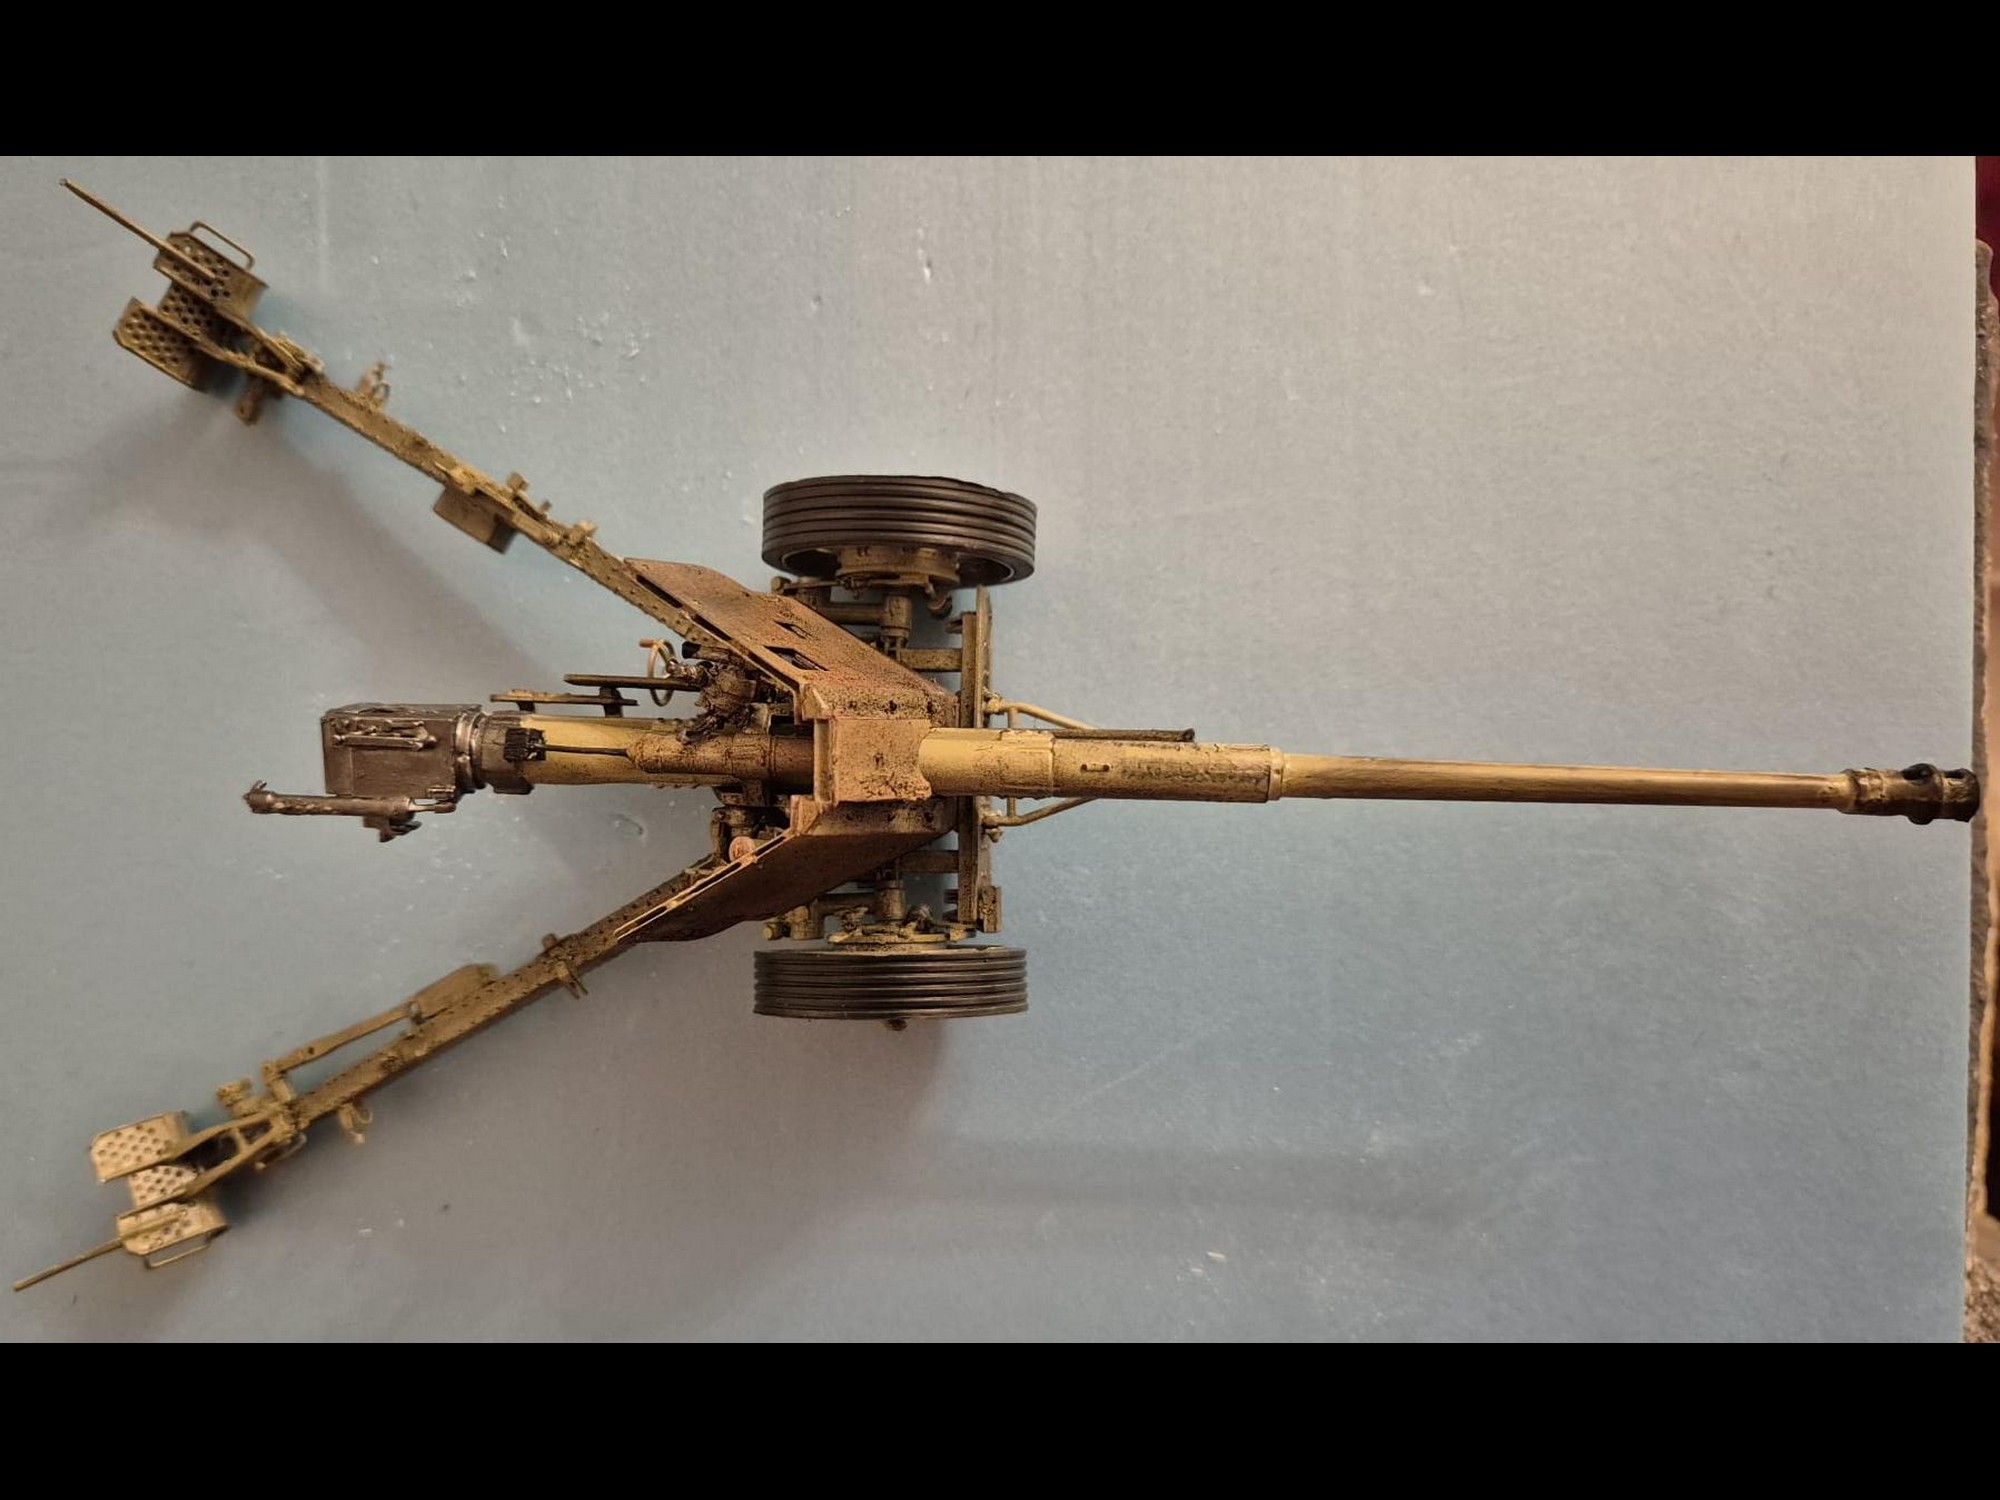
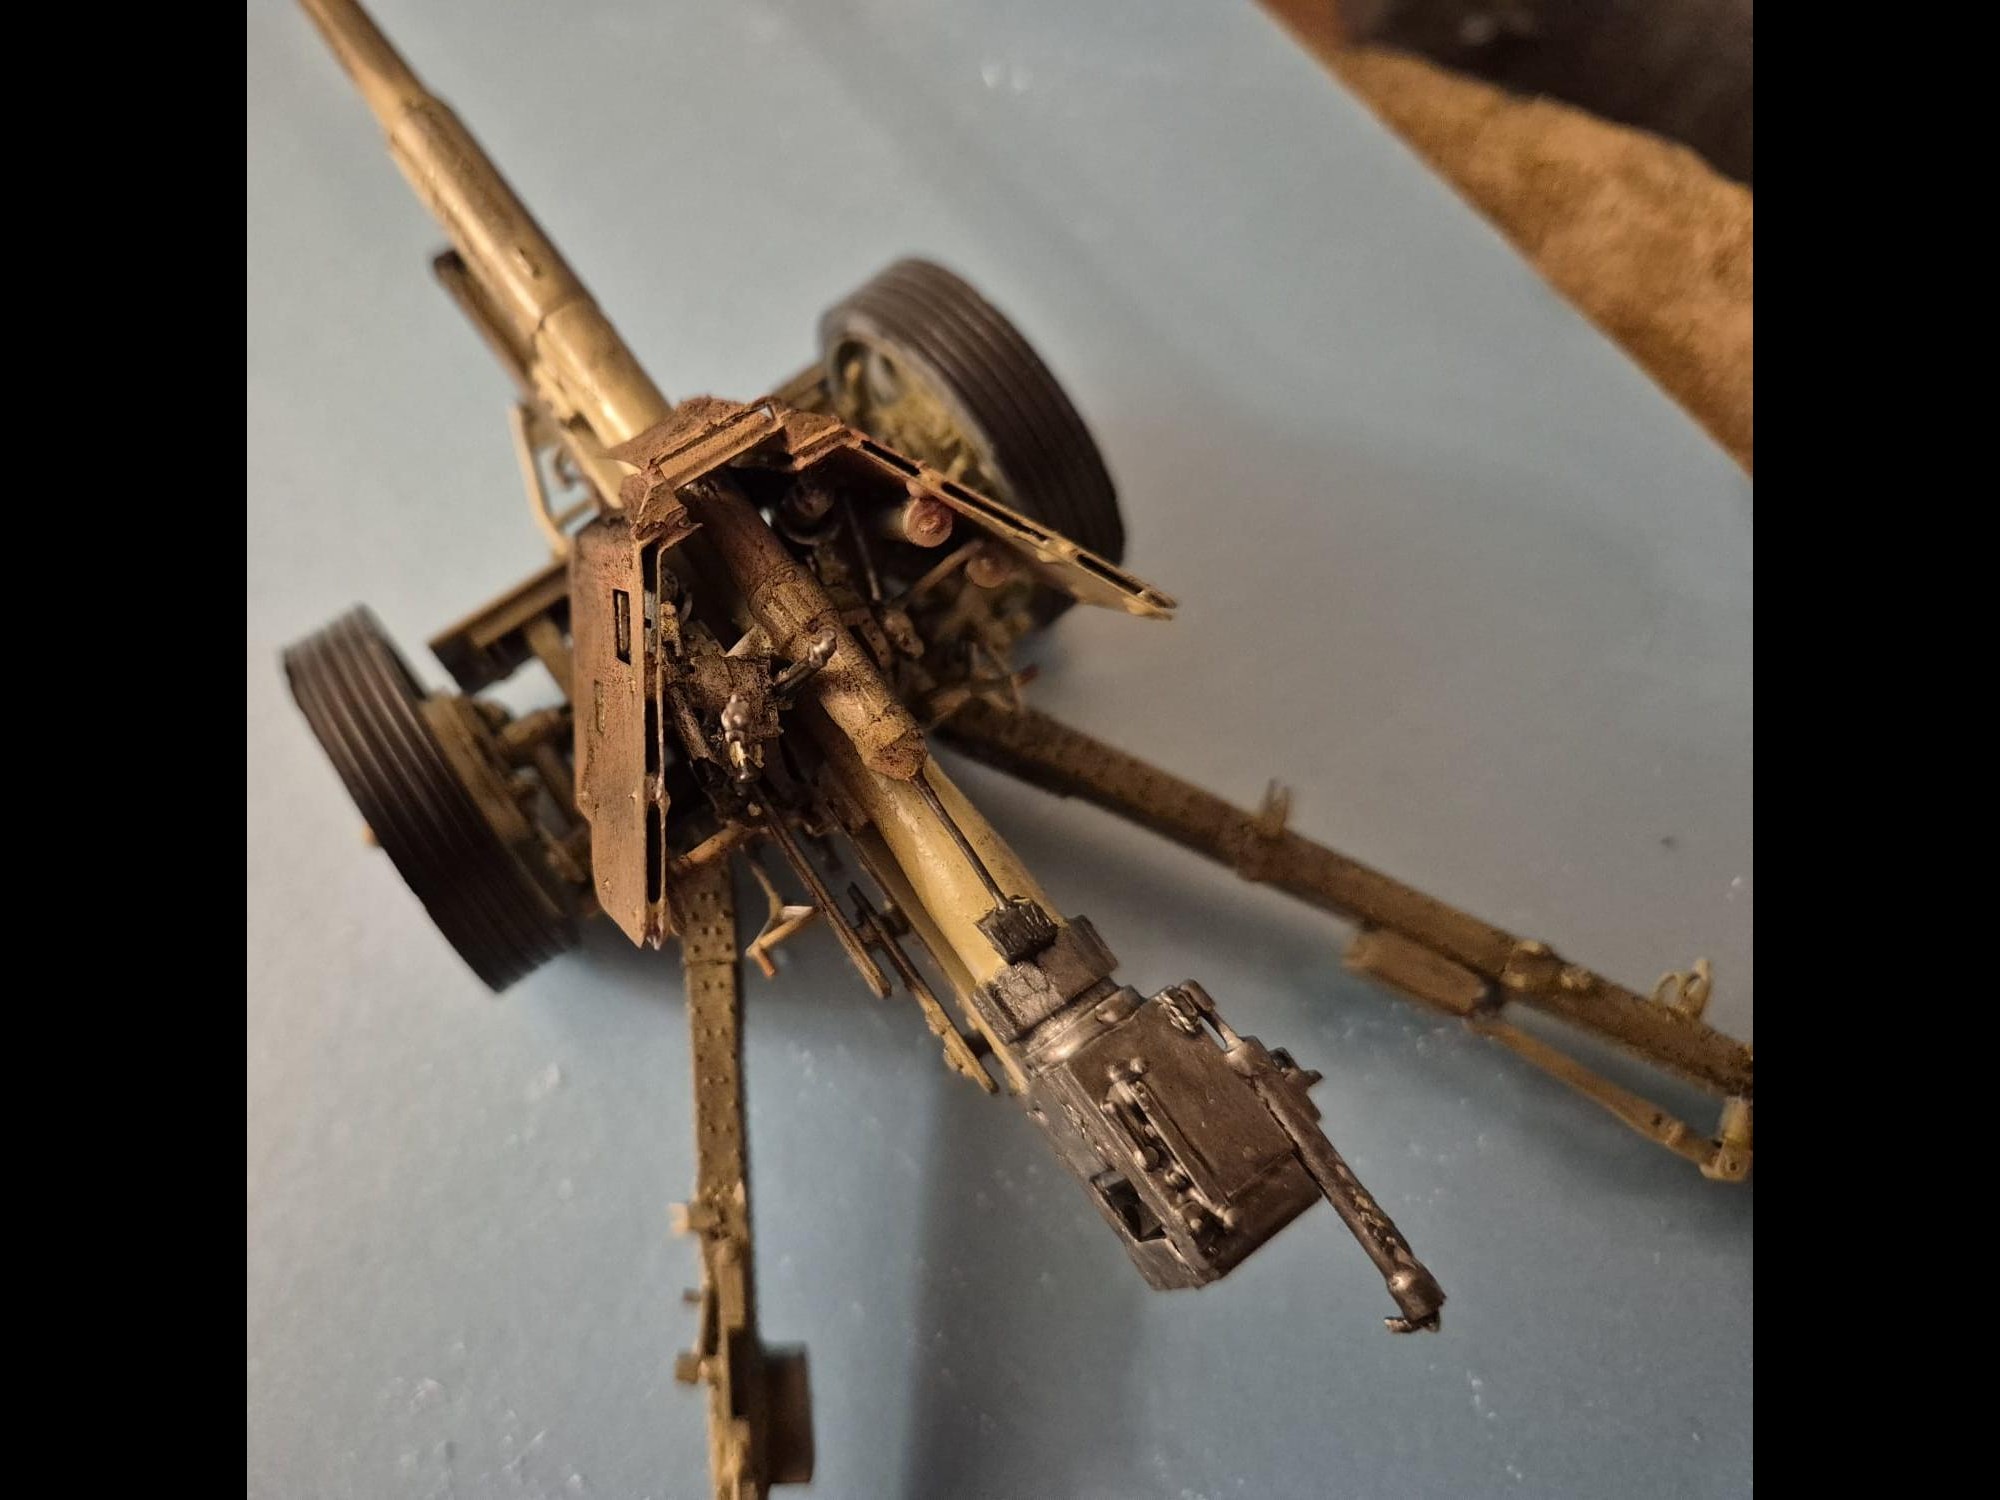
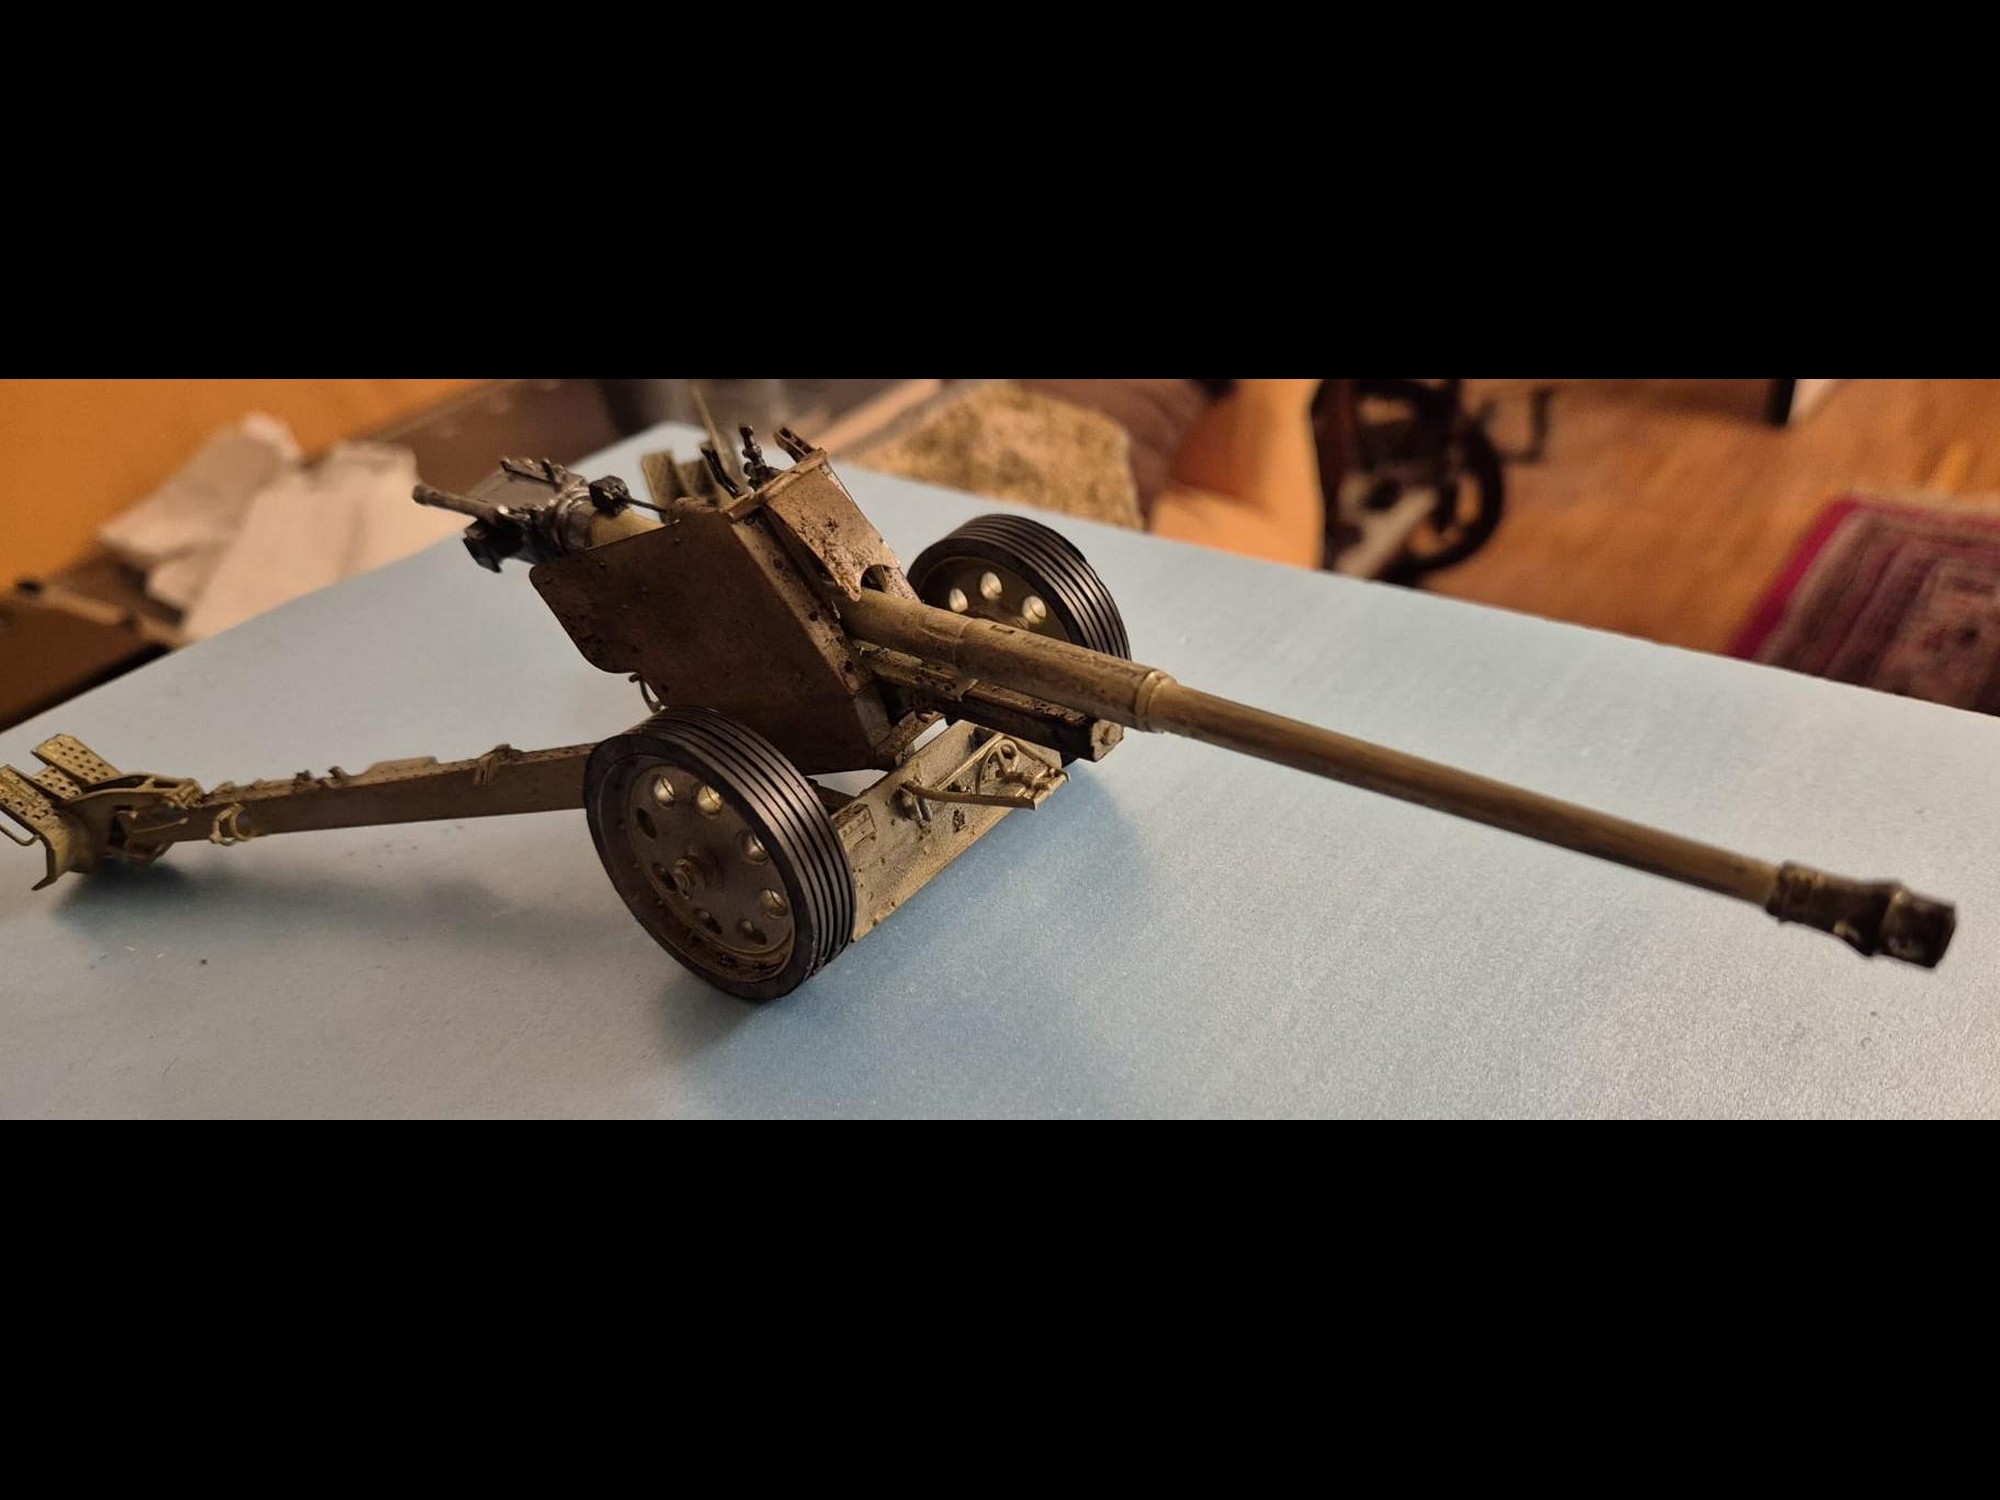
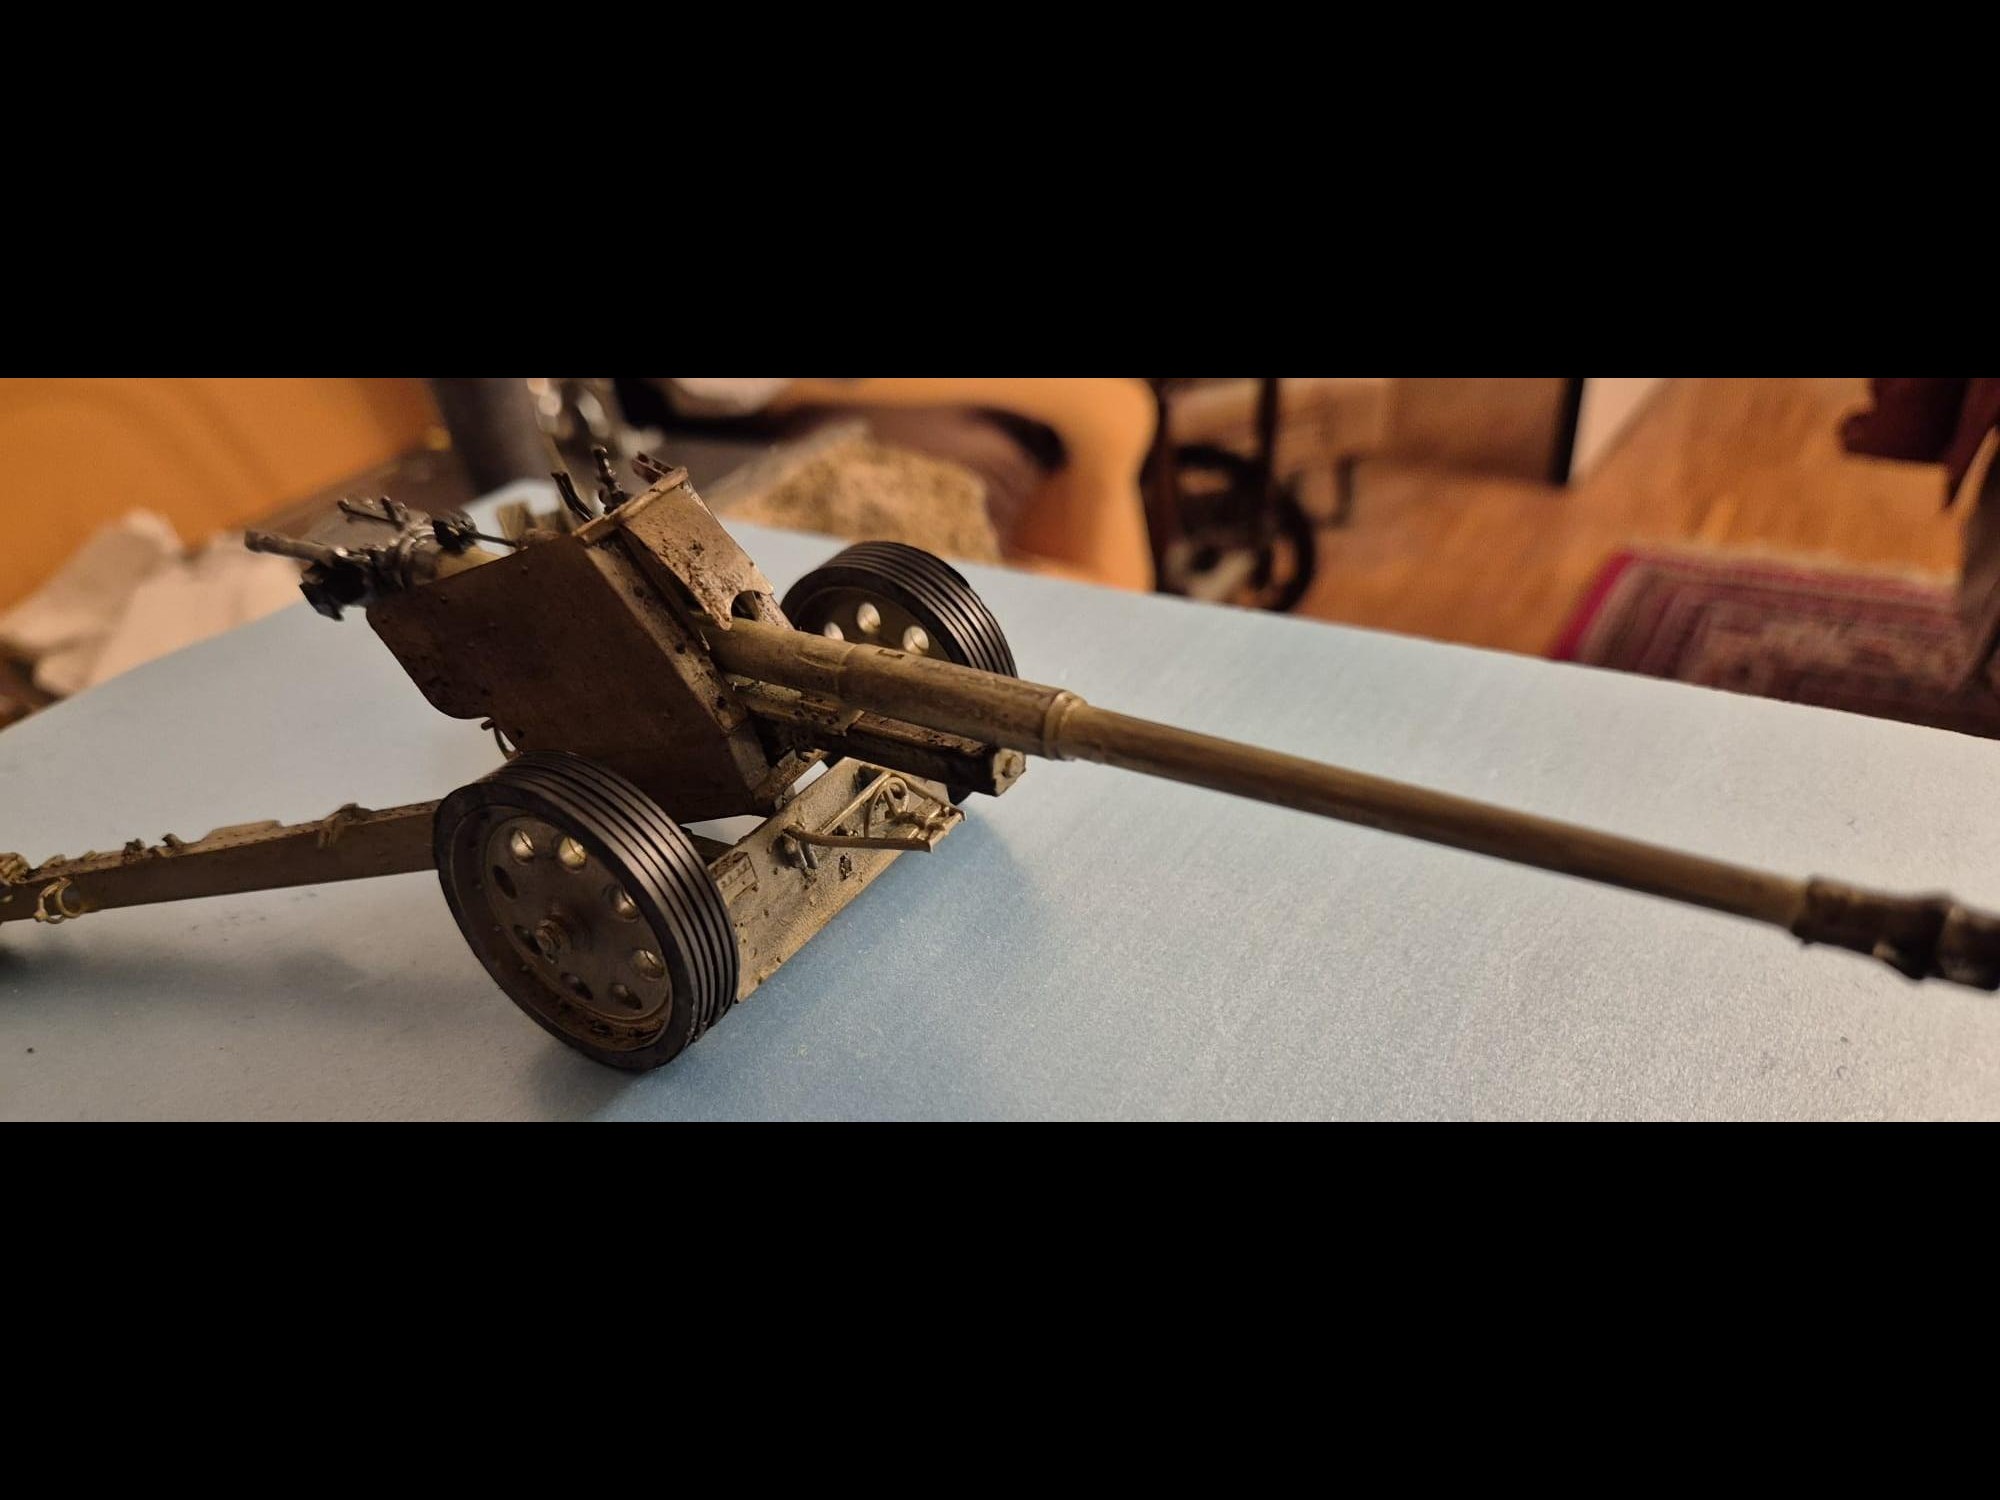
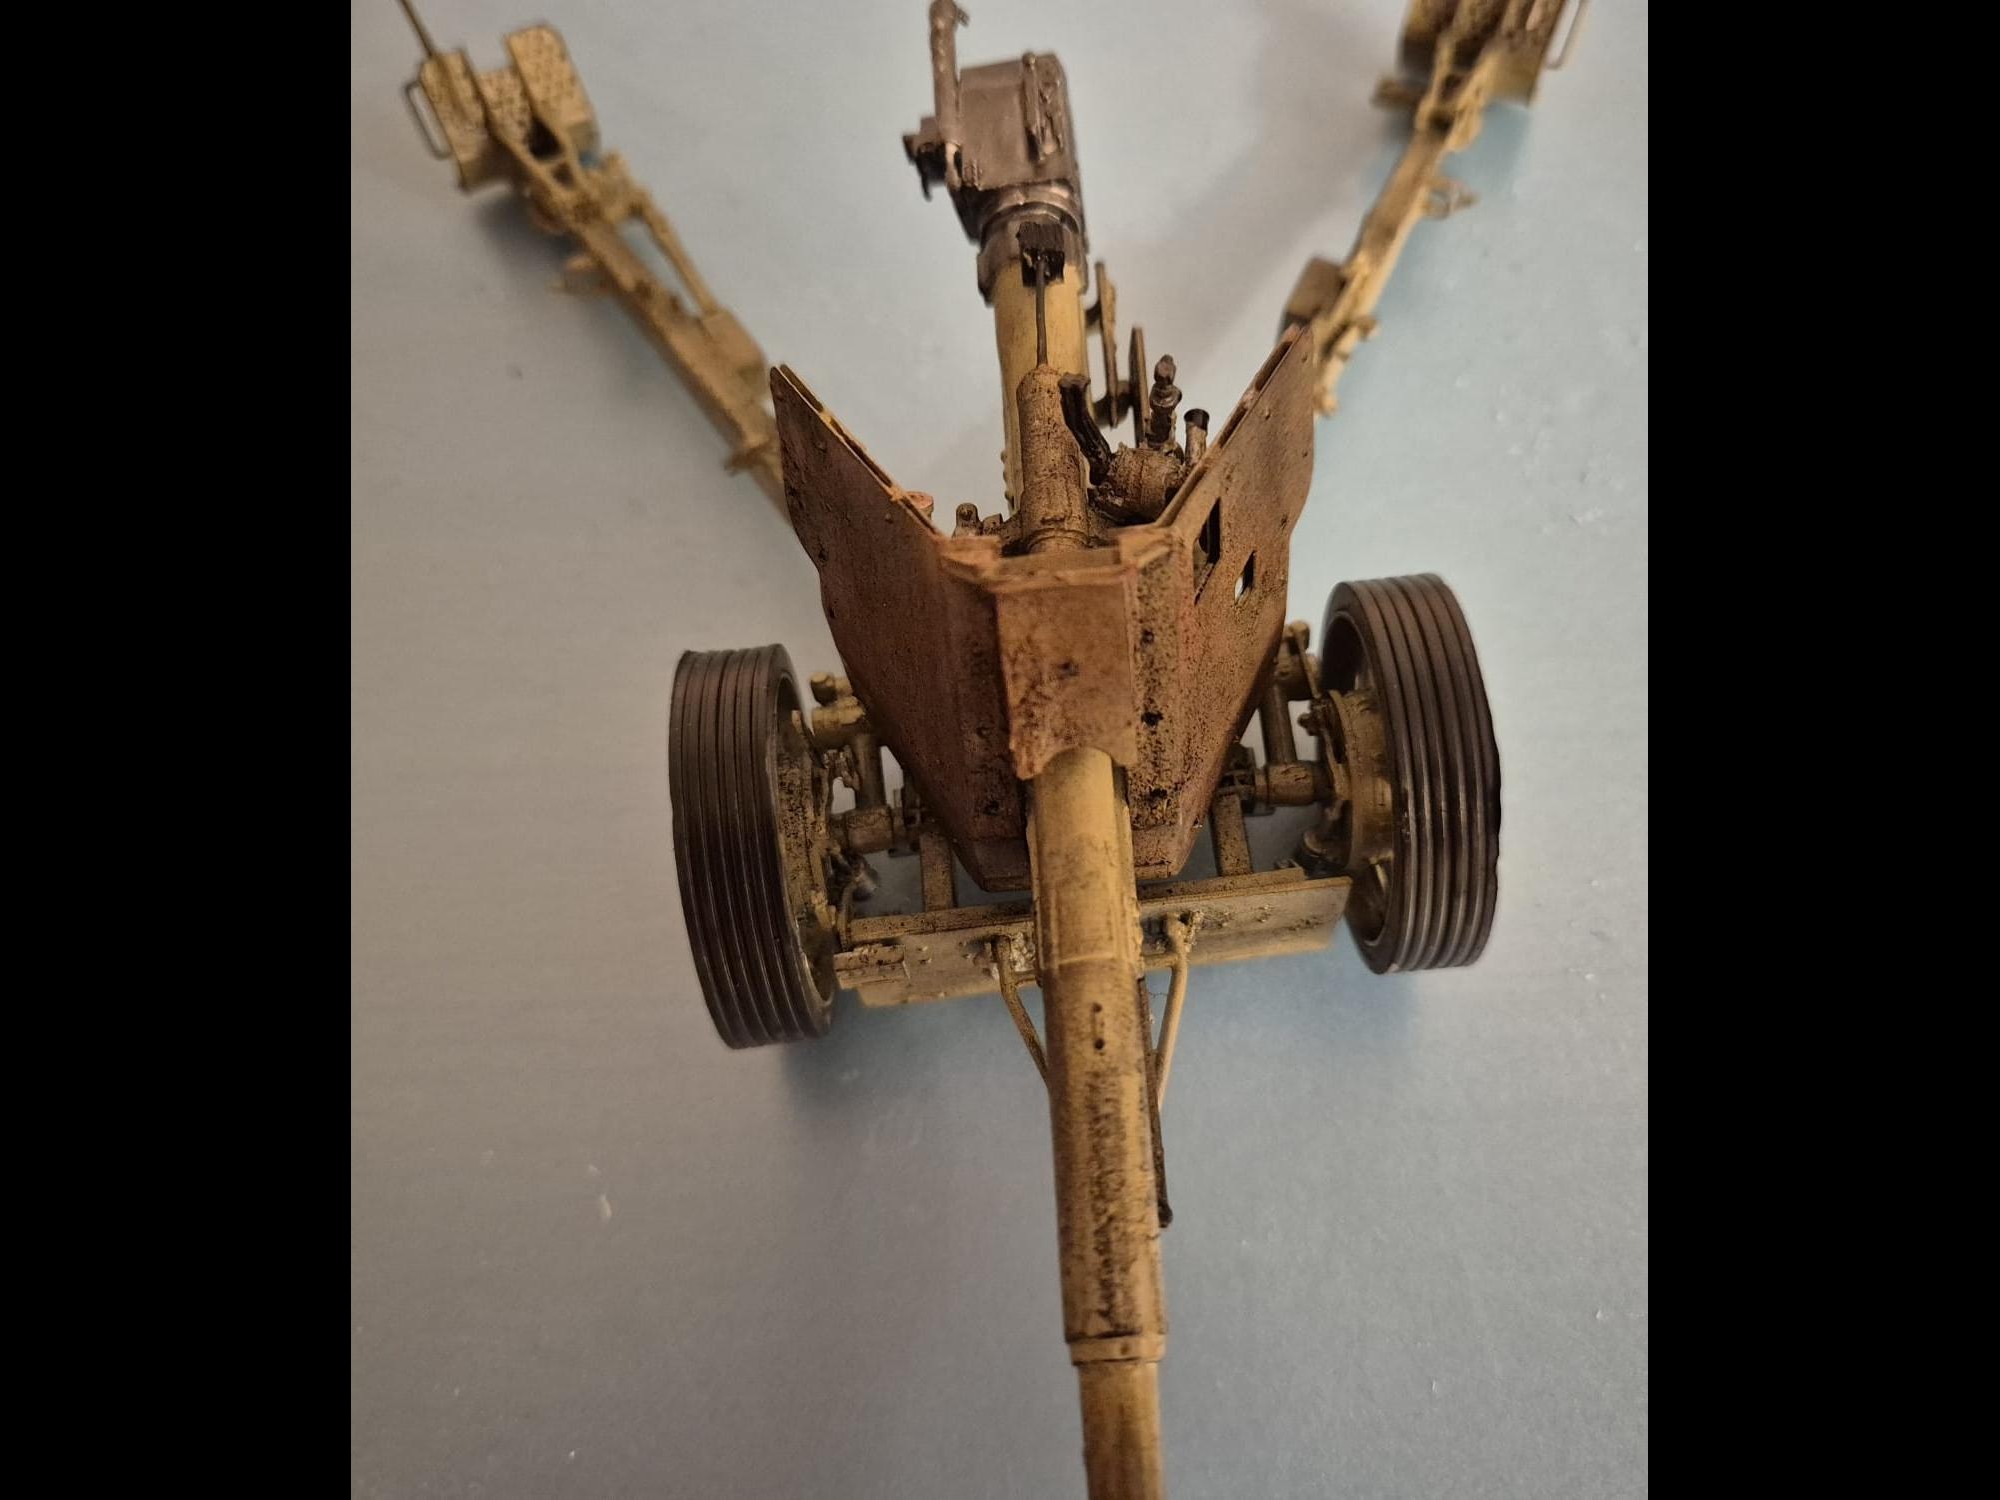
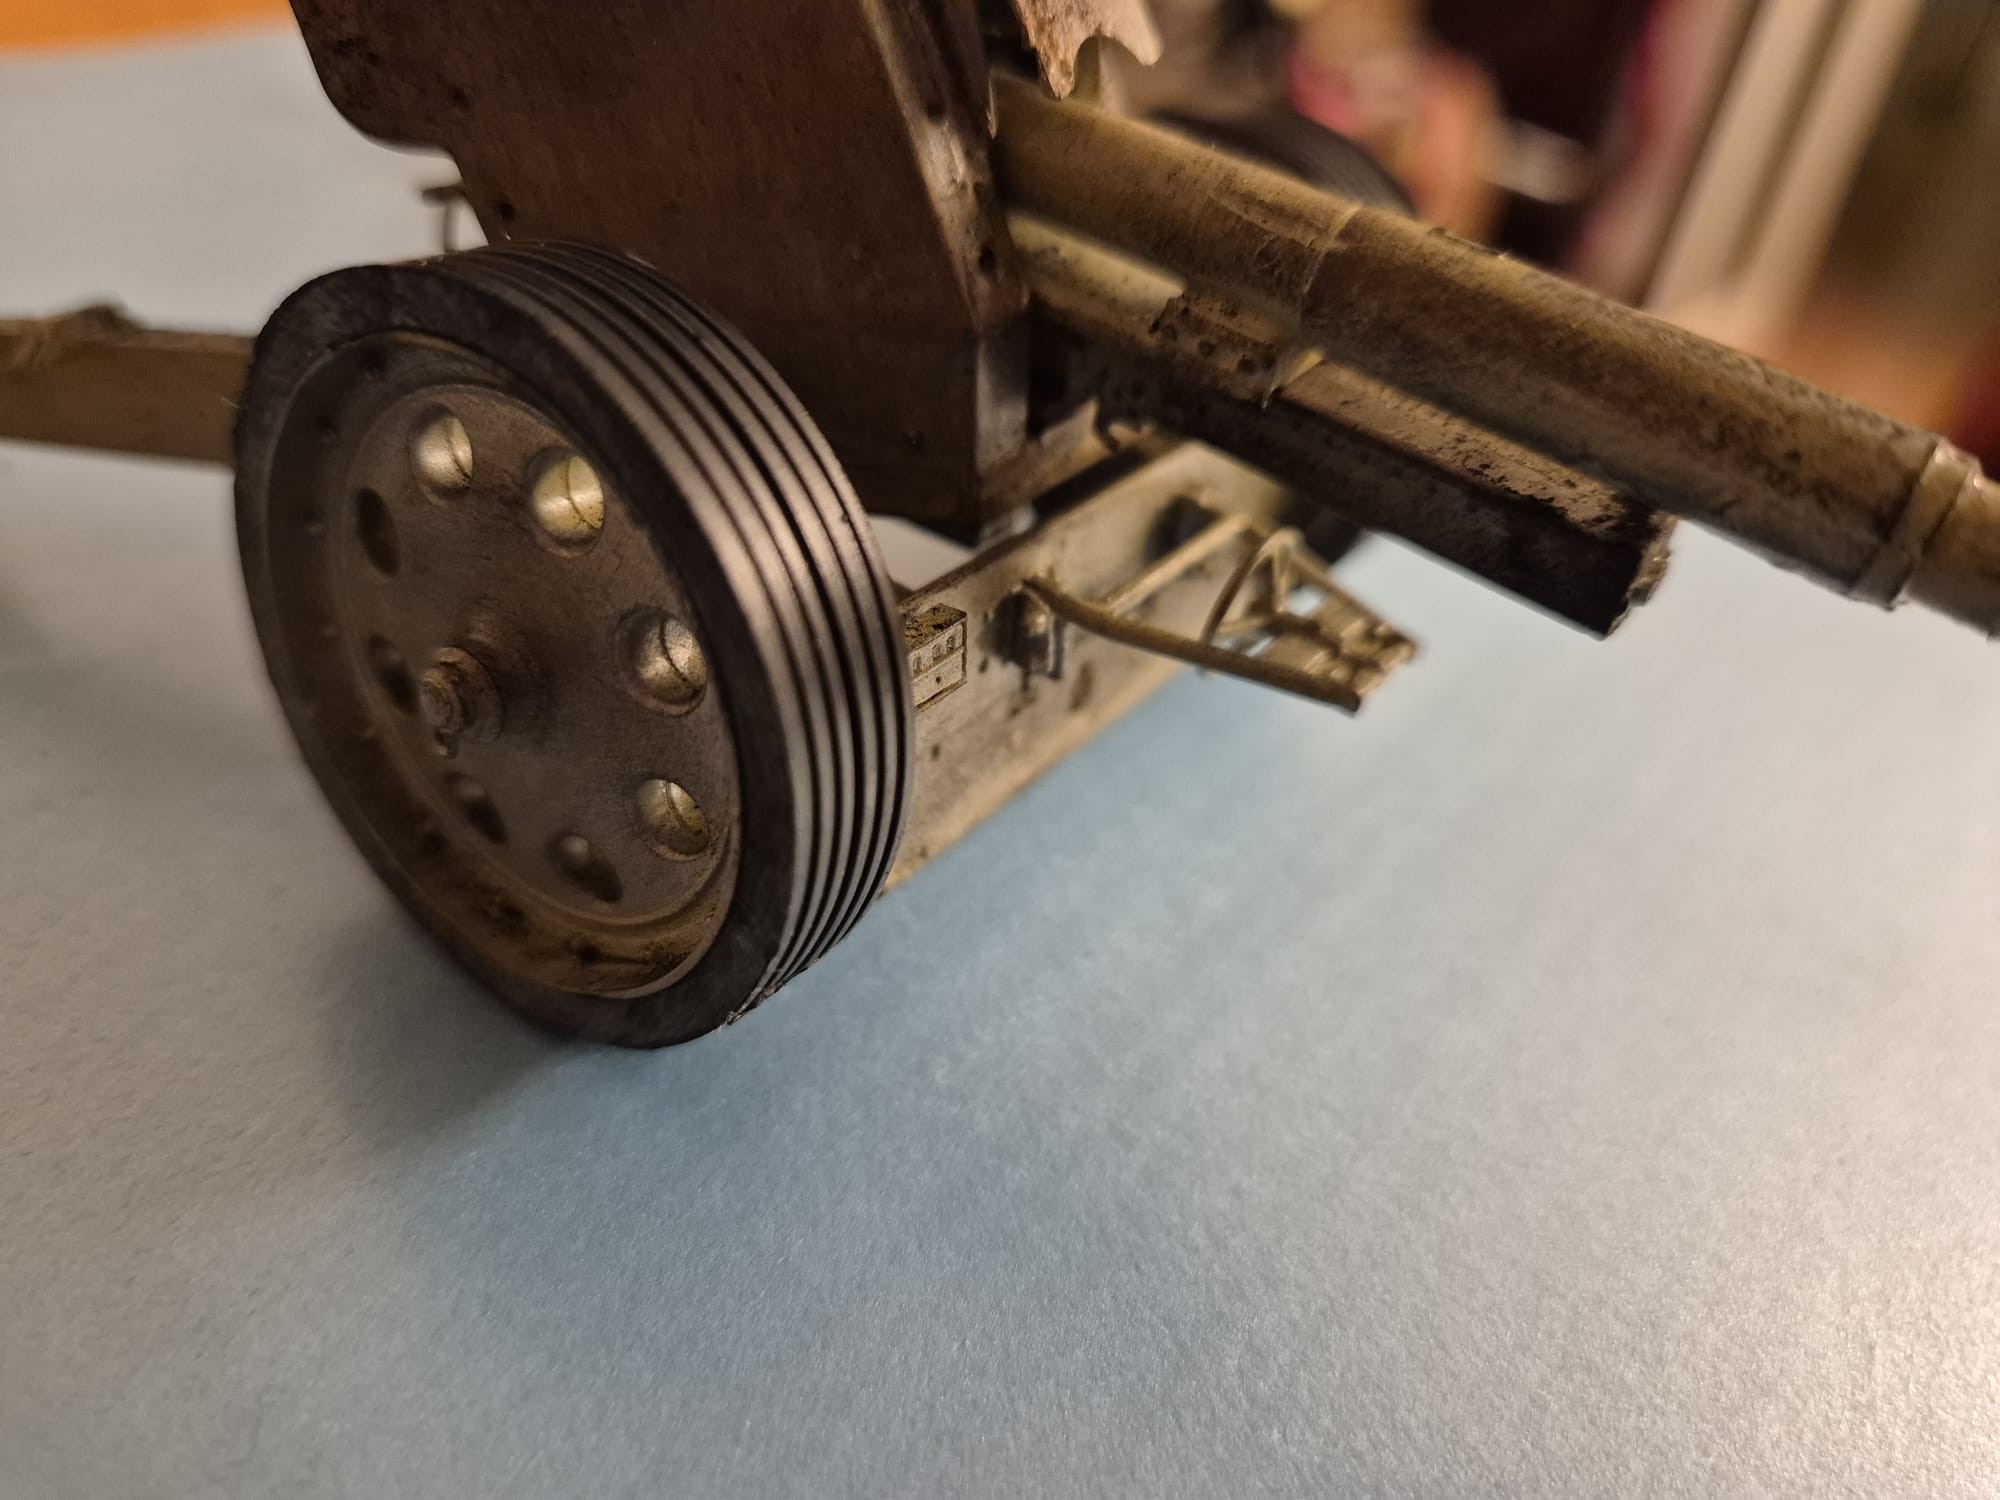
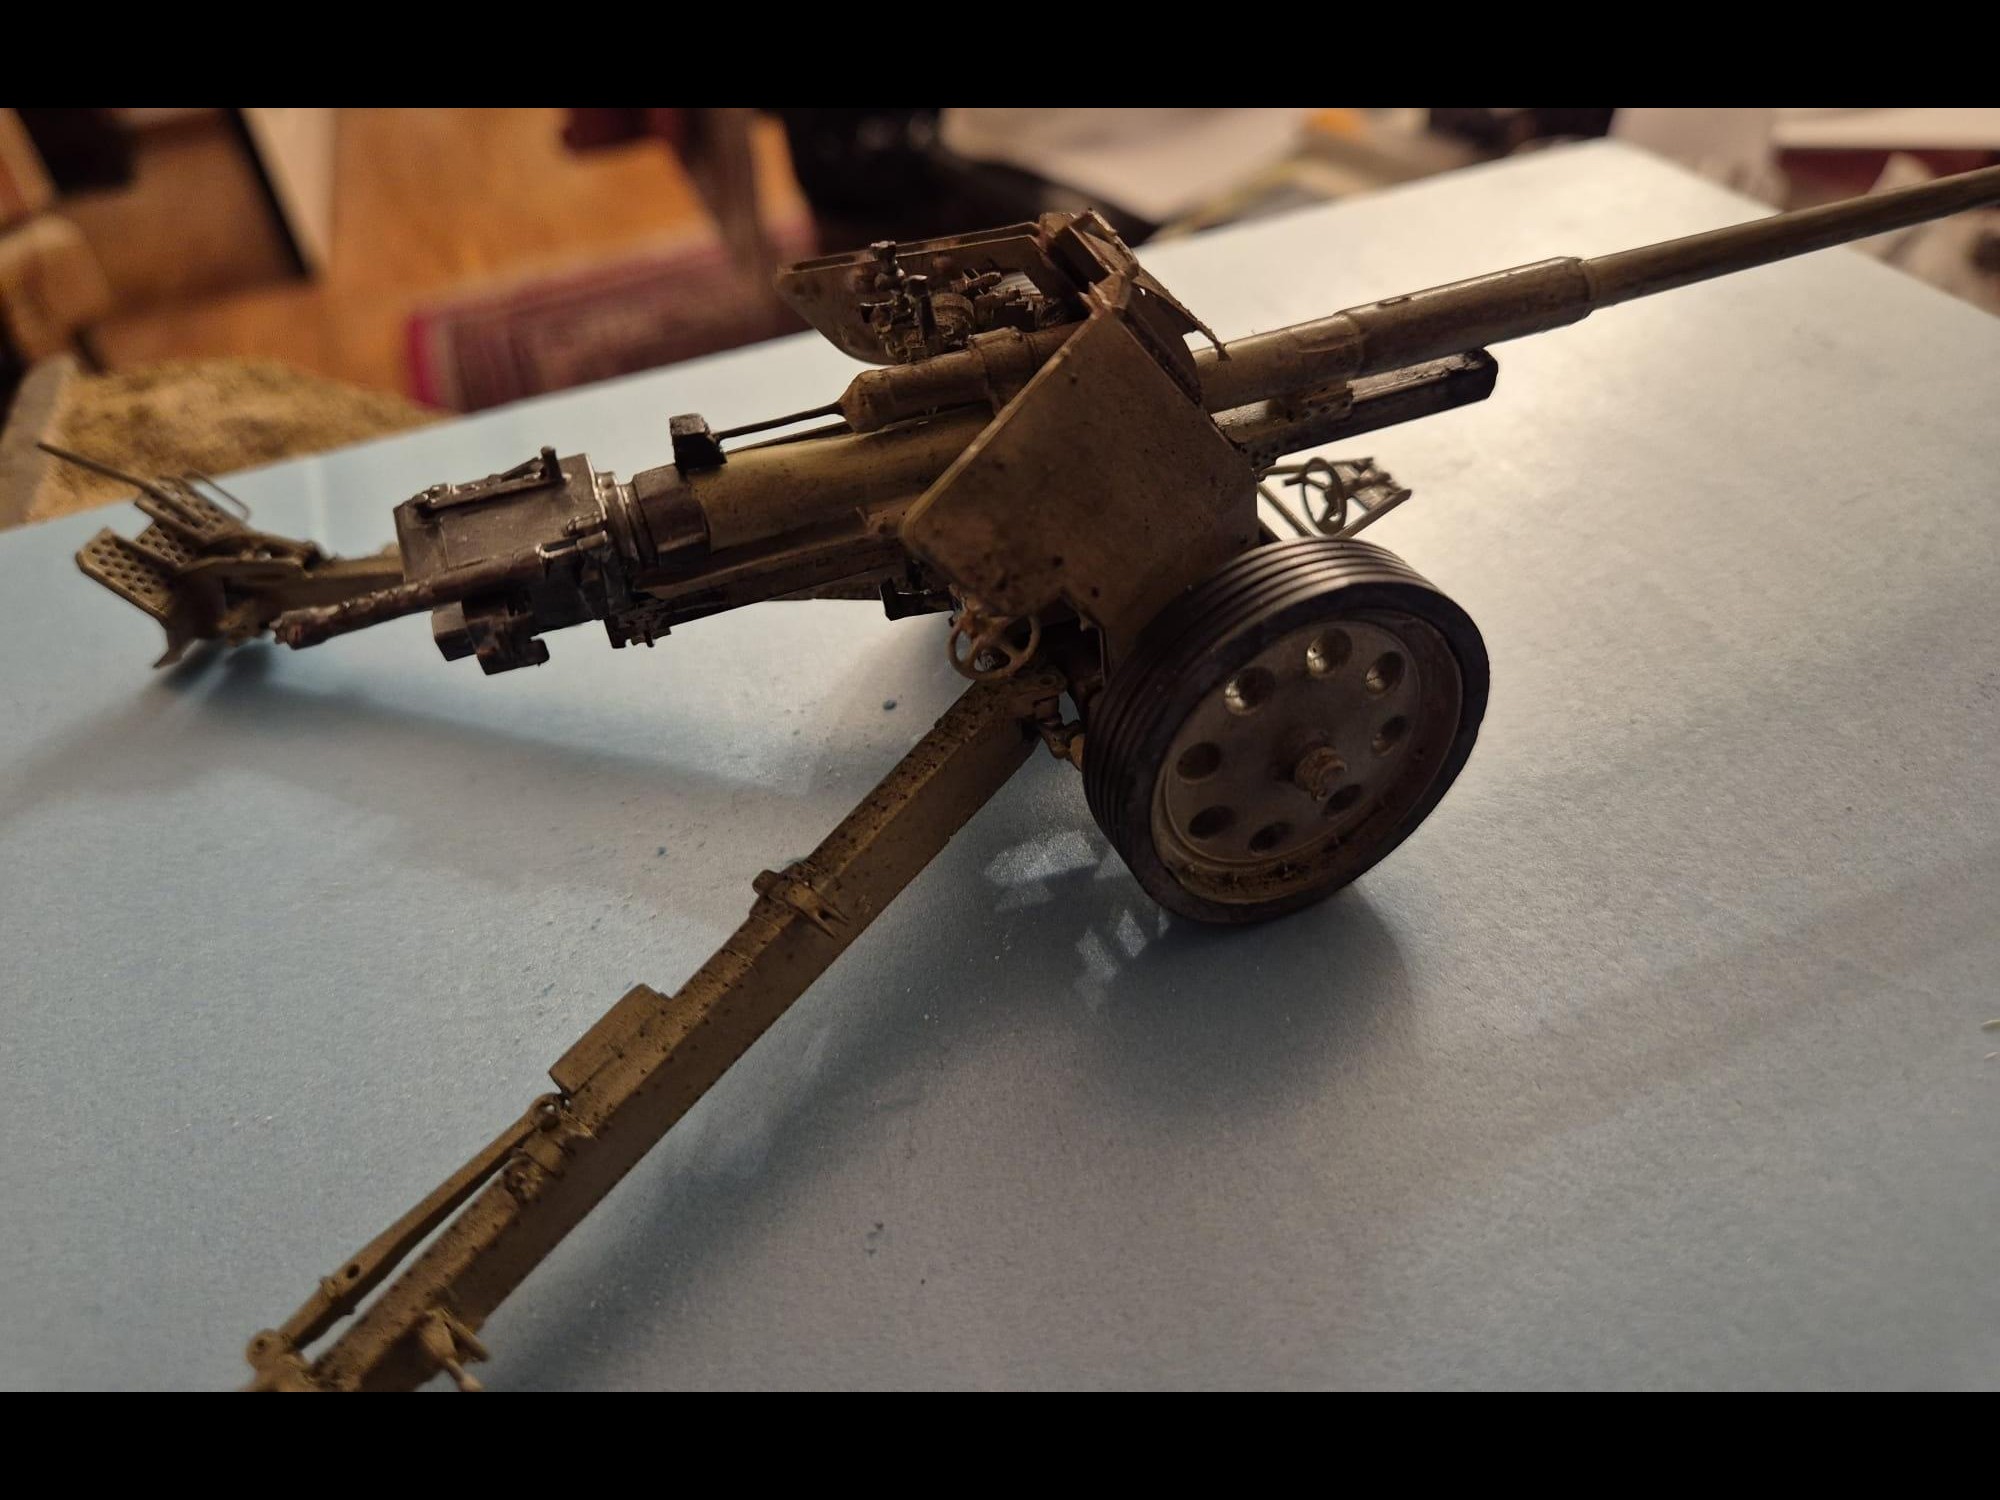
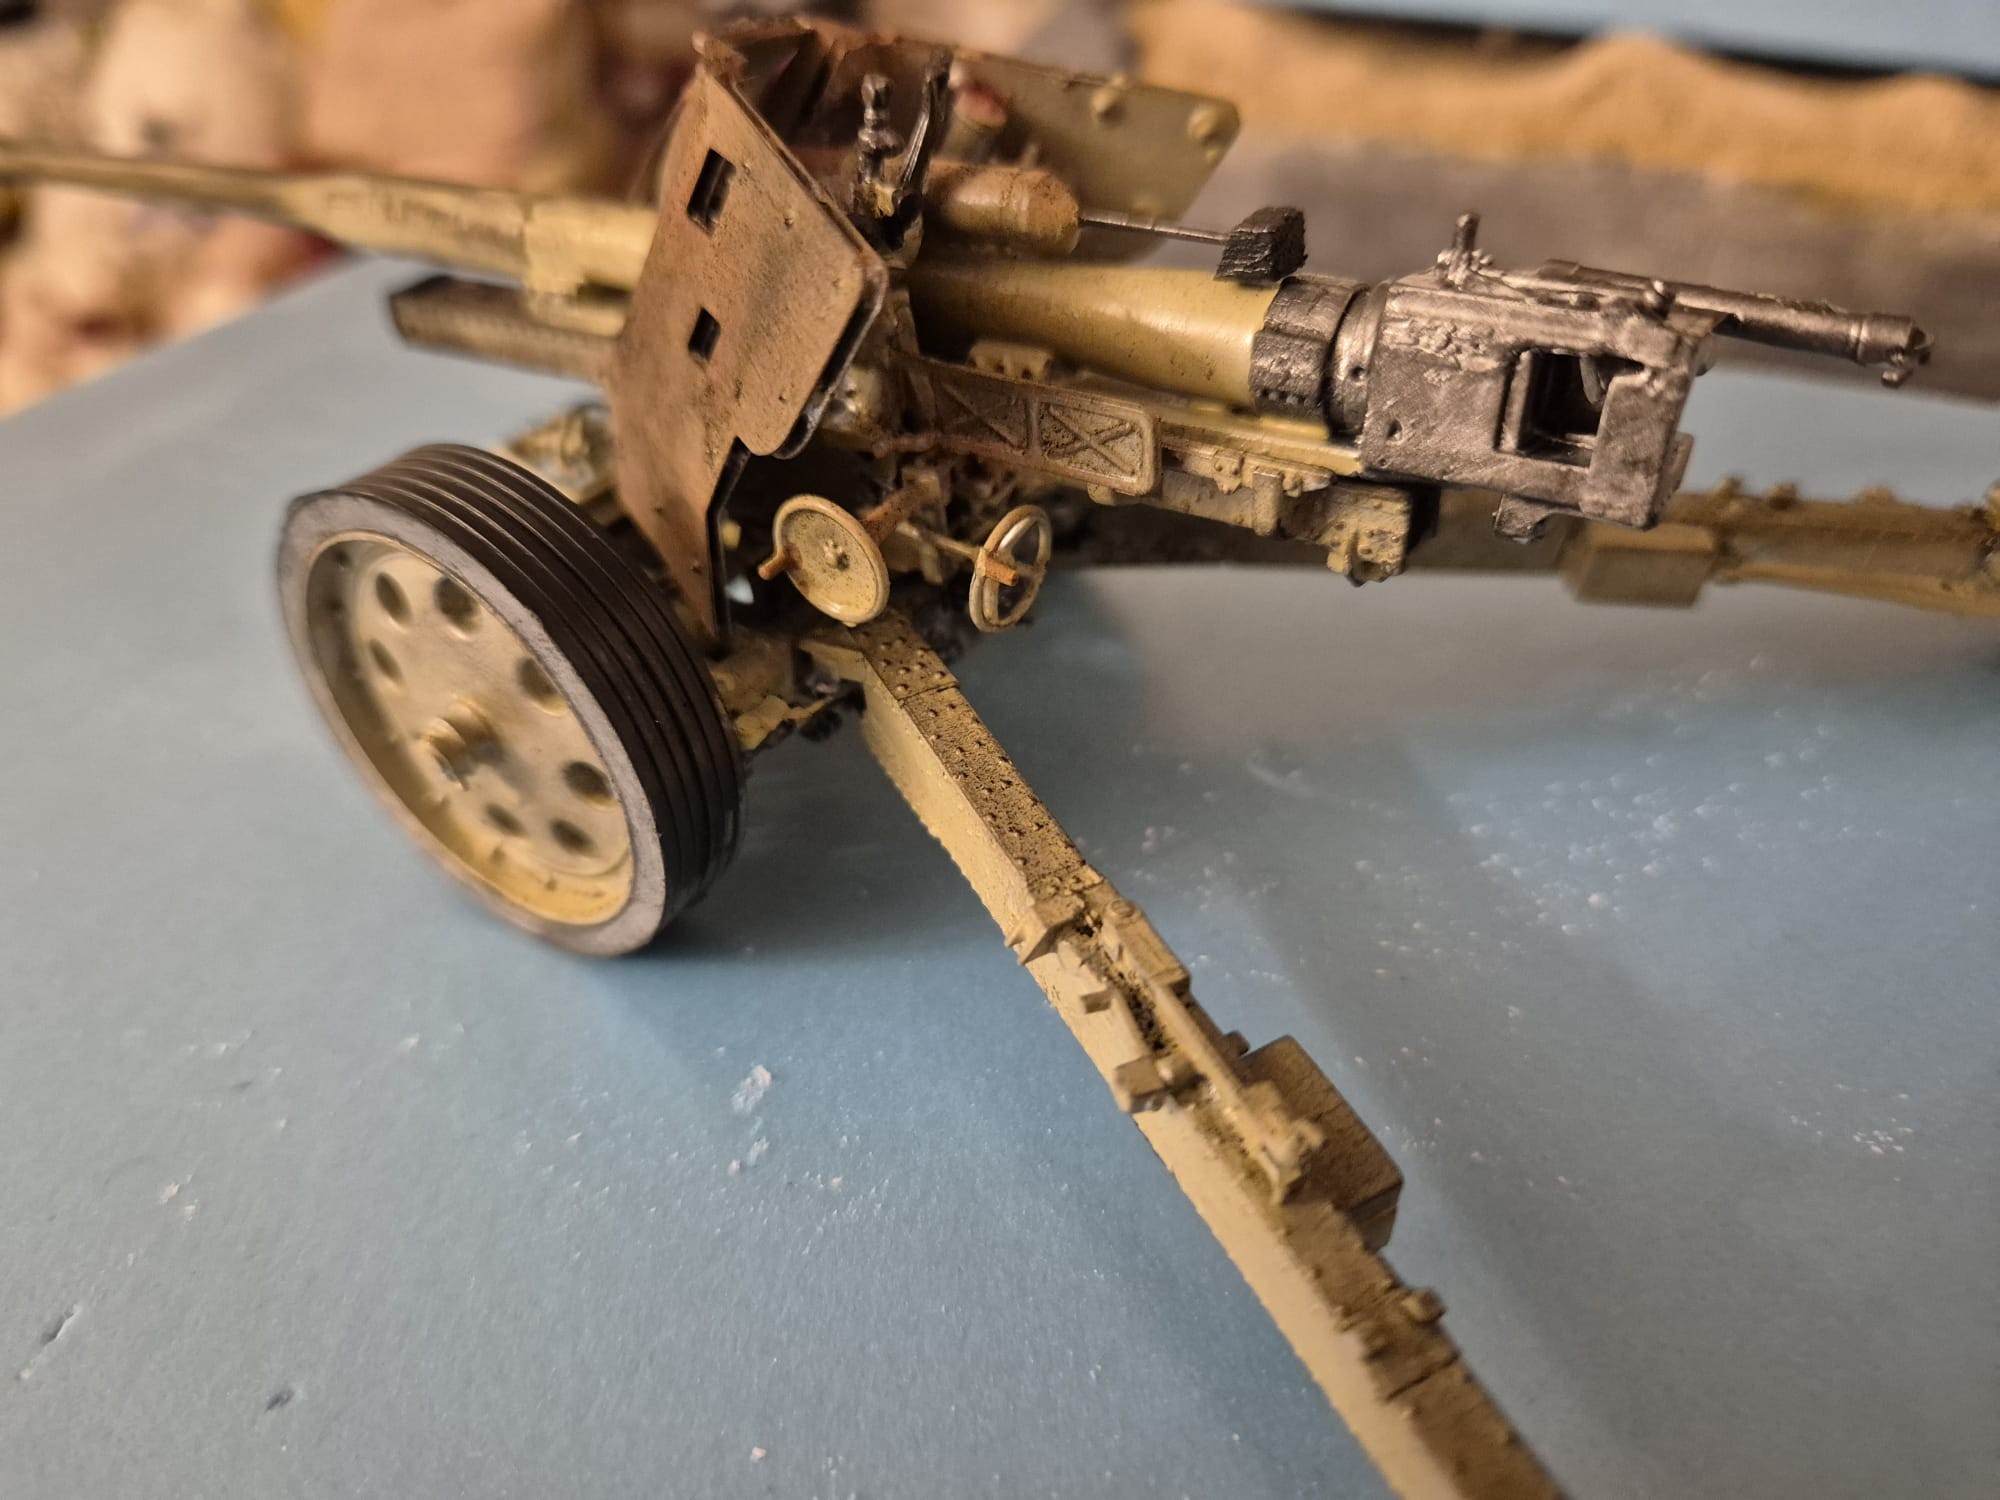
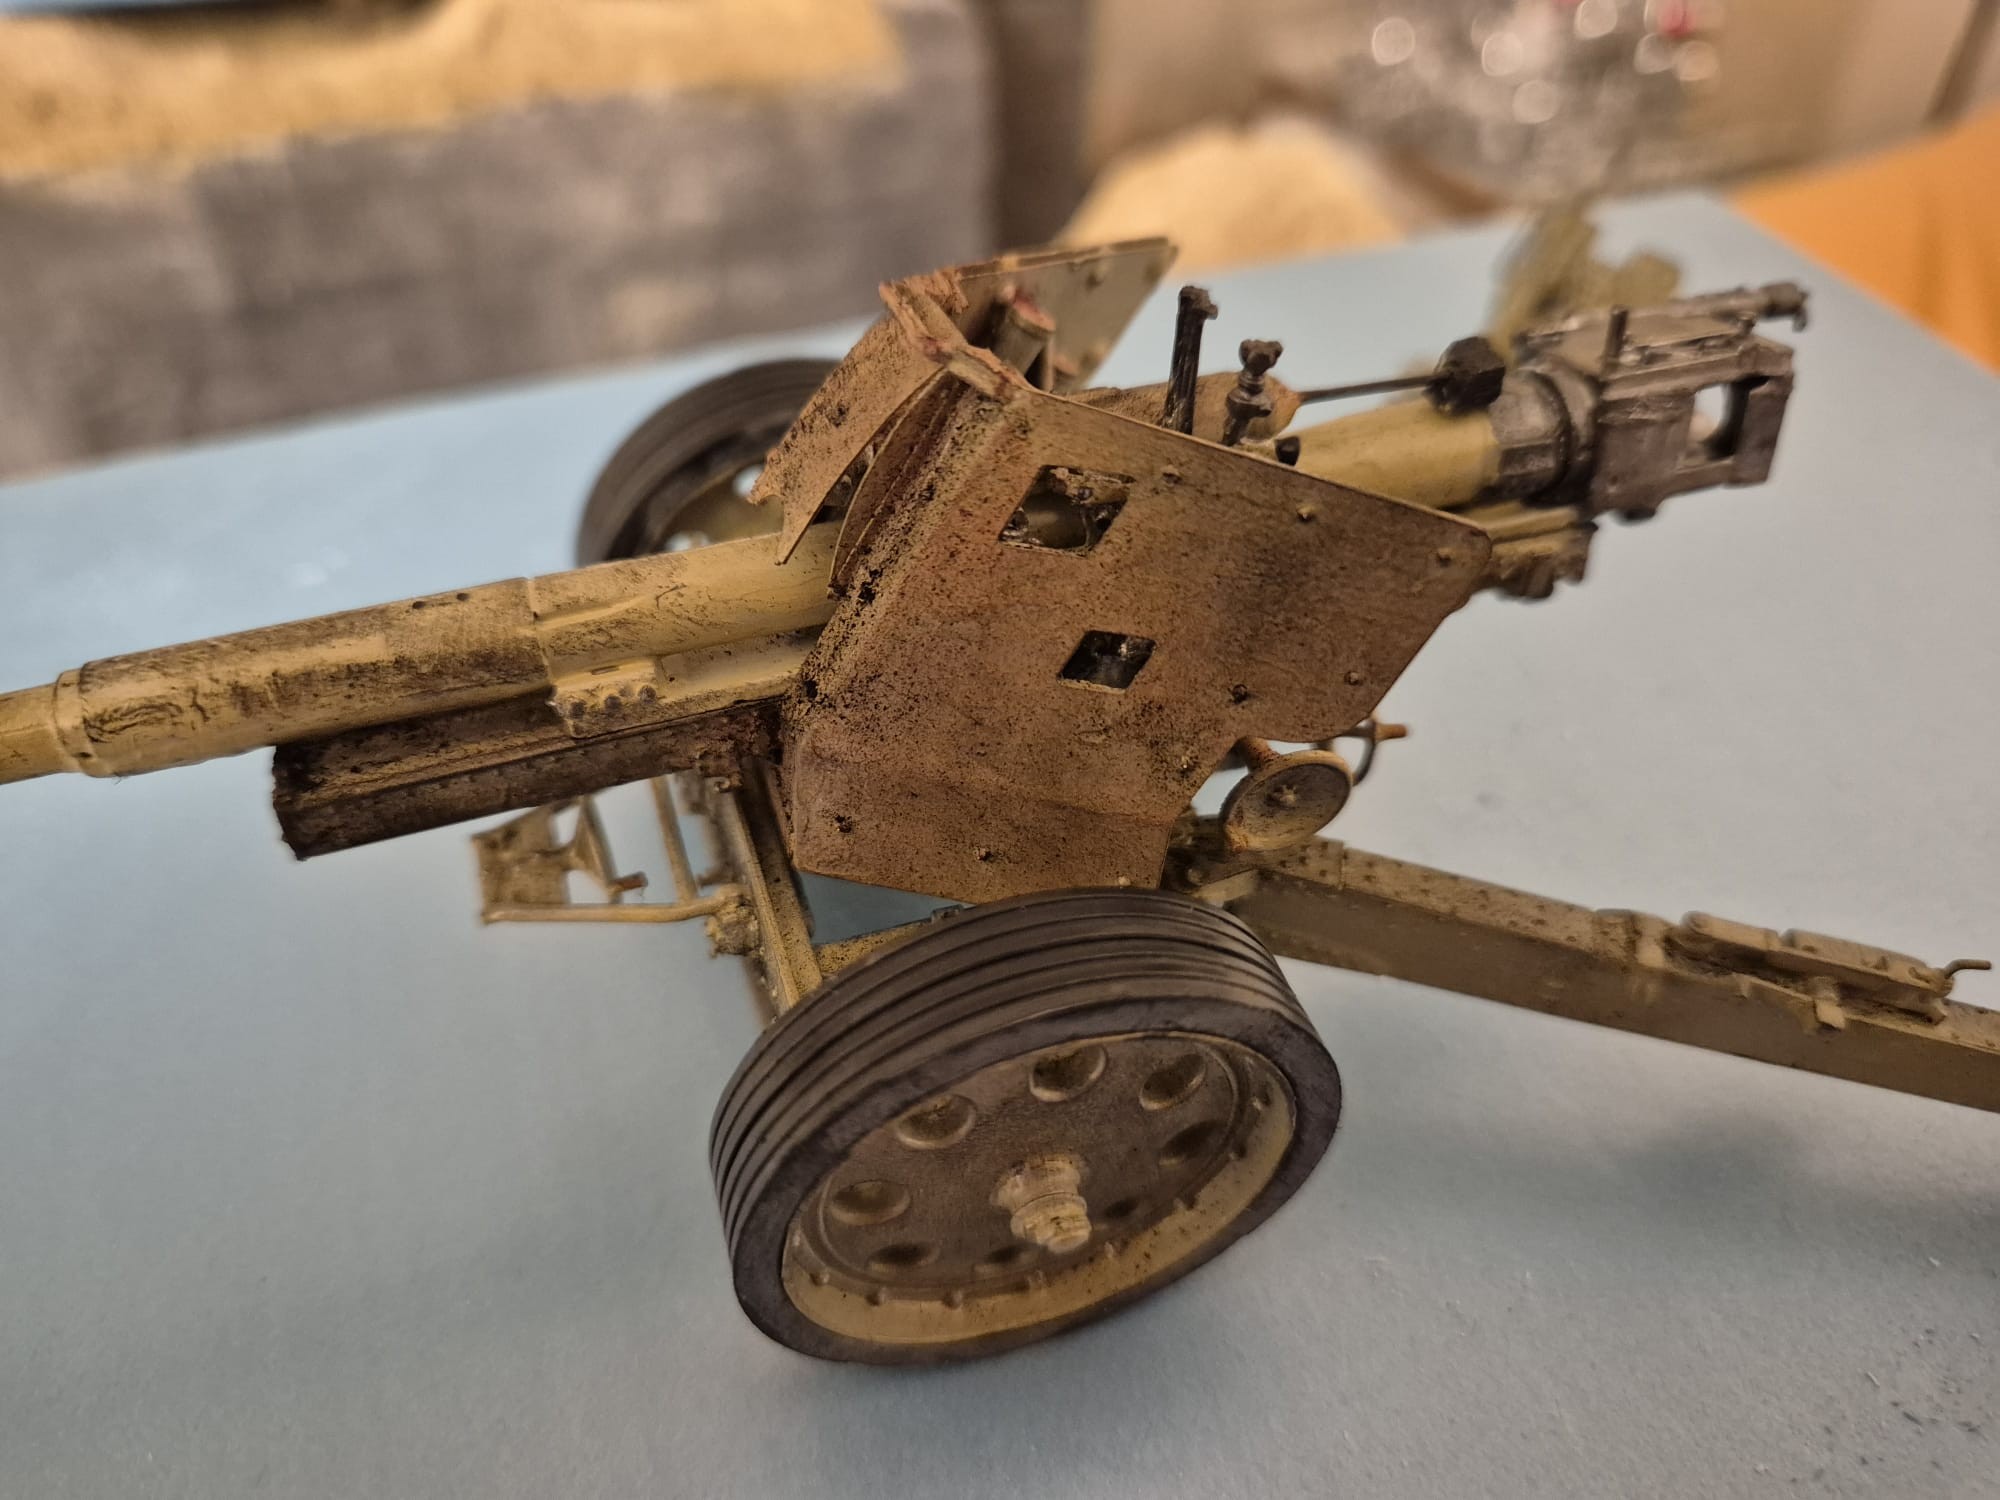
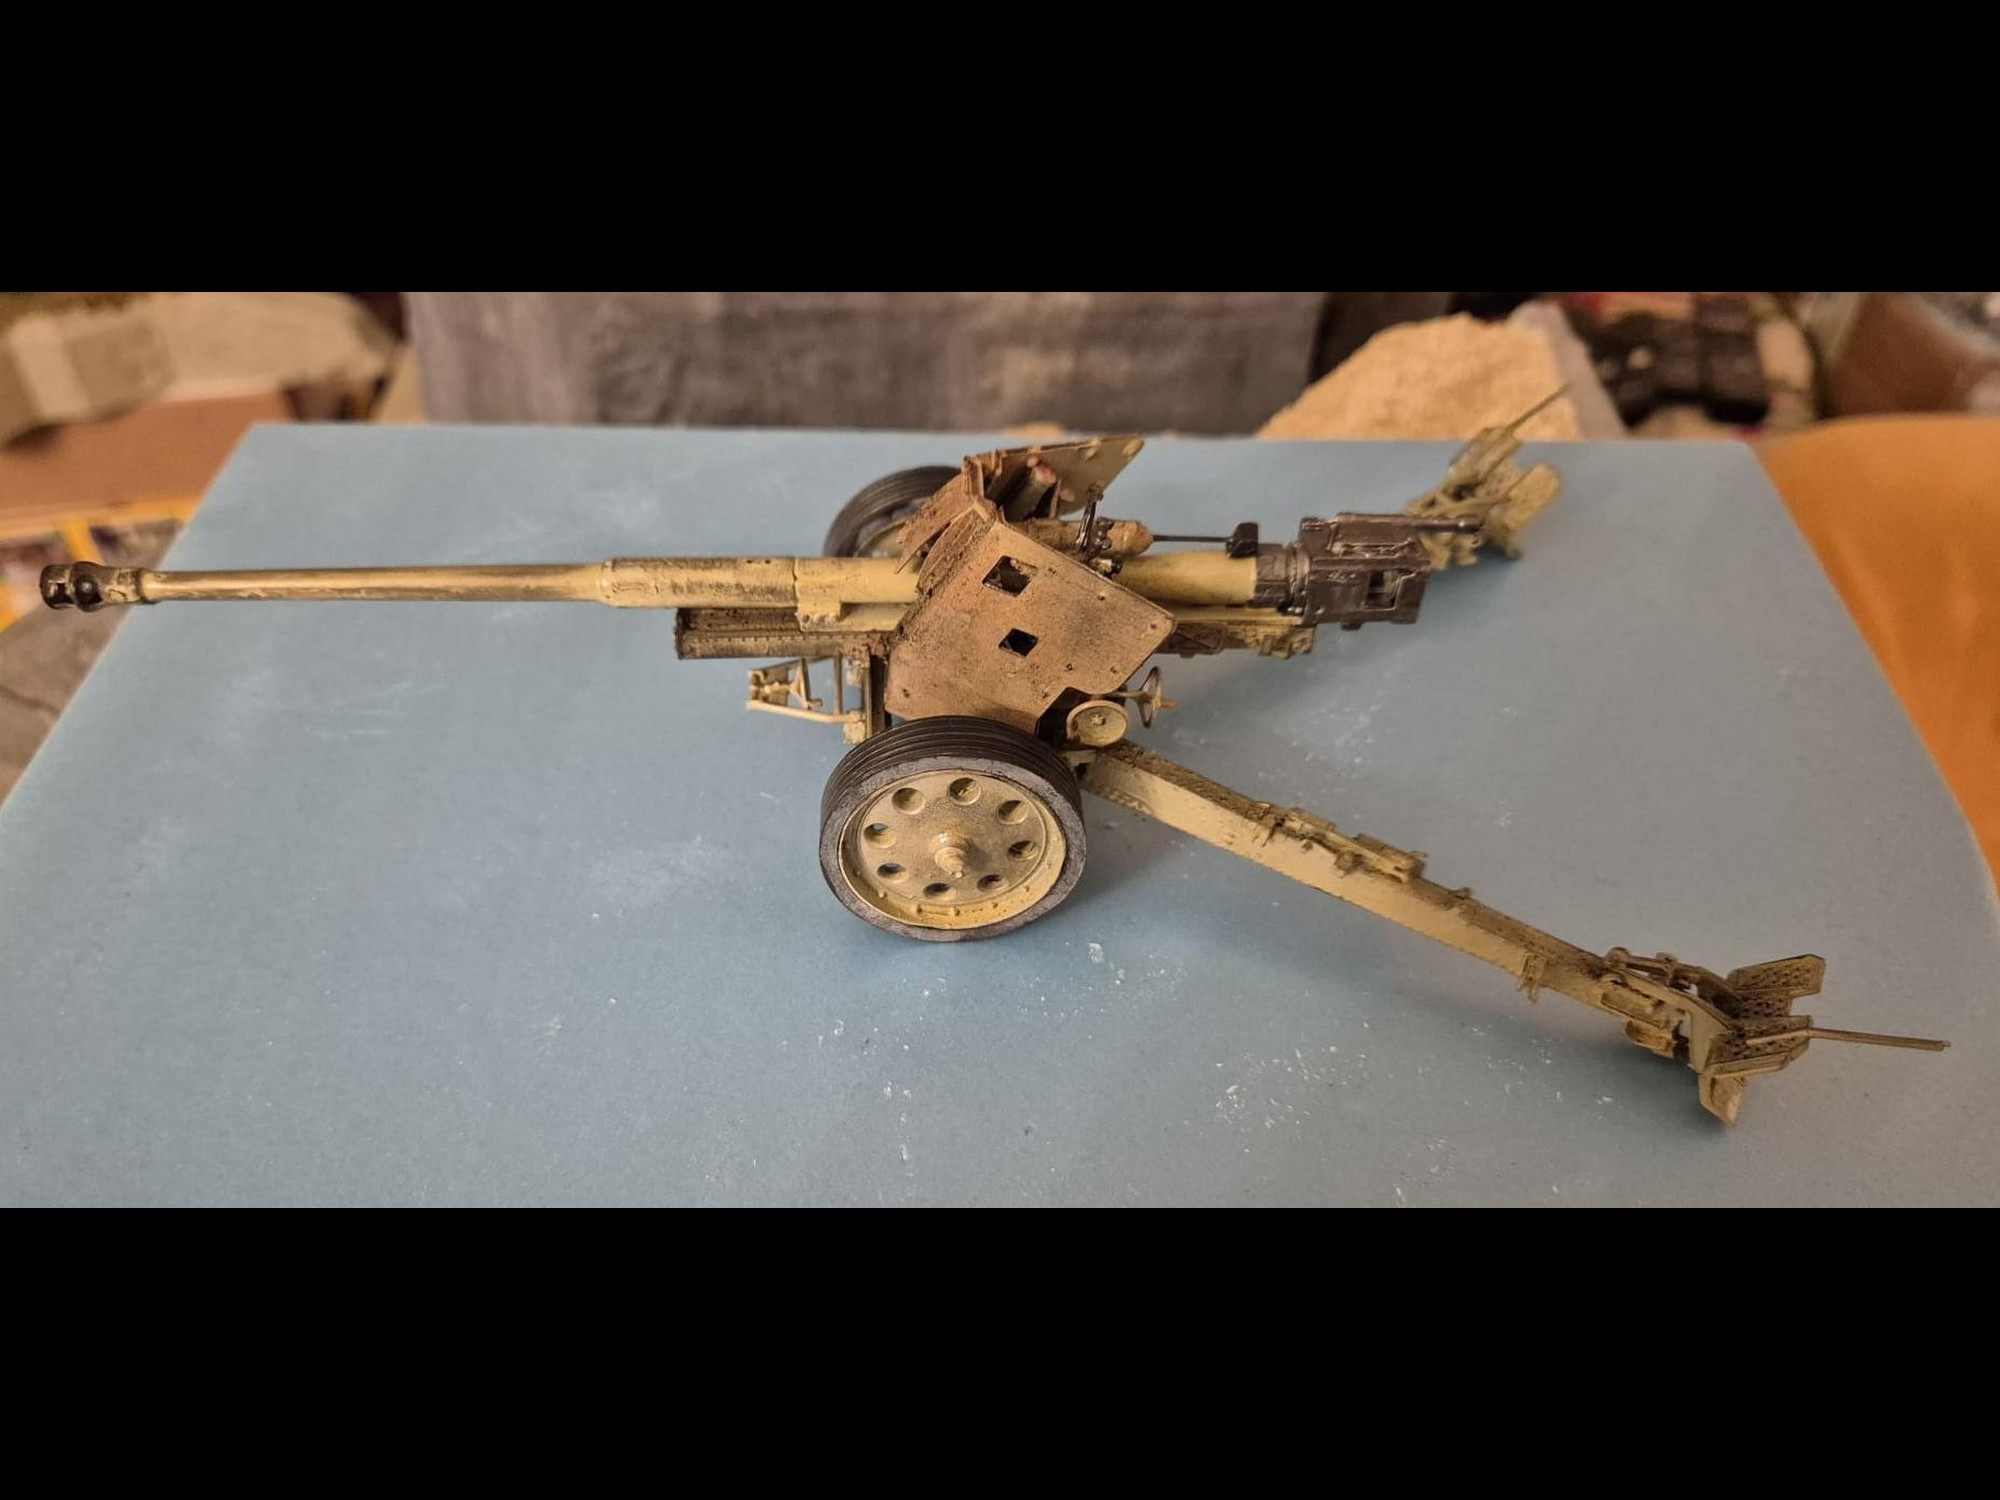
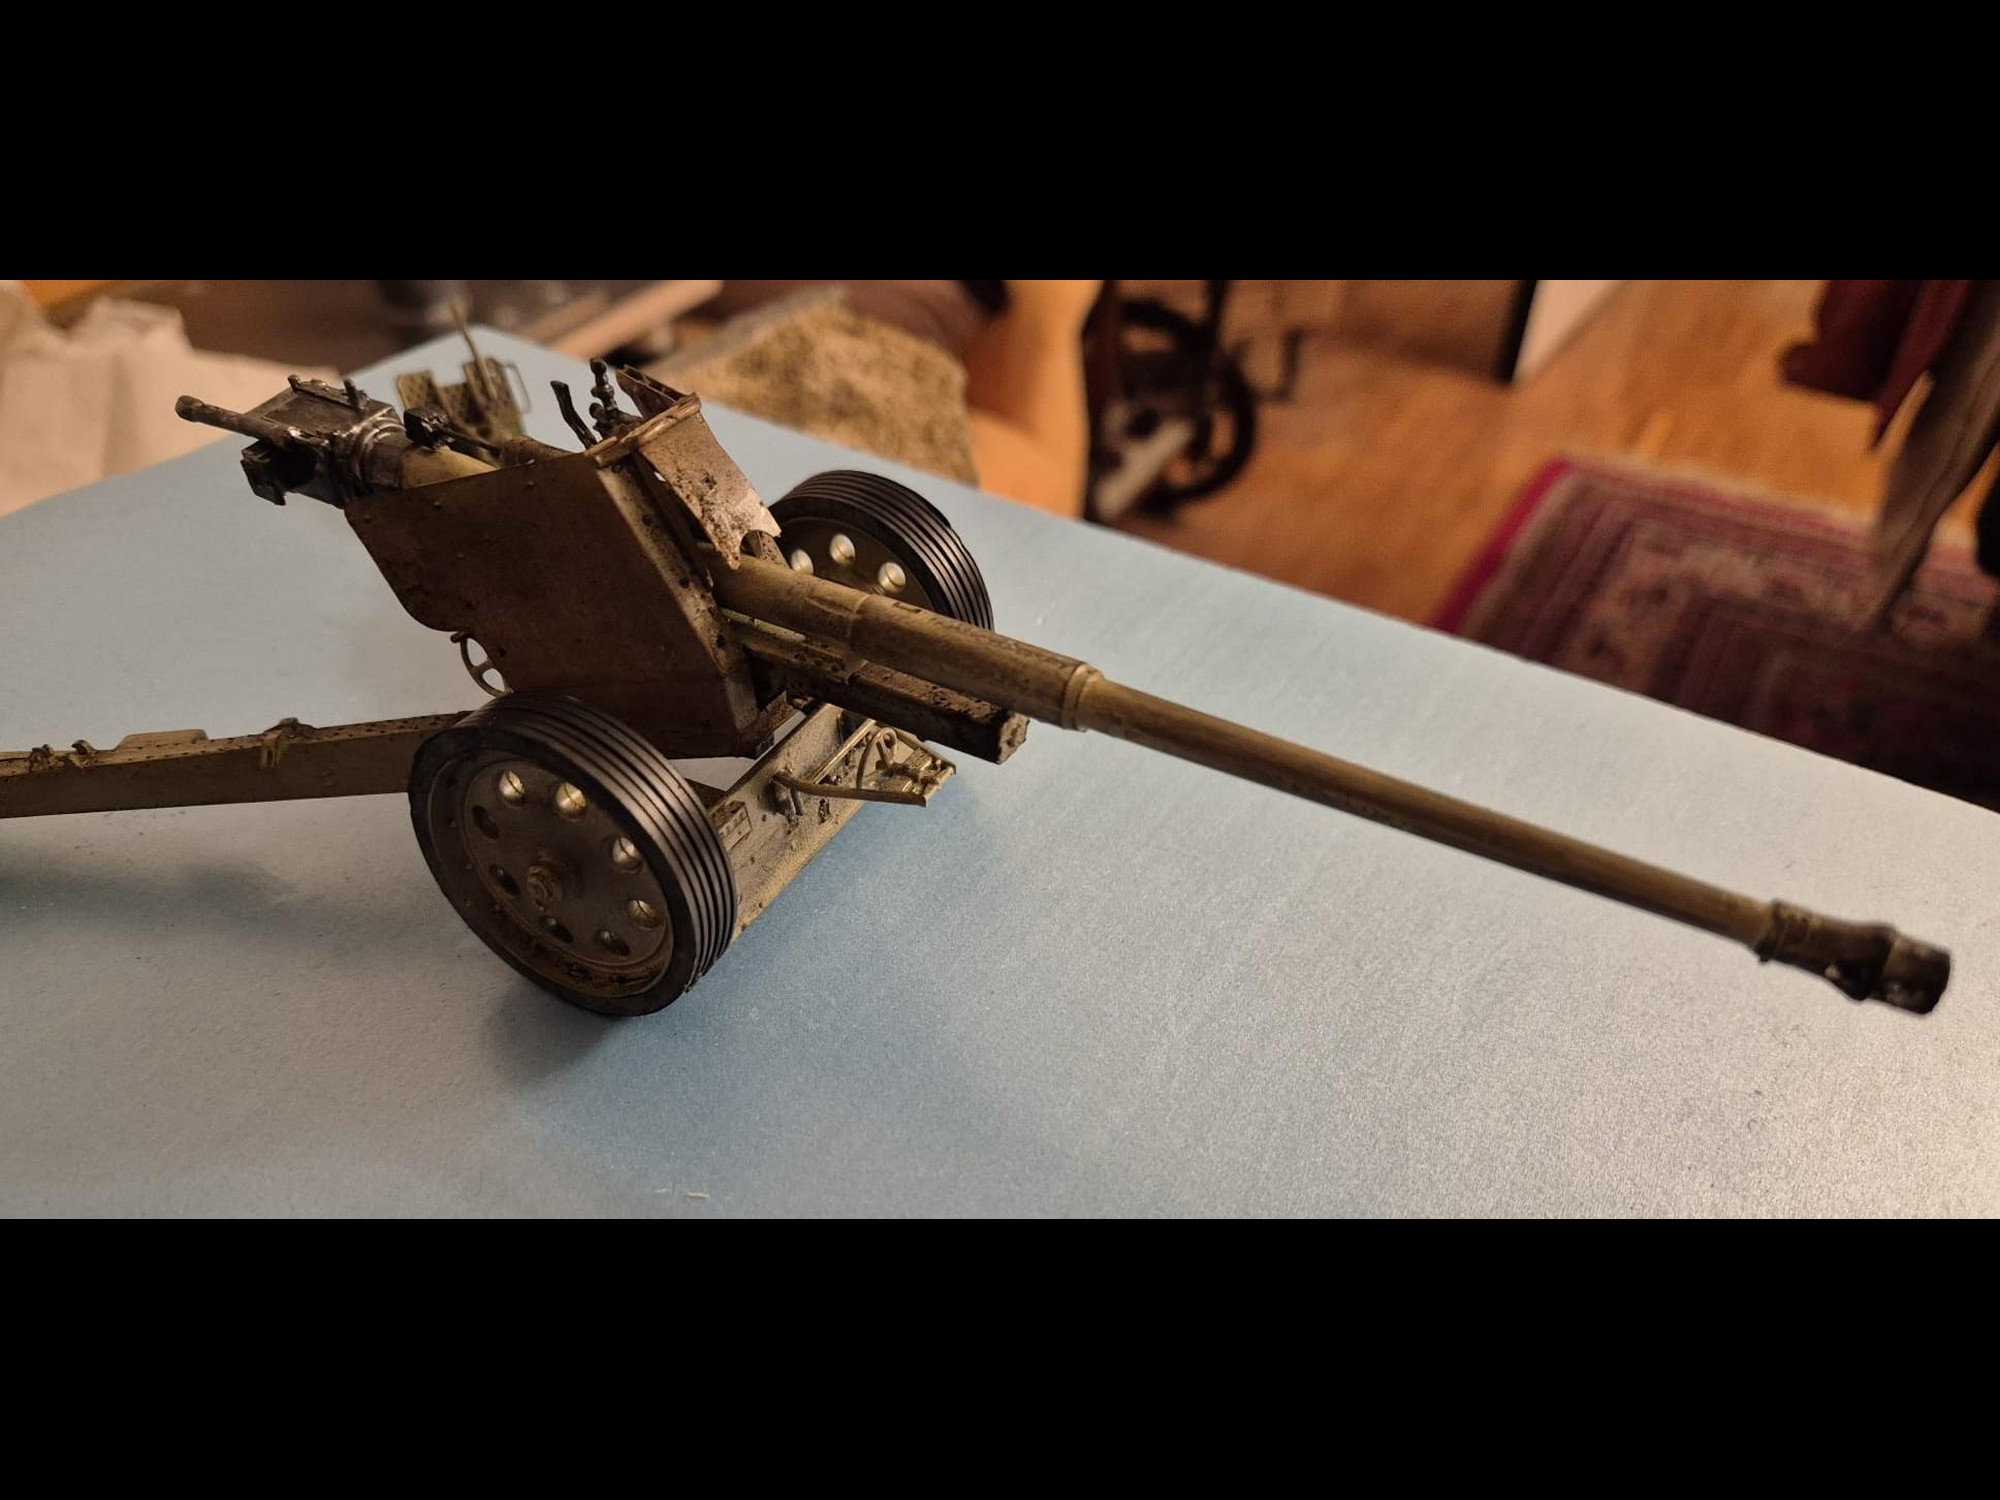
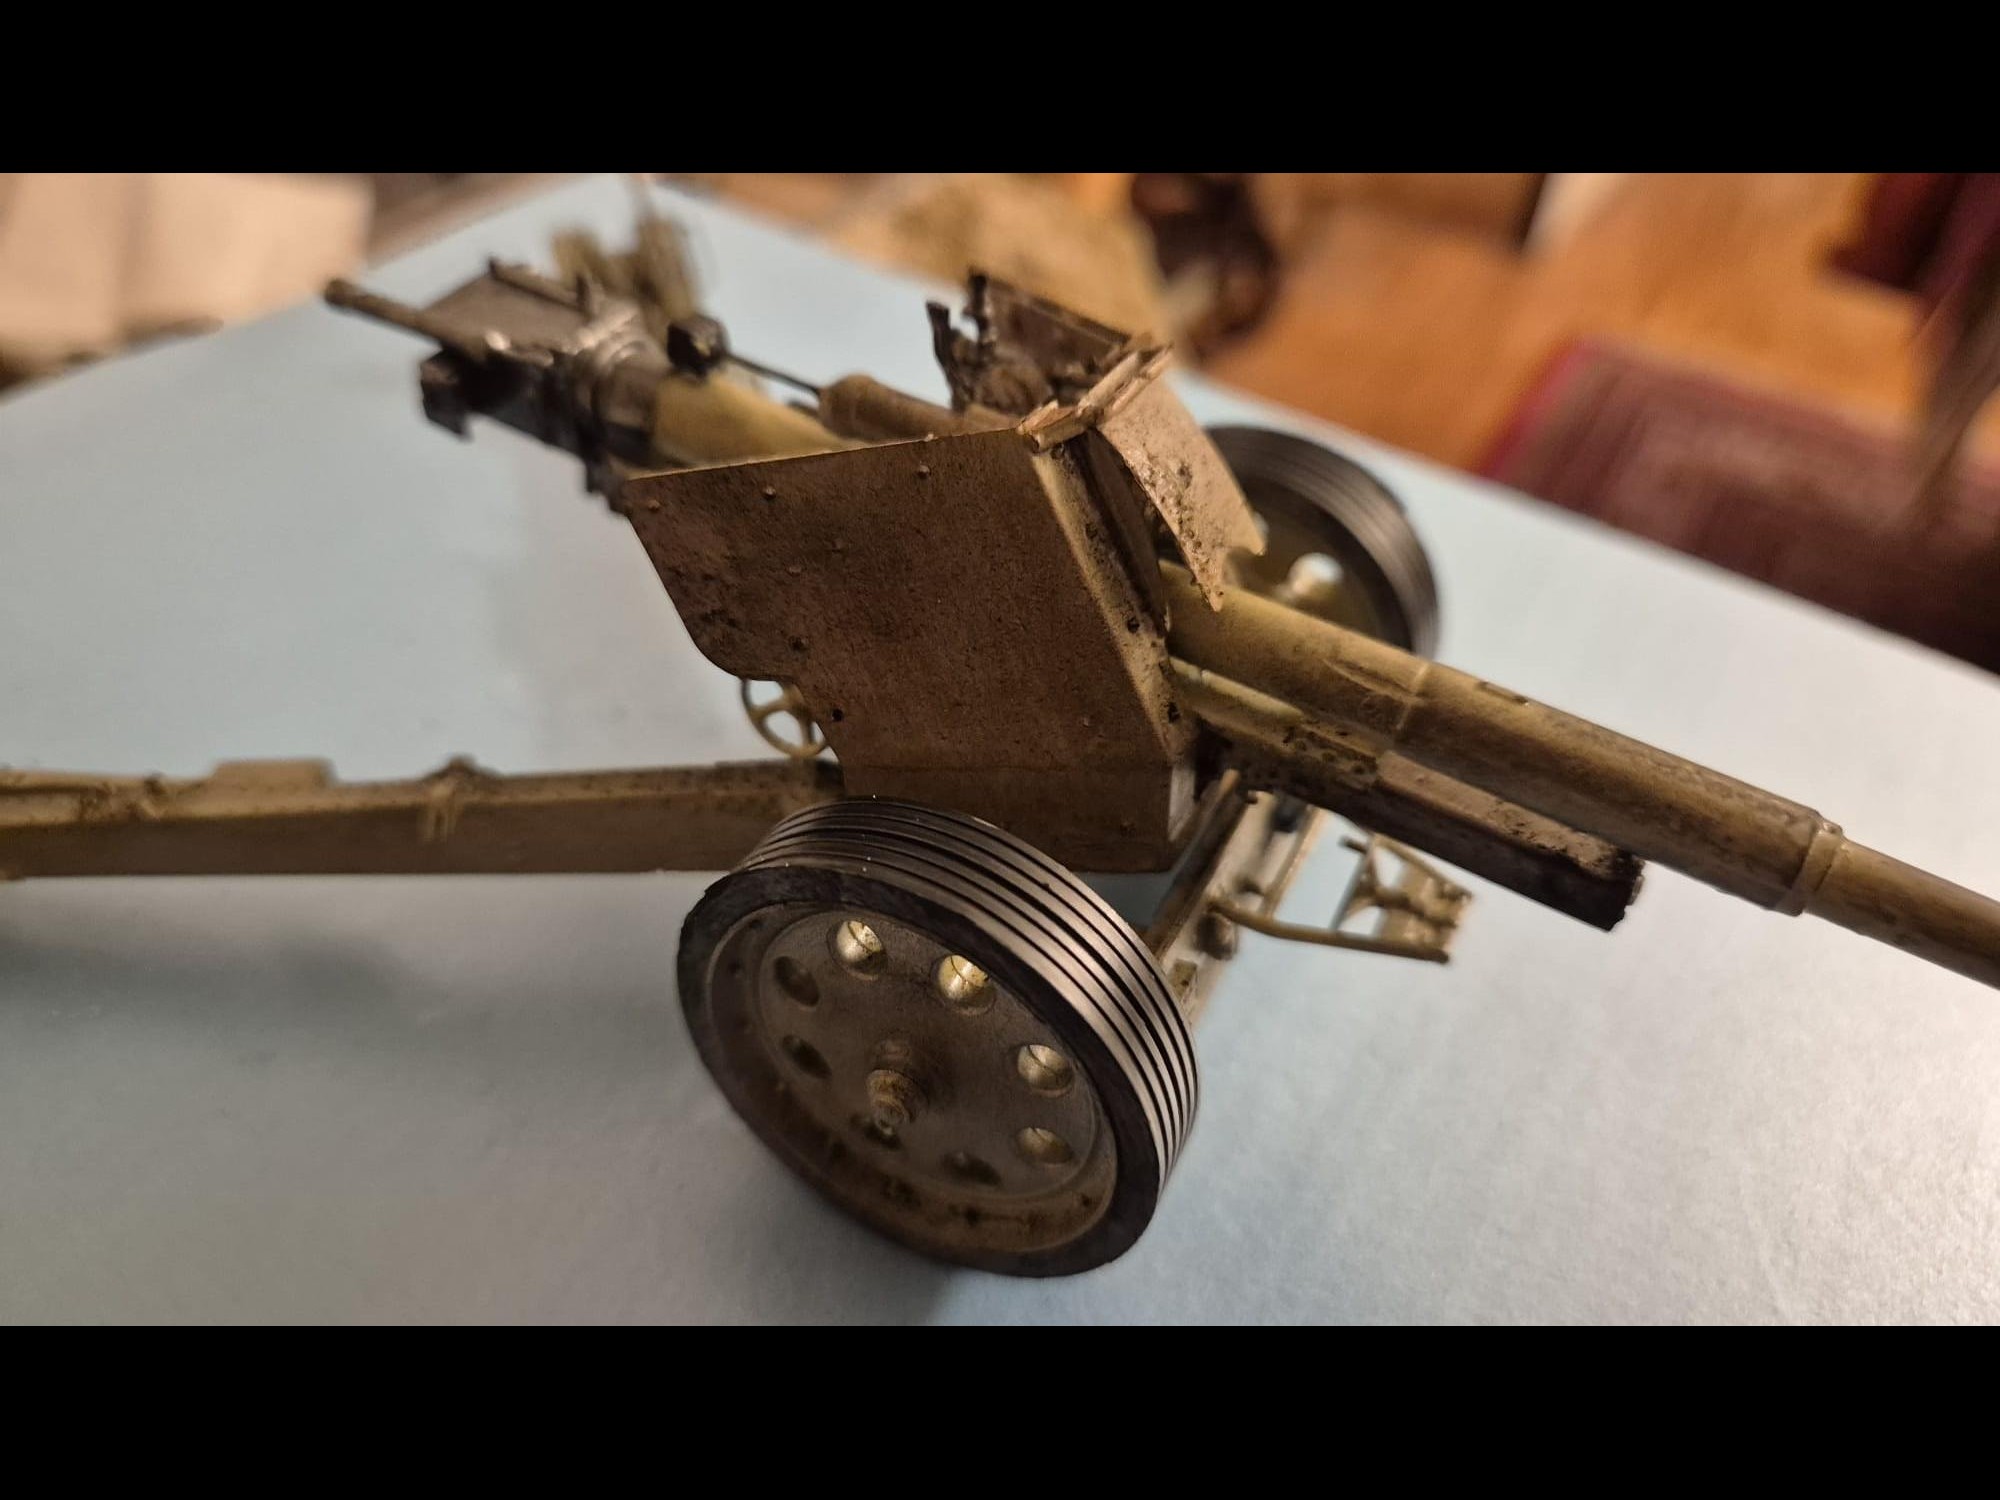
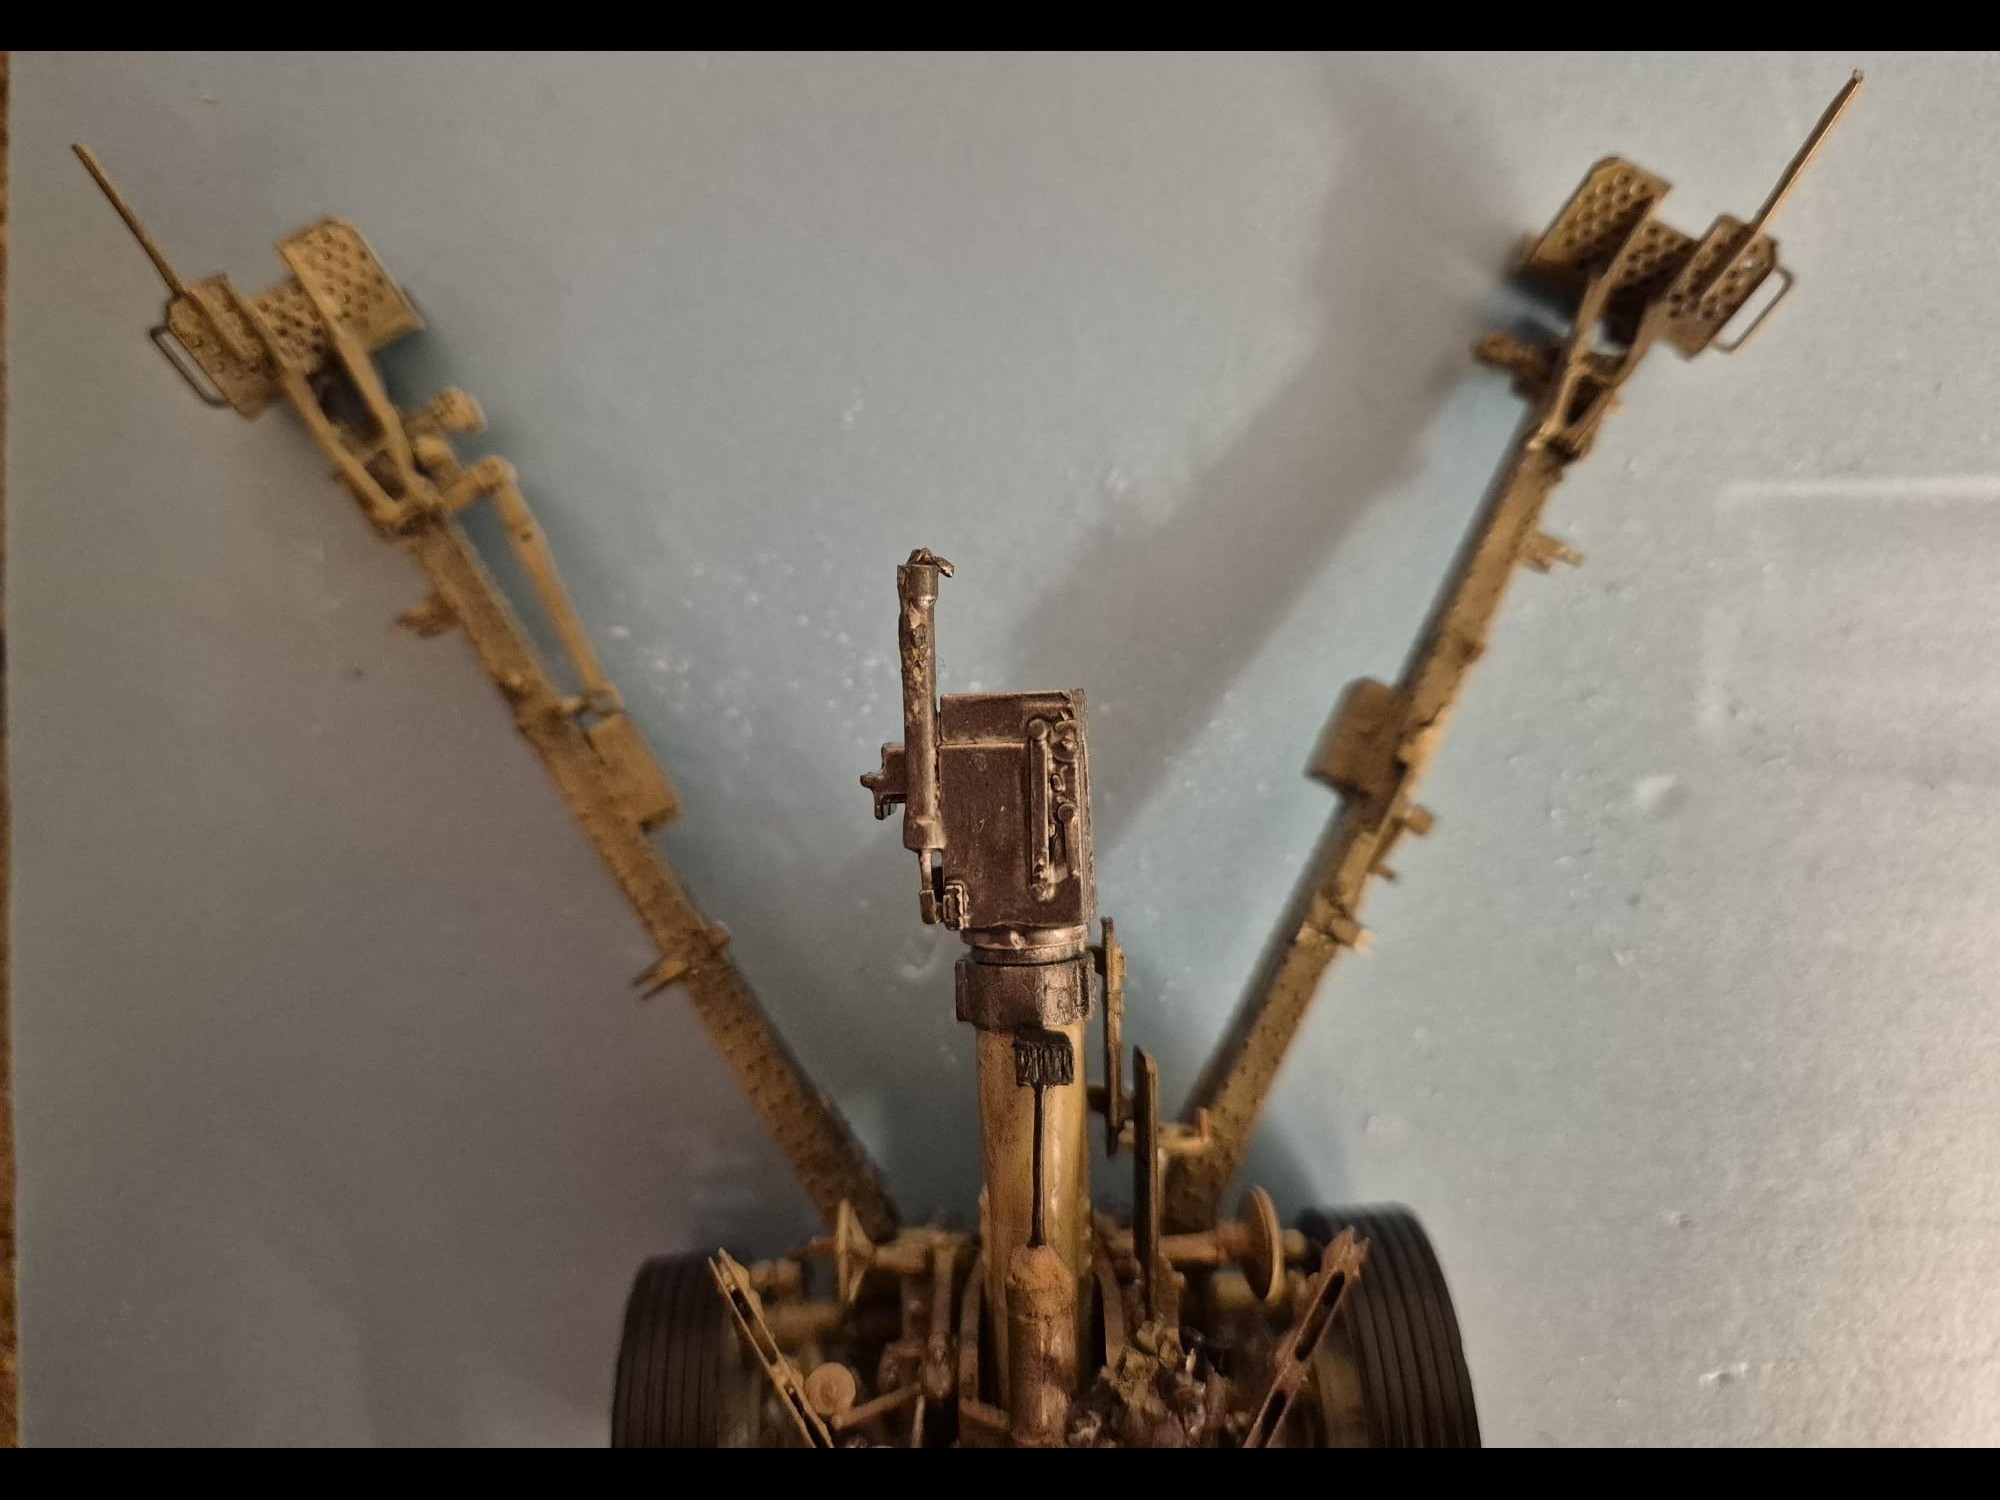
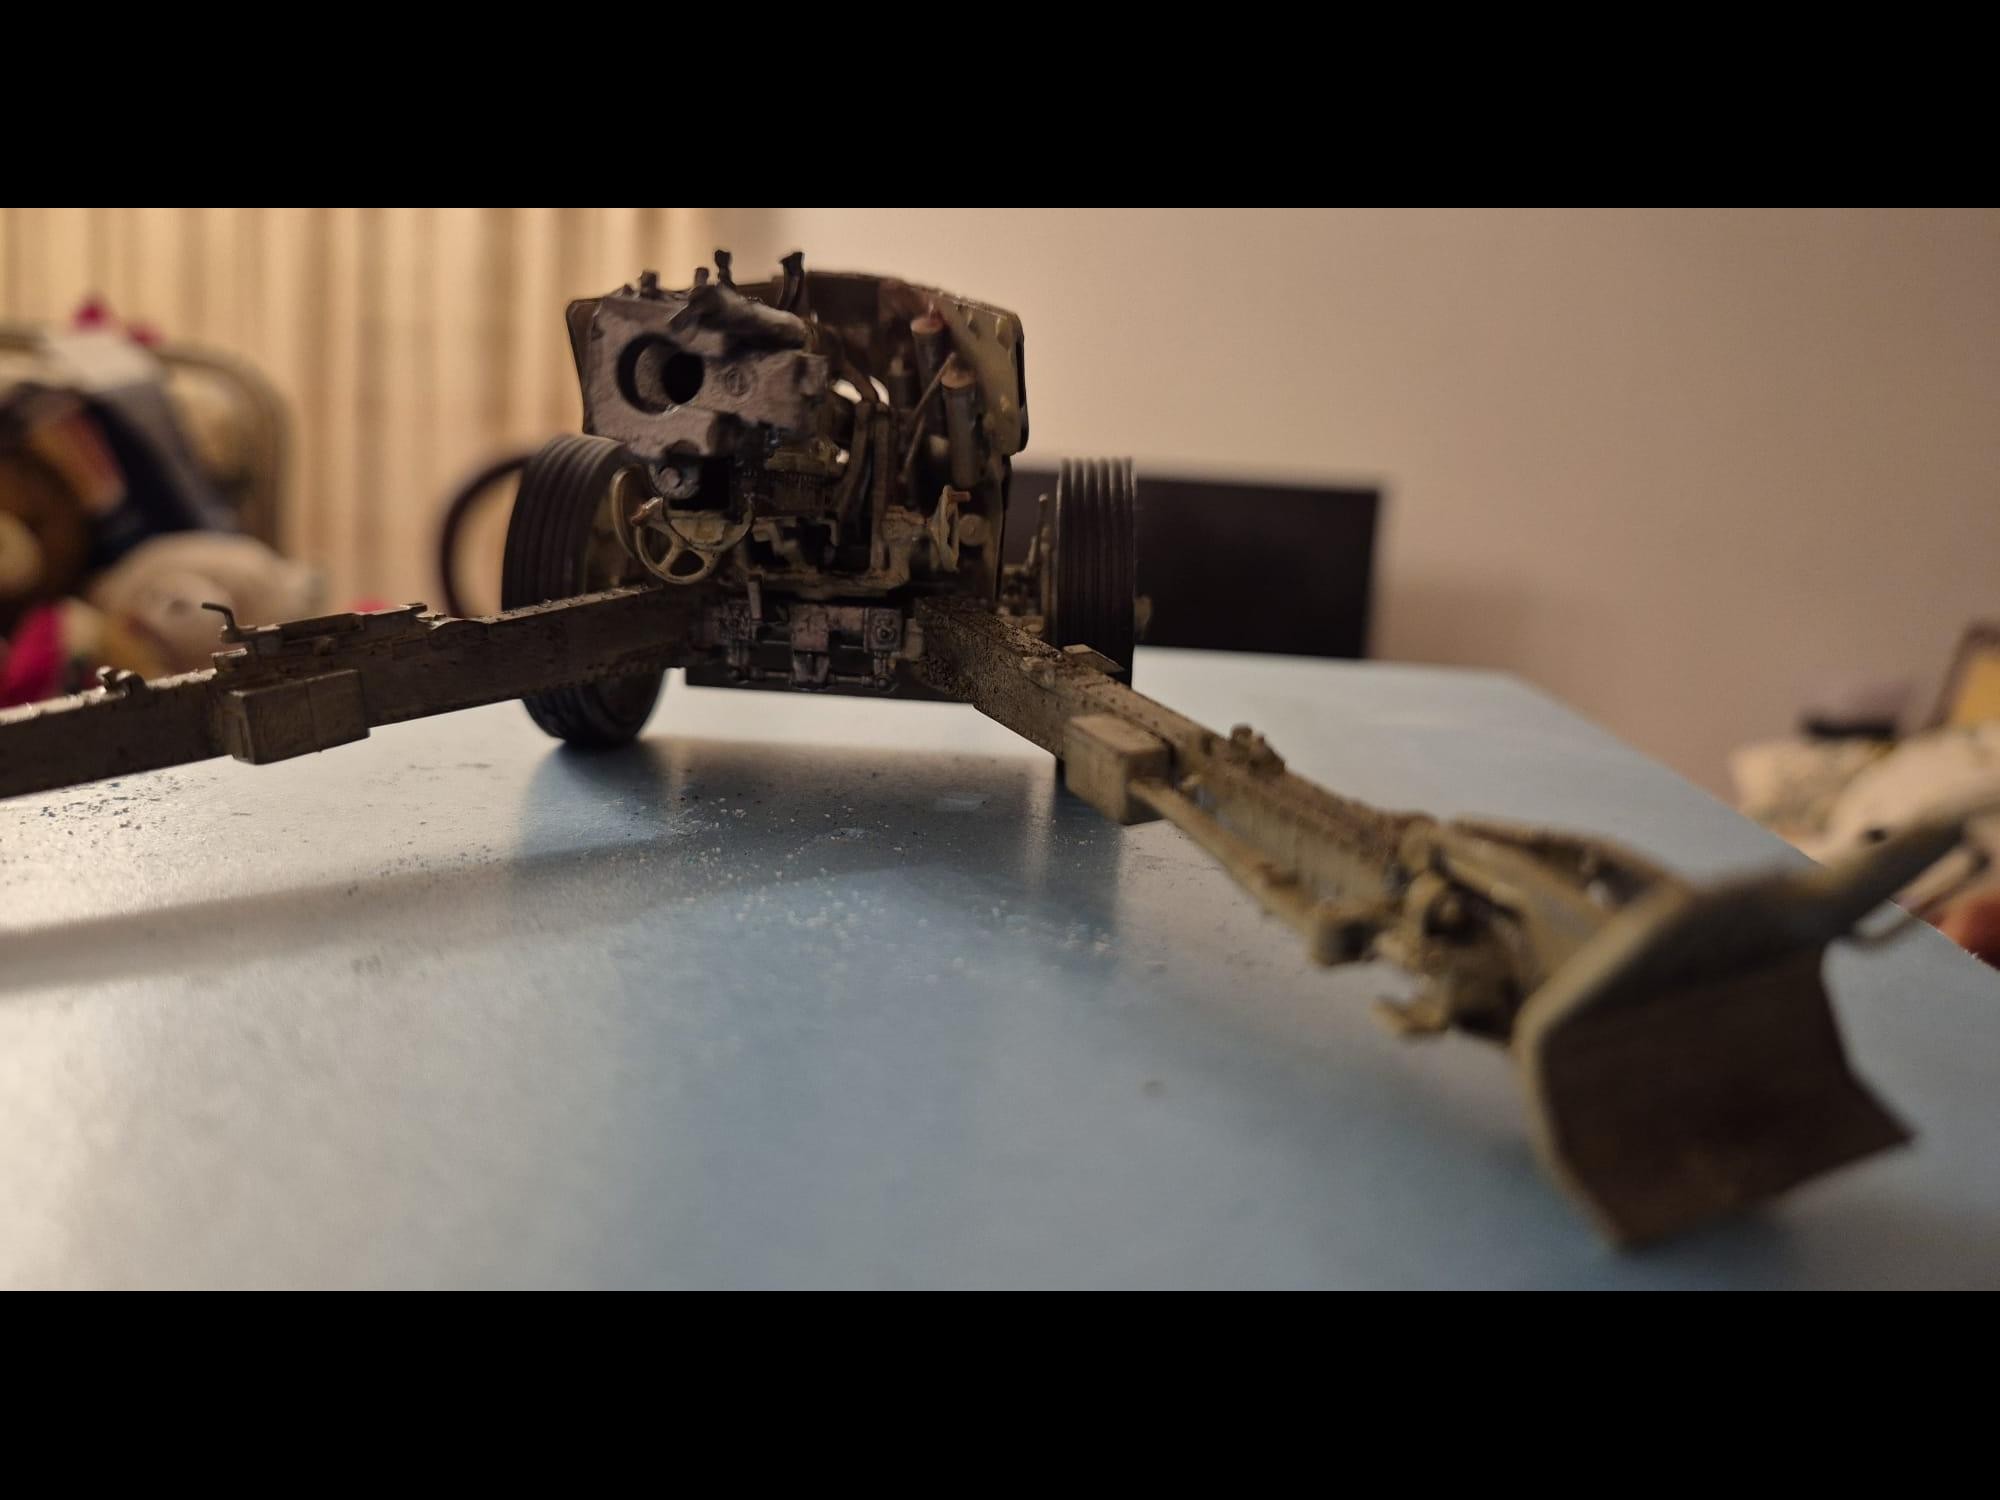
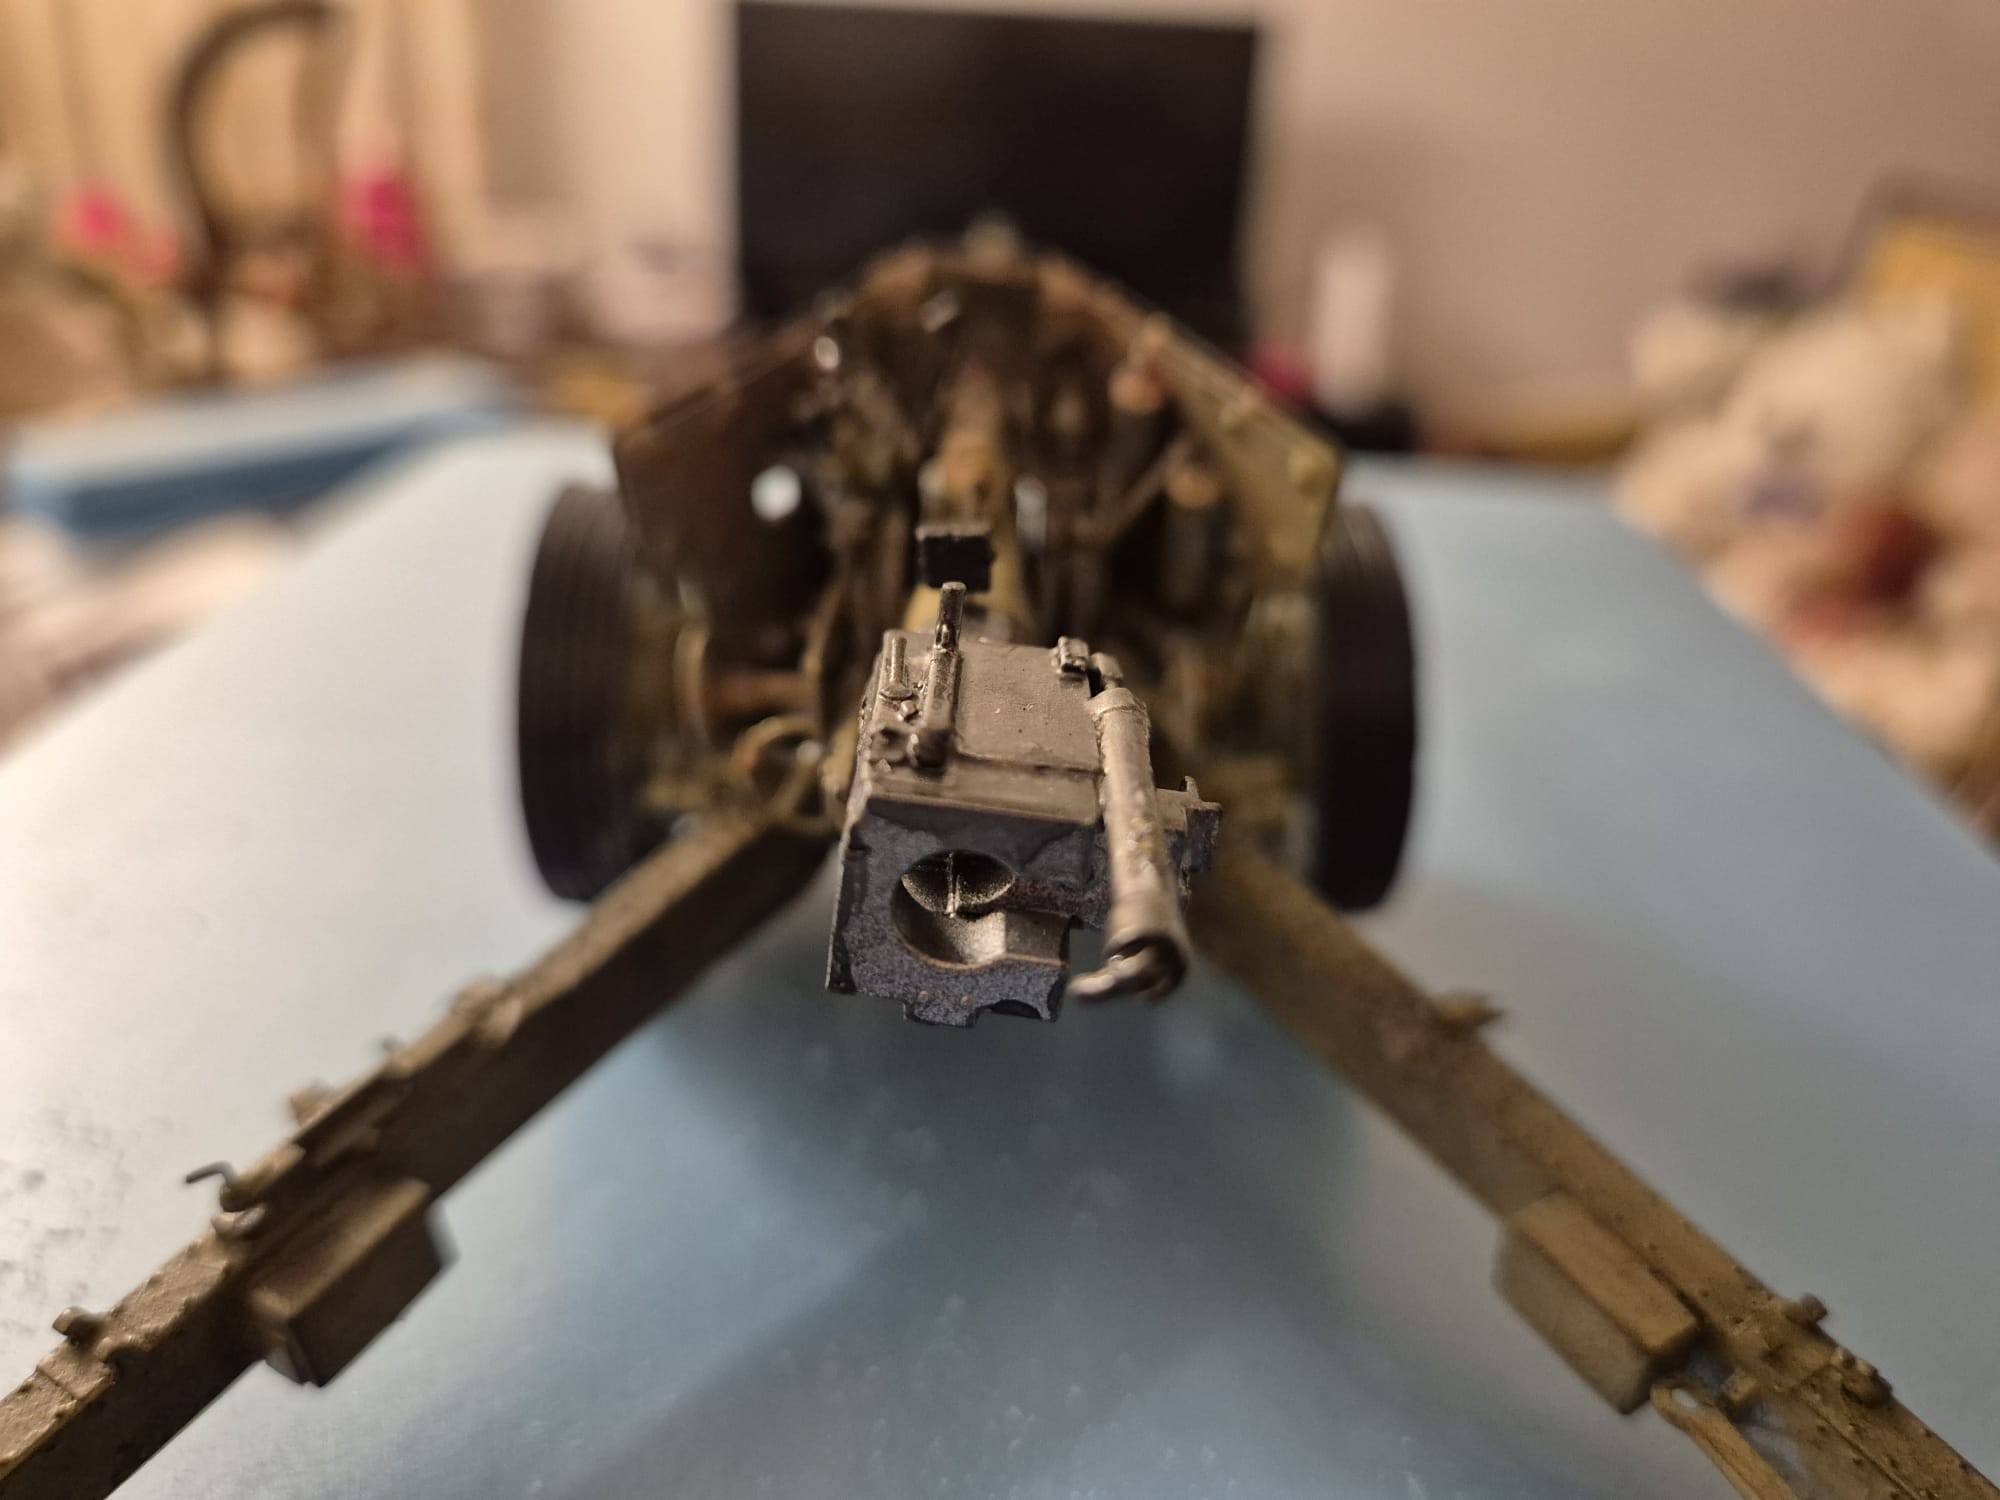
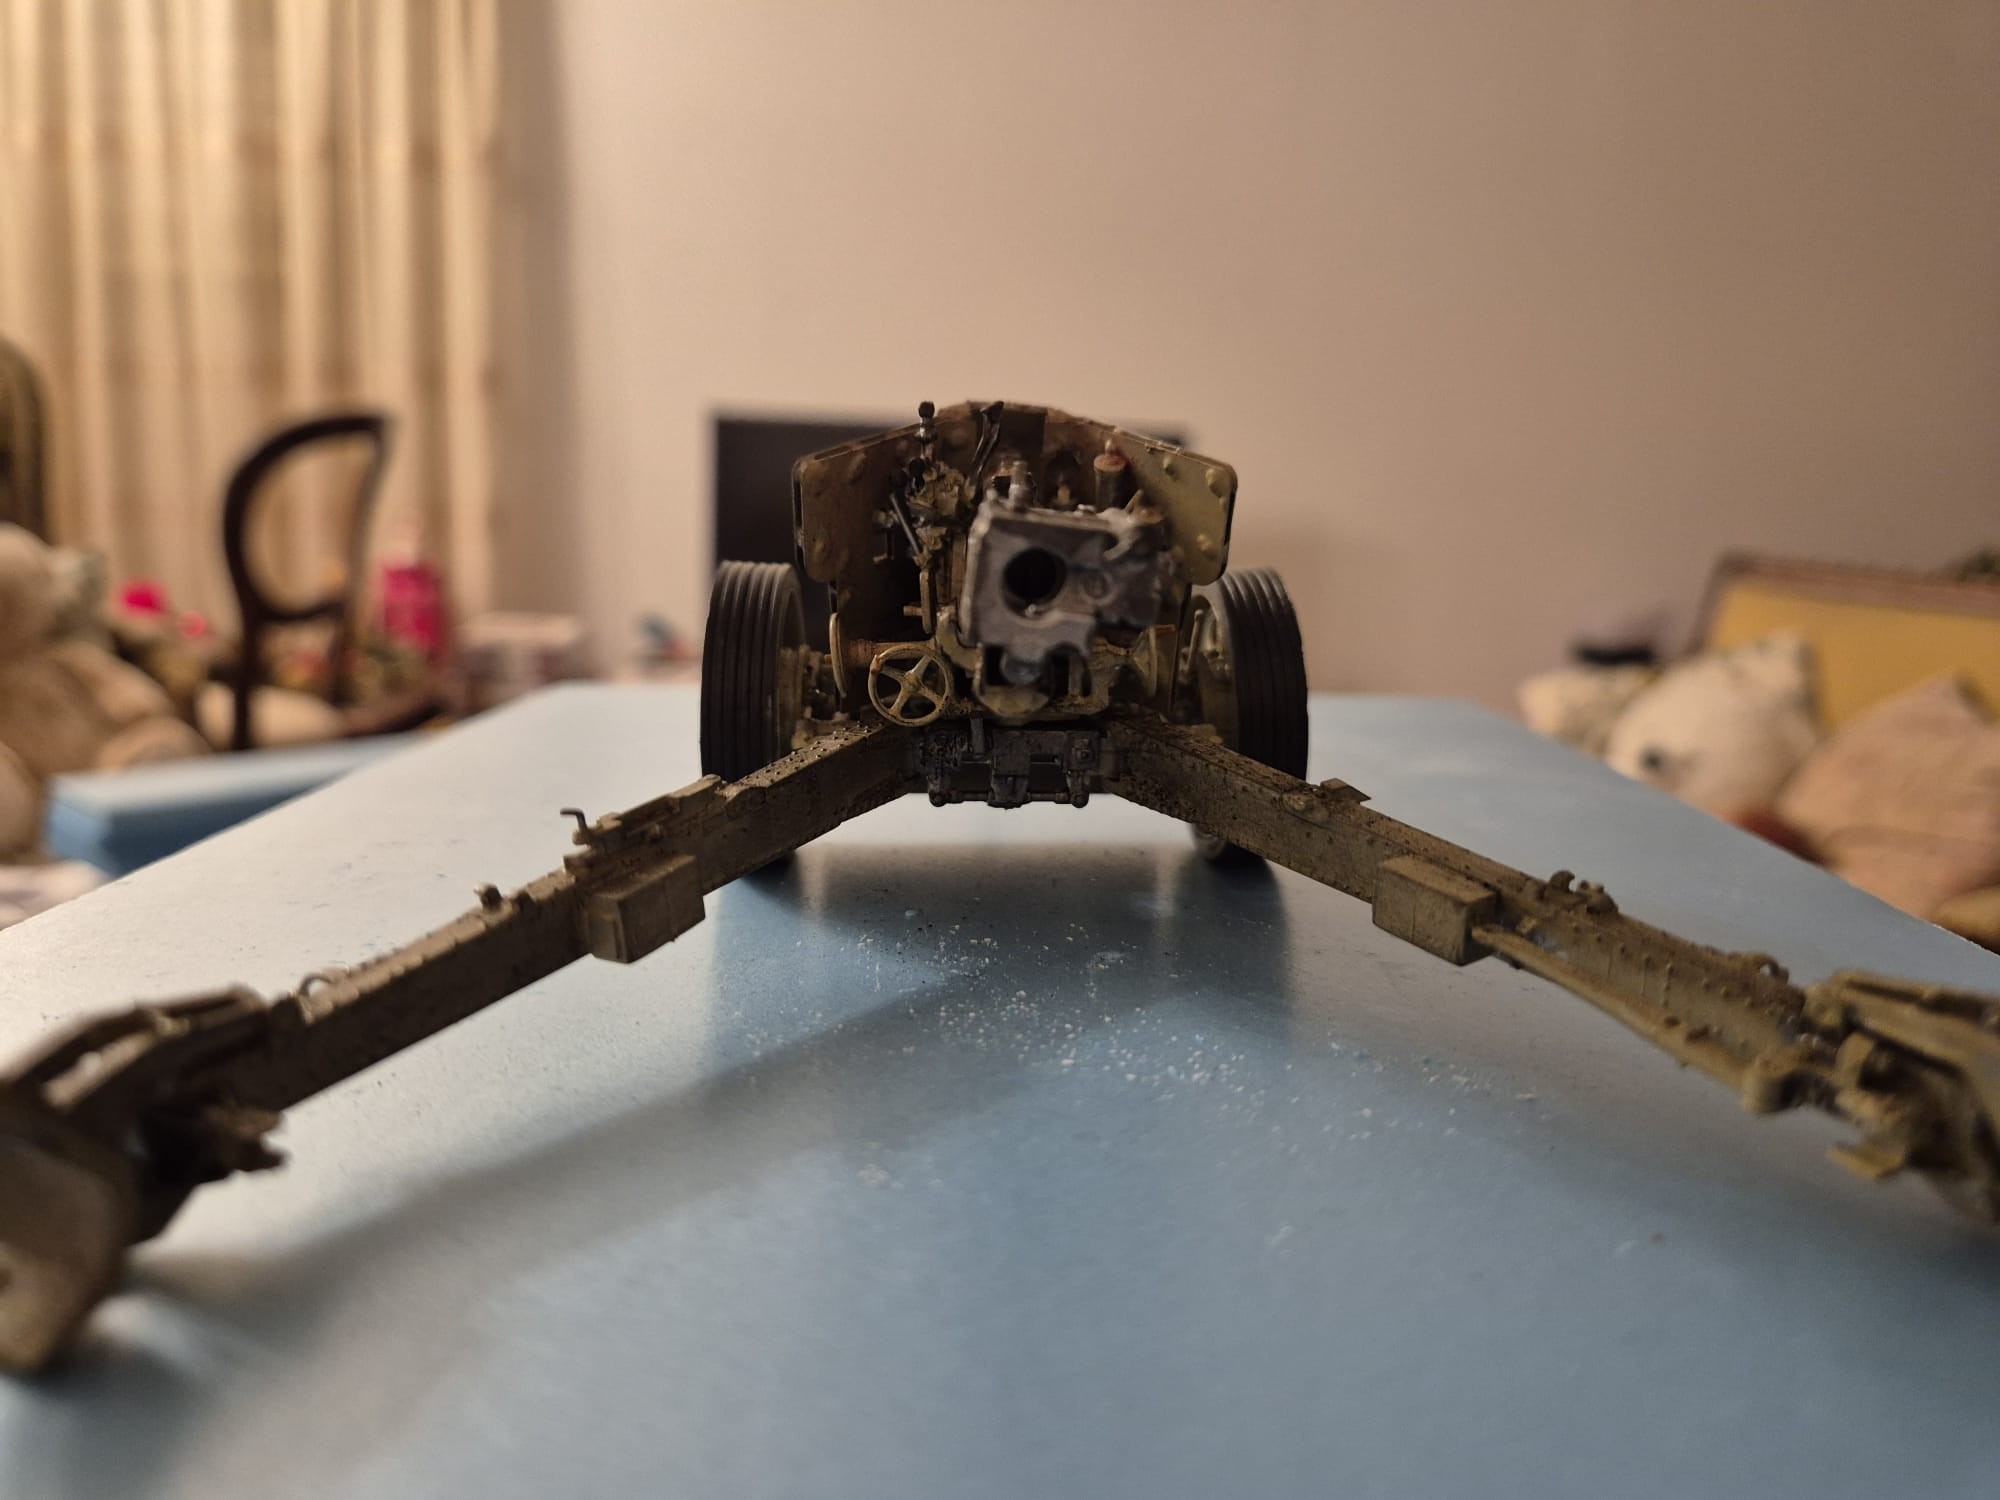
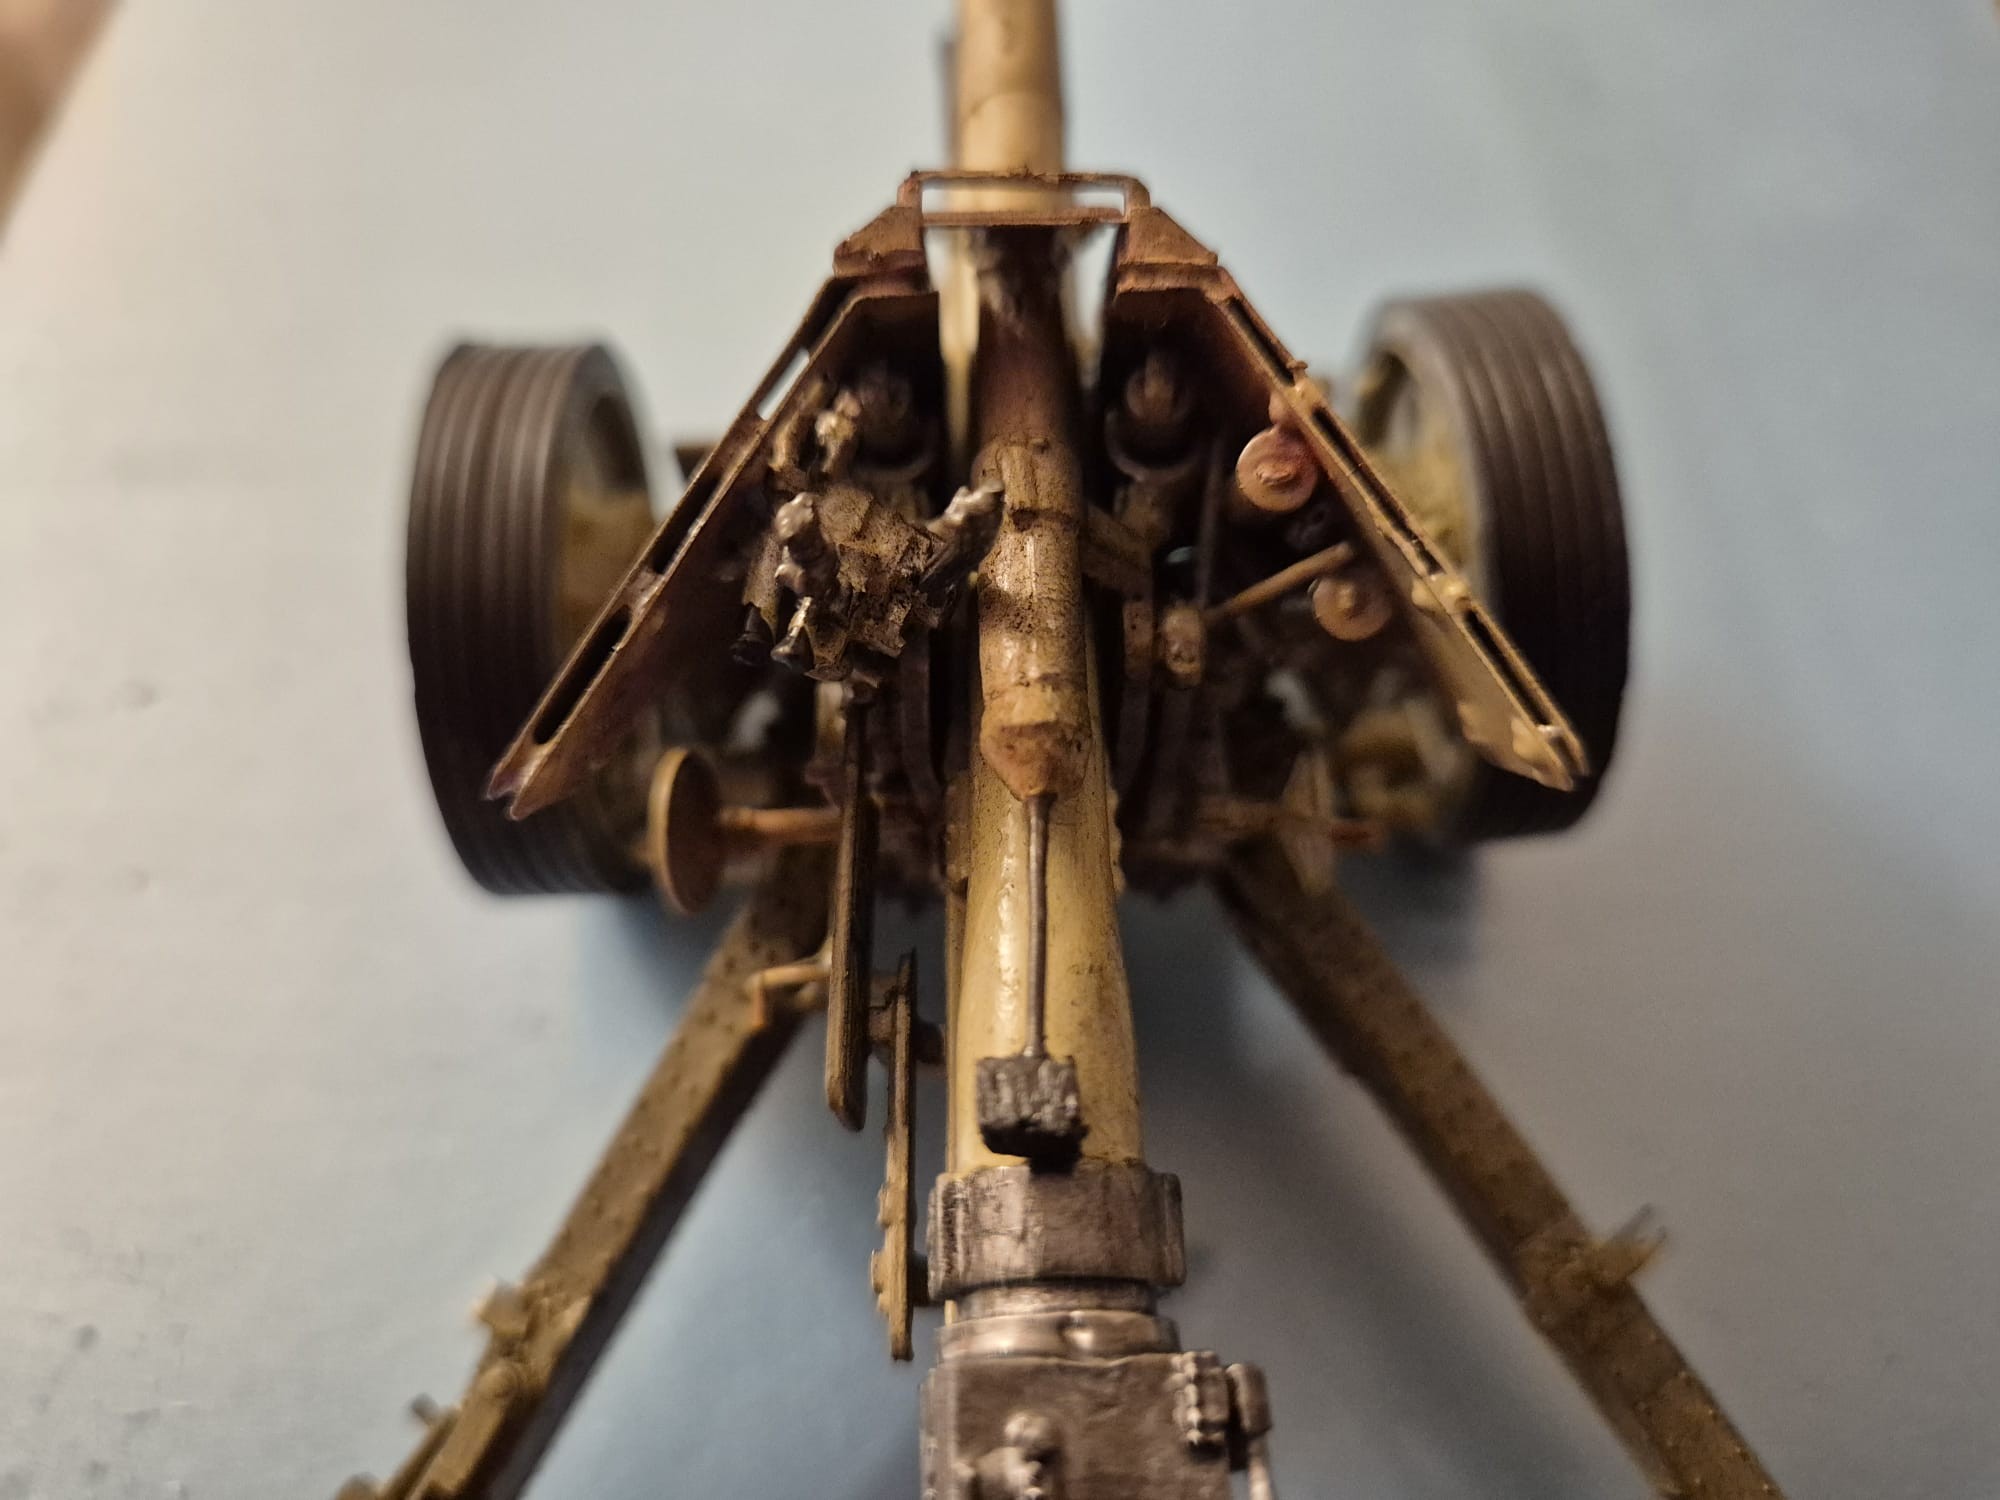
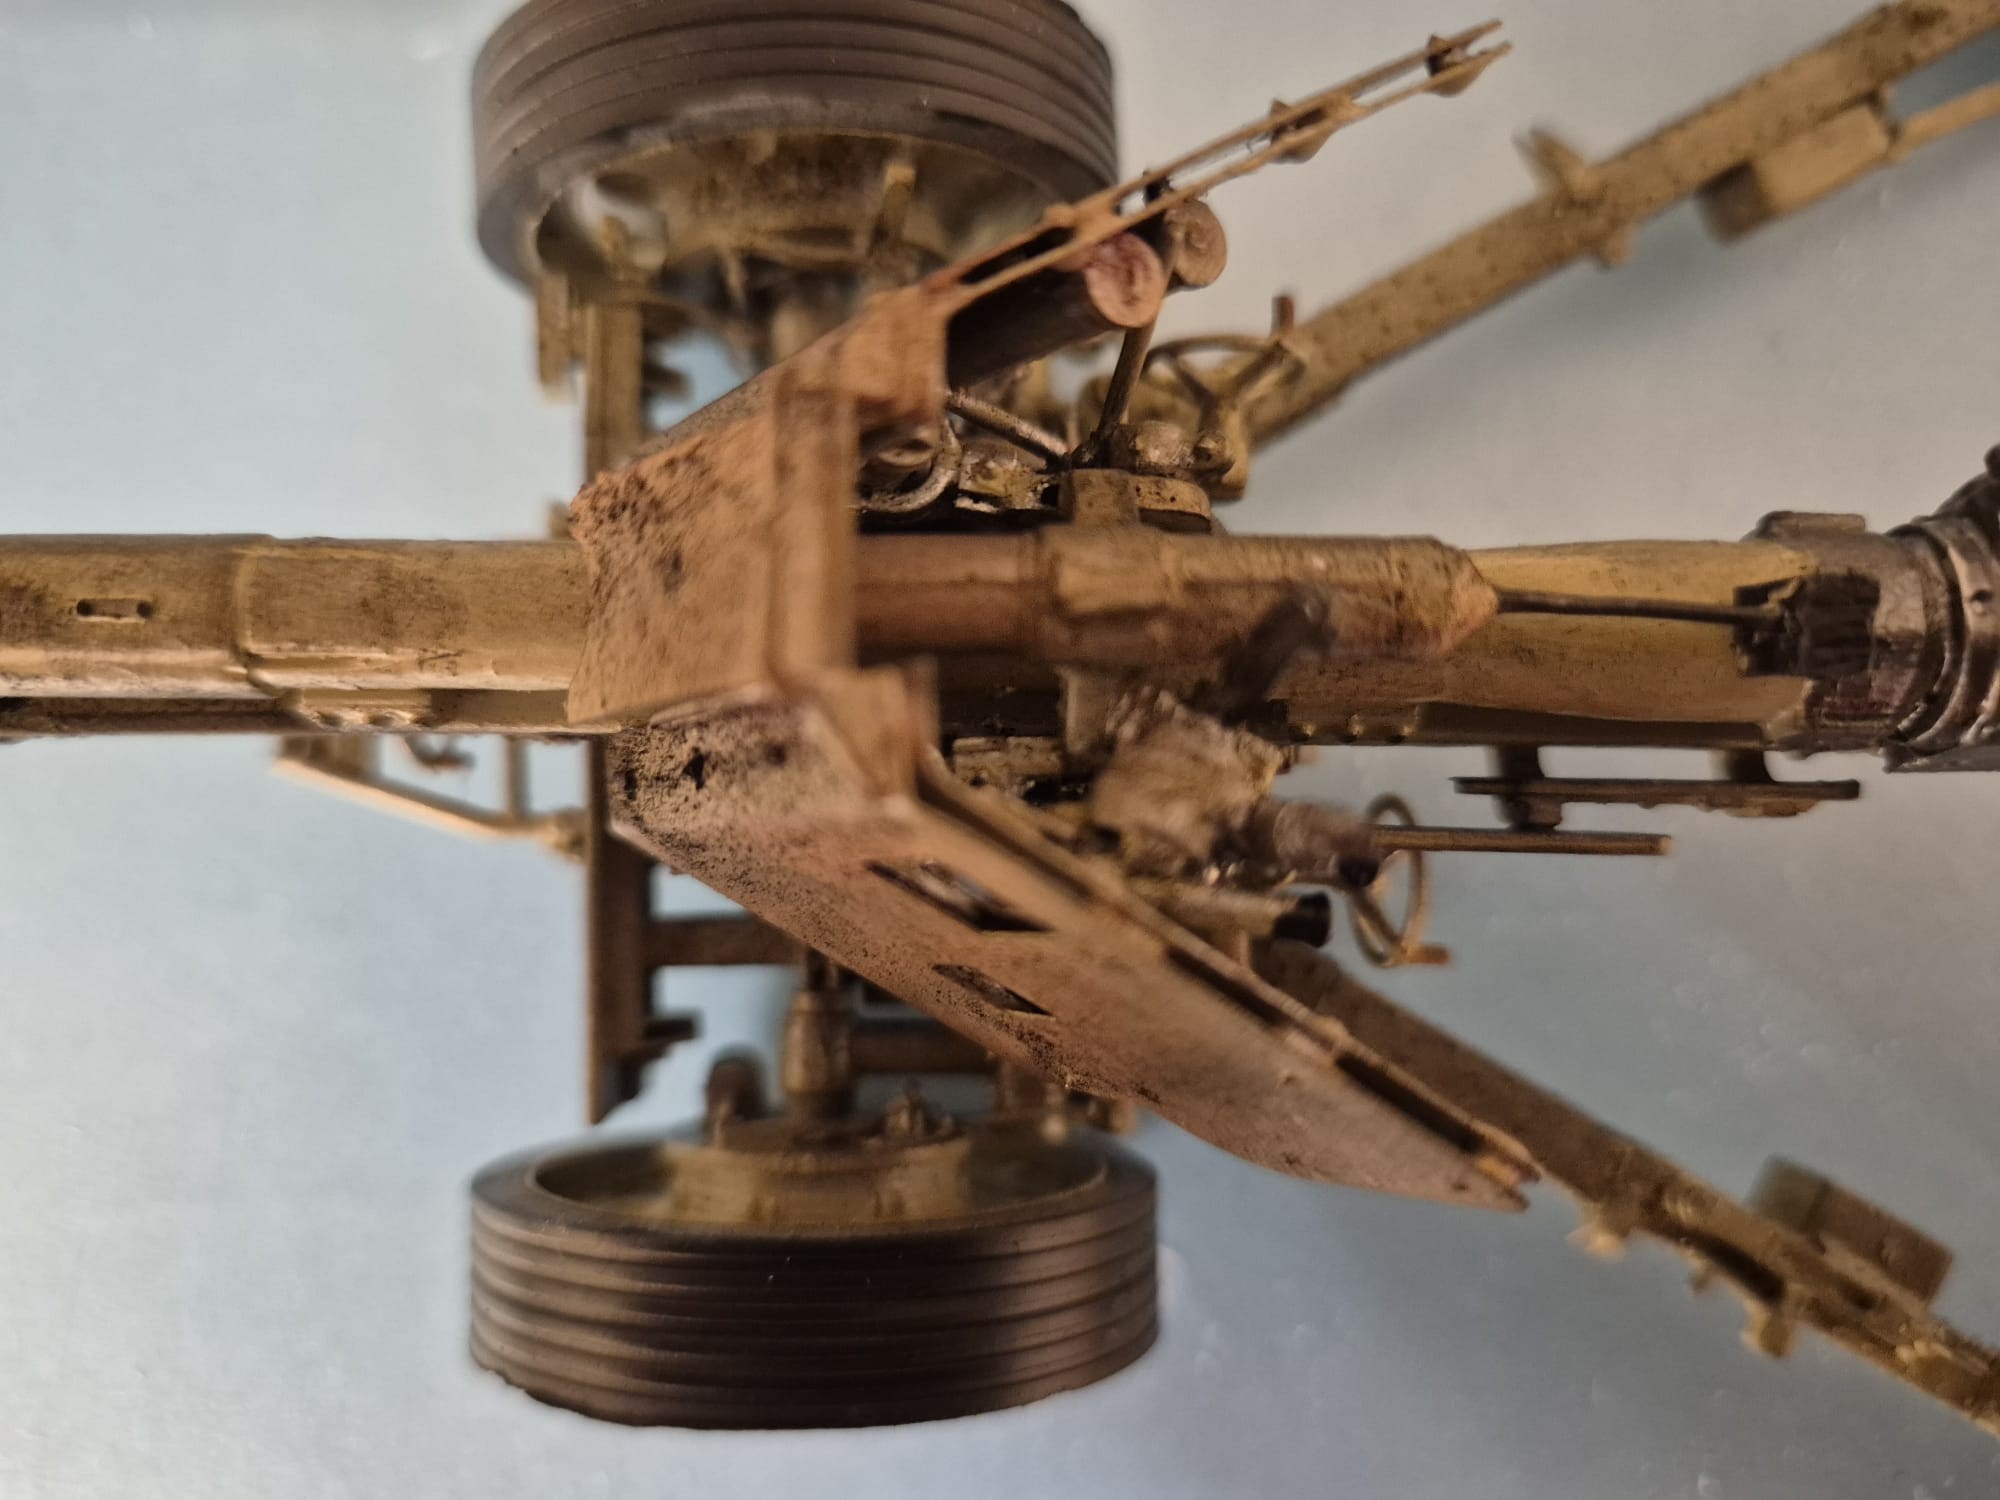
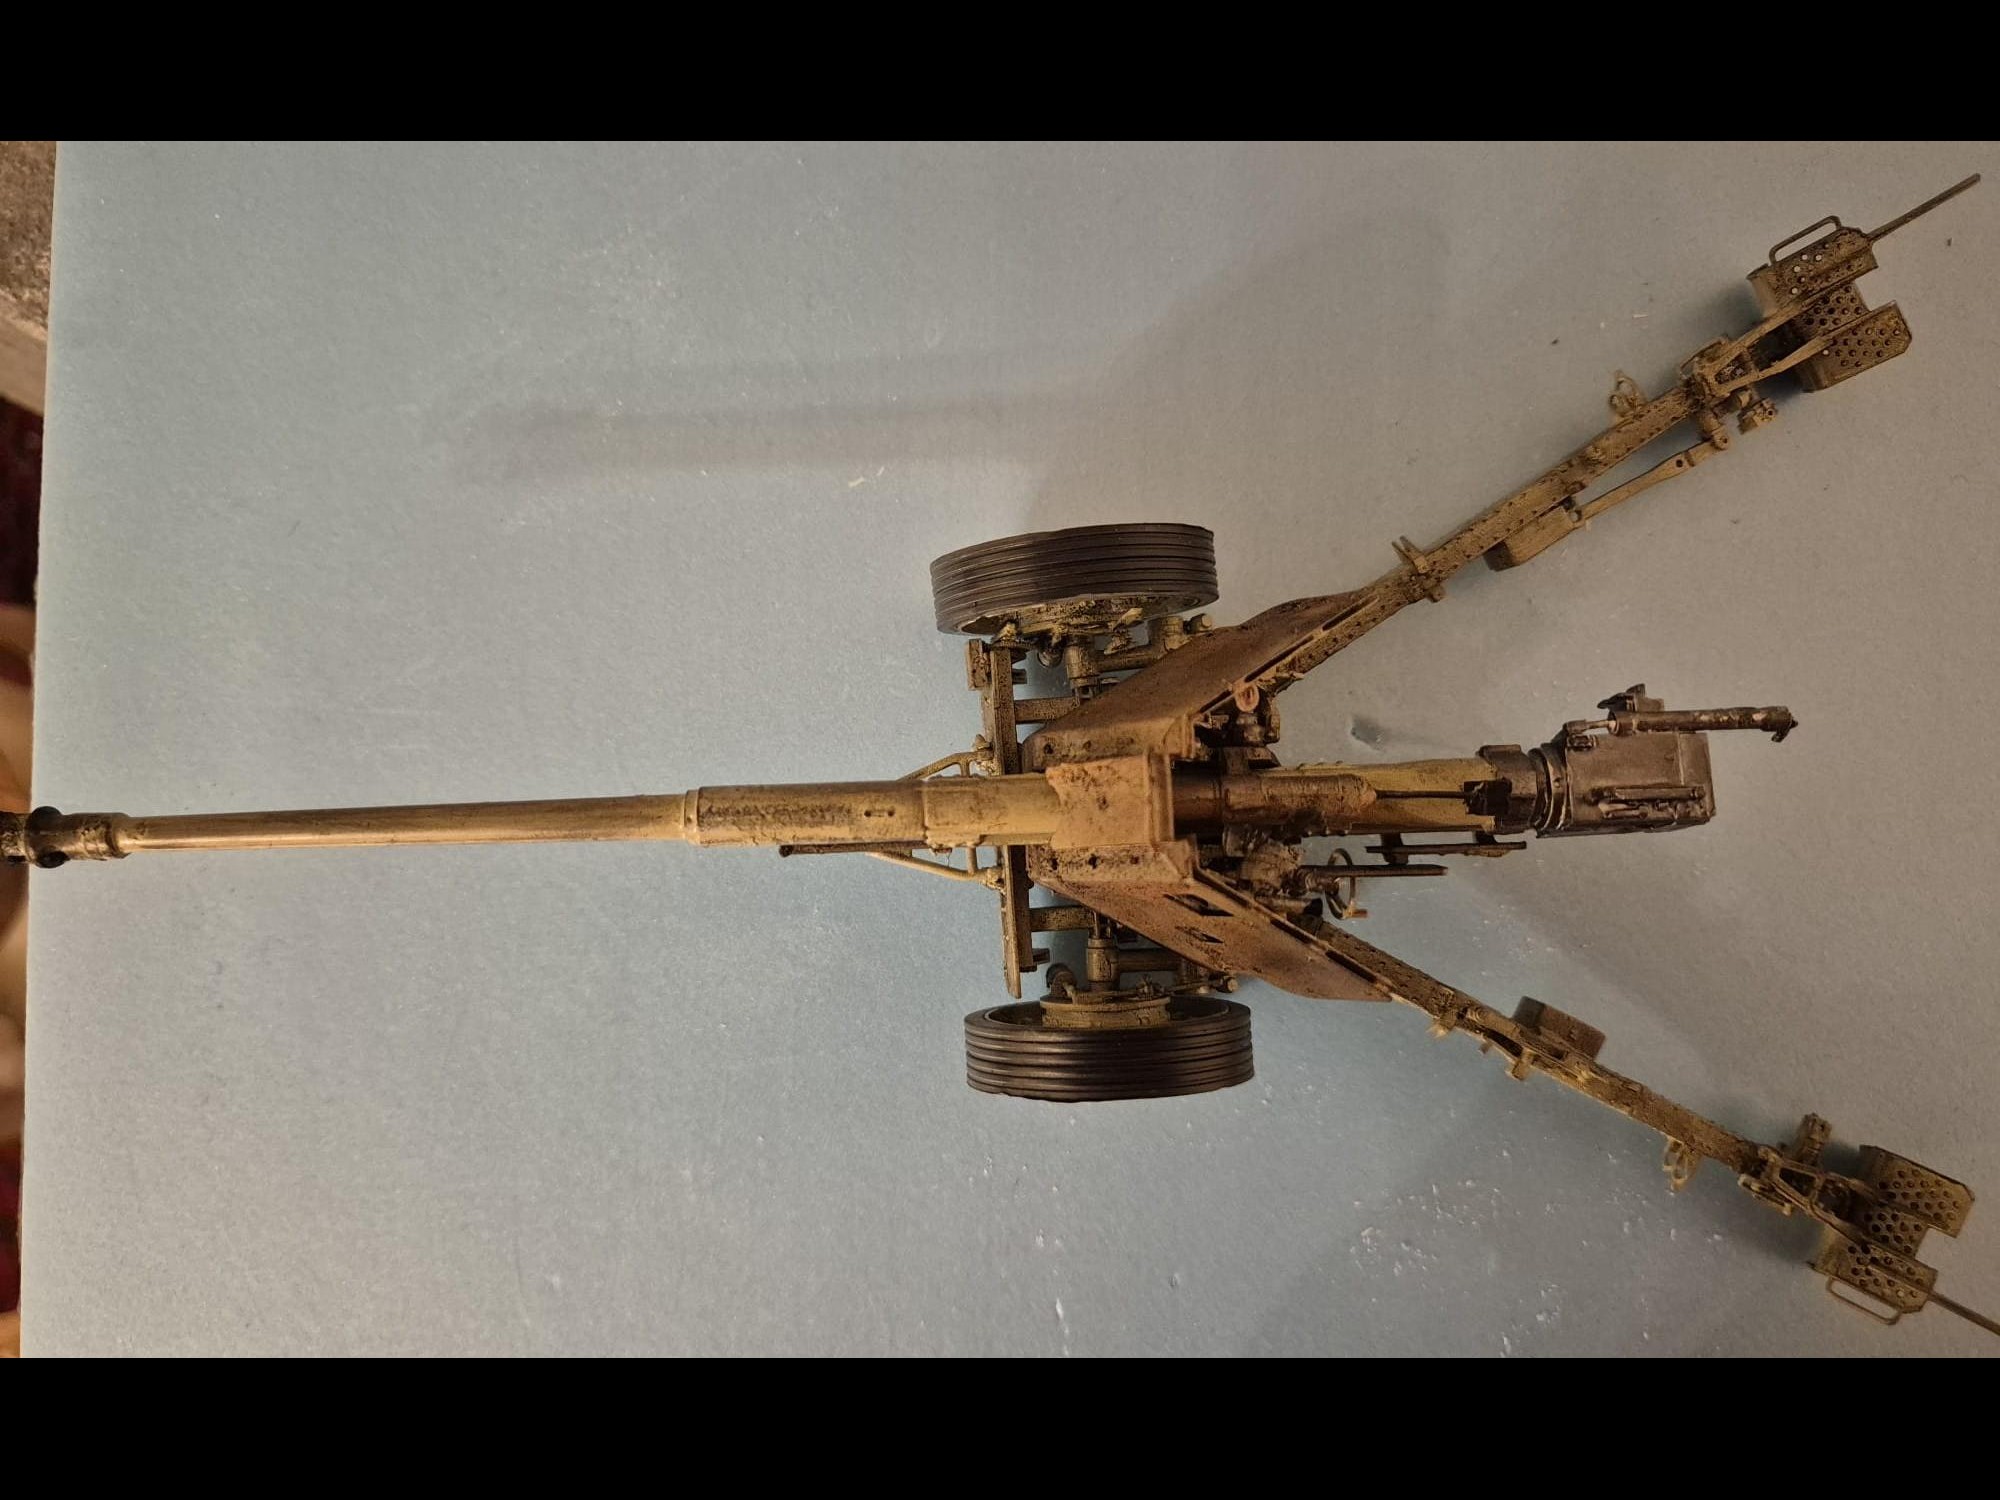
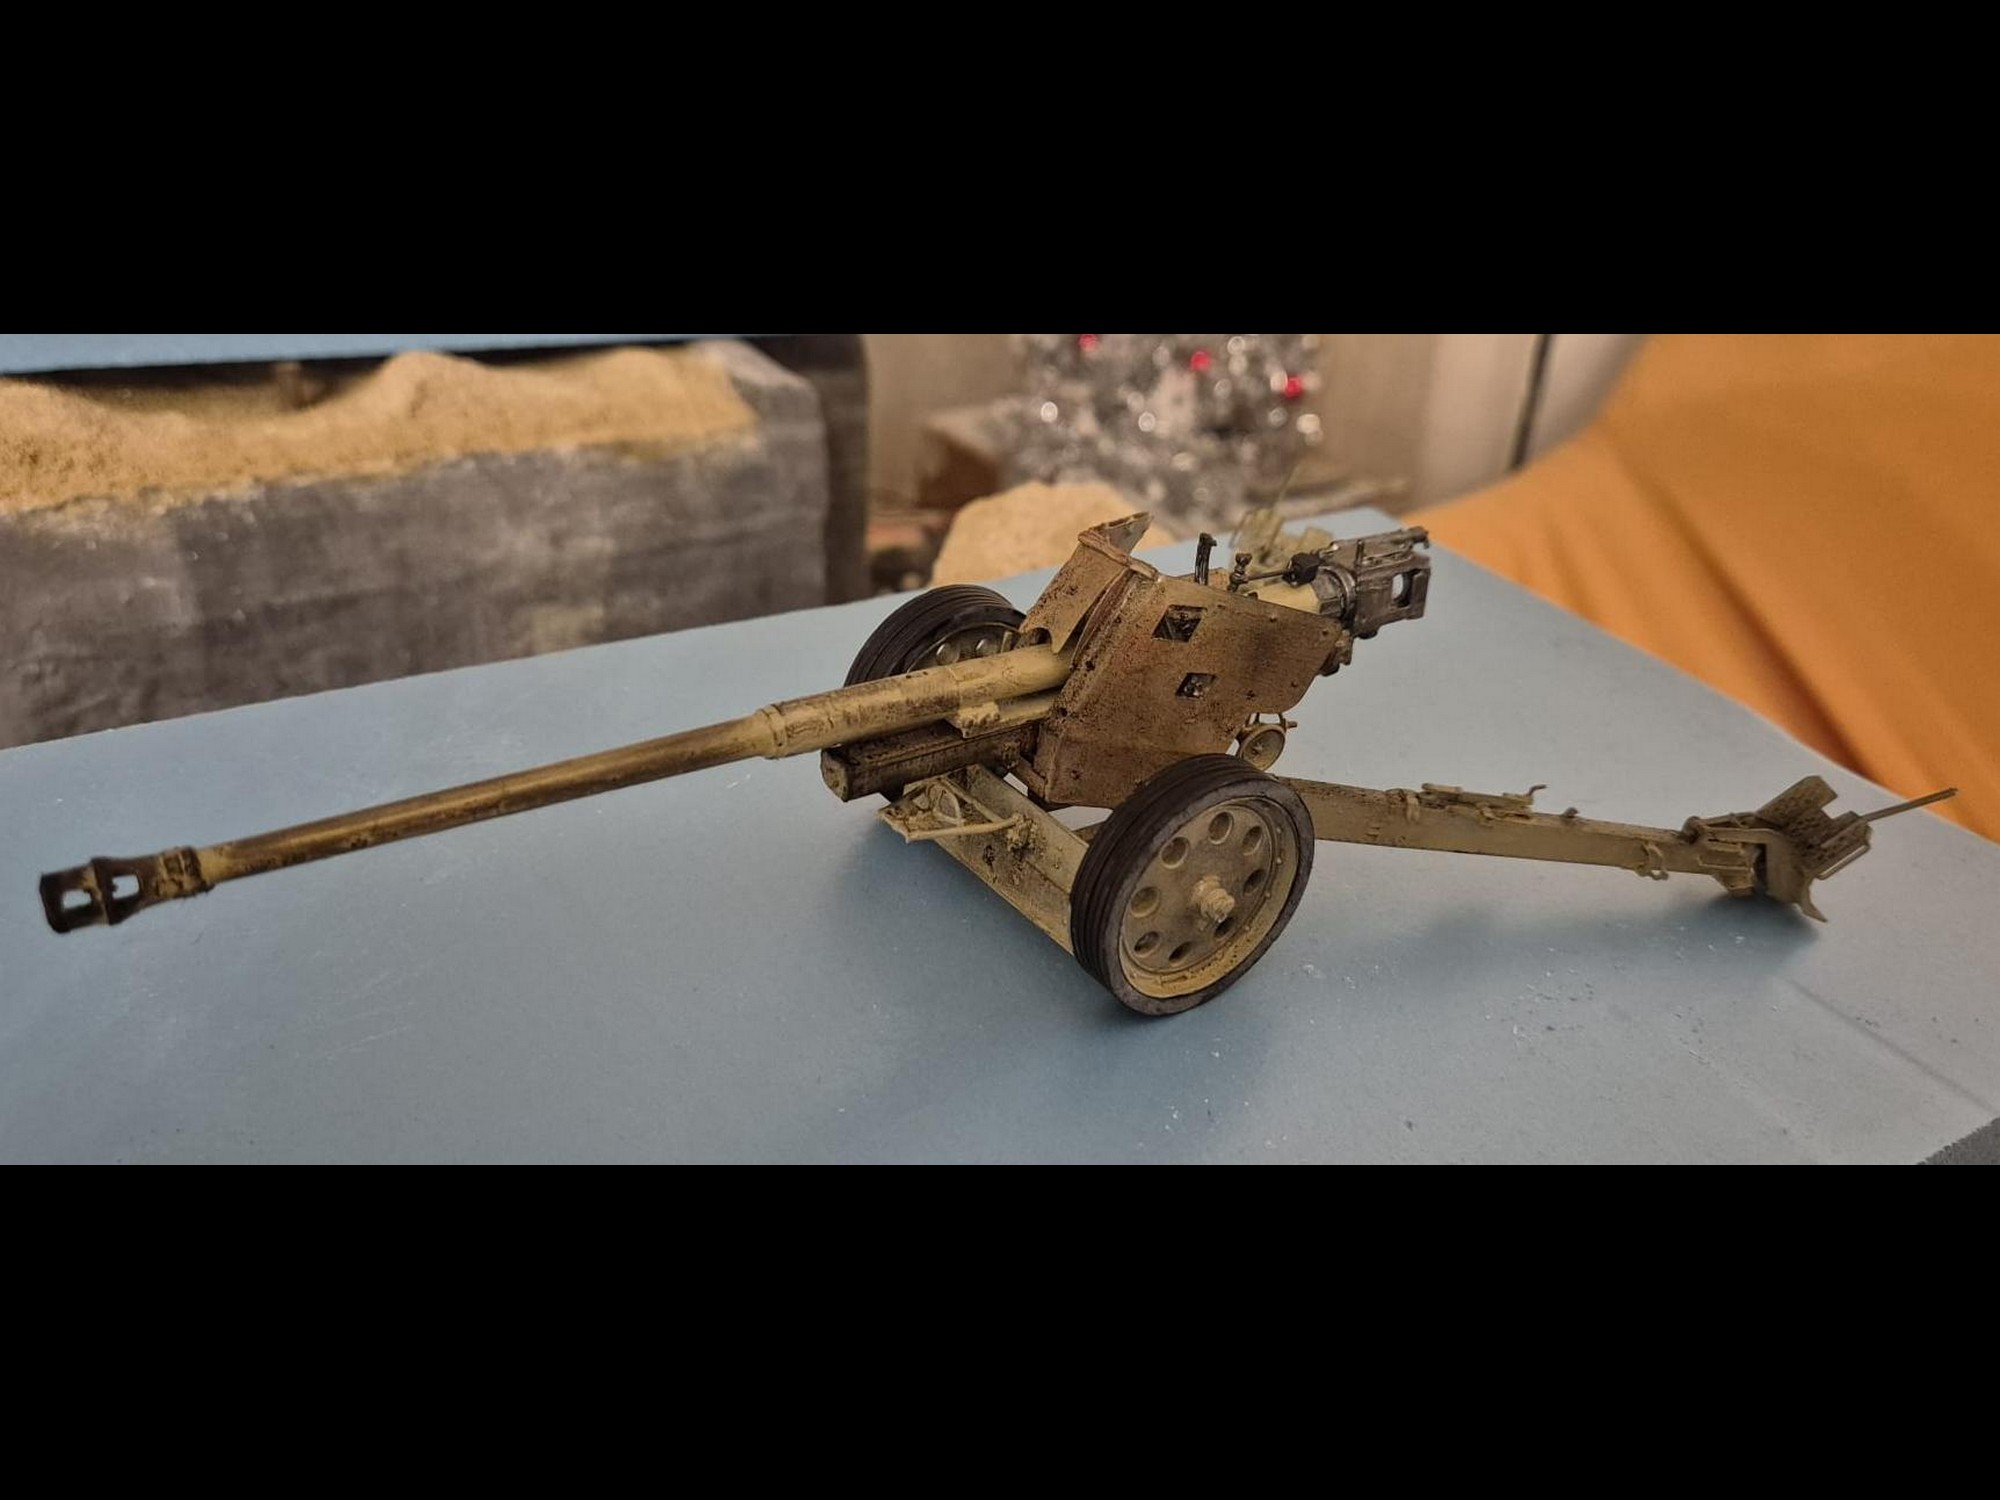
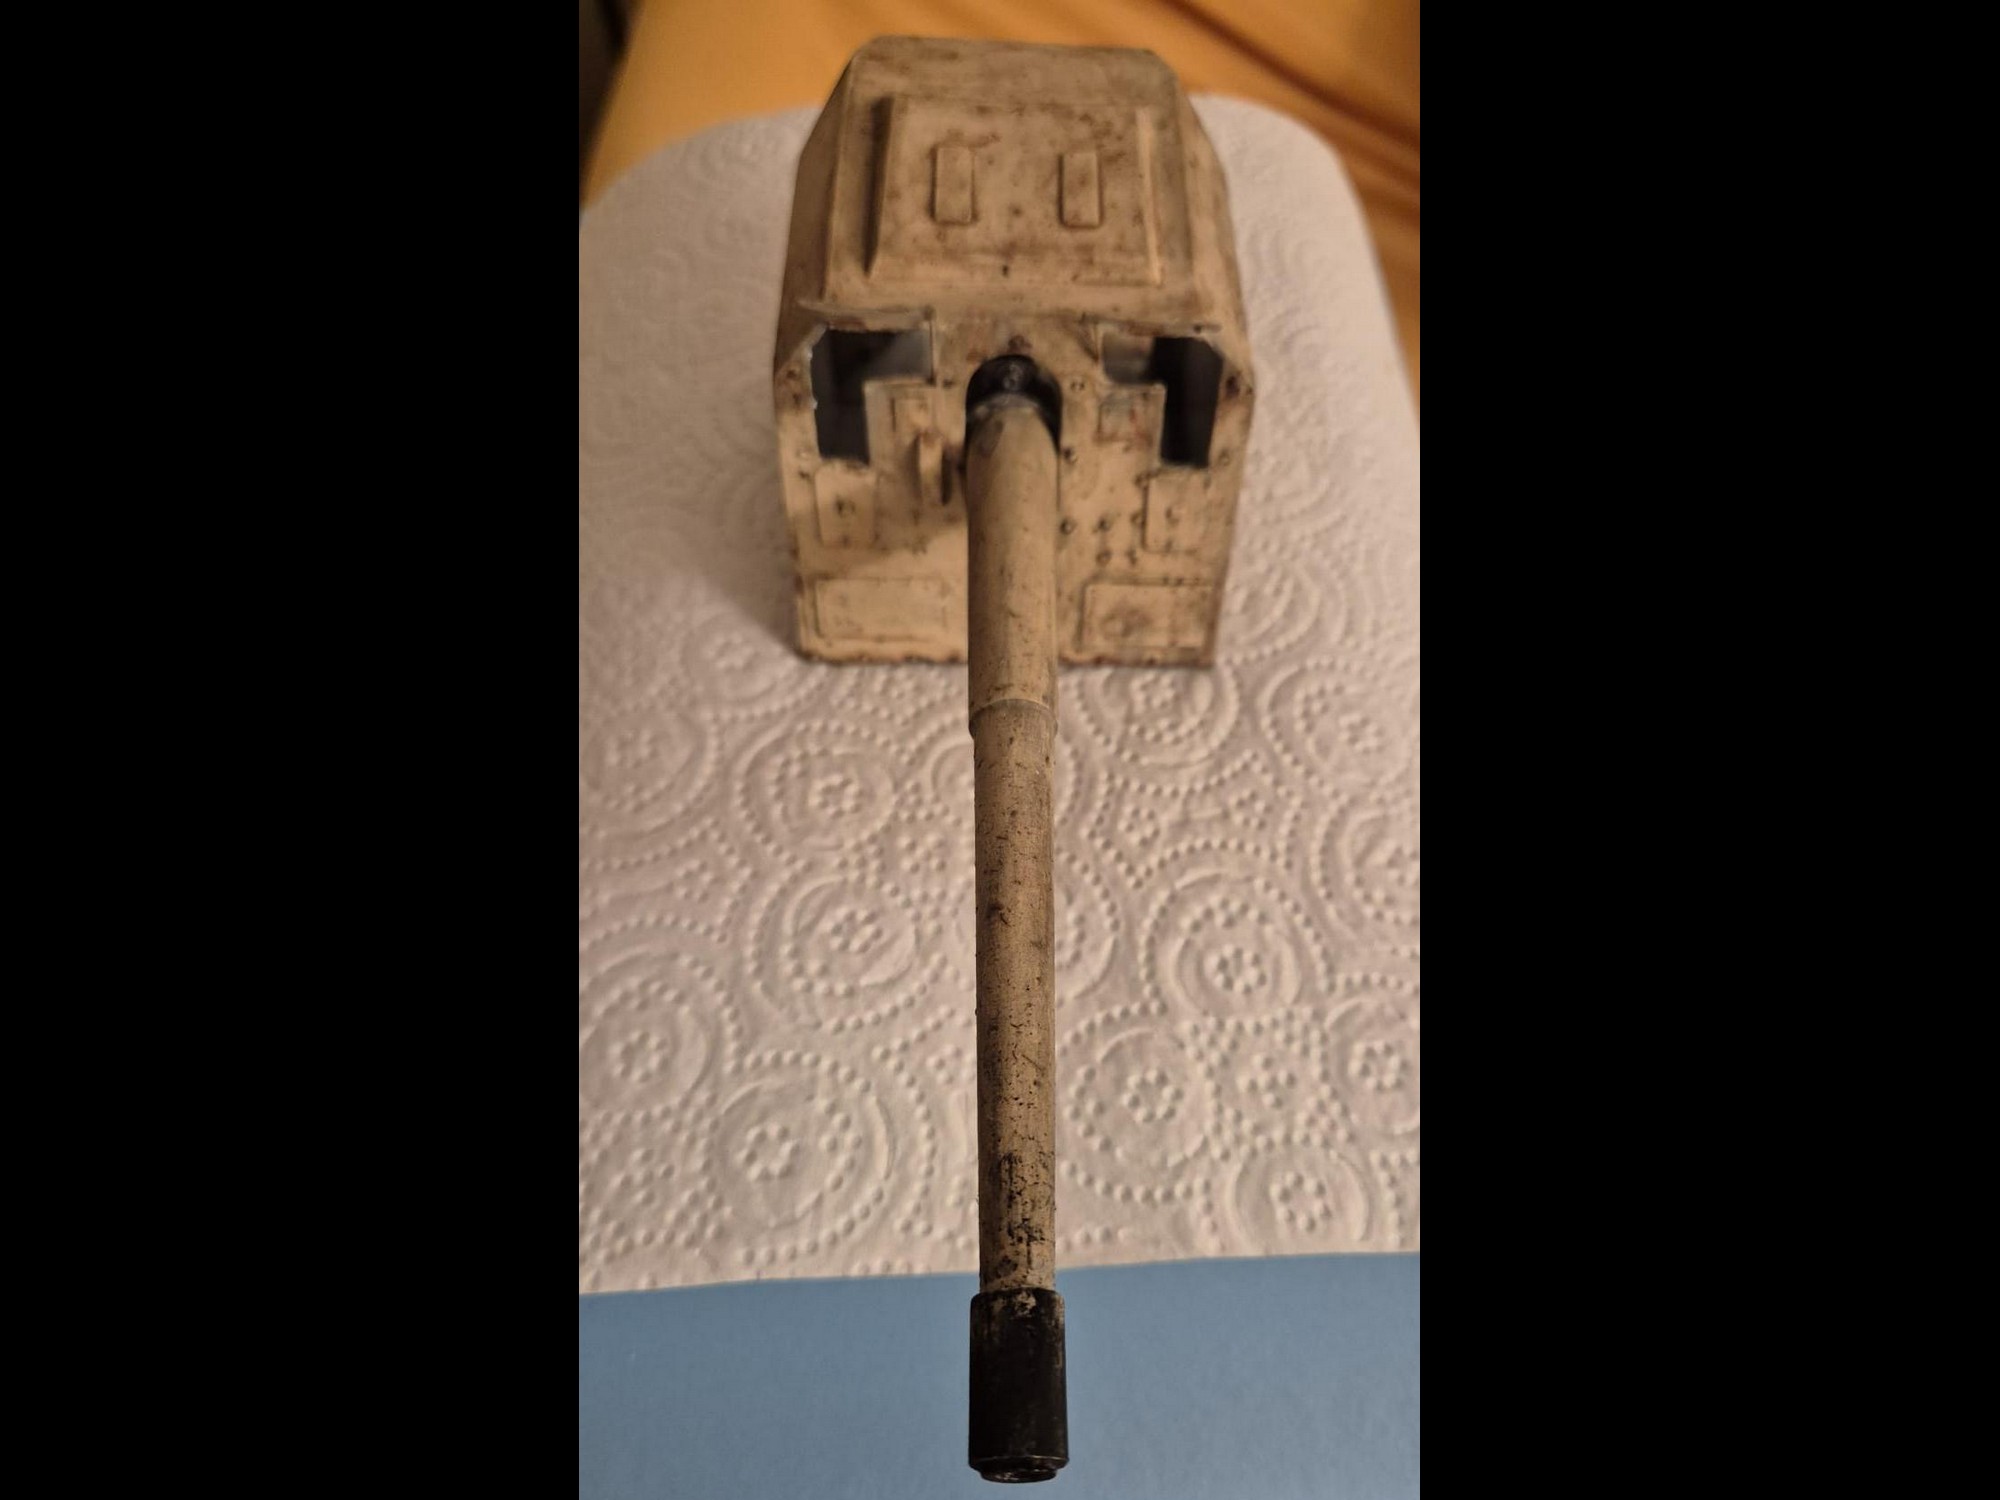
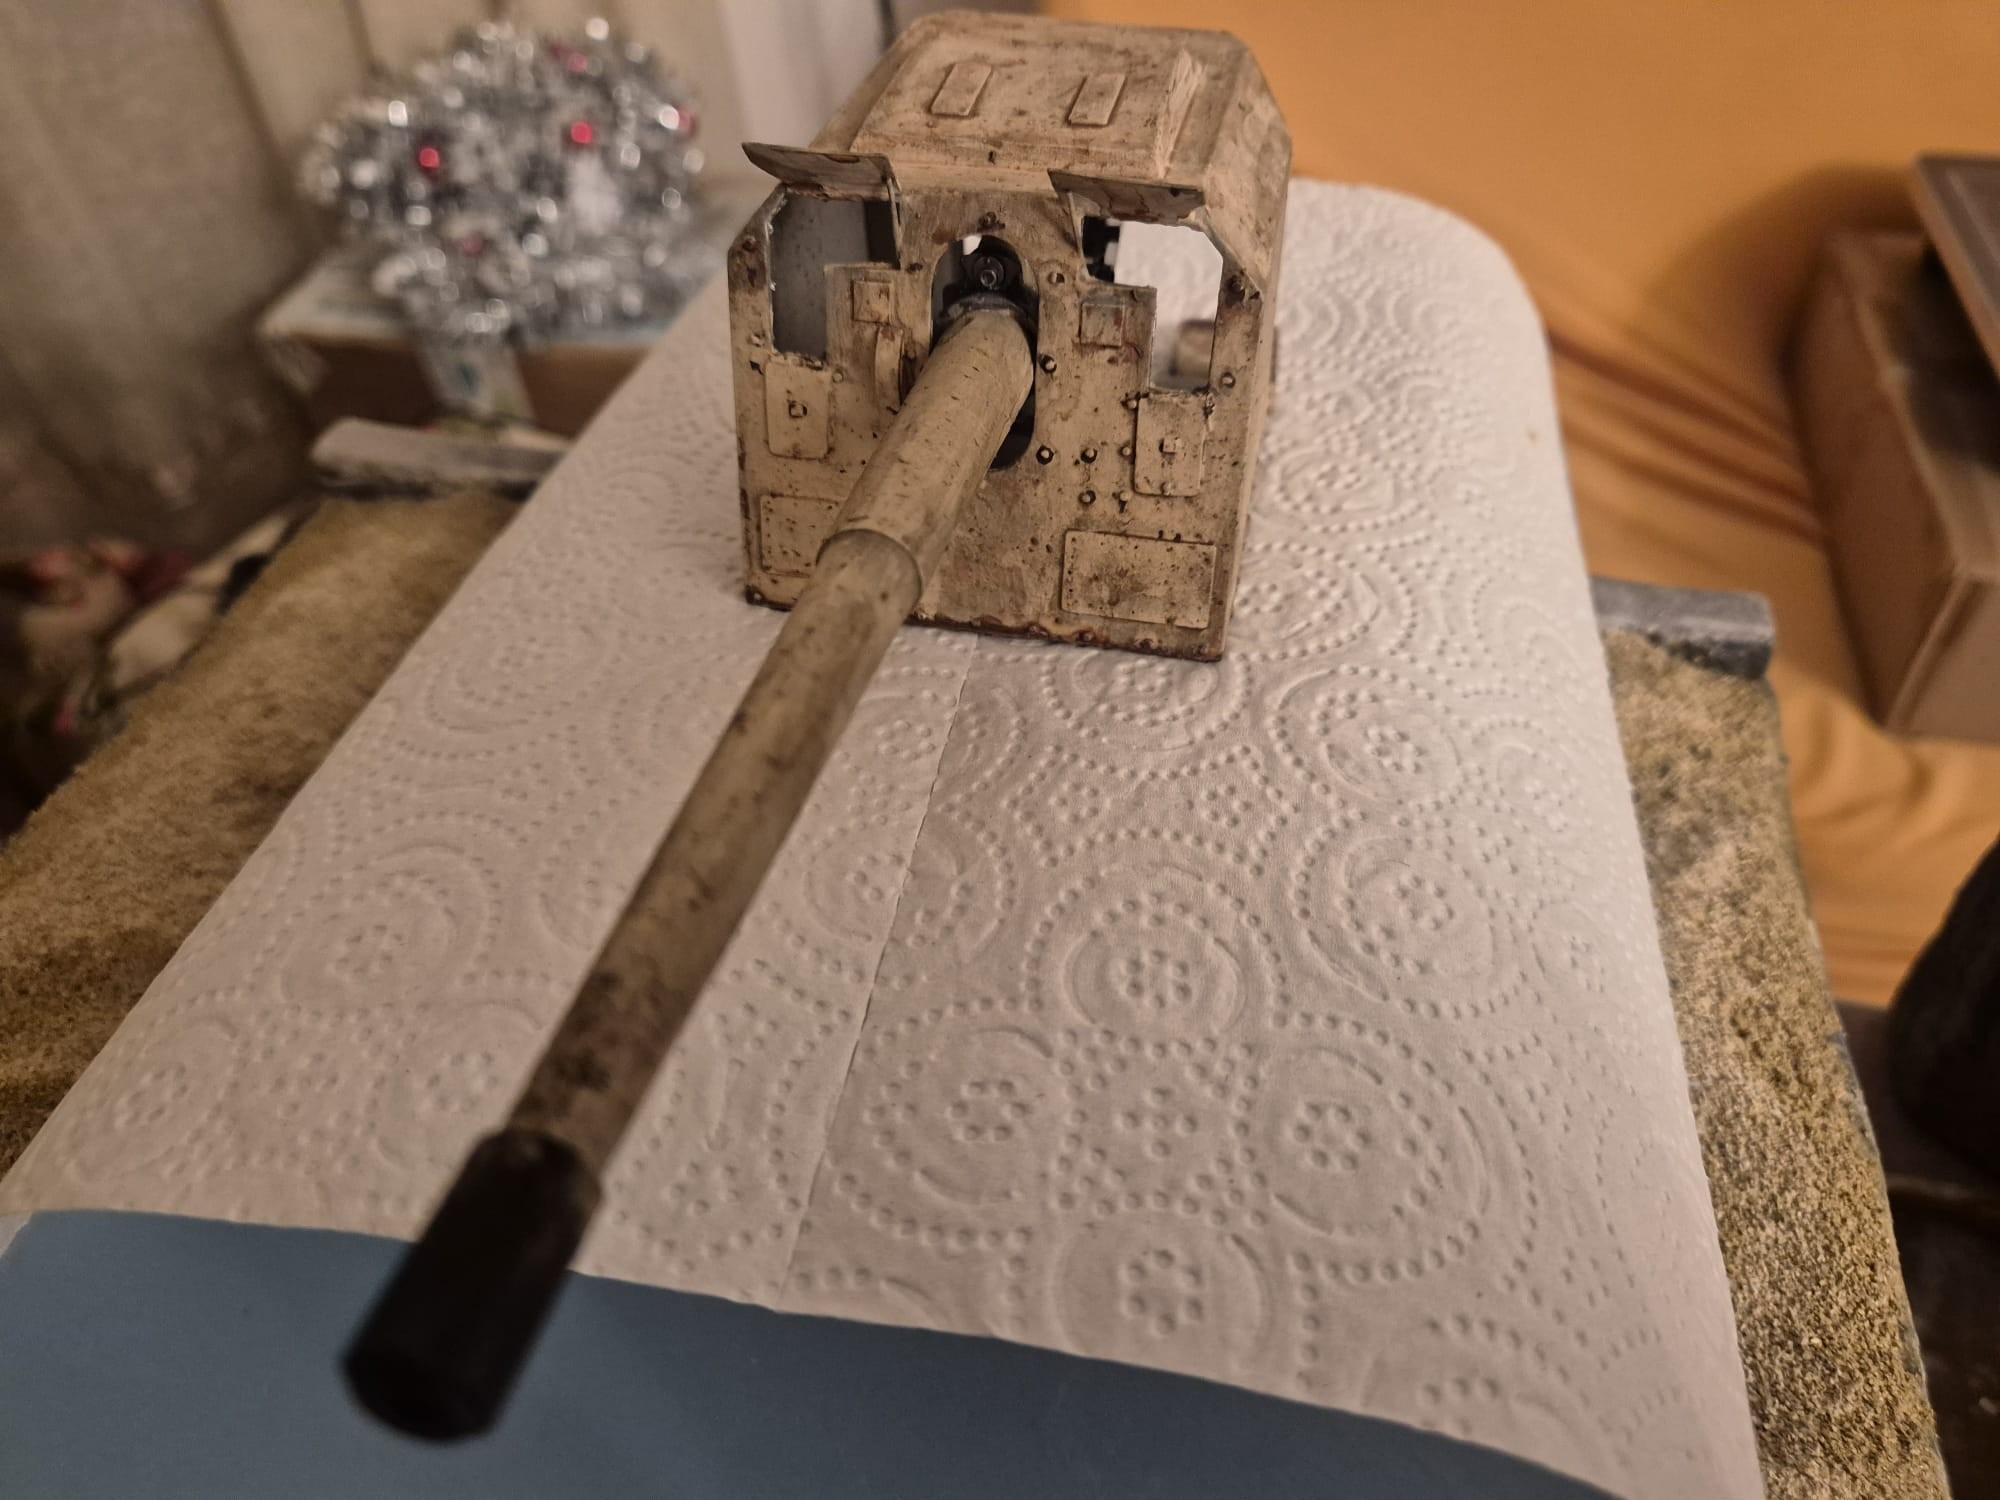
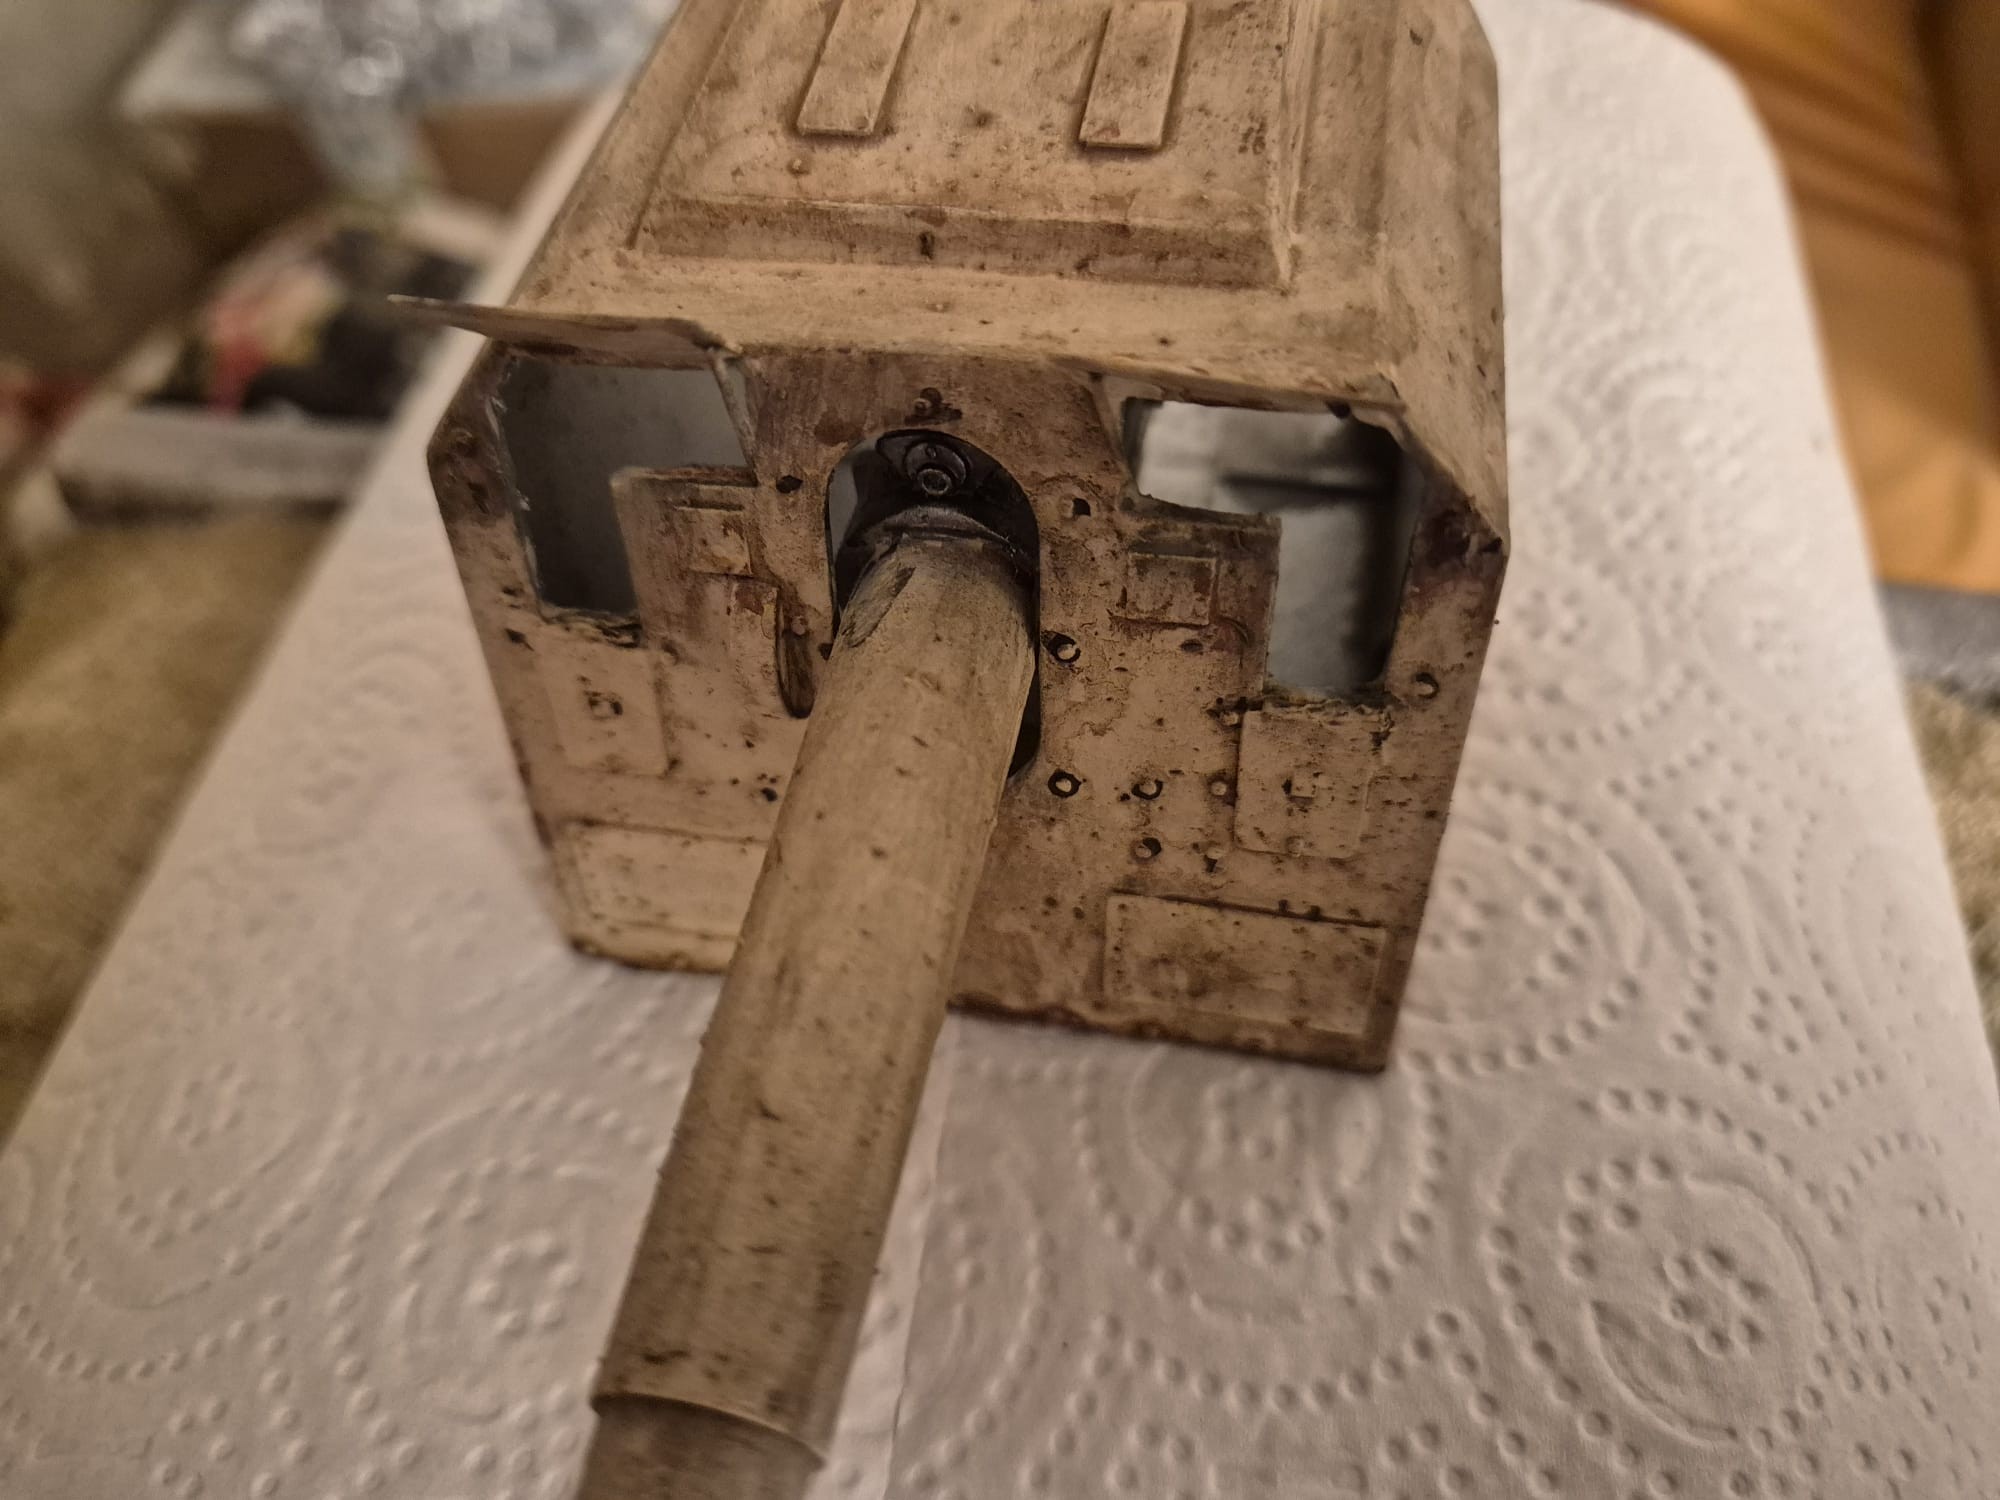
Nevertheless, the model of the PAK43/41 88mm Anti-tank gun is now completed, painted and weathered. The same also applies to the 15 cm (150 mm) SK C/36 naval gun for what concerns the painting and the weathering.

Now, do not be shocked. You might expect perfectly painted guns with fancy camouflage patterns and I must disappoint you. They are neither fancy nor beauty inspiring.

The reason for this is my documentation about them in Normandy which somehow explains the most common practices to camouflaged guns there.

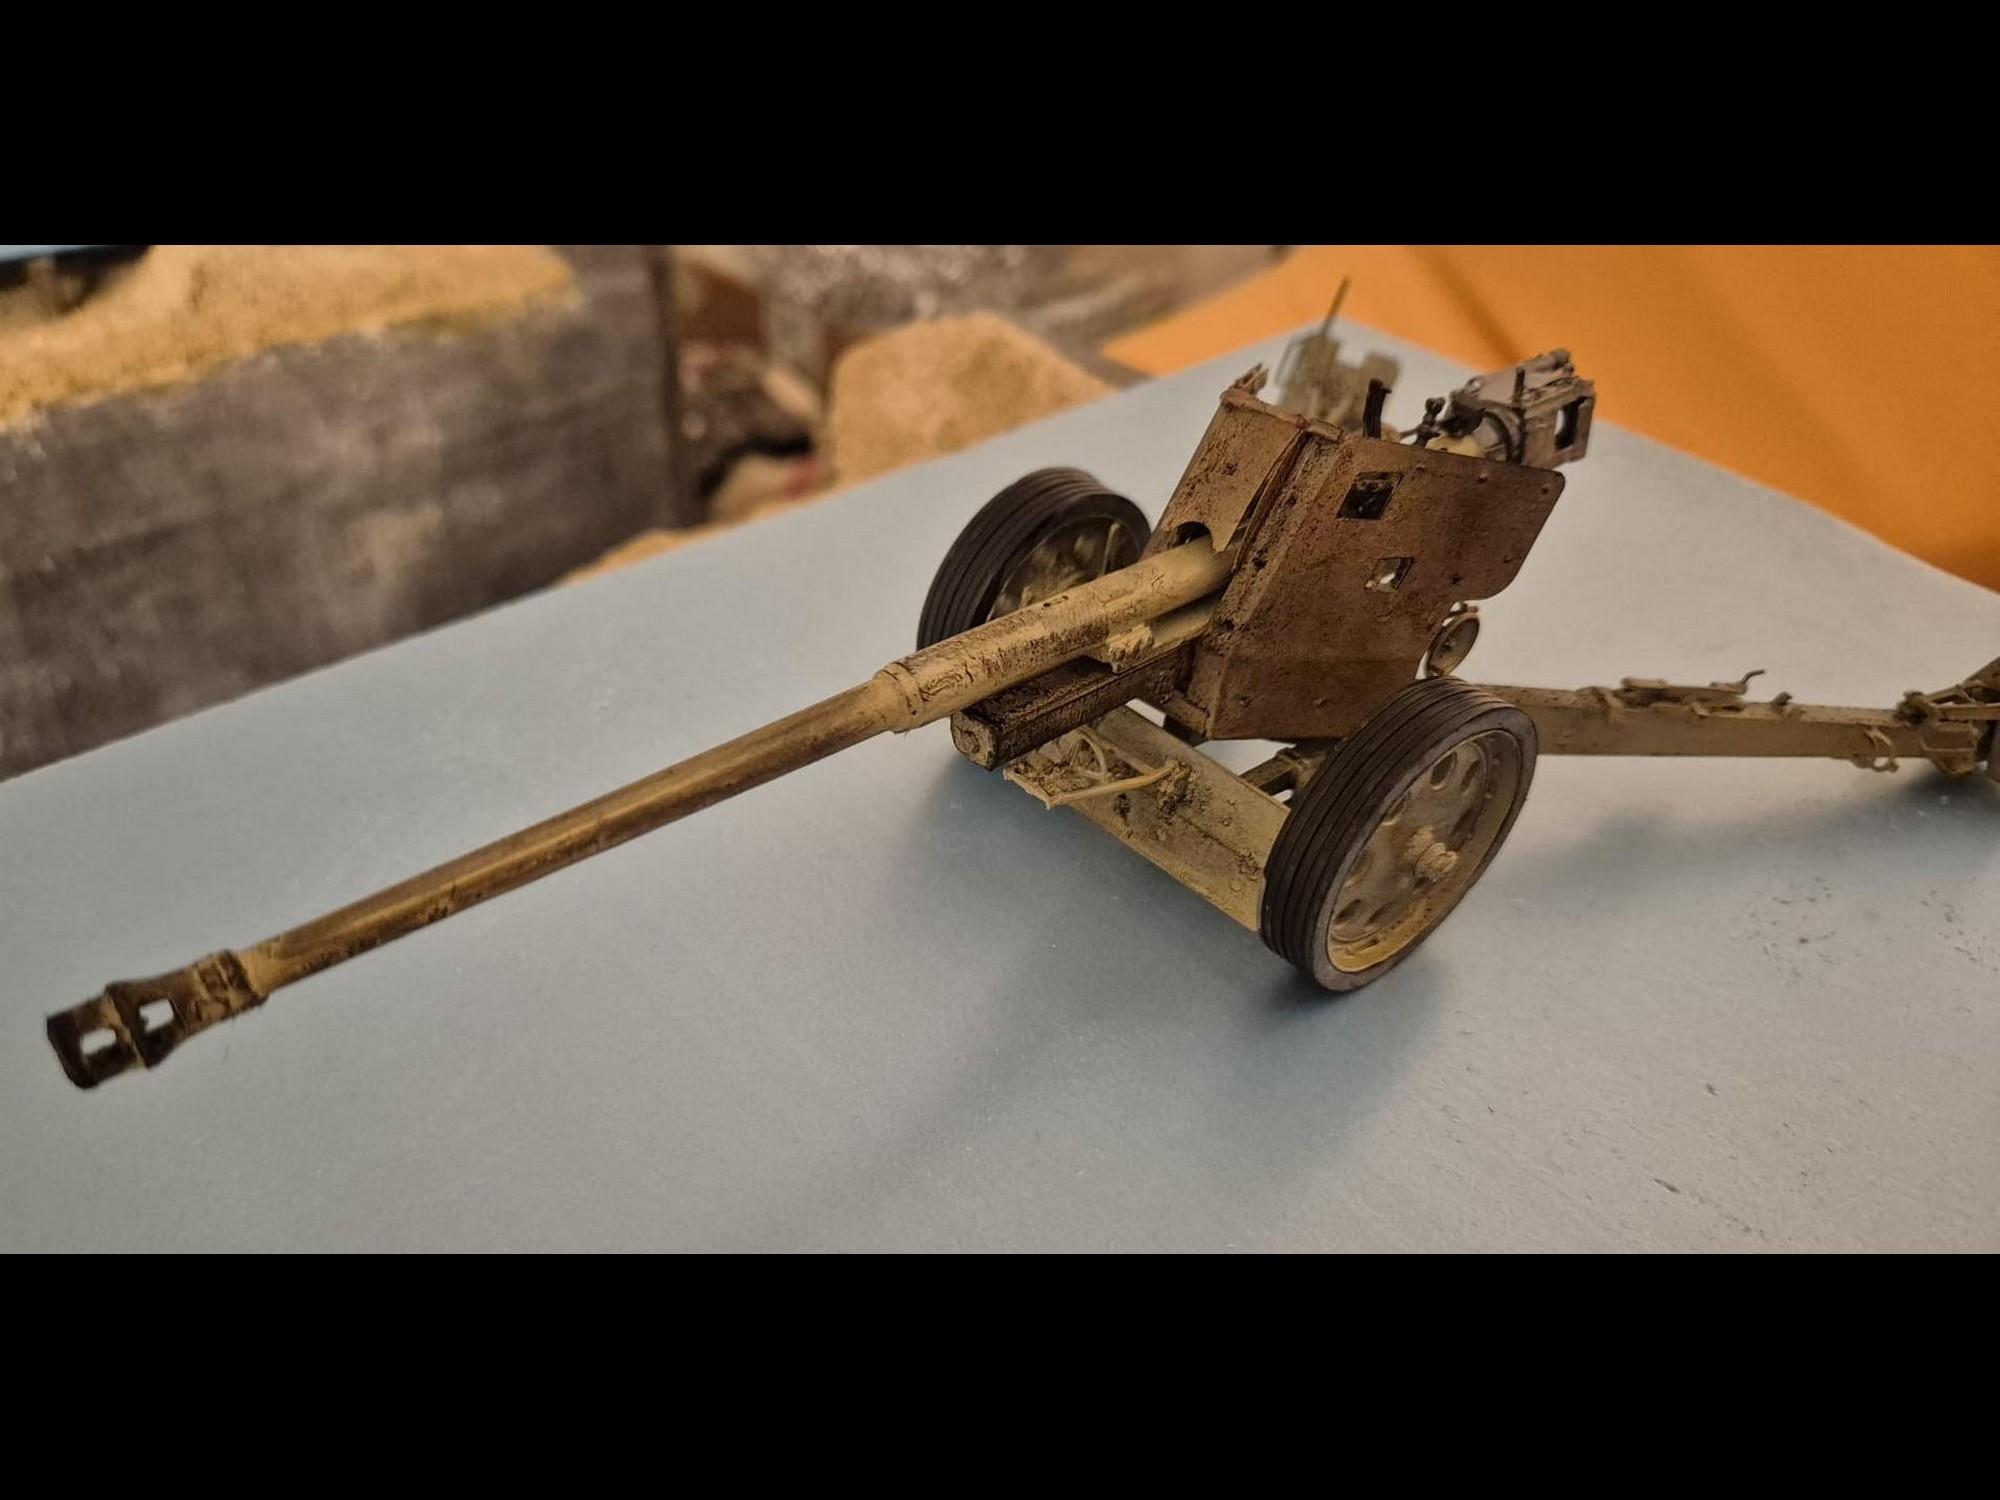
First of all, all guns, whether they might have belonged to the Kriegsmarine (German Navy) or the Luftwaffe (German Air Force), were all painted according to “Heeres” regulations, or if you like, following the painting rules of the German Army, hence in 1944, the rule was to paint them all in Dark Yellow, also known as German Yellow.

But this desgnation was rather vague, since there were many hues of German Yellow. Some almost tending to be more a tan color, others instead, as pale as an ivory/cream yellow.

Due to the many shortages and difficulties to have punctual and constant material supplies, because of the bombings of various German factories and disabled railroads and roads, the Germans used whatever they could find to apply camouflage on their weapons.

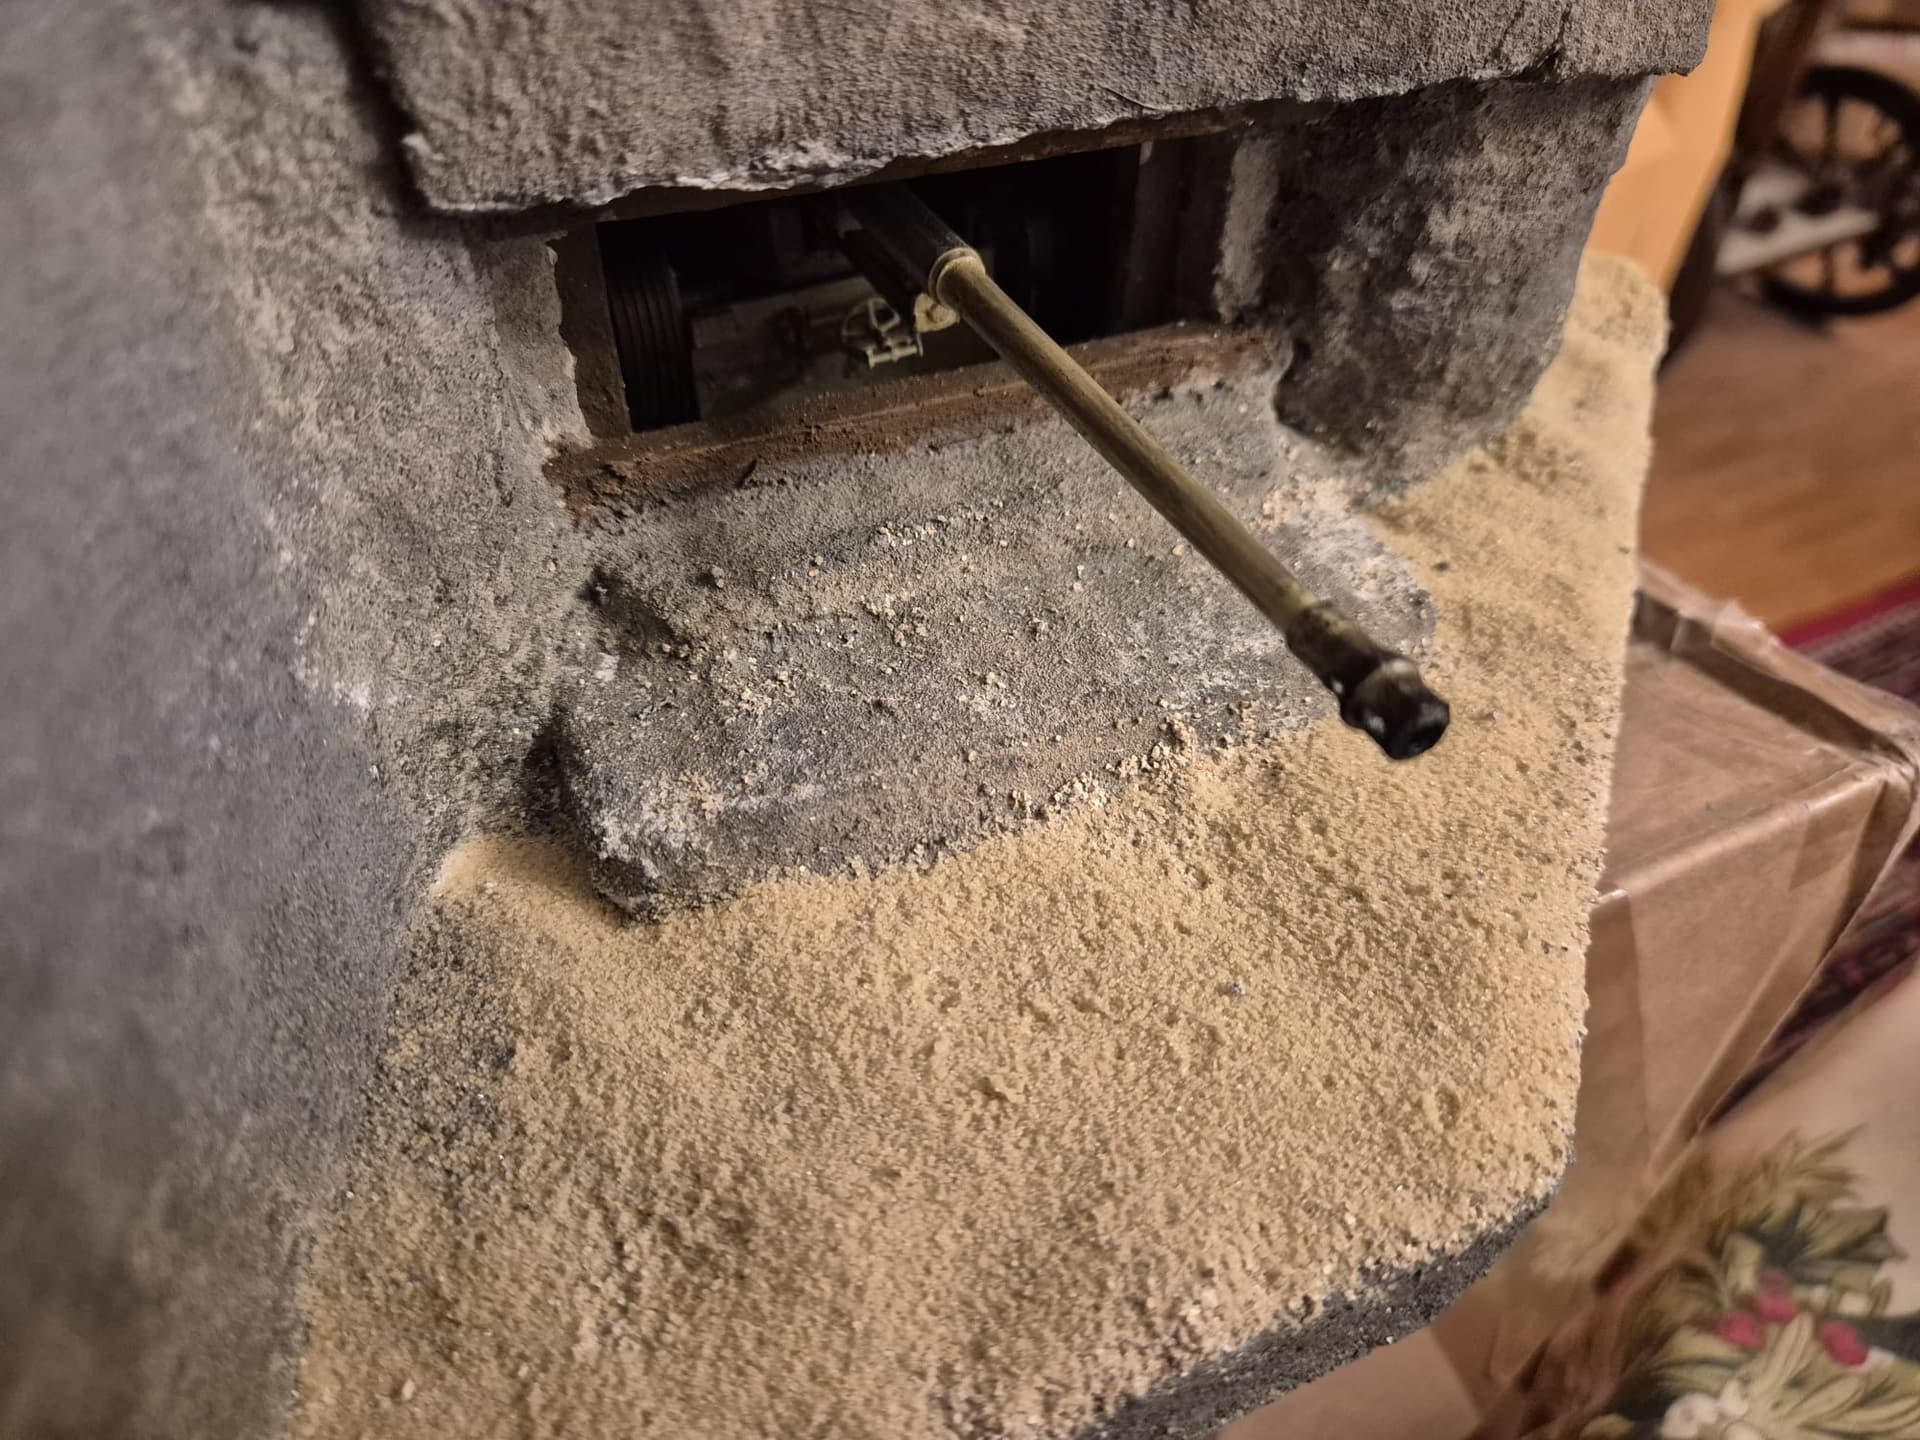
In the case of guns in casemates, anything goes then and contrary to what so many so called “experts” always state, there were no guns wearing disruption colors over the main paint job, for the same reason I explained before.

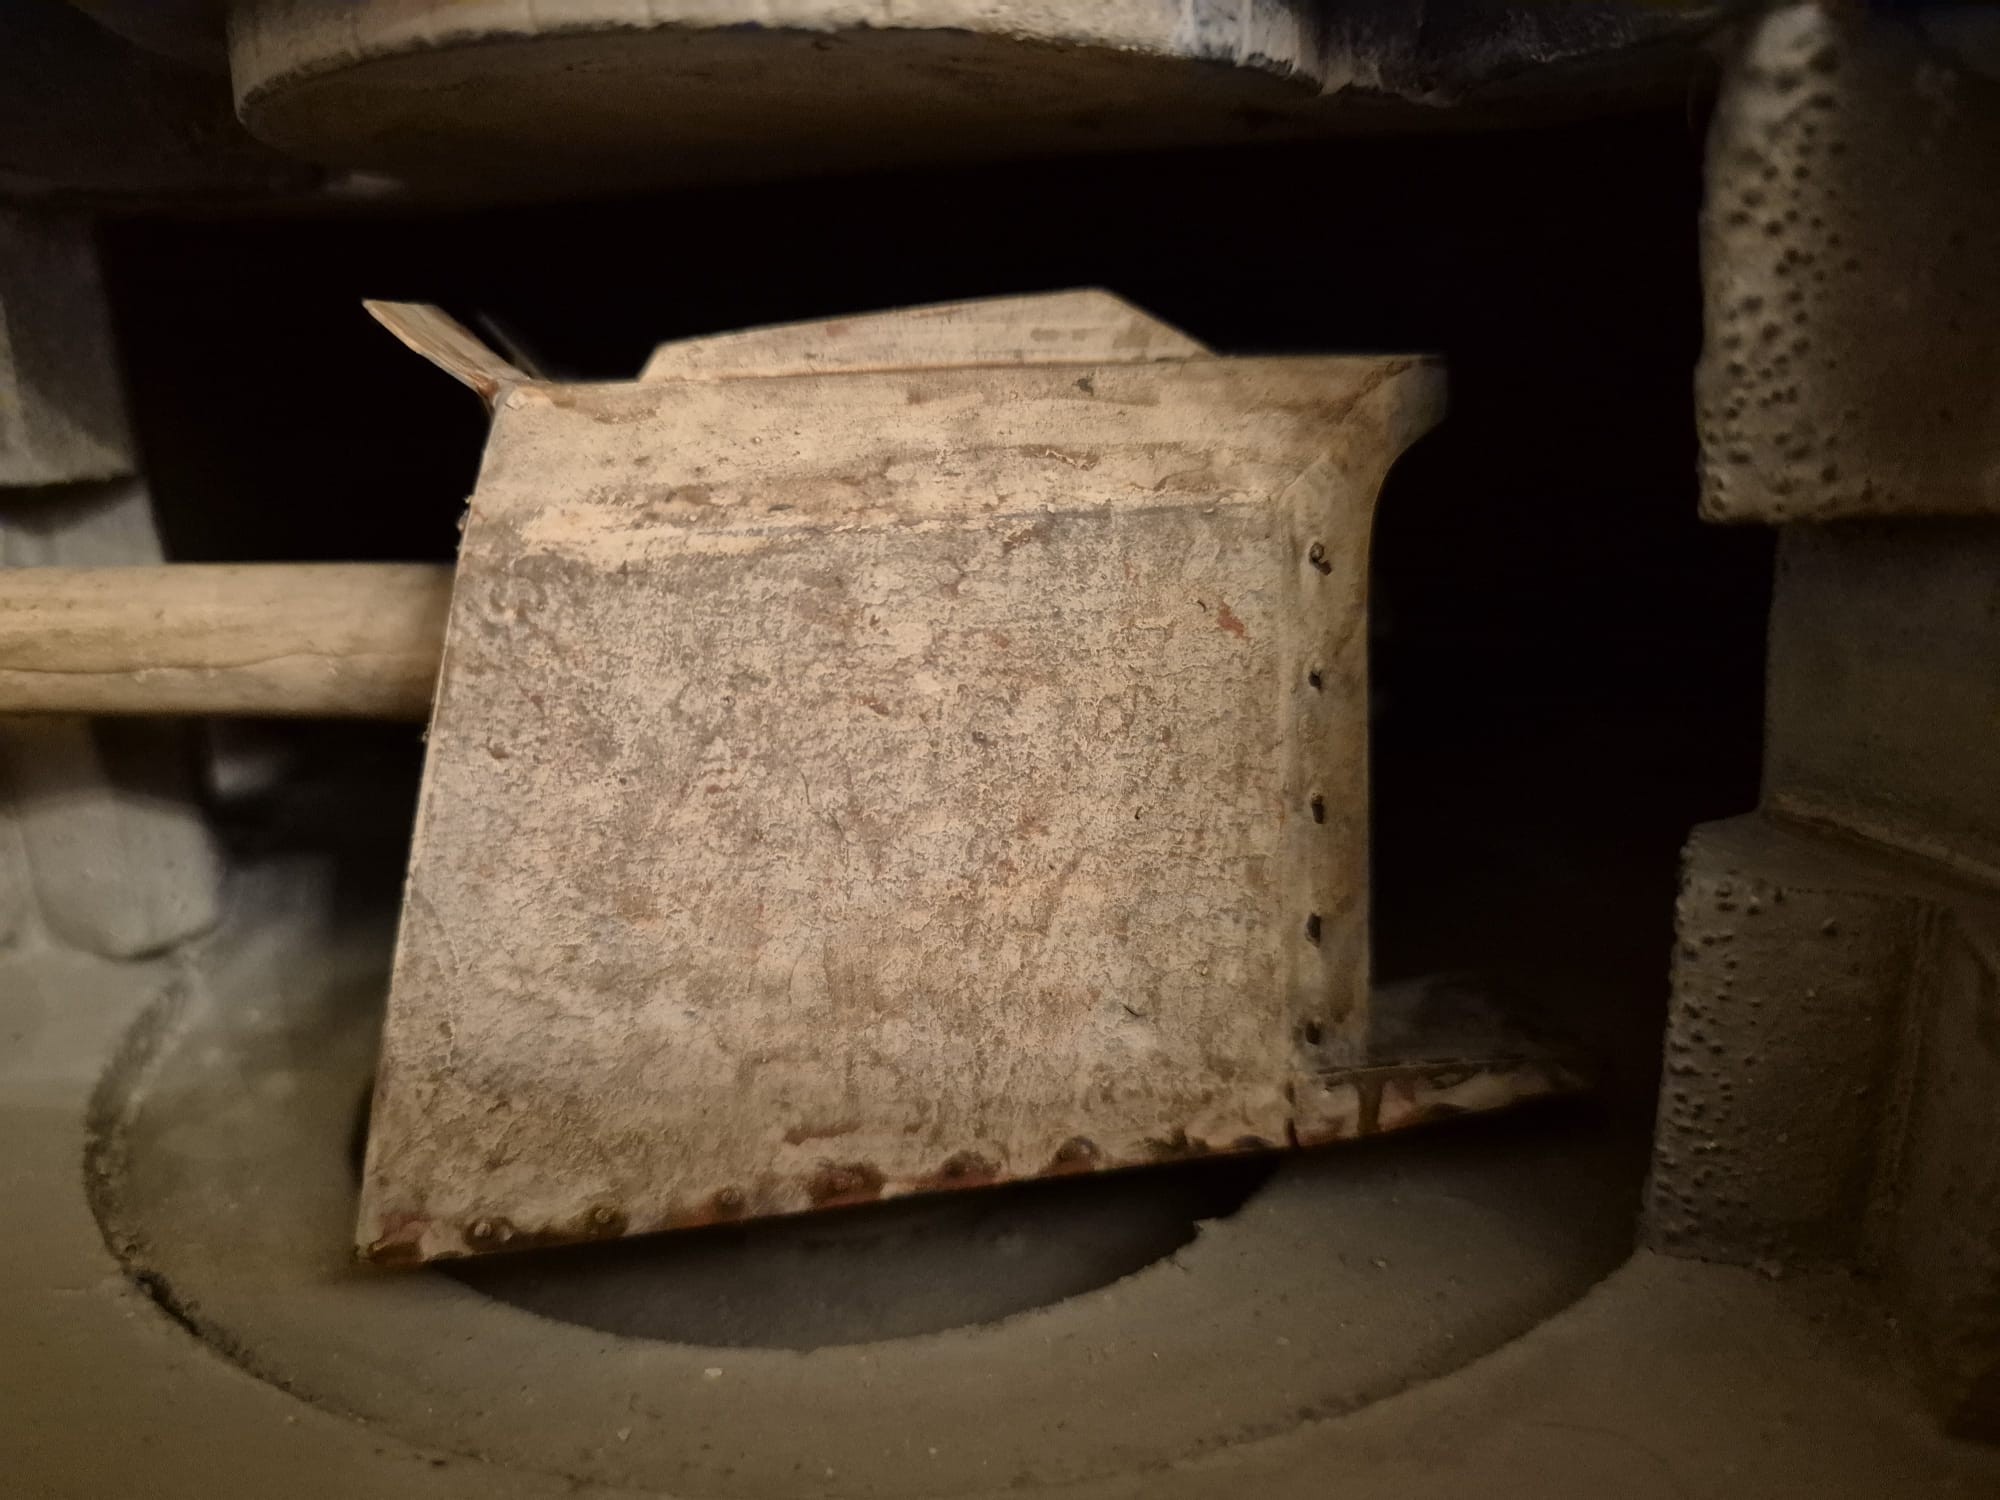
Second, the paint jobs were often applied by hand and not with airbrushes, like some tank units used to. The way bunker guns were painted was by using either huge brushes to summarily paint them in the main color, or just washed with diluted paint.

In both cases the results were questionable and didn’t last for very long and therefore had to be constantly repeated, unless leaving the gun completely “as is”.

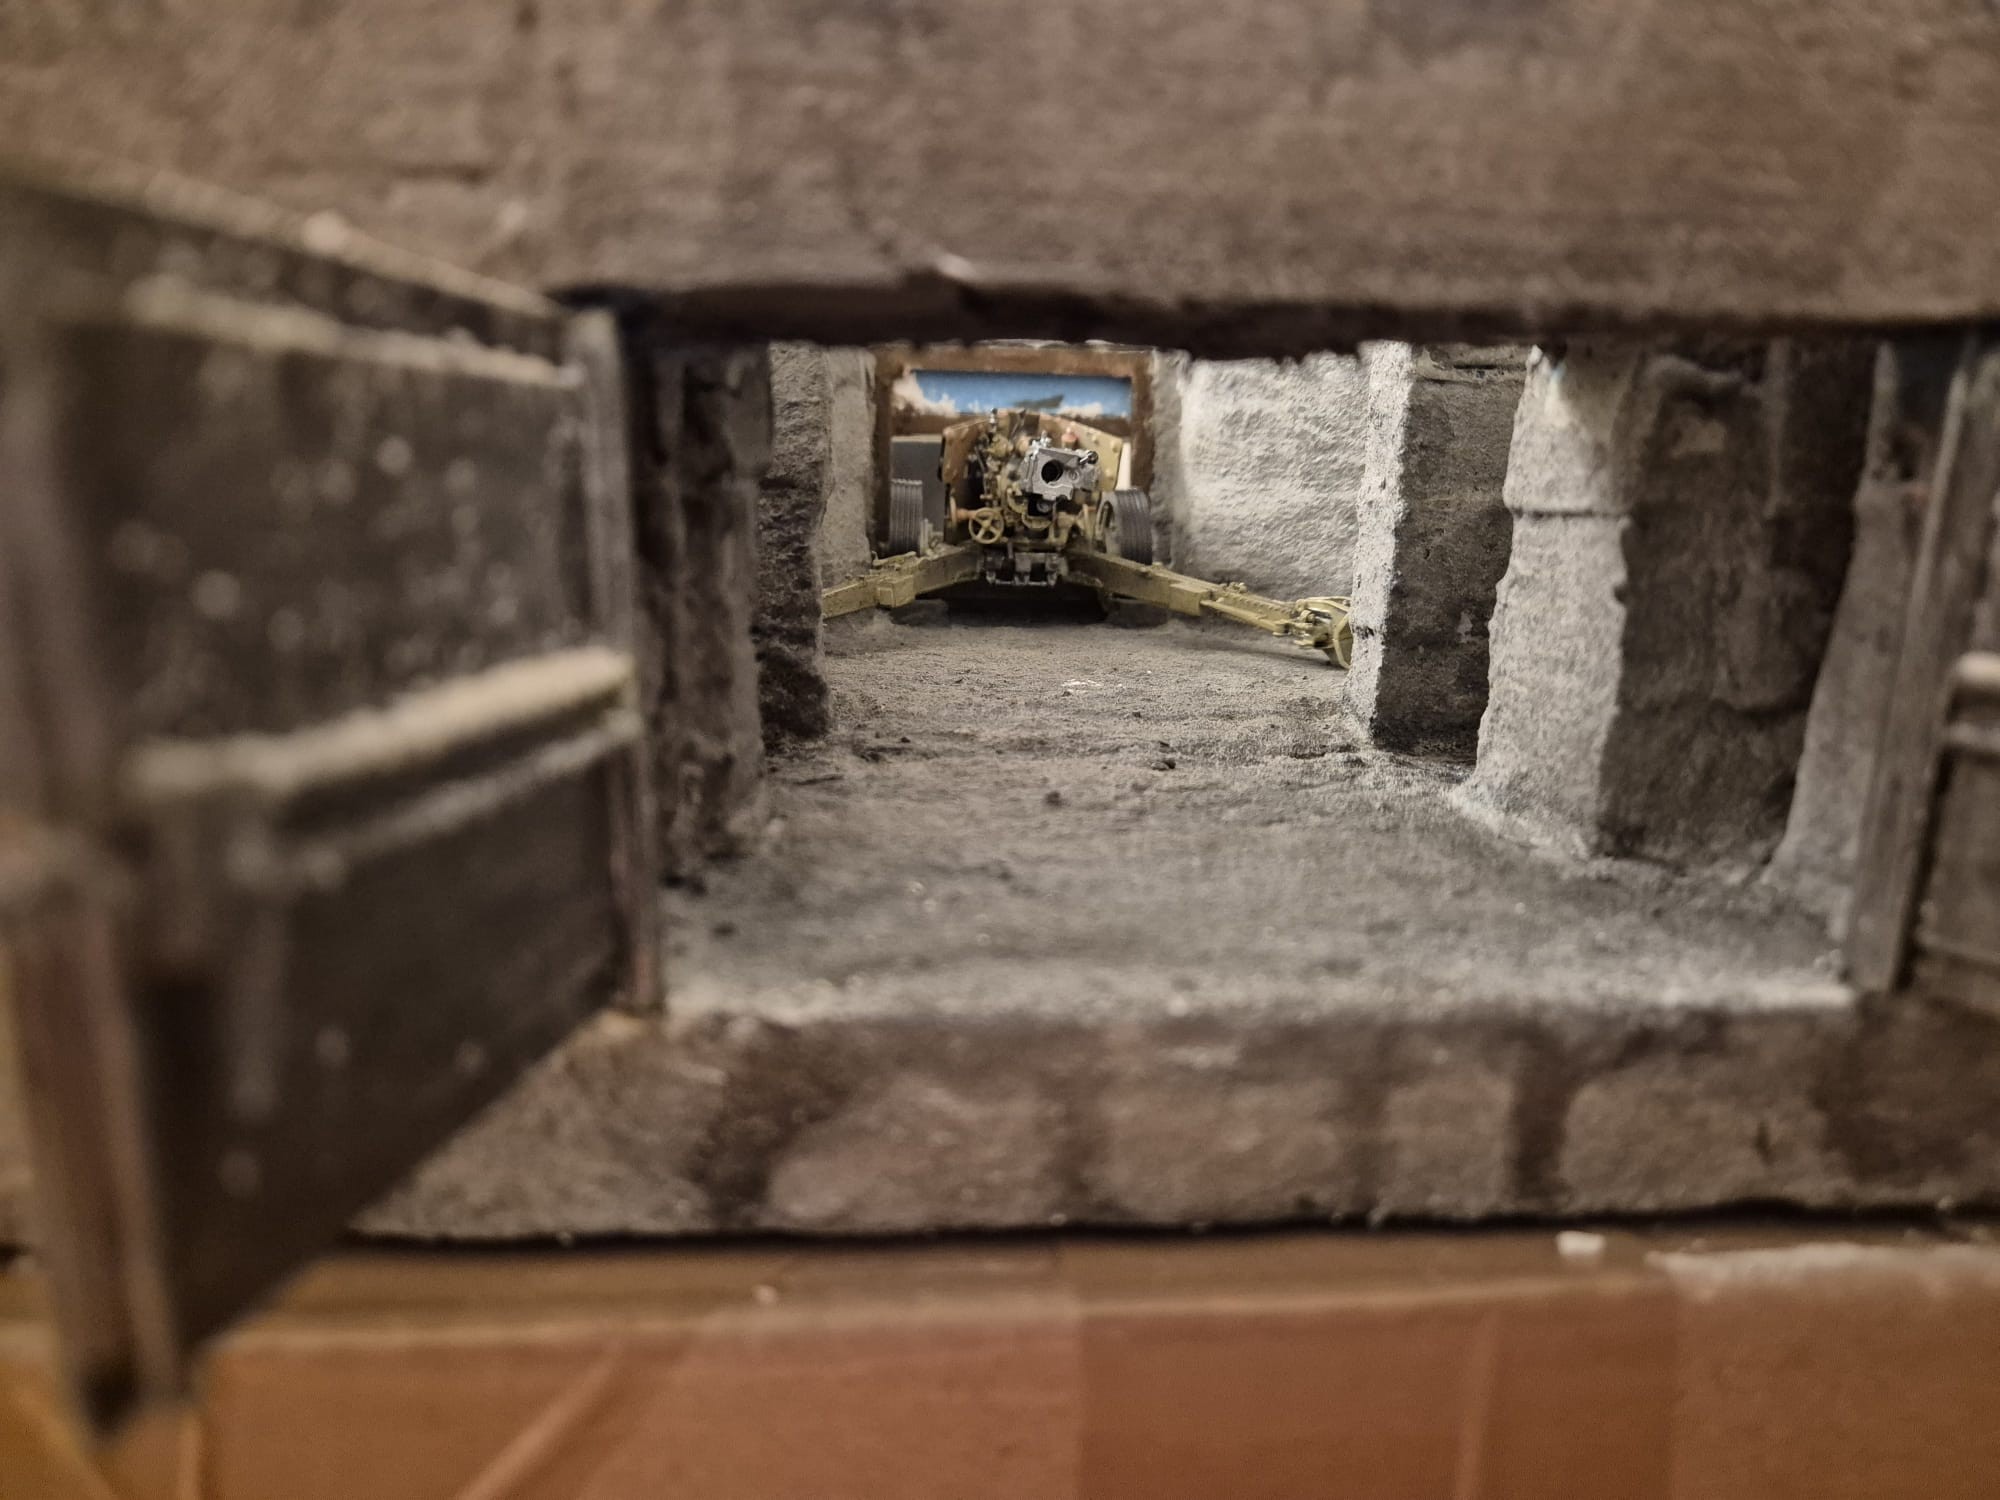
This seems to be the case for both the PAK43/41, as well as with the four guns in the Longues-sur-Mer Battery.

So, what you will now see is what I tried to accurately interpret from the sources I have read, so do not expect gorgeous depictions of these guns. Rather expect to see well and constantly used guns worn by usage, by weather and by the above described shortages.

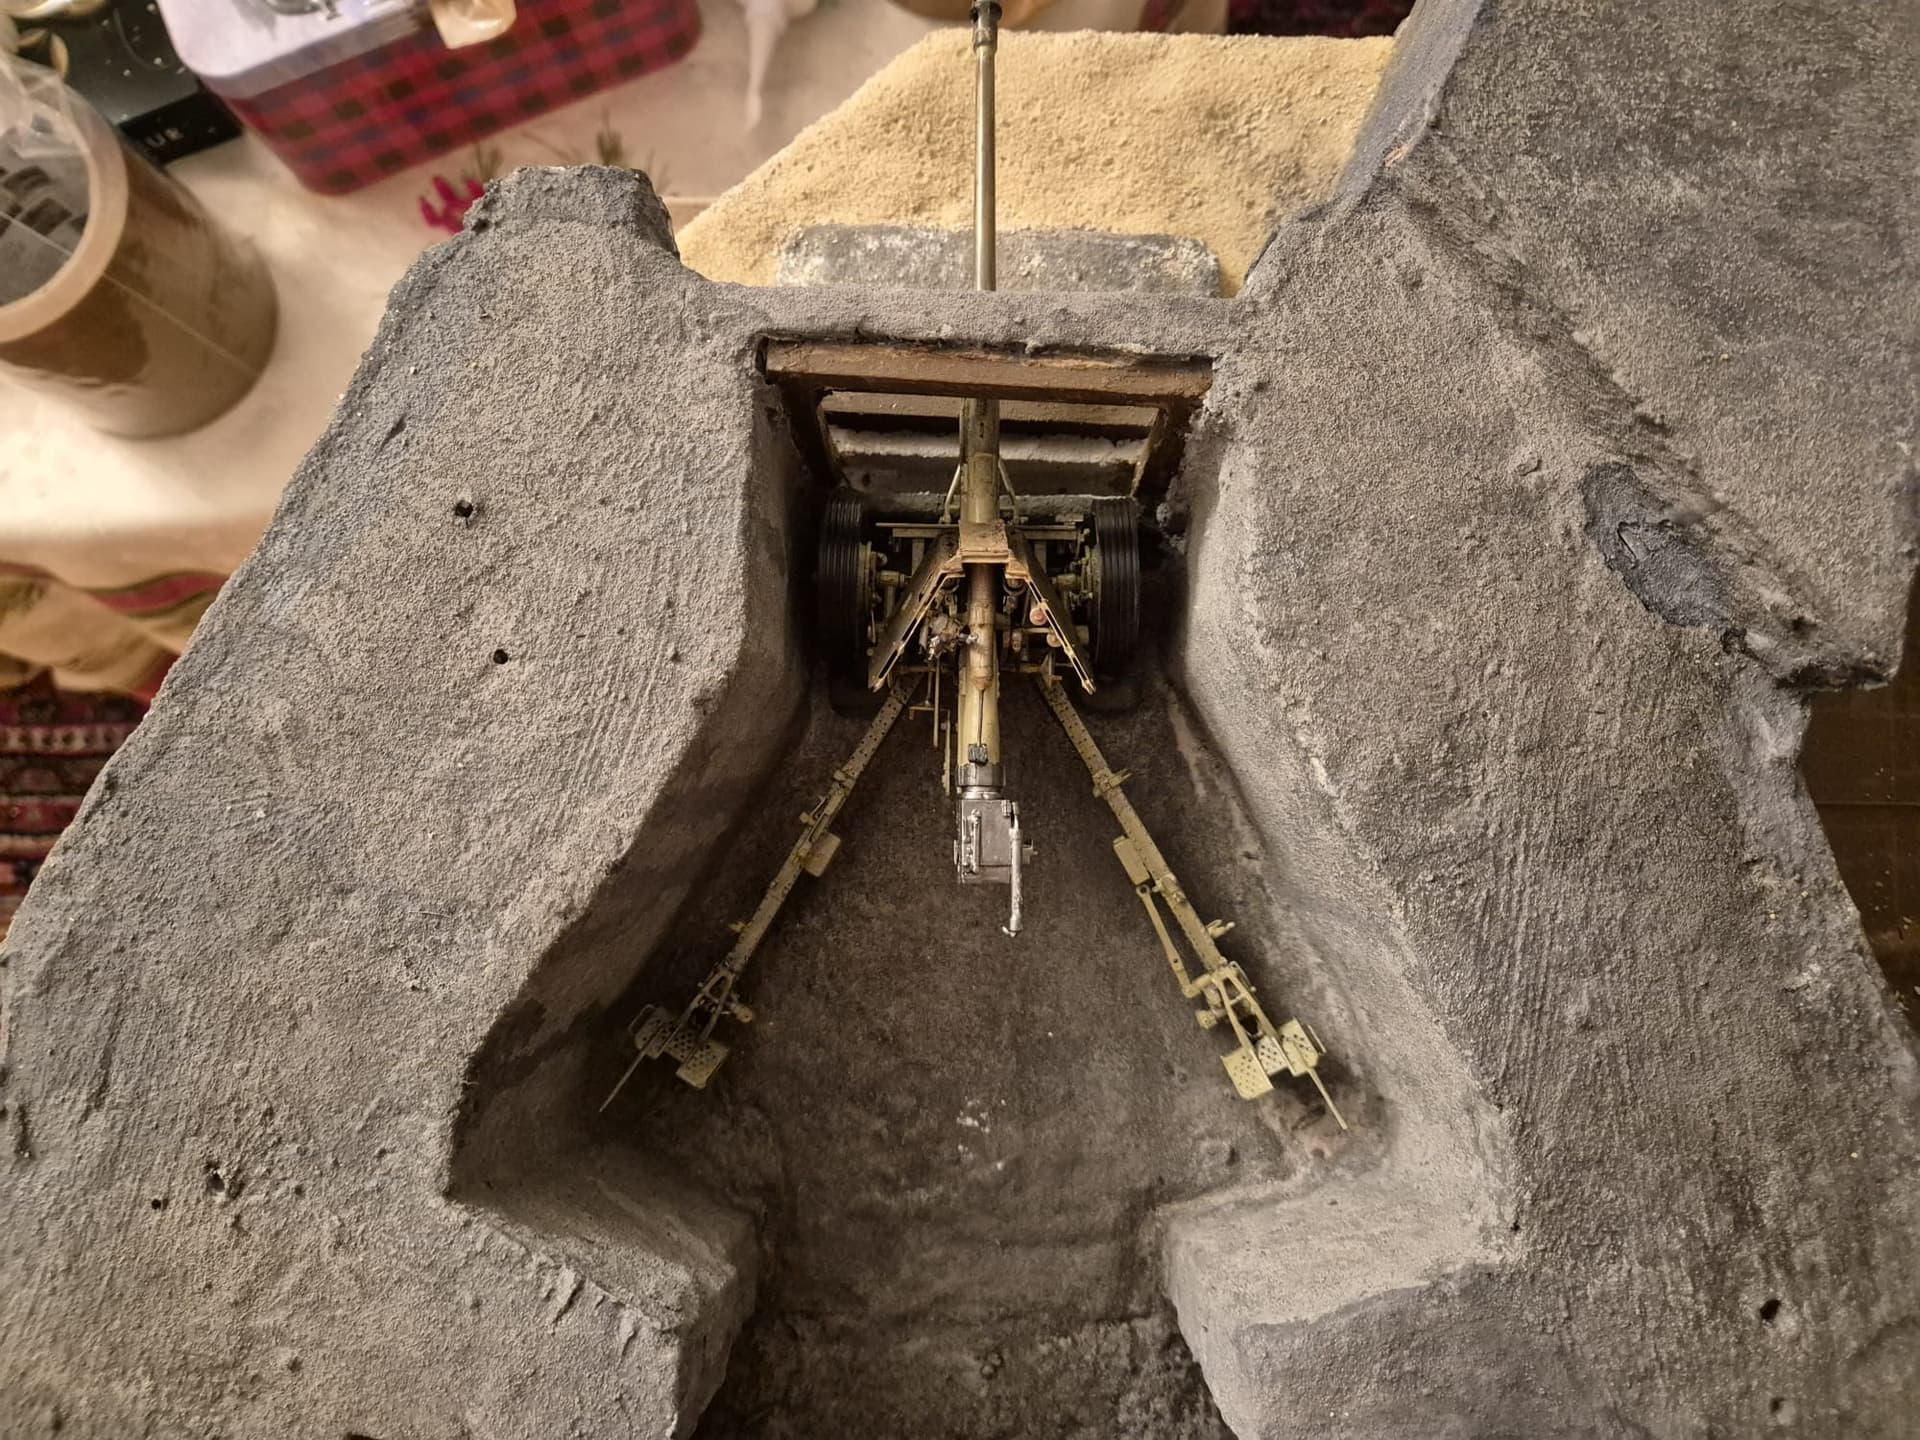
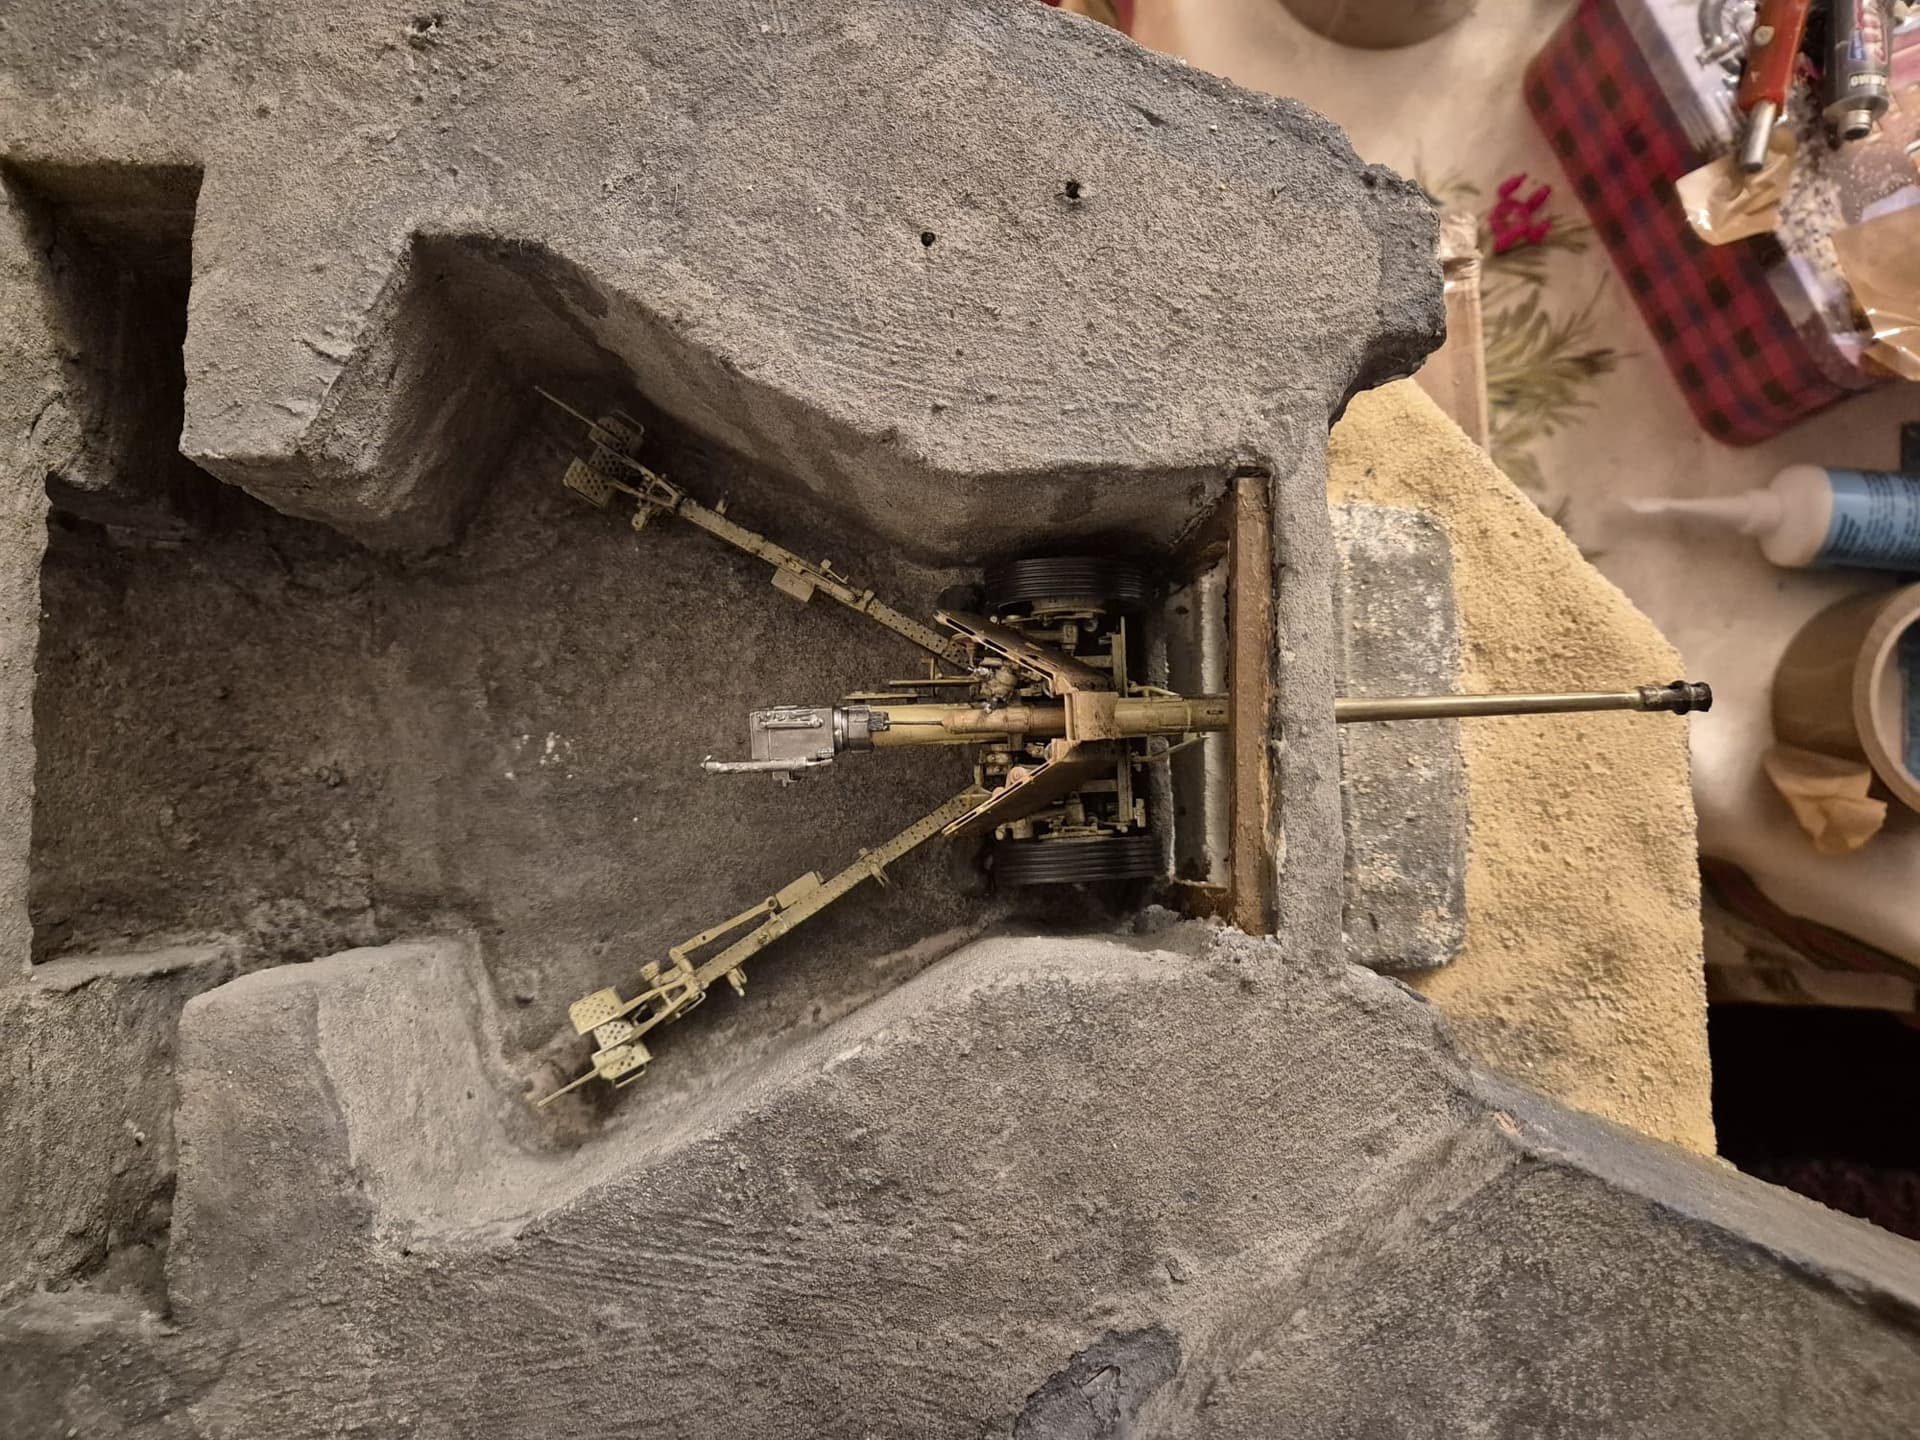
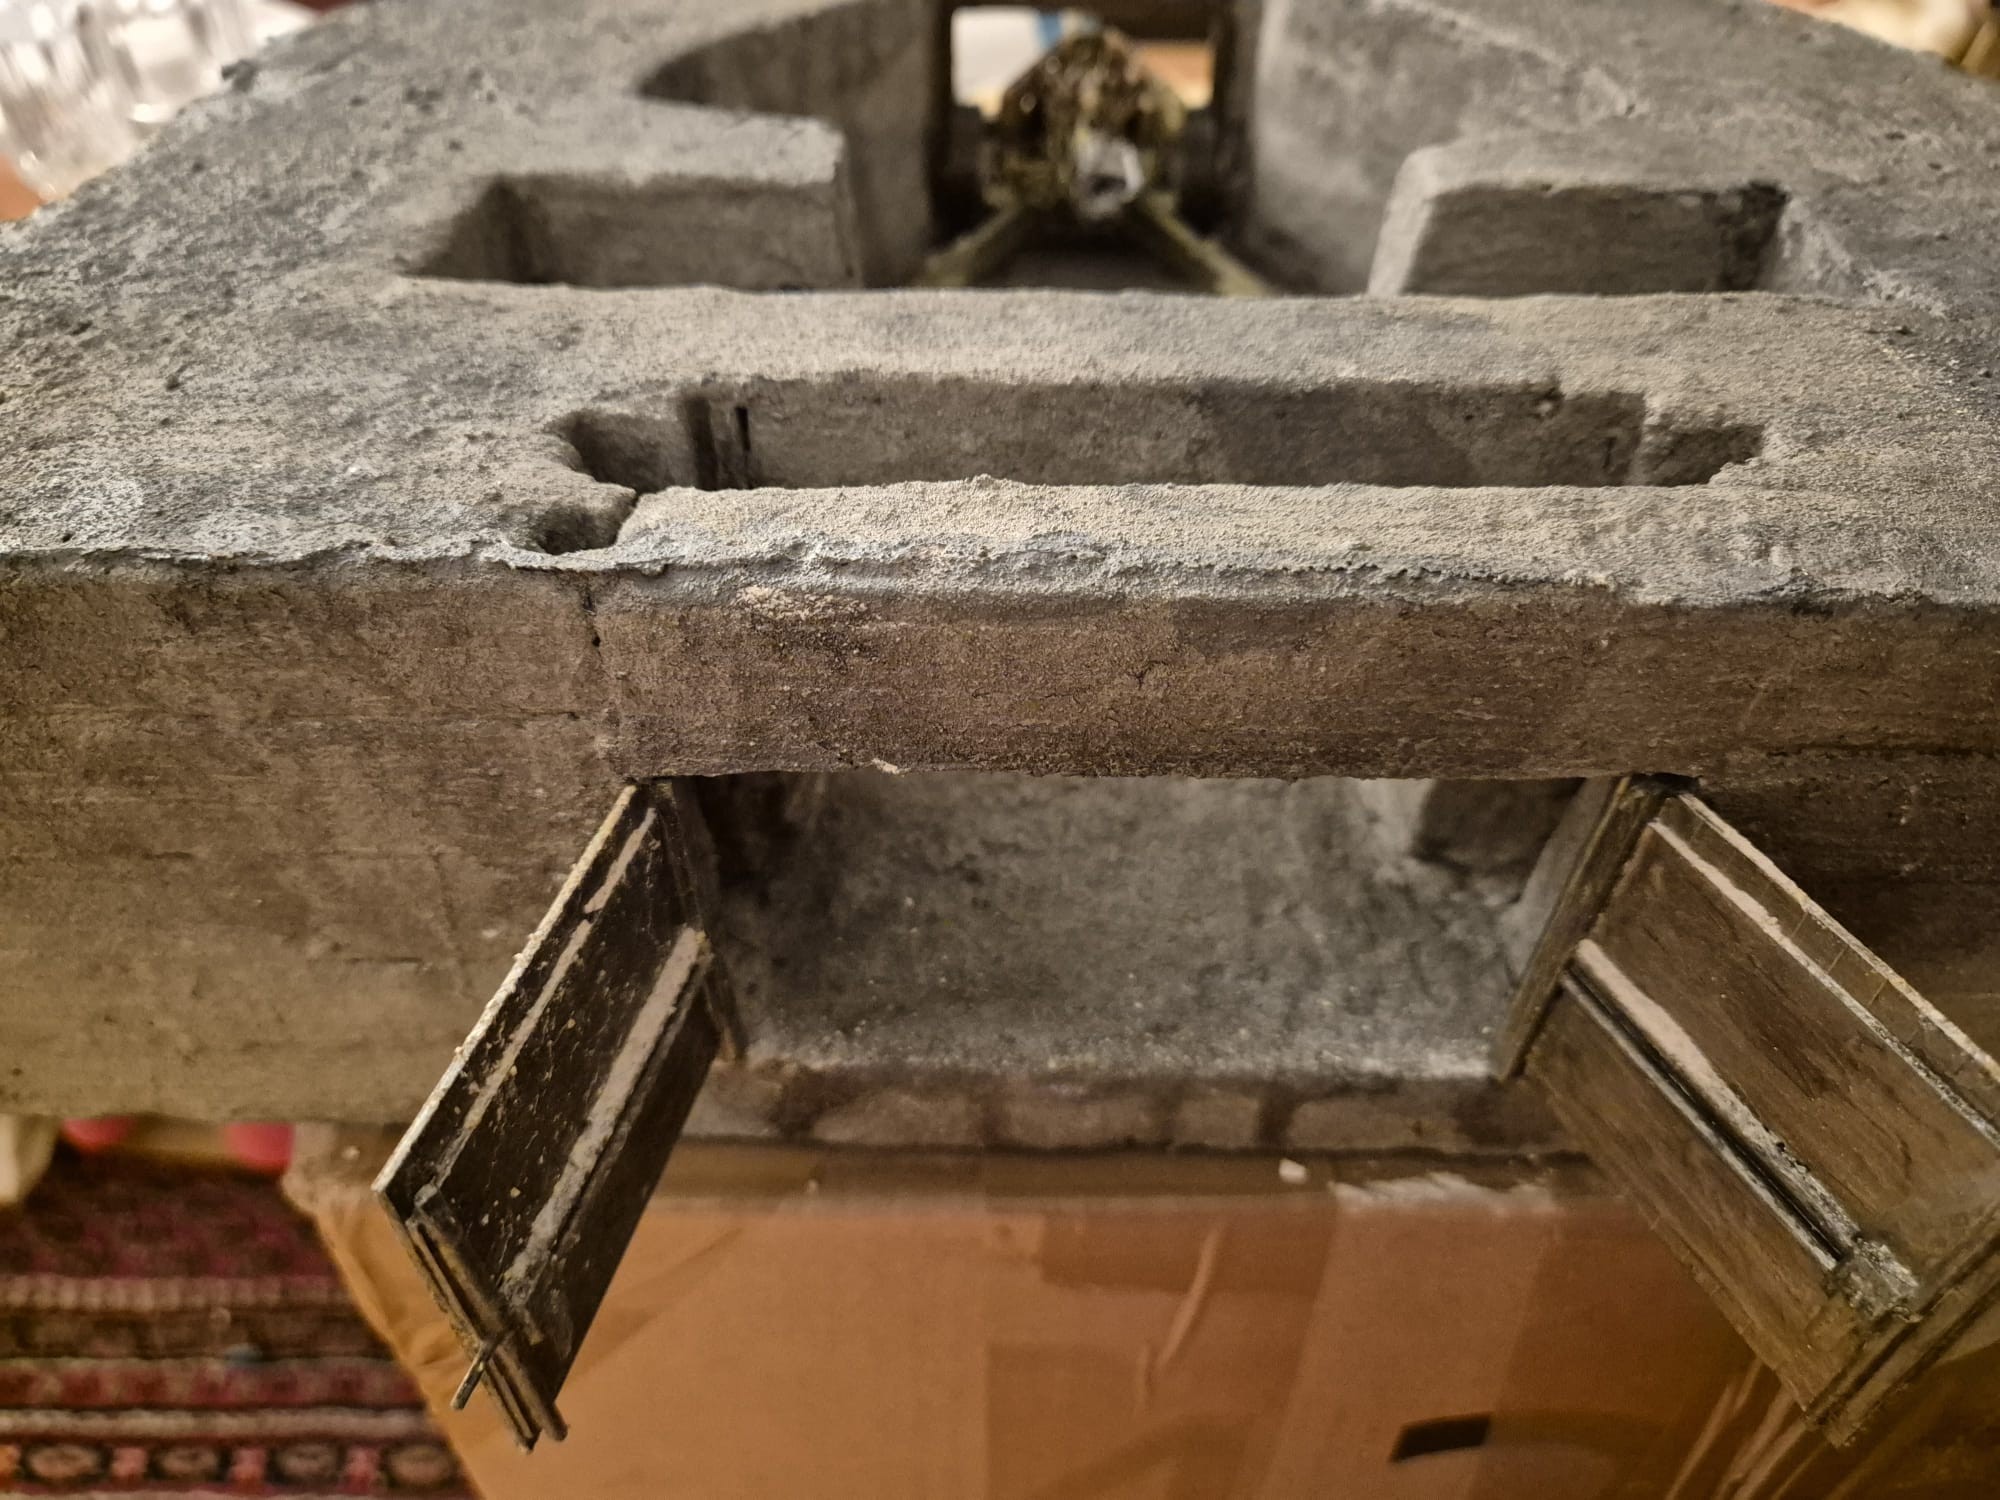
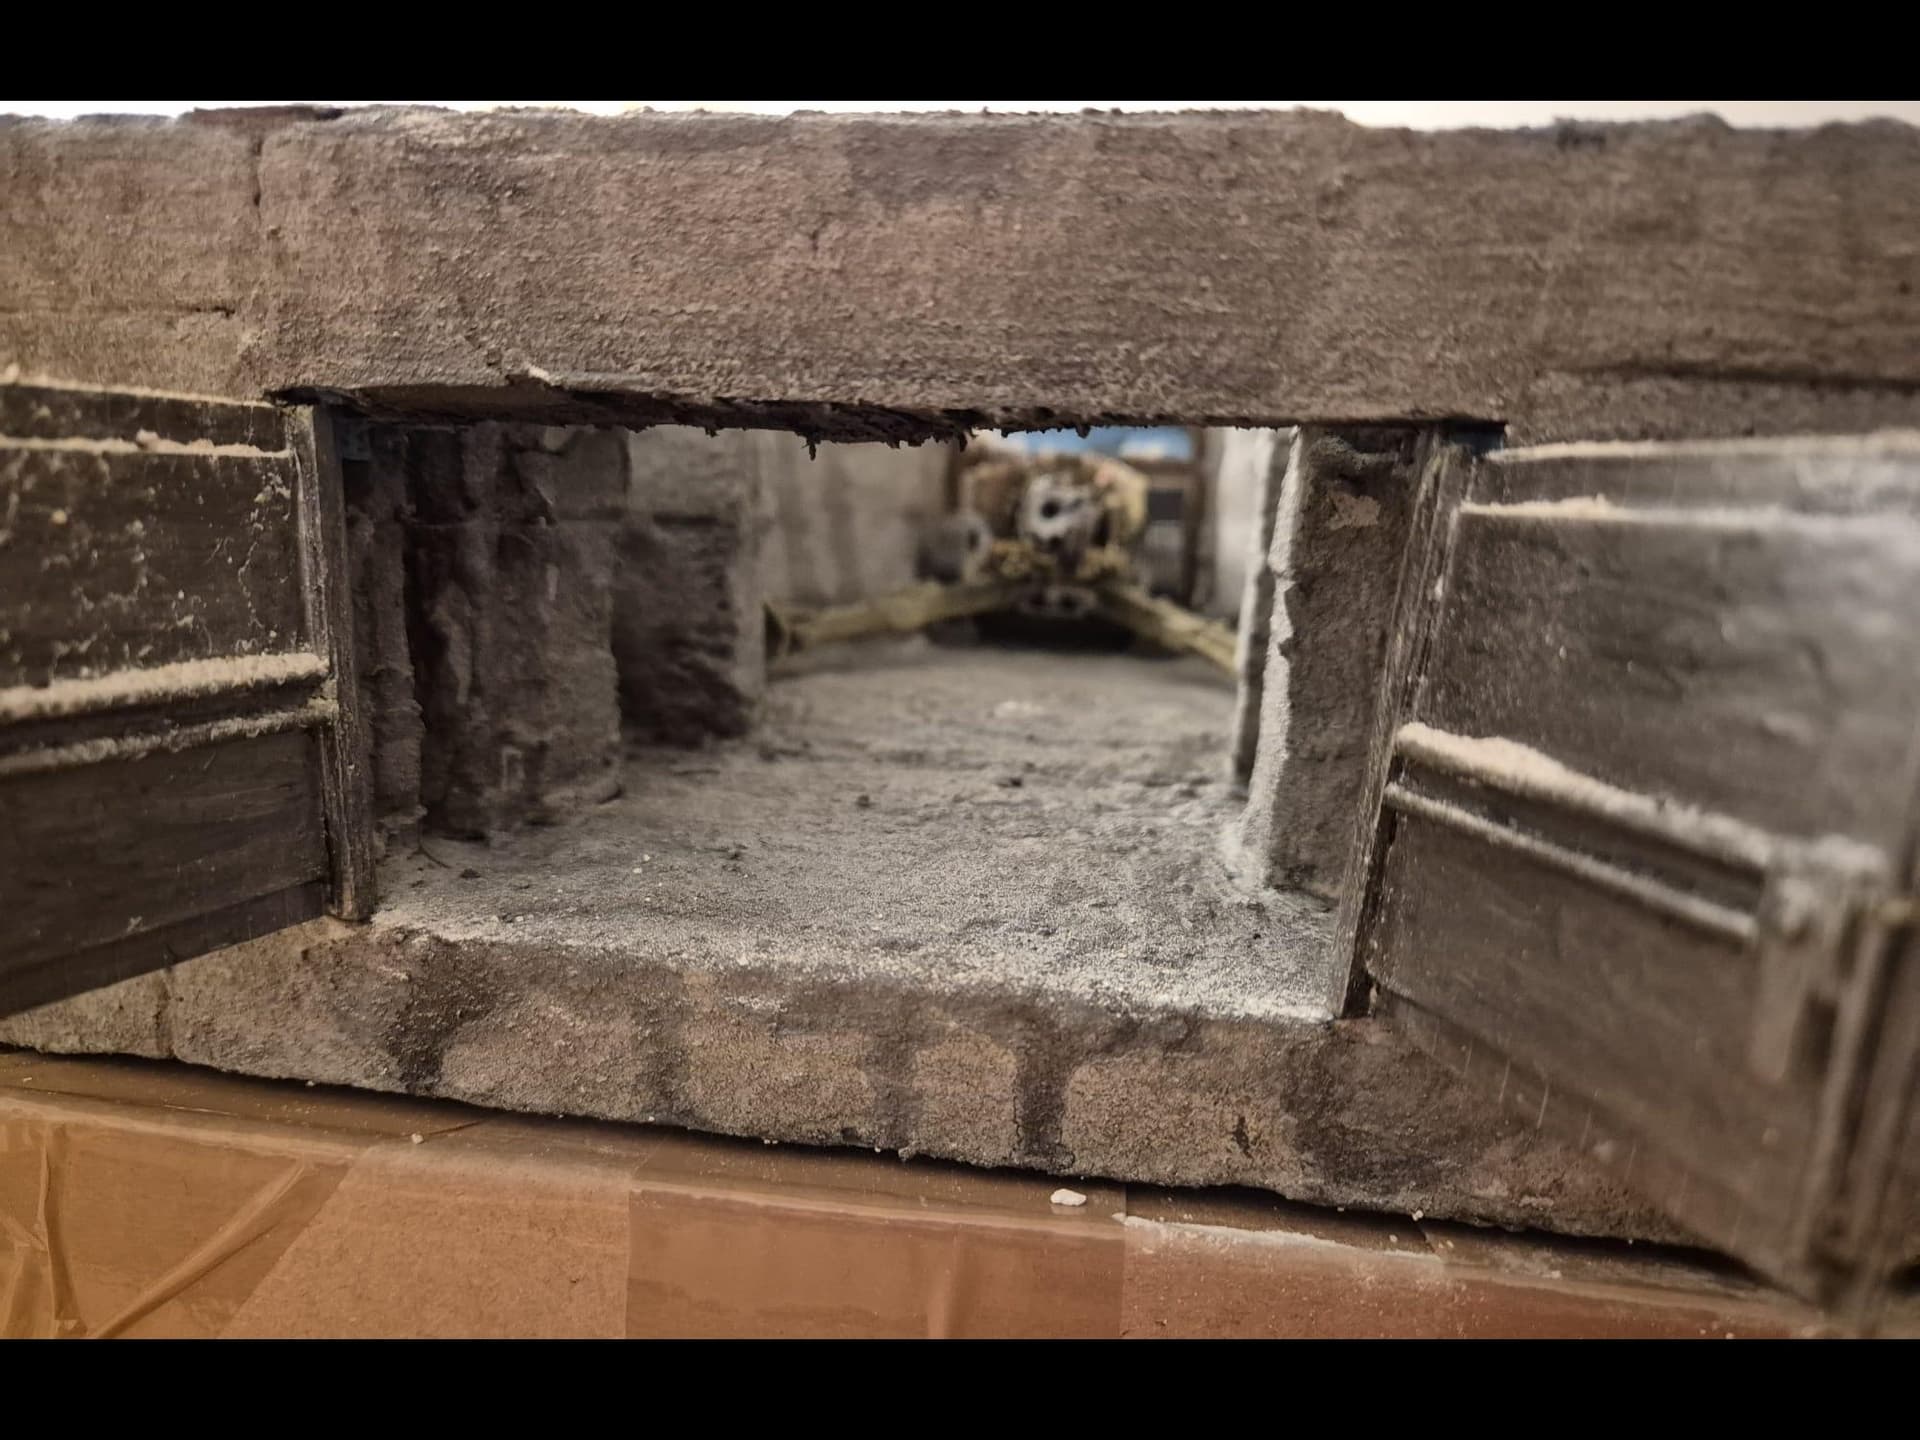
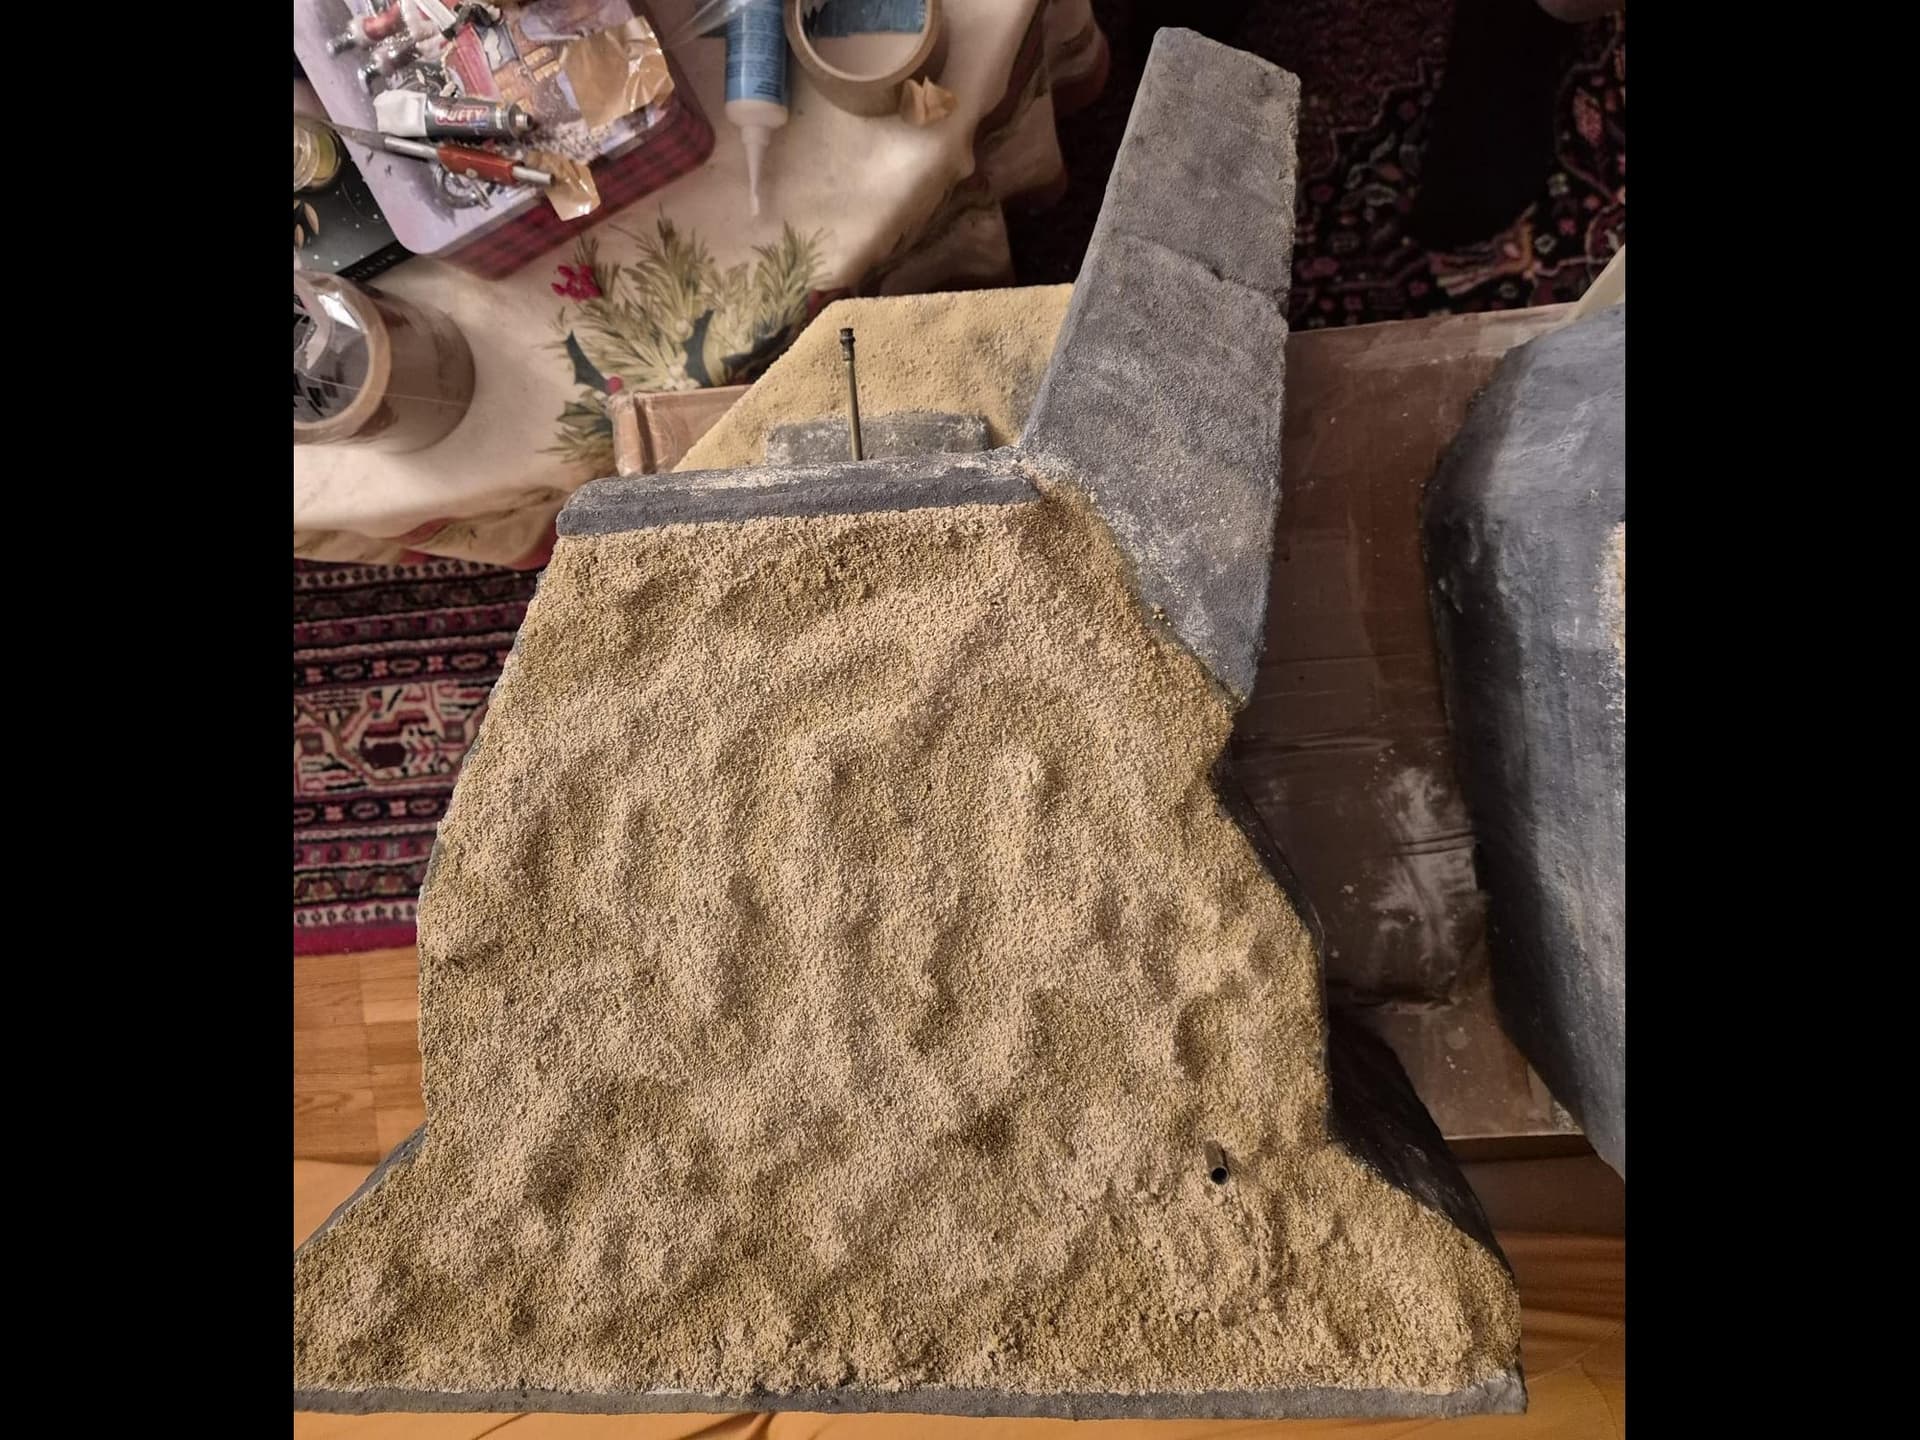
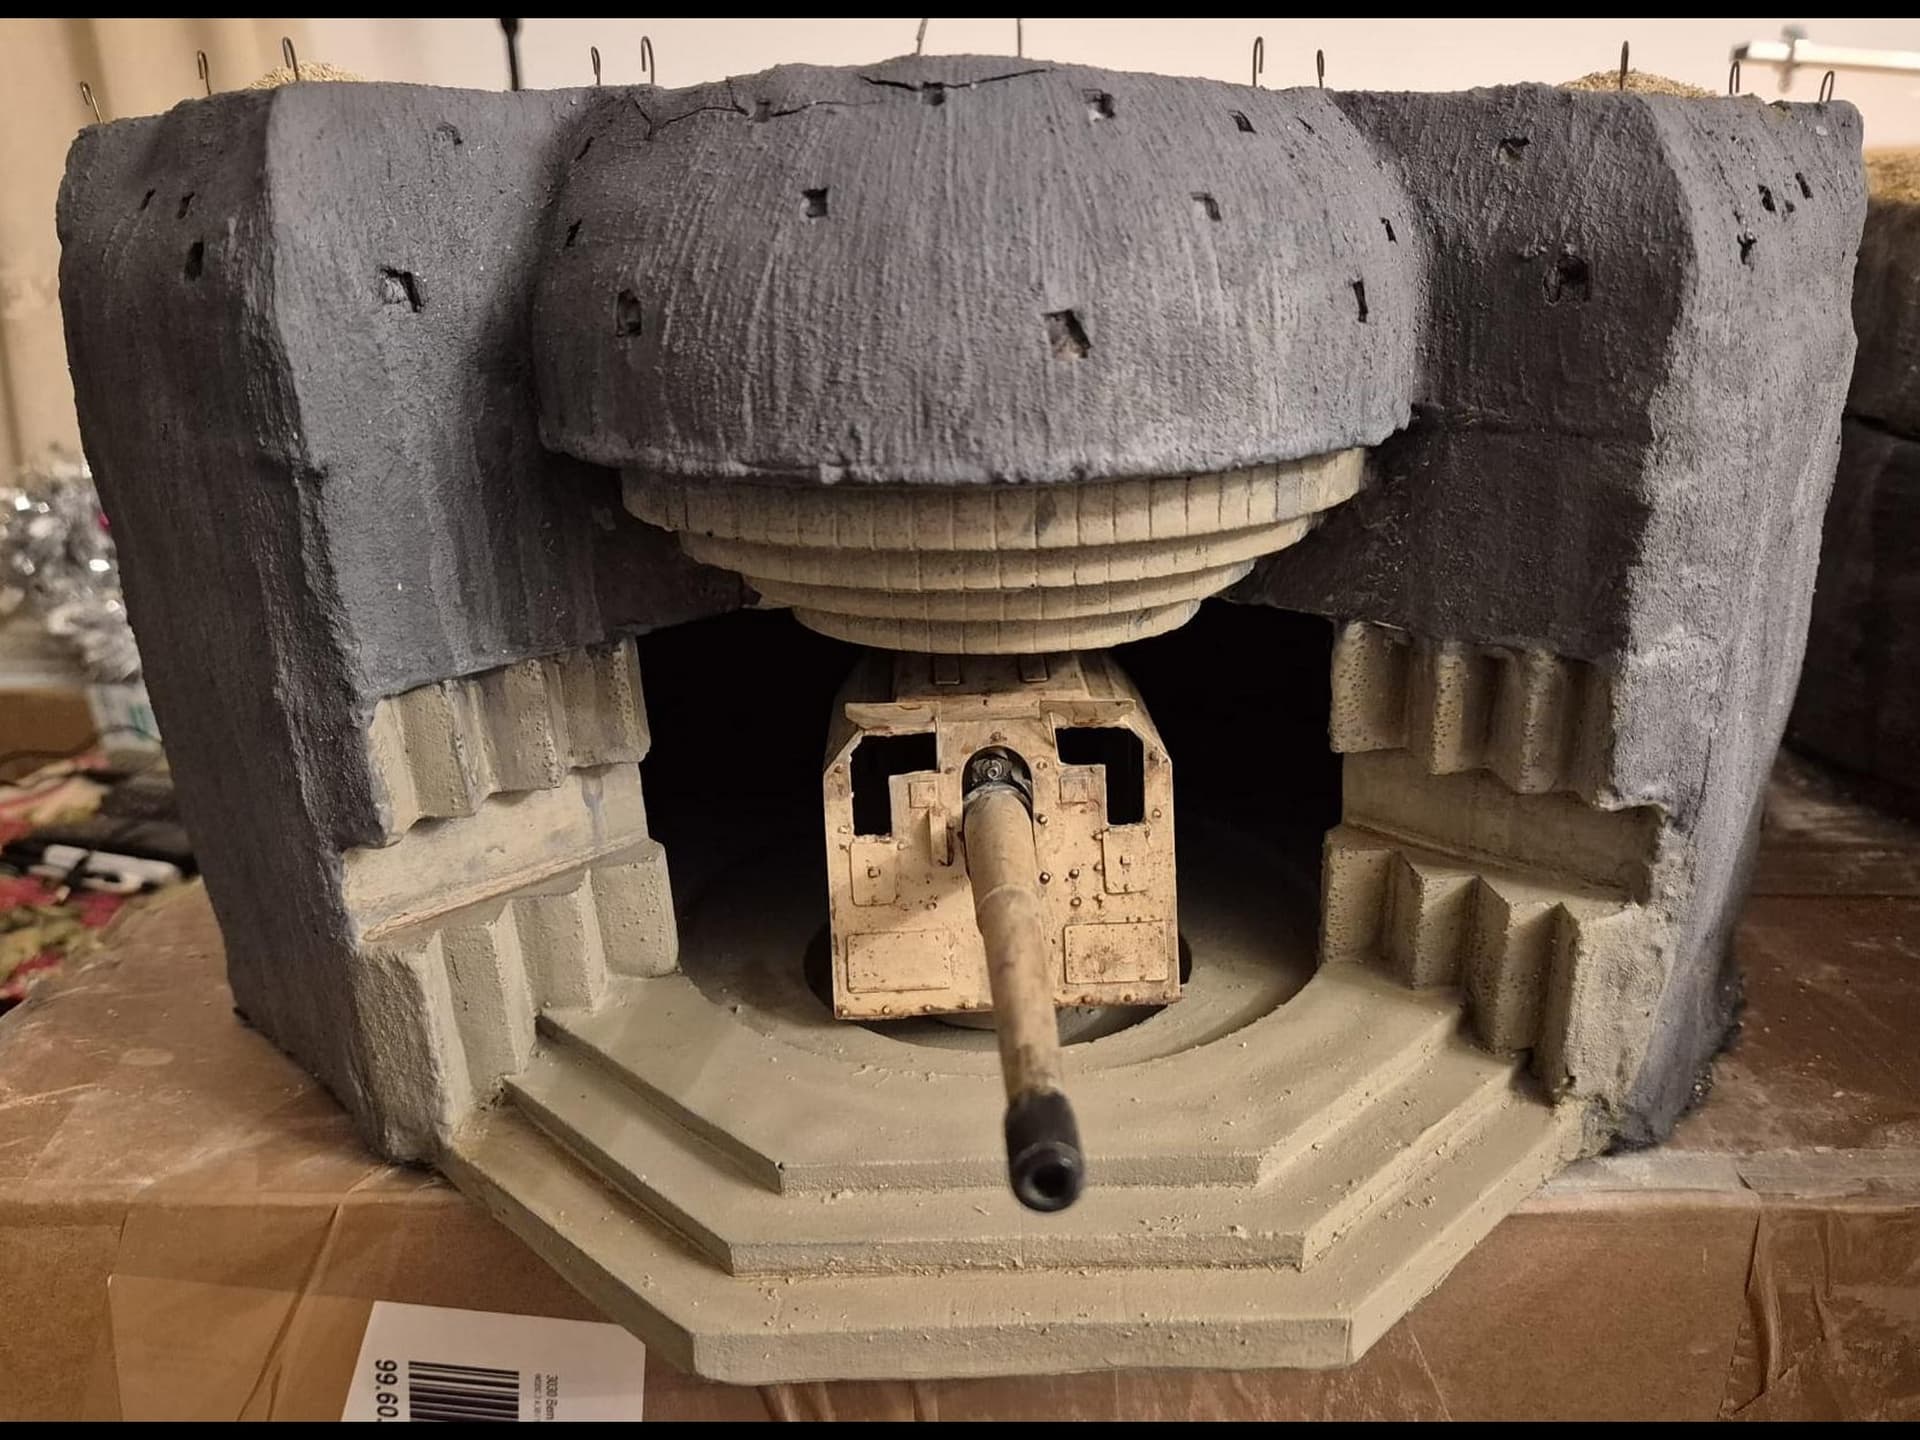
I will first show you the guns alone and following that, the same guns in their finished bunkers and casemates as they actually appeared during the longest day, or if you will, D-Day, the 6th of June, 1944.

I hope you will like them nevertheless, since they are both part of a tragic story of men confronting each other in battle and only fighting to stay alive for just one more day.

And here is my finished work…


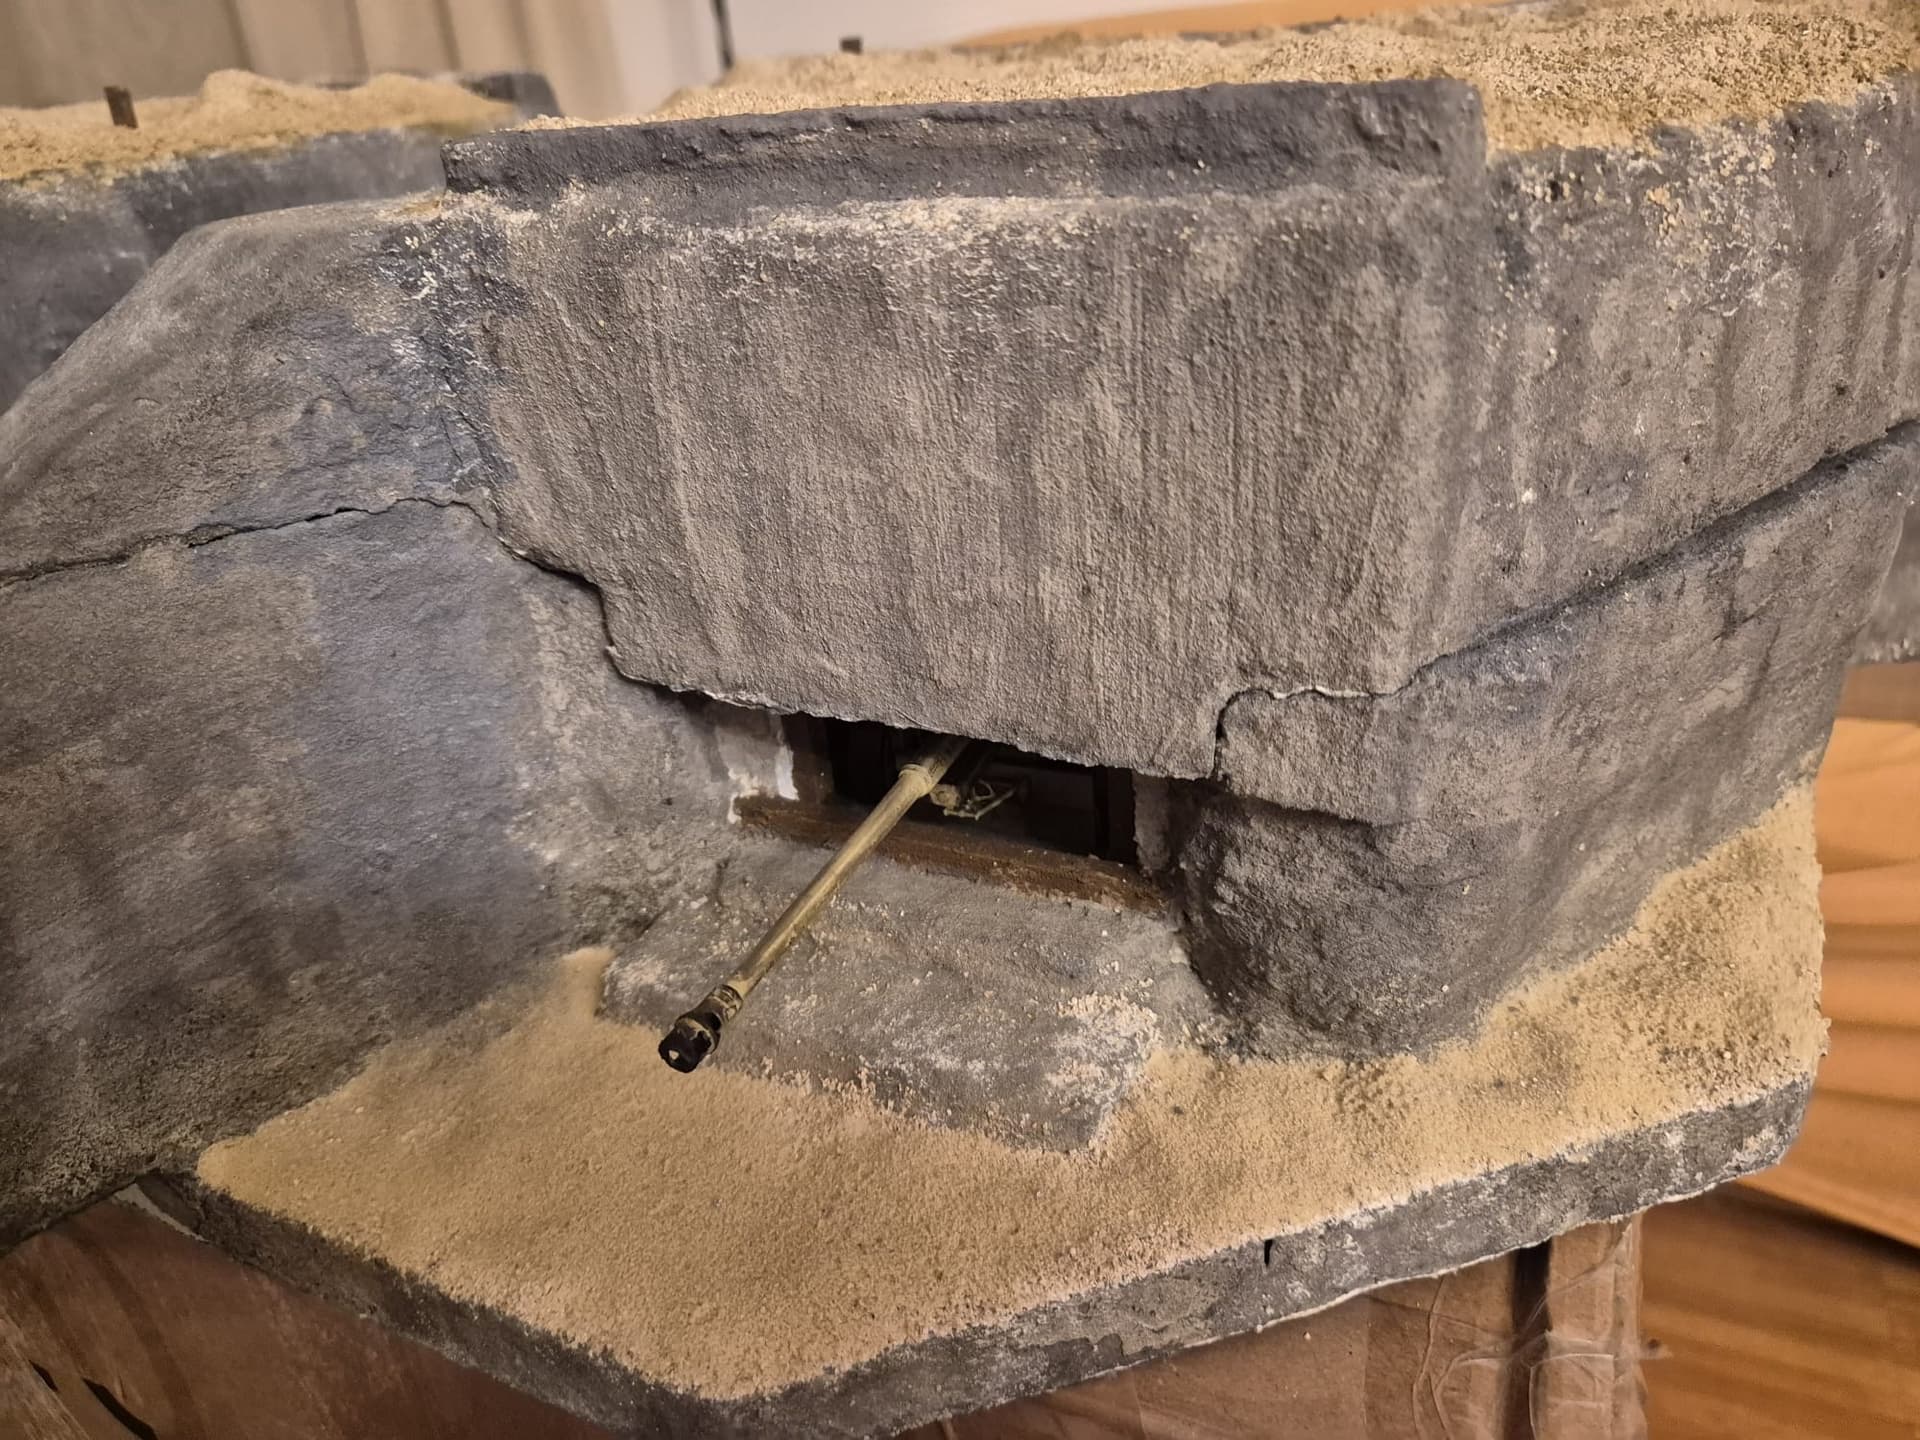
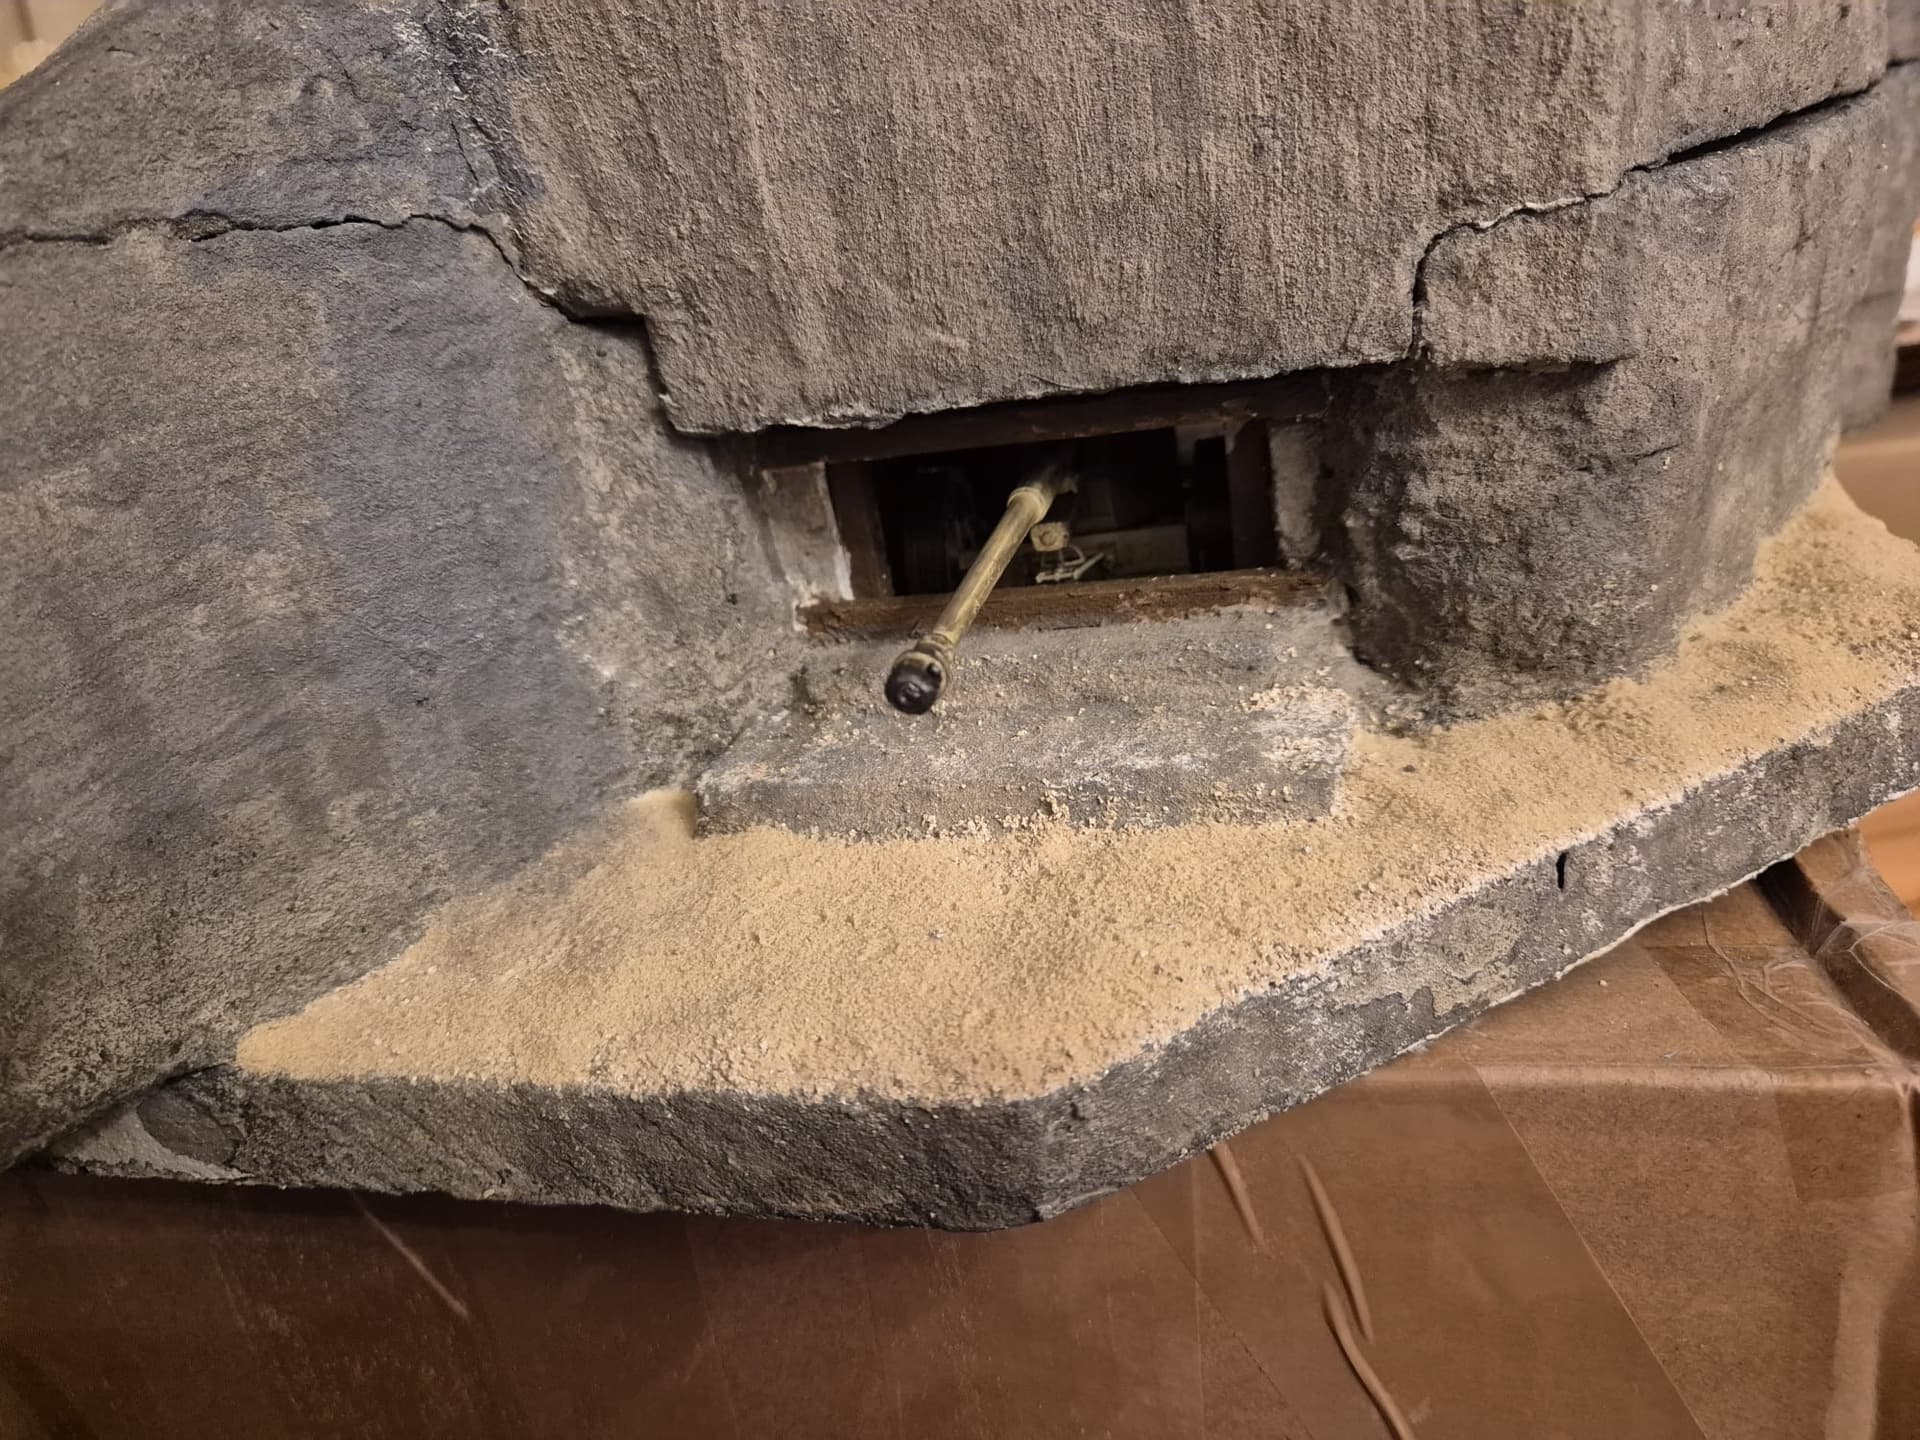
And now to the 15 cm (150 mm) SK C/36 naval gun…


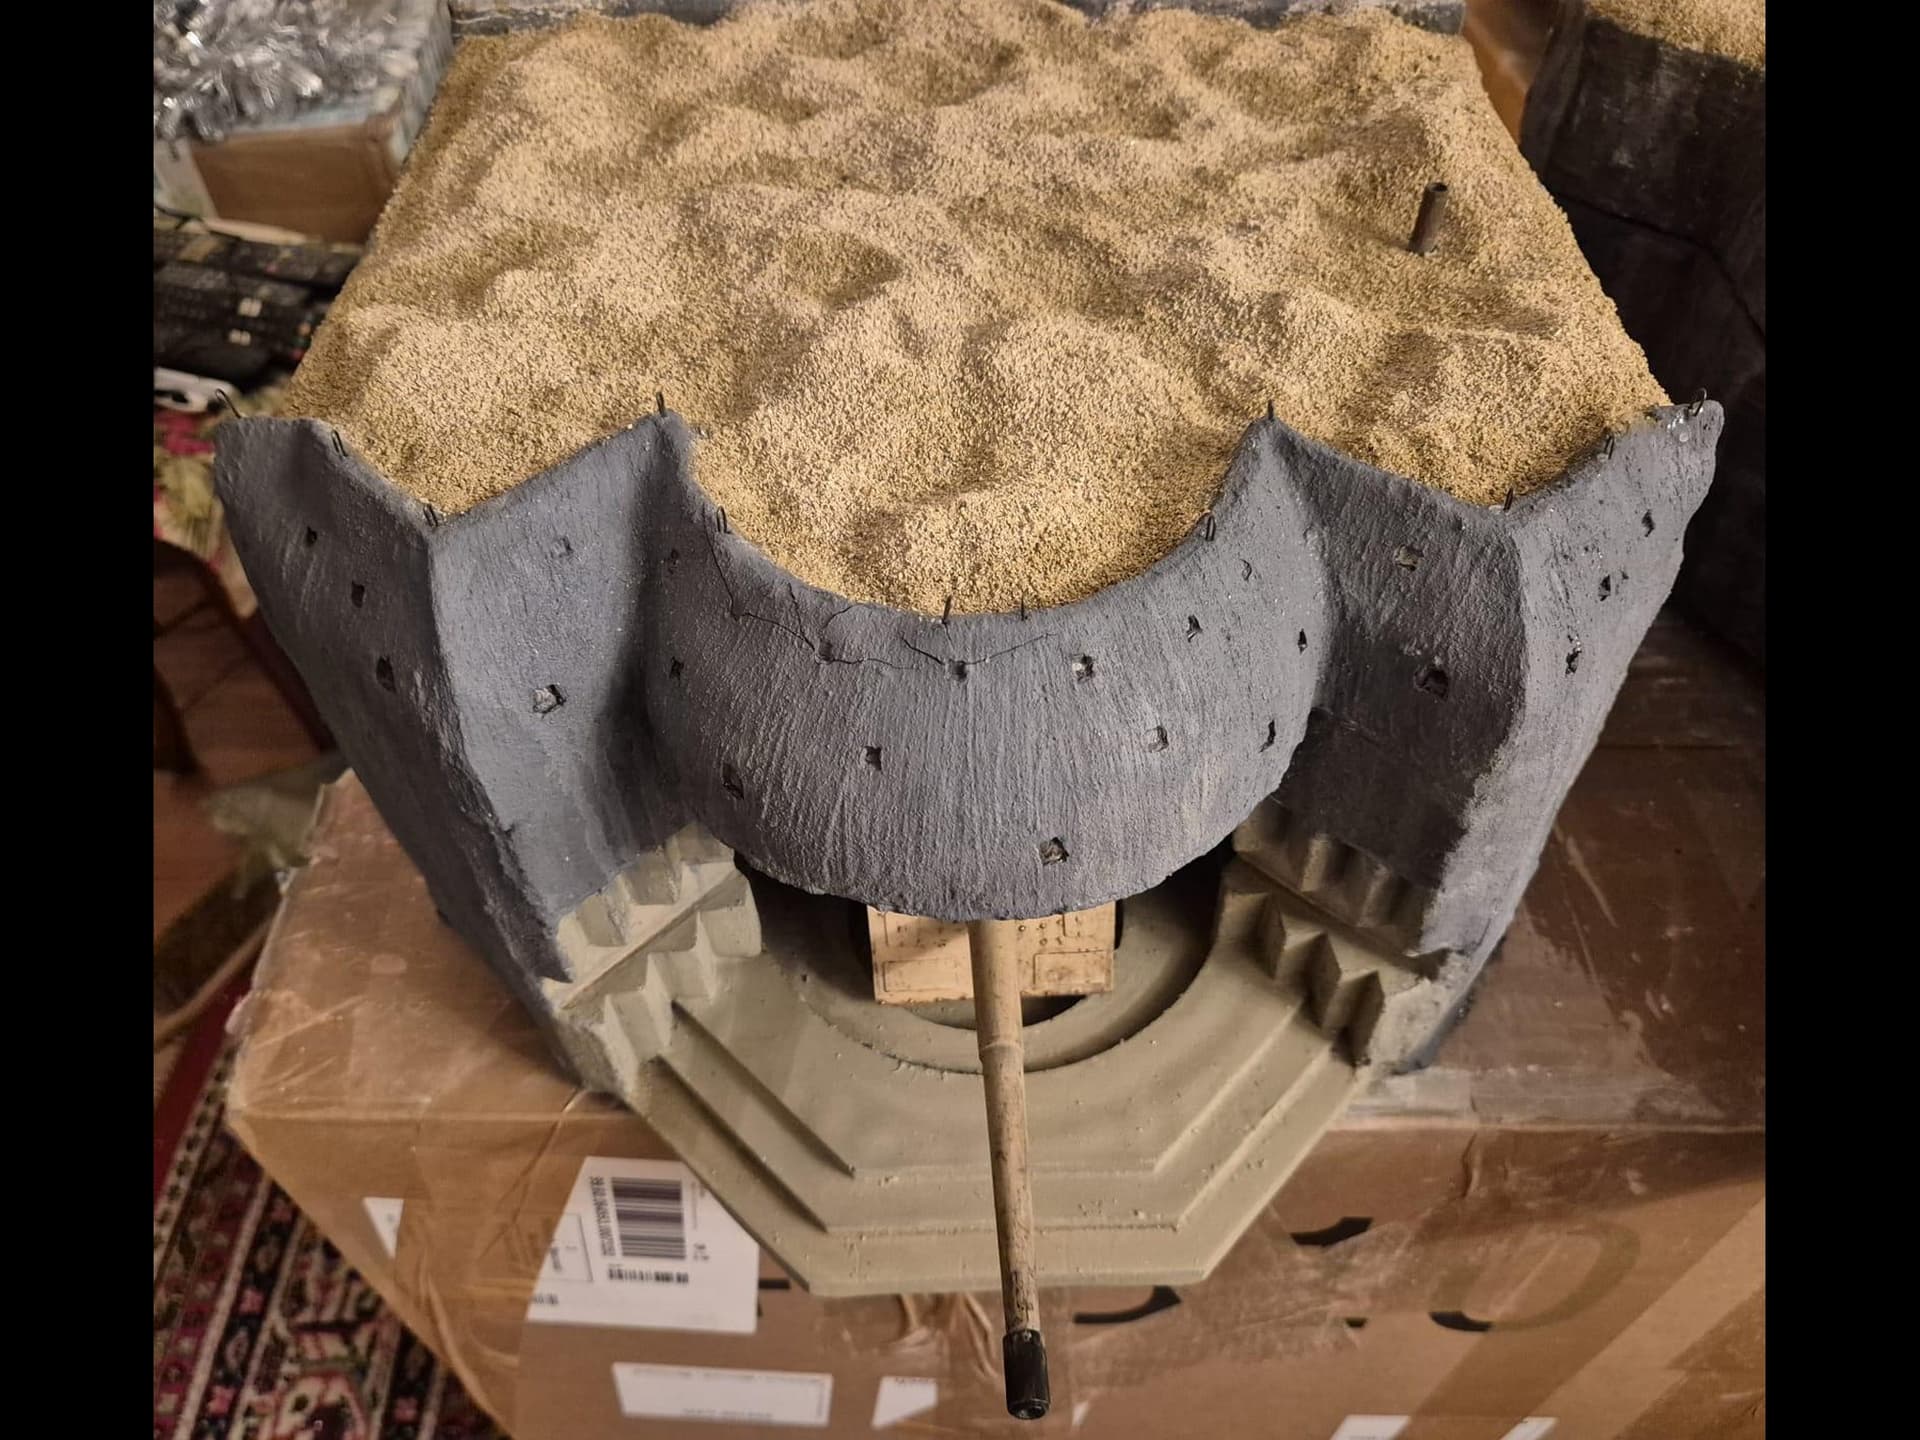
And this ends our journey with these two humongous monsters.

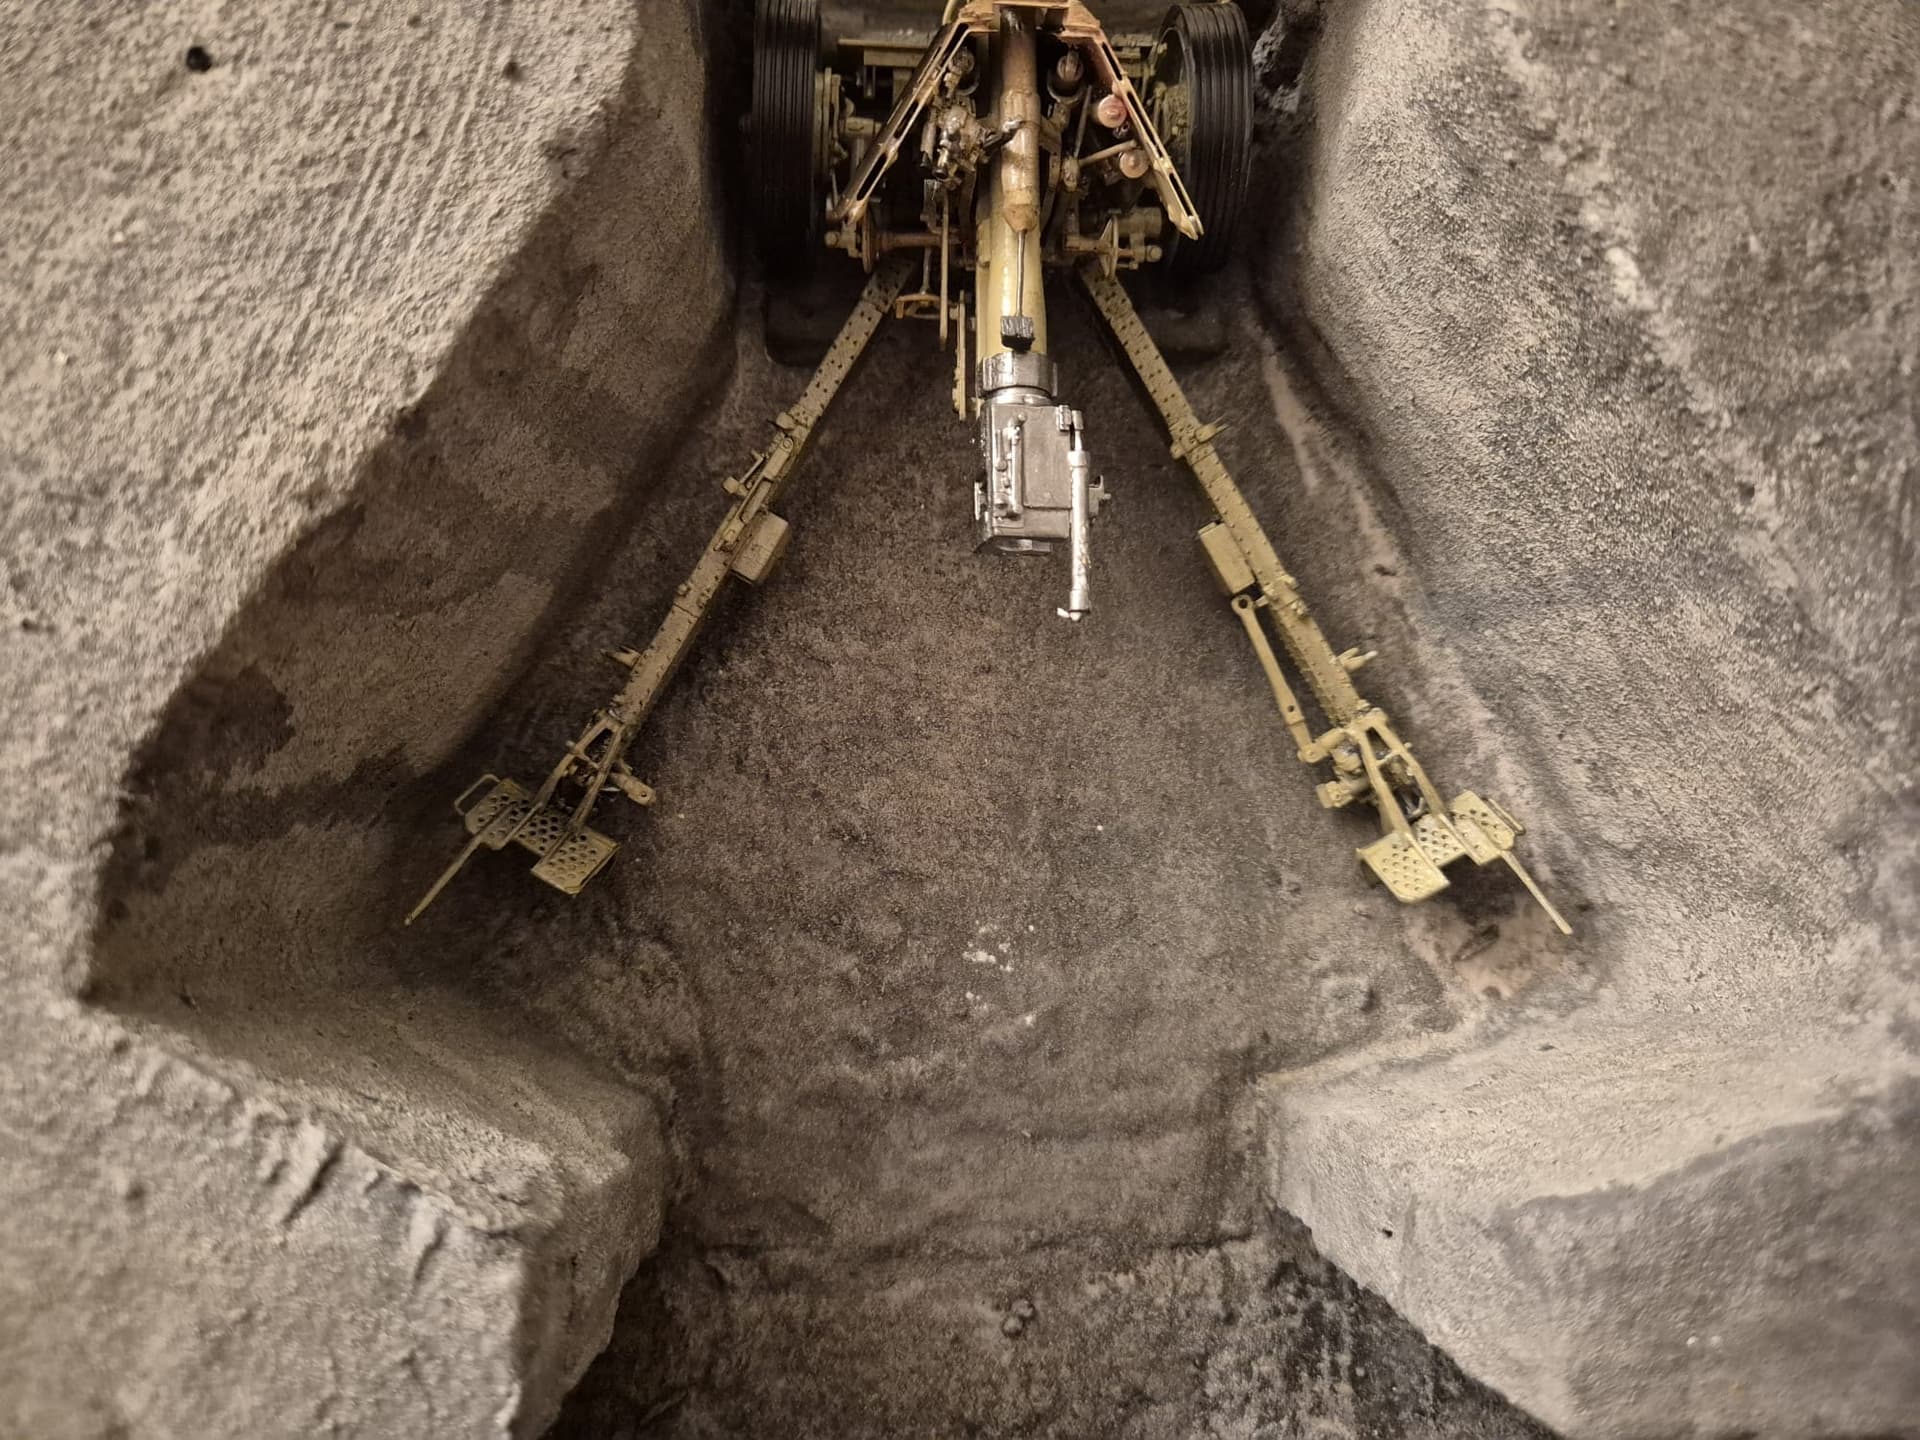
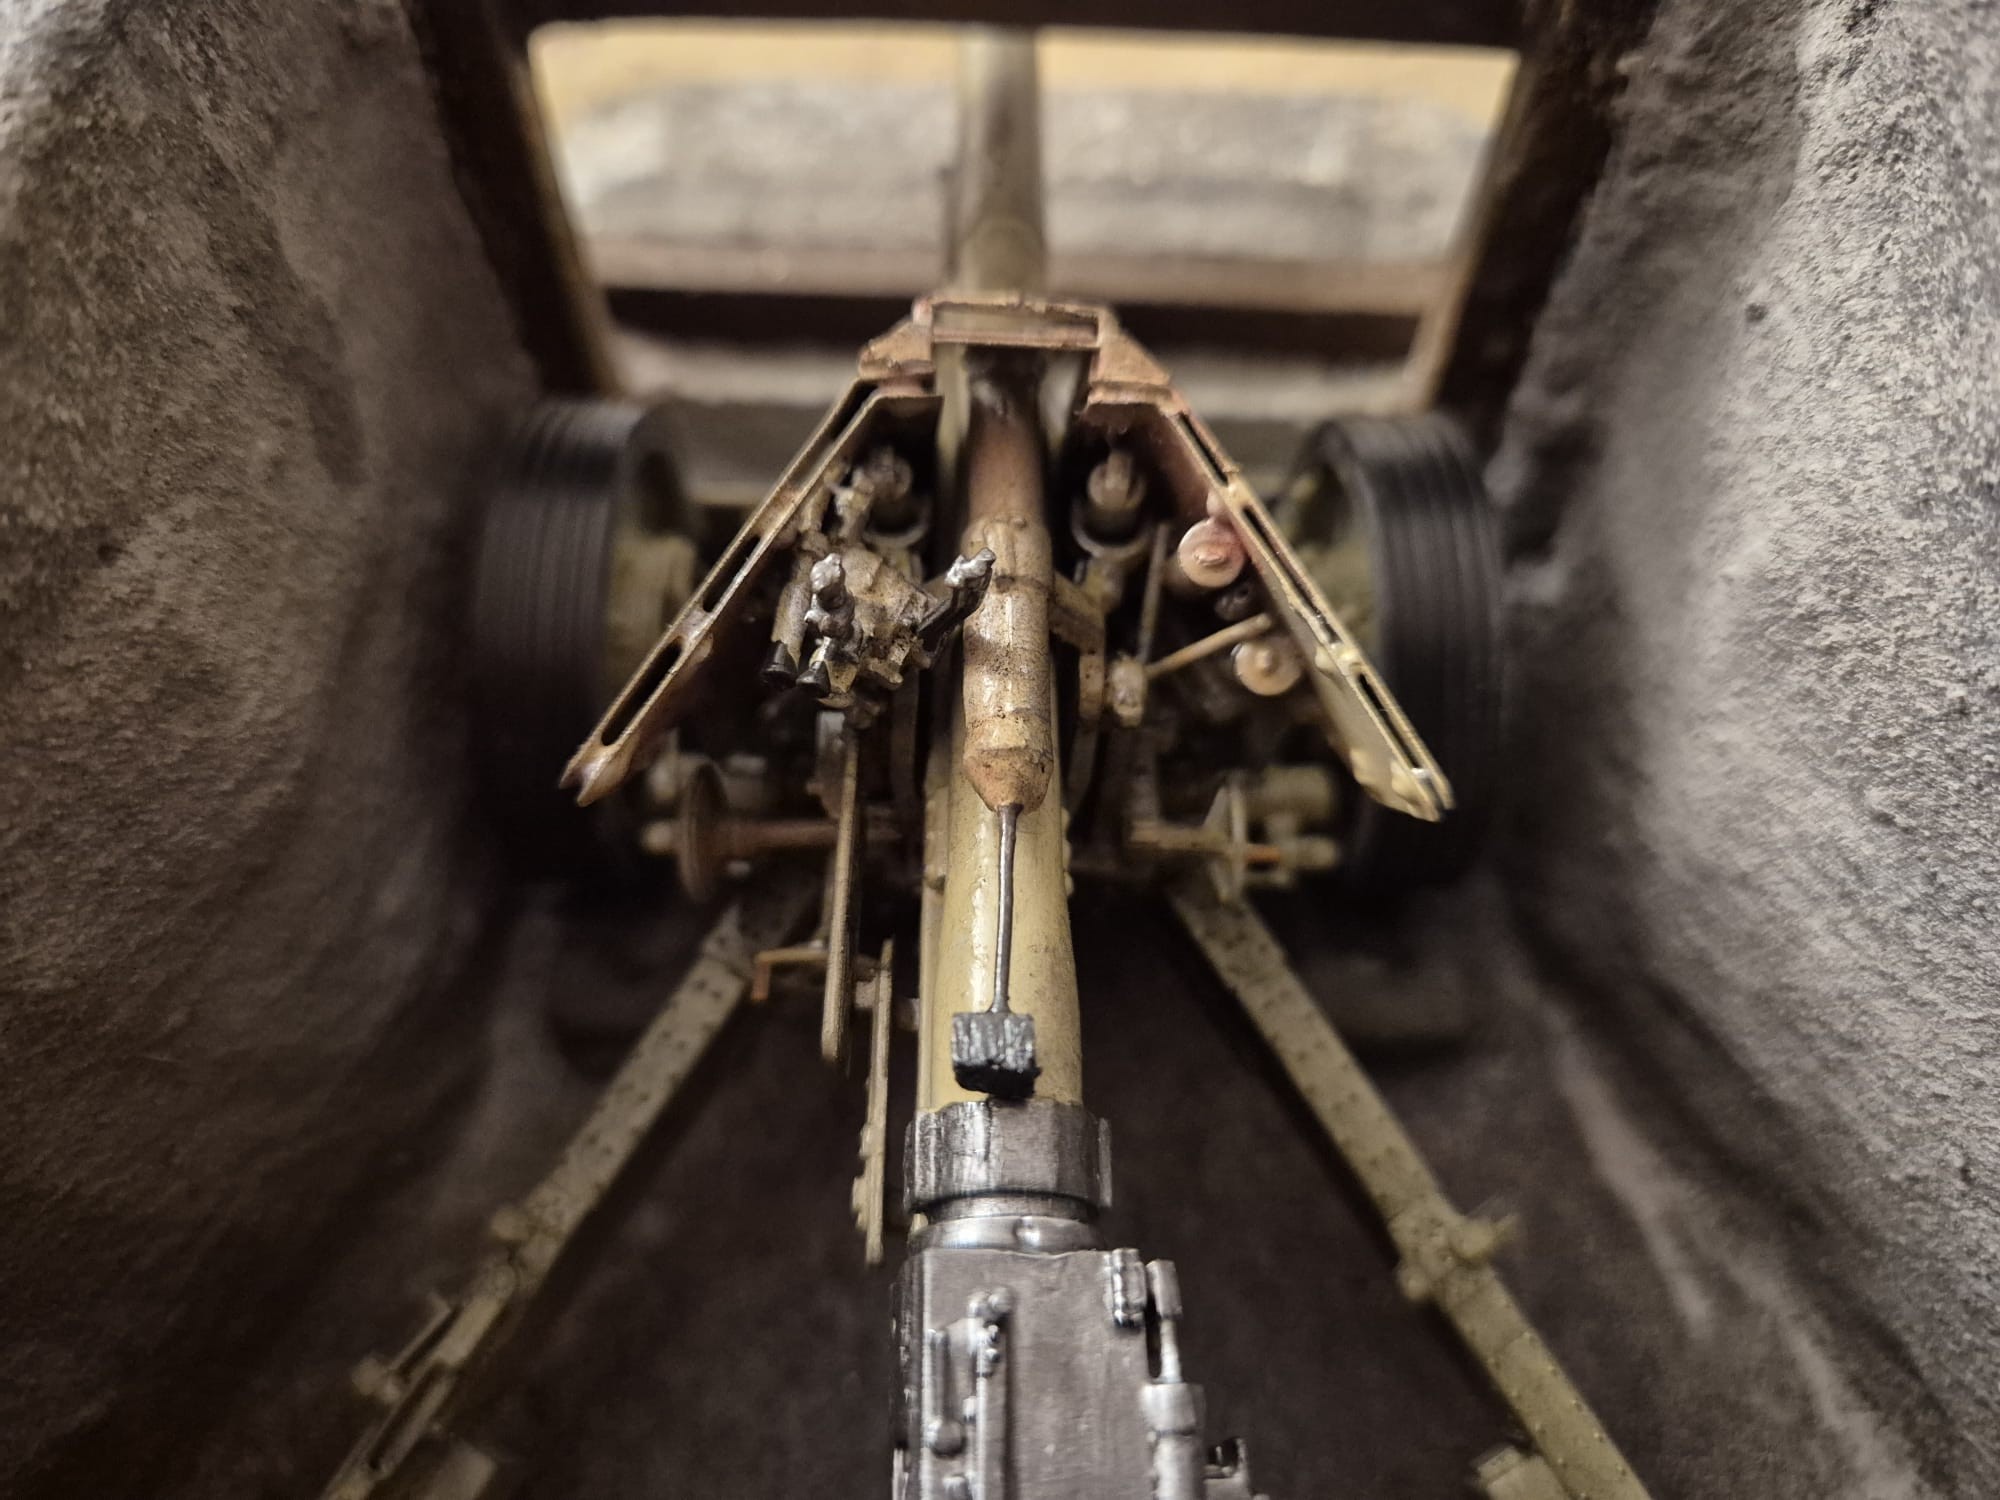
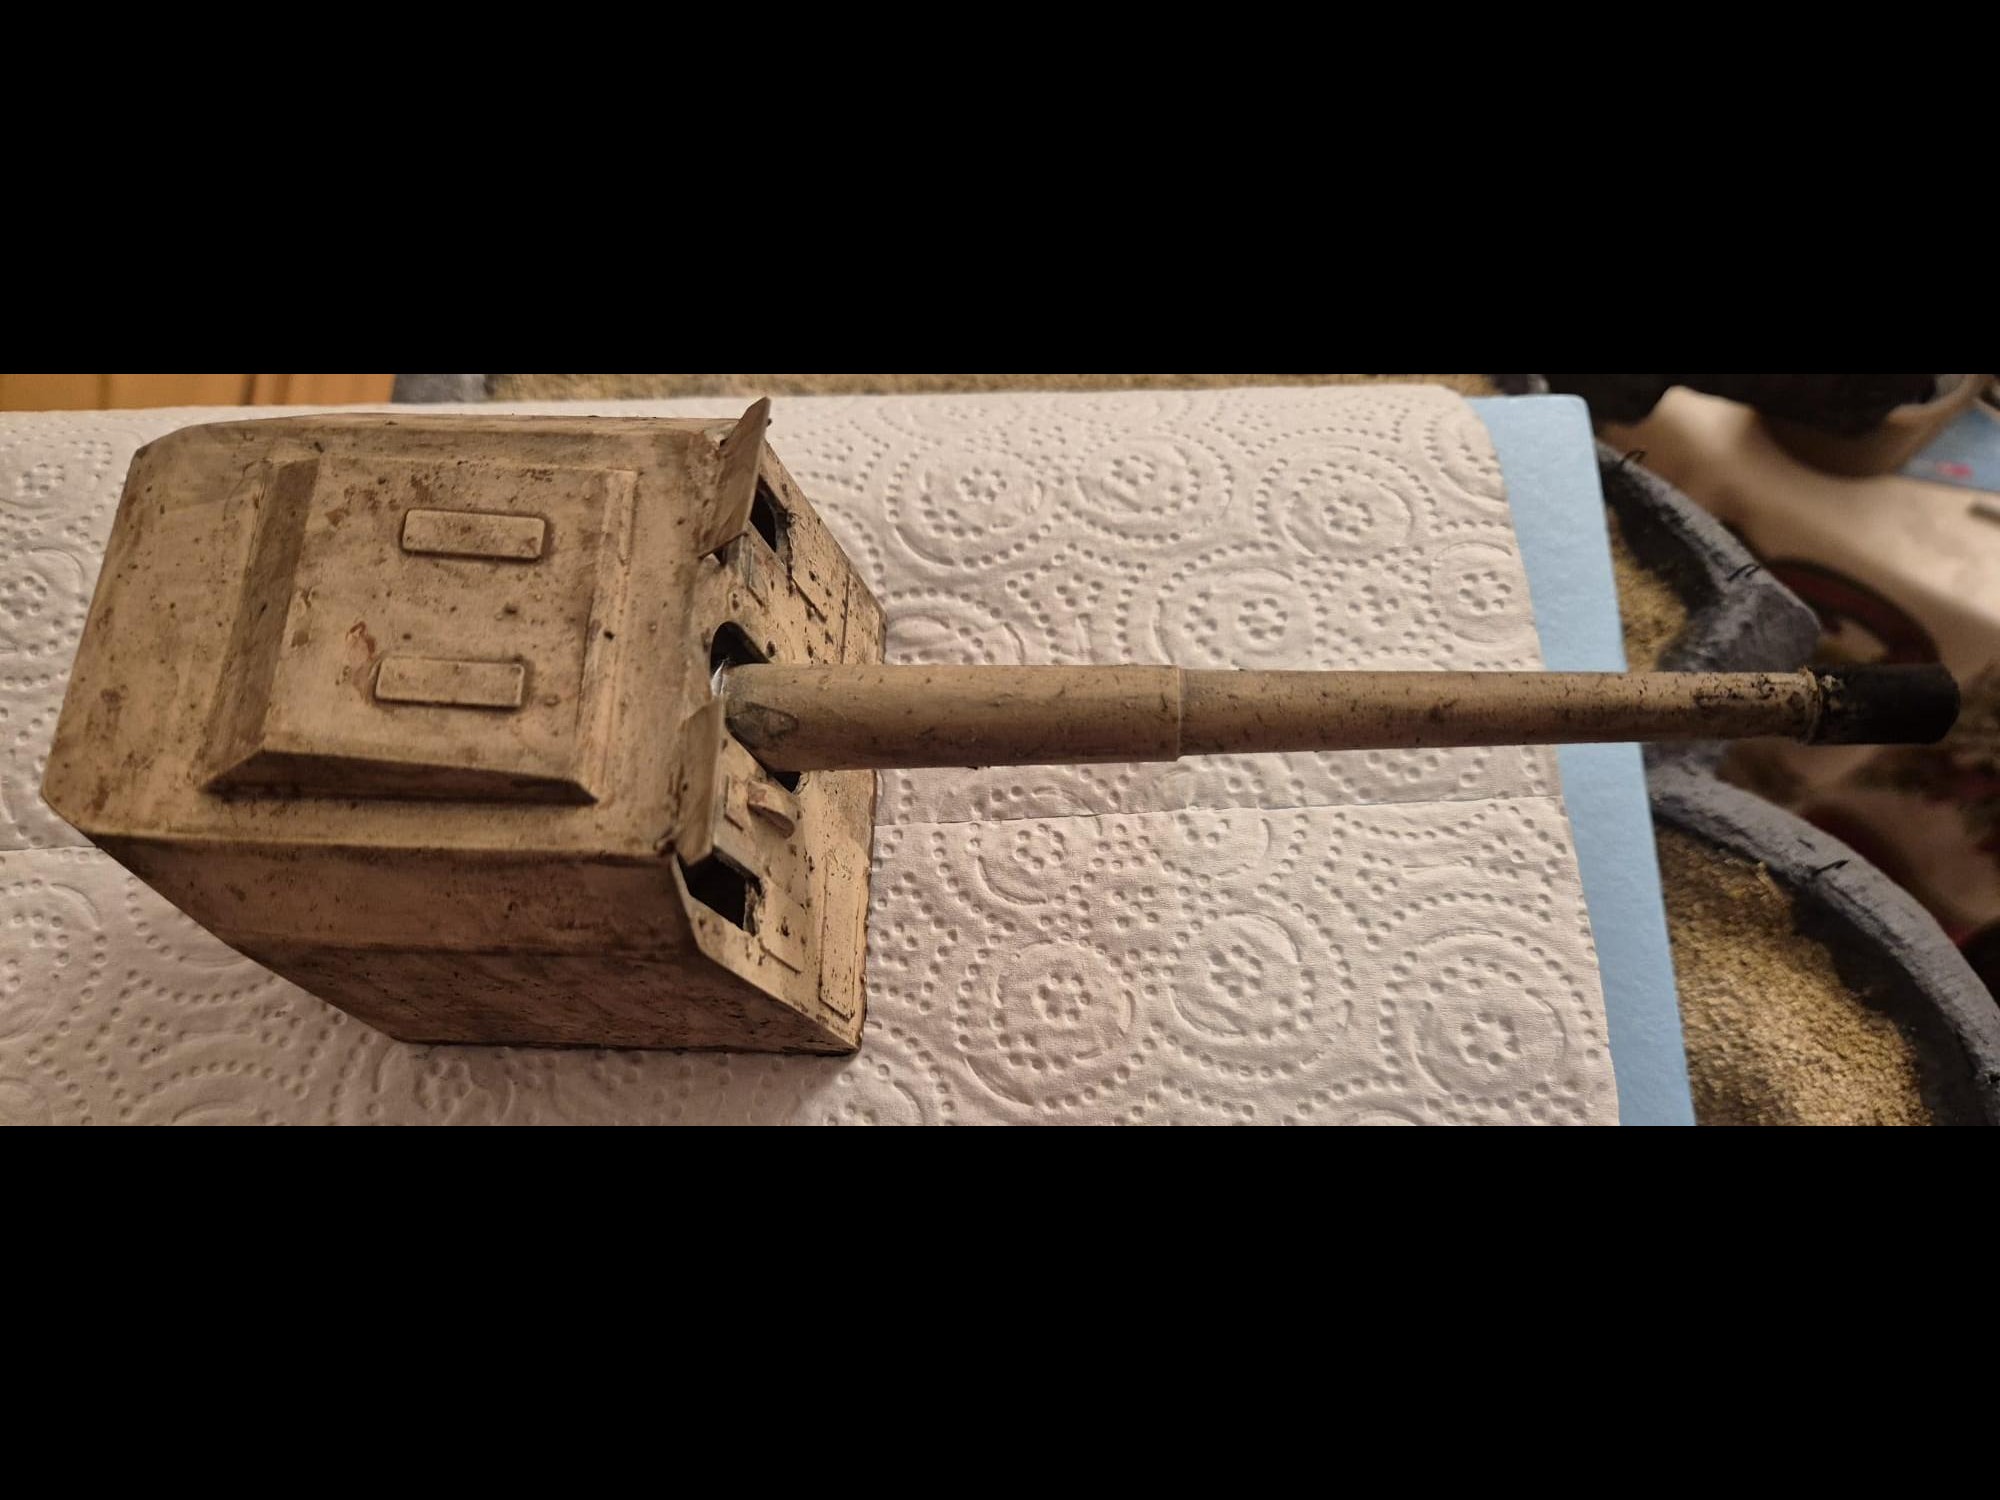
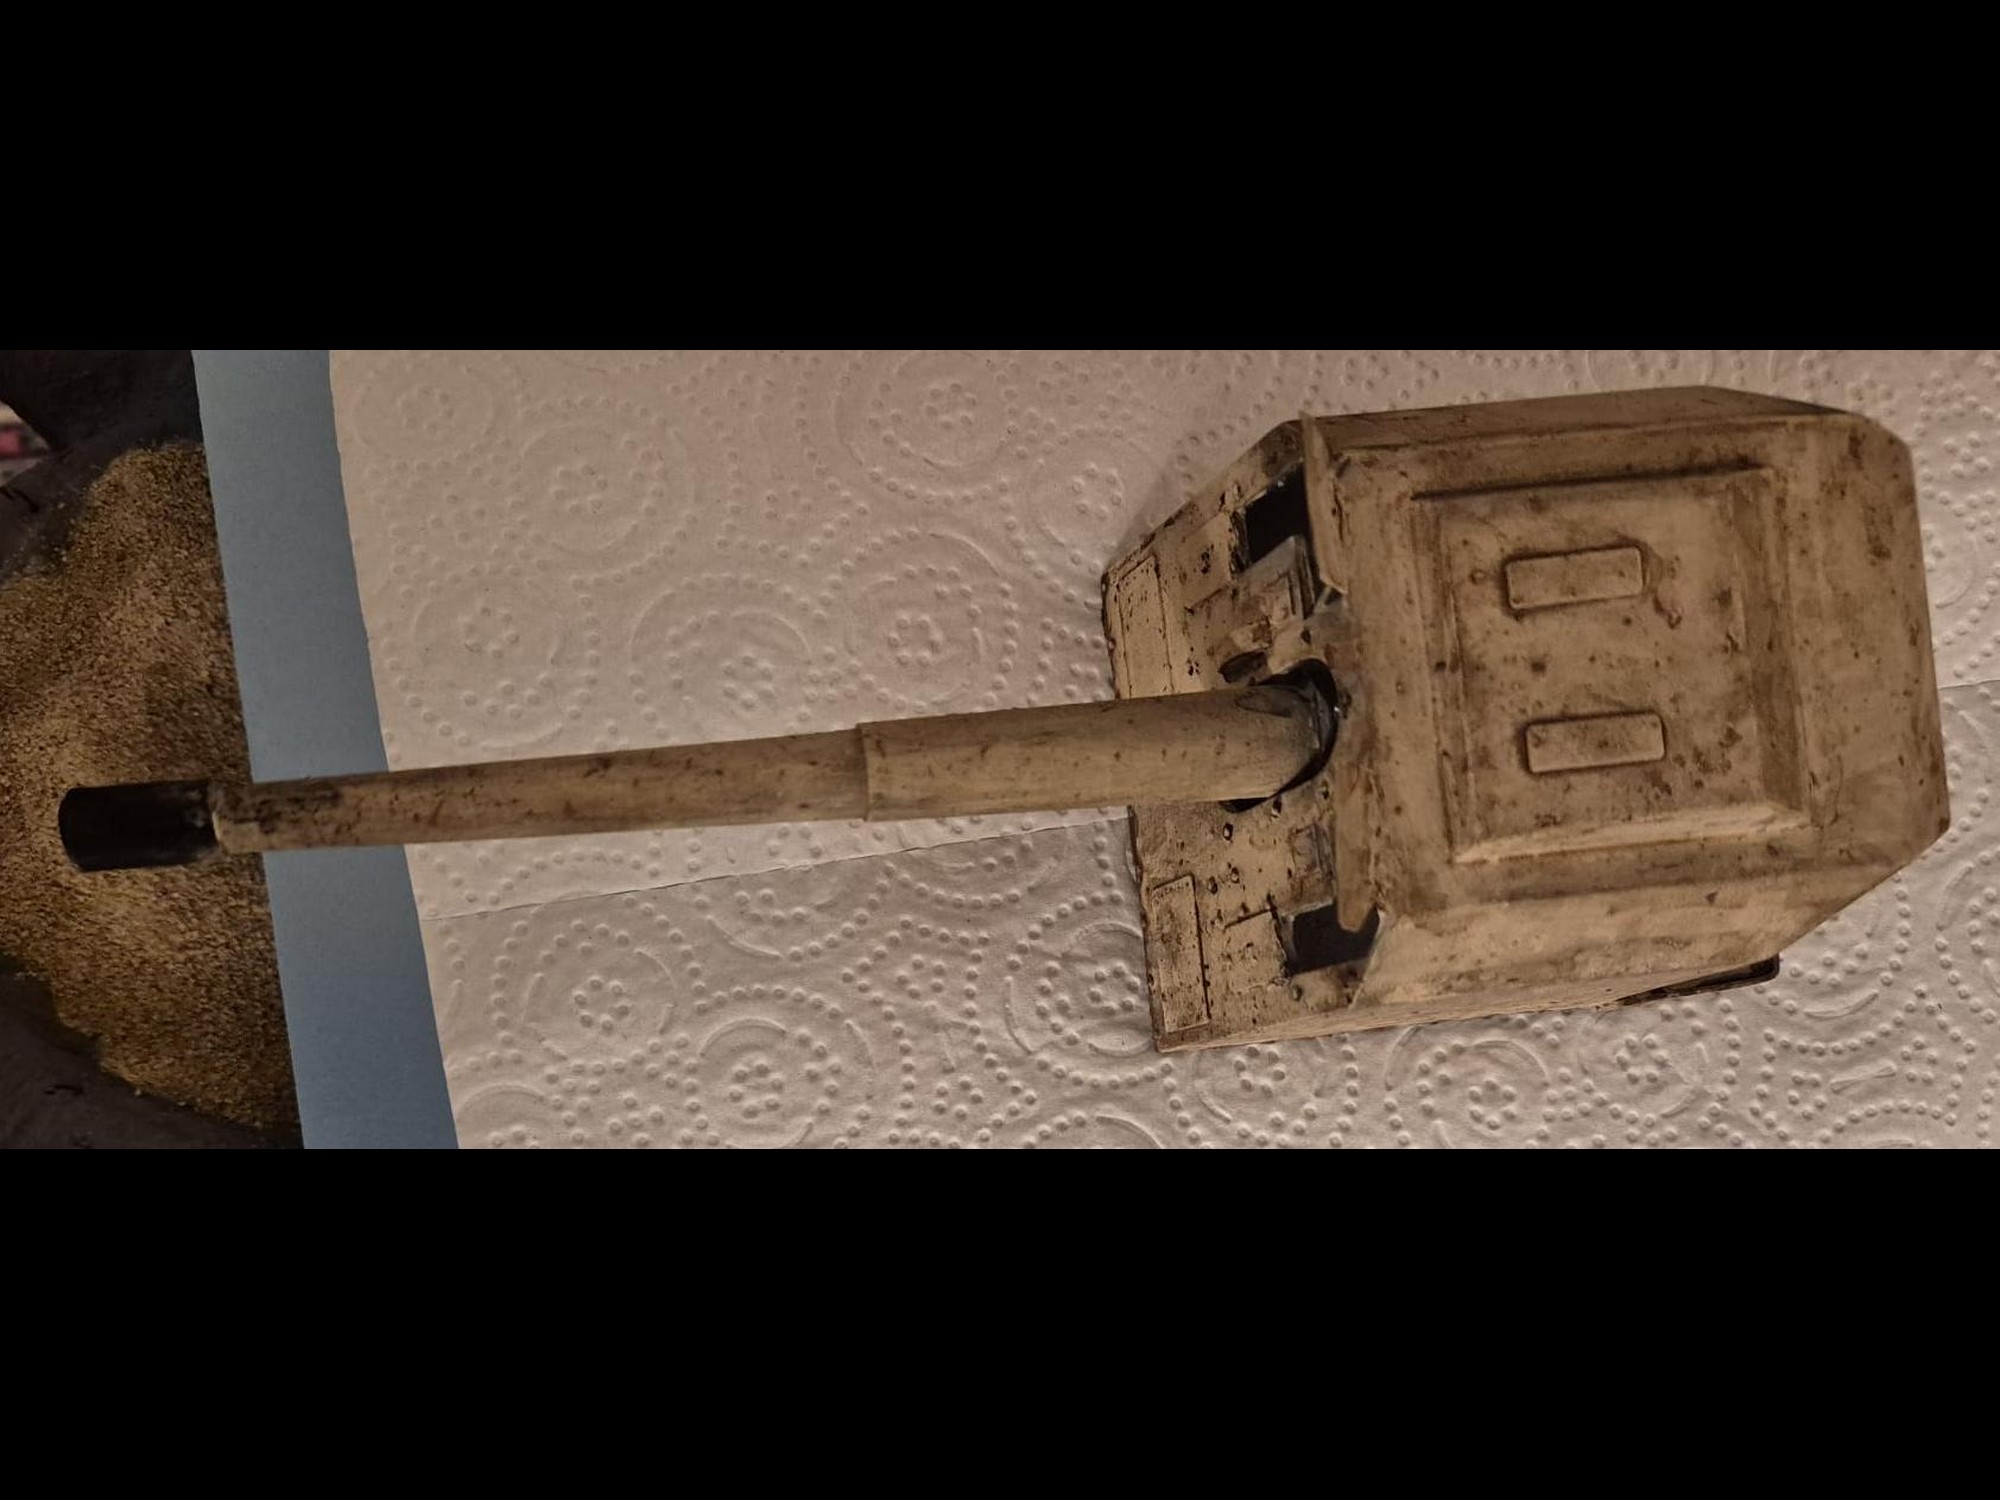
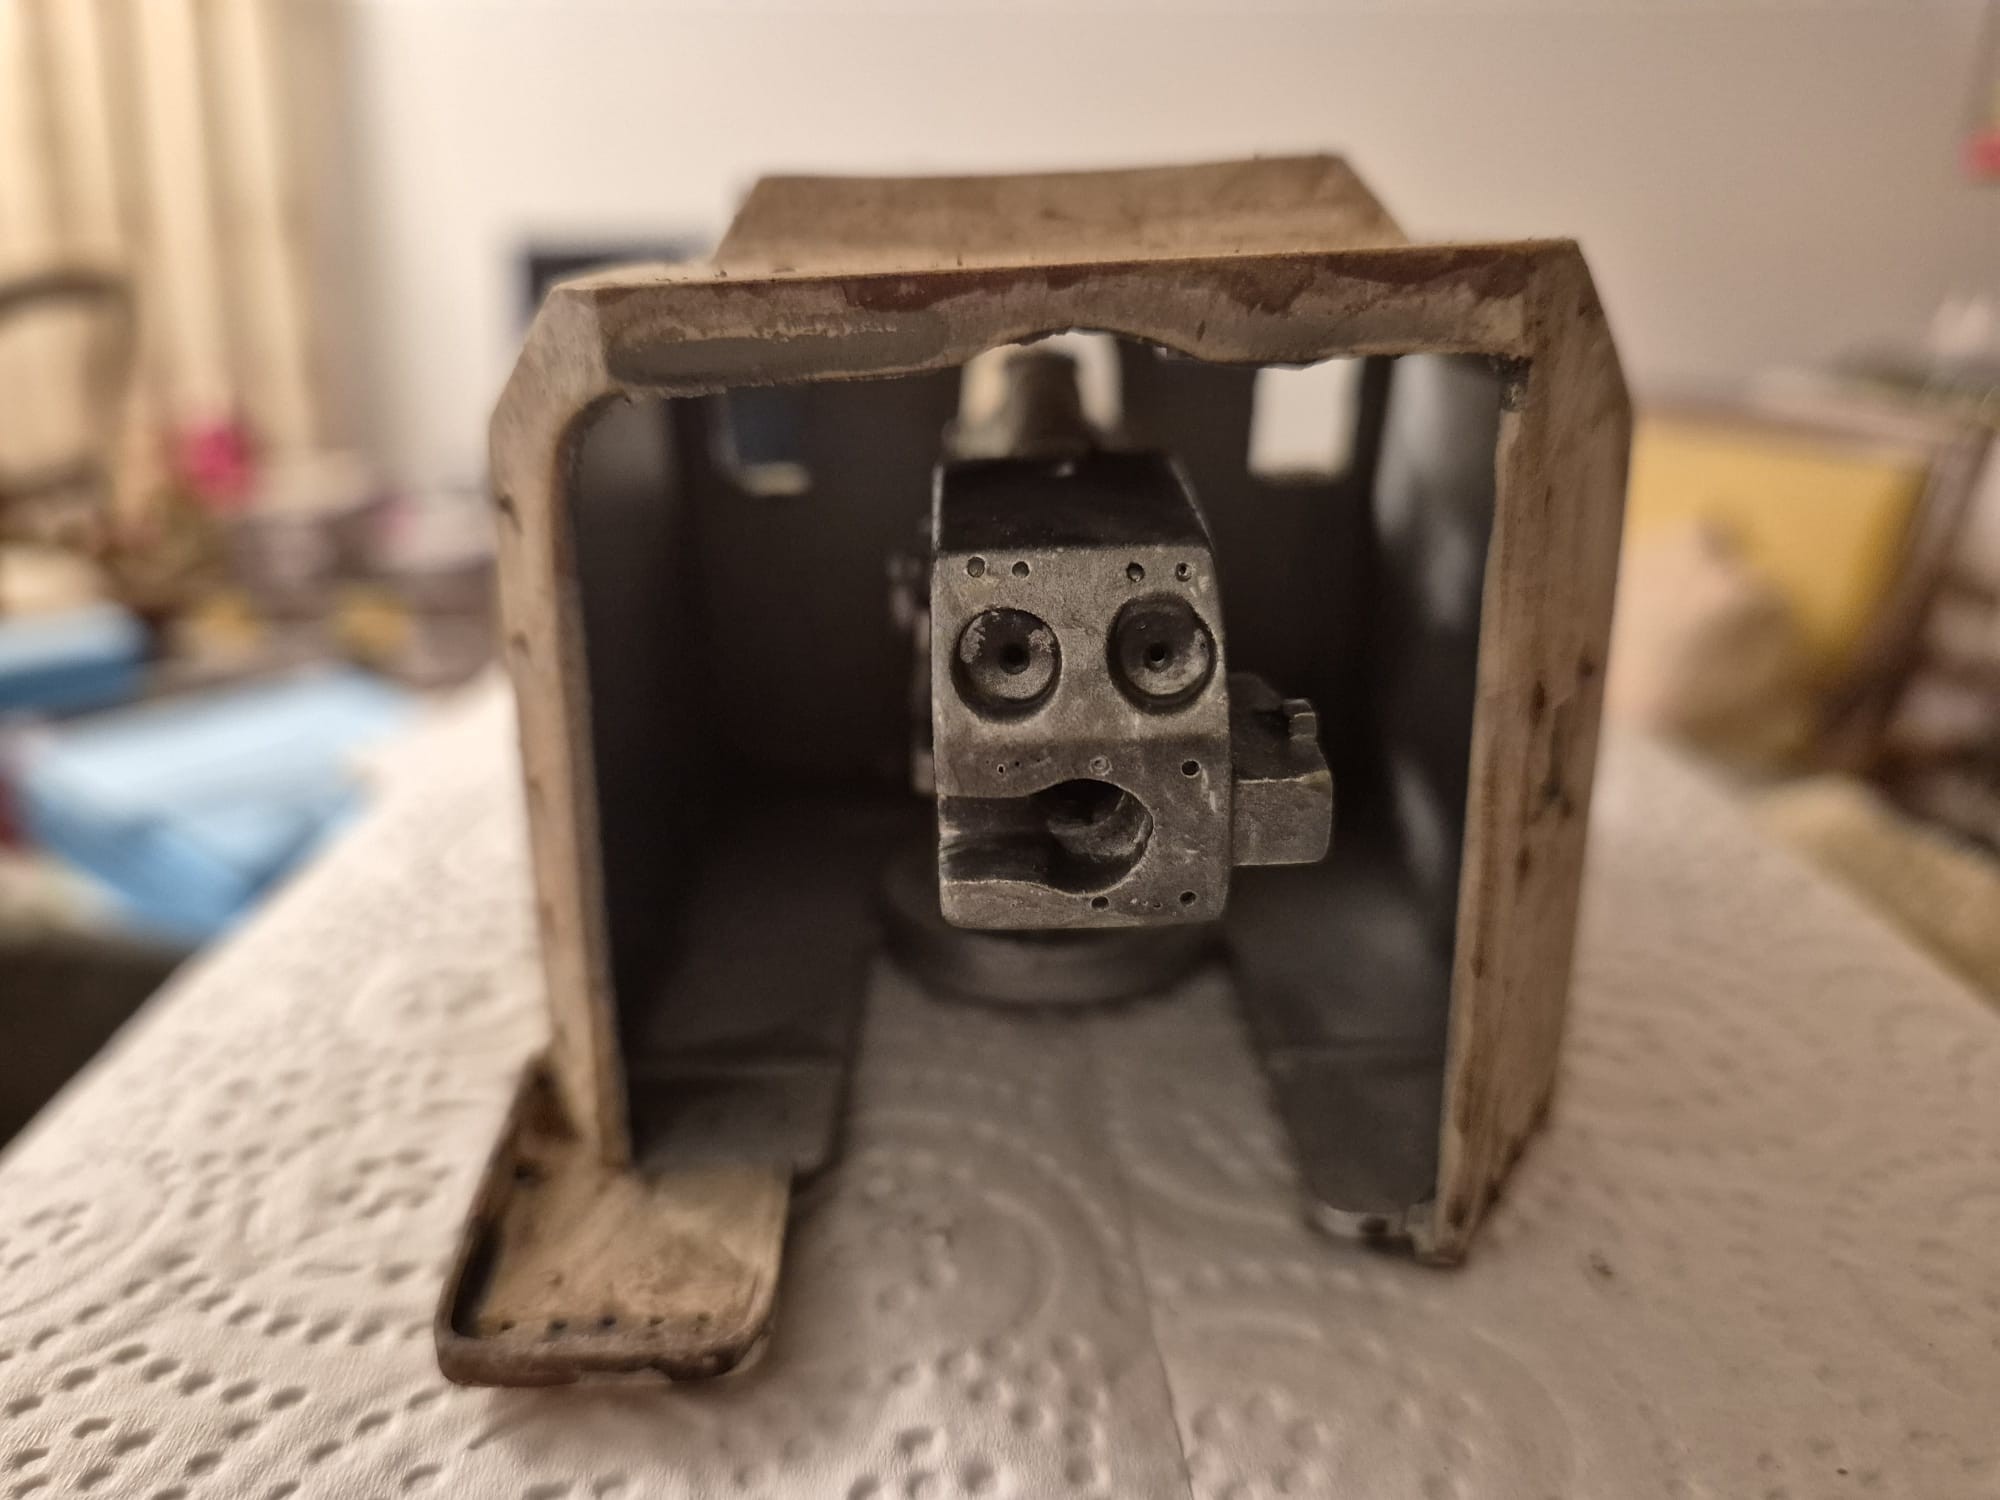
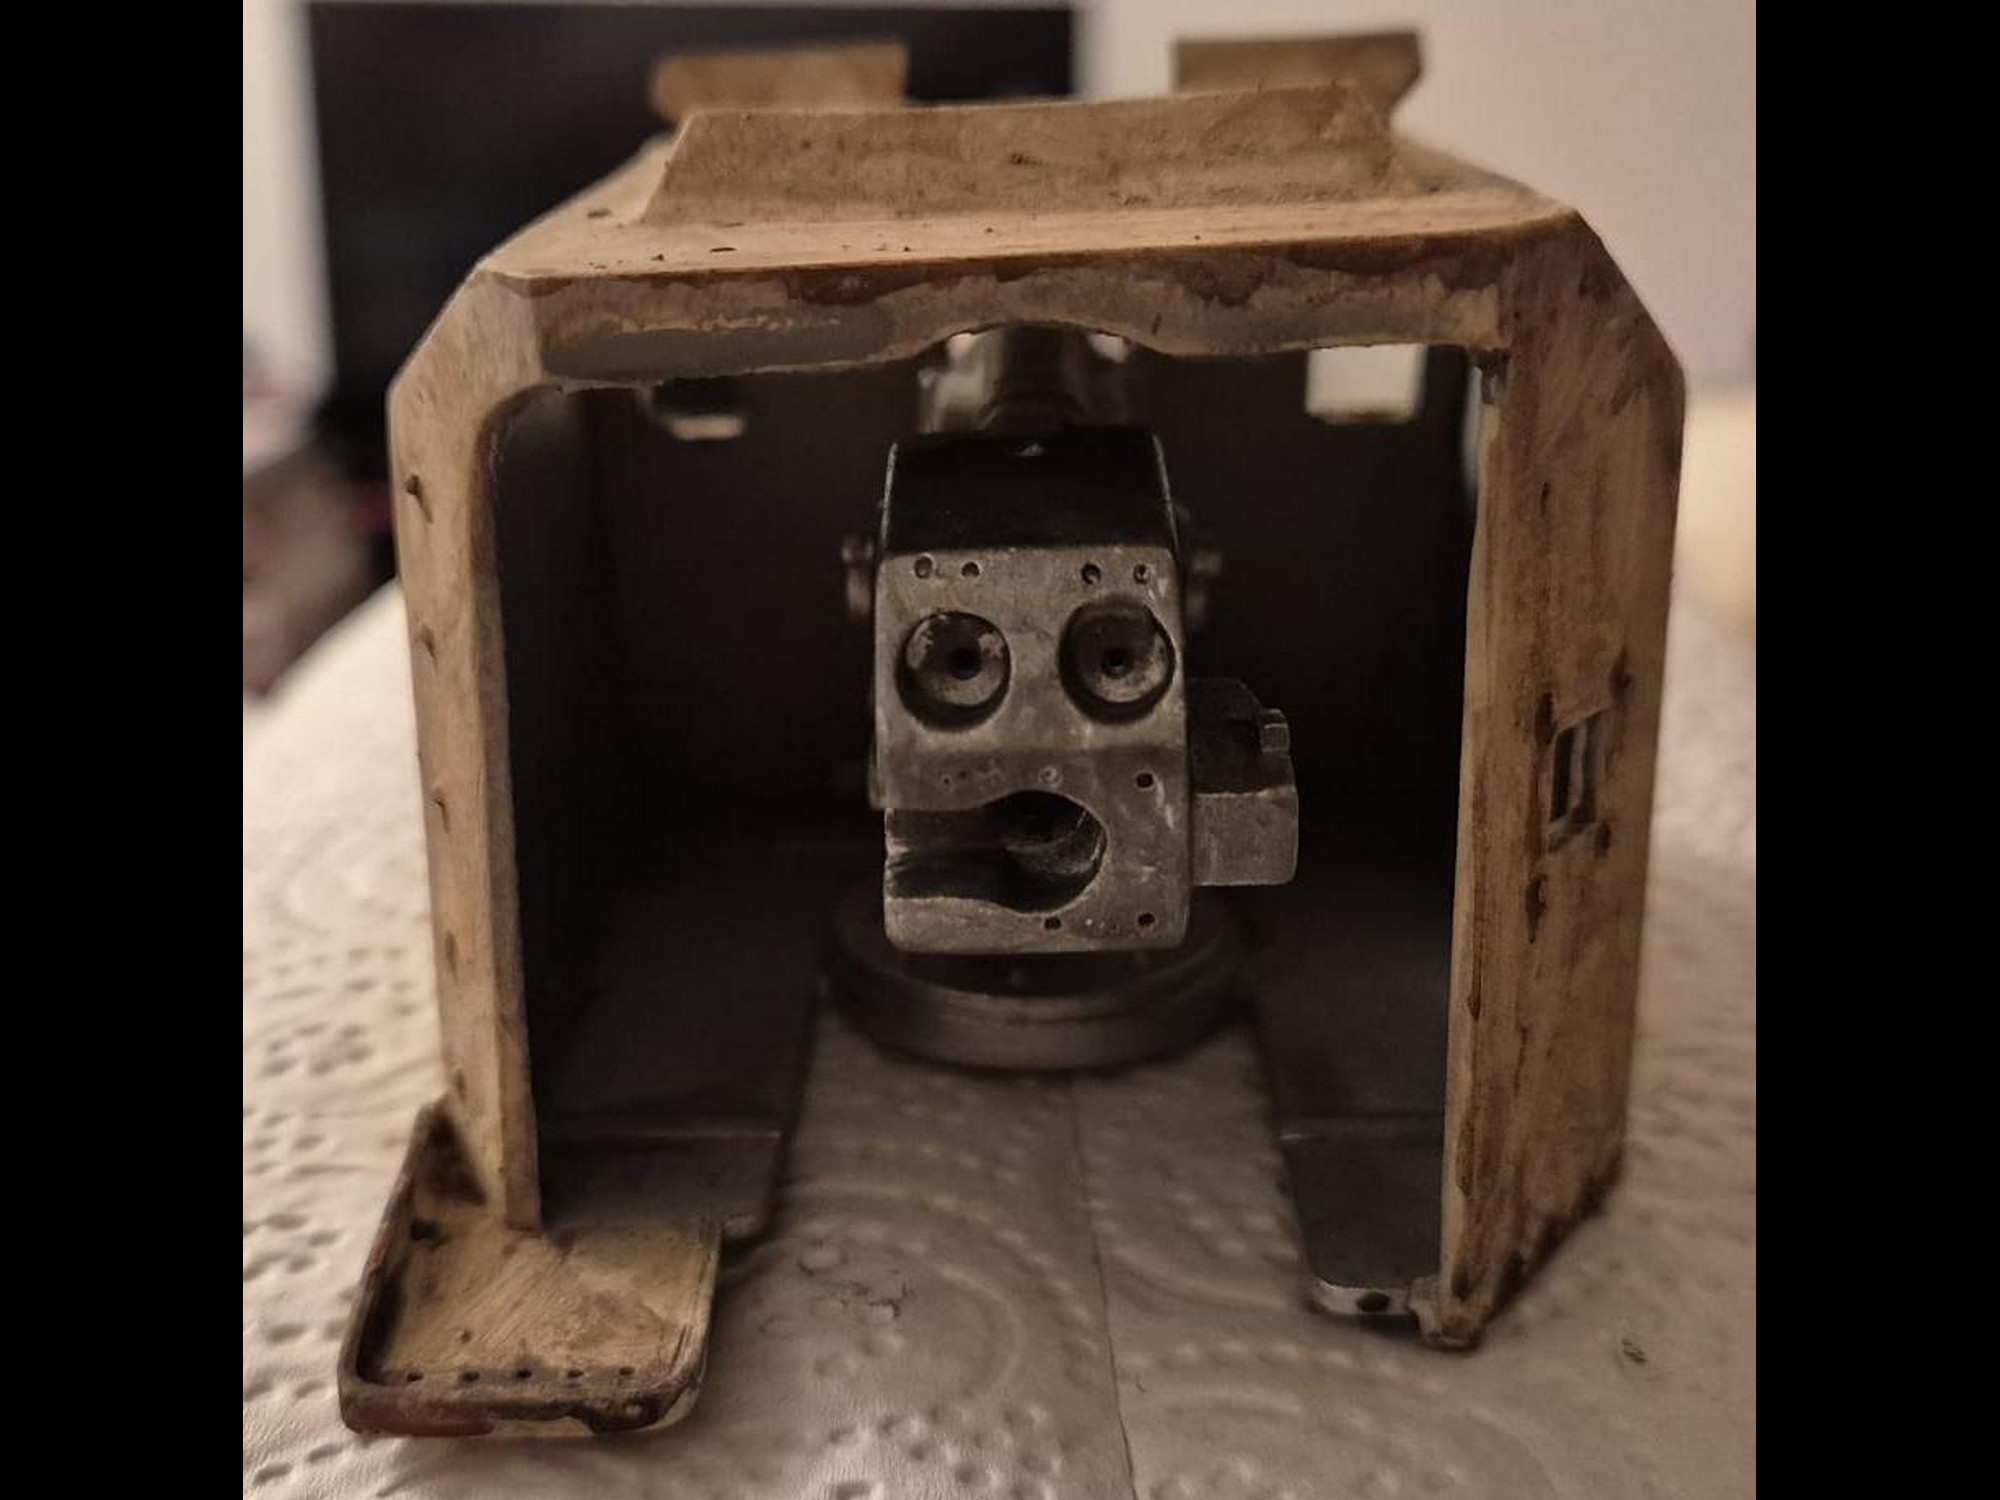
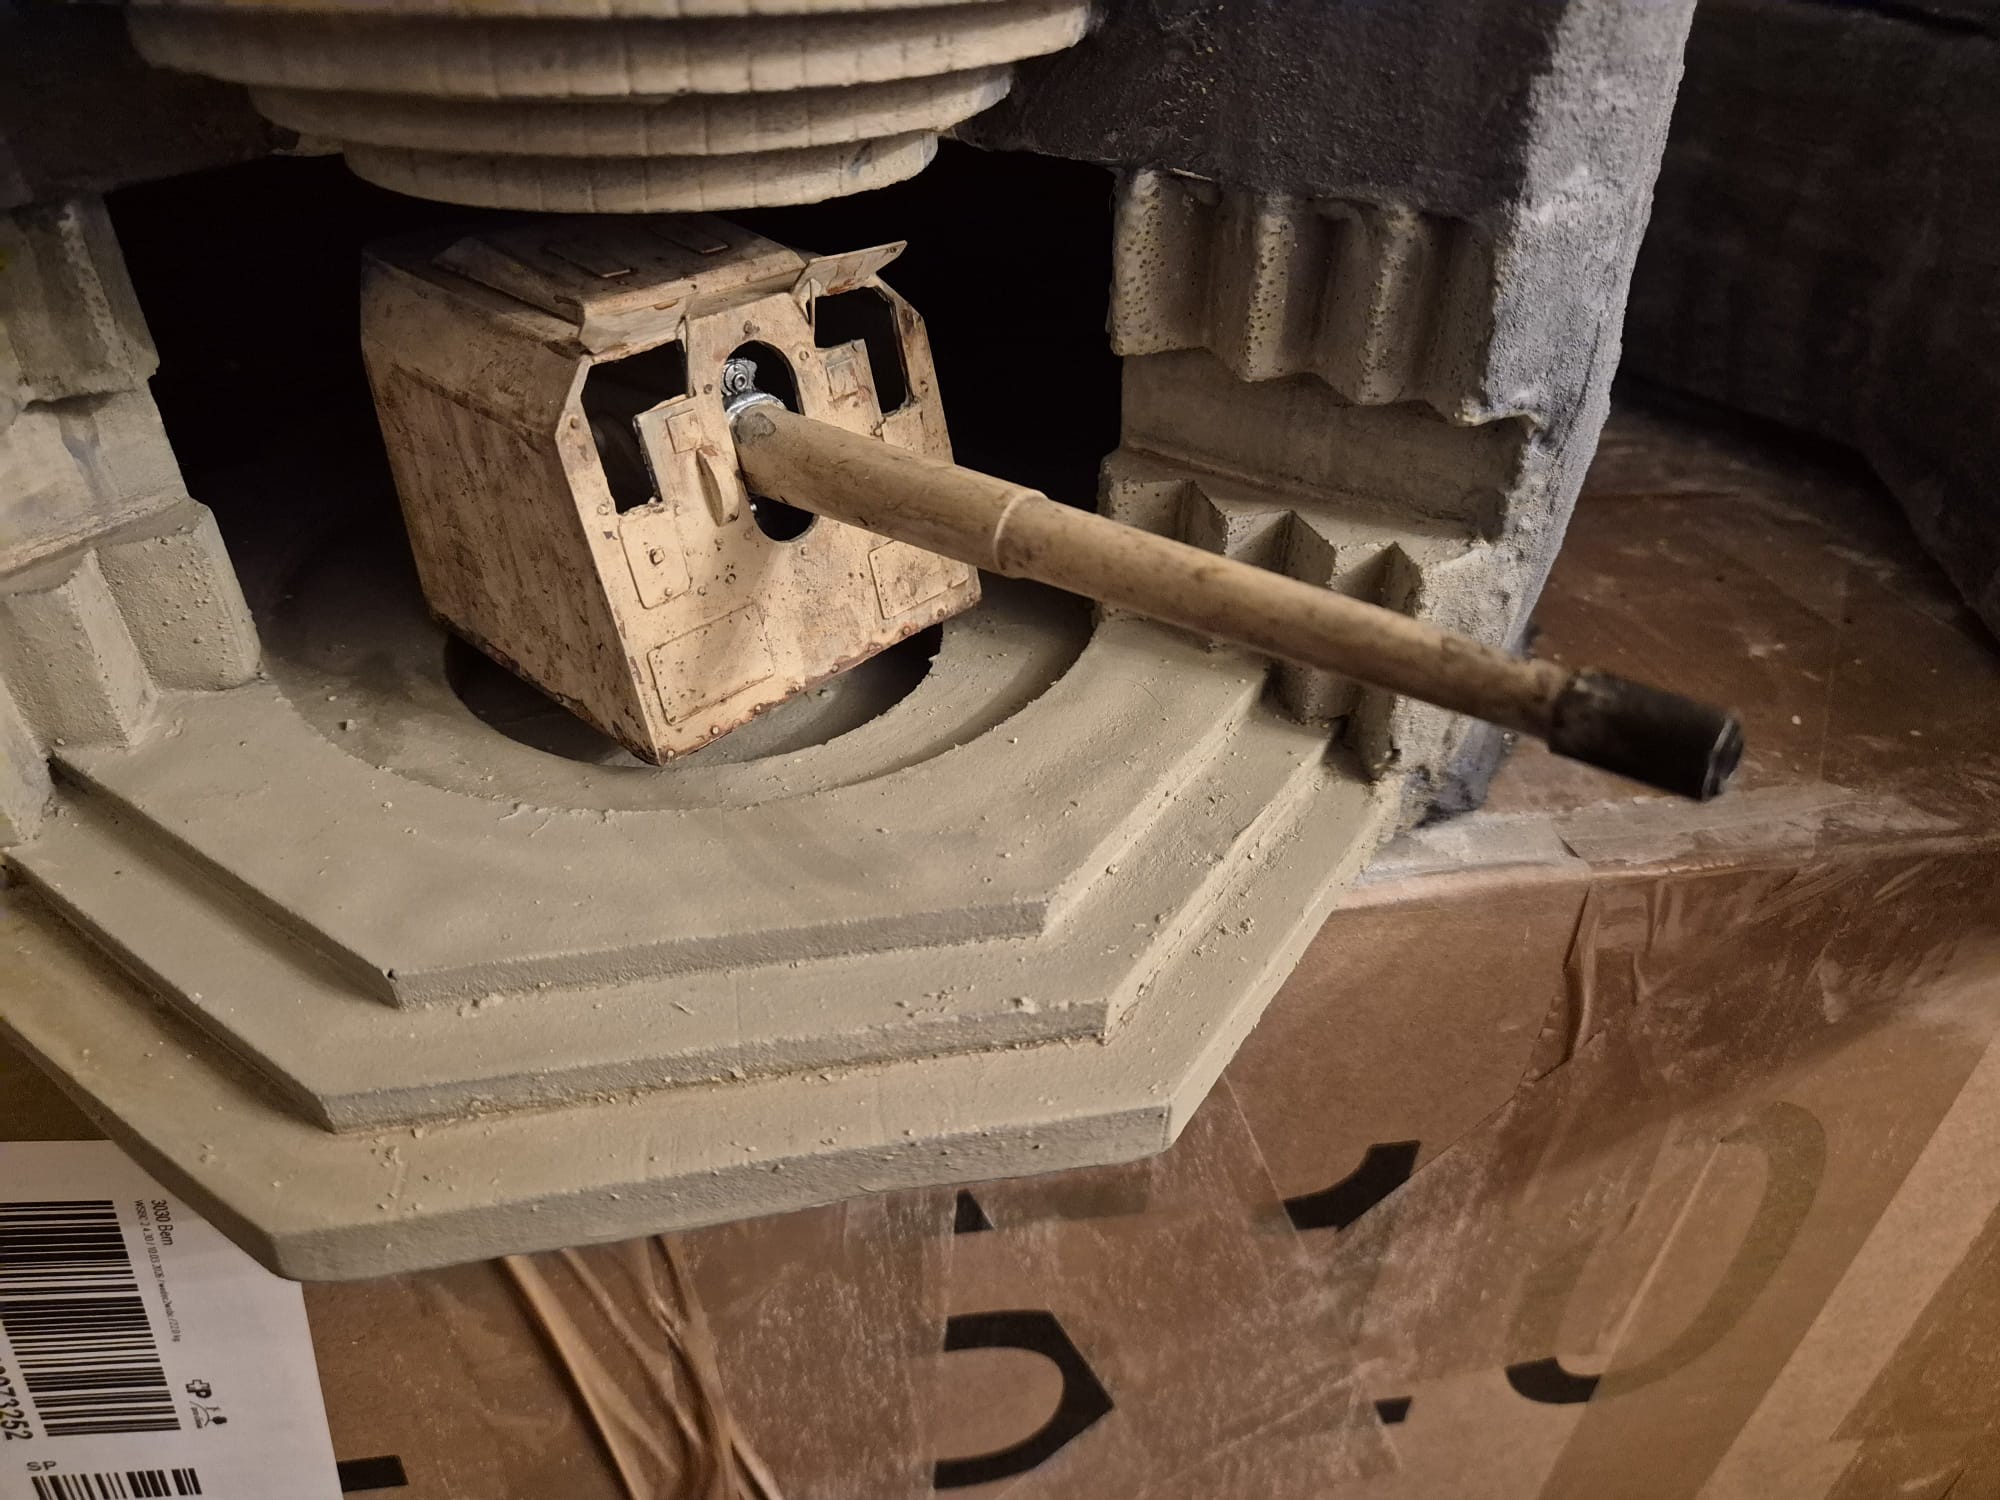
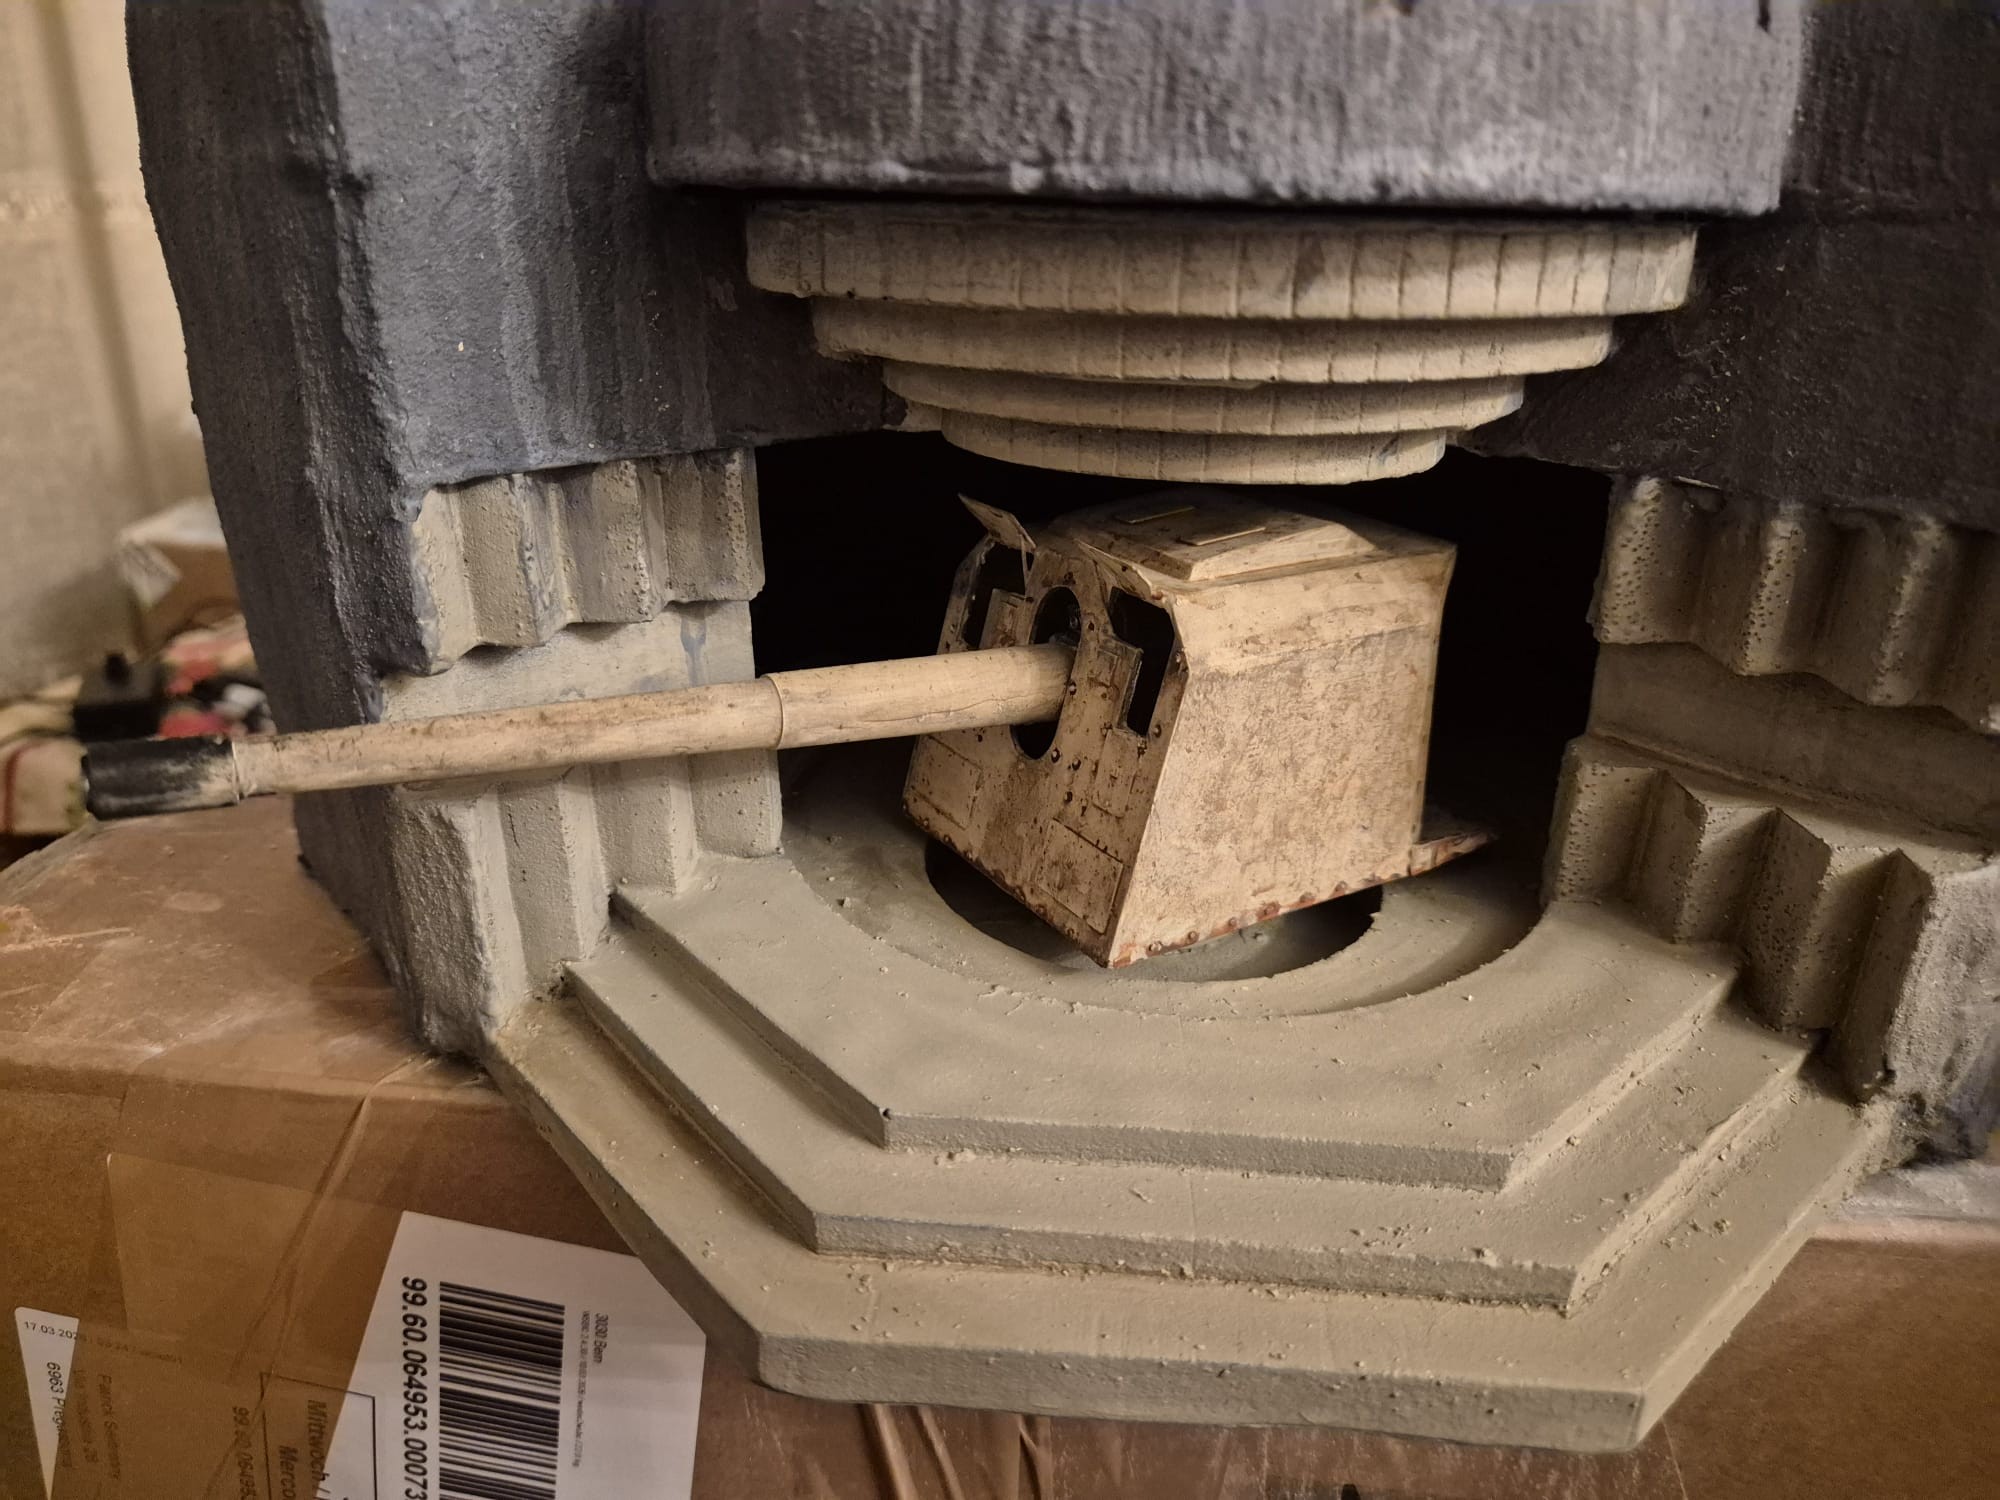
Please note, should you have noticed some details missing from the PAK43/41, like spades, the pickaxe and the aiming stakes (those wooden poles usually carrying red and white stripes), that while in use within an emplacement or bunker, those were removed for easier access to the gun and anyway were useless in such crammed conditions.

Besides, the gun itself carried a telescopic visor which was directly placed in front of the tiny viewer window contained in the protective shield (it’s on the left hand side of the gun in the pictures),

Said that though, they were not completely discarded, but rather stored in one of the bunker’s niches together with the ammunition and other personal effects of the crew servicing the gun.
And this is why you won’t find them on this particular case.

And yet, once I will place the bunker with its gun in the D-Day diorama I am planning to build, they will also be present together with cases and boxes of ammunition and other paraphernalia. not forgetting either the full complement of men the bunker harbored.

And with this a say adieu, or goodbye, but not forever, only for the month of May because I will be traveling and having a long needed vacation.

Should I find something interesting about either WWII or other historical themes, I will take pictures and show them around here.

But remember, in June I will be back with my current diorama called “The Last Warning (April 1944, Normandy” in which I will build a whole bunch of German staff and personnel cars along with a plethora of figures of German Officers, including Erwin Rommel, and many soldiers training.

Together with this, I will also complete the diorama with very accurate vegetation corresponding to the region I am depicting.

The Link for my building log is here:

I hope you will like to follow that one as much as you have following me around here.

Remember the Ides of June… :laughing: :joy: :rofl:

Until then, and while on vacation I may occasionally peak in to see what’s new and learn more about fine scale modeling.

I bid you farewell and hope to see you again when I am back. But above all, thank you so much for having followed my progress until now. You are all great pals!

Until then, please stay safe and healthy and never forget the joys of creating models of value.
:waving_hand: :four_leaf_clover: :vulcan_salute: :hugs:

2 Likes

It turned out good Patrick. Great job.

1 Like

Thank you S.Hollowell, kind of you to say that, although you may have noticed that in some pictures the PAK43/41 the gun barrel sits crooked on one side.

I corrected this in the meanwhile while introducing it into its bunker.

This is also why I take so many pictures of my models. To see if there are major defects into them and correct them whenever possible.

Sometimes the eye misses such details, but a picture tells you otherwise and that’s when action is needed to correct what one still can.

In this instance I was able to do so and I am glad for that.

But the story doesn’t end here. The story will continue when I will be starting to build the next dioramas, in which case this bunker will be reopened and you shall see much more than just the gun.

For the case of the naval gun the story is somewhat such as is, but will see a lot of British and Canadian soldier figures inspecting it, as well as having a couple of vehicles standing by… just in case.

I had wished to have that one with an open roof as well, but couldn’t find any useful military furniture or weaponry such as gun ammunition in 1/35 scale to fill it and so I decided to show it with the roof glued to it.

Besides, the interior was completely wrong and I would have had to modify it completely to conform to a Longues-sur-Mer actual one and that would have been even more hard work than it actually needed.

I only hope not to disappoint anyone by this.

Anyway, from June onwards I will return to my current diorama which still needs to be fully completed.

I hope to see your presence there as well.

Be well and stay tuned since I need all the feedback that can come my way to improve my builds.

1 Like

Your bunkers as well as your process description throughout this project is impeccable. Based on this small sample size, your eventual D-Day Diorama is going to be unreal! My only question here is when construction starts on the new East wing addition to your home, and will it reach completion before the diorama can be put in it.

2 Likes

No East wing nor Presidential Ballroom necessary my dear fellow. No, just a very large table in my living room.

I already took measurements and calculated that its length from seashore to the top bluffs will be 1.5 metres (a little bit more than 59 inches) in length and more or less 90cm (approx. 35.5 inches) wide.

The depth and height will depend on what I insert as additional material to build it all.

Everything will be on sturdy wooden planks and on top Styrofoam plates which will be carved and shaped according to the sea floor reaching the actual beach, as well as calculating the length of the beach with all its correct obstacles inserted in the right positions.

There will also be an anti-tank ditch filled with resin water between the beach and a promontory, and to its back a small line of coarse gravel will simulate the rocky terrain leading to it.

The promontory on which the big bunker will be interred in will be a little longer than the bunker placed in it sideways looking to the East (seen from the waterline) due to the mounds partially covering it.
On its sides, behind it, to the West will be a tiny Tobruk with a Renault 50mm tank turret, and to the West another Tobruk with a Heavy Mortar inside.

From there only a small line of the bluffs will be built, just enough to accommodate a Machine Gun Tobruk, a Heavy Machine Gun Nest and a KwK42 50mm gun in its open emplacement.

The terrain of the Channel near the beach, as said, will be in Styrofoam covered with acrylic Gesso and once more with latex to seal the entire surface off and then further covered with aluminum foil.

Since there will be four landing crafts involved (1 x LCM-3 with a Sherman Tank inside; 2 x LCVPs with Vehicles and soldiers disembarking, one of which is still just arriving; 1x British LCA on loan to the U.S. Navy with a full complement of soldiers inside and disembarking), I will have to carve out four niches for their hulls to be contained in them to protect from the next step.

The next step being the full painting of the ground floor in the appropriate sand and mud colors and then pouring various layers of tinted resin into the so encaved terrain. Each layer will have a slightly different tint than the other to more realistically create the appropriate color of the Channel water.

Once all the layers fully dried, more effects on the surface will be applied and to the shoreline a more distinctive dark reddish color to the resin will also be spotted, although veiled by the surrounding other tints, simulating thus the spilled blood of the previous first landing.

As you can see, I am not depicting the first one, but the second landing, since the first was indeed a disaster and a massacre.

I won’t add too much gore than it already will have, since my aim is not to create a horror story, but rather an accurate historic recreation of that specific landing among many other things.

And yes, it will be a huge one, but the only one in that size. All the others I will create will be much smaller in scope and size, depicting just moments of a certain action.

It will also be rather heavy, due to various items I will have to place in it and the materials with which I will form the terrain, but keep in mind that I am also dedicating this one to the memory of all those soldiers who lost their lives in that crucial moment in history.

This will not be your common play game, but rather more a static fully researched historical documentation of one moment and one fragment in a much vaster scale of the invasion of Normandy.

Once I am finished with my current diorama, that will be my next project, so hold on and be patient, because that one will really be a lot of work to be done, but really worthwhile following since I will have to reinvent the wheel to do it.

Until then, I wish you well and hope you keep looking in the works of this Crazy Creator… :laughing: :joy: :rofl:

2 Likes

Very ambitious. It’s going to be incredible!

2 Likes

Thank you Mr.B, and yes, indeed it is very ambitious and I must really be crazy to tackle with it.

But what can one do, when the passion of modeling makes your hands itch and your mind running wild?

This is a long dream I had in mind for ages, but never had the guts to do before.

Now, all of a sudden, something pushes me to do it. Don’t ask me what, since I really don’t know. It’s a feeling, probably to leave something of value behind after I am gone.

I am not vain, but I still want to leave something behind that testifies my passage through this world in a brief moment in time and possibly also show that I could do something worthwhile with my hands other then just typing words on a PC.

I hope you will understand this.

Again, my very best to you. See you in June, I hope. :waving_hand: :four_leaf_clover: :vulcan_salute: :smiley:

2 Likes