I will start with prequel #6 in which I start with the actual painting of the cliffs and placing dunes all around the perimeter and the Bunker.
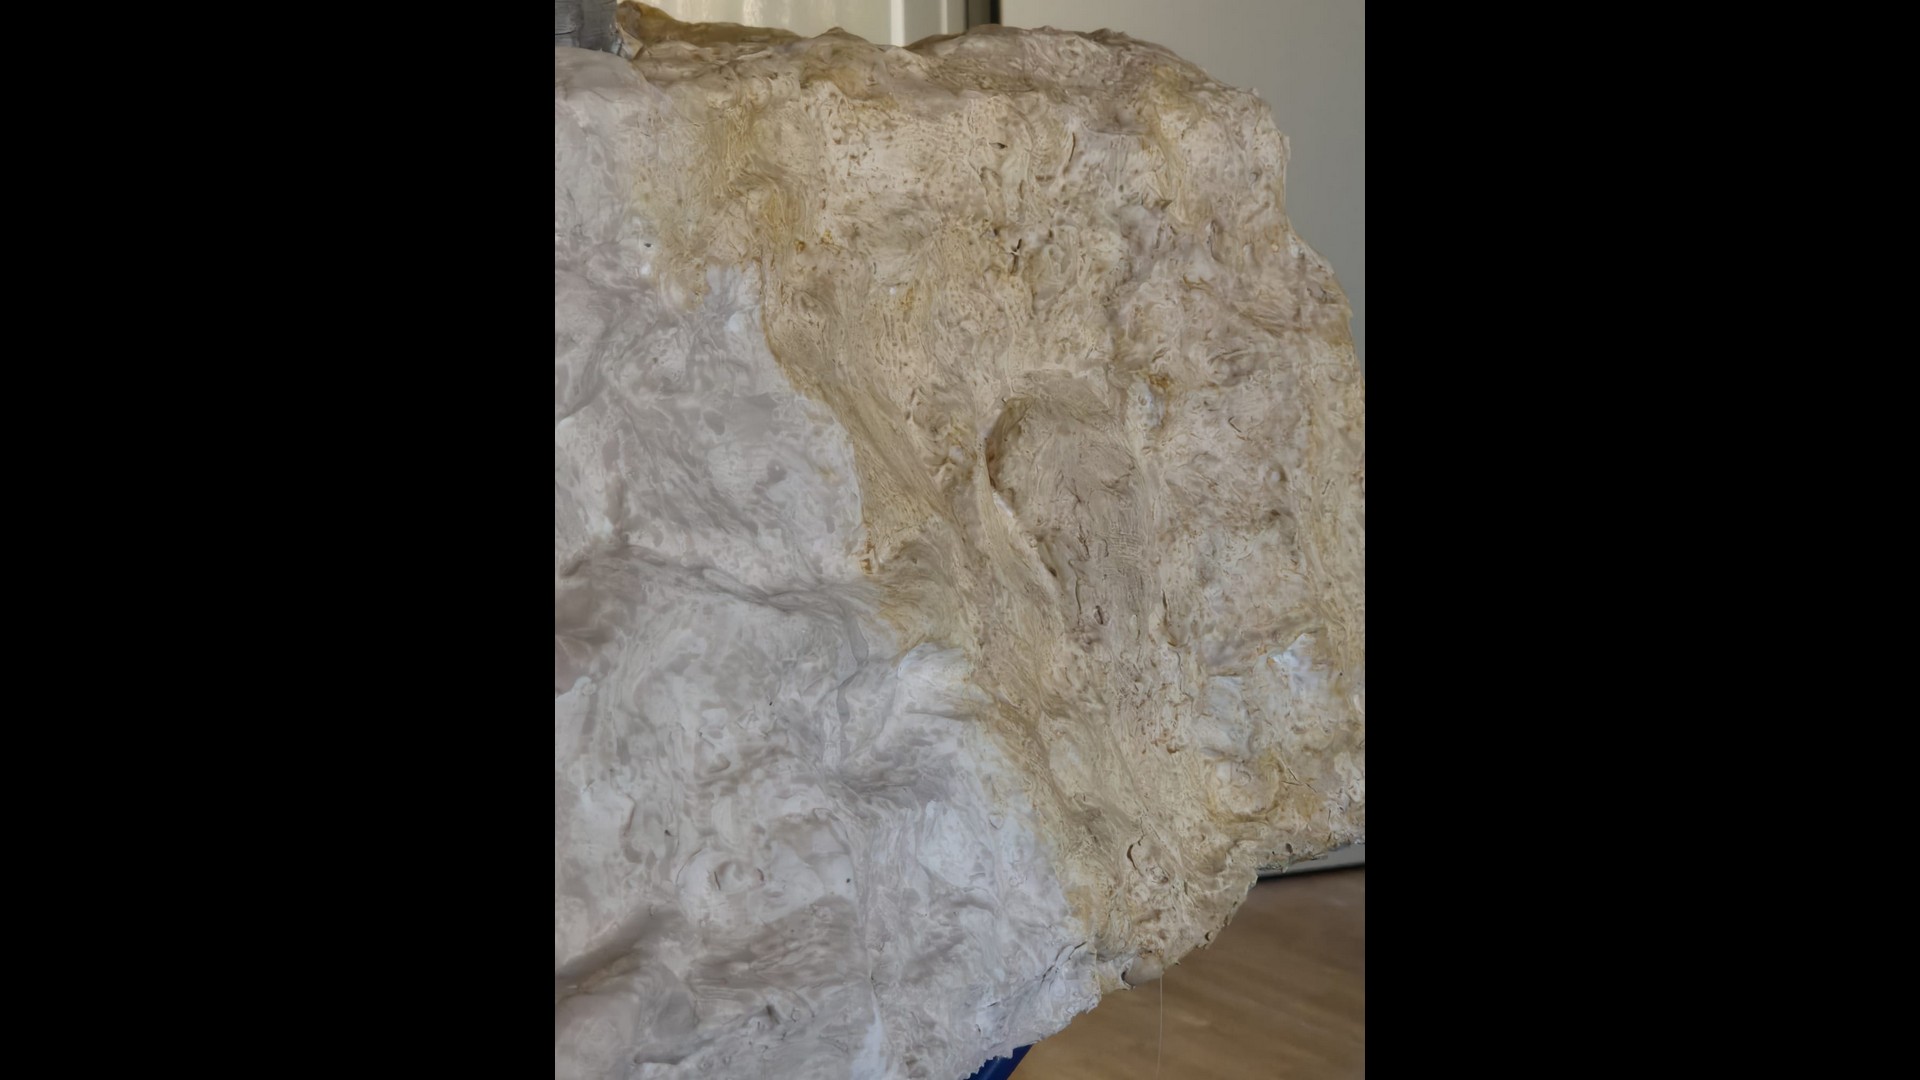
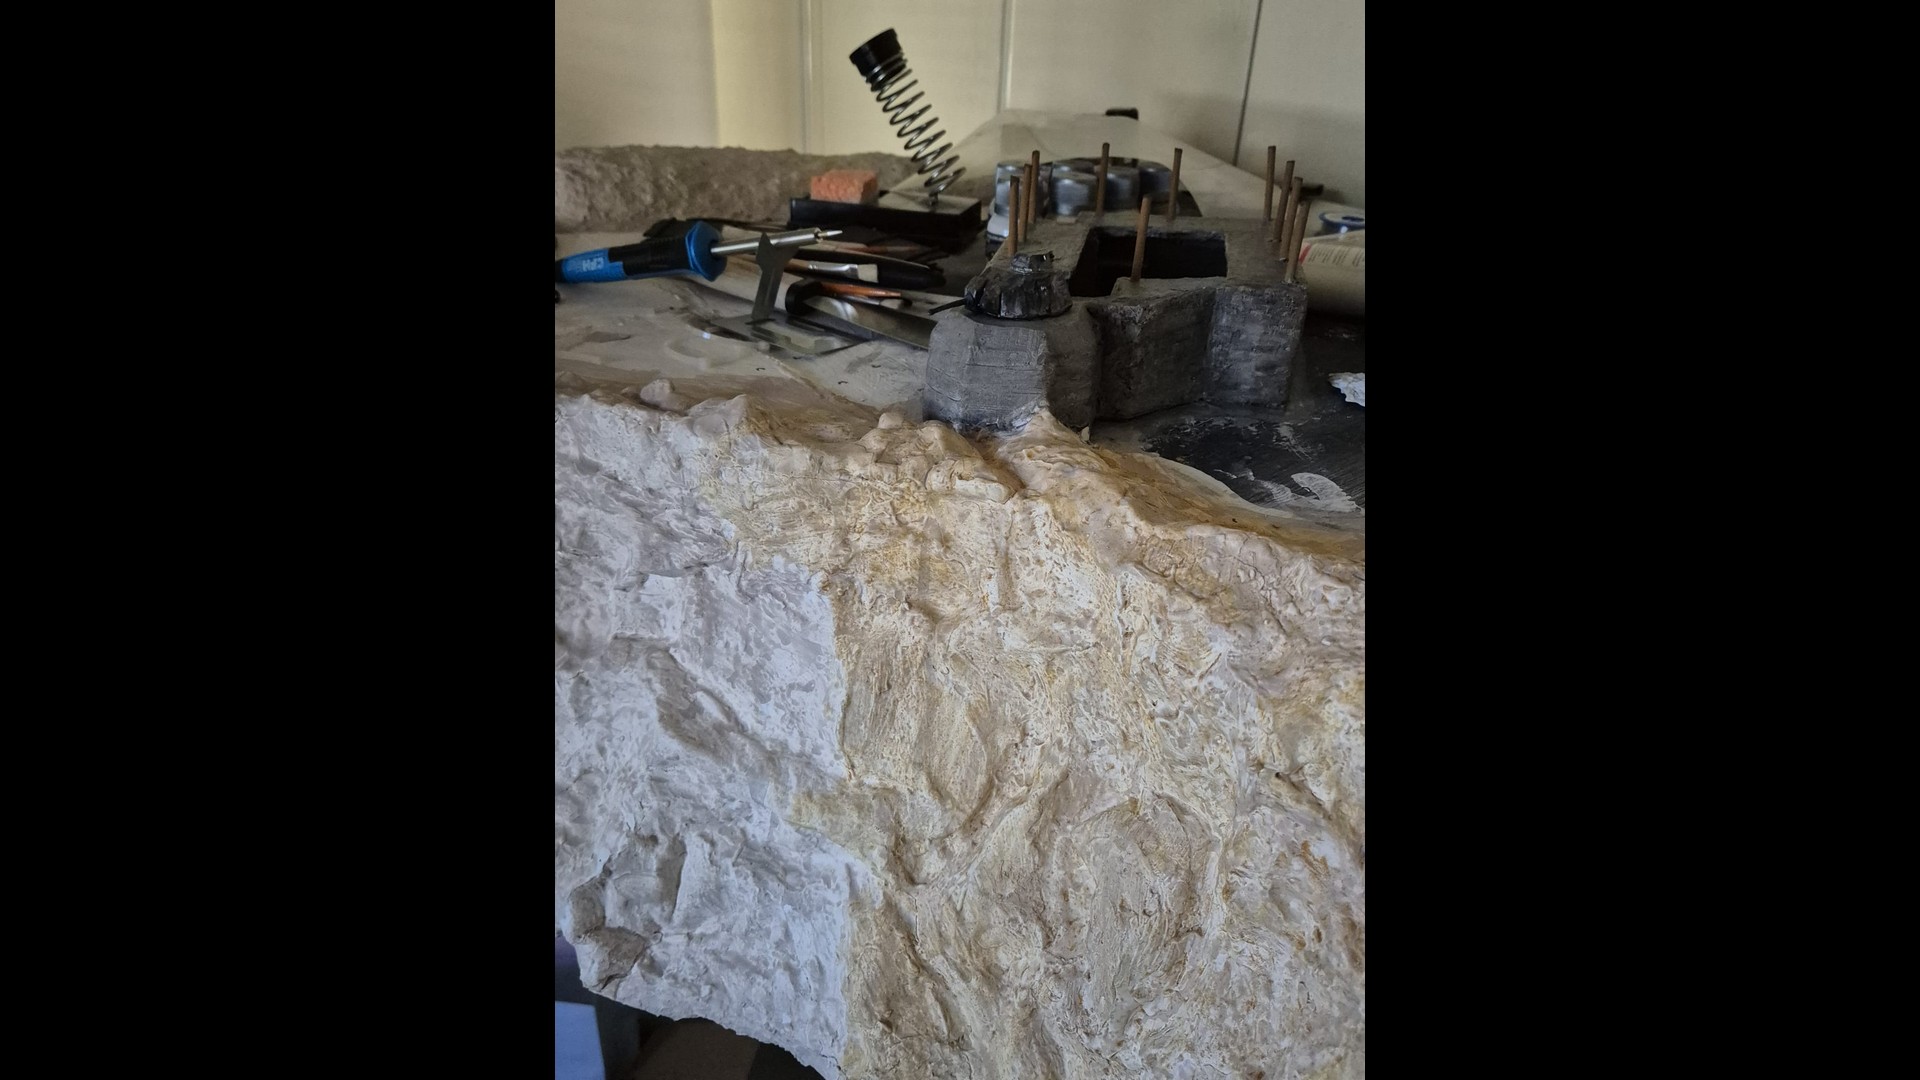
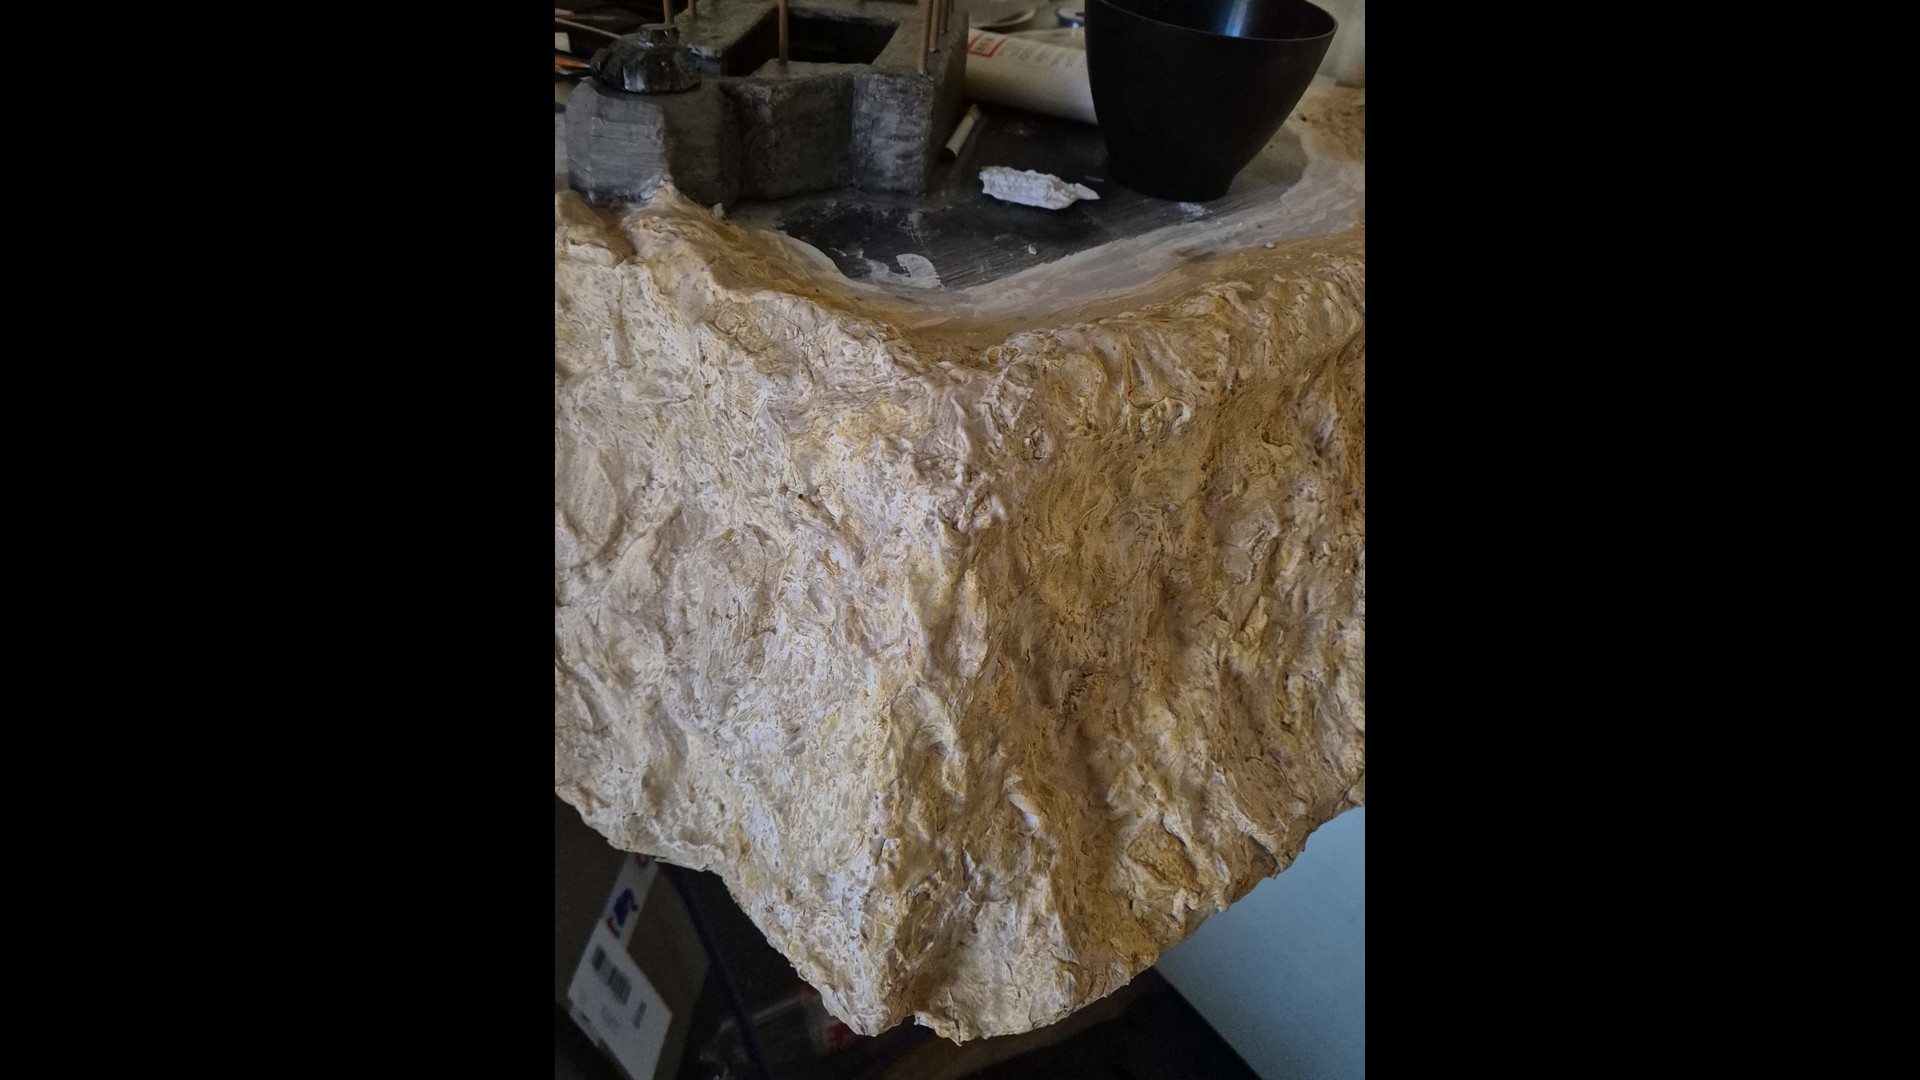
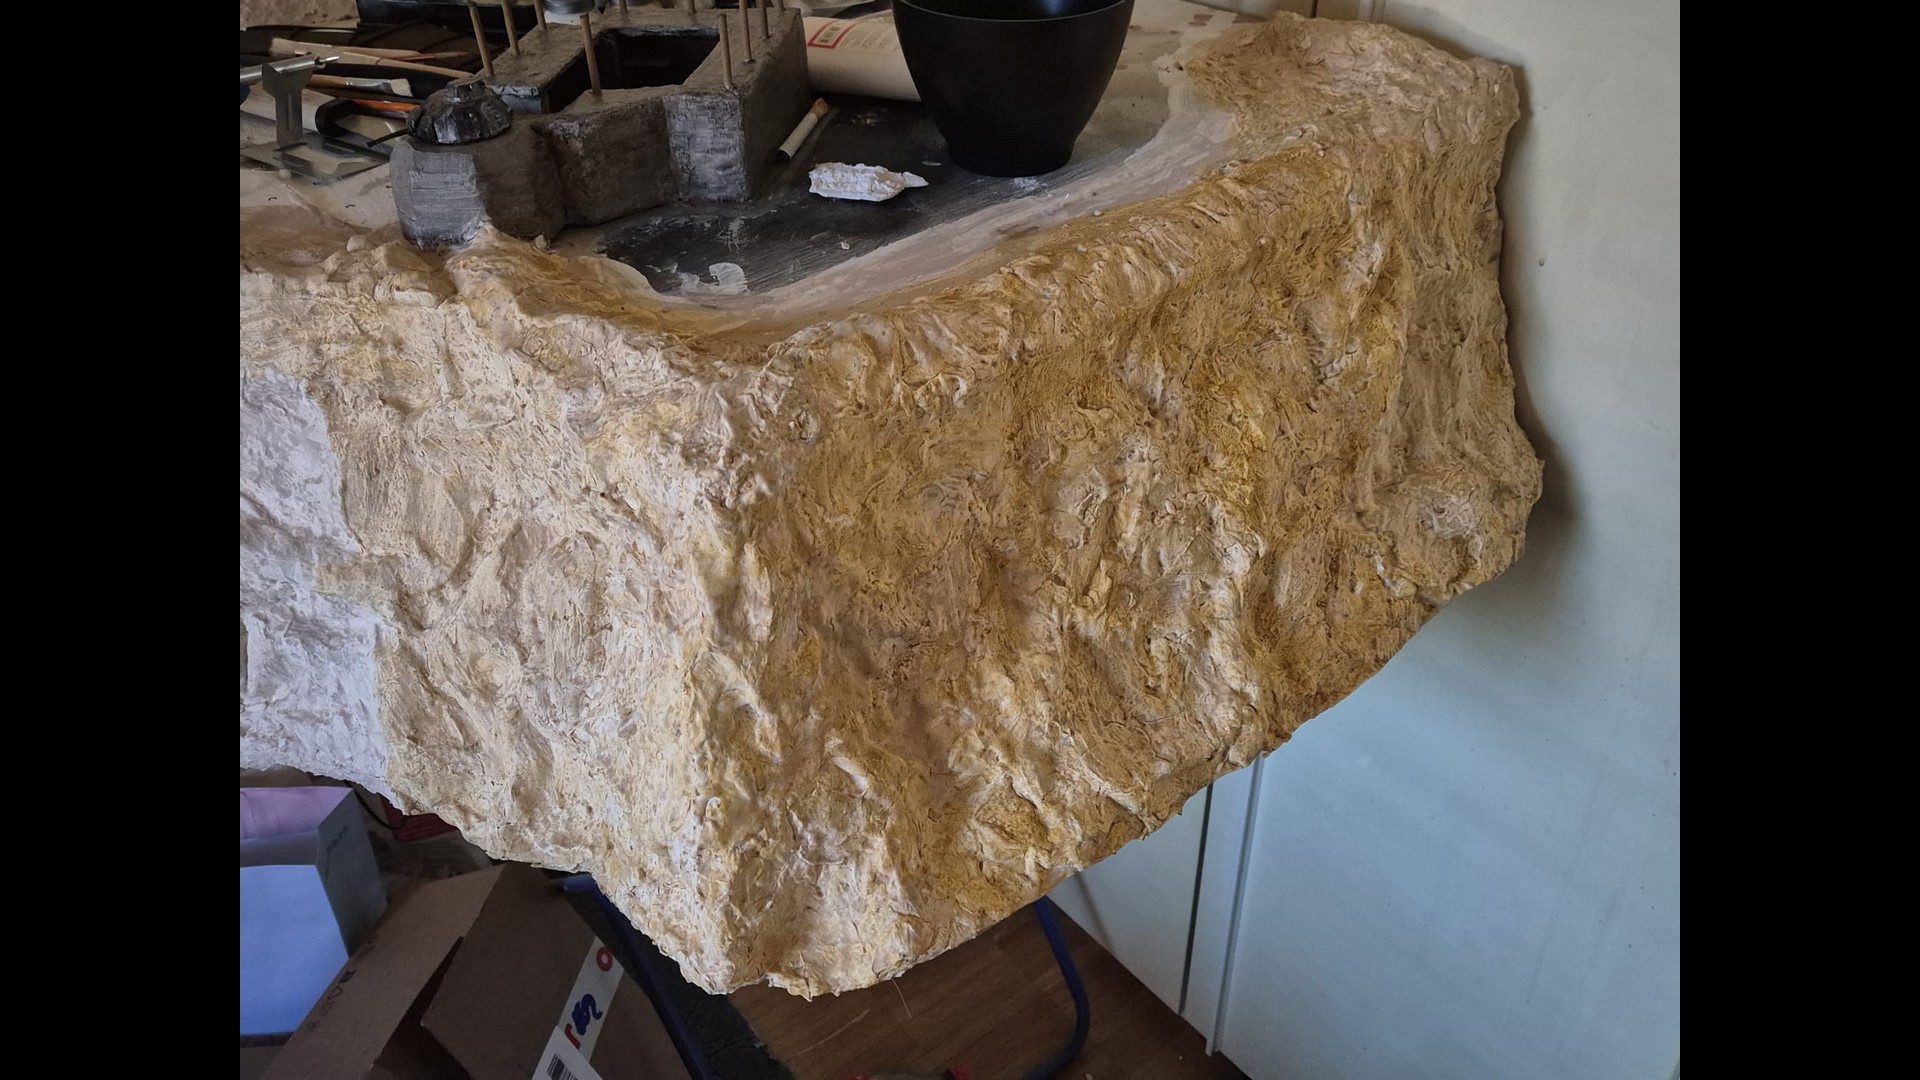
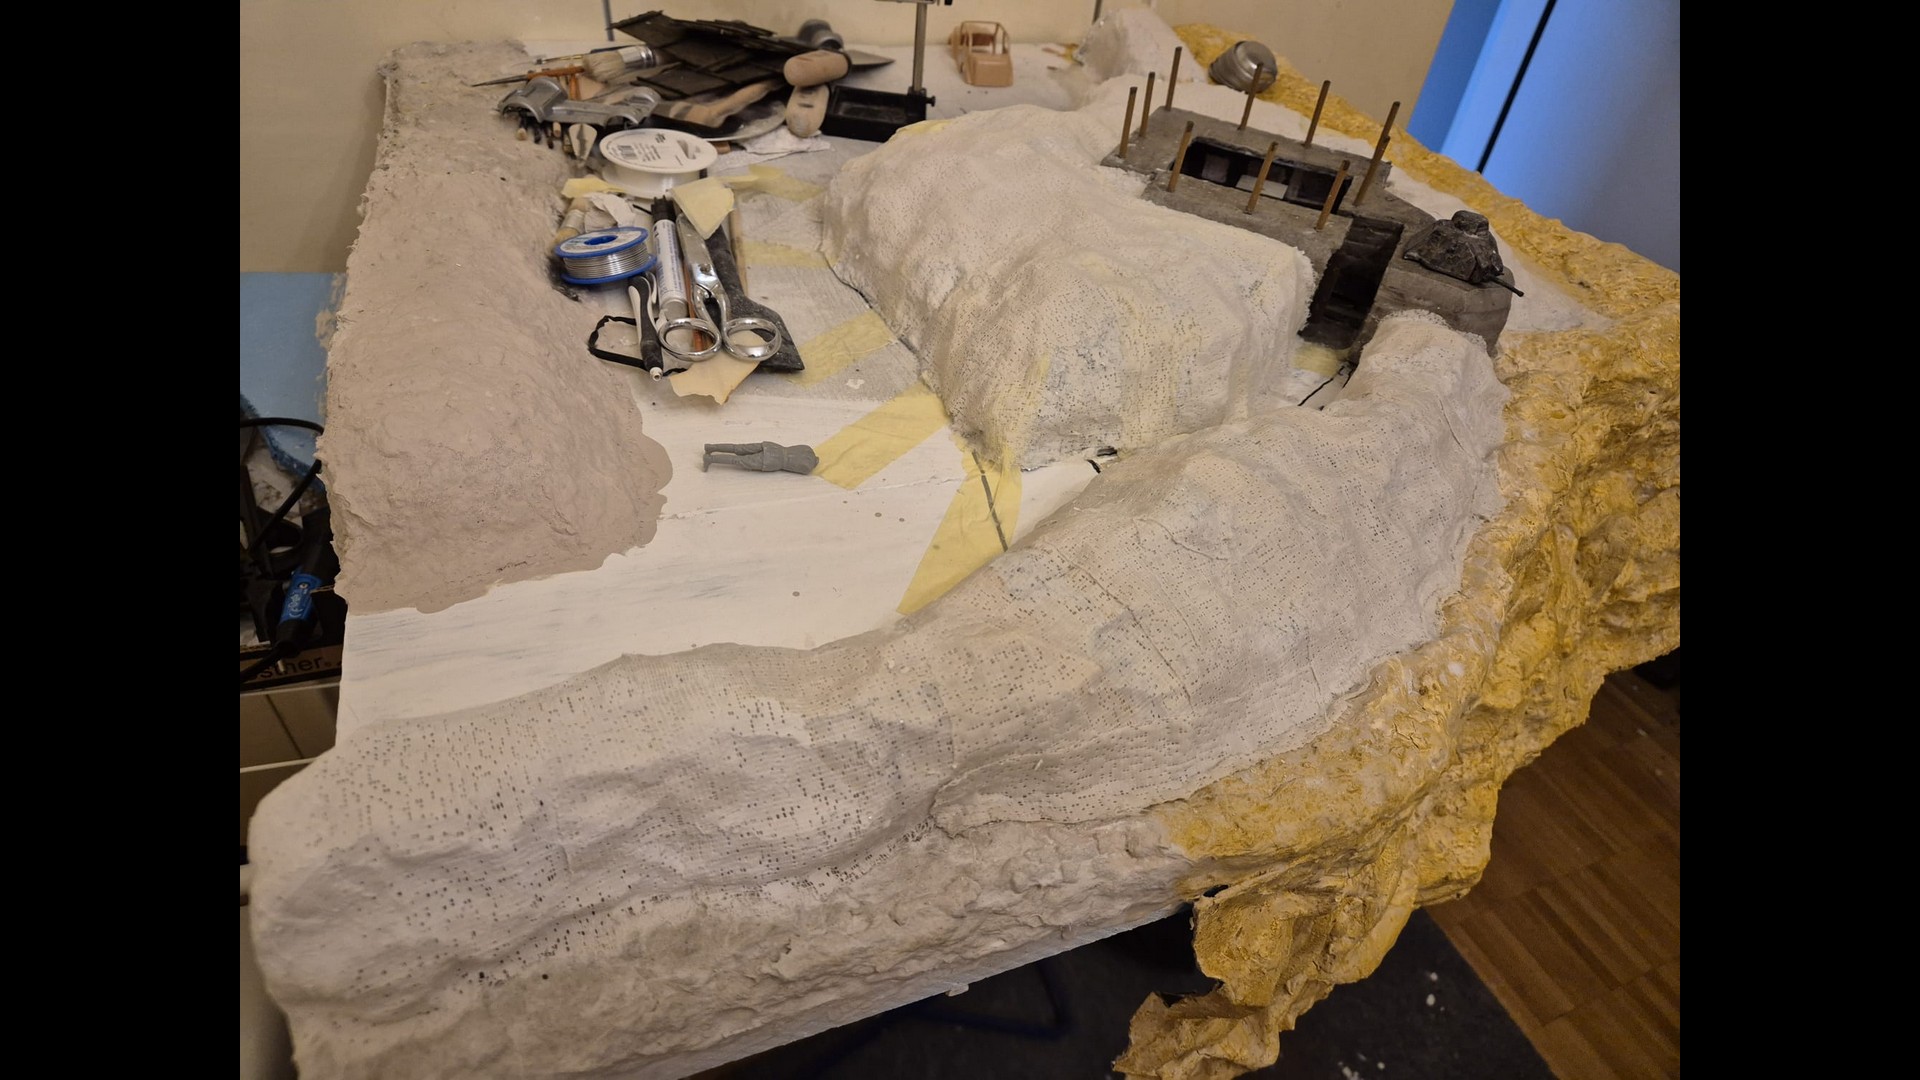
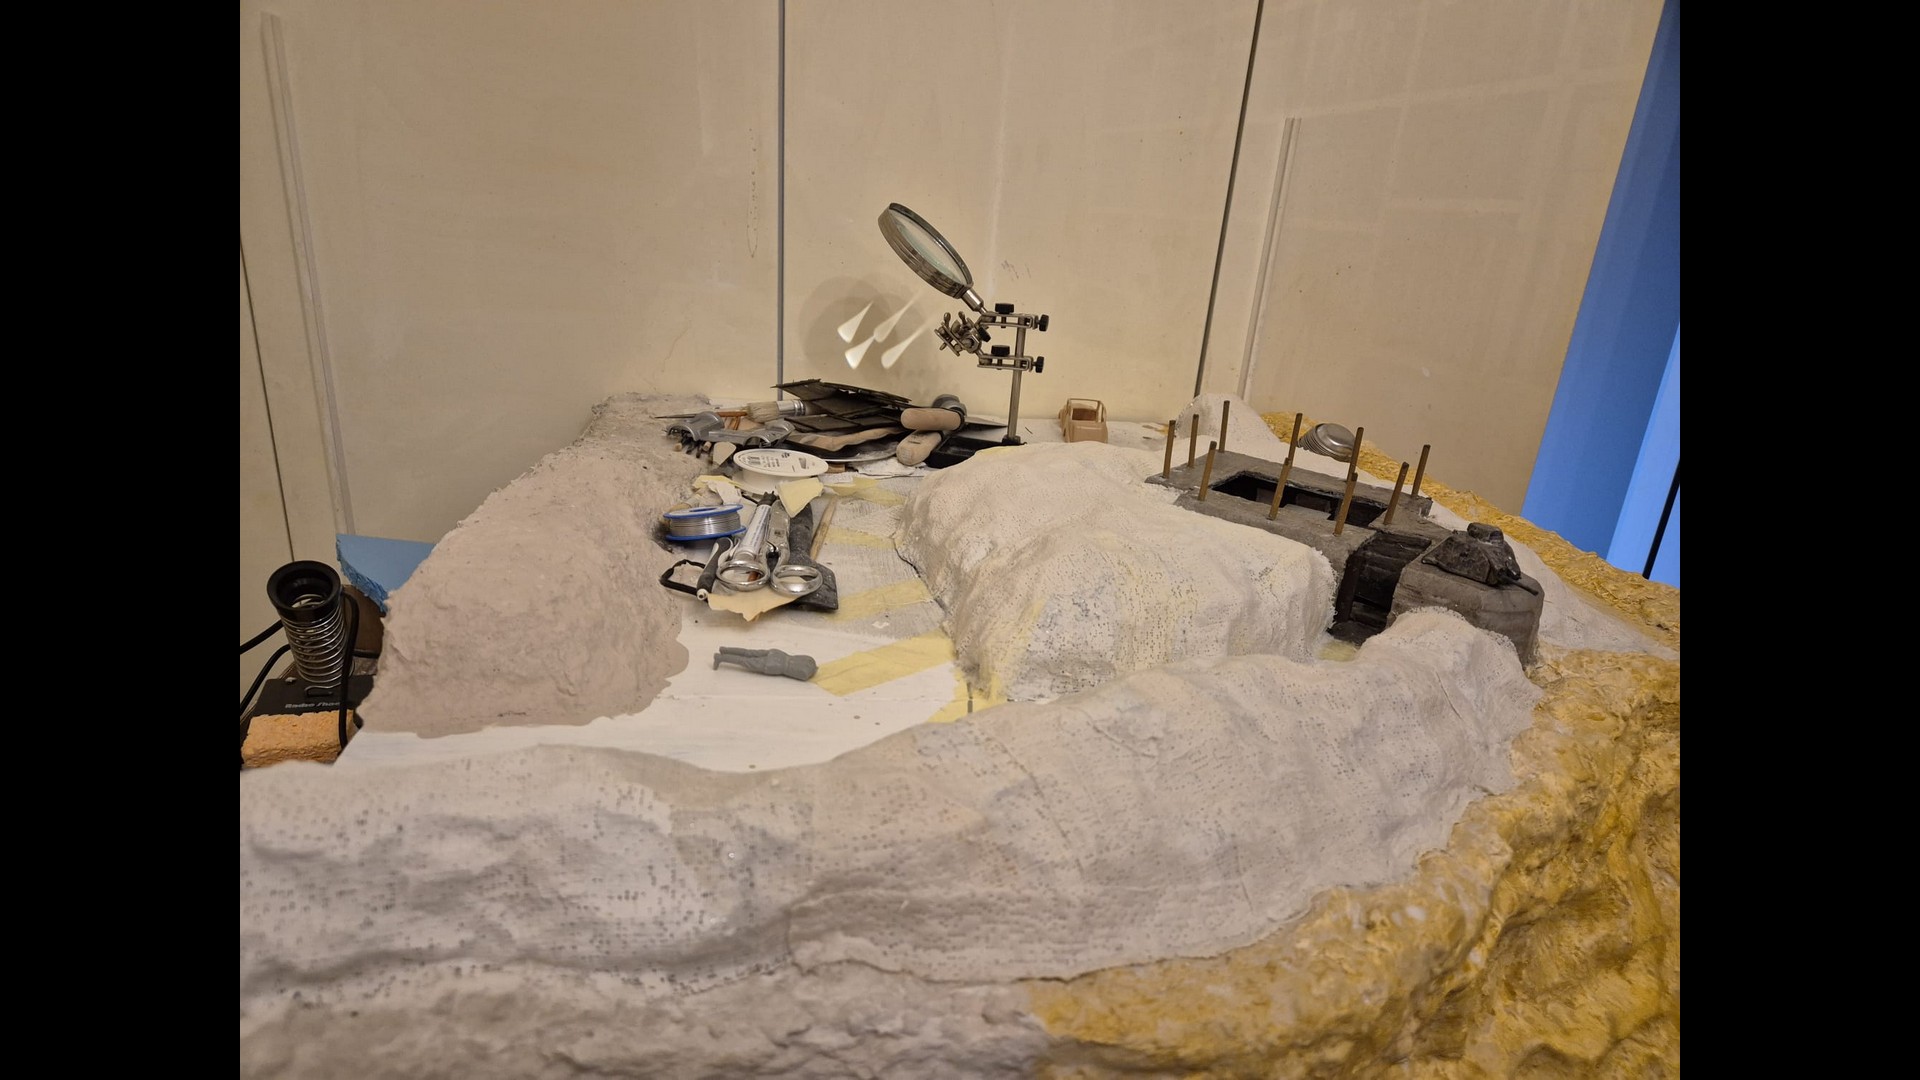
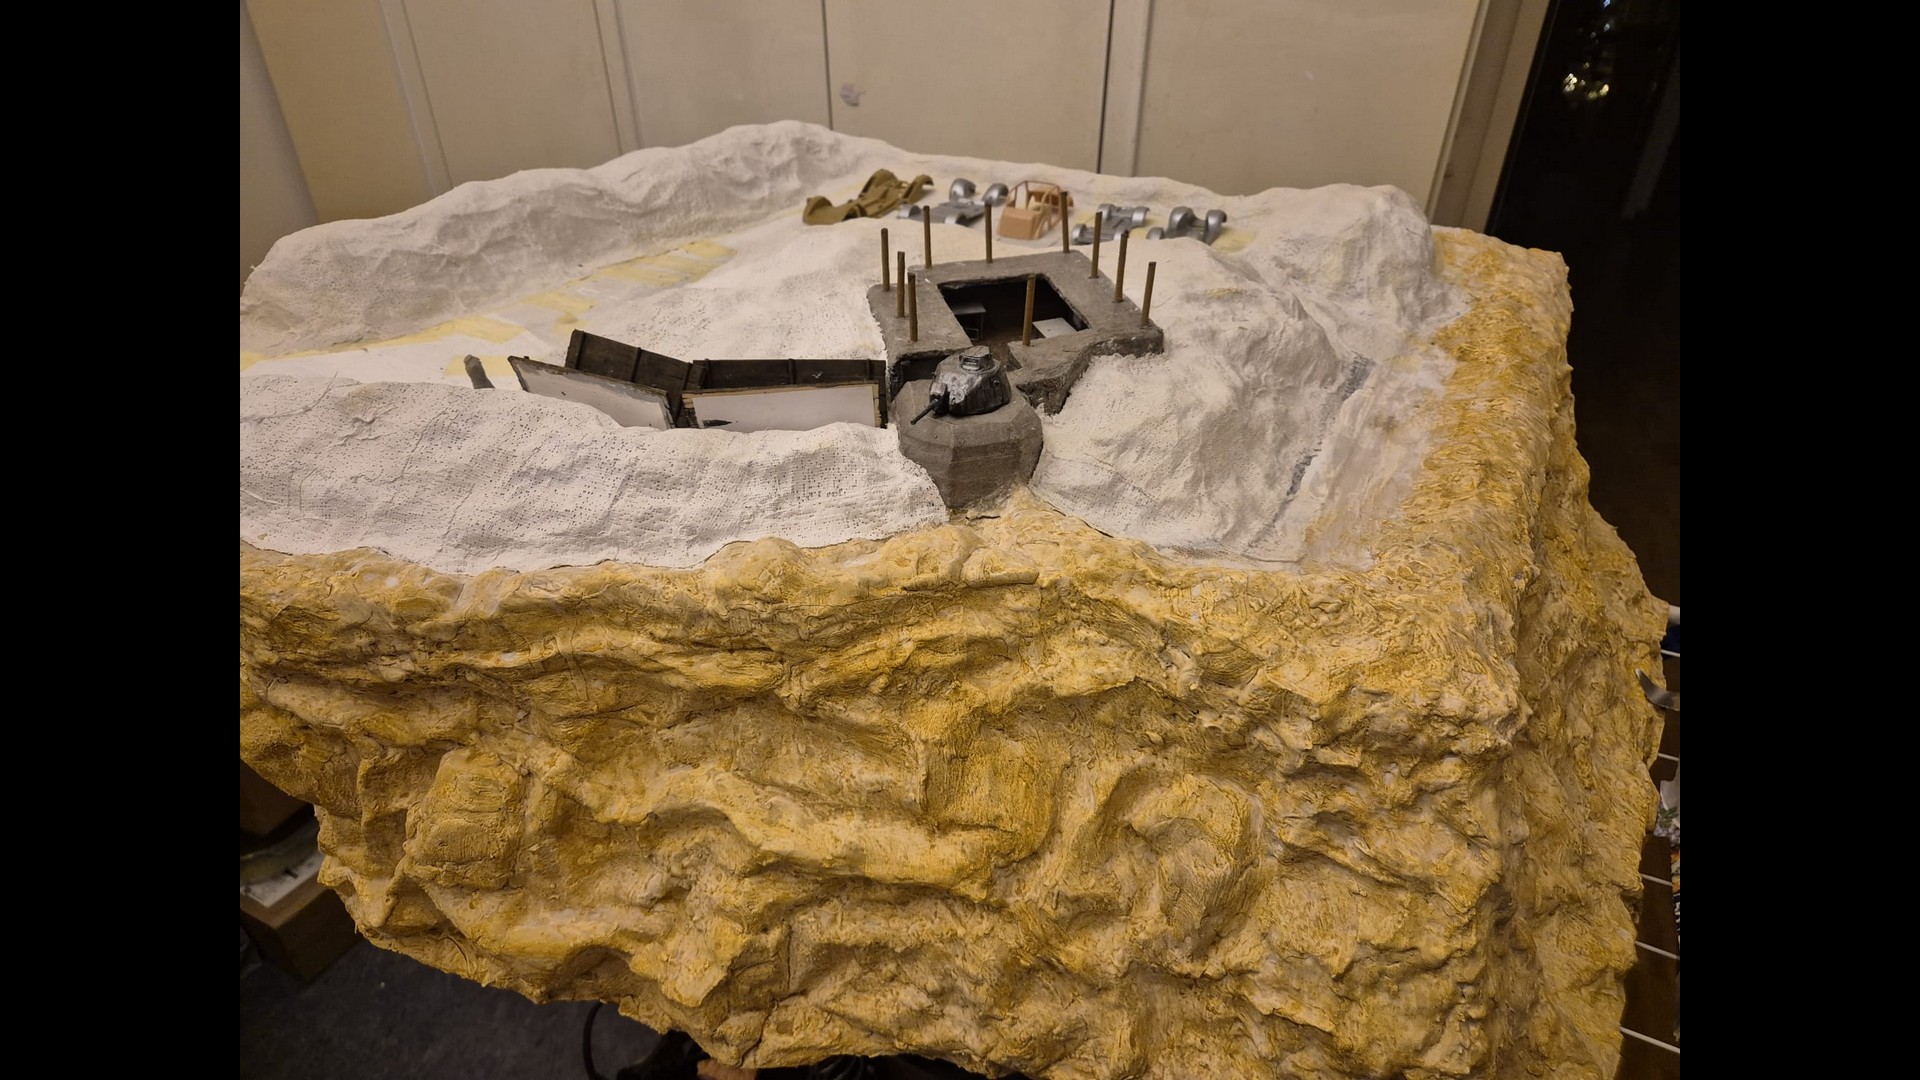
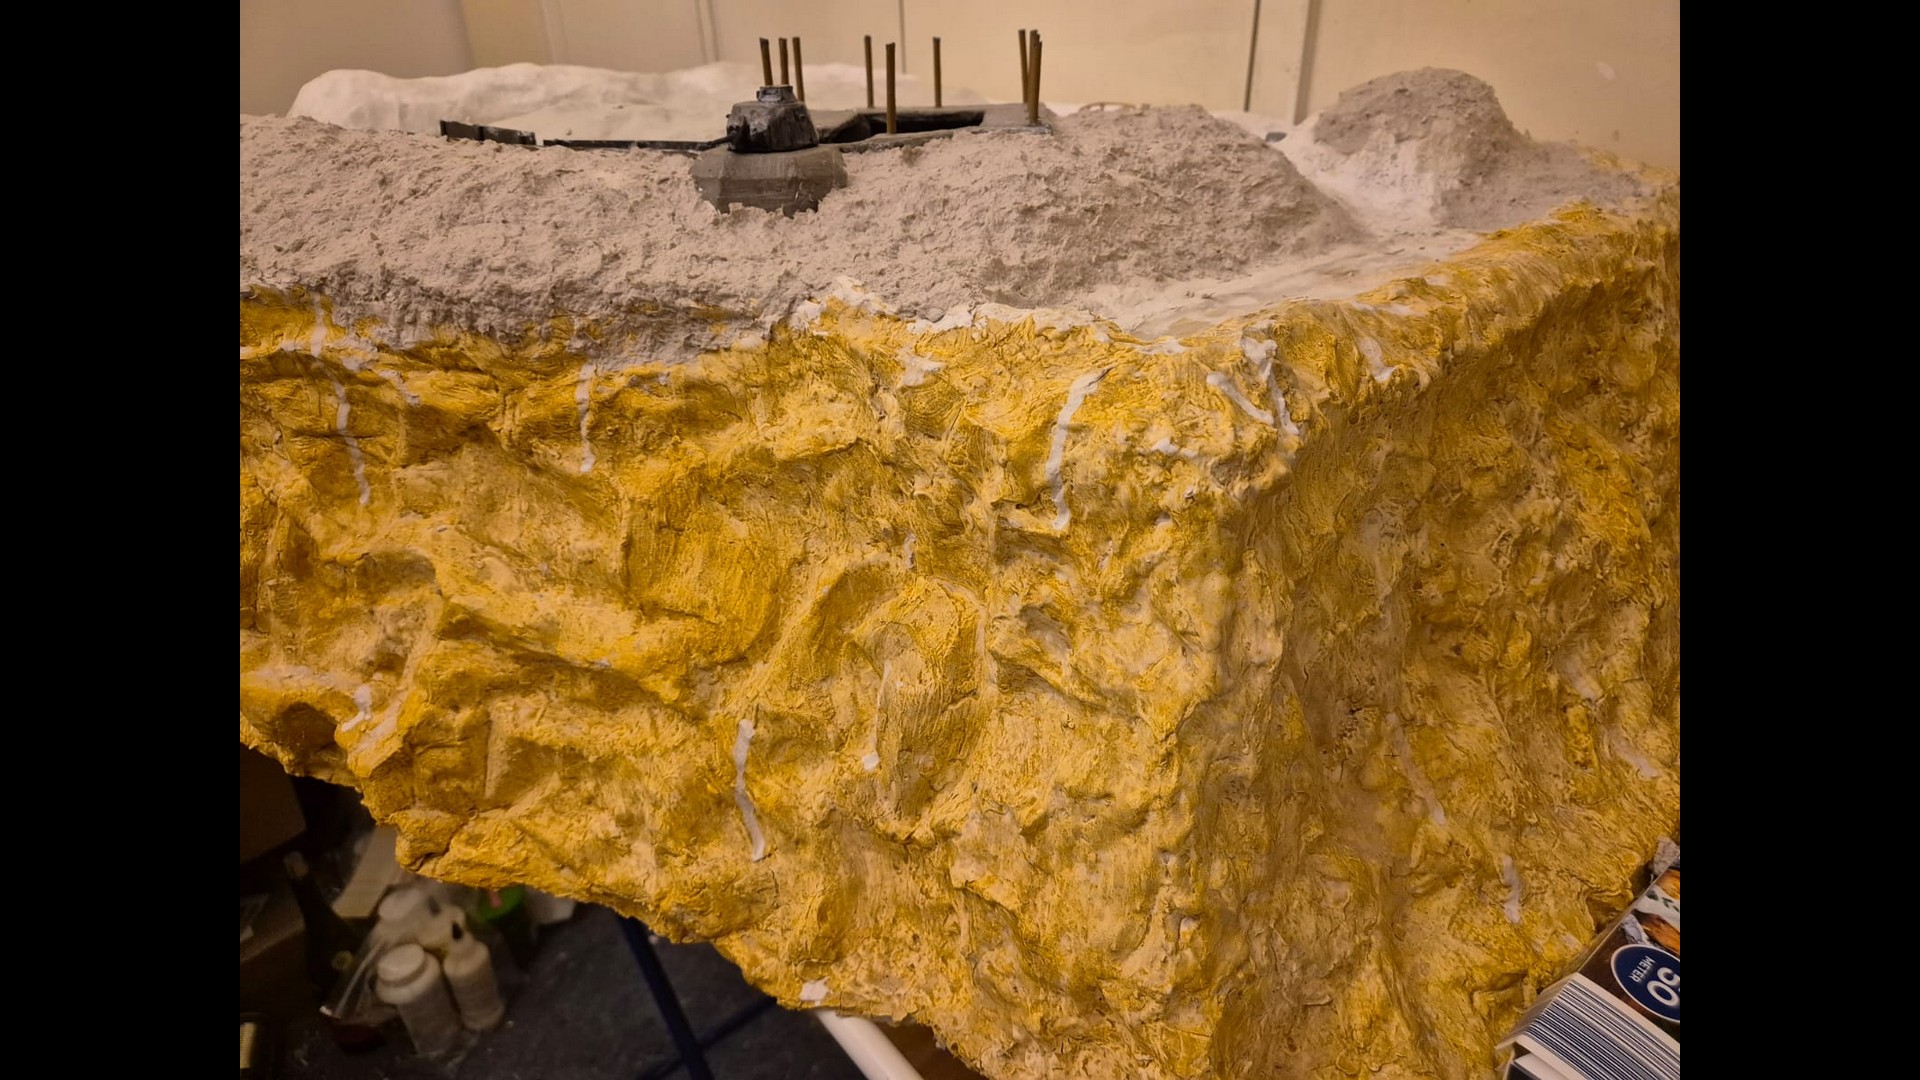
The initial painting of the cliffs was made out of artistic acrylic matte paint, namely raw sienna rather amply thinned with water and generously “splashed” over the plaster surface of the so reproduced cliffs with a medium sized wall paint brush and while the paint dribbled down the surface I used the same brush to reverse the process and pushed it back up repeating this operation various times. In order to avoid empty spots I also used the brush in a slightly zig-zag movement and at times also circular ones. This operation was repeated various times as well until the paint started to slightly settle on the surface. I then removed the excess that had formed in the bends and creases on the cliff walls with a #2 brush by applying the same technique I had used with the larger brush, that’s to say, moving it from where the accumulated excess was and upwards using the remaining paint to fill some minor gaps in between where the paint did not have a grip to the surface.
Form the pictures I include here, you will notice the difference between the so painted surfaces from the bare plaster color. Of course, the initial effect is rather dull and basic and indeed it is by far too yellowish, but this will be worked out in additional future washes and paint applications.
As said, now that the Celluclay had finally completely dried out, I found an alternative way to build the dunes which will surround the scene as well as the Bunker itself.
This alternative is a bit elaborate but in the end produces a quite realistic ground to work with without adding too much weight to the diorama.
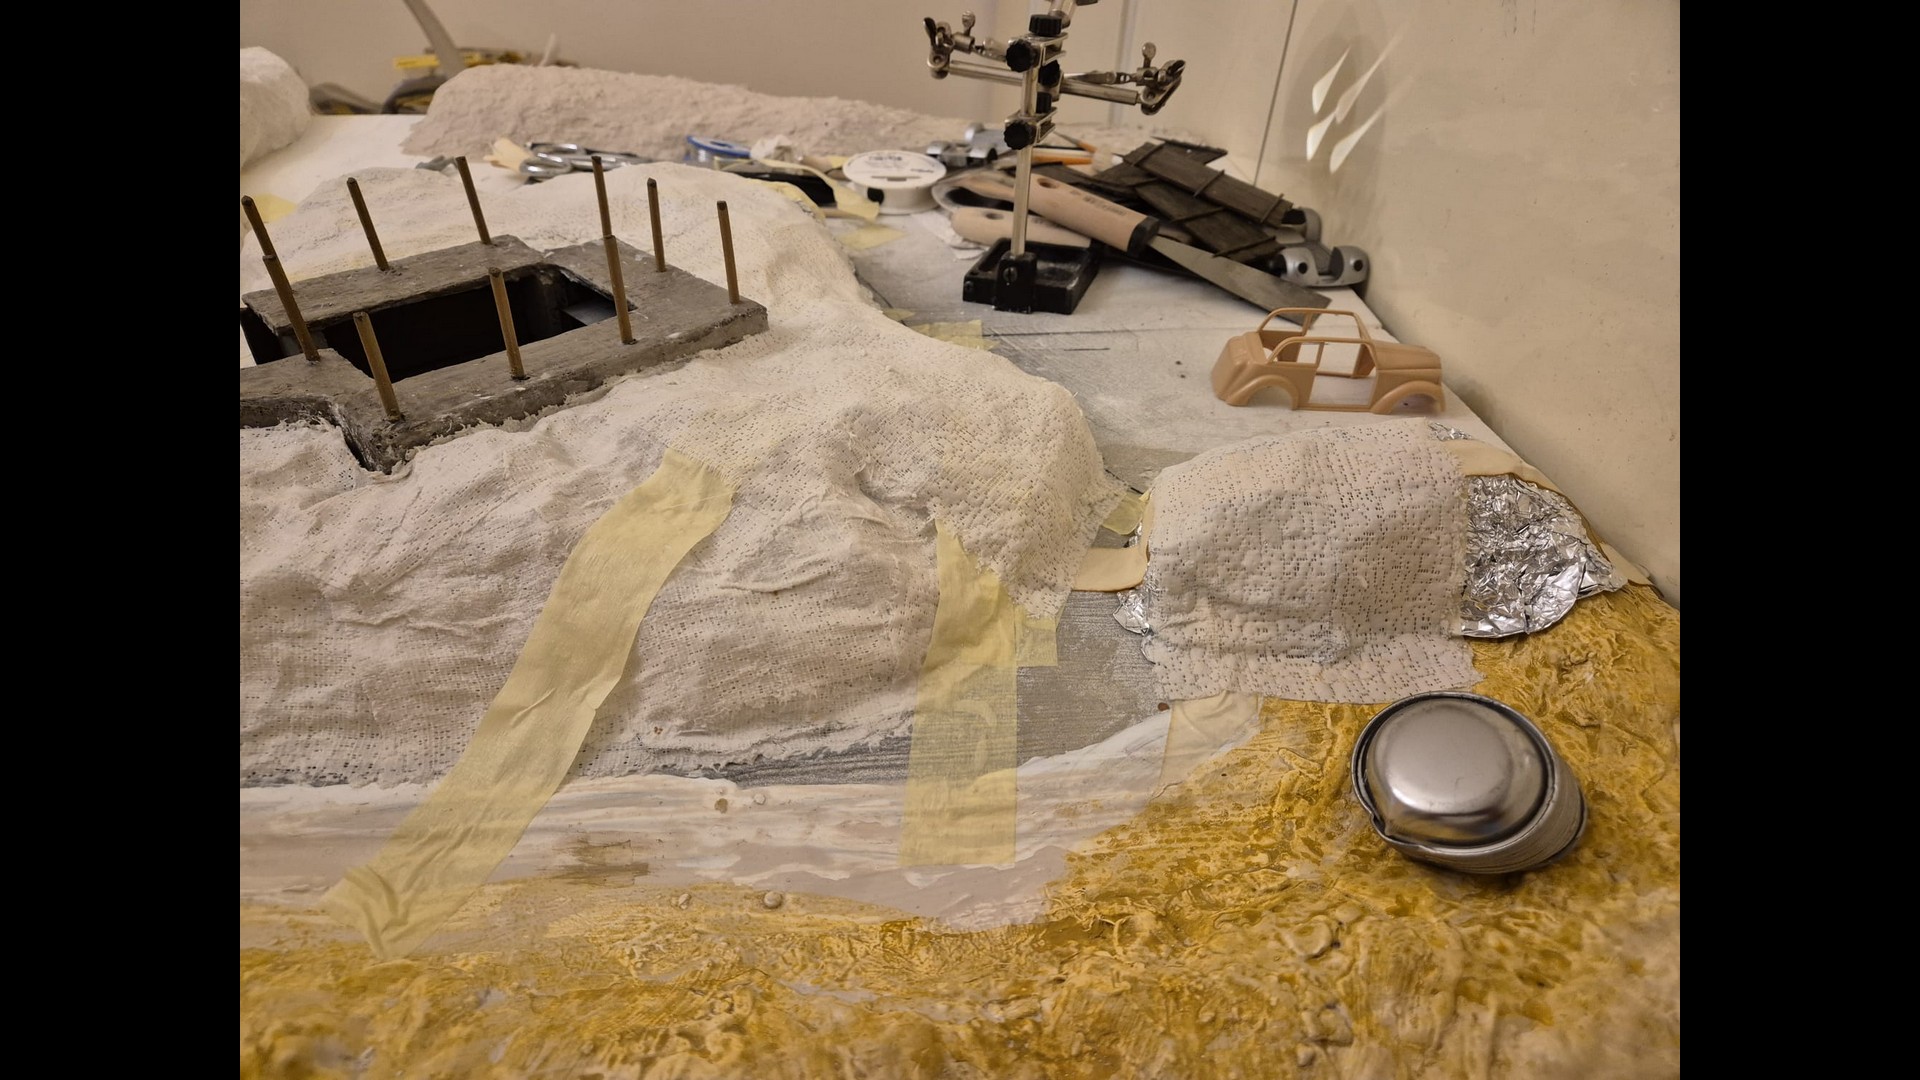
The initial phase of this is based on aluminum foil - a lot of it - I consumed two full rolls of that material just for this purpose.
First of it you rip a fair length of it out of the box, bend it in half letting the shiny part stay on the surface and the bend all the corners. Then crumple it as much as you can without applying too much force, then unravel it again and form it into an irregular ball shape. Once done so, slightly flatten the base of the ball.
Once you have the ball so prepared choose the place where you want it to be and then glue it in place with either PVC or white glue.
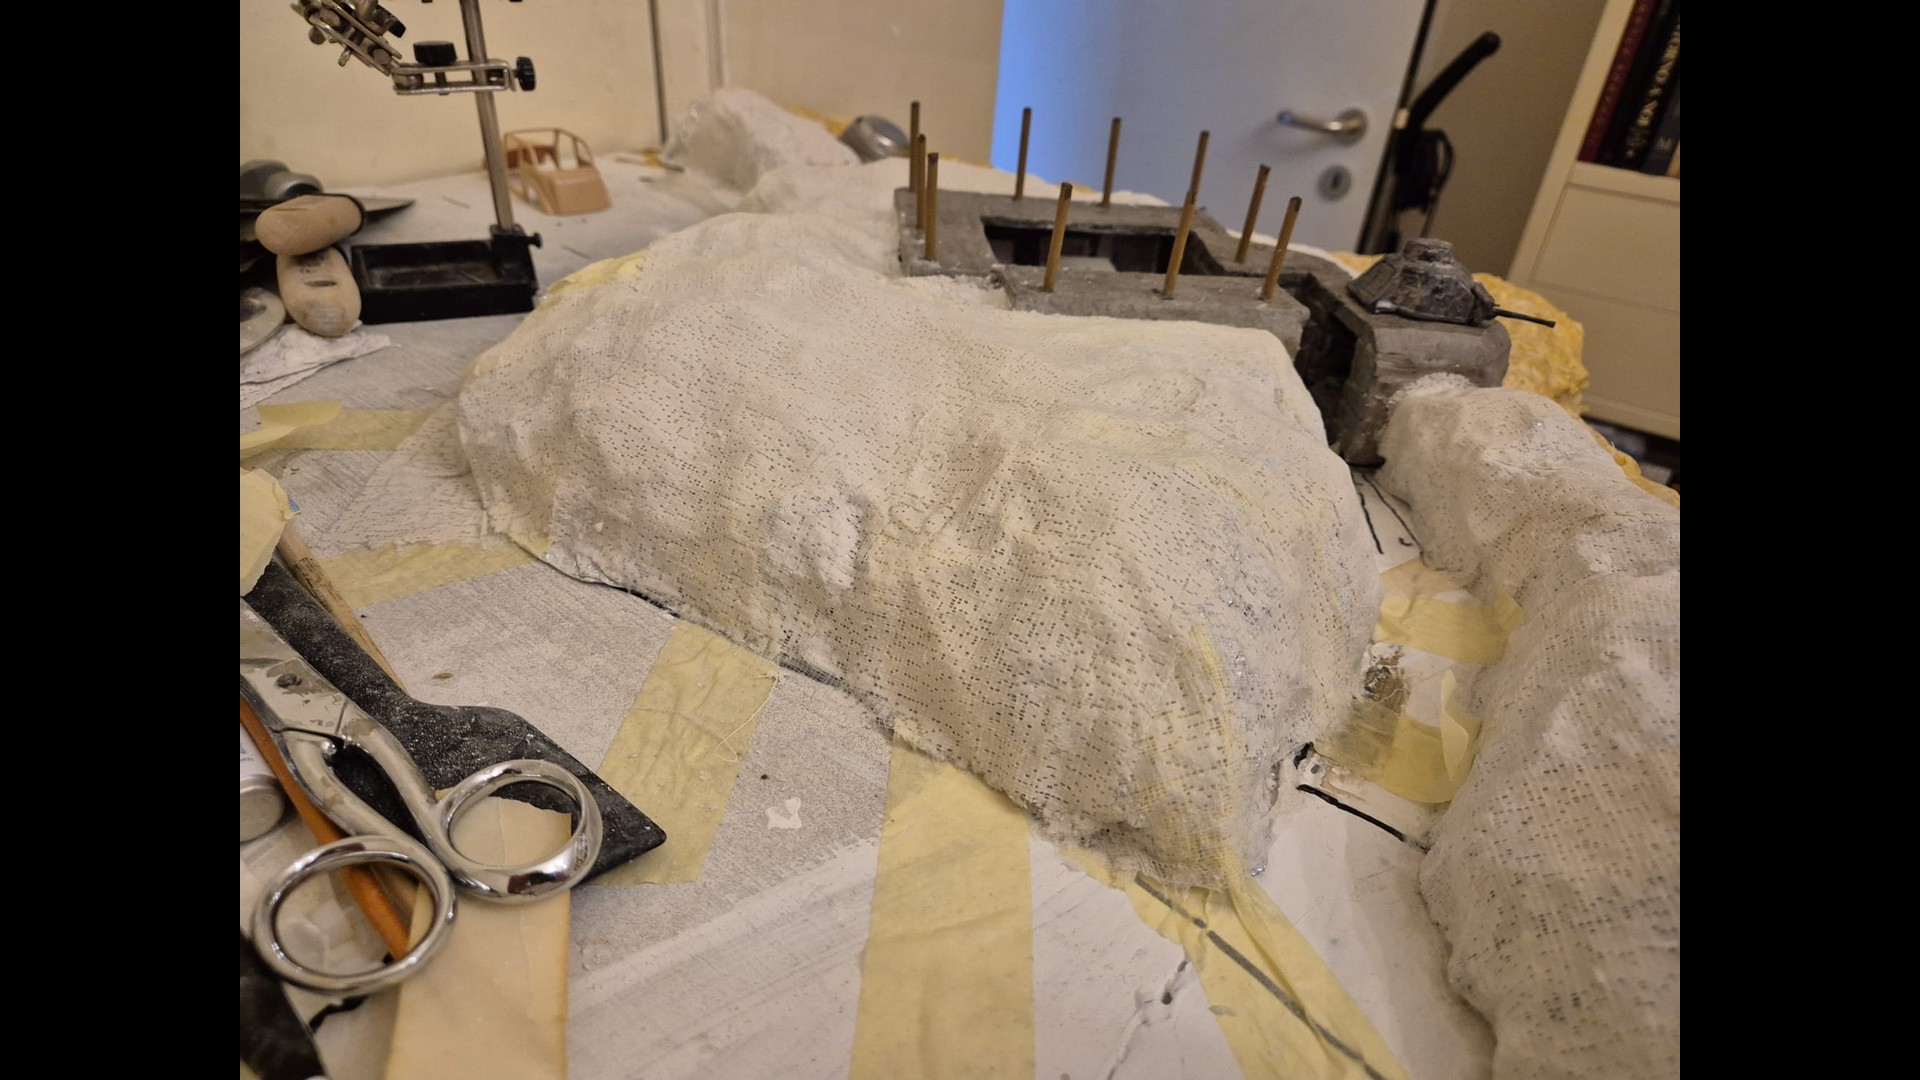
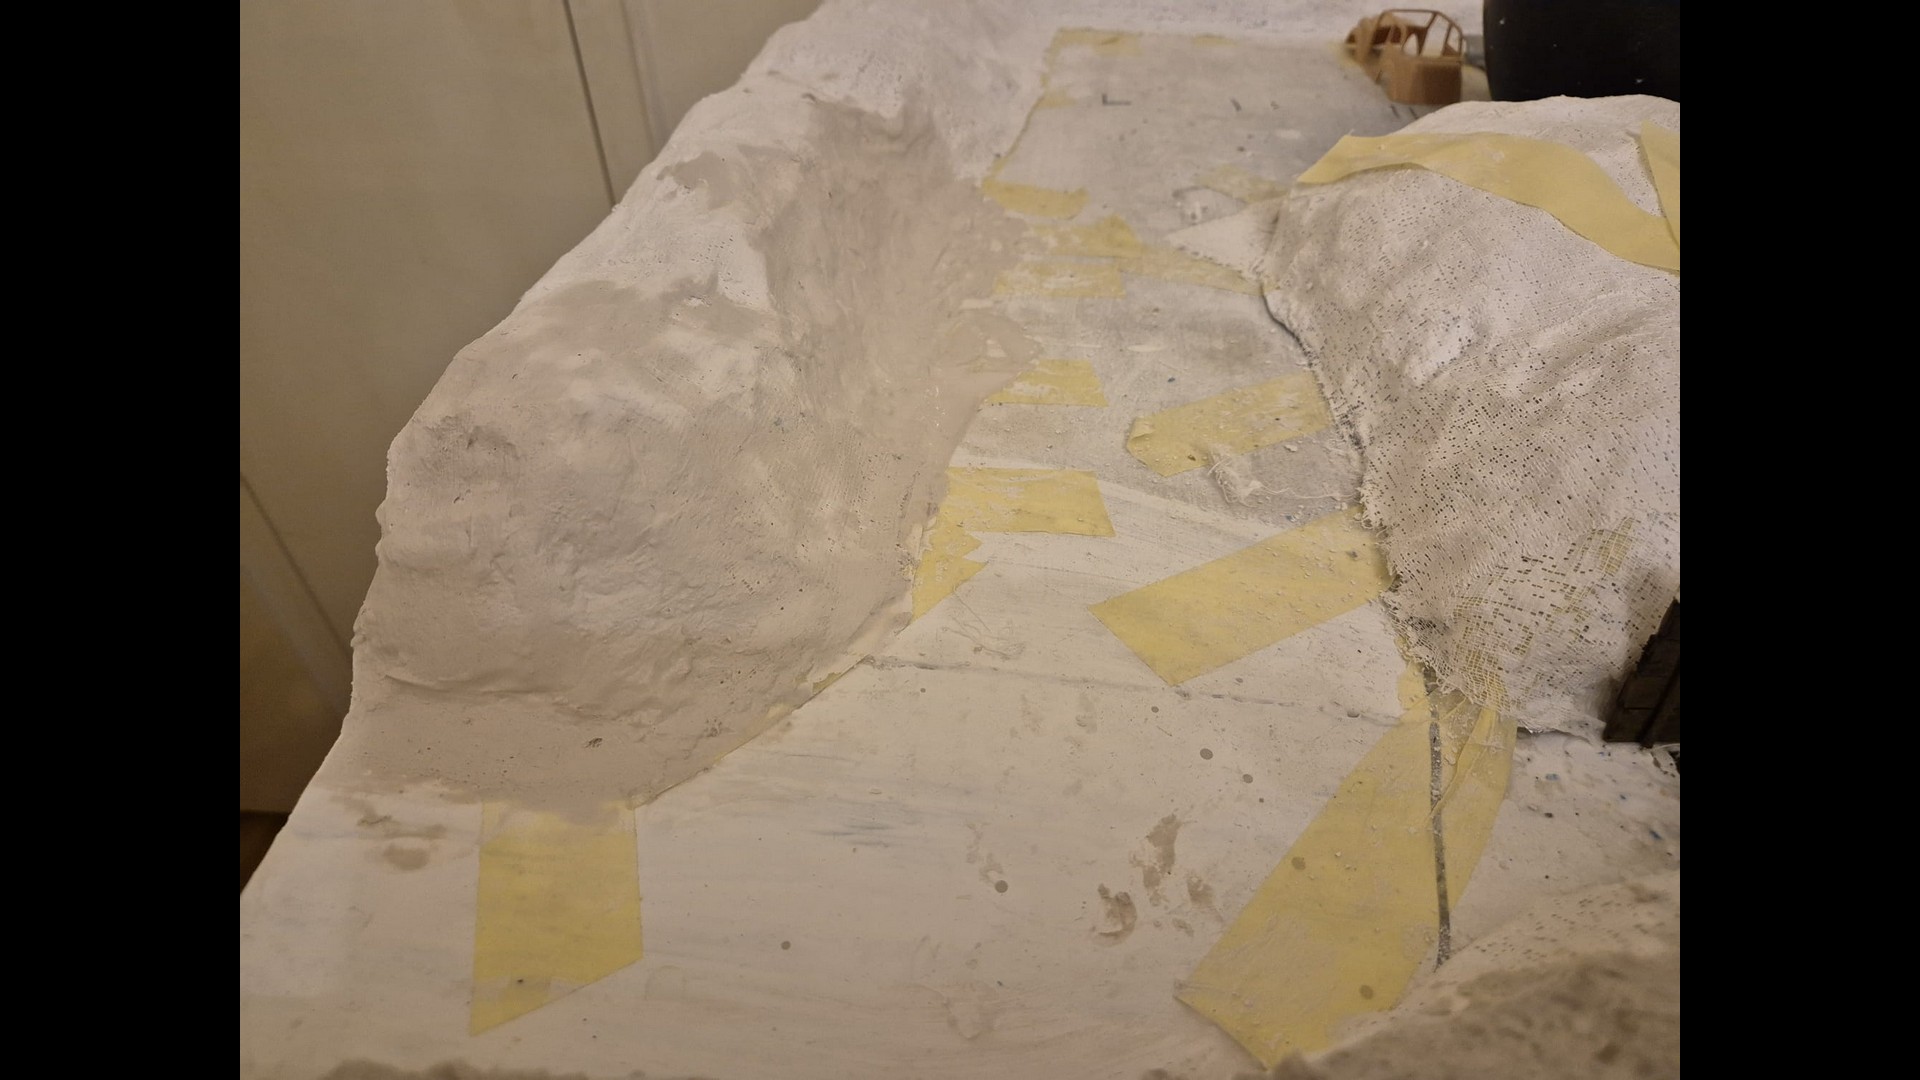
Then I used plaster cloth cut into various squares and rectangles and applied them on every set of aluminum foil balls. Remember, DO NOT place them already wet on them because they would slide away otherwise.
The best way if to place either a square or rectangle over the aluminum foul ball(s) and then with a large synthetic brush gently wet them holding them firmly over the preformed surfaces, and by wet them I mean generously dab them with water and try to spread the plaster contained in them as much as possible in every direction, since plaster cloth has tiny beads of it in the fabric and if you do not spread them they will remain as they are and this is not the effect you want.
Besides, by spreading the plaster you consolidate the cloth unto the aluminum foil.
Work slowly and patiently. If needed also gently press the plaster cloth into the folds in the aluminum foil.
On another note, watch carefully which side of the plaster cloth is rougher. Yes you heard right, there are two sides on plaster cloth. One has more plaster applied to it, while the other side is the one that is usually applied to the interested surface, this is why the rougher side has to remain on the surface and can have the plaster so worked on as to make the lower side stick more efficiently to that surface you are working on.
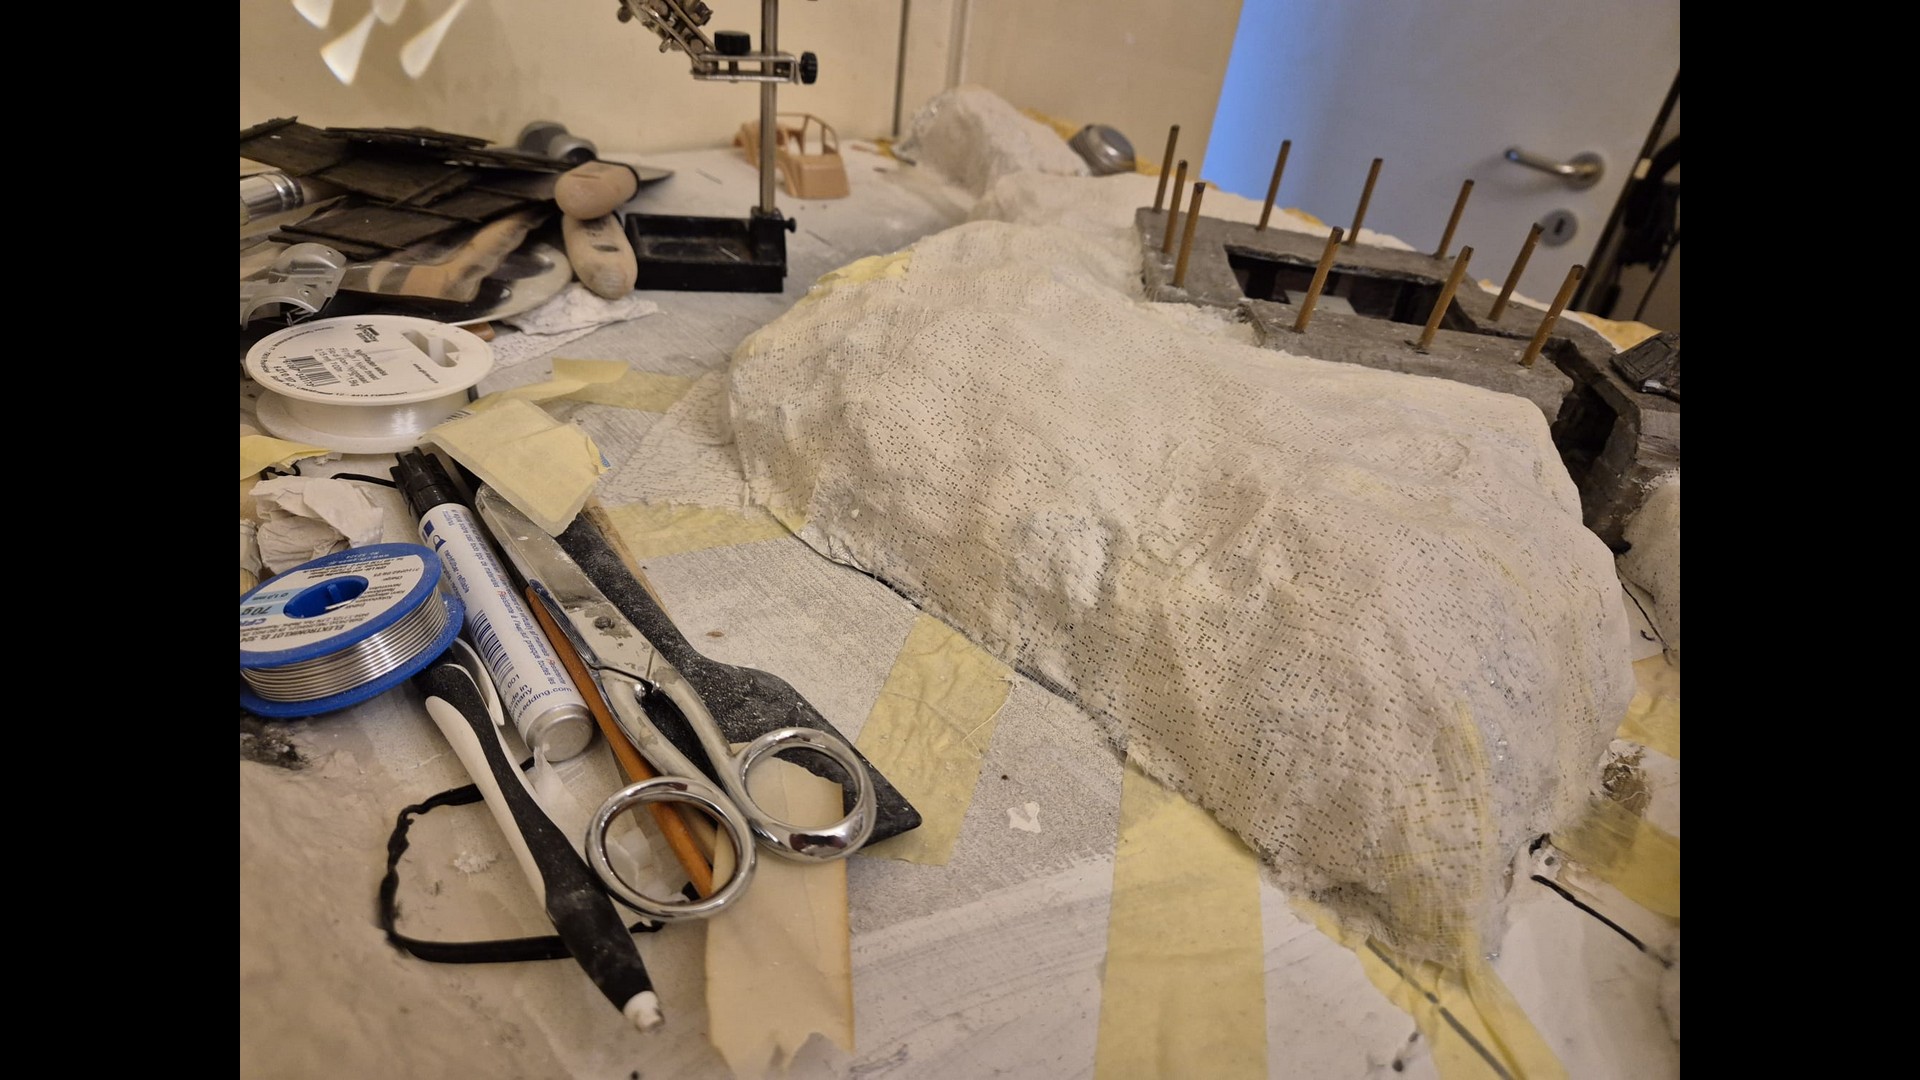
Once you have your plaster cloth so secured let it dry for a while and then apply masking tape over it to further secure it in place until fully solid.
And this is basically it.
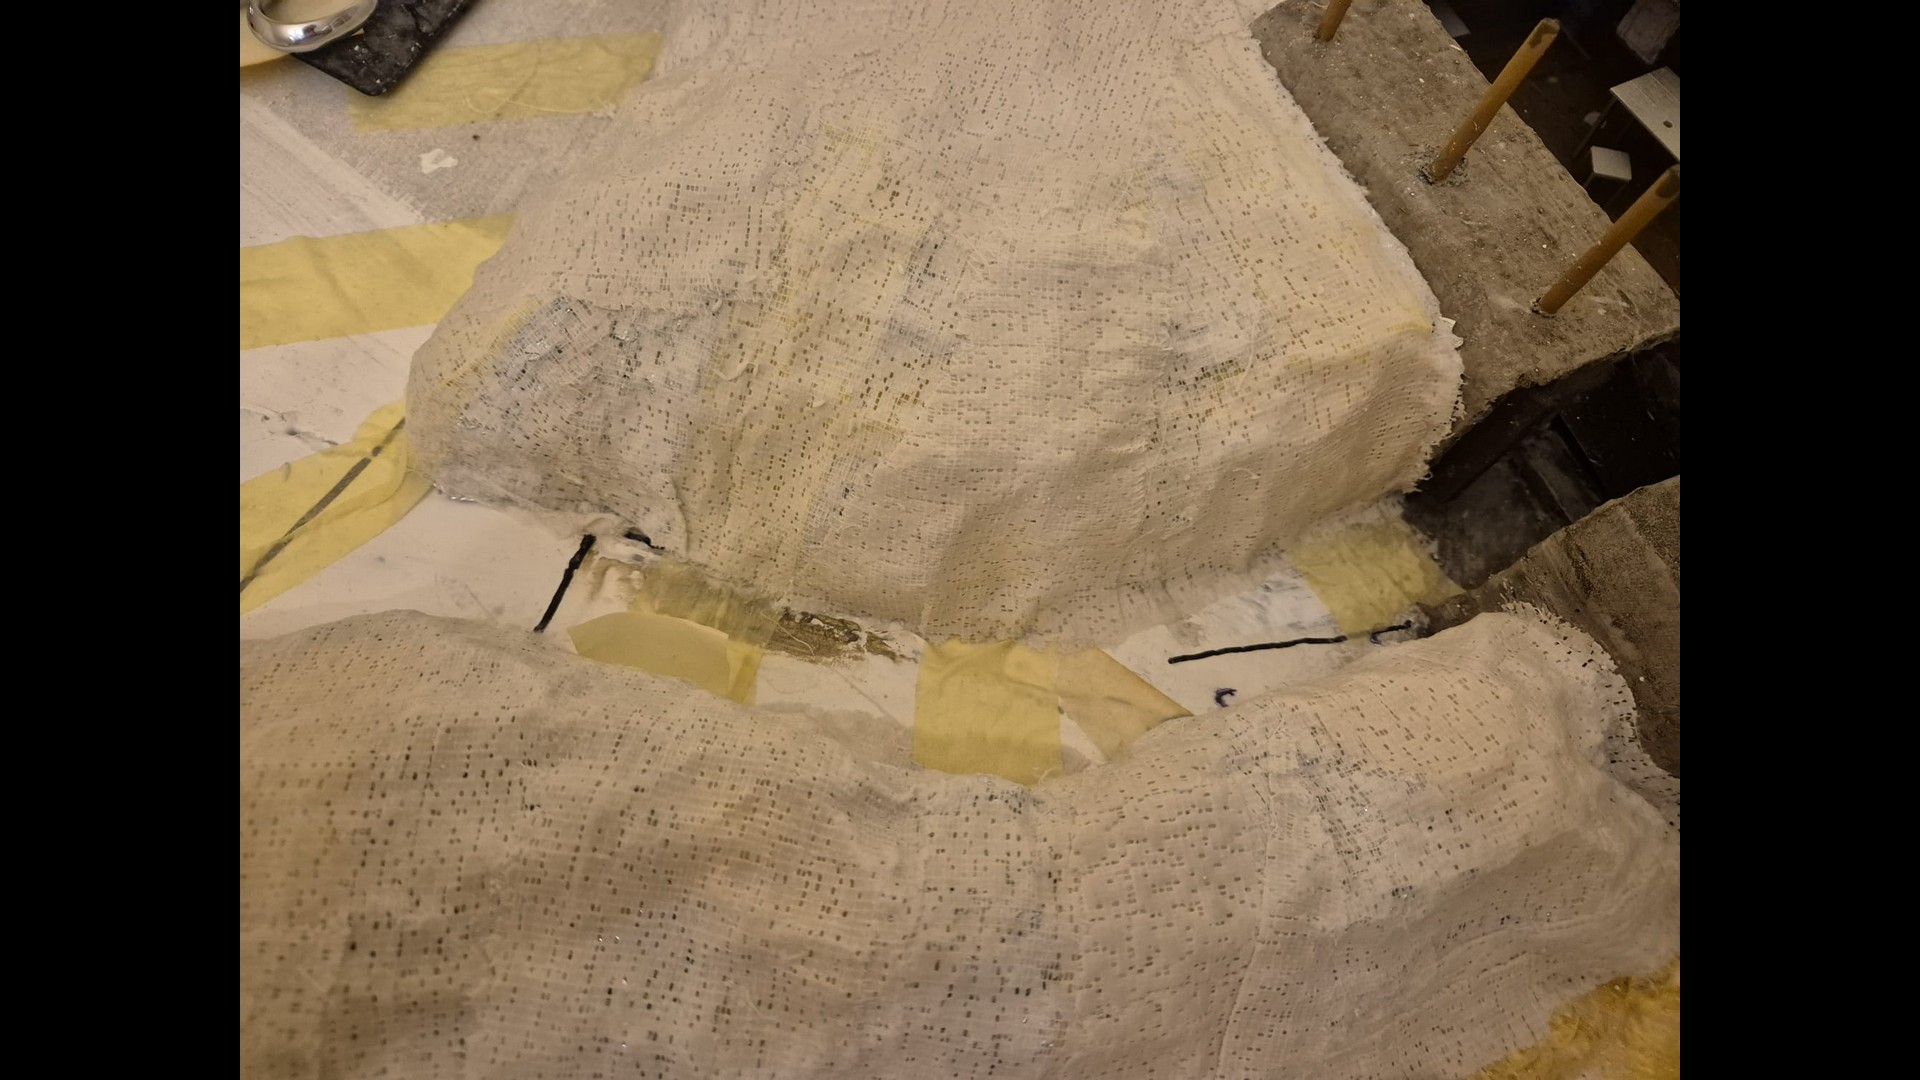
You may also notice that some lower parts of those mounds or dunes are not totally conforming to the surface, but this is not a problem since more work will be done in that sense.
And for this prequel I have explained my personal procedure to create such tiny mounds or dunes in 1/35 scale.
Here are the pictures…
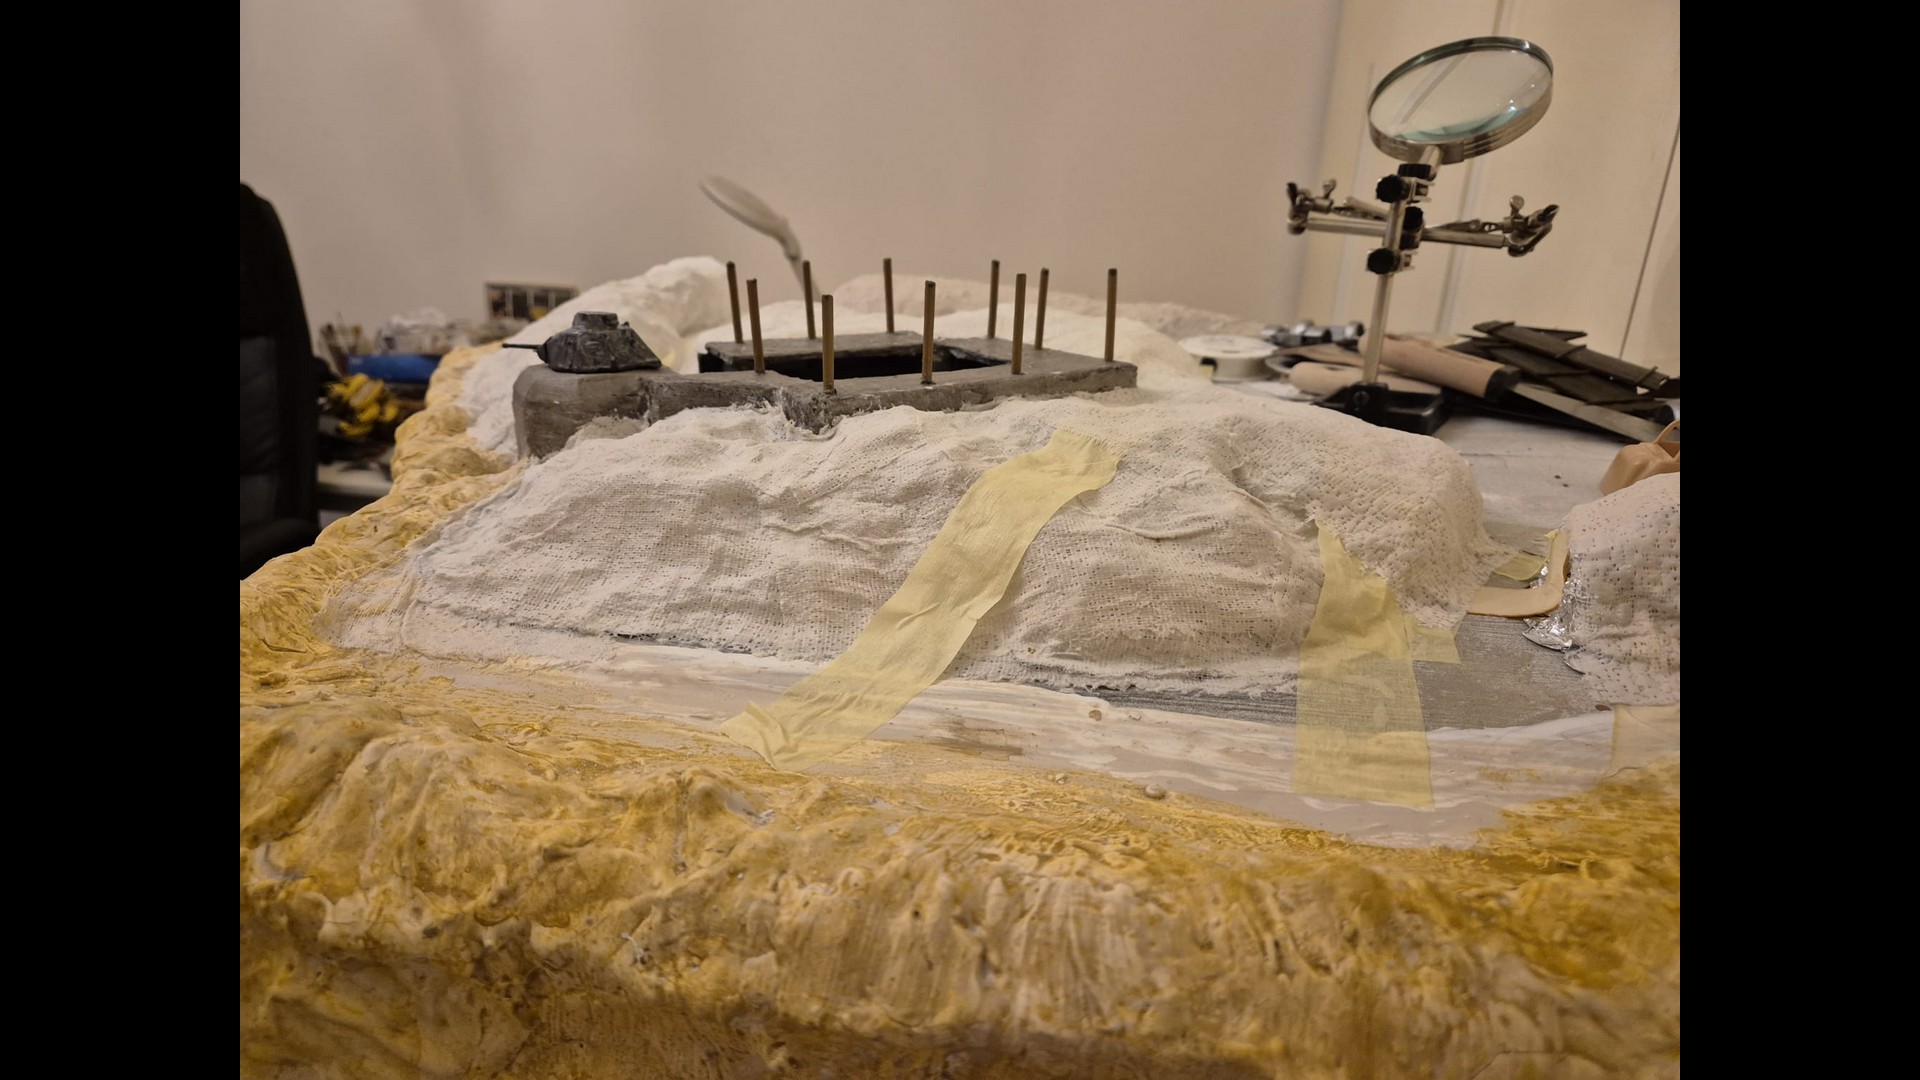
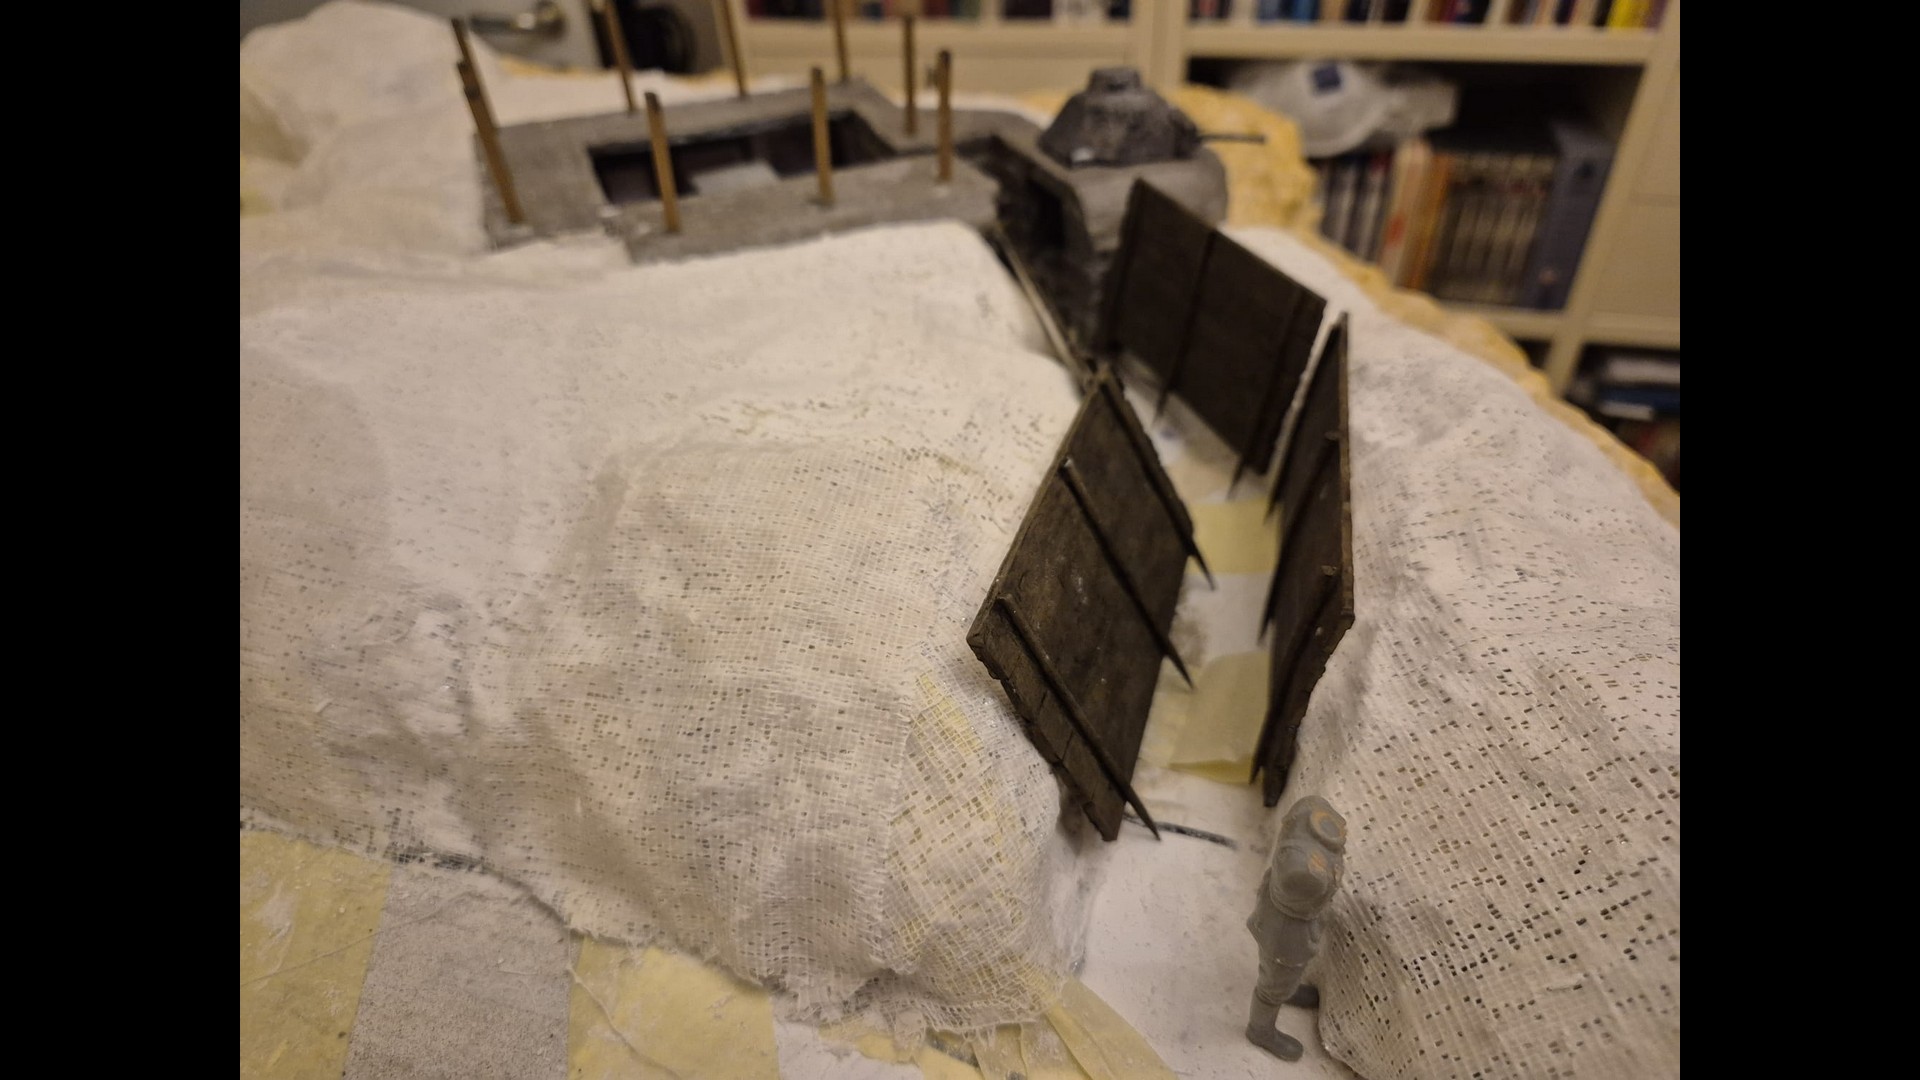
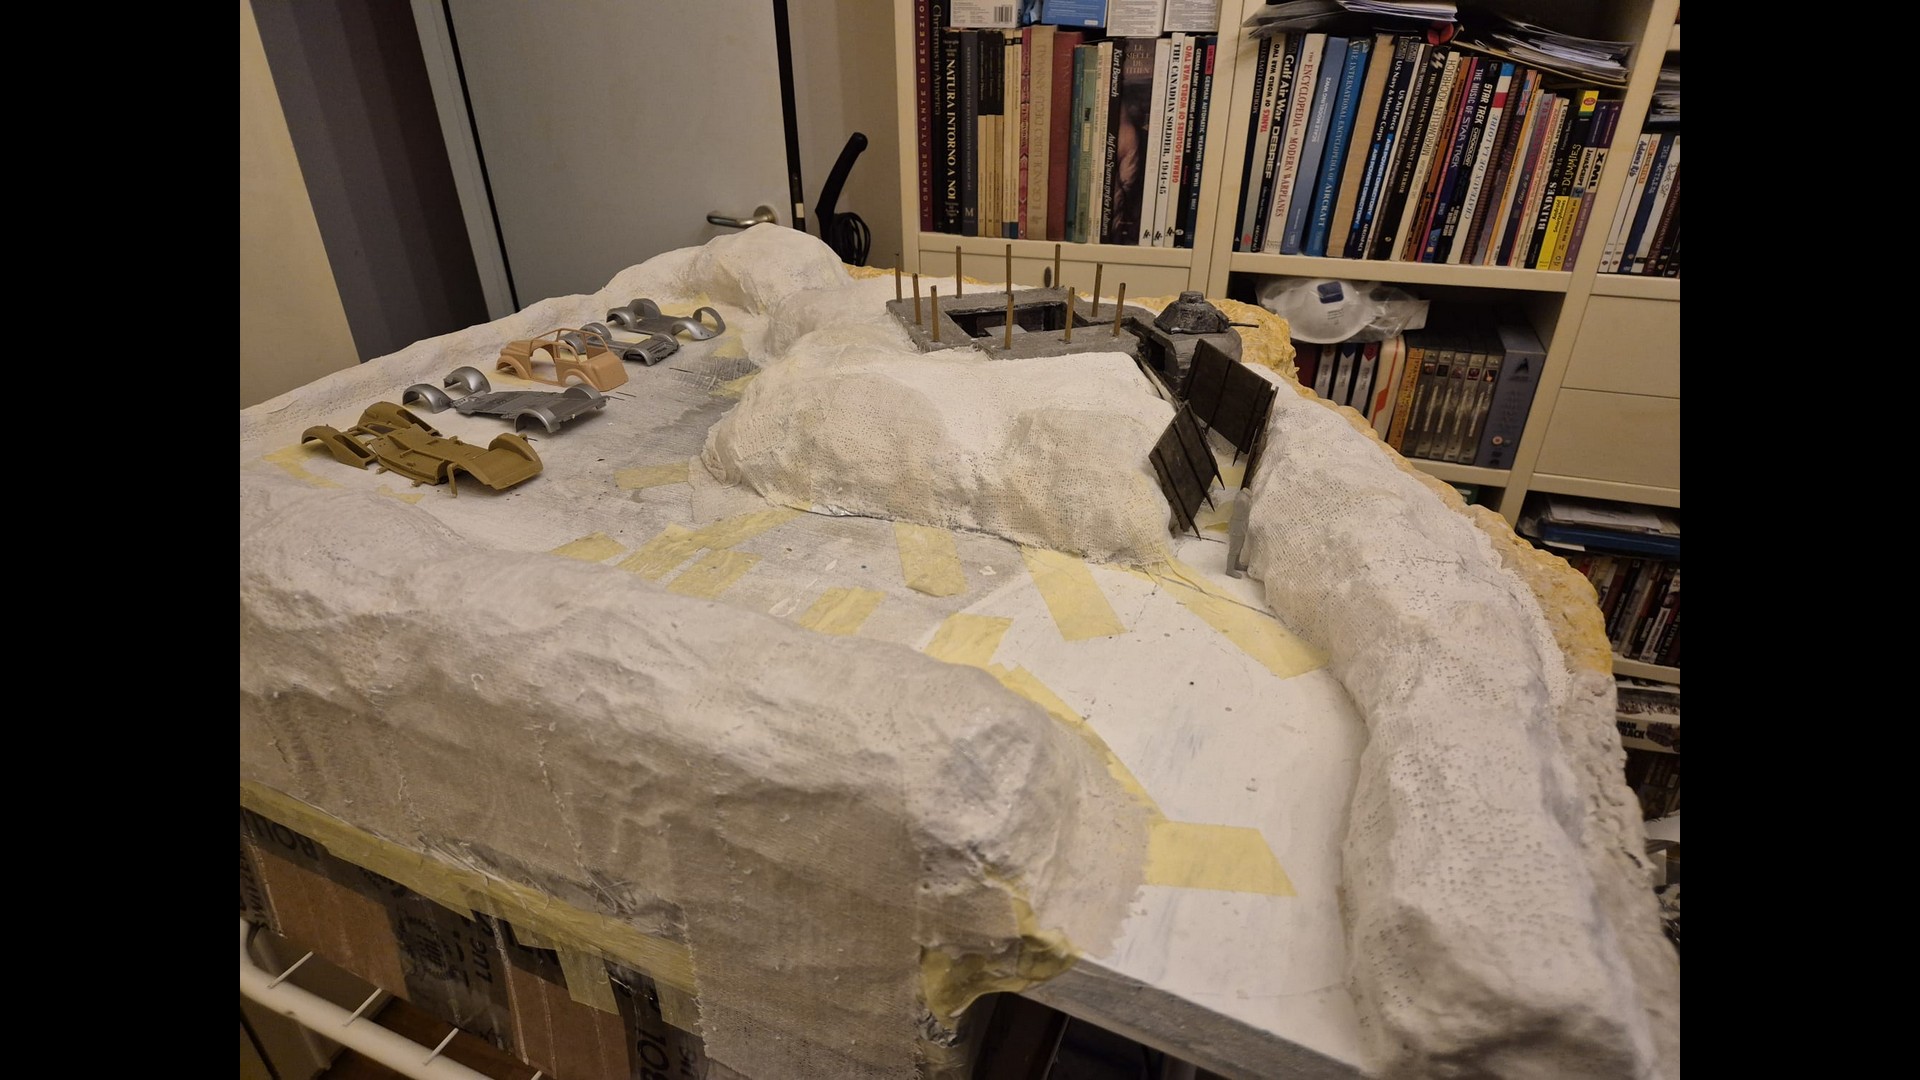
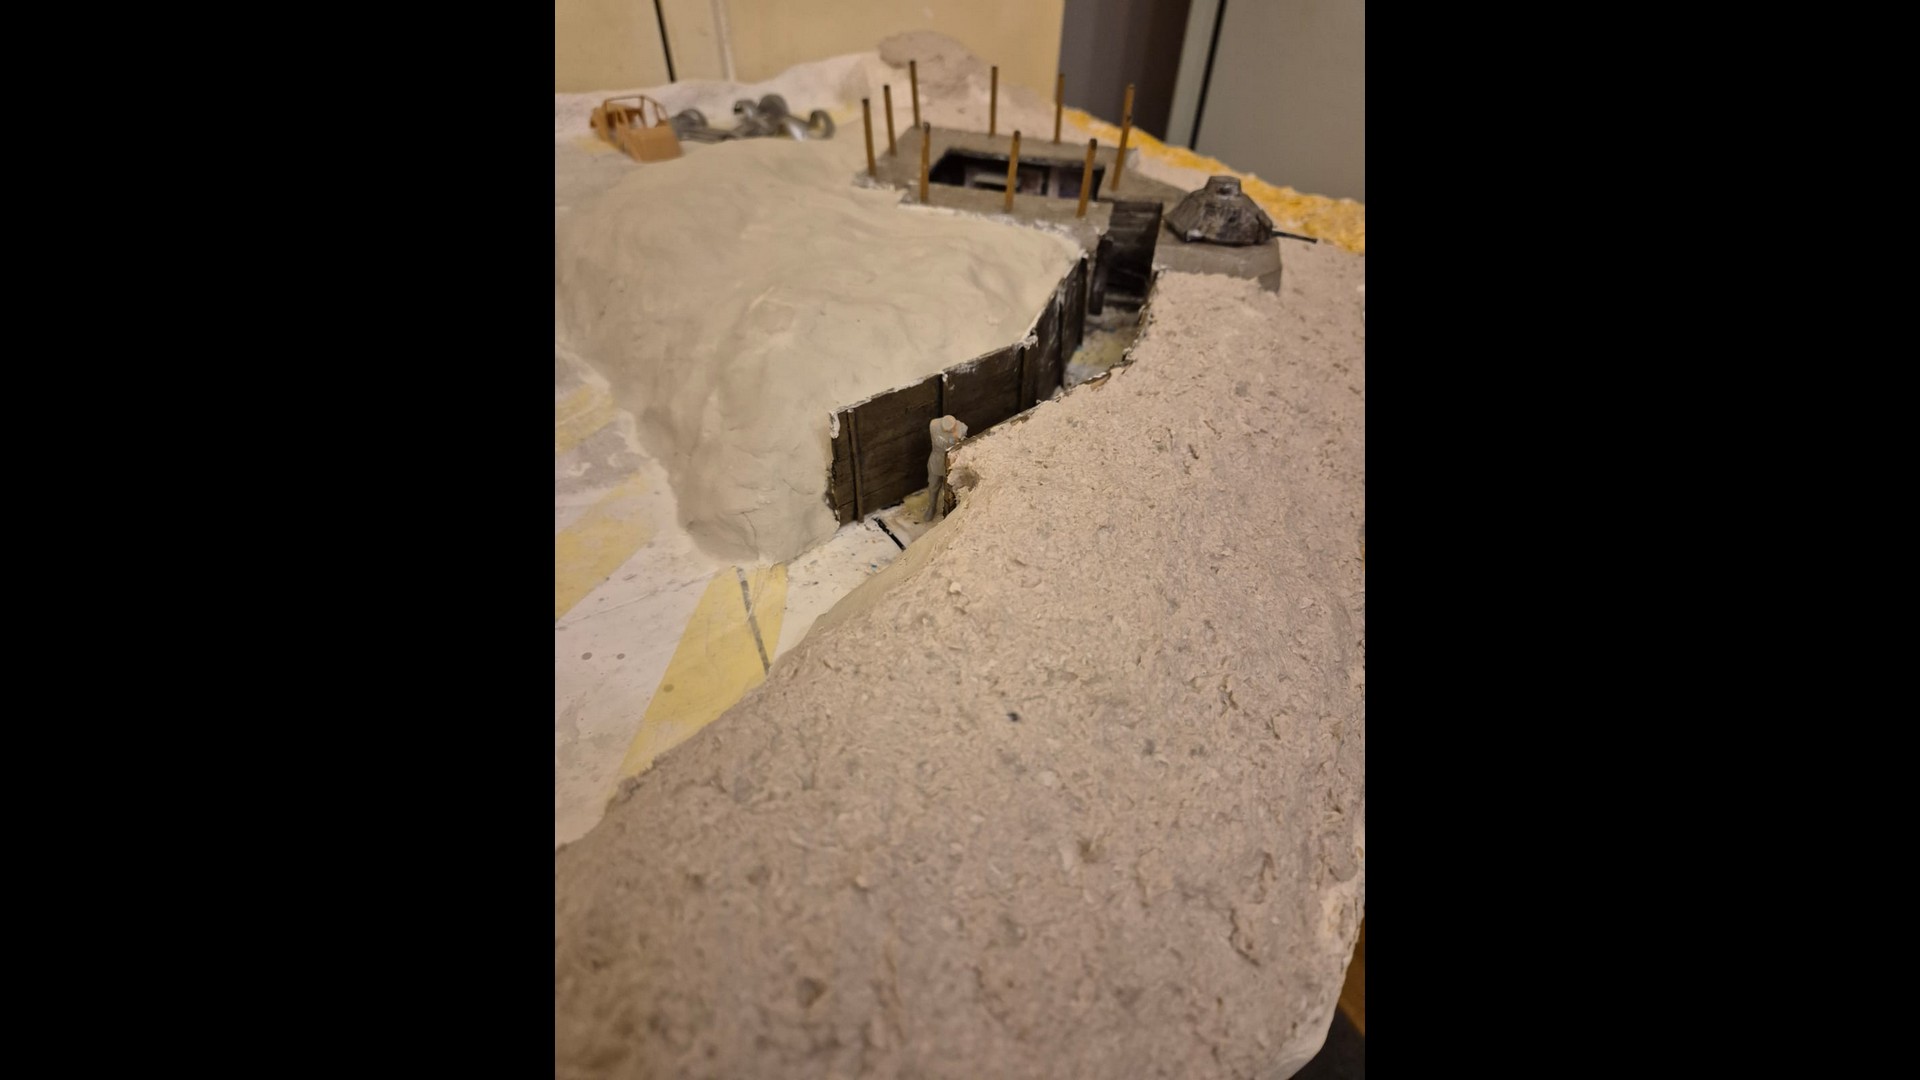
Now to Prequel #7 which further shows how I applied plaster cloth and secured both the aluminum foil as well as the cloth to the base.
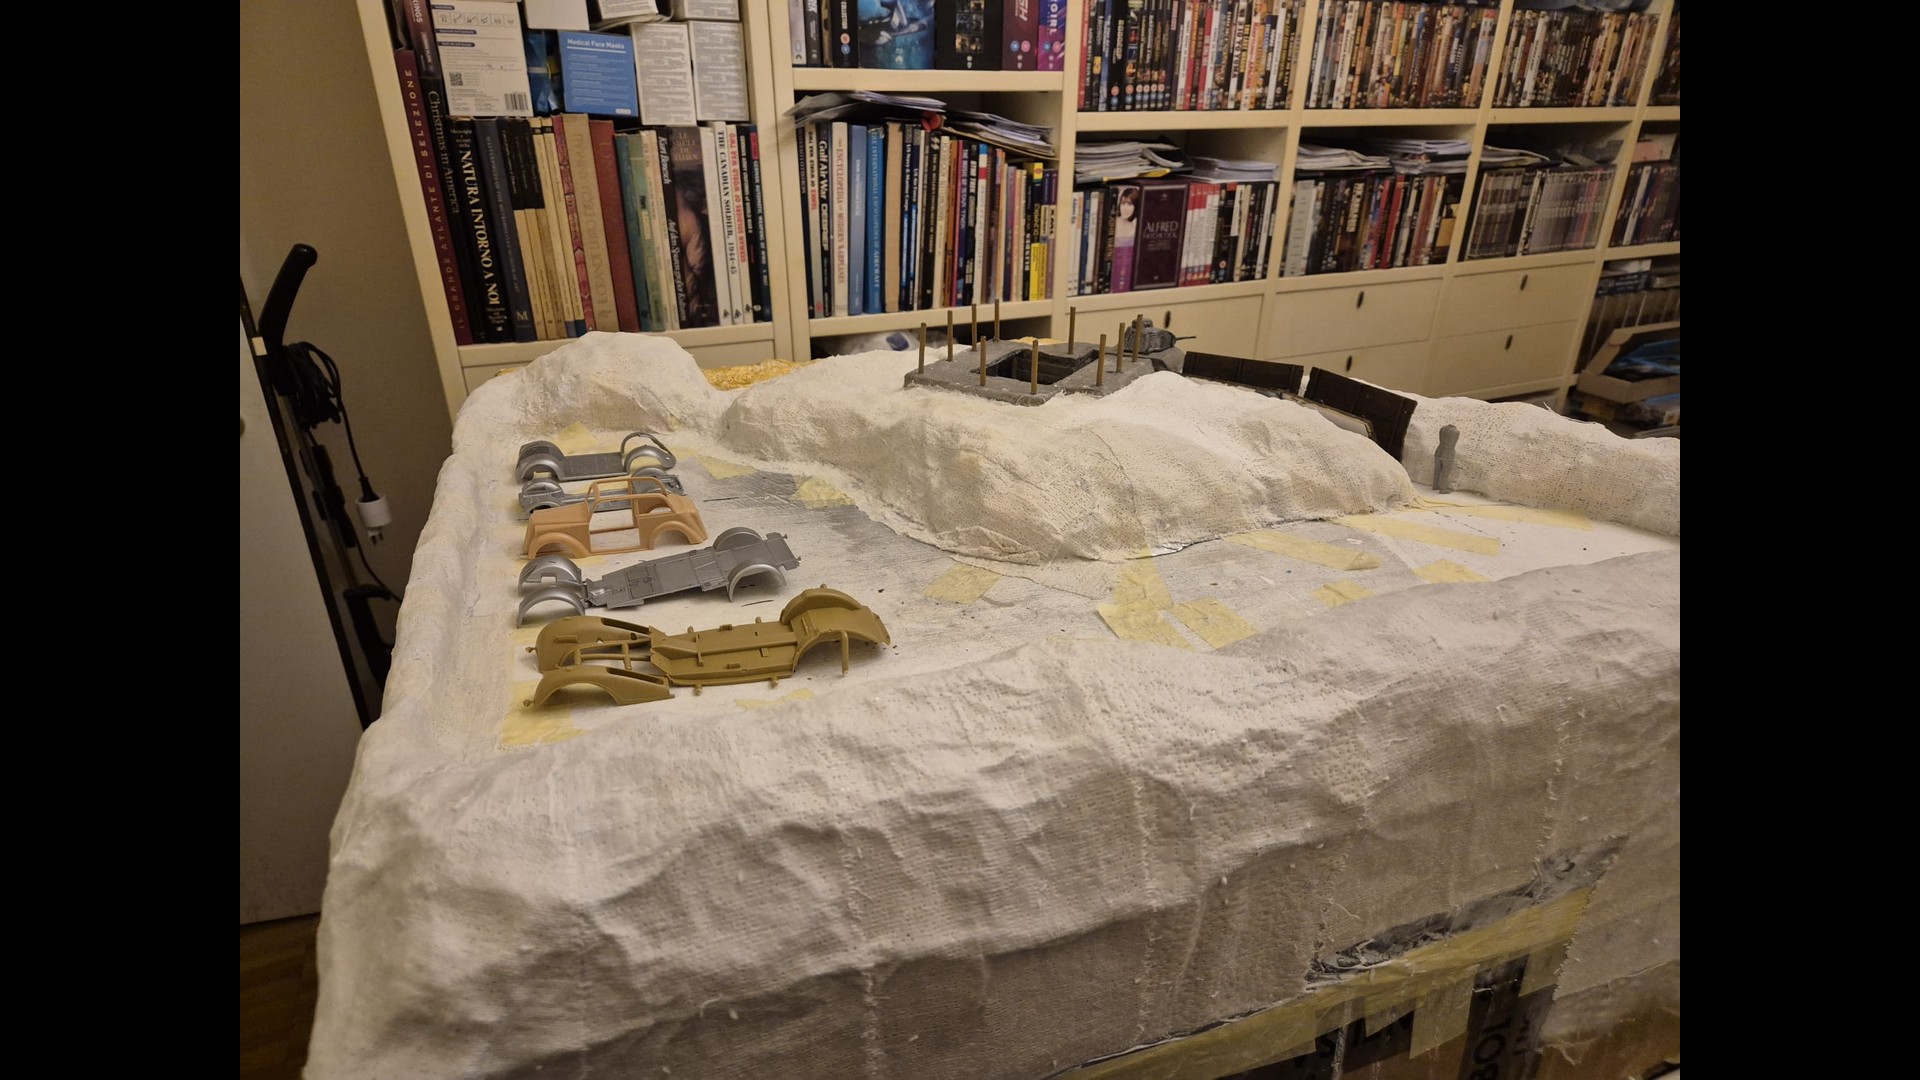
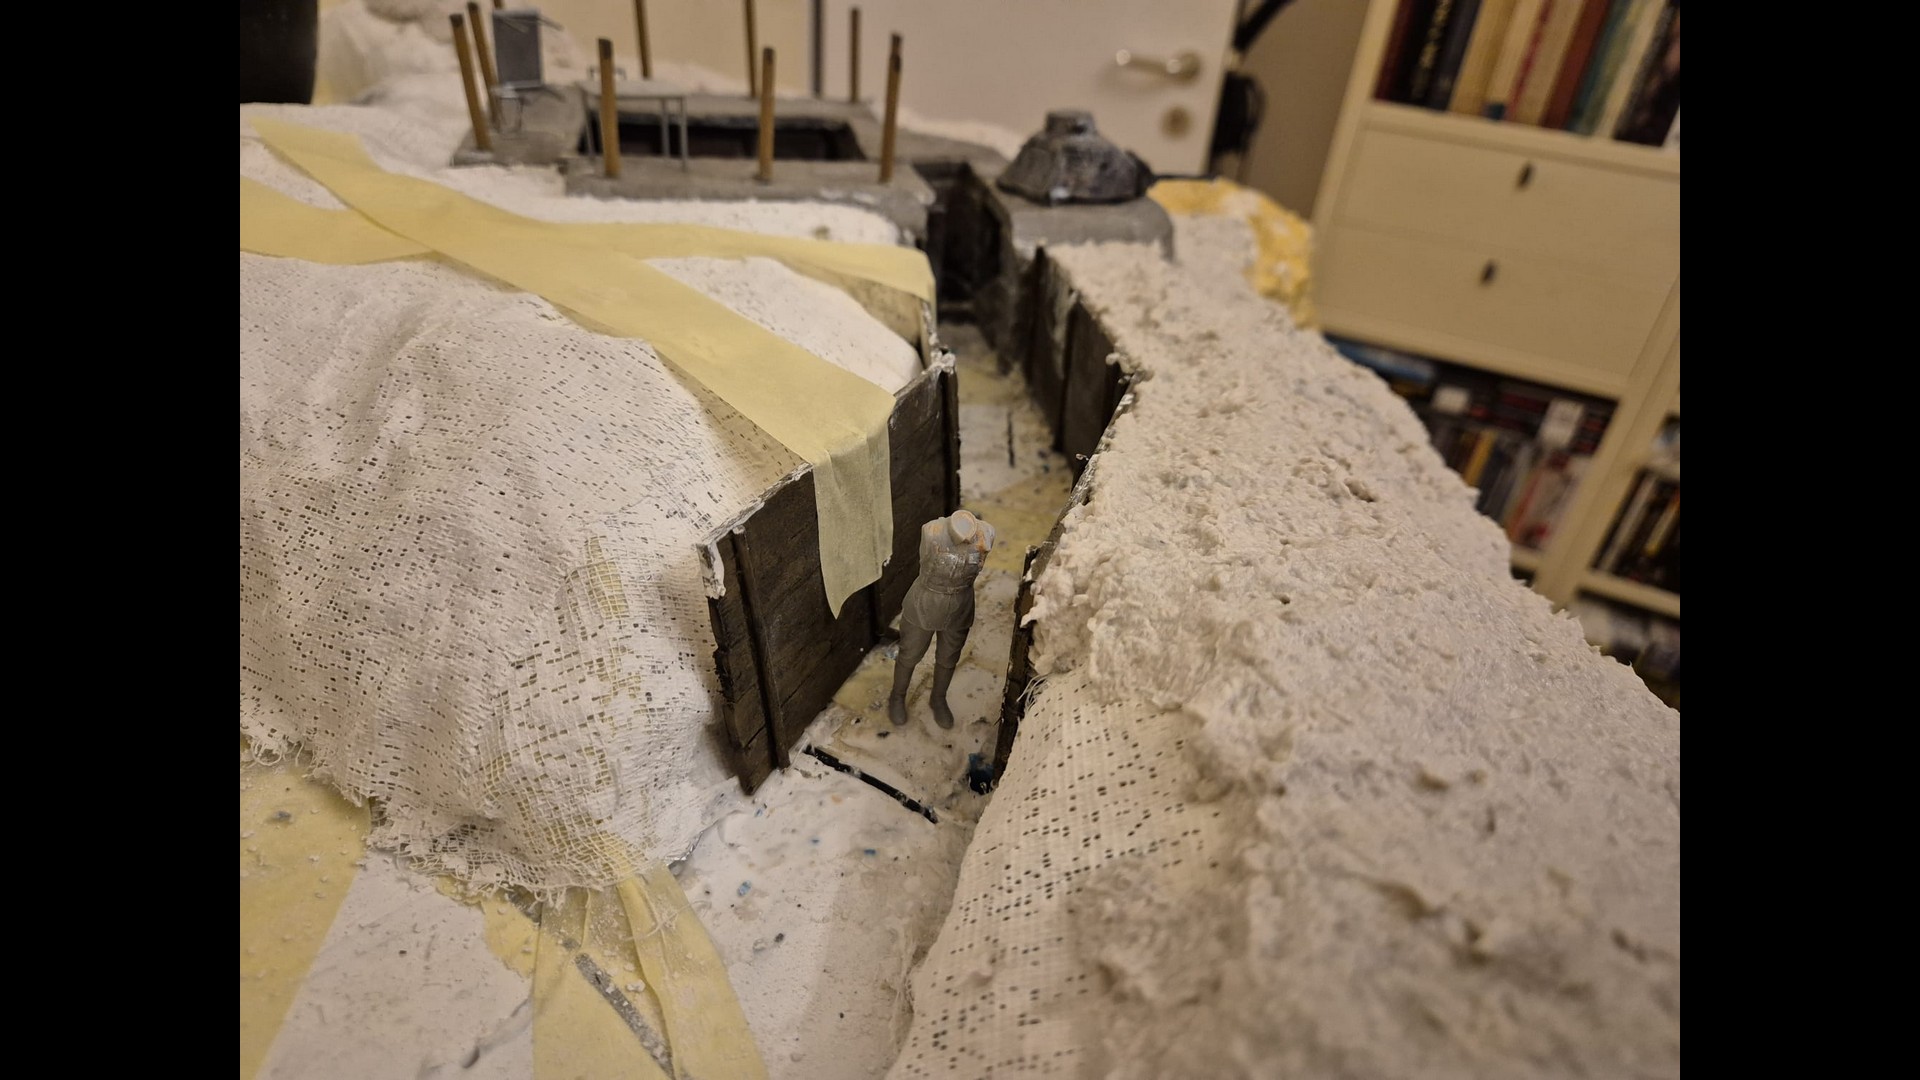
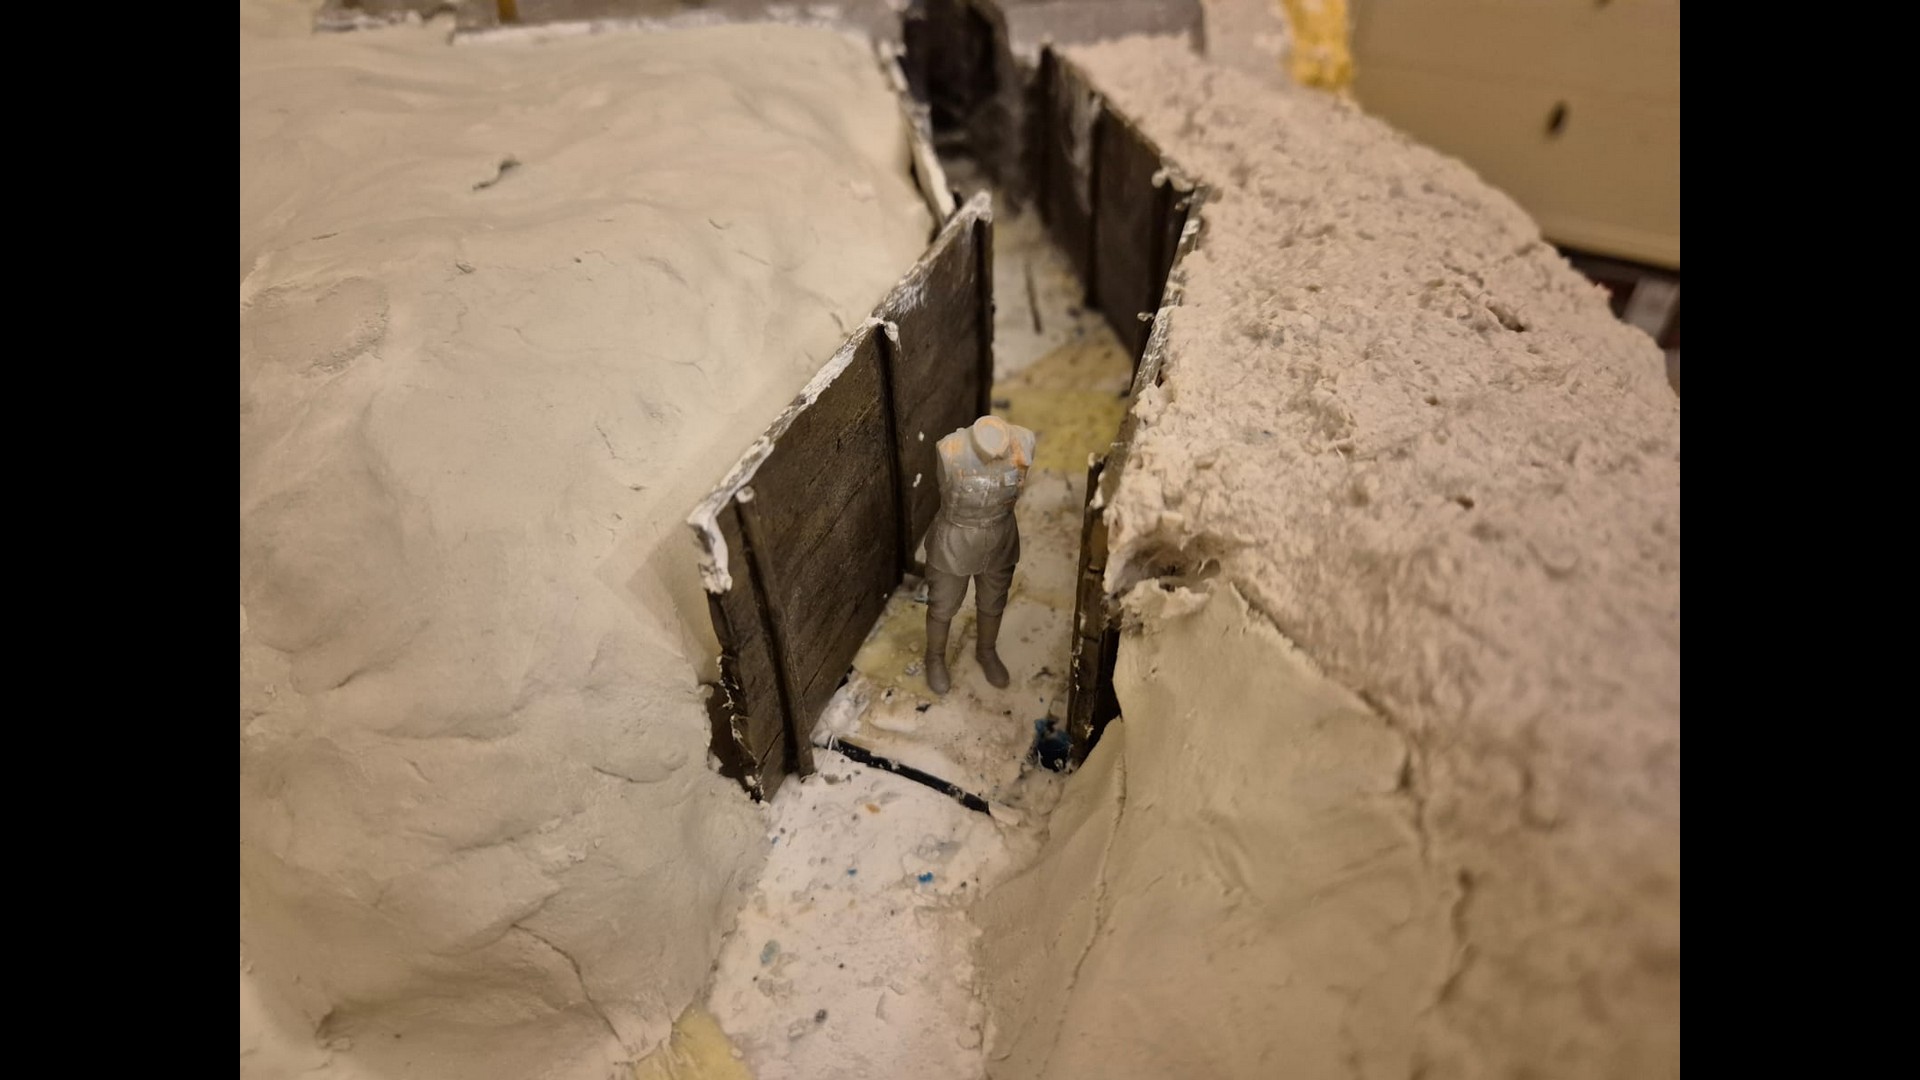
I also placed the trench fences in the area where they will then be fixed to summarily calculate how much more material I will need to nest them securely against the dune walls and the entrance to the Bunker.
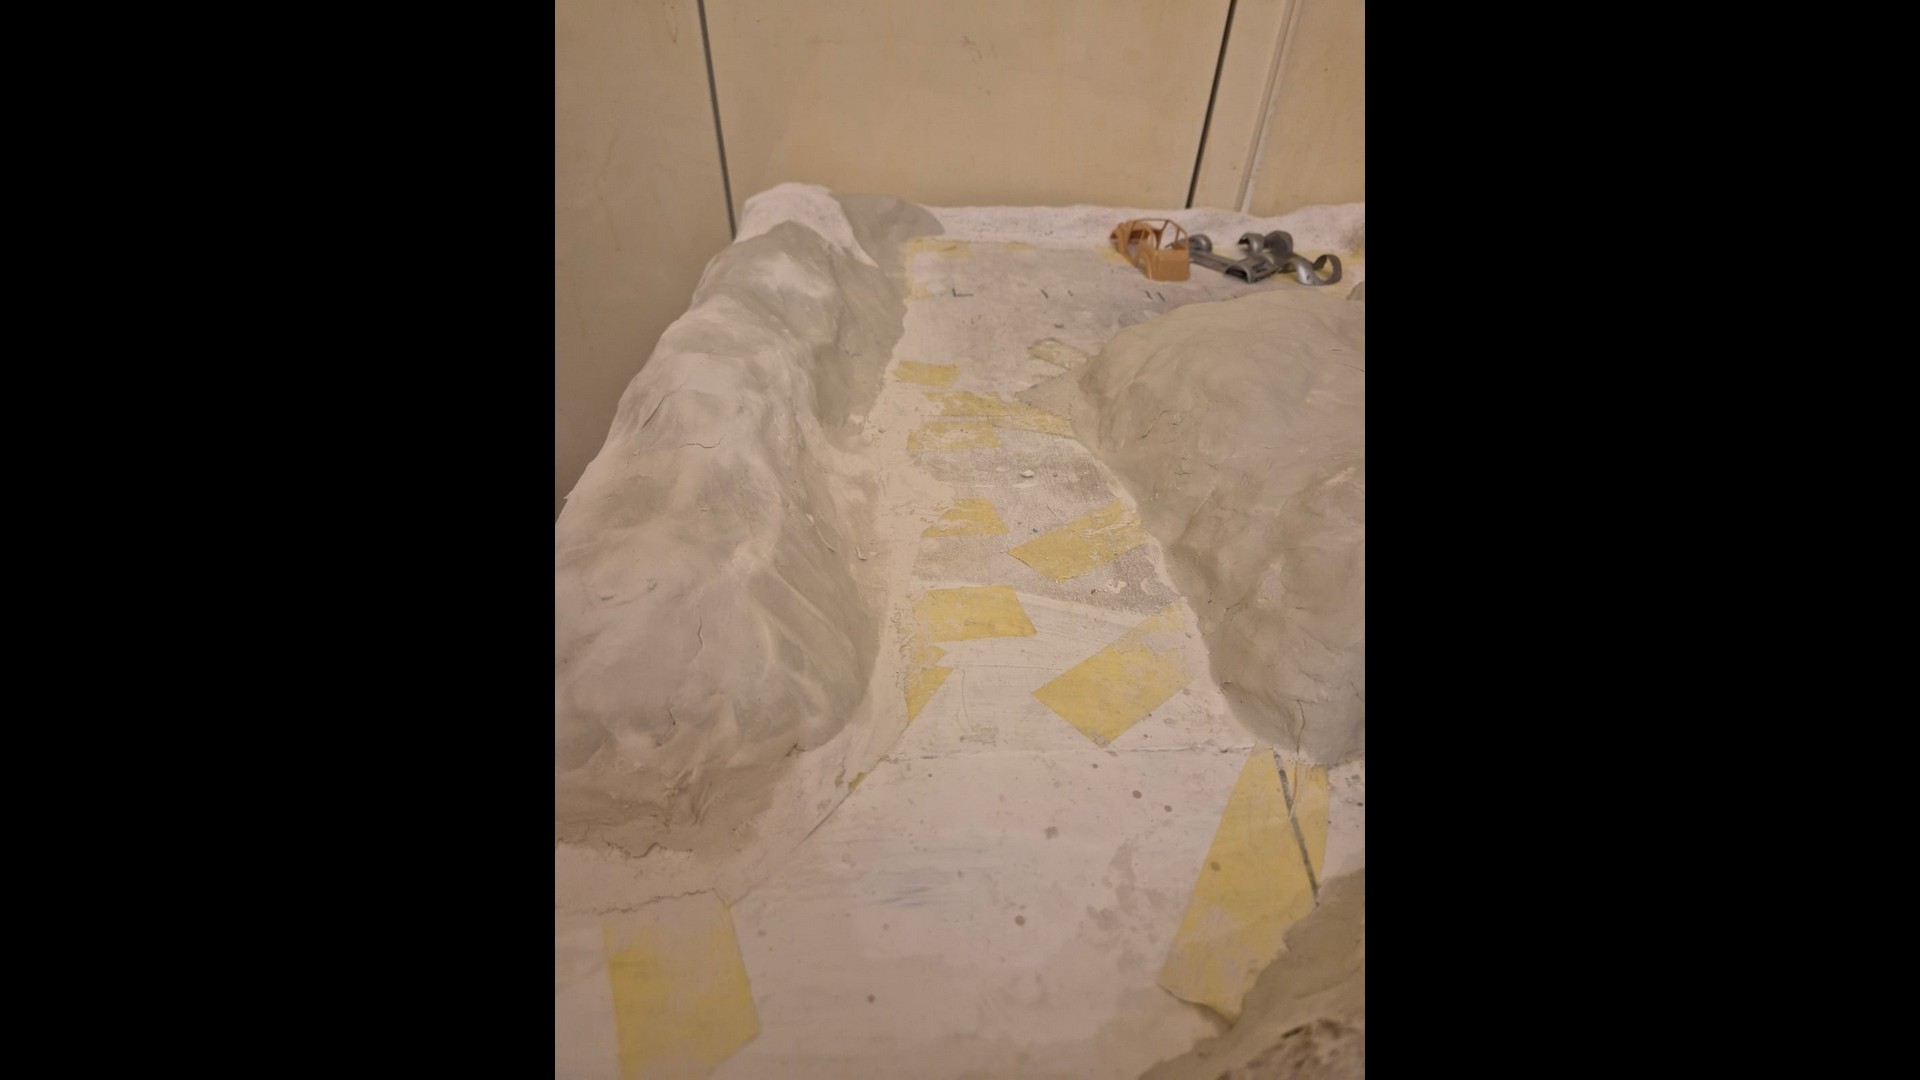
Furthermore, I applied acrylic Gesso (Pebeo acrylics) on all the empty spaces where roads, pathways and the parking lot will then by defined, as well as then cover it its a generous amount of Modeling Paste (Liquitex) to make it all more uniform.
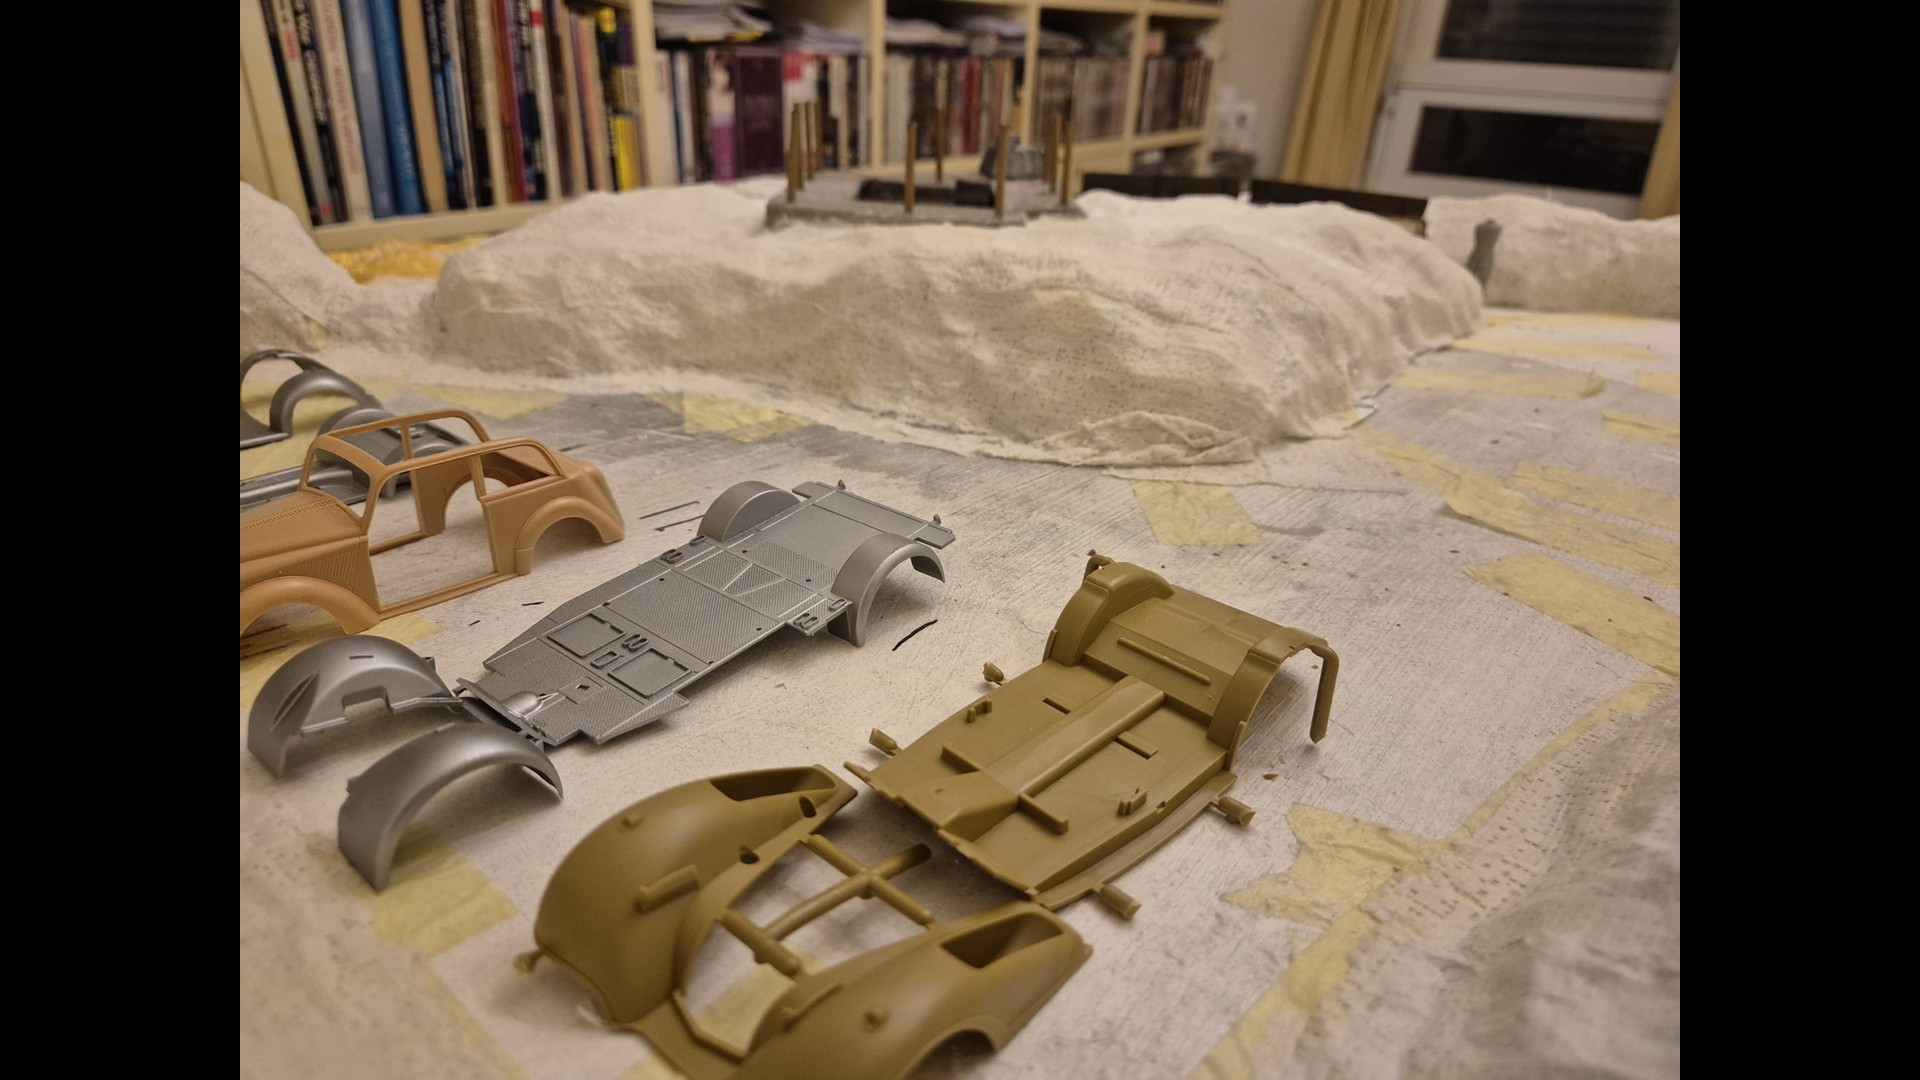
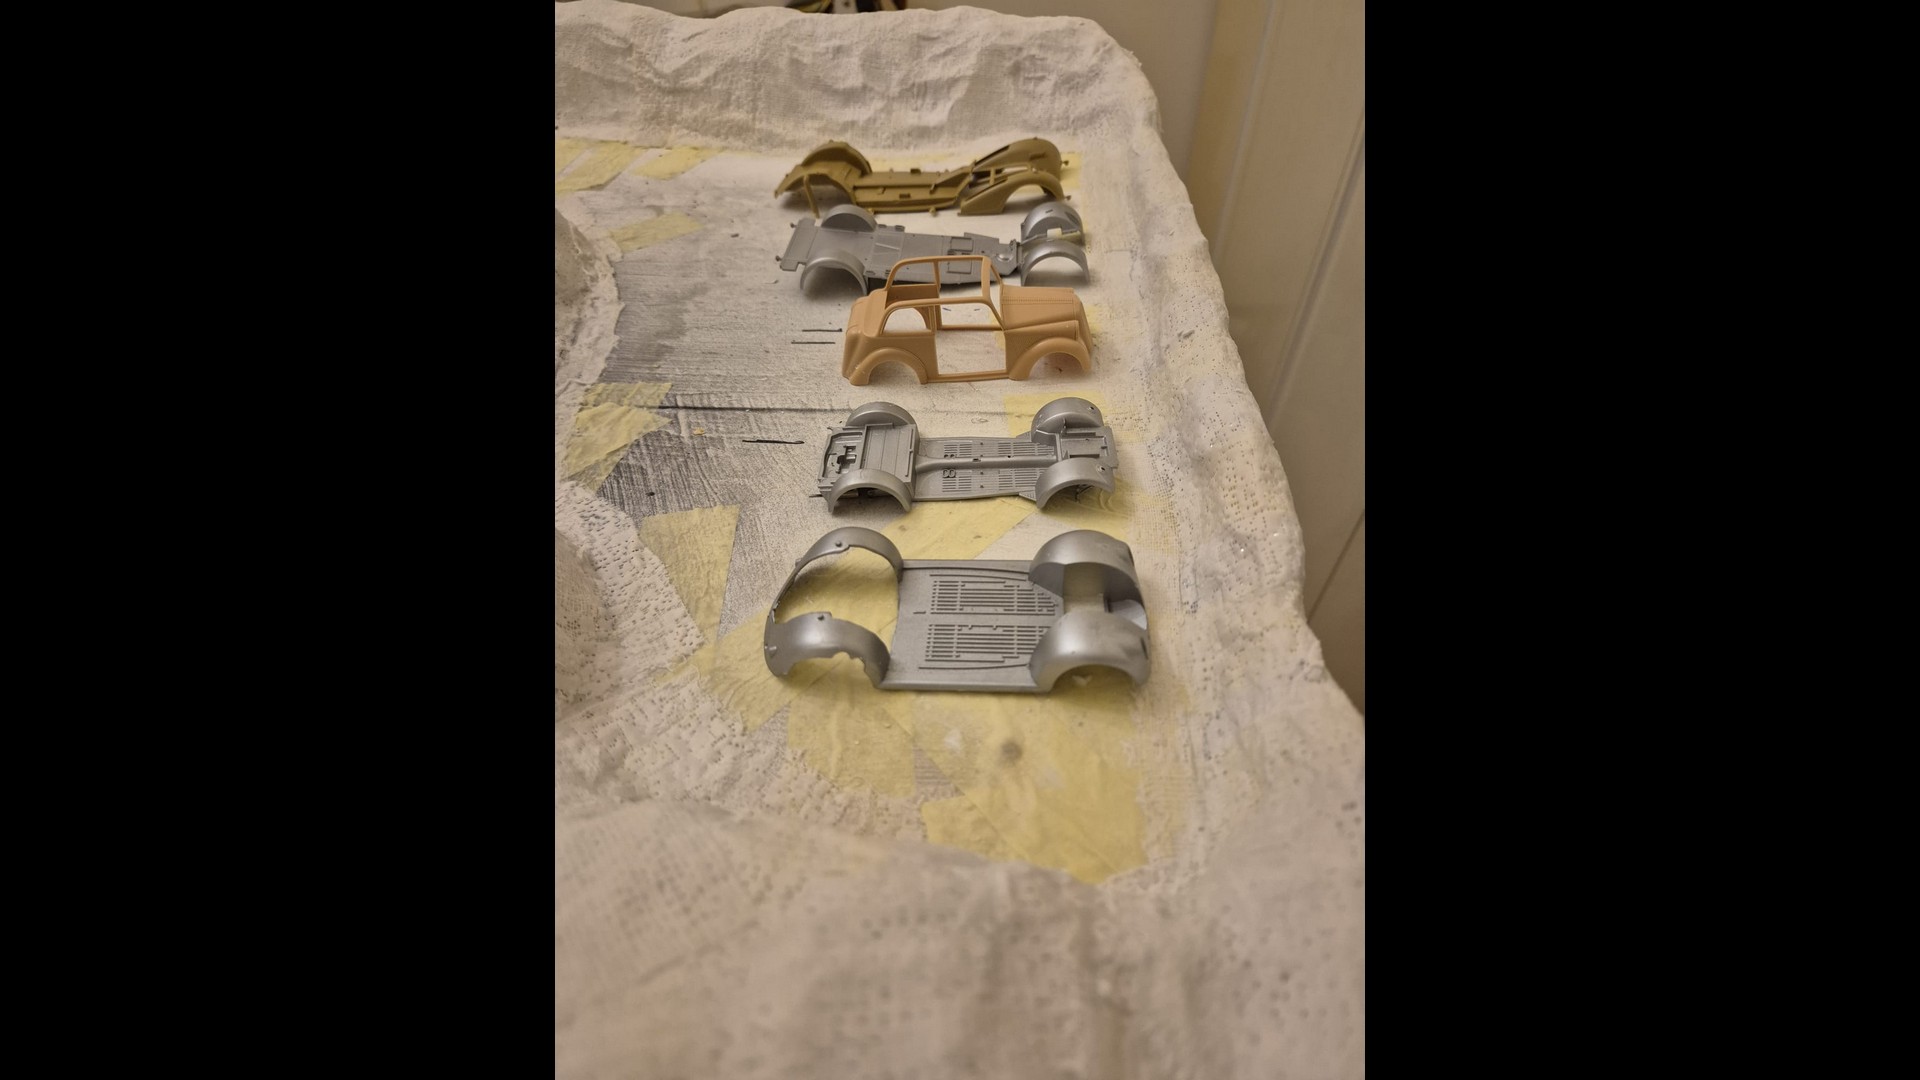
Once everything did dry out I placed the chassis of the vehicles in position where they will be parked to take the appropriate measurements and insure that they will then fit in that space.
I also took the span to the parking lot’s leading road to see if even a small truck would fit in.
And here finally are the pictures…
And finally to prequel #8 which will be divided in two parts: A and B.
This is part A which shows my final addition of thin layers of Celluclay formed correctly into a thick paste by also using Craft Glue mixed with White Glue and a small amount of water (barely 1/3 the amount of Celluclay) and squished and mixed thoroughly with my bare hands.
It became so thick and pasty that it literally stuck to my fingers (easily resolved by dipping my fingers in lukewarm water, but it was a very nice porridge serving indeed 
 ).
).
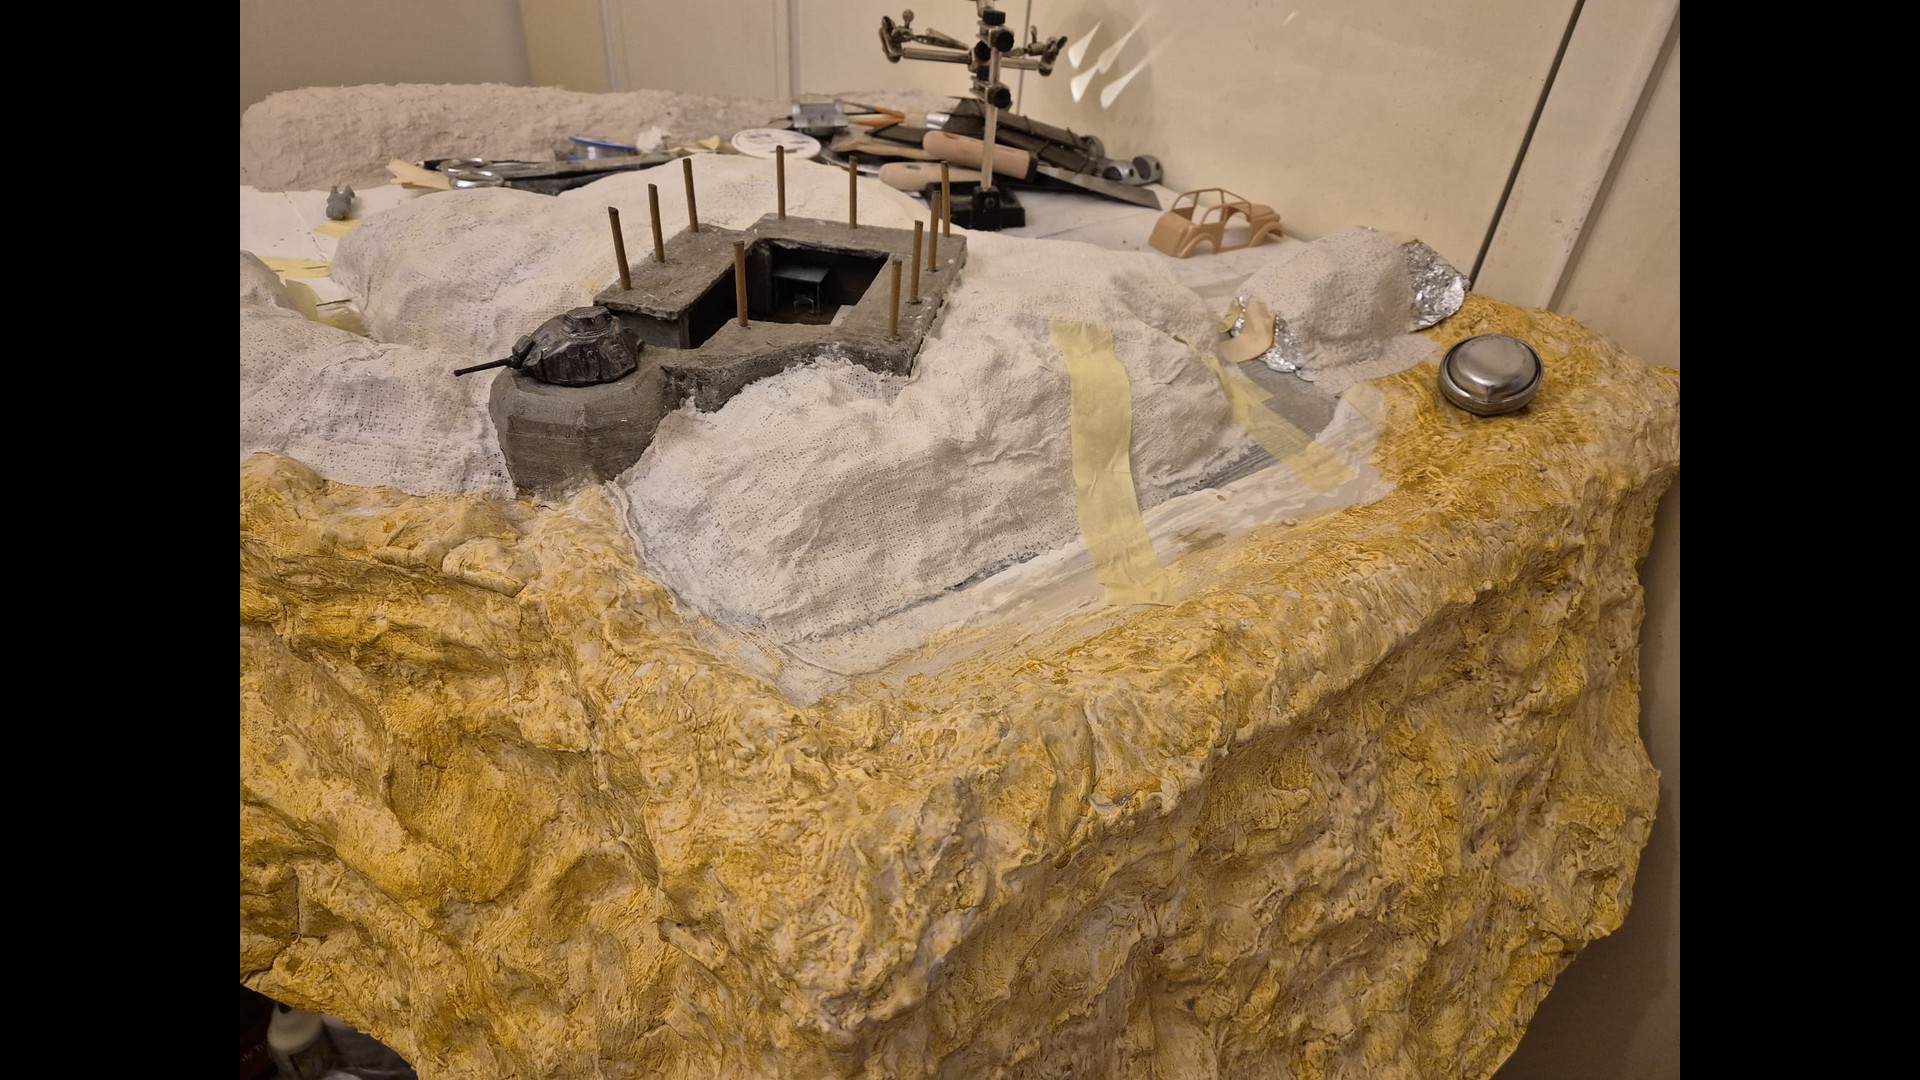
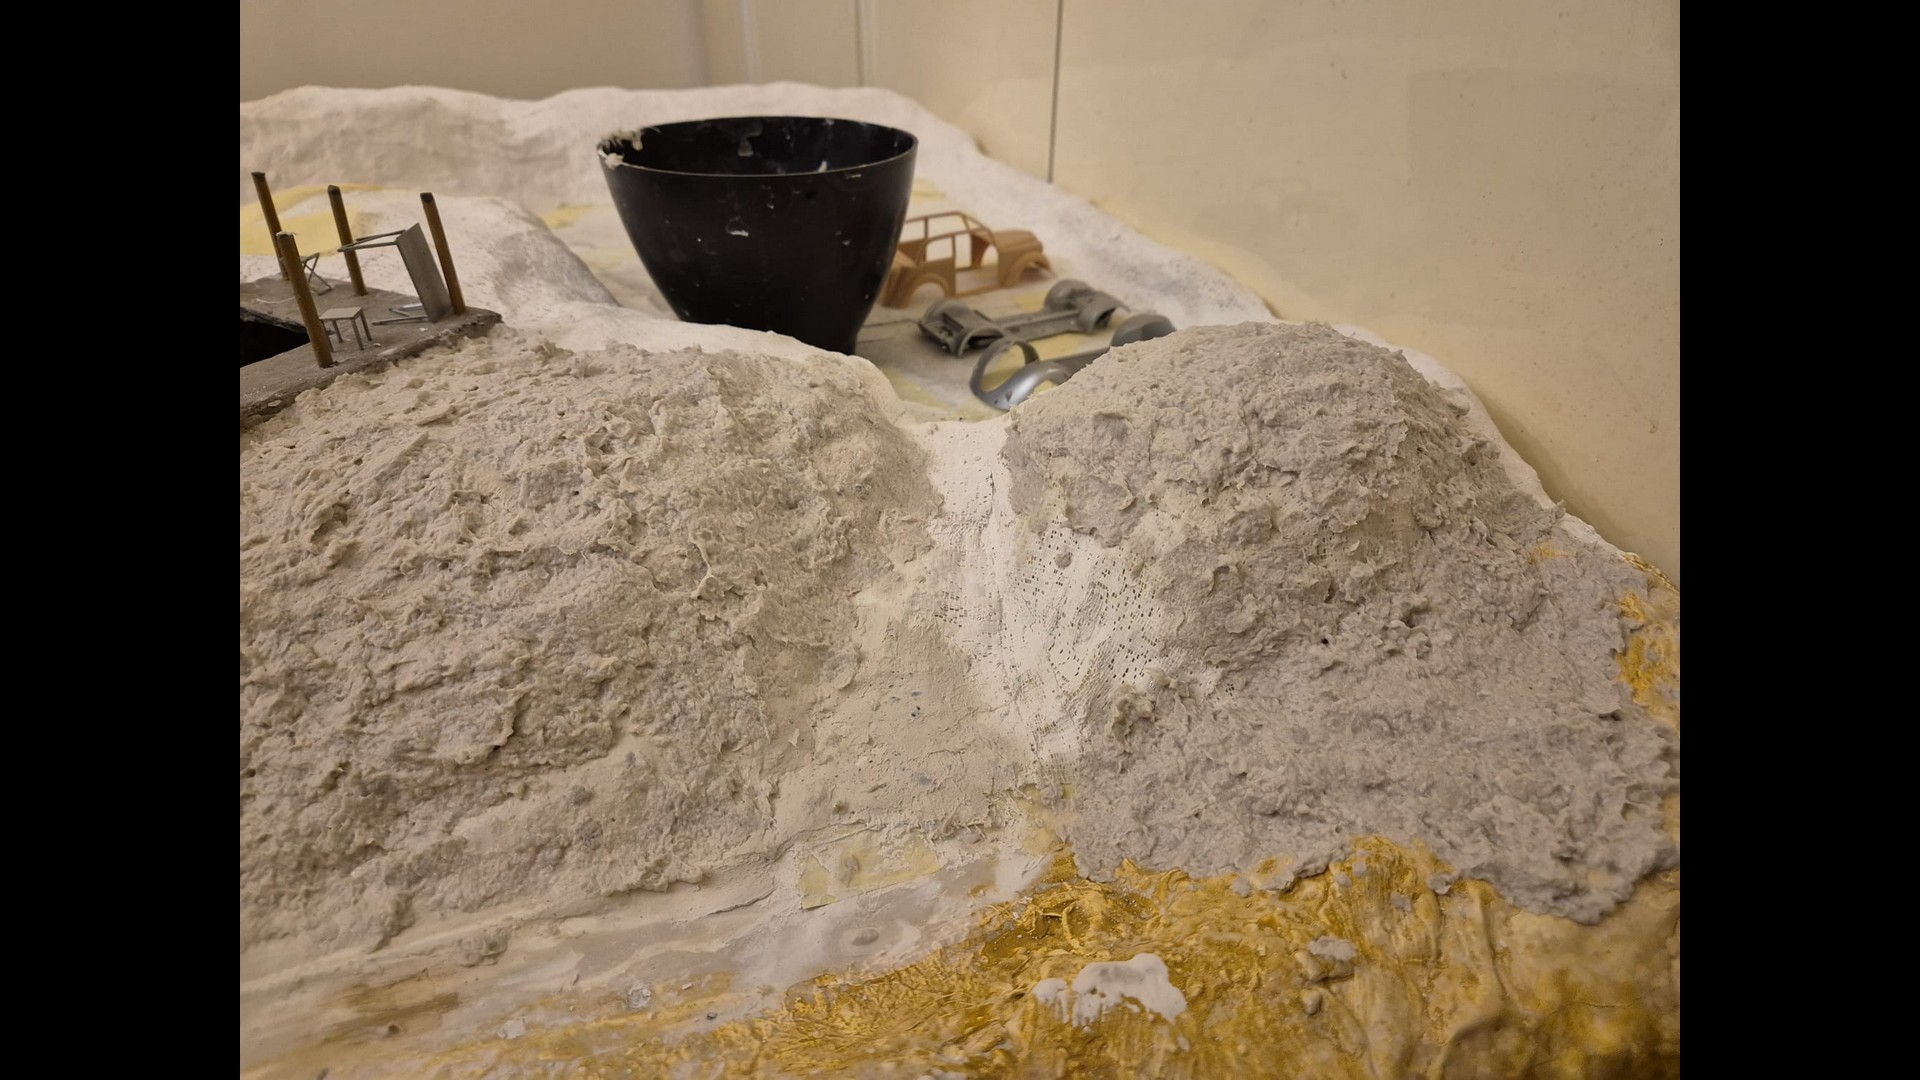
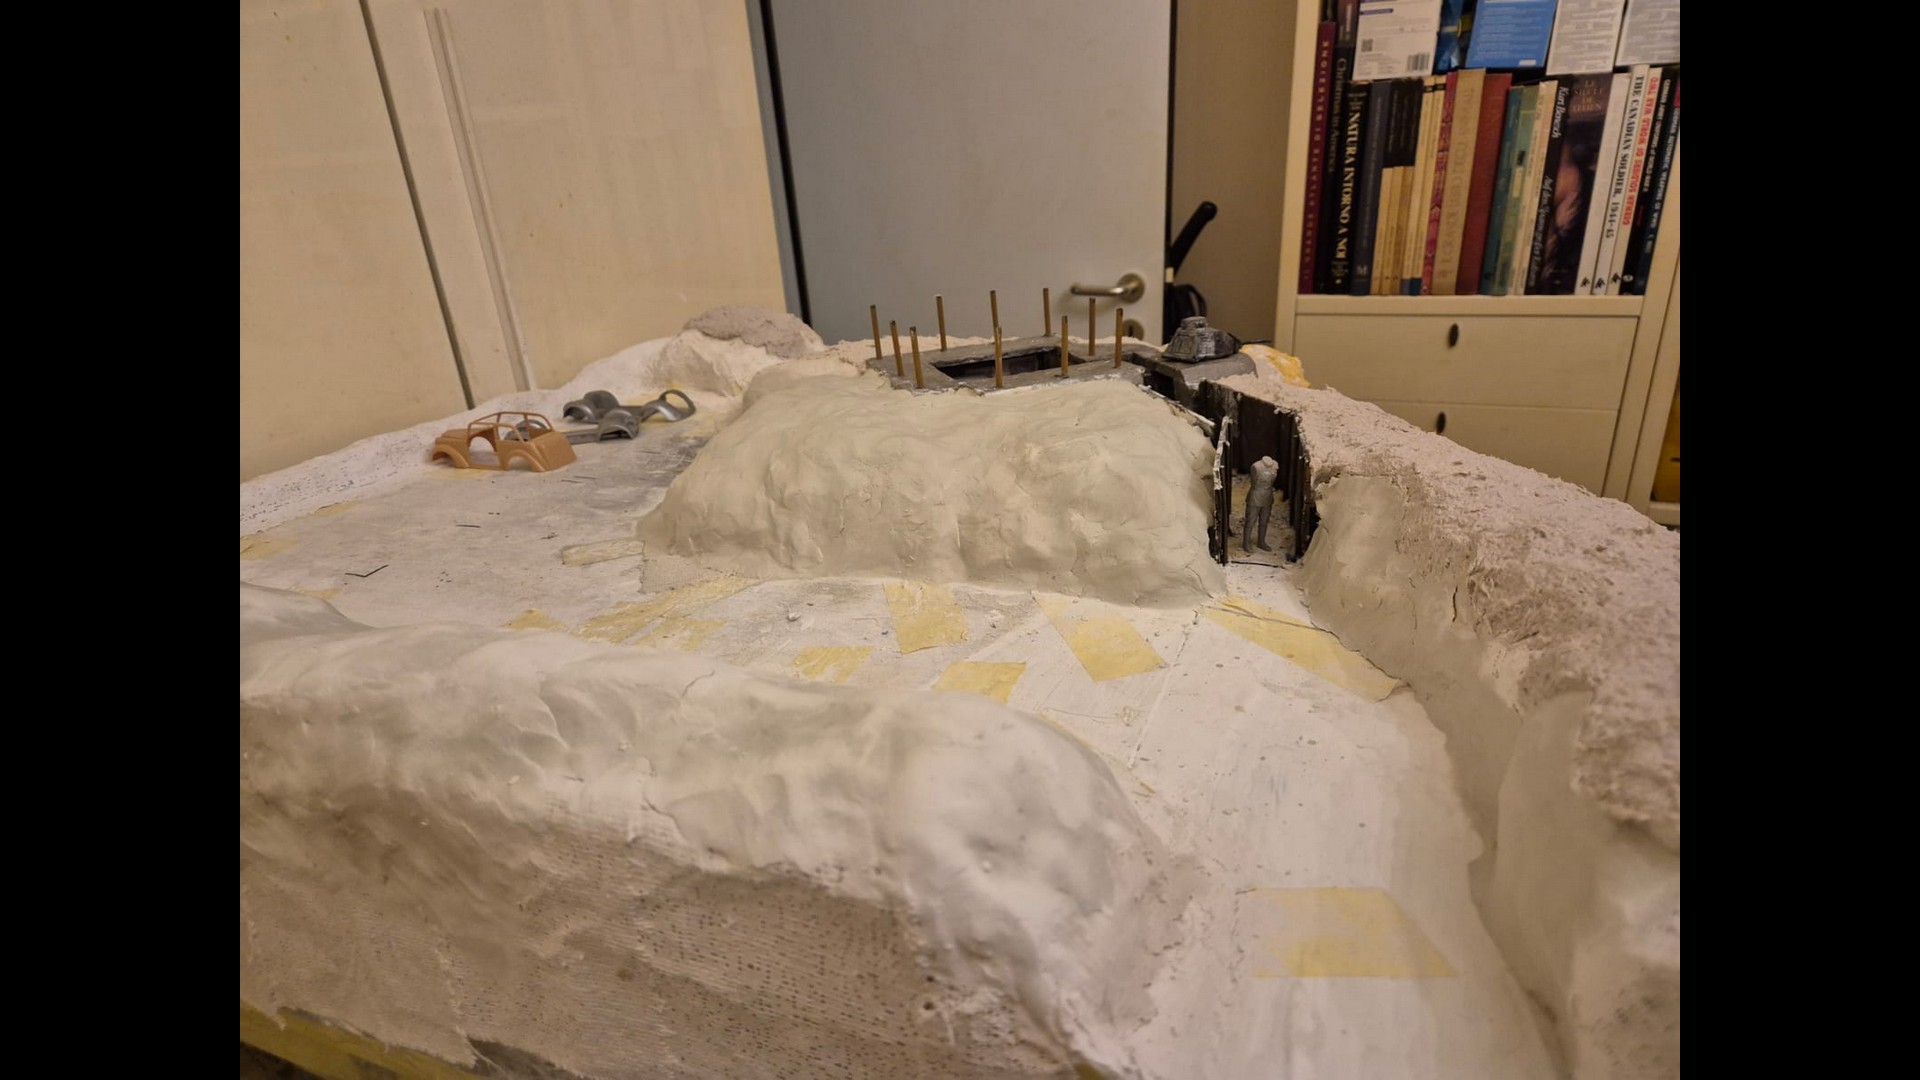
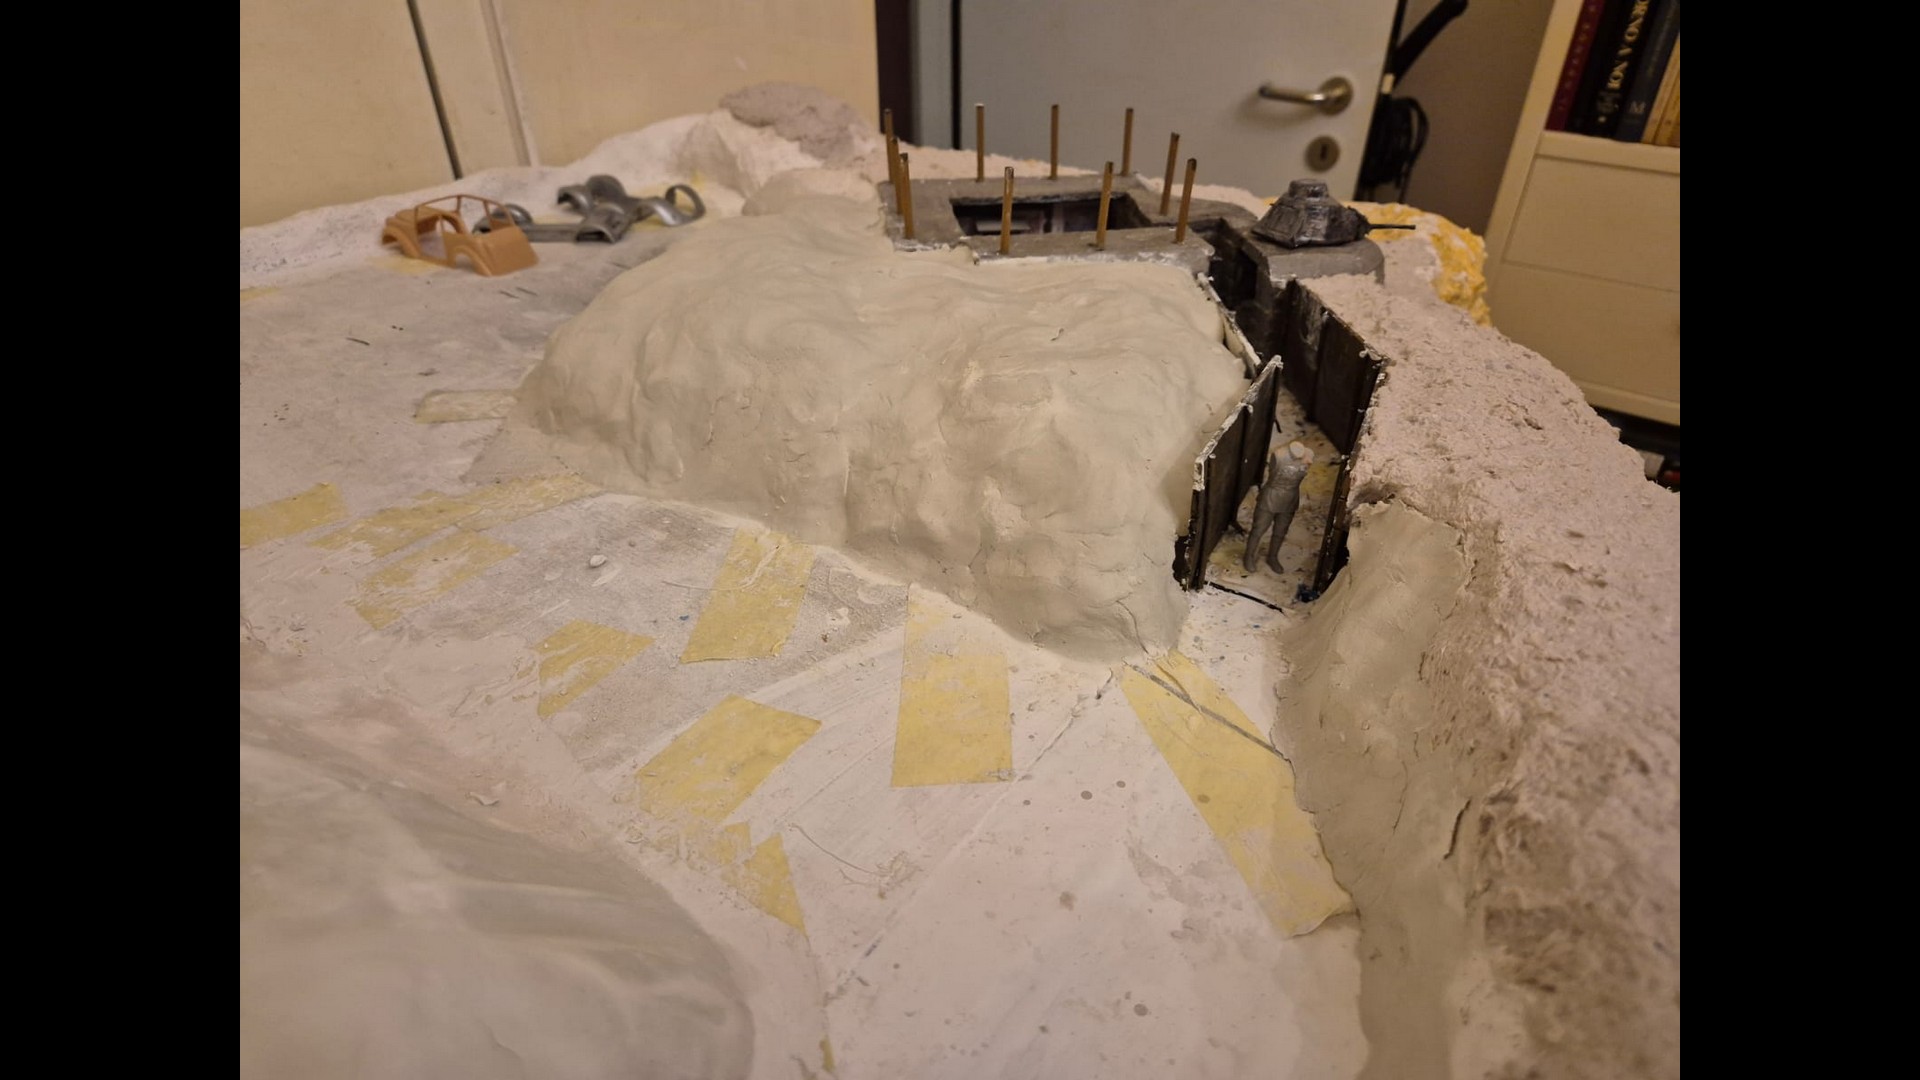
I then applied it all unto the so formed mounds covering them in layers, one after the other.
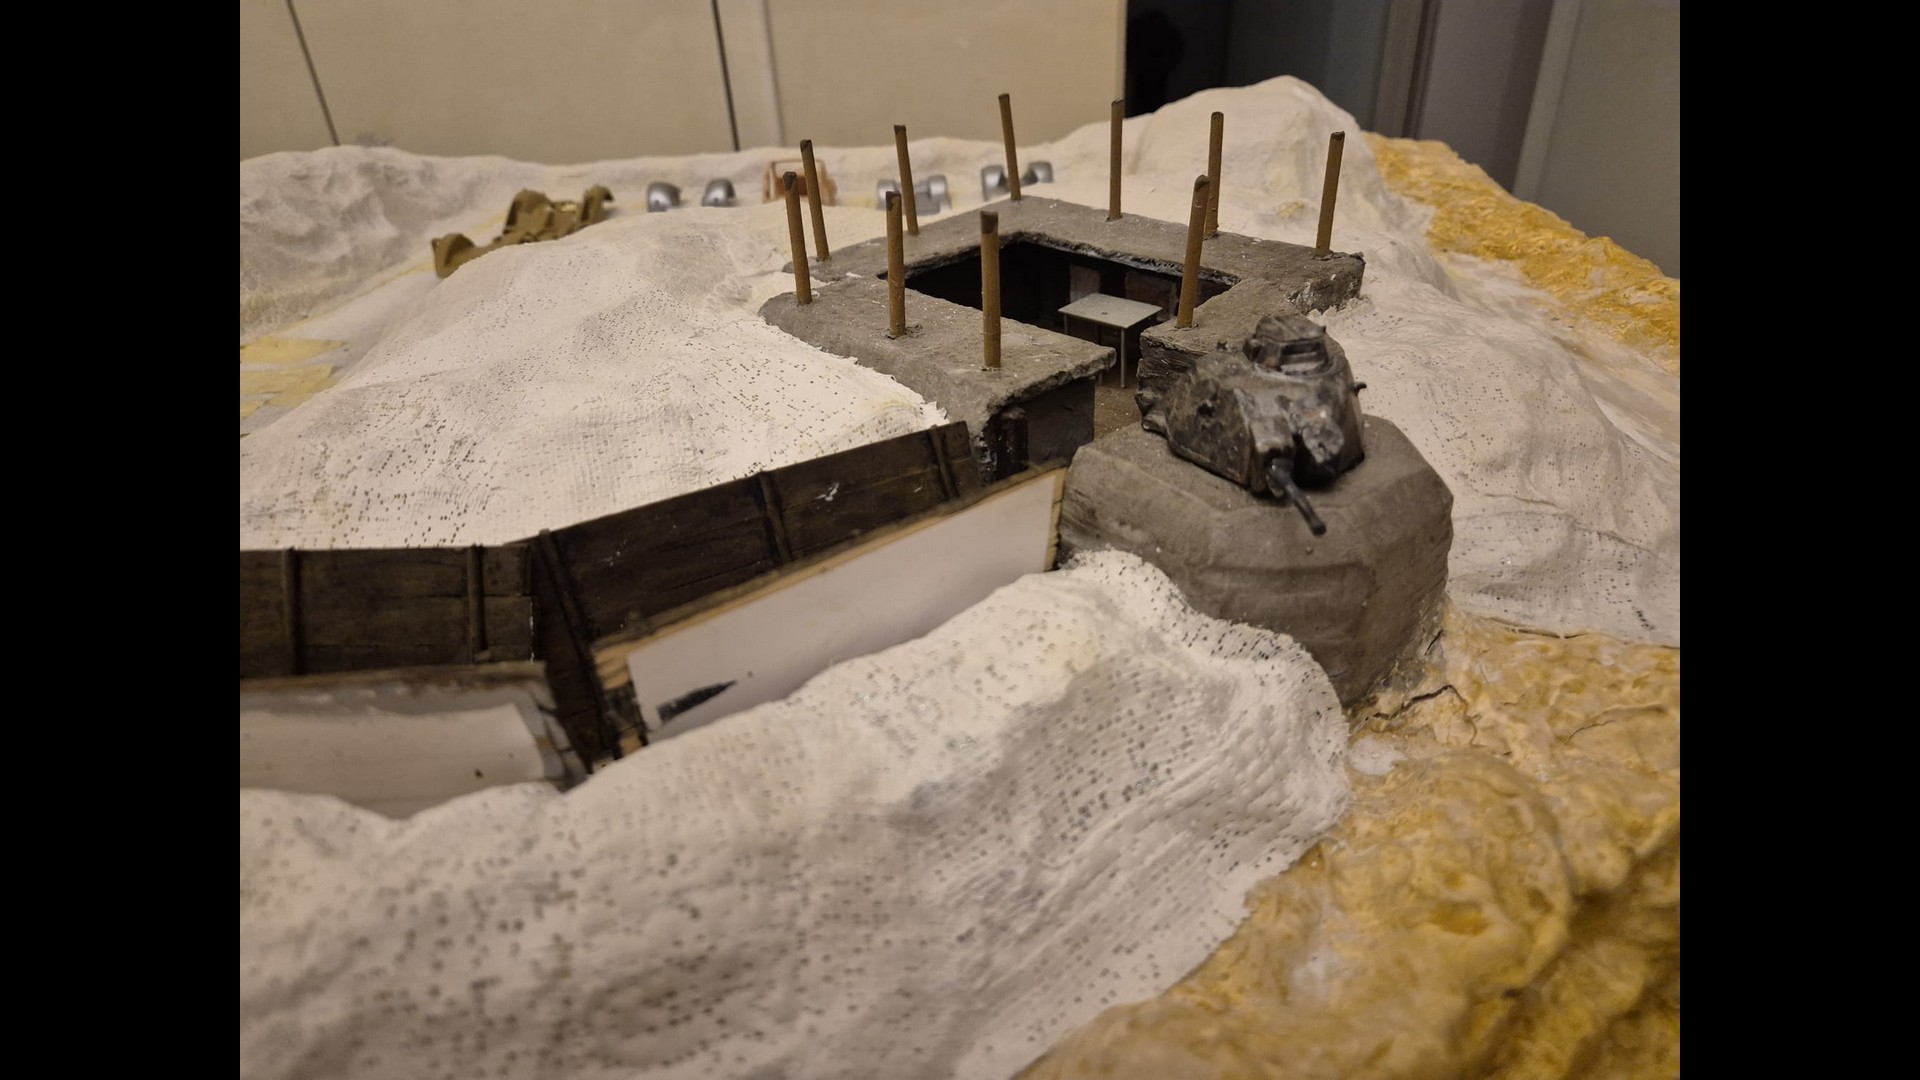
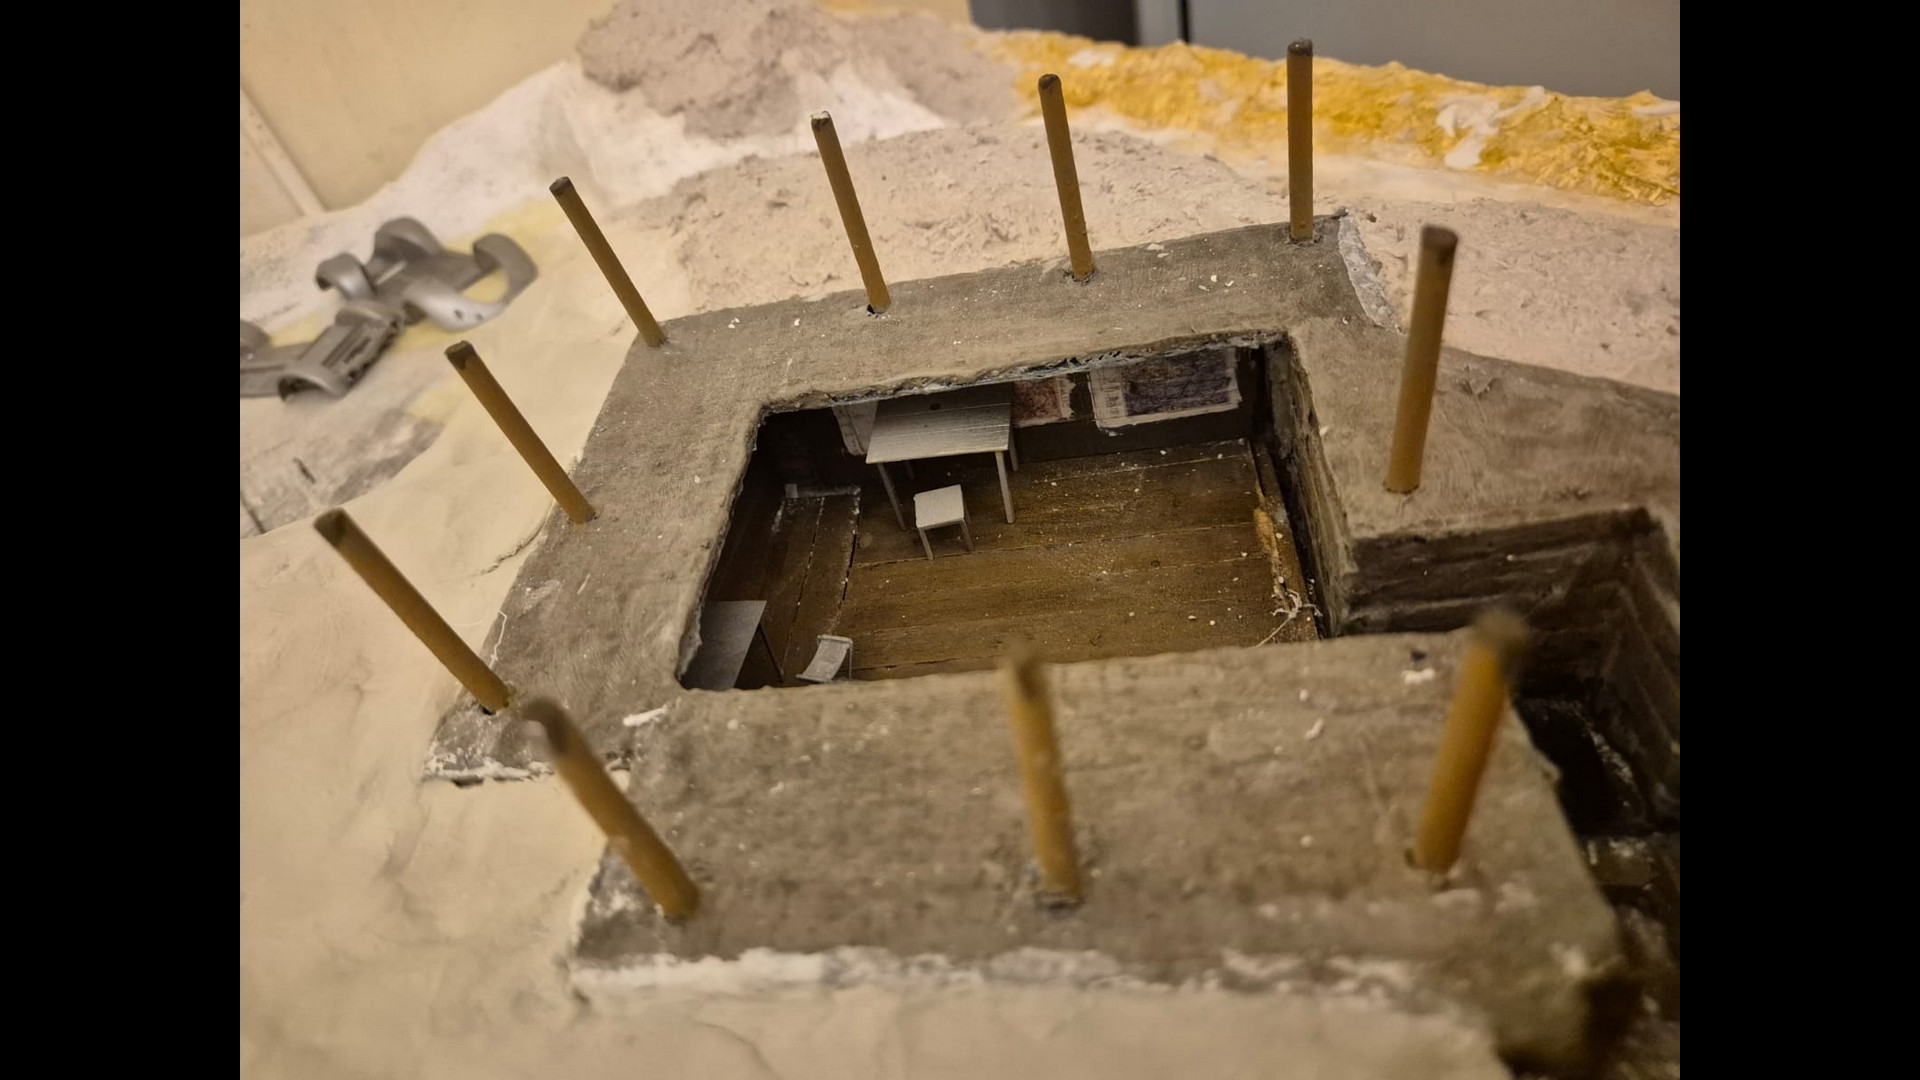
Naturally the first layer had to dry first. And so, layer after layer I managed to achieve the necessary volume to completely cover the sides of the Bunker enclosing it firmly into them.
I also considered that my first efforts to cover all the perimeter were too shy and so I went back to it and really “walled” them in with the same method.
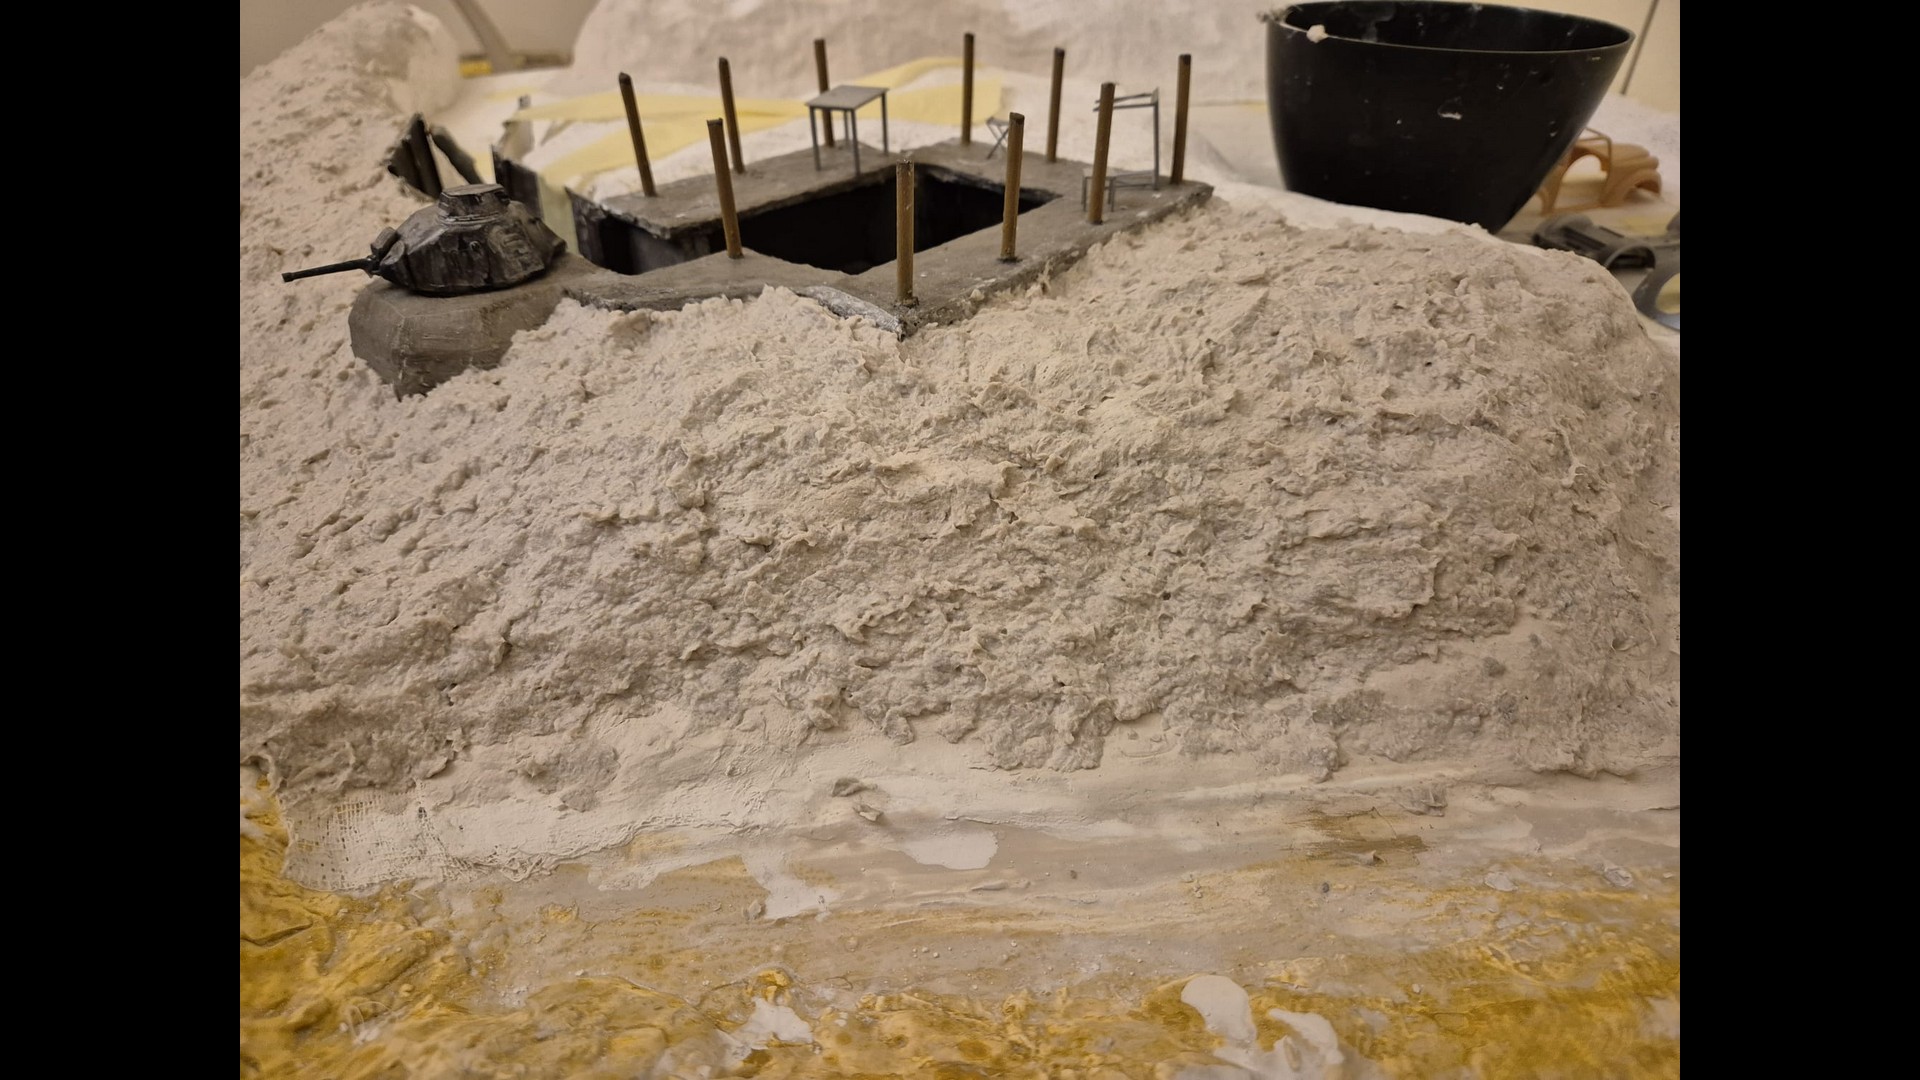
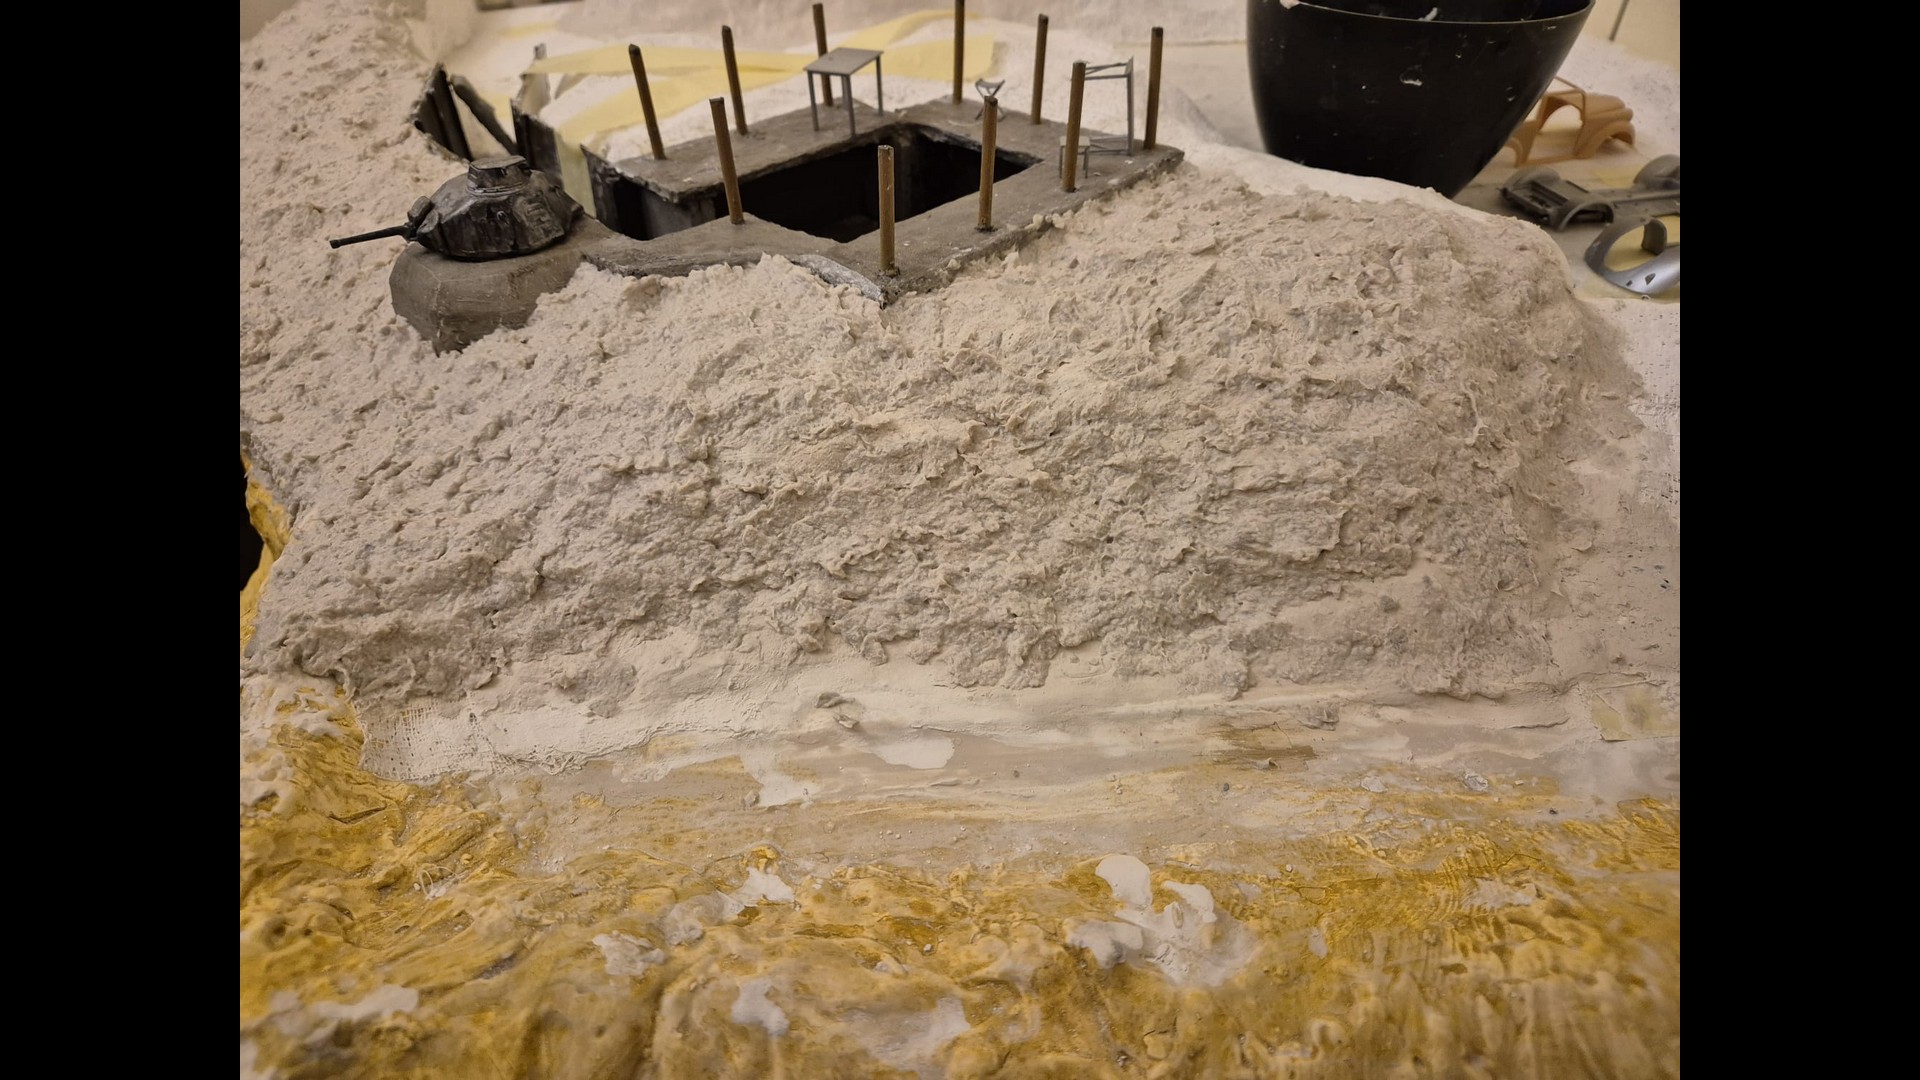
I only left the ledge in front of the bunker as is, since that’s the space were Rommel and his staff will be standing and be able to observe the Channel and Omaha Beach.
The empty space you may have noticed in earlier pictures to the rear of the side cliff will then be sealed with further hard foam blocks and painted Flat Black, while the rear and opposite sides will then be sealed into another set of balsa wood panels also painted Black.
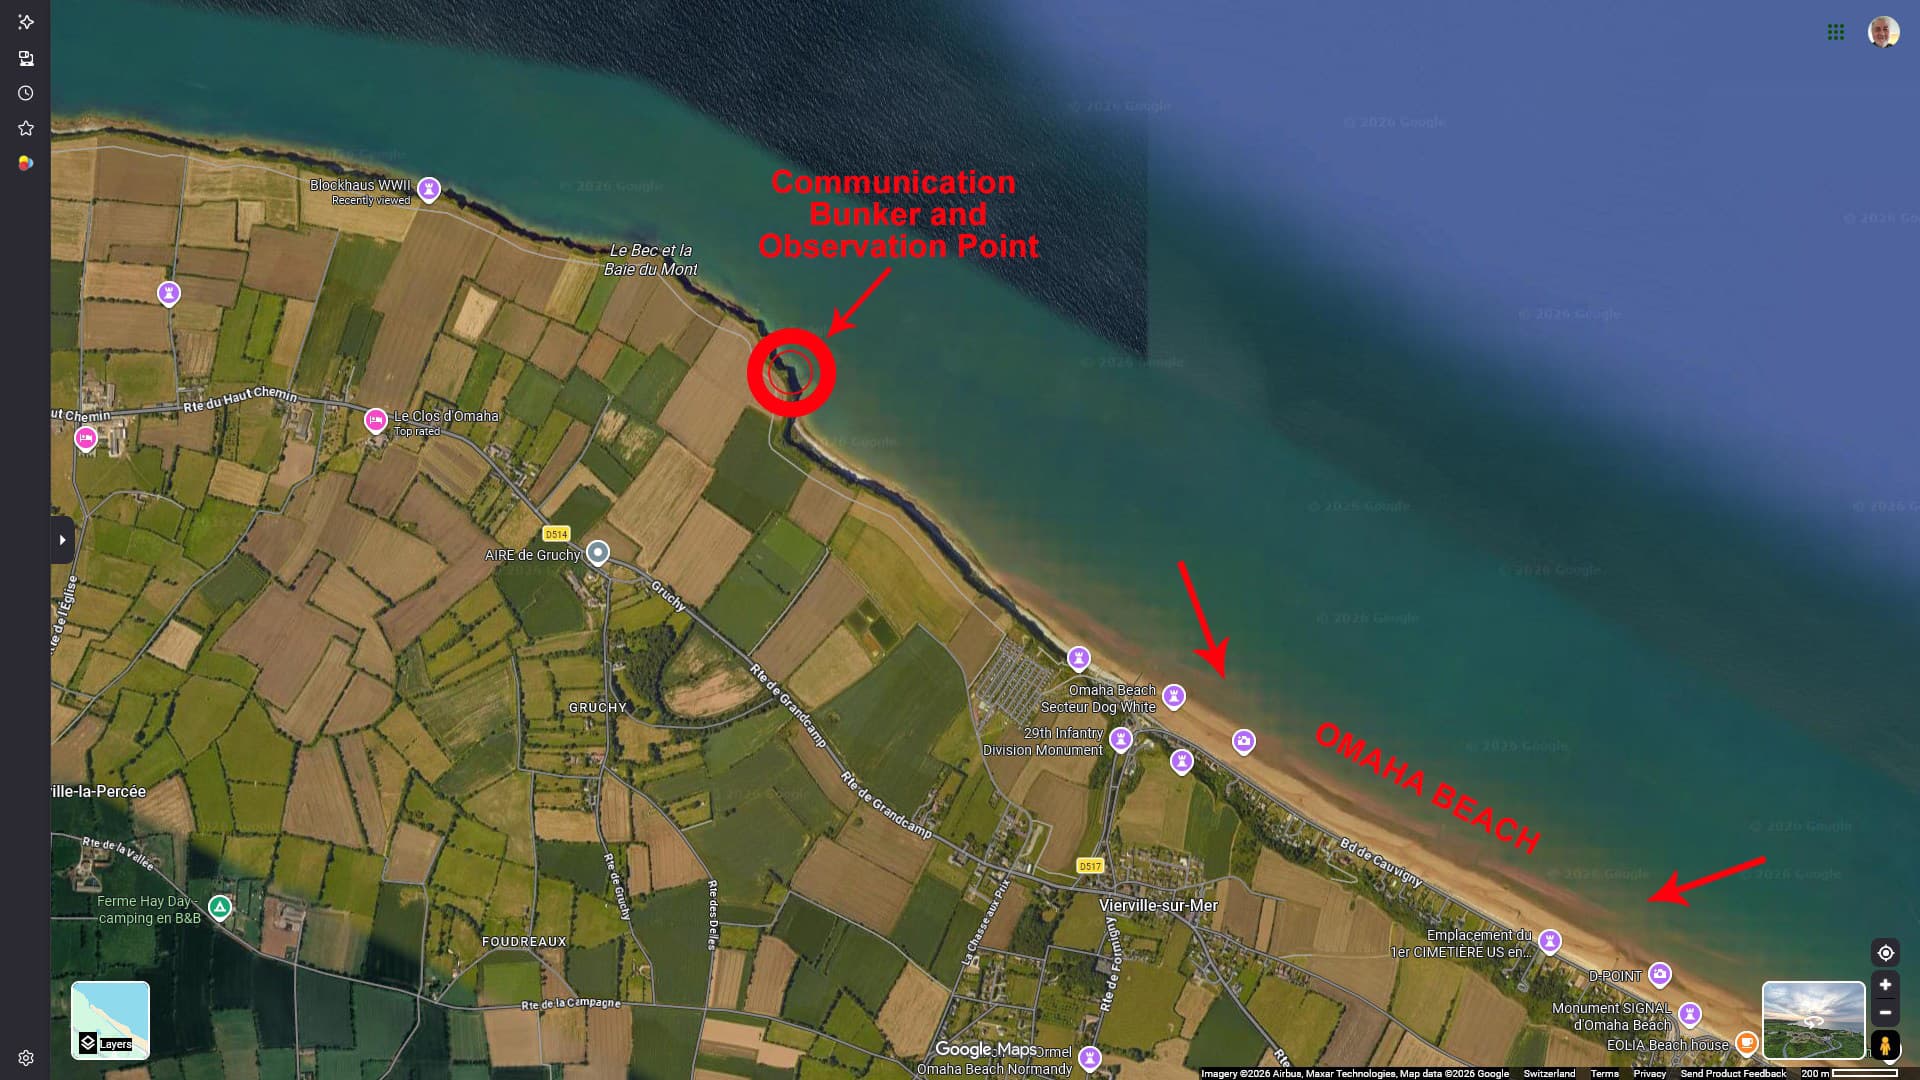
Note that the rear of the side cliff hints at a continuation of the terrain extending until Widerstansnest 73 (or in English Resistance Point or Nest) which enclosed a Bunker concealed by a Villa that contained a lethal 88mm PAK 43/41) whose instructions were received by the present Communication Post.
And here are the pictures with a map in which I show the two points I am talking about…
Note that the marked point today looks totally differently from what is described by one of the witnesses of that historic moment. Farming has taken over and many of these emplacements were either destroyed or dismantled for material. I am only working on written descriptions of the time. I cannot prove or disprove what is written, but as described this emplacement did exist and connected with a further away blockhaus, as well as said Widerstandnest 73.
It was at the same time one of the best observation points after the huge Pointe-Du-Hoc H636 Observation Bunker (also known as a Leitstand bunker, or Leading emplacement bunker).
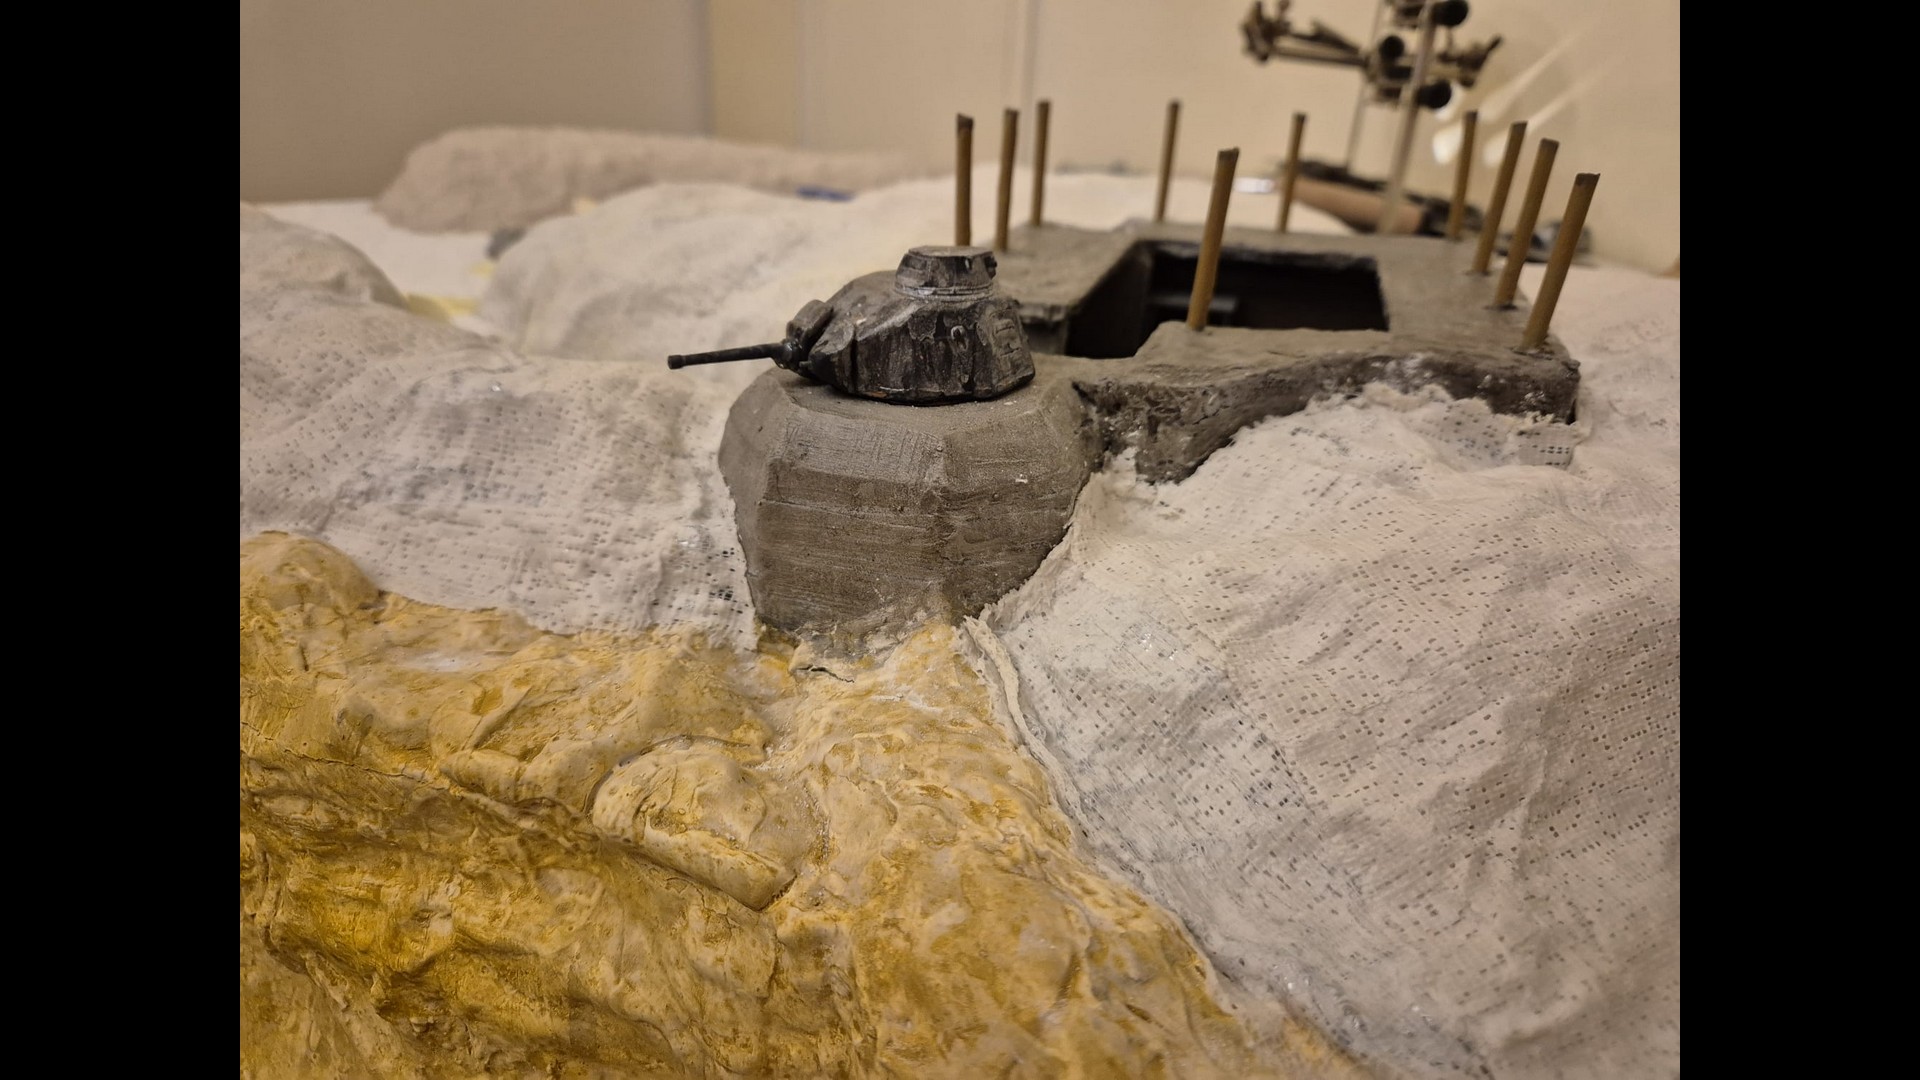
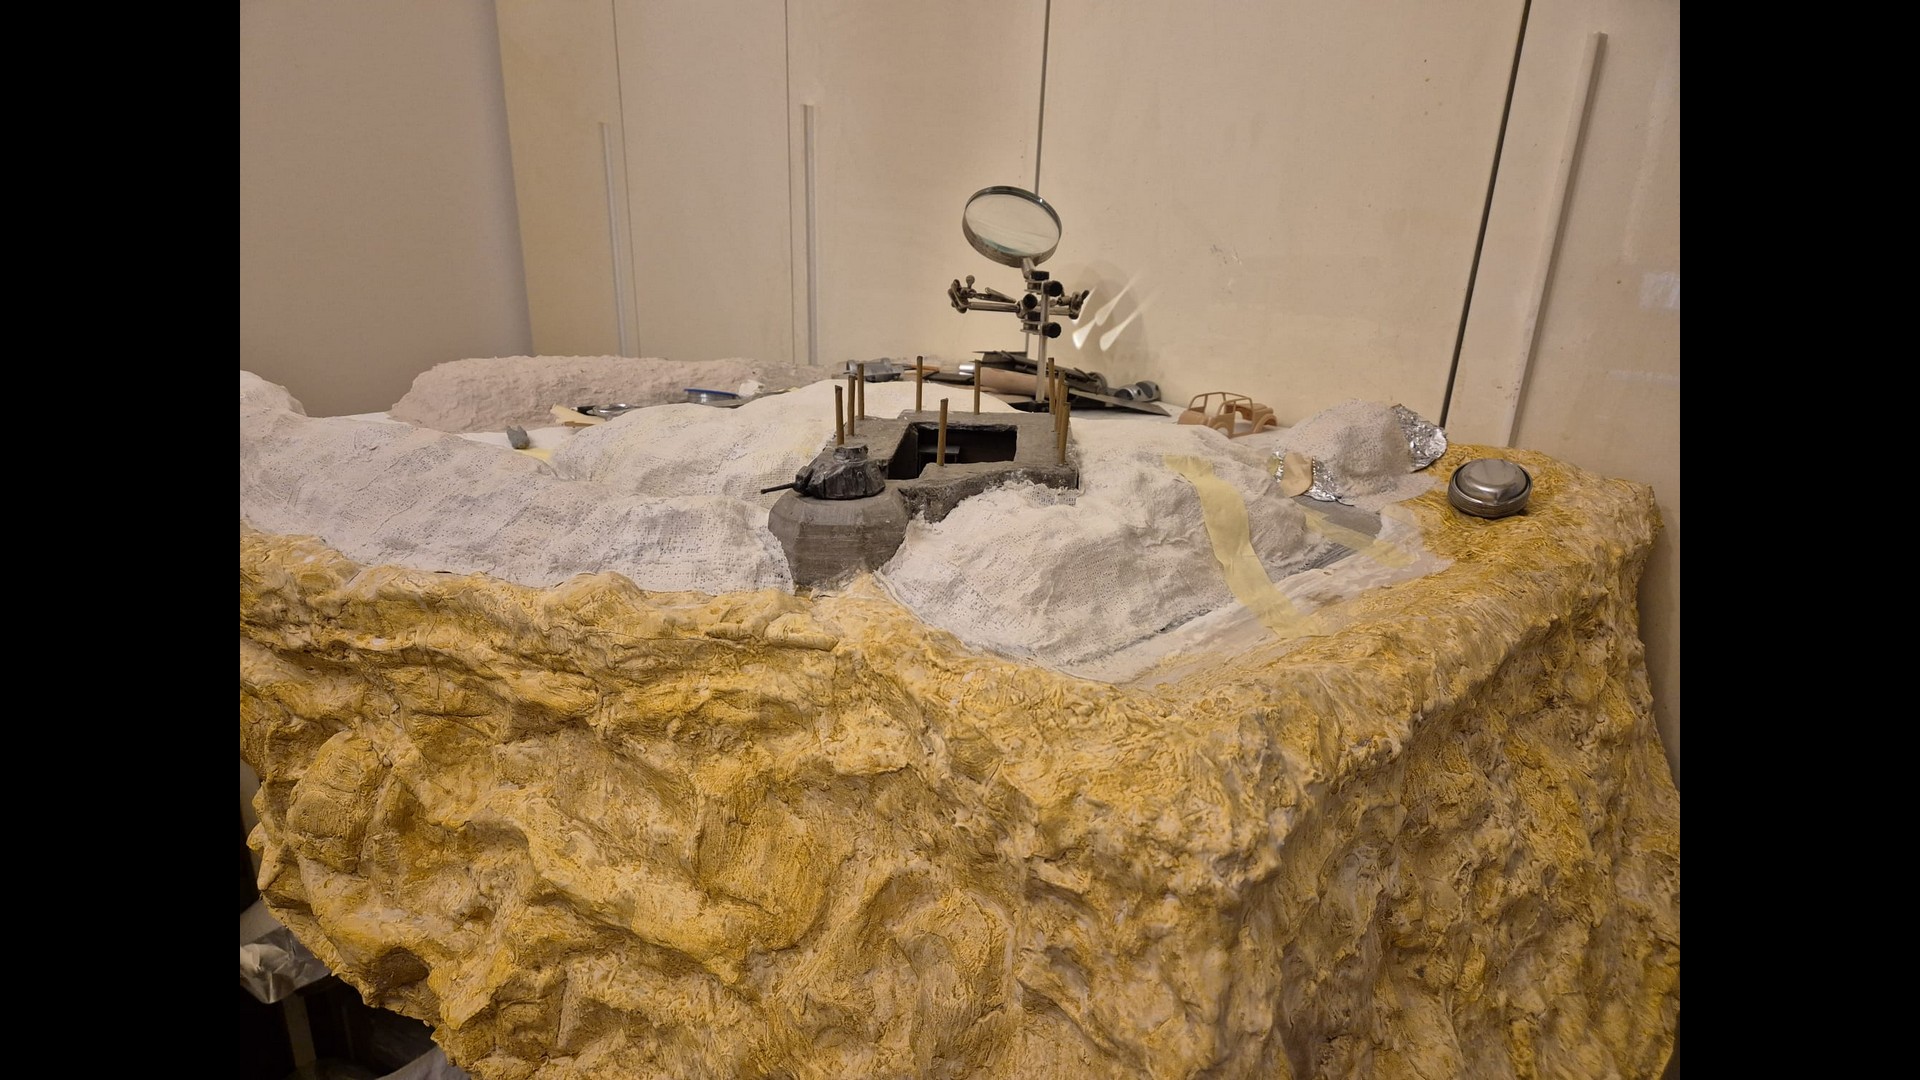
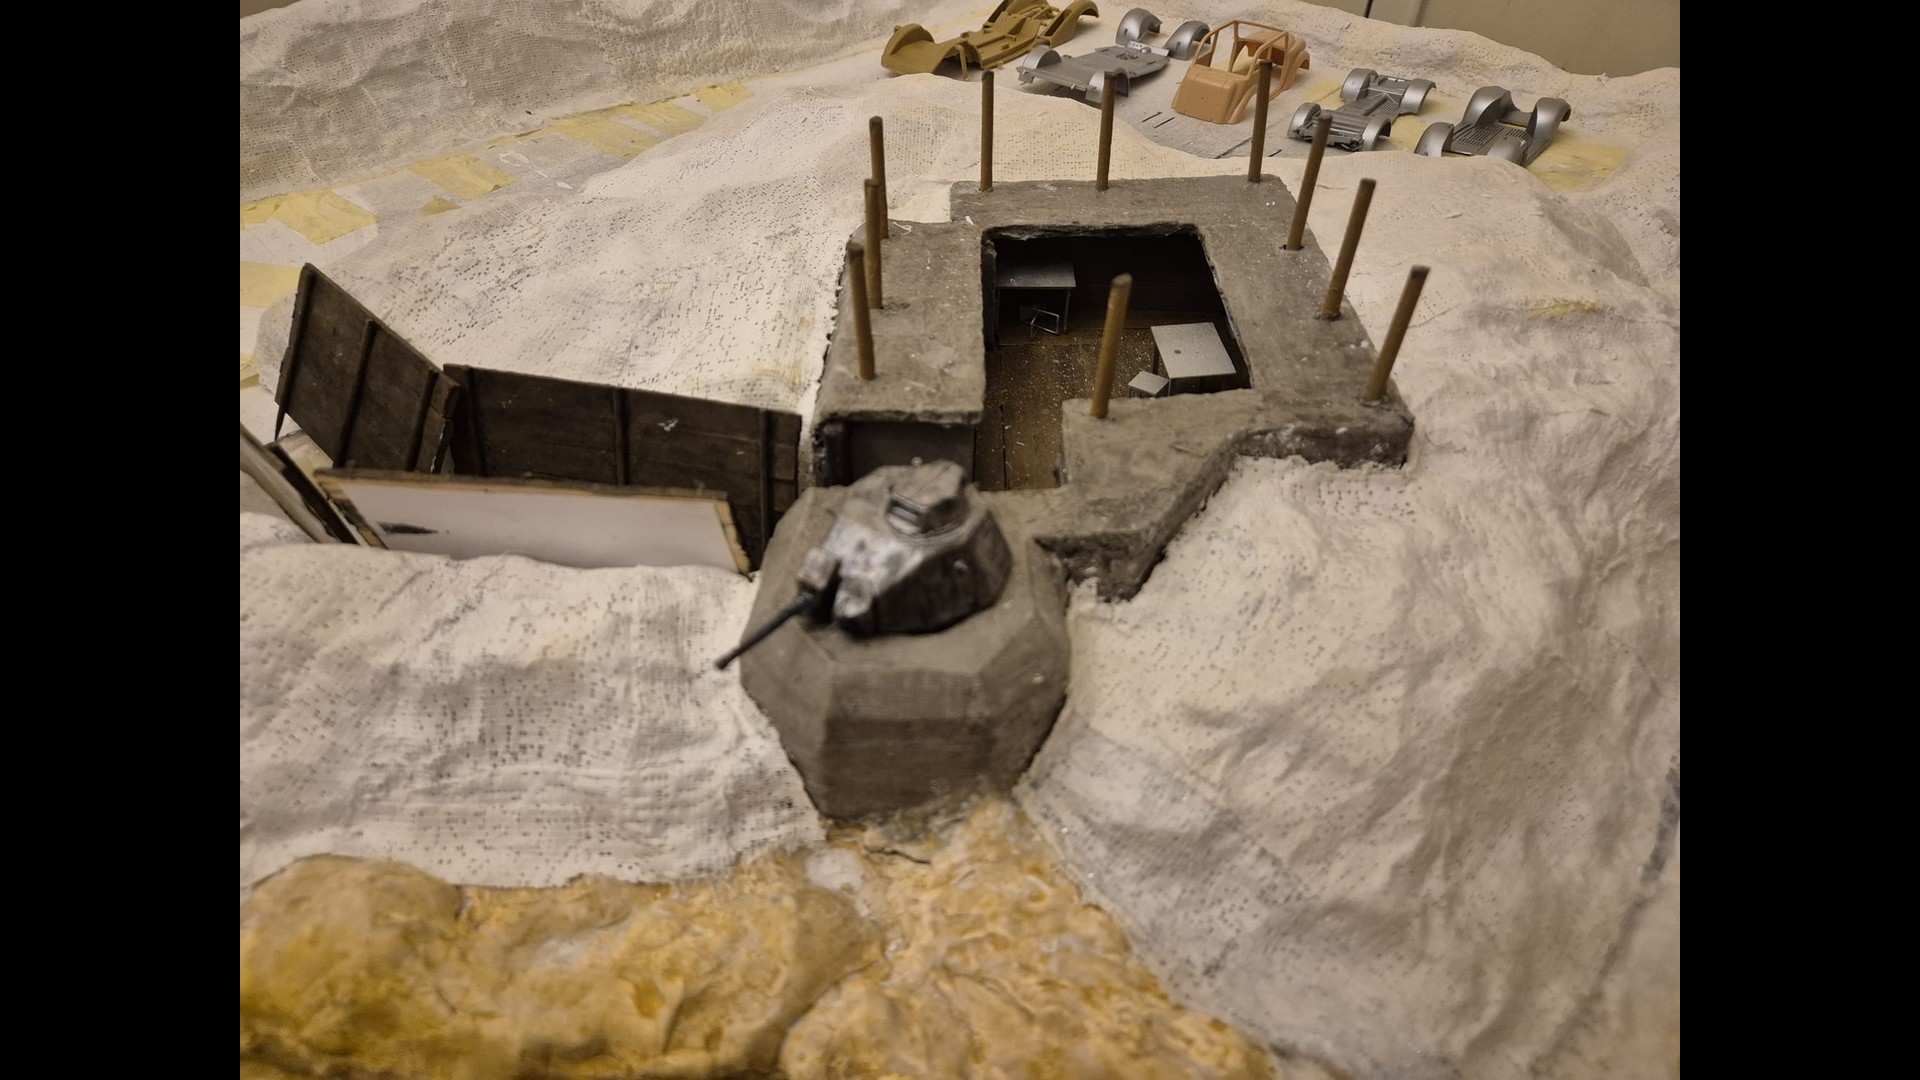
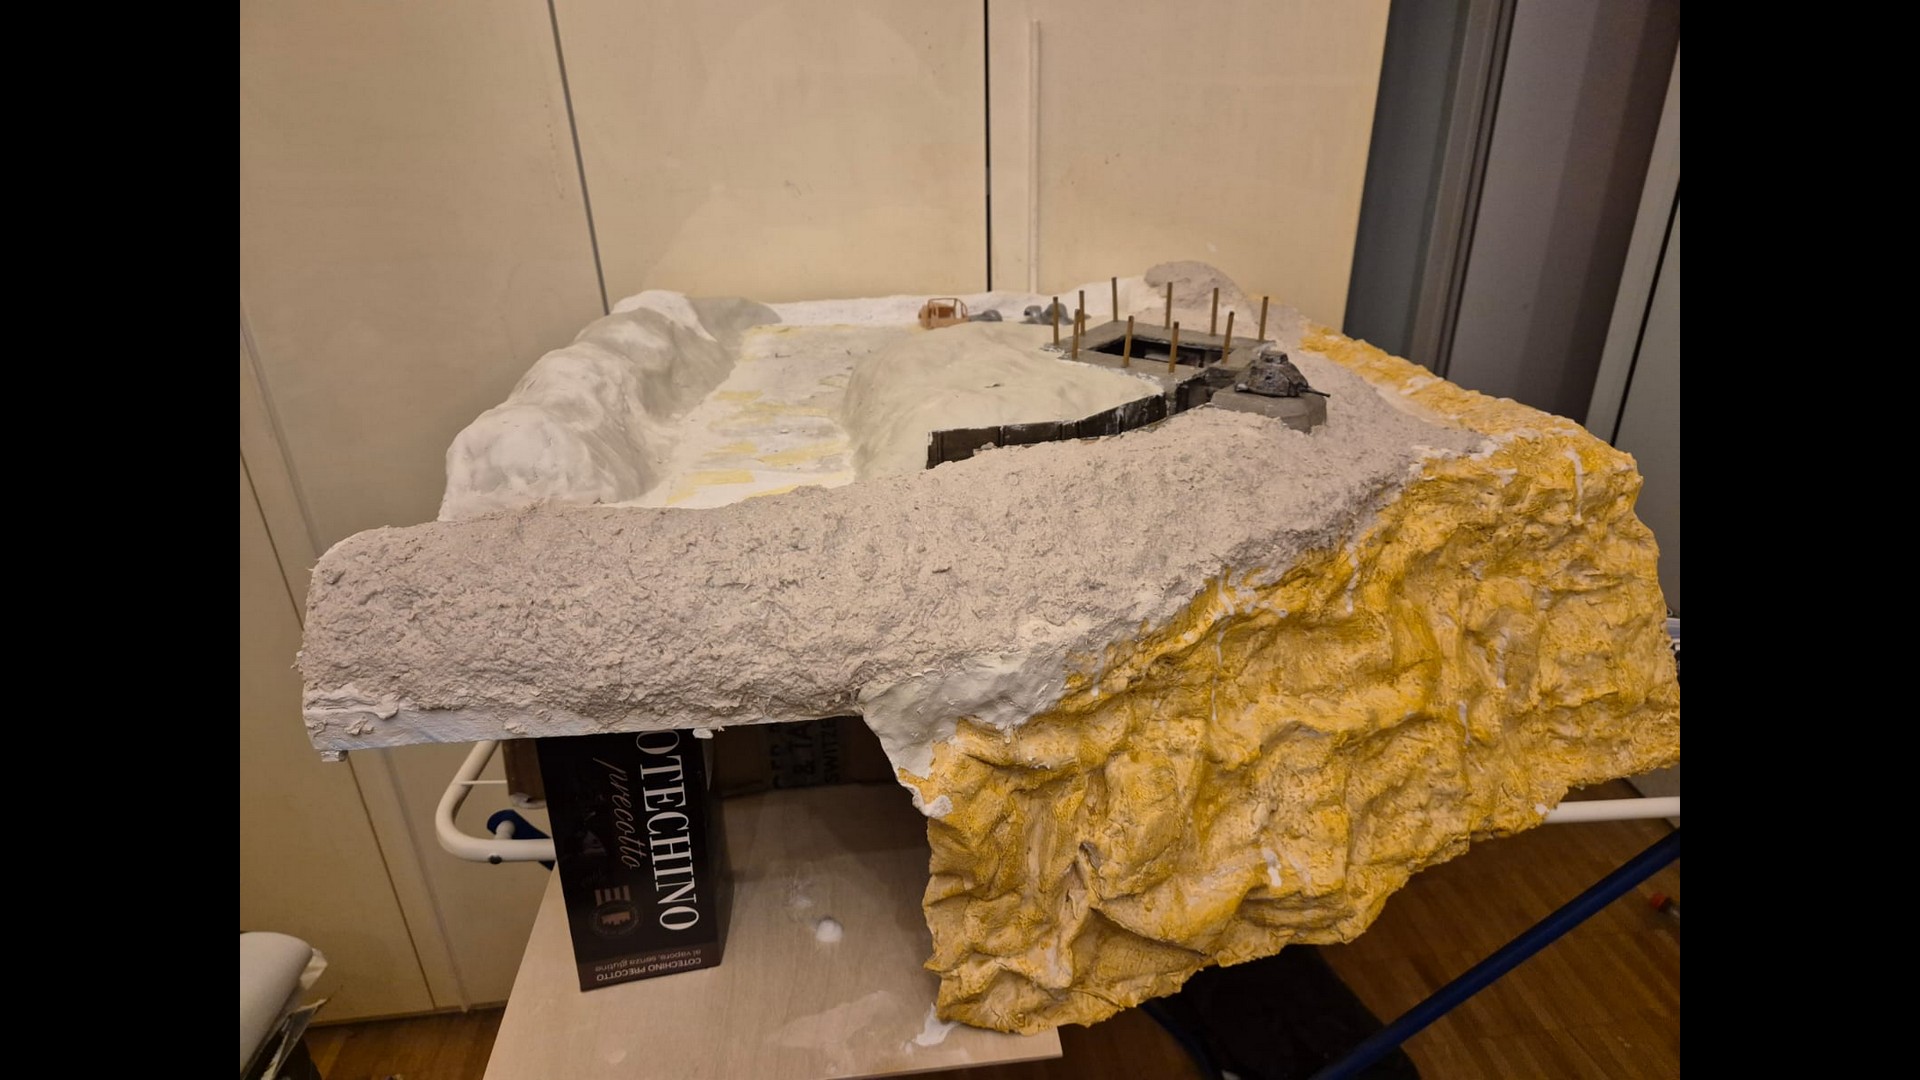
And now he have come to the B part of prequel #8.
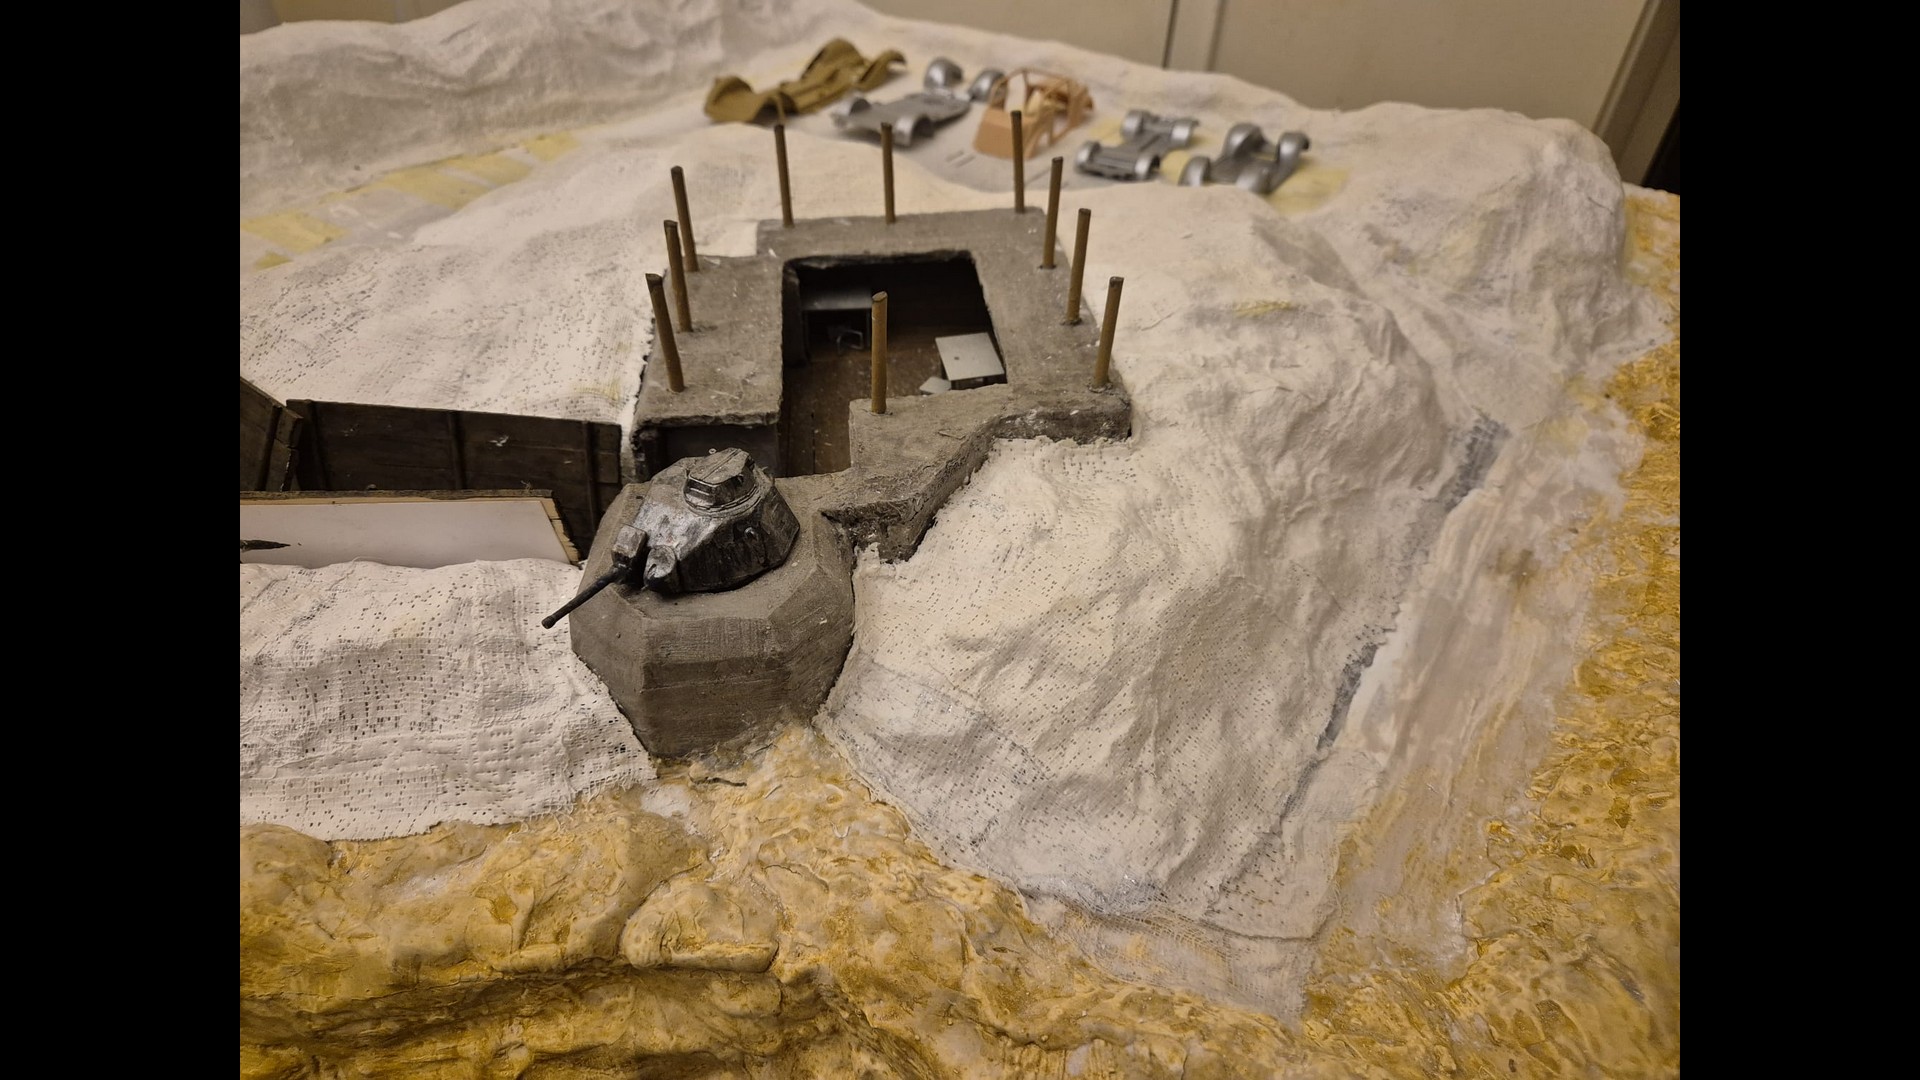
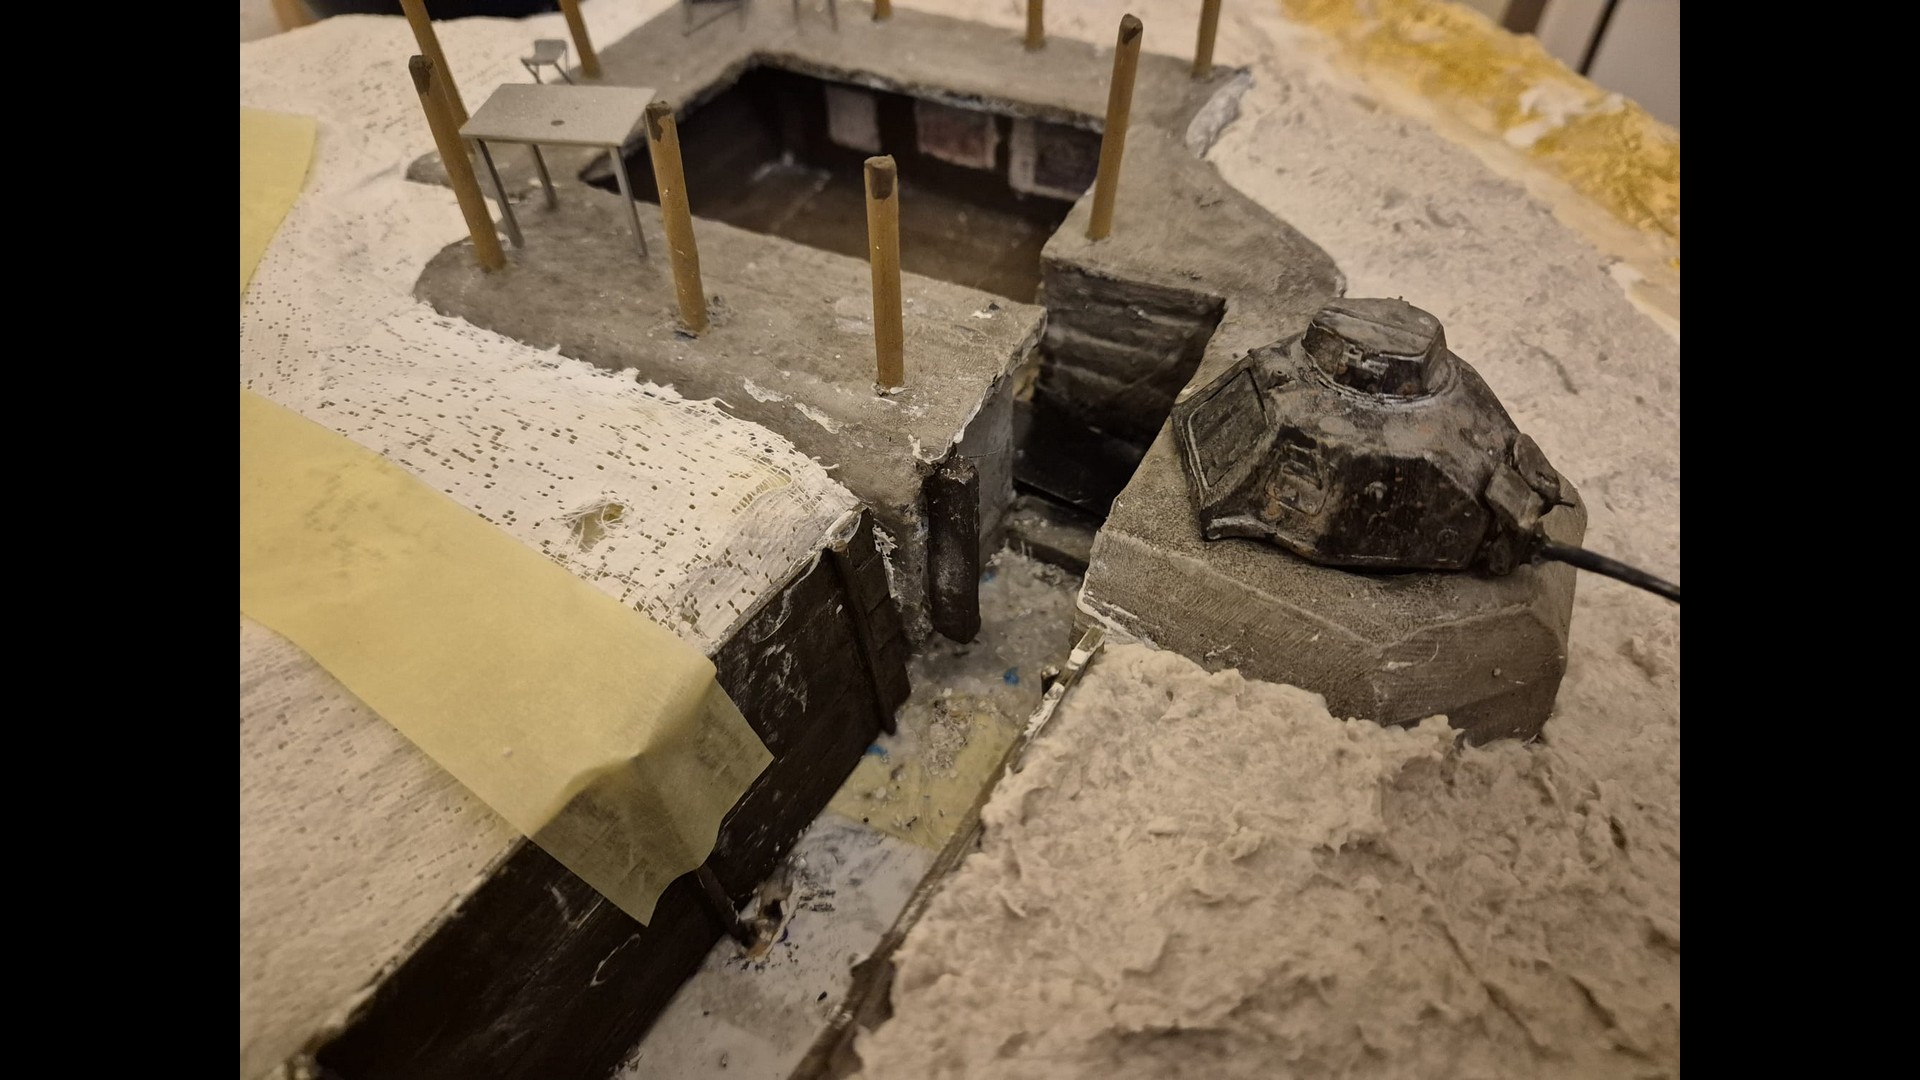
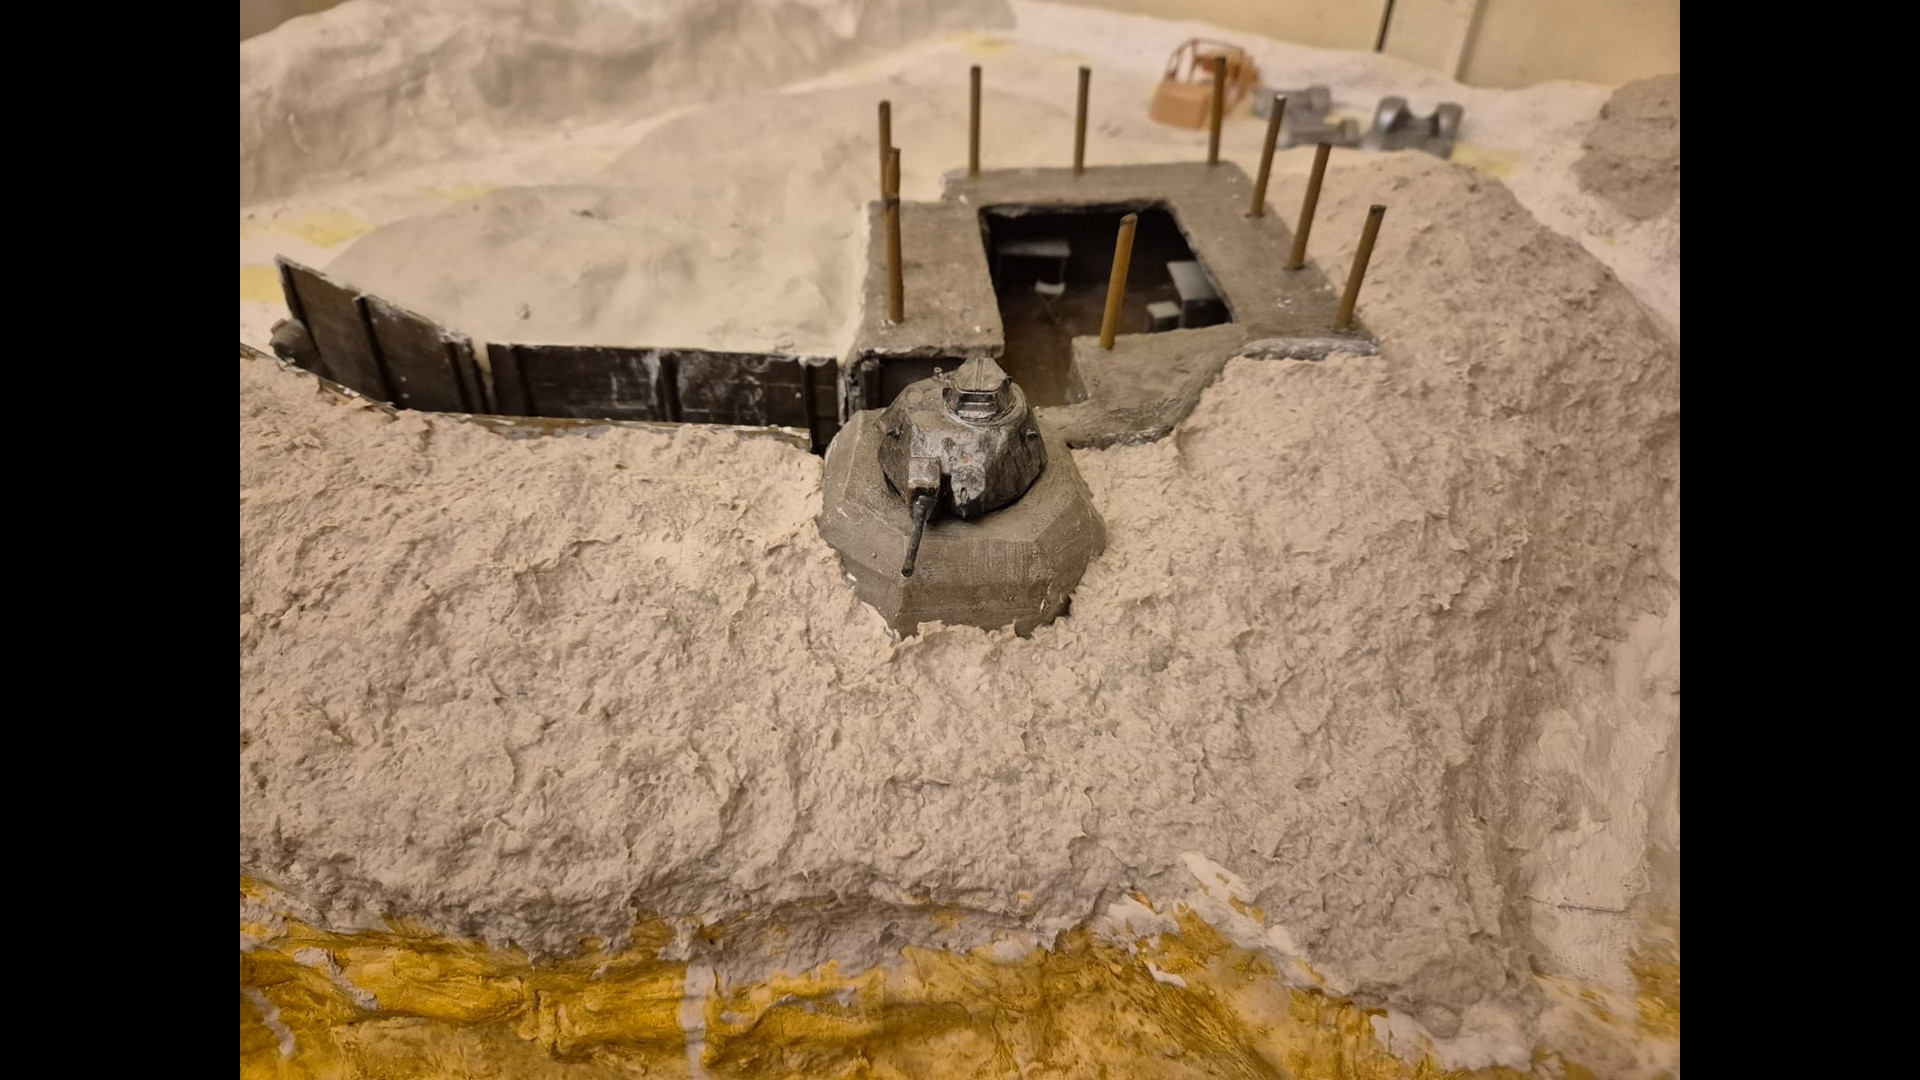
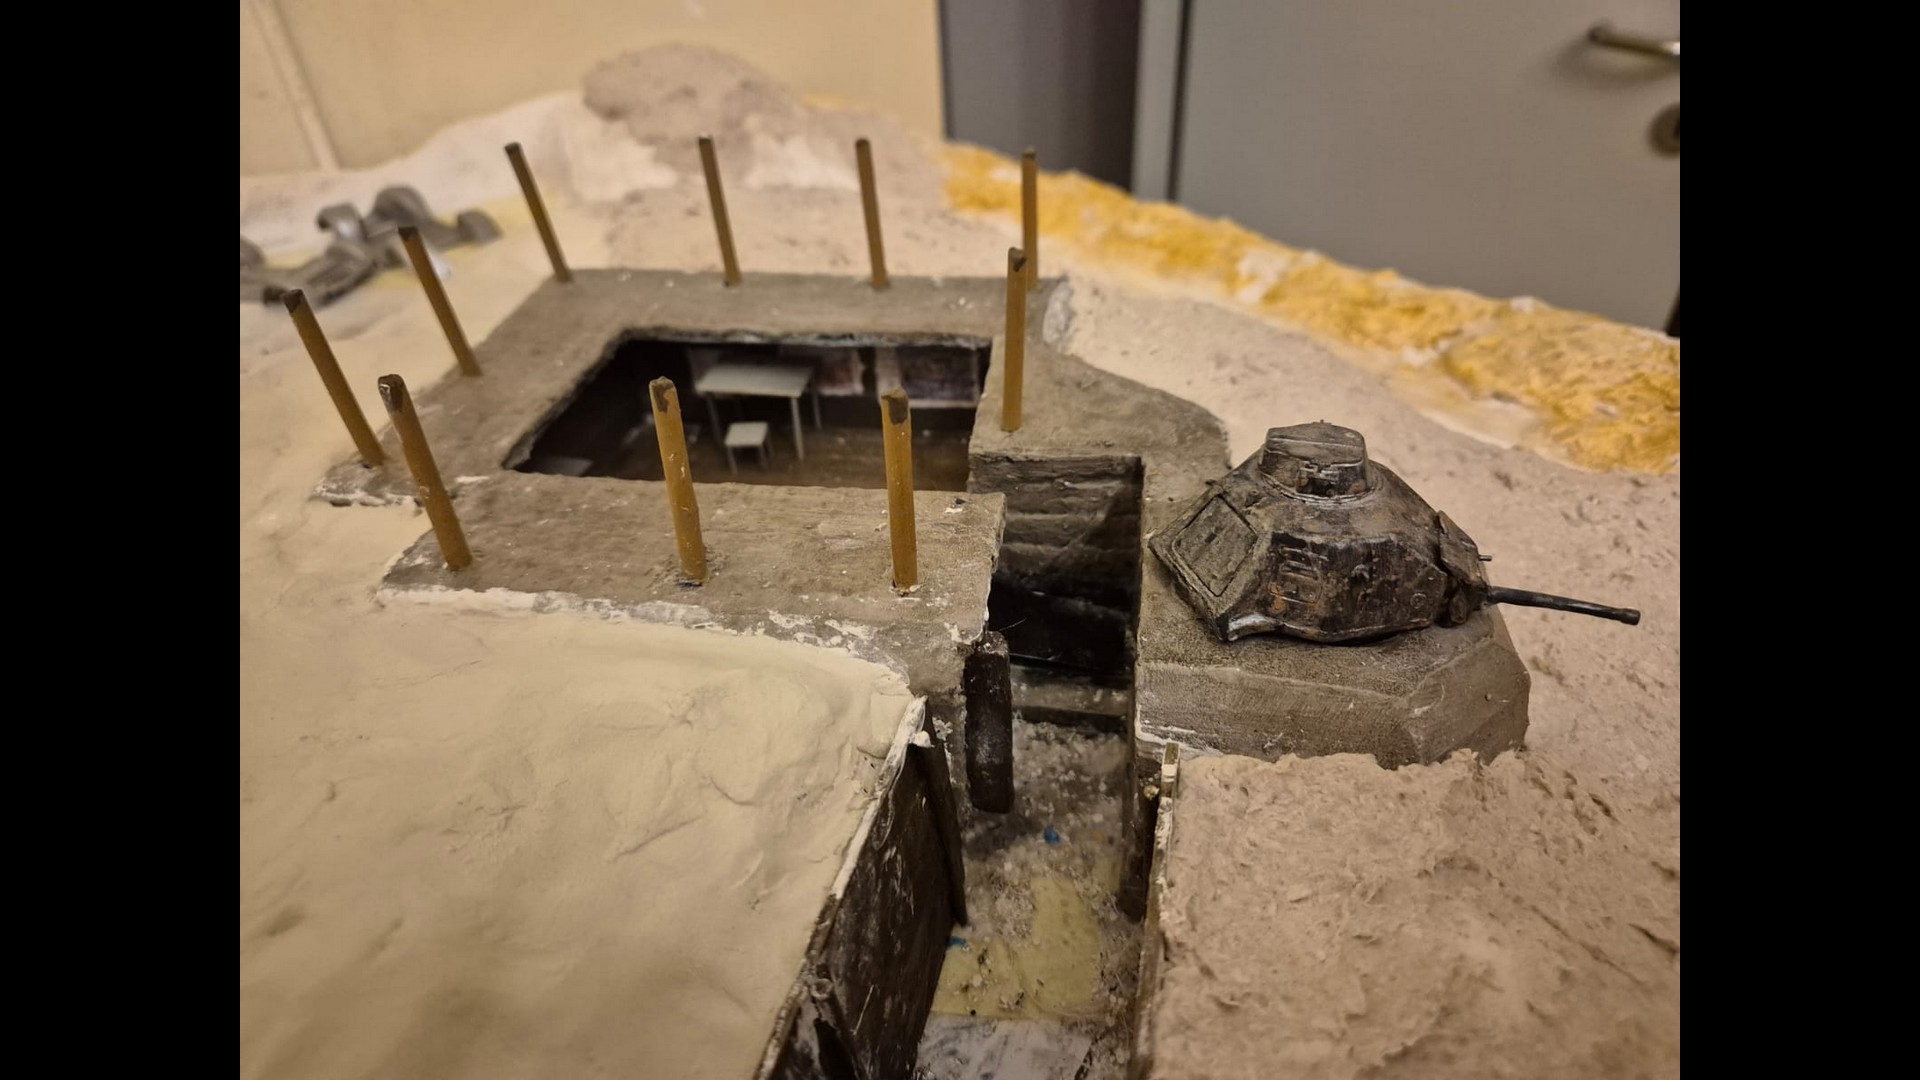
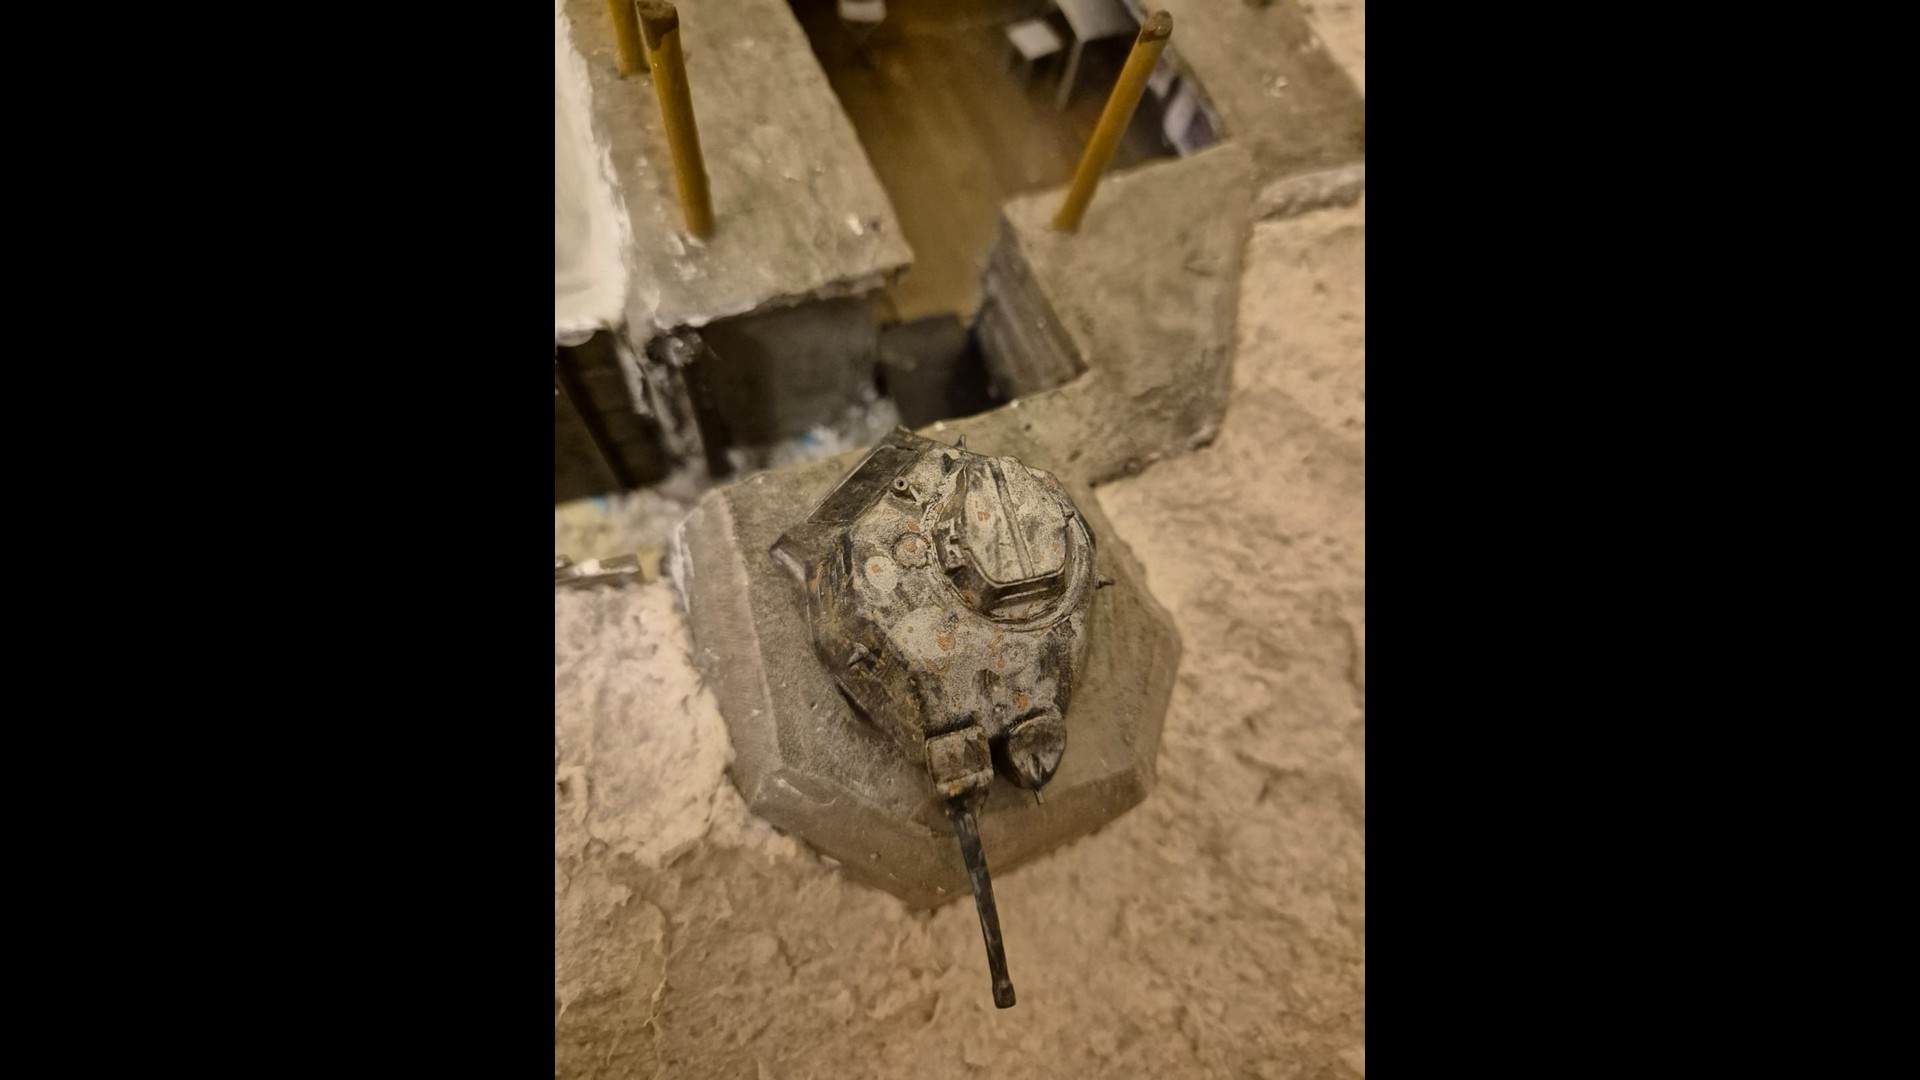
Here you can see the finished dunes still drying and in the meanwhile I have further messed up the Bunker and the Somua tank turret by mixing concoction of various acrylic paints heavily watered down. This was made with Earth Underground by Woodland Scenics which I mixed with Dark Umber and a Concrete pigment usually reserved to tint rock faces and applied with swirling movements of a number 0 brush. It really looks terrible at this point, but soon things will change.
At the same time I have drilled holes corresponding to the points of the toothpicks and inserted Power Glue by Glorex into them to finally place the trench fences in place. To hold them firmly glued to the surrounding mounds I simply used masking tape until the glue finally dried.
The Cliffs have received a wash of Dark Umber to heighten the contrast of the Raw Sienna.
Next time I will post a more extensive prequel which will be divided in seven distinctive chapters, from A to G in which I will show how I have applied the actual terrain ground, as well as also have modified the cliff faces to make them look more uniformed to the rest of the surrounding landscape.
Plenty of pictures await you with those chapters, including some historic pictures concerning the many inspections Field Marshal Rommel made in various points of Omaha beach and surroundings, as well as how the cliff facades look nowadays.
Just bear in mind that I just depicted the upper segments of the cliffs. The lower ones are completely different and show massive strata rocks which I could not also reproduce due the conspiquous height they would have enticed in such a scale as 1:35.
1 Like