The Last Warning (April 1944, Normandy) Update #9

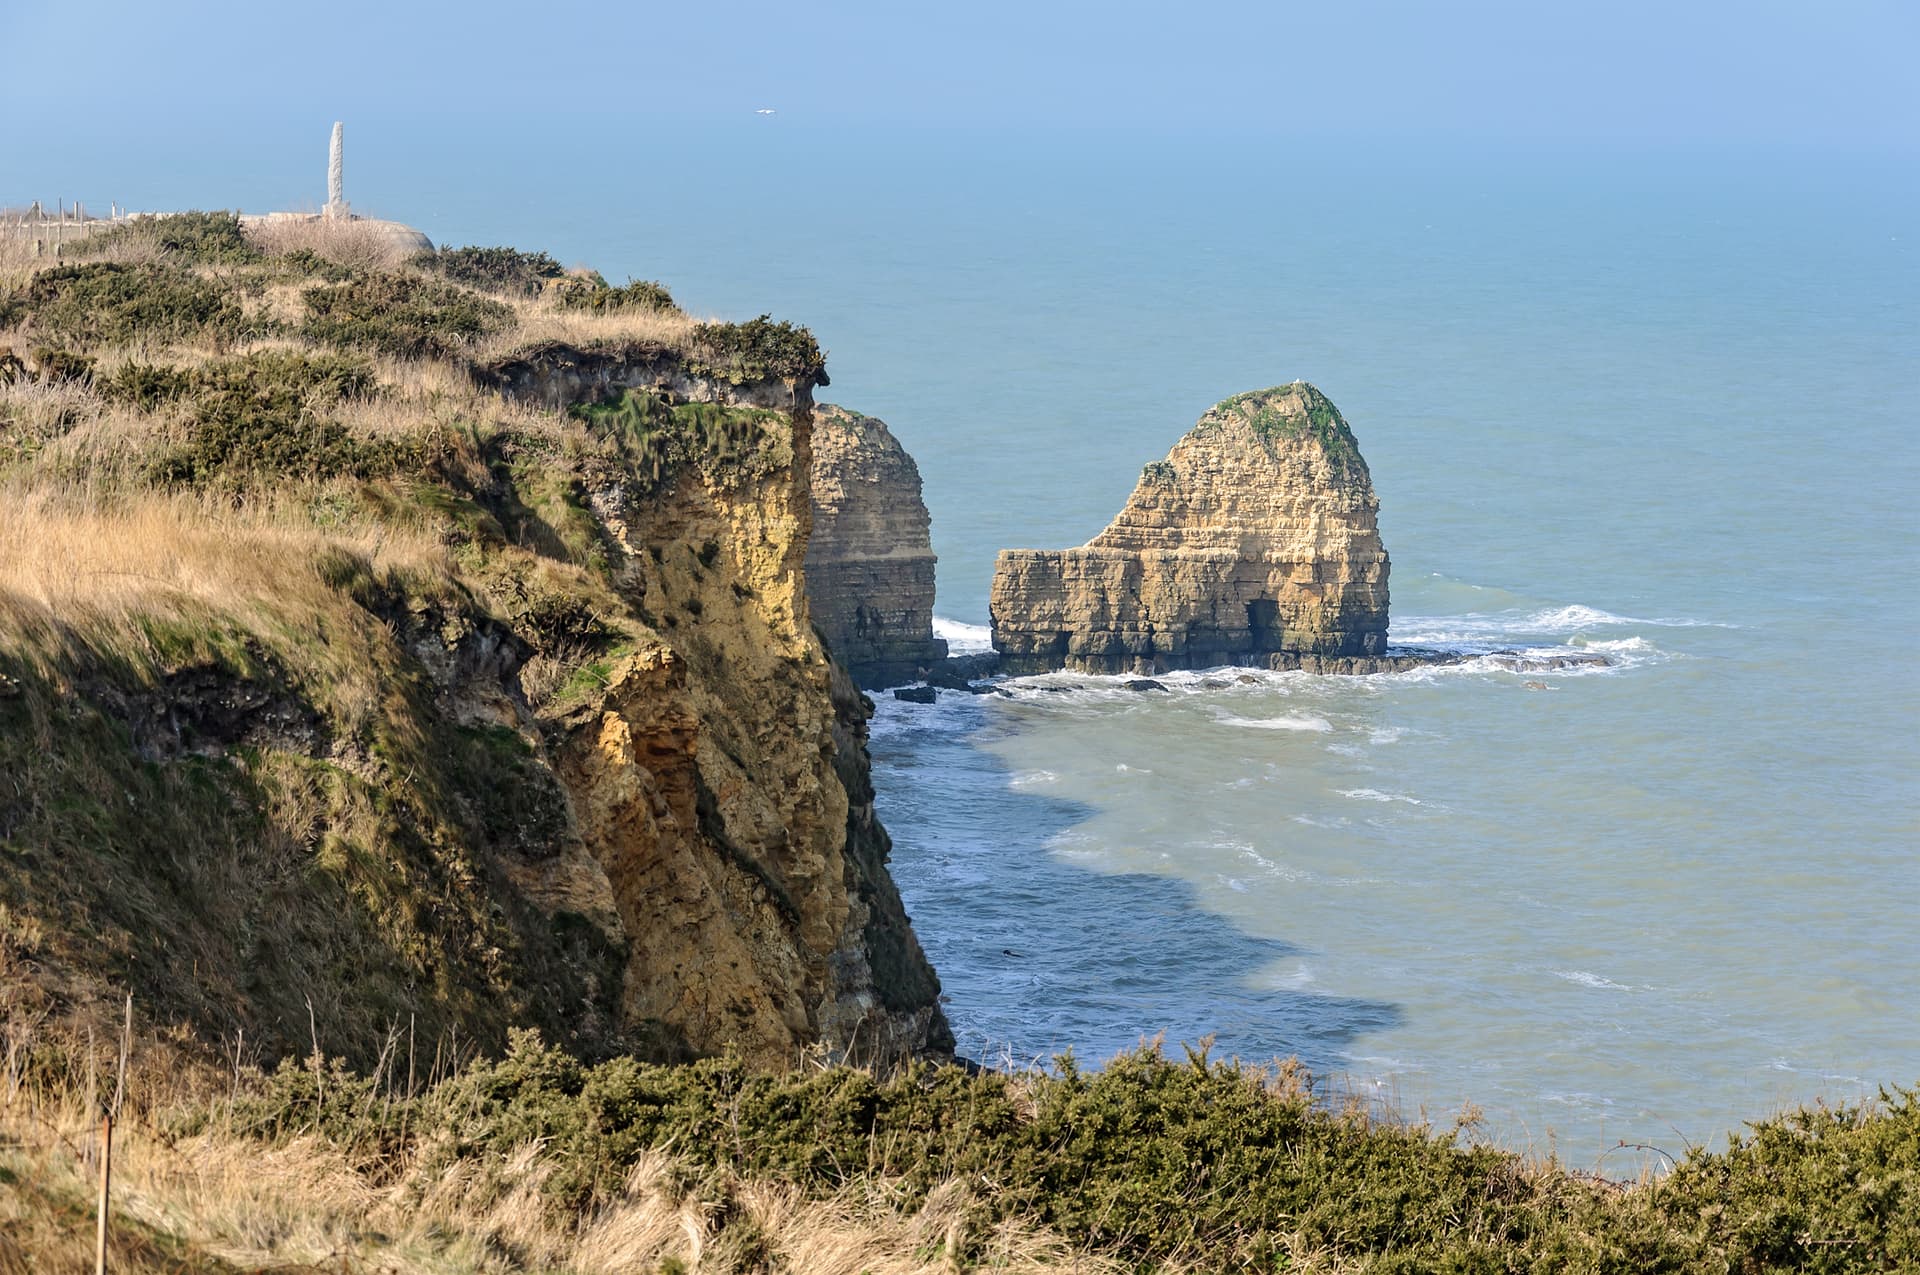
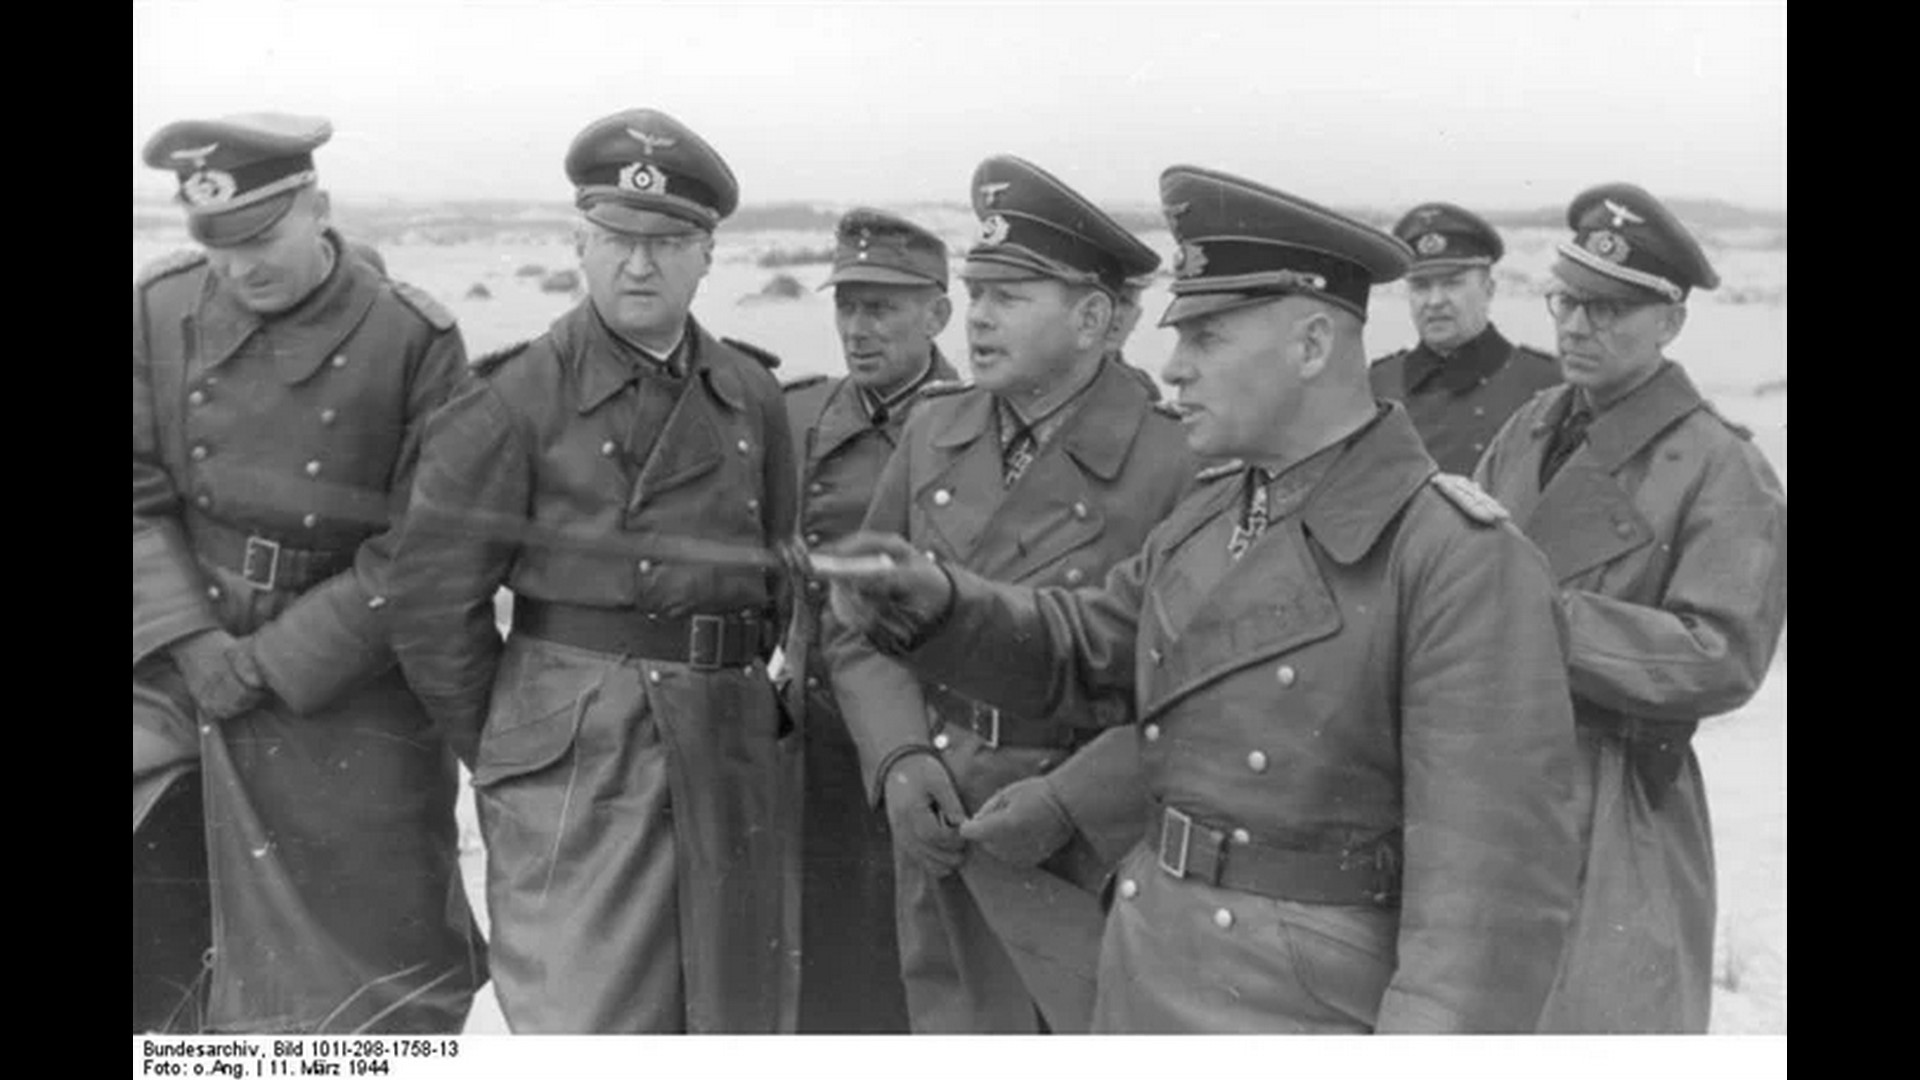
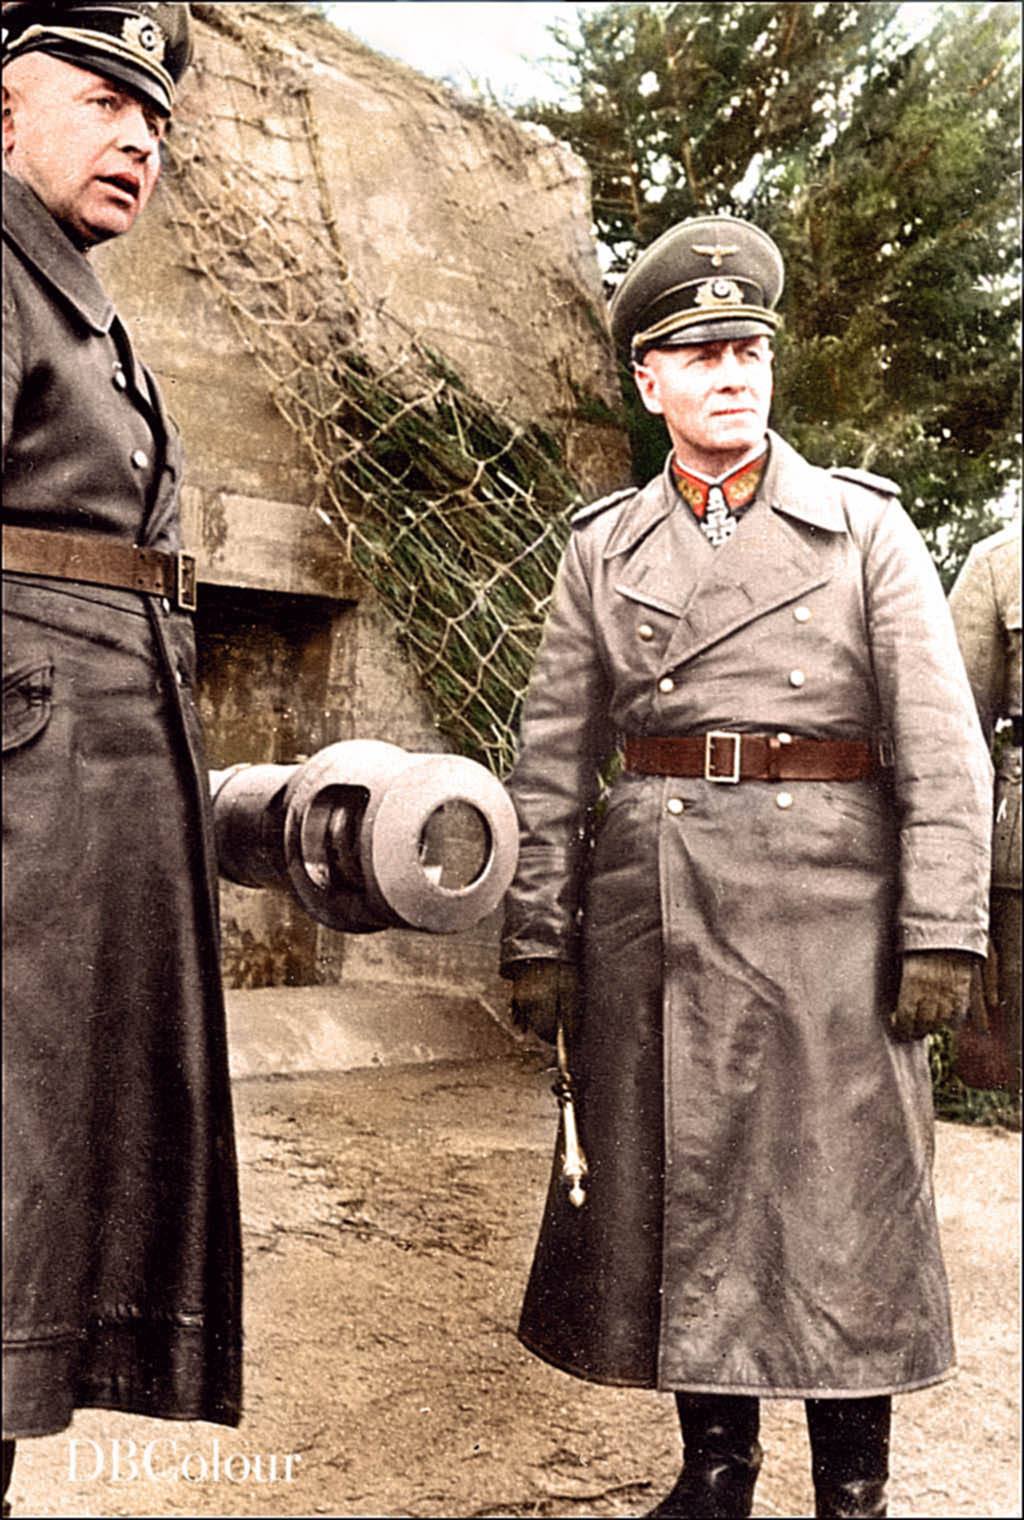
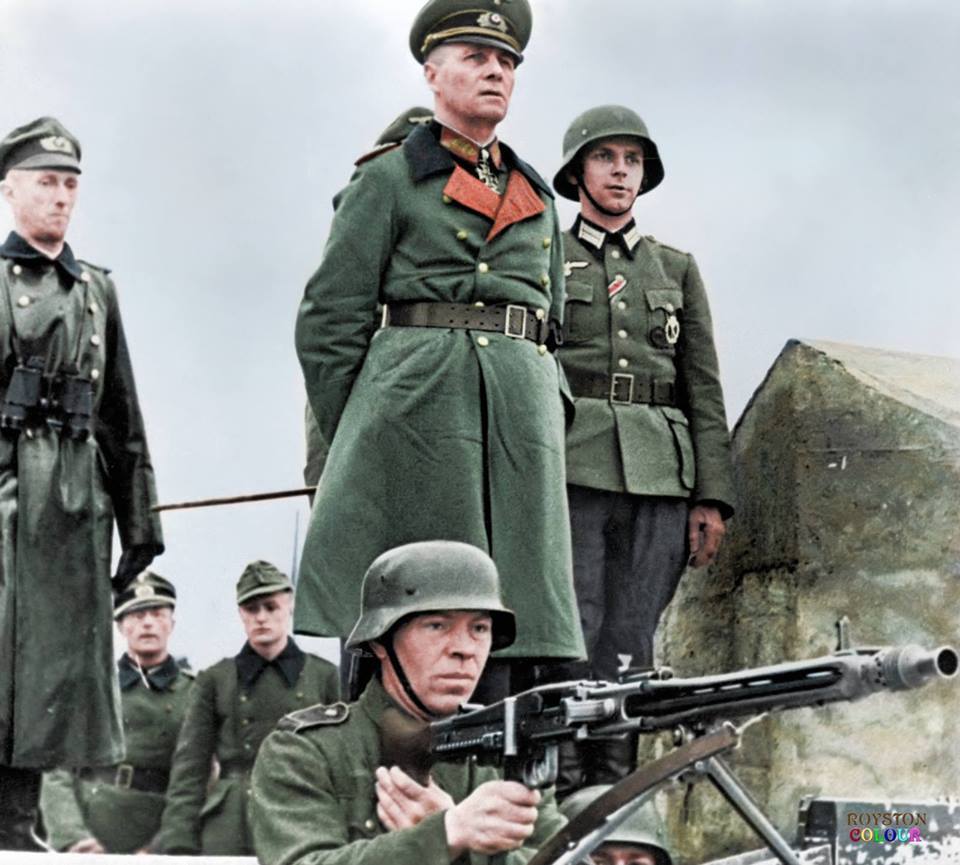
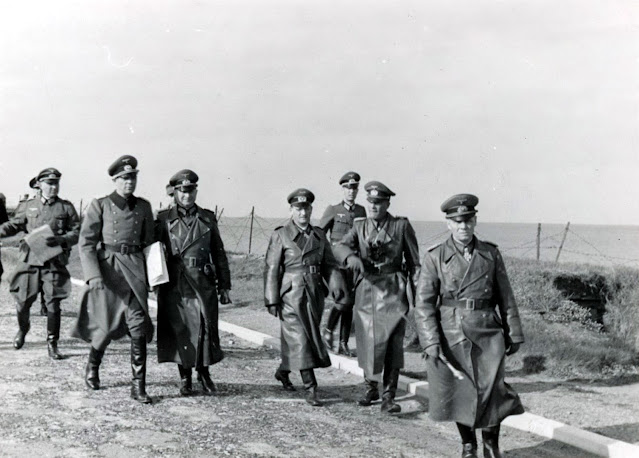
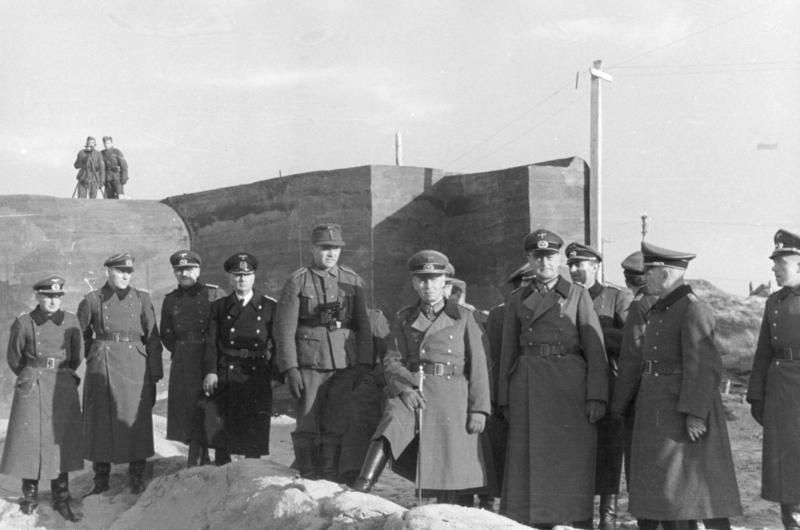
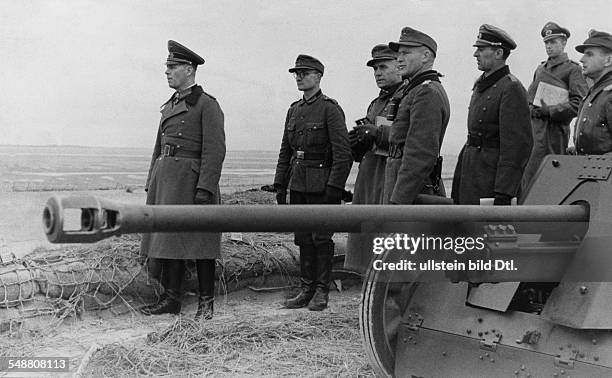
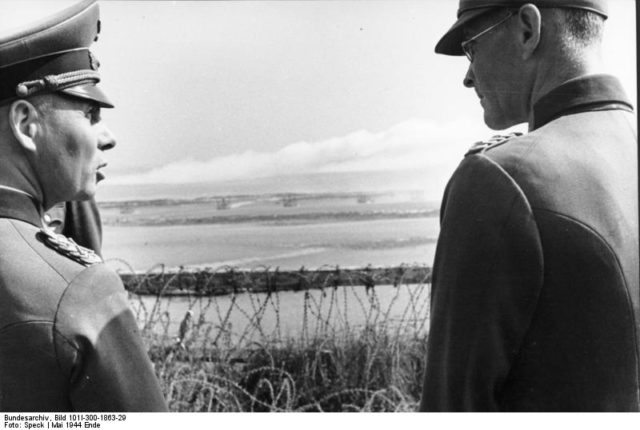
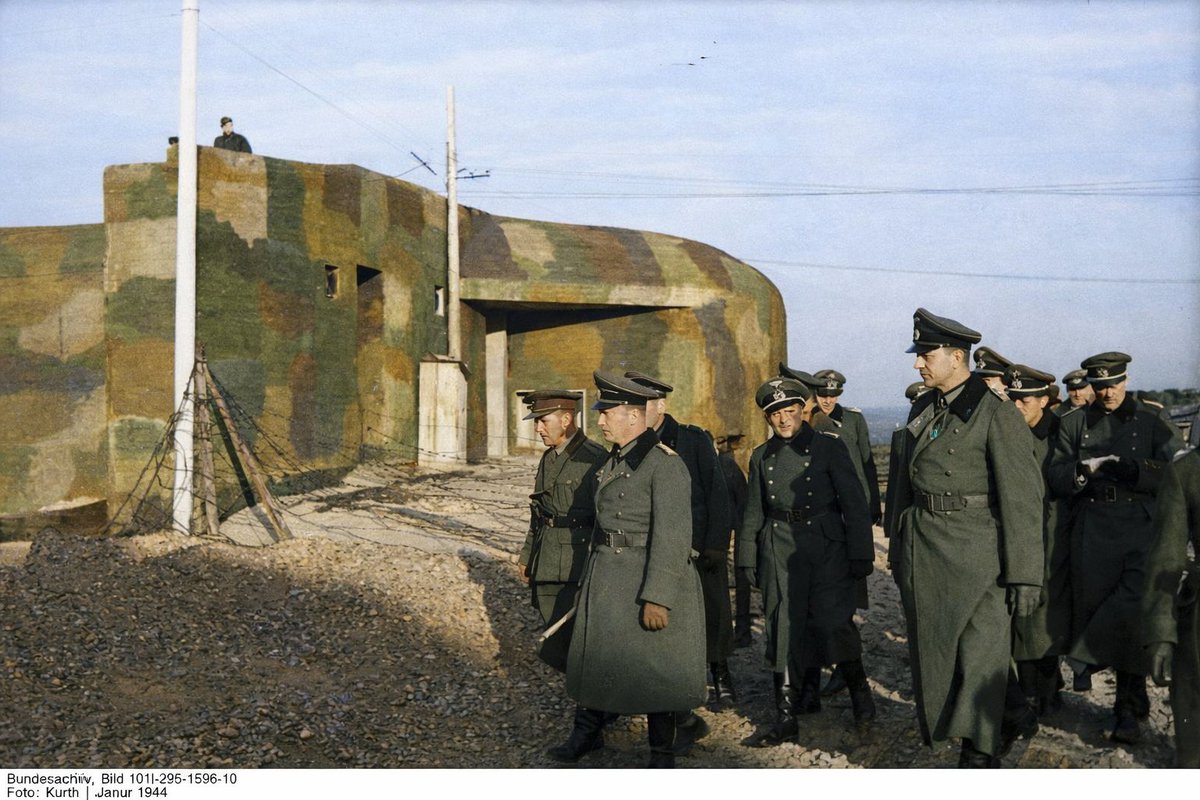
This ninth chapter of my terrain build for said diorama will be the longest one I will post because it comprises various important steps I took to refine and more accurately depict this area. I will also reveal what materials and pigments I did use to make it appear more realistic to the eye. So please, be patient and brace yourselves, since it is divided in seven parts plus showing the actual landscape and some historic pictures of Rommel’s various inspection to the Normandy defenses.

So let me start with part one which is the basic laying down of the first ground work and the further painting and weathering of the Bunker and tank turret.
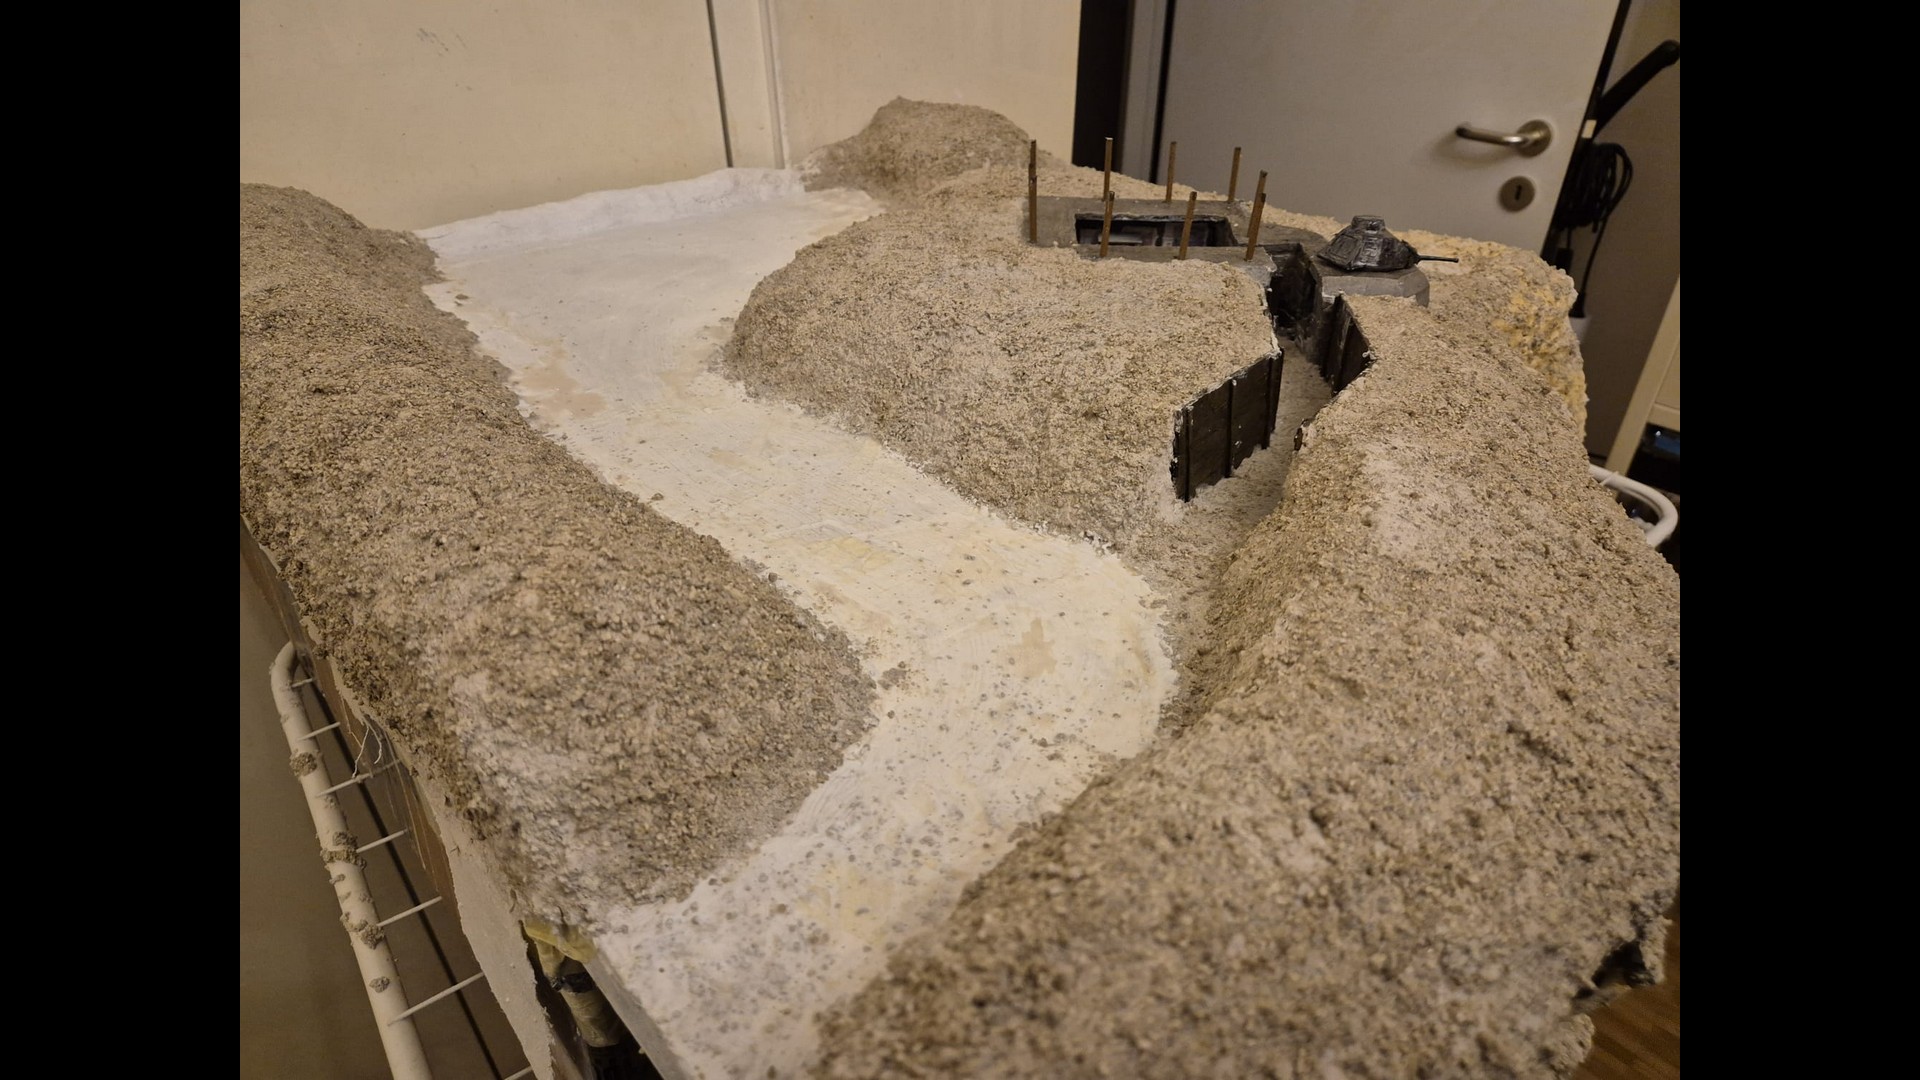
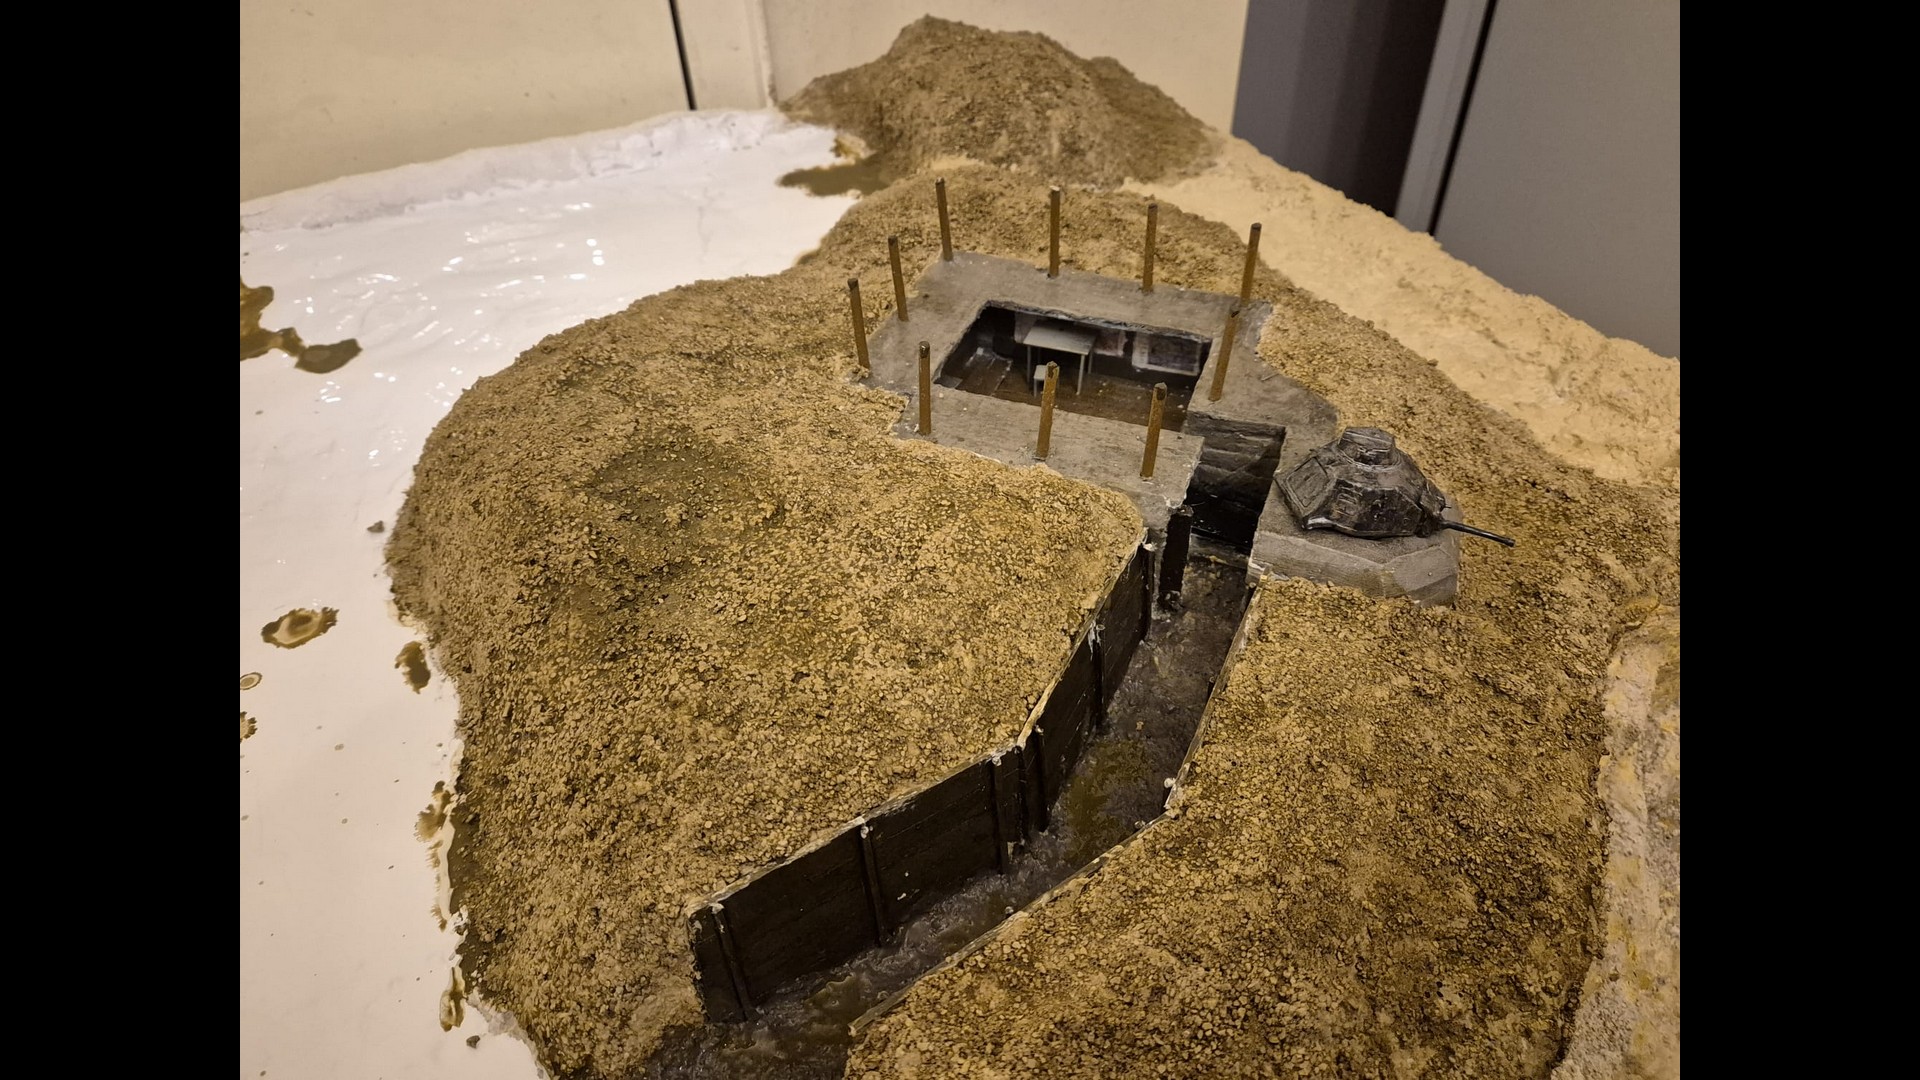
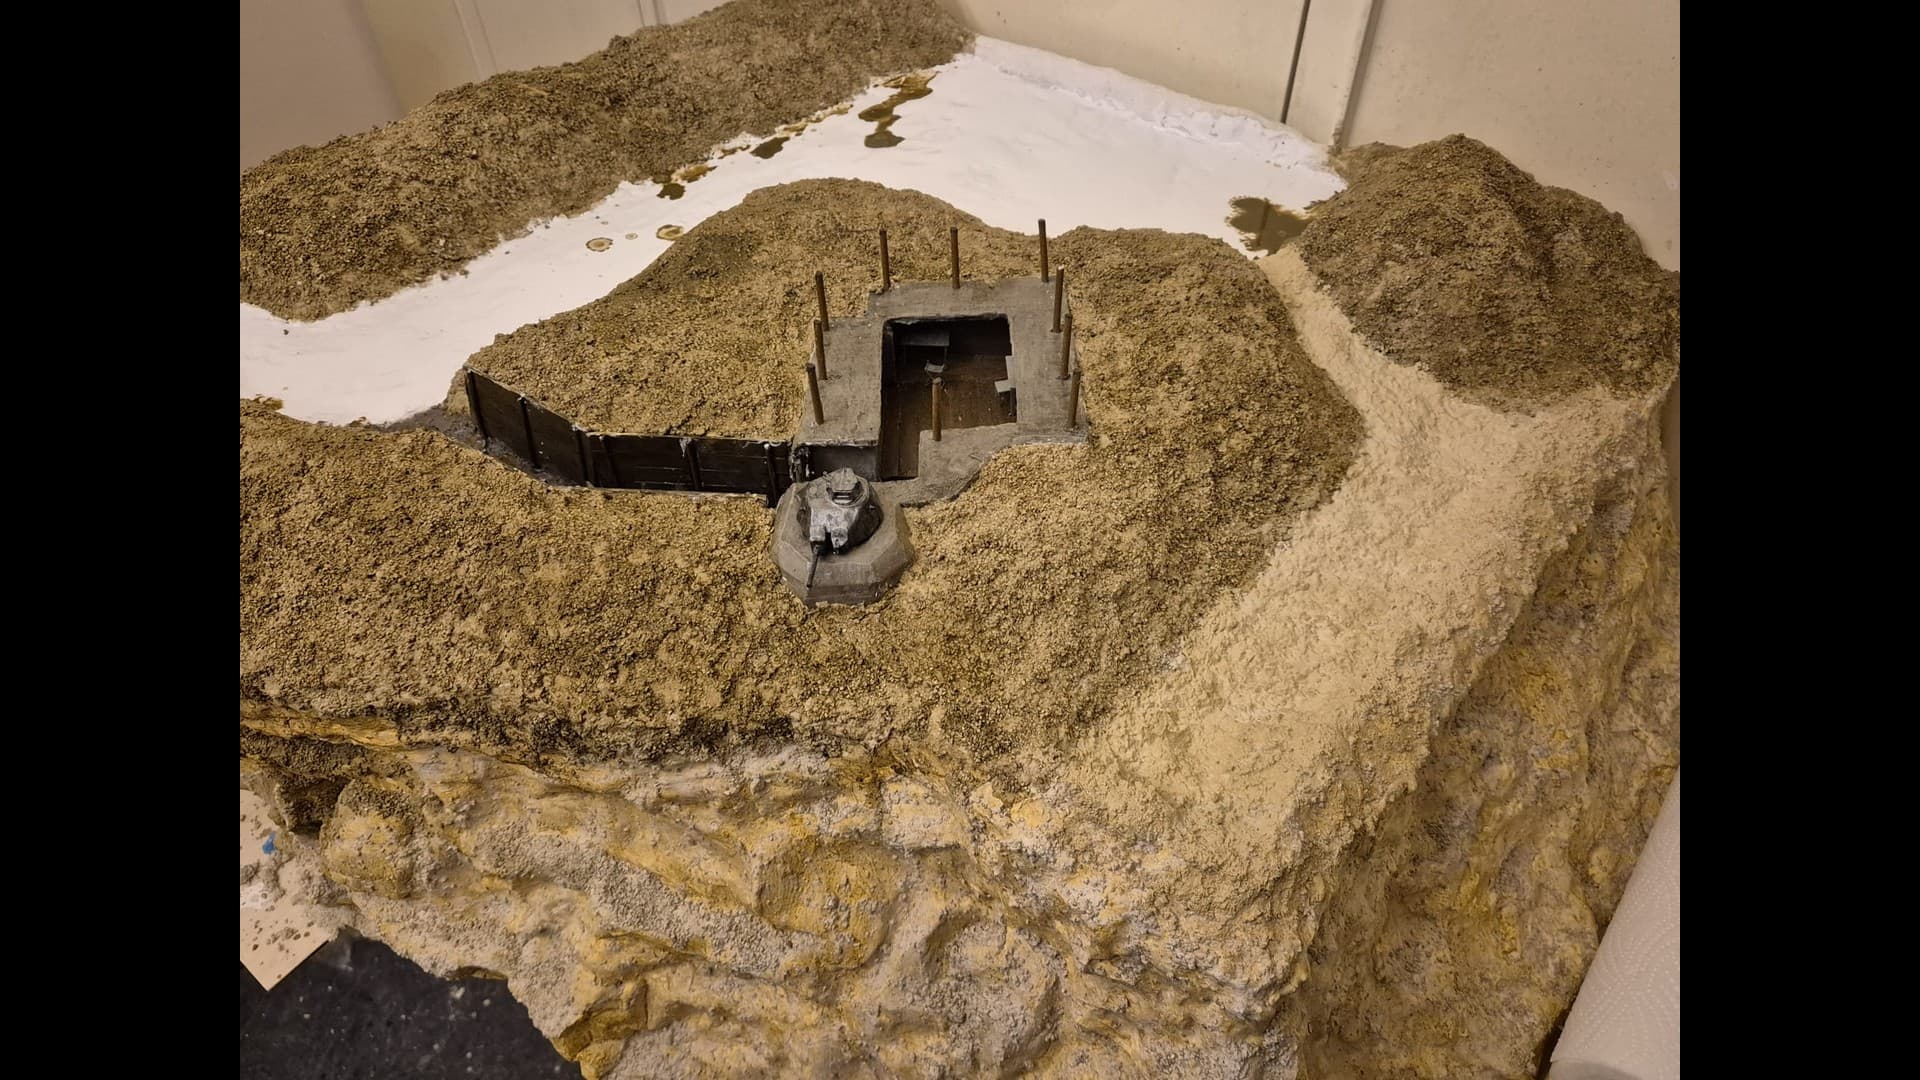
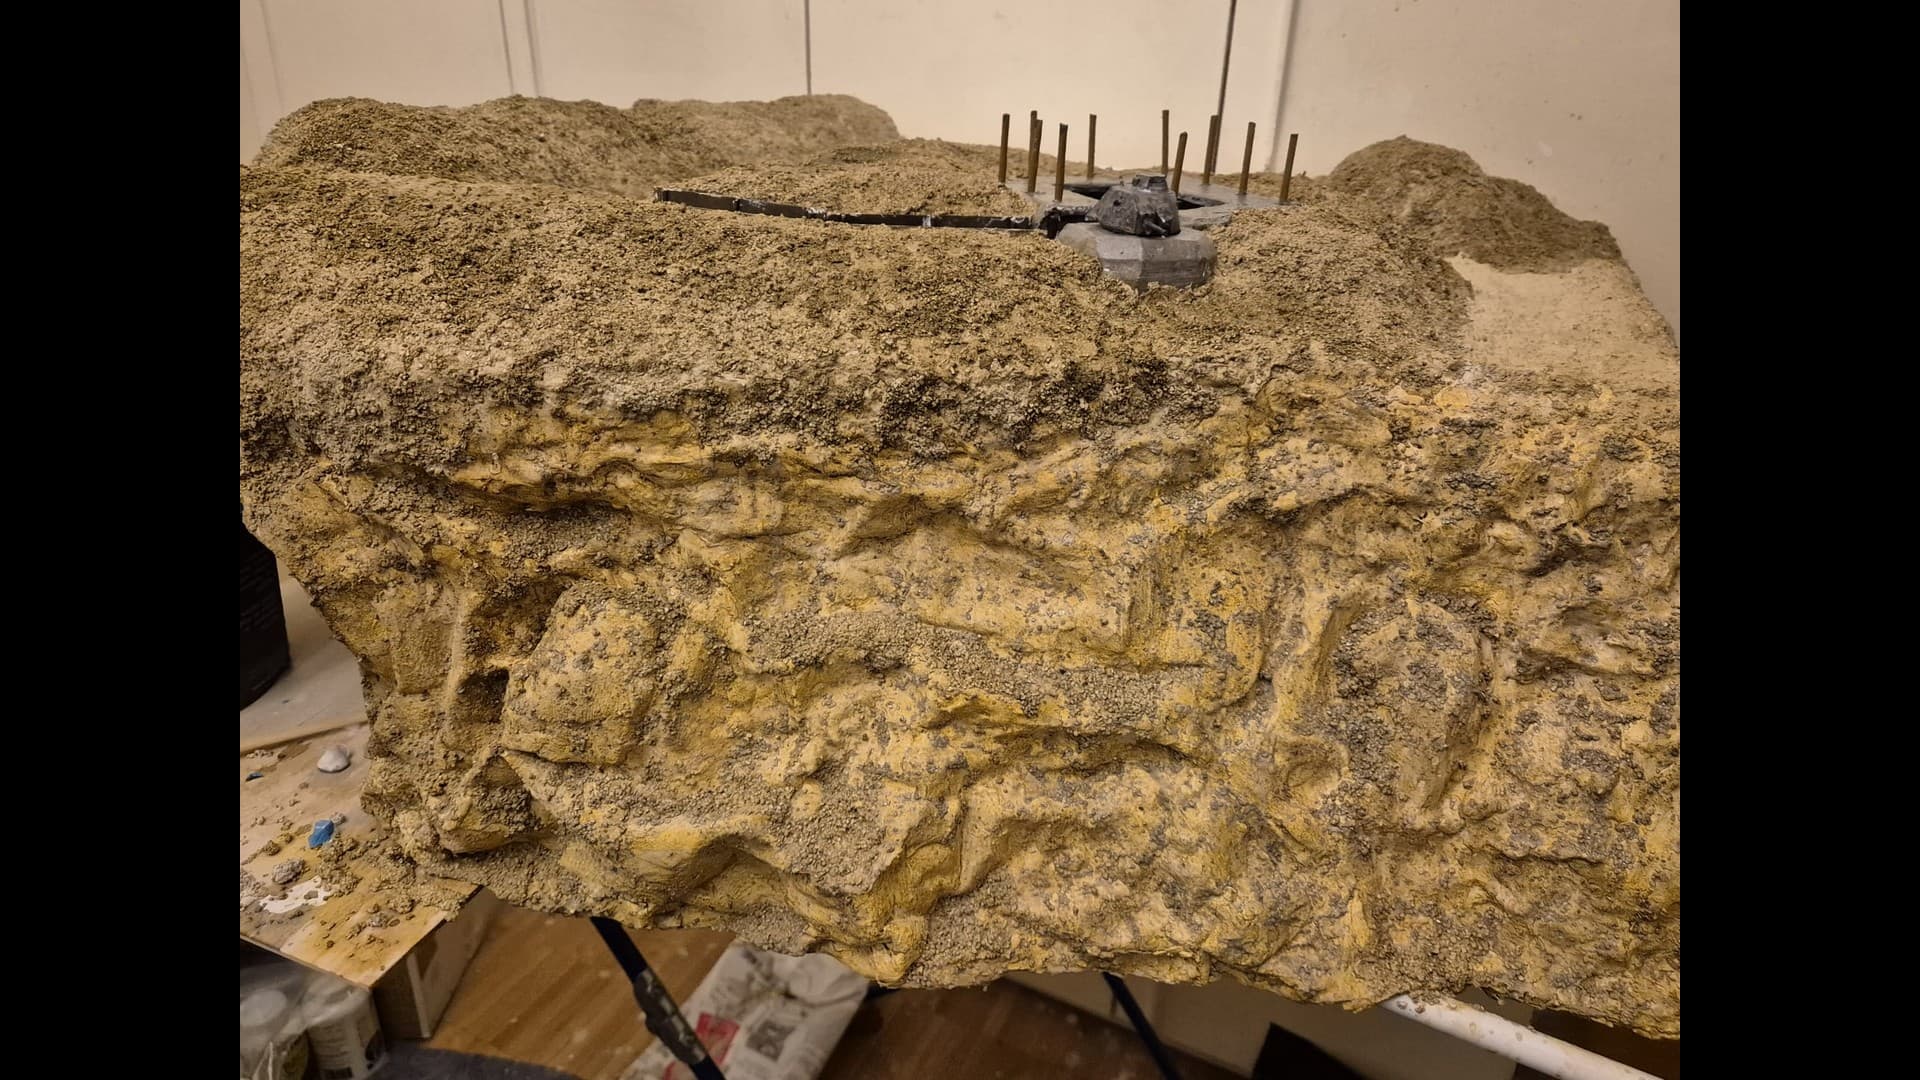
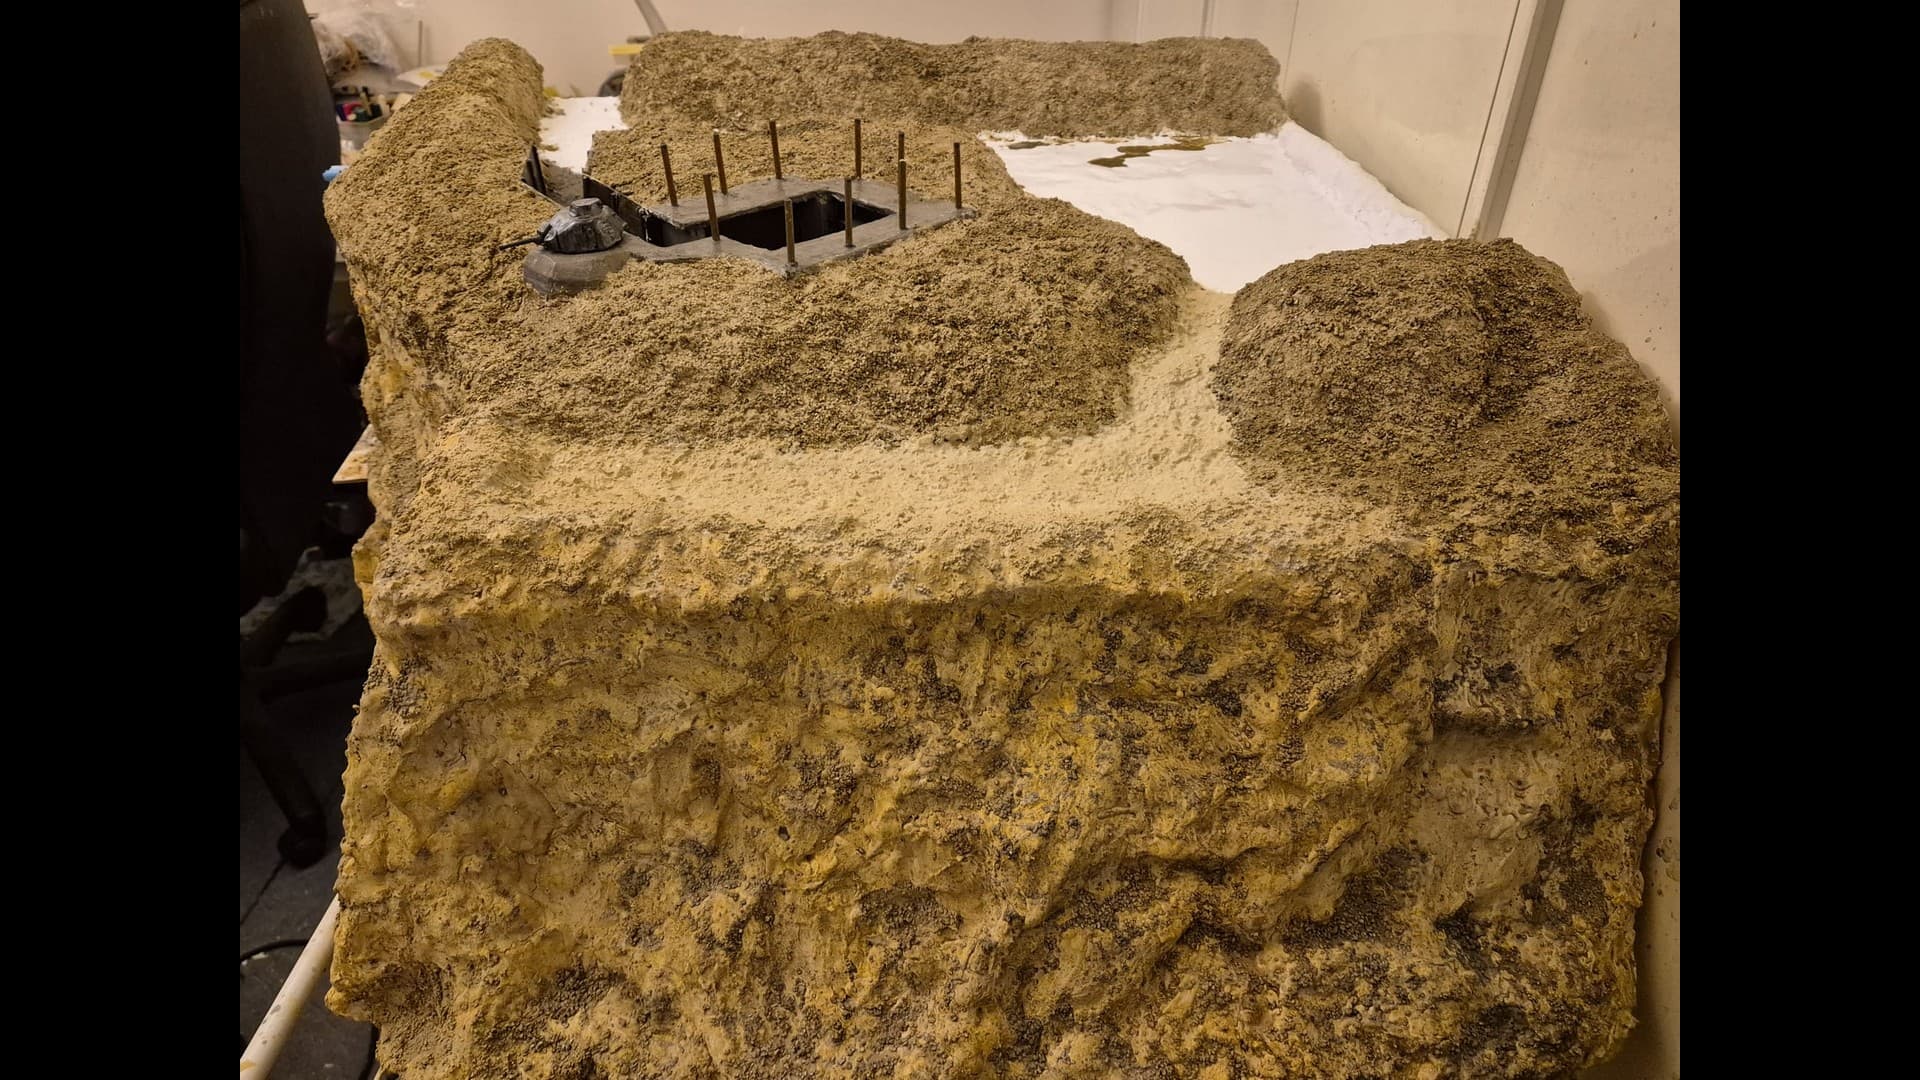
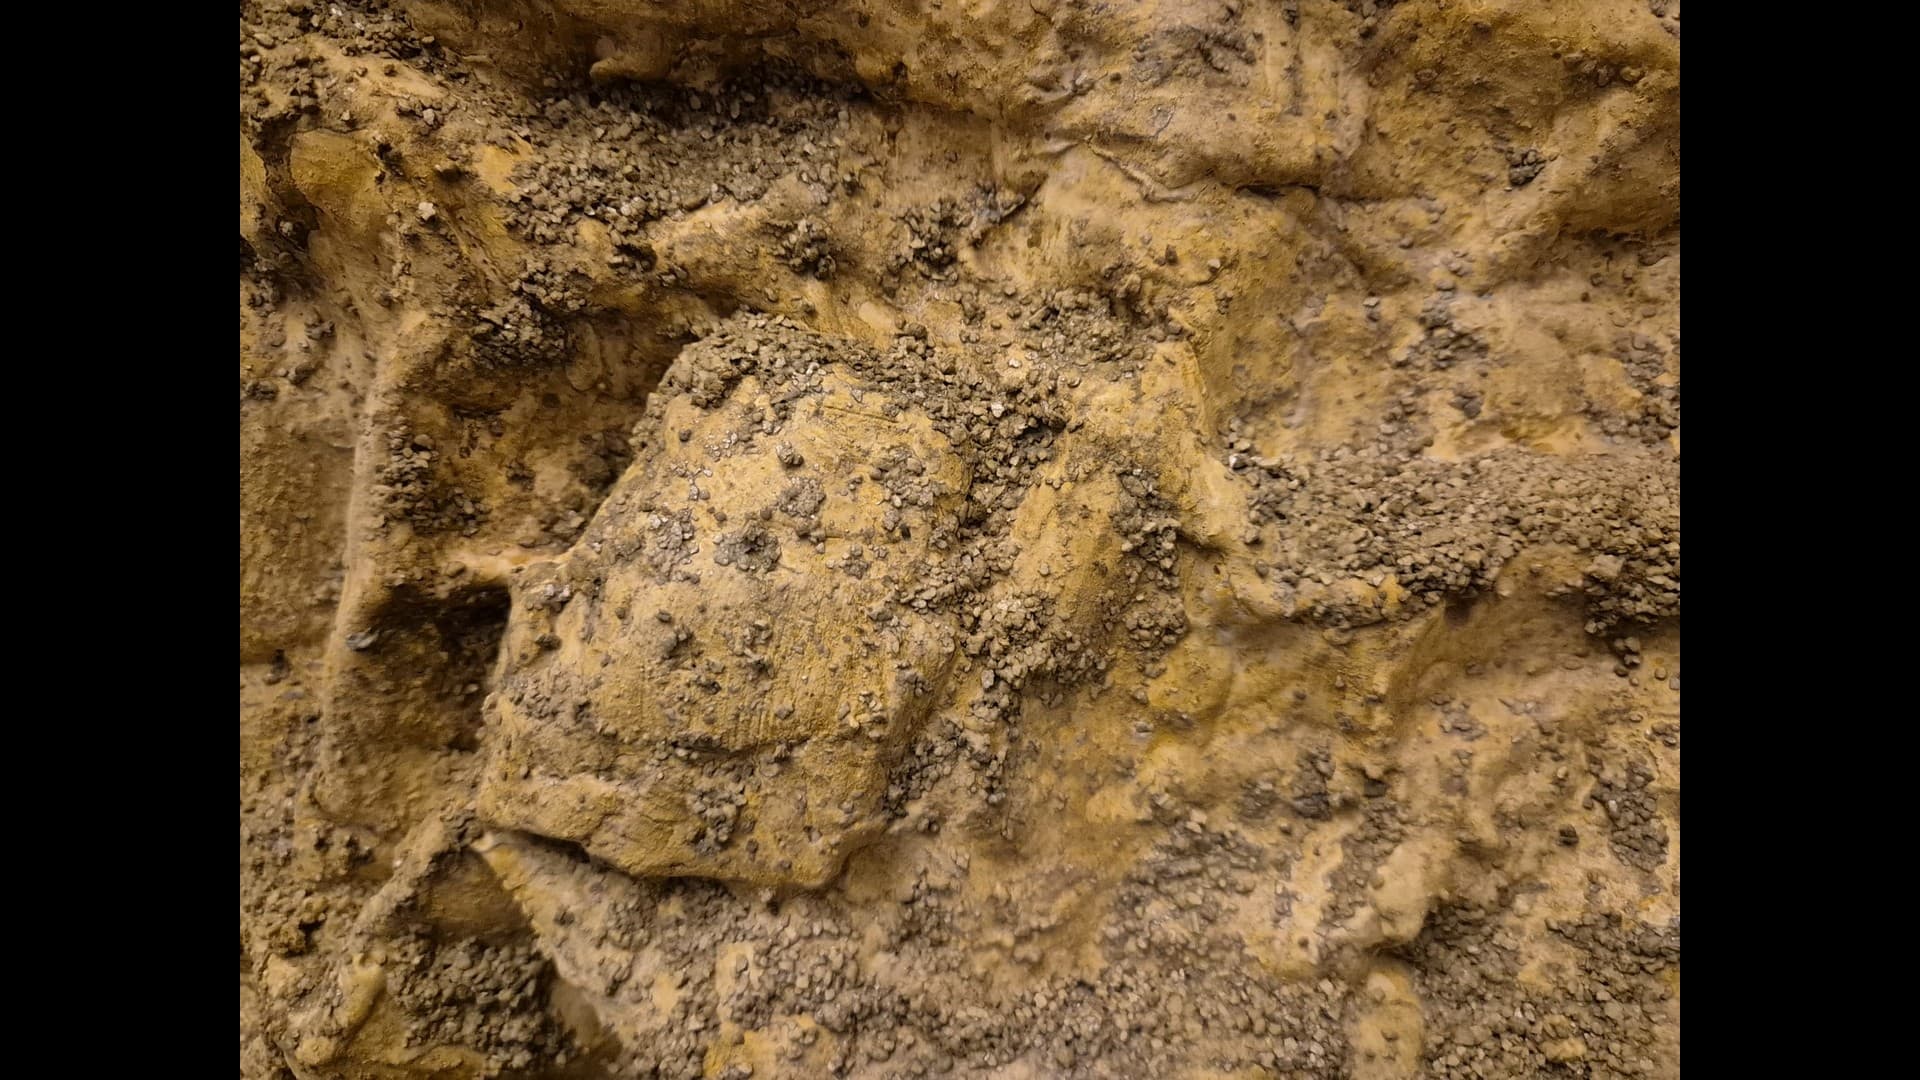
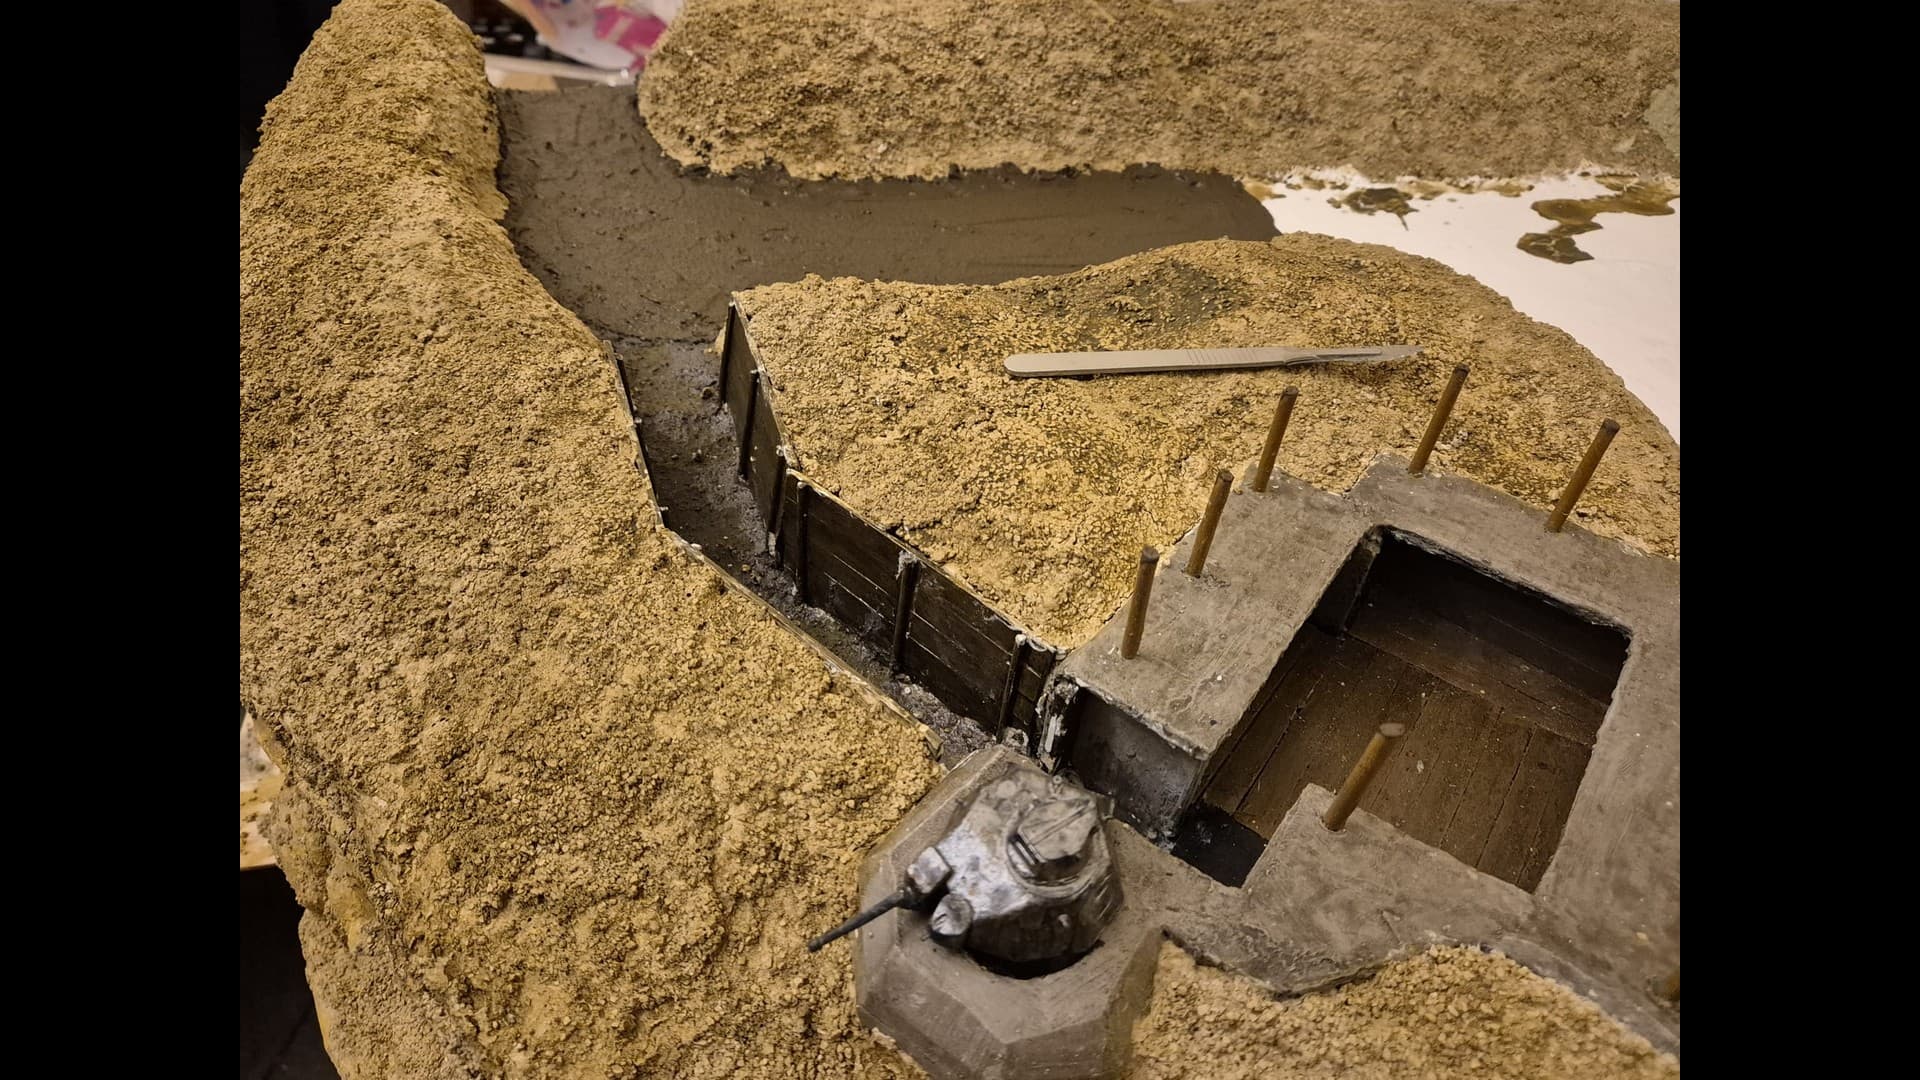
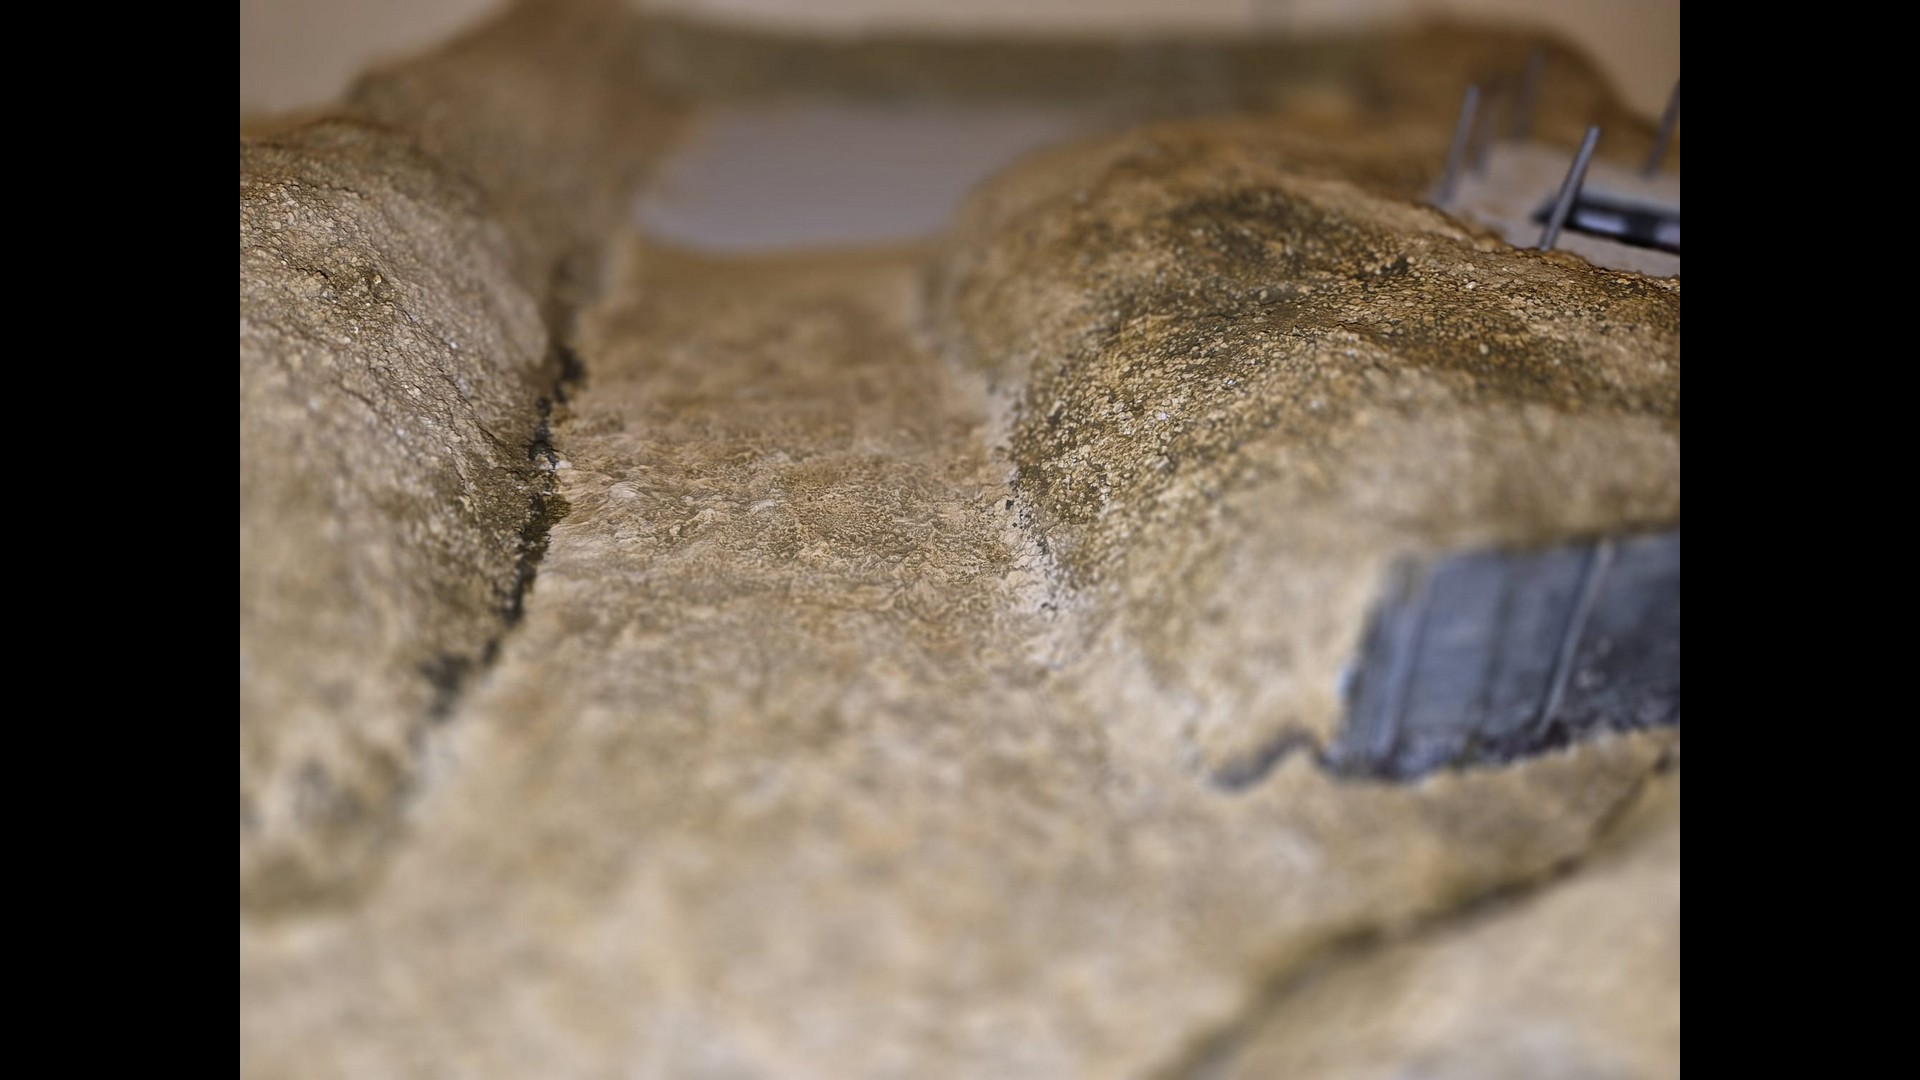
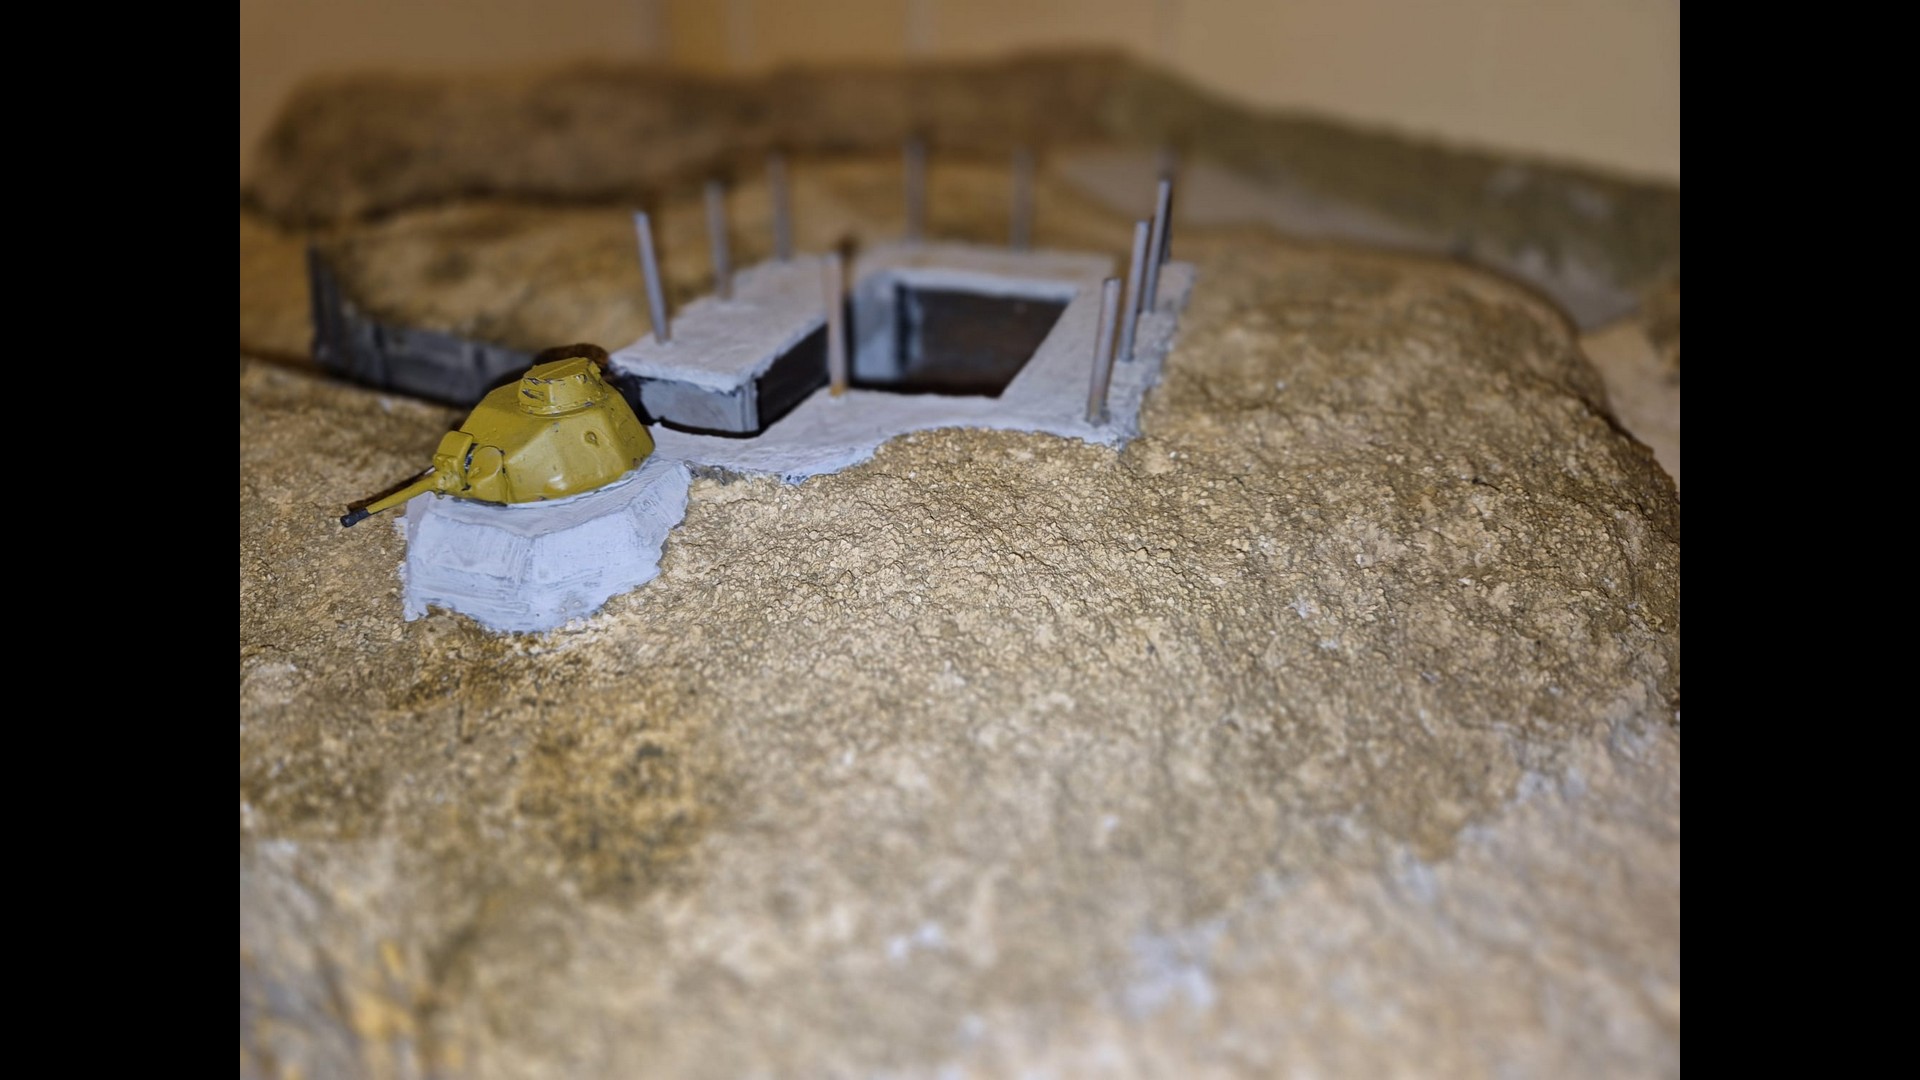
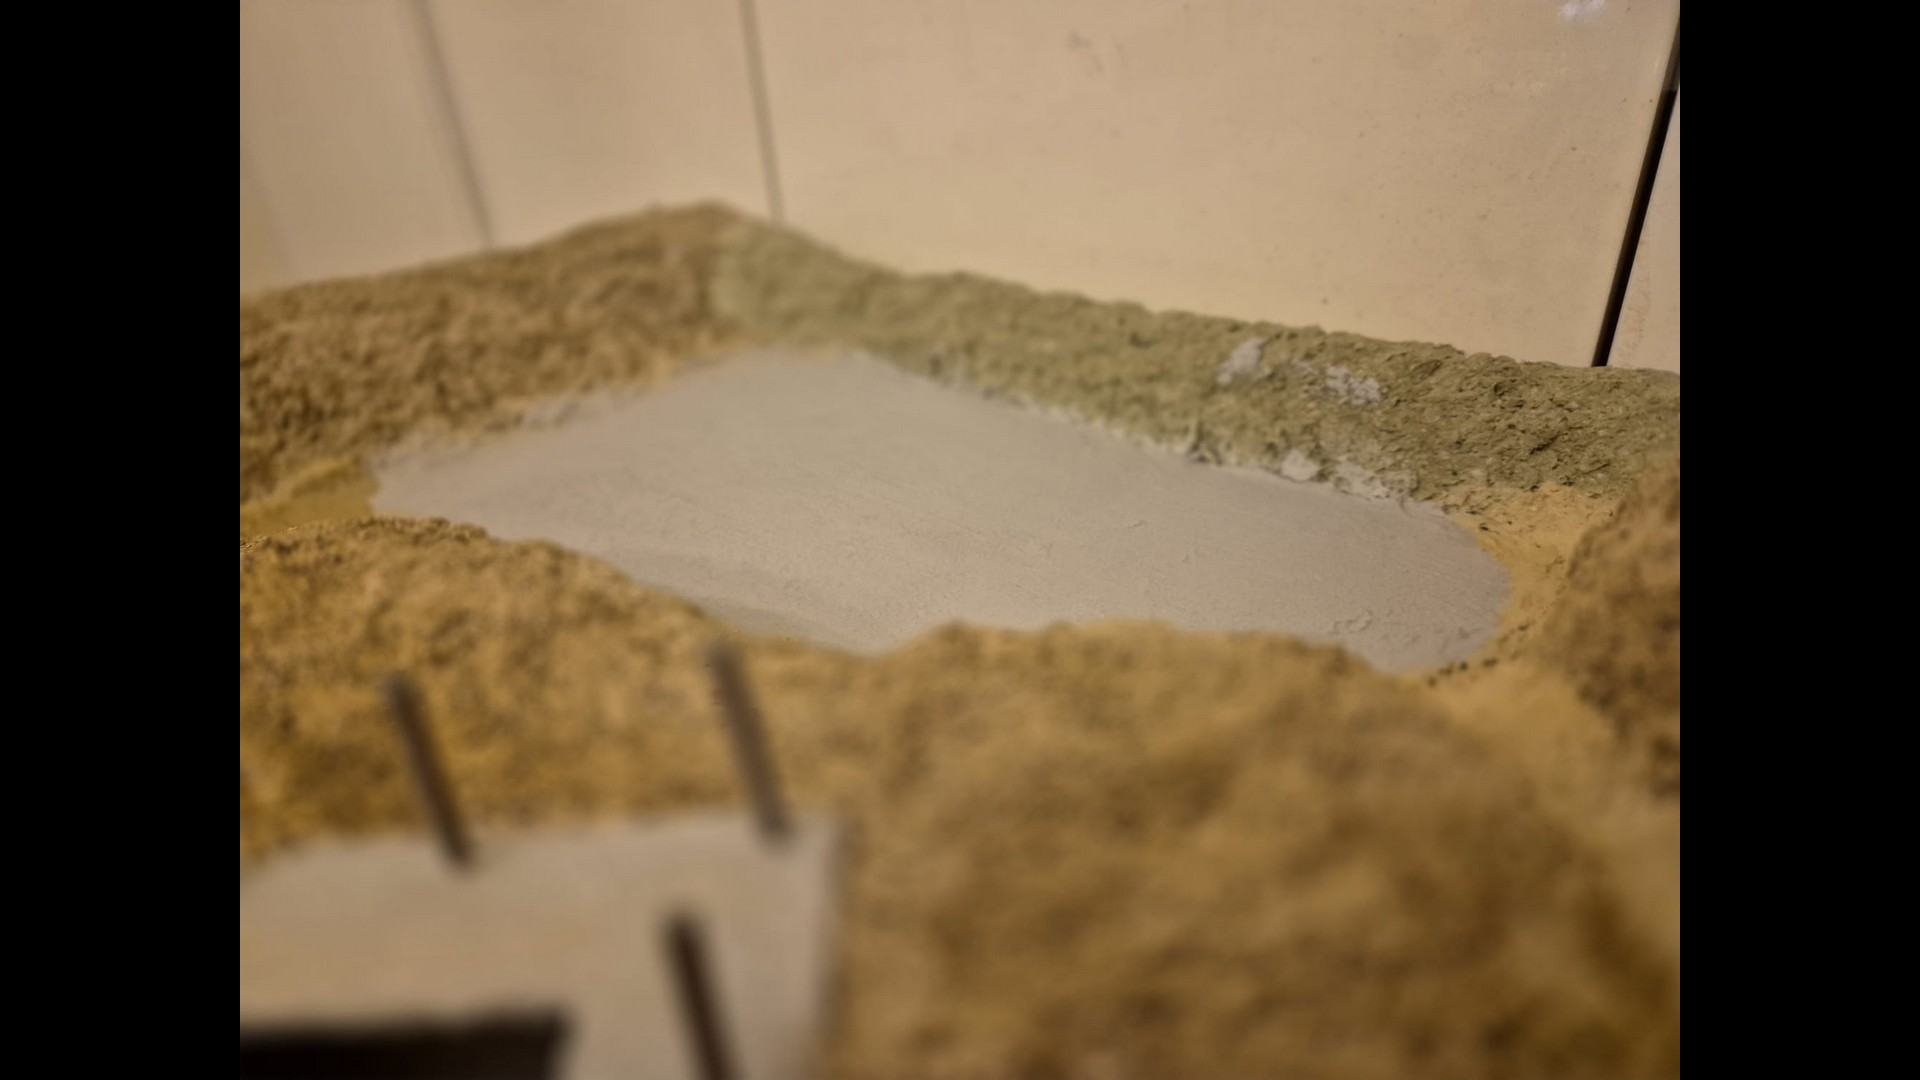
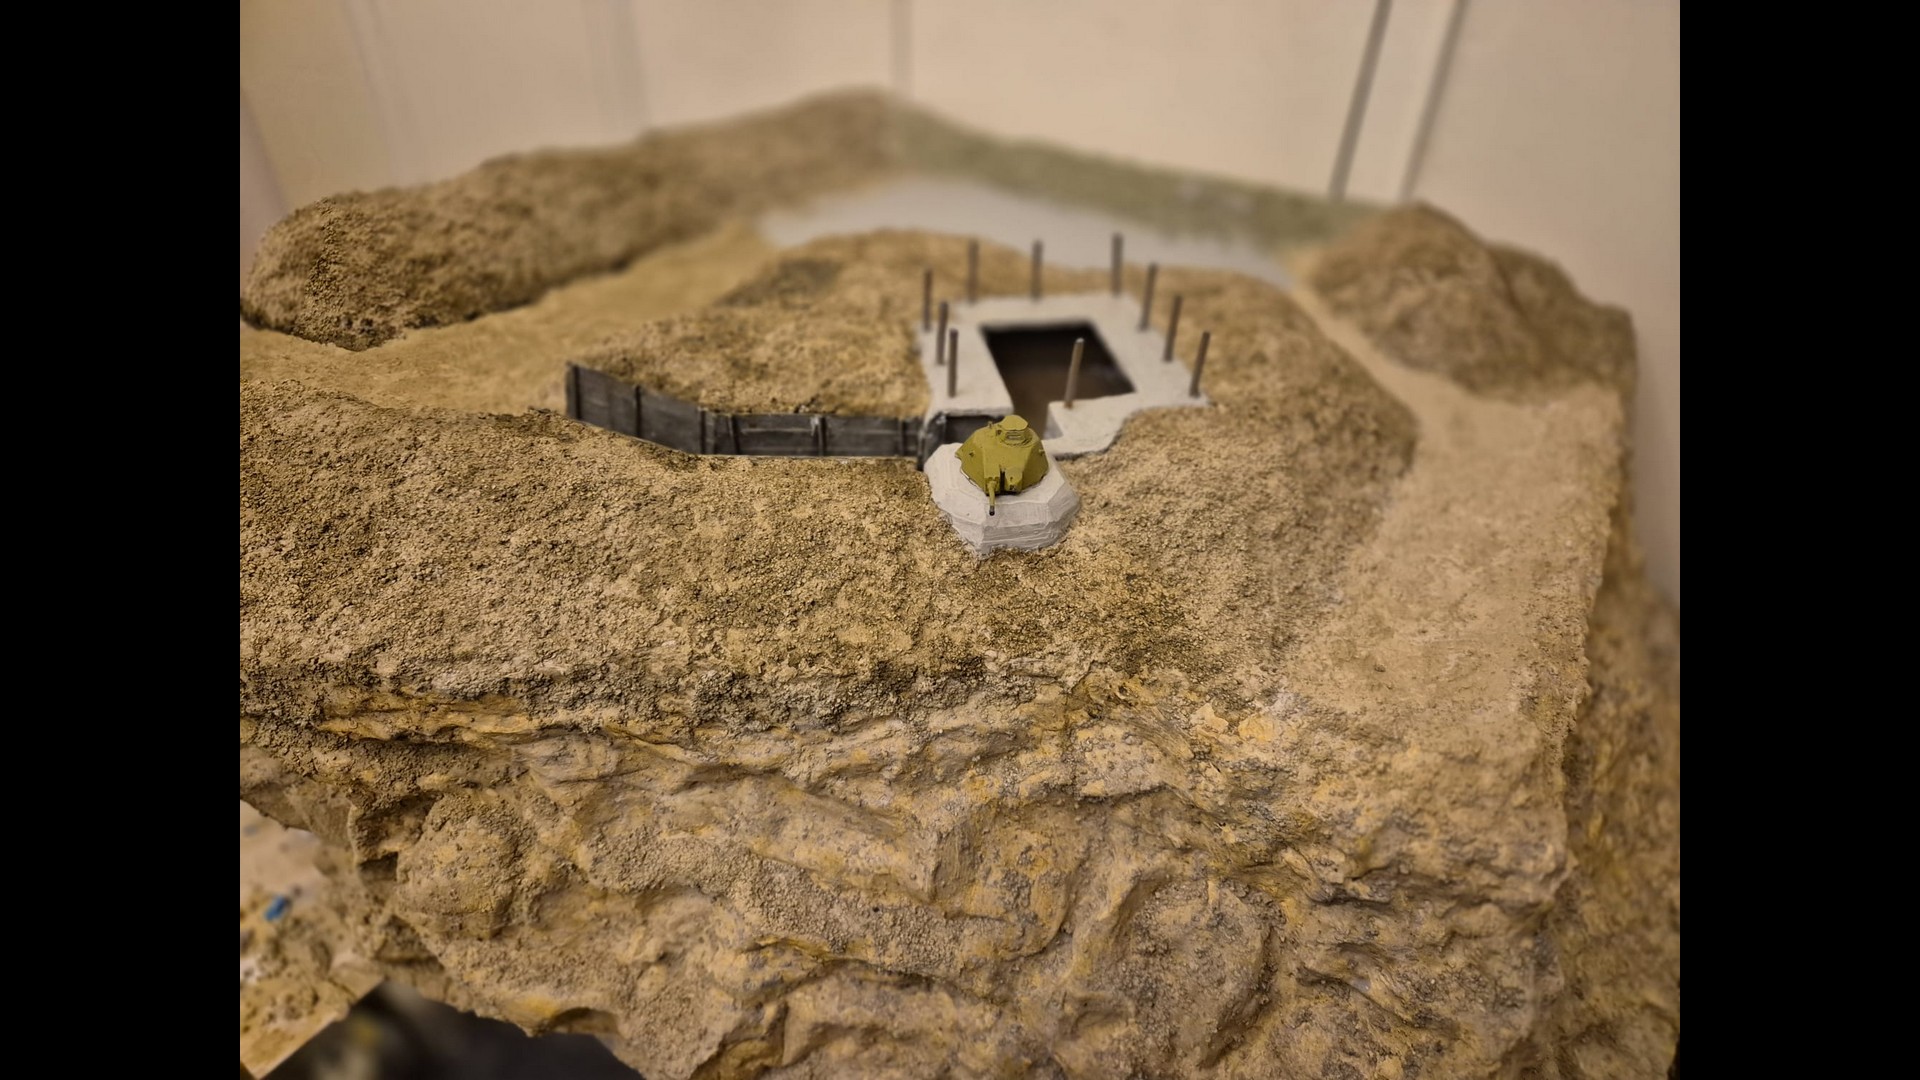
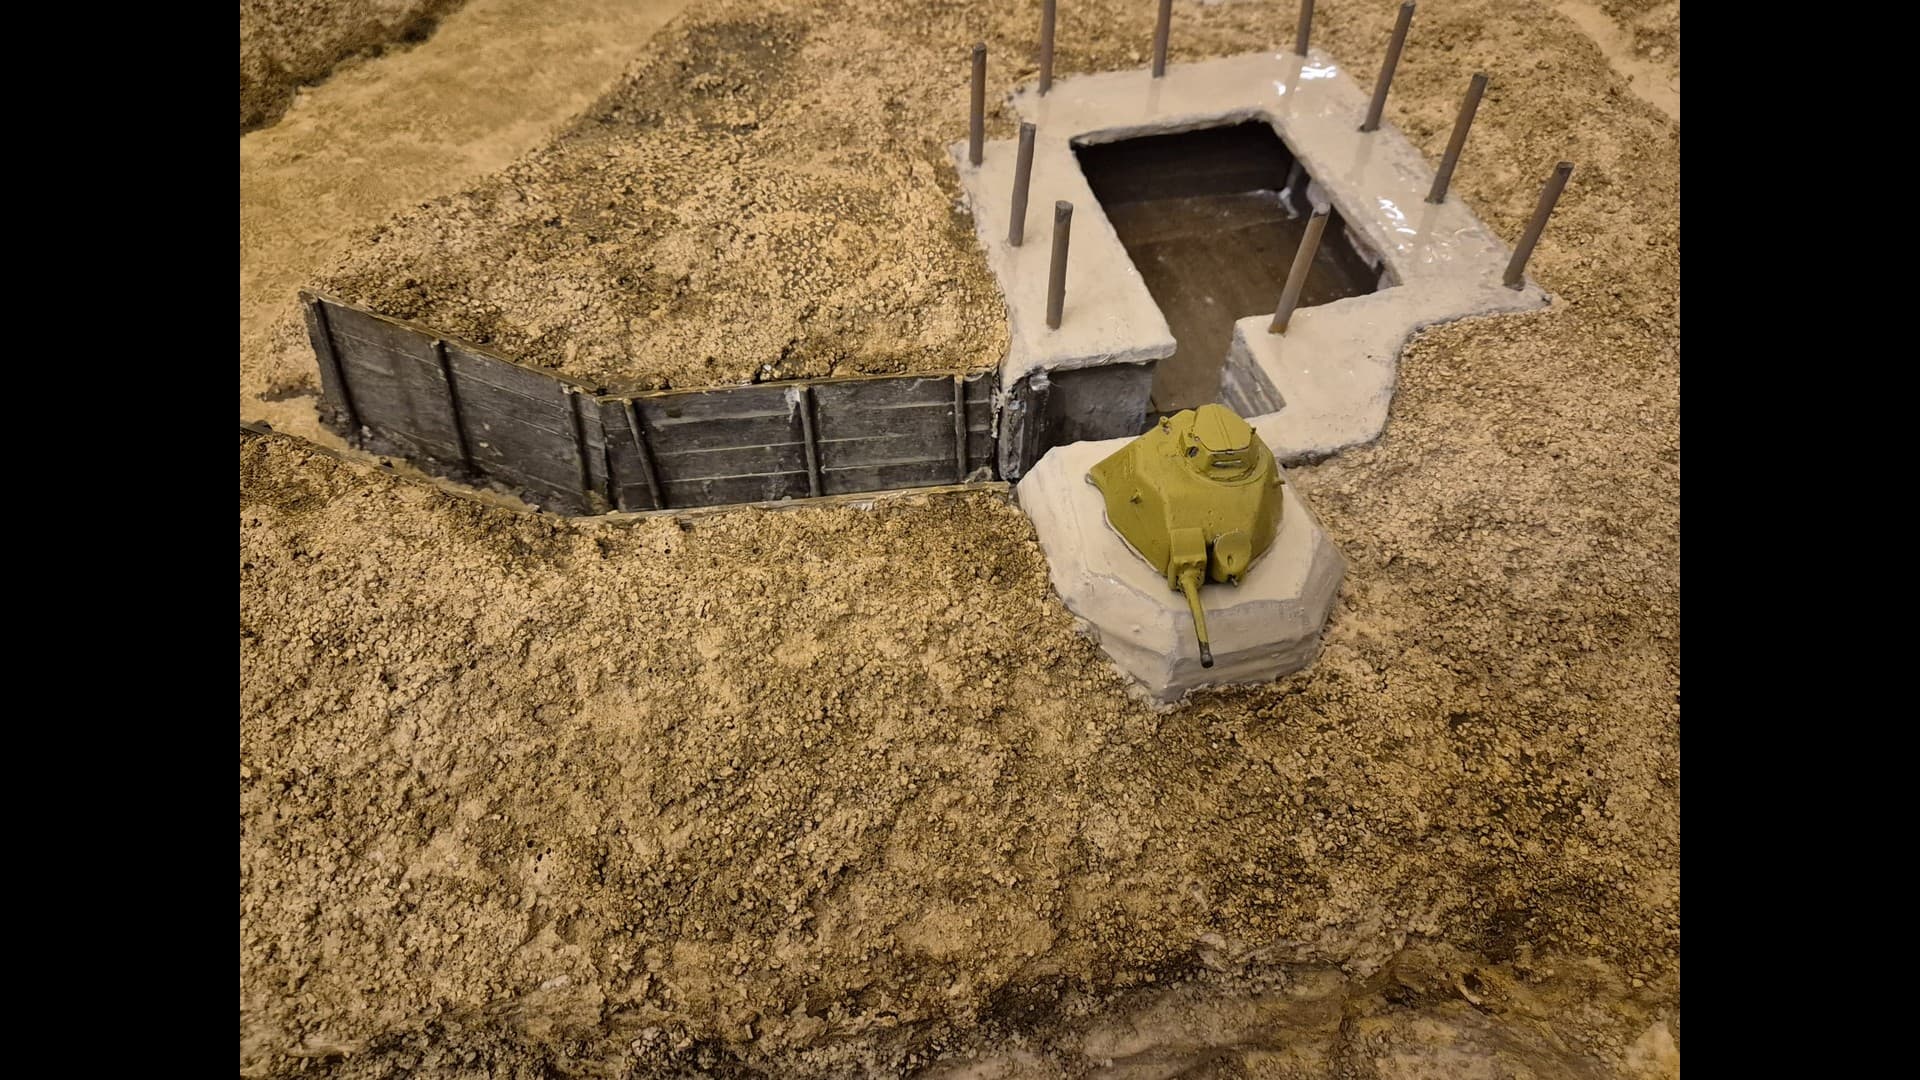
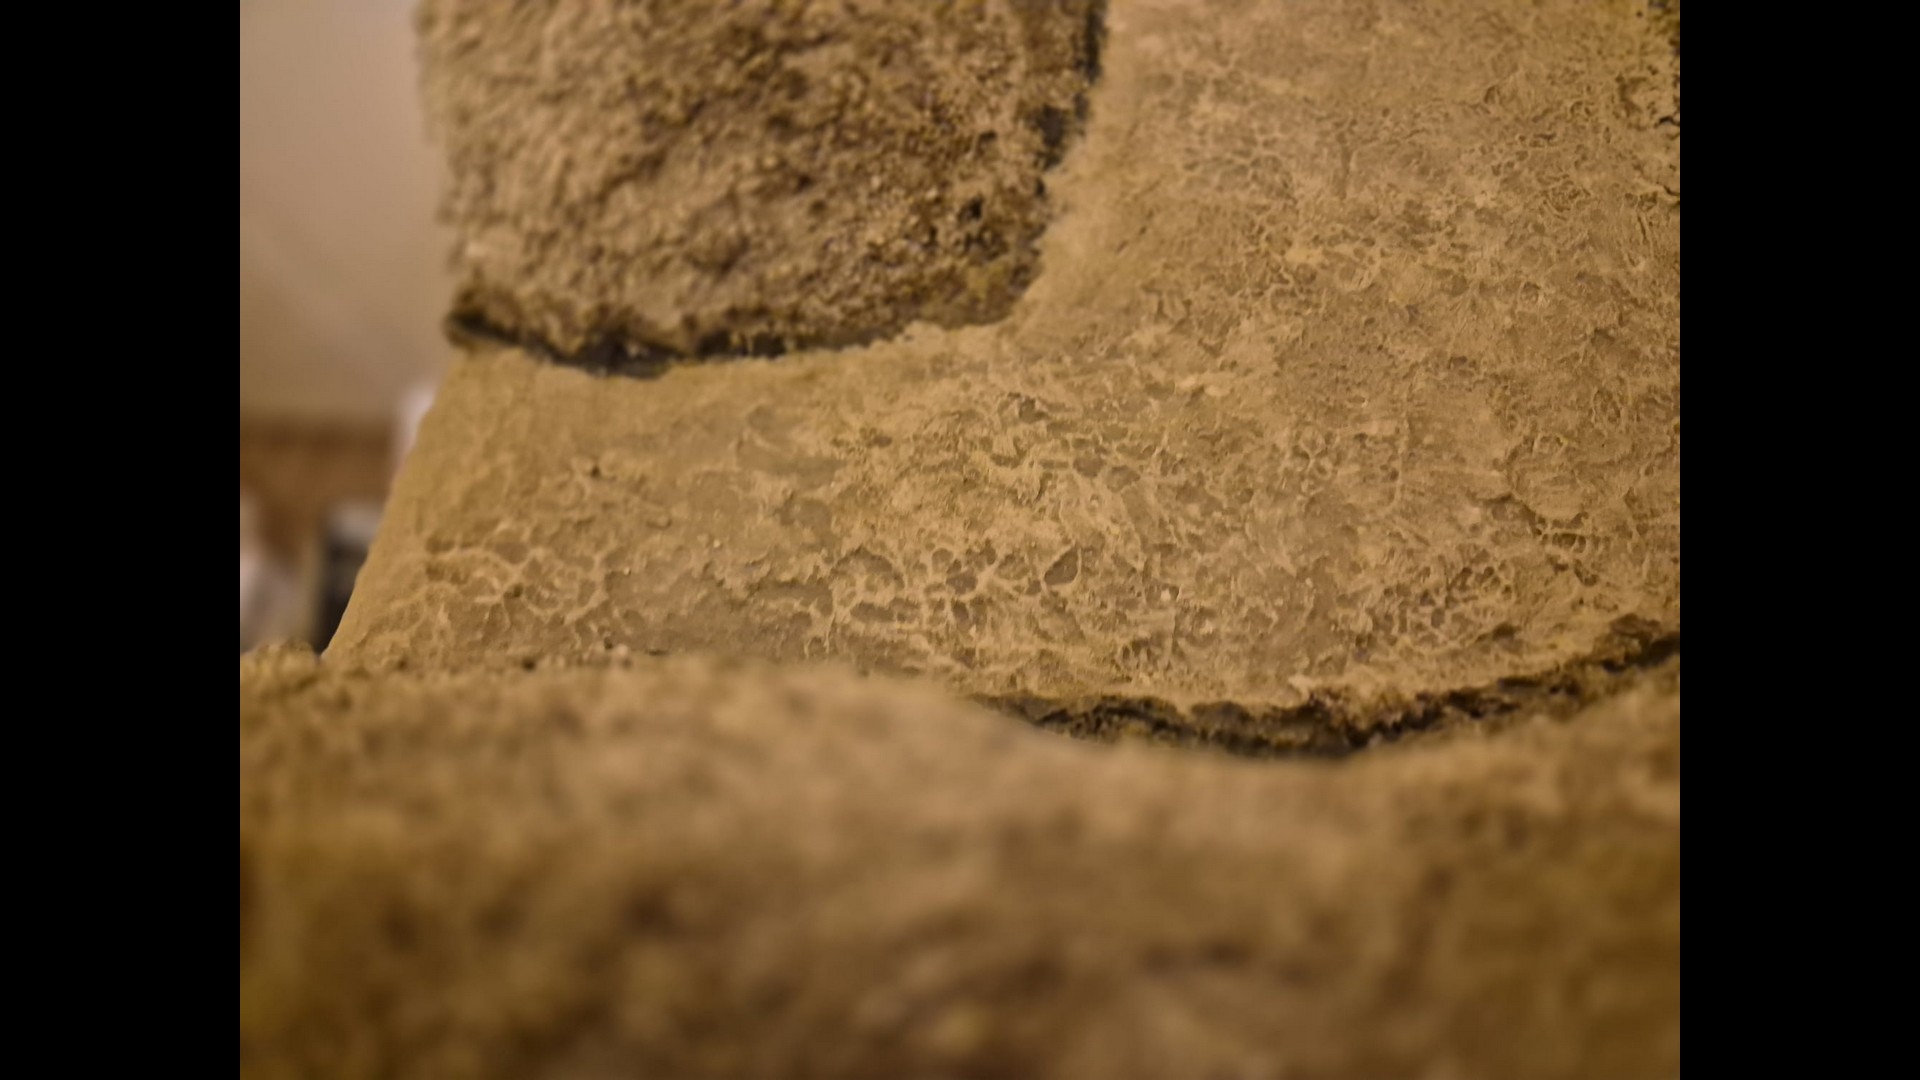
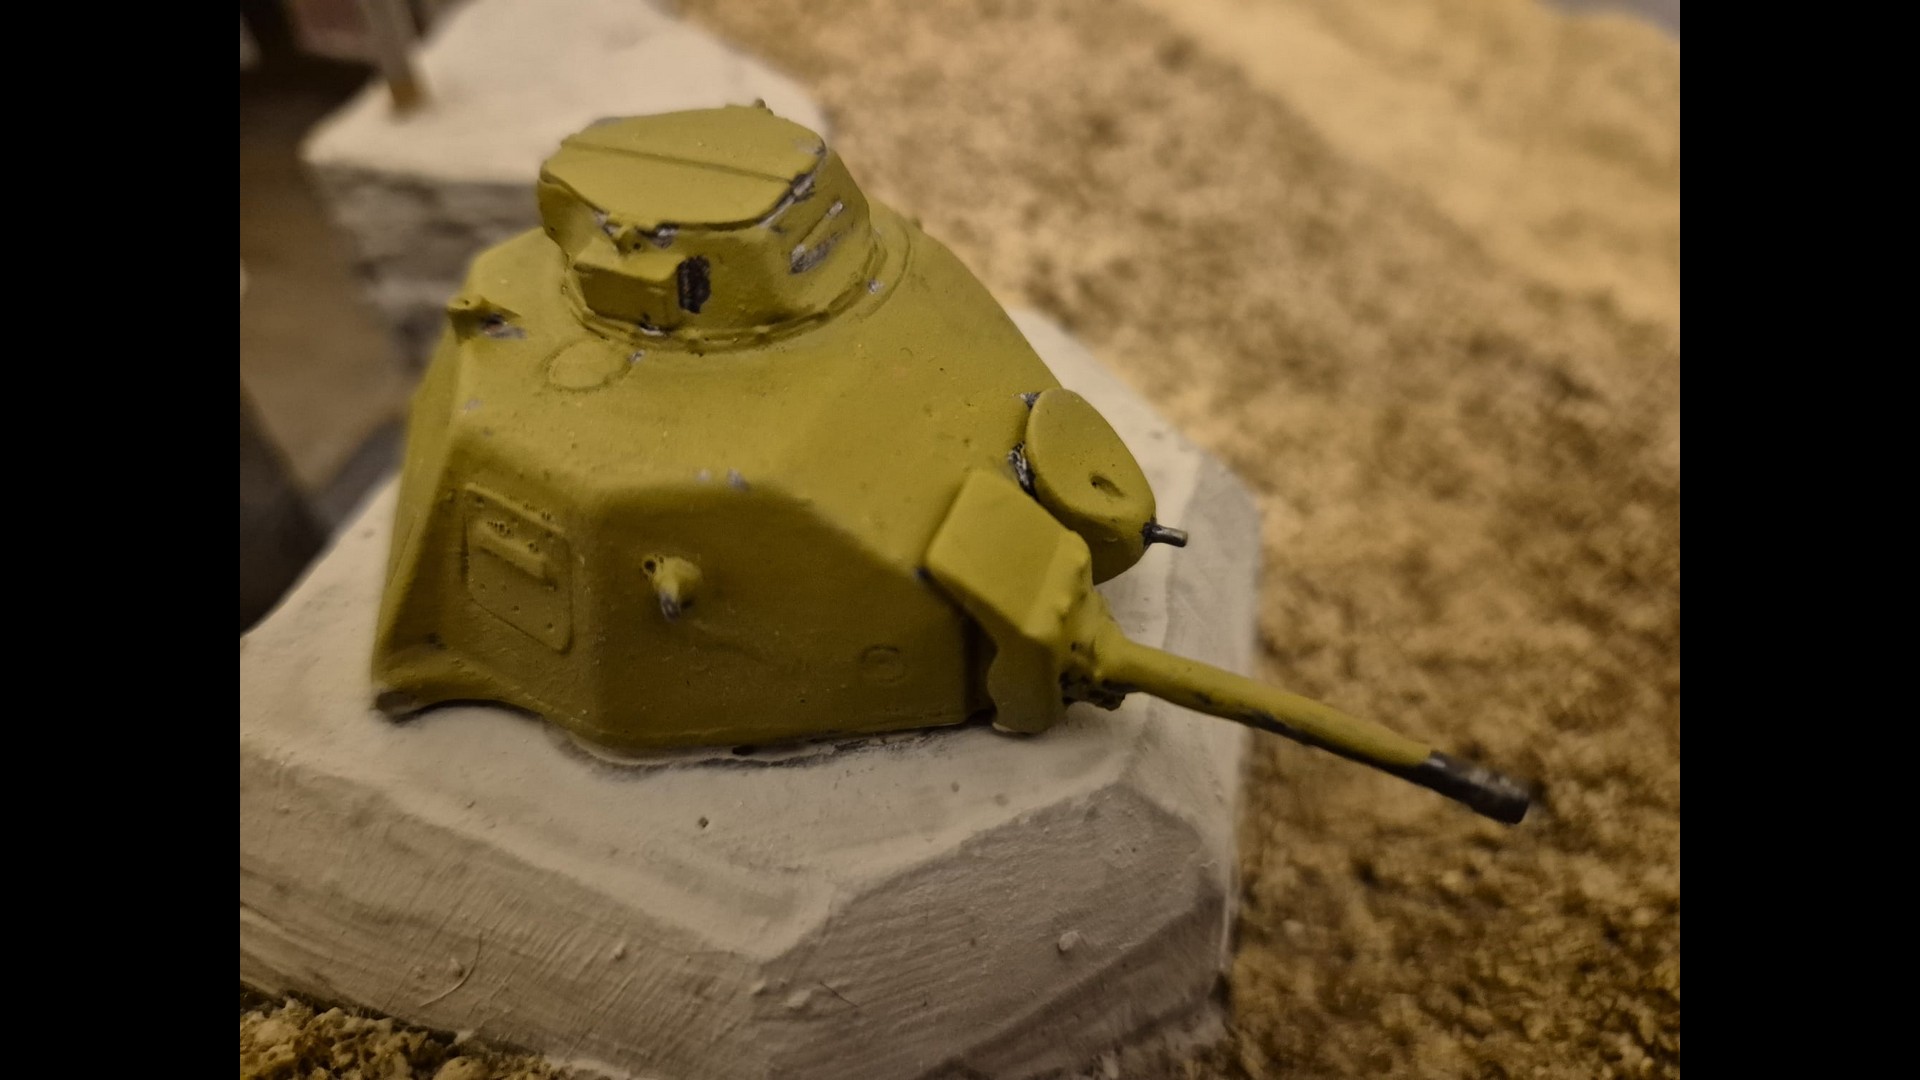
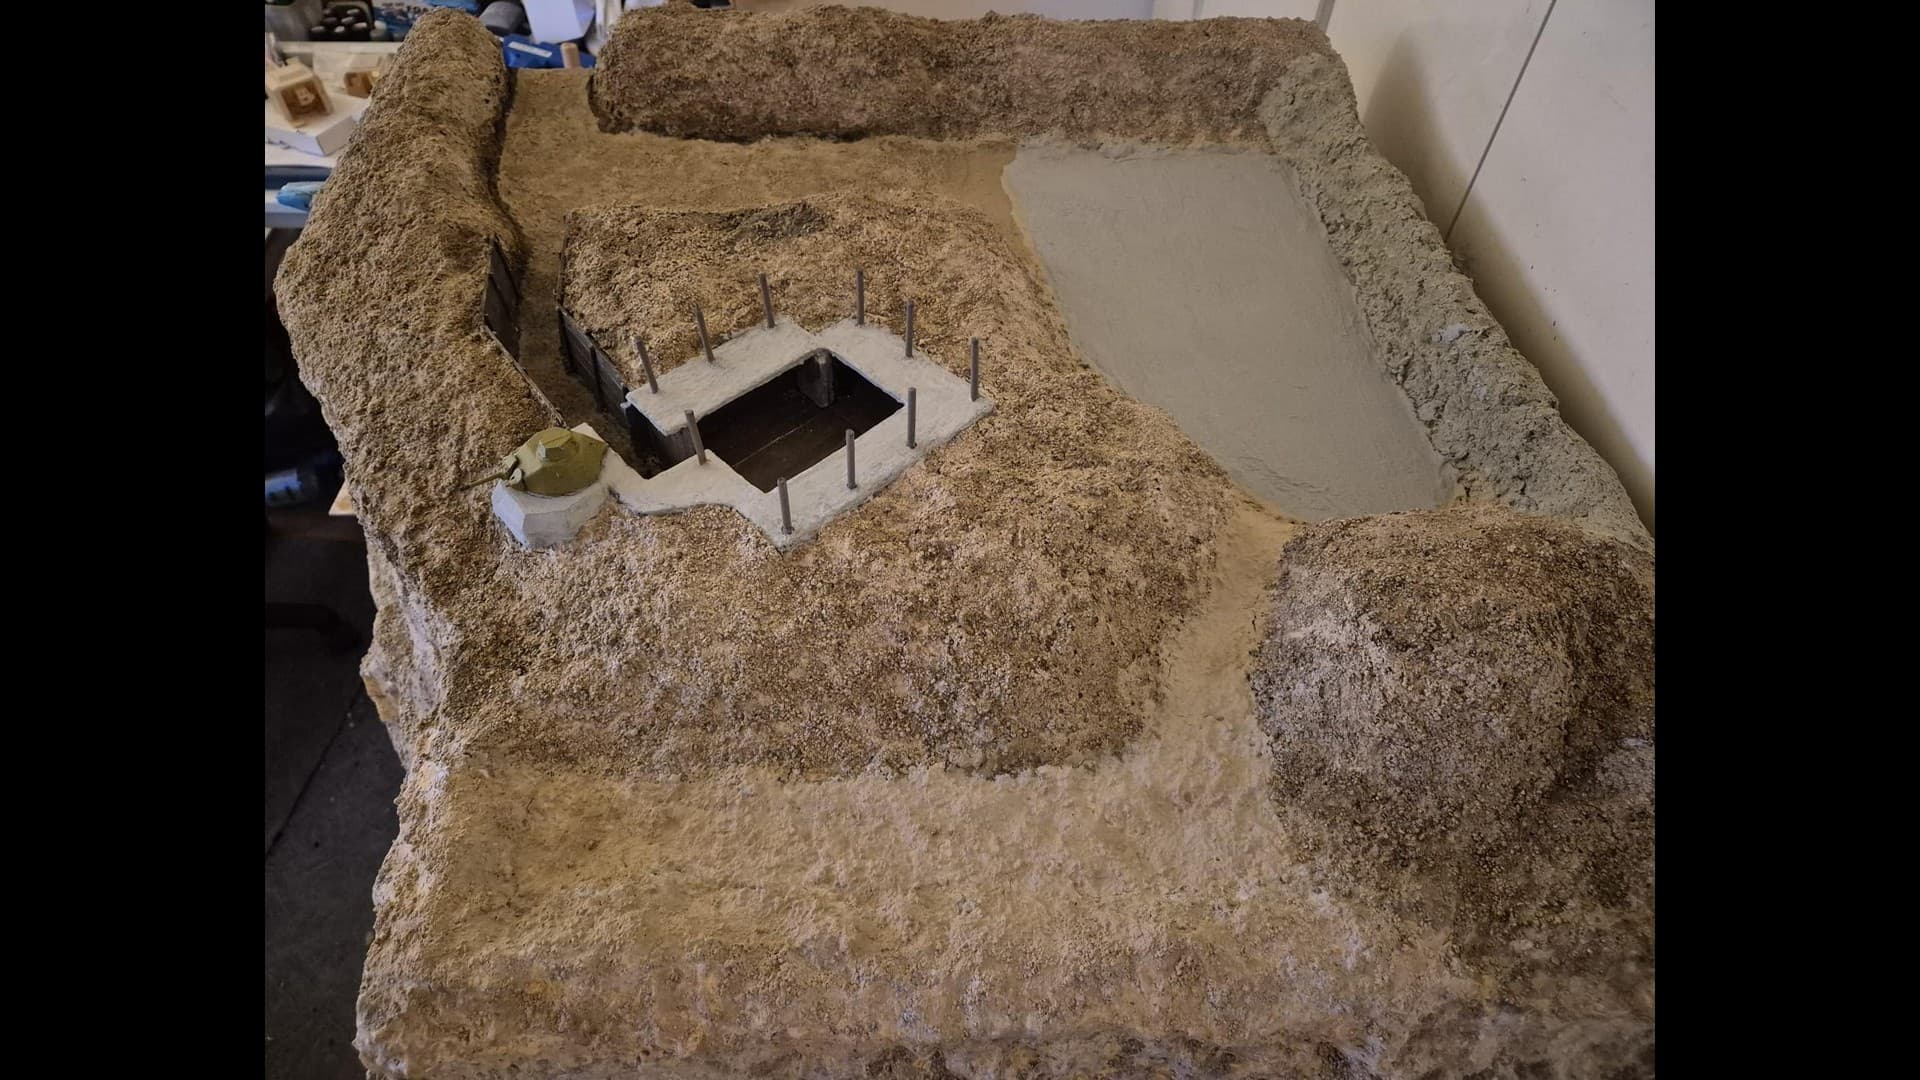
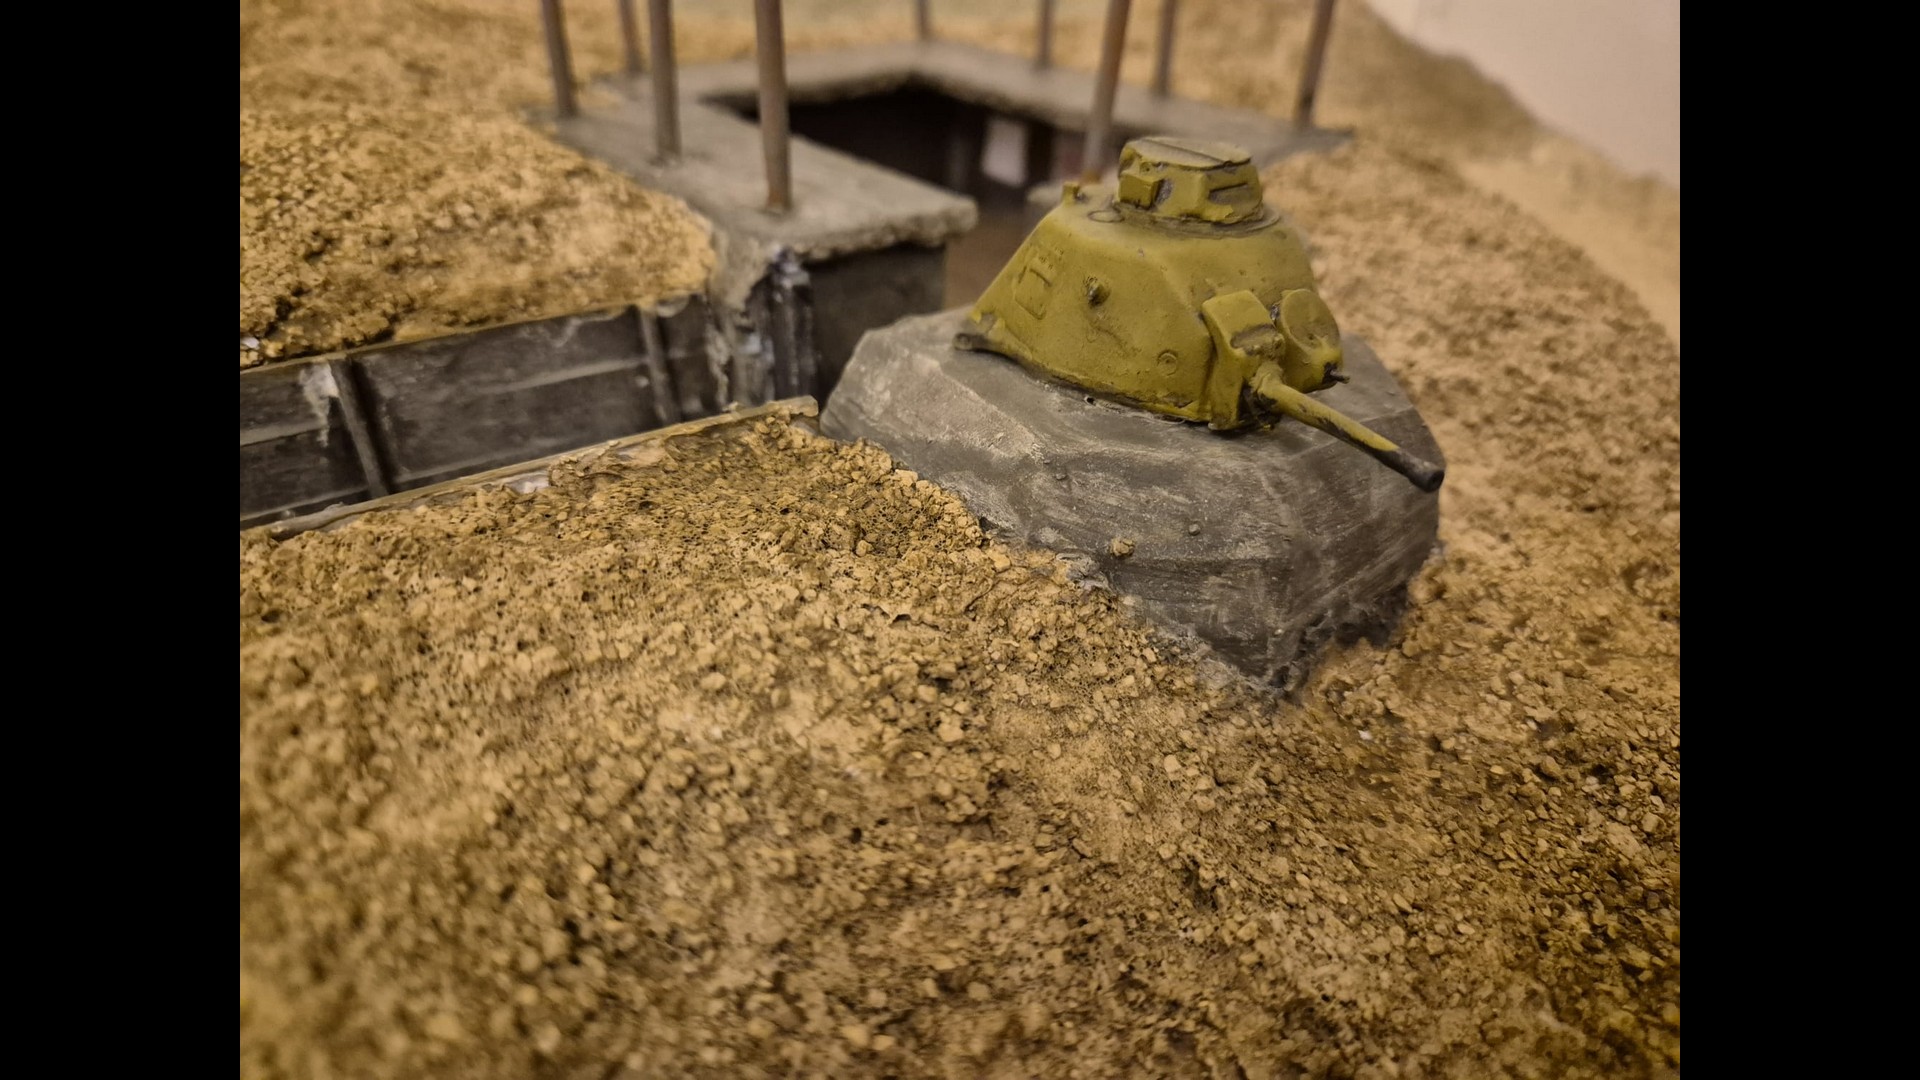
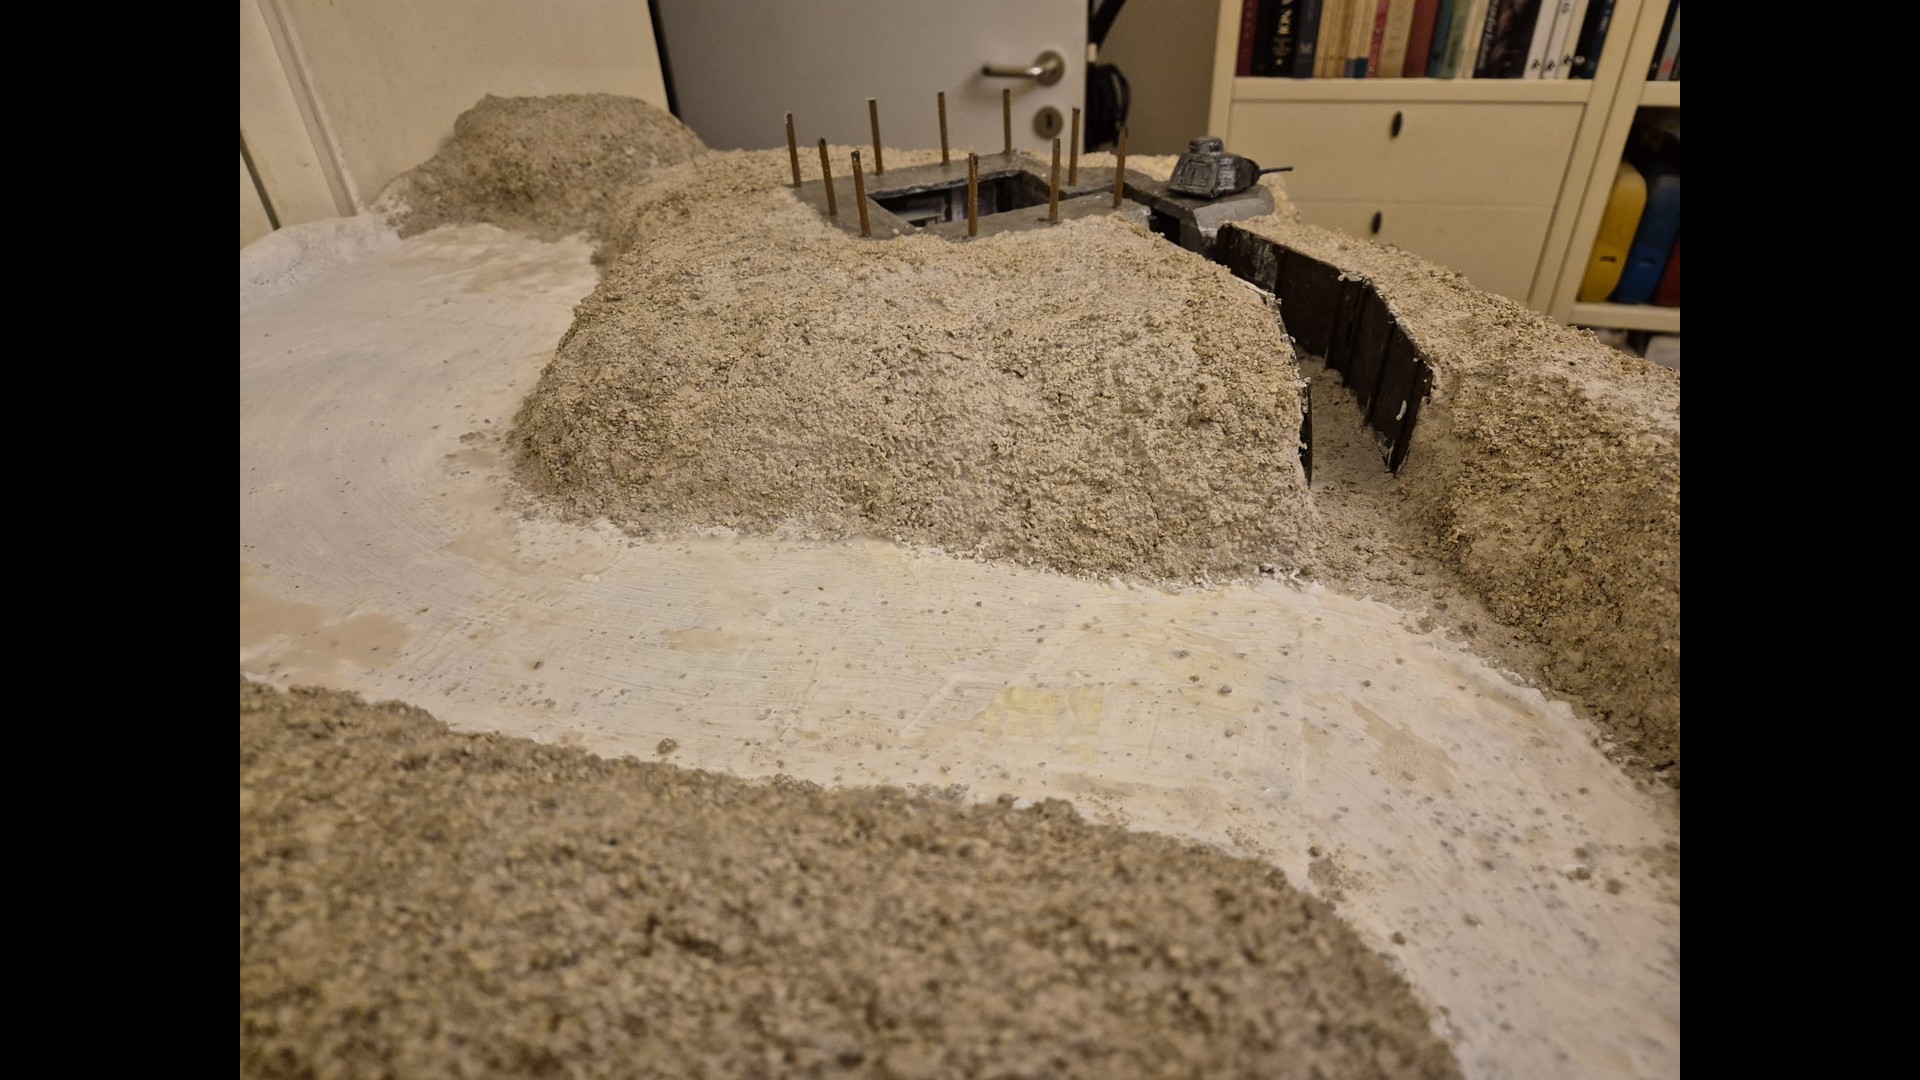
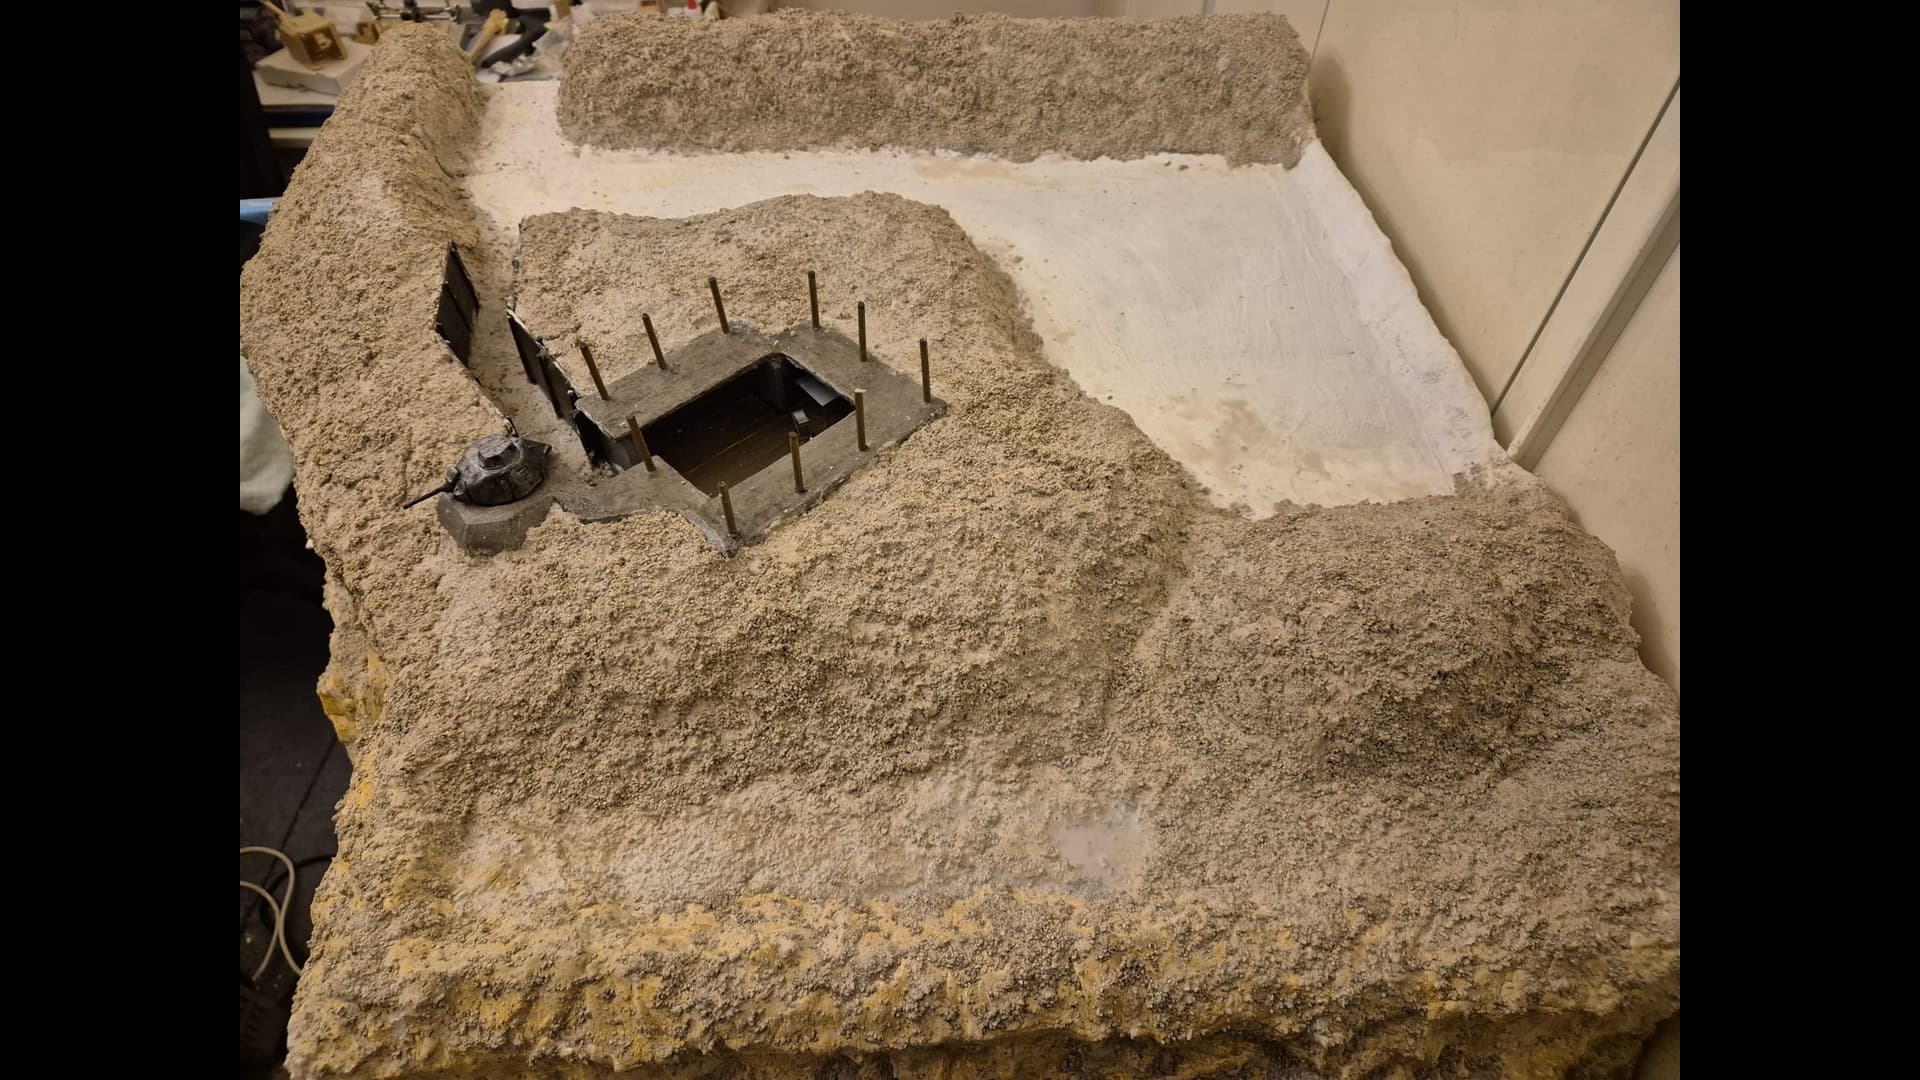
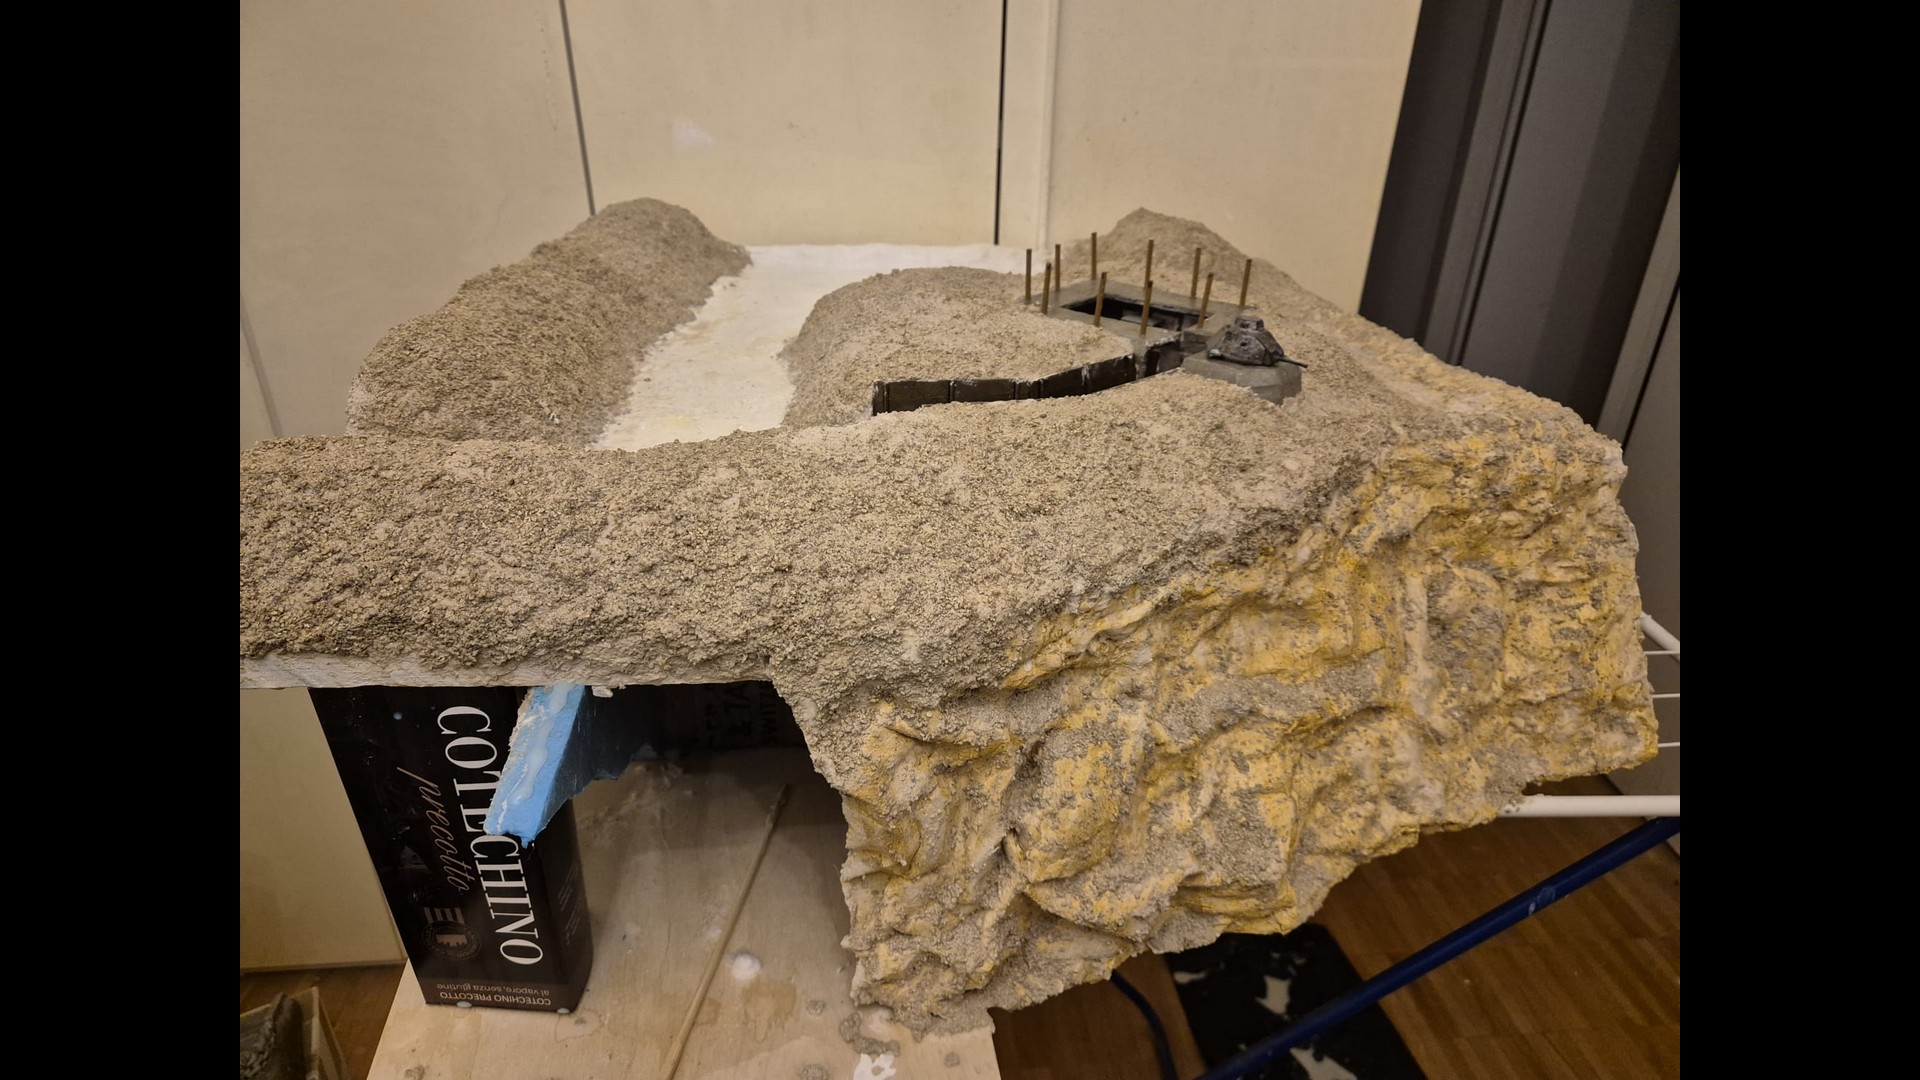
In this picture you can see a rougher version of the terrain. I discovered that Woodland Scenics produced a product called “Mold-A-Scene” which as the word implies, usually serves for molding shapes and items required for a diorama. It’s a special granular plaster which I immediately recognized as being the ideal product to give the terrain the necessary roughness and show a kind of wilderness to it. Its granular nature suits well to depict tiny pebbles. Also note the Tank turret which has by now received an irregular metallic wash with AK Interactive Extreme Metal Steel…


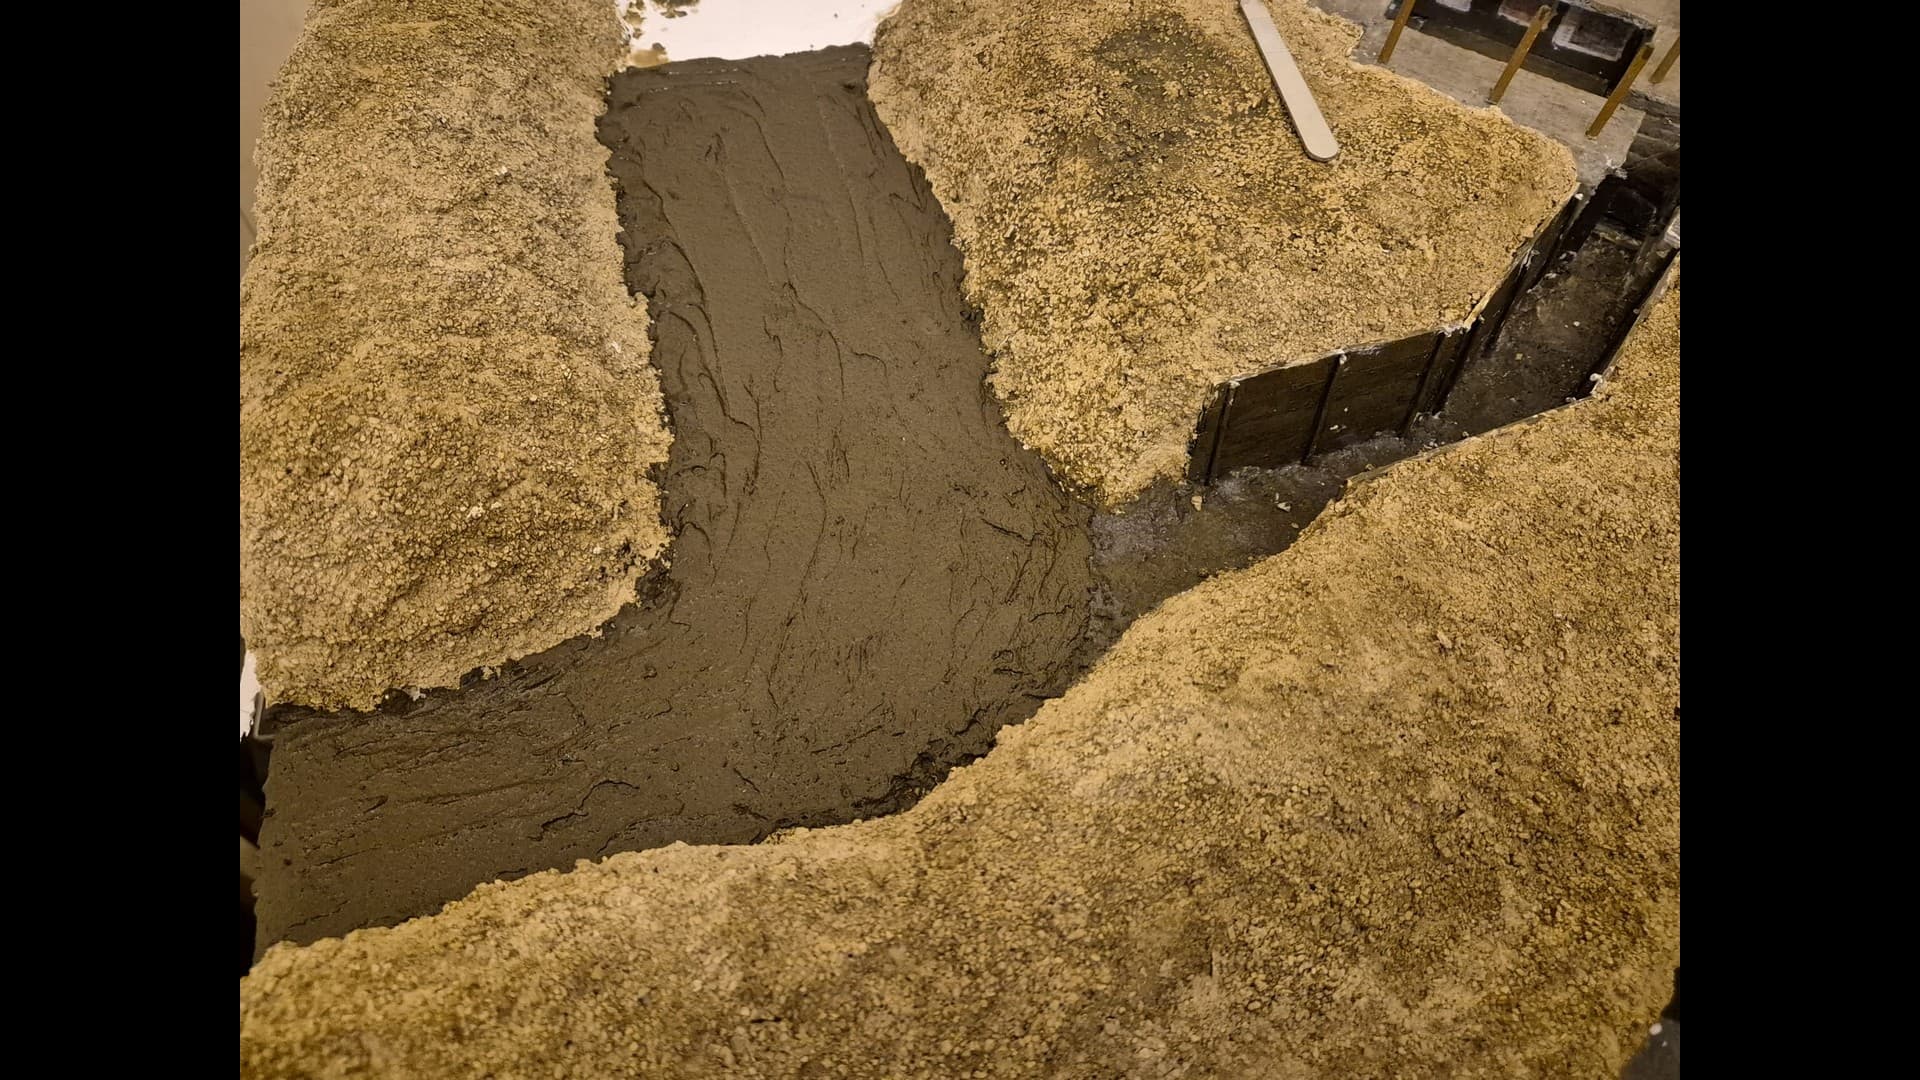
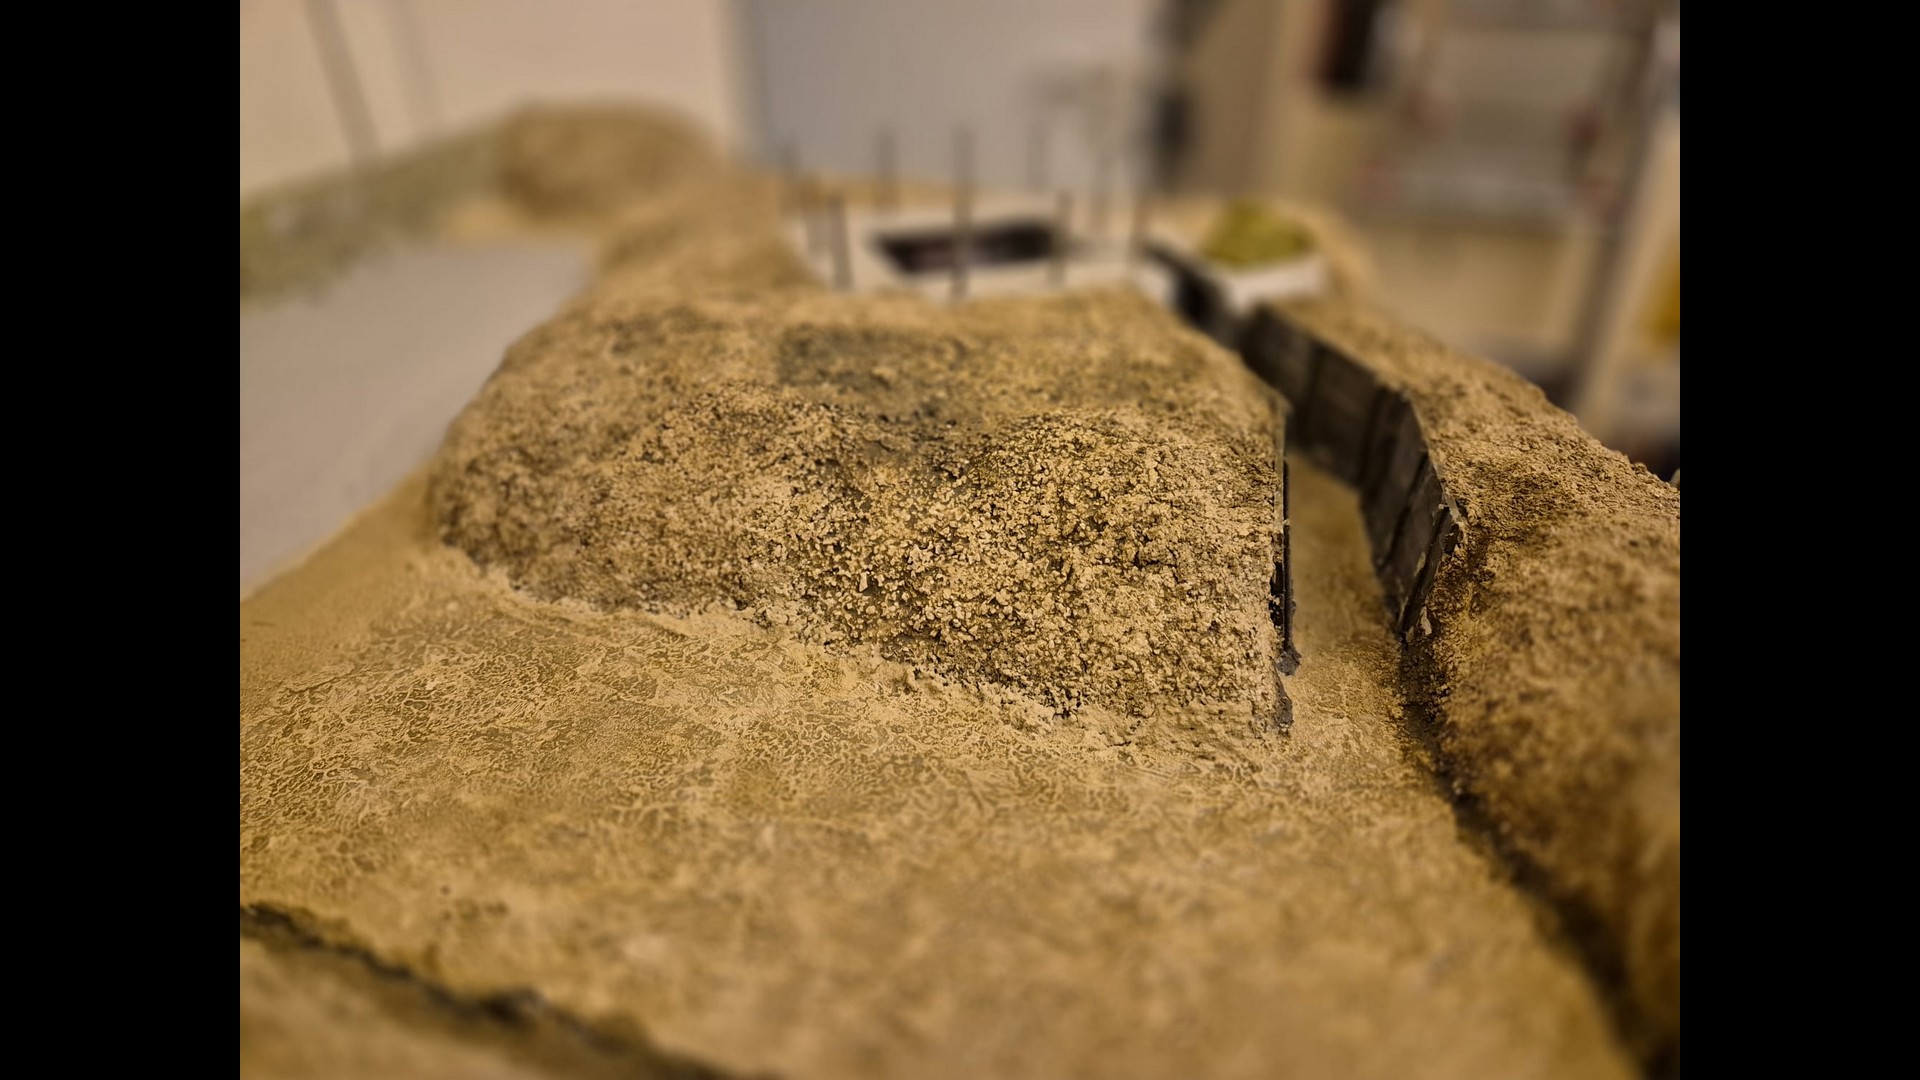
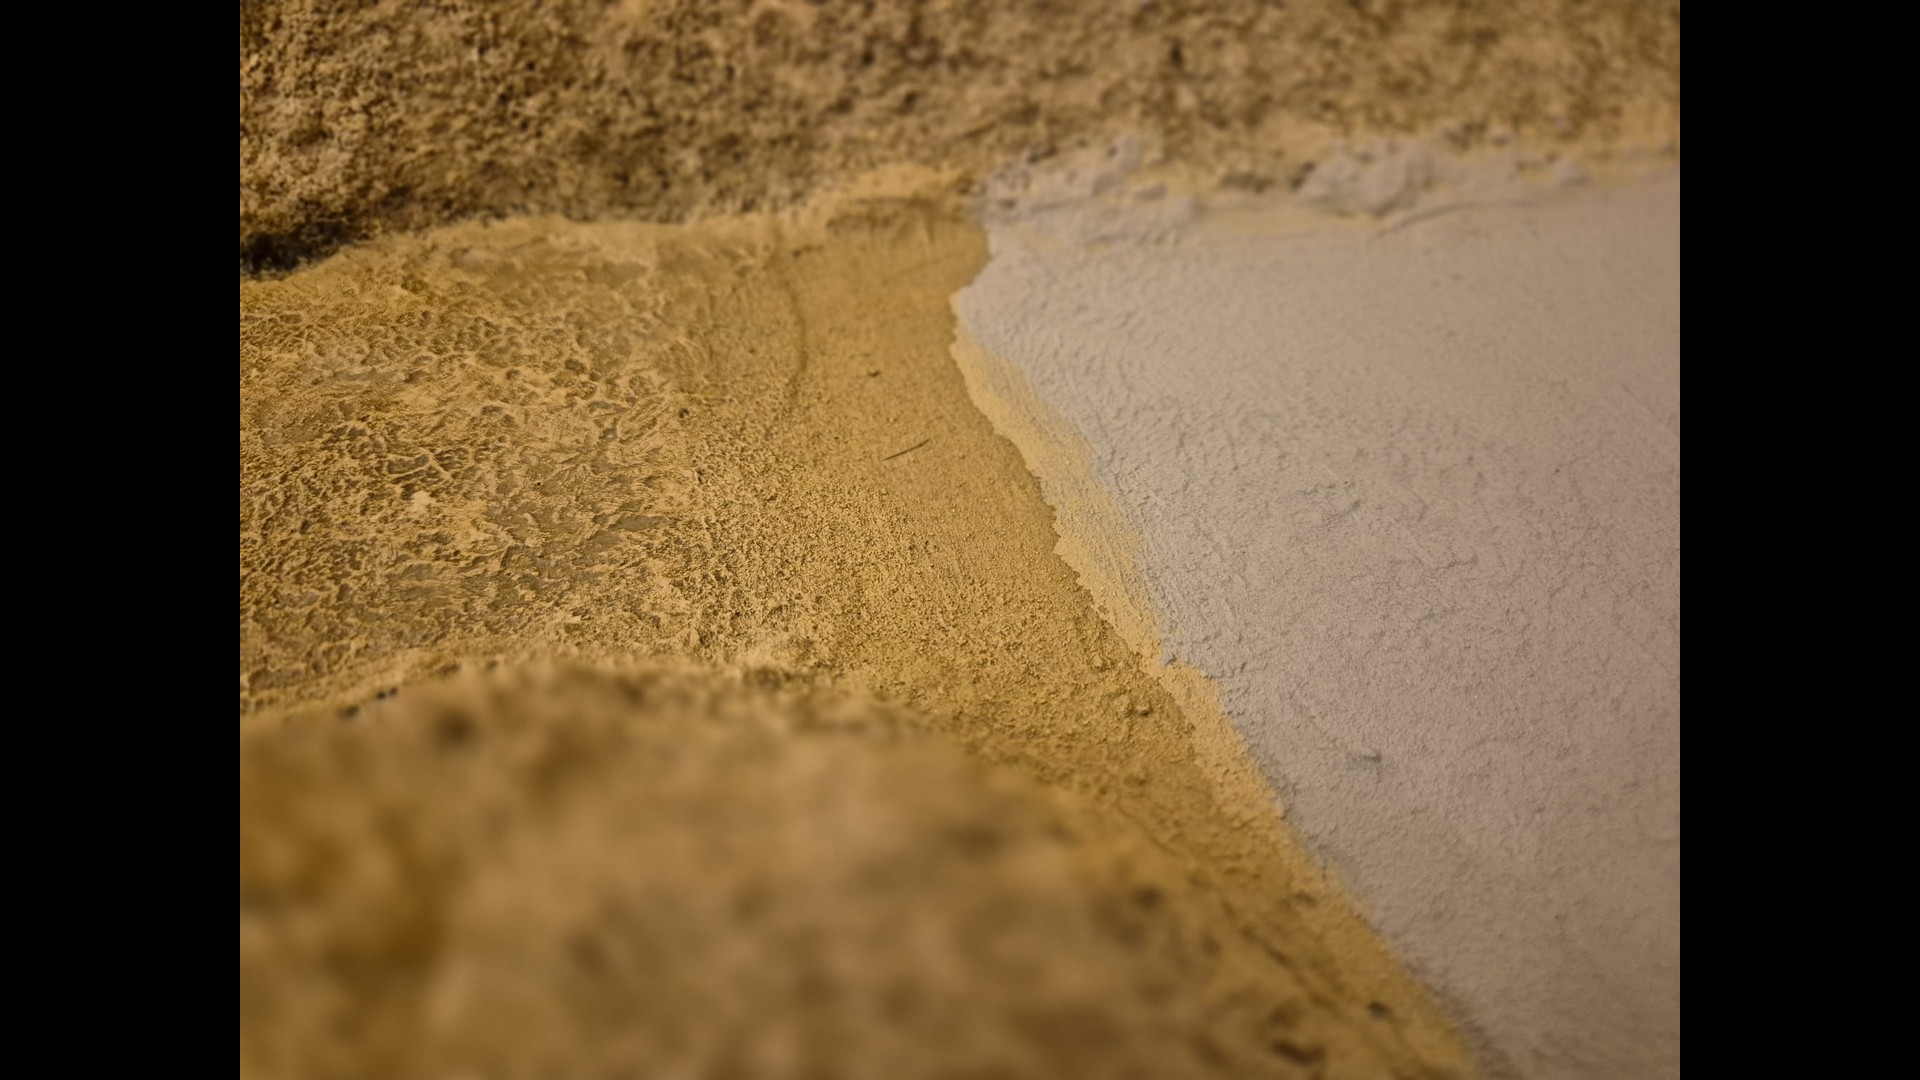
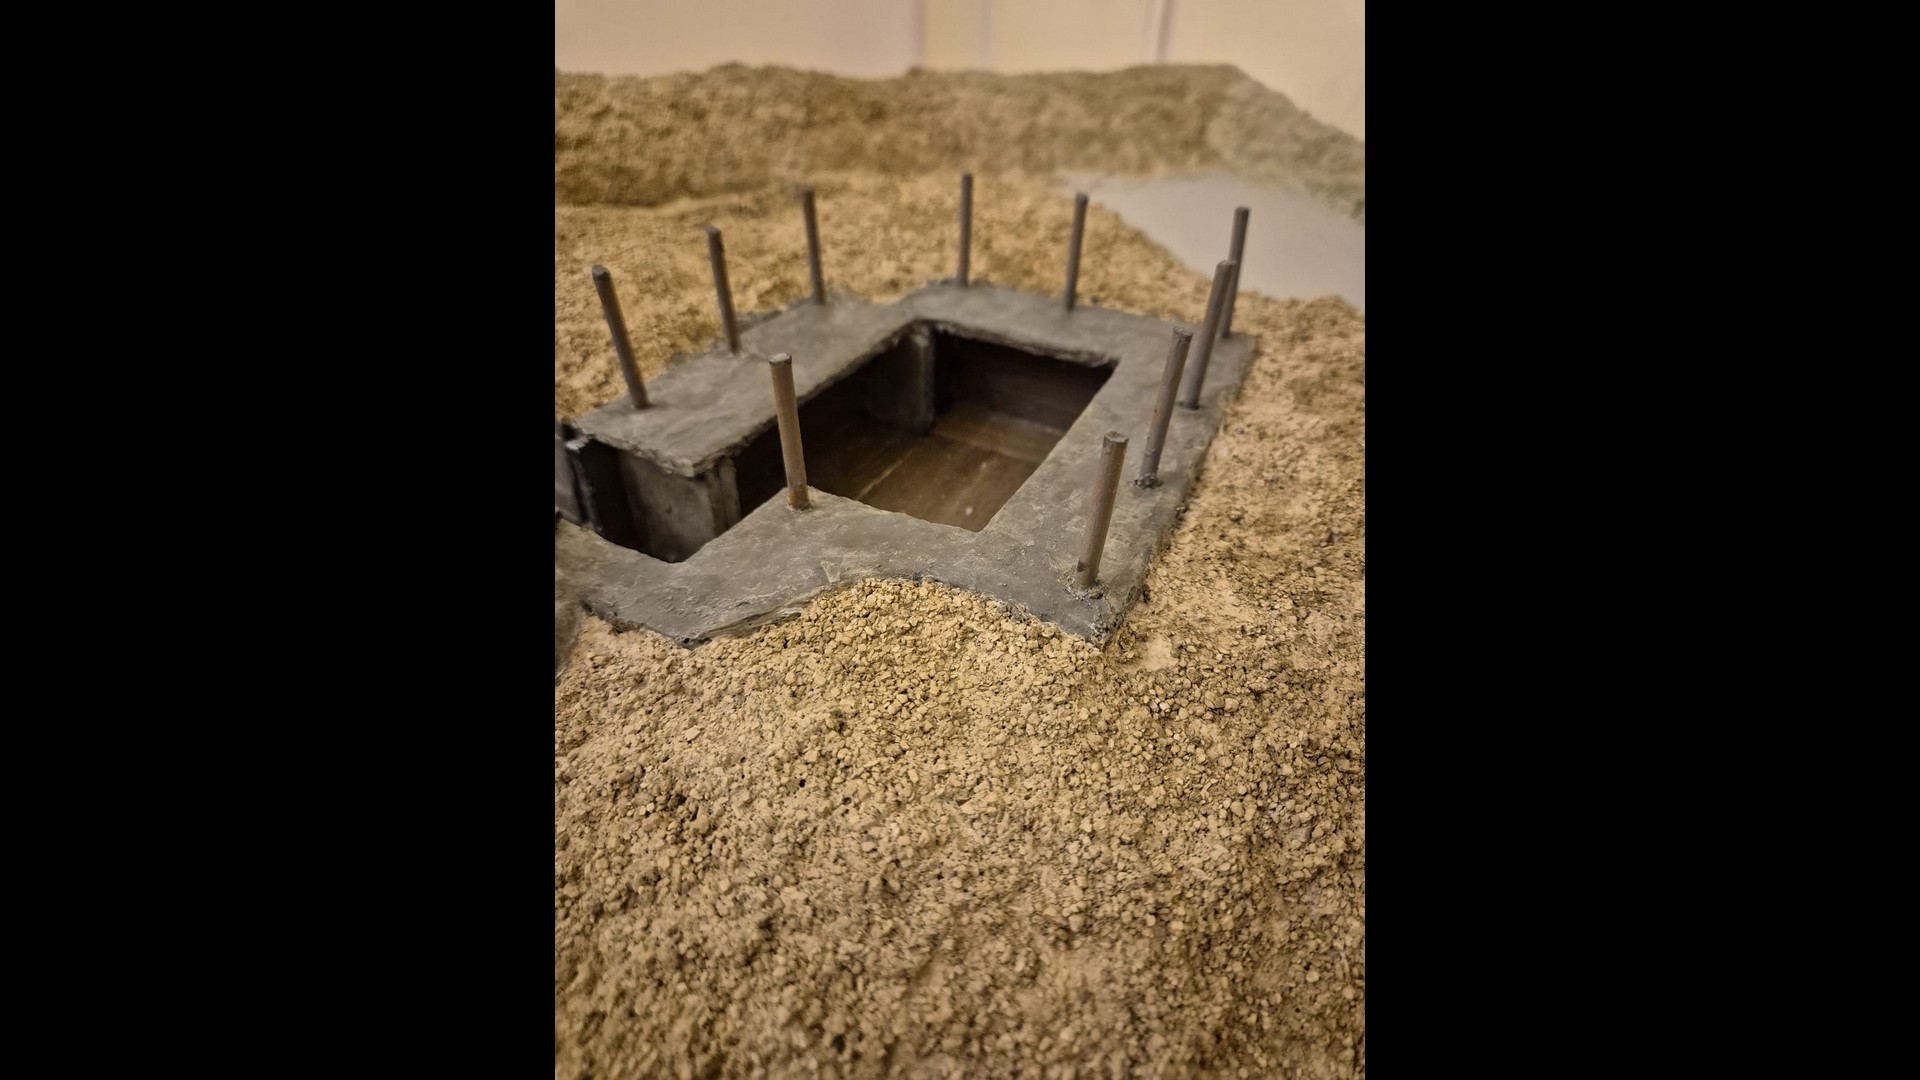
This next picture shows how I placed this material a bit everywhere, including on the road leading to the parking lot and in the trench leading to the Bunker. I then once again covered it with Gesso and Modeling Paste and let it thoroughly dry.

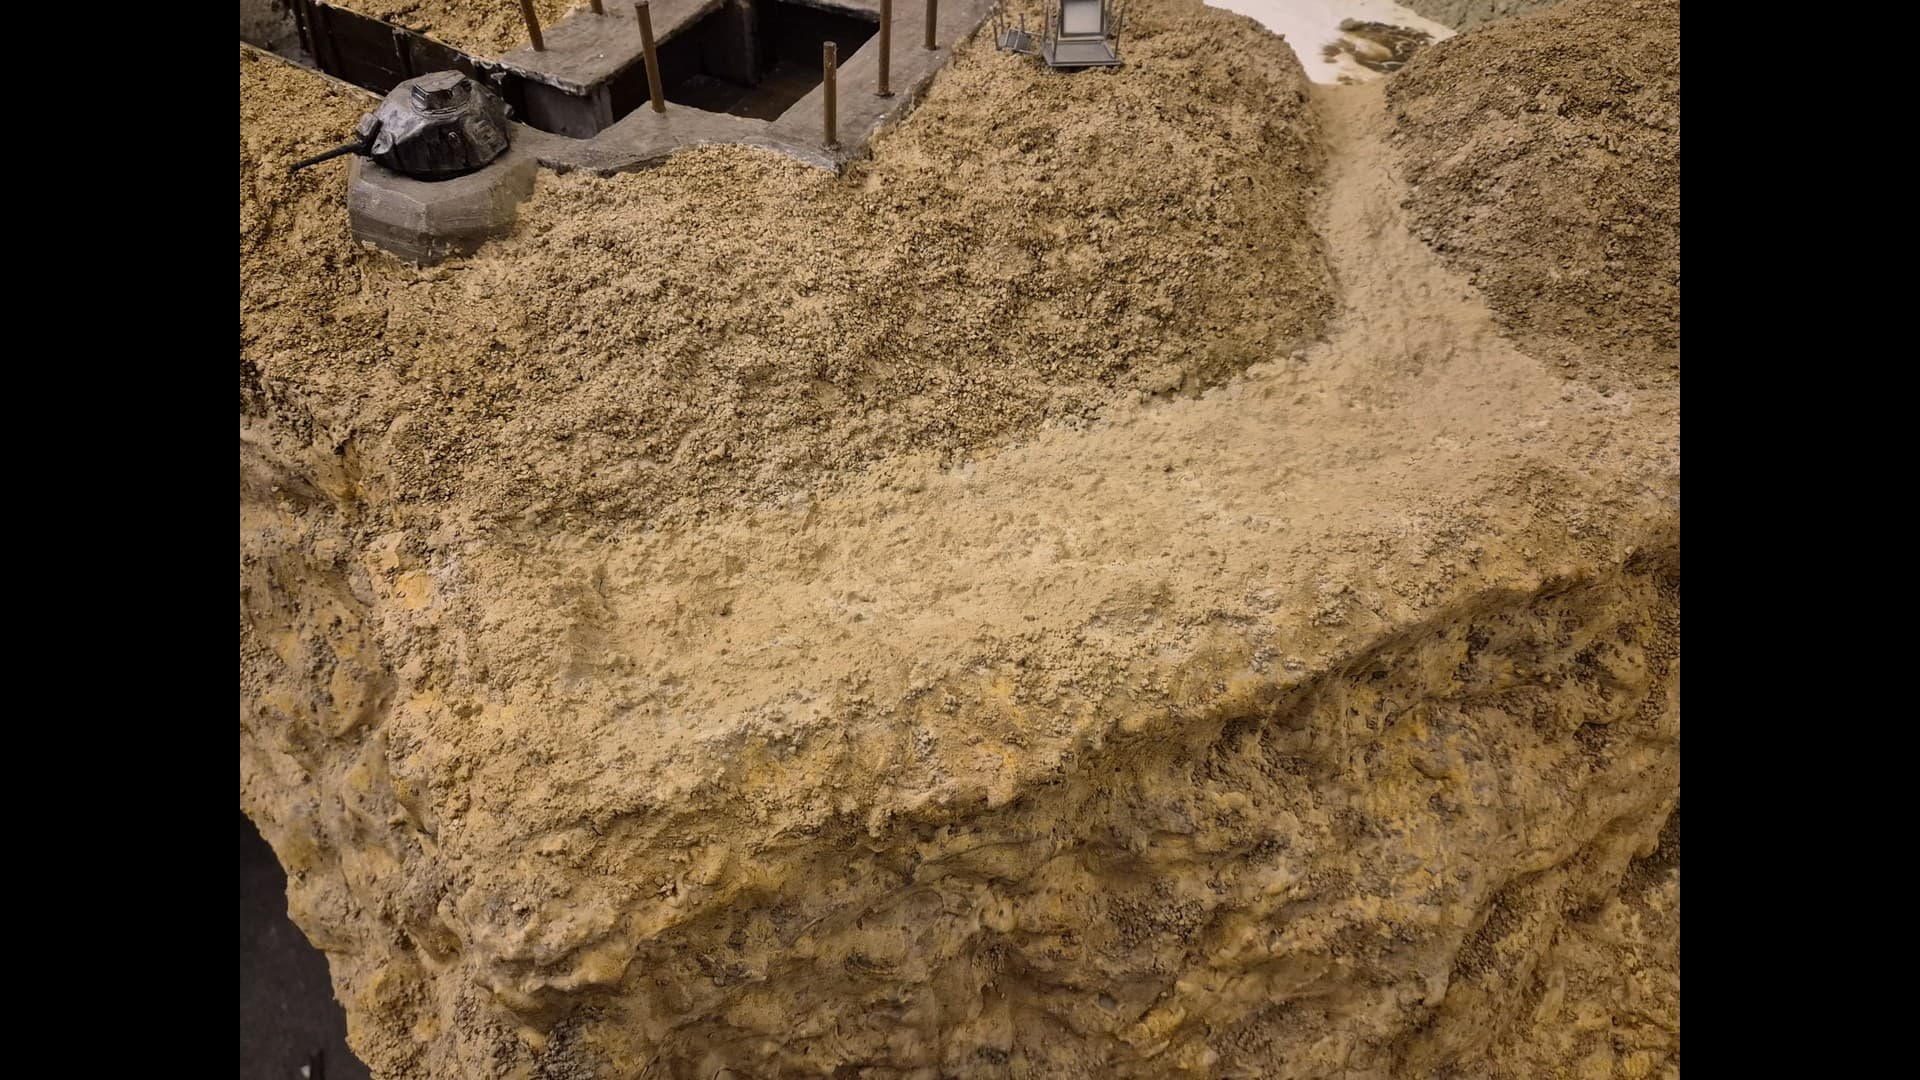
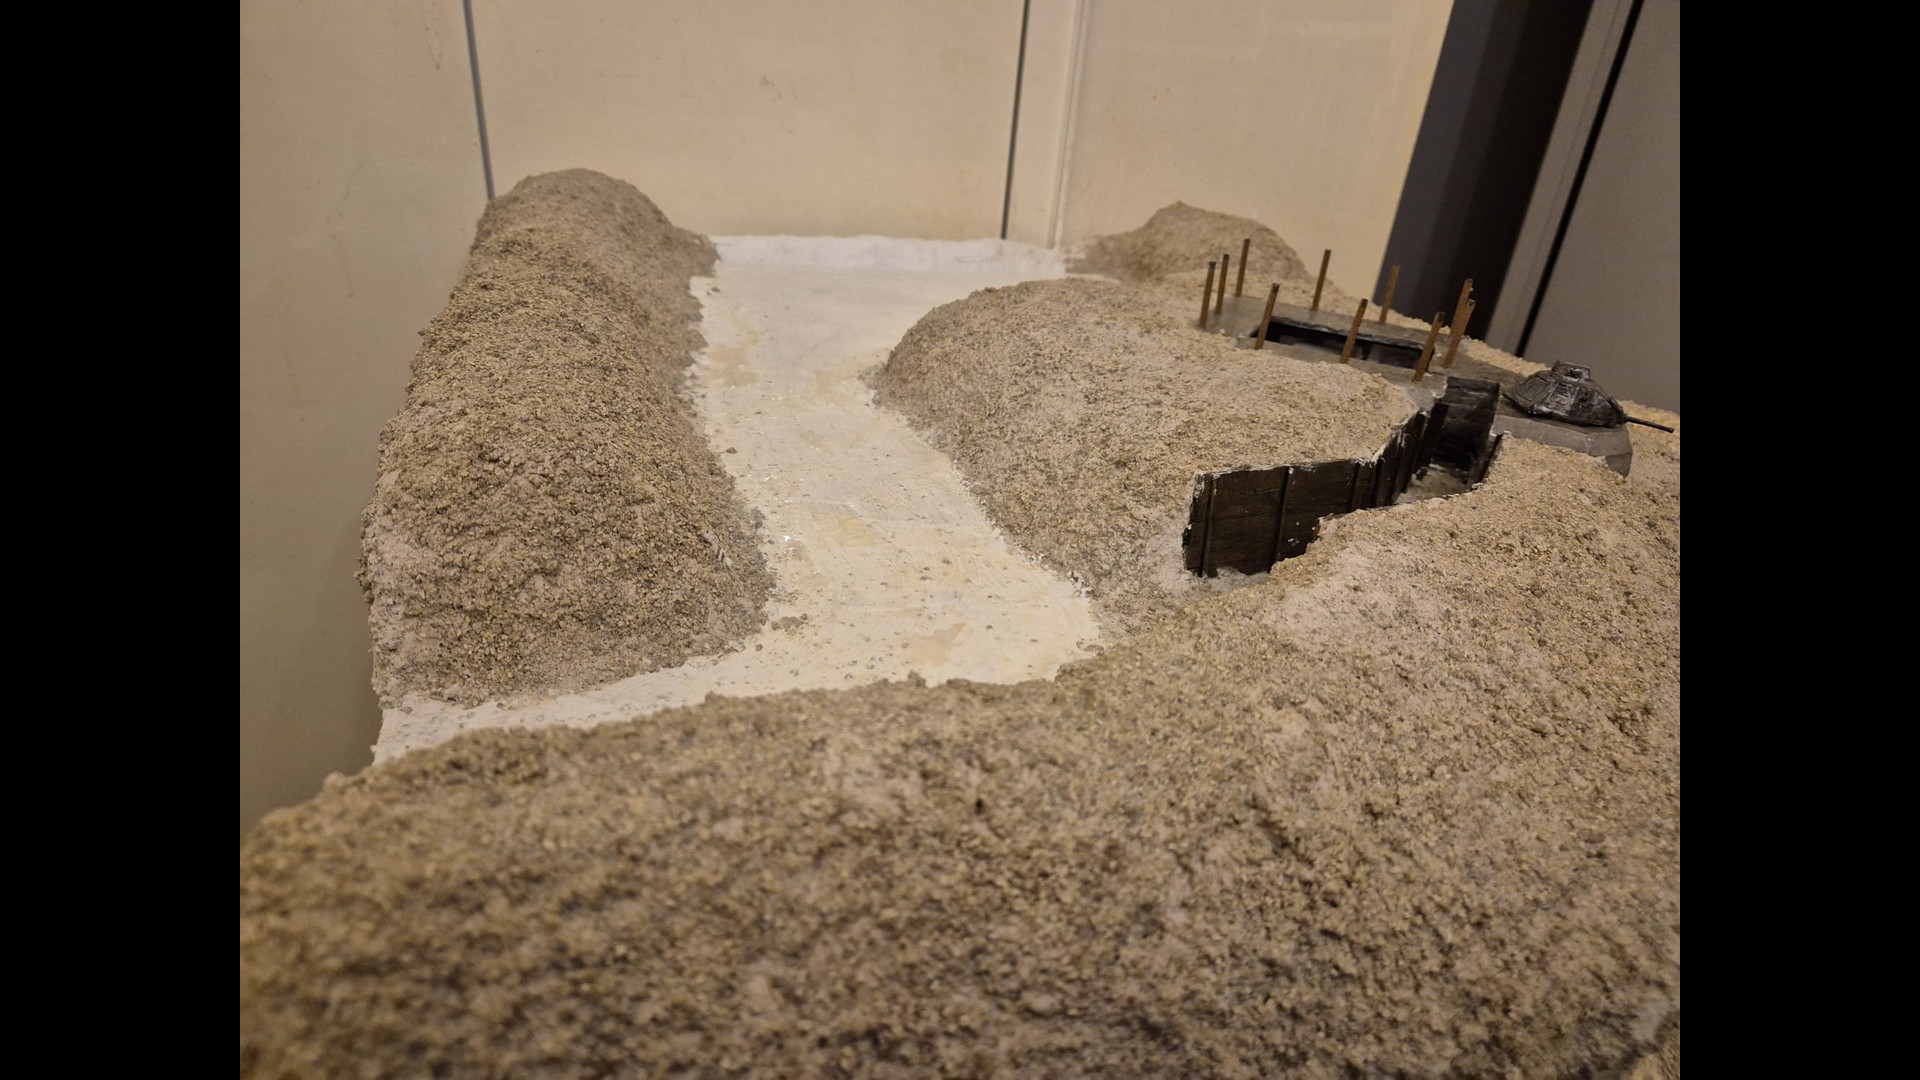
Here You have a better view of the road leading to the parking lot.

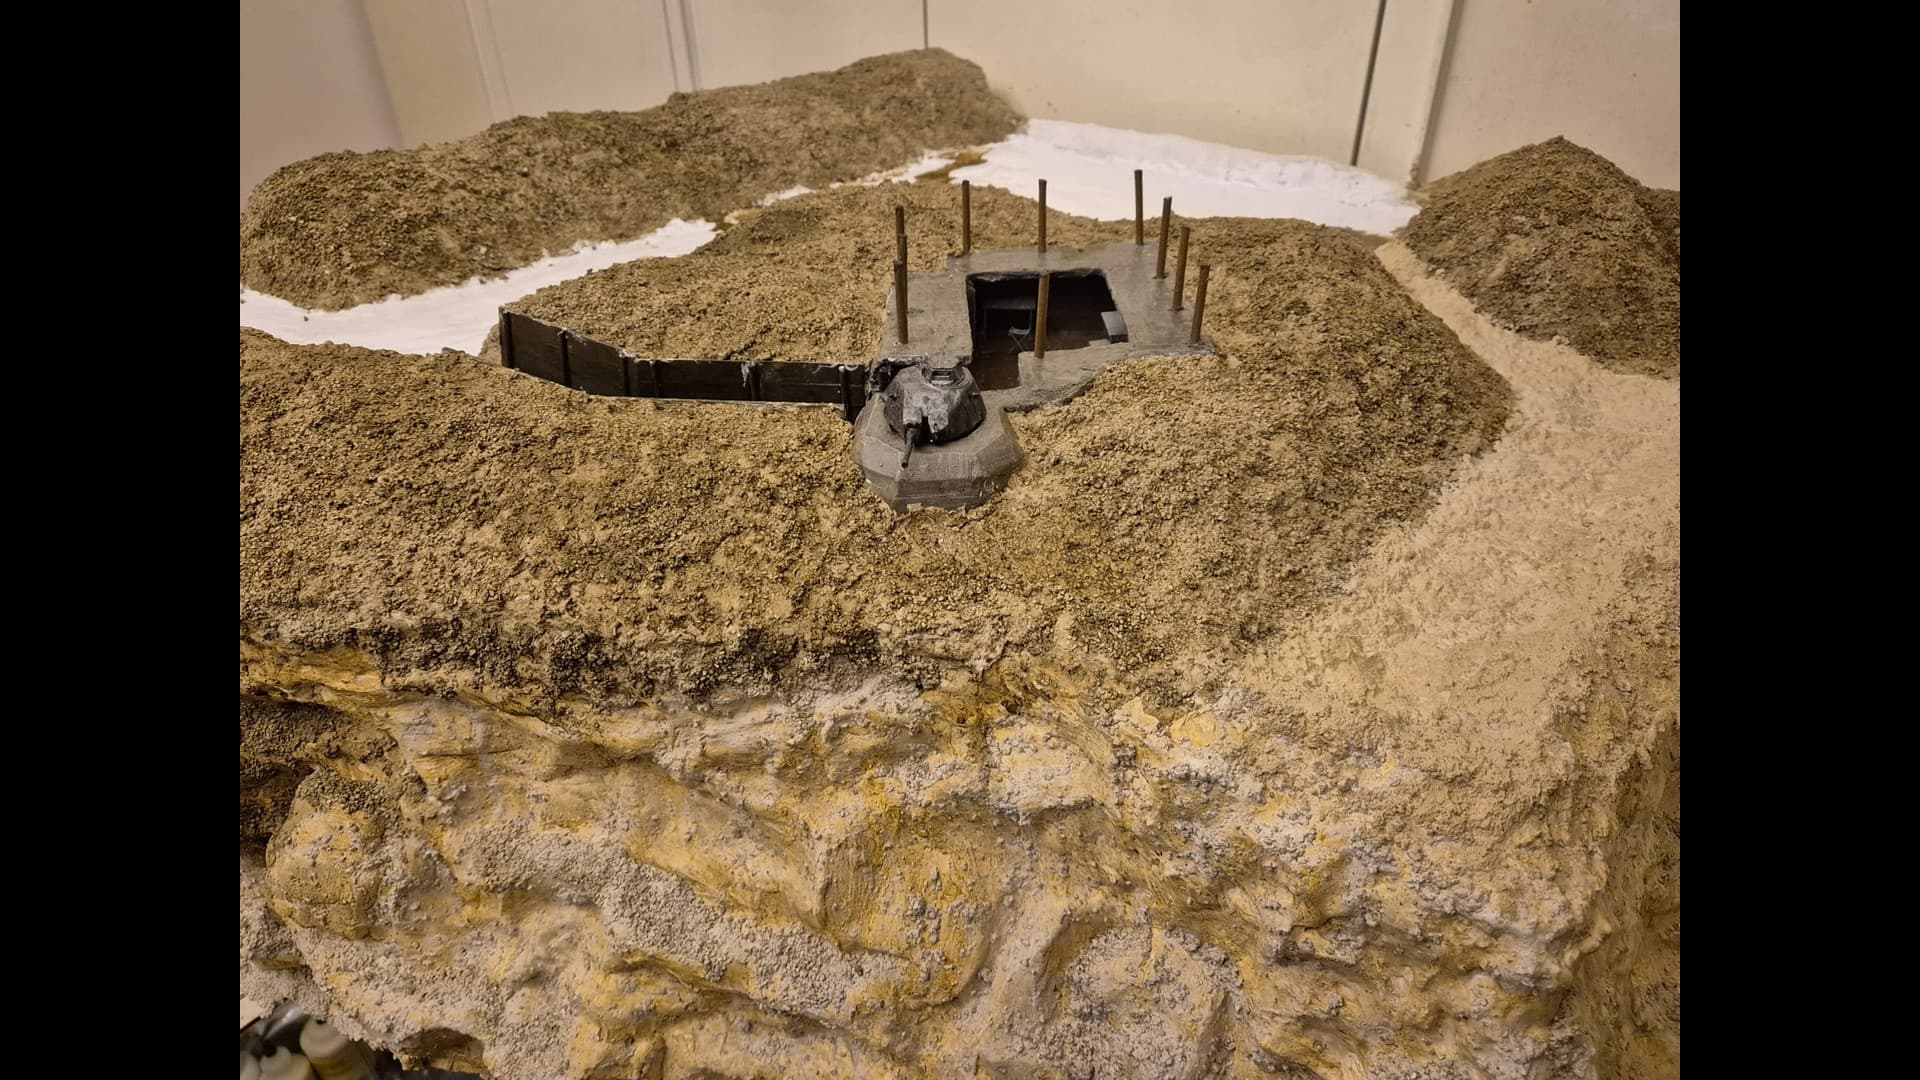
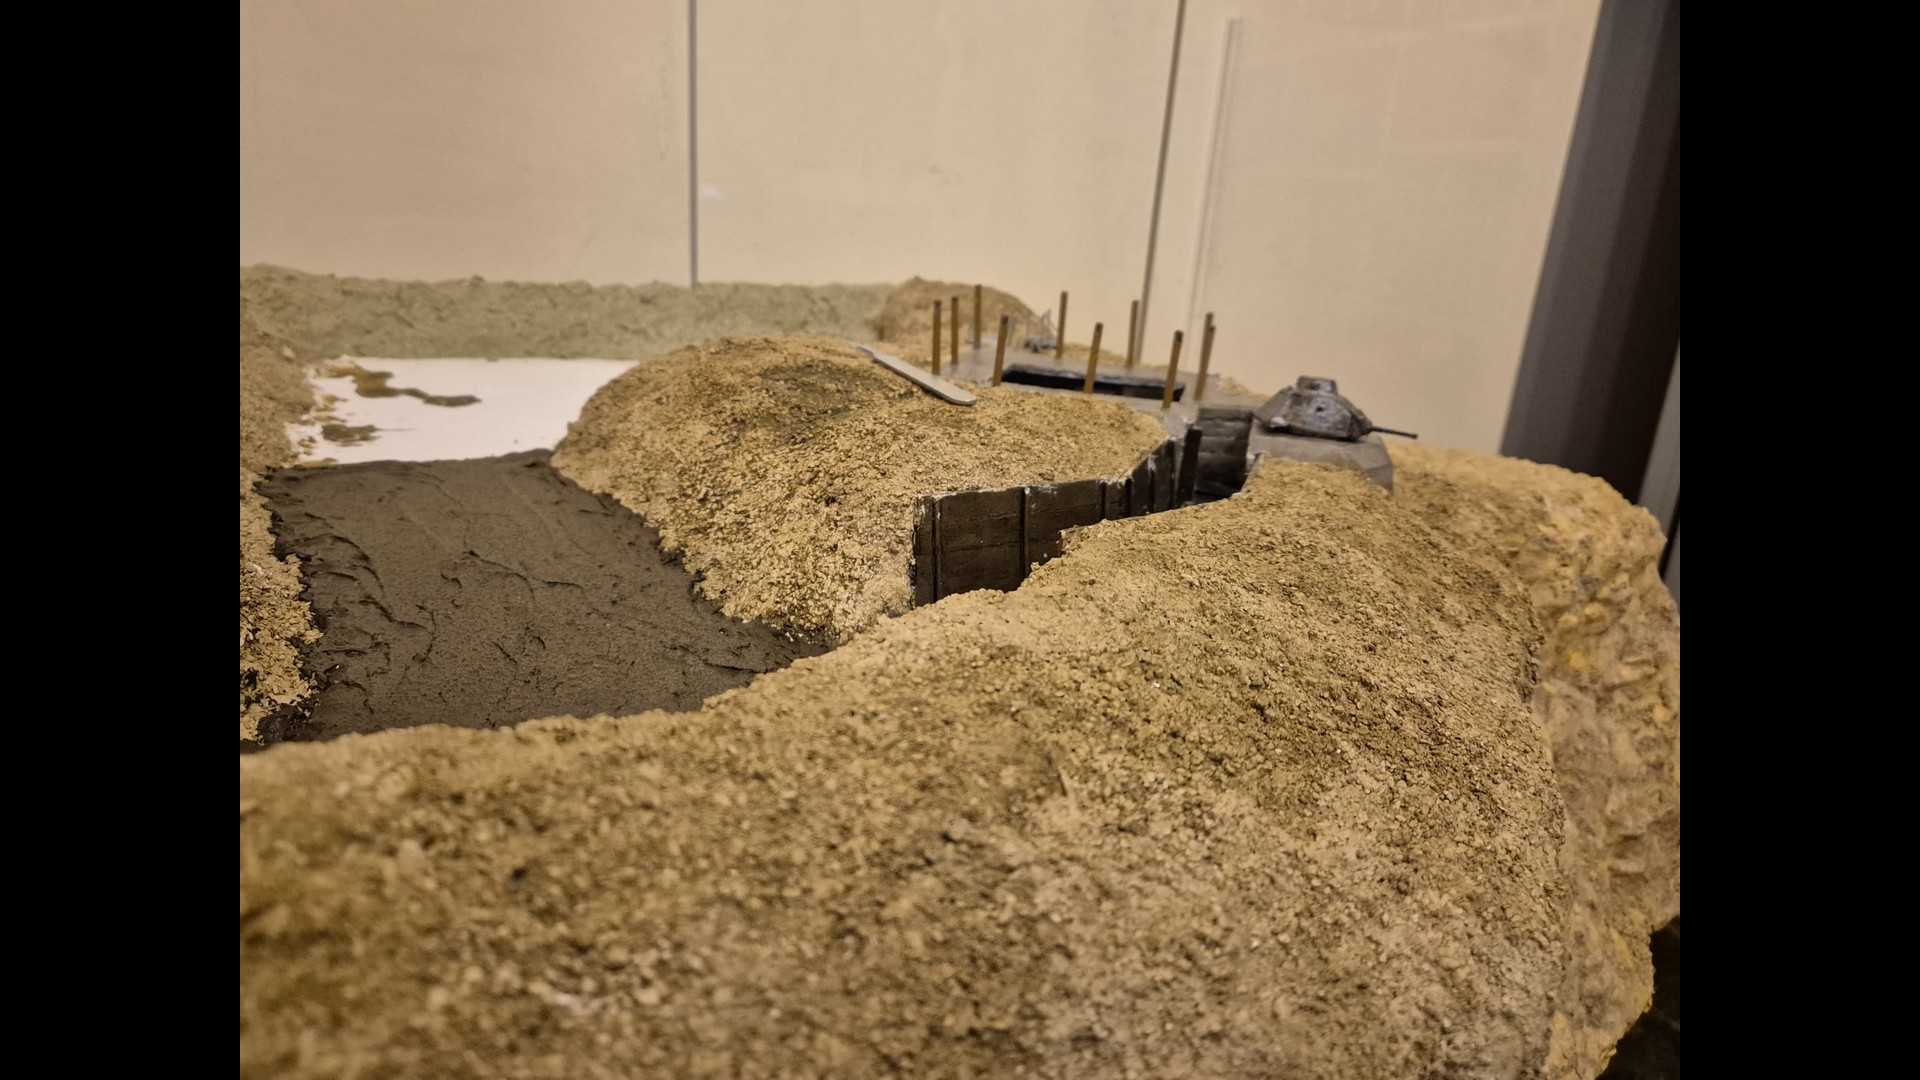
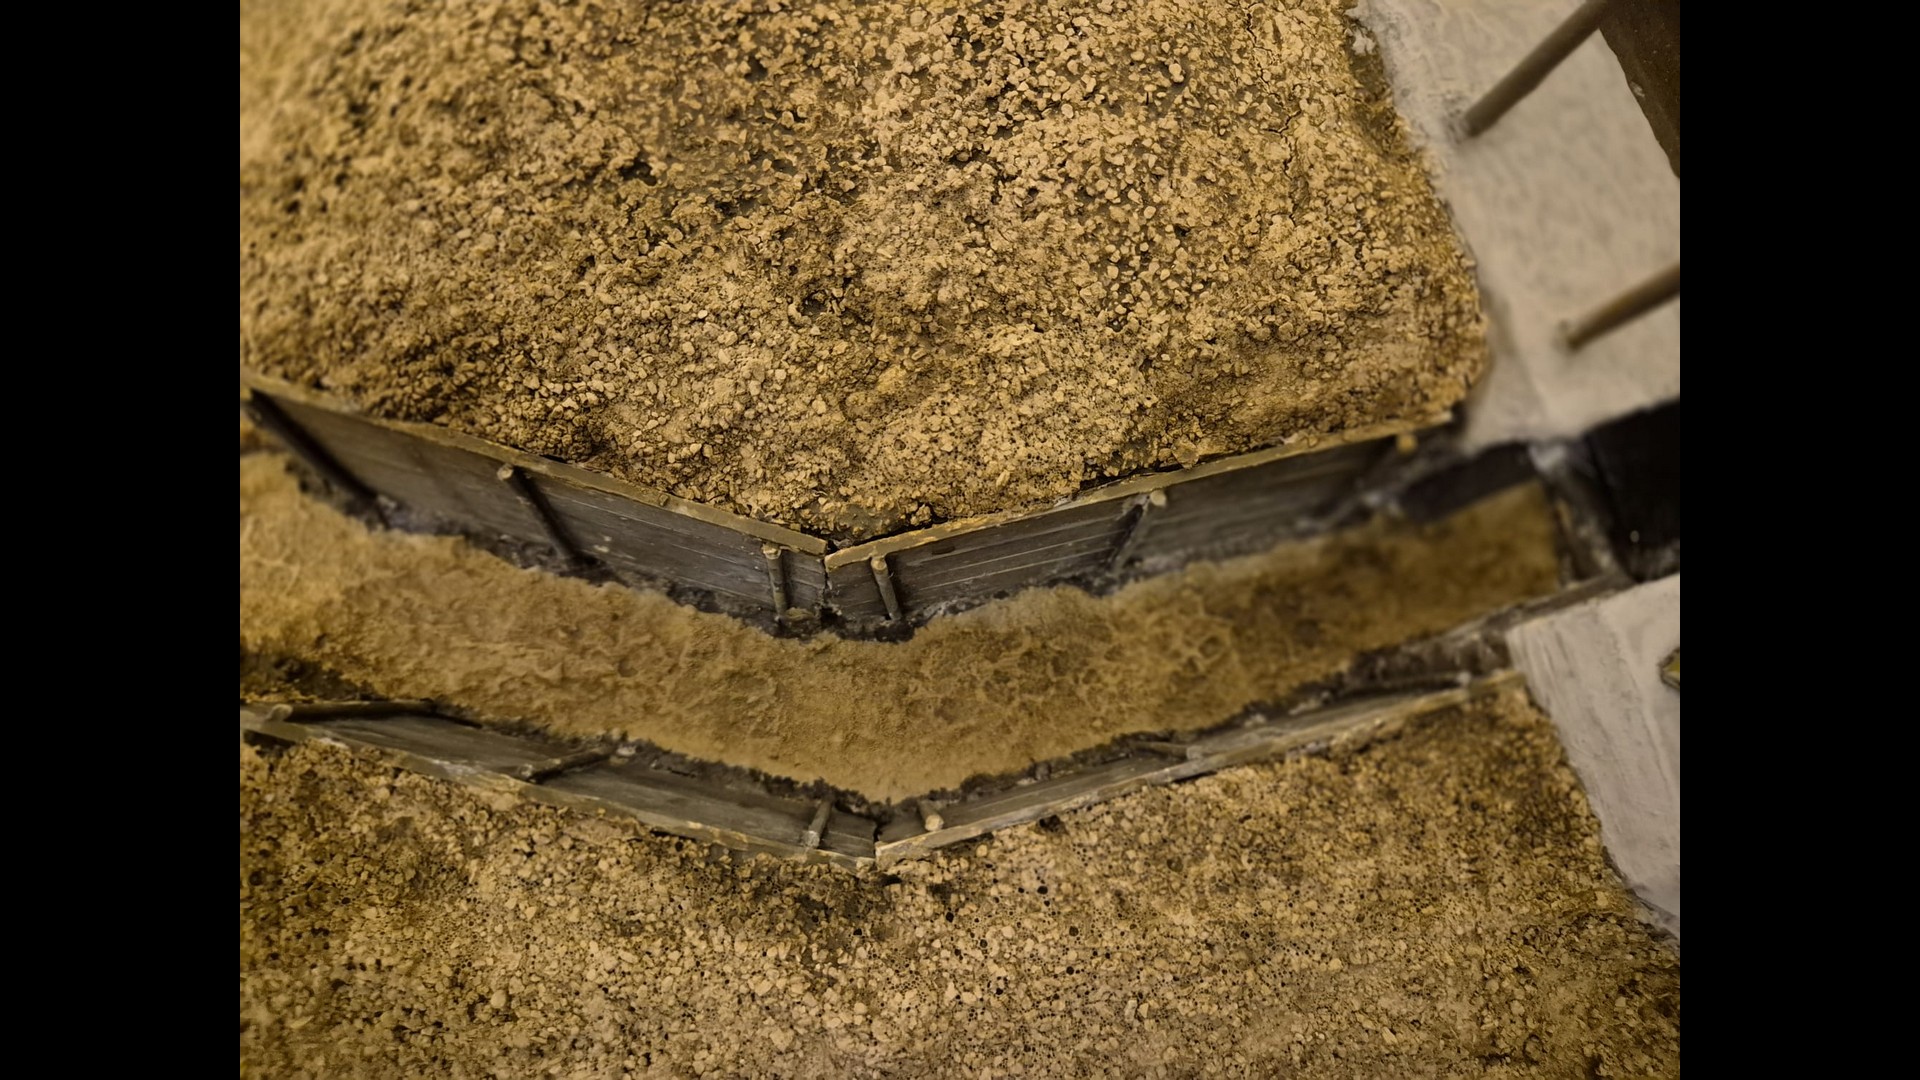
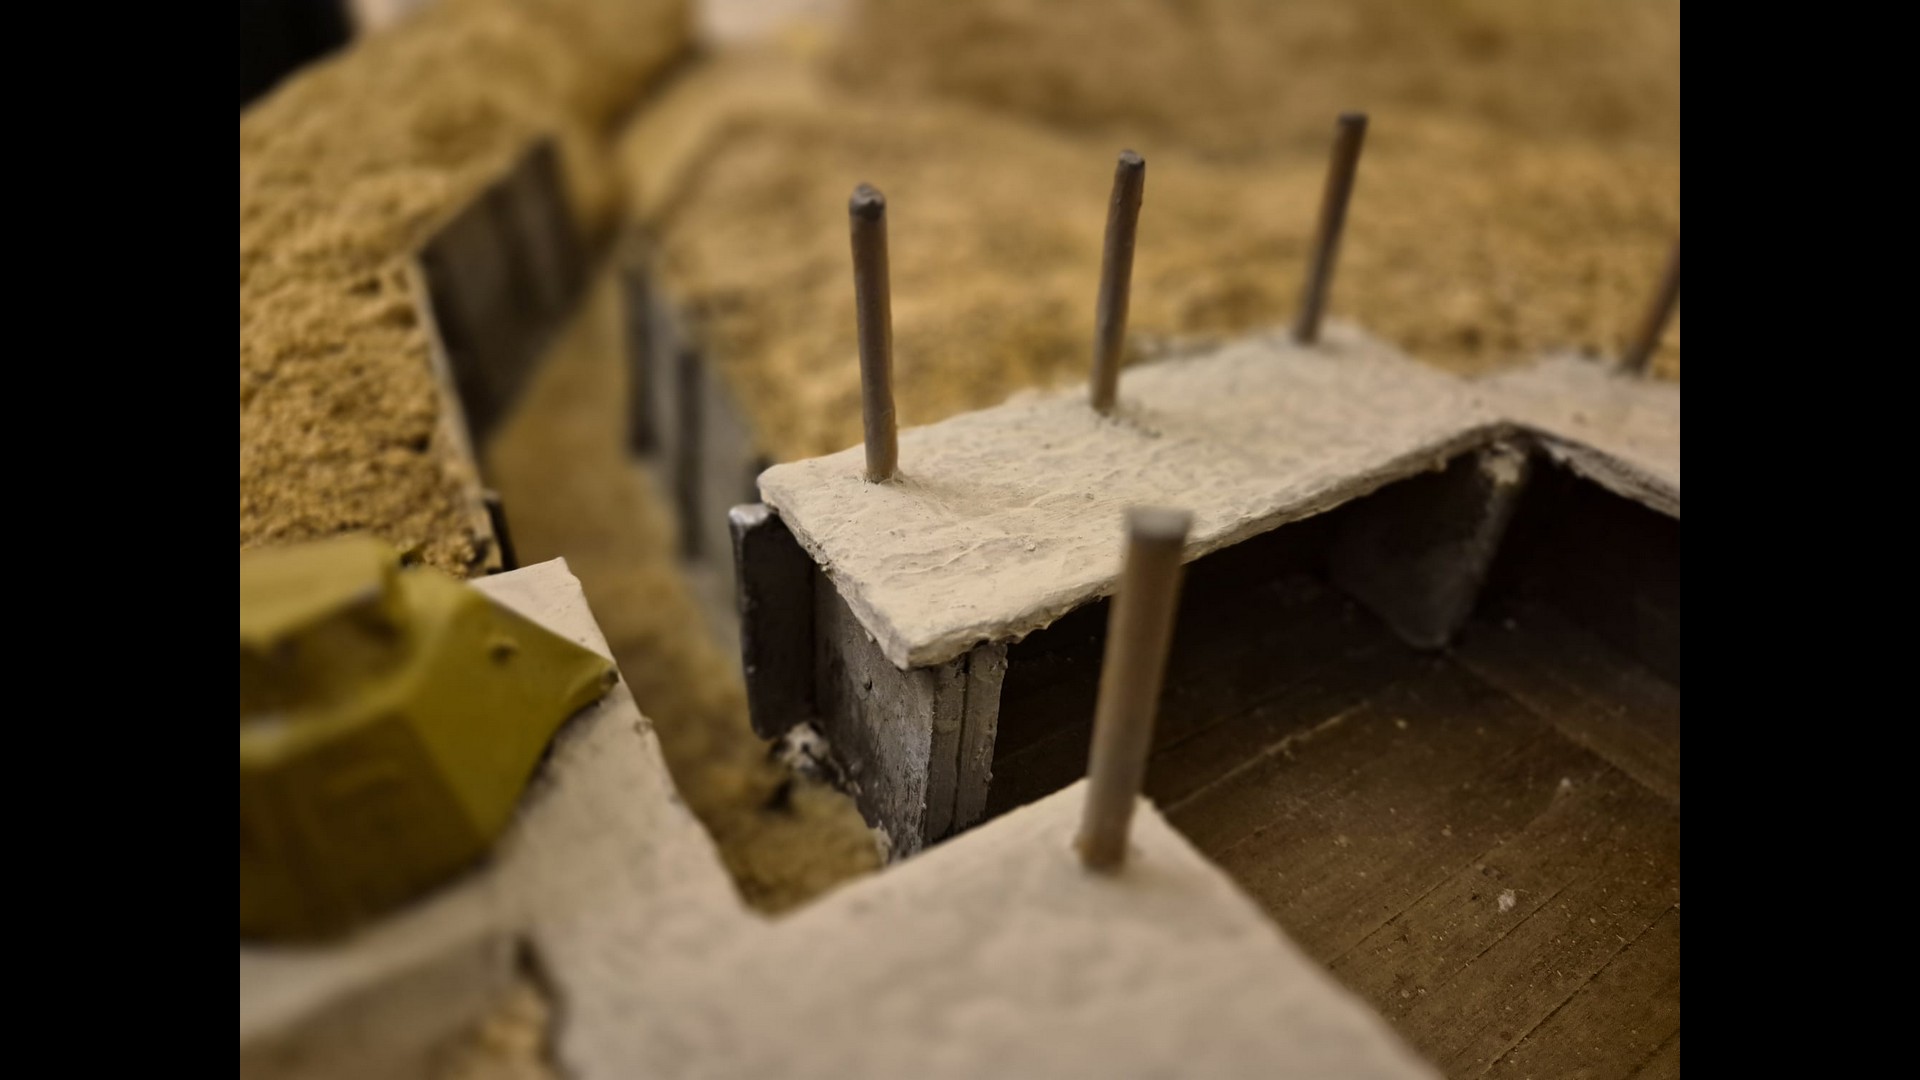
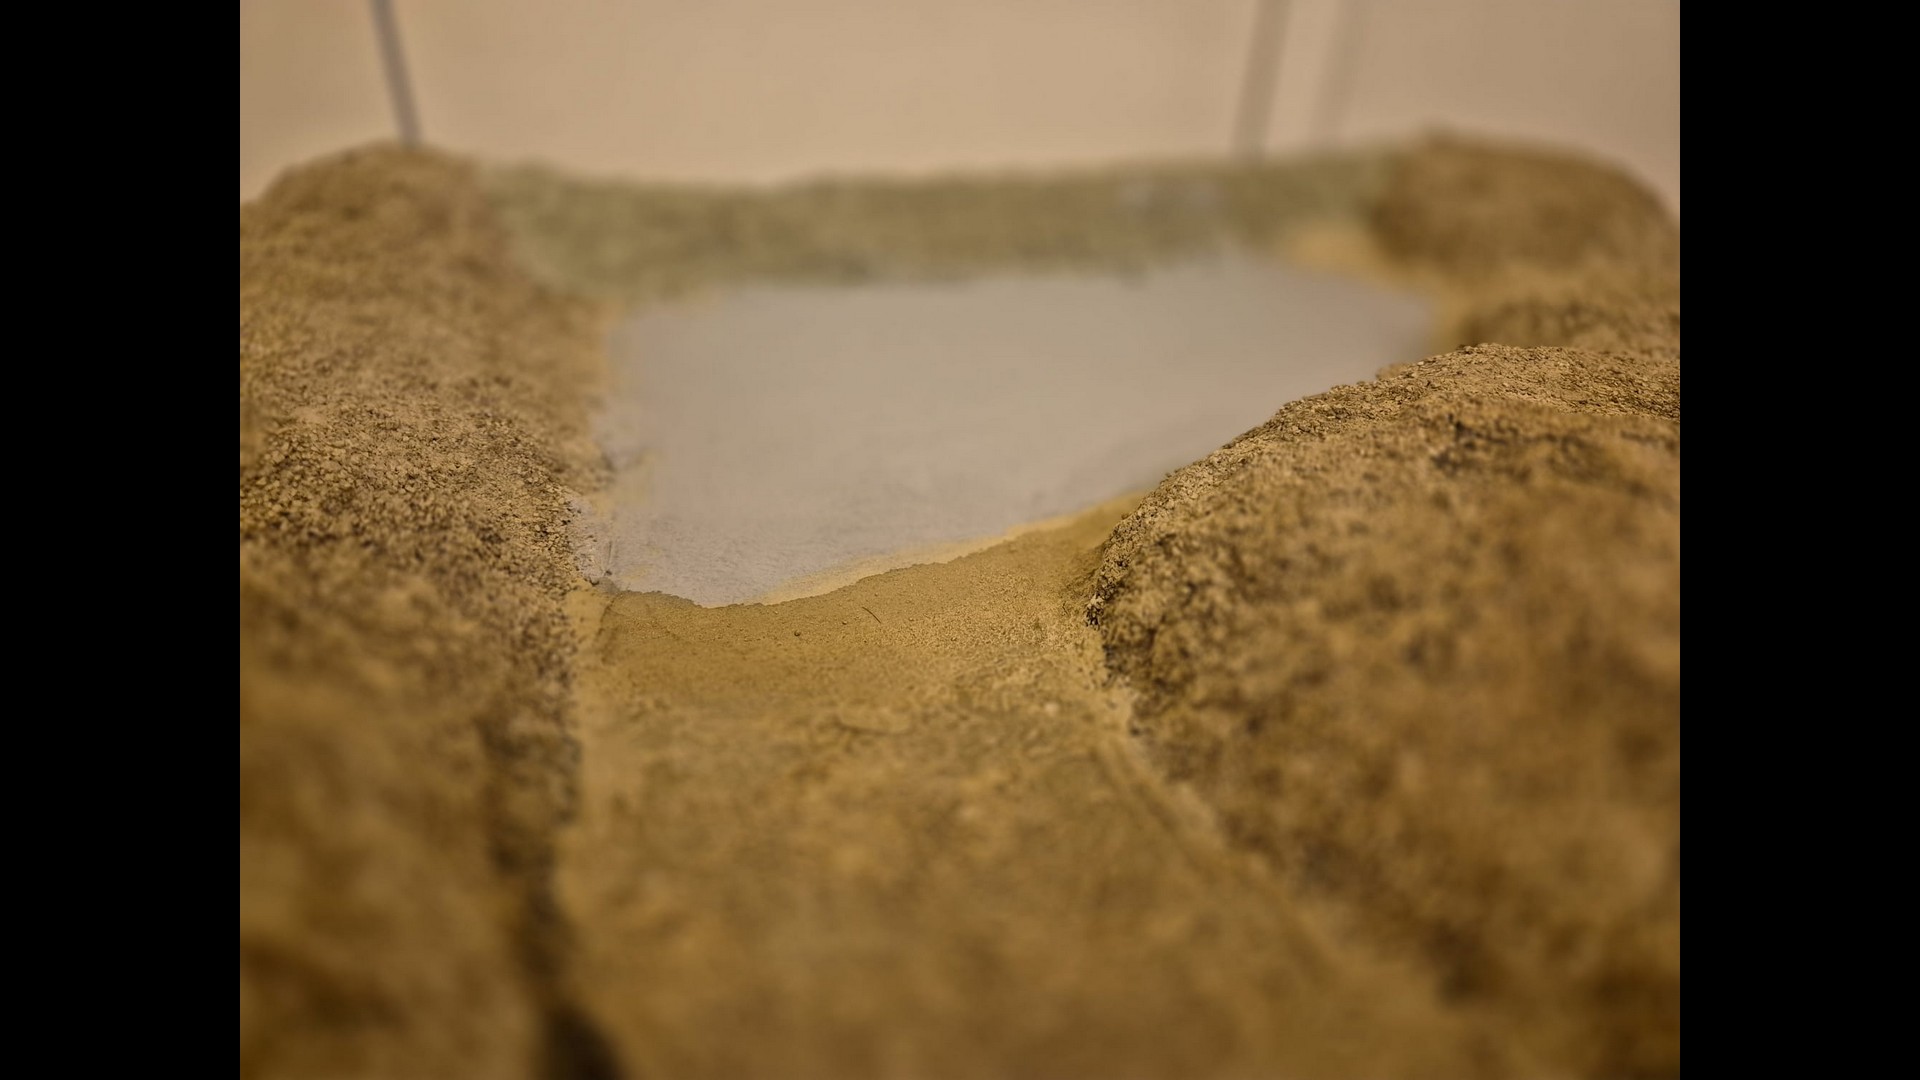
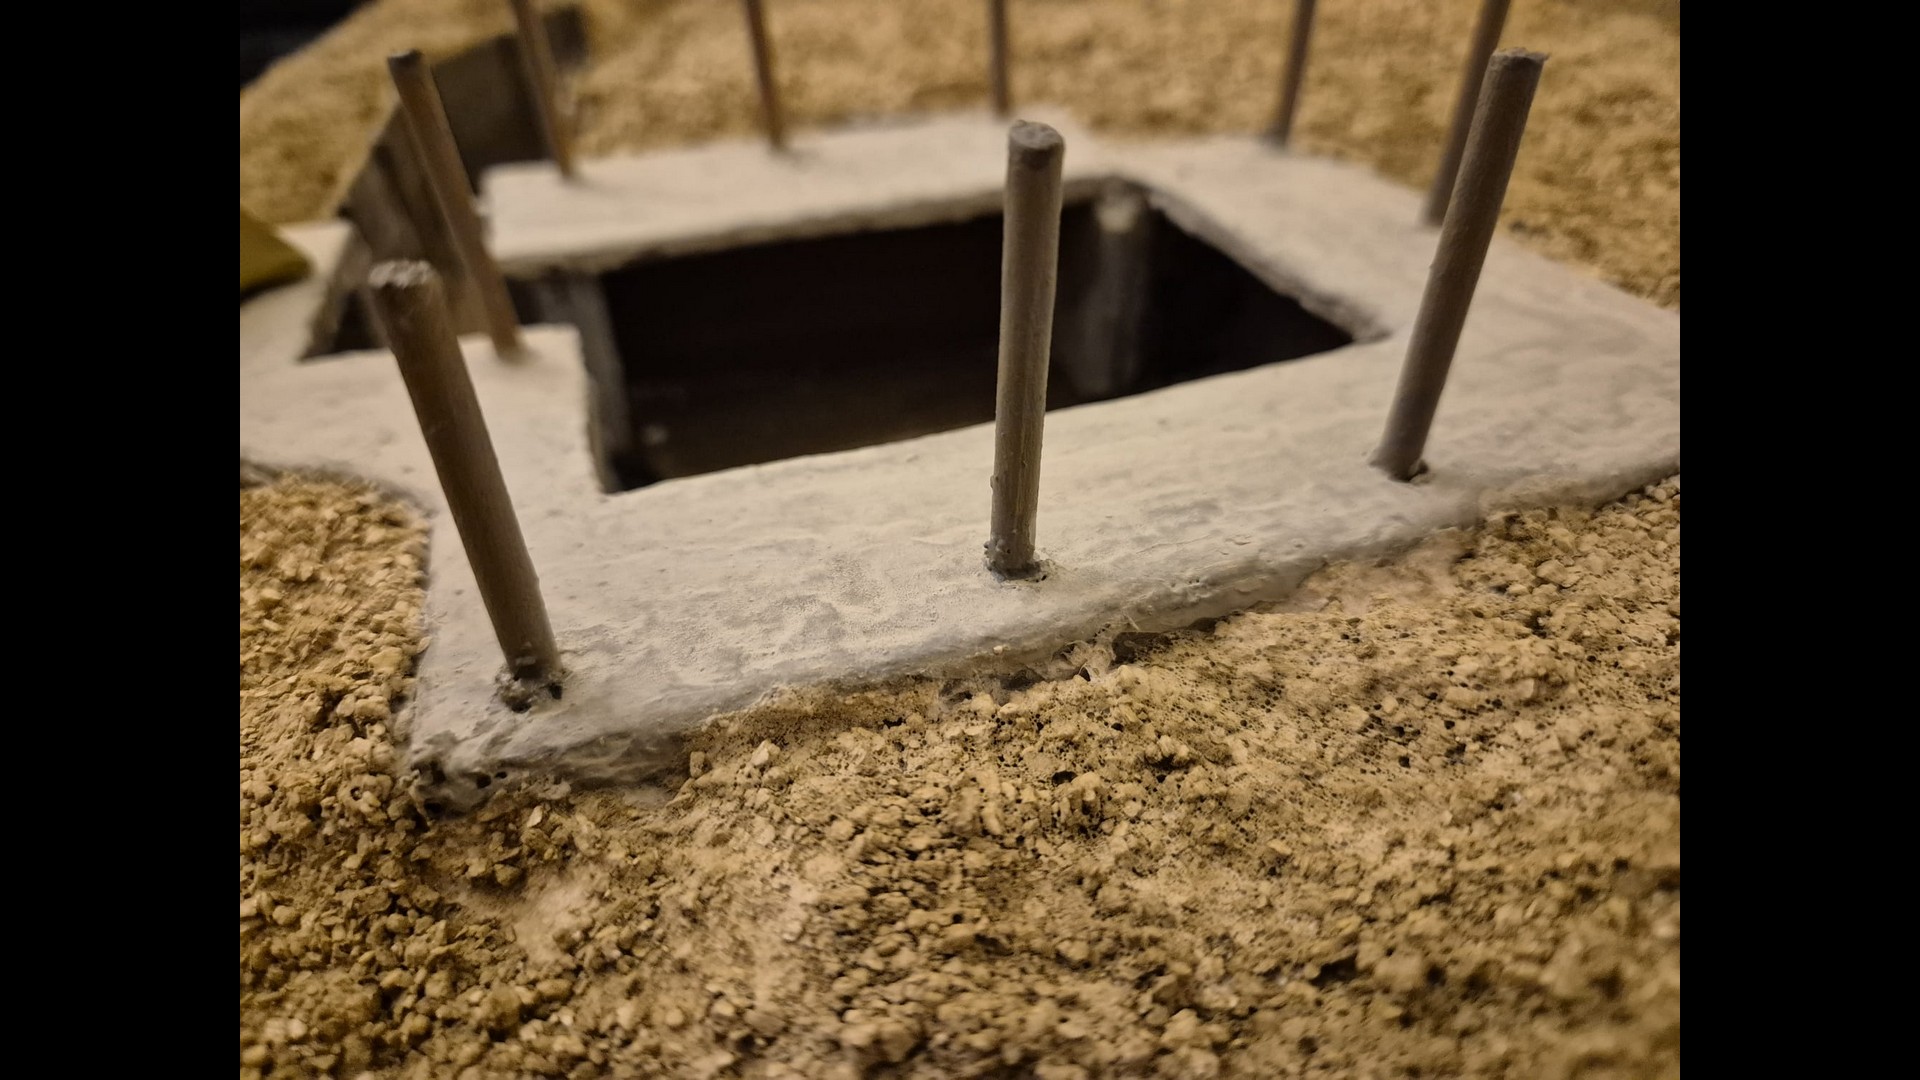
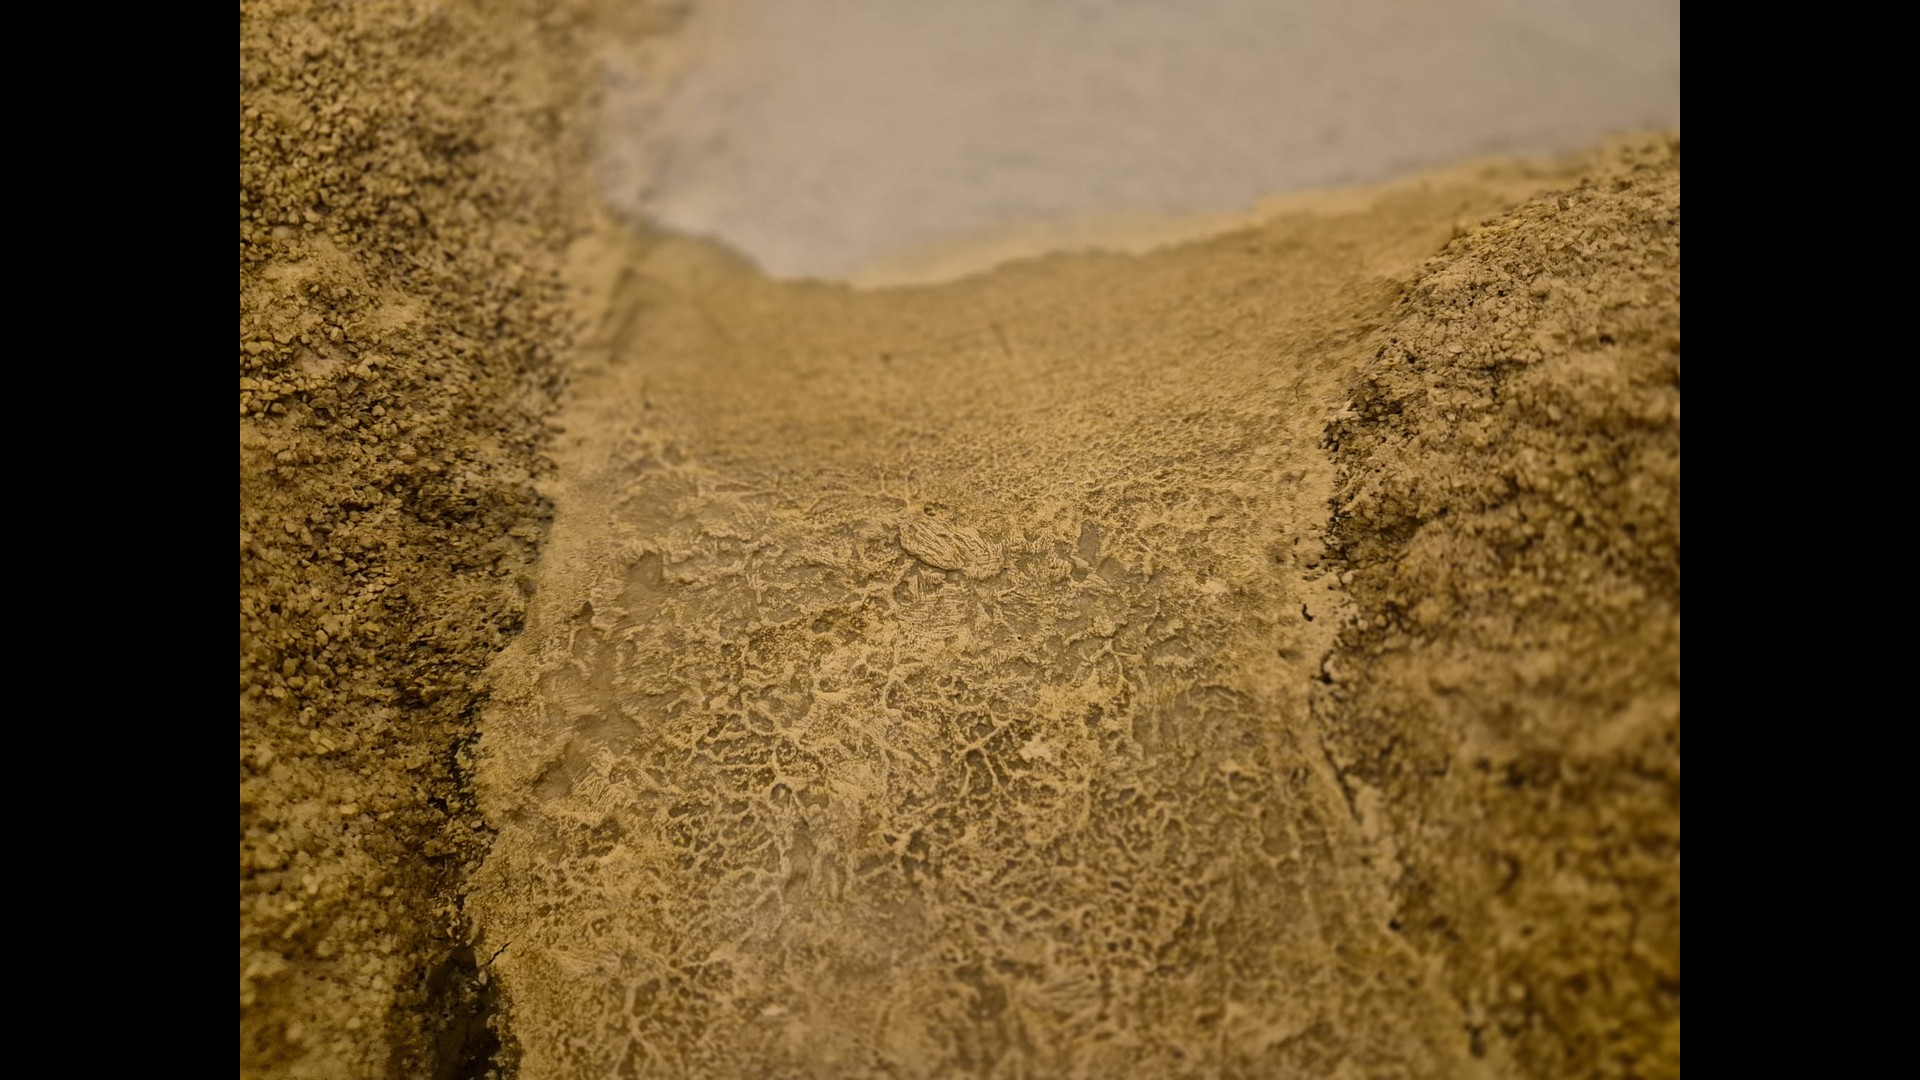
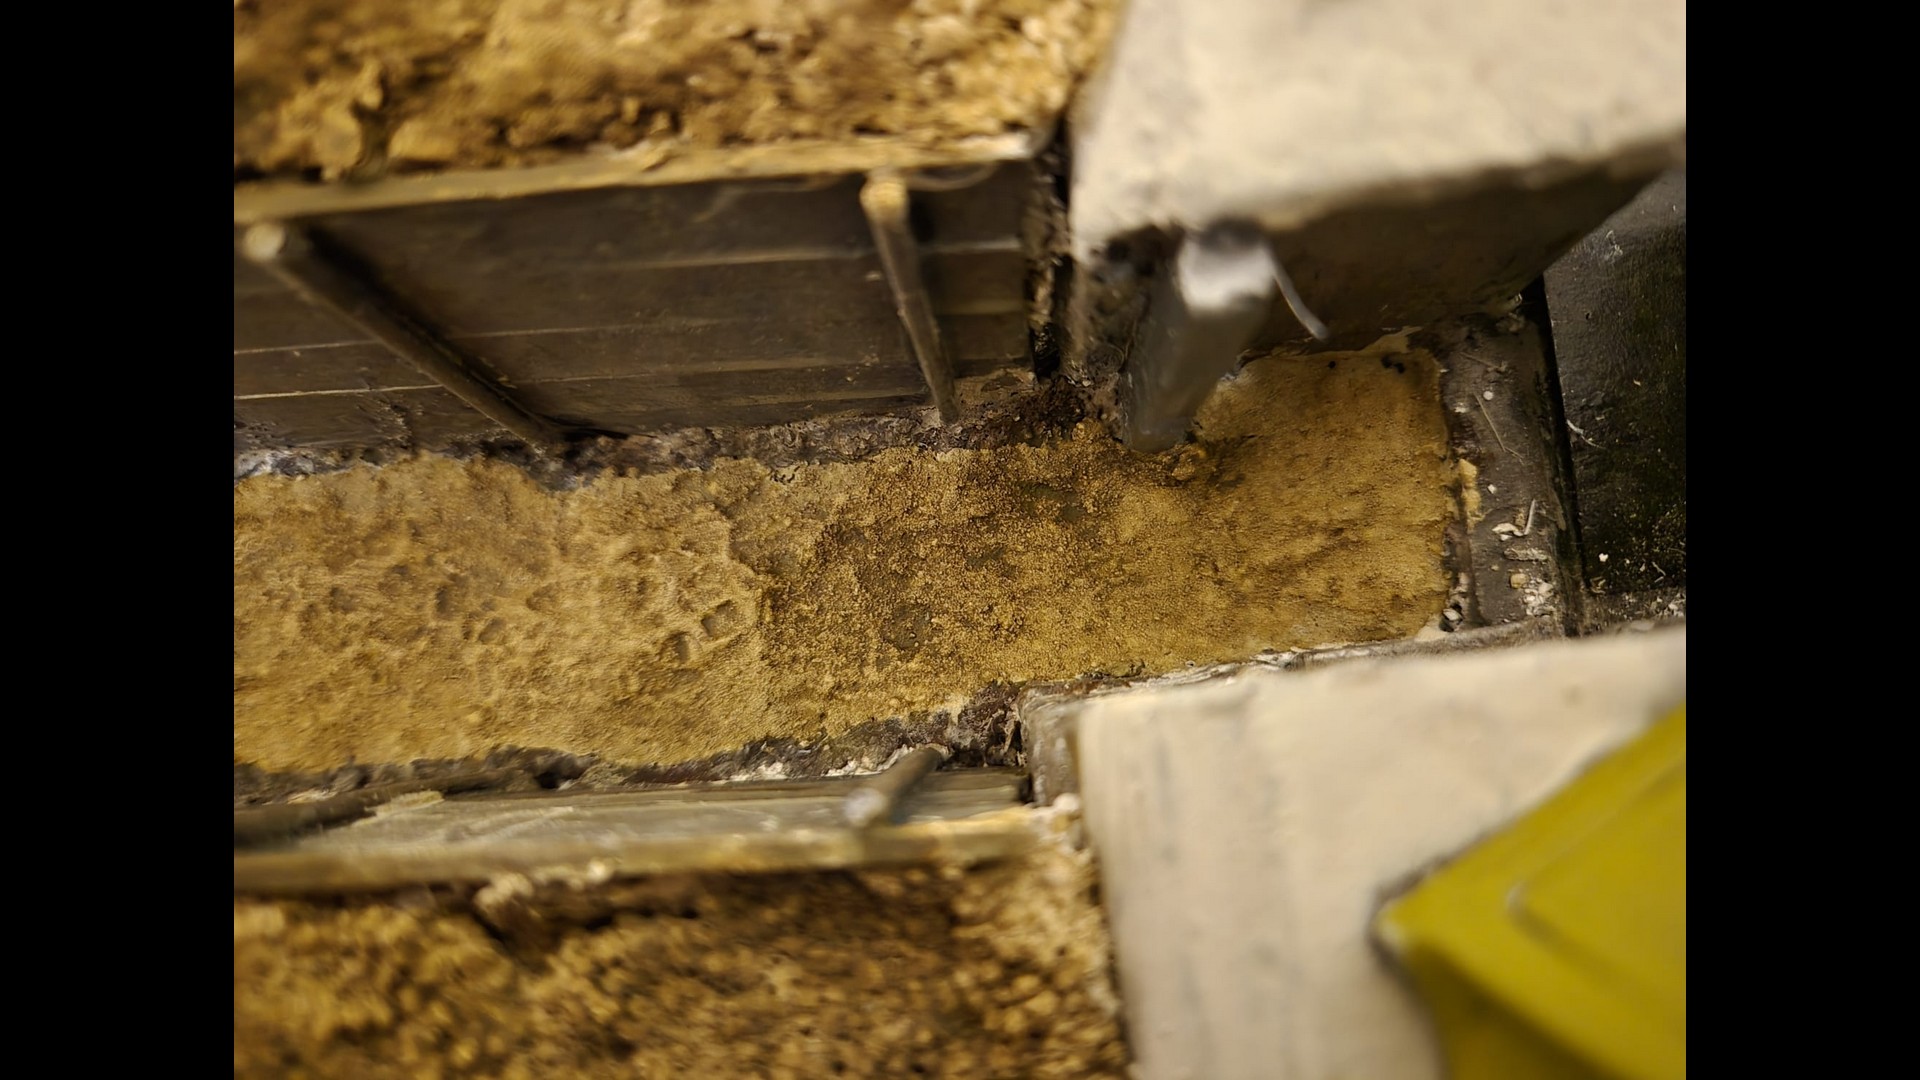
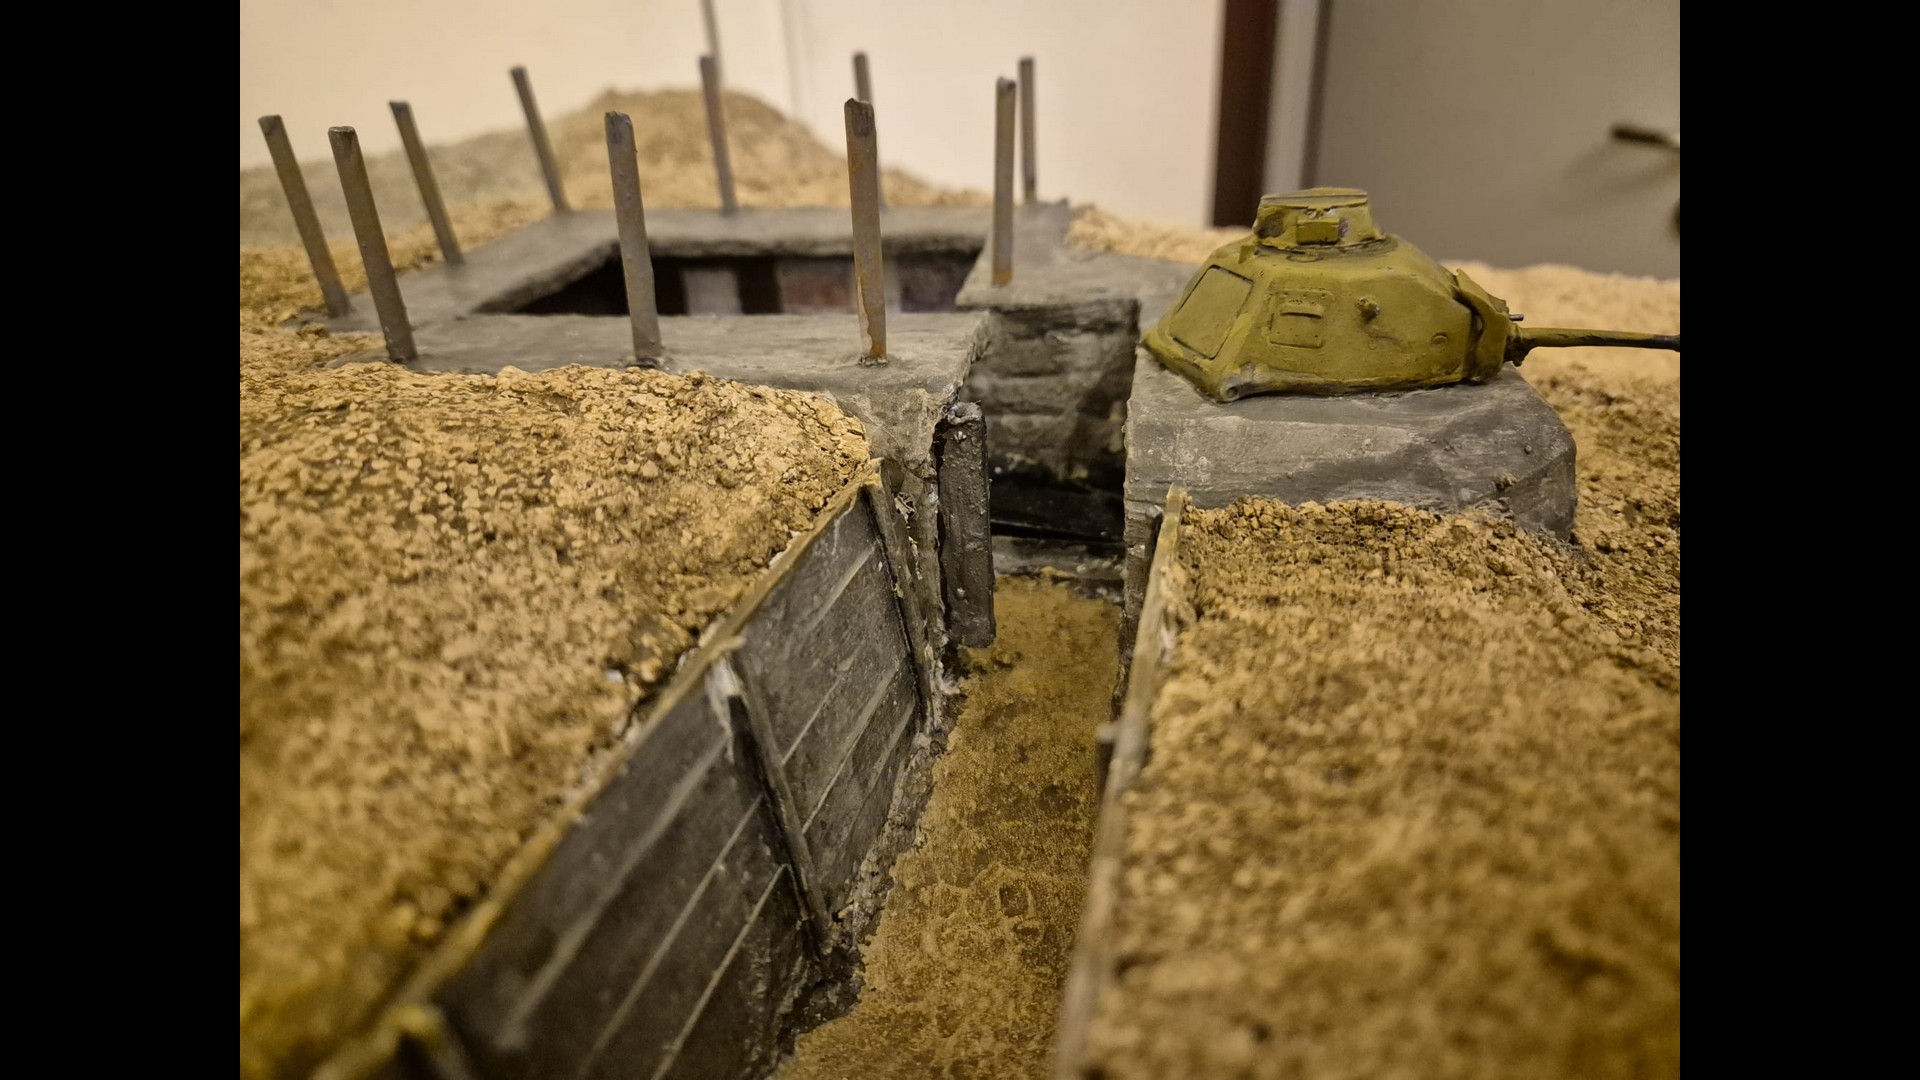
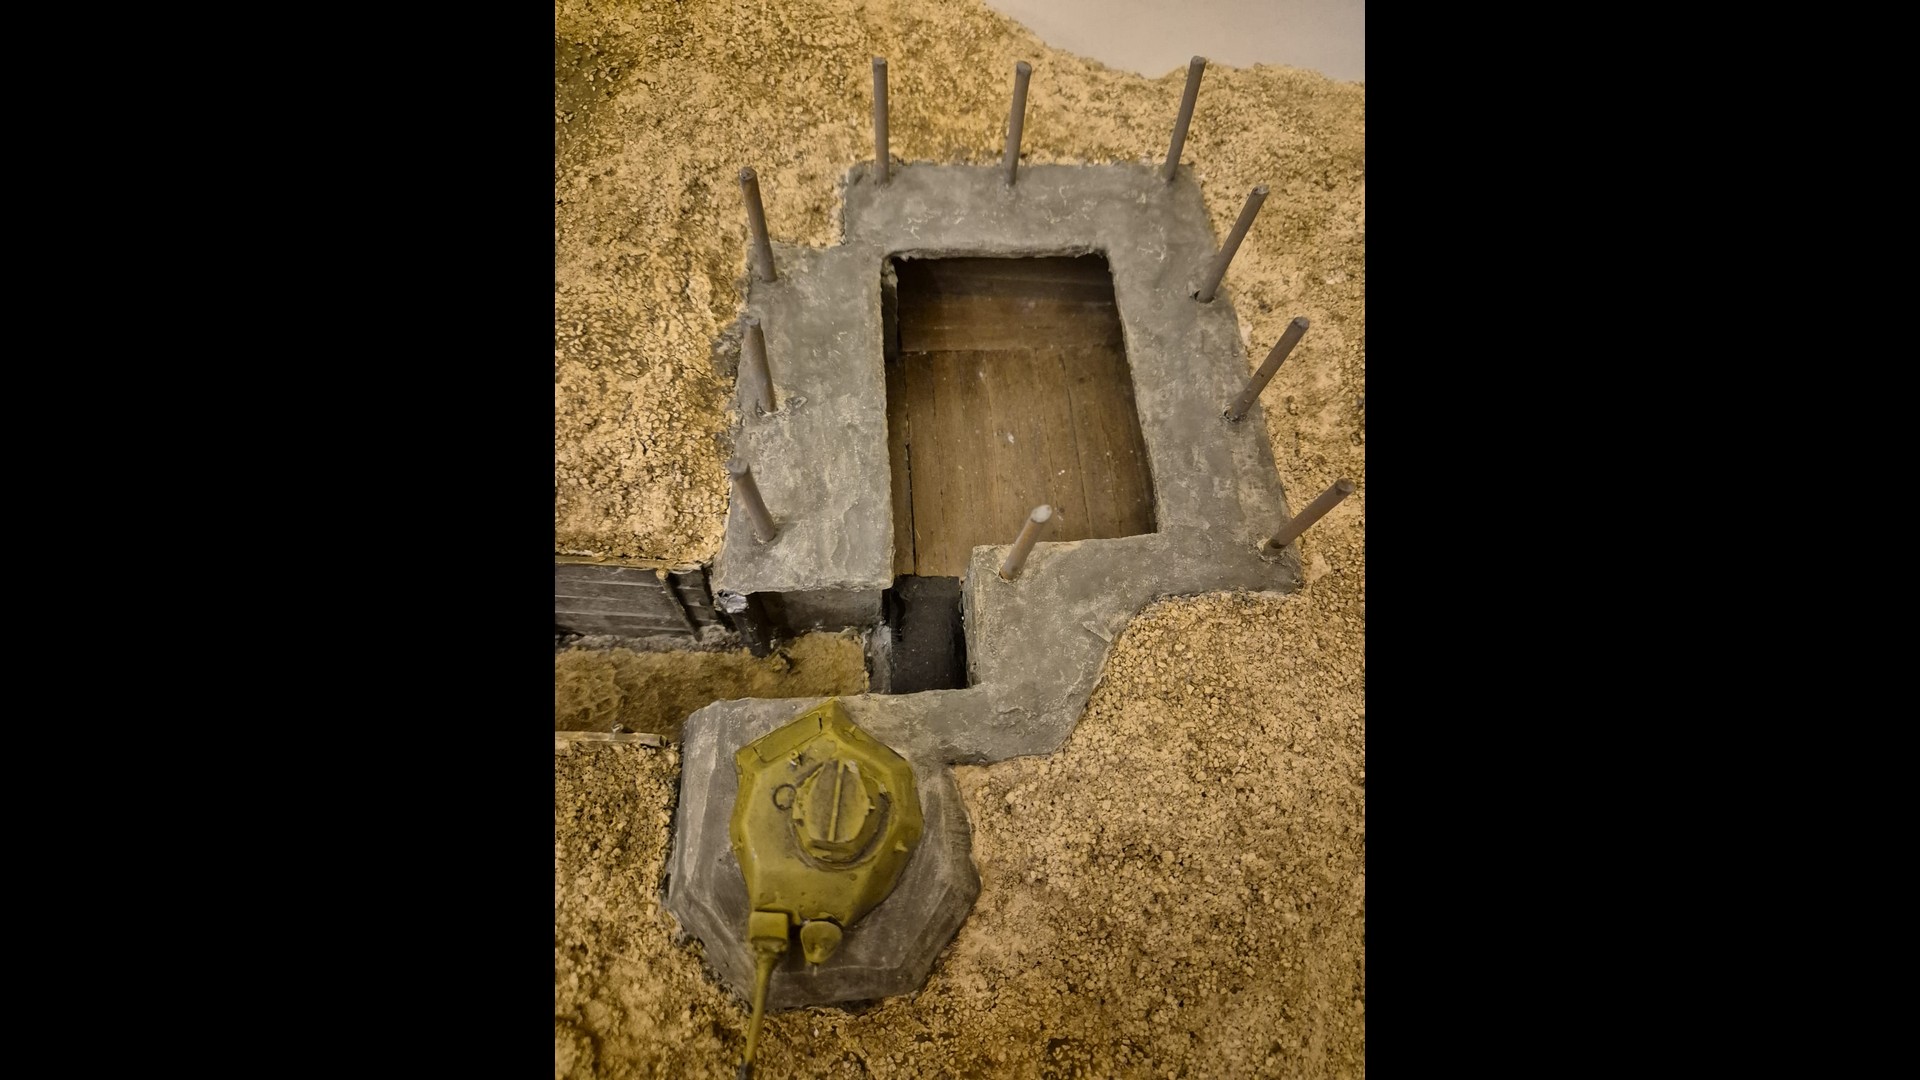
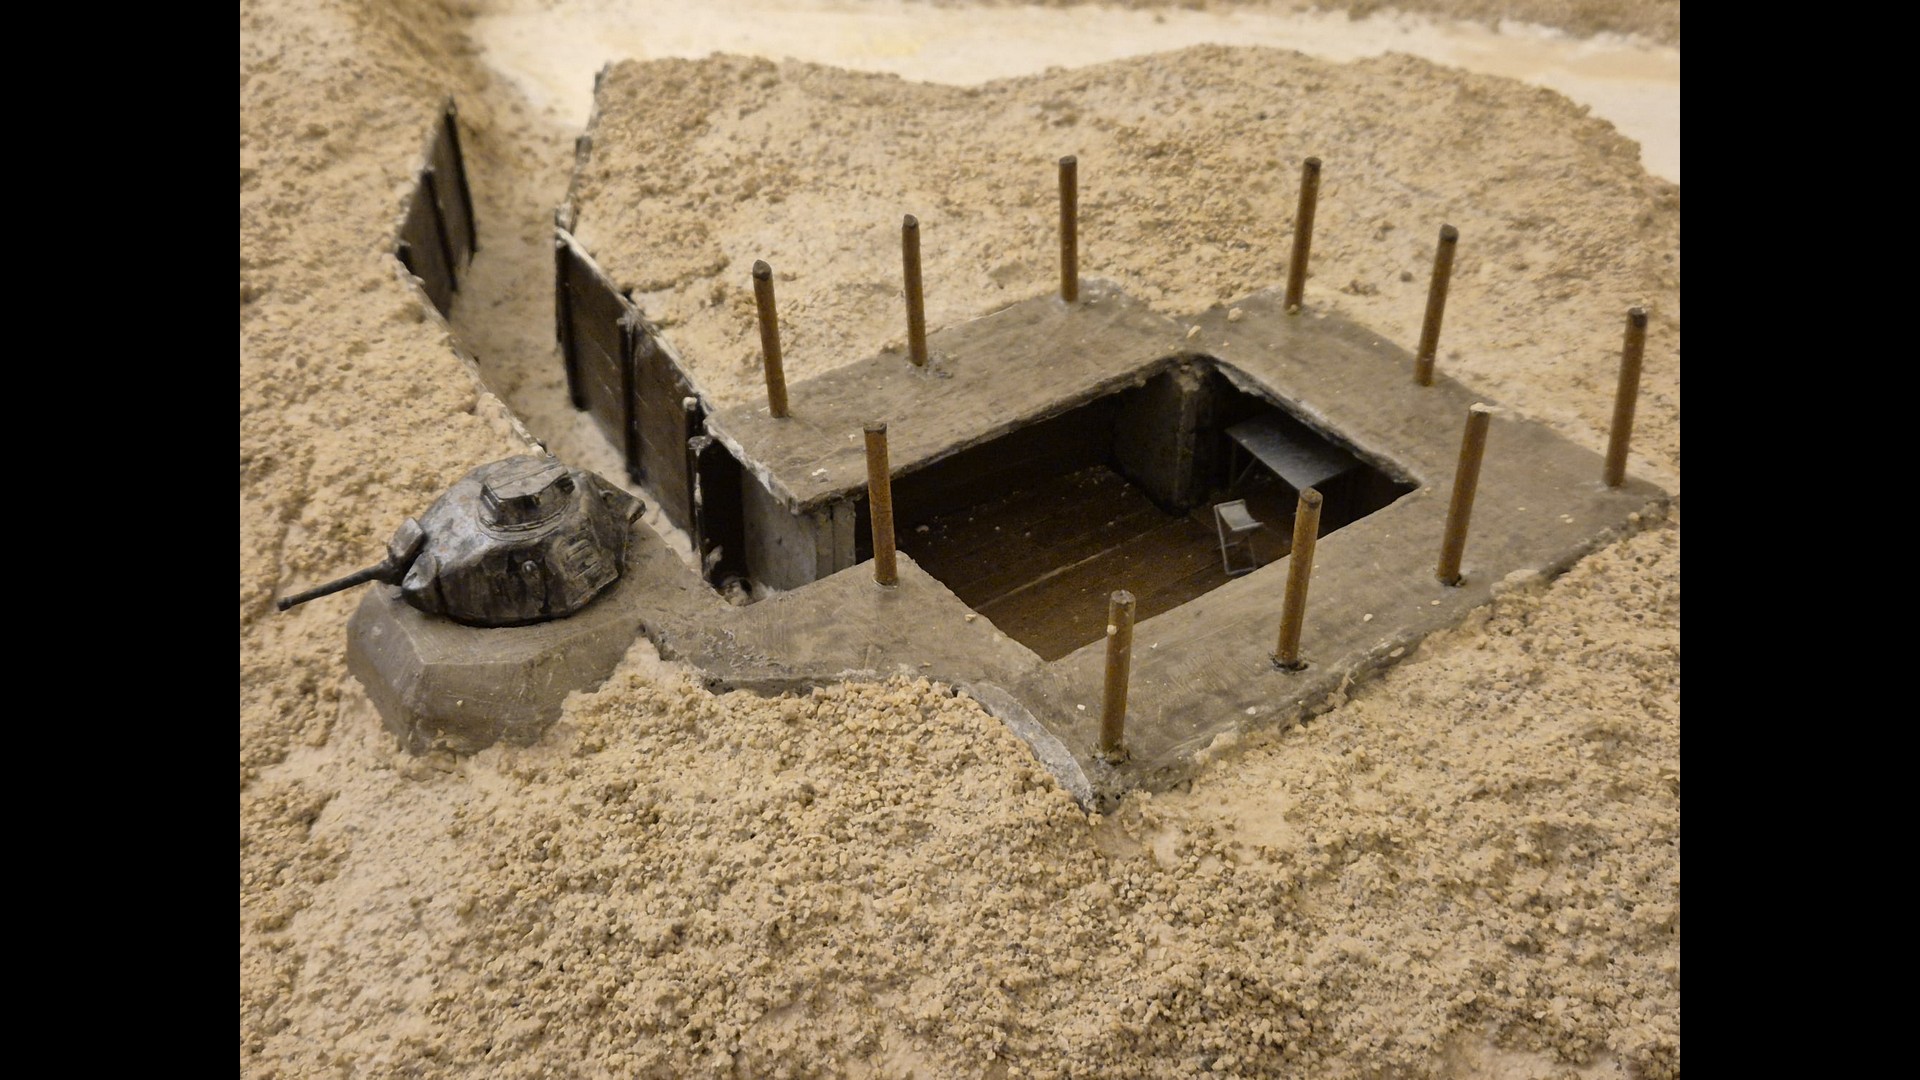
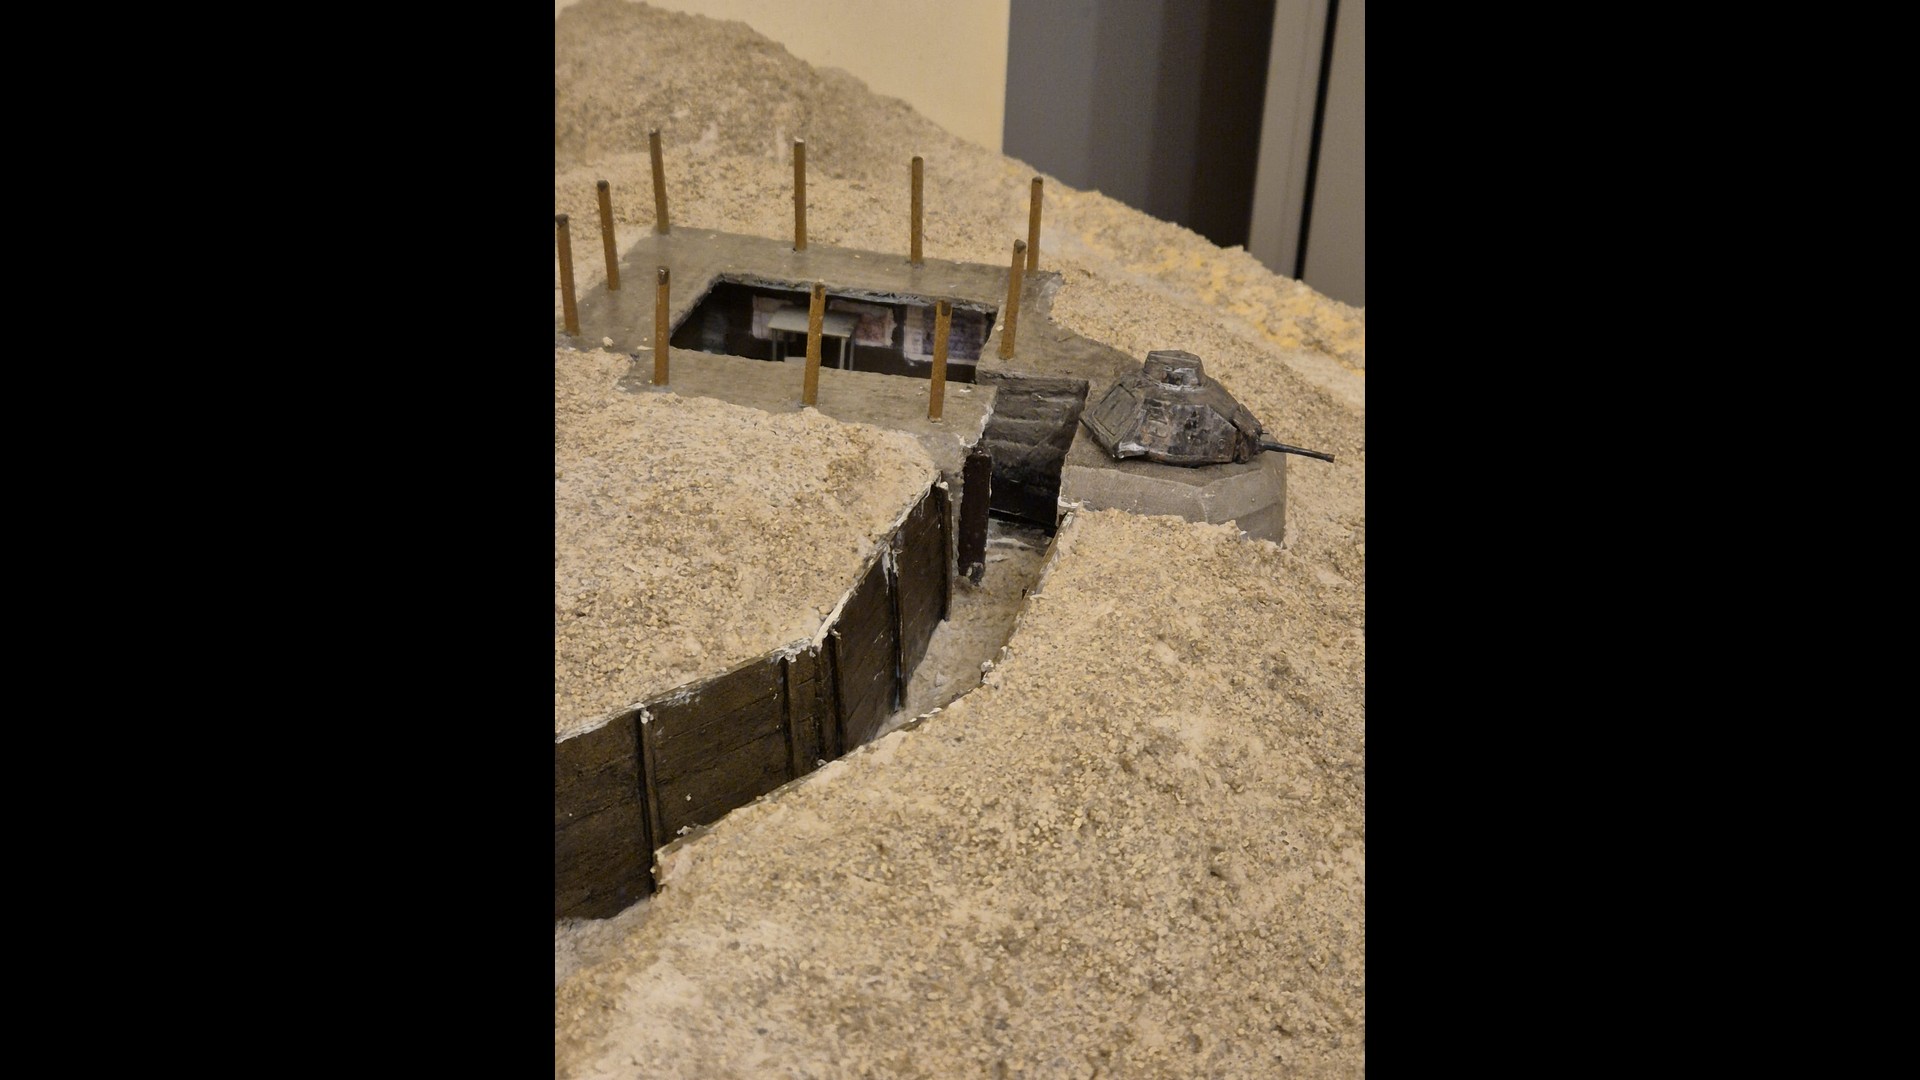
This is the trench in its initial phase. By this time I also added another hand of AK Interactive Acrylic Terrain Light Earth to both the trench and the road.

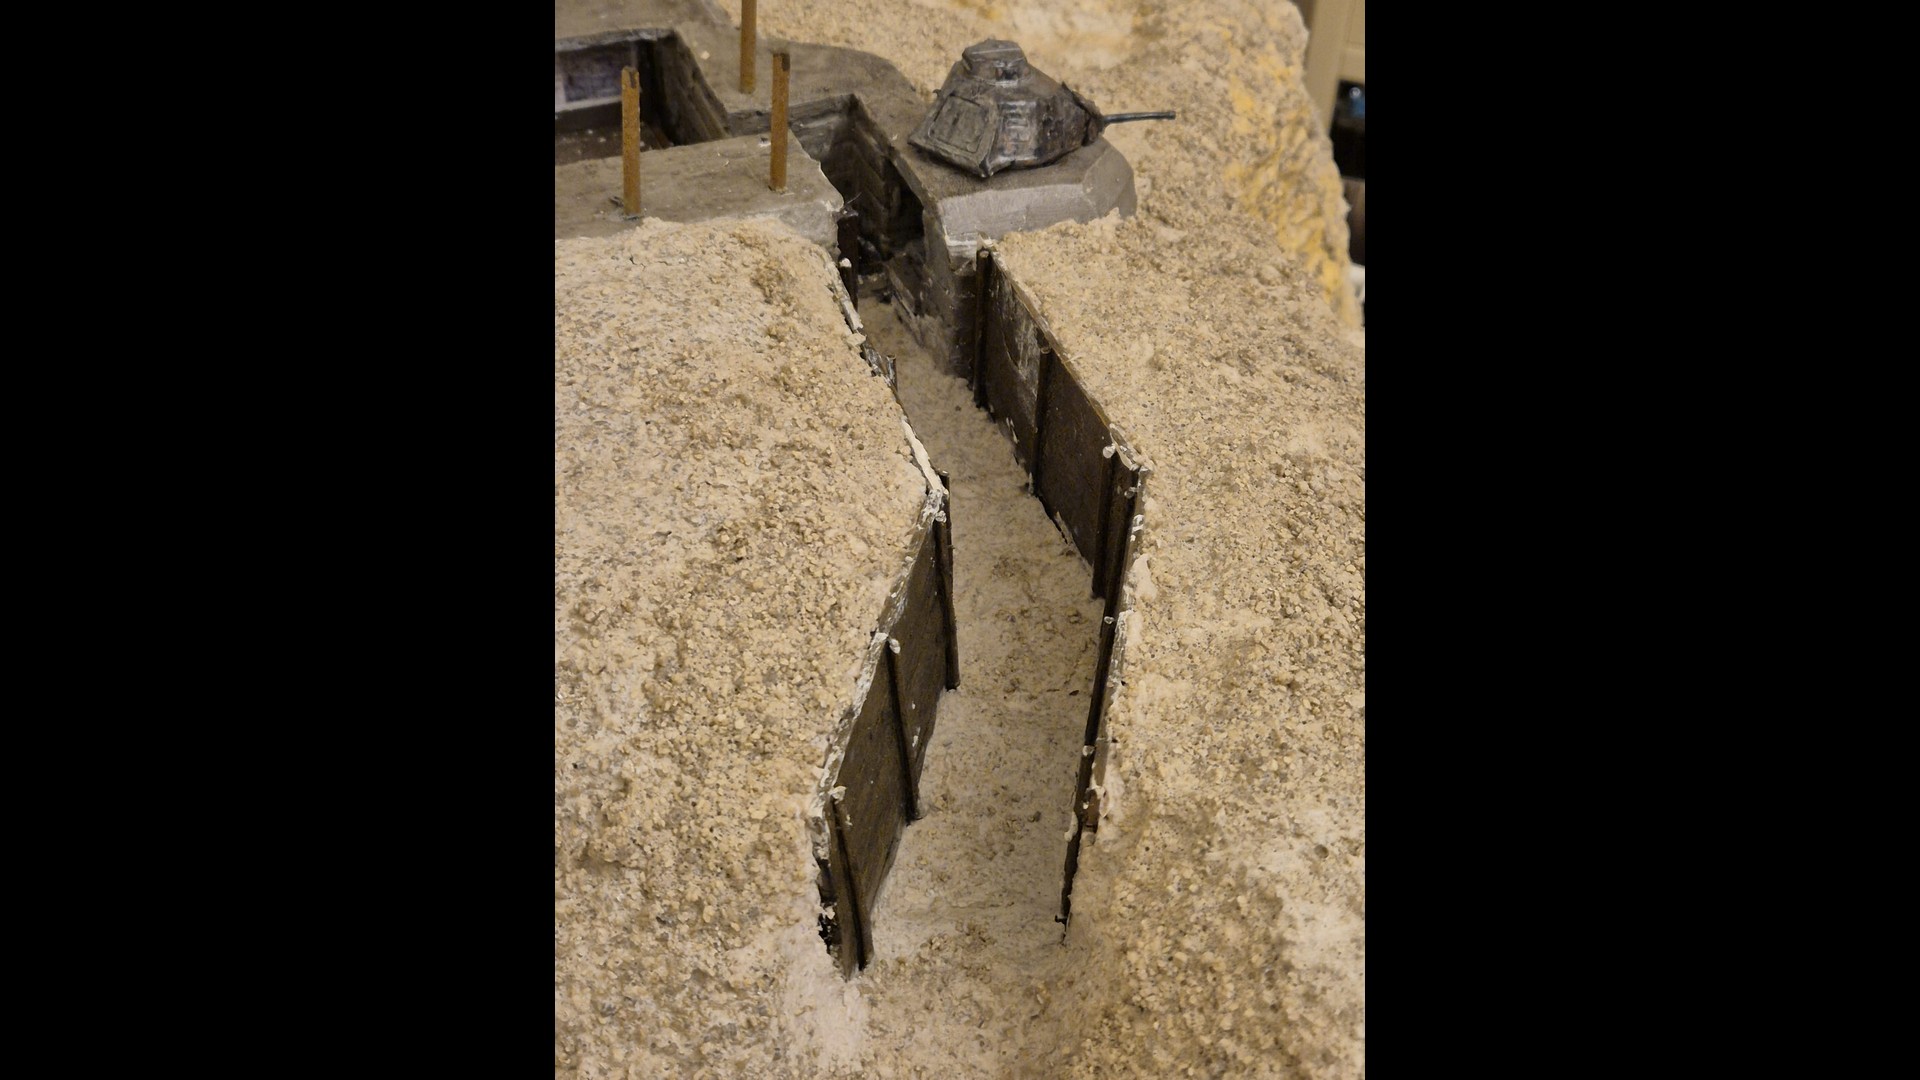
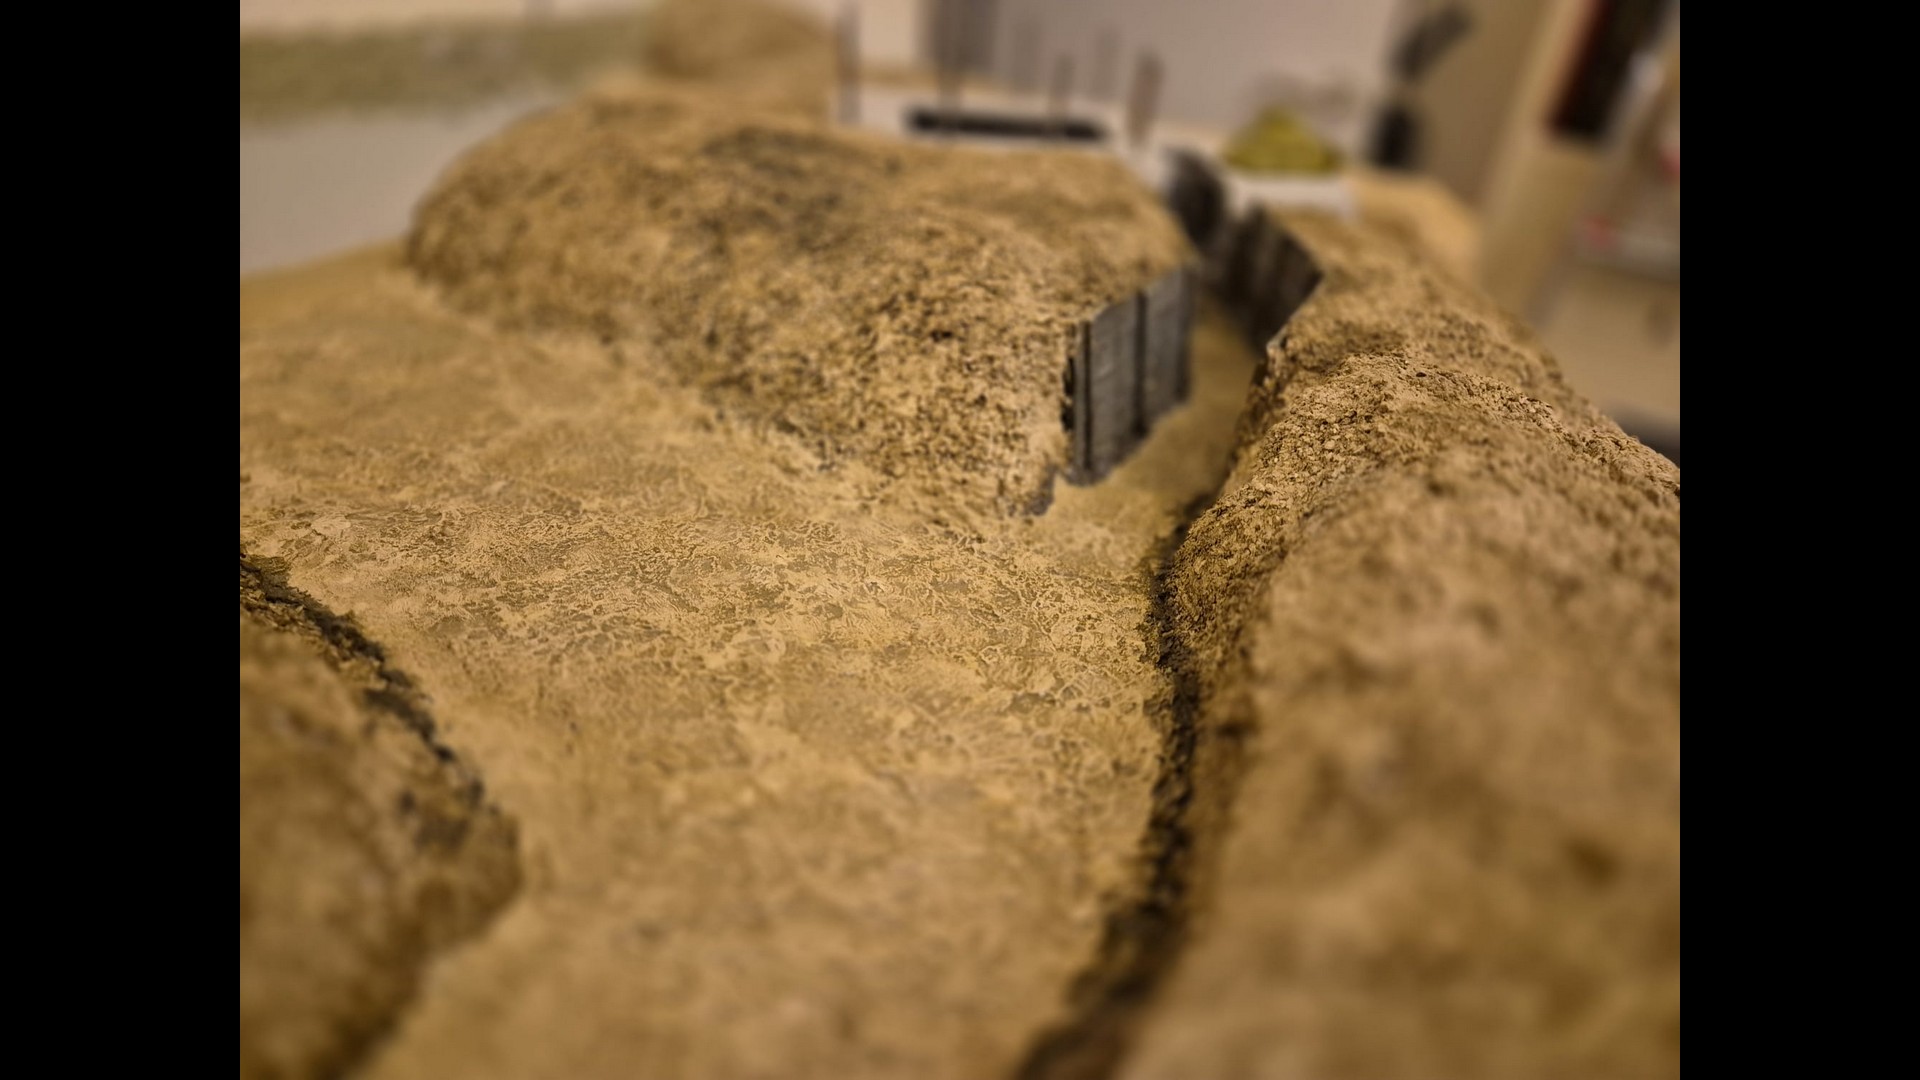
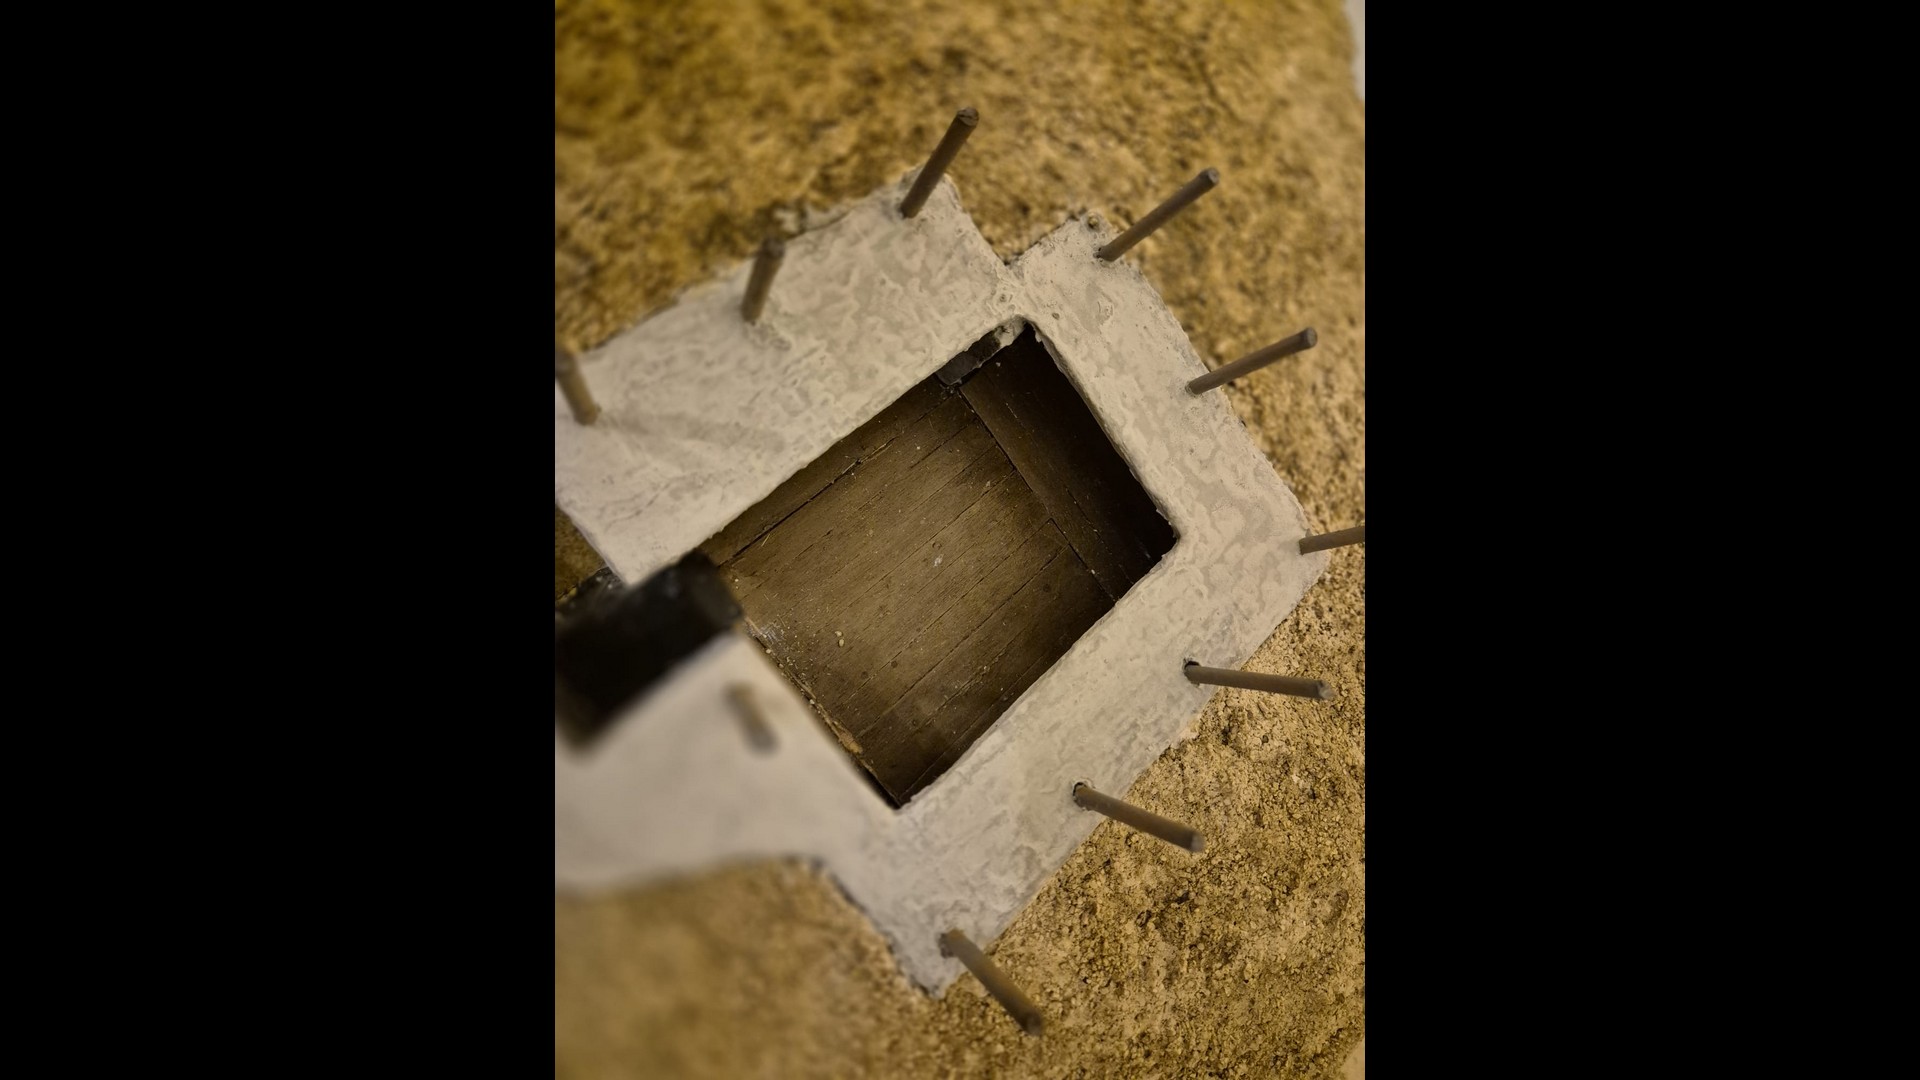
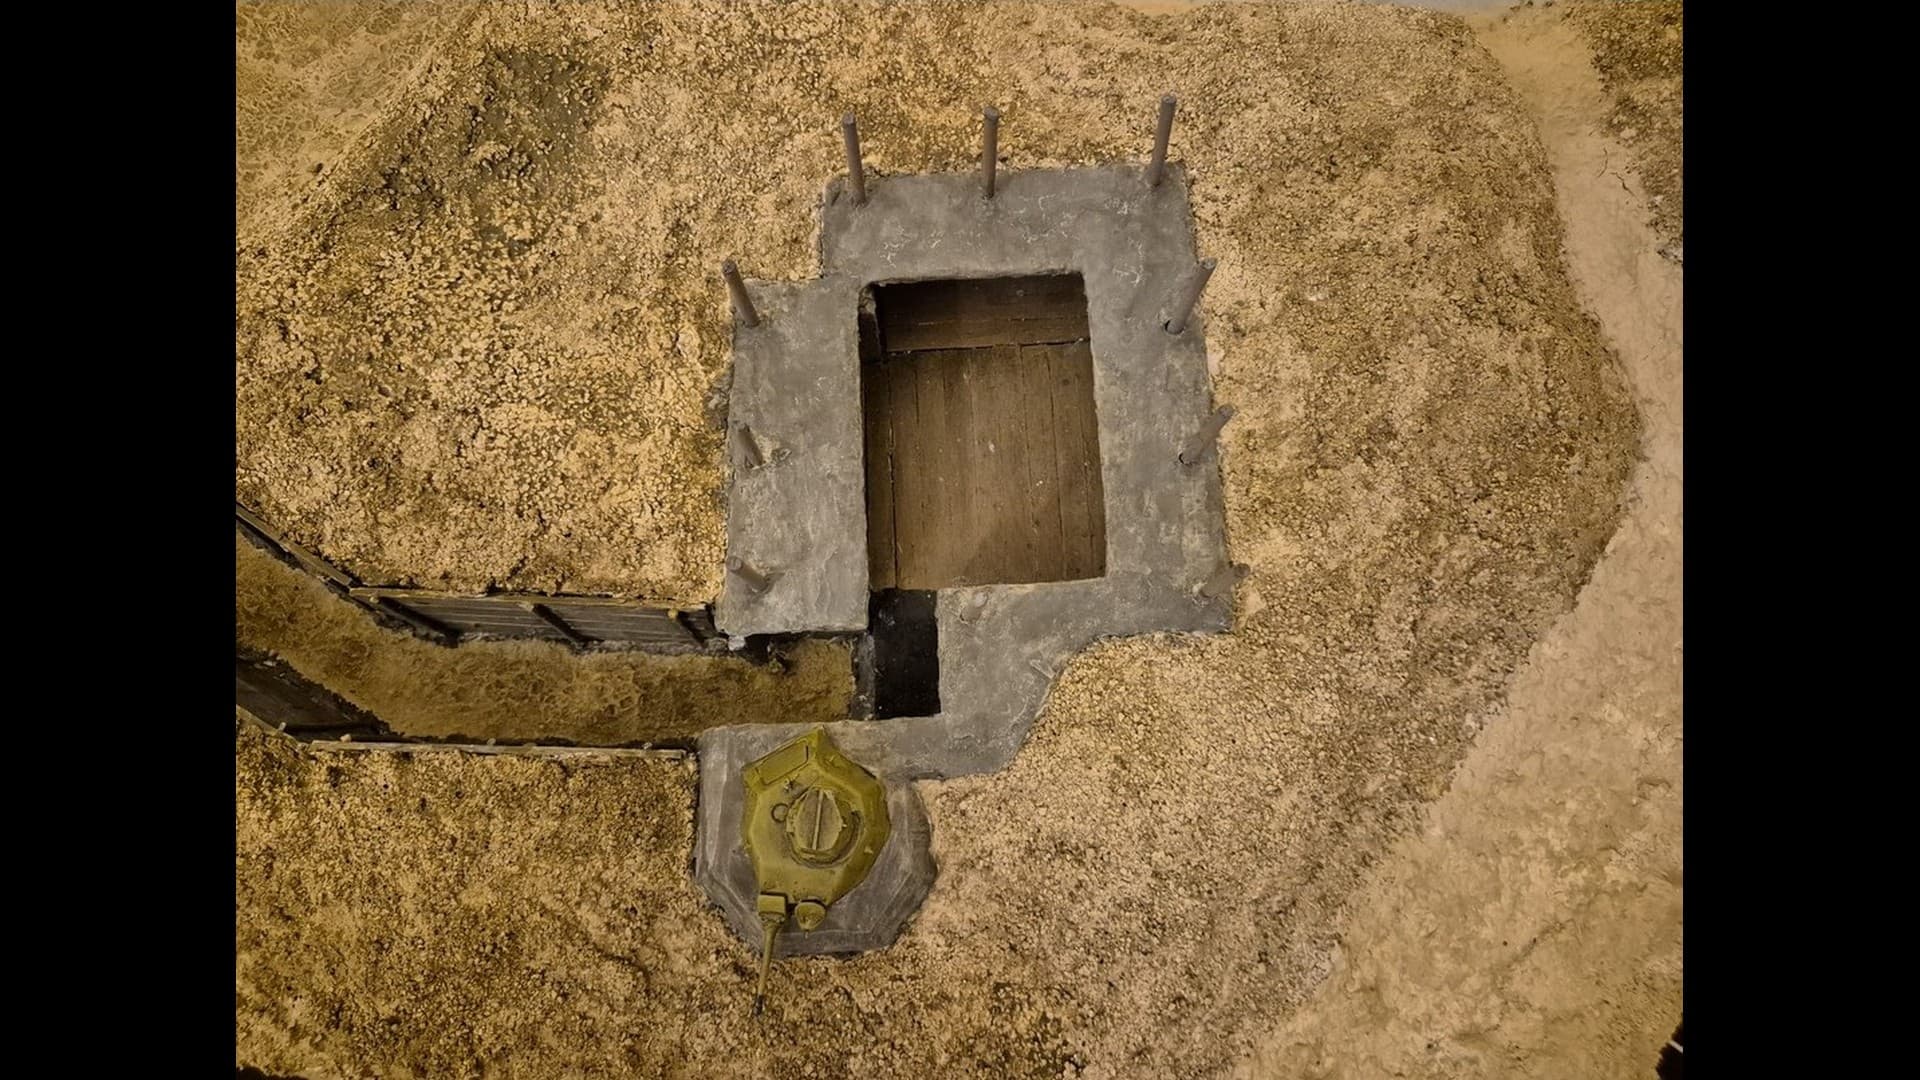
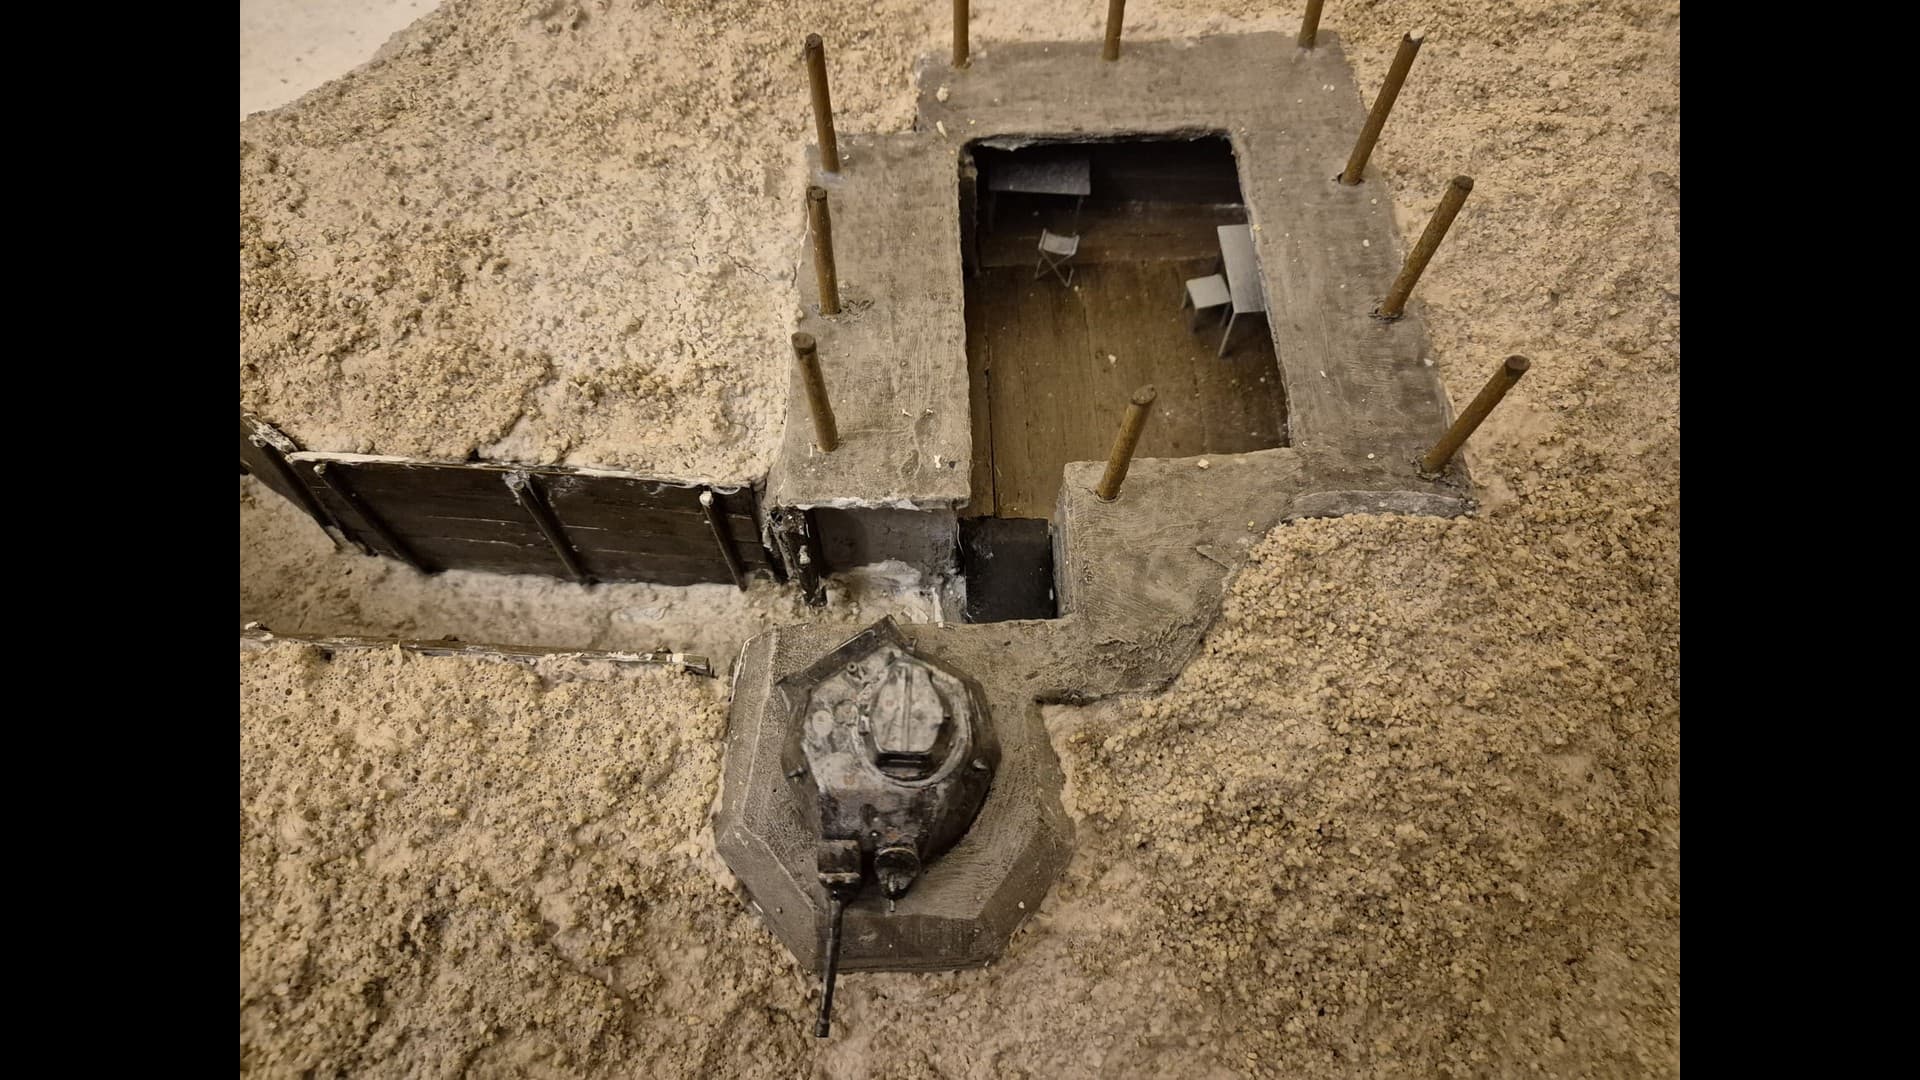
Another view of the trench from directly above.

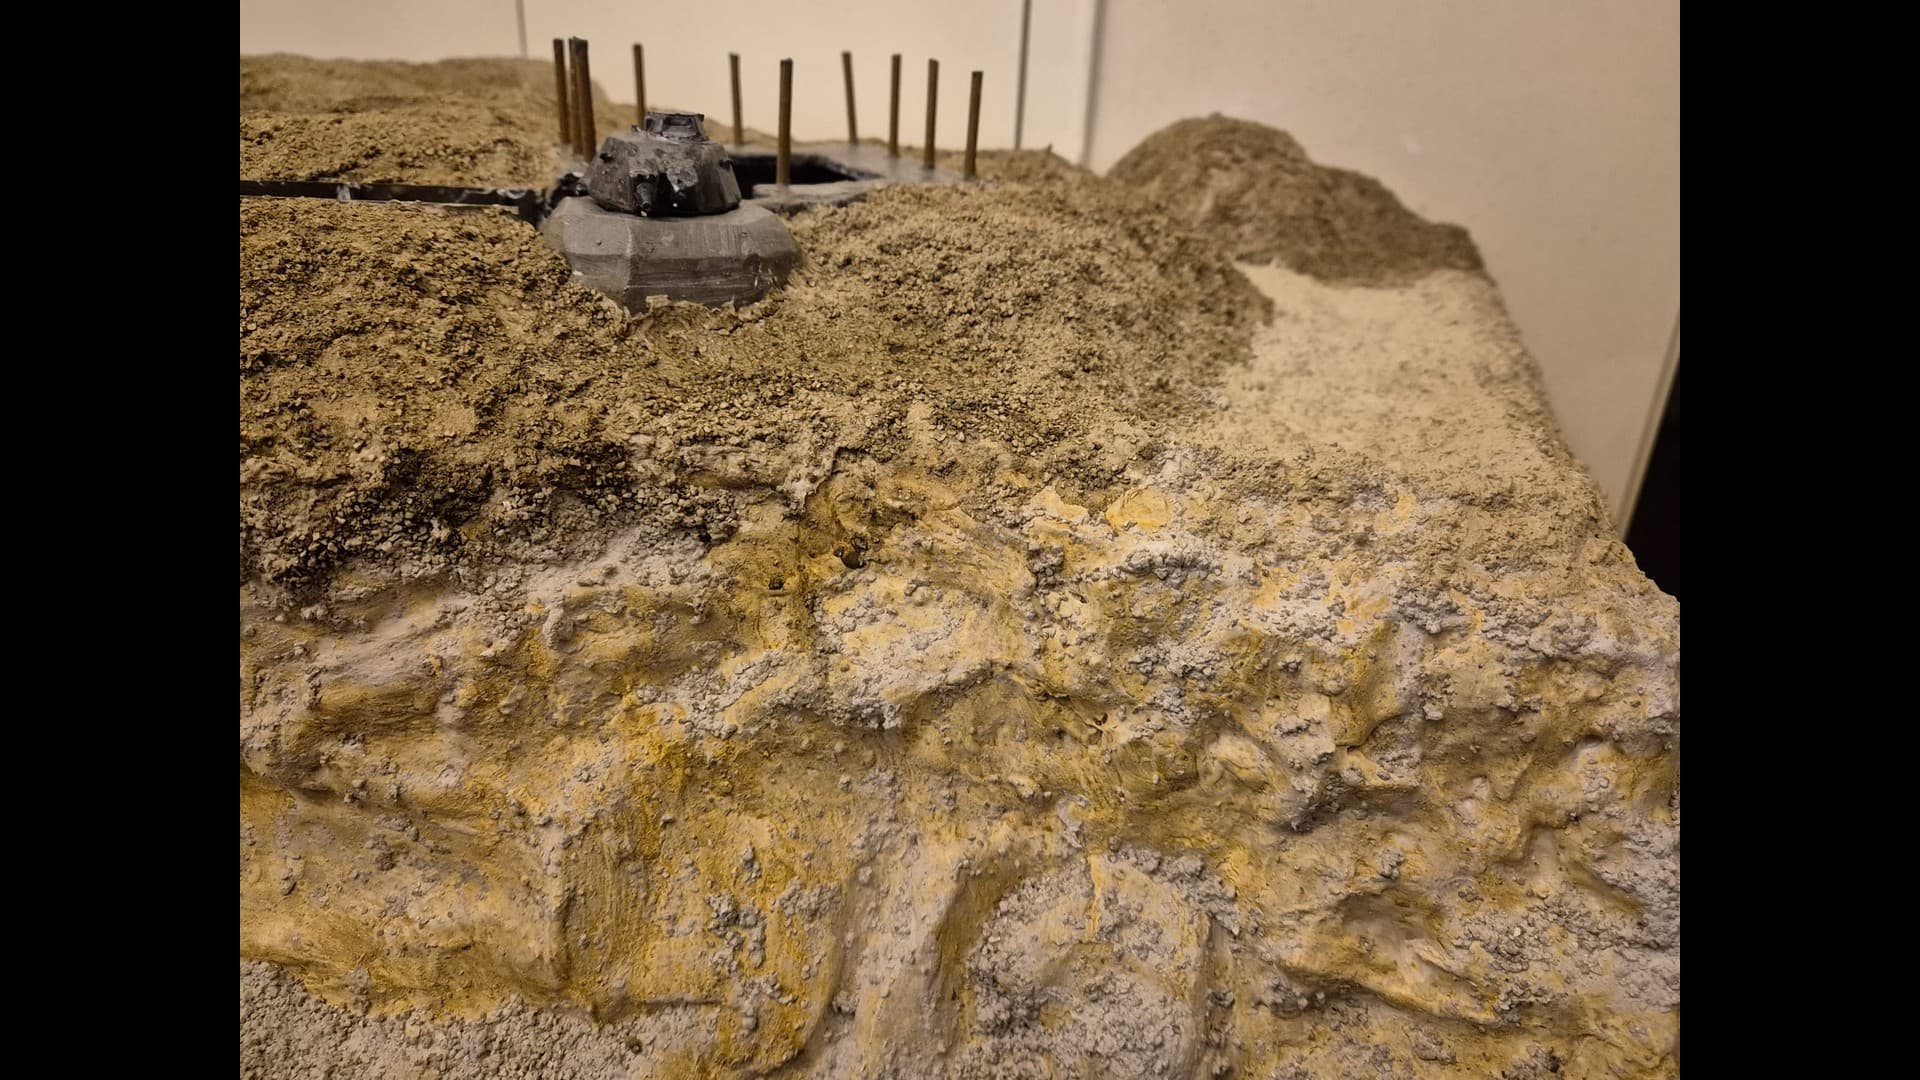
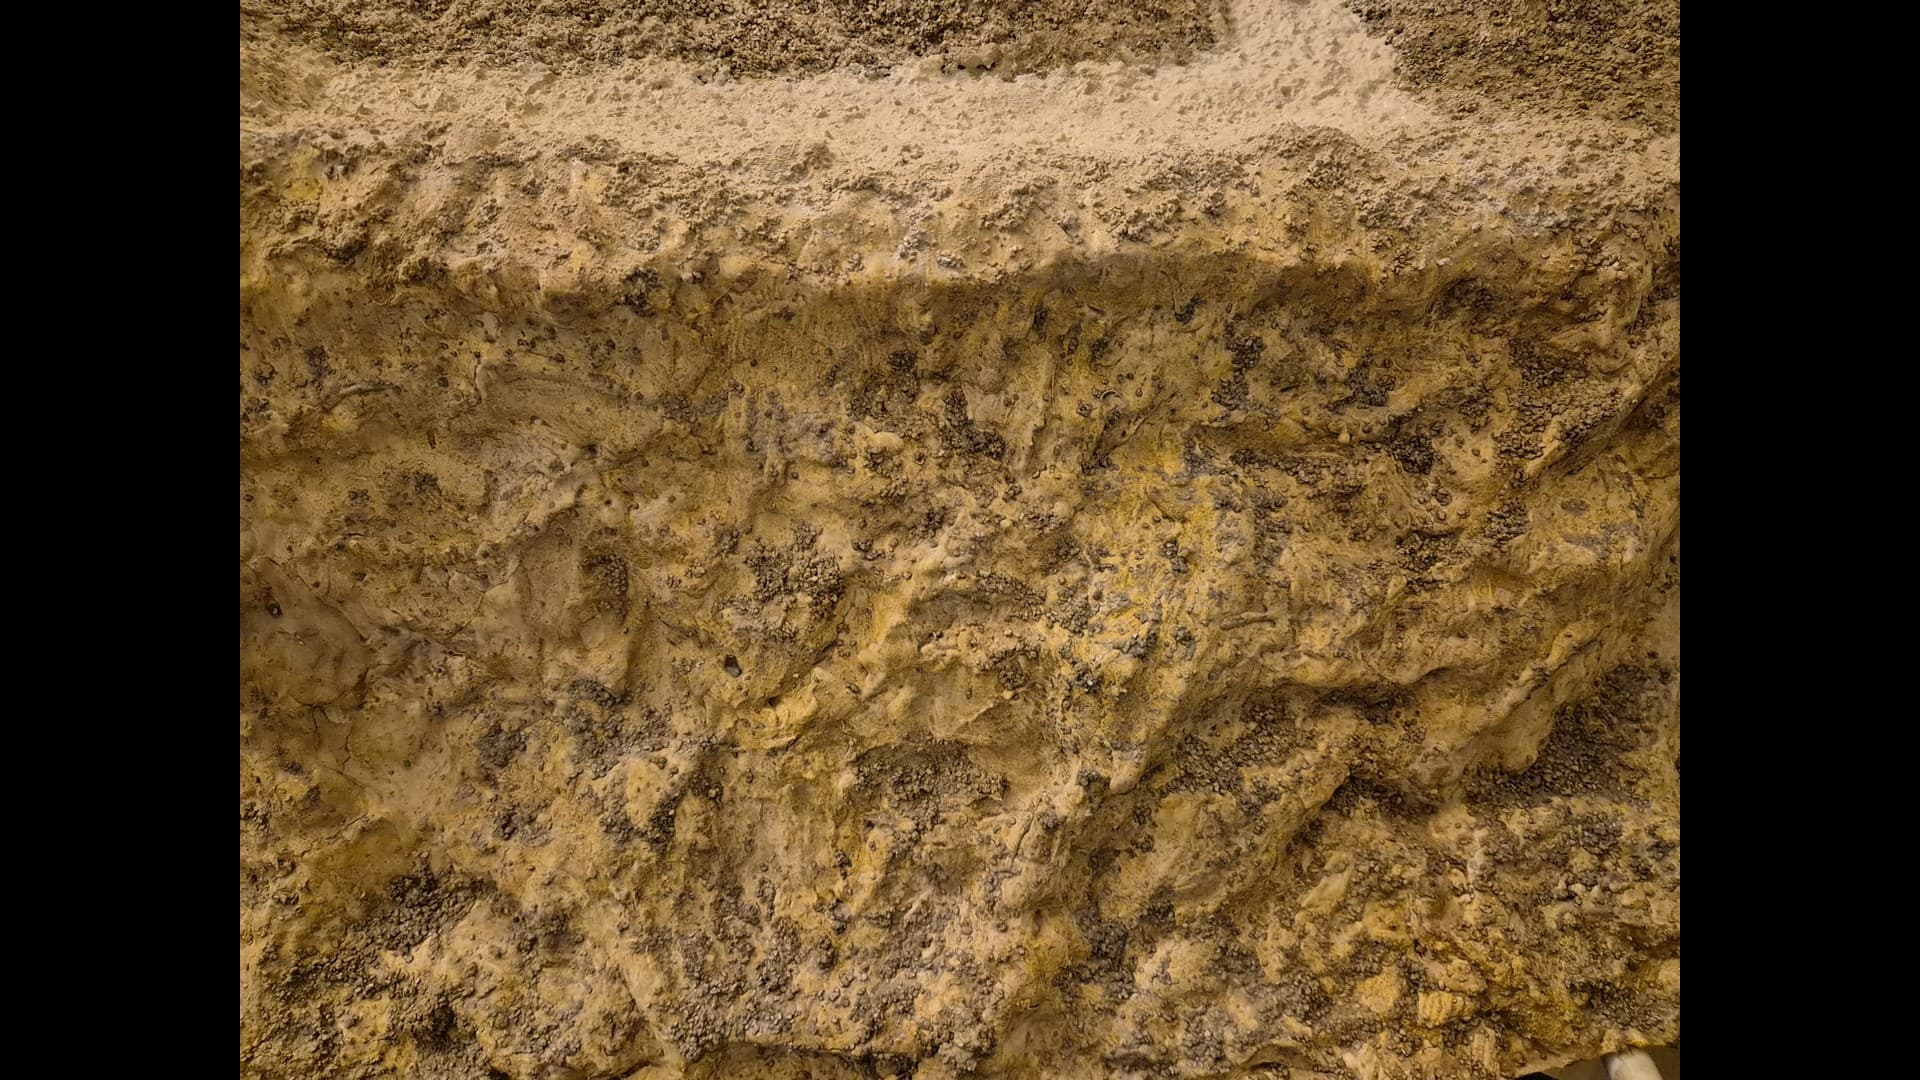
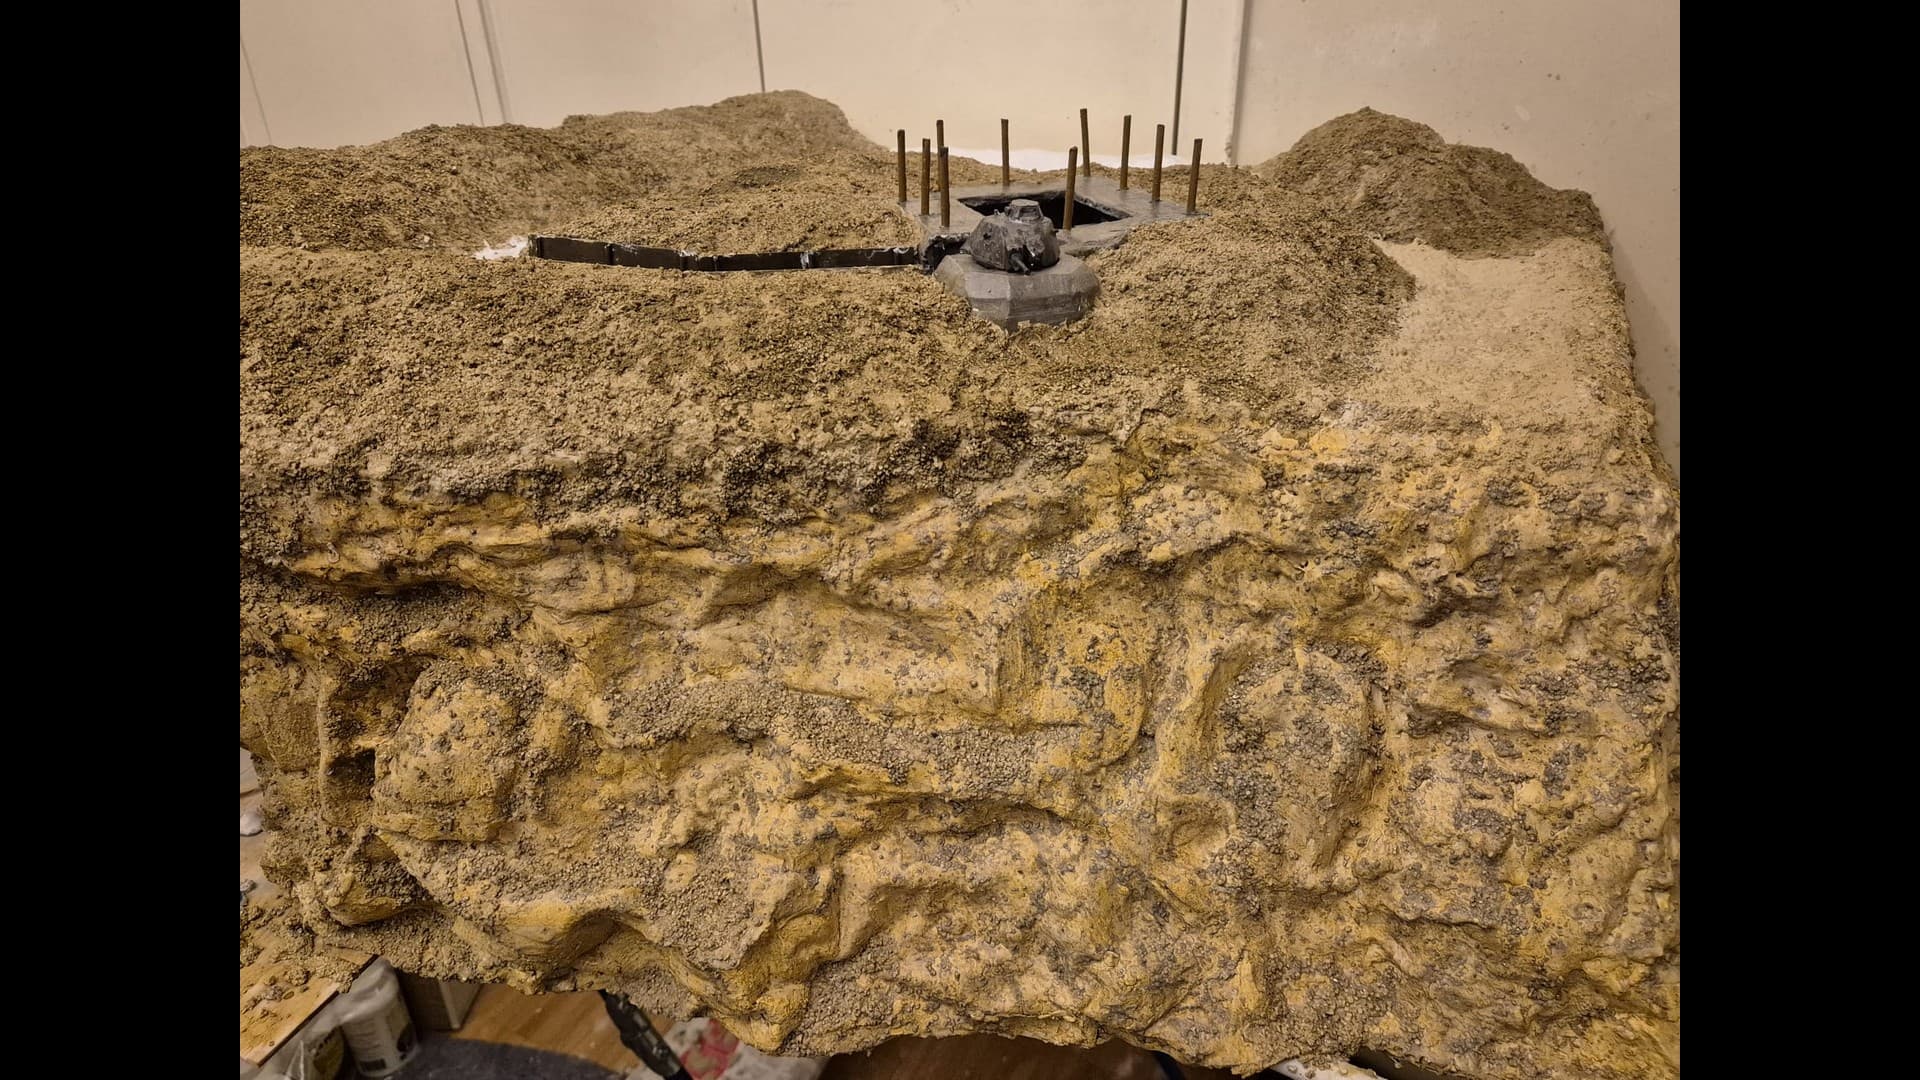
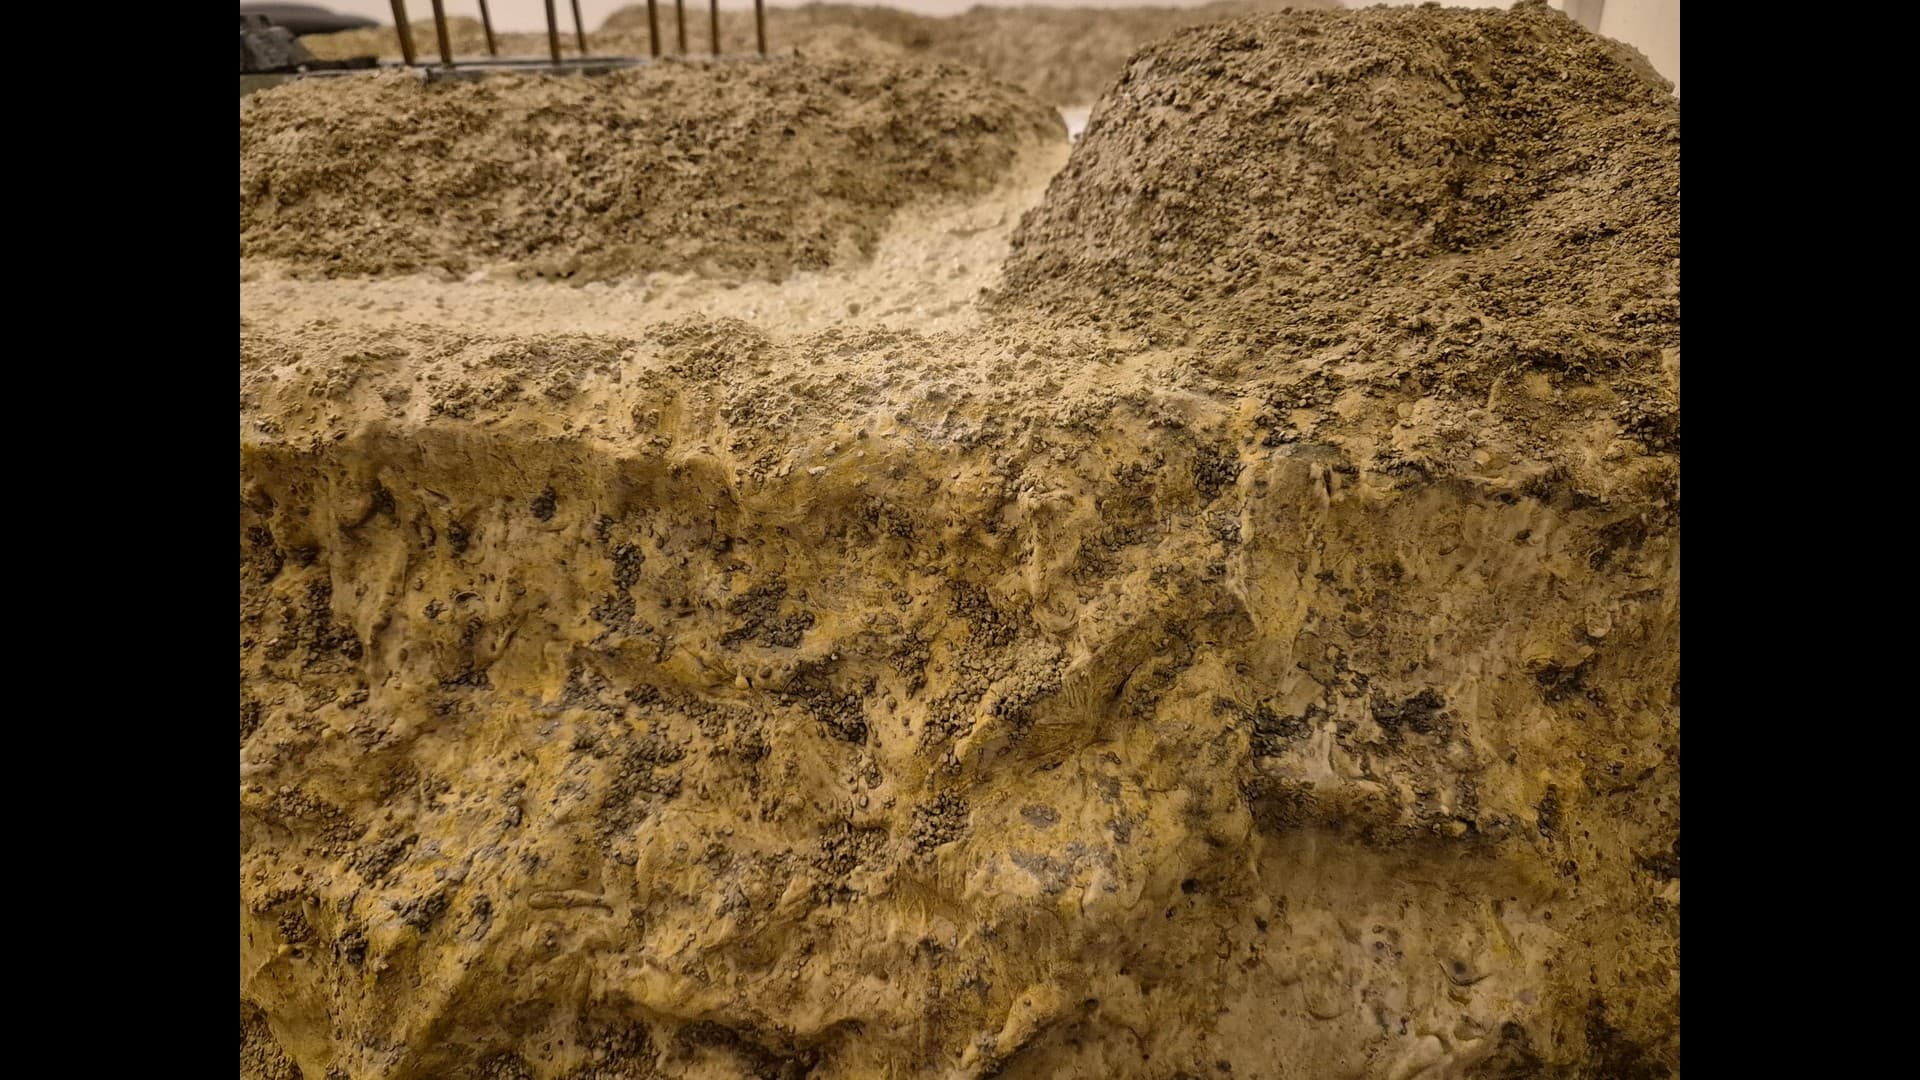
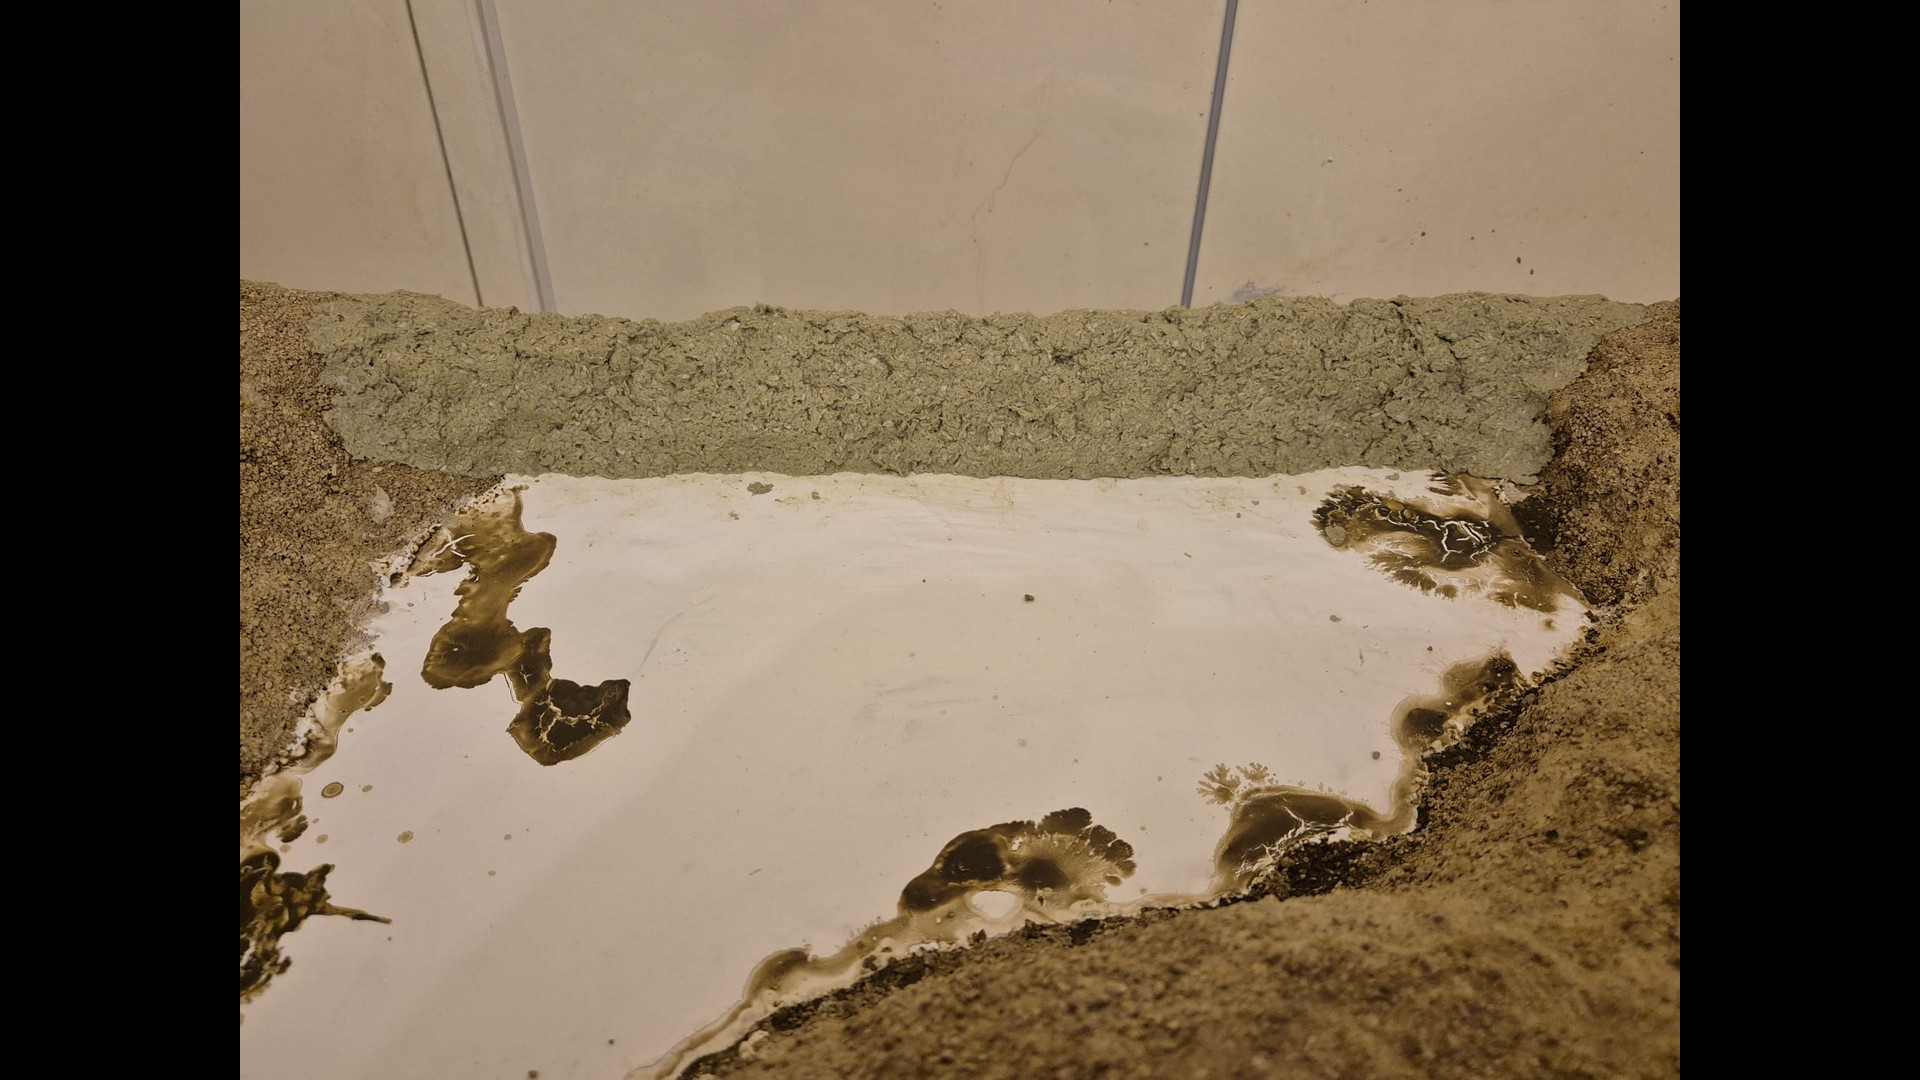
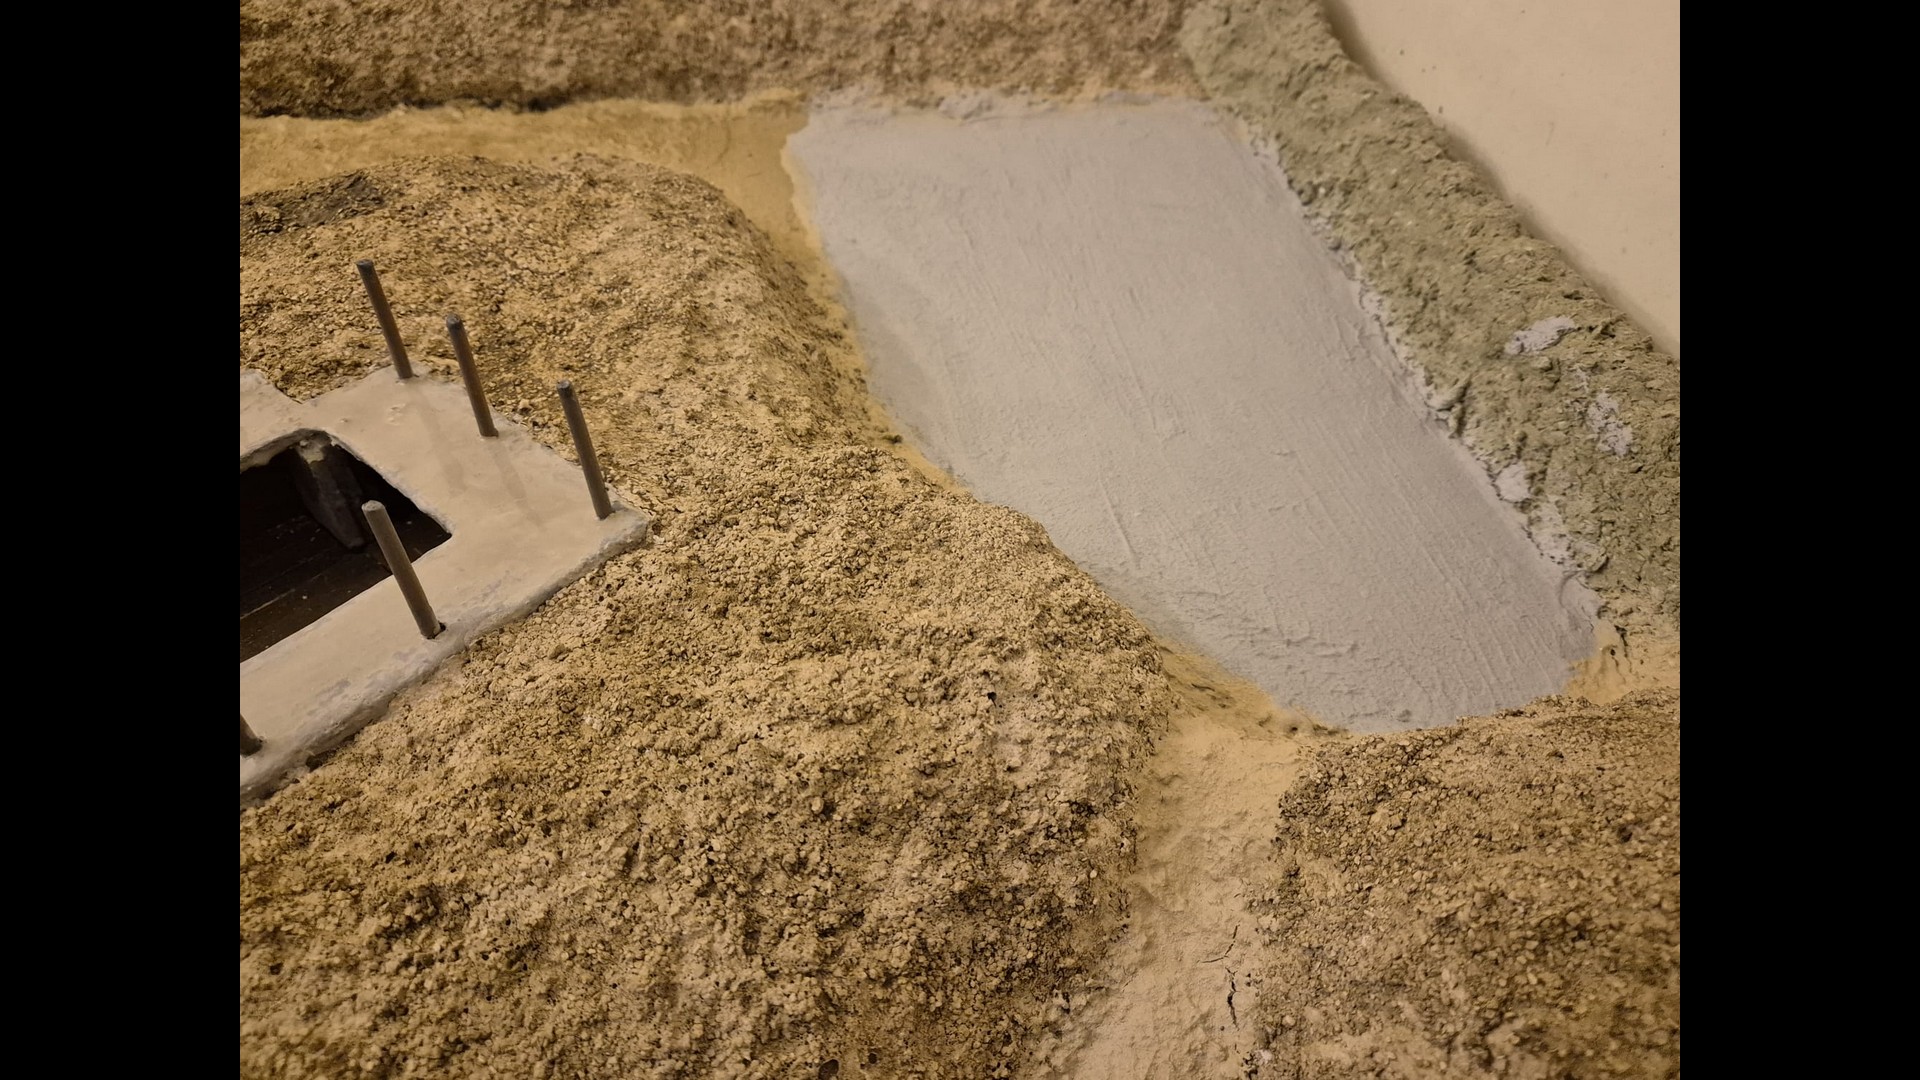
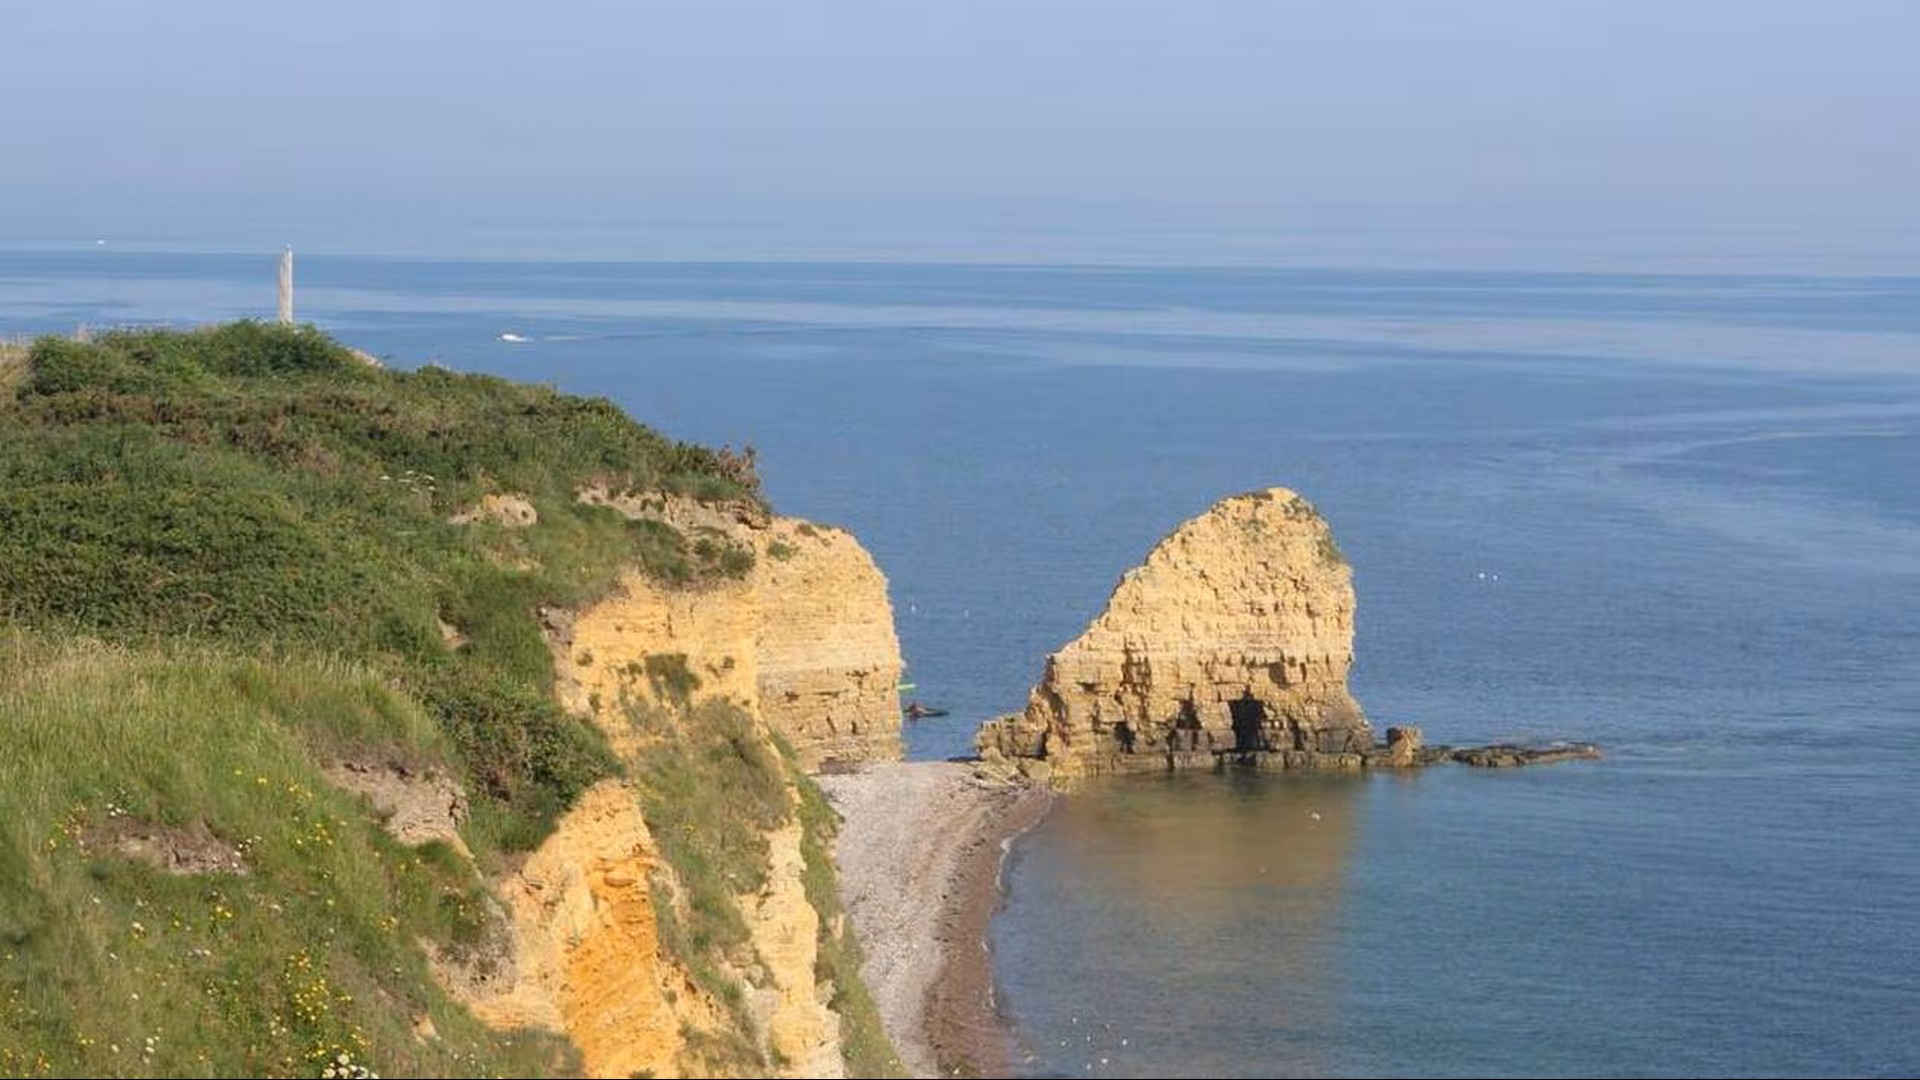
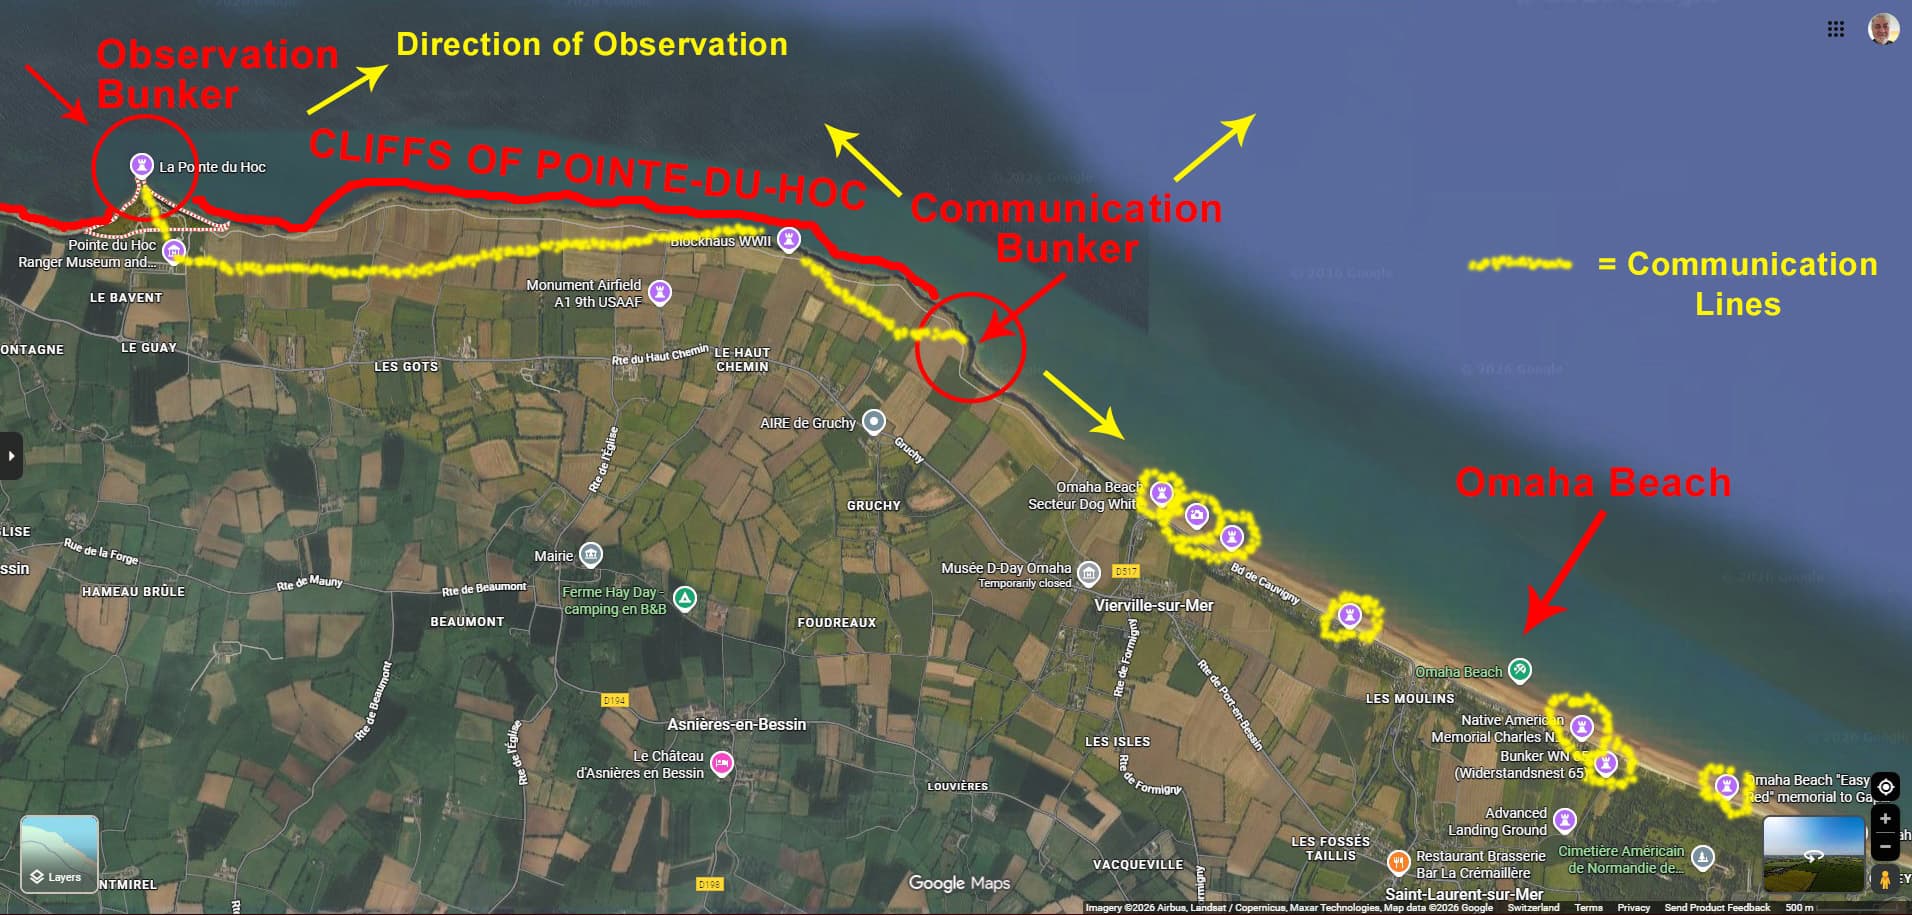
This is the frontal ledge where Rommel and his staff will be observing both the Channel as well as Omaha Beach. This too was covered with the rough material and then fixed with an application of AK Interactive Light Earth acrylic terrain.

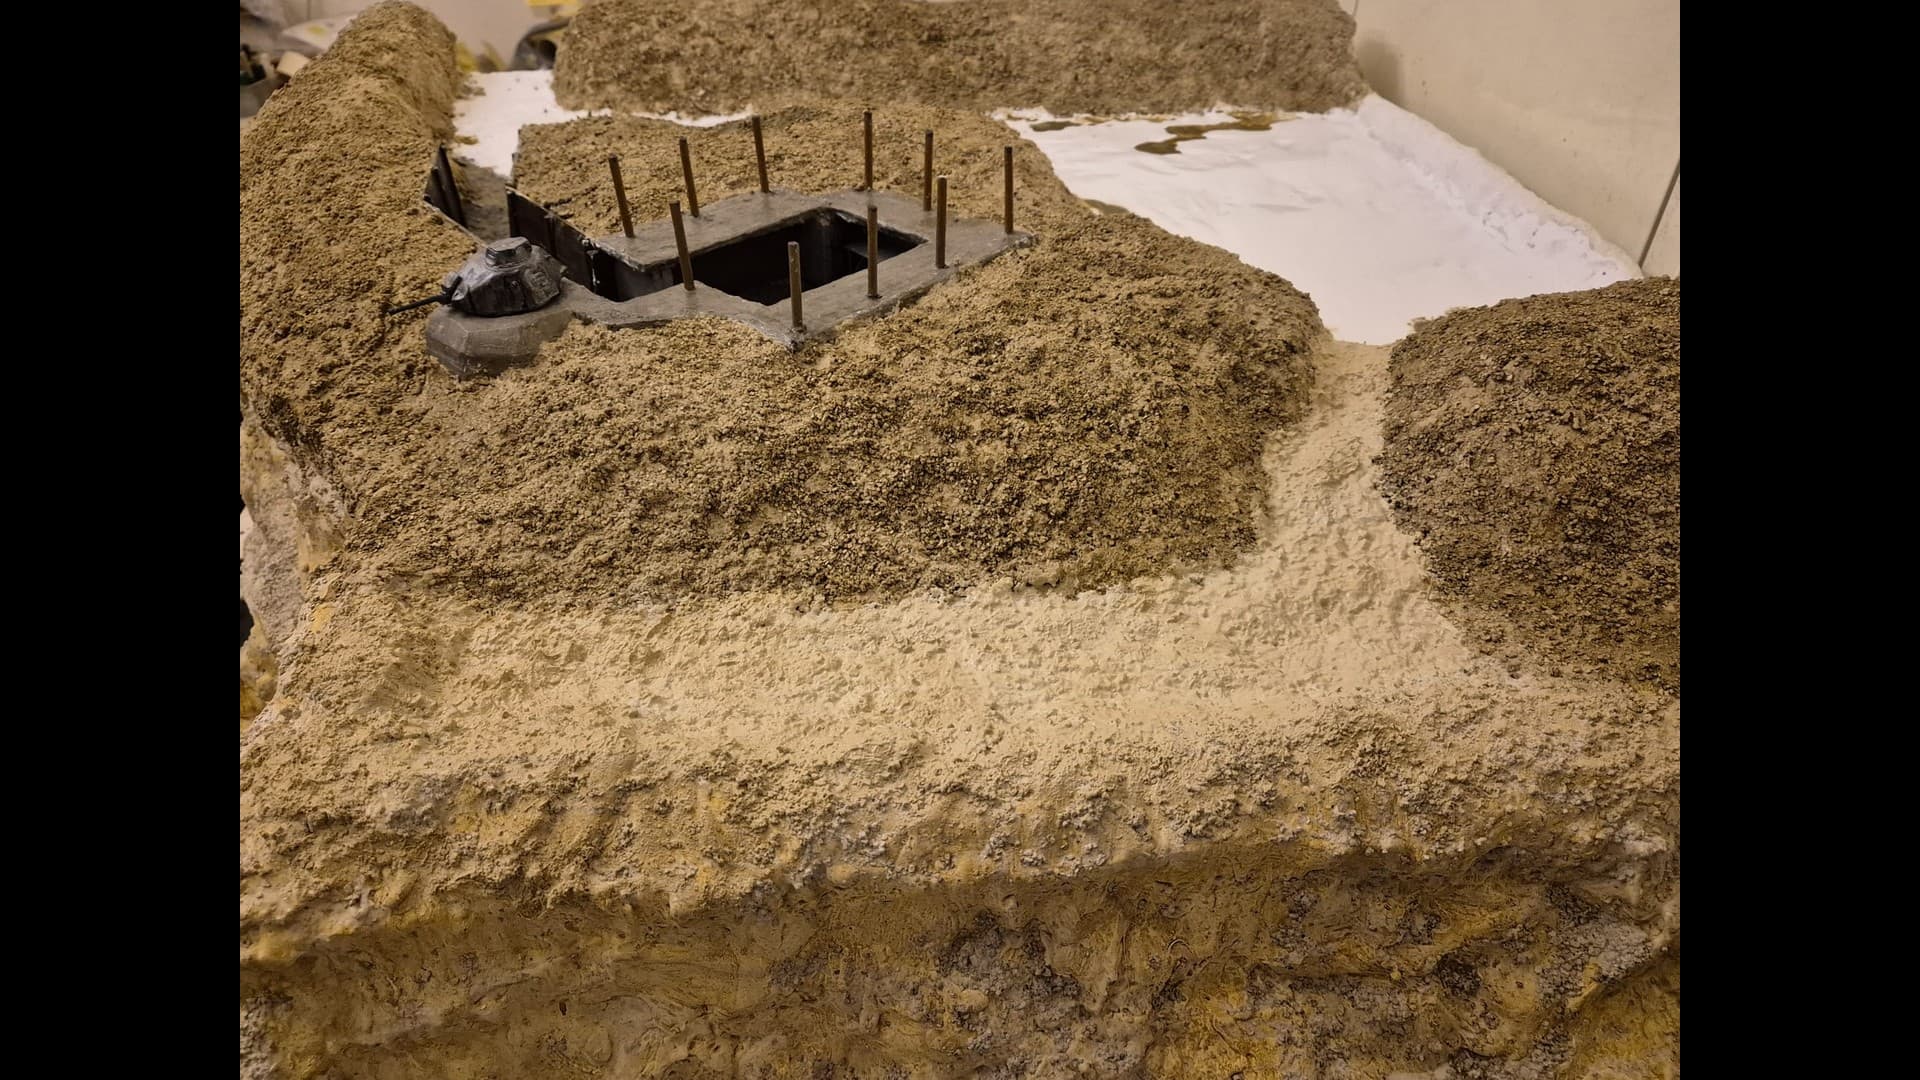
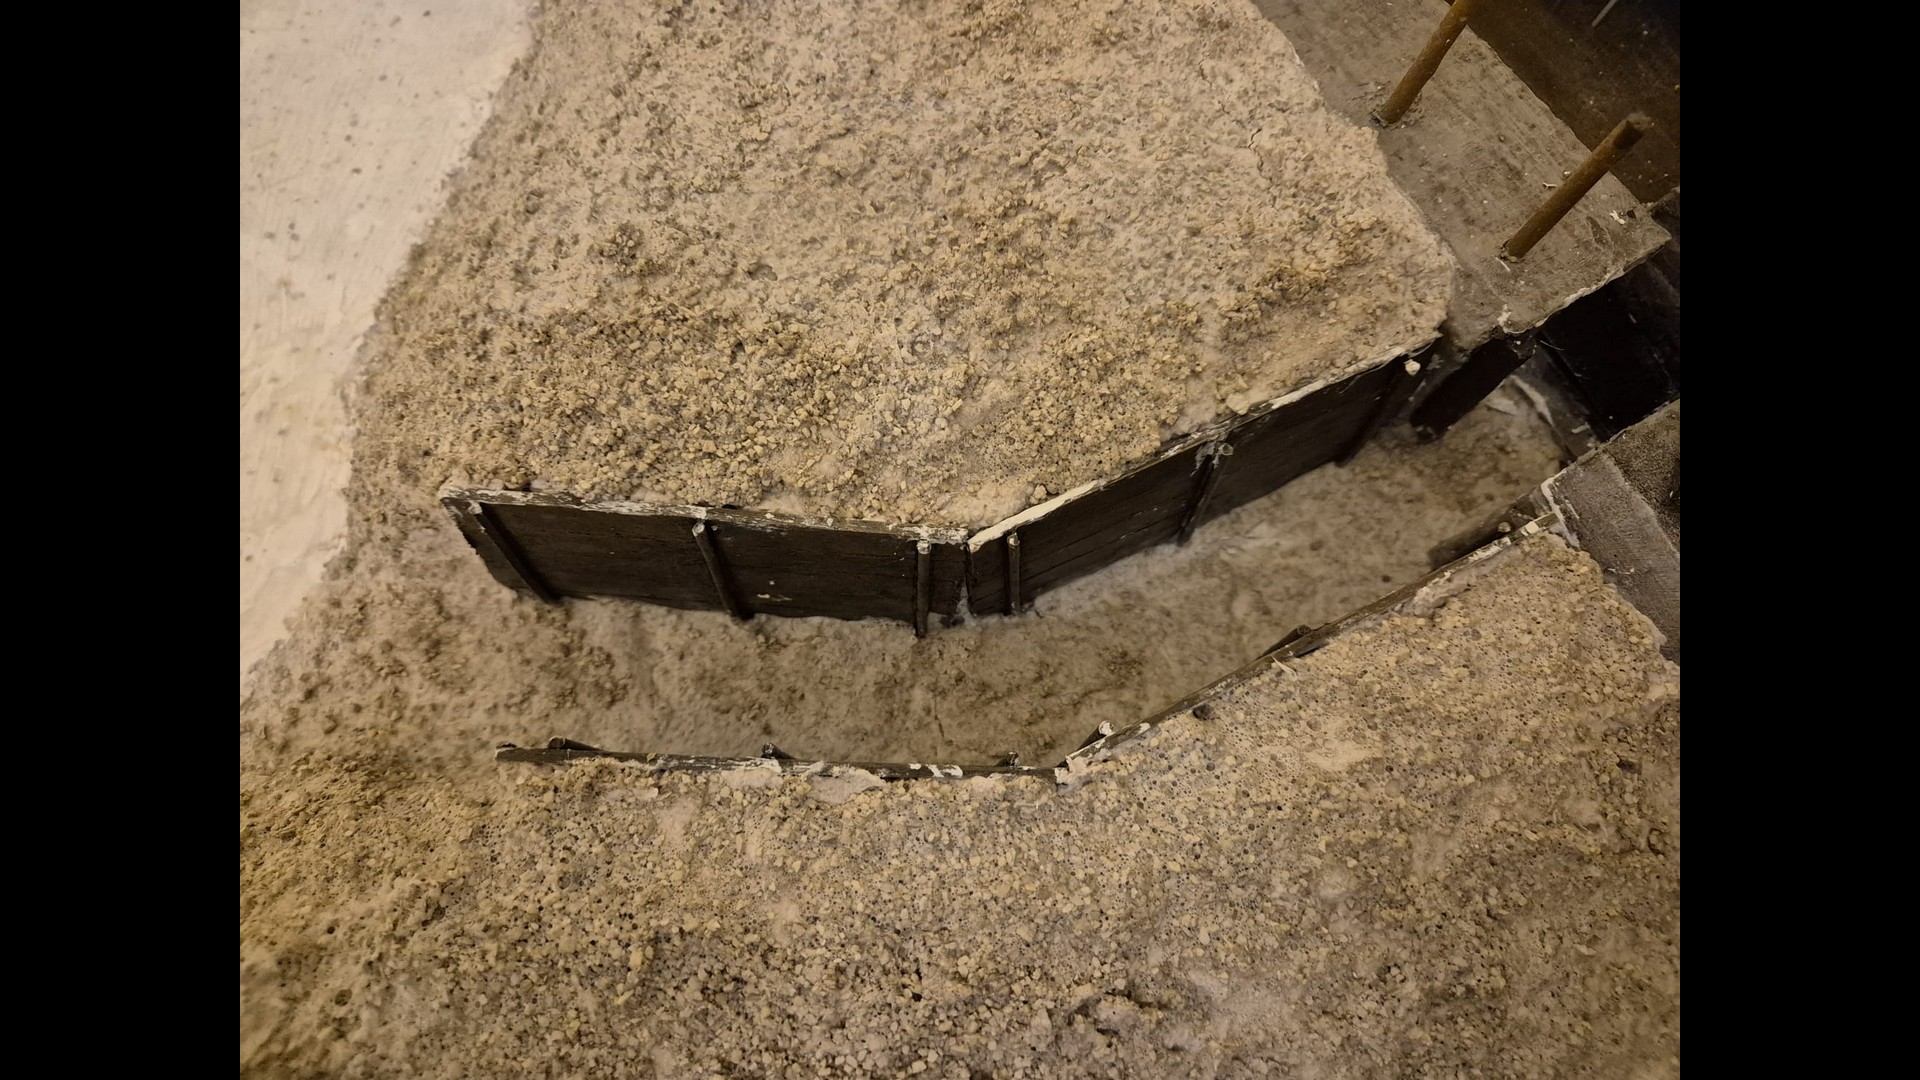
This instead is the small passage that ties the parking lot to the frontal ledge. For now I ha left is as is.

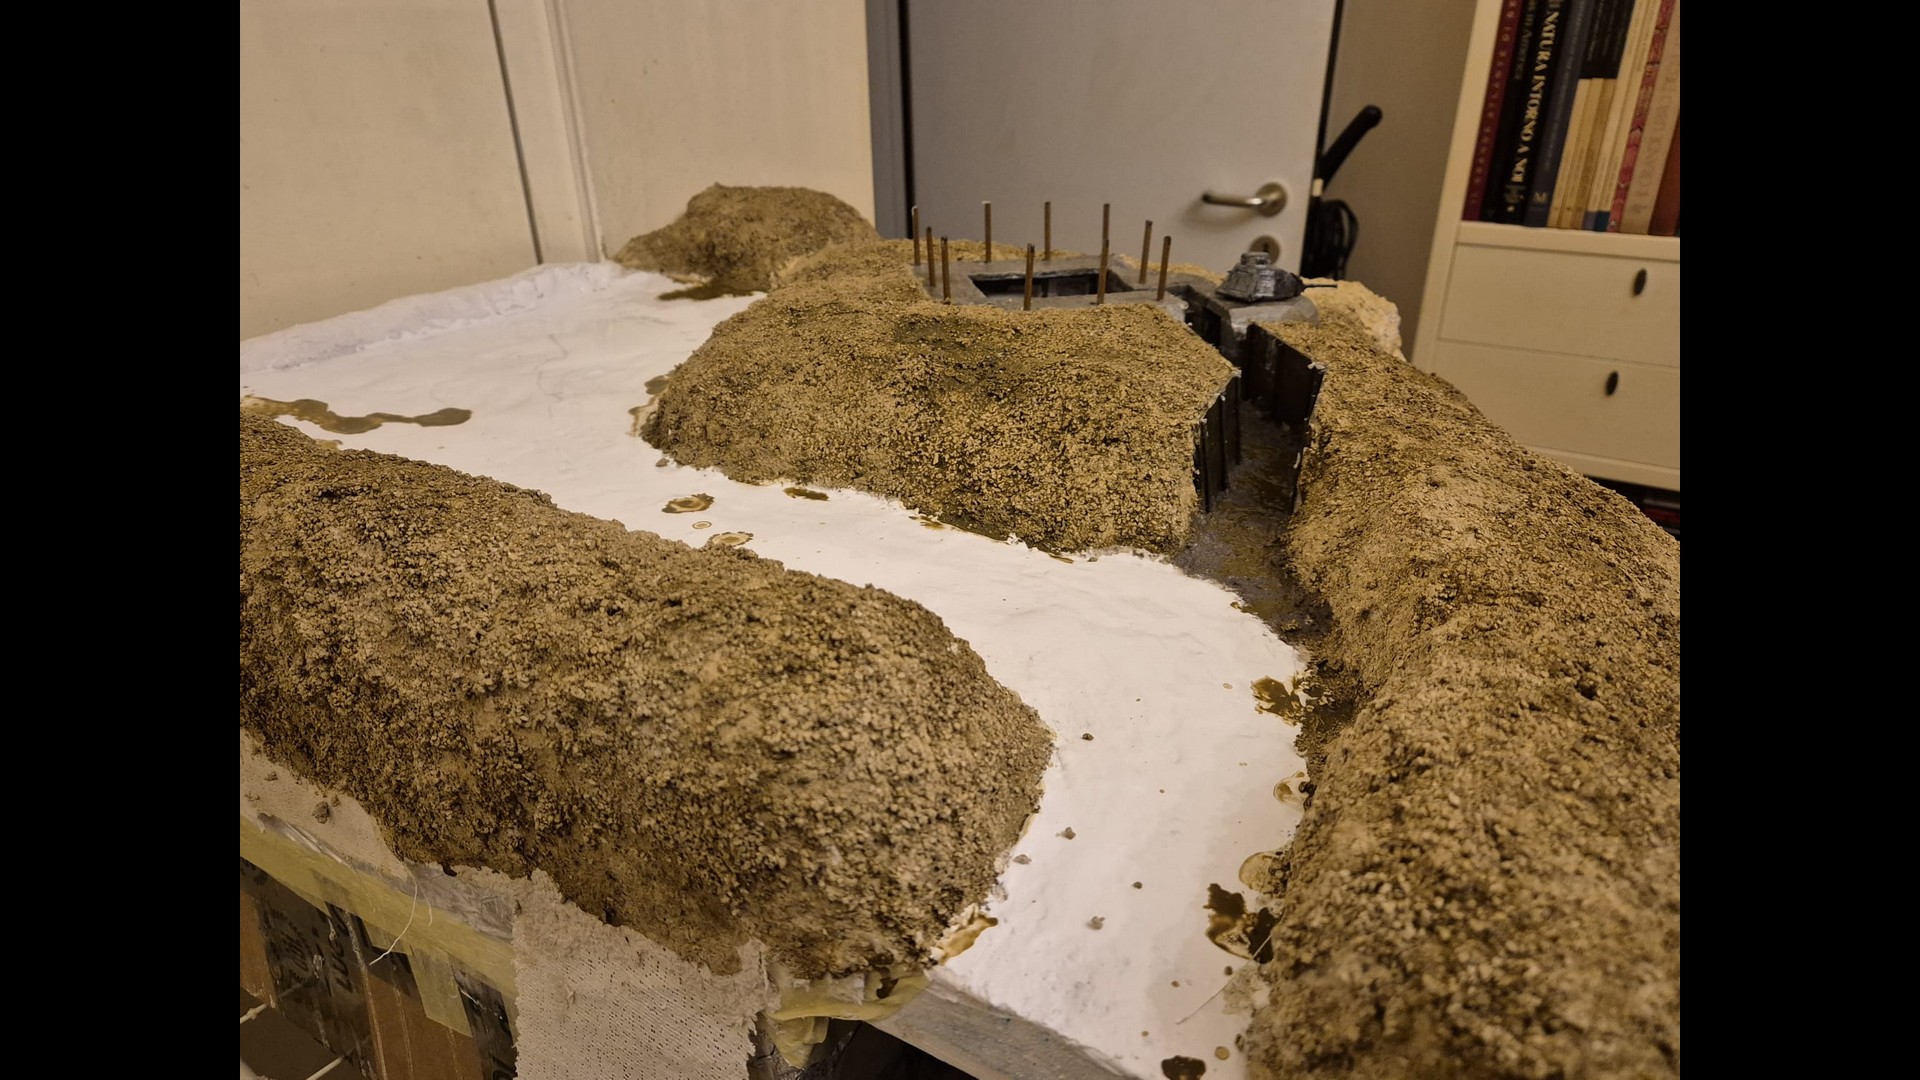
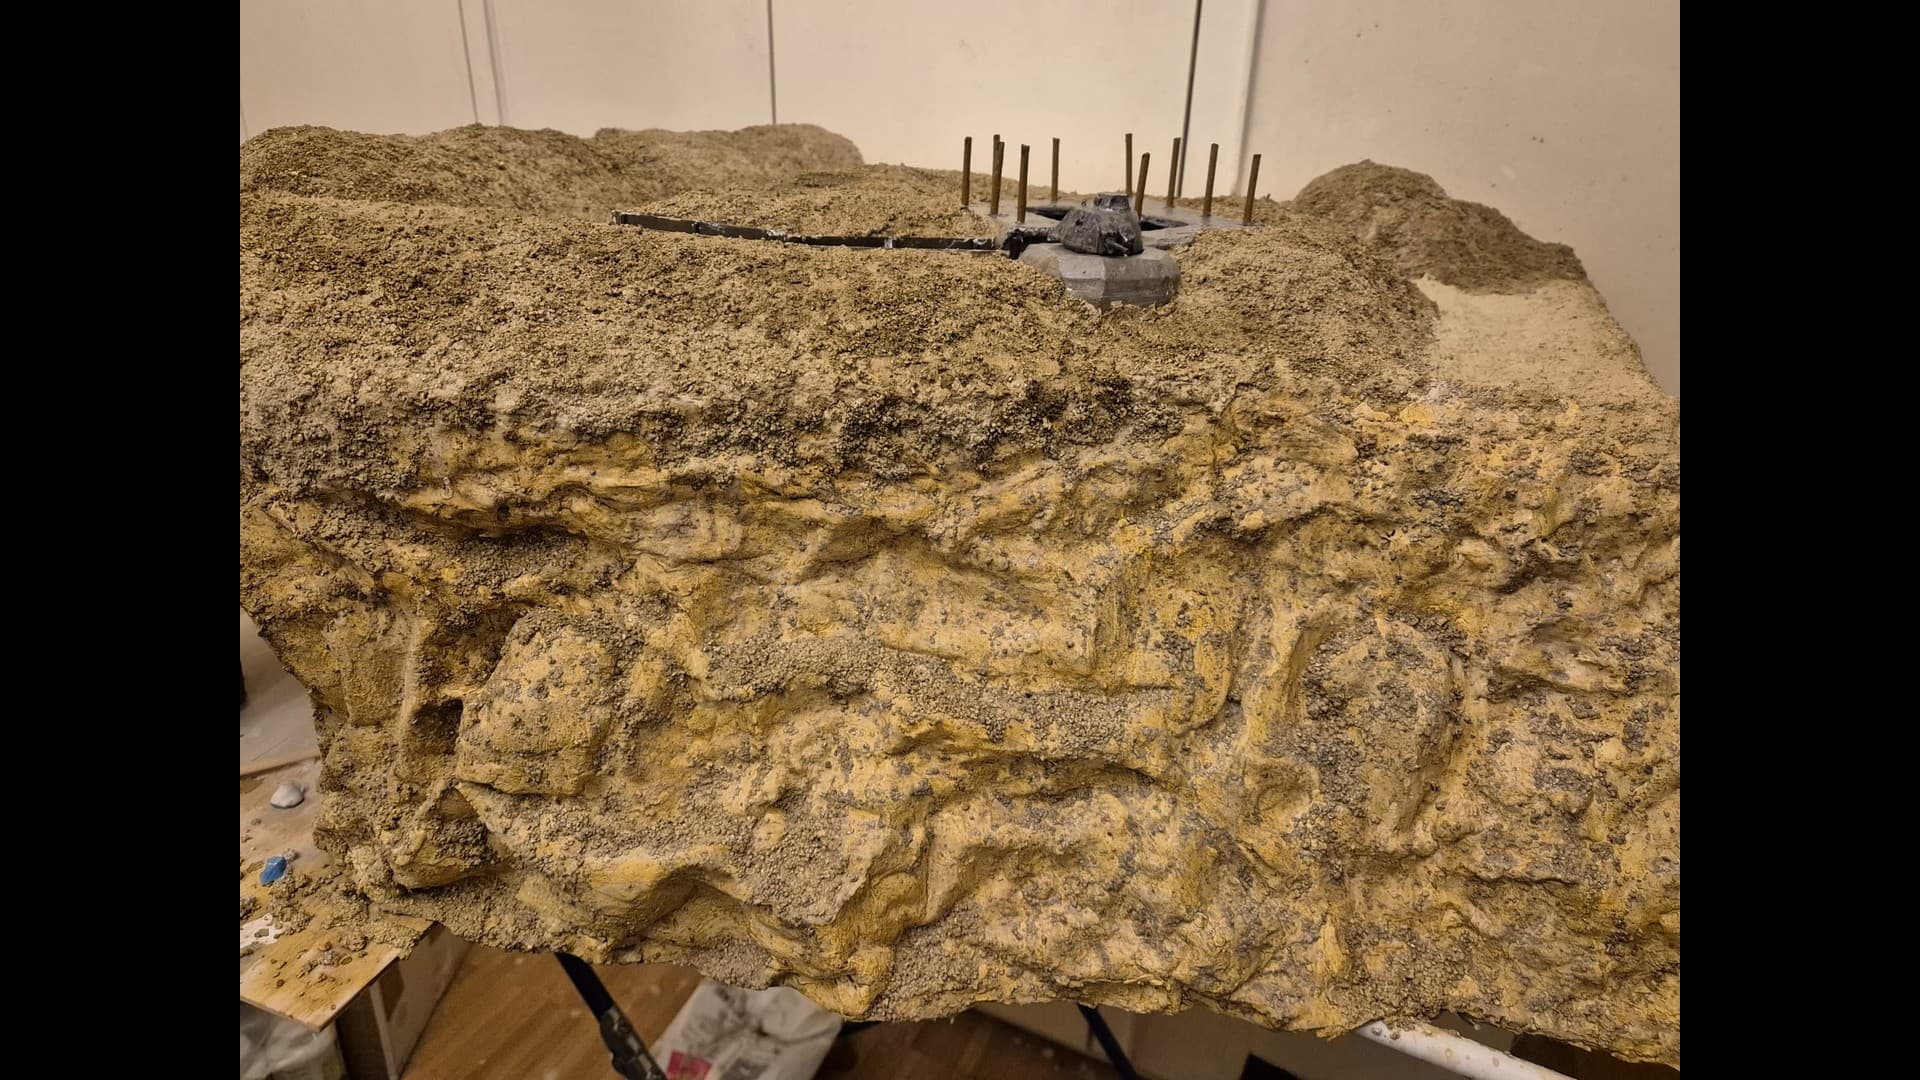
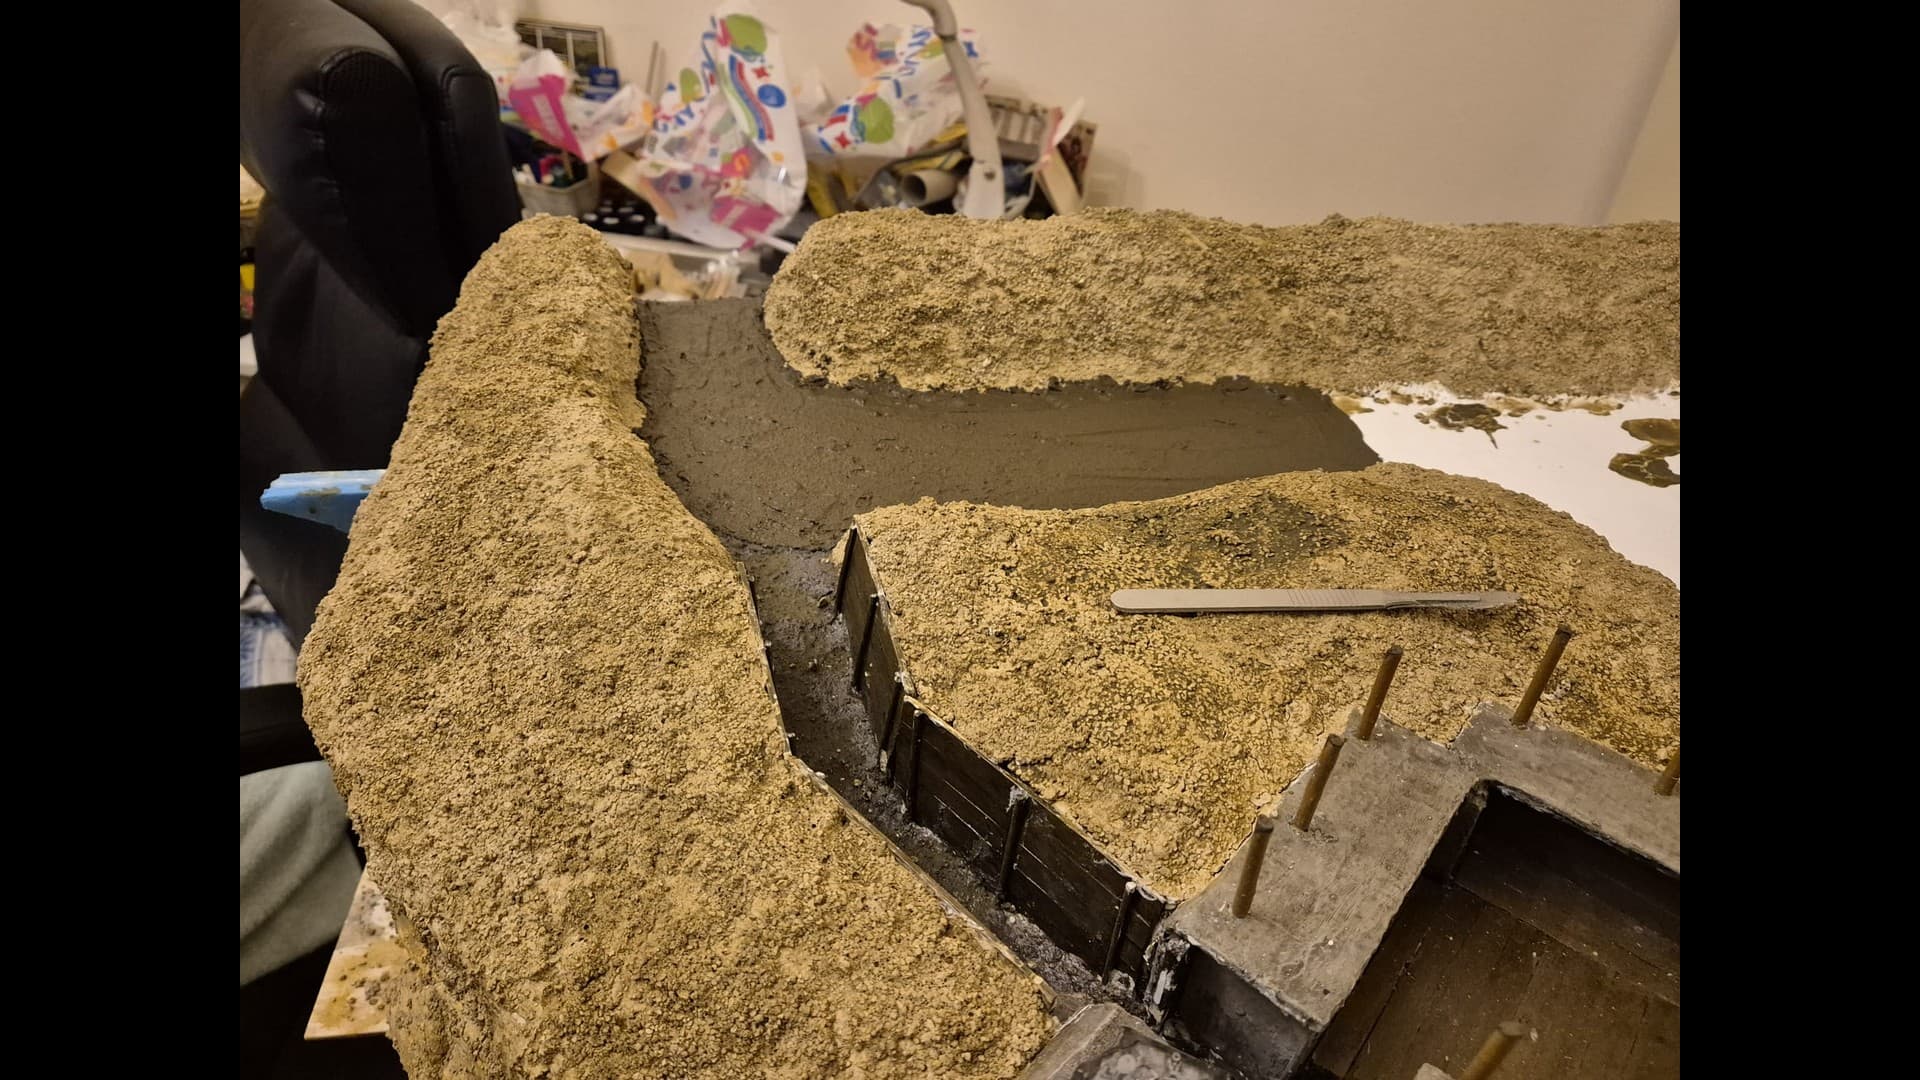
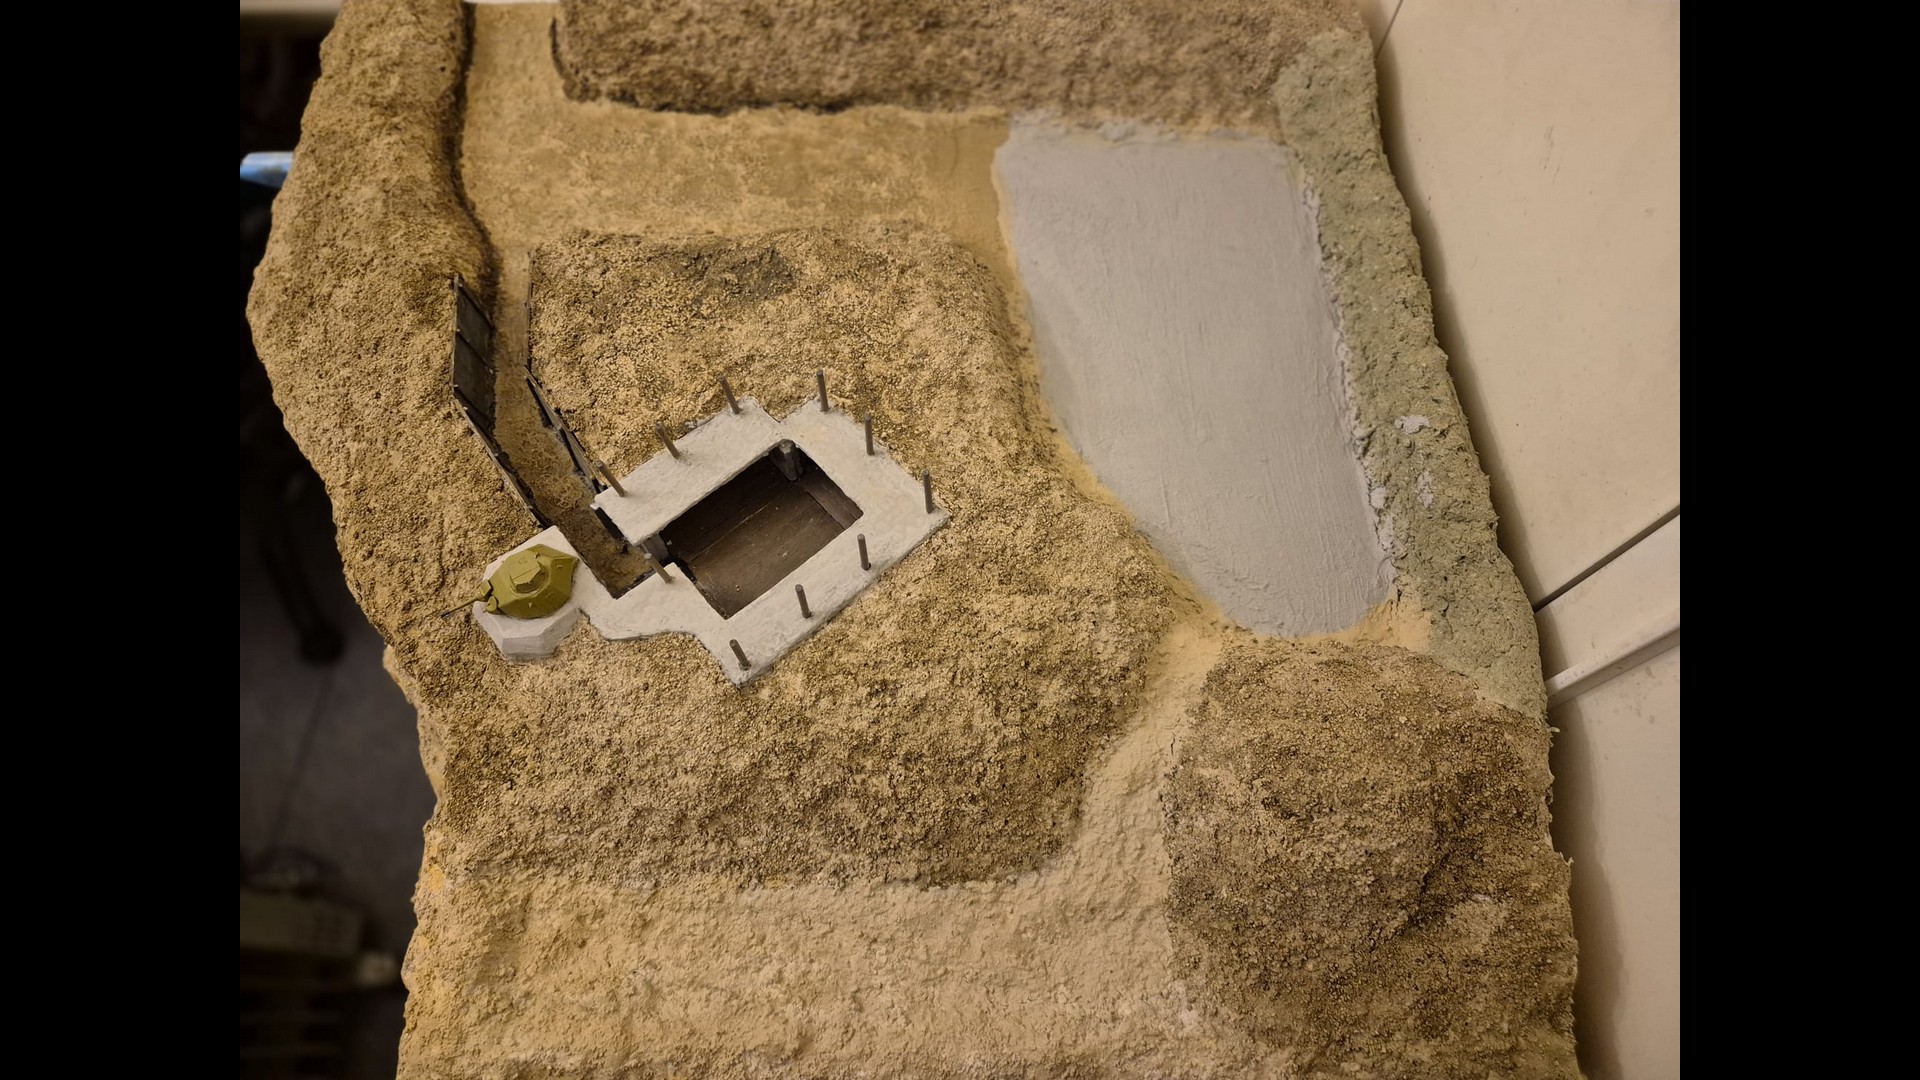
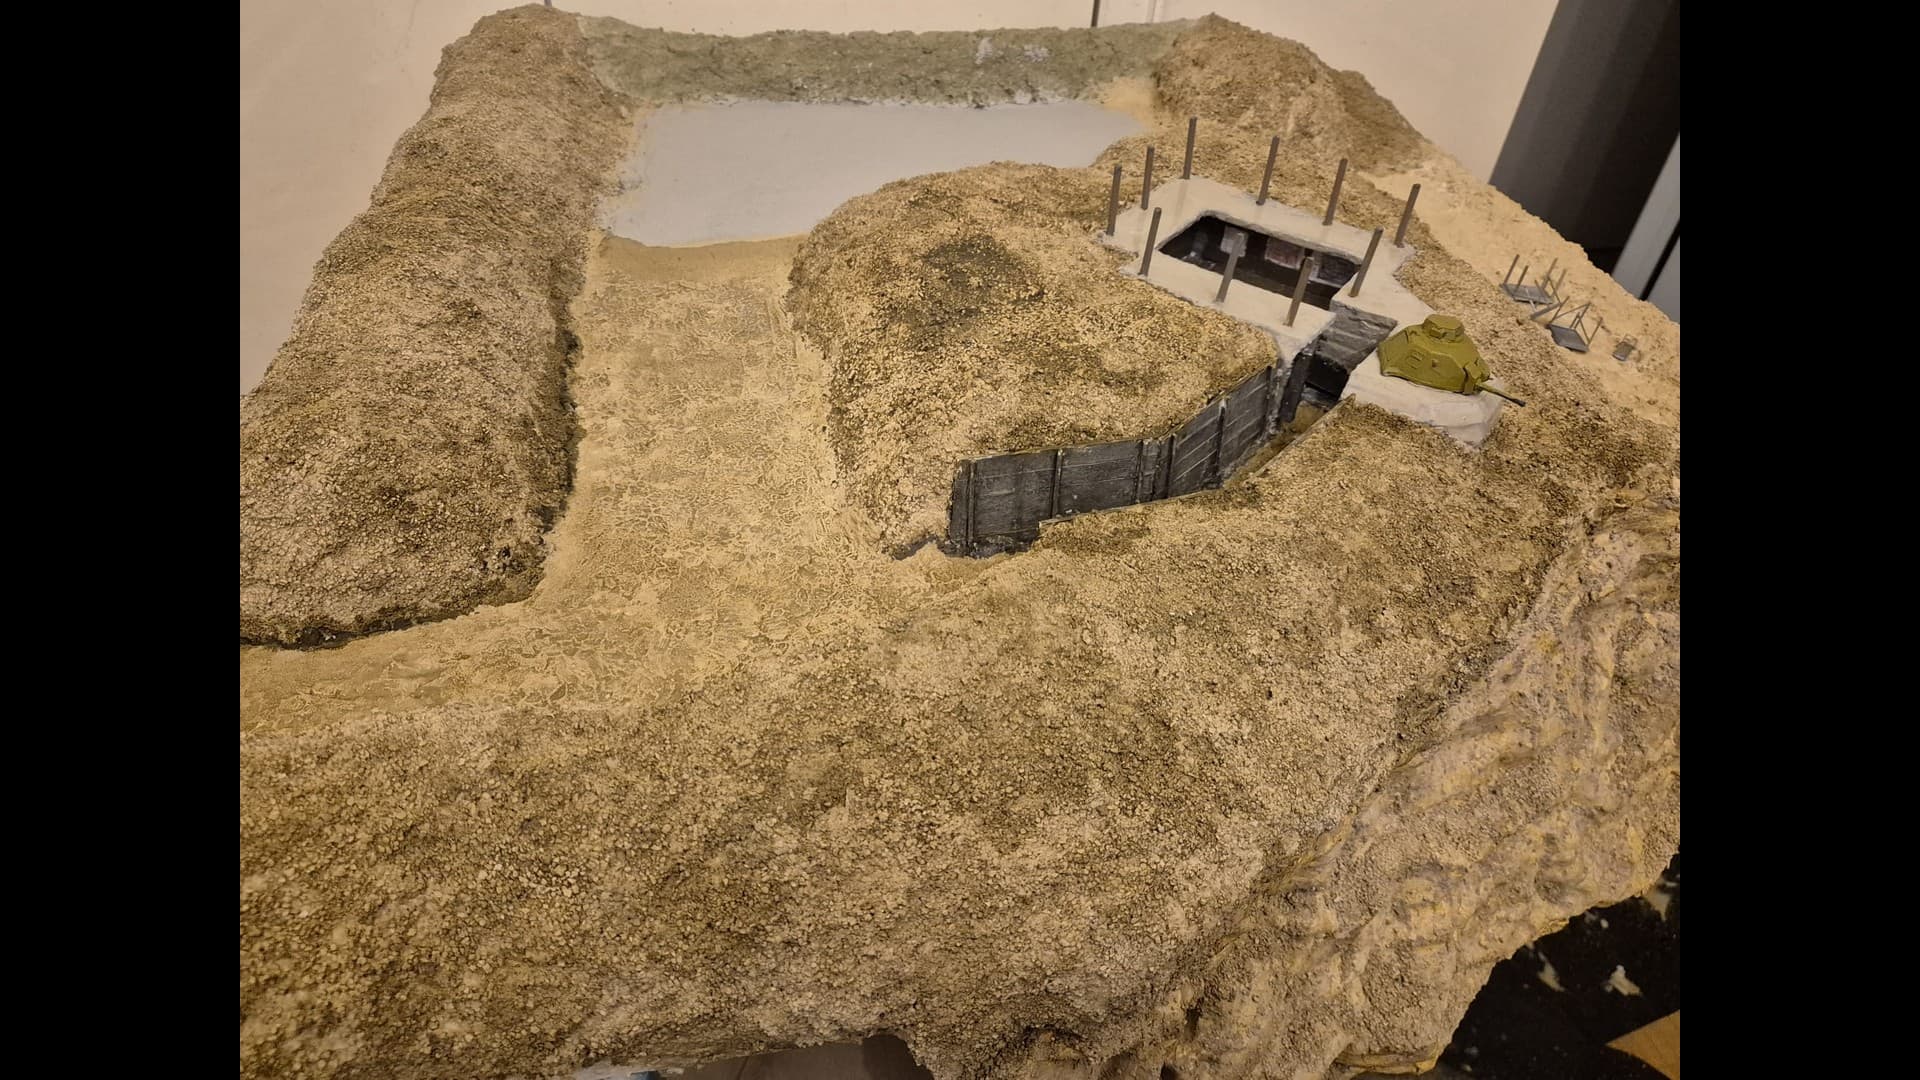
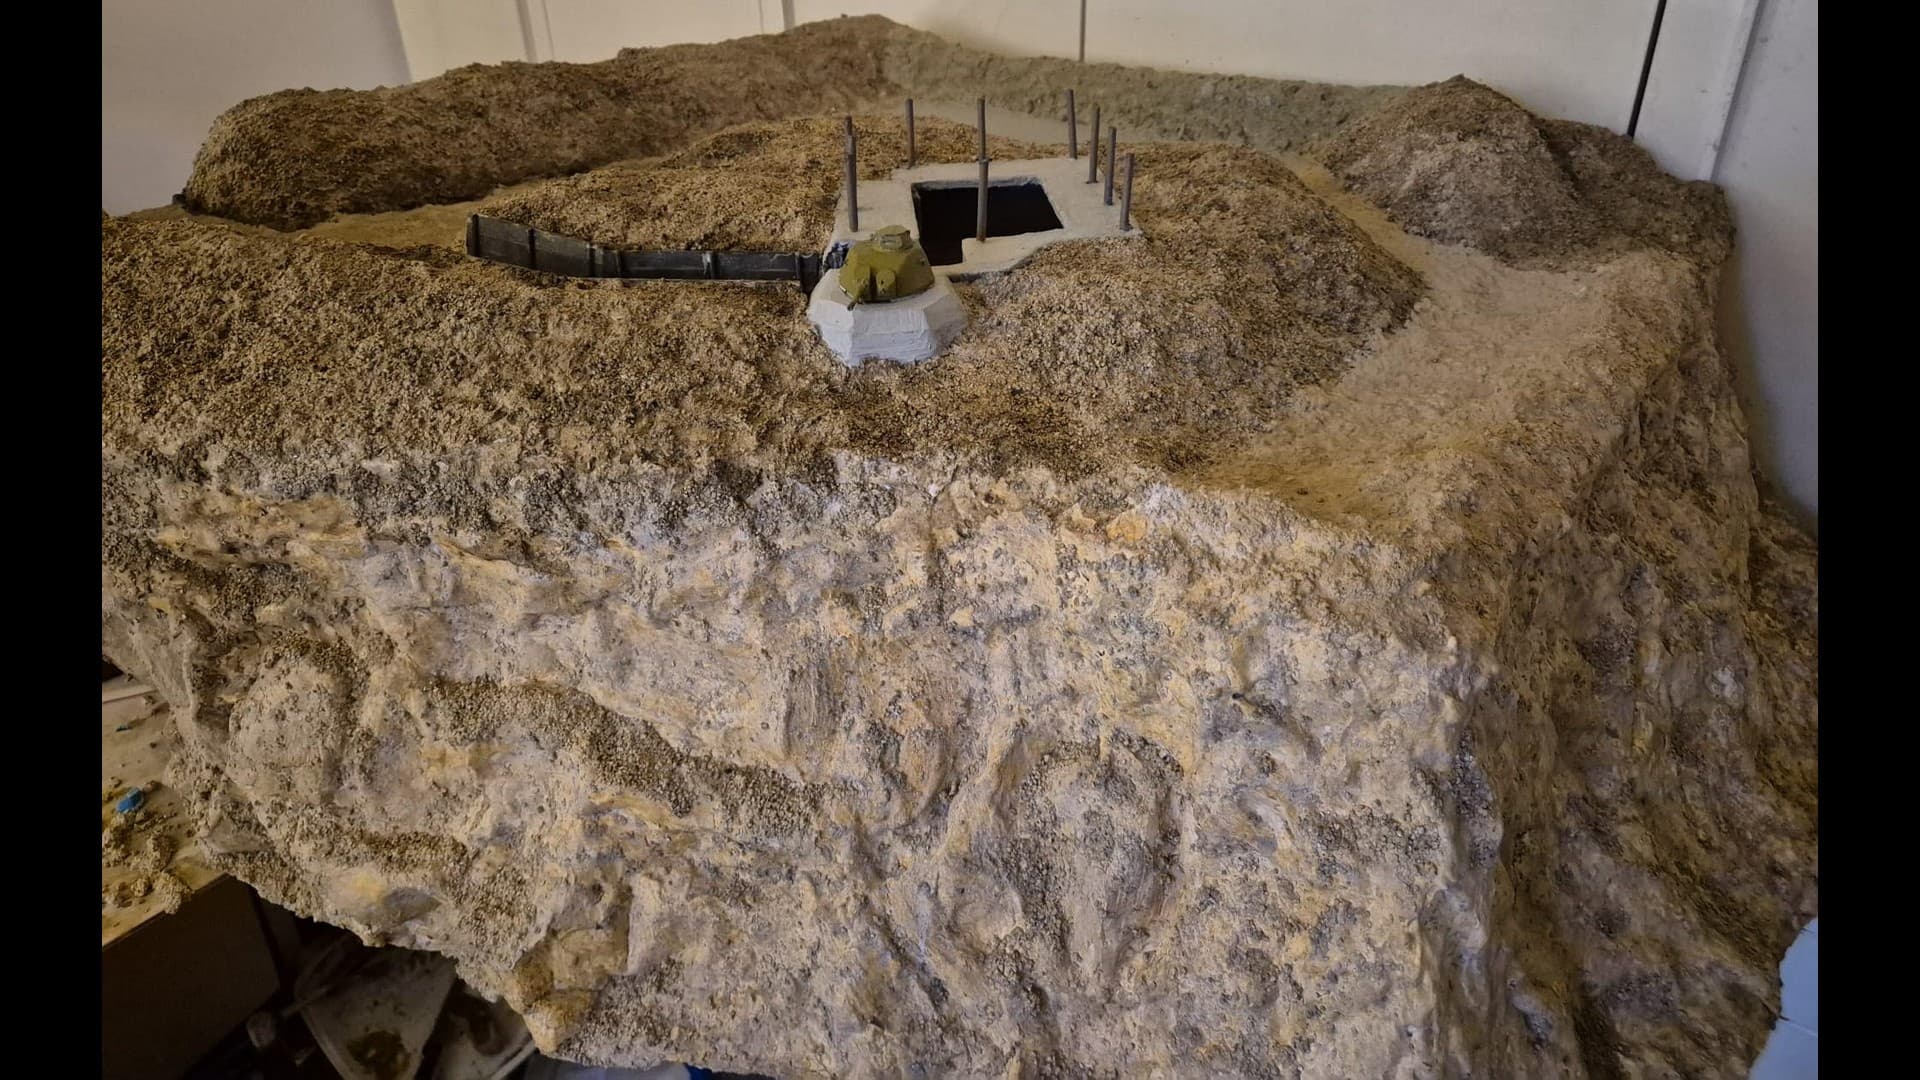
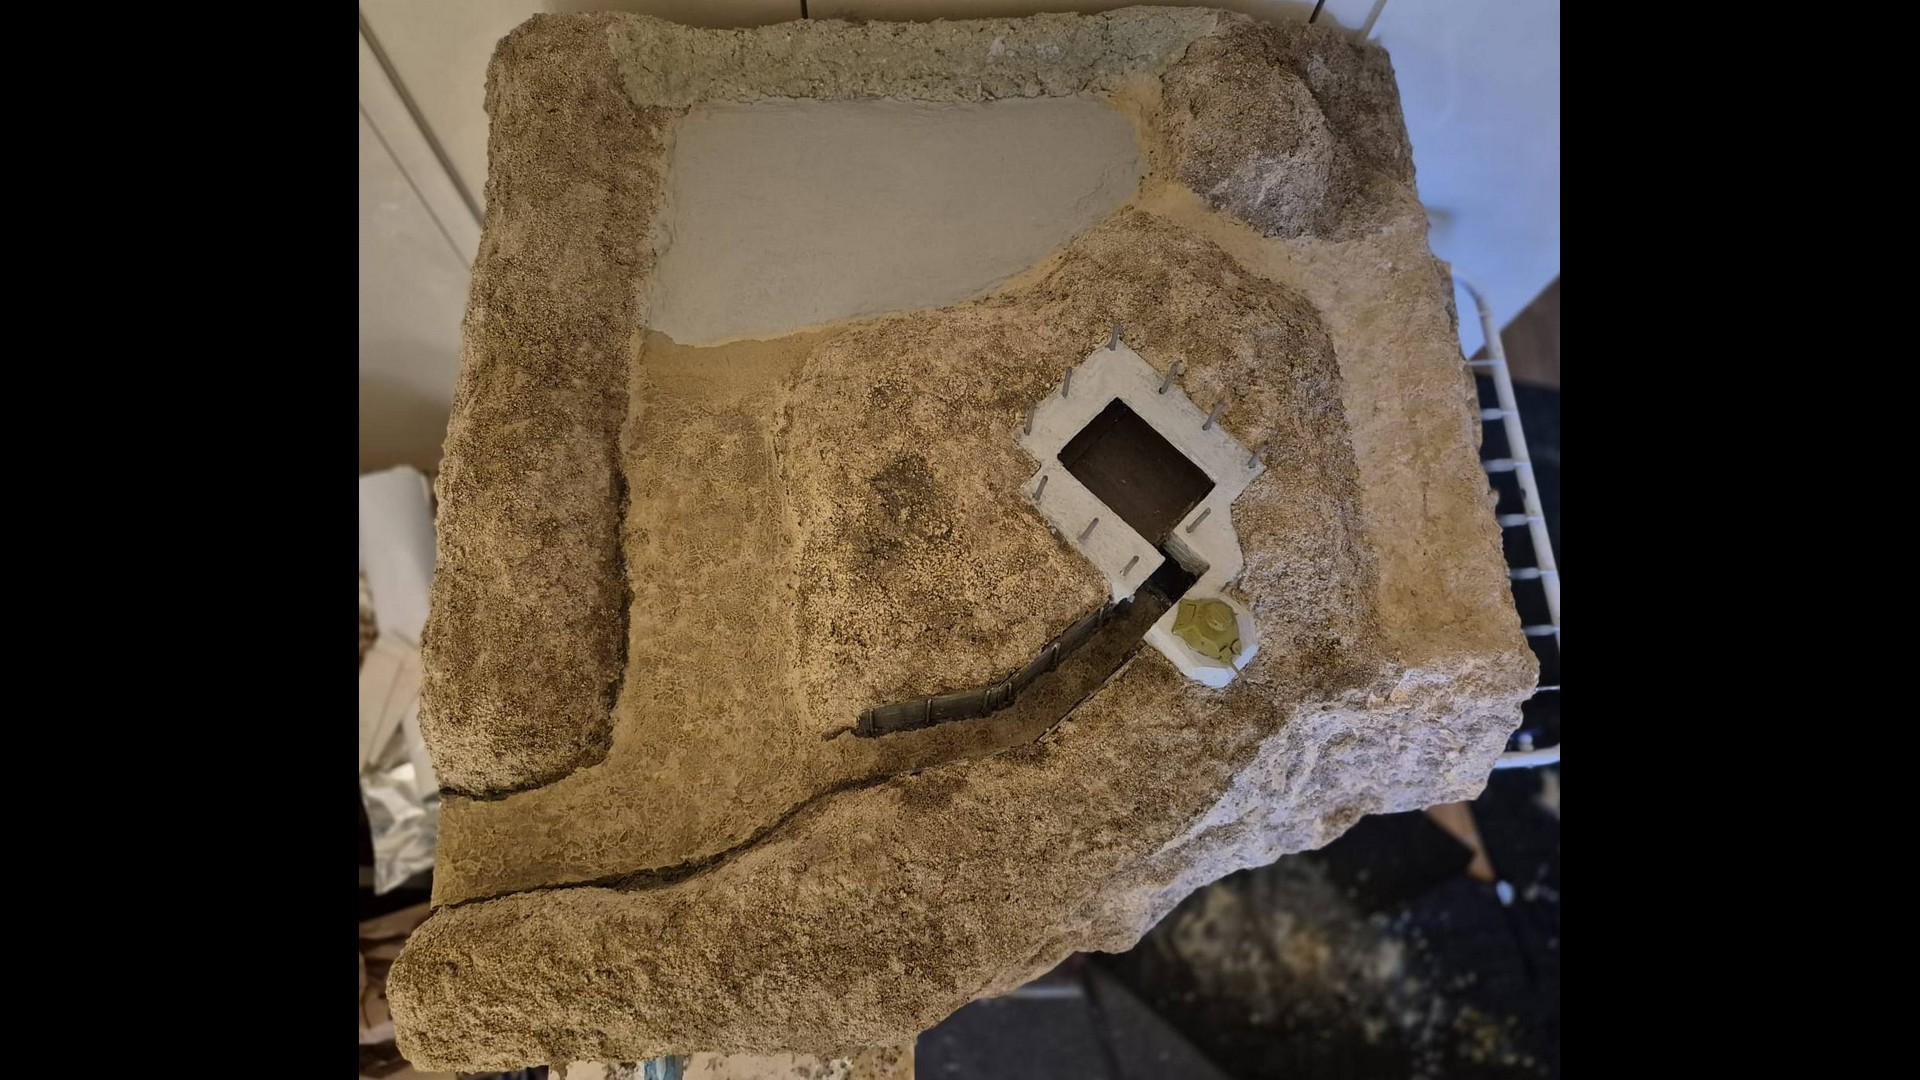
This is probably a more clearer view of the entire area. Notice that the Light Earth terrain application is still rather wet.

I painted the logs for the camouflage net in Vallejo New Wood as a primary color.

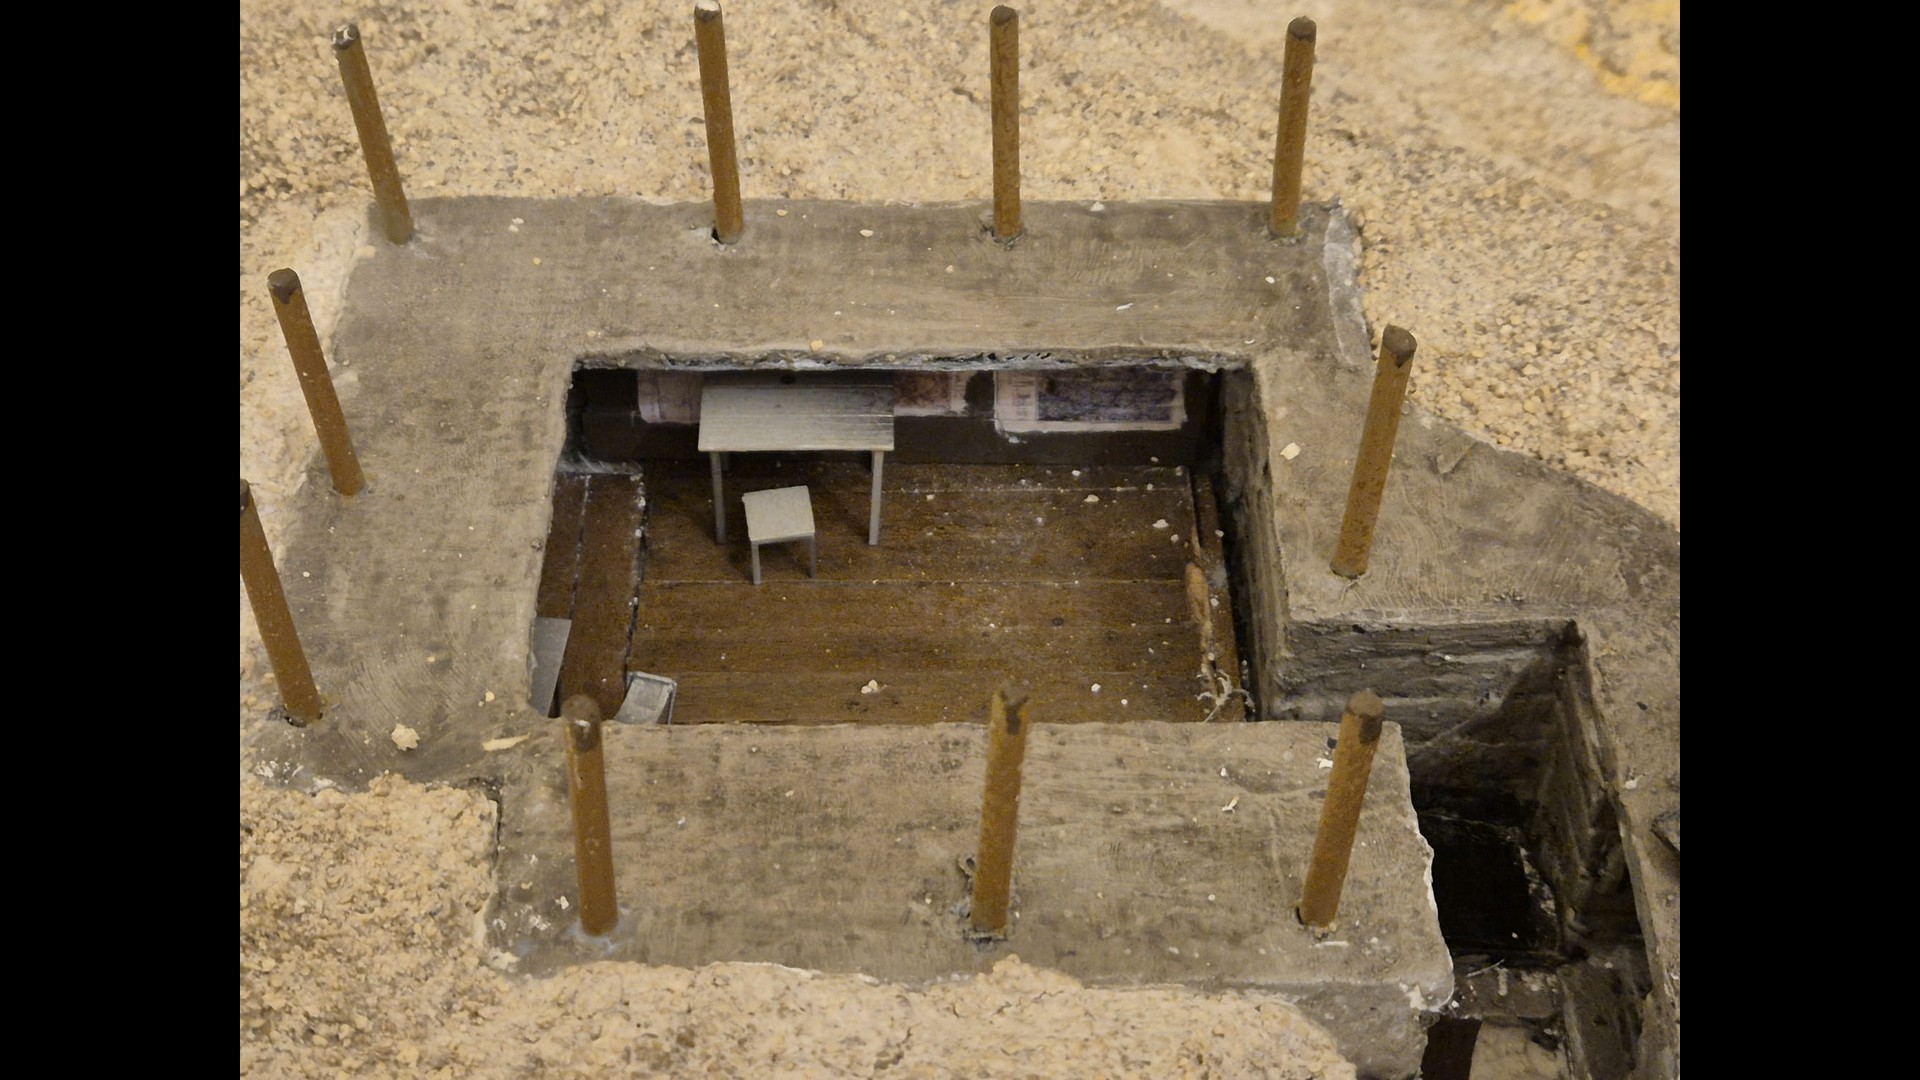
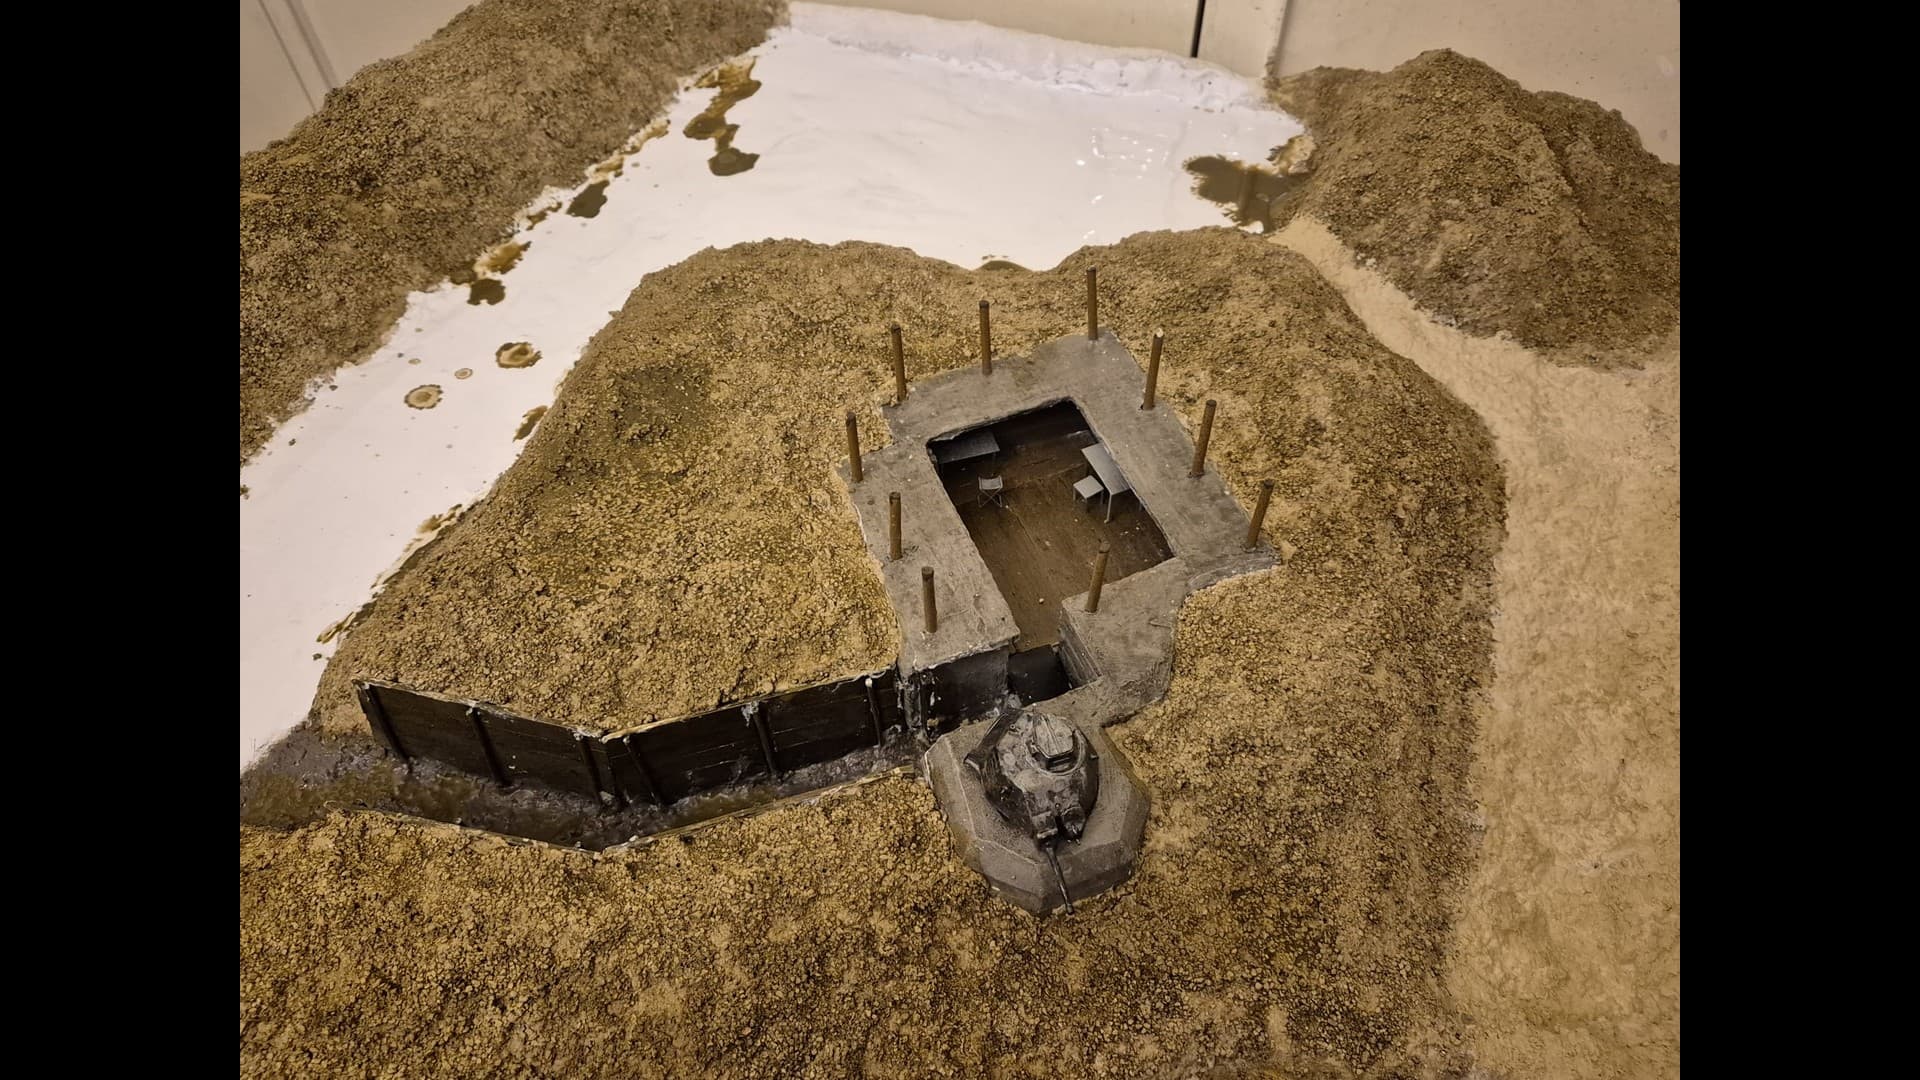
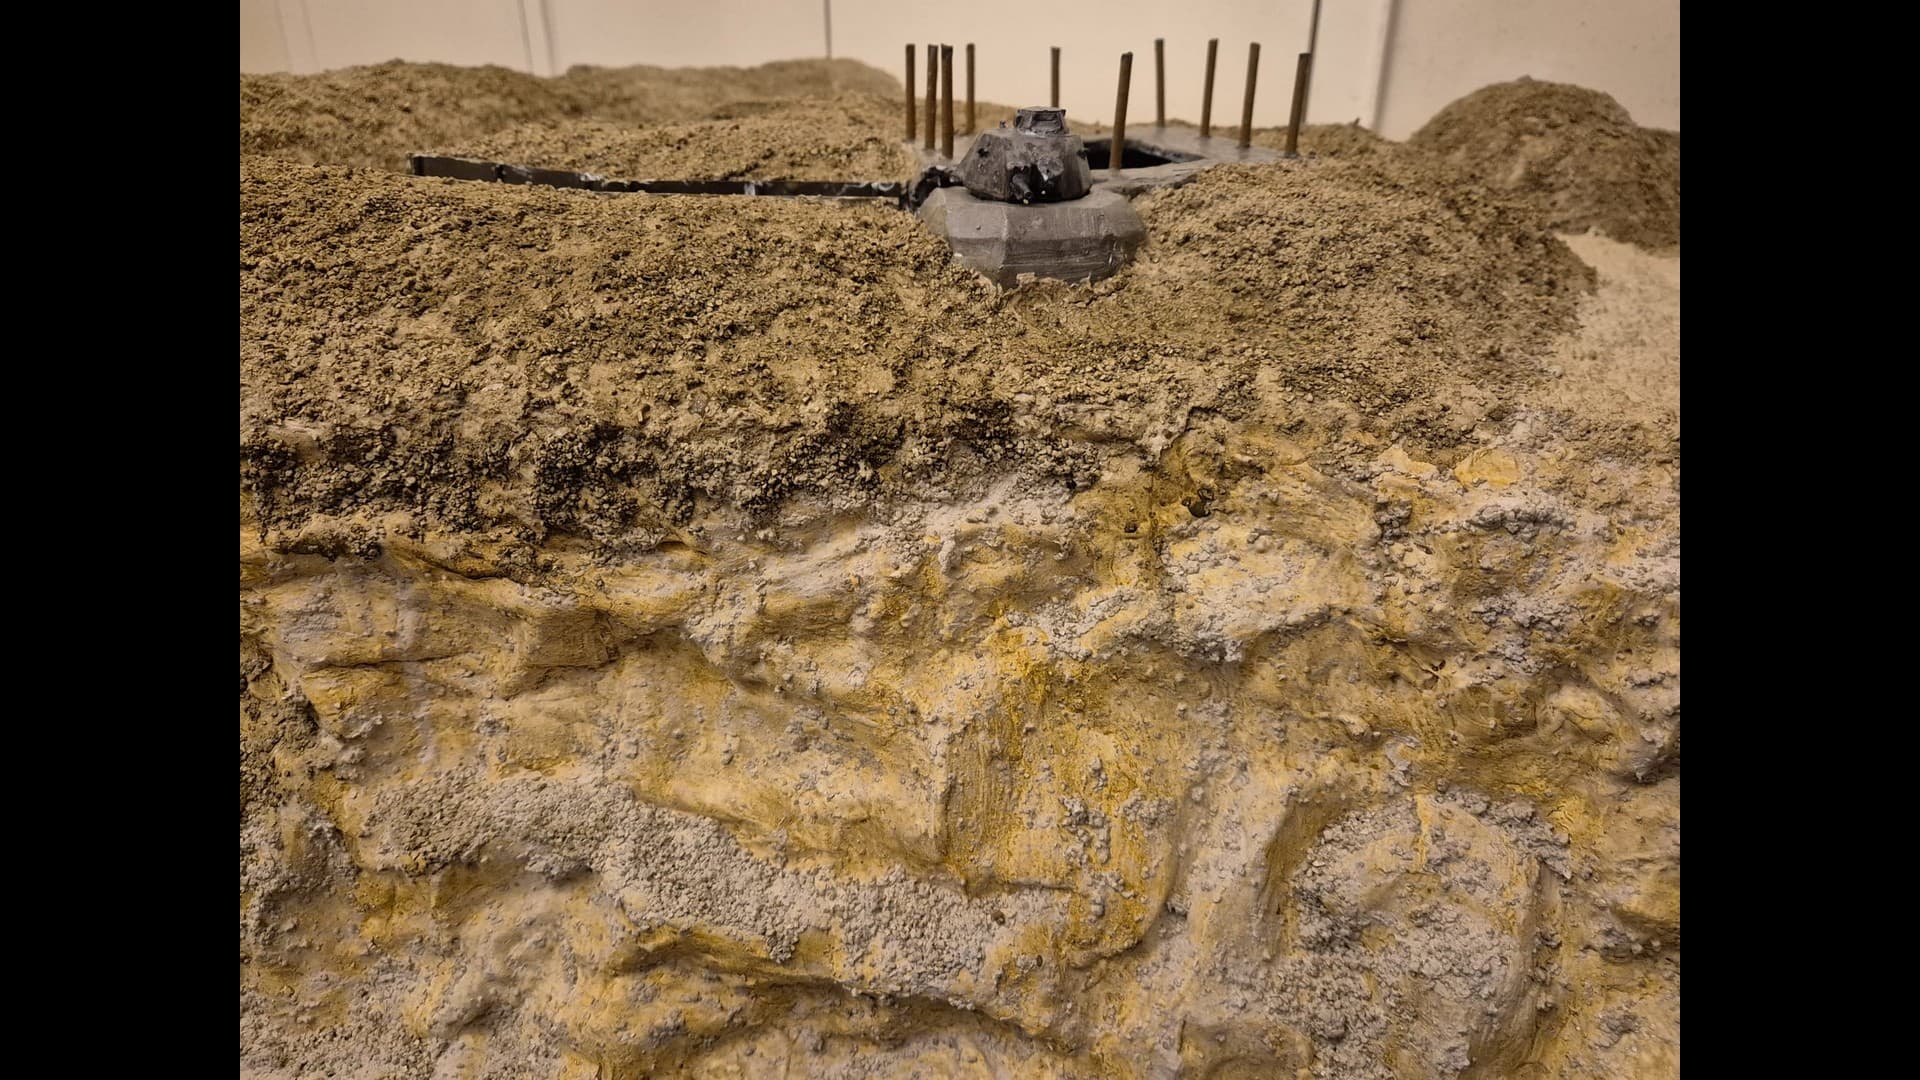
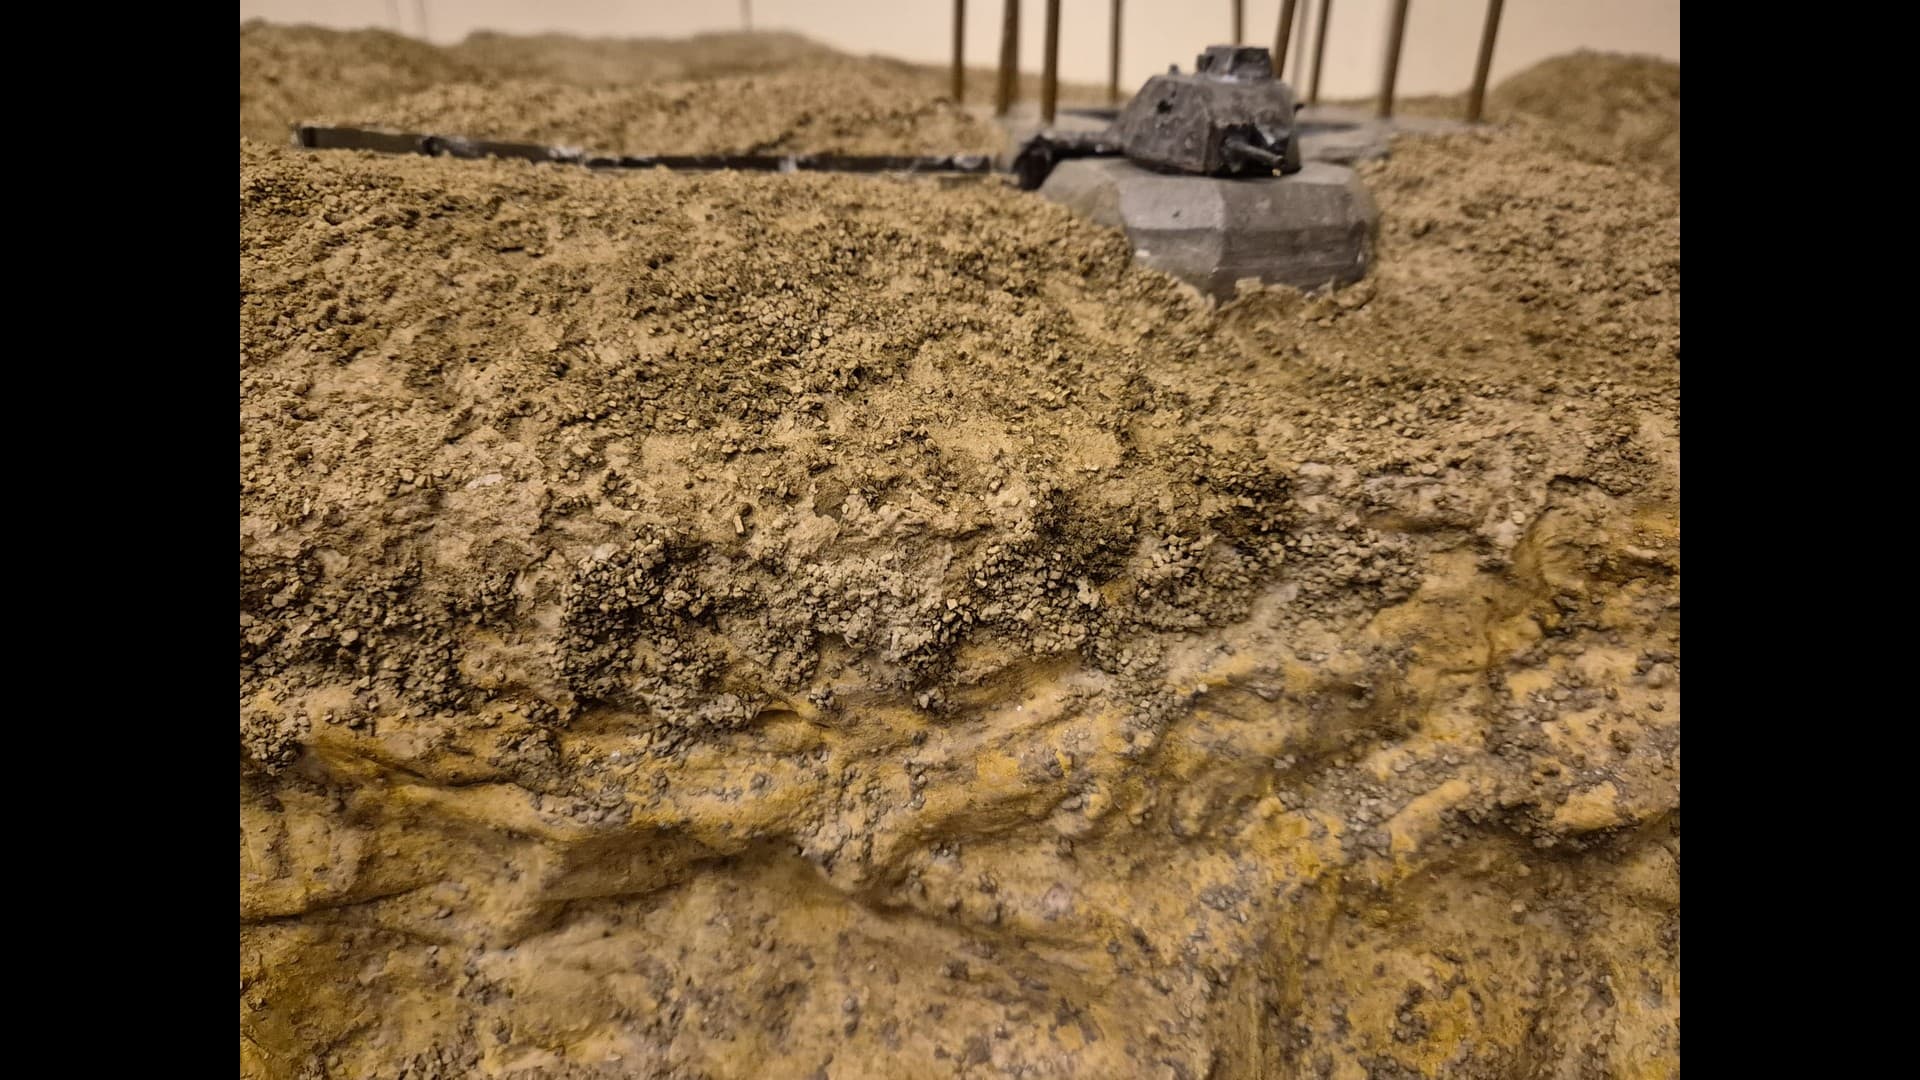
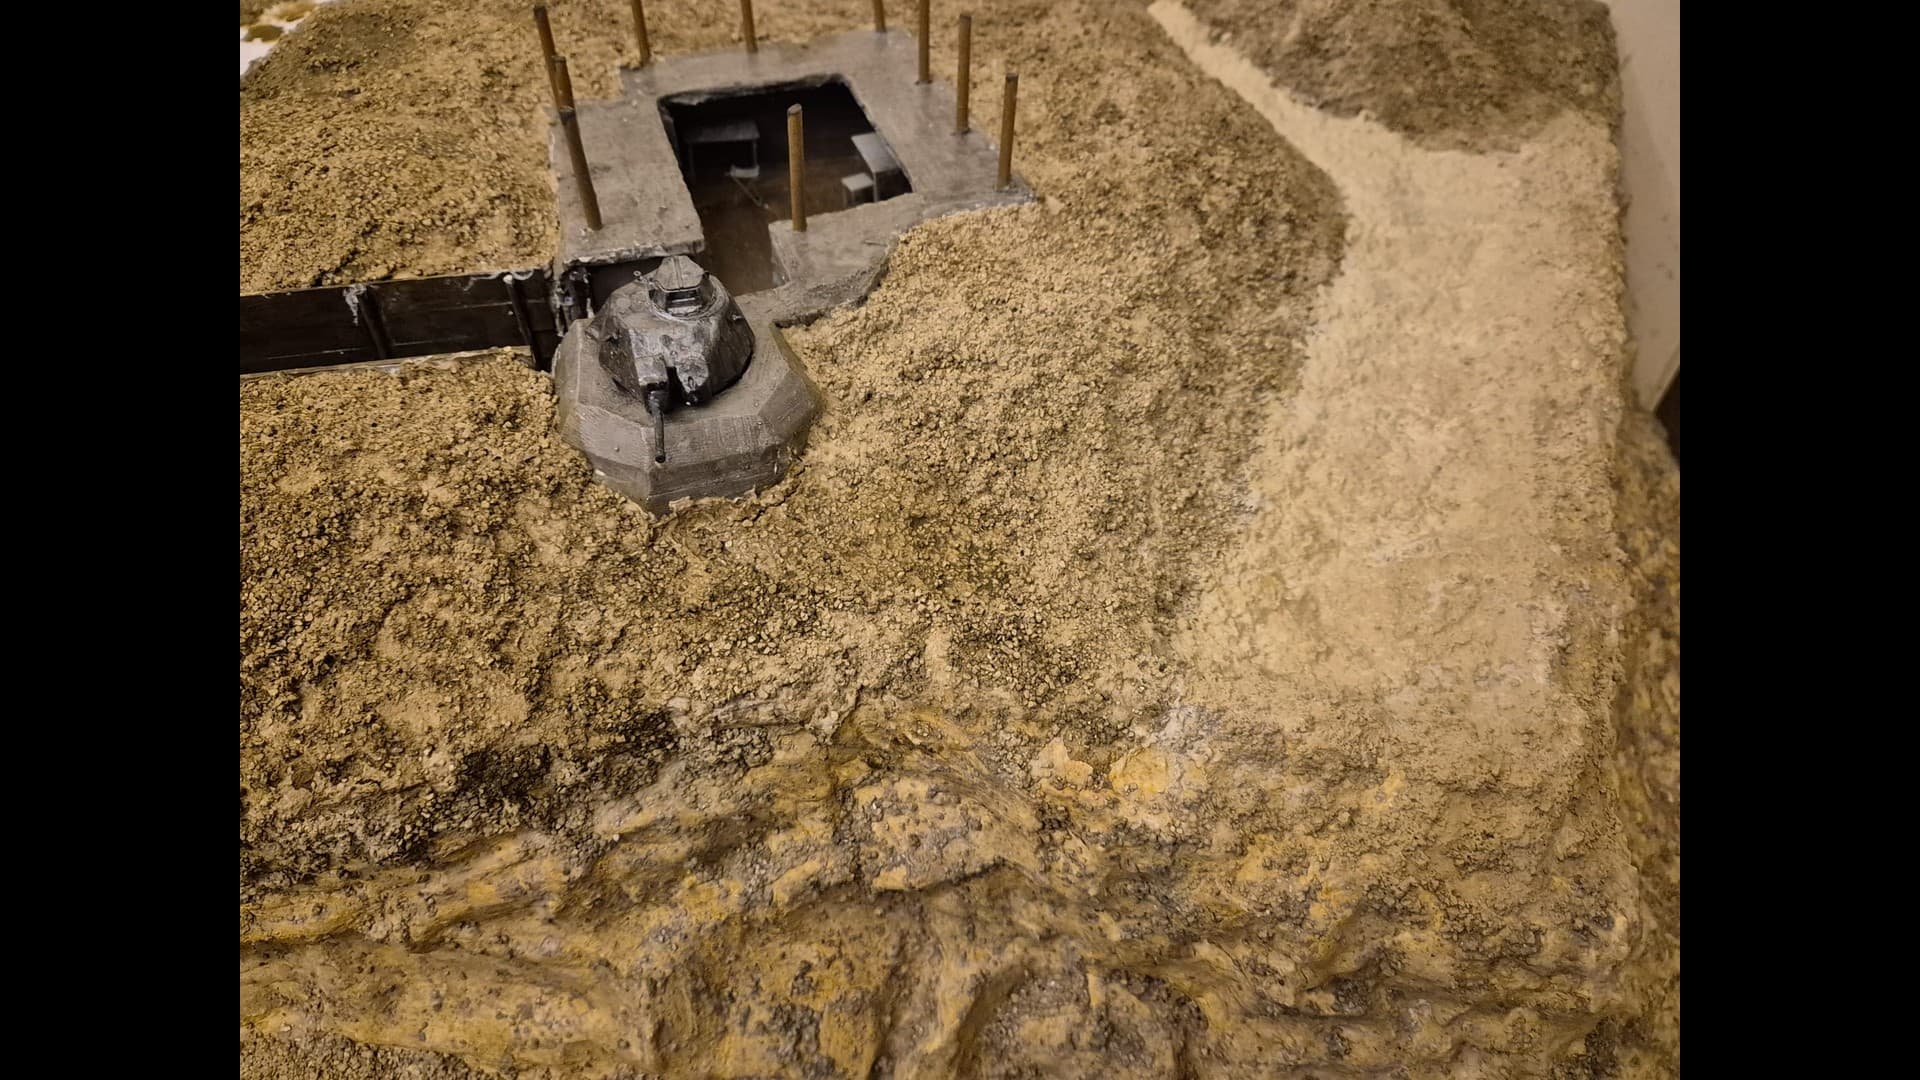
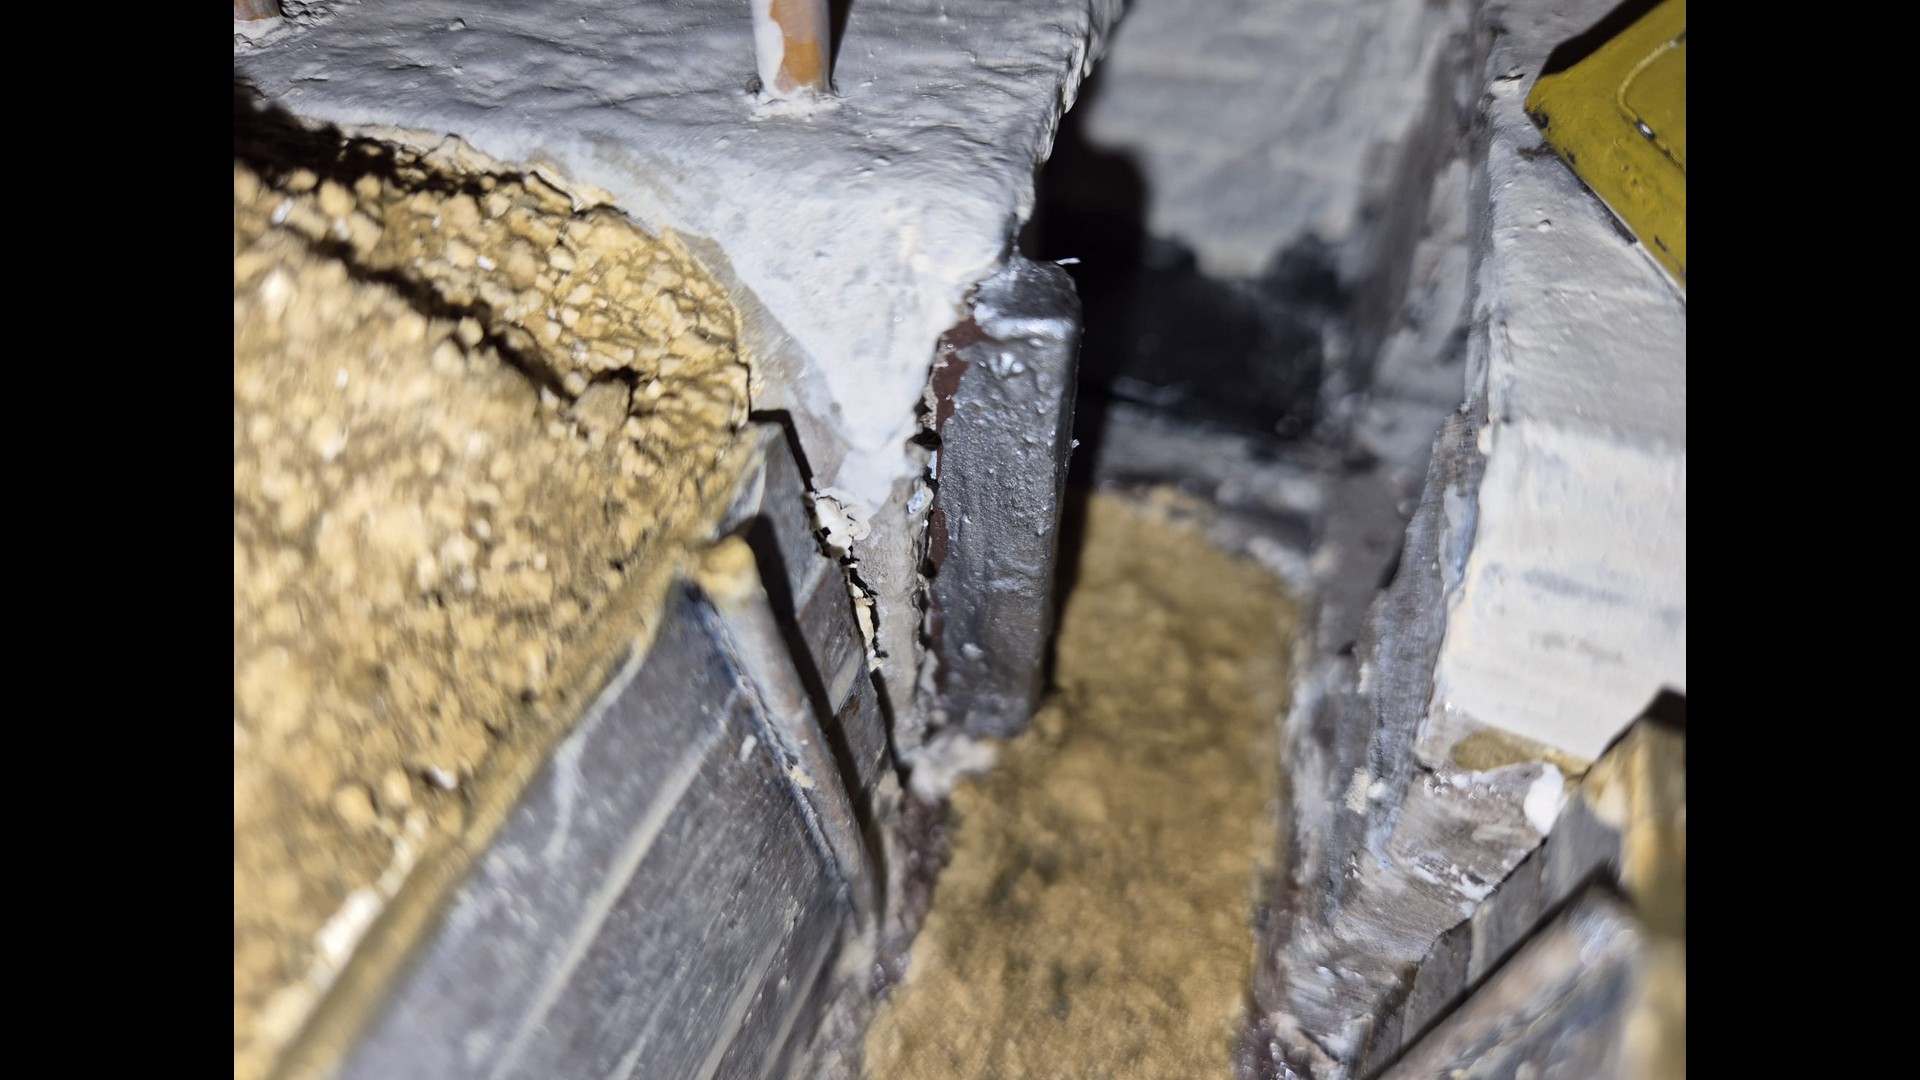
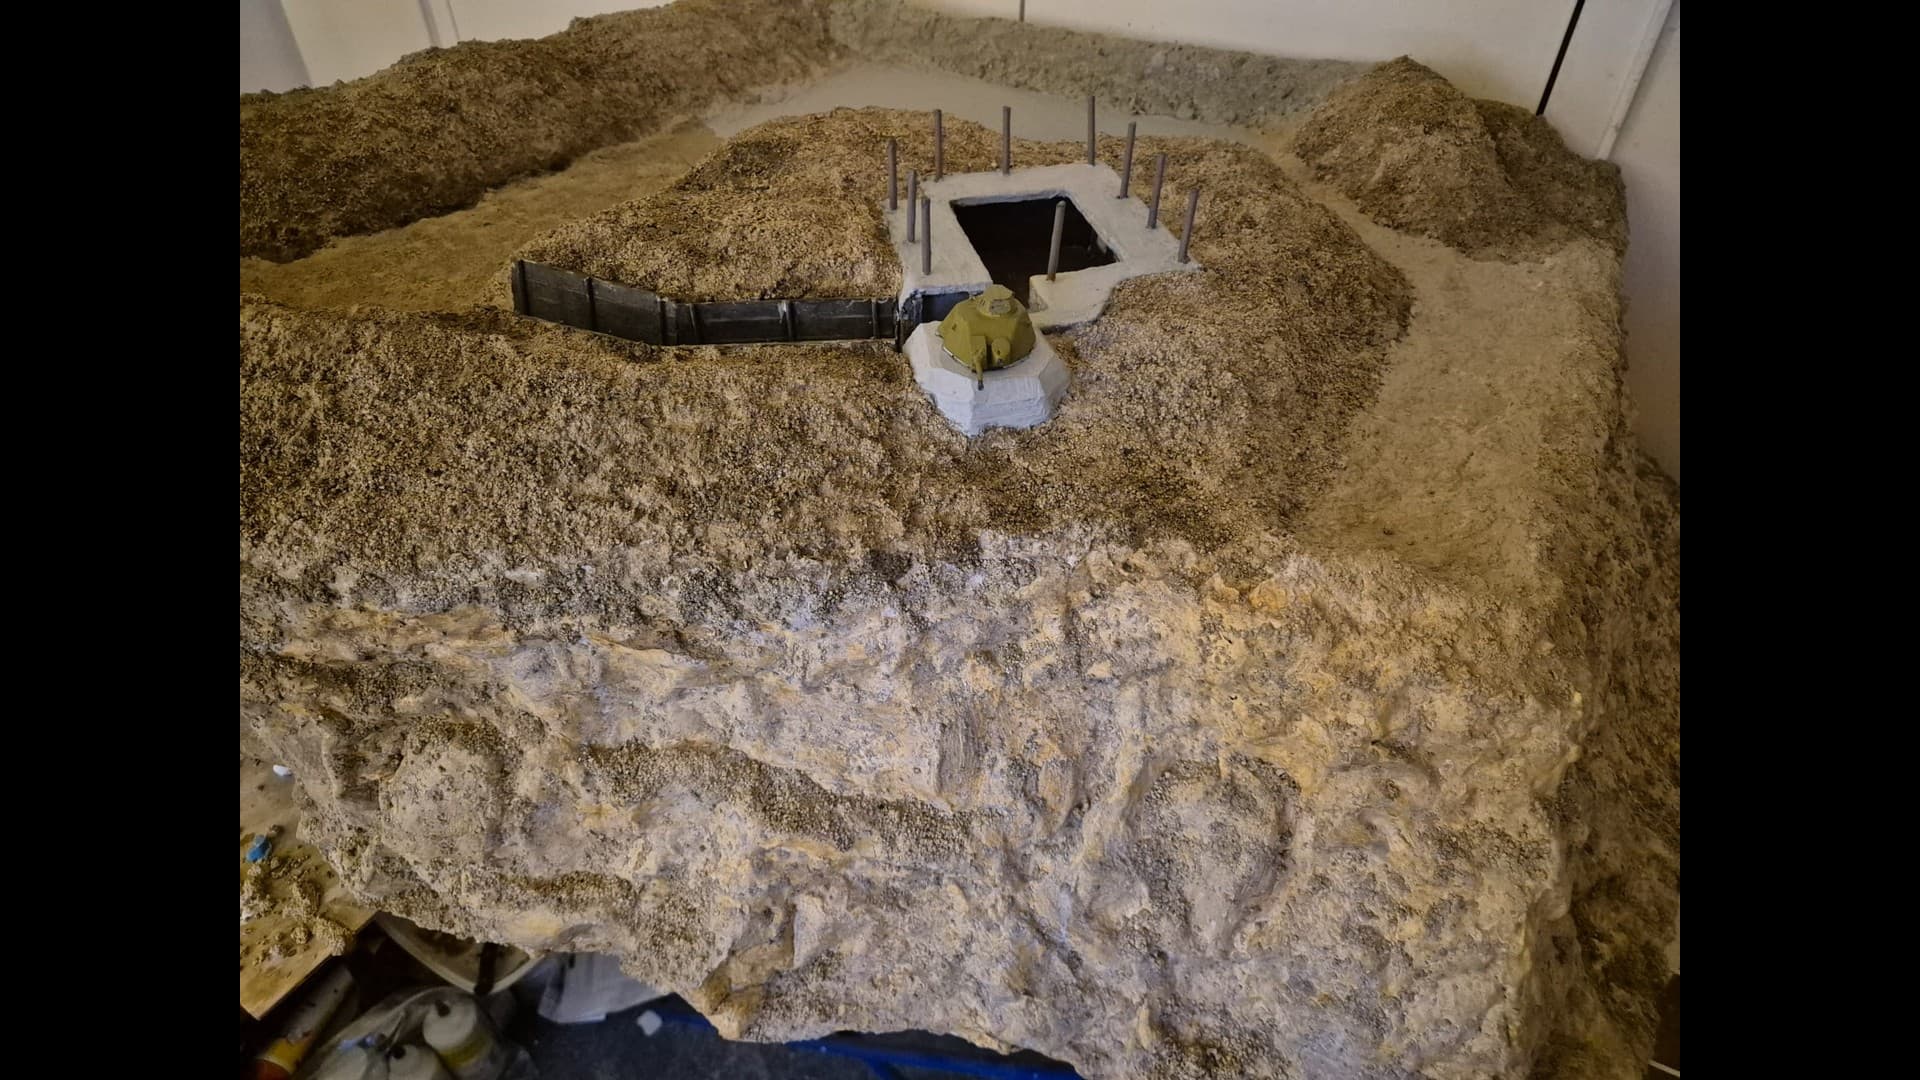
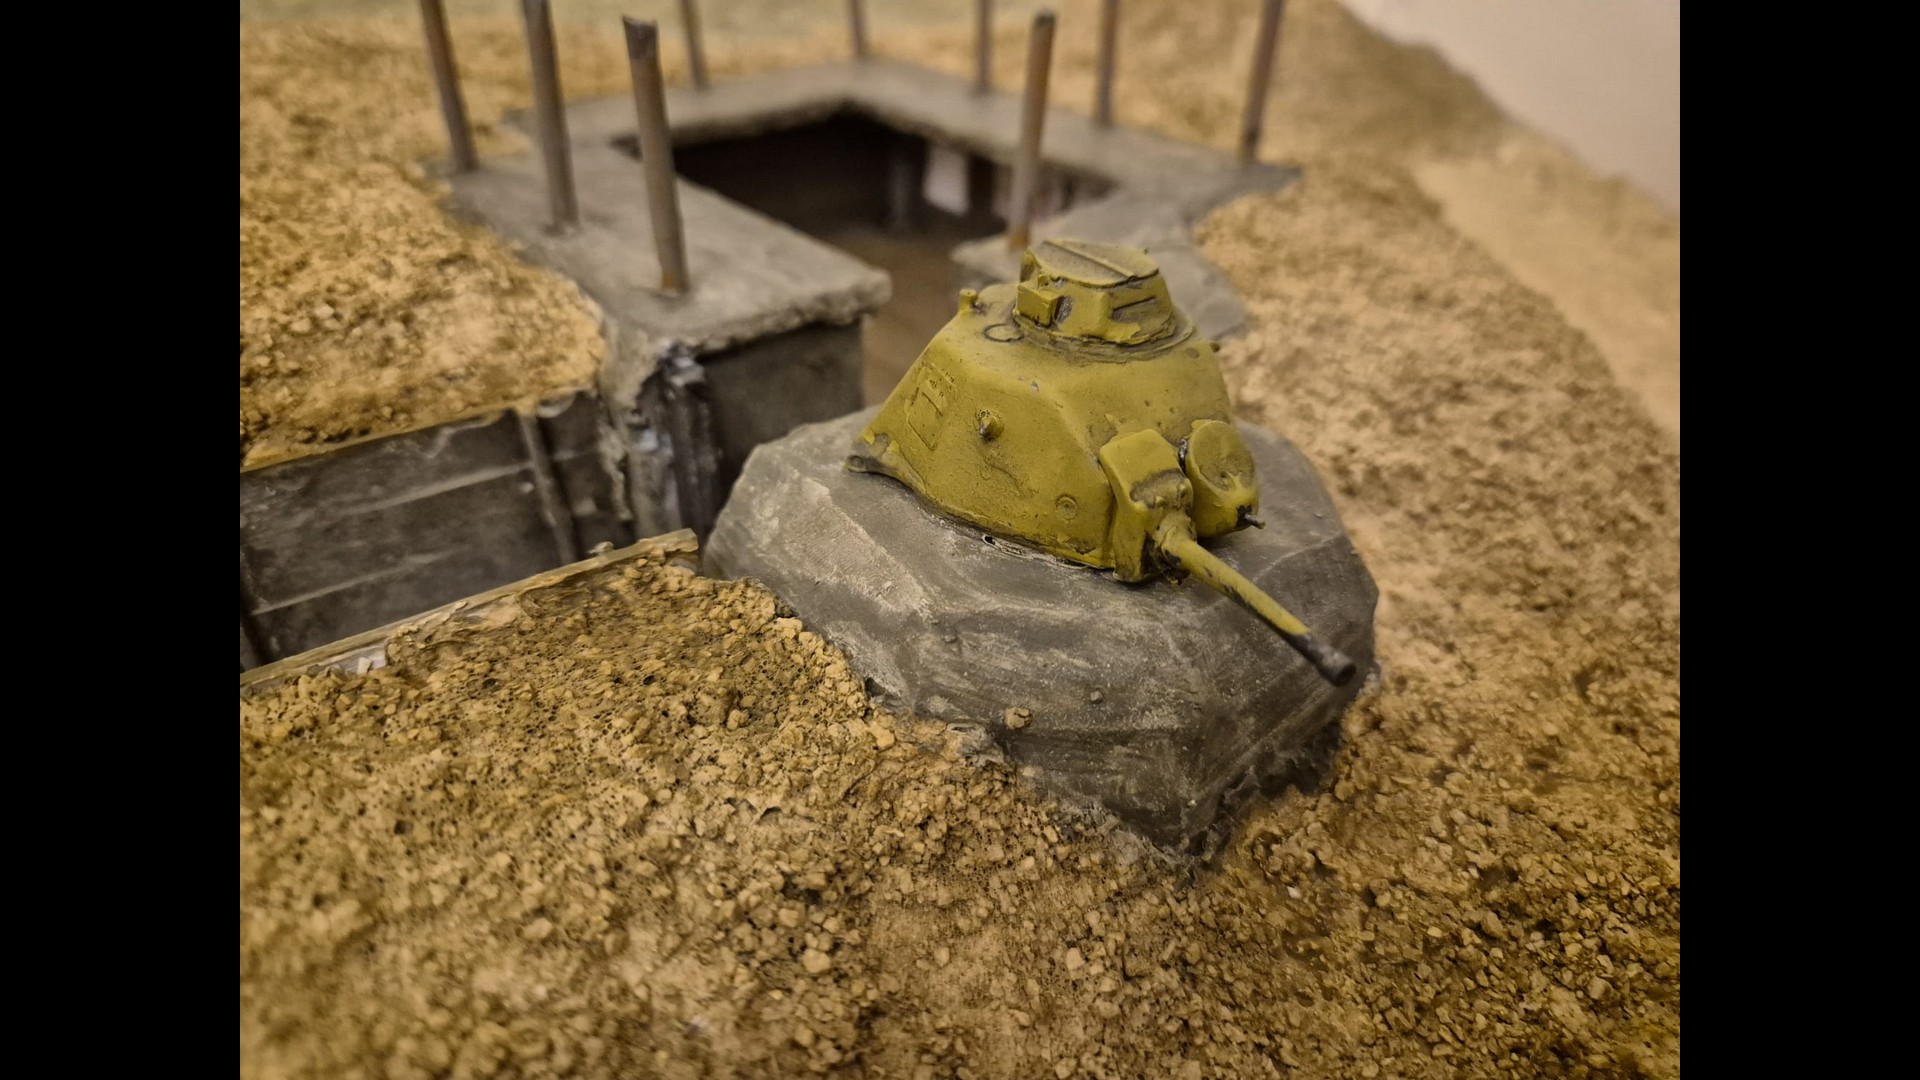
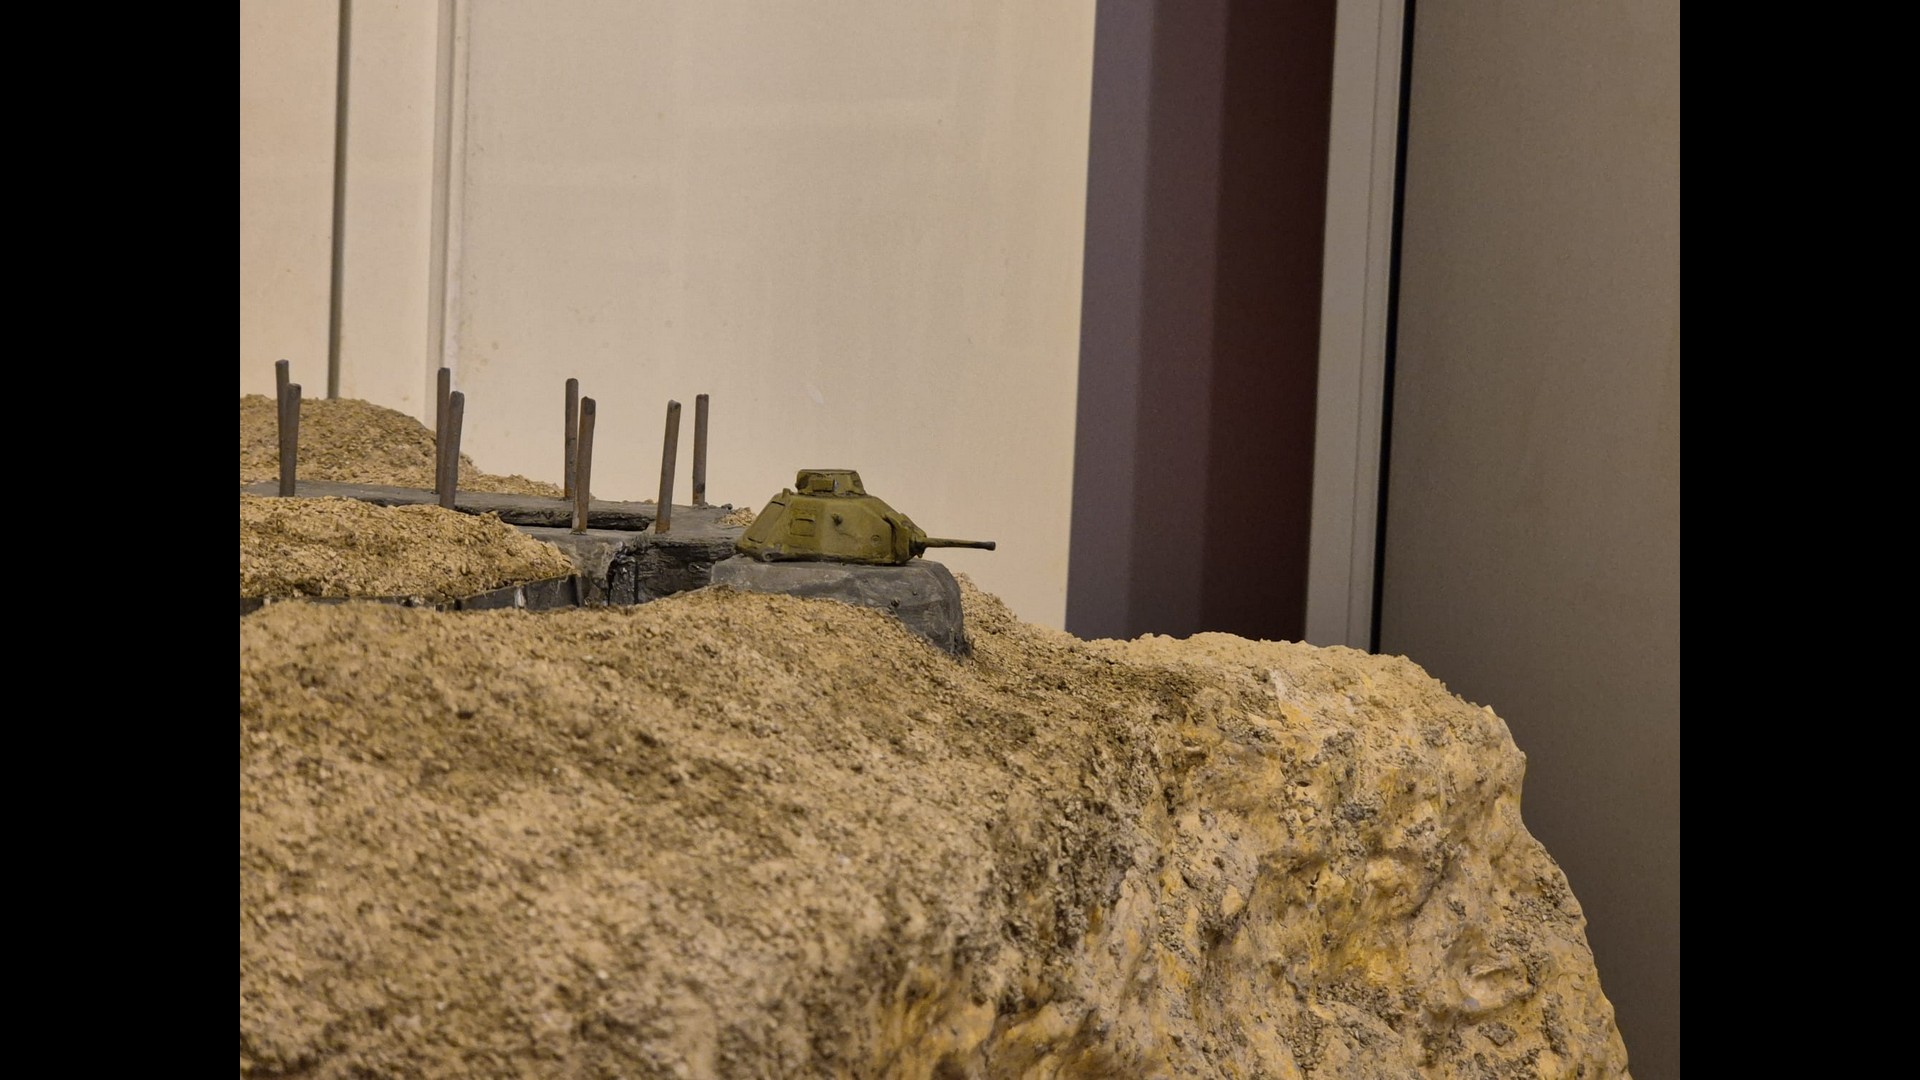
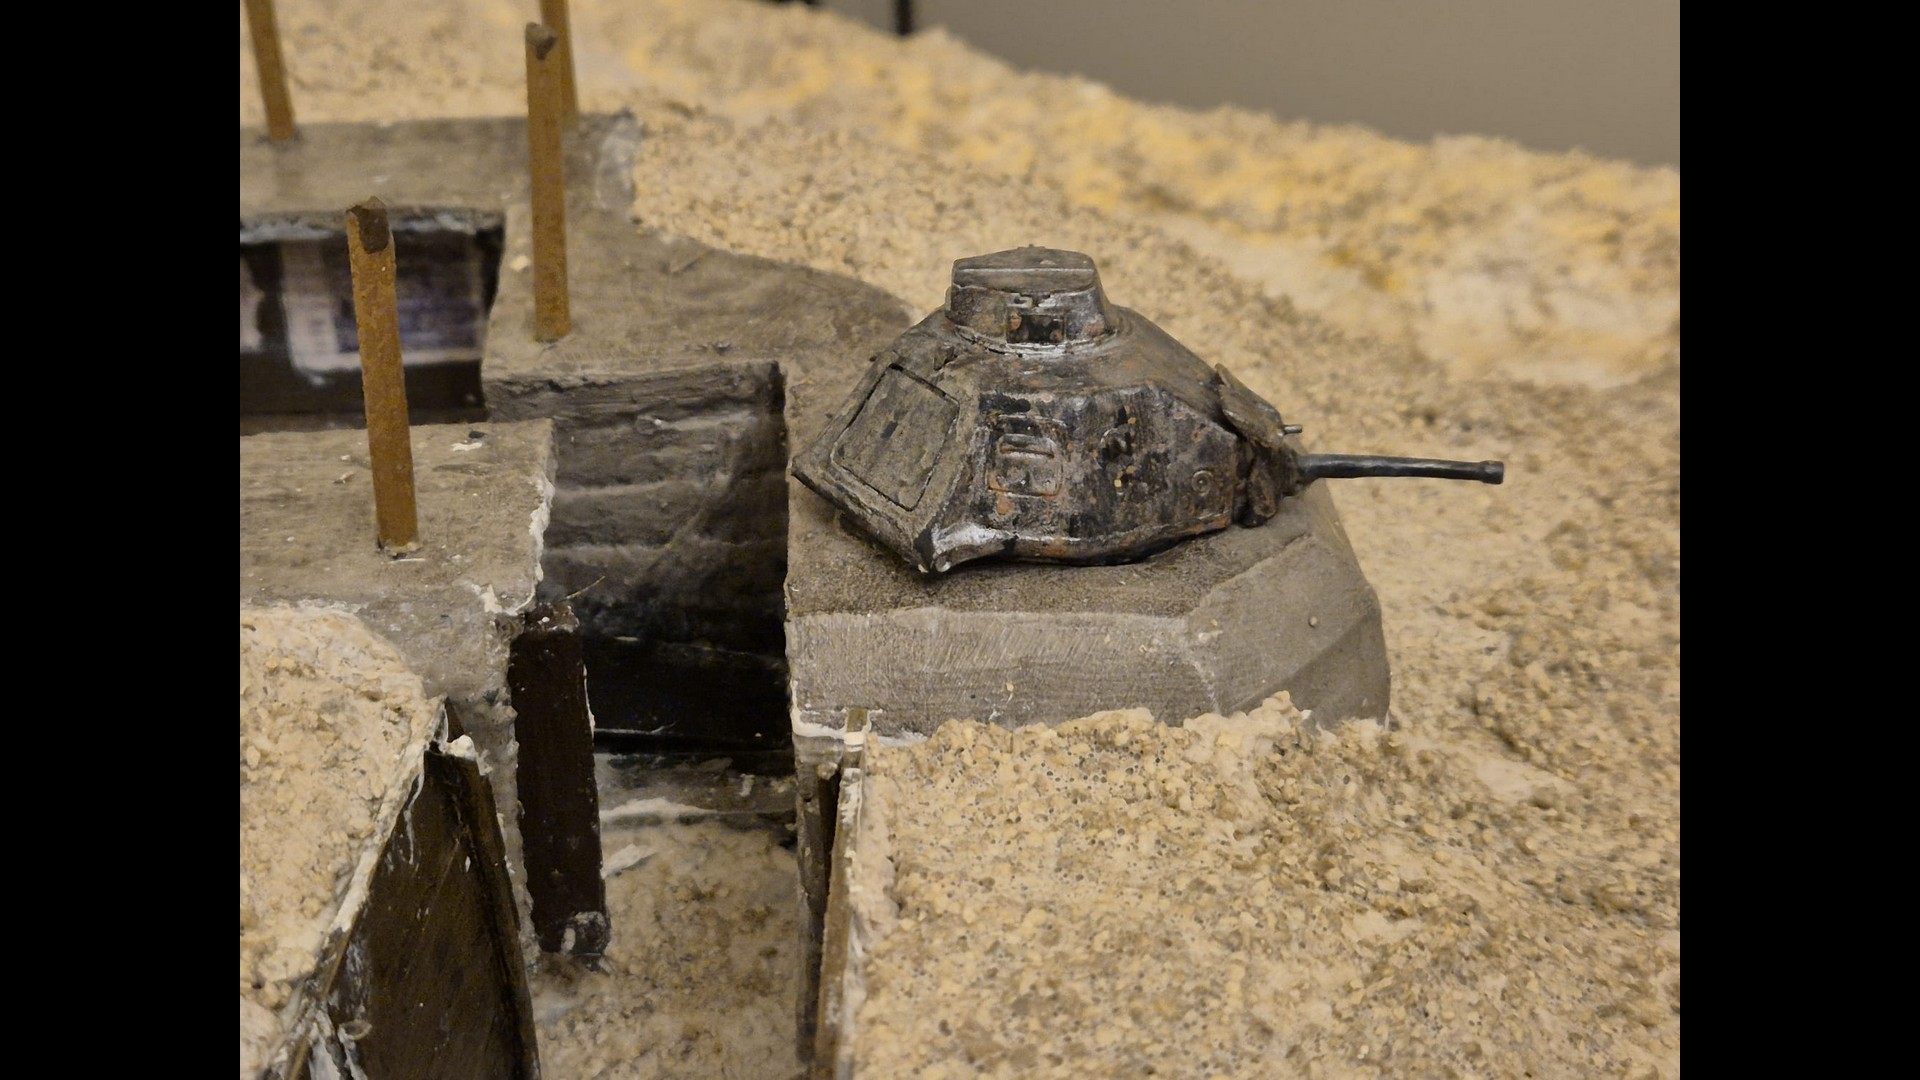
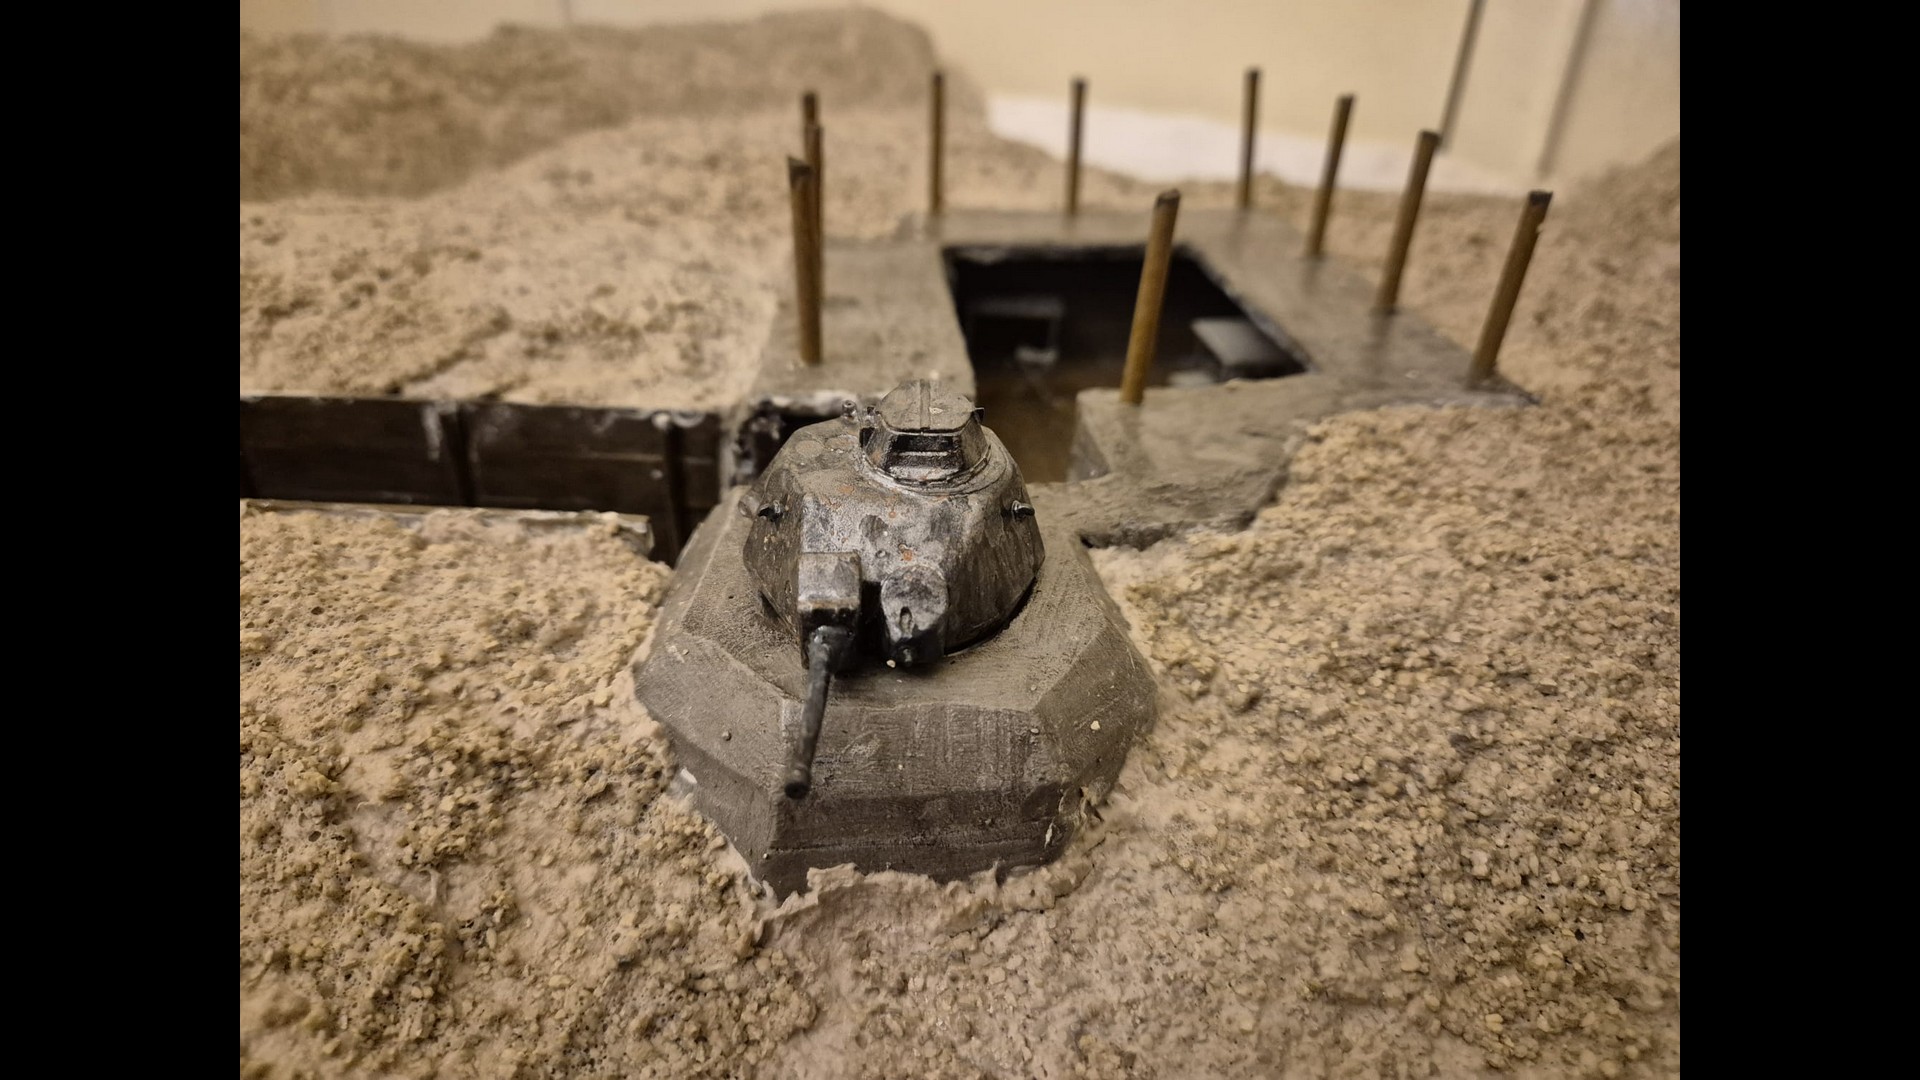
Here you can see the Tank turret fixed to the Tobruk emplacement more clearly. This though is only the first step to depict it.

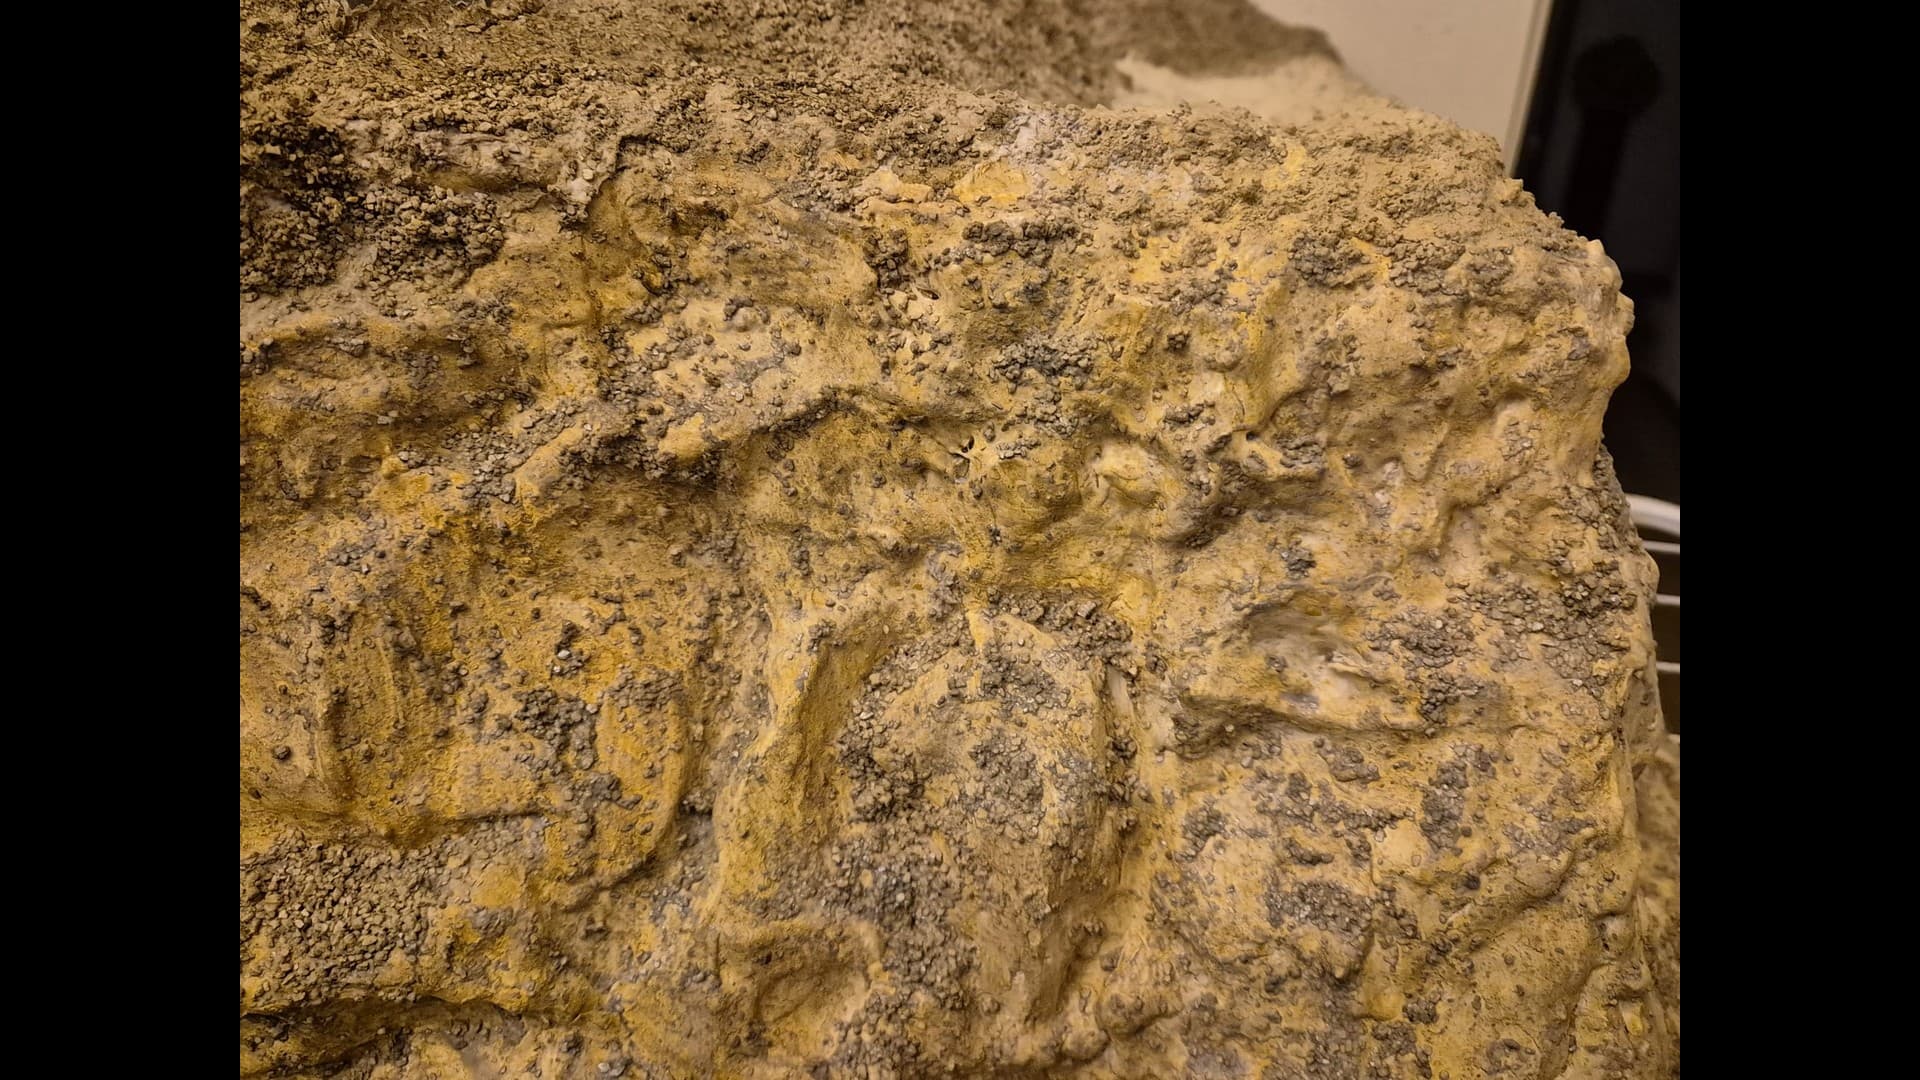
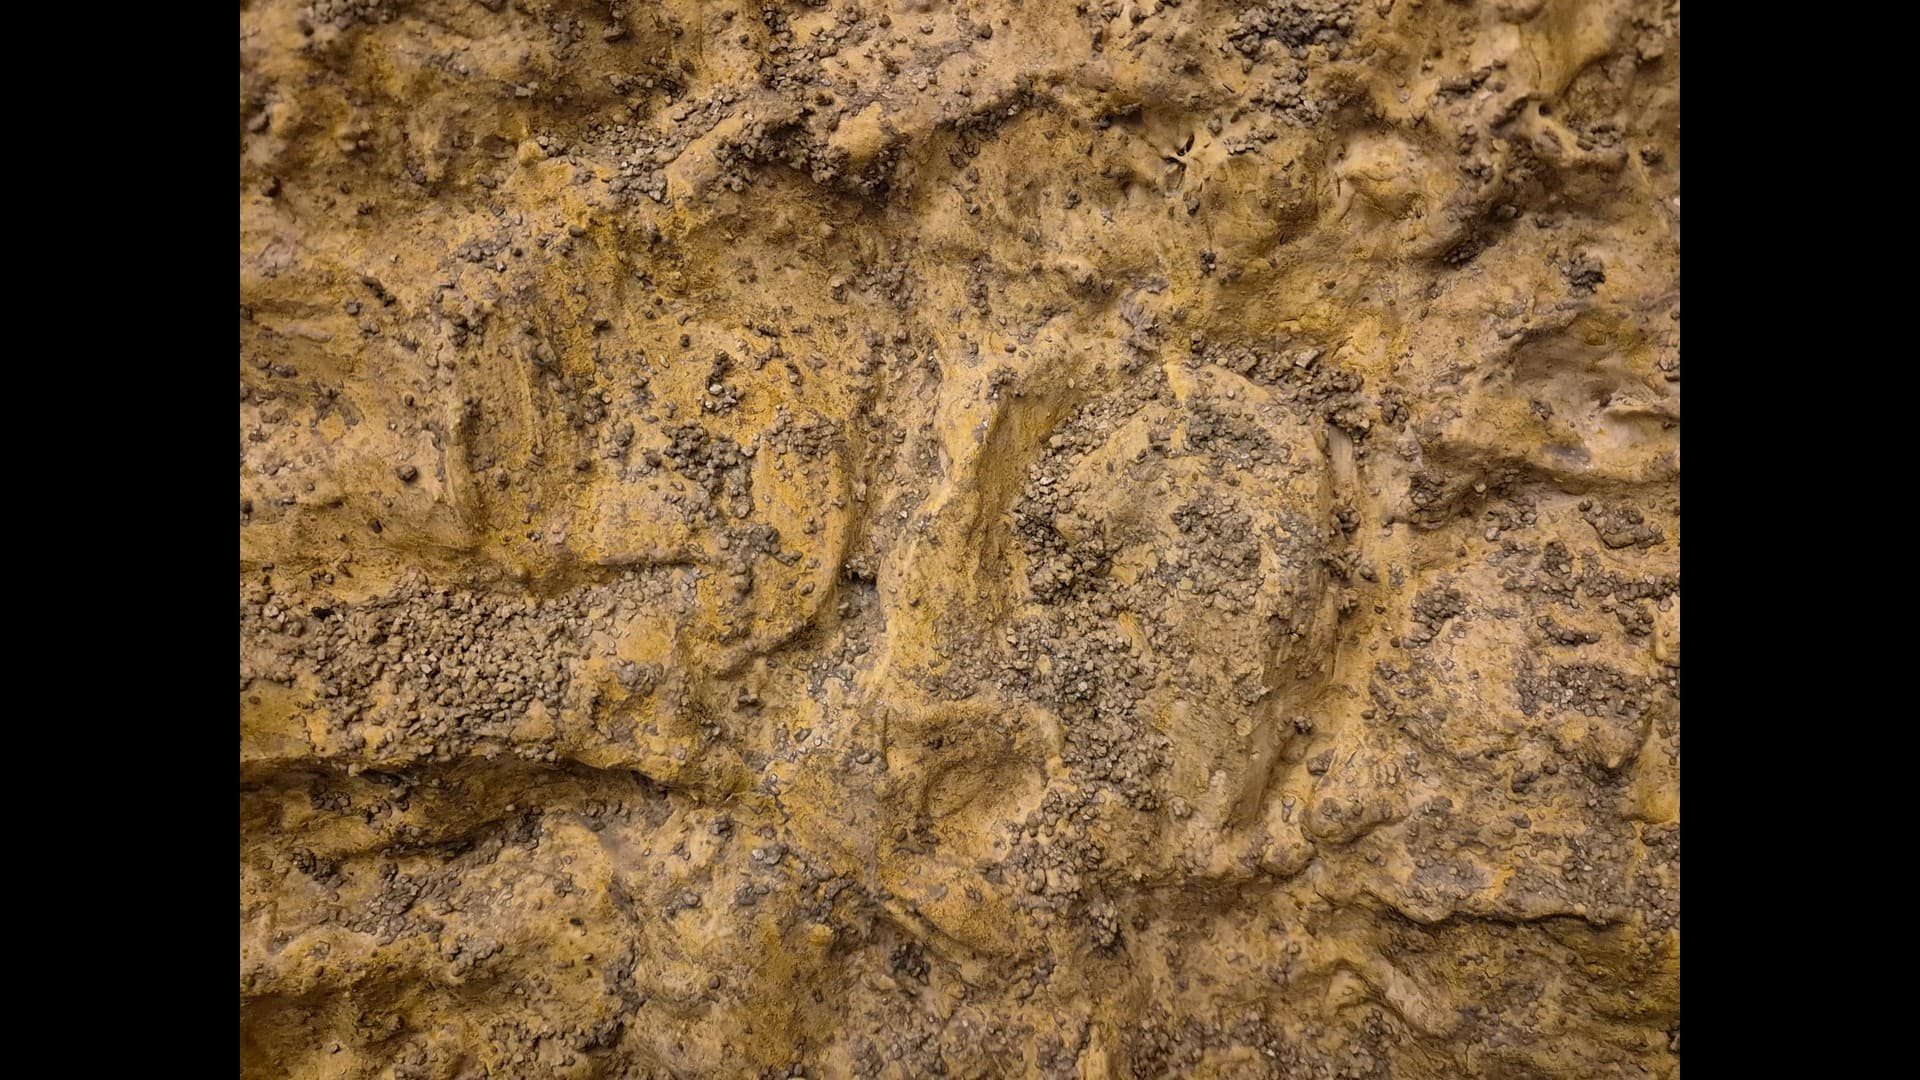
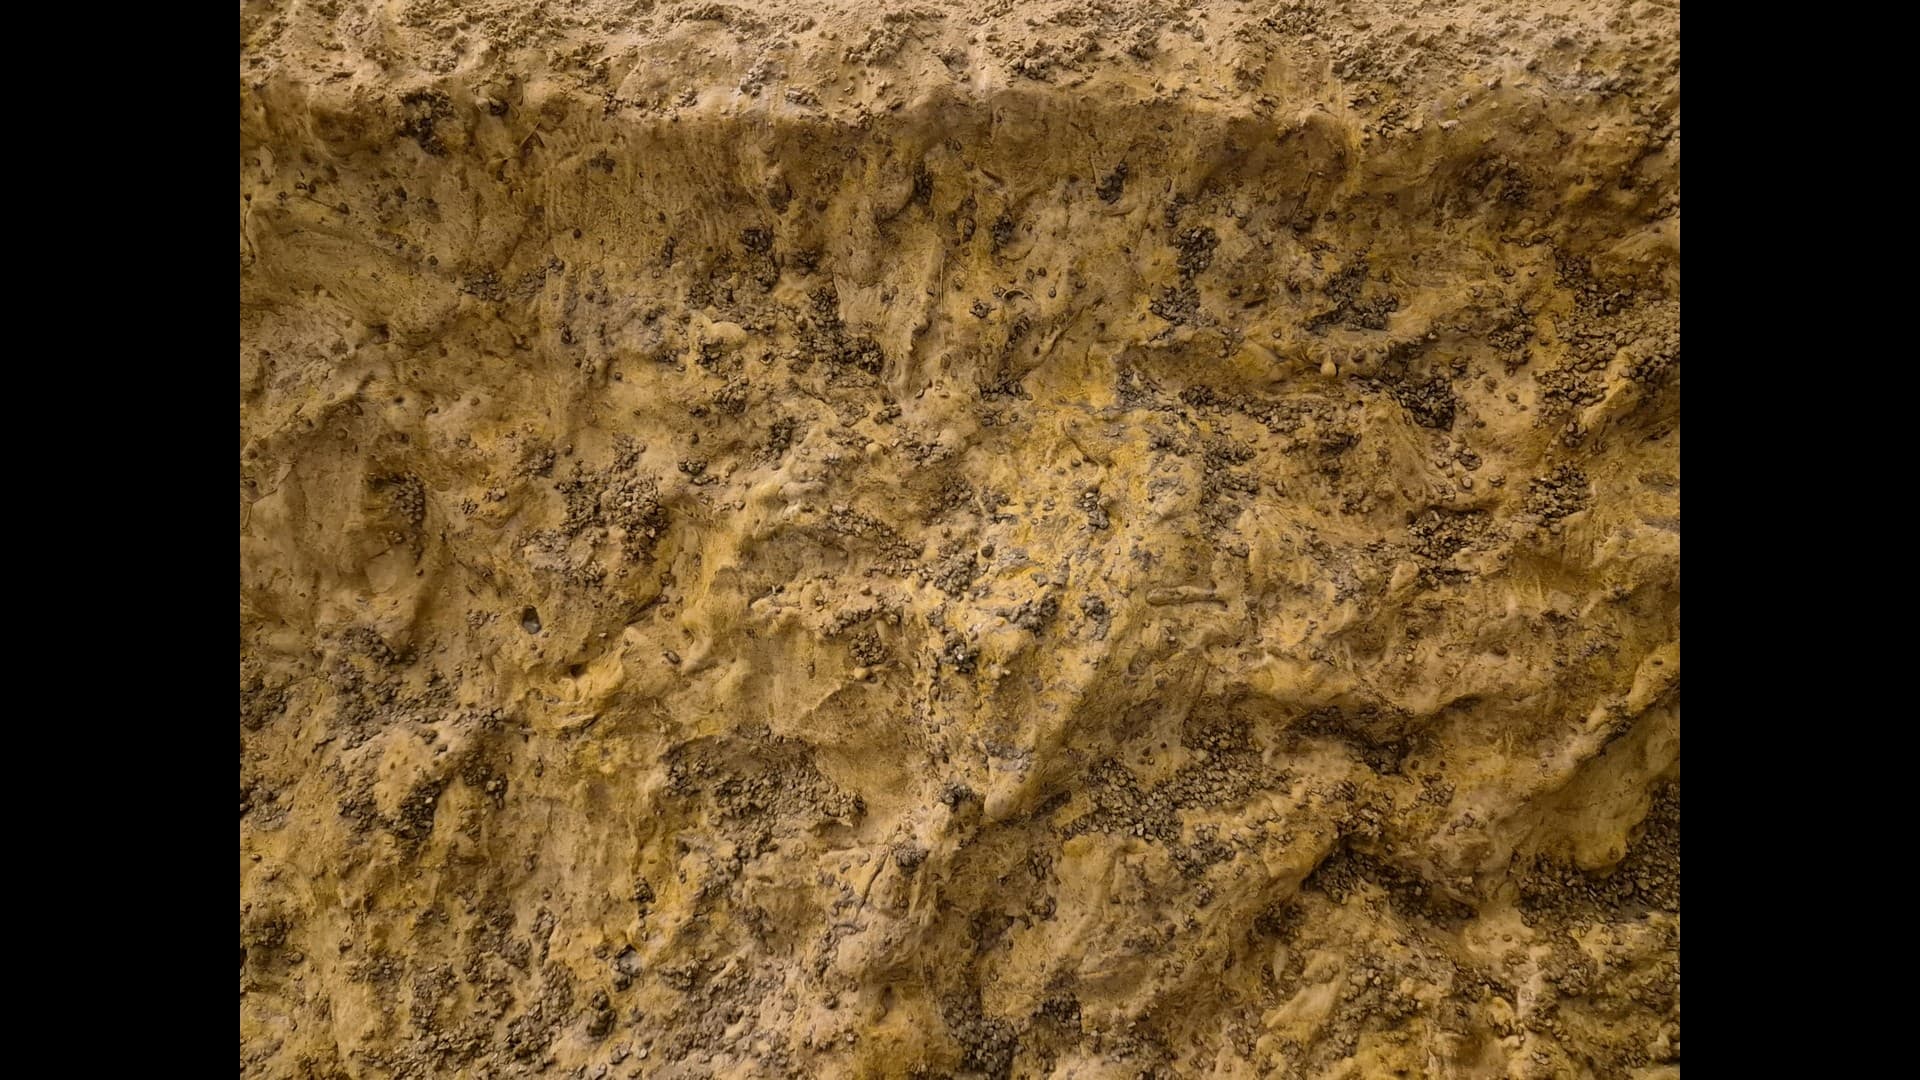
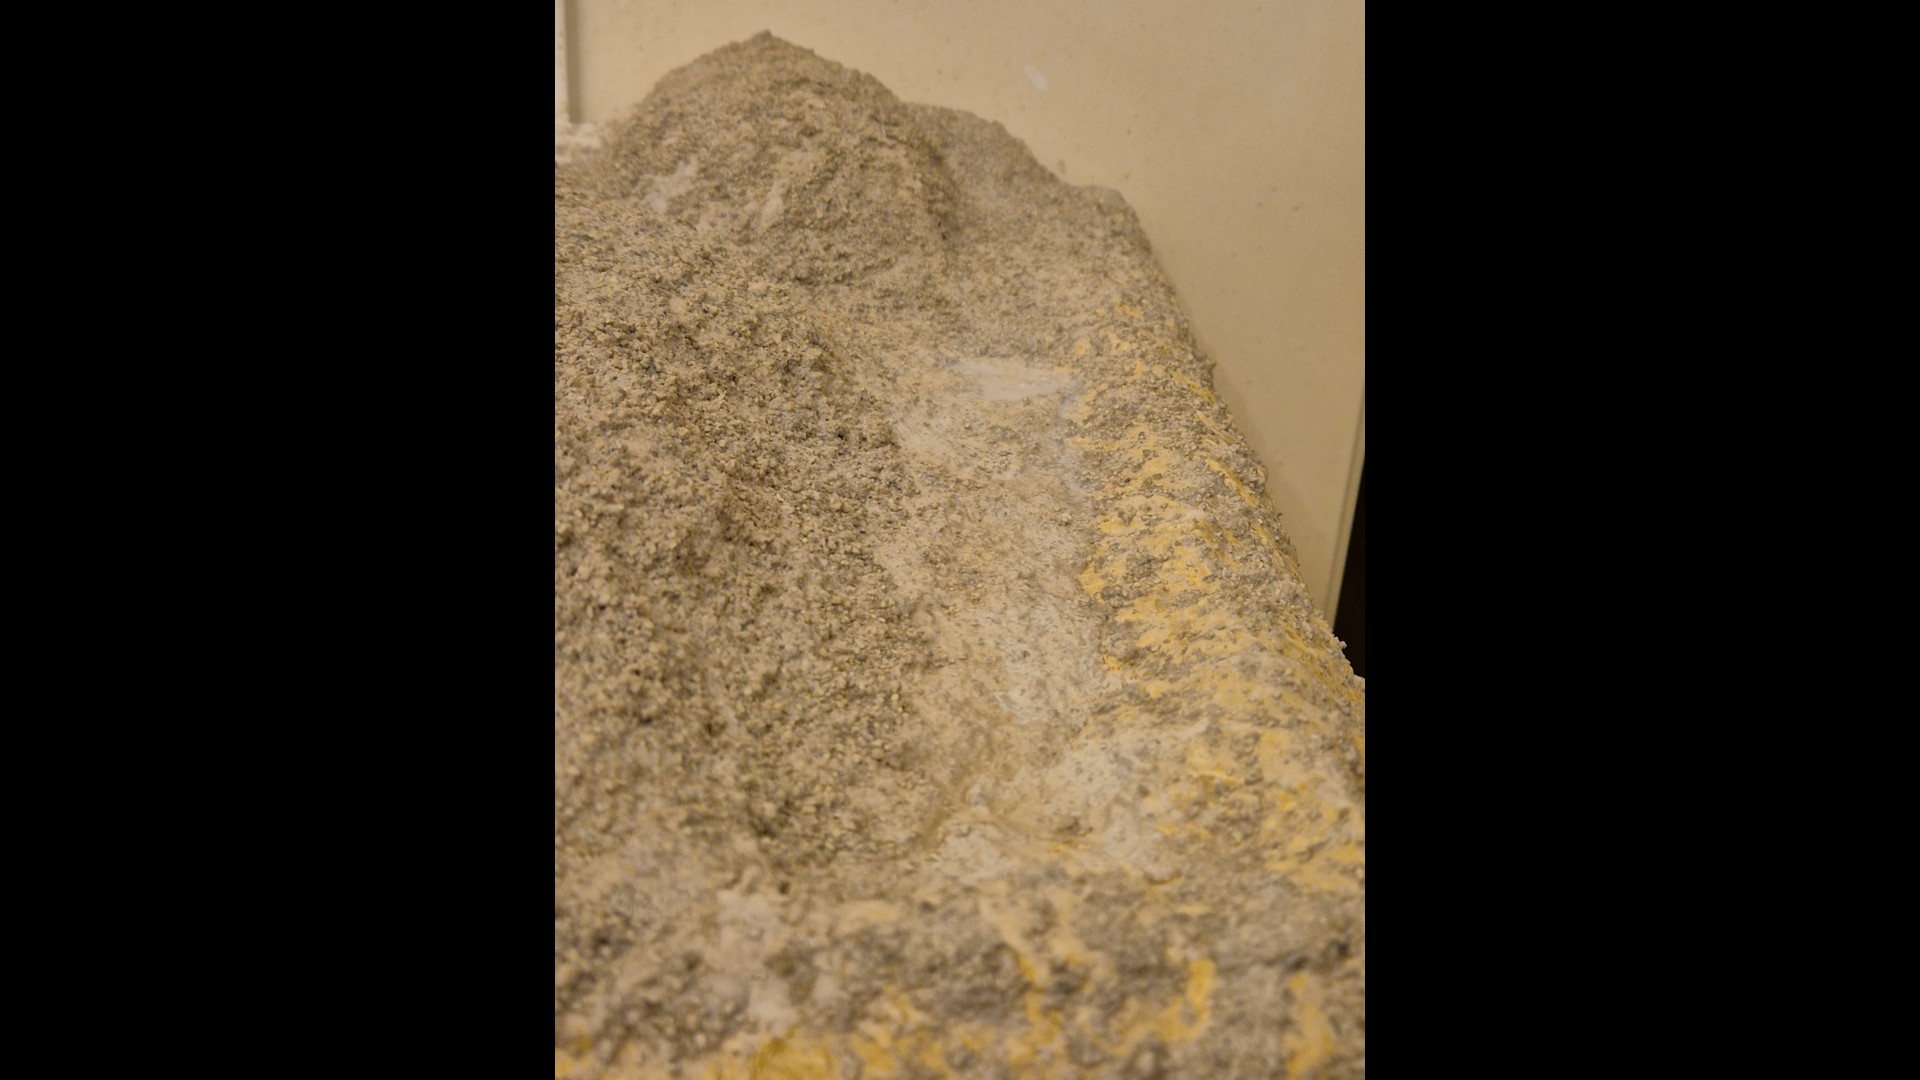
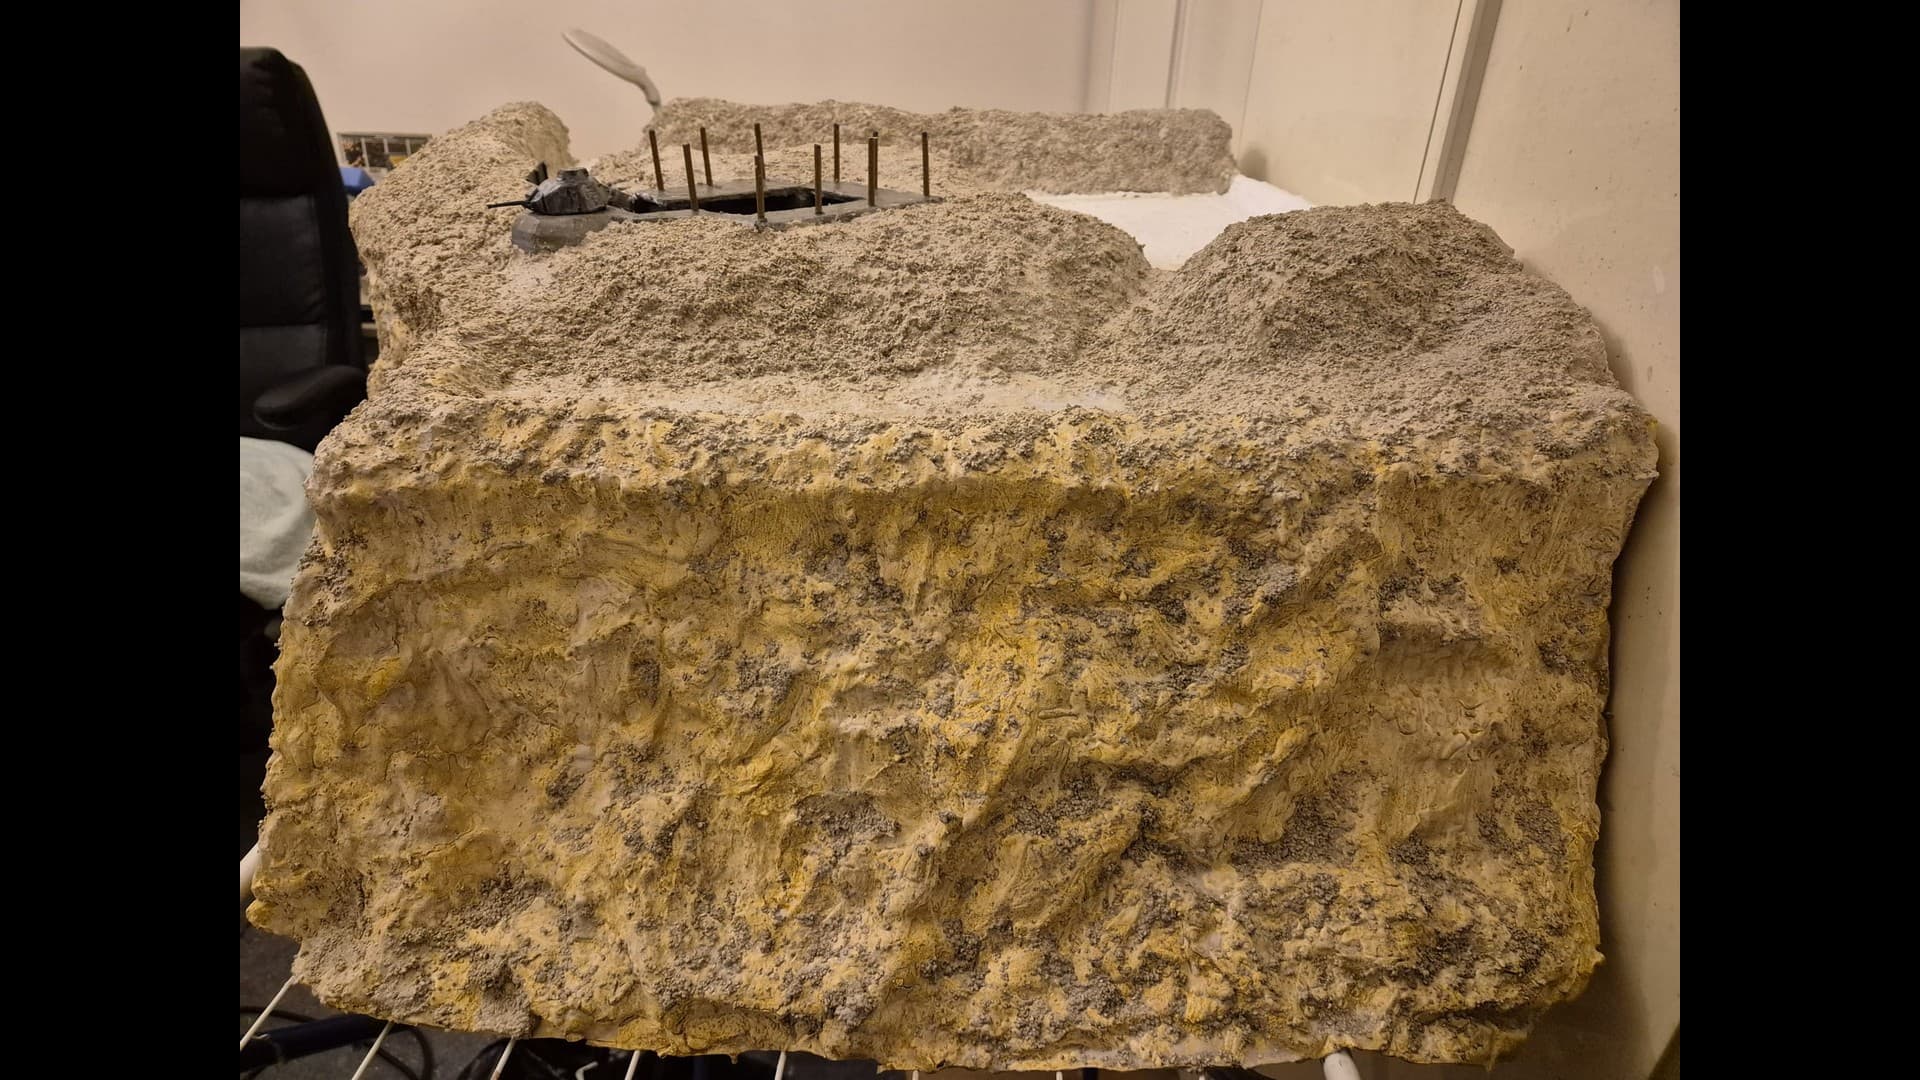
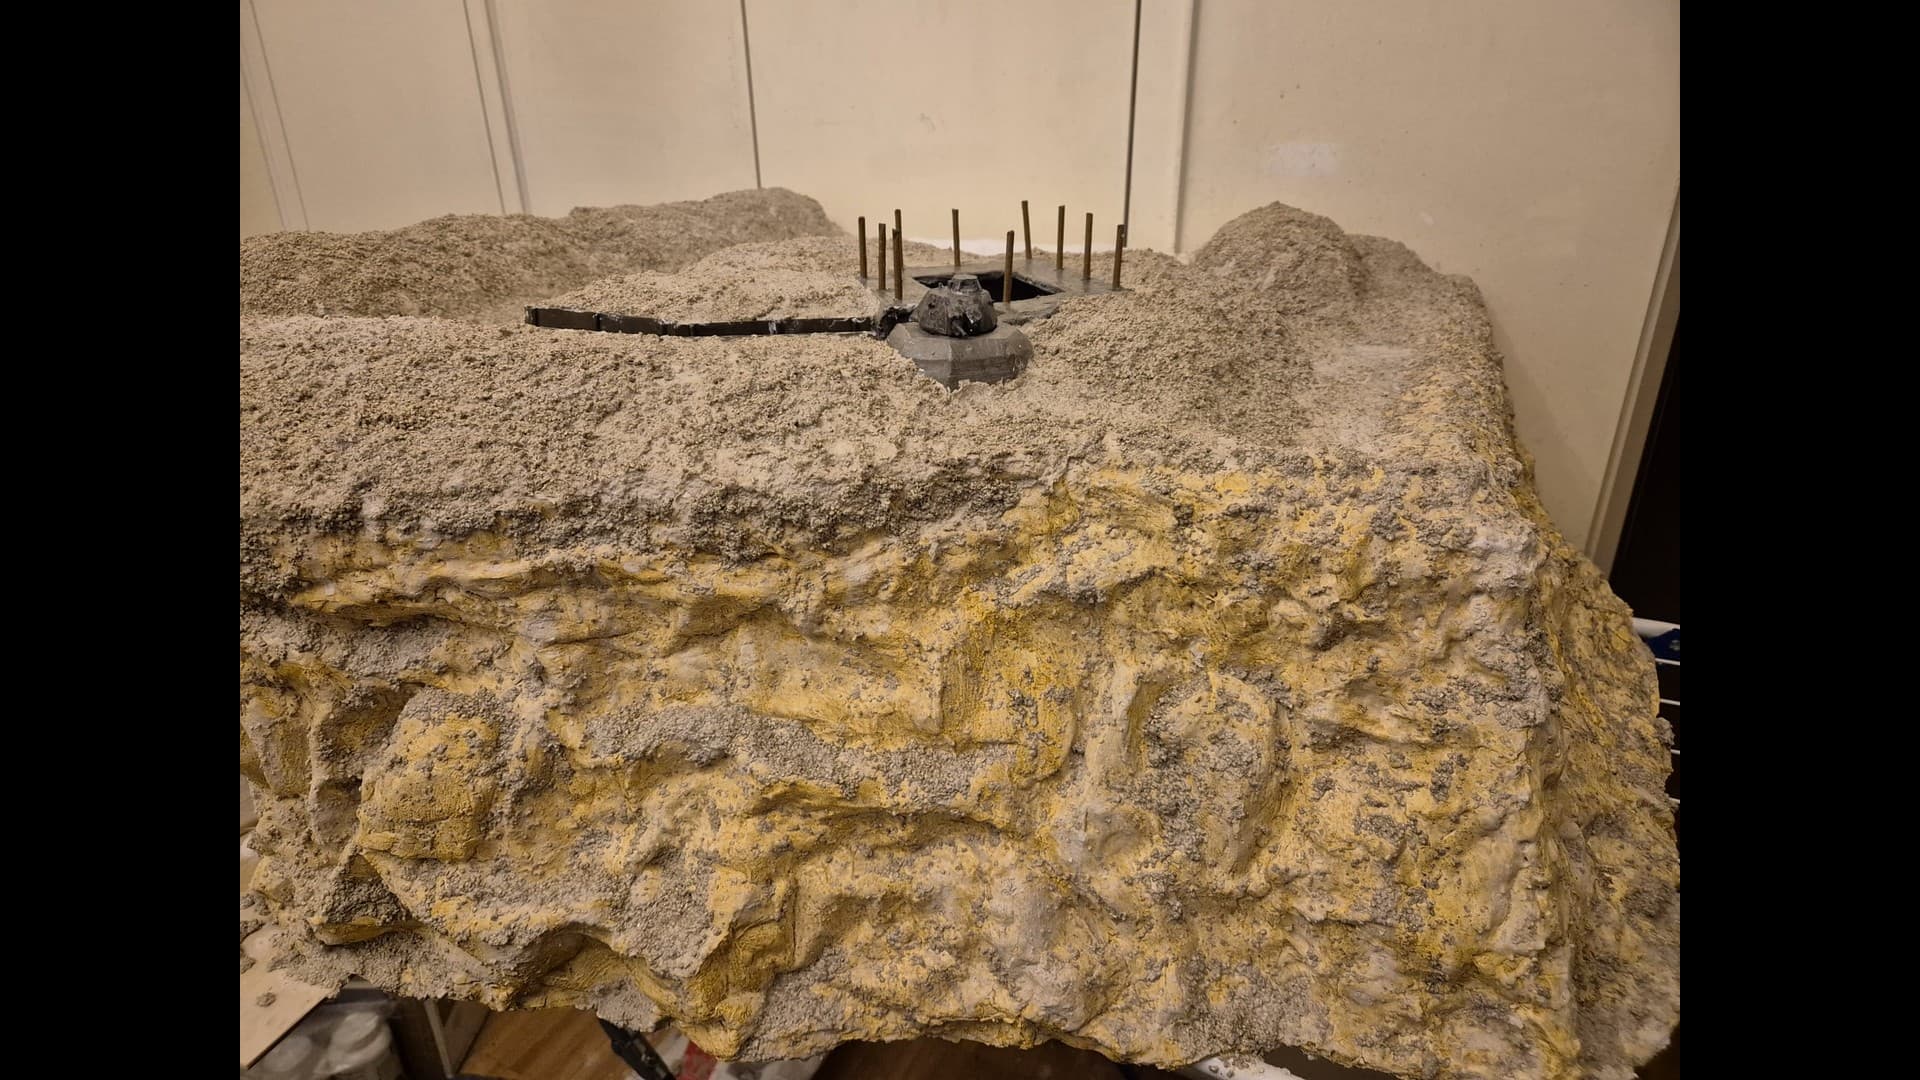
The frontal cliff received a general application of Mold-A-Scene especially applied where folds in the rocky face are more prominent. This is where some tiny vegetation will be placed once I start the flocking and planting of bushes and small trees.

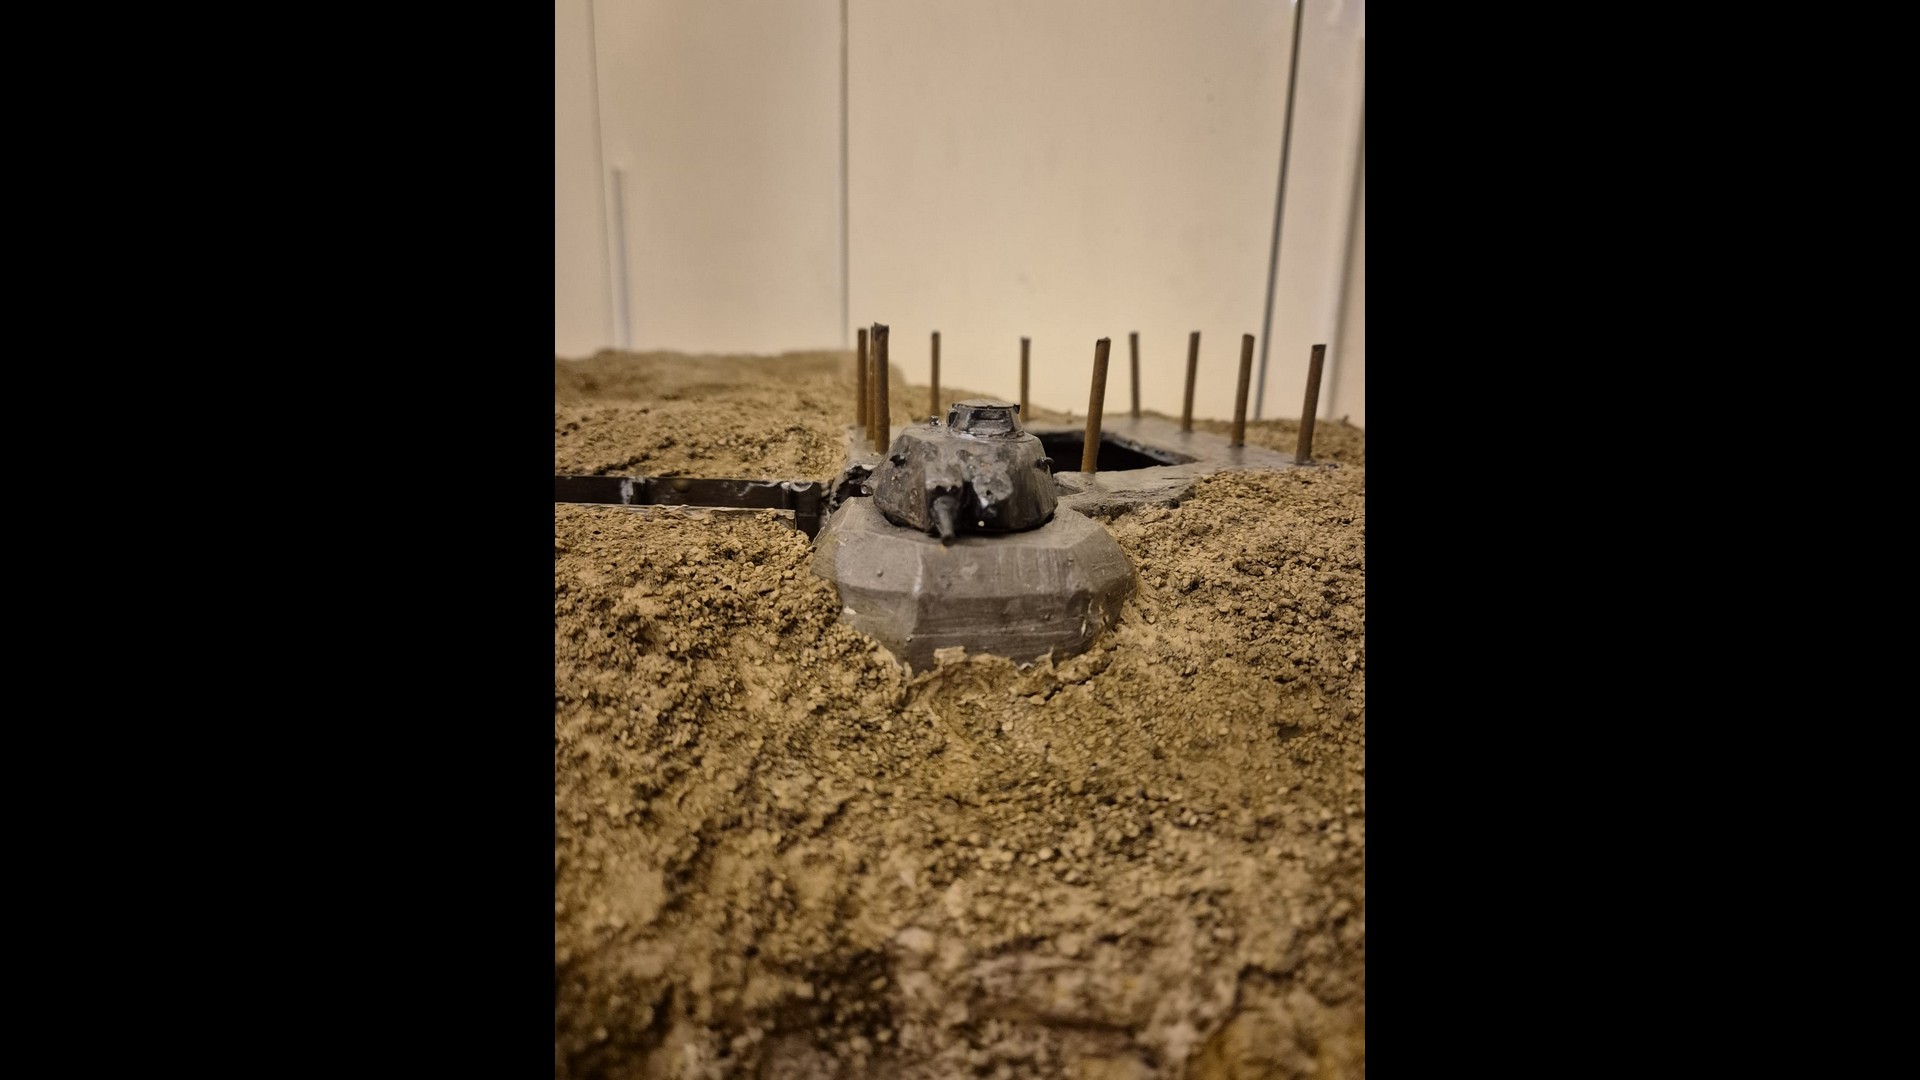
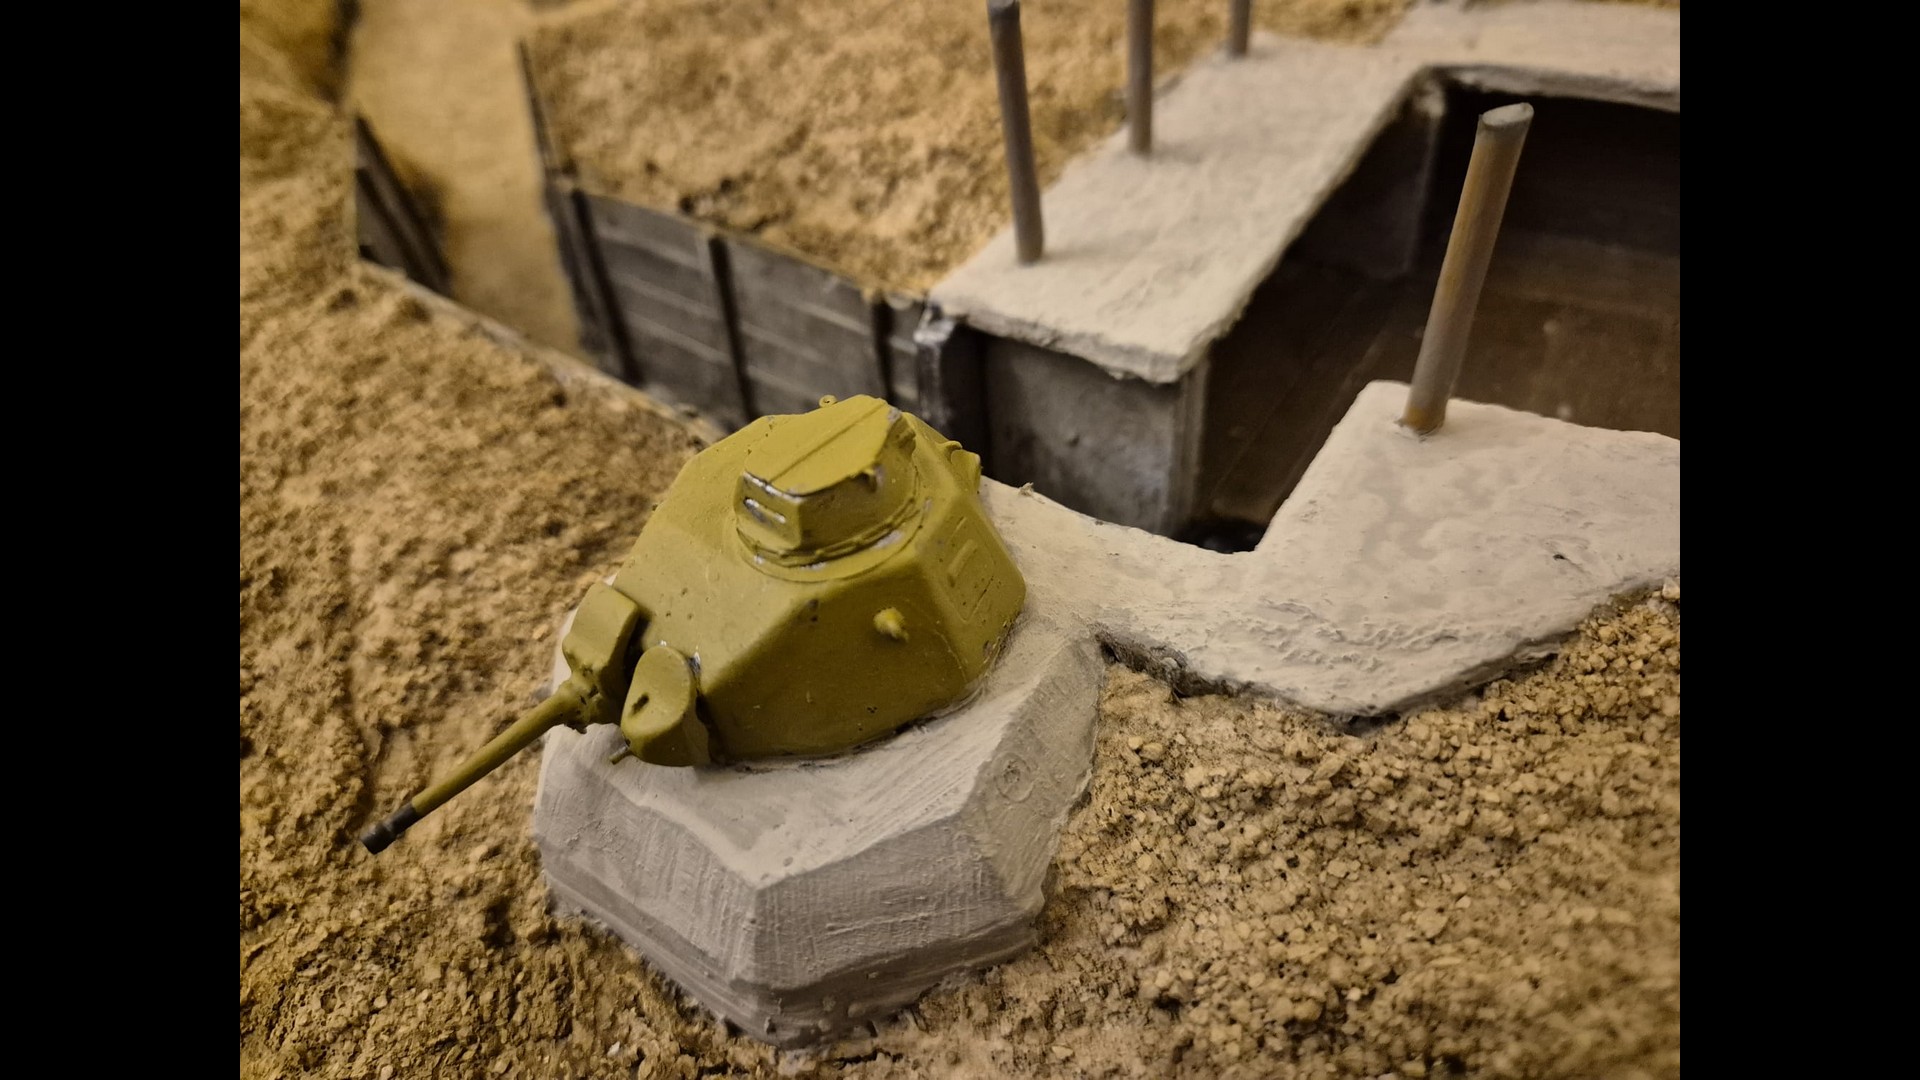
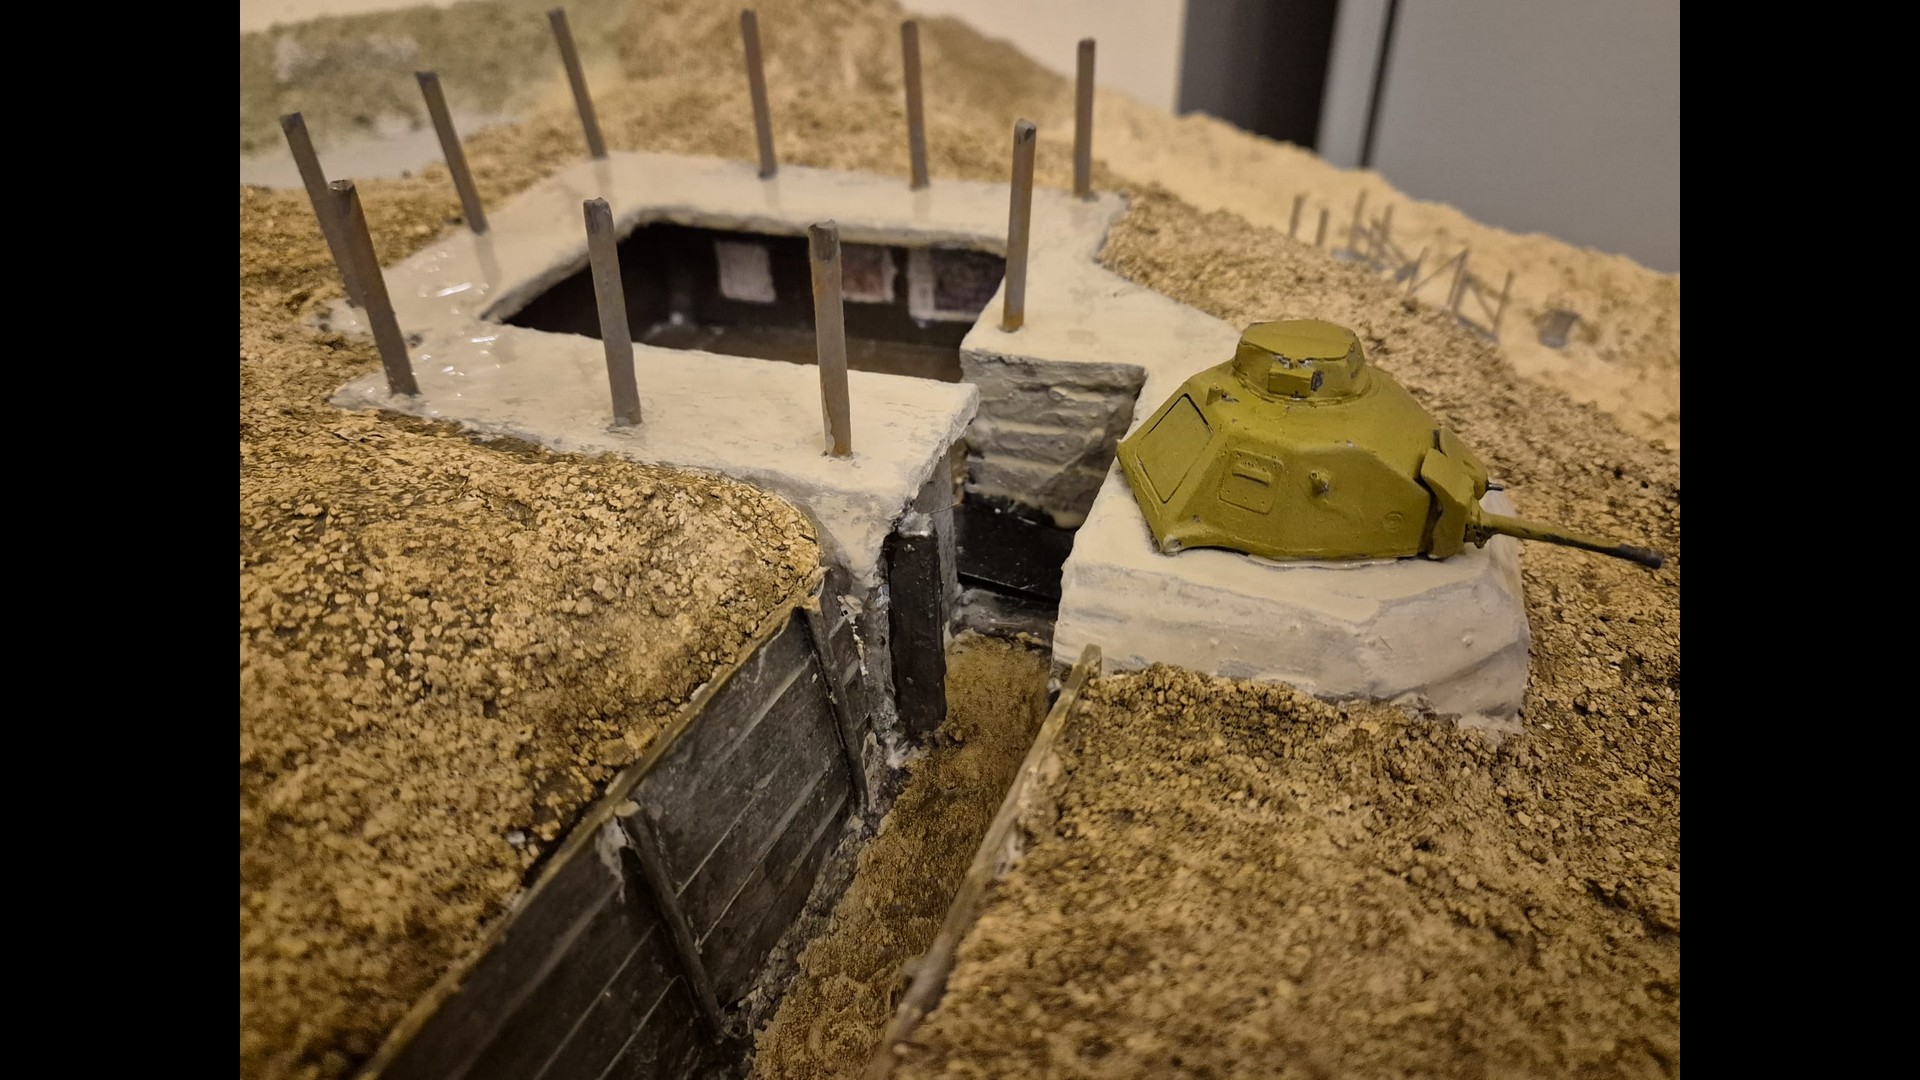
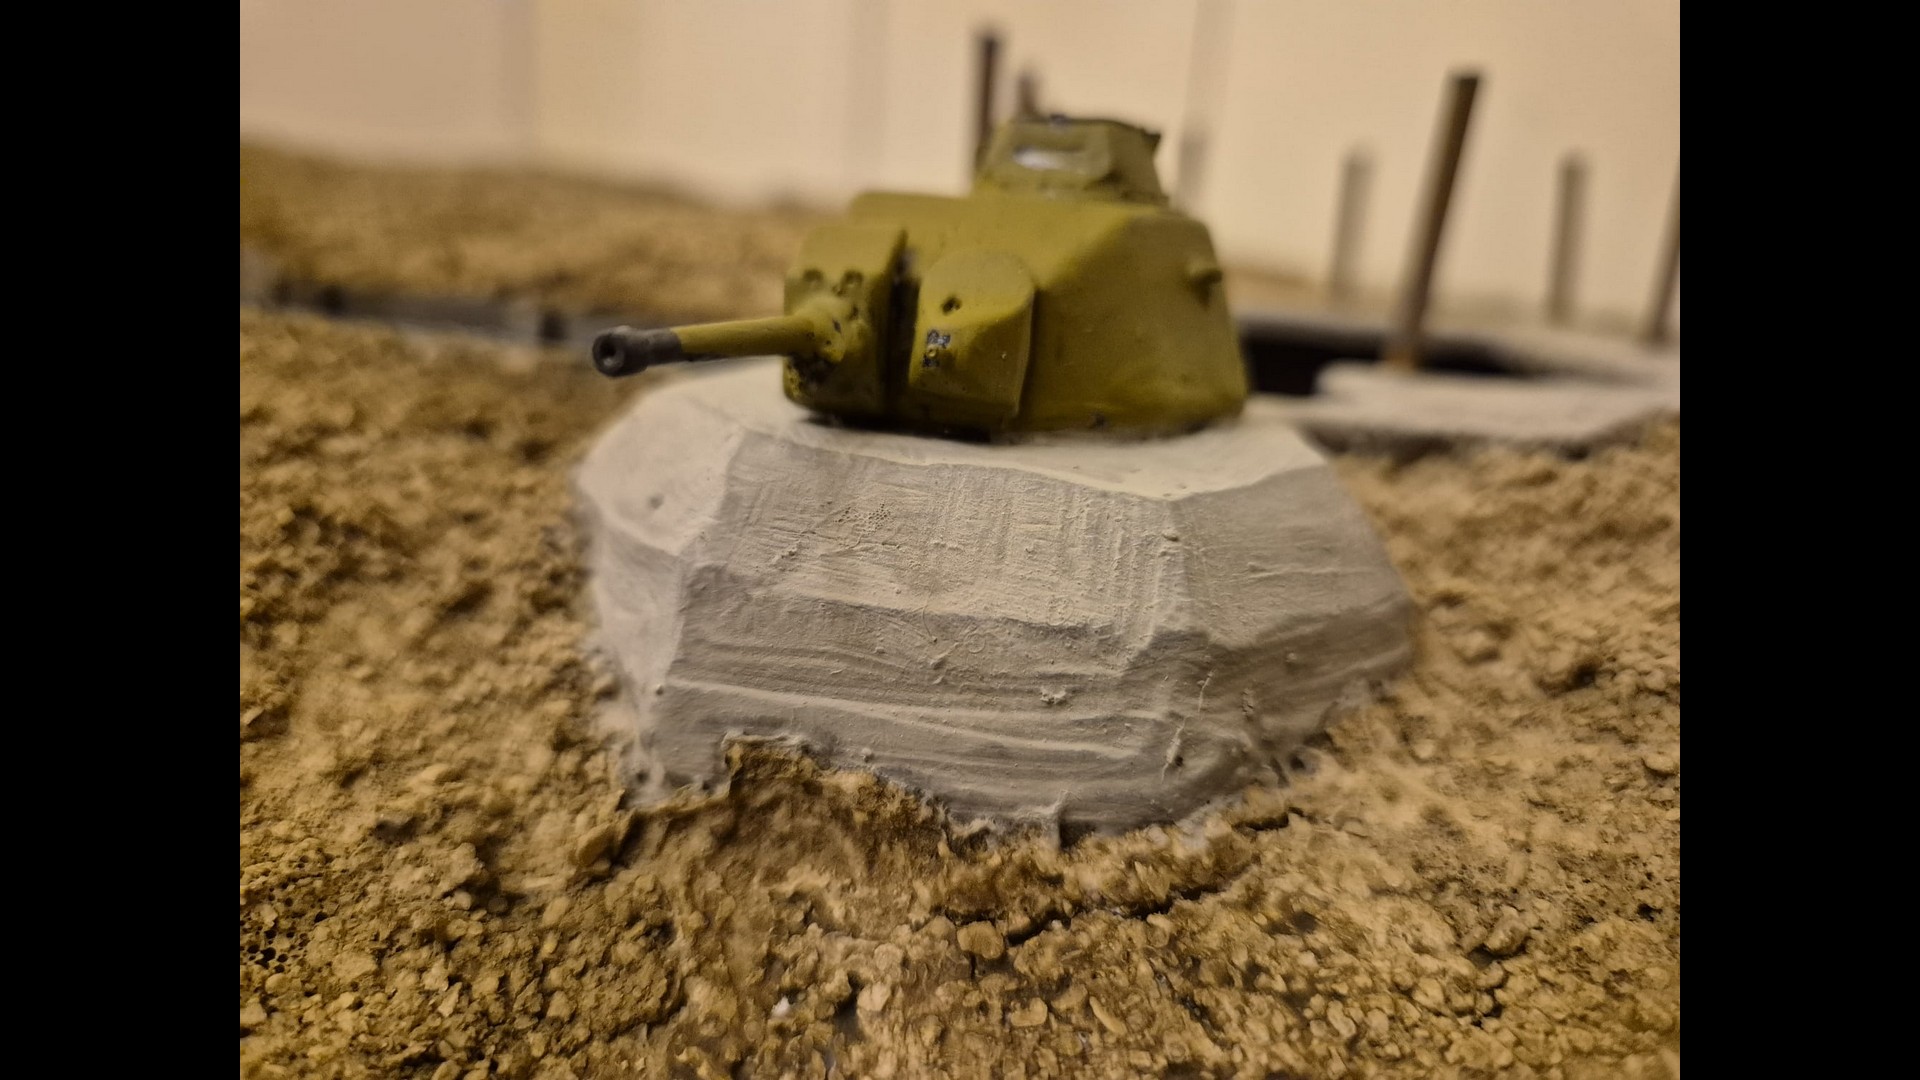
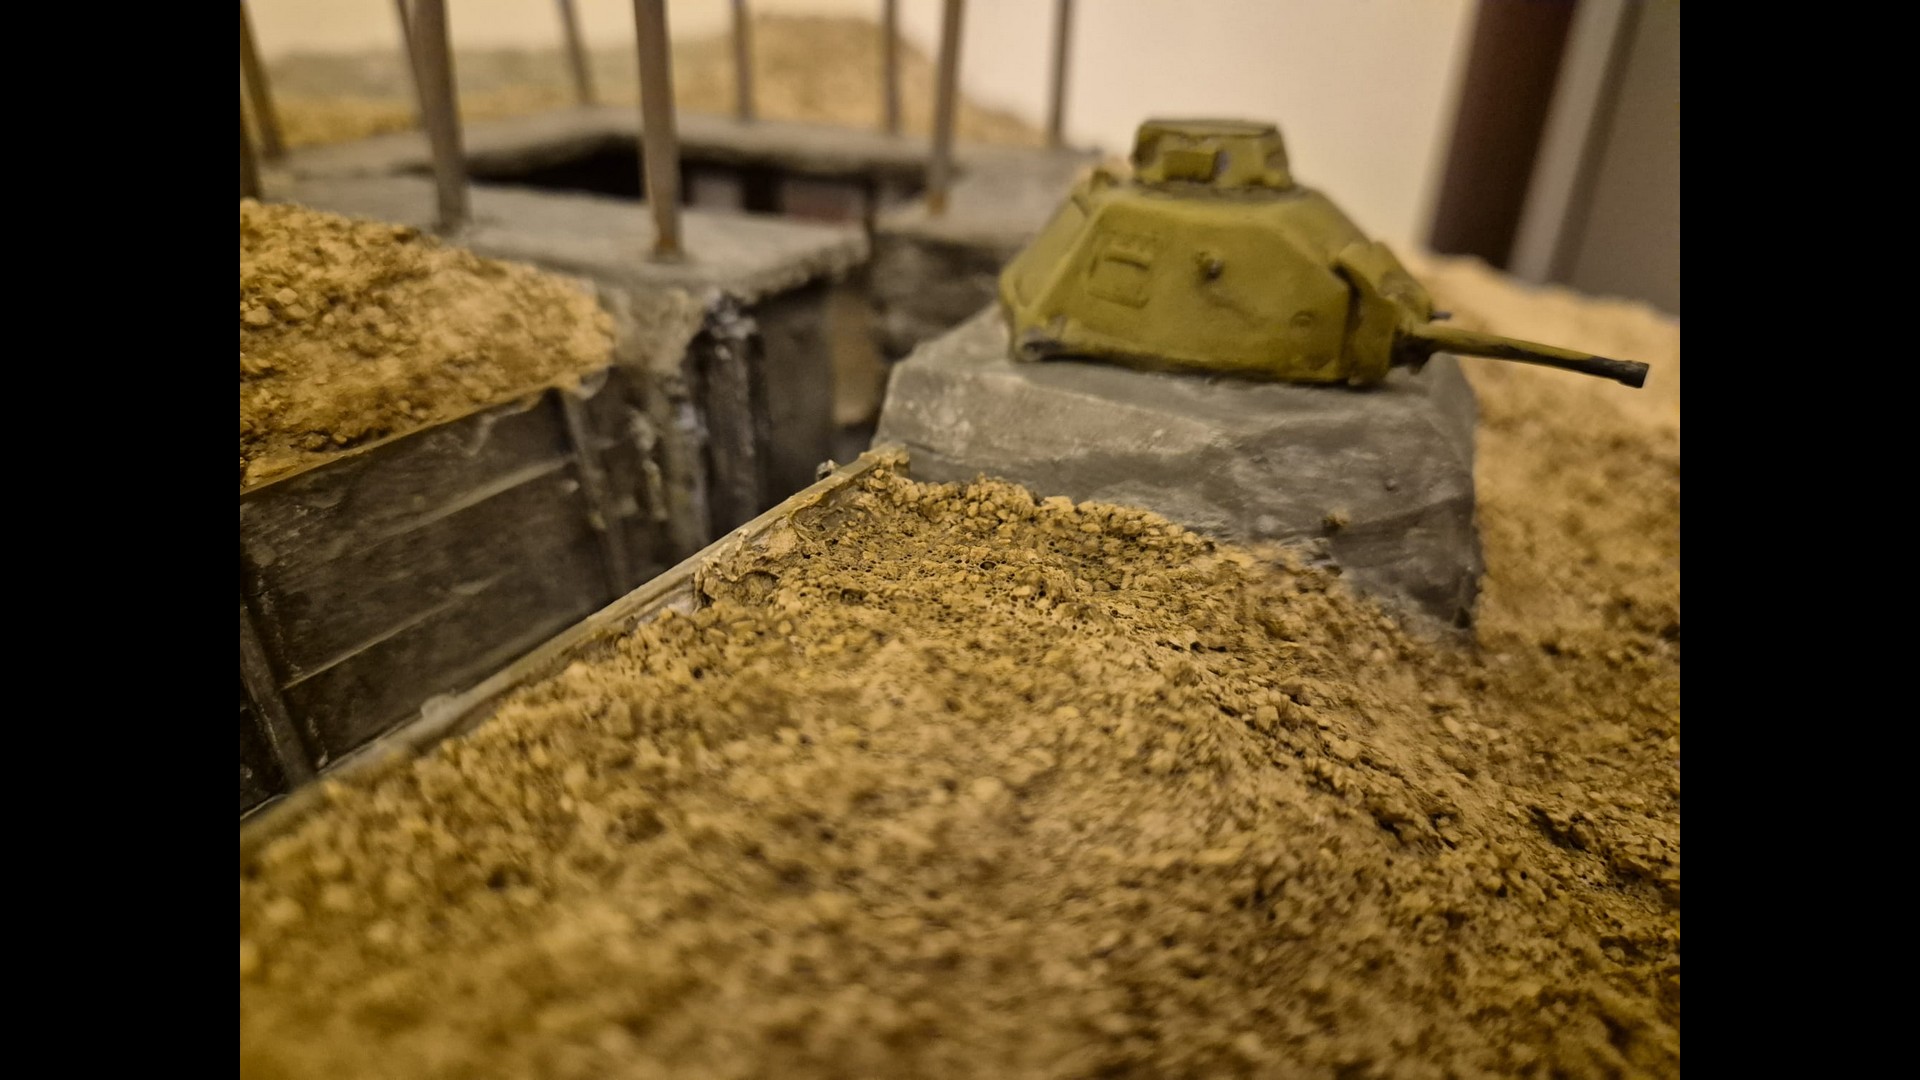
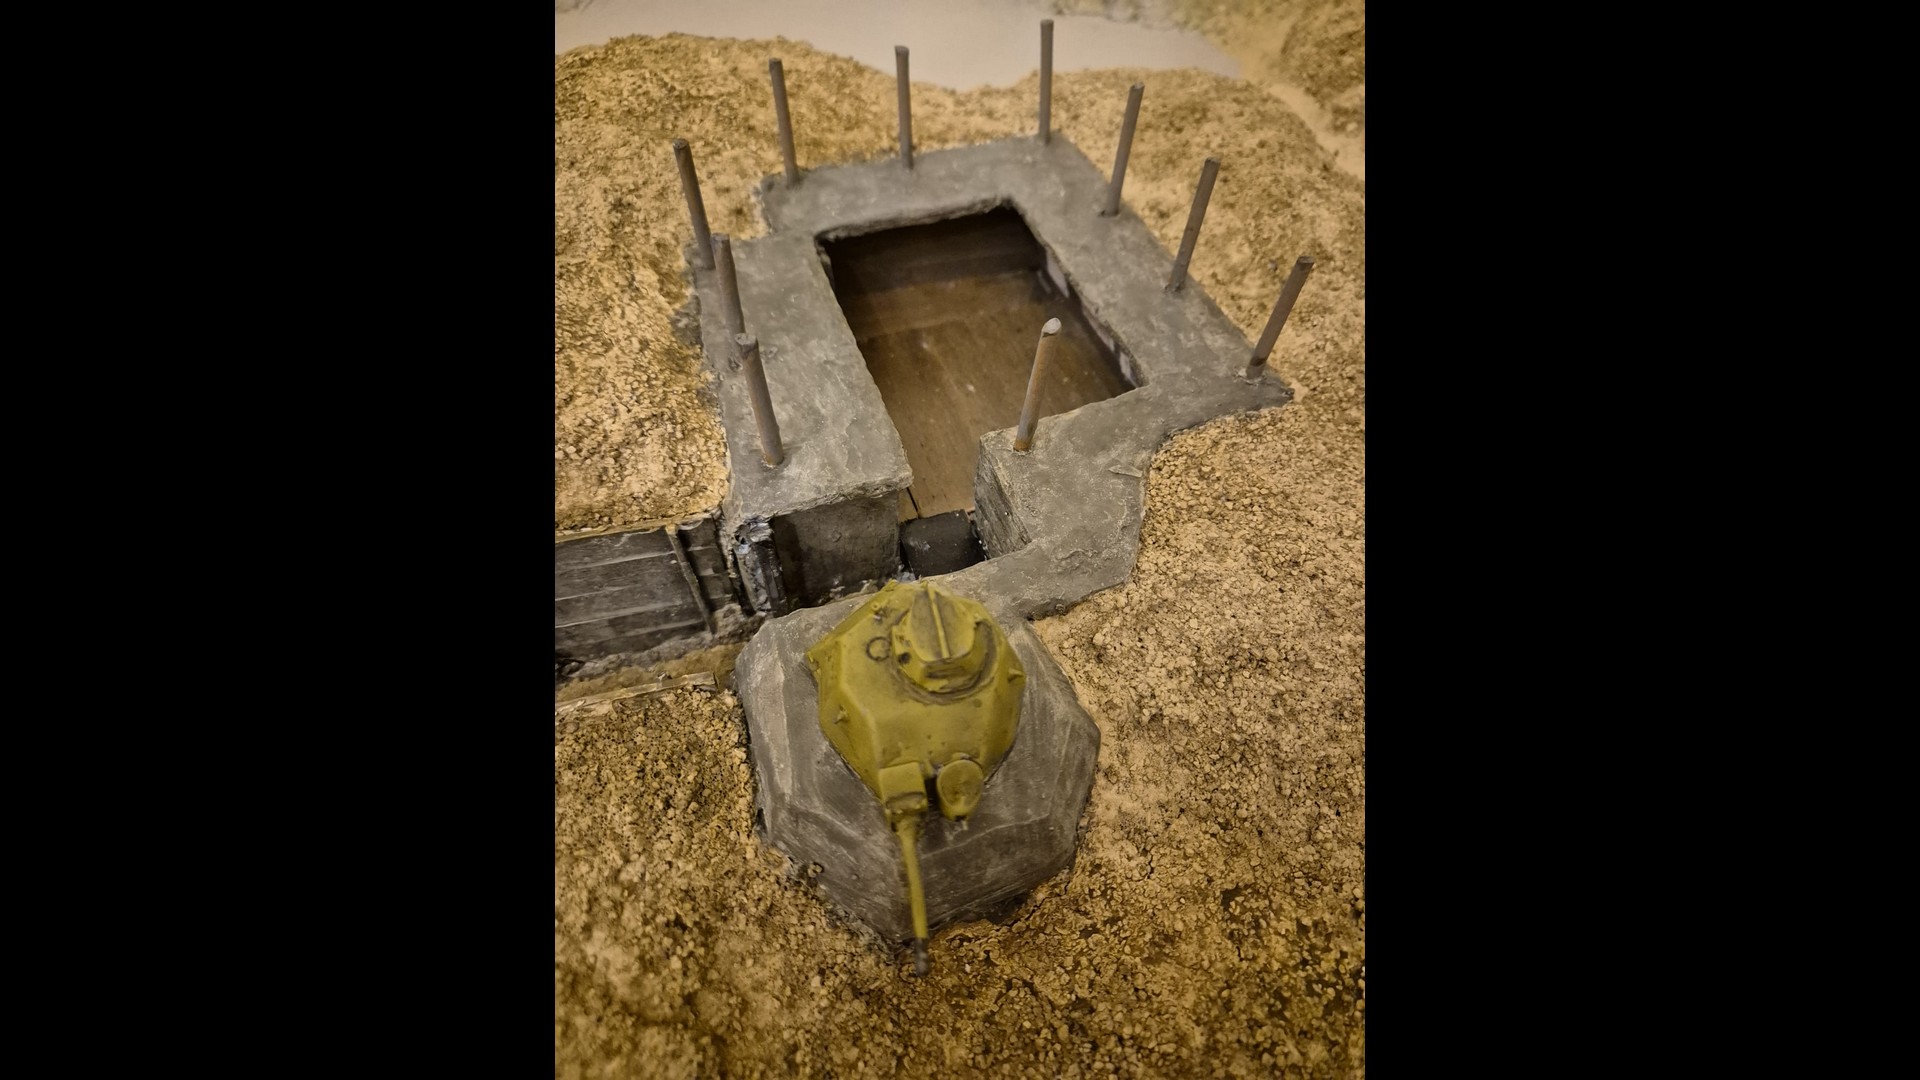
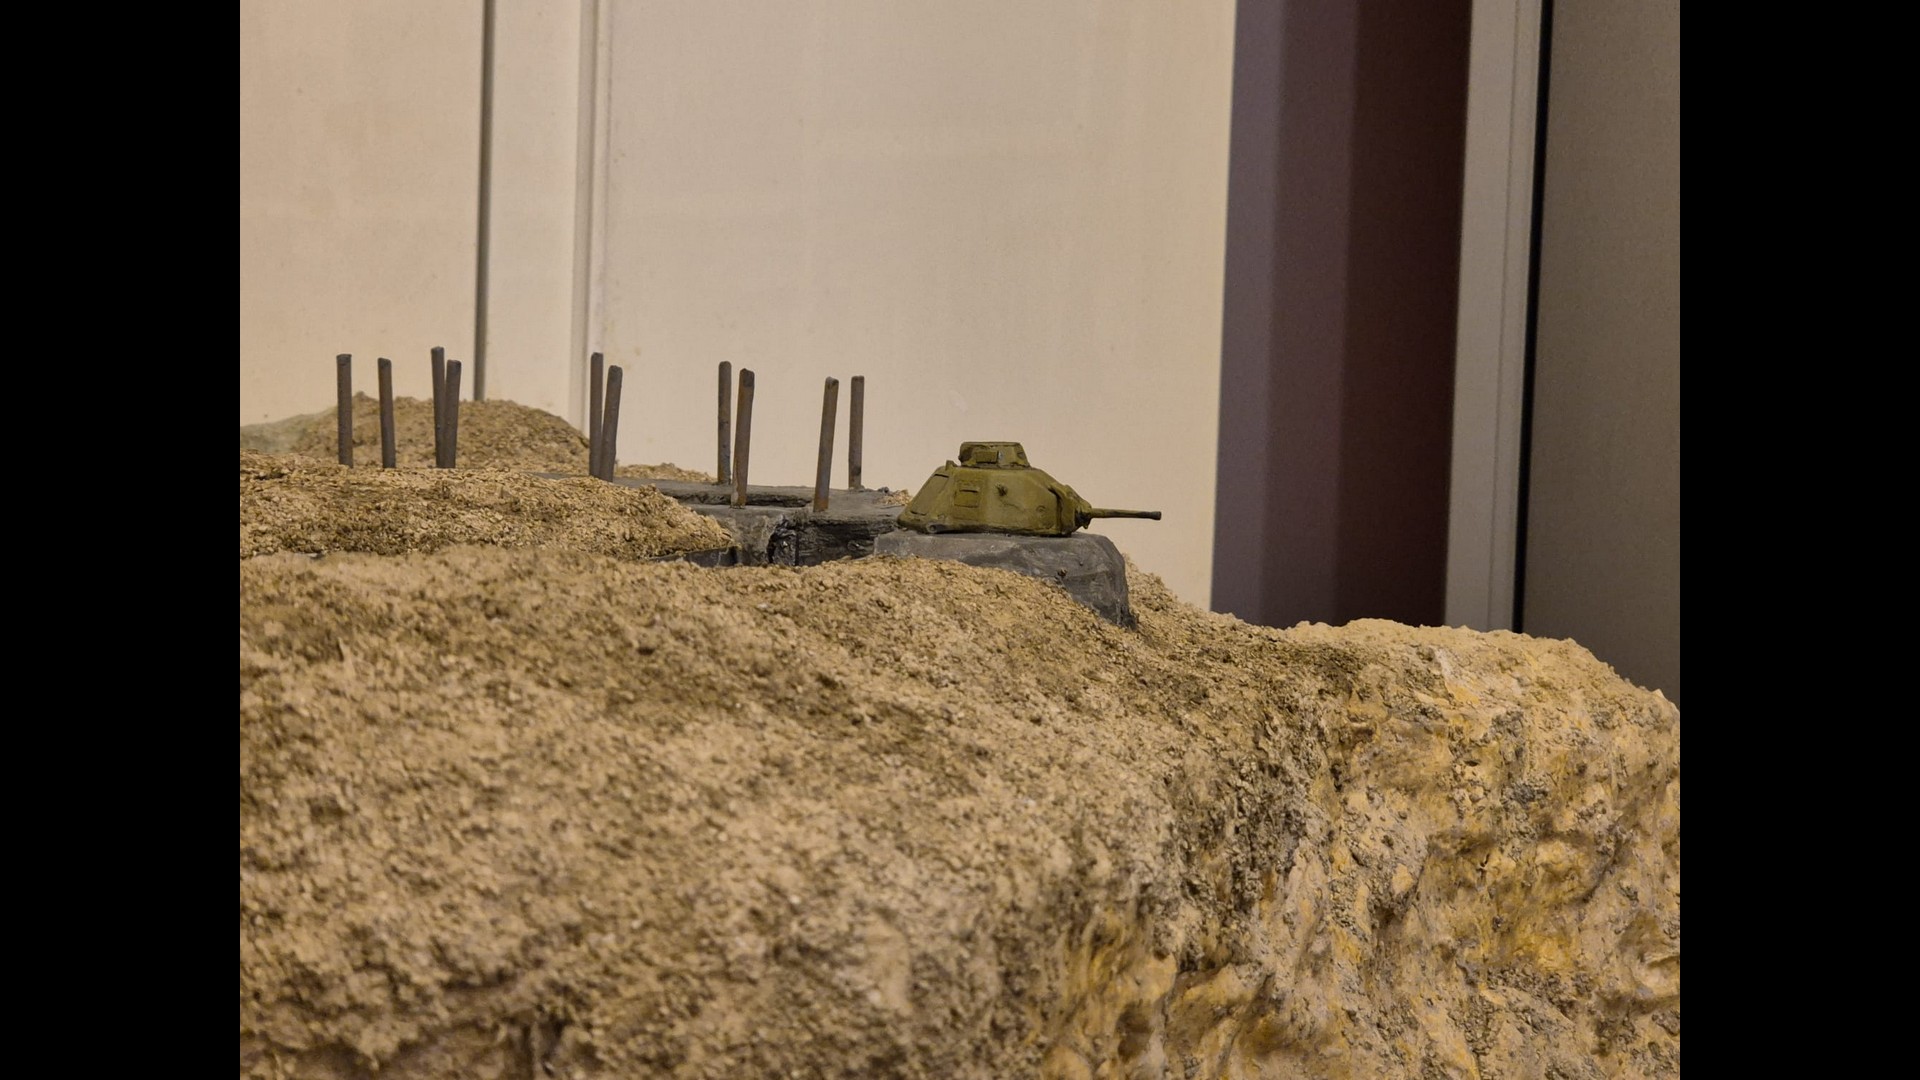
Another view of the Bunker with its repainted poles and the Somua turret.

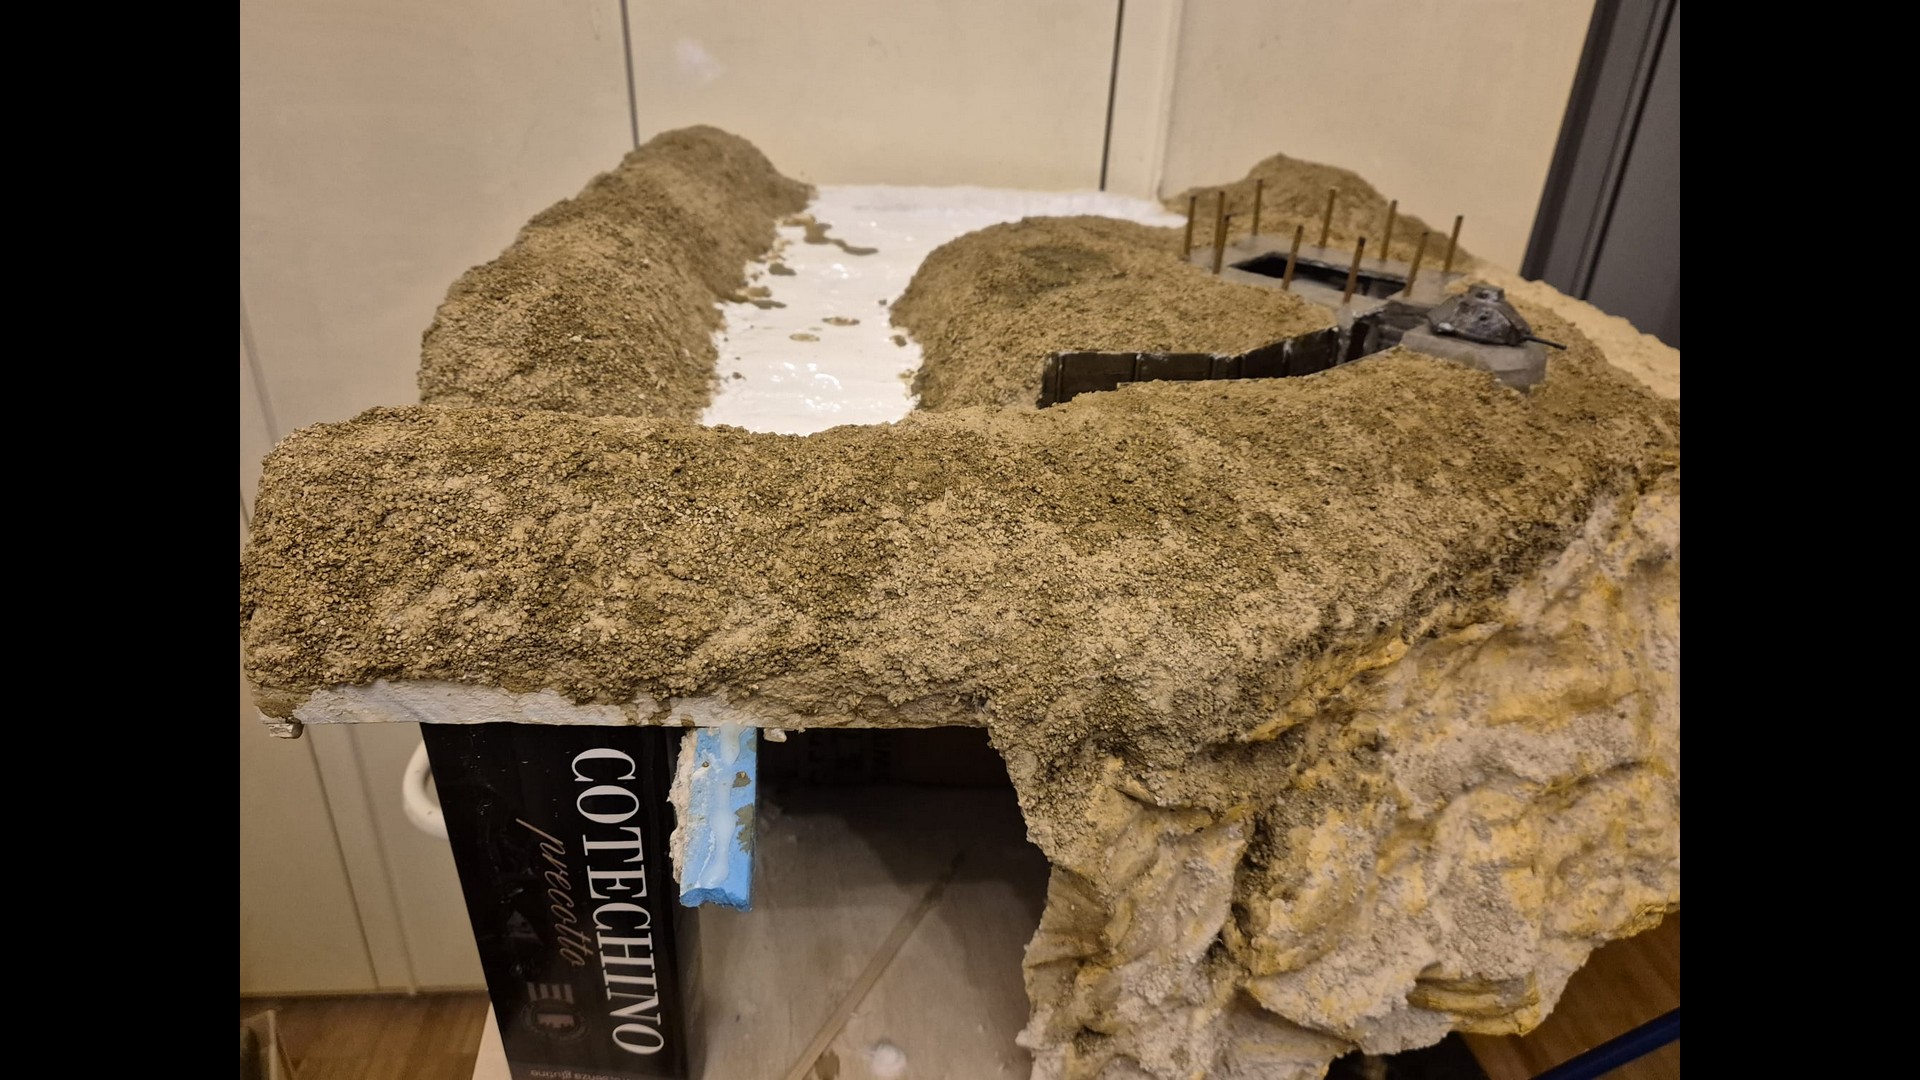
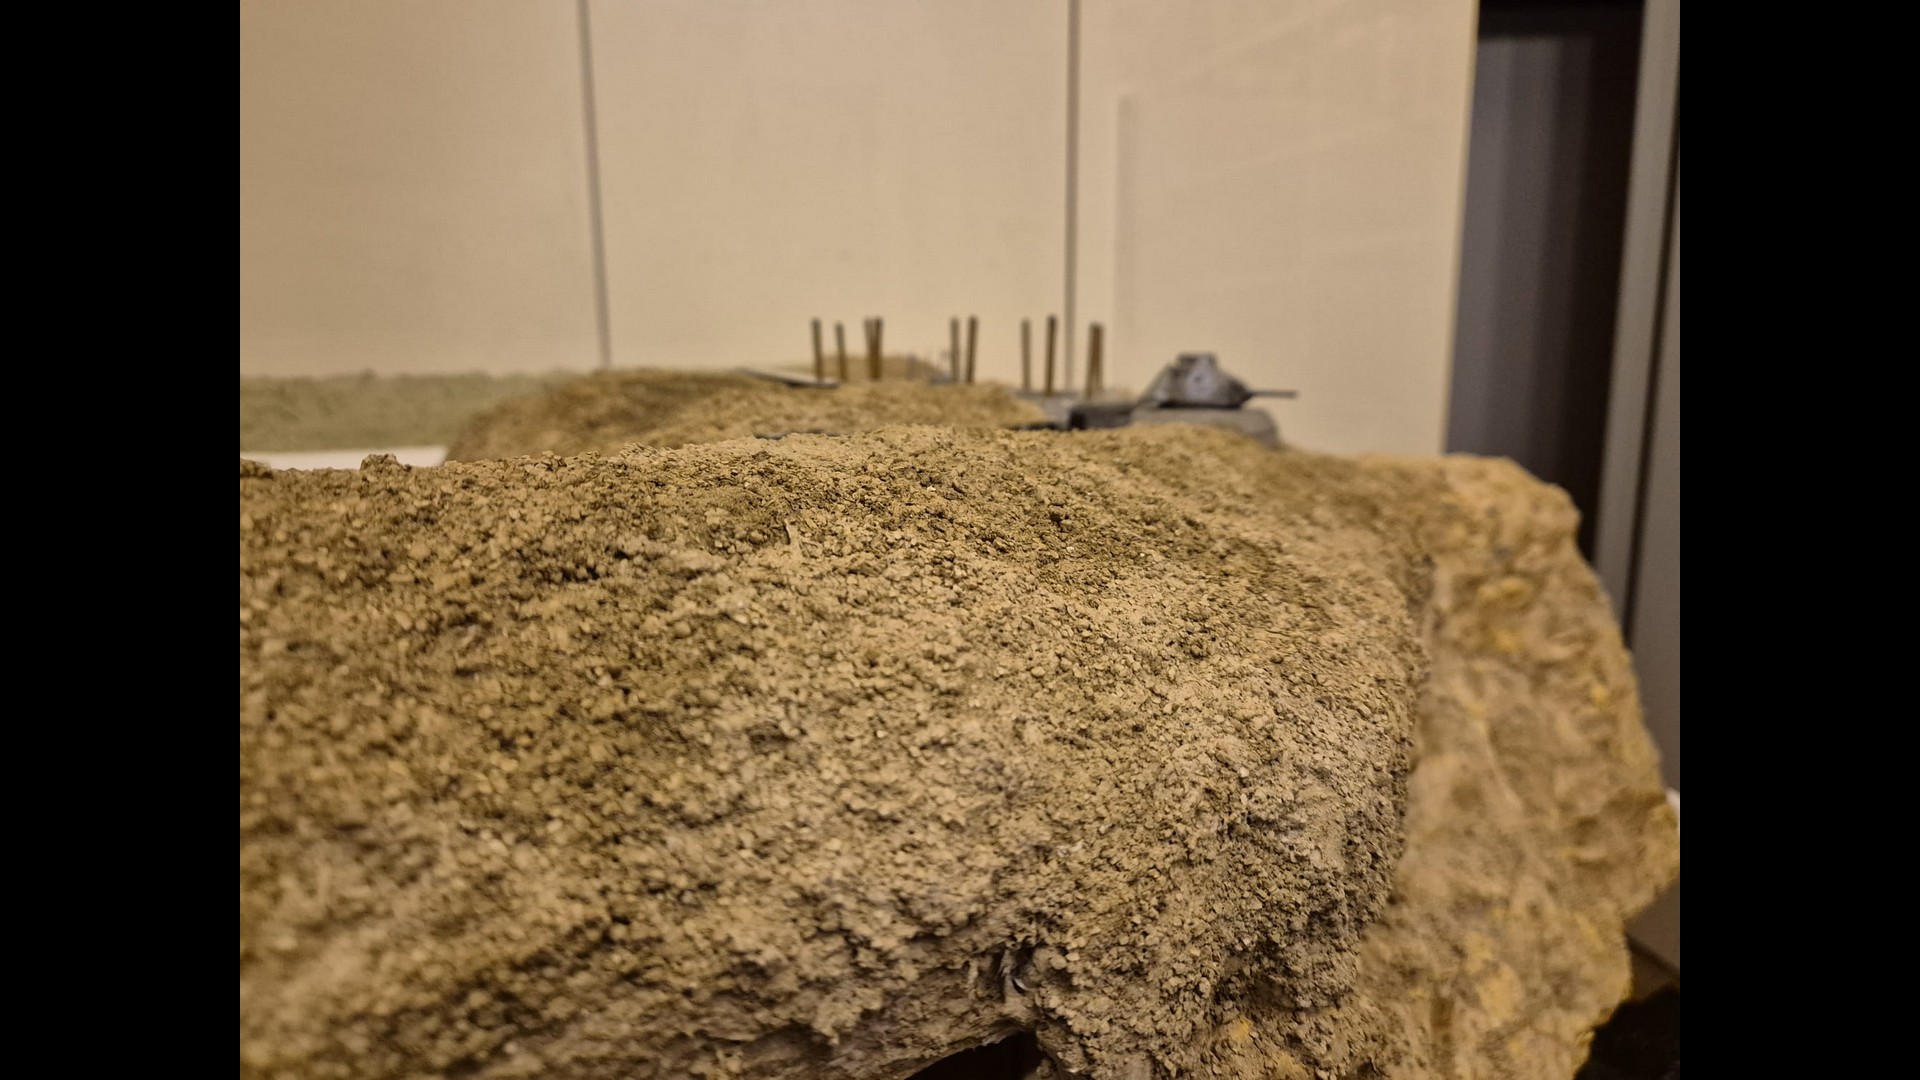
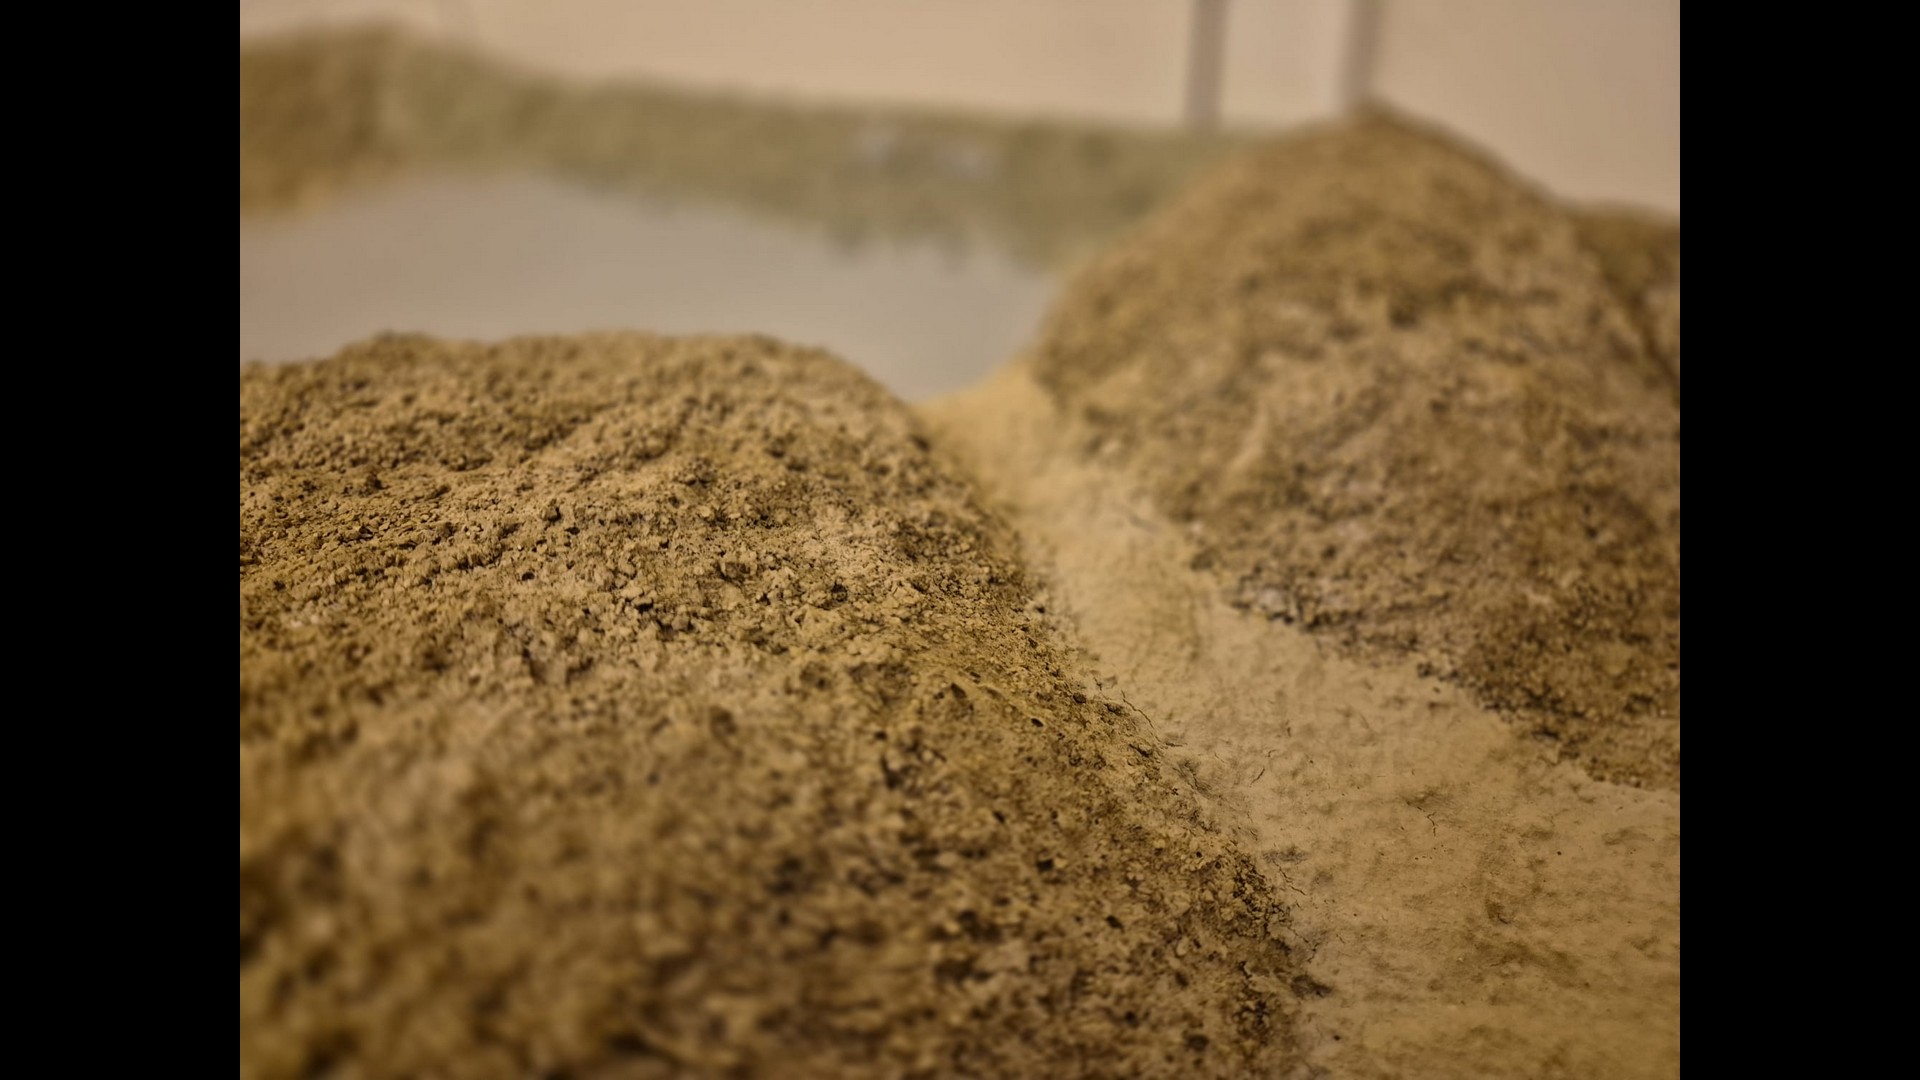
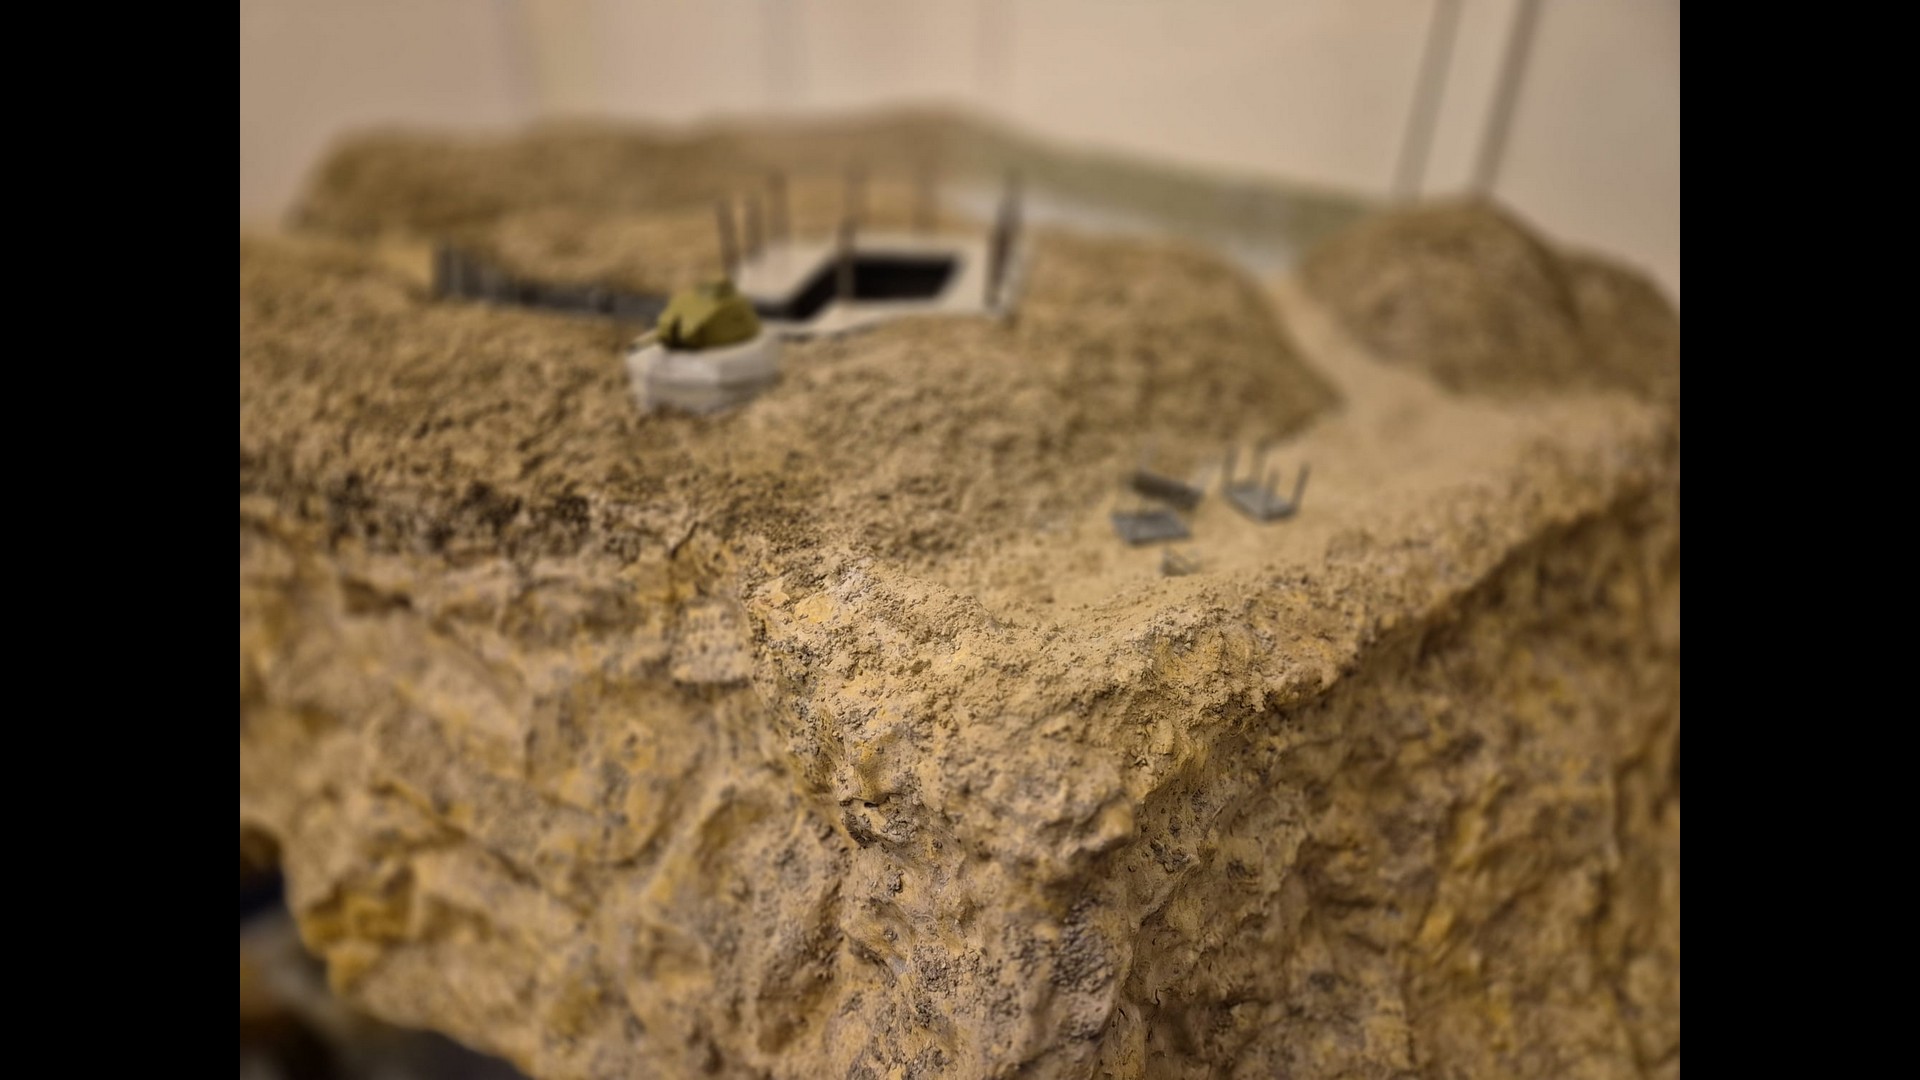
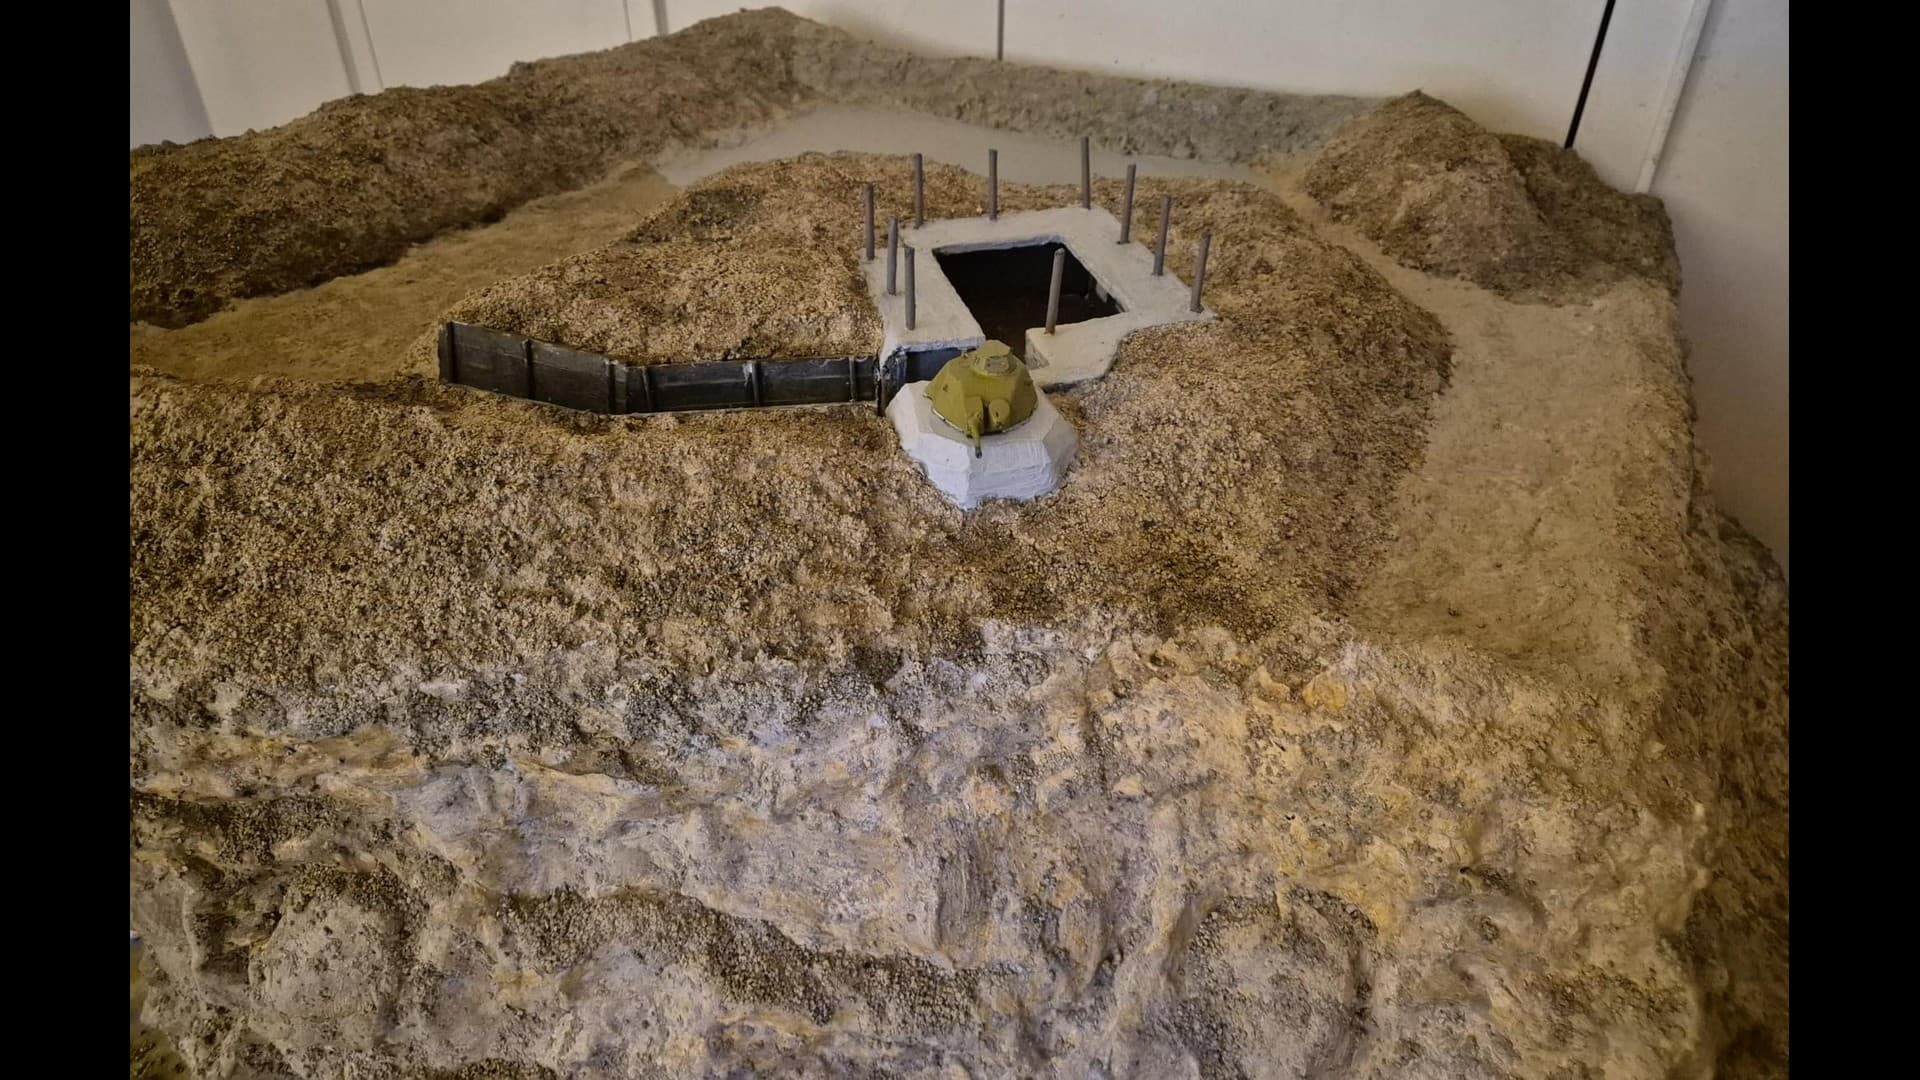
The other side of the cliff with the same material applied as well. Notice that the dunes, or terrain mounds have been somewhat elevated to more accurately depict the protection of the Bunker and its dissimulation in the terrain.

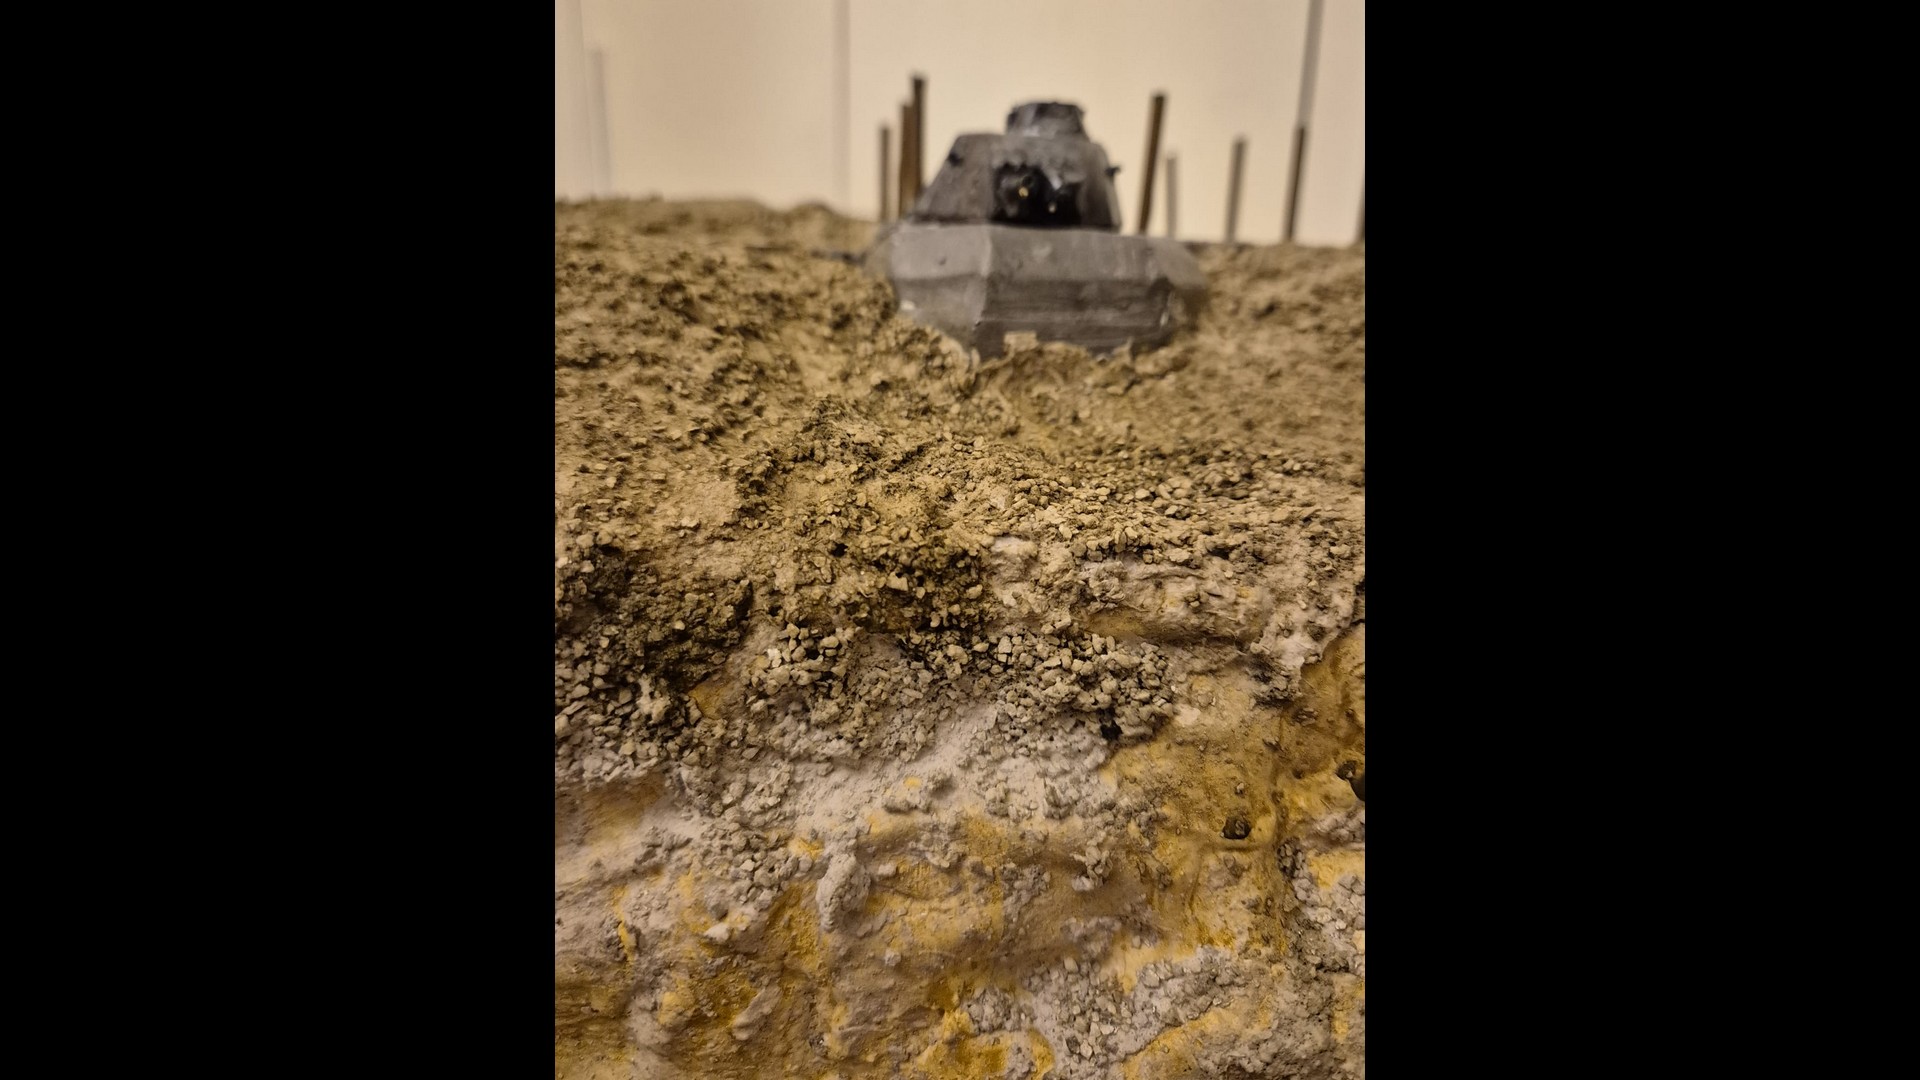
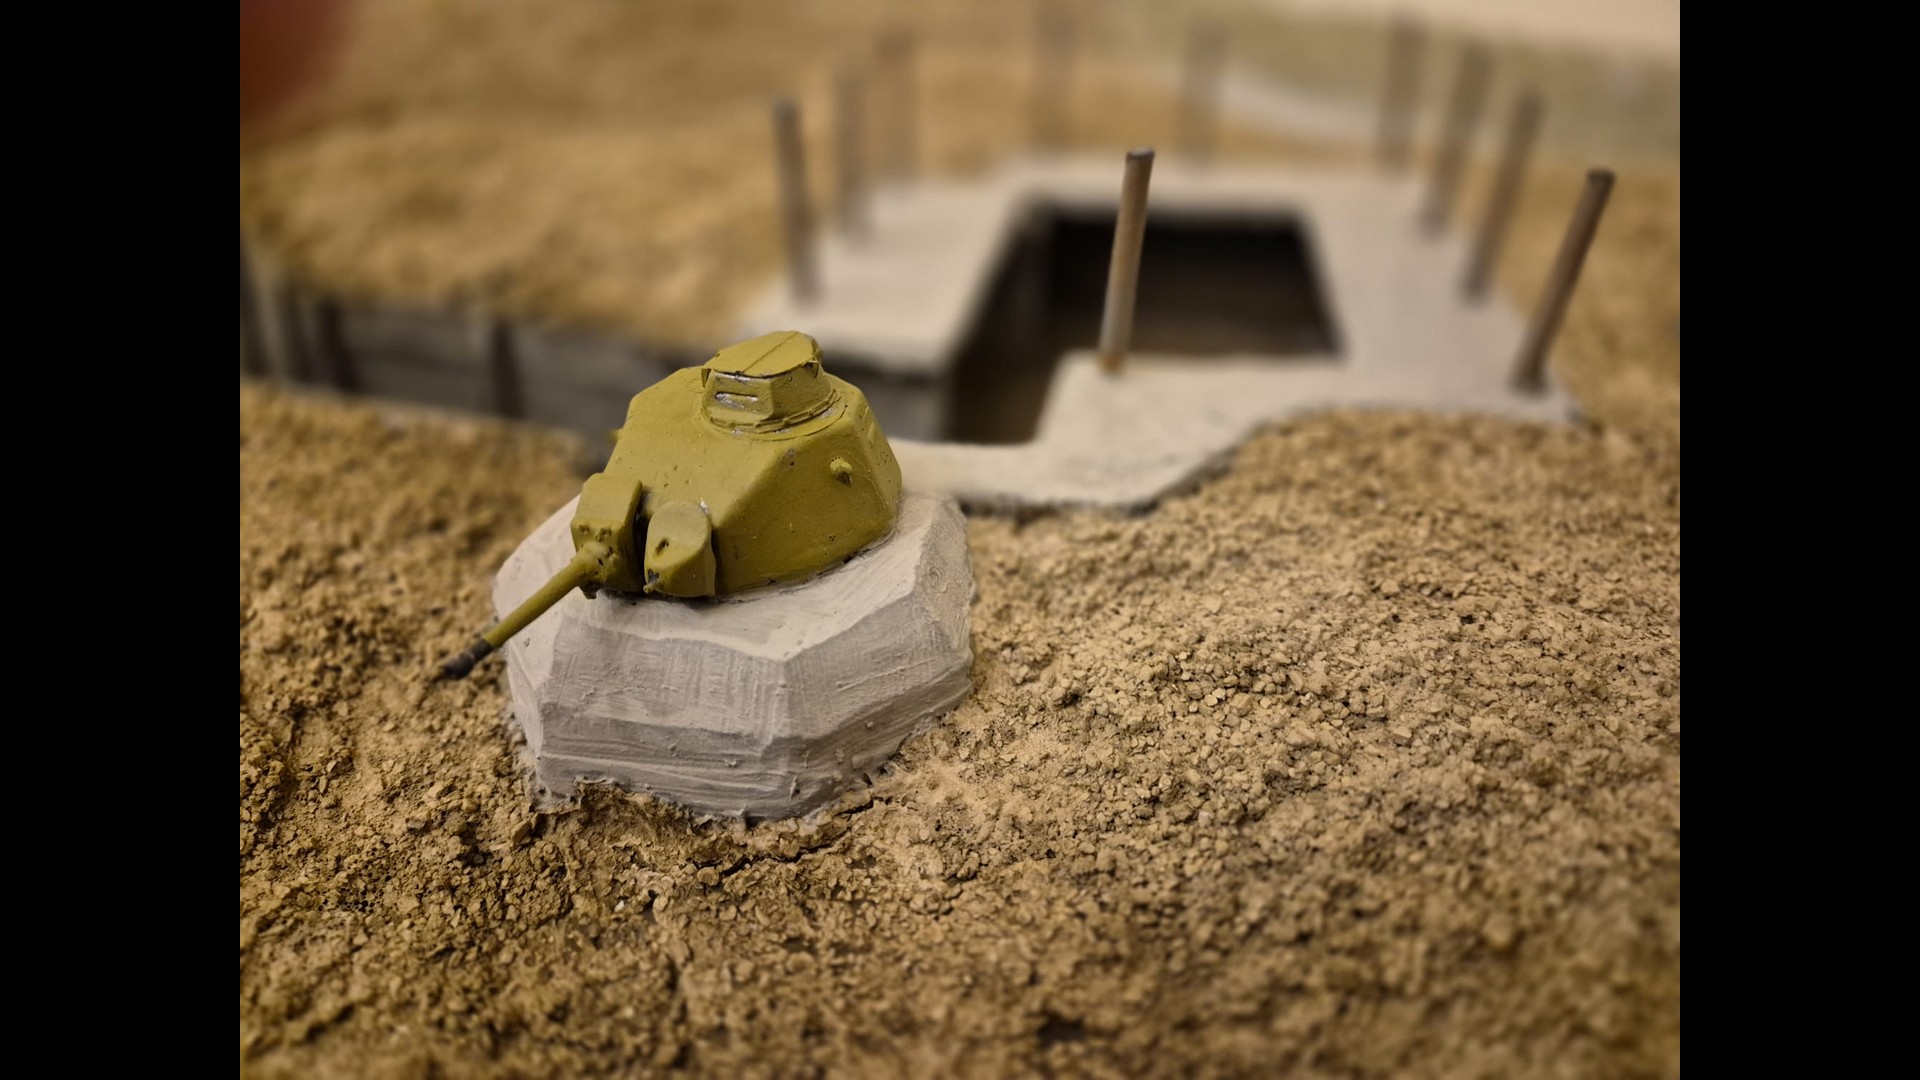
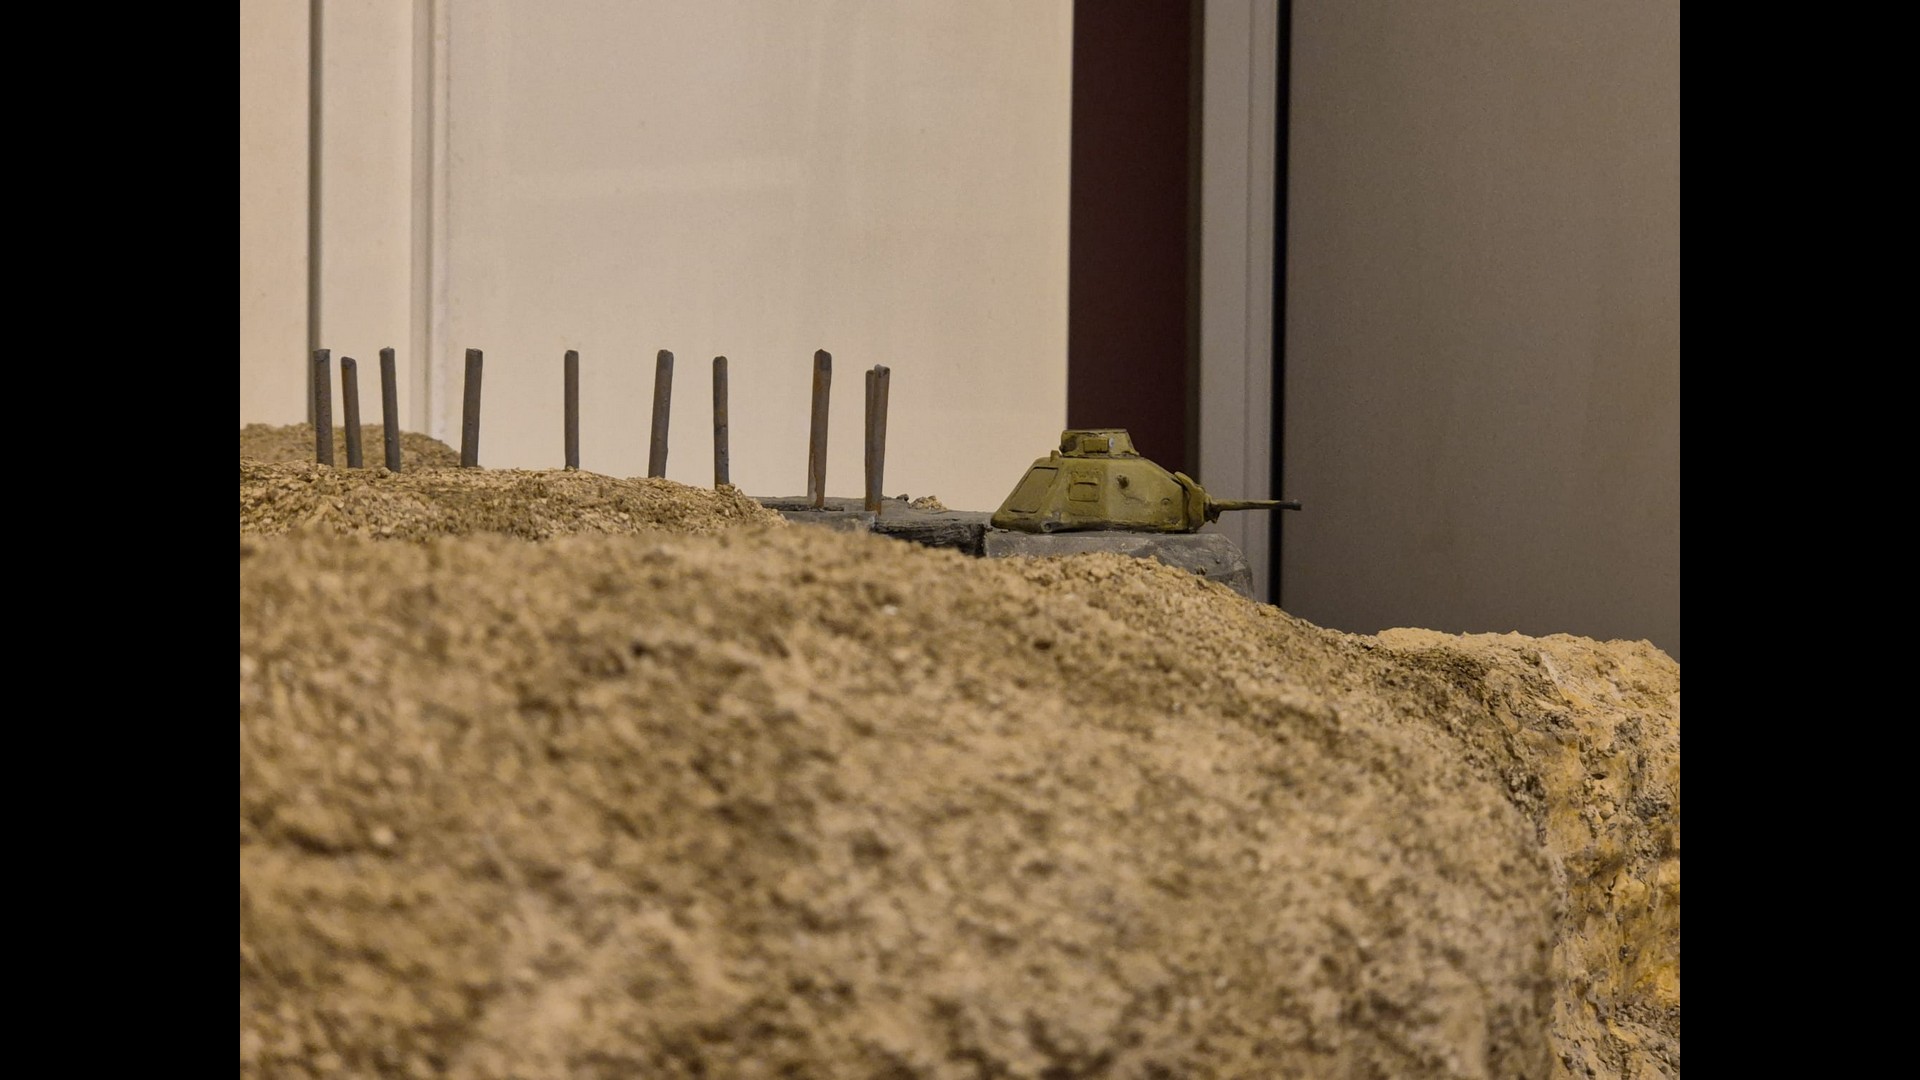
A frontal vie of the Somua tank turret. Having noticed that resin gun barrel was a bit crooked, I detached it, put it under warm running water and then slowly straightened it. I then repainted it in AK Interactive Base Black, followed by Extreme Metal Steel and then added some Gun Metal.

A further view of the side cliff encasing the Bunker. from a distance It appears that Mold-A-Scene plaster makes the dunes and the cliffs appear more uniform in shade and color.
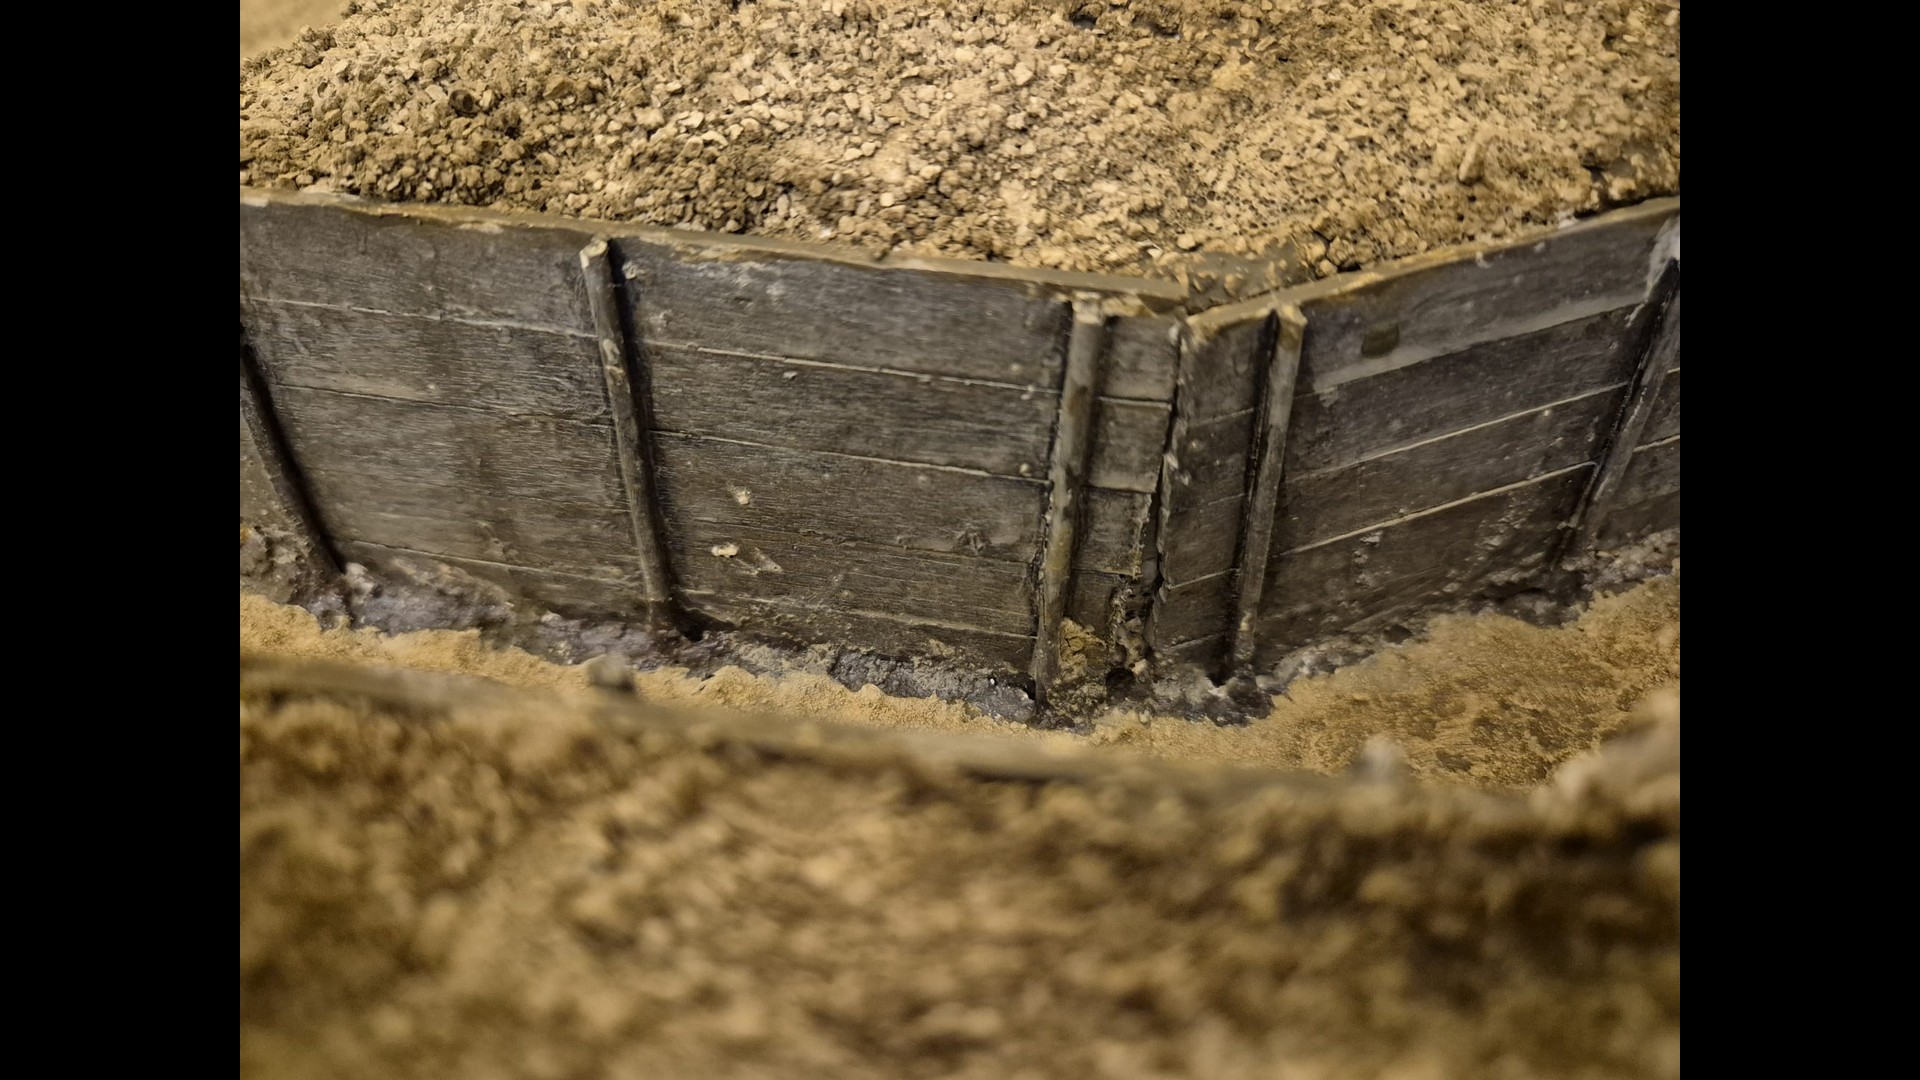
The fences surrounding the trench leading to the Bunker were found to be a bit to dark for my liking, but for the time being I left them like this. As said , they were fixed with Power Glue and inserted into previously drilled holes holding them in place with masking tape. They are crooked on purpose, since such protections were rarely regular constructions and usually made in a hurry with whatever kind of wood one could find.

A further view of the side cliff in its detail. Notice how Mold-A-Scene helps to contribute to tie in with the rest rest of the landscape.

And once more a rear view of the compound. At the far end I have already fenced the parking lot with what will become a set of hedgerows separating this scene from an imaginary continuation of the terrain.

2 Likes

OK, part one was just the initial phase of completing the ground work. This second part will further explain what kind of additions I made to it.

To add more contrast to the terrain I decided to give it a general wash of Woodland Scenics Earth Underground tinted with a touch of Burnt Umber mixed in a plastic cup with a generous amount of water. I proceeded in various steps: light, medium and heavy. I applied it with a medium sized synthetic brush . I started with the mounds.


Some of it went all over the place but I didn’t worry since all those spots would then disappear after I had completed the road and parking lot floors.

The trench passage has now be filled with AMMO MiG Fresh Mud acrylic compound which will be toned down in a near future.

A view from the rear.

In this view of the side cliff you can see how the Mold-A-Scene plaster has somehow left its footprint on the surface with slight touches of a light grayish brown which I didn’t mind at all since they added to the realism of an actual rocky face.


On the passage between the parking lot and the frontal ledge, as well as on the frontal ledge itself I applied a slight touch of AMMO MiG Beach Sand acrylic compound to mark a more pronounced nature of the ground.

Seen from above it becomes by far clearer.

Another frontal view of the Bunker with its turret. It starts to look more menacing than before…

…and the ground surrounding it much more rugged.

A general view from the side.

1 Like

Part three depicts how I worked on the cliffs by applying general washes of Earth underground and Burnt Umber. The variance seems little in the following pictures, but when seen with your own eyes it offers a major contrast to the surface.
There are no comments in this presentation, just the various segments I so treated of the cliffs.


1 Like

In part four I started to define the road leading to the parking lot, added material to the hedgerow line limiting the parking lot and further detailed the frontal ledge.

First of all I generously filled the area where the road enters and leads to the parking lot compound with AMMO MiG Wet Mud acrylic terrain to conform with the trench entrance to the Bunker.


I then added Woodland Scenics Green Underground tinted Celluclay to the preformed hedgerow limiting line of the parking lot.

The leading path to the Observation ledge and the ledge itself have been further refined by adding another touch of AMMO MiG Beach Sand acrylic compound.

The road meeting the exit of the Bunker and the Camouflage net poles washed with a Black wash.


A view of the Parking Lot still unfinished but with the Hedgerow line in place.

A close up of the terrain surface.

Nice work on the terrain. The textures and colours are convincing. I was at Juno beach in October 2025 and the texture of the beach sand and the dunes was much like what you have depicted.

In part five I did submerge the AMMO MiG Dark Mud compound and applied both on the road and in the trench passage with a hand of AK Interactive Light Earth followed by AMMO MiG Beach Sand. This was made in vast general strokes with a large round synthetic dry brush by dipping it into the jar and then just dabbing the areas concerned with it in round movements to create the sense of moved and displaced earth.


I also added the first hand of Concrete surface to the parking lot and repainted the Bunker in a Light Gray Concrete color, as well as the Tank Turret which has now a German Yellow Sand from the 1943-1944 period camouflage (both dreadful to the eye, but worry not, they will be further messed up in further washes).
I also weathered the fences of the trench with the mixture of of Black, White, Earth and Green acrylic paints further washed out with water and applied generously unto them at first from the top down, then from the bottom up, as well as from side to side to allow the wash to penetrate inside the various space between one log to the other.
The same wash was also applied to the camouflage net logs on top of the Bunker.


1 Like

Part six is just a more detailed view of the above to show the preliminary ending work to complete this phase.
I added minor washes and weathering a bit everywhere and painted the iron gate to the Bunker in a mixture of AK Interactive Extreme Metal Steel and Gun Metal.


1 Like

And this is finally part seven, in which I show you the further weathering of the Bunker and the Tank turret to tone their dreadful previous touches down and make them conform to the rest of the terrain.
The weathering, as before, was made with the same mixture as before: Black, White, Earth and Green. Why Green? To simulate mold and grime that in time form a bit everywhere on structures exposed to extreme weather conditions as on the Normandy shorelines, especially in winter and in the springtime, but actually already starting in late autumn.
Constant rainstorms, snow and freezing conditions during the winter months, all contribute to such appearances. Only in the summer, does the weather stabilize itself somewhat, but then there are very dry spells which affect some of its terrain.
So, without further ado, here are the pictures of the almost finished basic build.


1 Like

This thing is coming right to life. Really impressive work.

And this is the landscape from which I took some inspiration, both for the cliff tops and the surrounding vegetation which as said, will be added later, once the diorama will be fully equipped and populated.
These of course are recent pictures I borrowed online of the coastline.
At the end I will add a map taken from above of the region in question (downloaded from Google Maps) and marked with the key spots in which the Bunker and terrain were in early 1944, according to the descriptions given by a few people present during Rommel’s inspection on April 14th, 1944.
As I have specified before, I cannot confirm or disprove the exactness of this depiction in scale, since there are no period photographs, nor actual maps of this particular emplacement.
I only had to follow the explanations and details given by those who were present and the rest was left open to my own reasoning and instinct.
But fact is that this inspection did actually happen and that the structure there must have had a considerable importance, both for a better observation of the British Channel (a wider one) and the Omaha beach stretch as well as for communications throughout the various artillery positions on the Normandy coastline, whether belonging to the Wehrmacht, Luftwaffe or Kriegsmarine.
And here they are…


1 Like

And finally, a few pictures of the various coastline inspections that Field Marshal Rommel did along the Normandy coastlines prior to the famous D-Day landings.


3 Likes

Patrick - You have really done your homework researching the site and the event you are recreating.

2 Likes

Hi PaulC, I always do since I hate to invent things on historic subjects like WWII since I know that there is always someone out there (historians and history scholars) ready to put you down if you do not represent something as it should have been.
This is valid for modeling as well as for even War Movies based on fact but didn’t do their homework thoroughly enough, or at all to depict what really happened.
Call me picky or square head, but to me history is important and every detail counts, therefore serious and in depth research is absolutely necessary to reproduce even just a static moment in time. The more realistic it then becomes, not just for others, but also for me, the more satisfaction I draw from it.

1 Like

I enjoy the research side of the hobby as well. I read military history almost exclusively and I always make notes of particular events or equipment that lend themselves to a diorama. Needless to say, I have a list of potential projects longer than I will ever be able to build in my life time…or have the room to display for that matter. But that is a good problem to have I believe.

1 Like

Indeed it is. Believe me, I have the same problem with my own stashes of models and space constraints, but what wouldn’t one do to keep his precious treasures well kept in his cave?
This is a kind of insurance that whenever one feels the “itch” to create something, he just has to dive into his coffers of wonders to have something to do, especially if that someone like me, is a retired nutcase and has lots of time to fill with something useful. And man, does it keep me busy!

1 Like