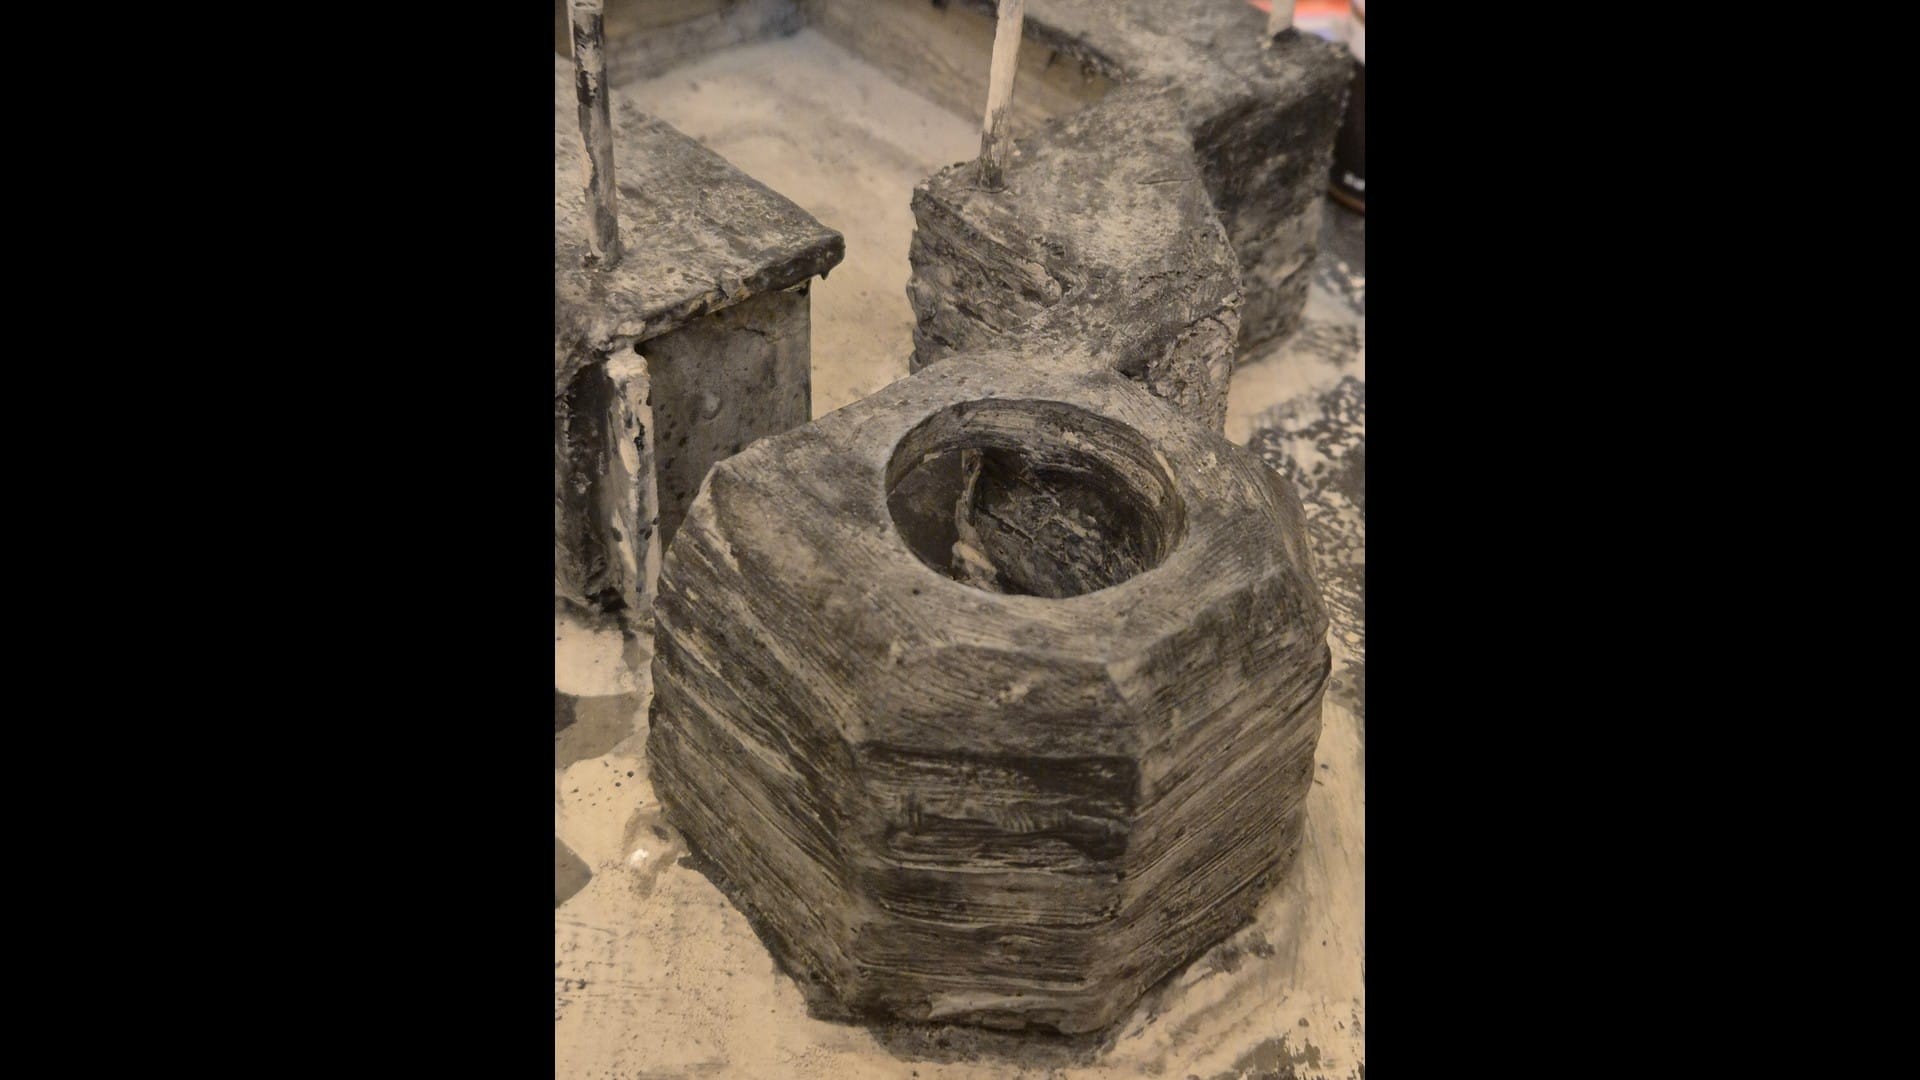
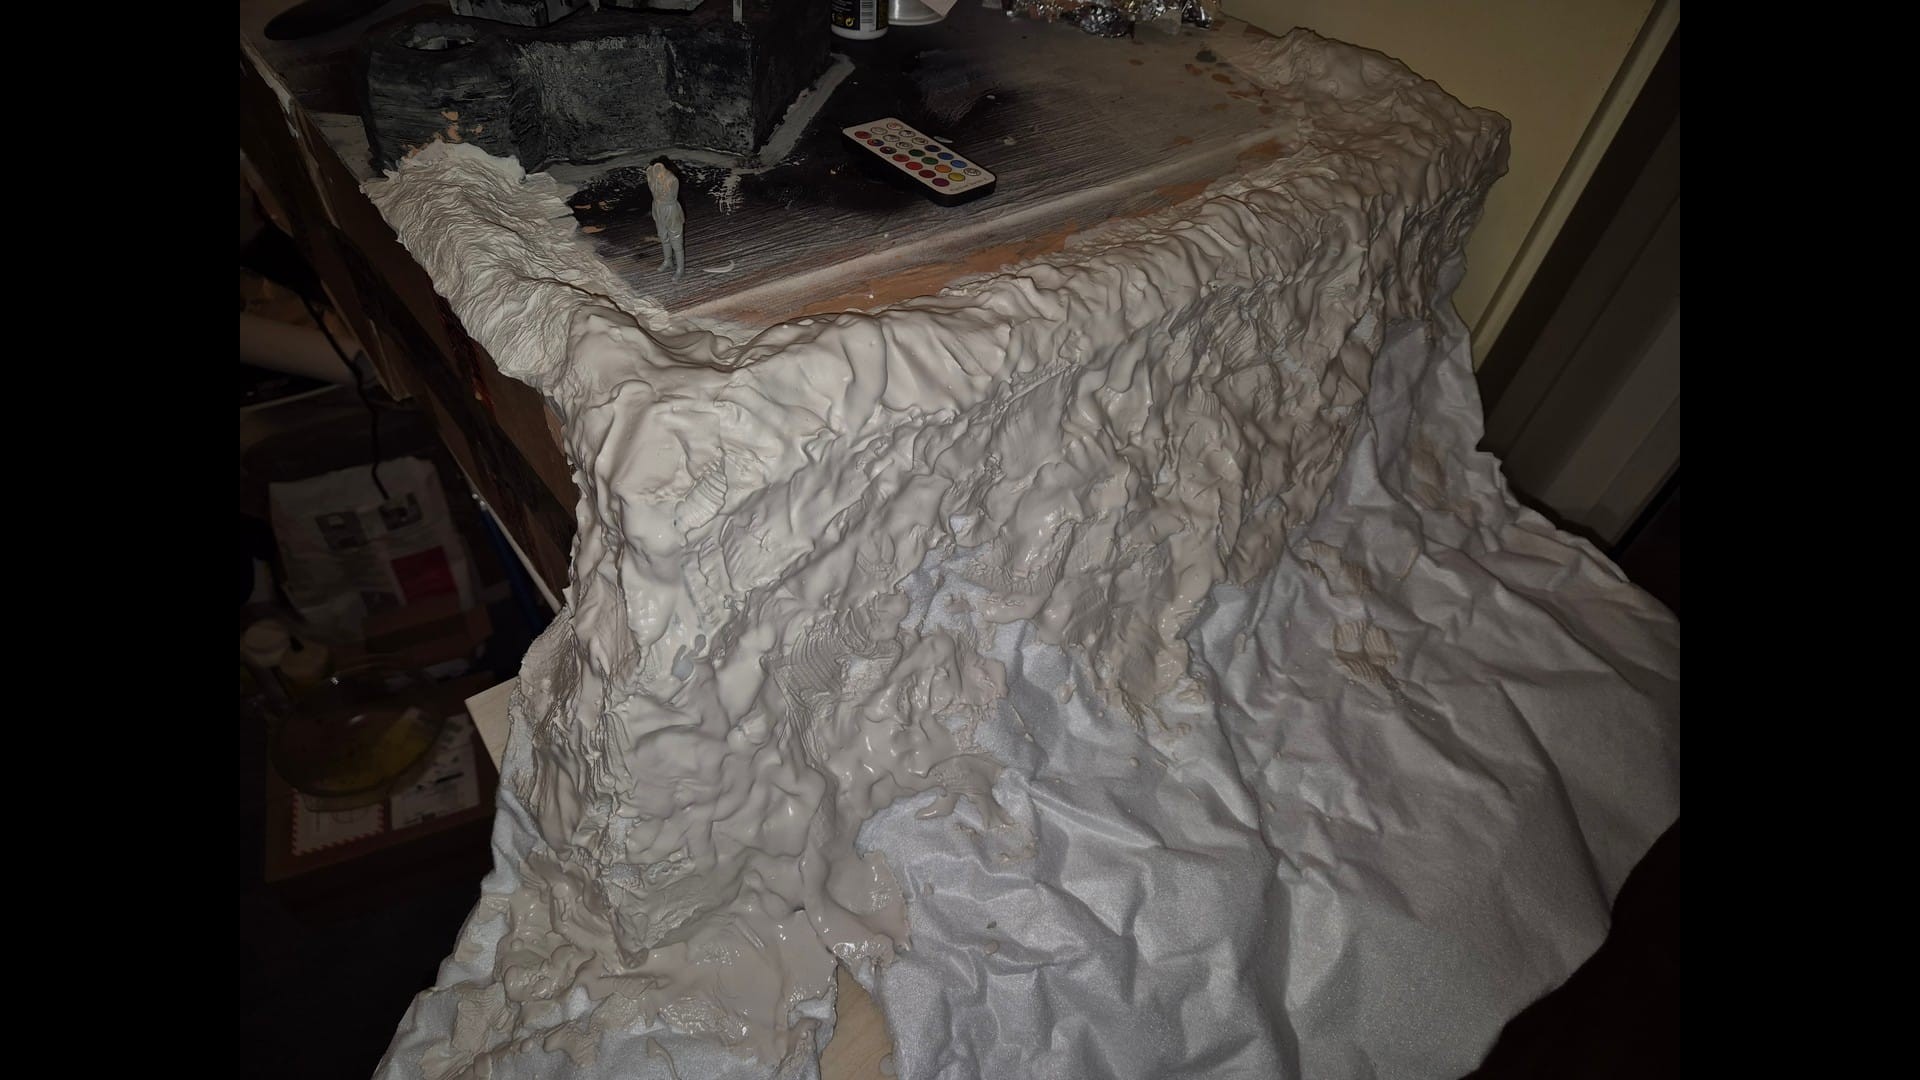
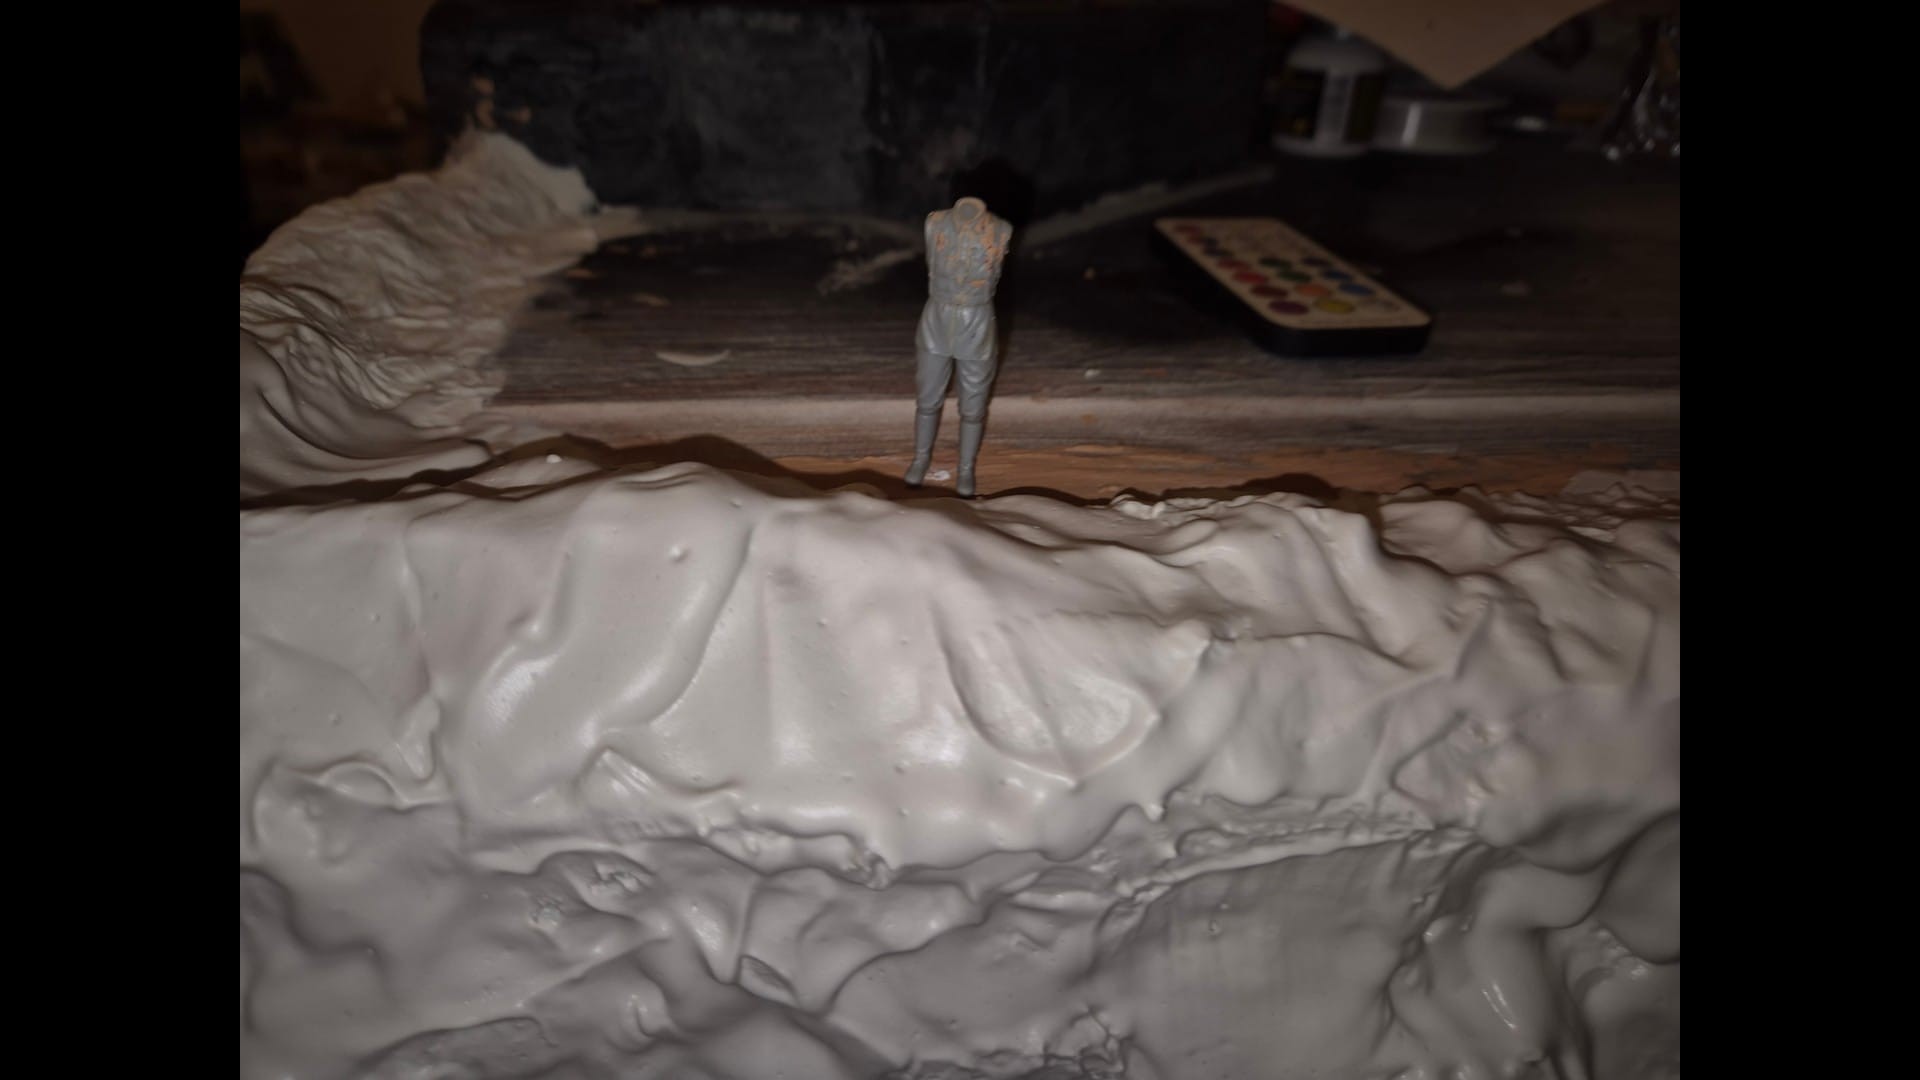
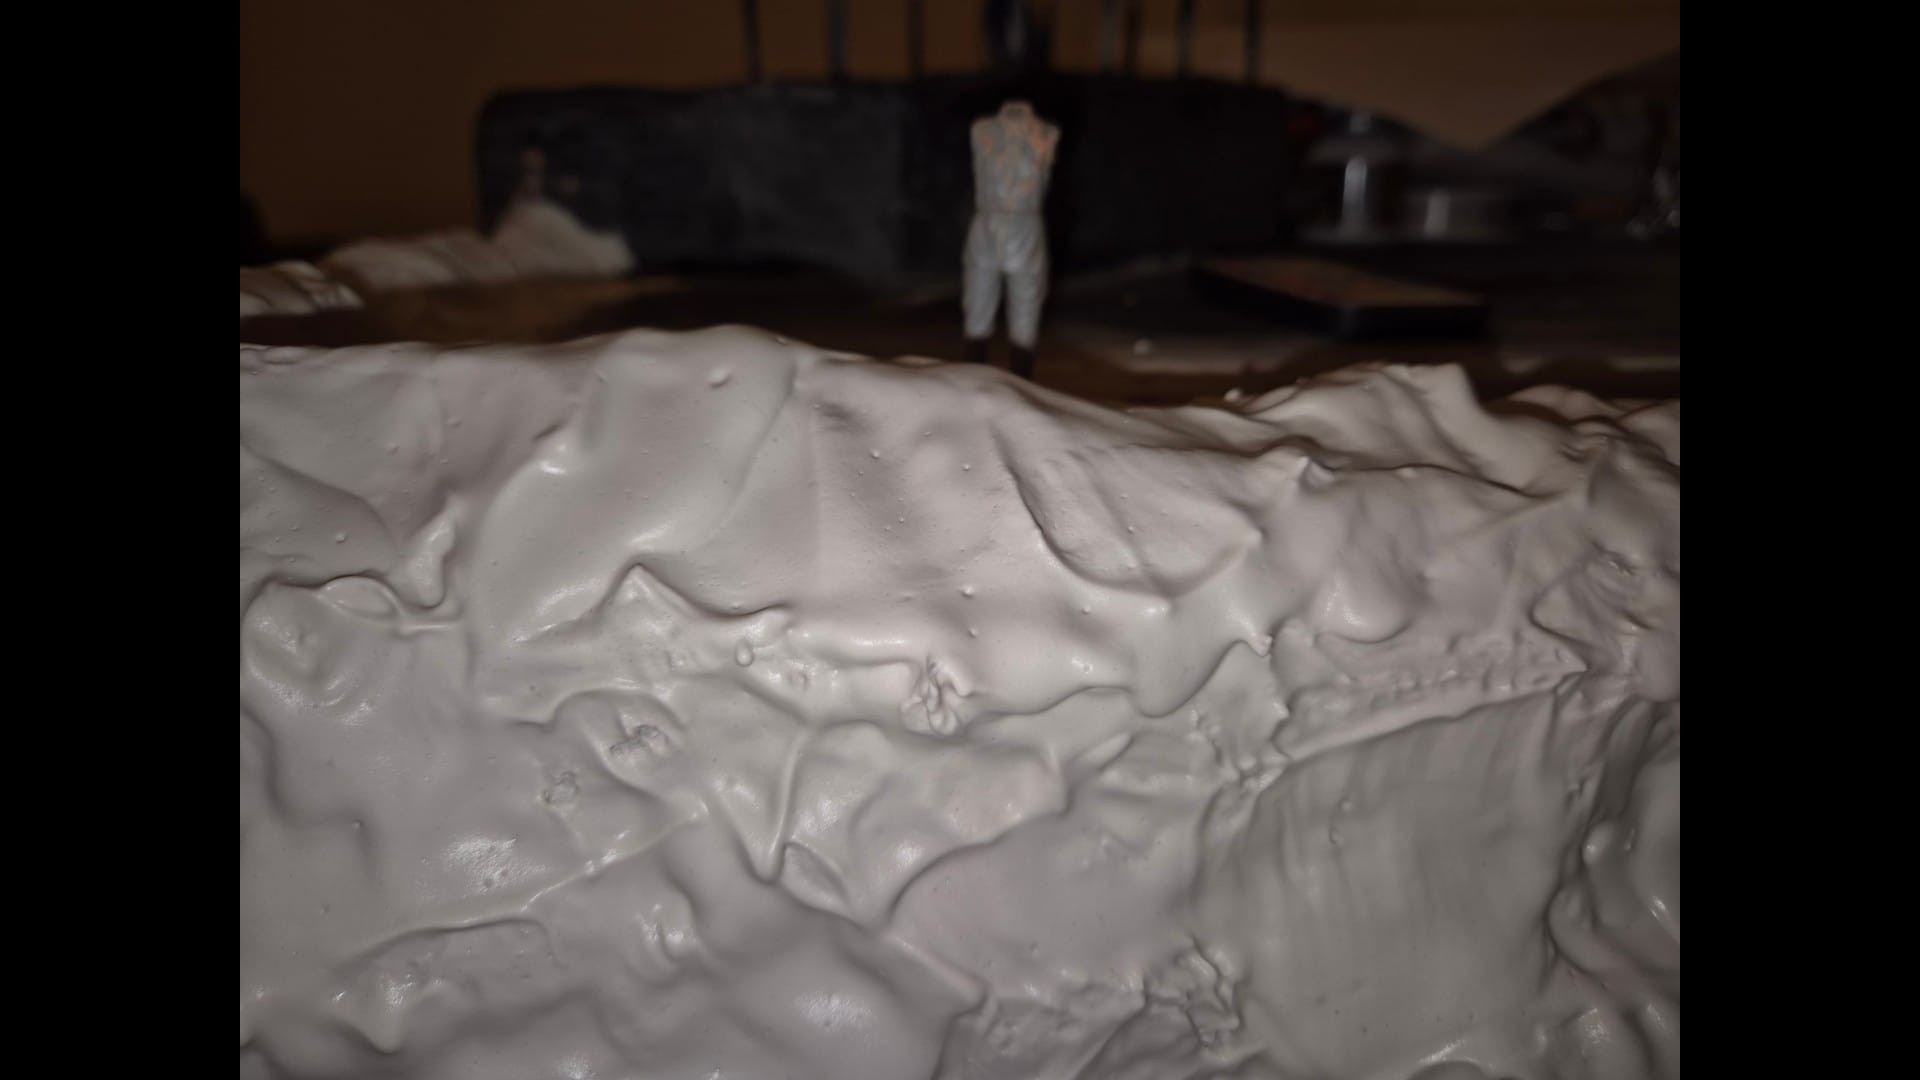
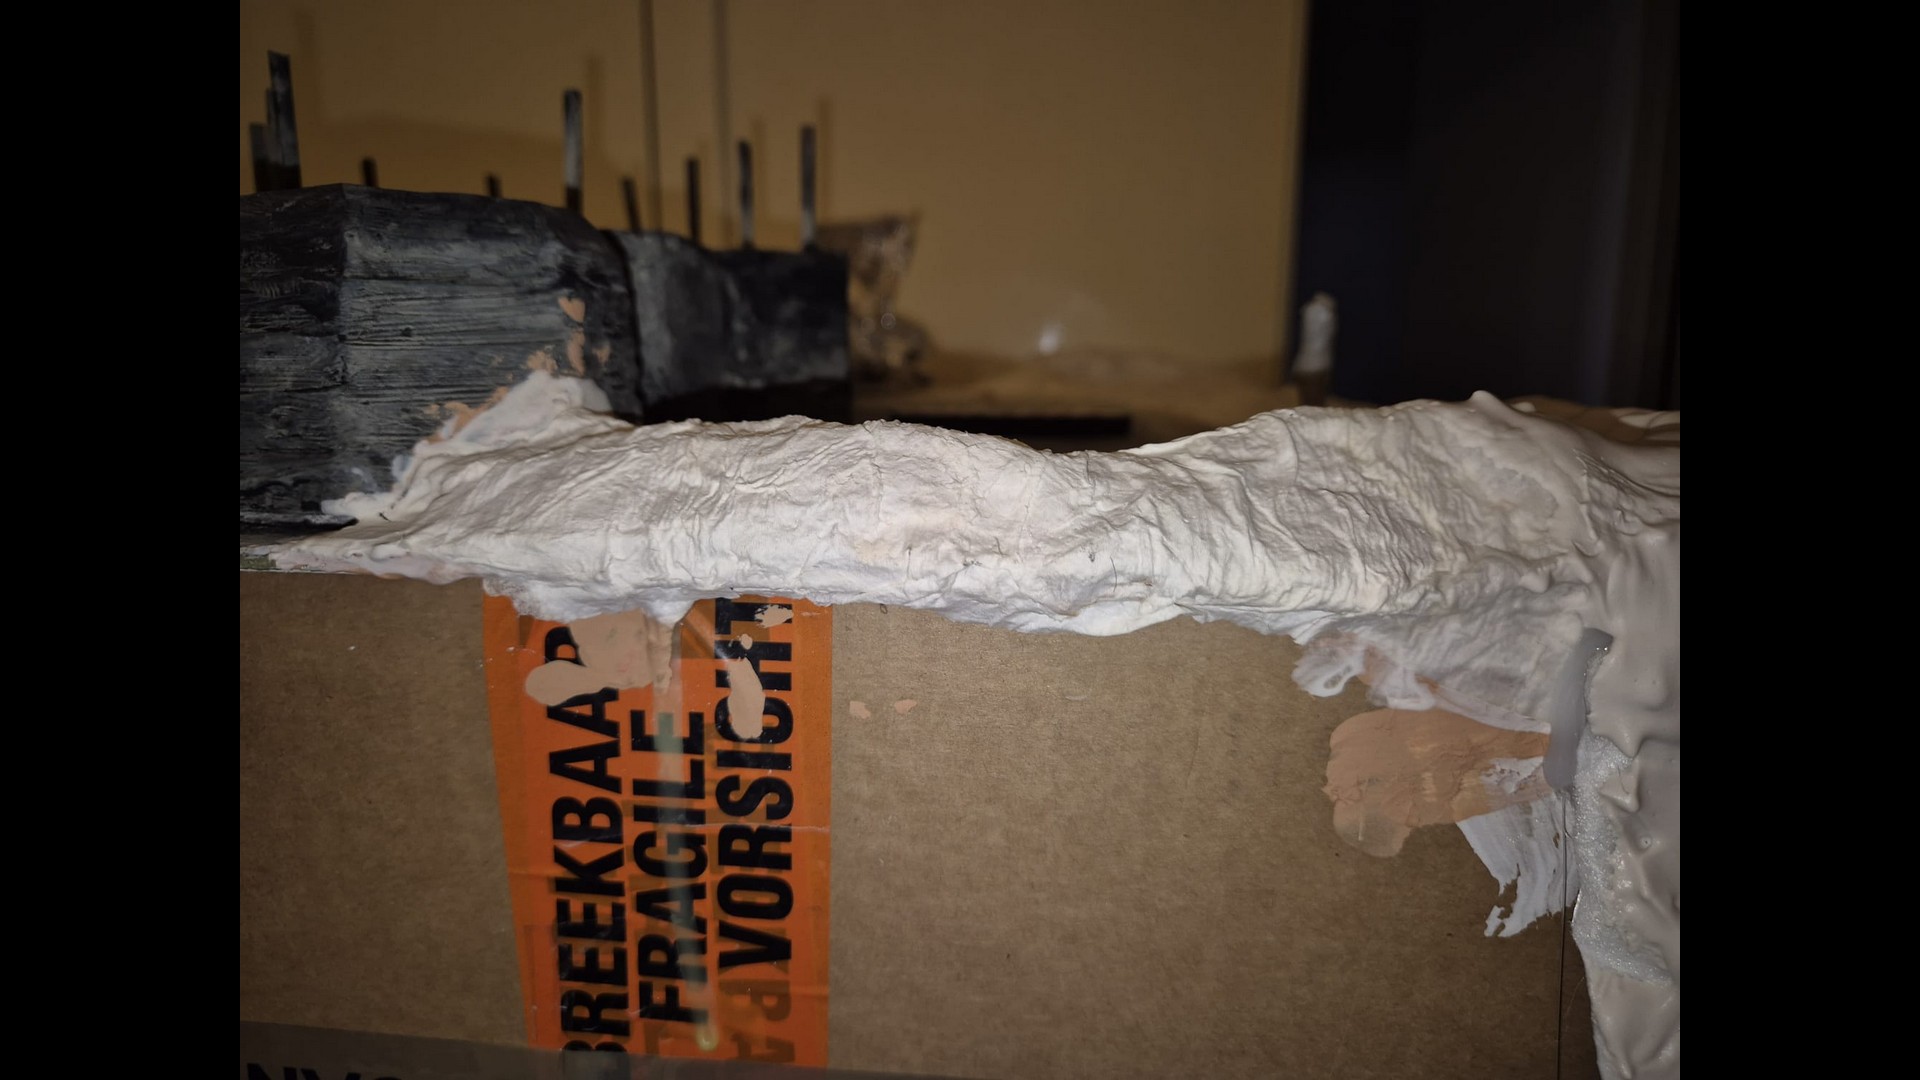
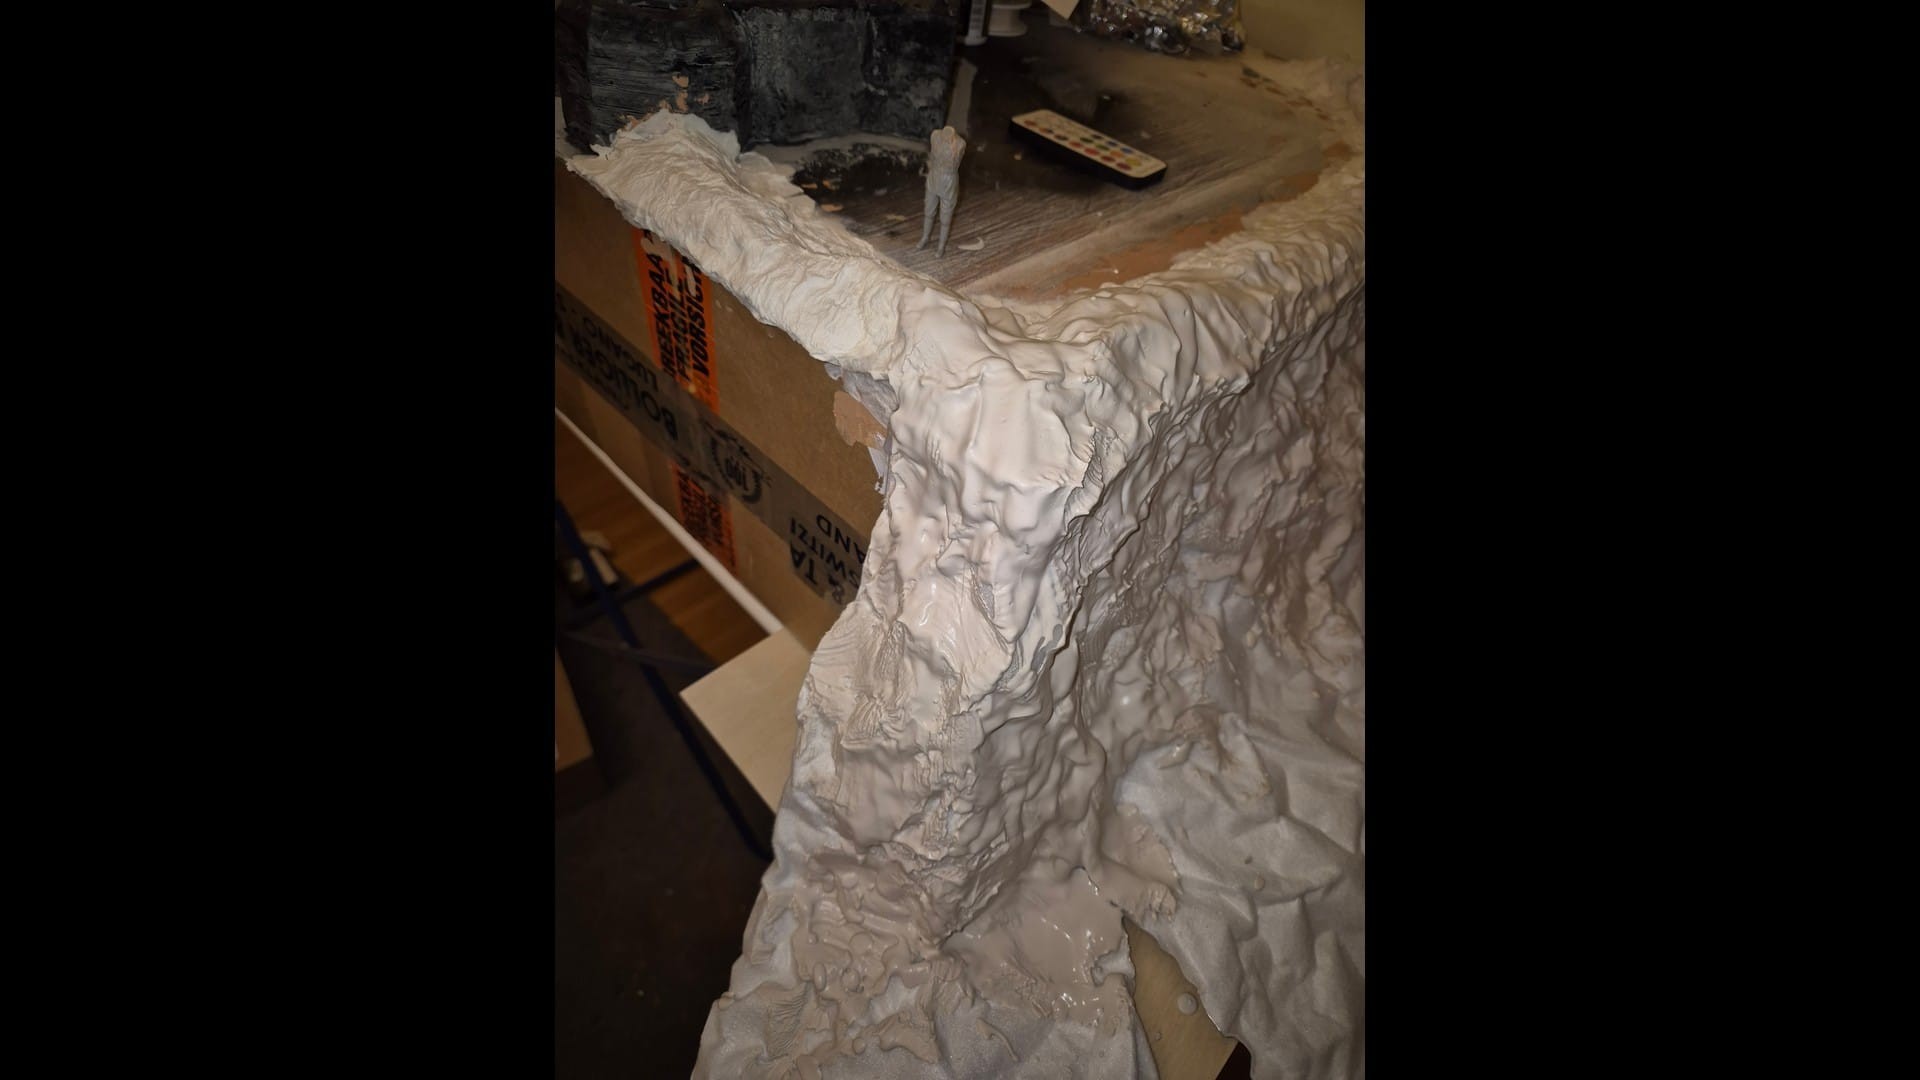
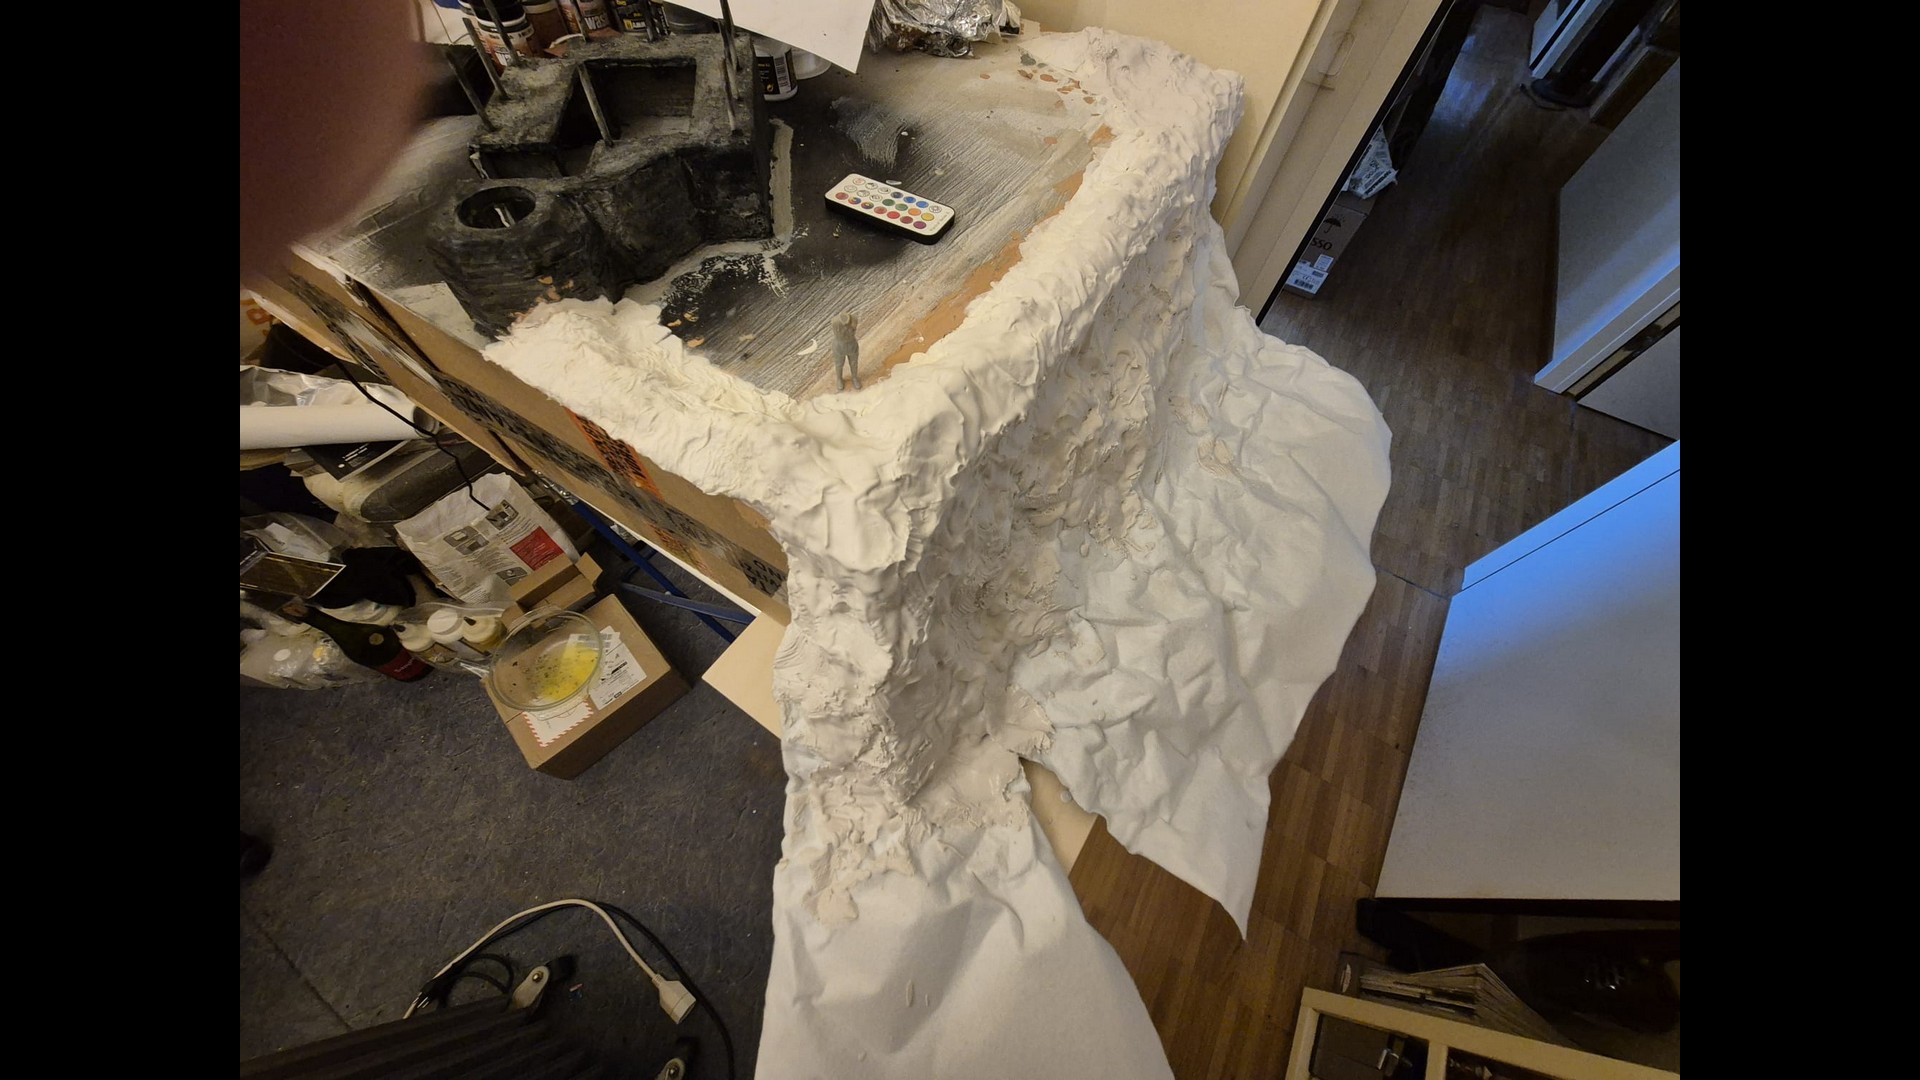
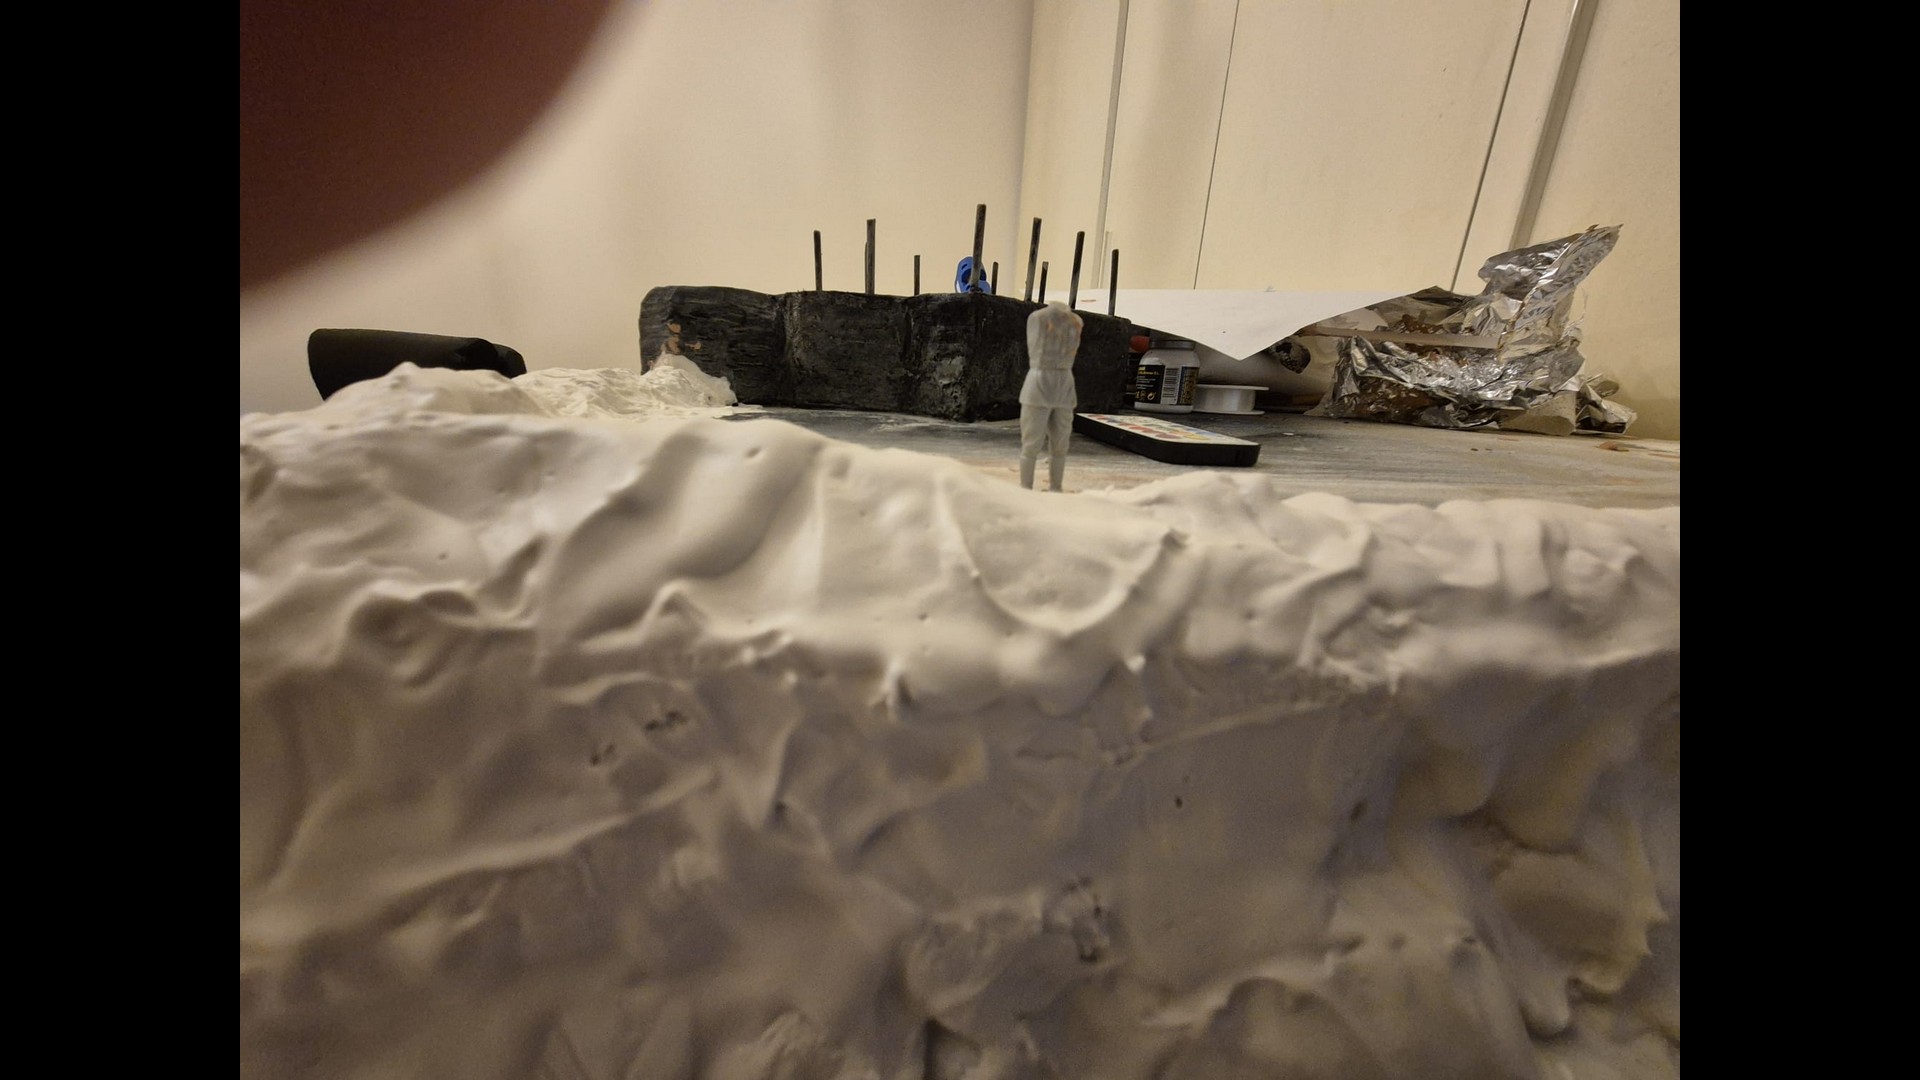
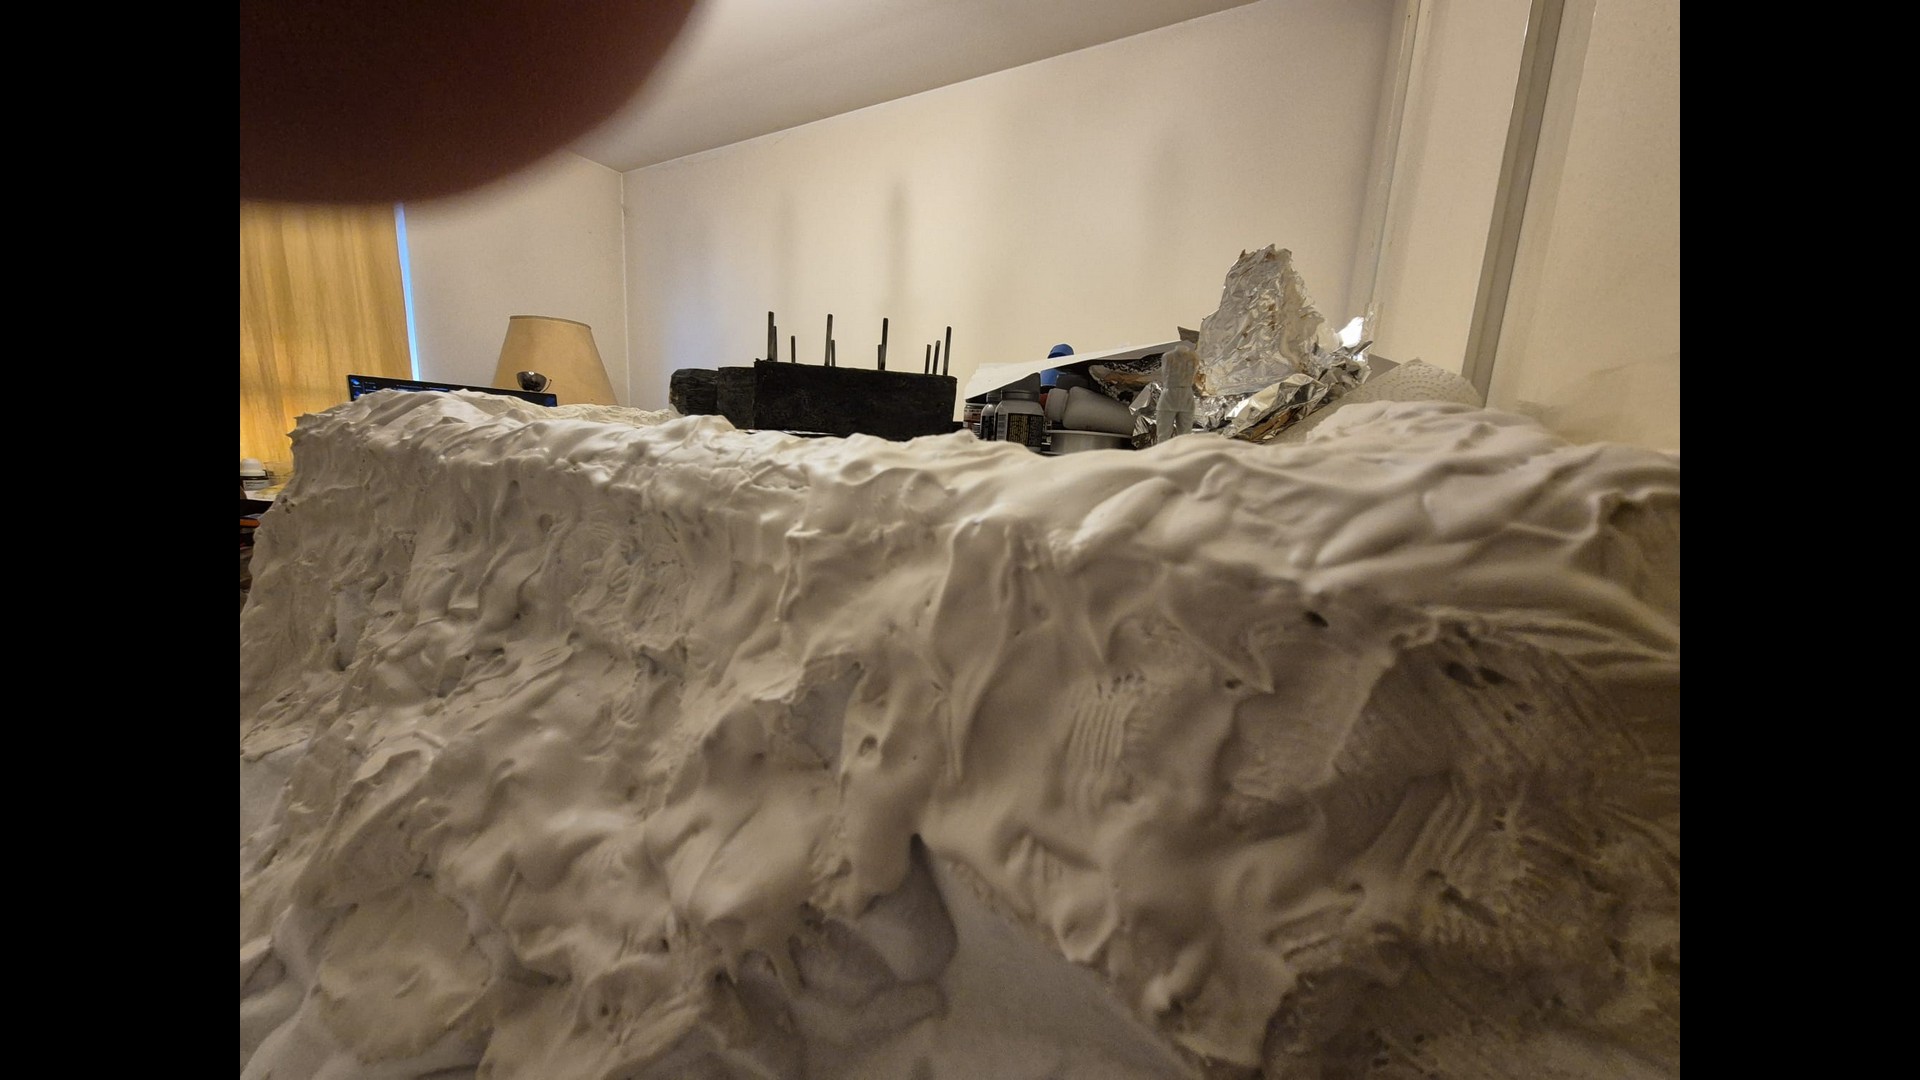
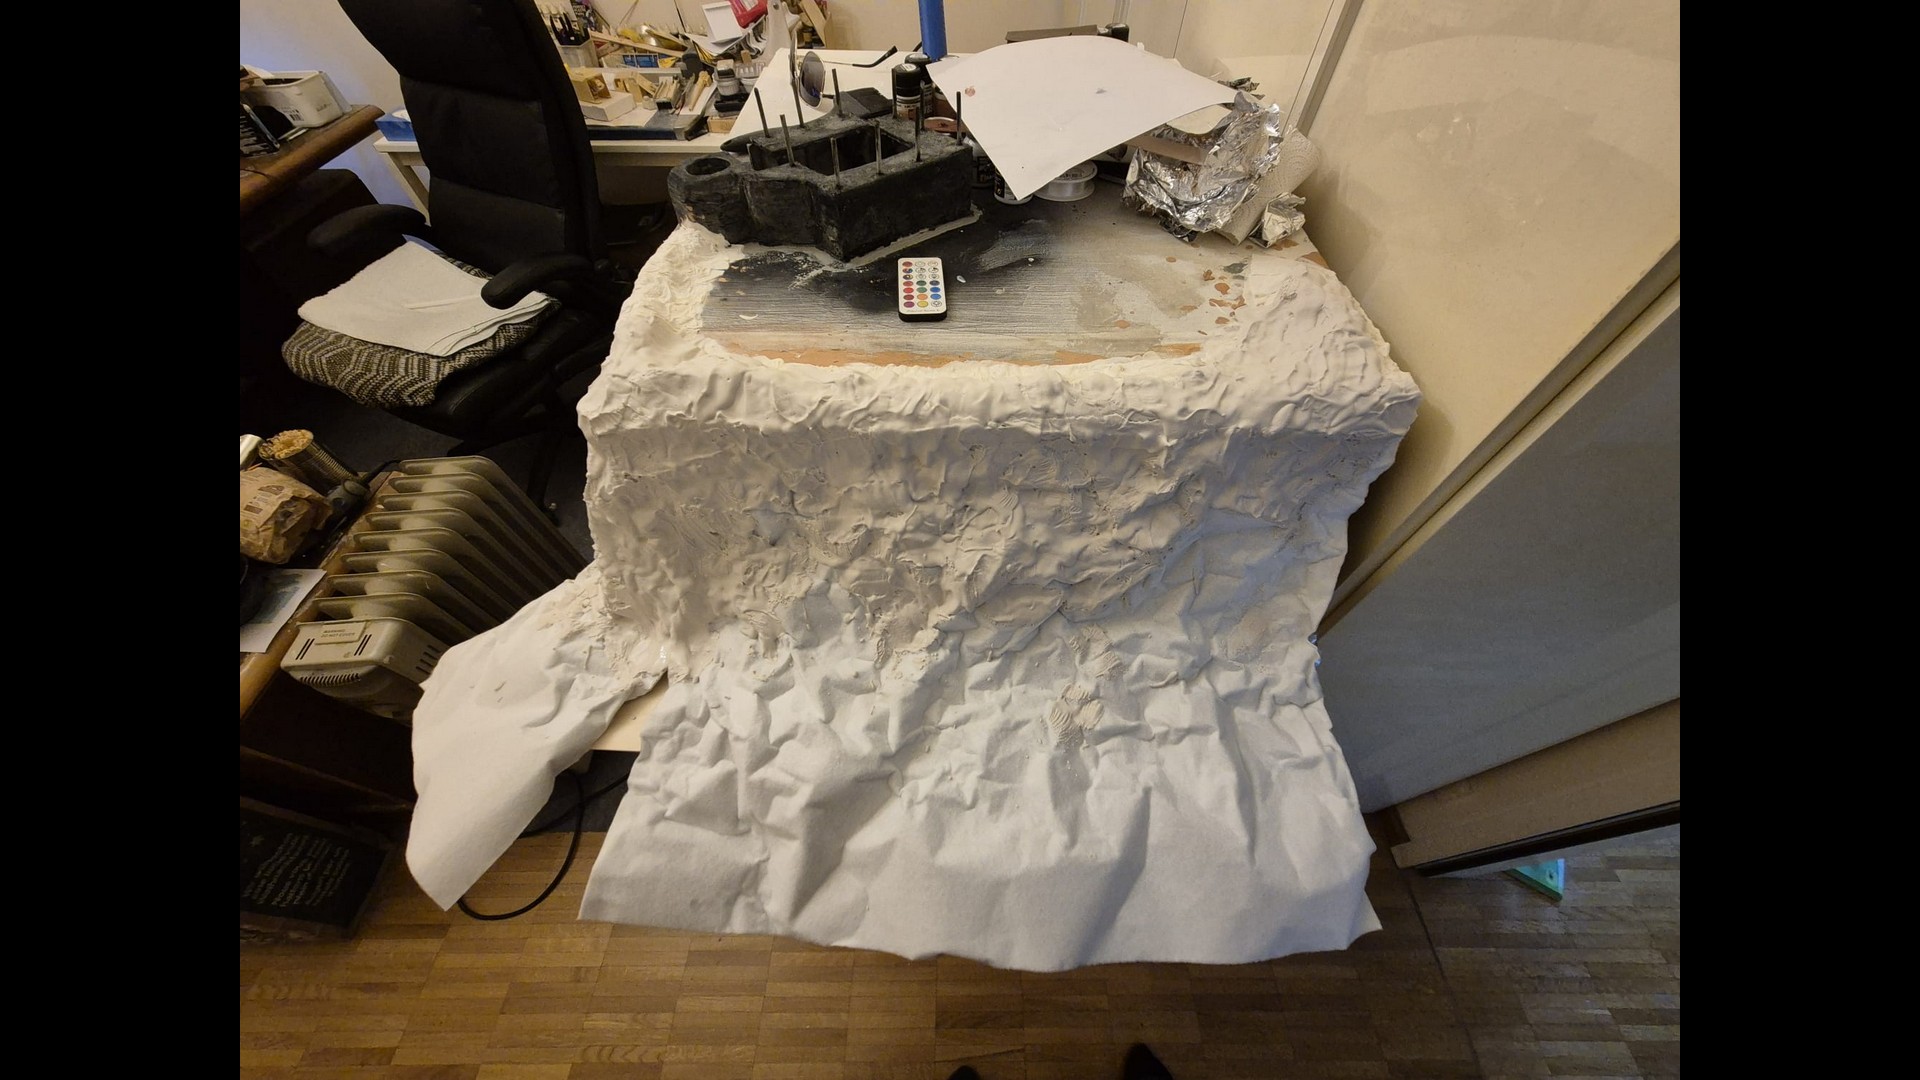
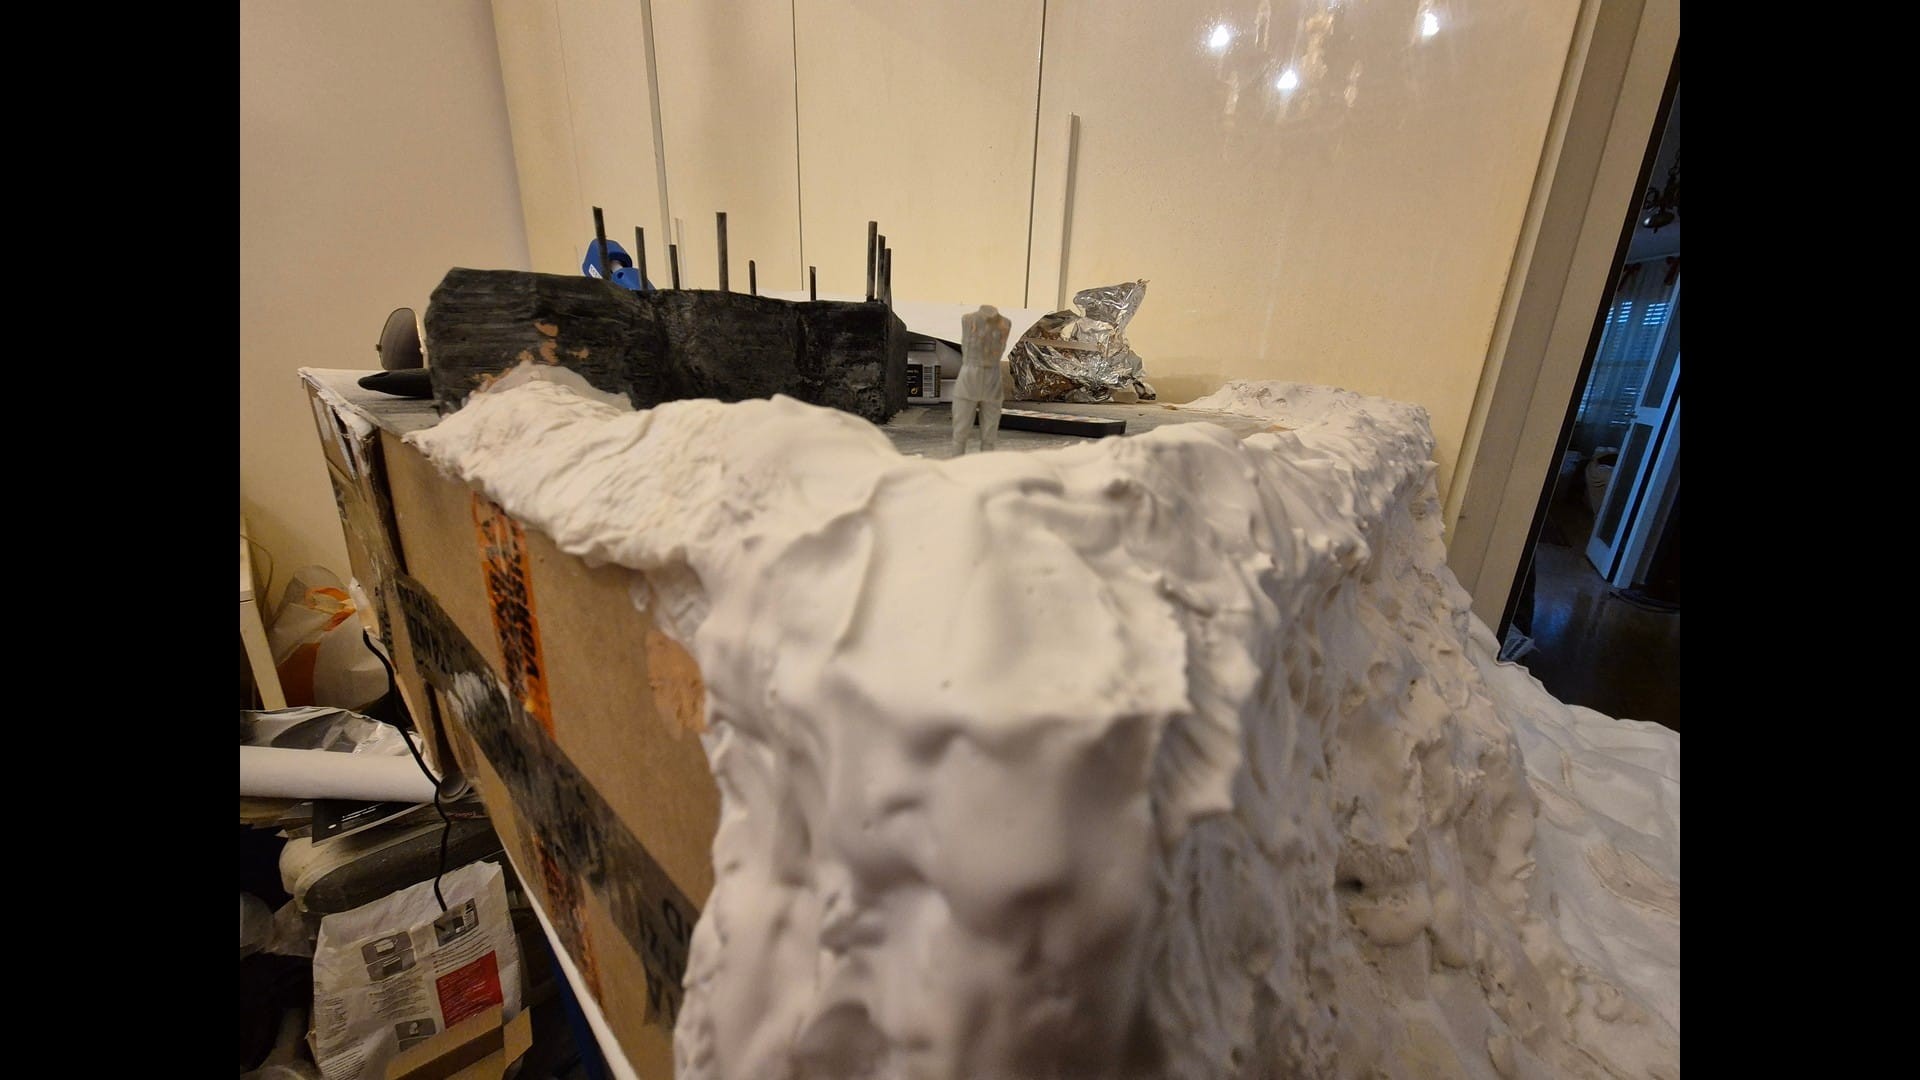
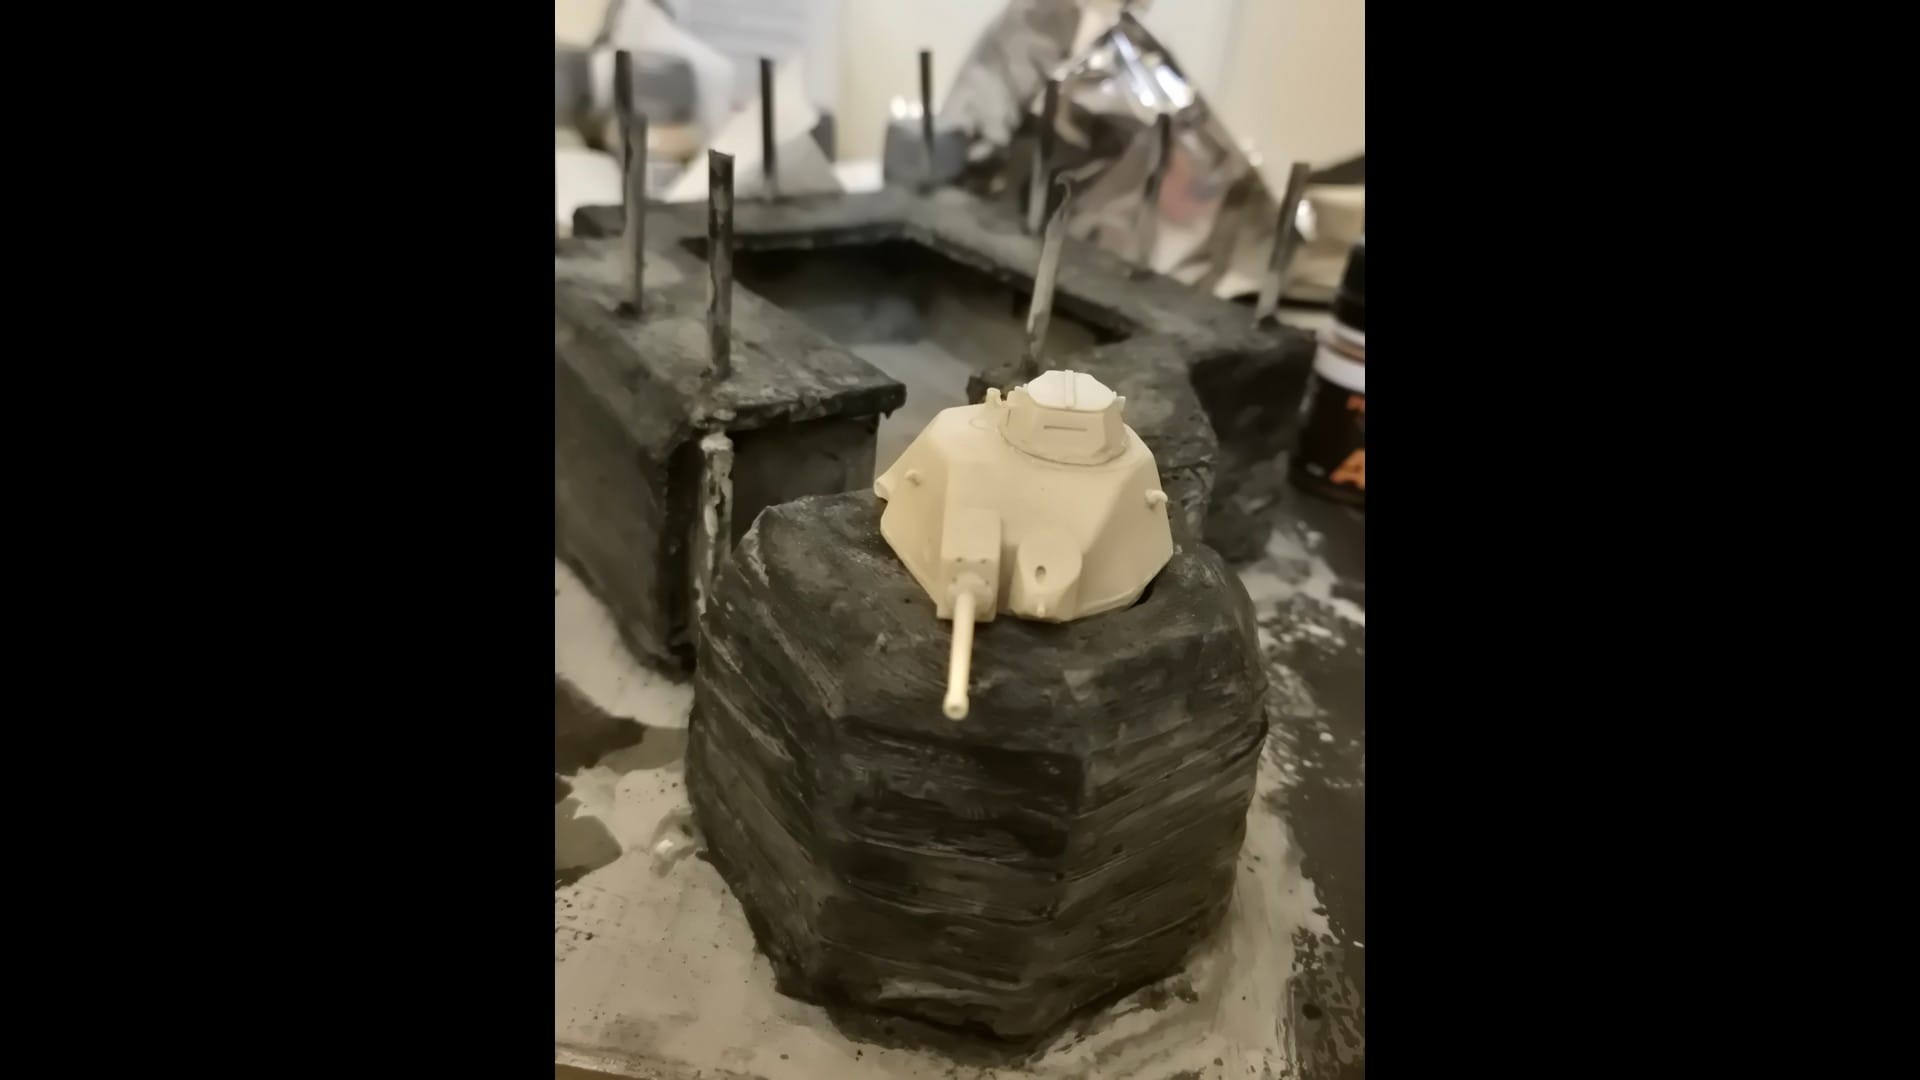
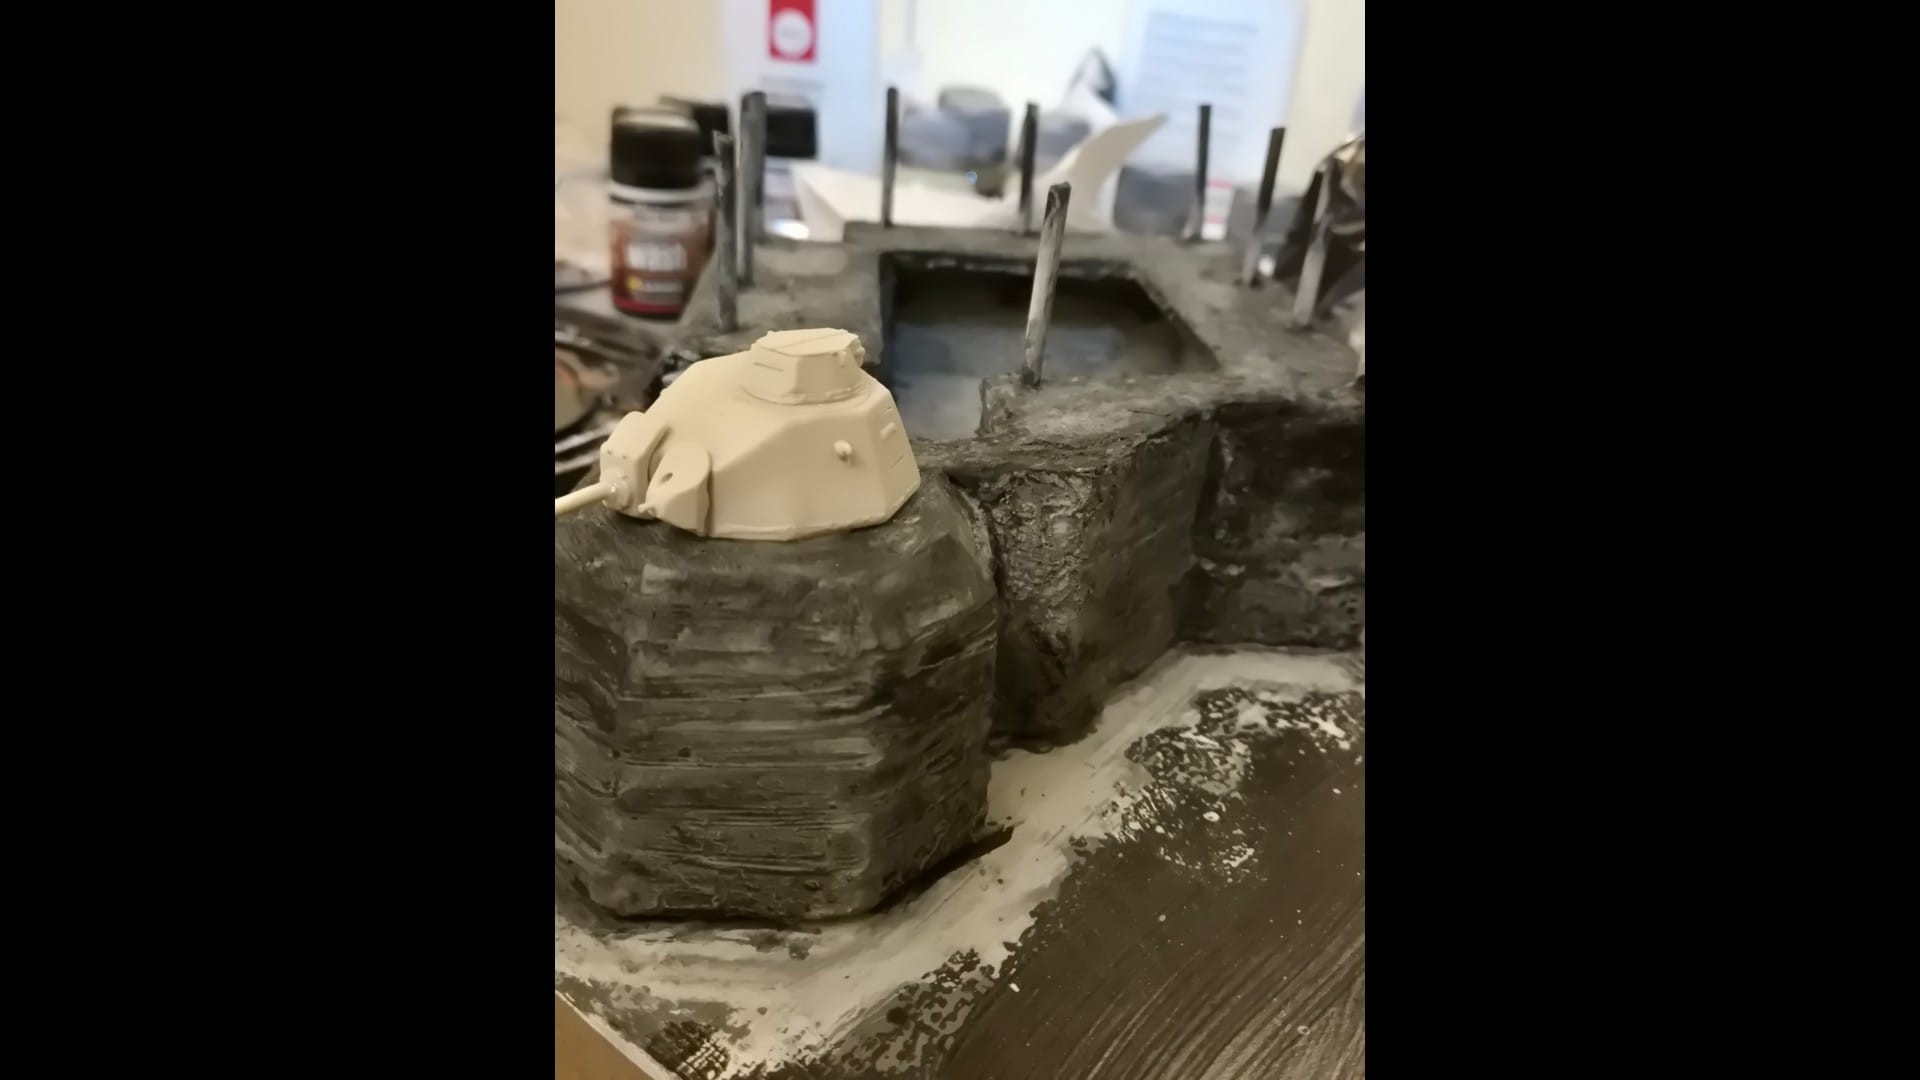
Now that I had determined the basic surface I could go on with further paint and weathering the bunker and apply the first part of the surrounding cliff. The cliff was made with Woodland Scenics Shaper Sheet (the same which is also used to create Railroad scenes), which I cut in size and crumpled roughly up to give it the necessary rock roughness needed. This too was glued with hot glue and once fully dried covered generously with Shaper Sheet Plaster always by Woodland Scenics. The application was done both with a spatula and a large synthetic brush. I also glued a couple of large rocks made with the same company’s molds and a different, more resistant plaster. I then added a triangular piece of the same Shaper Sheet - also shaped the same way - and attached it to the first. I then proceeded to build a kind of a ridge on top with air drying clay mixed with water and shaped it in irregular batches to simulate them. I did all that with my hands and passed over them a few times in order to avoid for them to later sport cracks in the material. Once they had dried I once again covered them with plaster and further shaped them like the rest of the cliff.
I then gave a touch of wooden color to the previously built fences.


That looks like it will be a massive scene when you are done.
I consider it a medium sized one, but yes, it is rather bulky and right now quite sturdy and heavy indeed. Its width is 31" (approx. 79cm) by 35" (about 89cm) in length and 12" (30cm) deep or in height, depending whether you look form the top down or if you see it from the bottom of the modeled cliffs.
My next project, which will be the second actual landing on Omaha Beach on Fox Green near Easy Red sector, or for the Germans WN61, where the American Cemetery now is, which saw troops of the 1st Infantry Division, the 29th Infantry Division and some Rangers combining forces due to the currents that made them land all in the erroneously planned sectors will be much larger/ It will be 59" in length (1m 50cm), 34" (86cm) in width and the height from the beach to the cliffs will be more or less than the one I am building right now, but will be proceeded in steps of ground leveling. The frontal part, which will be the sea water of the channel containing four landing crafts (1 LCM-3, 2 LCVMs and 1 LCA) will have an approximate depth of 5.5" (14cm) since it will be made in resin, although sloping down to that depth from the beach surface.
Correction. it\s the other way round. It should read “Easy Red near the Fox Green sector” of course depending from the point of view of the viewer, but it is indeed more correct like this.
What was I thinking… ![]()