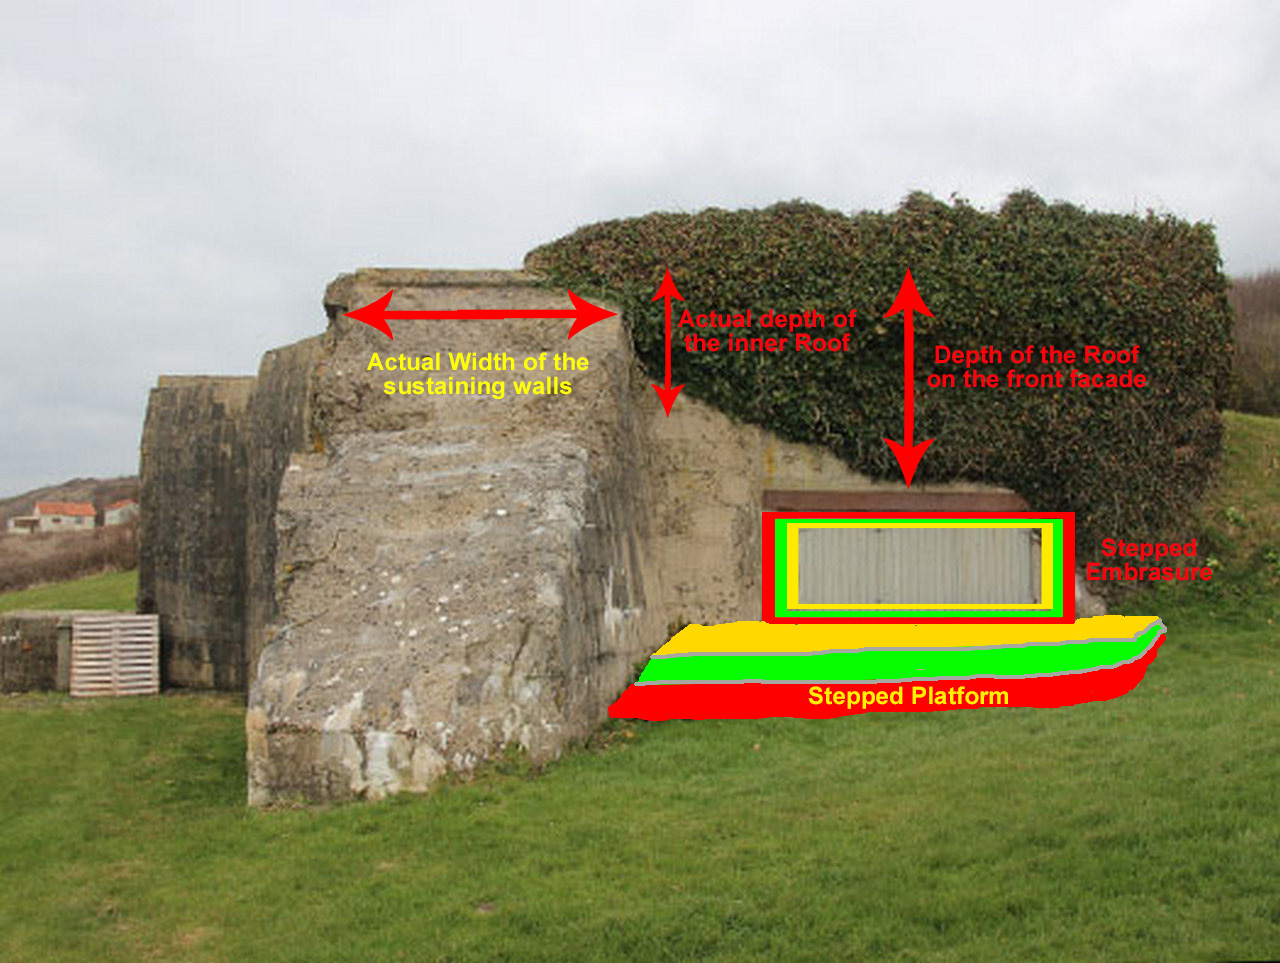
I gave it a rest with my current diorama to dedicate my full attention to reproduce a correctly shaped and fully detailed R677 Bunker as it appeared on the Fox Green sector of Omaha Beach.
I still don’t have pictures to show since I am still in the planning and designing phase, but at first glance it will be a huge one, much bigger than the one I had mistakenly commercially acquired.
But by bigger I mean, a bit taller than the previous one, which I will still keep but reserve for a Battle of Hurtgen Forest scenario in which it will be partially encased in a rocky hill.
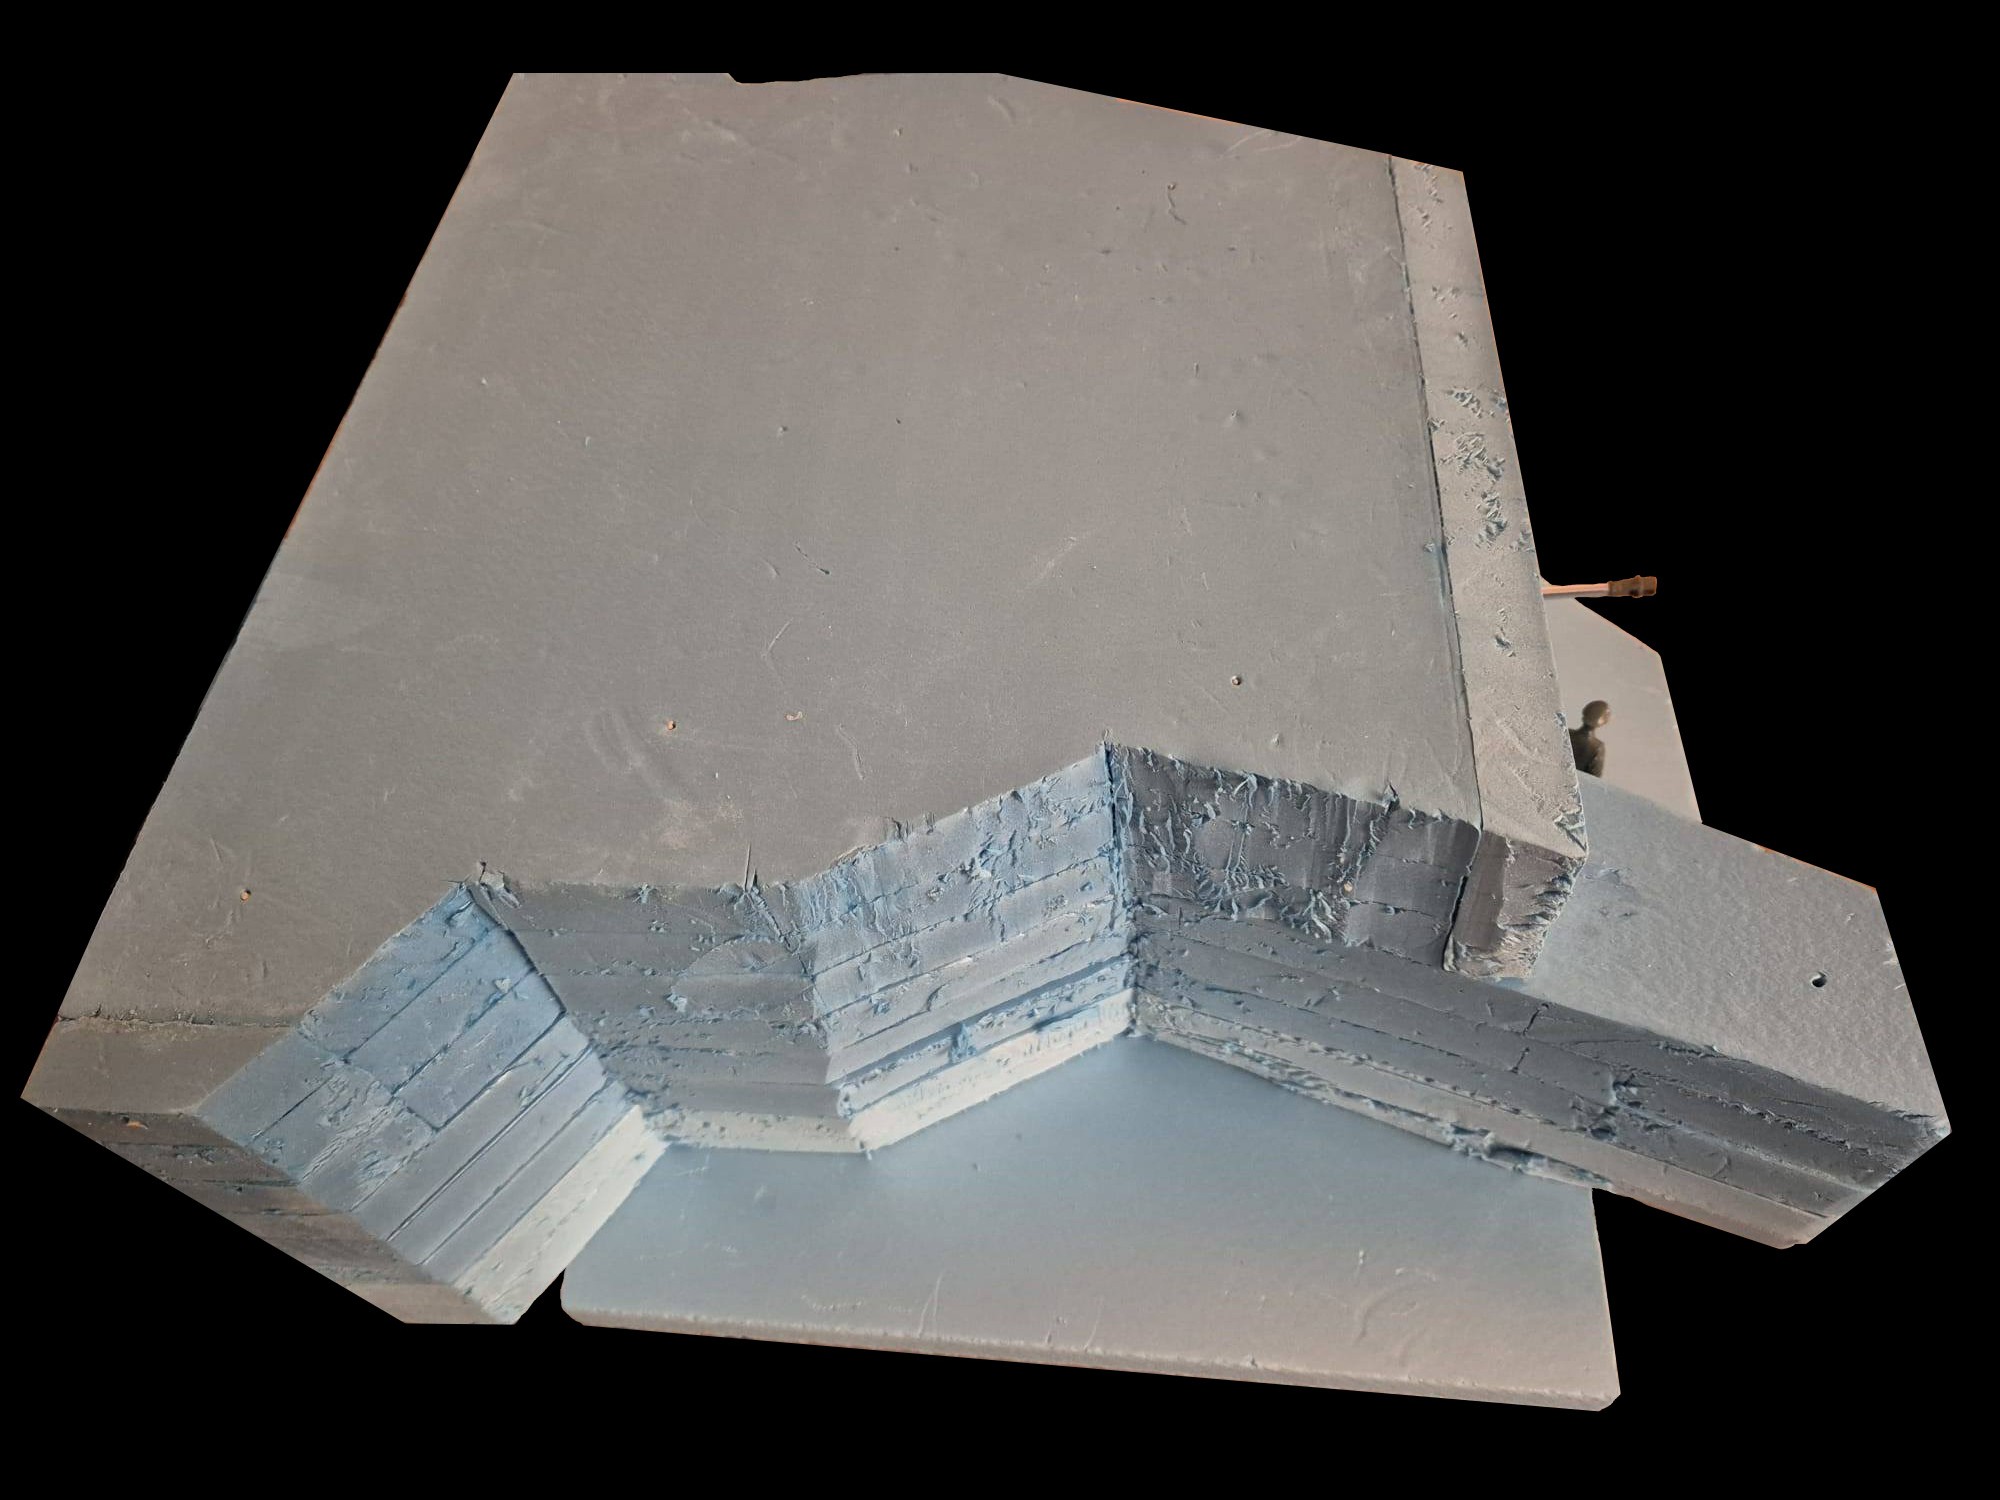
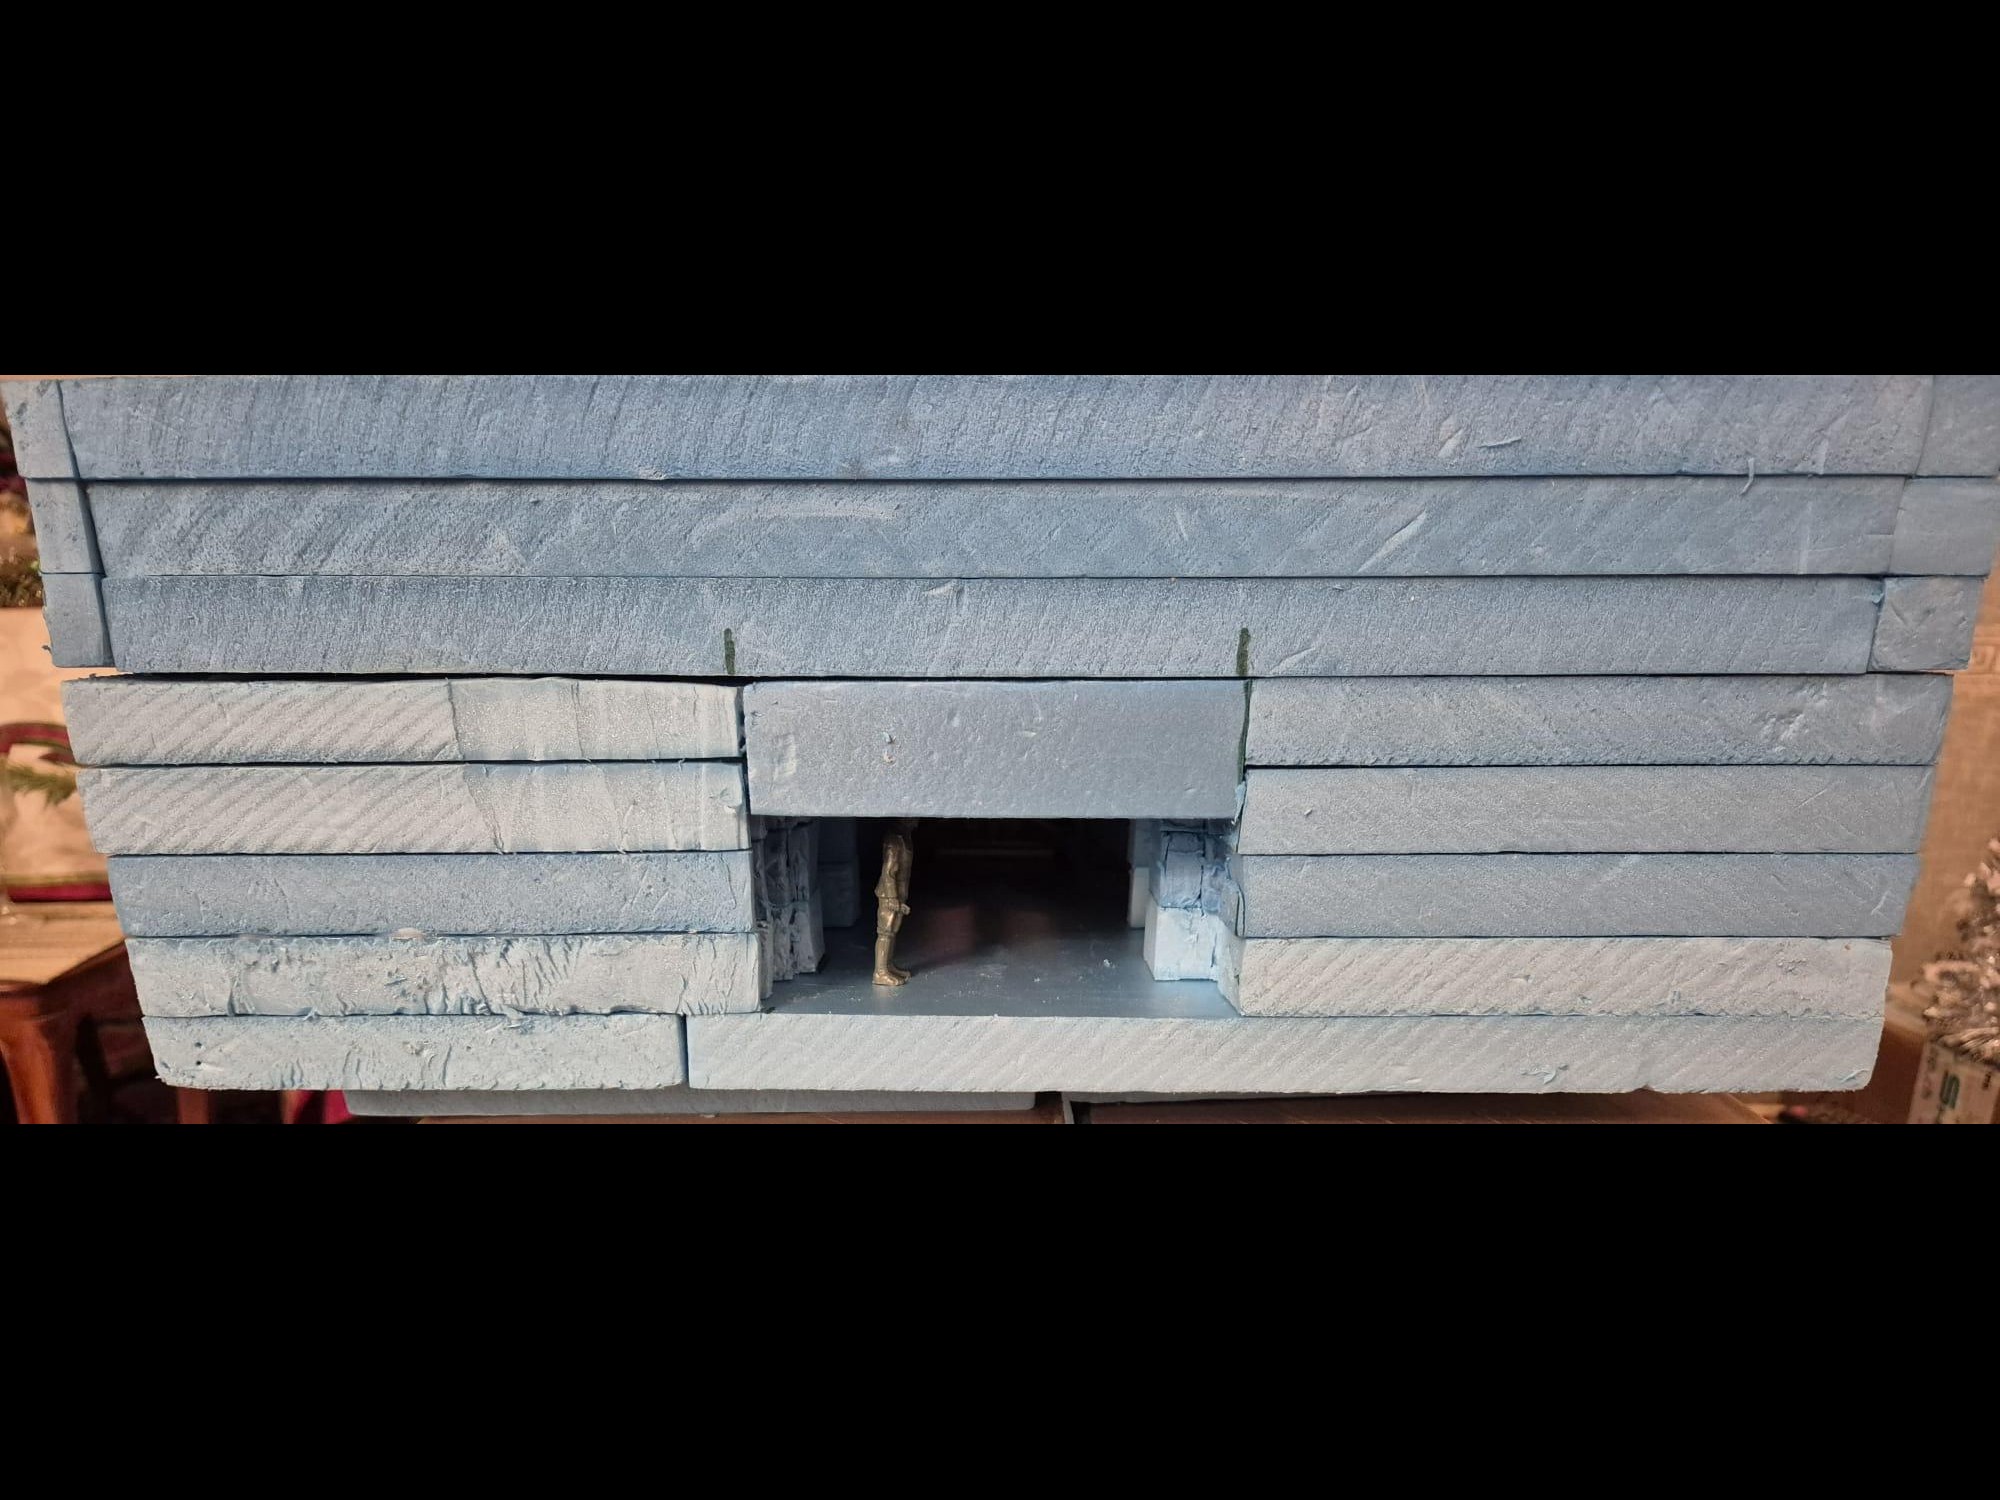
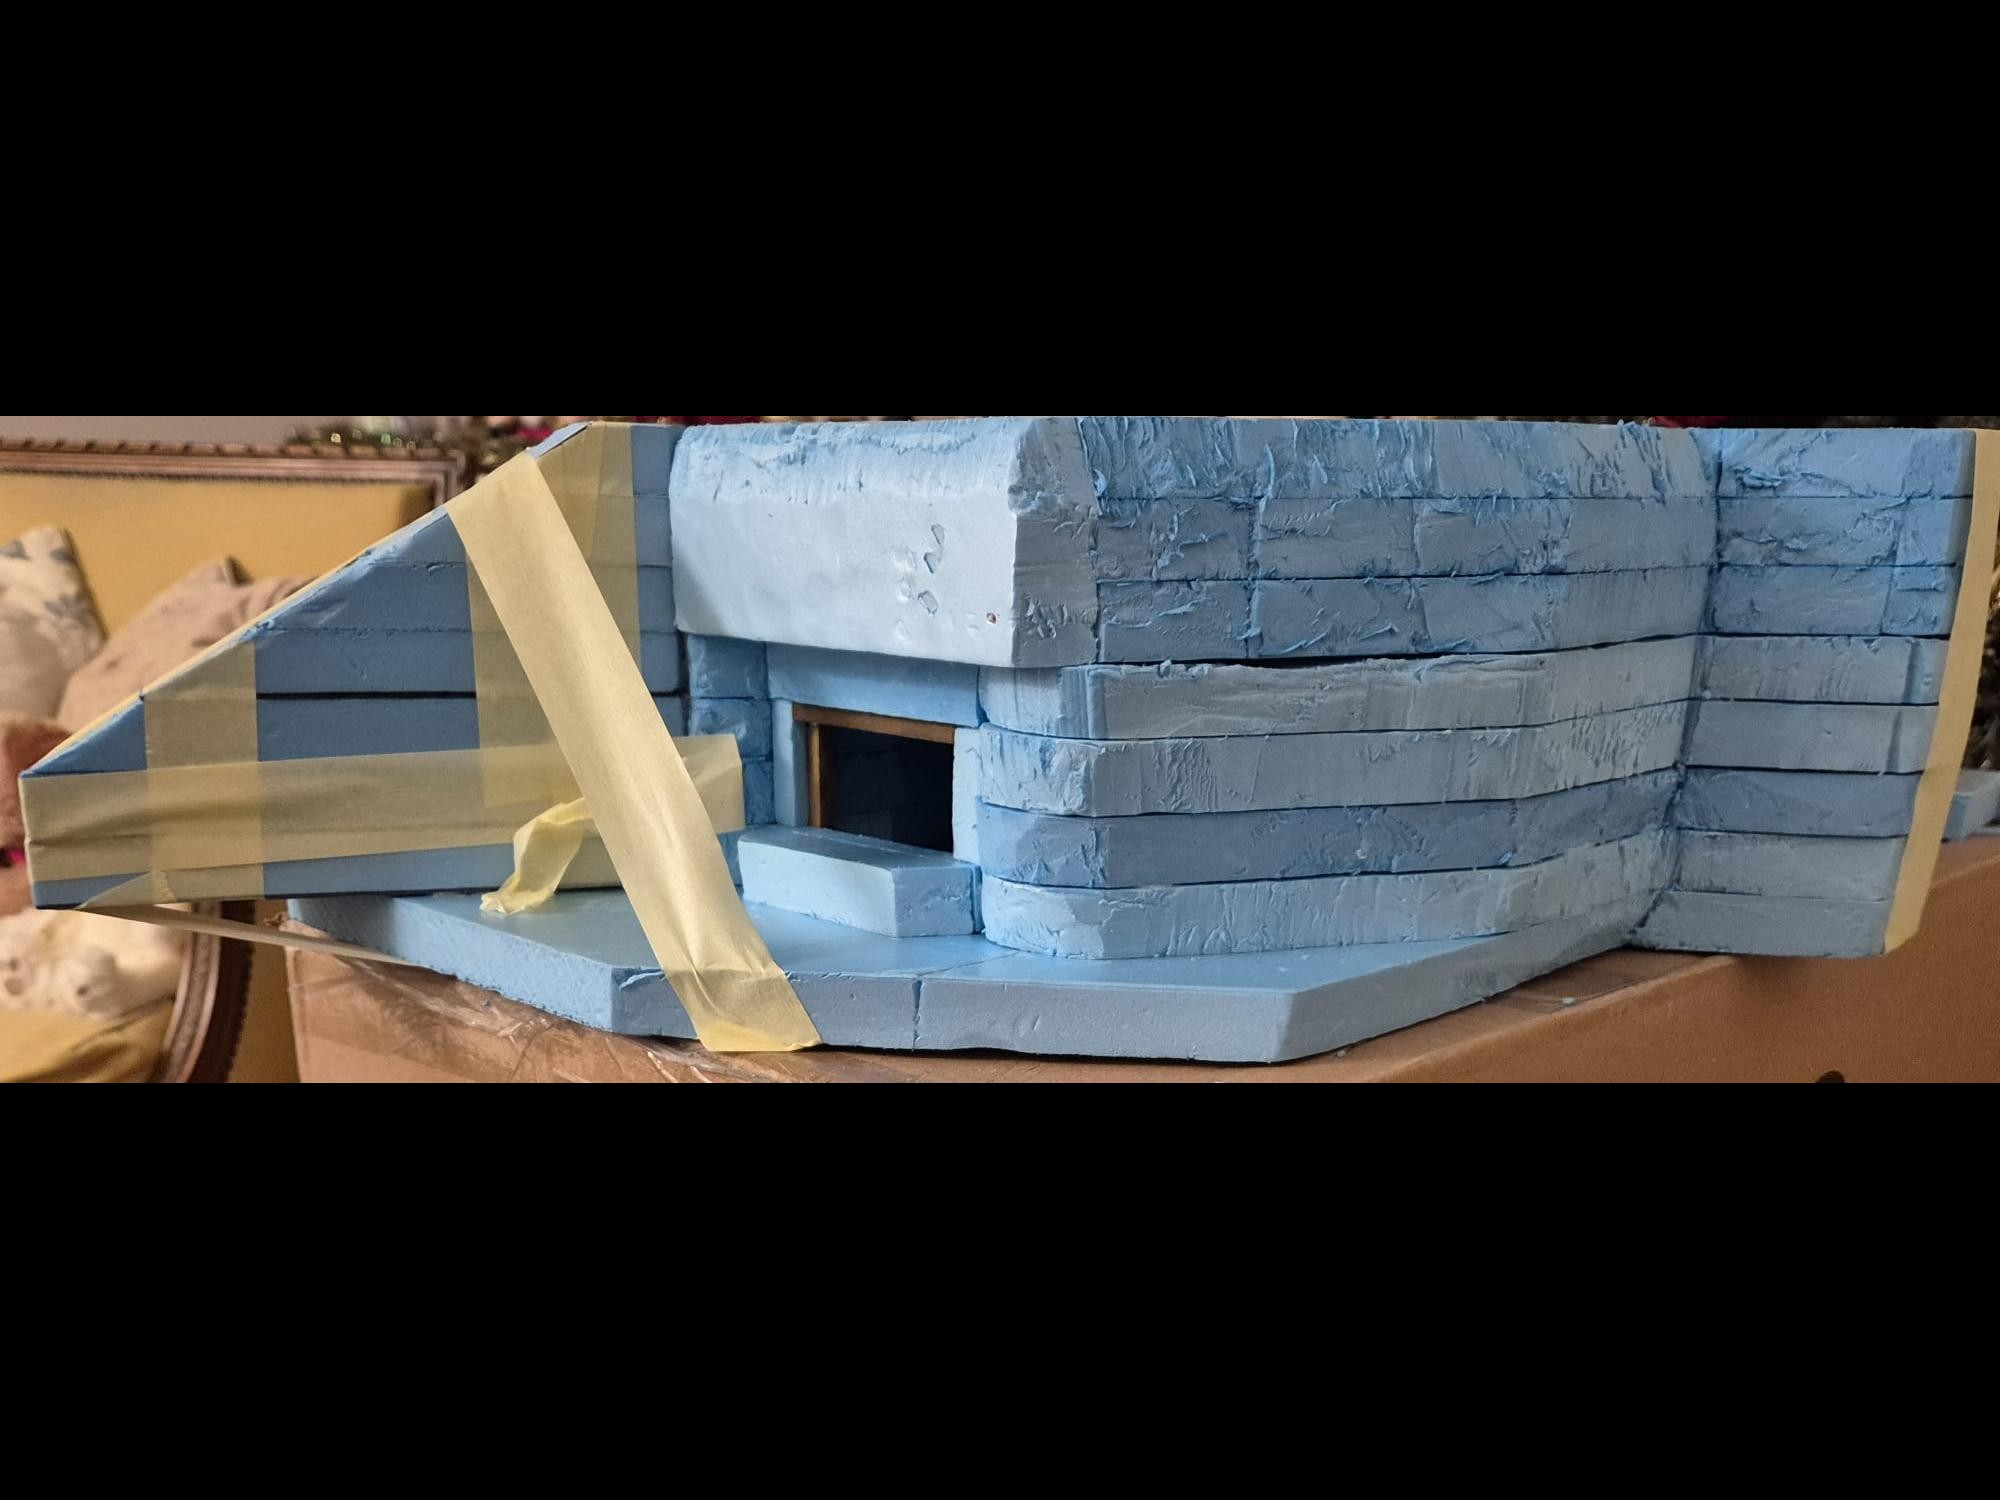
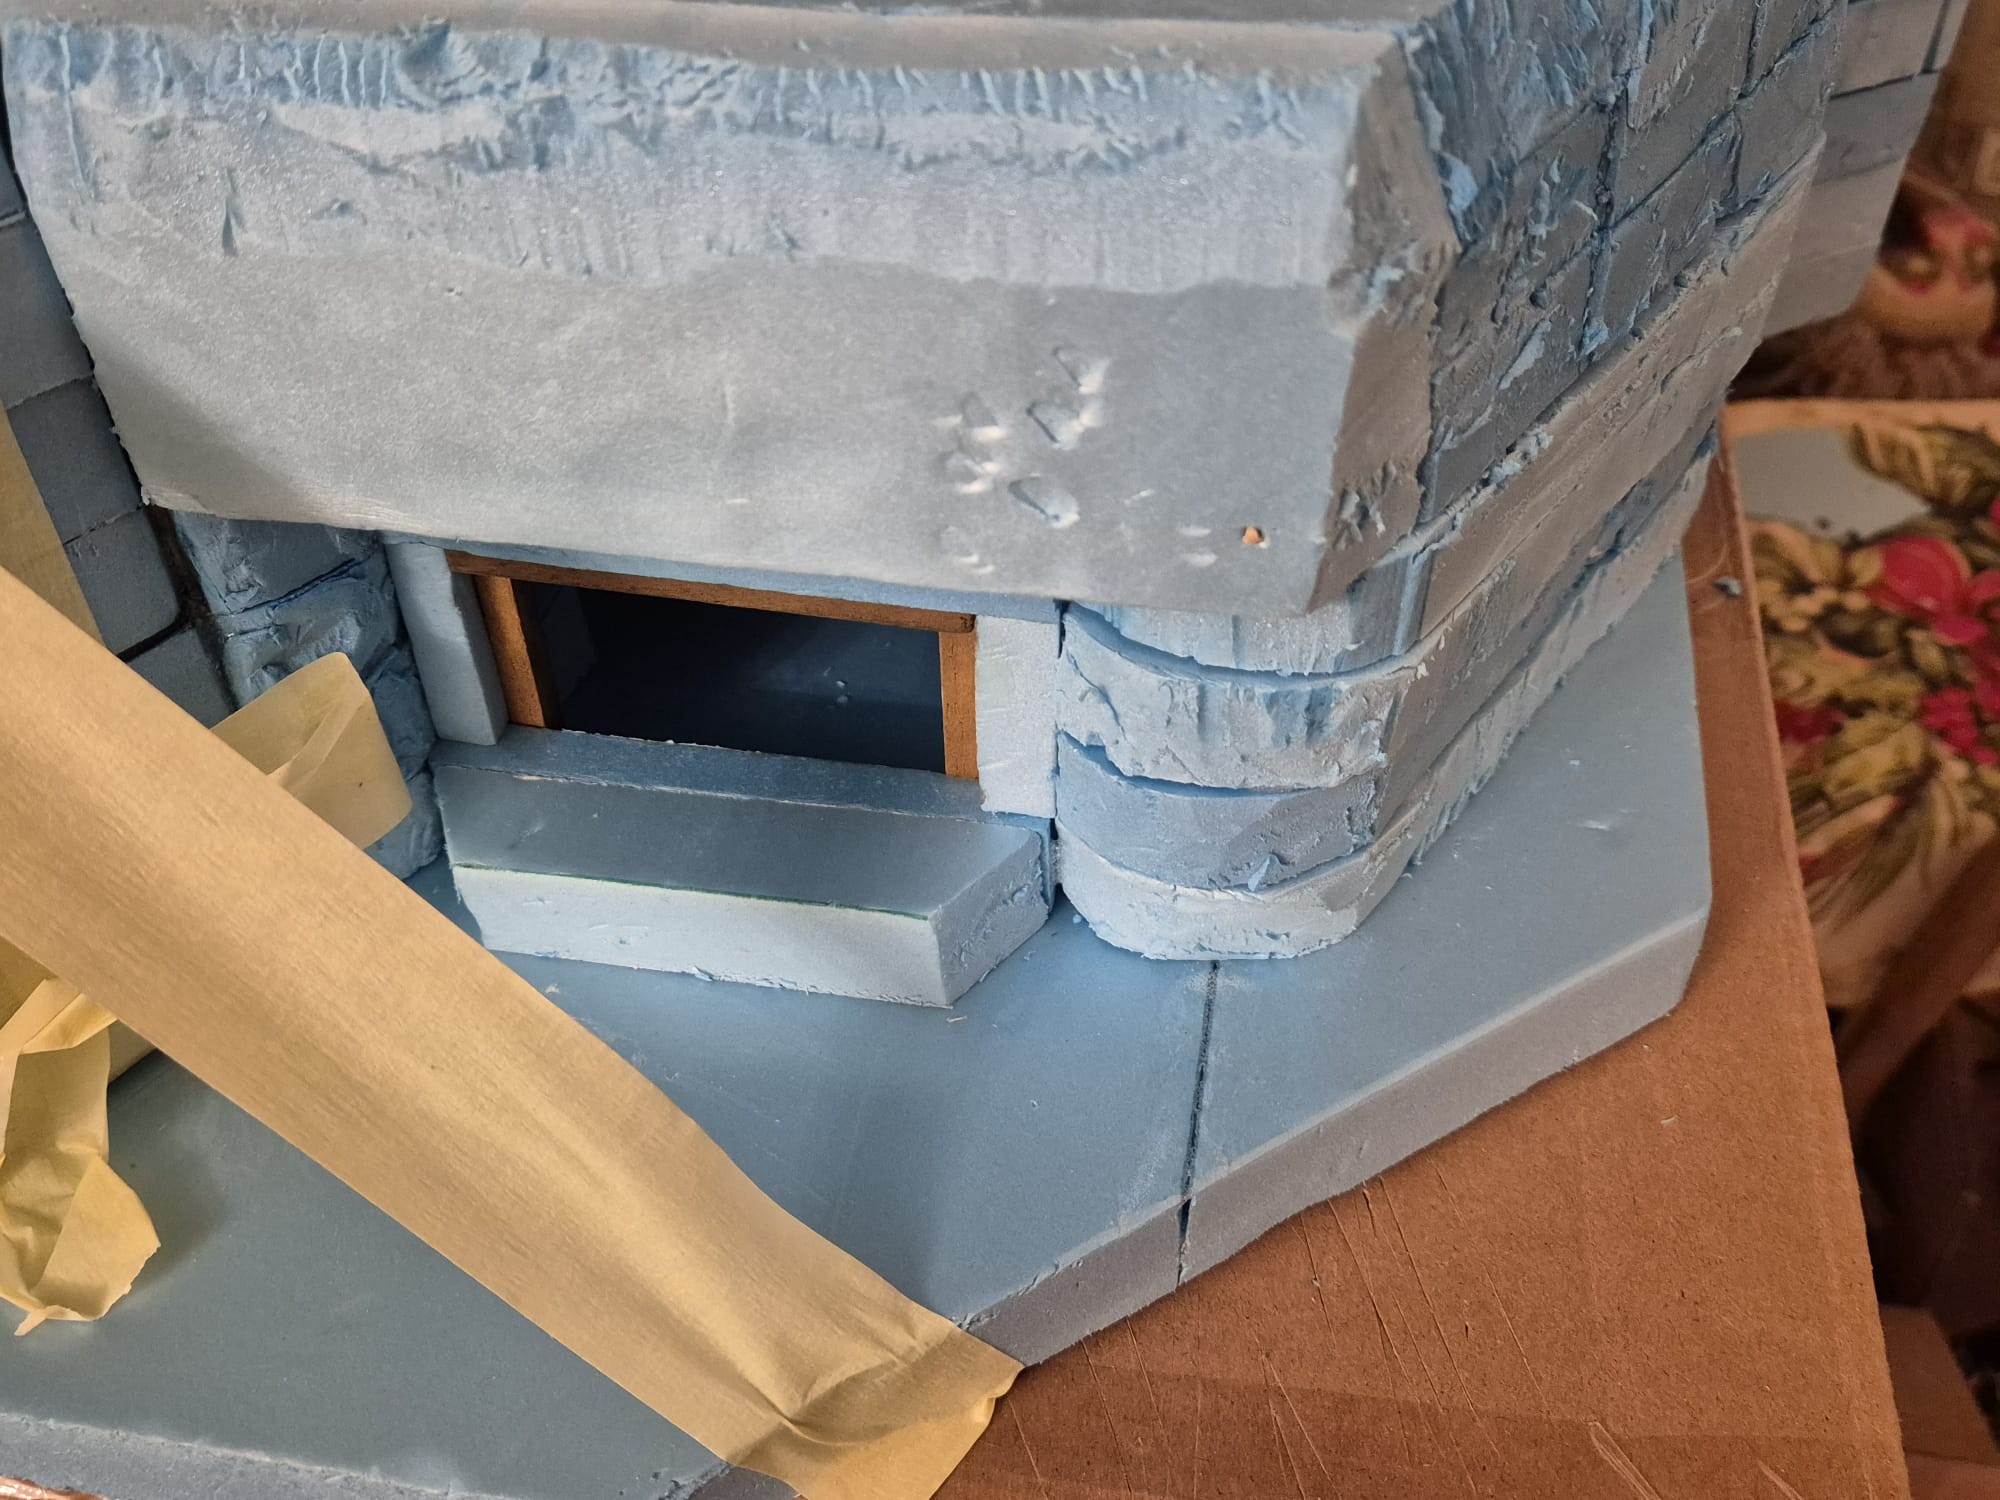
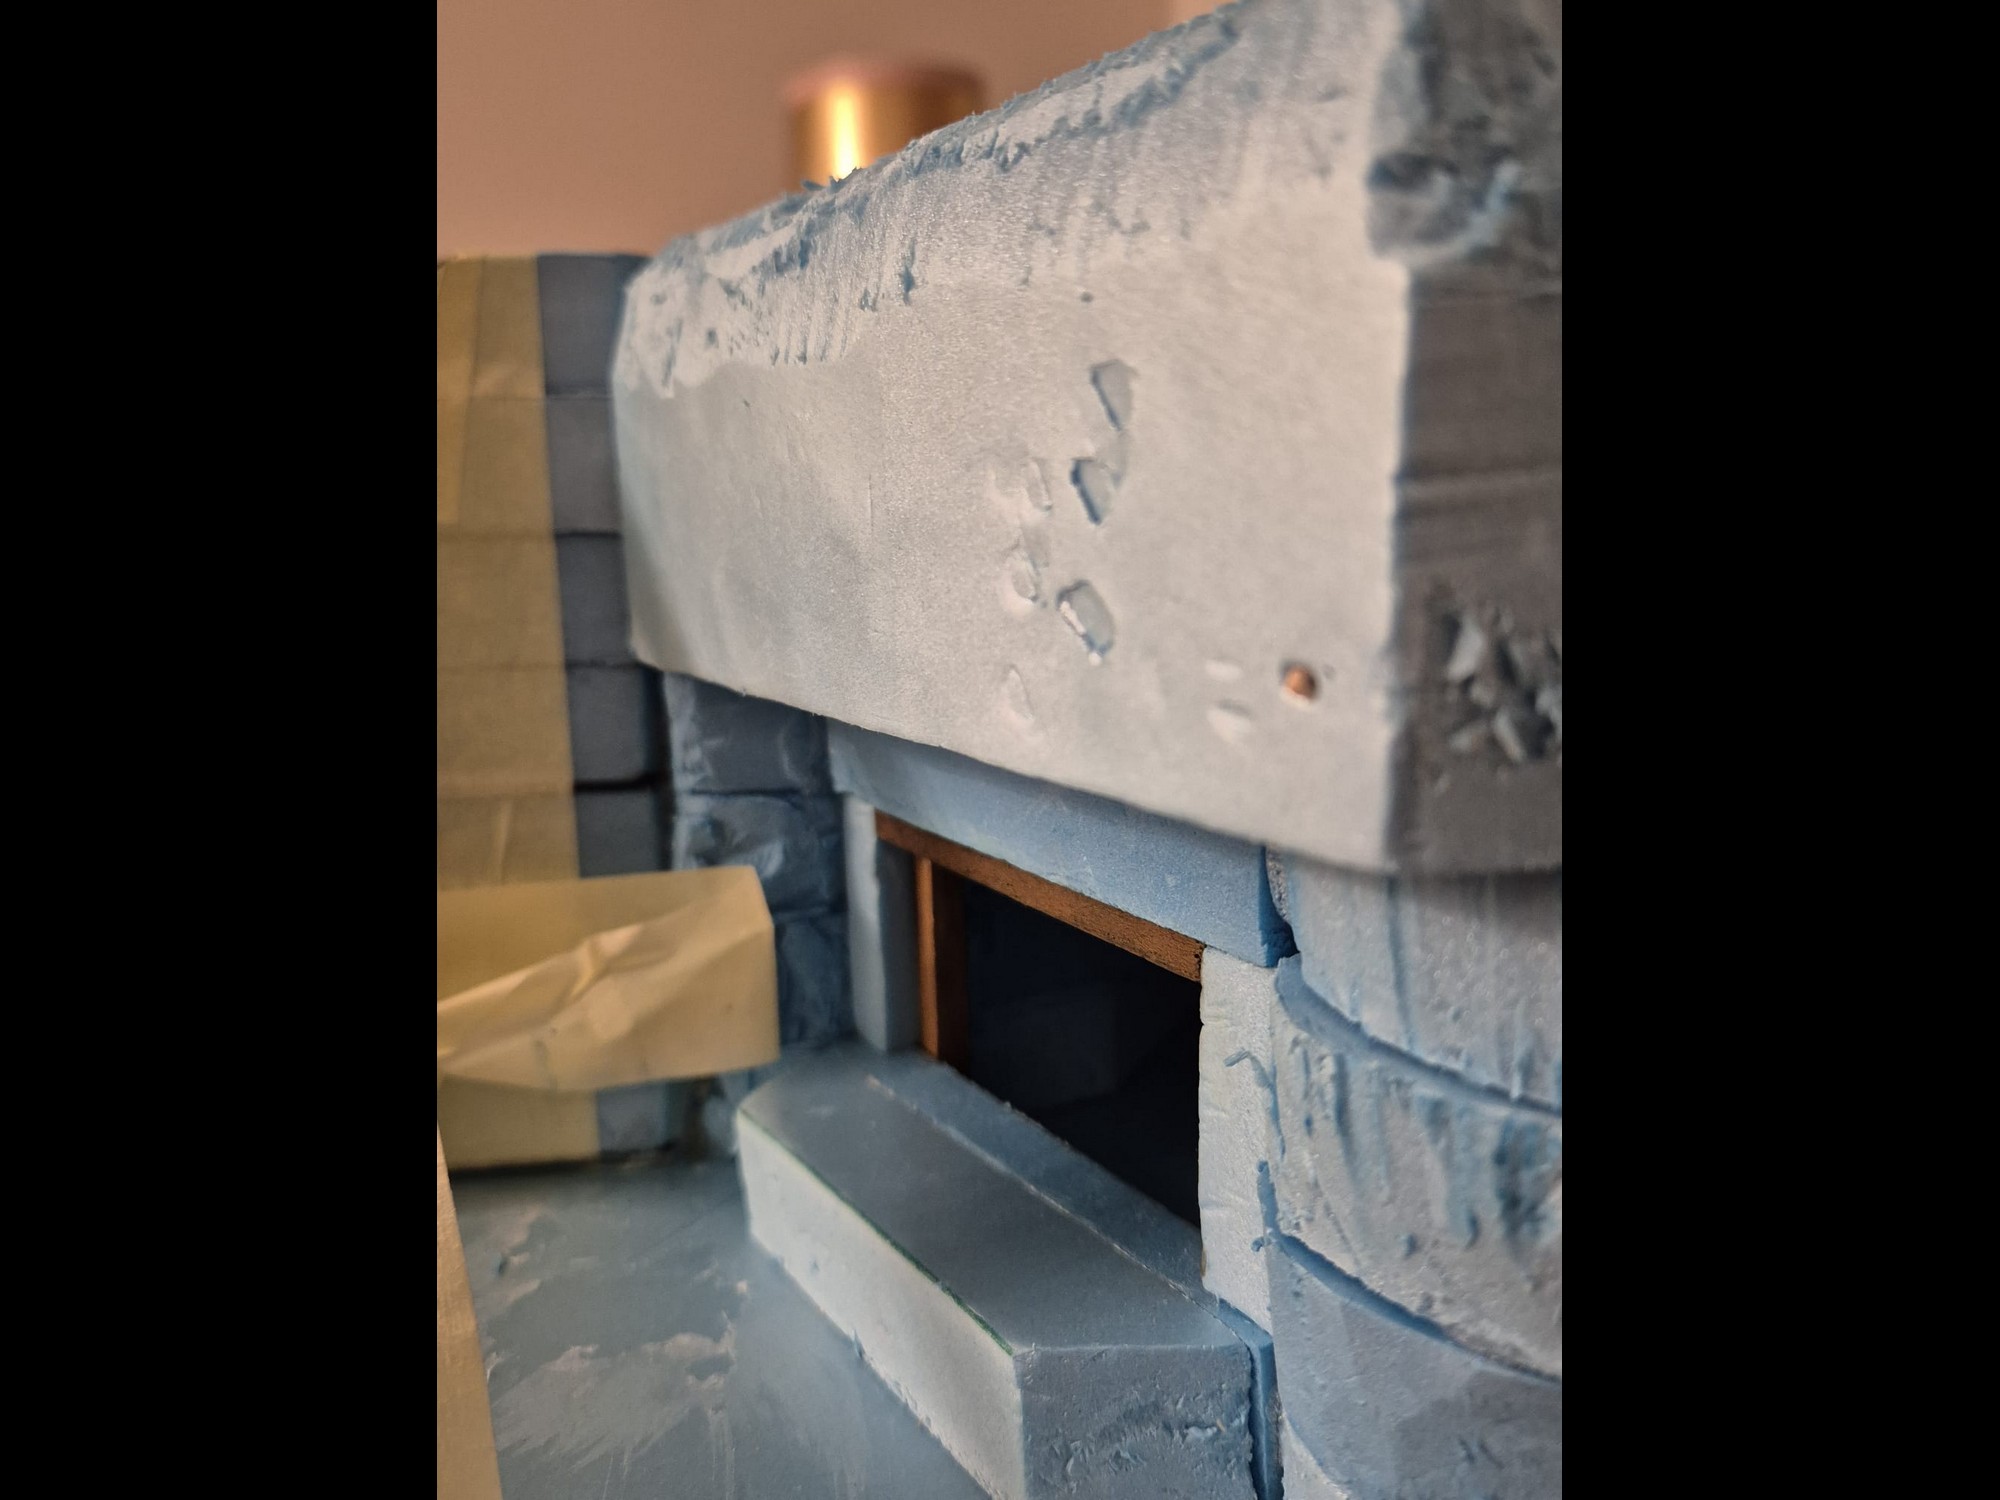
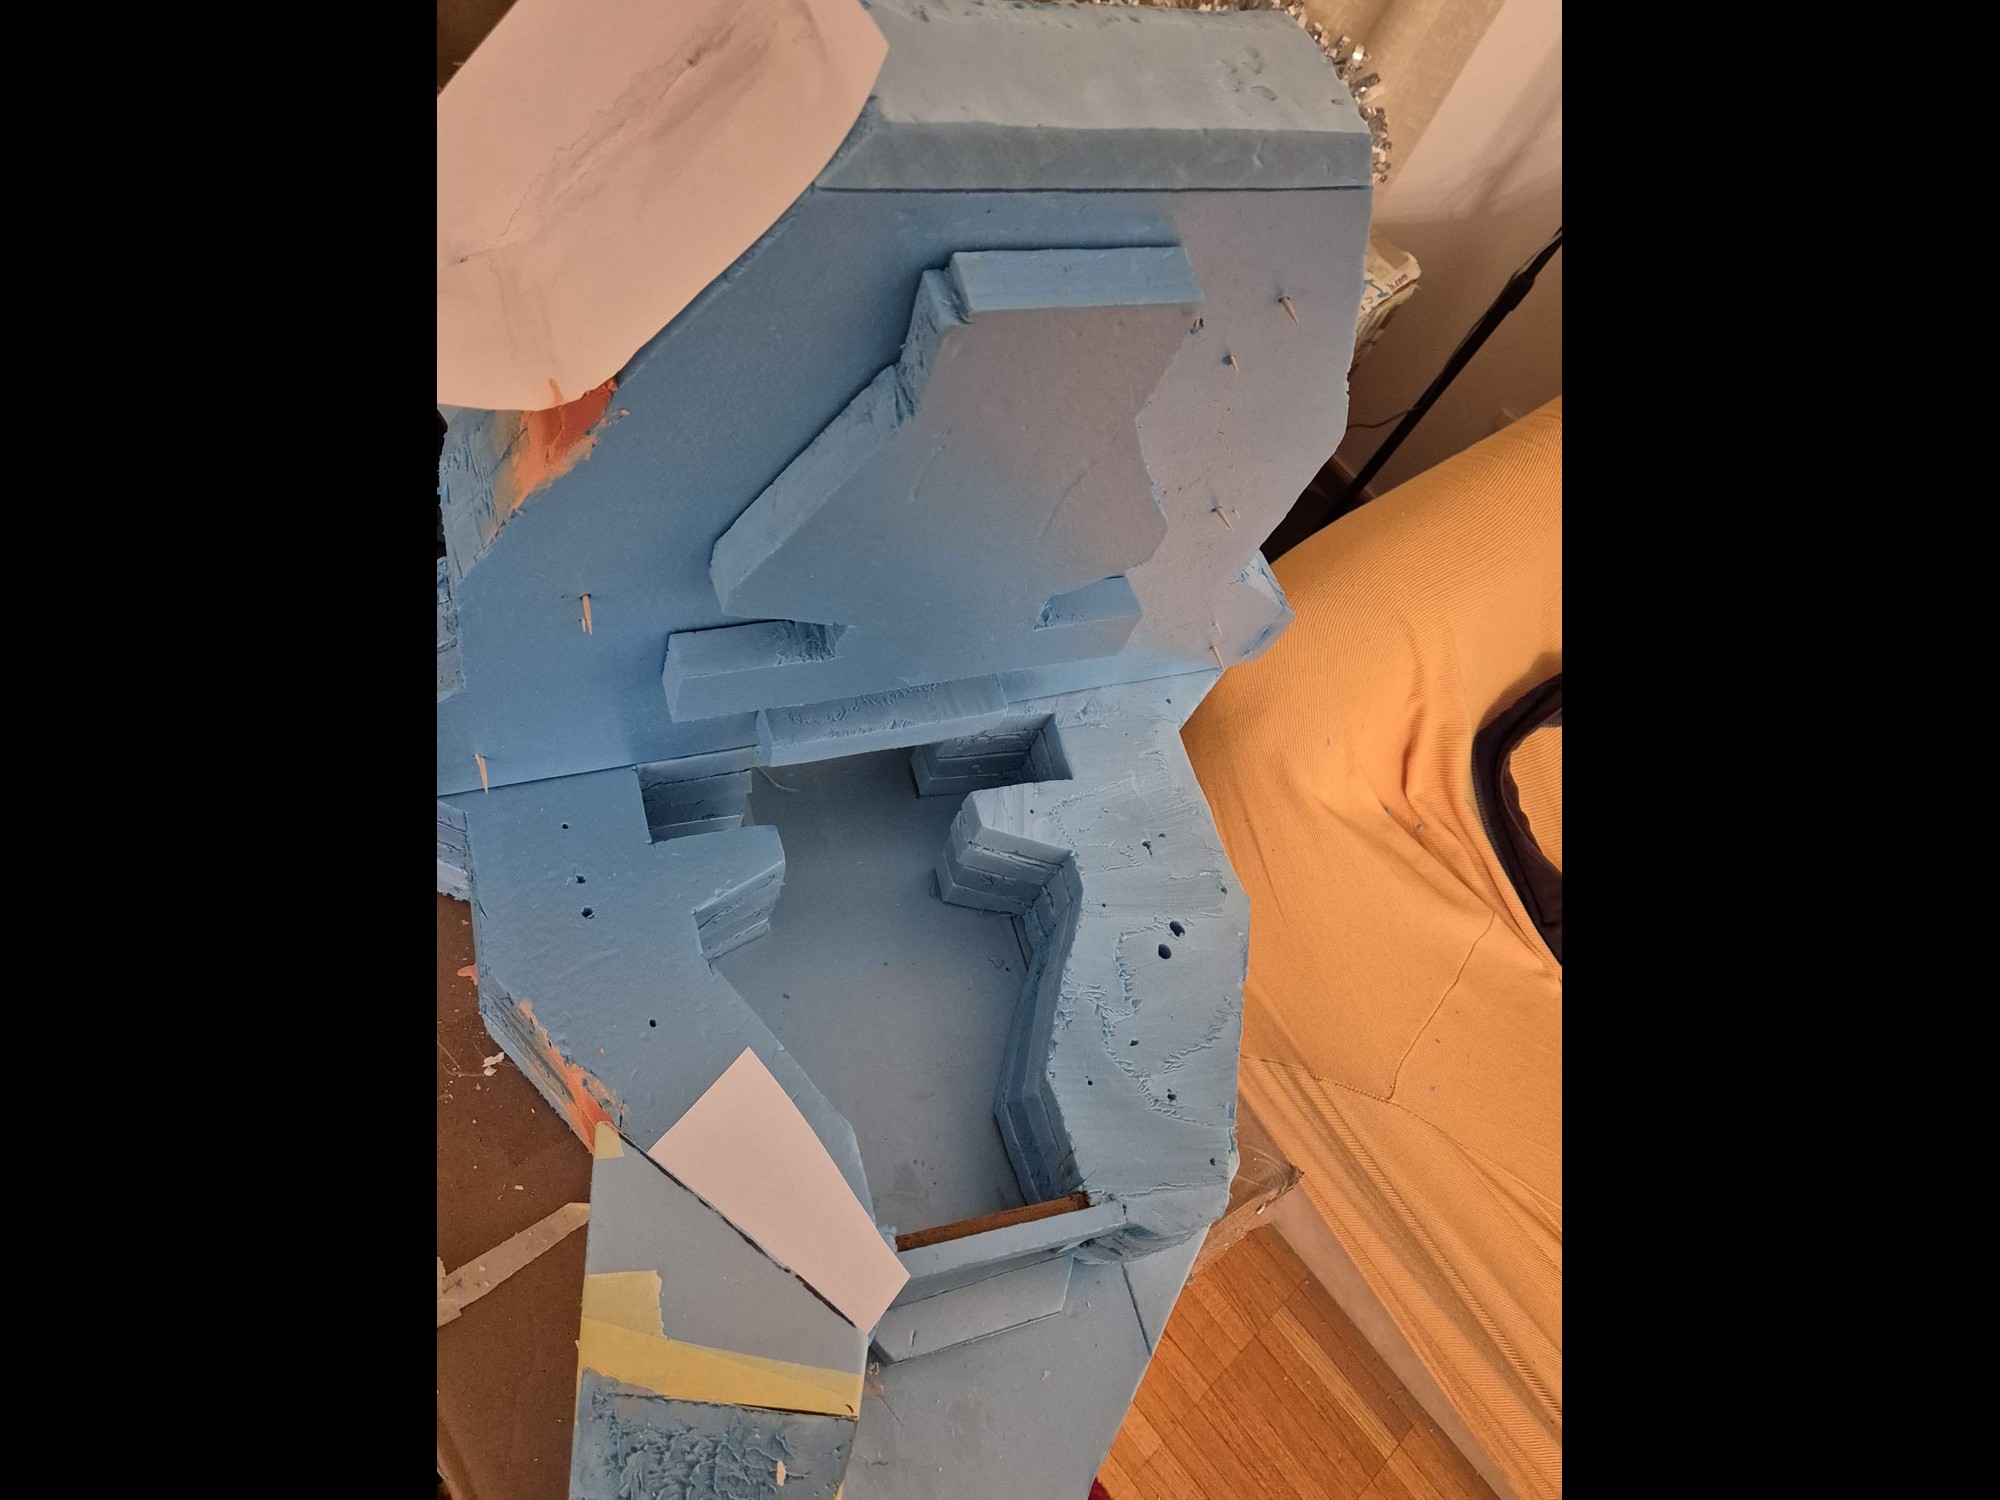
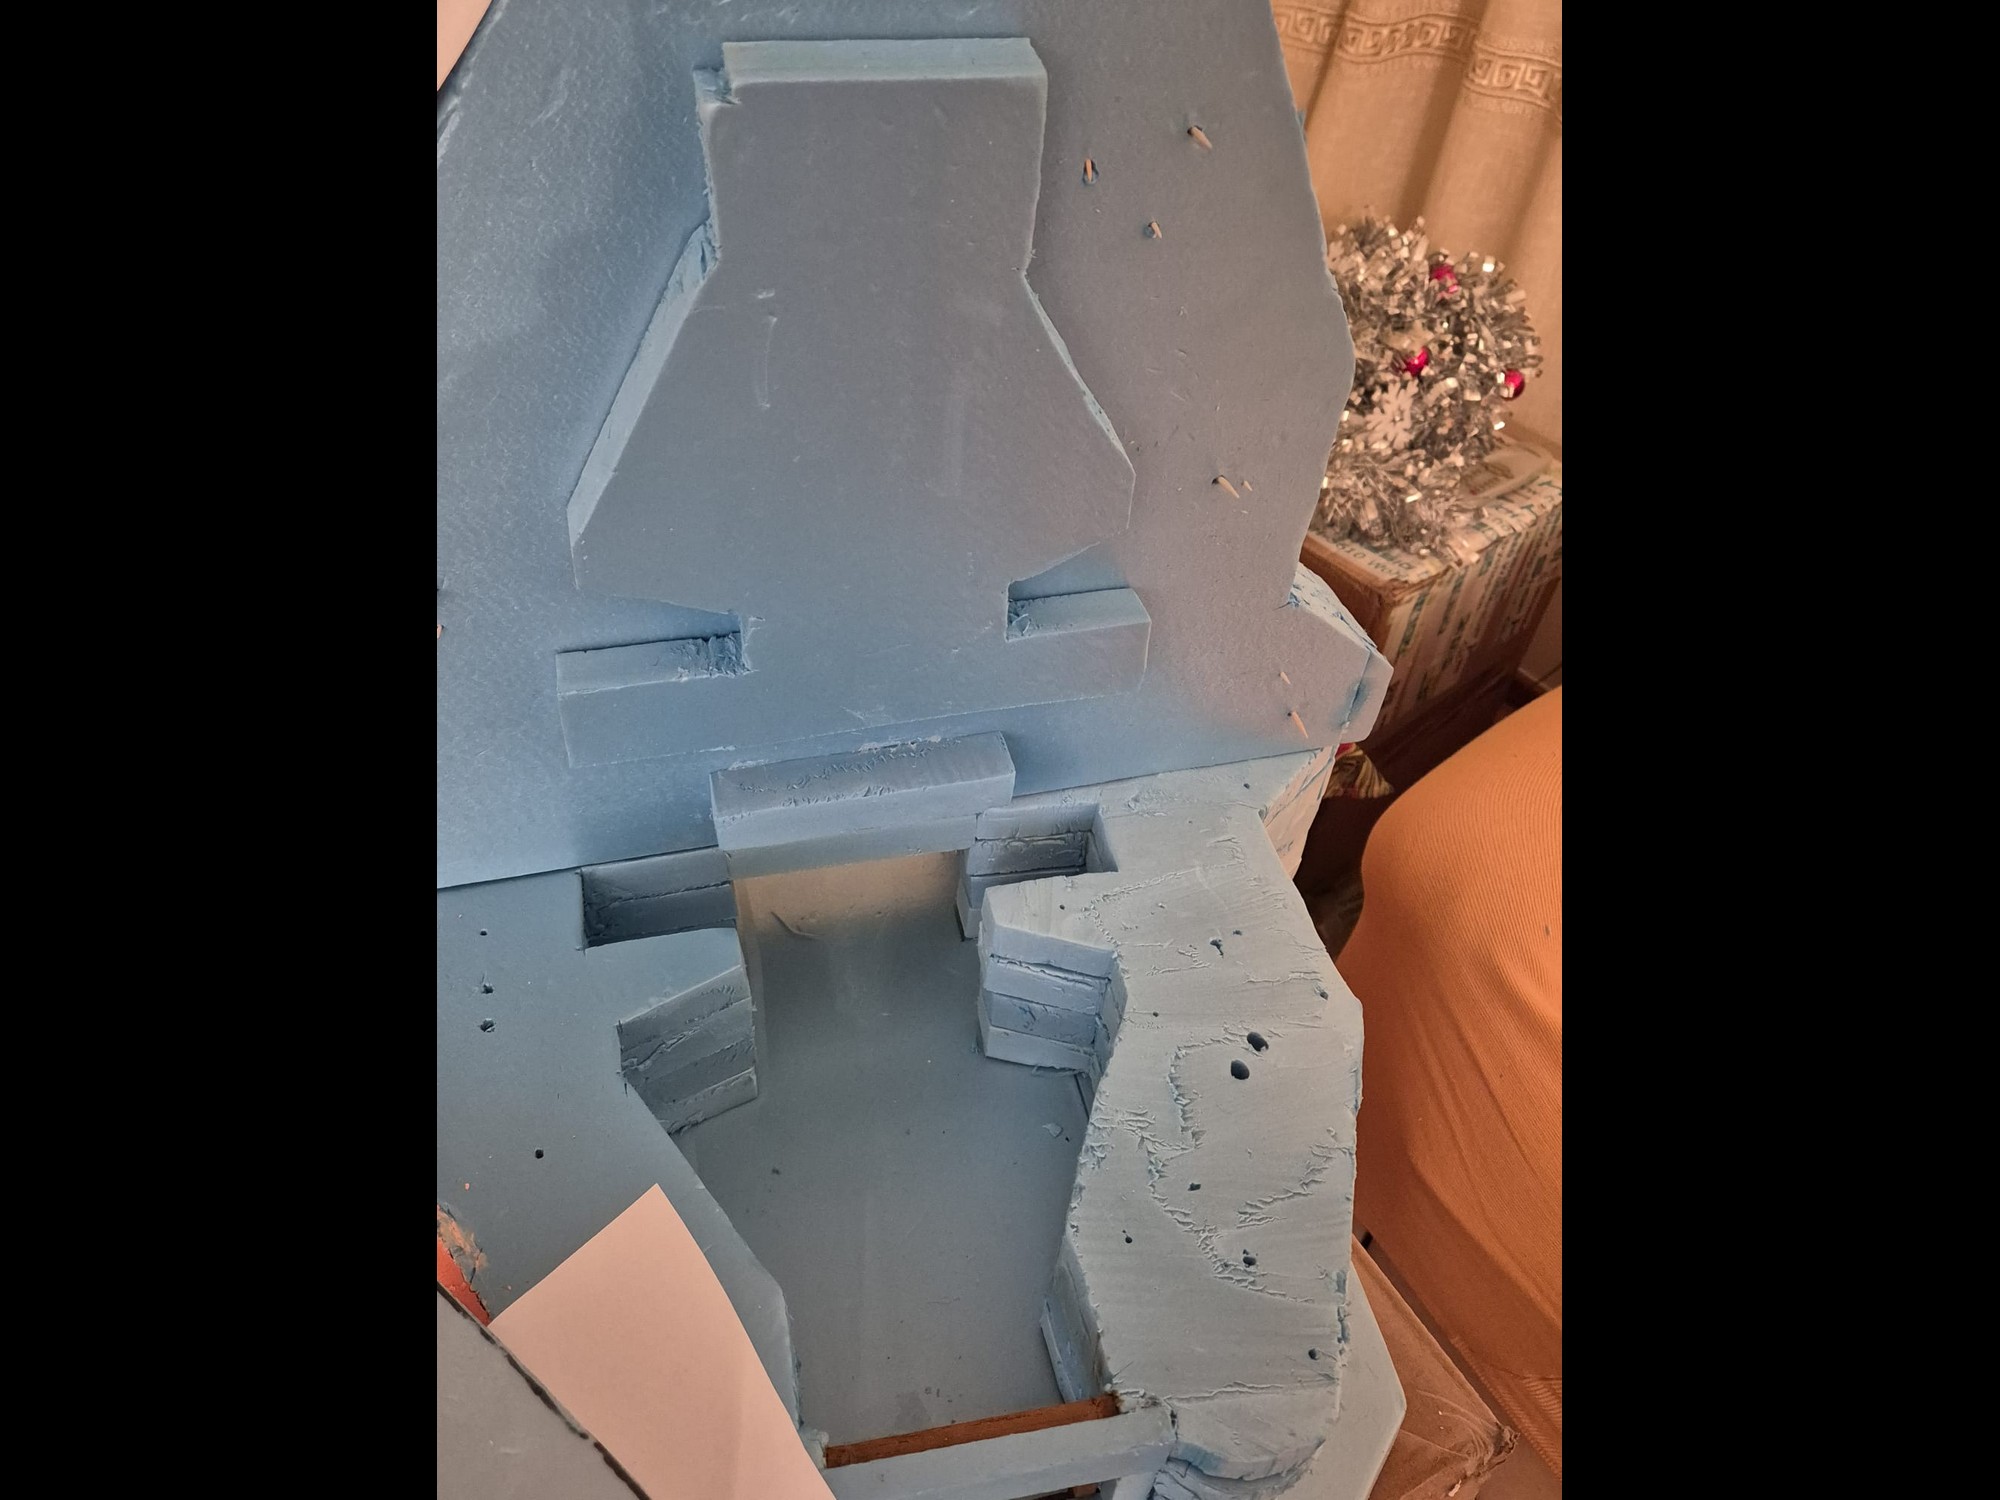
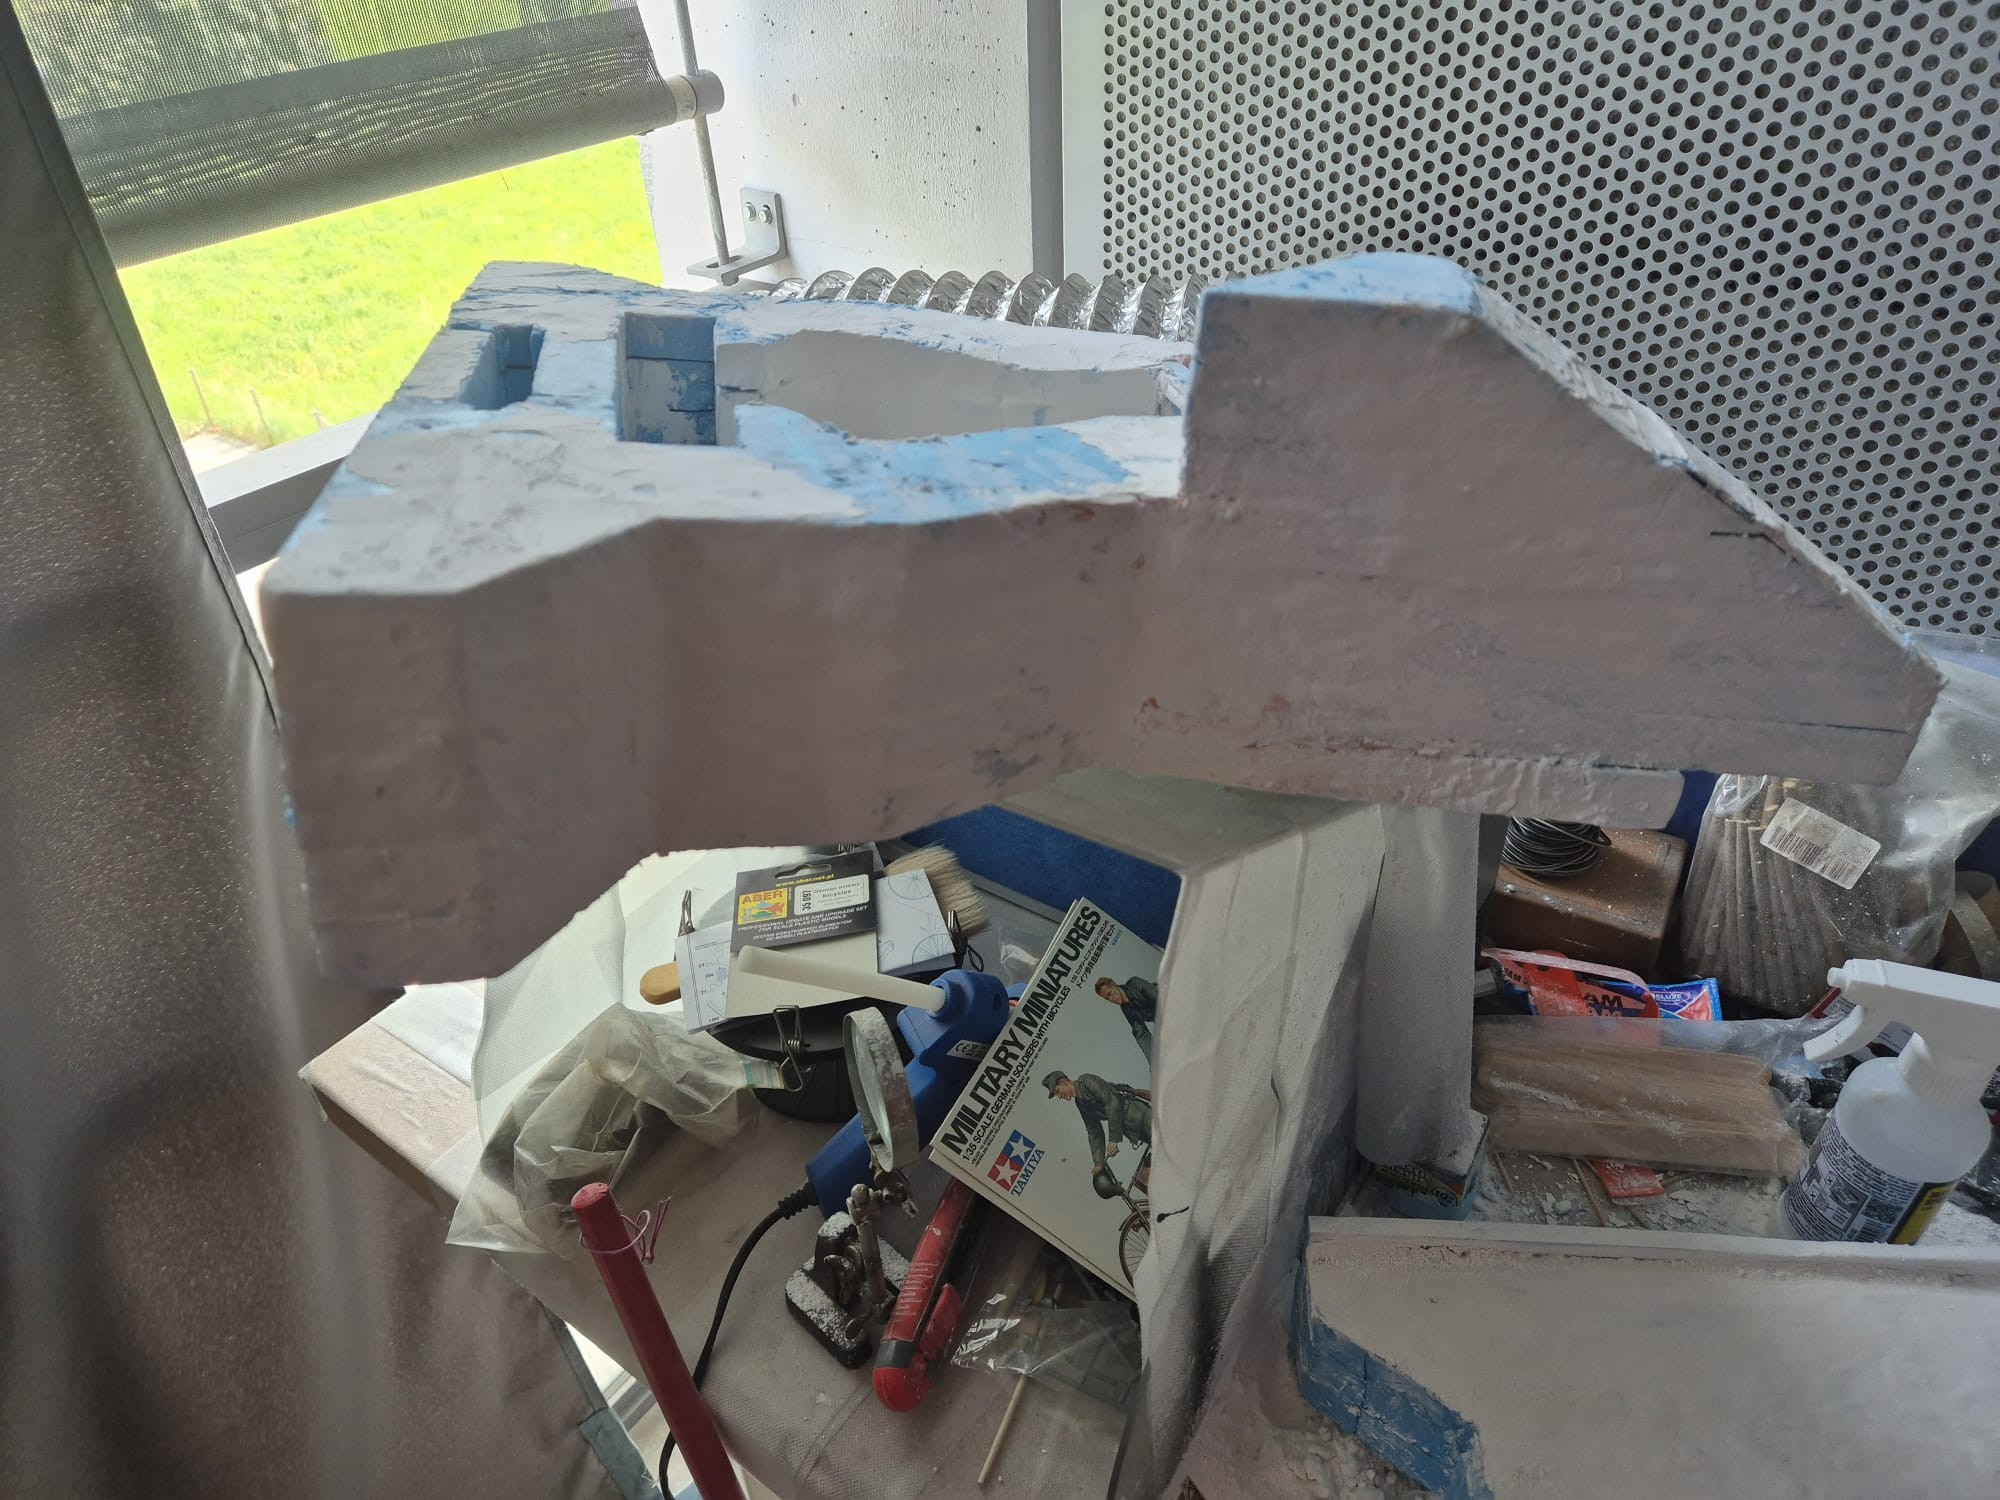
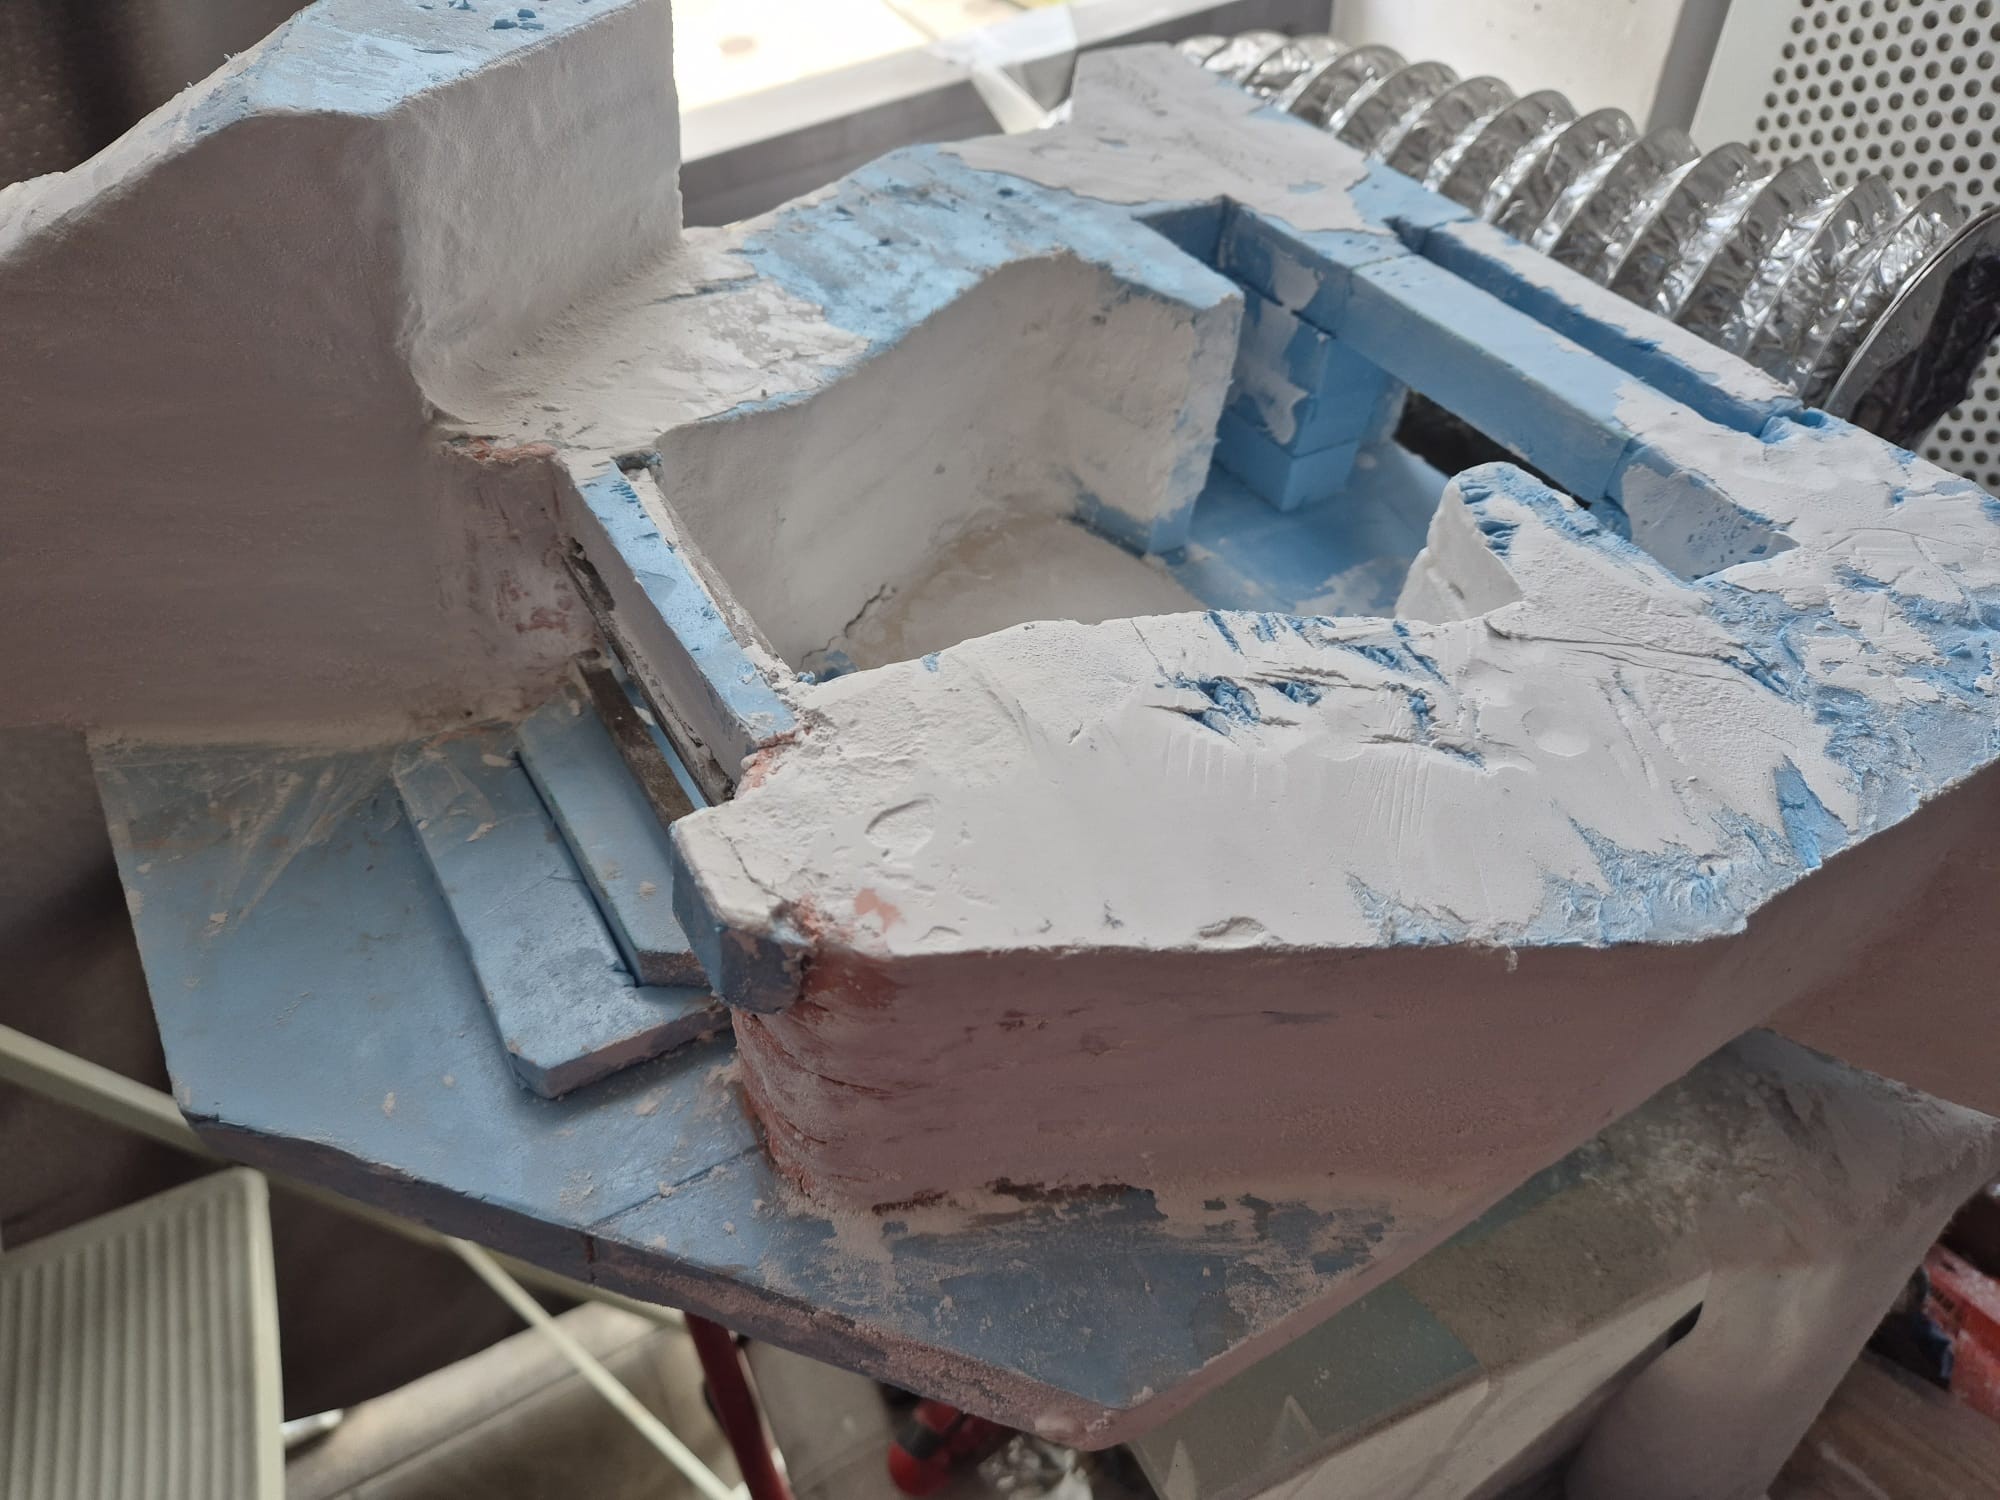
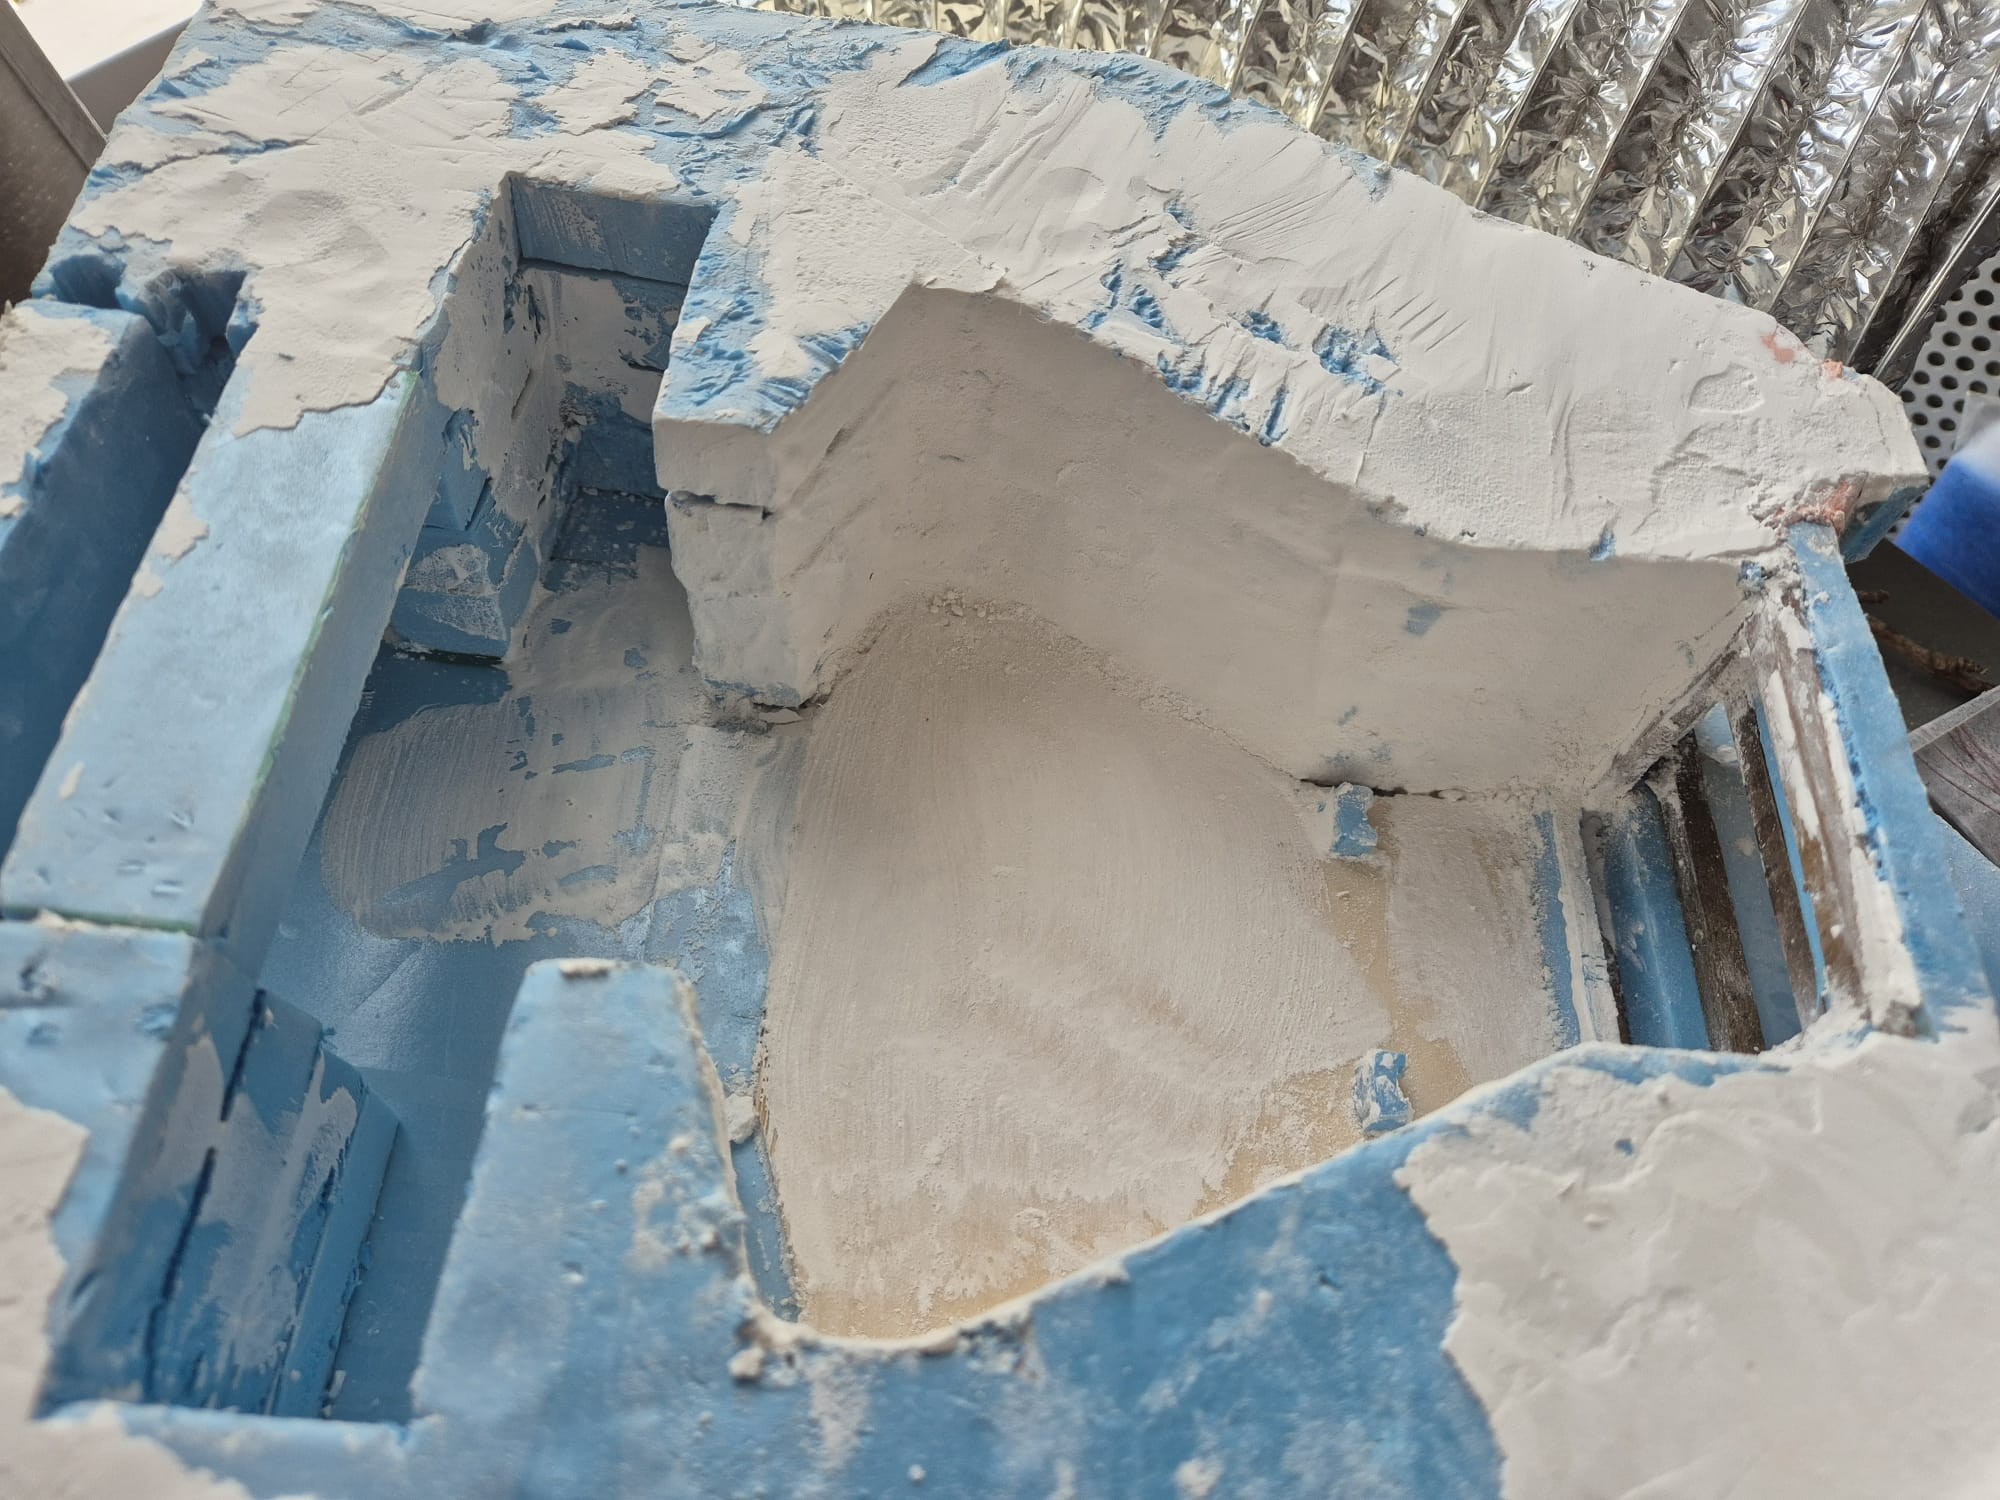
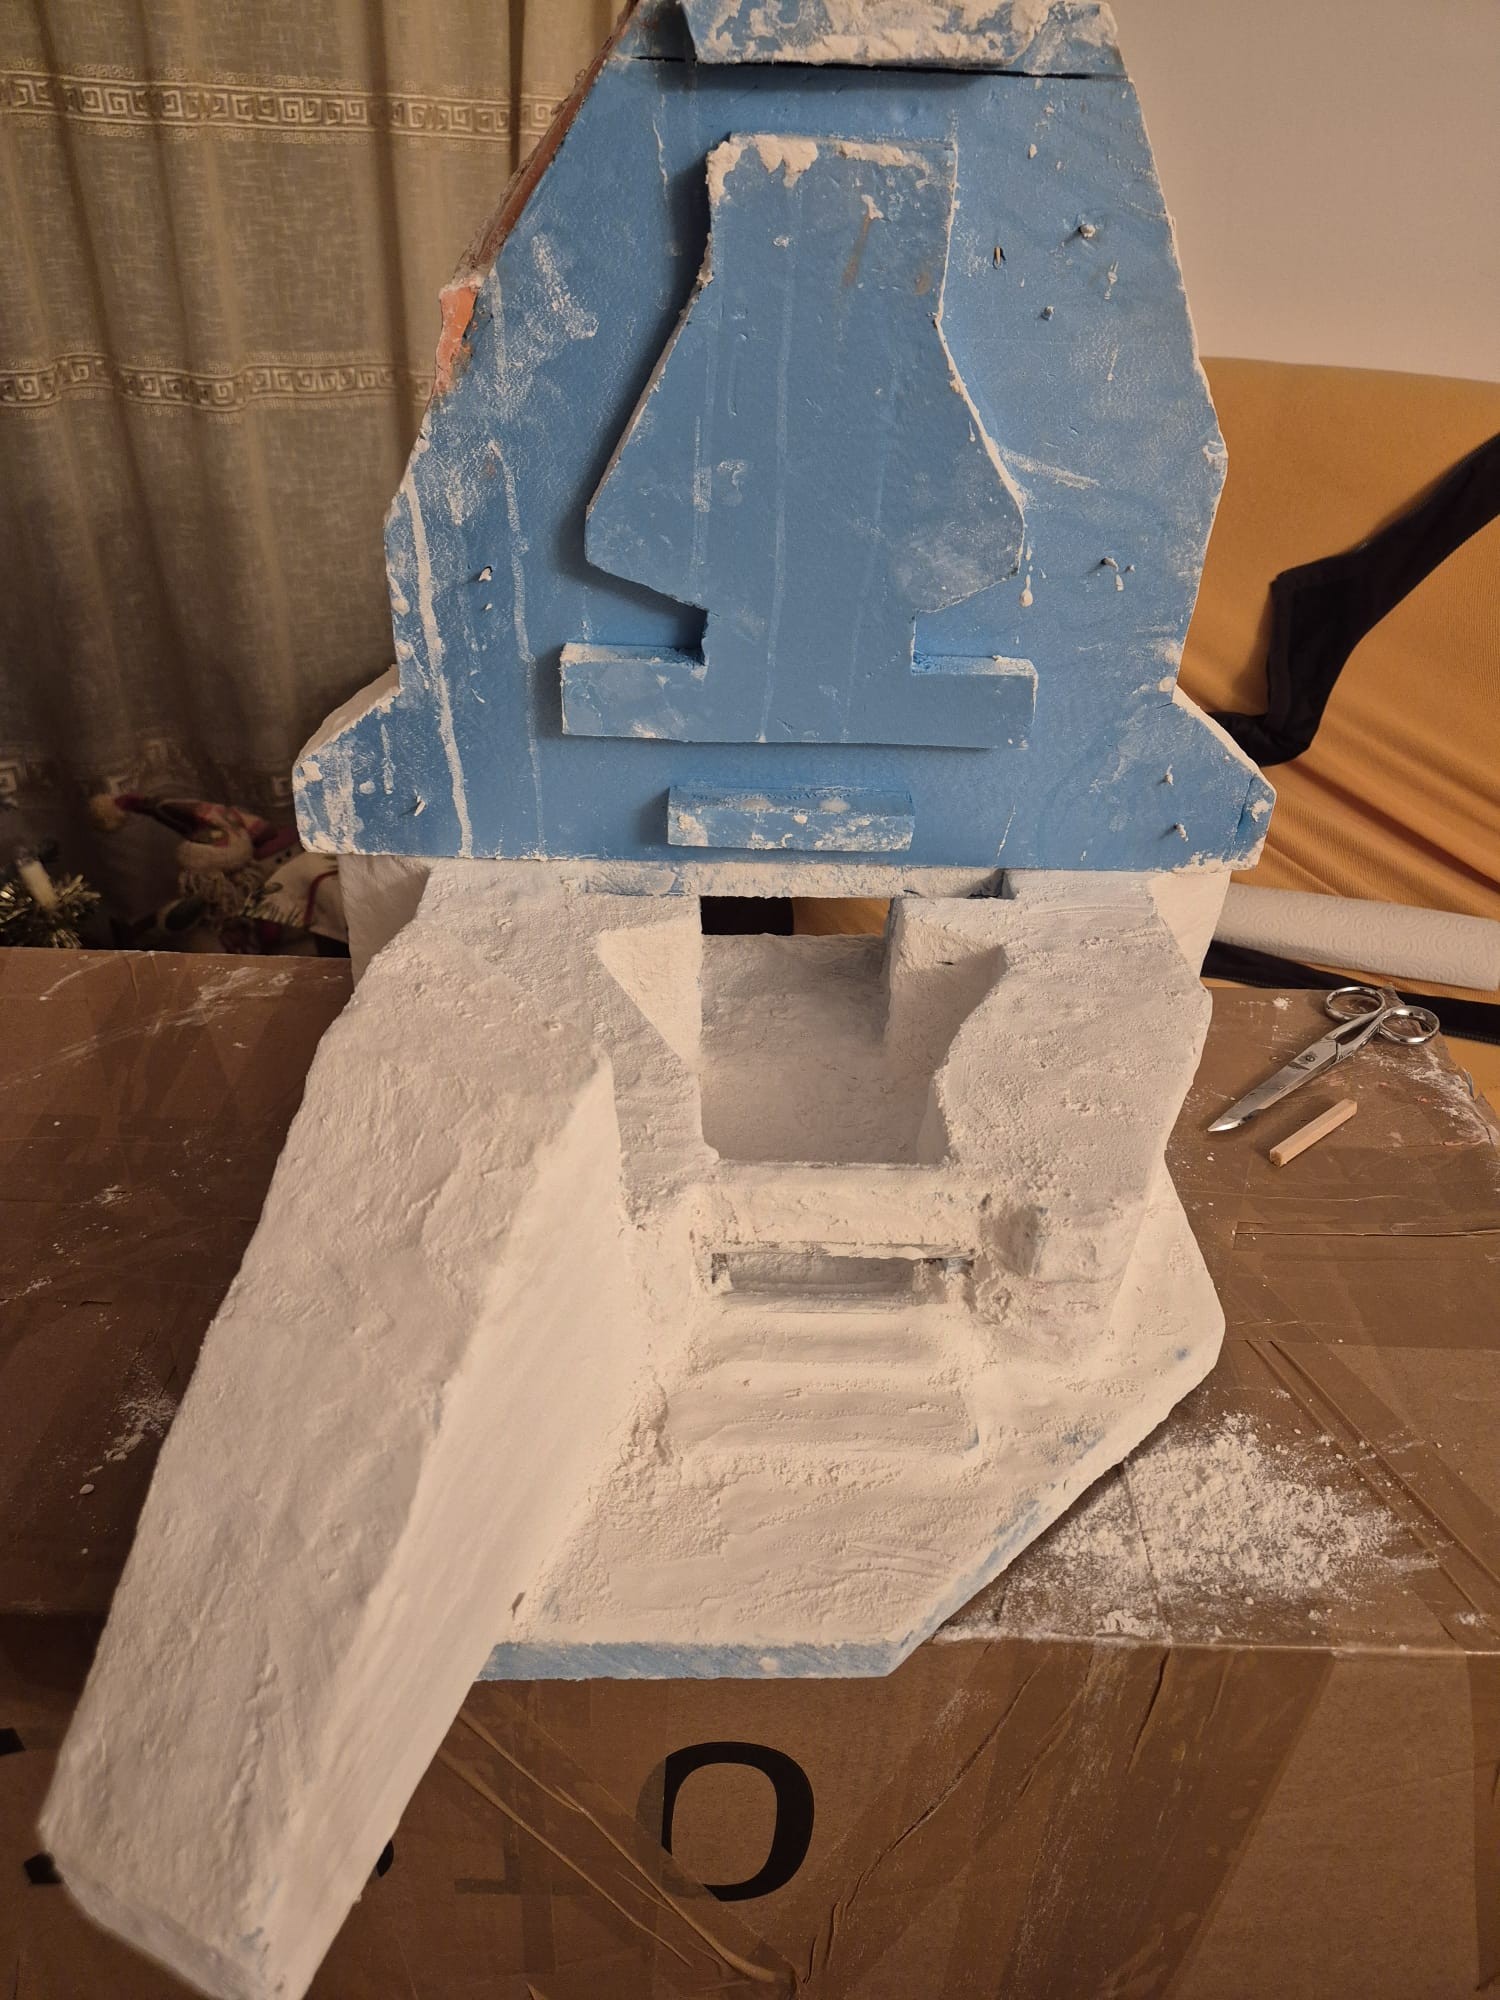
Especially the top roof will have a rather tall and heavier appearance. Also, there will be more accurate chambers in it containing ammunition and soldier’s quarters to the rear.
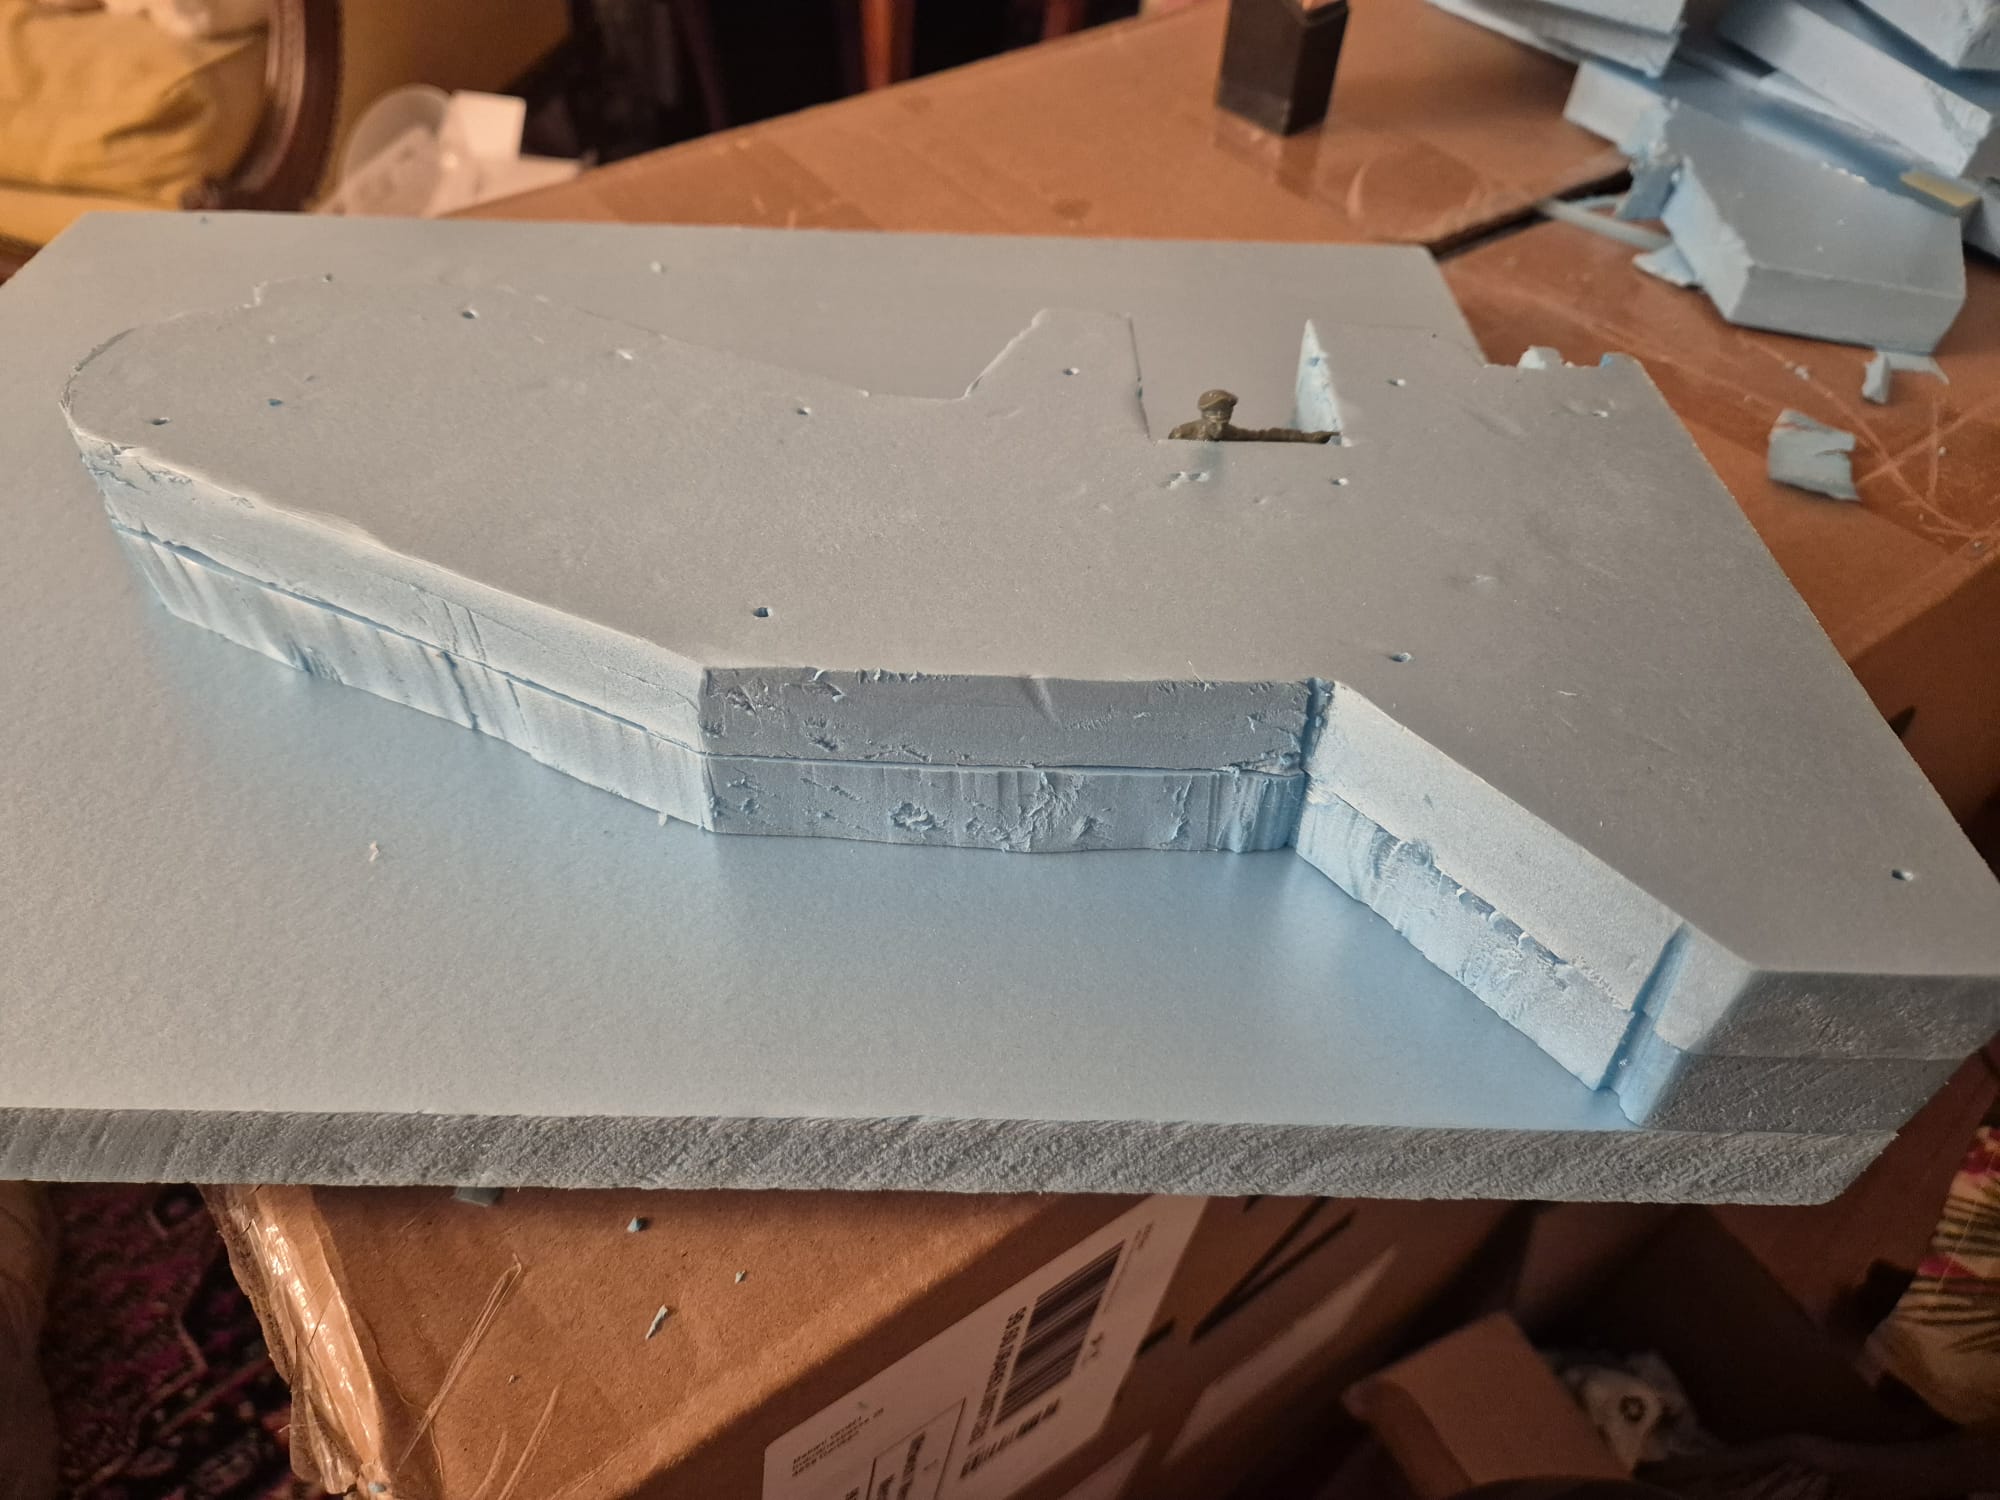
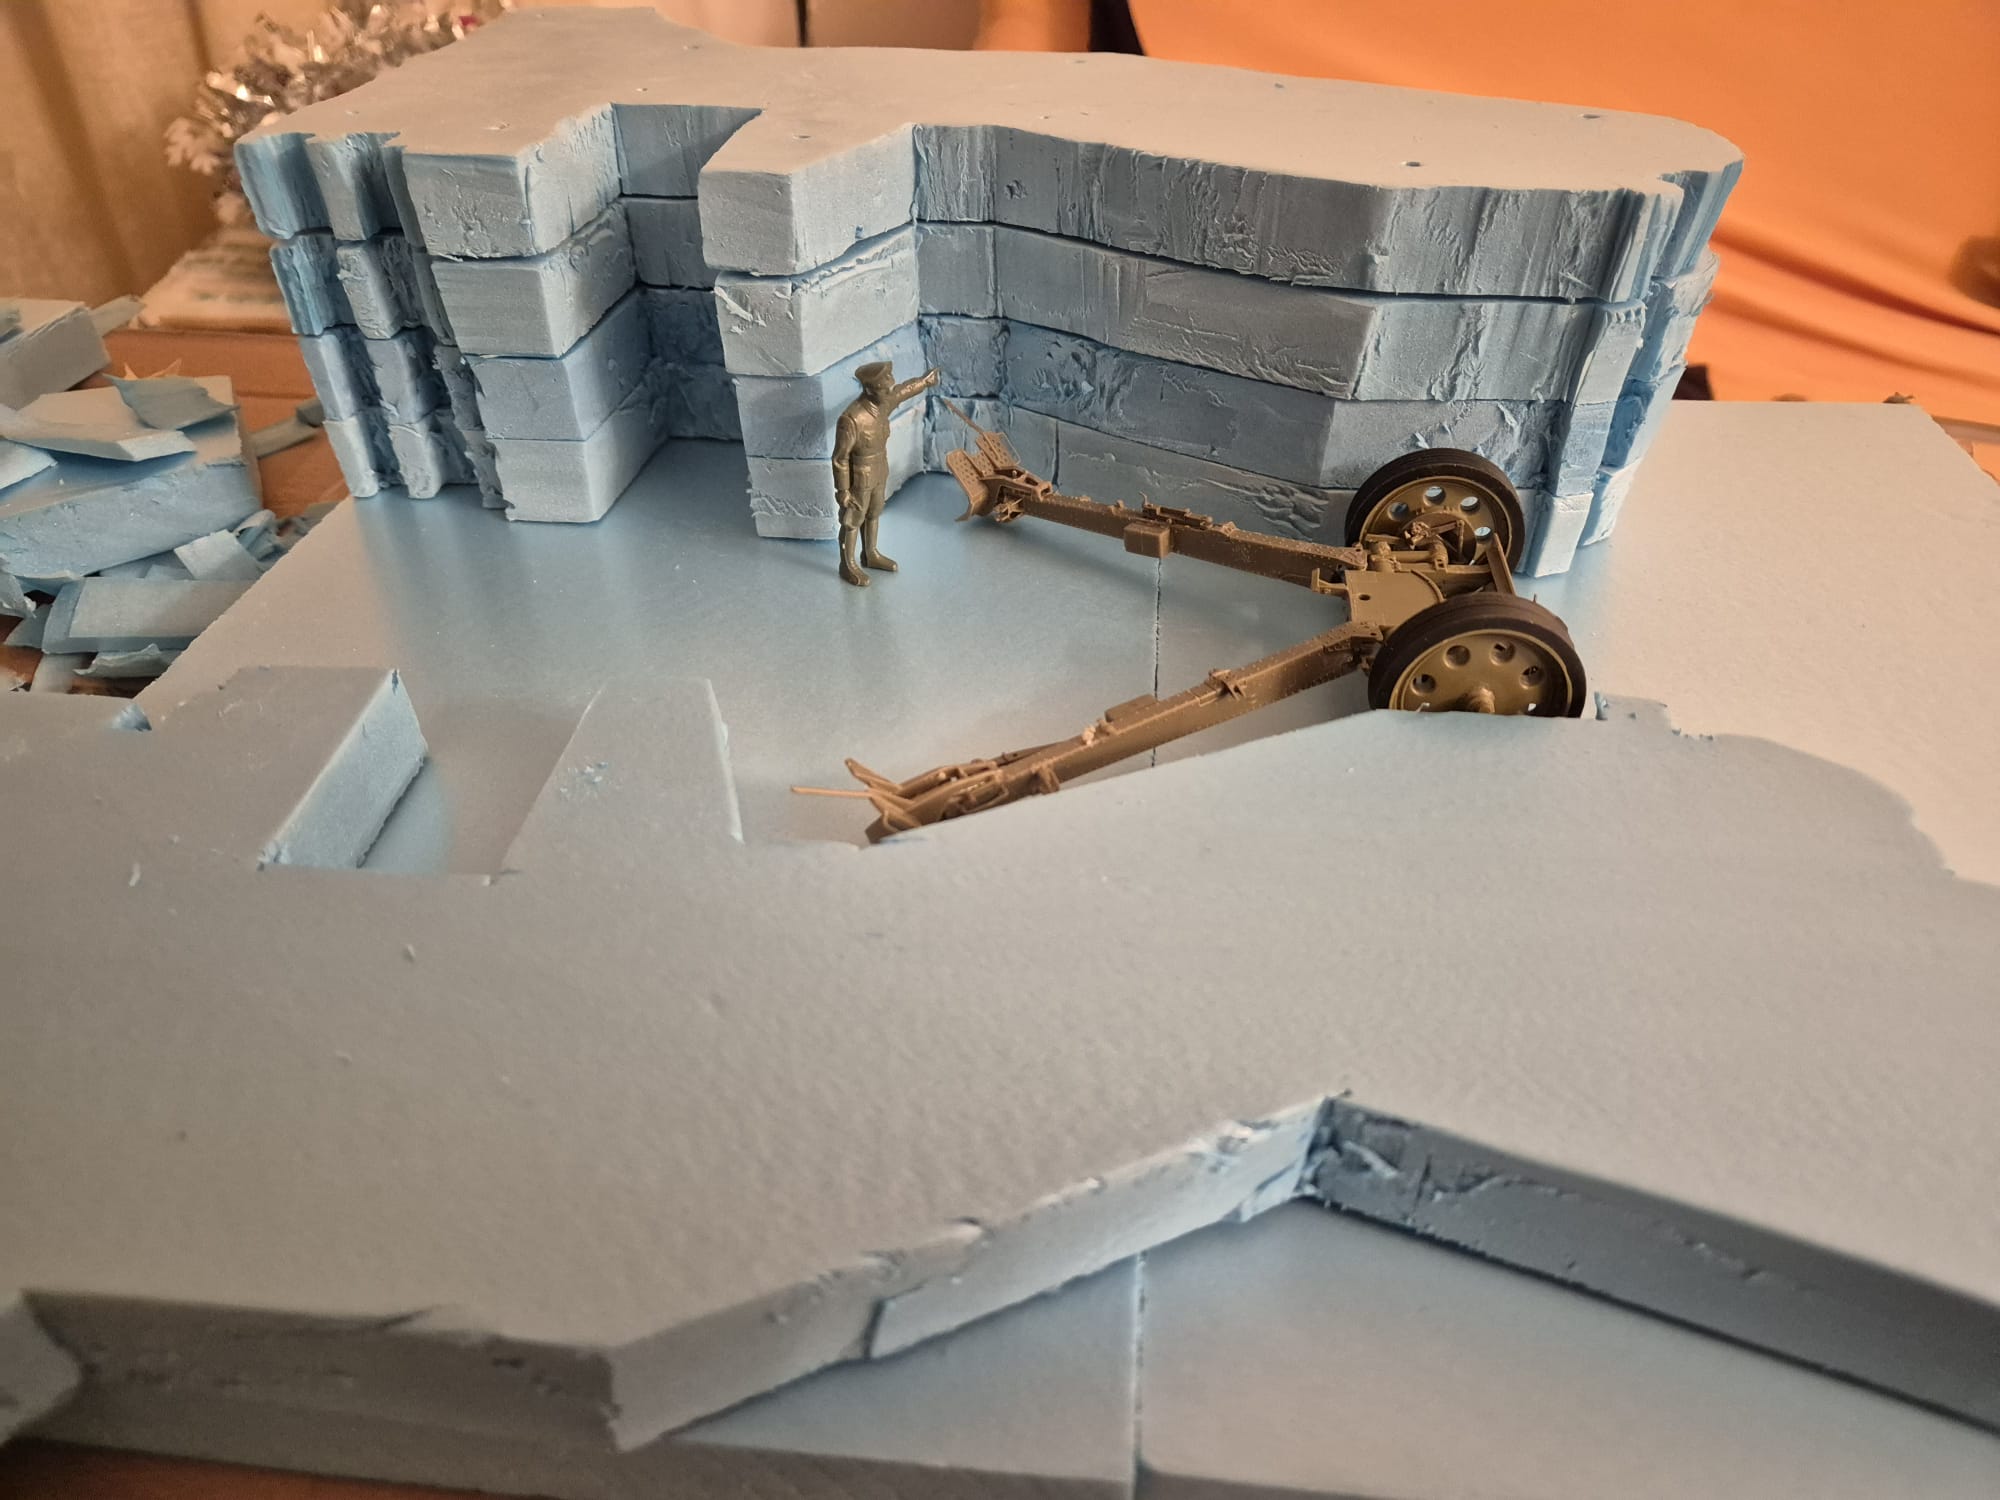
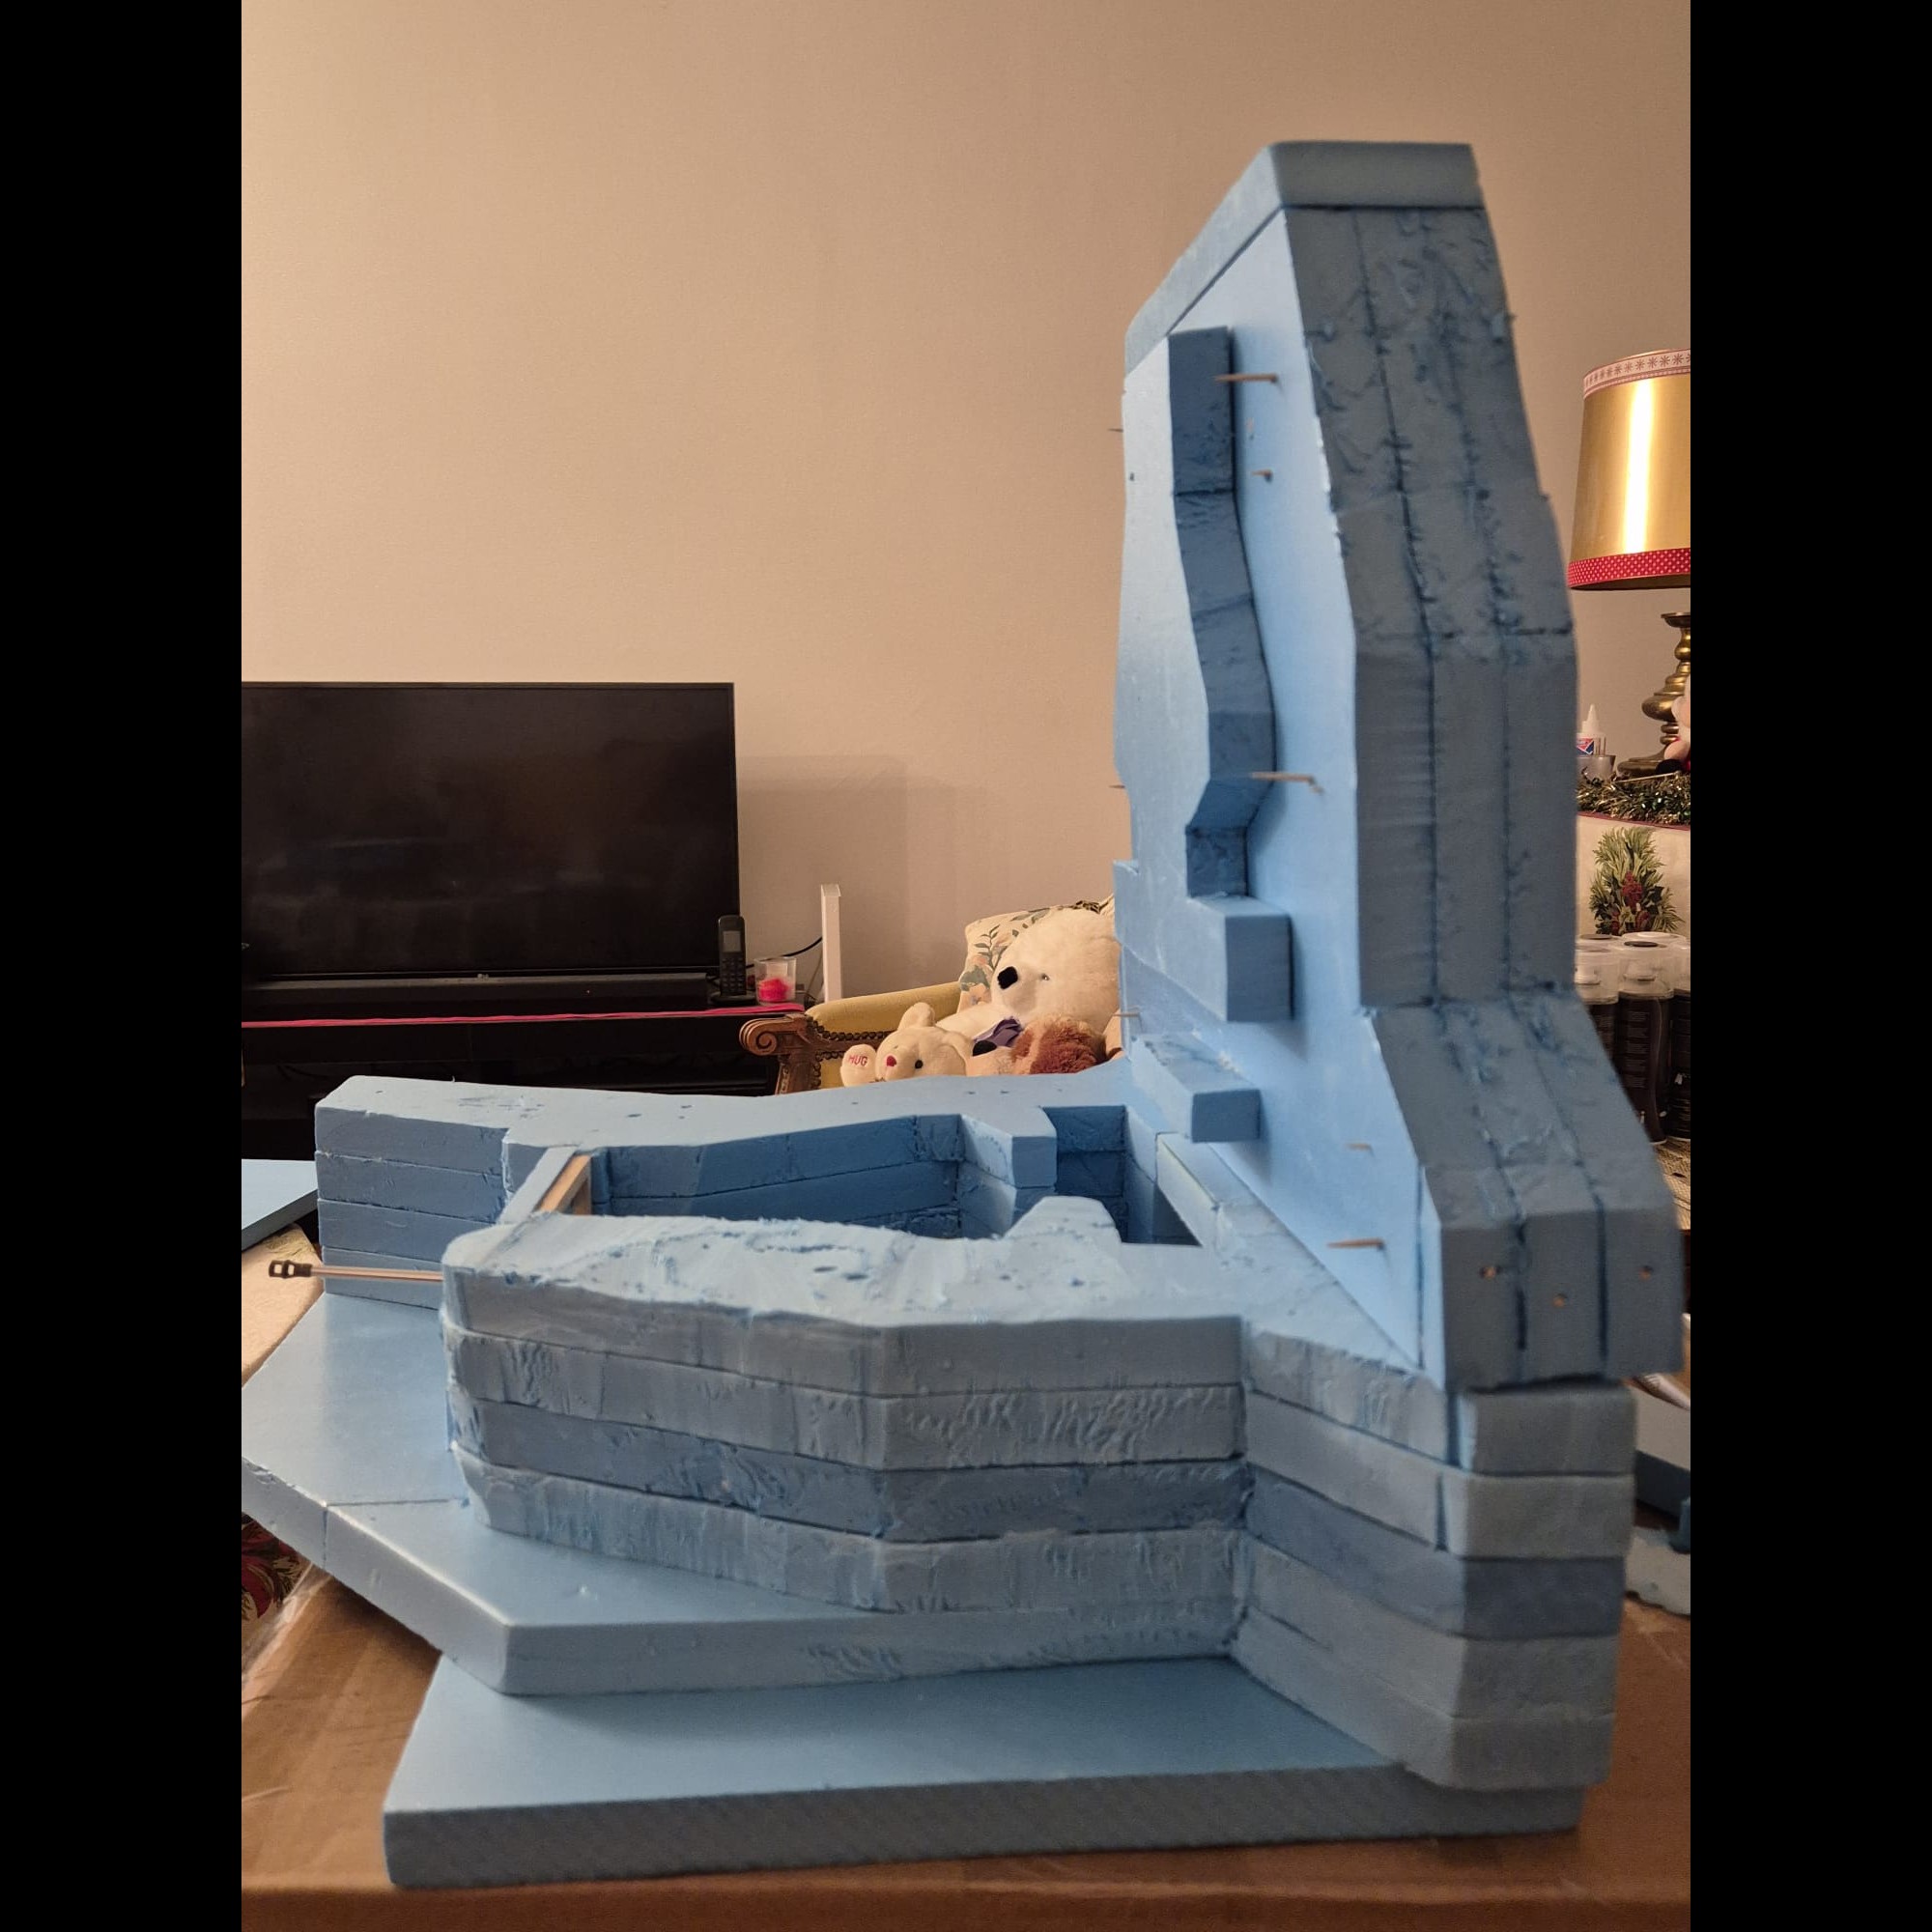
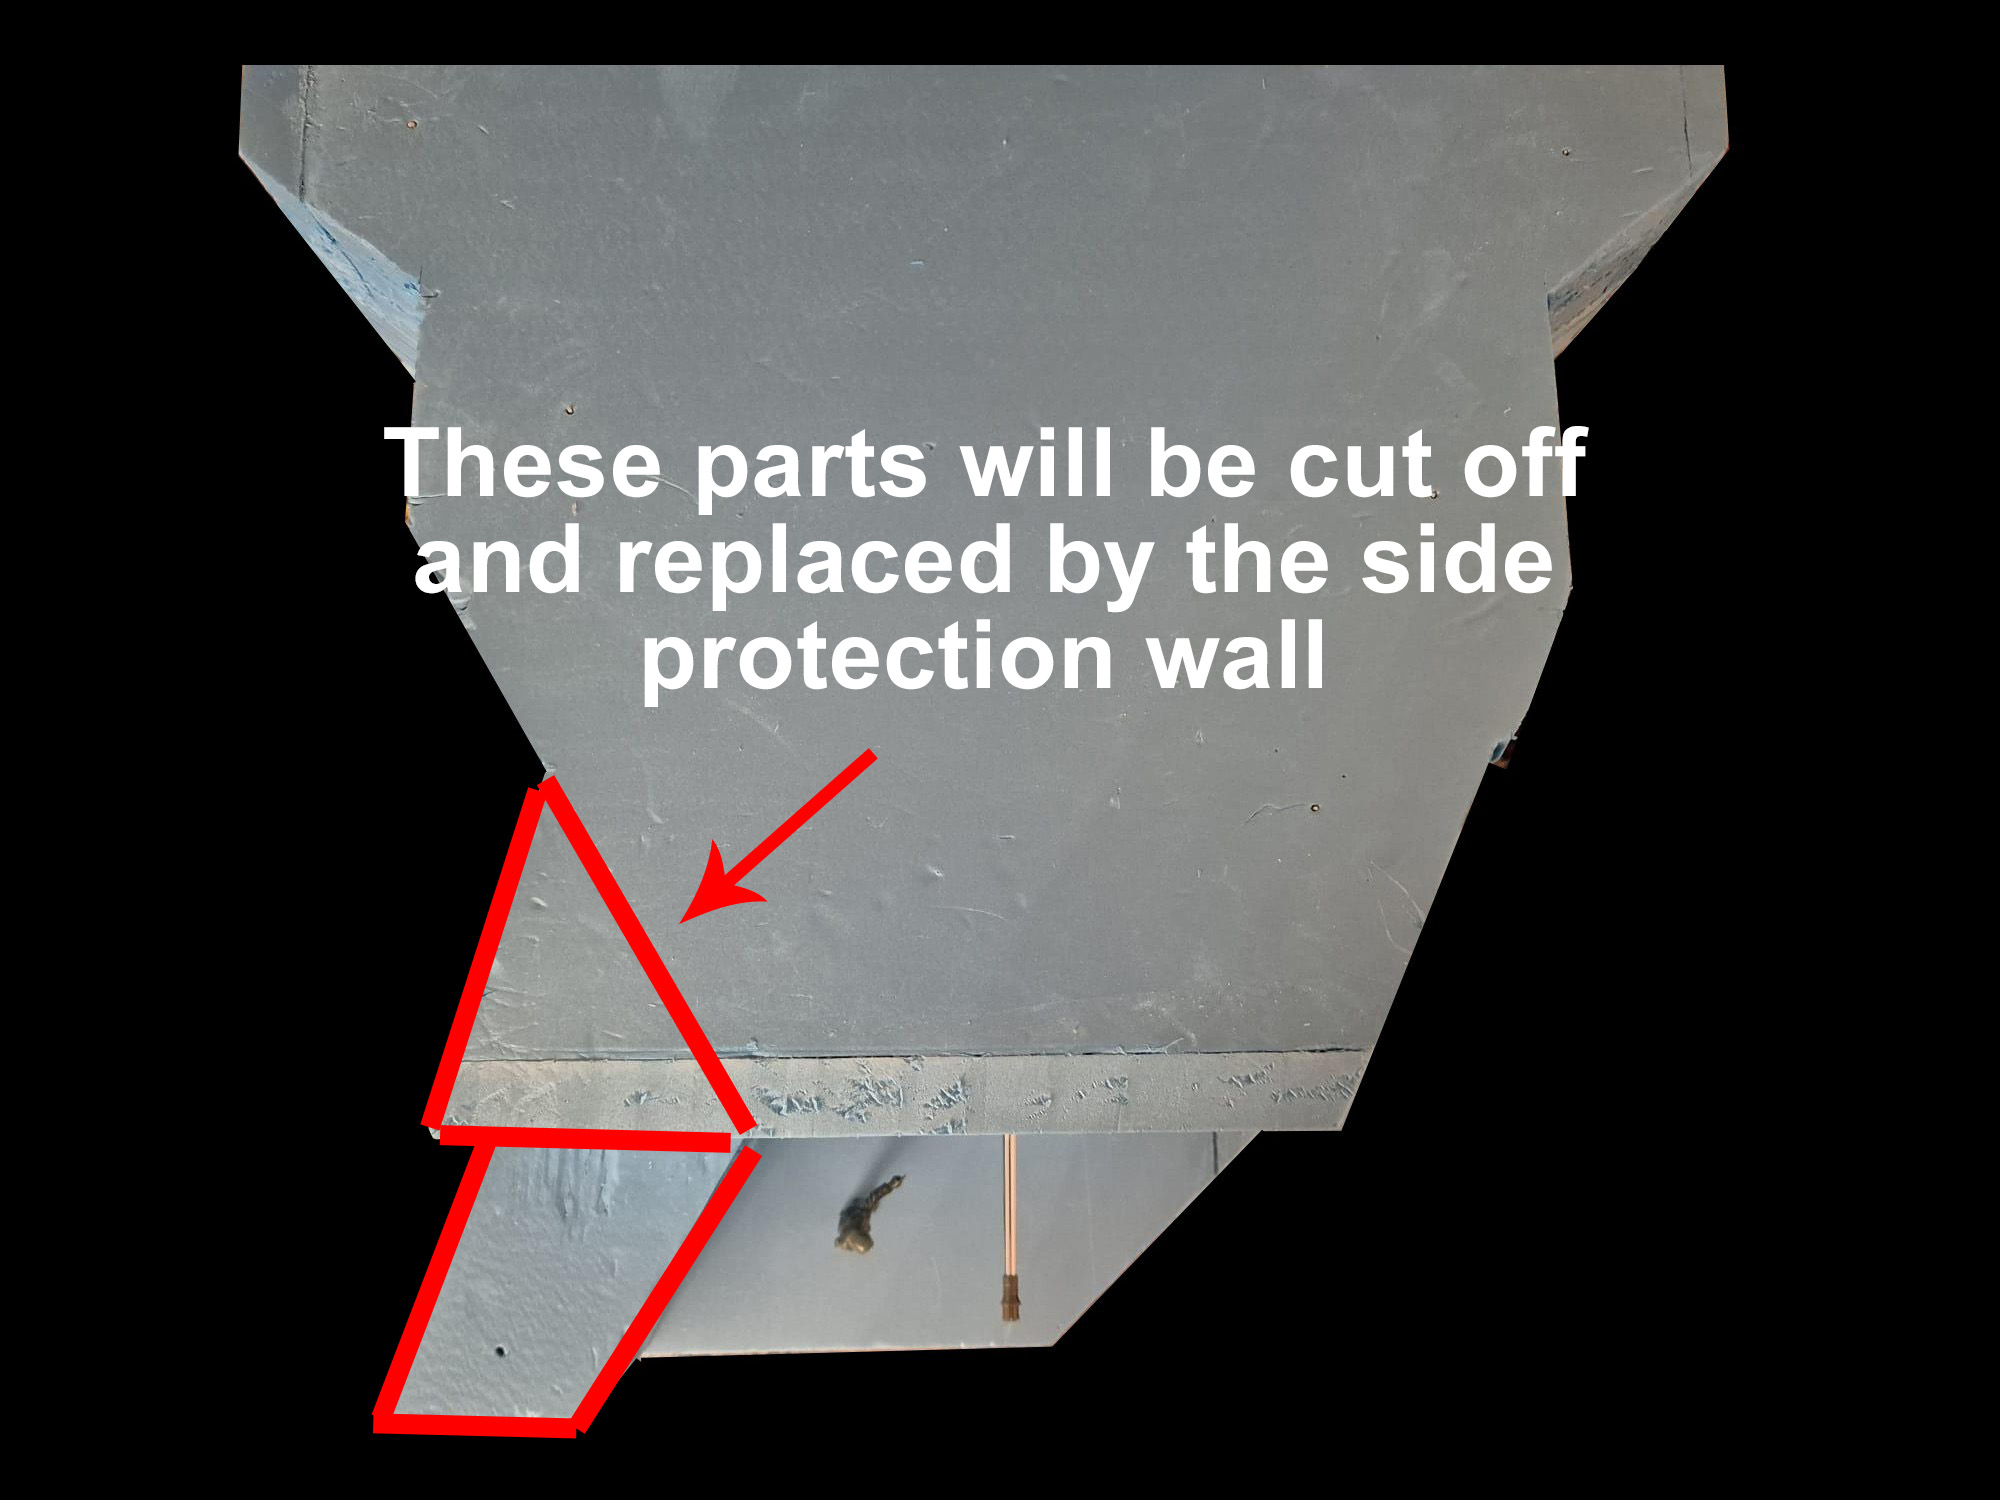
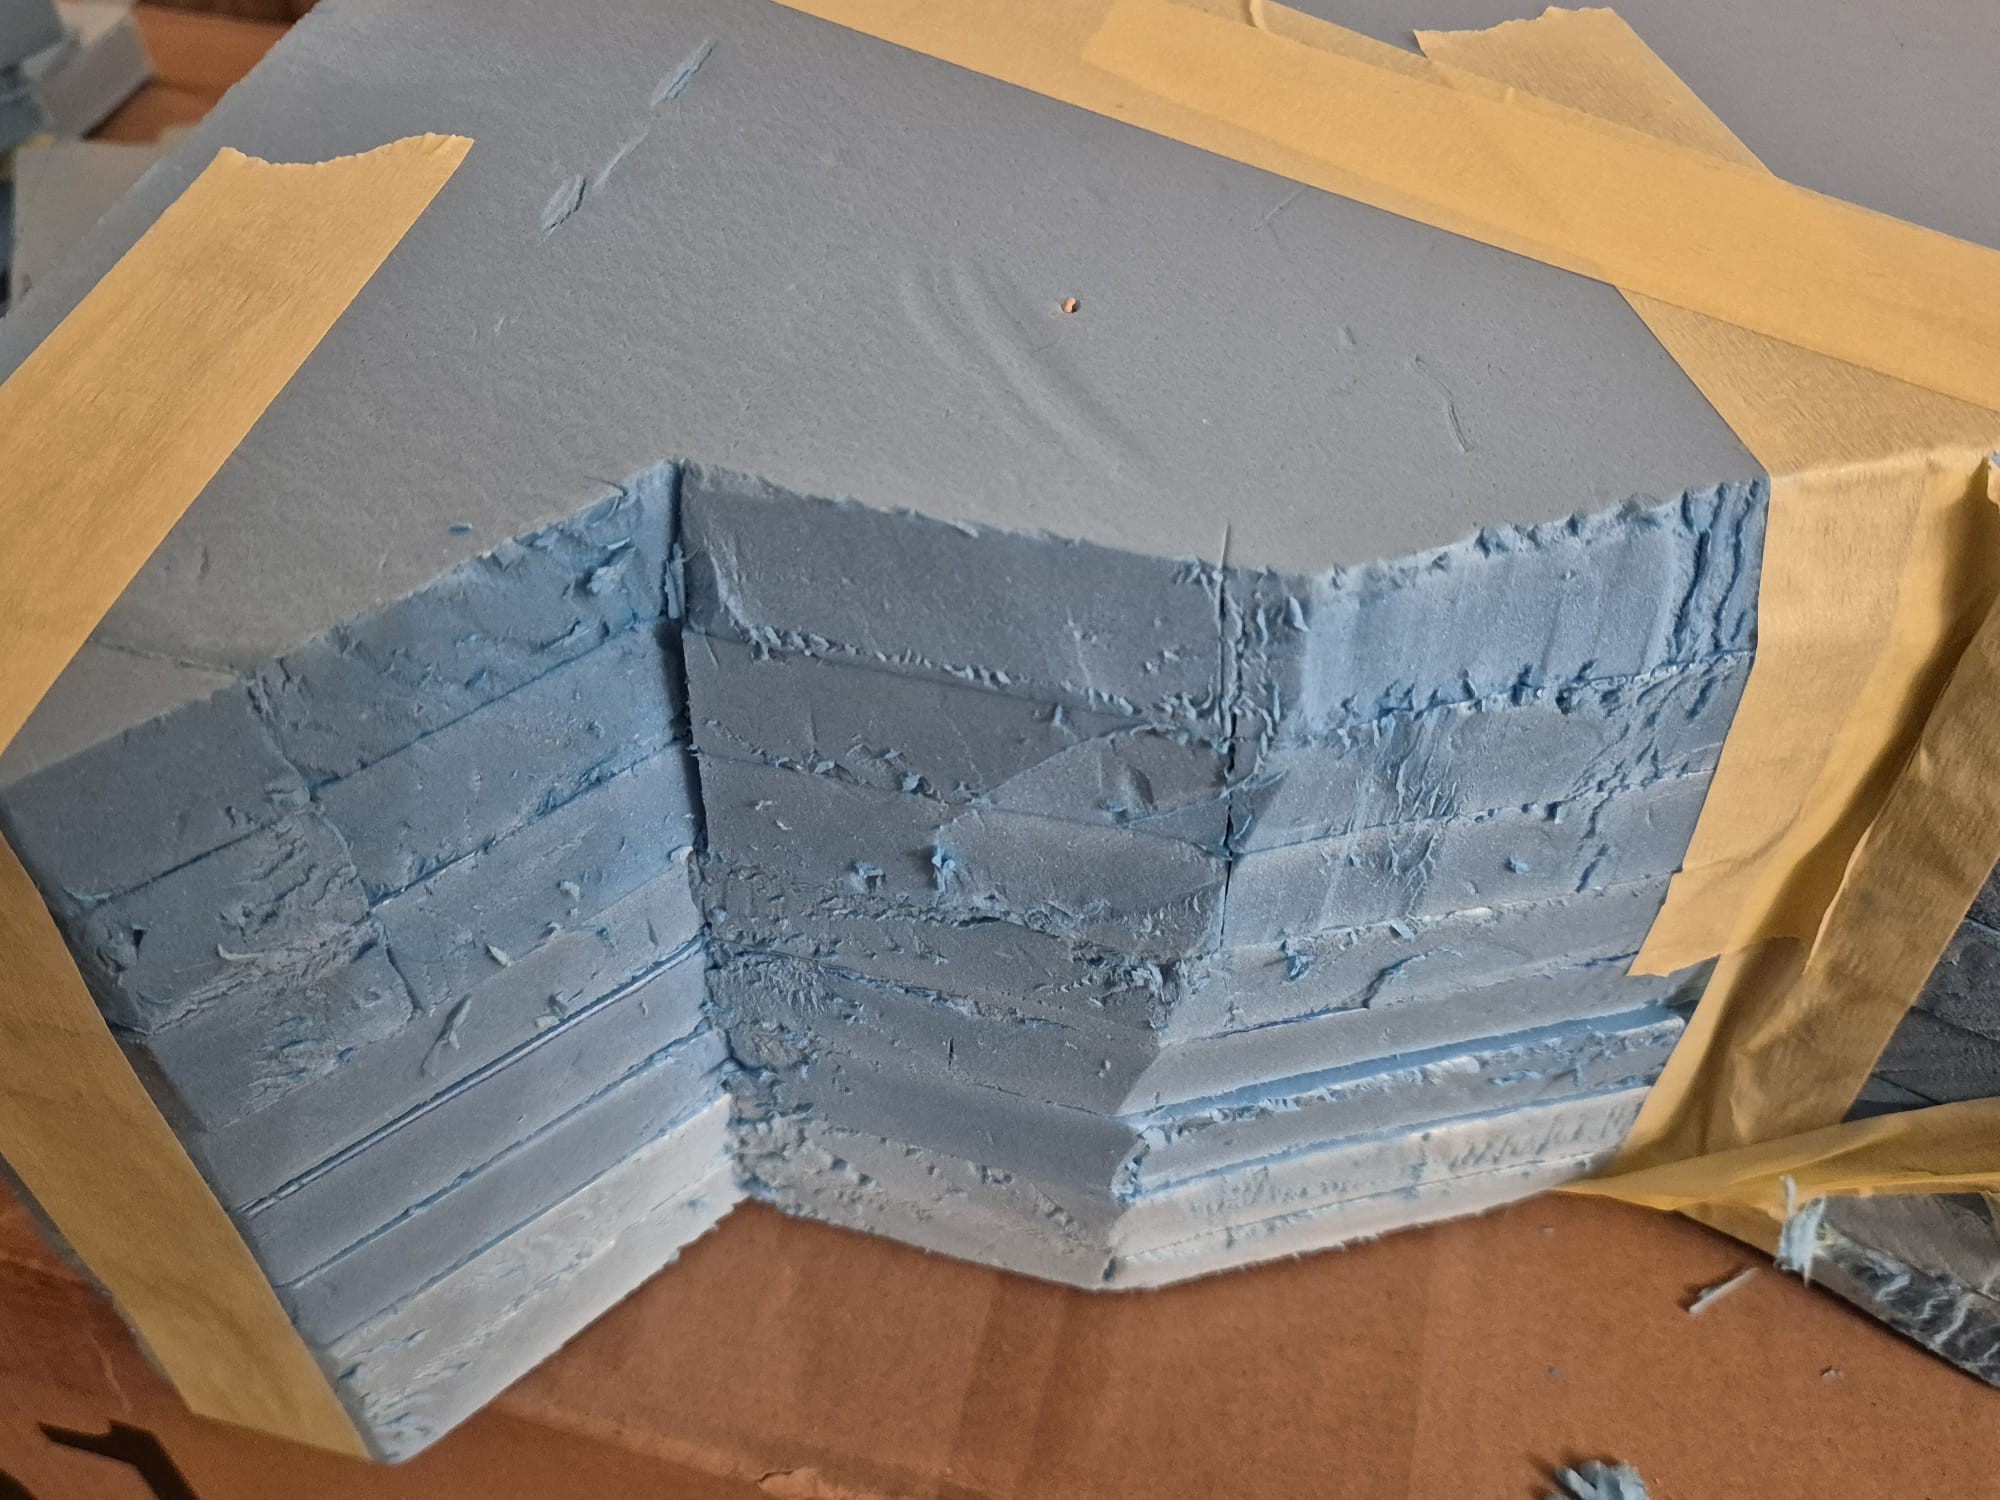
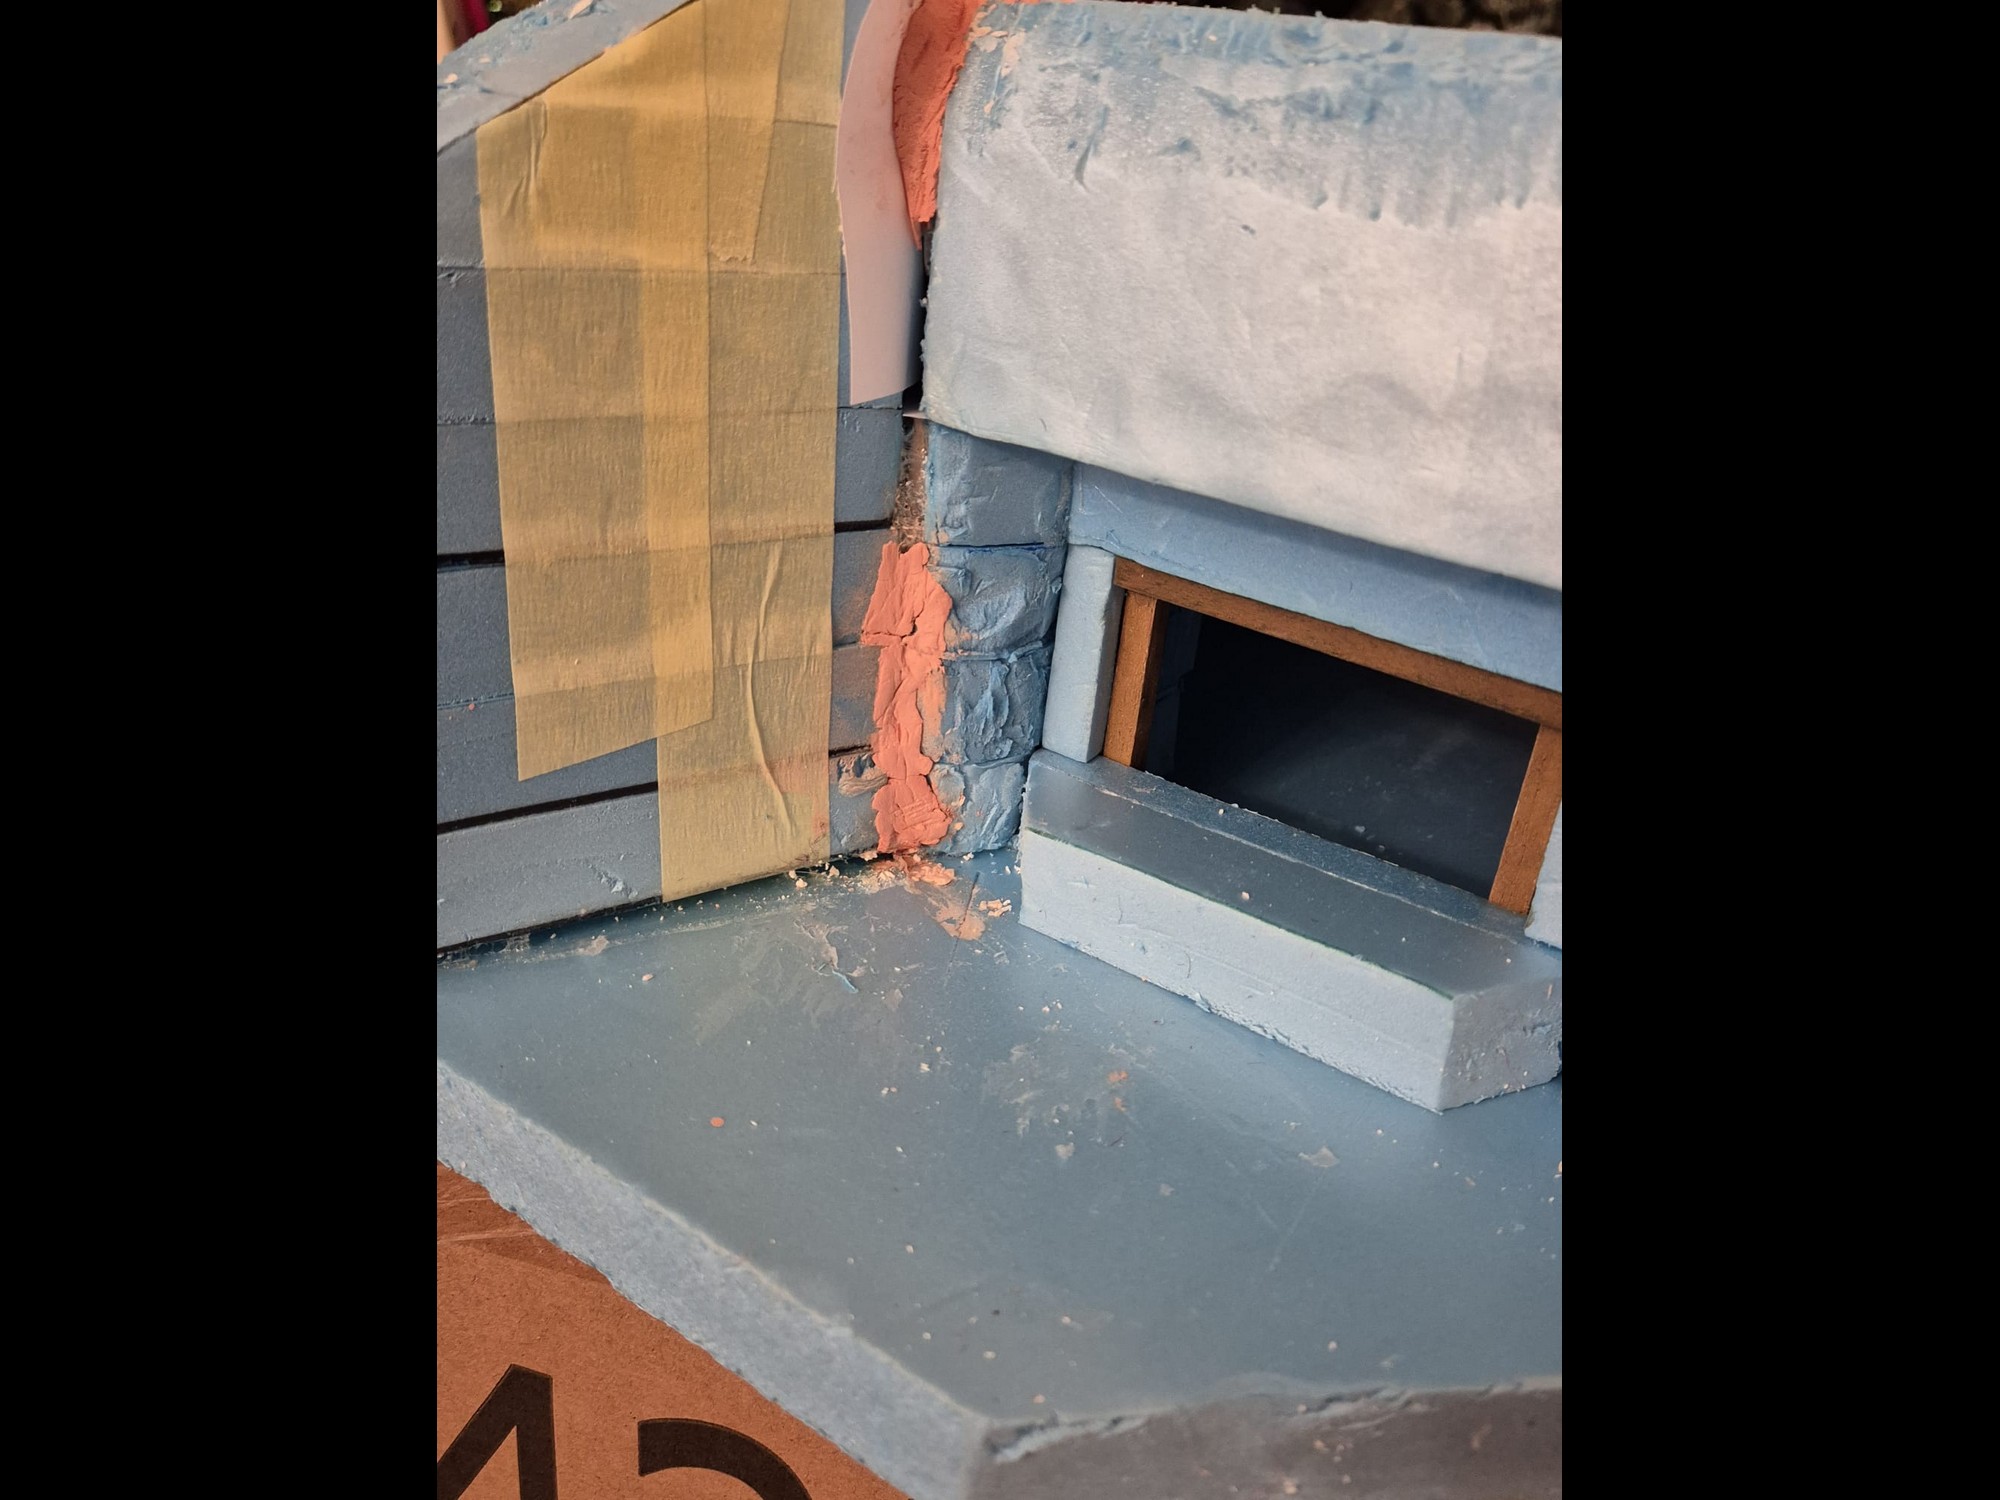
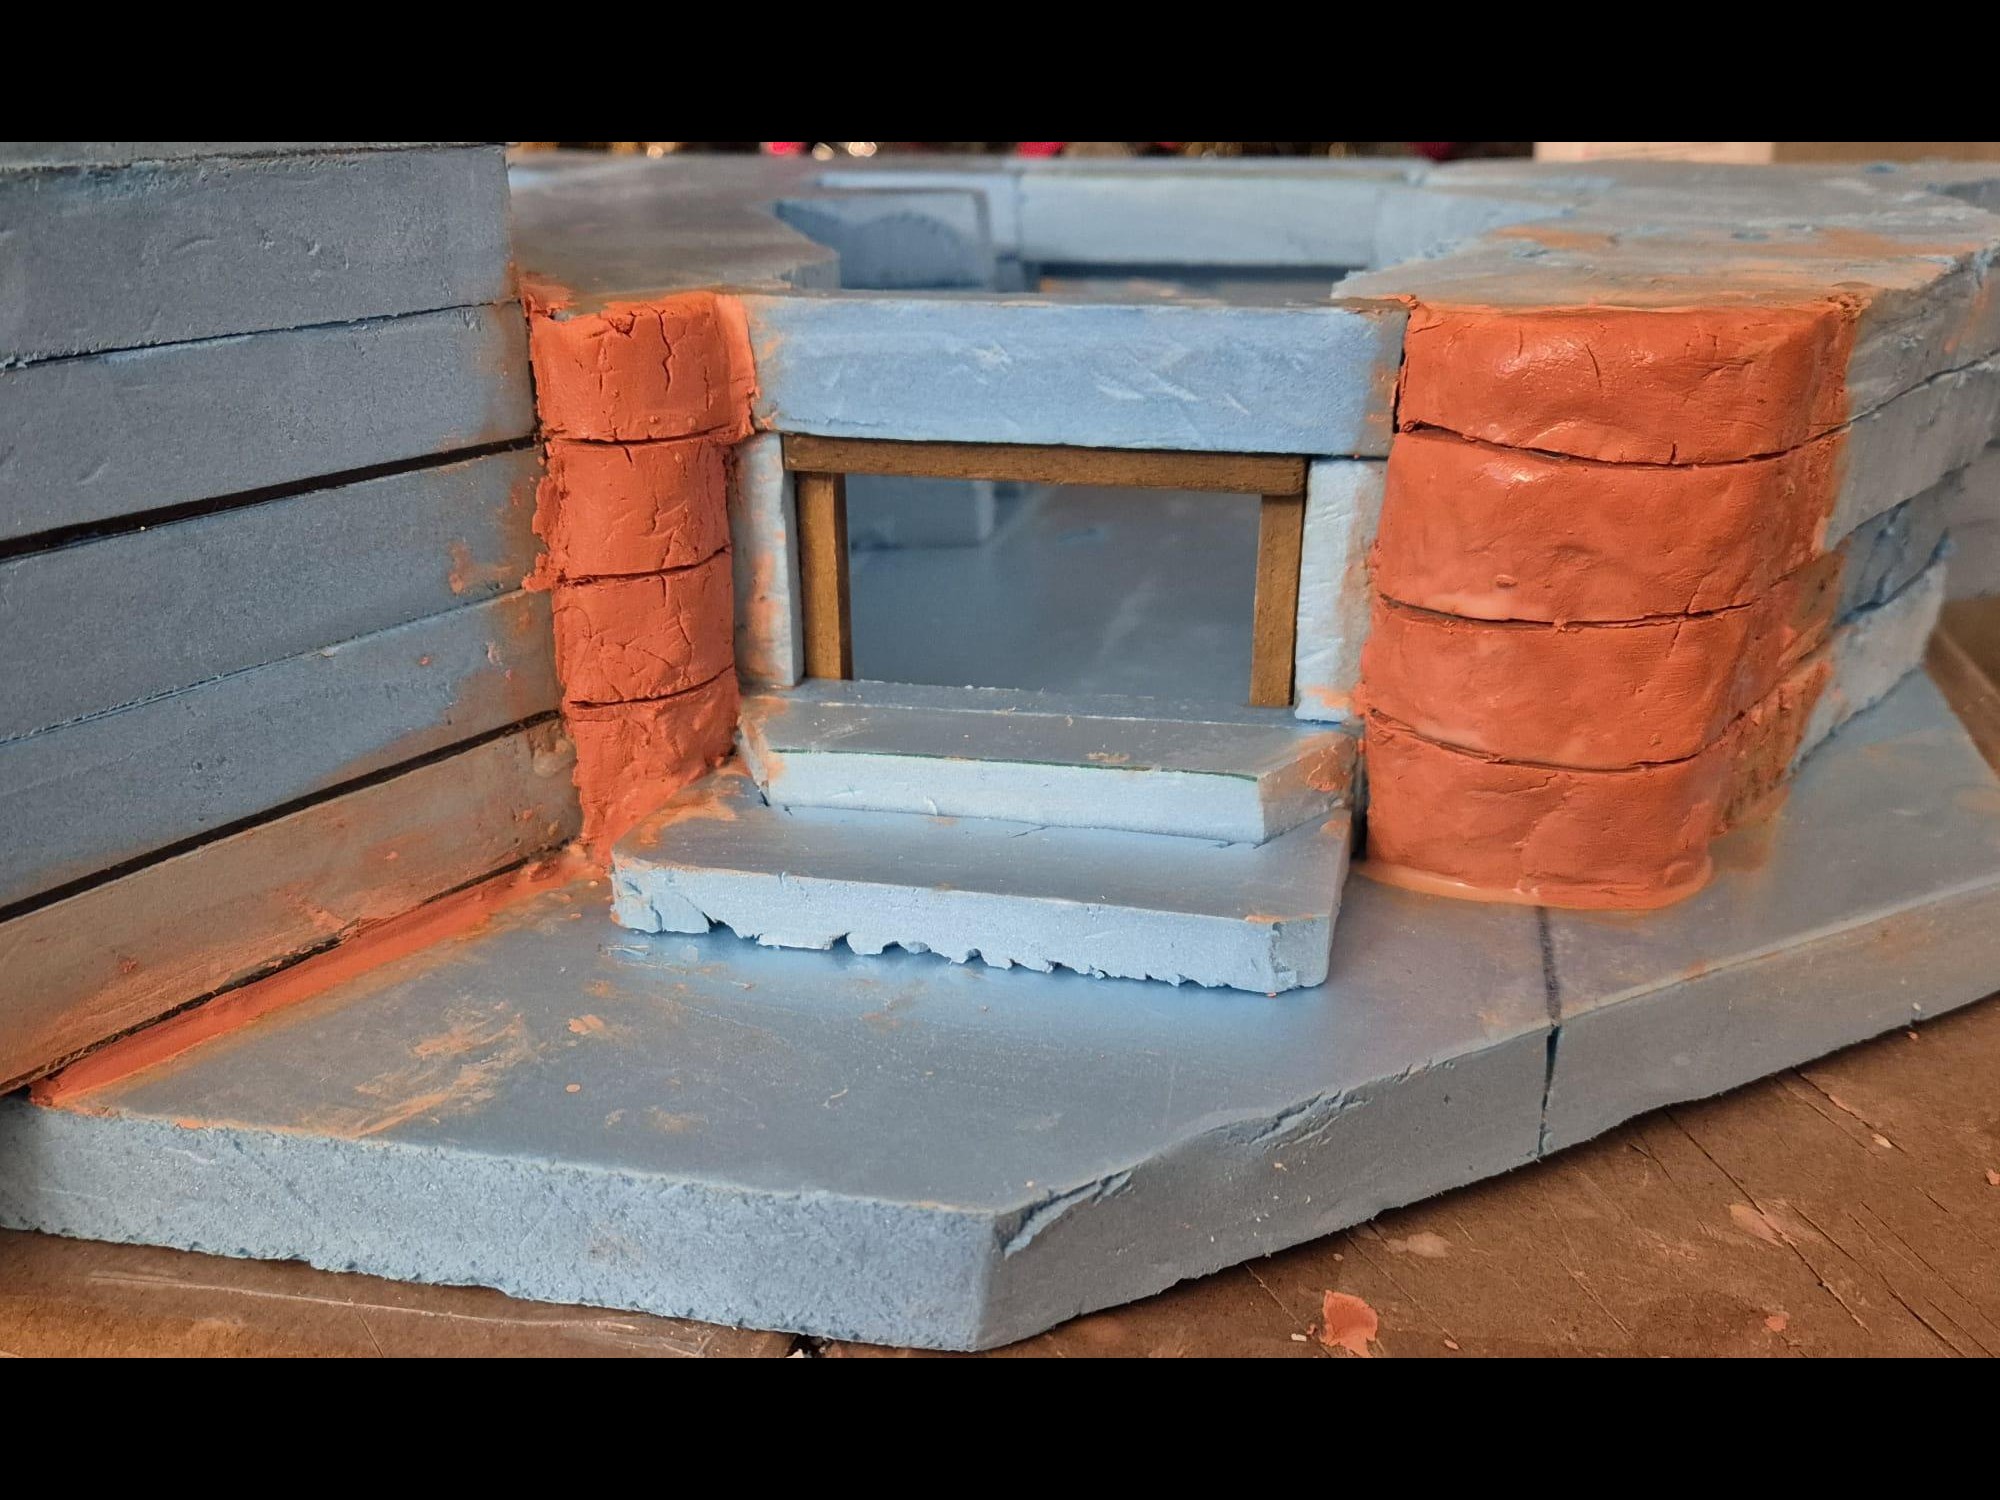
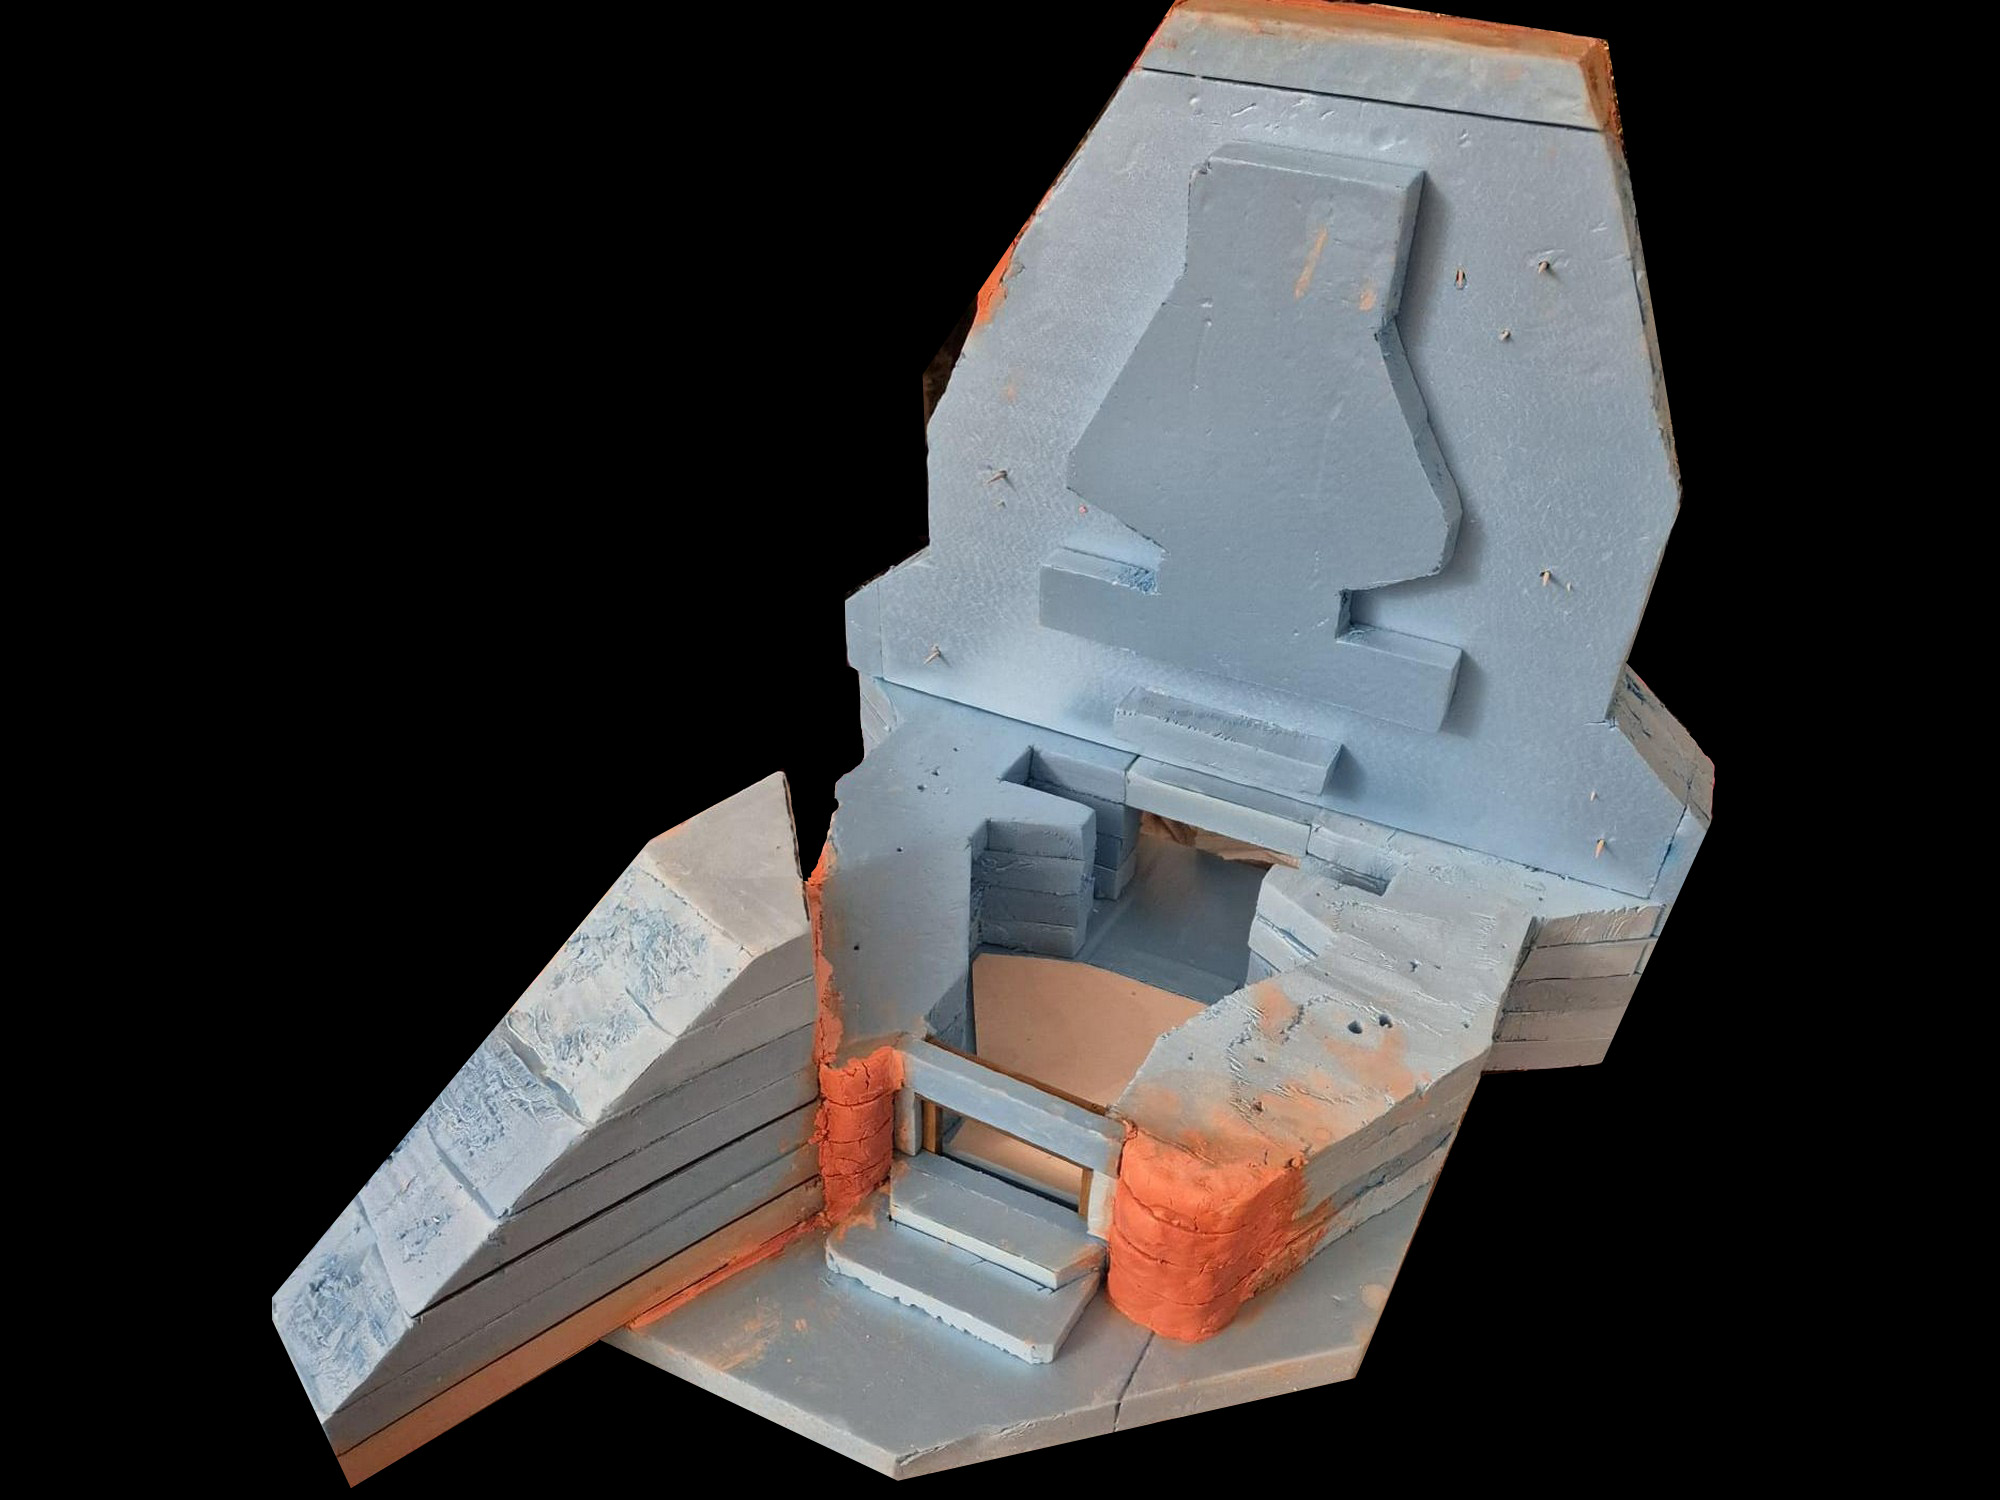
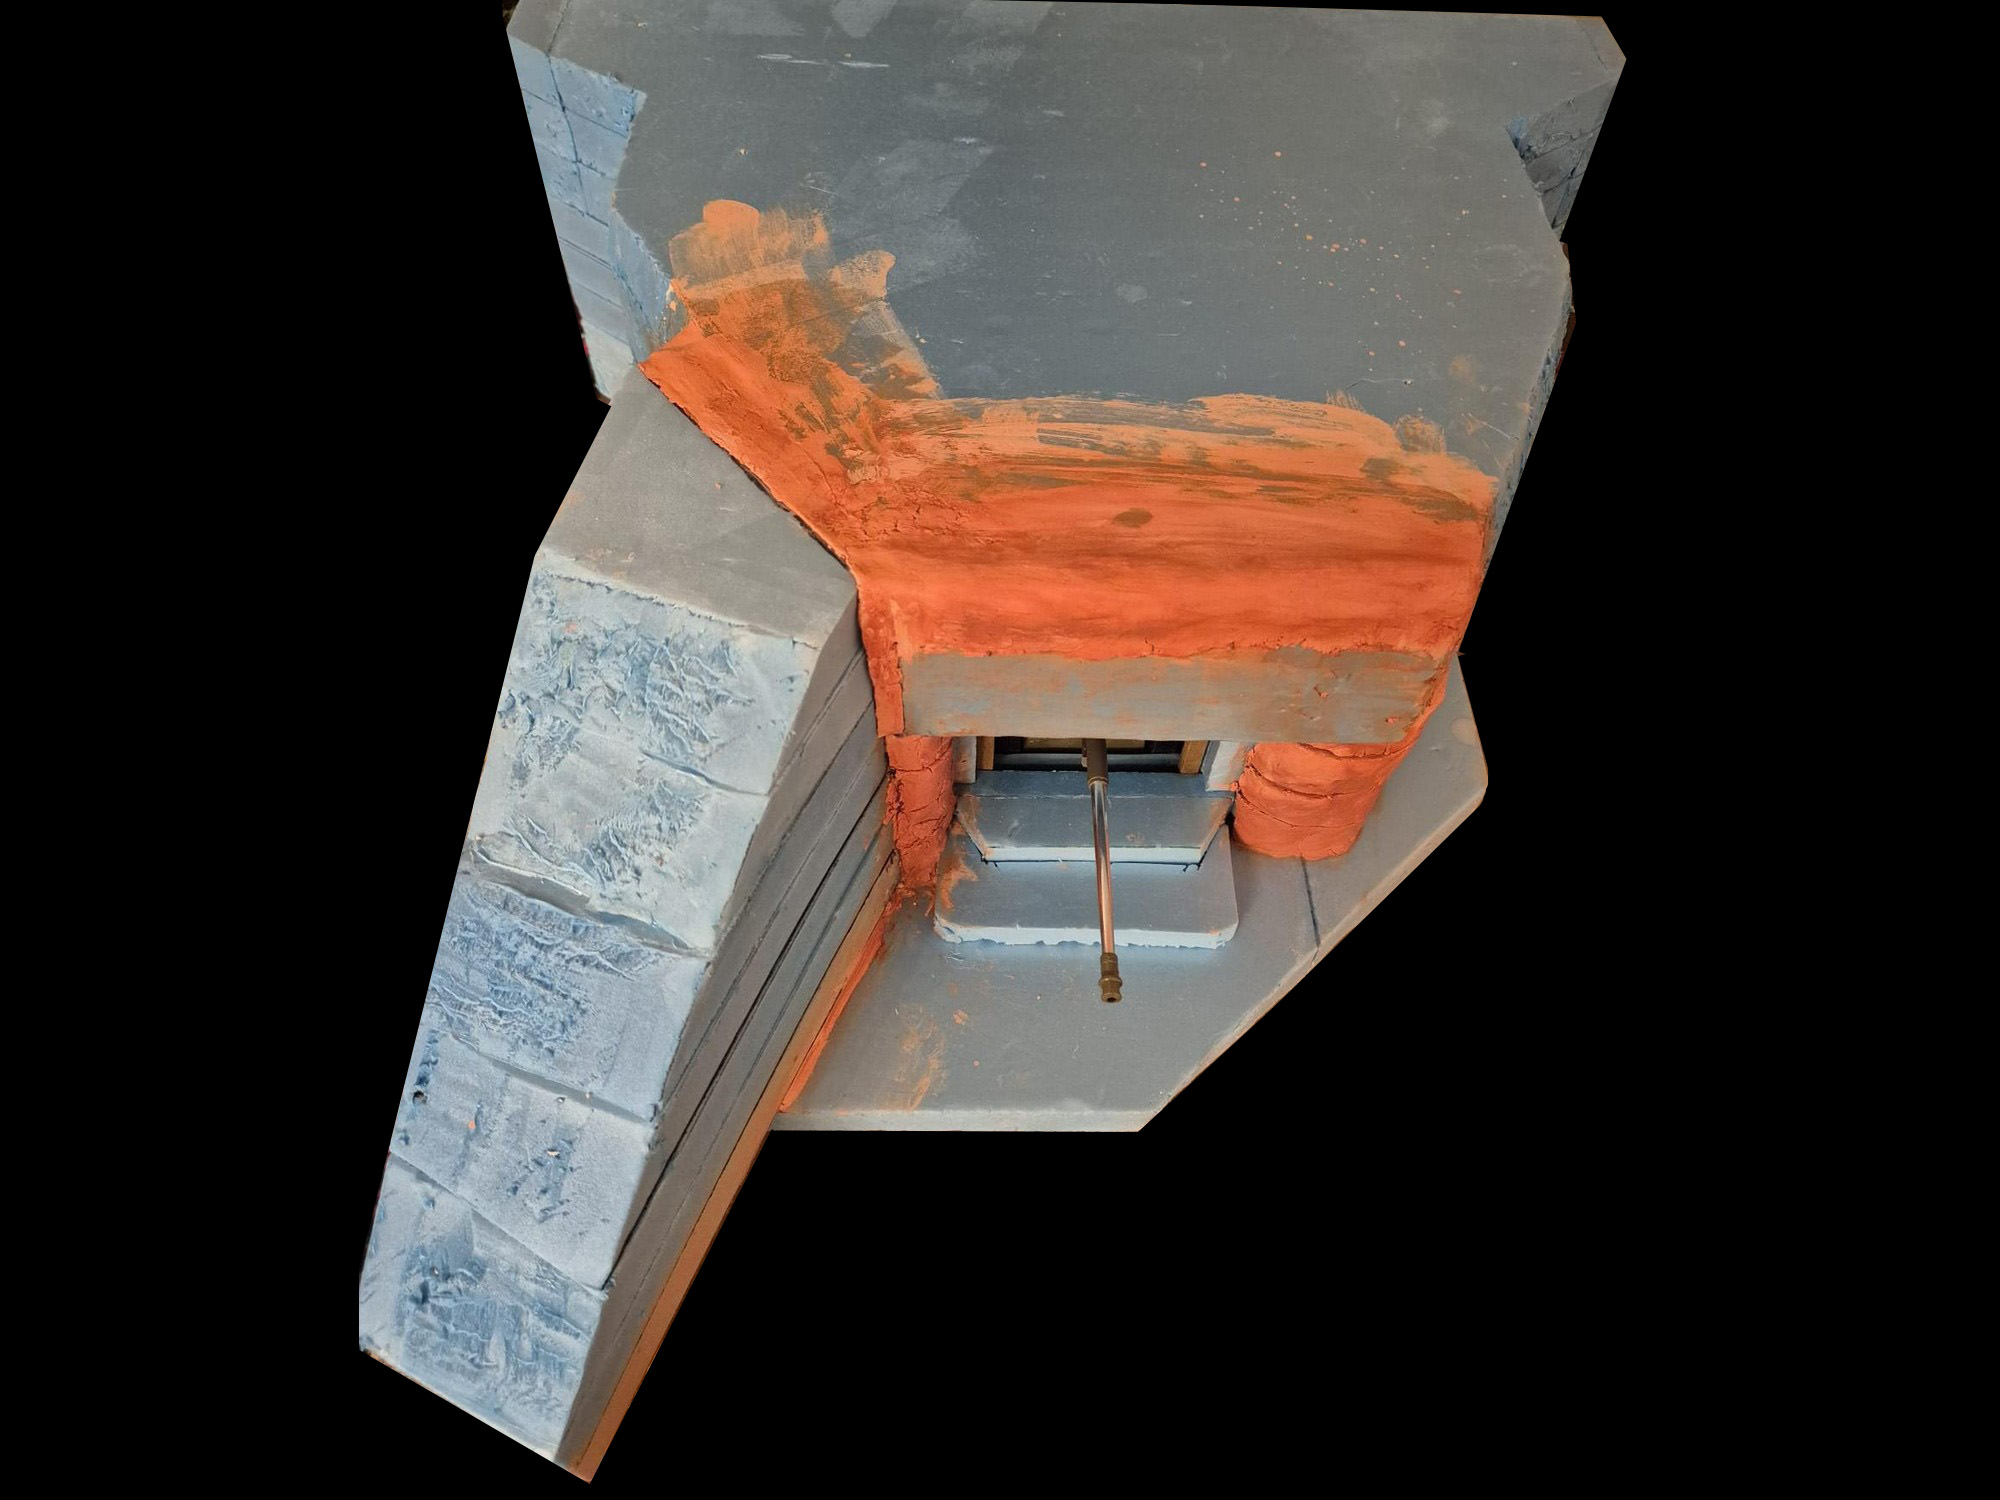
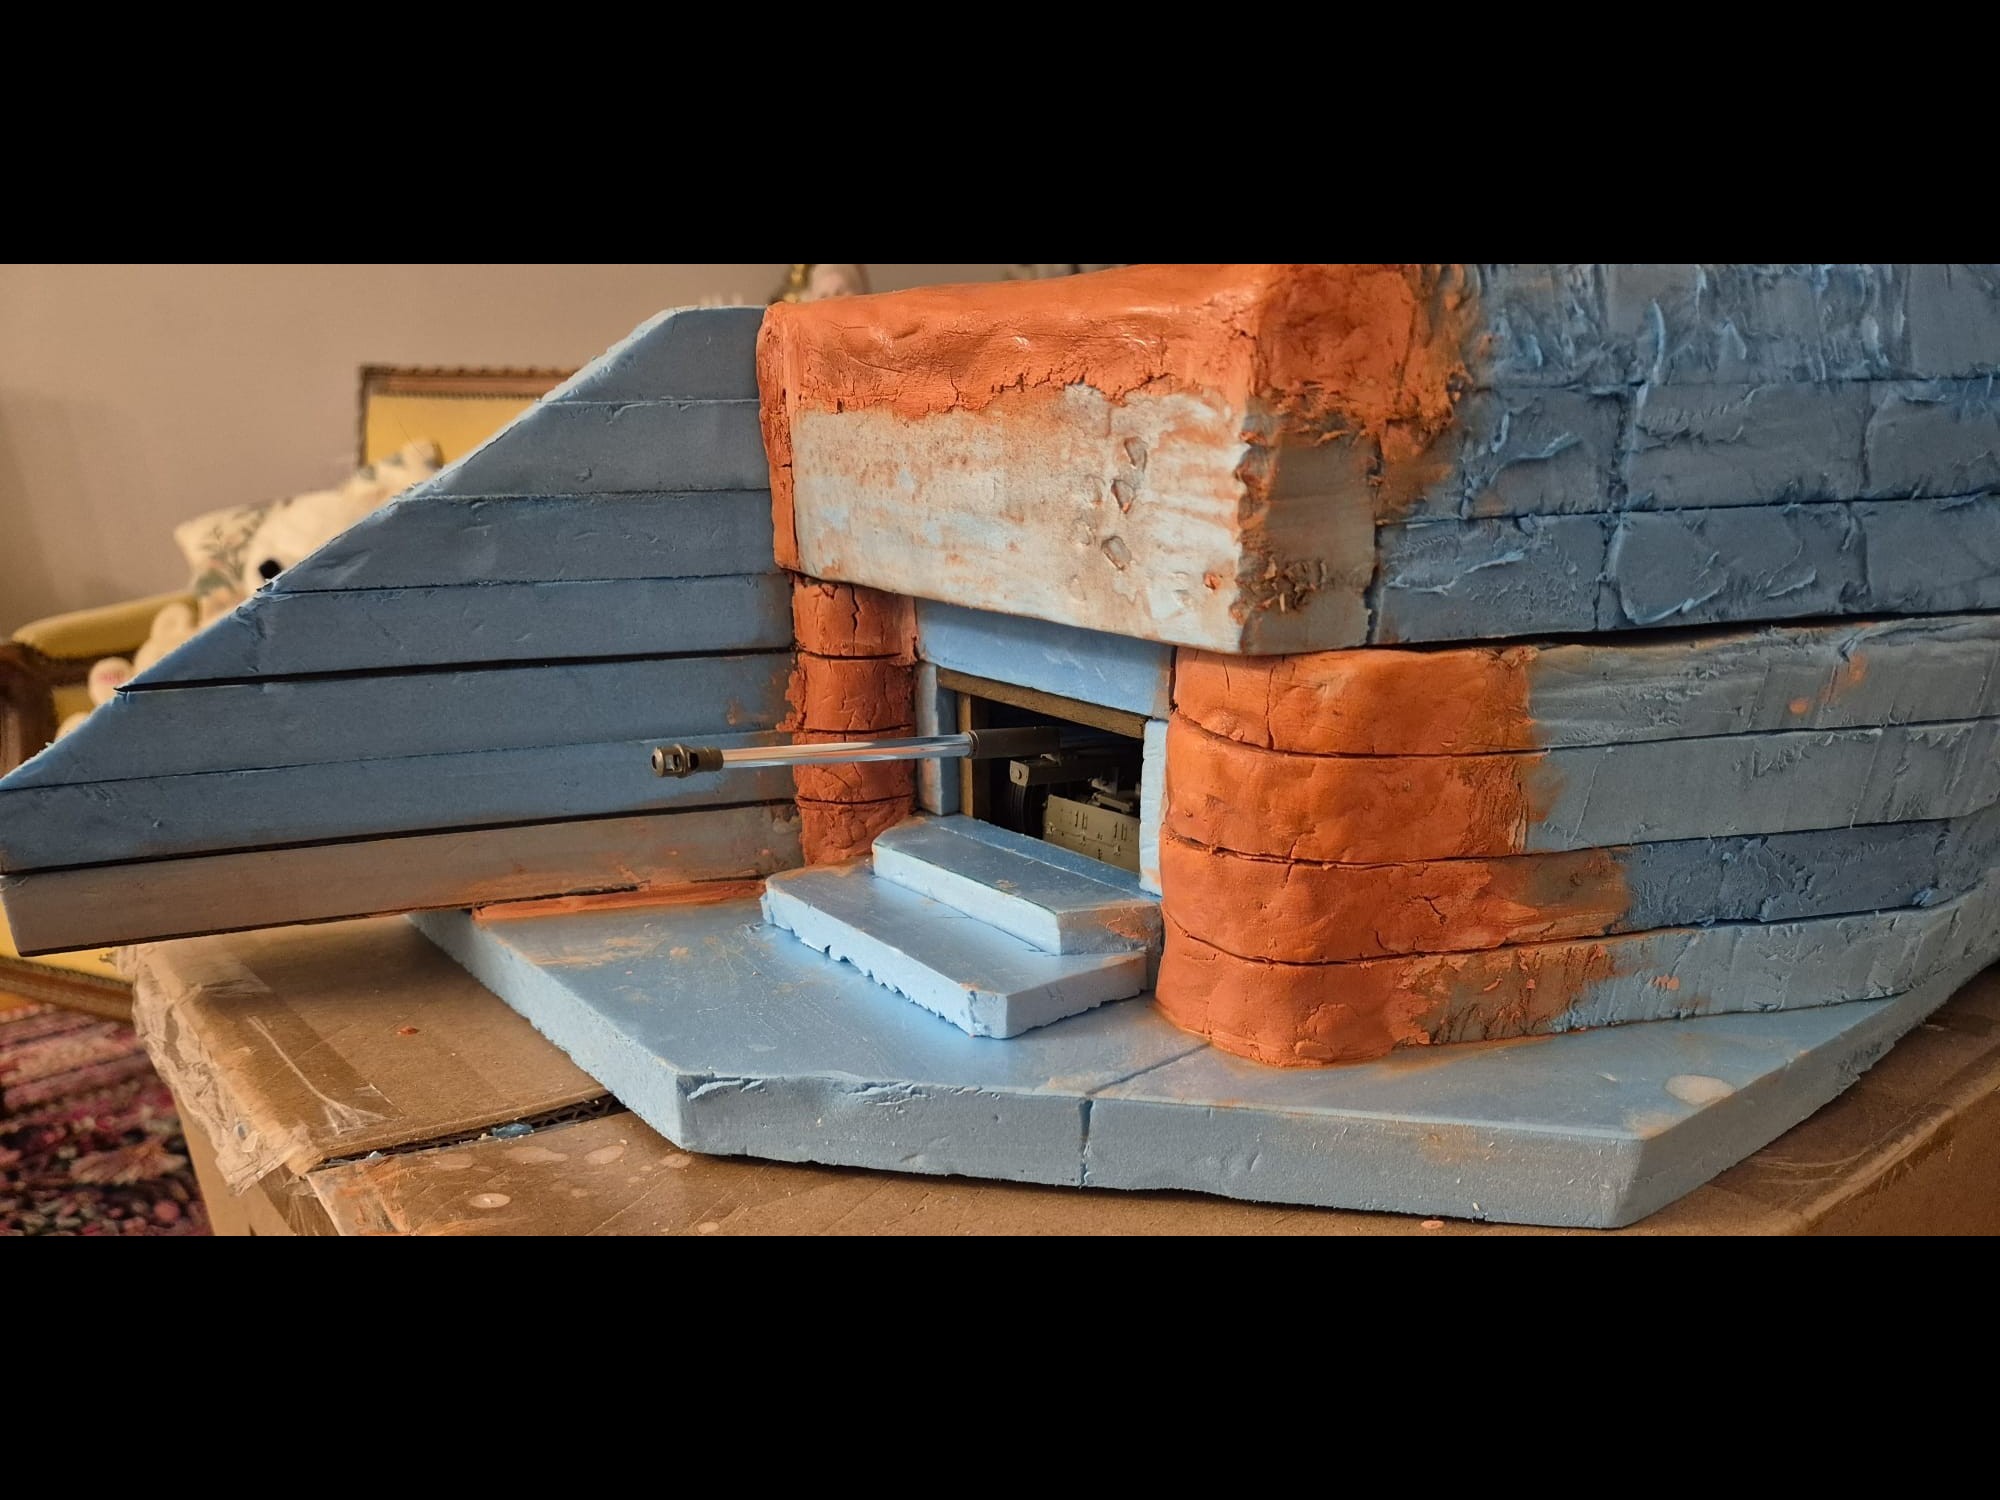
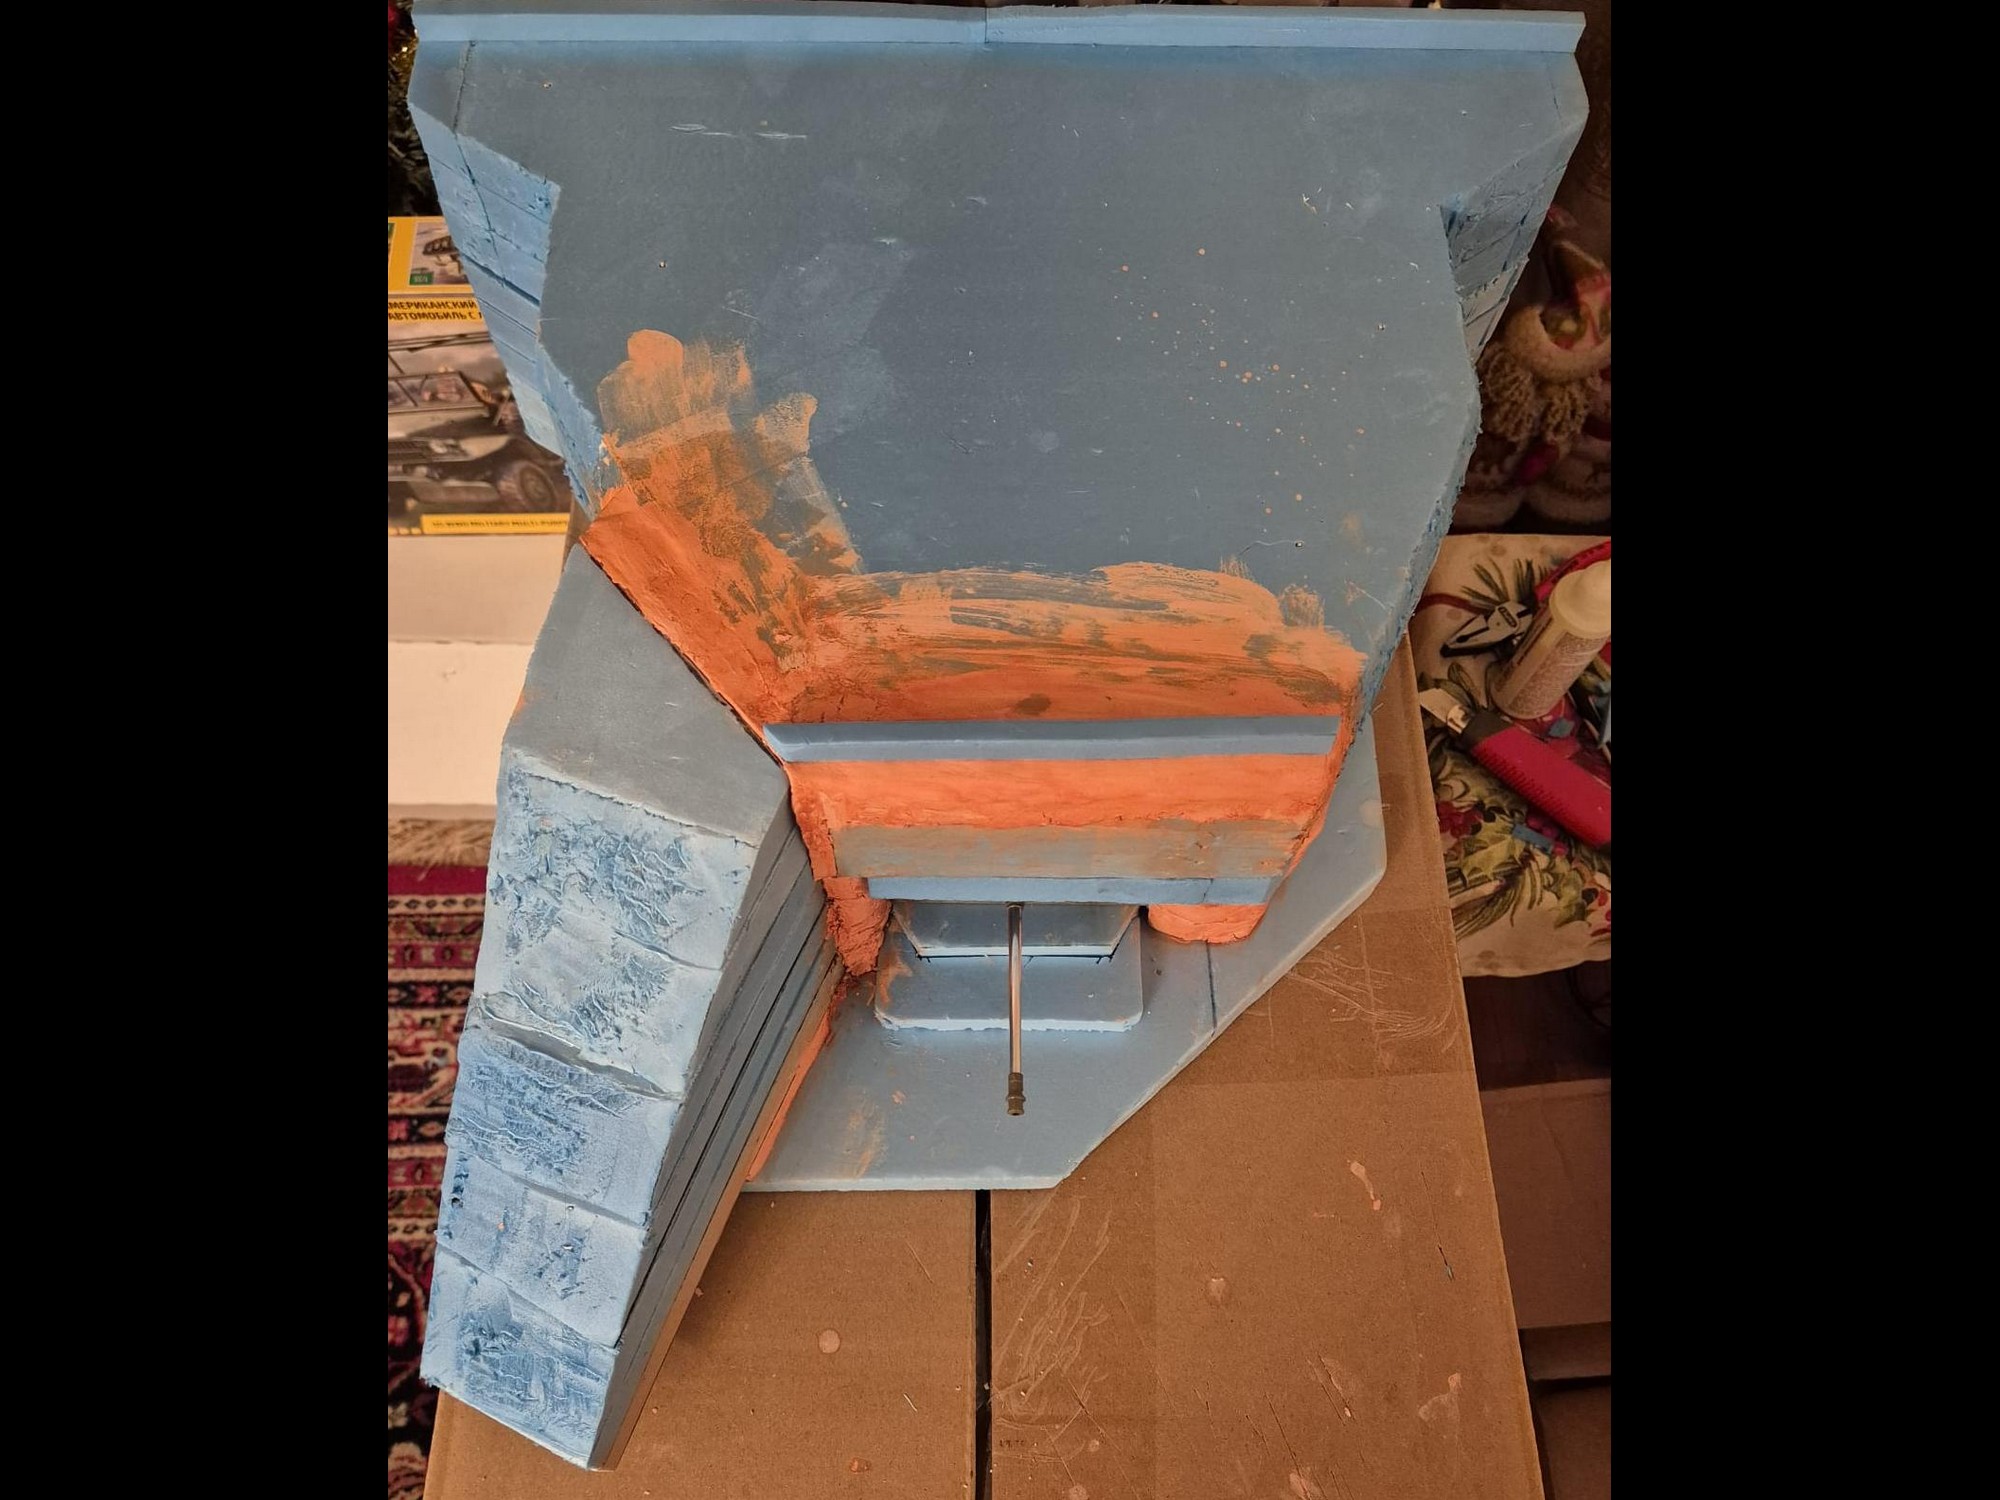
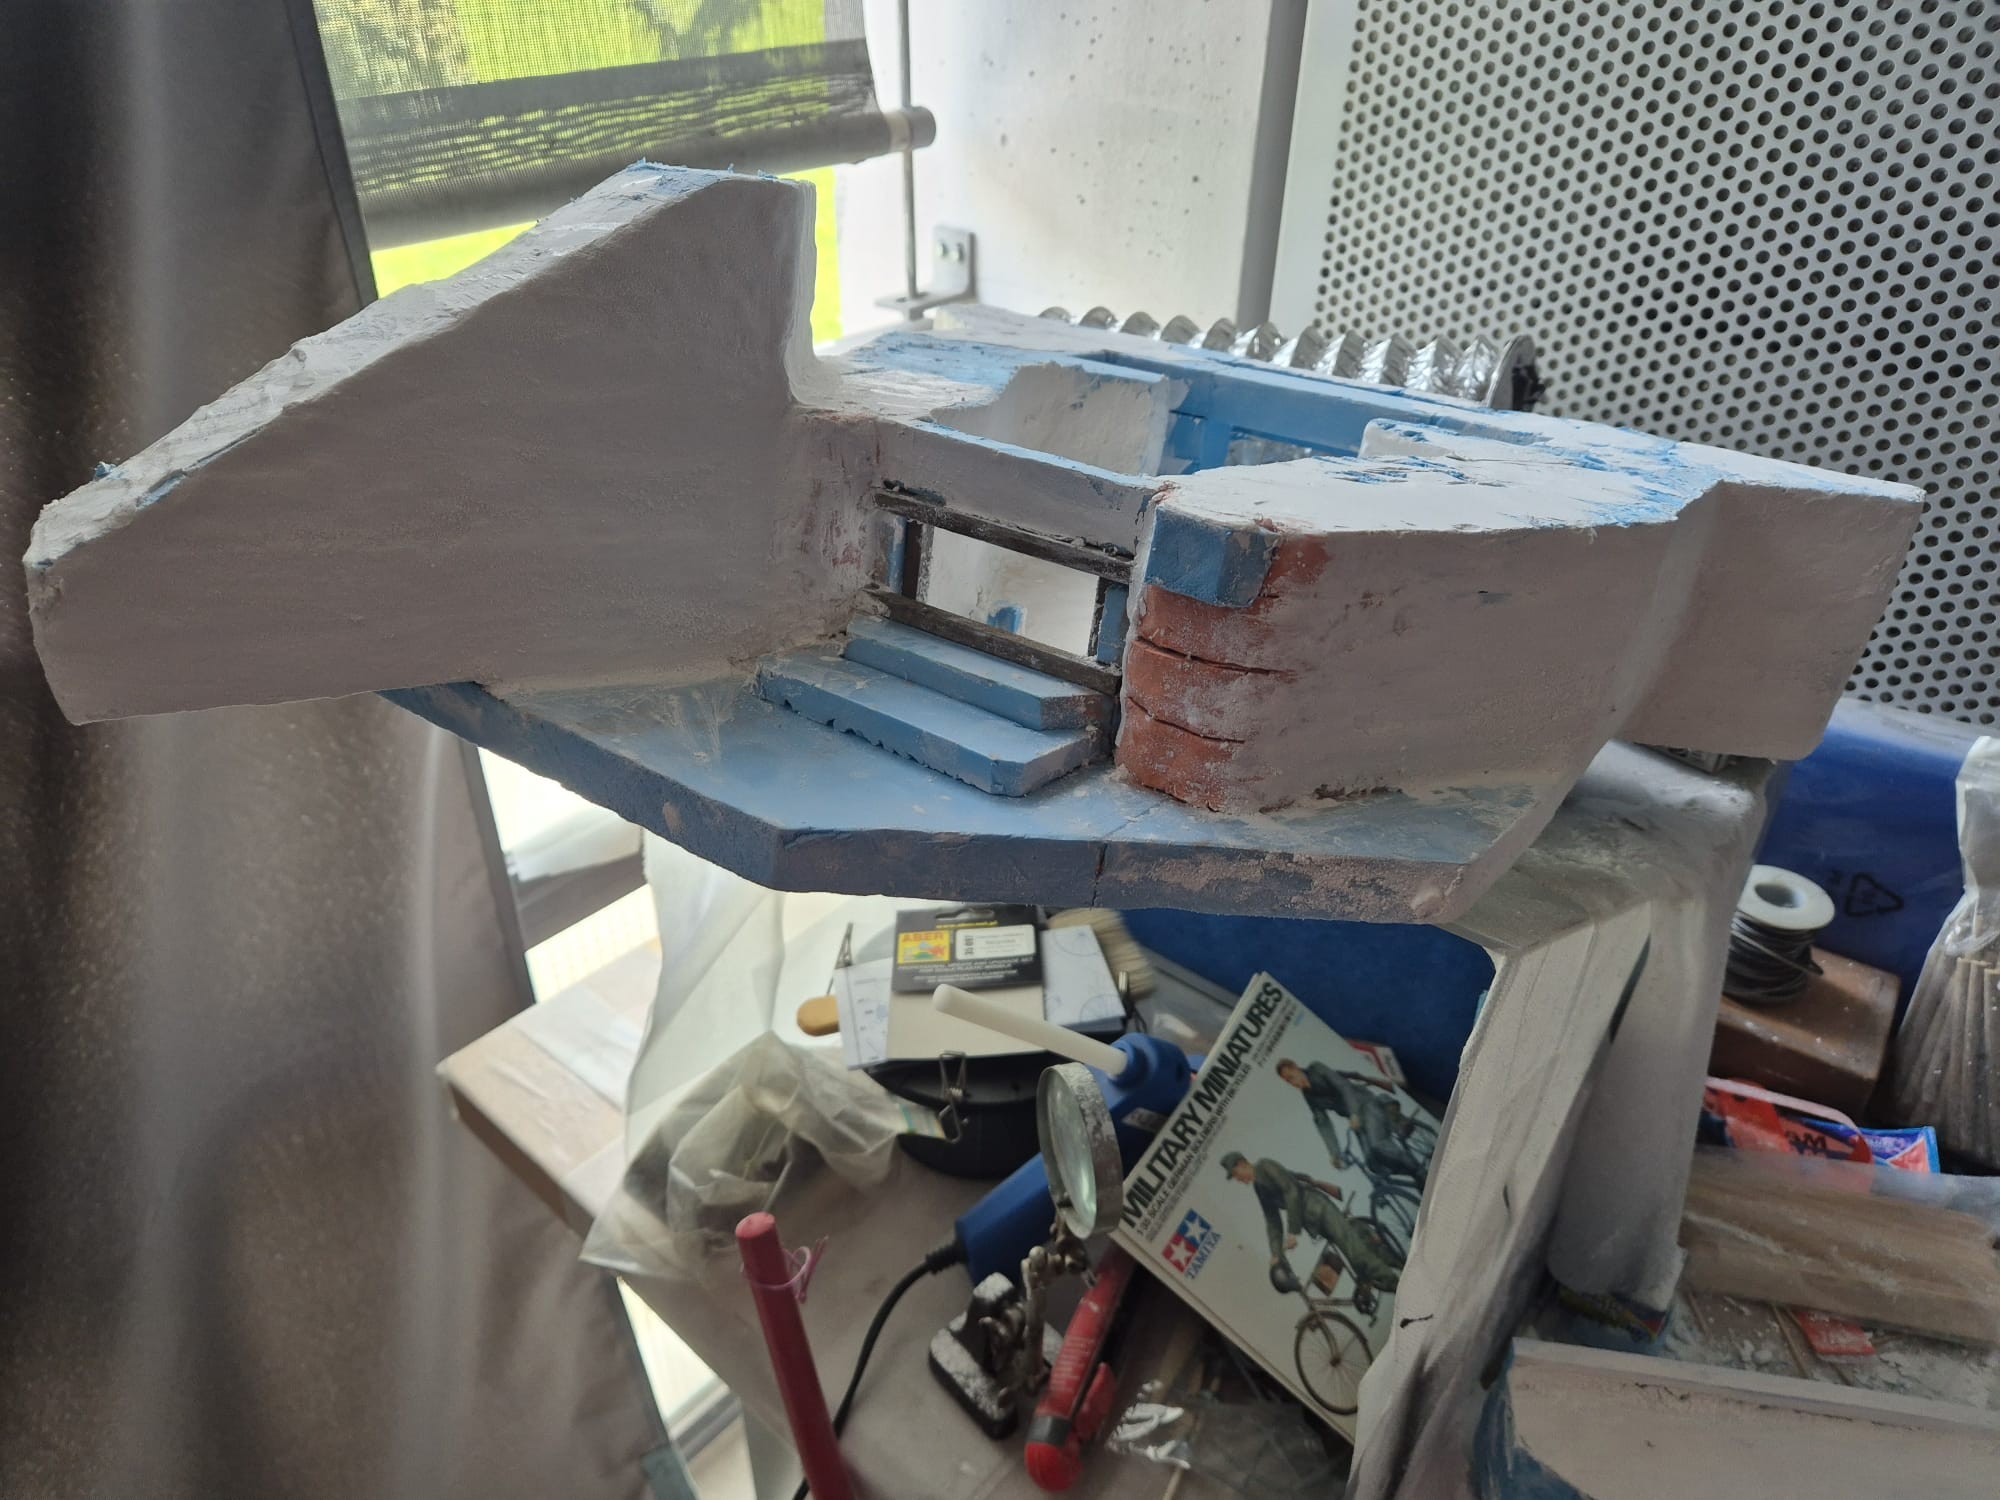
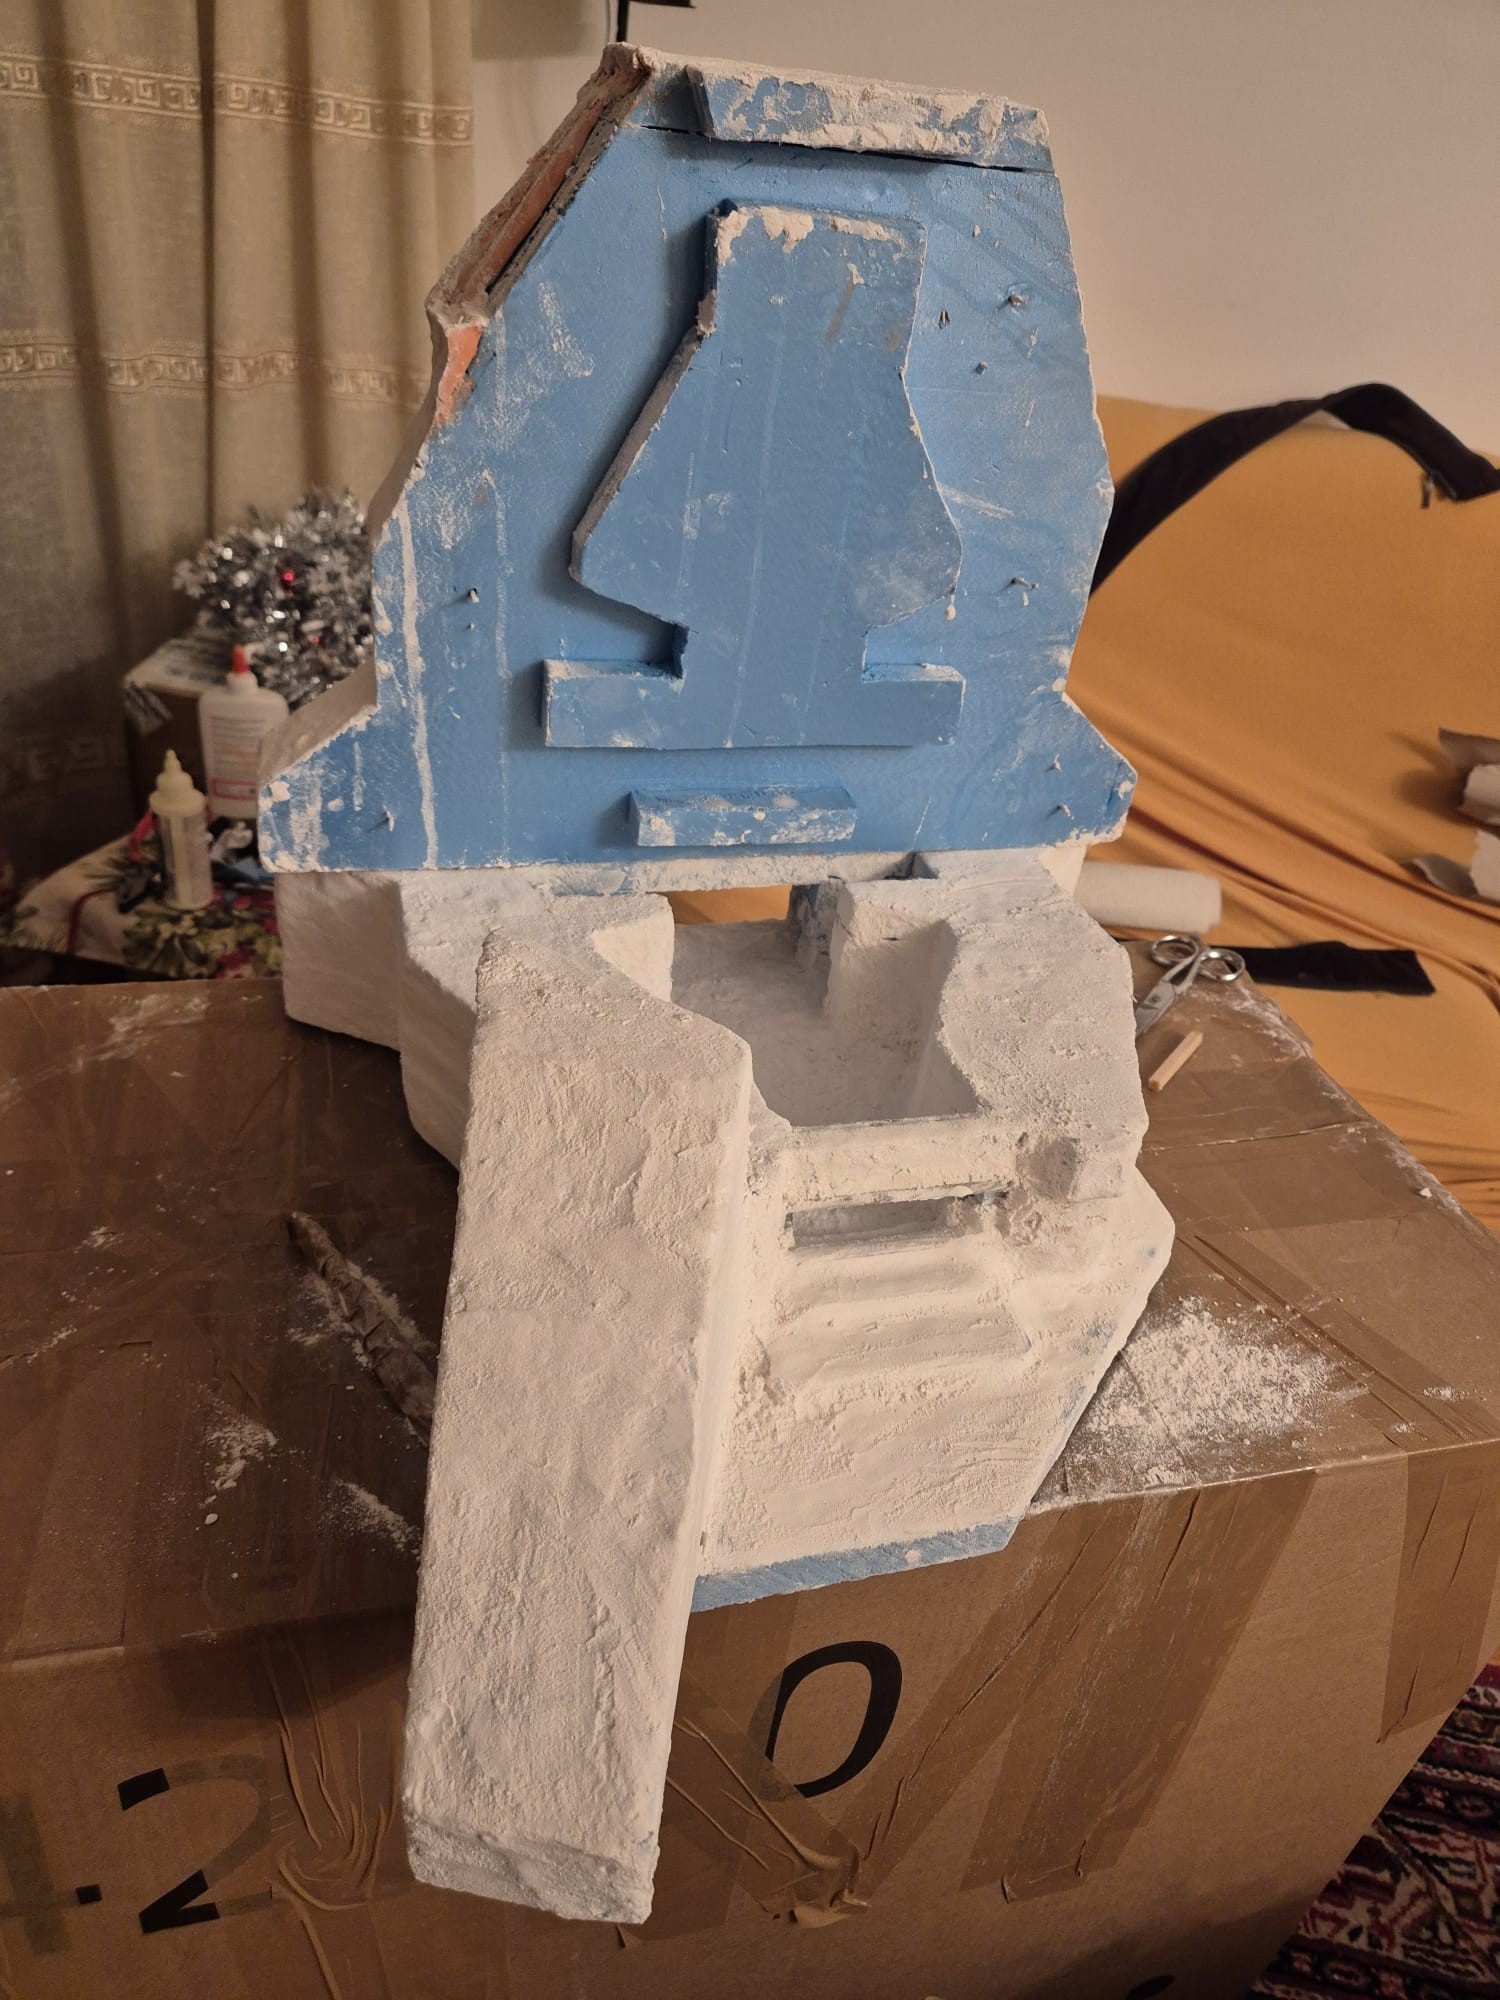
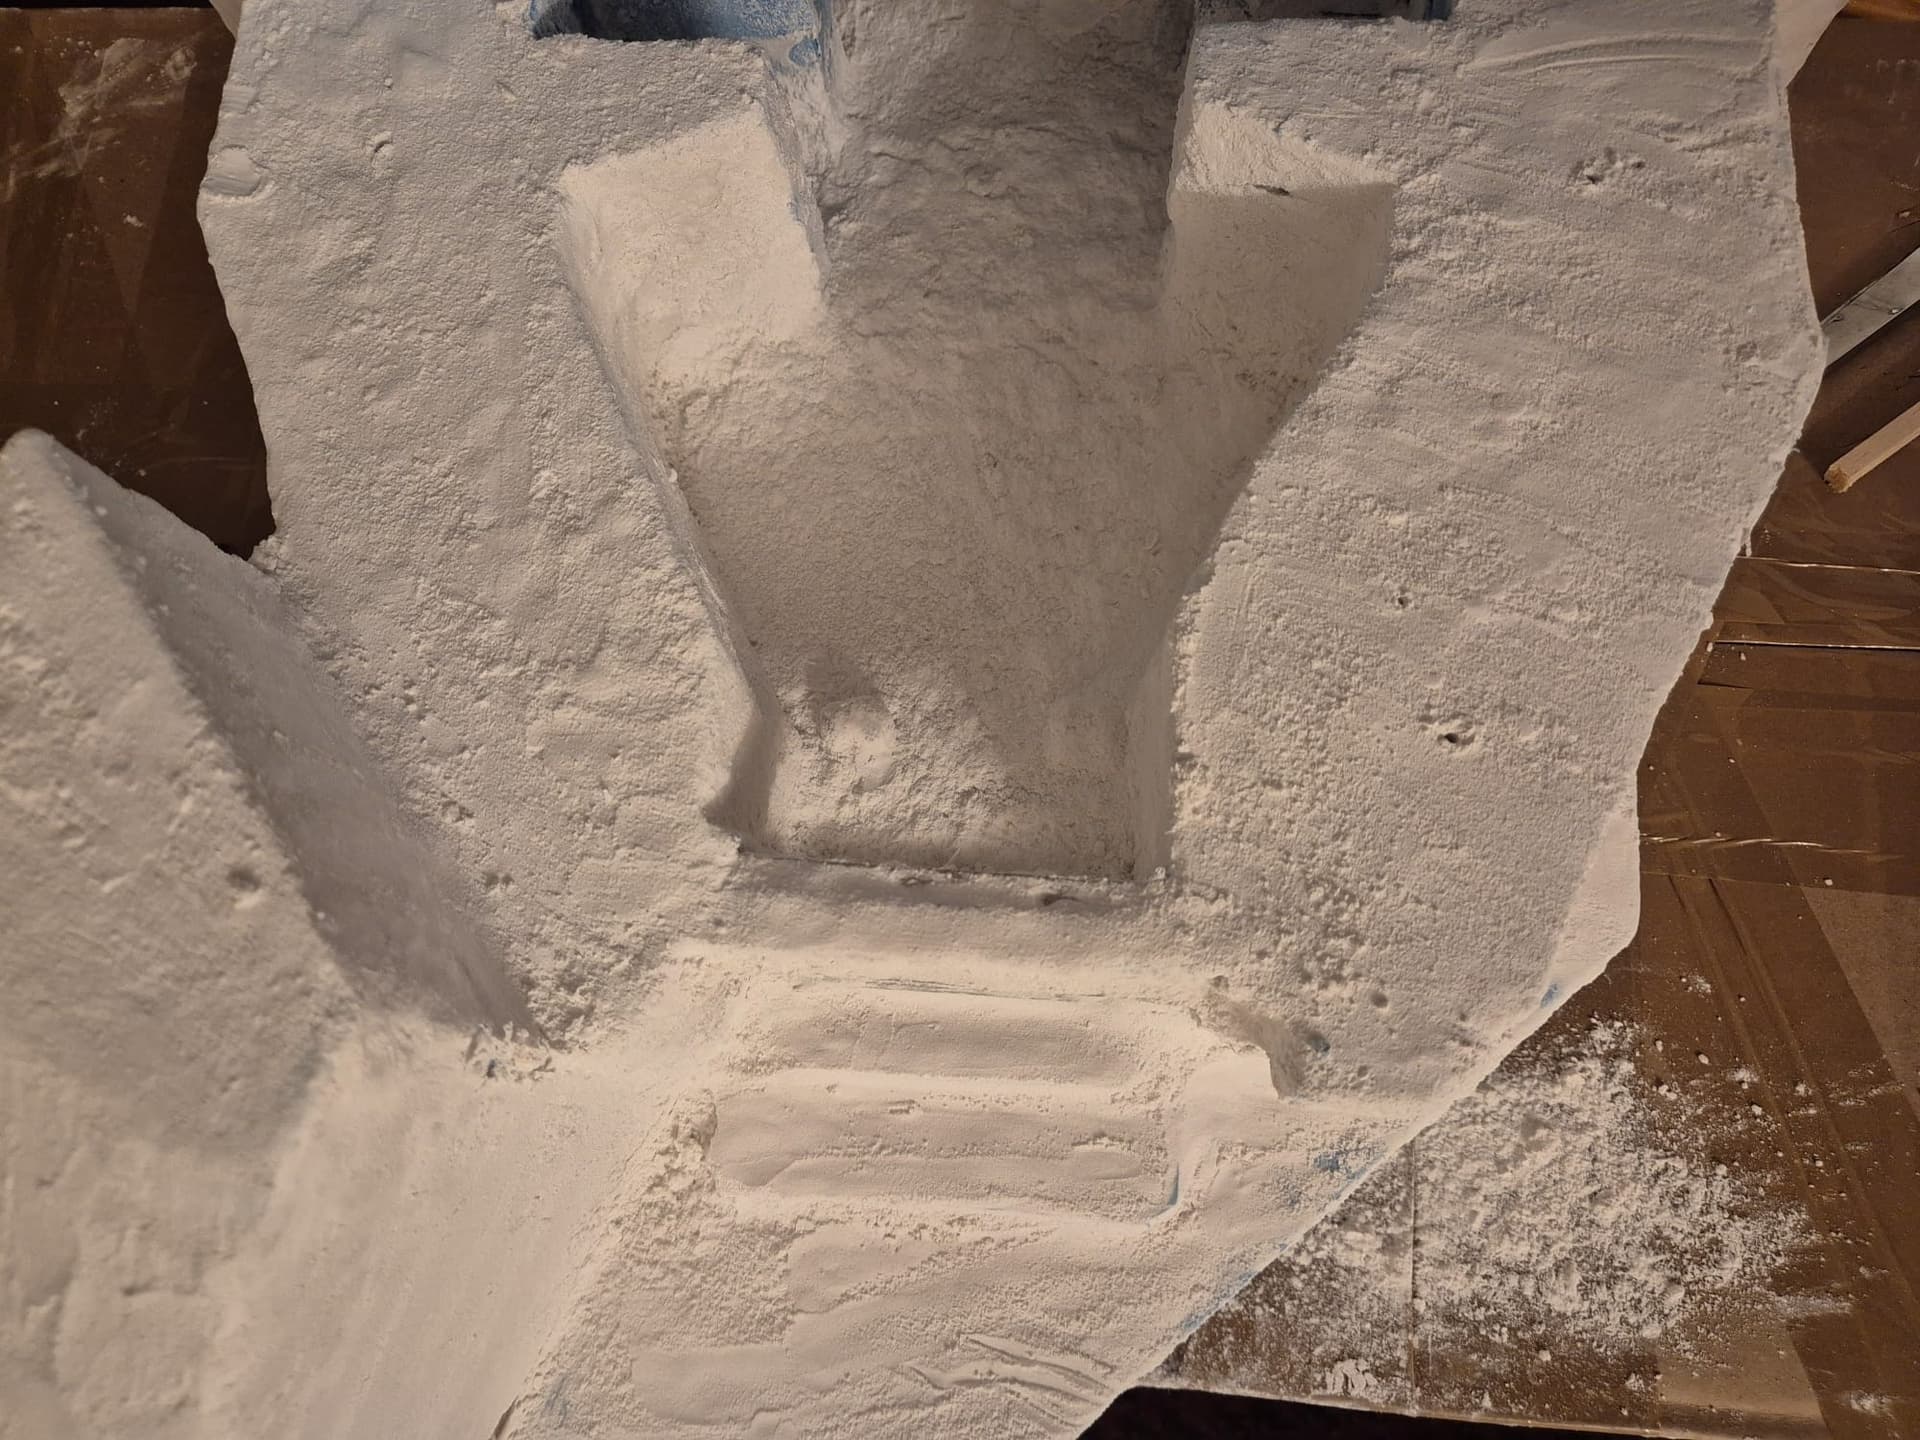
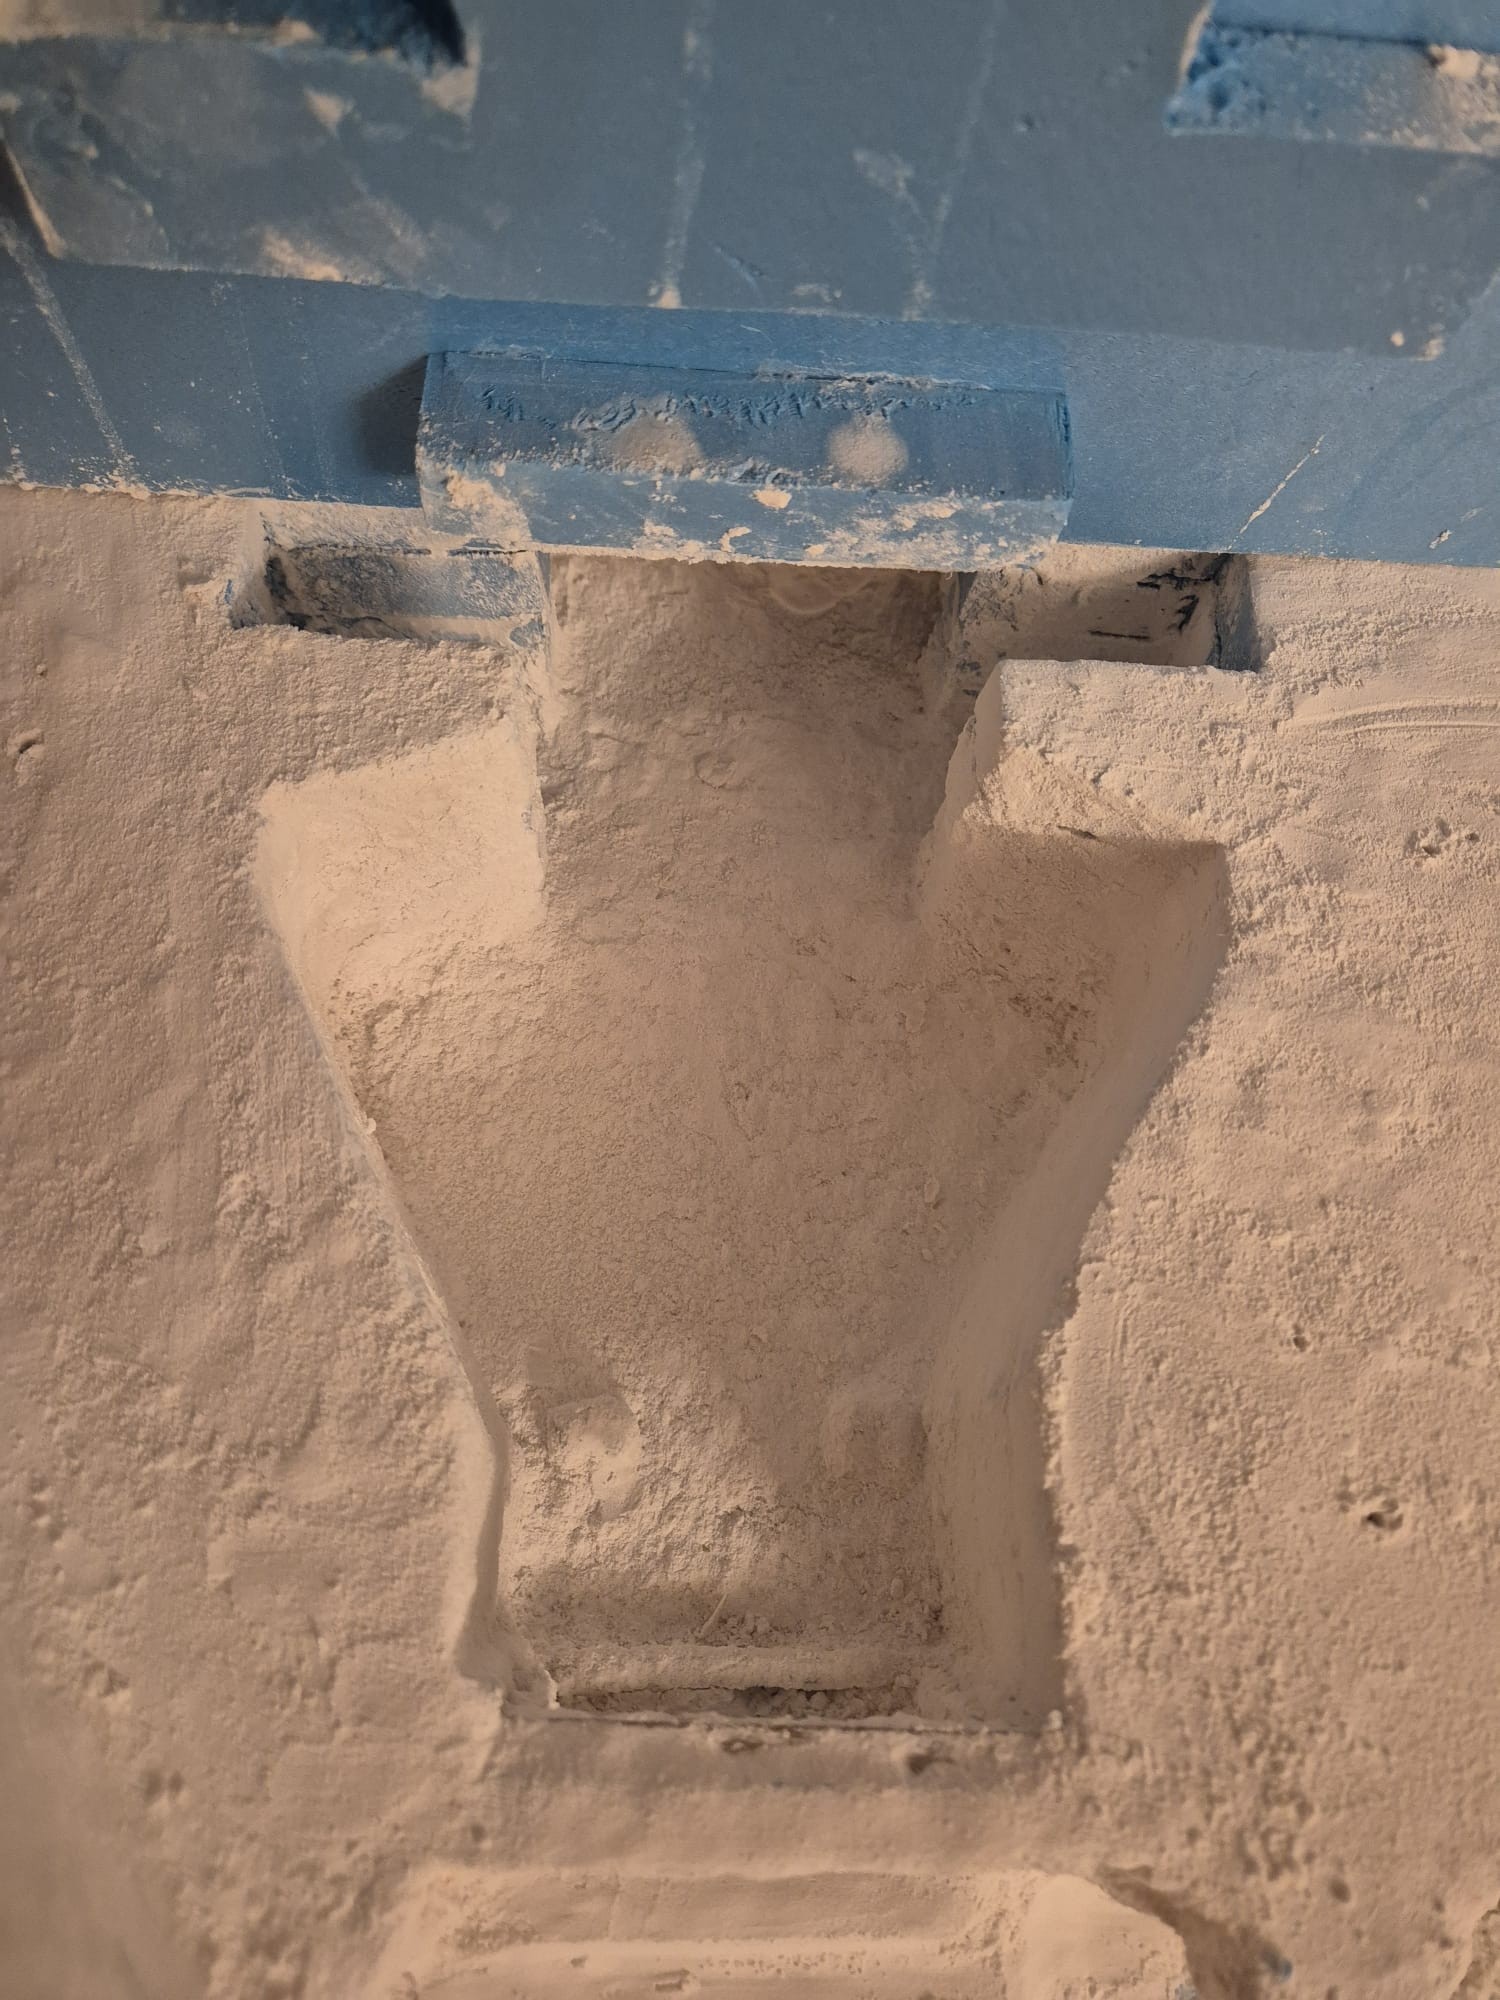
Furthermore, the rear wall will be outstretched in angular wings. Most of it, alas, will then be covered in soil and vegetation, but the front and rear will indeed be well visible and if I do not mess things up, the frontal protection wall will have the correct angle of descent.
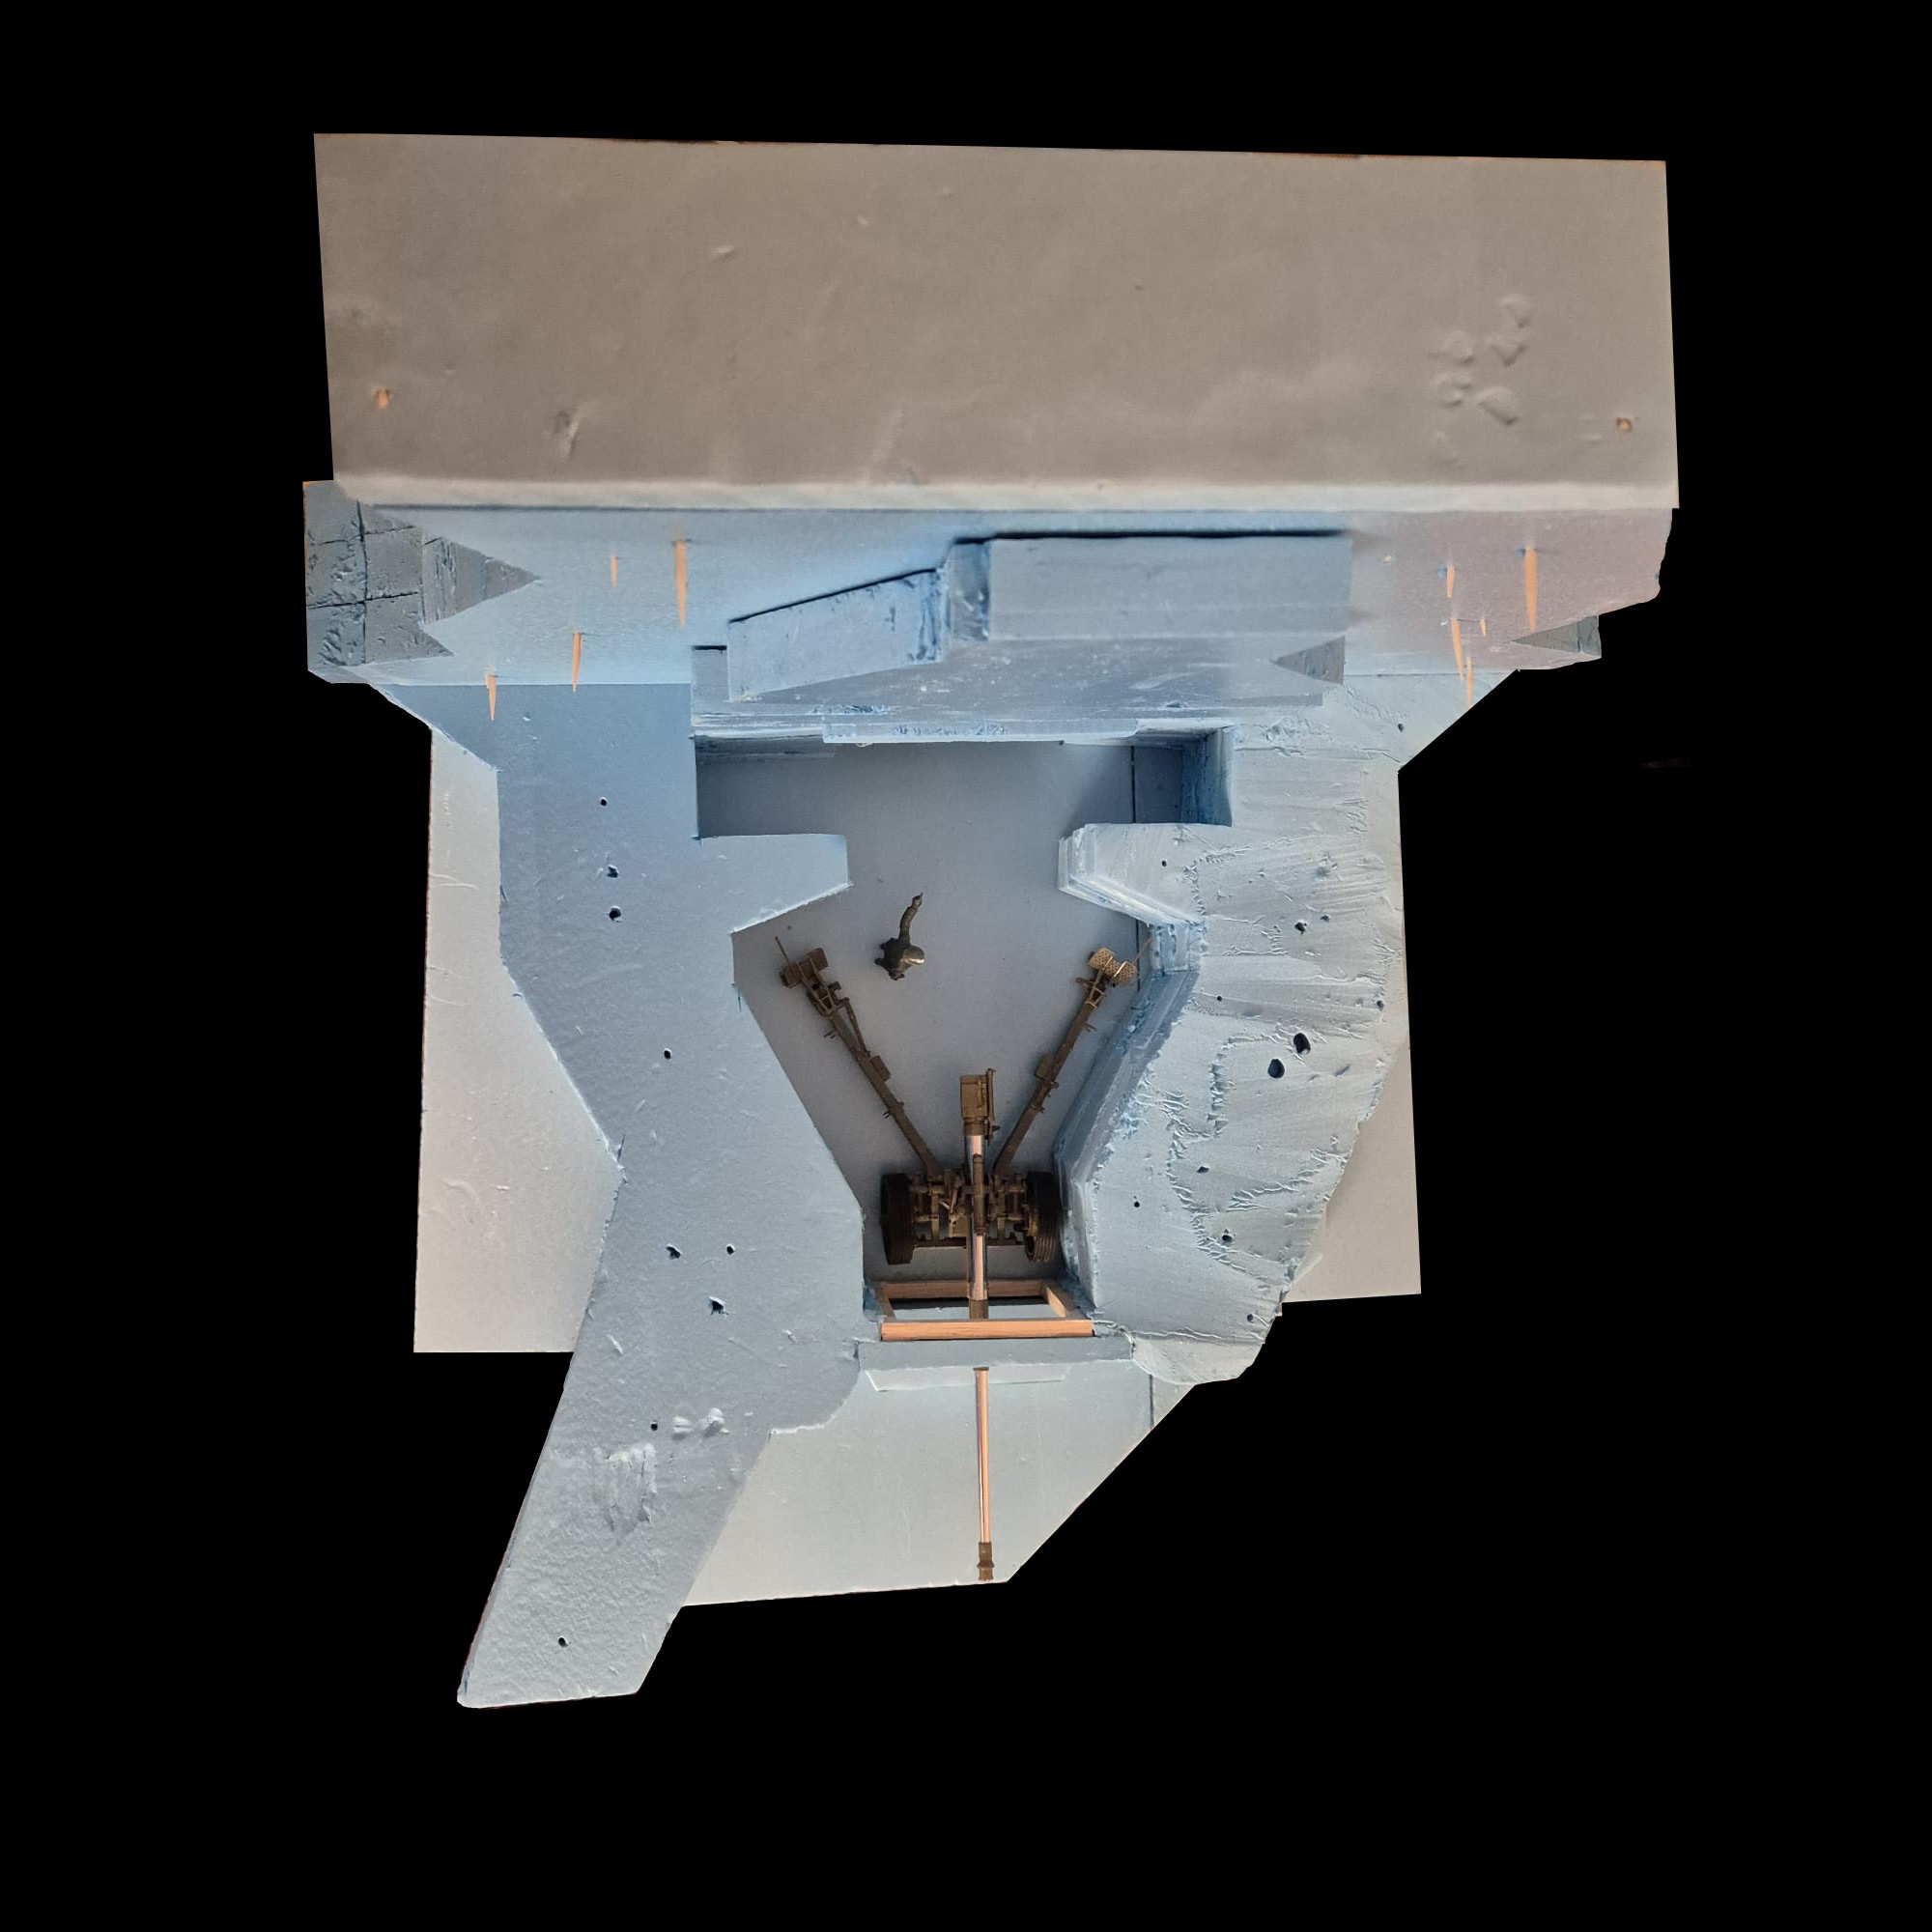
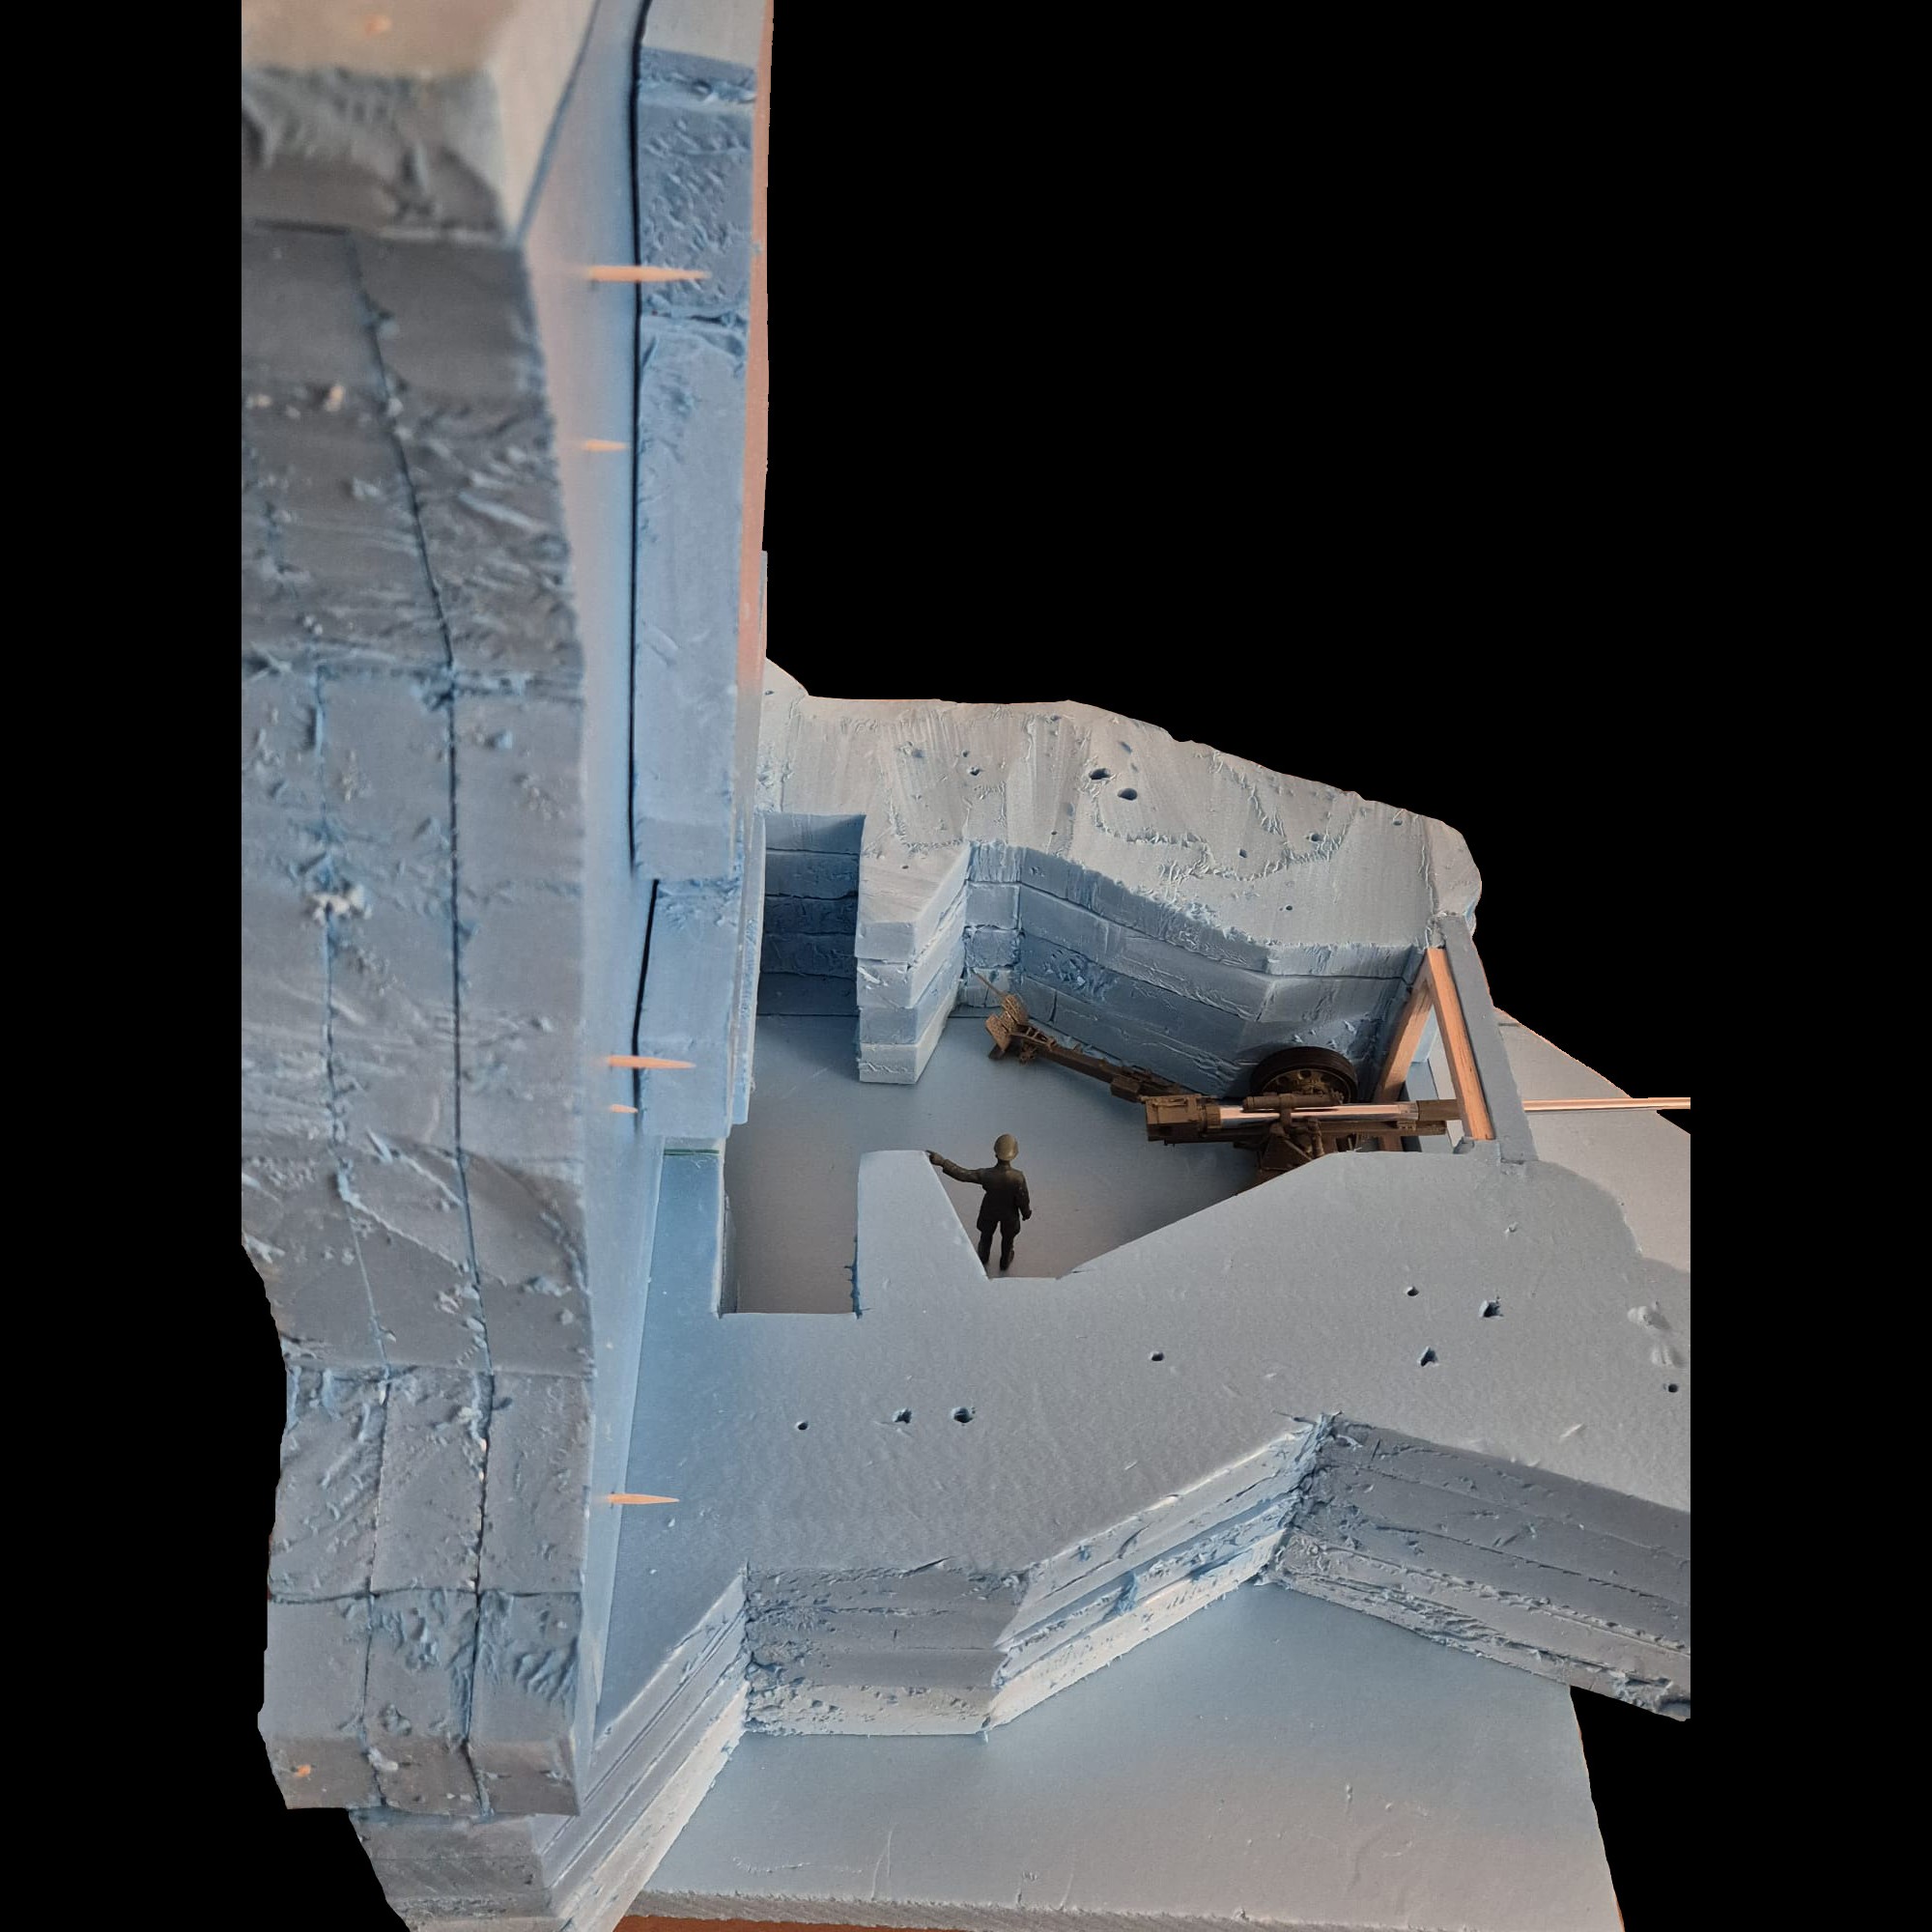
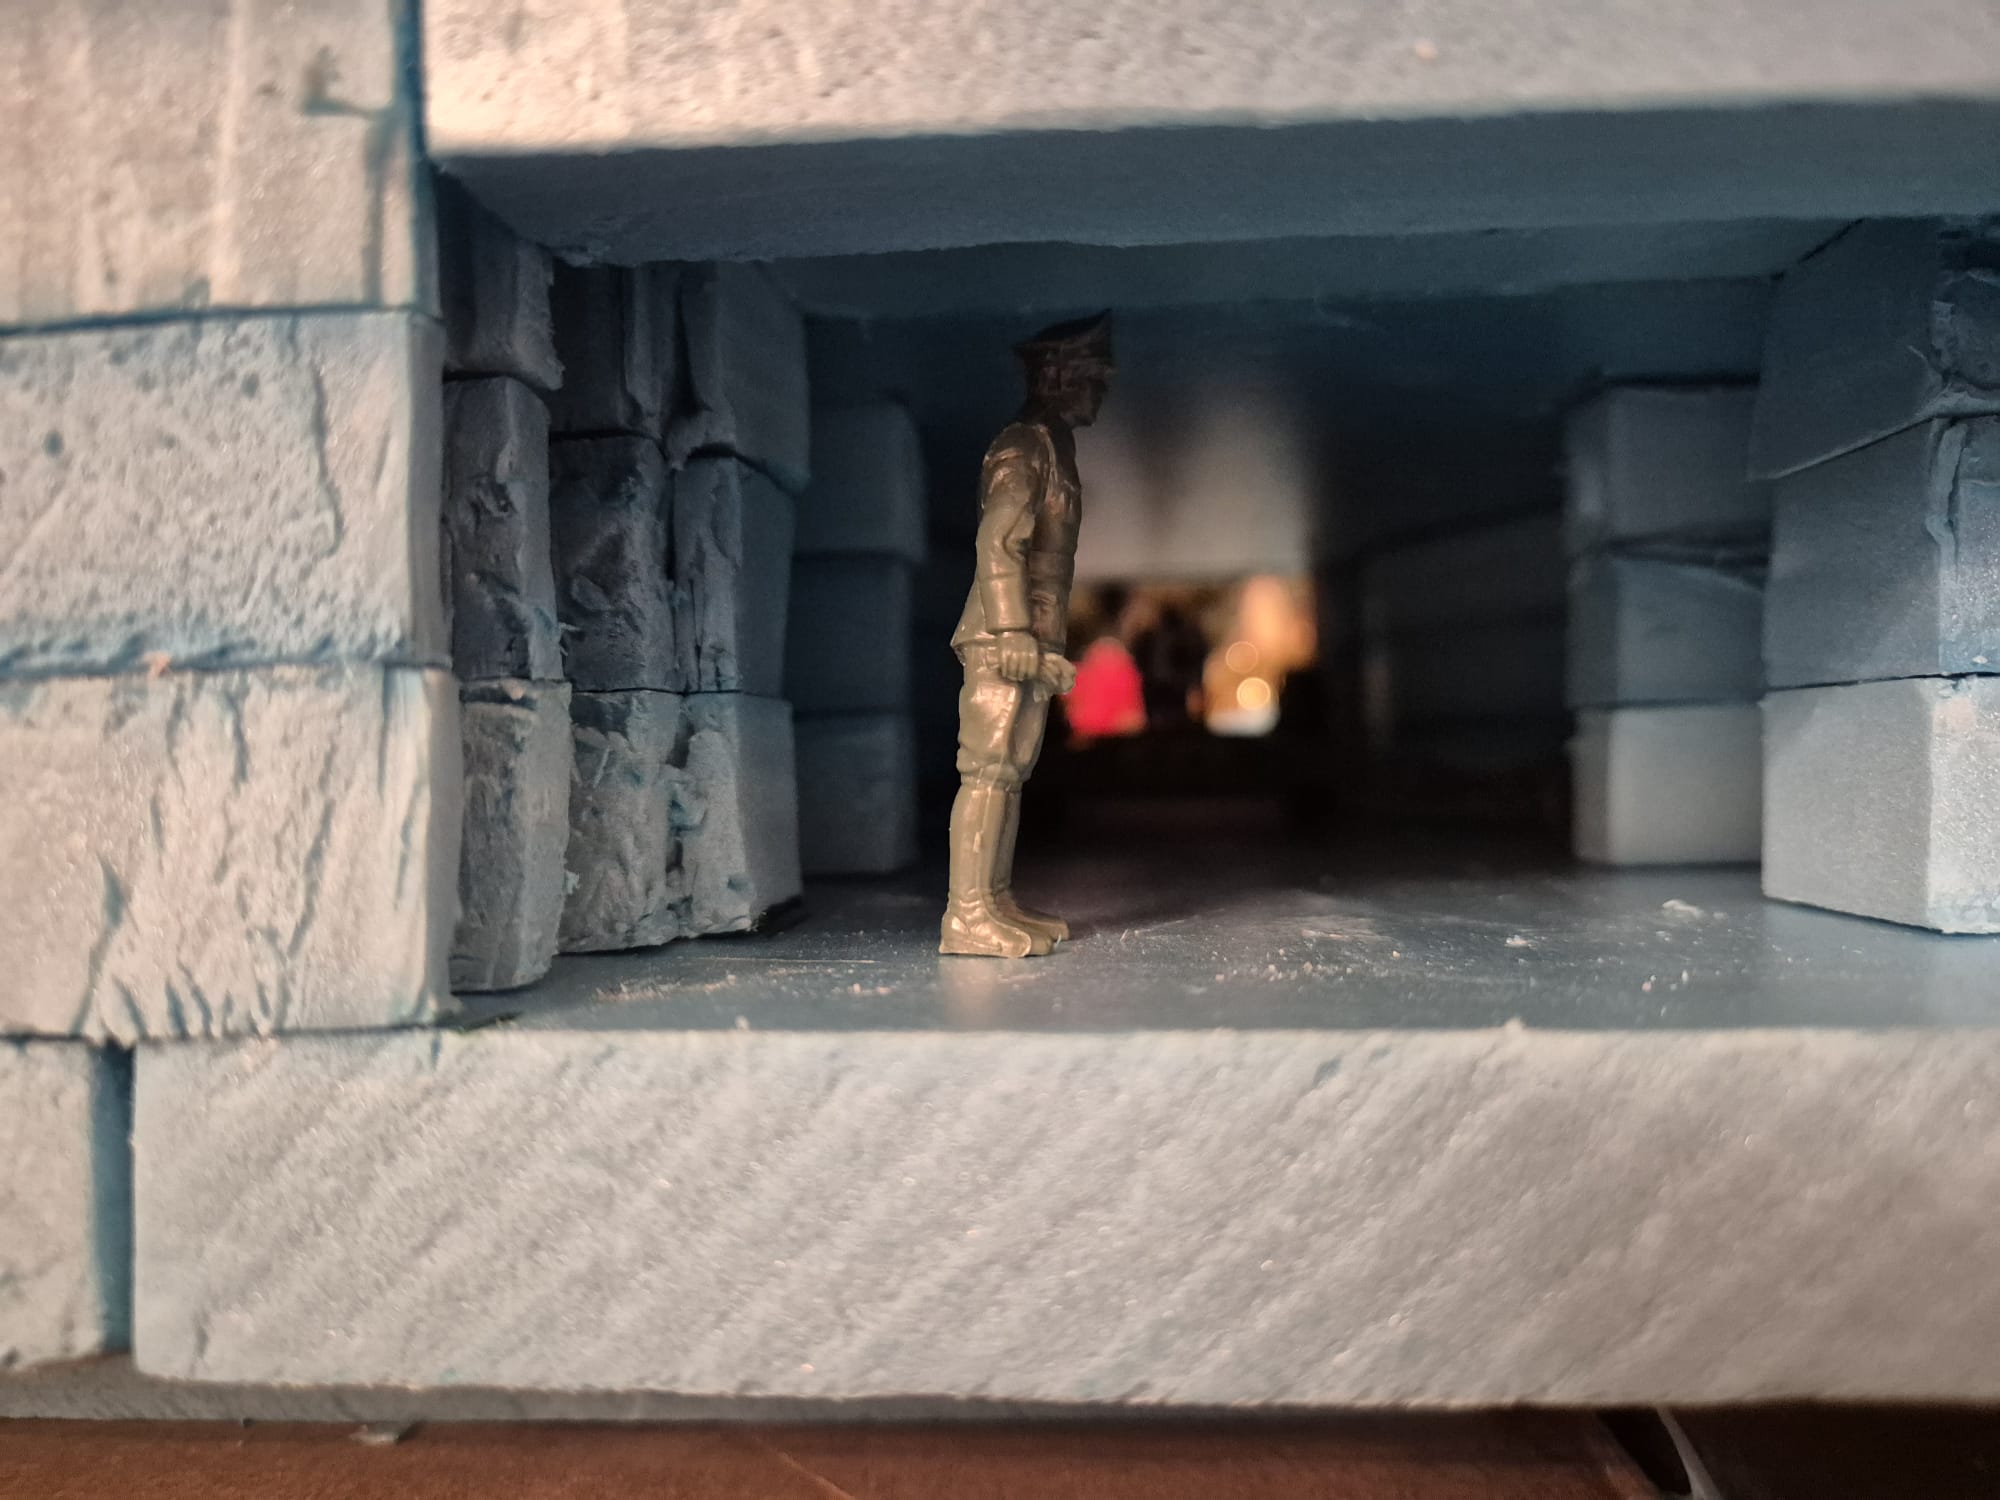
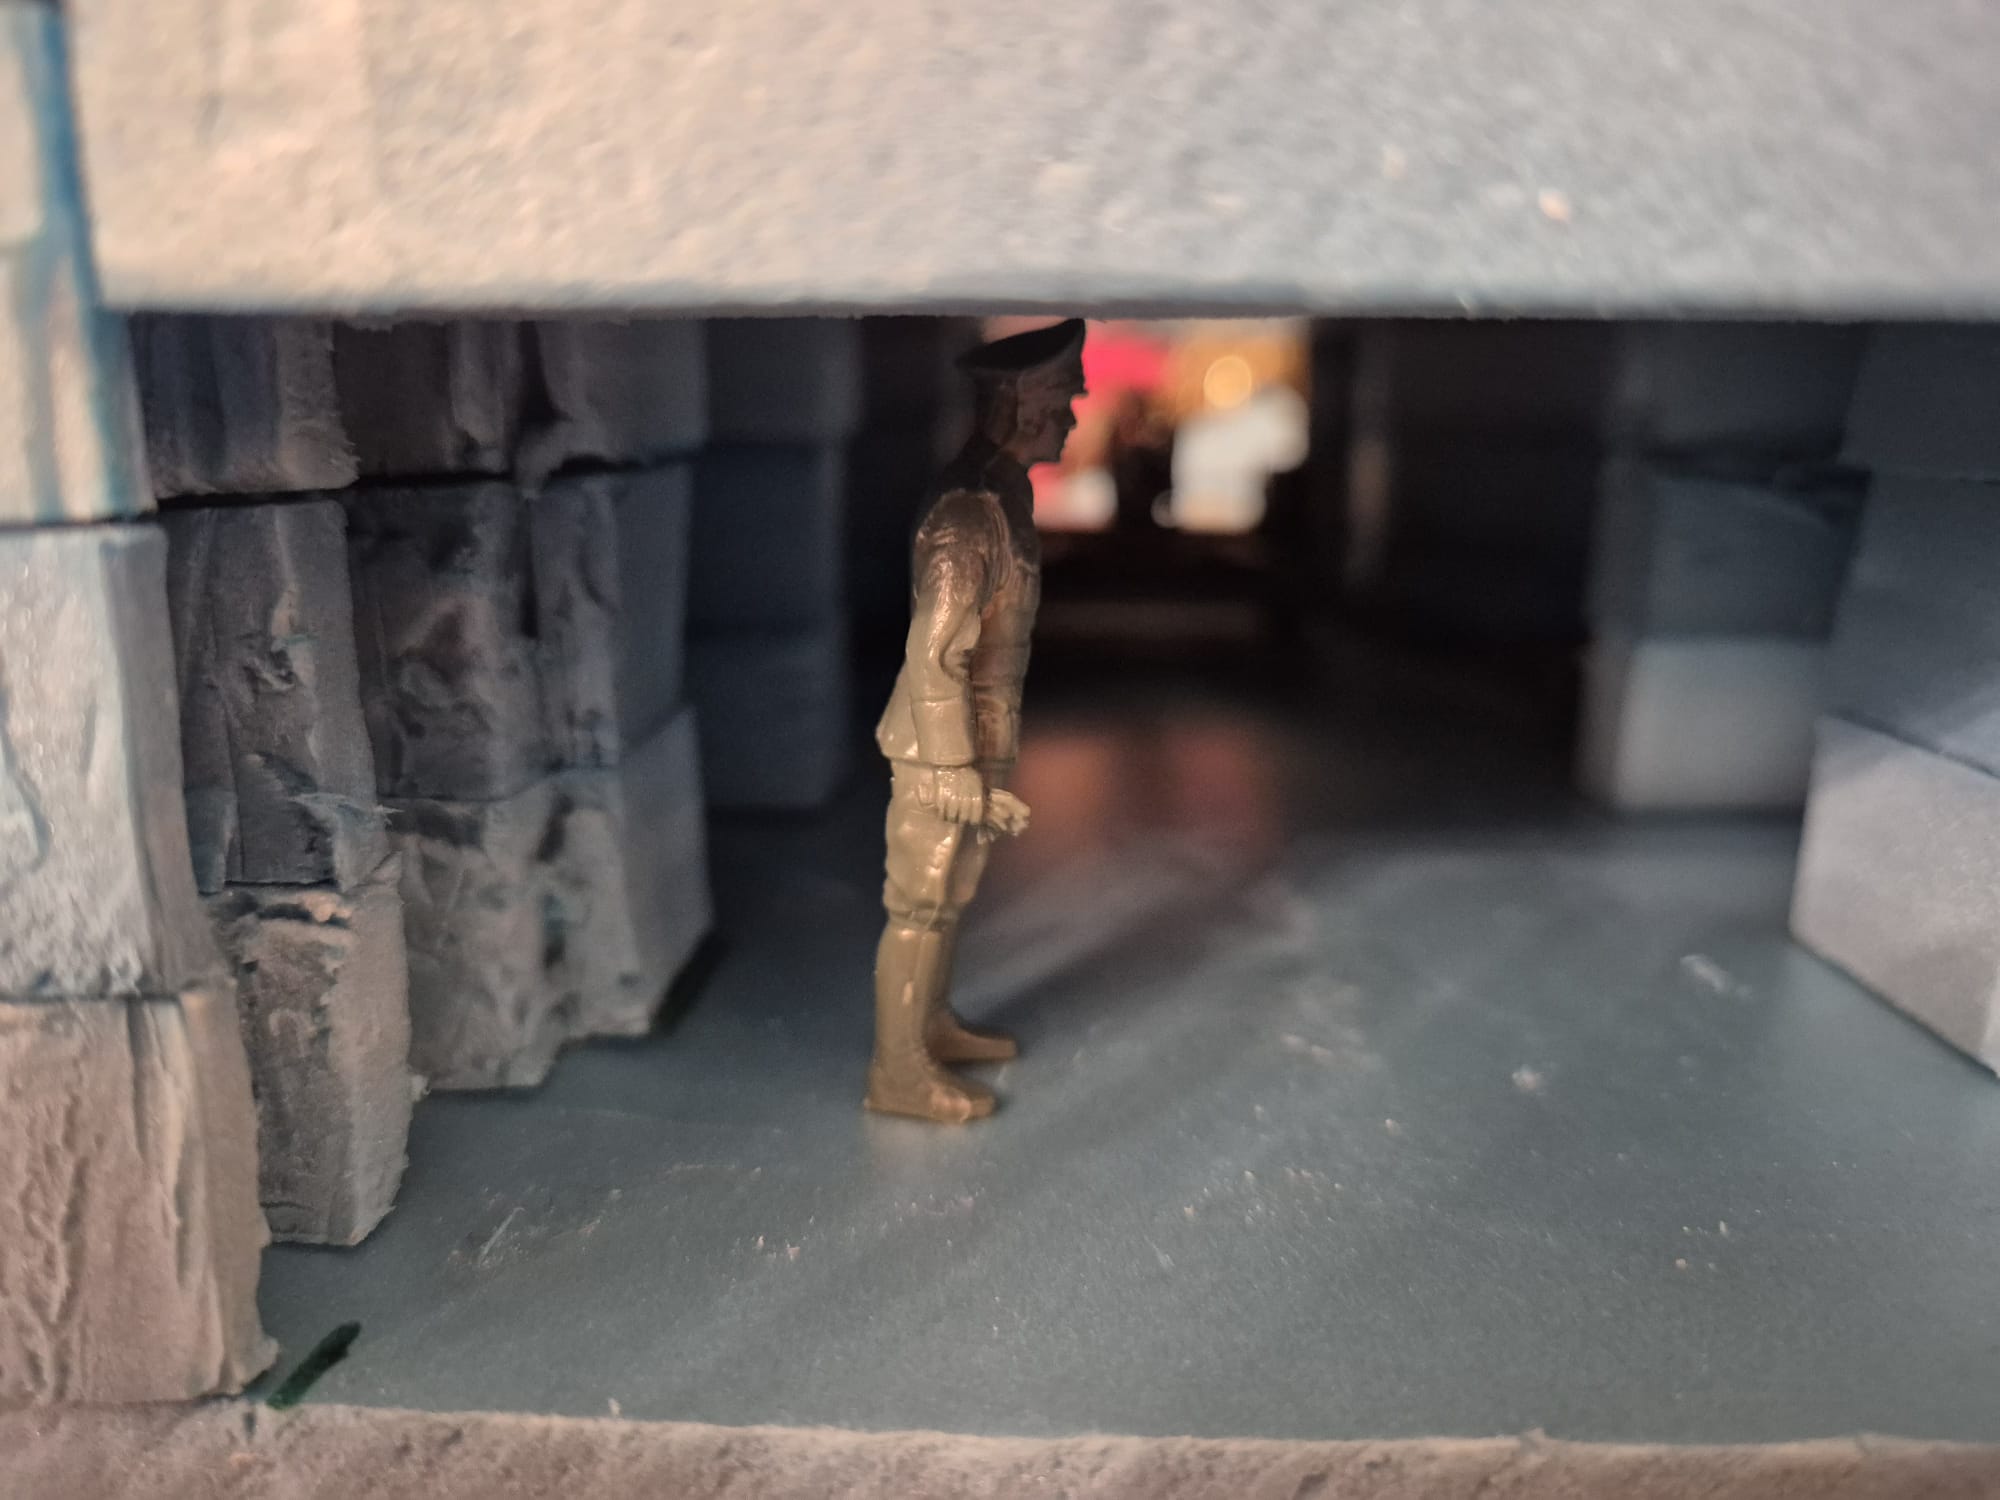
I also plan to have the massive roof able to be removed to display the scene inside the bunker.
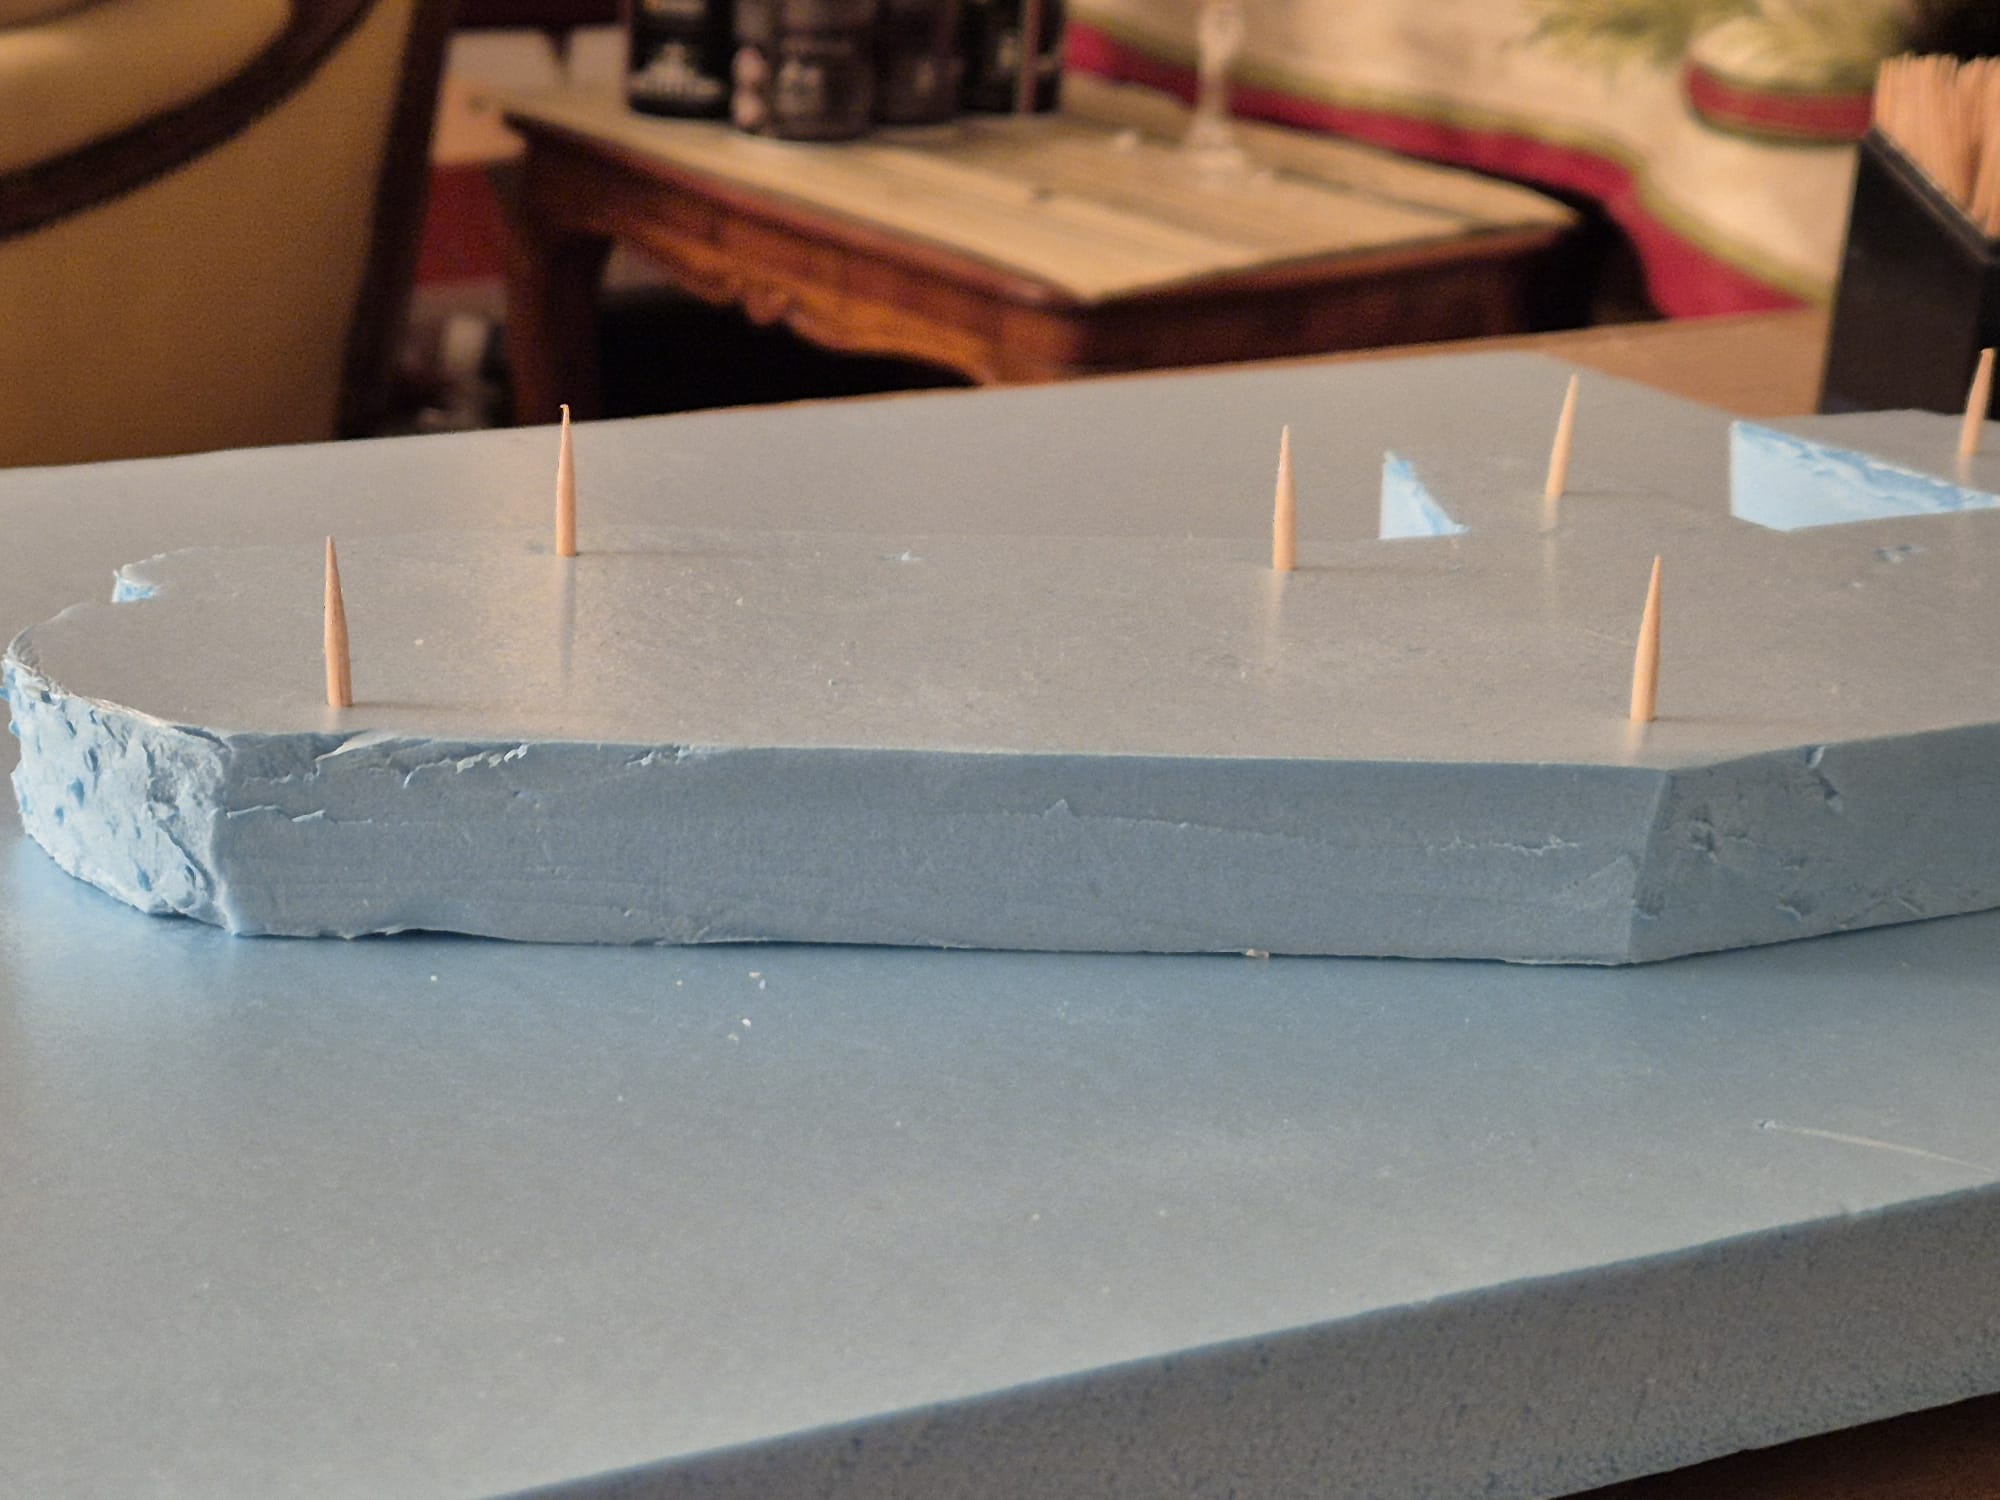
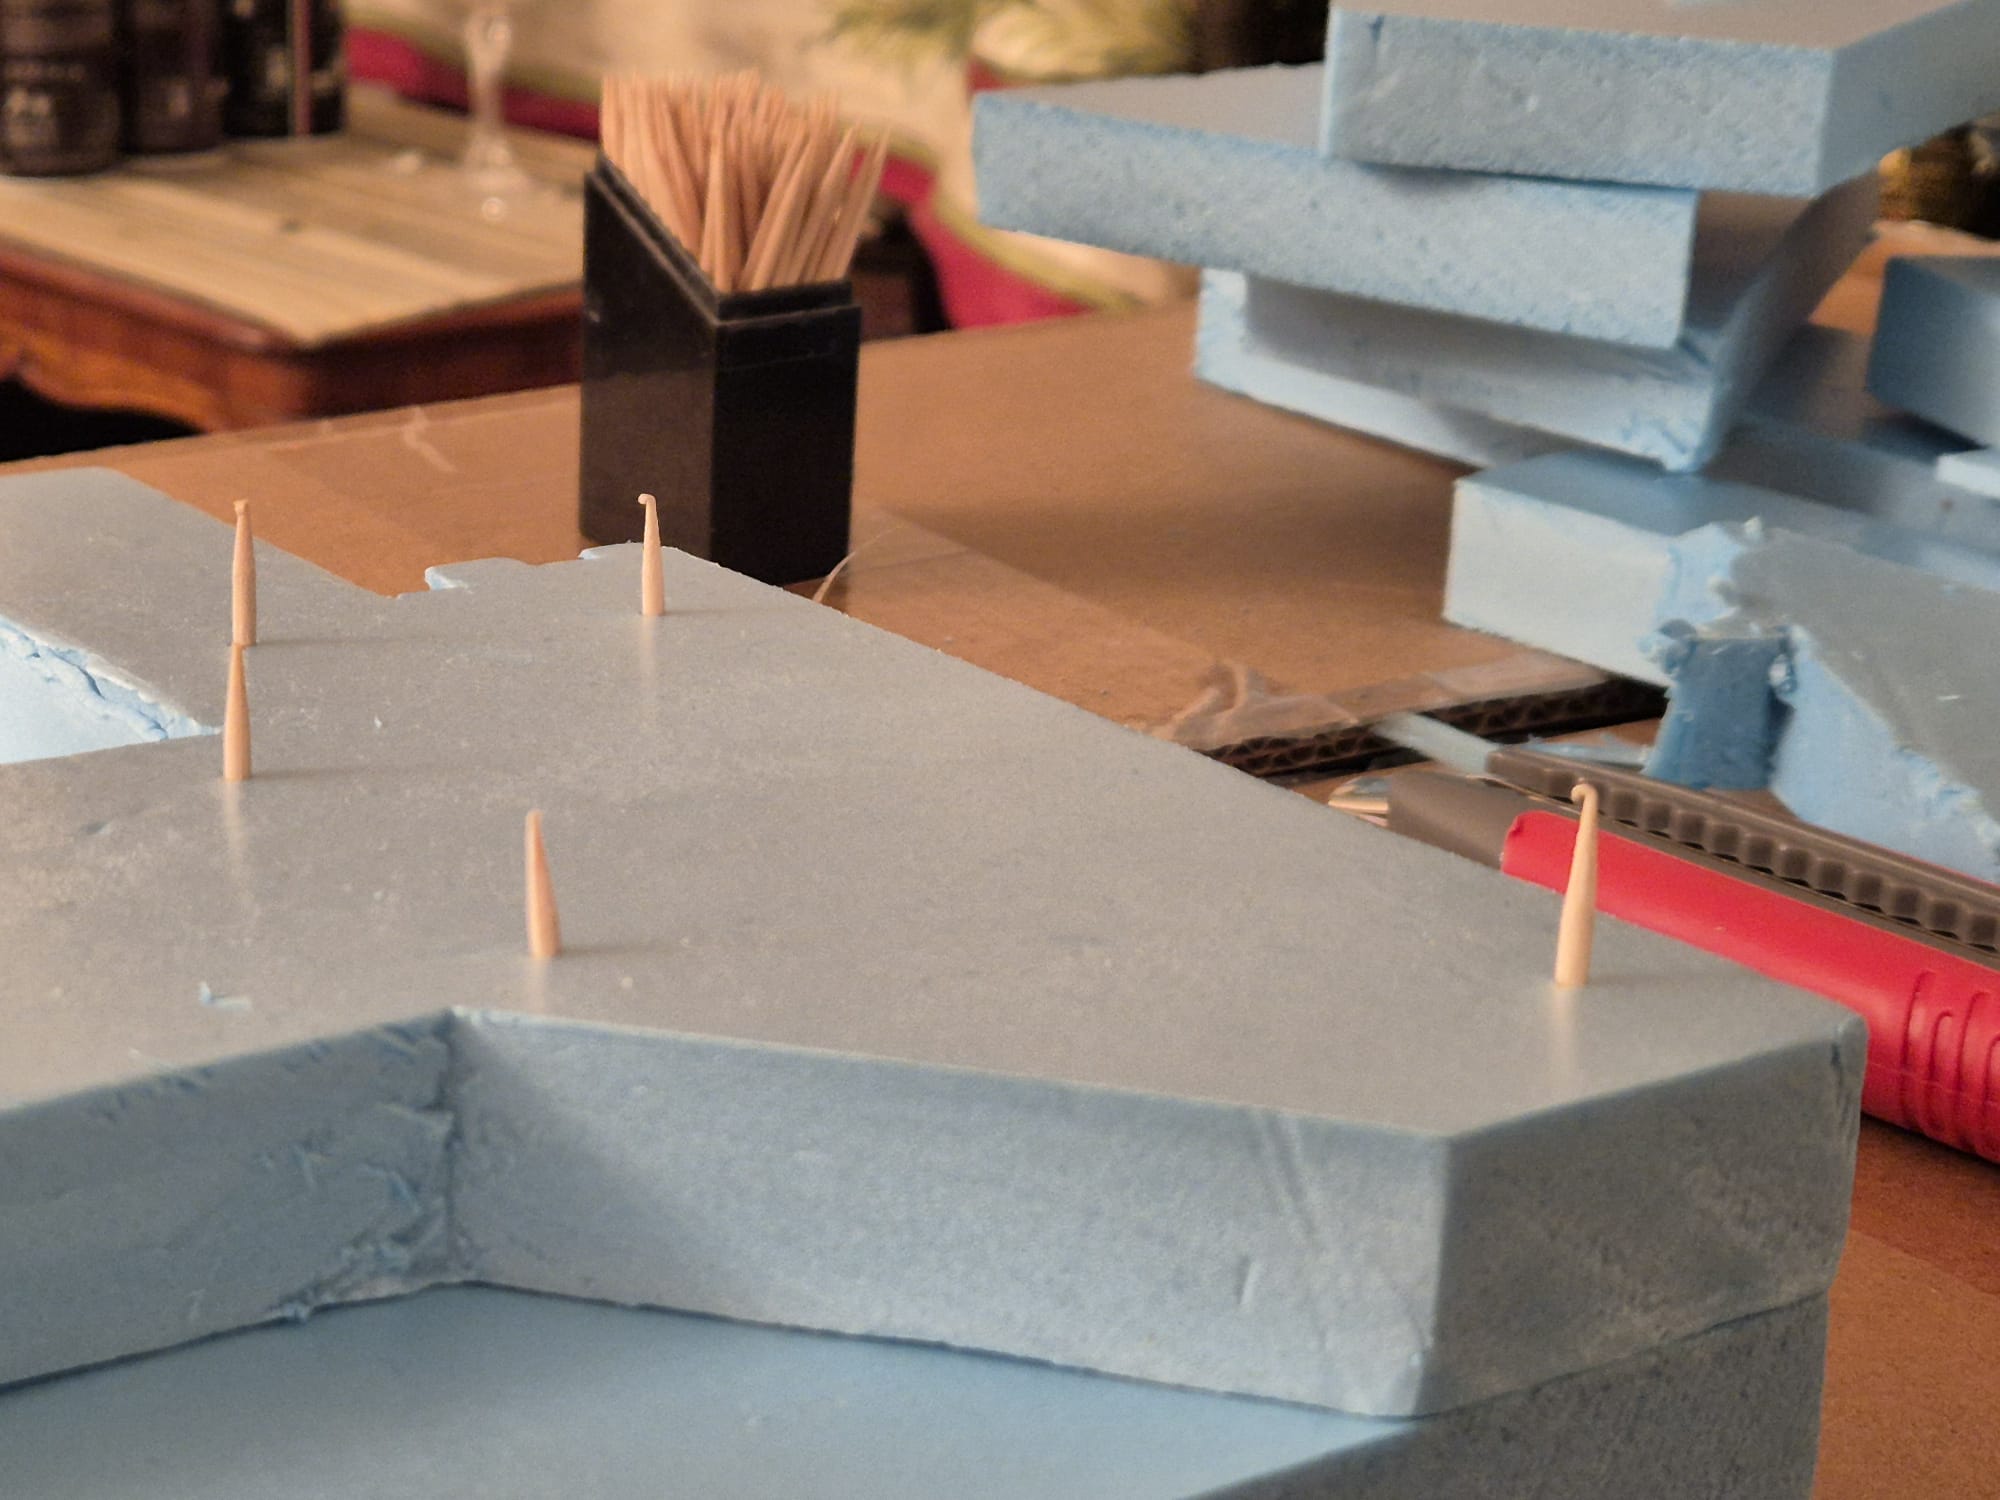
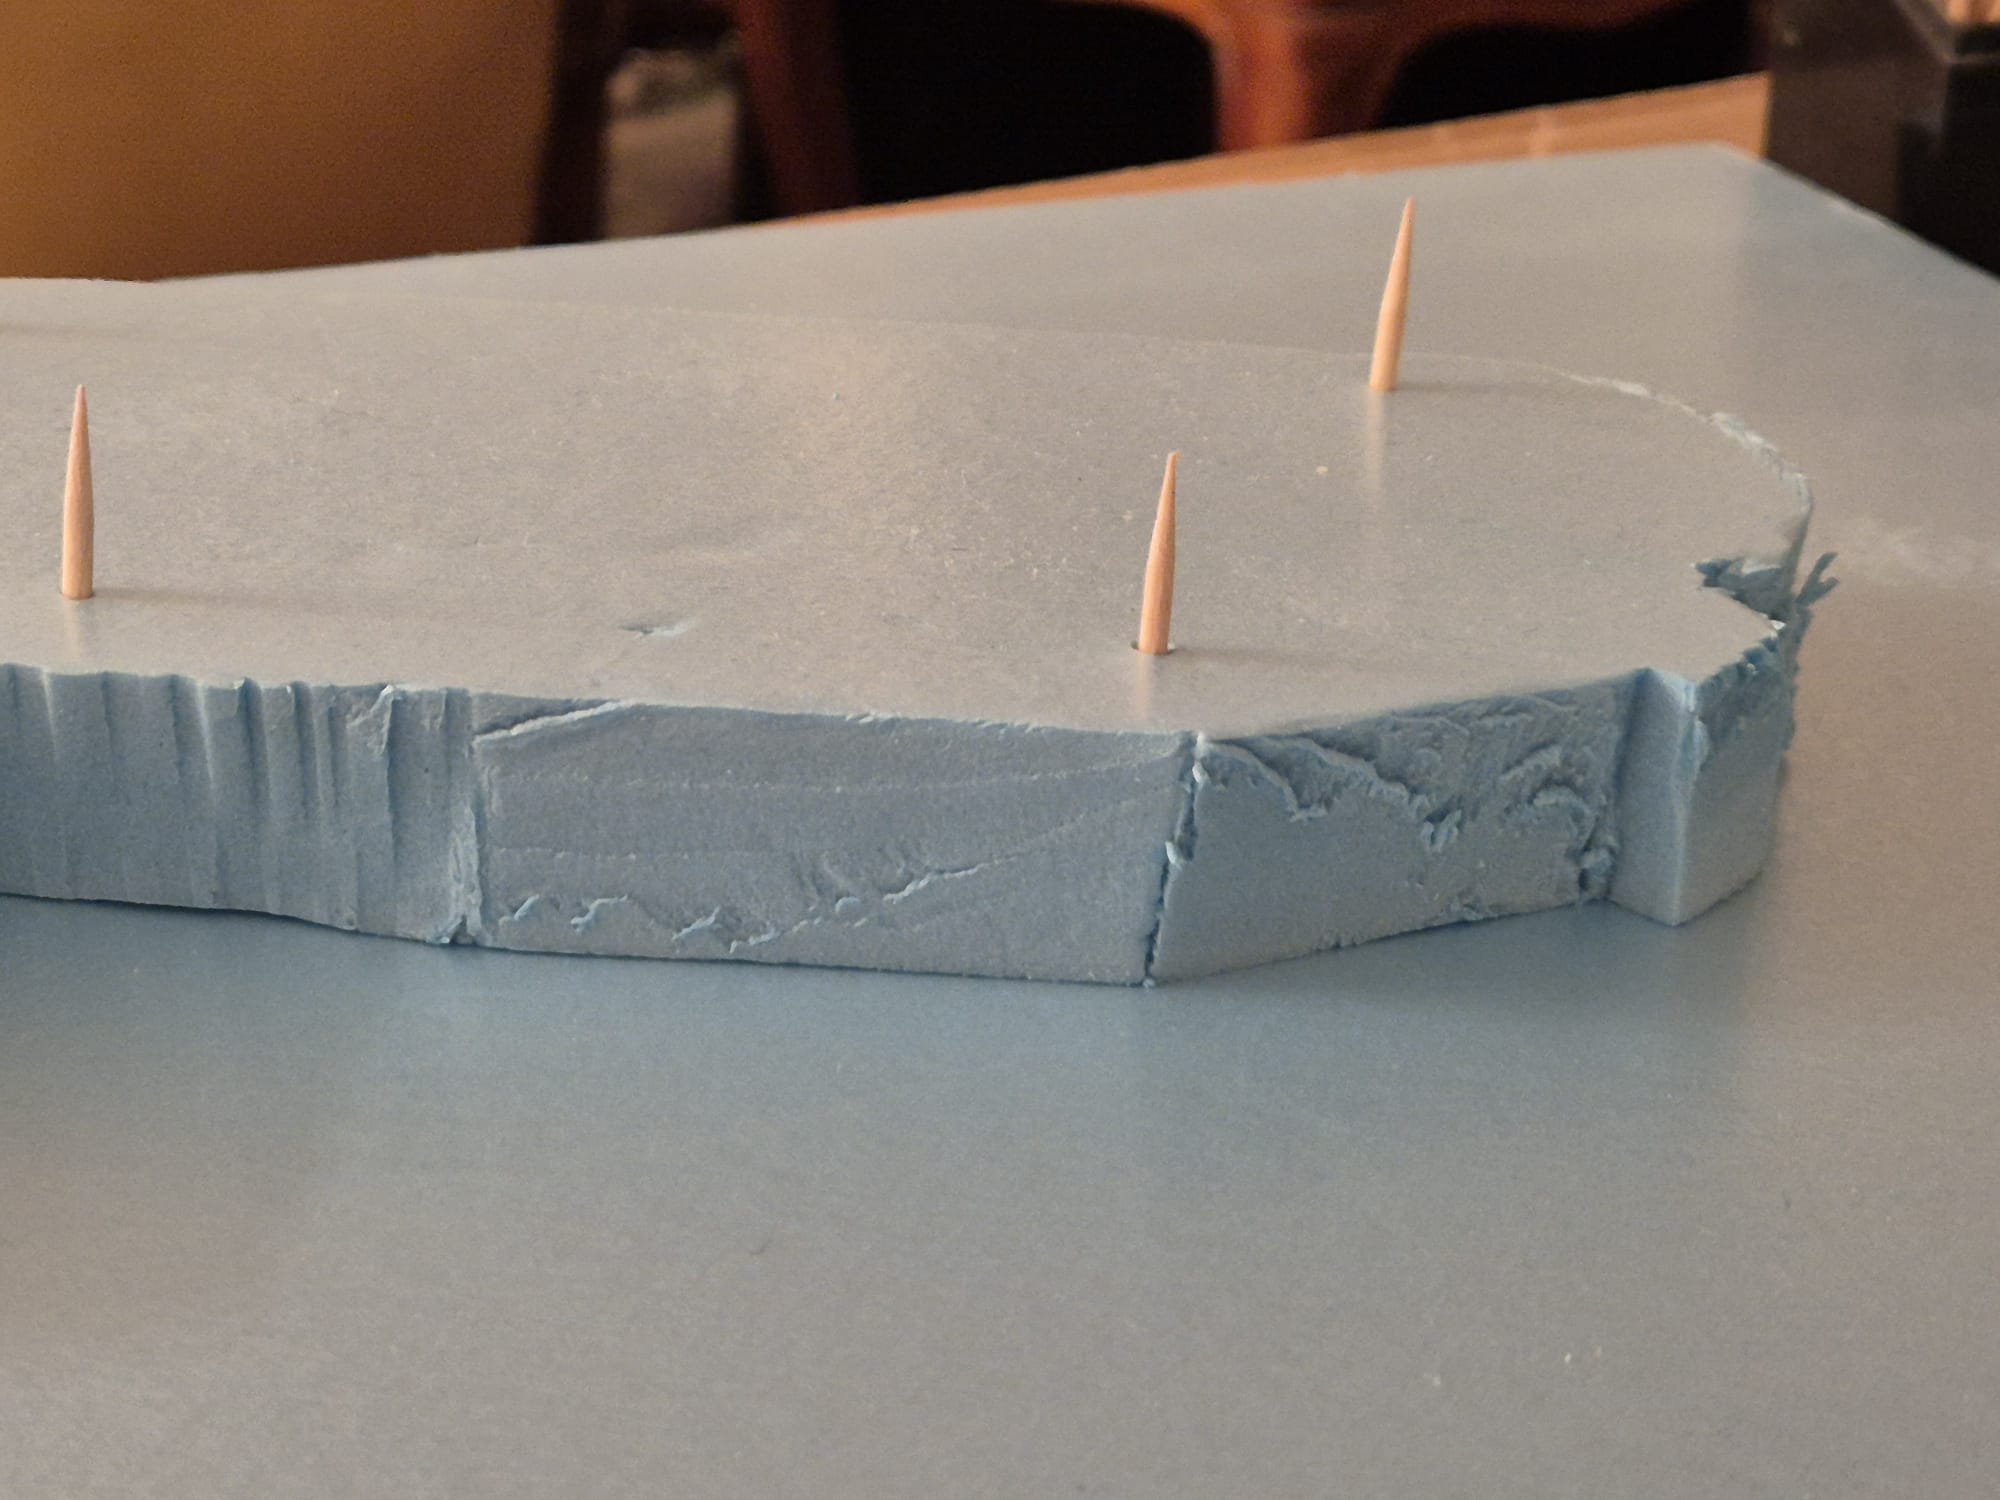
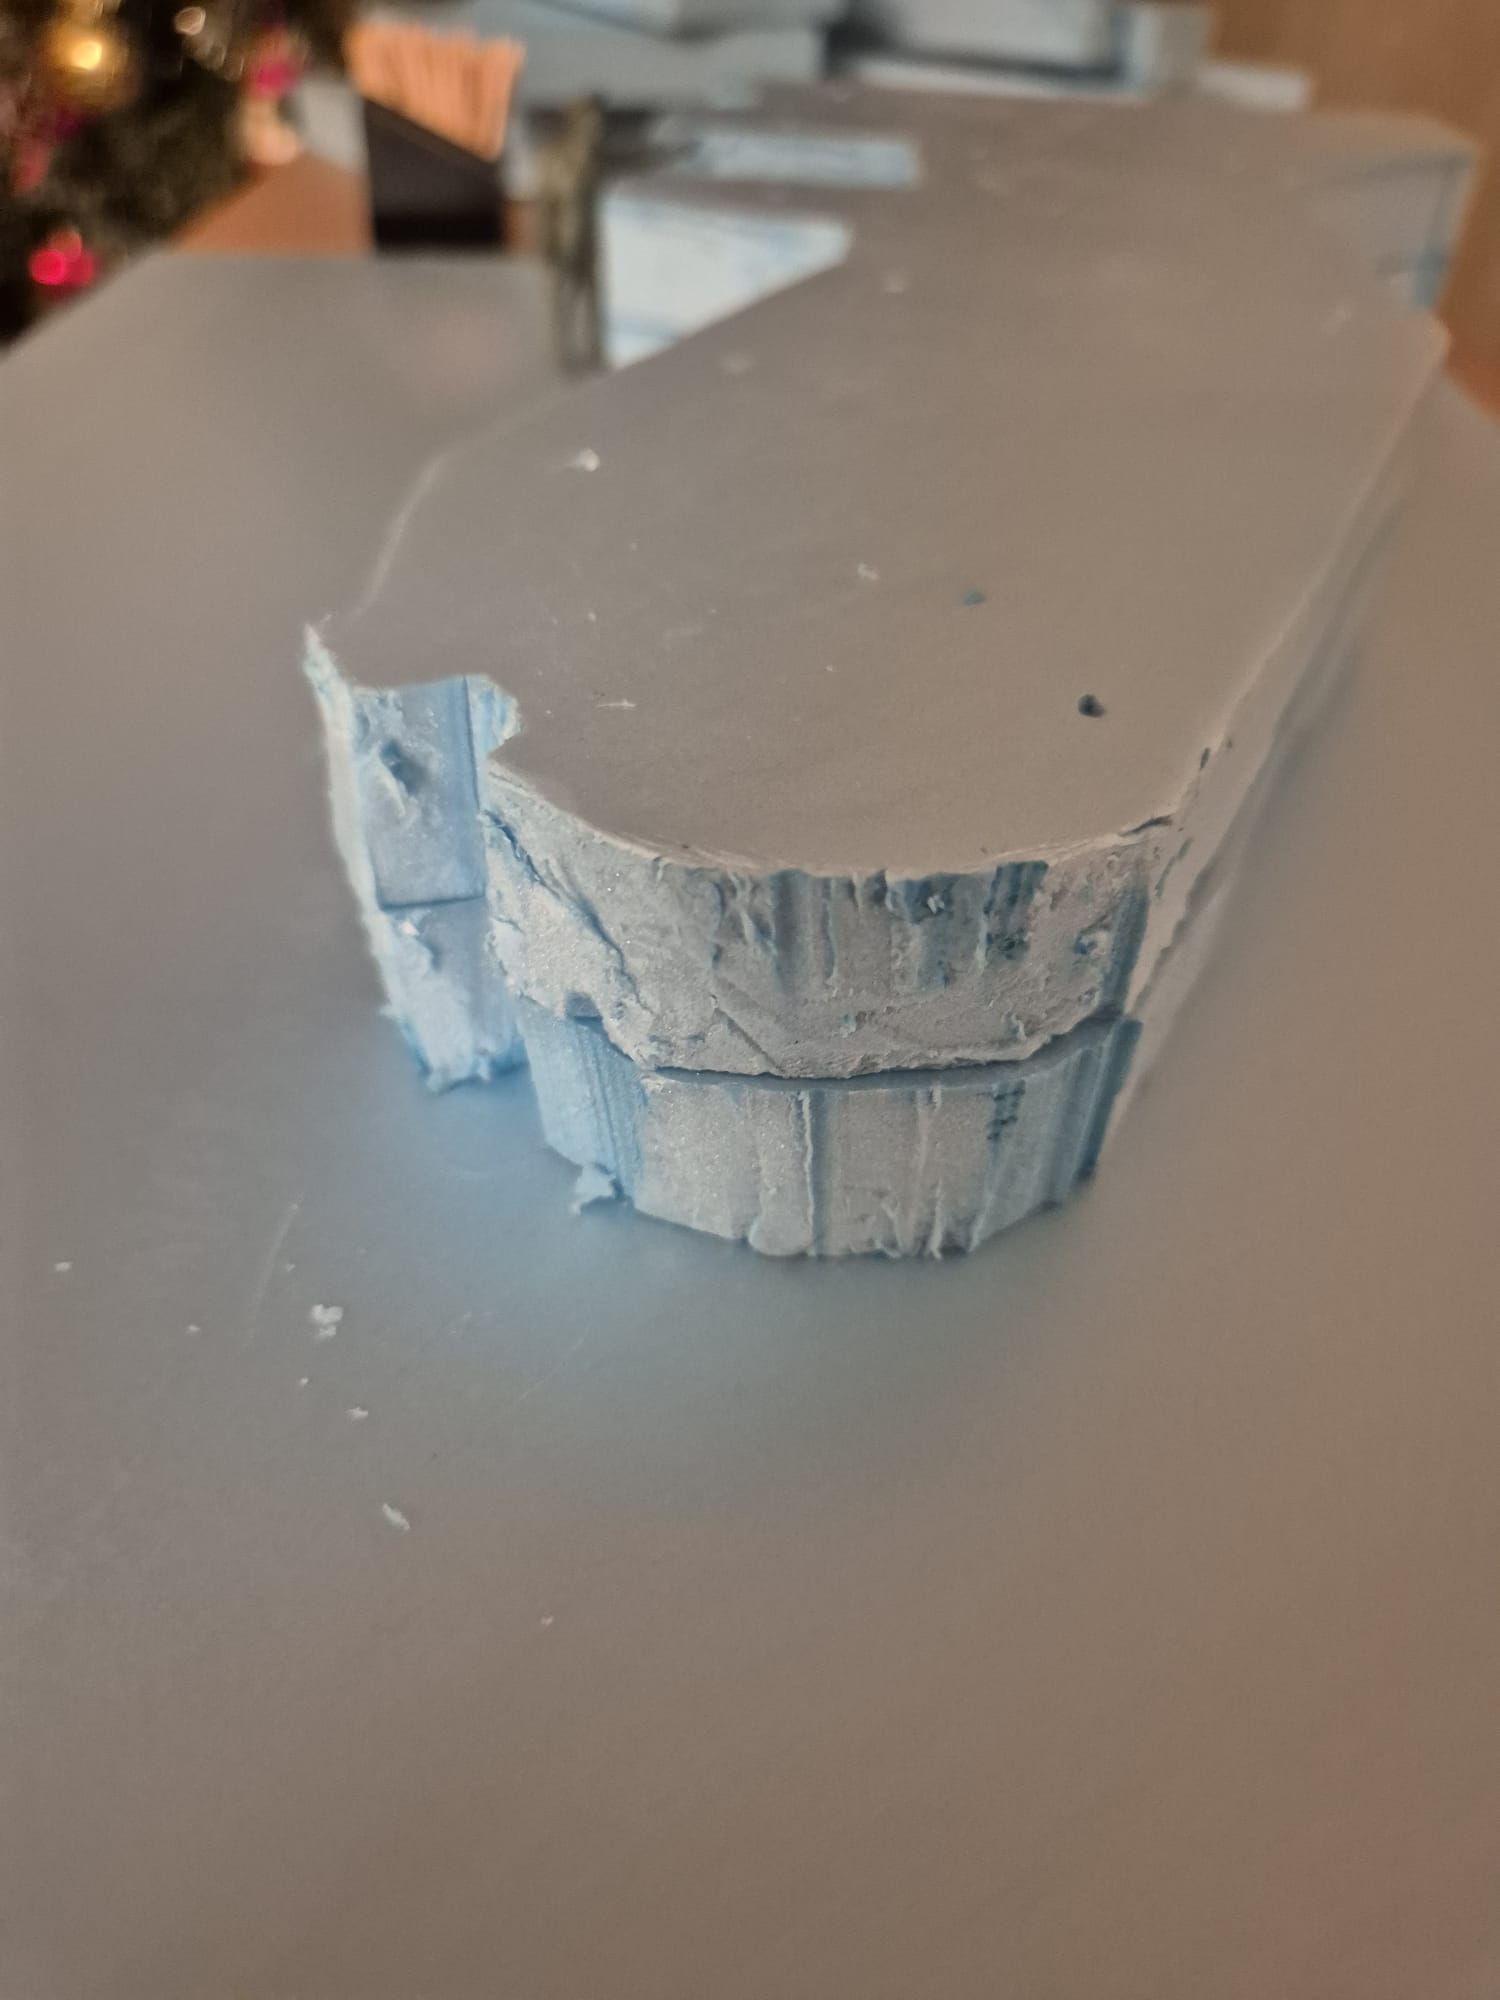
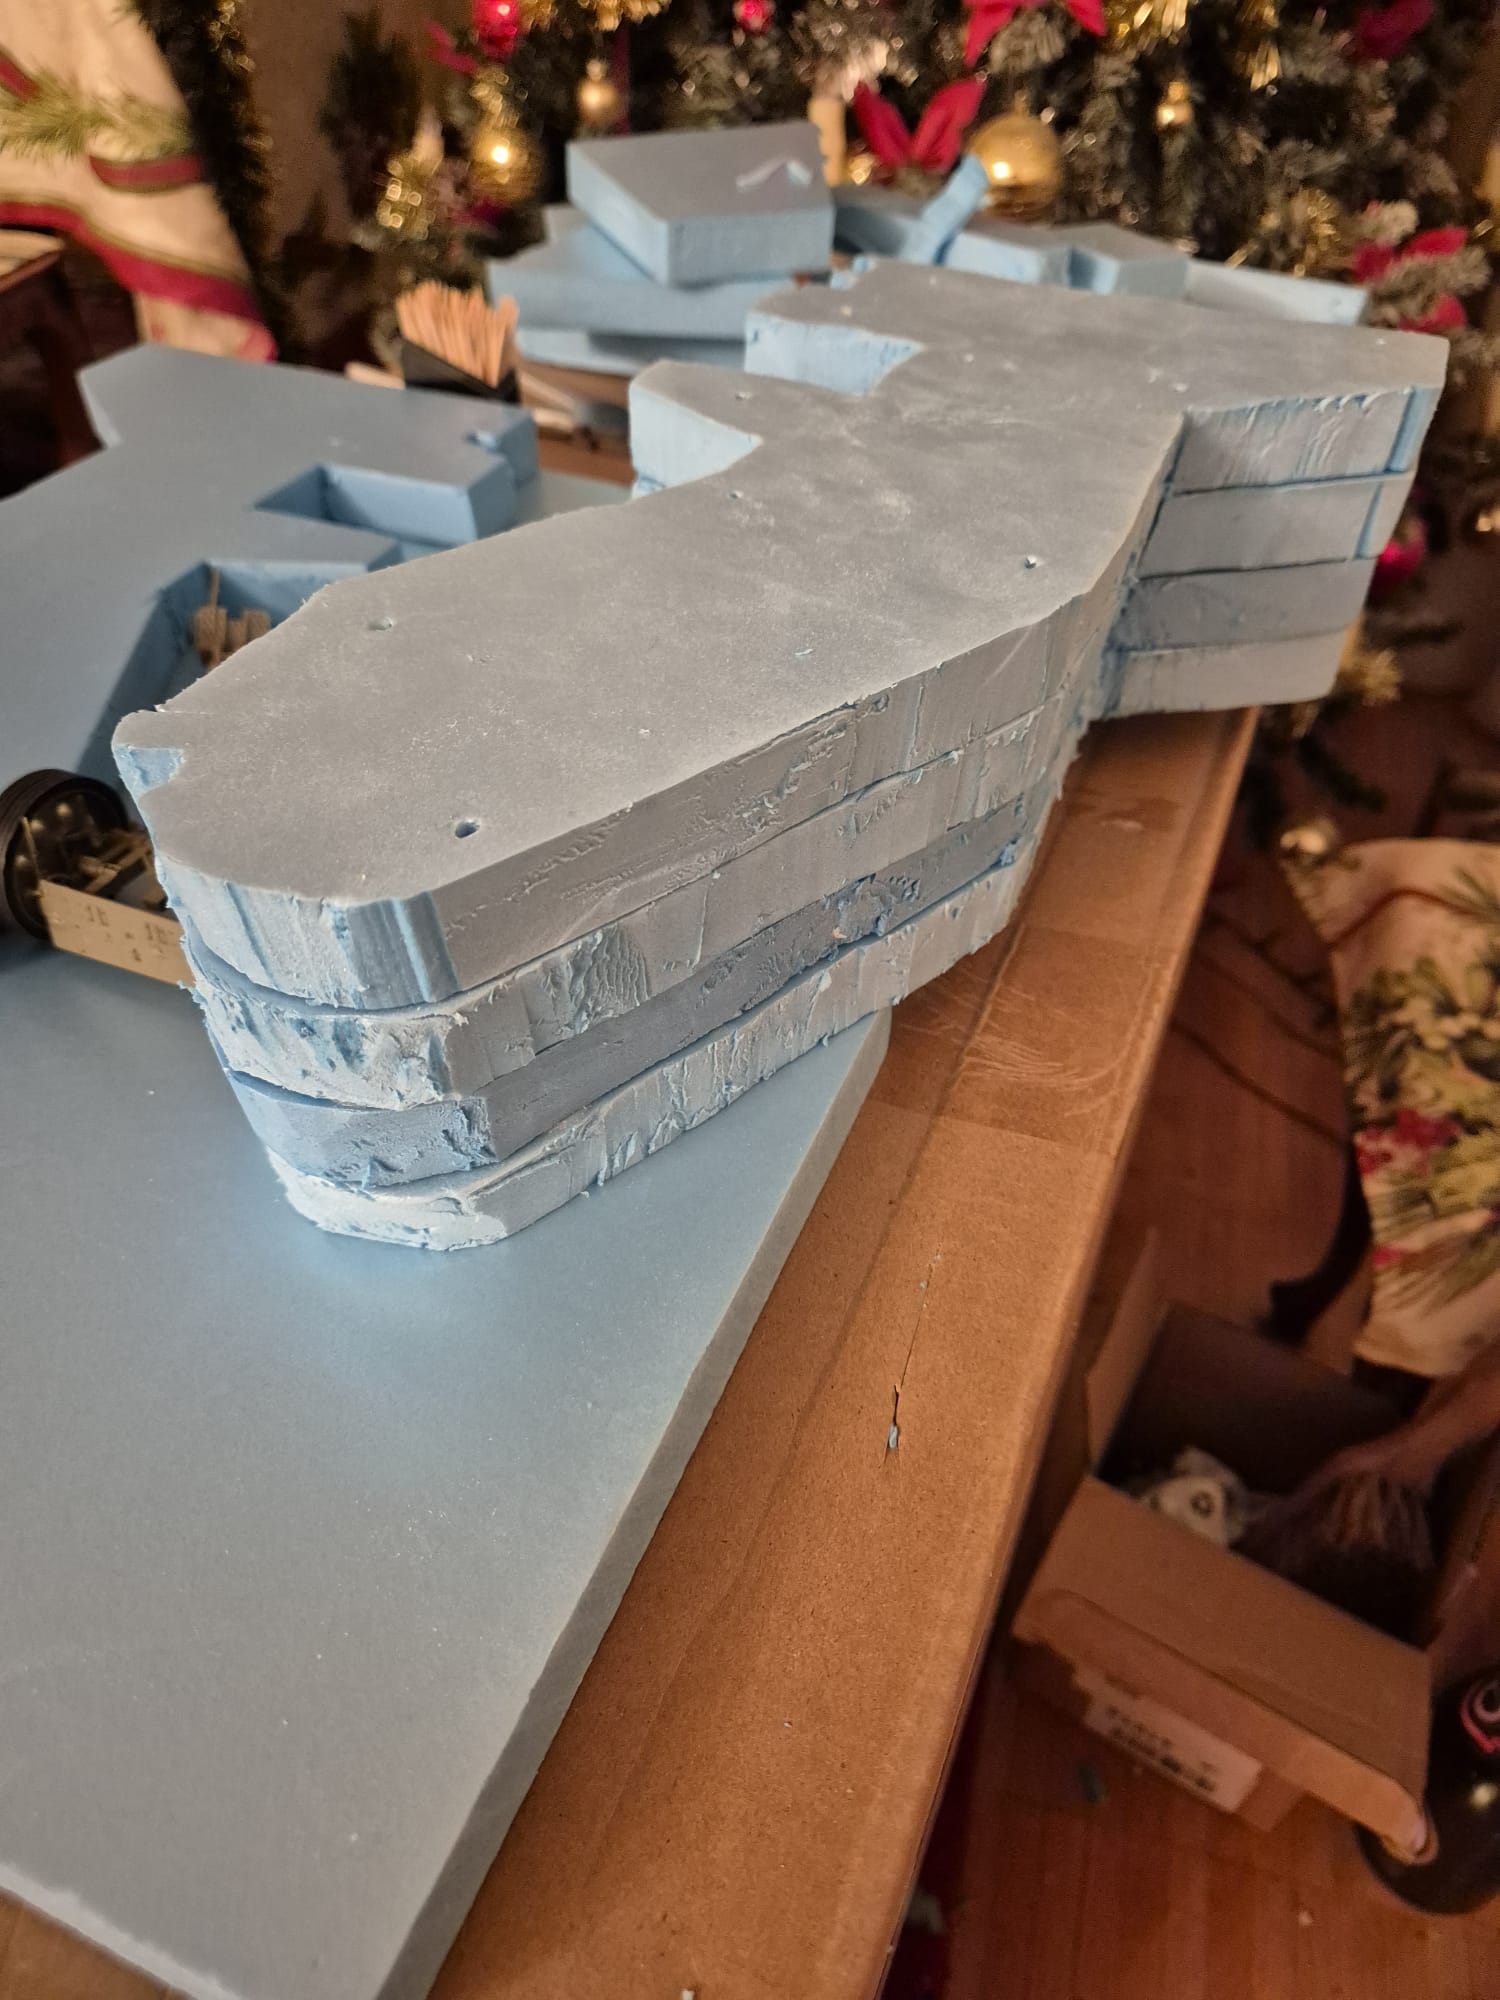
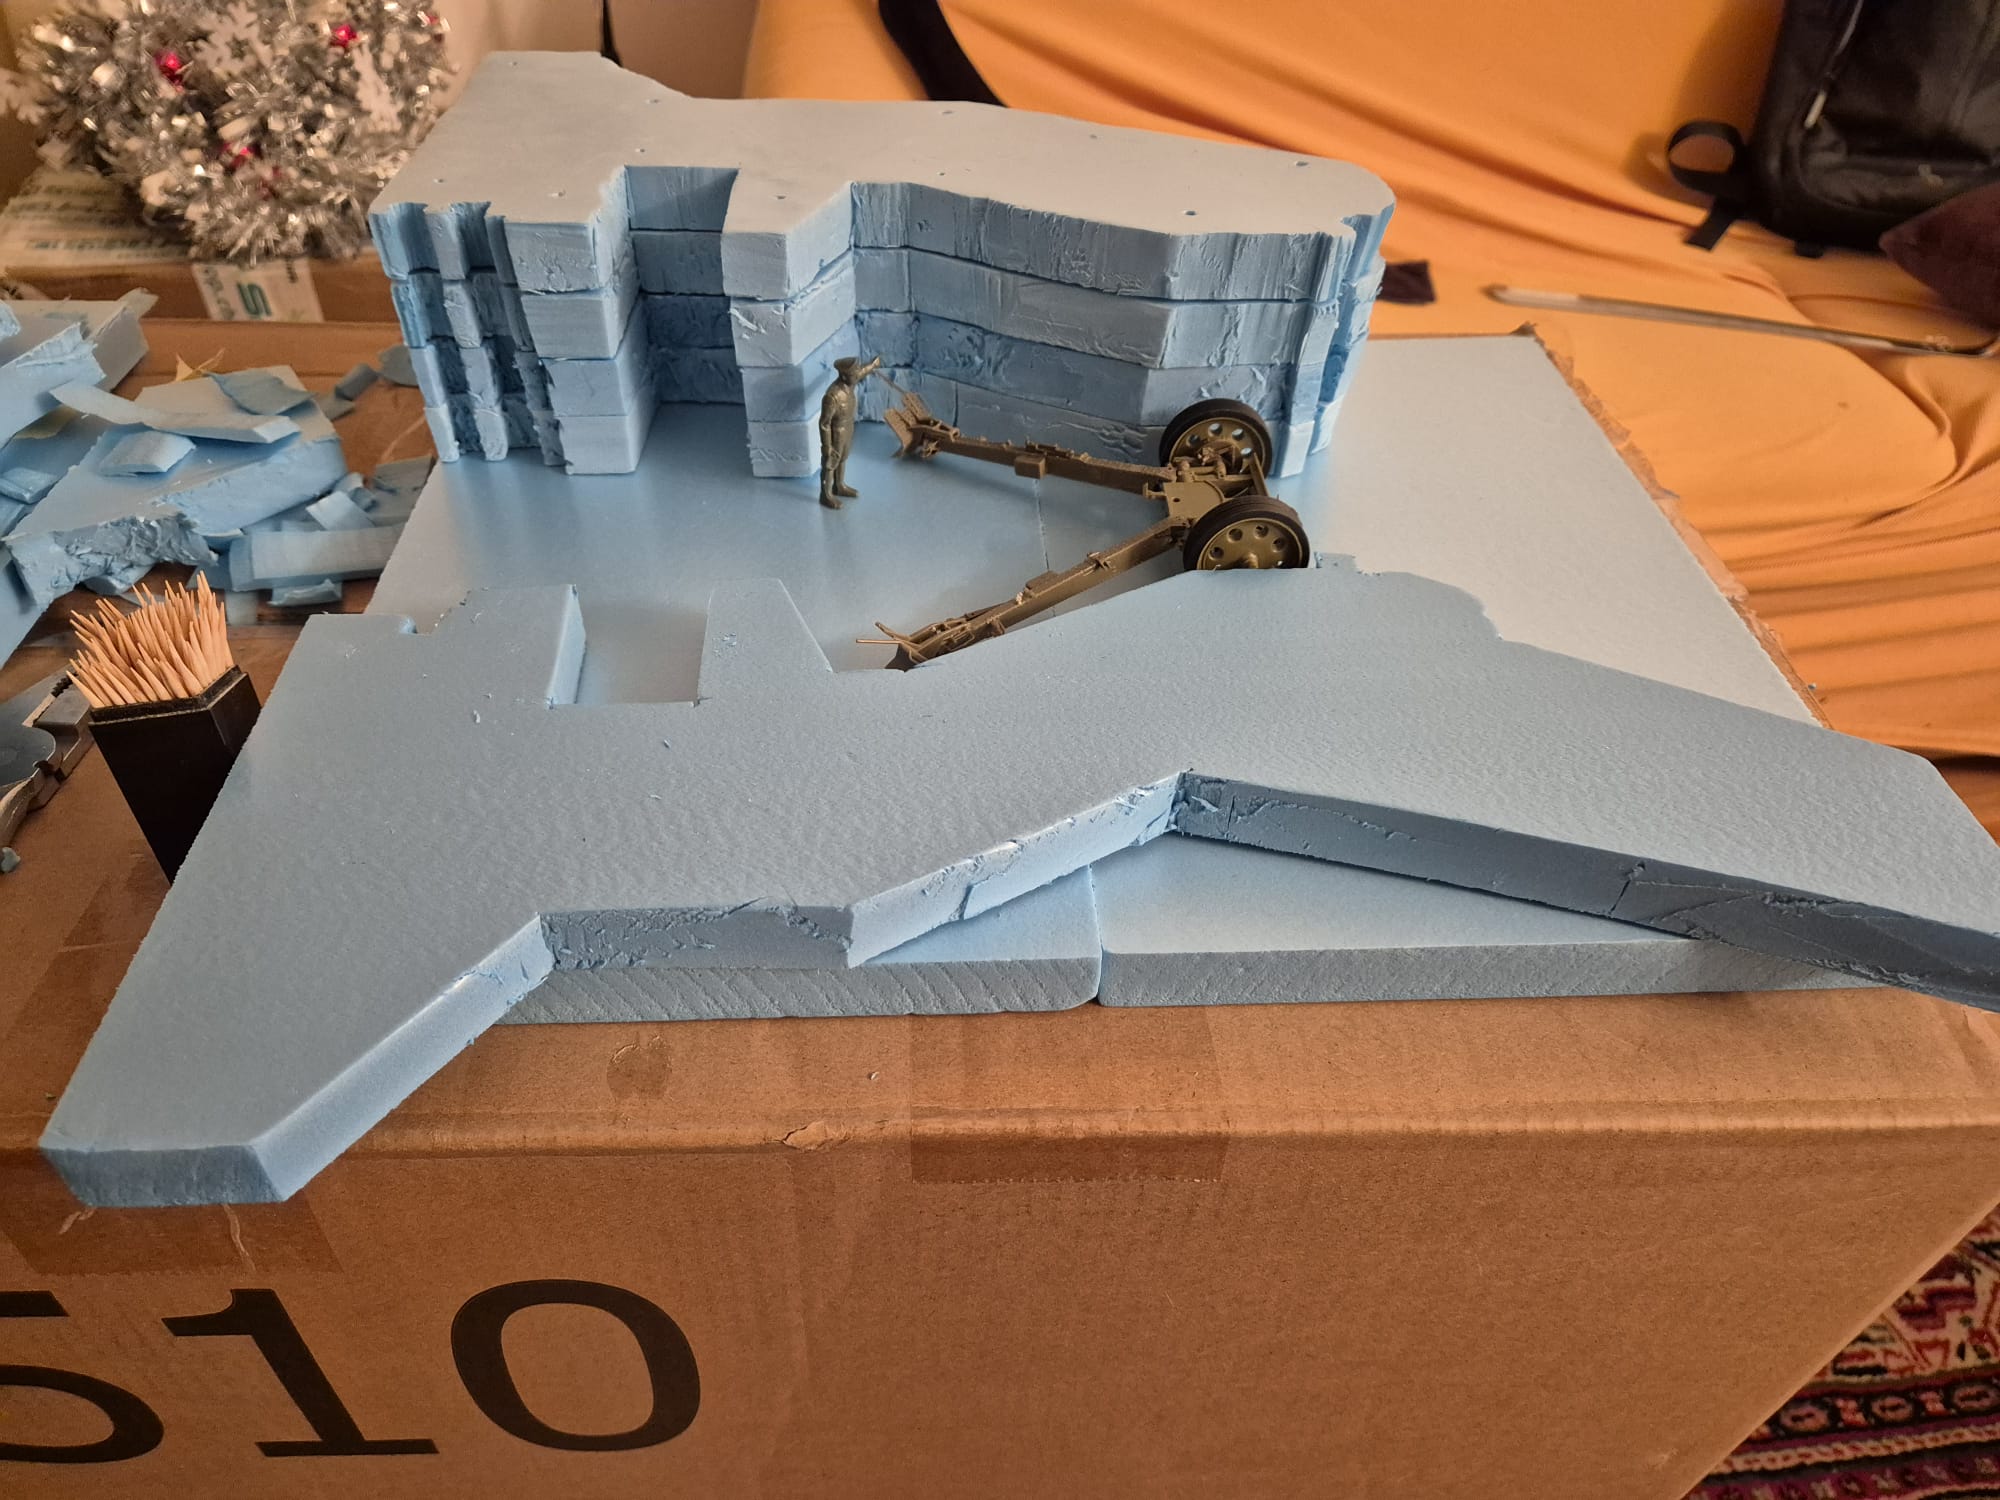
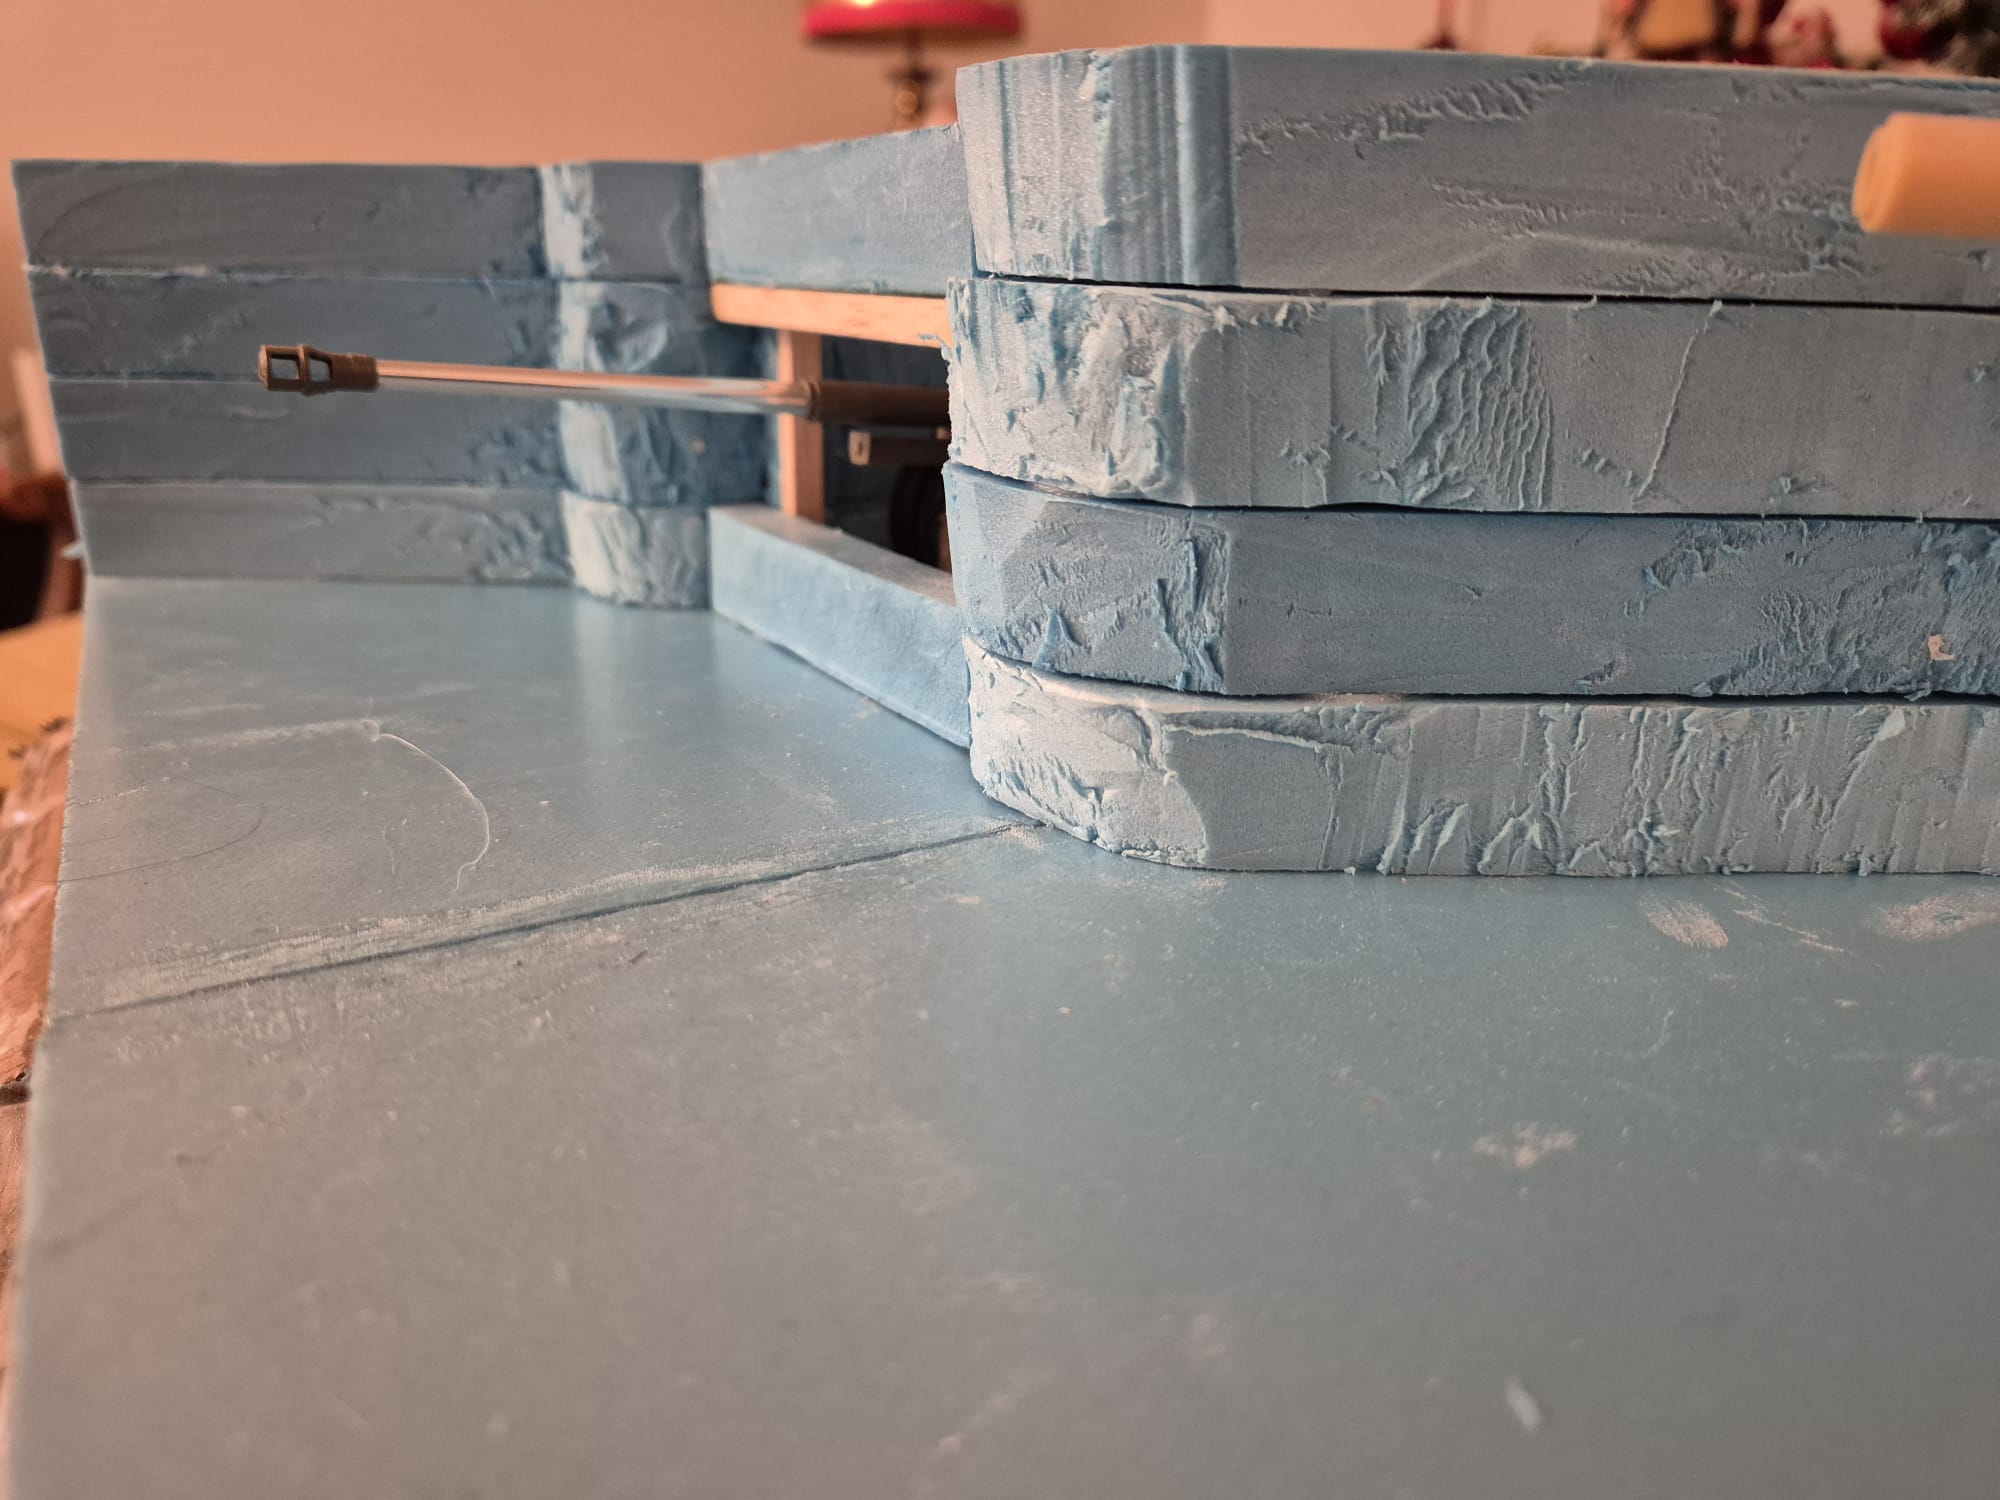
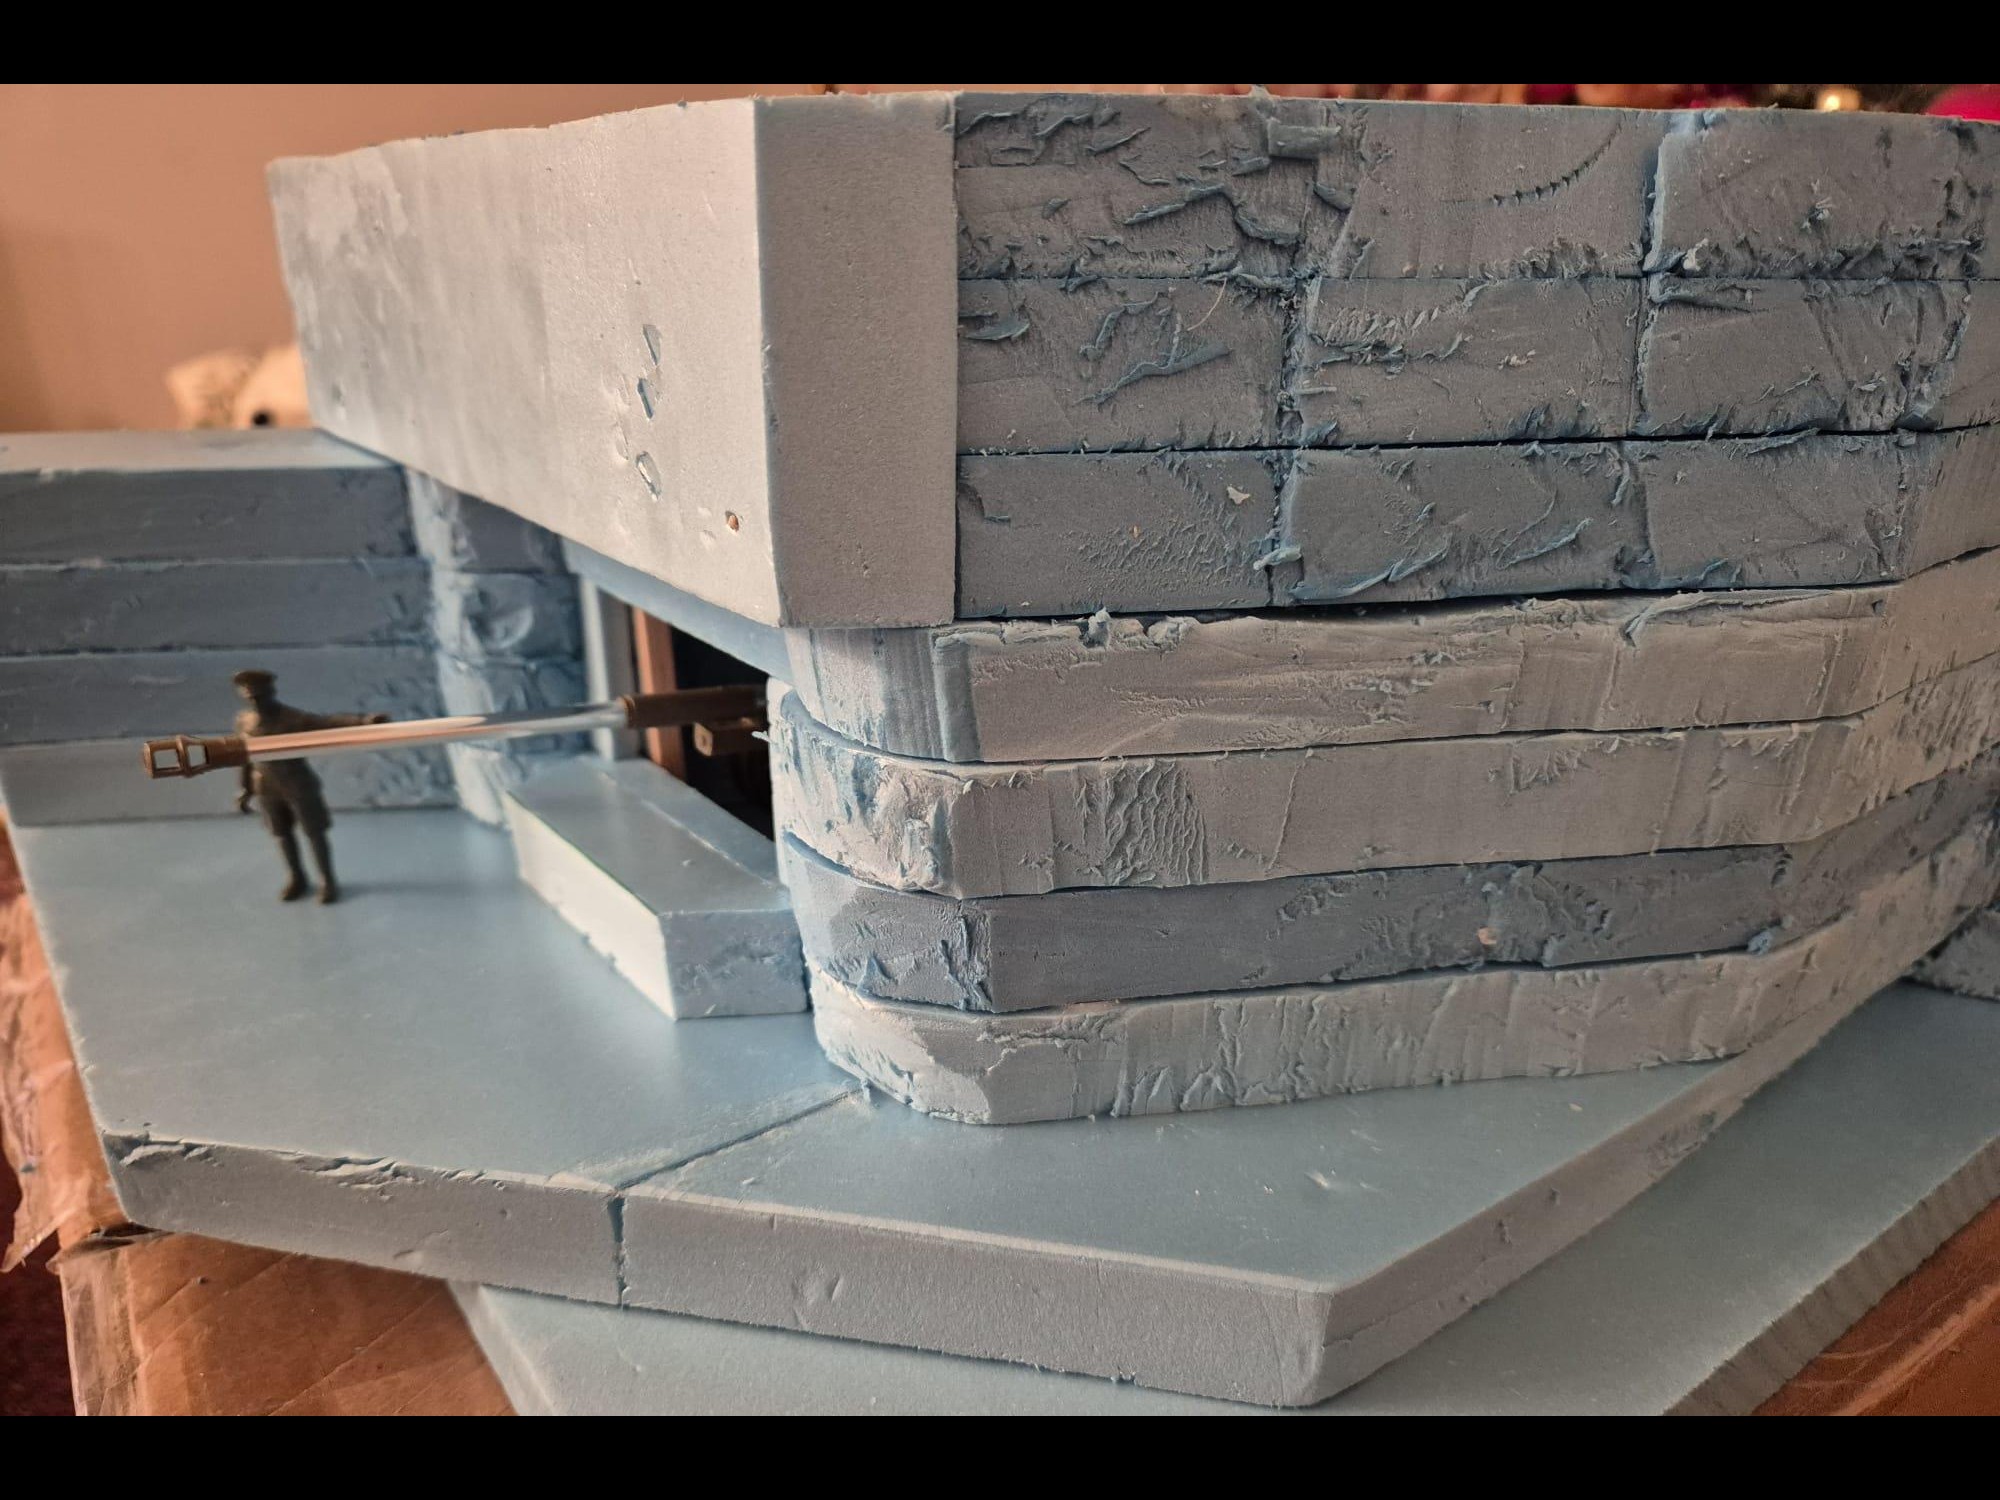
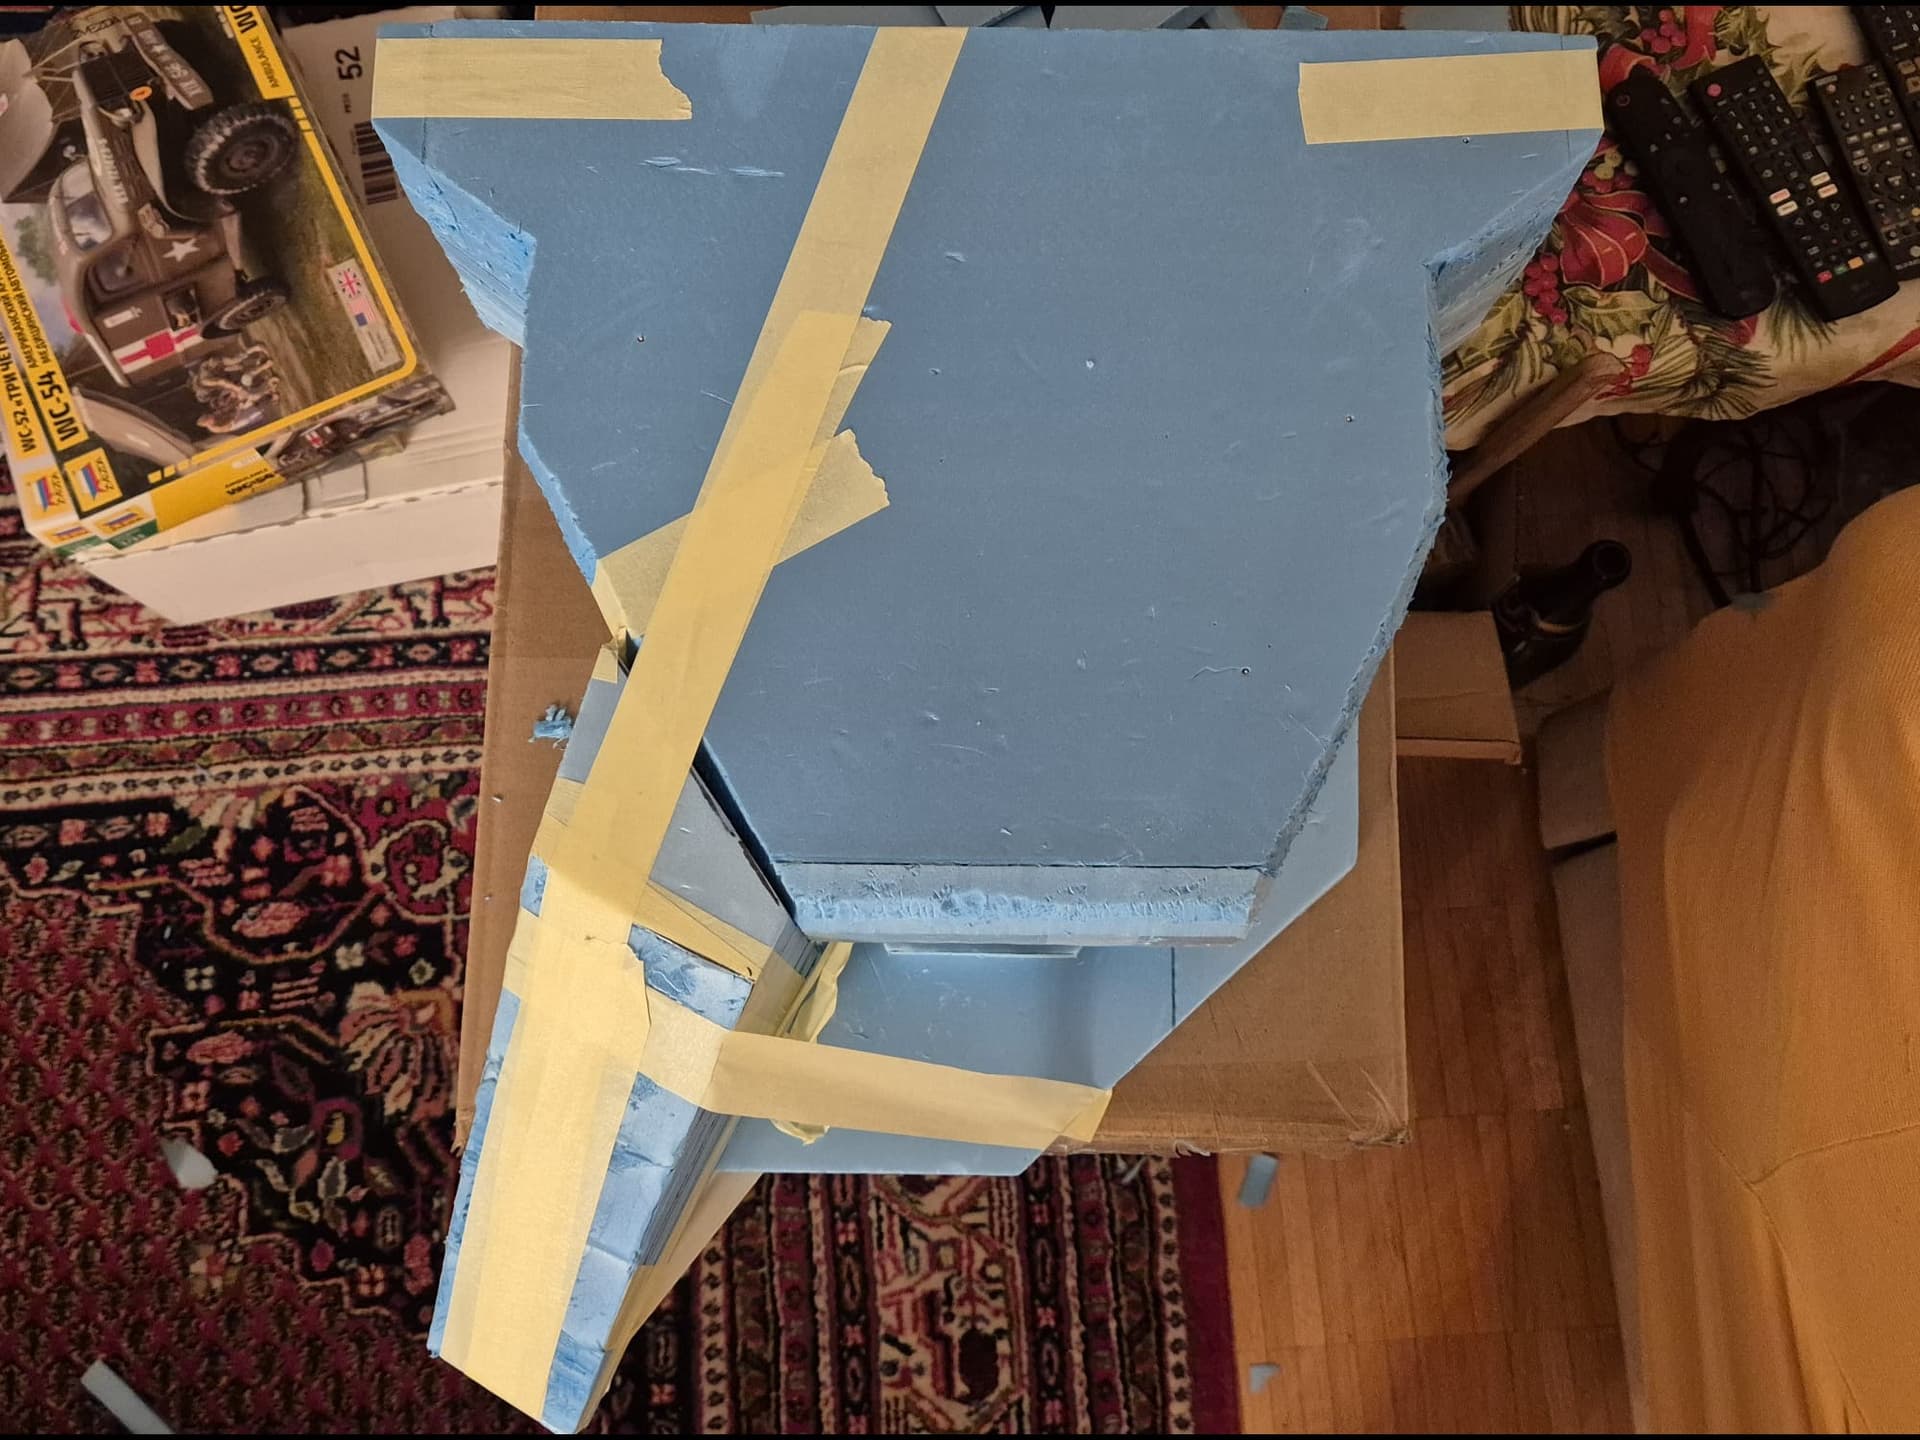
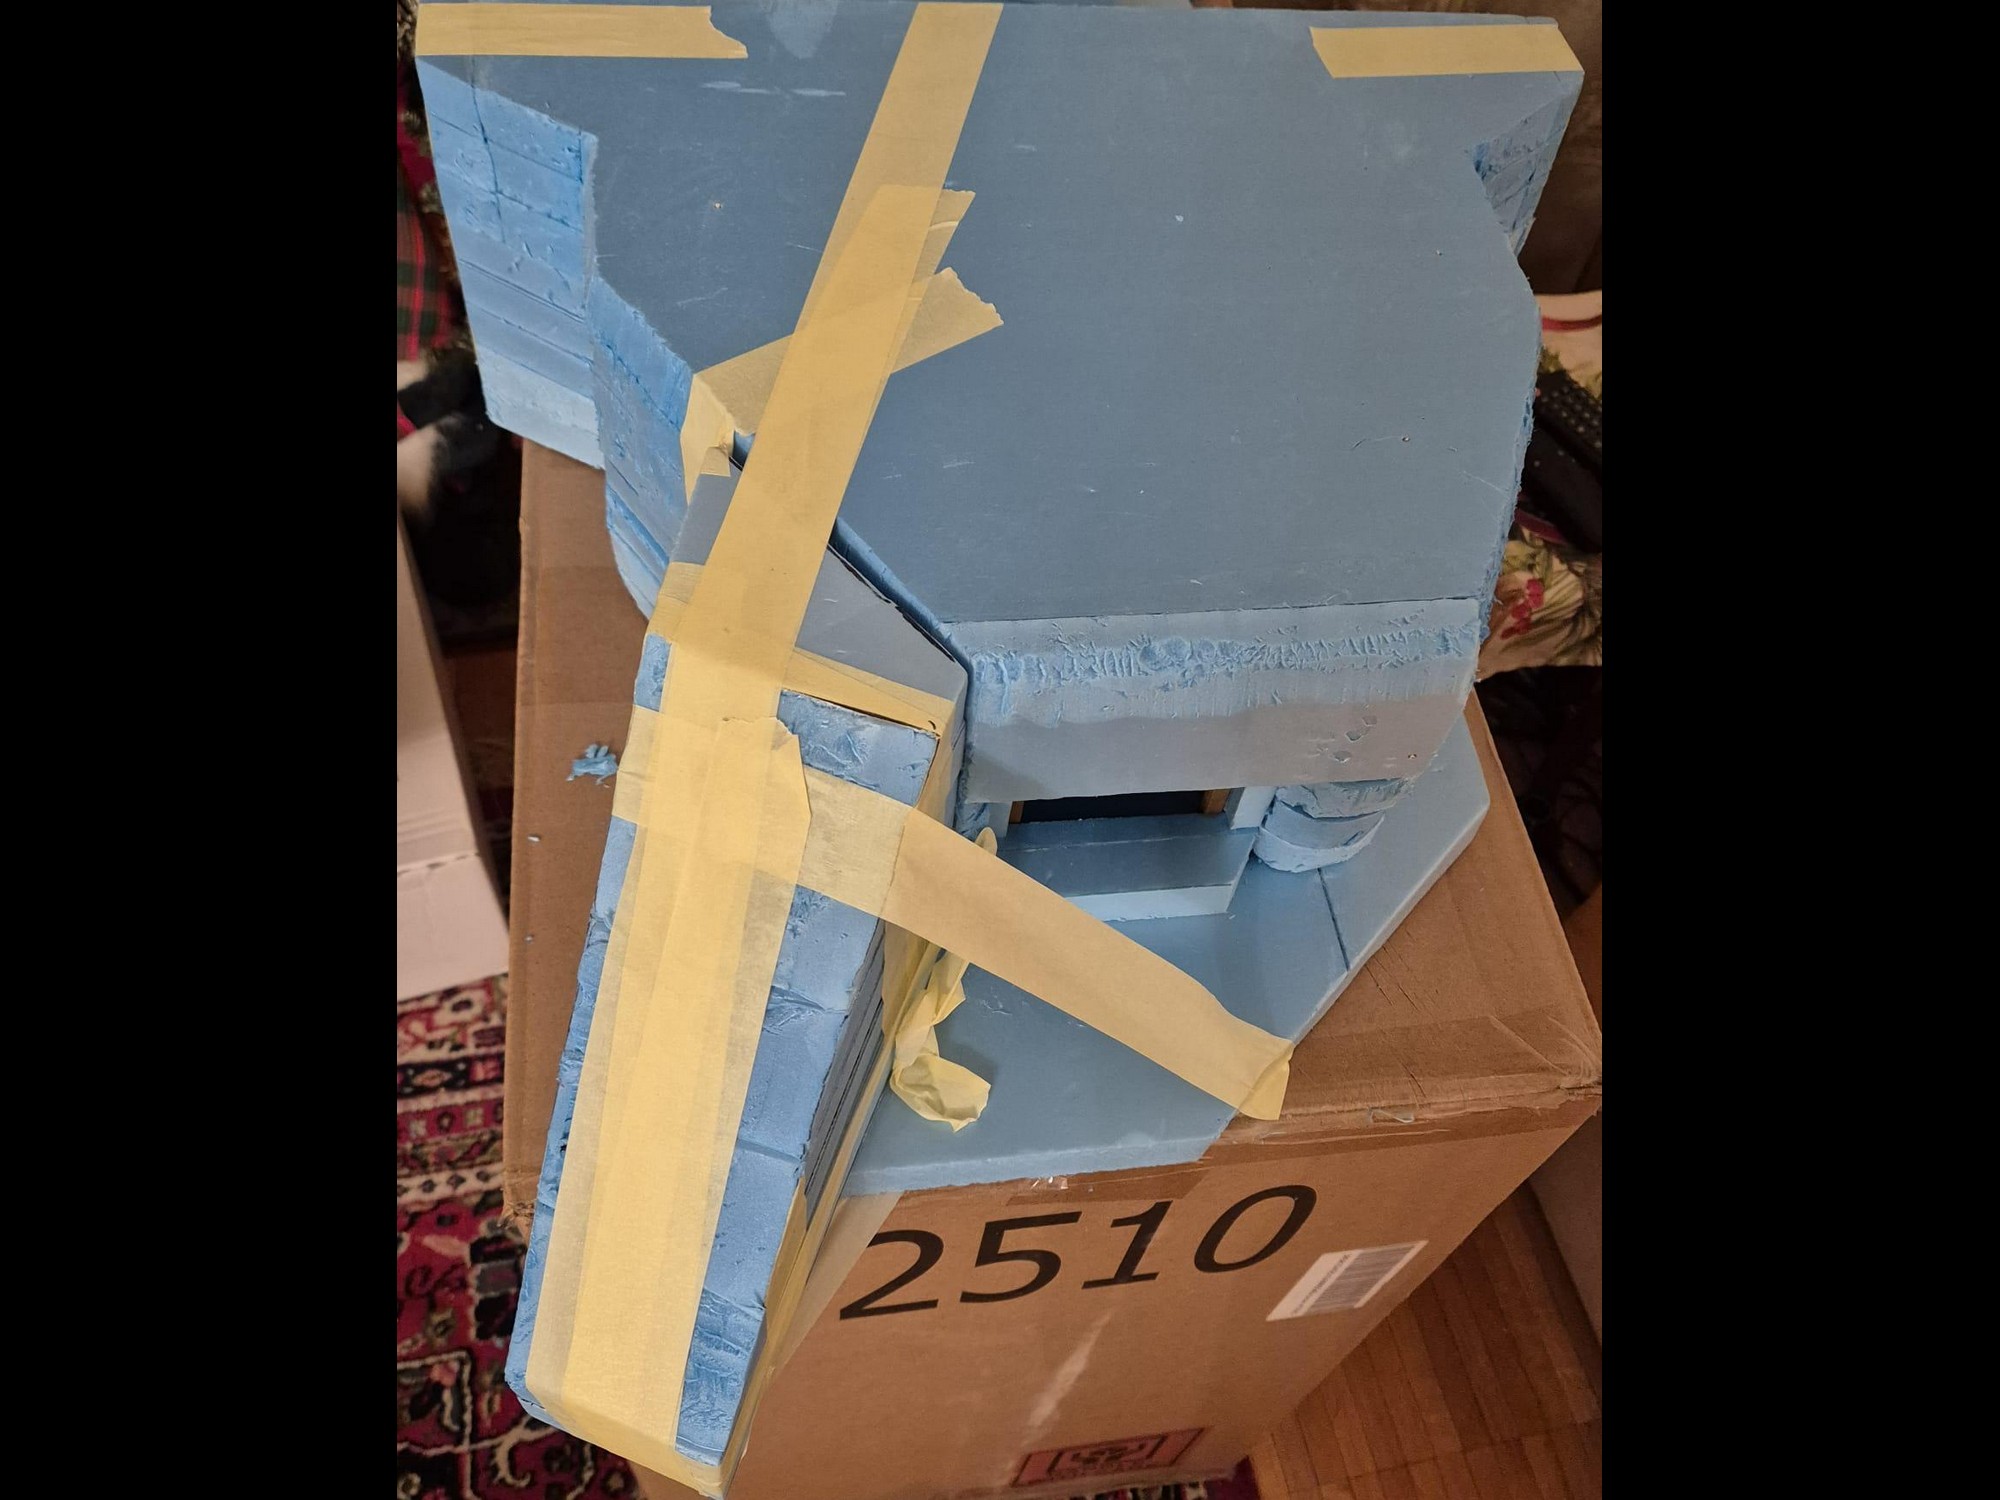
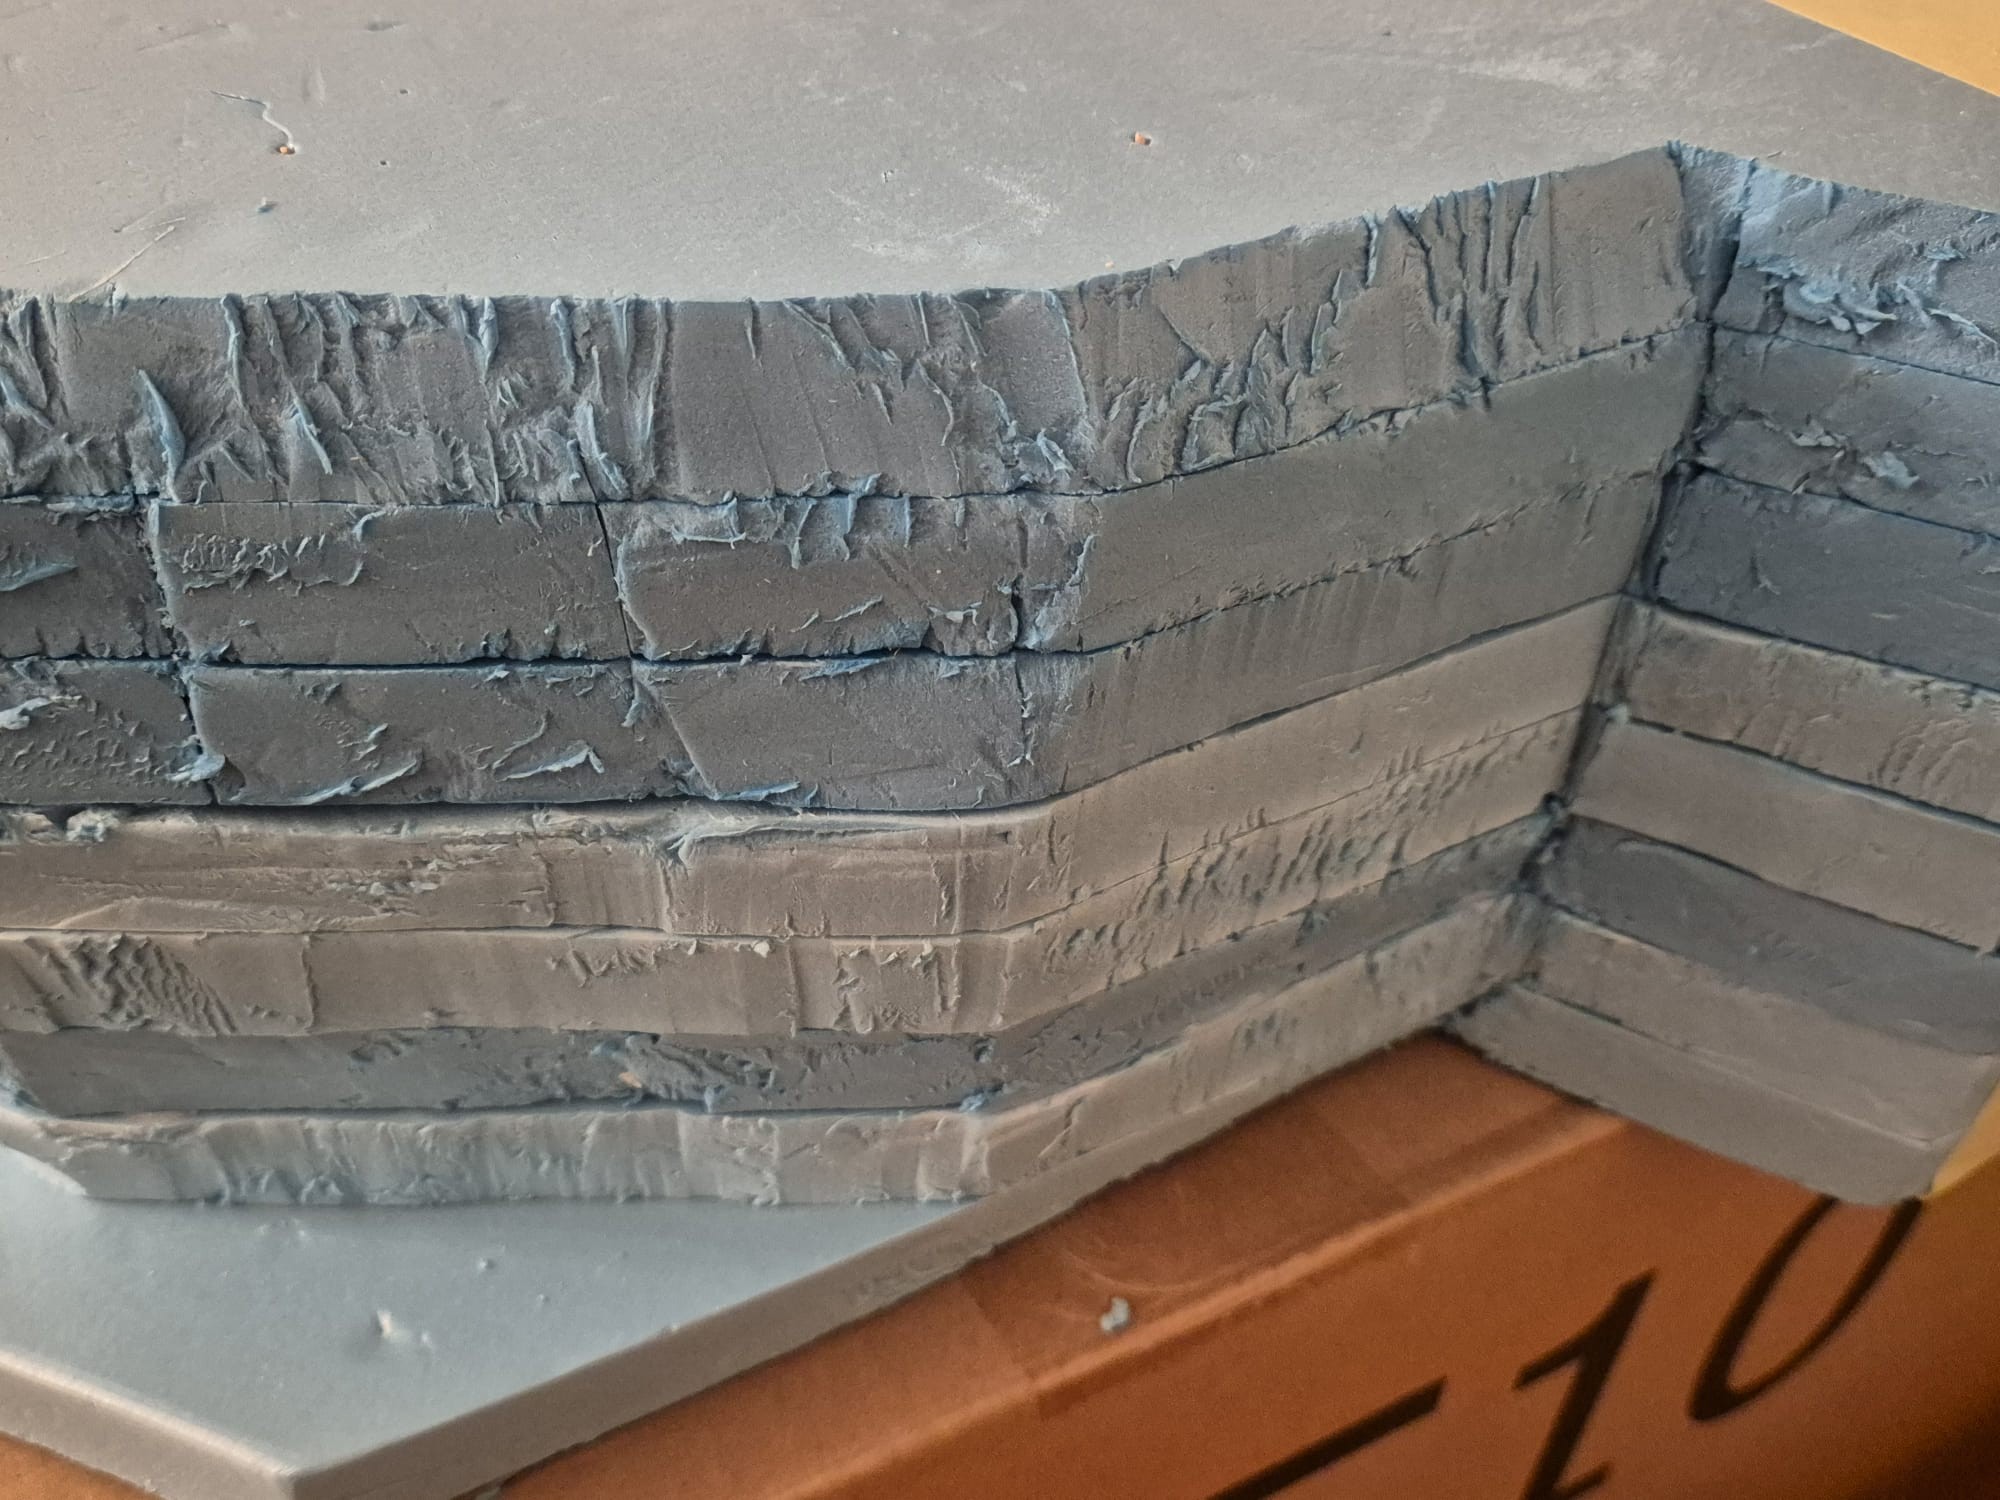
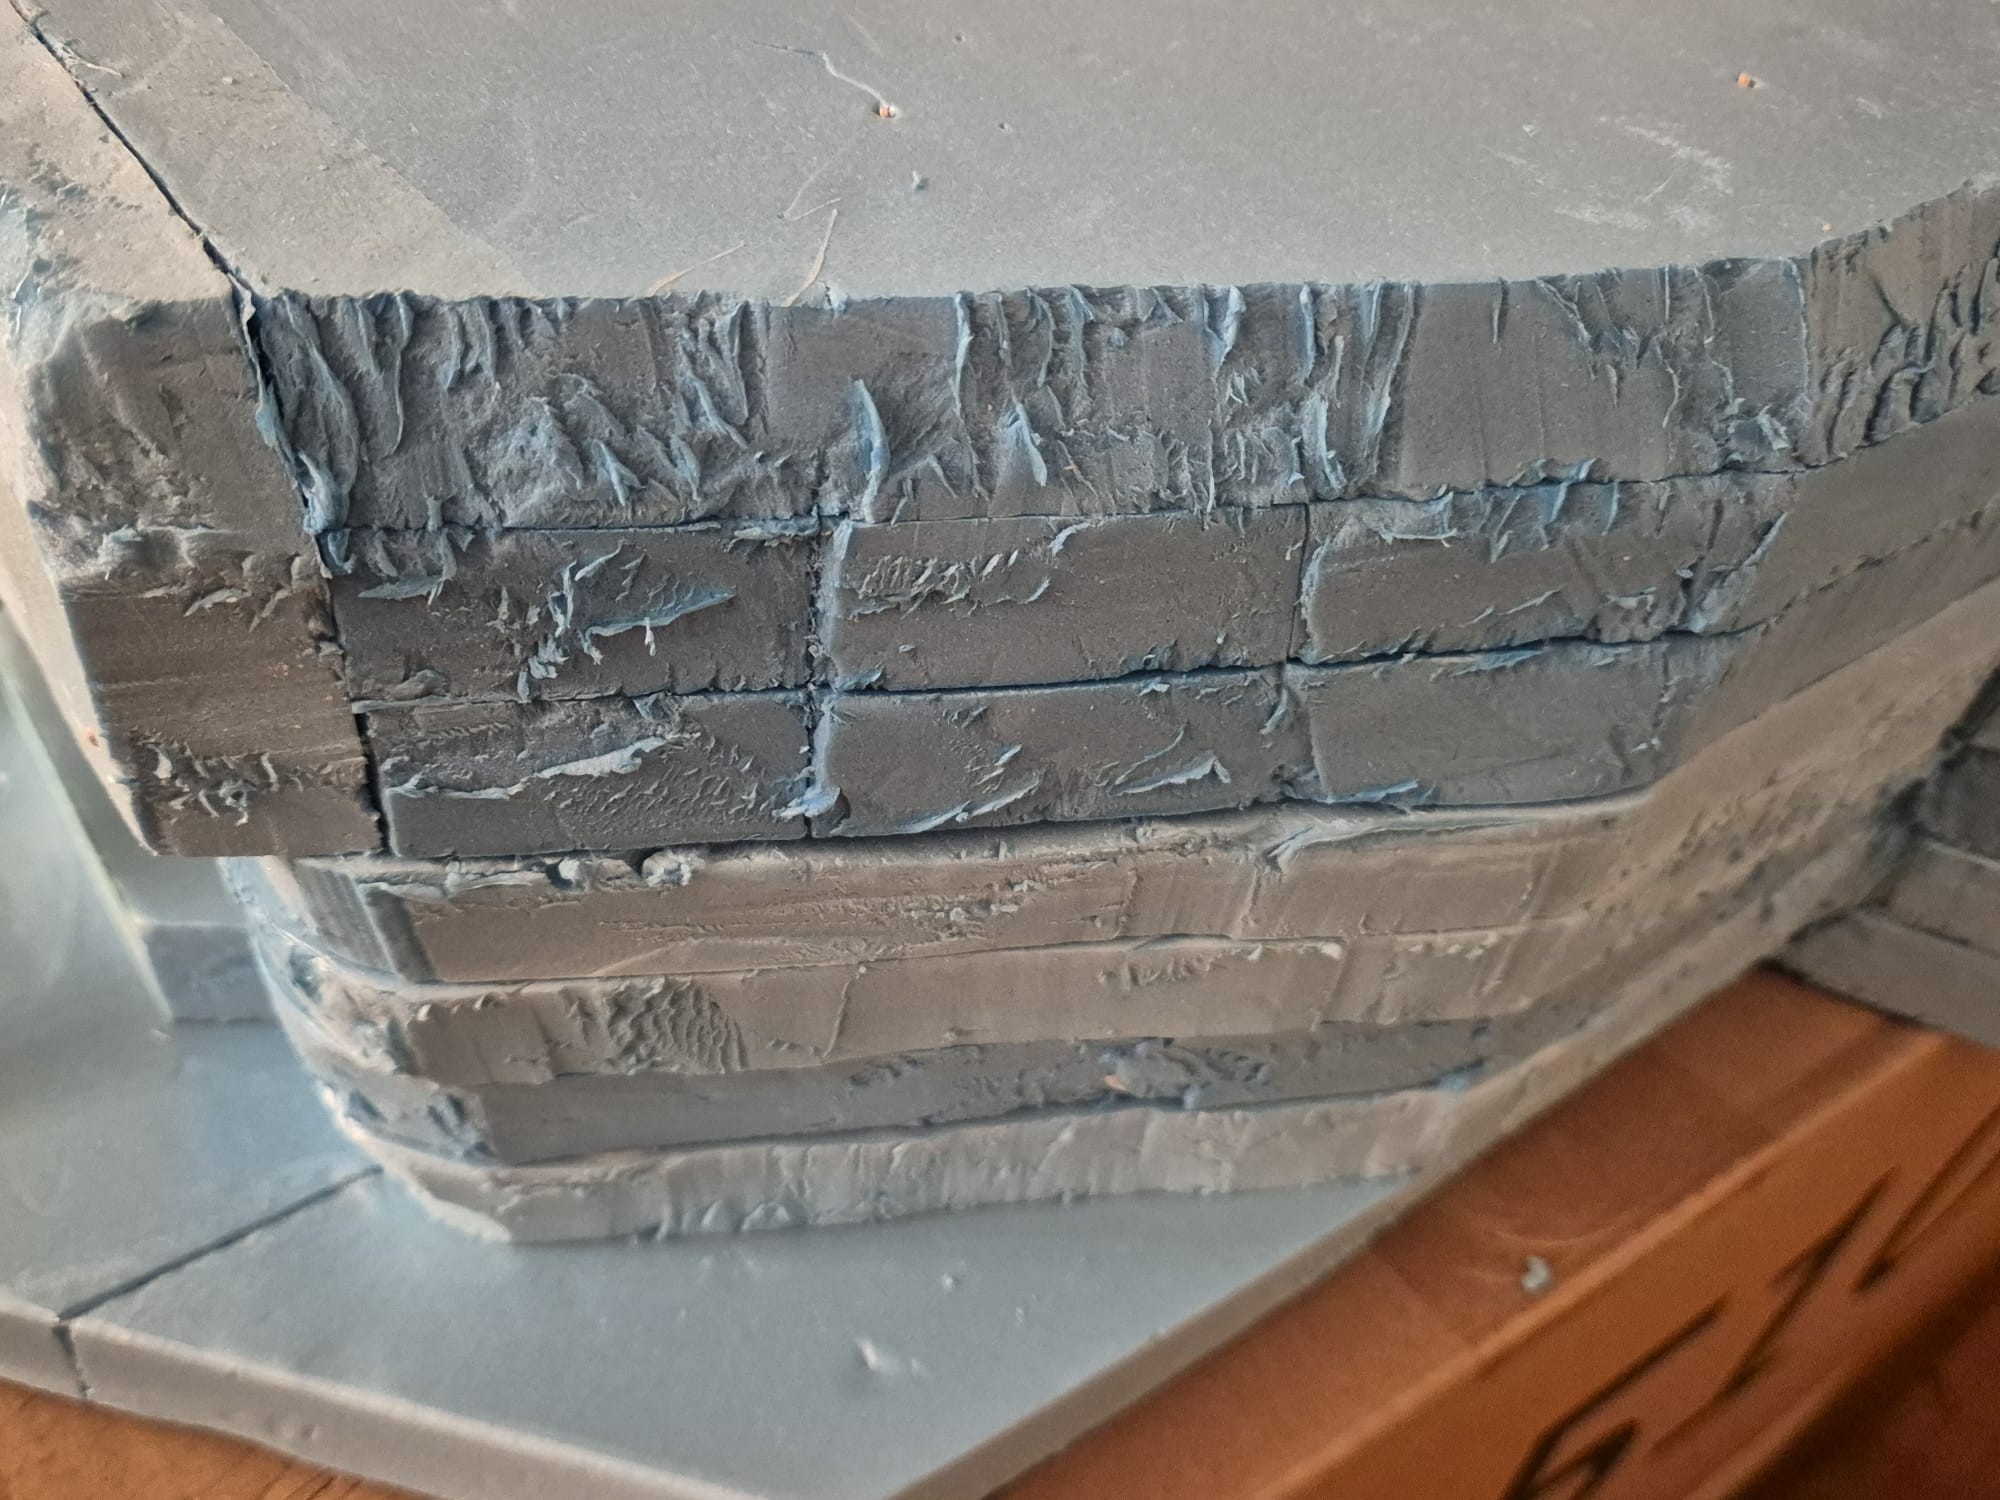
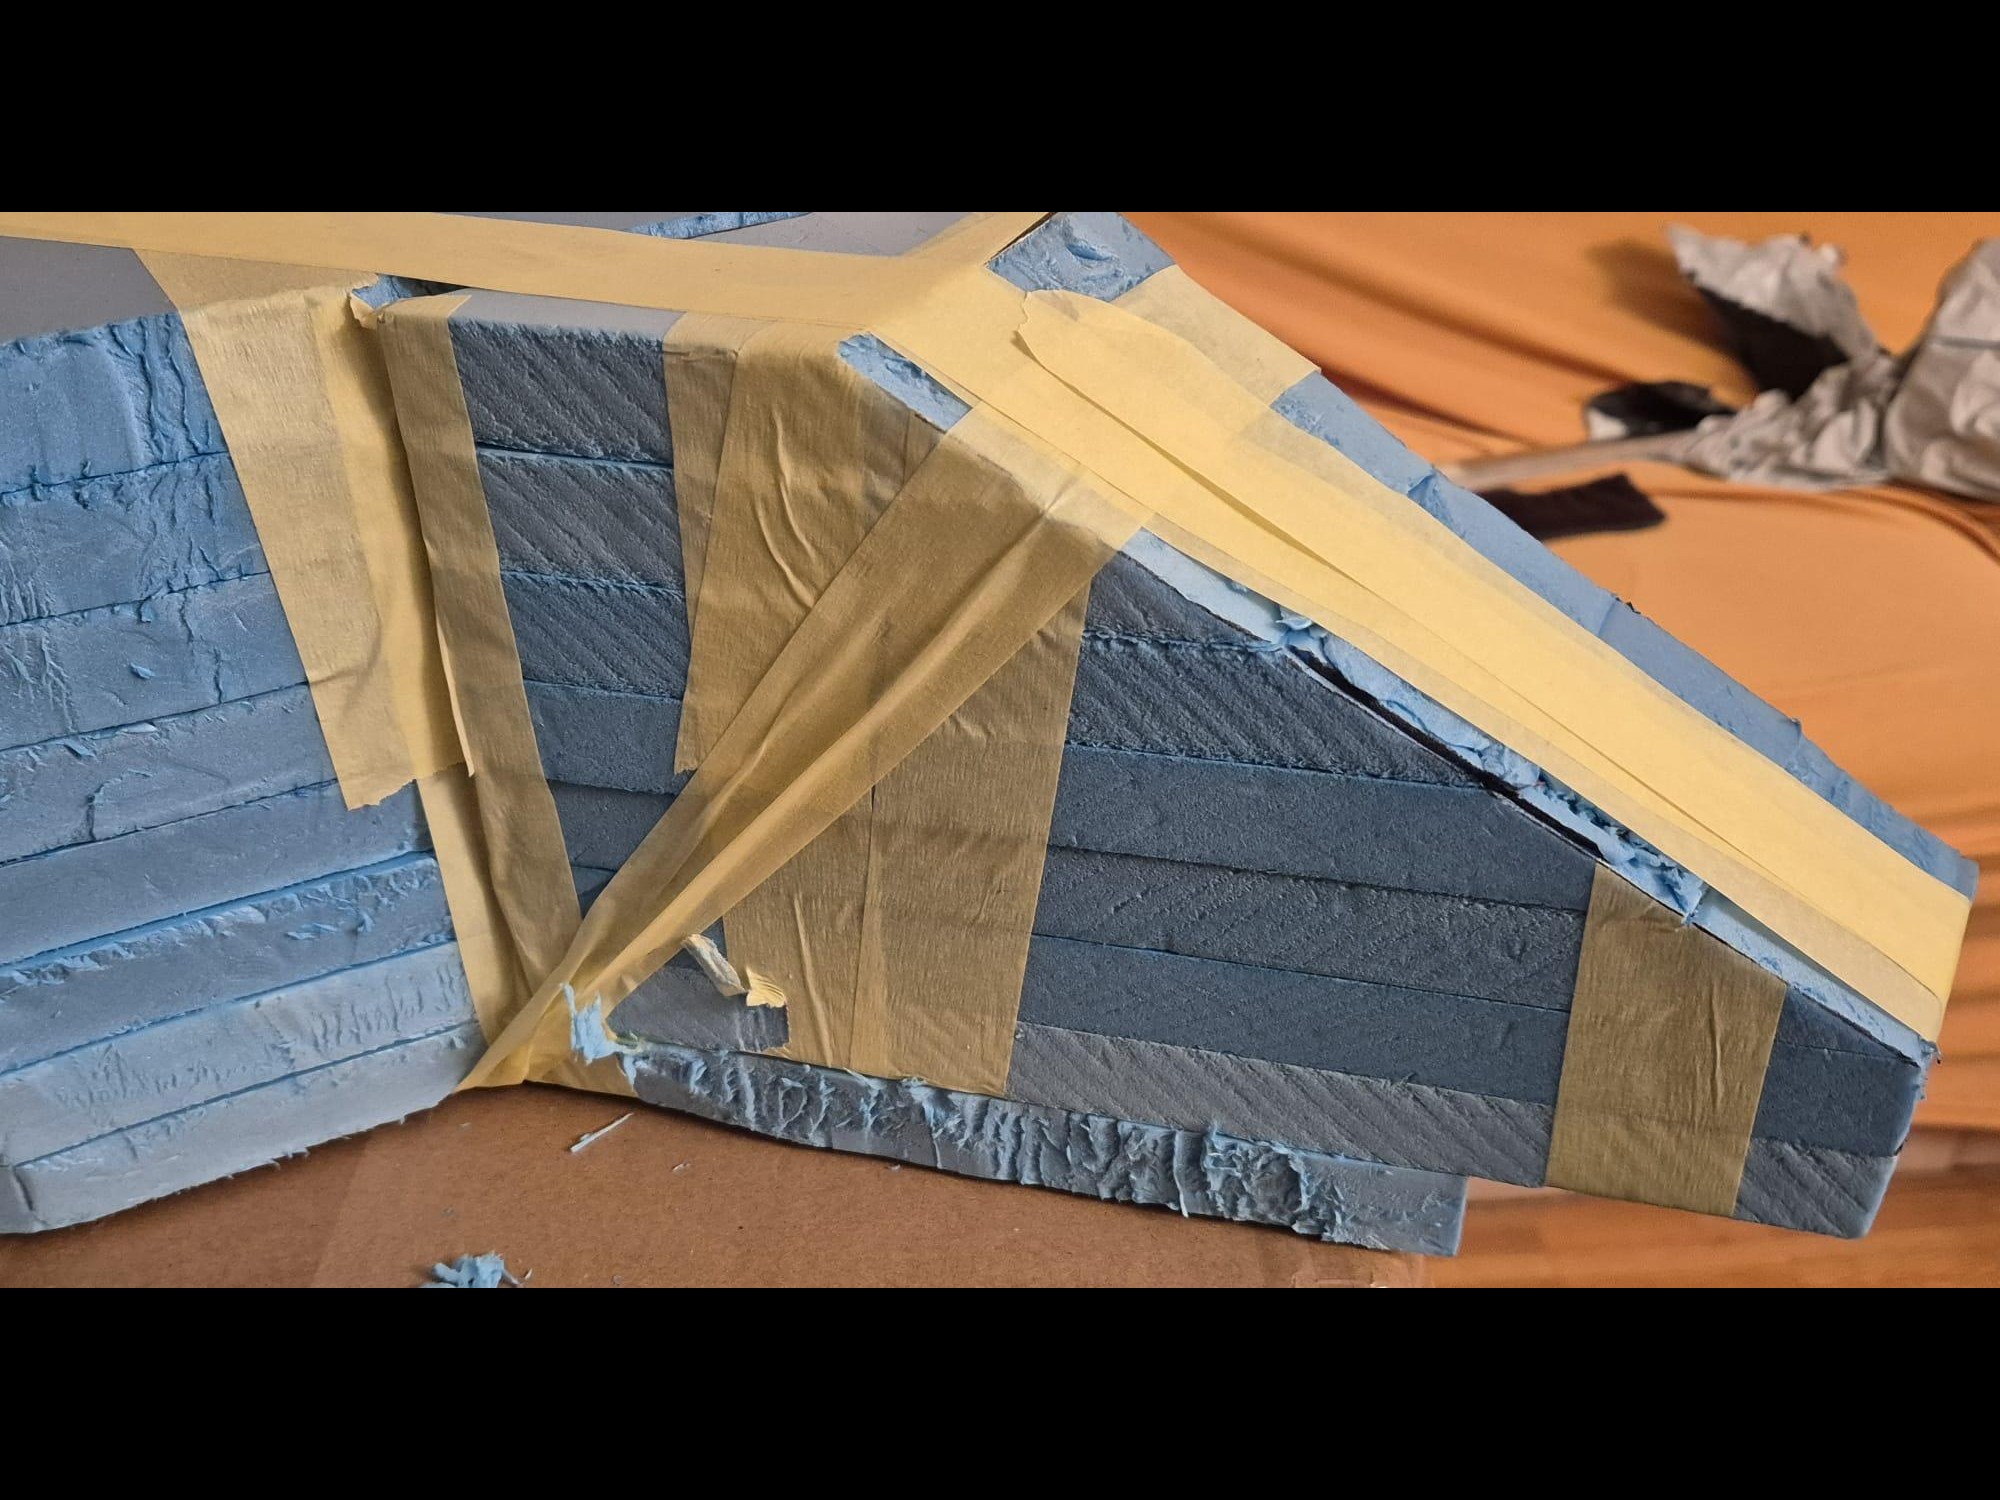
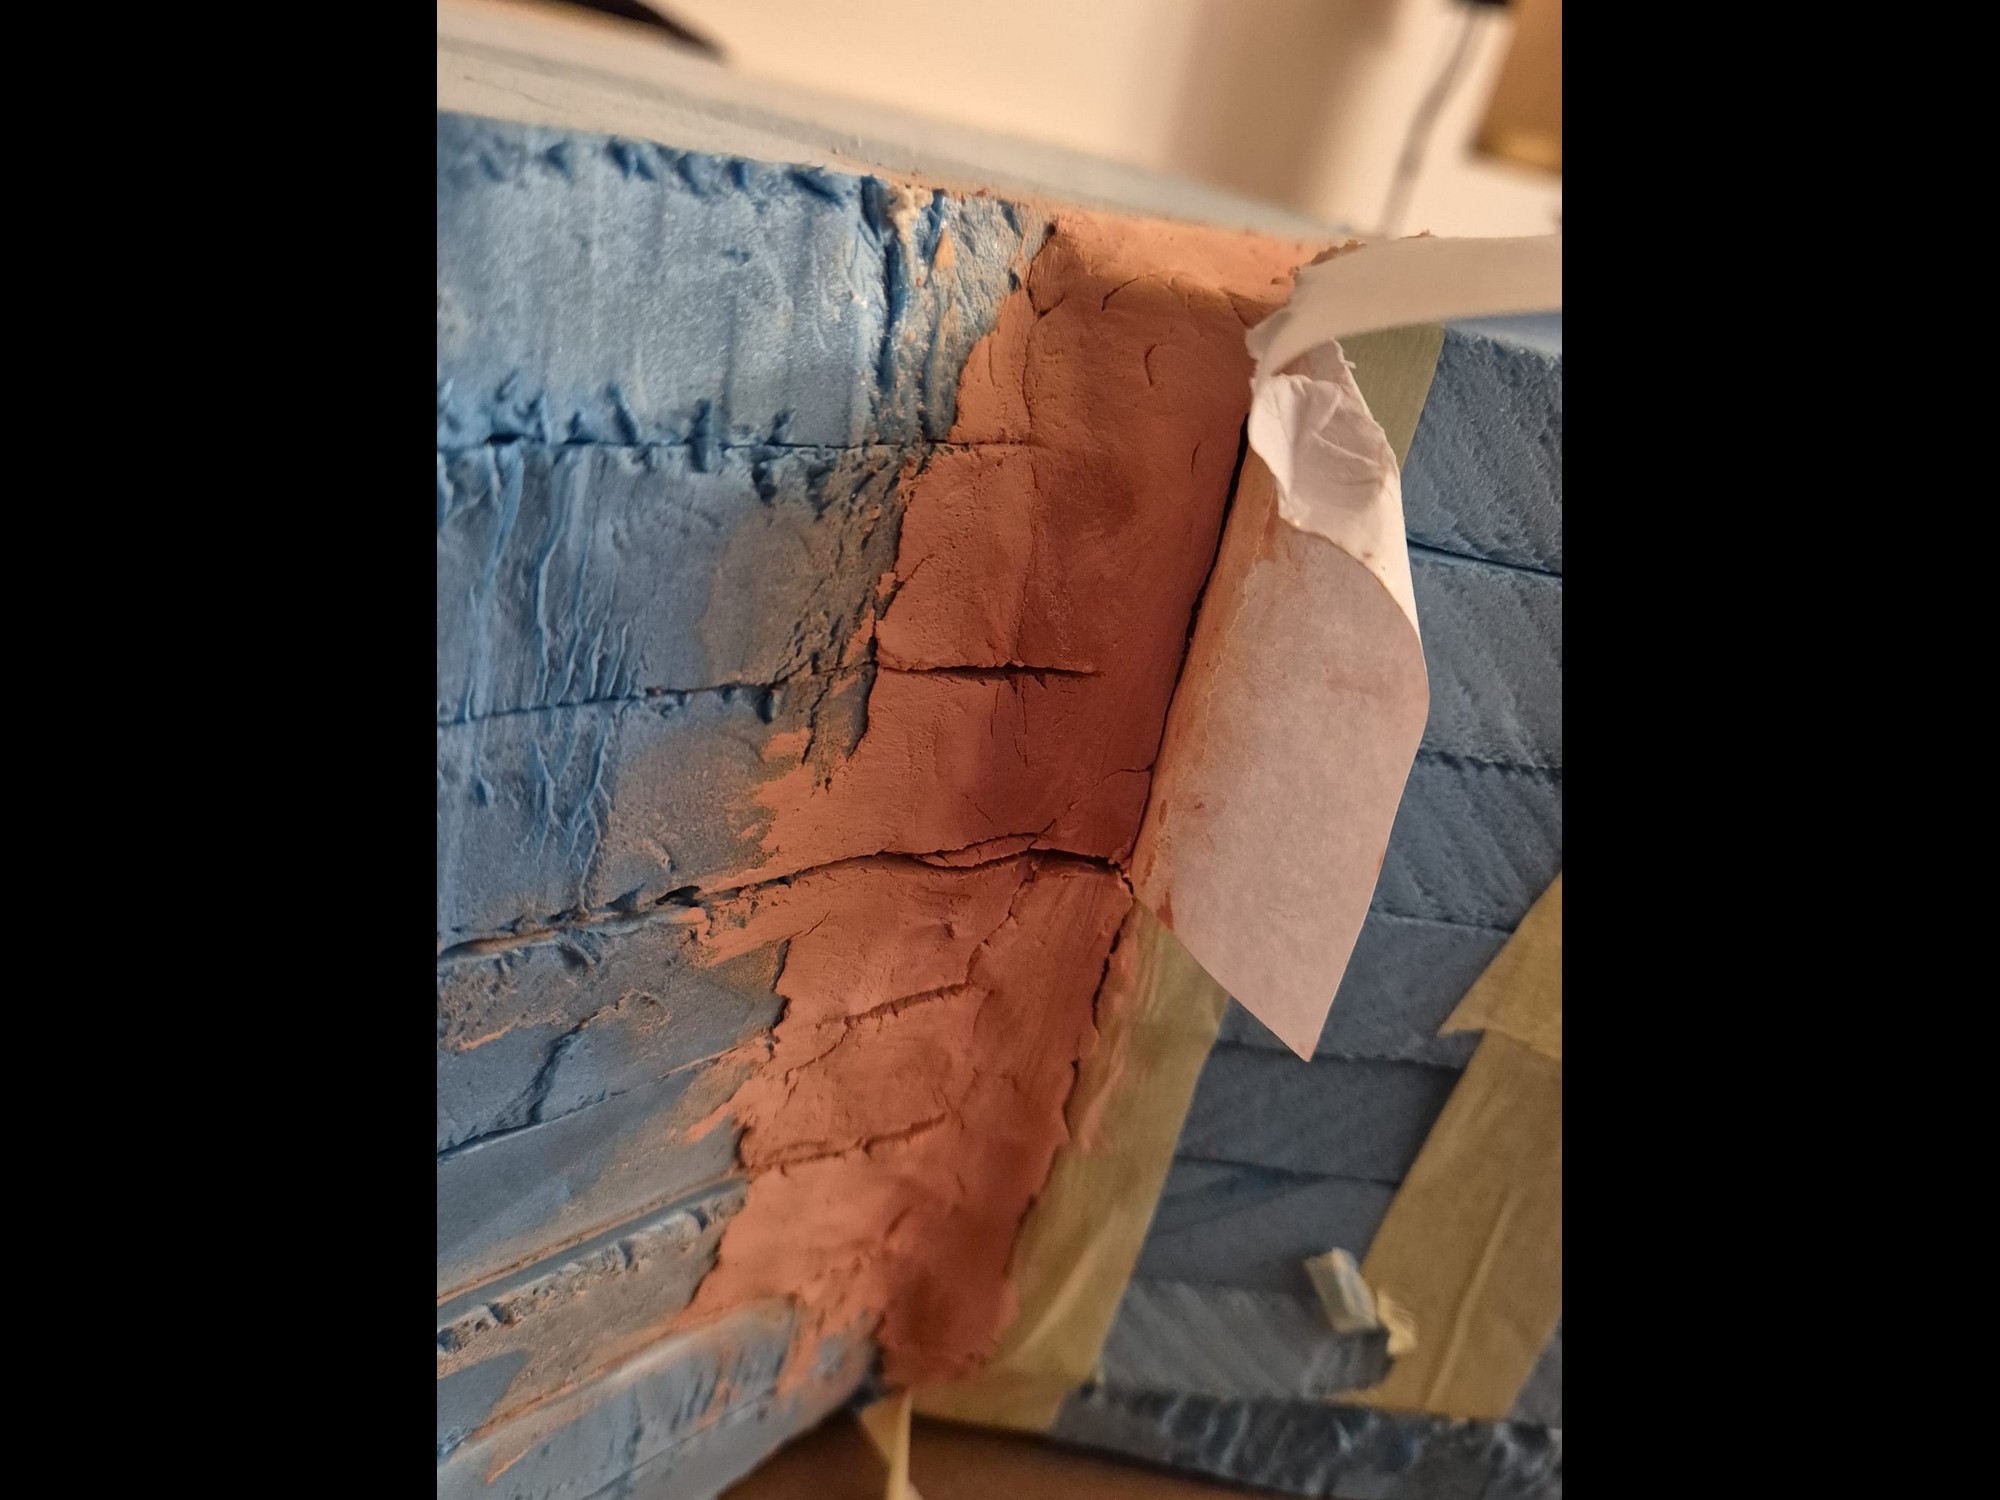
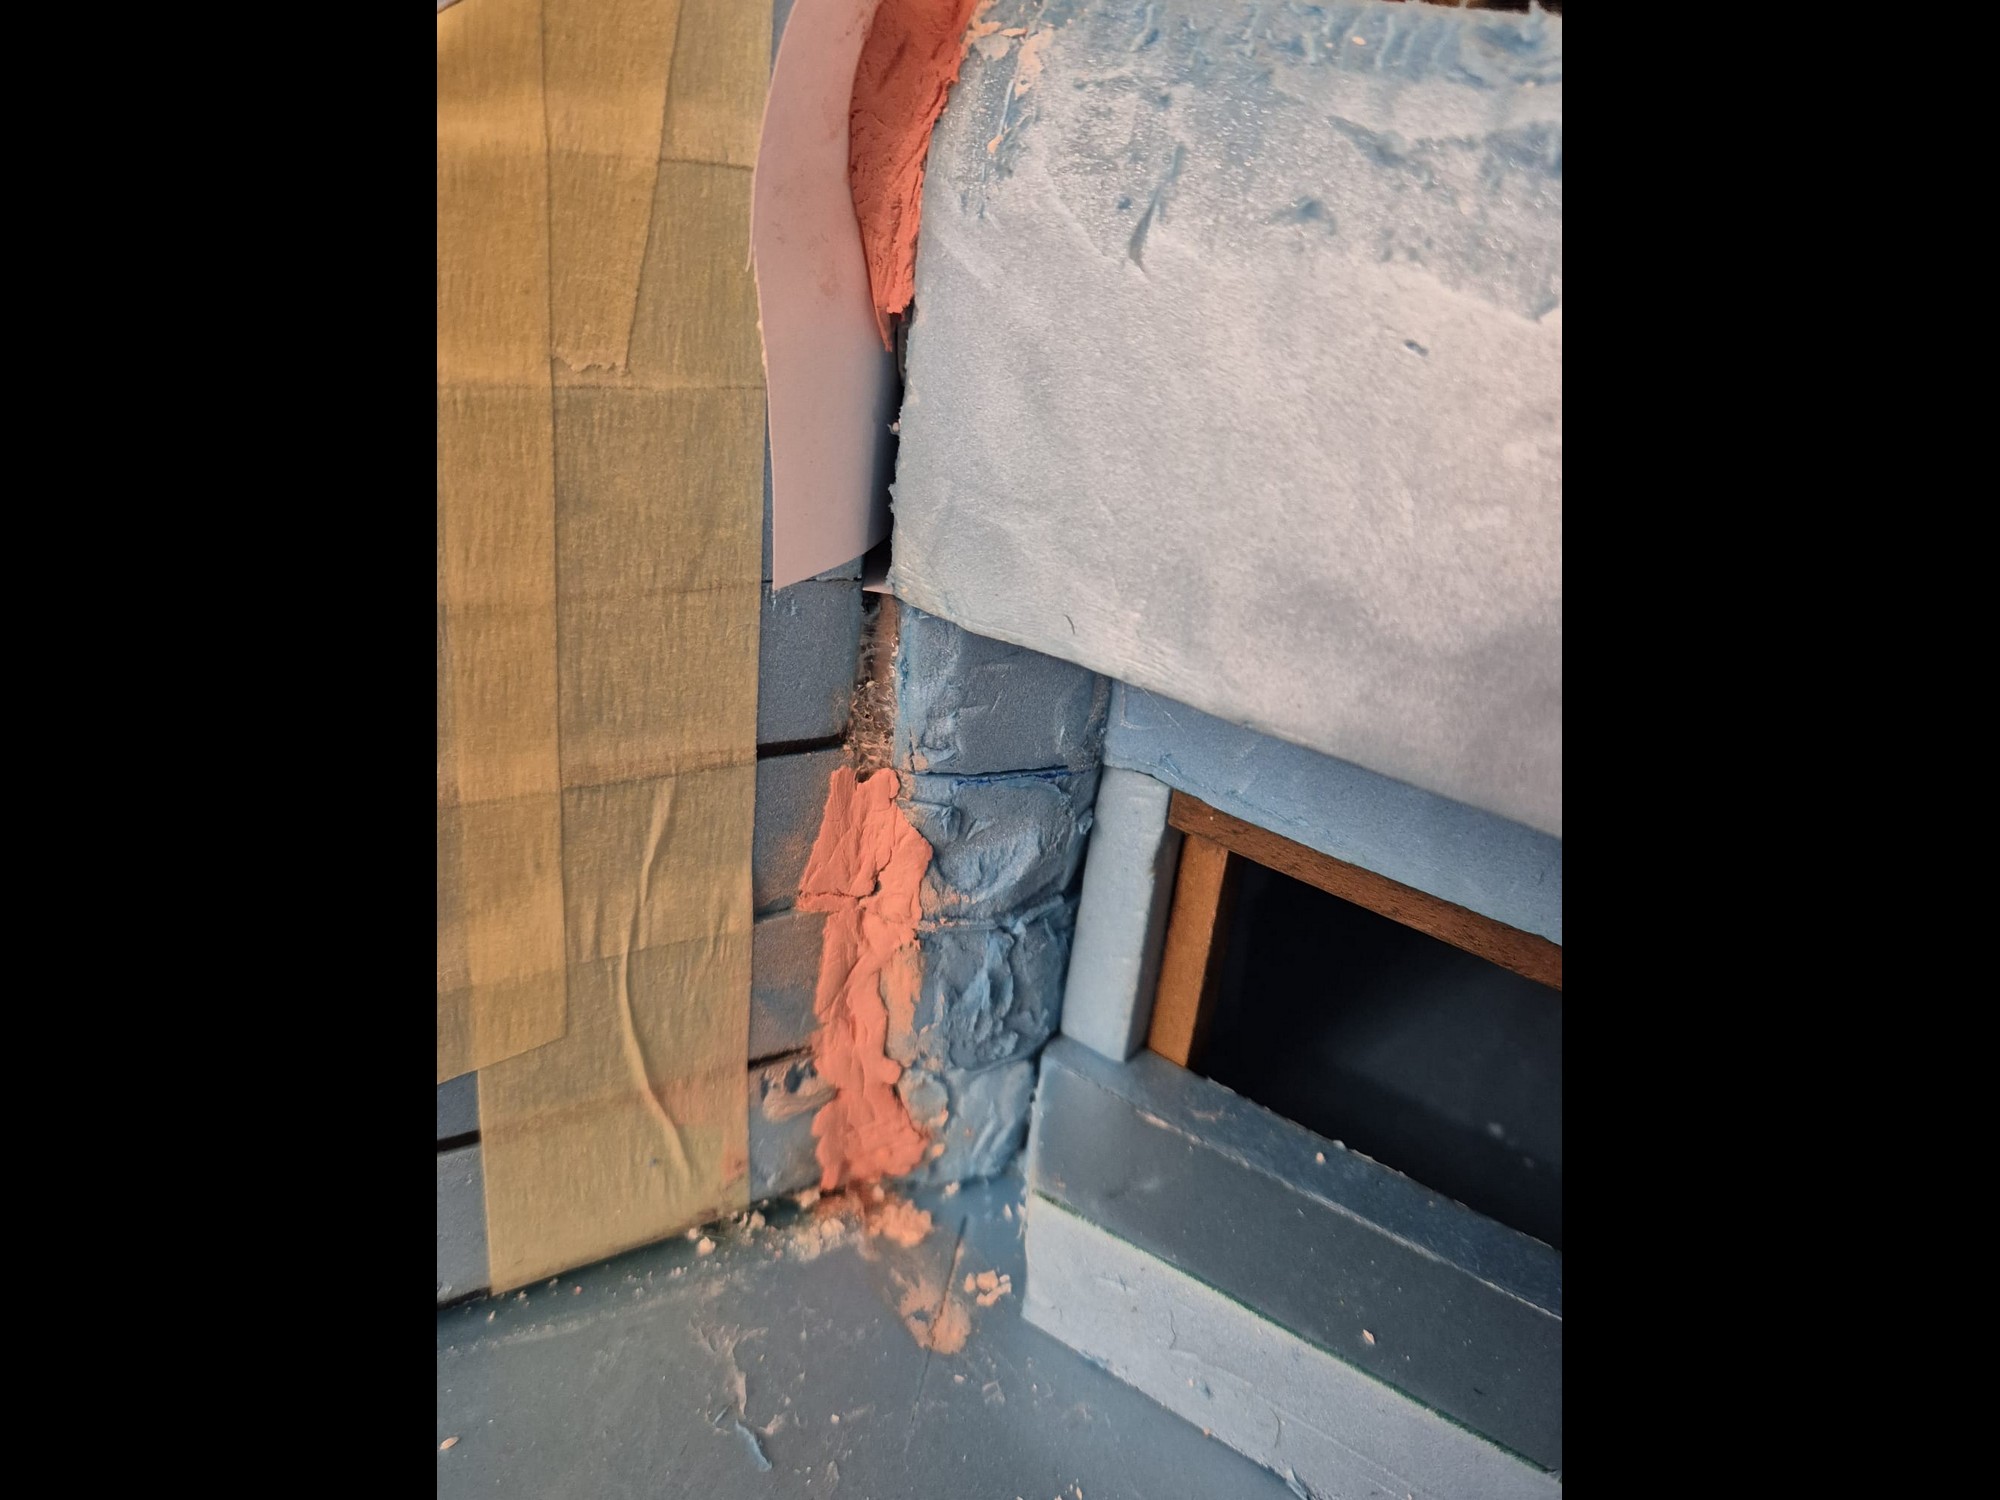
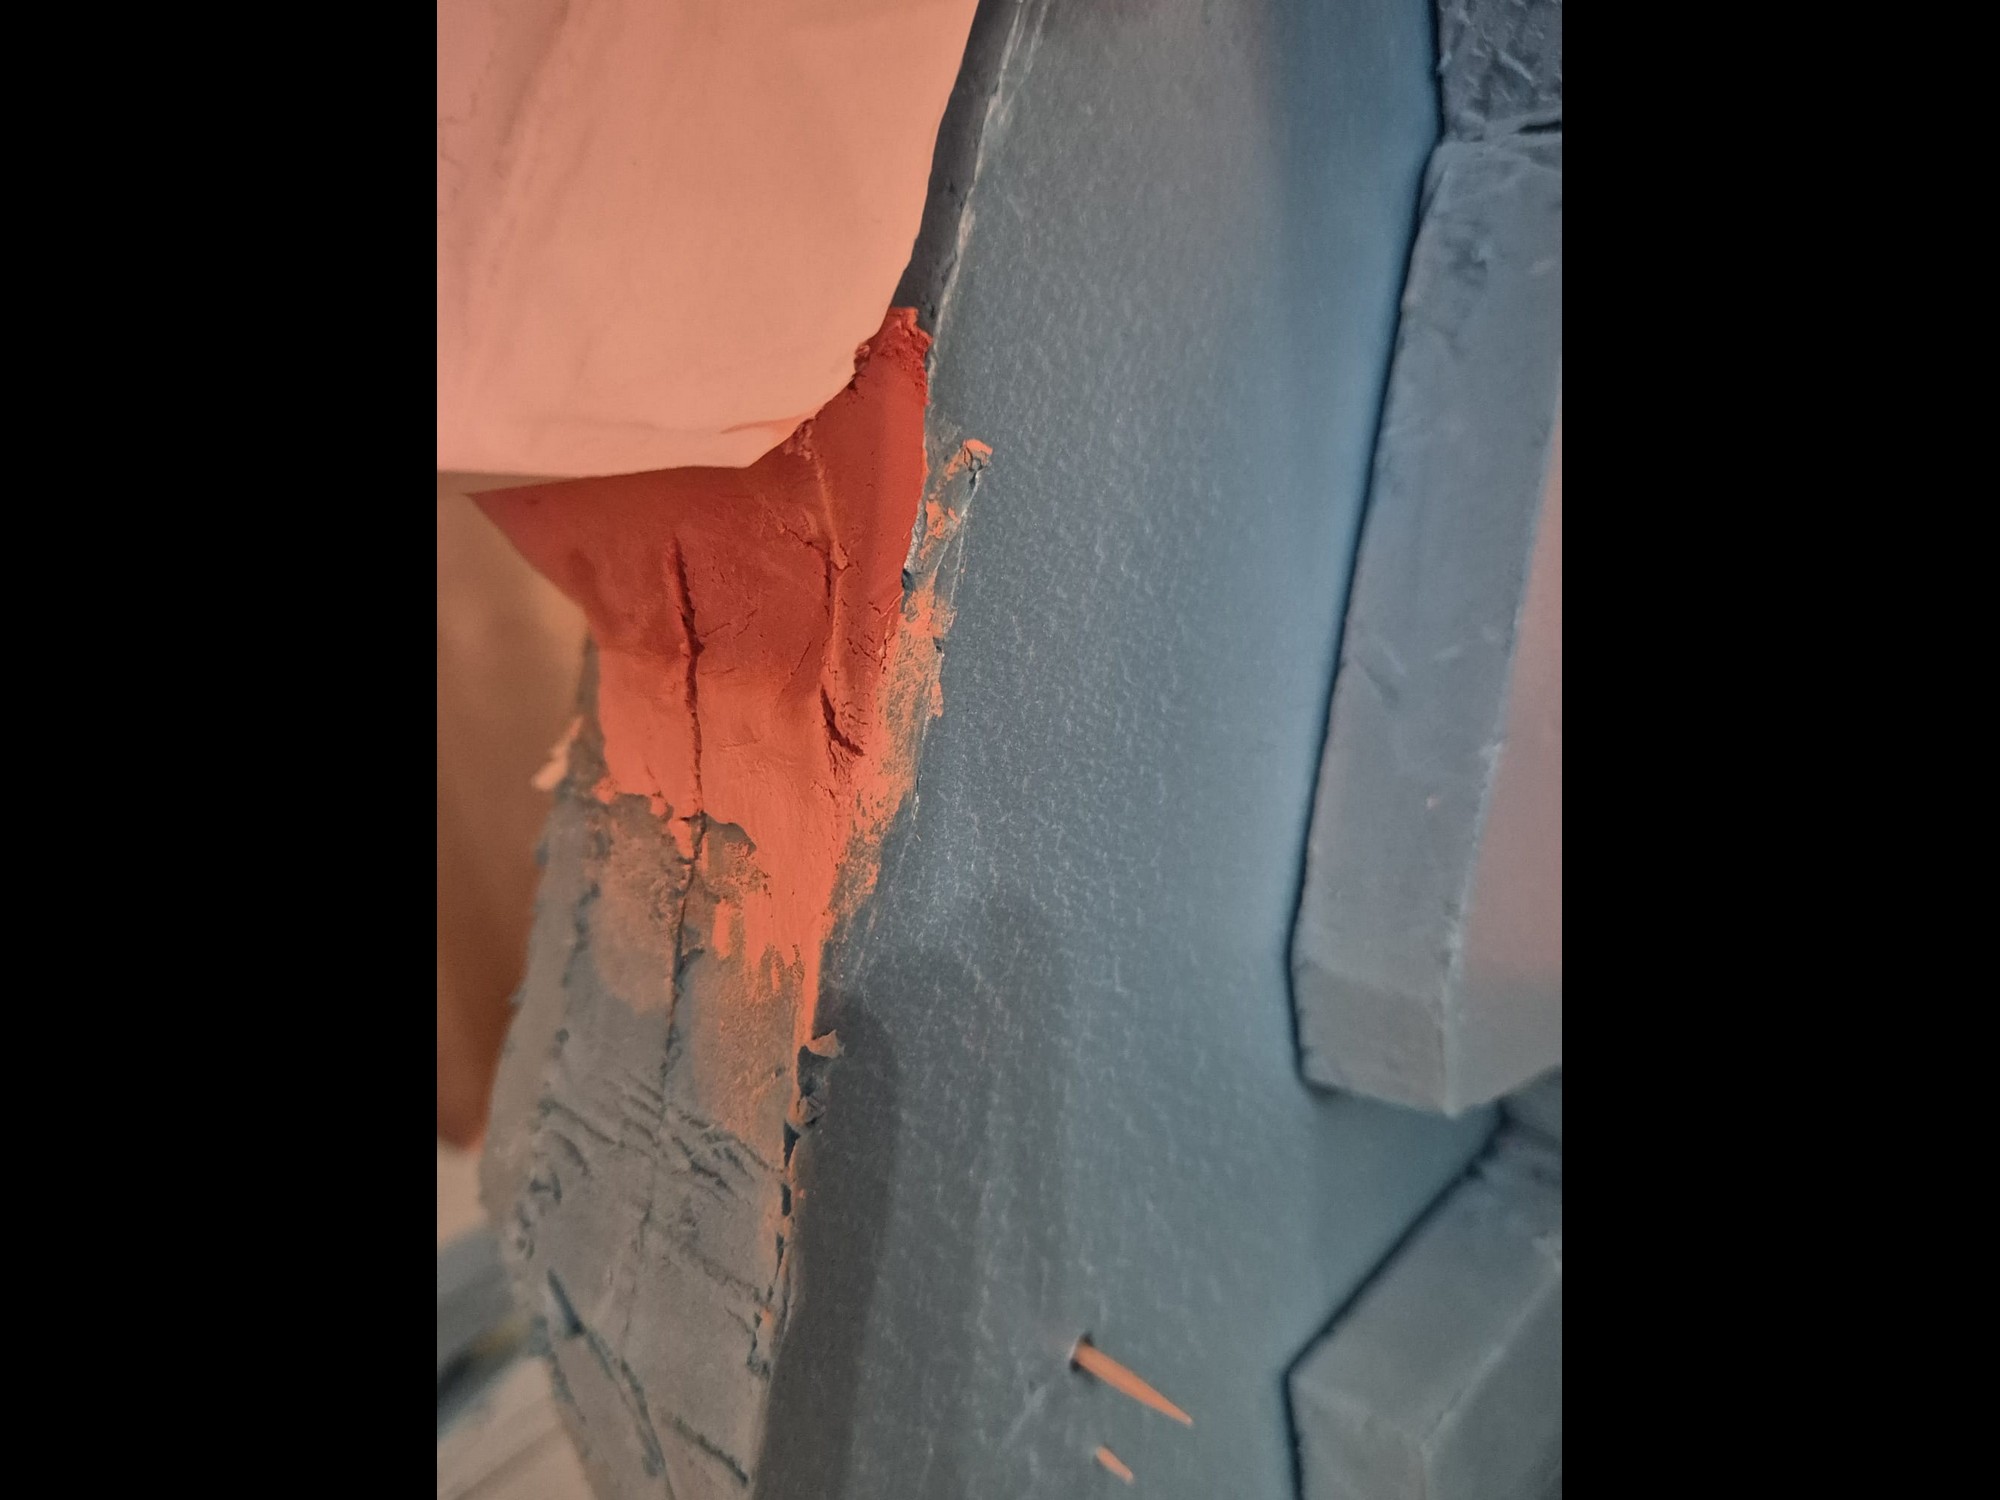
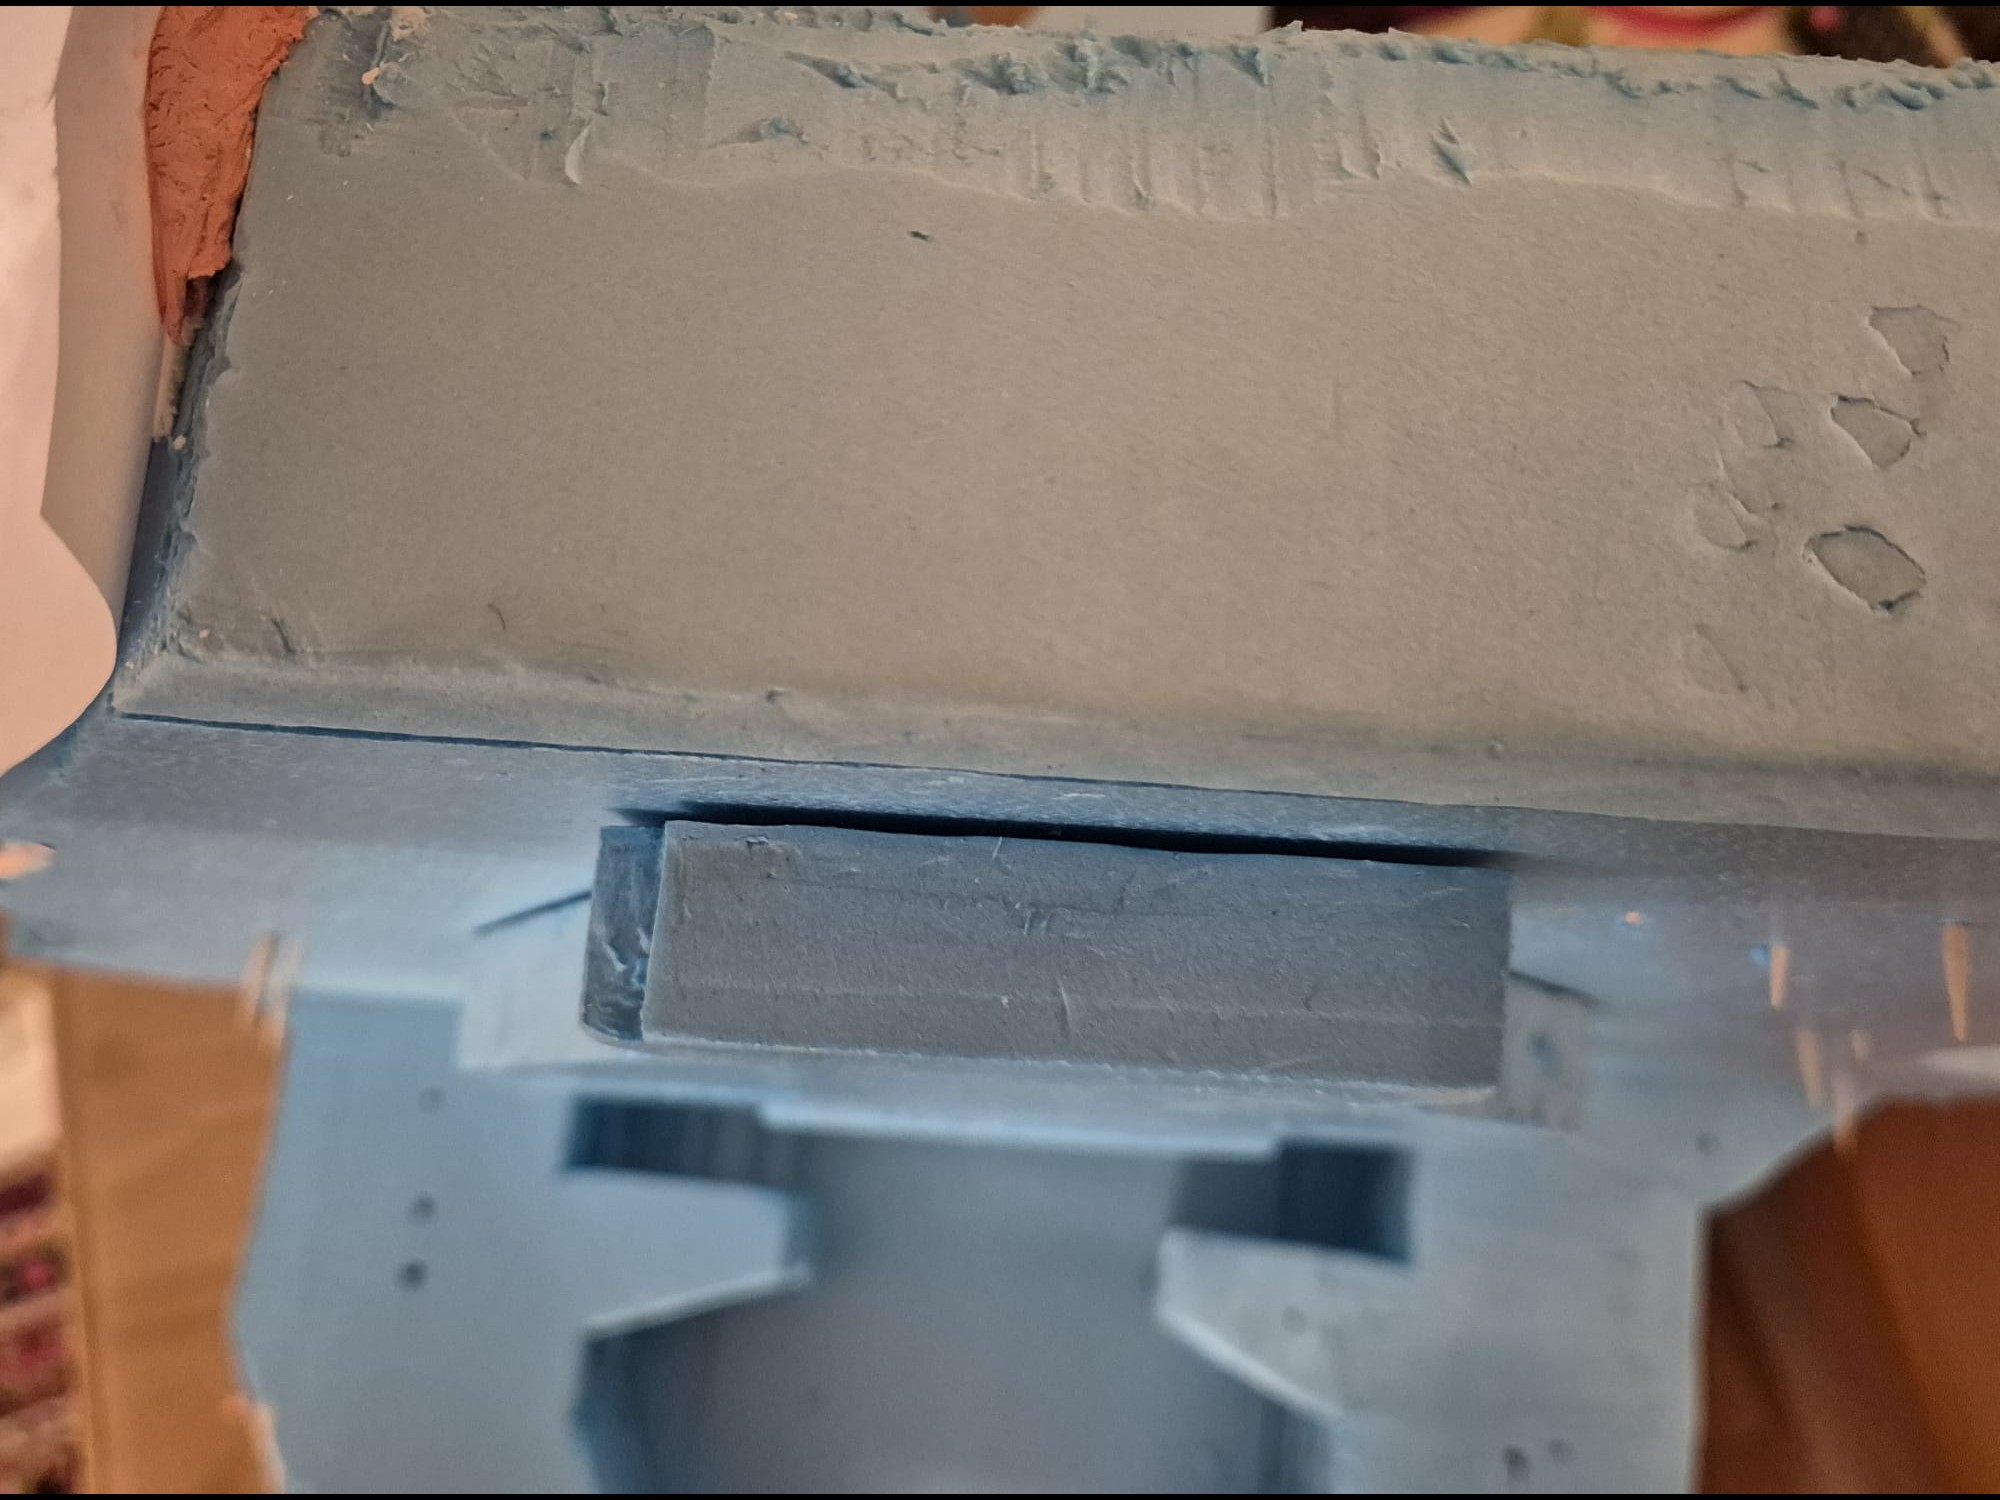
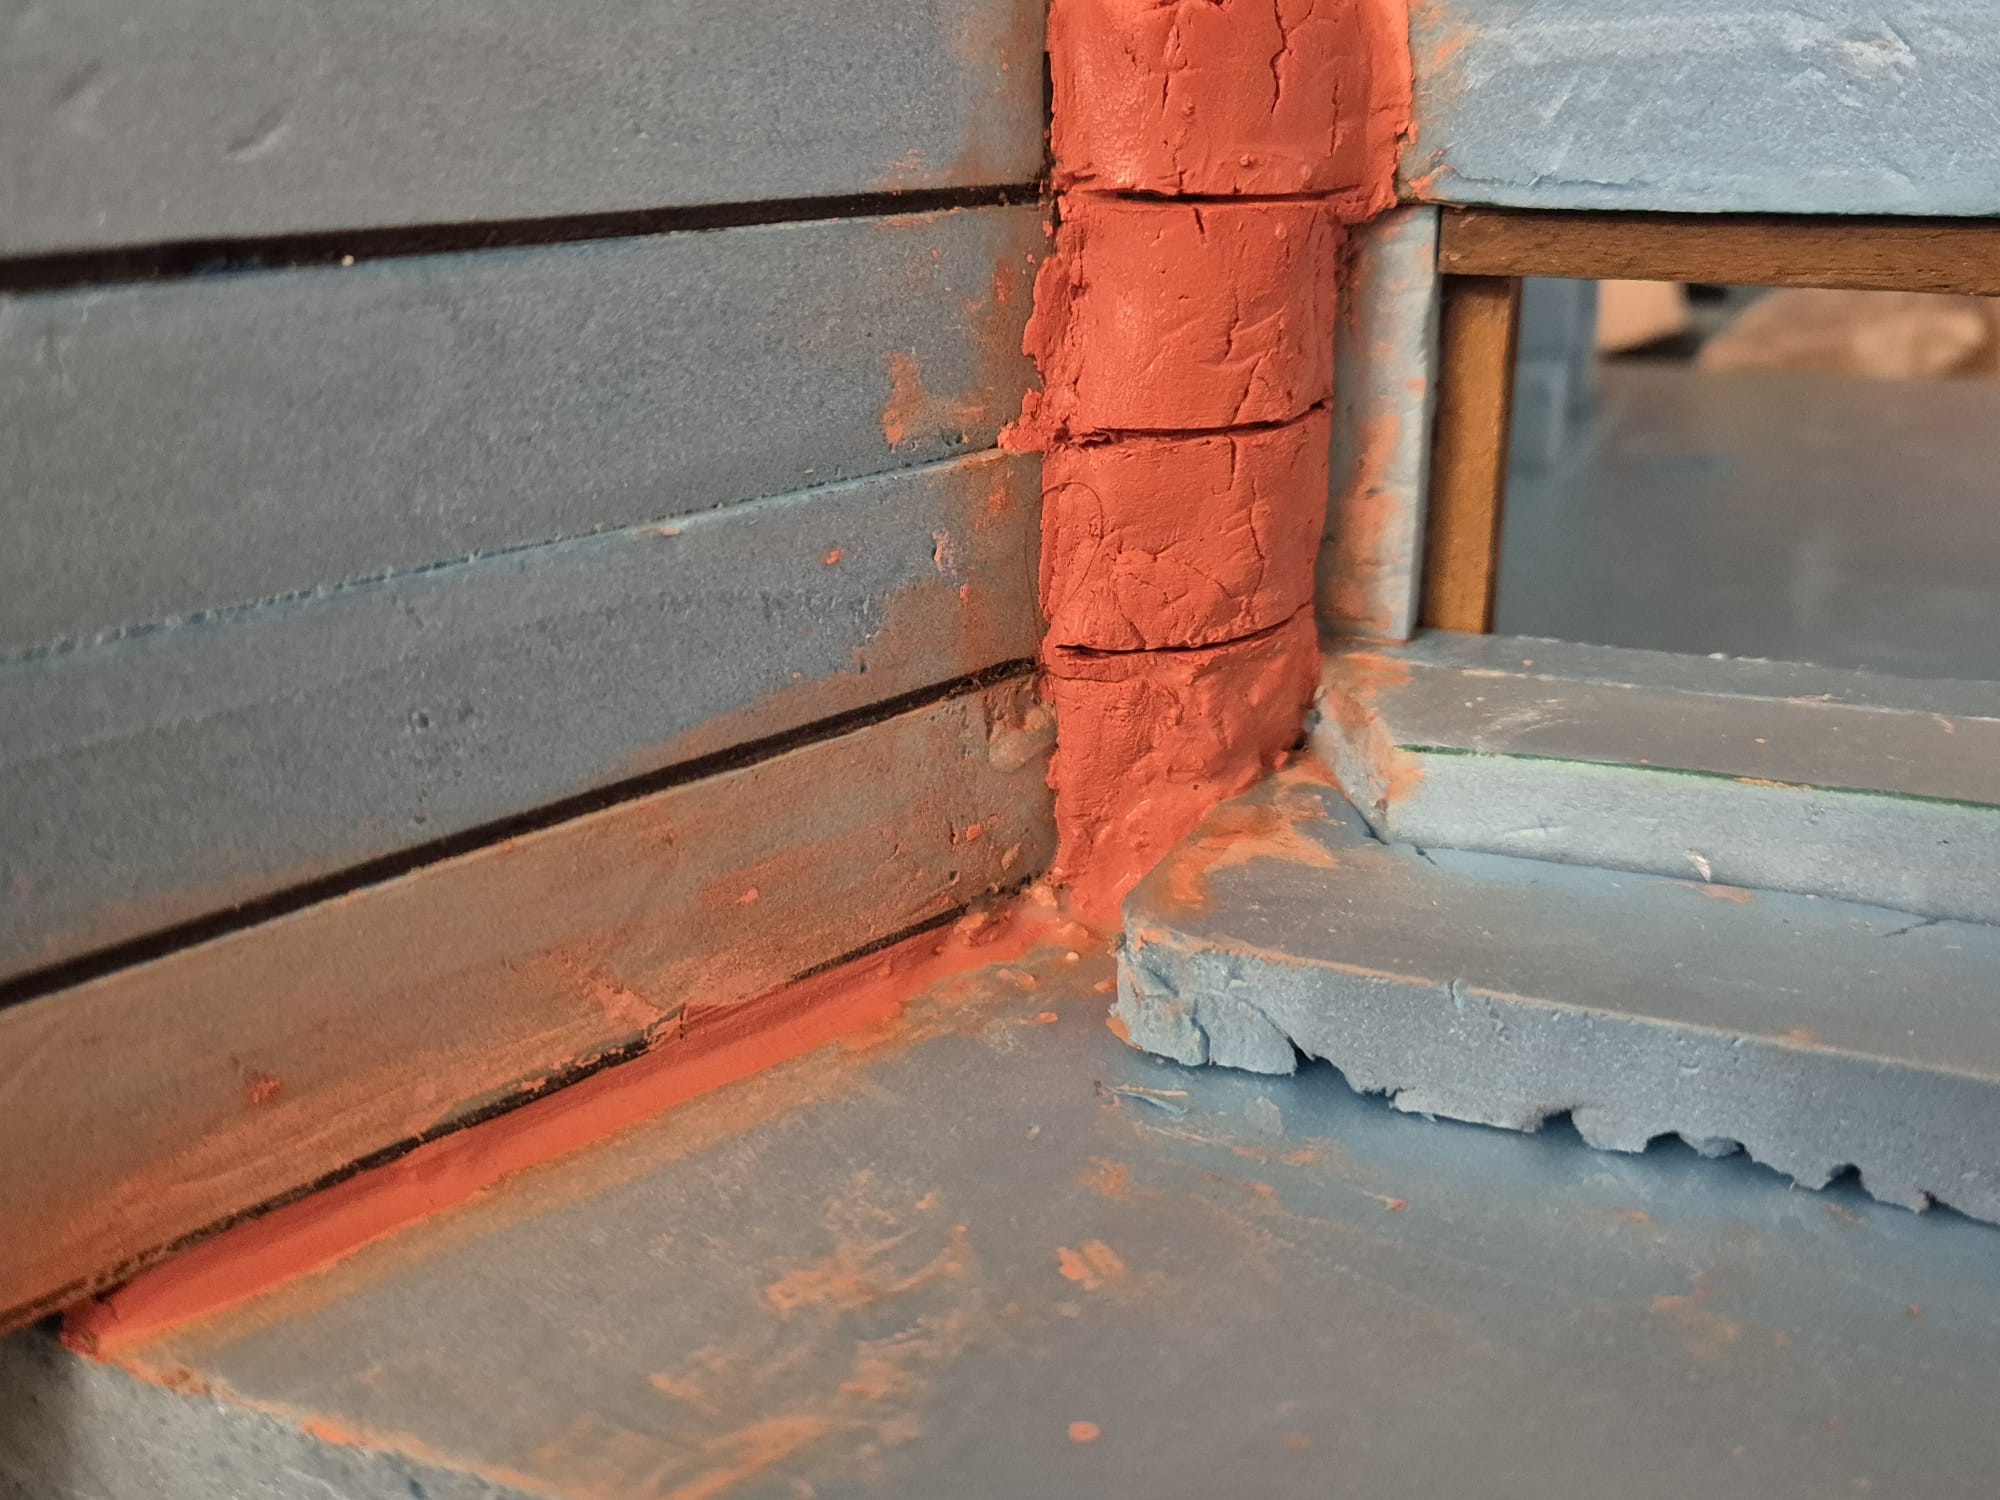
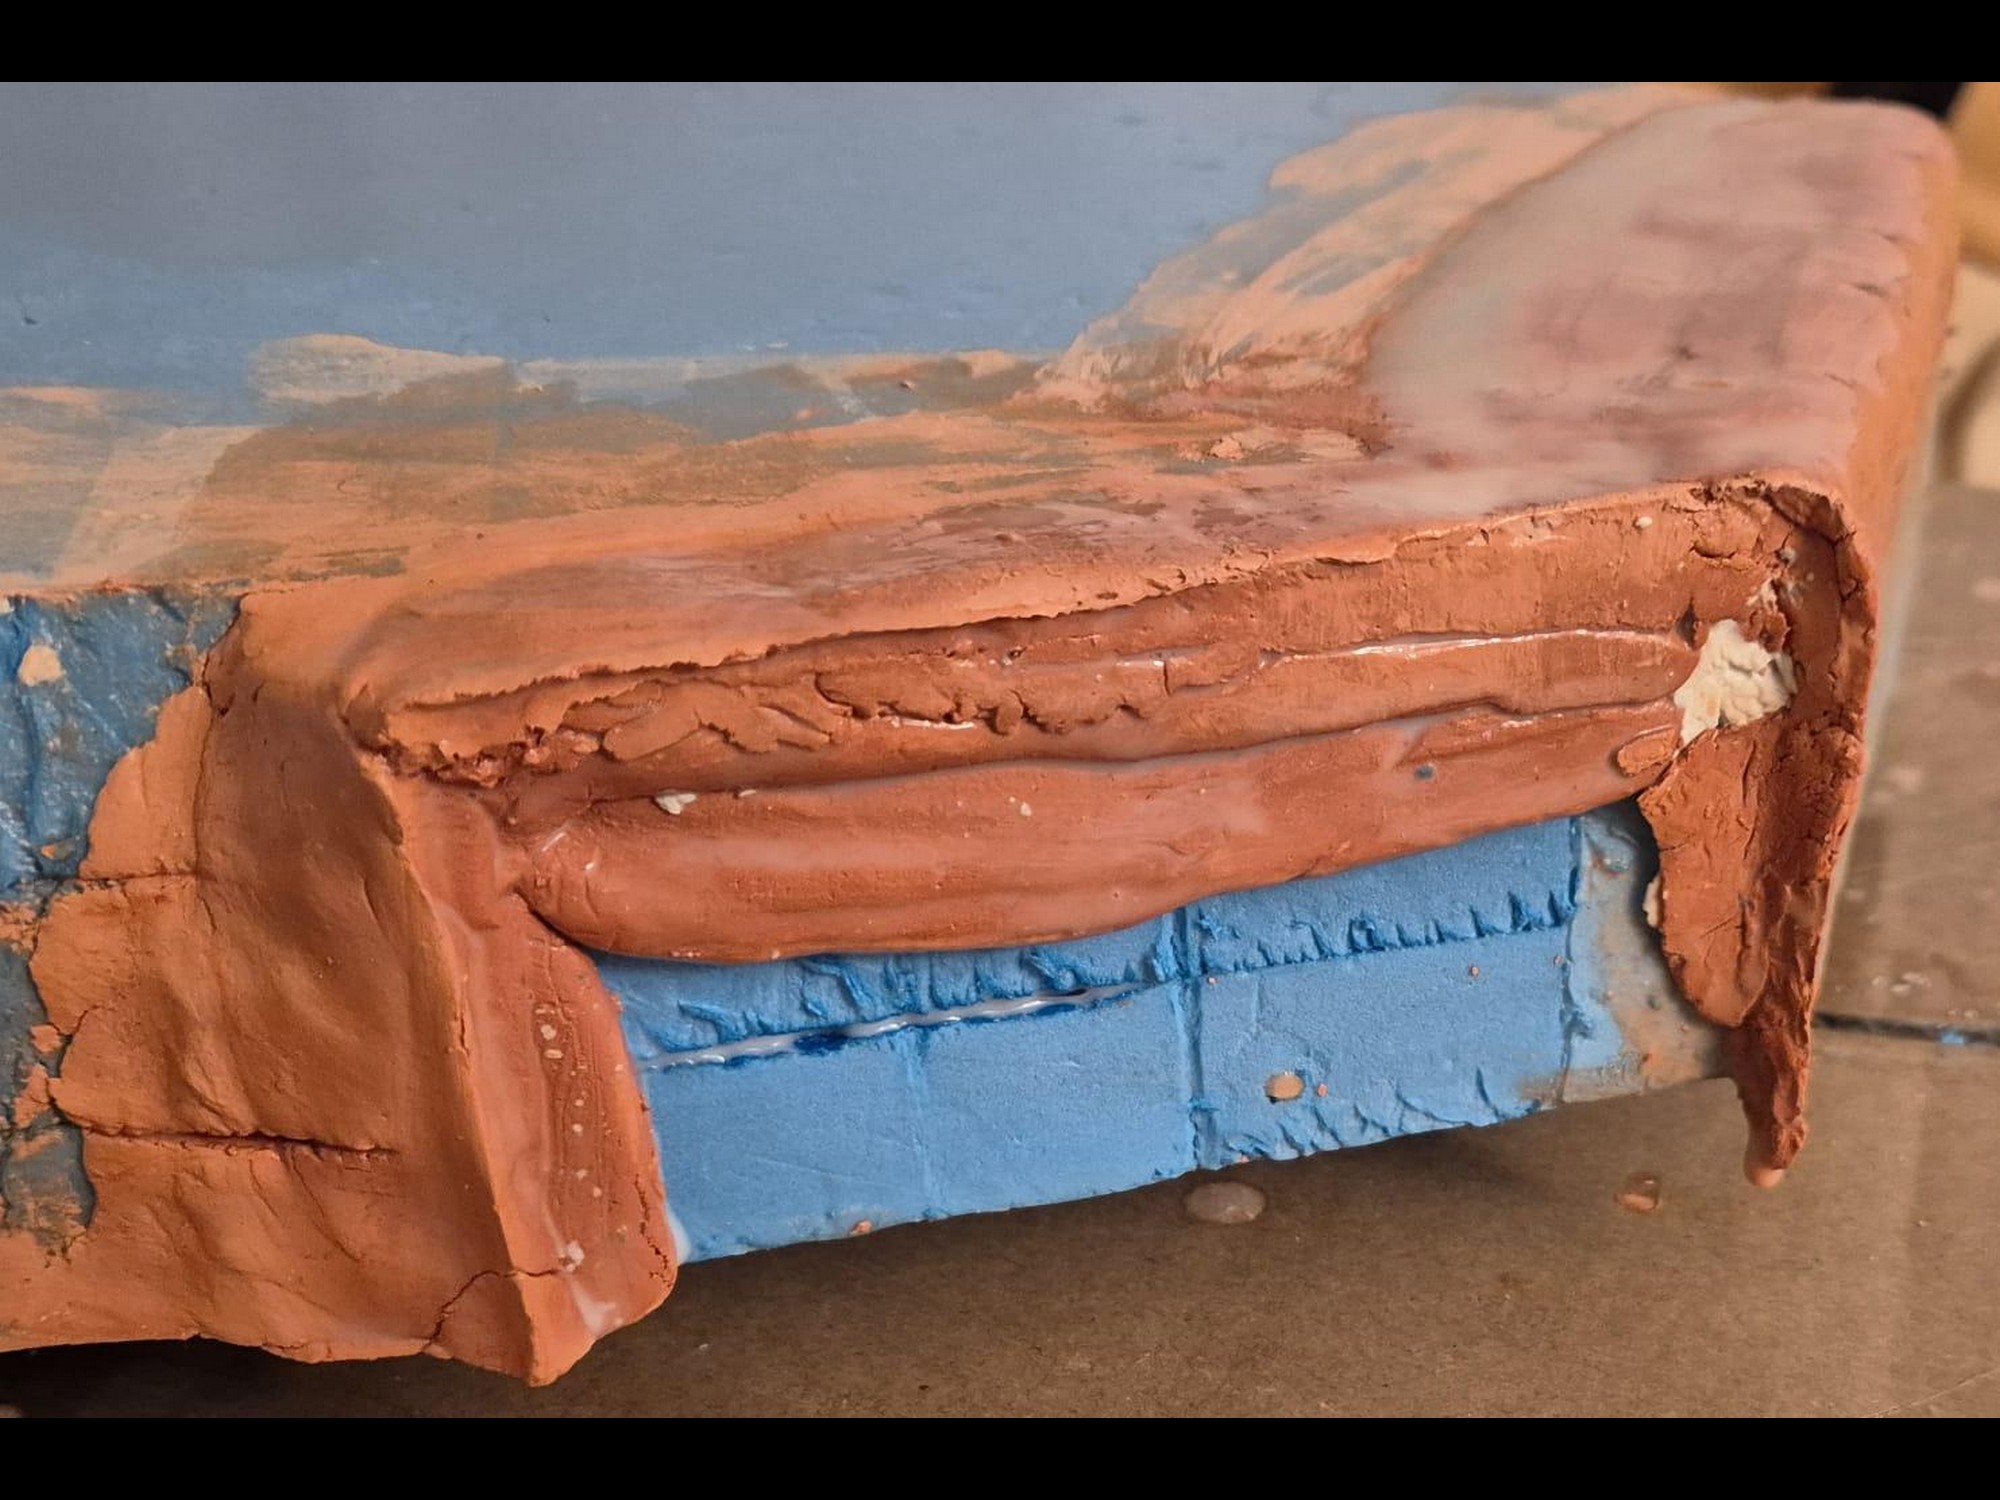
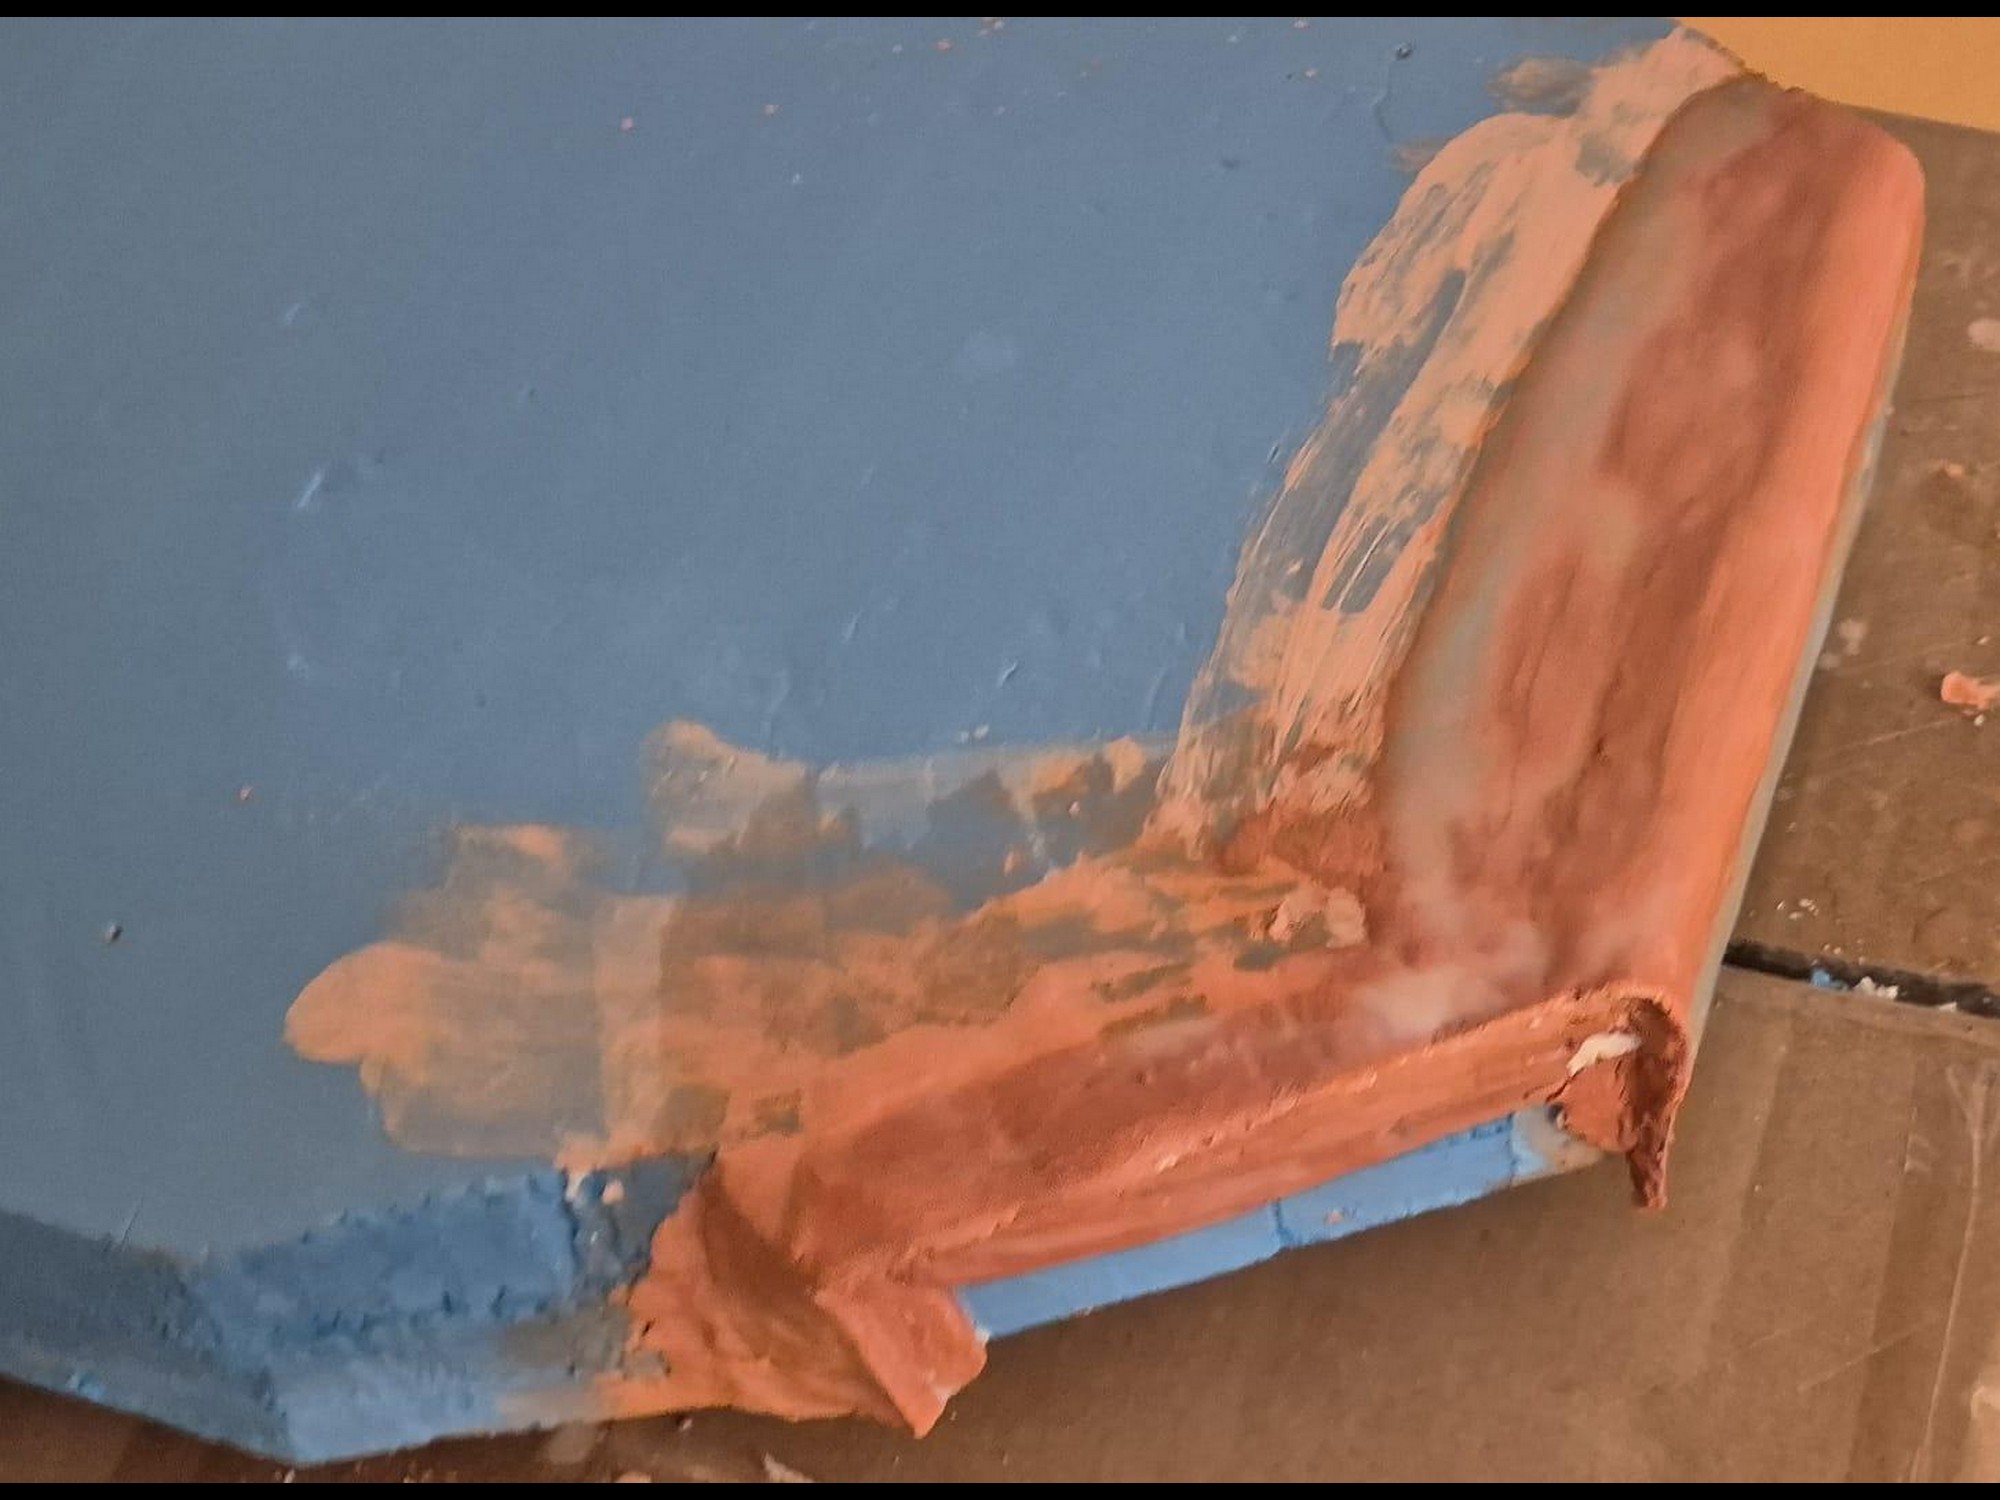
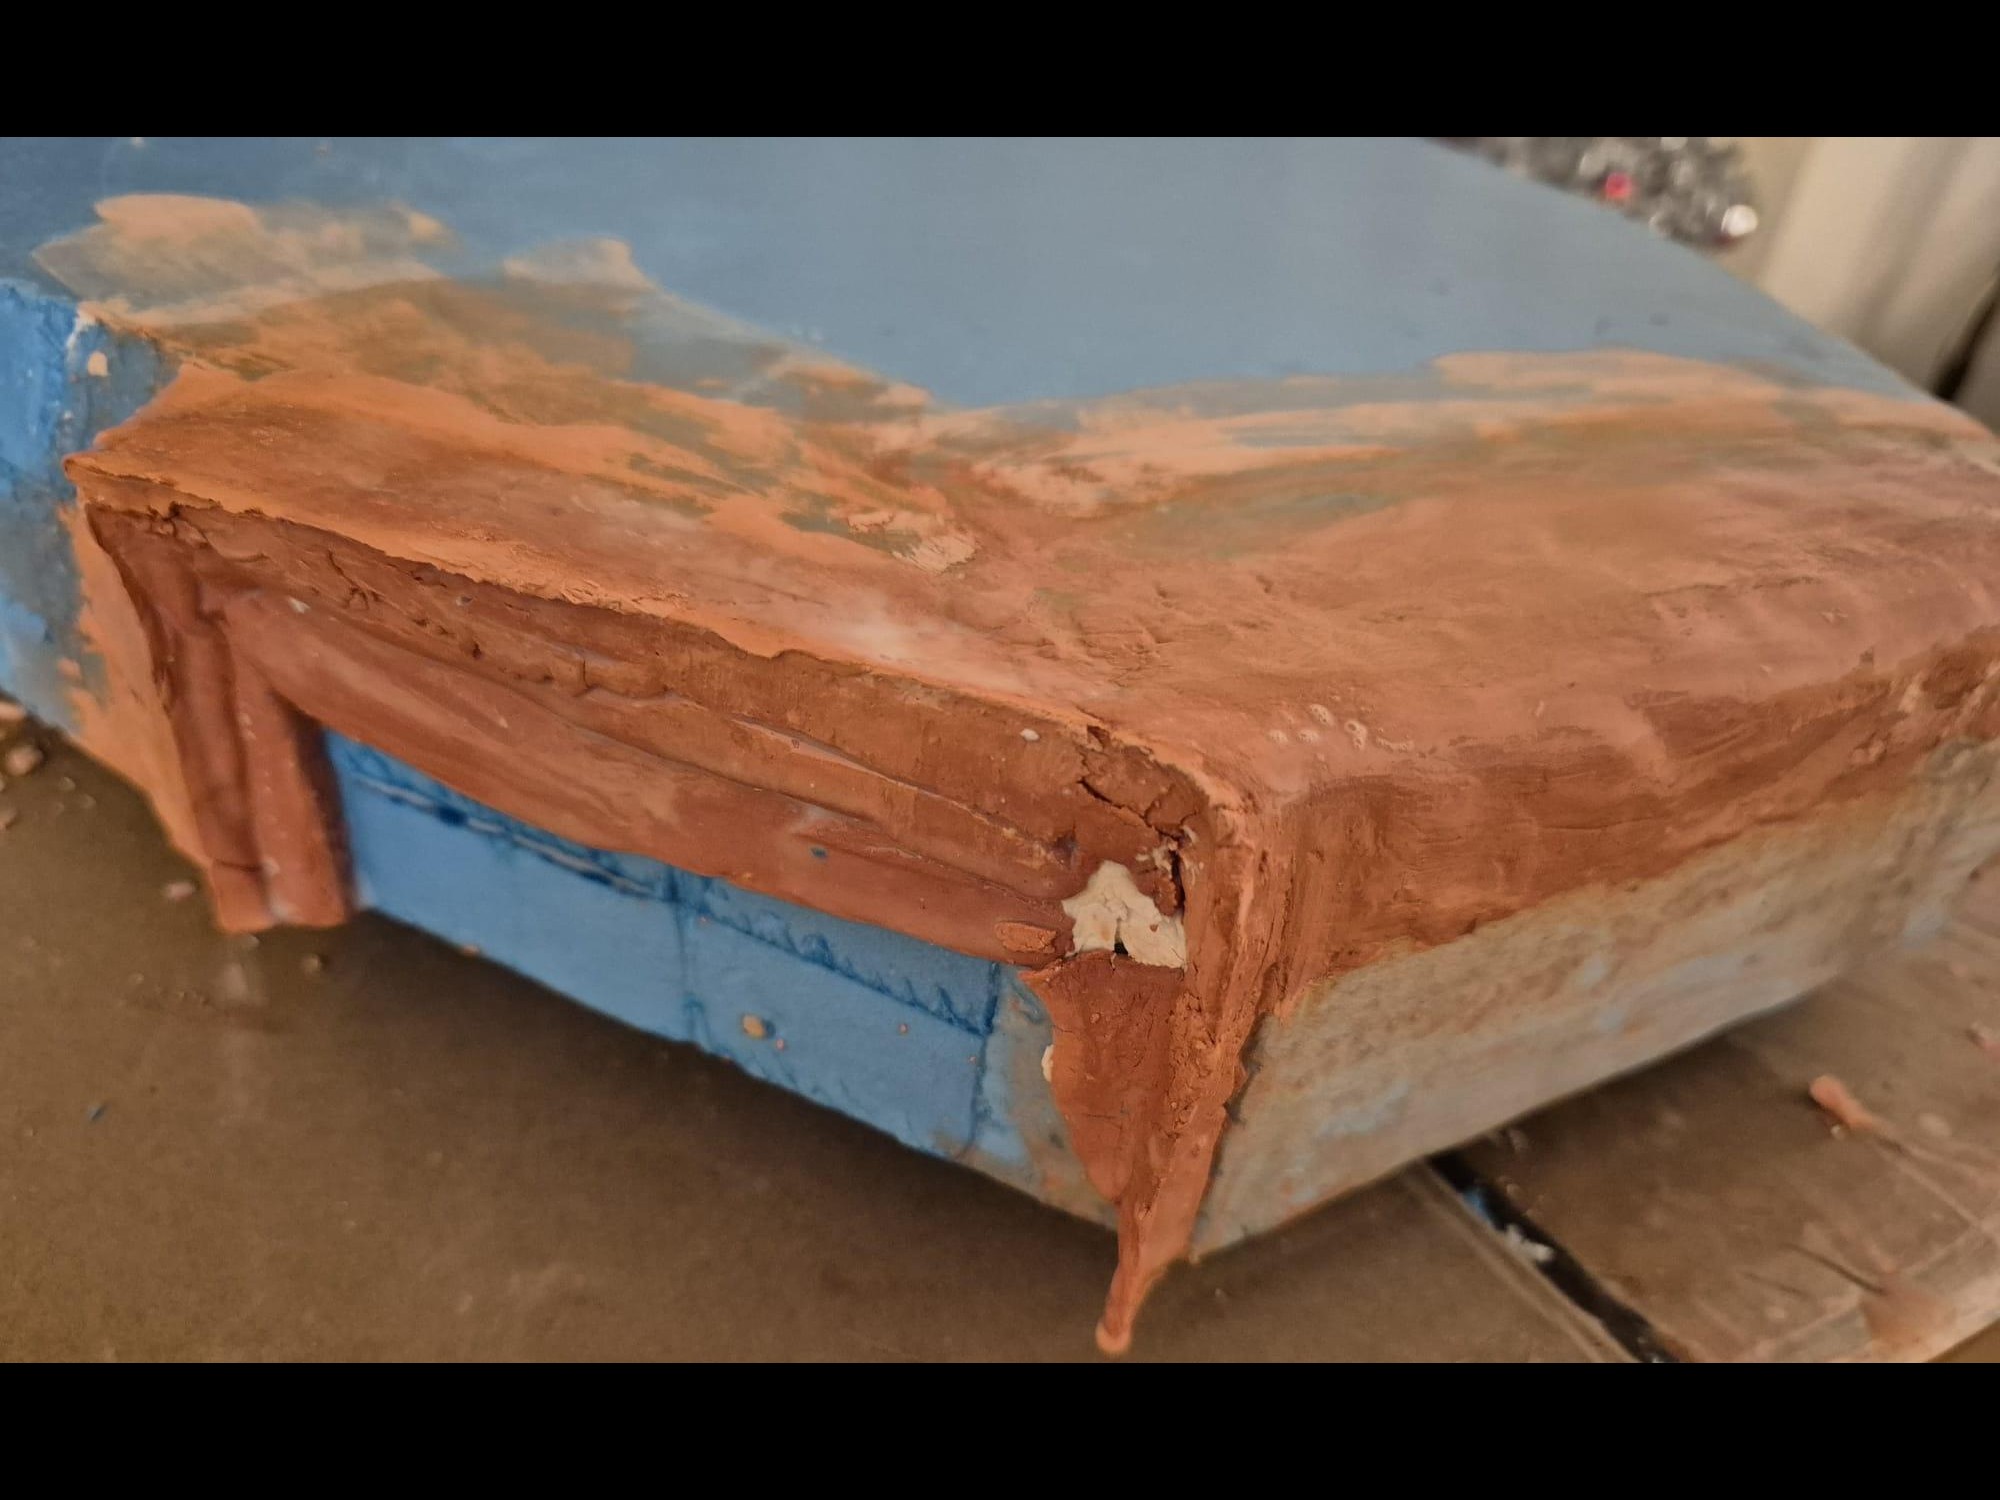
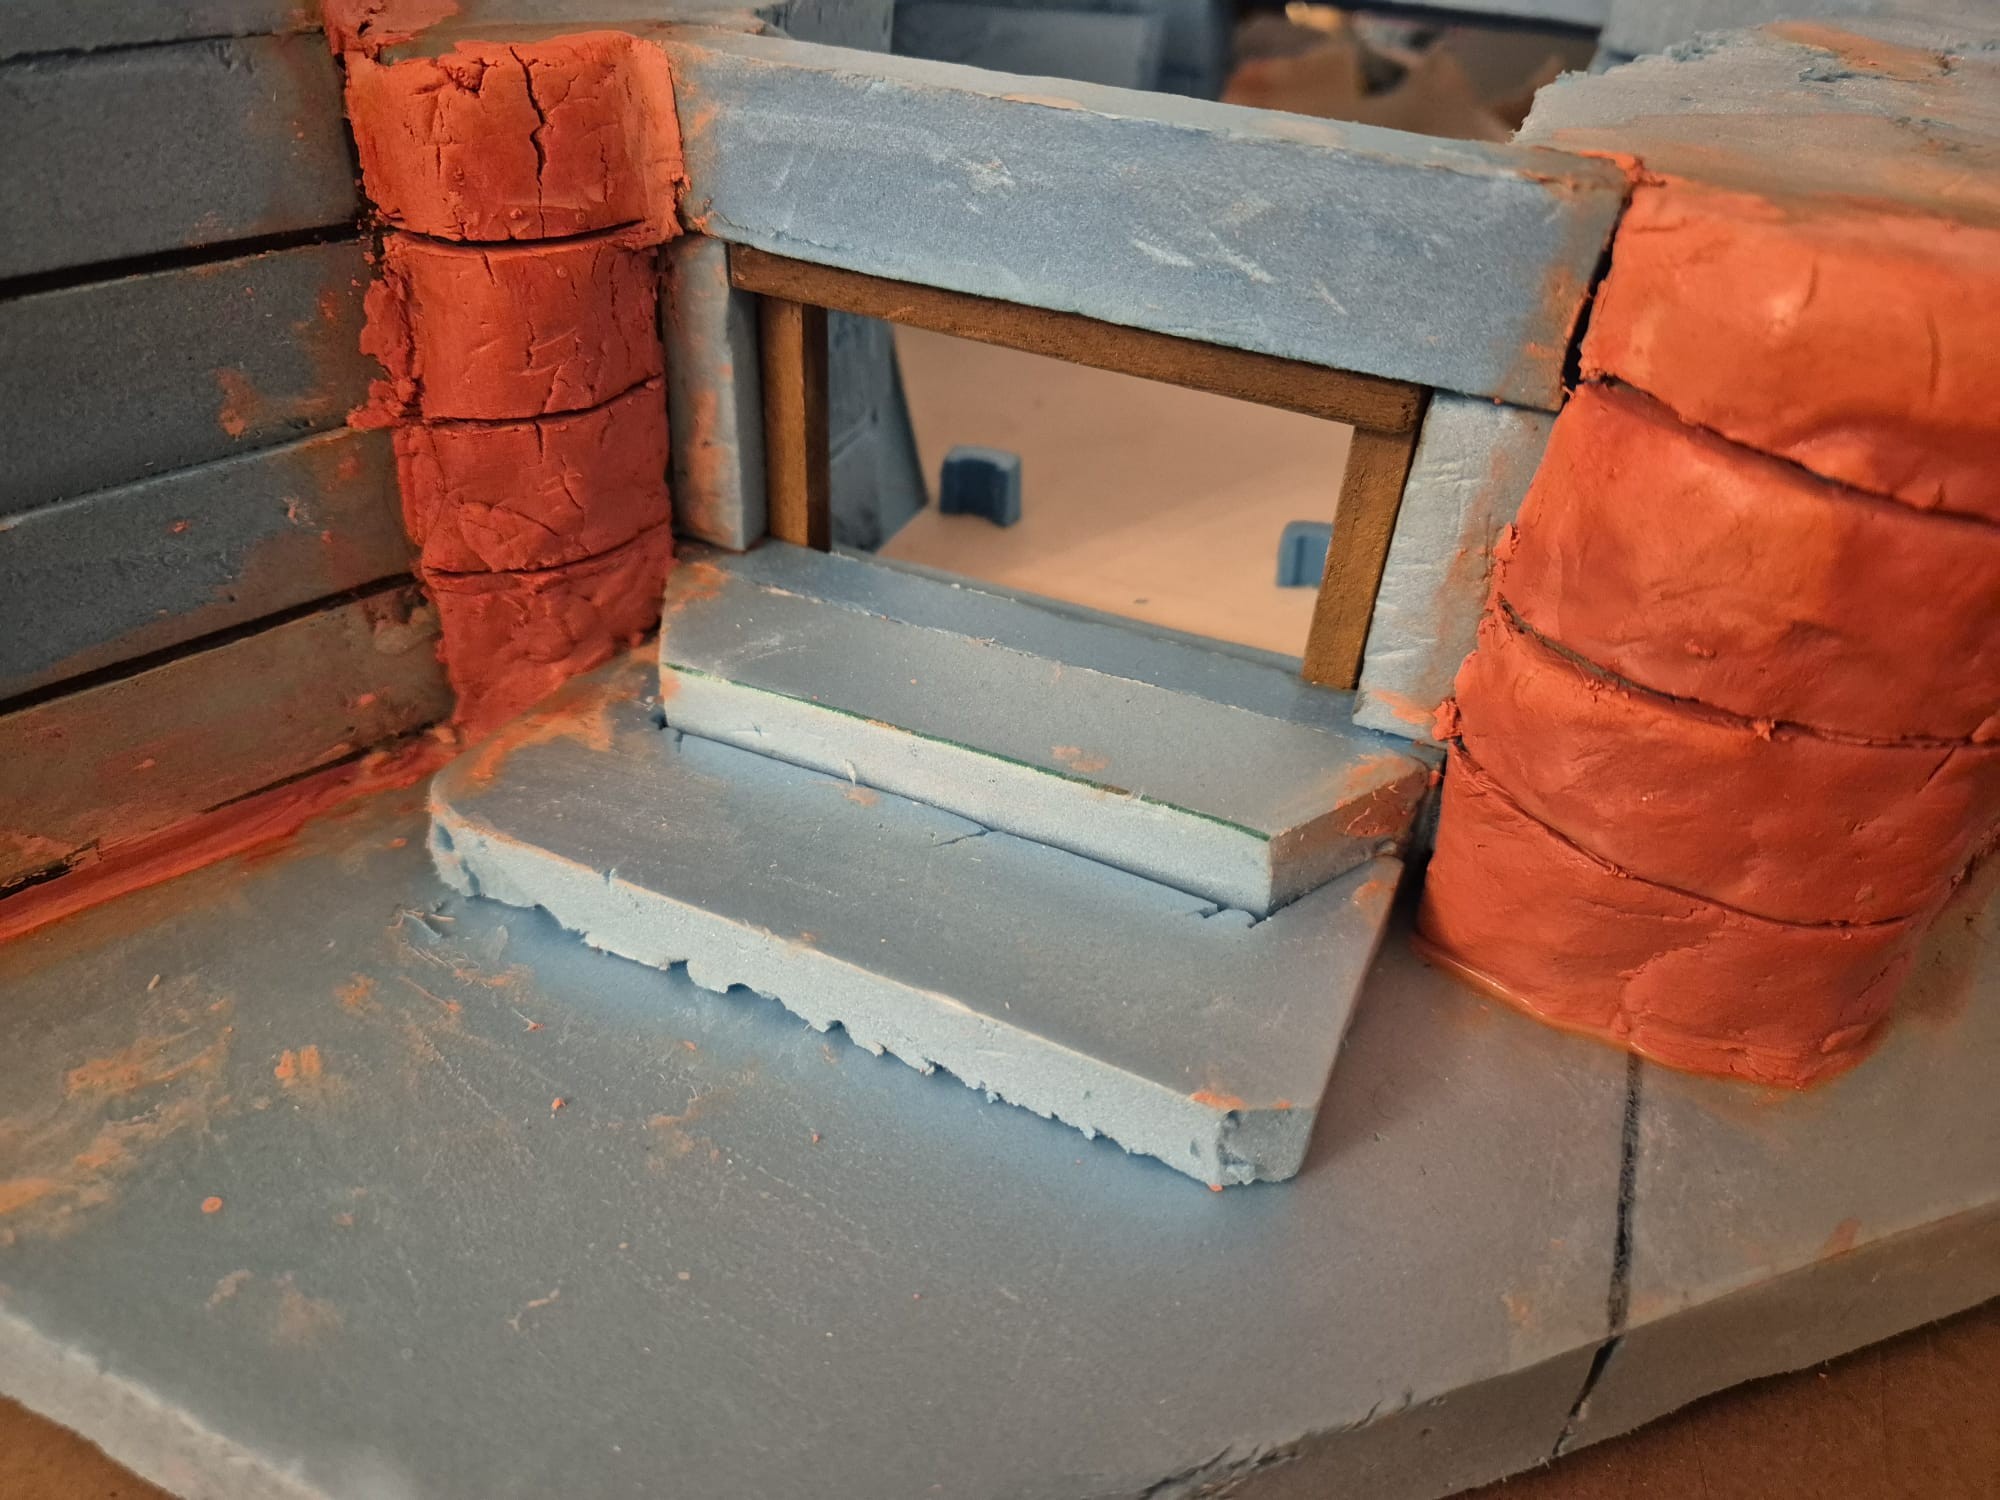
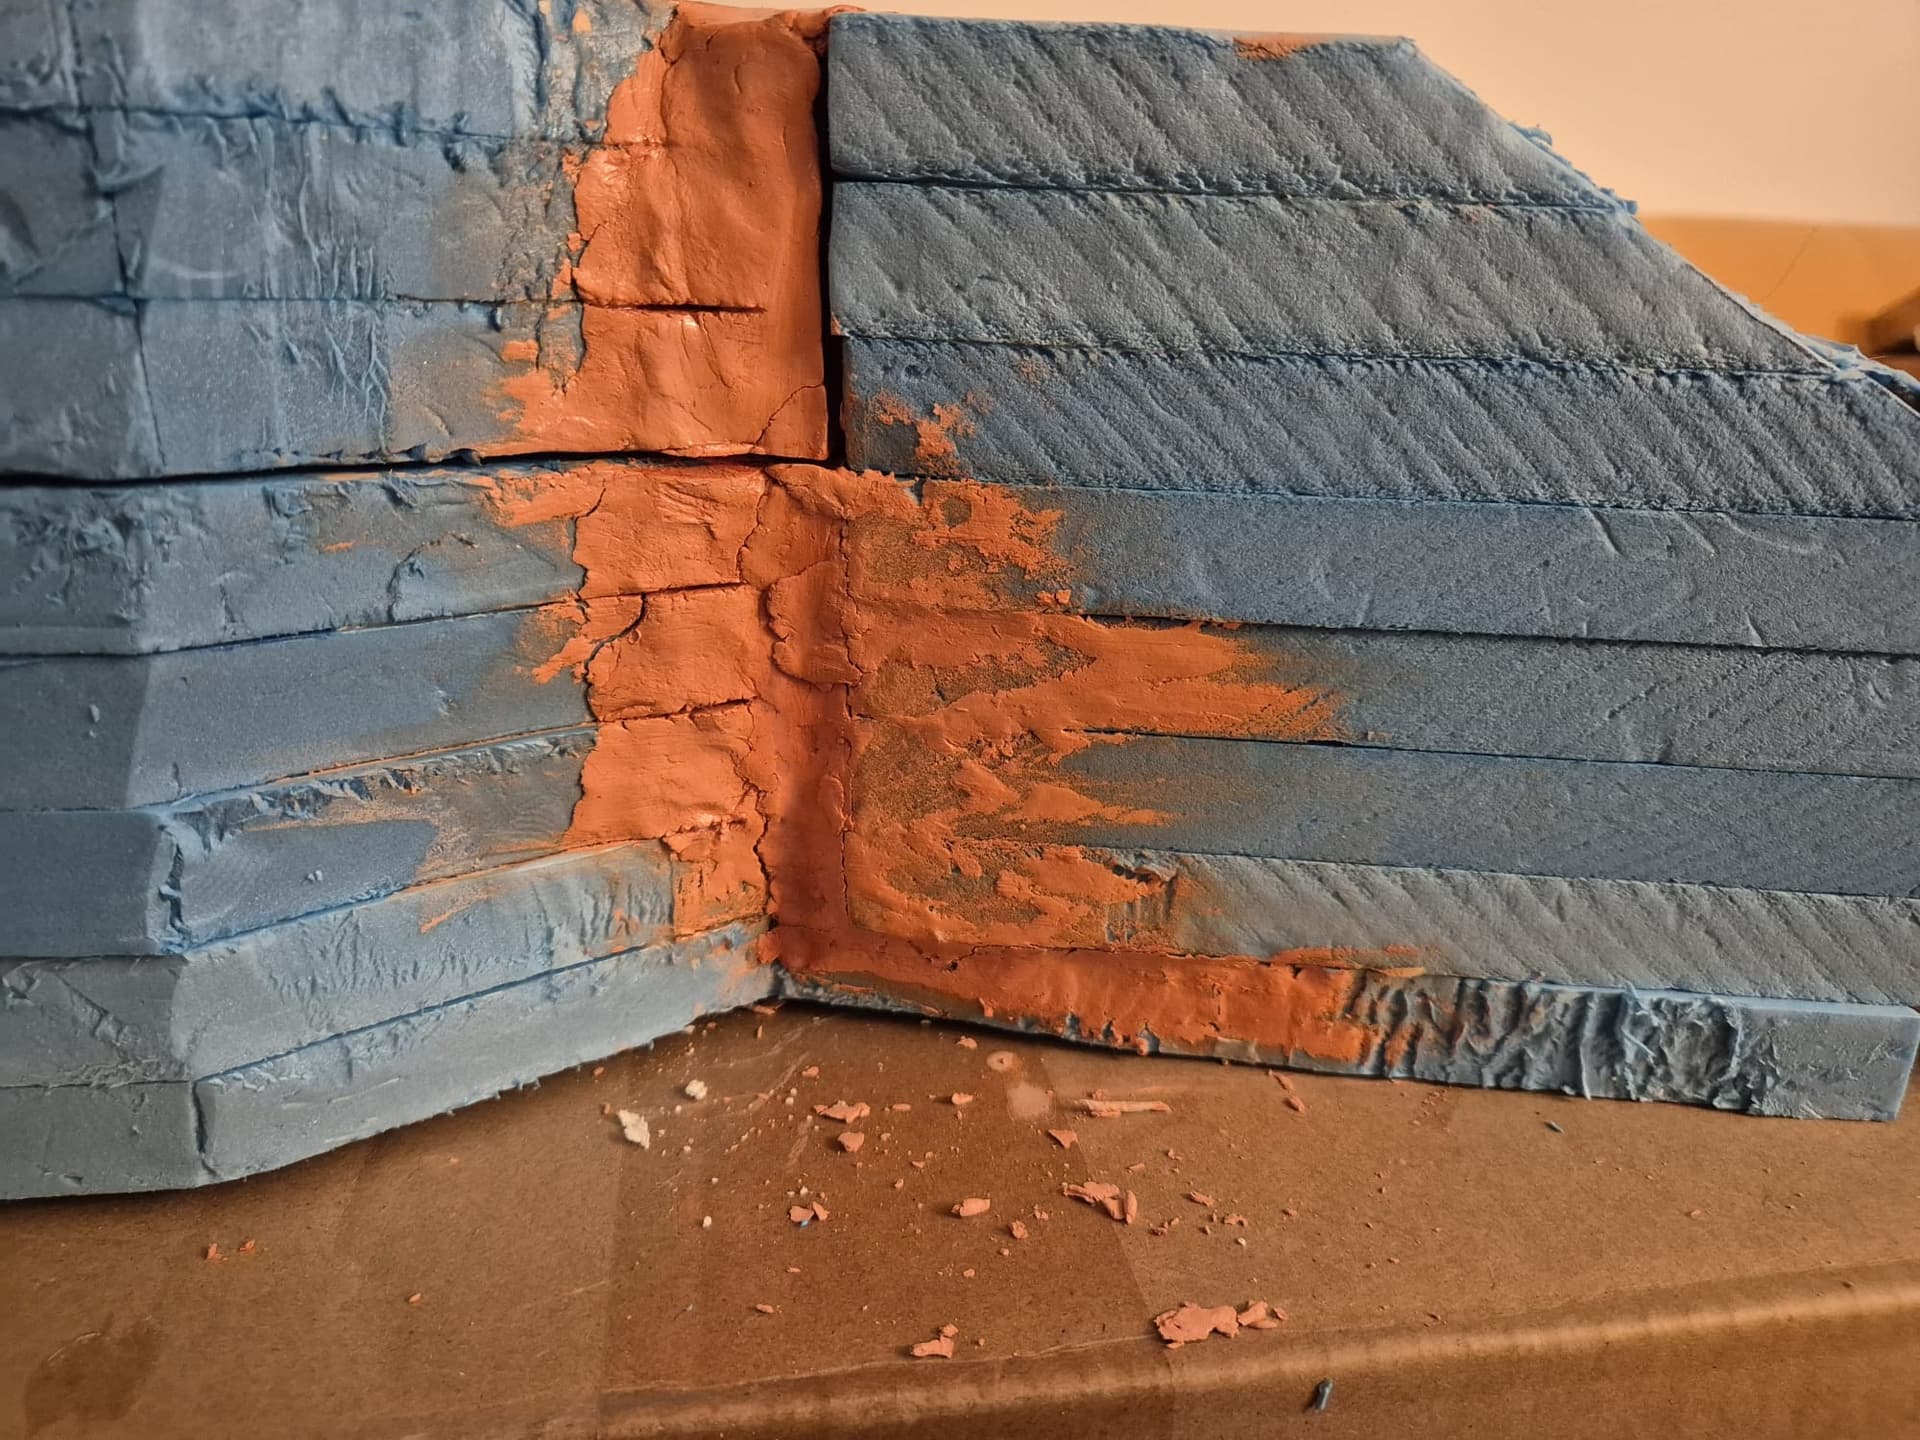
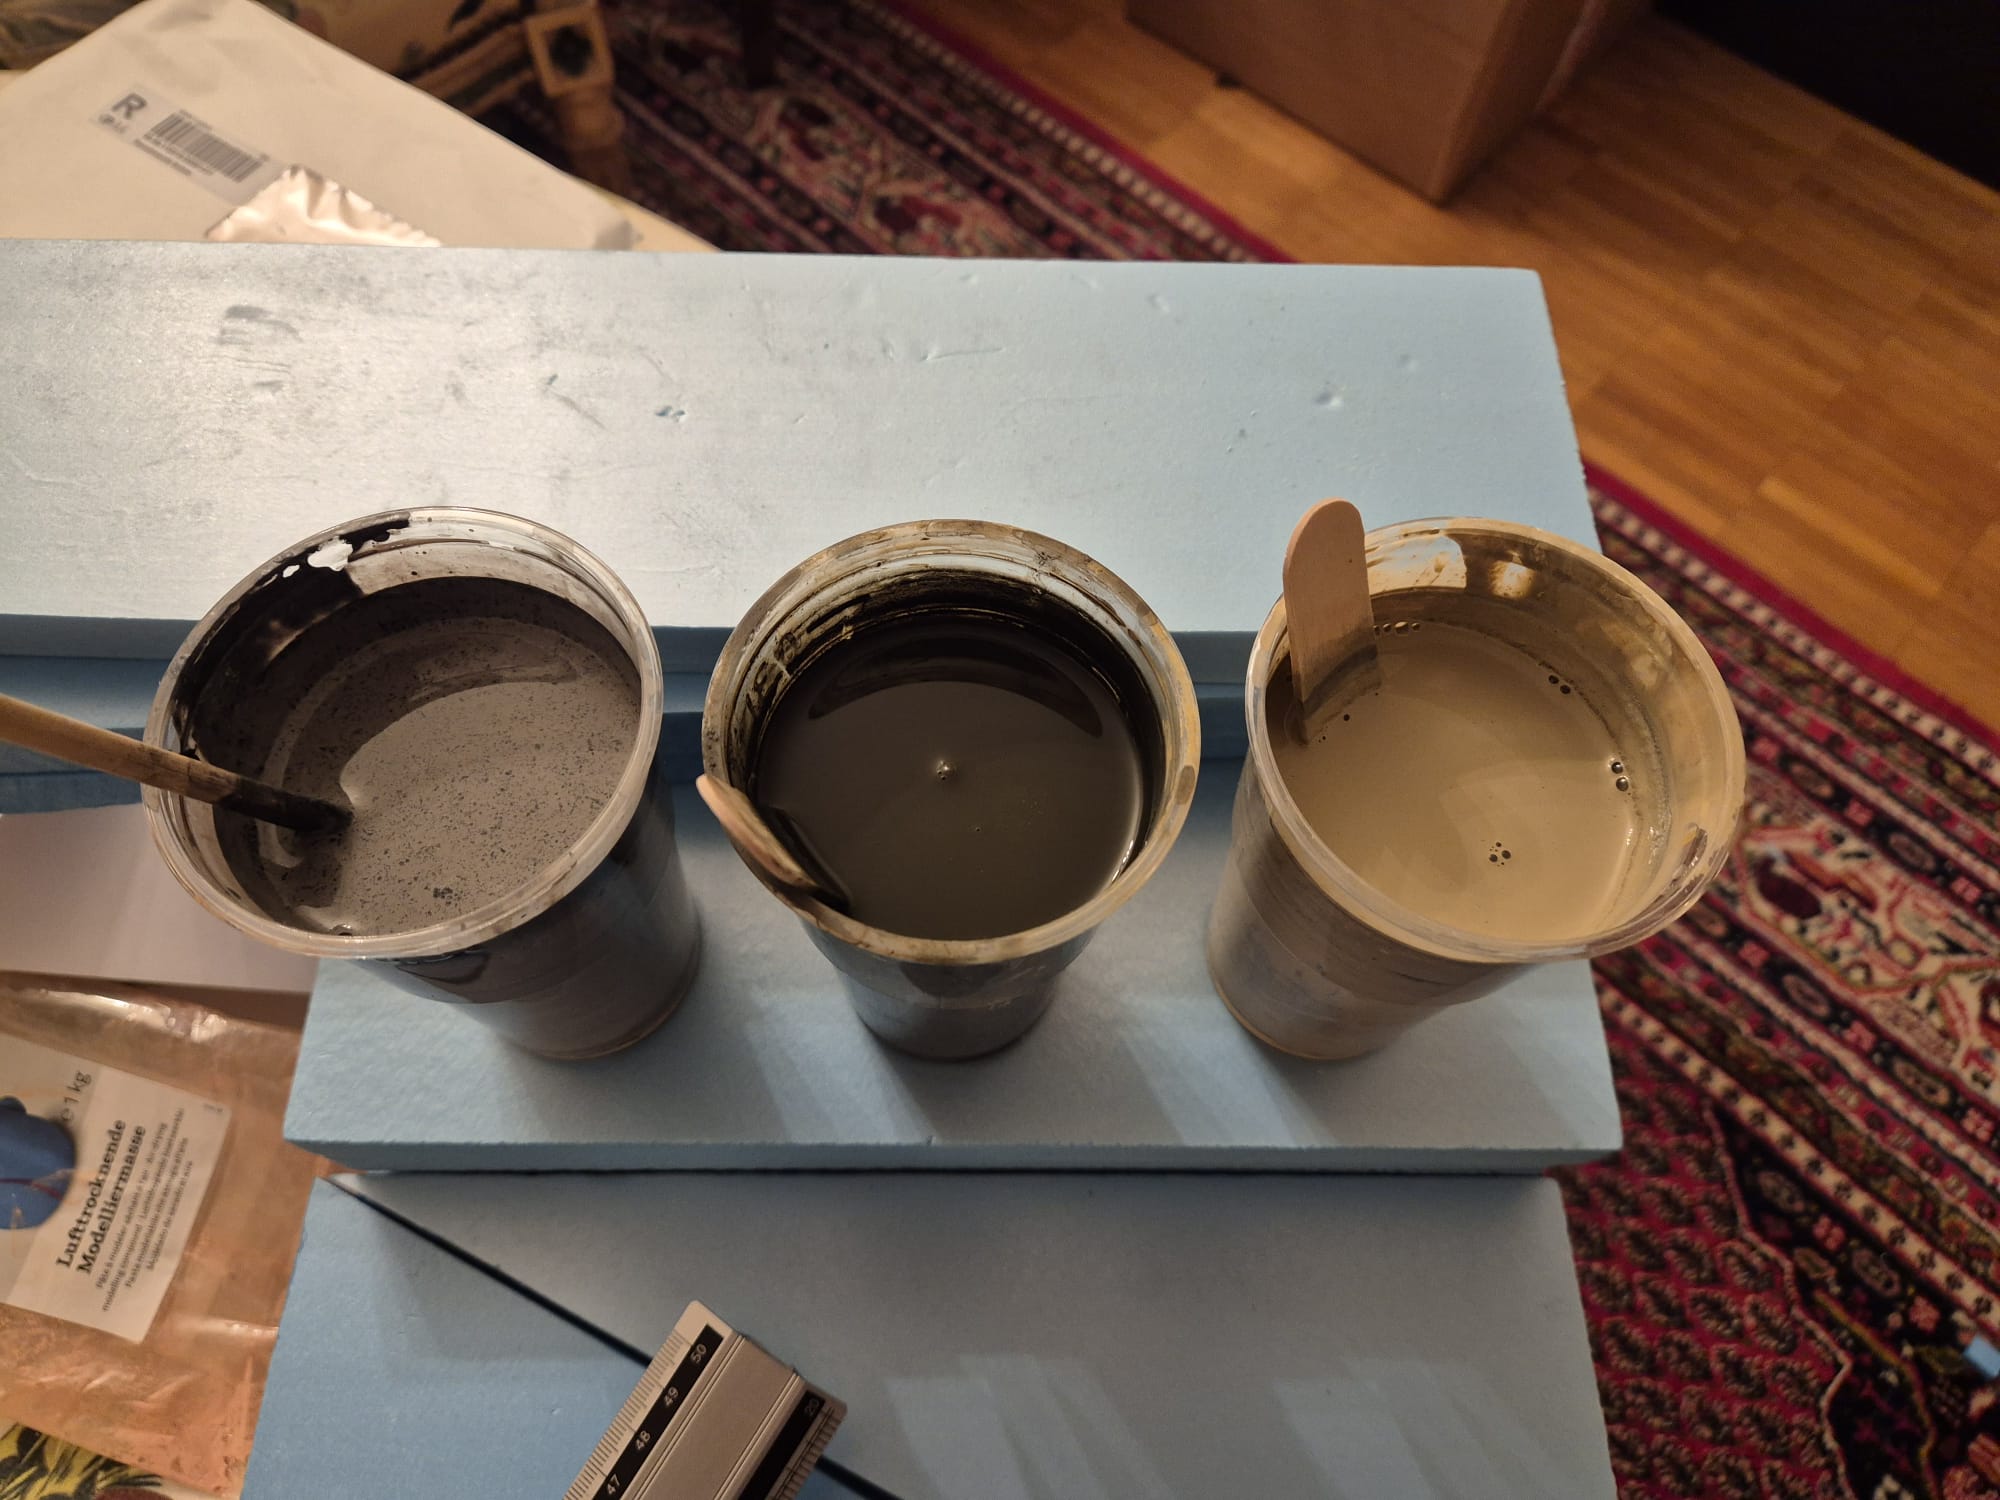
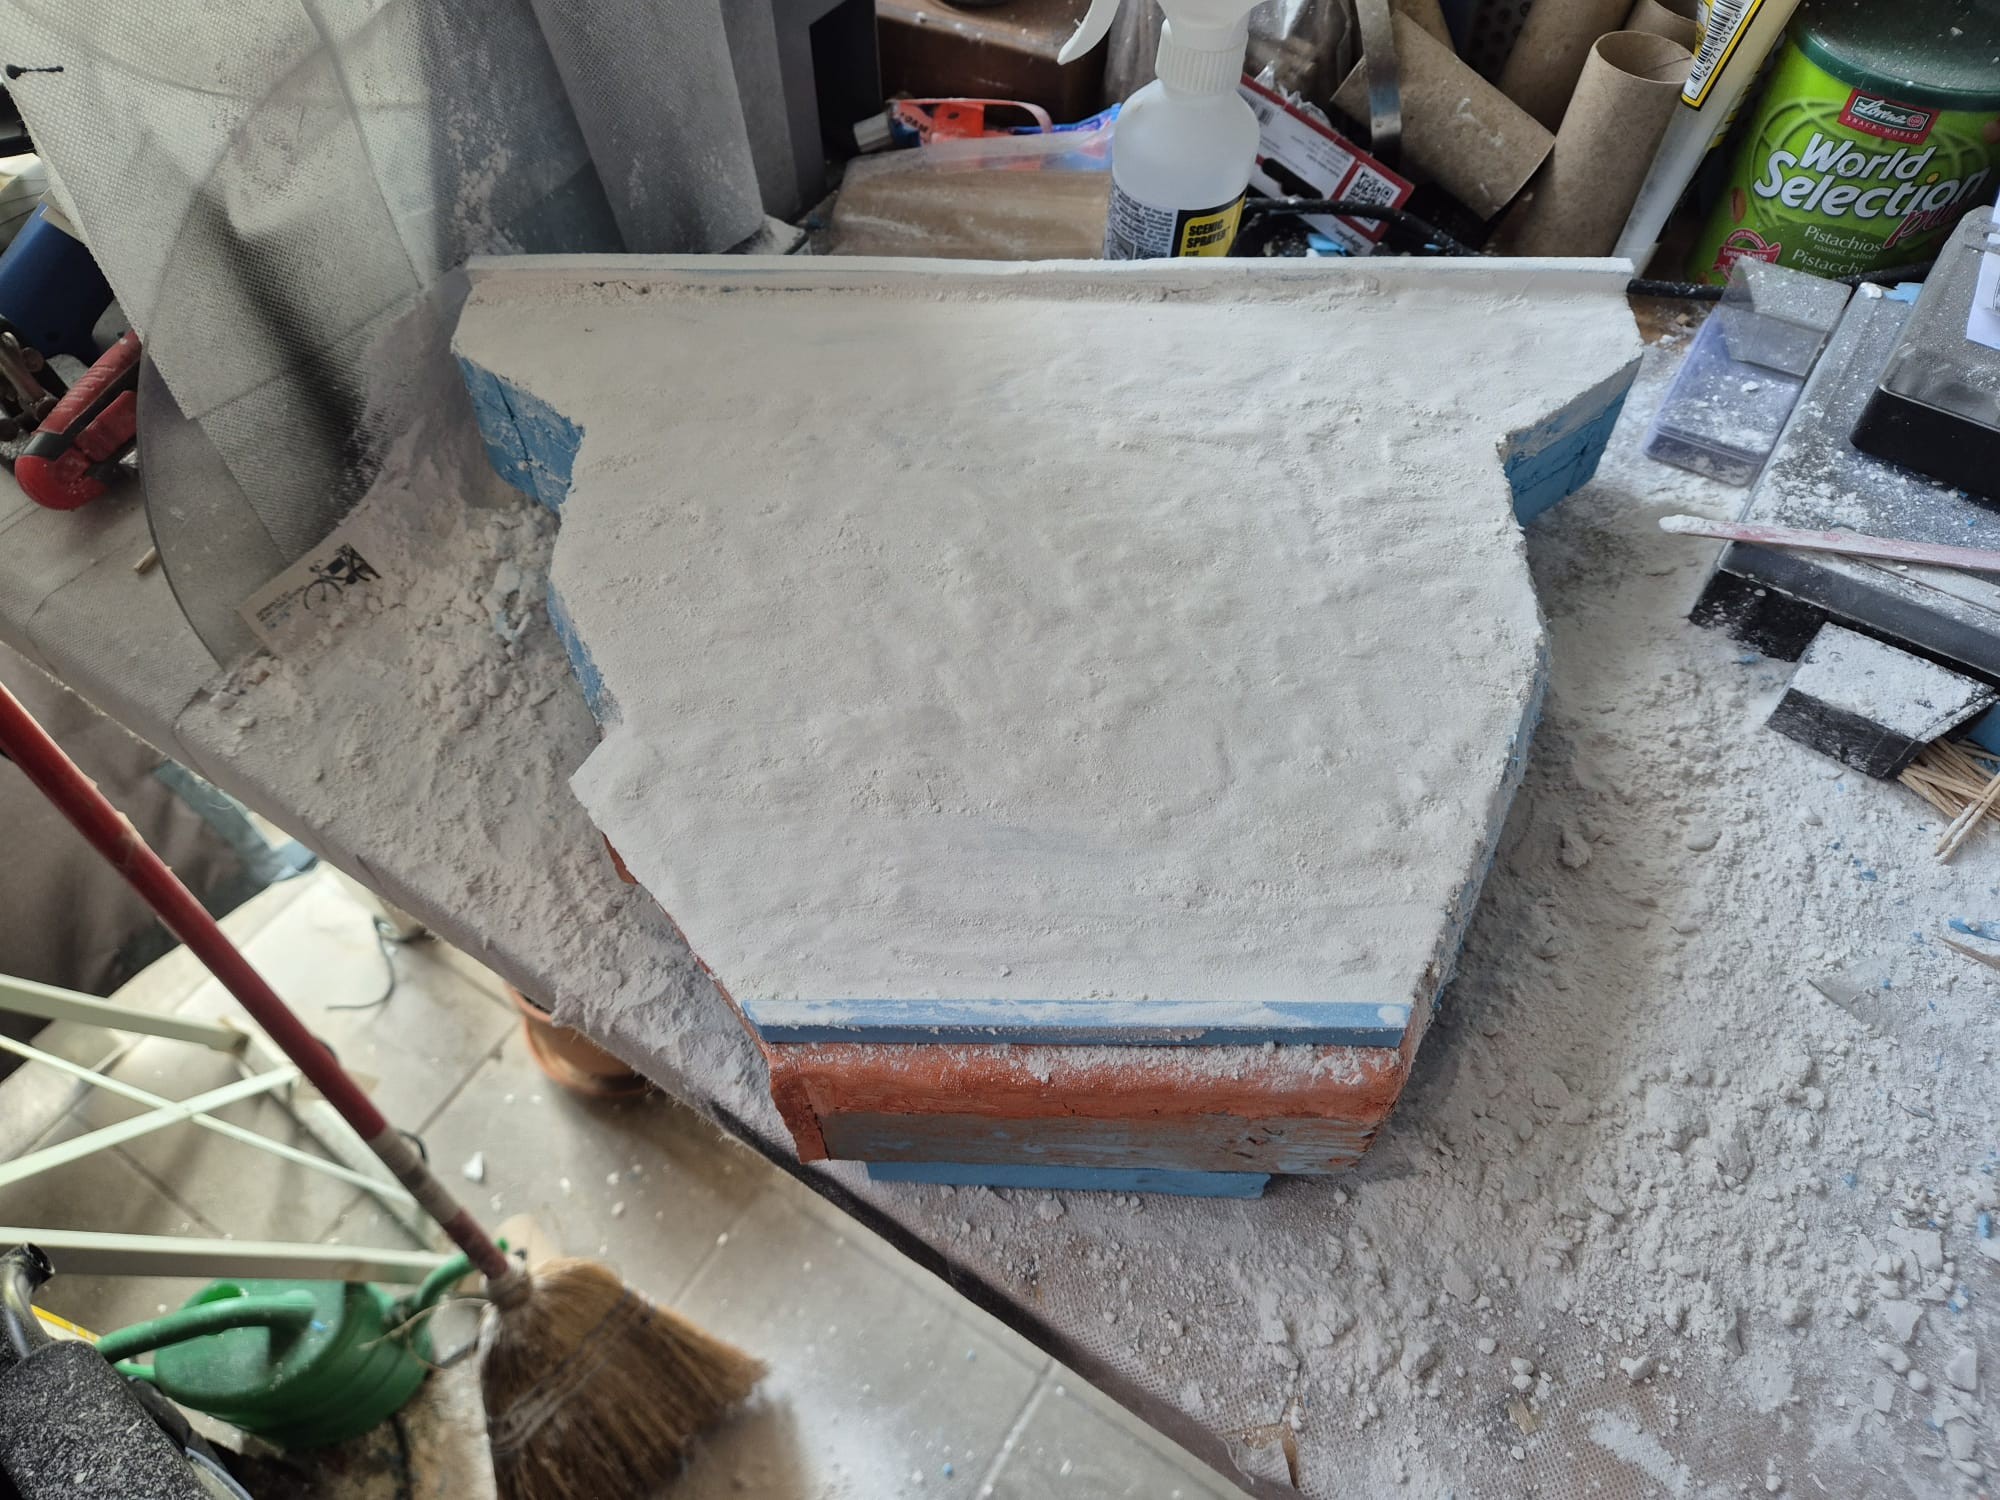
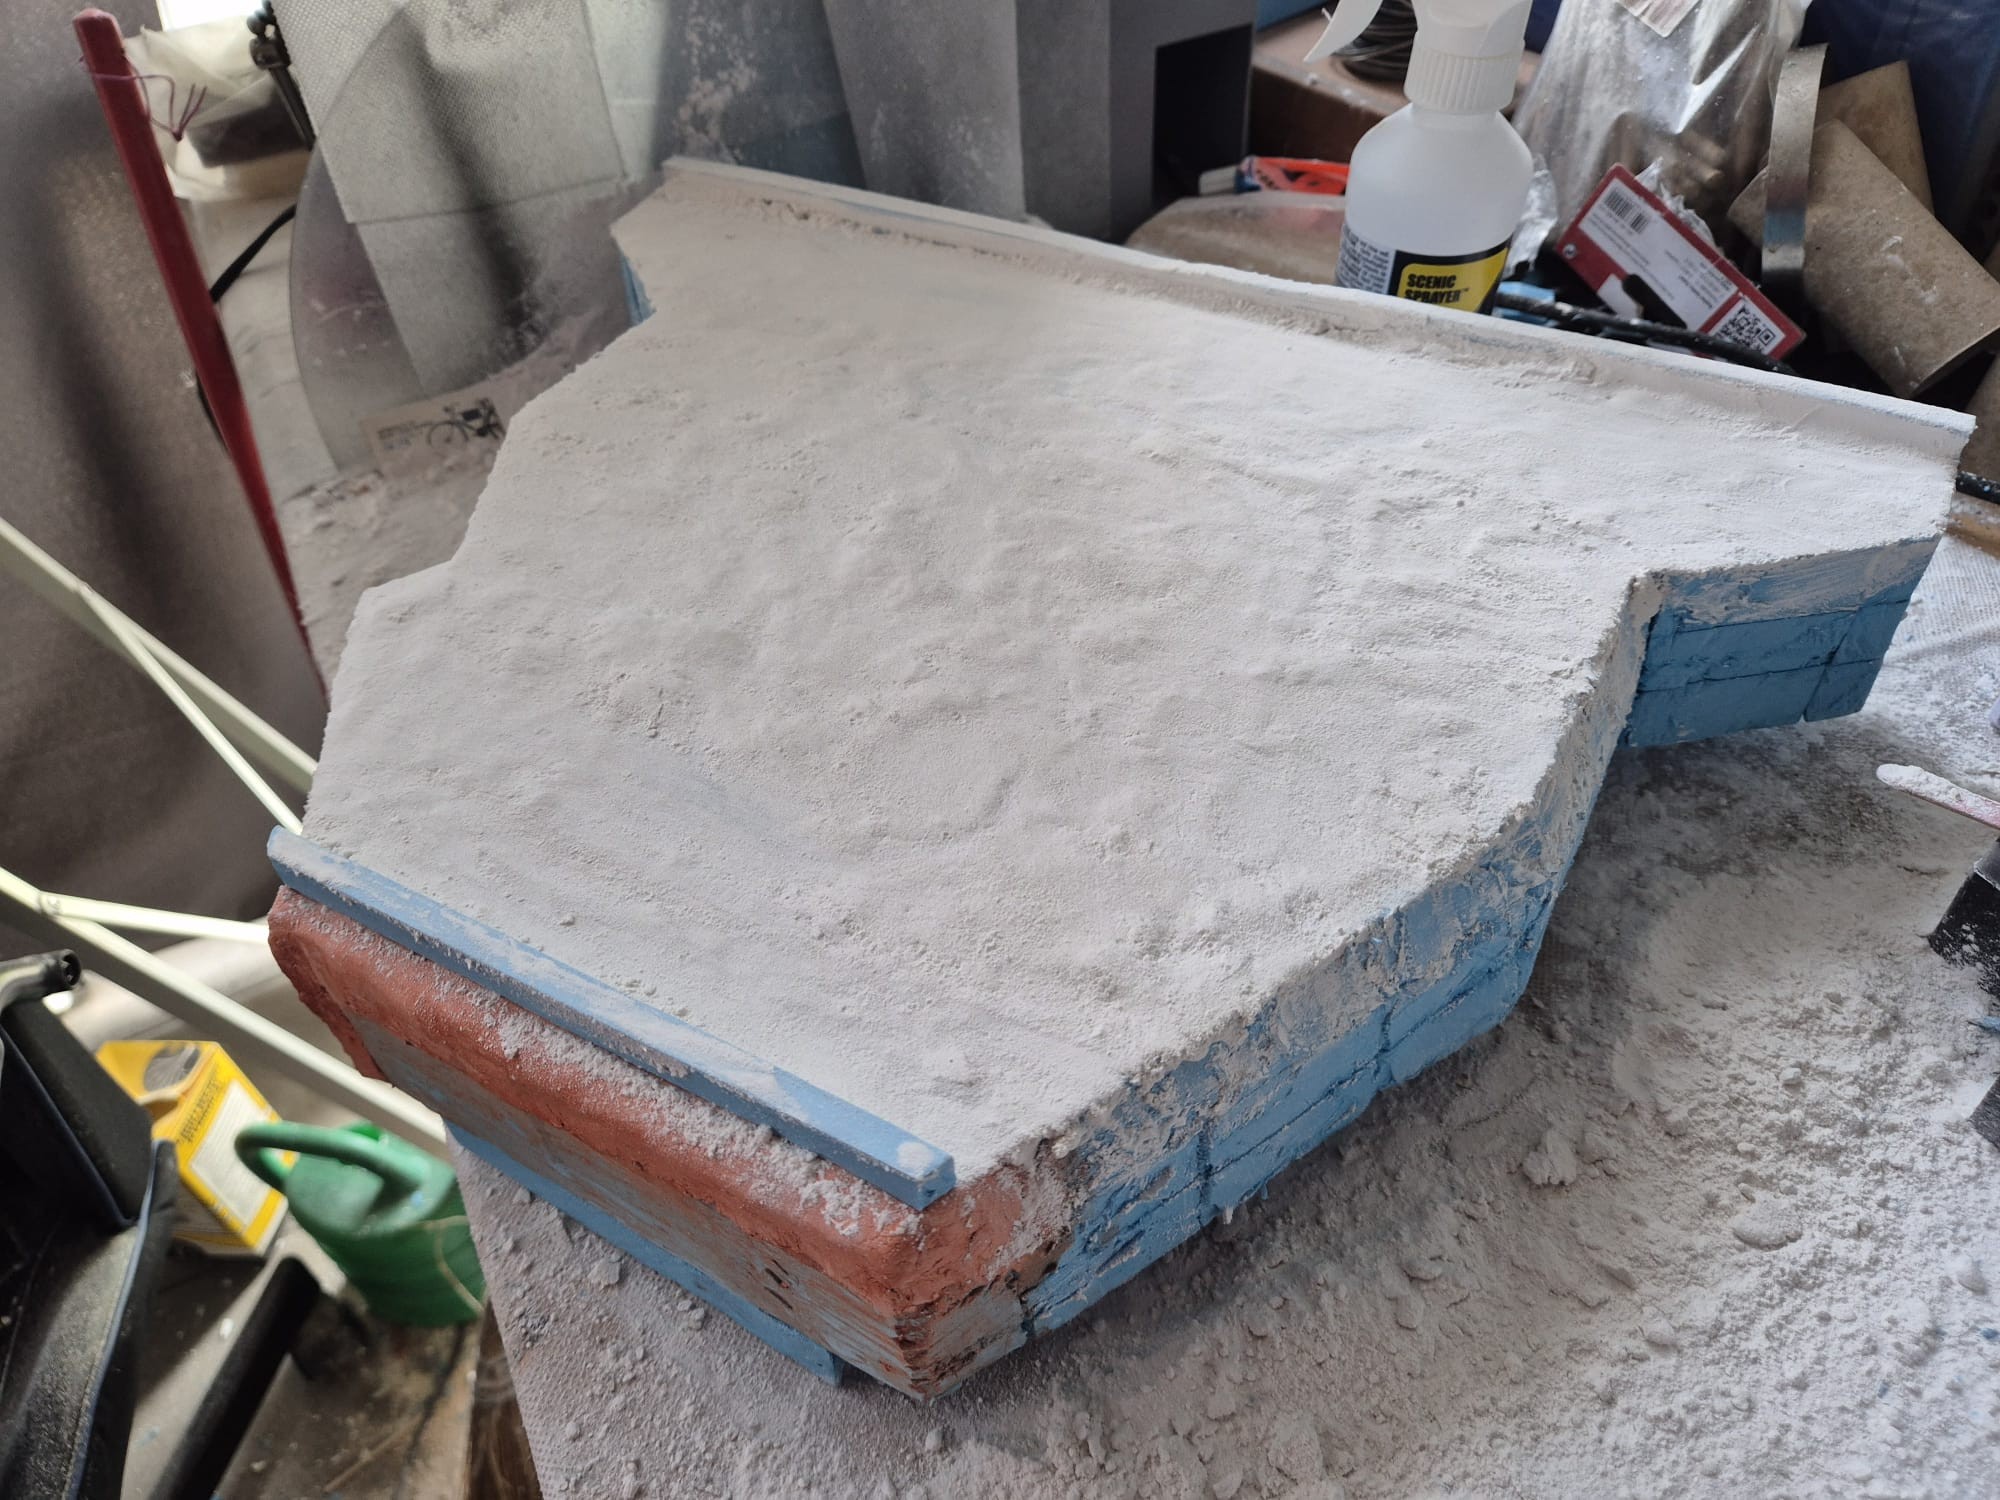
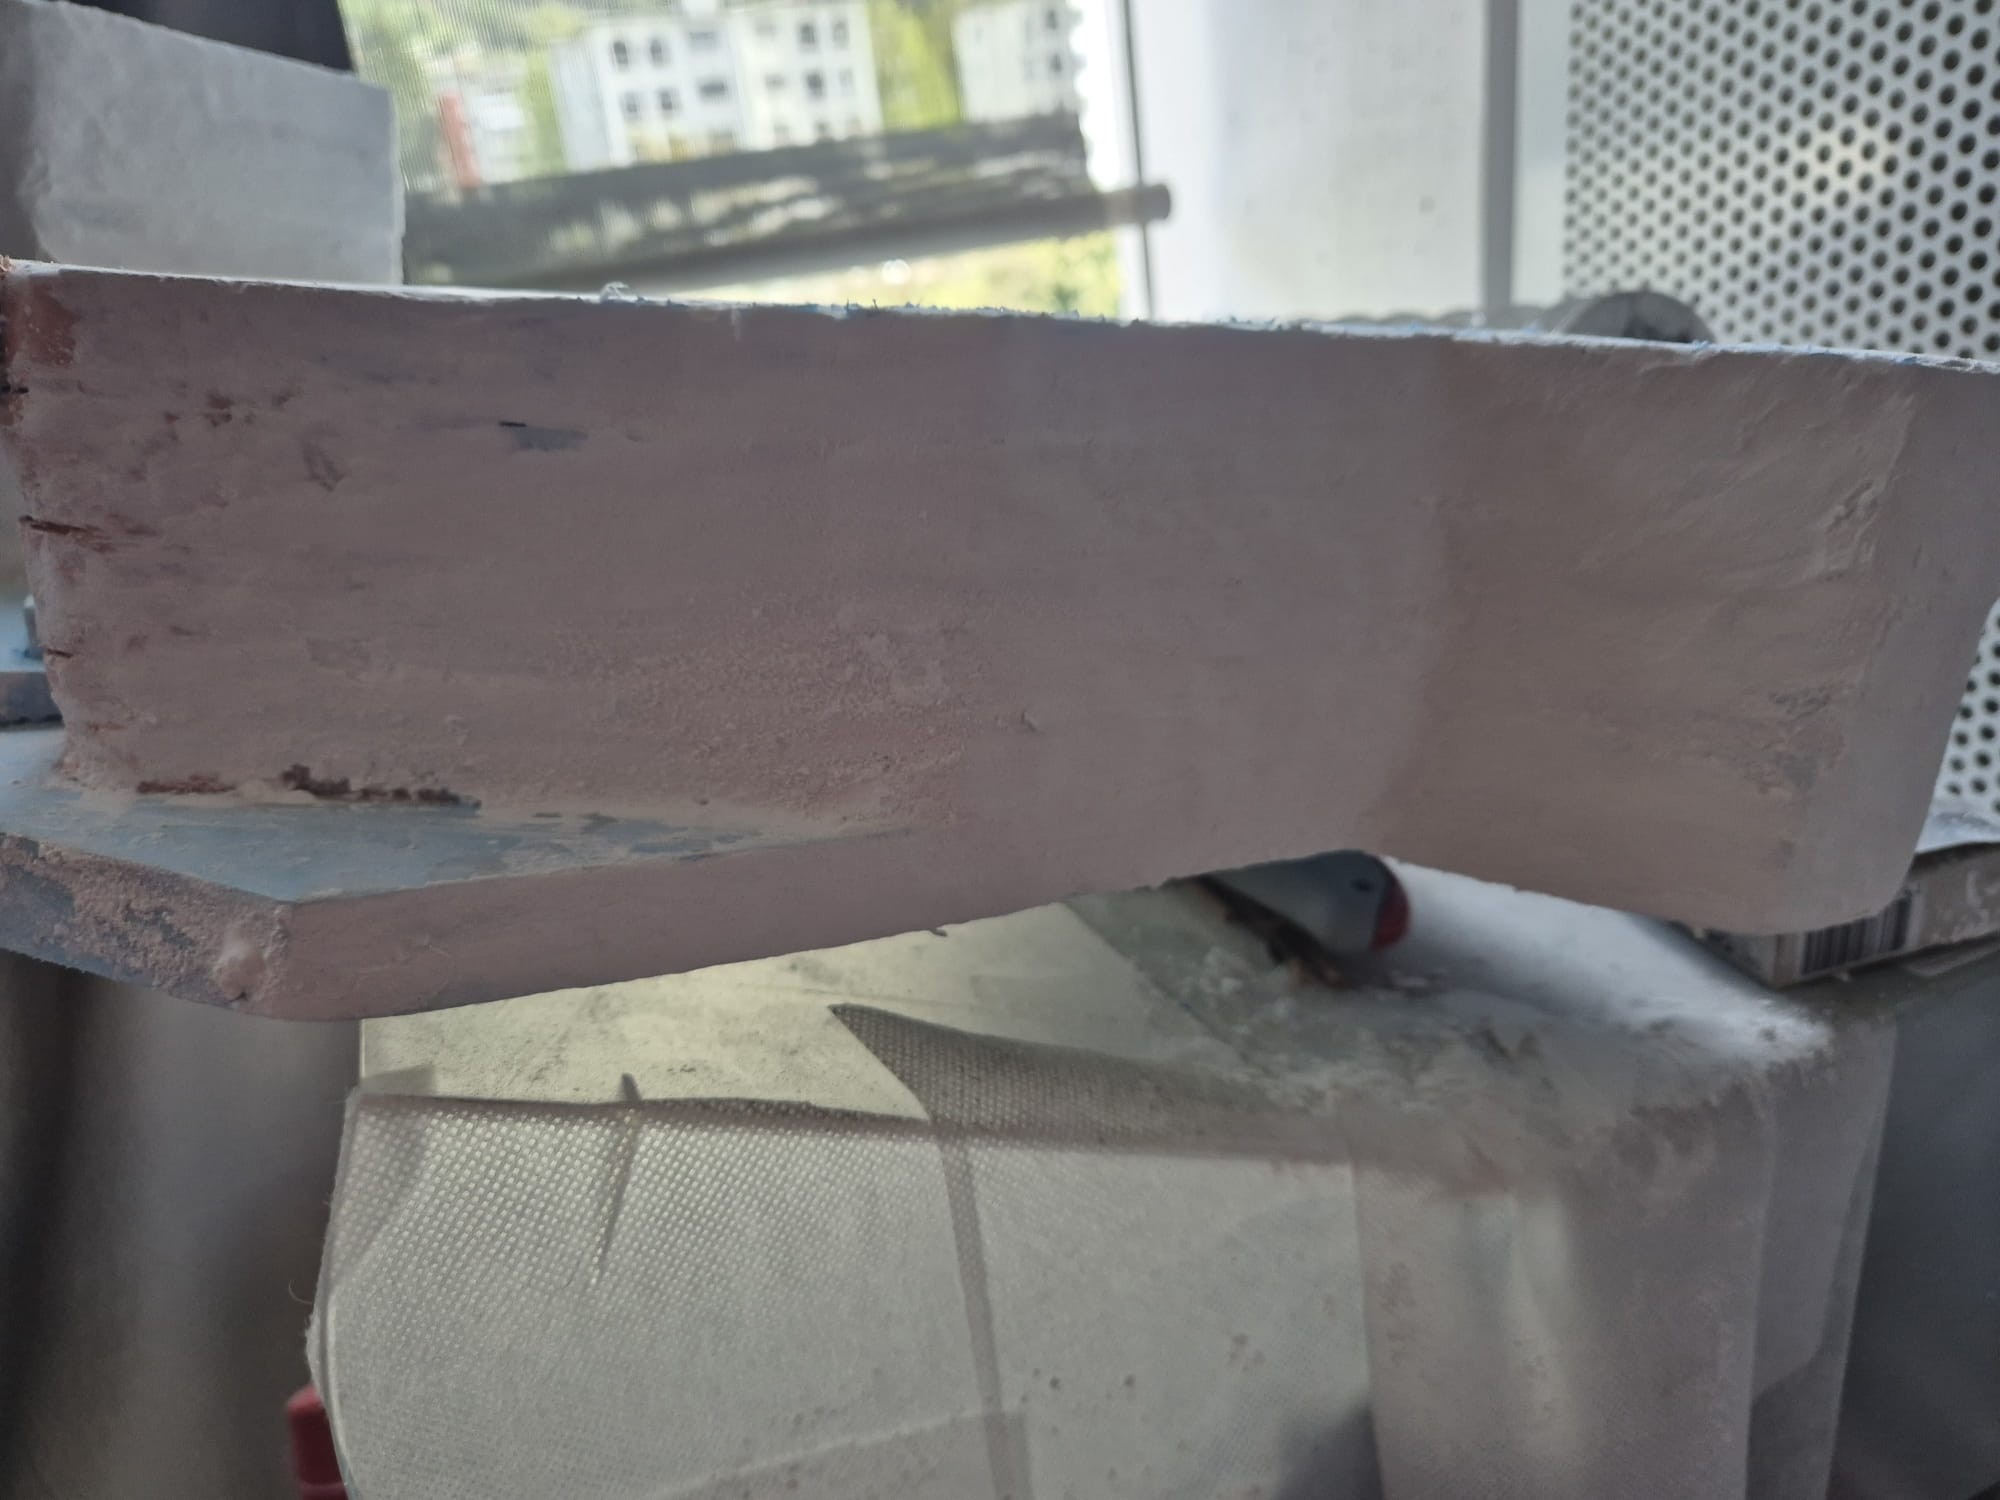
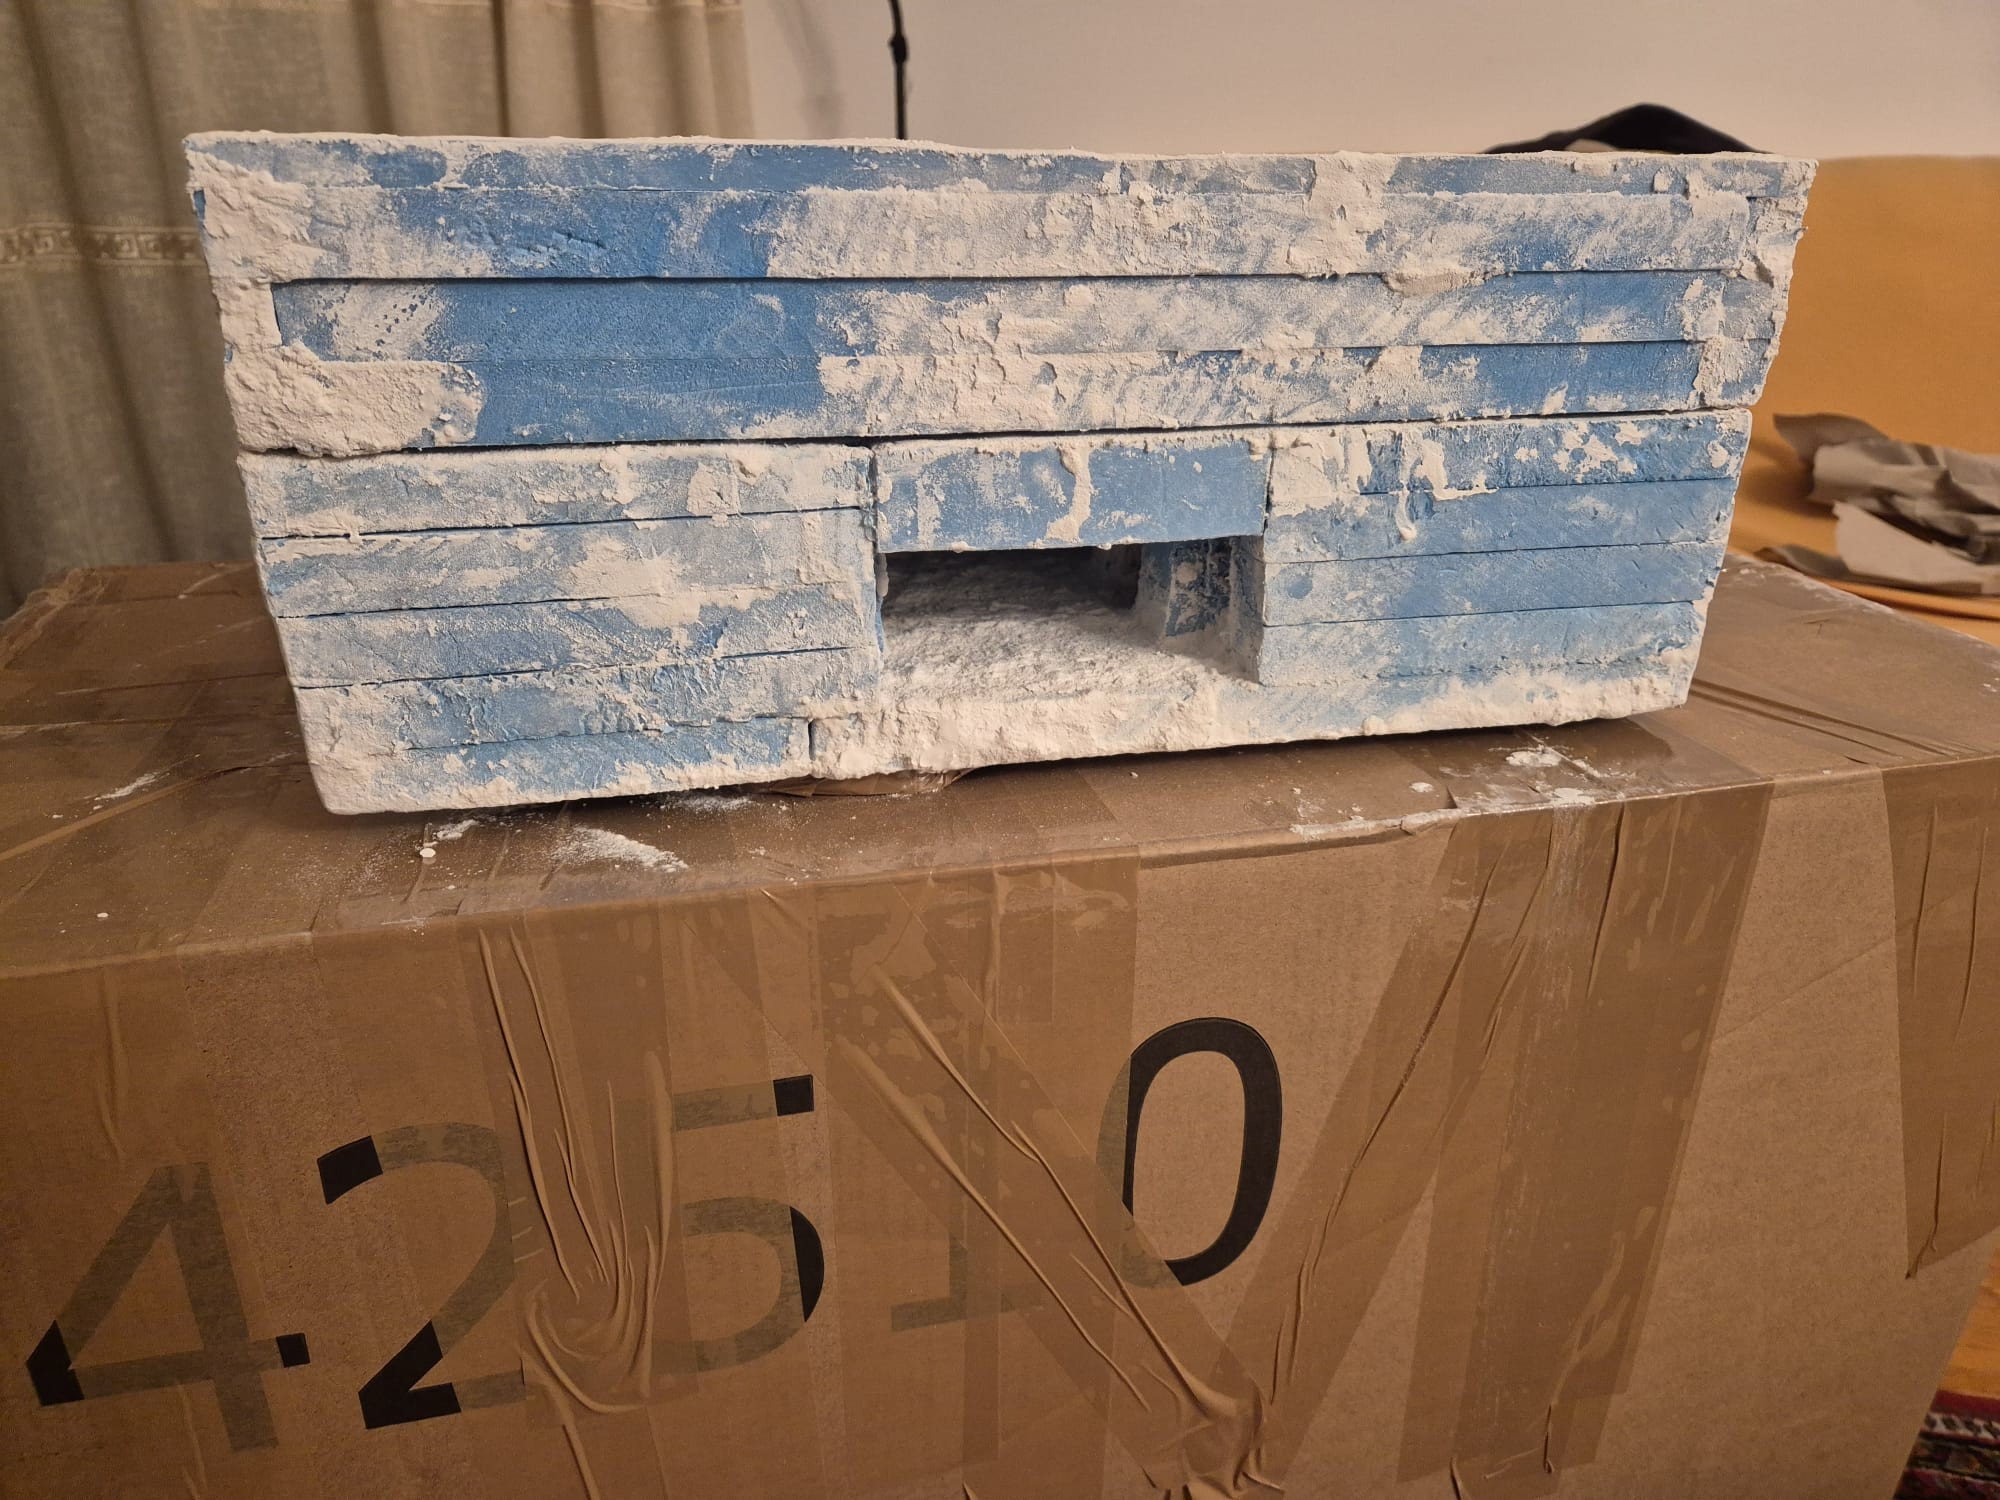
All this of course can only be achieved with lighter material such as rigid foam boards only slightly covered with plaster and concrete compounds by either AK Interactive or AMMO MiG, or even both.
Since I do not have a 3D printer I will have to carve the foam with a dedicated hot wire following the drawings I have made on paper by just copying them from my PC screen in the right scale.
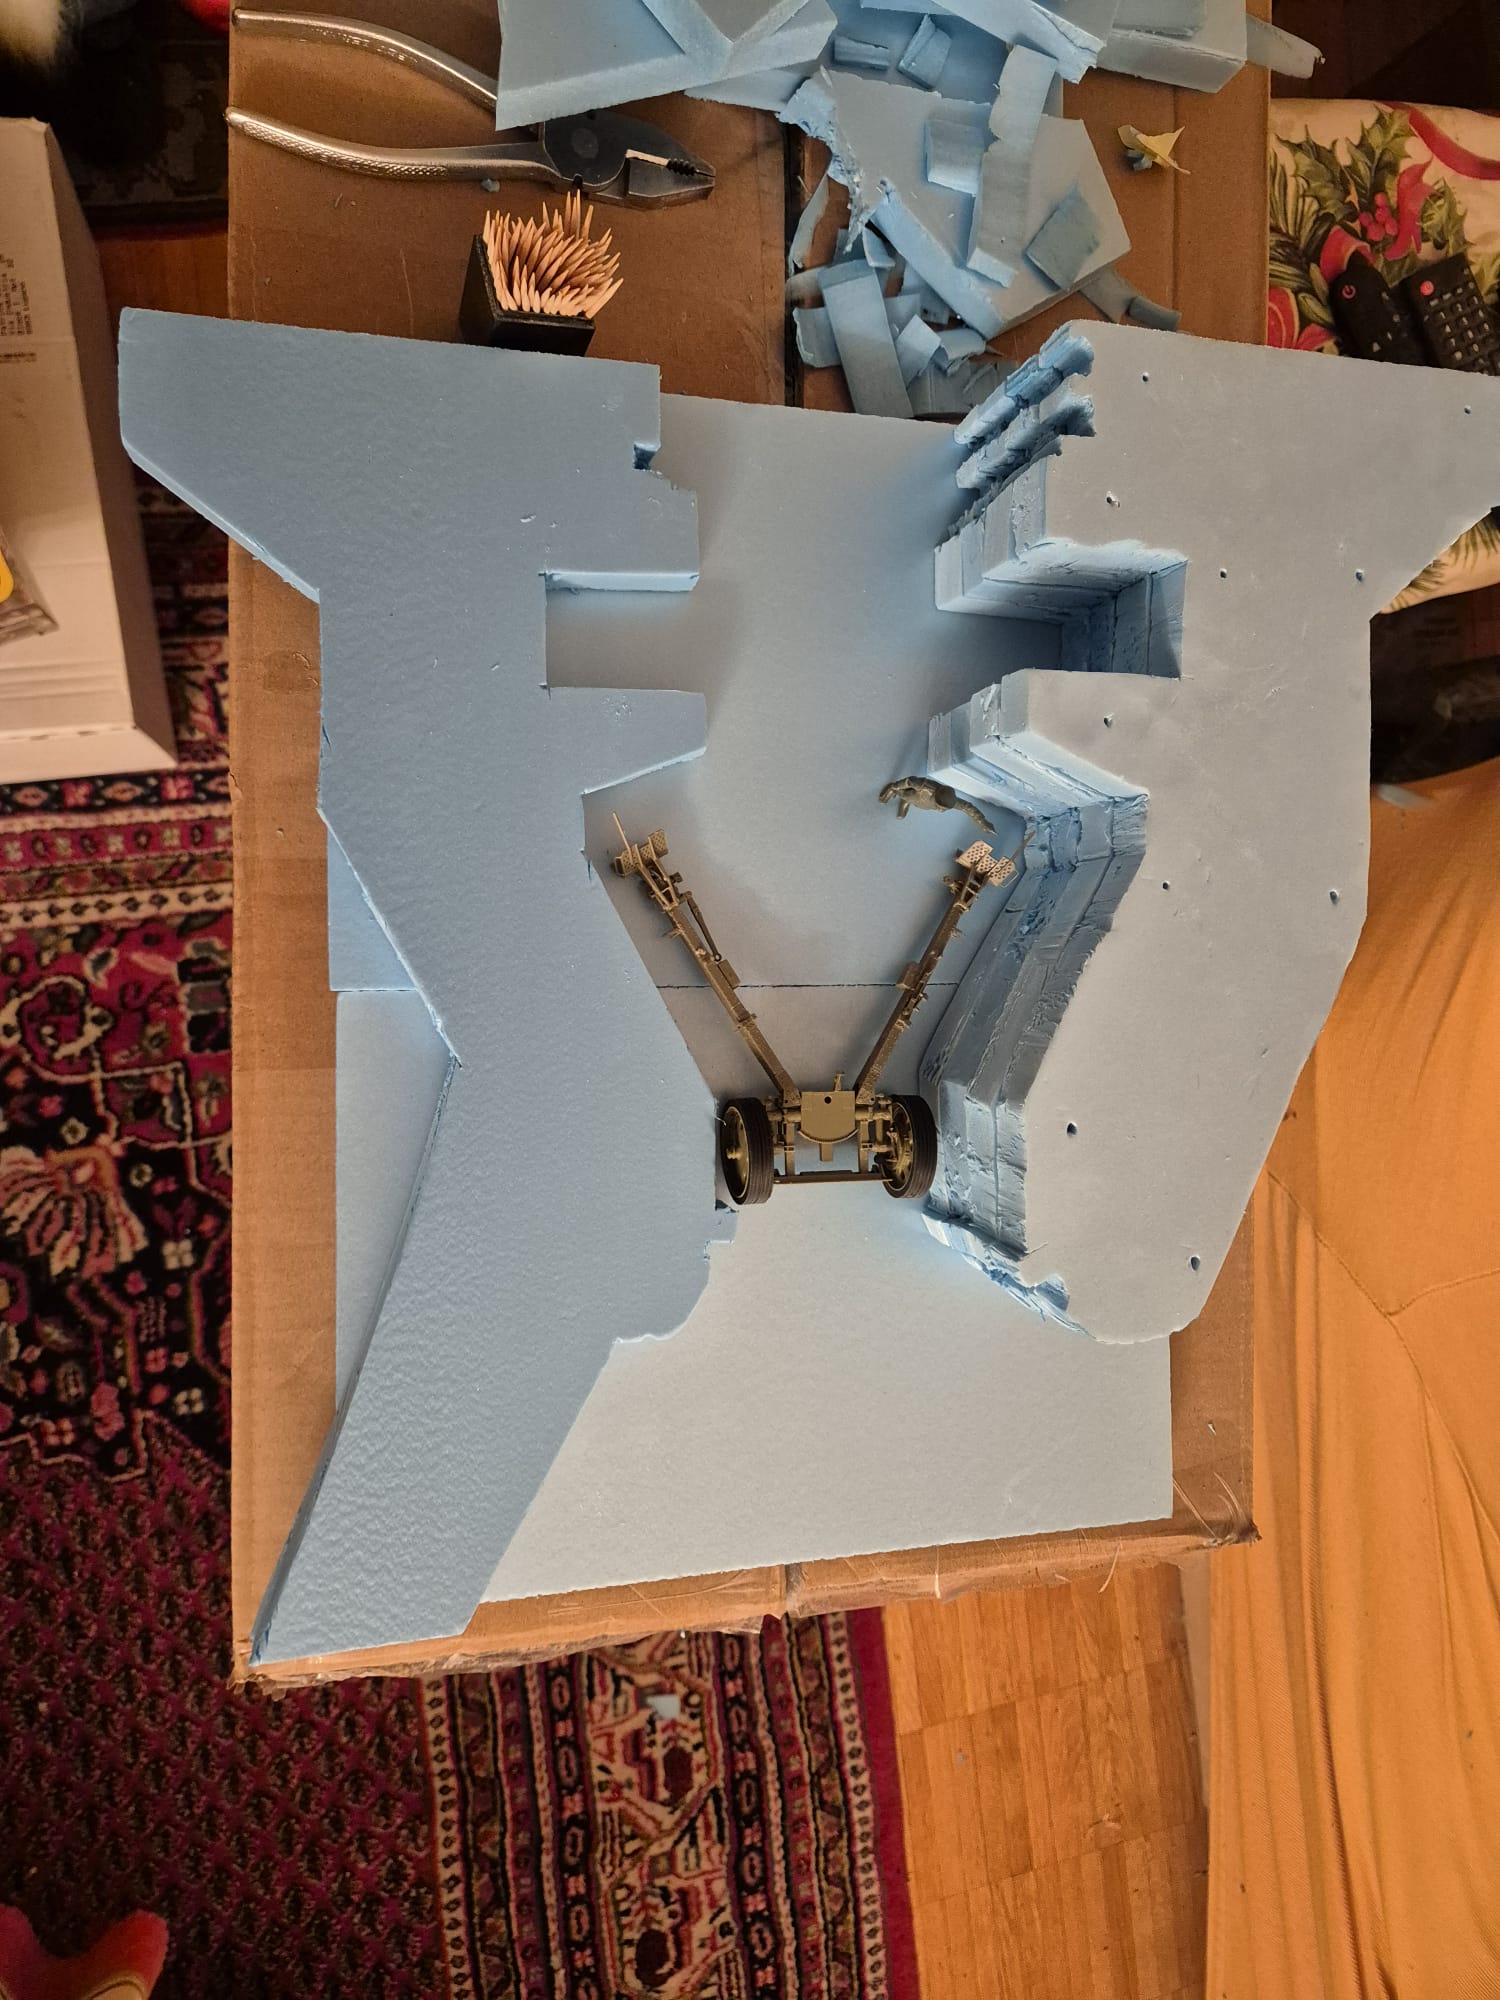
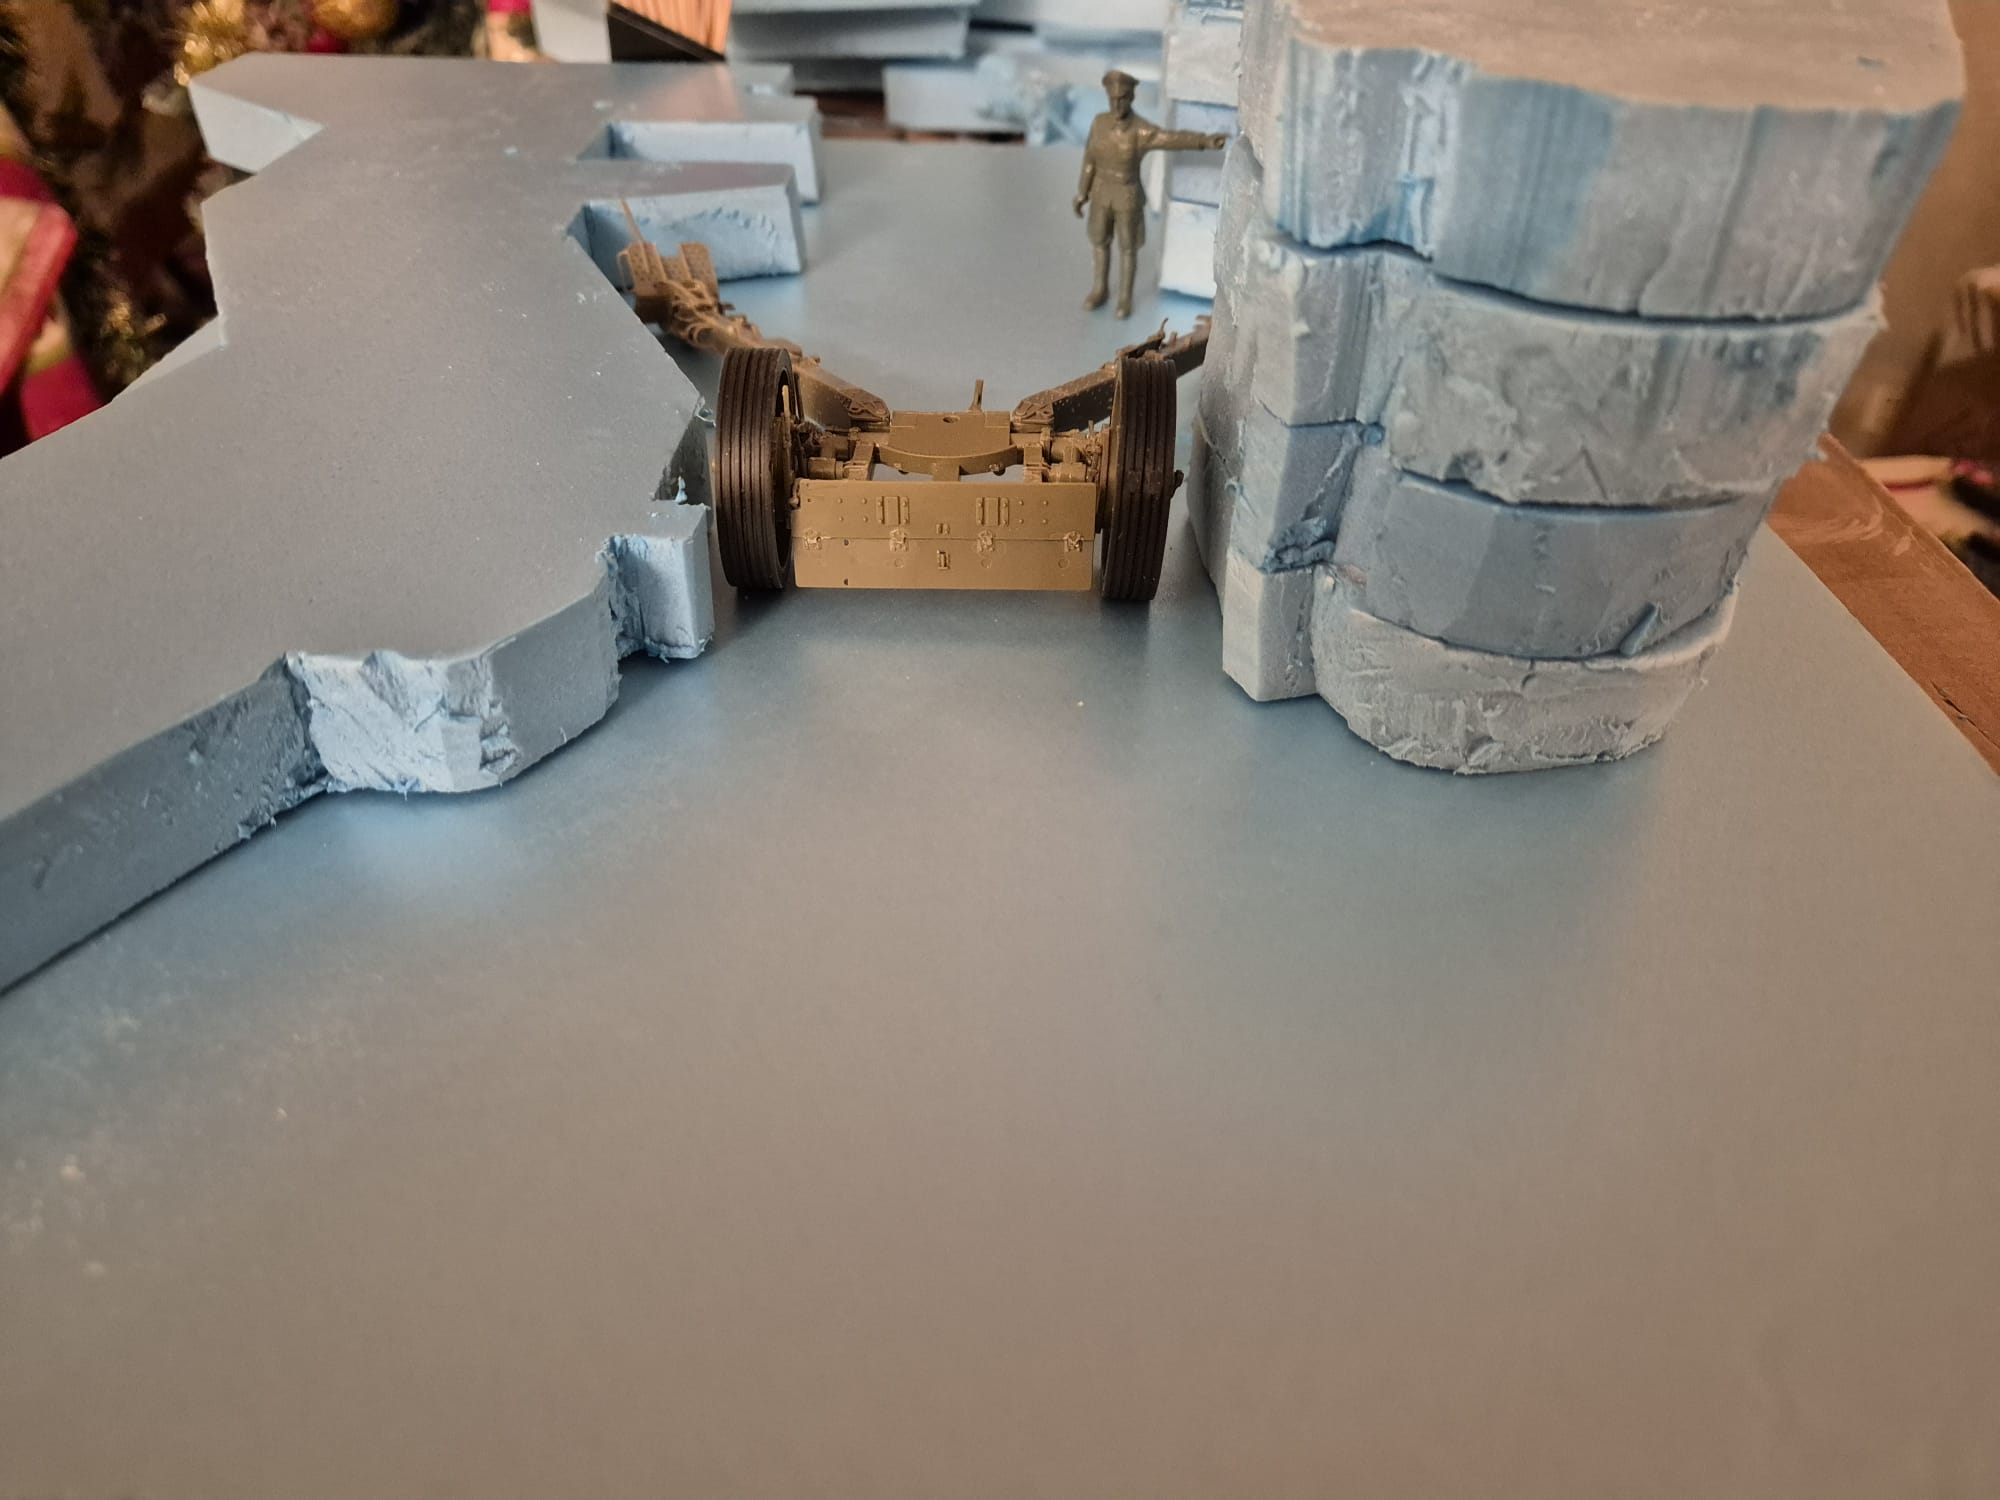
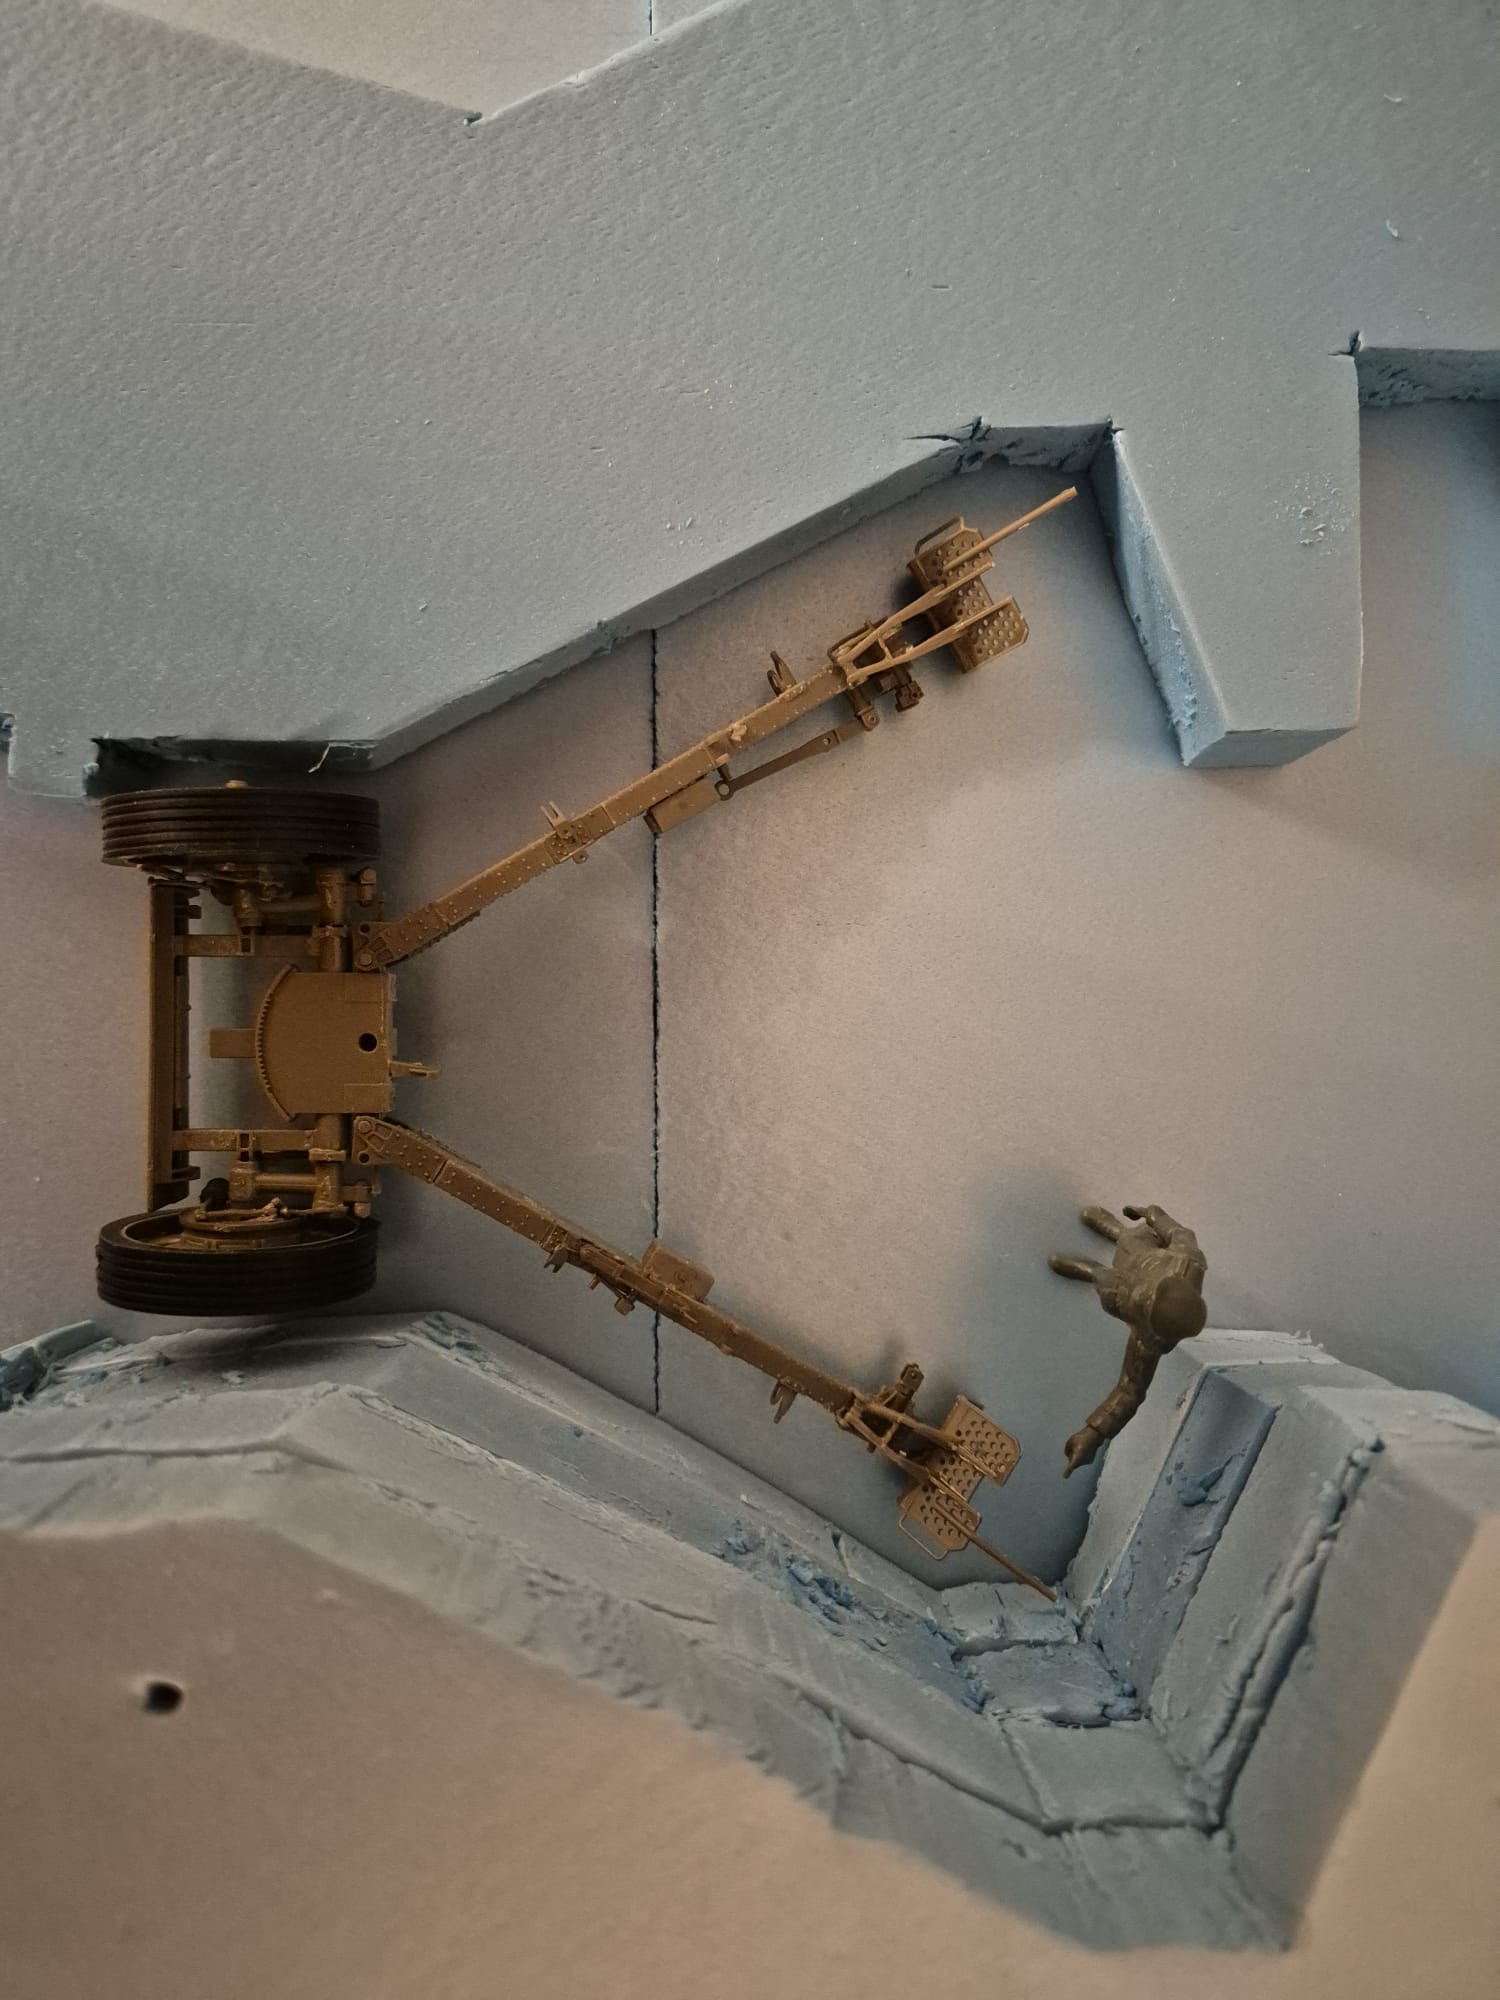
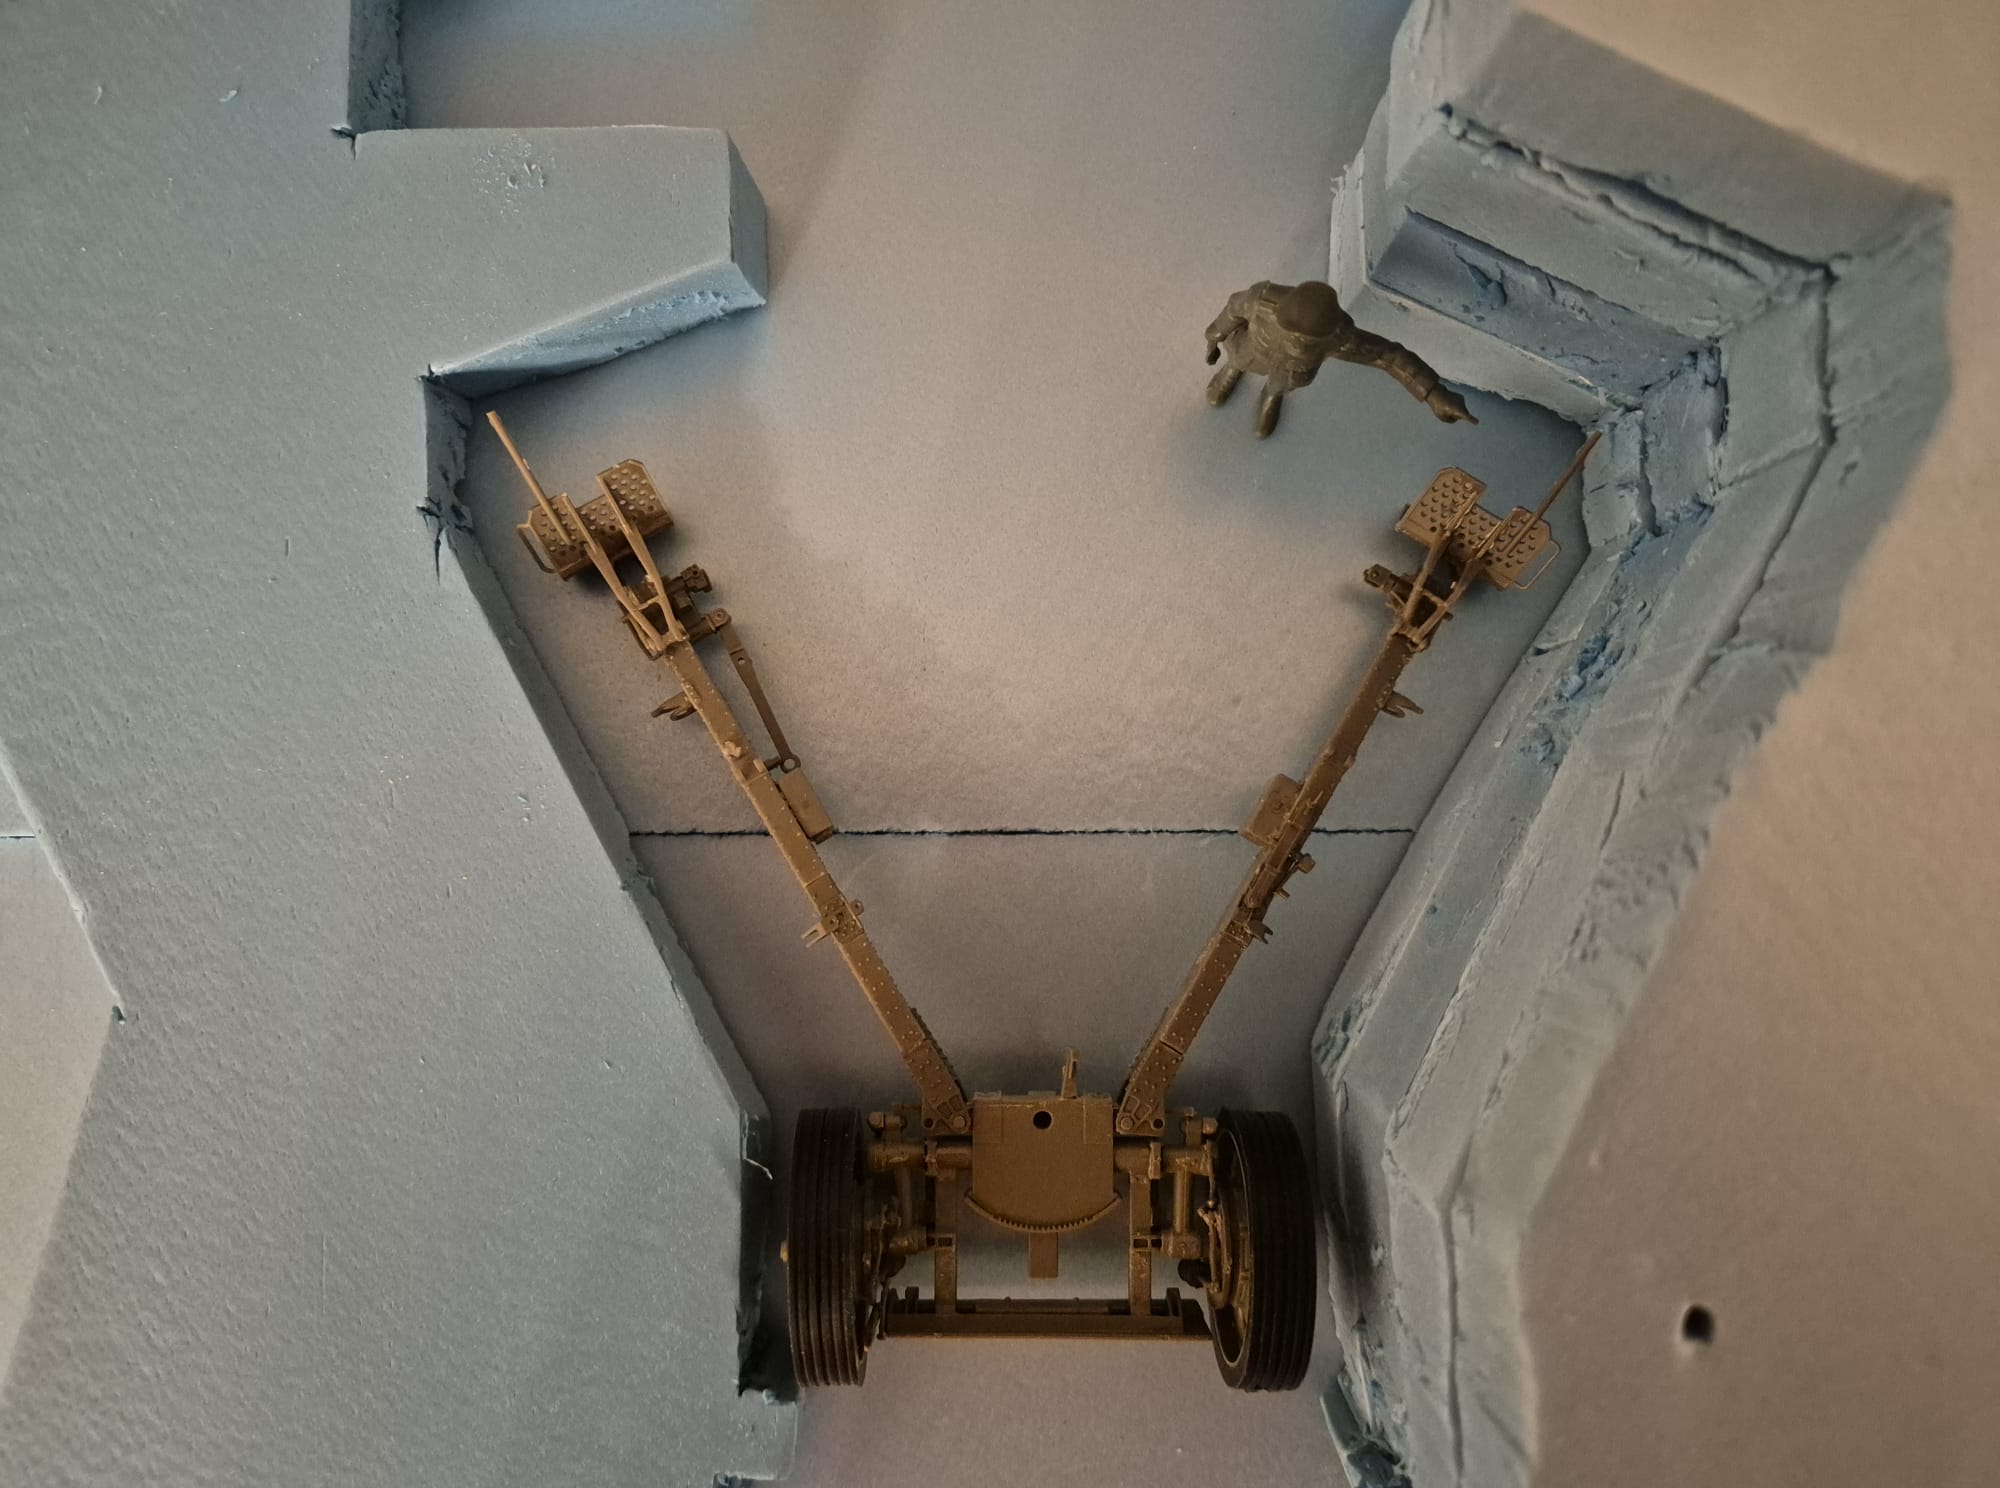
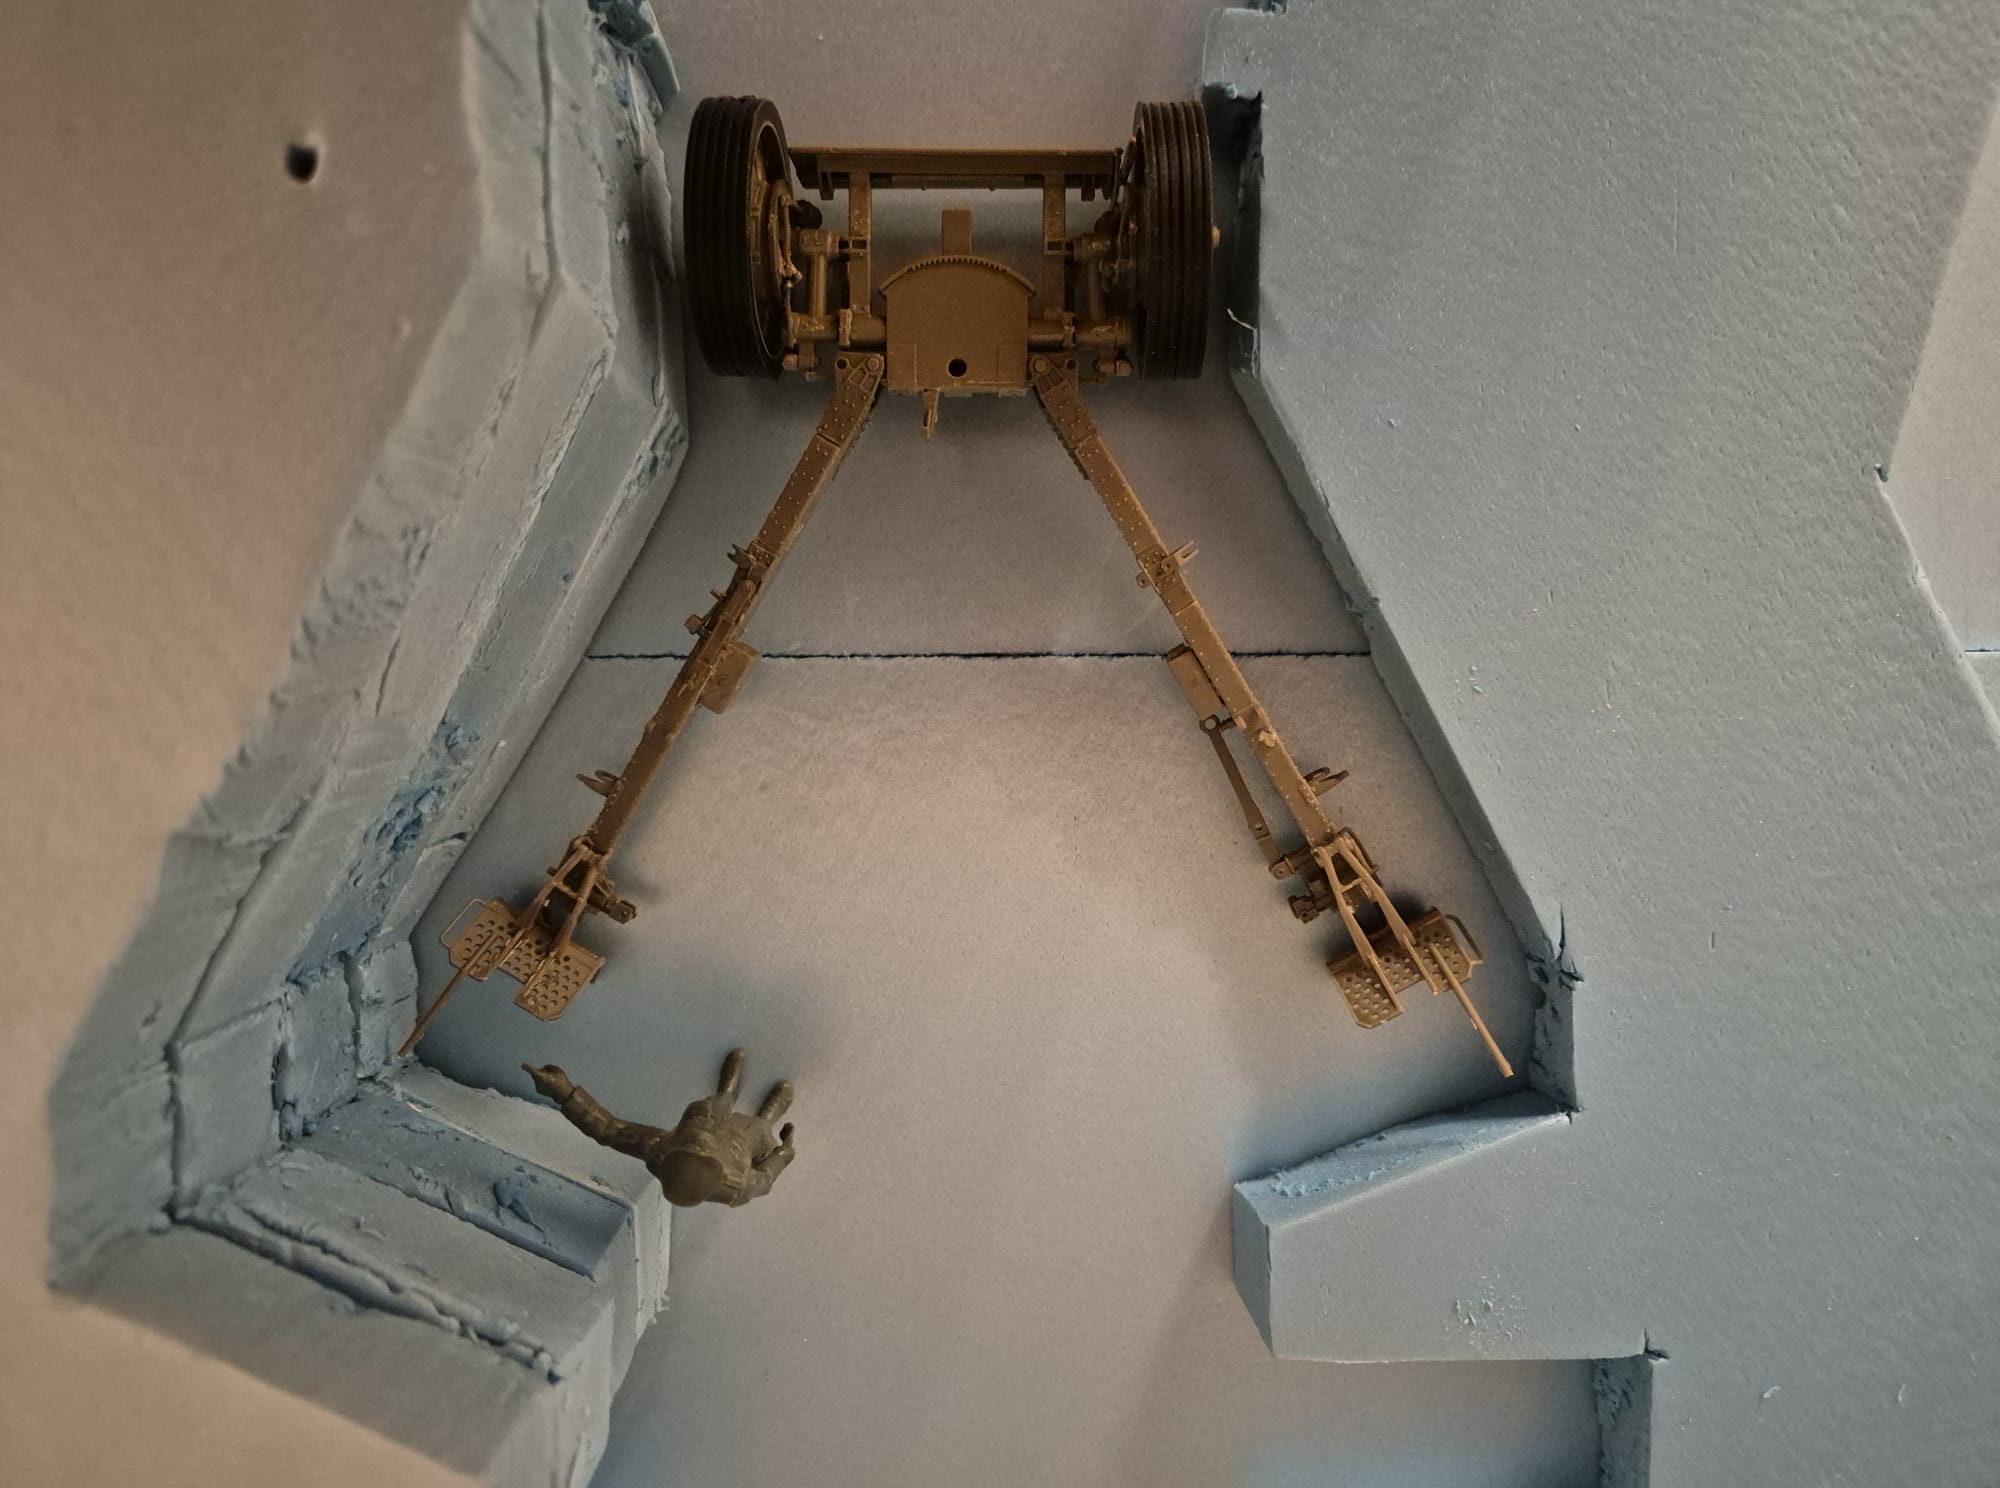
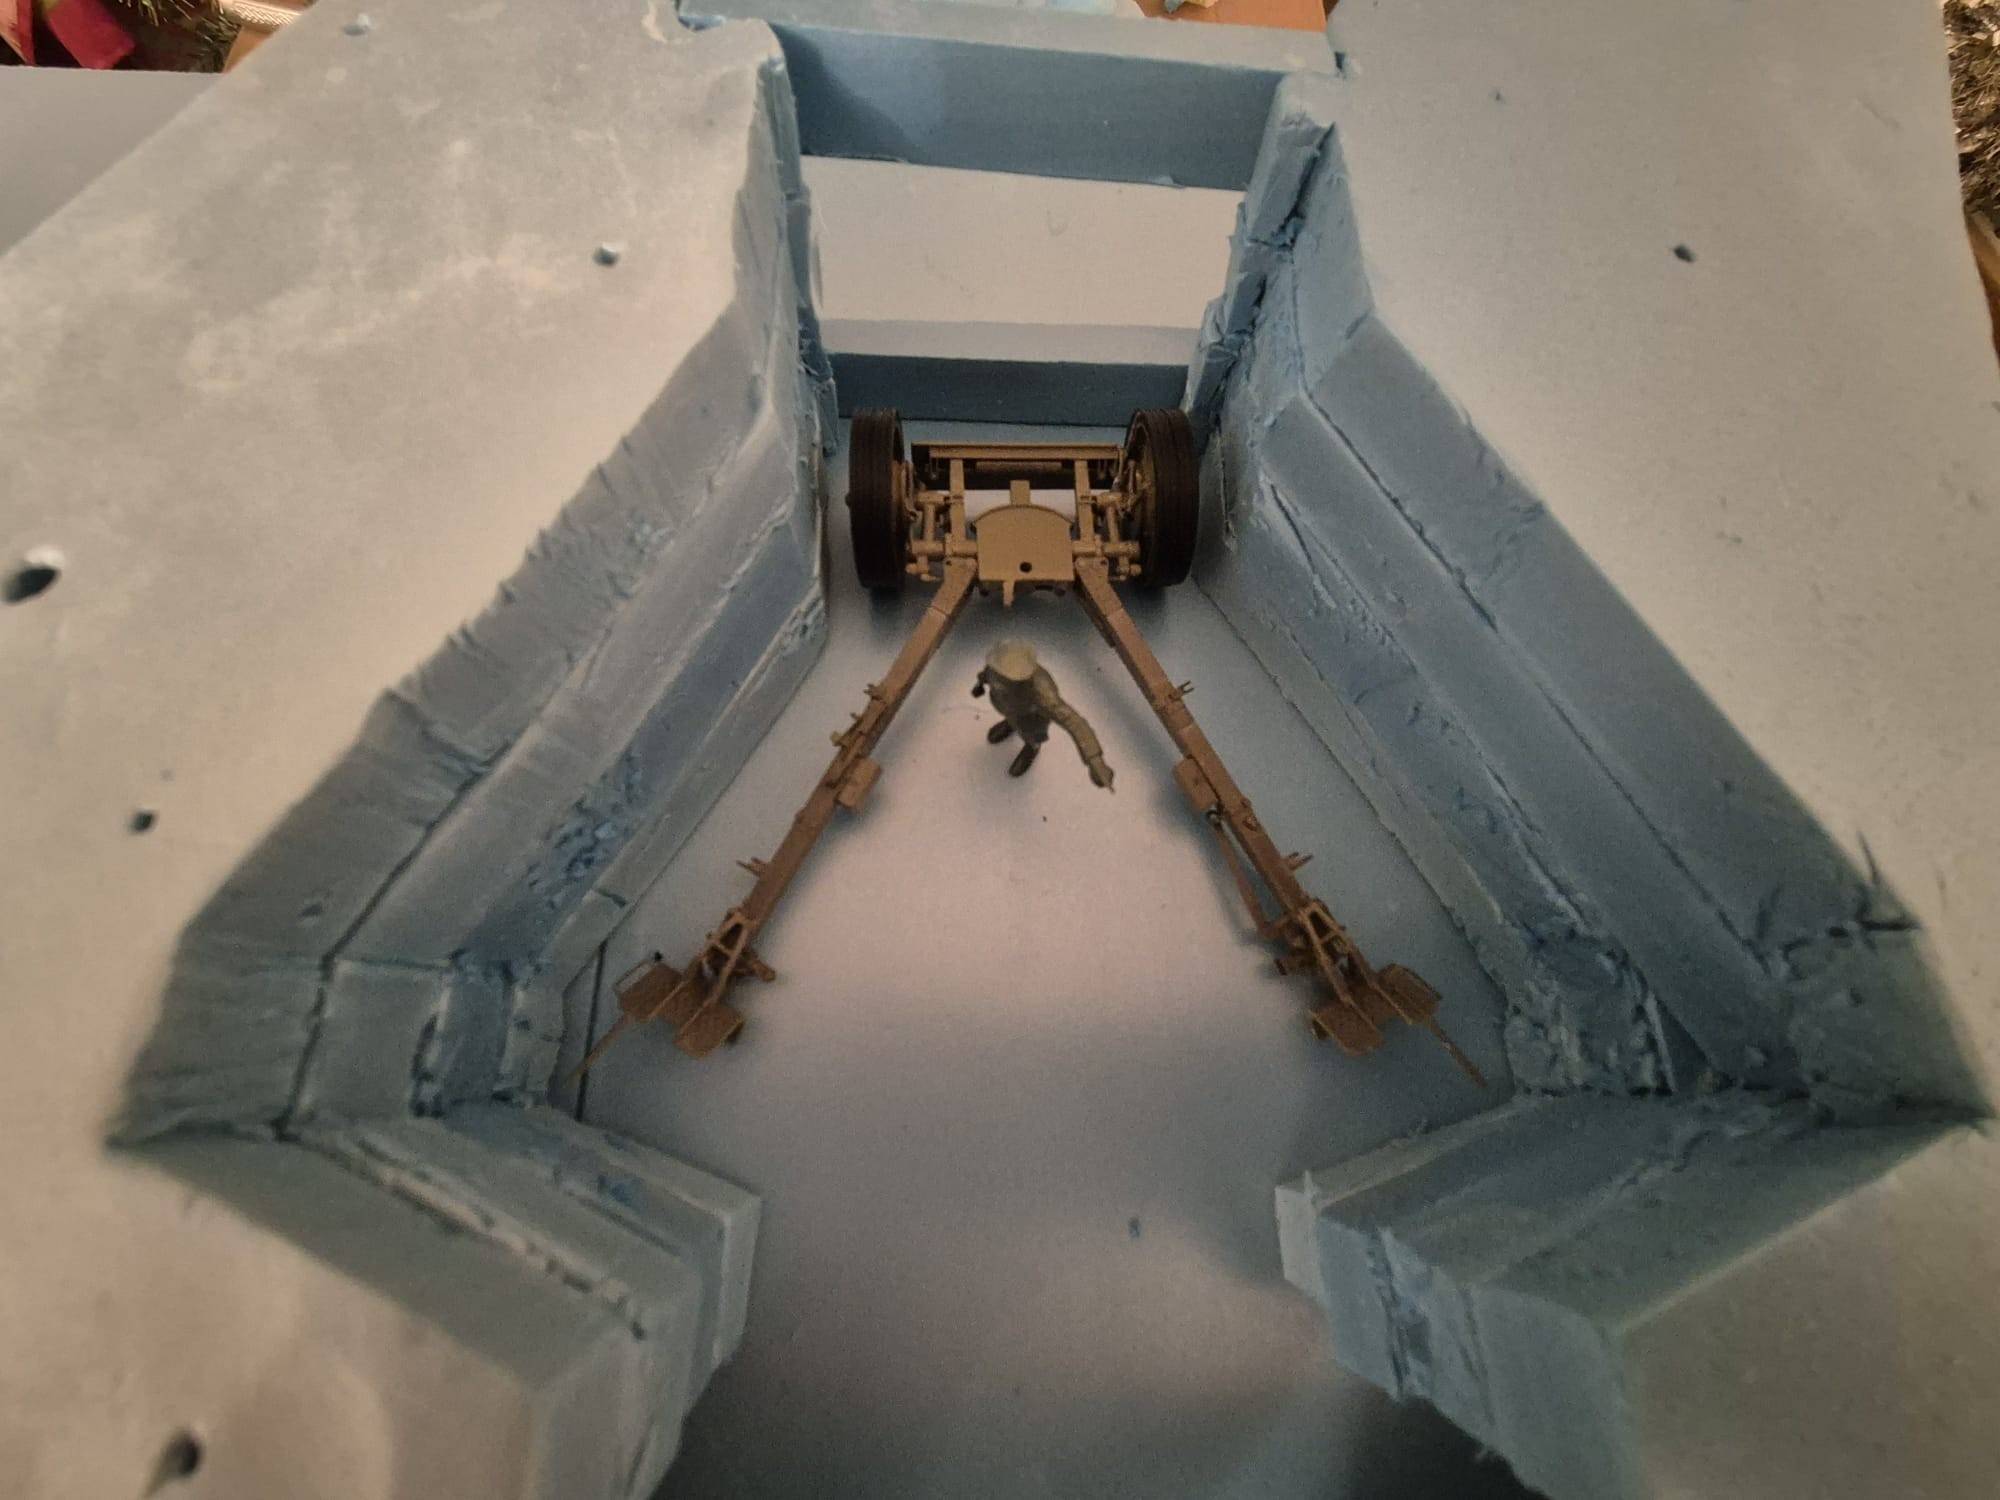
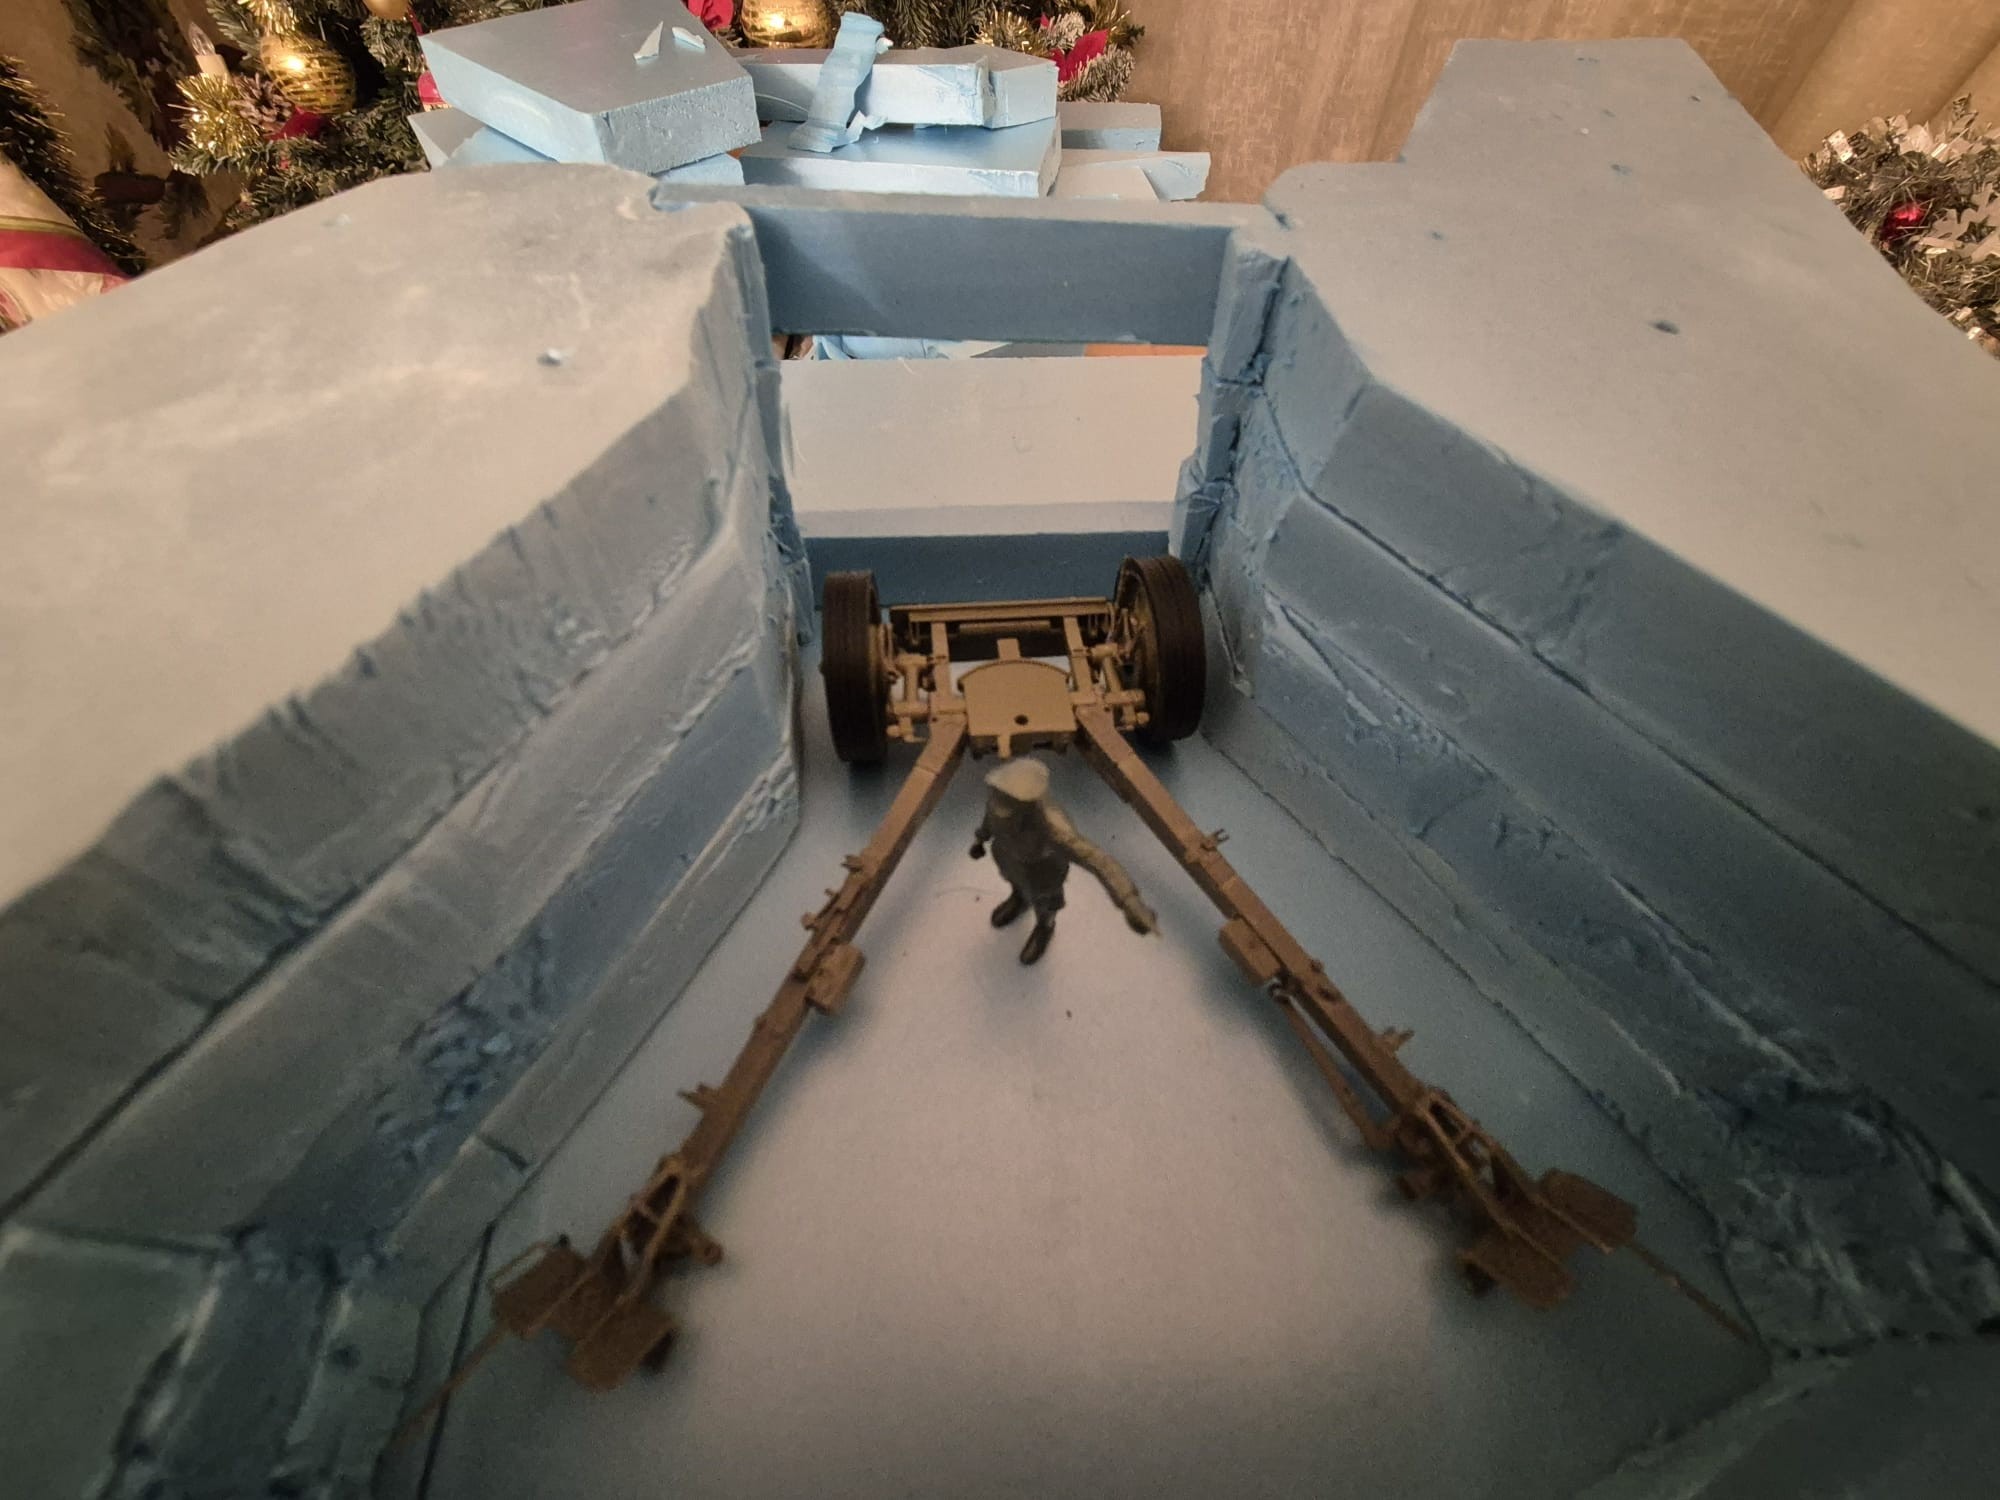
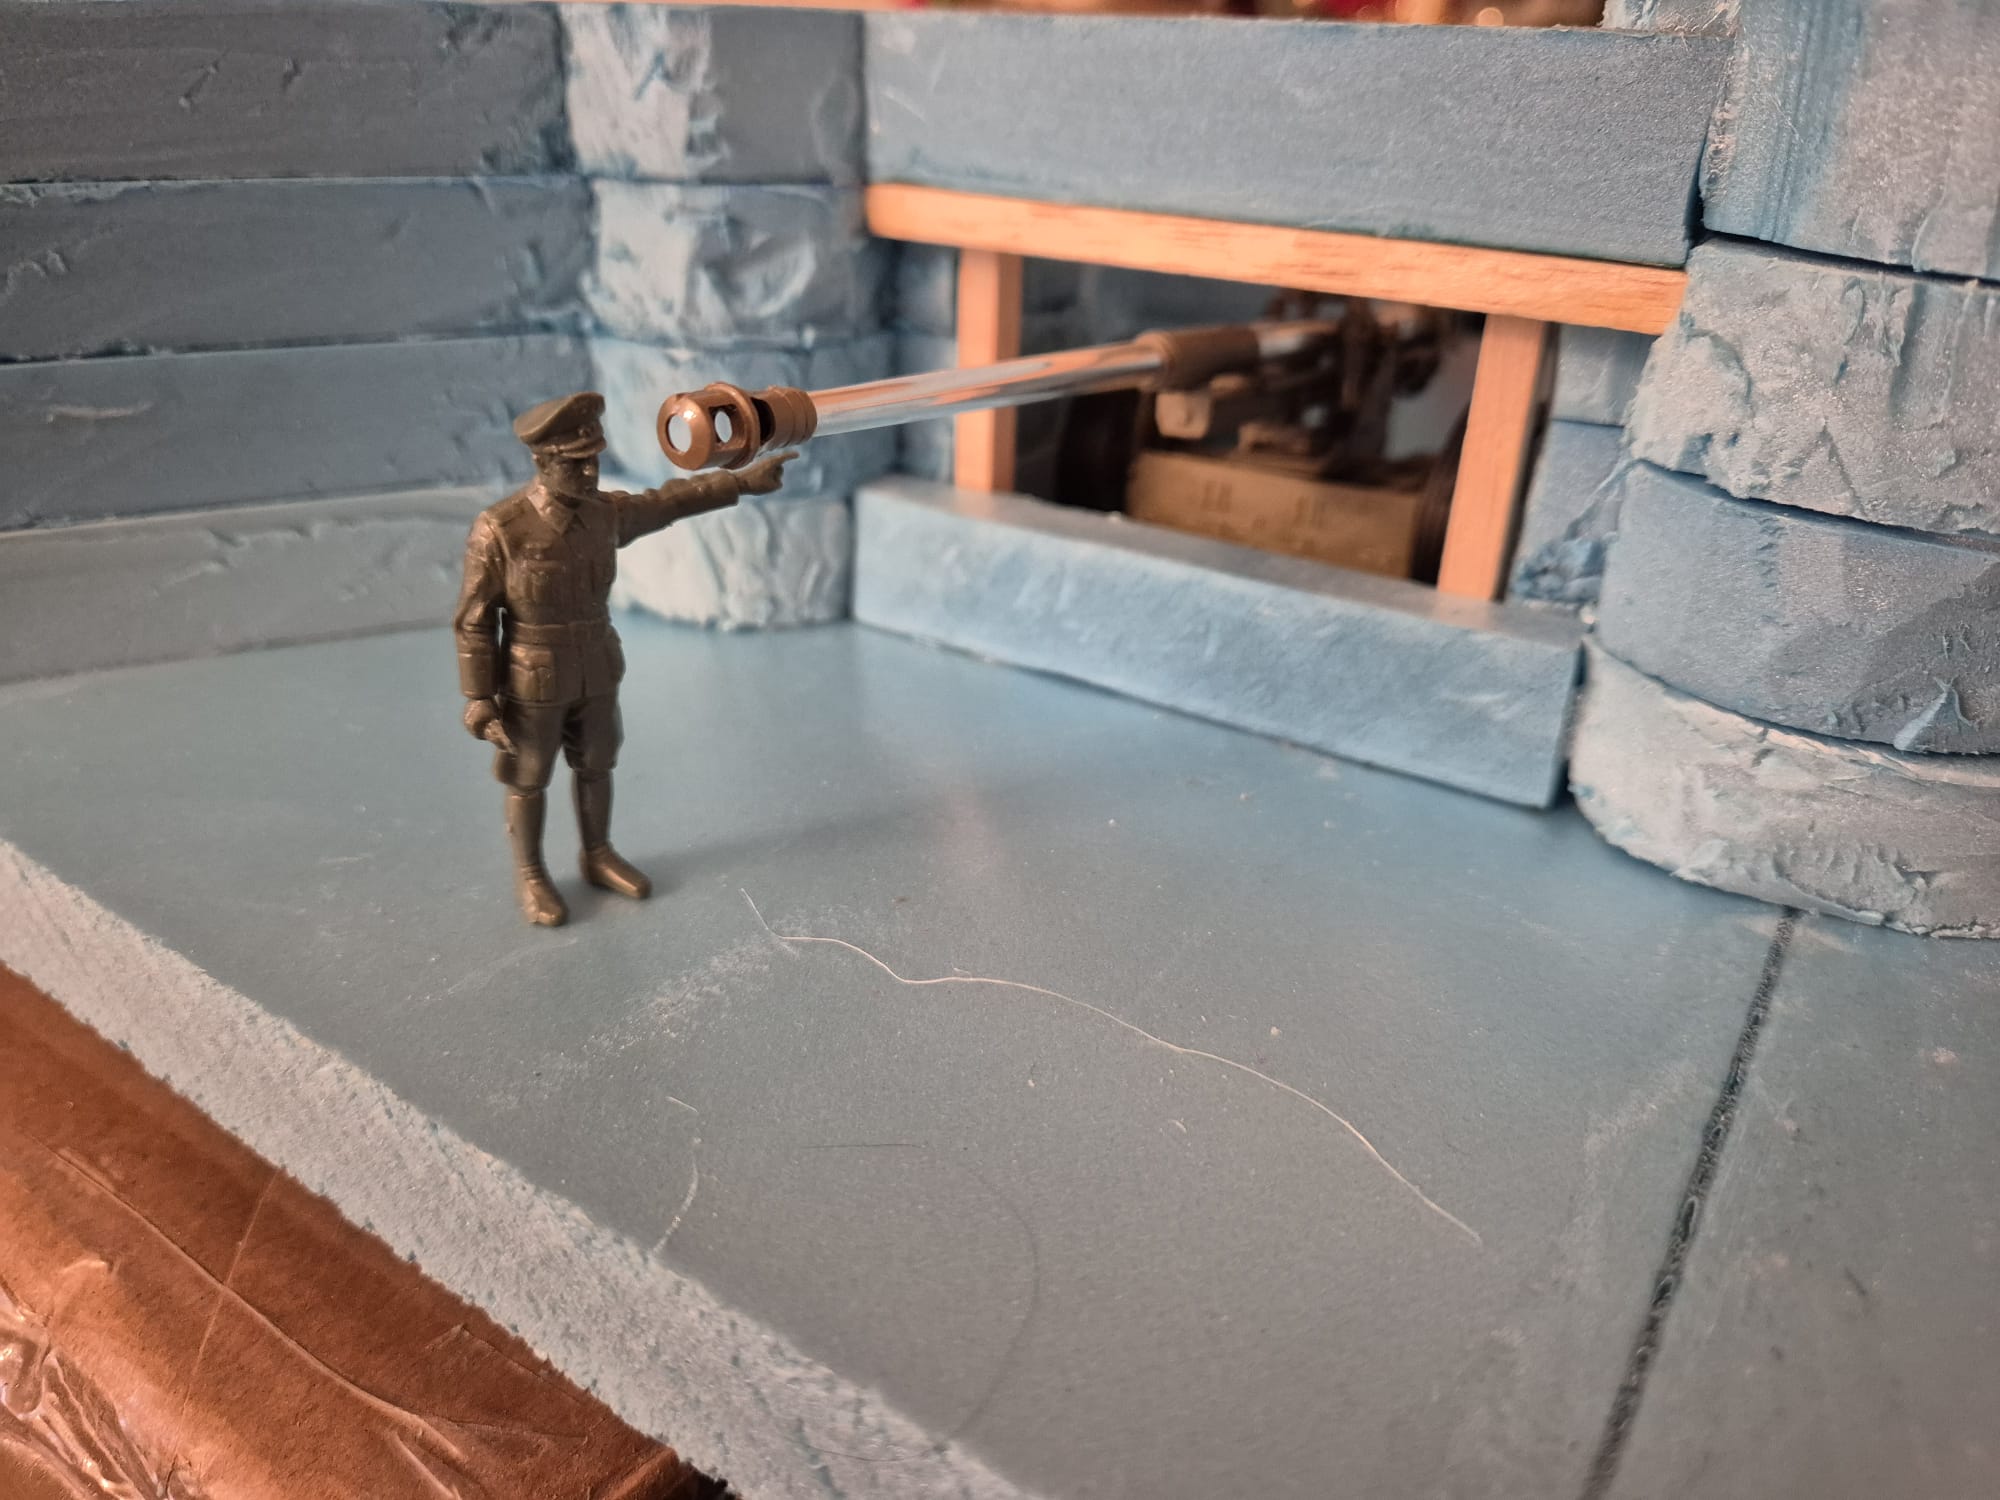
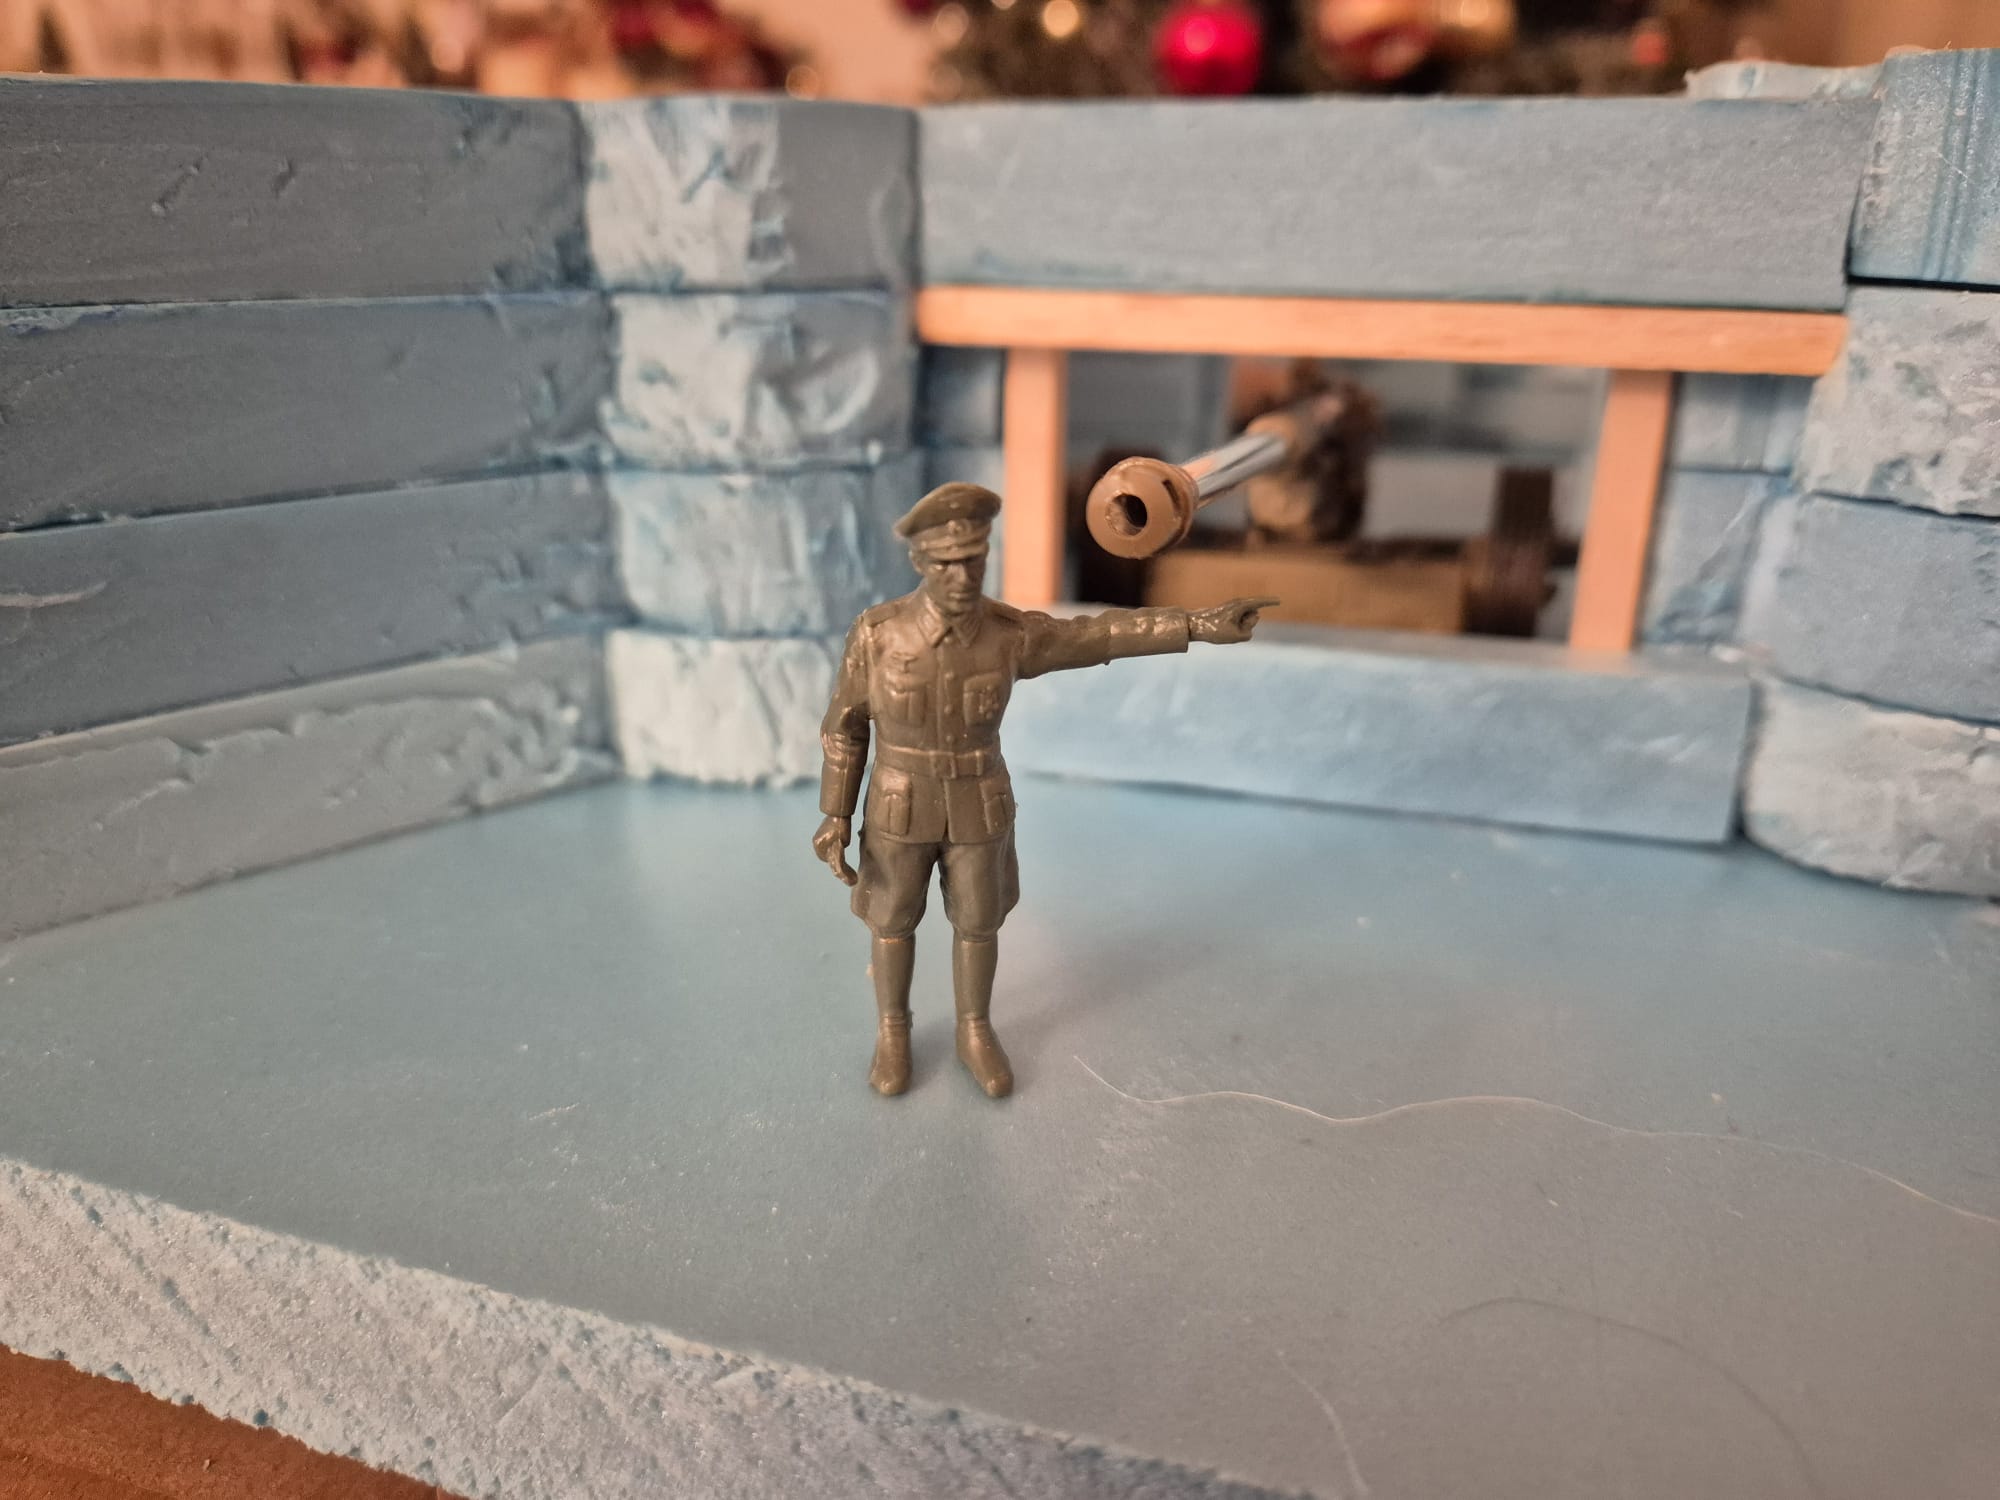
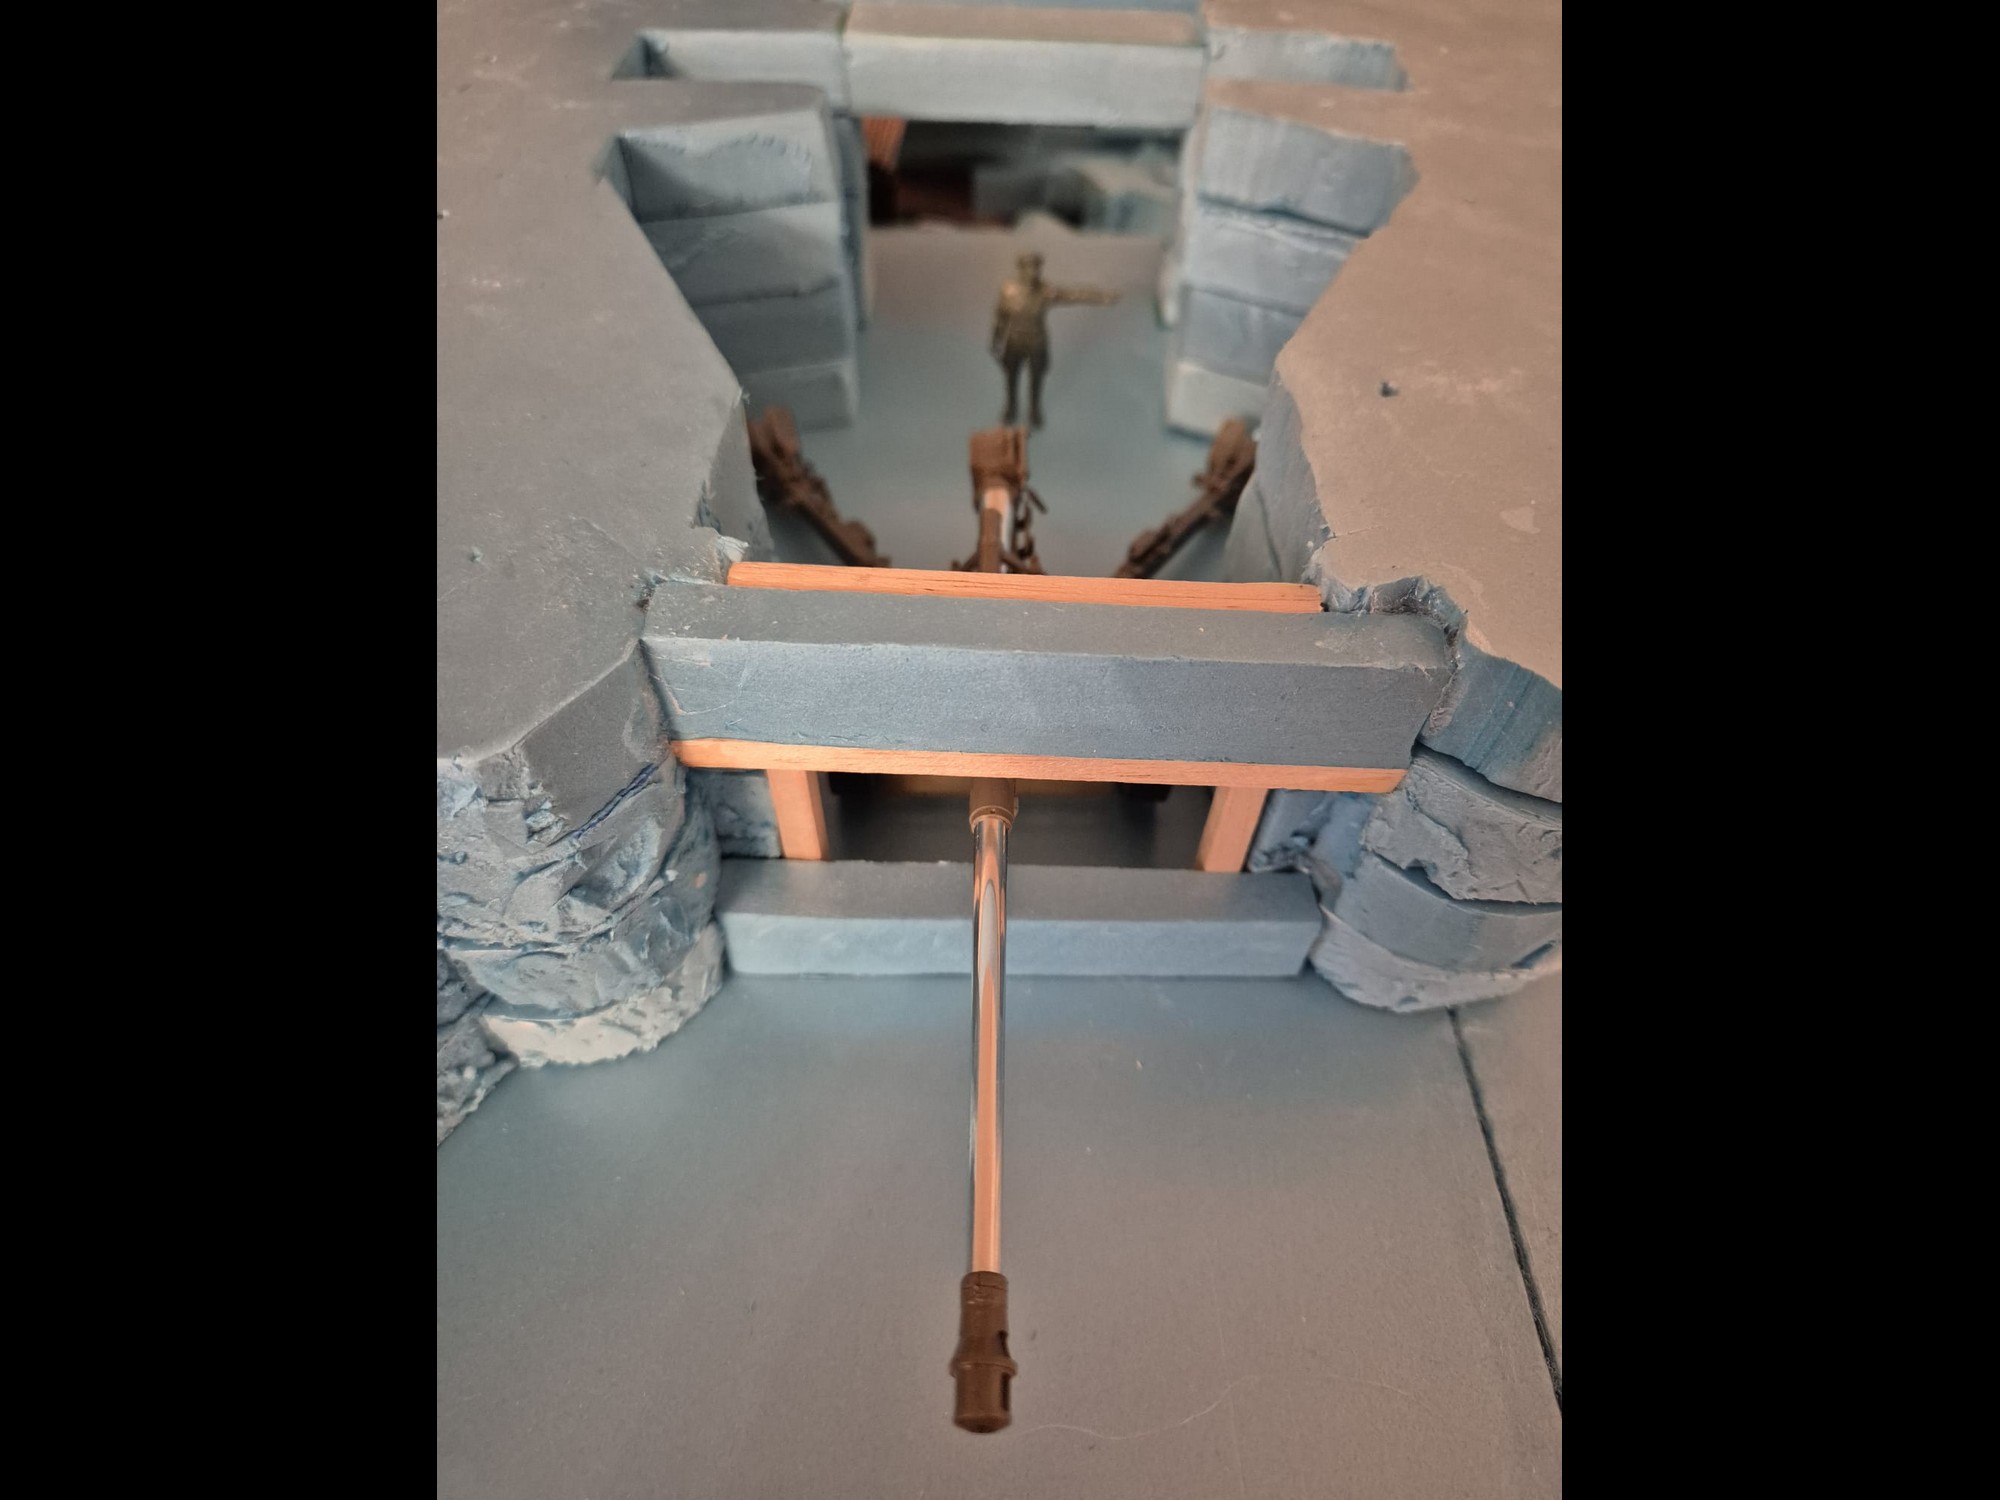
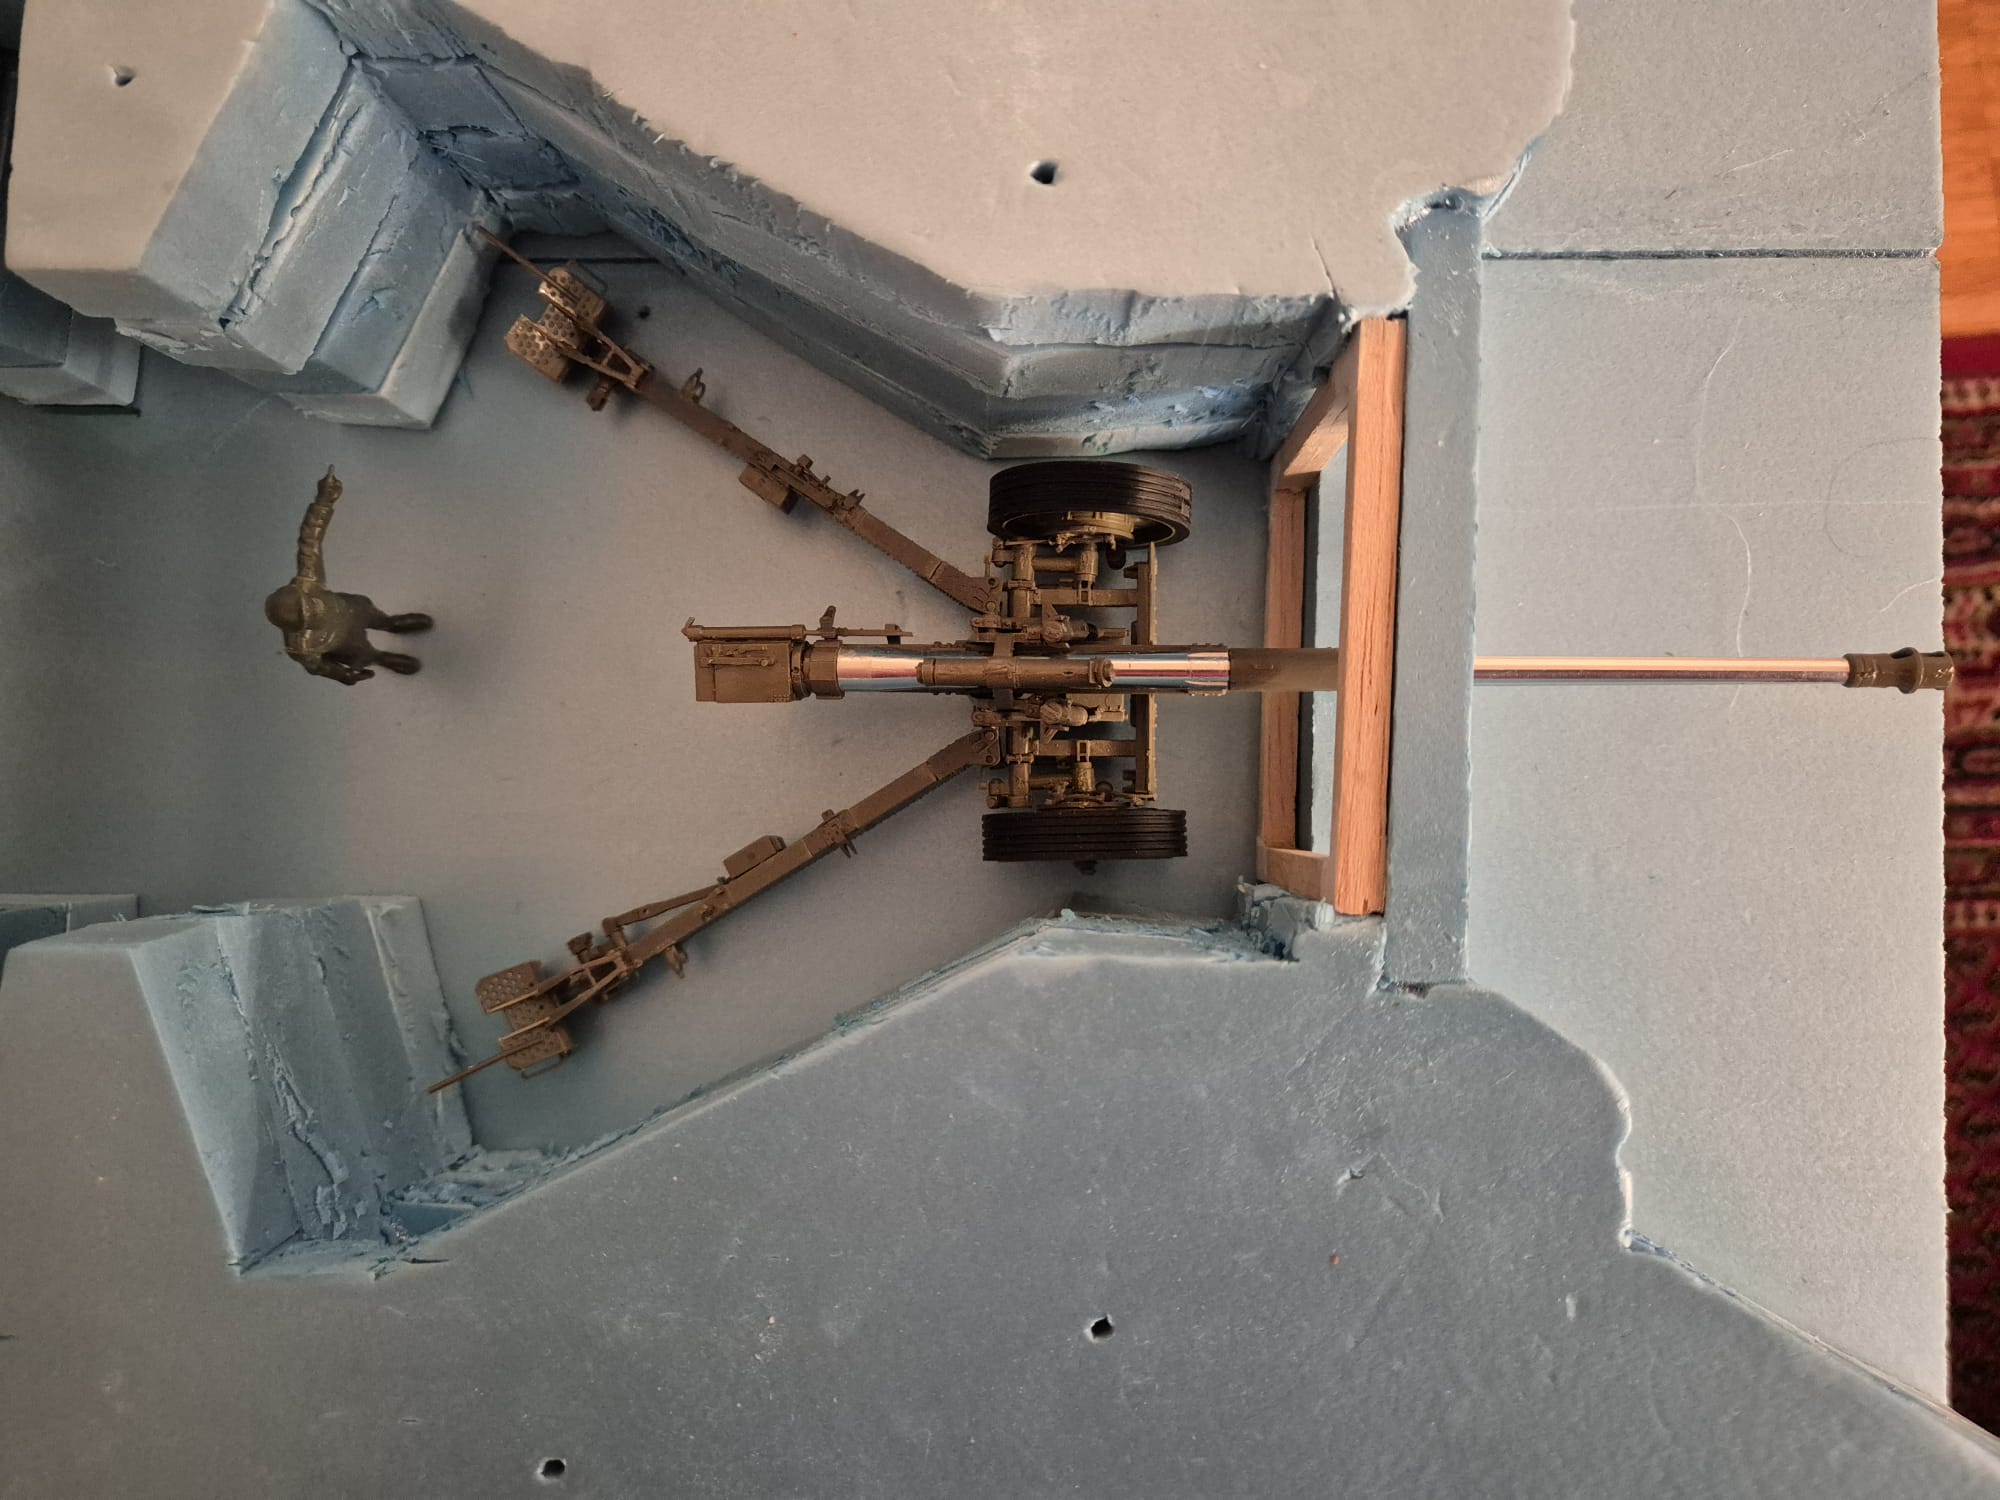
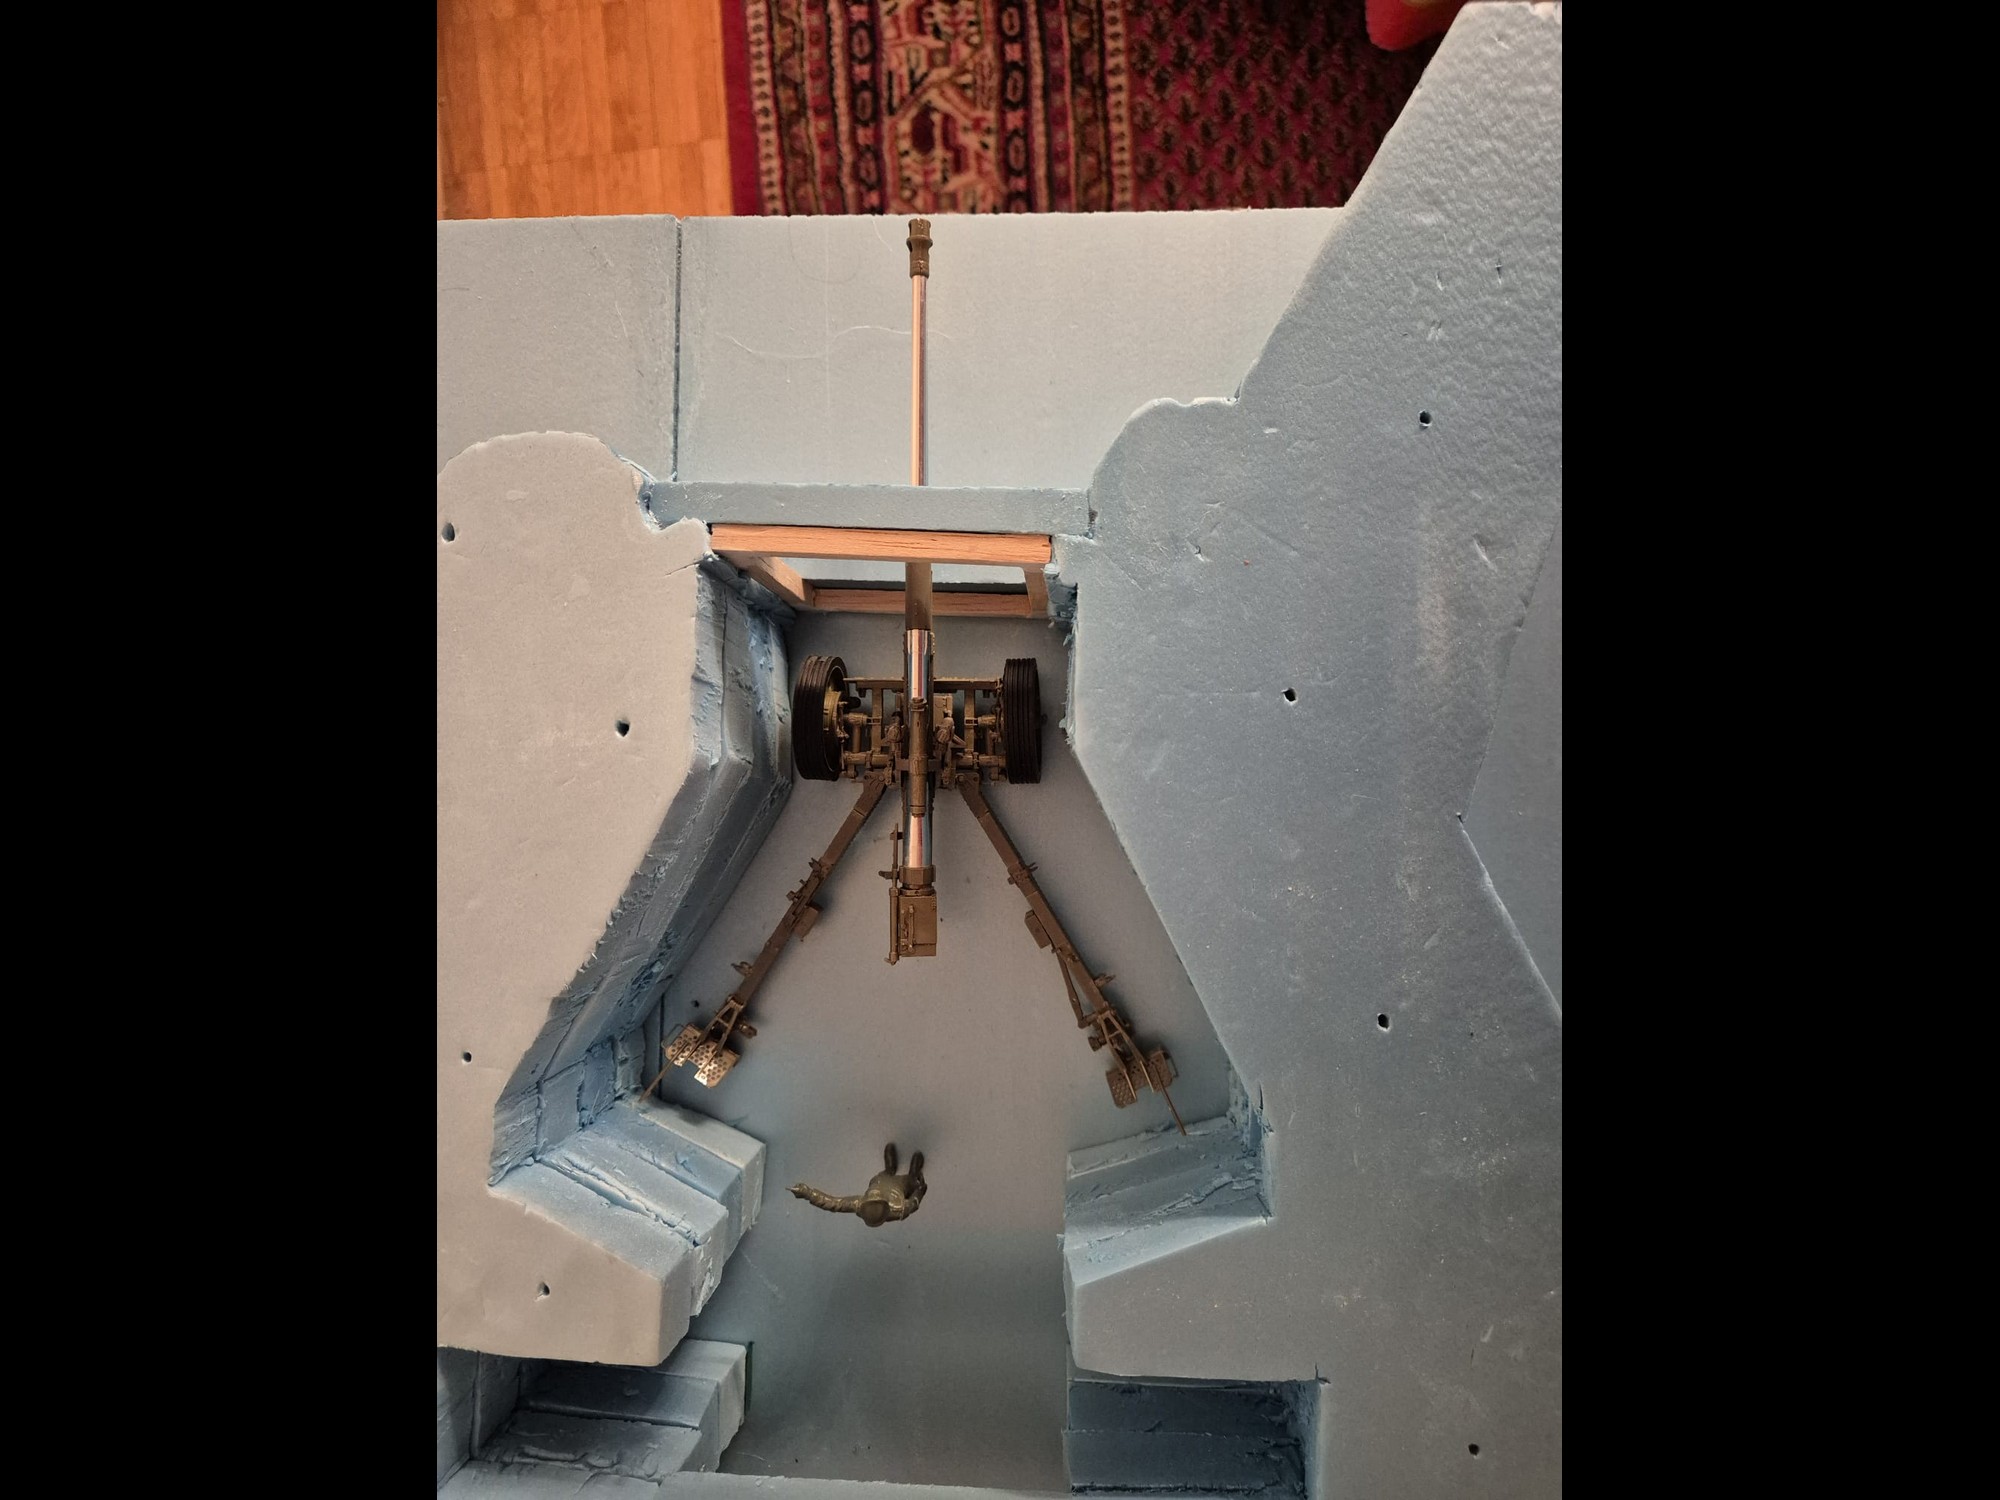
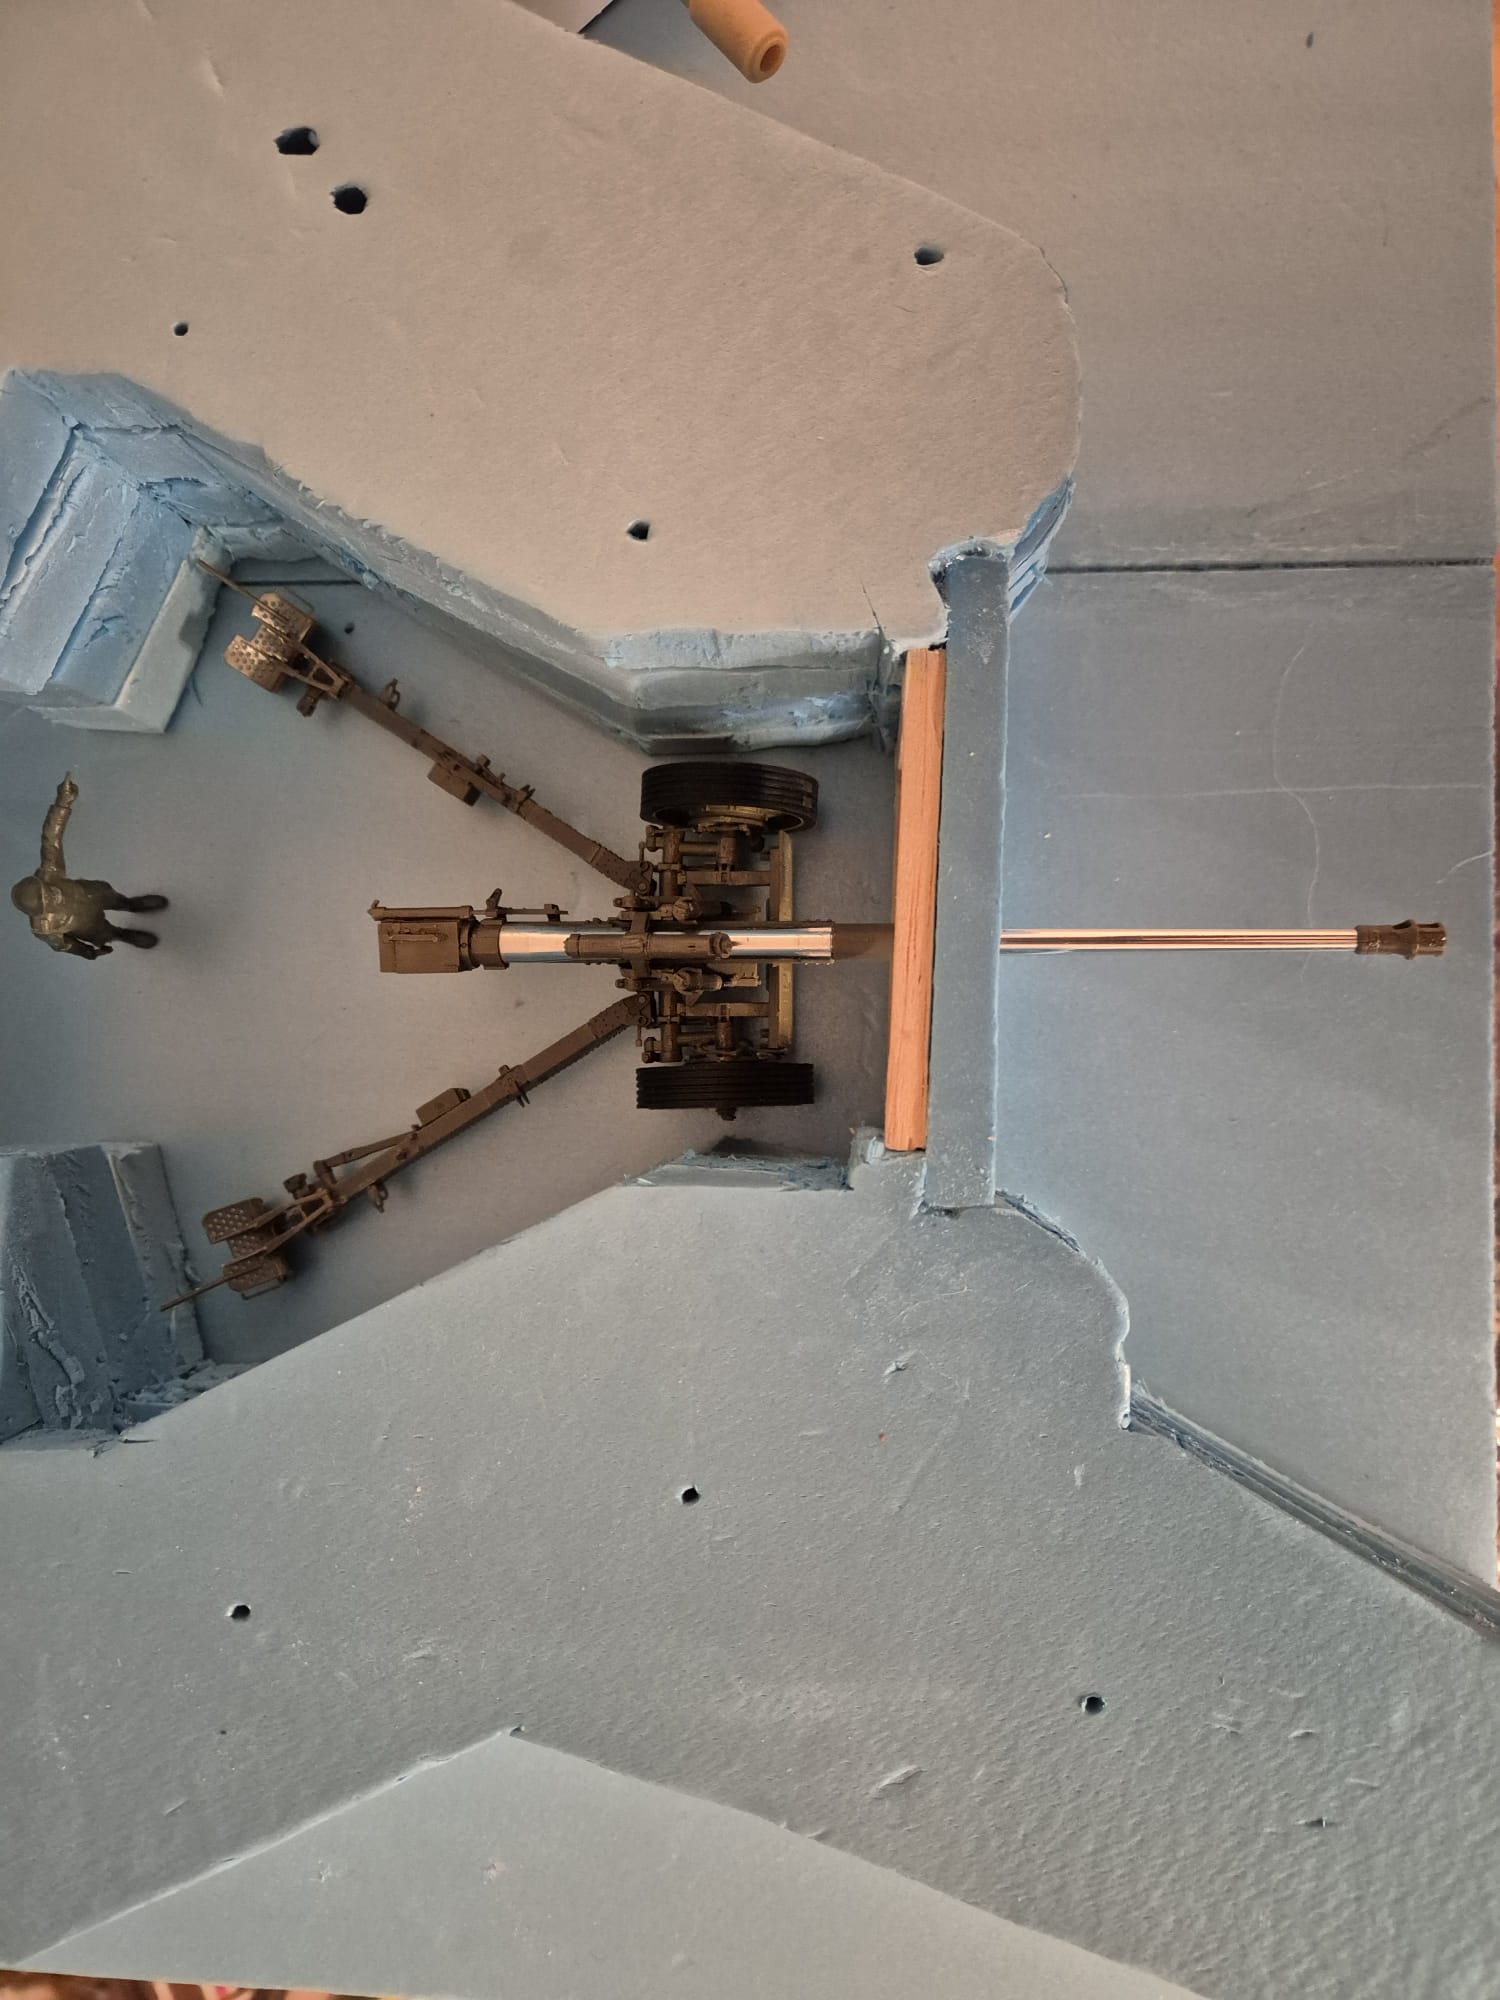
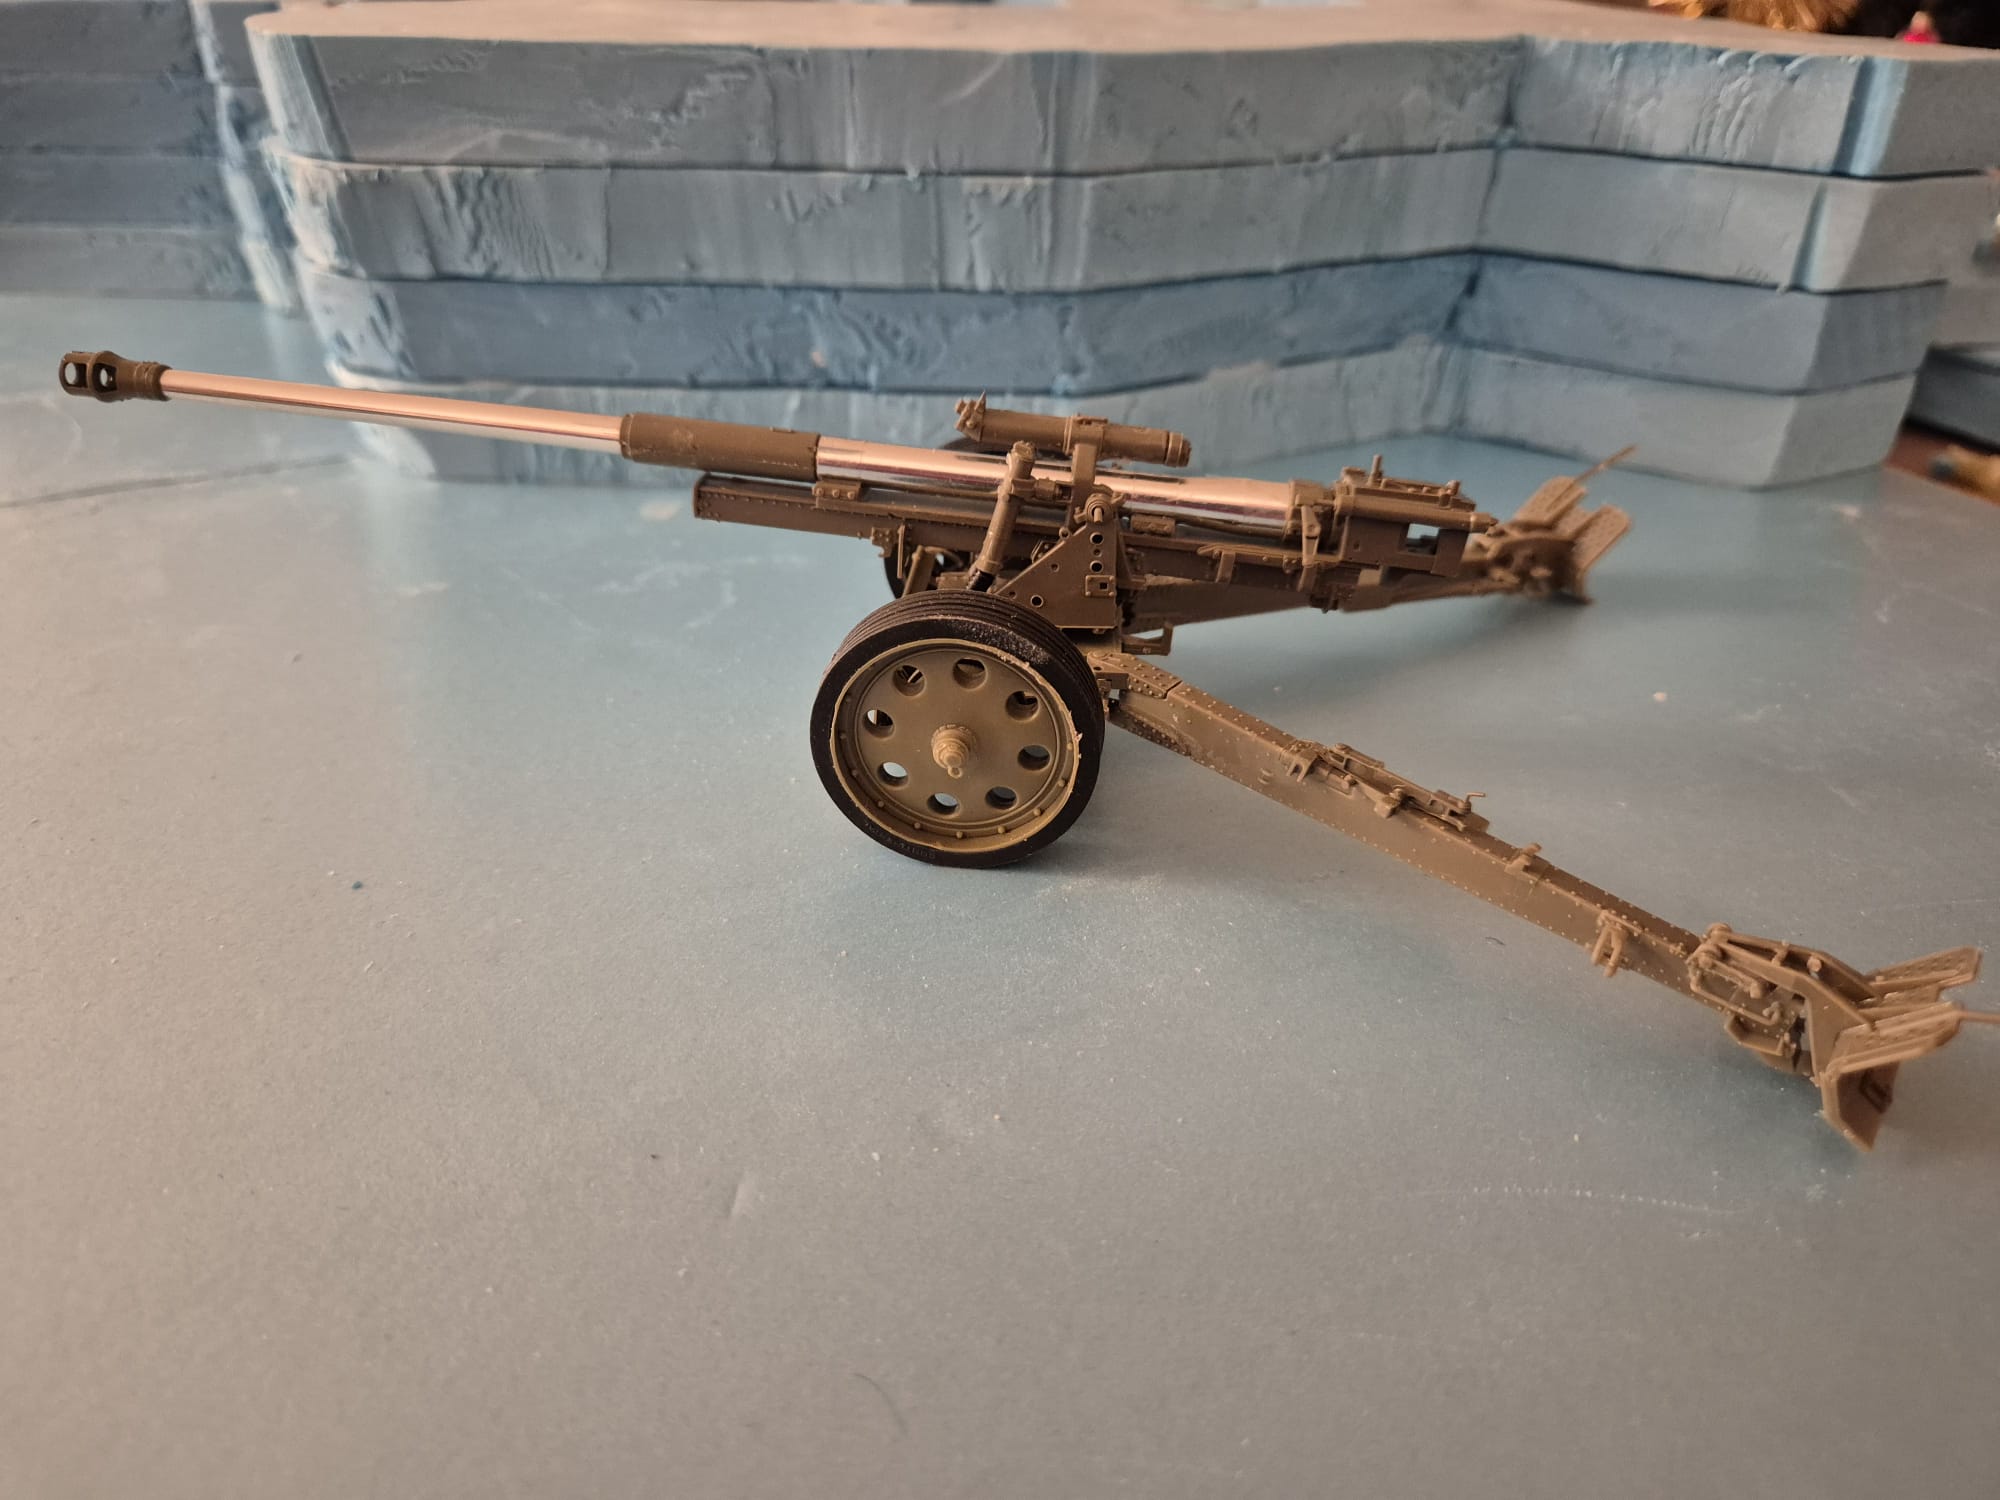
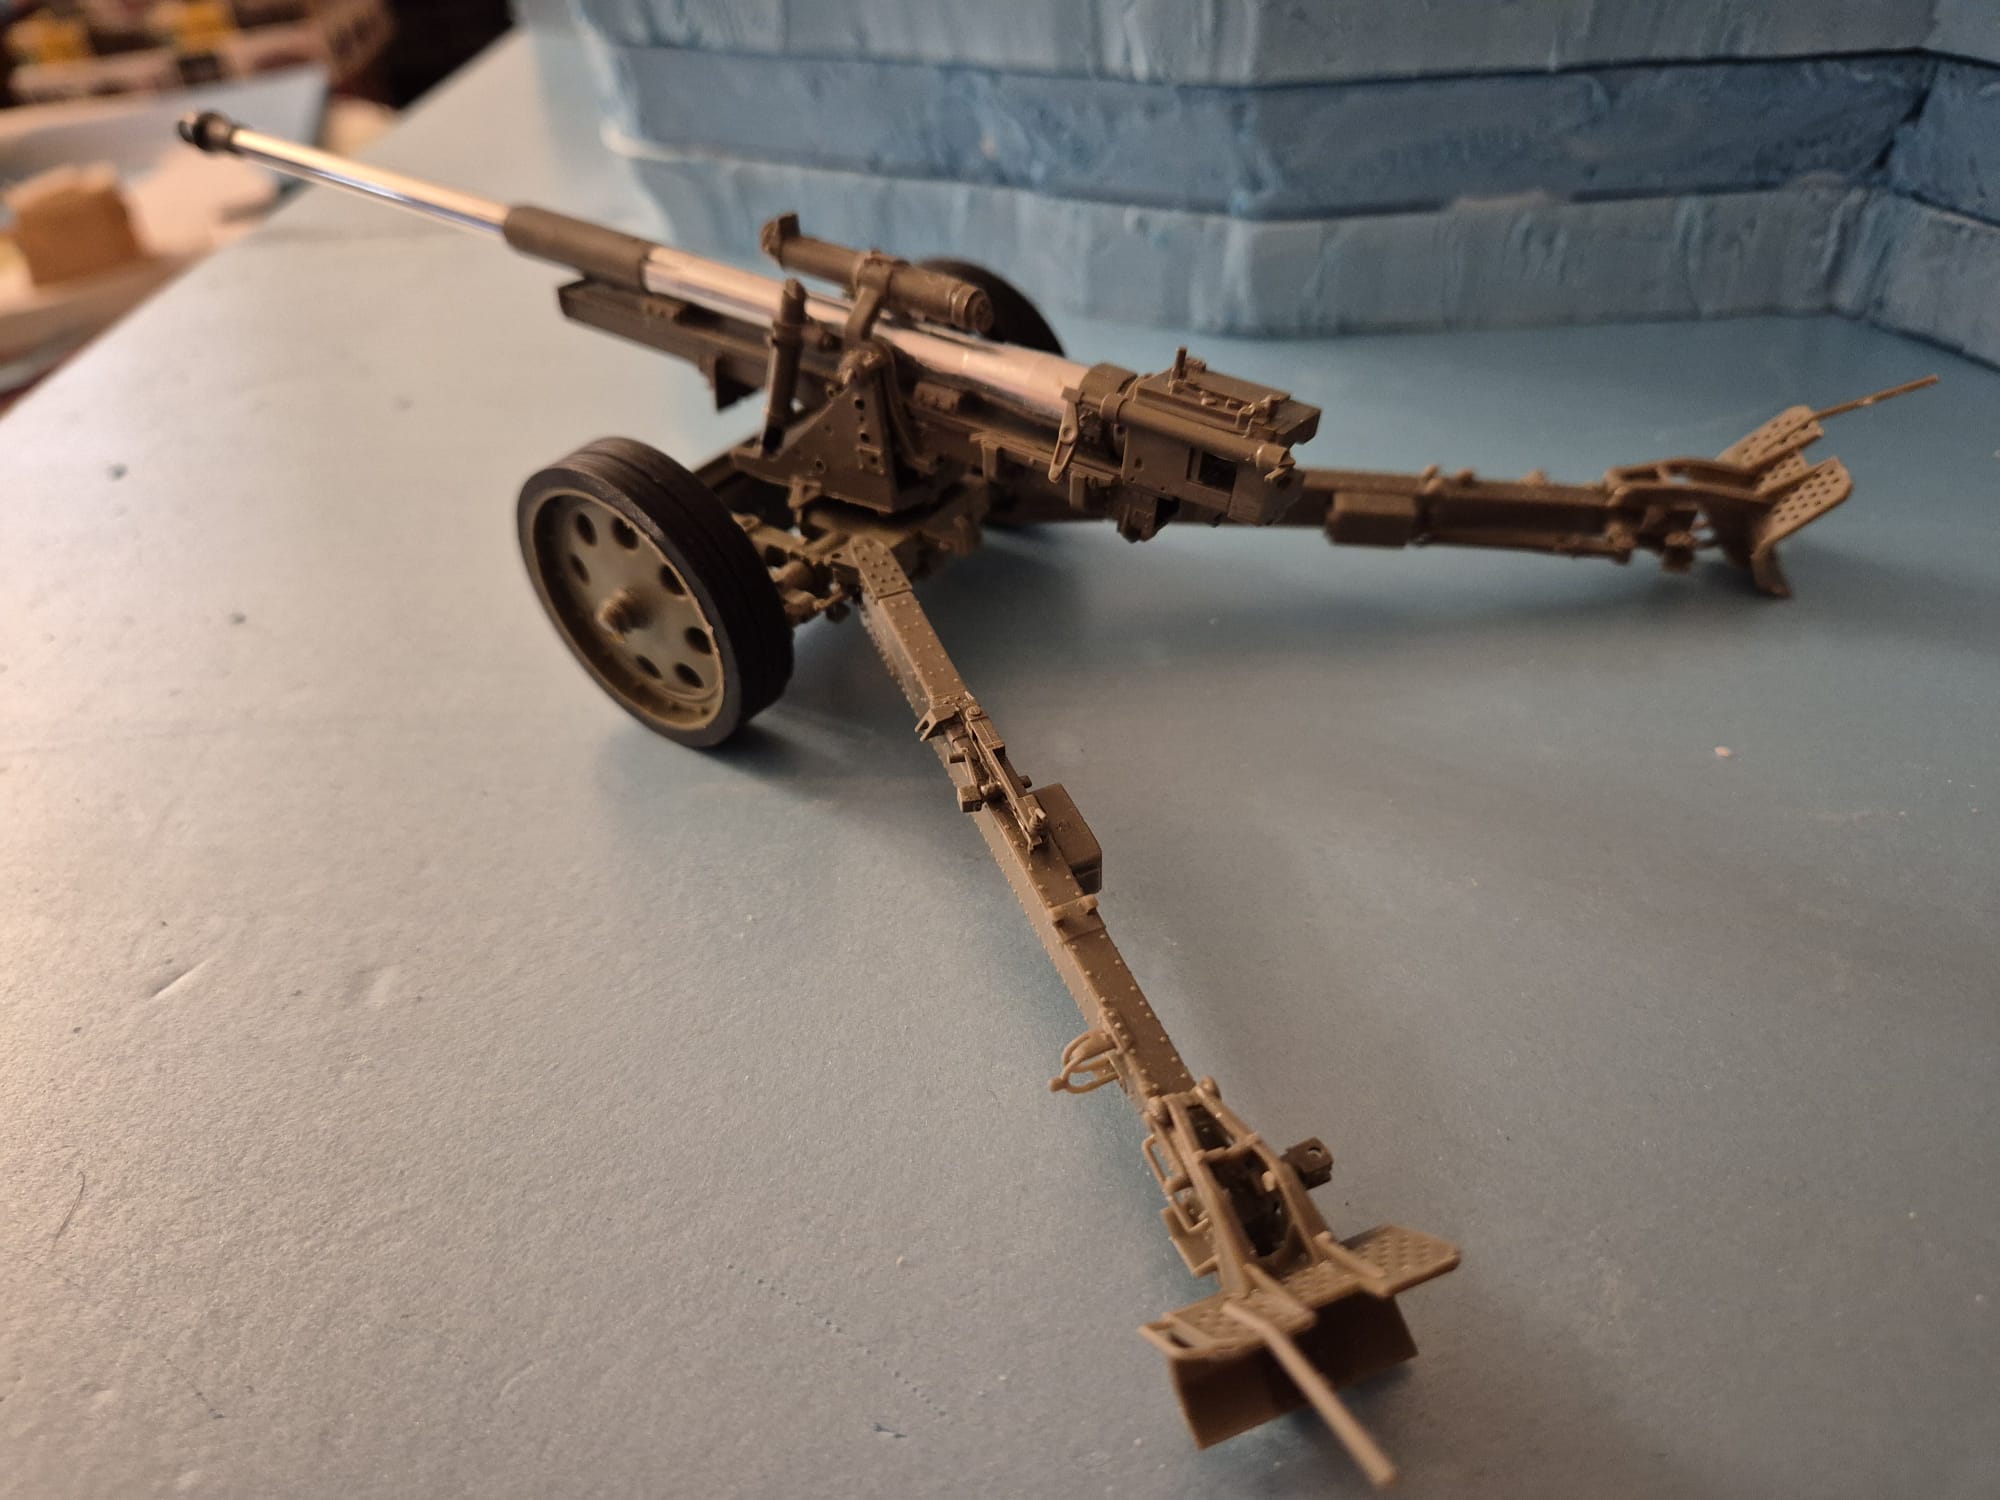
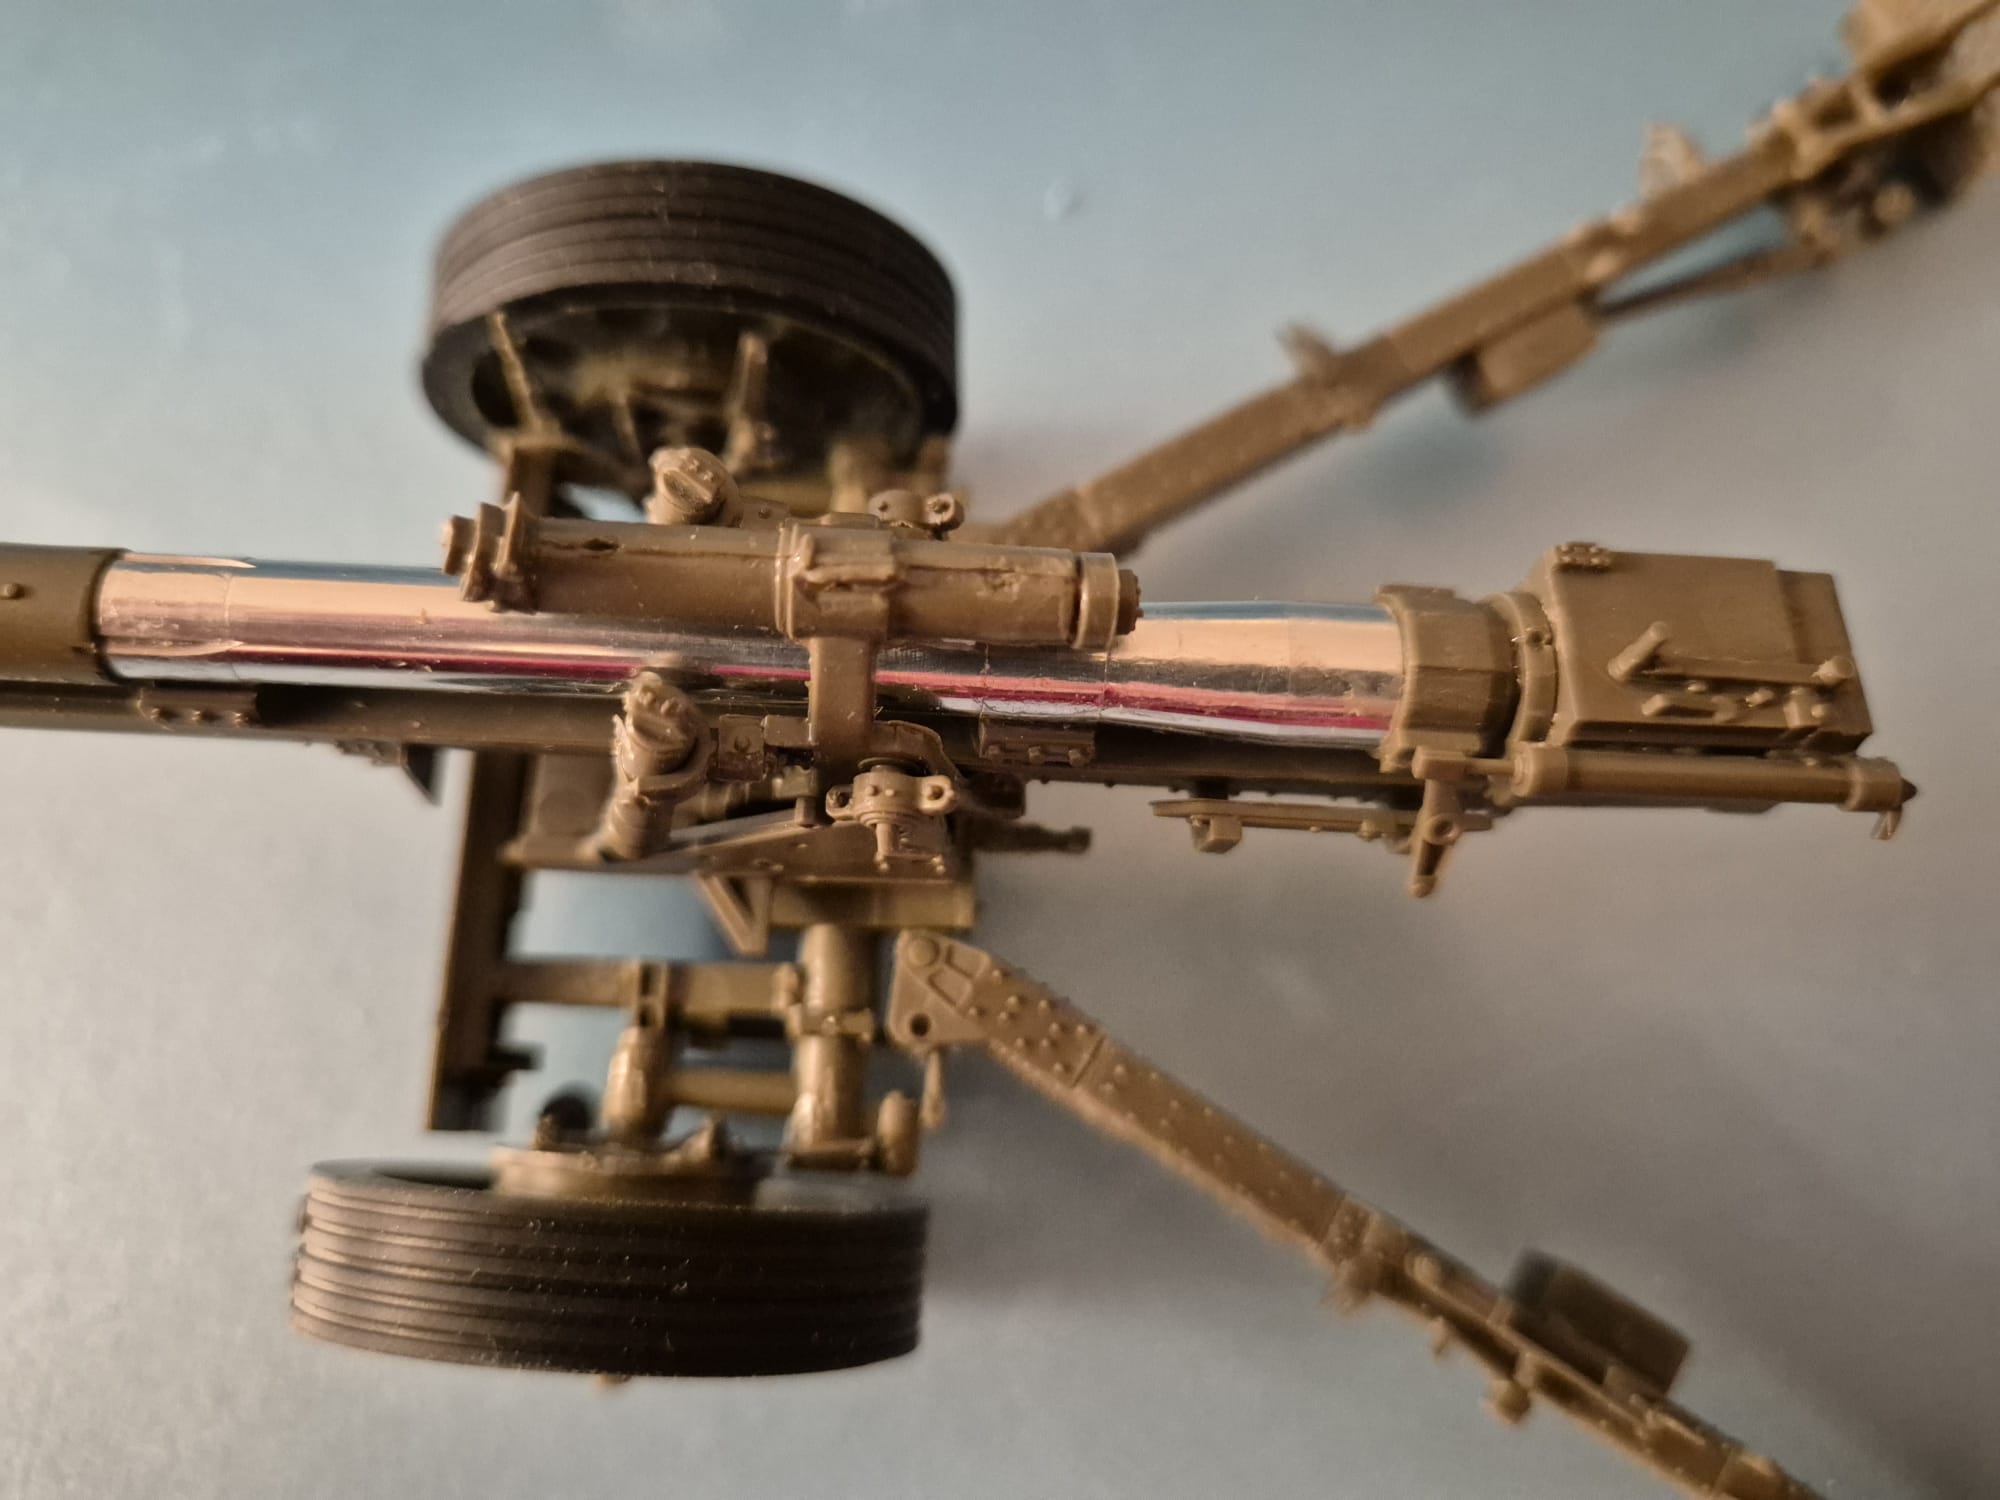
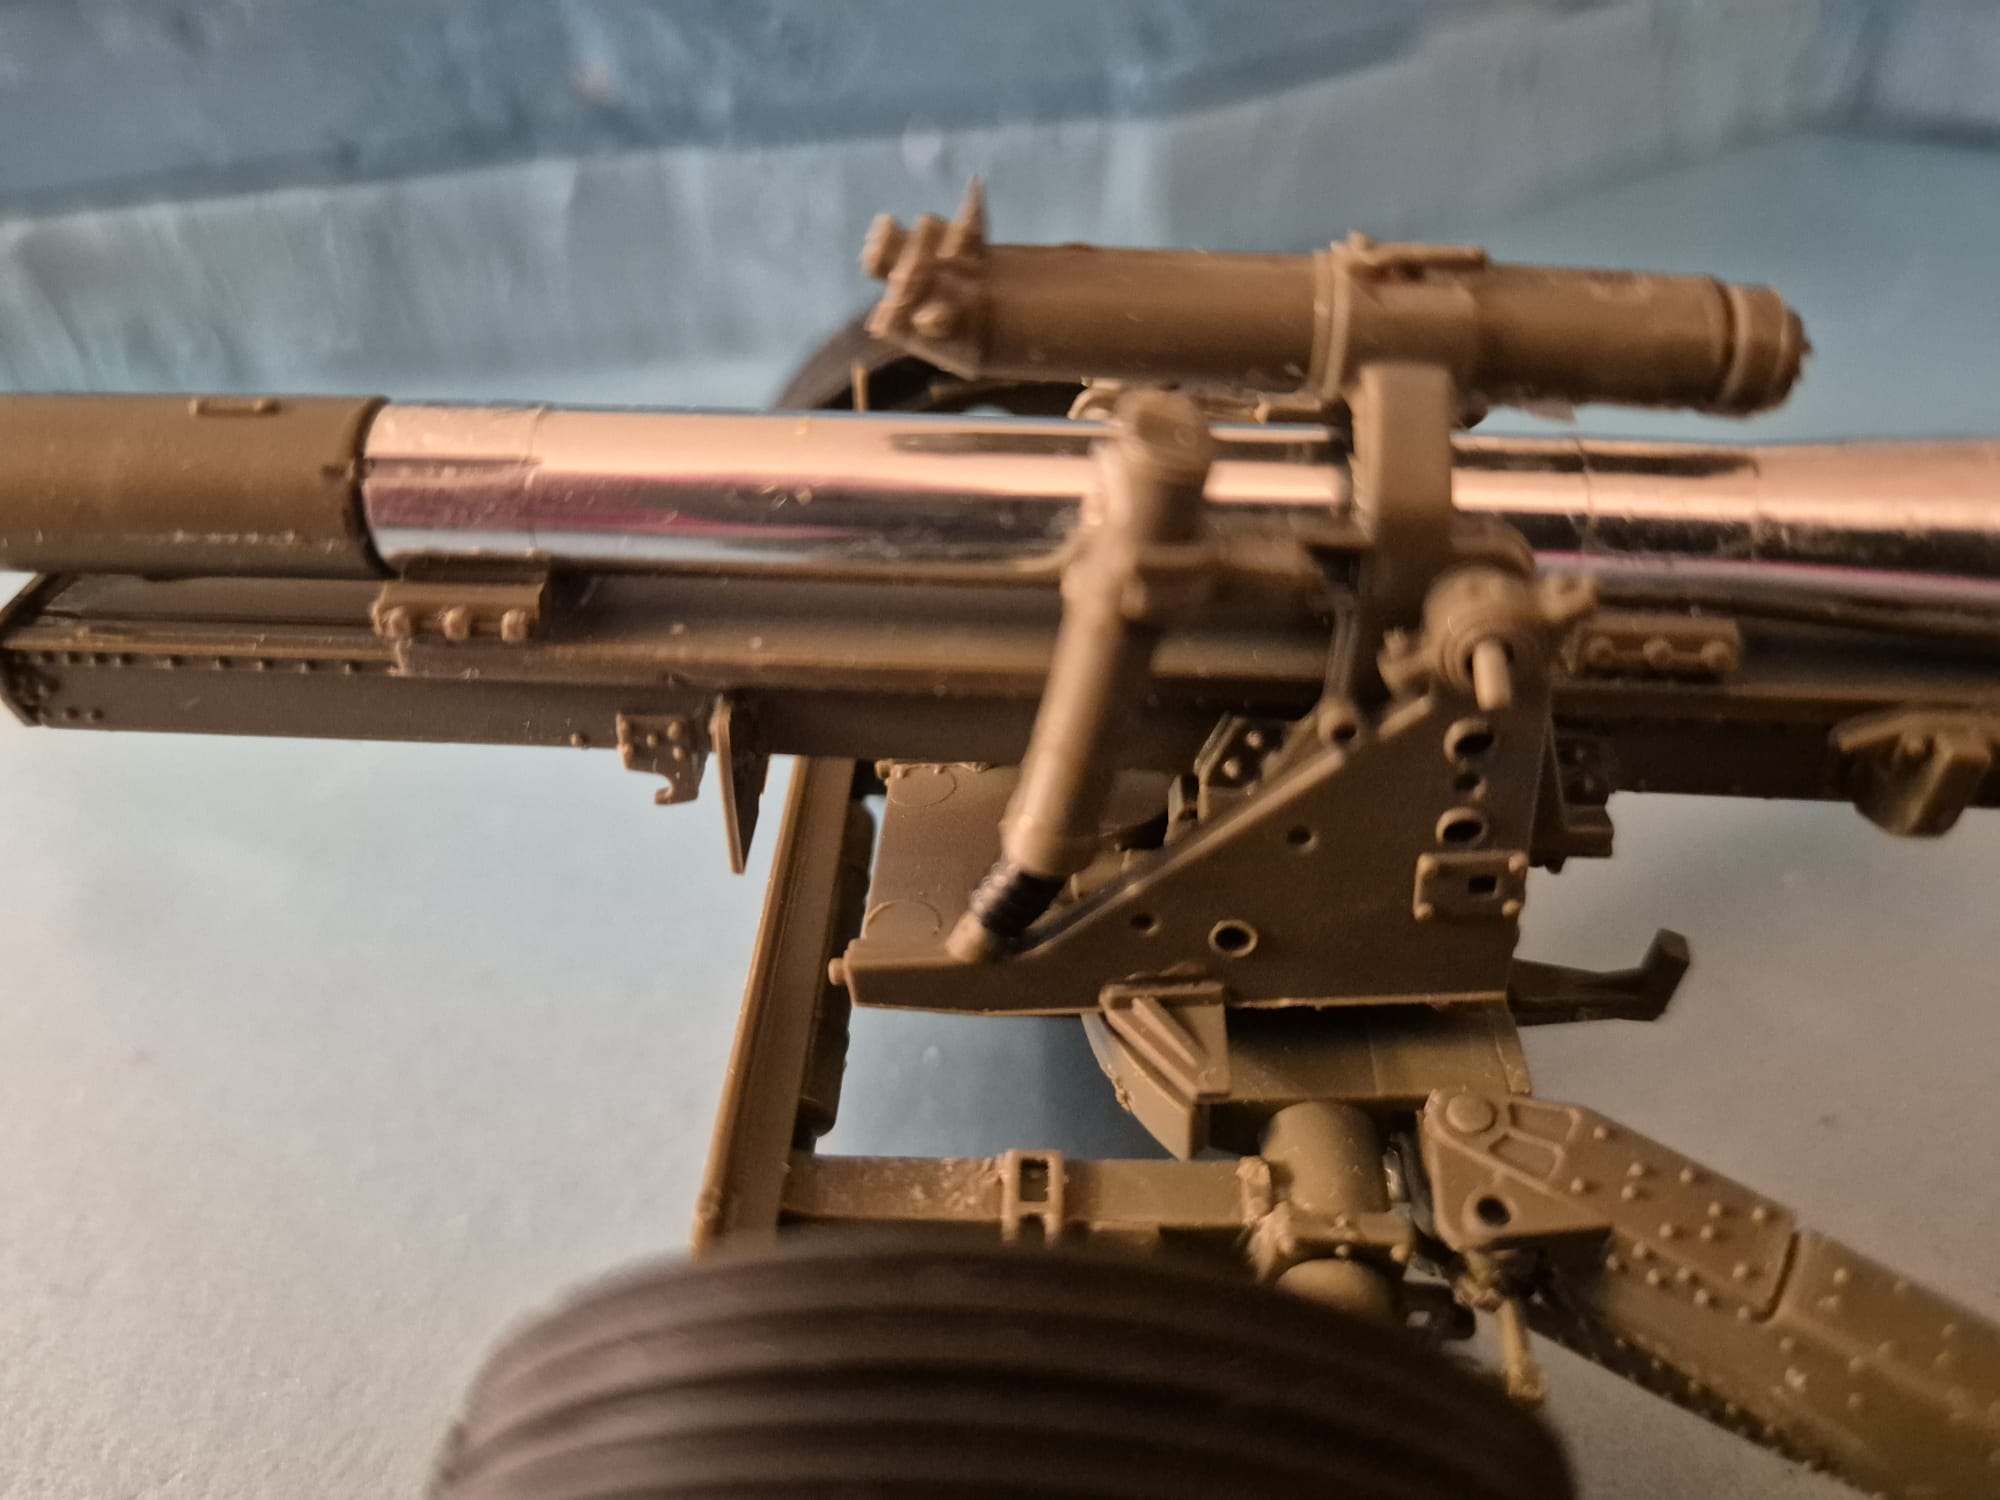
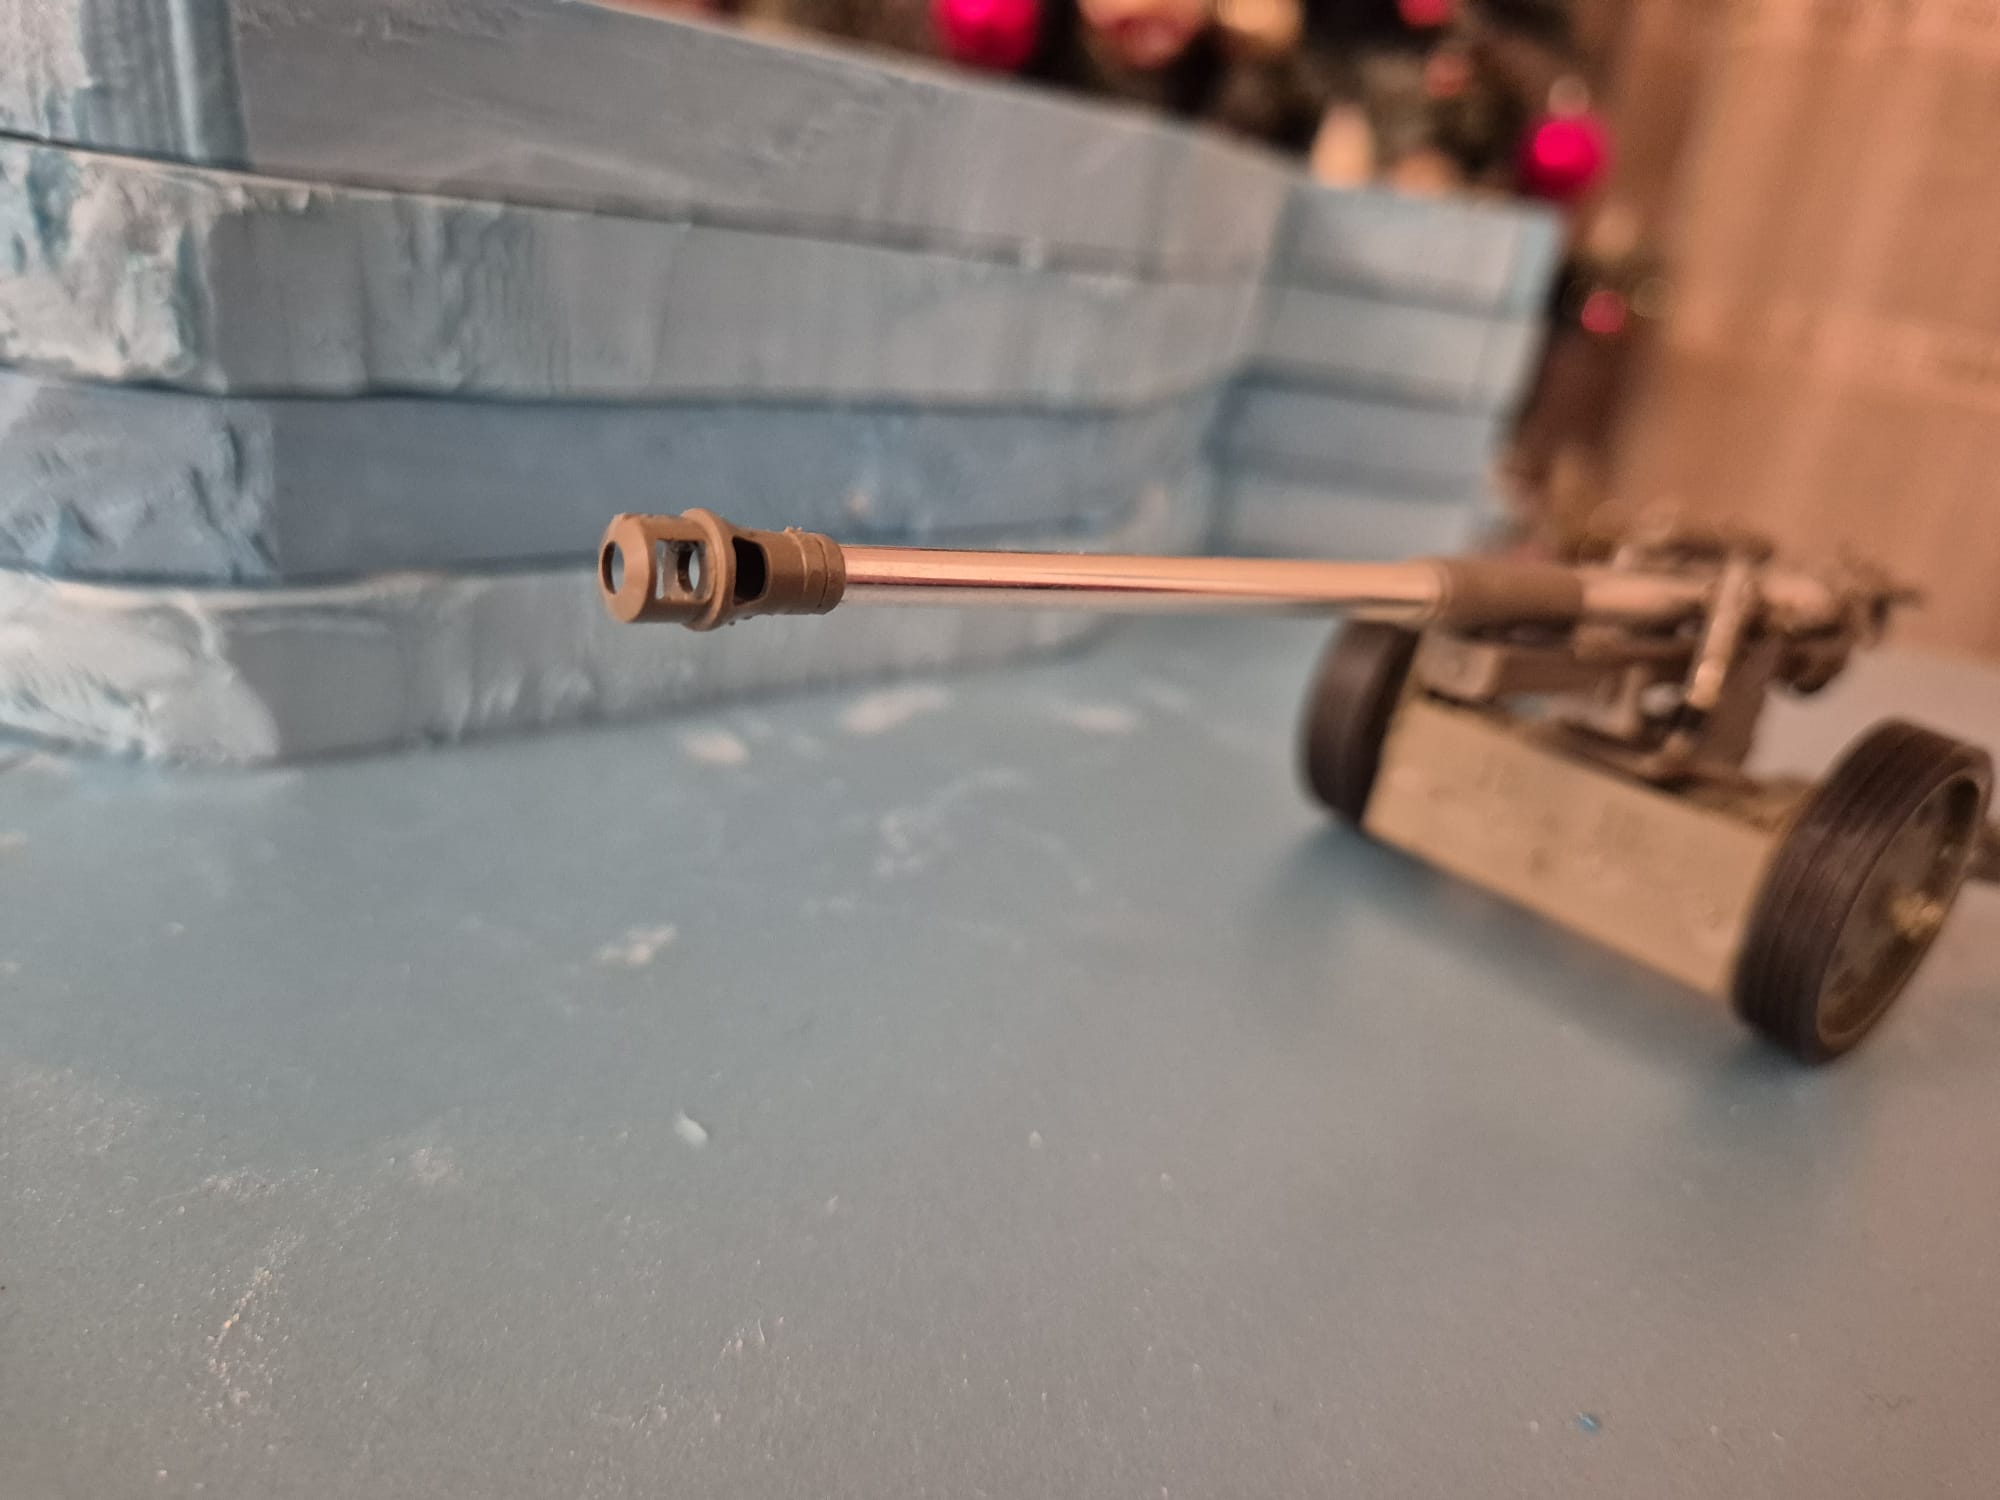
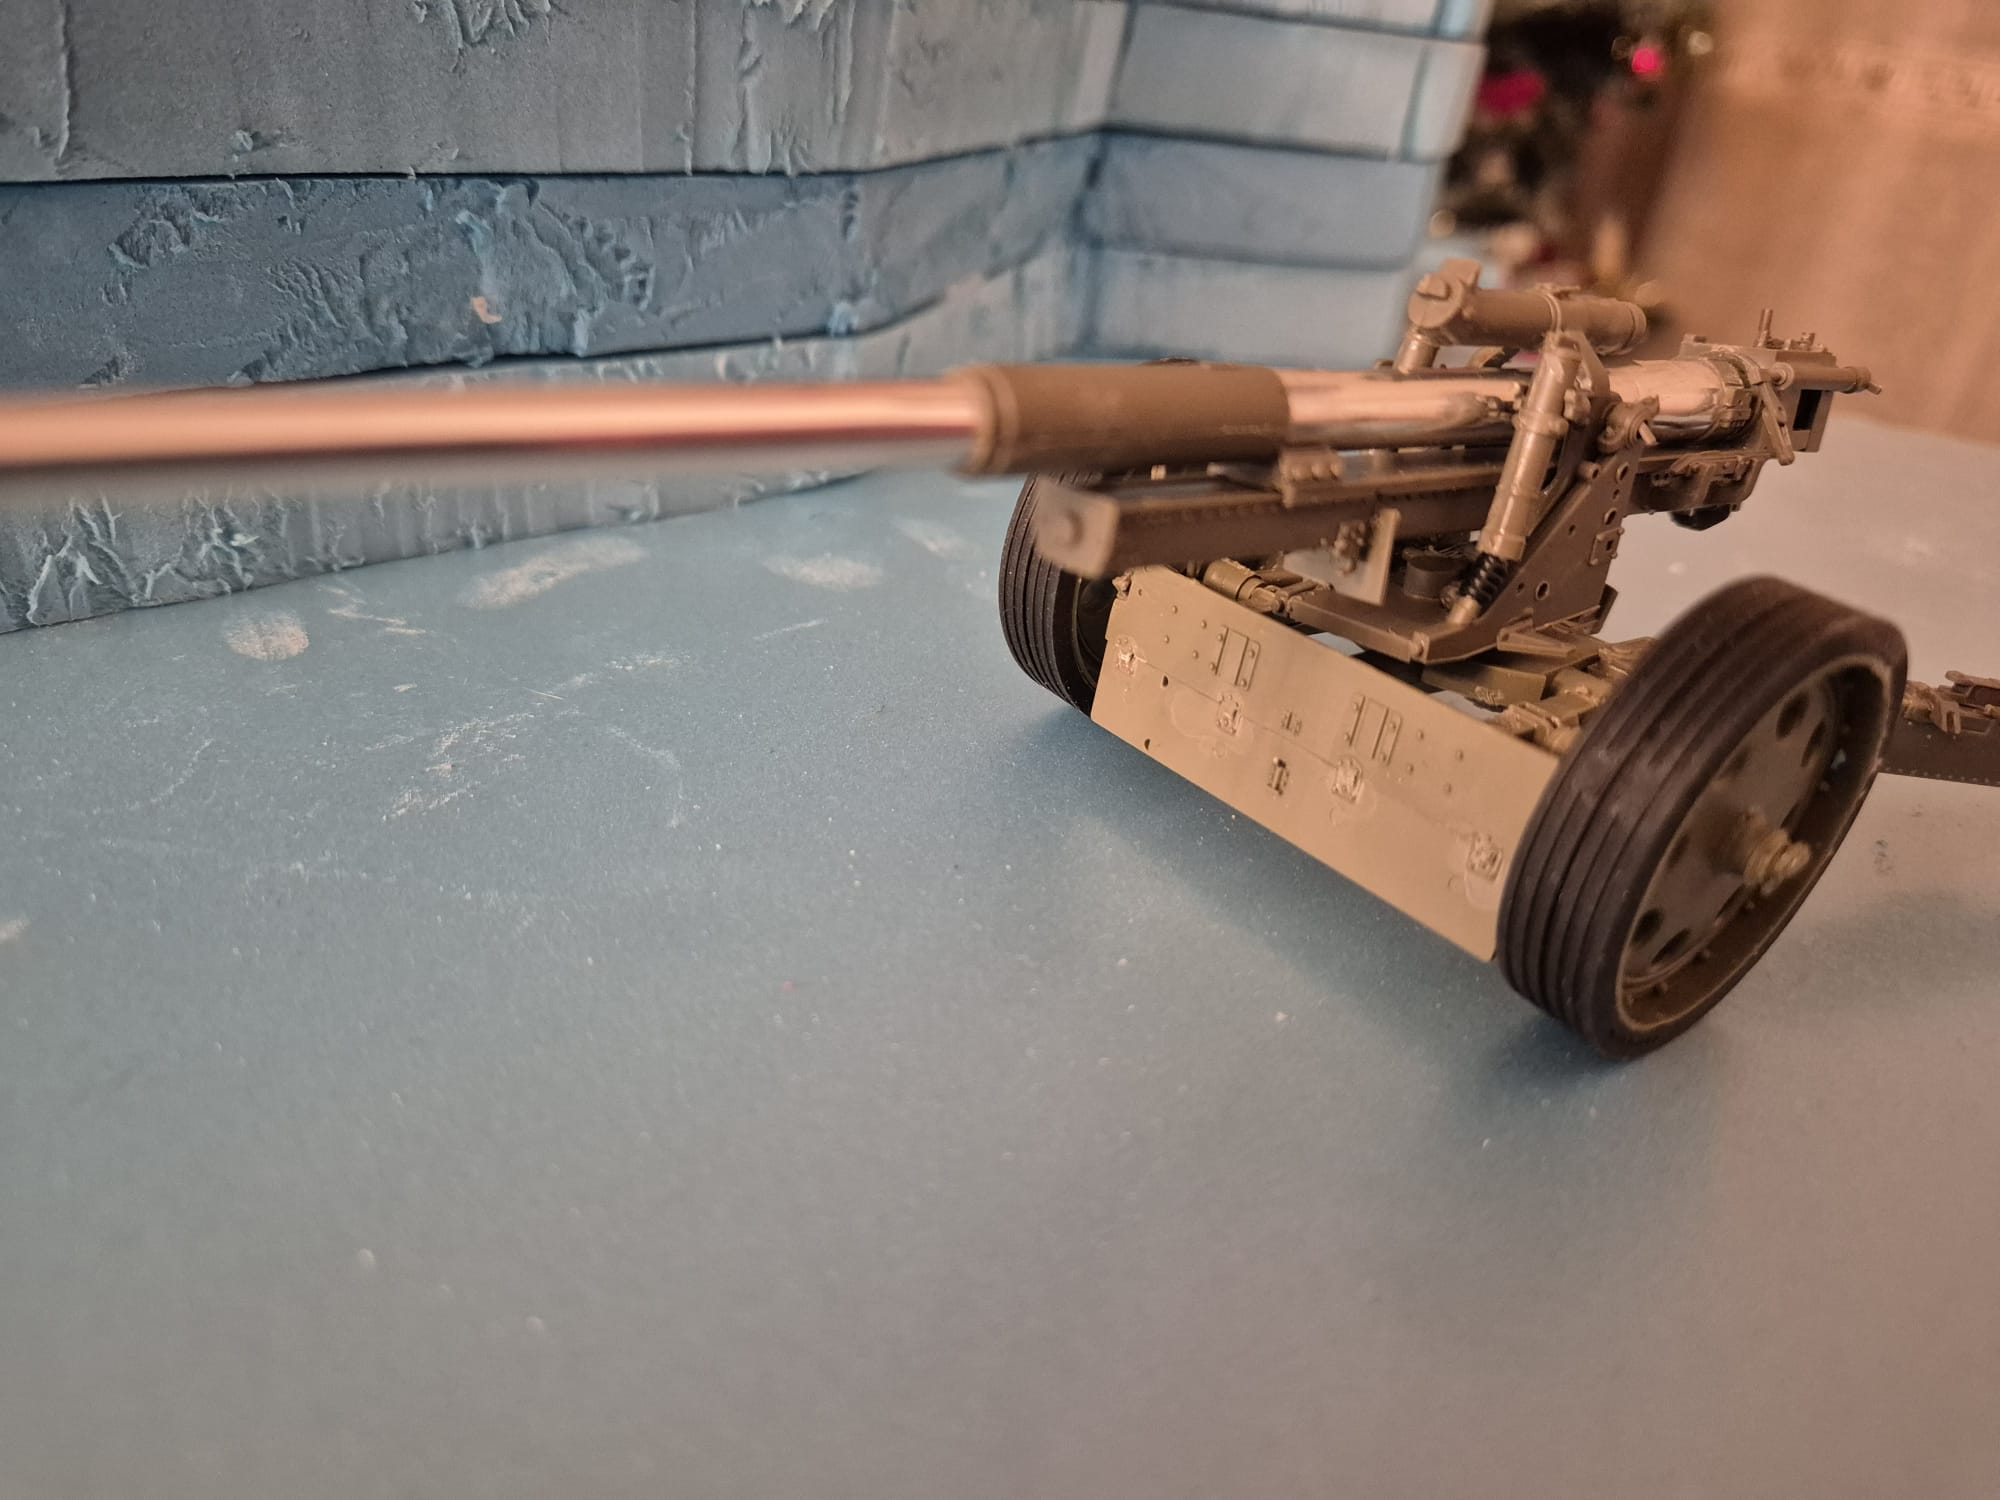
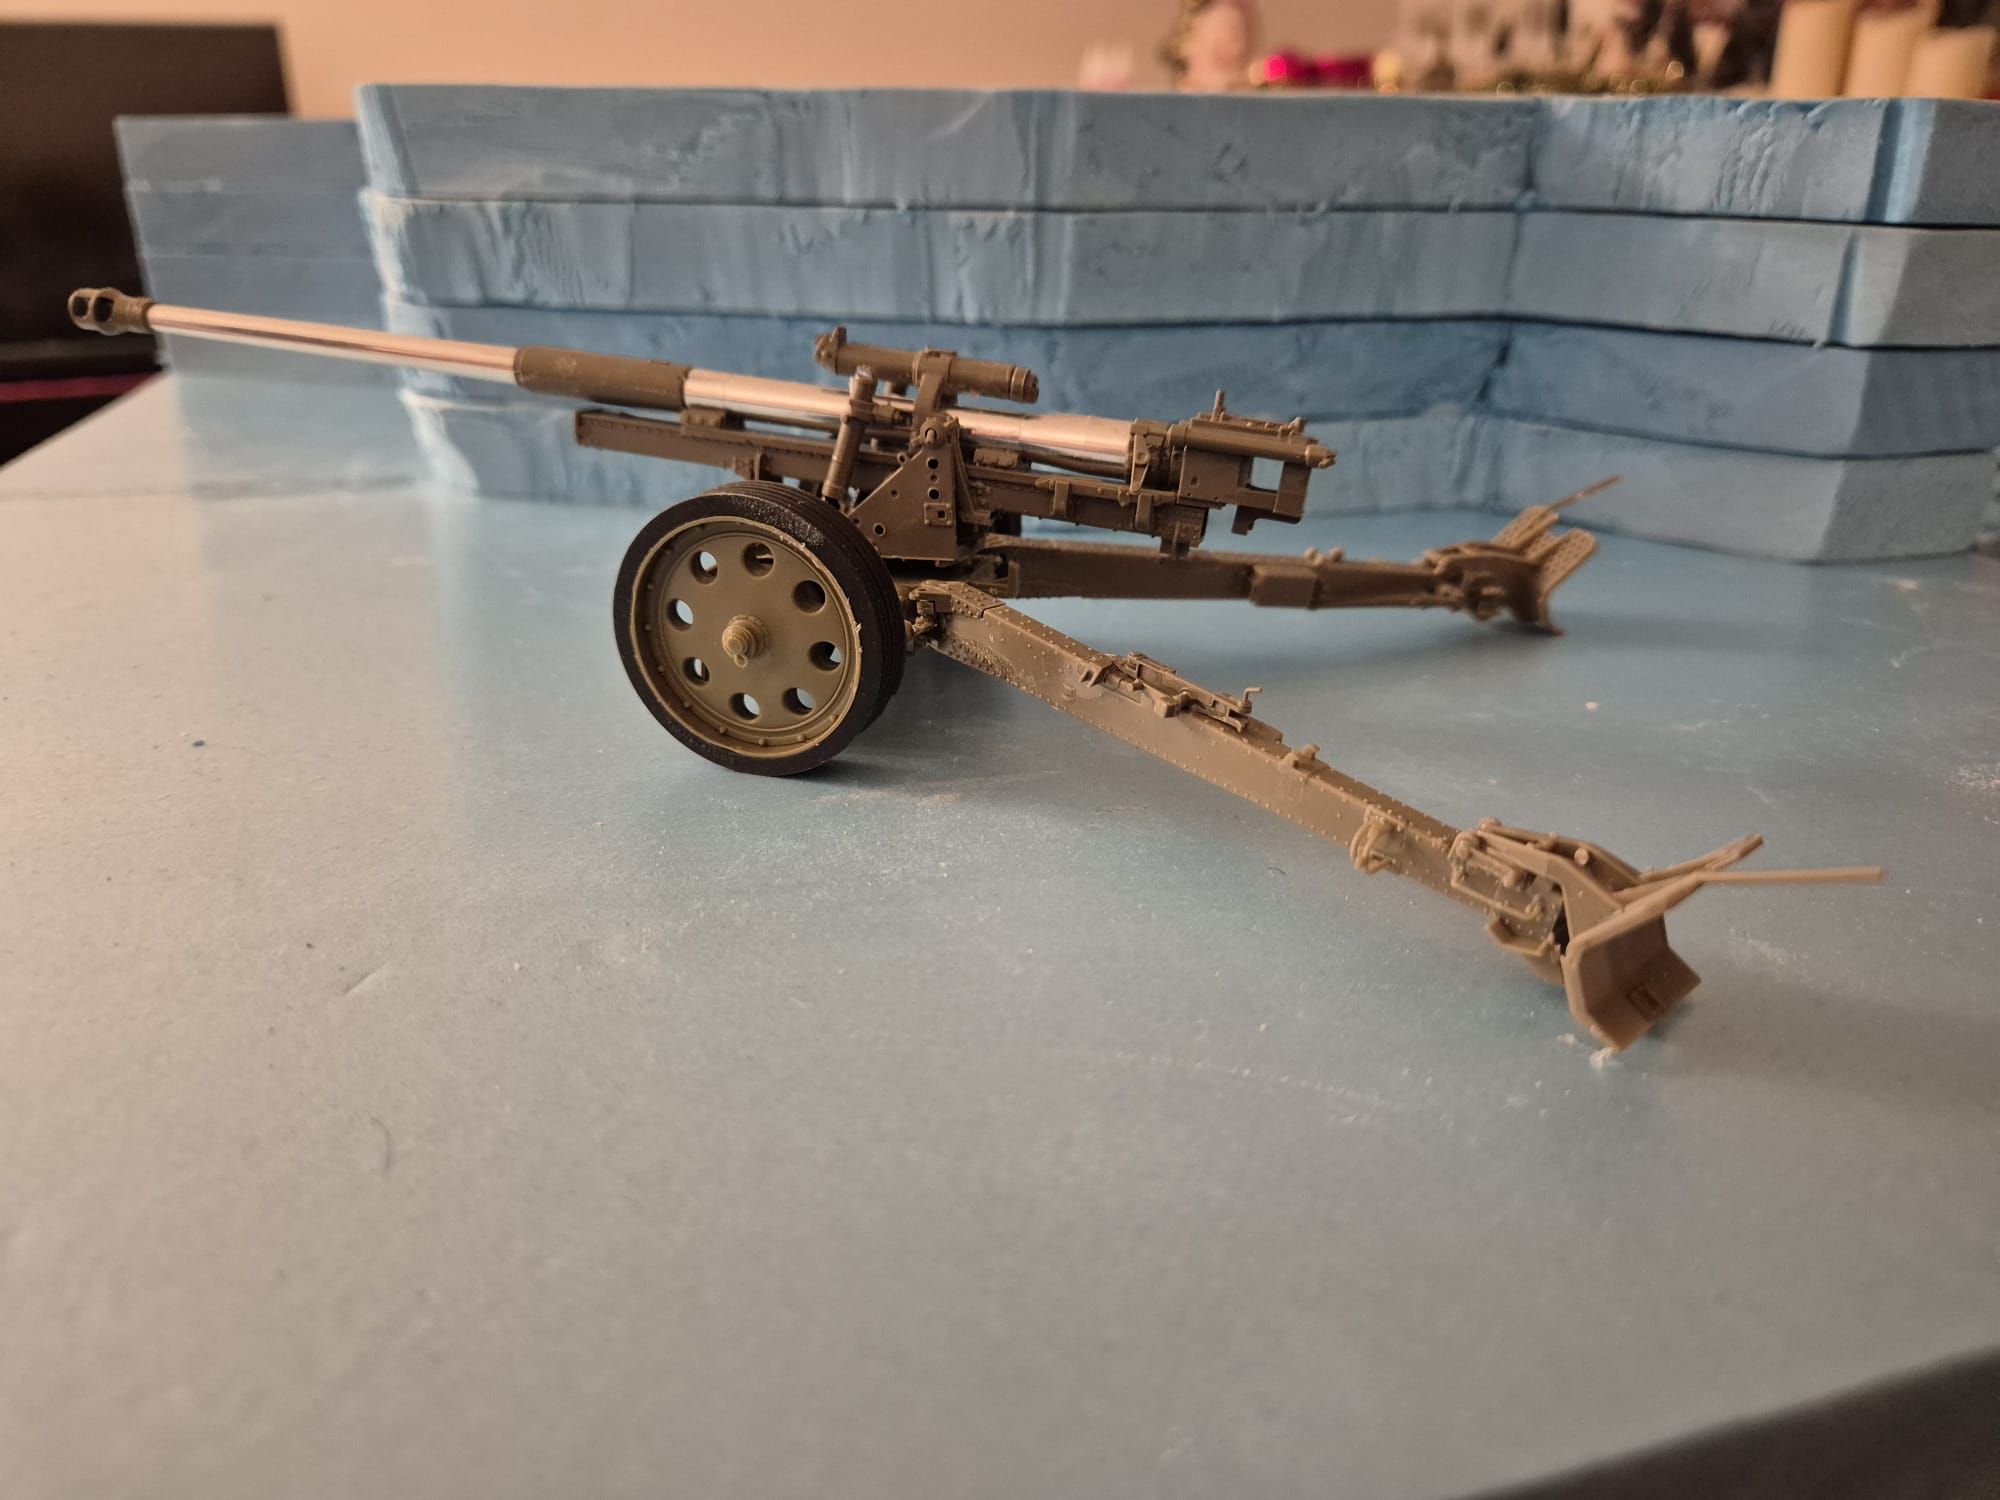
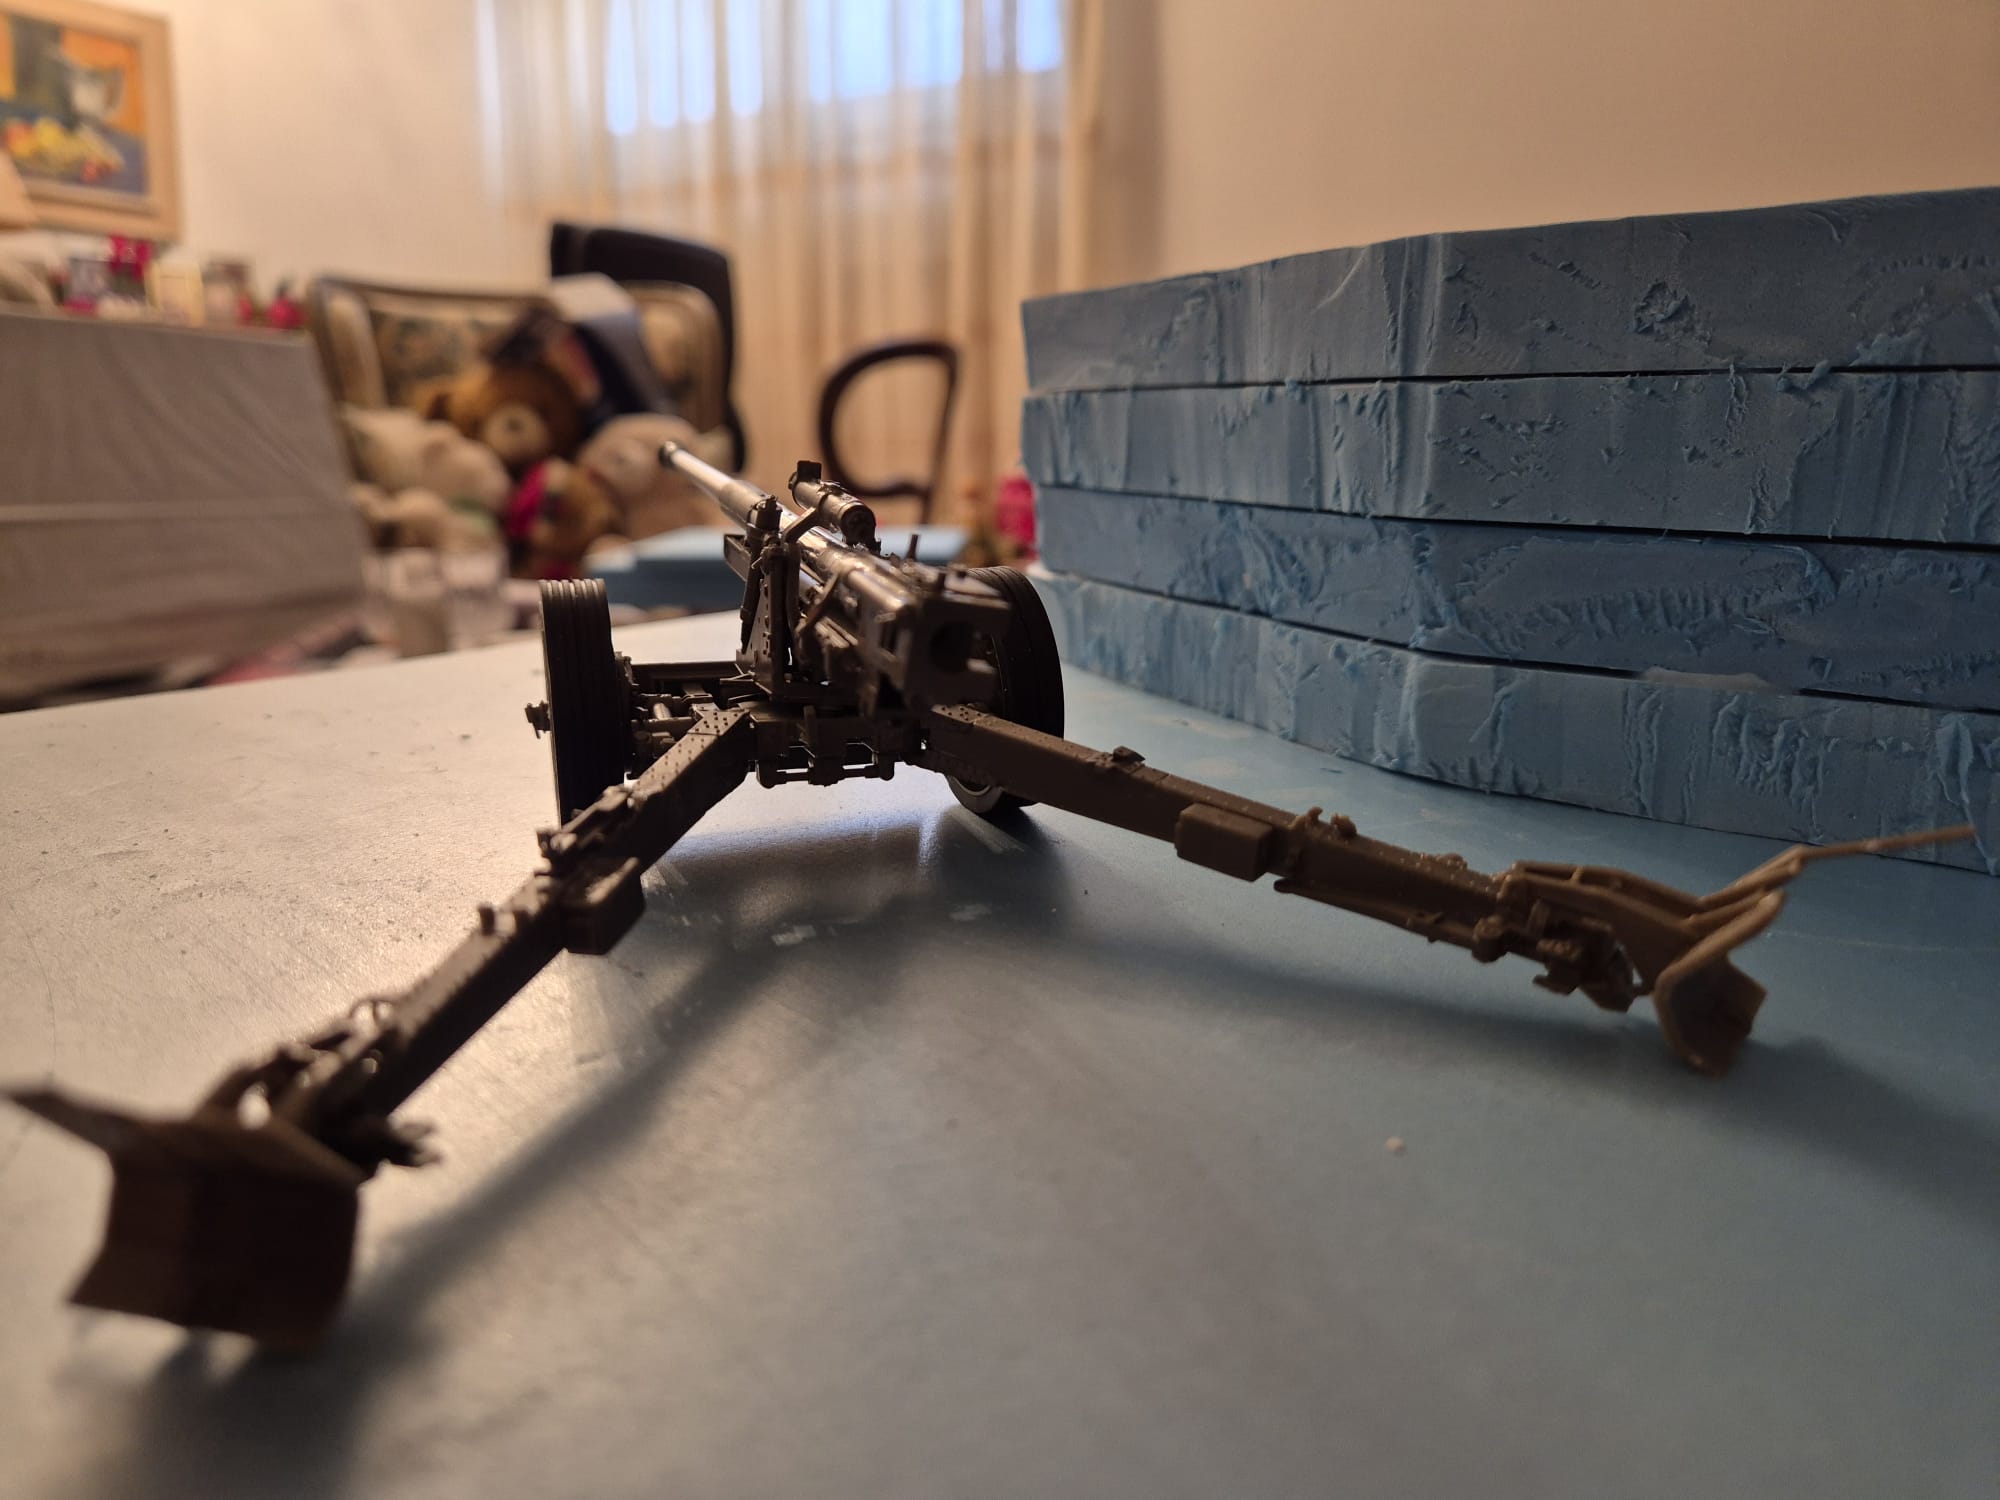
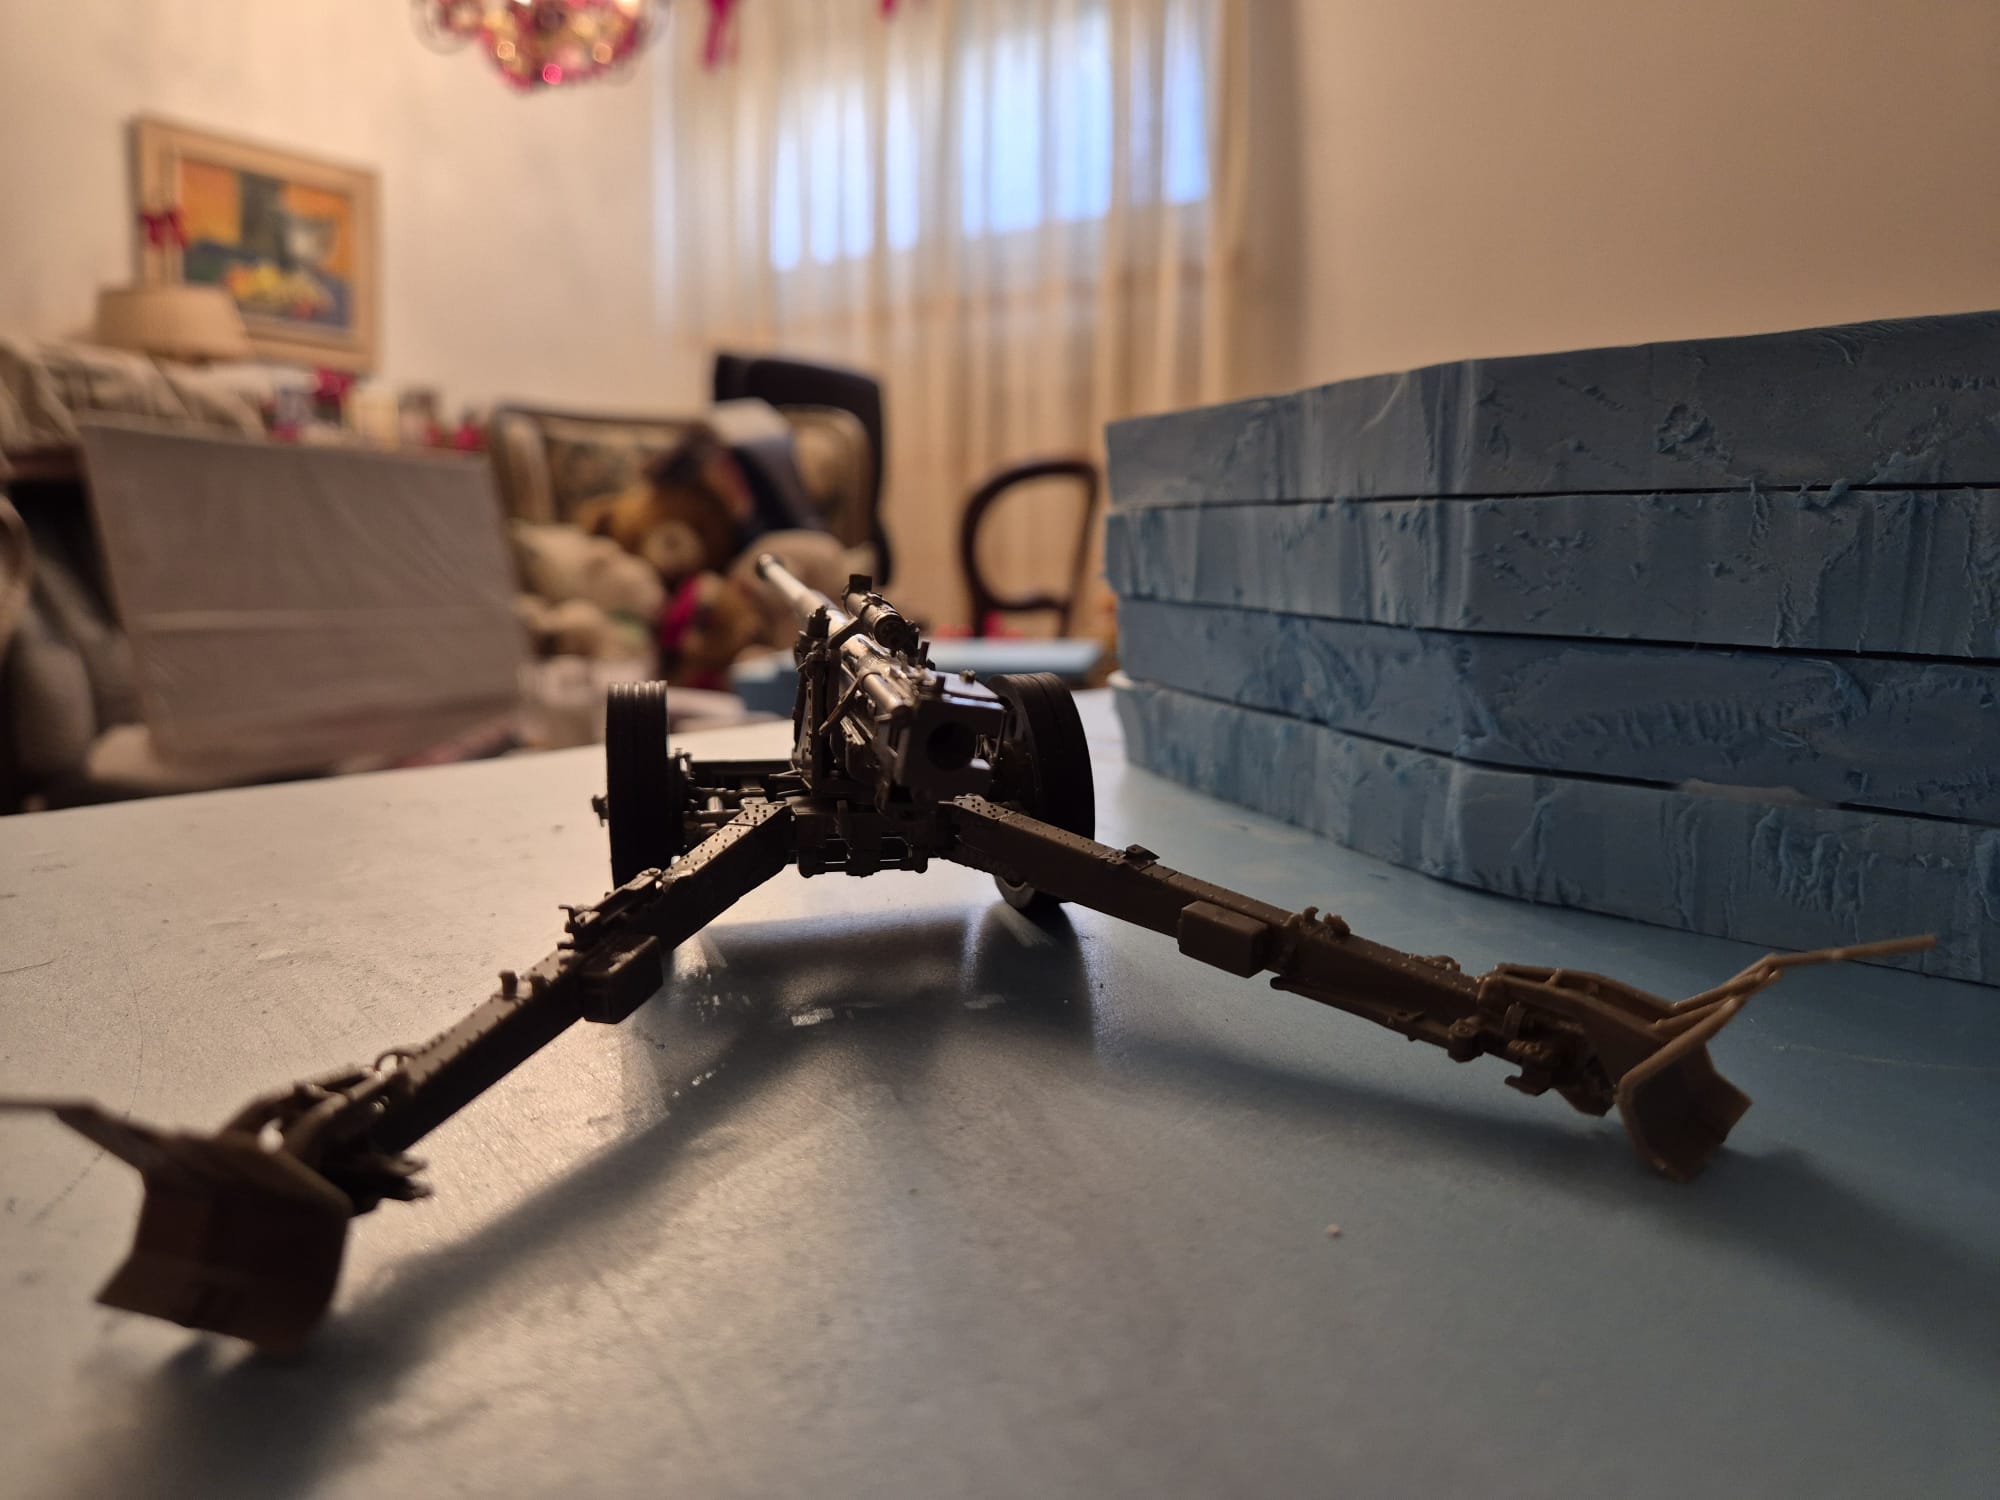
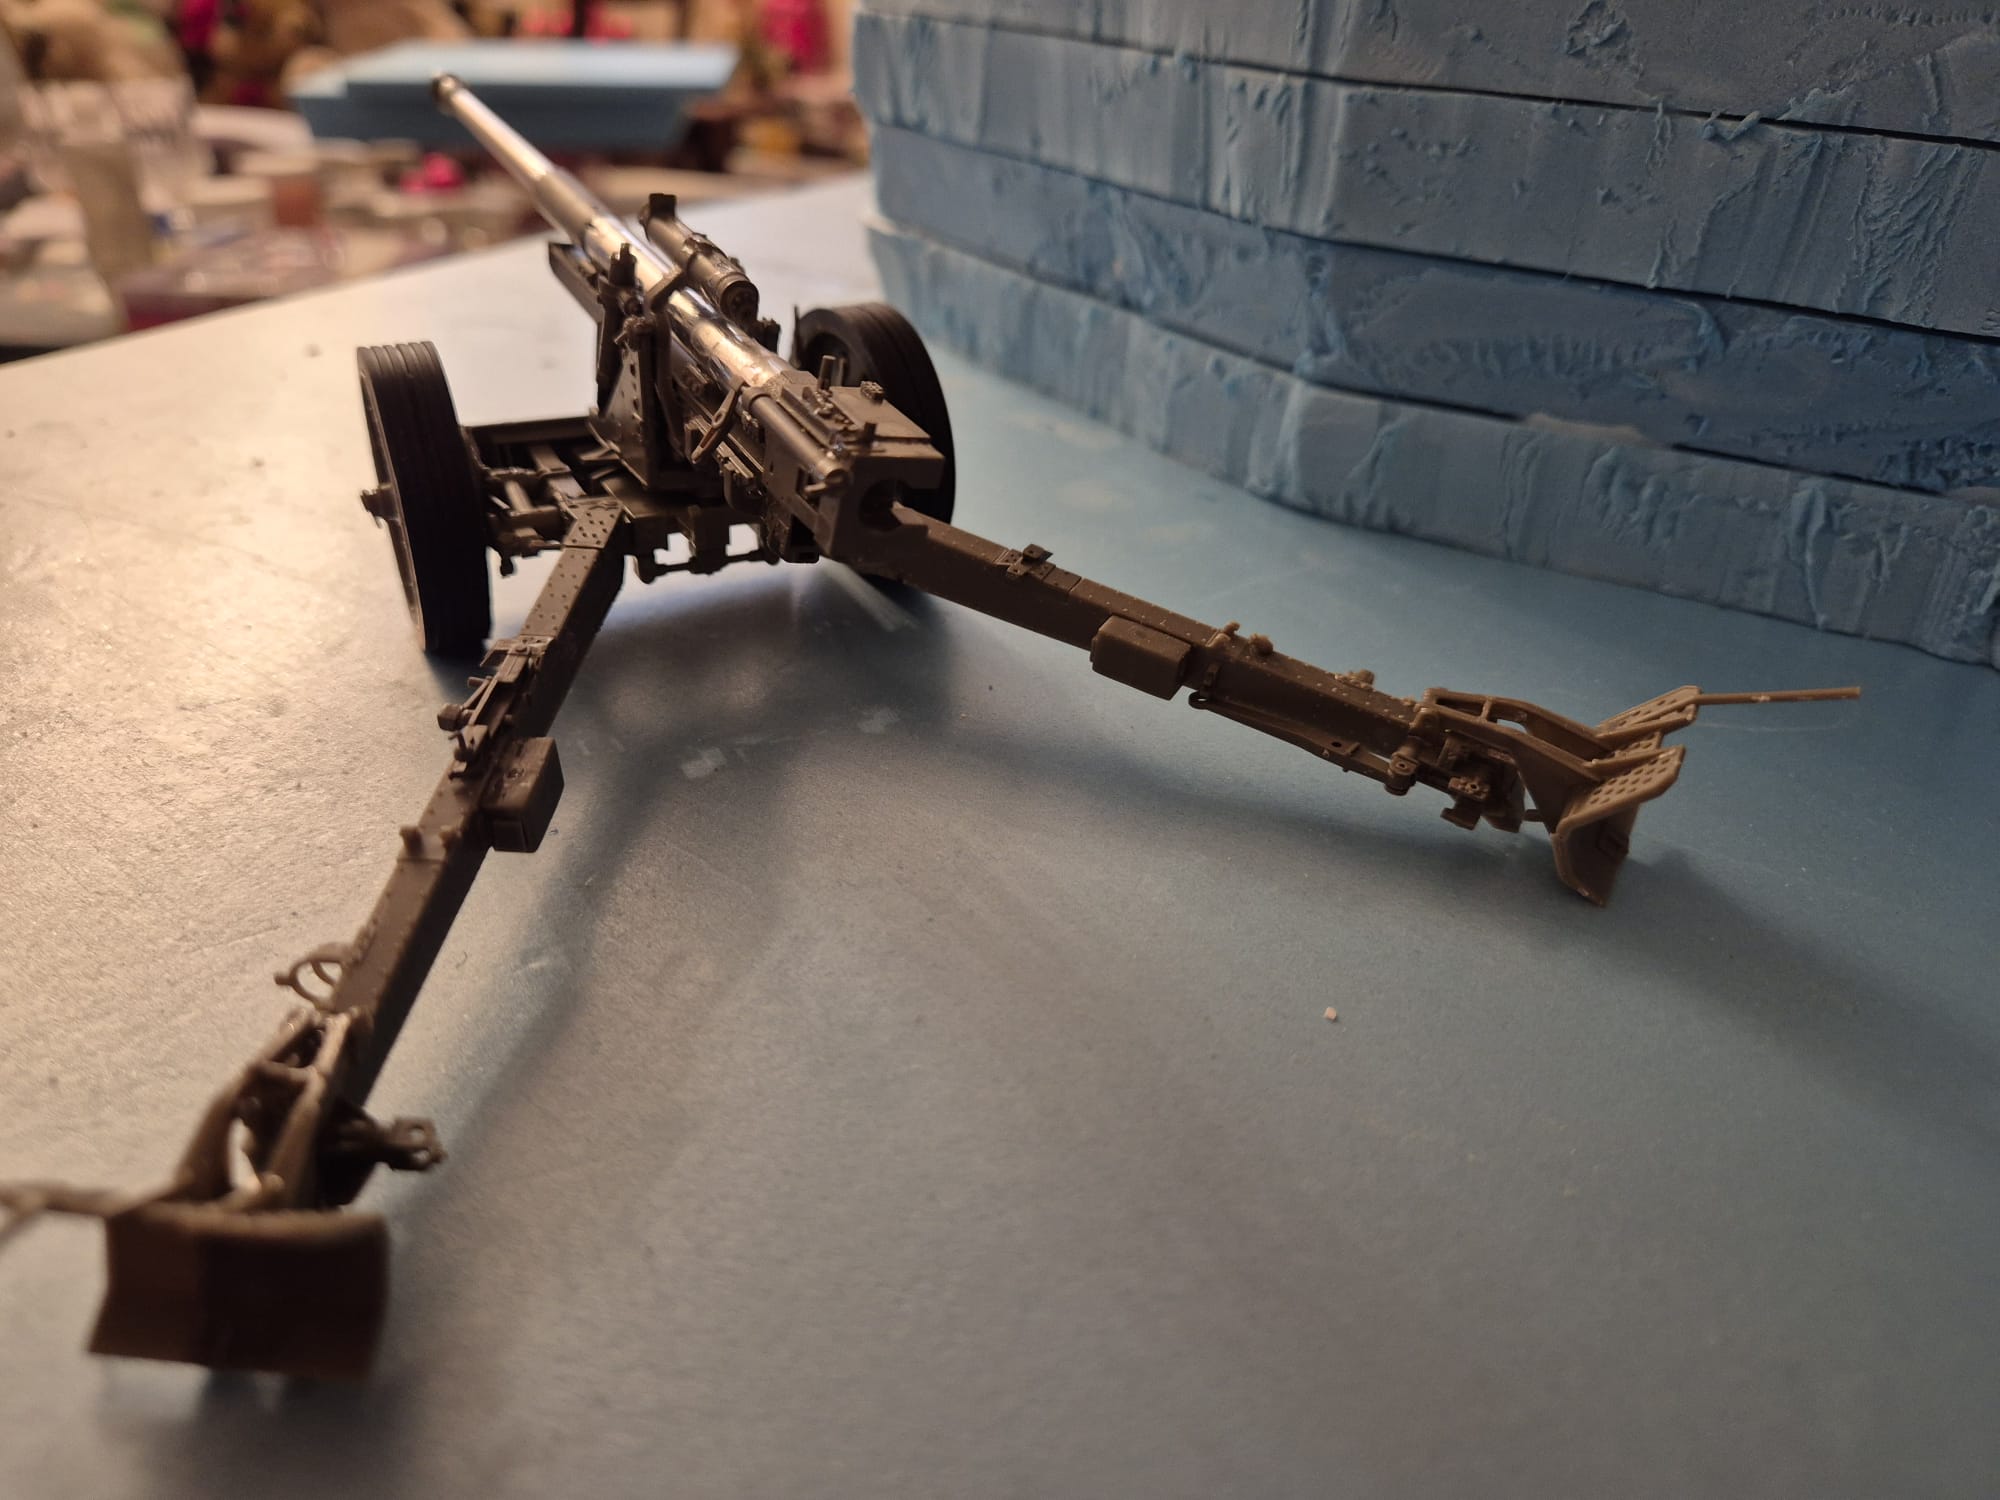
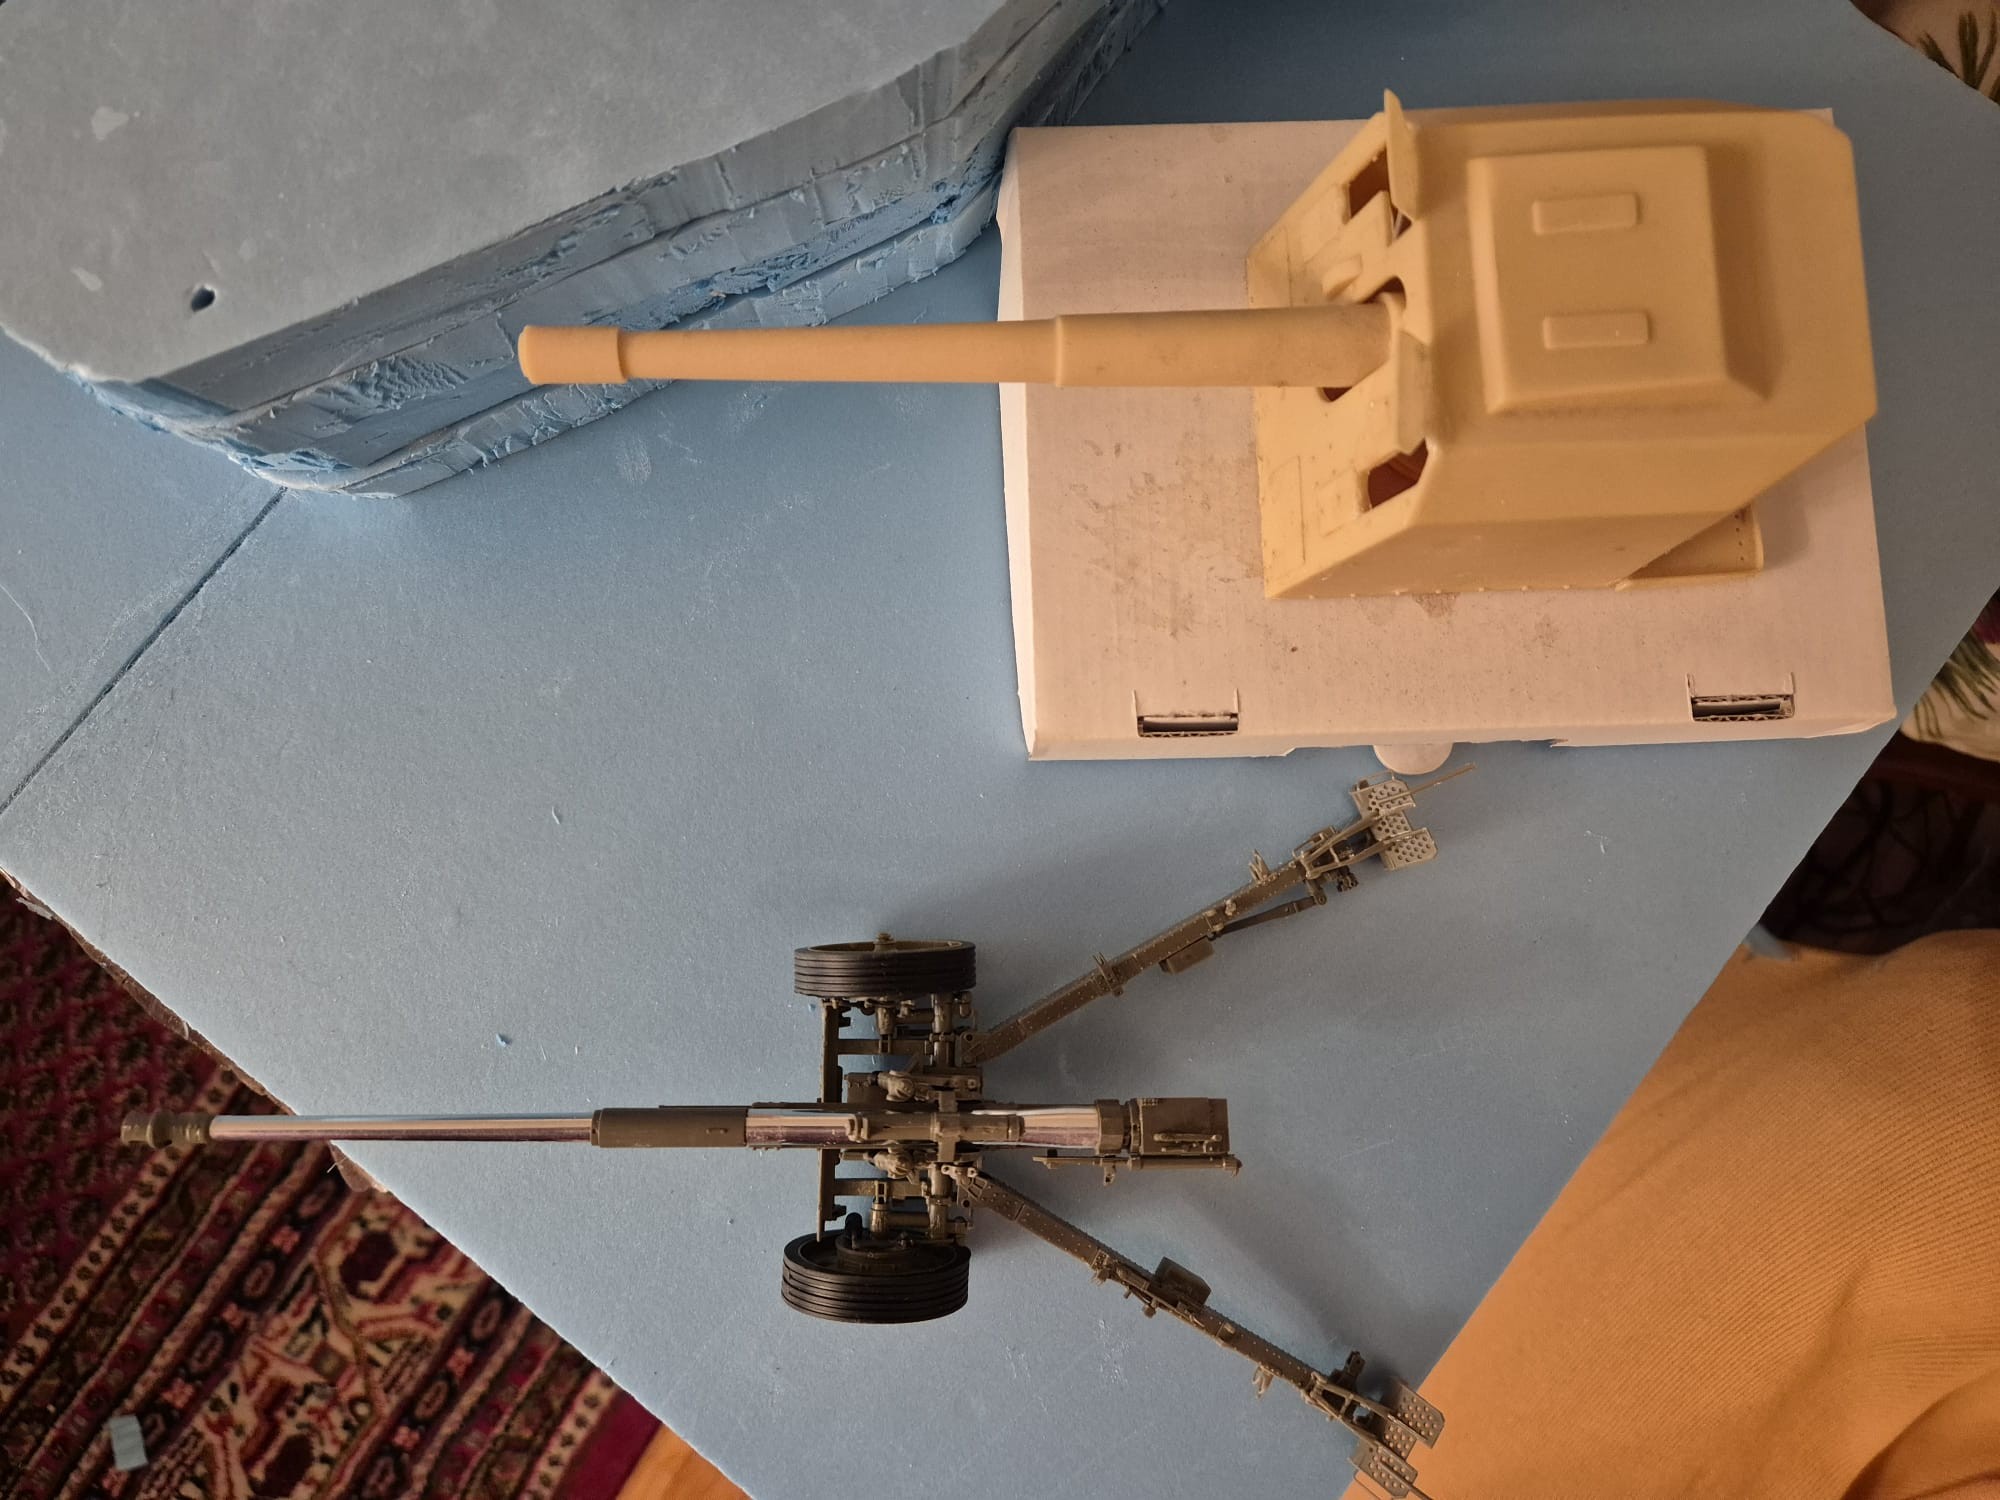
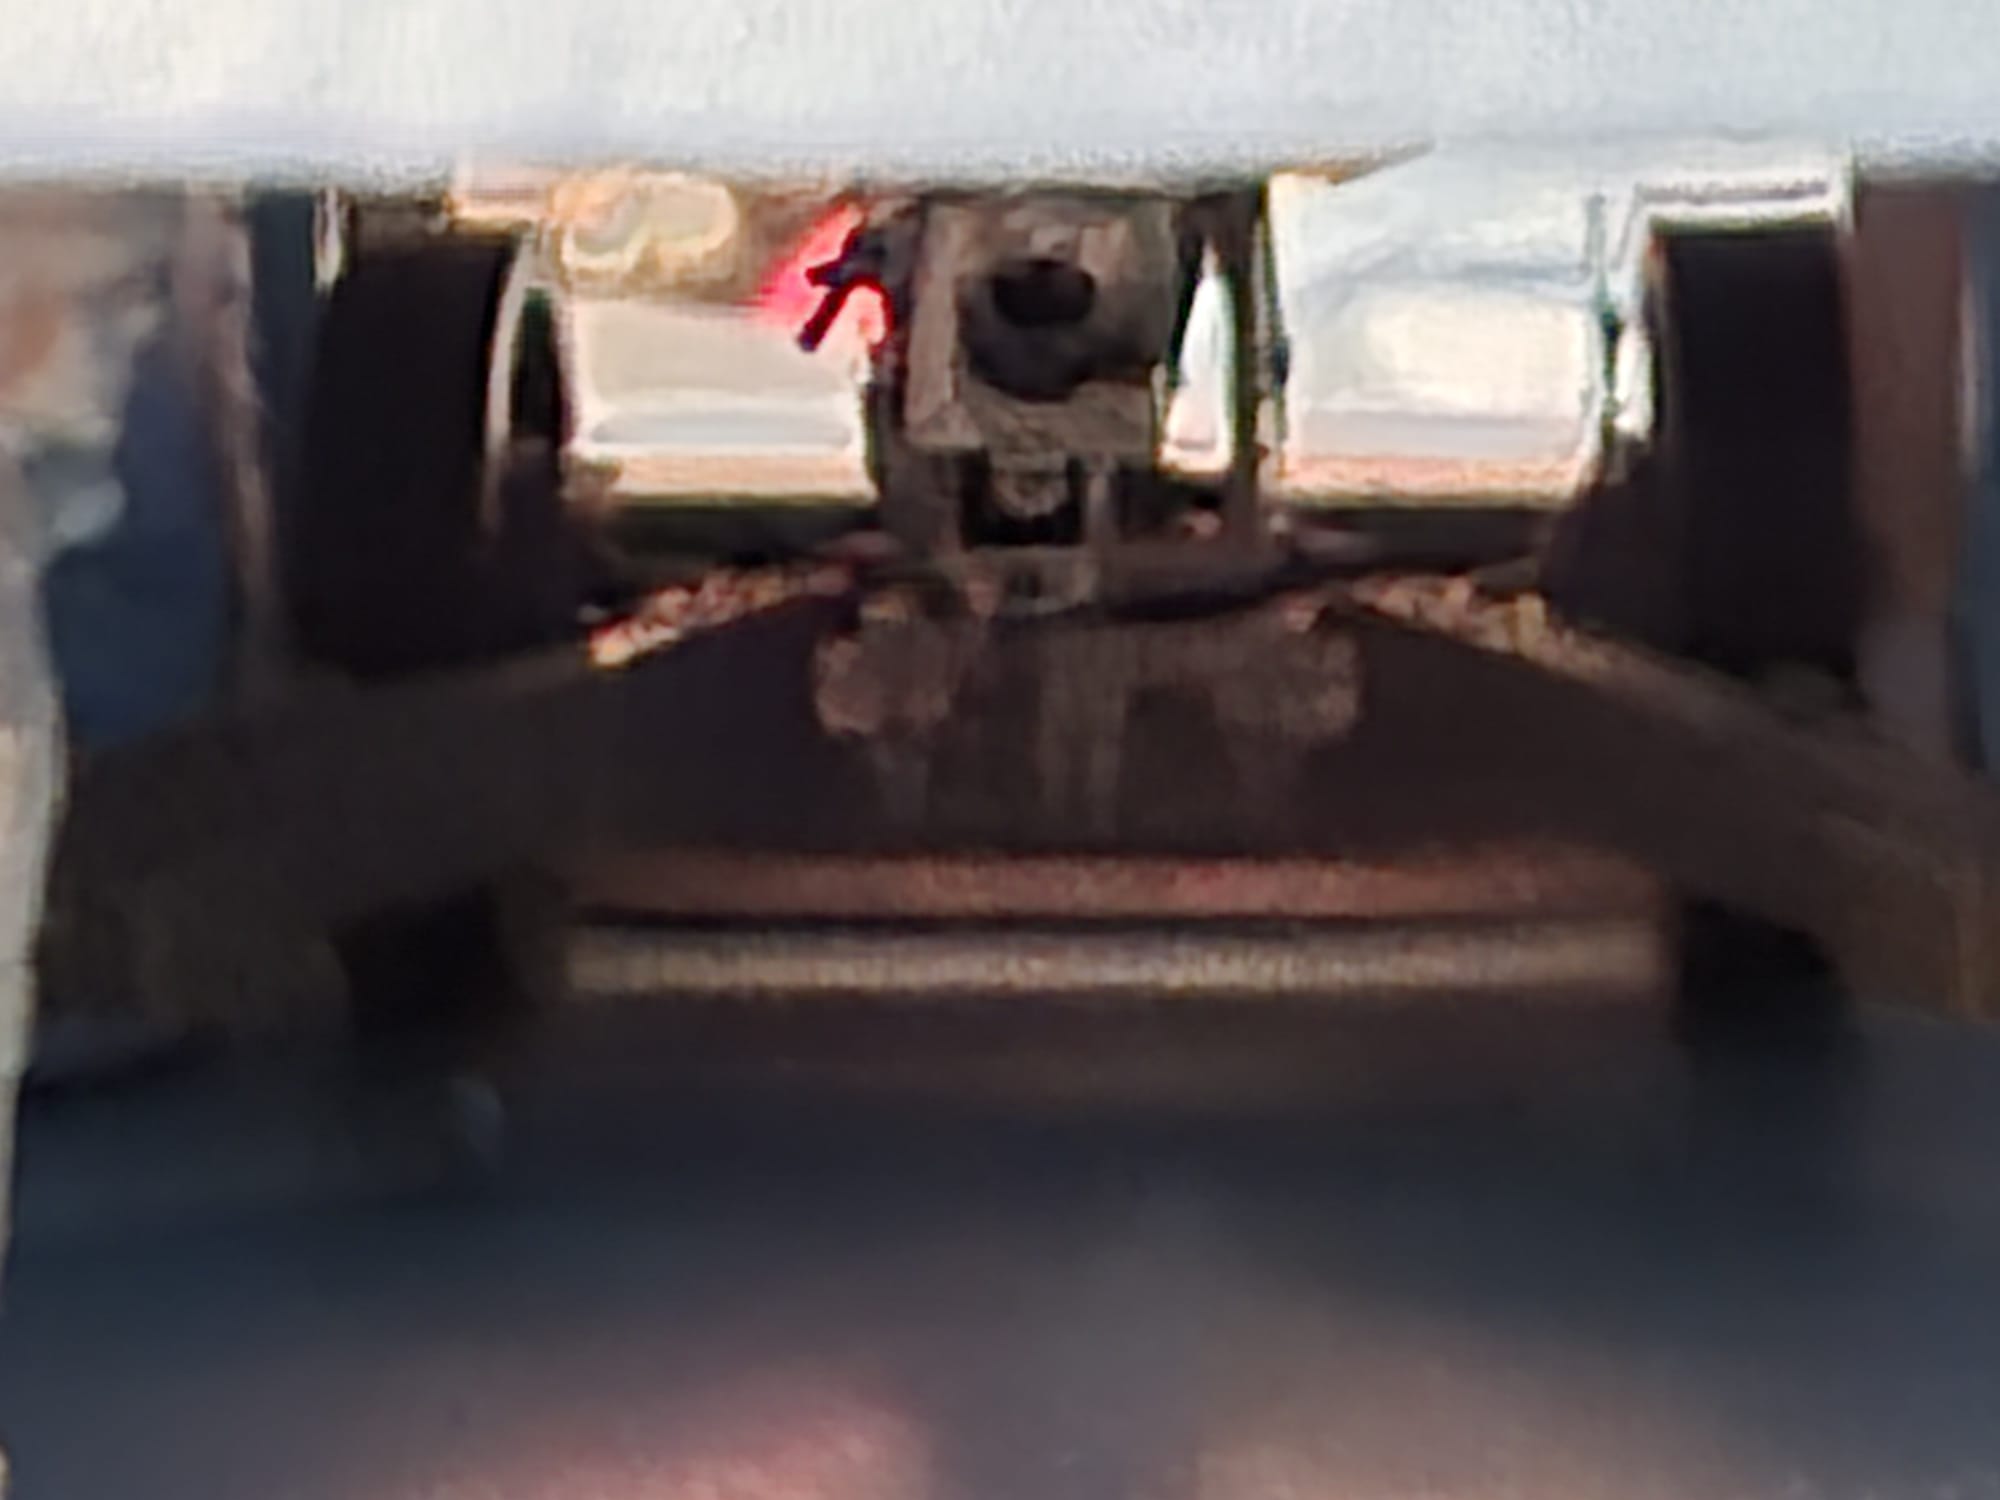
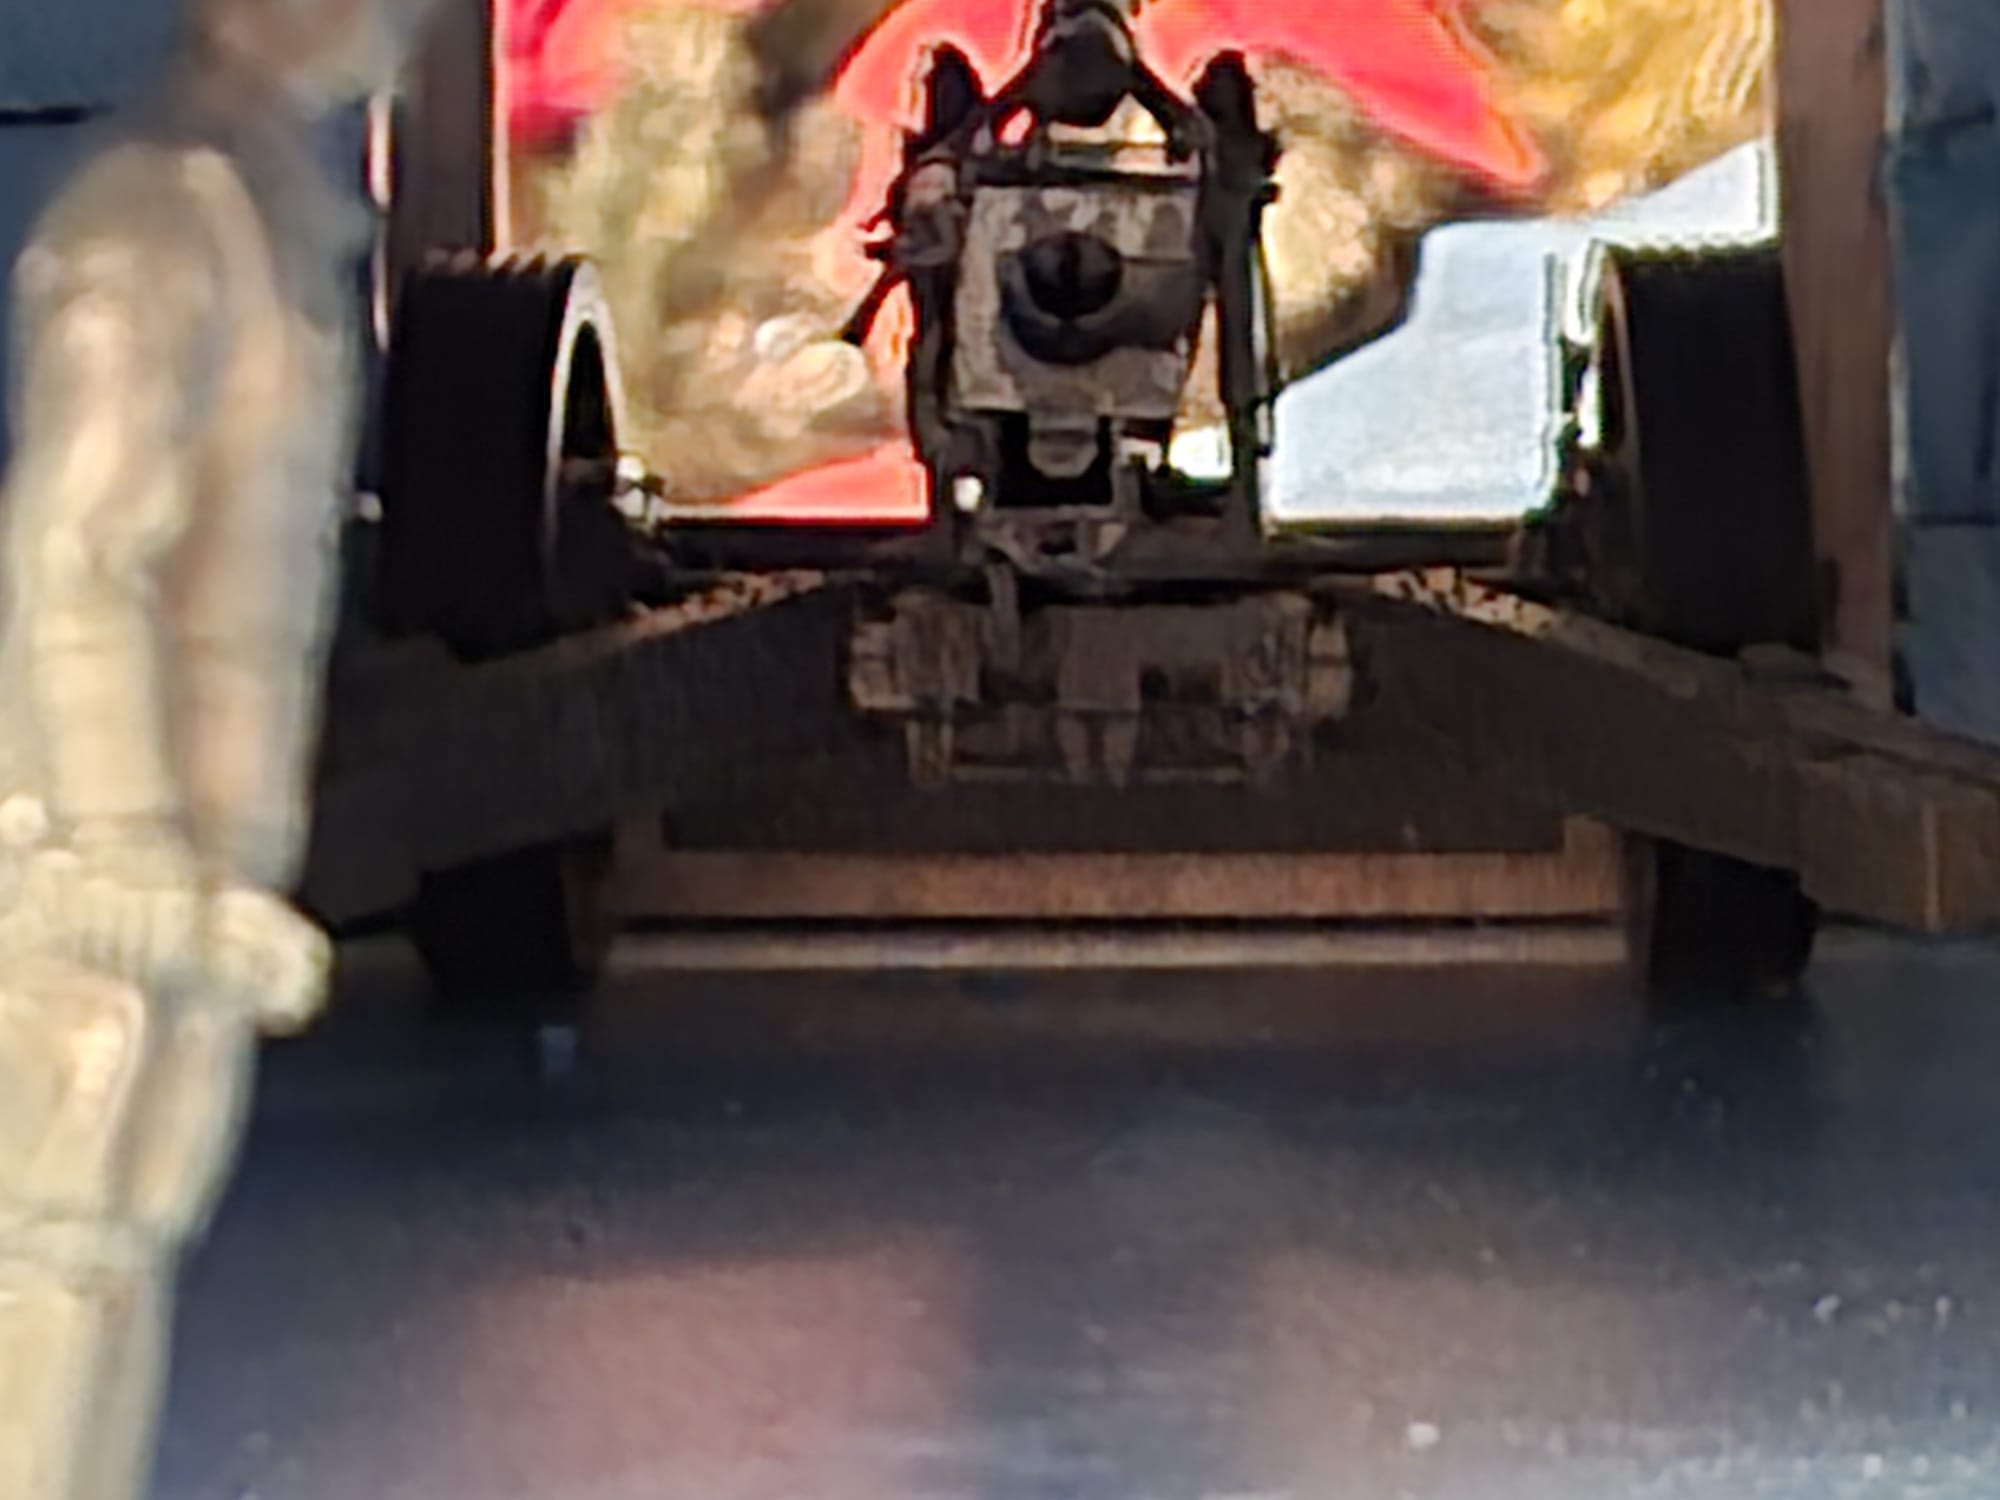
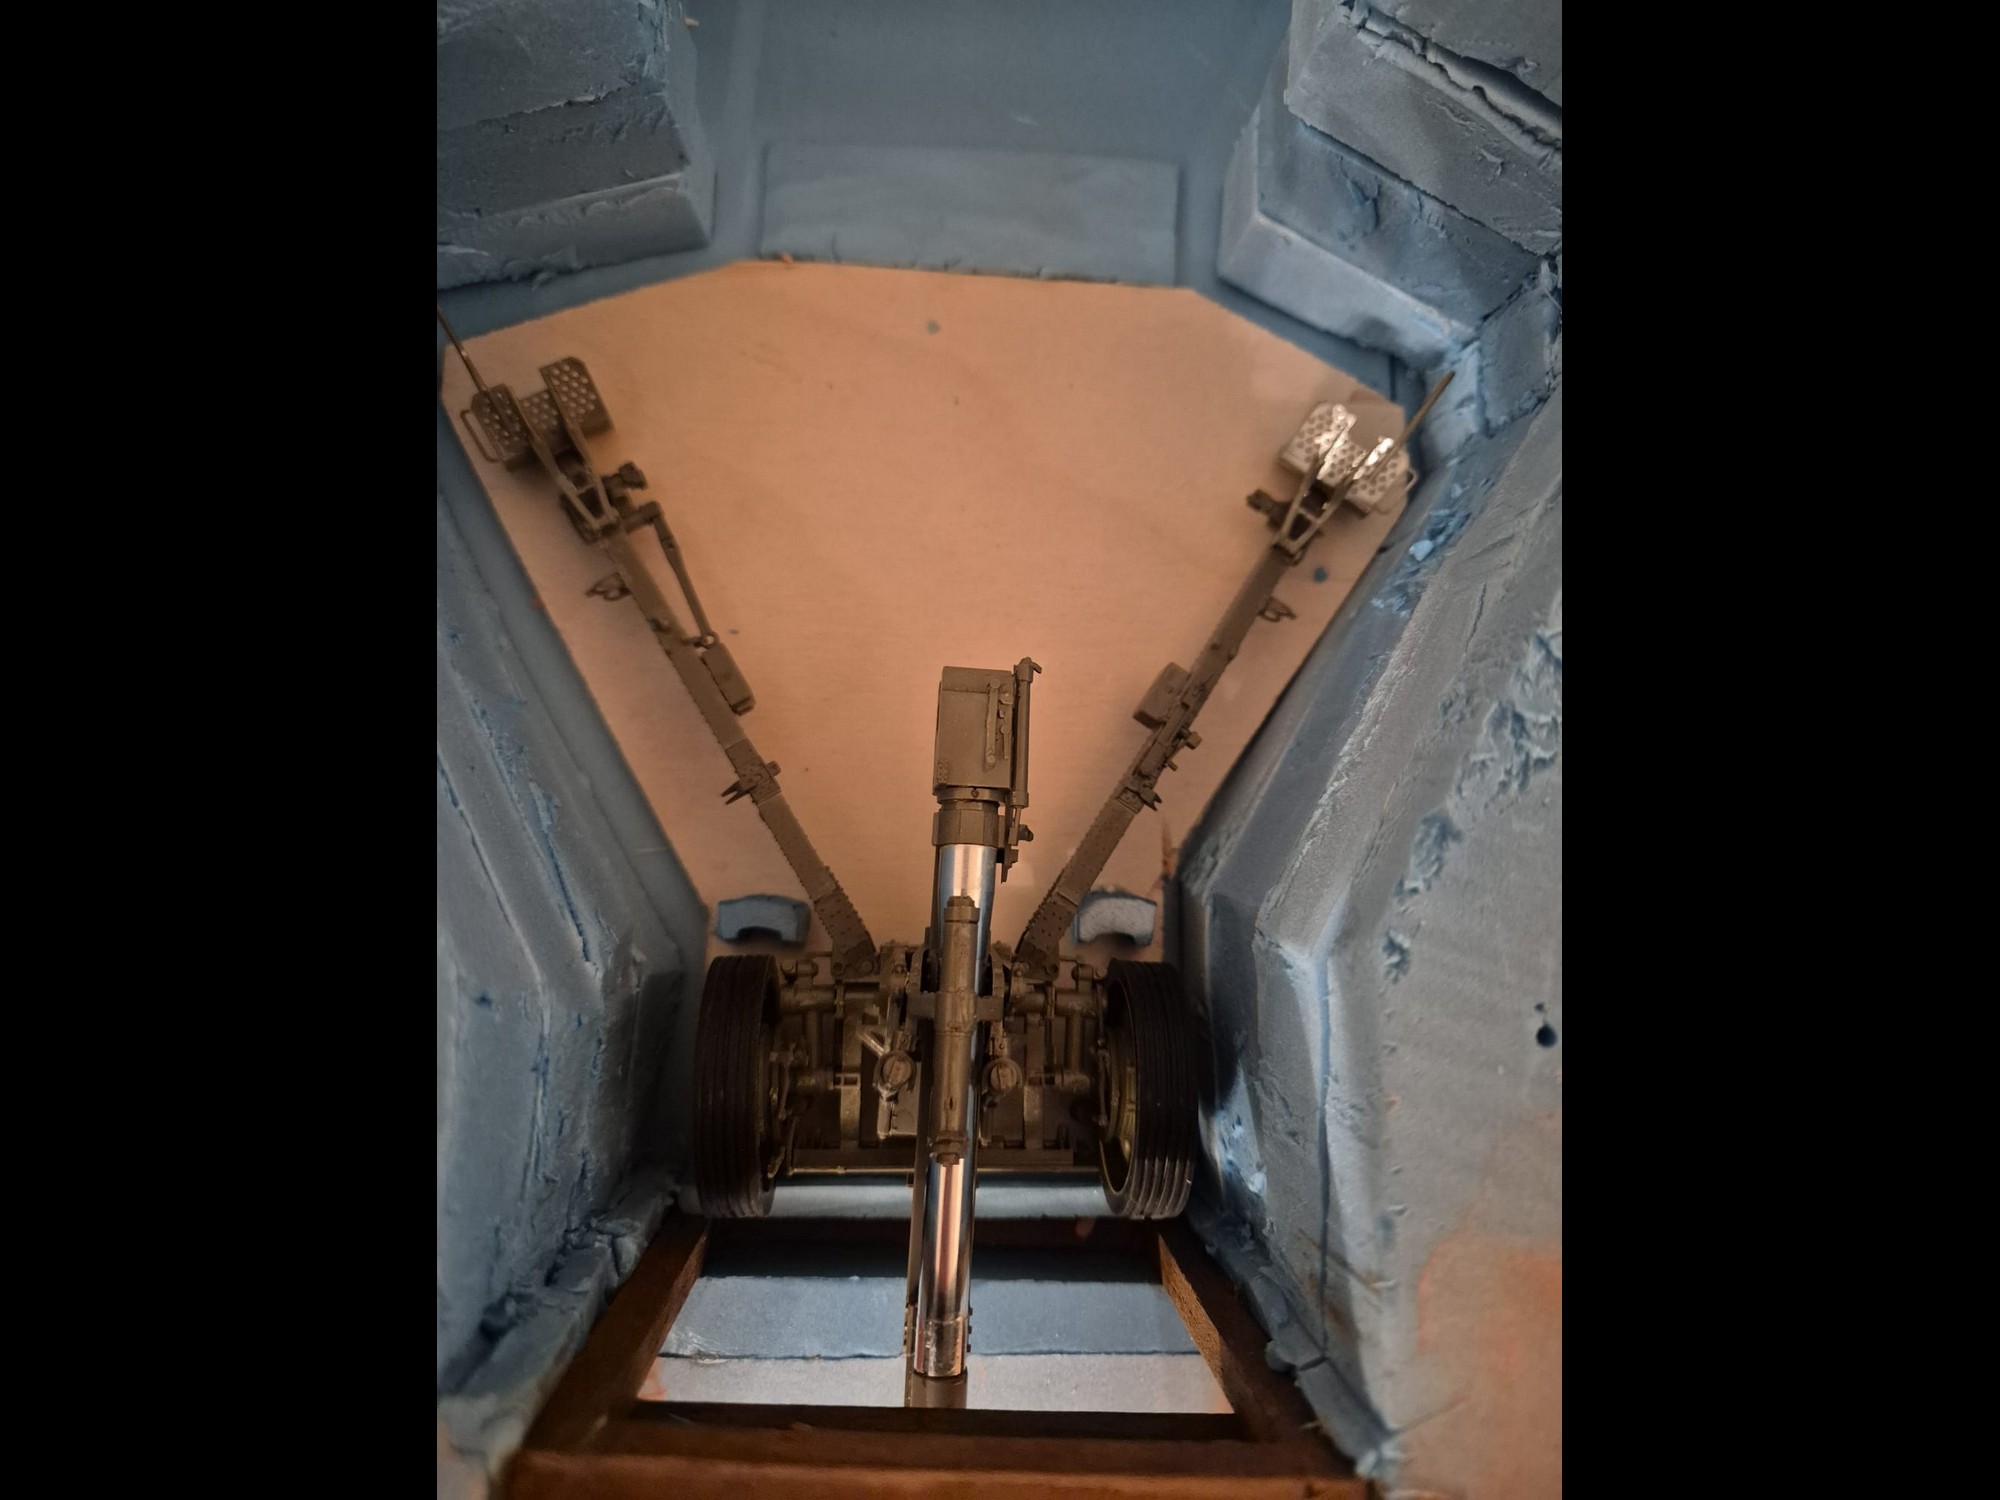
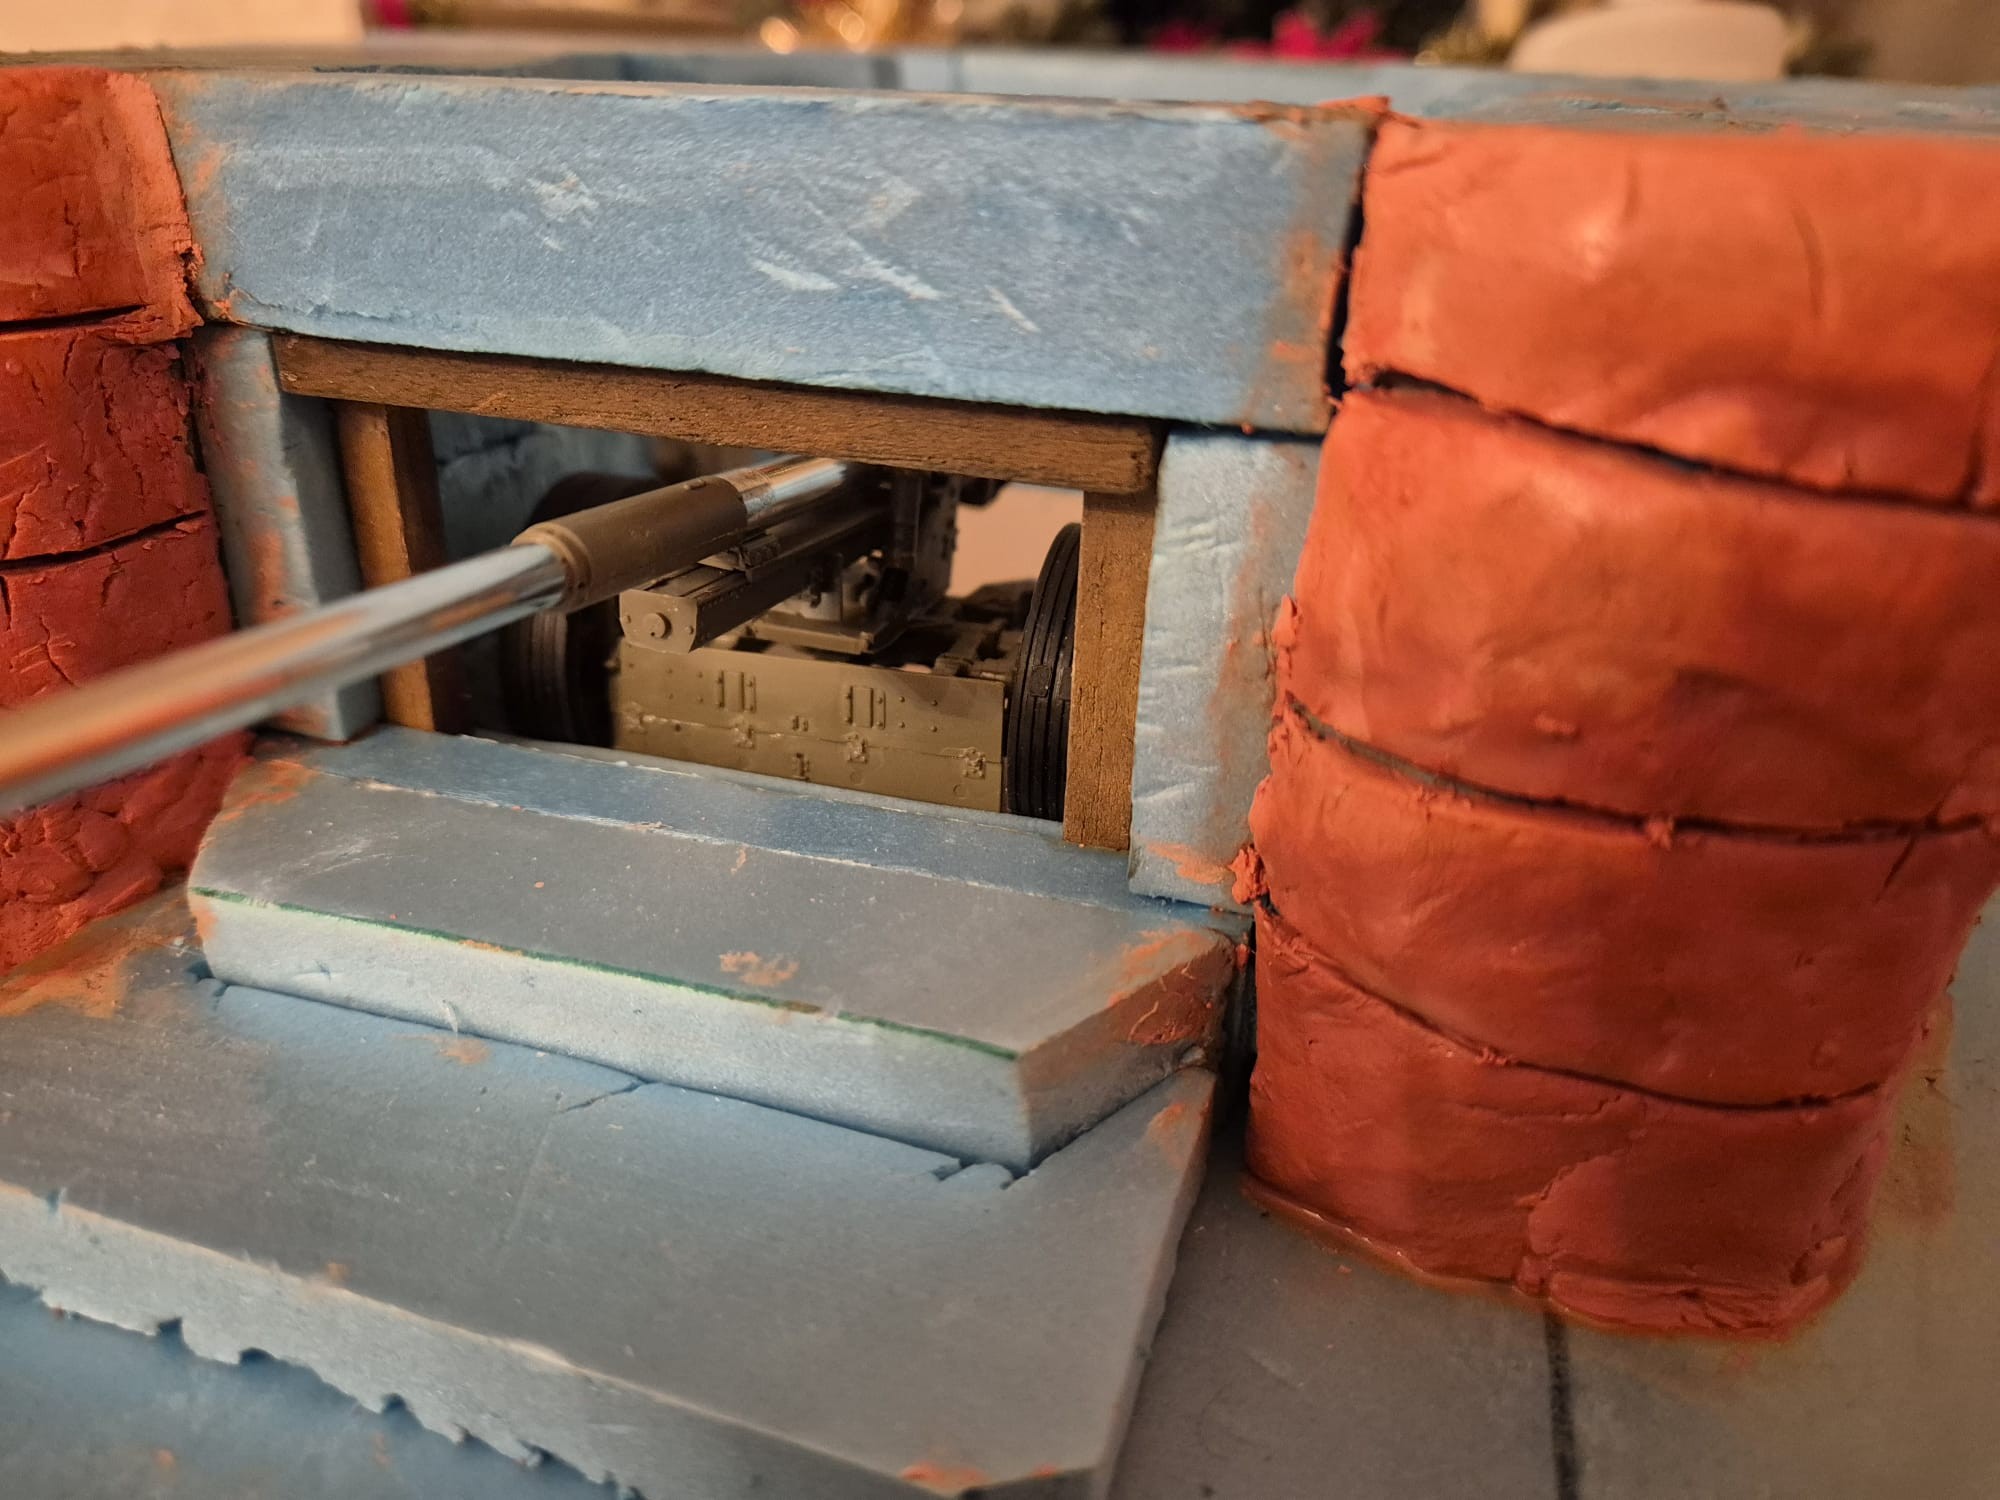
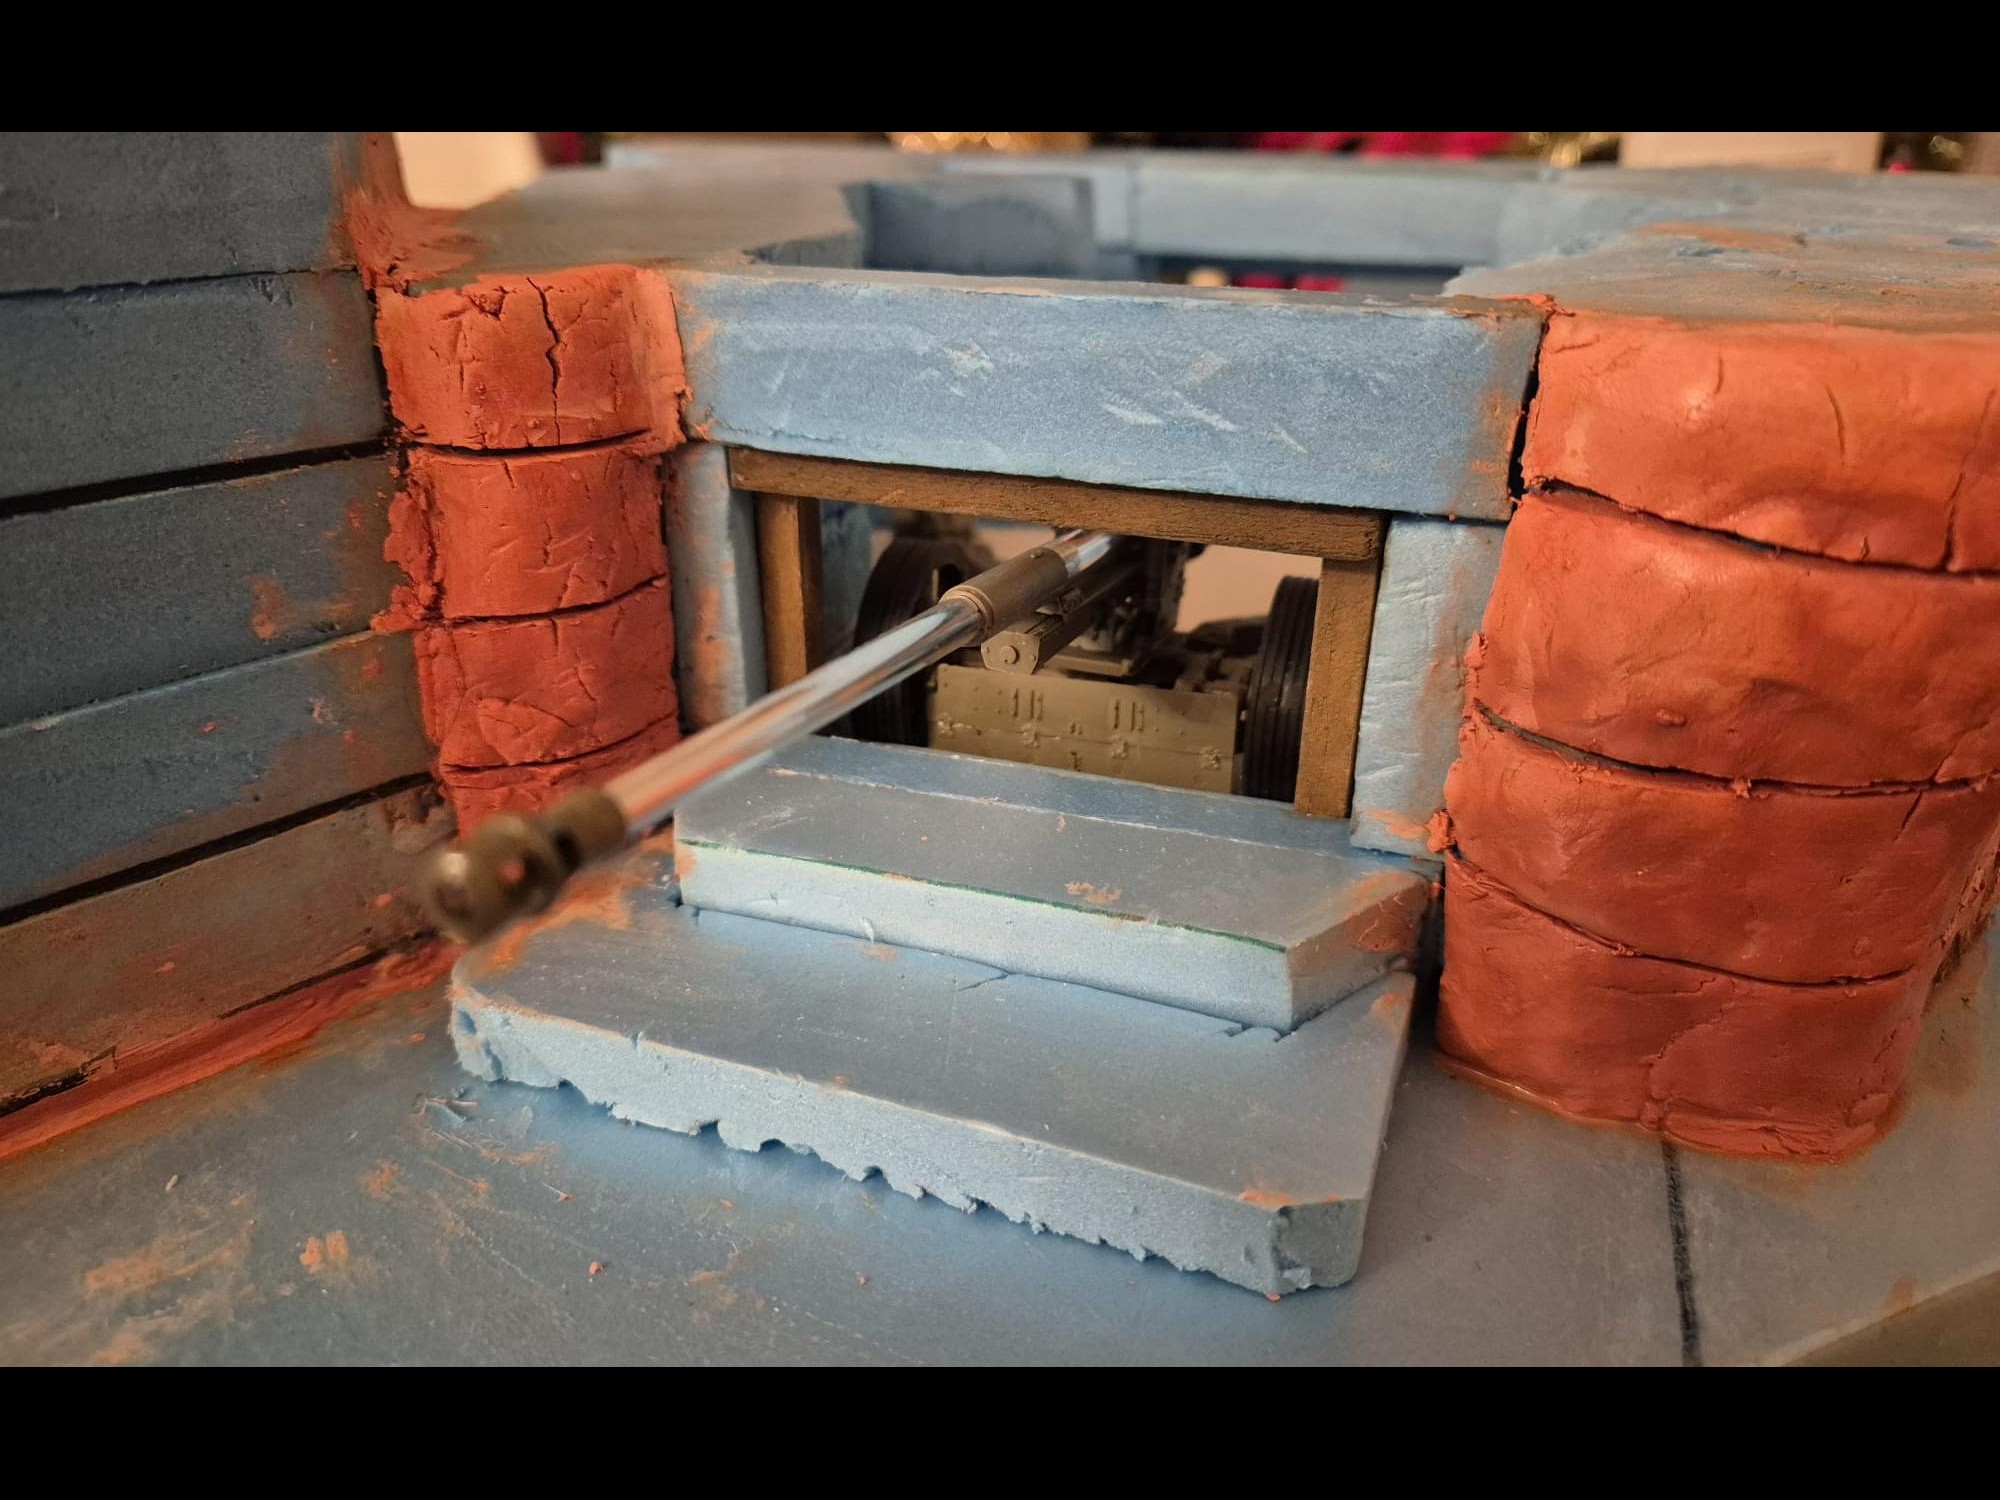
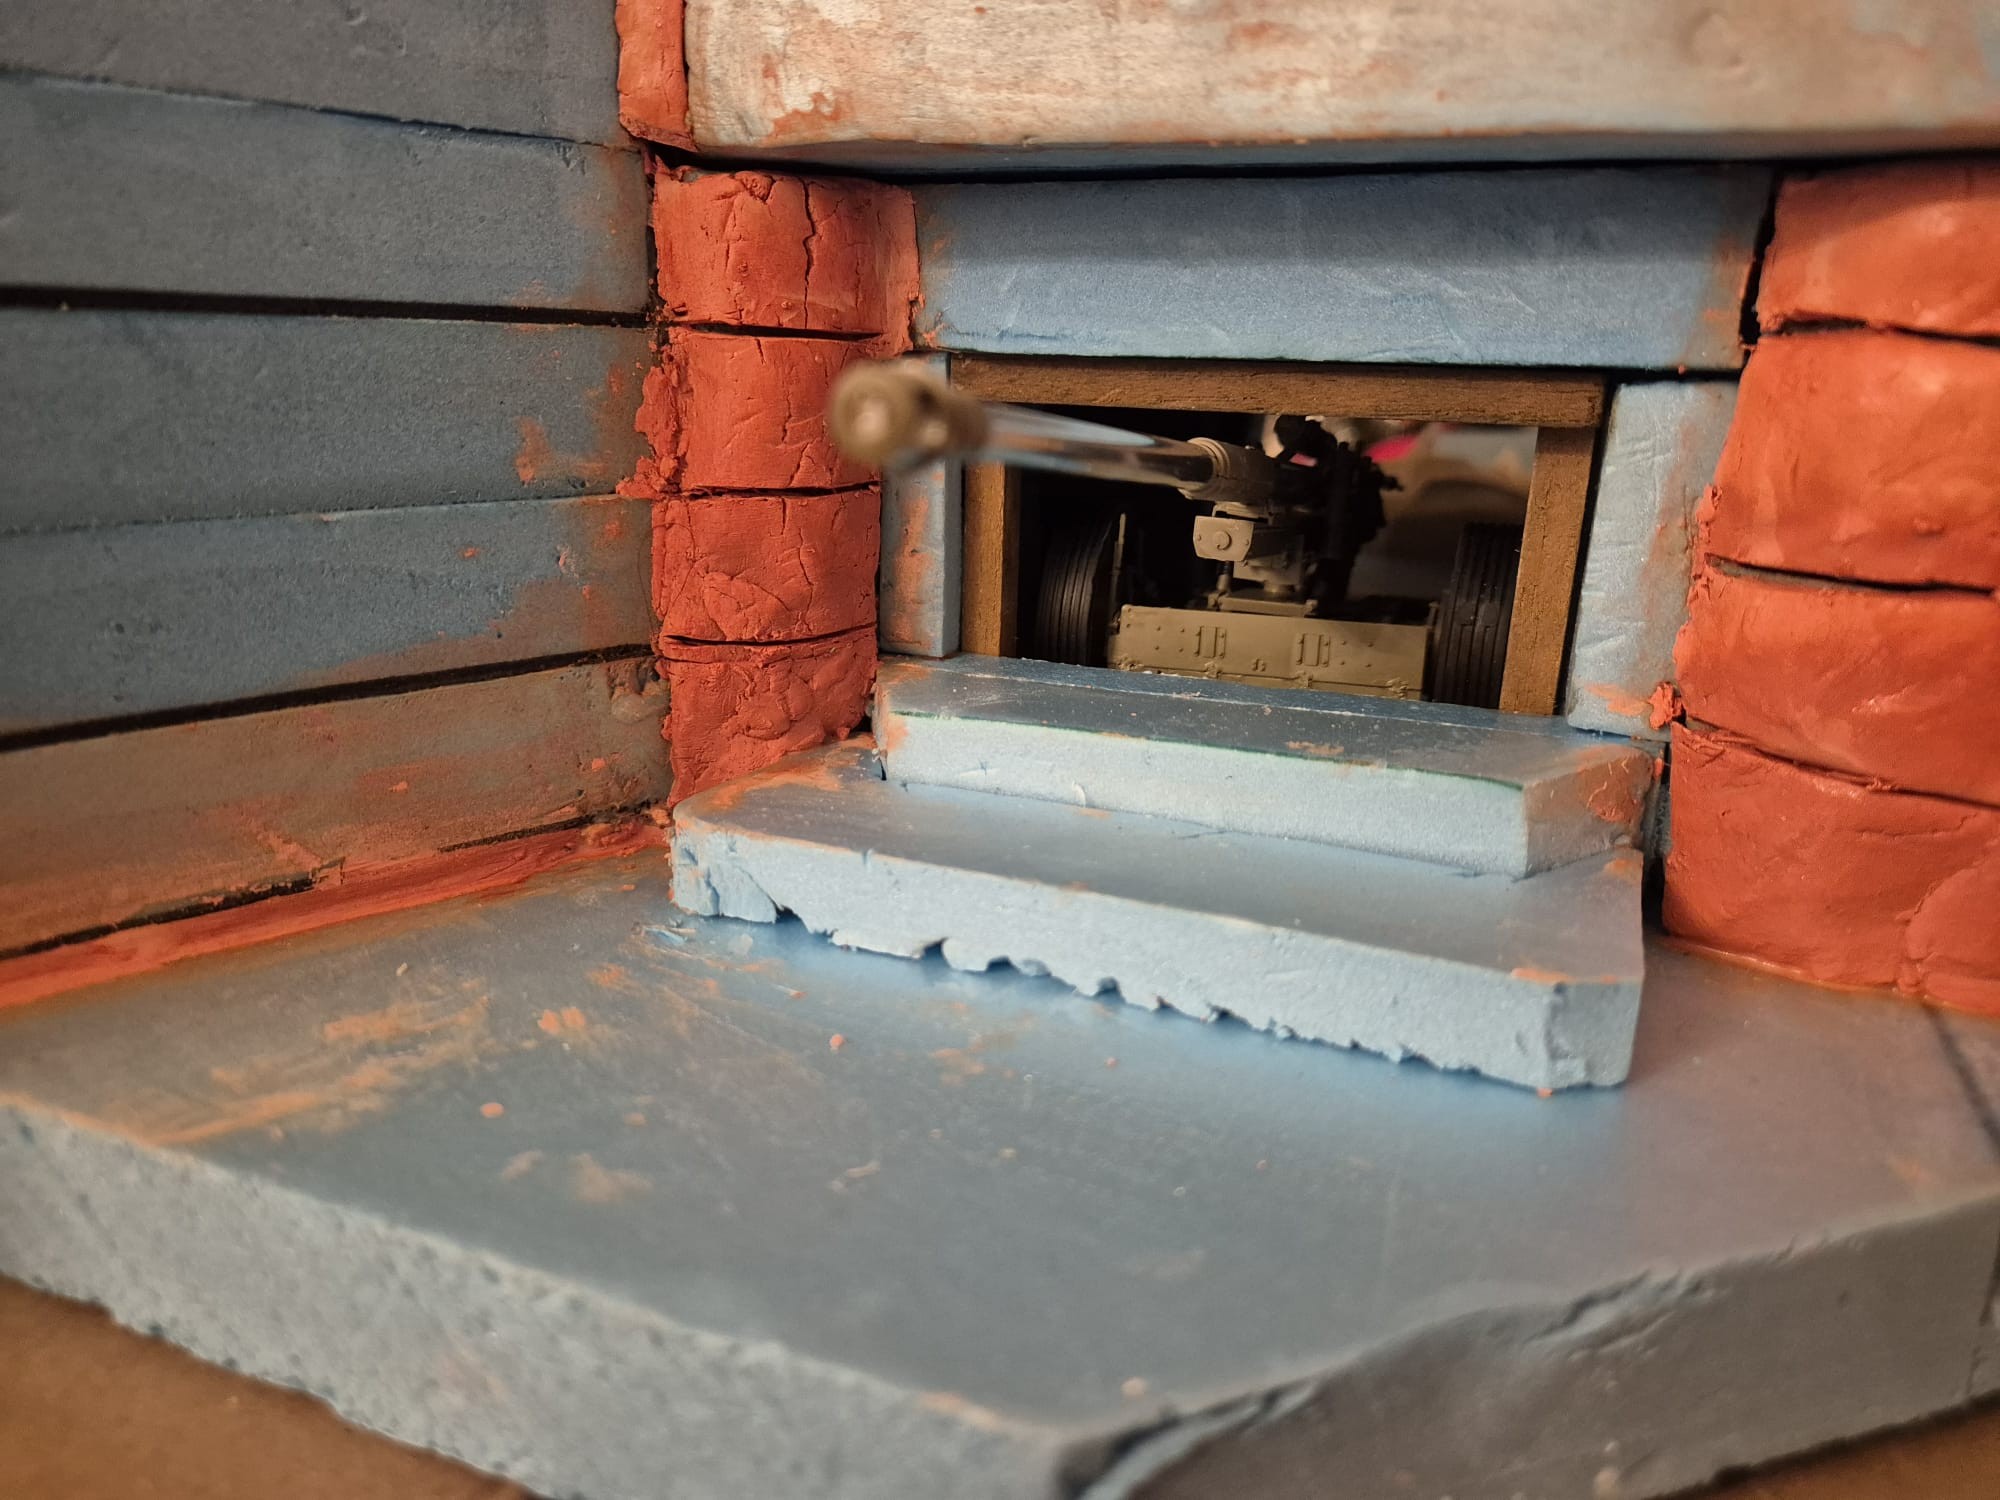
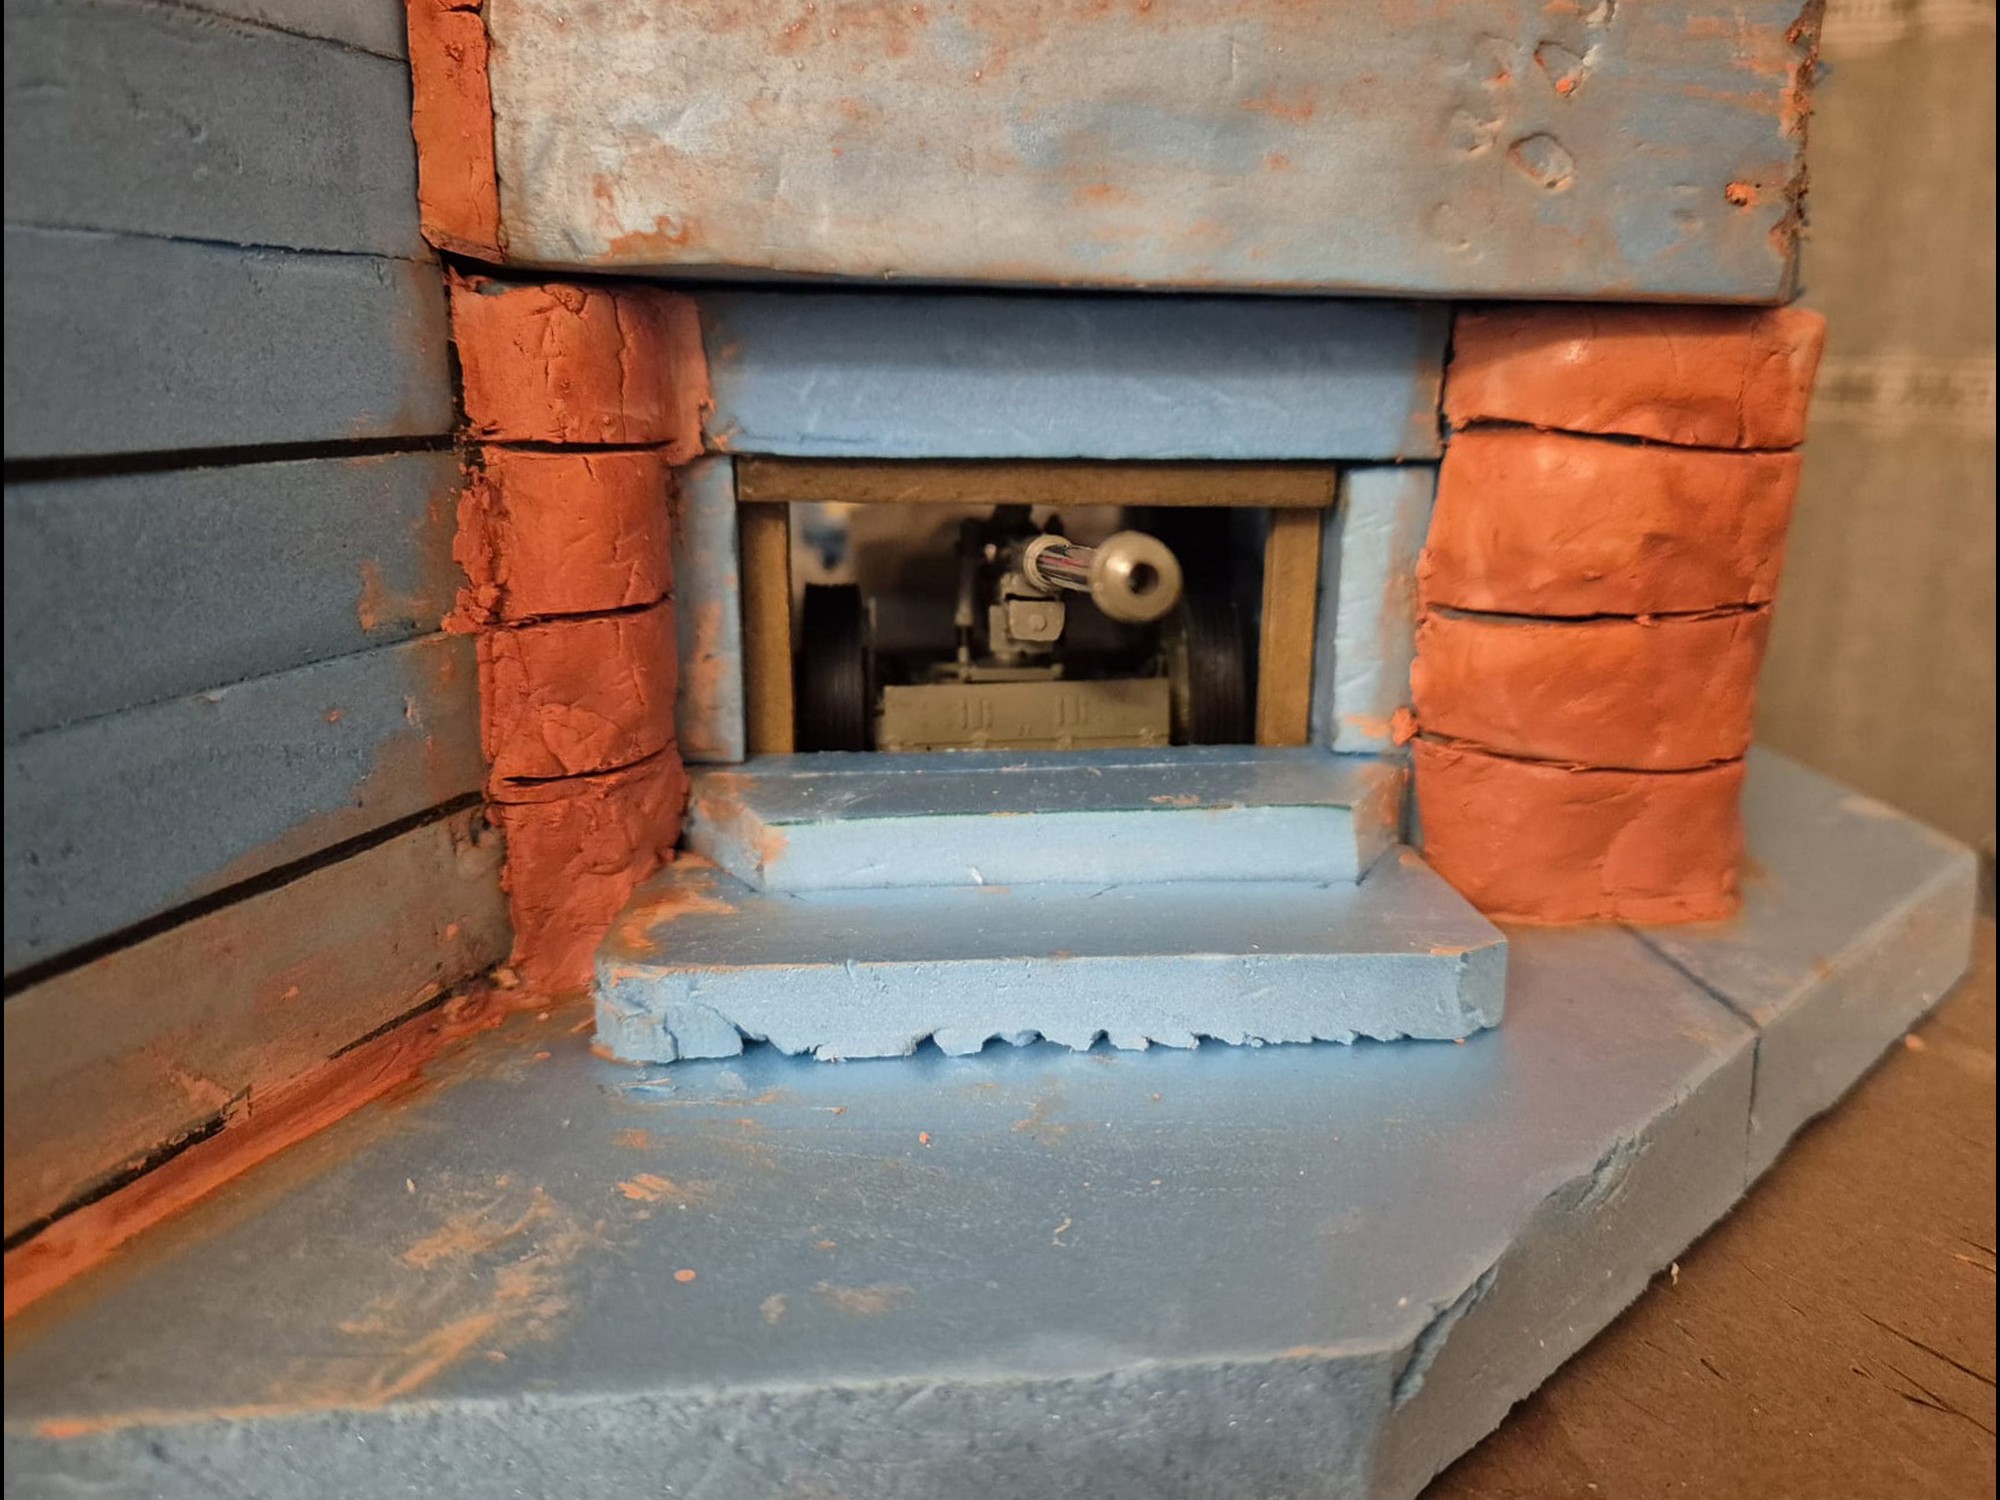
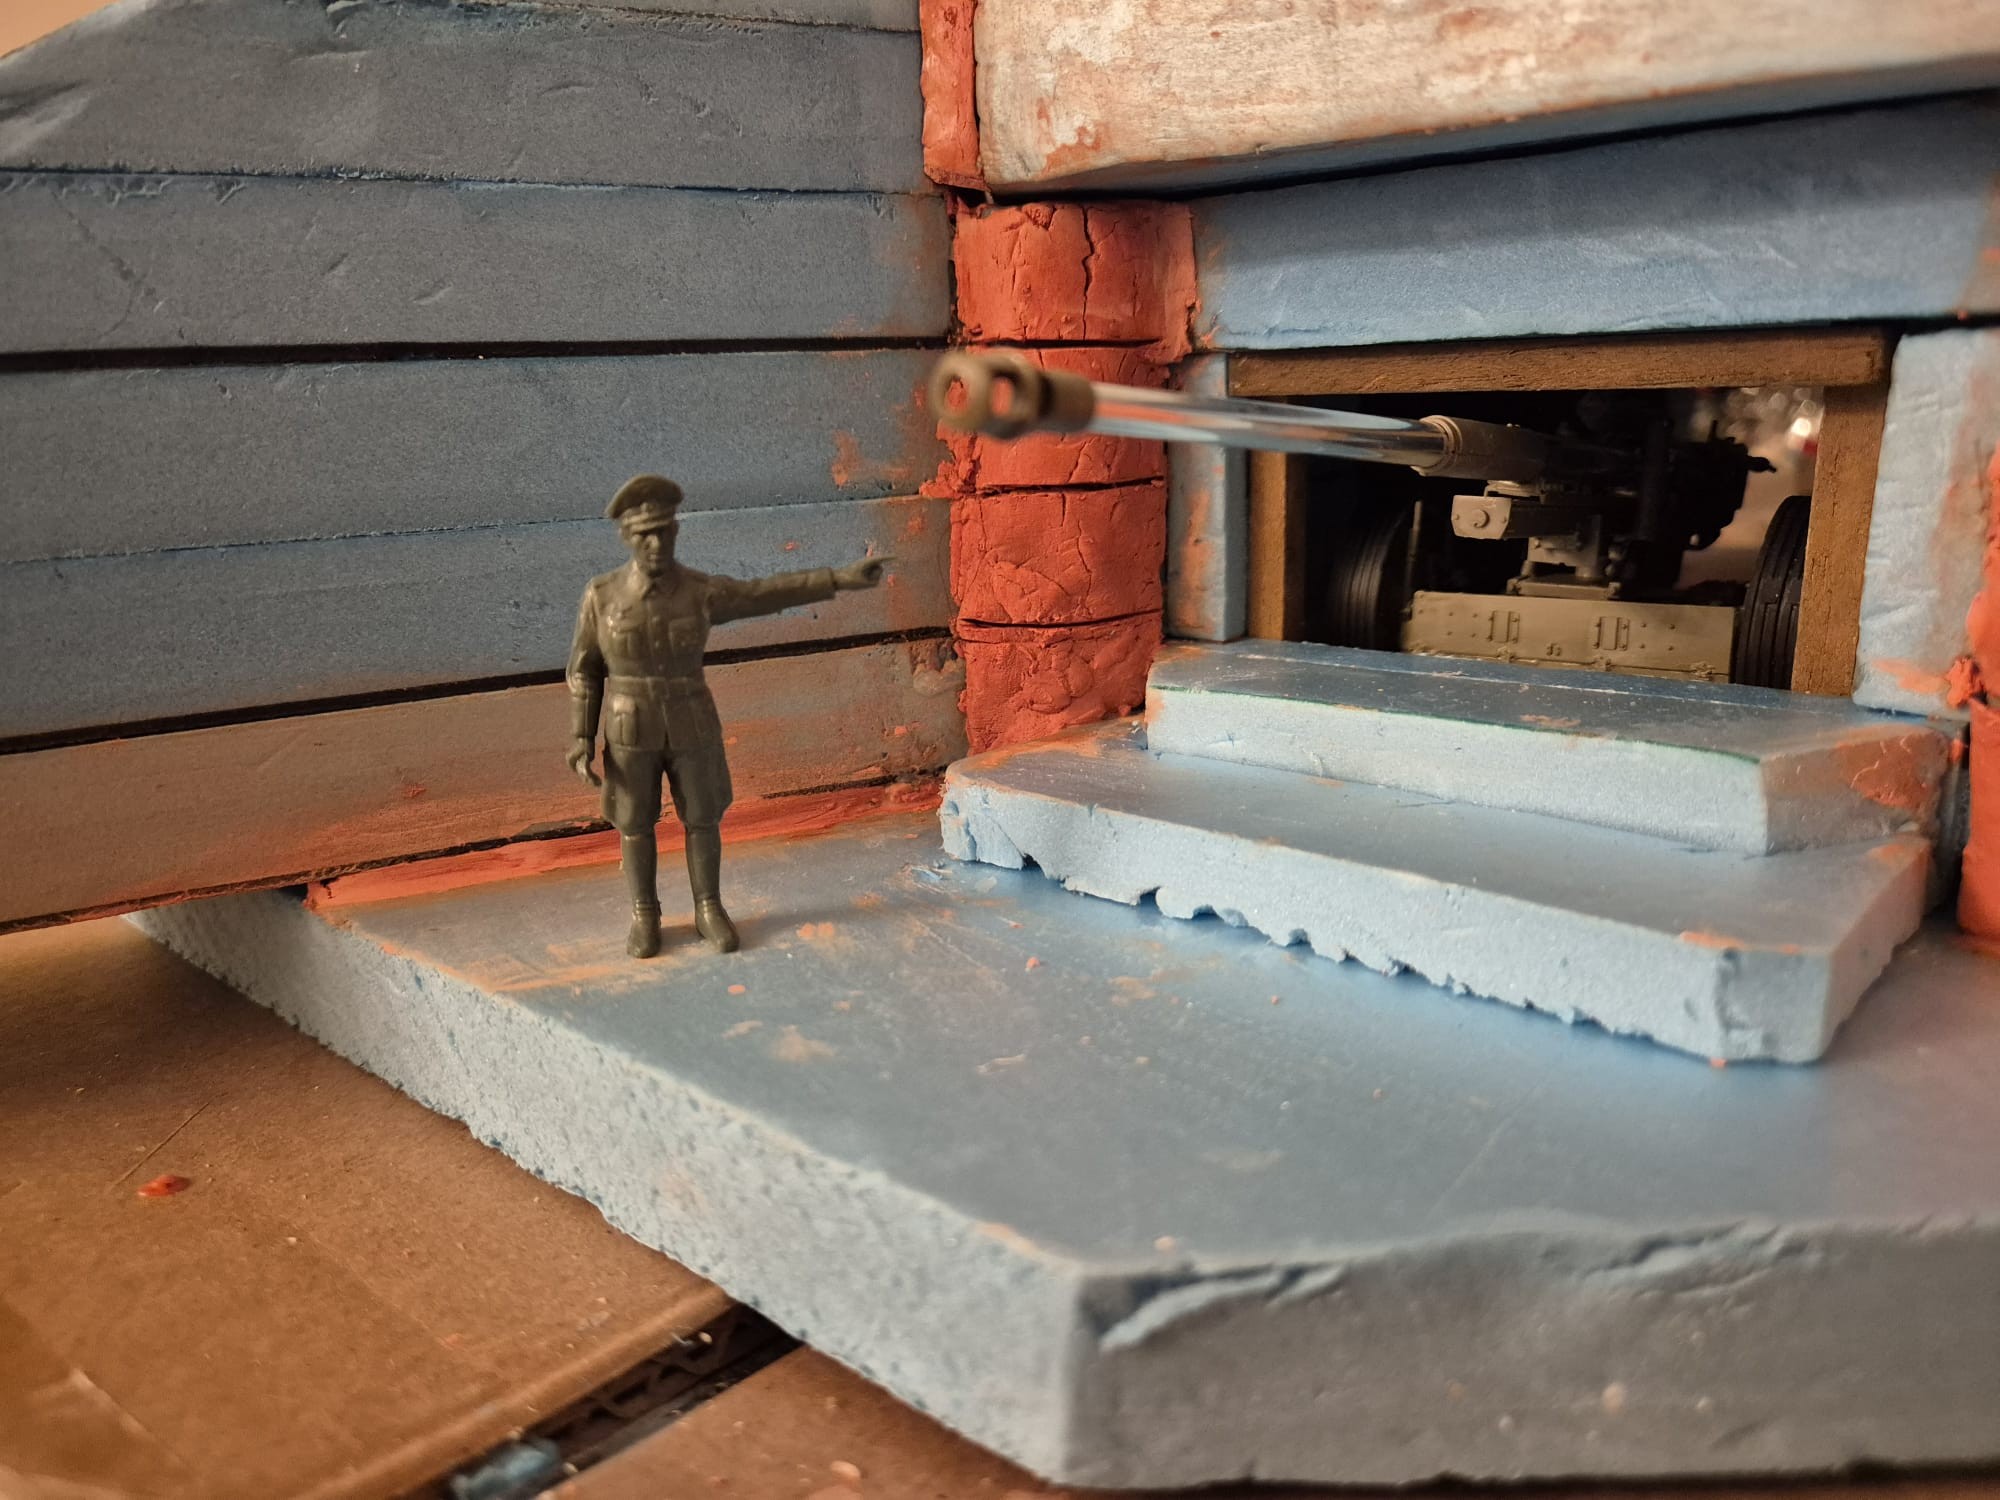
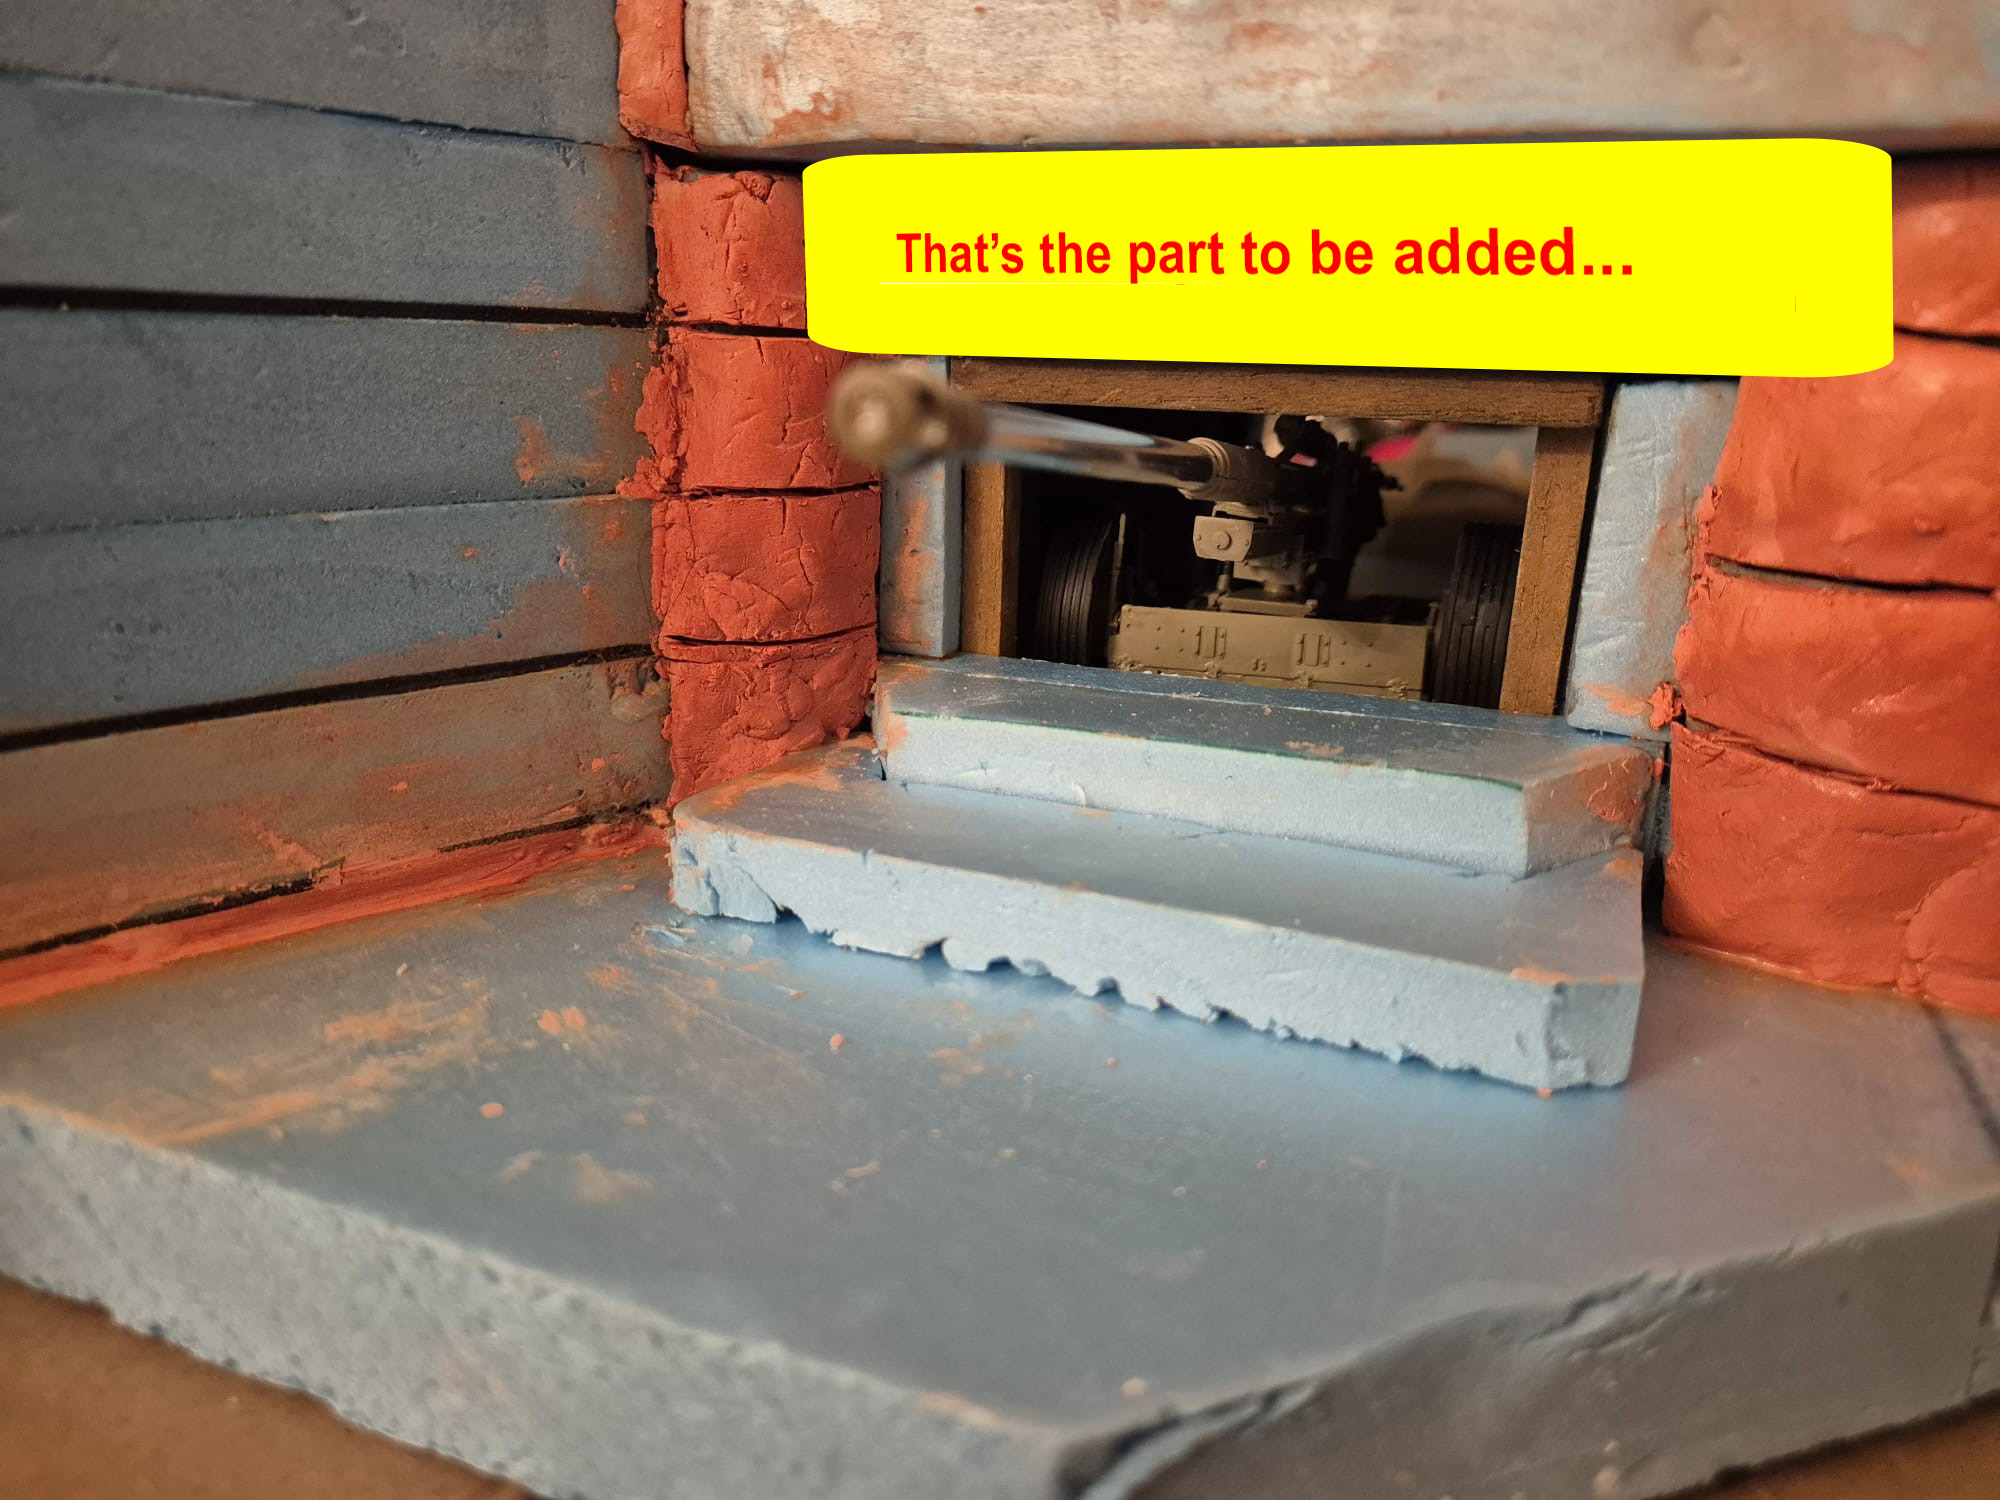
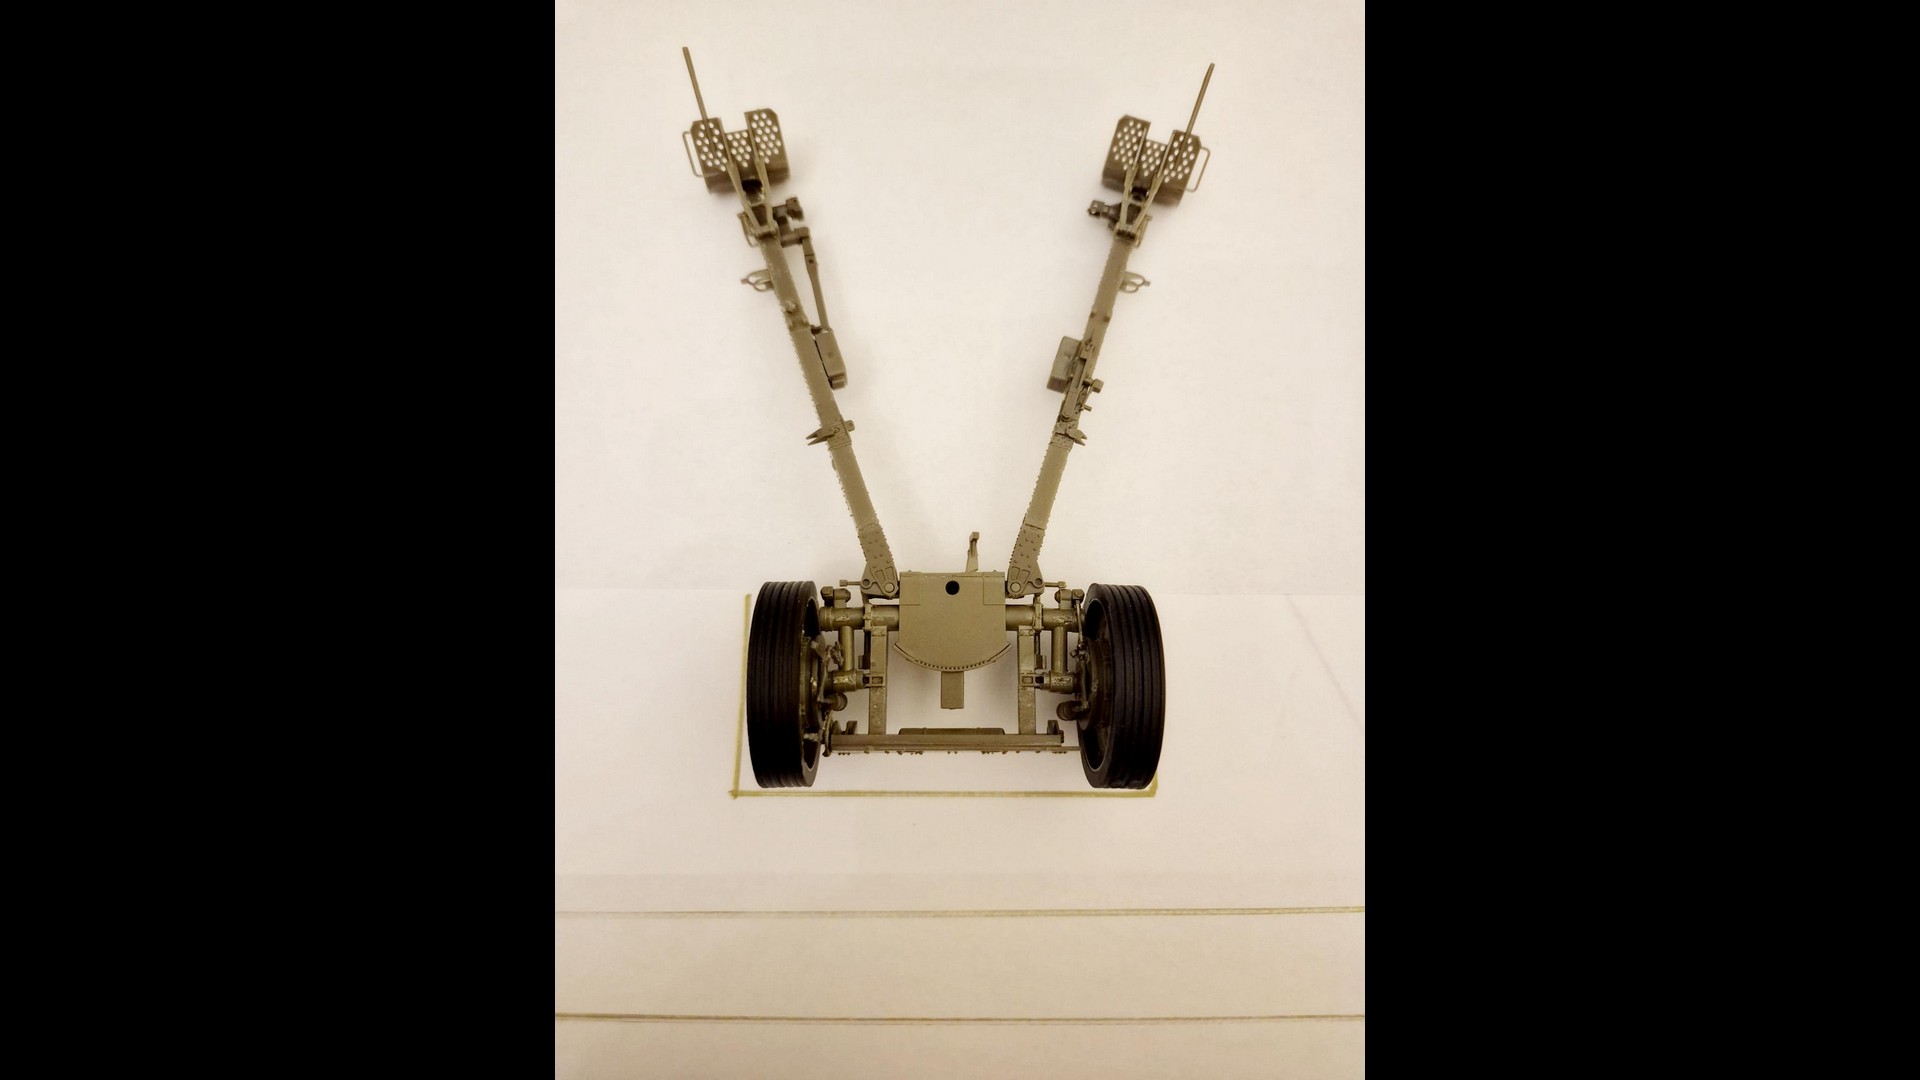
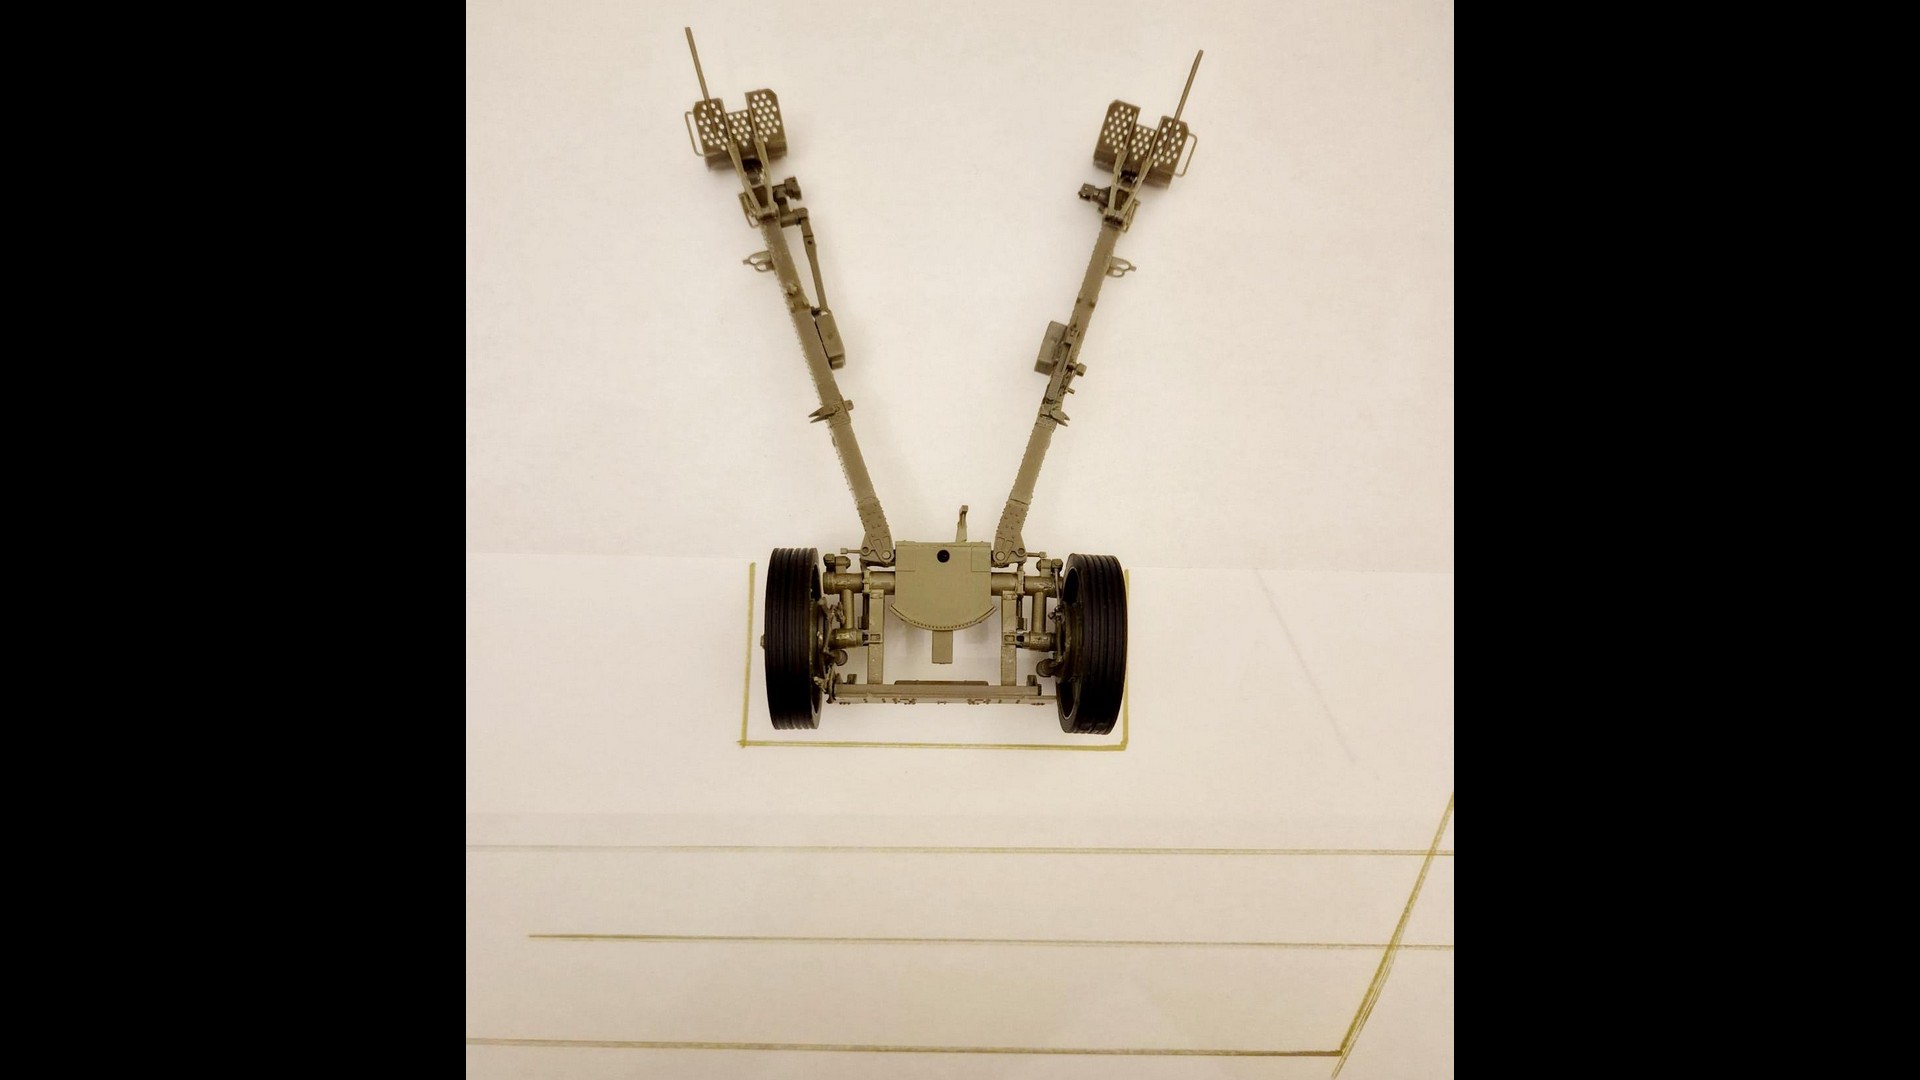
For this task I have also started to build the PAK 43/41 Gun’s undercarriage to measure if it would fit inside of the so drawn out plan of the bunker, again applying it to my PC screen superimposing it on the scaled original blueprints.
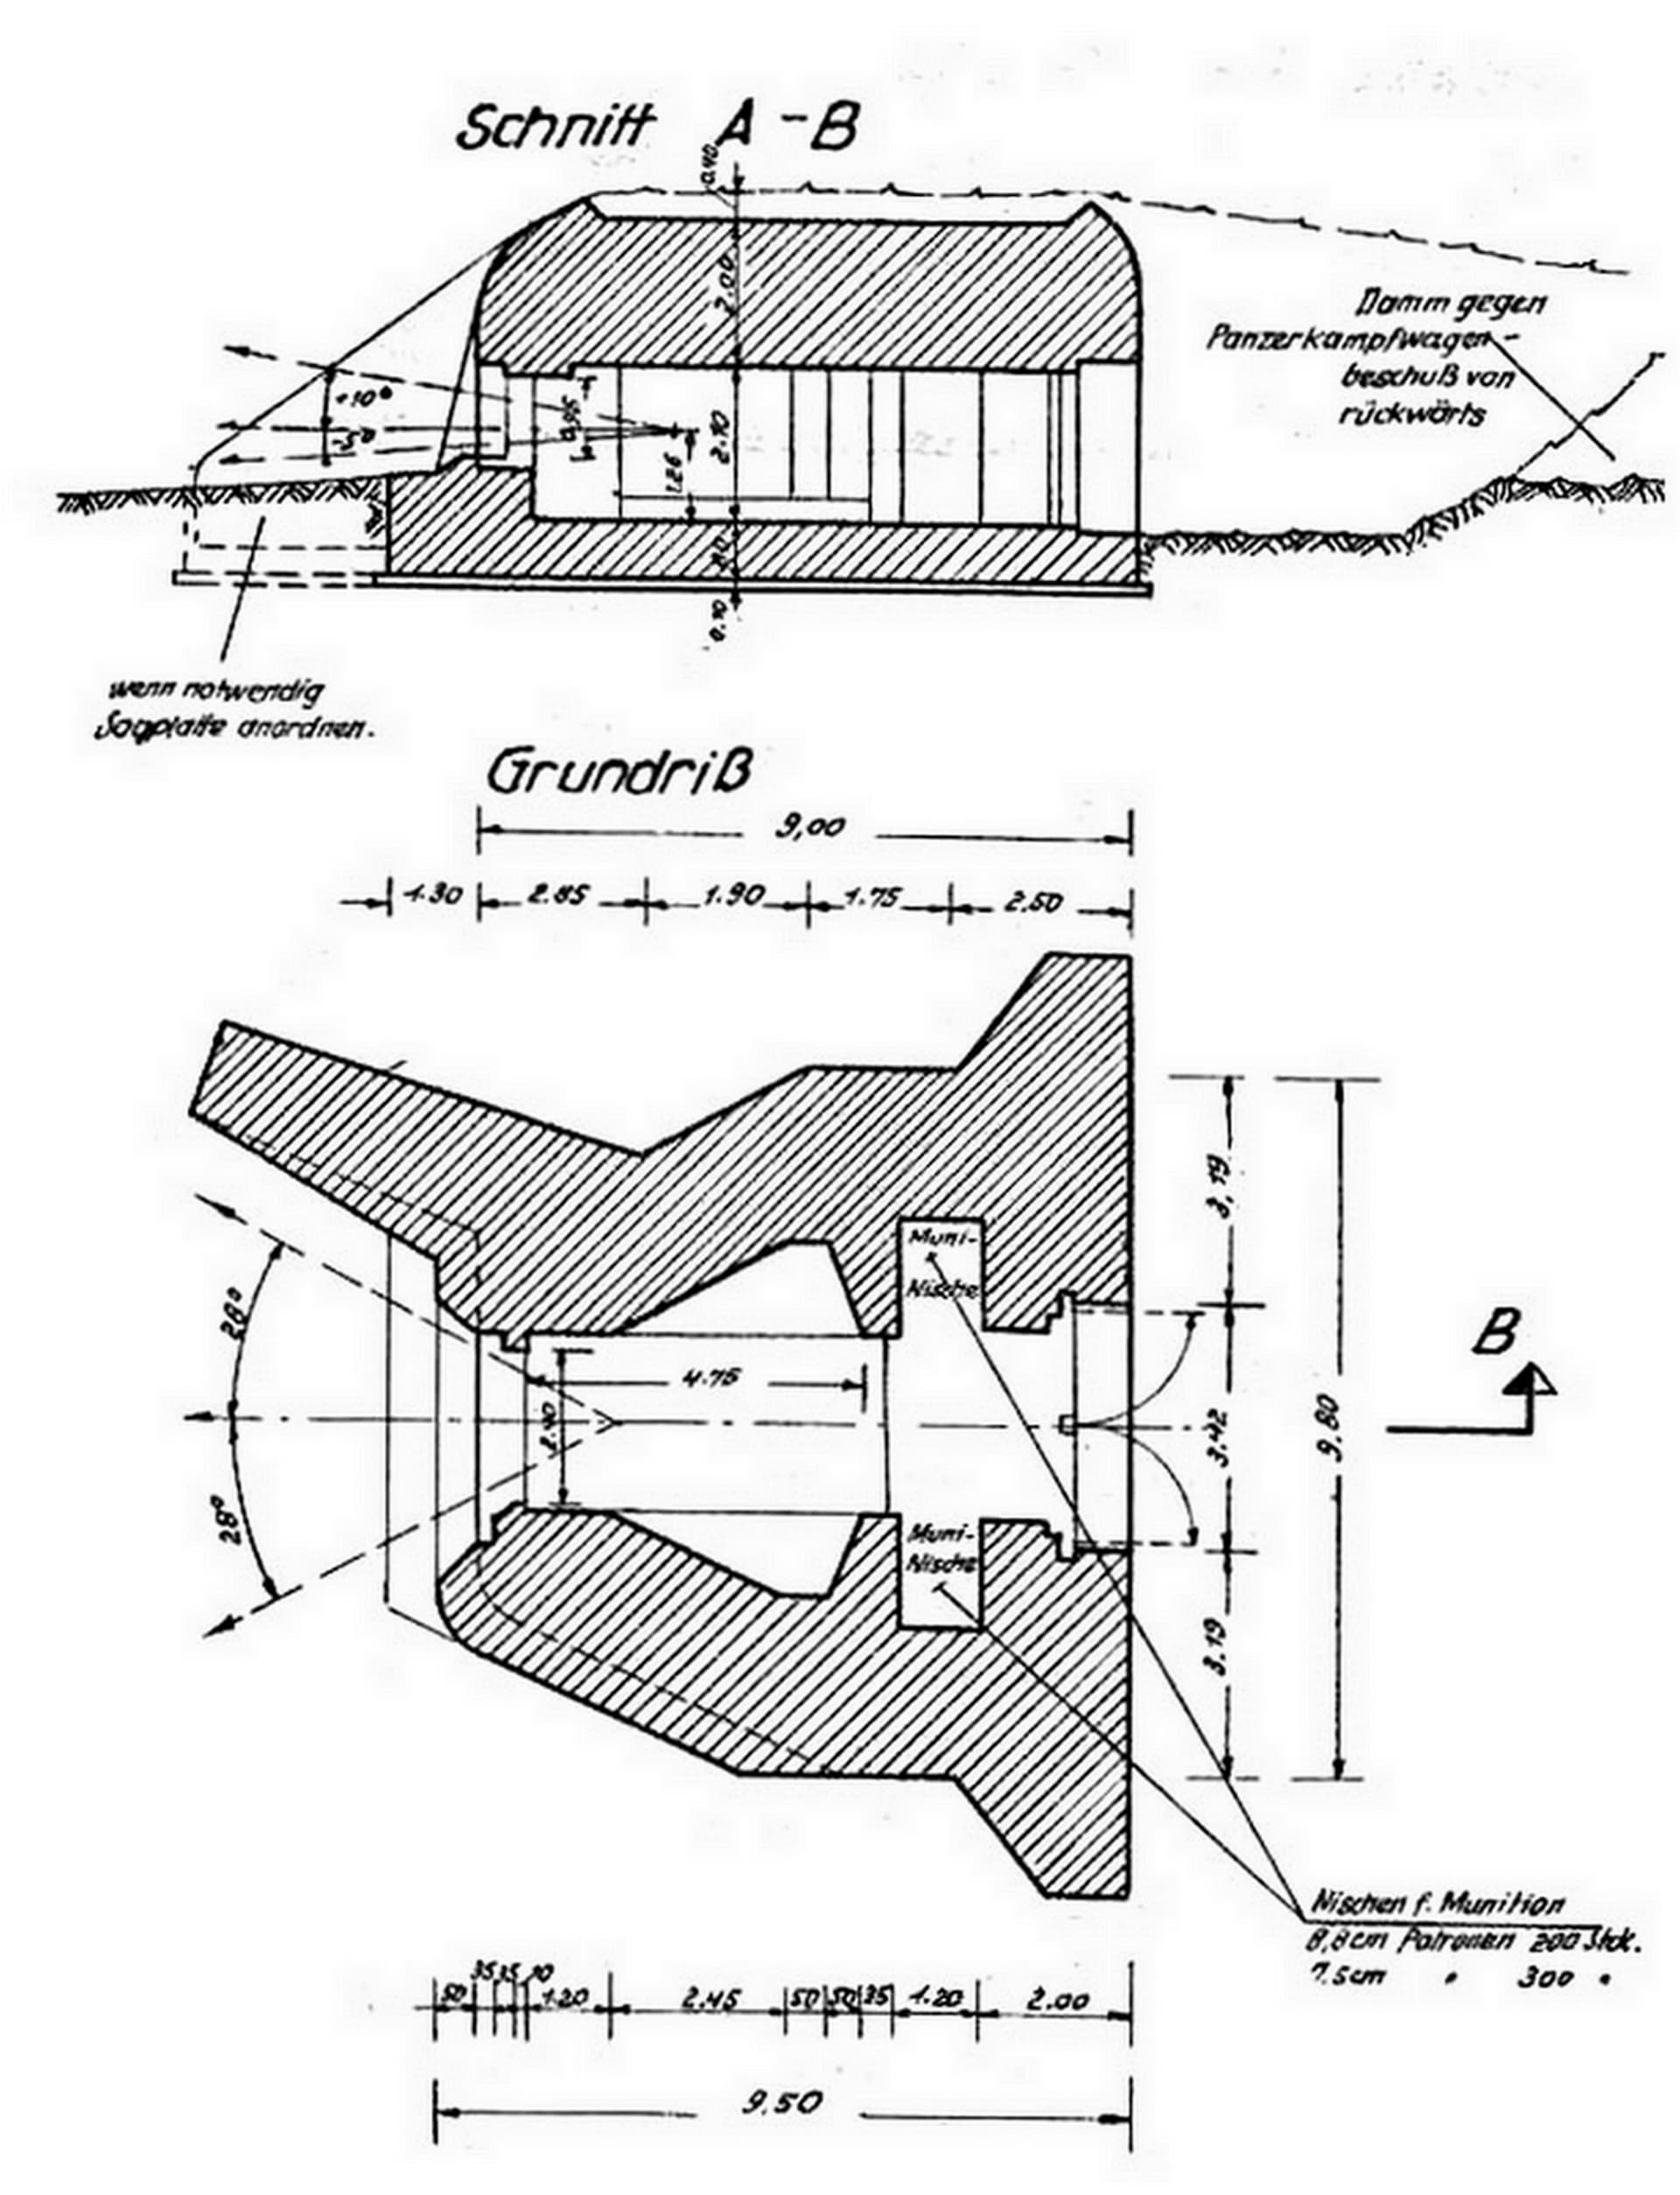
The measurements thus far are as follow:
Length of the Right Supporting Wall: 19cm - 7.48"
Length of the Left Supporting Wall: 43cm (including the protective wall) - 16.92"
Overall width of the Rear Wall: 43cm - 16.92"
Overall width of the main section Wall: 32cm - 12.6"
Overall thickness of the walls: varies between 6 and 8cm - 2.36" > 3.15"
Length of the Protective Wall: 13cm - 5.12"
Thickness of Protective Wall: between 7cm and 4.5cm - 2.75" > 1.77"
Height of the bunker base: between 2.5 and 5.5cm this includes the Gun platform and plinth. 0.98" > 2.17"
Overall height of the supporting walls: between 7 and 7.5cm - 2.75" > 2.95"
Roof thickness (lowest point): 7cm - 2.75"
Roof thickness (with parapets): 7.5cm - 2.95"
Sloping degree of protective wall: 35° angle
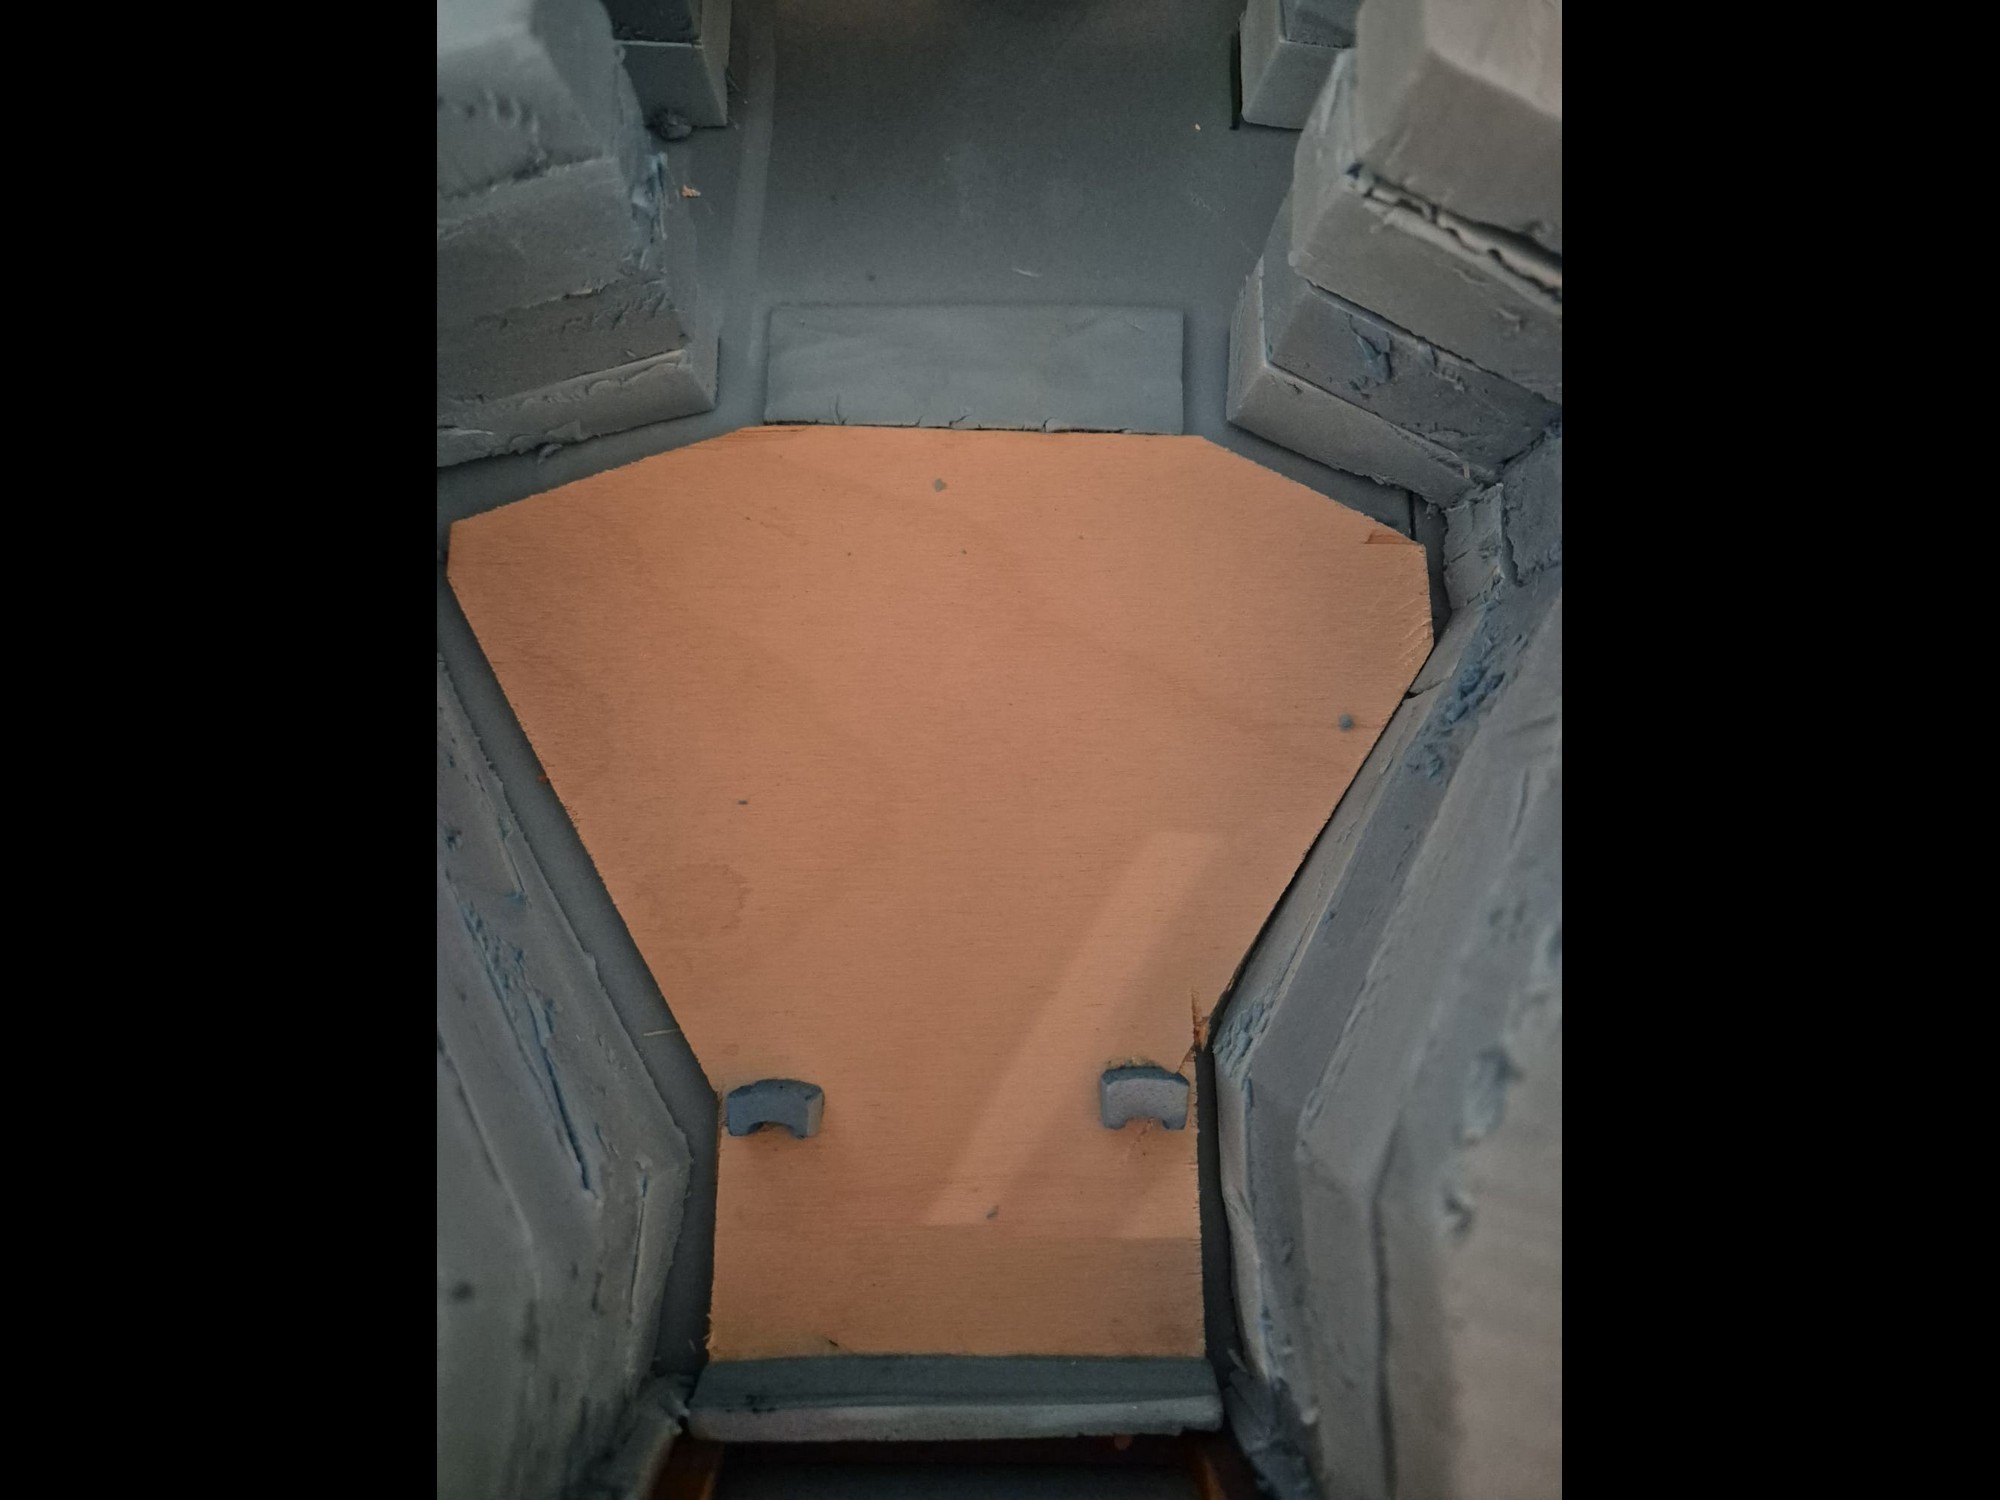
Width of the Gun Platform: 8cm - 3.15"
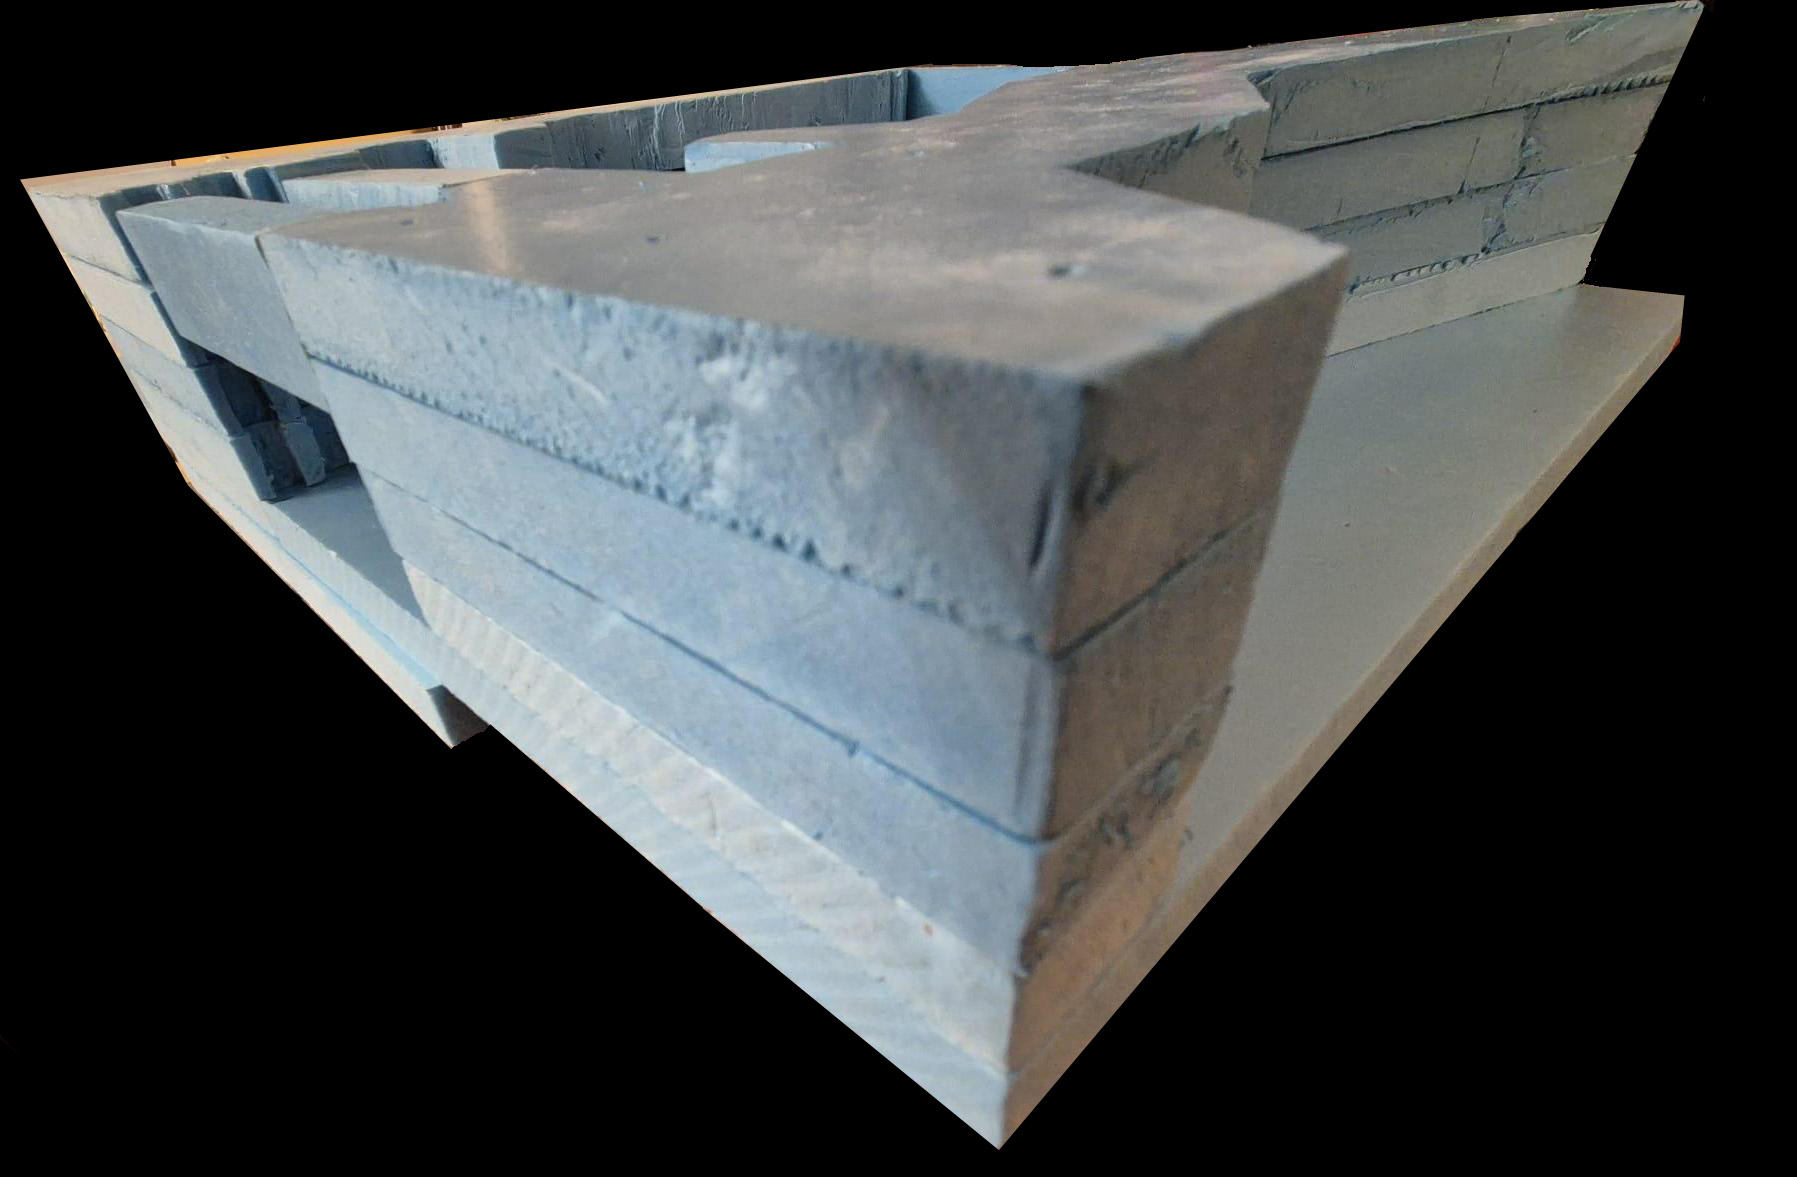
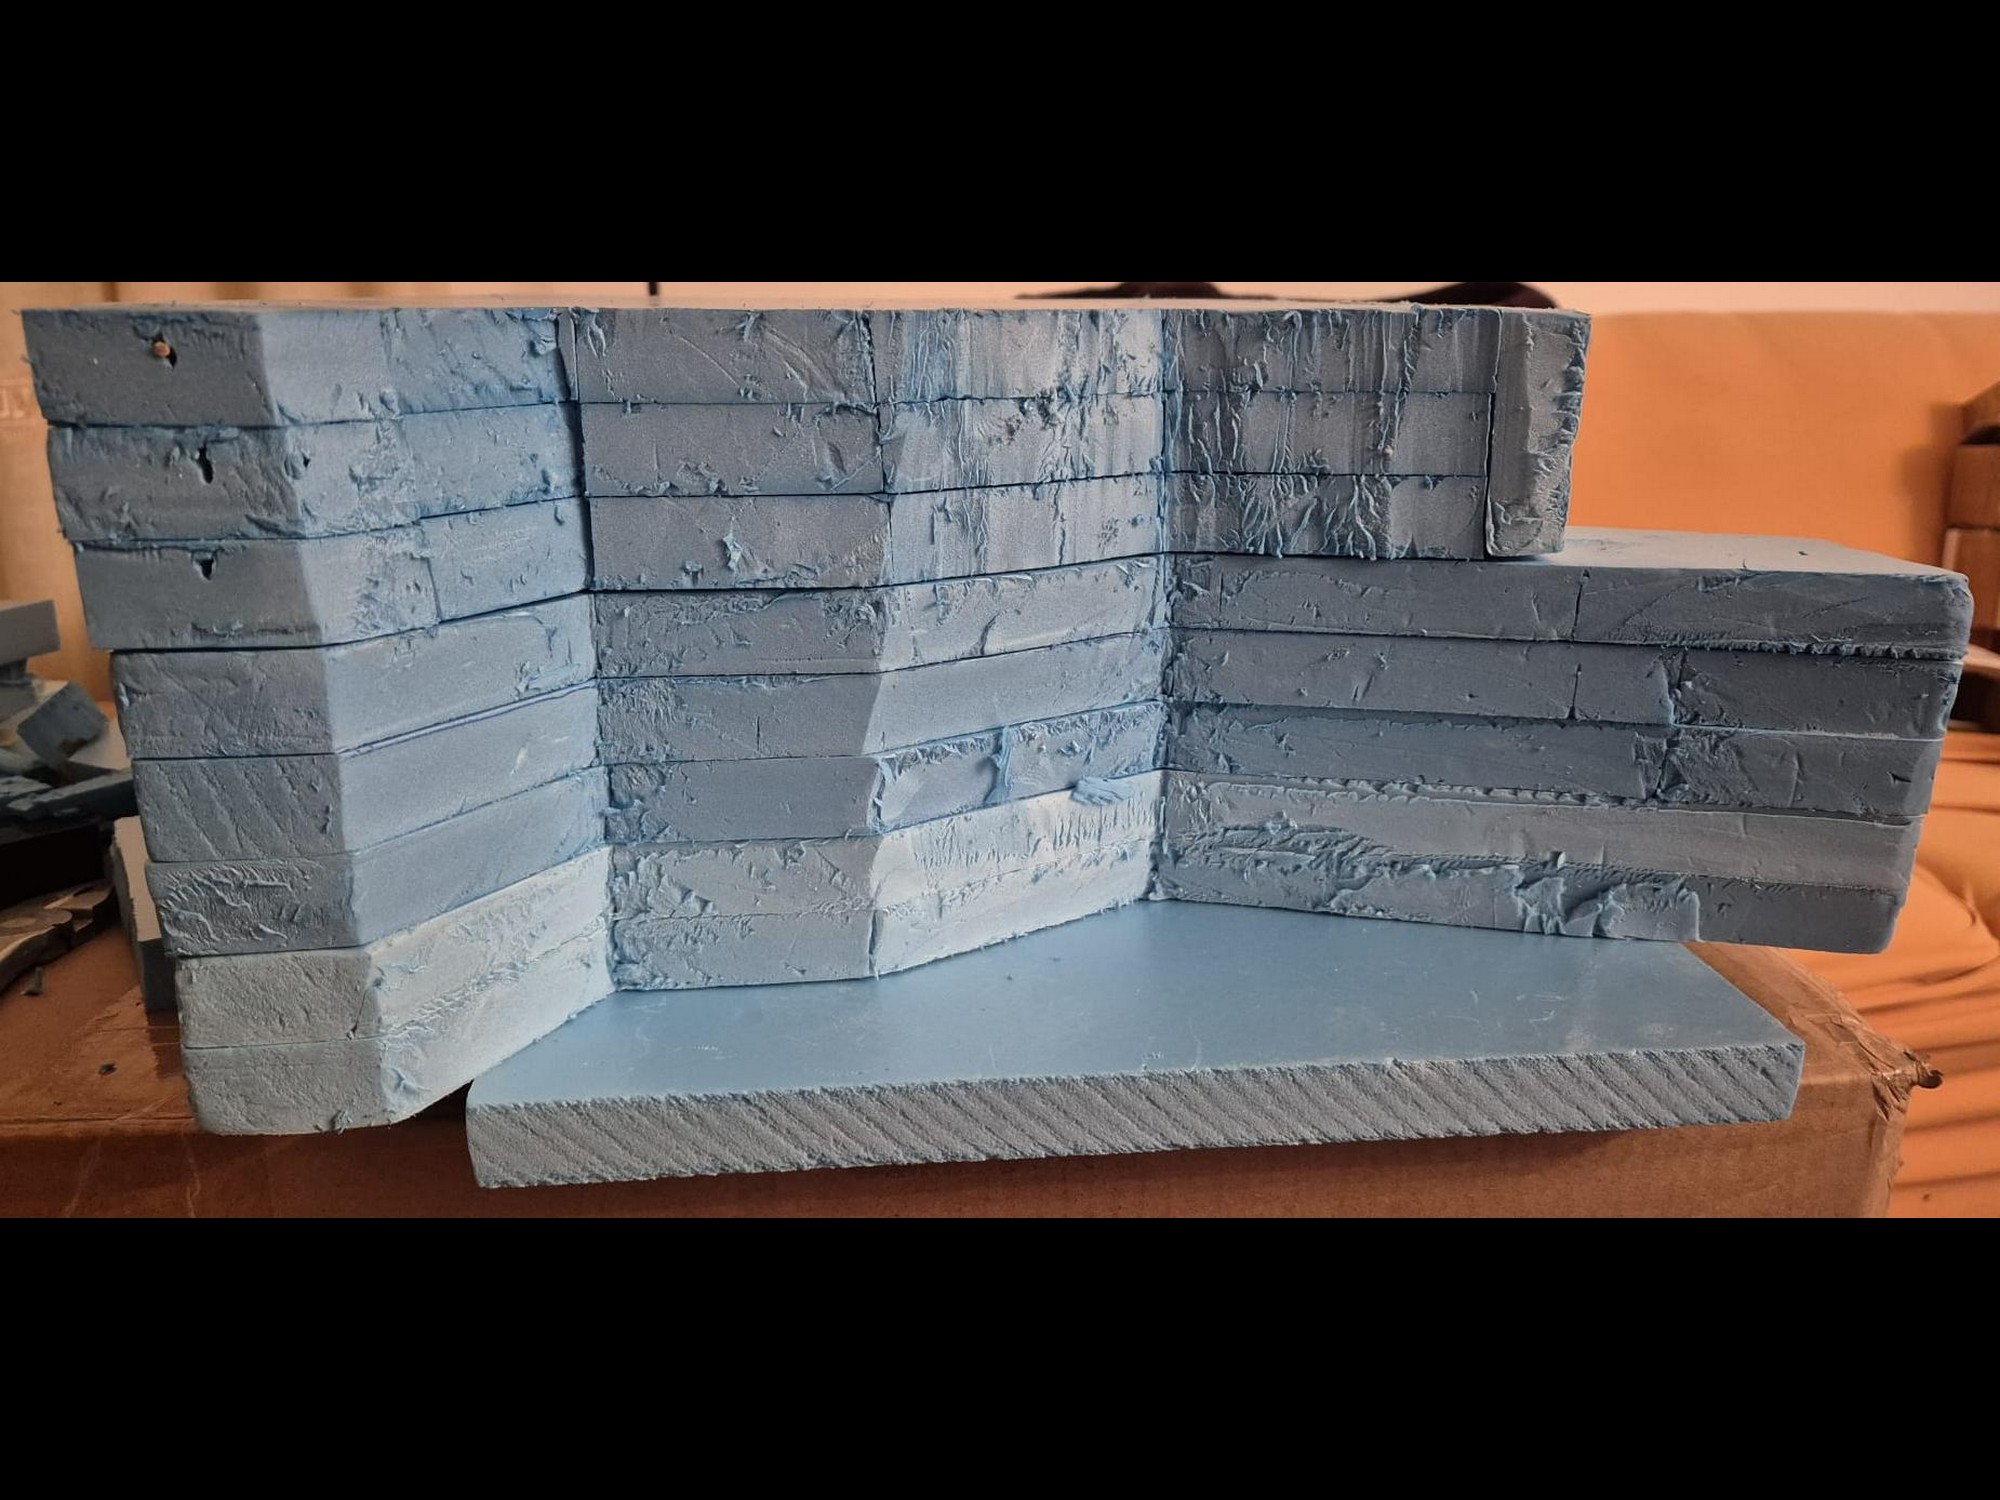
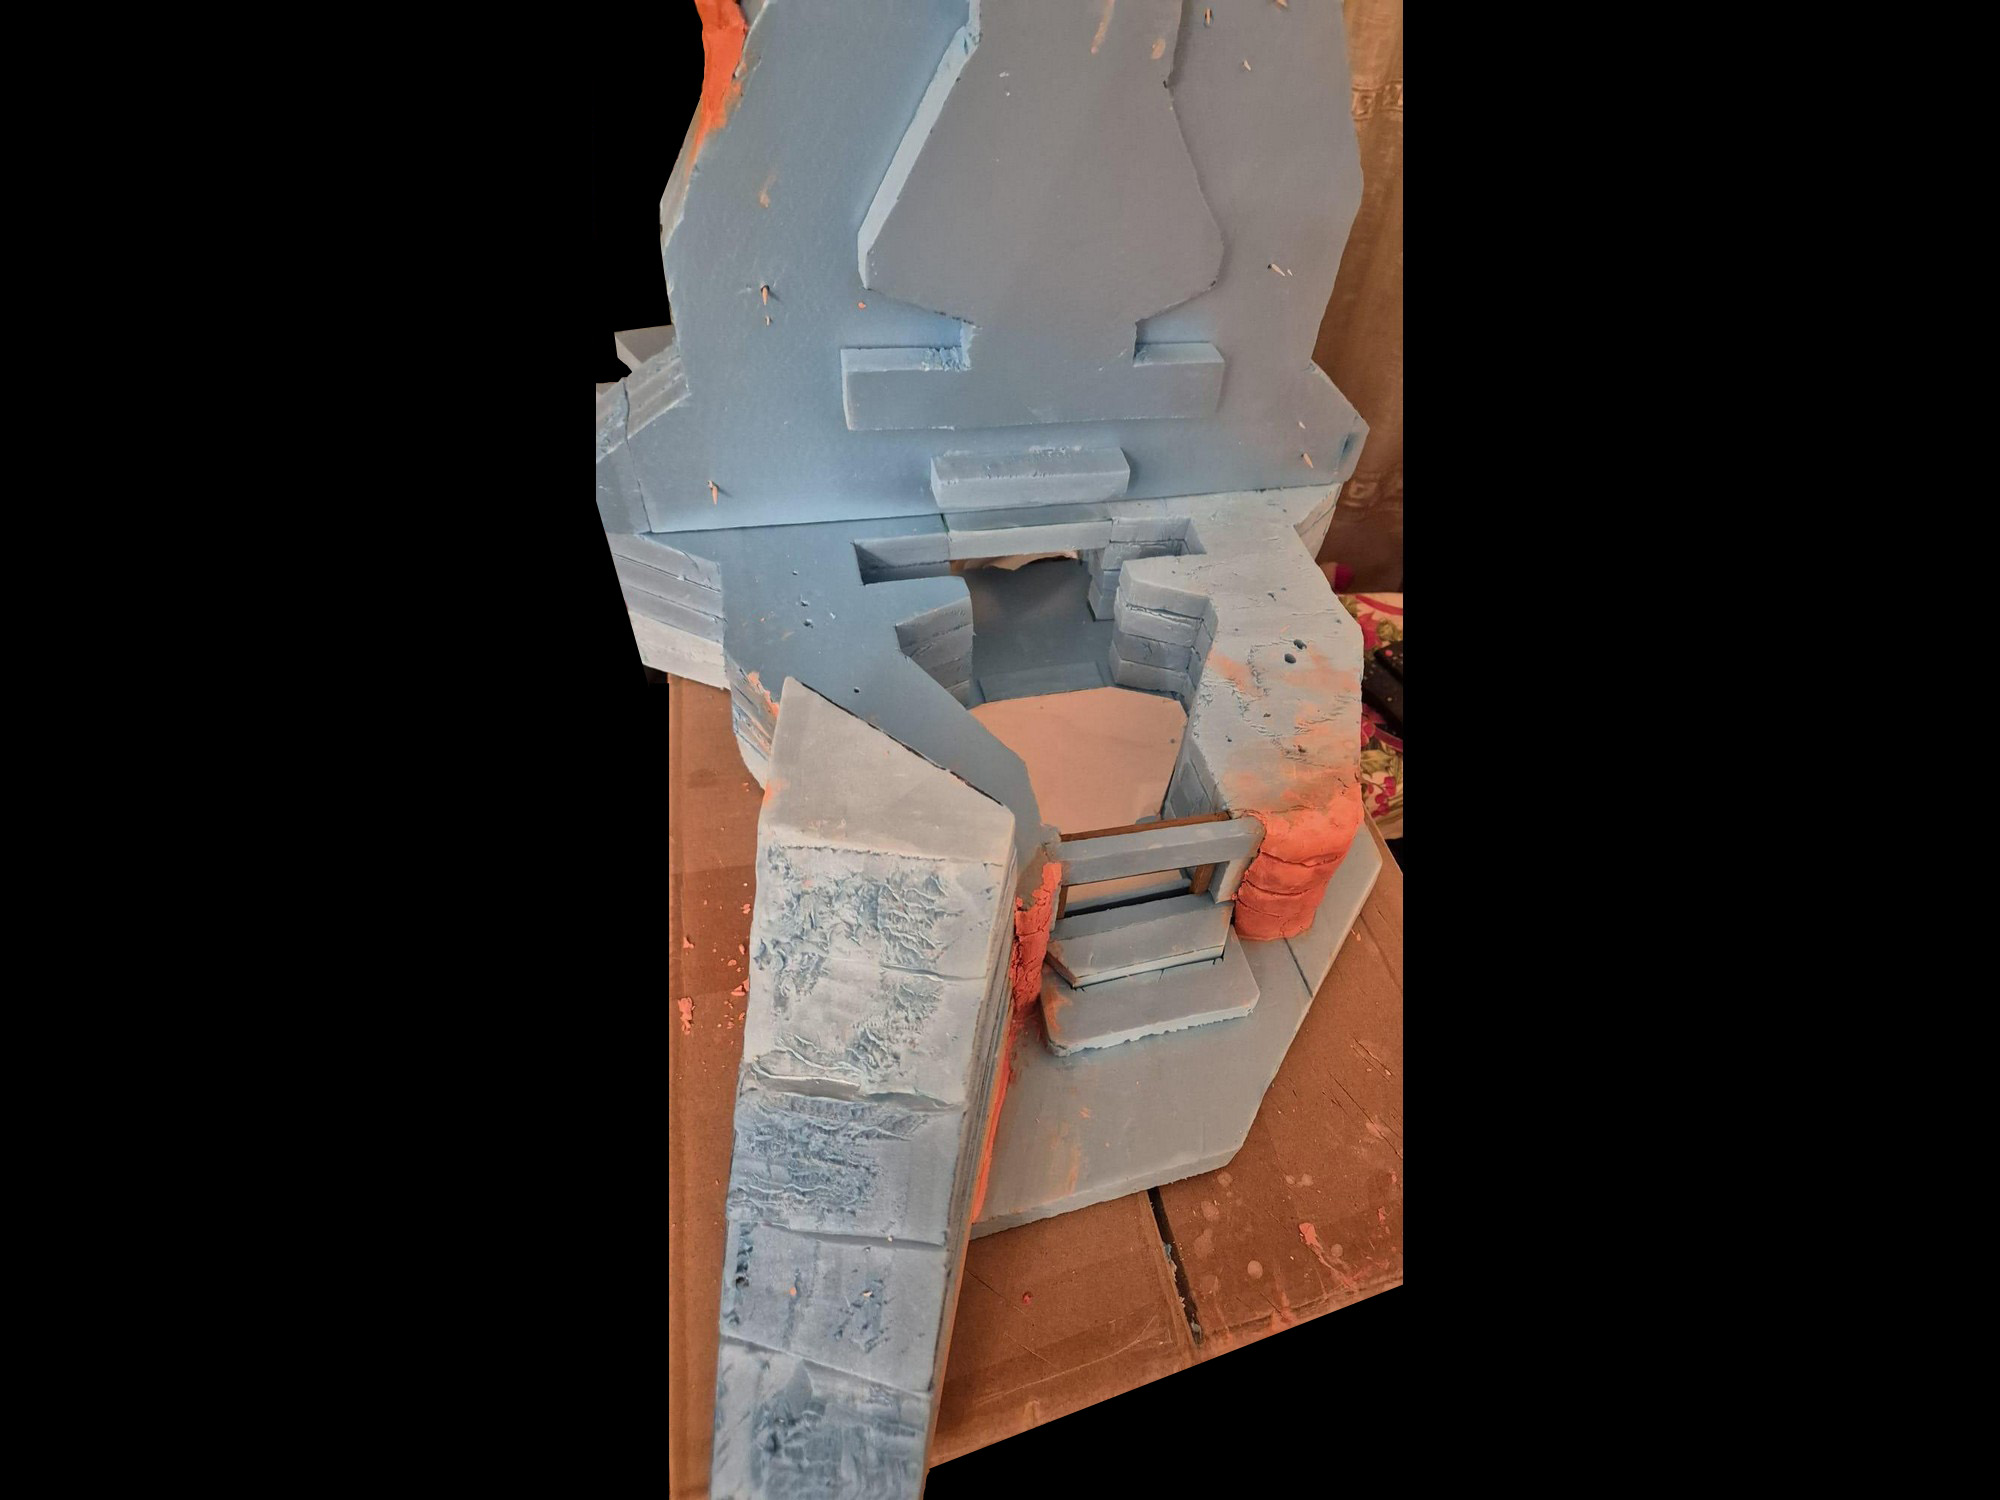
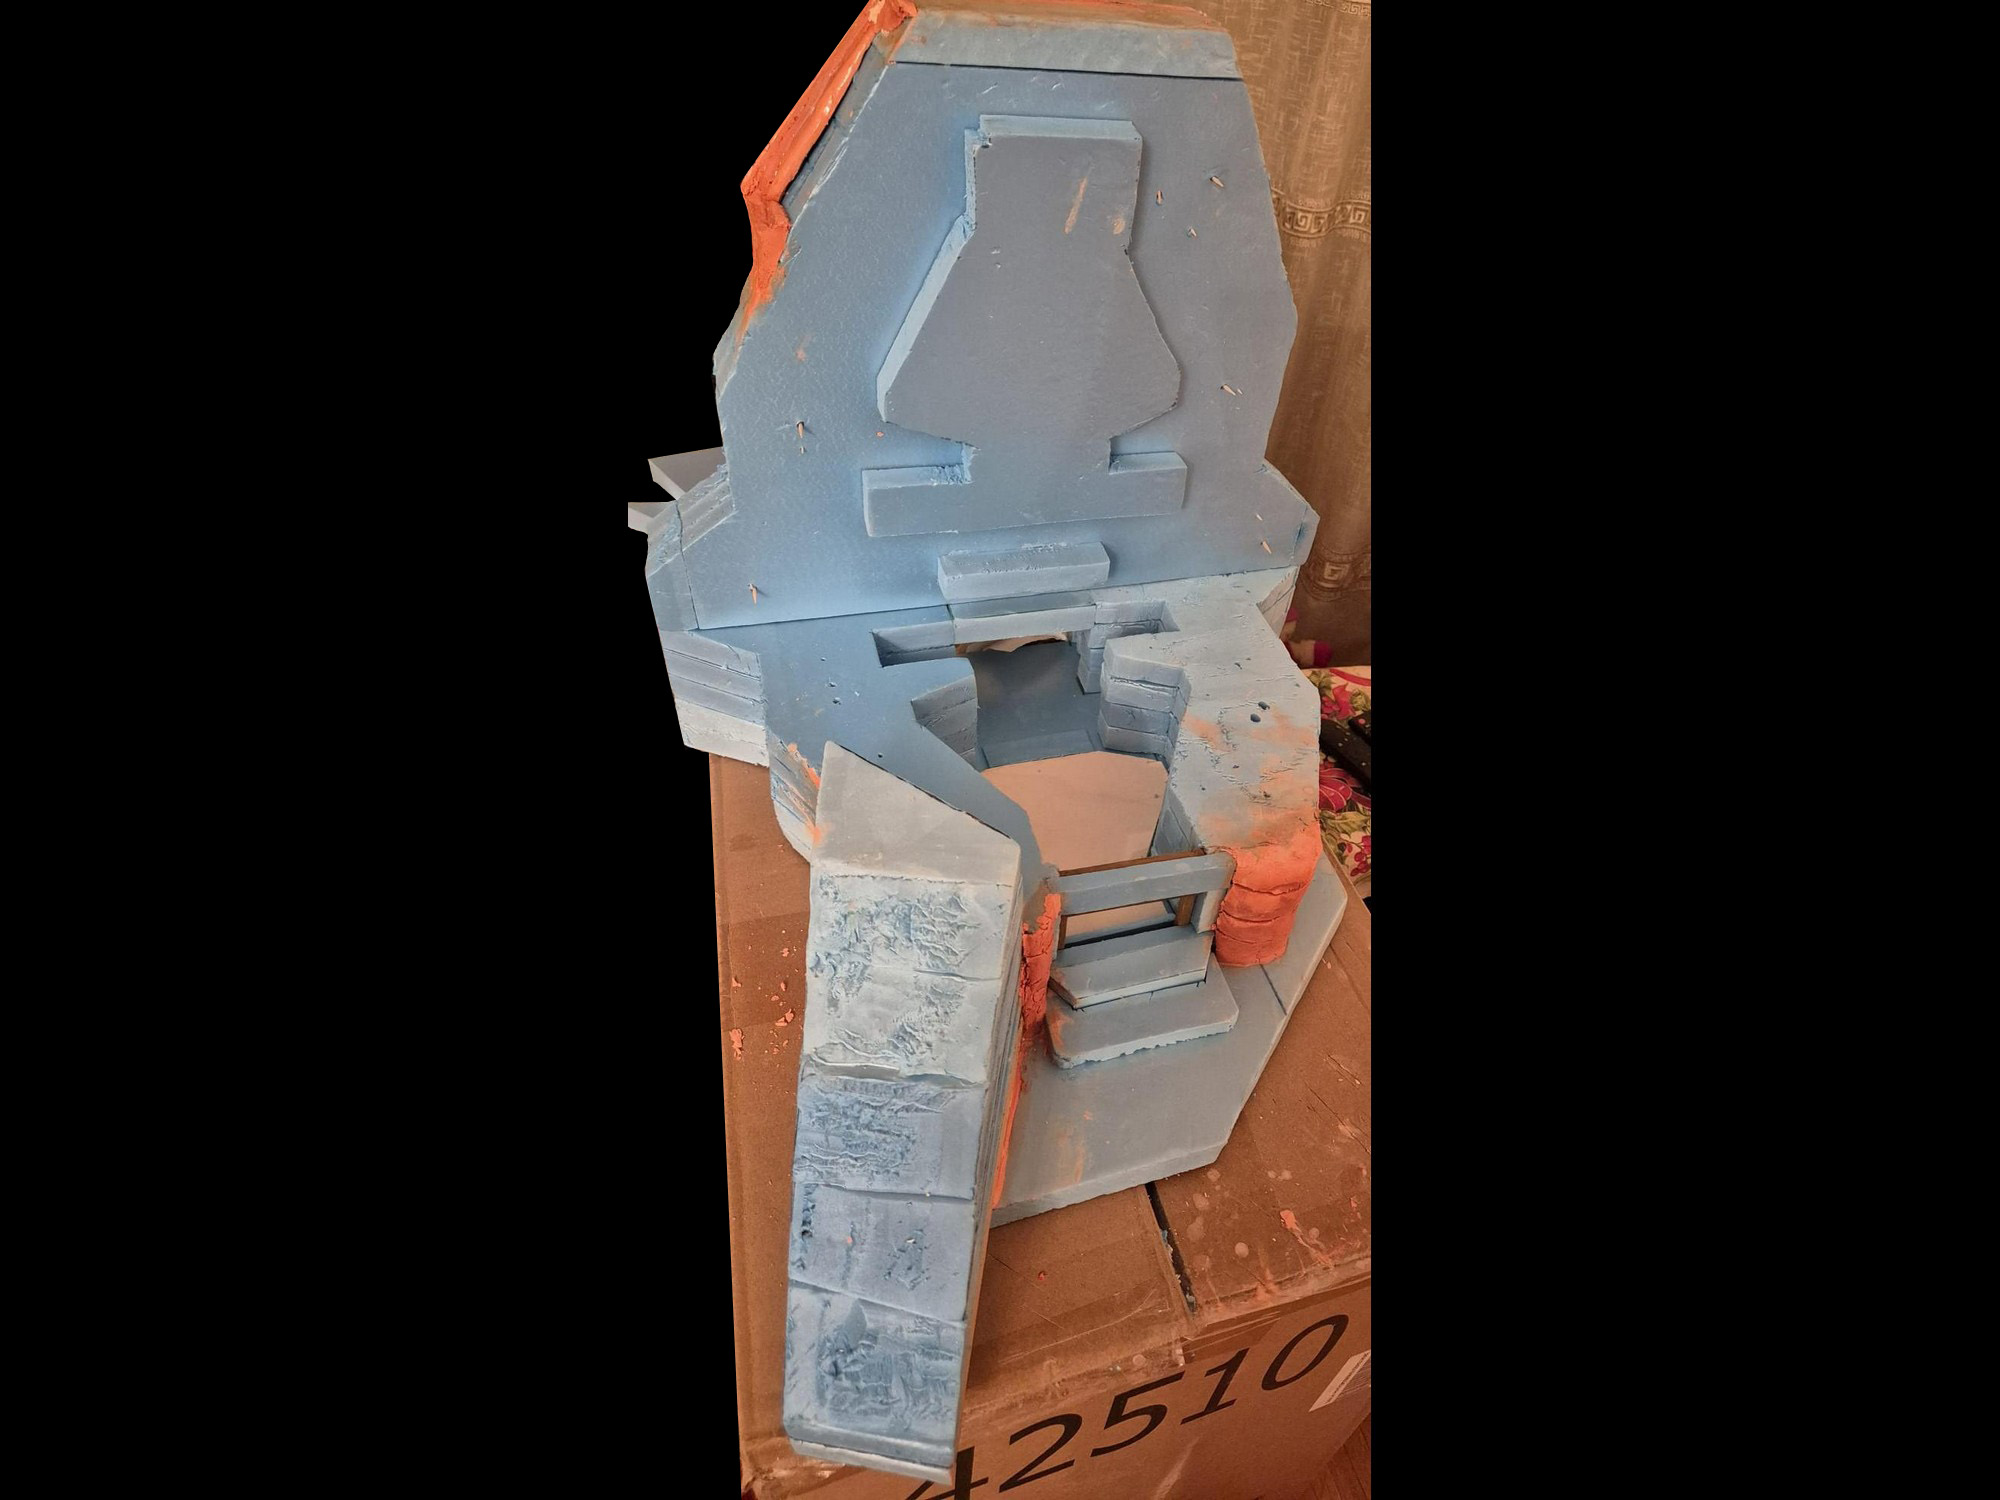
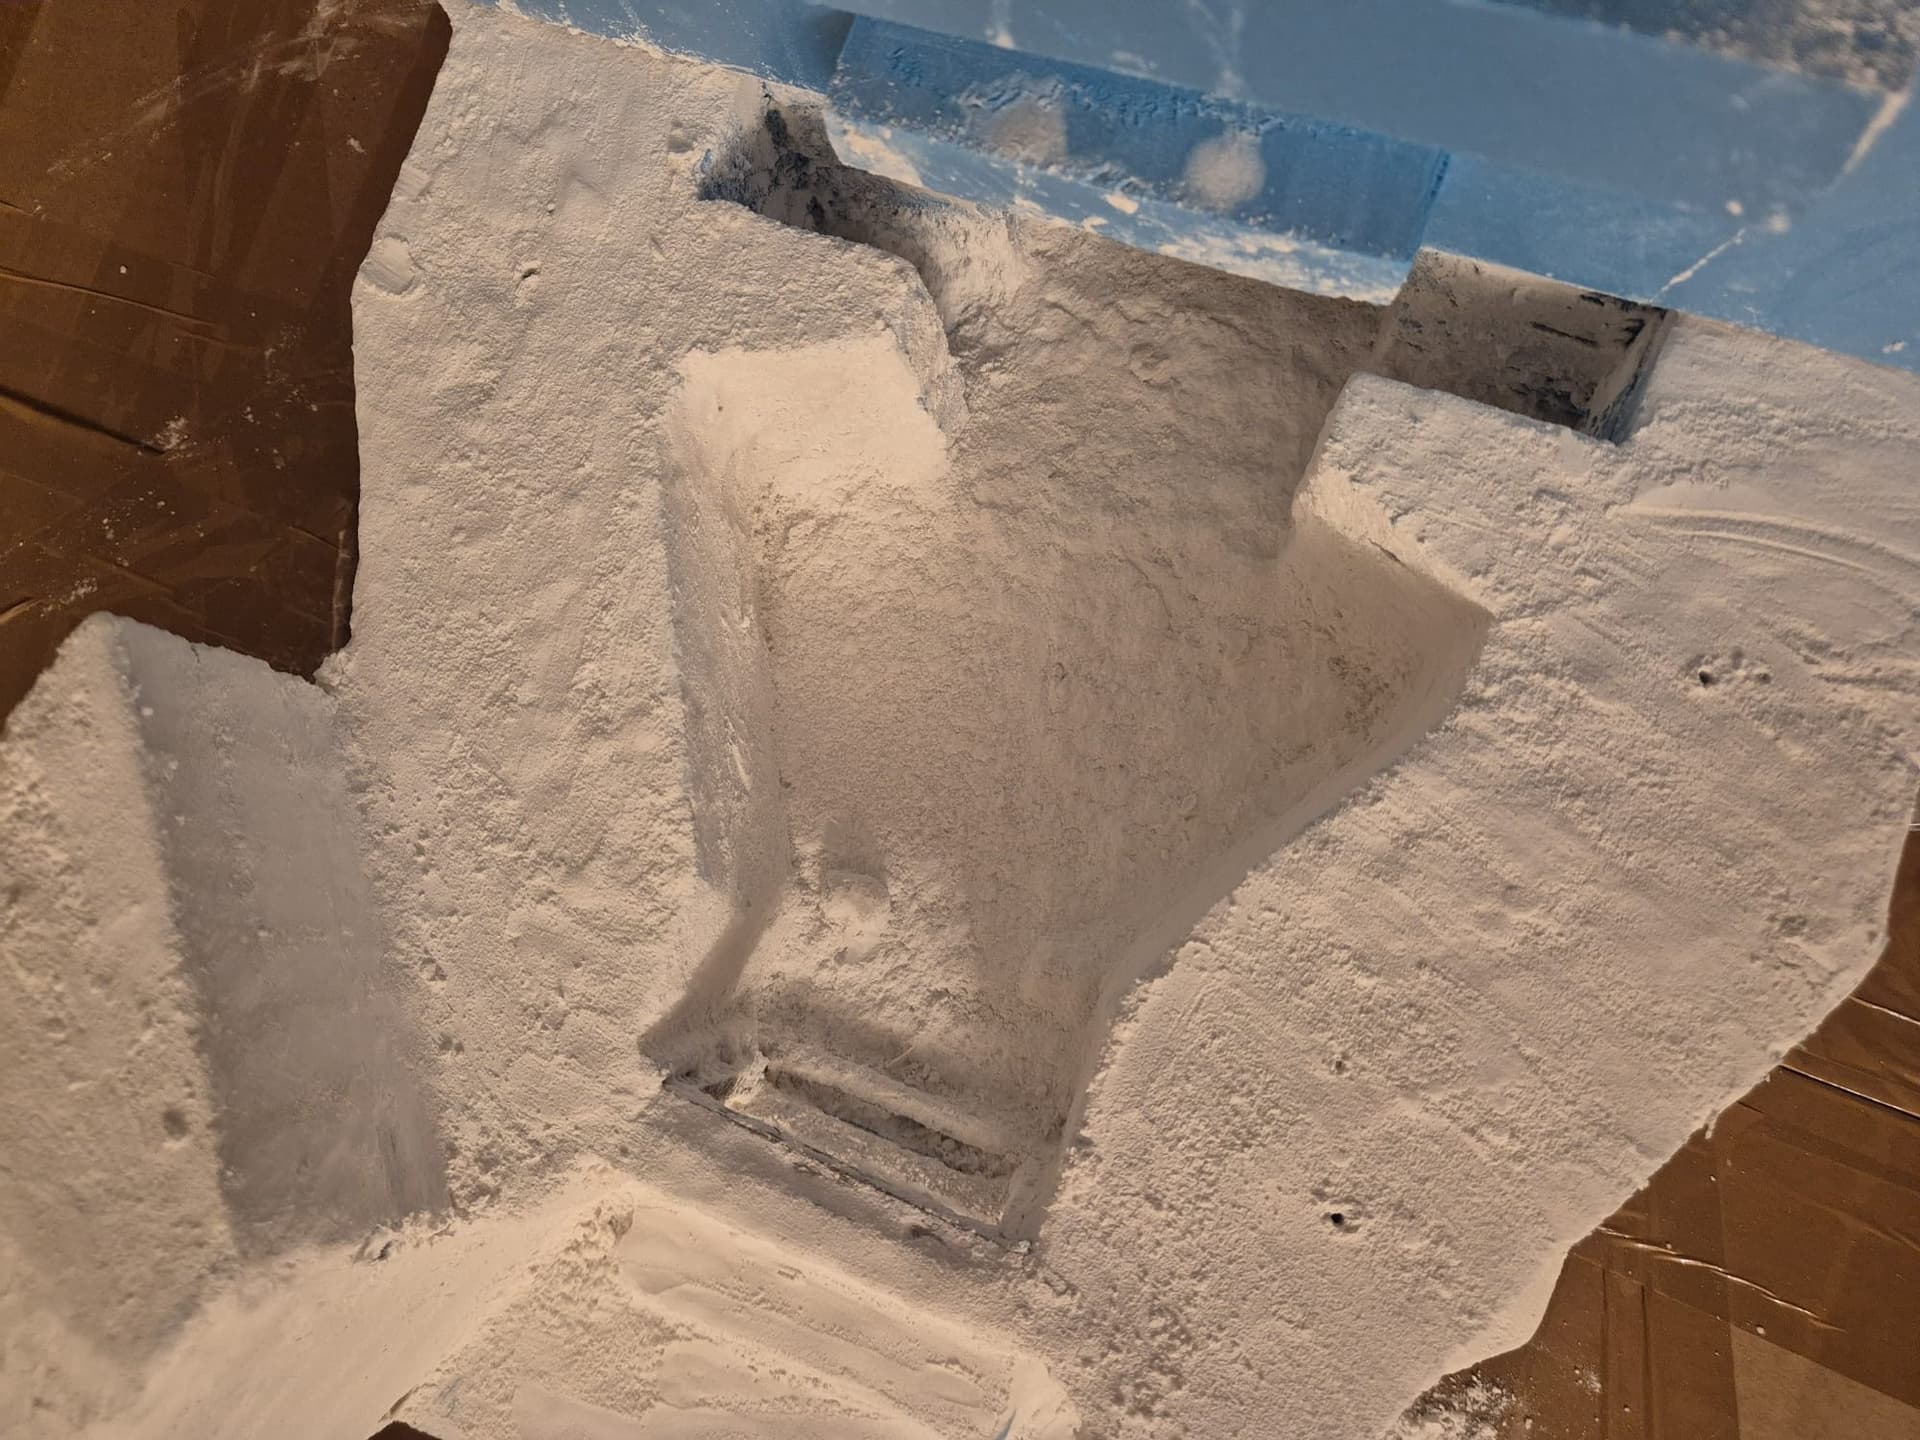
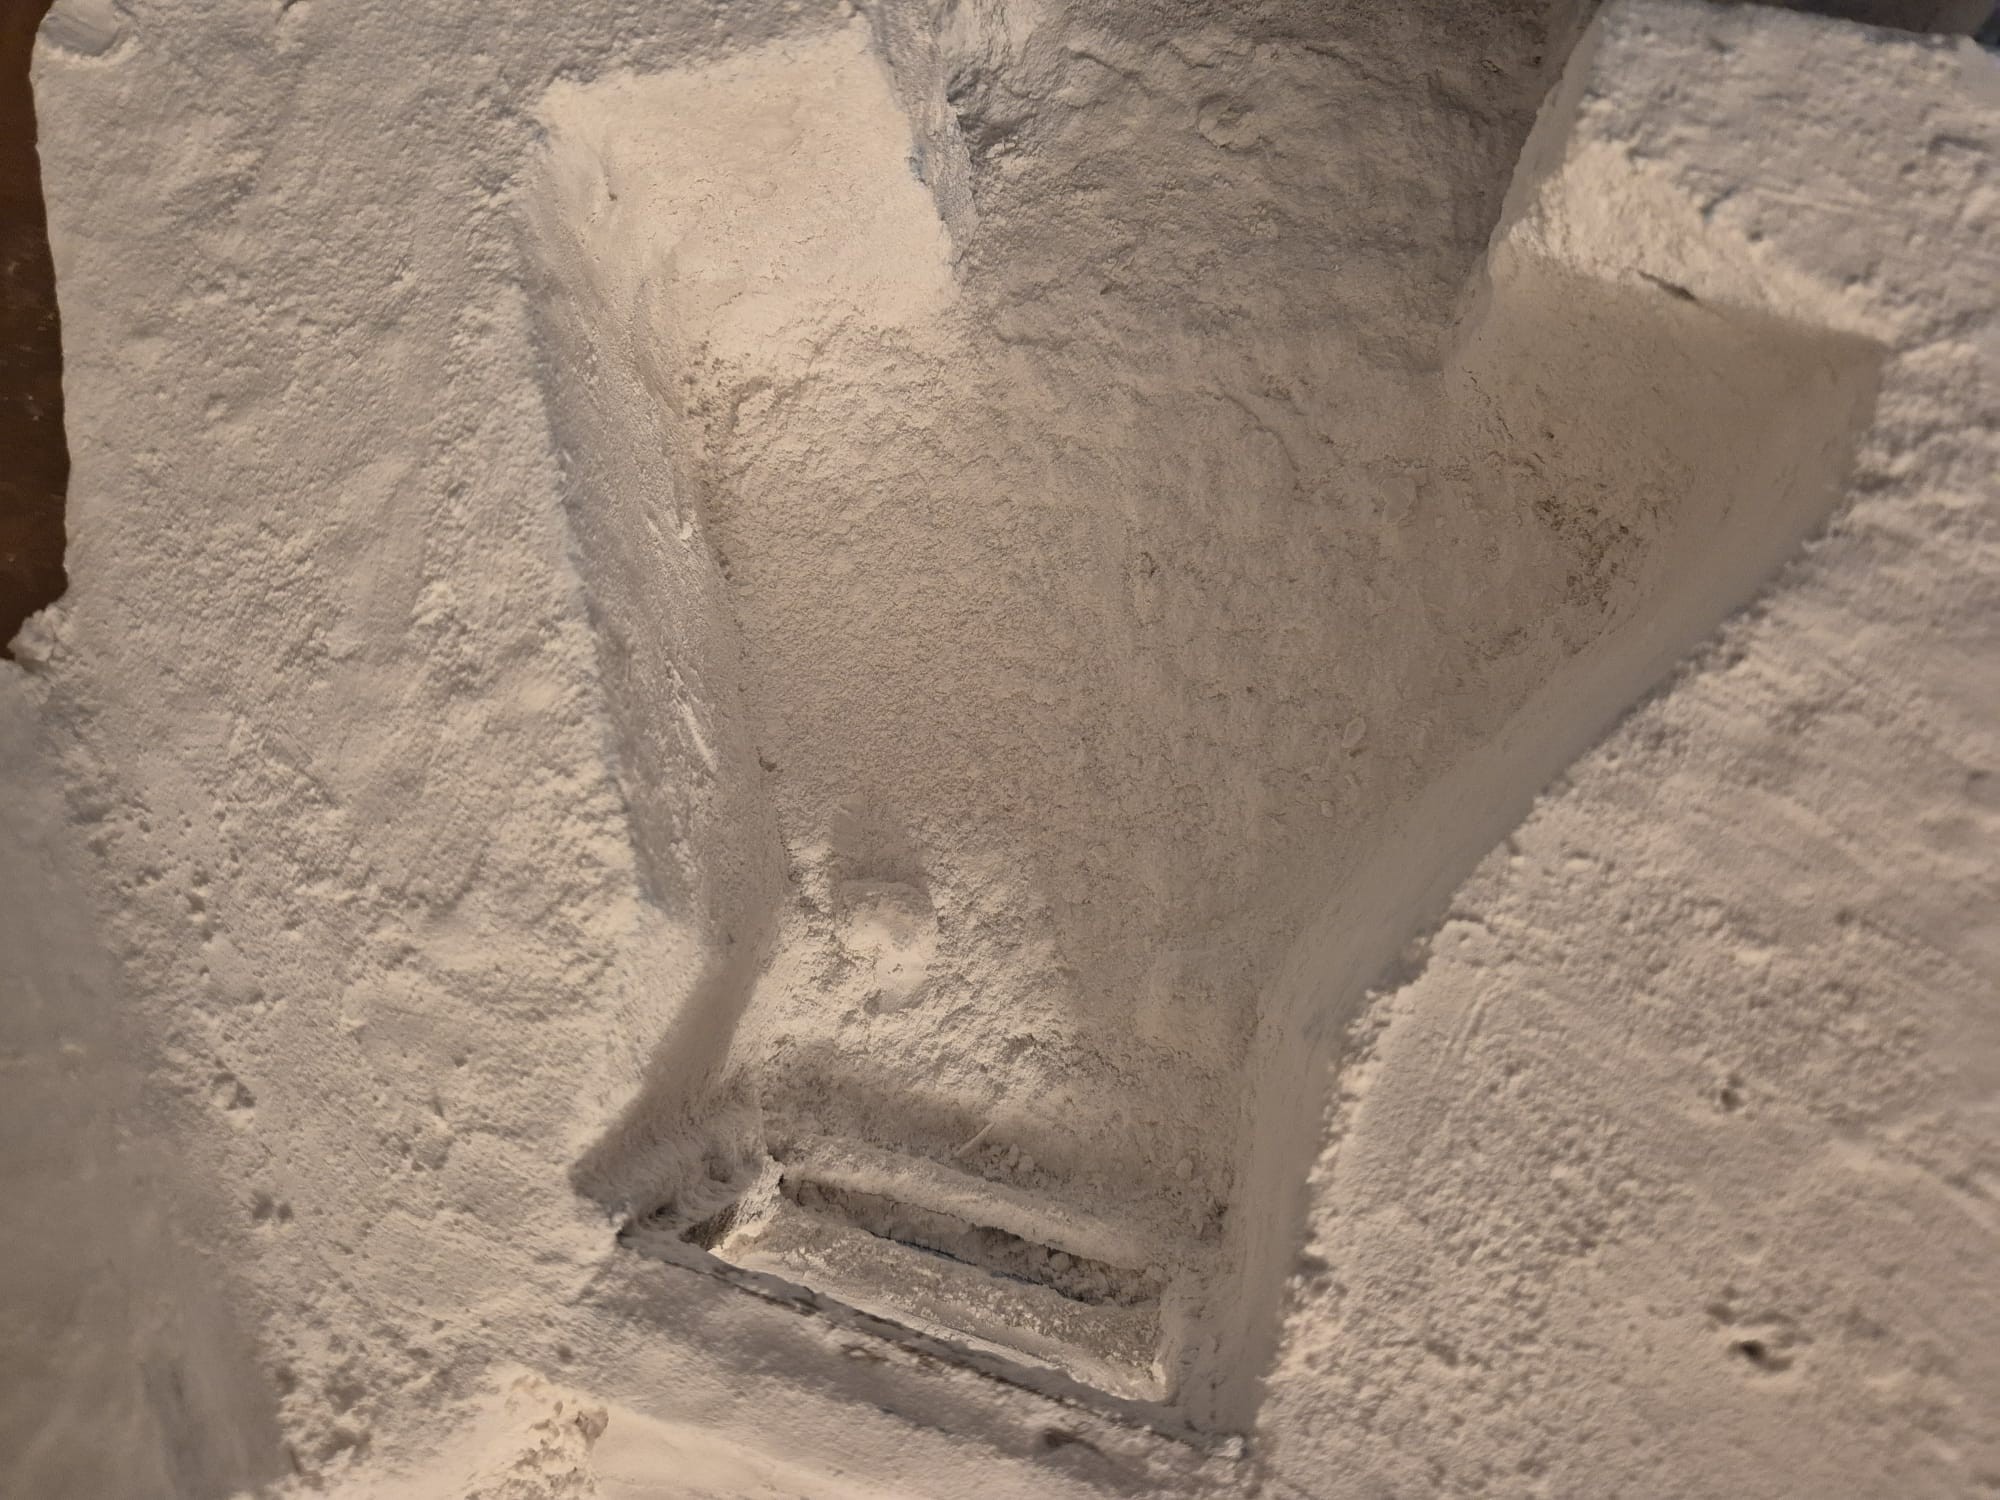
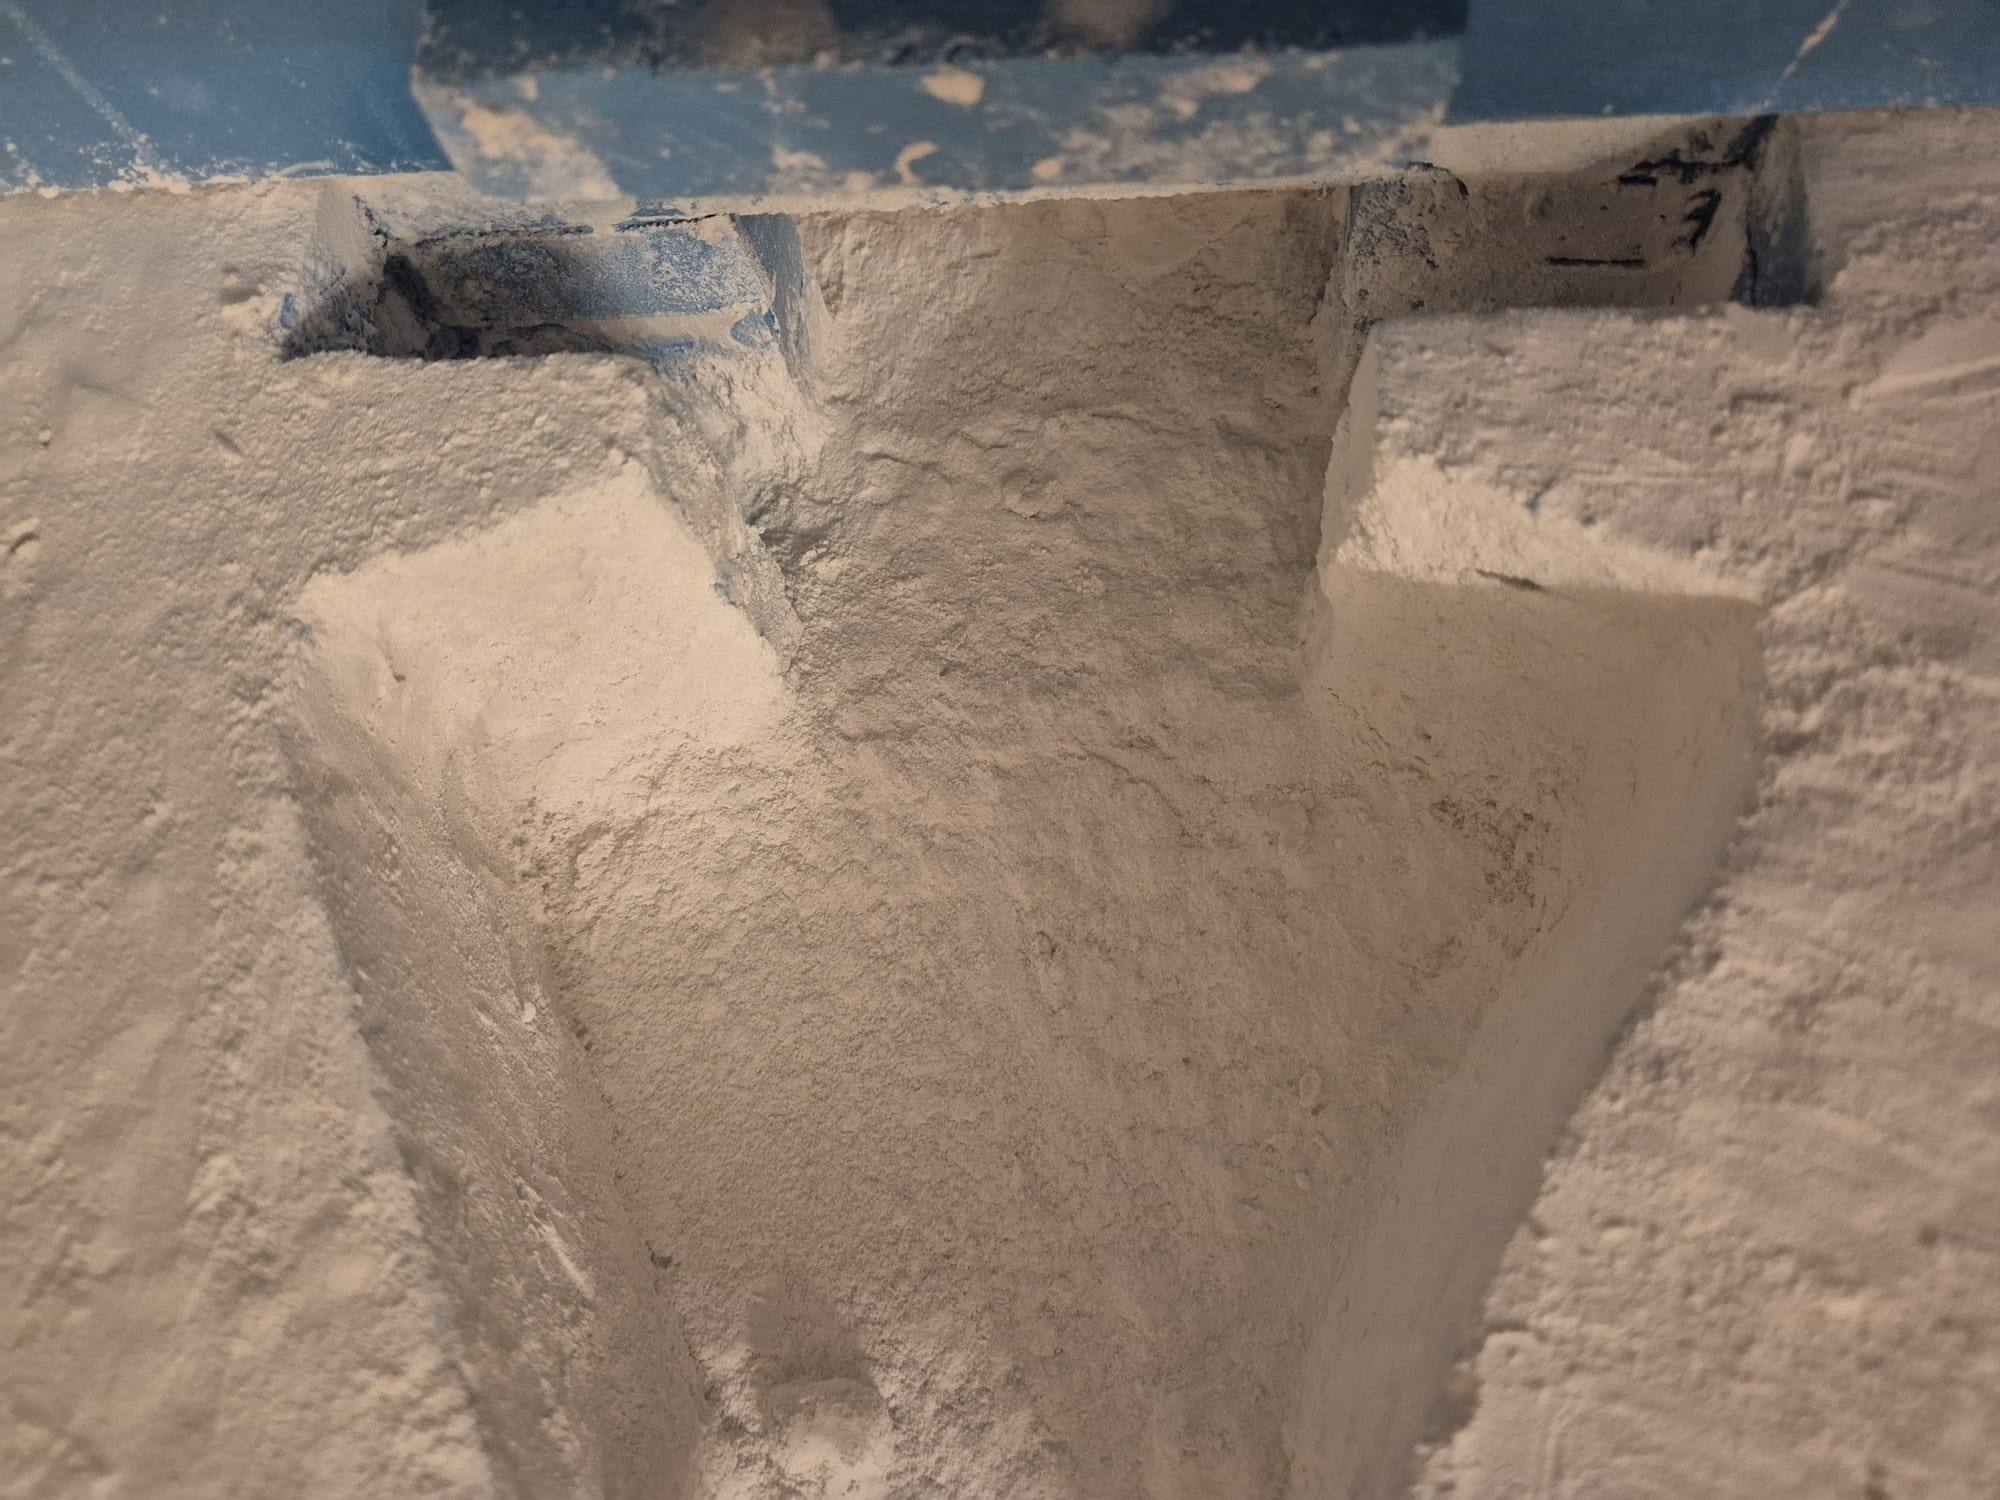
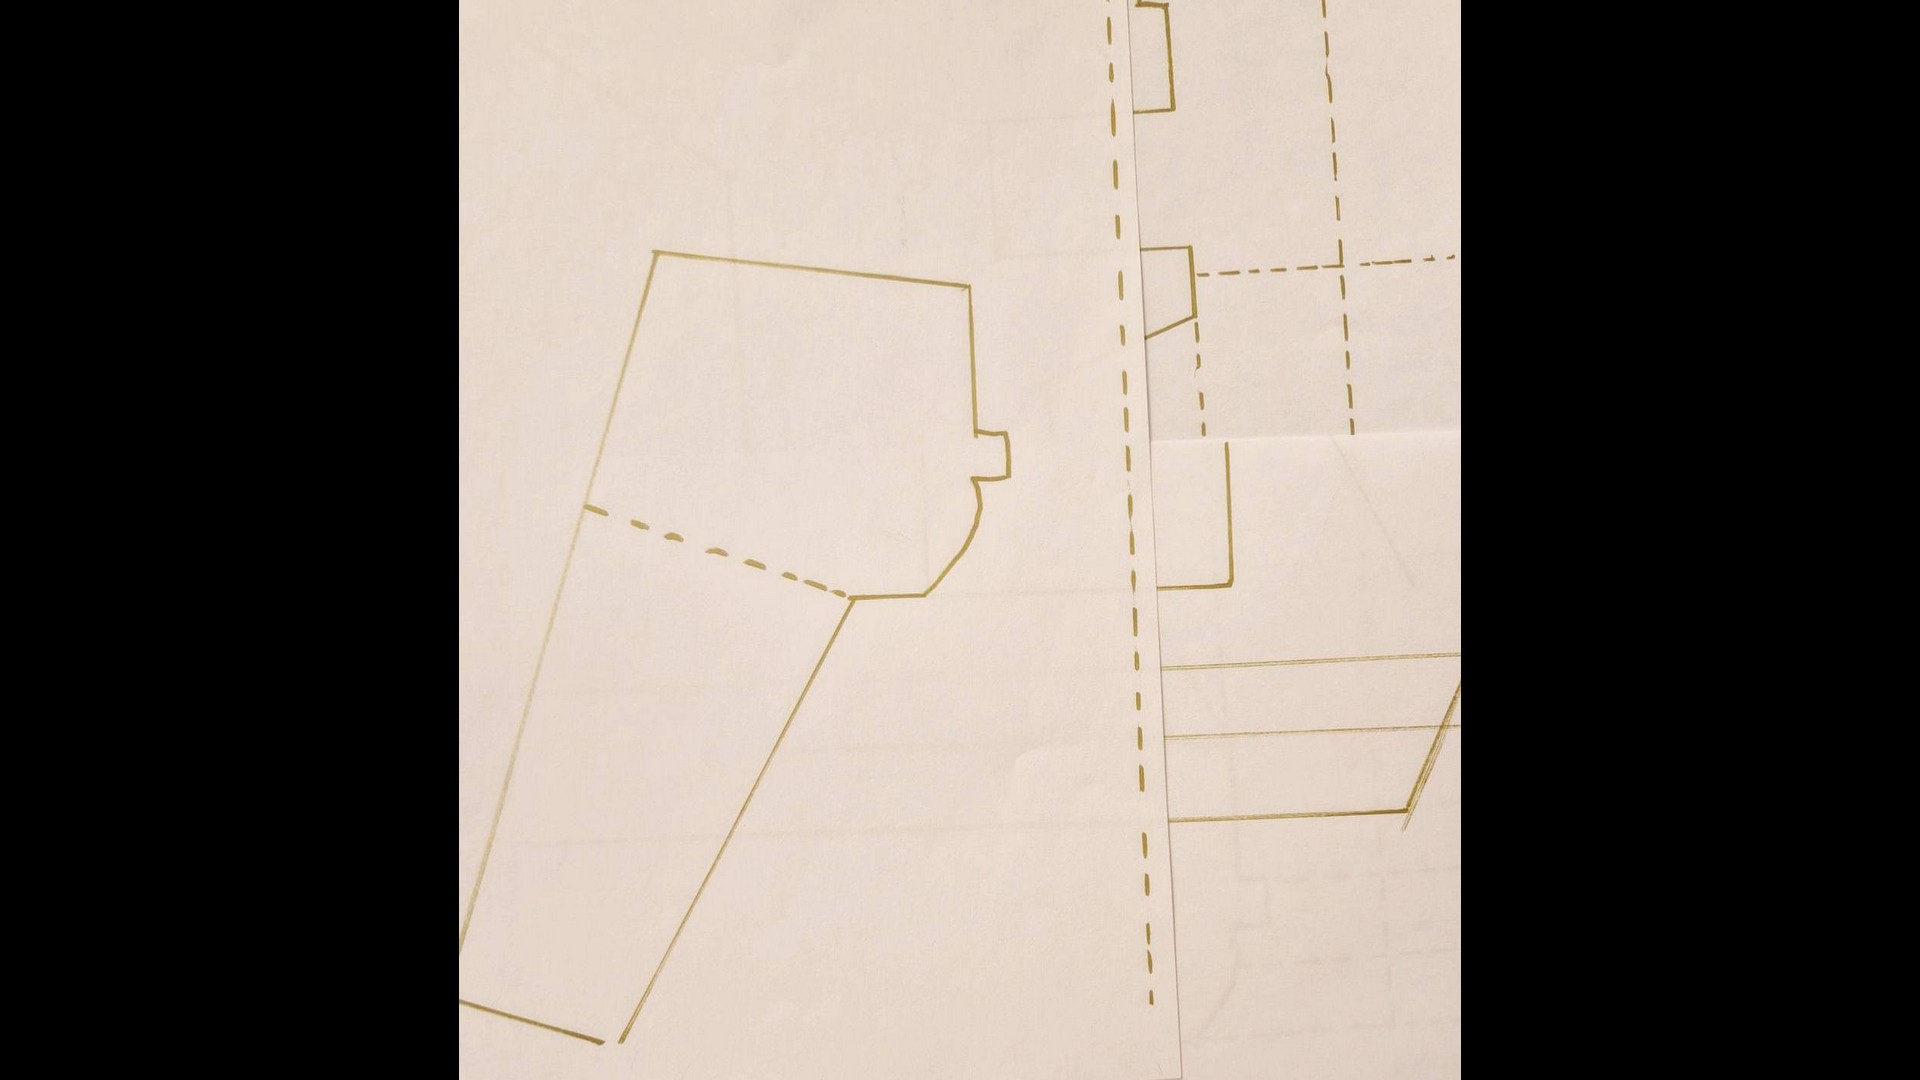
I anyway took some pictures of my primitive drawings of this massive bunker, but this time it will take the shape of the real one and no more inventions or modifications. This will be the real R677 bunker.
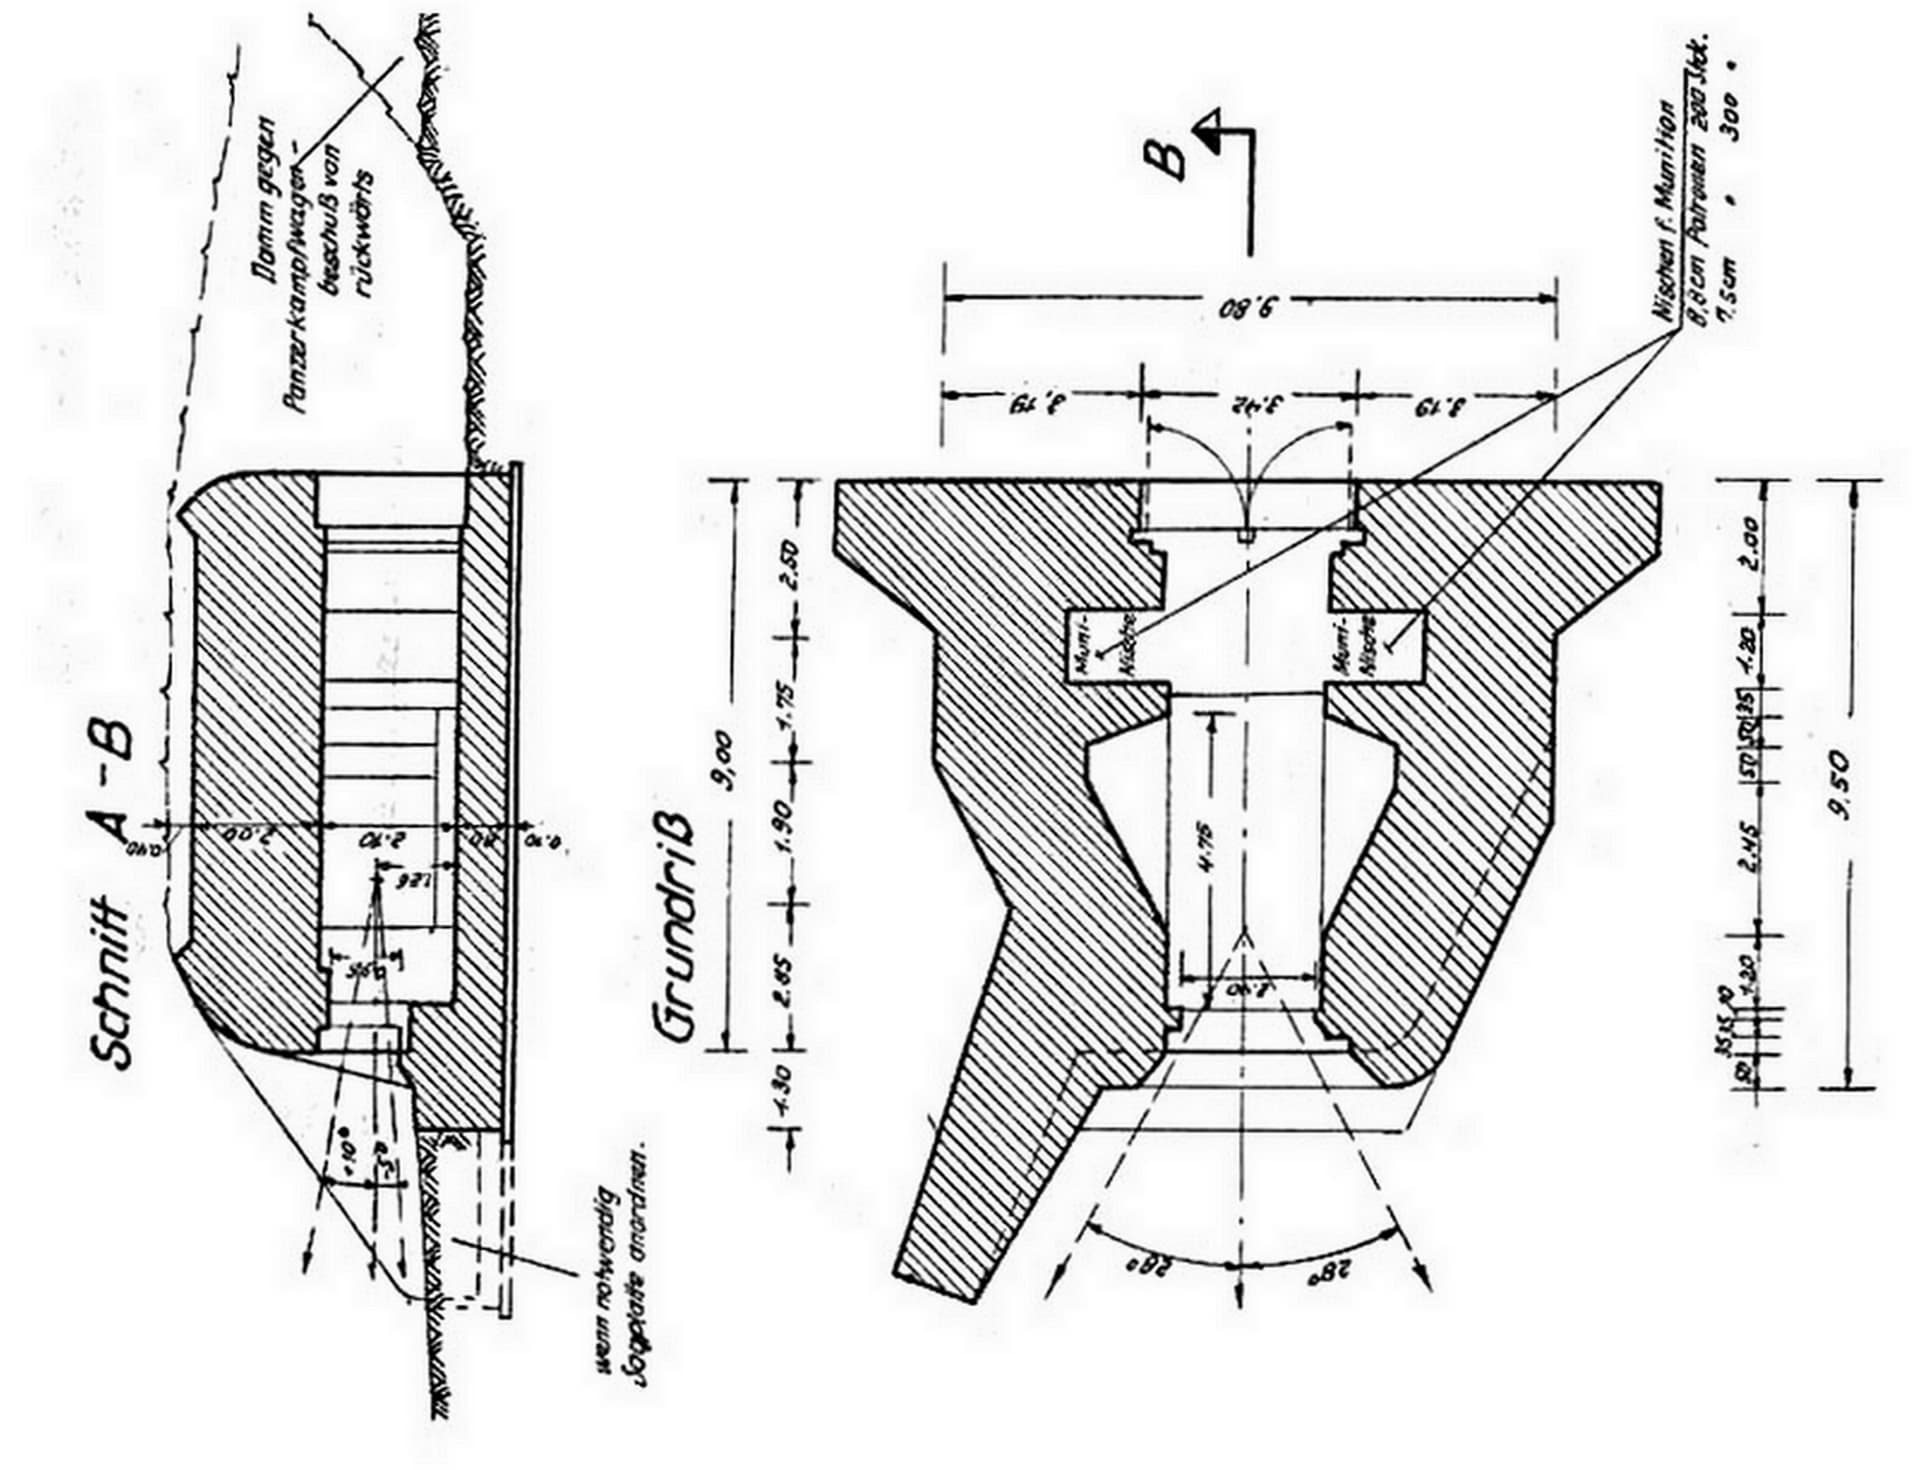
The original plans from which I took the measurements:
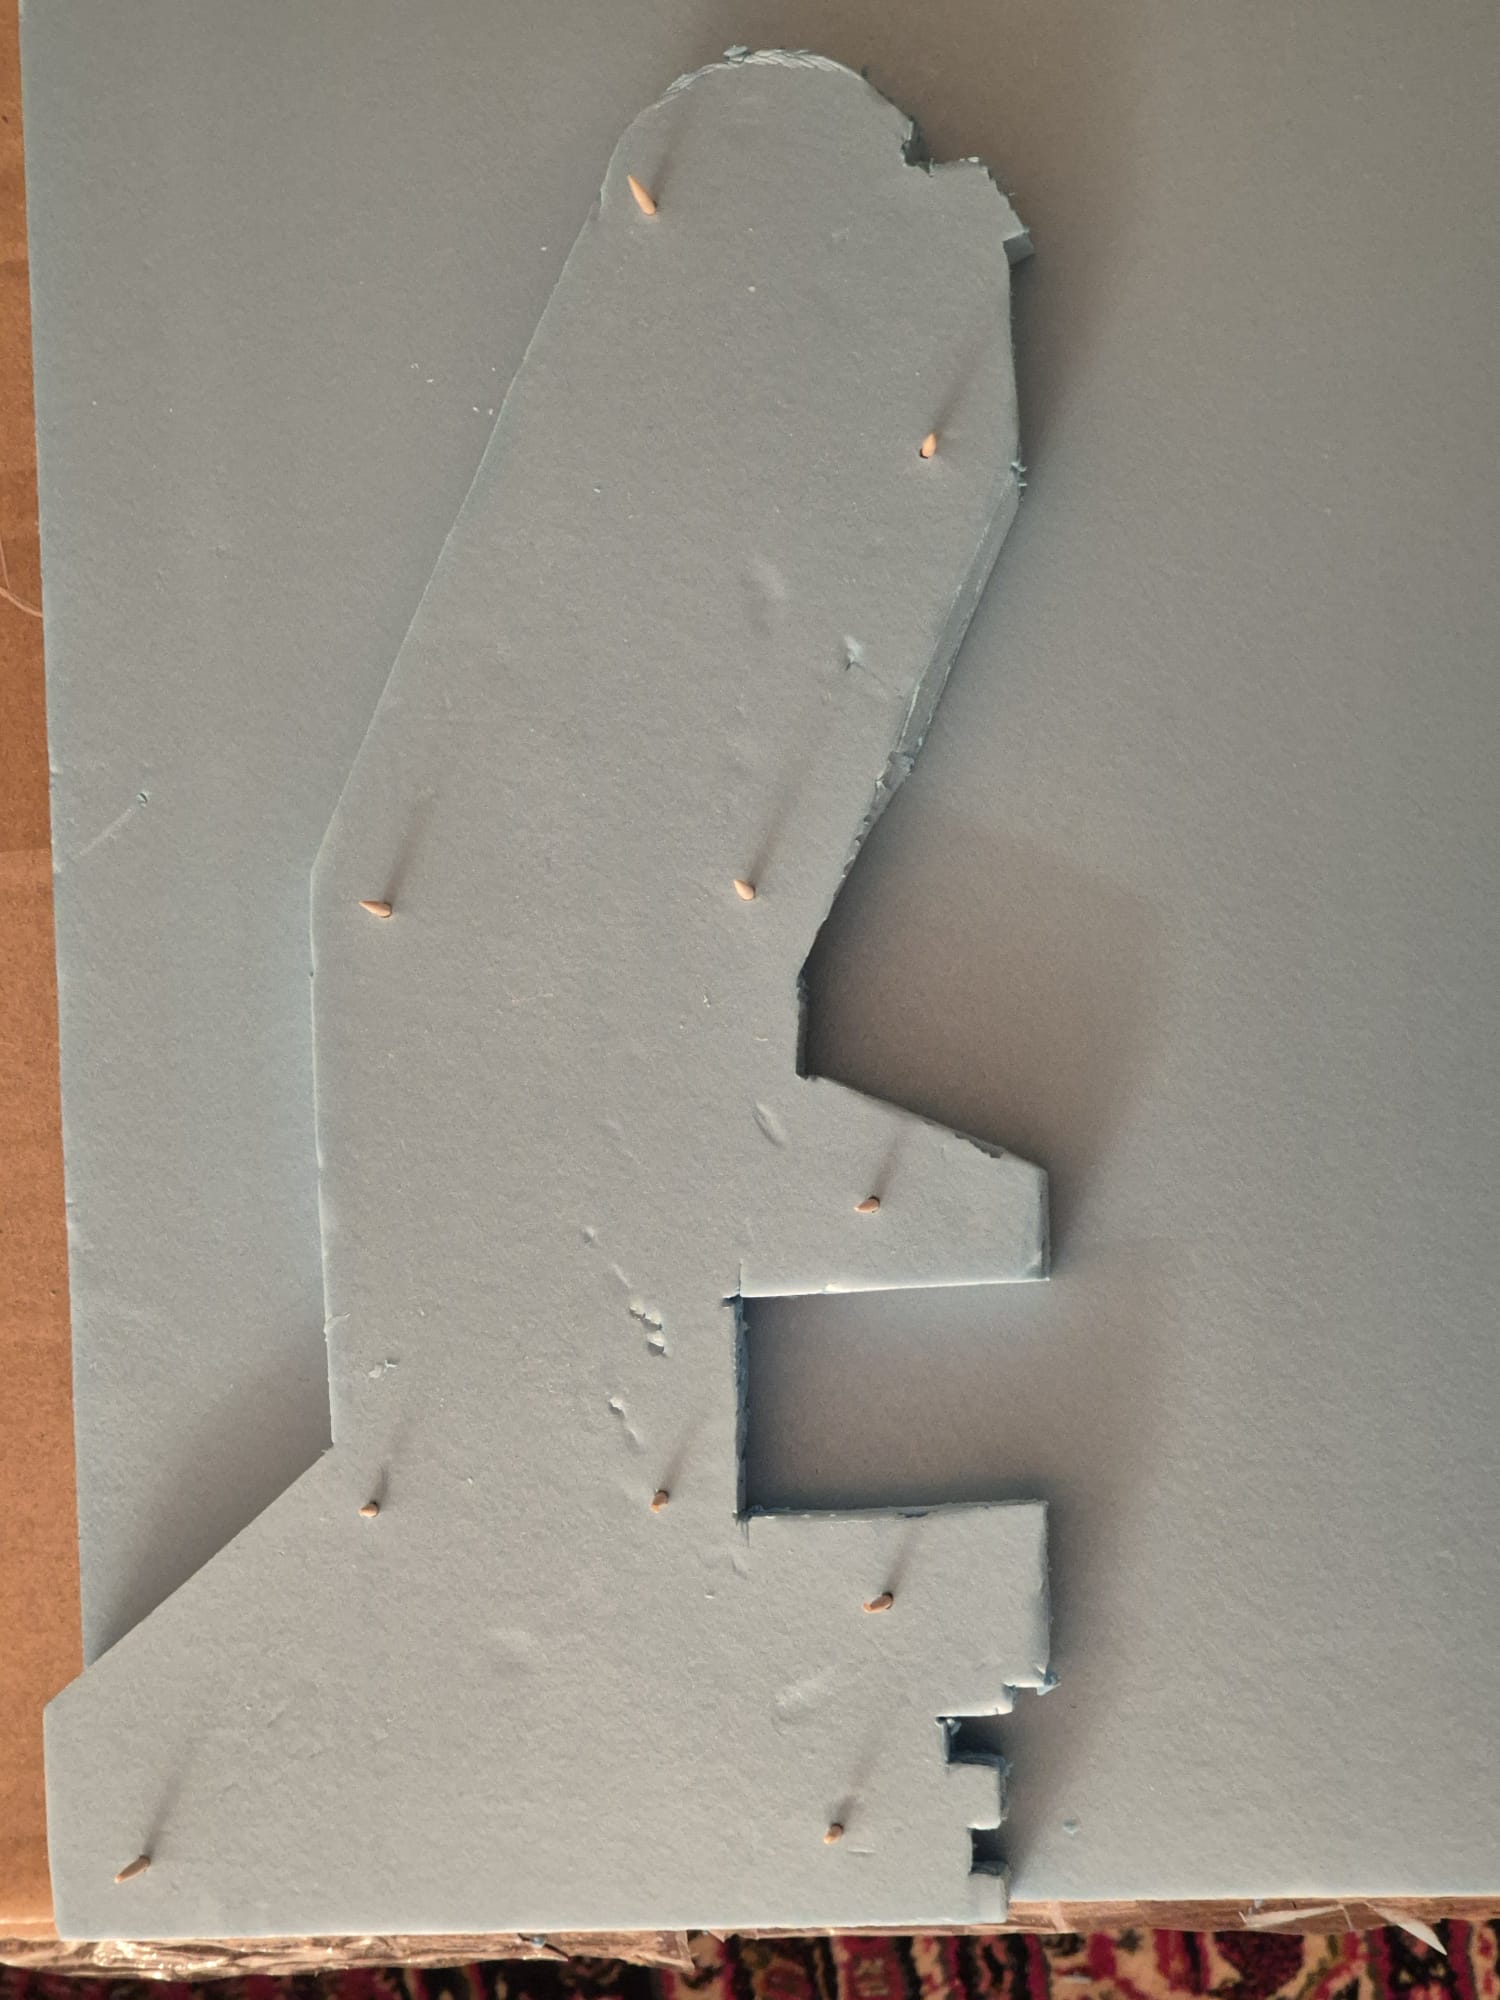
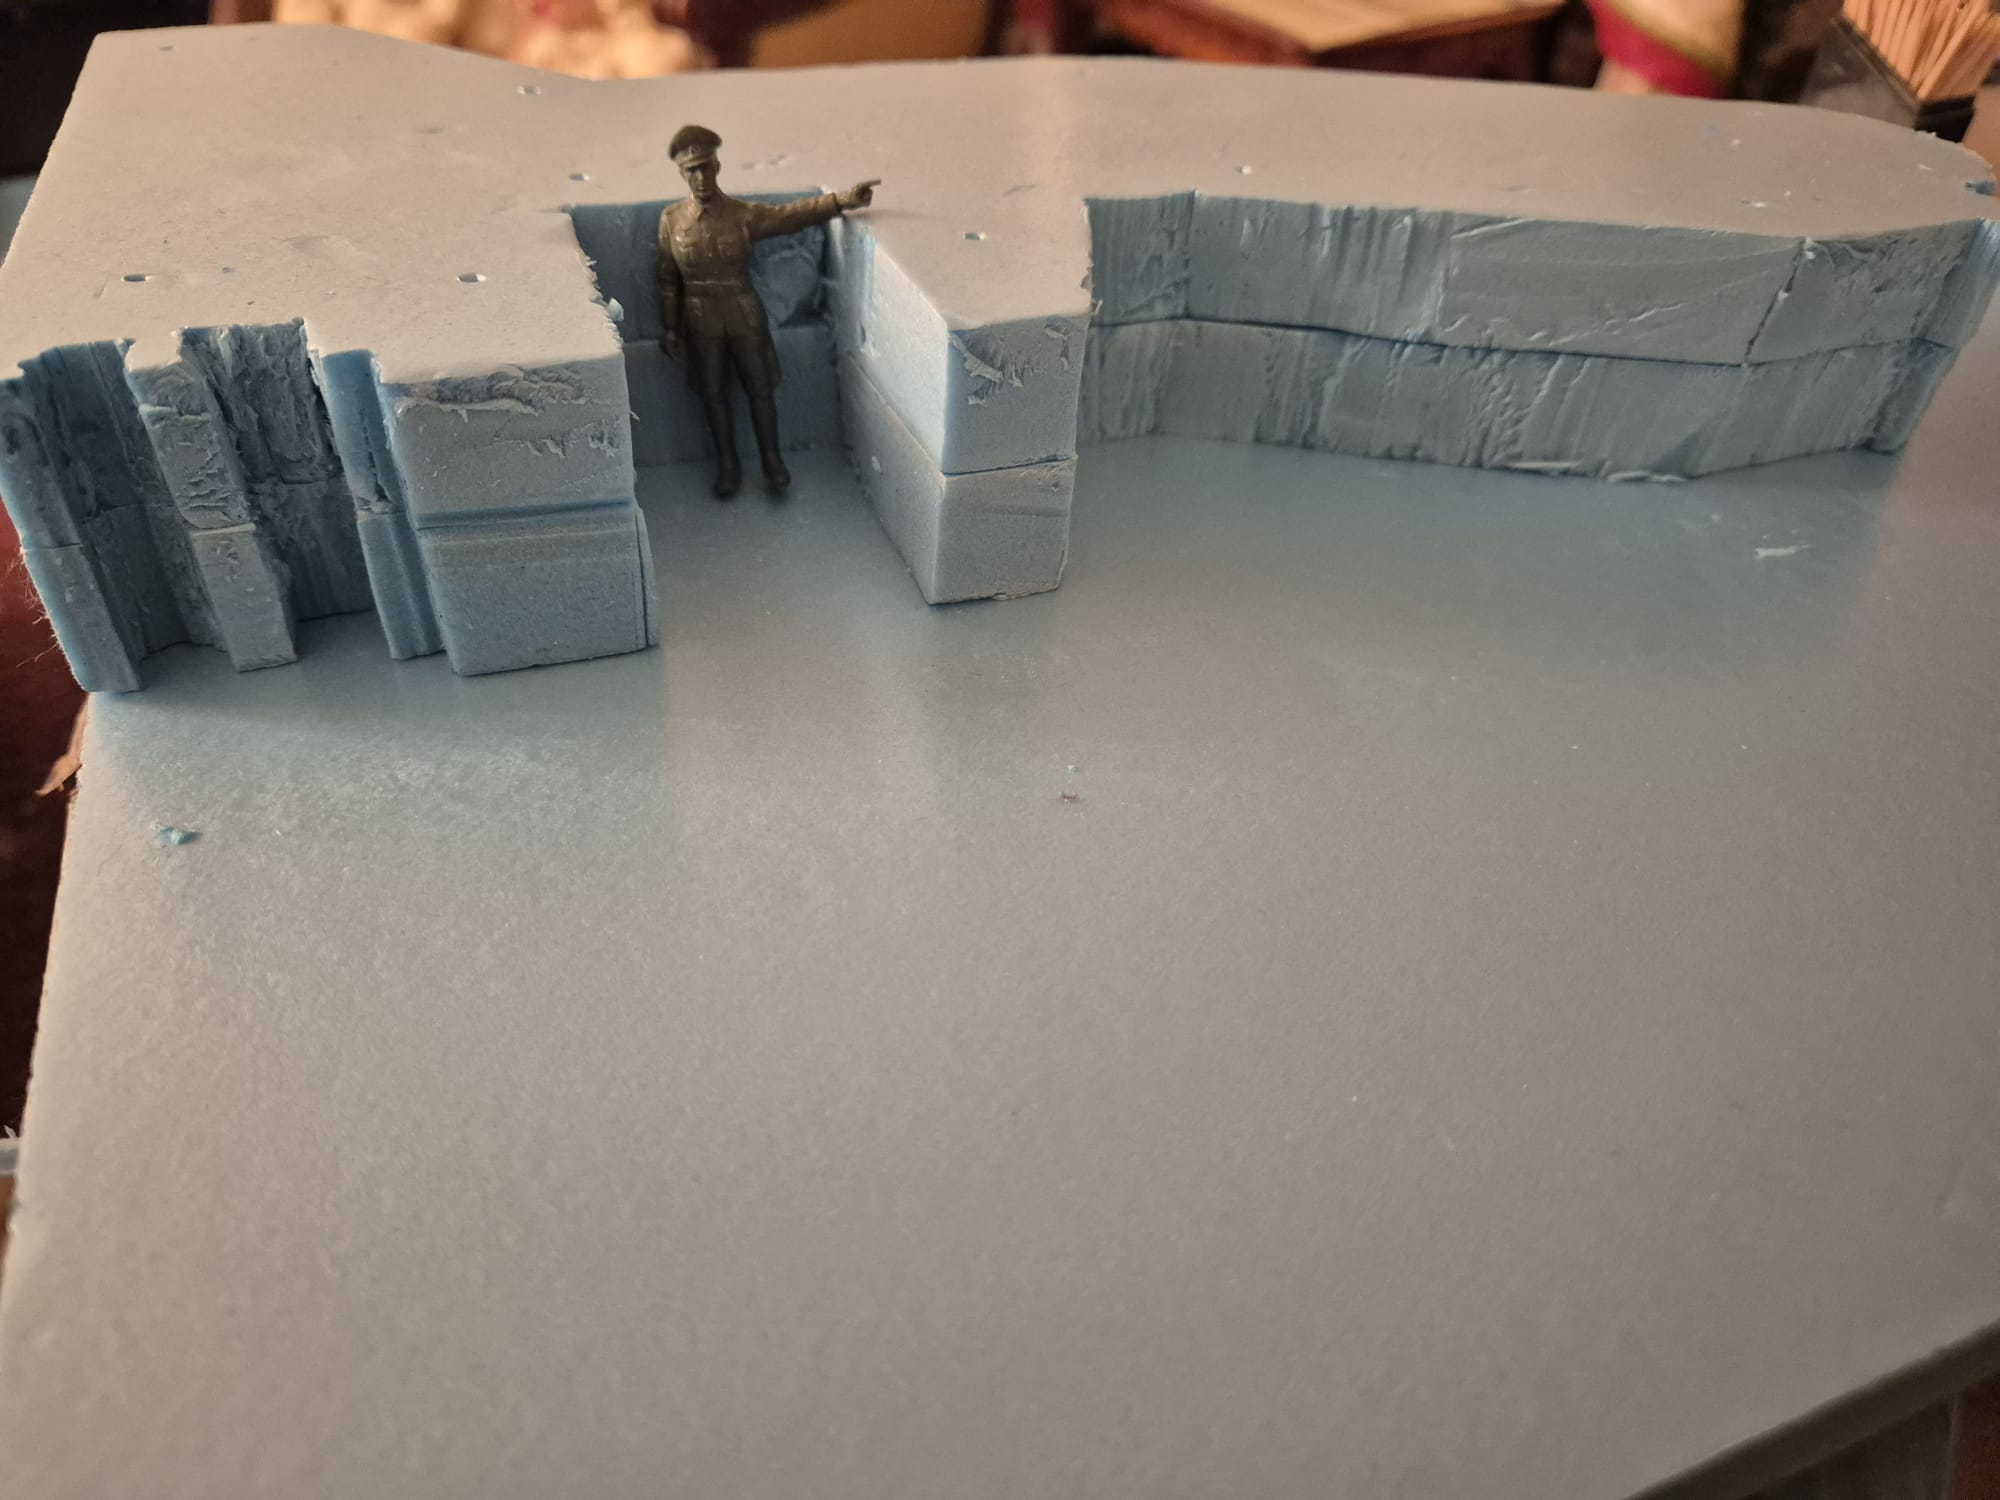
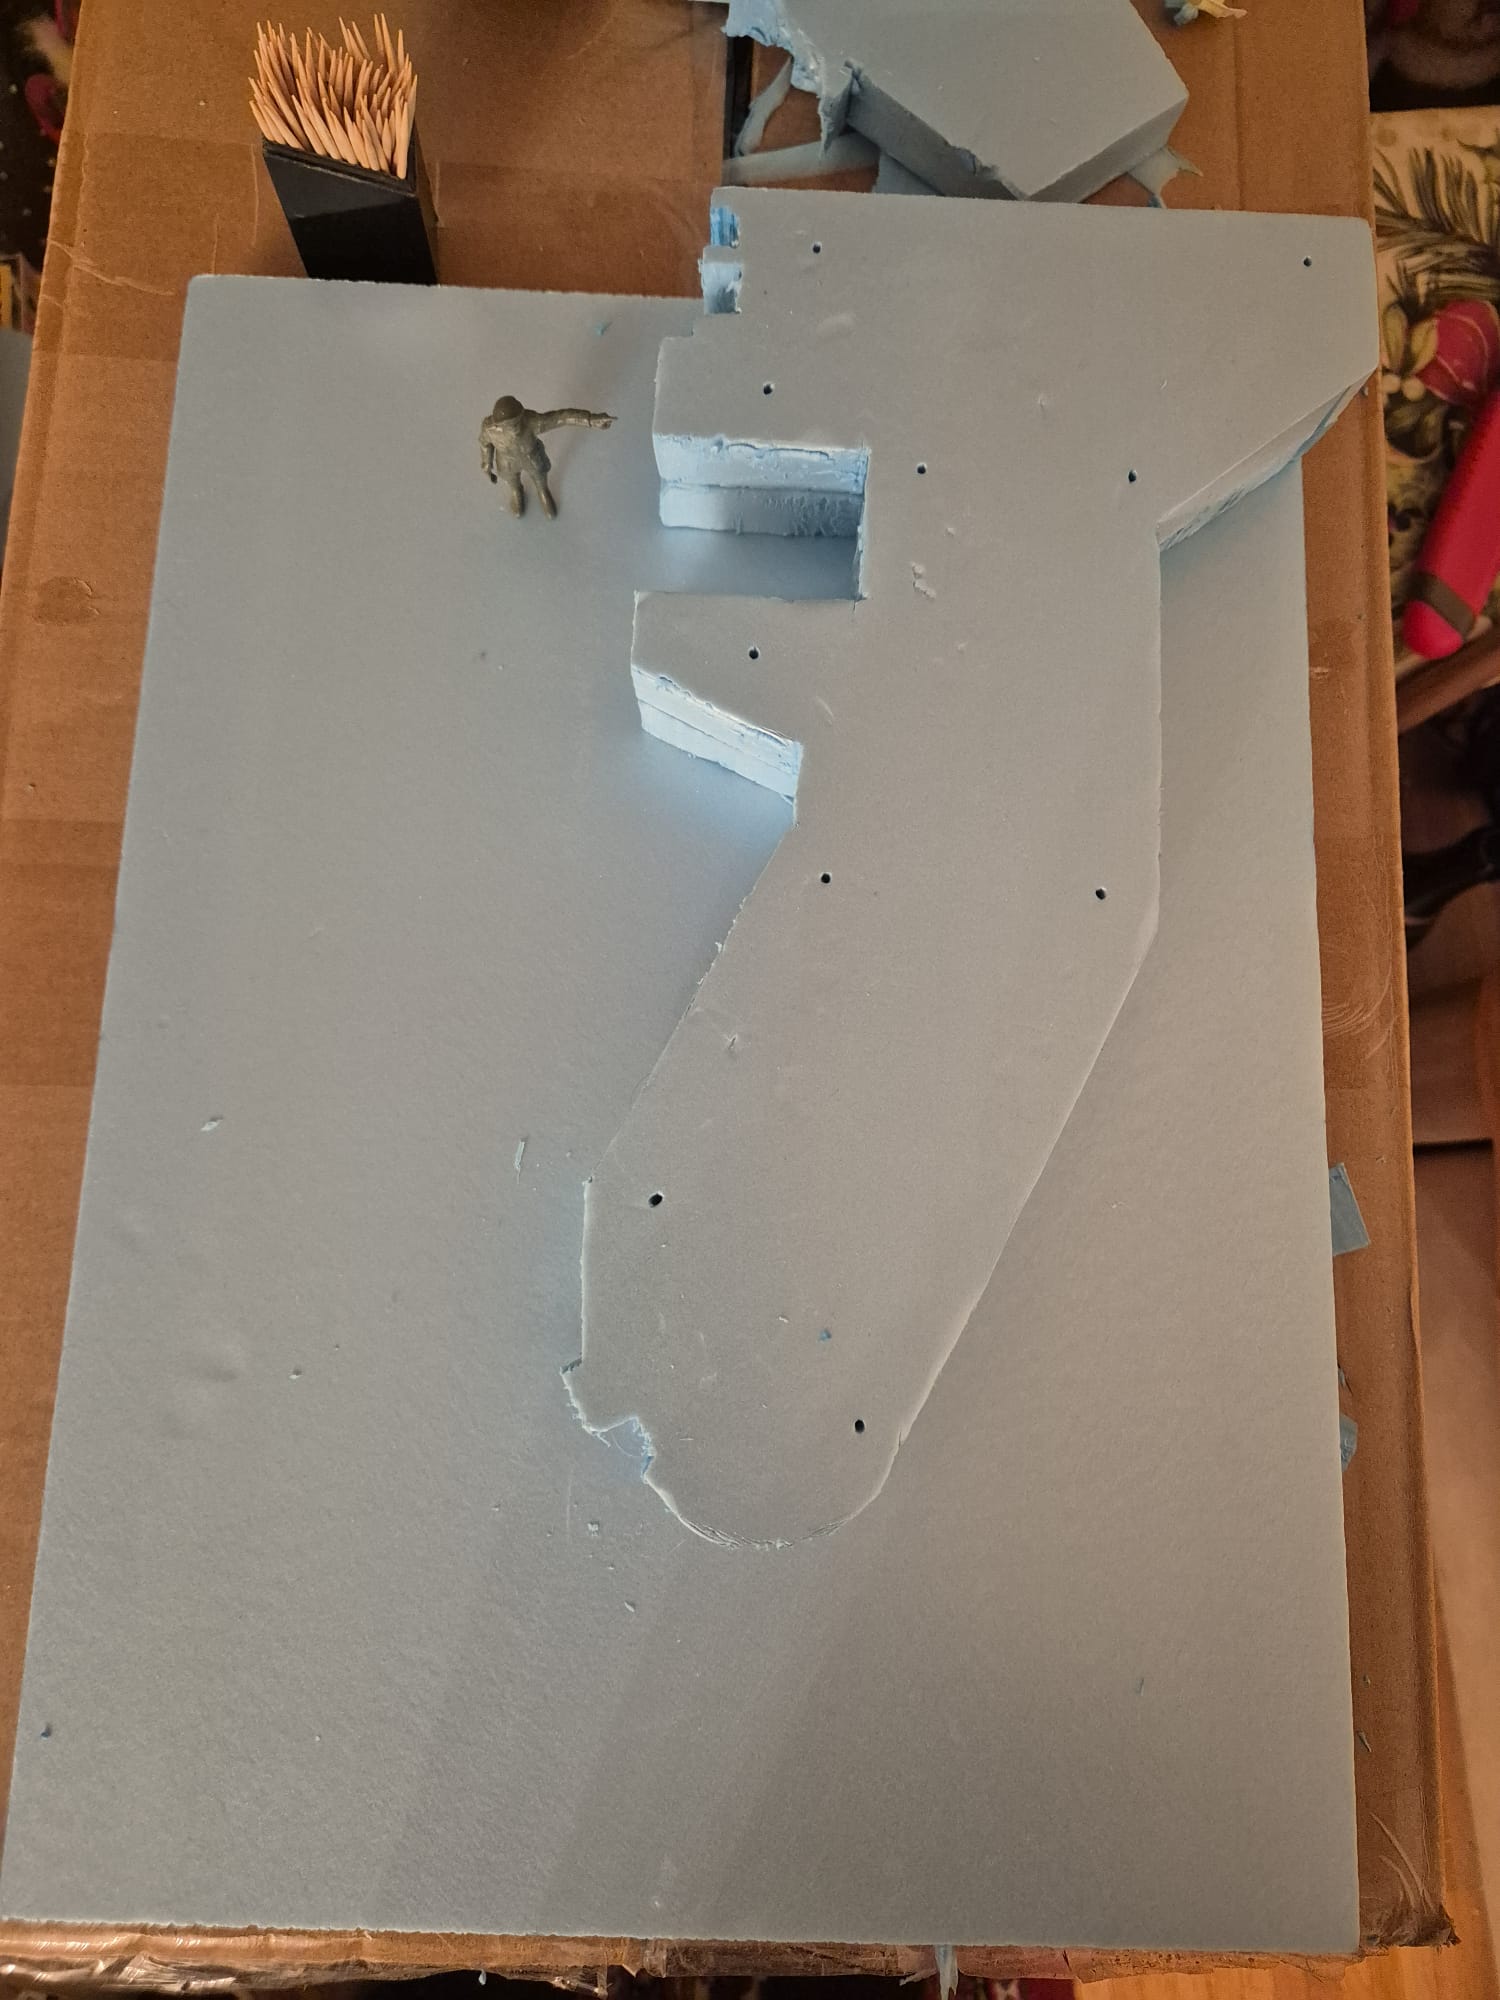
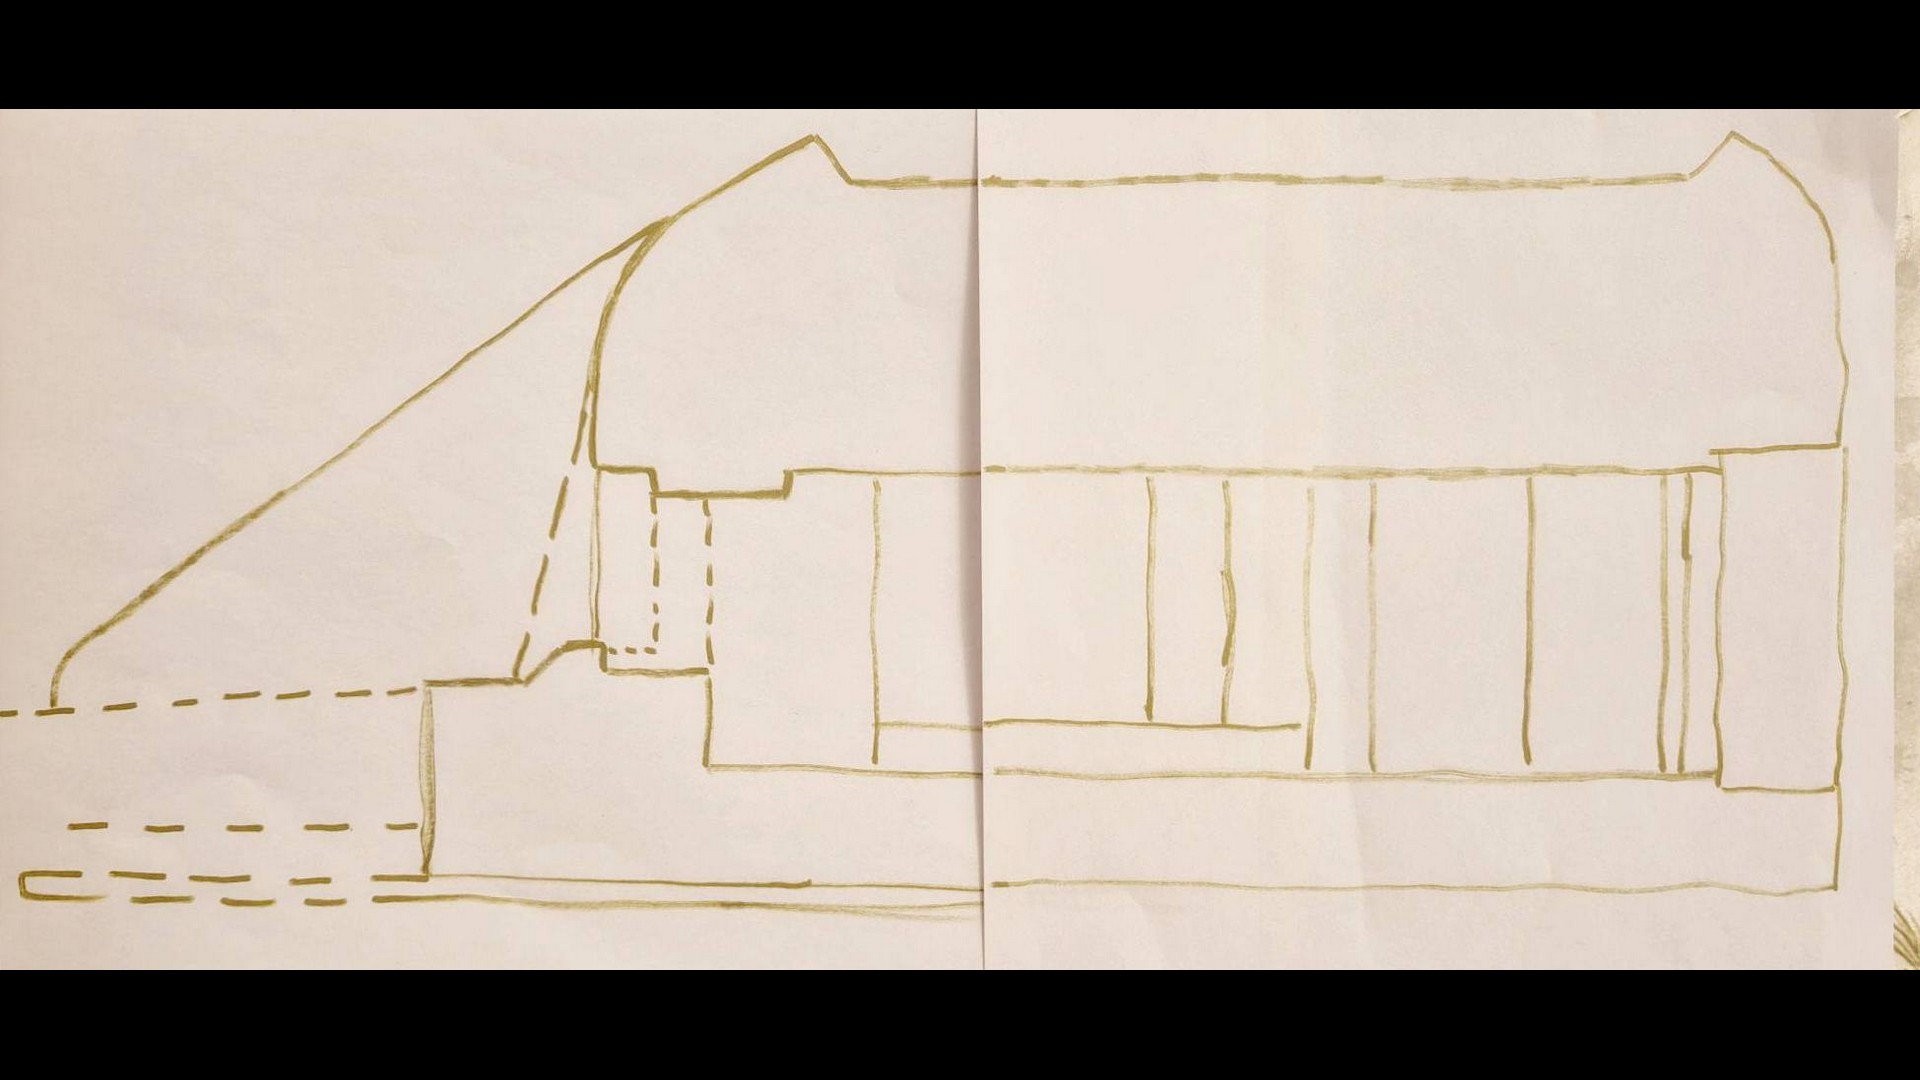
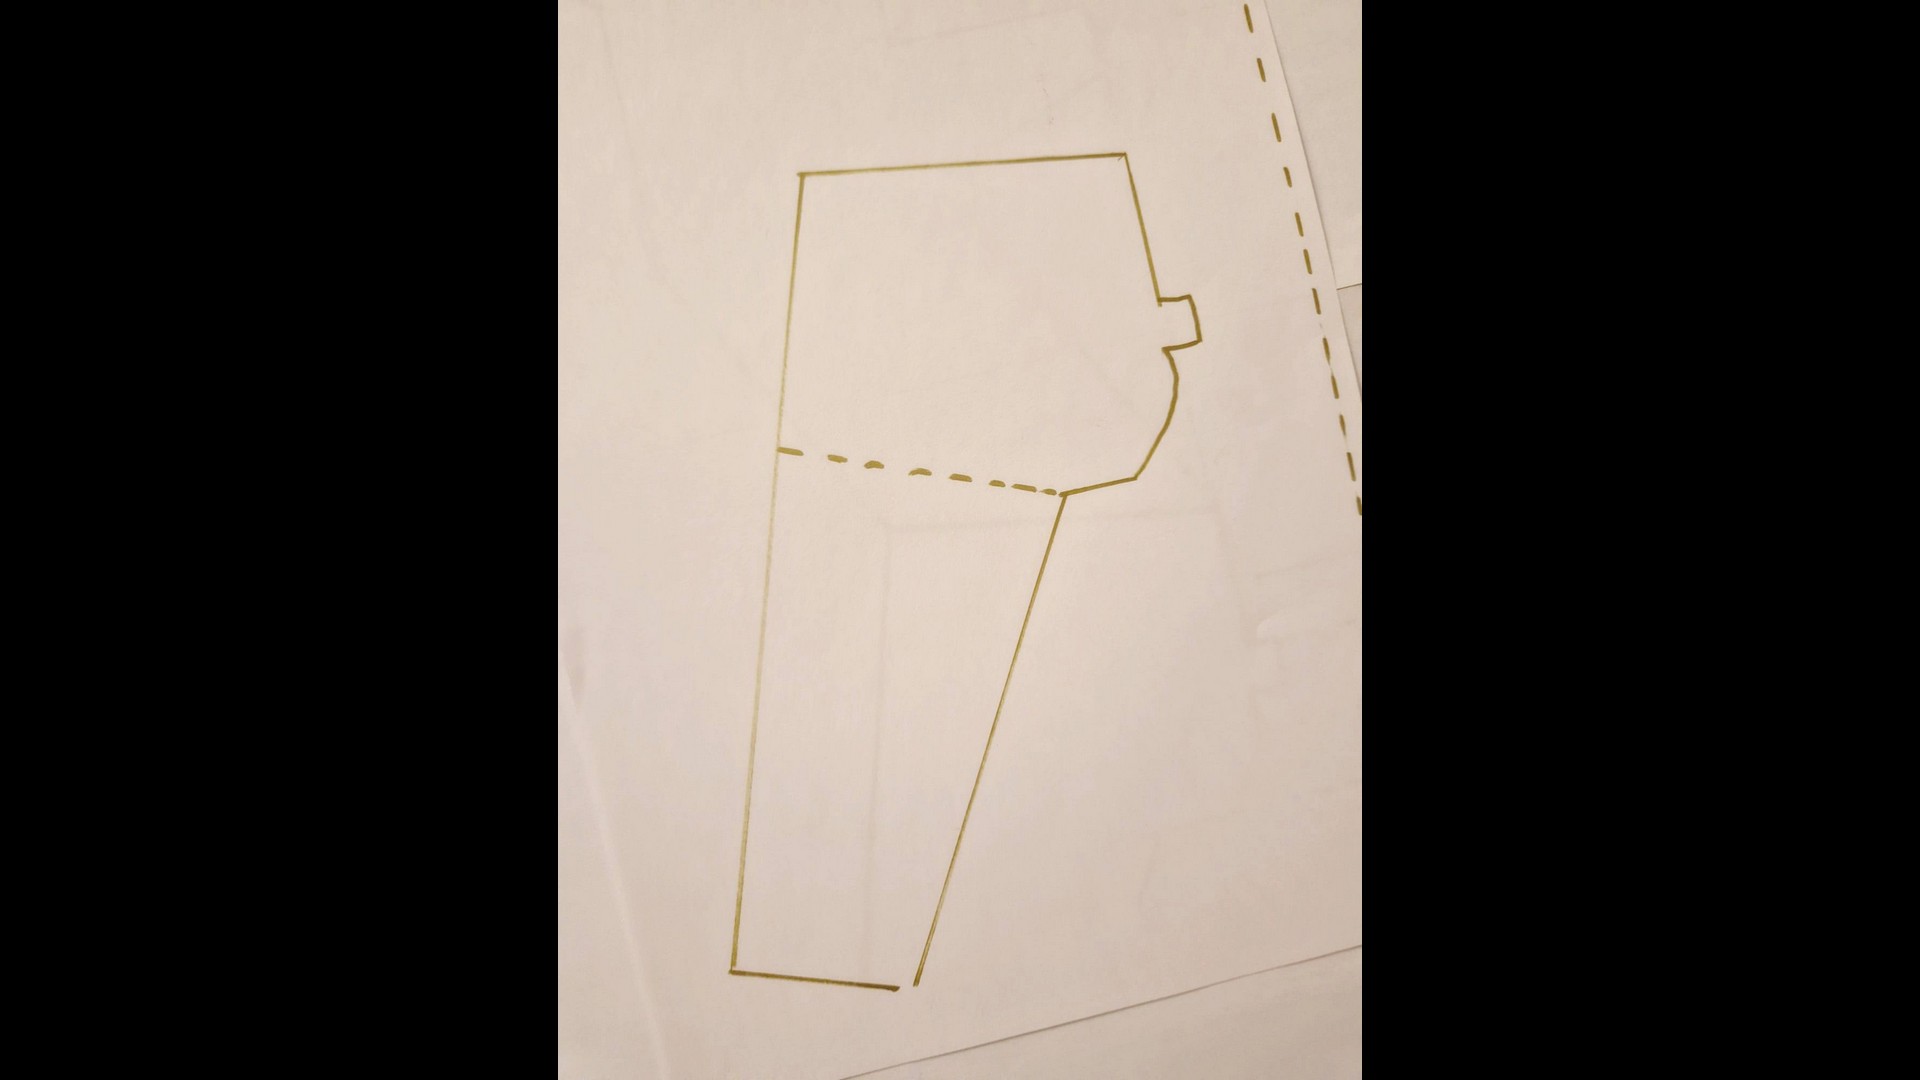
And here are my drawings:
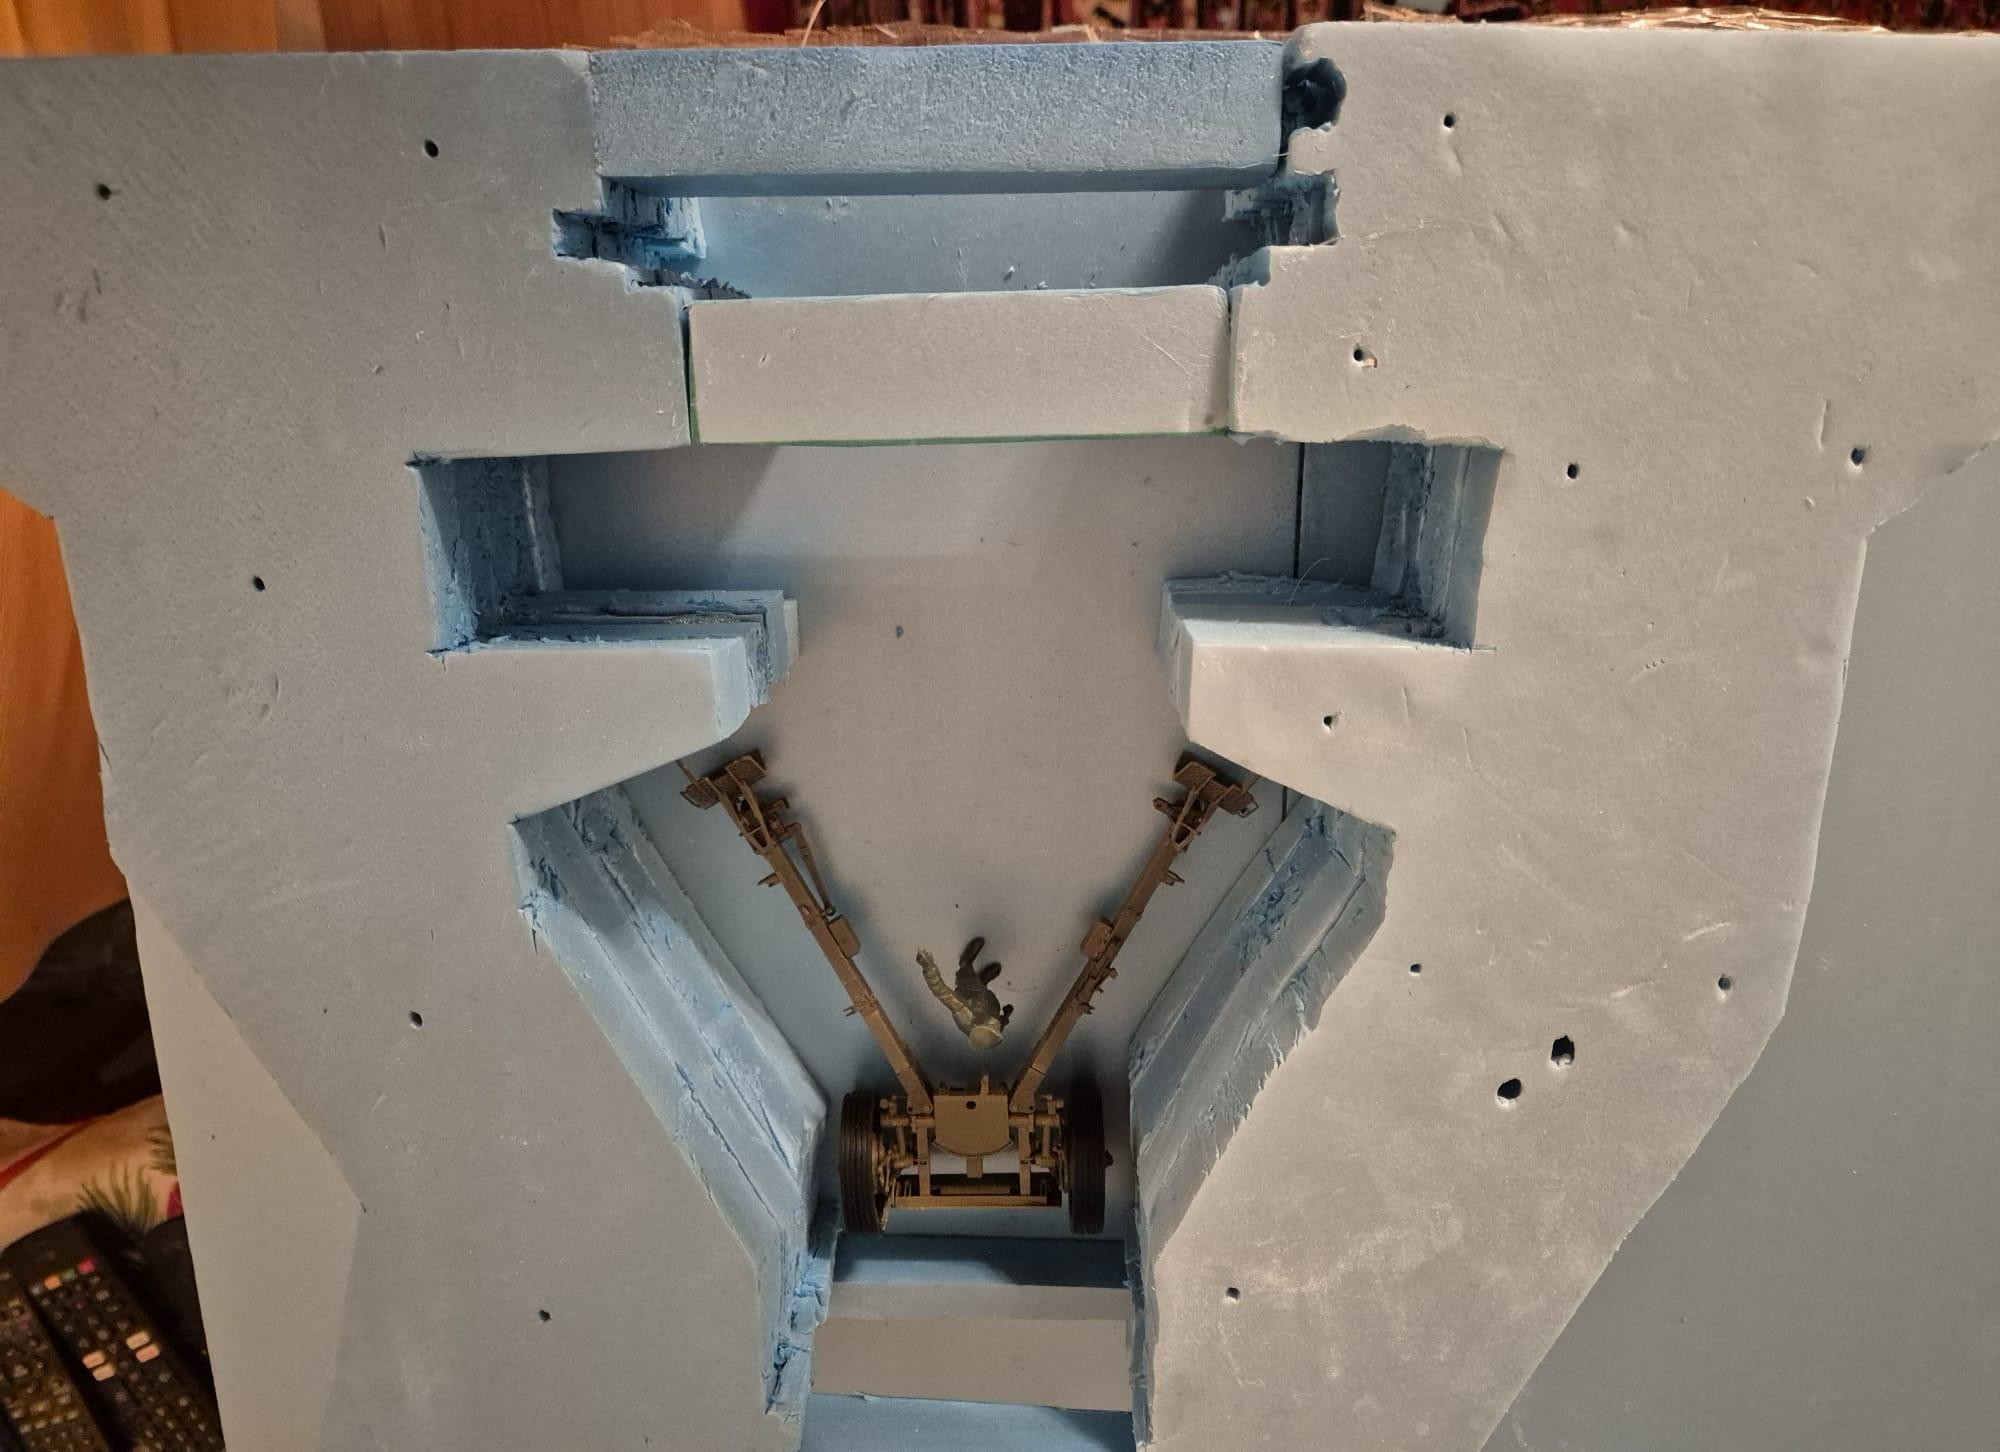
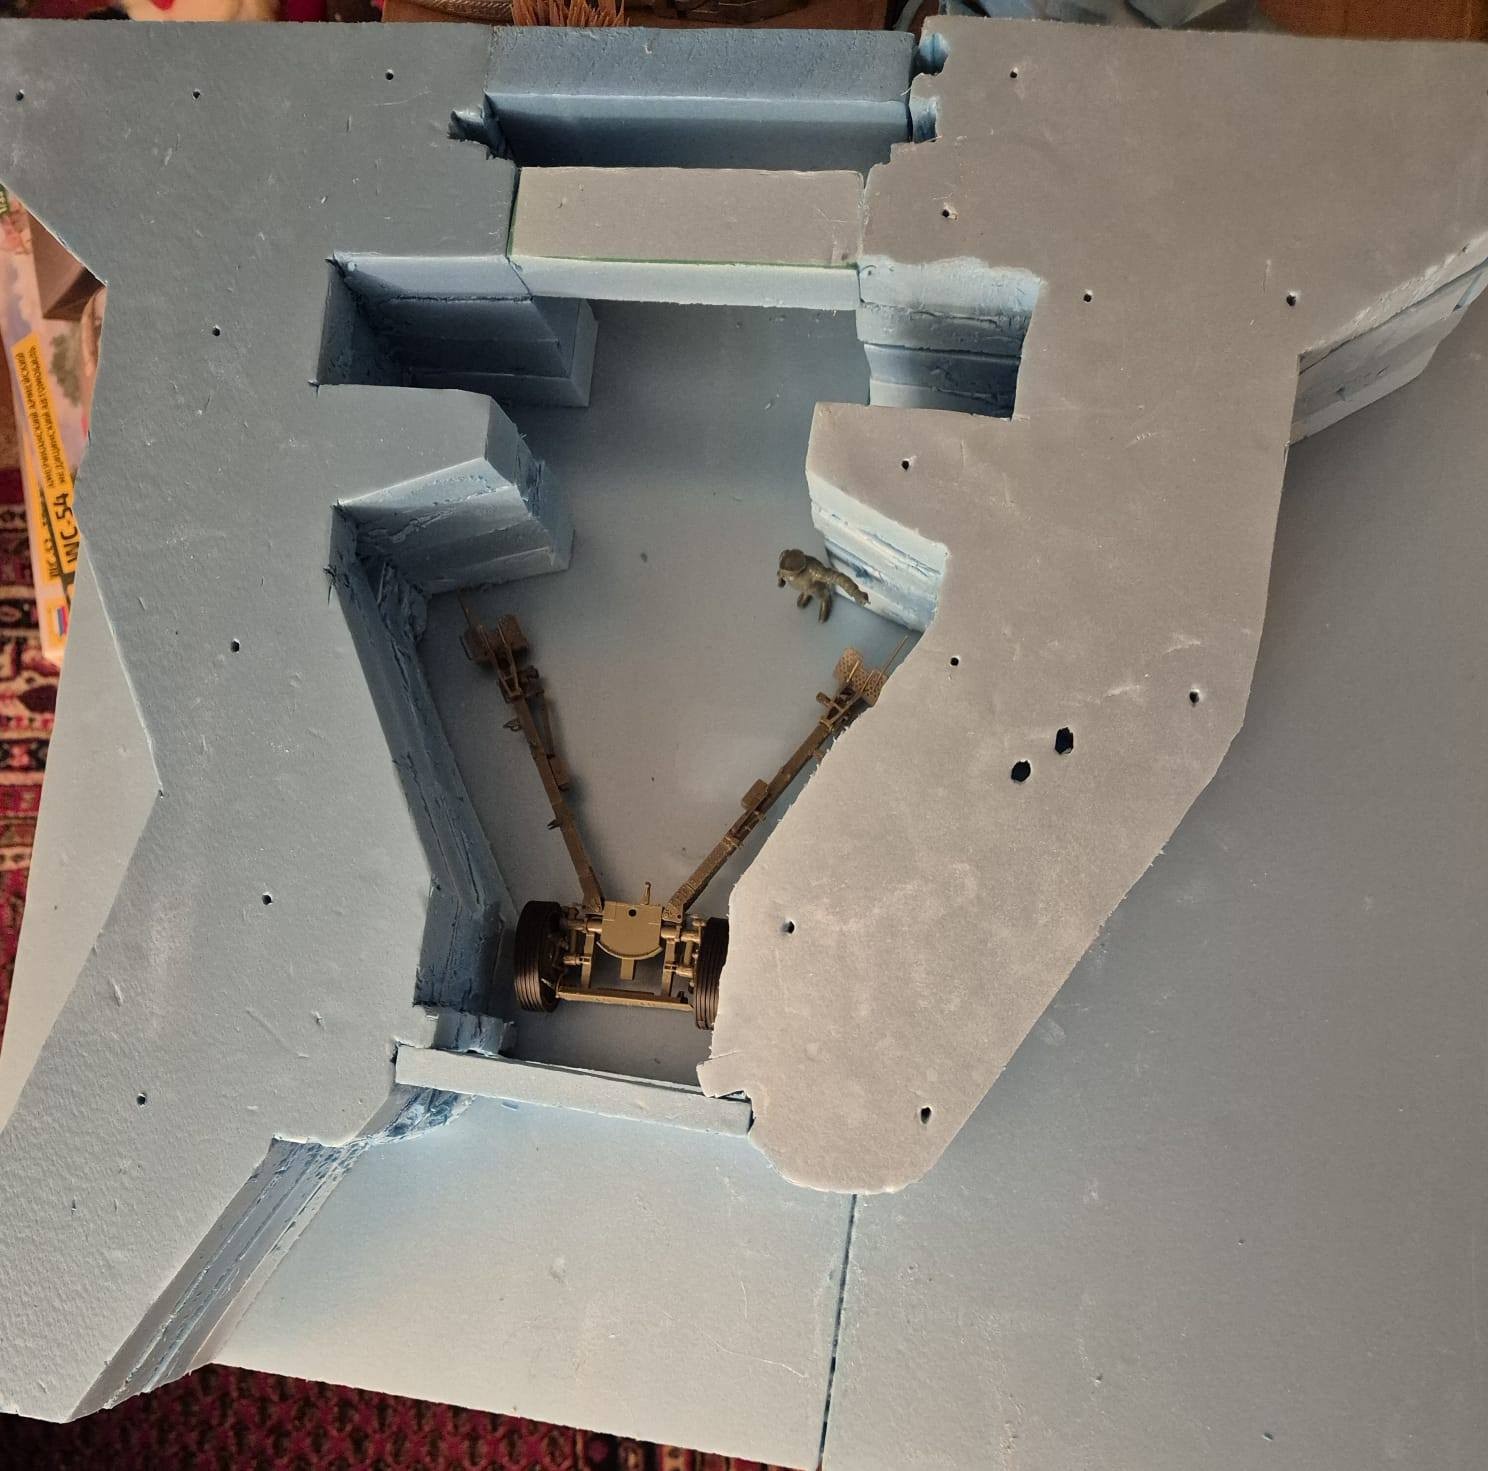
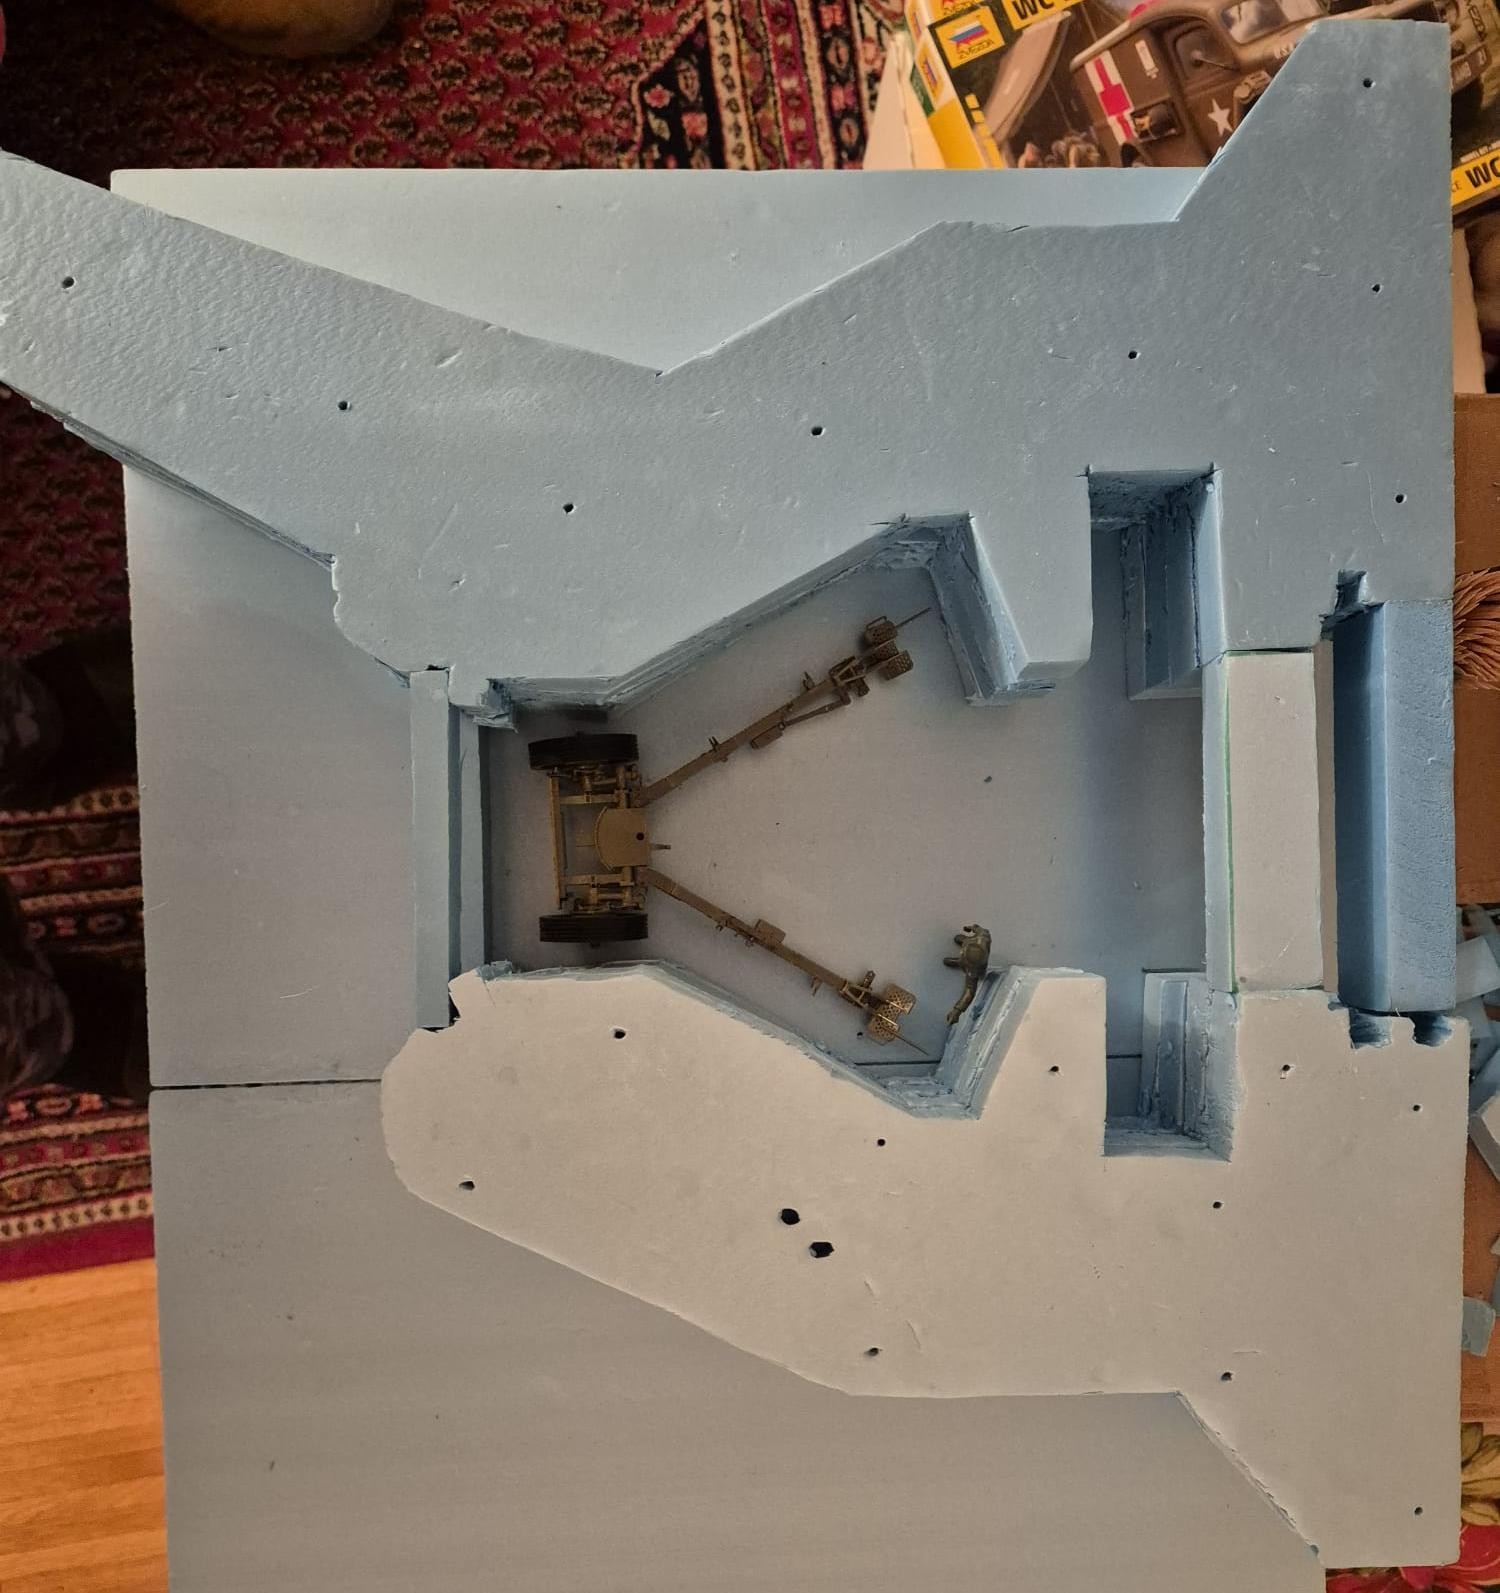
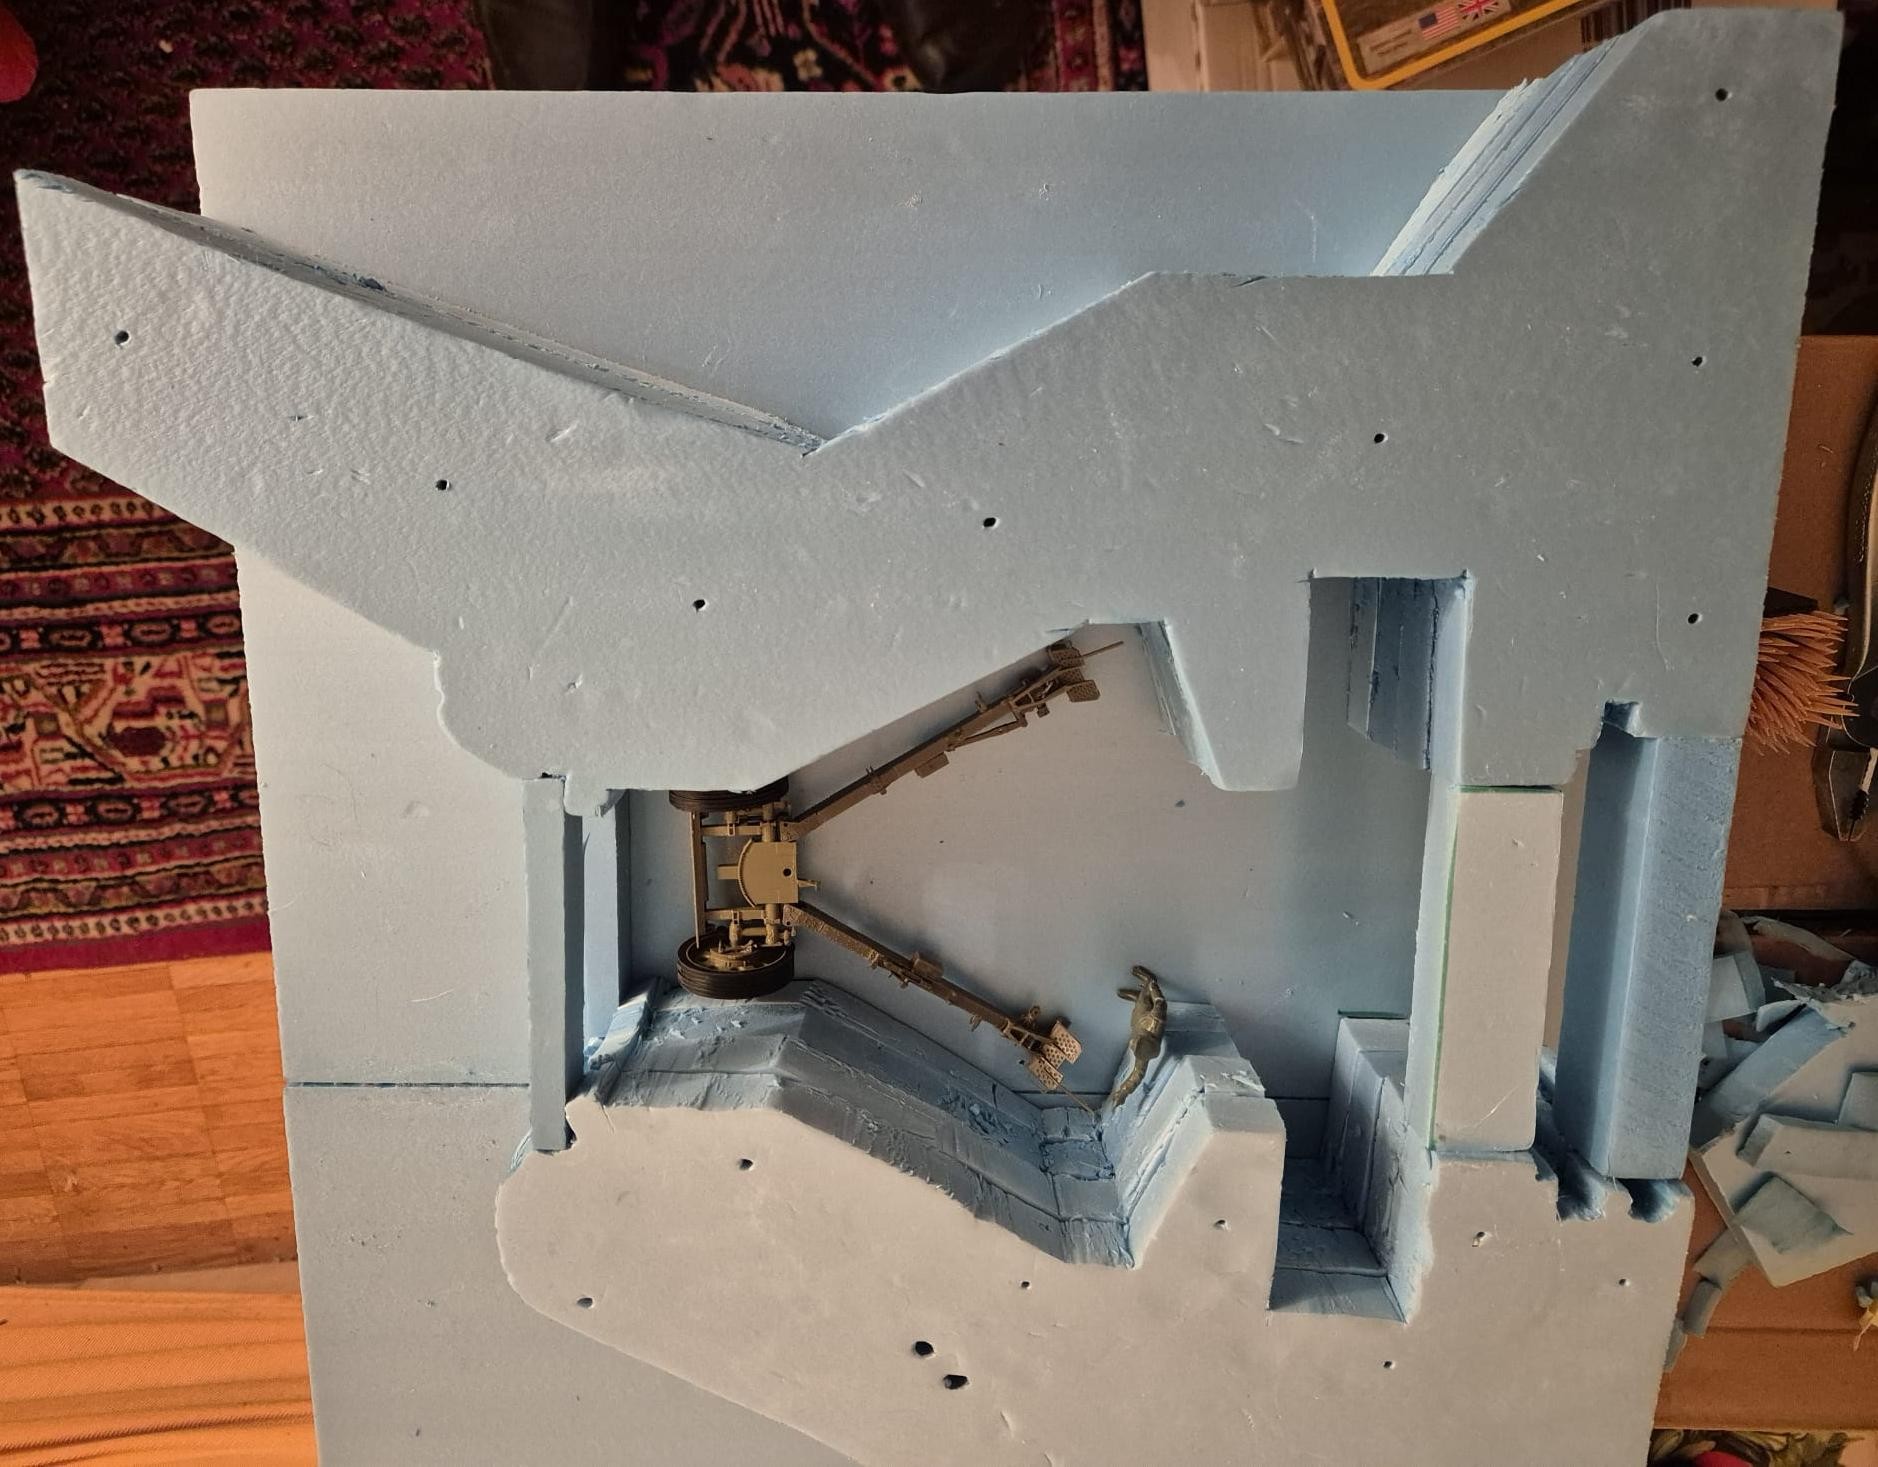
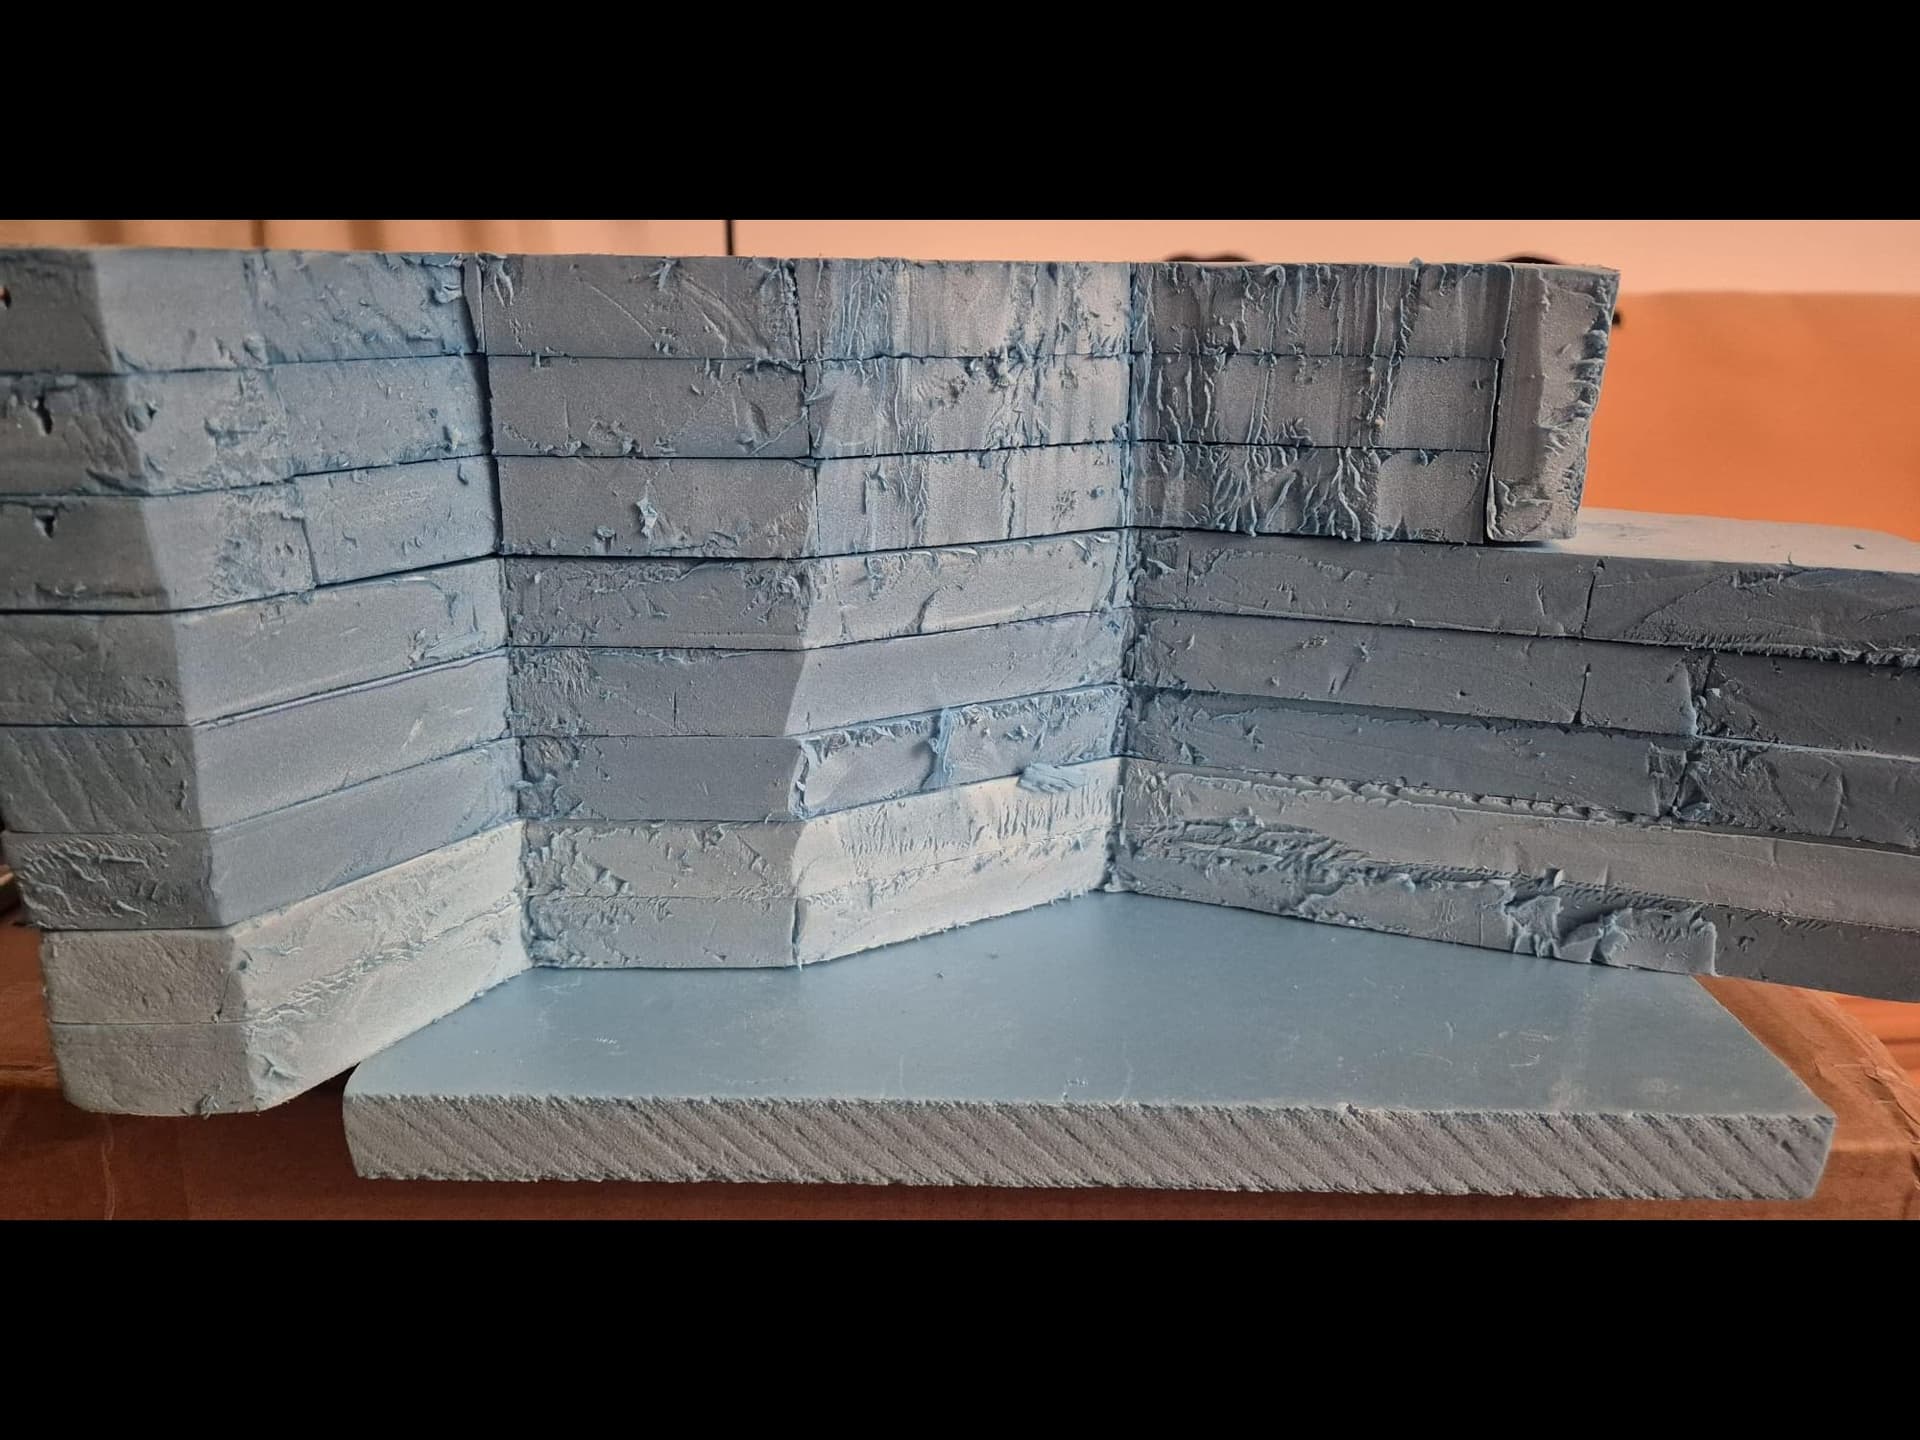
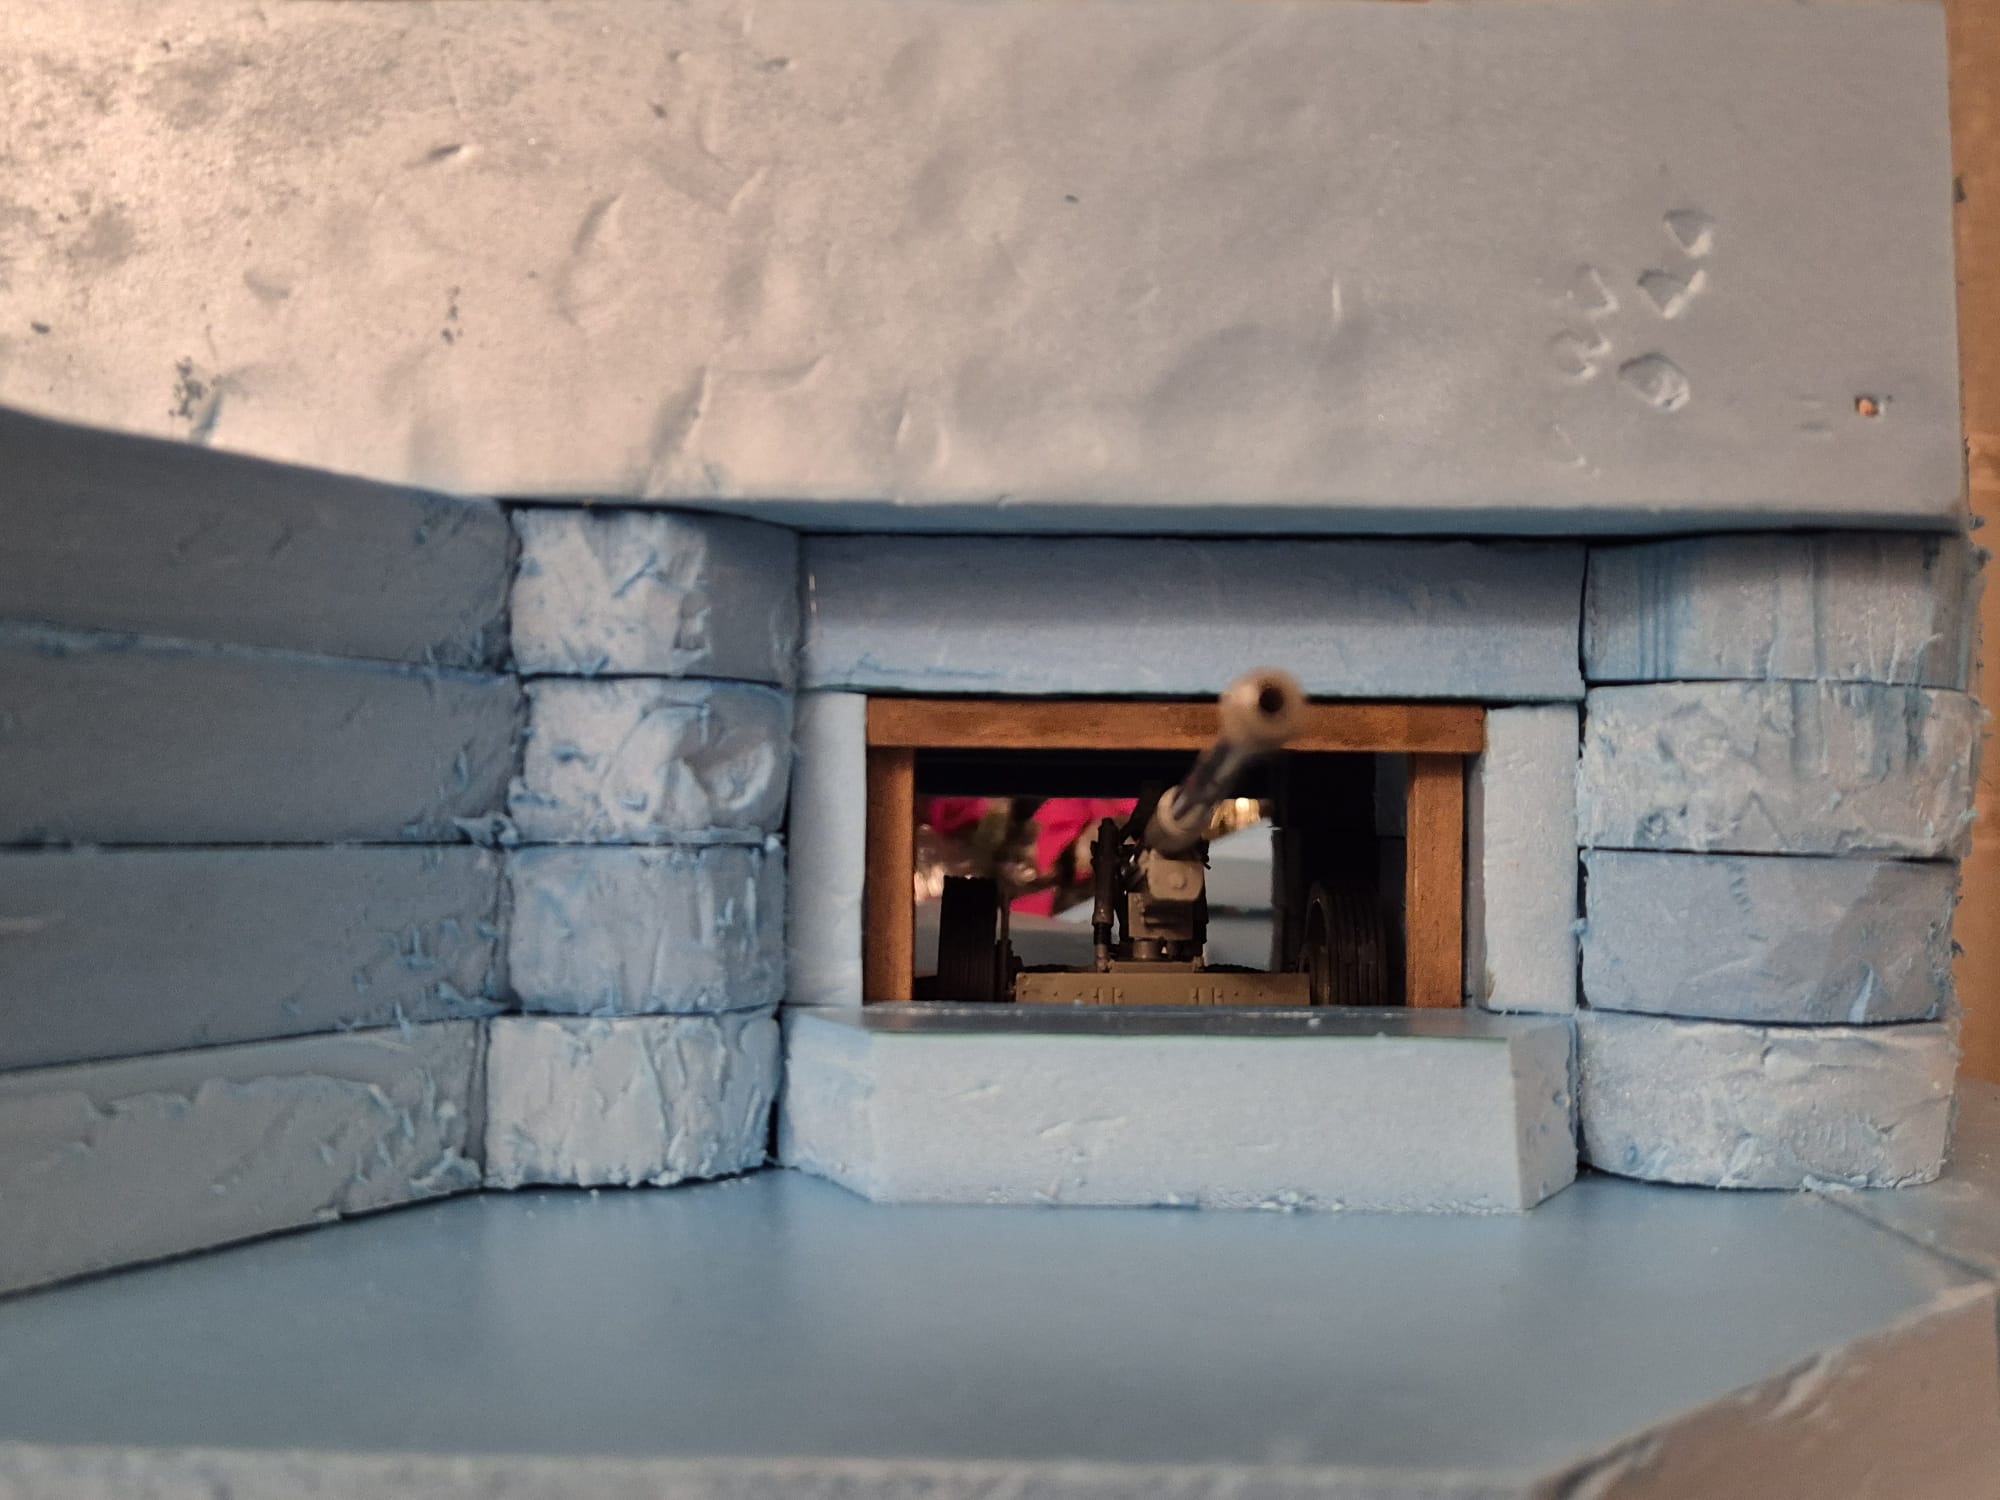
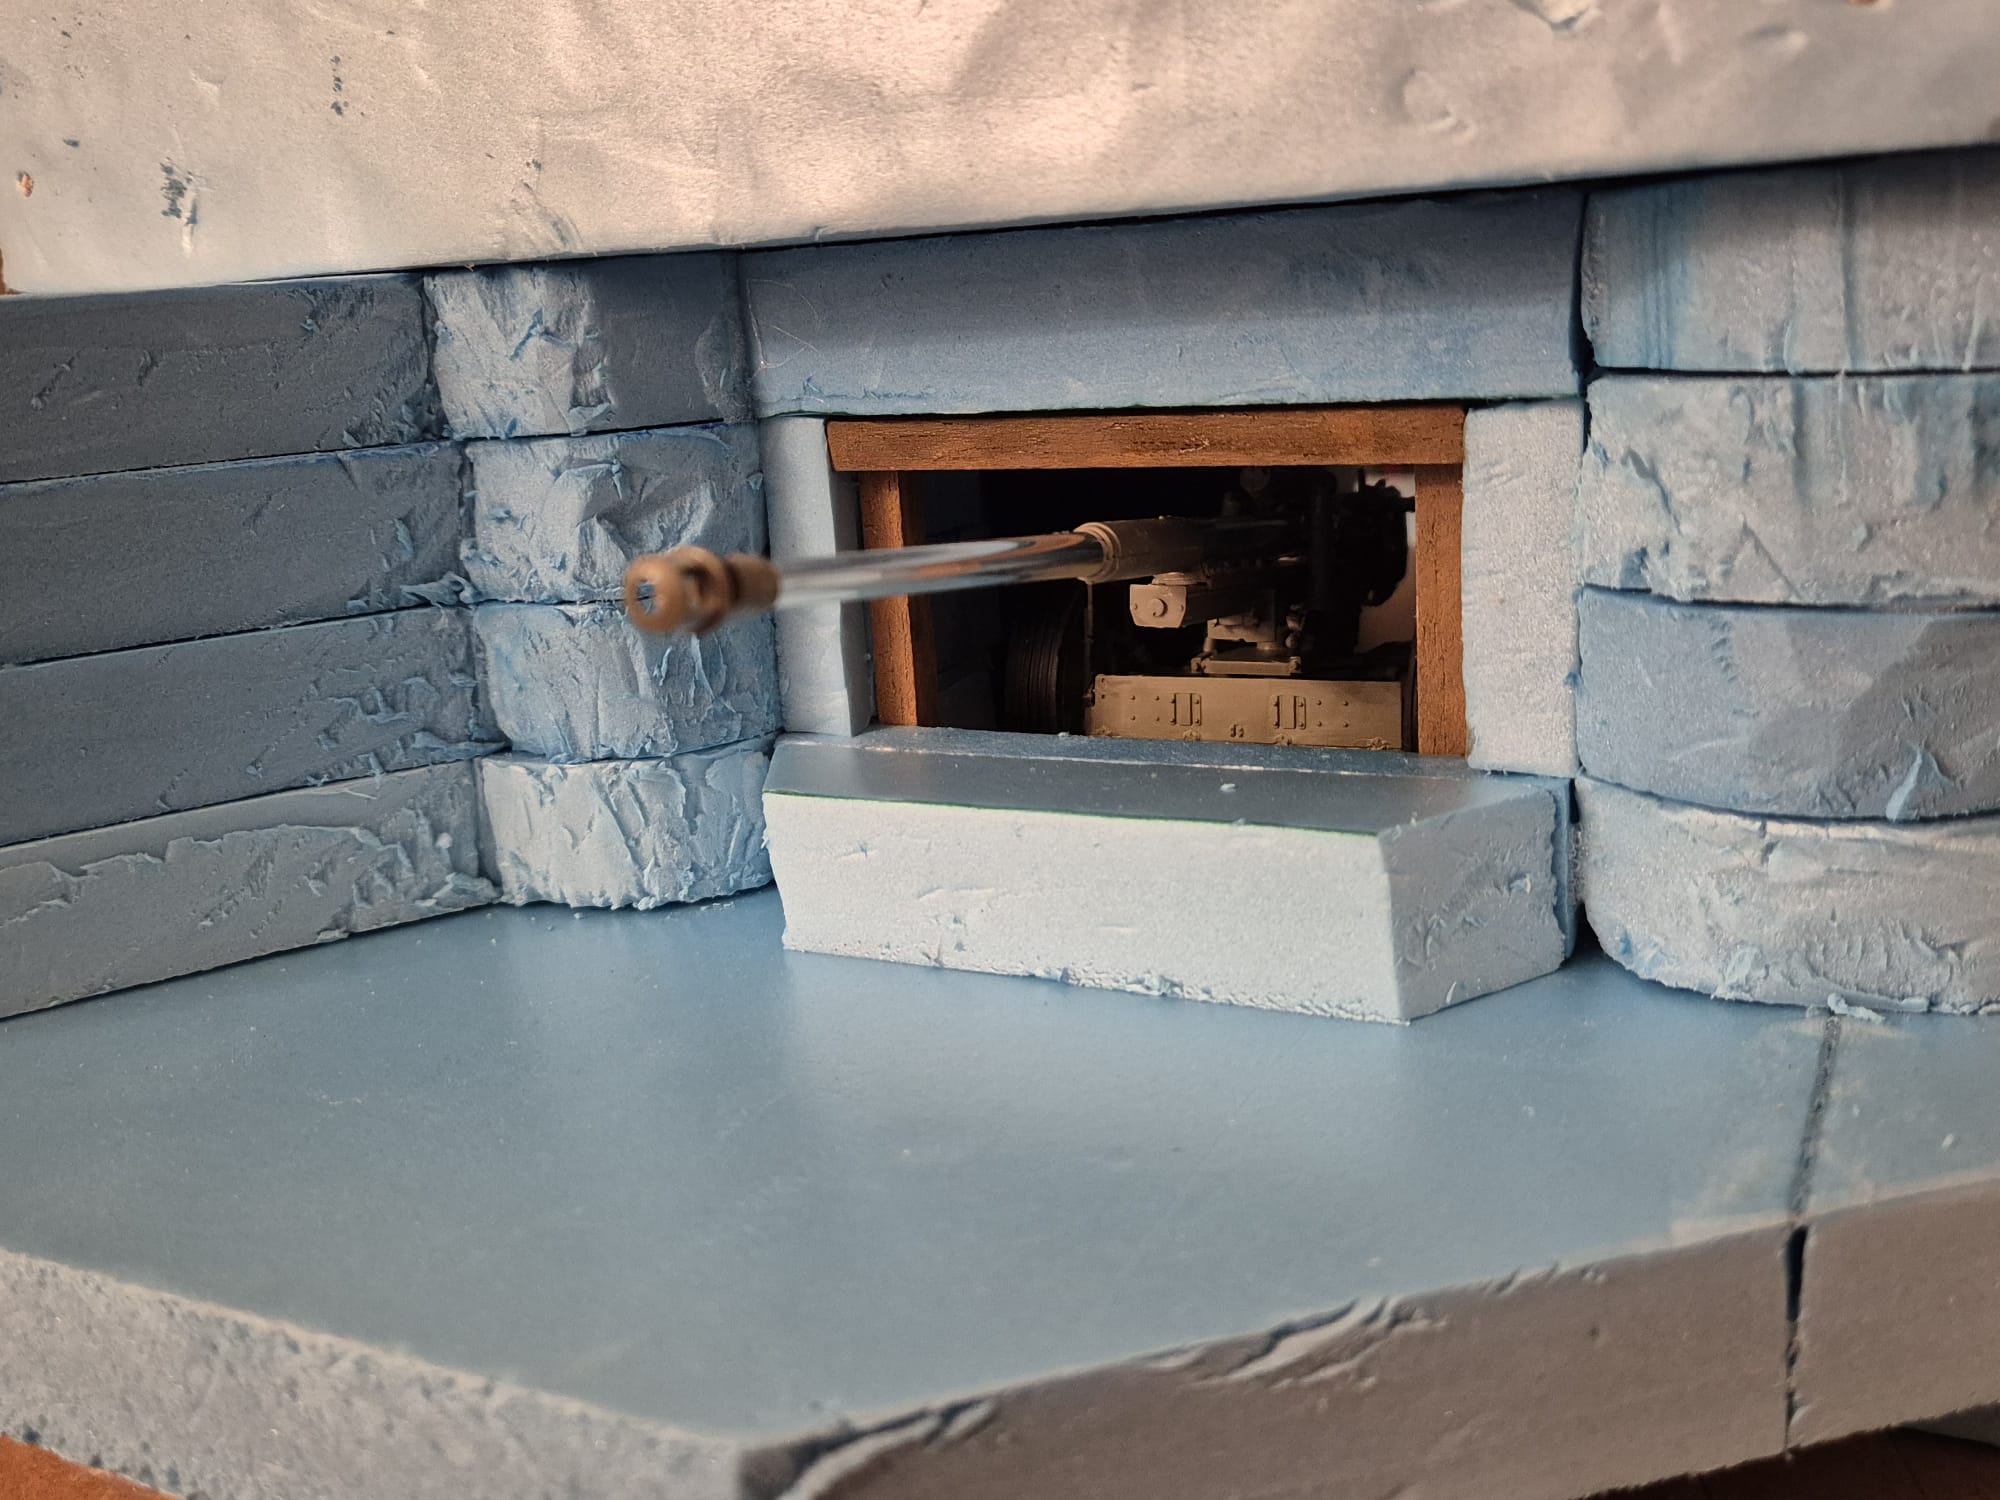
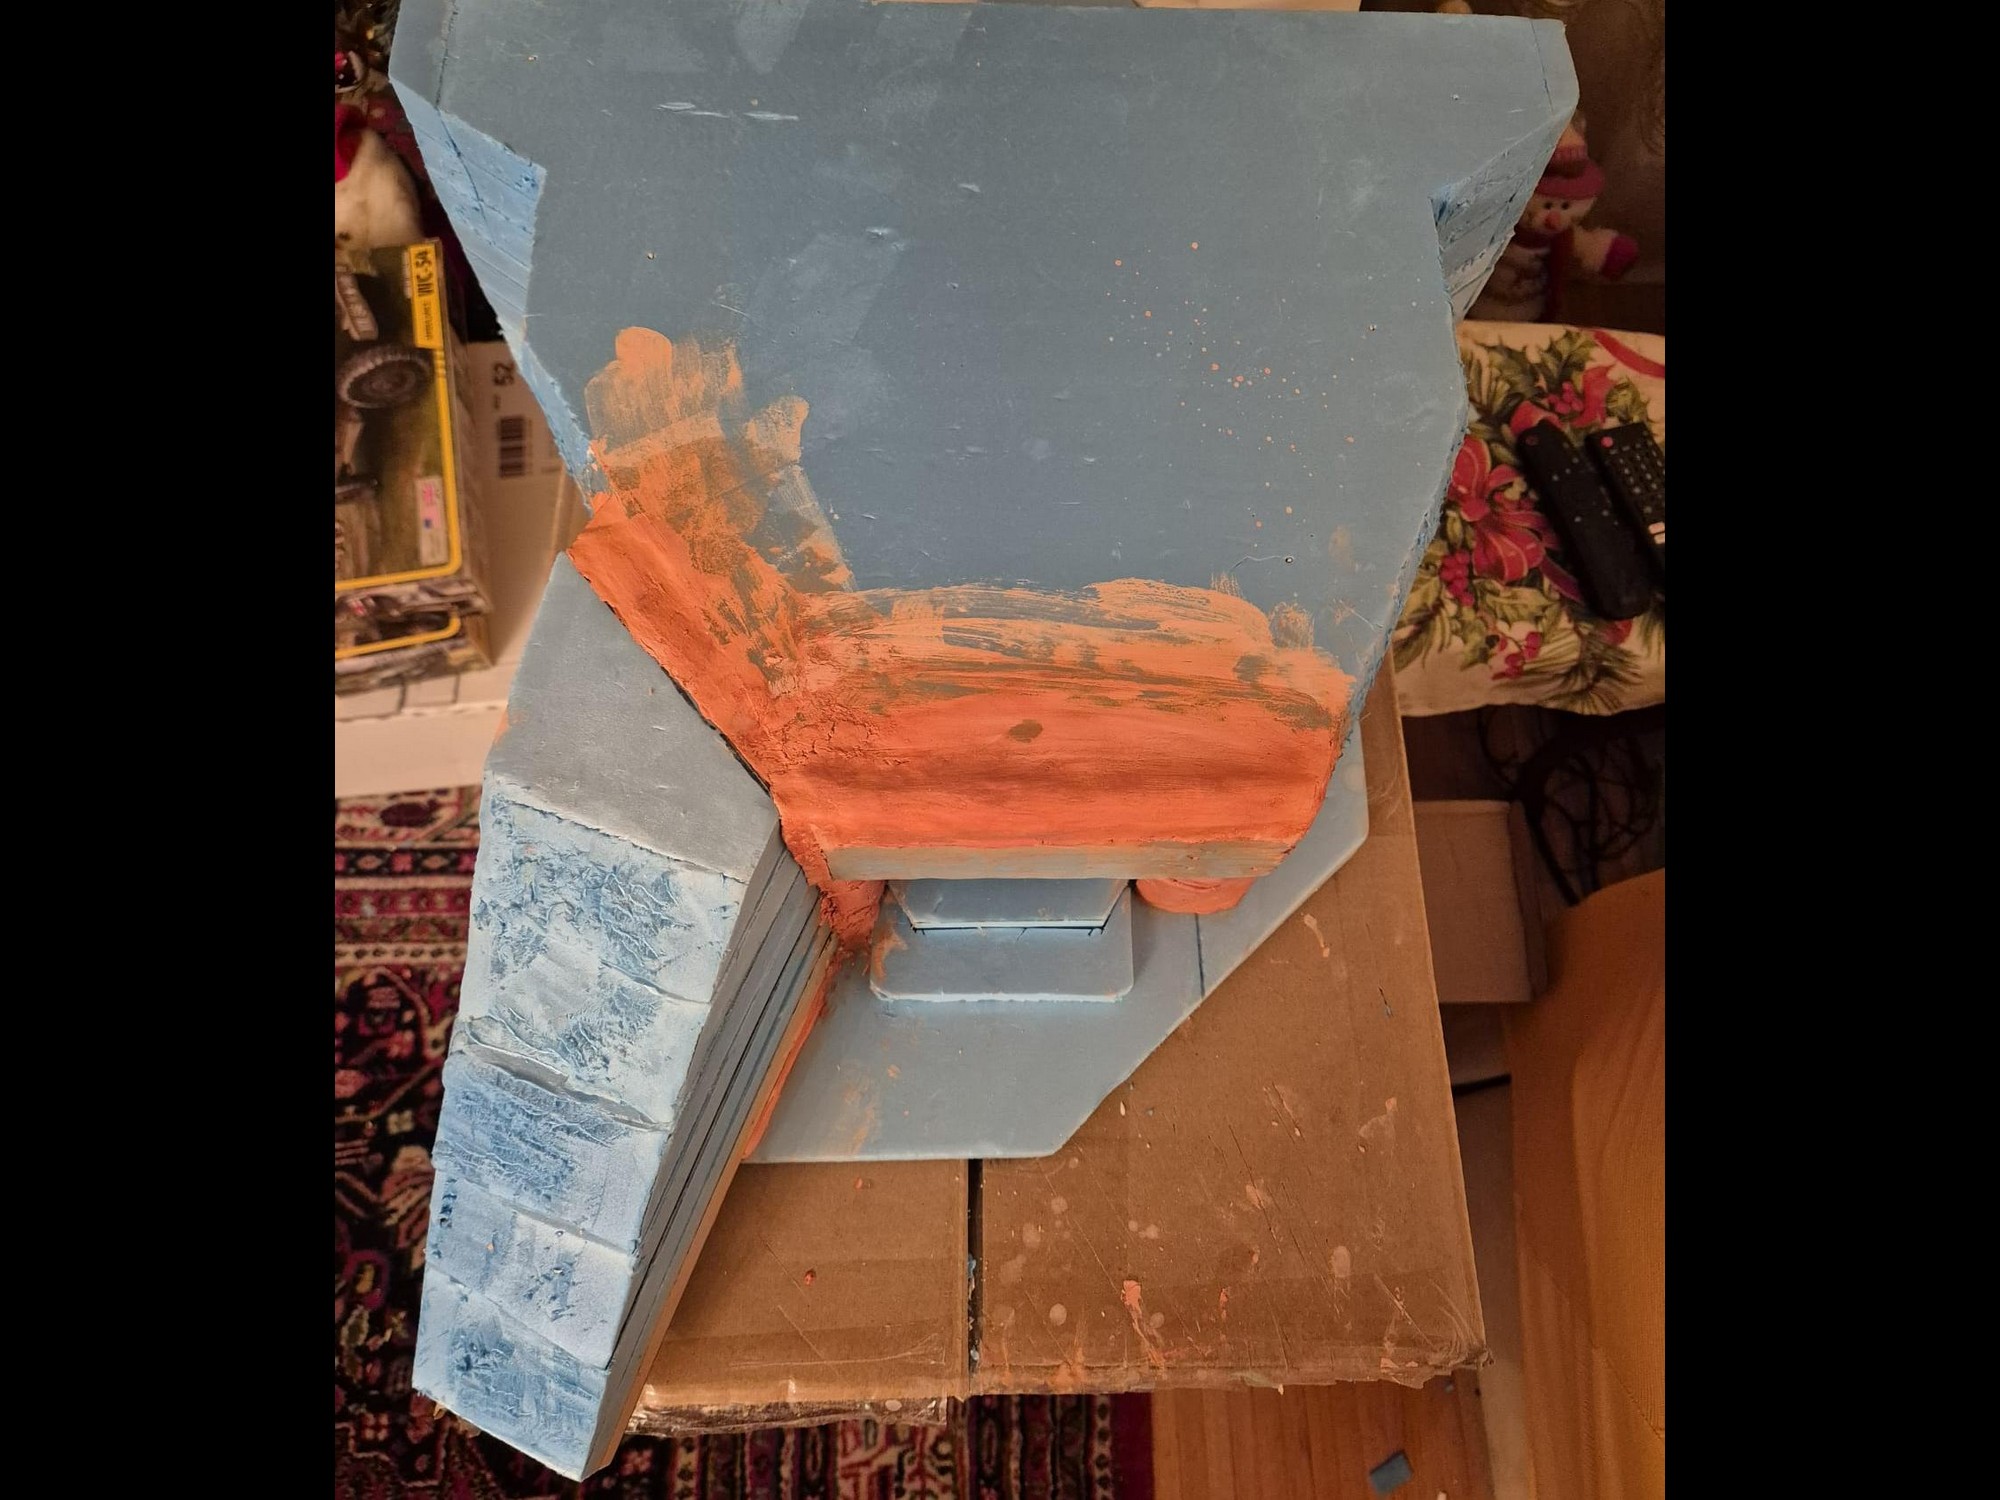
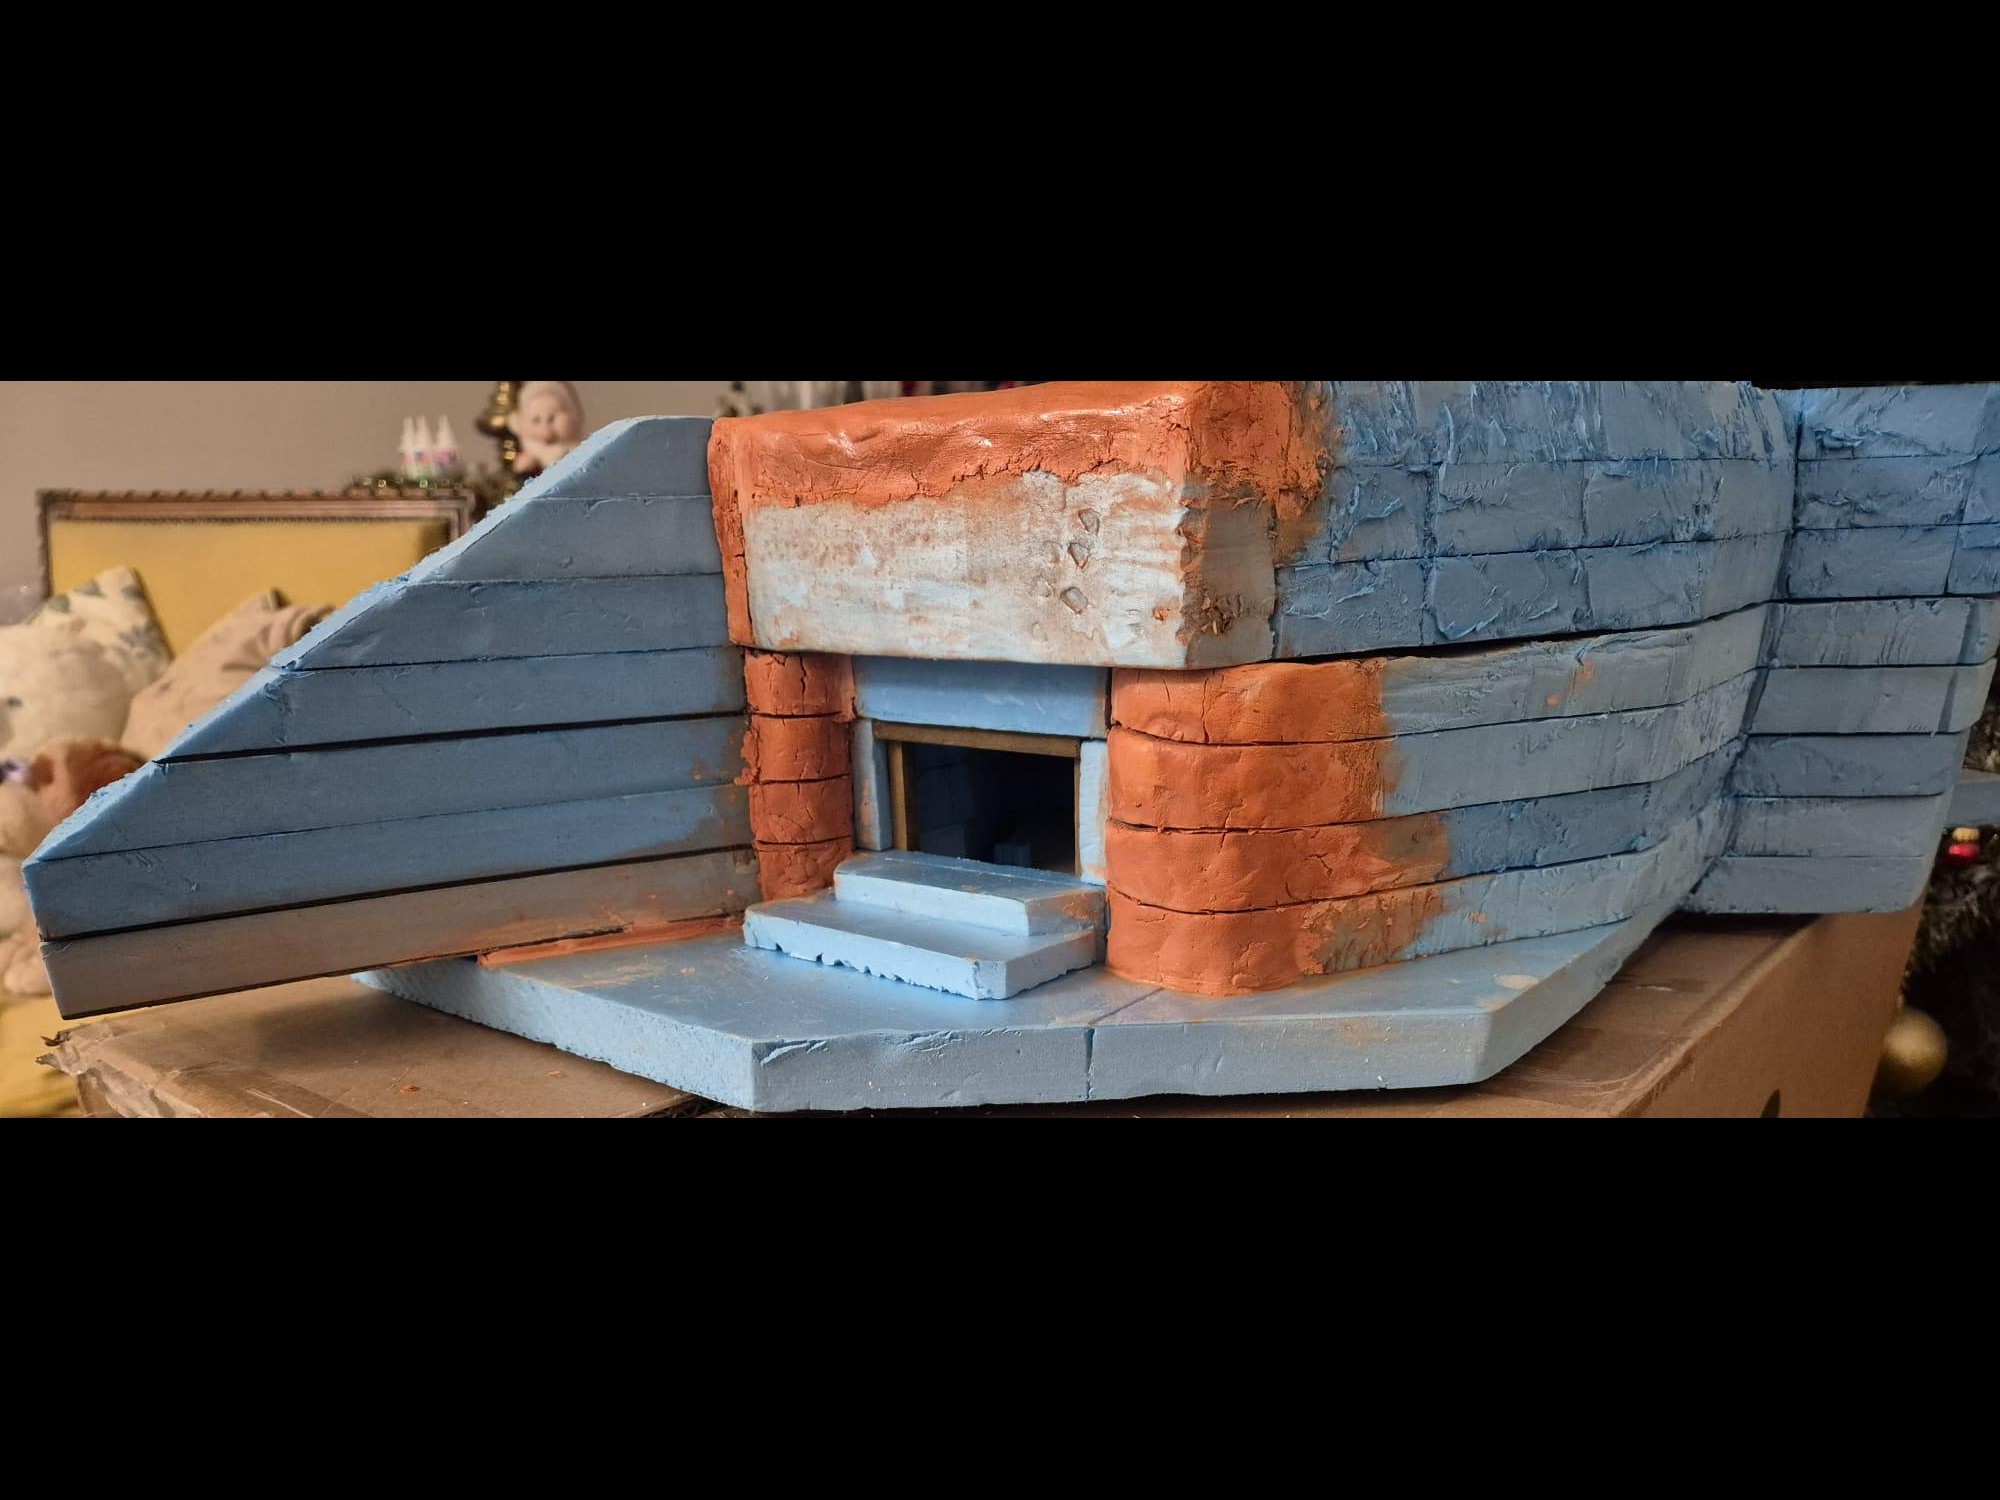
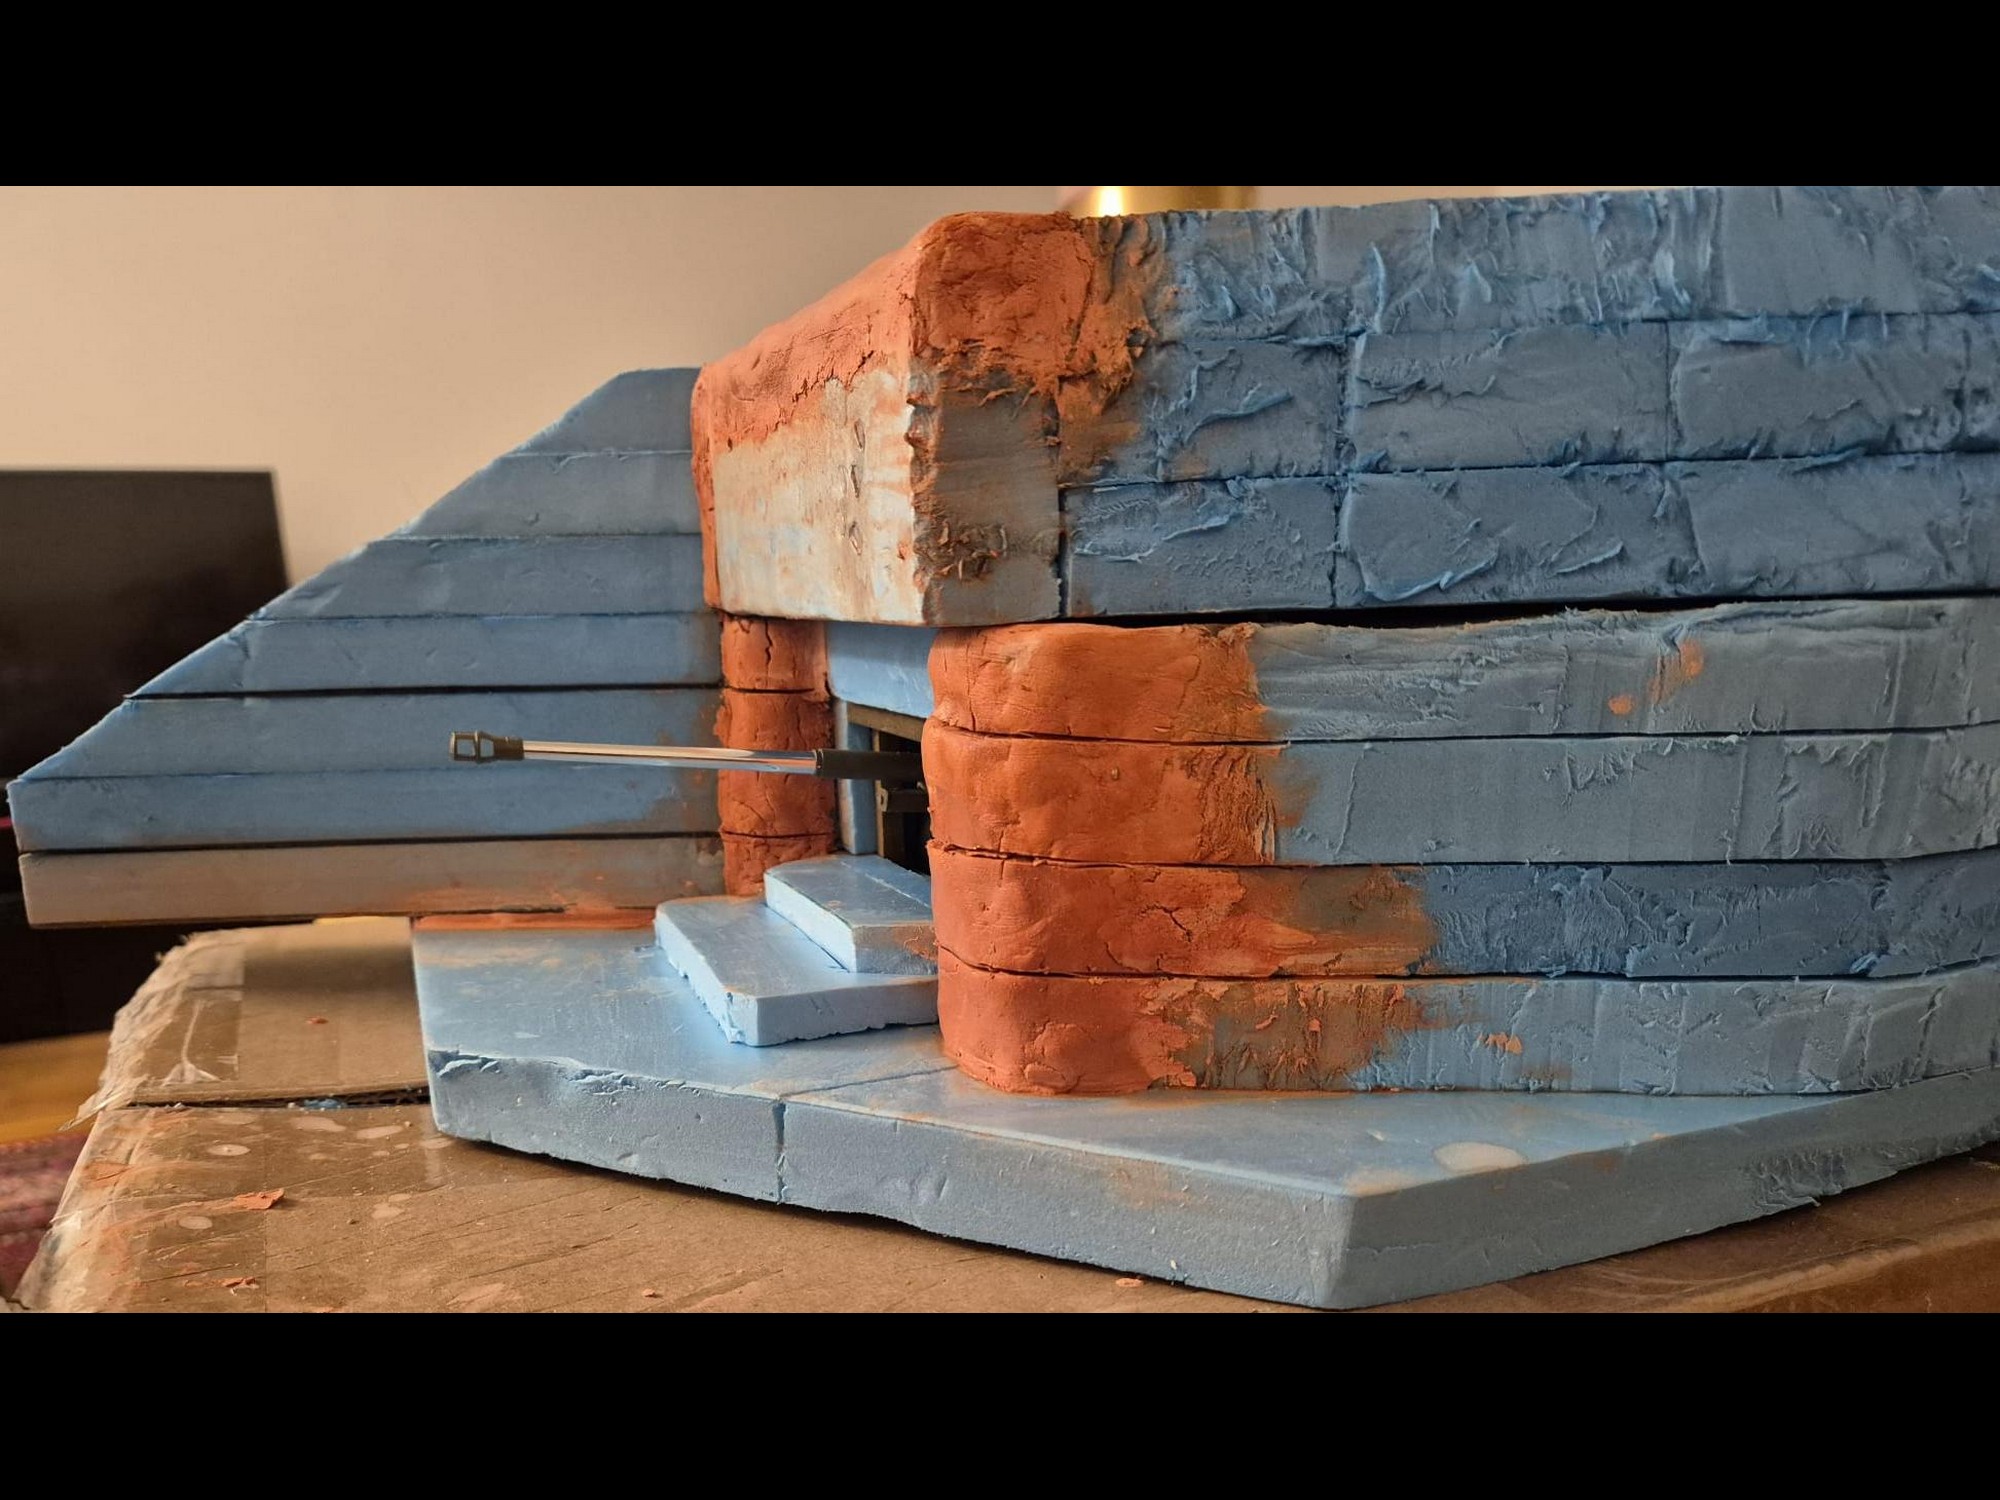
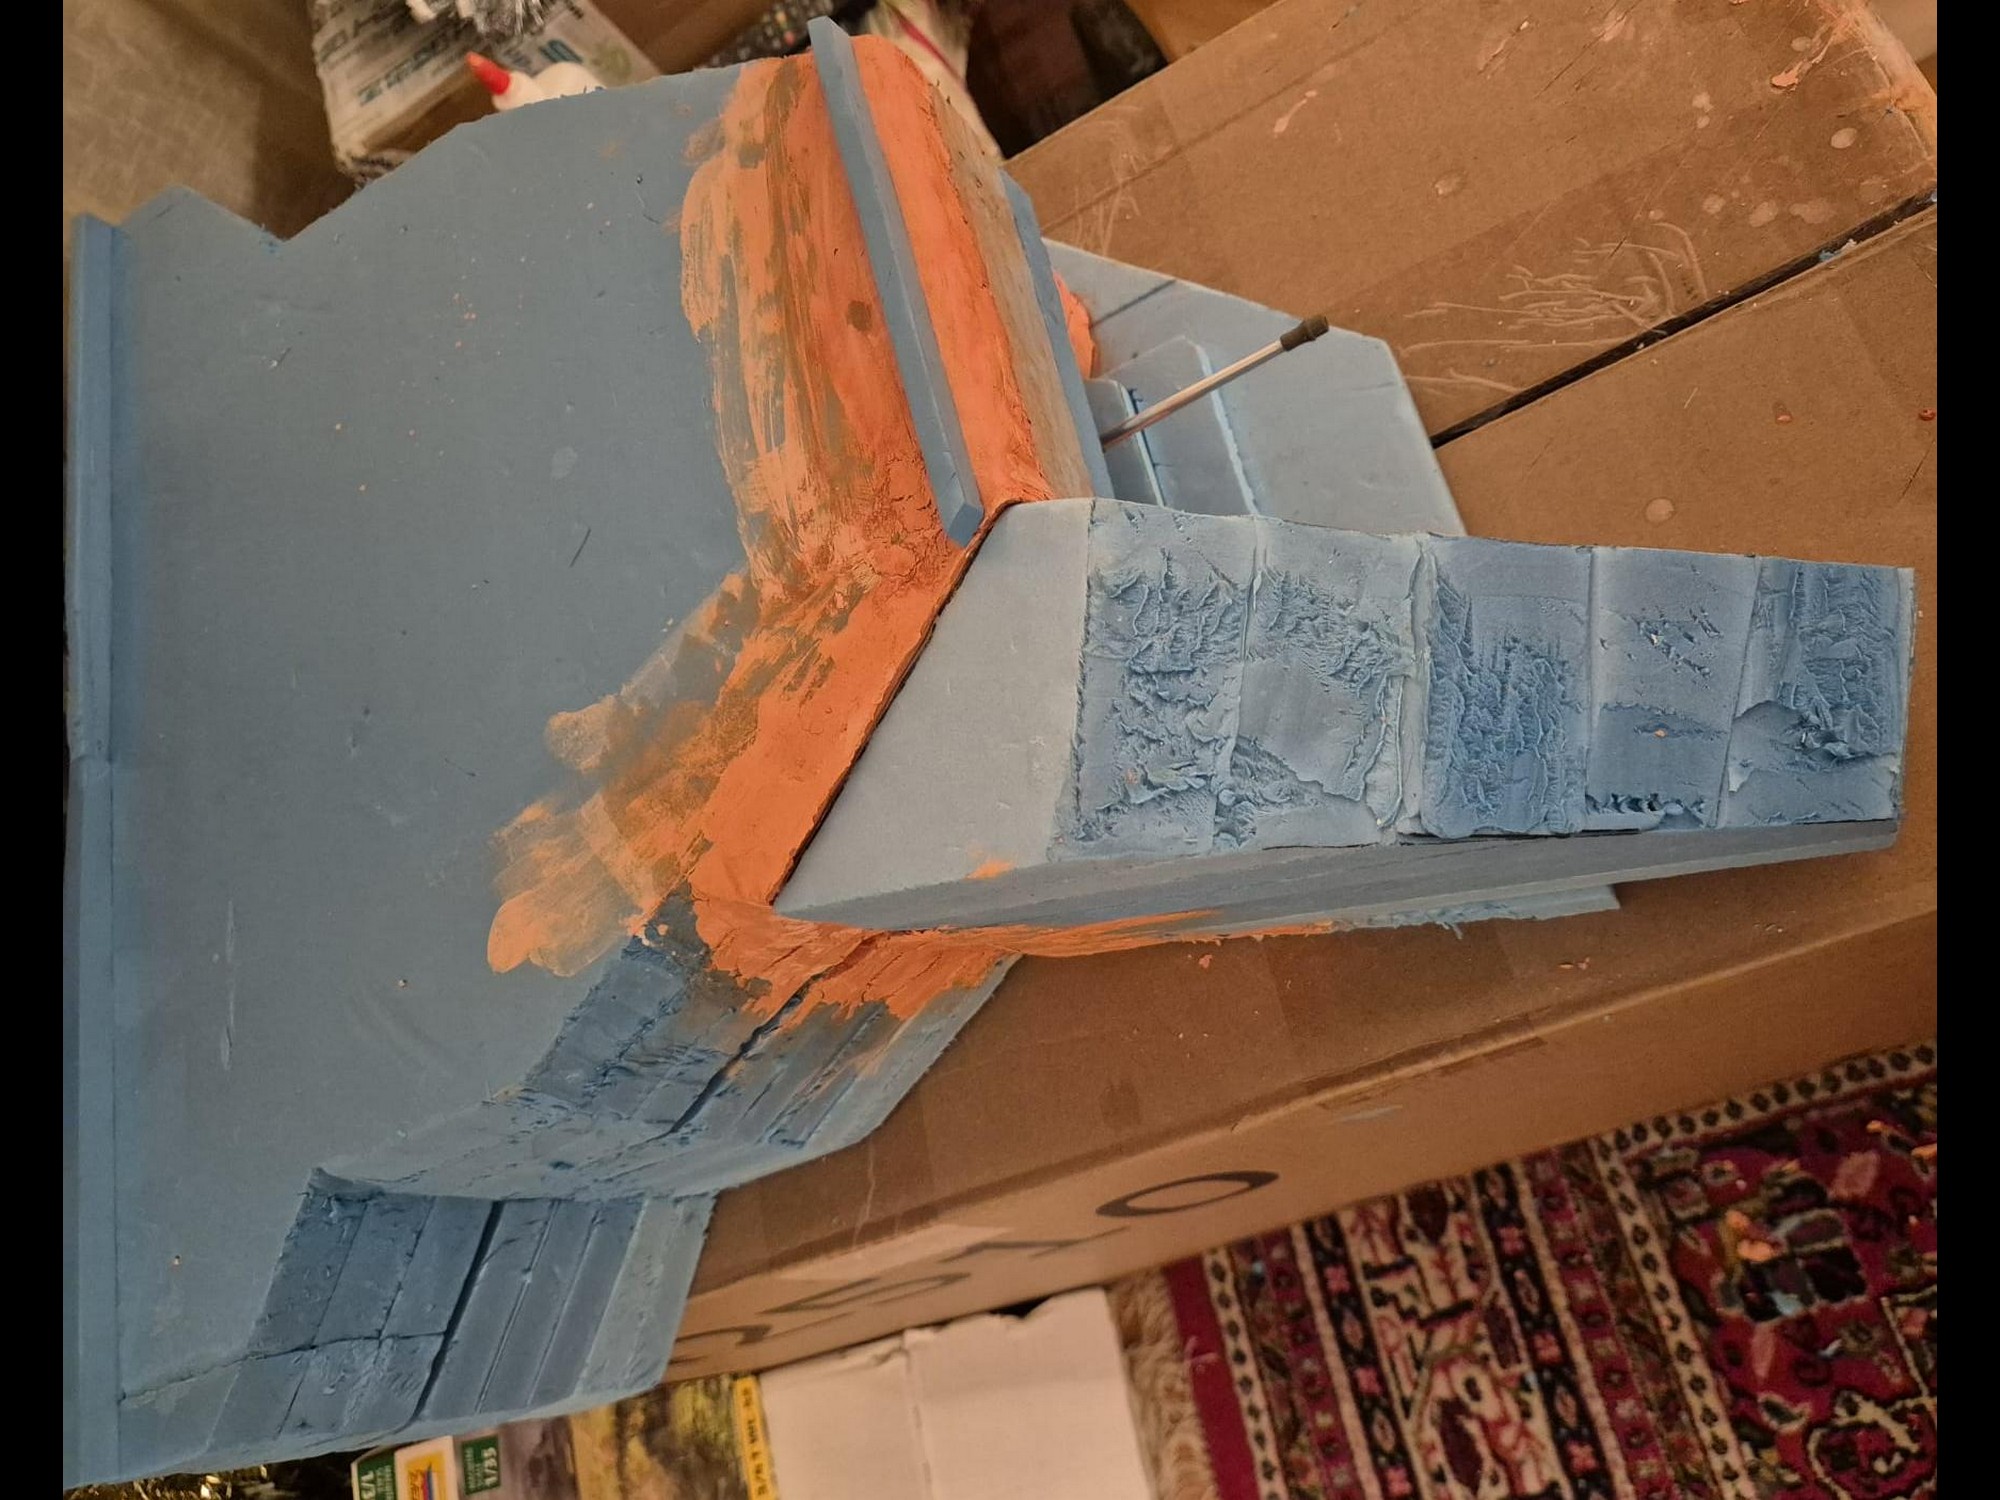
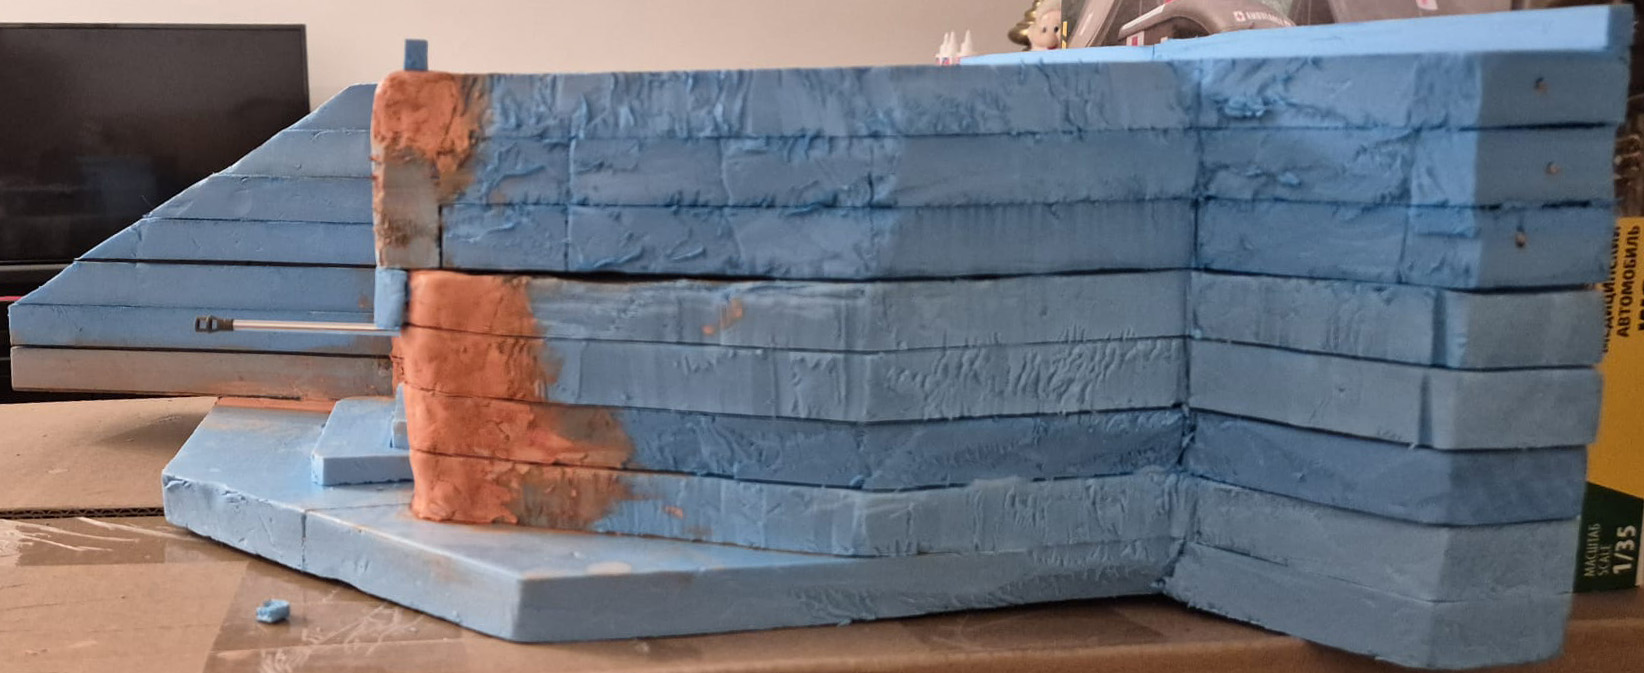
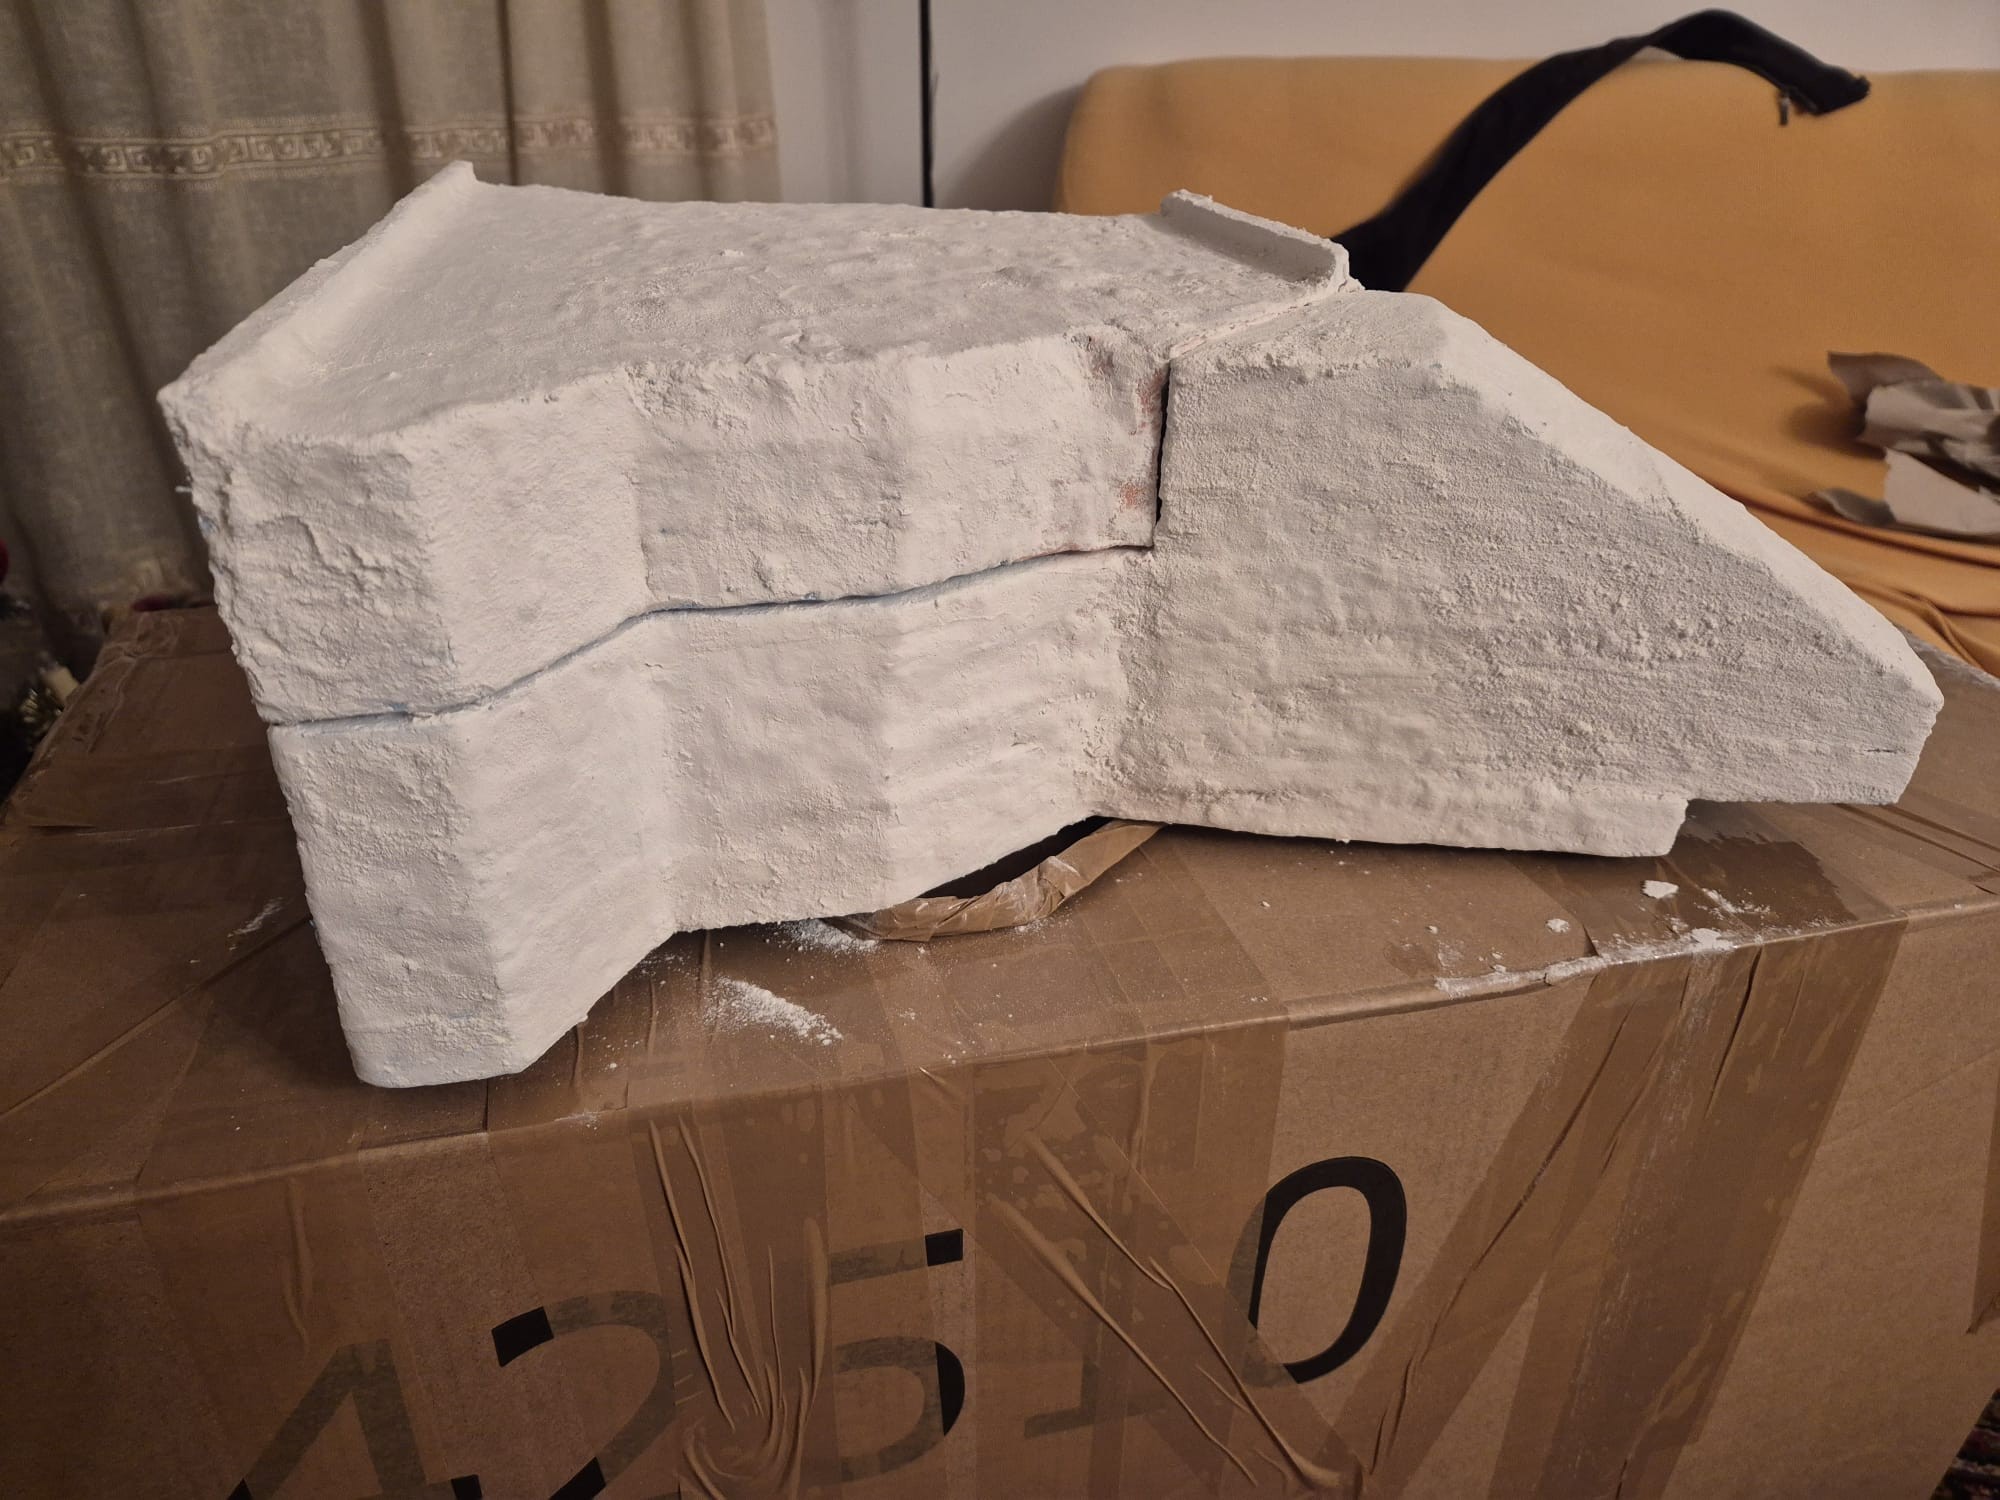
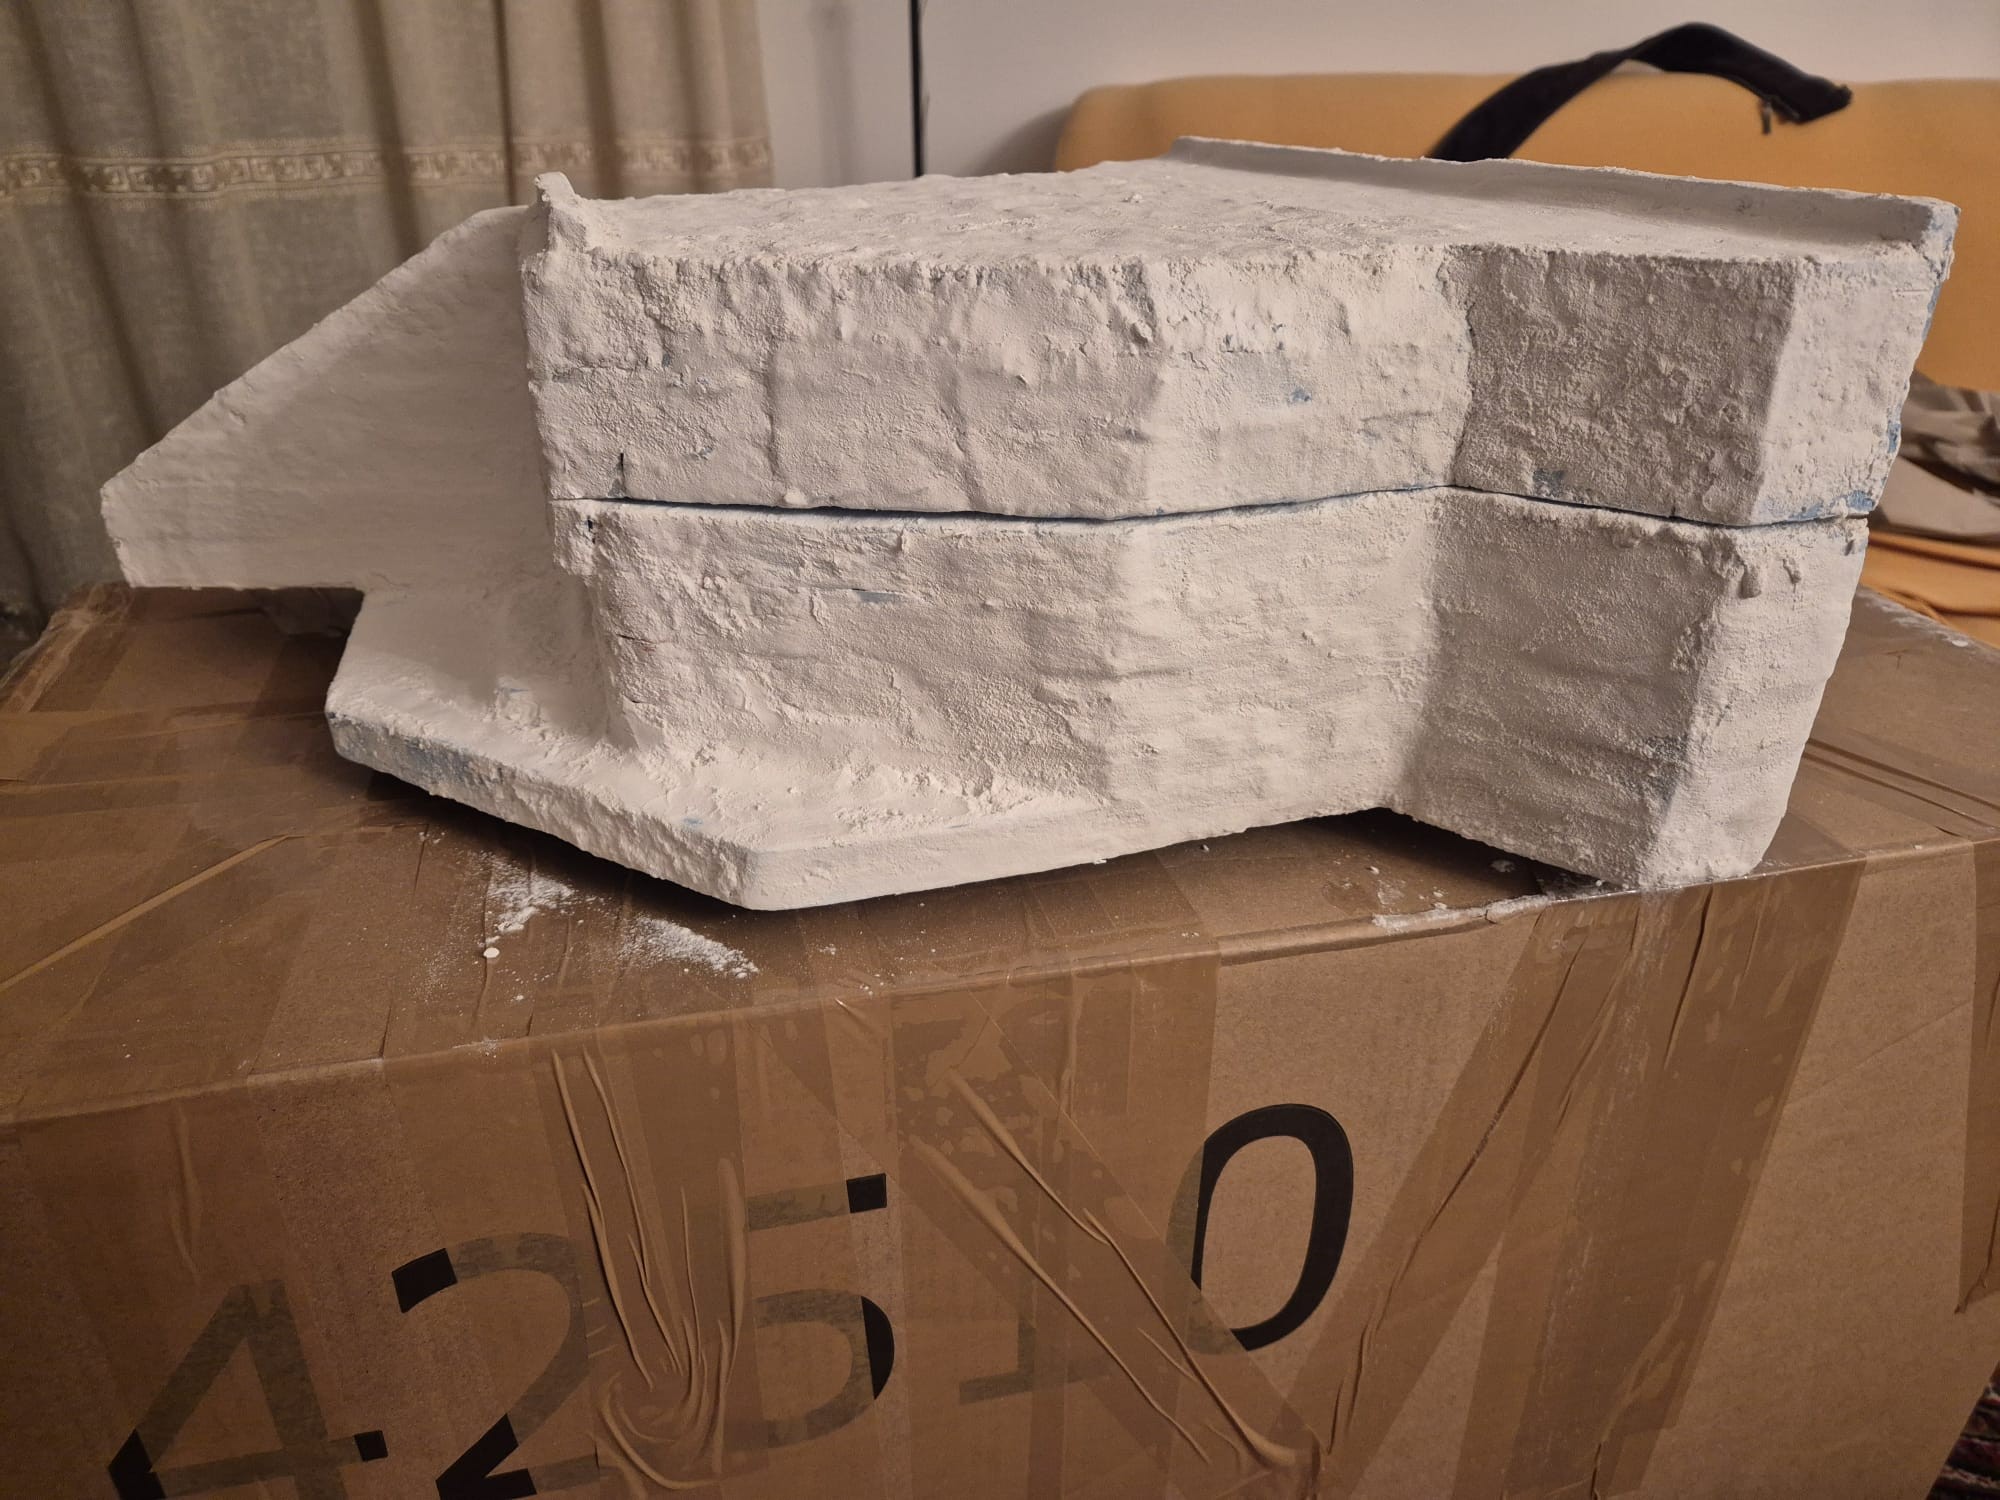
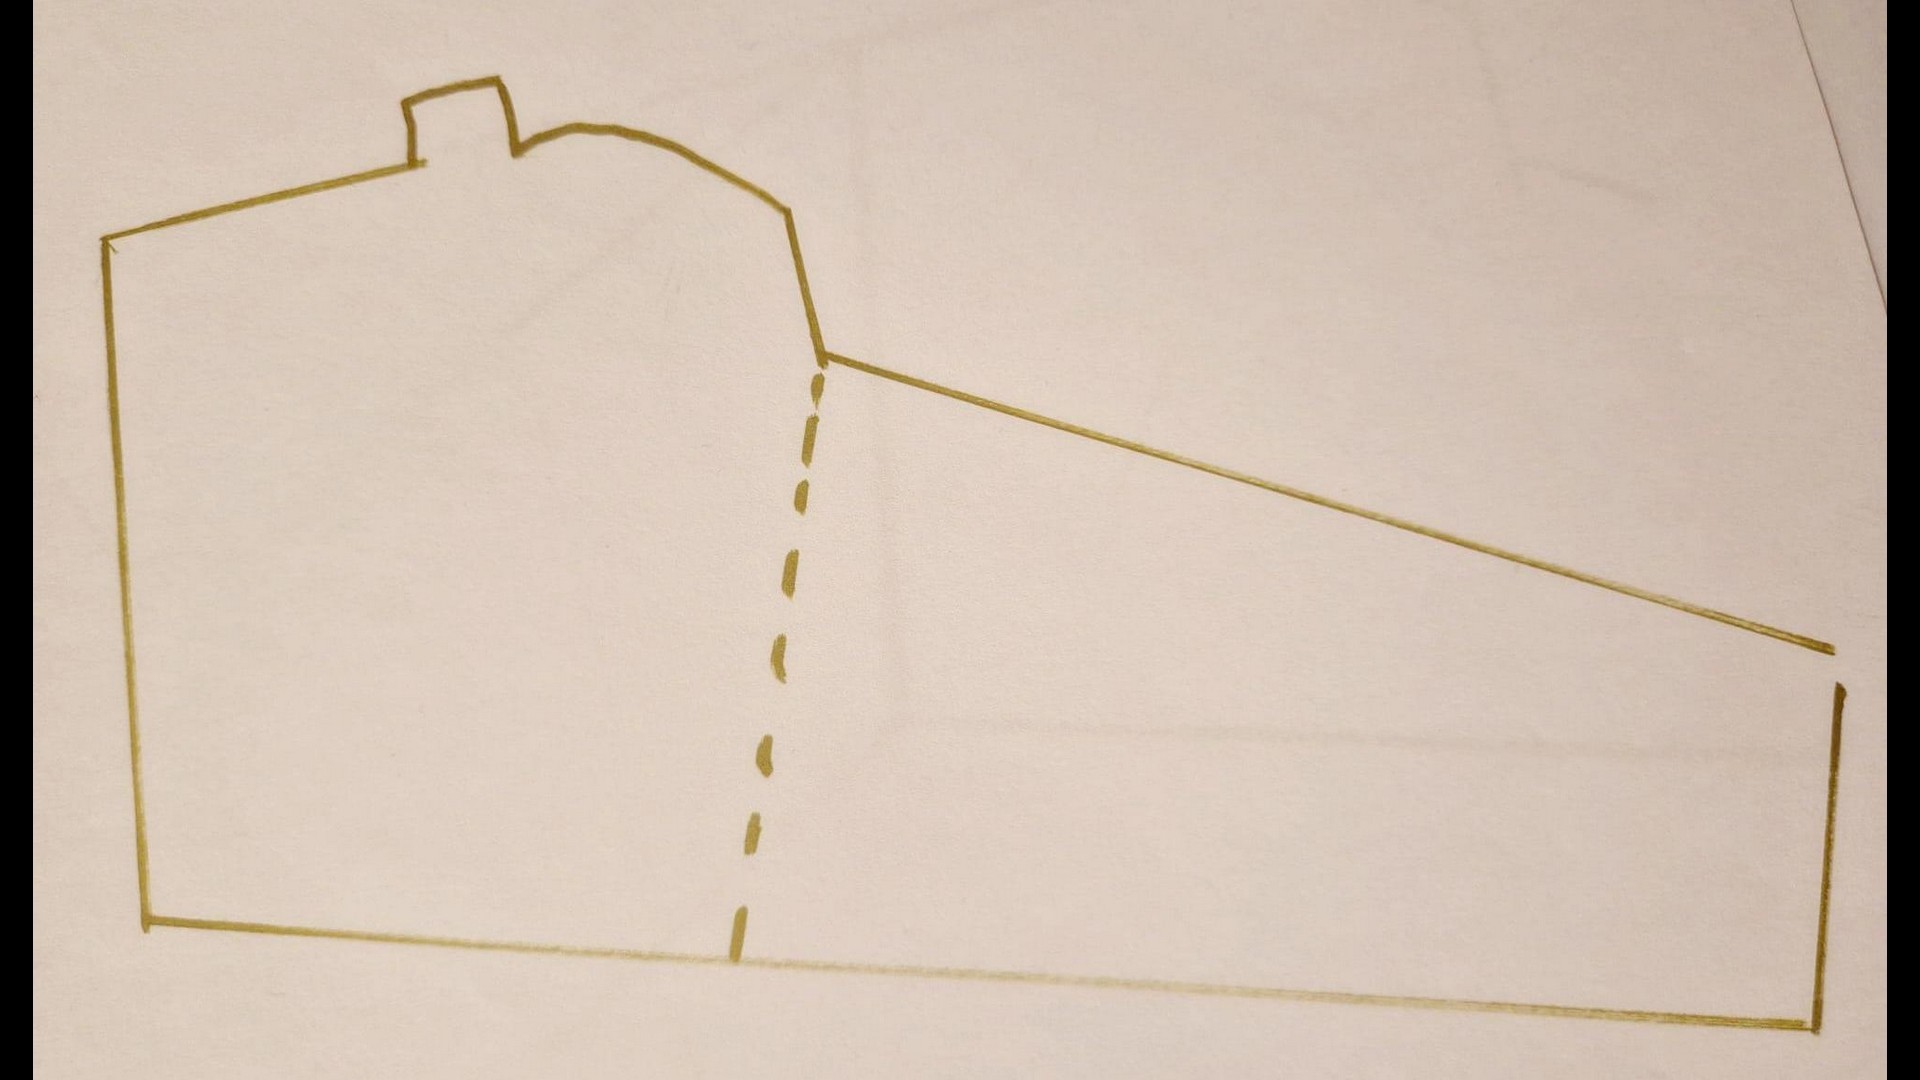
The side view of the finished bunker
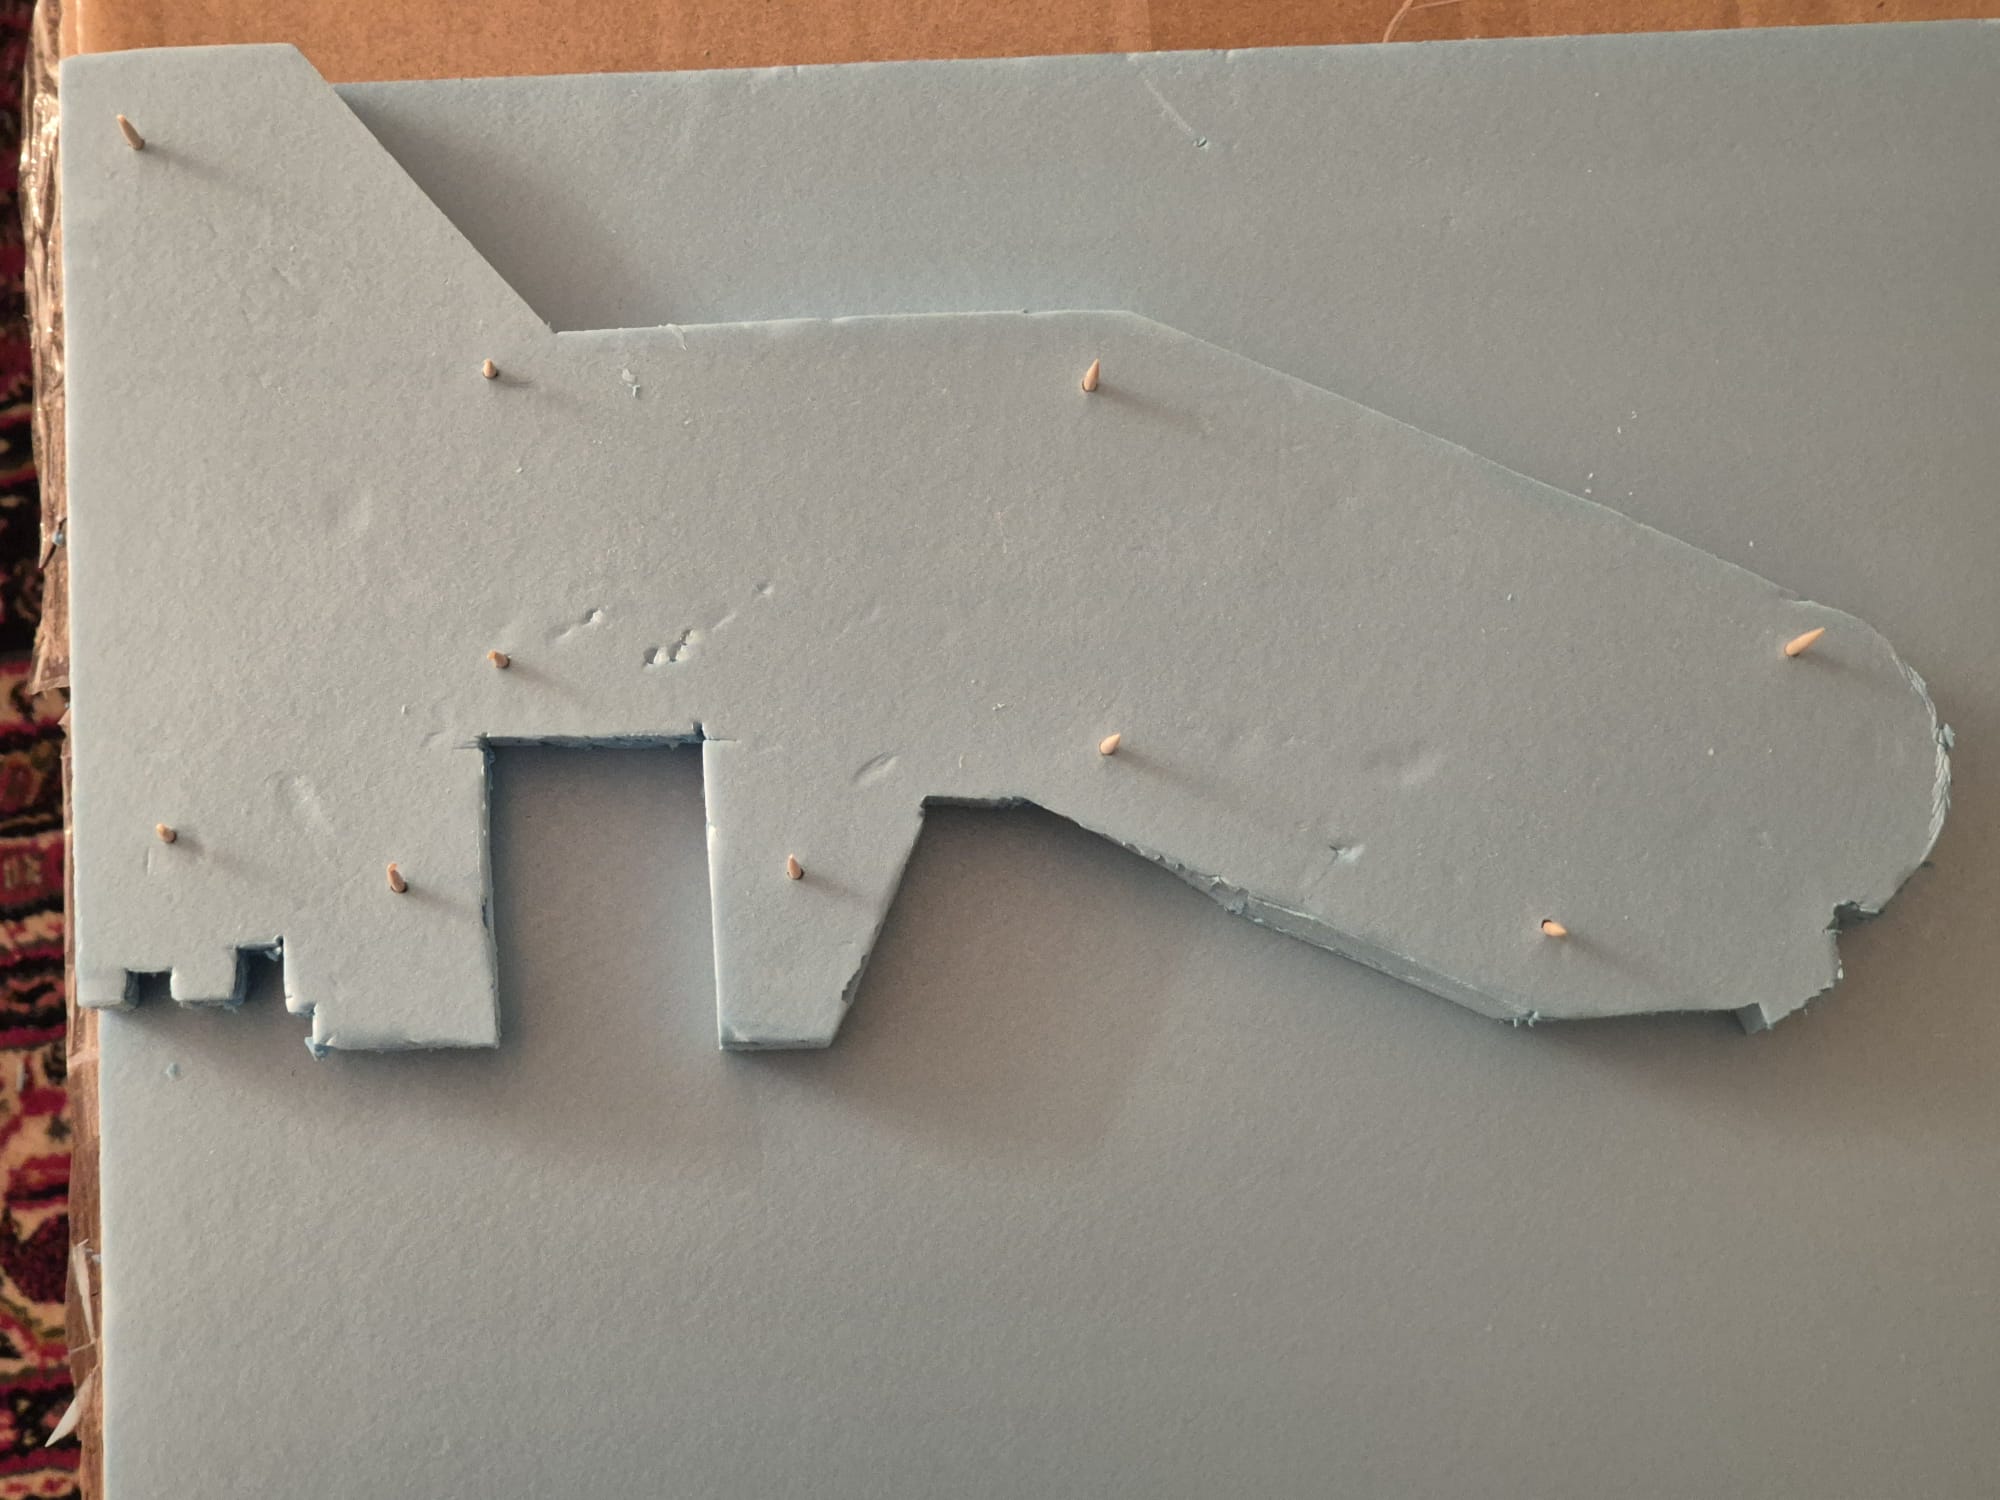
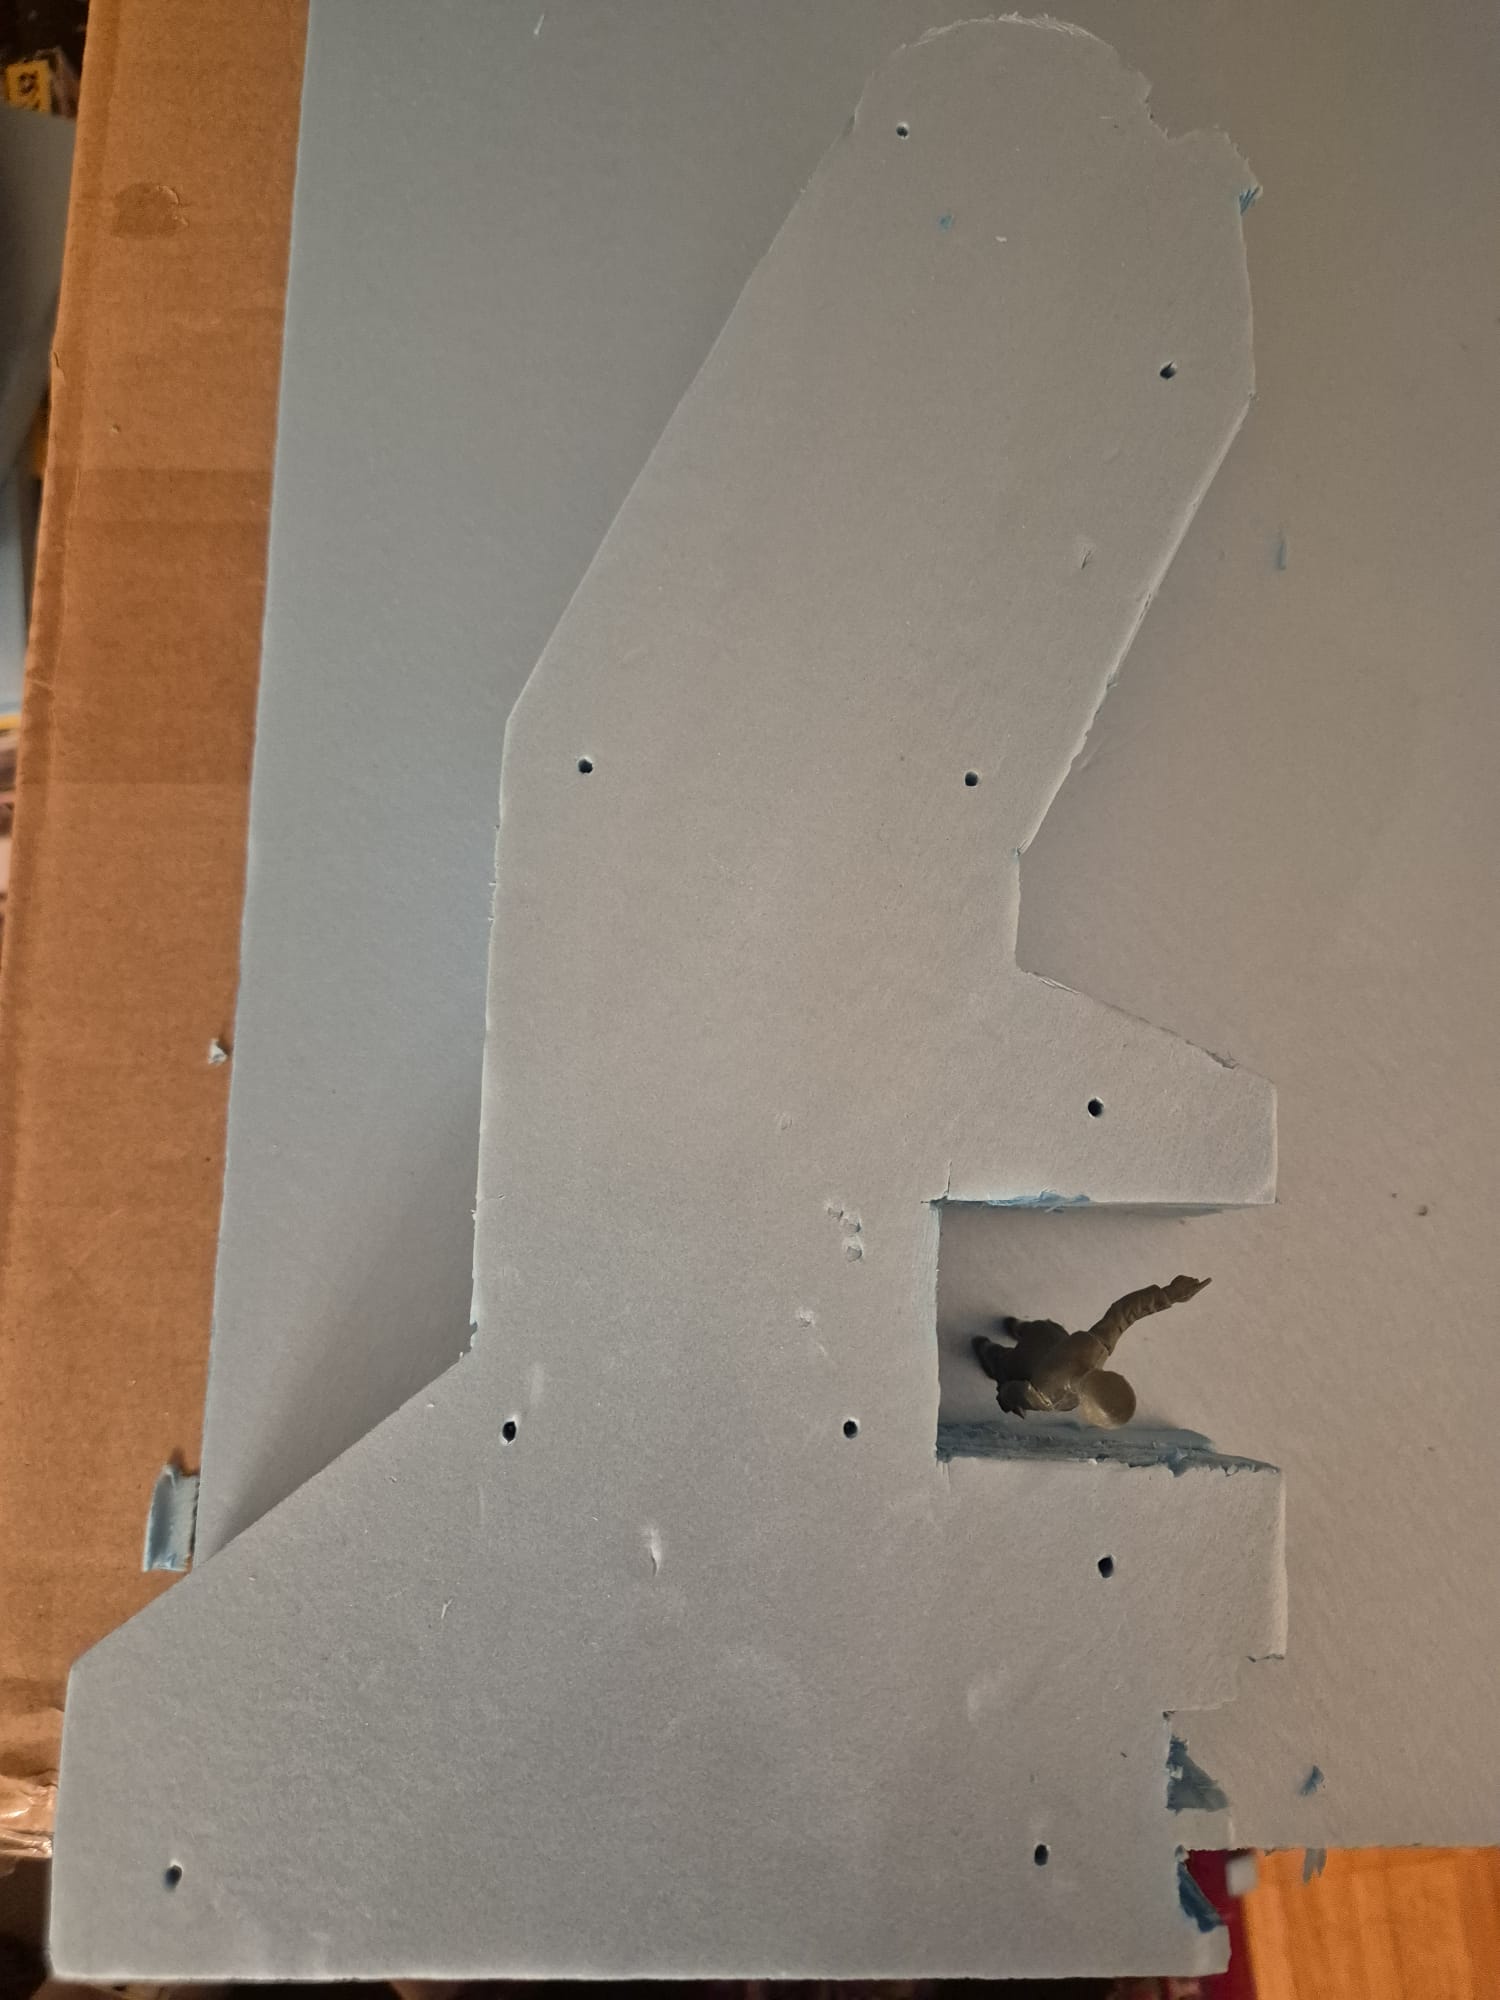
The Left Wall:
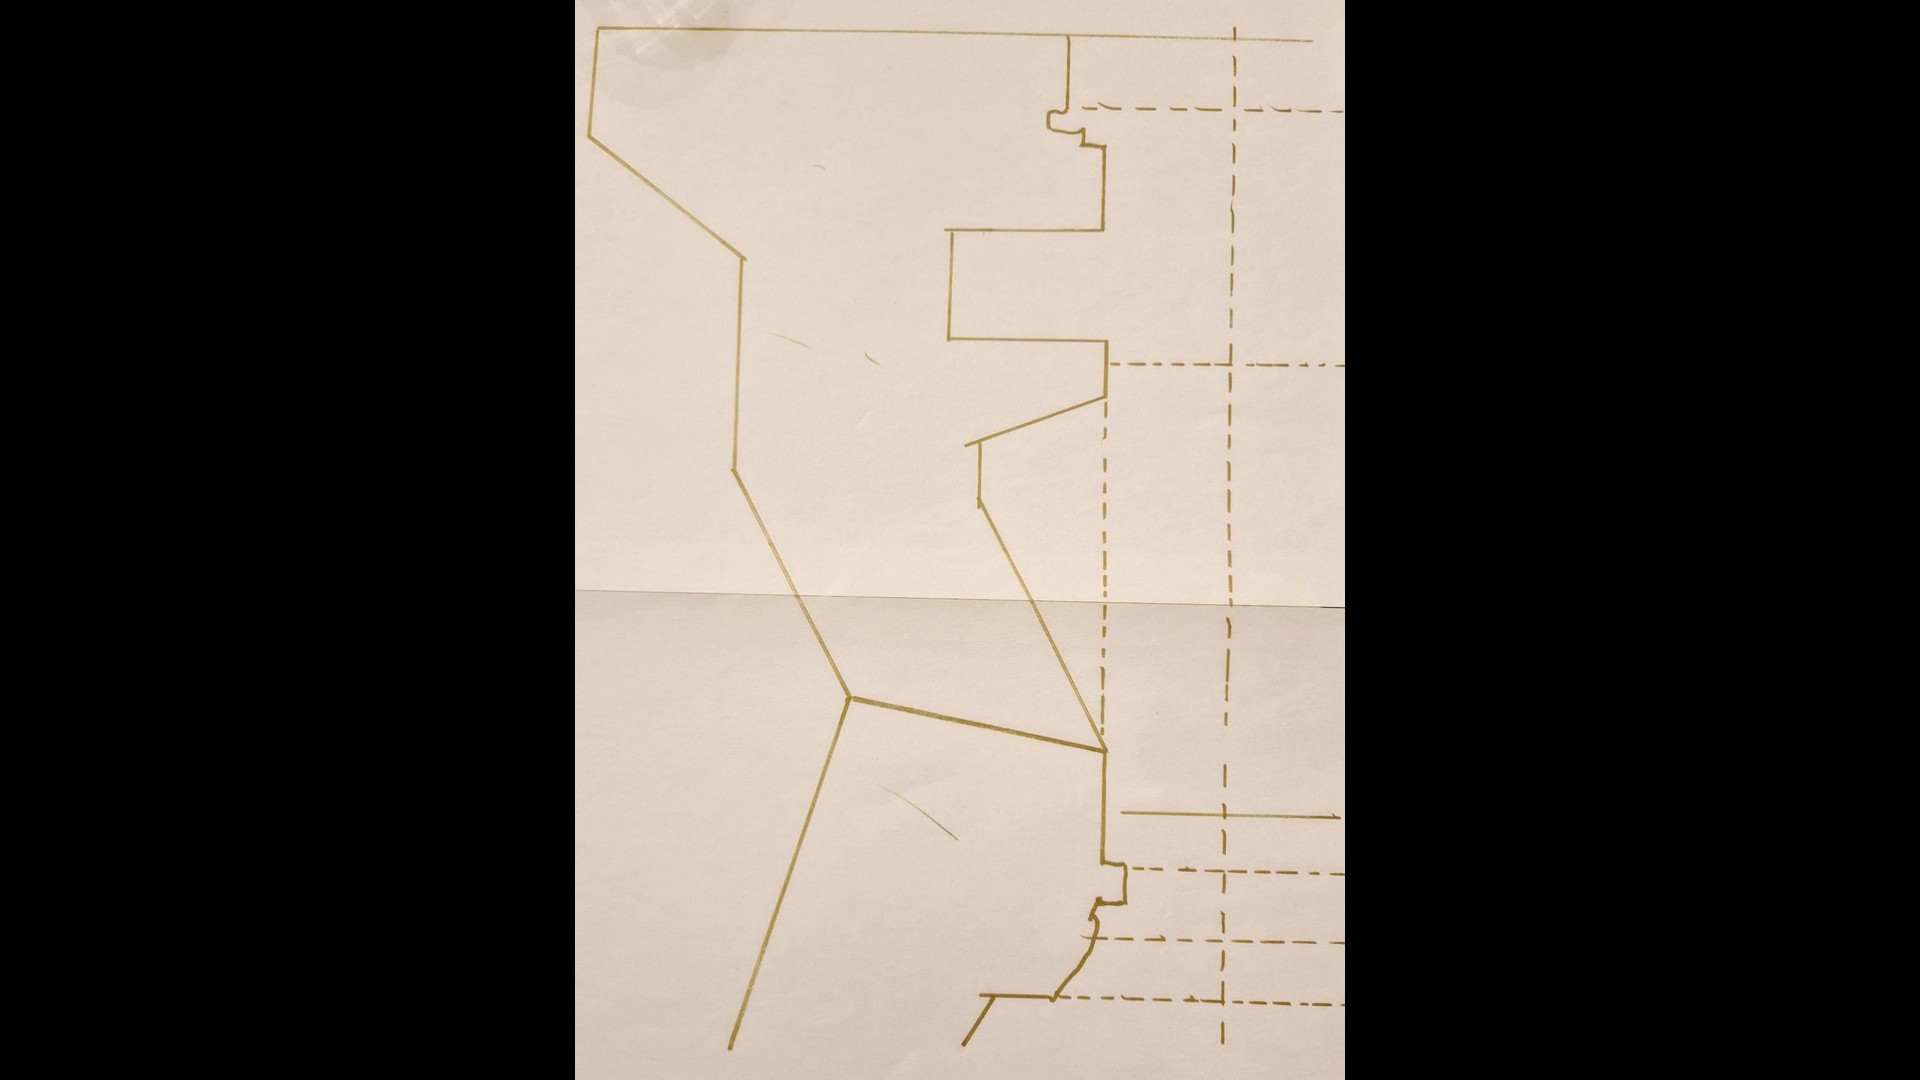
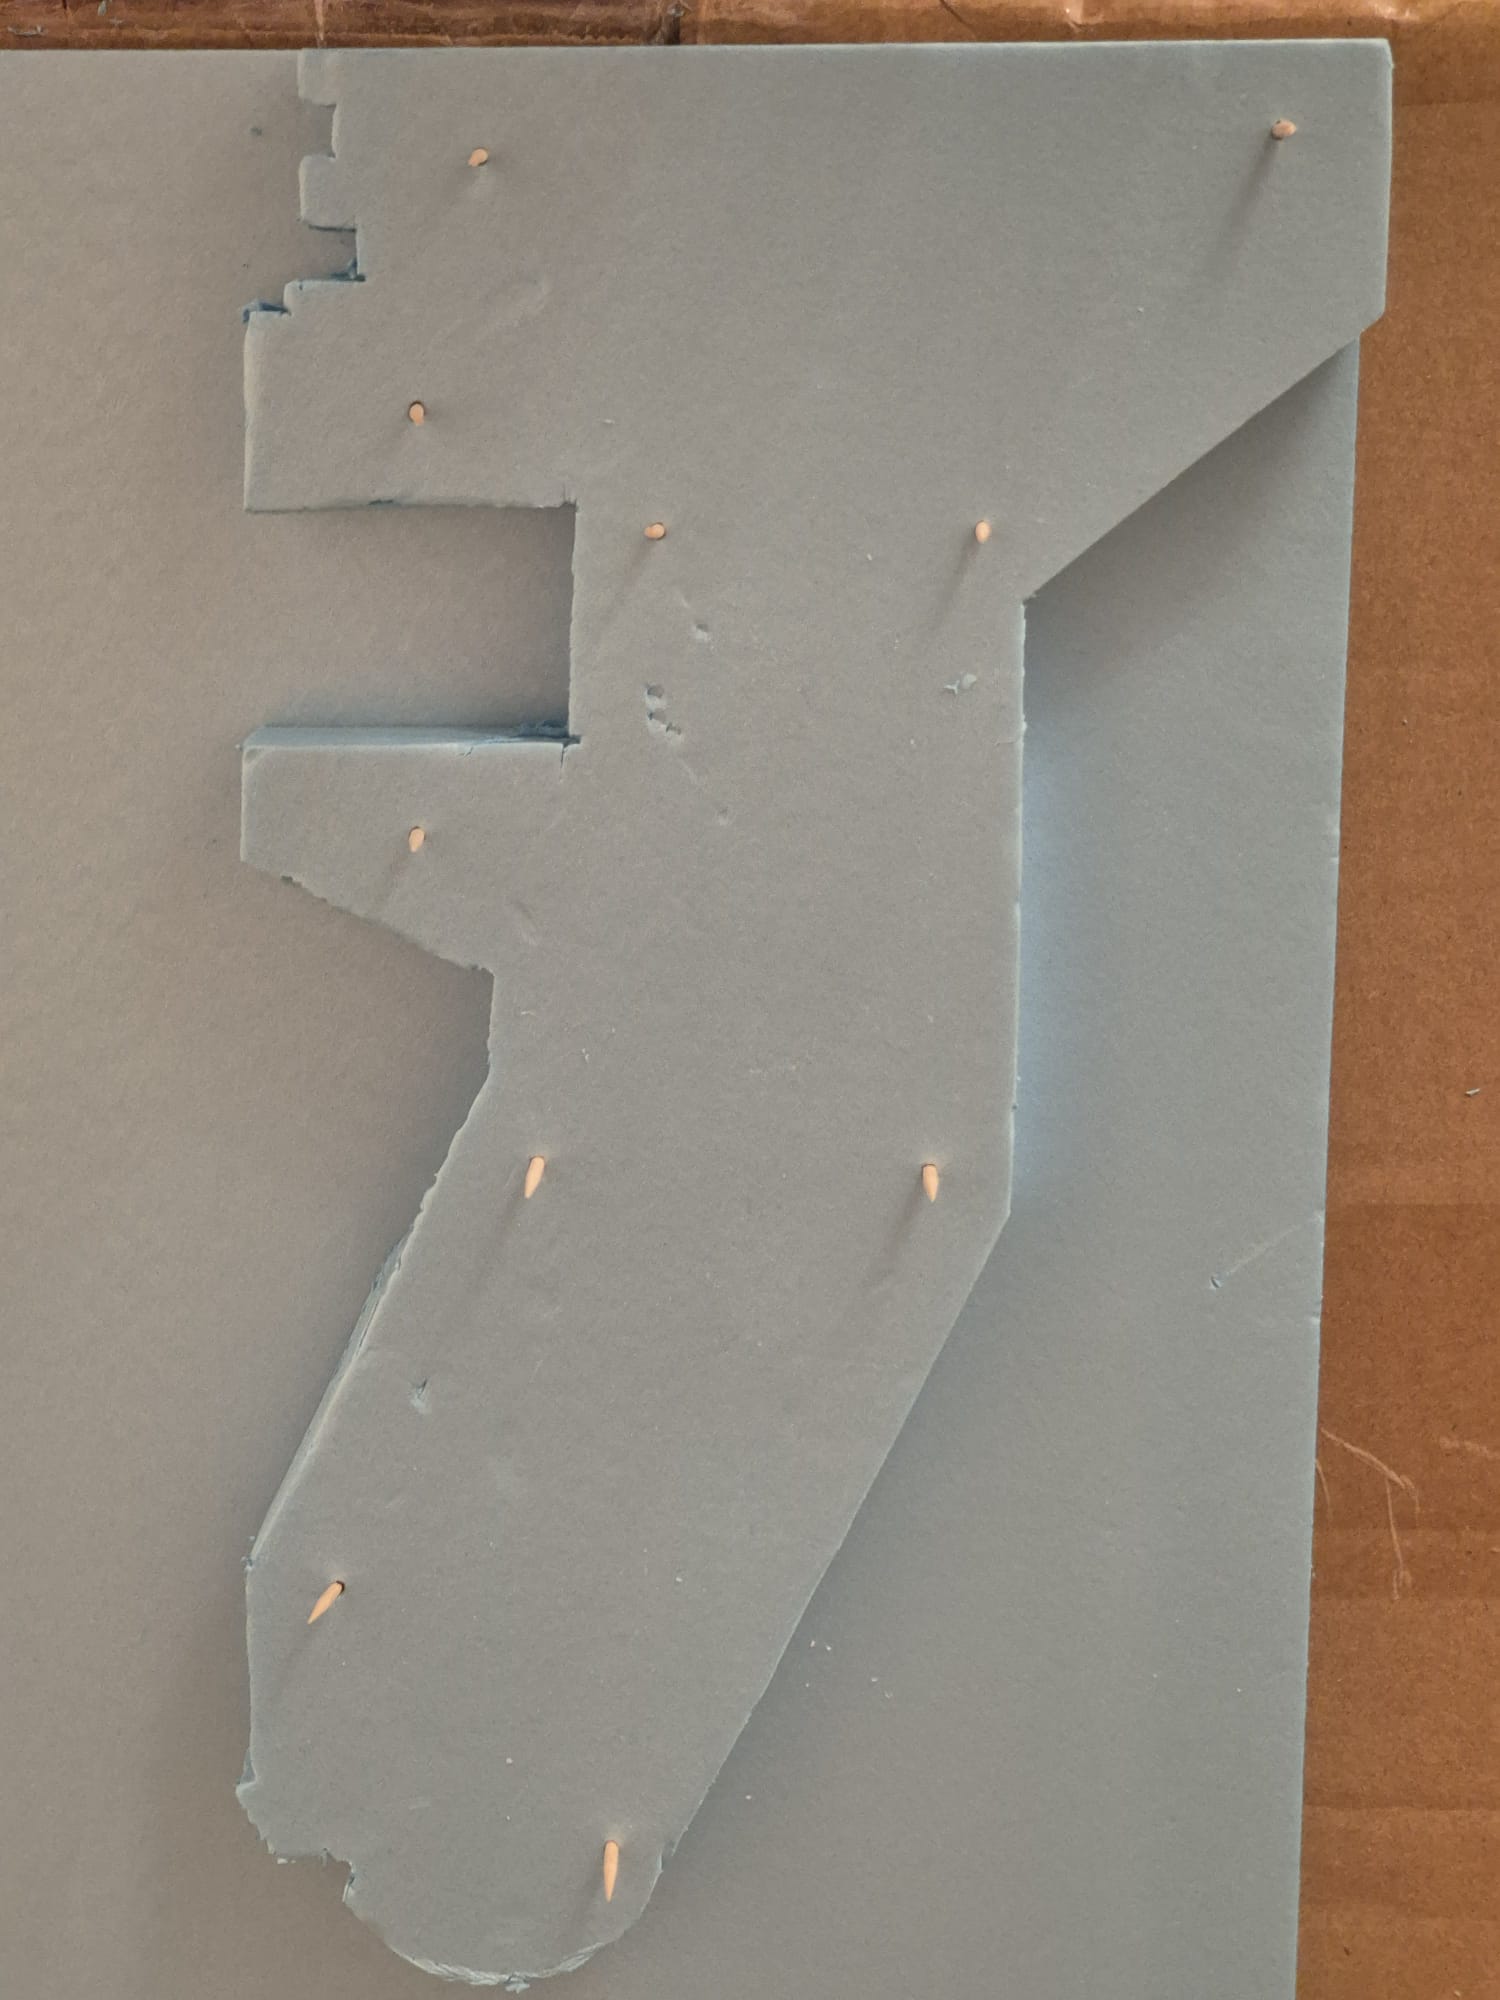
The Right Wall:
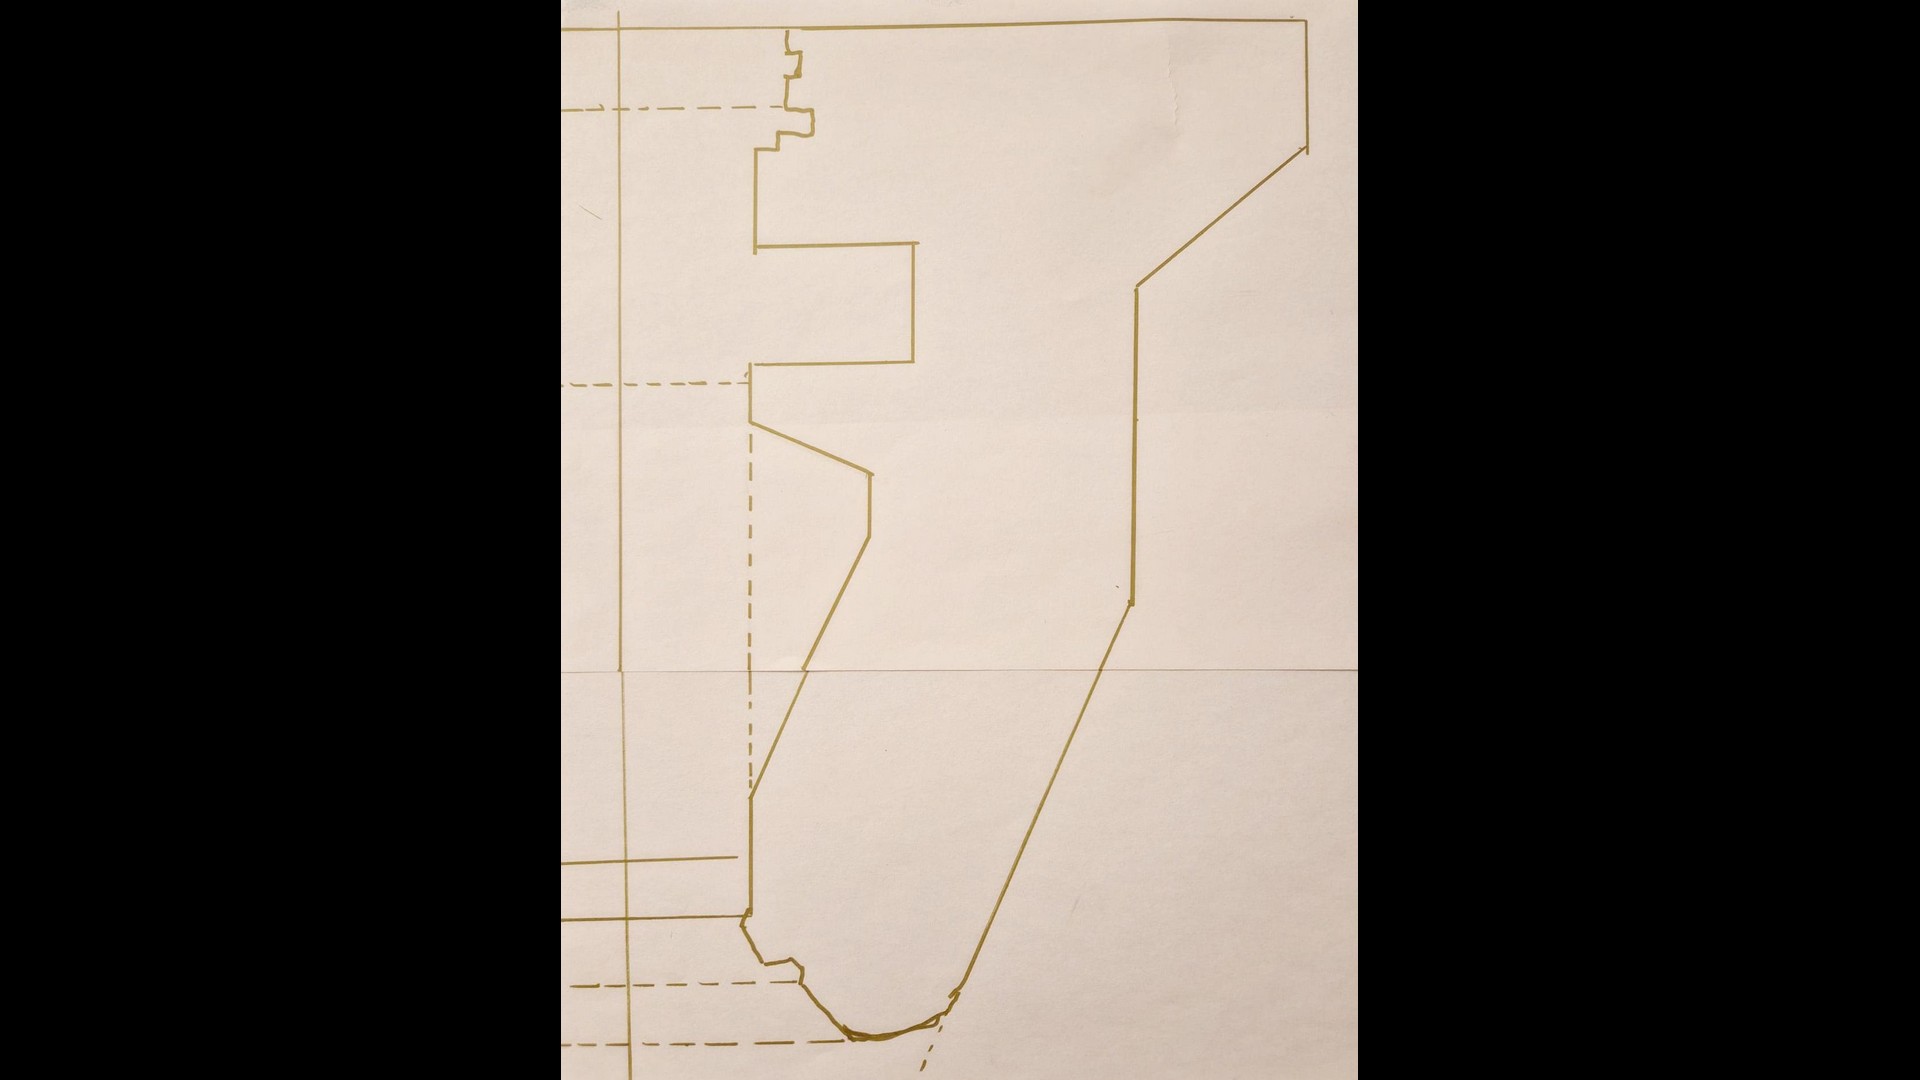
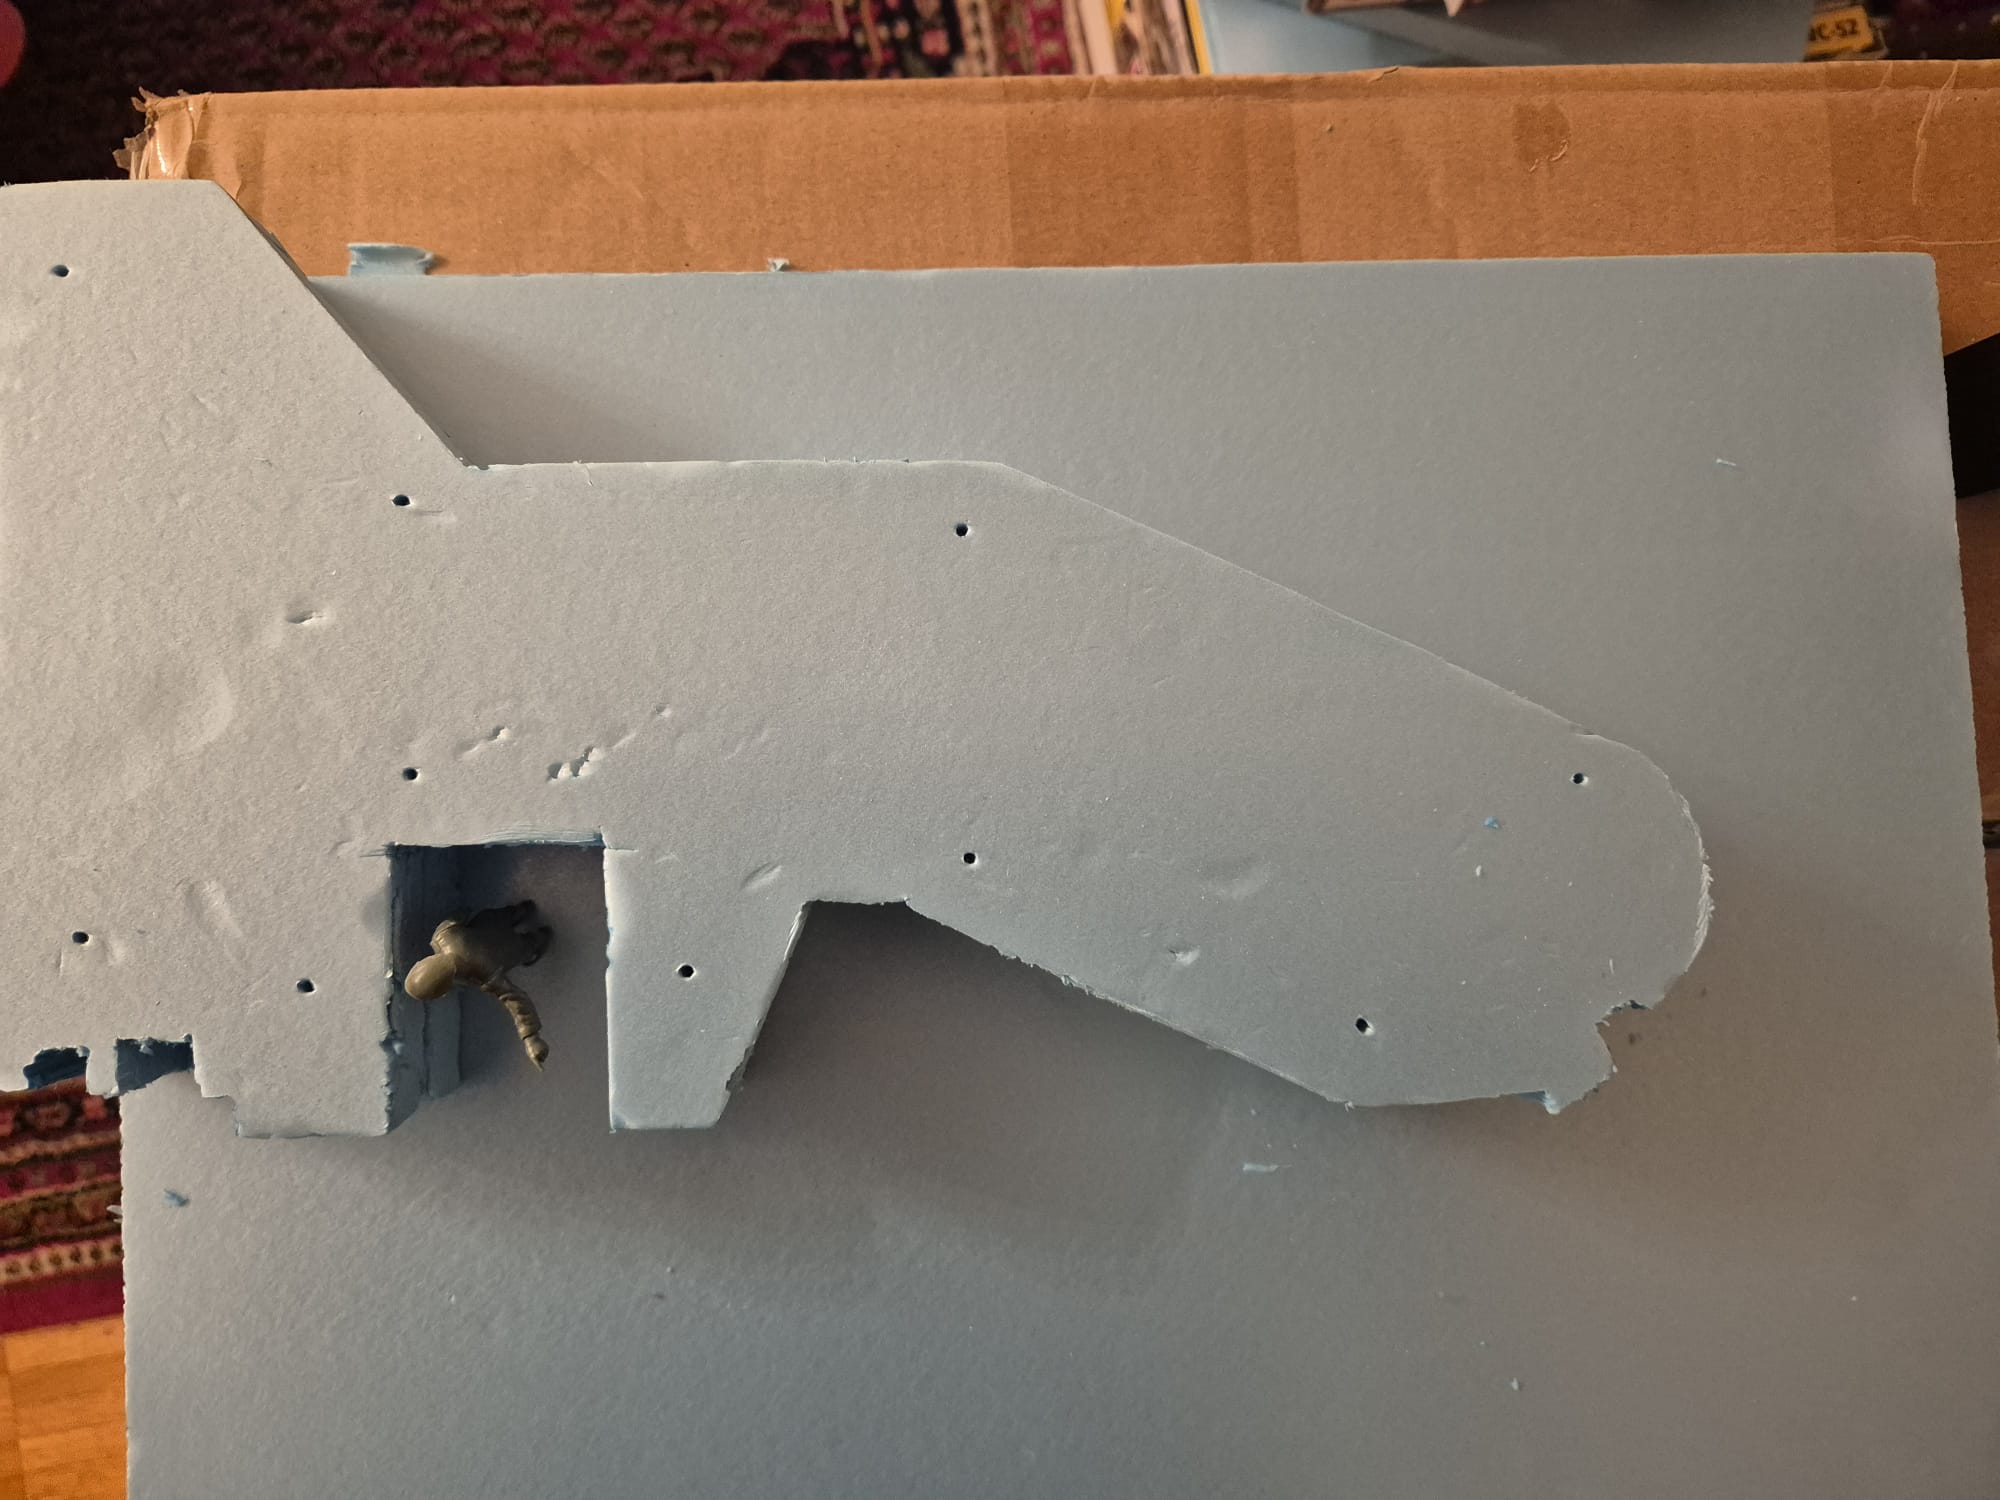
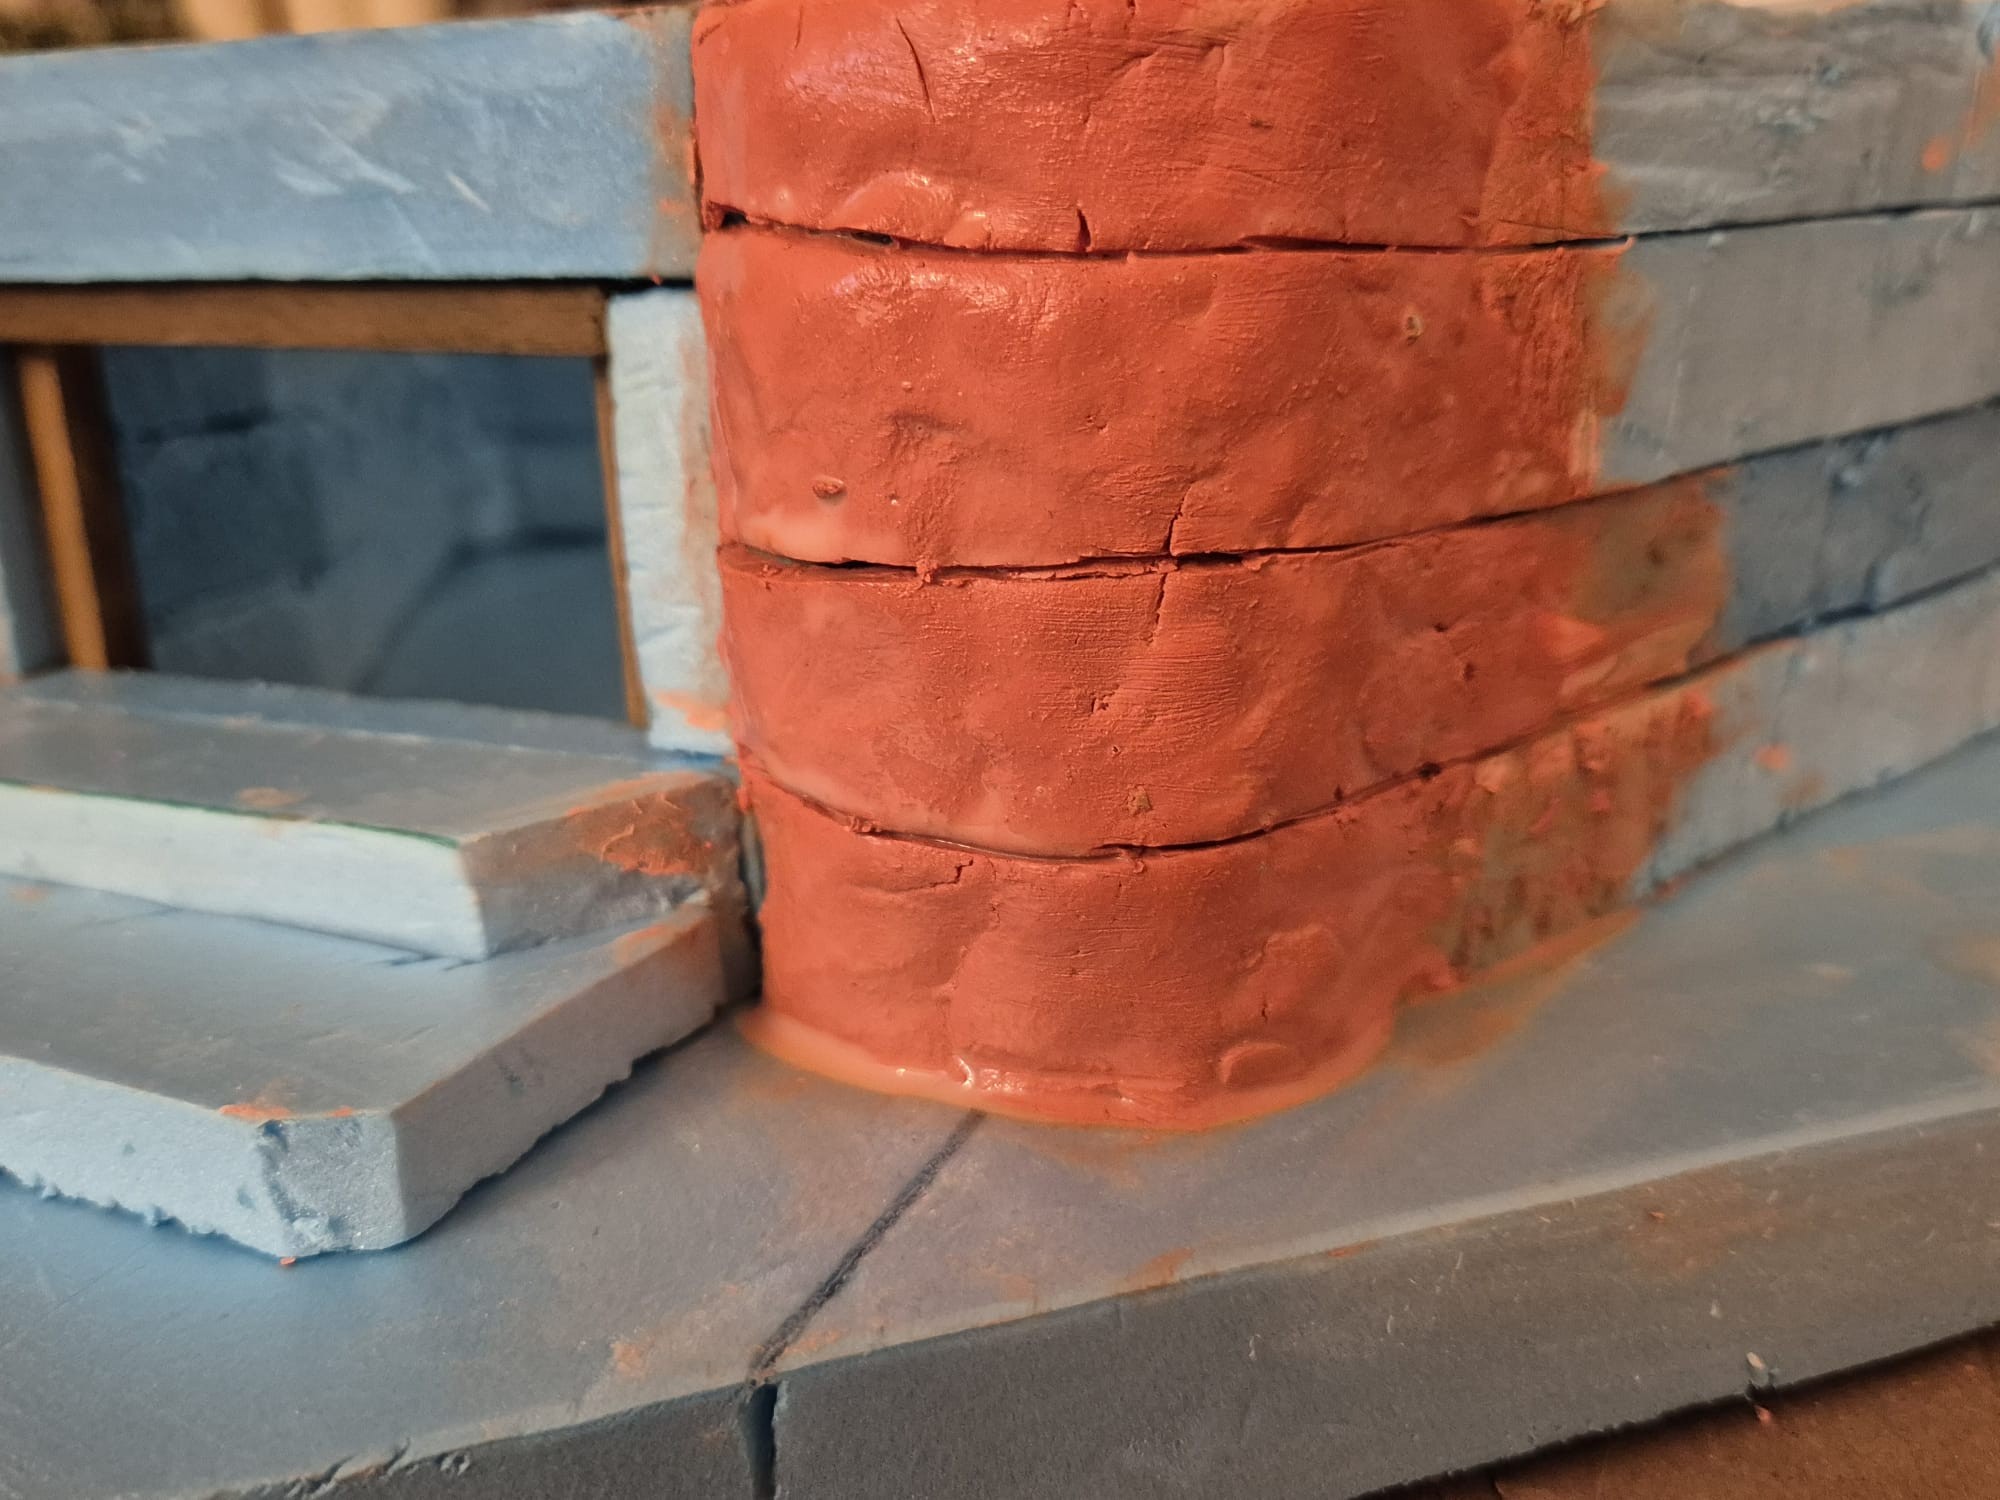
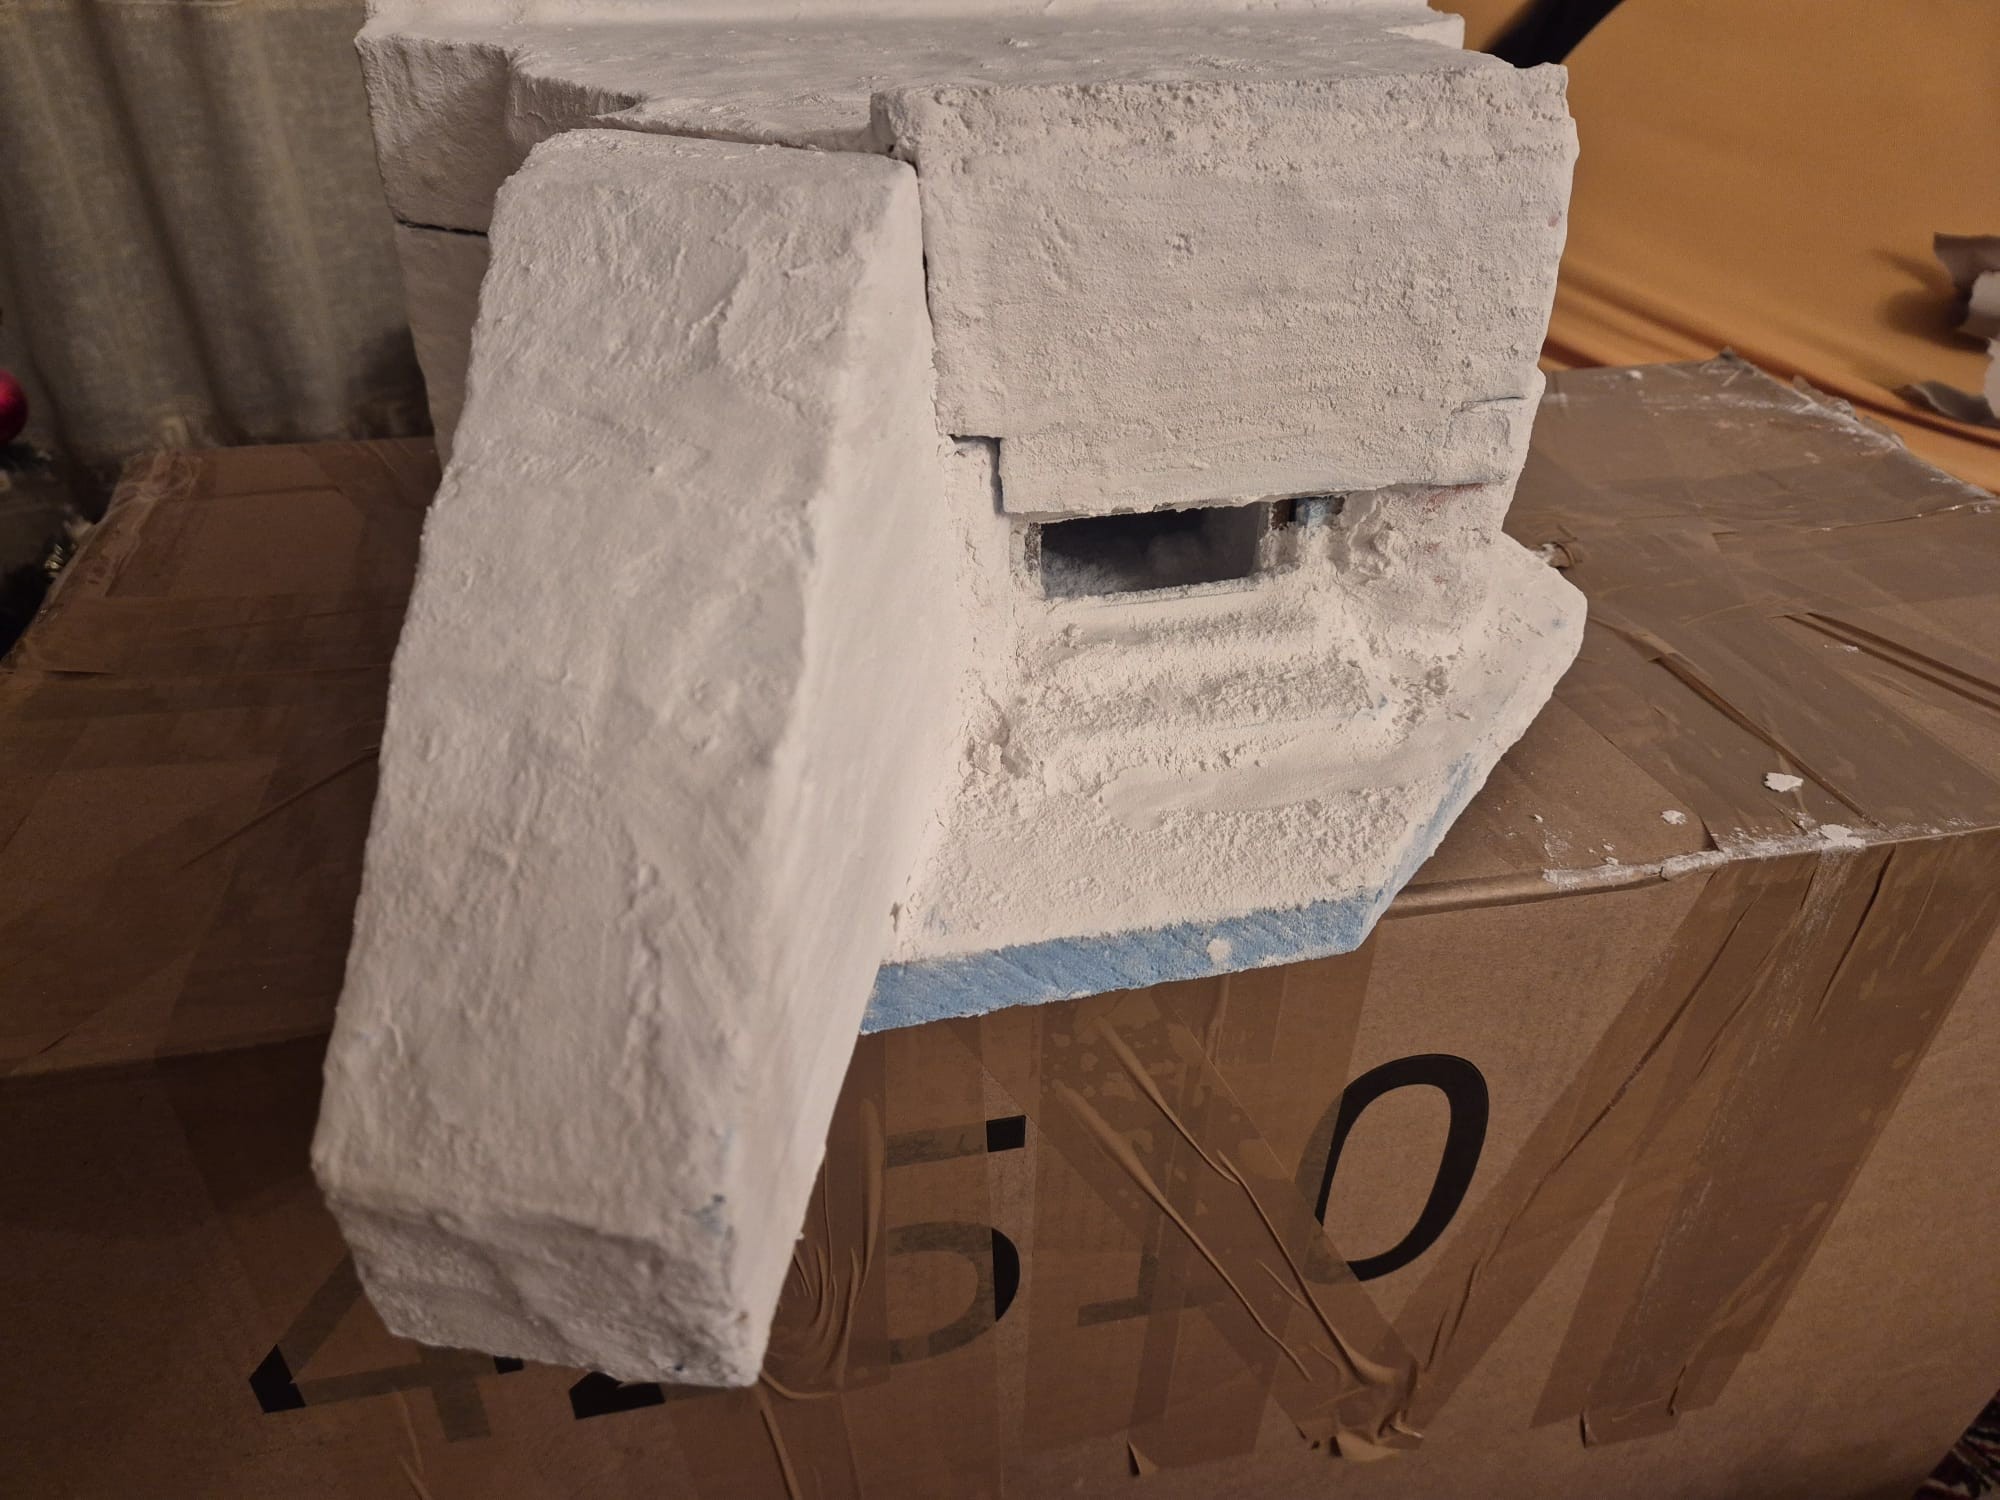
The protective side wall:
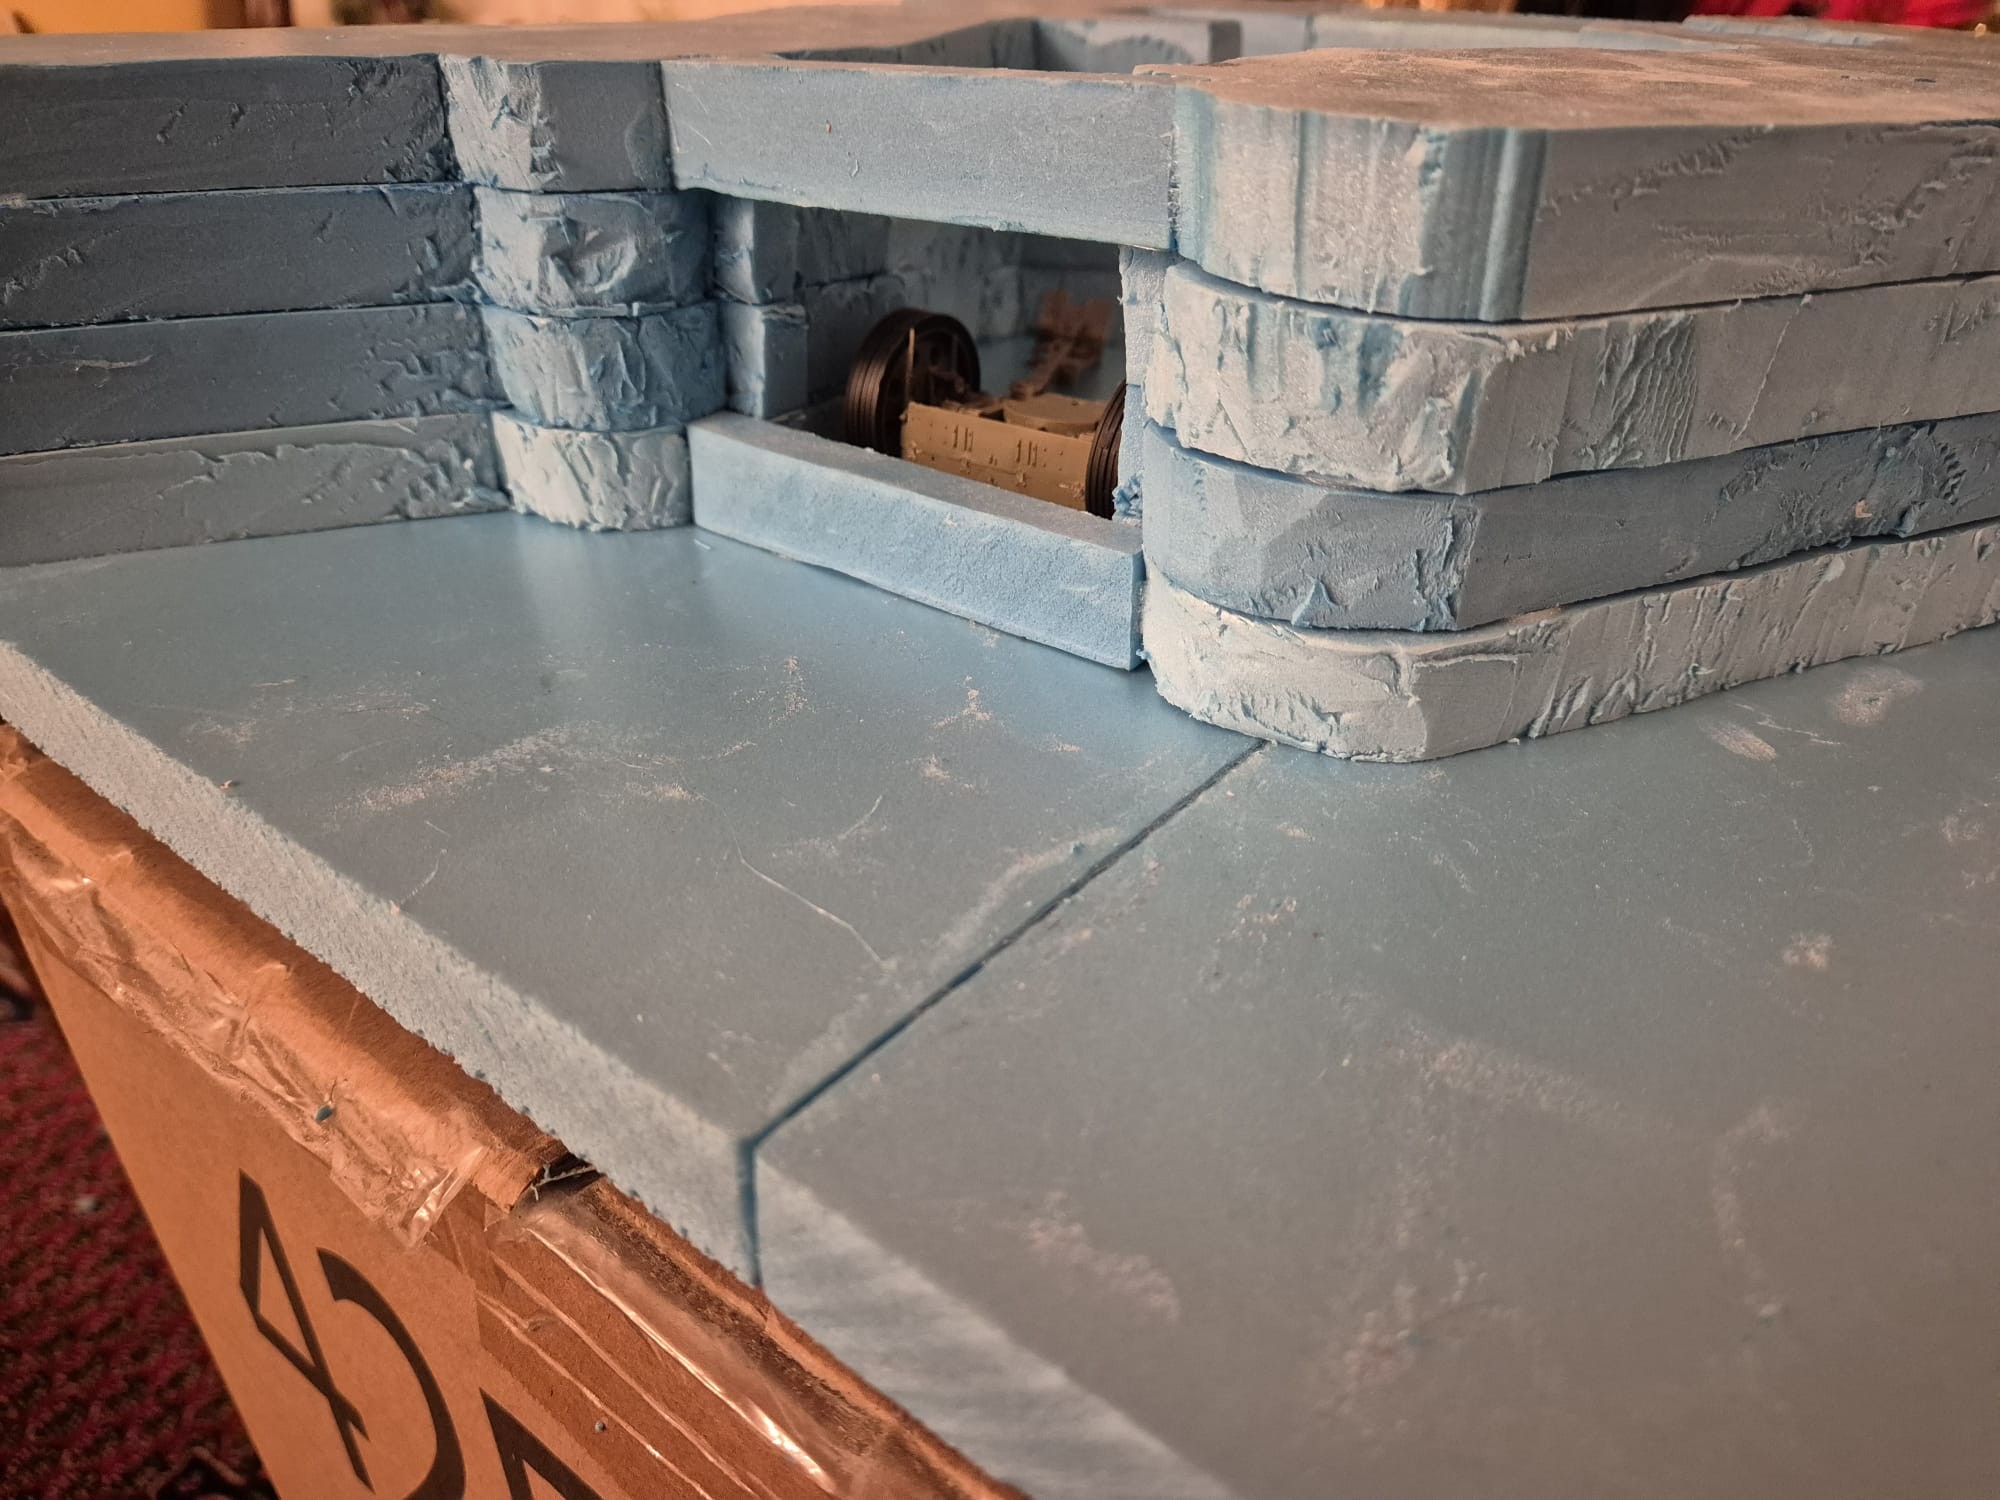
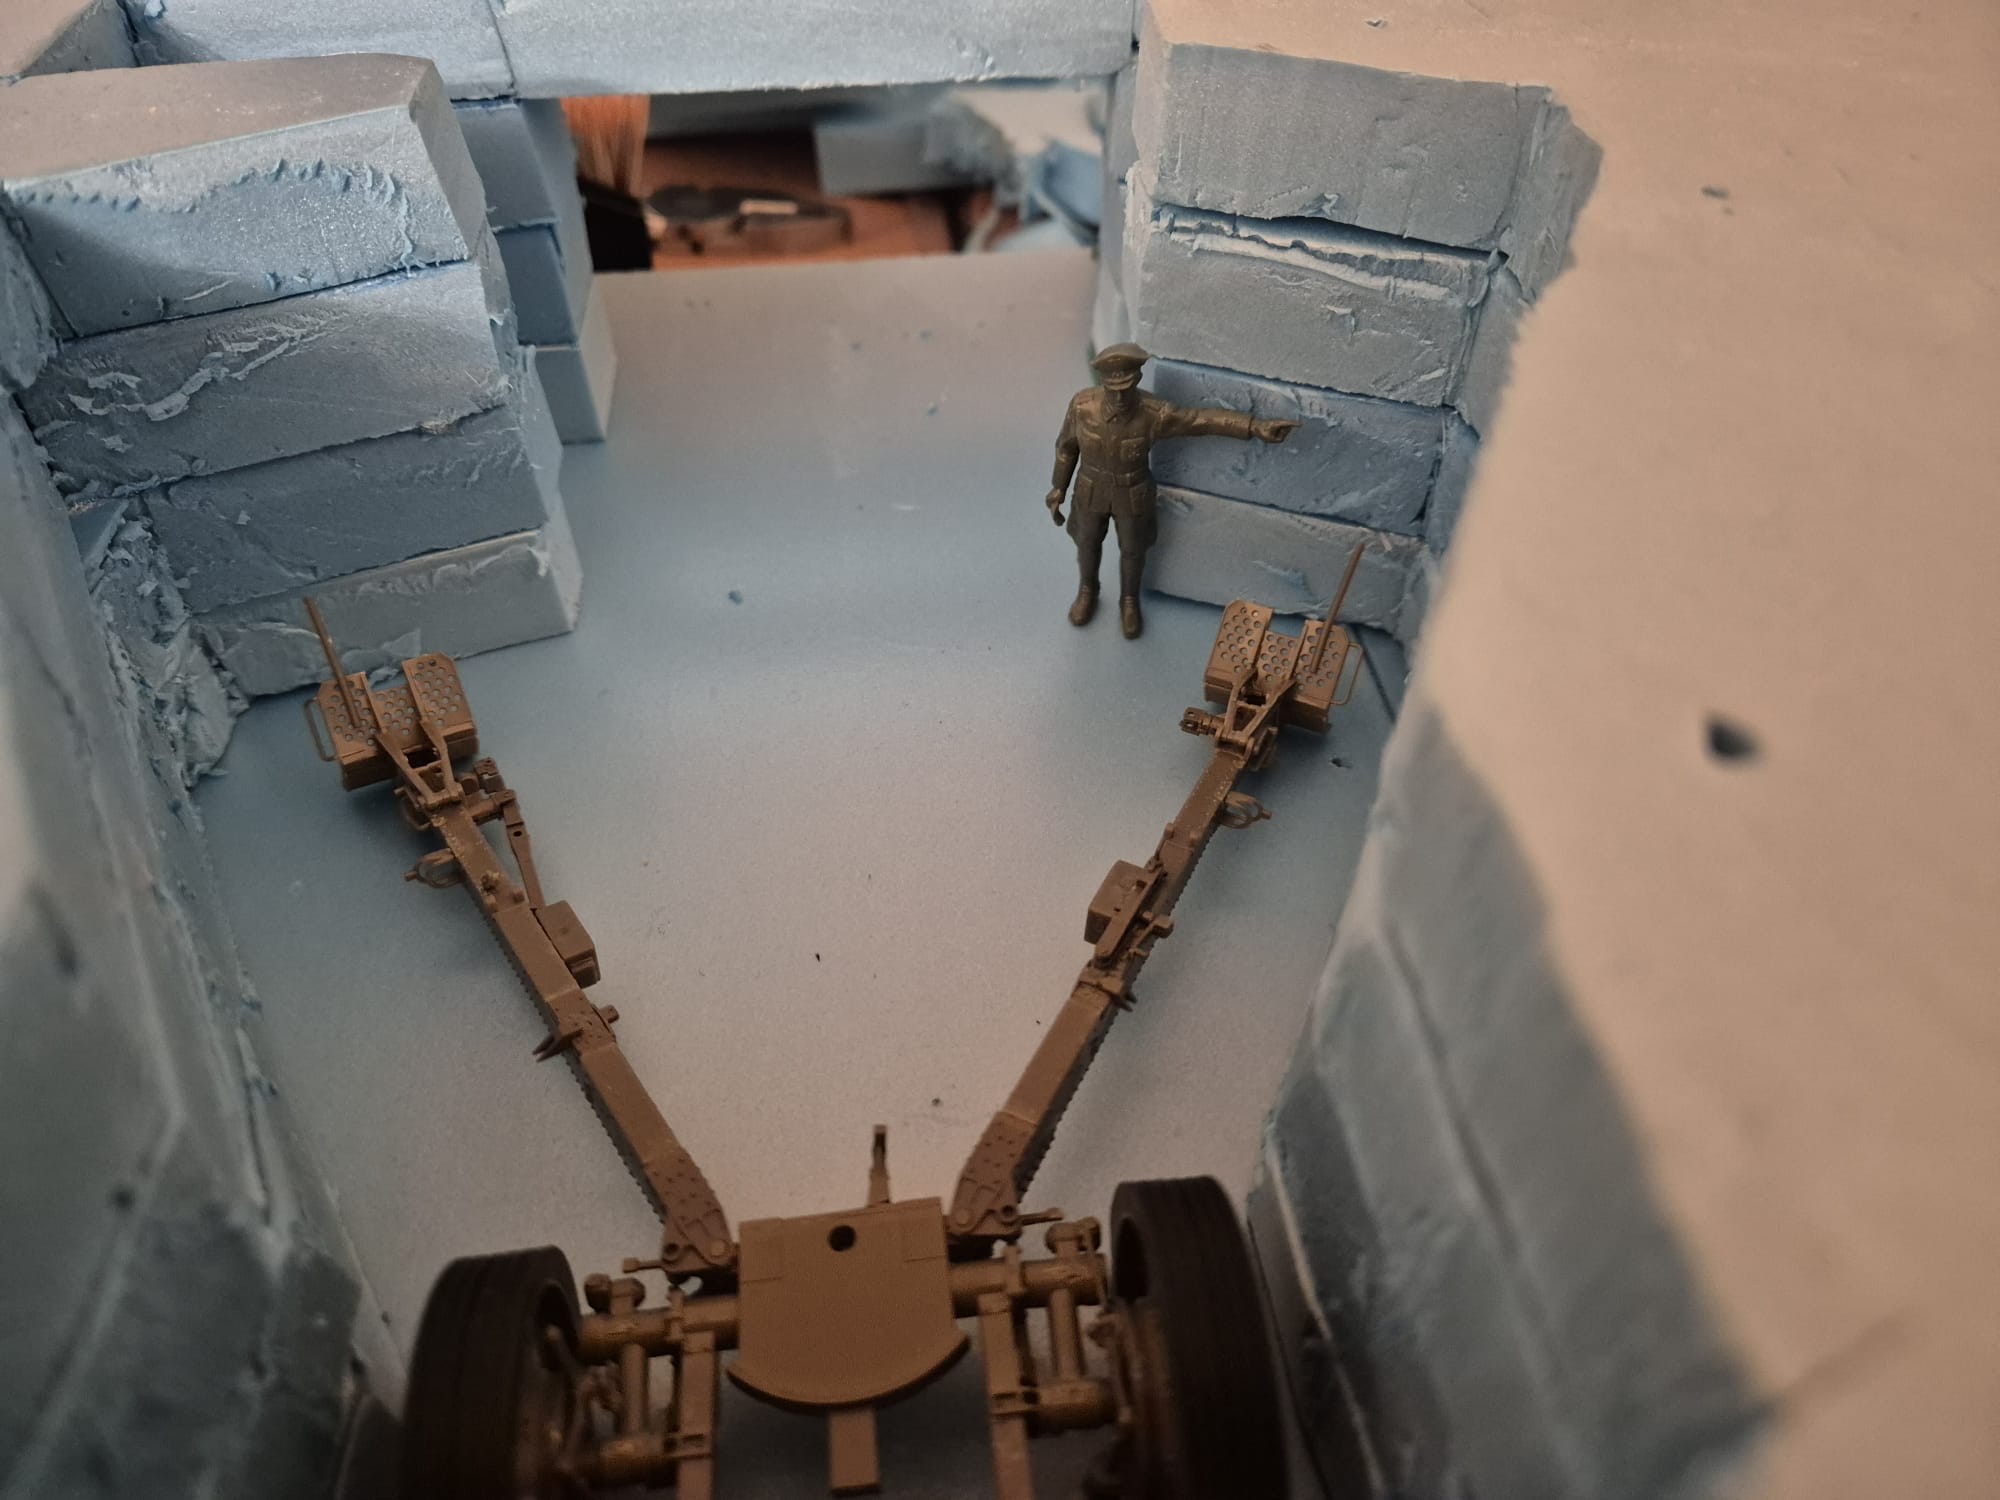
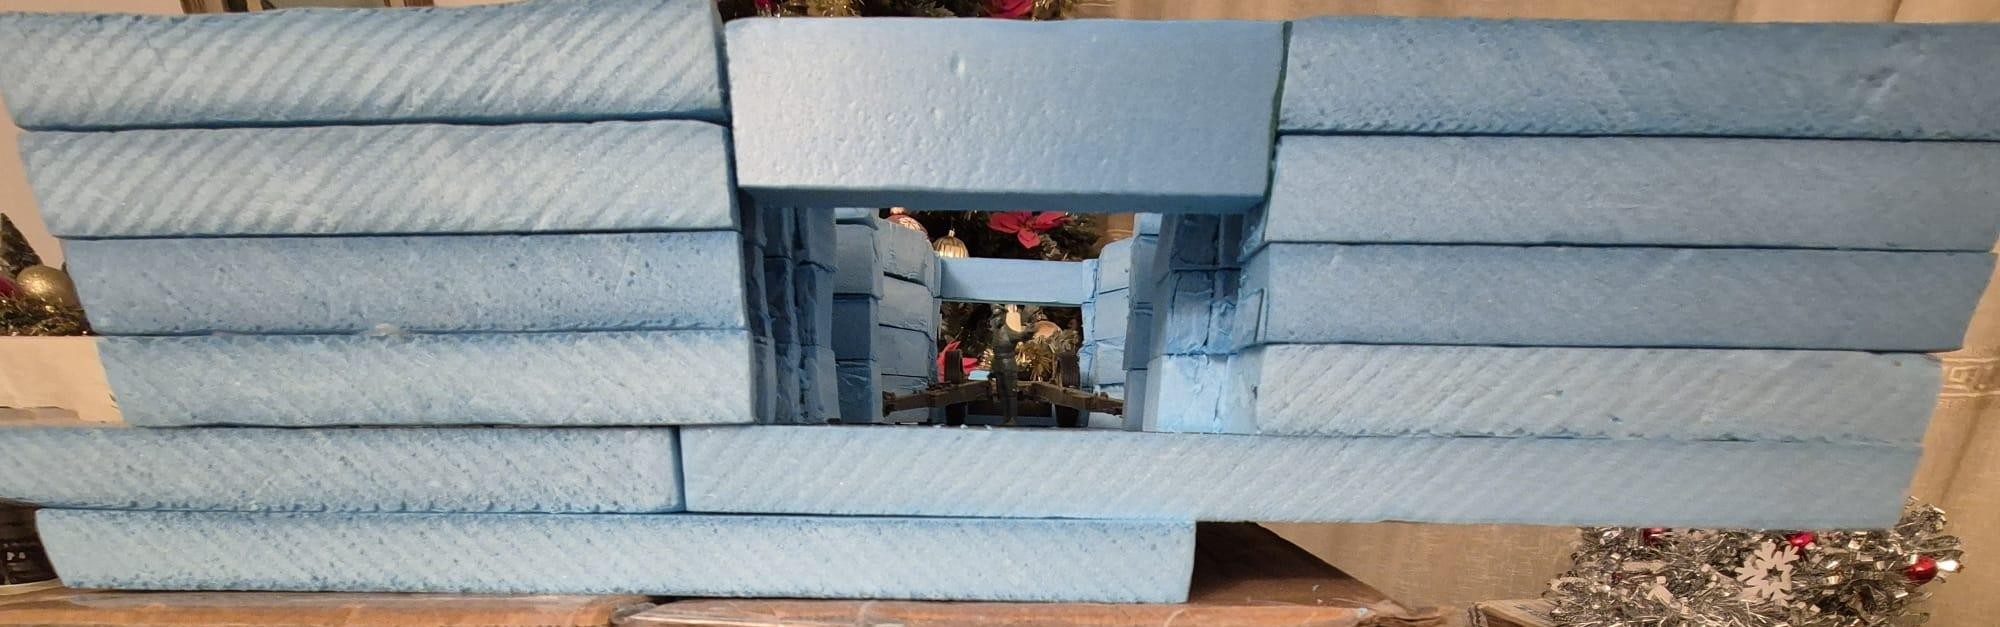
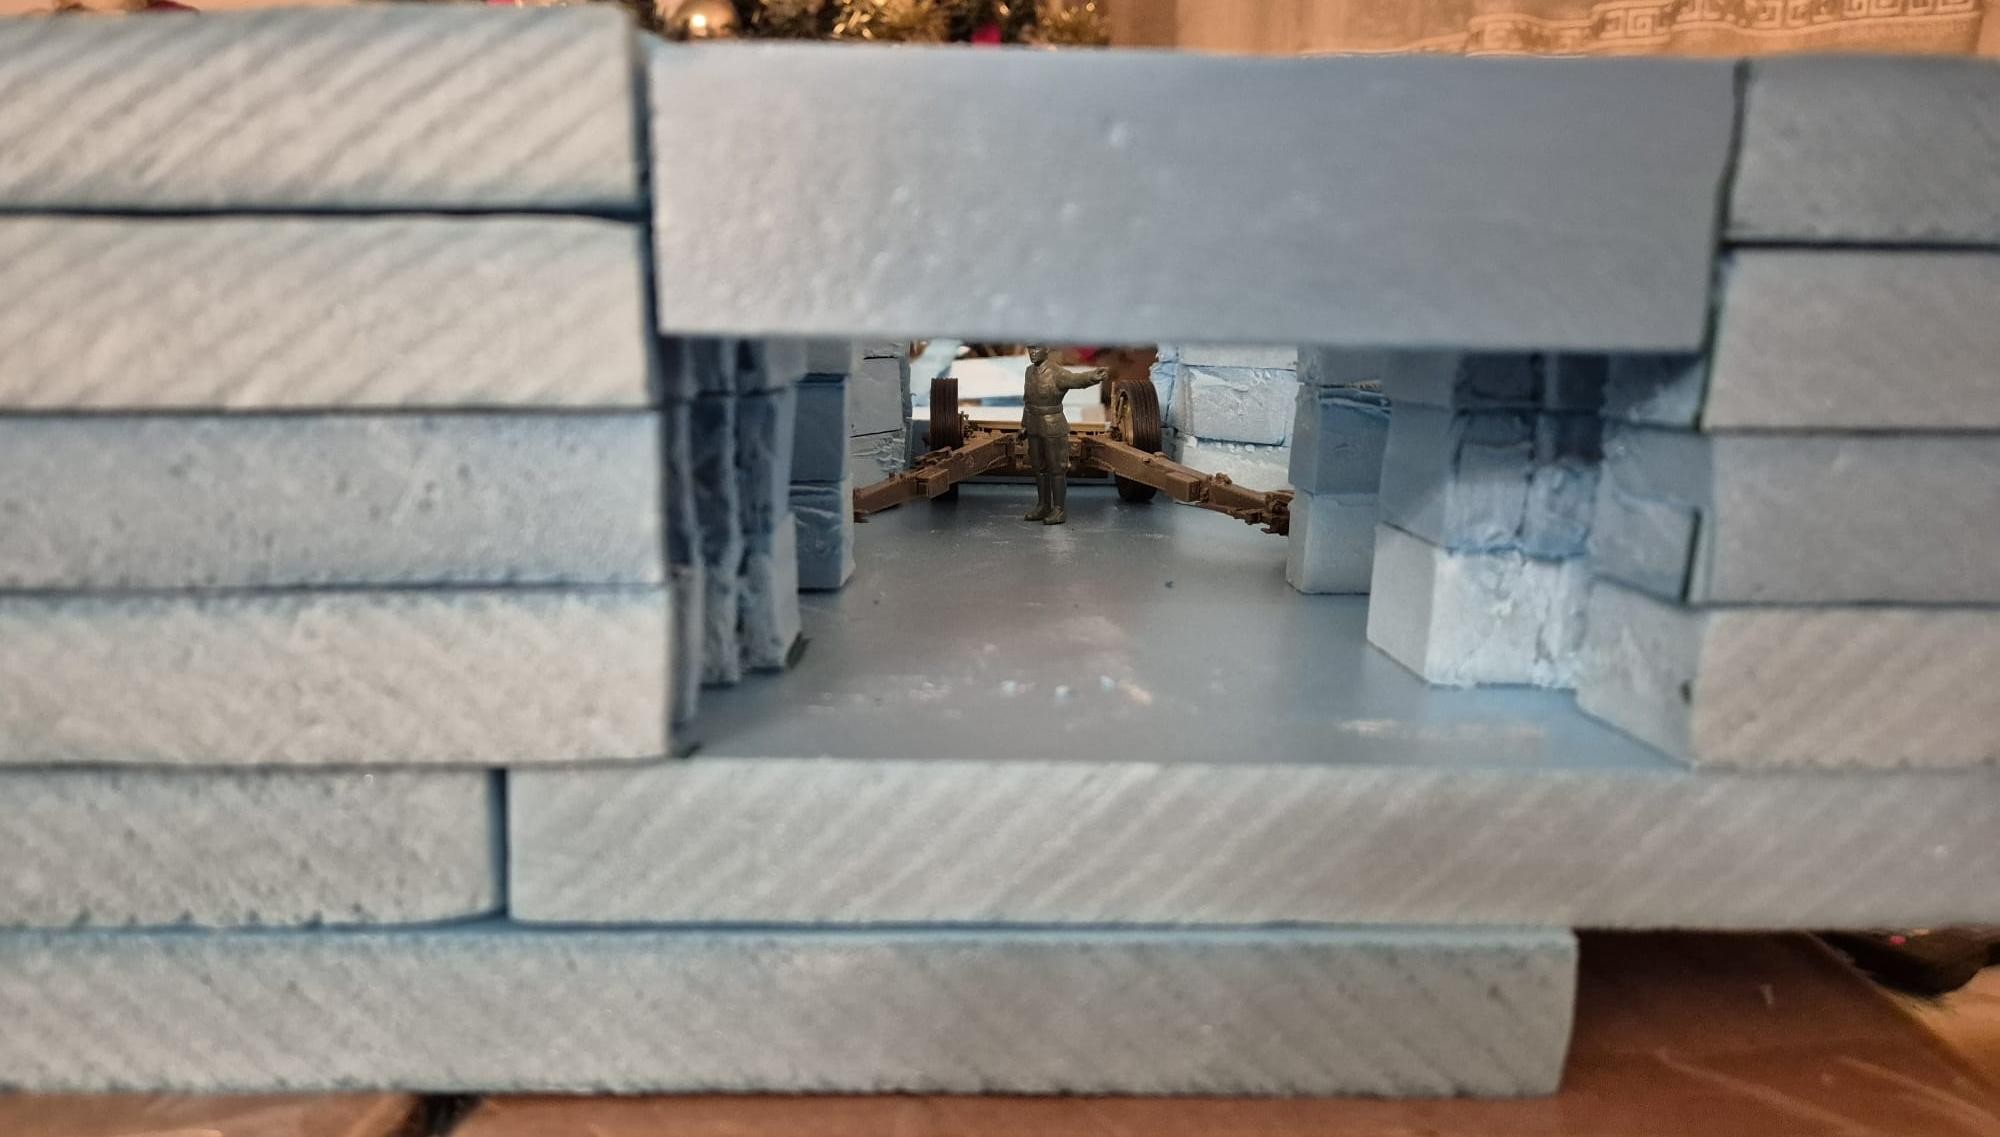
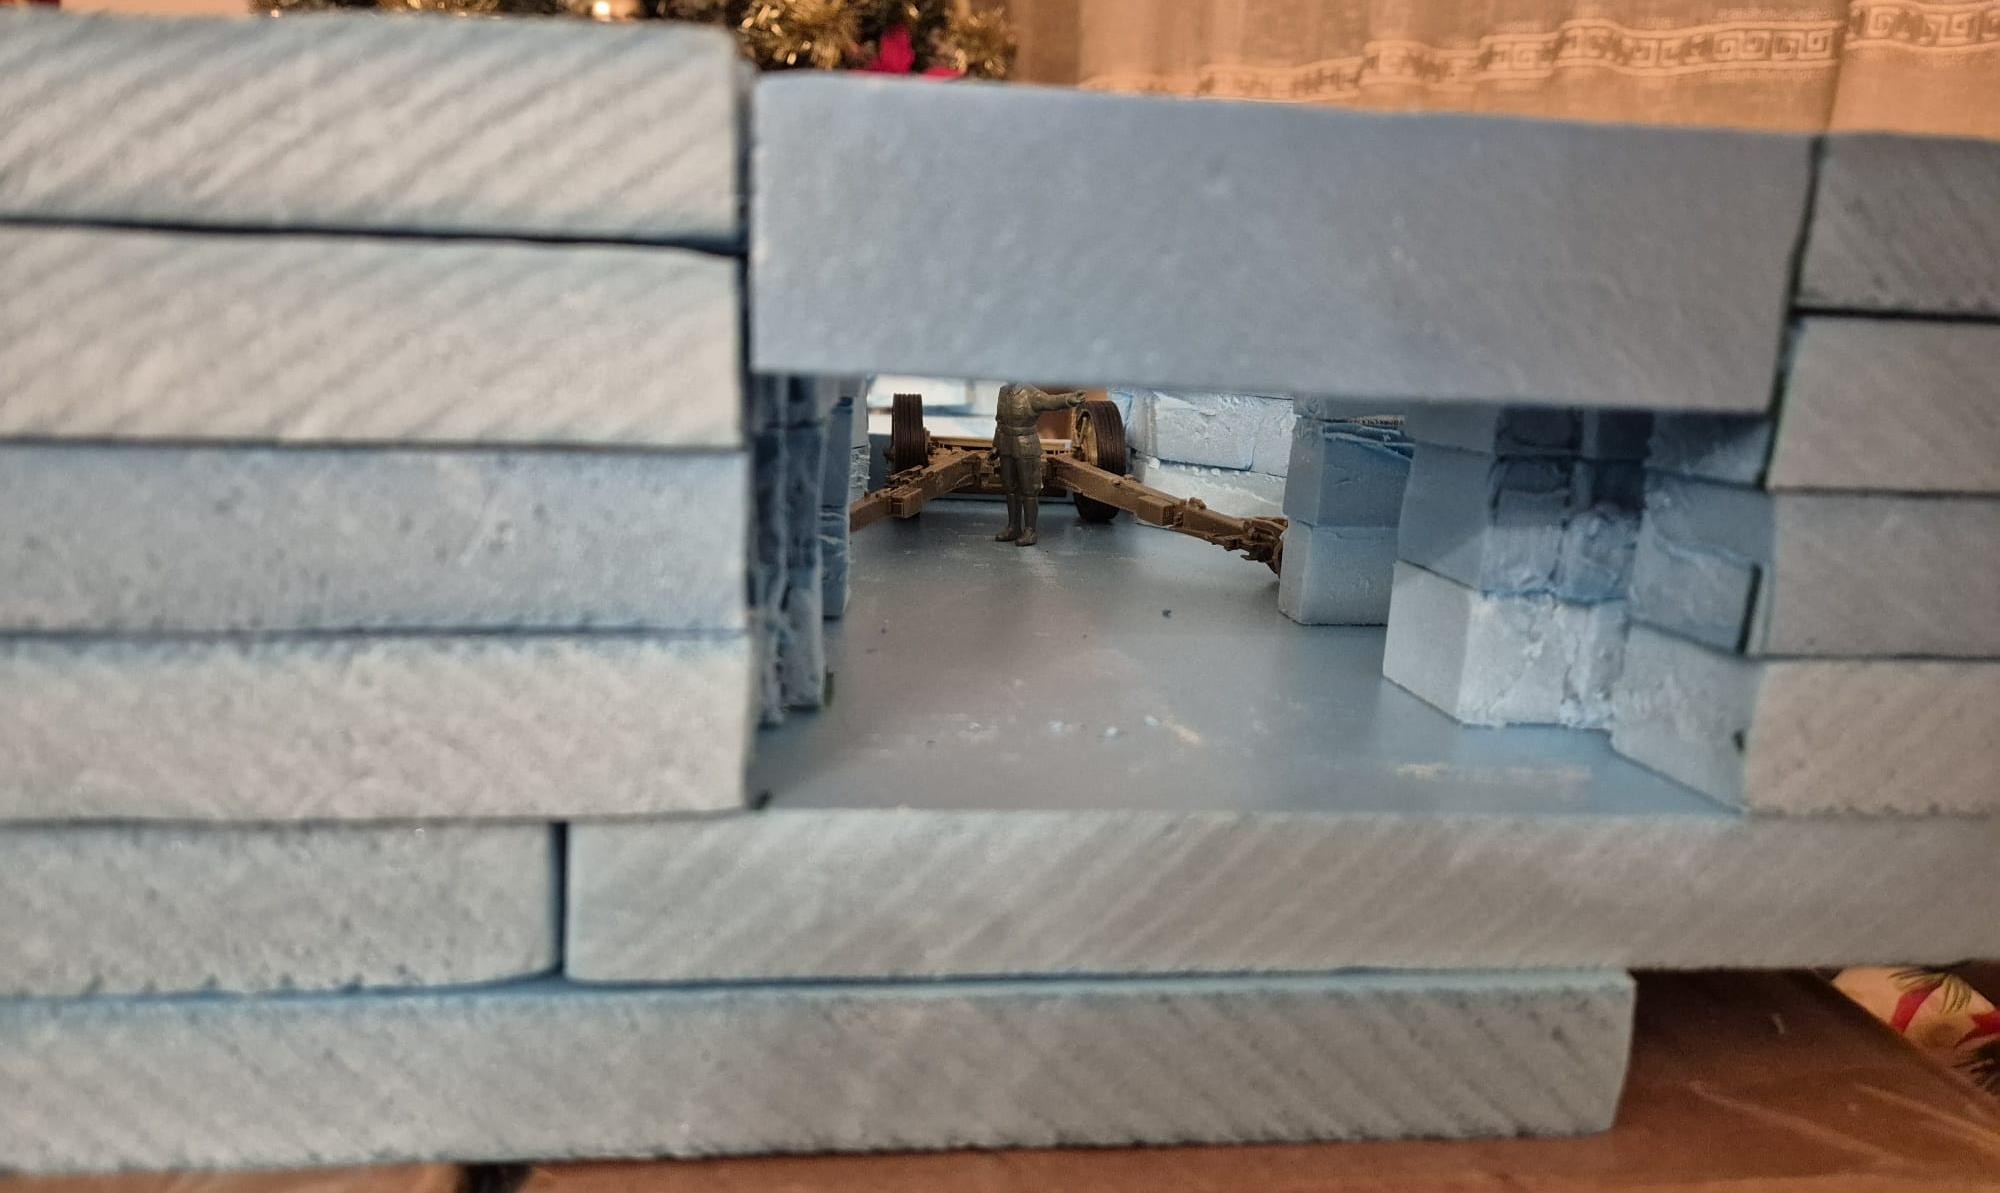
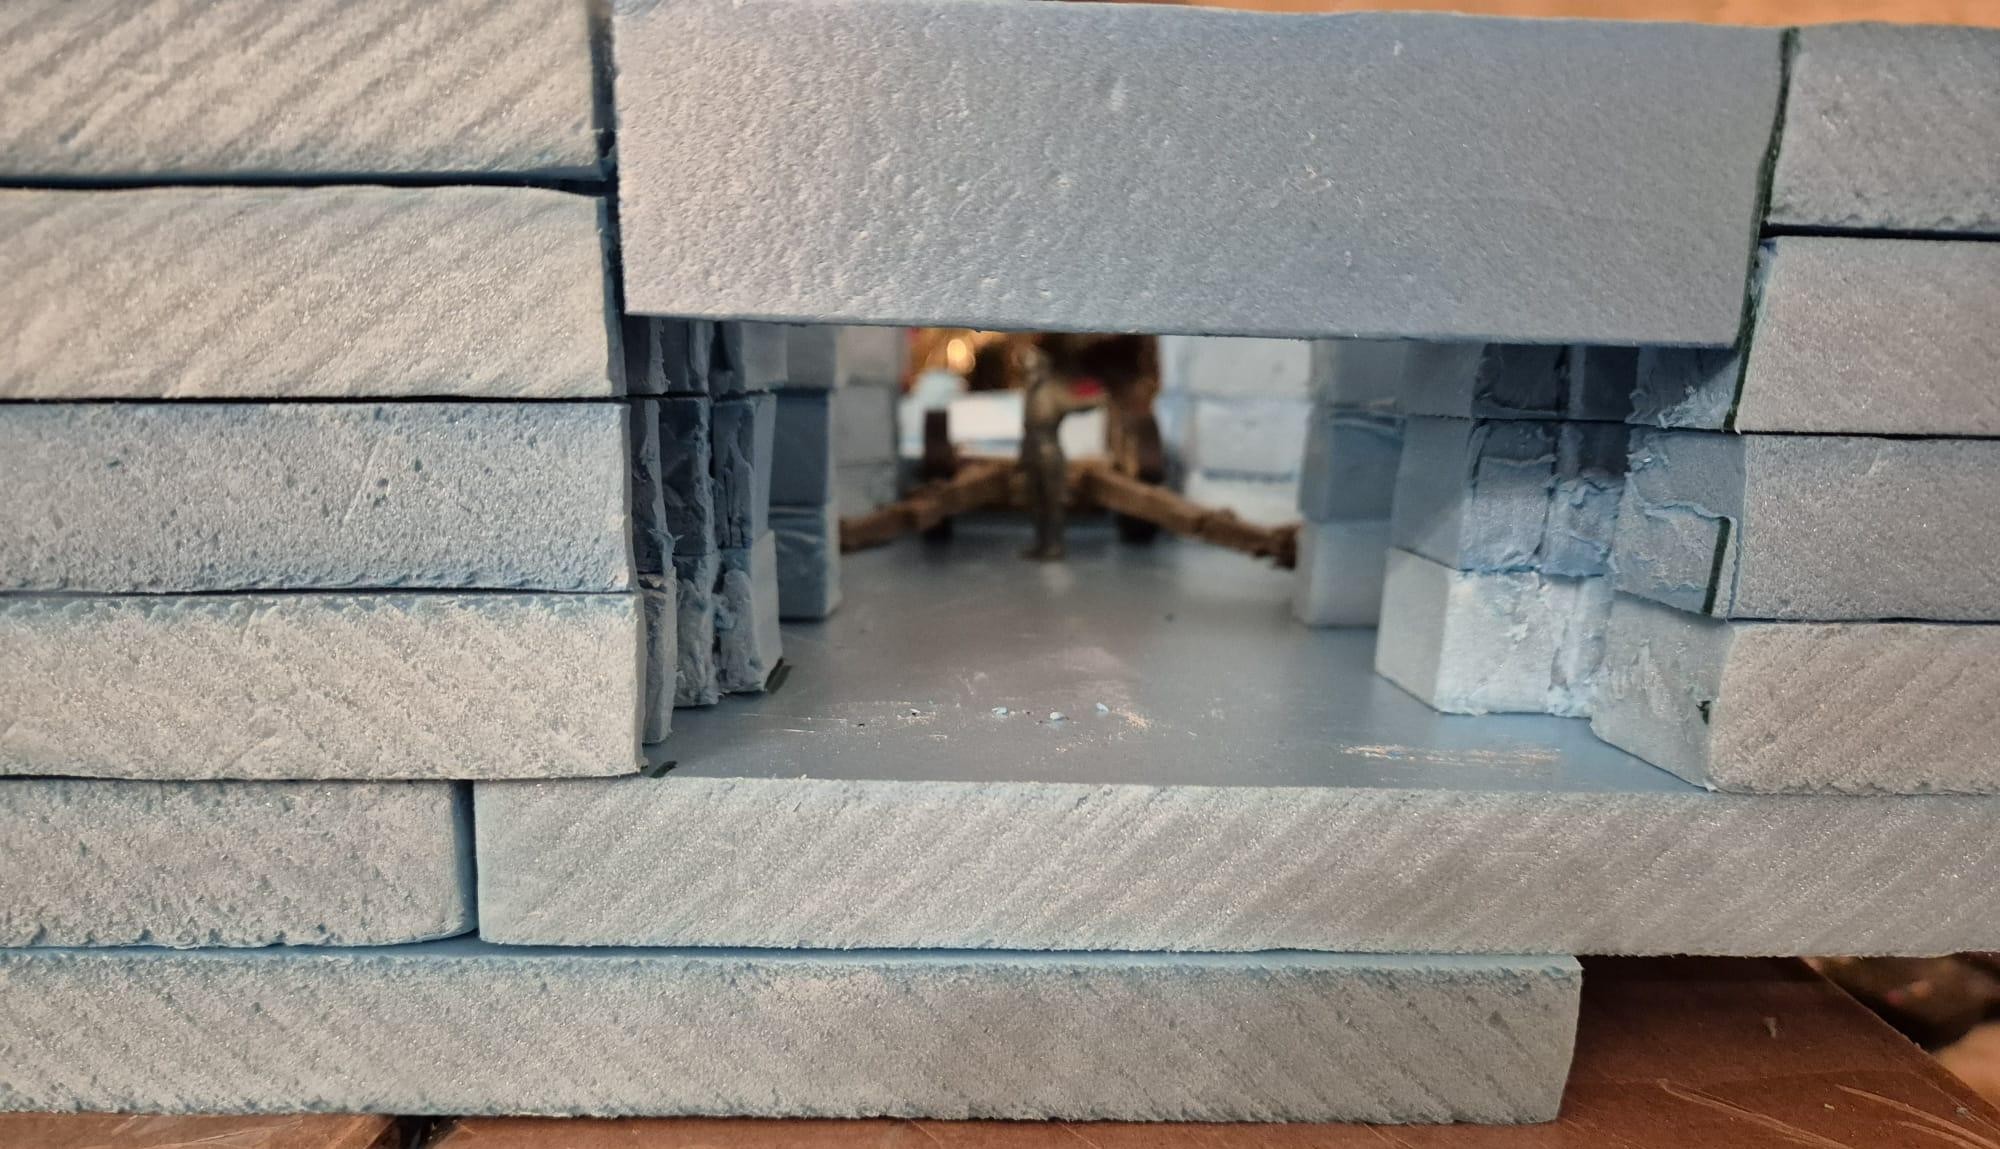
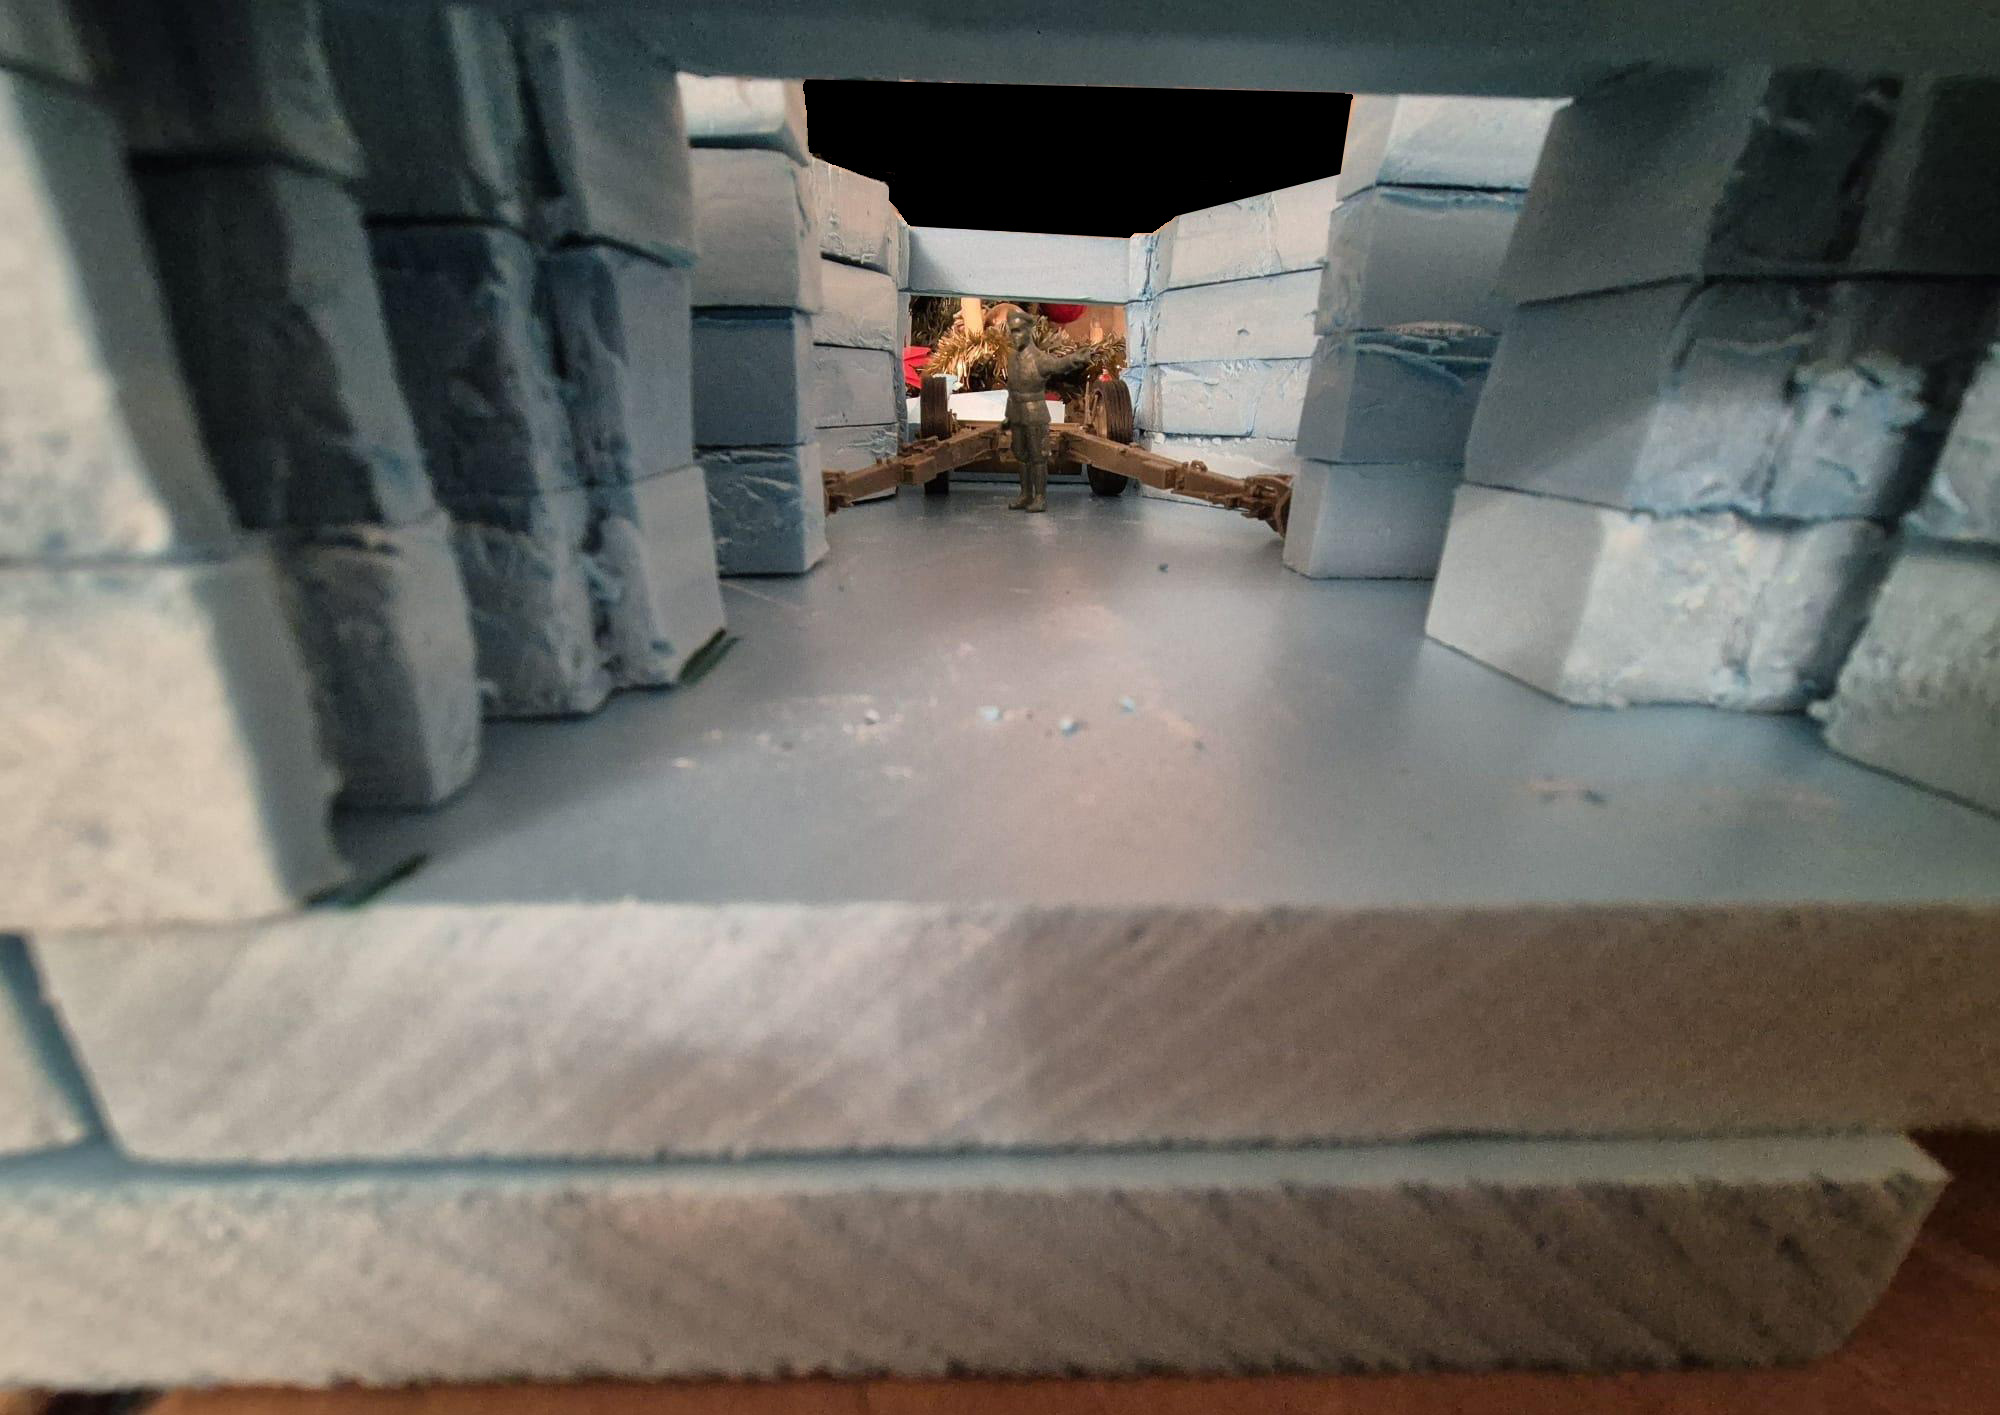
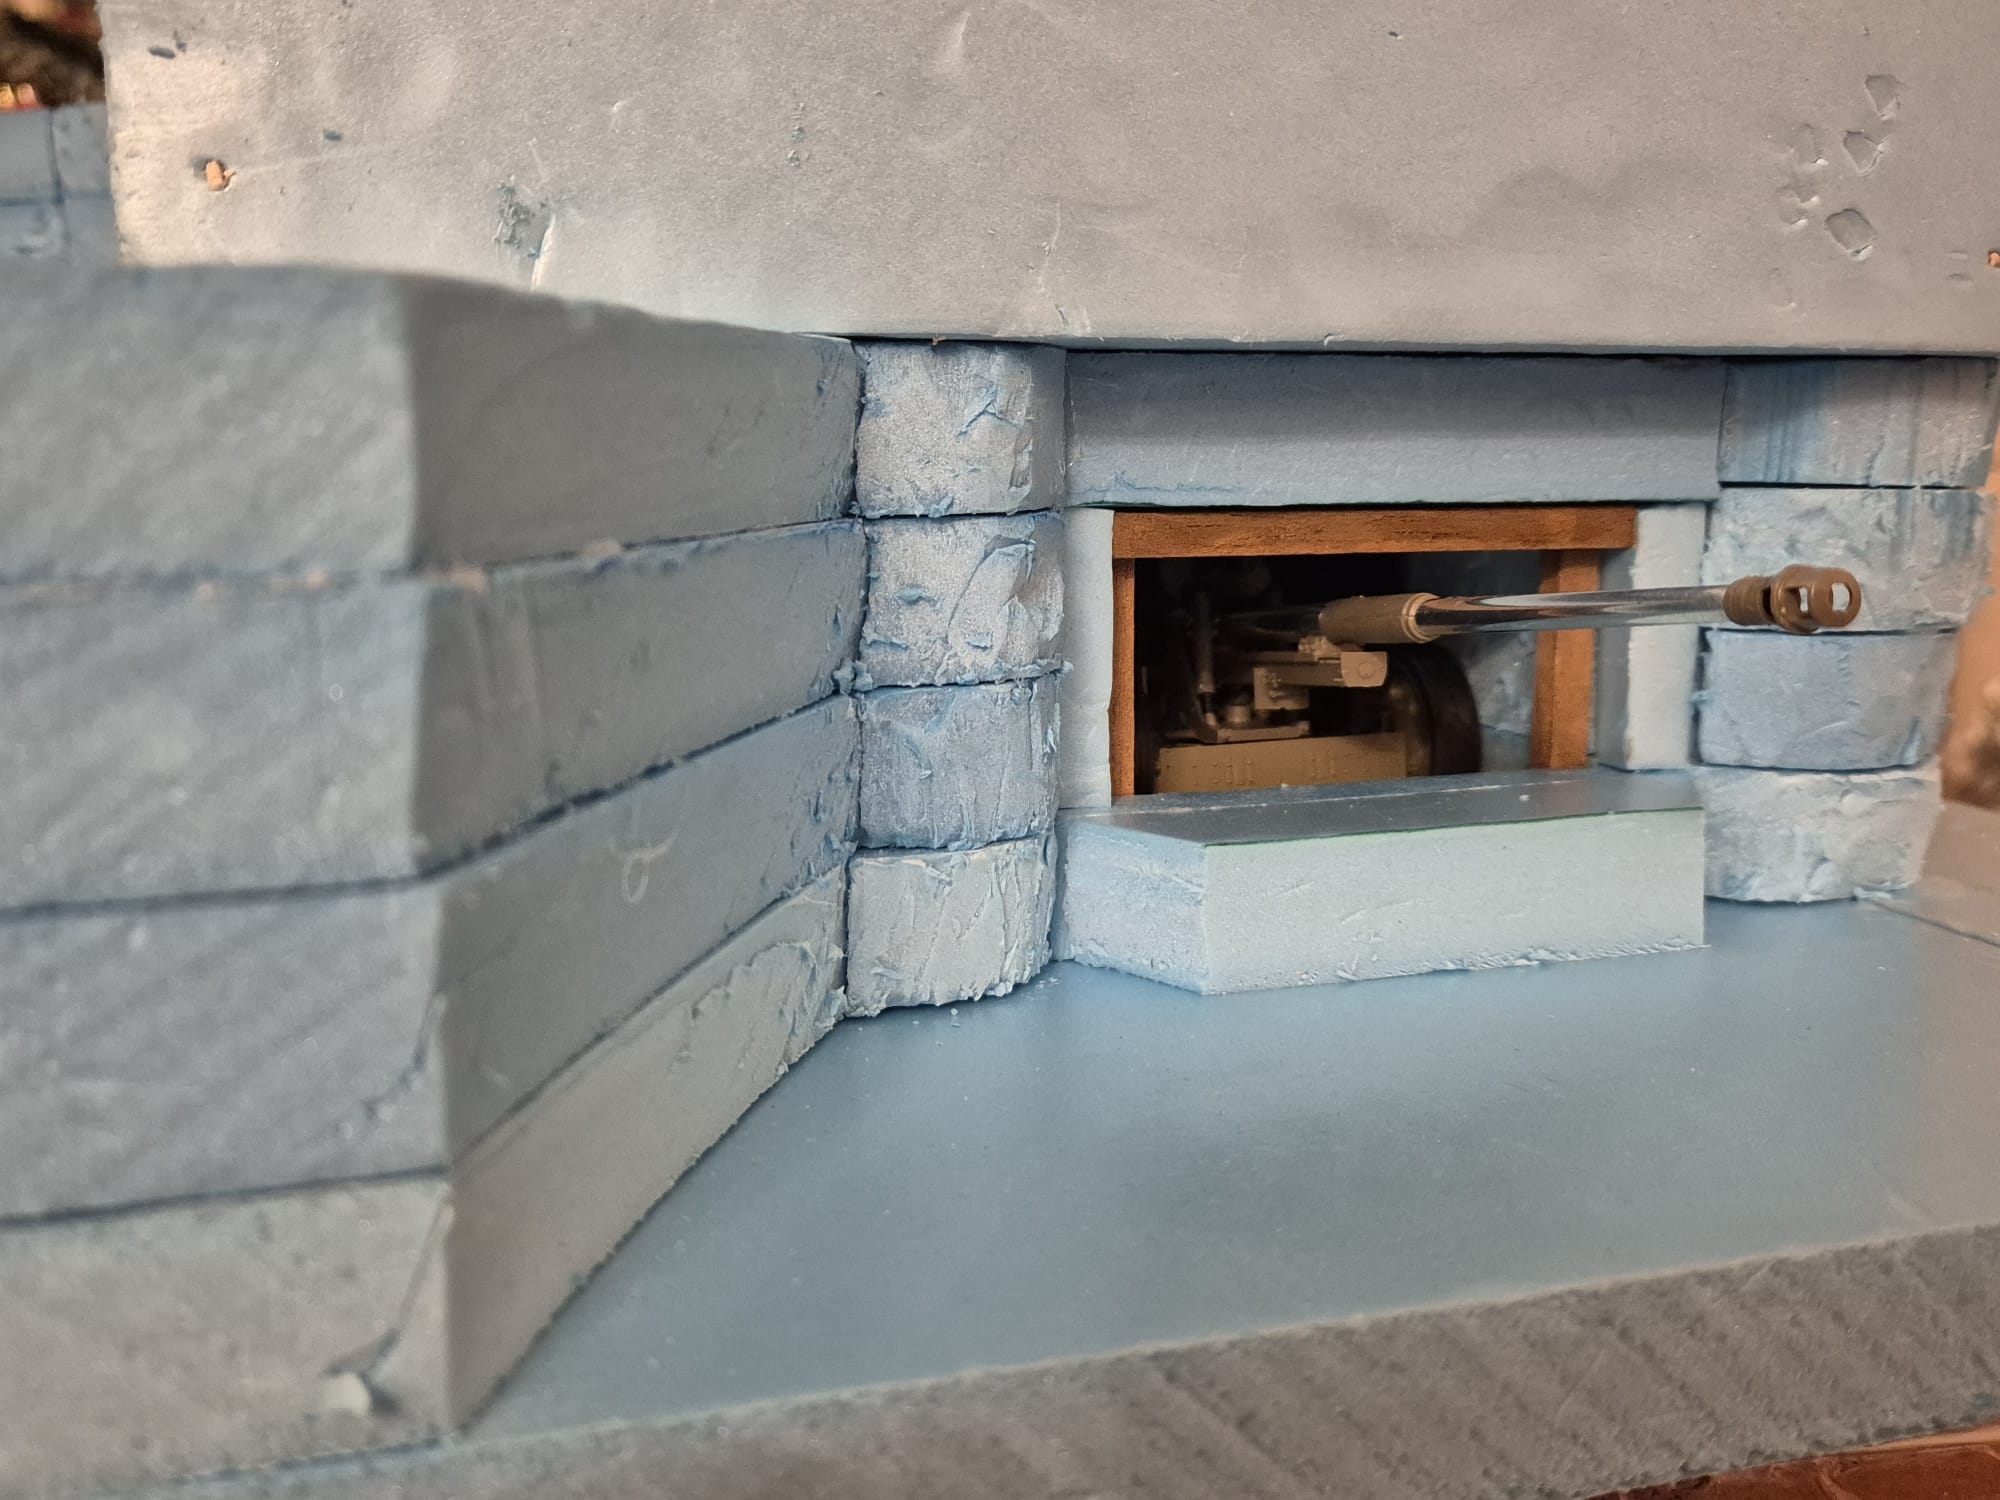
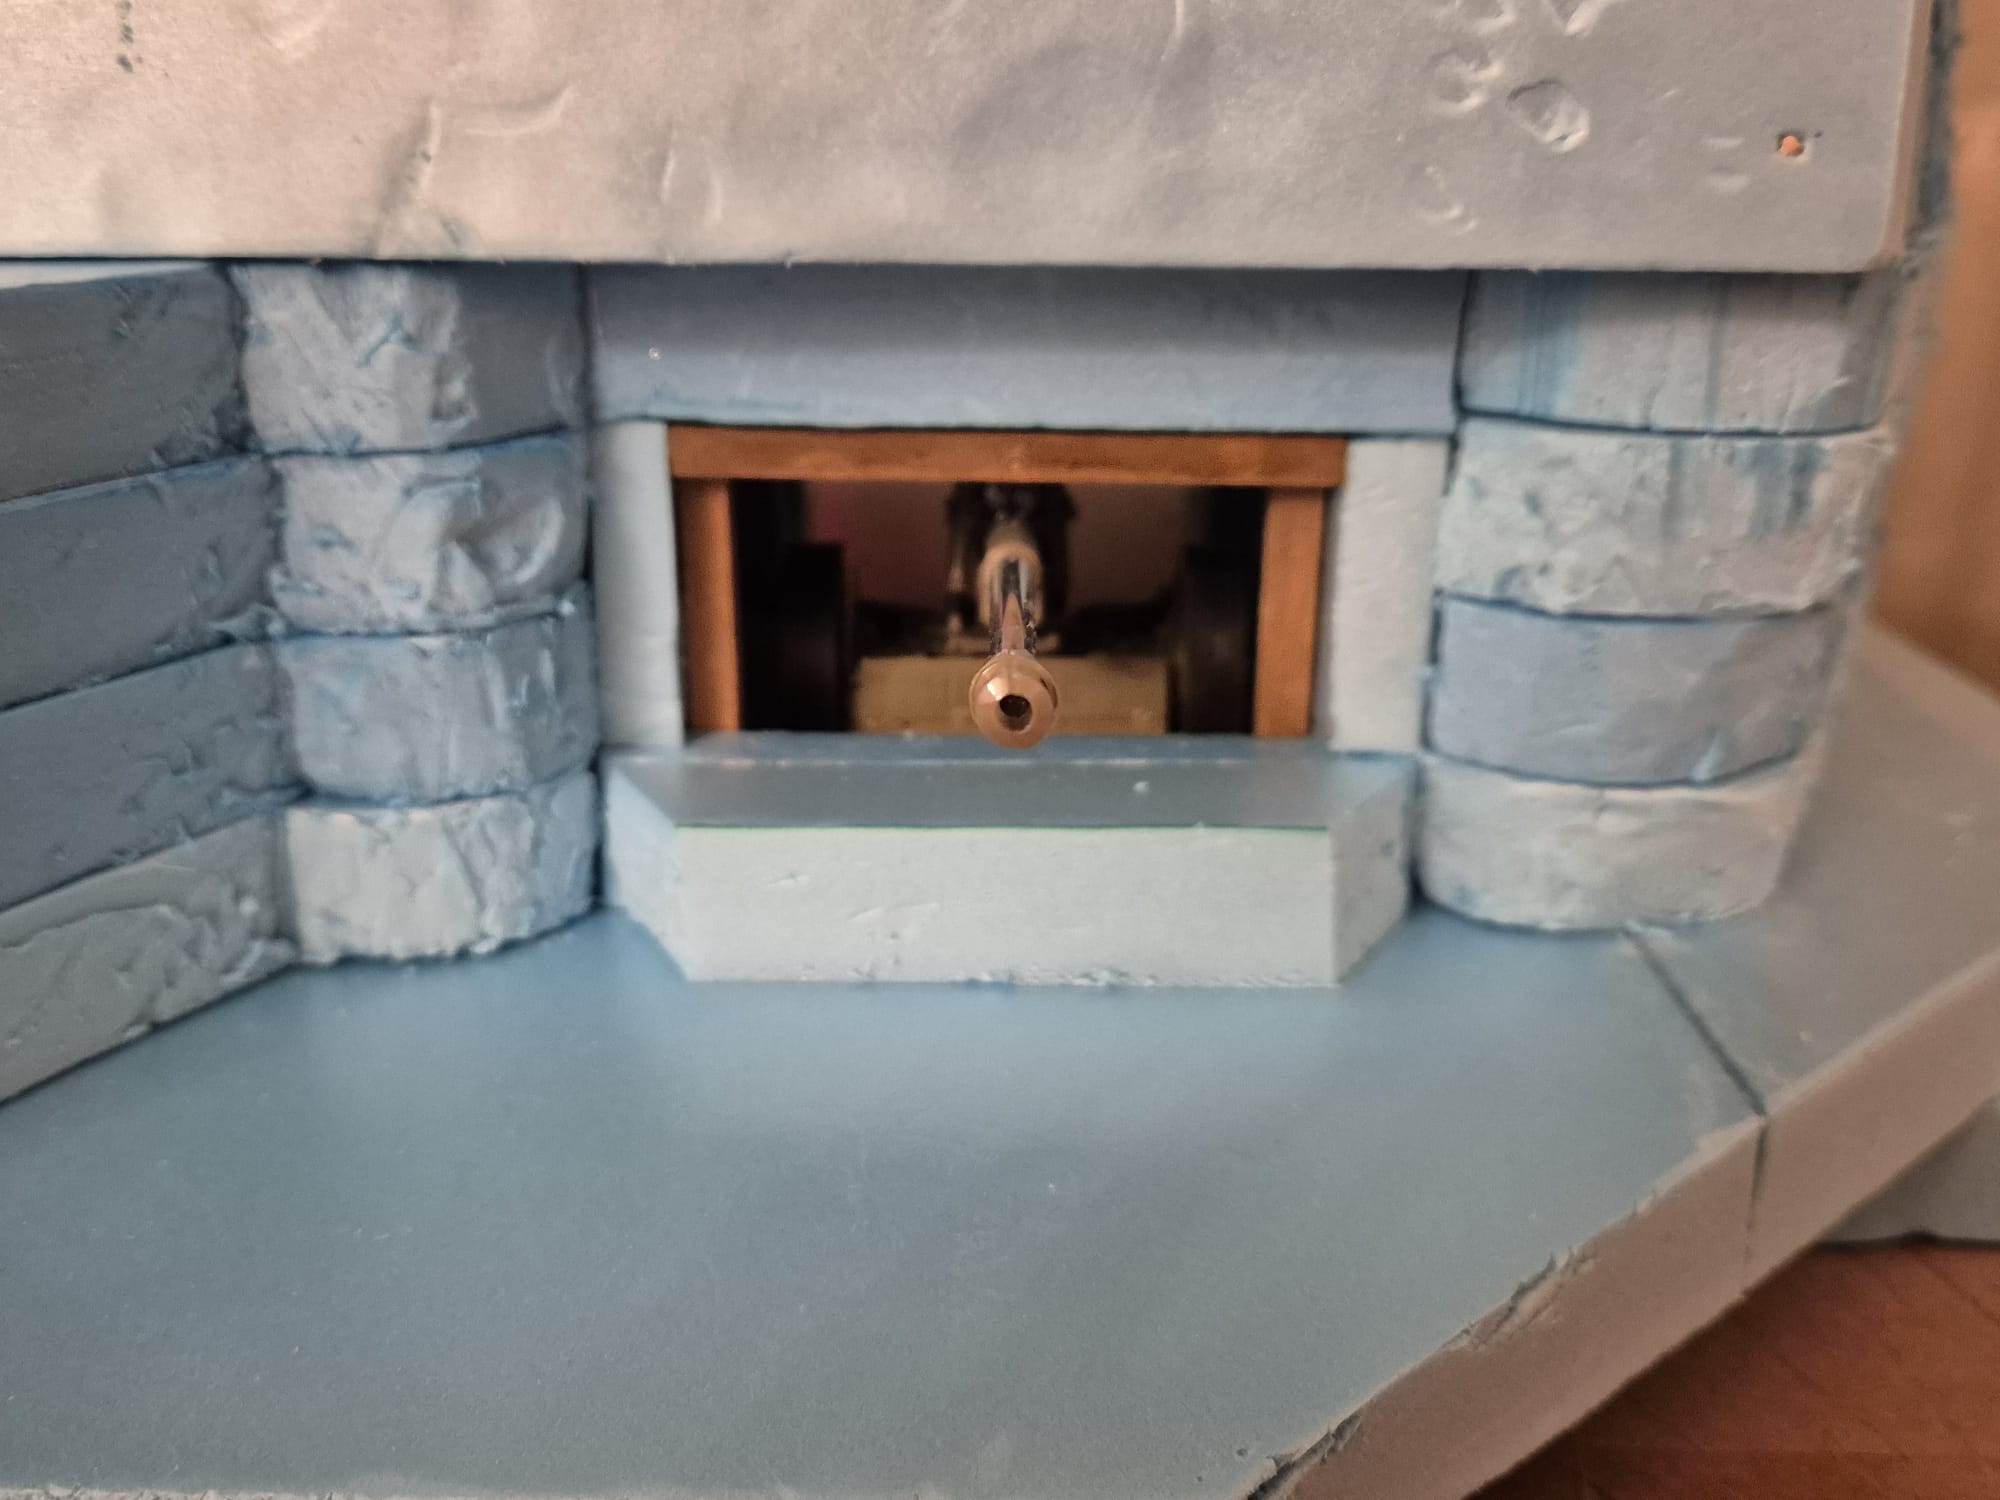
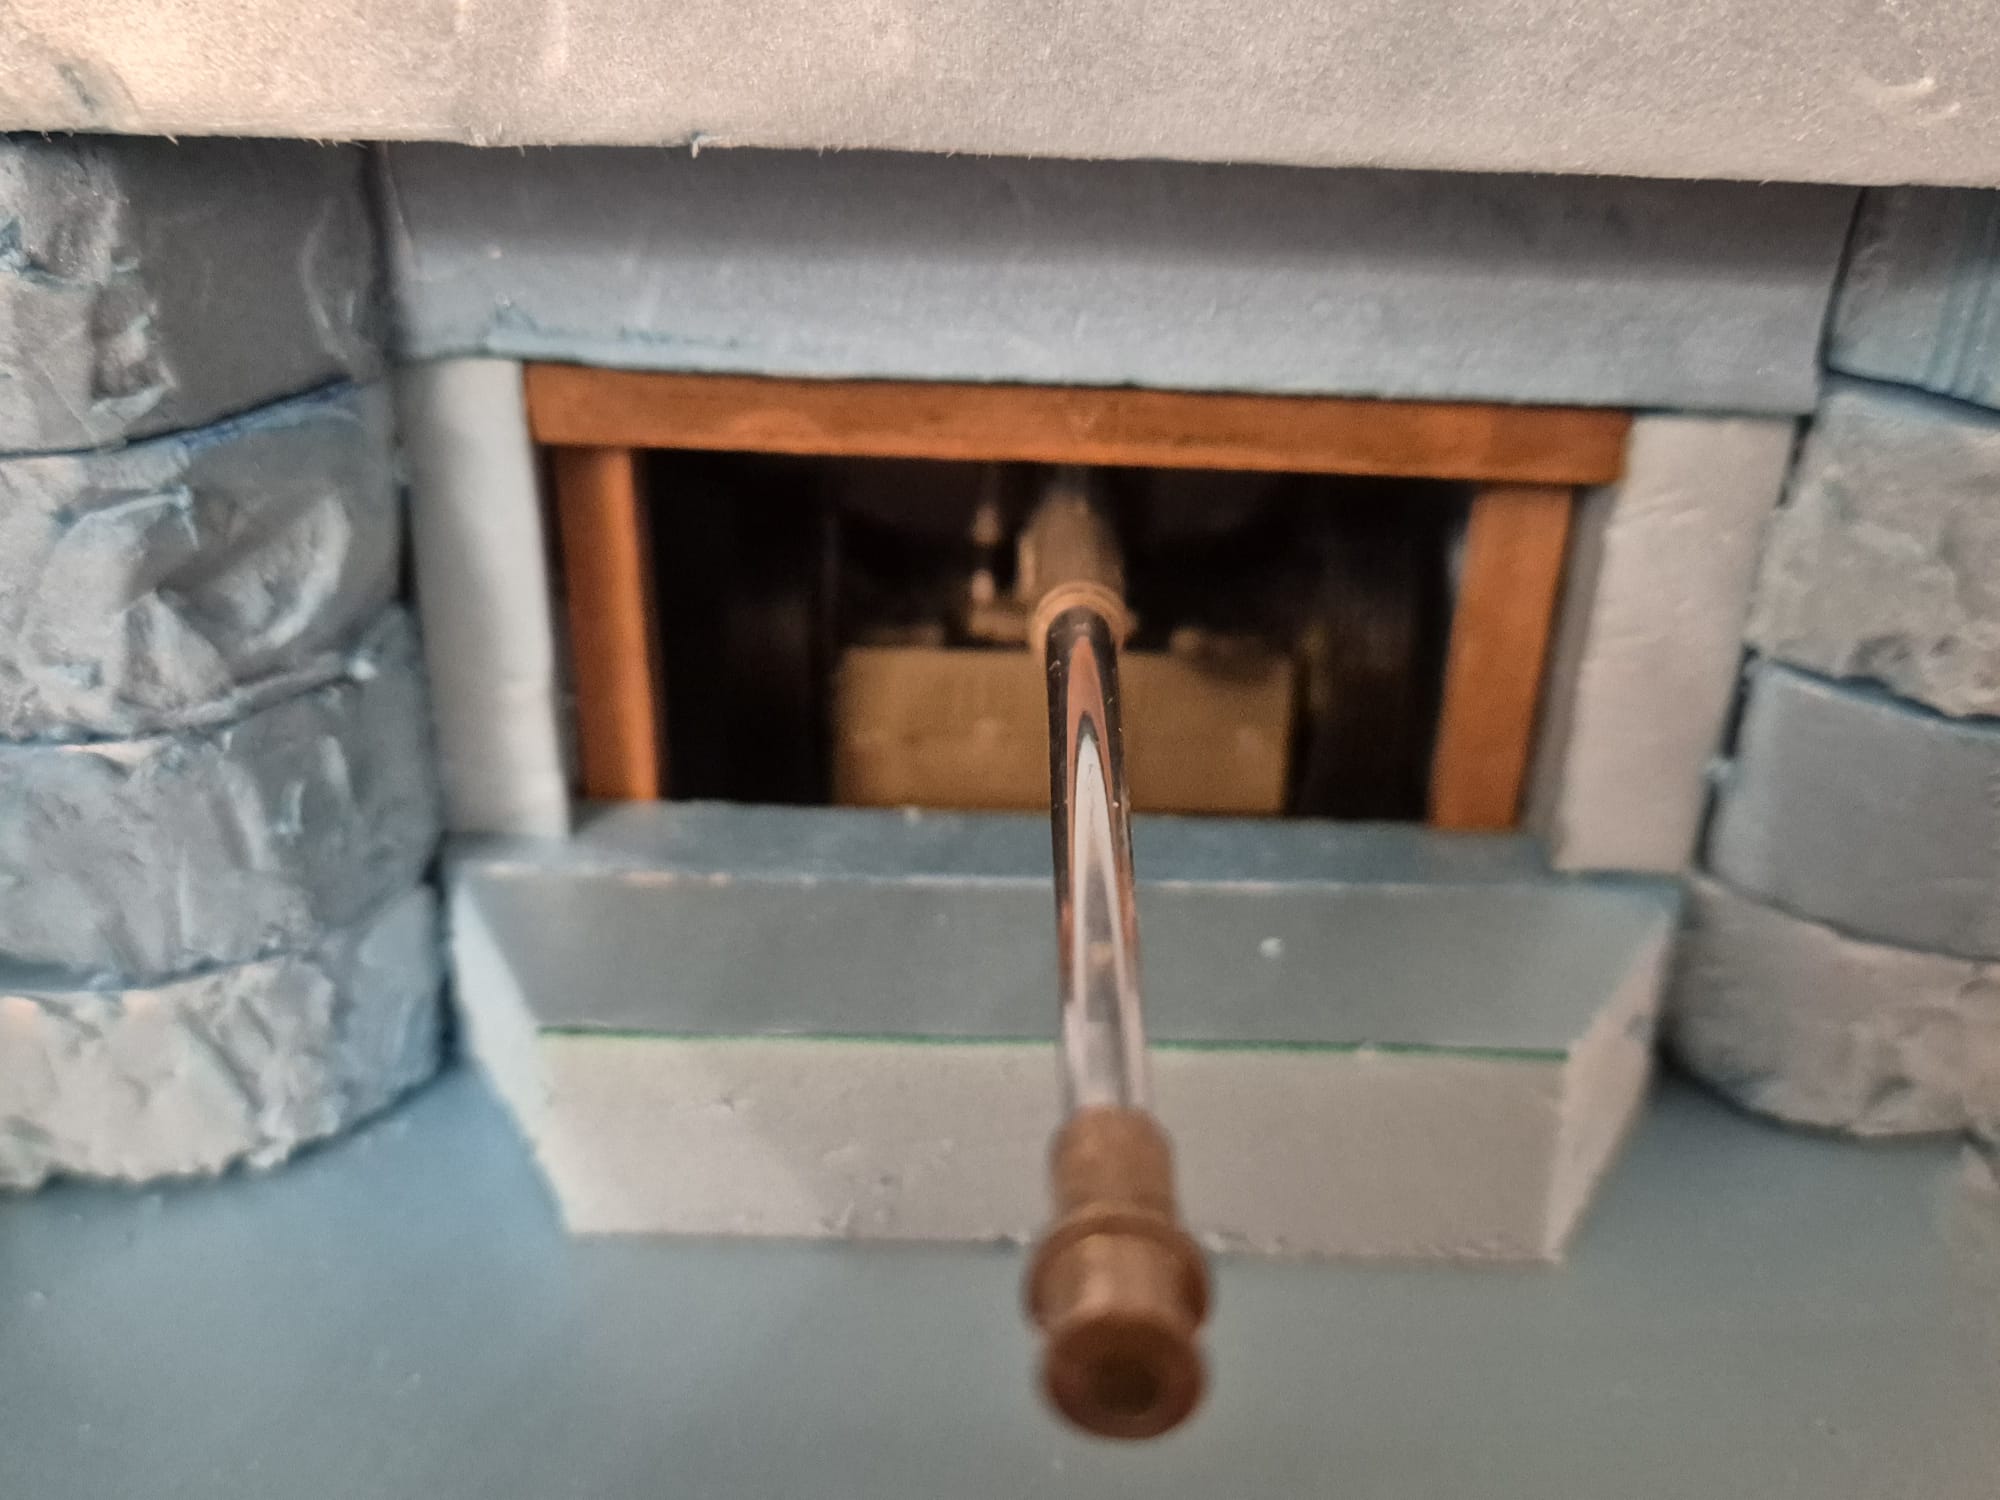
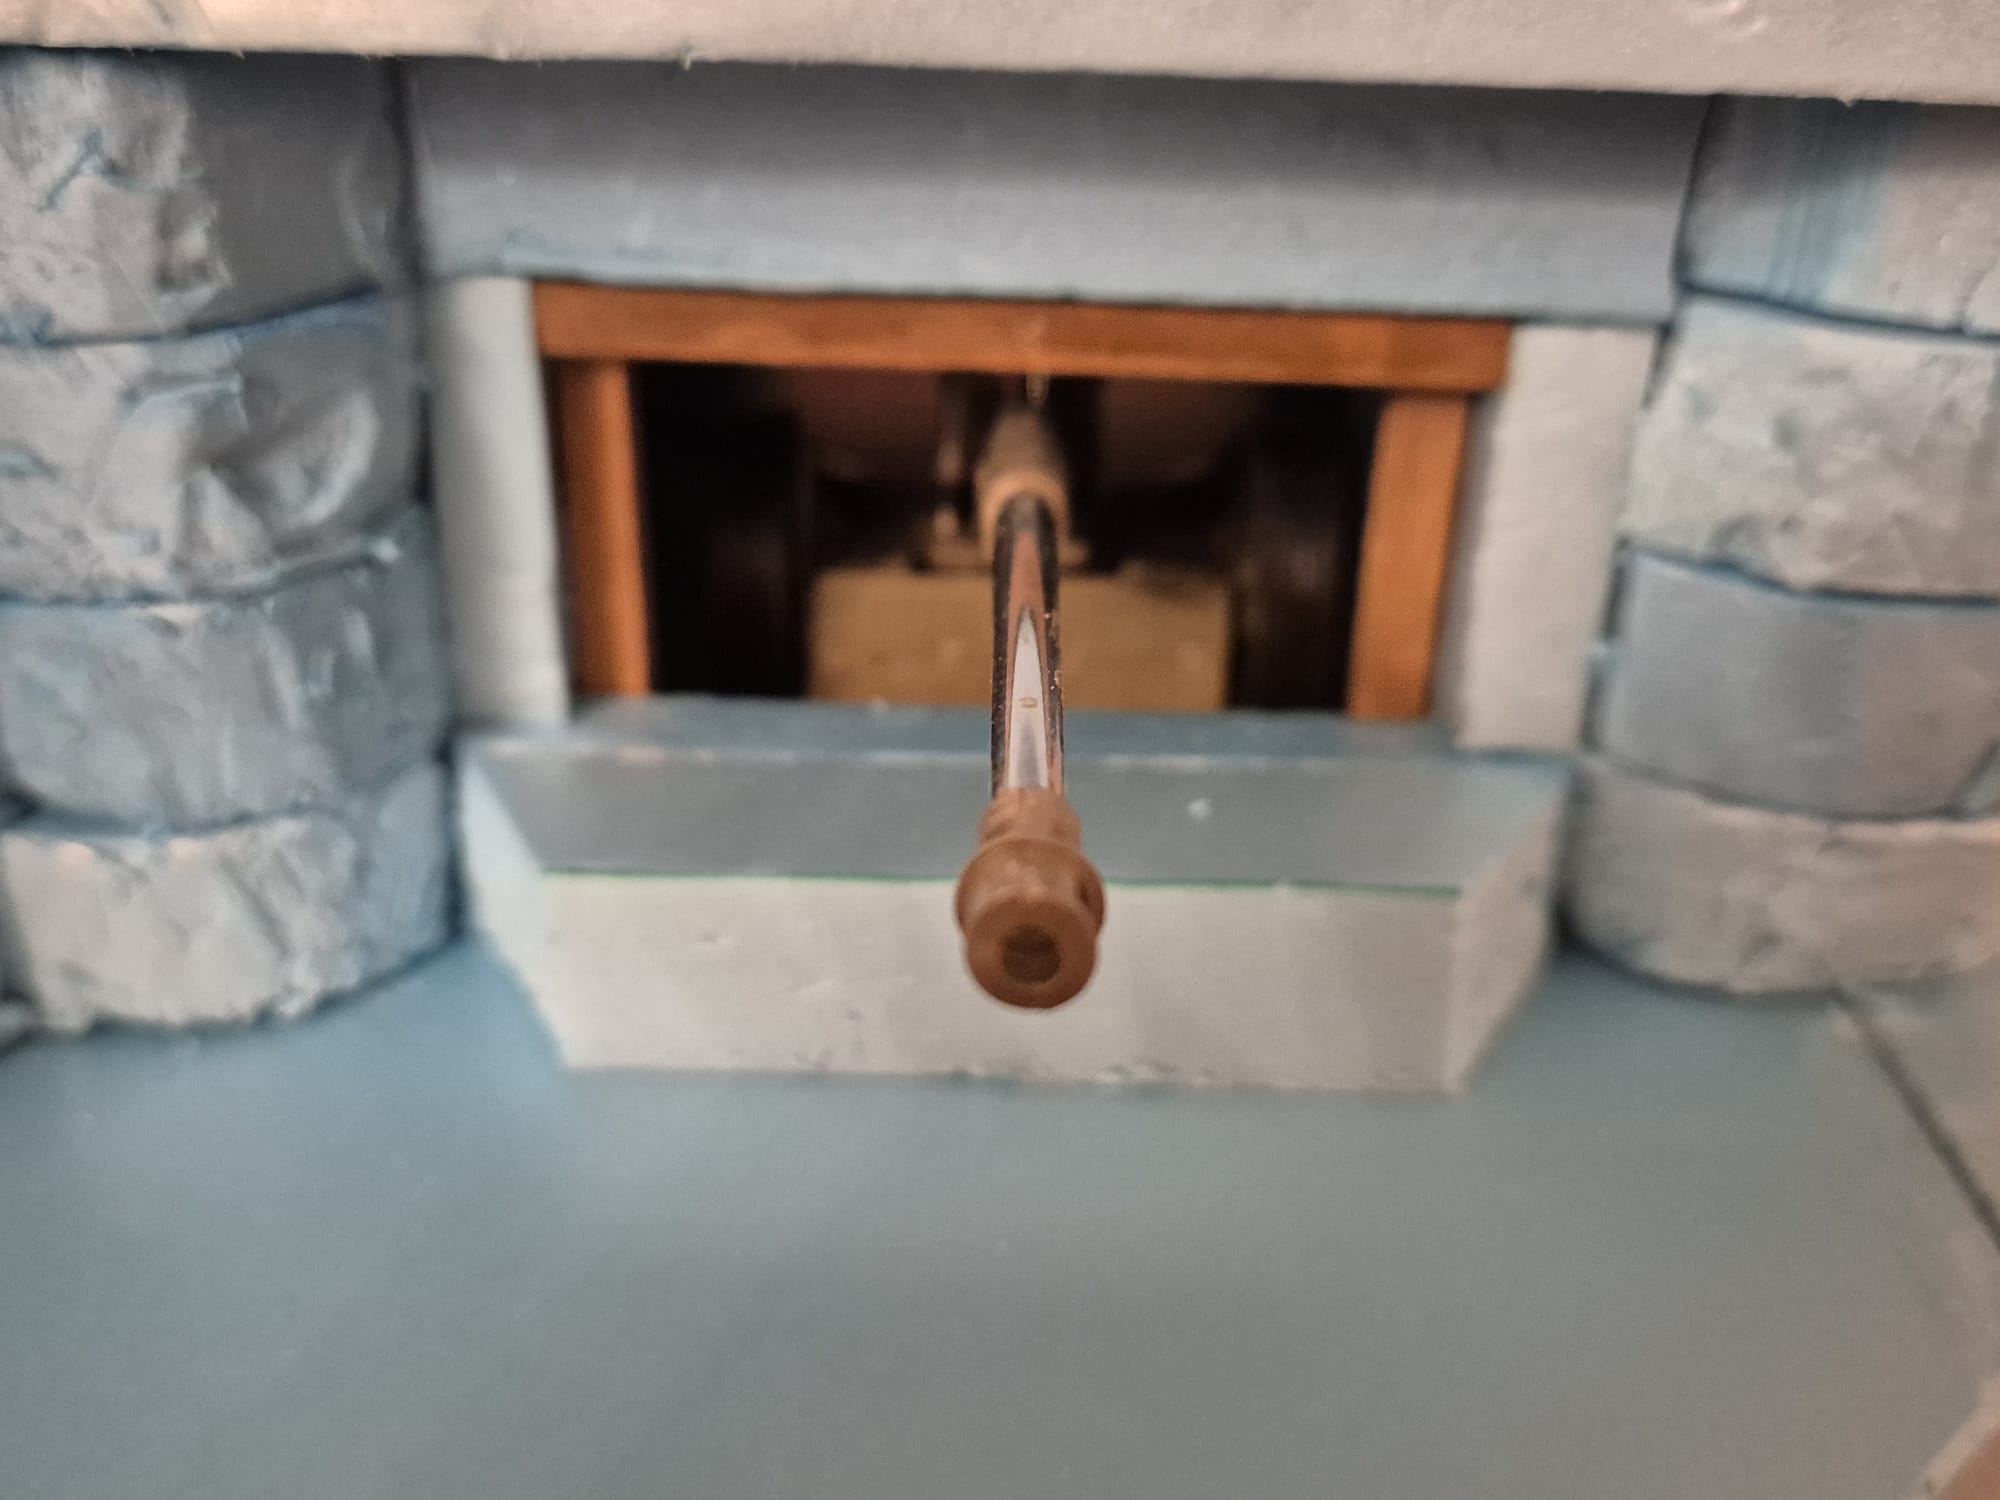
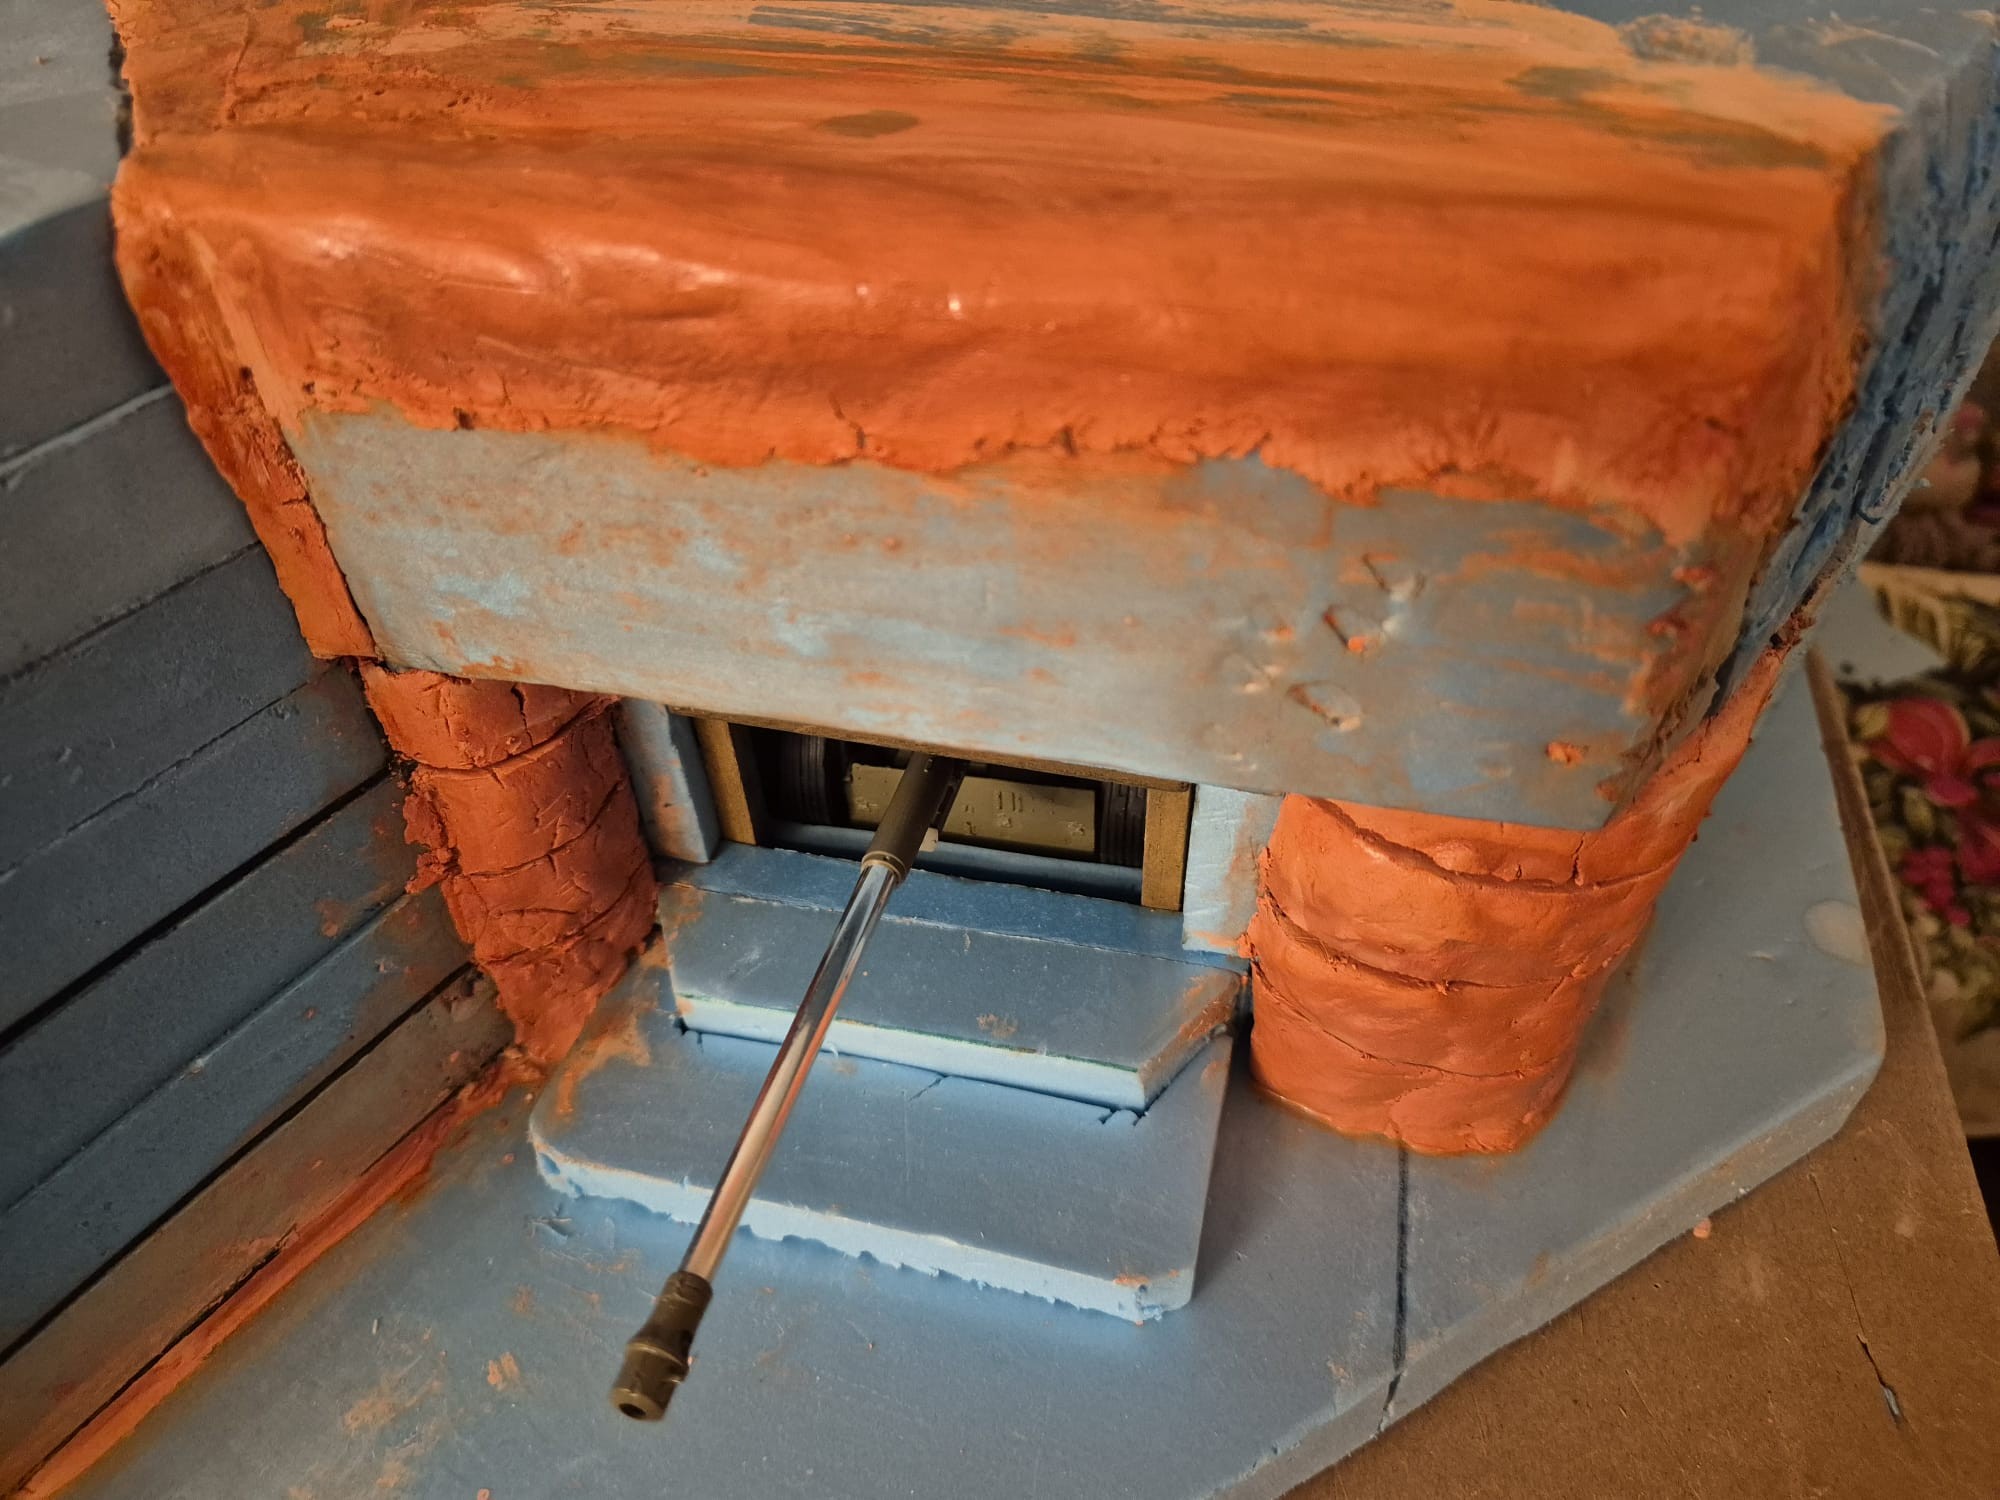
The Gun undercarriage built to measure the size of the bunker:
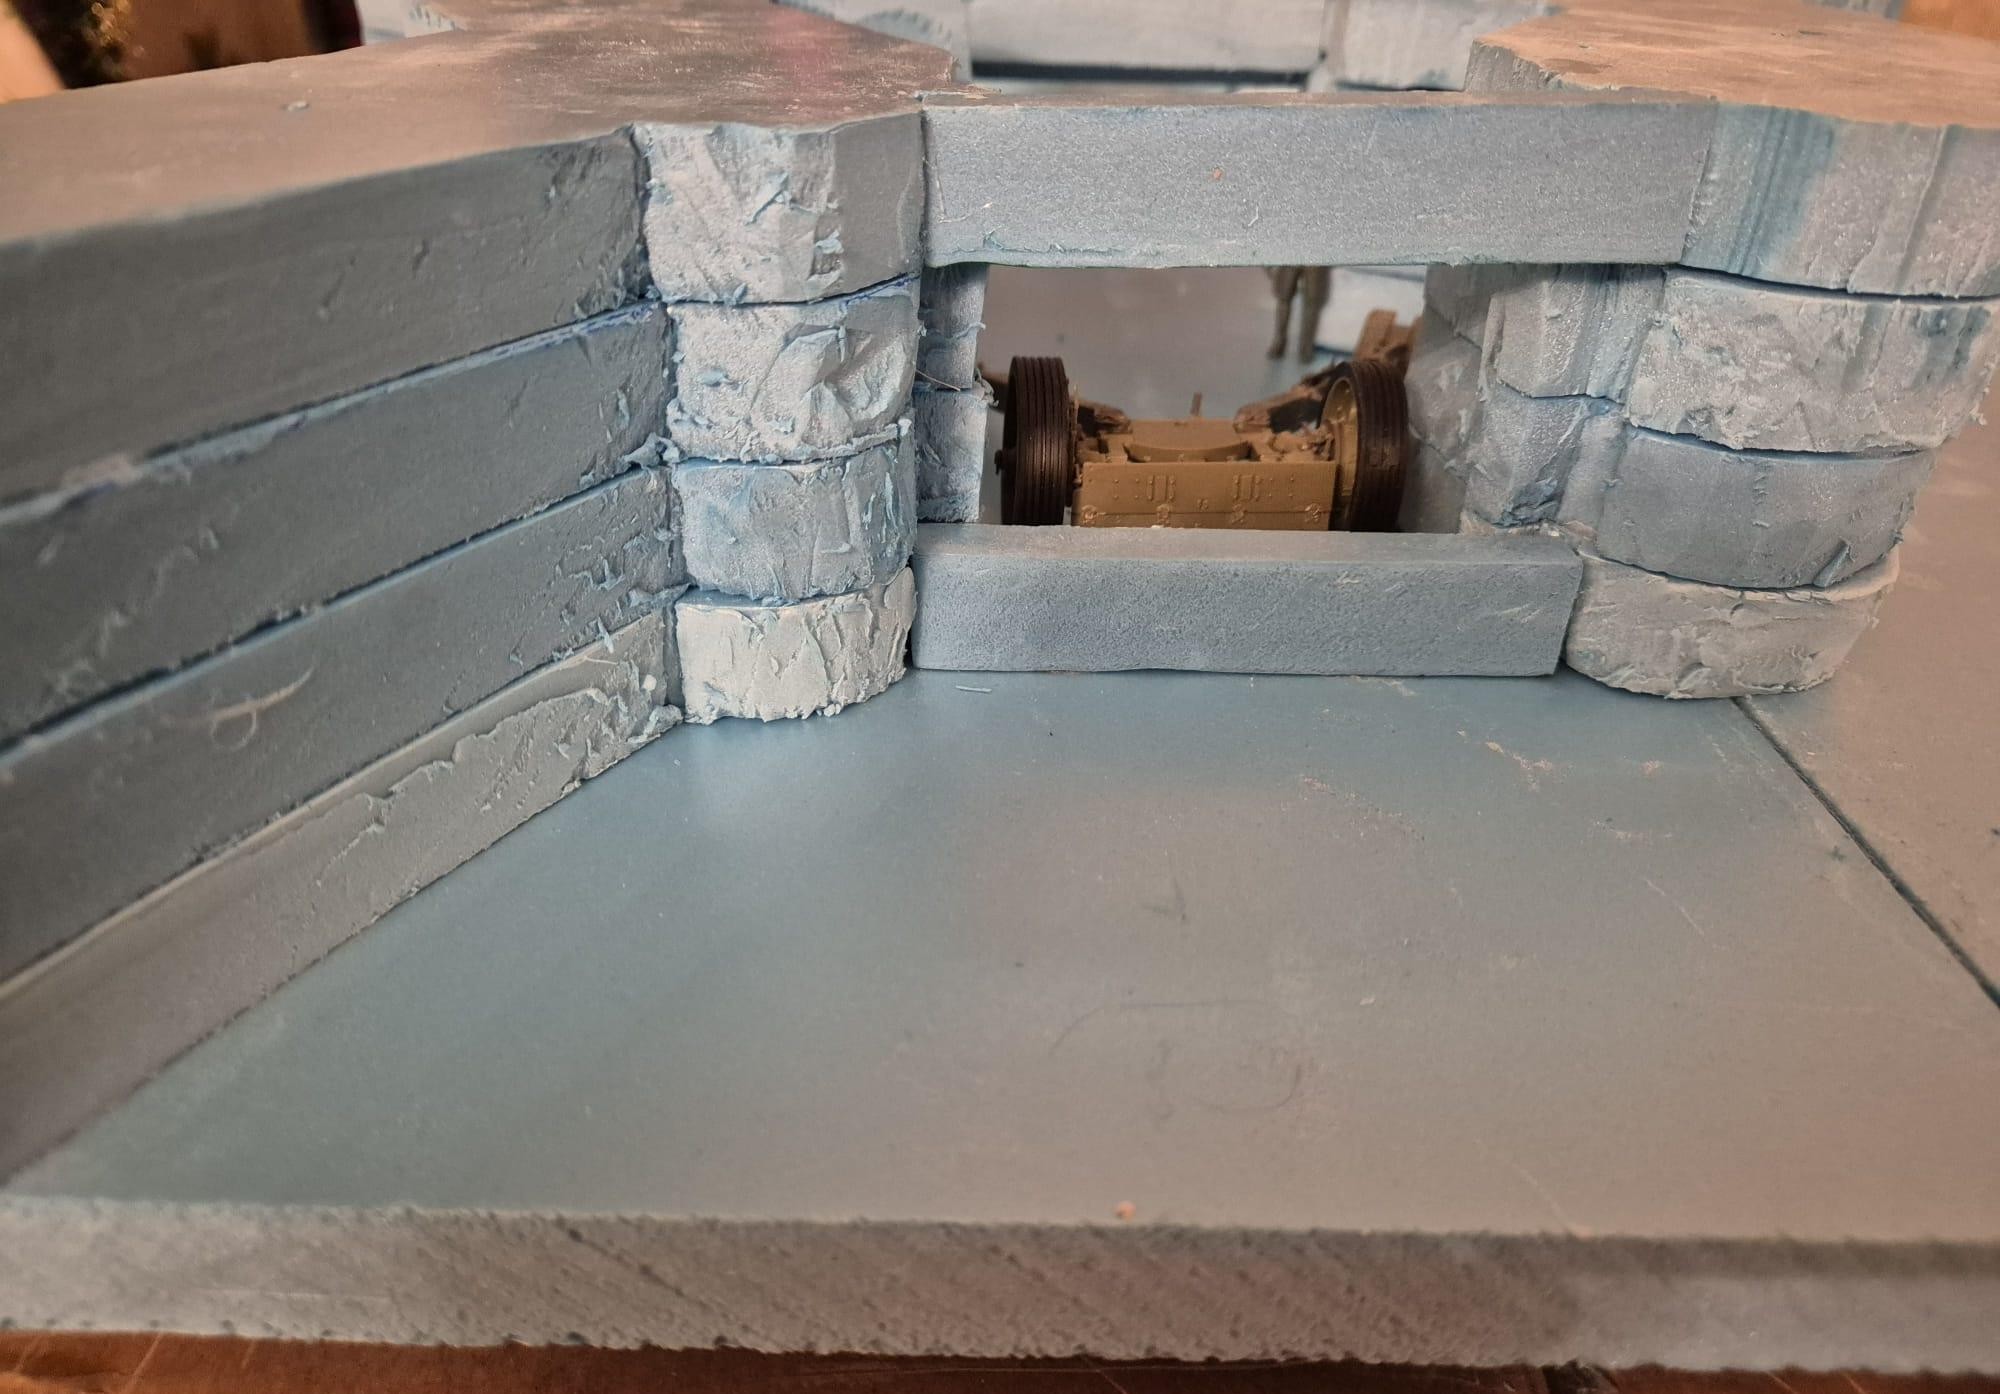
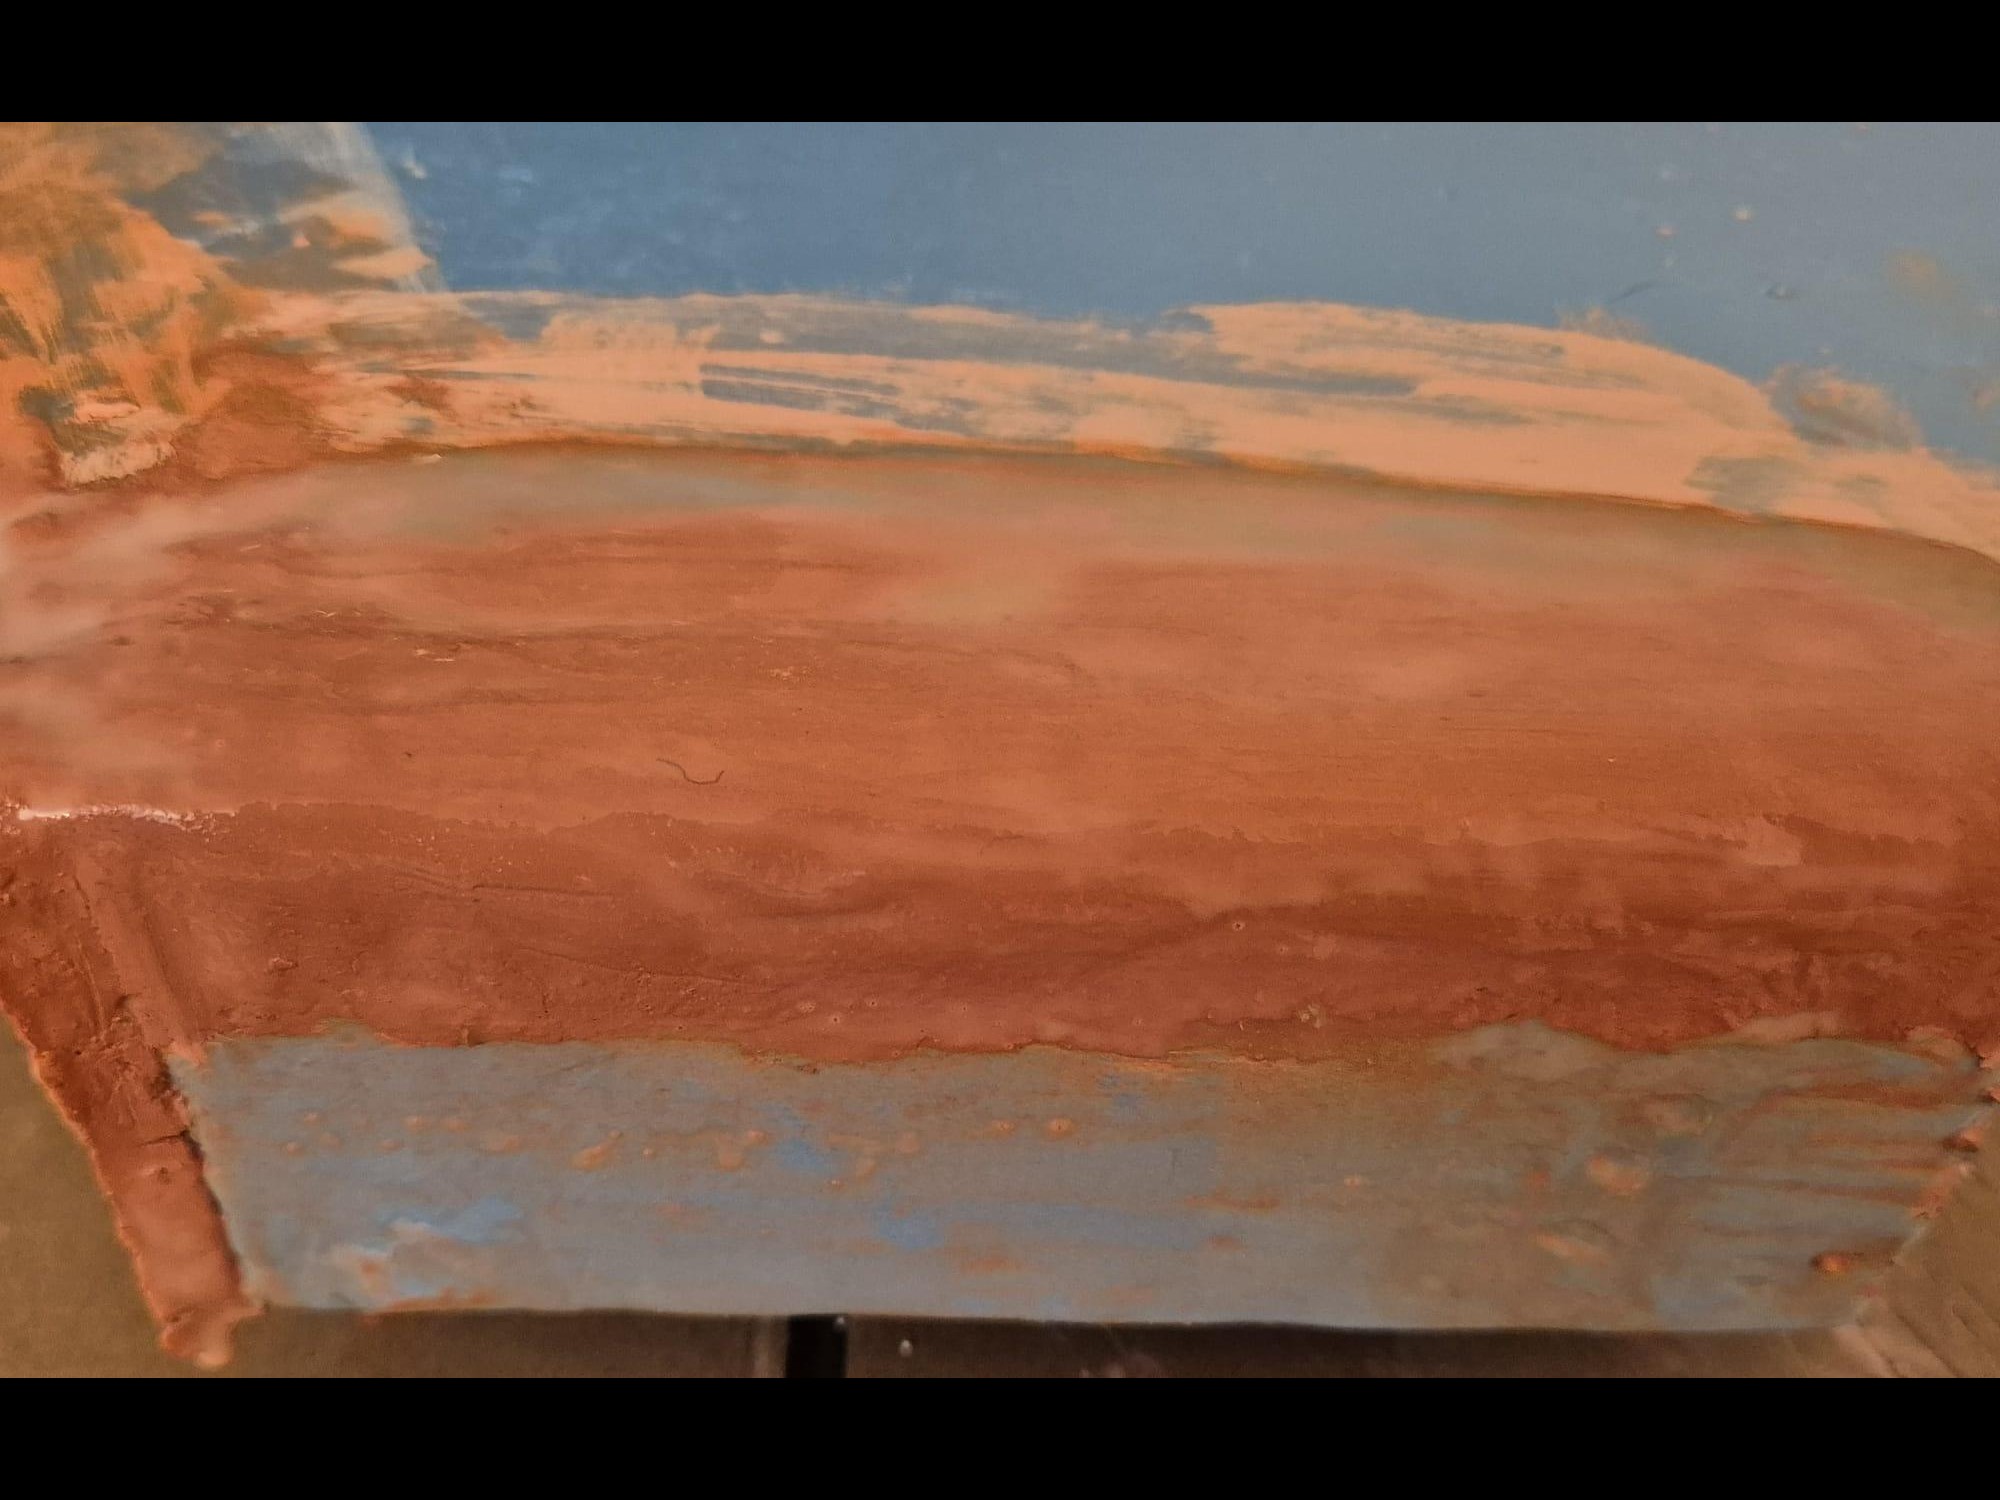
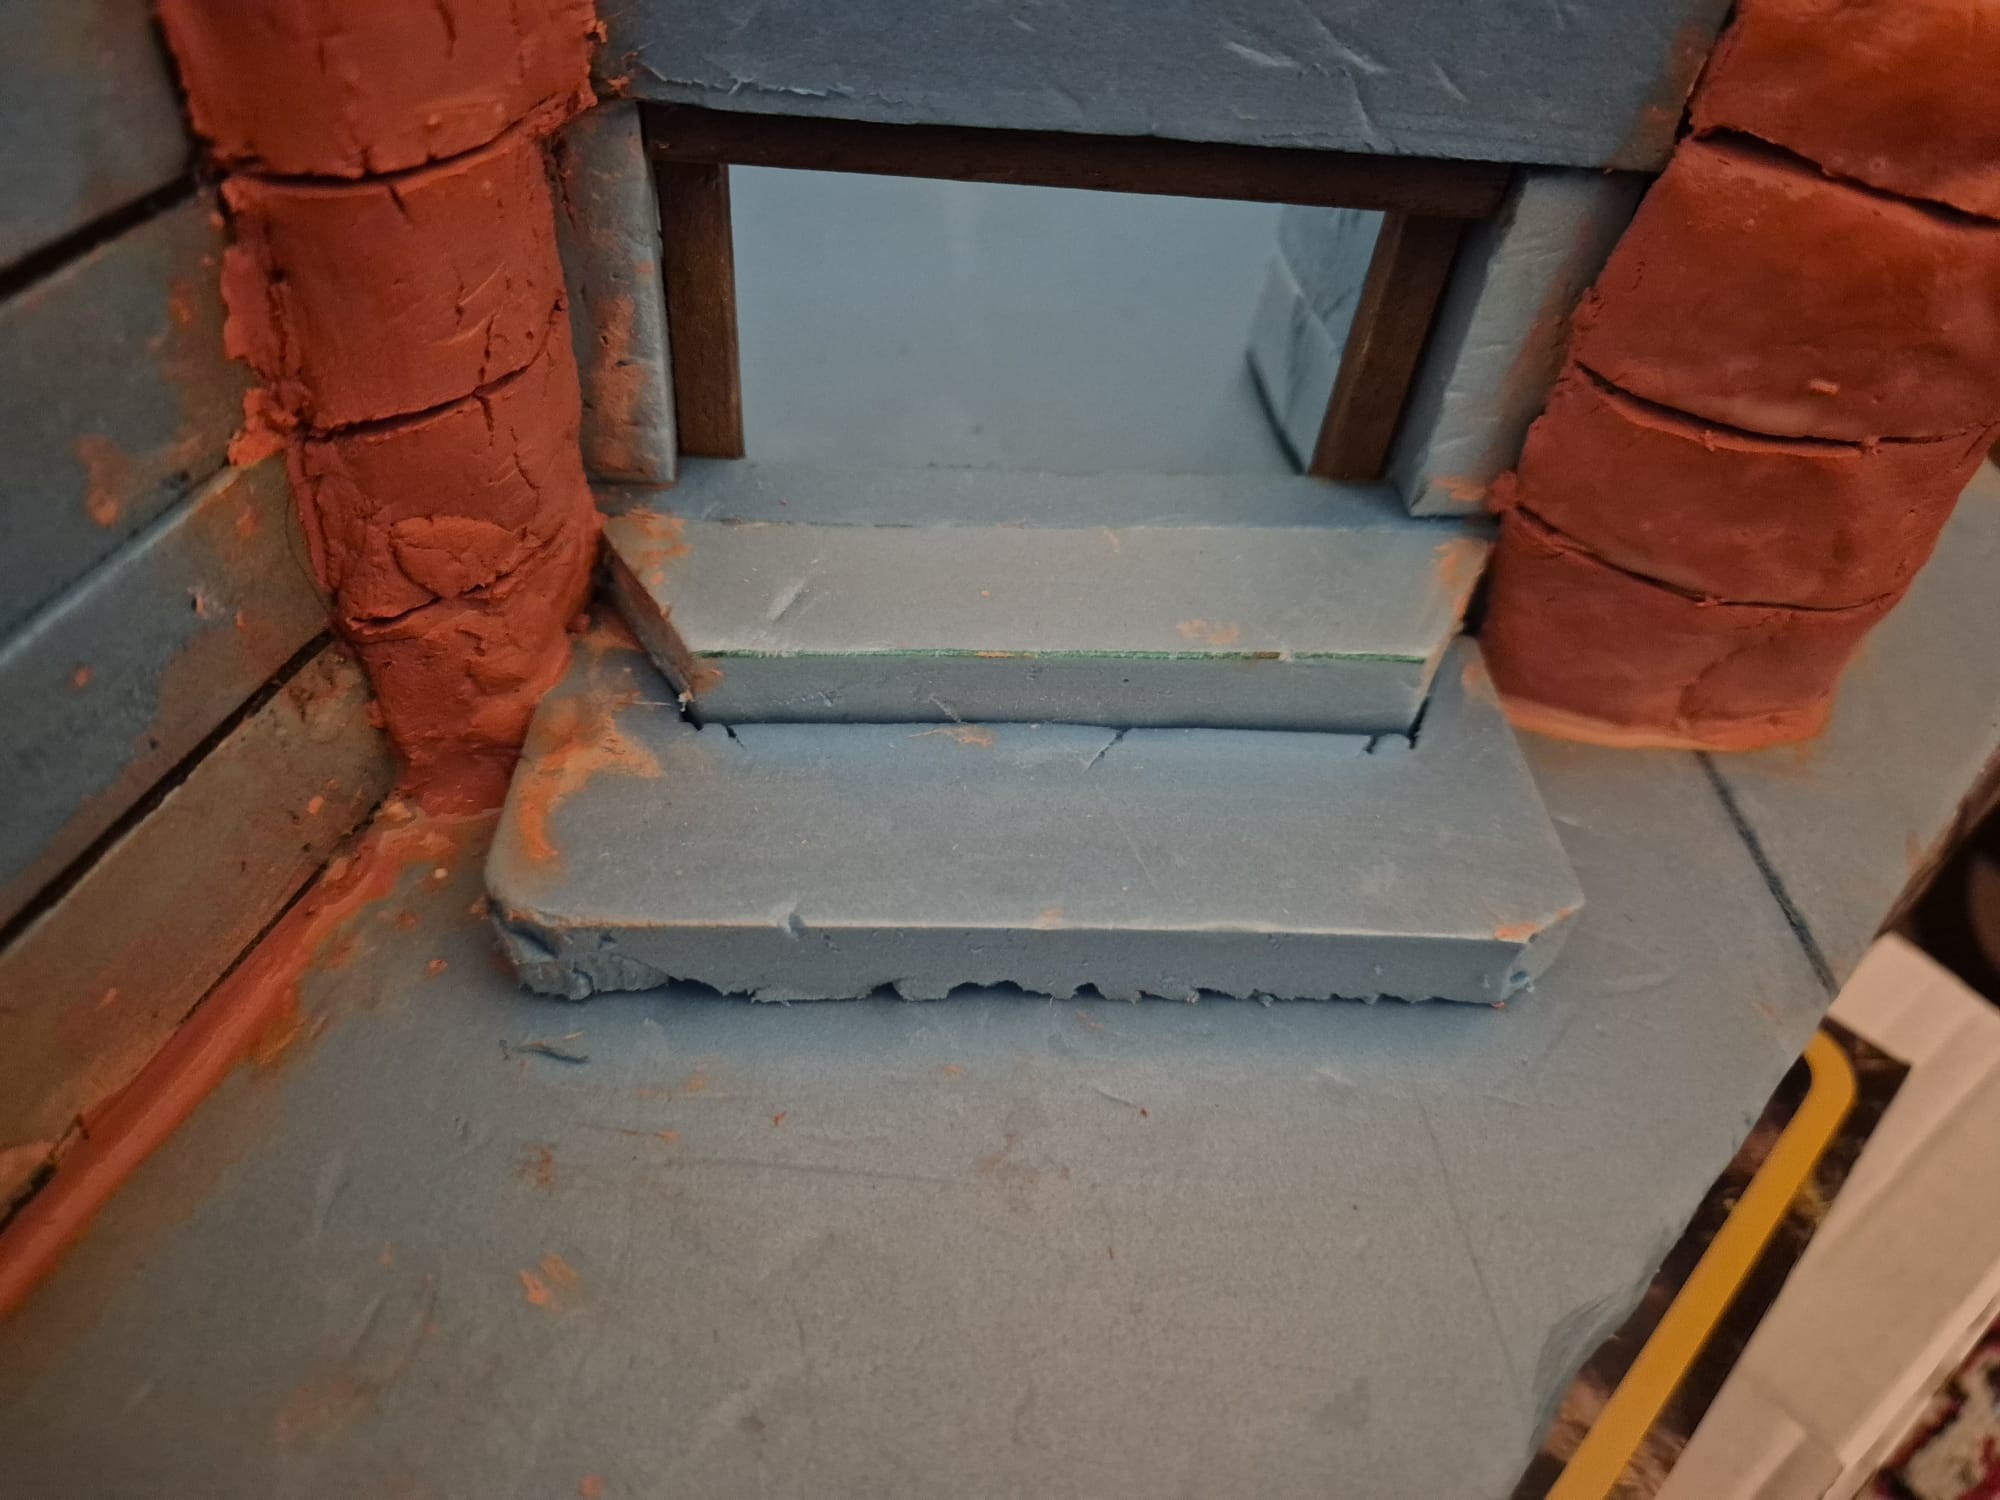
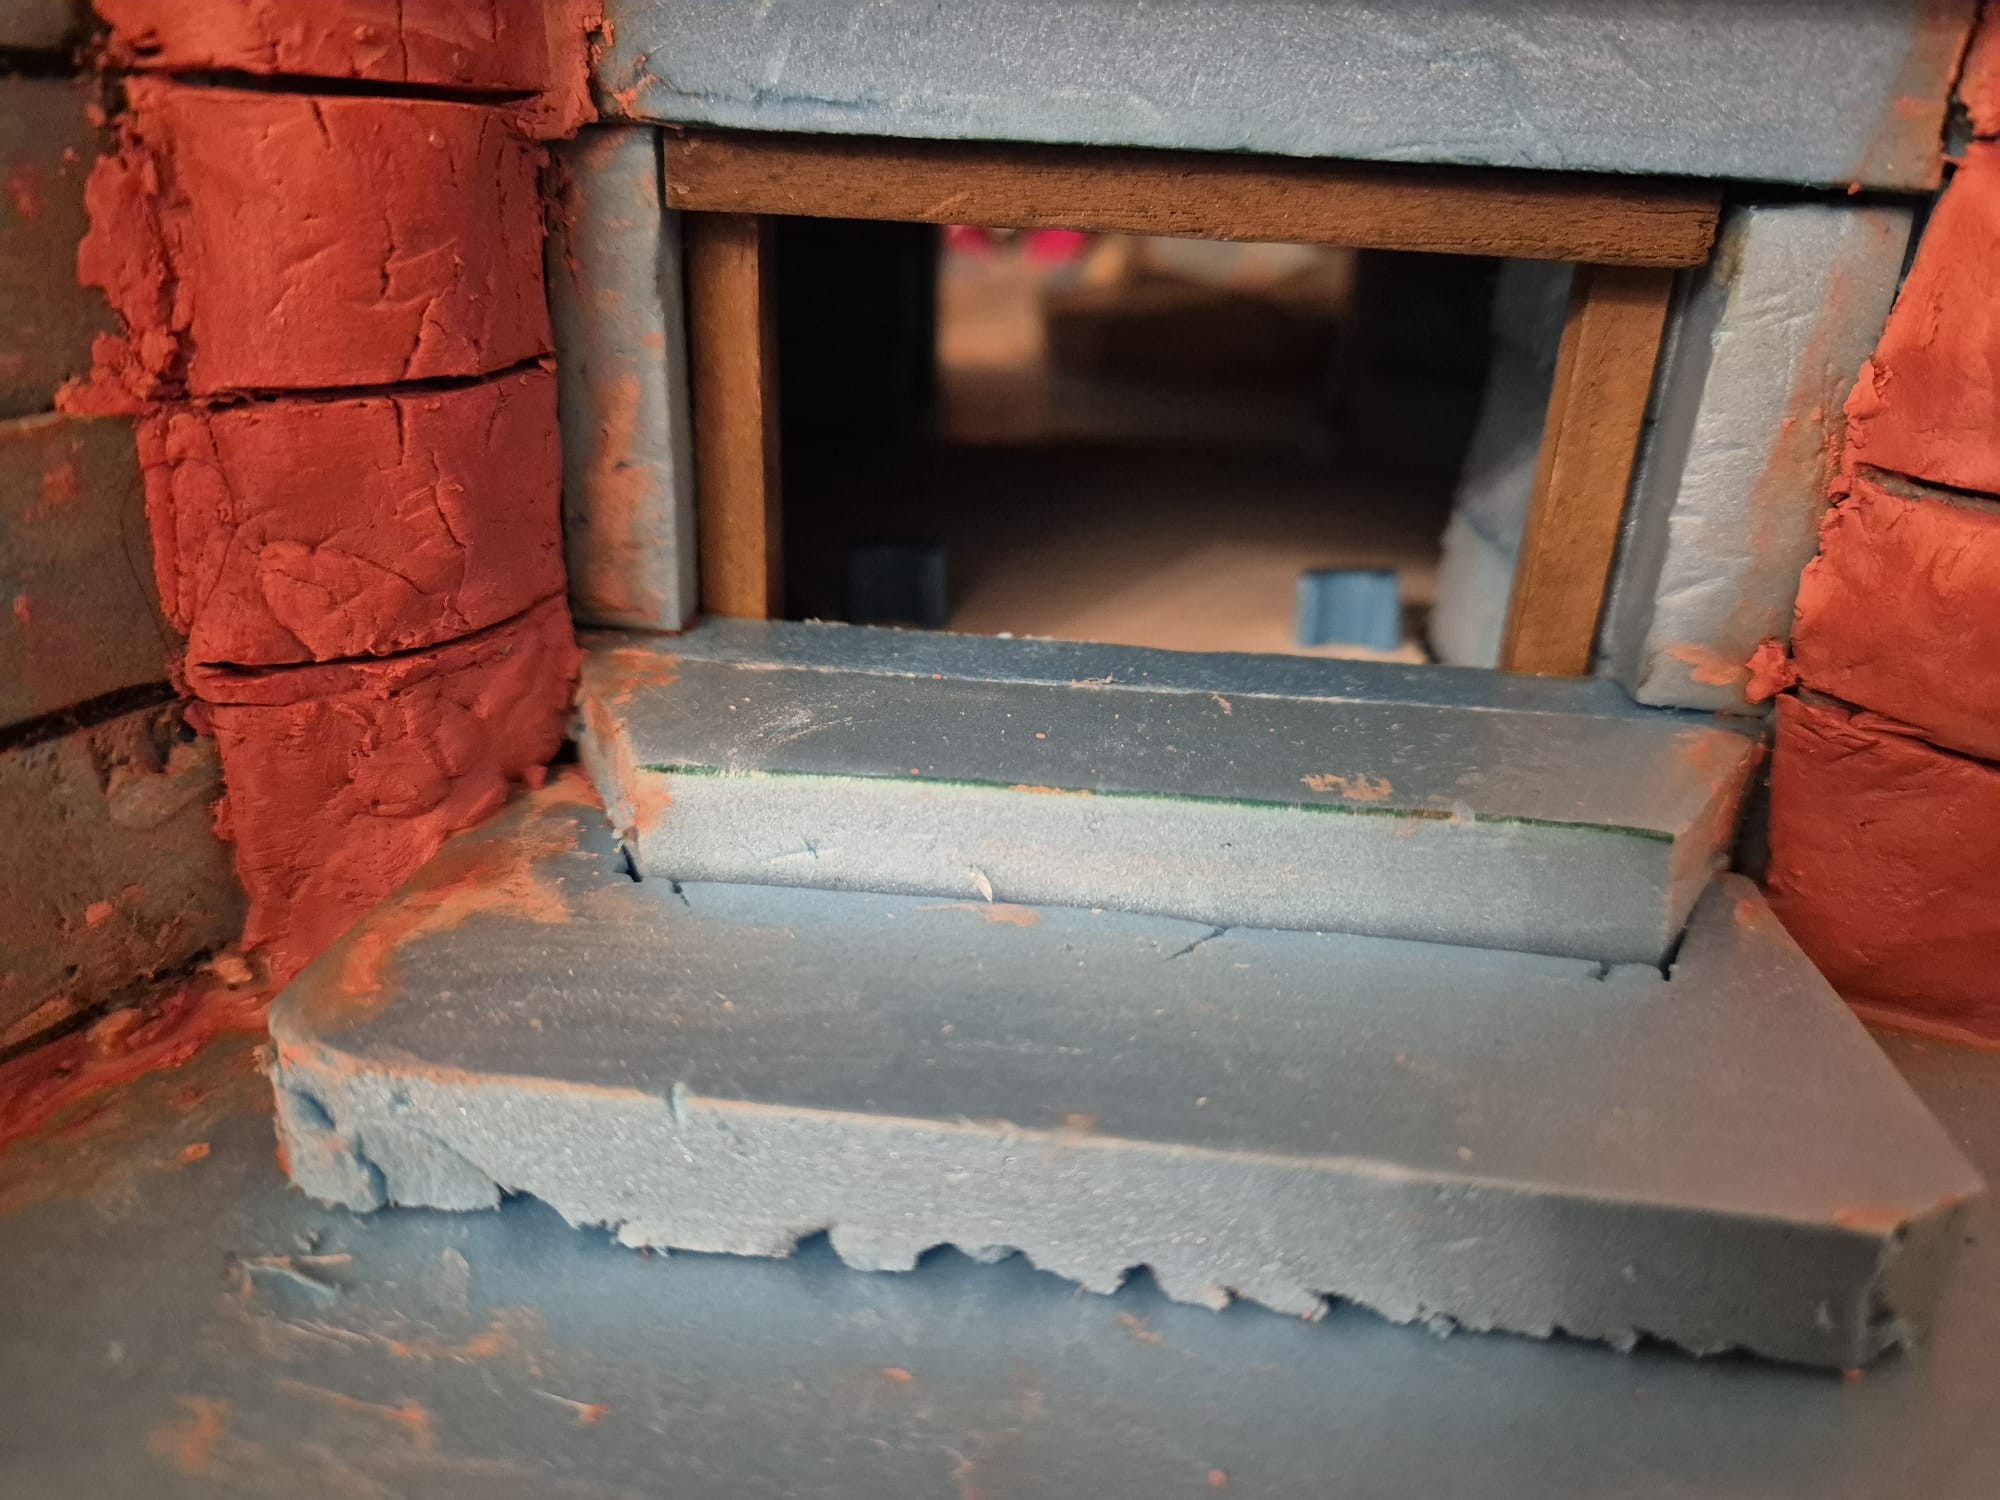
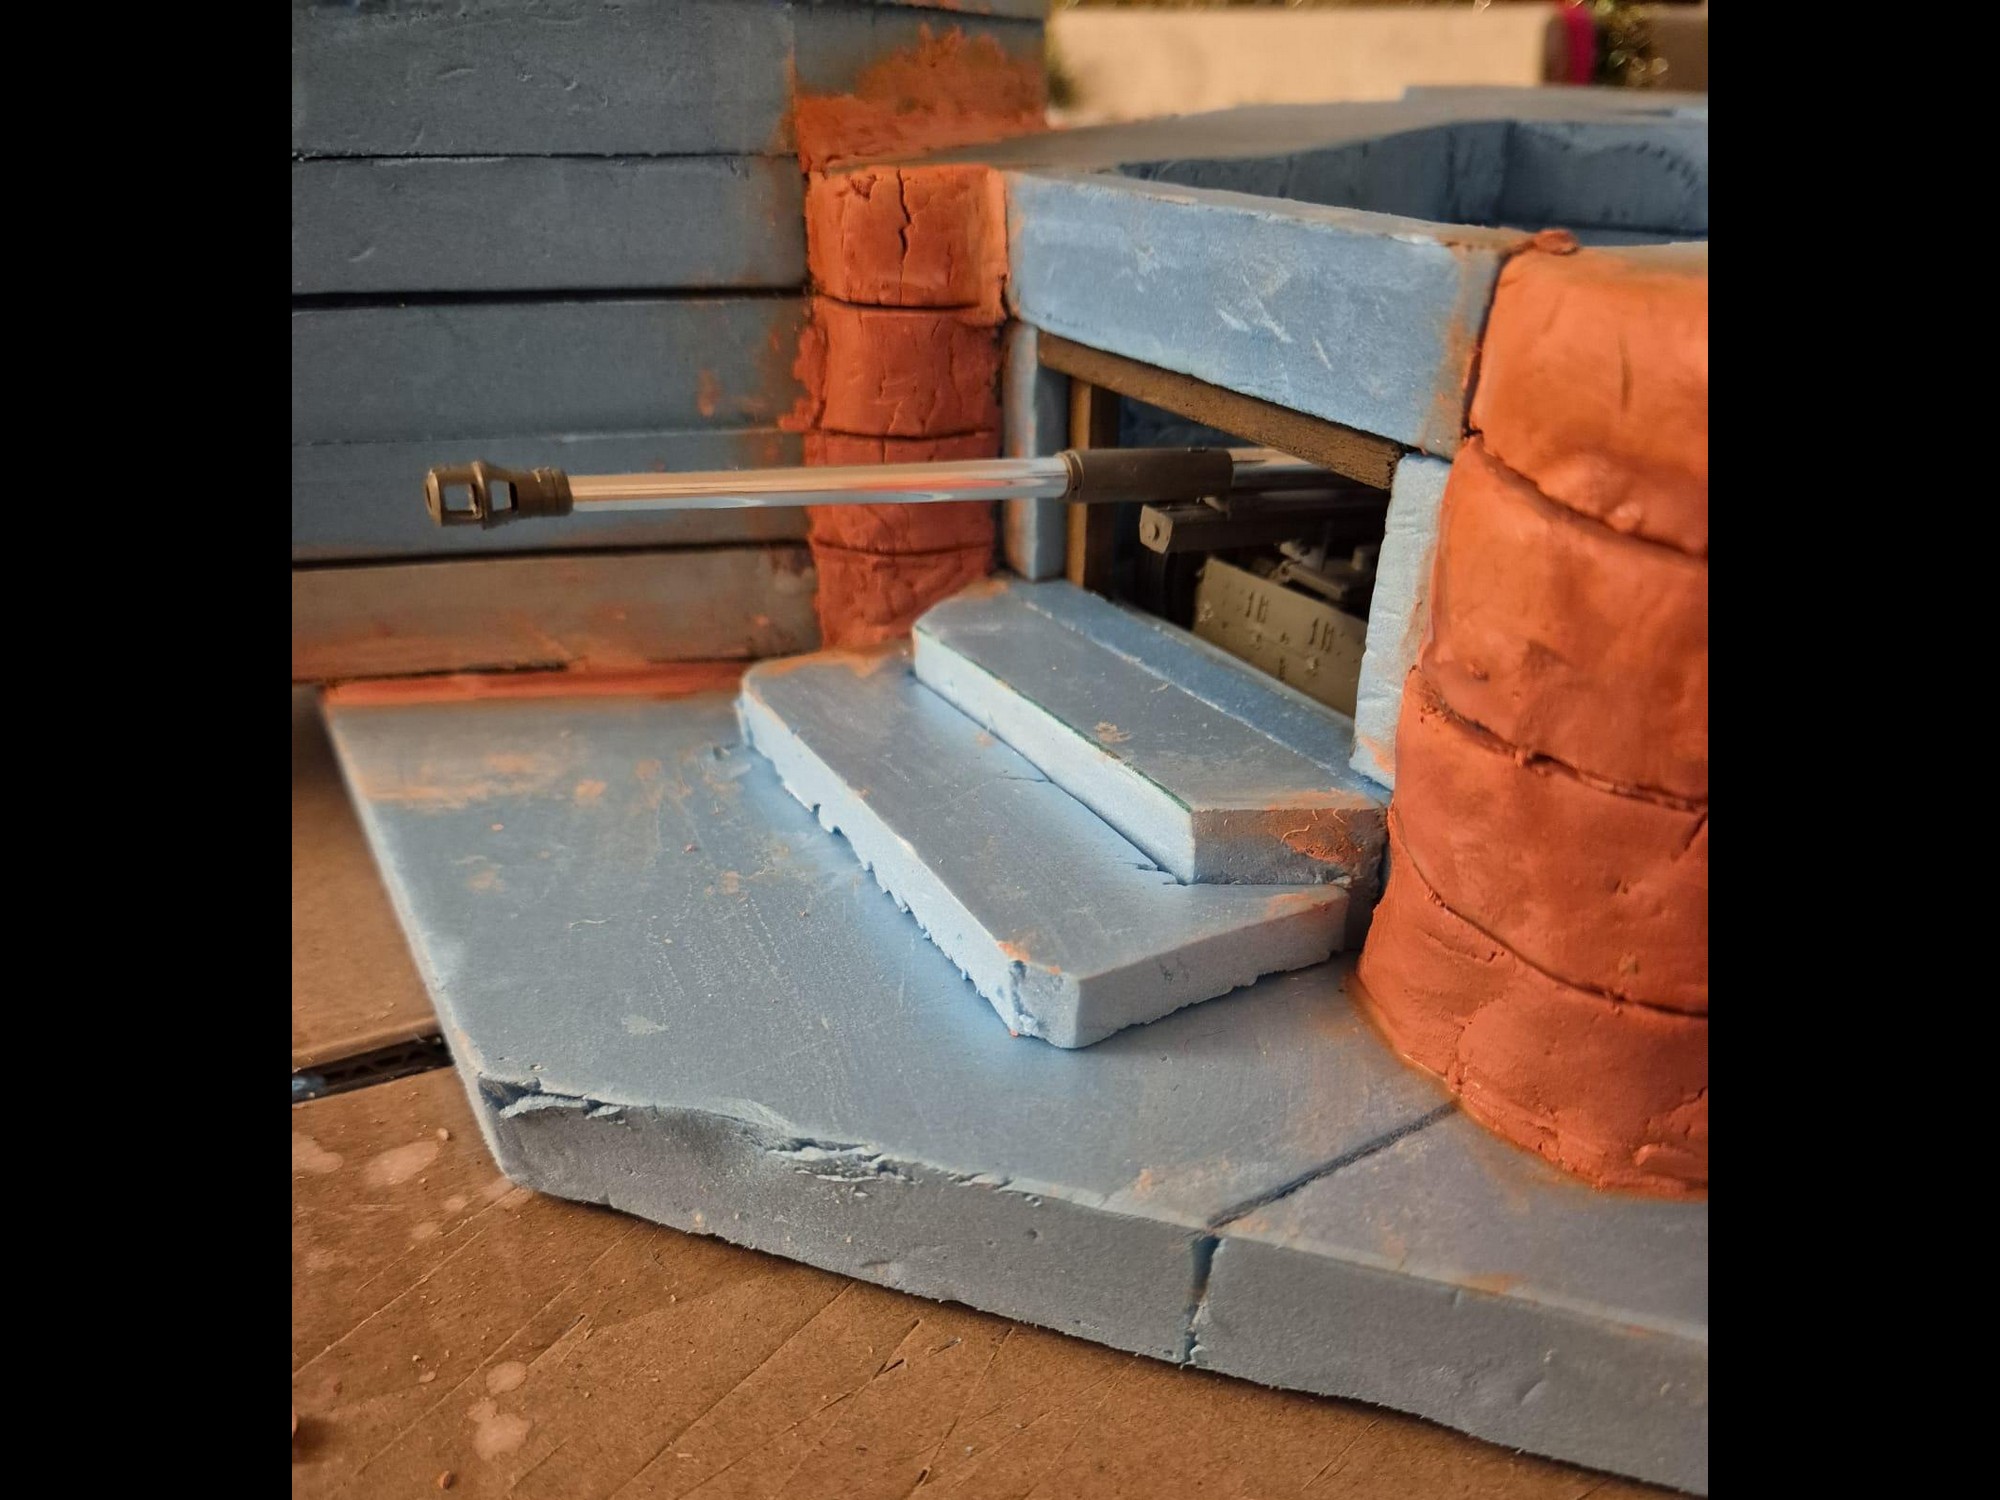
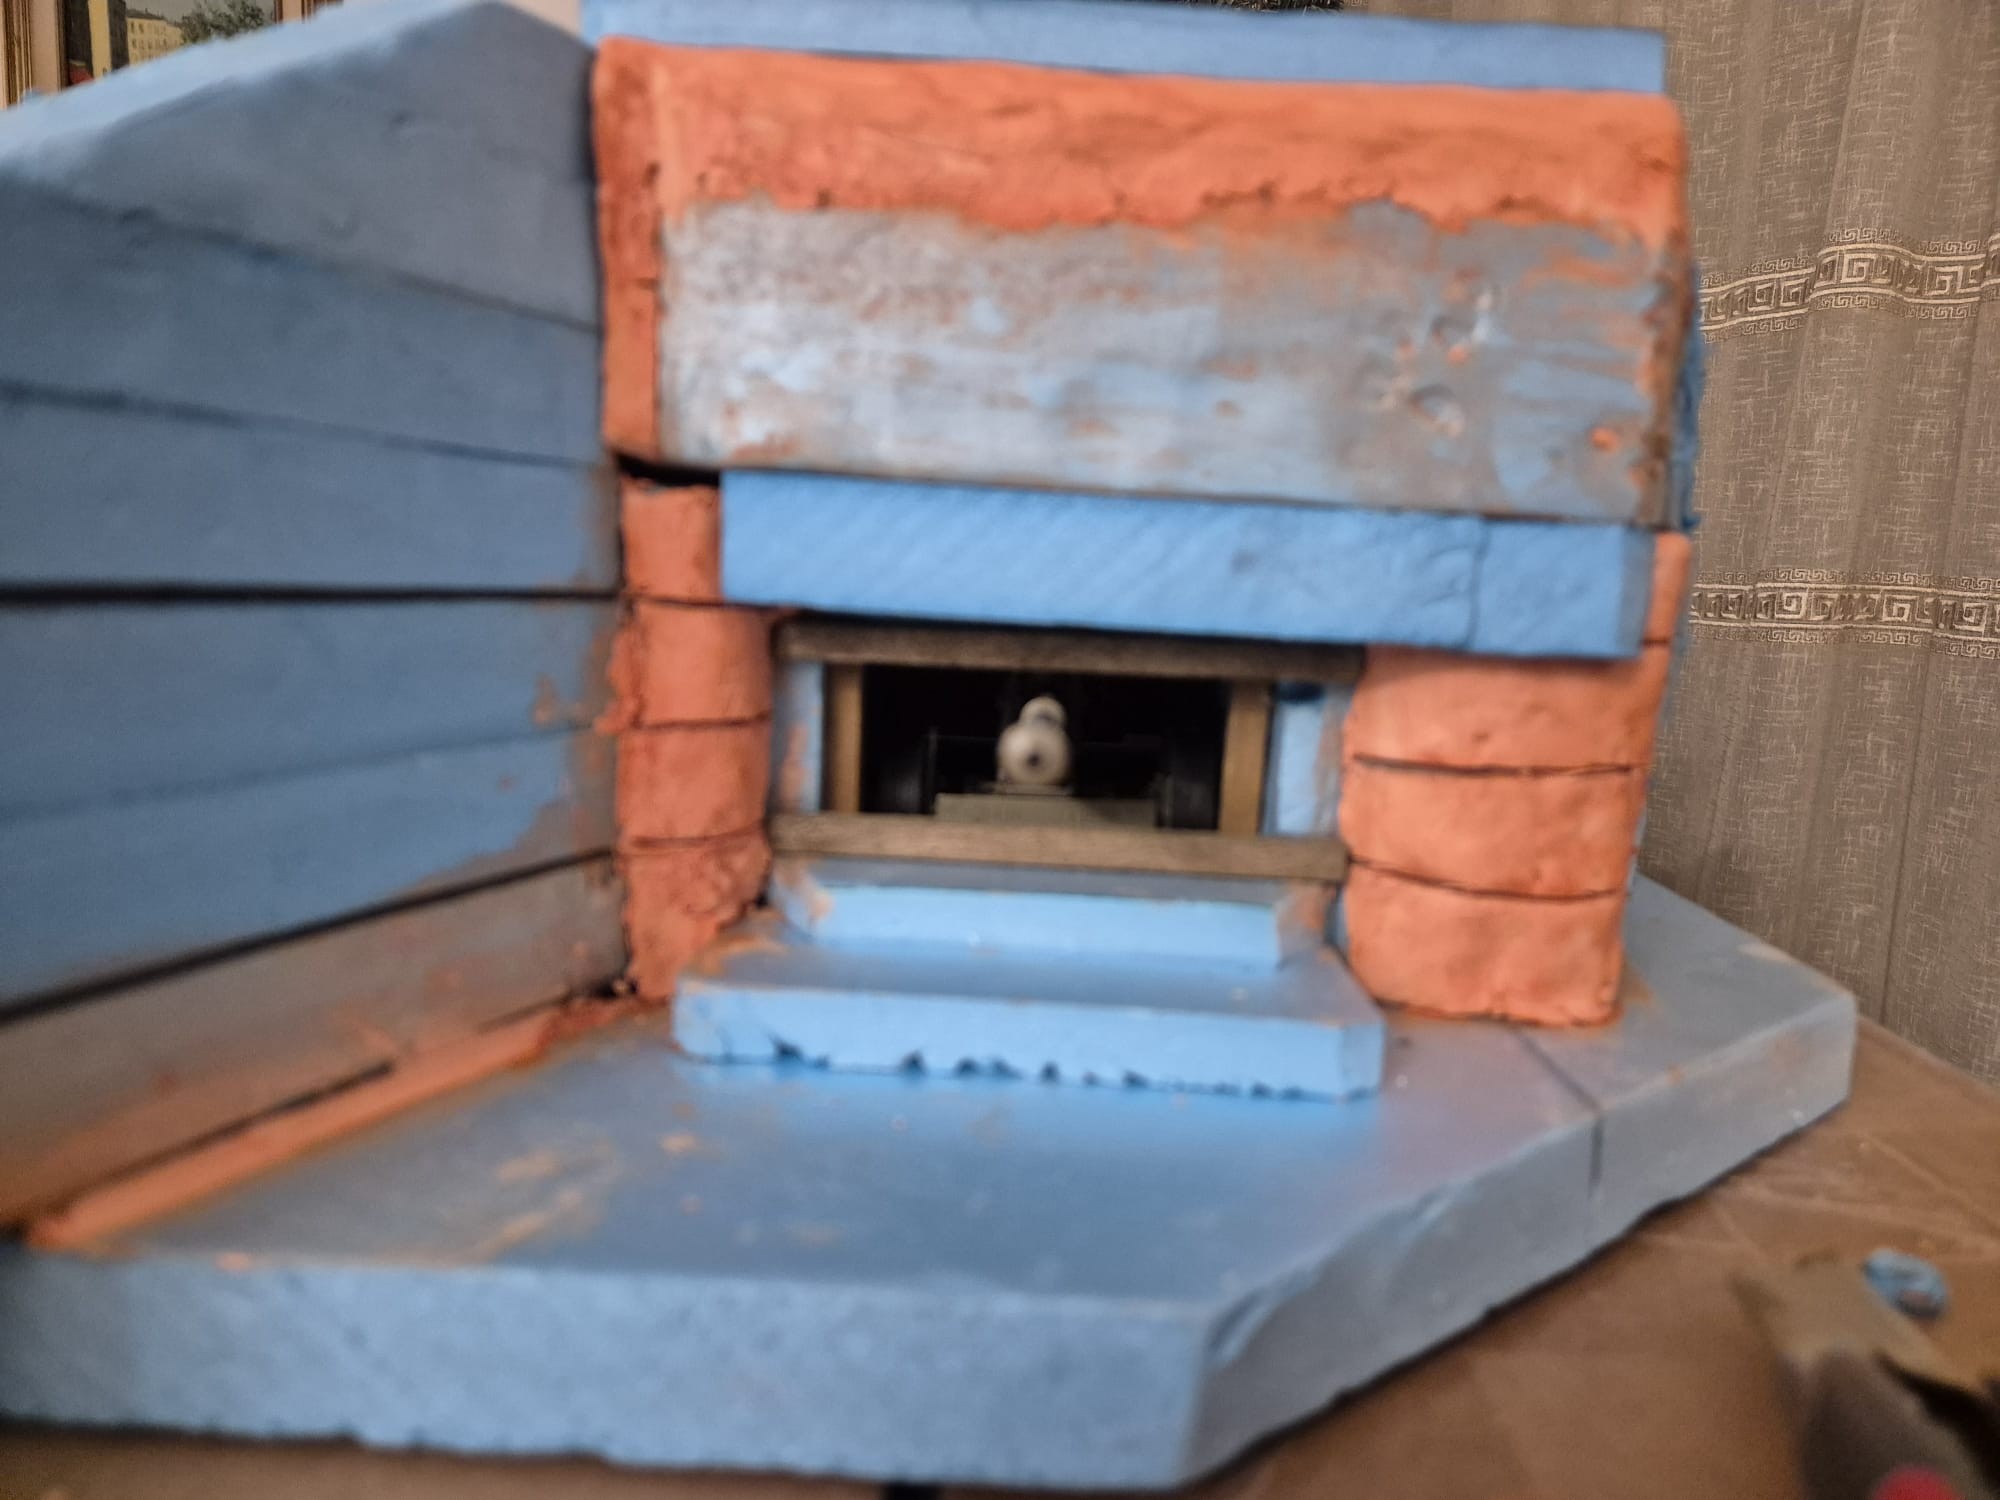
And finally the approximate view of the protective wall and part of the front stepped platform:
As said, for a while I will dedicate myself to this build just because it has caused me a couple of sleepless and torturing nights.
I hope I will be able to scratch build it correctly, since this will really be my true first in modeling, at least without having at least a base from which to start from, so please cross your fingers for your poor crazy sod who’s attempting to be an architect.
Be well all, see you soon with more progress in action… ![]()
![]()