Painting: Mud, Flood and the Wrong Tank
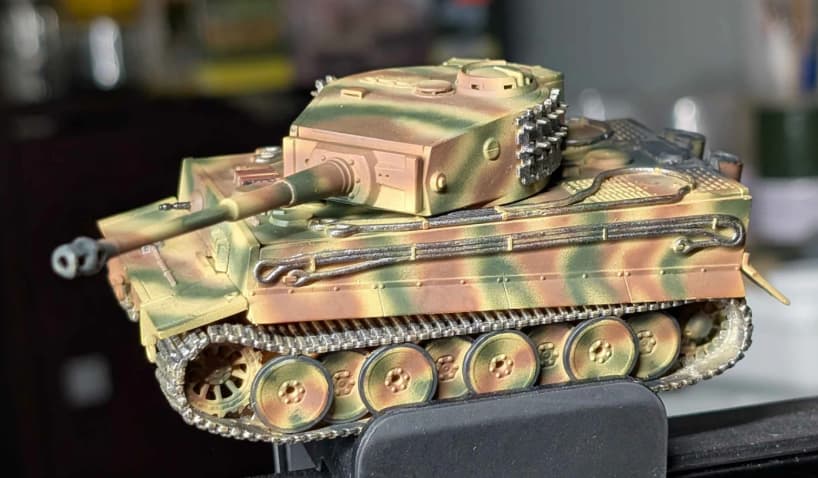
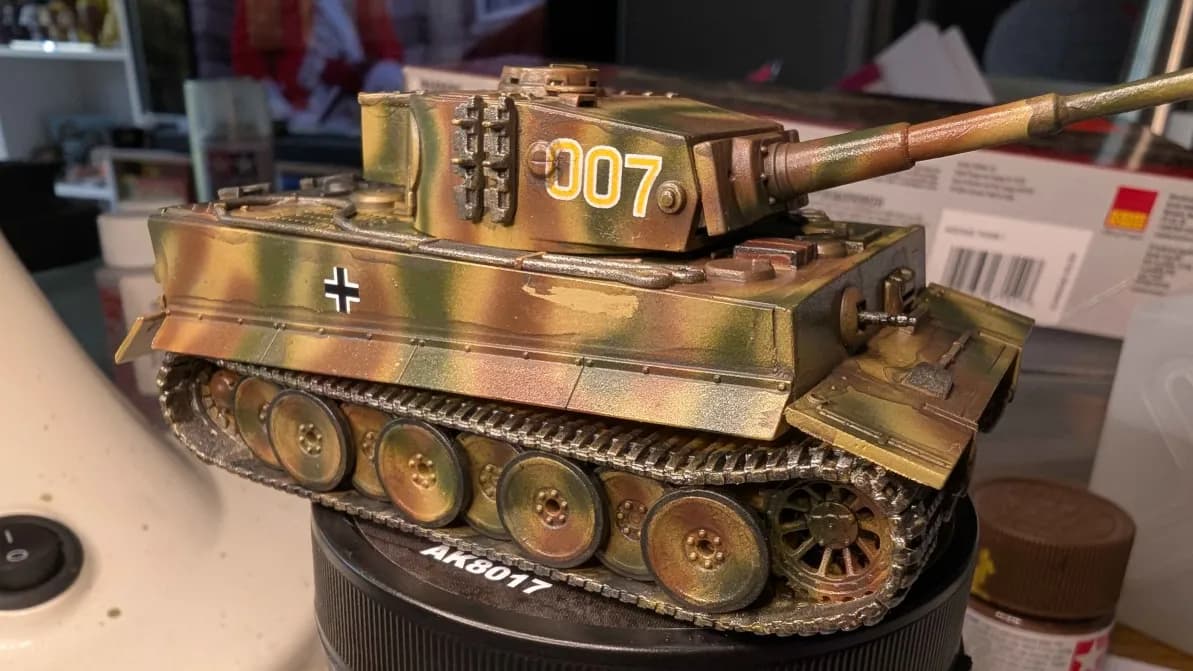
After initial assembly, Panther G spend most of the next 3 months back in the box. We weren’t completely idle during this period, as were side-questing our way through our Tiger I learning the ways of airbrushed three-colour German camo and how NOT to apply a wash…
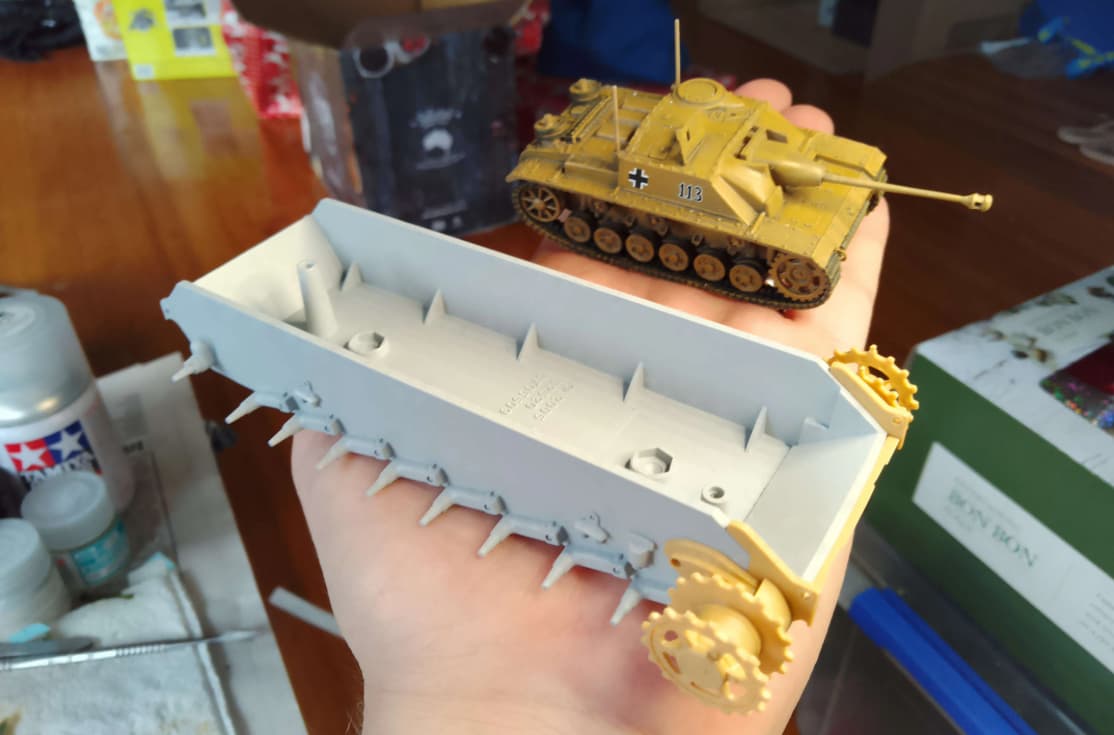
There were also attempts made to carefully inject some putty filler into the unsightly gap created between the upper and lower frontal plates, but the combined result of the filling and sanding did not leave a convincing finish of what was supposed to be 80mm of interlocking steel plate
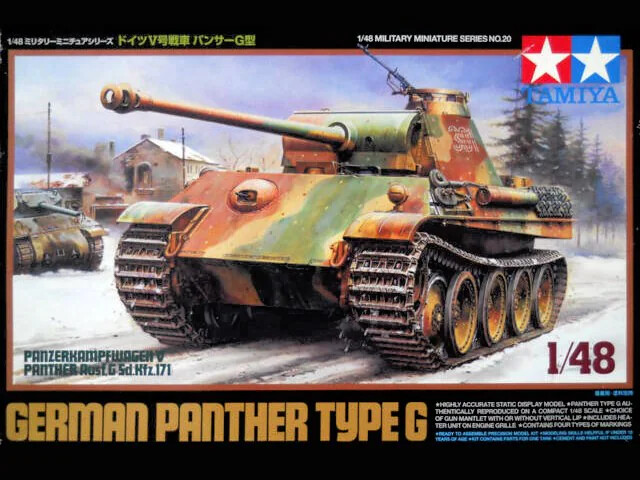
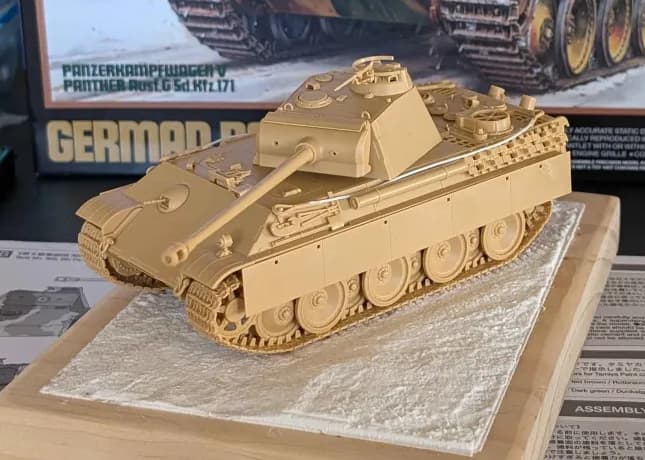
We proceeded to undercoat with a rattle-can of Tamiya TS-3 Dark Yellow, which seems to faithfully represent the German RAL 7028 Dunkelgelb that was the standard base for German vehicles at the time
Panther G was sprung from the box again as the threat and aftermath of Tropical Cyclone Alfred rendered us housebound for an unplanned long weekend. By the time it made landfall, the storm was downgraded to a Tropical Low and winds only gusted to 63km/h (or 40mph for those of you who’ve put a man on the moon). Local streets were still blocked by fallen trees, power lines and localised flooding as a result of the half-metre of rain that the storm brought with it - That said, a meme was continued:
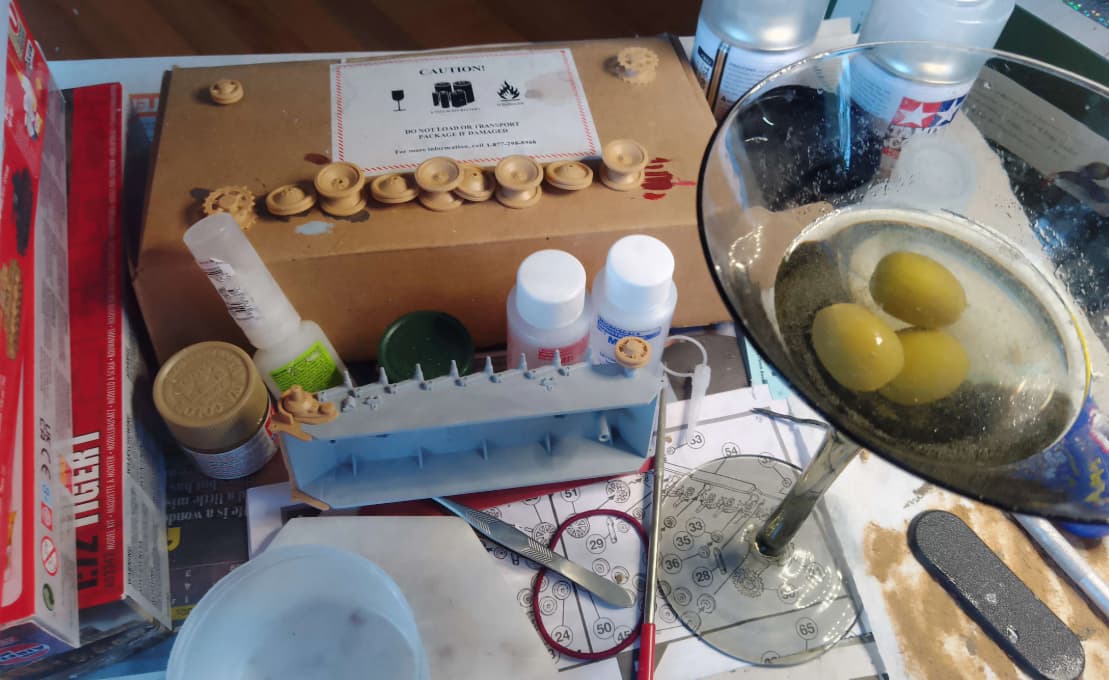
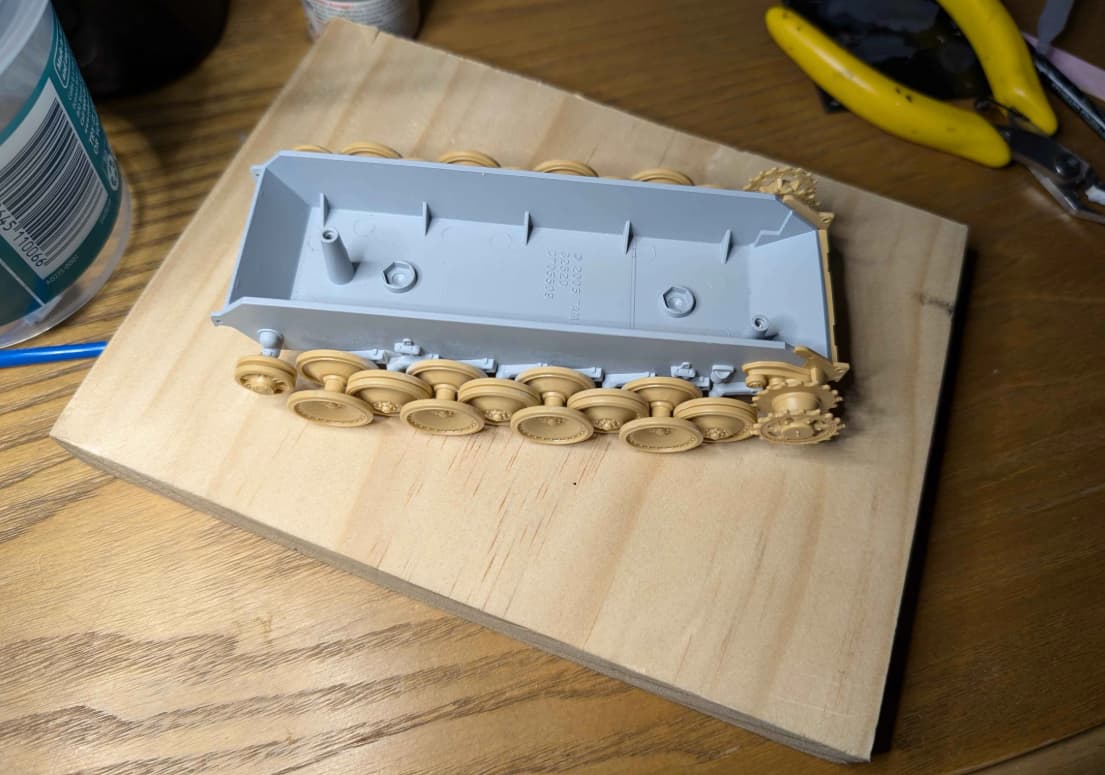
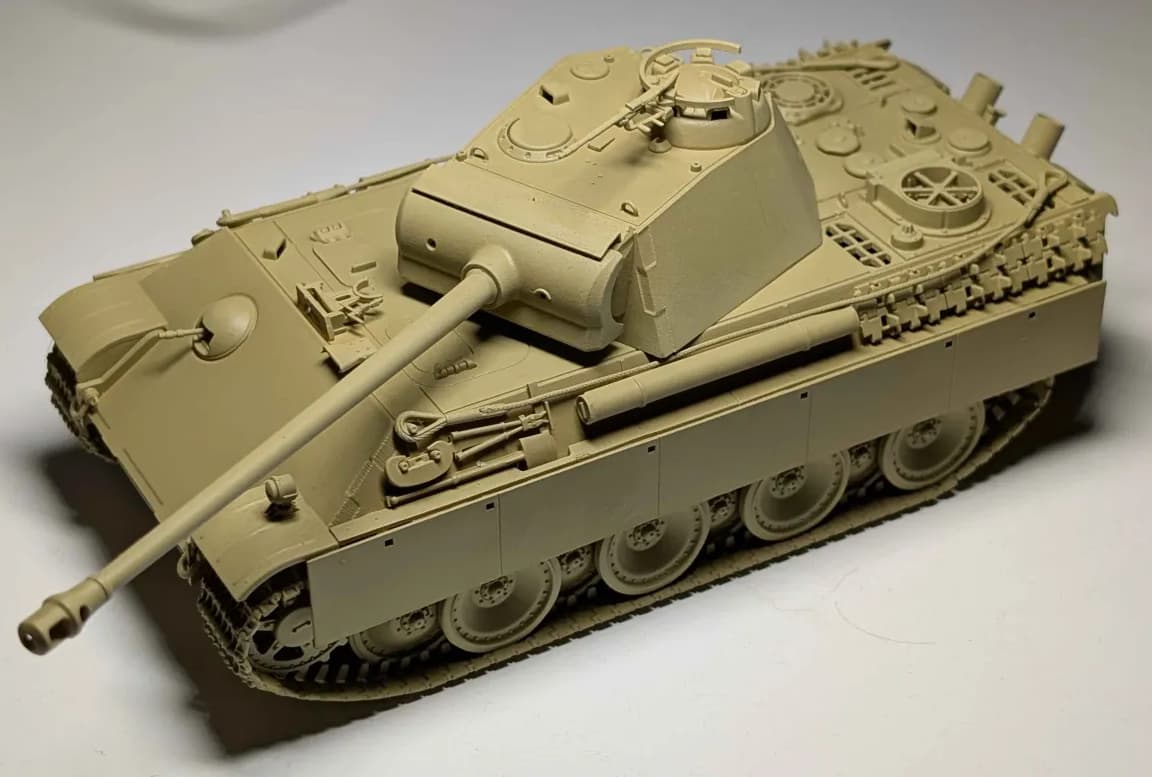
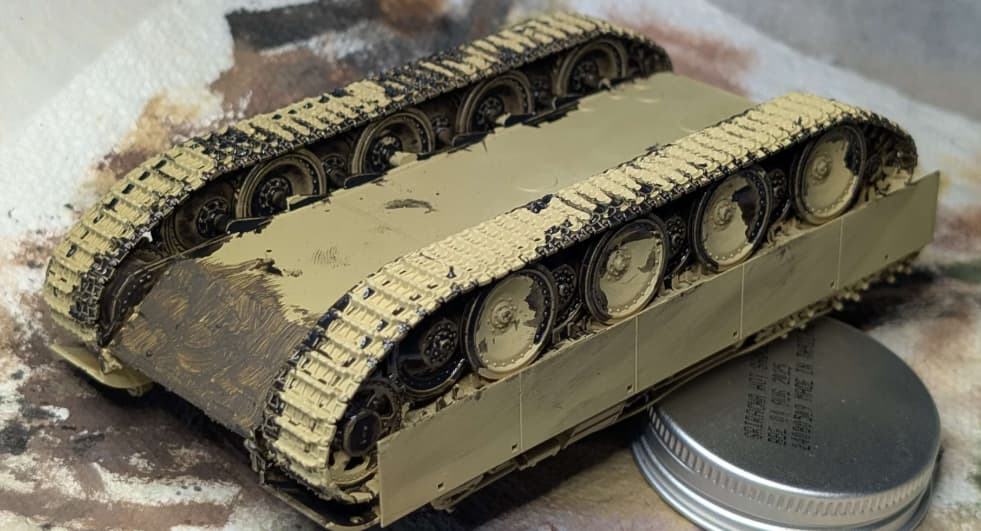
One of the observations from air-bruishing the Tiger I was that hard-to-reach places could still be seen under the interrogration of photography and lamplight. To remedy this we “preshaded” our undercarriage with an acrylic wash to try and keep any untouched Dark Yellow from shining through
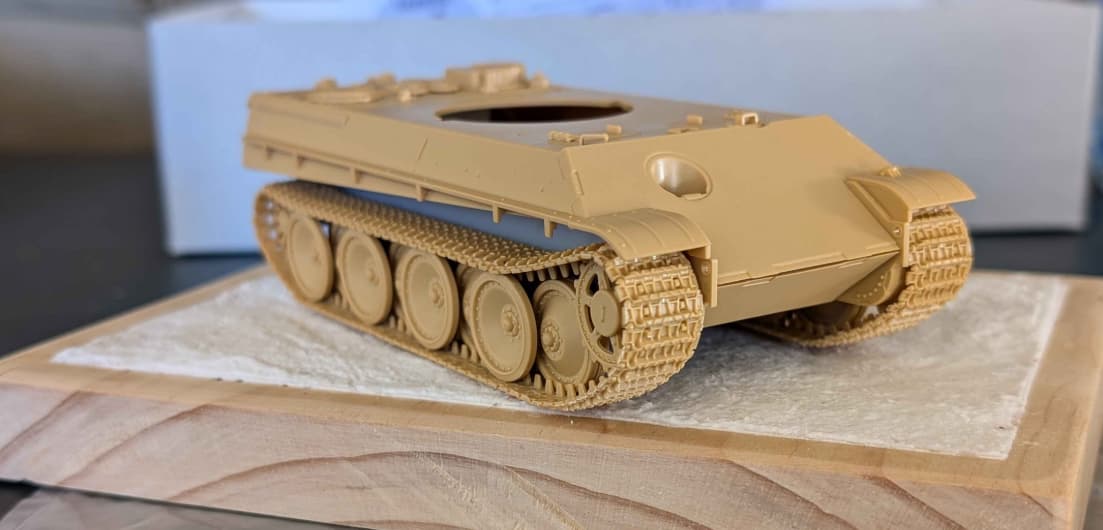
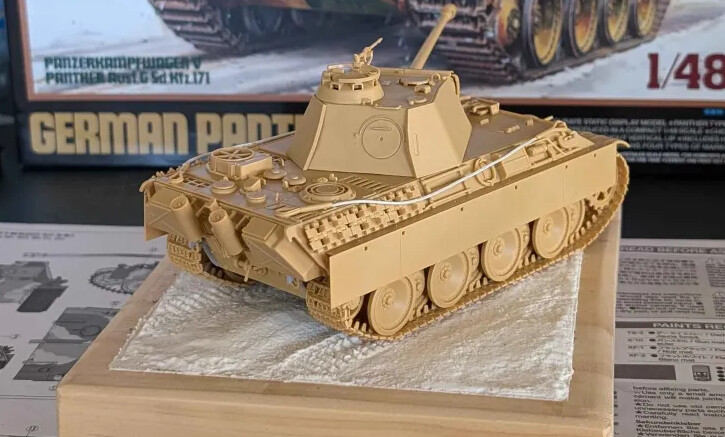
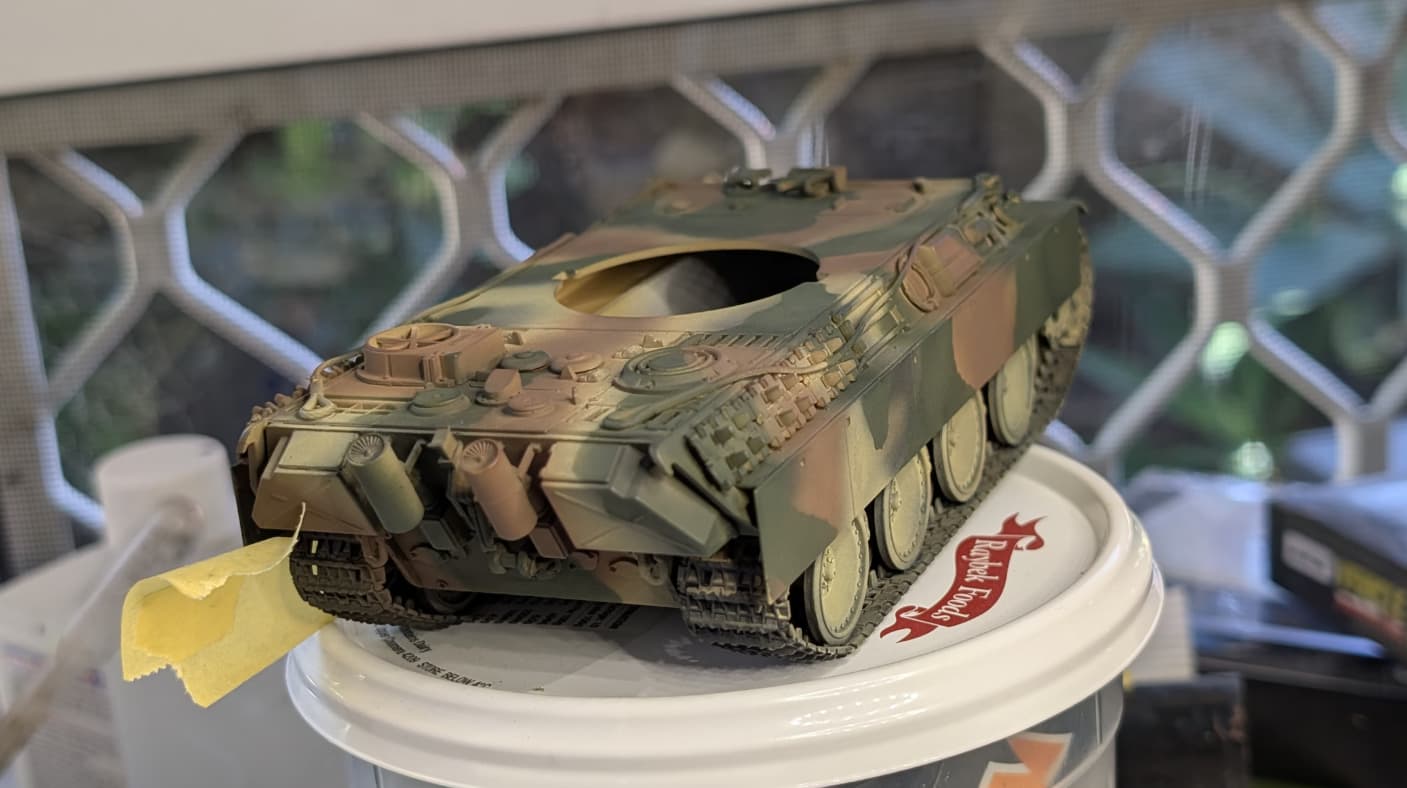
Despite best efforts to fix our LPF/UFP joint by filling and sanding, we ultimately resolved to take the cheats way out. A texture paint was applied to the general area, with the view to representing a mix of snow and mud buildup which could have resulted from the vehicle recently bursting out of a defilade… and that, Your Honour, is the case for the defence
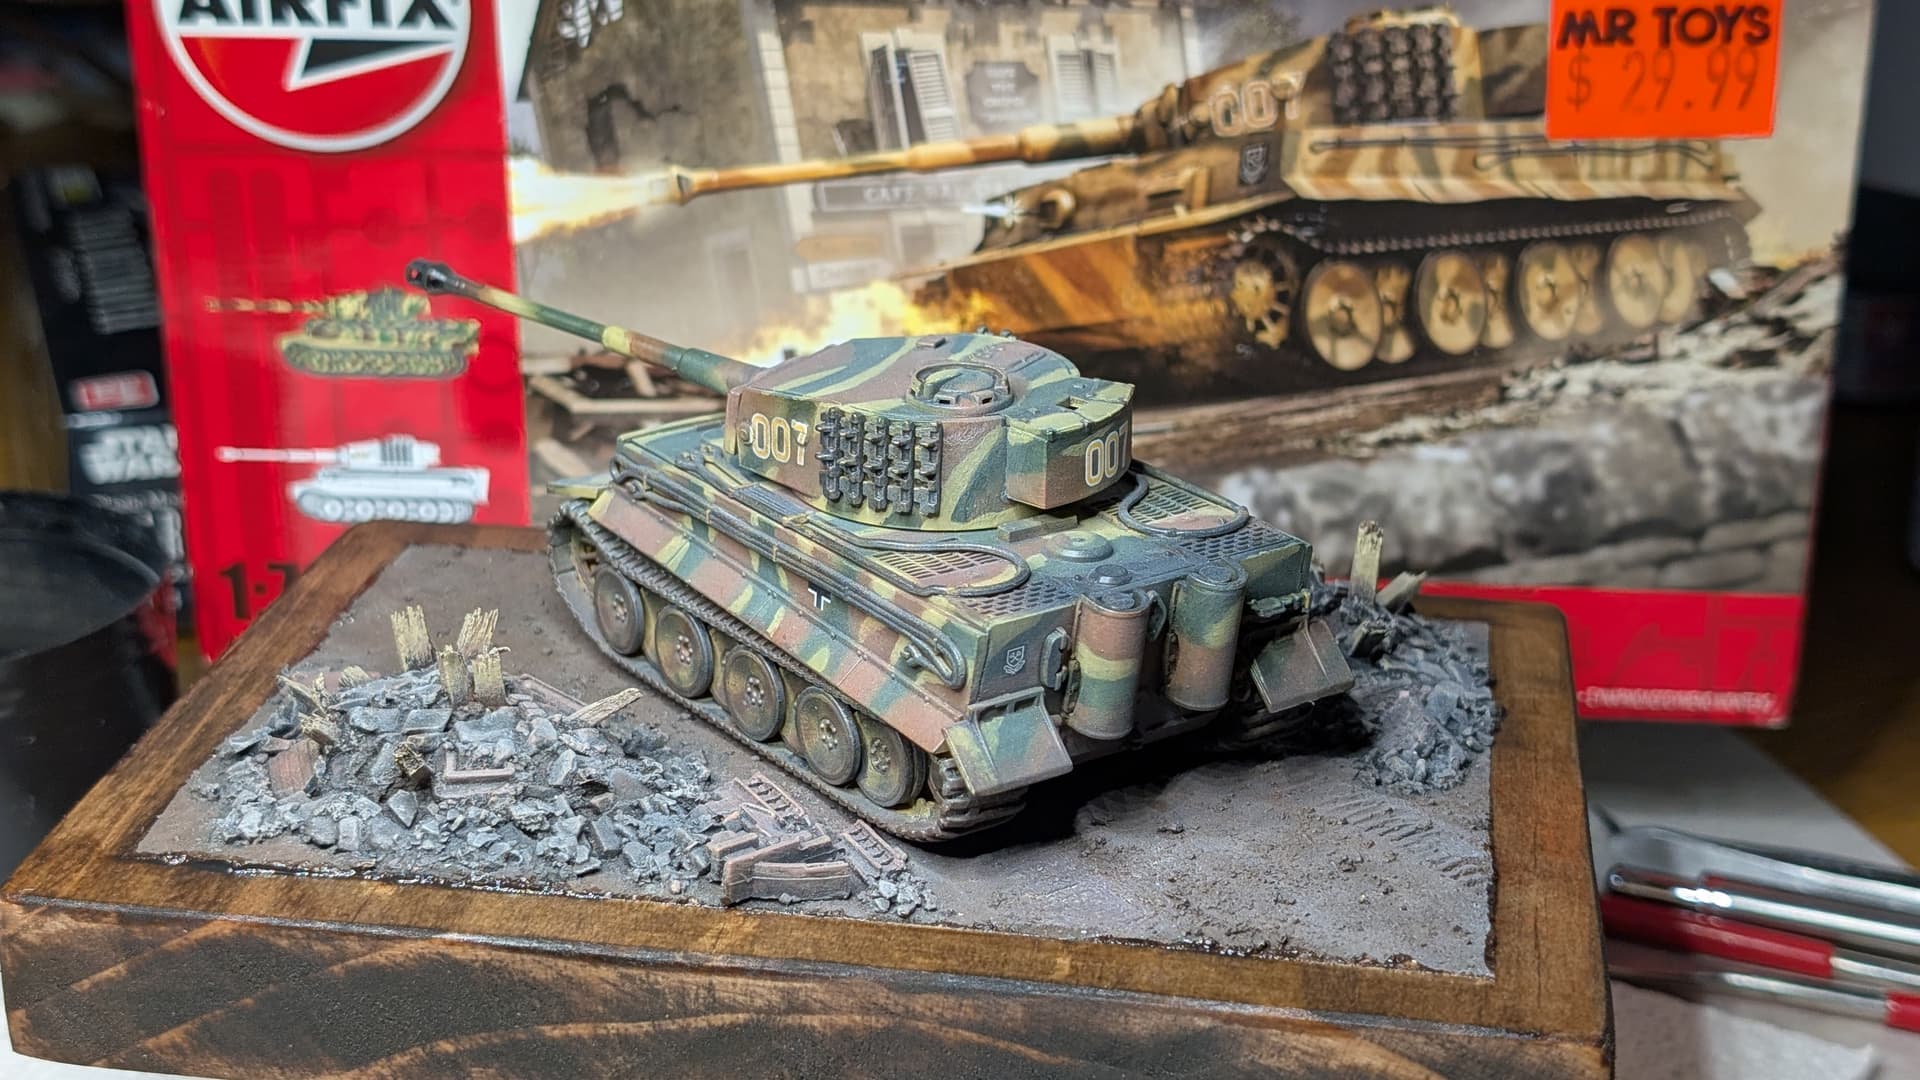
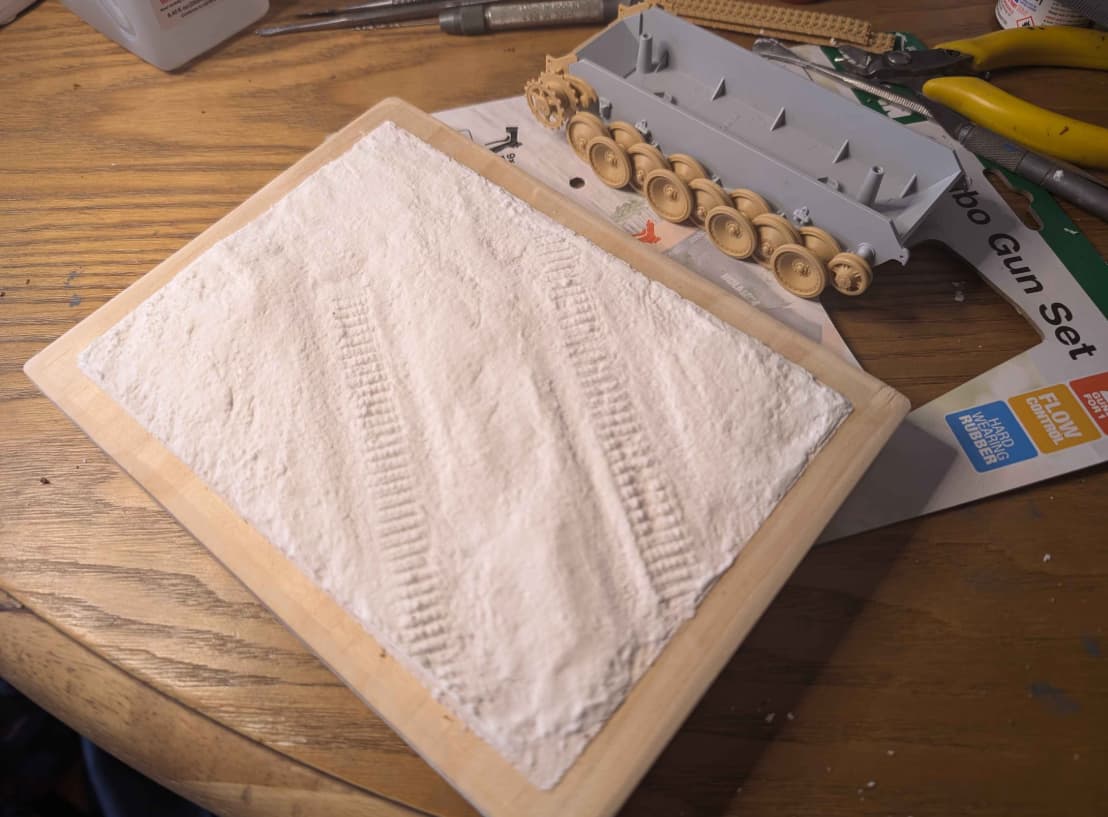
That same texture paint, AK Terrains Muddy Ground, was applied to the SpakFilla base that we’d constructed earlier. Several coats are required for proper coverage, as white marks are left behind where the grit dislodges from the plaster. I expect the intended application involves flooding a base with the product, ensuring proper embedment of the grit, but I didn’t want to lose the track impressions I’d worked so hard to create. I’ll probably experiment with track impressions into the Muddy Ground with a more liberal application on a future build…
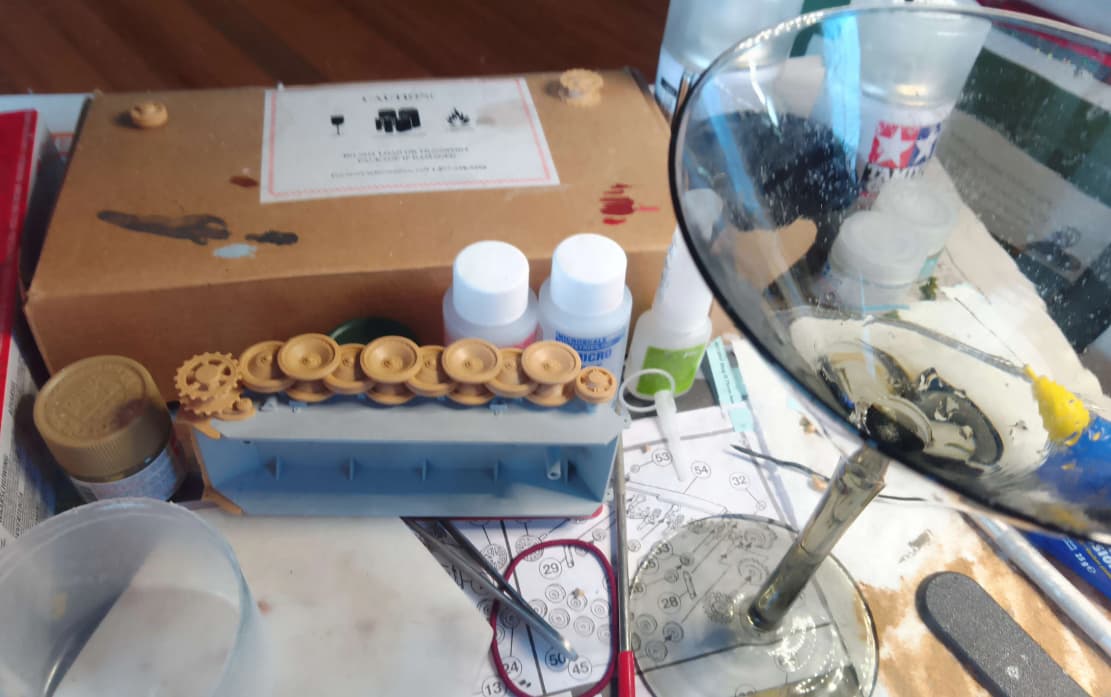
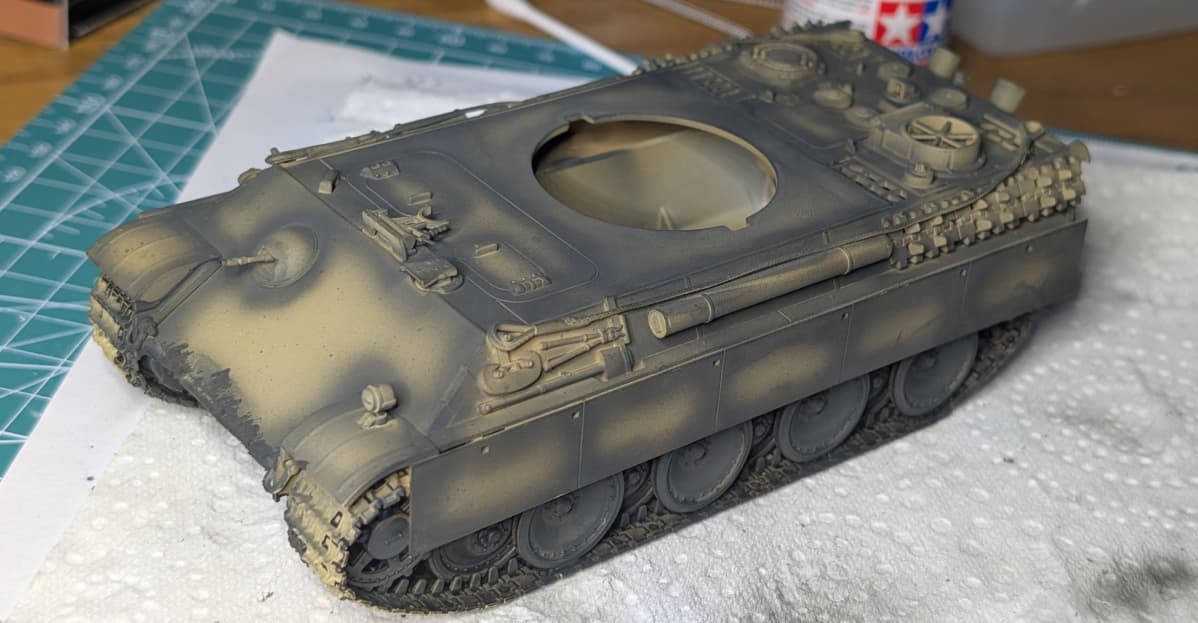
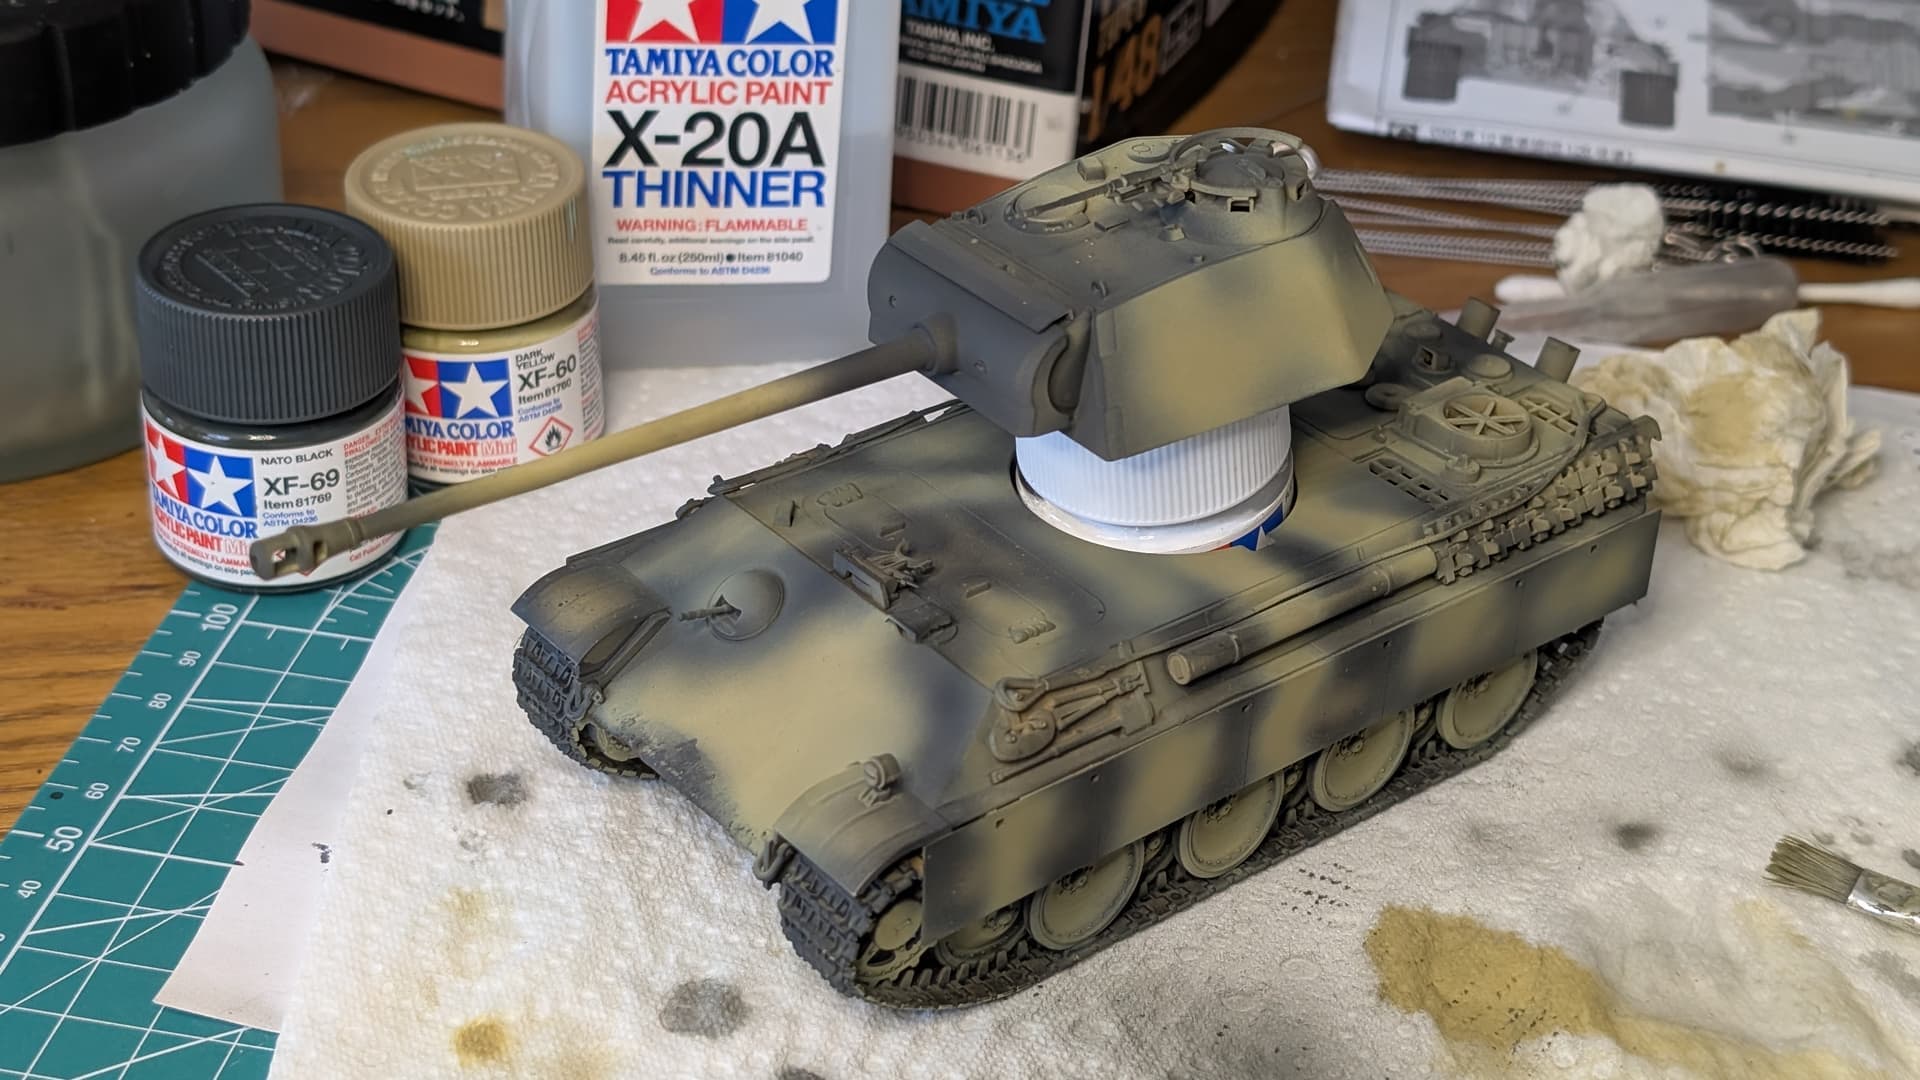
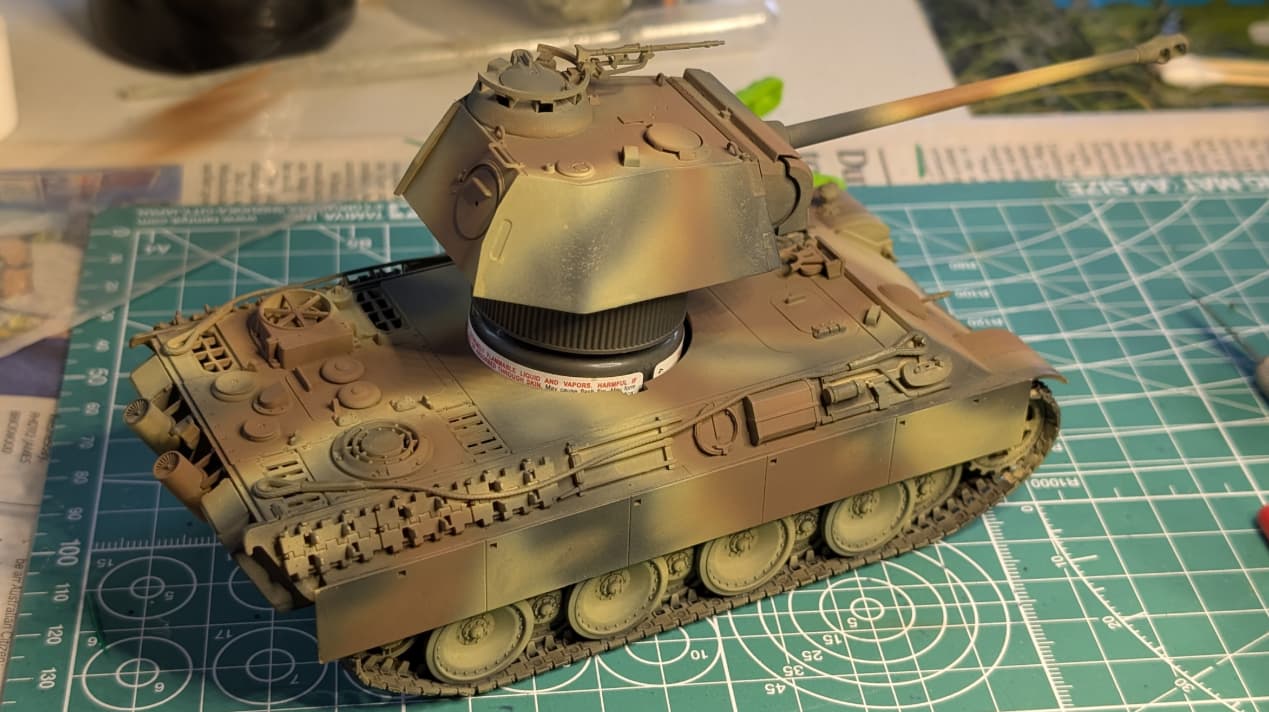
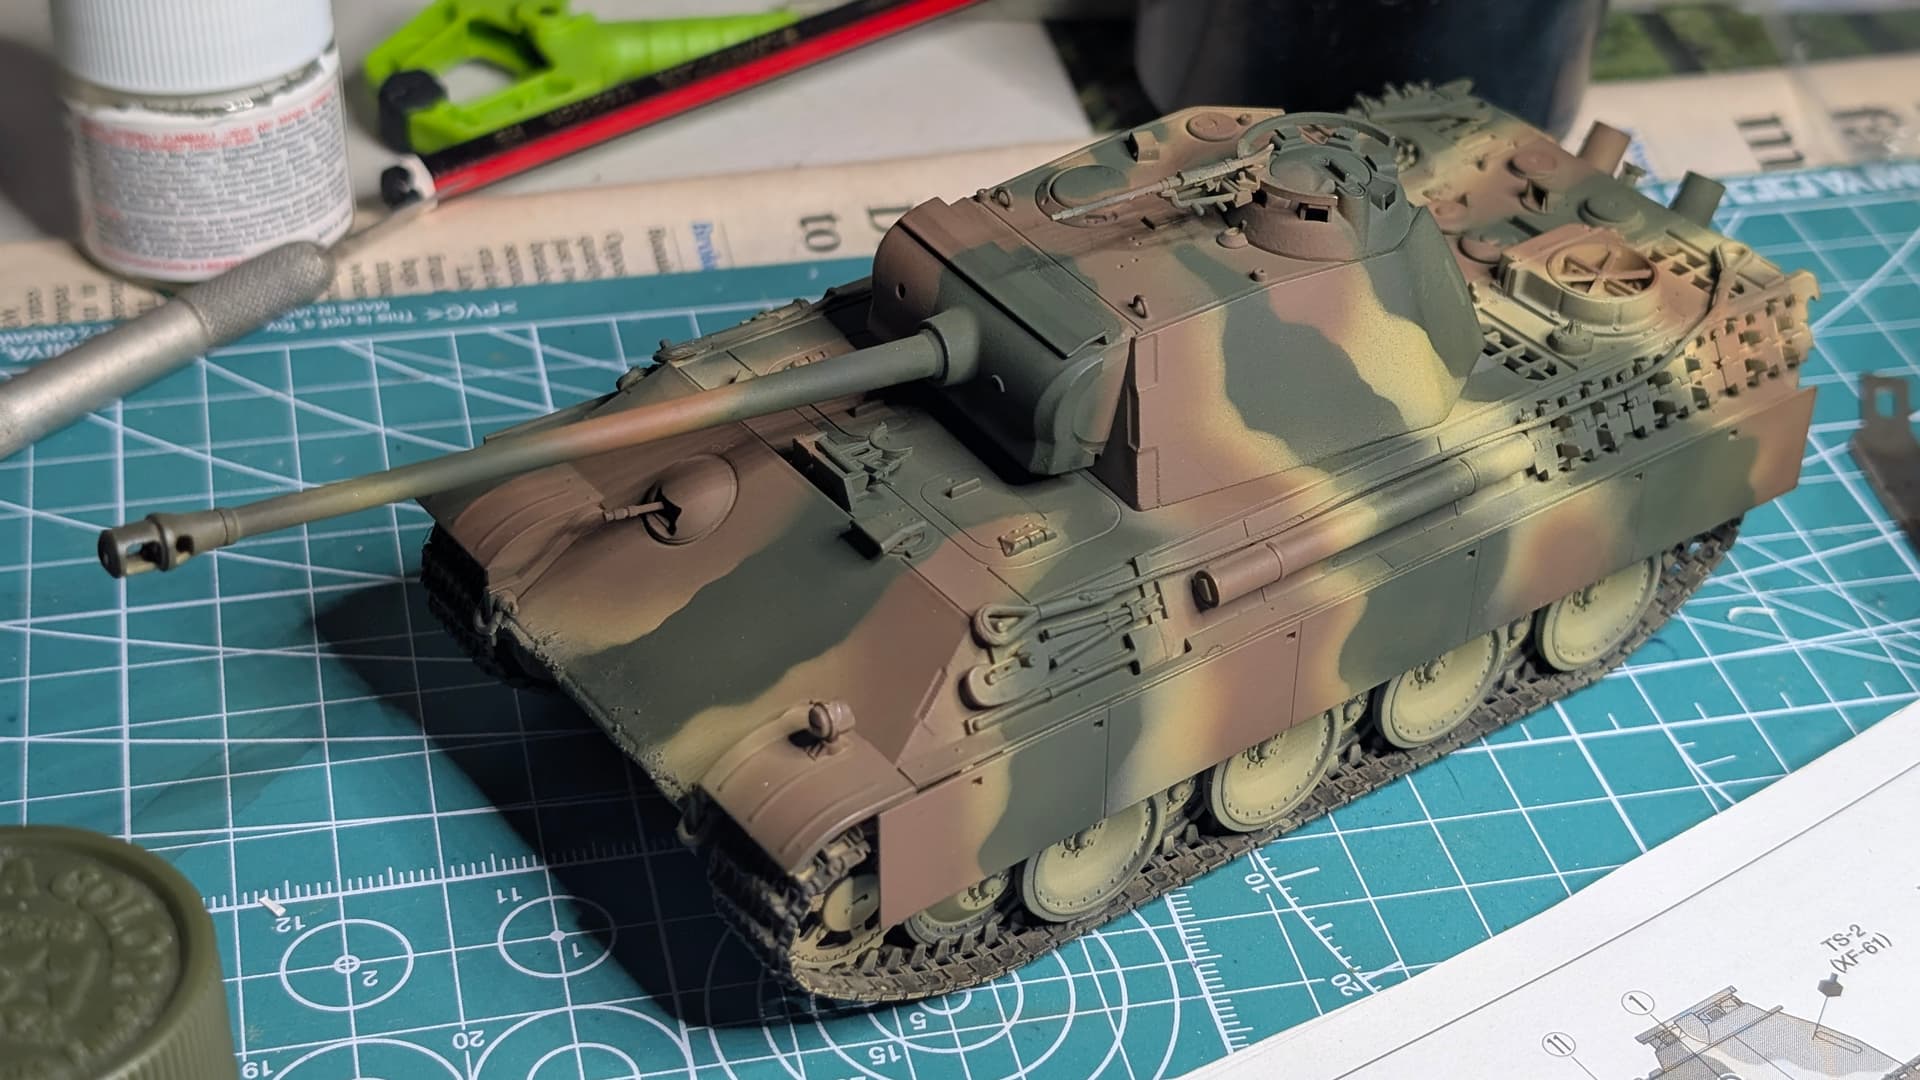
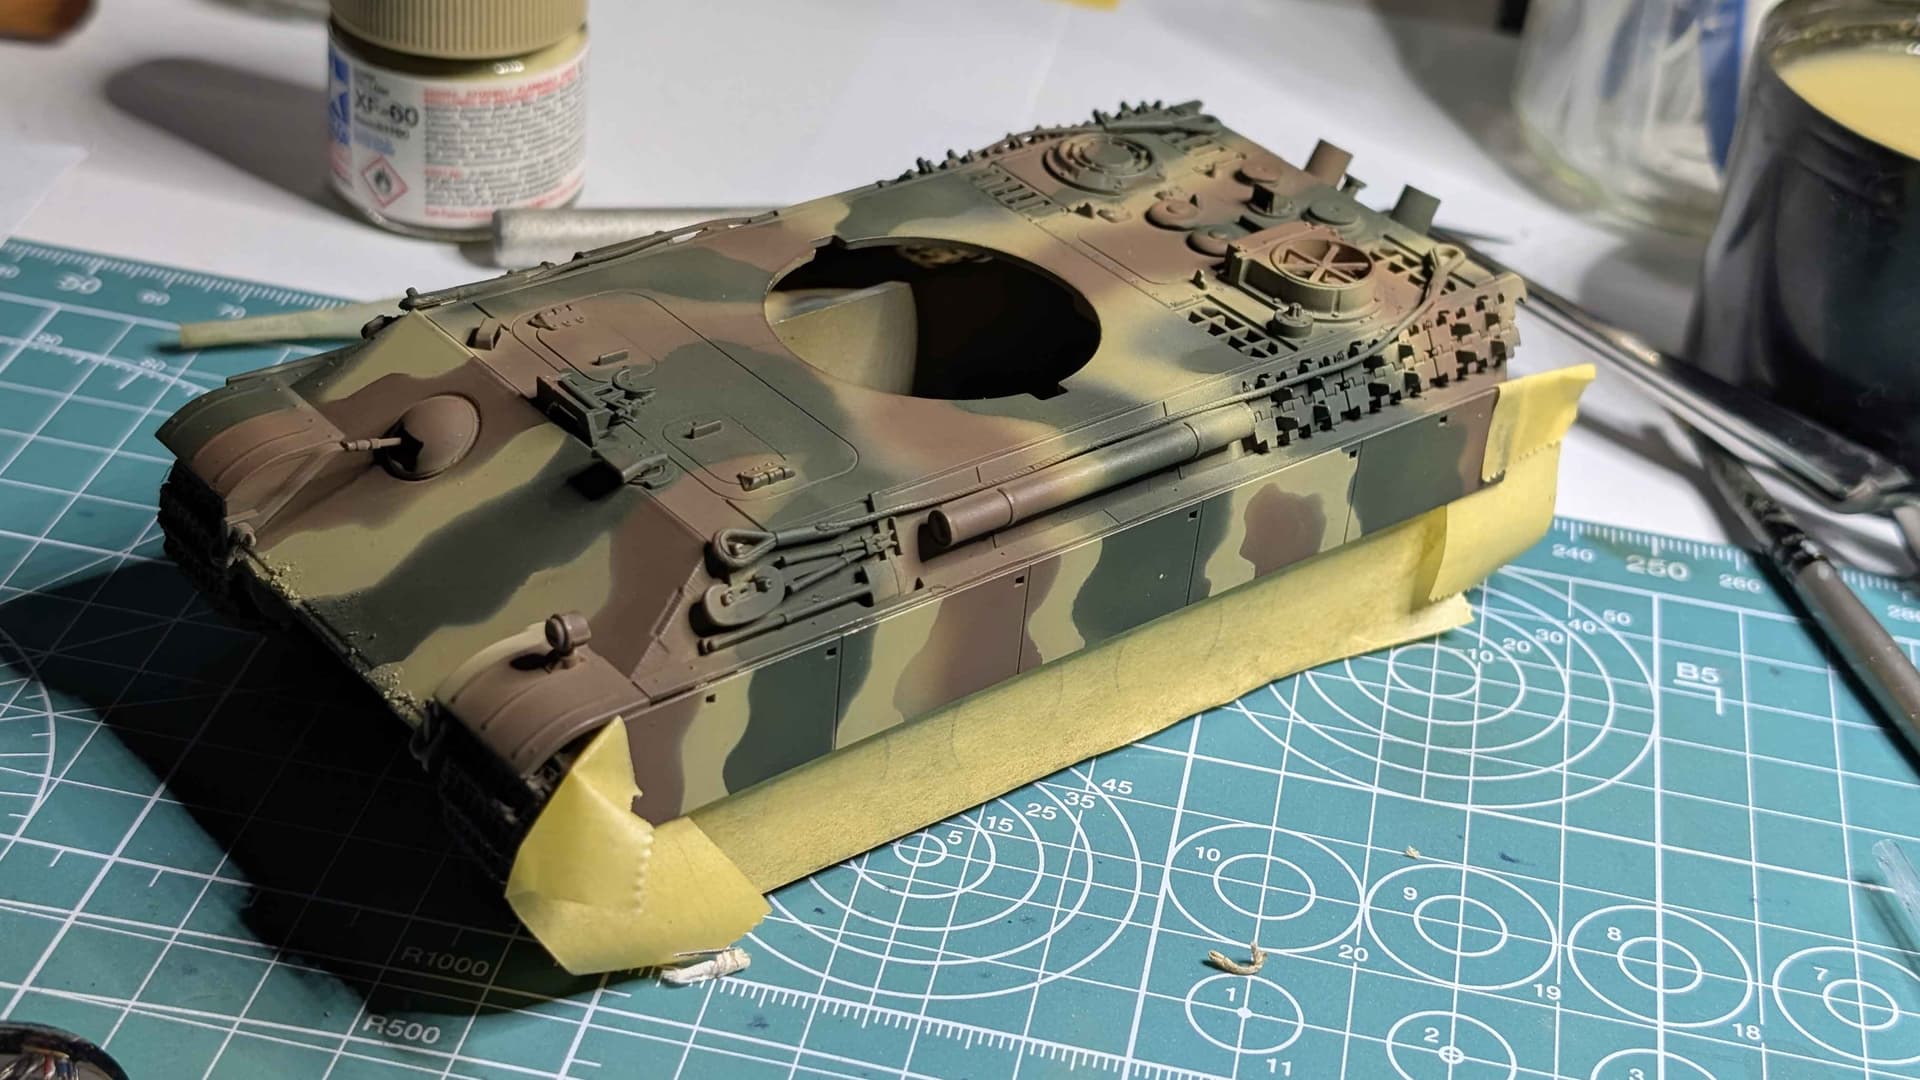
I’m yet to be convinced of its value when our camouflage scheme attracts three separate colours that are bound to be applied with some intersection, but I’ve airbrushed some shading using Tamiya XF-69 NATO Black over plate joints and recessed areas following advice from of some crazy internet people… Here’s how we looked partway through the process…
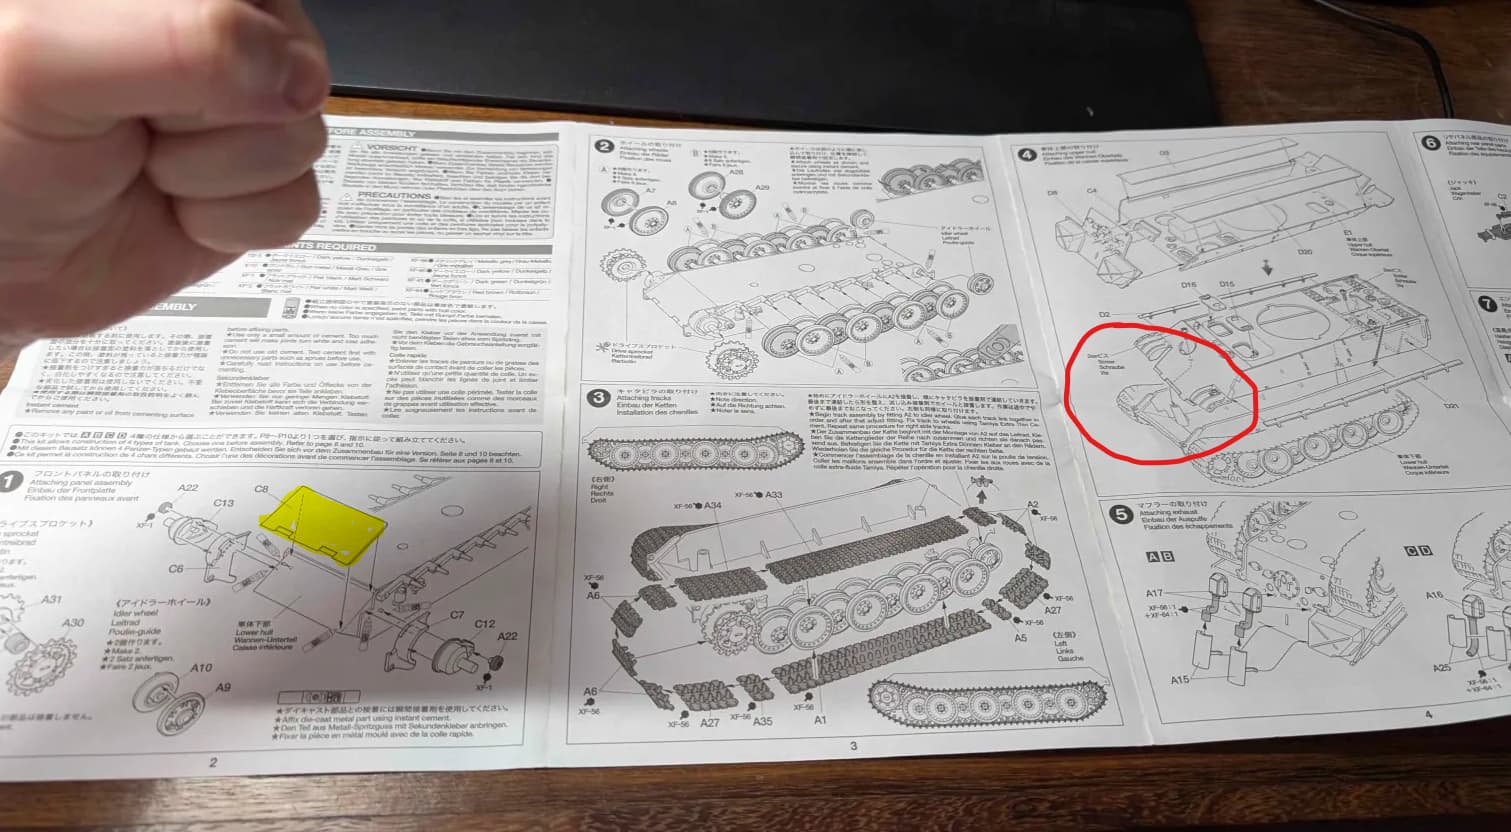
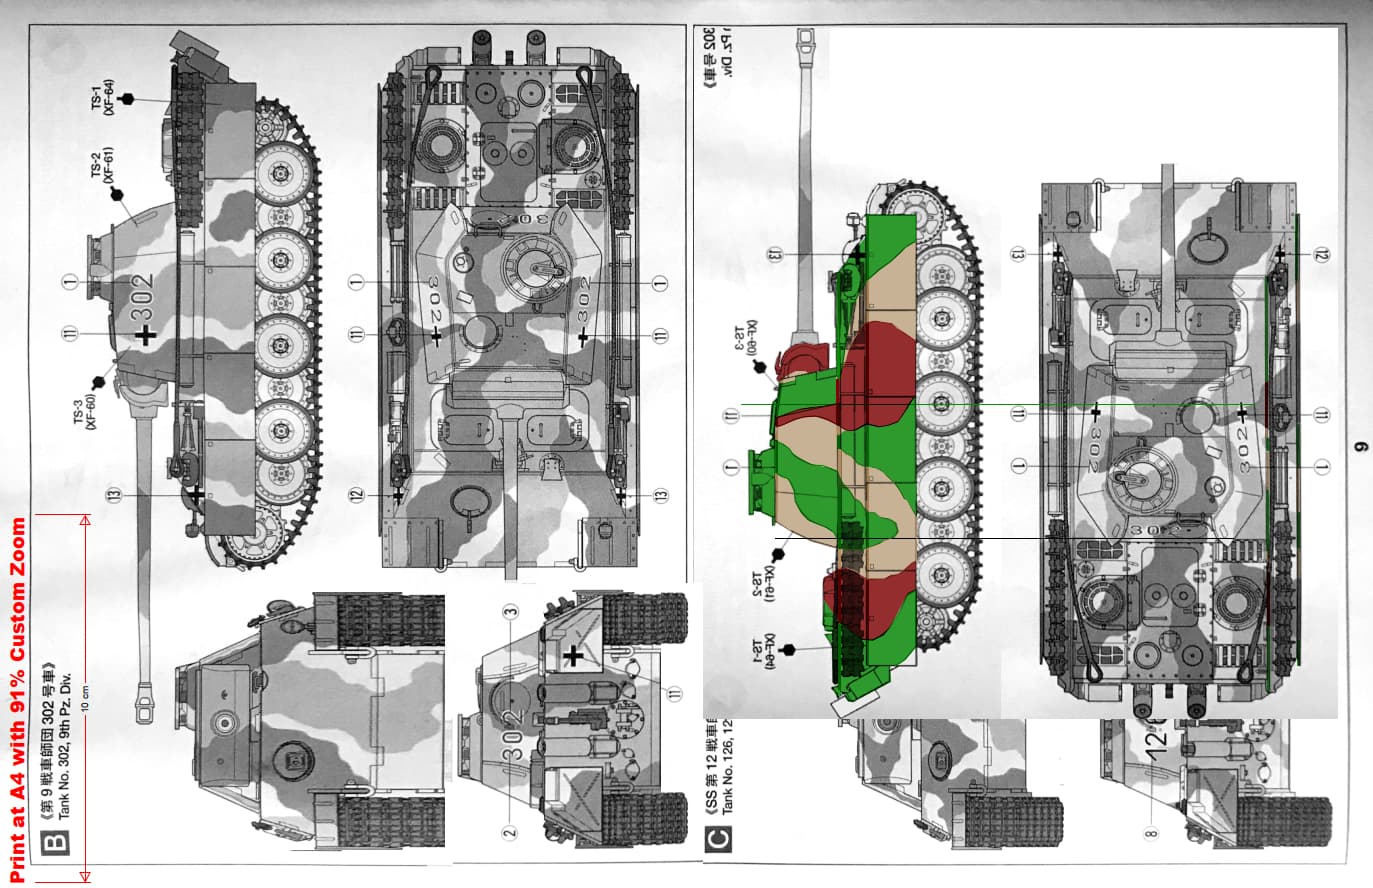
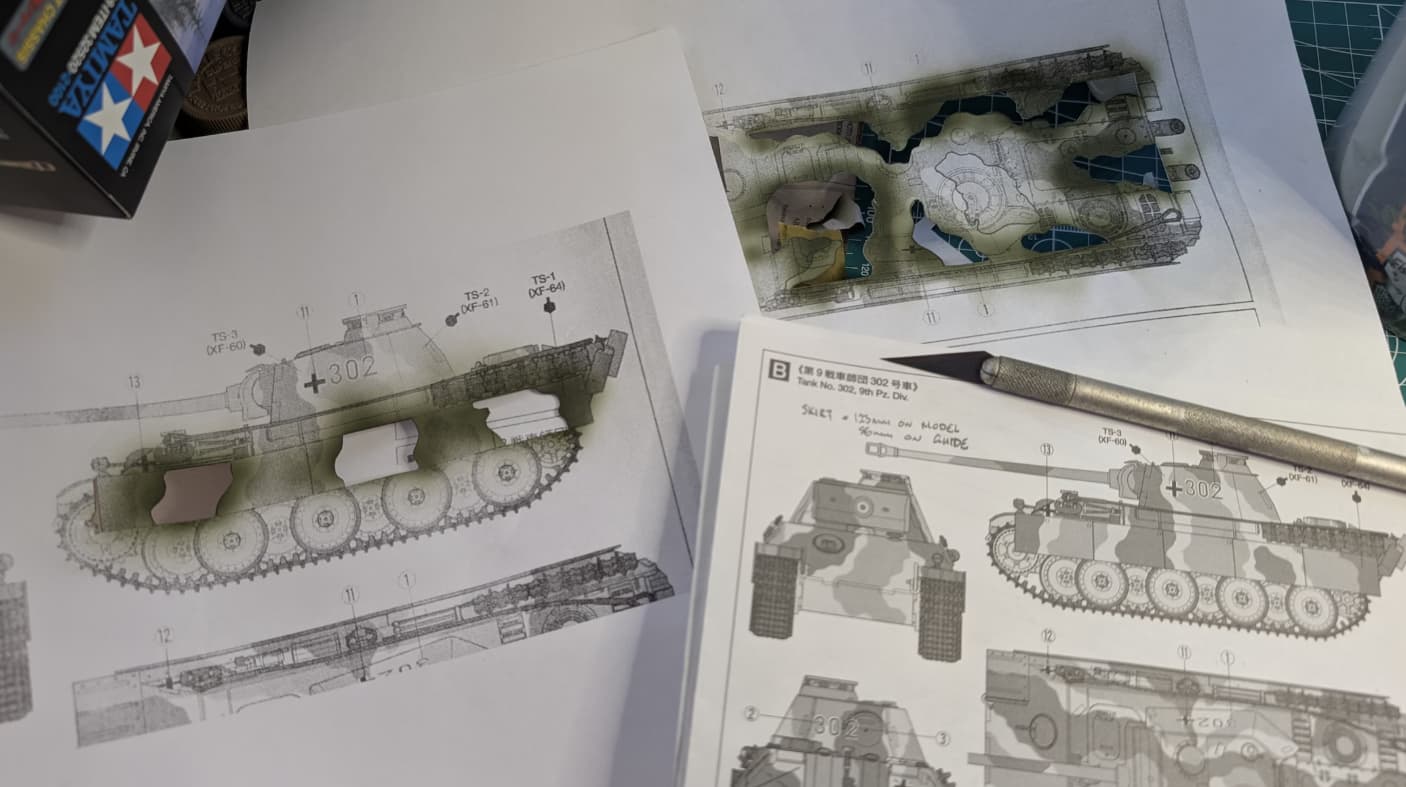
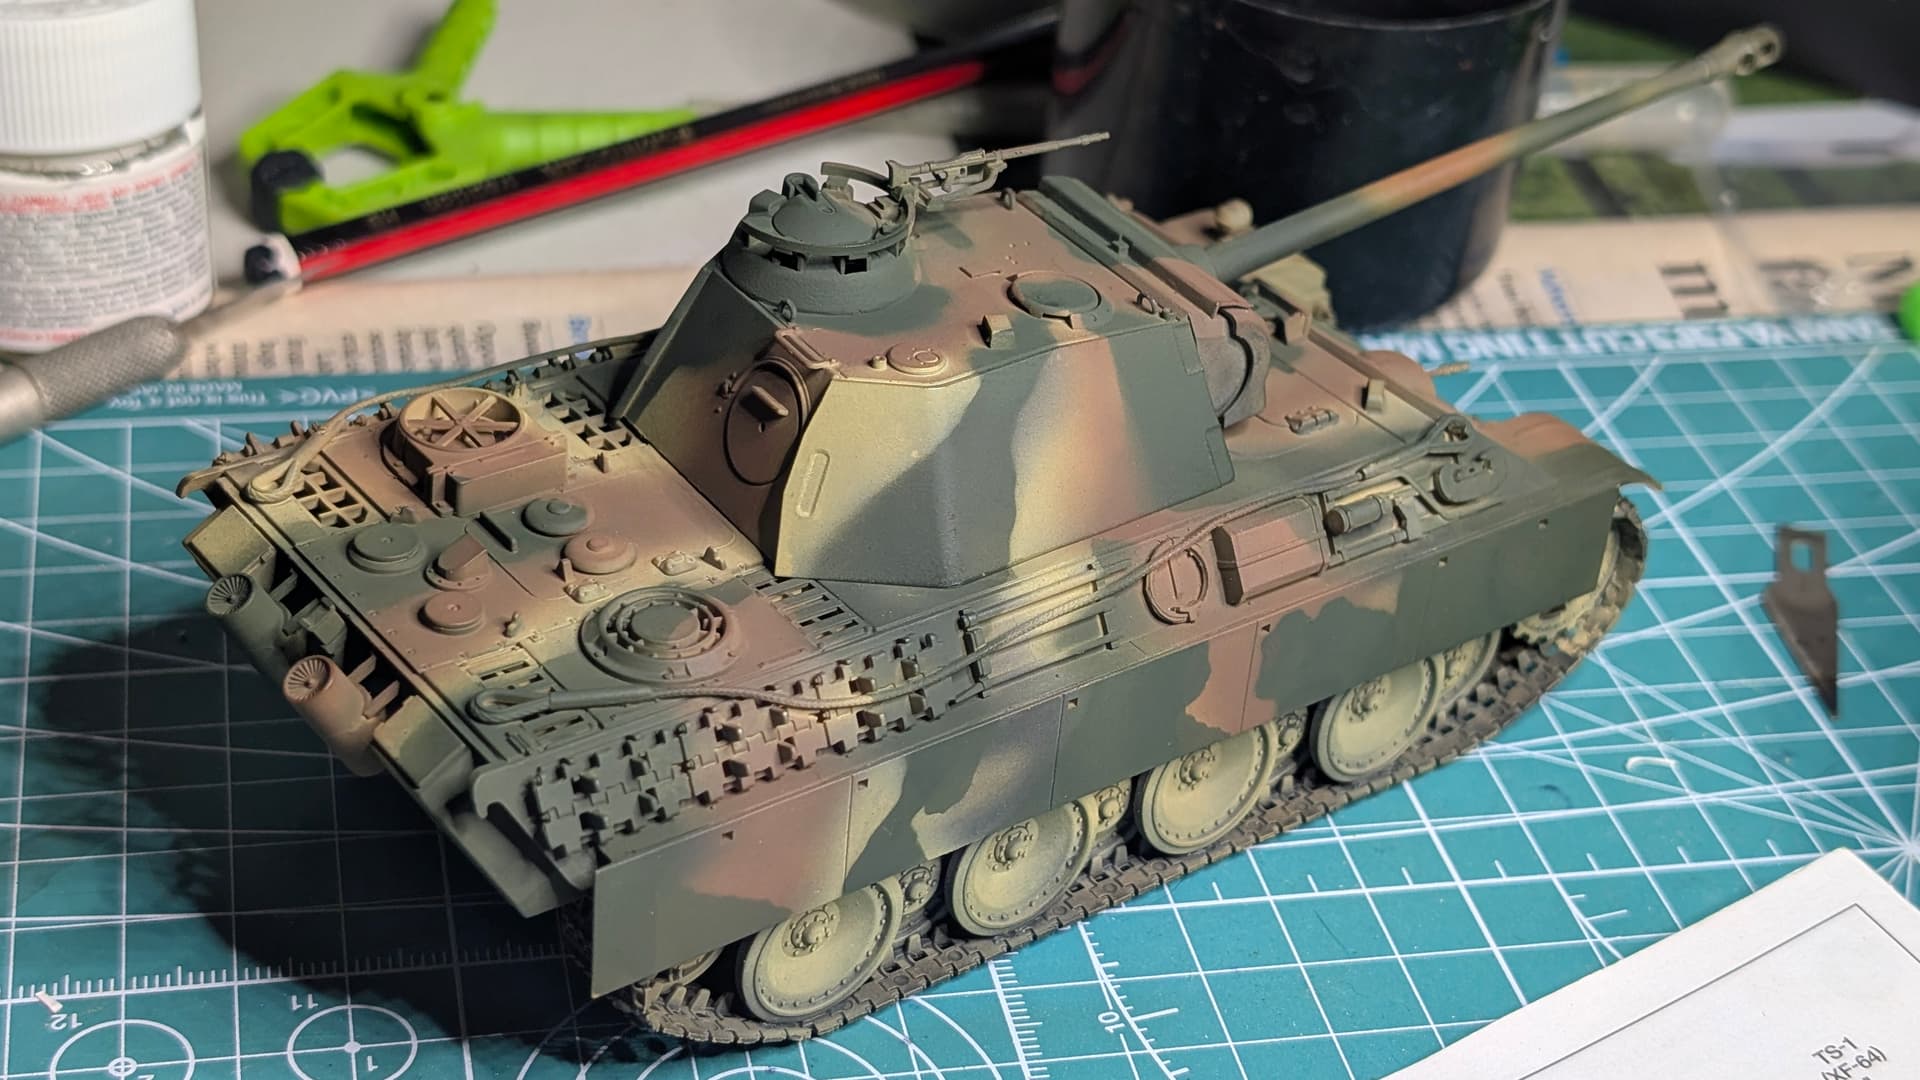
Trouble struck as I began to reapply the dunkelgelb, this time airbushing with Tamiya XF-60 Dark Yellow. Fortuantely this wasn’t so much a technical error, more that I was referring to the wrong sheet in the painting reference guide and wasn’t building up to the “Ambush” style on the box art.
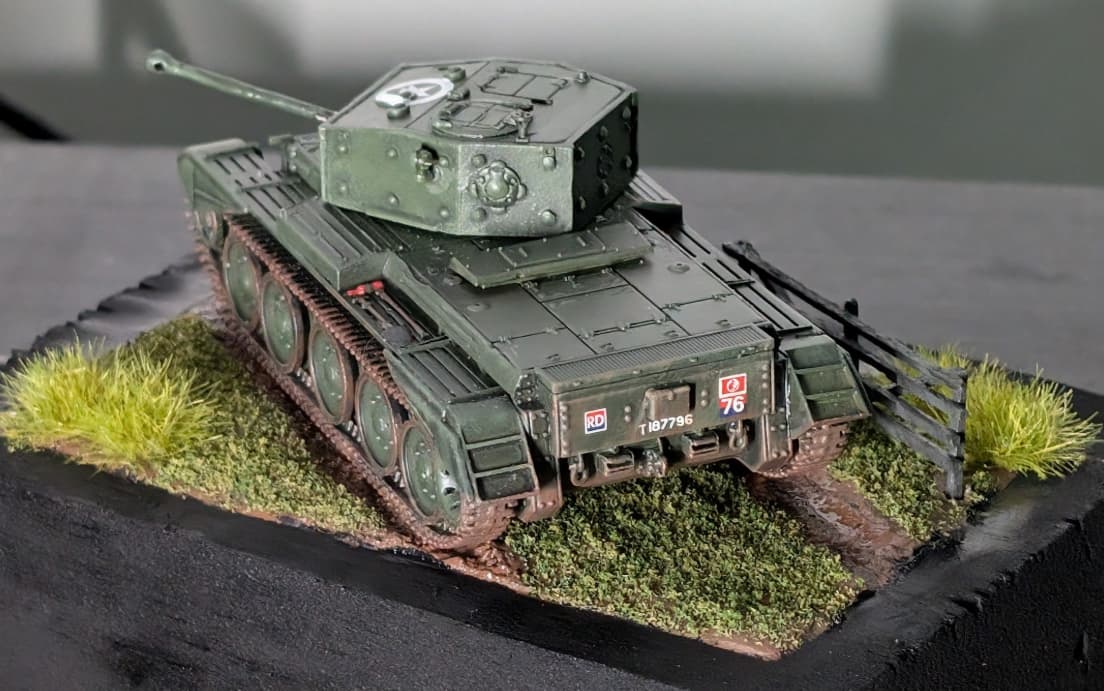
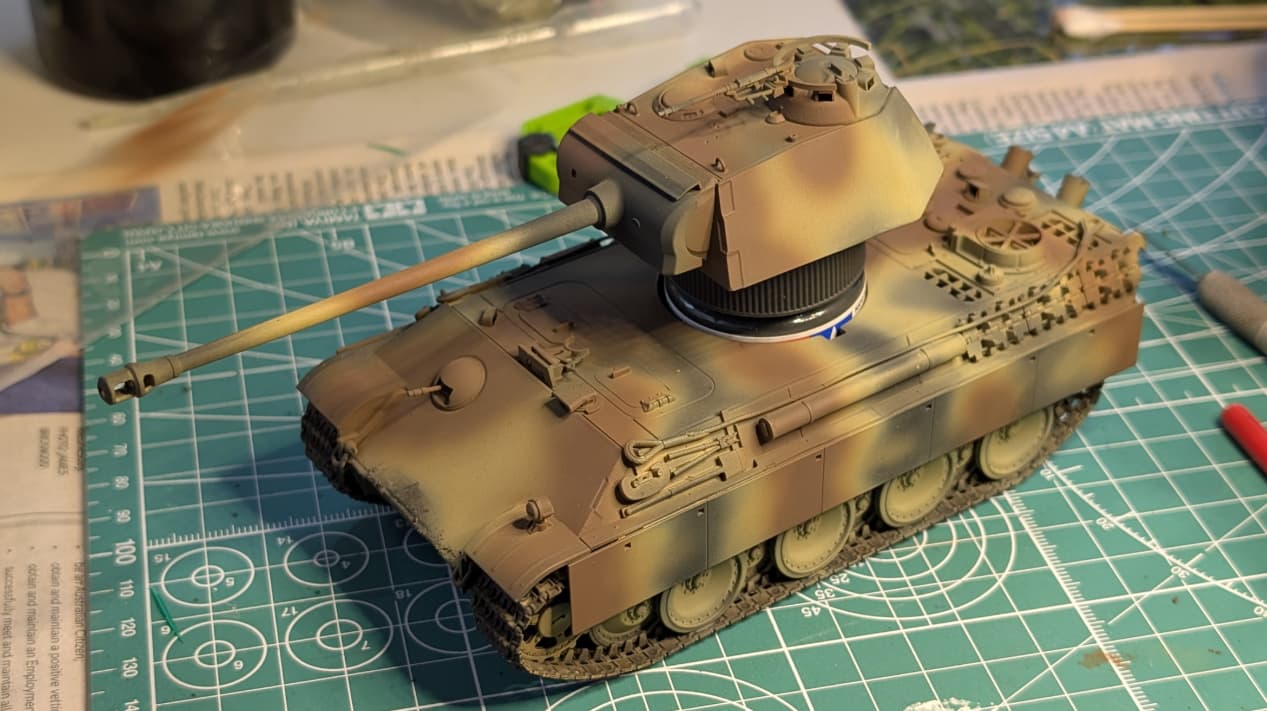
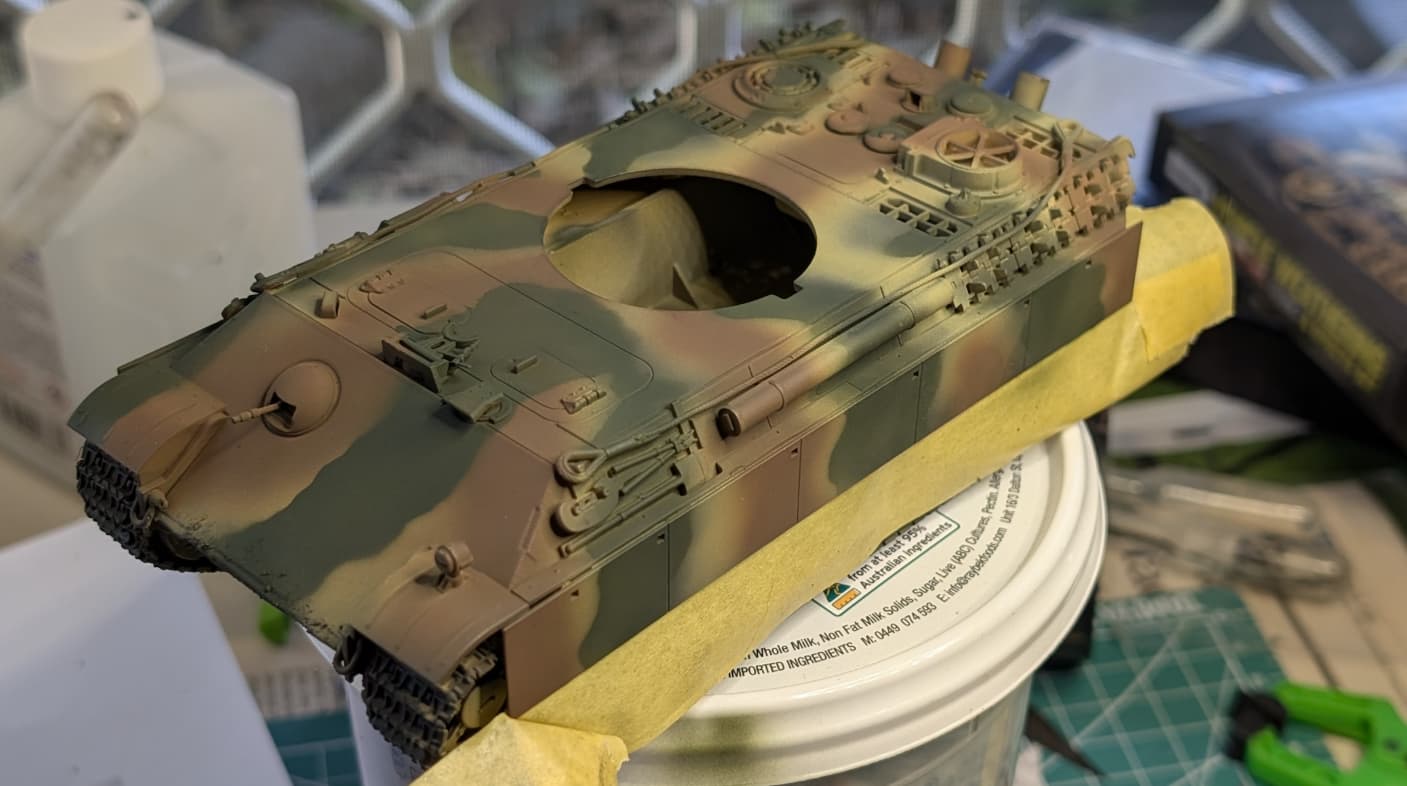
Fortunately Option A (Turret 301) and Option B (Turret 302) both represent Panther Ausf G’s of the 9th Panzer Division, which saw action in the Ardennes. The main difference will be that Option B does not utilise the “Ambush” dot pattern and the undercarriage and wheels are the standard Dunkelgelb rather than taking on the camouflage pattern. This will somewhat make my life easier, it just wasn’t the scheme I was going for… Oh well, onwards and upwards!