Painting: First-Last Colour > Using the Colour Guide as a Mask
On reflection I wasn’t liking the softness of the edges of my red-brown, so I decided to give masking a go with the green layer. I haven’t tried this before, but I seem to be getting lucky on the first go.
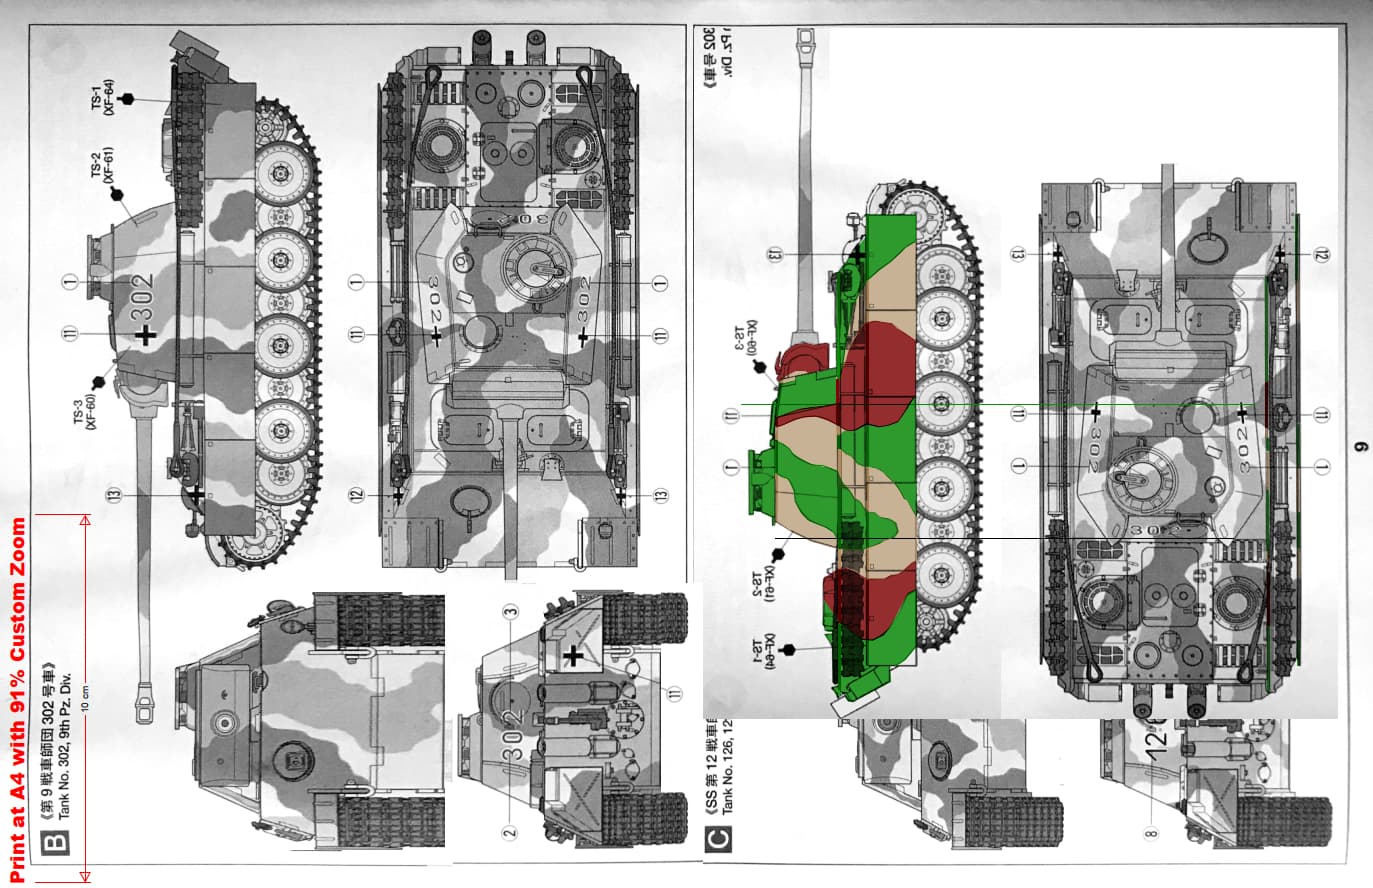
One of the things working heavily in my favour is that Tamiya was kind enough to draw its reference card in a relative scale and proportion to the model, and properly coordinate where the colours met on different facings. This means we can use the actual instruction sheet as a basis for our masks. There are still quite a few tricks and challenges associated with getting this right…
- The model is about 43% larger than the instructions, and defaulting to a slightly different paper size so we’ve had to adjust the print for scale - Note the instructions I’ve left for myself
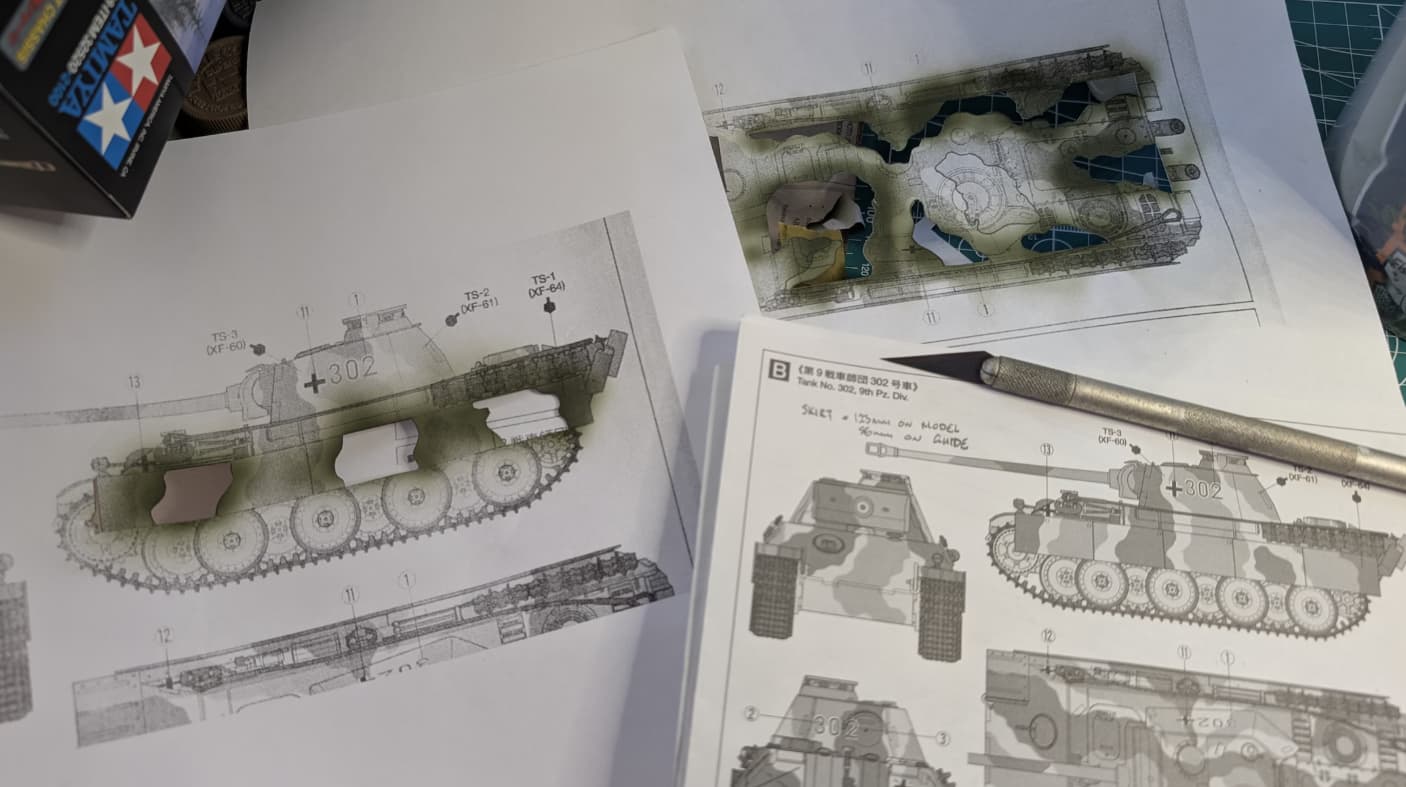
- Not all sides of the vehicle are shown, so we’ve had to create one for the right side. Coordinating where the colours hit the side-skirts and turret was made slightly easier by making a copy of the top-view and turning it through 180 degrees. We’ve made a copy of the left side and flipped it horizontally before digitally cleaning up the left size and markings. With reference to our rotated top view, we’ve been able to place the right-side colours where they’ll likely fit
- Sloping armour plate means that the image needs to be stretched so that the mask is sized to match the face area of the plate. For example the upper frontal plate effectively measures 18mm high from the frontal view, but it’s actually 31mm long on the model, so we applied a 72% vertical elongation. The slightly less dramatic slope of the rear armour plate only warranted a 15% vertical elongation
We will need to repear this process for the turret sides, but you can see the effective markup of the instruction sheet…
From there is was just a matter of printing our markup of the instruction sheet and using an Exacto-blade to cut out the colours that we want to paint. Kindof like a “Paint by Numbers” for surgeons…
The larger sheets only really worked for the larger plate areas - For some of the smaller angled plates or hard-to-reach areas, we were either cutting out and taping much smaller sections of our paper stencil or simply holding some paper or card with a pair of tweezers to block the spray
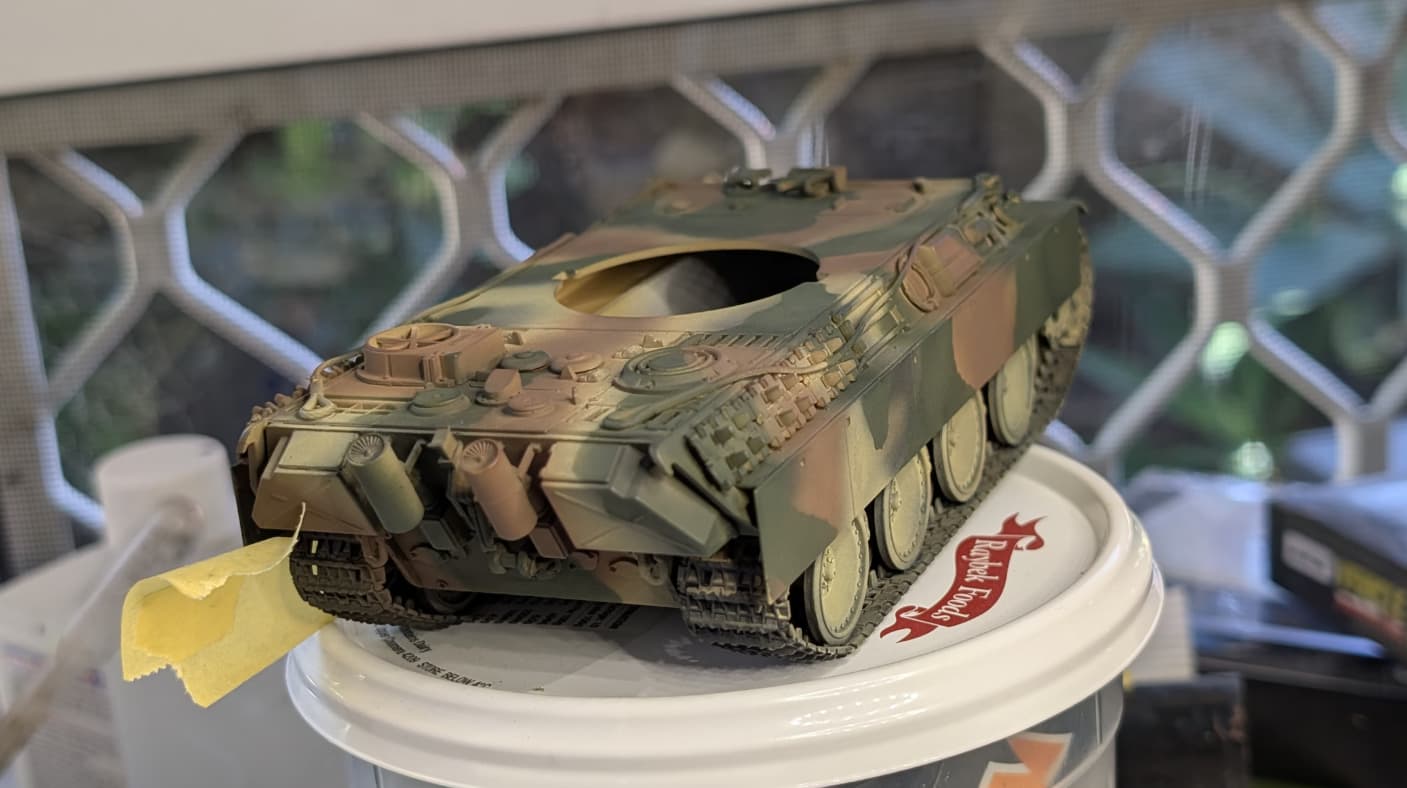
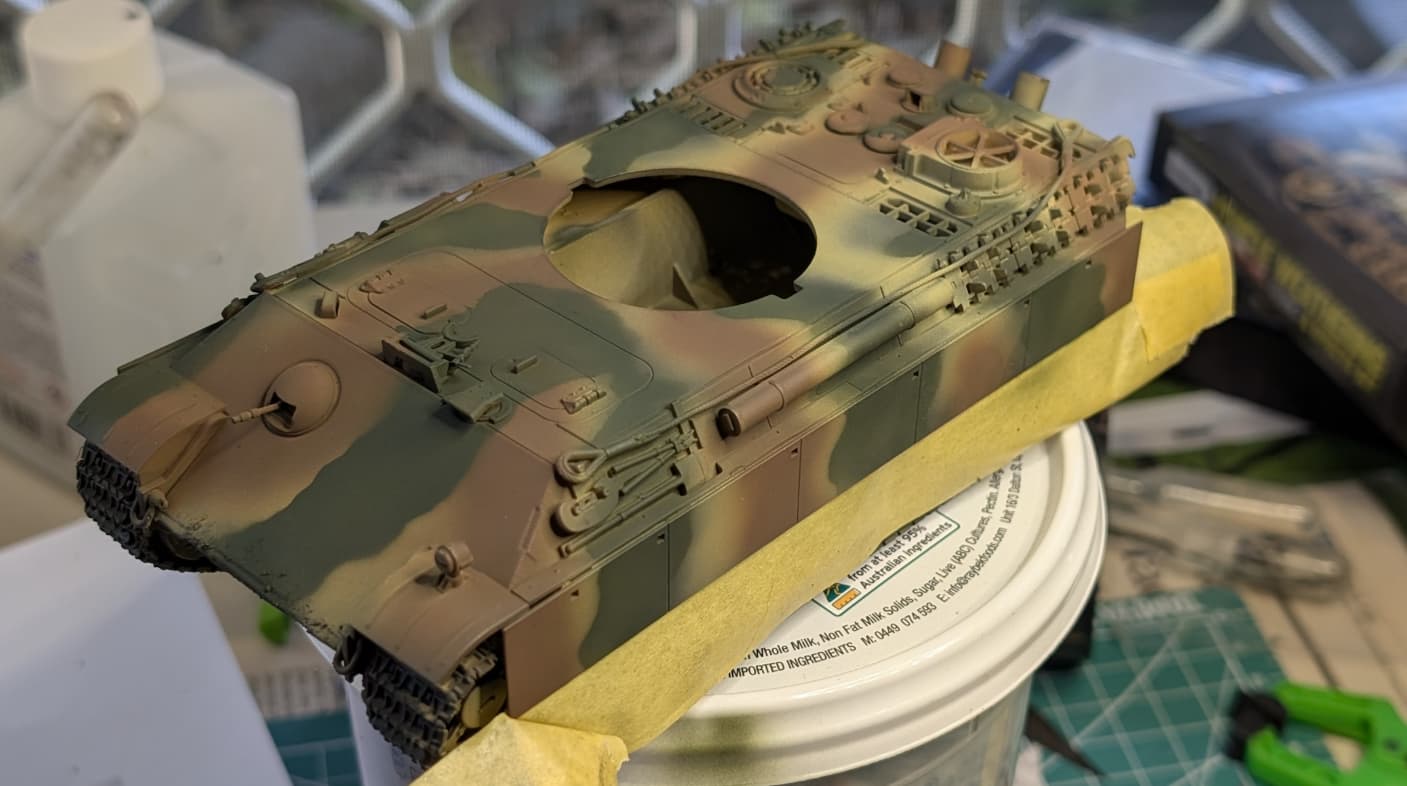
So far we’ve only masked the green (Tamiya XF-58 Olive Green), but I’m liking the edge that it creates much better. In order to maintain some minor softness to the edges, we’re trying not to have the paper sitting hard on the model. You can see the difference to the edges we’re getting now compared to the brown (Tamiya XF-64 Red Brown) of the previous layer…
Some of these “green” edges look very inconsistent, but the worst of what we see is actually the Dark Yellow sprayed over the NATO Black shading from a previous step so hopefully that’ll be cleaned up in good order
I’m conscious there are probably easier ways to do the masking such as:
- Not being so pedantic about camo accuracy (read: FineScale Modeler Forum post)
- Using a putty mask - Unfortunately even some of the supposedly better products out there like AK Interactive Camouflage Elastic Putty are still reportedly leaving residue on the model, and I can only imagine that residue will get worse over time as the putty absorbs overspray. Think I’ll take my chances with Tamiya’s masking tape…
Anyway, we’ll see how this turns out! It wasn’t my intention to do too much experimenting with this kit but it’d be a pretty boring build log if I didn’t have a few stumbles along the way (like noticing in the image that I missed a bit on the left exhaust pipe and jack, gah…)