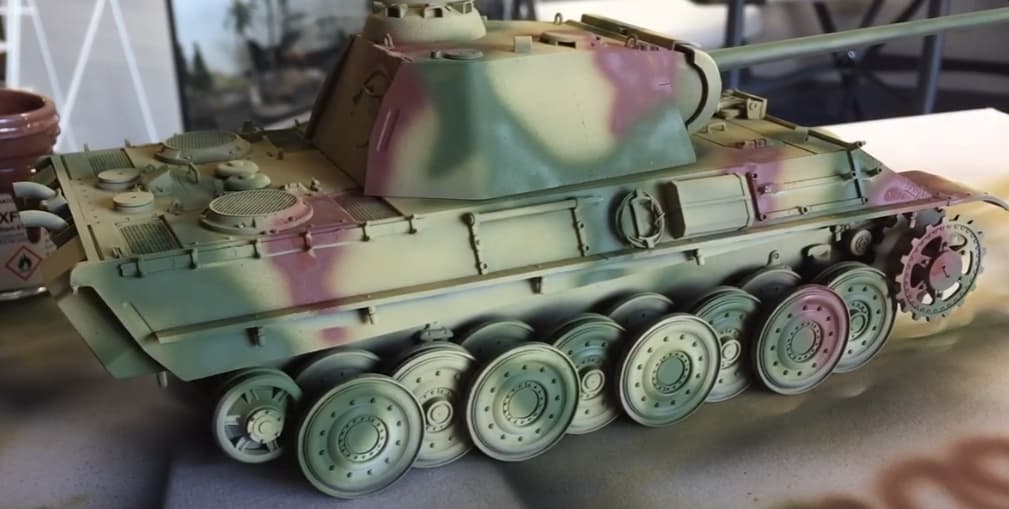
Looking for some advice on next steps with this Tamiya 1:48 Panther Ausf G - This is actually my main build at the moment, but deliberately on hold while I gain more confidence on basic techniques by “ruining” cheaper kits…
Assembly is complete (in hindsight, I should have done the undercarriage separately but will deal with it for now) and primed with Tamiya TS-3 Dark Yellow which is also my first base coat. The original intent was to proceed directly to building up the base-layers to suit late-war 3-Colour “Ambush” per the box art.
I figured any tonal variation would be achieved by picking out recesses and edge details with oils/drybrushing, but I’m seeing a lot of arguments for and against either pre-shading or post-shading.
I understand the reasoning for, which is to bring a more realistic variation to an otherwise uniform airbrushed tone. But one of the stronger arguments against is that the pre-shading detail will likely be lost in the build-up of multiple colours associated with the camouflage scheme, thus only offering utility to the dark yellow base colour in the unlikely case that I don’t feel the need to touch it up. Most pre-shading appears to be top-coated to within 1-2 coats of redundancy anyway…
He hasn’t been around for a while, but Andy @hobbyhq2001 did this Panther D about 8 years back. Were it a monotone AfrikaKorps dunkegelb or French Invasion dunkelgrau, I can definitely see the value in the pre-shading
For the time Andy spent preshading given the result above, I’m struggling to see the value in it, and feel I shouldn’t second-guess myself on this… What say the panel?
Hello!
I’d have a few points here, I hope they will help you in some way.
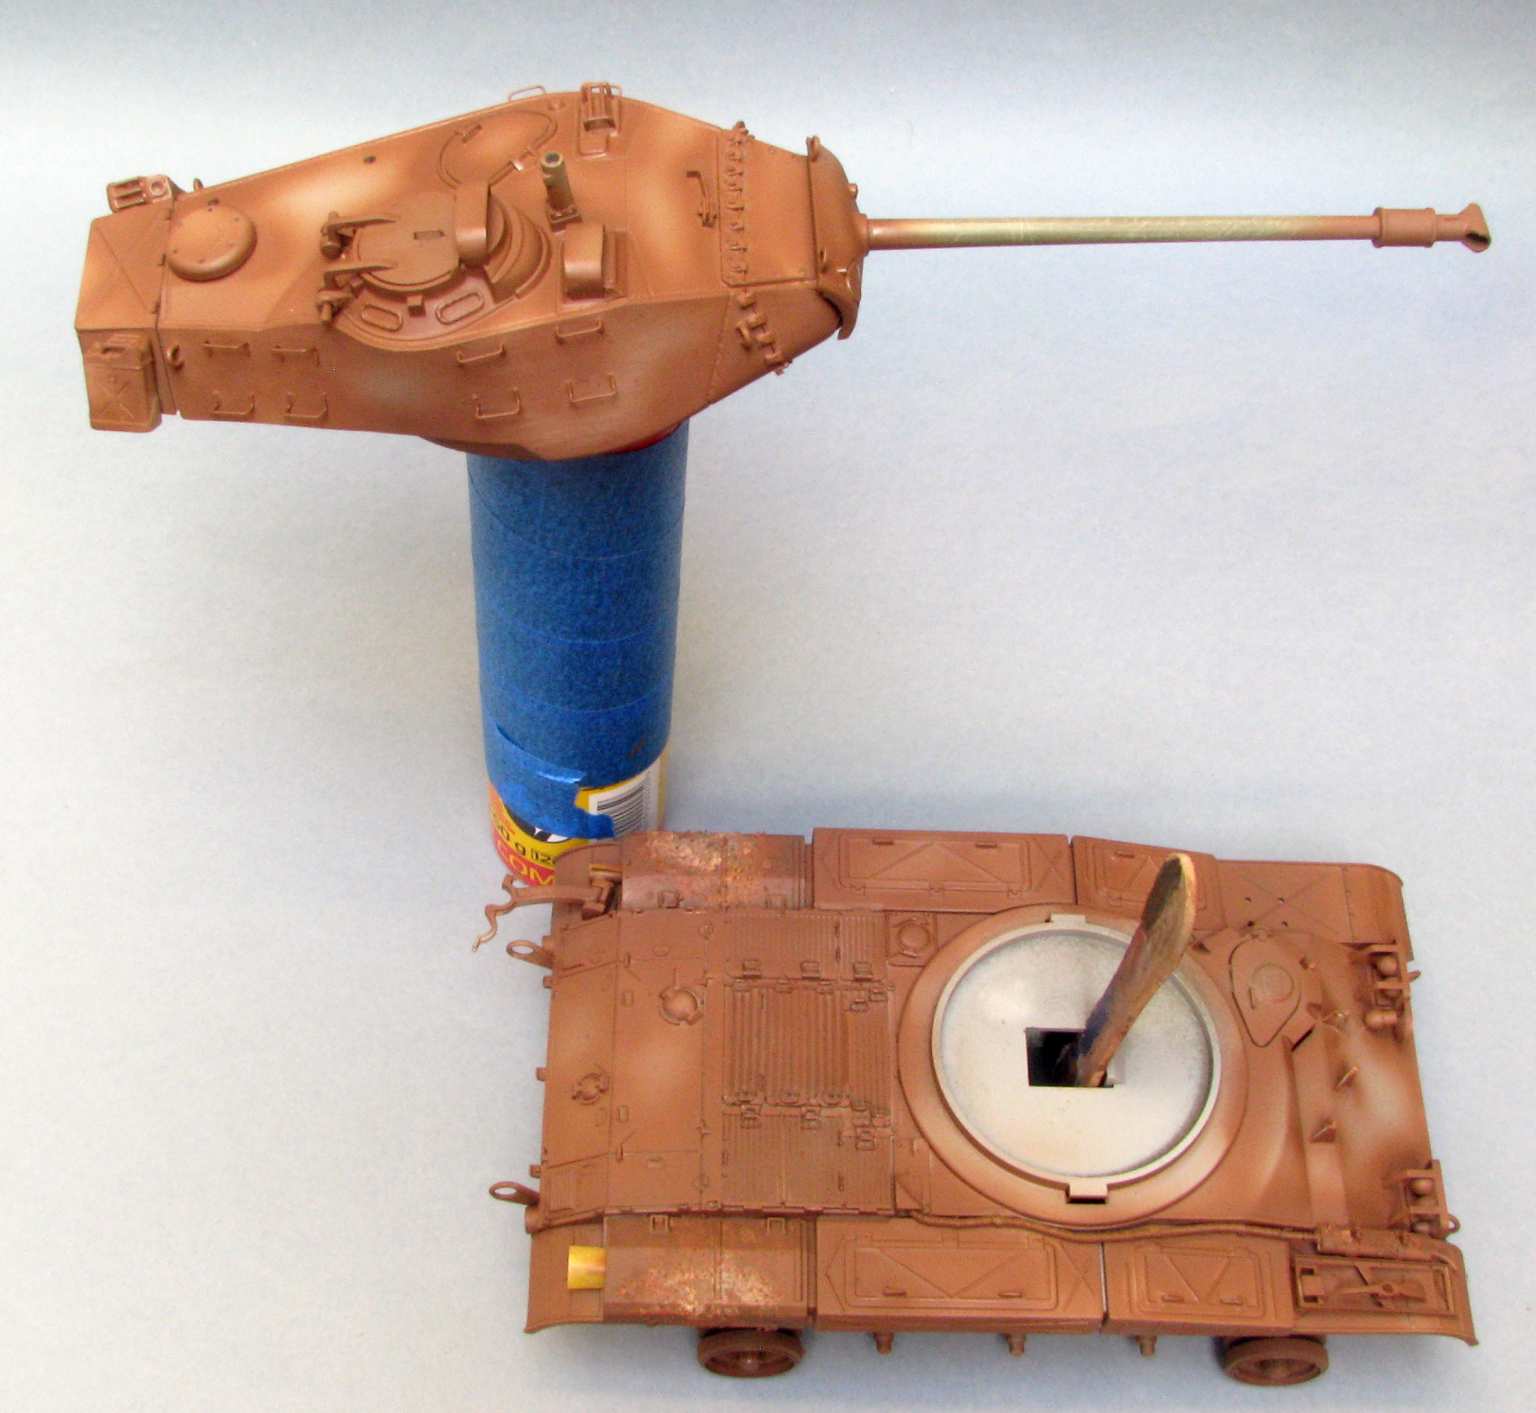
First thing that I notice a lot is how many modellers build and paint their models “clean” and then they try to dirty them up with varying results. I use a different approach and would like to recommend it for you, too - and it is to paint at least the lower part of the model dirt color first, and then try to show the portions where the dirt fell off/worn off or was removed in some other way. For this assembling the whole undercarriage before painting is actually a good thing to do. You can also apply dark dirt colour liberally and then you don’t have to worry about hard to reach spots - they would probably be dirty and hard to see anyhow. What would be a good thing to do is to show surfaces worn to shiny metal where the track contacts the wheels, teeth of the sprockets and so on. Shiny metal could also be on protruding track ribs, where the tracks are constantly ground by the sand and so on.
As for preshading the camo it’s worth noting, that camo was often prescribed on the whole tank, but if it was applied by the troops it was only done above the fenders, because the lower portion would get dirty in no time anyhow. Preshading can be practical, but each color would have to be preshaded individually. Colors other than black for preshading are worth a thought. Dirt colour is a good option for preshading. Here’s an example:
Preshading in red vietnemesse dirt and then with OD on top of that:
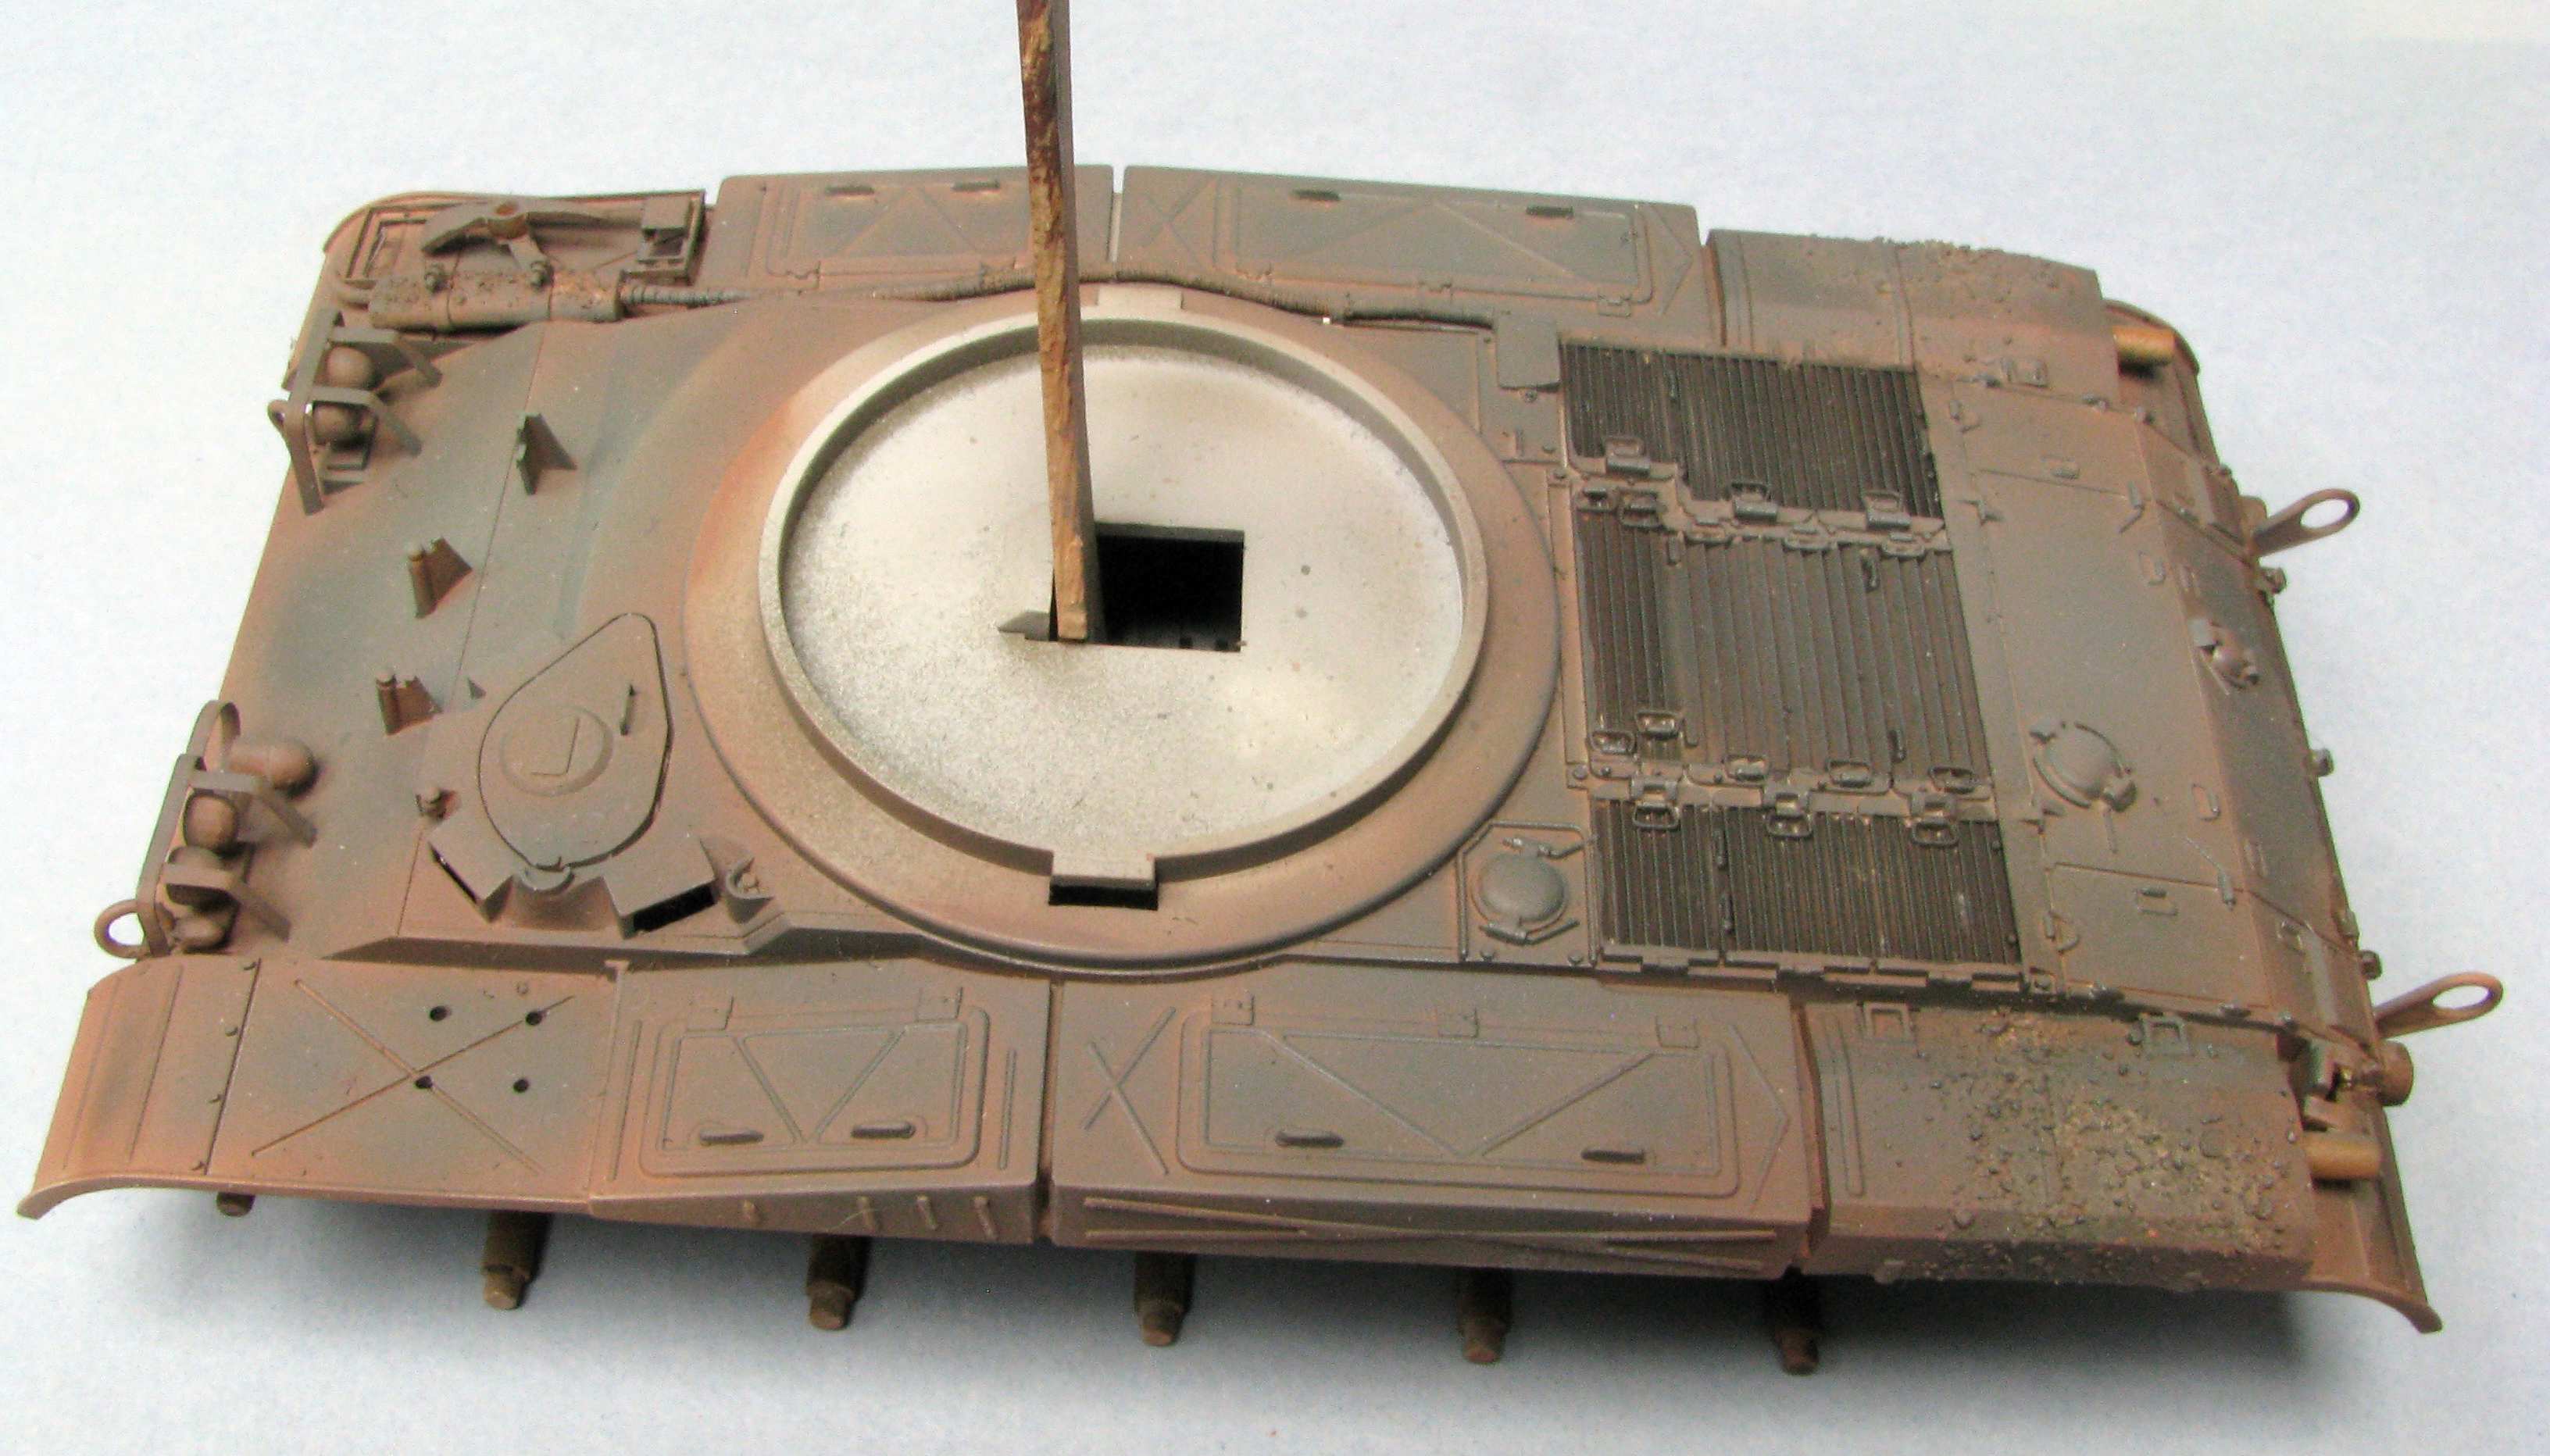
Also when preshading camo it’s good to reverse the sequence and put the darker colours first - this way the lighter colours will show “dirtier” which in reality they do - lighter colours sometimes tend to pick up dirt faster.
It is important to apply light coats, so that the underlying dirt colour can partially show through.
I hope this helps you - good luck with your build and have a nice day
You might be better off with post shading if you have the patience to mix and apply the lighter shades of paint.
FSM did a great video on how to do this about 4 months ago, and that looks like a neat way to create a realistic tonal variance. I kindof like this approach more than the traditional preshading to be honest - When the finish is a 3-tone camo scheme though, my only fear is that I’d only retain that tonal variance for the dark yellow unless I was super-patient with mixing and masking to build up the three different colours in that manner
How about an over all oil wash to tone down that base coat followed by specific pin washes to make those small details pop.
That’ll be the plan once the base colours, decals and clear coats are down - My T-34/76 project for which I have a build log going here is intended to experiment with this very method using a set of Abteilung502 oils.
Hello!
I’d have a few points here, I hope they will help you in some way.
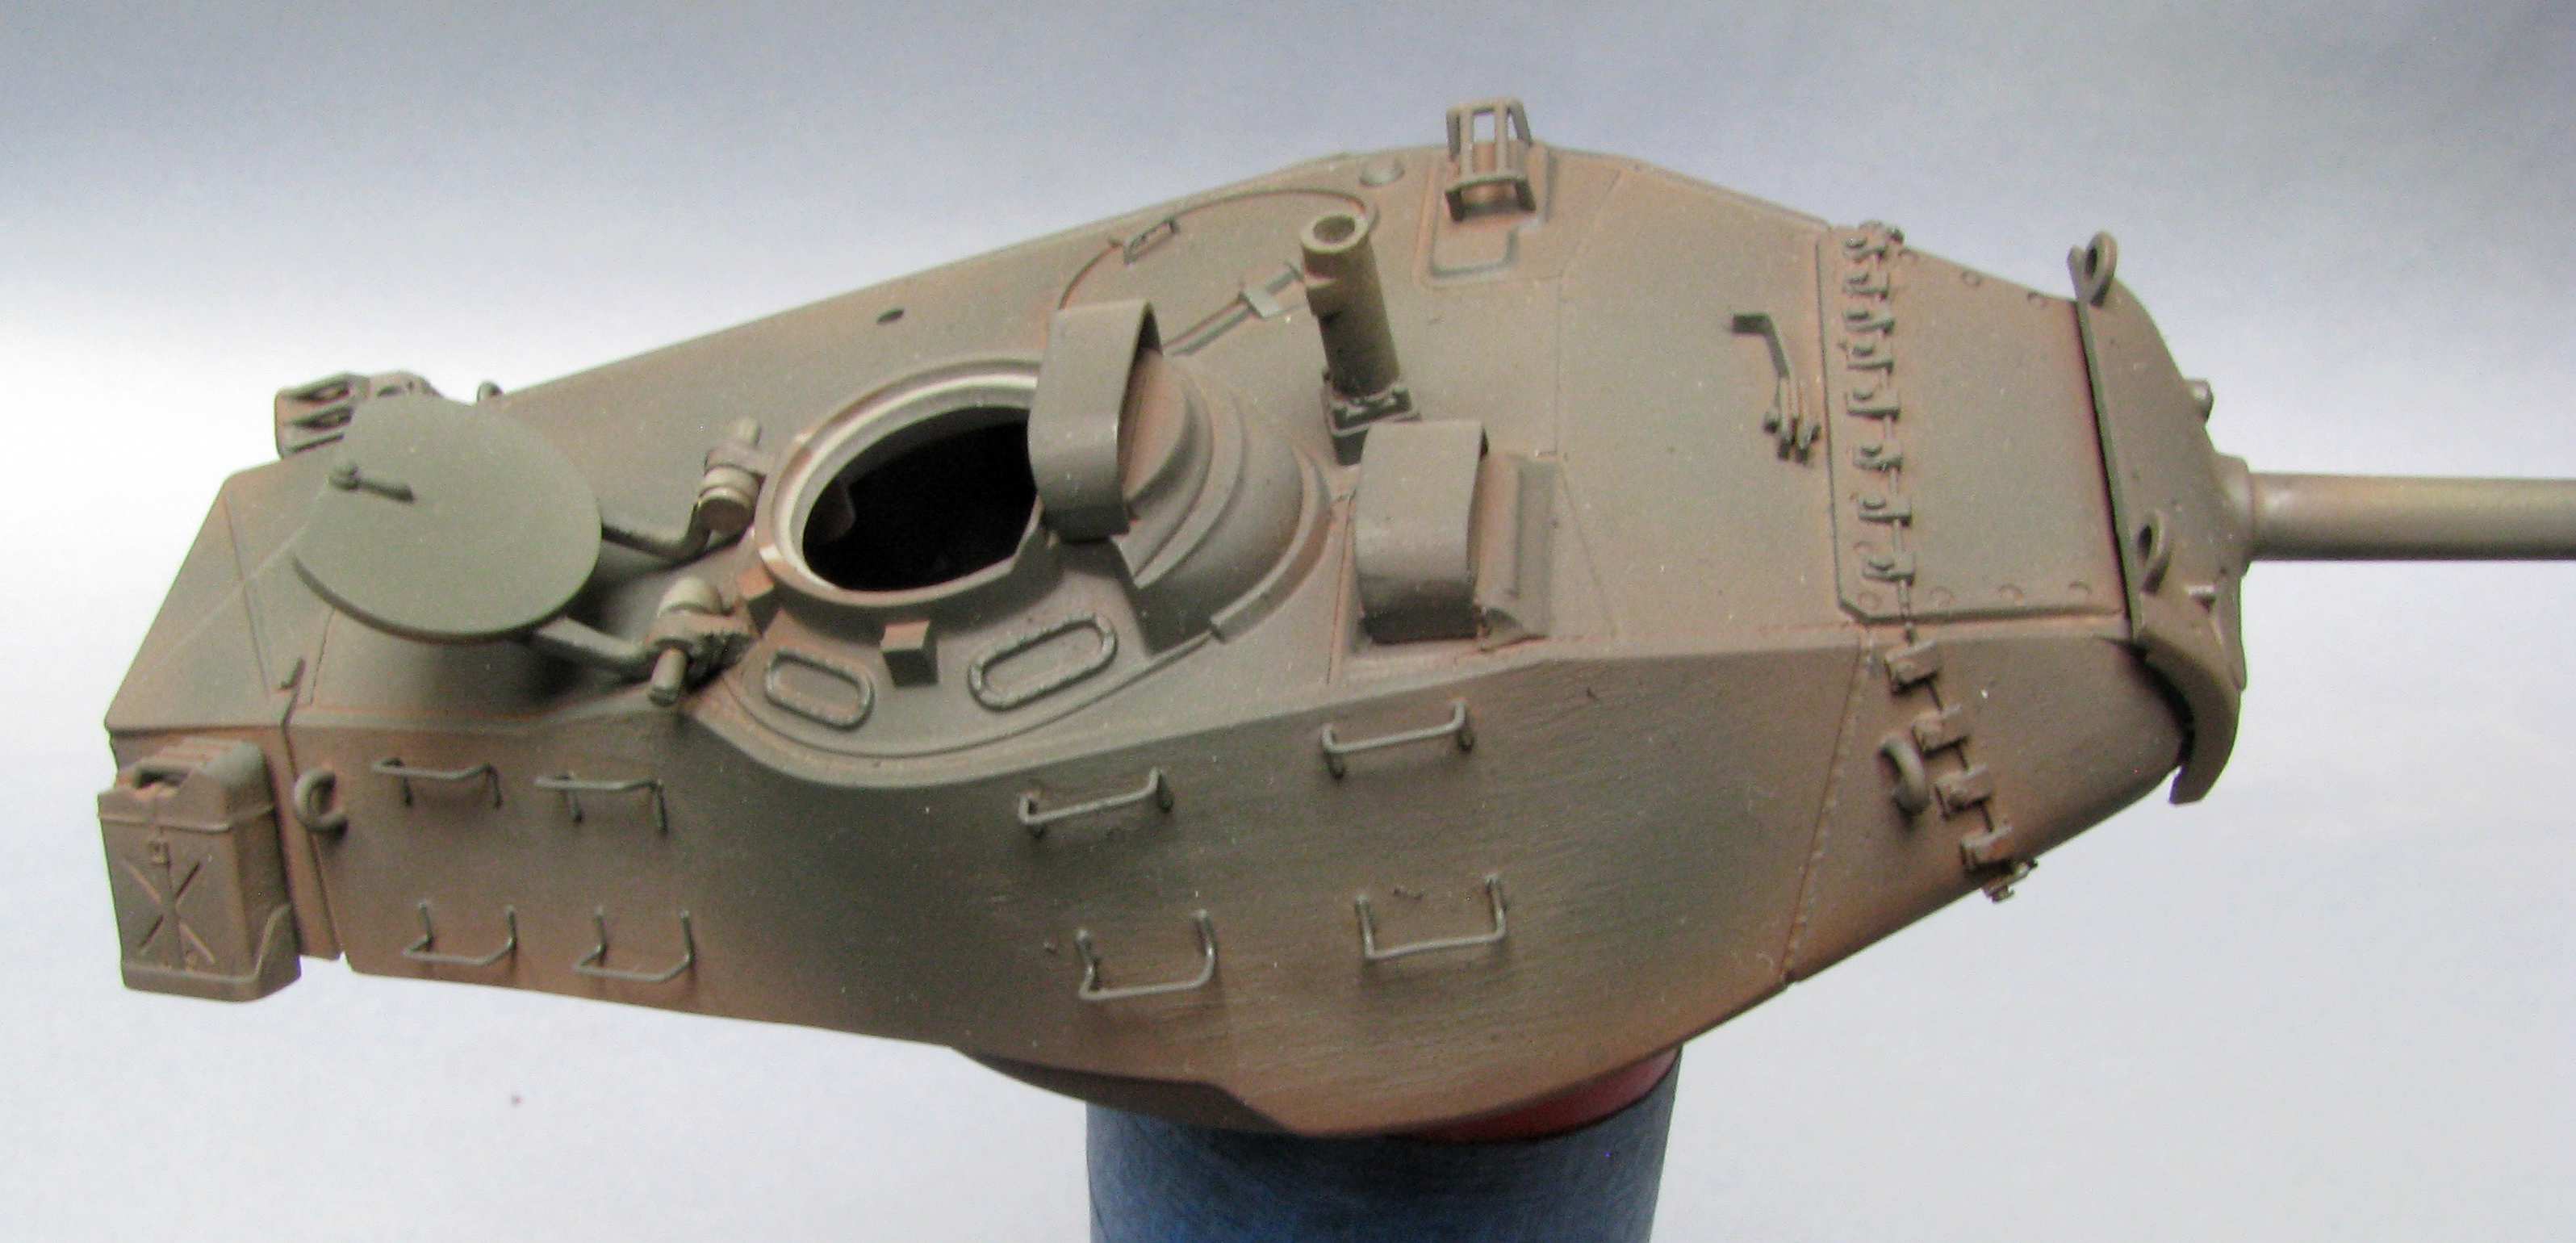
Great advice, and I love the effect you’ve achieved with this method! This looks like a logical next-step from where I’m at so will give this a try, applying the environmental staining first and then building up the base colours over that… I’m originally from a country town in Australia where no vehicle is immune to the persistent stain from the fine red dust. Had someone parked a pristine M41 on our property it’d look like your paint job in no time at all!
Obviously I’ll be trying something more akin to the Ardennes rather than the red soil I grew up with…
Subject to a few more touch-ups I’m not hating this outcome! Unfortunately I have things to see and people to do today, so will have to pick up the other colours another time… Again, I appreciate the leg up folks! I have direction…