Honestly, it’s the most important one! Especially now that we’re coming into summer, the first one went down faster than a fat lady riding solo on a see-saw ![]()
3 Likes
Painting: Liquid Mask for those Hard-to-Reach Places…
Back on our Panther grind, and one of the findings from our first experimental green pass was that hard-to-reach places created by my somewhat undisciplined assembly had created an excess of paint diffusion particularly between the side-skirts and the upper hull. To remedy, I’ve used a liquid mask - In this case KillerBody Precision Mask. This is an acrylic product aimed more at the RC Car market, where body painting is done by meticulously applying paint to the inside face of a clear plastic body so that the paintwork doesn’t get damaged by whatever environment you’re driving your car through.
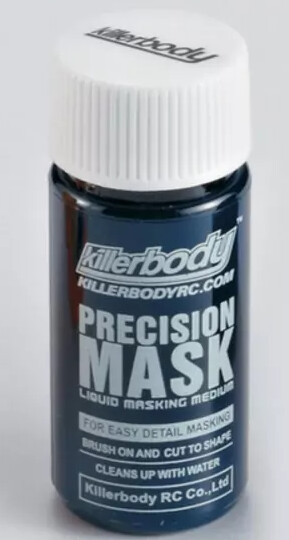
The product has a very deep blue colour and a thick consistency more like honey than paint. I took a bit of a chance and applied it directly to the model, joining up the camo lines on the skirting with the camo lines on top of the hull. Once sufficient coverage was acheived, the balance was masked with Tamiya masking tape
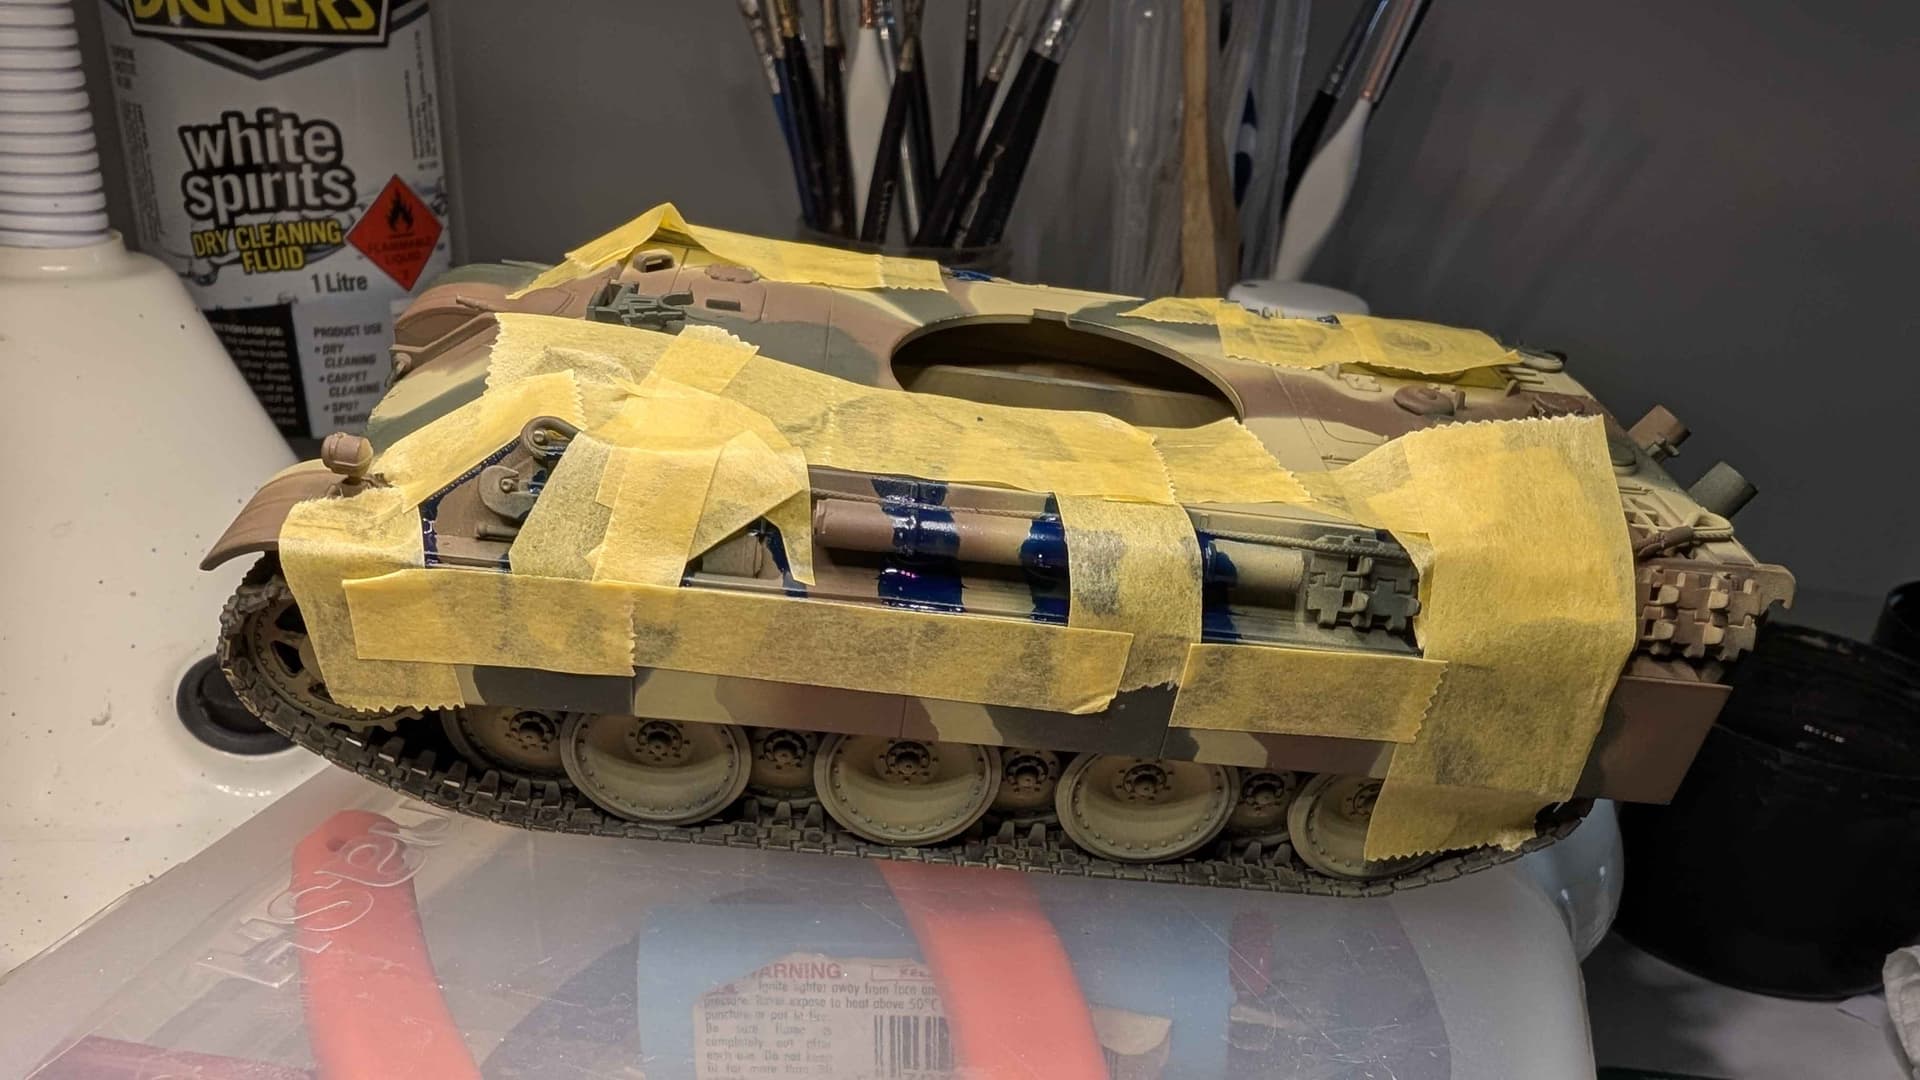
We wanted to give our liquid mask time to set, so moved onto the turret continuing our paper masking. This time around I’ve done away with the masking tape spacers as I’ve found them to cause more problems than they solve. Although the edge relief is welcome, I found the relief provided was inconsistent and occasionally masked areas which should have been subject to that relief diffusion leaving evidence of their being after removal

After letting the paint dry overnight, we returned the following afternoon to peel off the liquid mask. Unfortunately our painted-on application was too thin for the product to peel off and after a brief moment of panic we proceeded to scrub it off with a toothbrush under running water in the sink. The dry Tamiya acrylic paint held up to the abuse, and the masking medium and its threat of blue stain were washed away leaving our linework as intended.

Any lifted paint simply went back to the dark yellow undercoat, which didn’t look out of place given that’s the “factory setting”. You’ll probably notice a couple of areas of overspray owing to some user error, poor mask discipline and some paint consistency issues but lessons were very much learned on this pass. I’m not terribly concerned about these errors since the dark yellow is supposed to go down first, and the other colours follow. These masks were deliberately cut 1-2mm smaller to ensure that the red and green get proper coverage and diffusion over the yellow without coming up short.
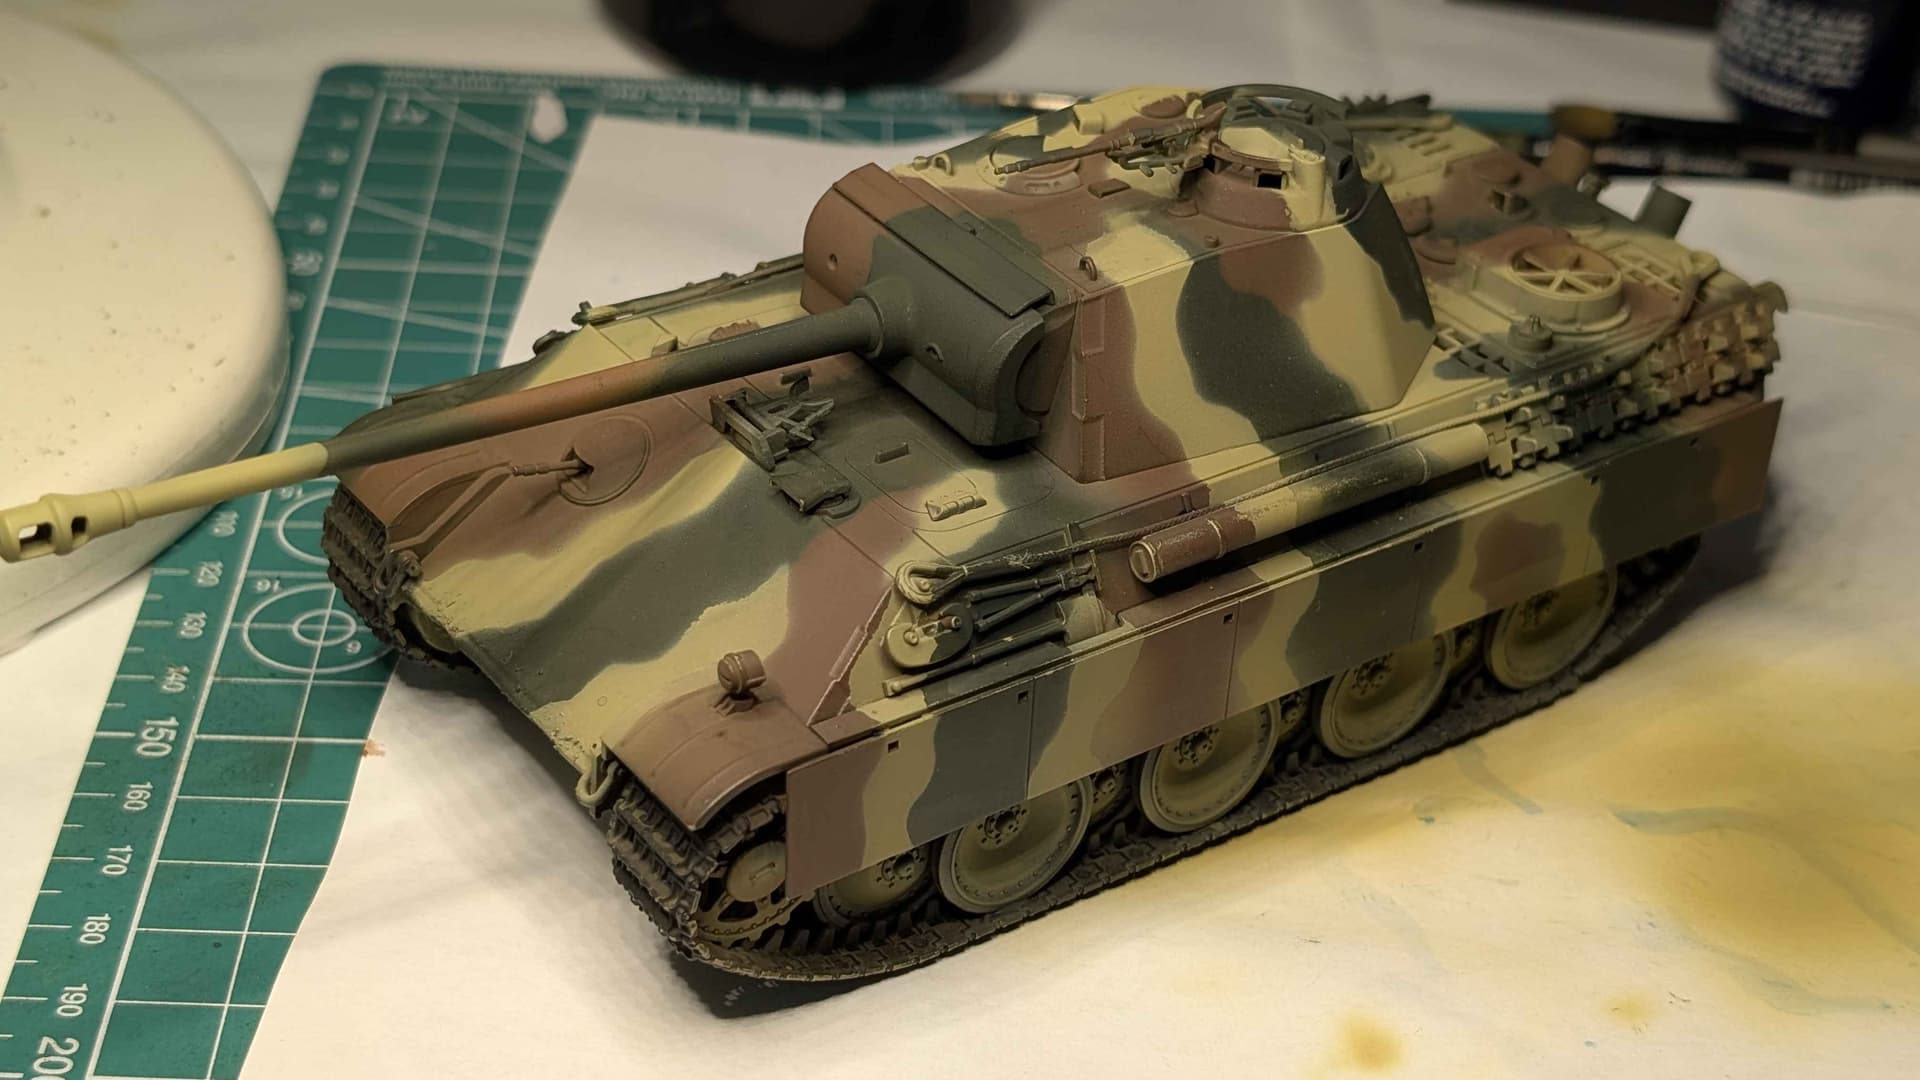
I’m quite pleased how this is turning out, with good planning and measurement of the masking leaving a remarkably consistent alignment between hull and turret despite being masked and painted a week apart
4 Likes
Looks good,getting camo to look right on 1/48 isnt easy
1 Like
Thanks Tojo, it’s a process! Part of me feels like I’m doing this on hard mode, but since Tamiya went to the trouble of coordinating where the colours meet in their reference facings I thought I should make the effort… I’m sure there are easier ways to go about it, but everything I’ve read about putty masks leads to tales of stains and icky residues
2 Likes