The Kittyhawk UH-1 has the PE plate, but since I sent it back to Amazon after realizing it was 1/48, I never got to try them. I like the PE idea, not so much the bending and shaping, but seatbelts, grill covers, stuff that you can mold to a more realistic look without having to figure out how to bend it when you don’t have a “bender device”. The problem with models appears to be that when the ancestors finally got injection mold with plastic to work well enough, ‘well enough’ became the norm.
1 Like
As somebody who wasn’t really sure what to do with photo-etch at first, and who has had plenty of struggles with it over the years, getting the right bending tools really made a difference for me.
It turns out they were worth the investment. For about the cost of one kit, I’ve got the tools now to use whatever PE I think is actually going to improve a model and ignore the rest. I’m not constrained by not having the right tool to make a particular piece work.
I run from PE. Bought the bender etc and stuff still pings off to infinity. I’m lean more on 3d printing - stuff like Reskit, Quinta and Kelik when I go outside the box. Actually liked the old Verlinden resin stuff back in the day. I guess I need more practice but man I find PE frustrating.
1 Like
Oh, I completely agree. The bending tools made PE a lot less frustrating for me, but I’ve also started getting much more selective about what I actually use.
When I got back into modeling about a year and a half ago, PE was pretty new to me, and at first I thought the goal was to put every single piece on the model. I learned pretty quickly just how difficult, frustrating, and sometimes completely unnecessary that can be.
It’s those sub-microscopic parts you’re supposed to glue into an already painted and weathered cockpit that really get me. Half the time I’m thinking, how am I supposed to get glue on that without getting it all over the cockpit? And is anyone ever going to see this thing again once I close it up?
I’m getting much better at deciding which PE parts make the cut and which ones can stay right where they are on the fret. 
I finally got my UH-1Y Marine chopper. I think I told you guys that. Sorry. It has PE in it. I guess most newer model…models, have that. I might venture into it to see what happens, but with all the parts that Marine chopper has, I’m surprised we don’t have to mold our own windows this thing is so detailed. 1/35 scale is very different from 1/32, three numbers who knew. But if anyone who hasn’t bought this one buys it, get ready to…I’ll use a car model as an example, build the carburetor piece by piece before you attach it to the engine you built piece by piece that goes int the chassis you built piece by piece which is two door, doors you build piece by piece because they have window that roll up and down. Nice exhaust too, built section by section before you attached it to the undercarriage which, yep, you guessed it, built piece by piece. The days of having a molded fuselage are coming to an end.
1 Like
Well, I’ve actually started gluing parts to parts. I glued the transmission cover to the deck. Naturally, thanks to injection mold trash and over spray, or flow, it didn’t fit smooth against the deck. Vallero Putty. First time. Just to see how well I could do. Oh, I also used something called Warhammer glue, Citadel plastic glue, to glue the pilots together, it did well, was easy apply using a needle applicator. Takes forever to say hello but once it does, watch out, it answers the door immediately after that. Used the Warhammer to glue the transmission cover to the deck, sucked pond water. Used it to glue the nose frames into the cockpit section, instant response. Go figure.
About those nose frame sections. If you don’t get those engineer feeler gauge perfect install, your instrument panel won’t go on correctly. Hint, the nose frame pieces do not install without a fight. One did, the other pitched a royal fit. Thought I had it, tried to install the IP, kept going on crooked. A little inspirational chat with the frame piece, we are all happy campers now.
If you’ve never assembled a scale model, know this, glue sticks when you don’t want it to, and won’t stick worth watered down gasoline when you need it to. I can be jumping through hoops trying to get a window in place before the glue dries and “oh we are all dry now.” Yet it takes me 15 minutes sitting completely still holding a cyclic in place, straight, leaned back just a tad so our non-flying pilot has a hint of hope to ever grab the thing, and the glue becomes water.
Got the window in the doors and cargo doors. Glued the engine together. Painted the pilots. Trust me, skin tone paint looks like calamine lotion going on. Another hint. First, to answer a colleague on eyesight issues, I have a desk mounted magnifying glass. I wear glasses. The two don’t mix. But I make them mix. Under a magnifying glass, brush paint jobs look awful. Form a distance, the same paint job looks good. If you just can’t get the paint to look right, stop looking at it through a magnifying glass. Far away my pilots look like they moisturize. Up close through the glass, they look like they’ve been having skin grafts.
1 Like
Thanks for all the tips and tricks.
I tried one of those magnifying attachments that clamps to the desk, and I just never got comfortable working under it. I eventually switched to magnifying glasses that I can wear, and I like those much better. Wherever I turn my head, the magnification just goes with me.
And I completely agree about being careful what you judge under magnification. Something can look pretty rough when you’re staring at it blown up several times larger than life and look perfectly fine when you take the glasses off and see it the way everybody else is actually going to see it.
I may have to go that route. The desk magnifier distorts my view at times, blurs, and when I do see it clearly, I keep moving it up a down and losing the picture. I would have made a good snipper in the military…for our opponent. Read whatever you want into that statement, but I know exactly what I meant by it and am sticking to it. Scope vision is not one of my better efforts. Also, you can’t the correct S word on this site so snipper is the best I can do. Did you magnifier glasses have to be a certain power, or were they just general magnifying glasses bought off the shelf in any walmart?
YOCTOSUN Magnifying Glasses with… Amazon.com: YOCTOSUN Magnifying Glasses with LED Light,5 Lenses,Headband,Storage Case | Hands Free Rechargeable LED Lighted Head Mount Magnifier for Close Work Hobby Crafts Cross Stitch Diamond Painting : Health & Household
I got these and really like them.
If you wear glasses they make some magnifies that go on your glasses. They are the bee’s knee’s.
1 Like
I’m going to try the glasses. Amazon has a bees knees return policy and we have prime so $31 isn’t going to set me back. At least this way the glasses are off, the lights are on, the magnifiers are in play, and I can sit in the chair and stare straight at it instead of having to model as if I am doing it looking down into a distorted well.
Came to a conclusion last night I’d like to share but do not consider a tip to be followed, studied, or tried. If you want to be sure to not have to touch up so much after a major spray paint job, “GET MESSY”. Not the soccer player who defies Argentinian logic, Messi, get Messy. Stop trying to mask the fuselage, for instance as if you are sculpting a masterpiece and mummify that thing. Not in the real since but the old horror movie sense where they used to take an actor, smother him in gauze, and he walked like that because he couldn’t move. Even the best most professional tape jobs leave a “dot”. You know the one. All proud of how well the job turned out only to find that “dot” you missed. Now you have figure out how to touch up a dot. I simply get a brush, any brush with some gumption to it, take my spray can, spray a small glob of paint onto a makeshift pallete (spent piece of cardboard), dip the brush before it dries, get messy all around the dot, dots gone, paint dries, you never knew dot was there.
To avoid dot from visiting, go all 1st grade art project with the masking tape. That yellow thin stuff that hates to stick will stick to itself like skin. Cover up windows and doors and holes like you expect some hurricane to hit the thing. Go left, up, down, right, across, under, over, all of the directional pronouns. Think a spot might be compromised, cover it. You’re in a tear off tape double alarm fire mode here. When you can, grab a spent clear plastic bag, the one the sprues came in, put the tail boom in the bag. Cover the entire tail boom all the way up to the engine exhaust. Tape it down like a rowdy passenger on a flight to Los Angeles, and now you can get messy with the spray paint and not have to worry about dots. If you taped too much area and missed a spot, well, go back to what I said about cardboard palletes, one good spray, and a “fix a problem” brush.
I purchased these also (the less expensive version without the carrying case), and I love them. I went through 3 other types before coming to these, and they are really great. Comfortable, rechargeable light, super adjustable. I also wear them at the same time as my eyeglasses and they for fine. I did replace the ear pieces with the strap (it was quite simple). And I have recommended them to a number of folk. Good choice!
I ordered mine yesterday and even living in the middle of no where like I do, they were on my front porch this morning. I used them today. I used the weakest lens first, then moved up one, and found painting soooooo much easier. Being able to see how well a part is fitting up close and personal helps too.
Thanks for the tip
1 Like
Discovered some more part discrepancies today. When you put the rotor system together, the “capital dome” or main transmission gear box, goes together better than any part I’ve glued yet. The engine driveshaft connects no problem. The gearbox mounts to its pedestal location just fine. But adding all those control rods and linkage rods can be tricky. I added the two linkage pieces first, the ones that attach to each other on opposite sides of that flange that sticks out off the gearbox. I then added the piece that fits one way only, and the swash plate. I do remember what that is called. Adding the two straight sticks was easy, but the bent one making an L at the bottom is in close quarters. The discrepancy was with the linkage piece. It’s supposed to fit directly into the swash plate arm on that side, but they don’t meet.
The rotor blade spindles don’t quite fit the holes on their mounting piece. I wallered out both holes and now the blades fit good.
I did a not so great job of puttying the holes I didn’t use on the cargo deck. But, new at this, so maybe the next one will be better.
Cockpit is done, about ready to mount the ceiling. I did remodel the seat backs, but just to get rid of the ugly backbone look the had. Used some paper thin basswood sheets I cut to fit, clipped off the seat frame mounts, then just glued the frames to the seats best guess. Even then the holes didn’t line up on one side when you got the other side to fall into their holes. So I clipped off the nubbins for the holes and now the seats fit. My pilots have green helmets, black microphones, green flight gloves, black combat boots, brown T-shirts, and just sit there wishing one or the other knew how to start this thing.
1 Like
Love to see some photos of your progress and what you are describing… Always helps me to visualize what you are talking about.
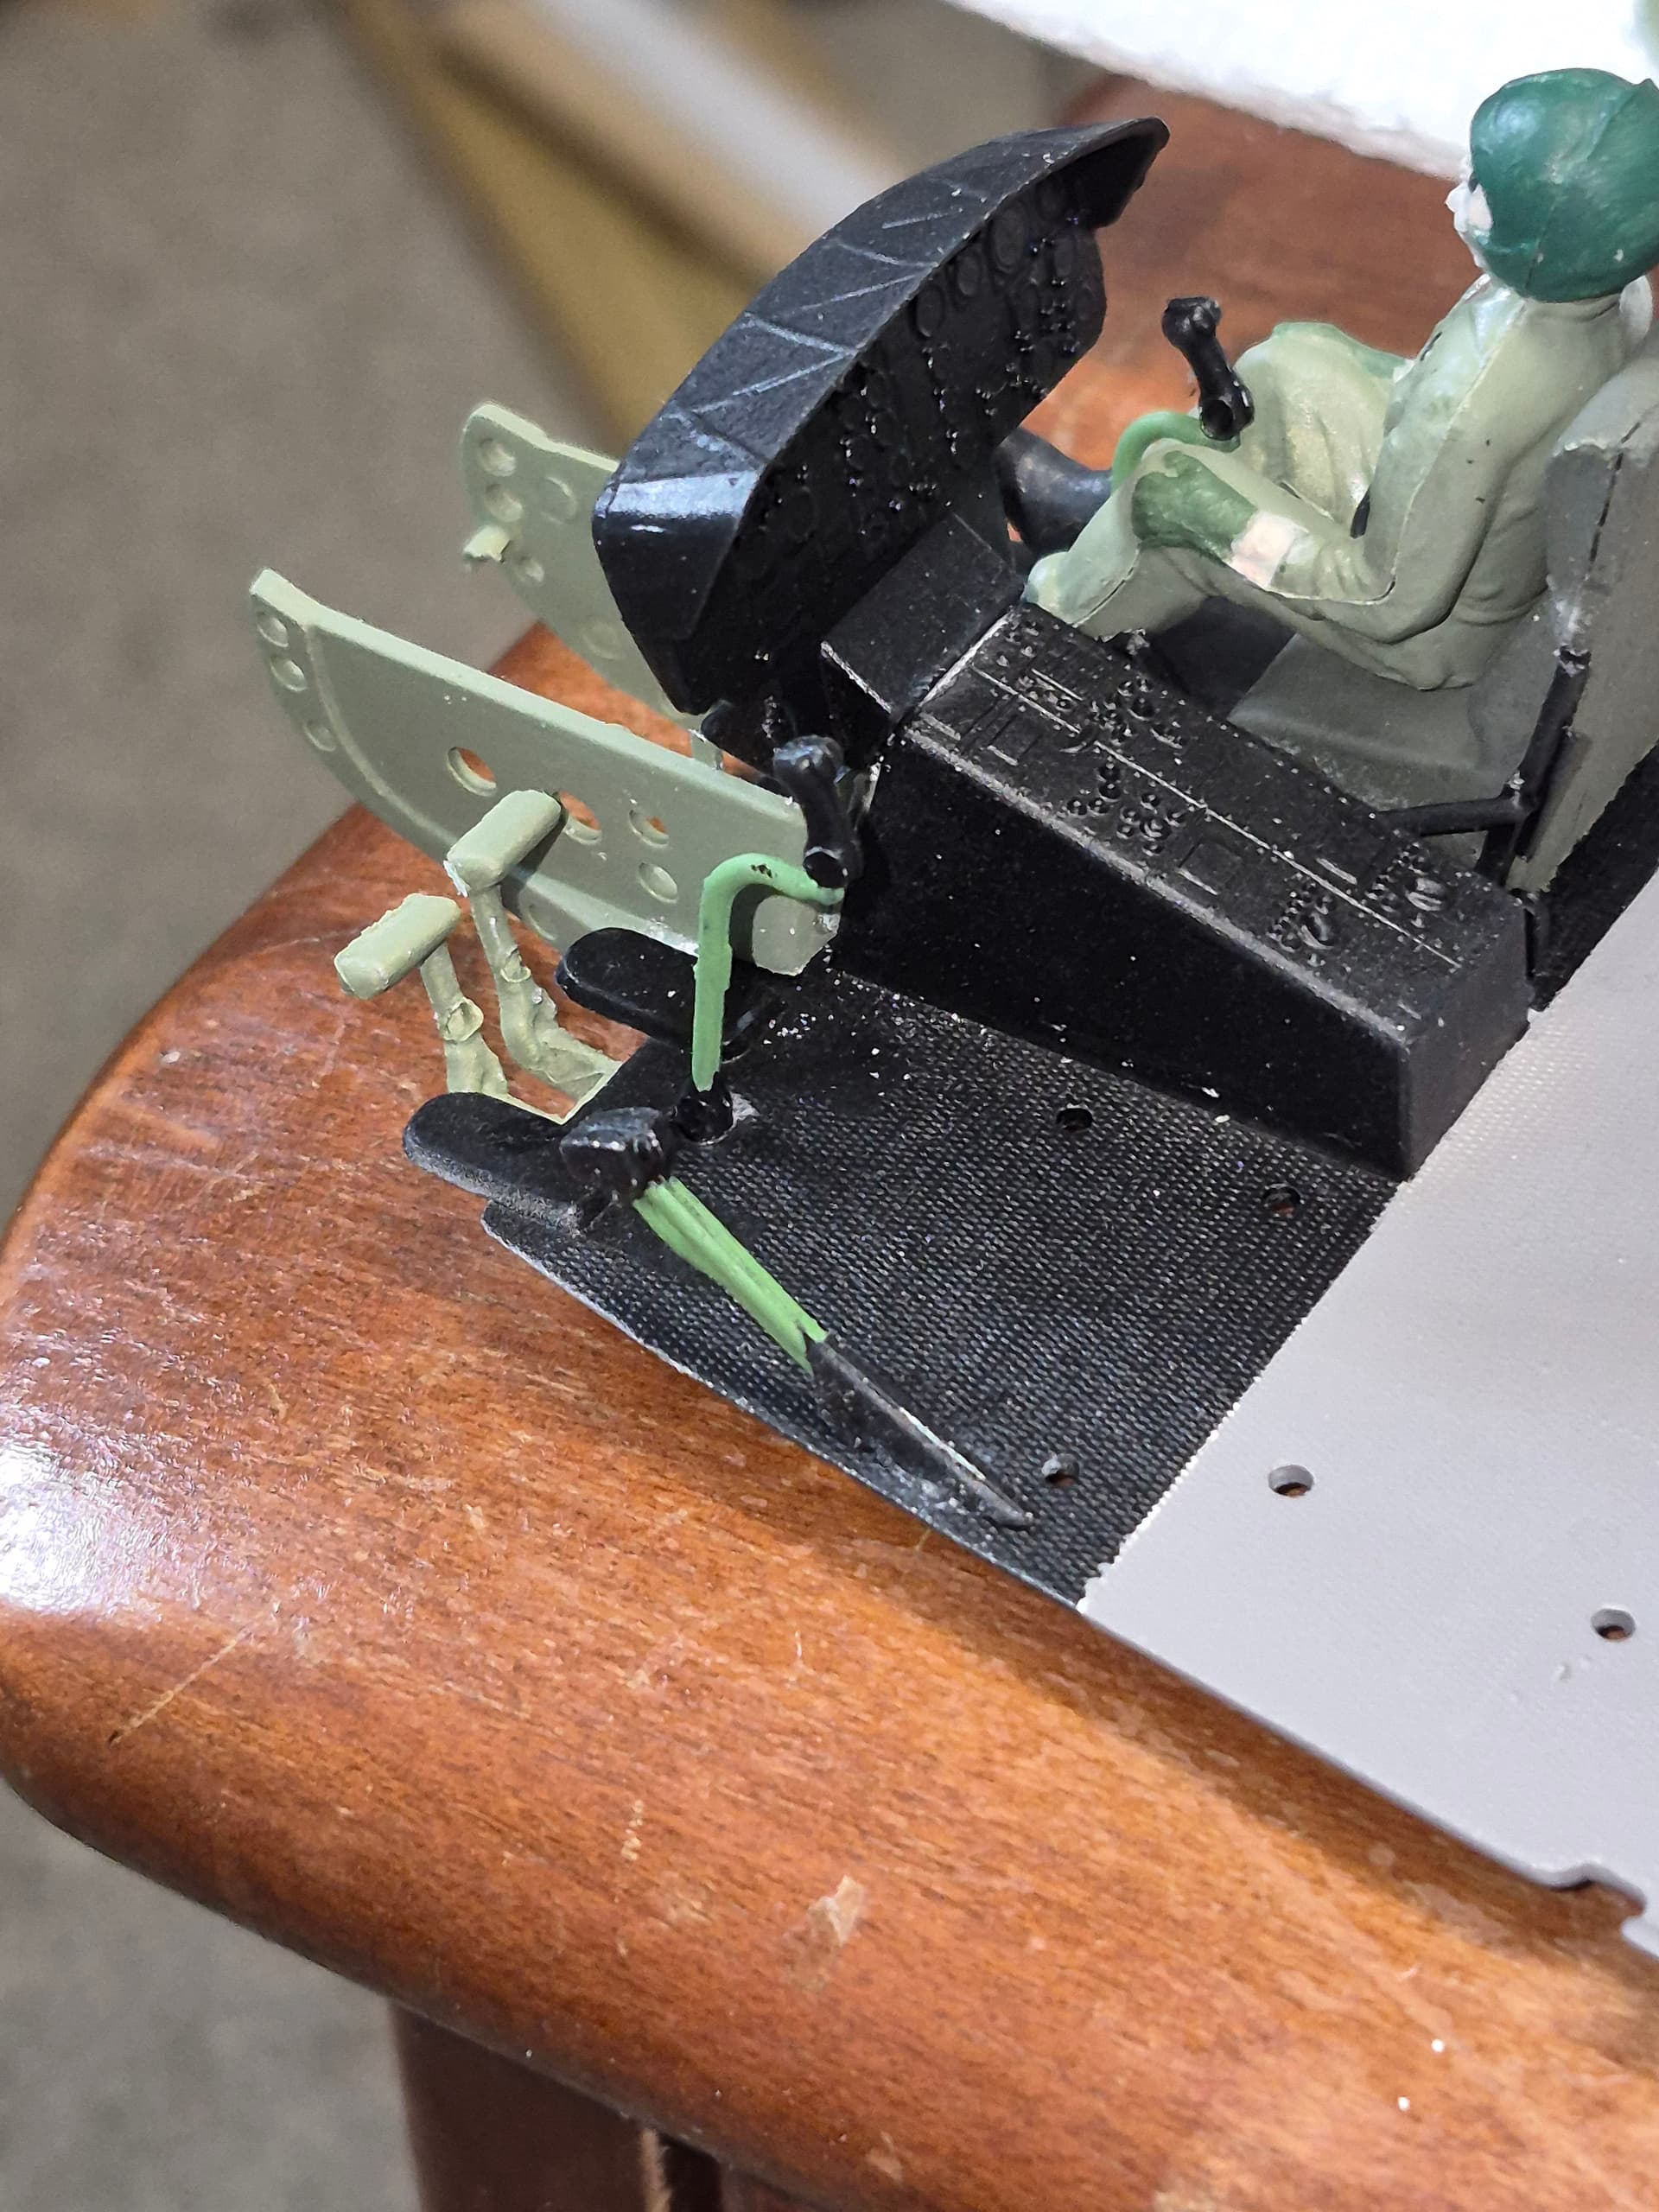
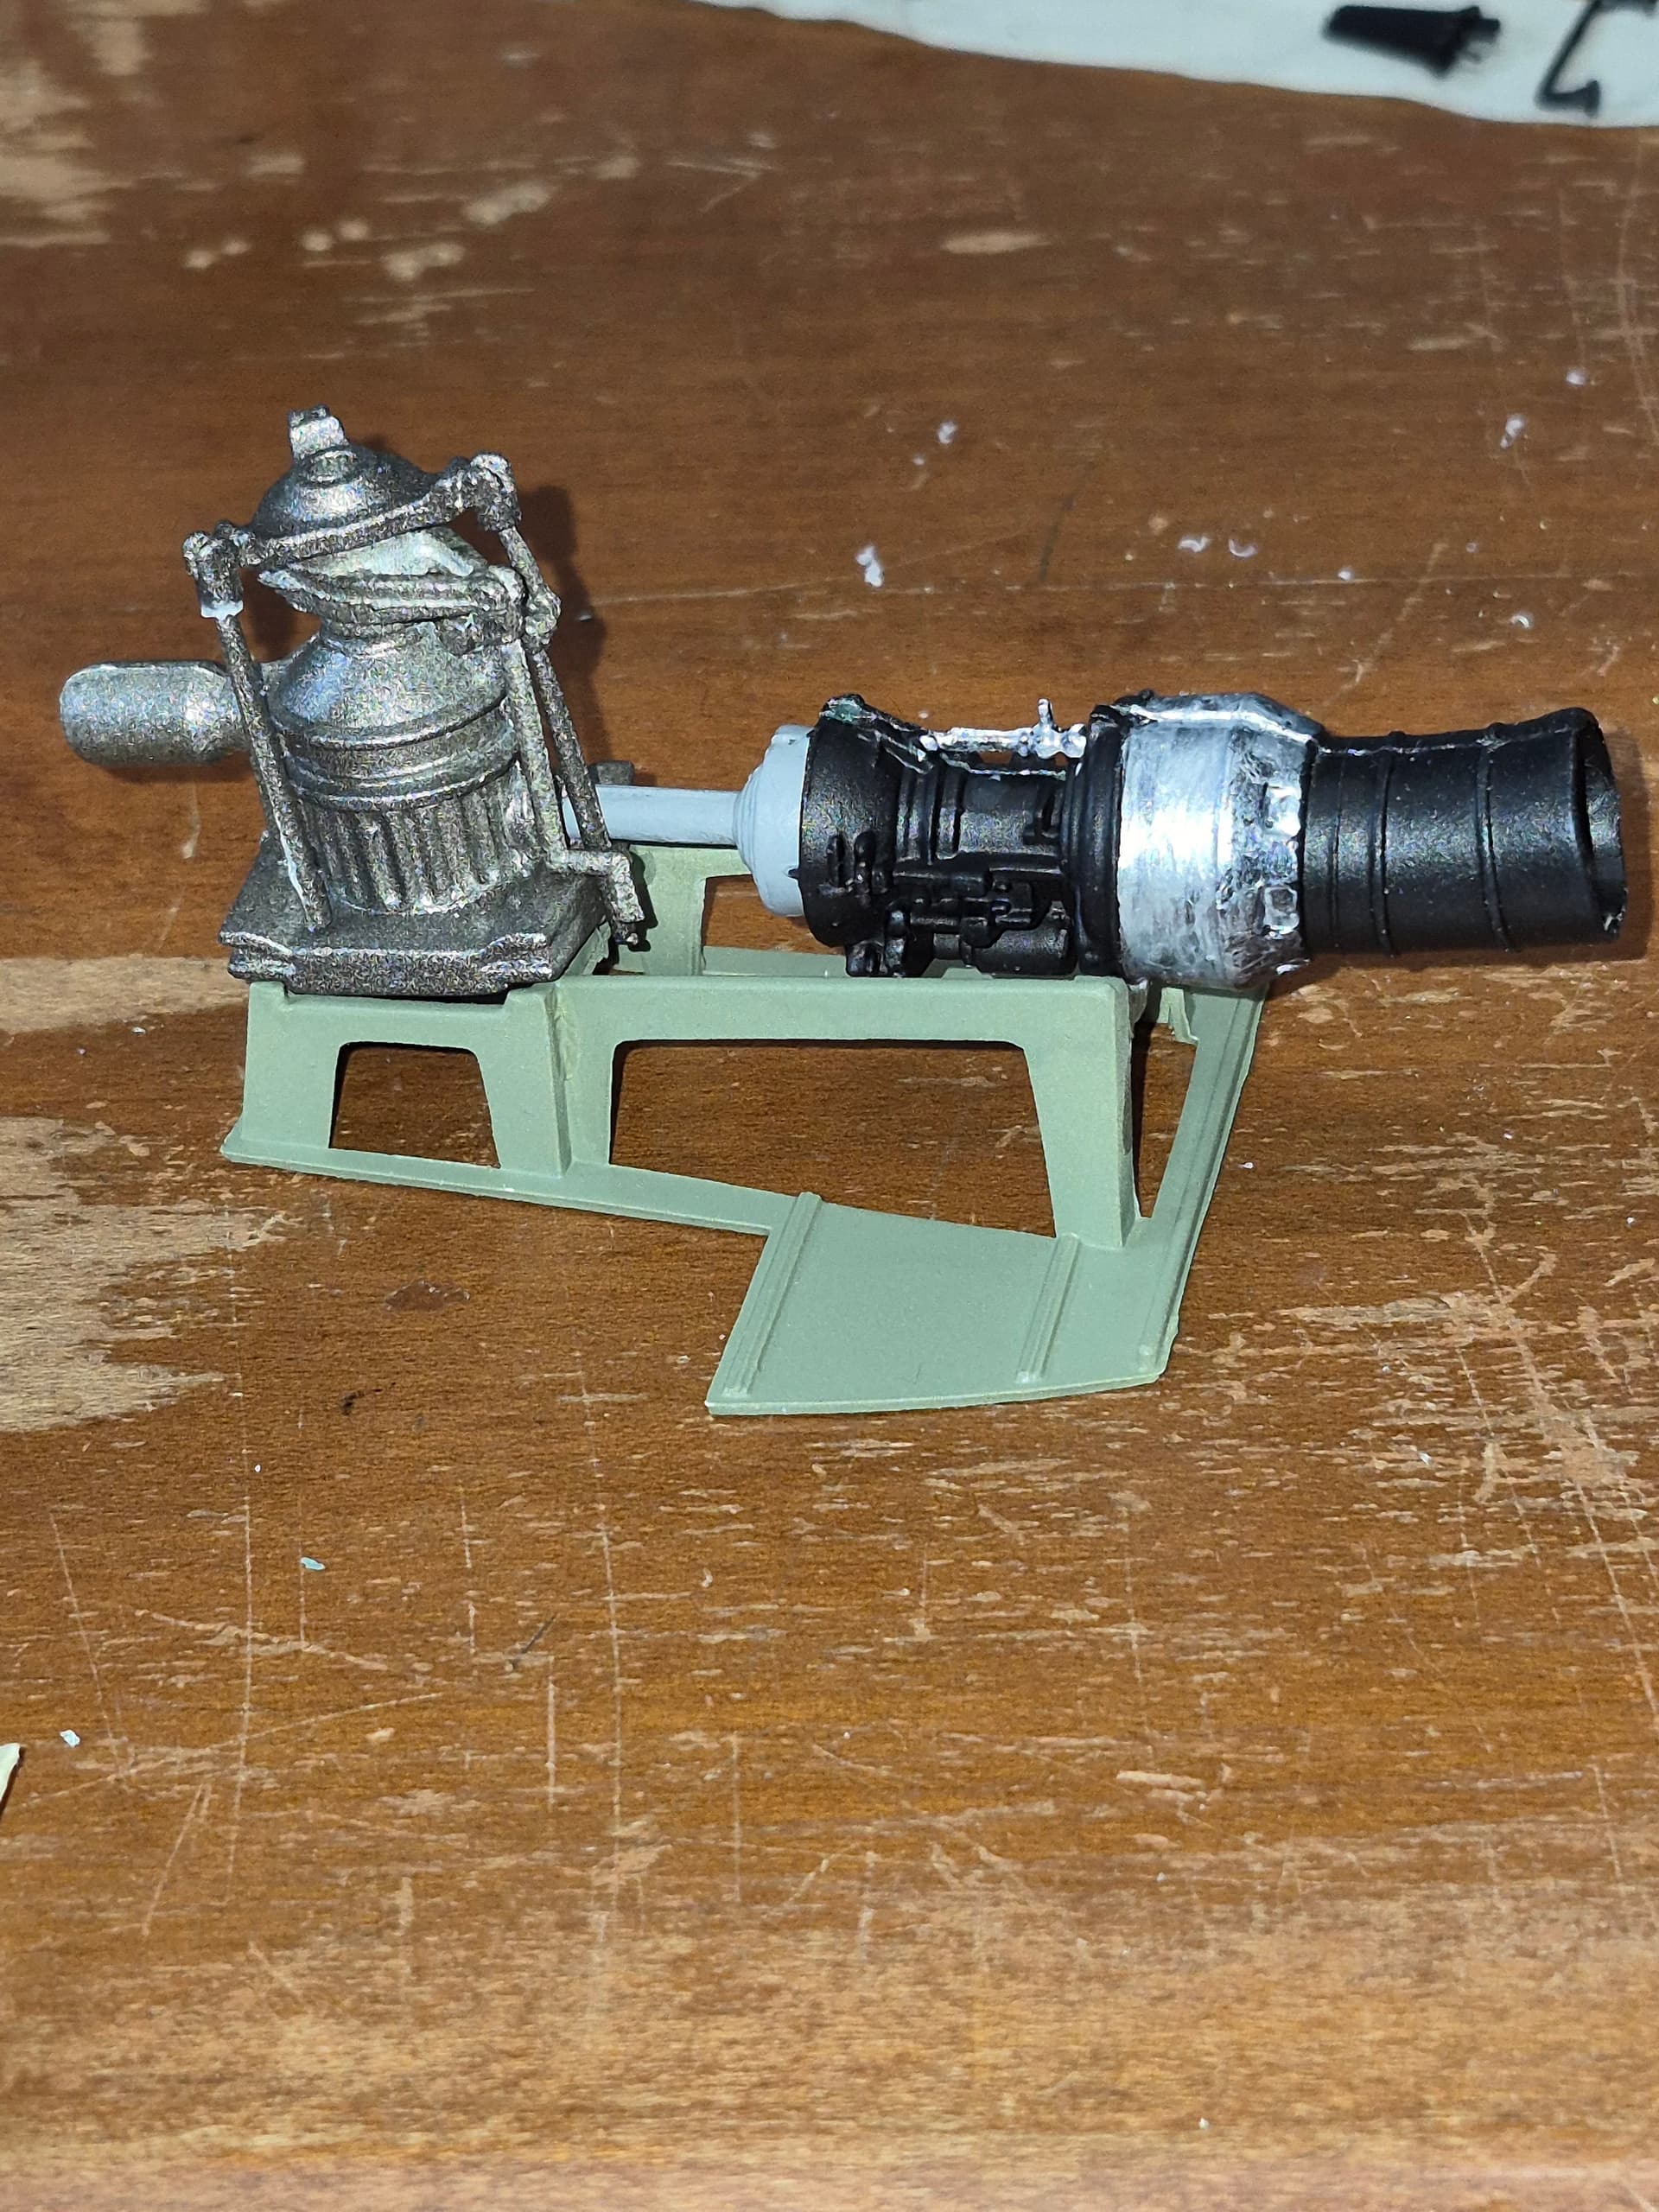

Not my best work, just my first work. Color schemes may be odd, but more to follow once I get more together
2 Likes
I have to disagree with you on one thing — when you say this isn’t your best work, but it is your first work, then I’d argue it actually IS your best work.
Every build is another chapter in the learning and experience book. You do the best work you know how to do at that point, learn a bunch of things along the way, and then take all of that into the next one. Eventually the next build becomes your best work.
That’s one of the things I really like about this hobby. You can look back at an older model and almost see where you were in the learning process when you built it.
So don’t sell the first one short. It’s the best one you’ve built so far. 
Looks good to me!
Work-in-progress photos! Cool! Good luck with your build!
Thank you Scott. I thought about this last night and my statement was accidentally out of context. As for the painting free hand, I do have to say I haven’t done that since I was 13 and built this same chopper from another Revell roll out. It was called the “Hunter/Killer”. It was a 1D and a Loach combo. Scalemates has it in their archives but I don’t think it’s for sale anywhere. One of our colleagues on the forum looked it up and sent it to me in another topic.
I won’t bore you with details, but I got into Model Trains when my grandson was born, and it went from wanting to have something for him, to an obsession of mine. After building the layout, and it actually worked, I got confidence and started scratch building bridges, water towers, loading docks, and after many years of saying I’d do it, I built a 1/48 scale model, with my sister Teri’s help, and my sister Ann’s help remembering how it was laid out and looked, my old family house from my hometown, the house I grew up in before my dad moves us to the farm.
I use balsa and basswood, made sure every room was measured to quarter inch scale, built a hip roof on it. I had no idea what a hip roof was. I used black drywall sandpaper cut into strips to model shingles, I have to say I am proud of that idea. So I have built “models” in the past, just not scale models that form a car or helicopter or ship or even a person.
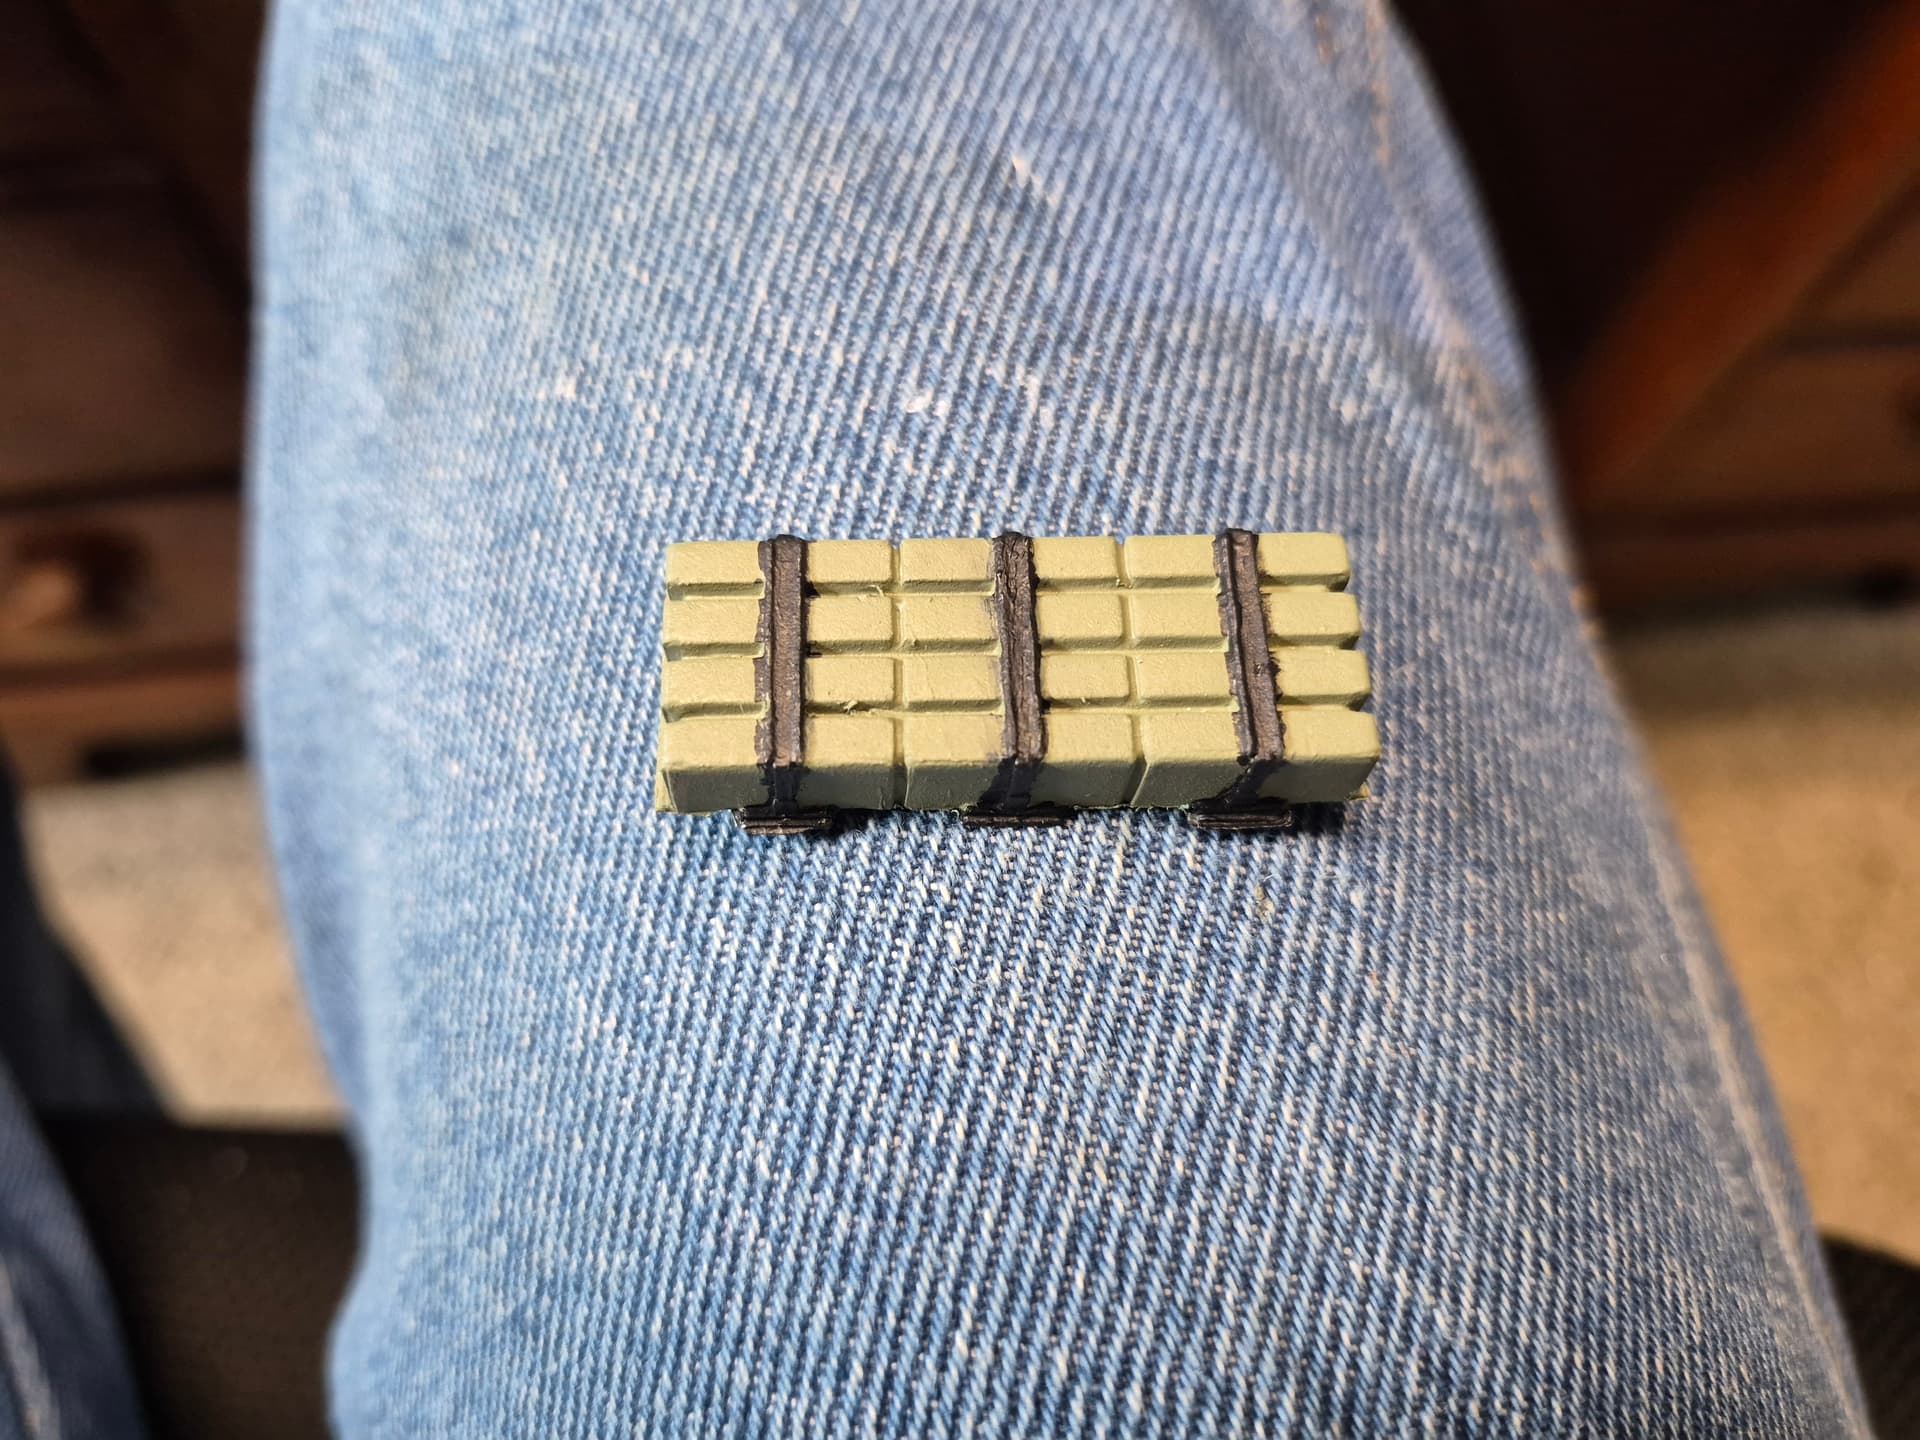
But my most proud and affective models have been flat car models I use as track cleaning cars on my train layout. MUCH easier way to clean the track. Again no details, too much to explain, but they are working models, maybe not accurate, of railroad flat cars, advertising and all, that have cleaning apparatus under them that can be removed, replaced, and do the job. Kee the tops of the rails polished
So when I say building the helicopter is not by best work, but first work, I am currently not taking the time and patience I took building the bridges, the house, the tower, and most certainly the cleaning cars, with this model. If I set my mind to it, and had the tools and knowledge, I could probably re-design that entire model to fit correctly. But I’m just getting the hang of it right now, and all of my colleagues on the site are doing a great job of helping me figure out how to build models.
Thanks. More photos to follow when I get further along
1 Like