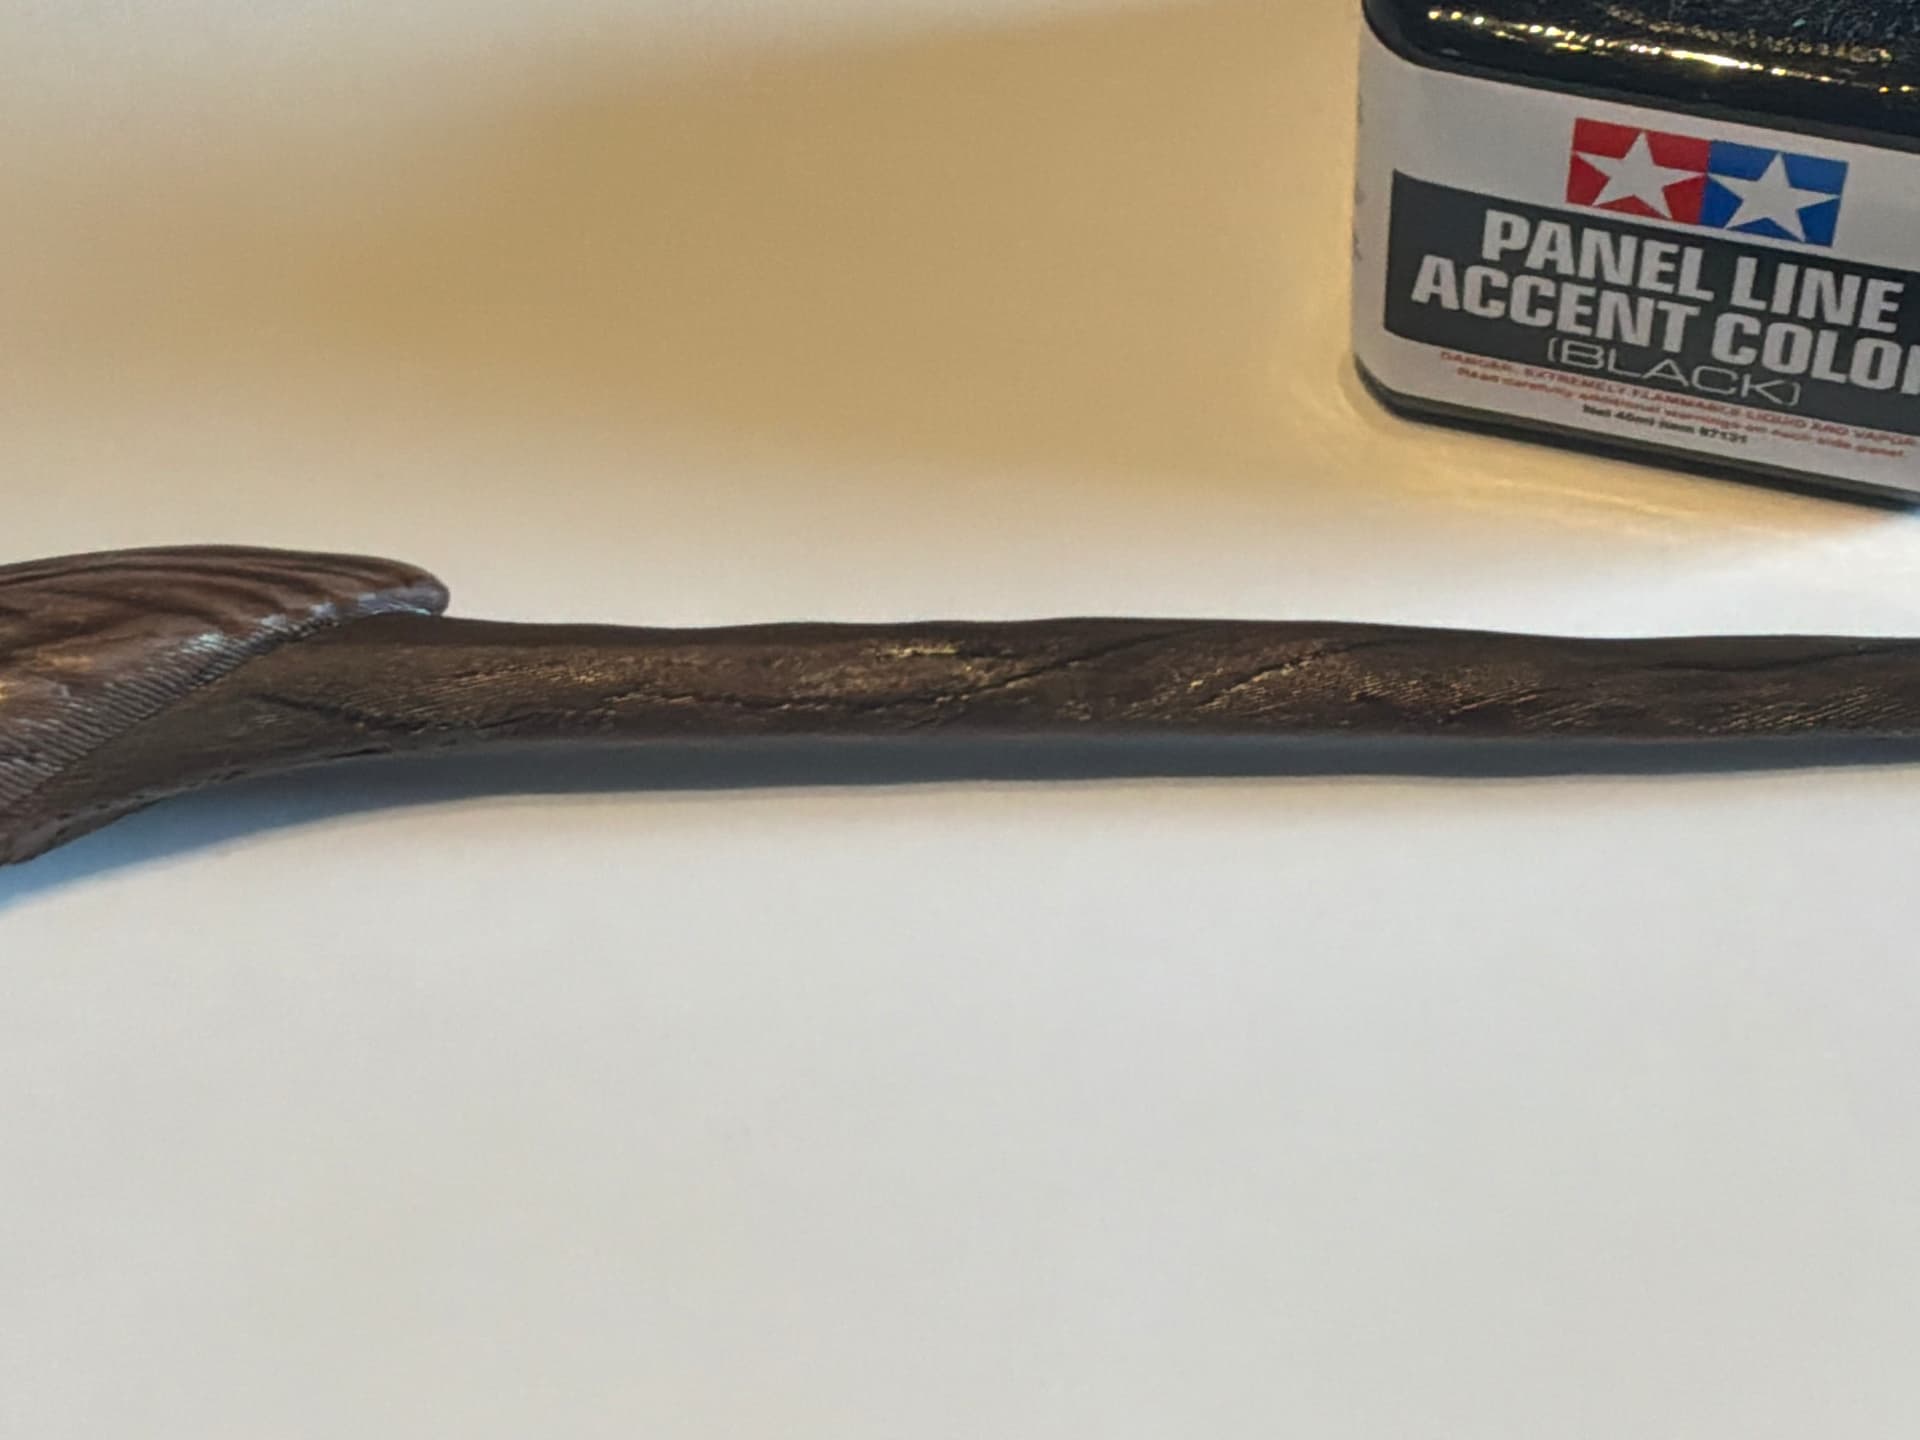
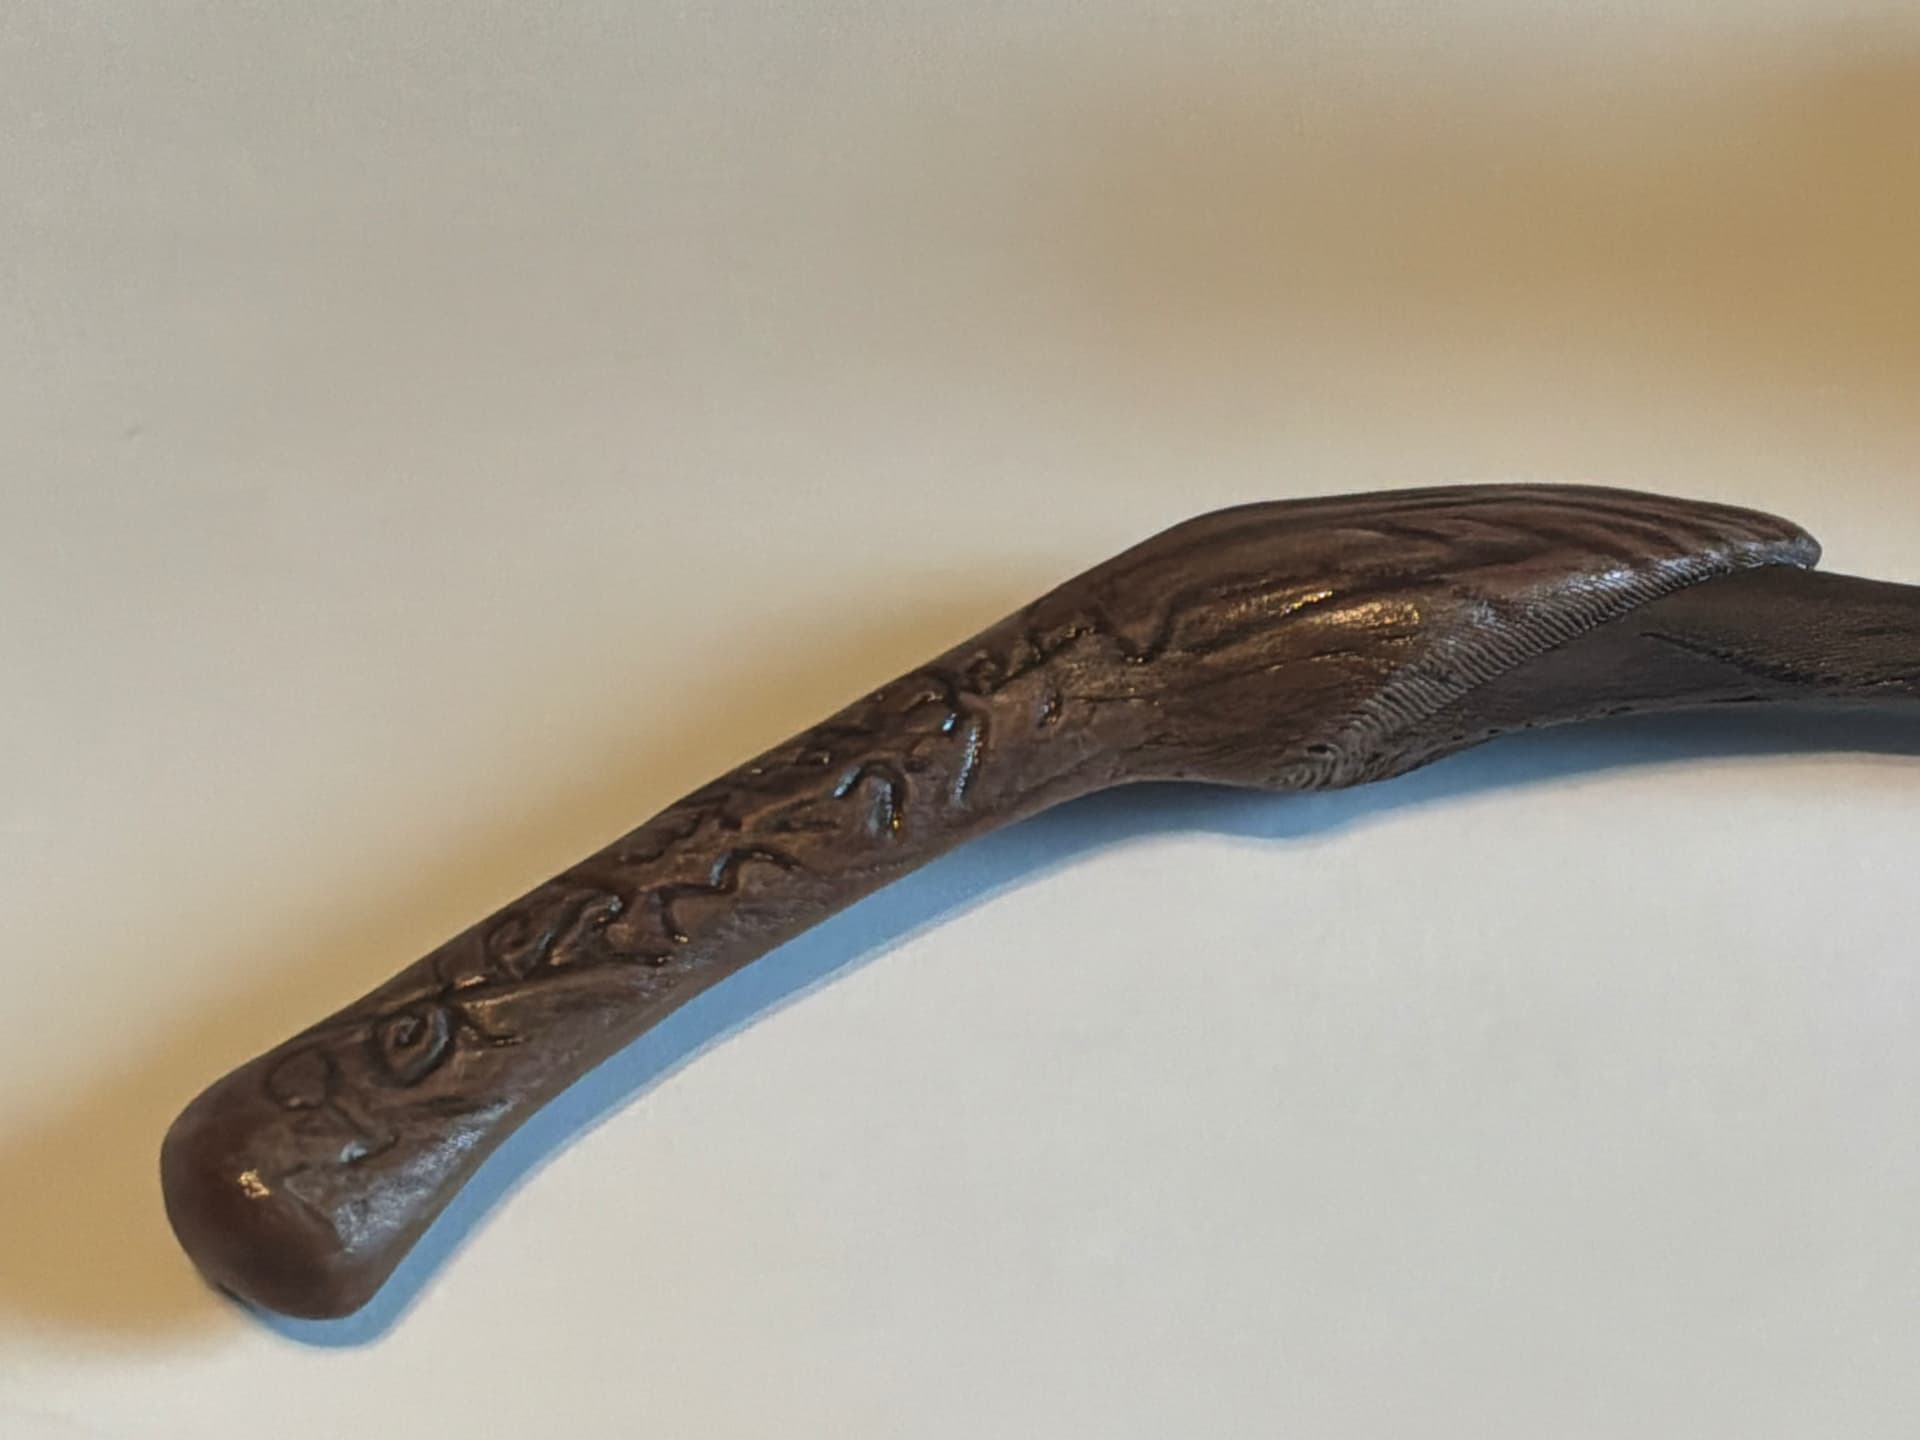
Something a little different for me this week. With Halloween just around the corner, I got a request from my niece to 3D print her a Harry Potter wand. Found the model online and got to work.
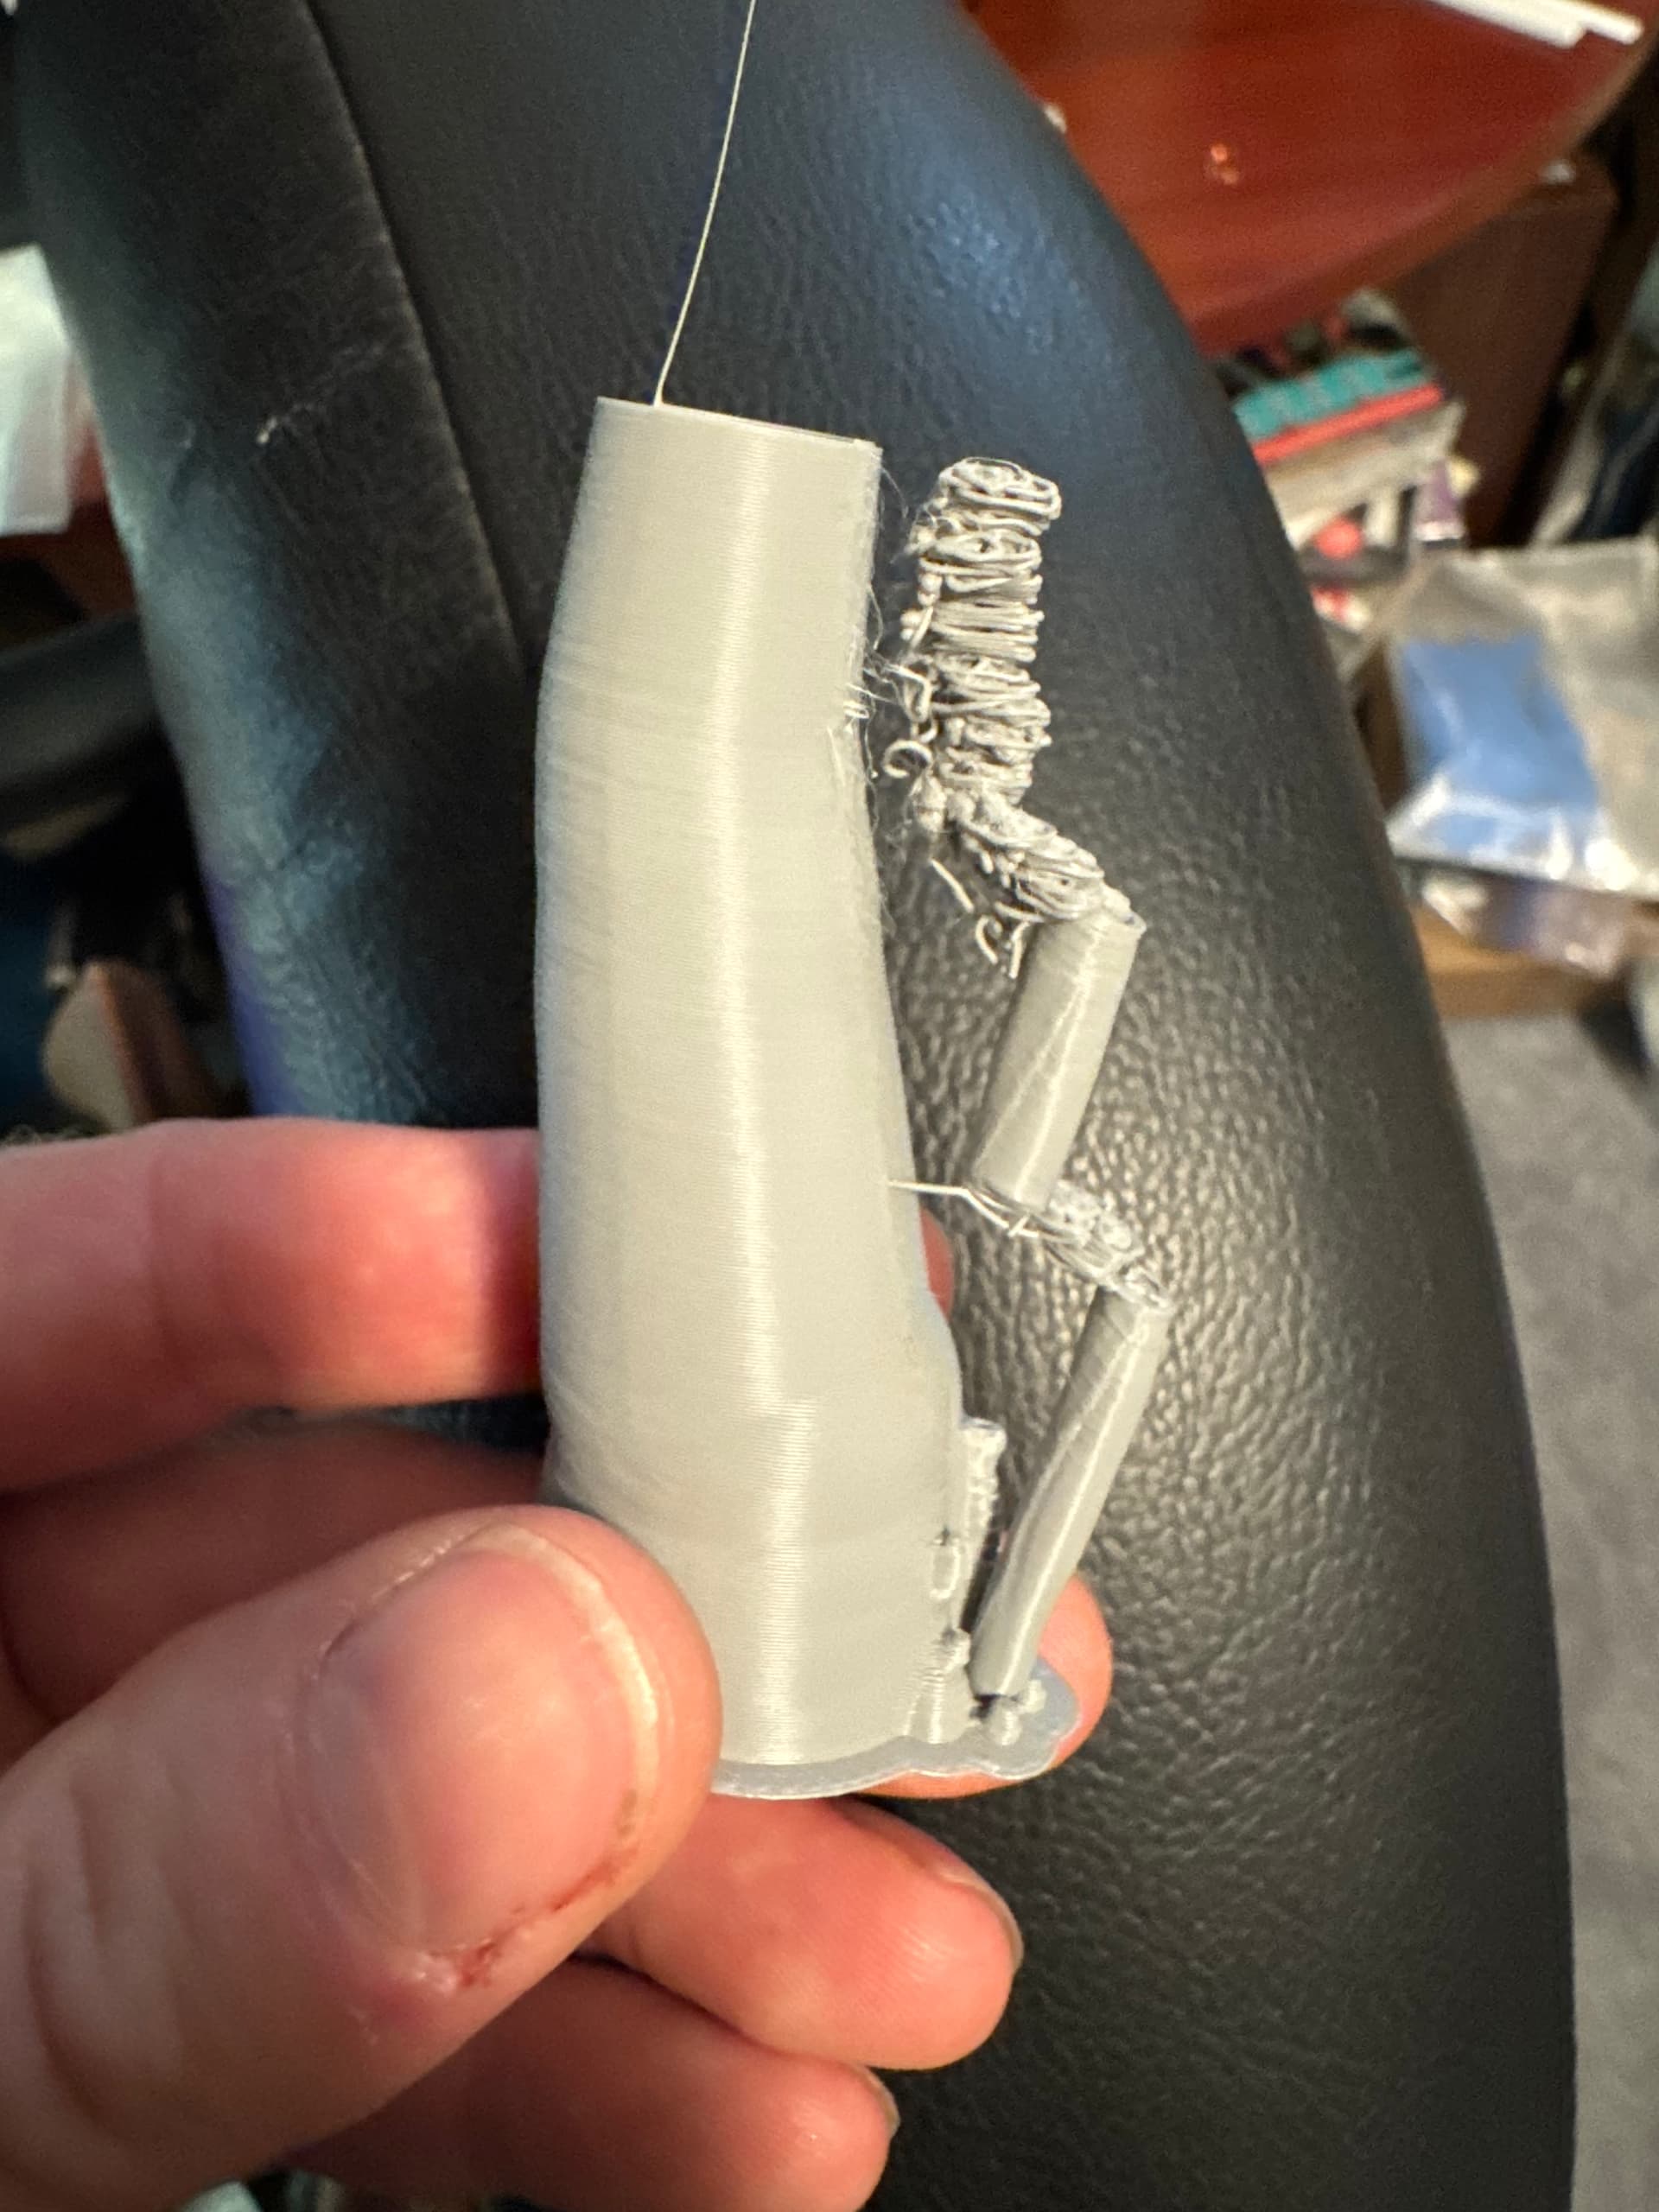
This was the first model I’ve printed that didn’t come pre-supported, so a bit of a learning curve. First print failed in about 5 minutes (maybe 5%), so not too bad.
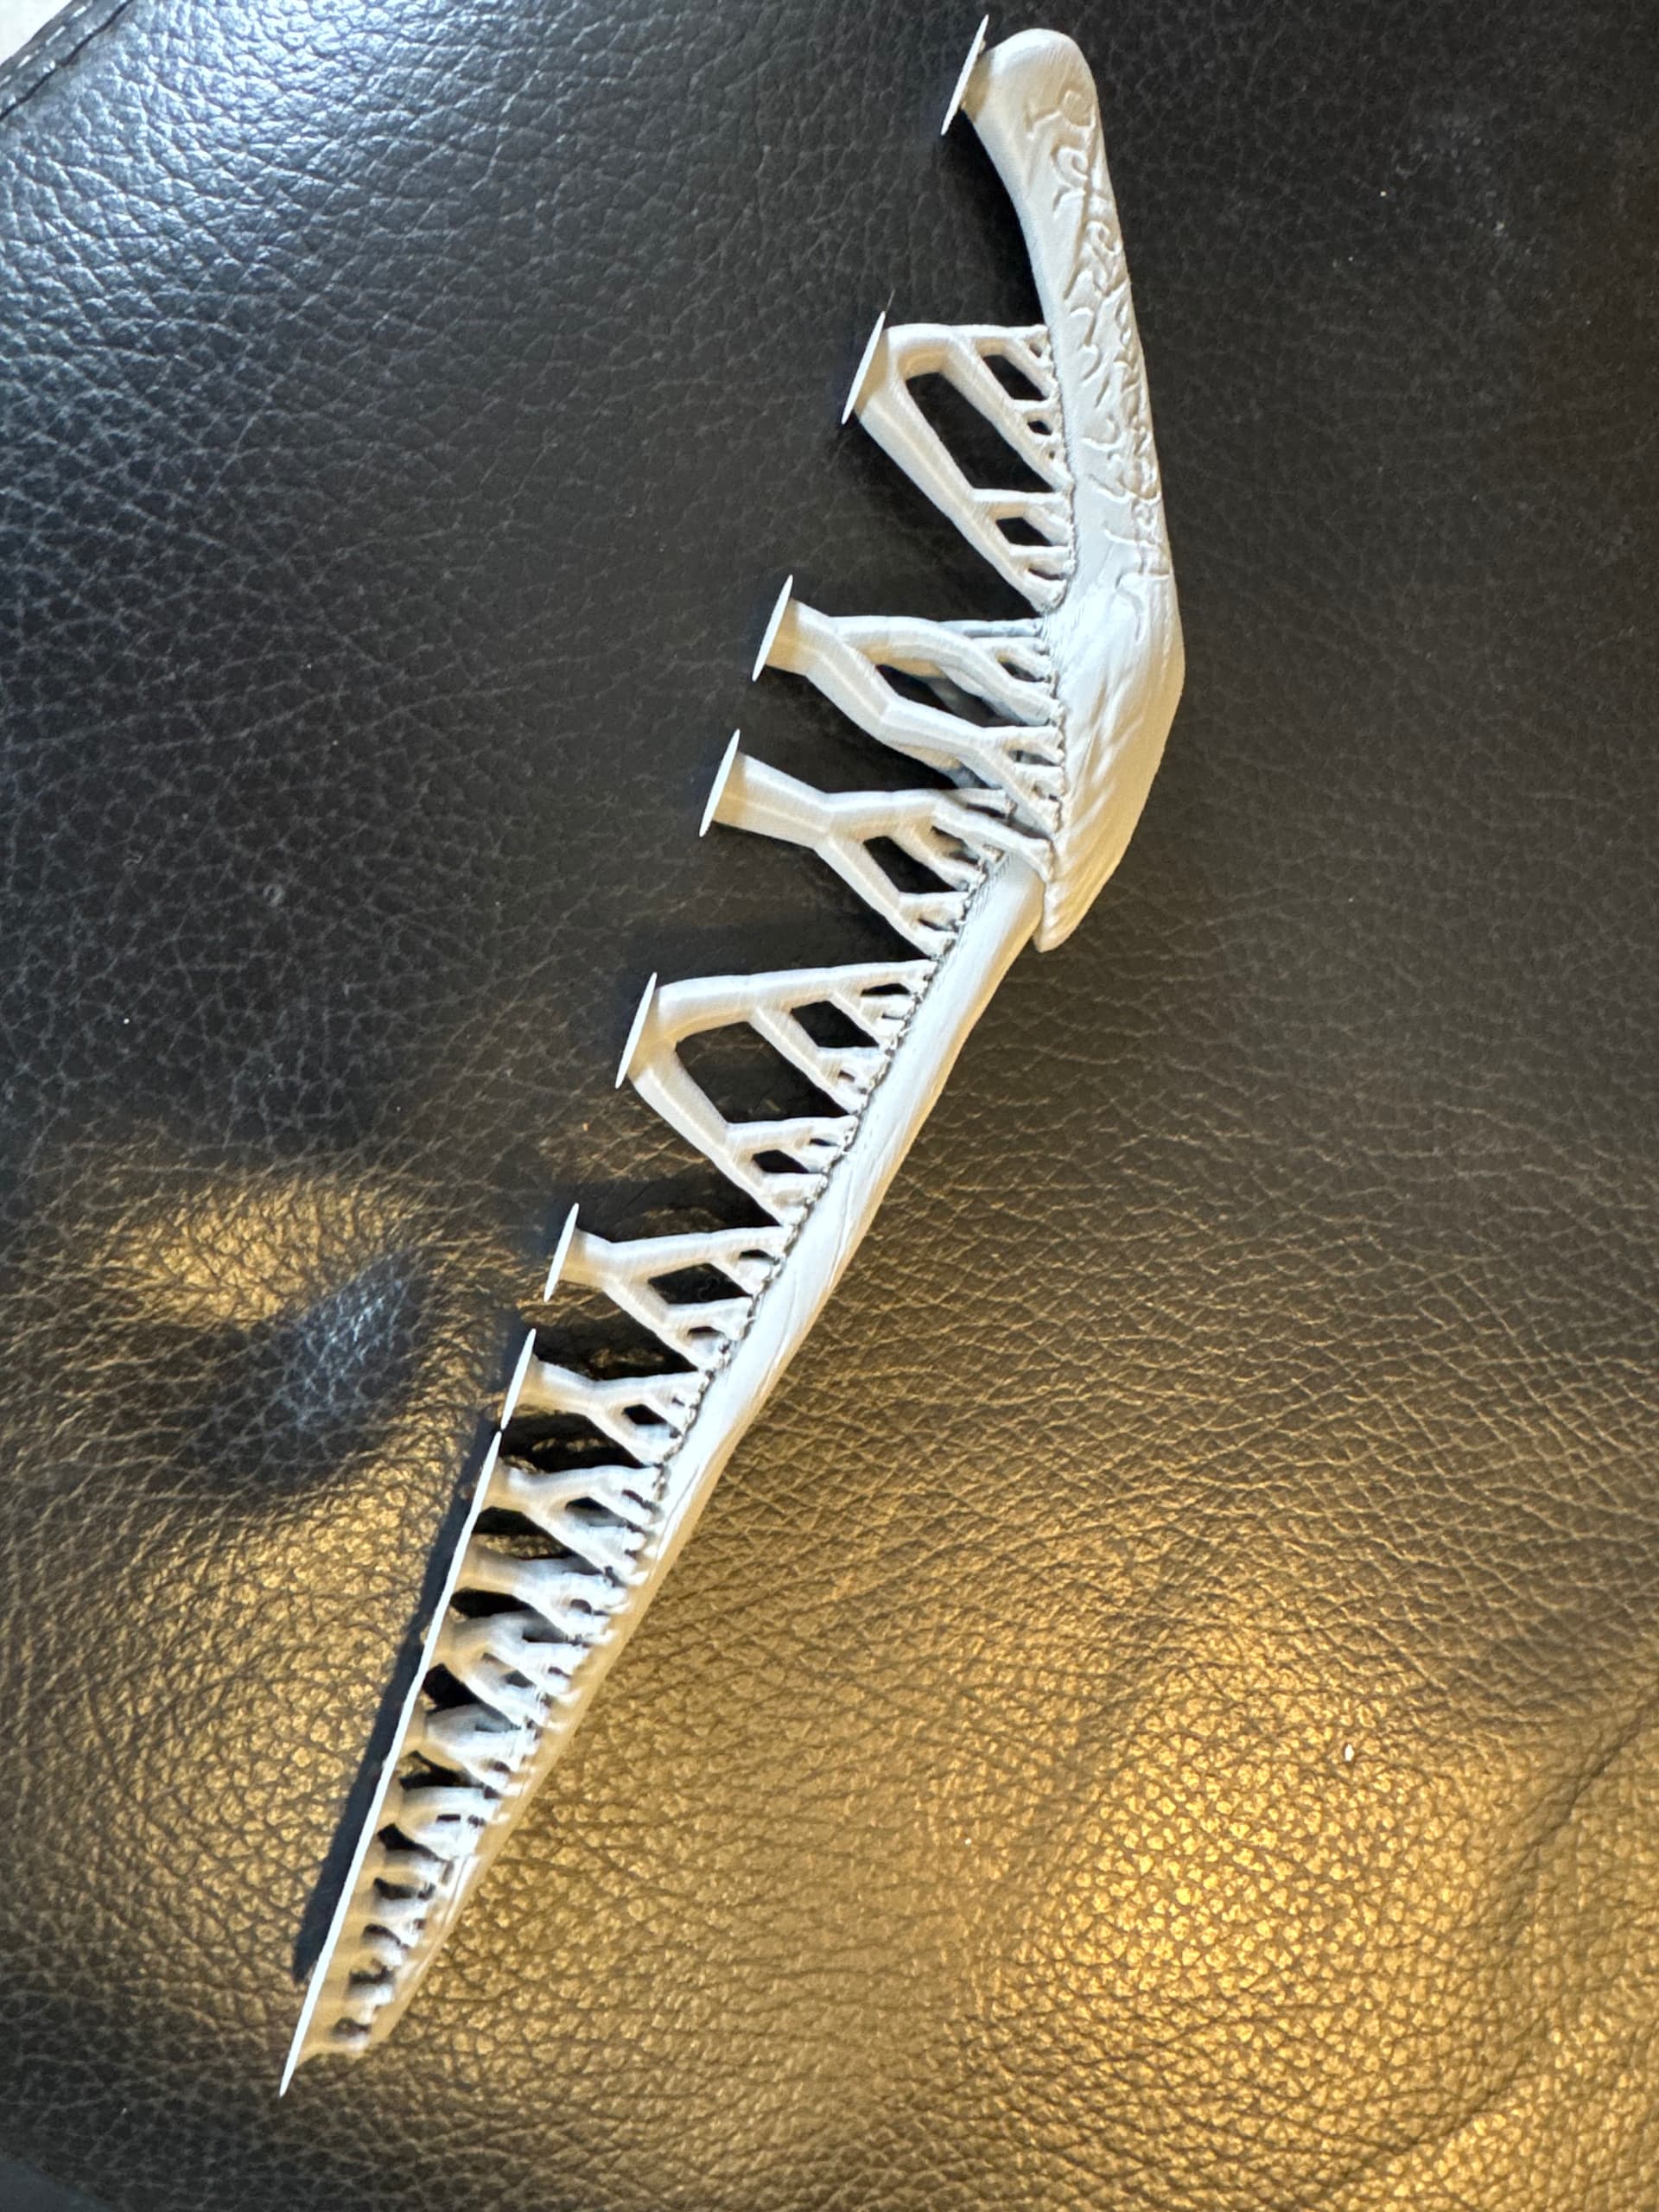
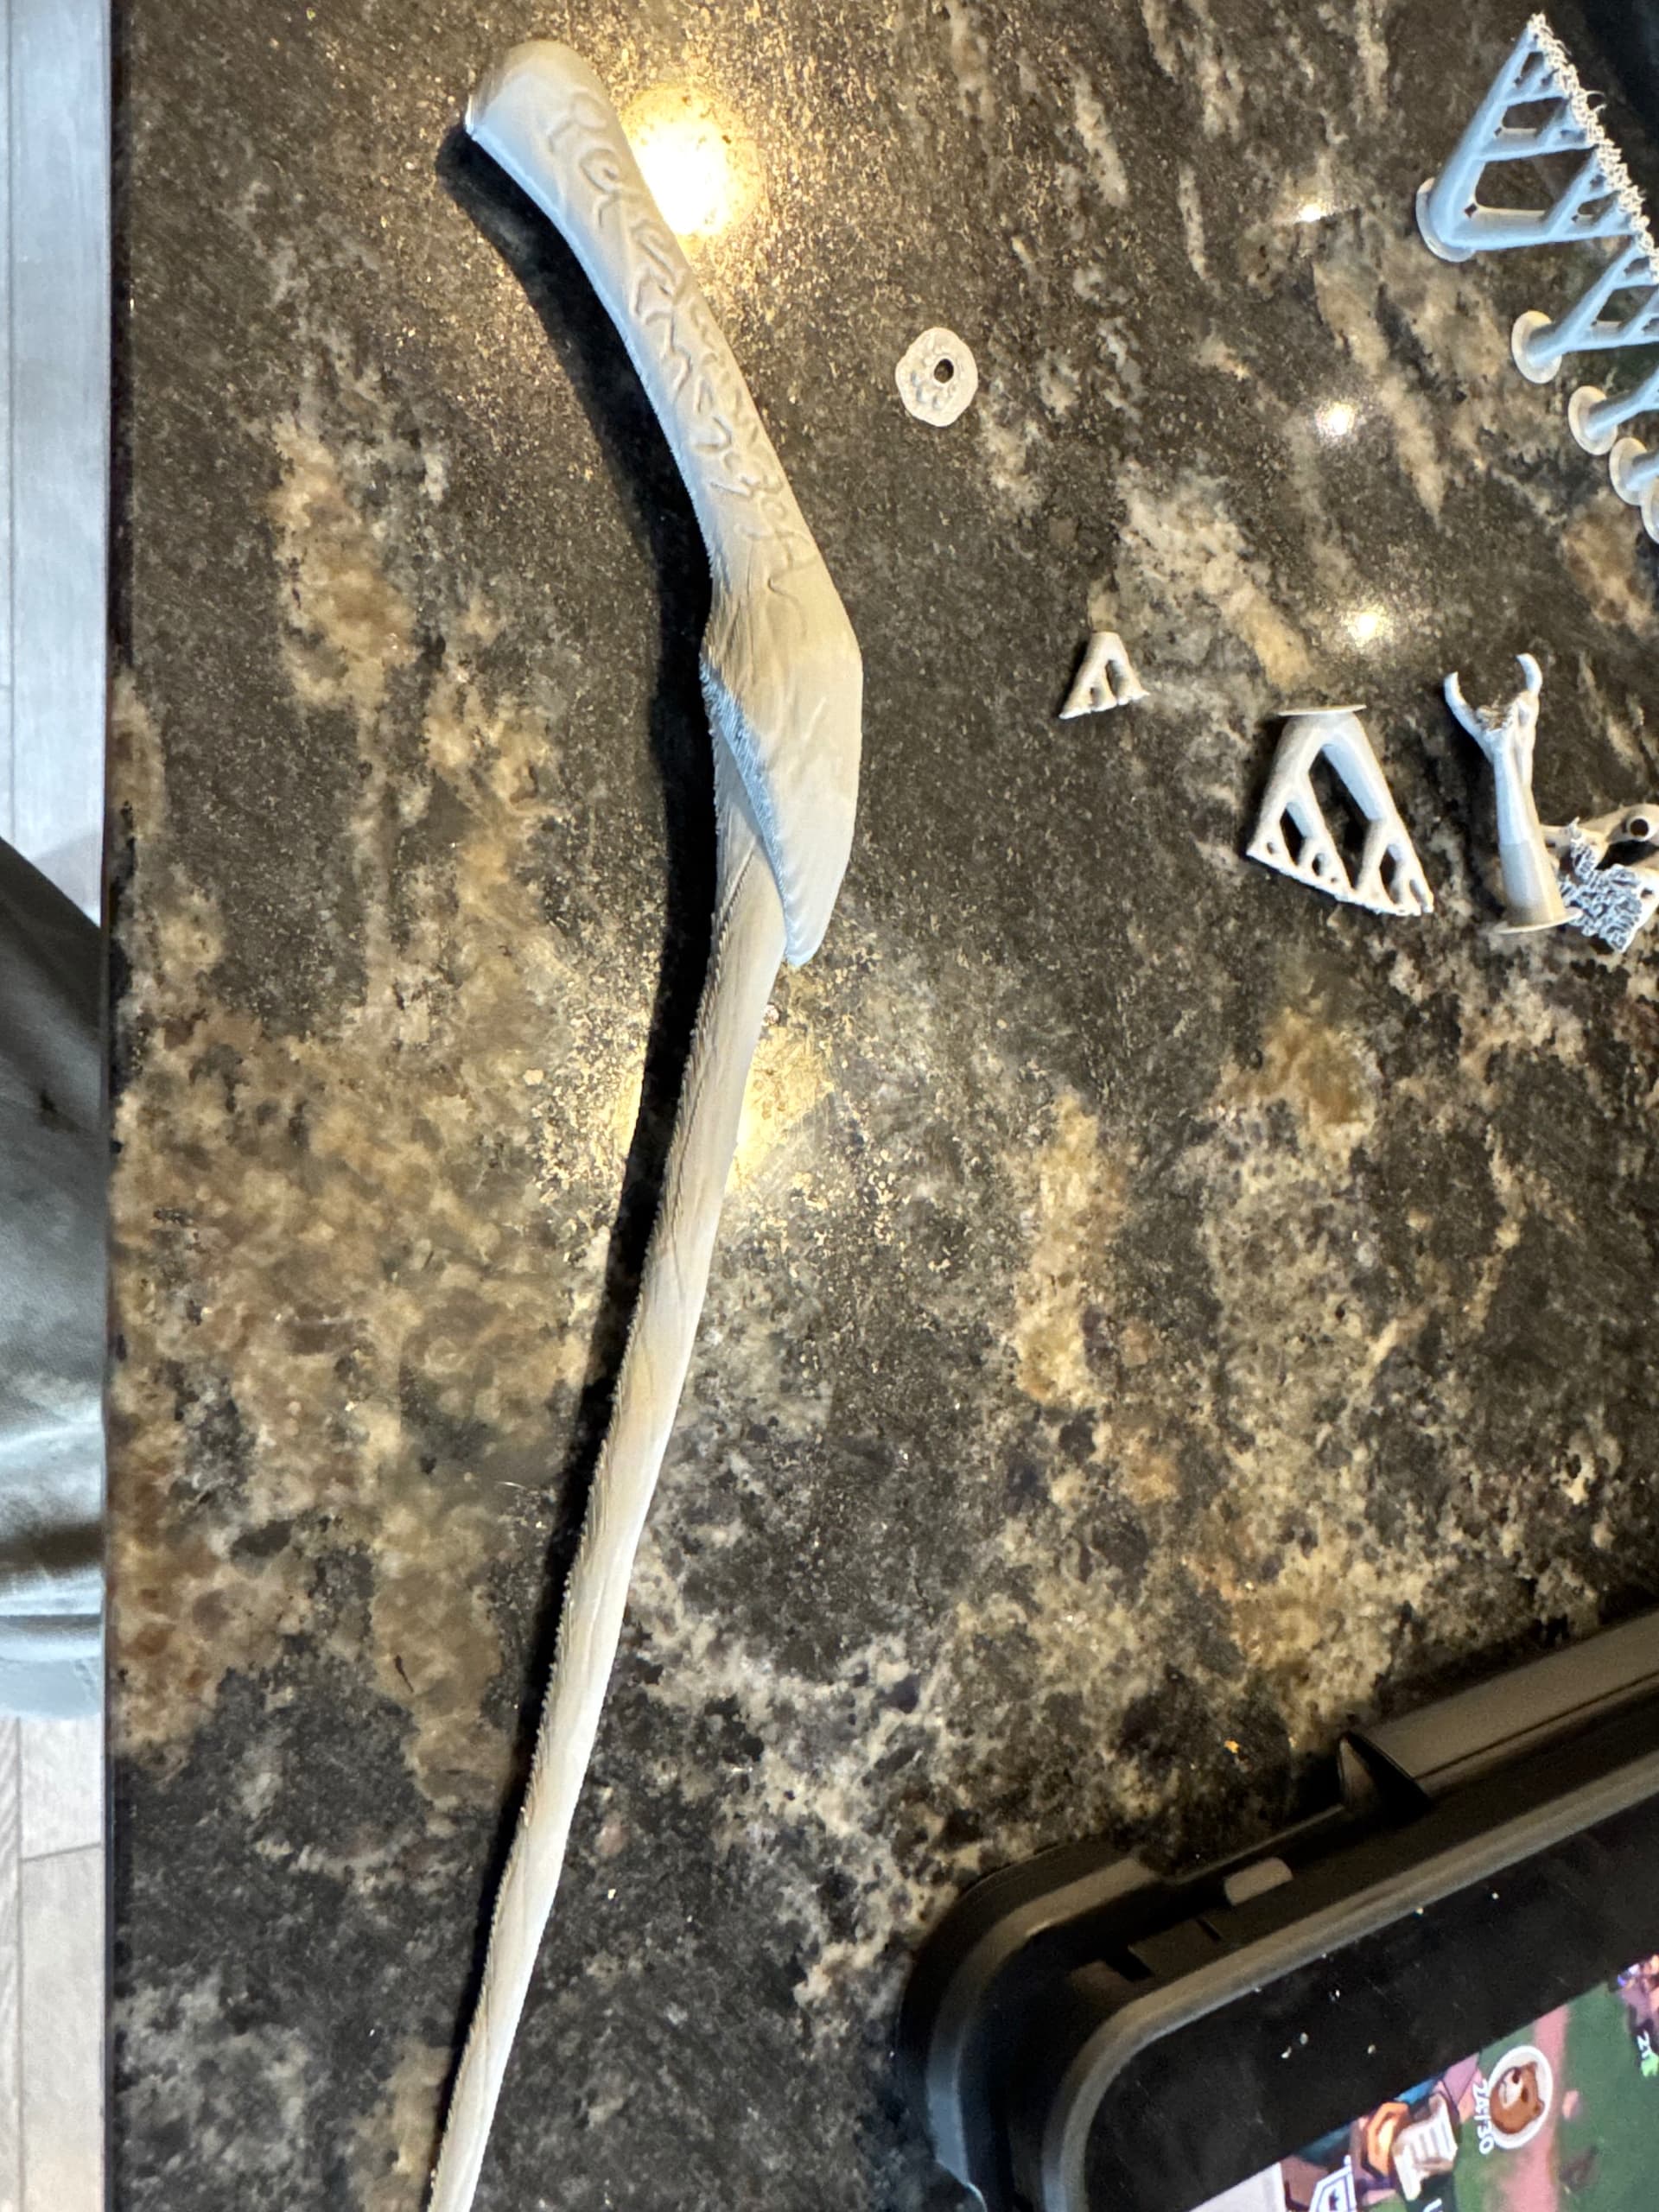
I reoriented the model, resupported and hit print. This one got about 1/5 done before failure. Another reorientation and support build and here we are. As they say, third times the charm.
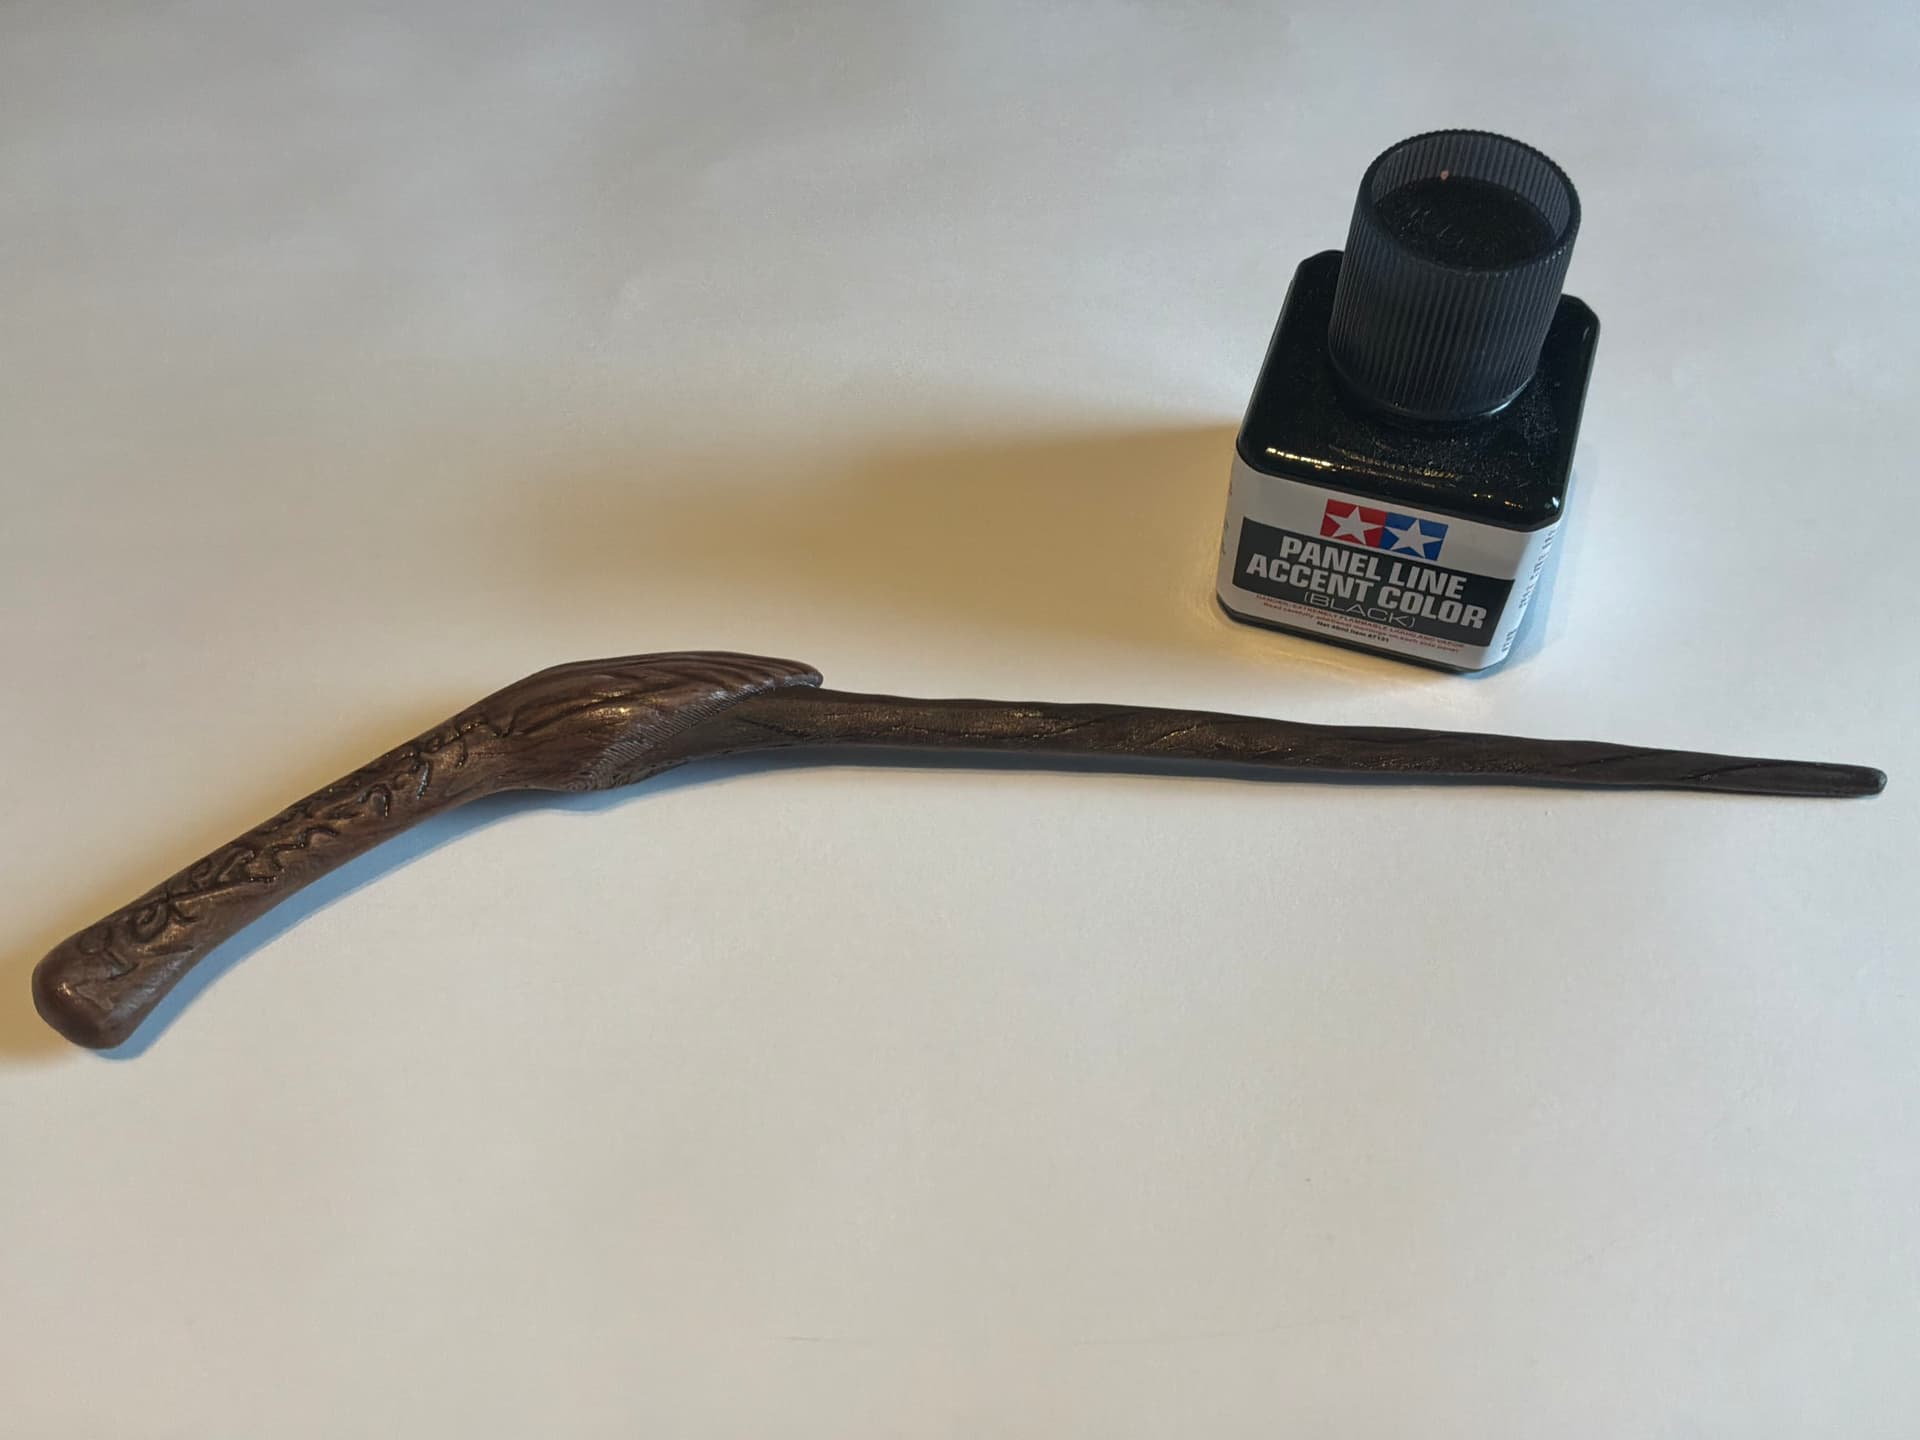
I’m pretty happy with the results, the only area that you can identify the filament layers is on the bottom of the handle where the wand joins up. It’s got a coat of future now to protect it and she’ll get it next week.
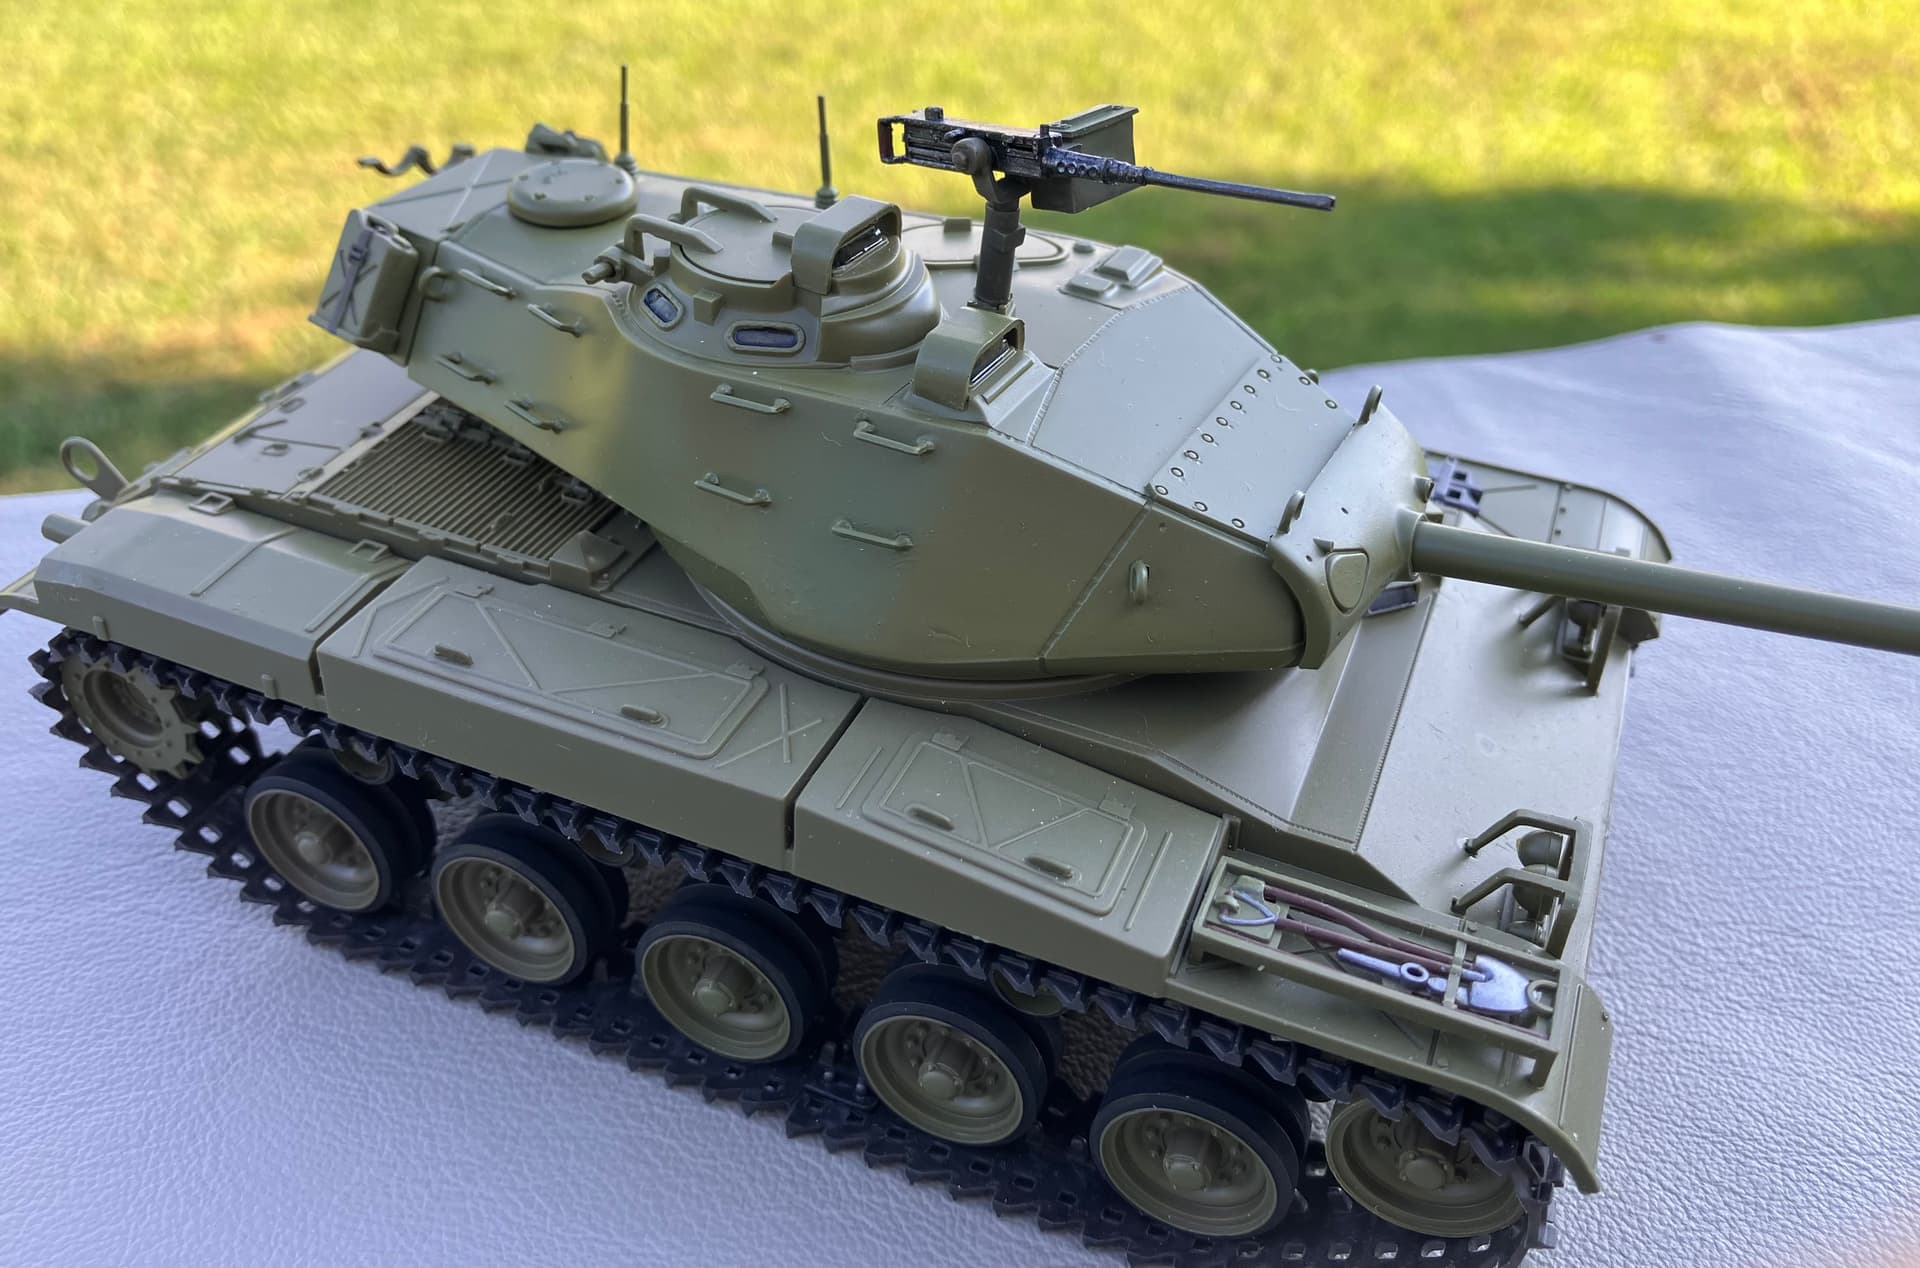
Samphoto, I thought the Hobby Lobby airbrush paint was OK. Not as good as the Tamiya that I have used mostly, and not as good as the Vallejo that I have used, but it works fine. I thin it more than they recommend as it dries out in the airbrush pretty easily (I have to airbrush outside) and the weather when I have had the drying problems, has been upper 70’s low 80’s with 58-60 percent humidity. They recommend 3:1 paint to thinner then go from there, and that really dried out in the gun fast. I did the B-25 with 2:1 paint to thinner and it was much better, but when I was done and took the airbrush apart, it had paint drying on the needle. Funny thing though, it didn’t seem to dry out on the tip or in the nozzle. I attached a photo of a M-41 Bulldog tank I did with the Hobby Lobby paints.
It does seem to brush pretty well, although when I mix it up it seems to separate if I don’t use it quickly enough. I am fairly new to airbrushing so I don’t know what I don’t know, but it works fine enough and it definitely cheaper to learn on than Tamiya or Vallejo, as it is $1.99 a bottle for 1 fluid ounce (30 ml), and even cheaper if you purchase one of their sets as they are $7.99 for 10 bottles, which comes out to $.80 an ounce.
It seems to me a pretty hard paint after it cures, as I have not had anything come off with masking tape, and it doesn’t scratch with fingernails and normal handling once it drys well. All the paints that I have used so far seem to be kind of a semi-gloss so I wish they had some flat paints and their color selection is not huge at all, especially compared to the big players. I have not played with mixing colors to see if I can get something different, so I can’t speak to mixing to get different shades, etc. It seems to have its uses and I will continue to use it, but it won’t replace the Tamiya or Vallejo that I started out with.
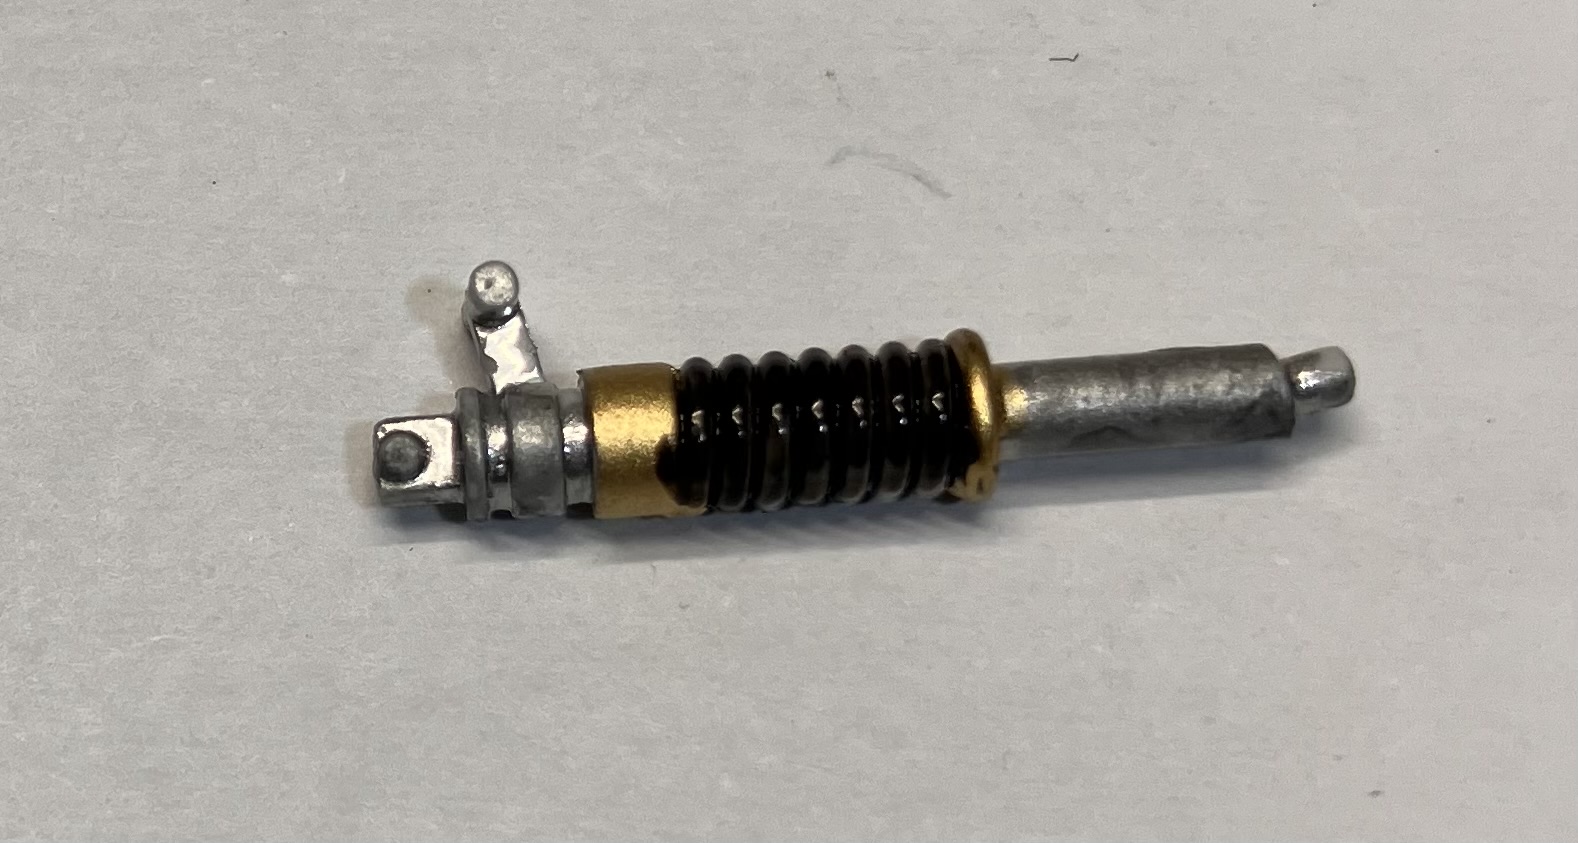
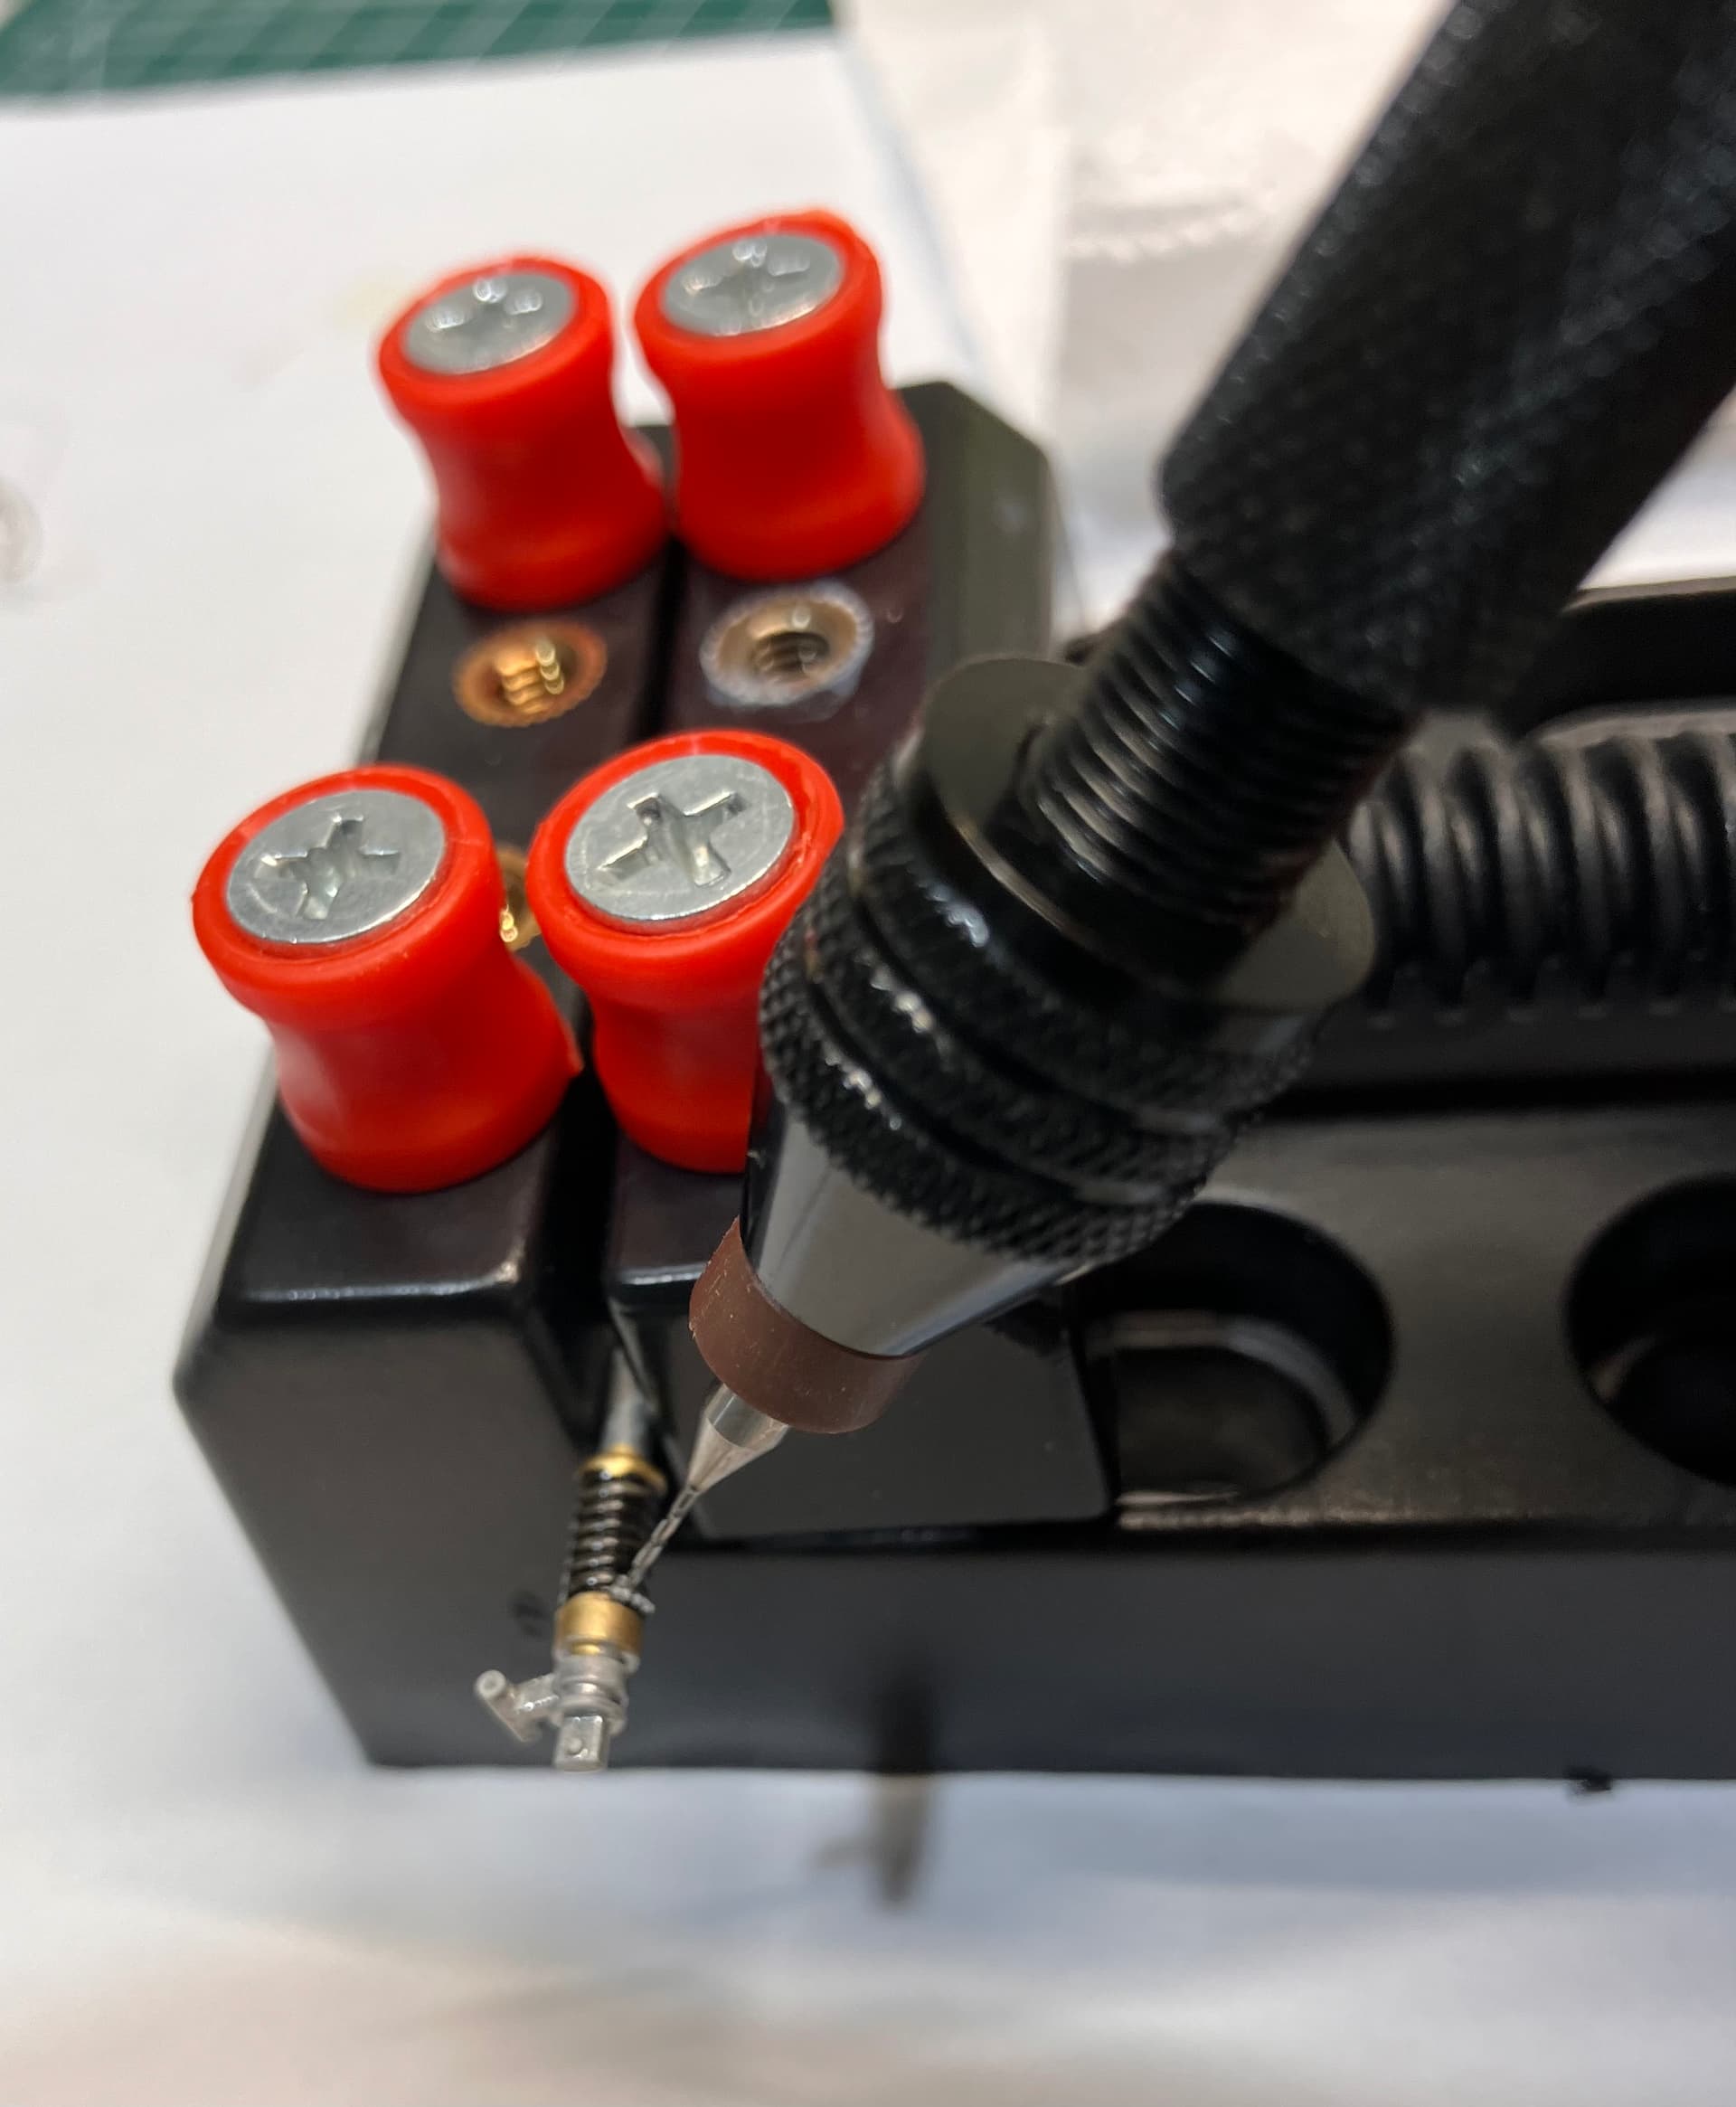
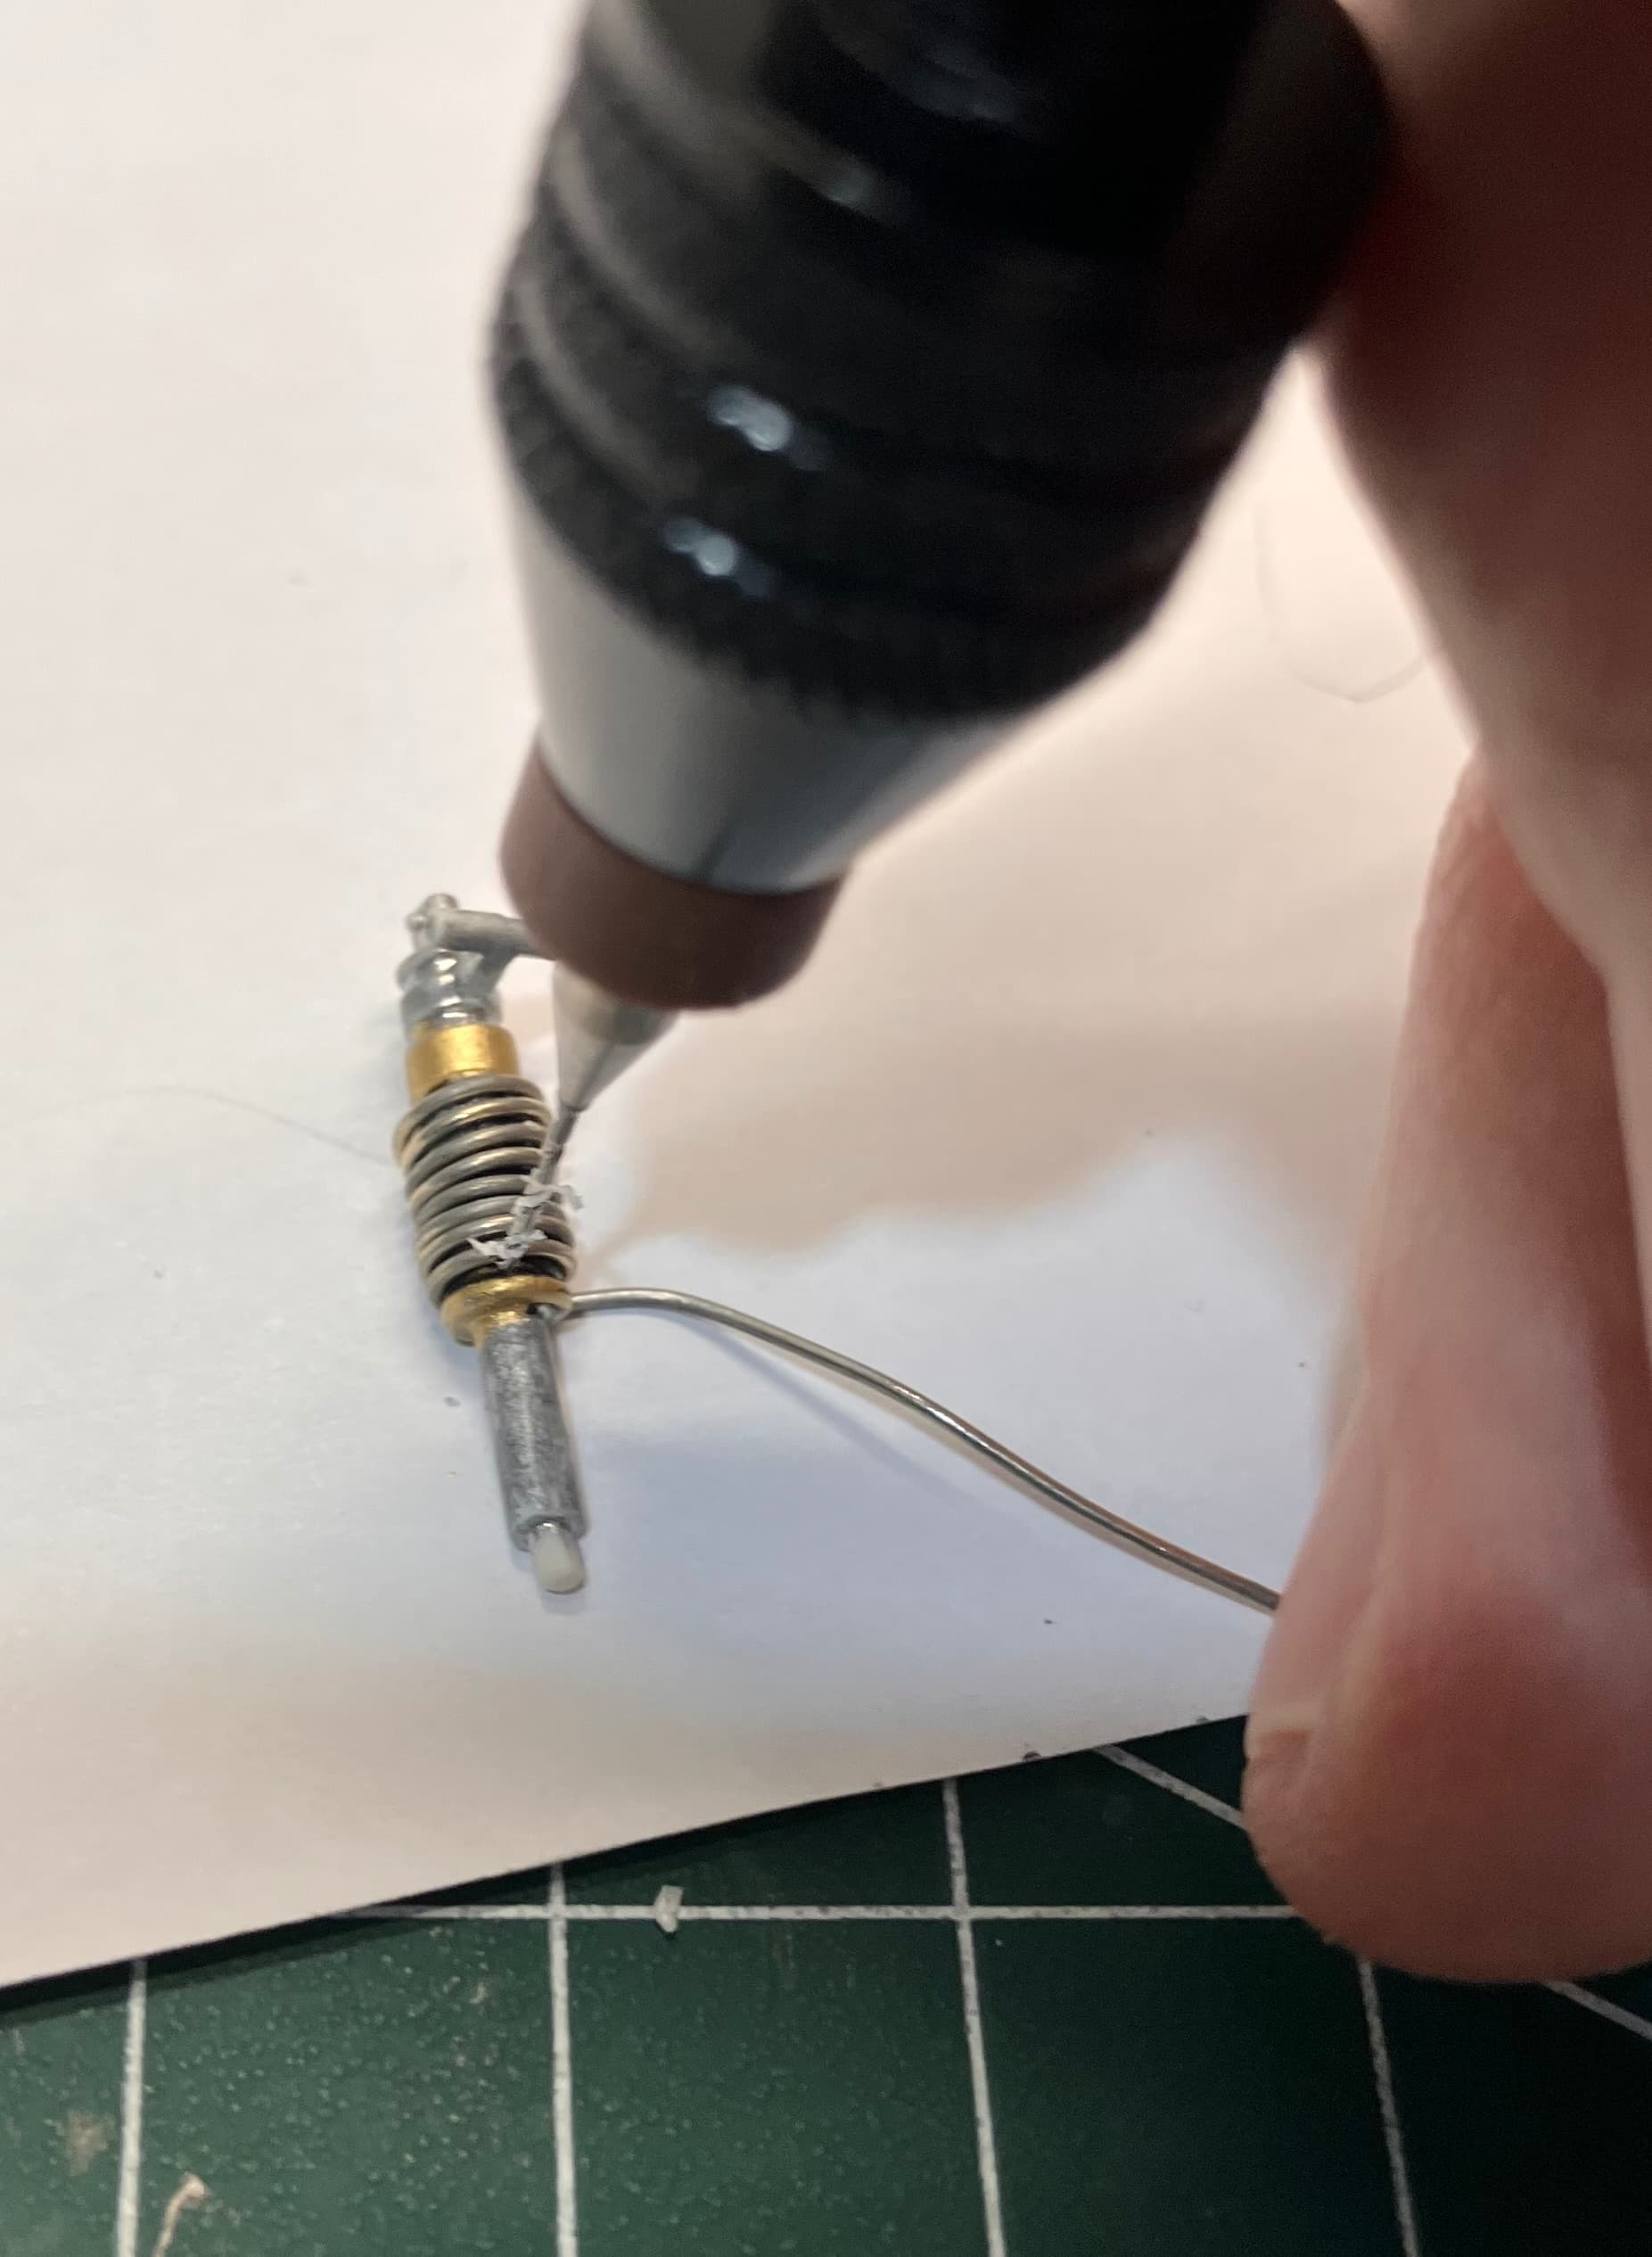
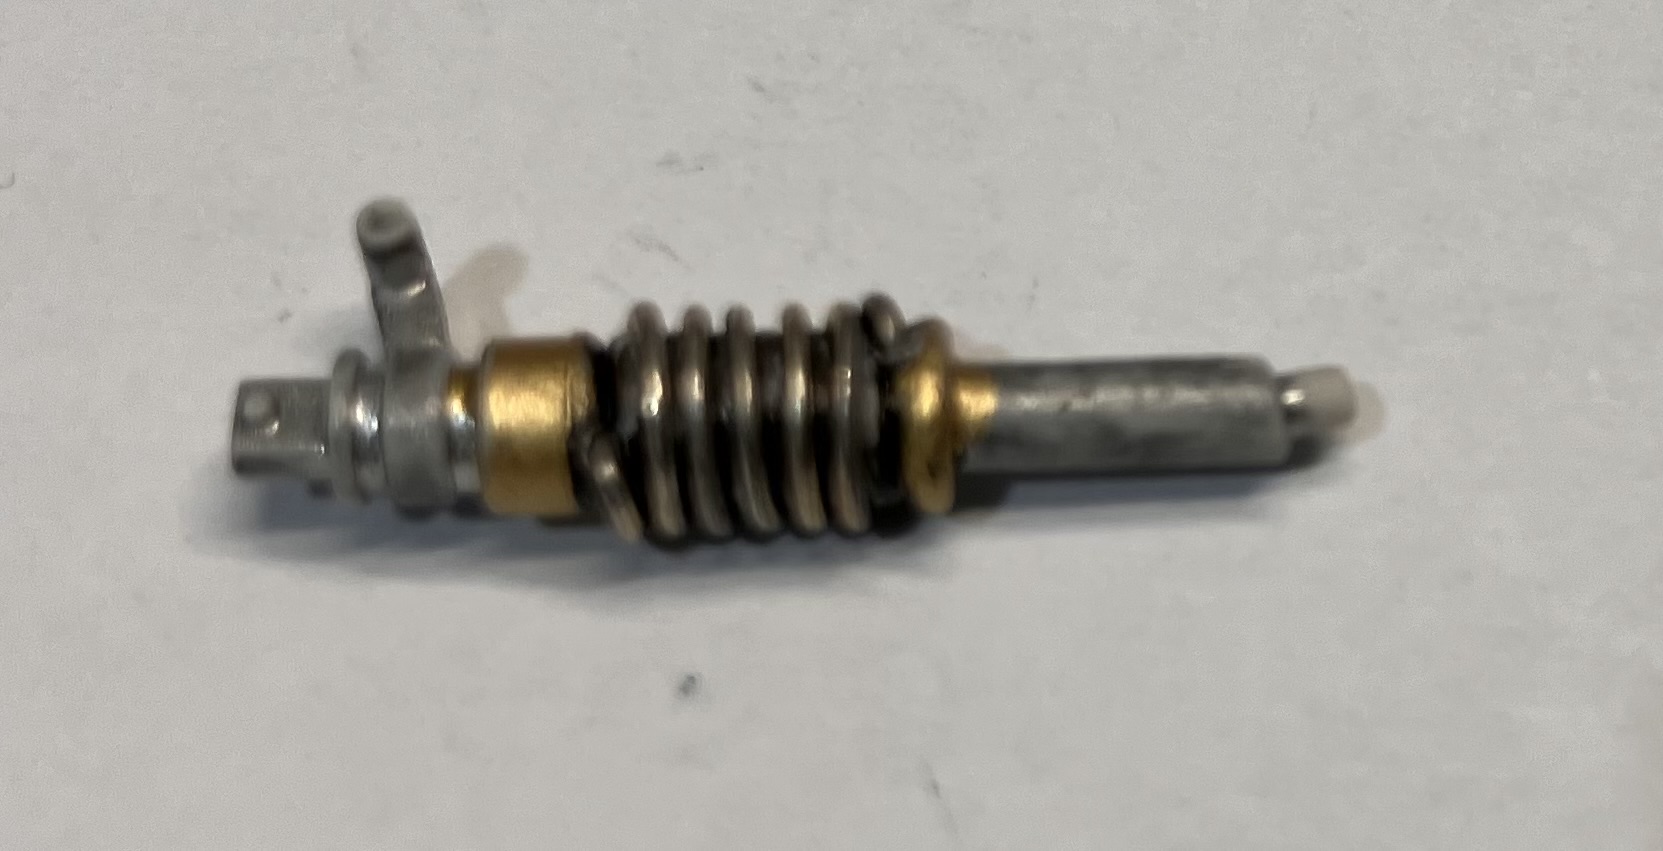
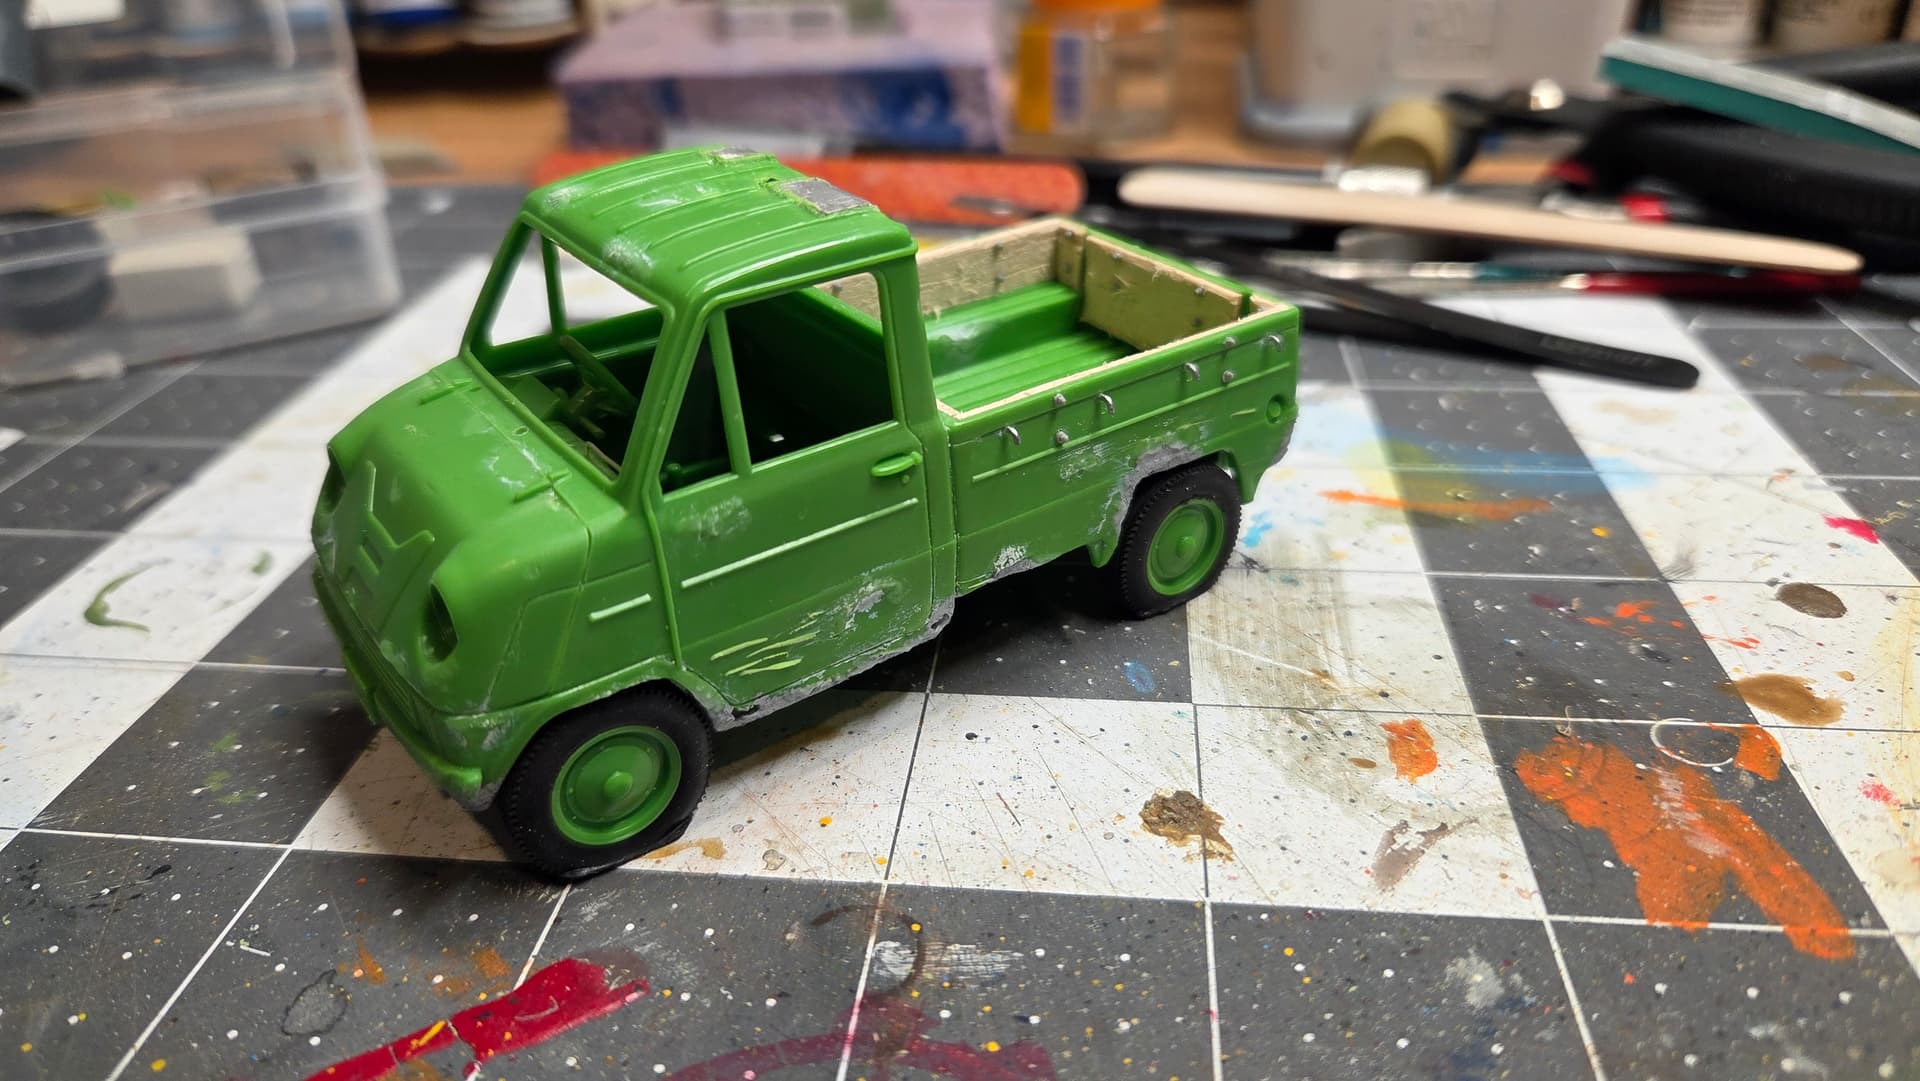
Finally got my shock absorbers sorted. Final item has the spring background Matt black then 15amp fuse wire as the spring on top. Drilled 0.5mm holes (wire is 0.4) and turned each end in to hold everything in place. Just a touch up to the chrome areas to do as my big fingers dulled them down.
Thanks for the detailed rundown! That’s exactly the kind of firsthand experience I was curious about. At those prices, it’s certainly worth experimenting with.
The drying on the needle caught my attention. Have you tried using a thinner with retarder? I had terrible problems with tip dry until I discovered AMMO’s ATOM Thinner/Cleaner with Retarder. It virtually eliminated the problem for me.
I actually started a thread about it a while back, including a YouTube video where the fellow tests a bunch of different thinners and retarders. It’s a pretty compelling demonstration, and my own experience has been just as positive.
The durability sounds encouraging, too. I’ve had paints that looked beautiful but didn’t hold up particularly well to masking, so that’s a definite plus.
And the Bulldog looks good! Thanks for taking the time to share your experience.
I will check out that retarder YouTube and give it a try. I would like to get some of the Atom thinner if the Hobby Lobby retarder doesn’t work well. The Airbrush line at Hobby Lobby has a retarder so a bought a small bottle and will try it. The masking tape I used was the Tamiya tape and the green Frog tape, and it didn’t give me any issues.
Thank you! That’s an incredibly generous compliment, and I really appreciate it.
I’ve been spending a lot of time lately trying to pay closer attention to how real aircraft actually weather rather than just following the traditional “dark panel lines everywhere” approach, so that means a lot.
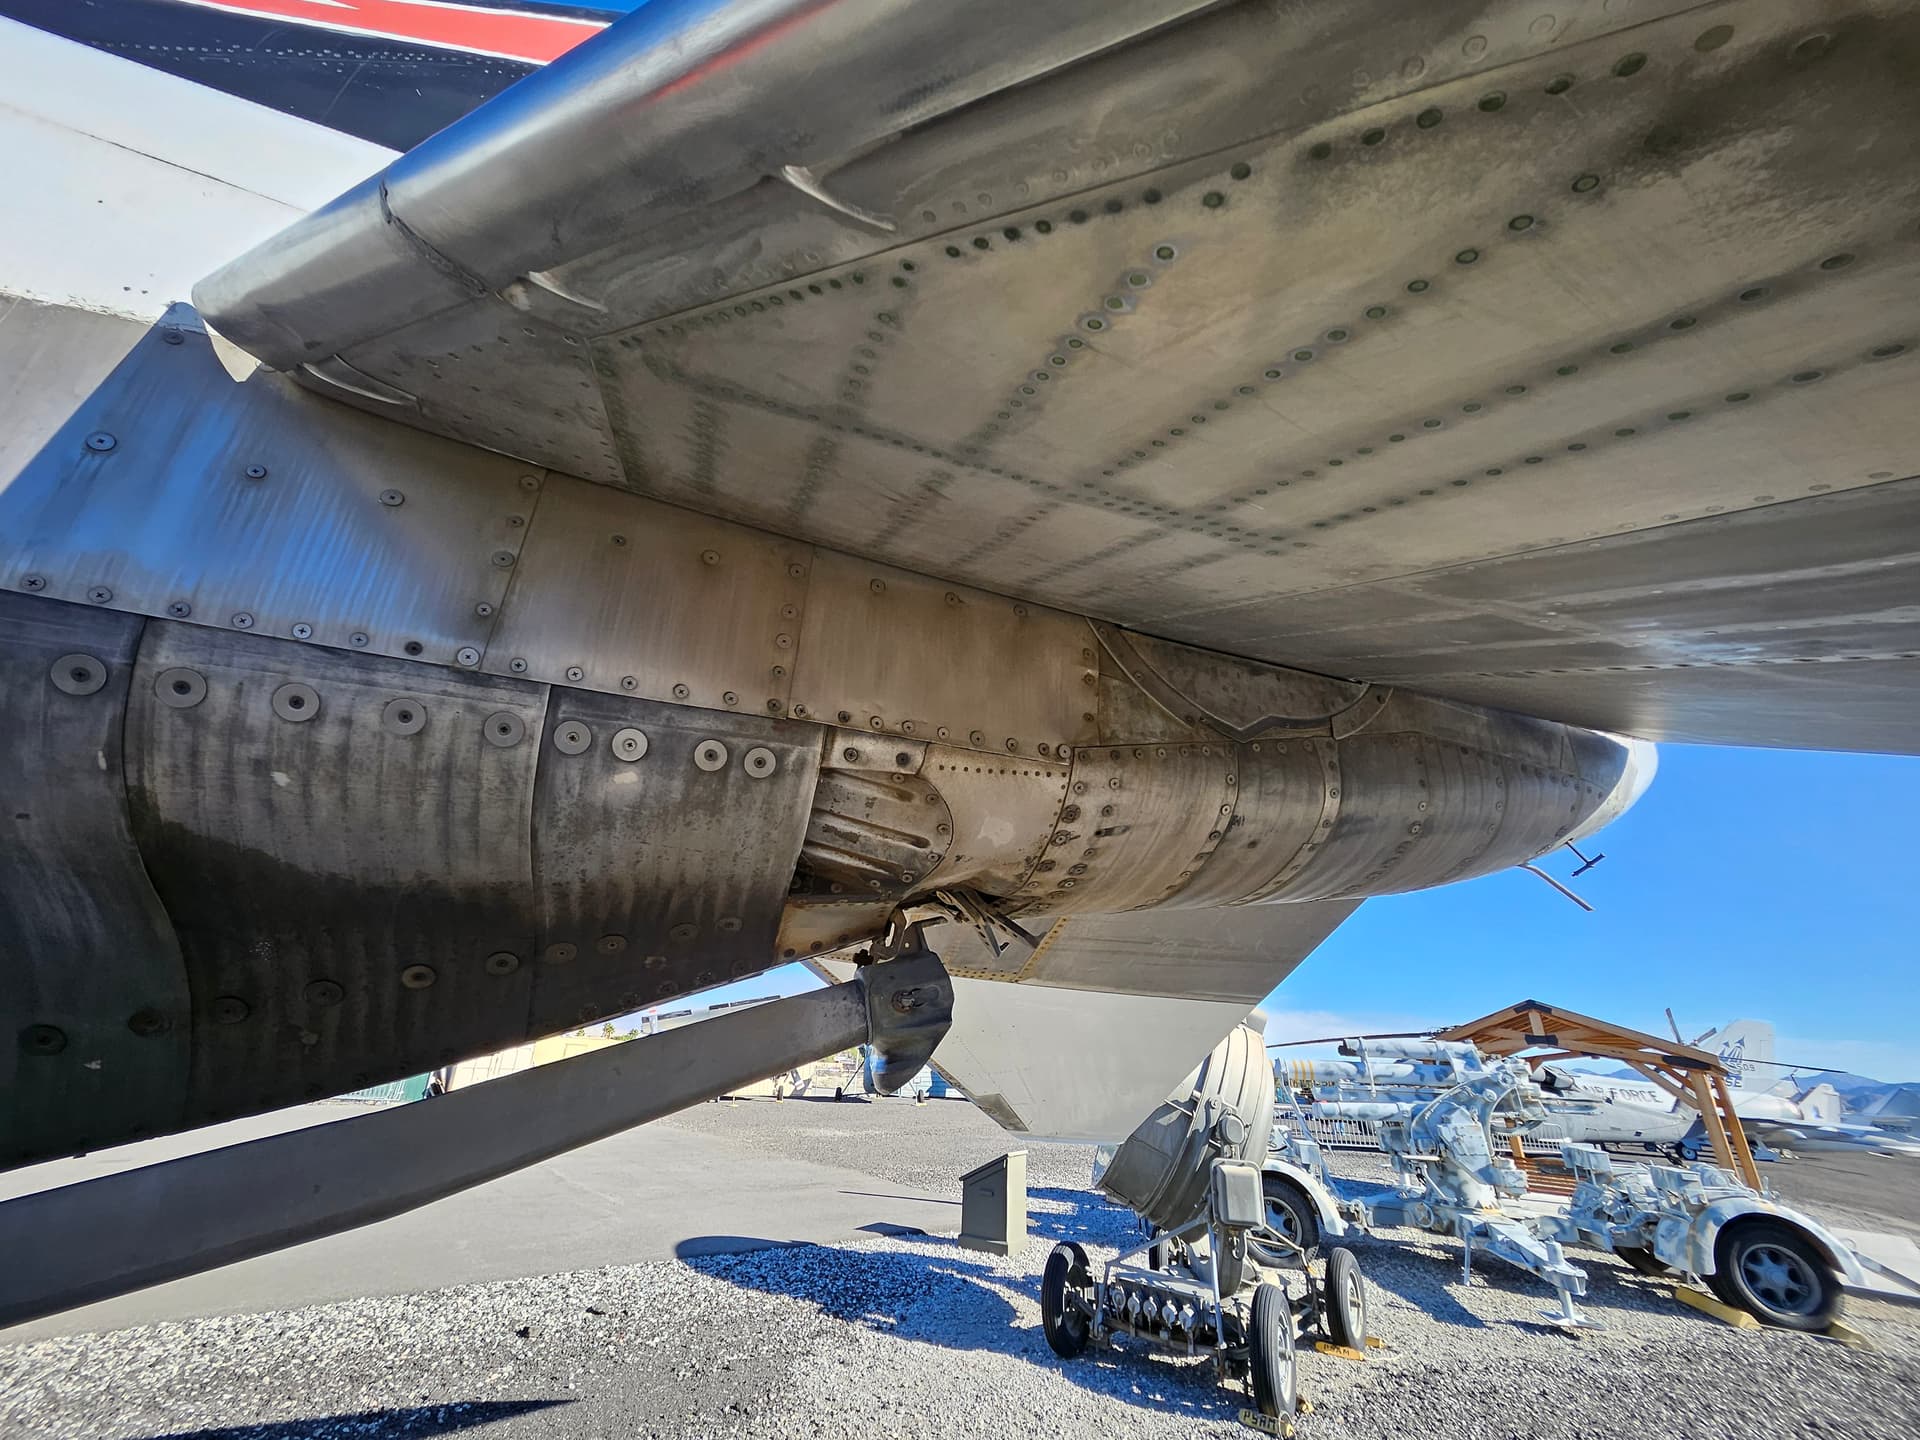
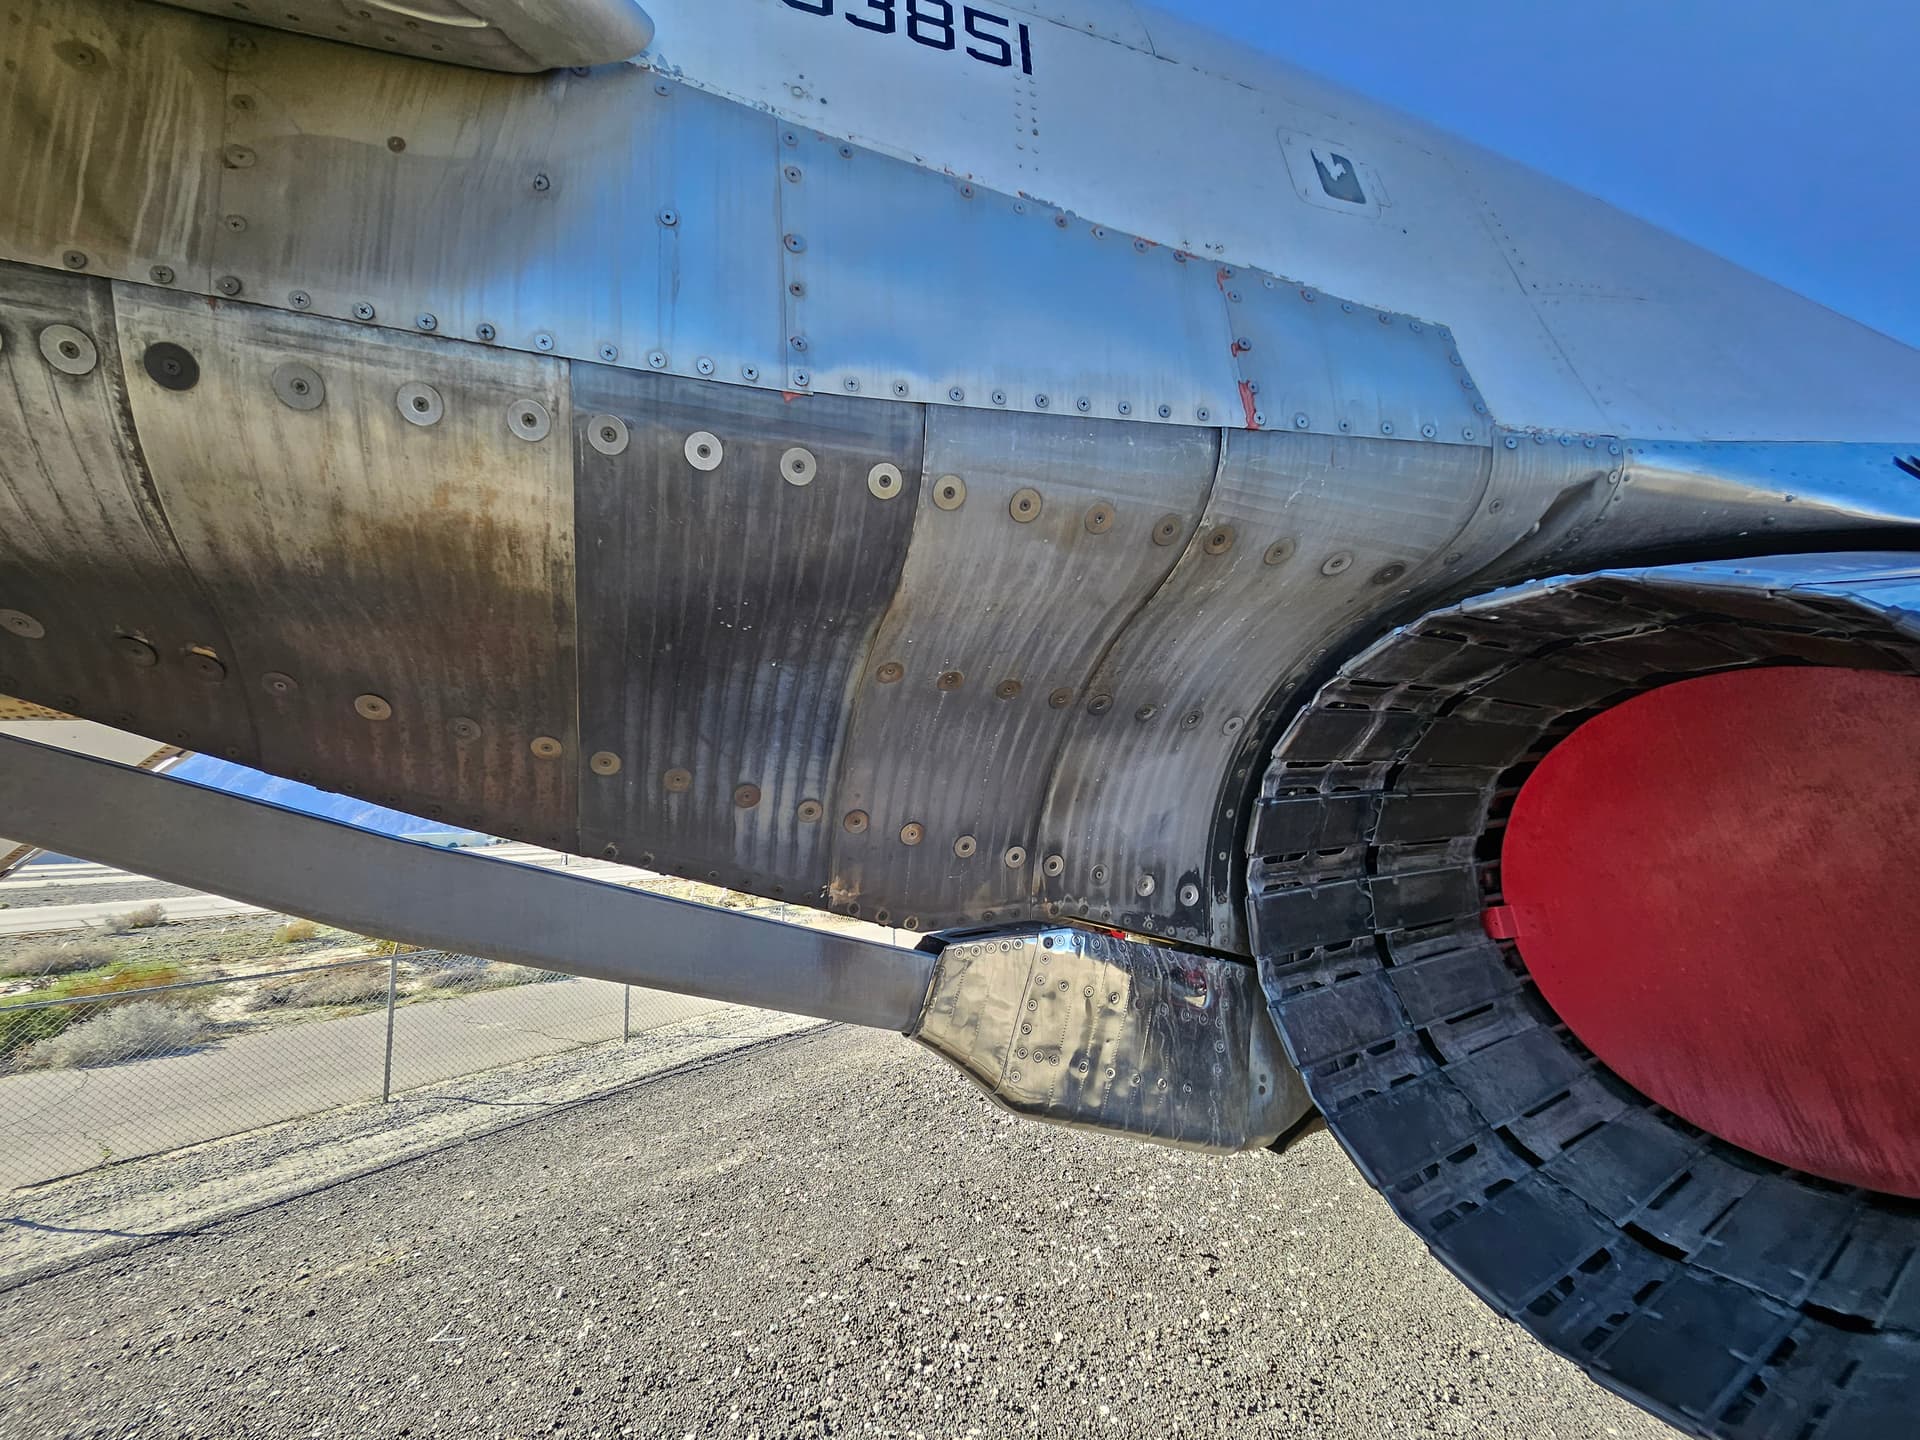
I used to work on RF-4C, F-4E/F/G, KC-135A, B-52G/H aircraft and there are a few things about the exhaust section I rarely see done on F-4’s.
The metalic flat panels on the sides are anealed steel and a very flat finish, unless polished by the crew doggy (not actually recommended).
On the British Spey equipped aircraft they are sealed with the high temp orange RTV because Speys run a lot hotter than J-79’s.
There is also the flat circular panels that slide with the move with the horizontal stabilizers, the edges are lubed from spray cans of Molly grease (Molibdenum…spelling?) which saves wear & tear on the metal to metal contact area.
The whole underside aft portion, minus the drag chute door is a welded titanium assembly because of the high heat of the afterburnes, the jet exhaust being smokey eventually cokes up the titanium assembly and gets the obligatory flat lampblack coatings.
Every trip to washrack cleans off the flat black smoke finish but the glossy coked exhaust stains remain because scrubbing it off with scotch bright pads also chews up the titanium so the only “clean” assemblies are usually on display or depot IRAN (Inspect, Repair As, Necessary) aircraft.
It takes only a few hours of flight the get the “lampblack” smokey appearance so a clean exhaust area is rare on active aircraft.
On the stabs the leading edges are titanium and all the bare metal has a flat finish and all the lines you see on the metal are where the surfaces were sanded and and NDI (Non Destructive Investigation) was performed.
That is where a dye is sprayed on a cleaned metal surface and the dye shows where fatigue cracks are under a UV light source.
NDI’s were performed on every F-4 and the alar shaped reinforcement plates were added after a stab failed causing an aircraft loss.
Yes, I’m absolutely on the same page with you. That rear section has probably been one of the more challenging parts of this build for me to figure out.
I’ve visited several F-4s in person and taken my own reference photos, and what keeps jumping out at me is exactly what you’re describing — the metal has a very flat, “soot” or “chalky” look to it.
The challenge has been figuring out how to reproduce that without ending up with the overly shiny natural-metal finish we so often see on models. At the same time, I’m hesitant to just put a heavy flat coat over metallic paint because I don’t want it to stop looking like metal and simply look like silver paint.
So I’ve been experimenting with pigments, dusting them over the metallic finish and trying a few other things to knock the sheen down and get that flatter look without losing the character of the metal underneath.
Your firsthand information is extremely helpful, especially knowing what those different surfaces actually were and how they weathered in service.
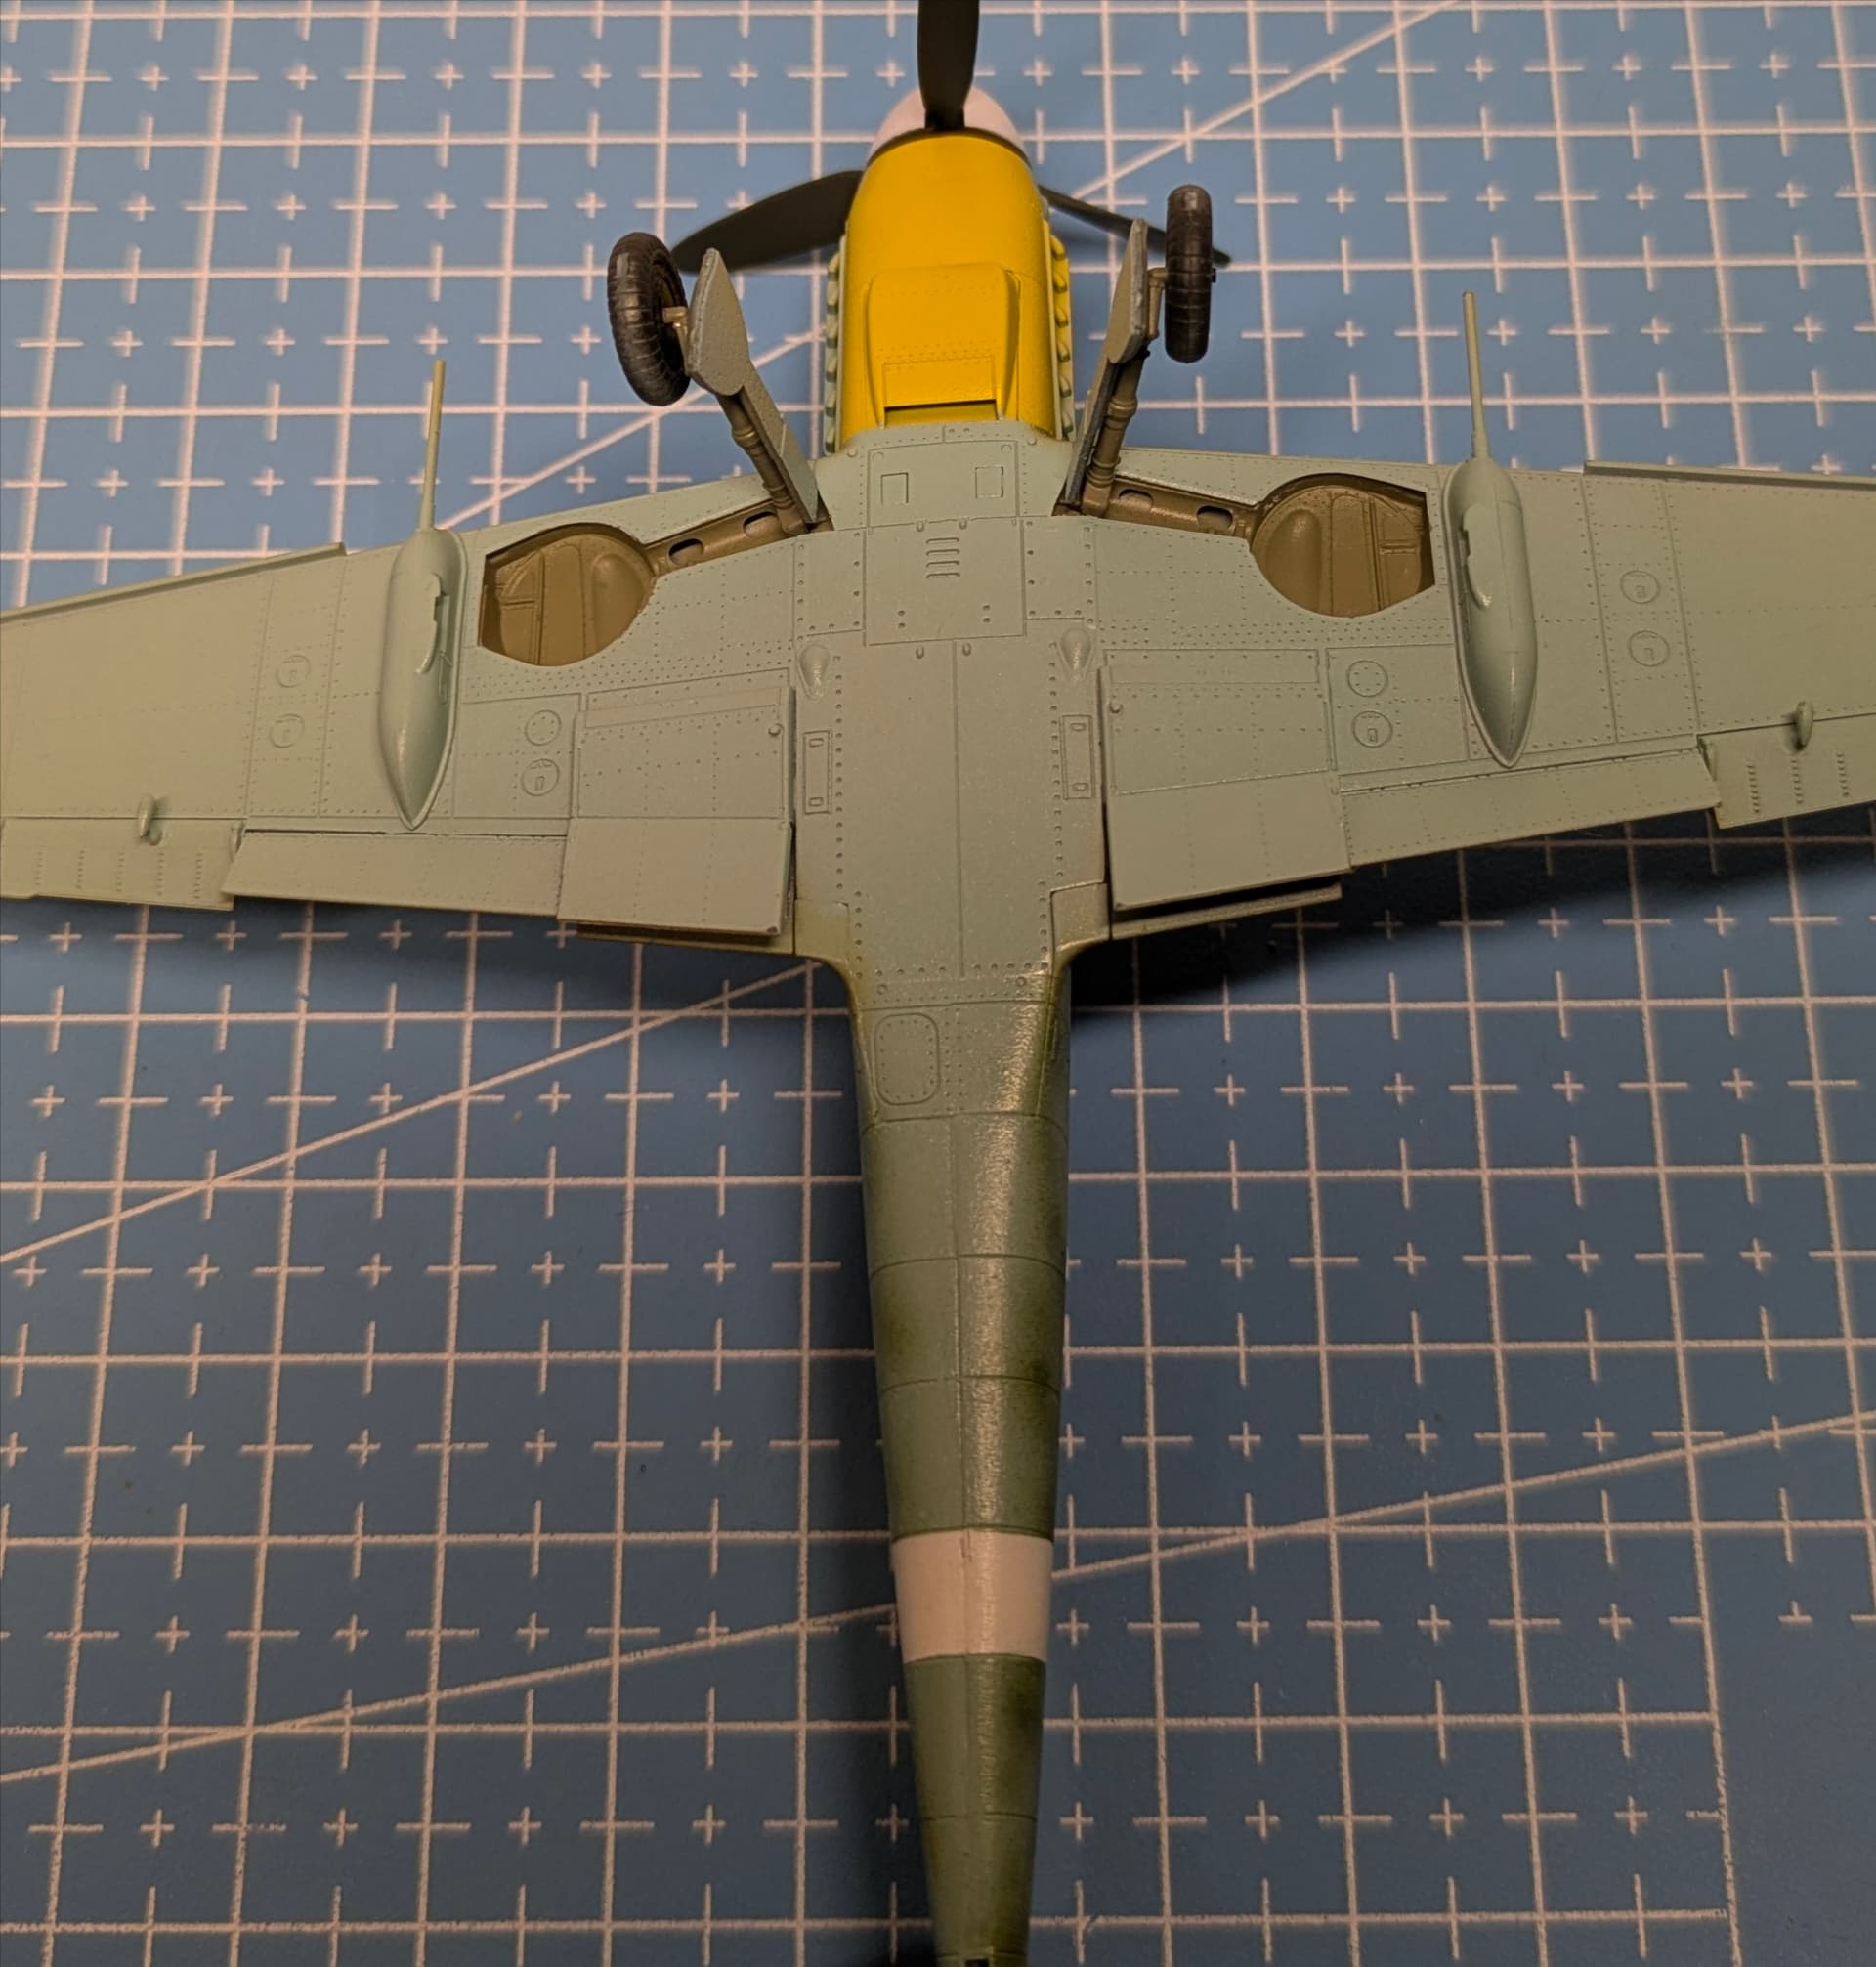
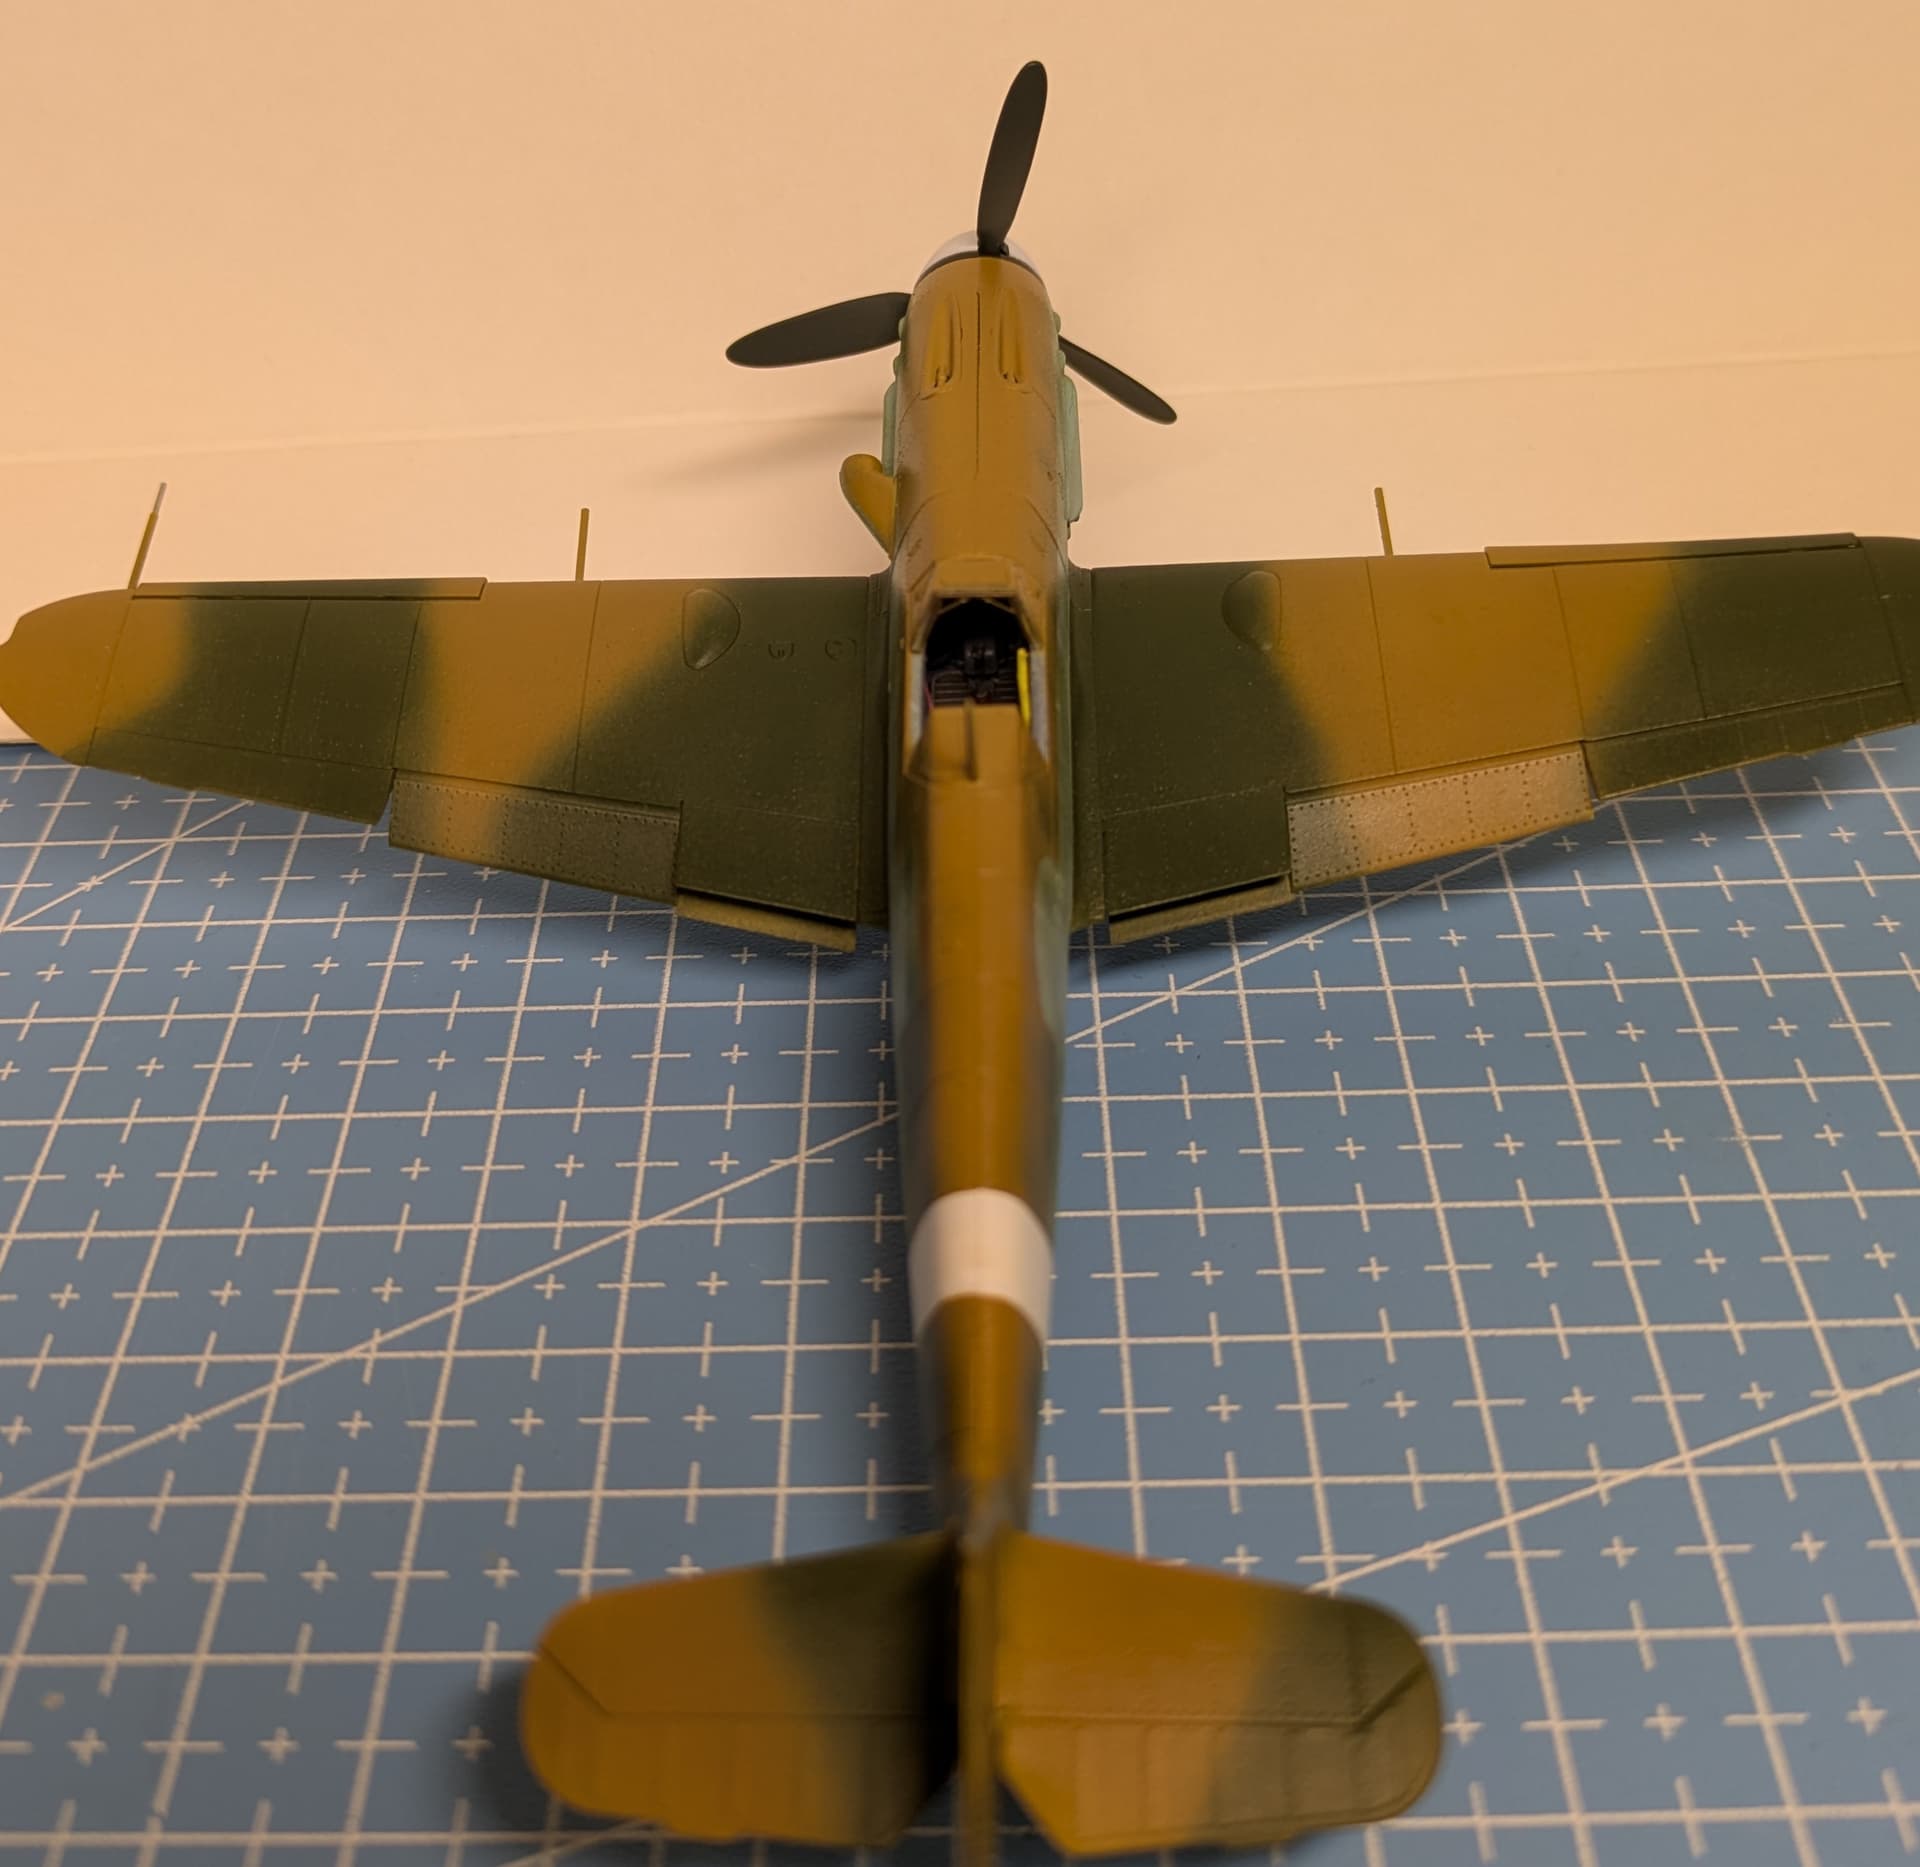
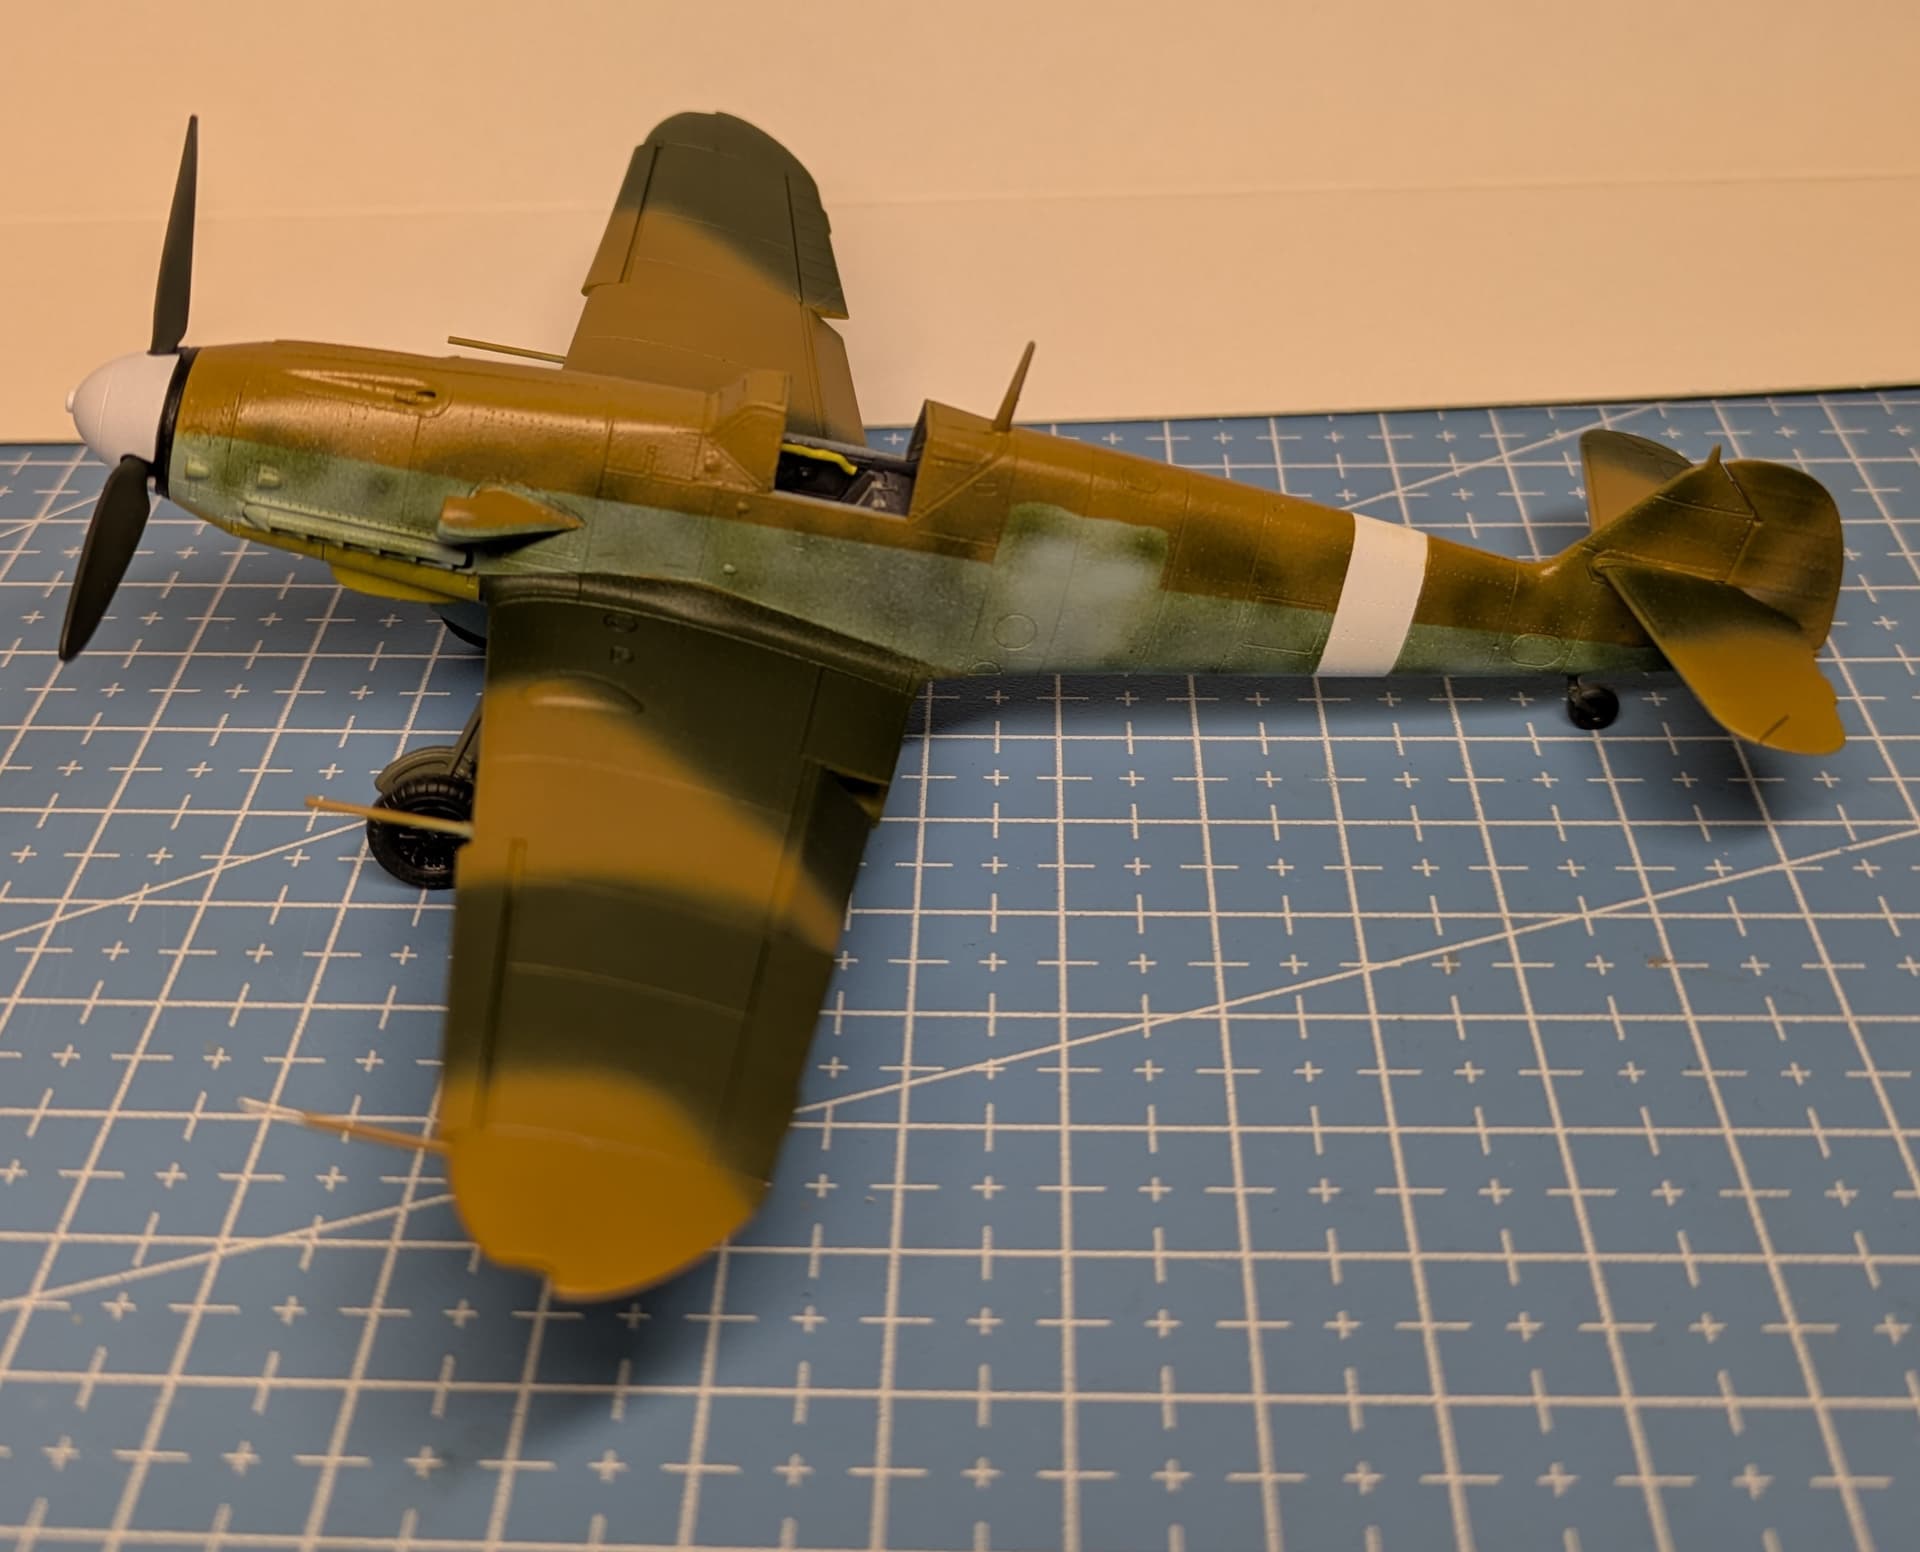
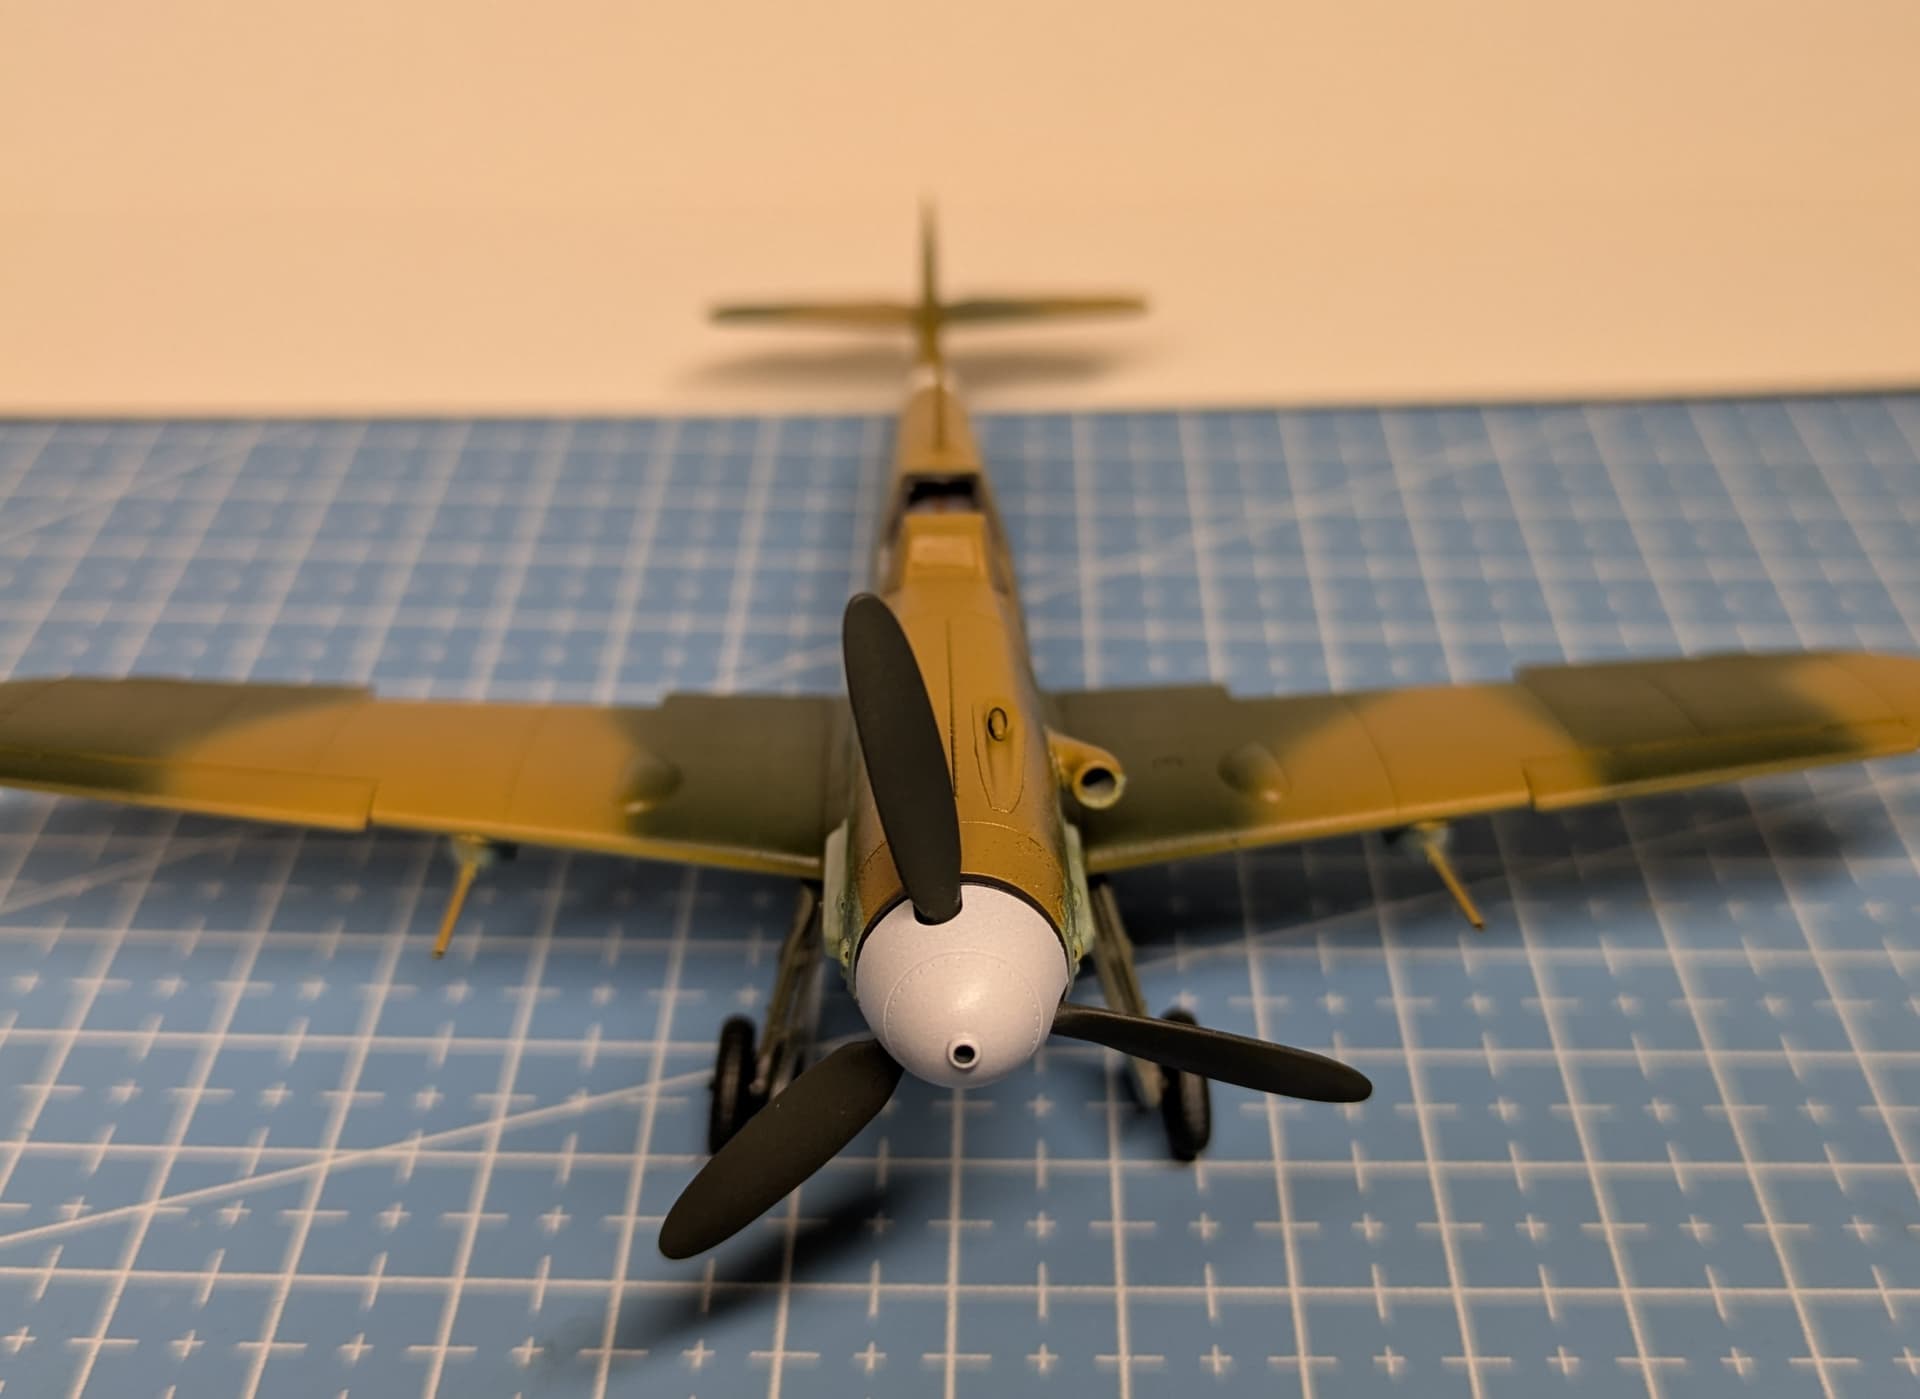
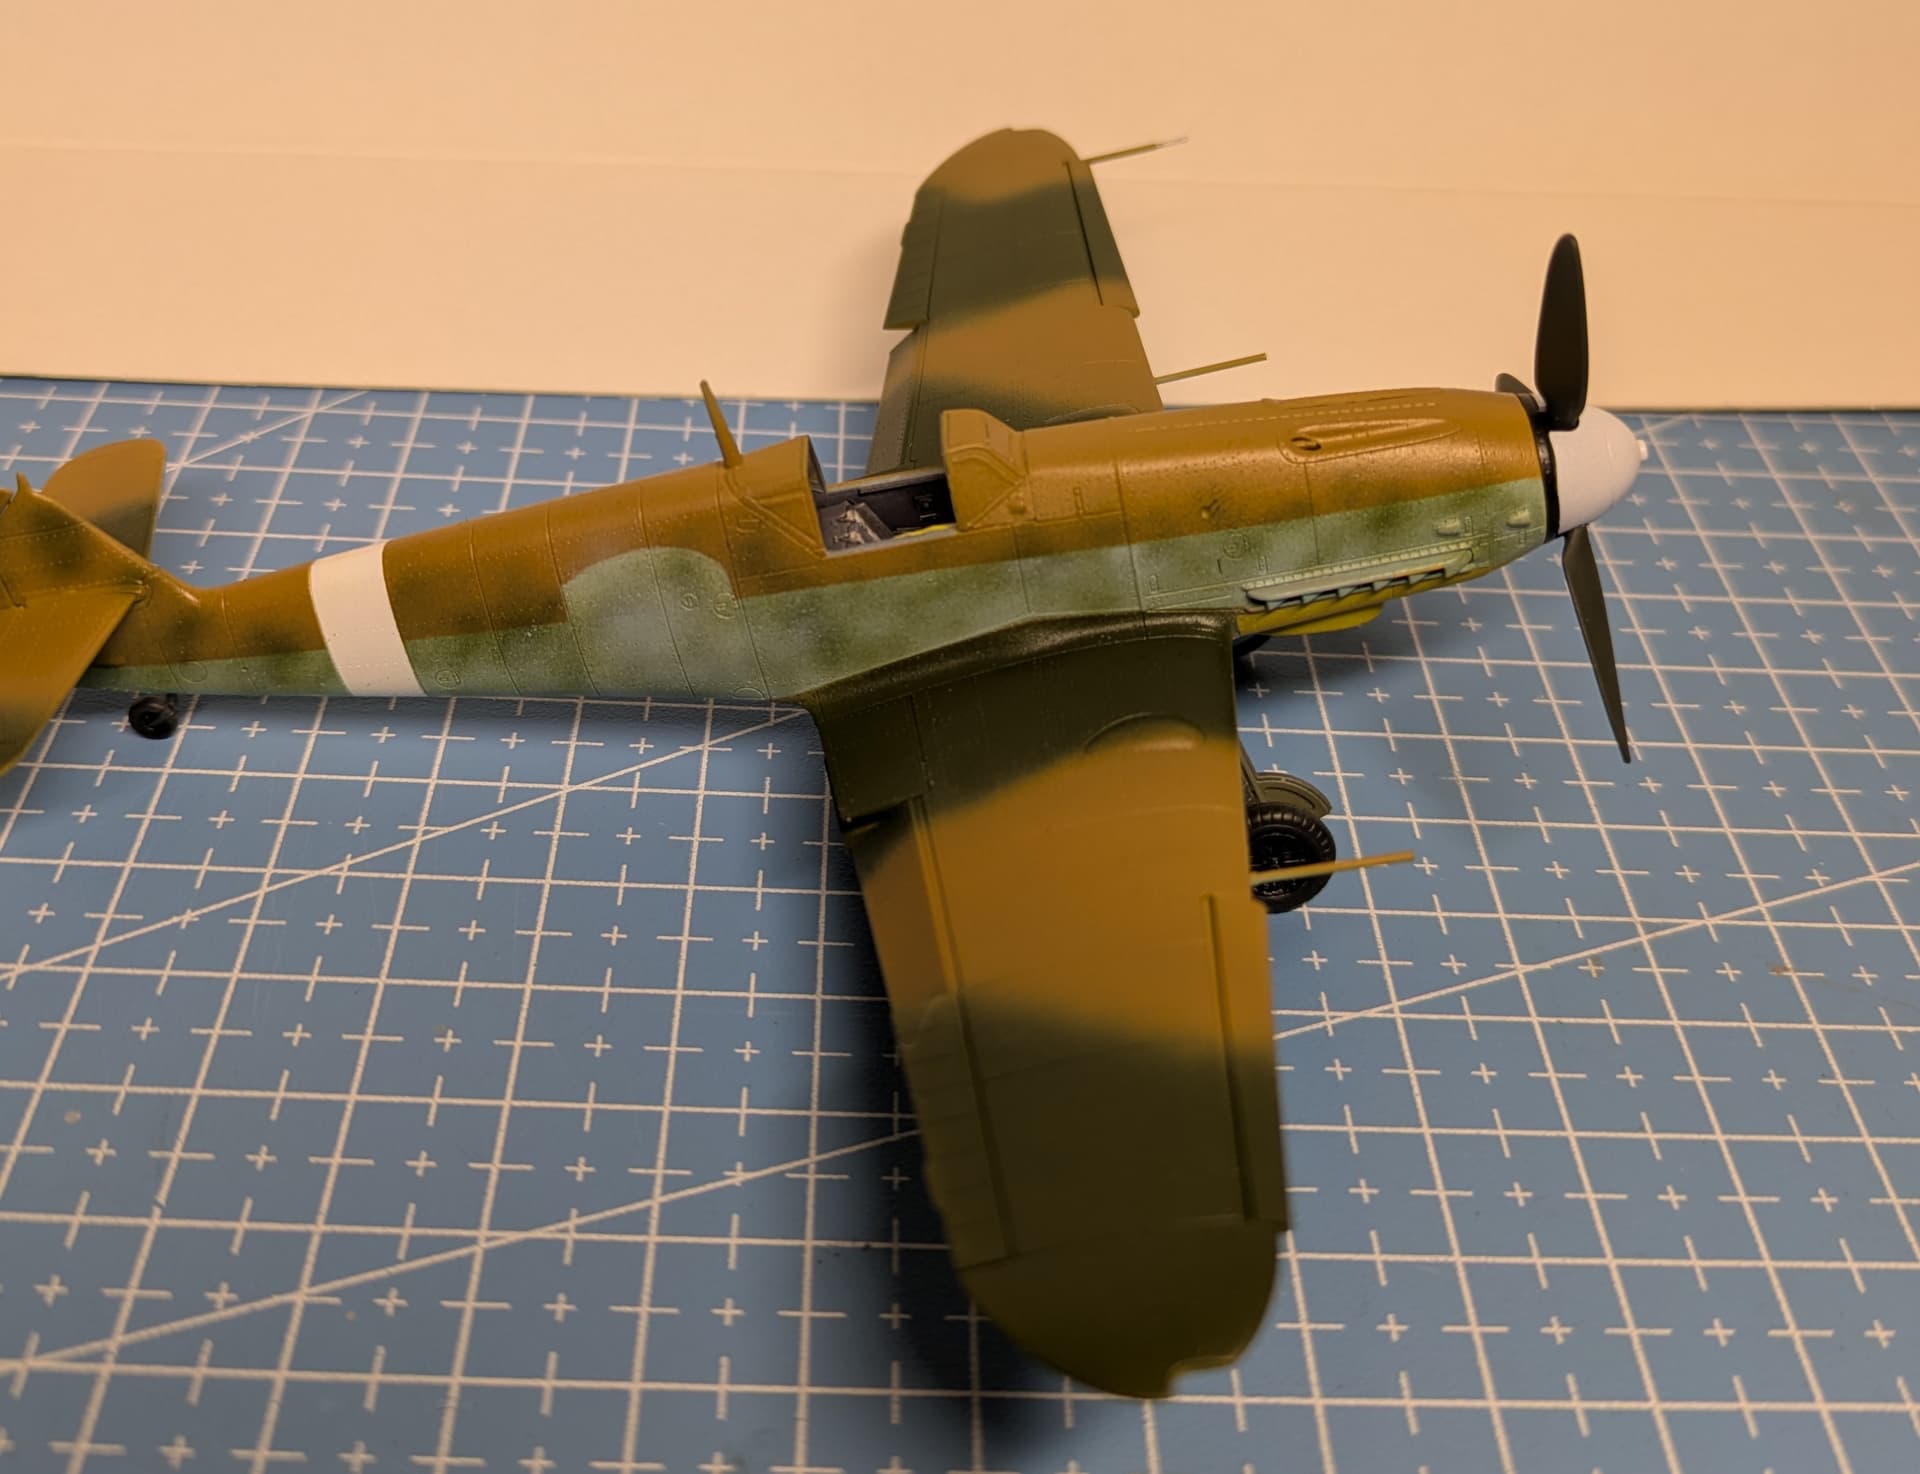
Eduard bf 109 G-2 in 1/72.
I’ve finally stopped myself from starting builds and getting halfway done before I start another.
This time I’ve actually put some paint on my model .
Just decals and some weathering to do.
Painted with a mix of Ammo atom and Vallejo model air.
This is my first painted model plane in over 20 some years.
I try pretty hard to do the same thing and not start another build before I finish what I already have going. It’s very easy for me to get distracted by the next interesting kit.
The aircraft looks like it’s coming along very nicely, and I’m looking forward to seeing it finished.
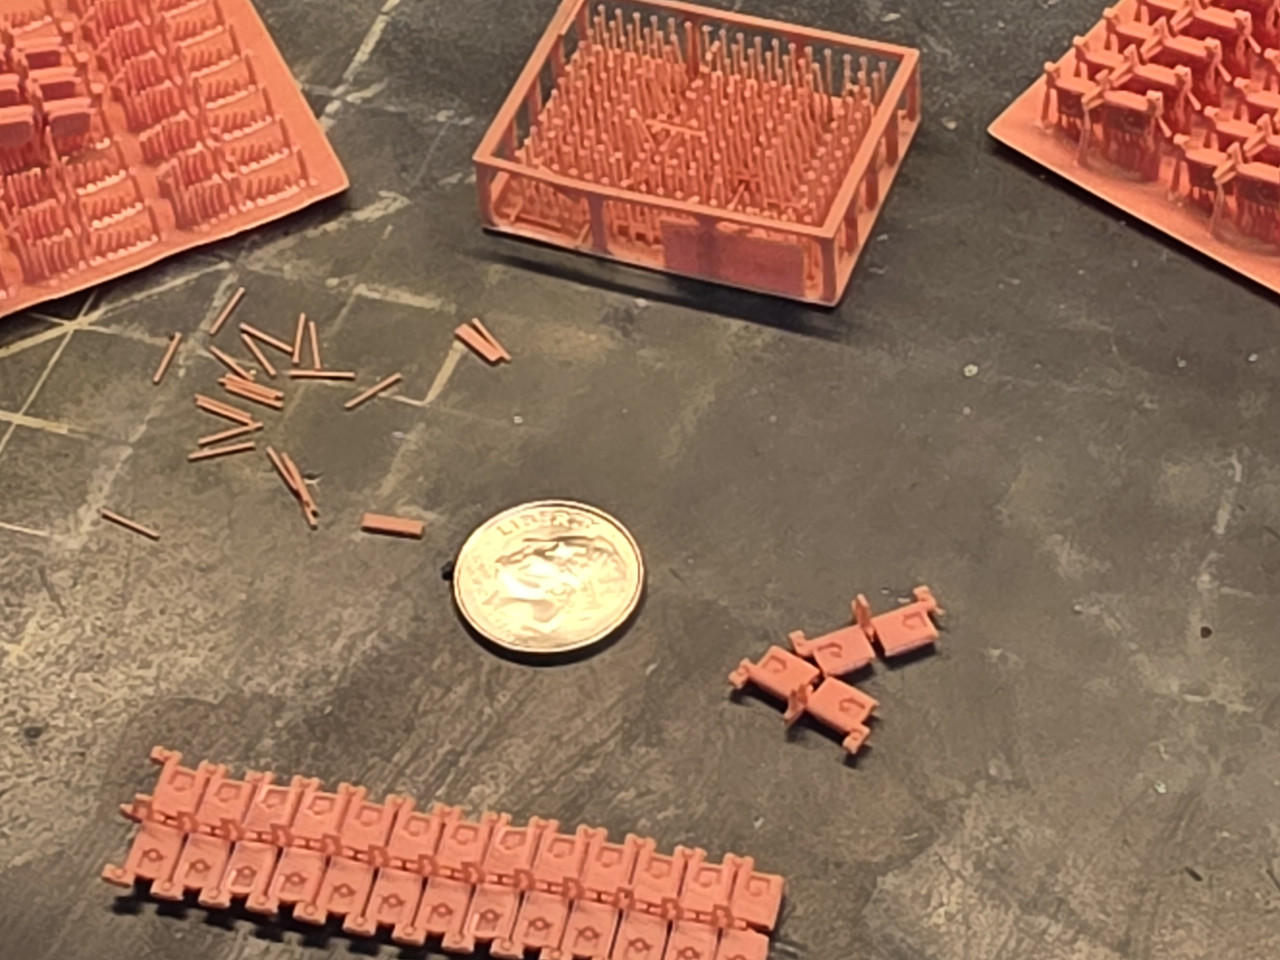
I started up on a RFM Paladin that I left off on in February,the kits tracks were basically unusable for me,I found these nicely detailed 3-D printed tracks on ebay for a reasonable cost,they are small and fragile,but I have yet to break either a track or a tiny pin.only 89 per side
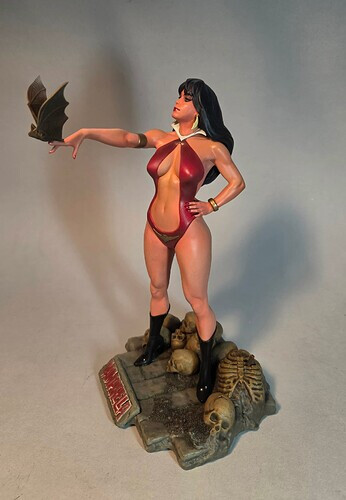
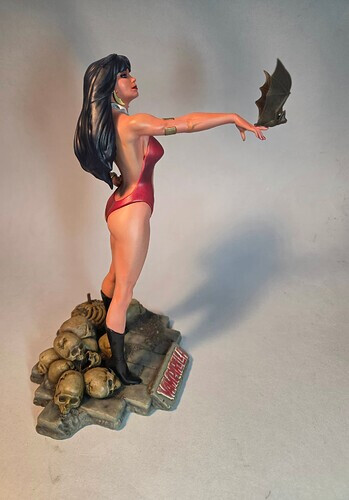
Nice job on such a large-scale figure Rob! The skulls on the base have an excellent finish, contrasting nicely with the lady. How do her boots stay so clean?
89 individual track links per side, each held together with tiny pins? Good grief! That sounds like an exercise in torture!
I’ve got exactly one tank in my stash, a Tamiya 1/48 Easy Eight Sherman, and I’ve never built a tank. So I’m curious about something.
What was it about the original kit tracks that made you decide to replace them? Was it an accuracy issue, a fit problem, or something else? I’m wondering what makes aftermarket tracks worth going through what sounds like a pretty tedious process.
I have no idea whether the tracks in my Tamiya kit are any good, so I’m genuinely interested in learning what to look for.
And congratulations on getting through all those links without breaking a single one! That’s impressive!
I didn’t work on this last night, but I did start working on the Nupitiet Vergnitz.
I have only recently started building resin kits and learned a few hard lessons.
The first is that when you pin parts together, go for maximum strength. Do not think that using a little plastic rod is okay. Whever possible use metal in the largest size practical. Also, if you have square or hexagonal rod, use it. The flat sides prevent accidental part rotation.
The second is that aligning the pins in the mating halves is critical. But it does not have to be. I have found the lazy way is to drill a nice hole in one side, and an oversize hole in the other. Set the pin without glue in the nice side, then partially fill the oversized hole with thick CA, then carefully mate the halves, adjusting before the glue sets. Separate the halves, and after making sure the glue has set and the pin remains in the oversized hole and is properly aligned, fill the hole with more CA to reinforce the pin.
You still have to find a way to mark the center of where to drill on both sides. I have seen people use small dots of paint to mark both halves. And others who measure and mark cross hairs on the halves. I have tried using double sided tape, applying to one side after the hole is drilled, marking where the hole is on the tape, then mating the part halves and then coaxing the tape to transfer to the other half. All the methods work, but there is always room for error as I have found out. So I use one of these methods to locate the second hole, then follow up with an oversize drill. Easy-peasy, without the need for being a precision modeler.
Now I need to decide when I am going to glue the halves together. I’ll have a 19" long sub sandwich that will not fit in the tiny box it came in. I think I’ll clean up the parts prior to committing to CA.
I notice she is holding a bat. Has she gotten her rabies vaccination series? Seriously, I don’t normally go in for that sort of model, but you did a good job.
Okay, suddenly those 3D-printed tracks sound like a bargain!
I was imagining some kind of accuracy or fit problem with the original tracks. It never occurred to me that the kit manufacturer would expect you to assemble over a thousand tiny pieces just to get the tracks on!
My Tamiya Easy Eight has what I now understand are called link-and-length tracks, with just a few sections per side. Since this will be my first tank, I was planning to build it pretty much straight out of the box, and now I’m even happier with that decision!
Thanks for explaining. I completely understand why you went looking for an alternative!



 .




 Seriously, I don’t normally go in for that sort of model, but you did a good job.