In reality aluminium exposed to the ocean environment causes corrosion very quickly, the Navy does touch-ups during deployment with rattle cans using the original FS number paint, after a while they tend to run out of the correct colors and start using “something close colors”, eventually, on a long cruise, they are down to “whatever we have the most of colors”.
So the first base color should be a sun faded FS numbered paint, then some wear & tear including, but not limited to dirt and grime where crew doggies walk, fuel stains etc.
Next would be the original colors near edges of many removable panels, leading edges that are exposed to high speed air flow and last but not least “hot spots”
Last layer should be a added smudges on panel edges where human grubby hands touch the most.
You can go further by adding the “close” colors and then “what we have the most of” to really go all the way into the long cruise aircraft.
This is what I typically do. It make it look like what is seen in candid crew taken photos.
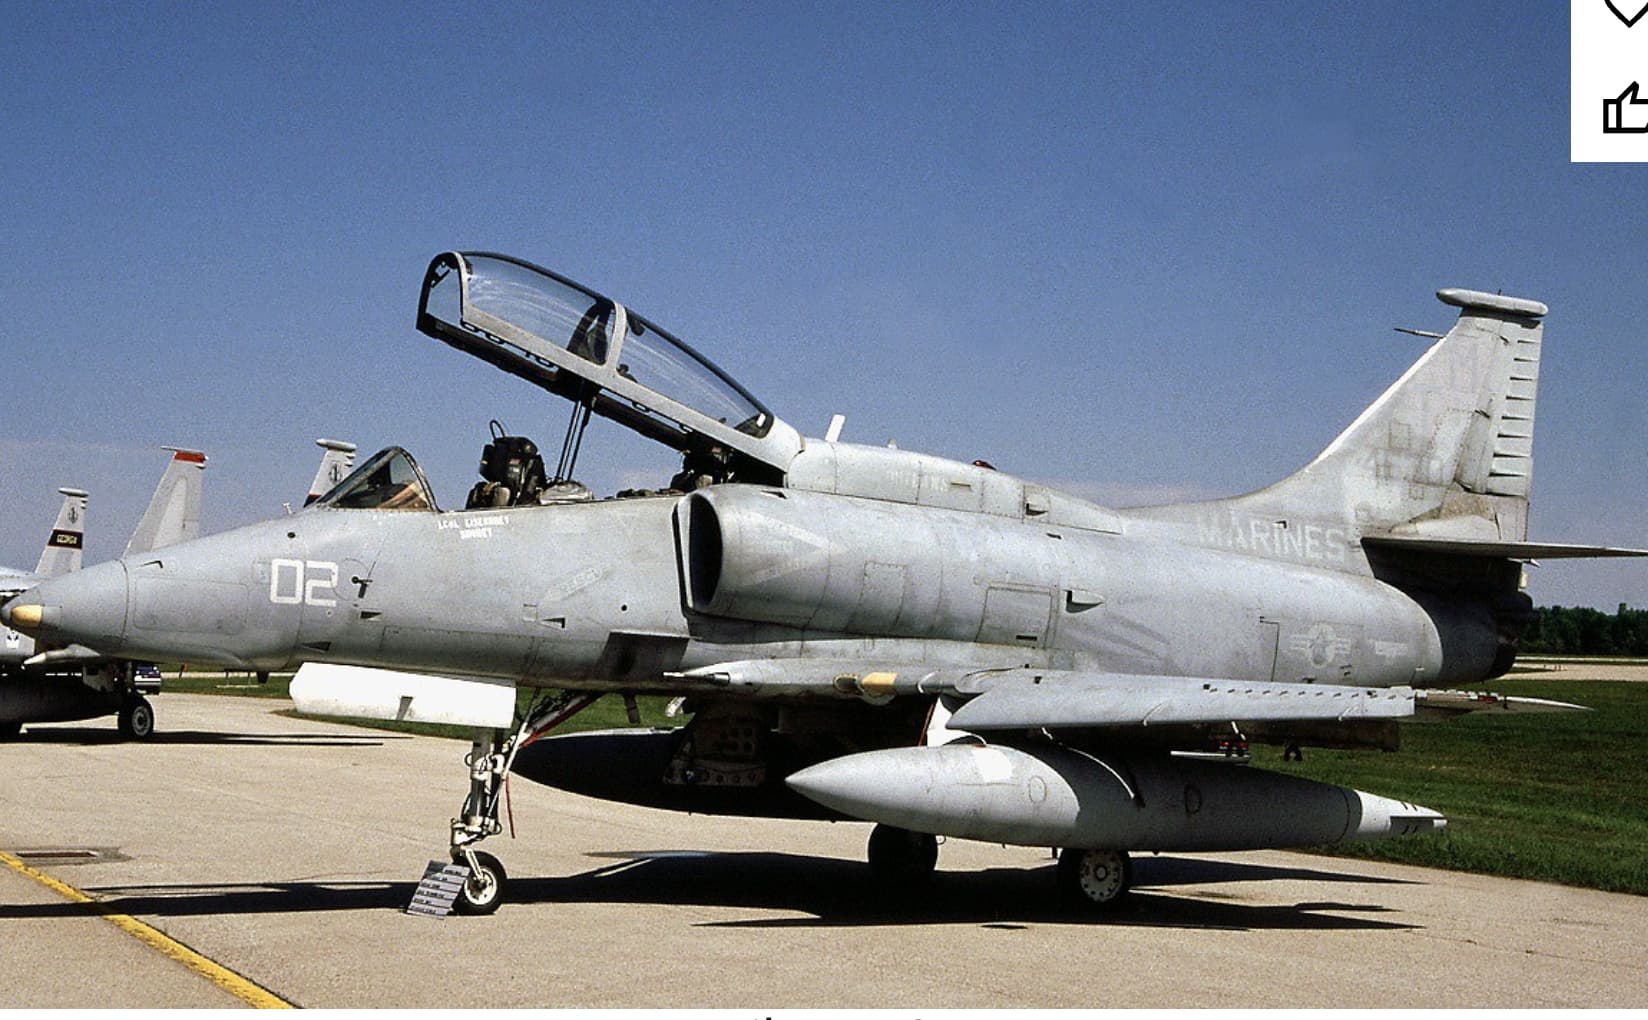
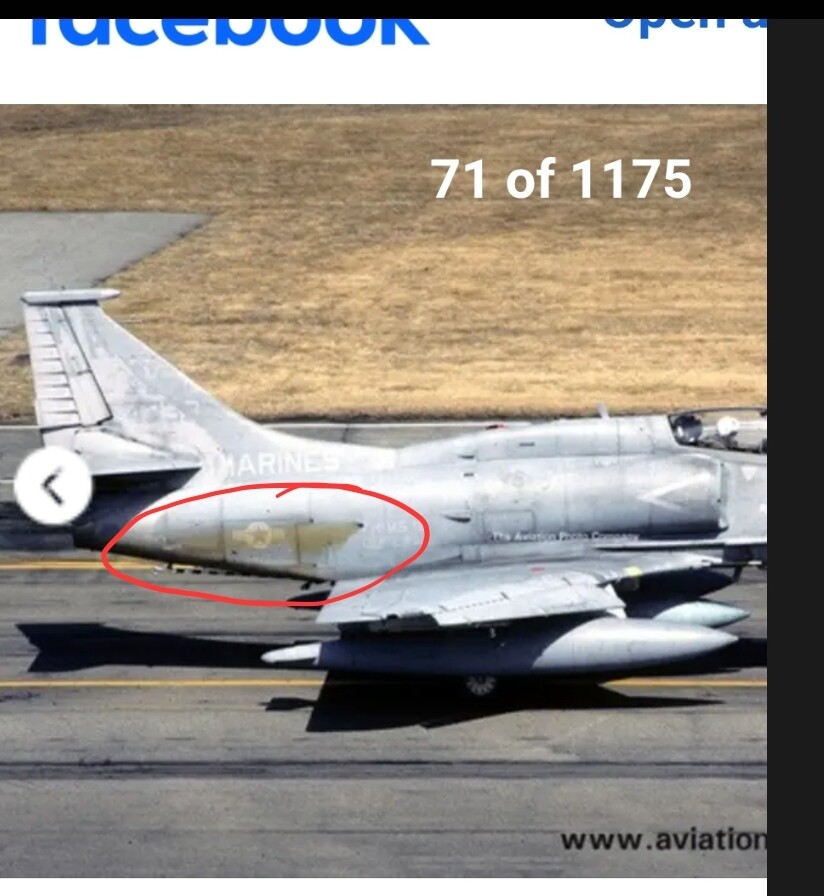
Your explanation reminds me of my first OA-4M, which was also my first attempt at weathering an aircraft. When I look at it now, I think might be overly weathered.
Except I based it on an actual photograph, and when I go back and compare the two, my model is surprisingly close to what the real aircraft looked like. I did the best I could with the skills I had at the time, but the real airplane was every bit as blotchy and beat up as my model.
Your description of how those aircraft get that way helps explain a lot!

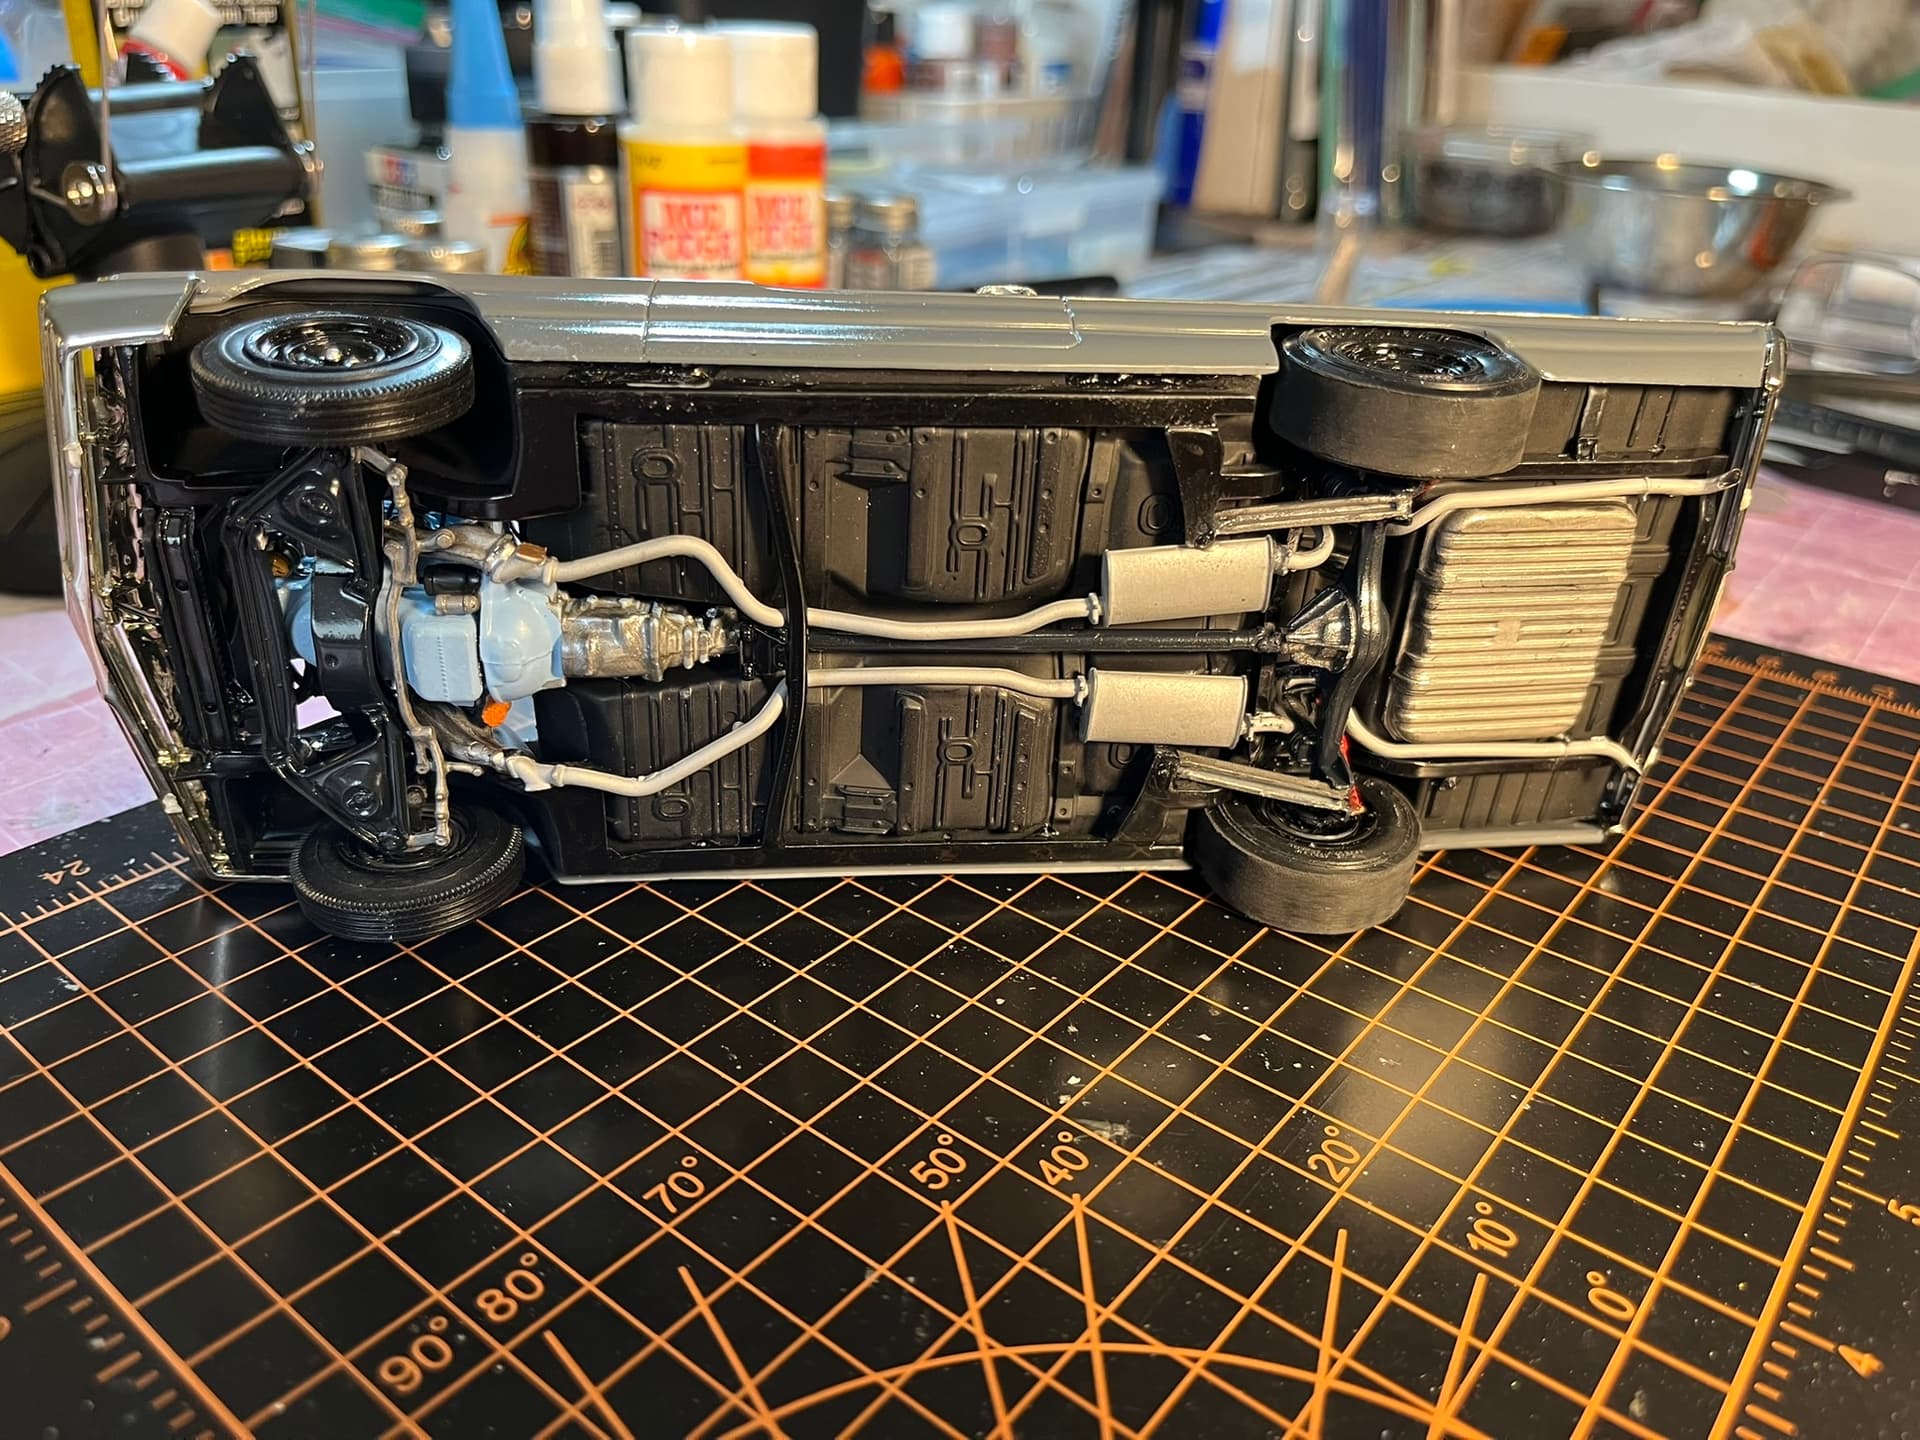
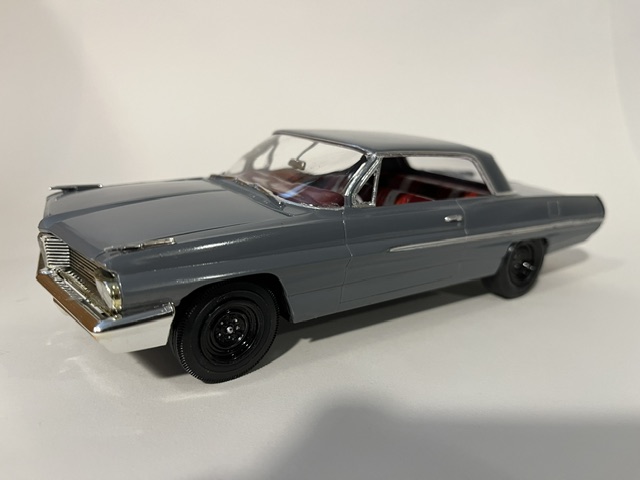
Looking at your beautiful car right after posting pictures of my beat-up OA-4M really got me thinking about how different the challenges are for car modelers versus those of us building military subjects.
Even museum-restored aircraft don’t always have perfect finishes, and weathering can hide a multitude of sins.  The closest thing we have to what you guys do might be a Blue Angels jet or a highly polished natural-metal P-51 show plane. And those are some of the most challenging finishes to pull off convincingly!
You guys are going for perfection with every build. The paint, the gloss, everything. Heck, you even wax them like real cars!
I really admire that kind of workmanship, but I have to admit, the thought of trying to get a paint job that perfect on a model car is a little intimidating! Beautiful work!
Thanks Scott. Much appreciated. By the way your OA-4M, really is spot on to the inspiration pics you used. Nicely done!
Thank you! It was my first kit back after a 30-plus year hiatus and looking back on it it’s hard to understand how I went after such an intense project my first one back. It’s full of flaws but it’s pretty cool anyway.
I’m staggered after so many years away from model making the changes have been massive. In the 1960s (yes last century) I was one of those winning model competitions by having fuel and electric wiring etc on my 1/12 scale F1s, now I see kits looking so real that it blows my 73 year old mind …… BUT it also fills me with enthusiasm to start again learn and grow to beat these whippersnappers and show them how experience counts lol !! Anyway, today I spent many hours stripping out computer and earphone cables to provide the wiring for my new 1/25 Audi R8 I’m building to get back into the game. Here’s a few pics showing the results of cutting and peeling several cables:
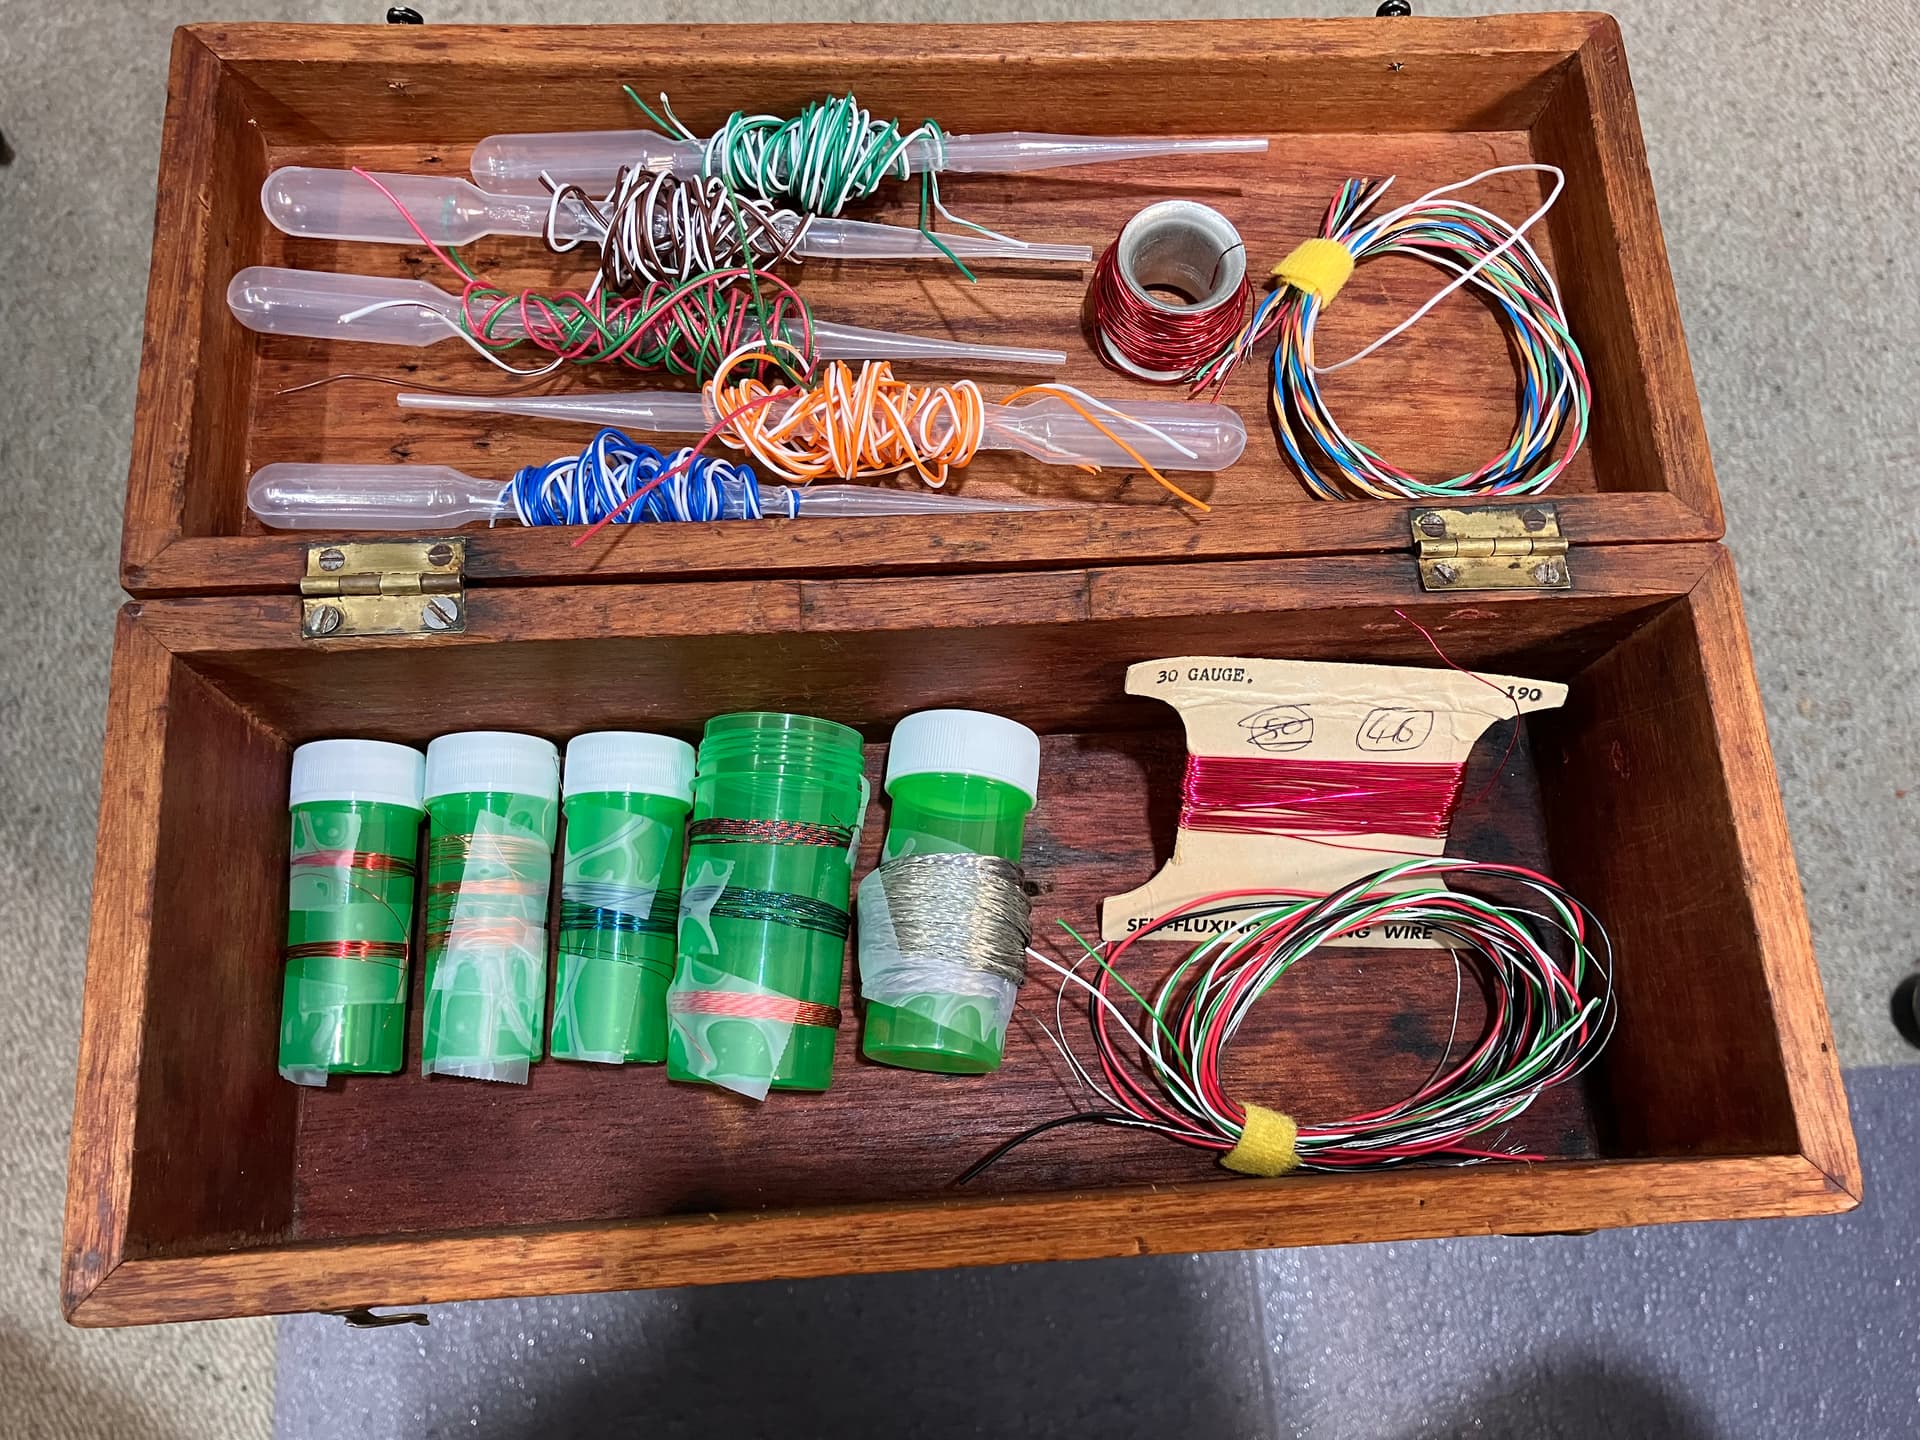
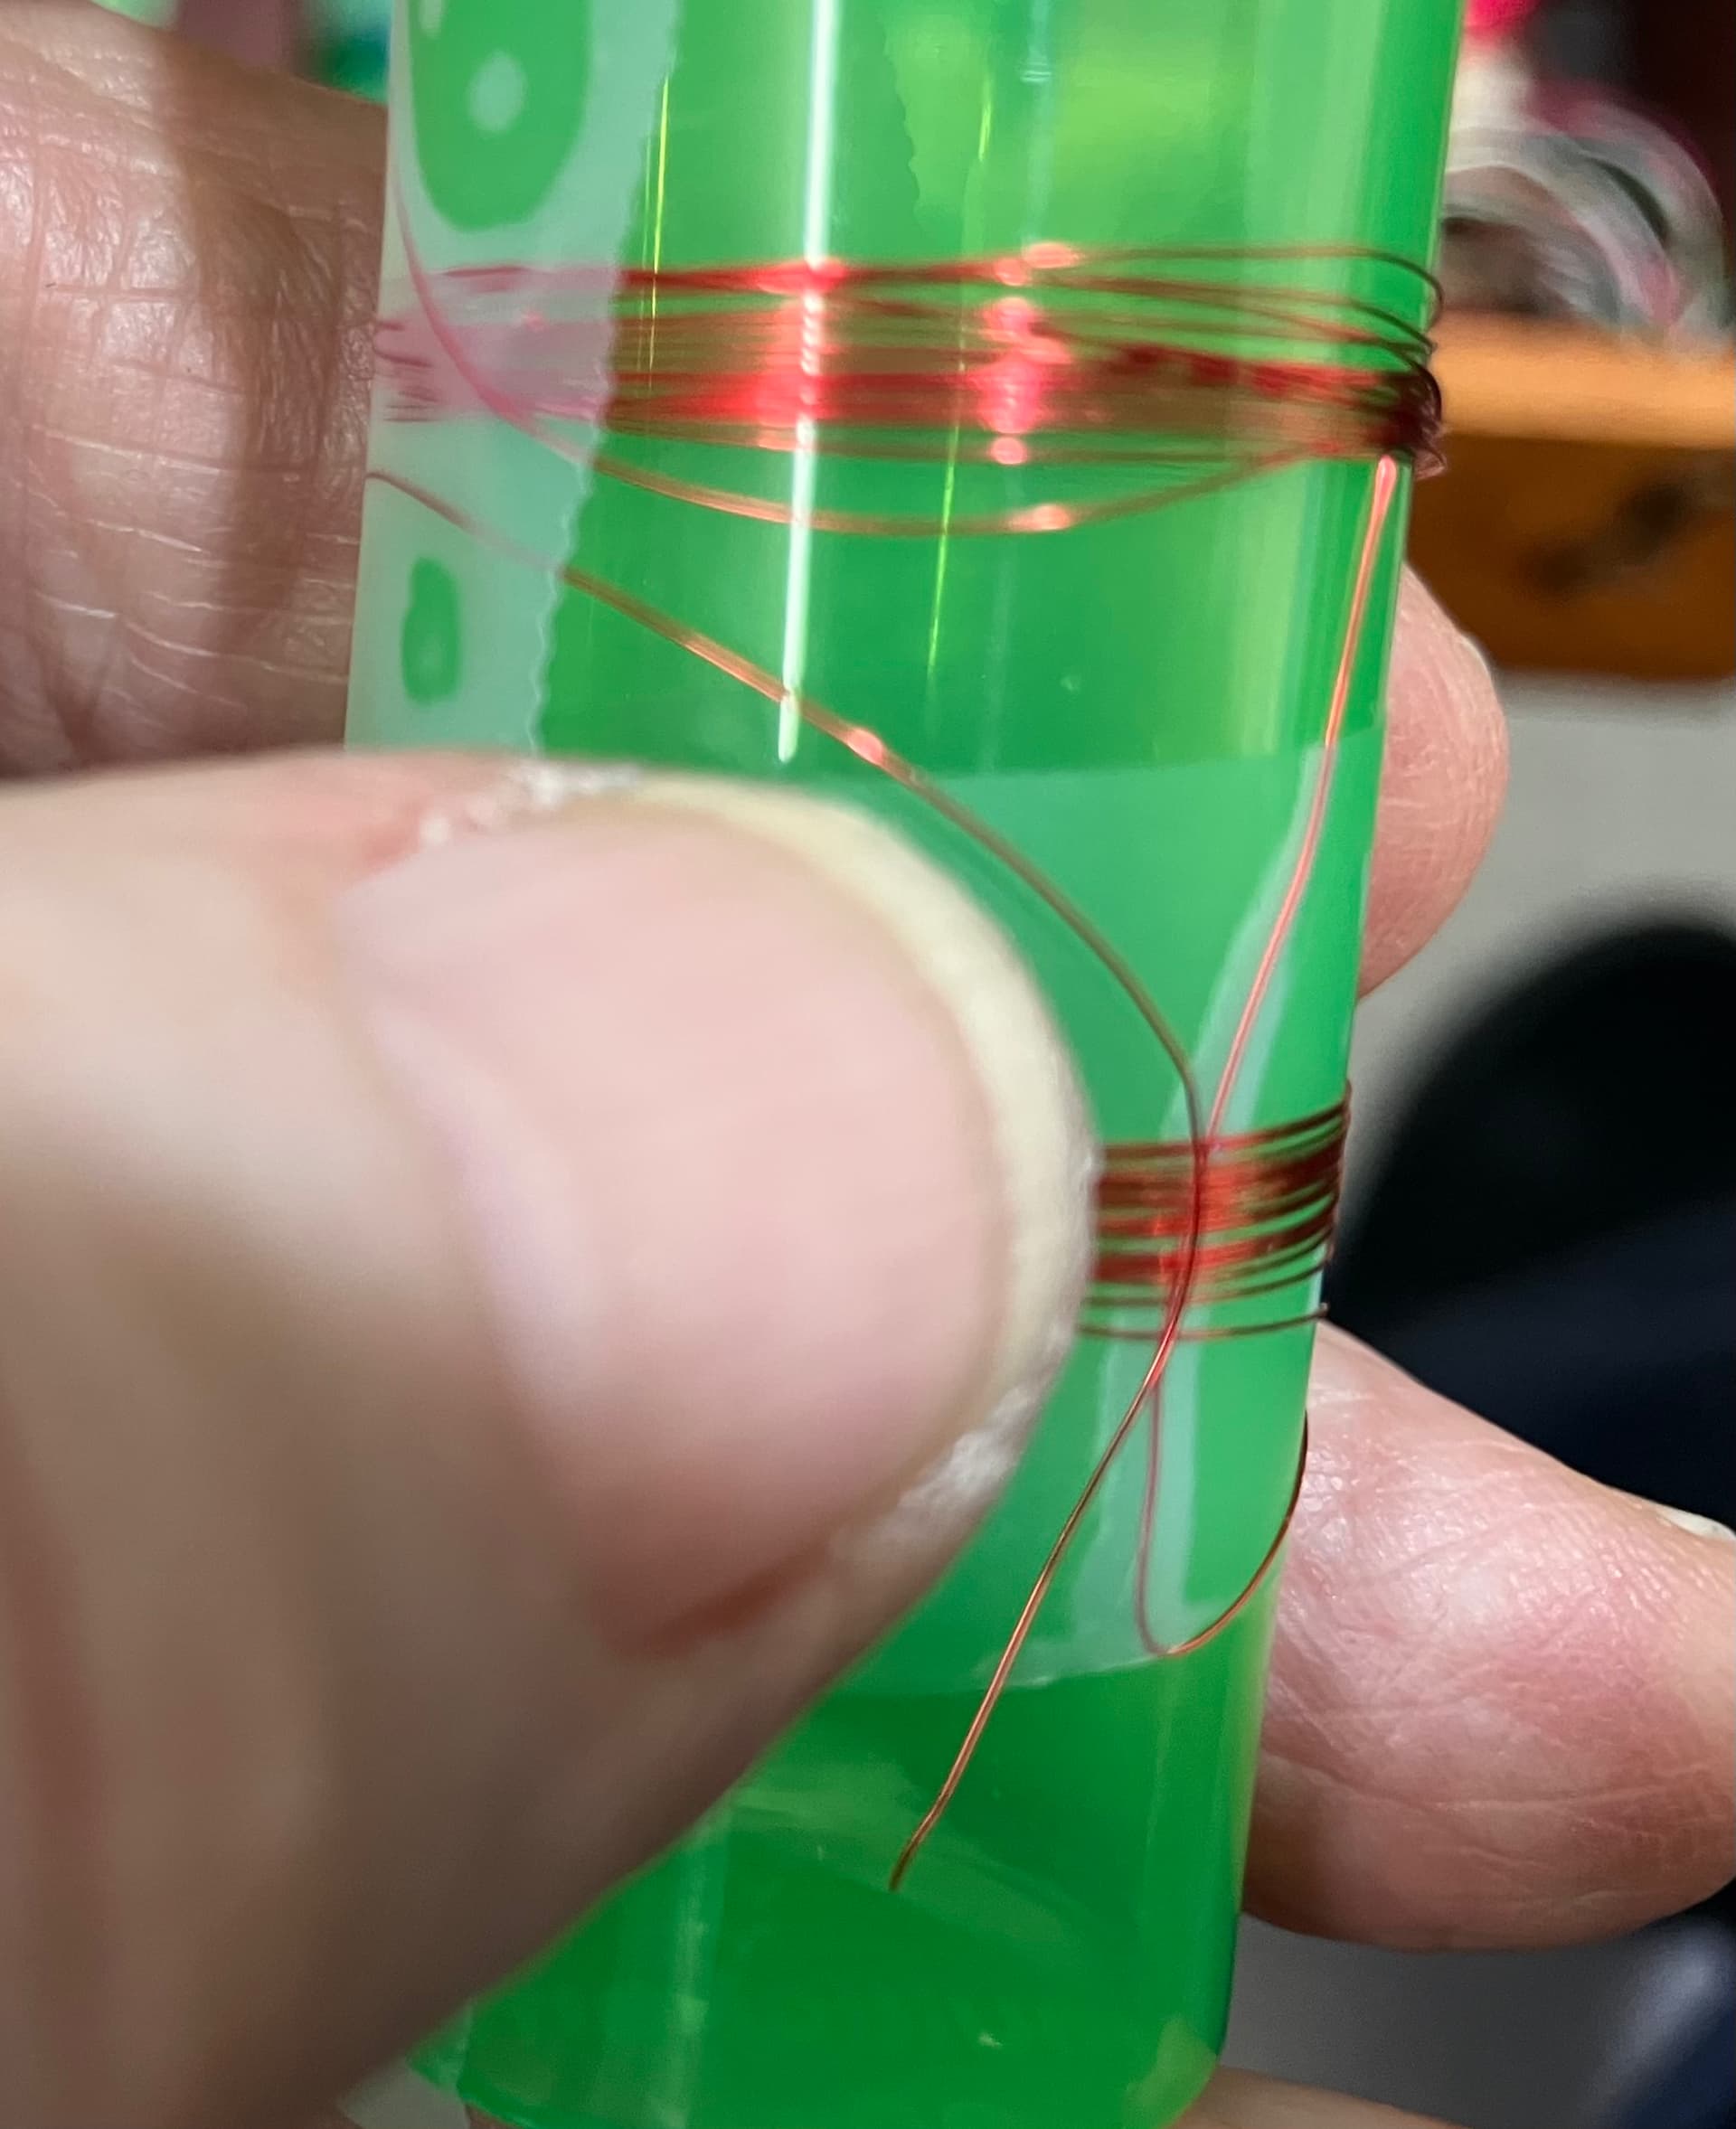
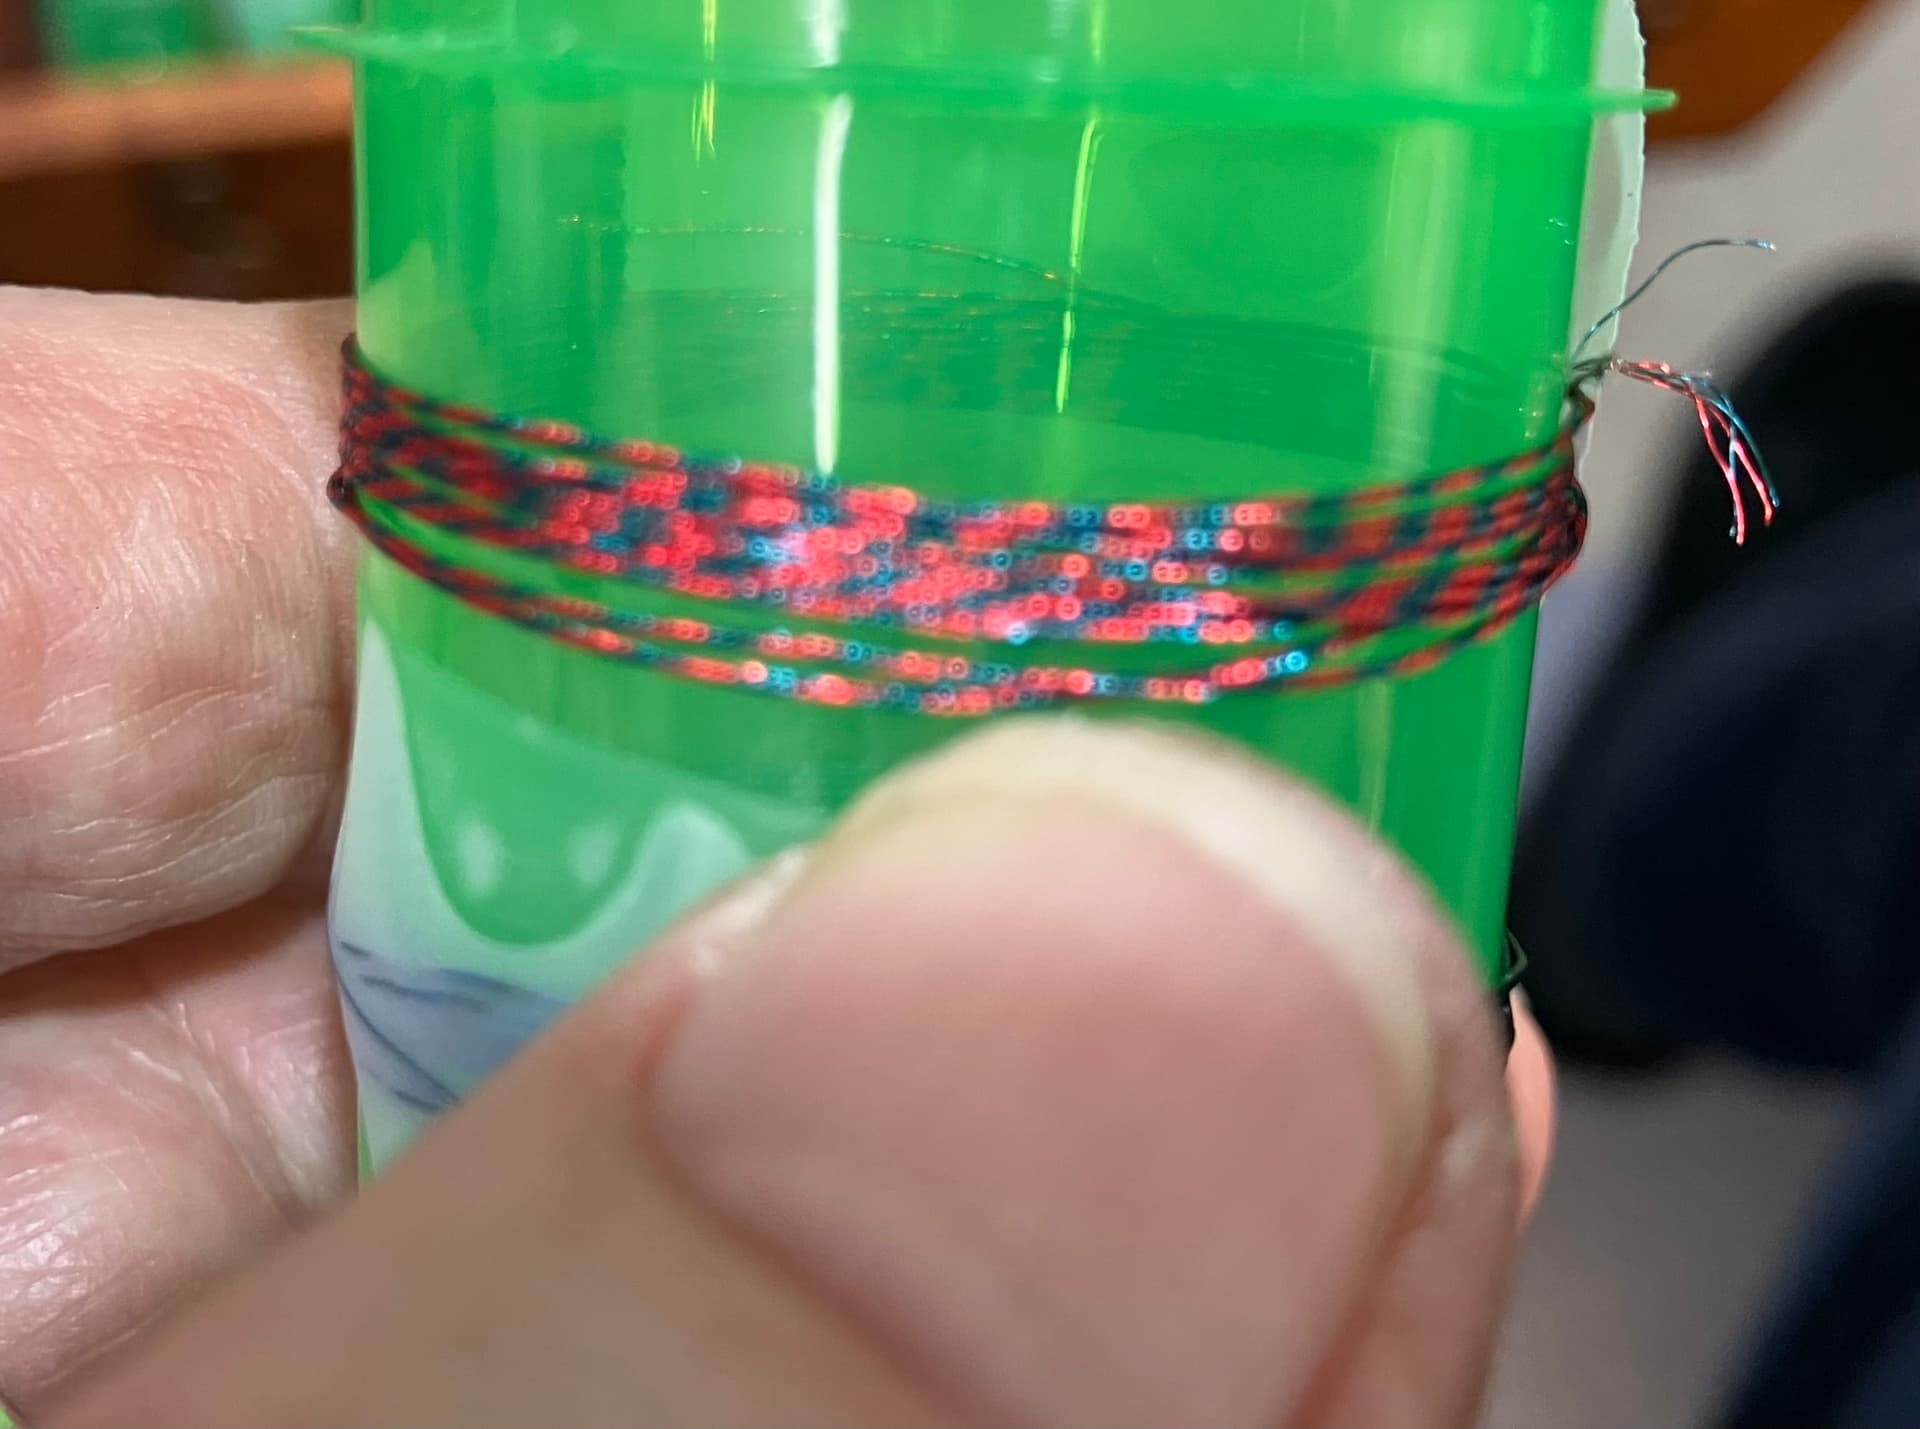
Hopefully you can see how fine (0.1mm) some of these wires are ready to “decorate” my R8.
Looks like a great selection there @DerekNZ . Should really dress up that Audi R8 your working on. Looking forward to seeing your work.
I love your enthusiasm, Derek!
The funny thing is, around here some of those “young whippersnappers” you’re planning to take on may only be ten years younger than you (like me, though you won’t see me building a car model anytime soon). There aren’t nearly as many actual whippersnappers in this hobby as there used to be!
And judging by what you were doing with those Formula 1 cars back in the '60s, I suspect you’re bringing plenty of experience with you. The tools and materials may have changed, but the skills, patience and persistence probably haven’t disappeared.
Looking forward to seeing what you do with that Audi and all that wiring!
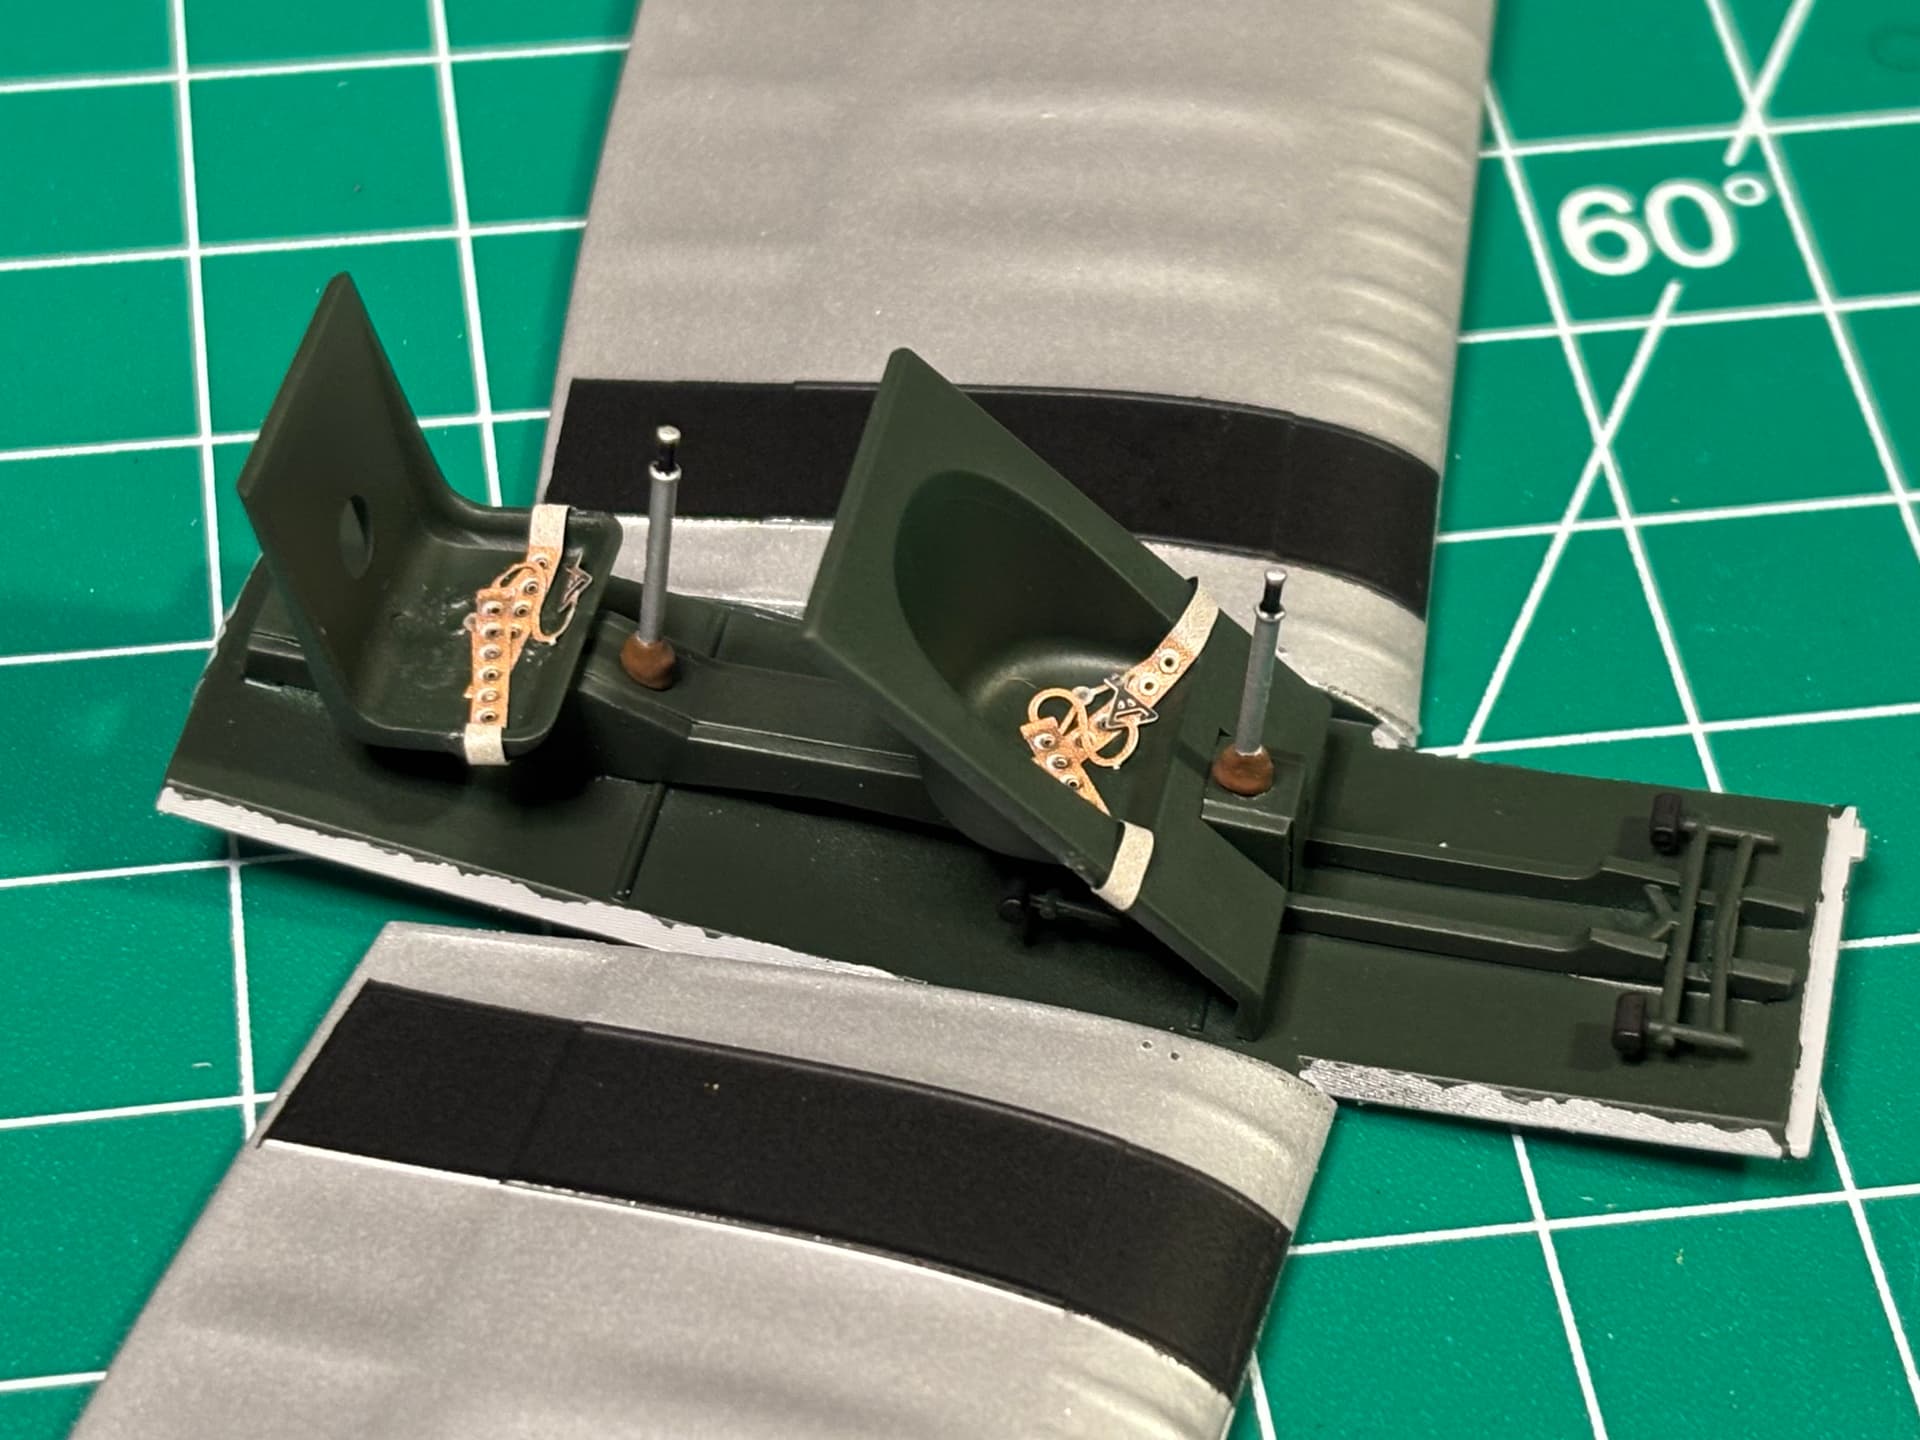
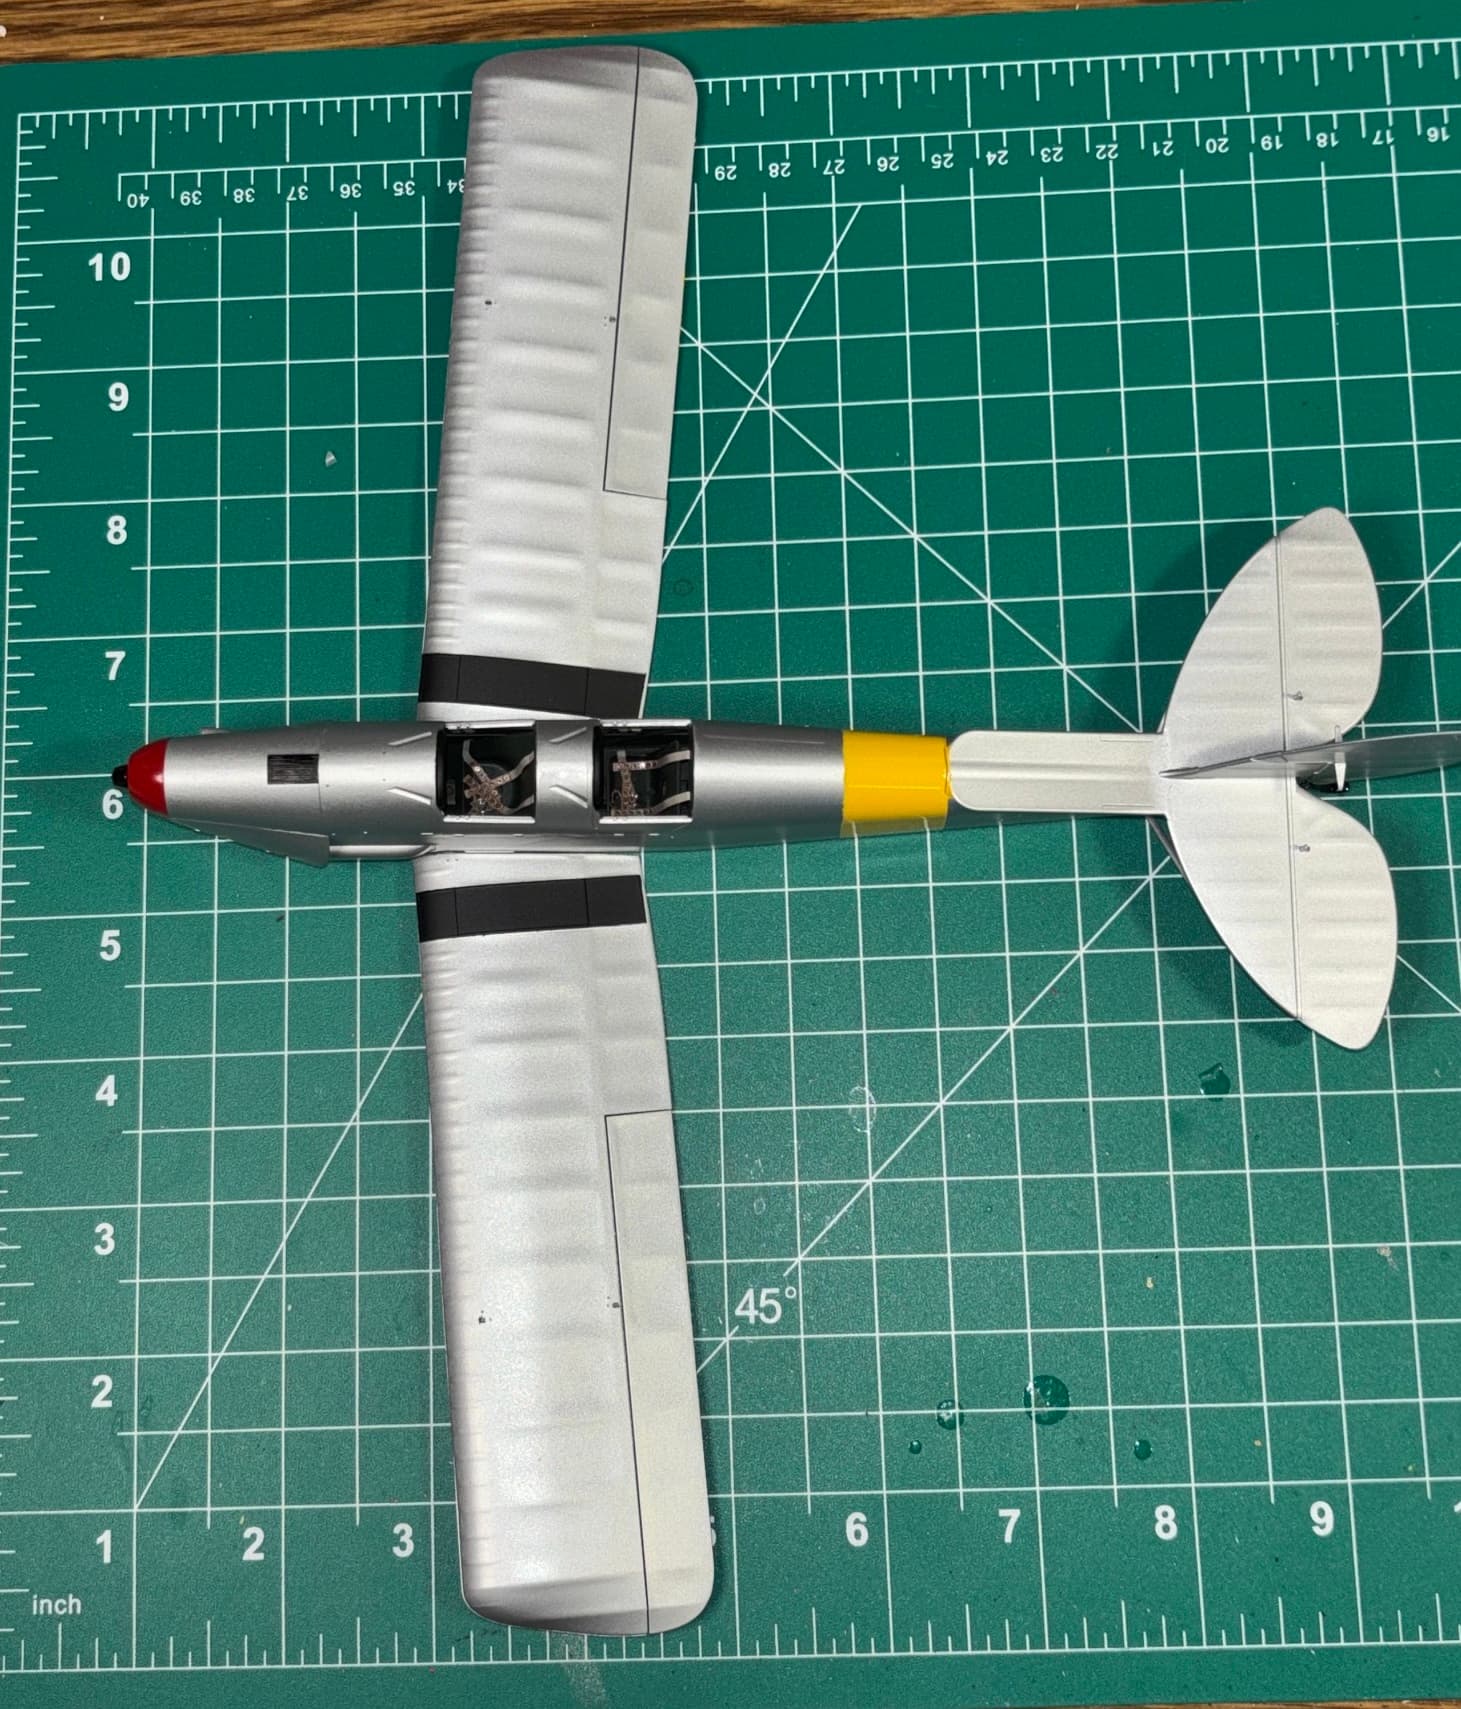
The cockpits are finished, the bottom wing is attached and the Tiger Moth is starting to look like a plane. This was my first time adding seatbelts (Eduard PE) and I think I like them.
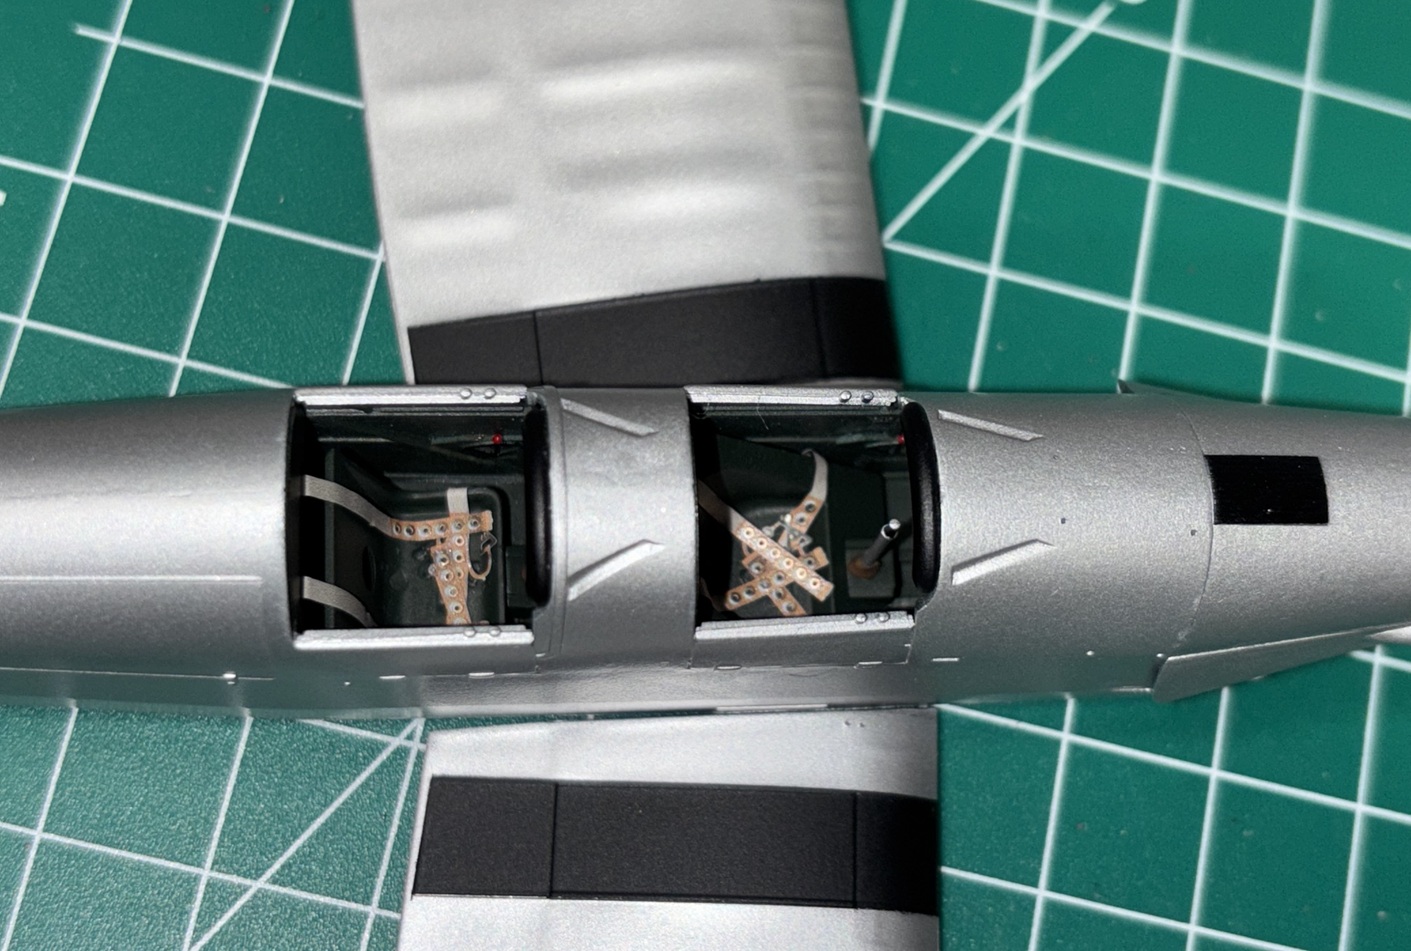
That doesn’t look at all over-weathered to me, it looks quite subtle and as you say, very close to the reference. Respect! 
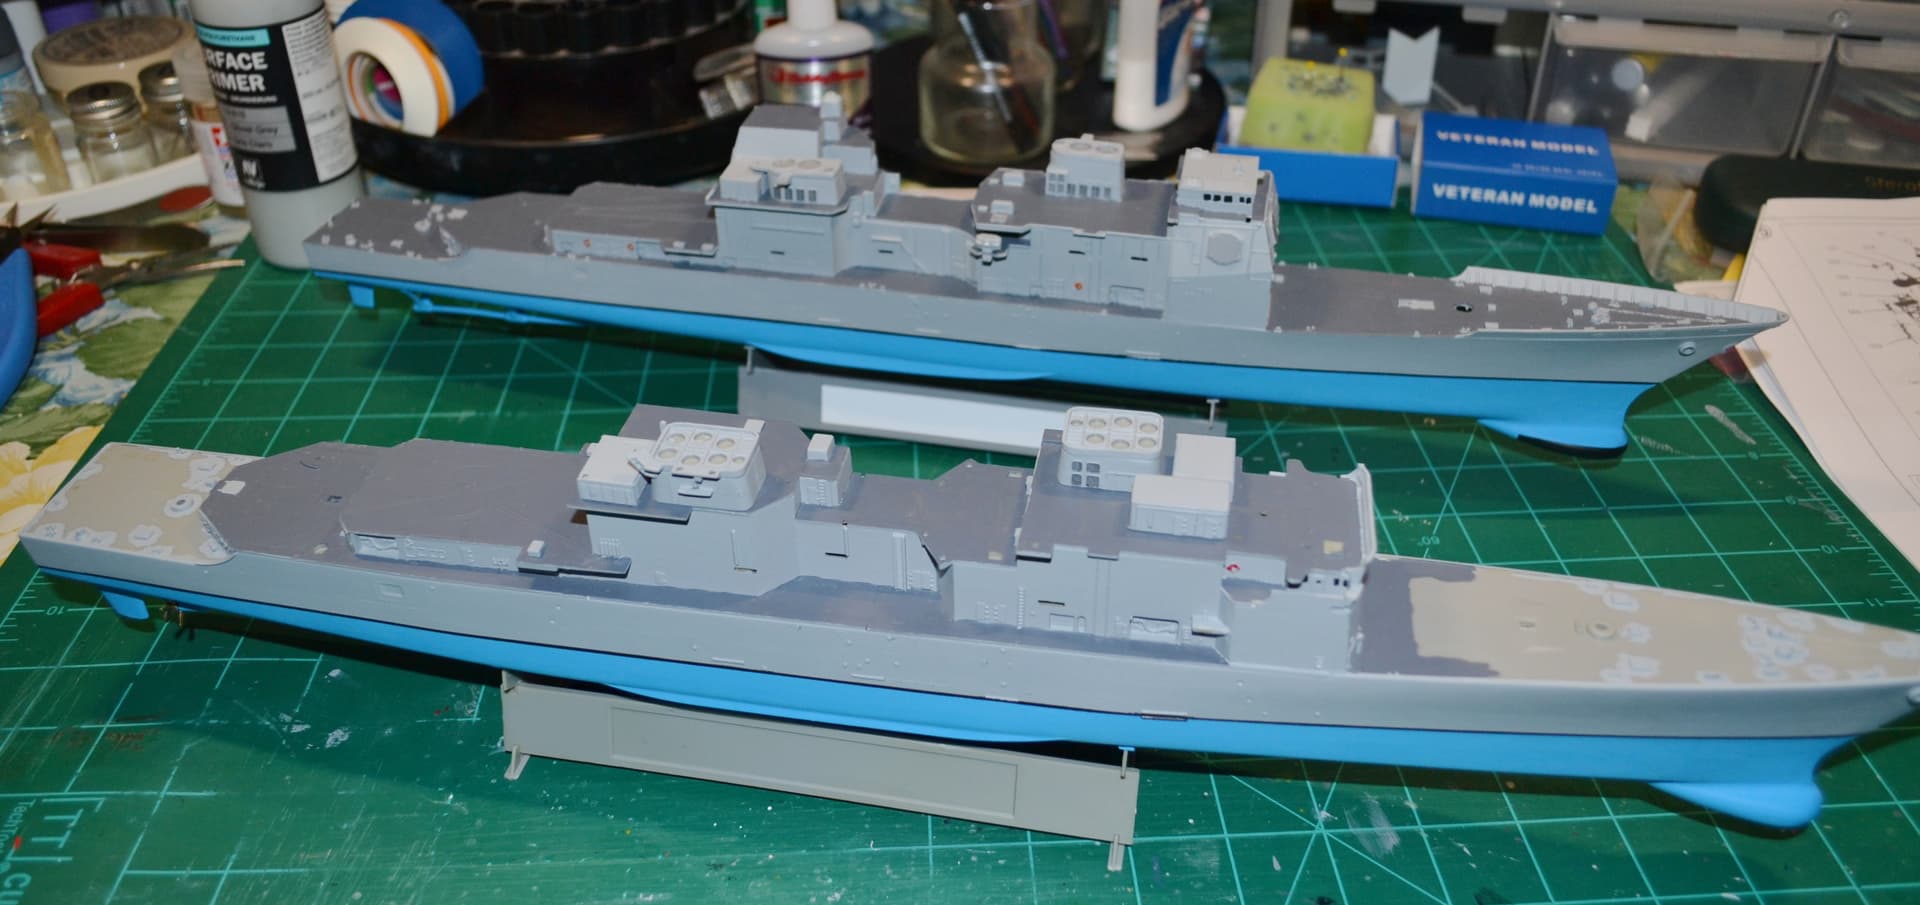
Spent a quiet relaxing day today working on my two what if future ships.
Mostly the Spruance one though as I was doing a lot of painting on it.
Still have a long way to go before both of these are finished.
Italeri 1/350 scale TICONDEROGA class cruiser in the background.
Mini Hobby 1/350 scale Spruance class destroyer in the foreground.
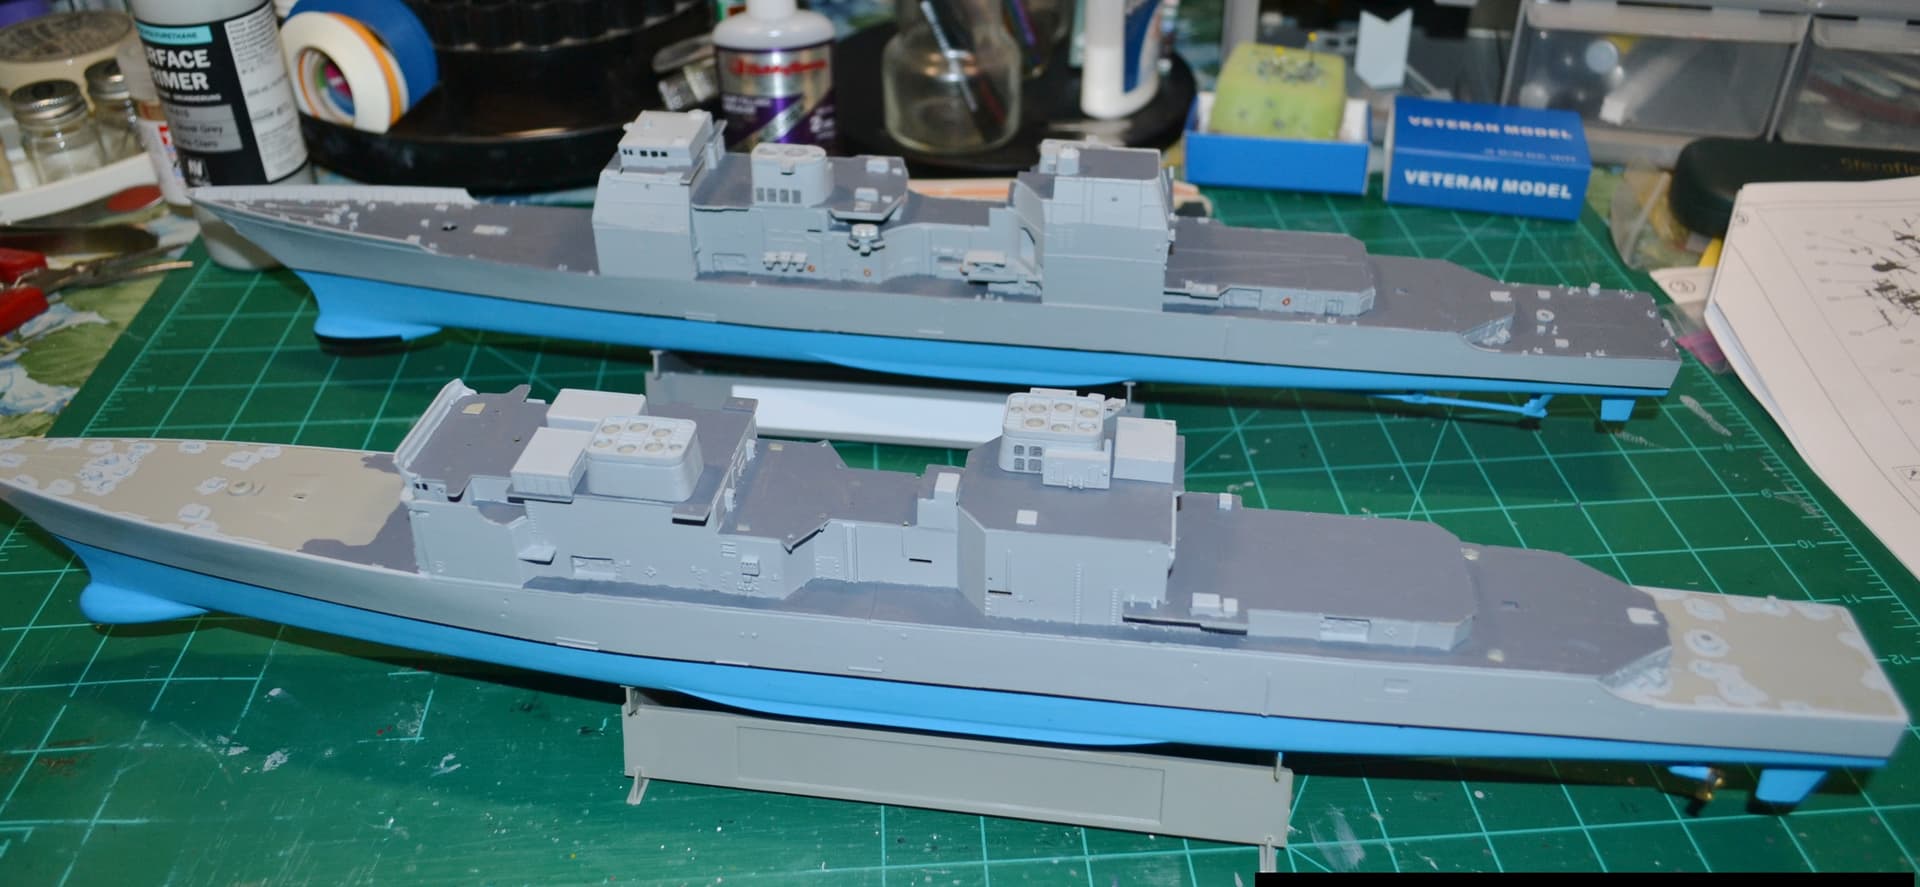
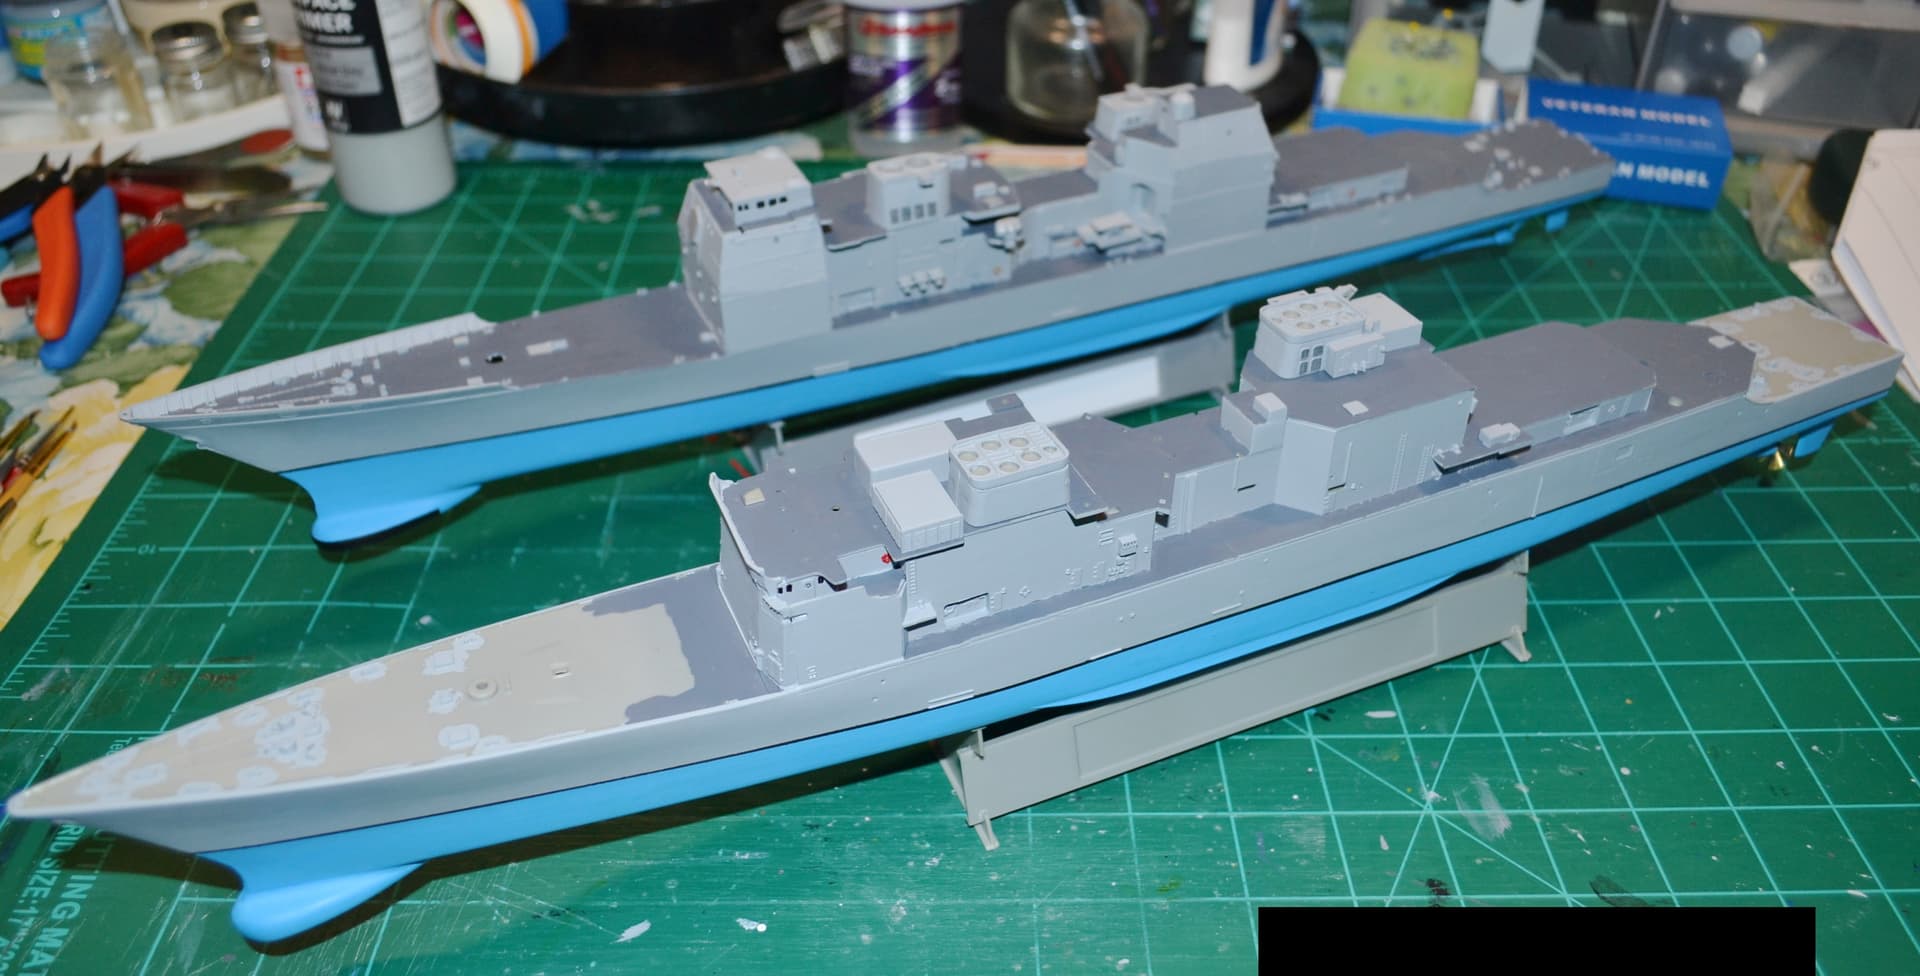
That’s awesome!! Ha ha, yes I do!!
A relaxing day at the workbench sounds wonderful! I’m looking forward to the day when I can enjoy a few more of those myself. 
Thank you, I really appreciate that. Considering this was my first kit back after about 35 years, a lot of the weathering was pretty experimental, and I honestly wasn’t always sure what I was doing.
Your comments are very generous, and I really appreciate them.
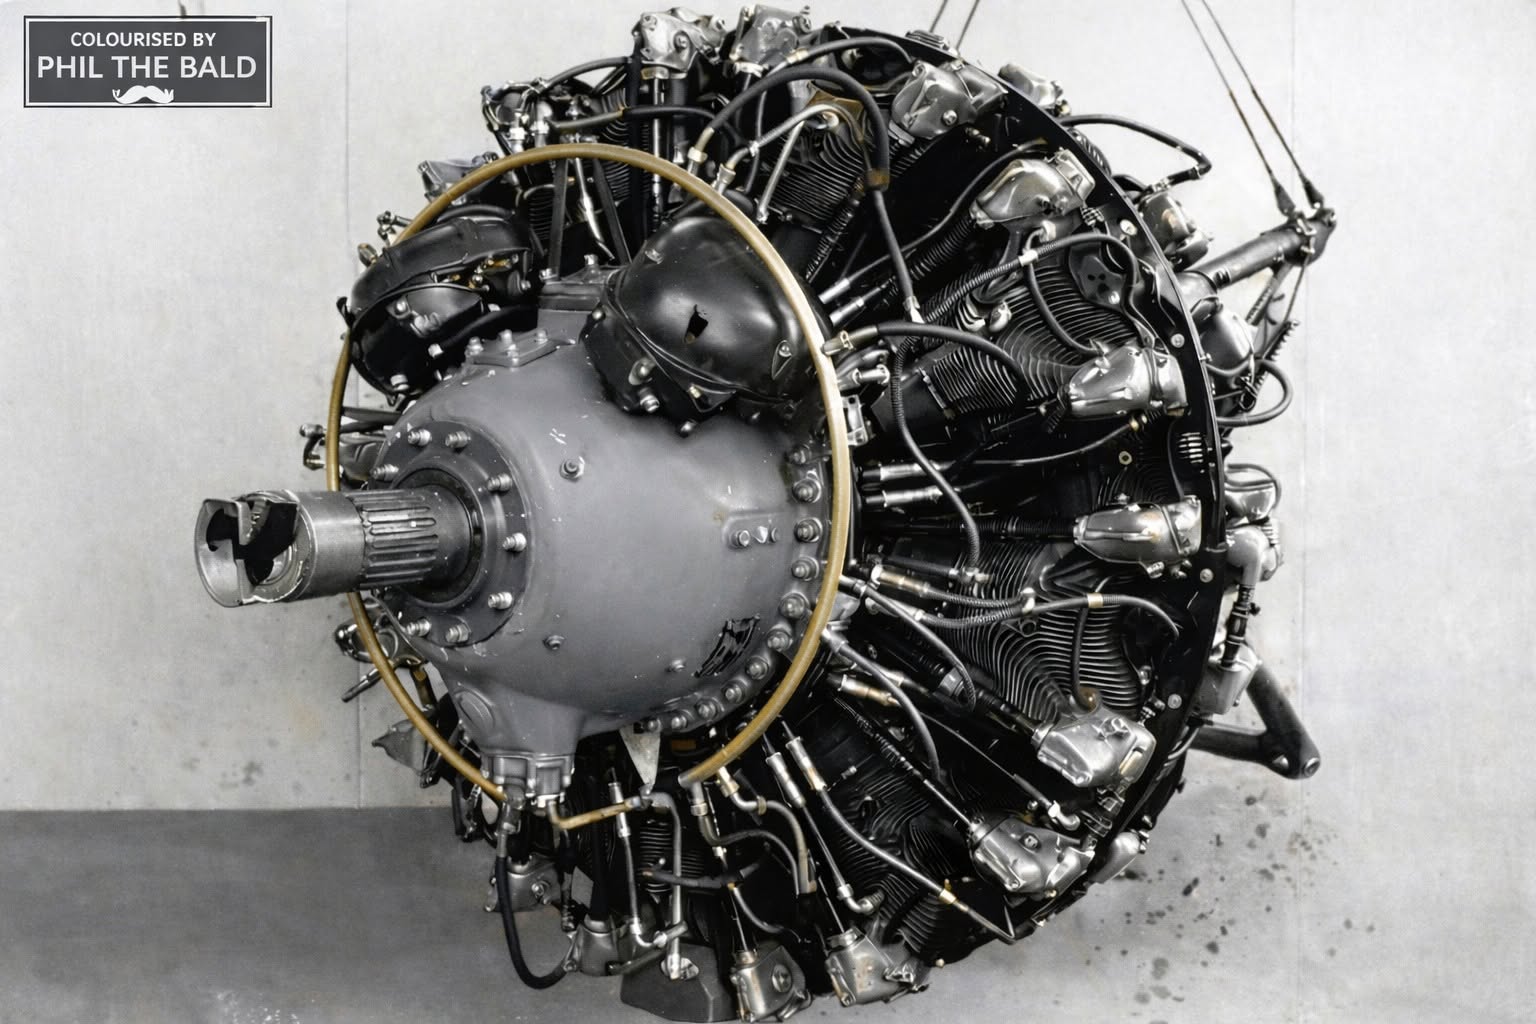
looking for some good pics of a P&W R-2800 for future ref. I came accross this pic.. Its a really good pic so I thought I would share.
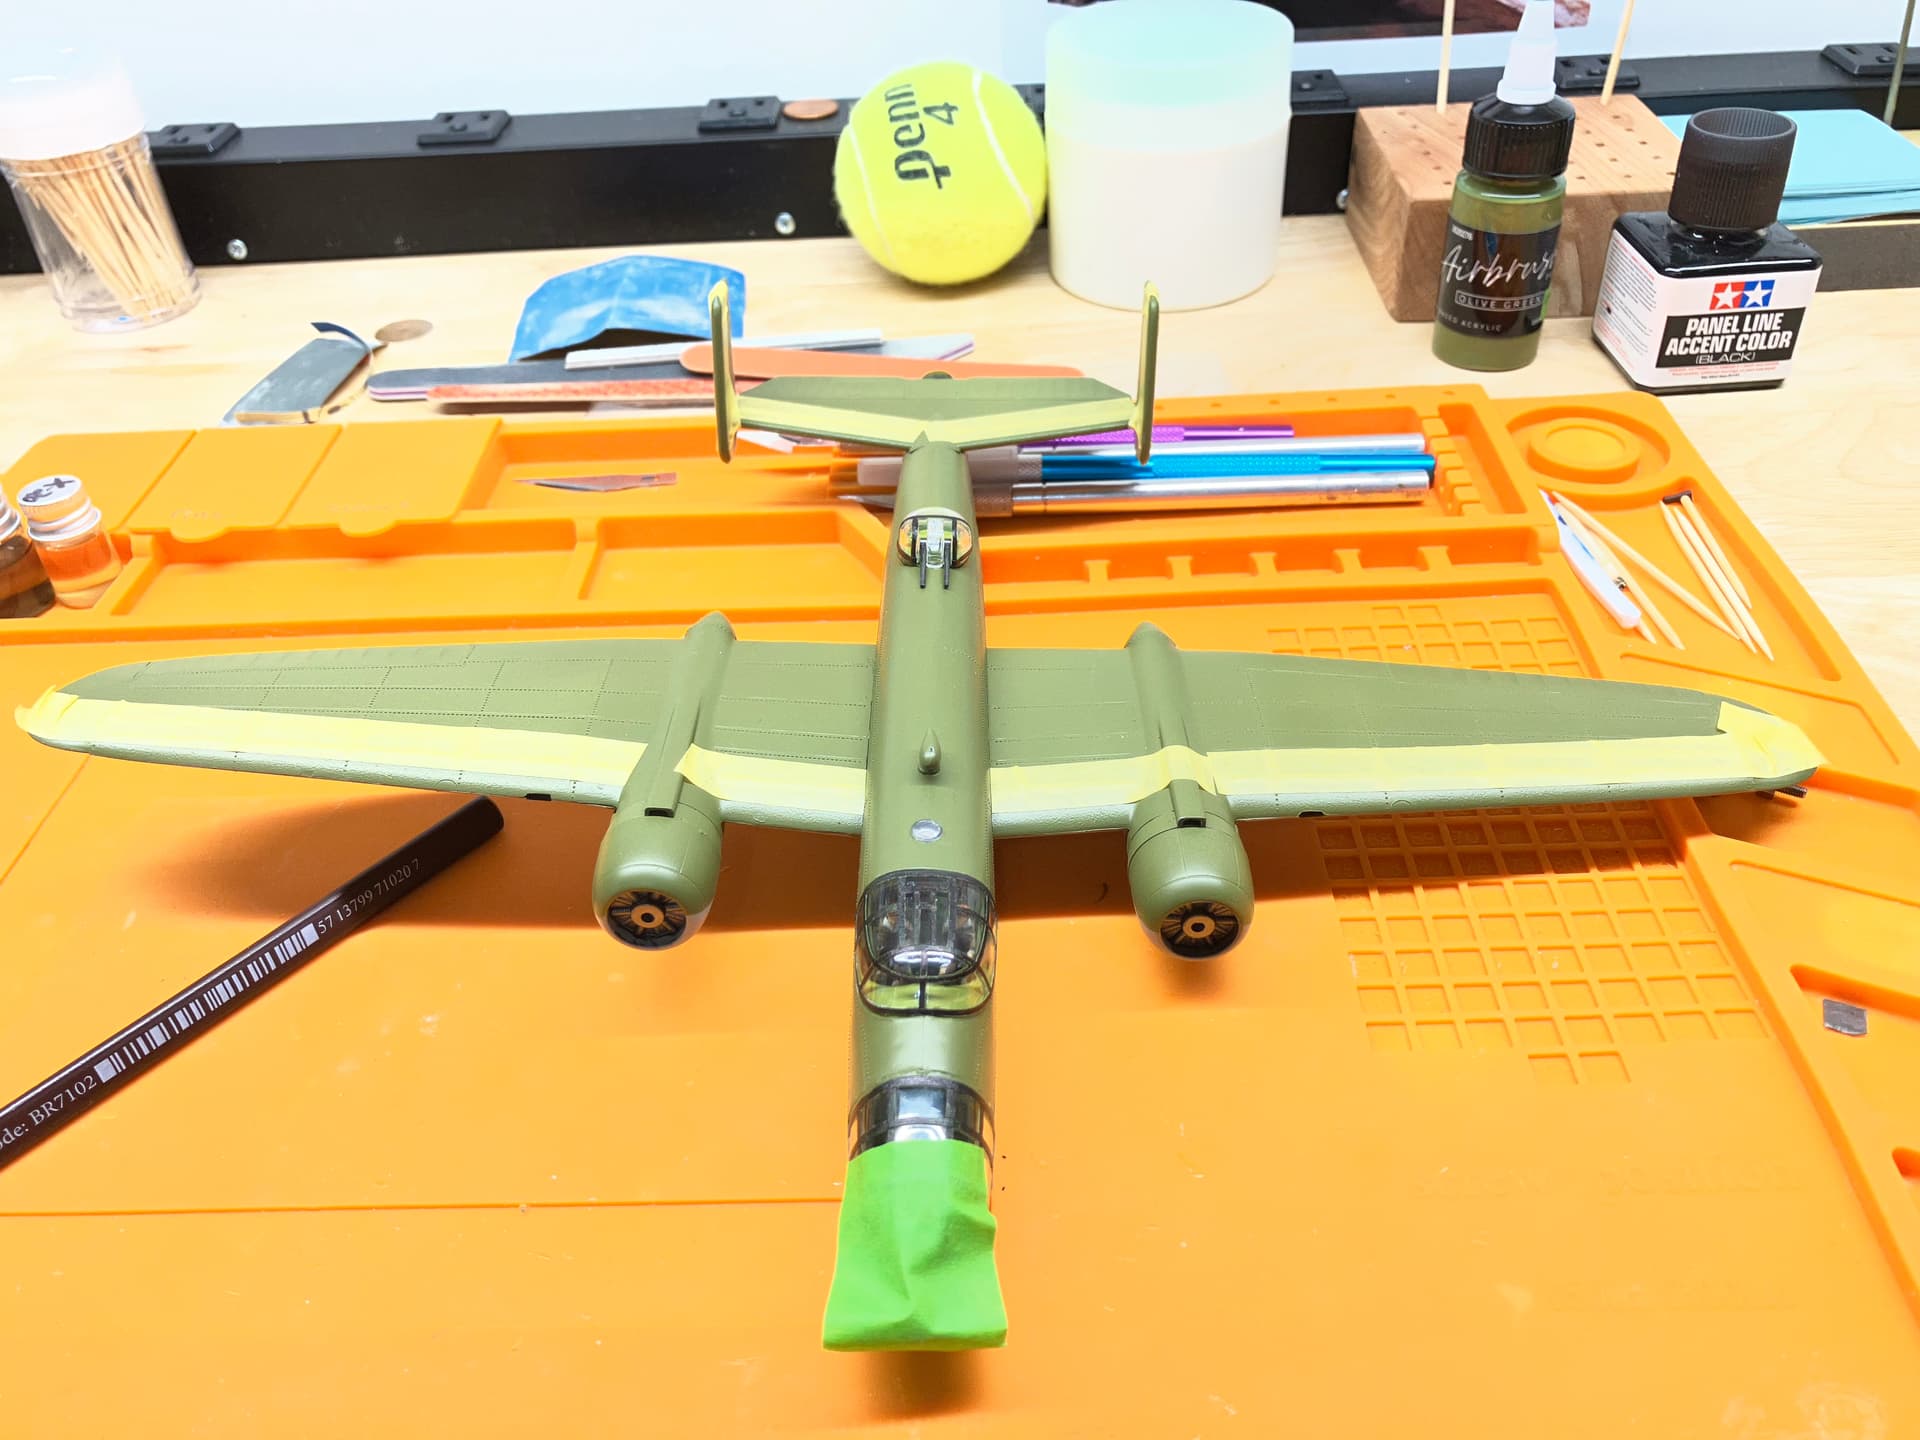
OK, done with this one and it will hang from the ceiling. An Atlantis reissue of the B-25. Lots of flash, lots of challenges, but nostalgic and a fun build. Glad it is over though so I can get onto the next thing. Don’t know if it turned out to be a silk purse from a sow’s ear, but it definitely is better than the one I built back in the day. I forgot to mention that I painted this primarily with the new Hobby Lobby Airbrush paint FWIW.
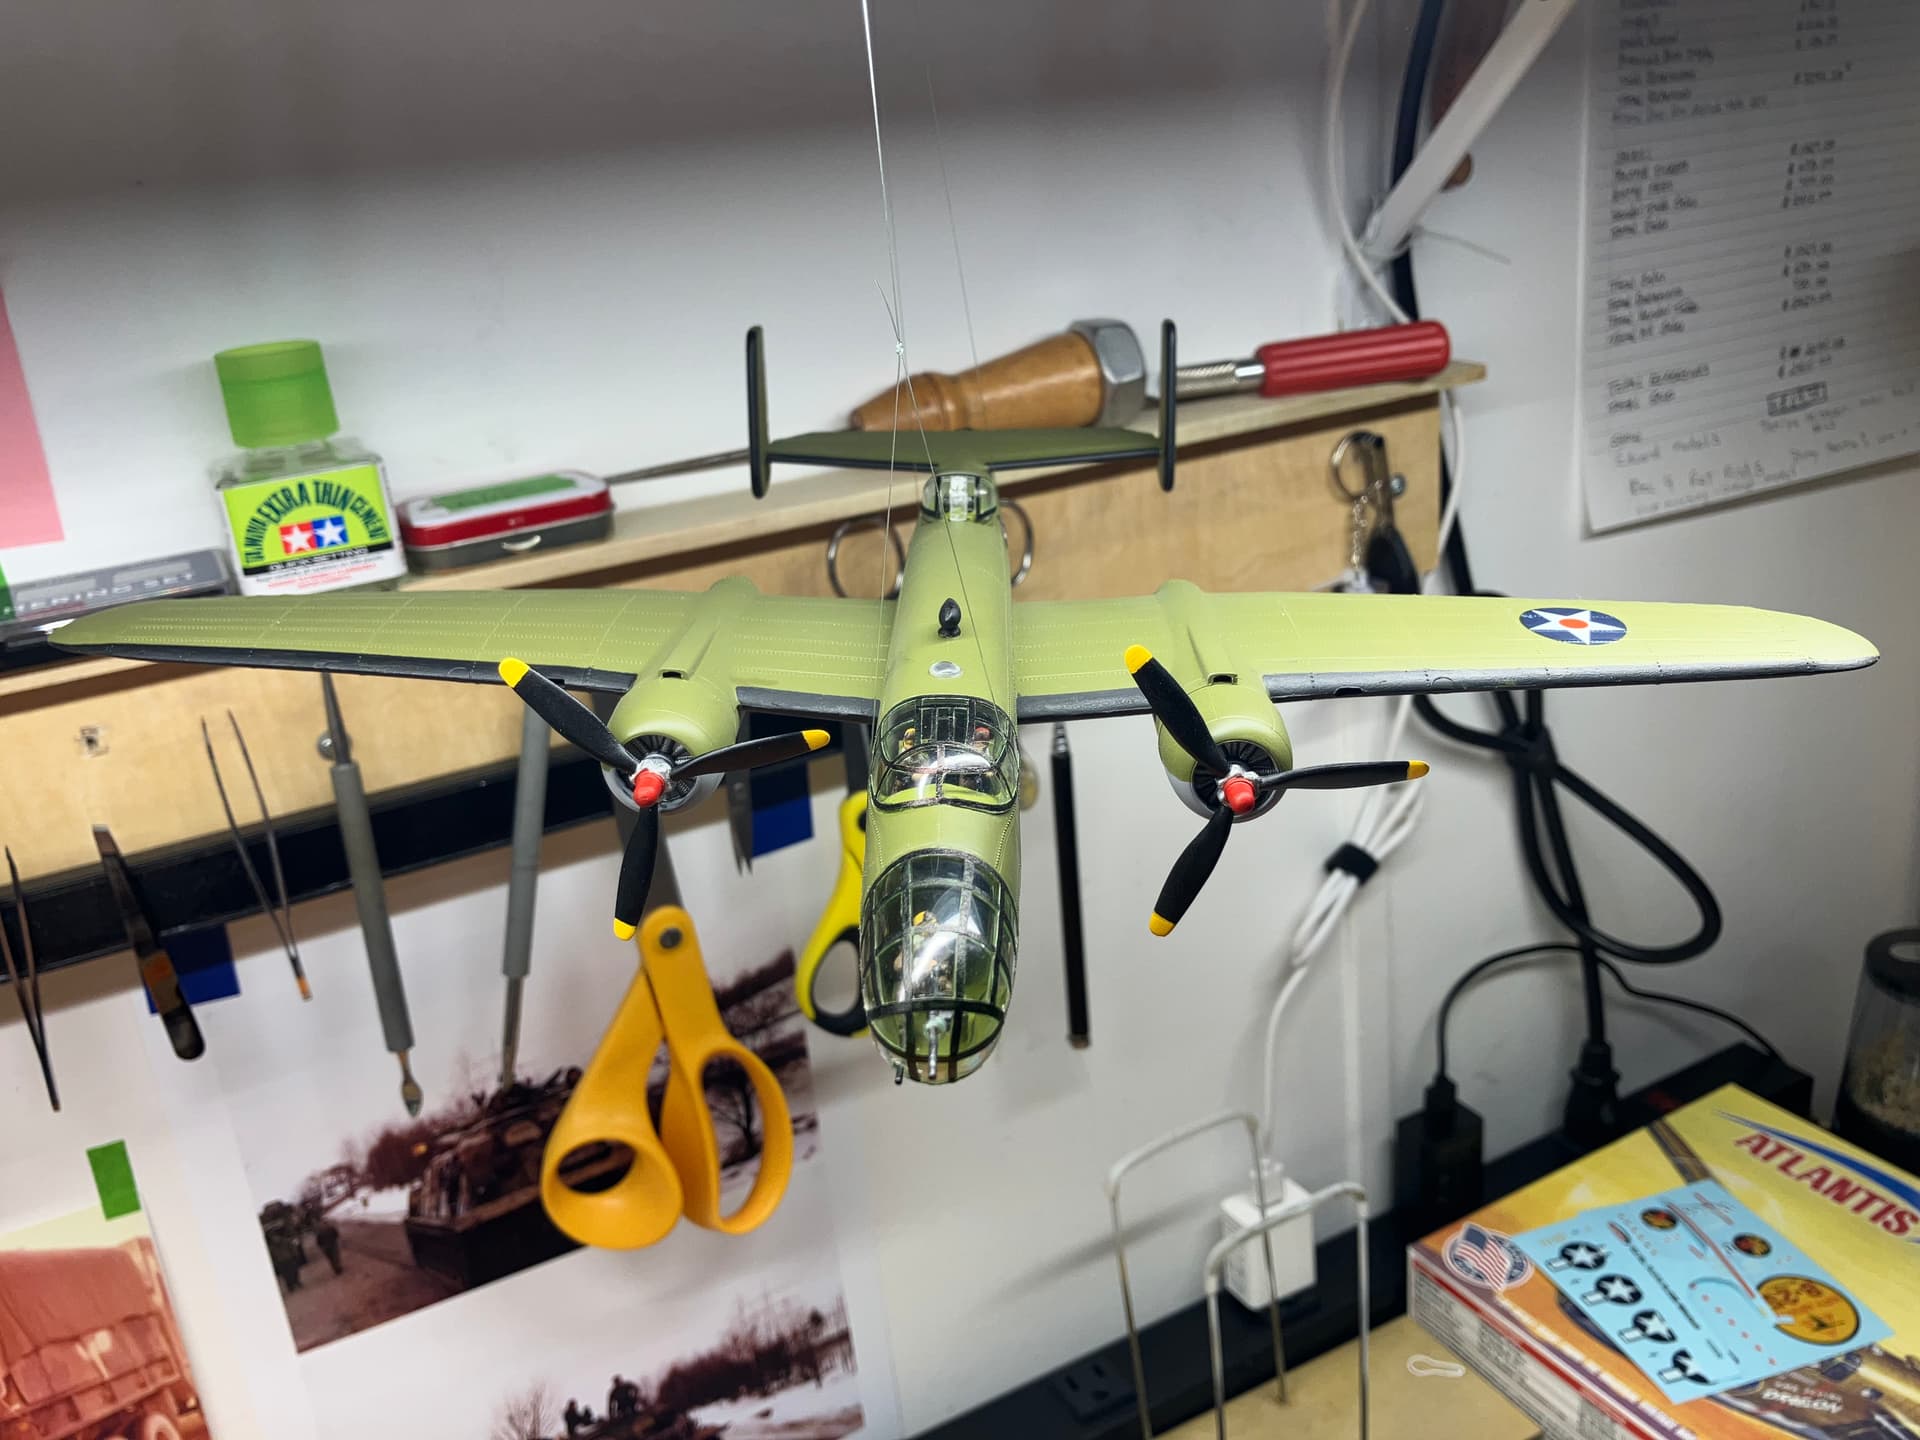
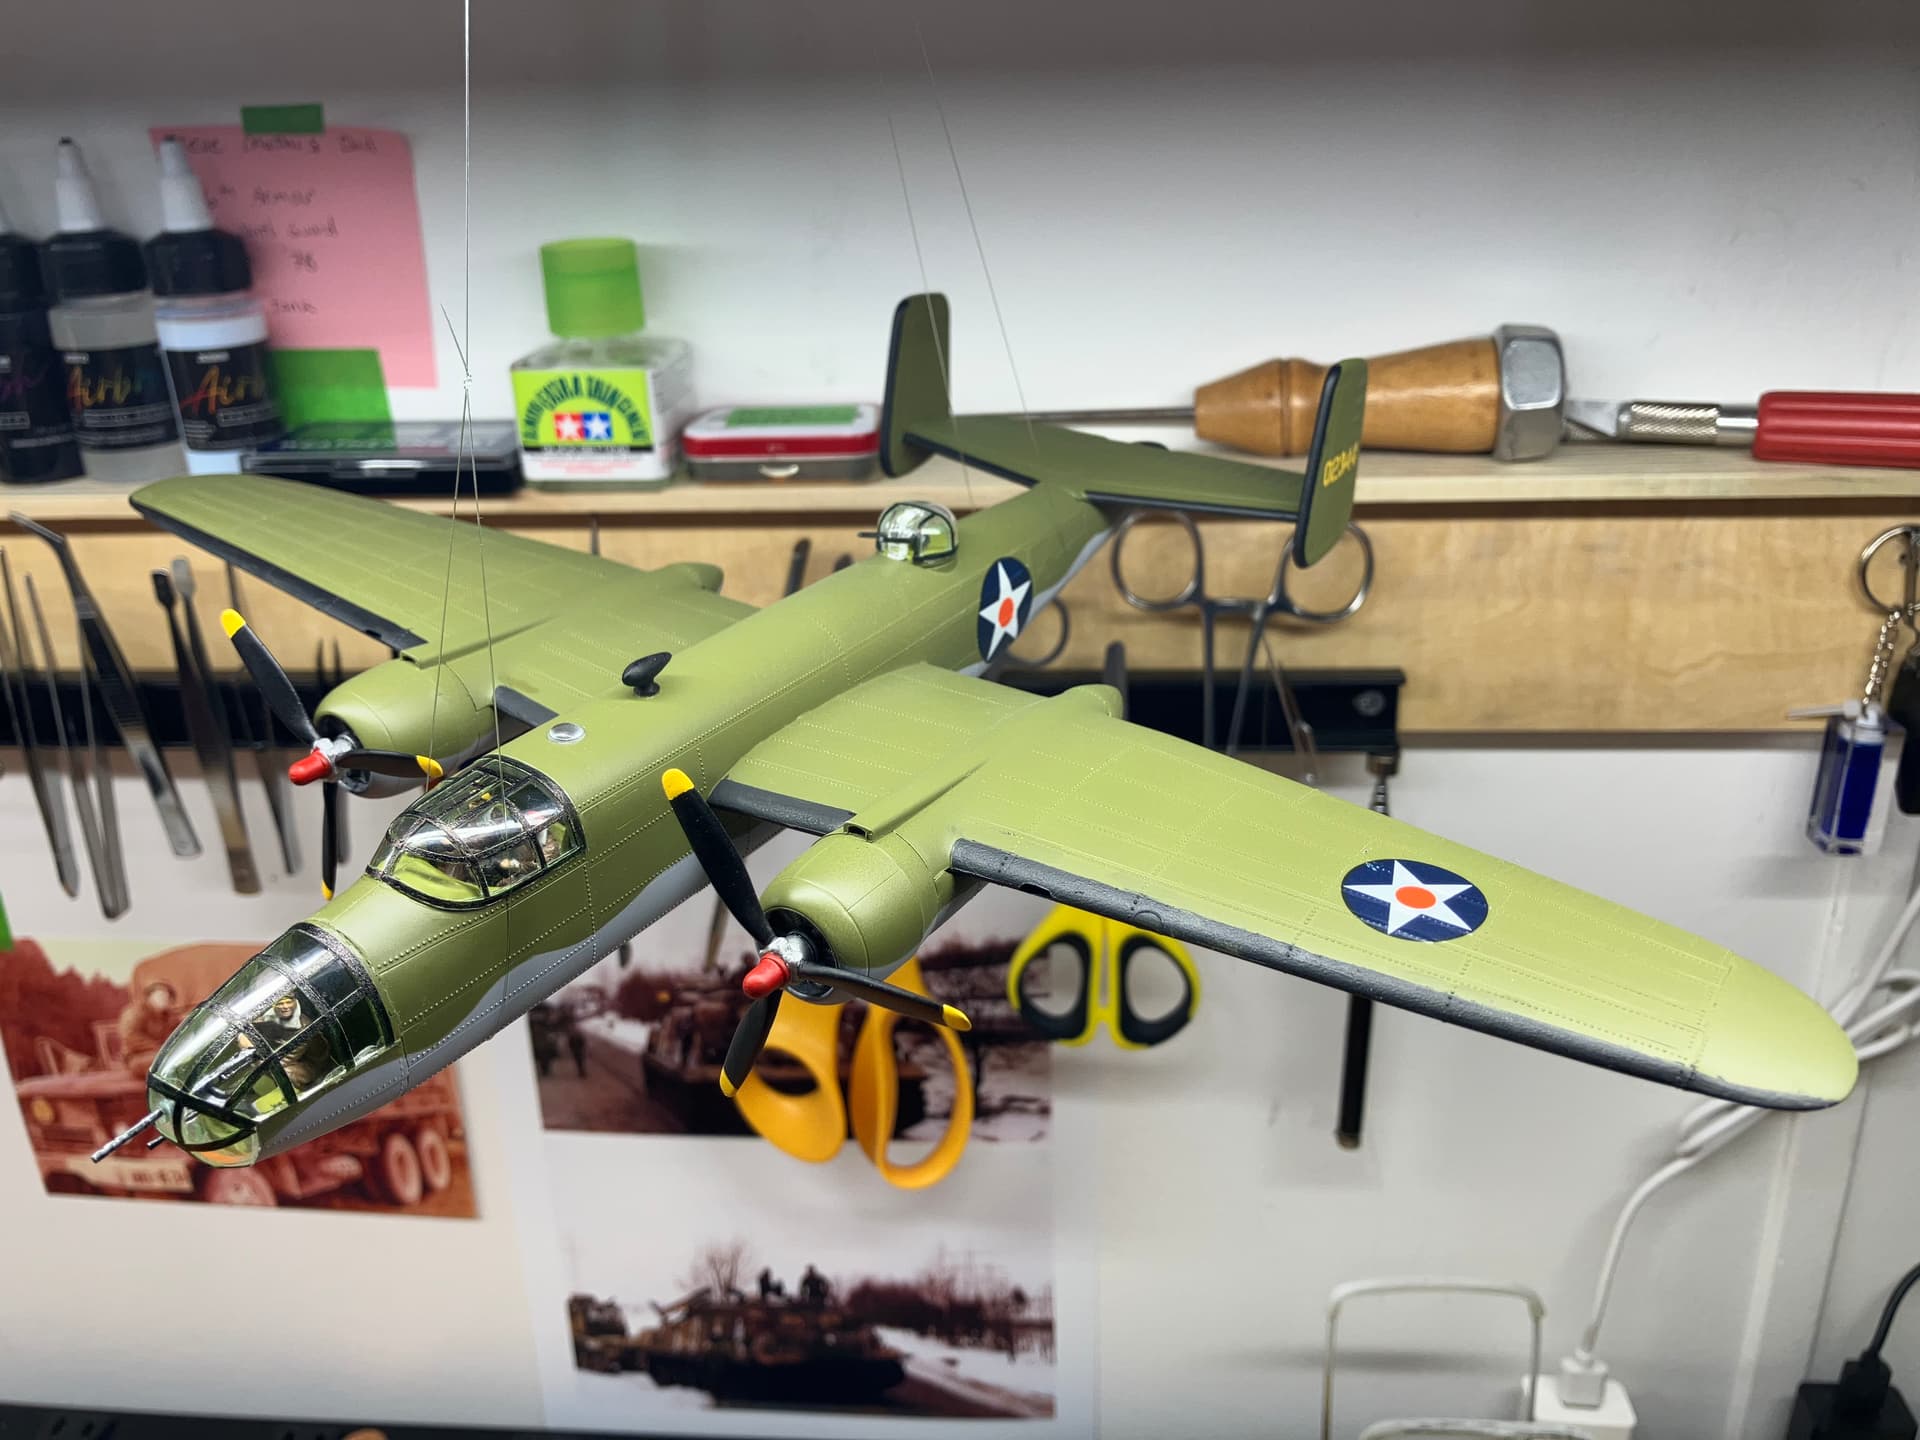
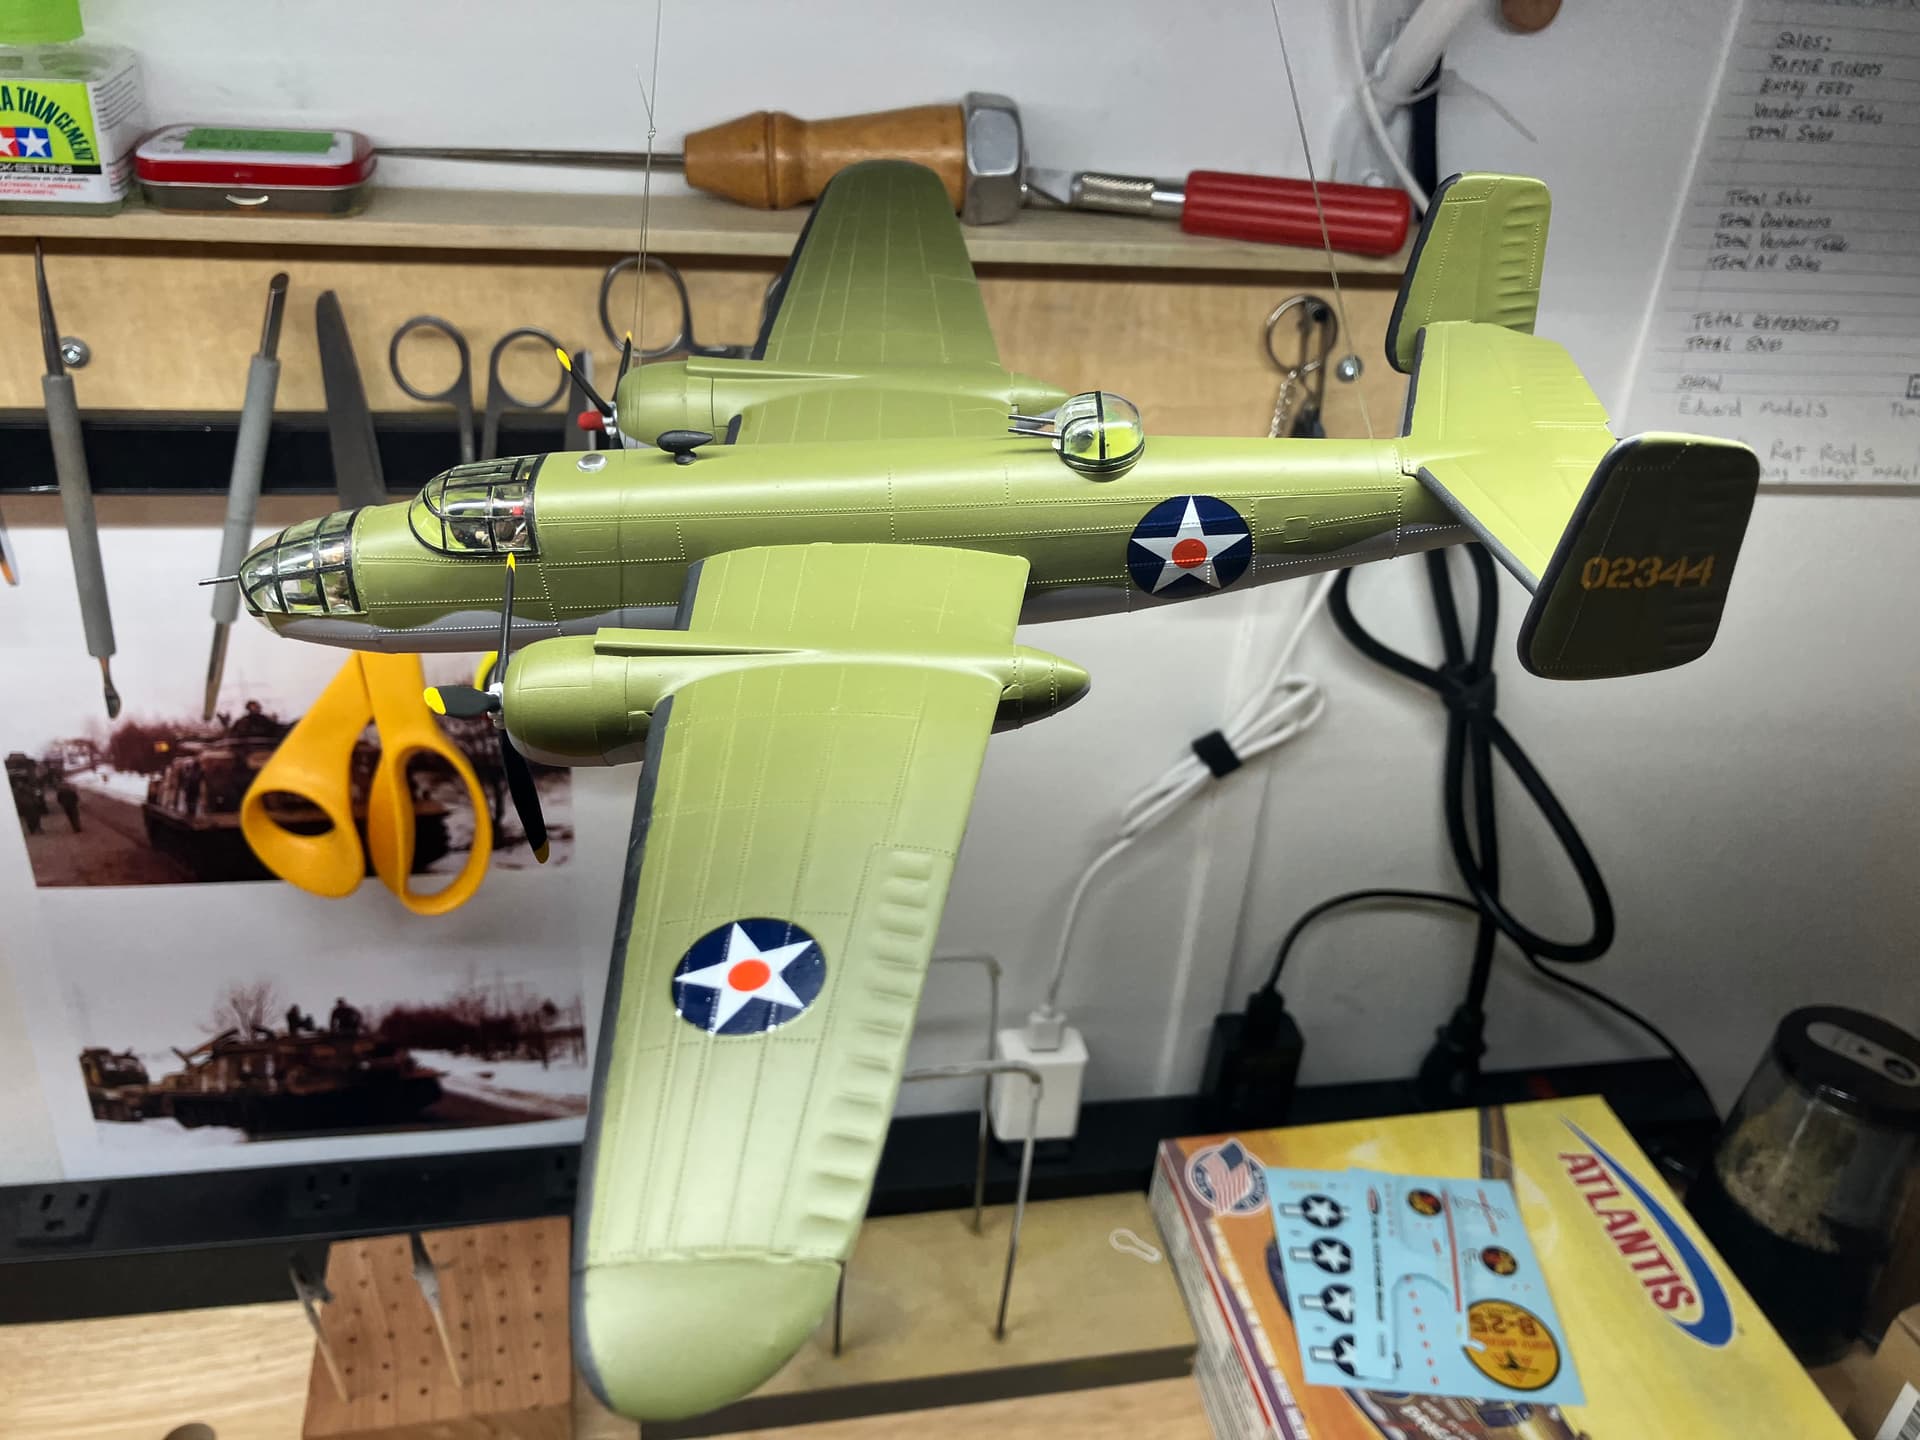
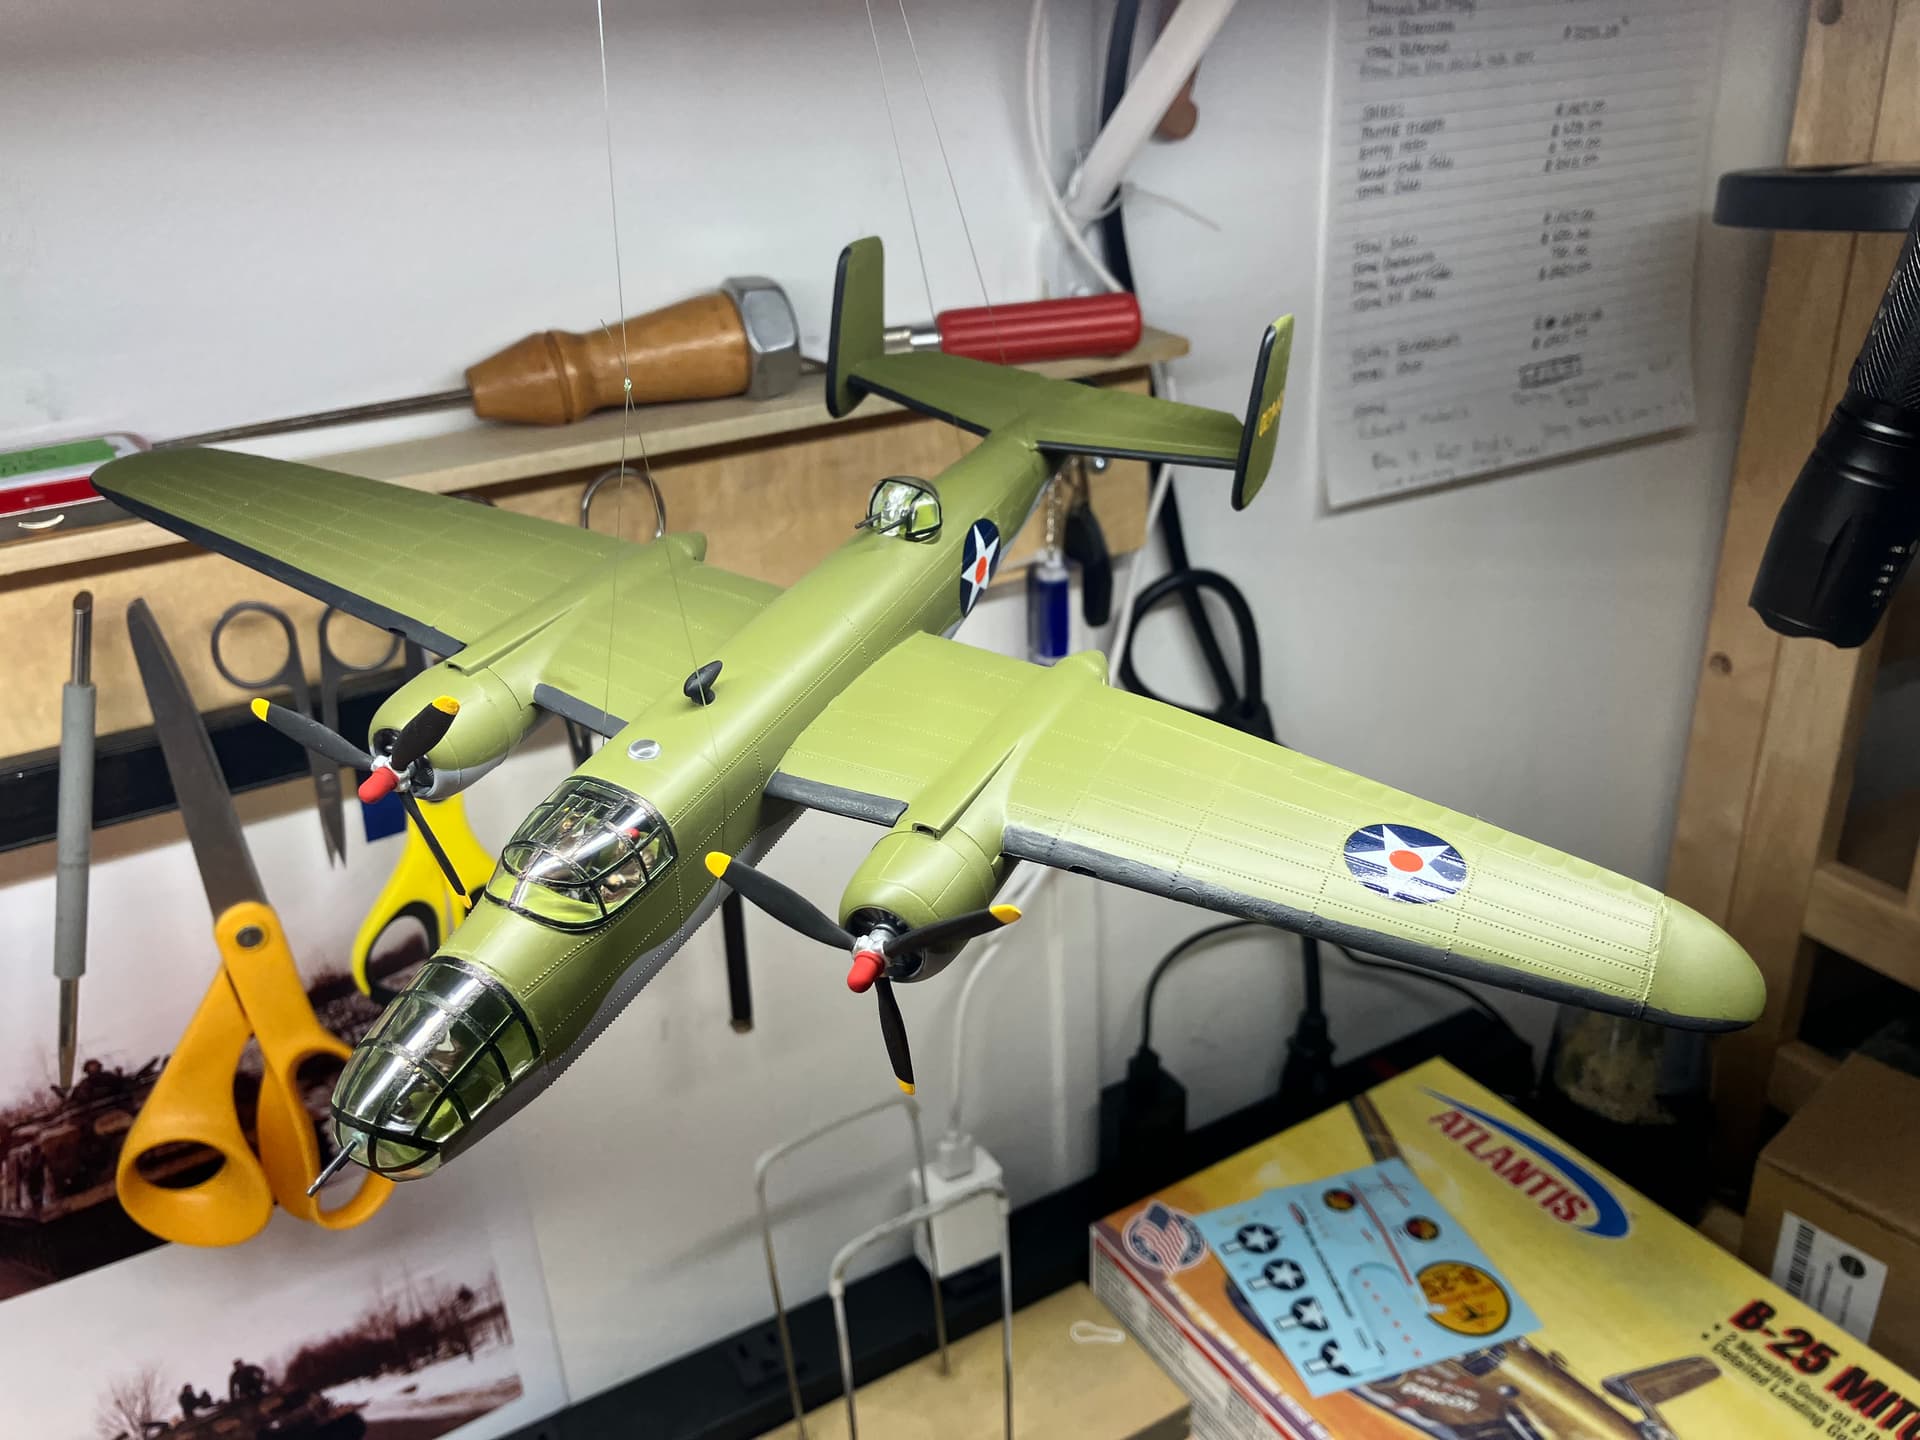
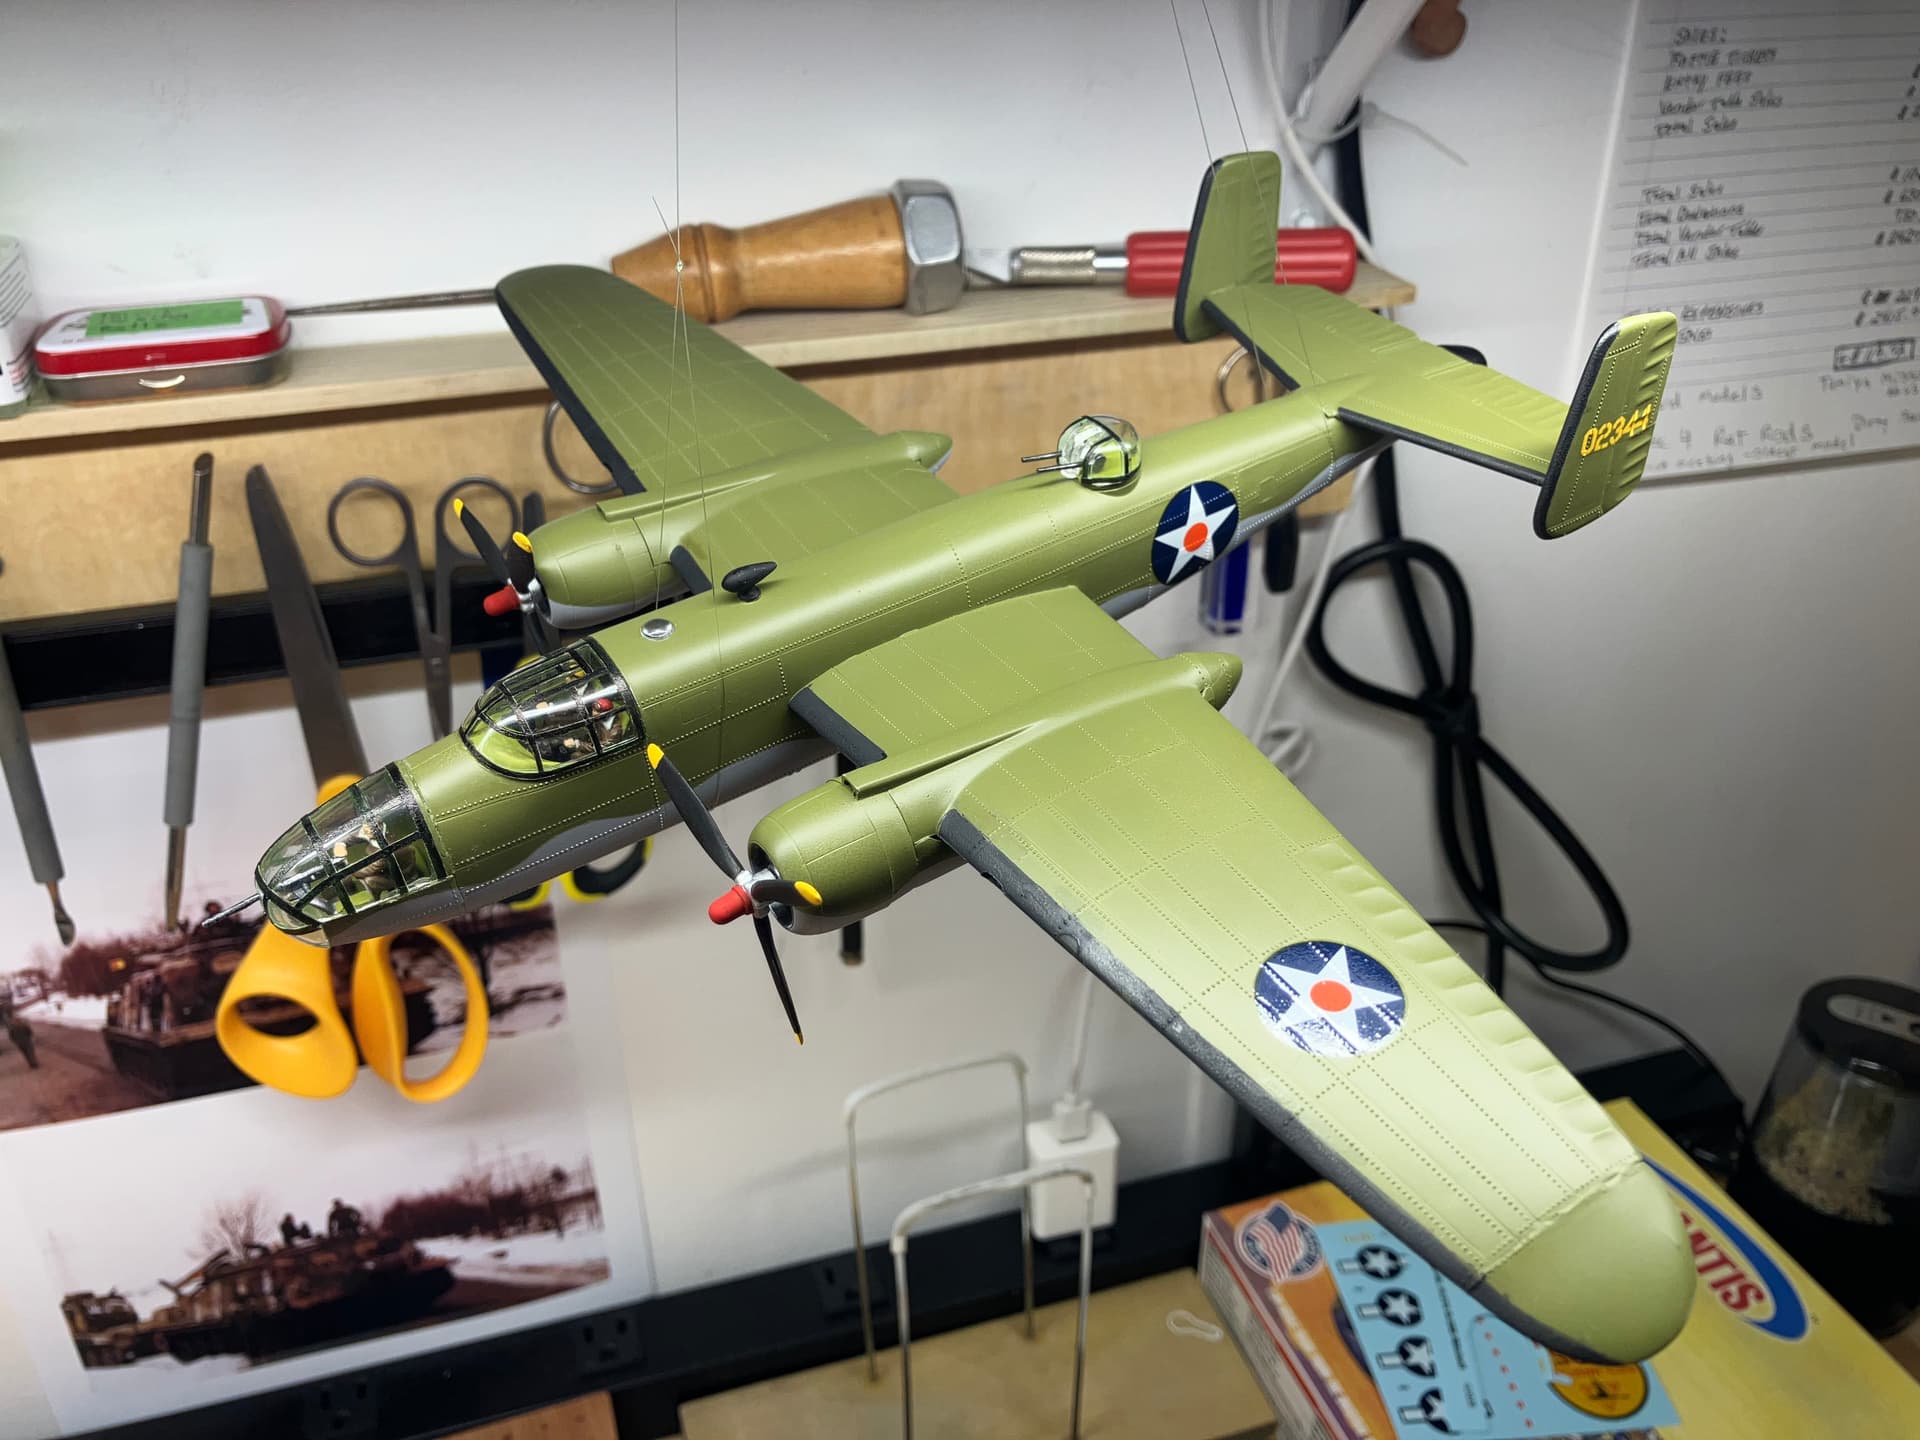
Beautiful work on this one!
That came out really nicely, especially considering what you were fighting with. I think “better than the one I built back in the day” is probably the perfect standard for a nostalgia build like this.
I’m also curious about the Hobby Lobby airbrush paint. How did you like it? Any surprises with how it sprayed or covered?