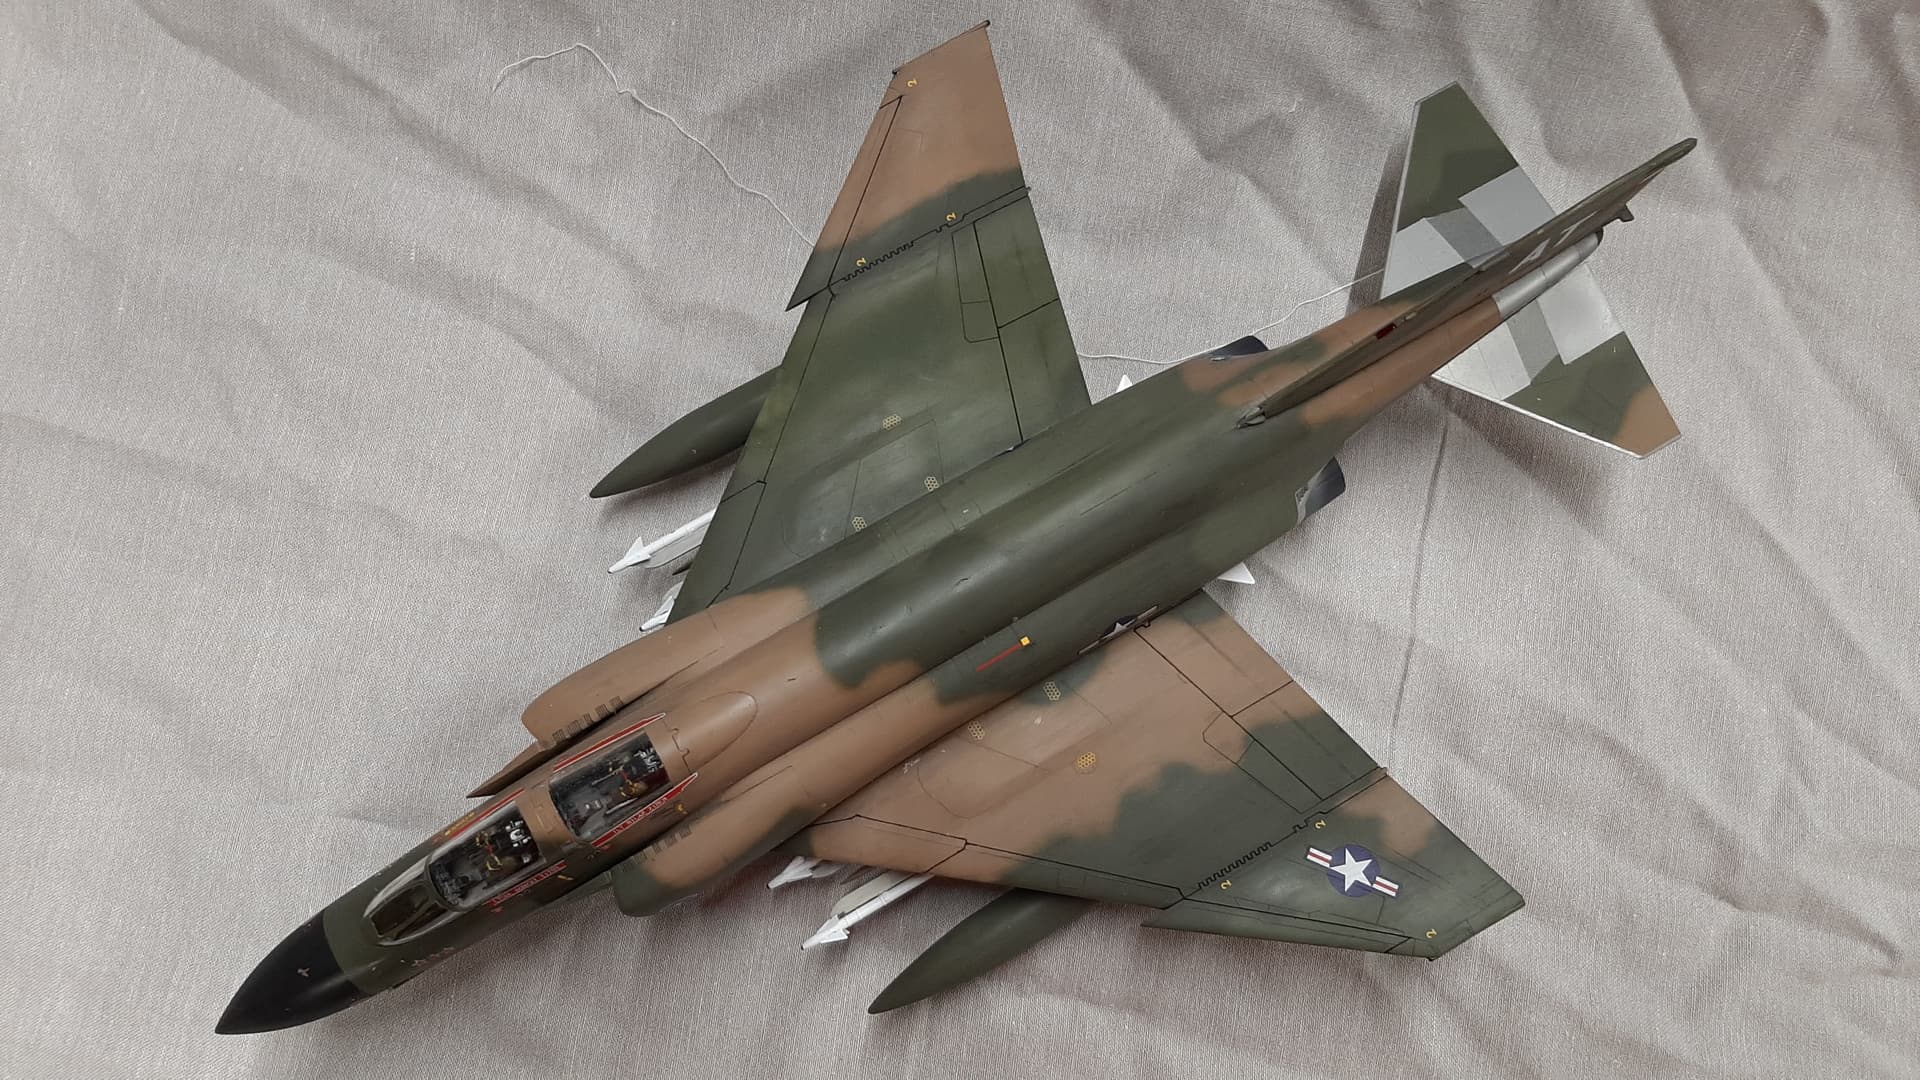
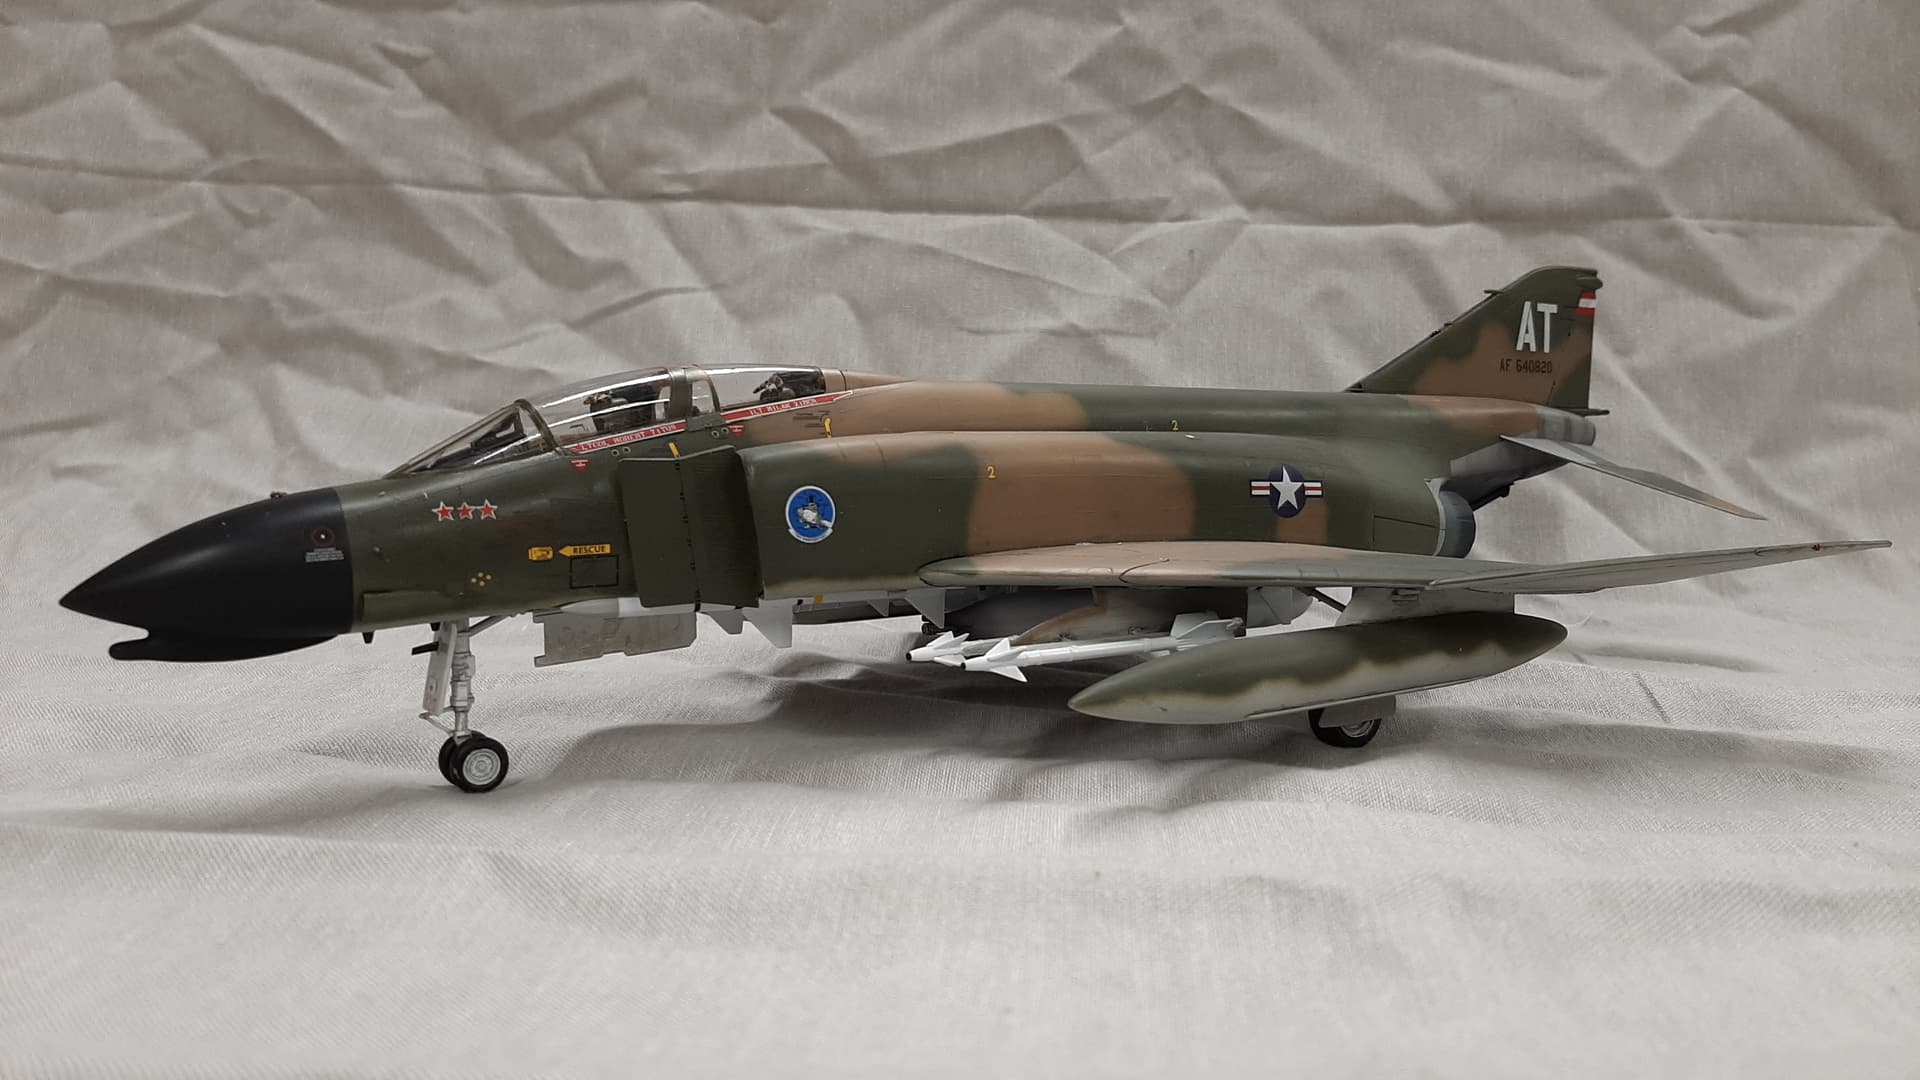
Yes,it was really over the top.As far as tracks go,I try to use the kit tracks,usually I look for cost and ease of building.I like the Dragon Magic Tracks thatt come with their kits,I will use one piece tracks if it is a live track tank with no sag needed,resin clickables are great,metal indies are nice but not cheap.I managed to use the link and length tracks with my Tamiya Stuart,but for some reason they give me the most trouble
1 Like
Well let’s hope that my Tamiya tracks don’t give me too much trouble as a first timer.
When I used to build resin models the way I’d pin it is I’d glue the part together then drill a hole through it and glue the rod in. Sure you have to fill the holes on the outside, but you don’t need a large diameter brass tube to do it. This avoided having to ensure my holes for the support rod were lined up.
My rods then ran at angles not straight across. This still works well. I have models I’ve done this to that are over 30 years old
3 Likes
Just getting back to working on my 1/350 scale Ticonderoga cruiser tonight.
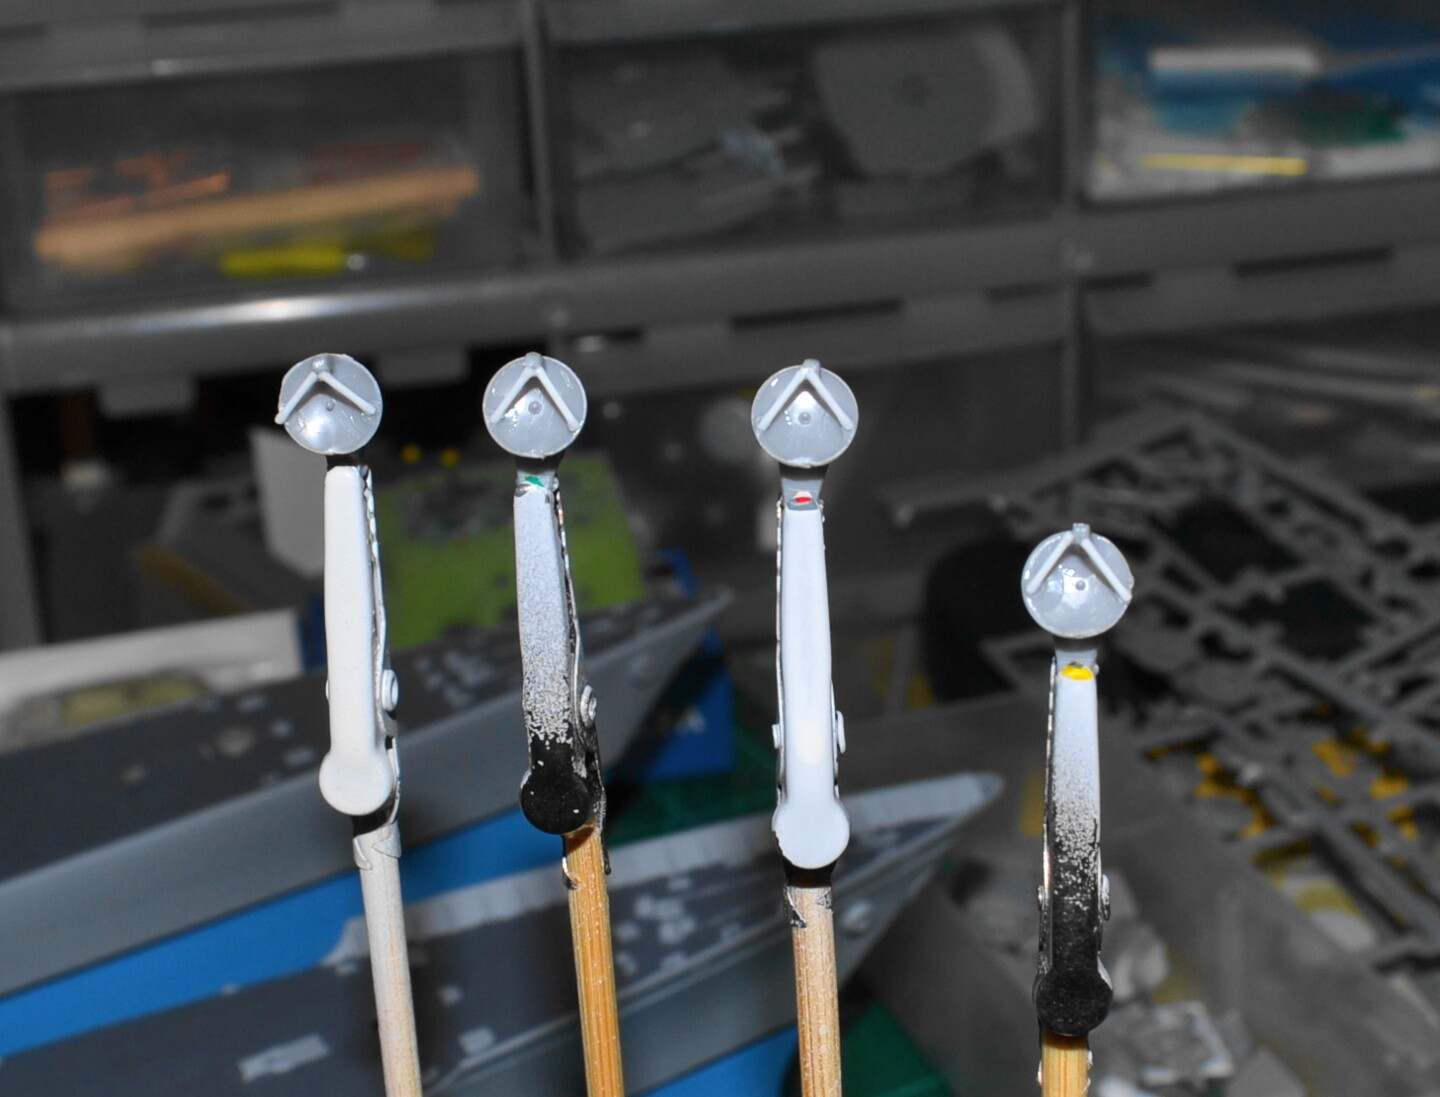
Started working on the four SPG-62 radars from the kit.
I was originally going to use the Veteran Models ones. But when I saw how tiny some of the parts were, I said forget it. Although I still will use the square SPQ-9B radar from the set.
So to put the angled “braces/supports” on the kit SPG-62 radars, I used some thin styrene rod. The radars aren’t perfect, but it’s the best I could do for now.
From a long distance, they look fine. But up close, they look like crap. 

6 Likes
I love the Zetradi ship!!! I was a huge Robotech fan in my early teens! 1999 turned out to be a very disappointing year since I was waiting for the alien space ship to collide on earth since 1985.  Kyron was my favorite character. Back in the day I did build the Revell Robotech Gartan and Condar models, I wish I still had them.
1 Like
Kyron (aka Gamjn) bought it really hard in the movie version of Macross!
Yeah, it is kind of funny how some dates came and went, like in Terminator, Patlabor, Back to the Future and the biggest one of them all, 2001!
I’m ready to try this jig for the first time. Looks like it should really help with getting the struts in position and stable.
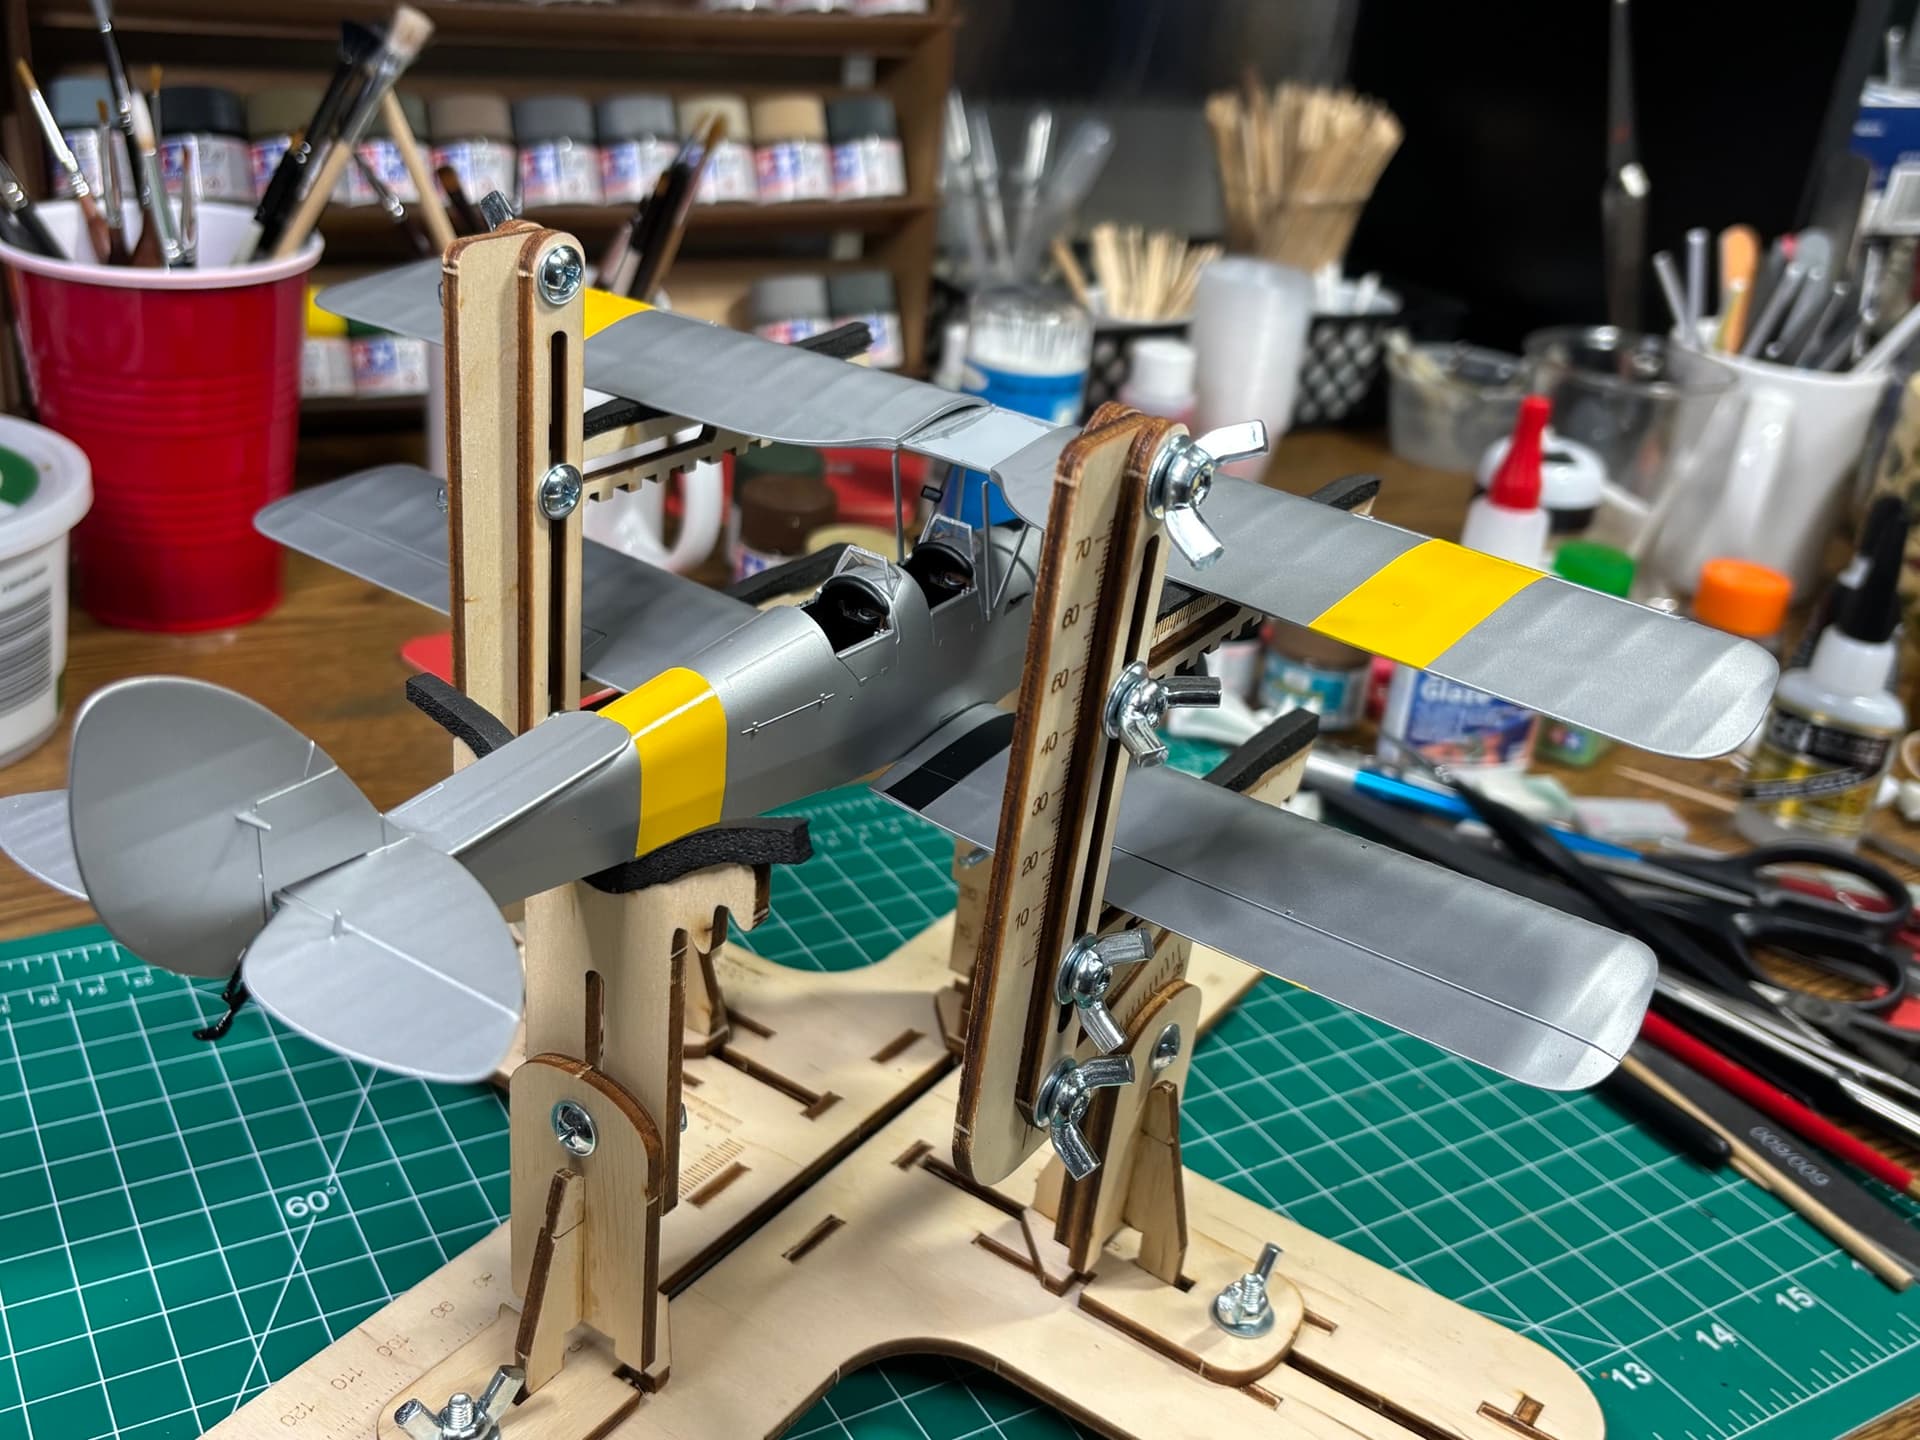
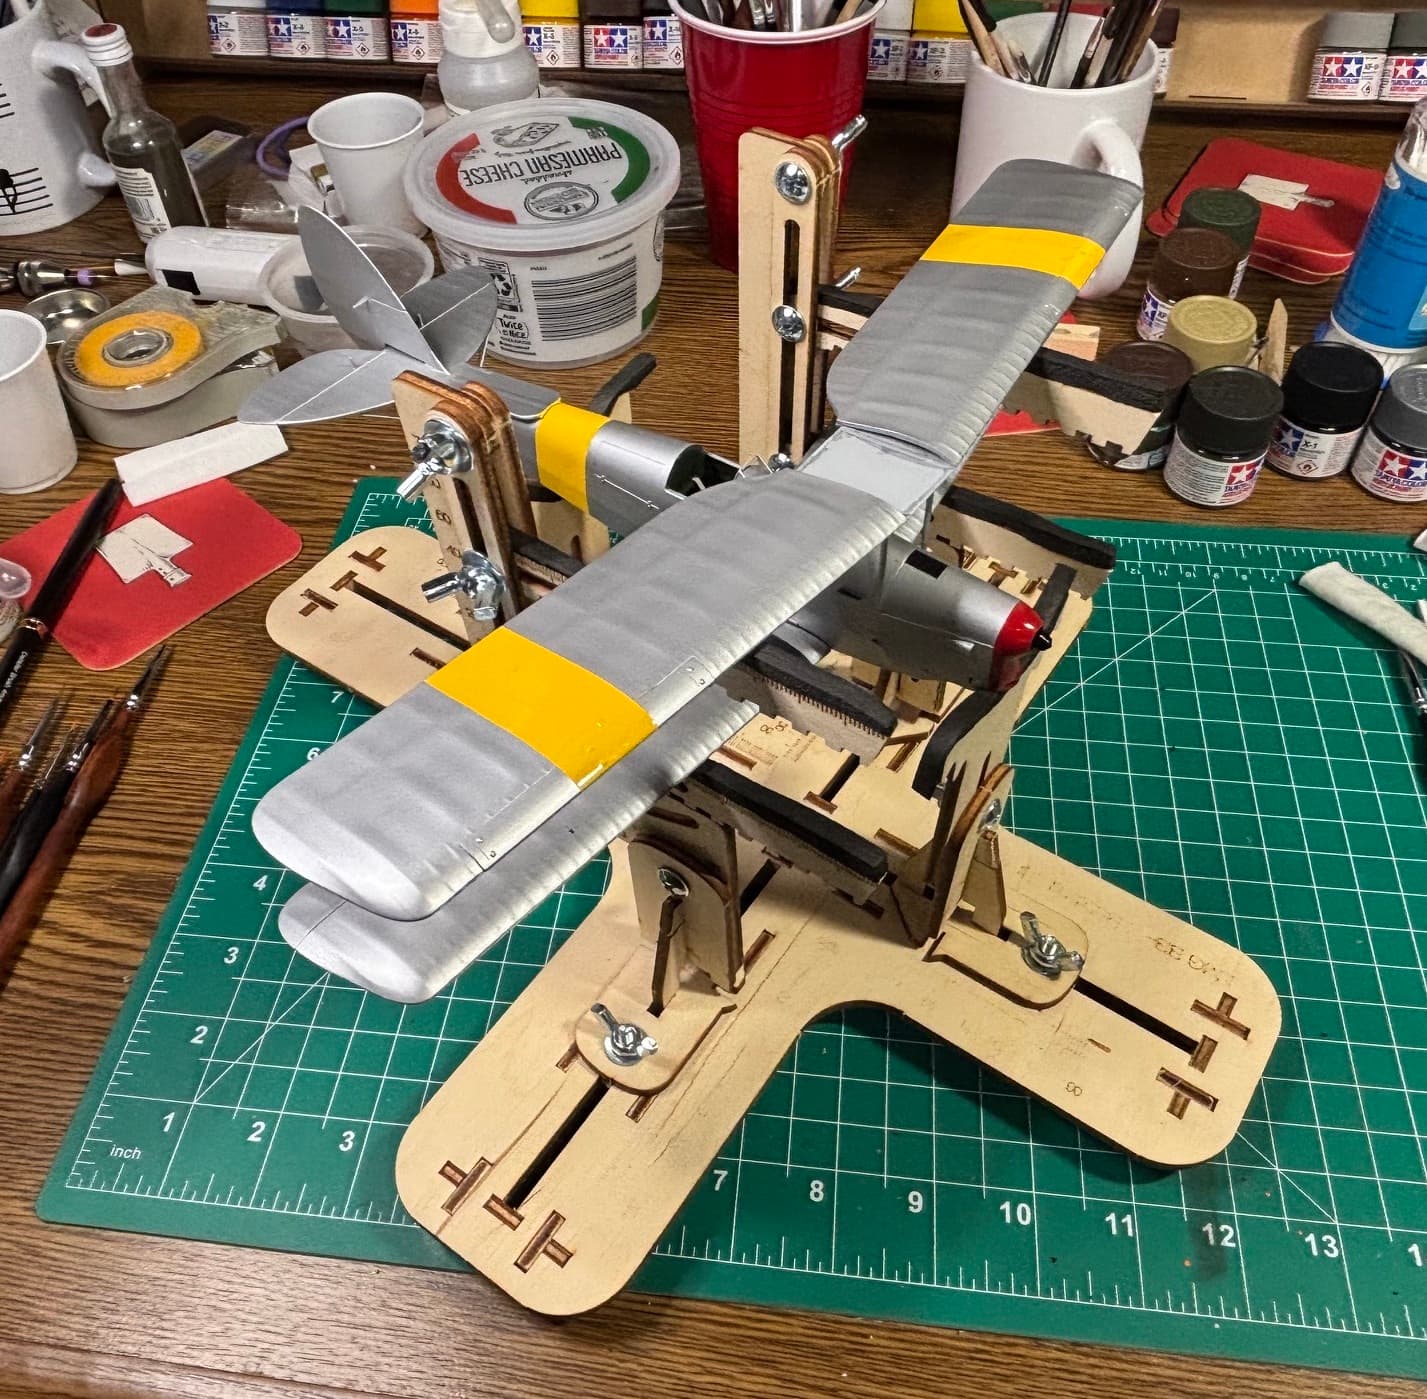
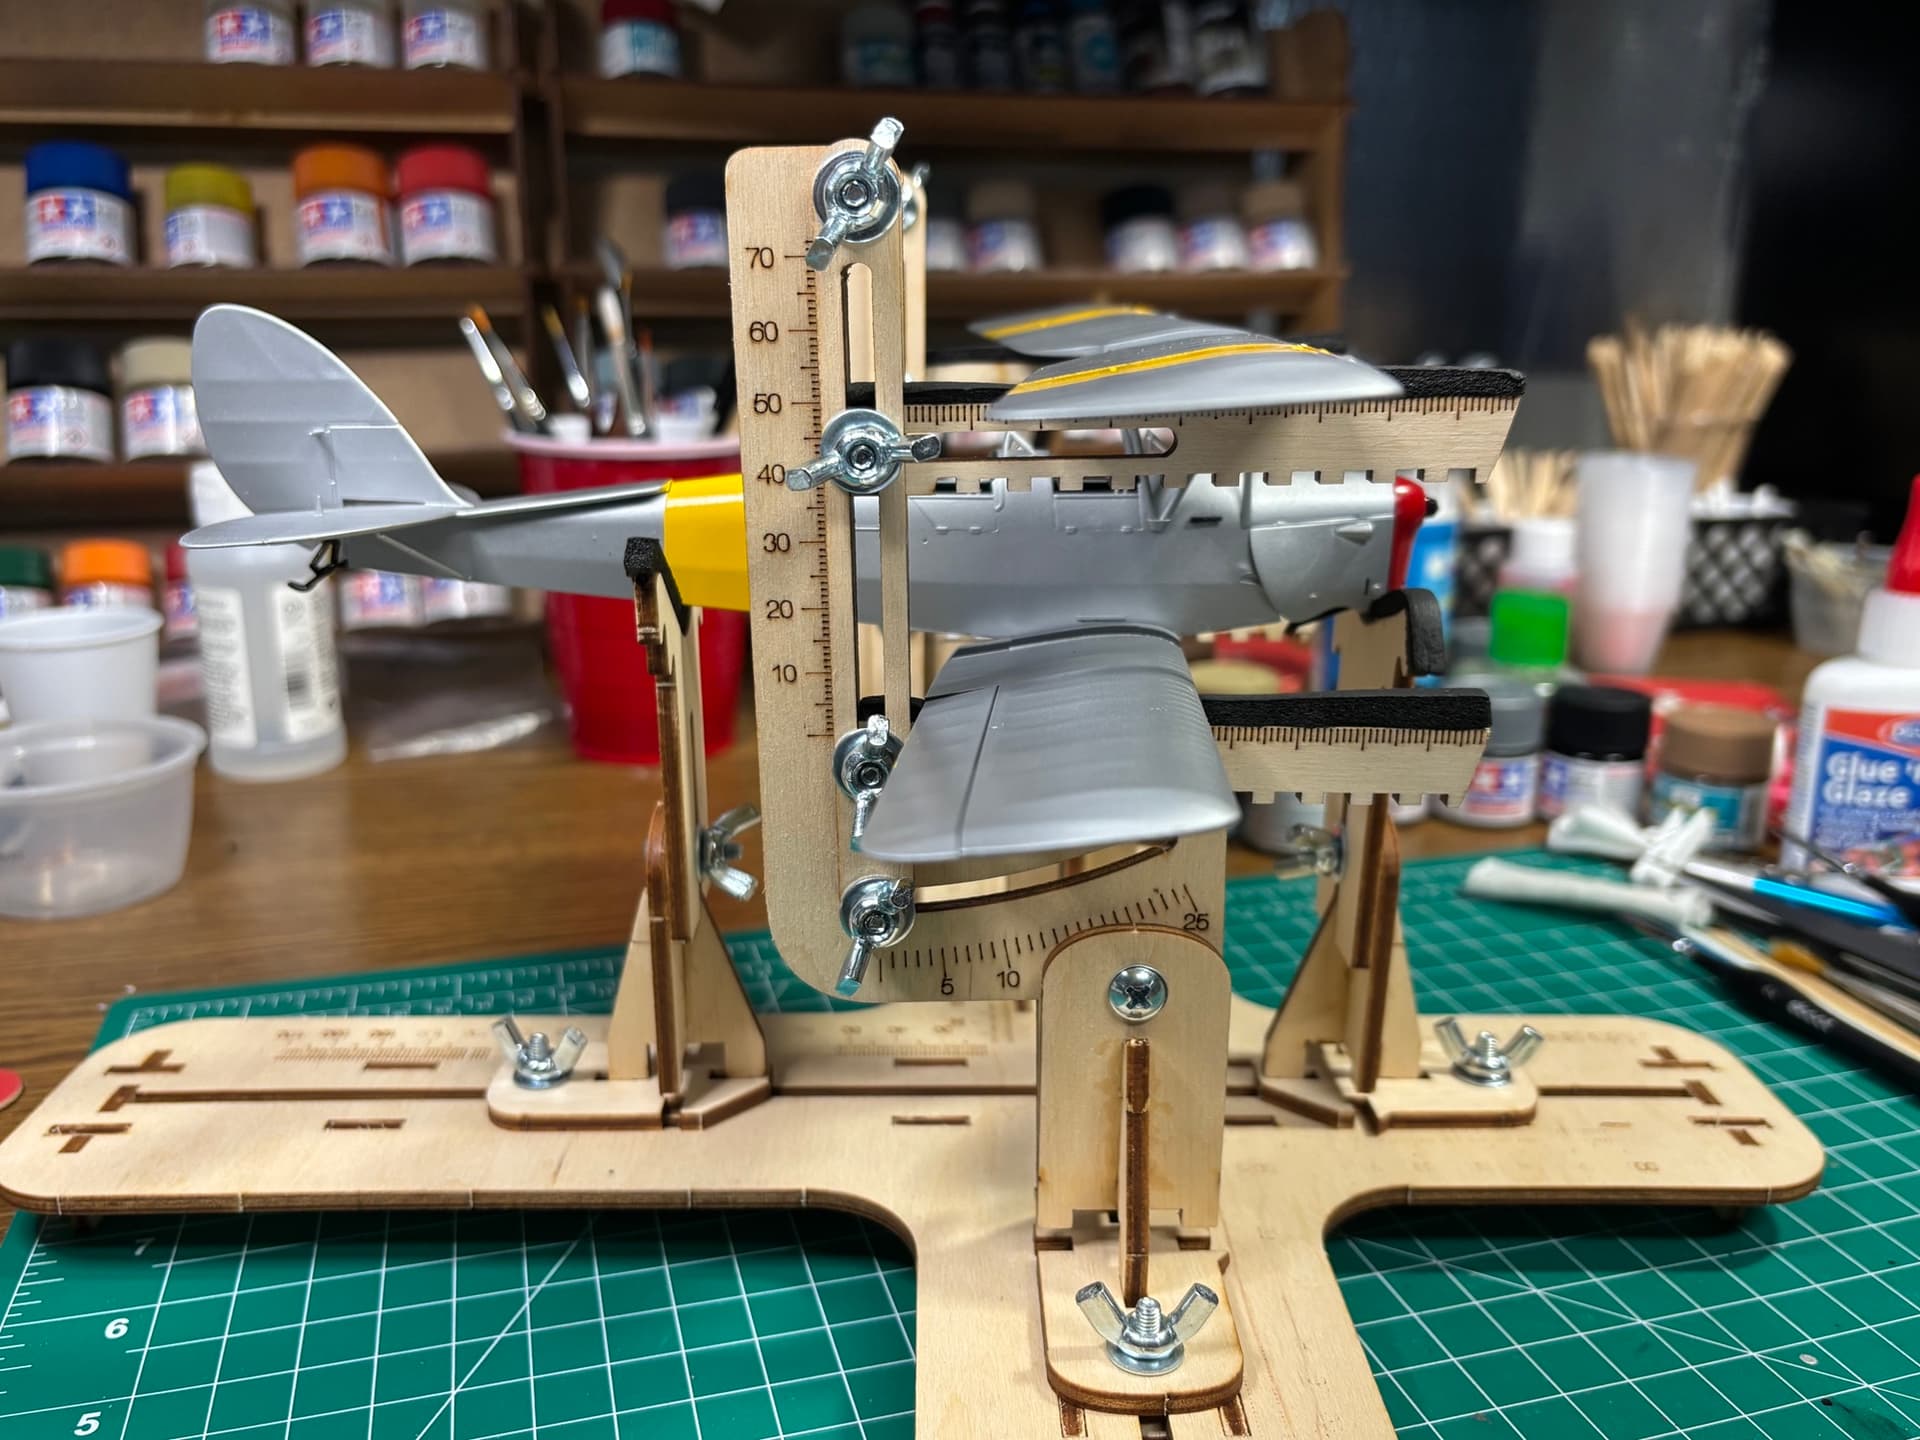
9 Likes
NDI = Non Destructive Inspection , I realize it’s probably semantics but in Aviation guidelines “inspection” is the proper word.
Straight out of the A/C MM , SRM=Structural Repair Manual ,or 43.13-1B
After the dye is sprayed on and allowed to penetrate for a timed period then a developer is spayed on in place of a black light in some cases.
1 Like
I spray the titanium and anealed steel before any other colors prior to painting the camouflage or Navy grey schemes then tape it off and paint the rest of the aircraft. The actual acft. has the exhaust masked in a similar manner when it is repainted.
After the overall paint scheme is complete and the decals are on …
I spray the lacquer-based alclad transparent blue lighty, close to the burner exhaust and hot metal sepia over the base coat of MRP-102 Titanium.
… then…
I mix flat black lacquer and testors dullcote.
First thin out the flat black by dipping a toothpick and adding a couple drops to about 1/2 testors size container of lacquer thinner, it will be very thin.
Normally I thin out the dullcote a minimum 1part dulcoat to 3 parts thinner beforehand so it will go on thin at 17-19 psi wet without a fast build up.
Add the flat black to the thinned dullcote and spray with multiple passes, when you get the soot looking the way you like stop.
Real exhaust is like lamp black, nasty and takes a lot to get it off your hands, so on the model you want a really flat finish with some depth to it and like an oil painting there are layers of different color paint that are subtle yet add an accurate depiction of reality.
2 Likes
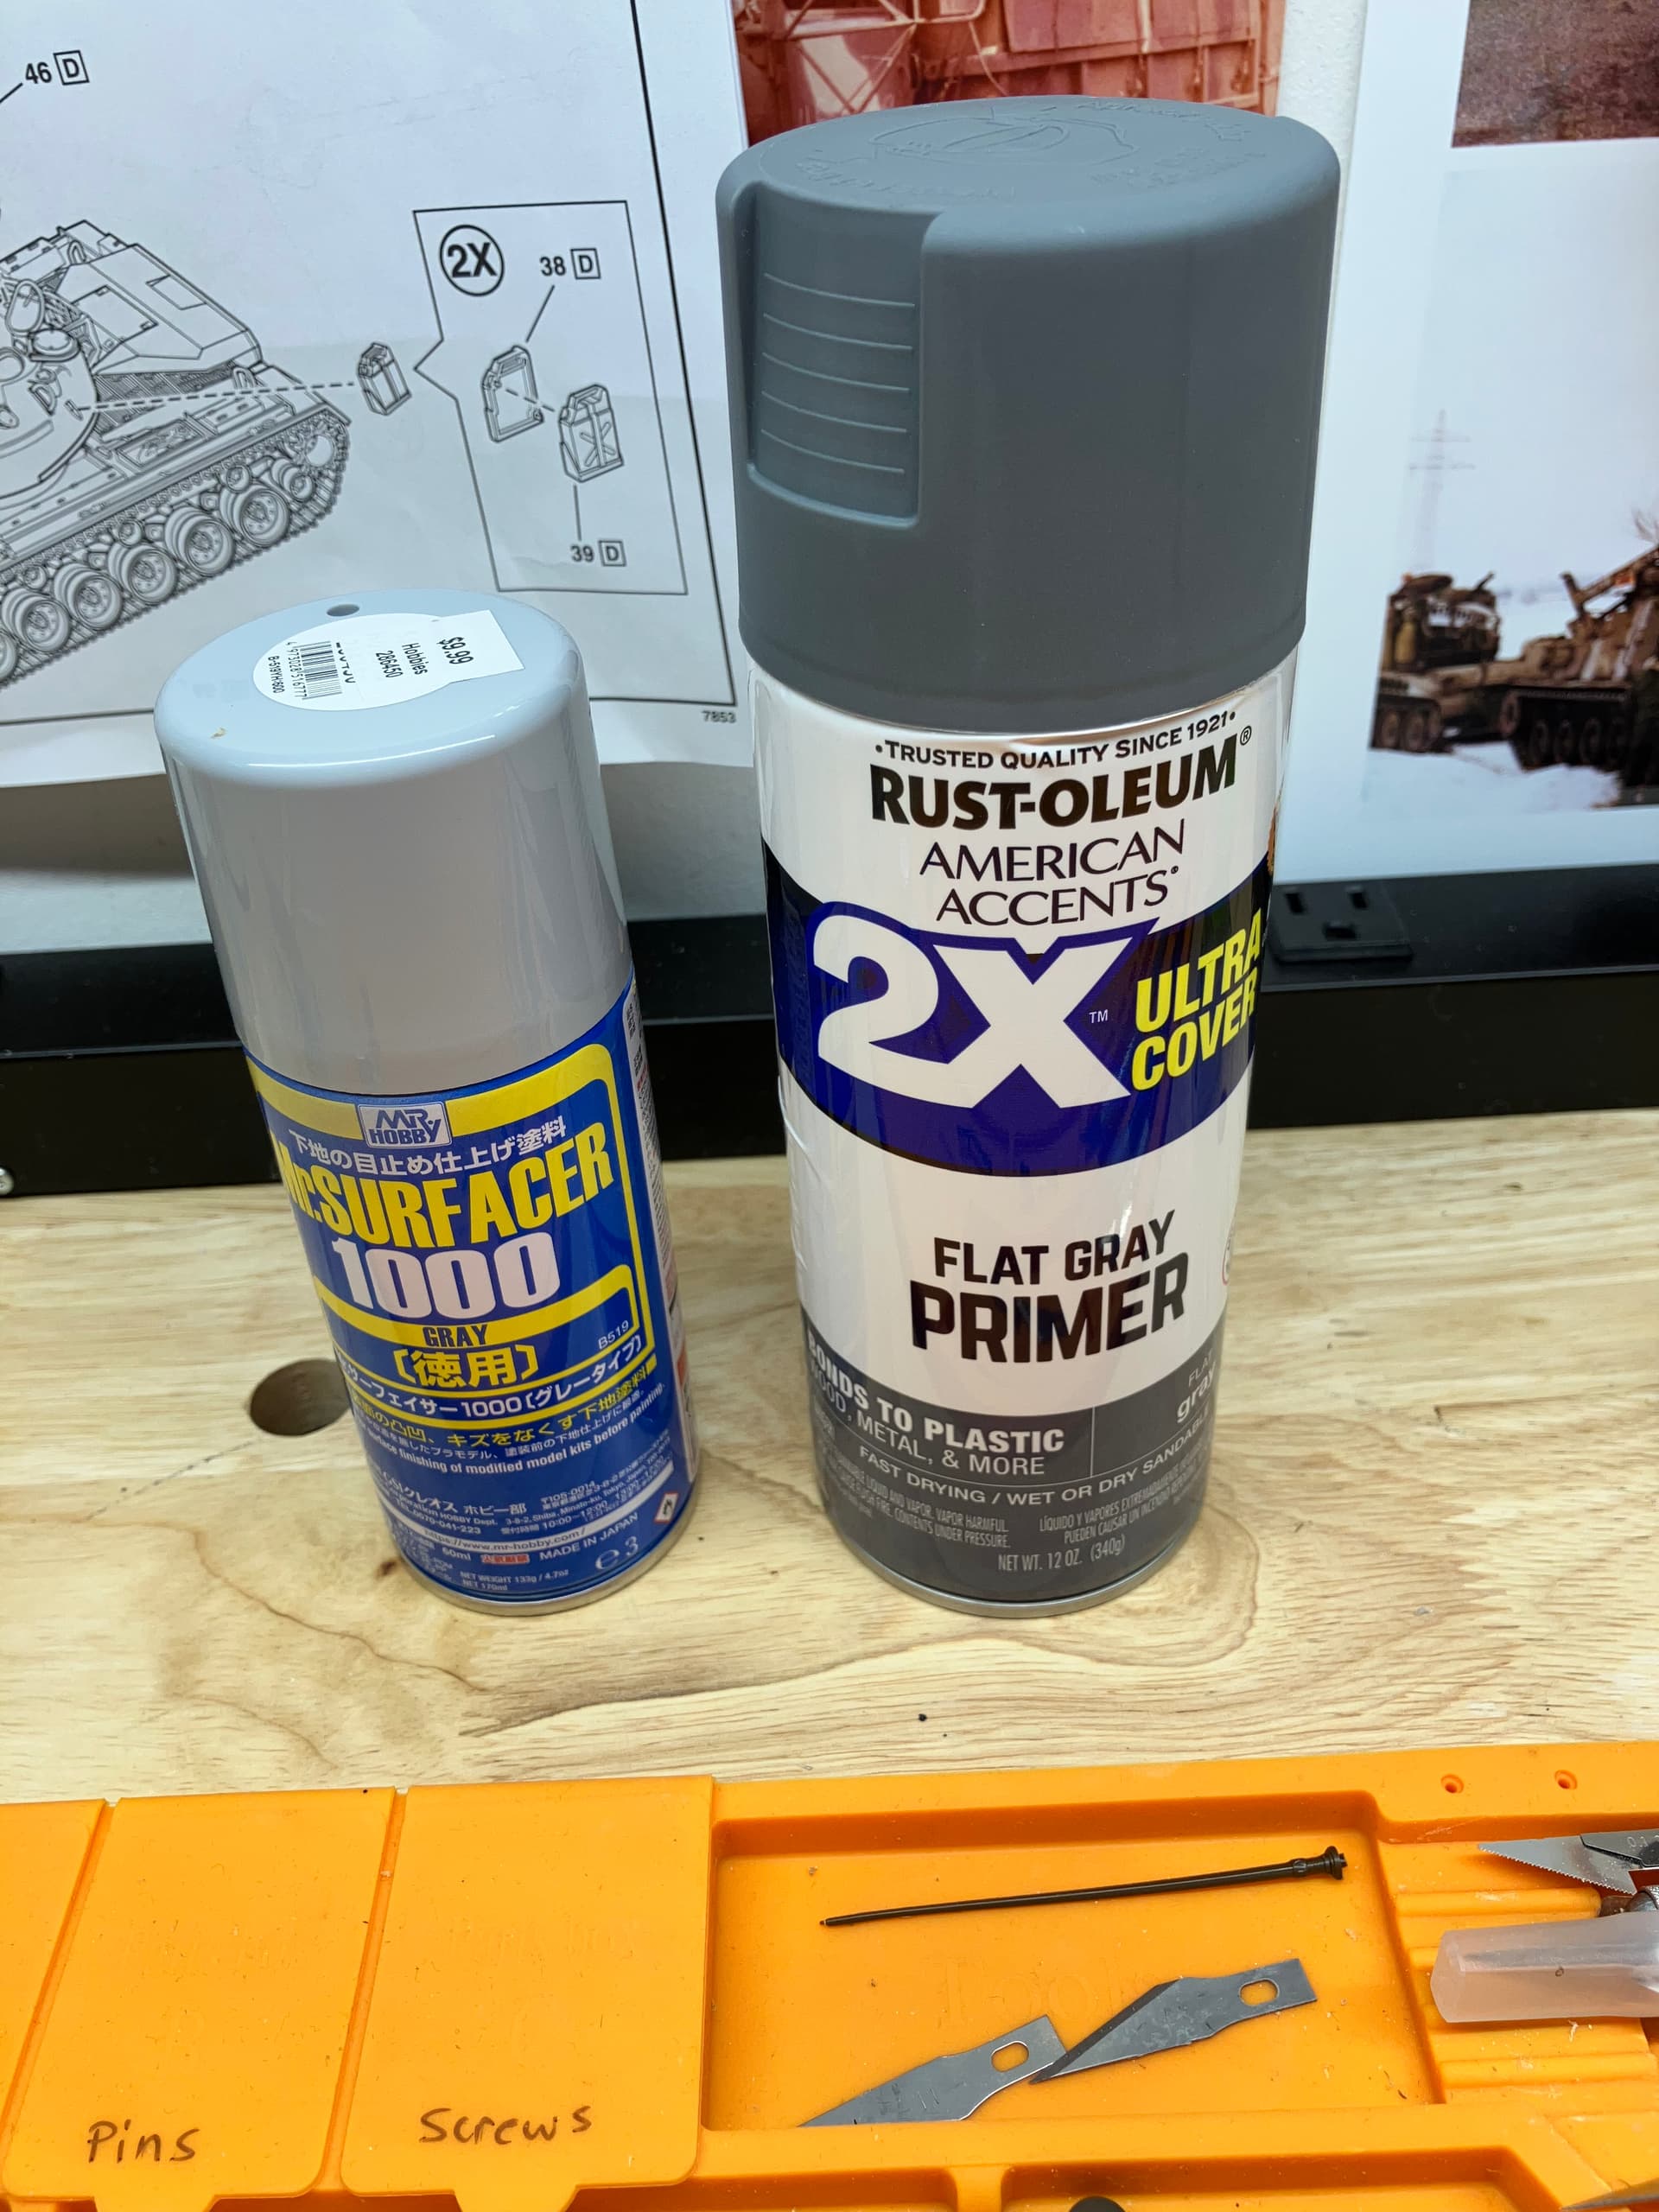
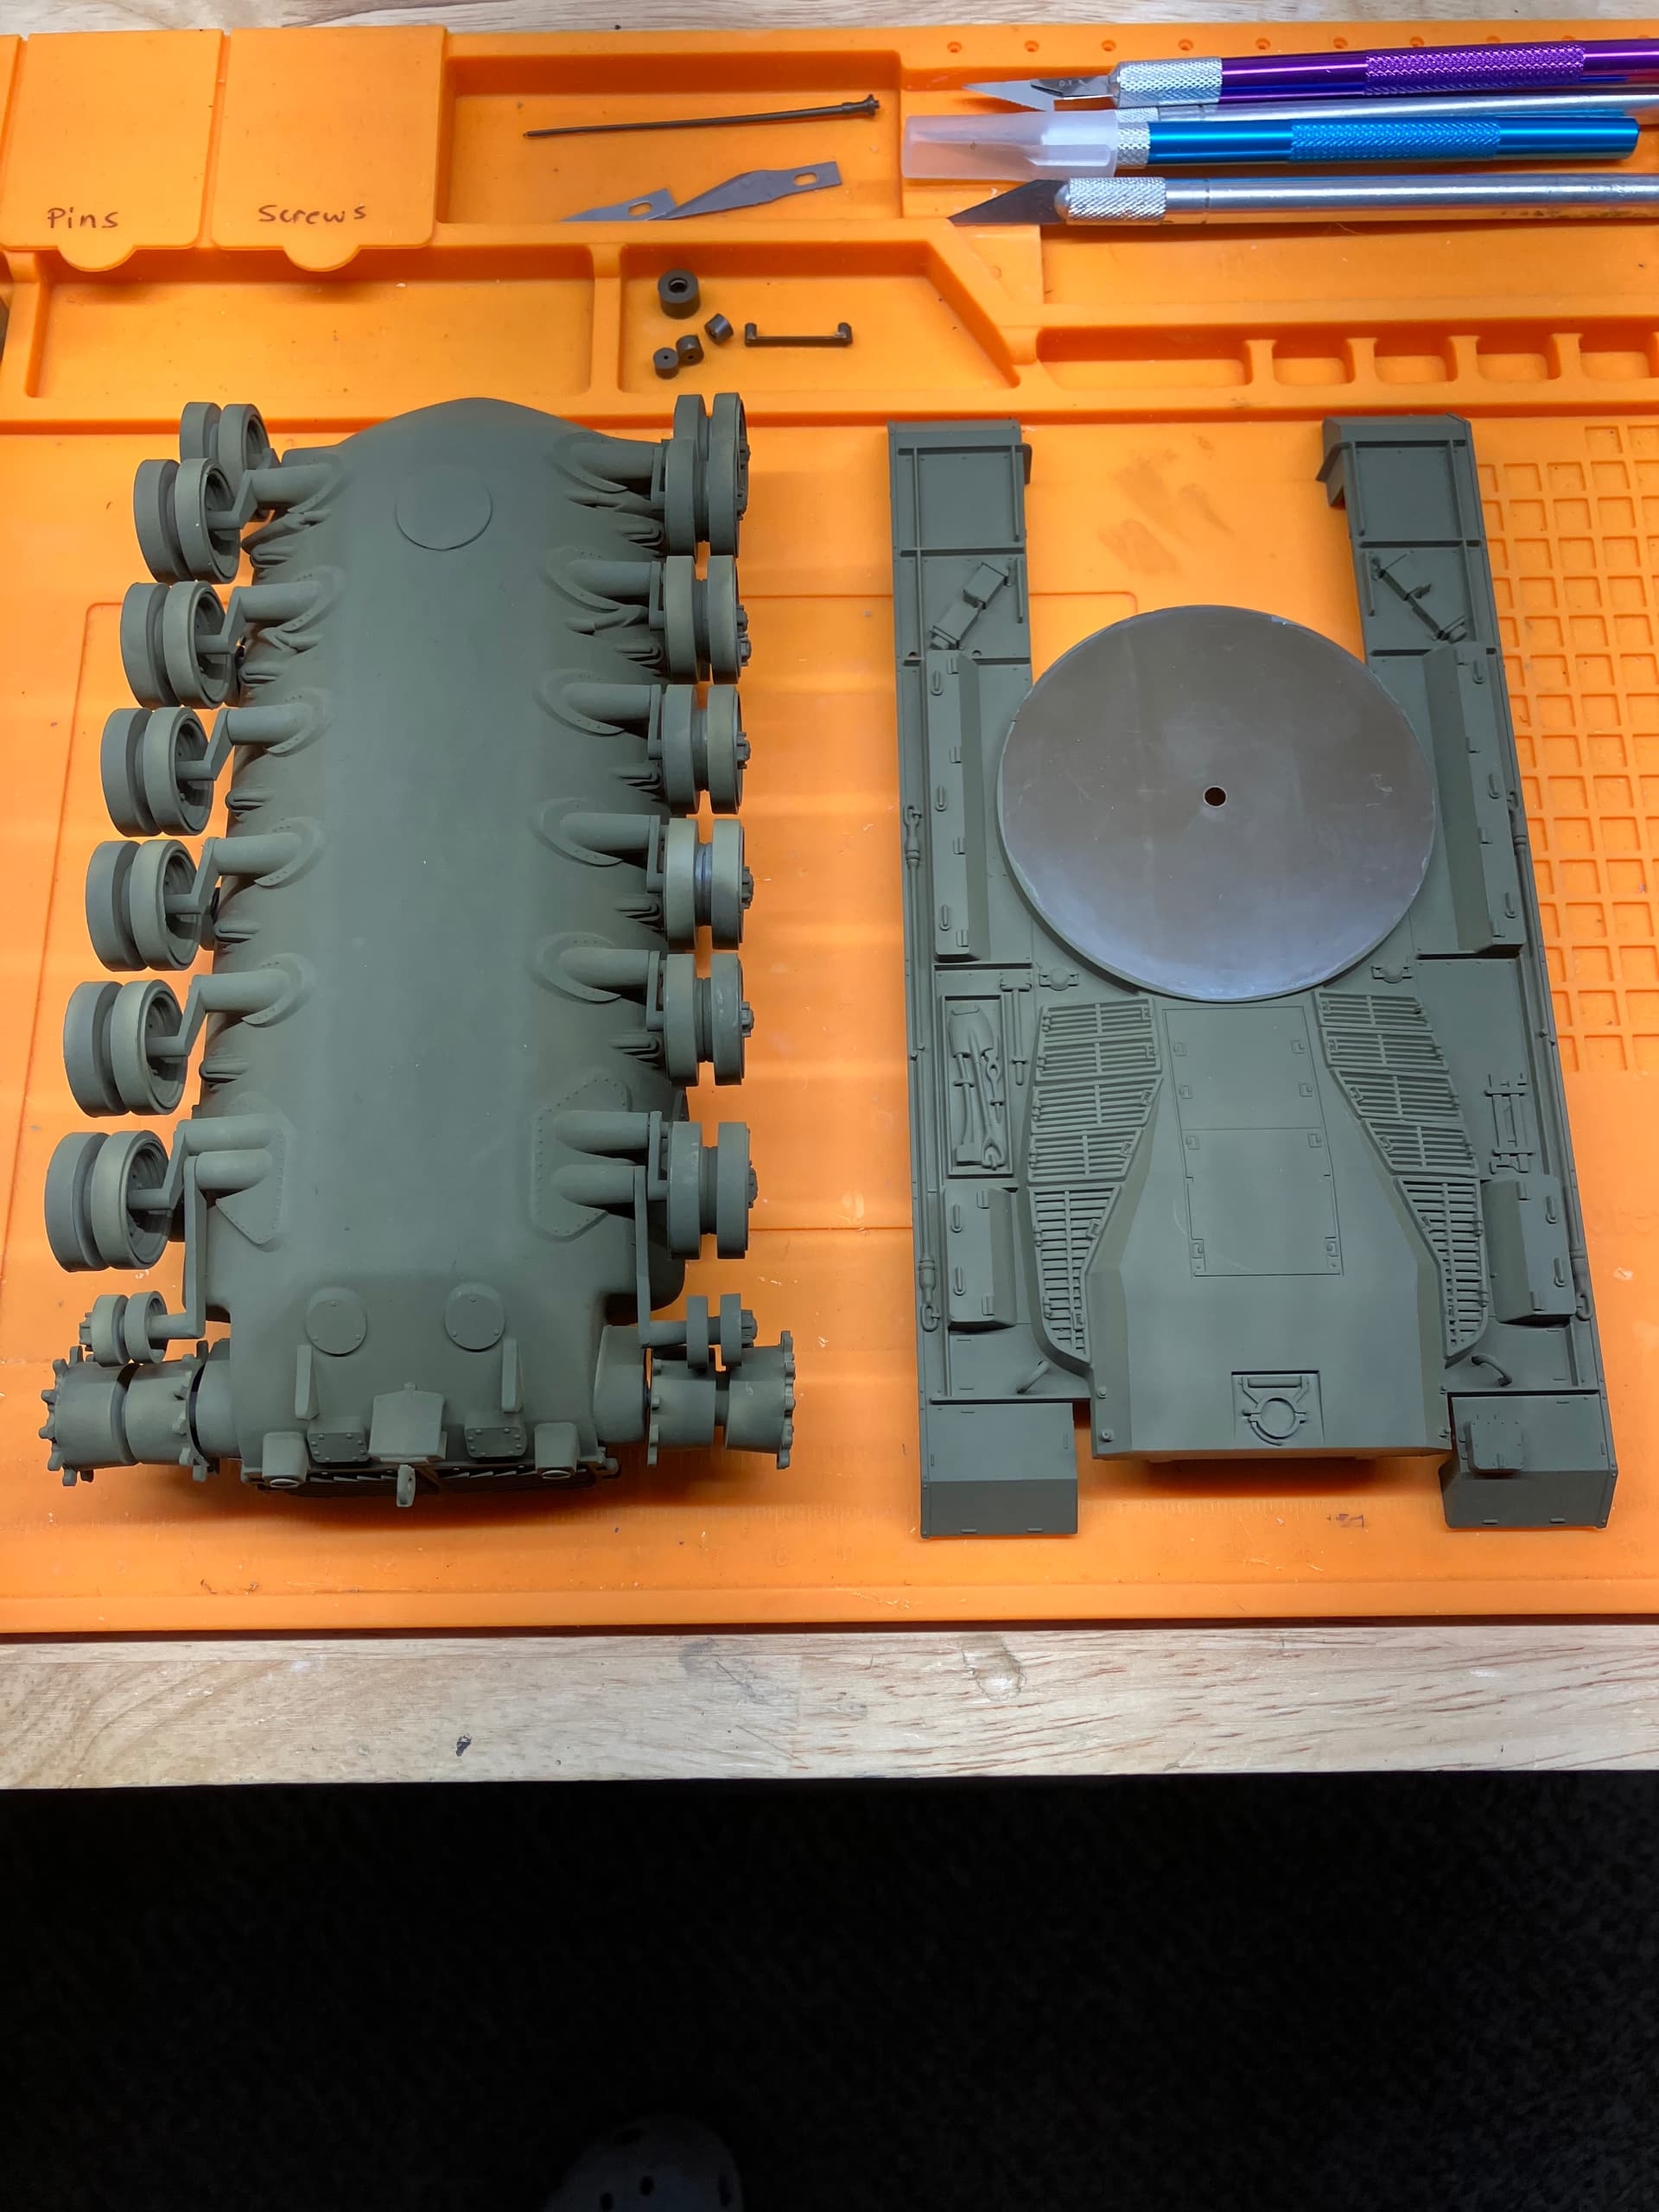
Ran out of Mr. Surfacer 1000 so I used some Rustoleum gray primer I had. I will see how it turns out. So far, so good. The Rustoleum didn’t melt the plastic into a blob or hide all the details.
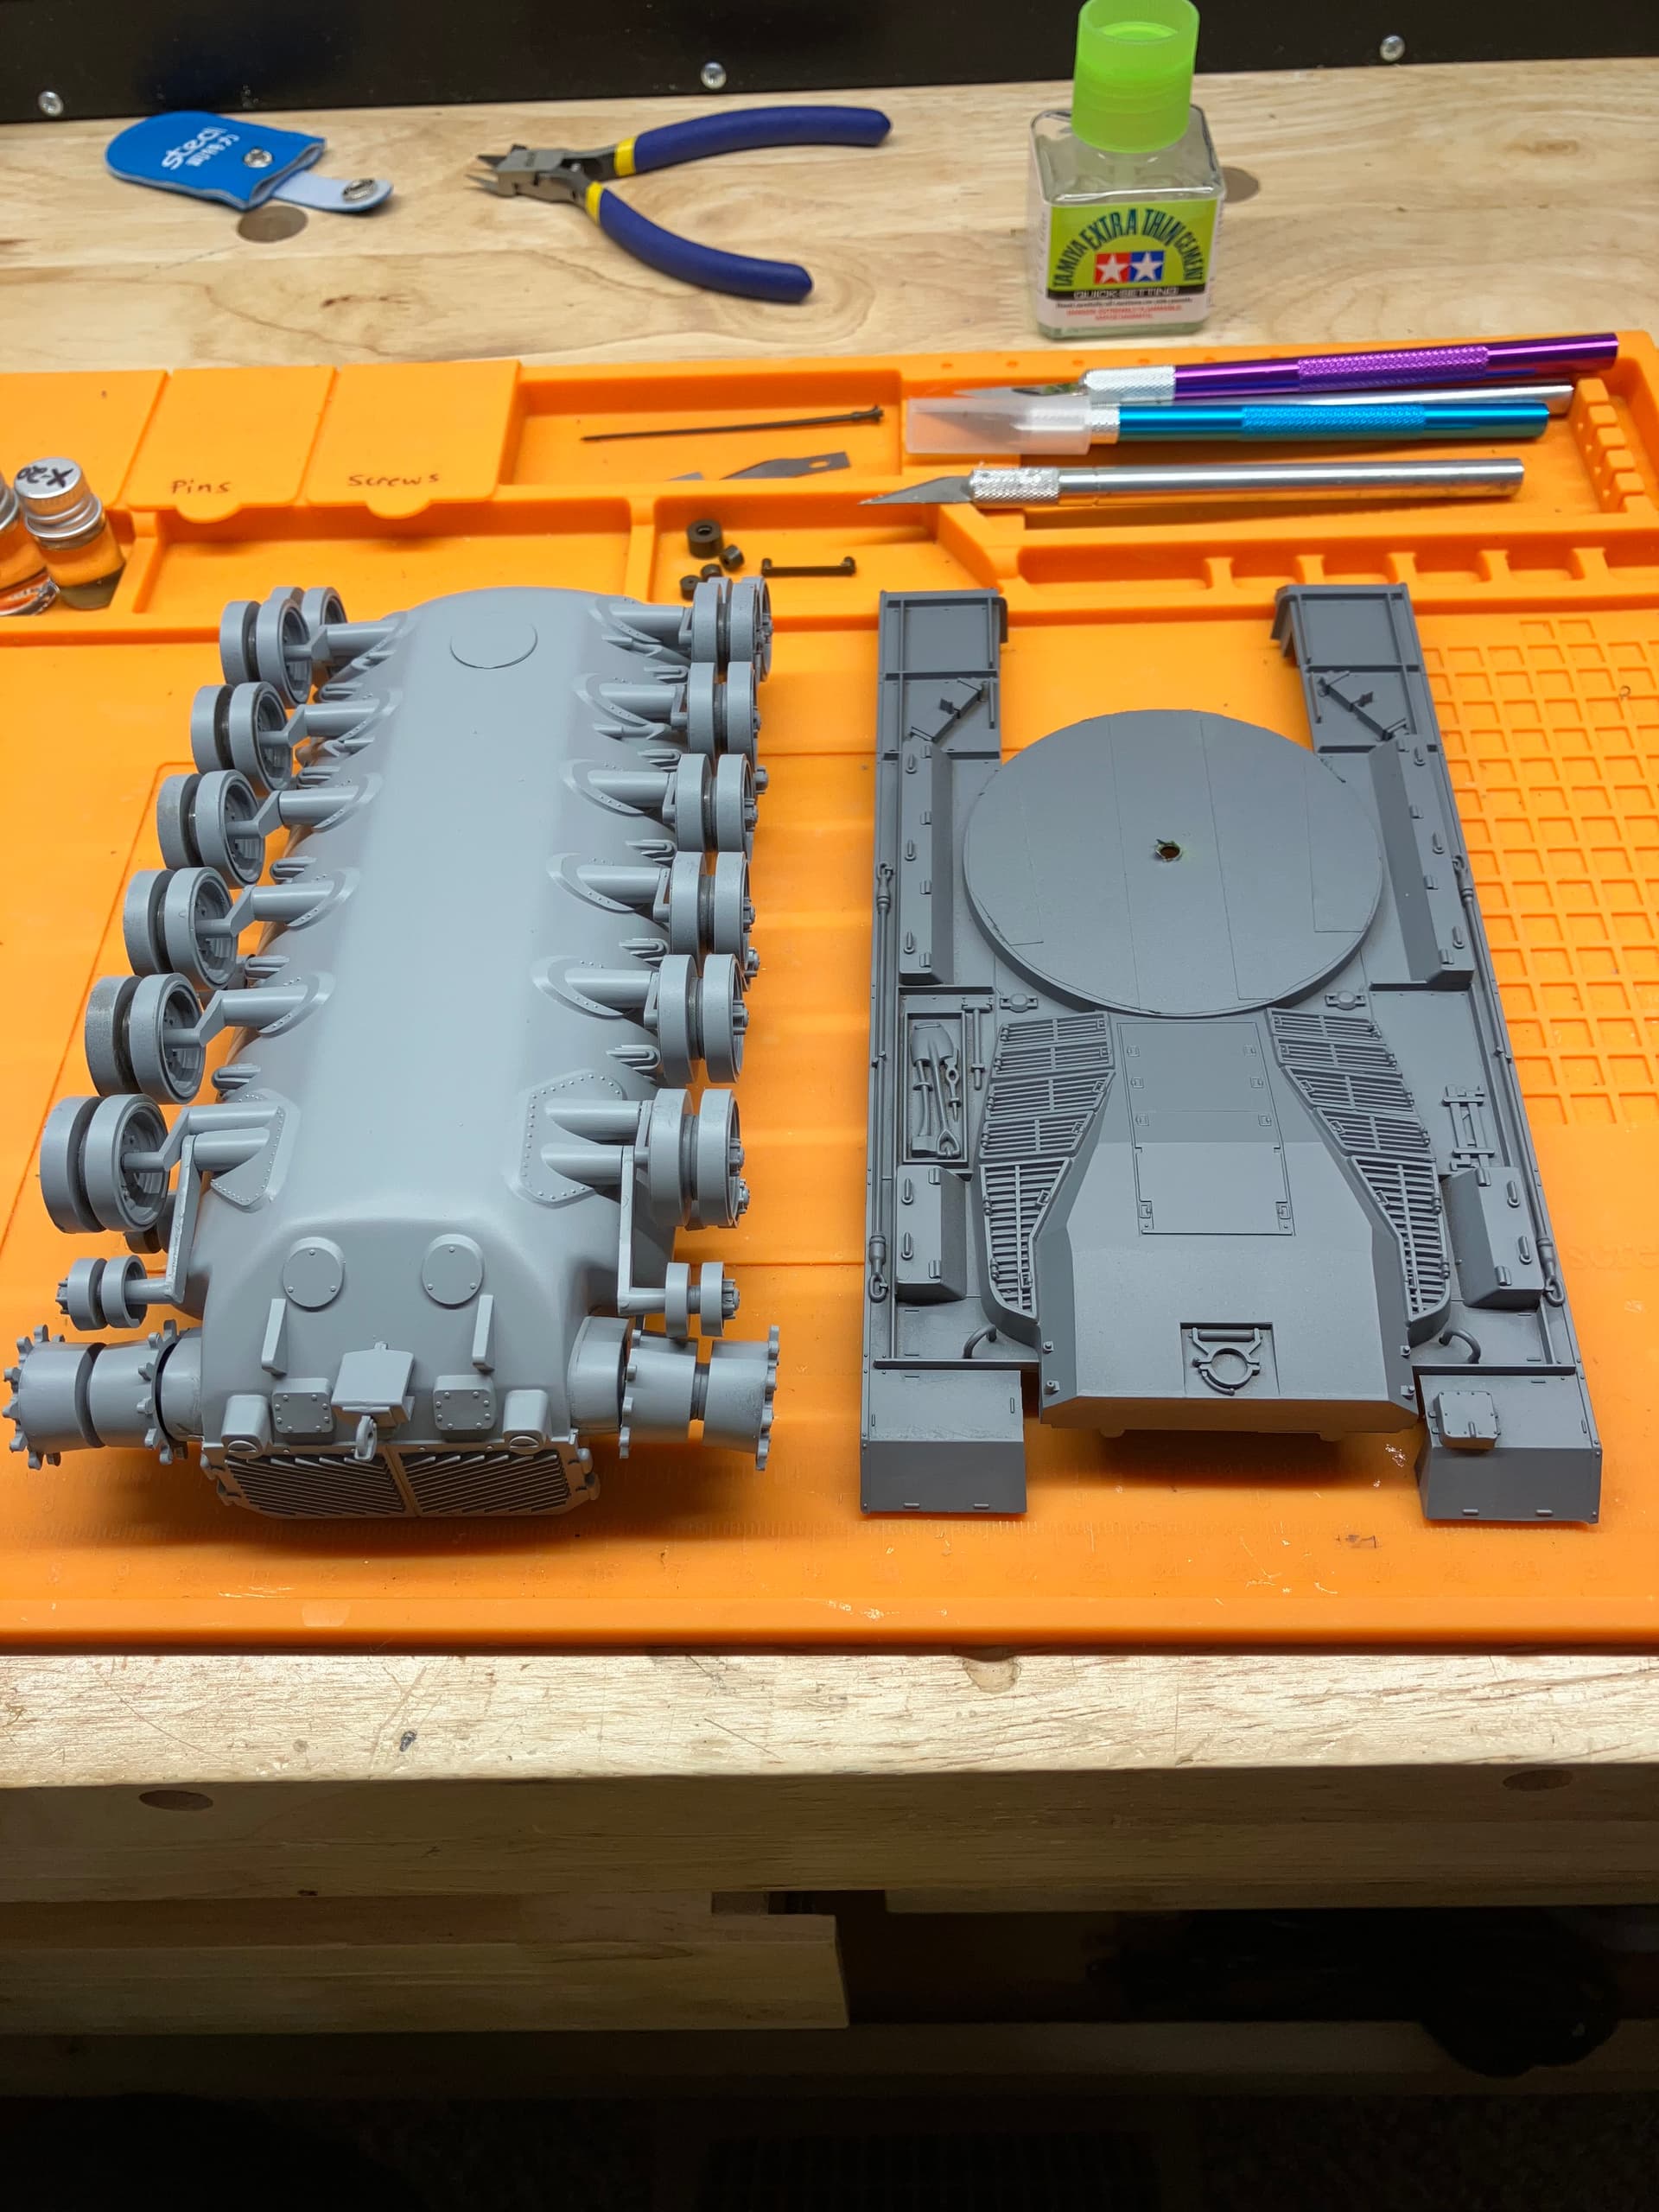
Painted with Tamiya XF-62 Olive Drab mixed with XF-60 Dark Yellow 4:1 ratio to lighten it a bit. The part primed with the Rust-oleum seems a bit darker than the lighter Mr. Surfacer 100, but not very much.
6 Likes
Thanks for taking the time to explain all of that in such detail! I hadn’t thought of adding a little black to a dull coat and misting it on. That’s an interesting approach.
I’ve been working on the exhaust area of my F-4EJ Kai and have been layering several different metallic colors, including an exhaust color, along with a little blue added using watercolor pens. So it’s interesting to see how you’ve approached the same problem.
You certainly know what these aircraft are supposed to look like, and I really appreciate you sharing your experience!

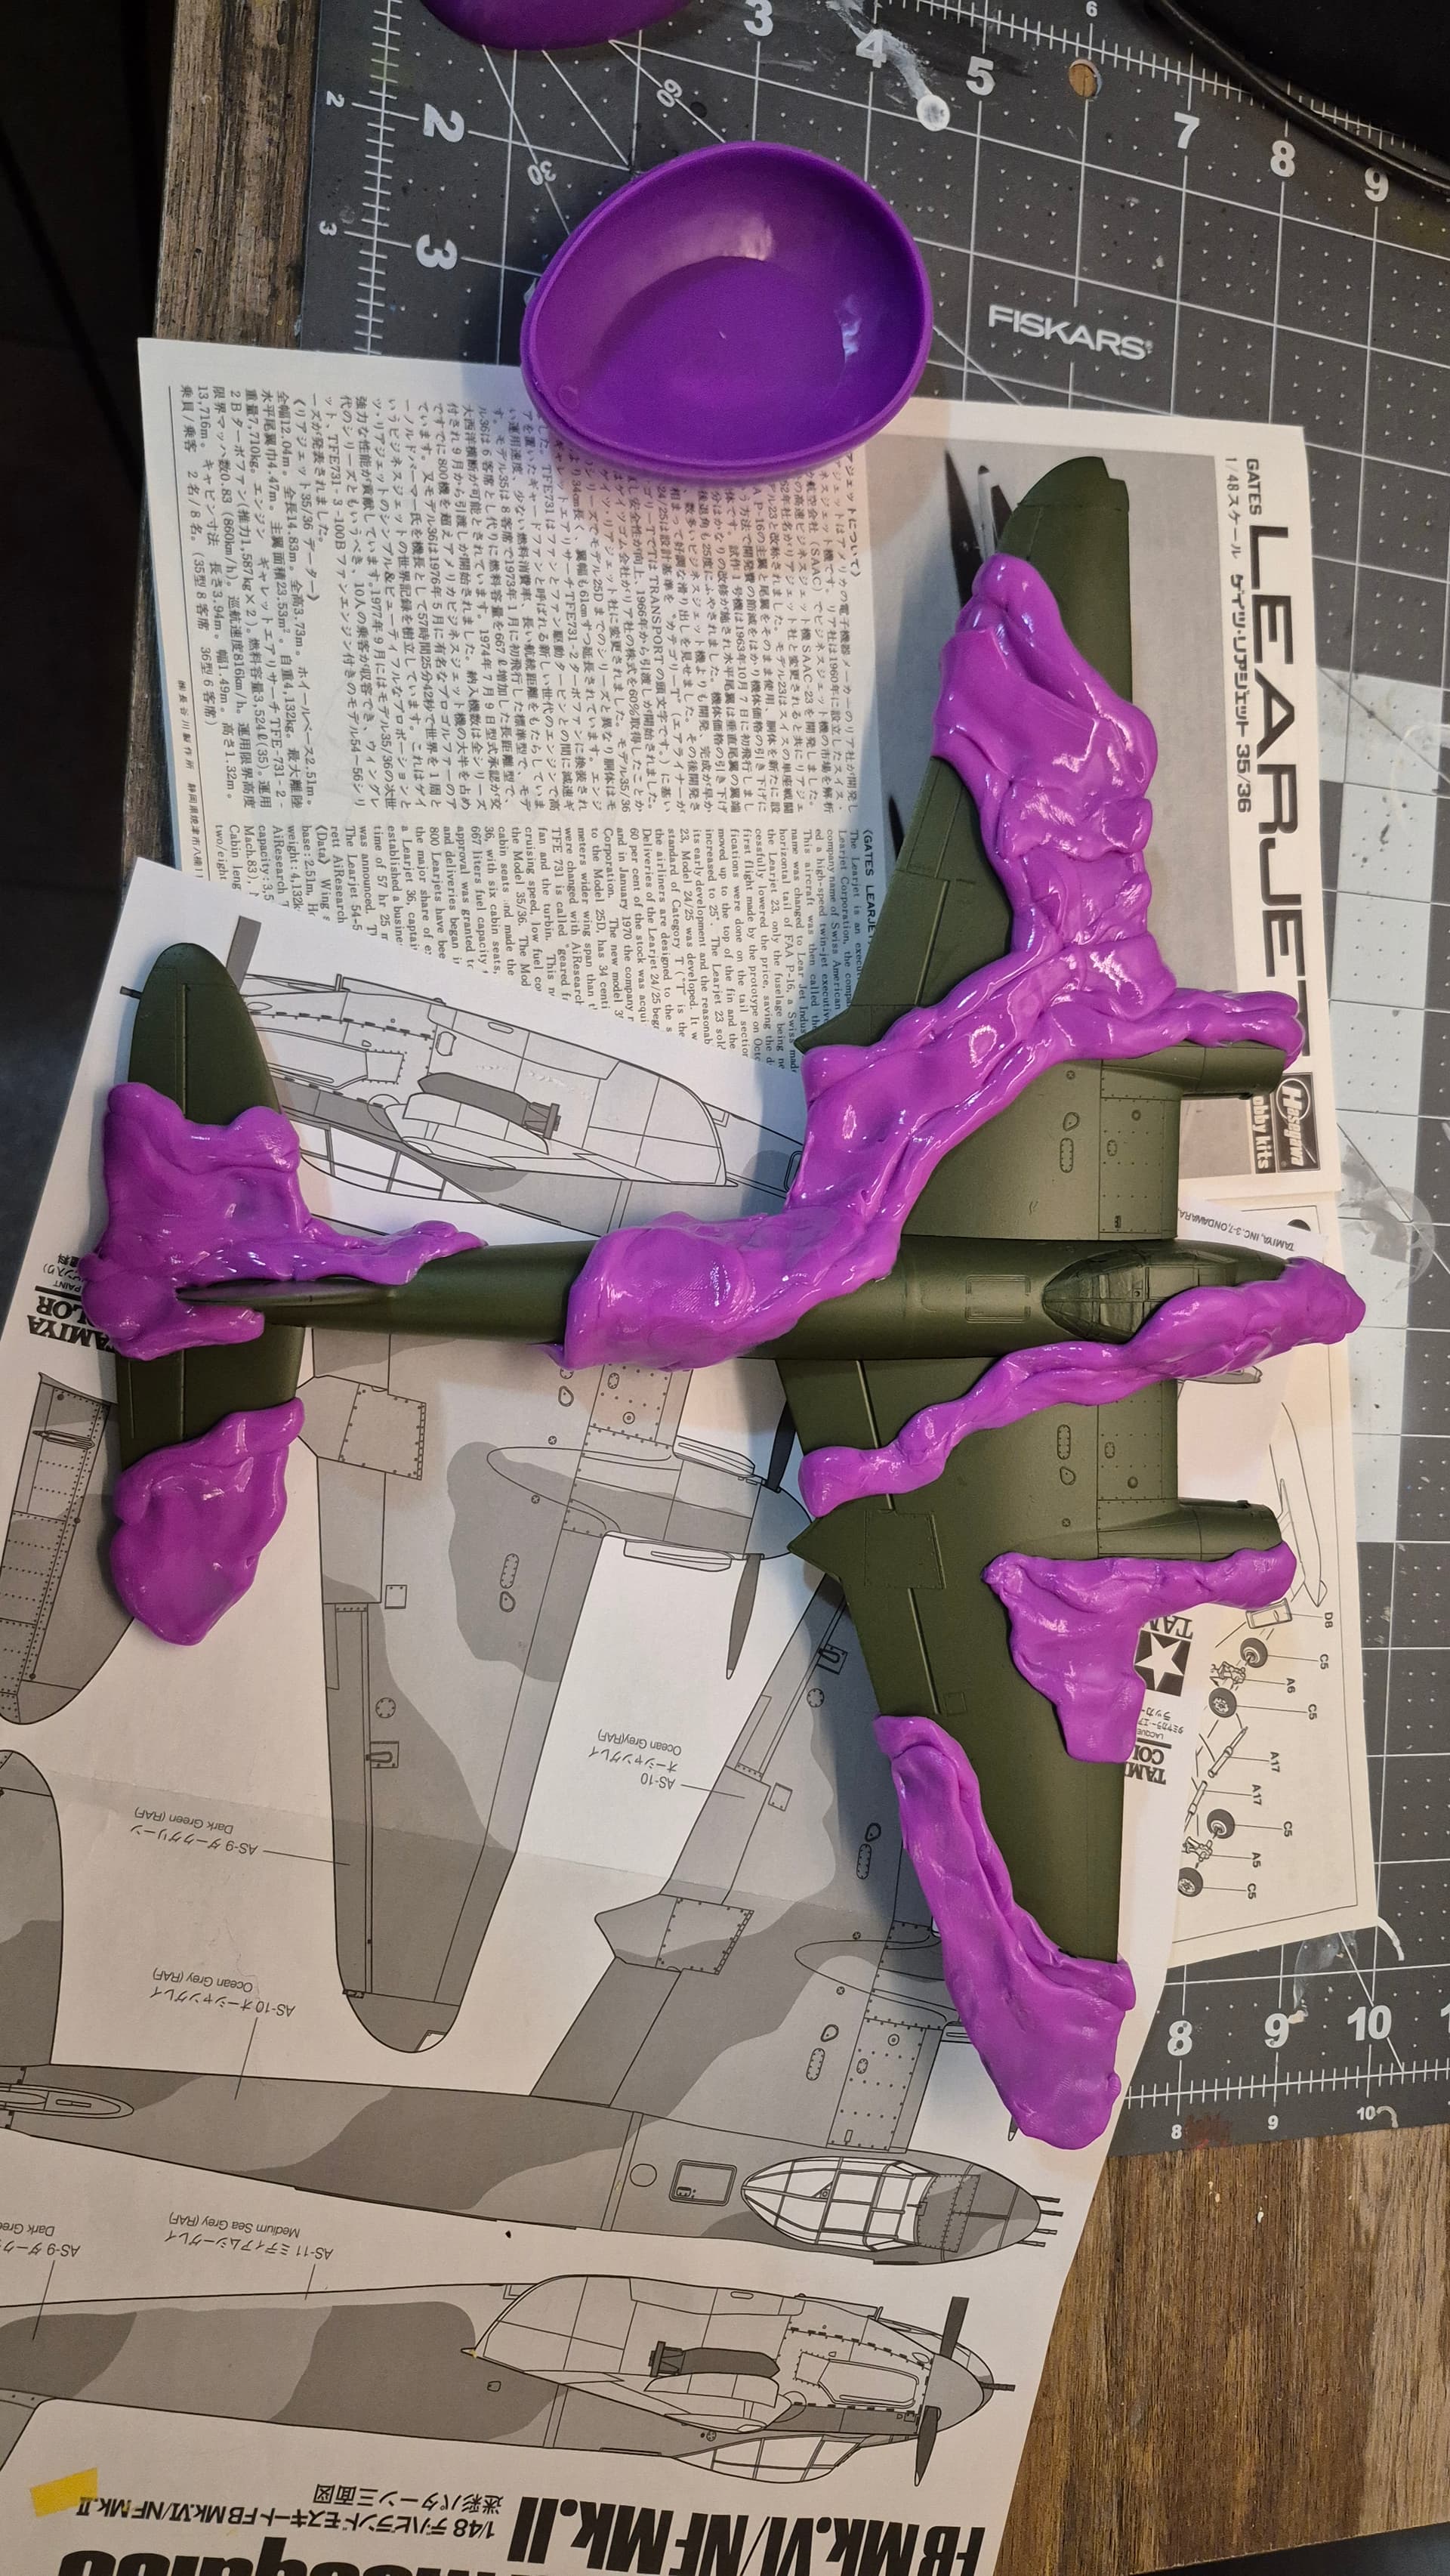
Carl, I’ve used similar products sold specifically for masking models, but I’ve never tried ordinary Silly Putty. That’s certainly a less expensive alternative!
I’m curious how well it works, particularly whether it leaves any residue behind when you remove it. Have you used it before, and have you noticed any issues with the paint underneath? If it works just as well as the modeling products, I may have to make a trip to the dollar store!
2 Likes
I’ve never used it to mask anything, though I can assure you that it generally leaves a sort of ‘film’ behind. Said ‘film’ is easily removeable with a wipe of a damp paper towel in most cases on plastic surfaces. It might also be better to clean the surface with a fine drop of soap with the damp towel for styrene. I know that it comes off of PVC and HDPE mostly with just a wipe down.
The original Silly Putty was something I saw other folks use for doing this sort of masking and while I thought it was a cool idea, I had stopped painting things where that kind of masking would be useful to me. By then I was on to science fiction kit bashing and doing my own thing with odd colored camo for other worlds and that also meant schemes where I basically base coated the primary camo color and then added dips, dabs and dashes over that.
Silly Putty also left something behind when I used it on comic strips from newspapers (it made the paper look like it was ‘wetted’ if left on for more than 10 seconds or so.
3 Likes
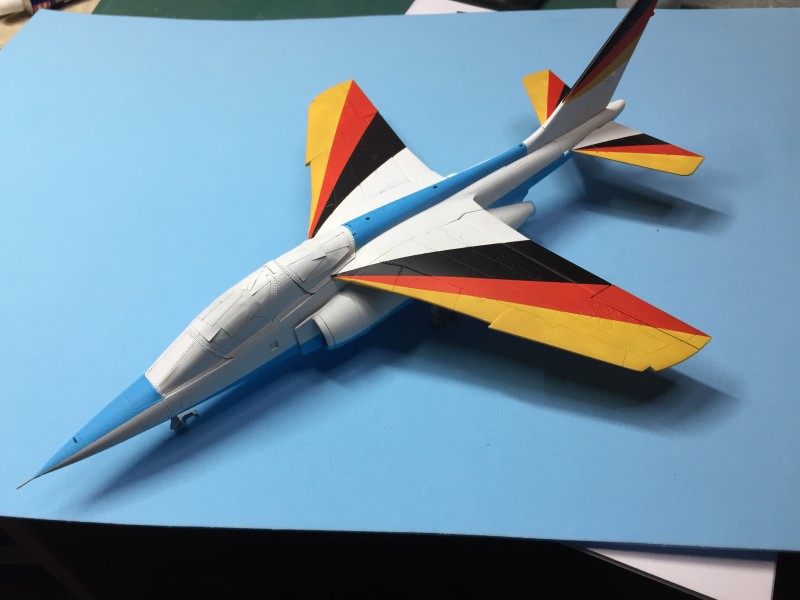
Gloss on and the AZ tail colors on

6 Likes
Looking forward to the camo scheme. Which Mossie are you doing?
2 Likes