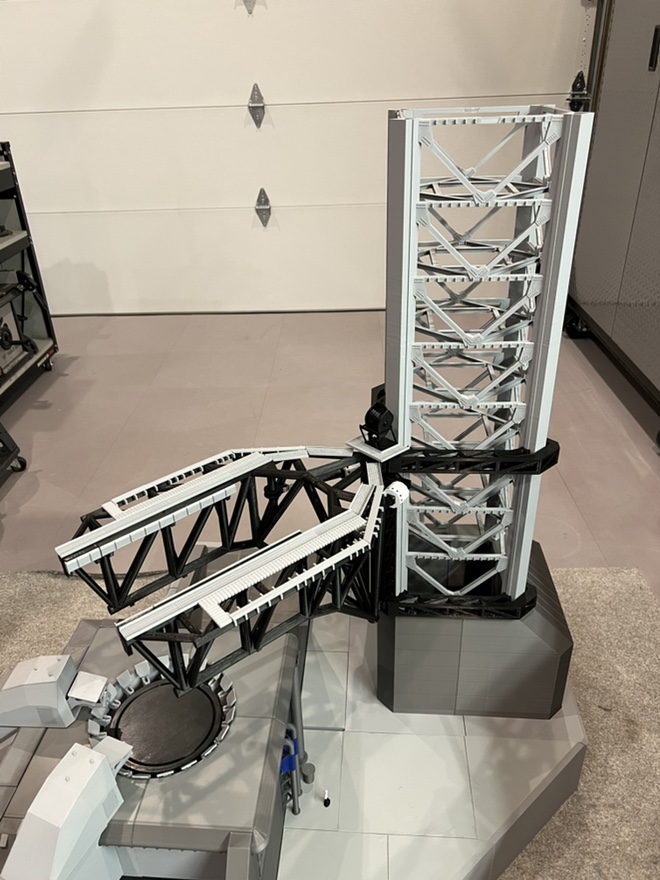
Alright guys here it is, V2 of the tower in light gray. Sections 1,2 and 3 are now GLUED together. 
4 Likes
GLUED together. 
It’s really good to see V2 coming together. After everything that happened to the first one, I’m glad you jumped right back in rather than letting it discourage you.
Keep at it. I’m really looking forward to watching this one come together!
2 Likes
No drama is good drama!
2 Likes
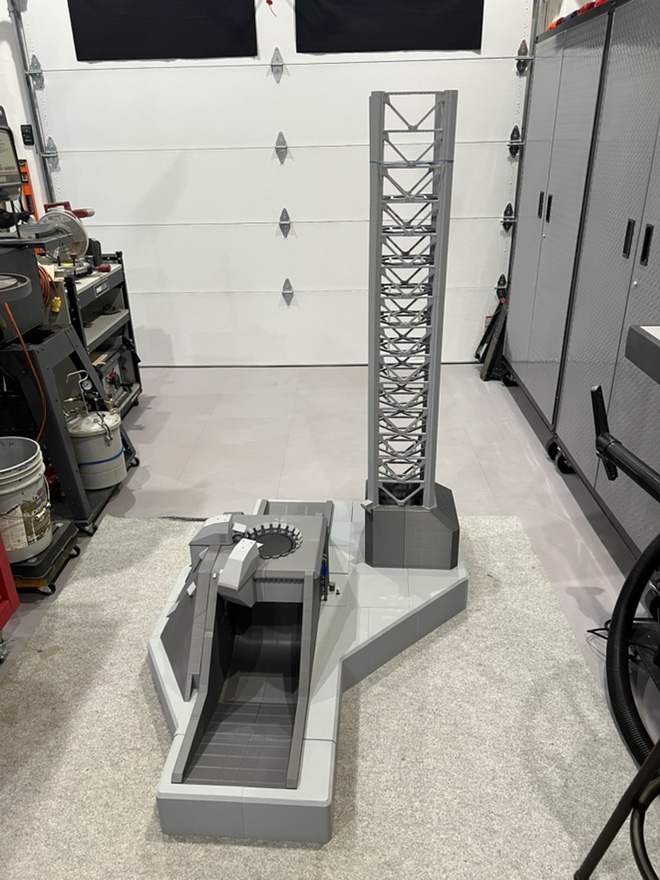
Only a few more parts to print and I’ll be back to where I was before the “Rapid Unscheduled Disassembly” happened as Gary so elegantly put it.
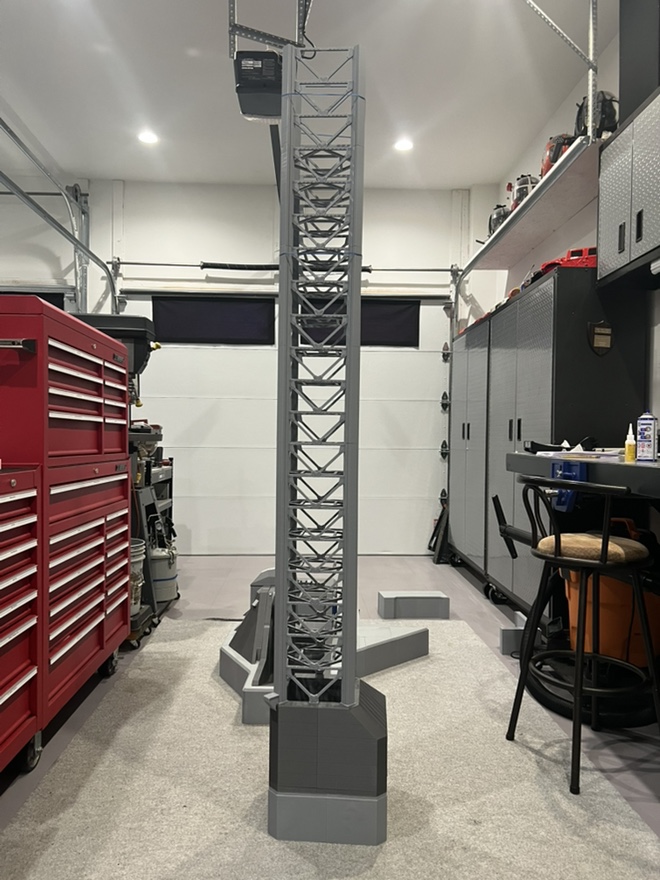
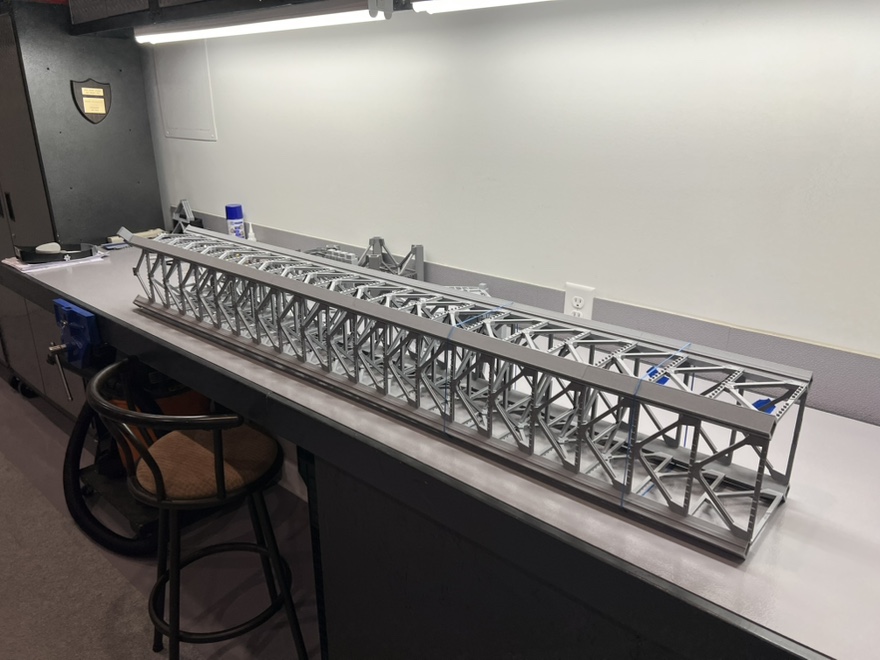
I’m at the point where I can’t reach the top, and since it’s all glued together and can’t be disassembled, I have to lay this thing down on the bench to work on it.
4 Likes
I like it! 1/60 is a great scale for these space models.
3 Likes
George,
It looks like you are making your own parts. Are you going to publish them when complete? This would make a nice addition to my collection of rockets.
2 Likes
Hi Bill,
Yeah 1/60 scale is great, IF you have the space to put it in when finished… {chuckle}
2 Likes
We’ll see how it turns out in the end and how much work it is to organize my files.
2 Likes
The tower rebuild is finished, it took 11 days. Now I can get back to focusing on adding all the detail items like stairs, an elevator shaft and piping, oh yeah and figuring out the cabling to raise and lower the chopsticks.
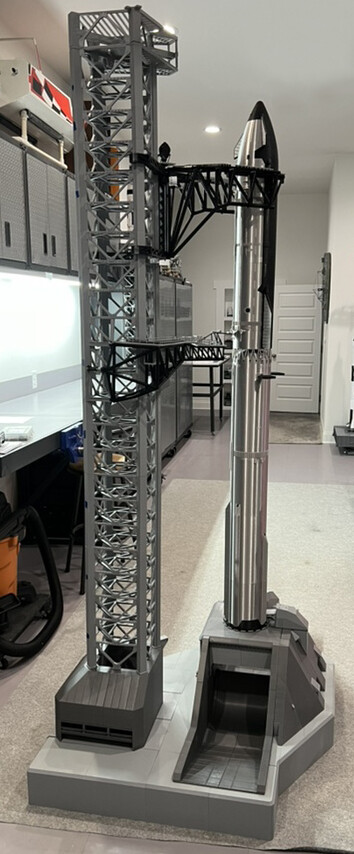
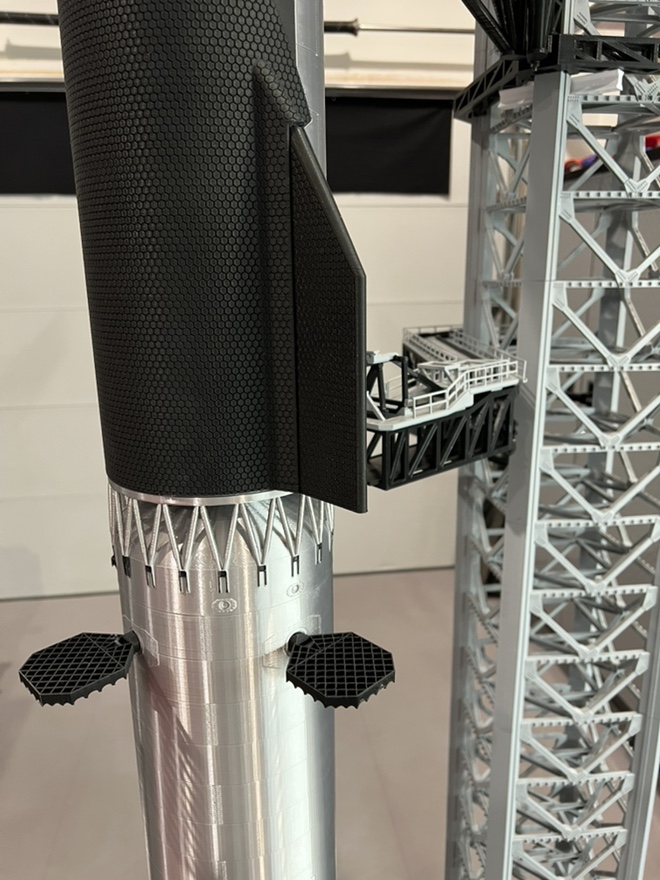
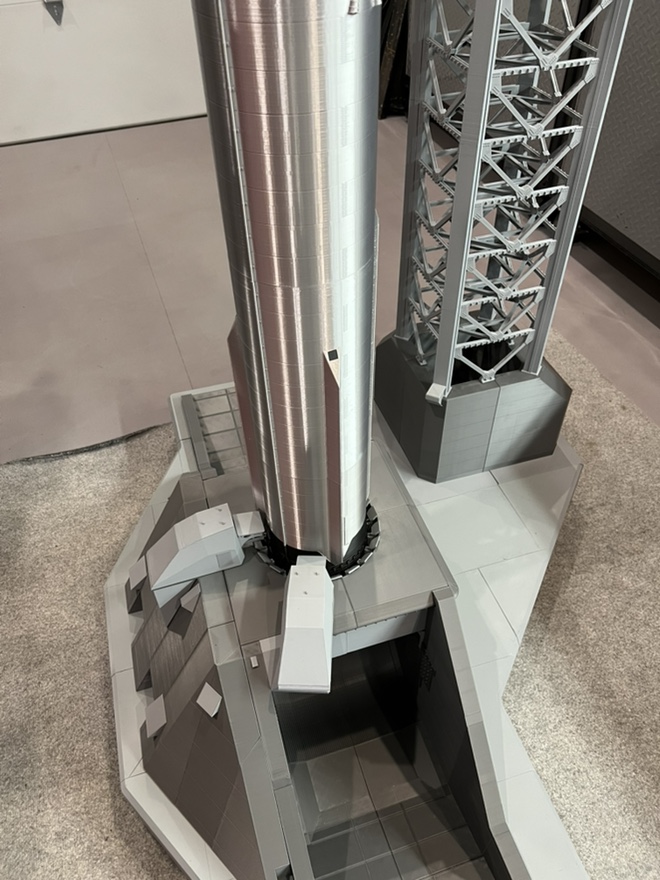
3 Likes
Great comeback! Looks fantastic.
1 Like
Looks great!
On a side note, I wish I had a workspace like that, where you can lay out a seven foot long tower on a work bench! It would make things so much easier.
Gary
1 Like
This is just incredible, George. Especially when I think back to 11 days ago and seeing that tower lying on the floor in pieces. Not only did you recover from that, you came back and made it better.
In a strange way, that’s pretty appropriate for Starship itself. They’ve certainly had their share of spectacular setbacks, learned from them, rebuilt, and kept going. You just managed to recreate that part of the program in 1/60 scale too.
I think this may be the most epic scale modeling project I’ve ever had the privilege of watching come together. The fact that you’re not just building it, but designing it, printing it, engineering the mechanisms and figuring all of this out yourself as you go is incredible.
And now you’re working out the cables to make the chopsticks actually move. Of course you are.
2 Likes
I’m taking a bit of a break from this model, it now sits in it’s corner away form any potential damage while I work on something else.
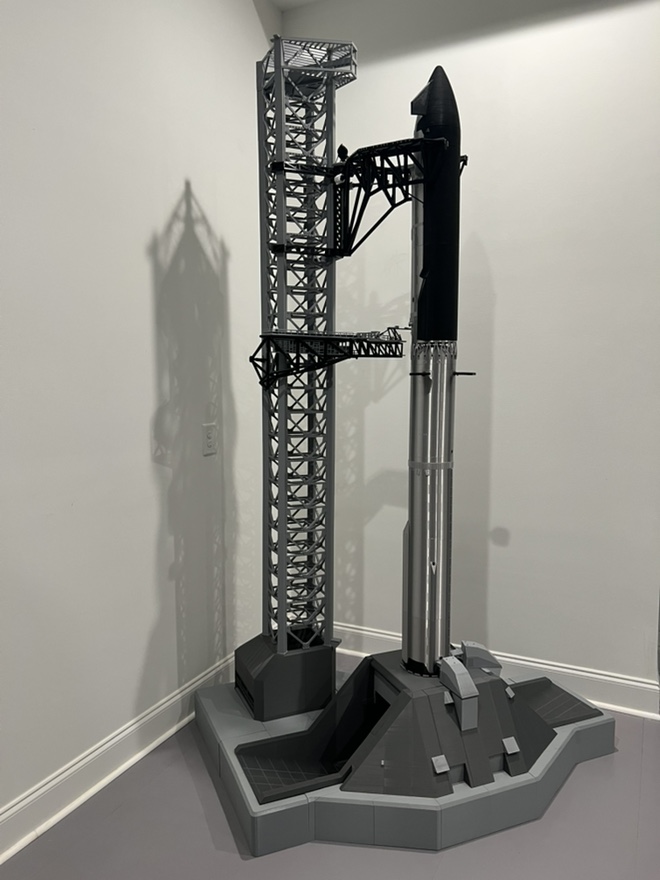
3 Likes
Will the elevator be motorized?
1 Like
George, I think this may be the most impressive model I’ve seen. You designed it, built it, repaired it when things went wrong, and just kept figuring things out as you went. The size is impressive enough, but it’s everything that went into creating it that really gets me. This is a whole different level of modeling.
1 Like
Yes, as well as the chopsticks now that I think I’ve figured out the cable routing.
-From the supply spool at the base the cable runs up to the top level back pulley
-over to the front pulley
-then down to the outer most pulley on the block
-up to the center pulley set (repeat x4)
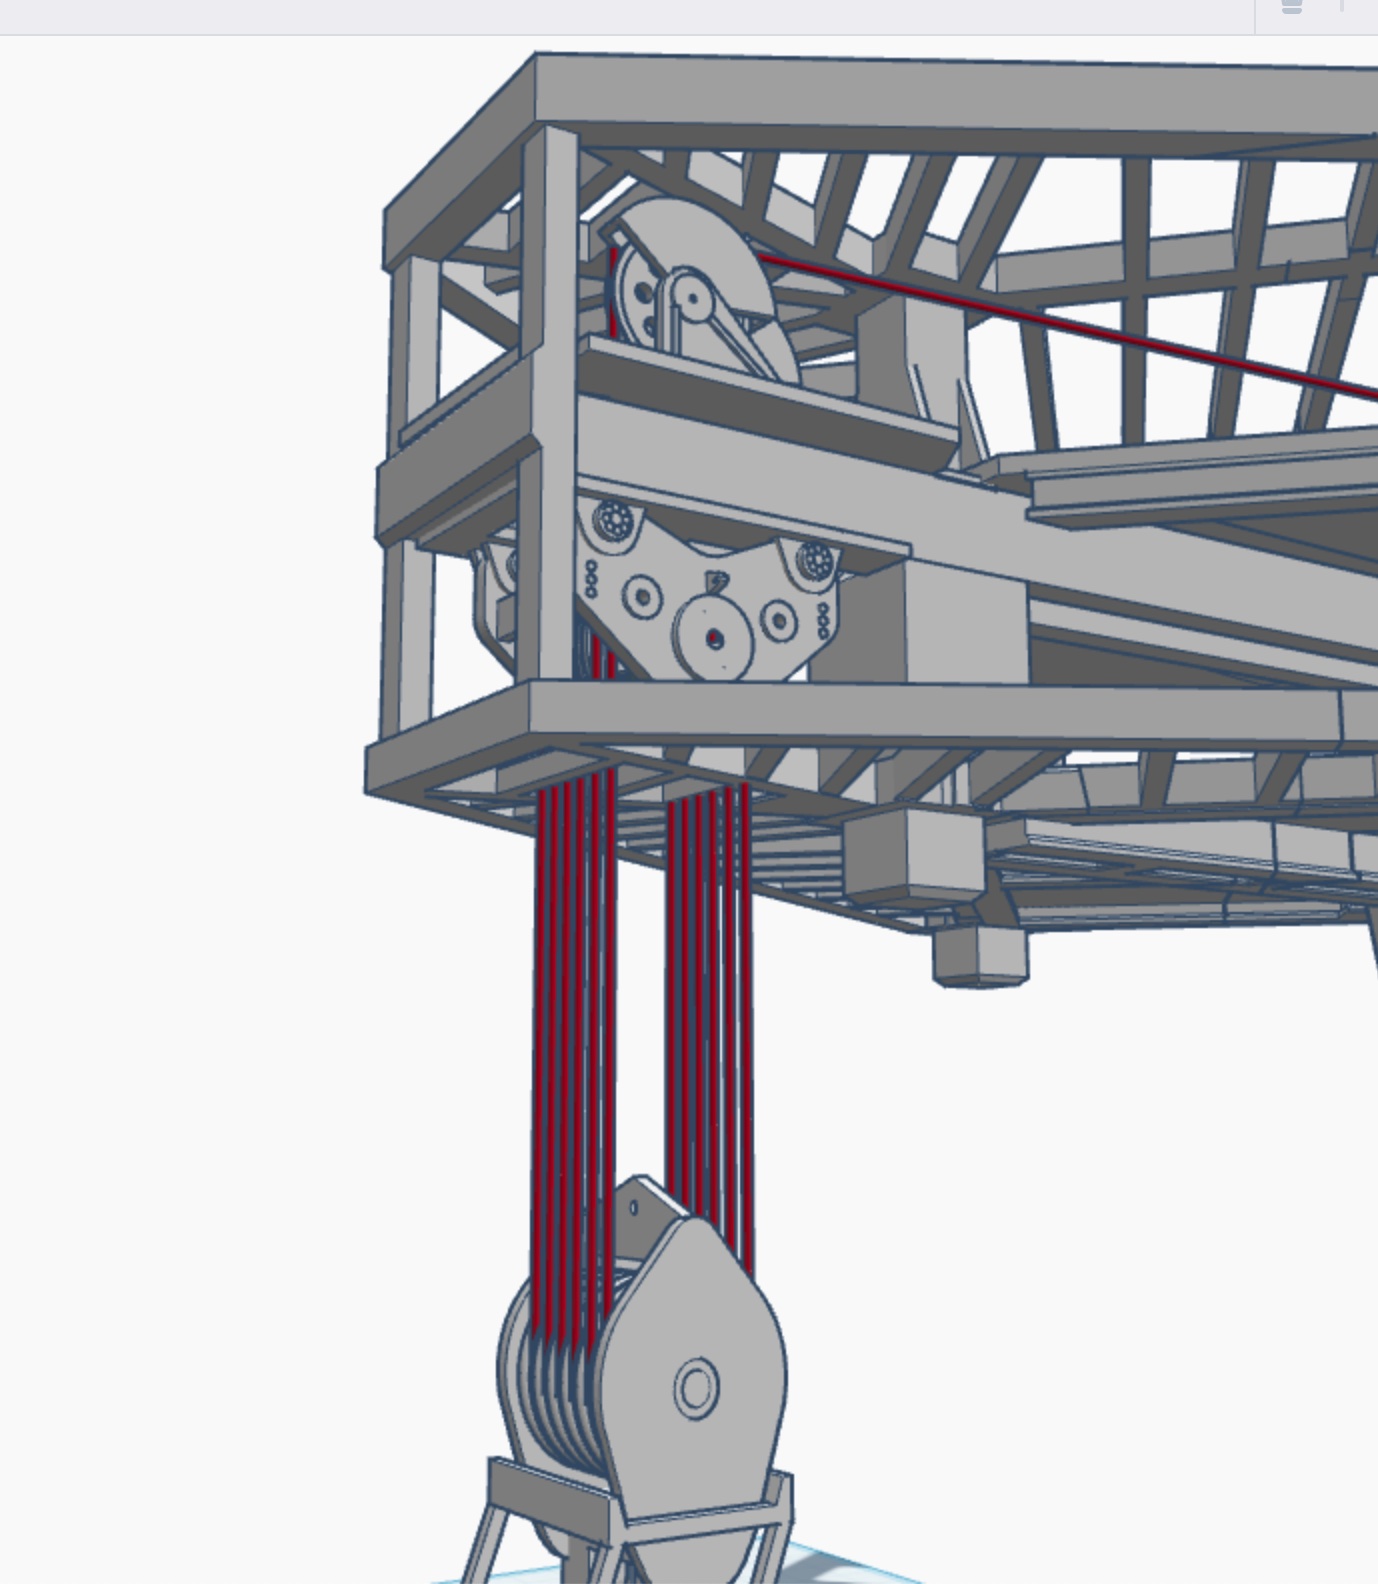
-from the opposite outer most pulley on the block
-up to the opposite front pulley
-over to the opposite back pulley
-down to the drawworks spool in the base.
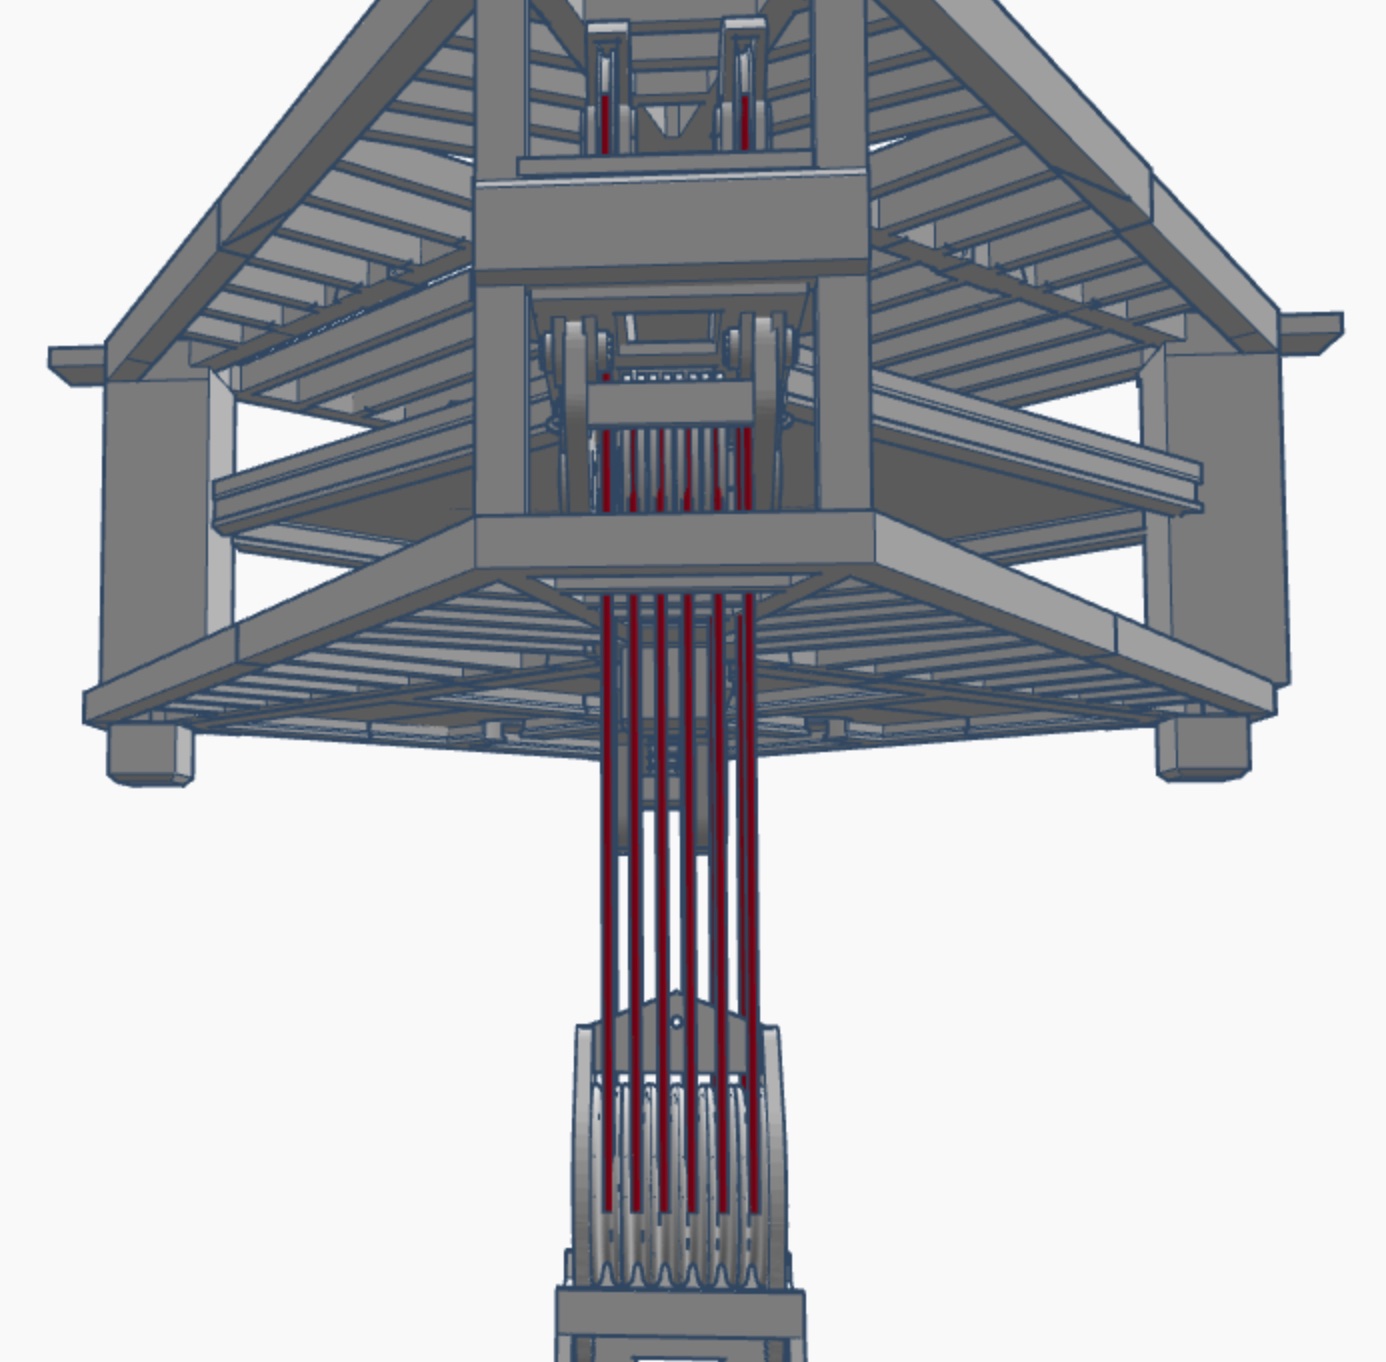
I’m still designing the parts to fit so I’m a ways off from testing. I think I’ll need over 130’ of cable when the chopsticks are lowered to the bottom. I’ll have to figure out how big the two spools will need to be to store that much cable, it all depends on how thick the cables are.
4 Likes
Small update.
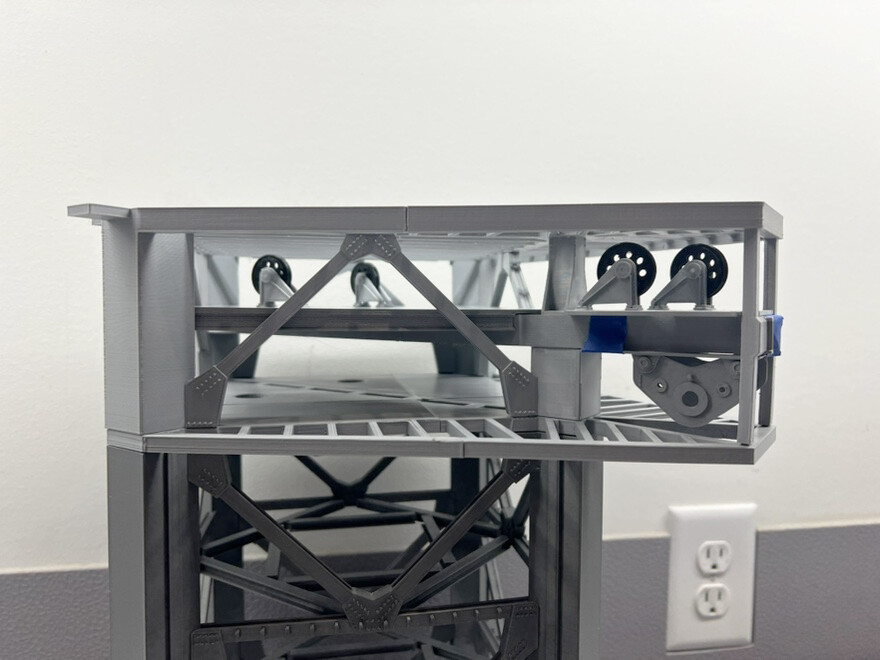
The top level crane pulleys are glued in place, I’ll fit the hoods after I run the cables. The bottom block is taped in place for now until I fit the pulley set then I’ll glue it in place.
Here’s a shot without the roof in place.
…and with the roof in place. The roof railings are the next thing to install, I have them designed just haven’t printed them yet.
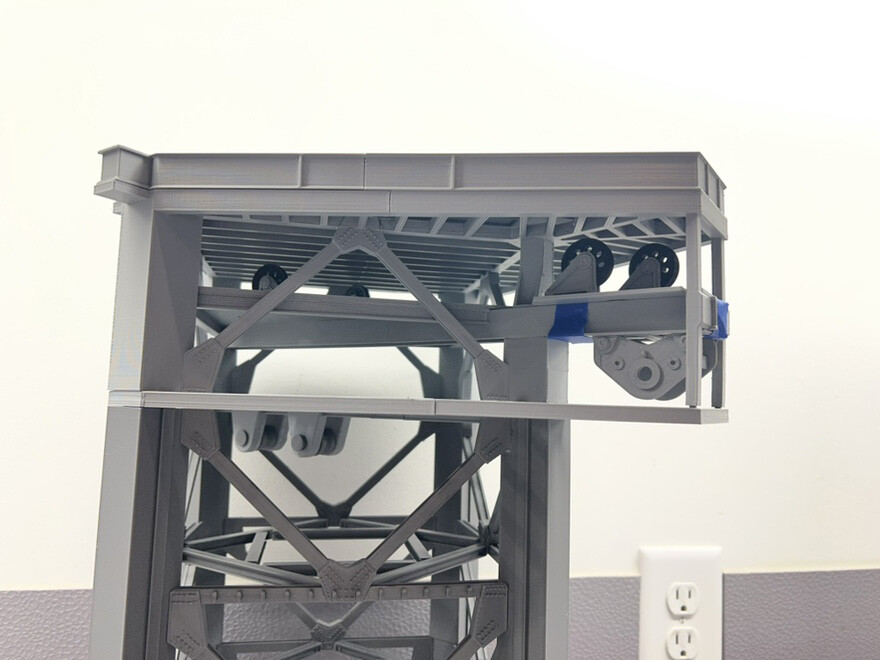
It’s a slow go because everything I add now is relatively small… but I’m getting there.
6 Likes
Onward and upward! Well actually since I can’t go any higher I guess it’s onward and downward from here.
Roof railings are installed, except for those small corner runs which I forgot to print.
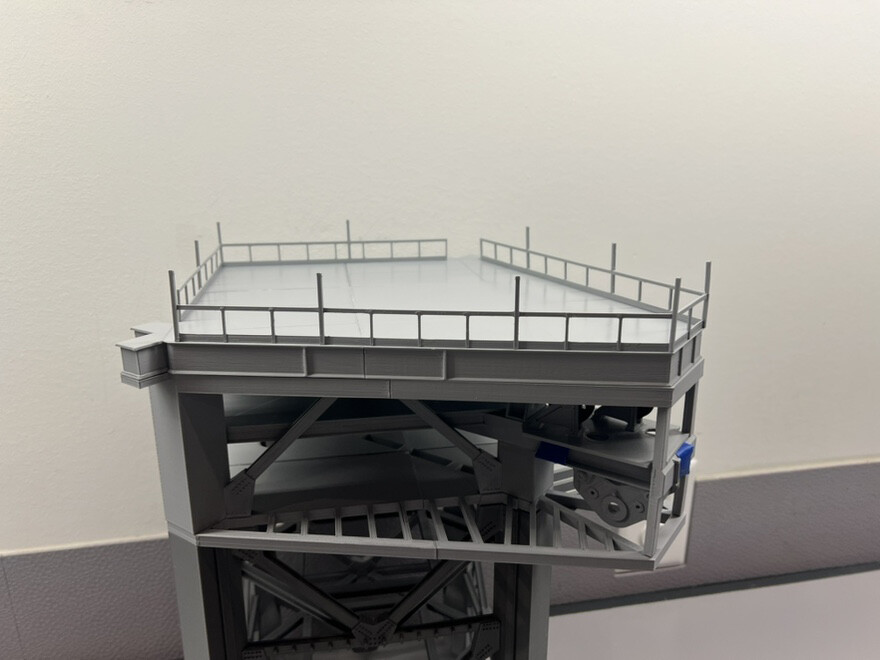
6 Likes
Curious - as tall as the tower is, does it have any lightning protection?
2 Likes