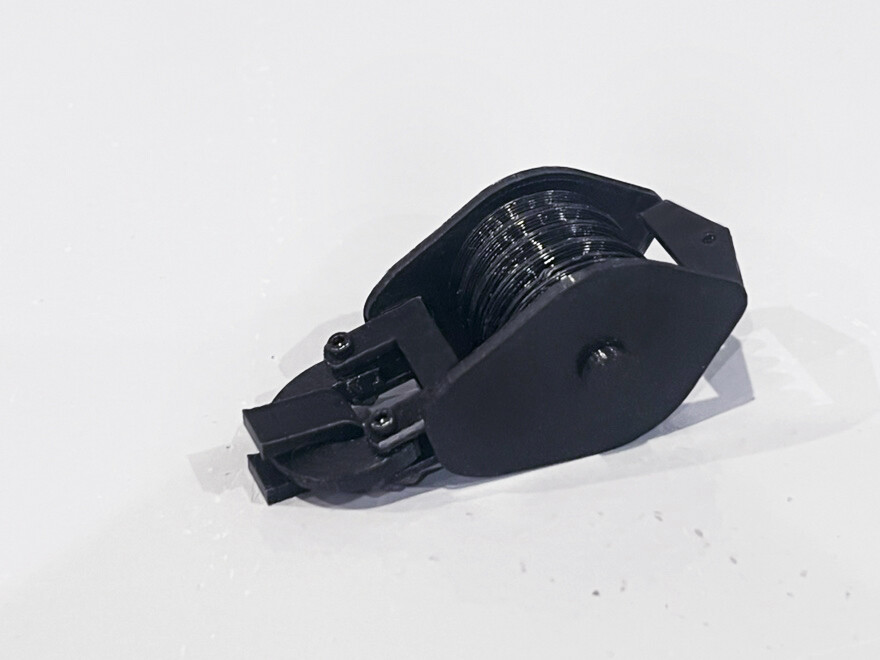
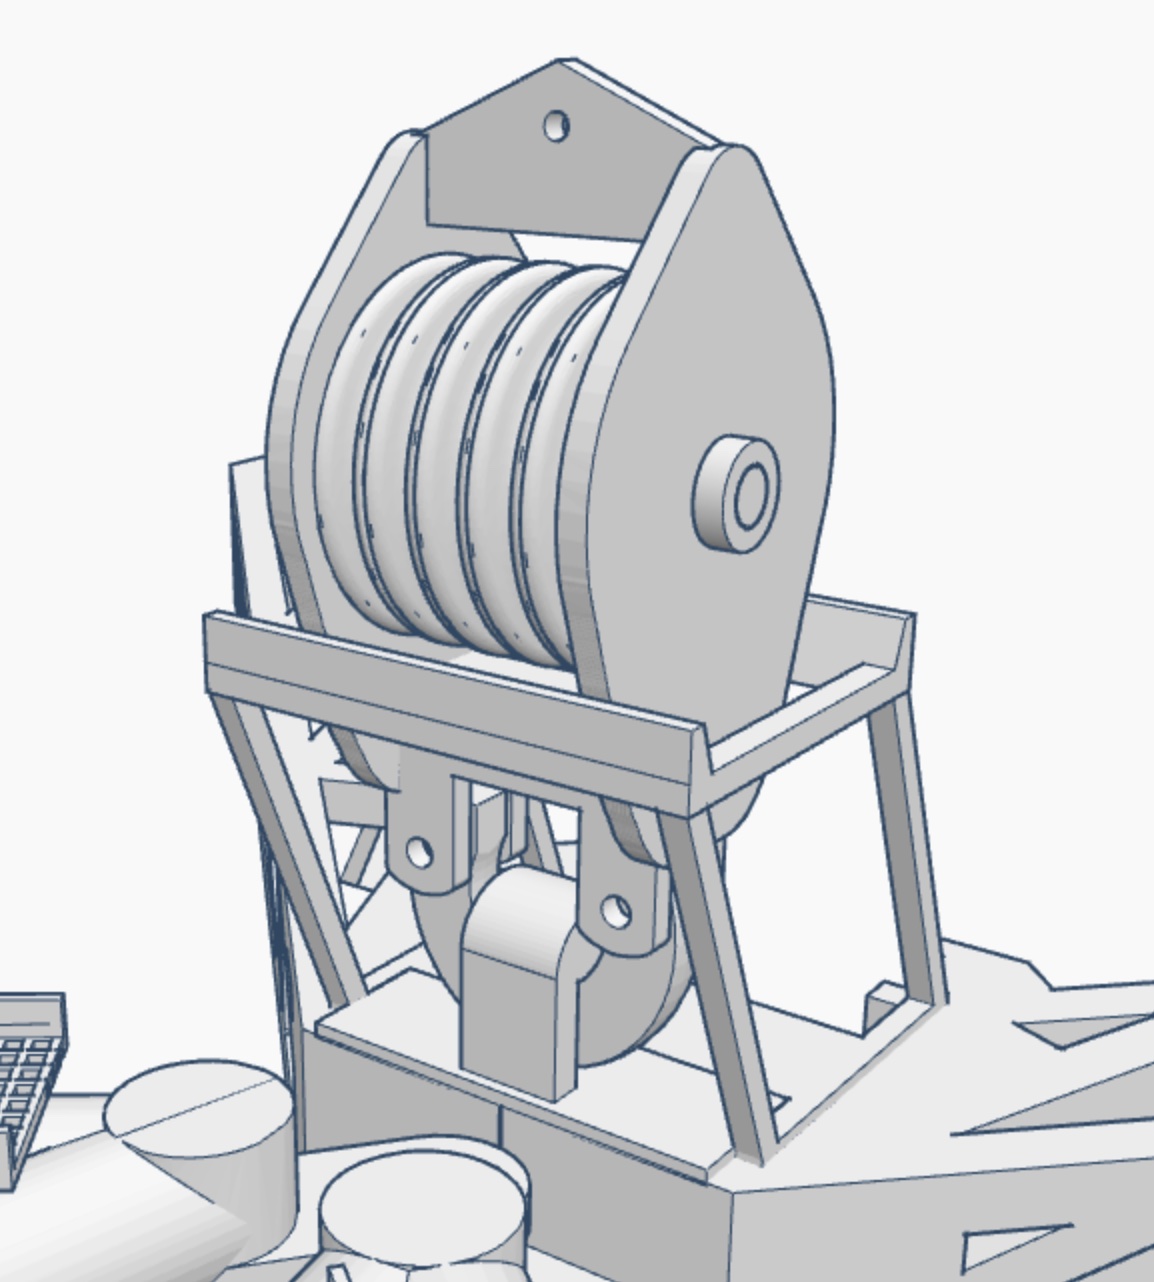
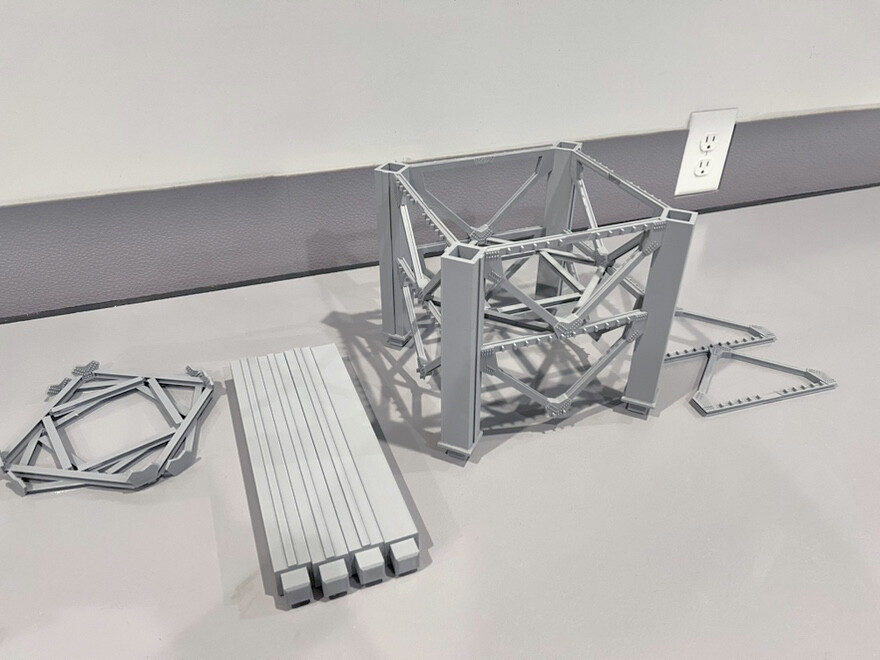
Small update this morning. Last night I designed the block and this morning printed out the parts.
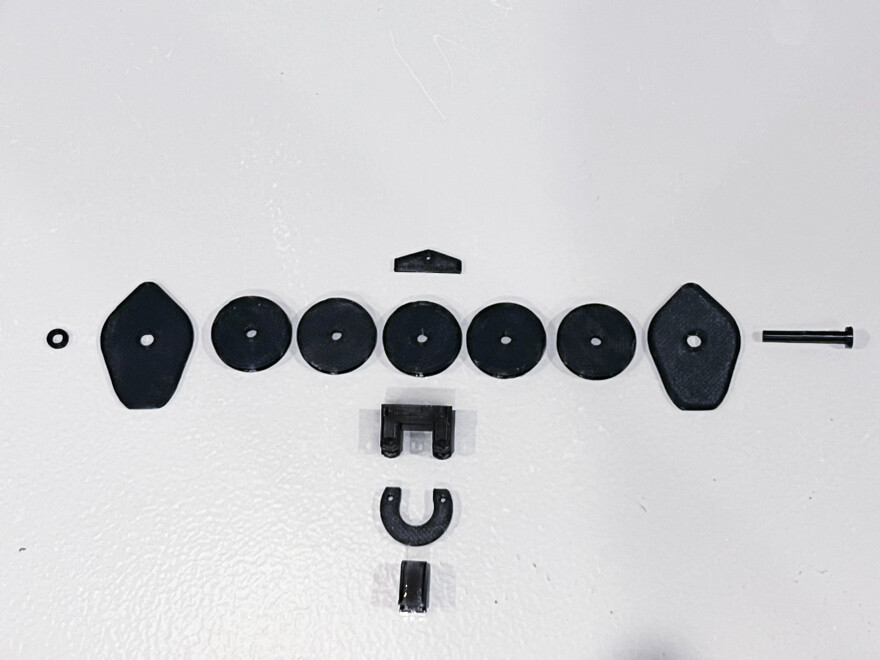
I went with 5 pulleys for now but an additional one could easily be added by simply reducing the width of the others so that 6 would fit in the block.
Small update this morning. Last night I designed the block and this morning printed out the parts.
I went with 5 pulleys for now but an additional one could easily be added by simply reducing the width of the others so that 6 would fit in the block.
You guys who do this 3D printing stuff throw around phrases like, “I designed a five-pulley block,” like that’s just a perfectly normal thing to do. 
I have absolutely no concept of how you actually do that. I understand how you send a finished file to a printer, but how do you sit down at a computer and create something like this from scratch? Are you literally drawing the shapes and dimensions in some kind of CAD program?
The more of this I see, the more I realize that buying a 3D printer may be the easy part. Learning how to design the things I want to print is a whole other hobby.
I use TinkerCAD which is basically for kids to learn CAD (good for me). I can fumble around Fusion but it takes me too long to make parts.
The part (in this example the block) is designed then broken up into it’s individual pieces for printing, just like a plastic model. It’s not printed as one complete “assembled” part.
Okay, “basically for kids to learn CAD” sounds like exactly the right level for me.
I also hadn’t realized you design the complete assembly and then break it apart into individual printable pieces, basically creating your own model kit. That makes the whole process a little easier for me to visualize.
It does give me some hope that when I finally get to the point of buying a 3D printer, I might actually be able to figure this stuff out. 
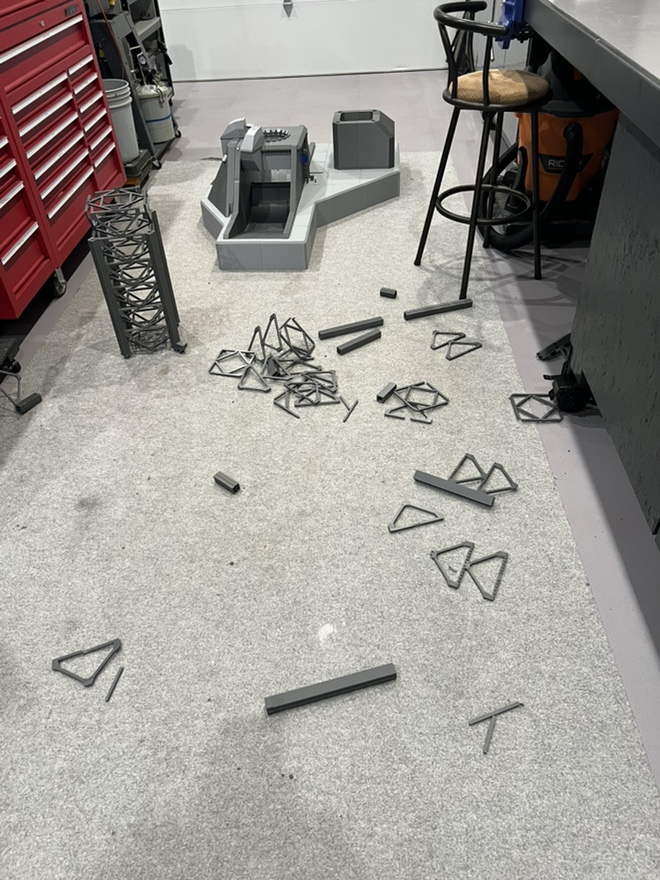
Well it happened, it fell over while I was working on it. I kept telling myself that I really need to glue the tower sections together. The weight of the SQD Arm and Chopsticks were too much.
Not sure if I feel like reprinting most of the tower at this point, probably take a break for a while.
Oh man. So sorry to hear that.
 OH NO!!!
Take a Deep Breath and crack open an adult beverage…
Looks like a “Rapid Unscheduled Disassembly” occured at the launch site. Time to rethink. Perhaps wooden dowels may be inserted into the legs of the tower (provided they’re hollow).
Gary
Oh no!  After all the work you’ve put into this thing, that picture is painful to look at.
I completely understand wanting to walk away from it for a while. The good news, I suppose, is that you’re probably the only person on the forum who can actually manufacture an entirely new launch tower when the old one falls over.
Give it some time. This project is way too cool to let gravity have the last word.
I couldn’t stay away for long, I’m done stewing over this…and so my journey begins again.
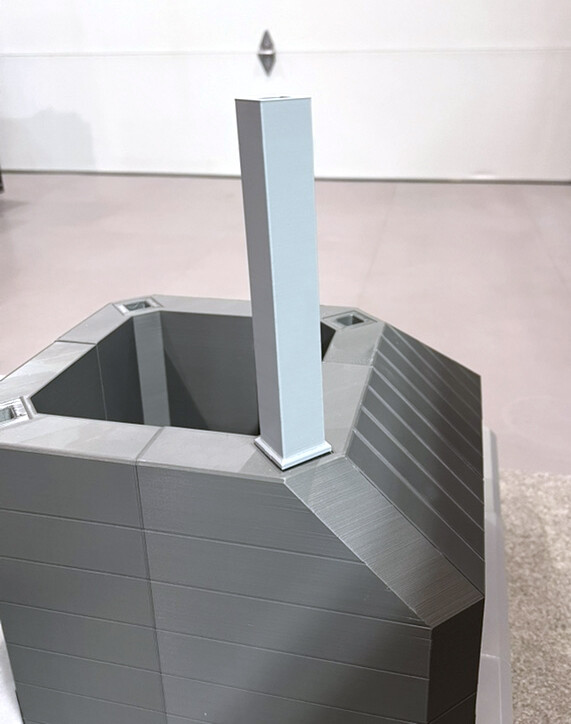
On the plus side, I’m going to reprint the tower using a lighter gray filament, I always thought the other one was too dark. Had the same problem when I printed my crawler model, first one was too dark. You’d think I’d have learnt my lesson by now. 
The rebuild has start, 11 more of these and I should be back to where I was.
I won’t bore everyone with this since it’s basically the same 'ol thing as before. I’ll be back when the full tower is complete.
Make sure to glue them this time! 
LOL for sure, plus I made the connections between the sections tighter.
Hooray! I’m really glad to see you starting again. I hated seeing what happened to it after all that work, but I’m even more glad you decided not to give up on it.
I think most of us have had something go seriously wrong with a build at one time or another. Sometimes it ends up in the junk pile or on the shelf of doom, and sometimes you just decide to start over. This one is way too interesting a project not to see through to the end.
And no, I don’t think you’re going to bore anybody by showing us the rebuild. I’m looking forward to watching it come back together.
Thank you for the words of encouragement.  Yes, we’ve all had model builds go wrong, it’s never any fun. In my case with this build I had invested hundreds of dollars in filament only to watch it go into the garbage can… that stings a bit. Luckly I have alot of light gray filament in stock so I’m not having to buy more.
I’ll keep you all updated then as I make more progress.
Oh my gosh, I hadn’t even considered the hundreds of dollars in filament. I’d gotten so focused on all the work that was lost that I hadn’t thought about the actual material cost on top of it.
I think for those of us who don’t 3D print yet, there’s a tendency to think of this stuff as if it just magically appears out of thin air. You download a file, push a button, and out comes a part. You don’t really think about how much the actual material costs—especially on something this enormous.
Hundreds of dollars in filament AND hundreds of hours of work. Ouch. That makes your decision to start over even more impressive.
Interesting option - not sure it’s worth the investment but the with the amount of stuff you’re doing it may be
Hey thanks for the link, interesting product. The only problem I see is that it looks like the used filament (parts) need to be shredded before feeding into the hopper to be shredded again. A while back I tried shredding some old scrap prints but the appliances I tried all eventually failed. I have a twin cylinder 1000cc wood chipper that would do it but I think it’s over kill. LOL
Maybe Elon will cough up a few million. 
Gary
I didn’t even know recycling filament was a thing. I keep learning more and more about this whole 3D printing business.
The wood chipper might work, although I’m not sure your housemates would appreciate you firing that thing up in the hobby room.