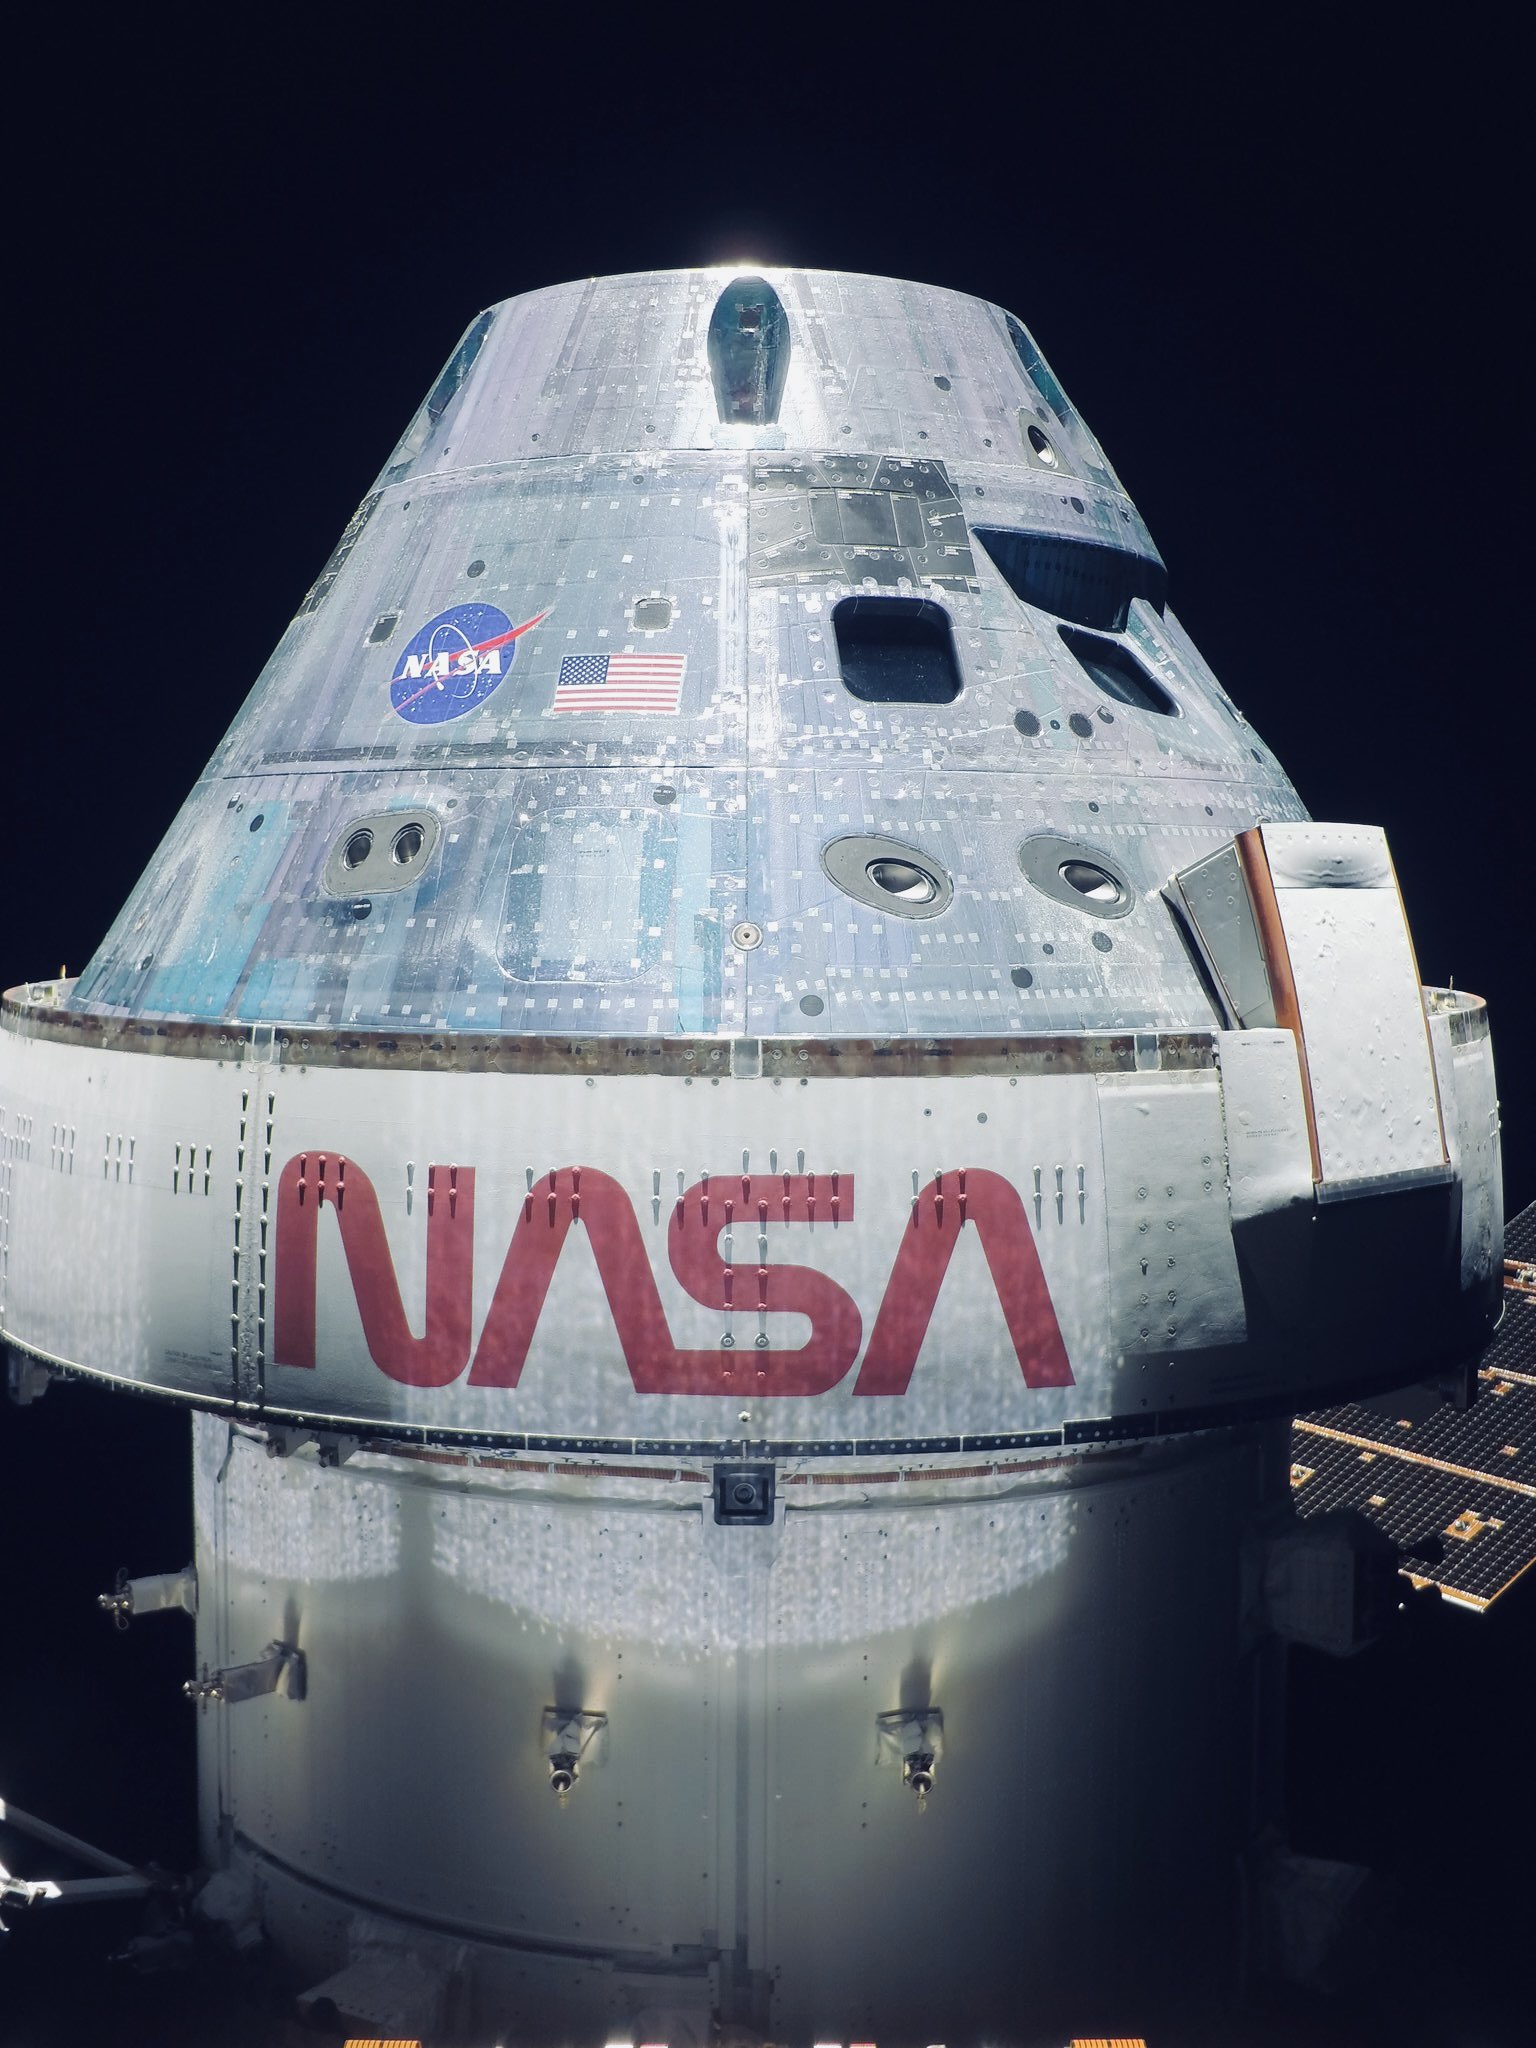
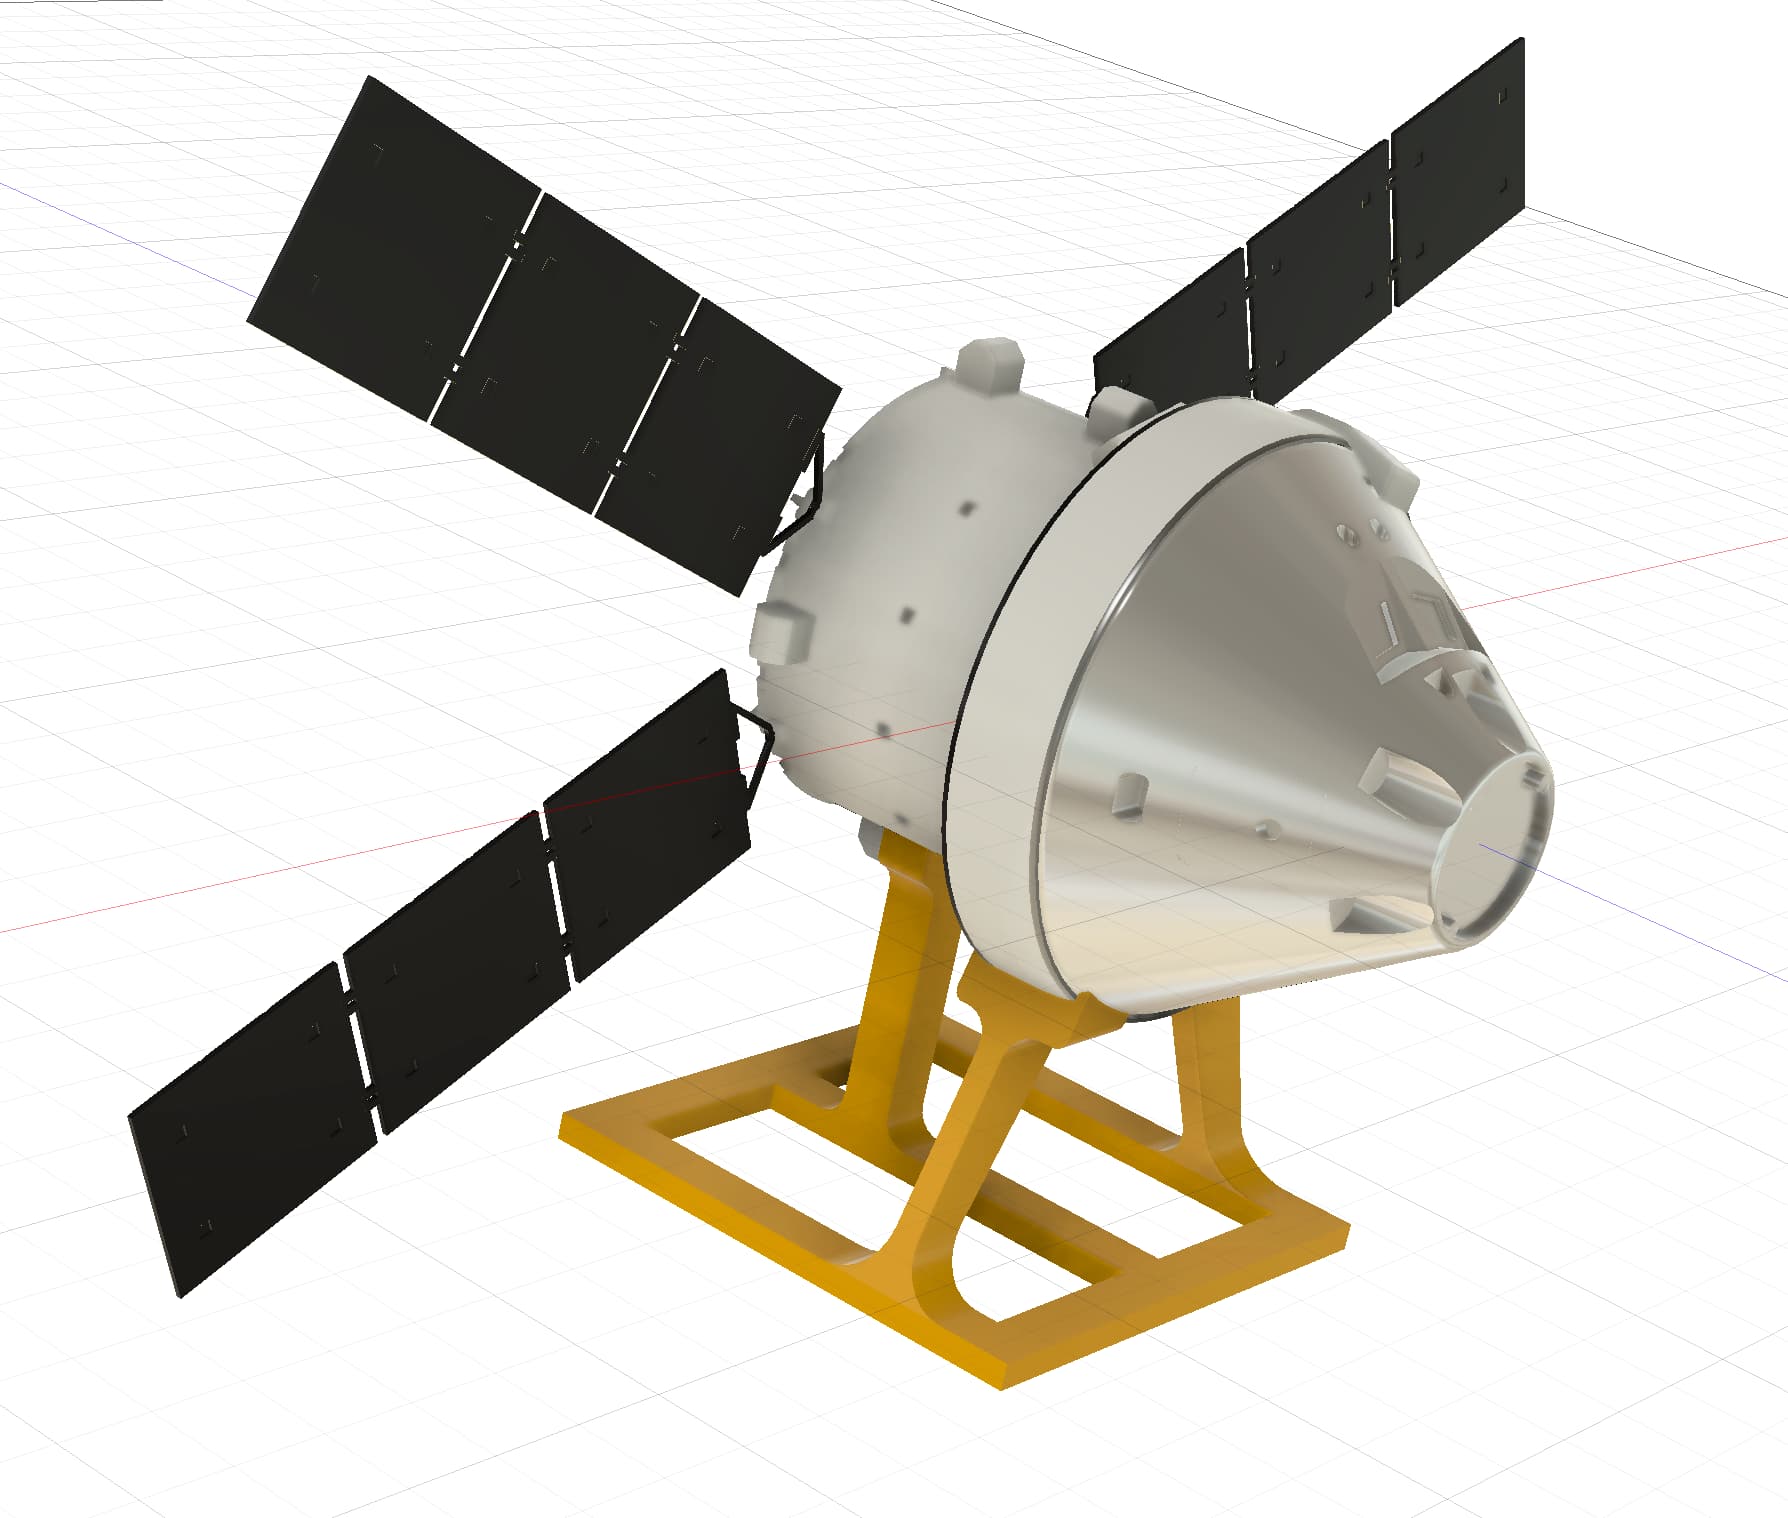
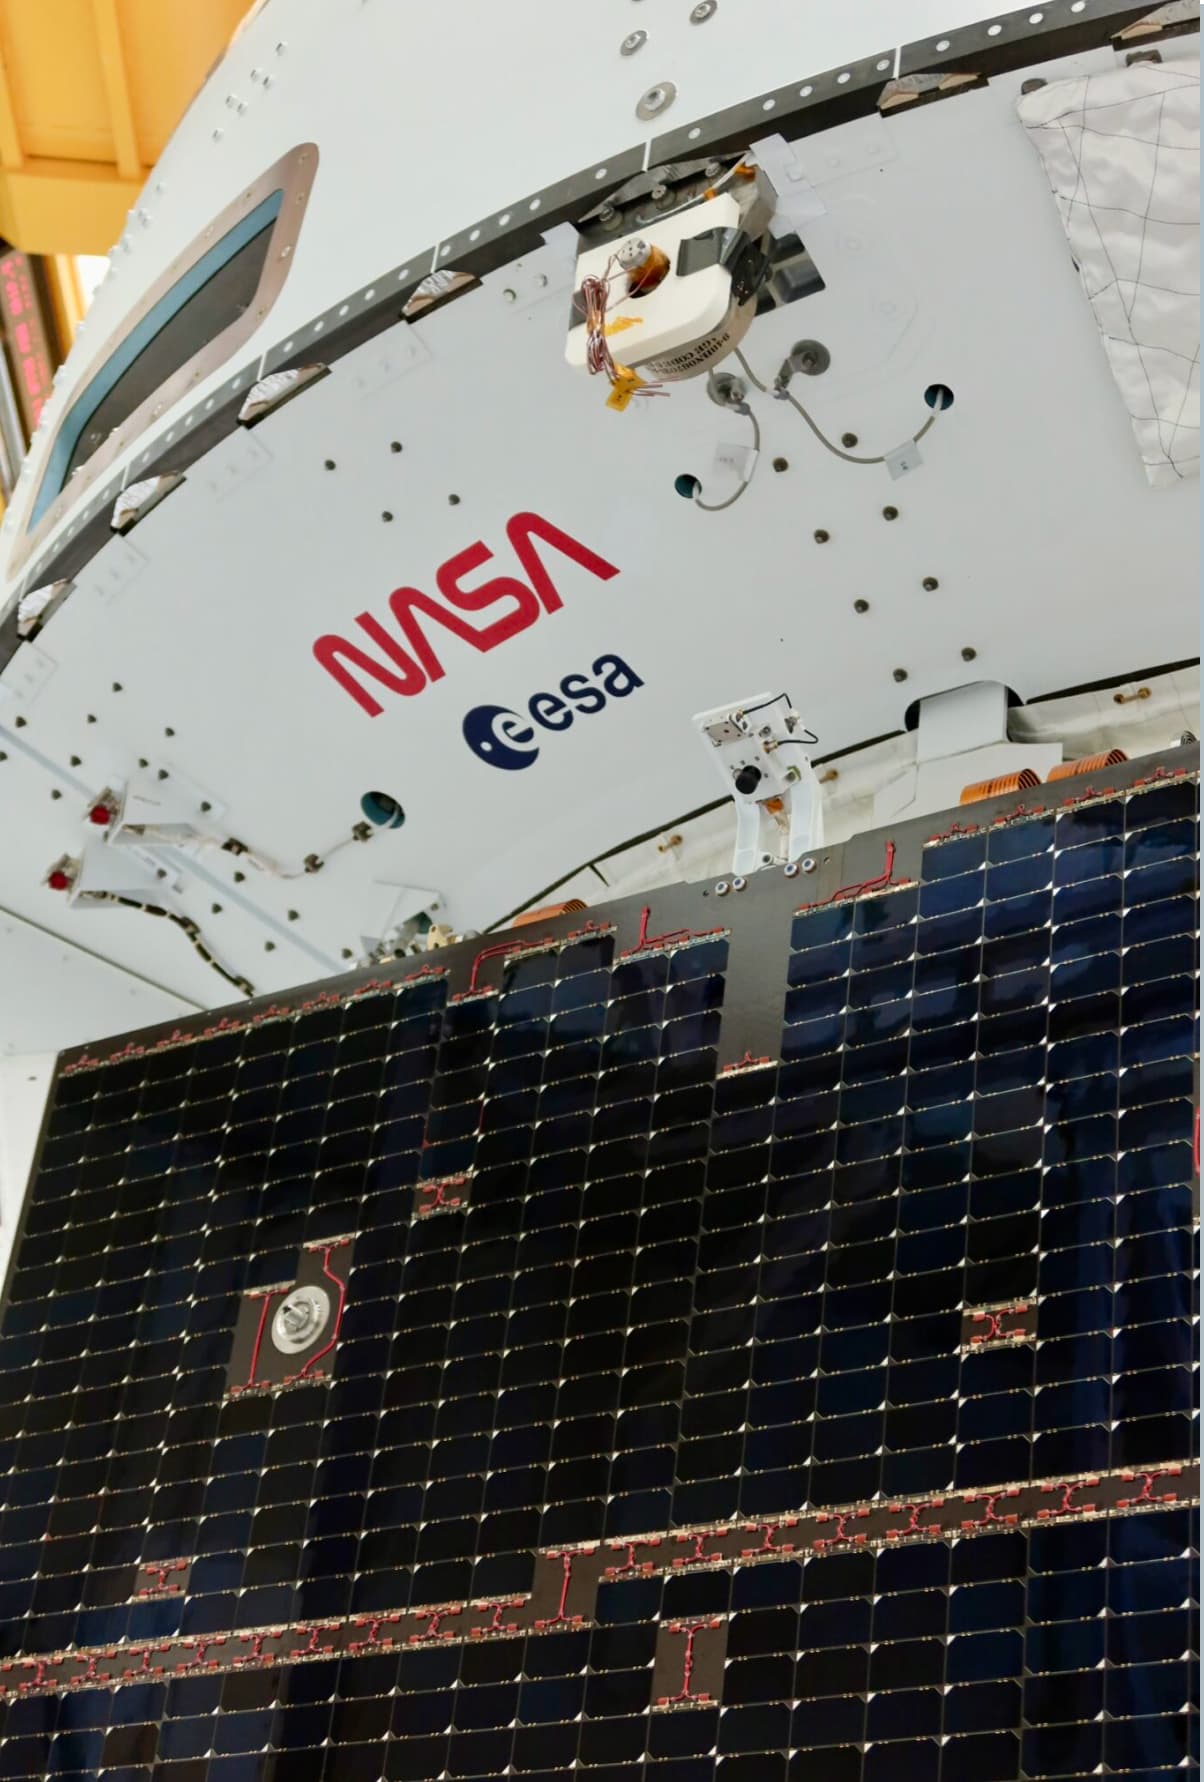
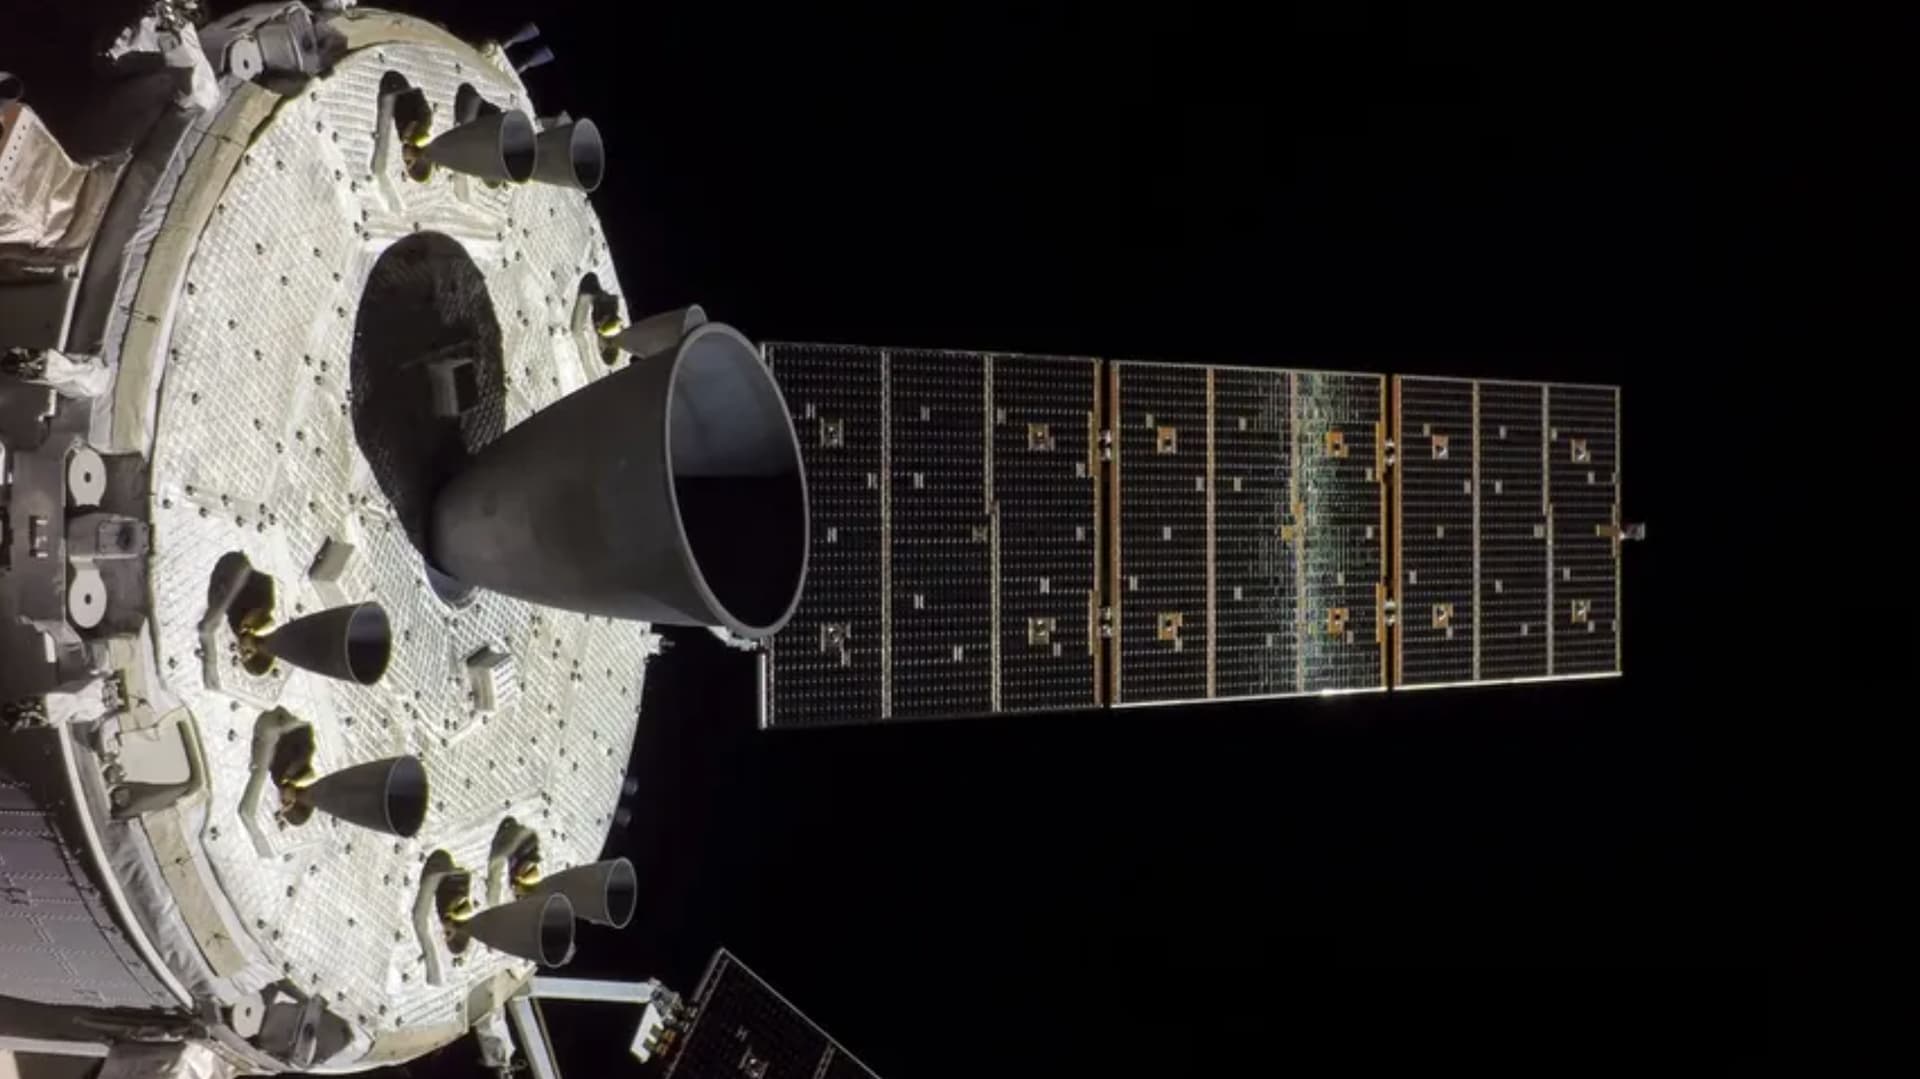
It is exciting that we are finally going back to the moon. With two trips under its belt, I figured it was time to build this model, the parts of the overall rocket that went to the moon, the capsule and service module.
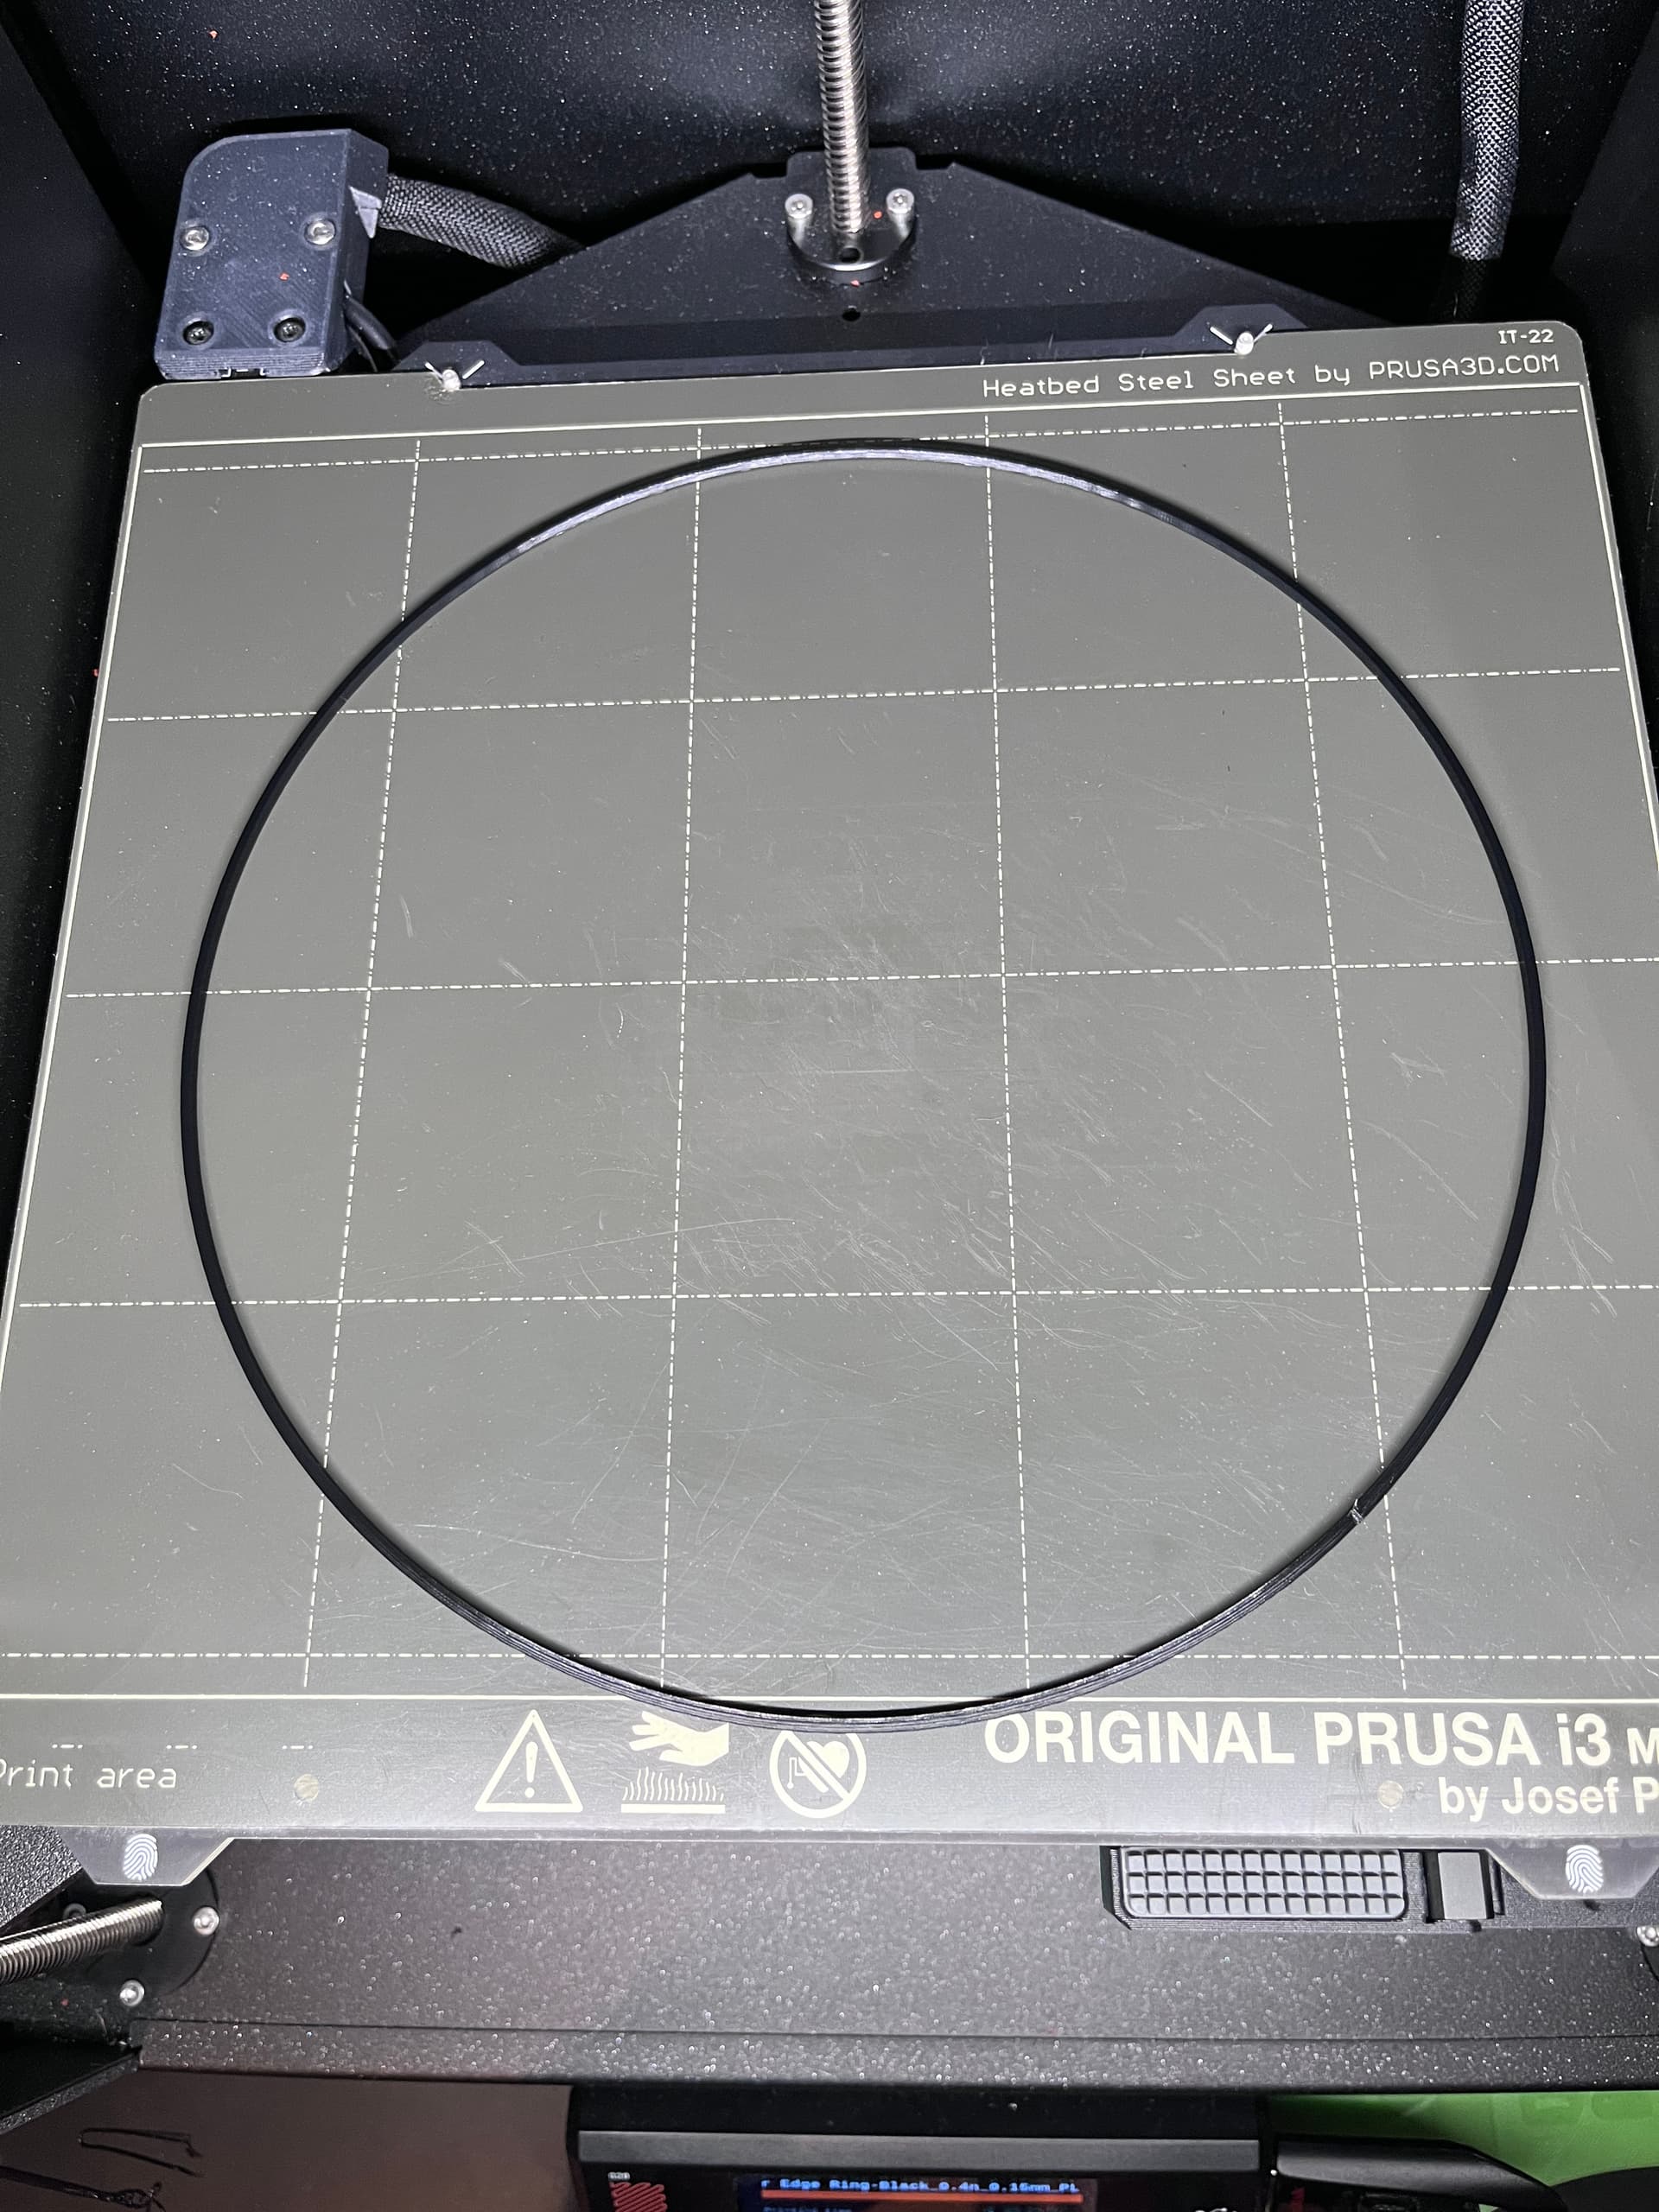
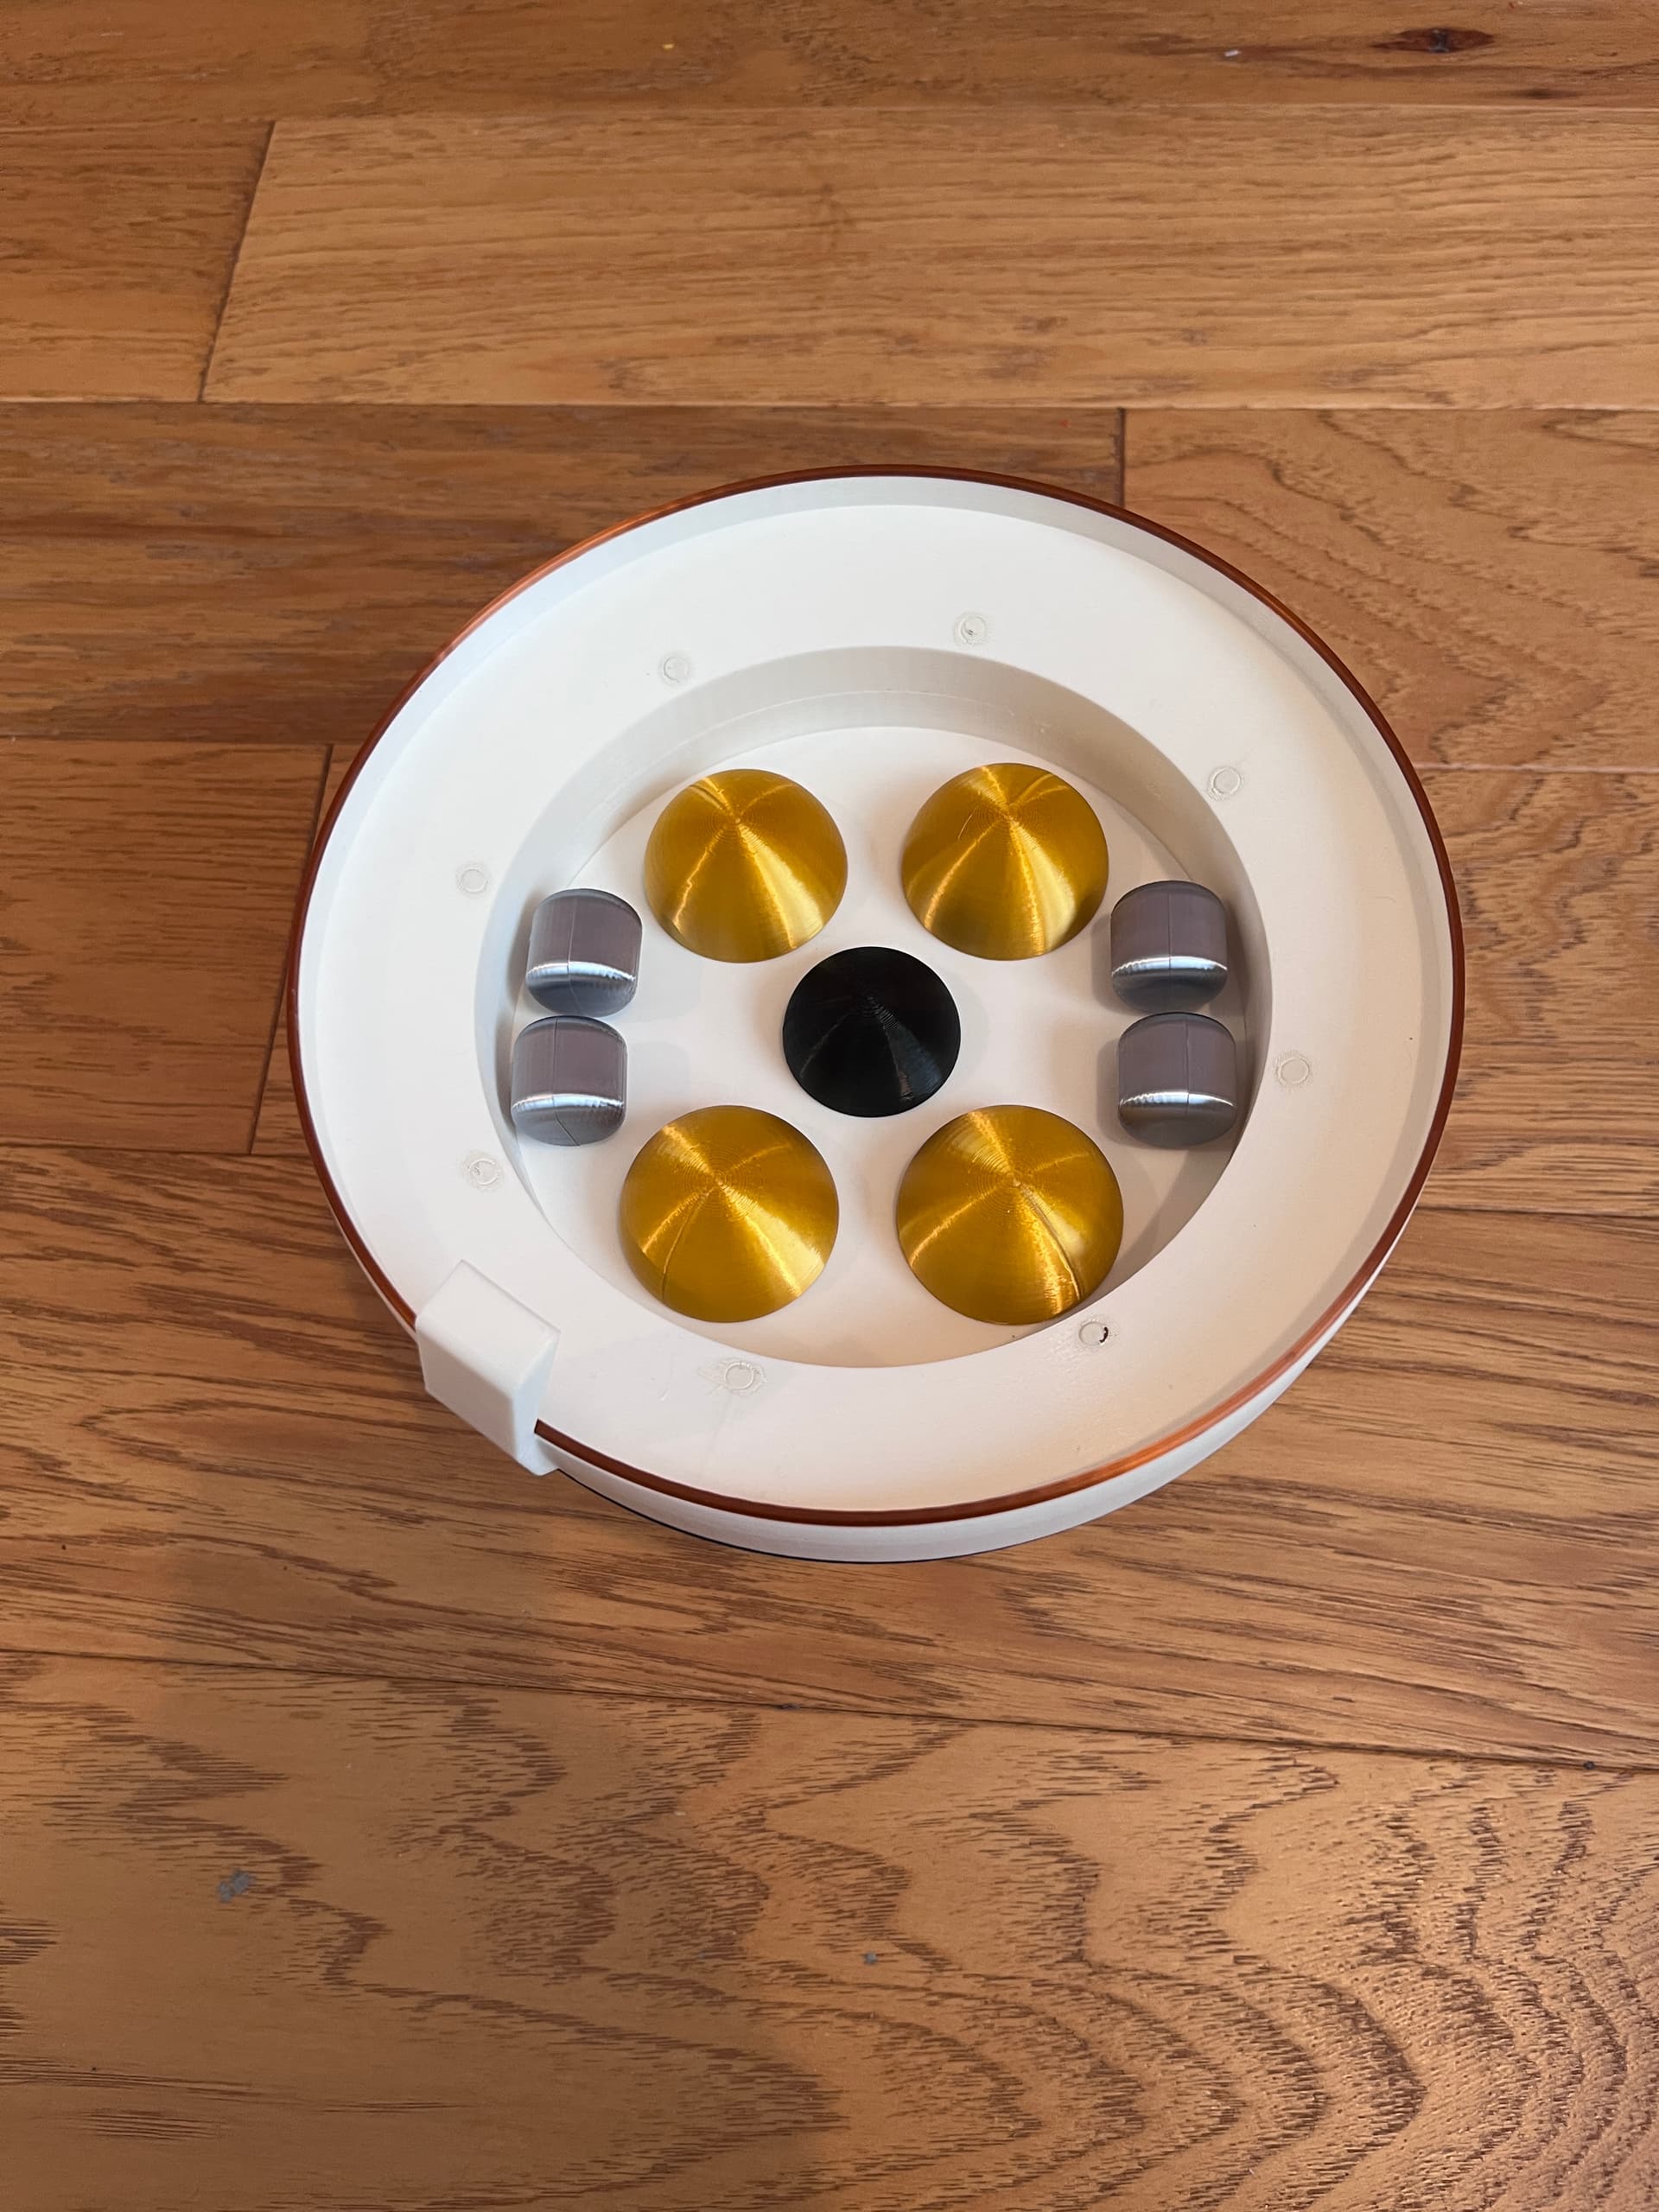
I sized it up to the max size that would fit a 220x220mm print plate. Here is the largest part, the black band around the crew module adapter.
2 Likes
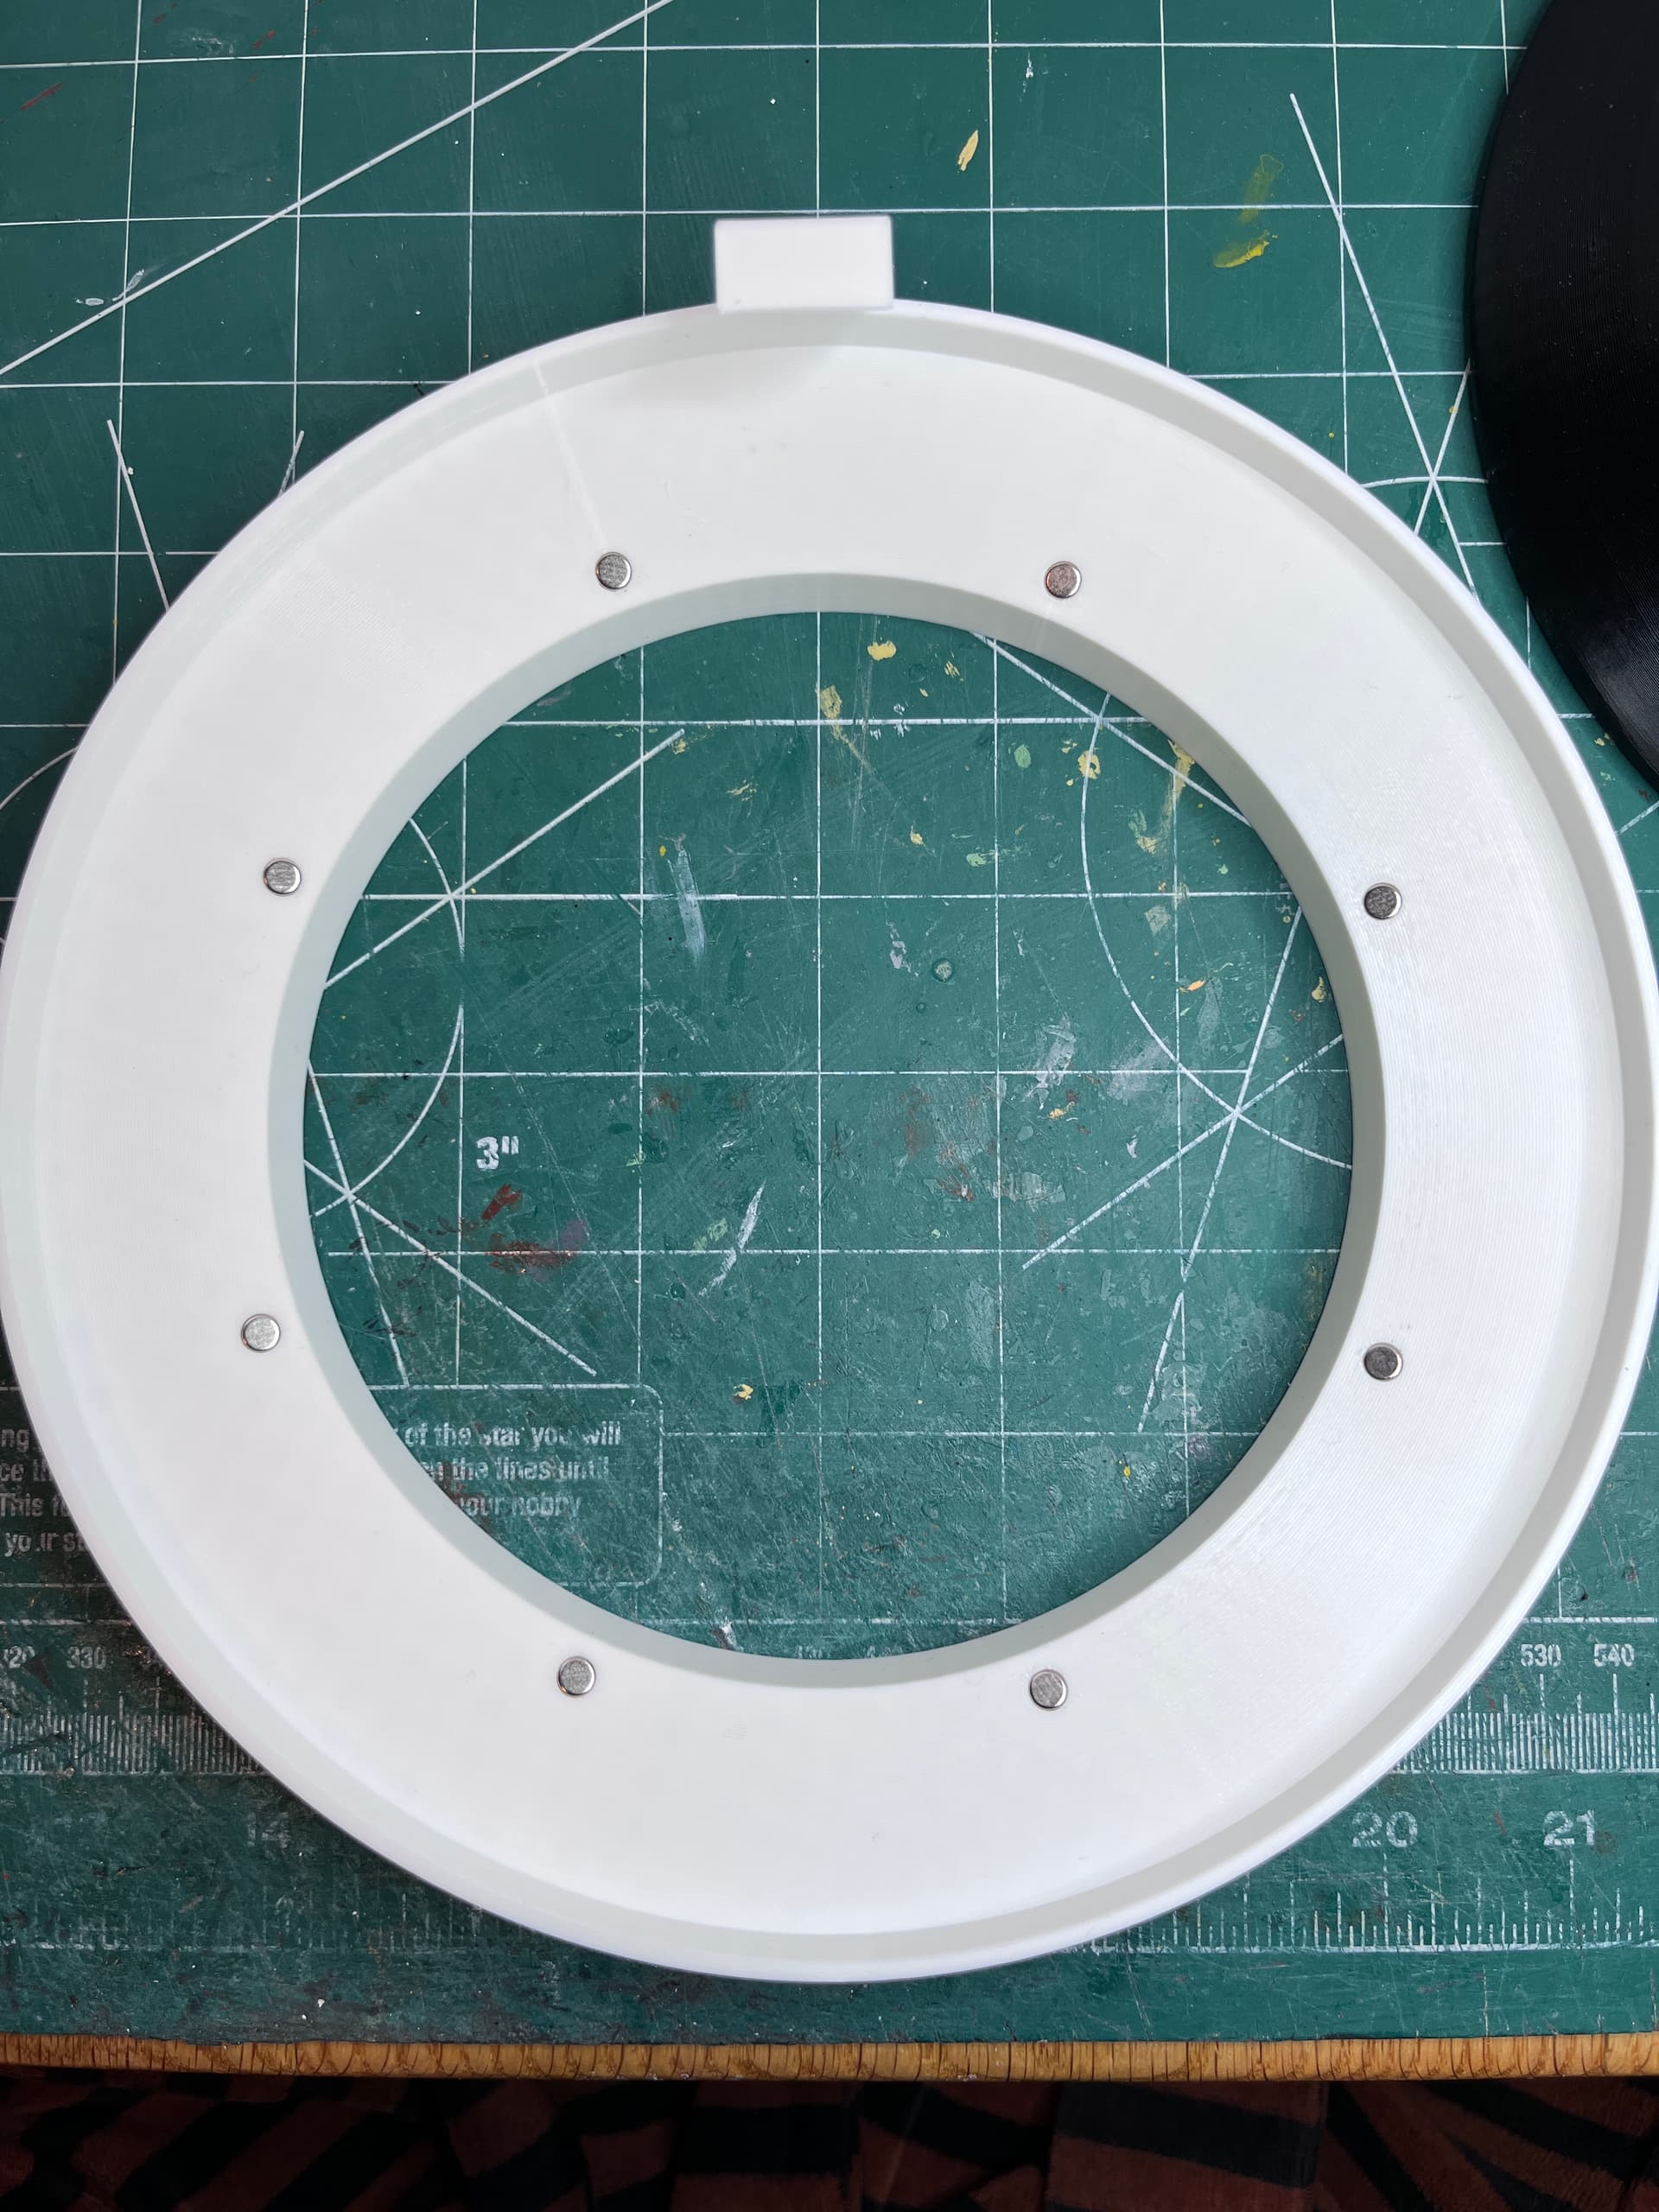
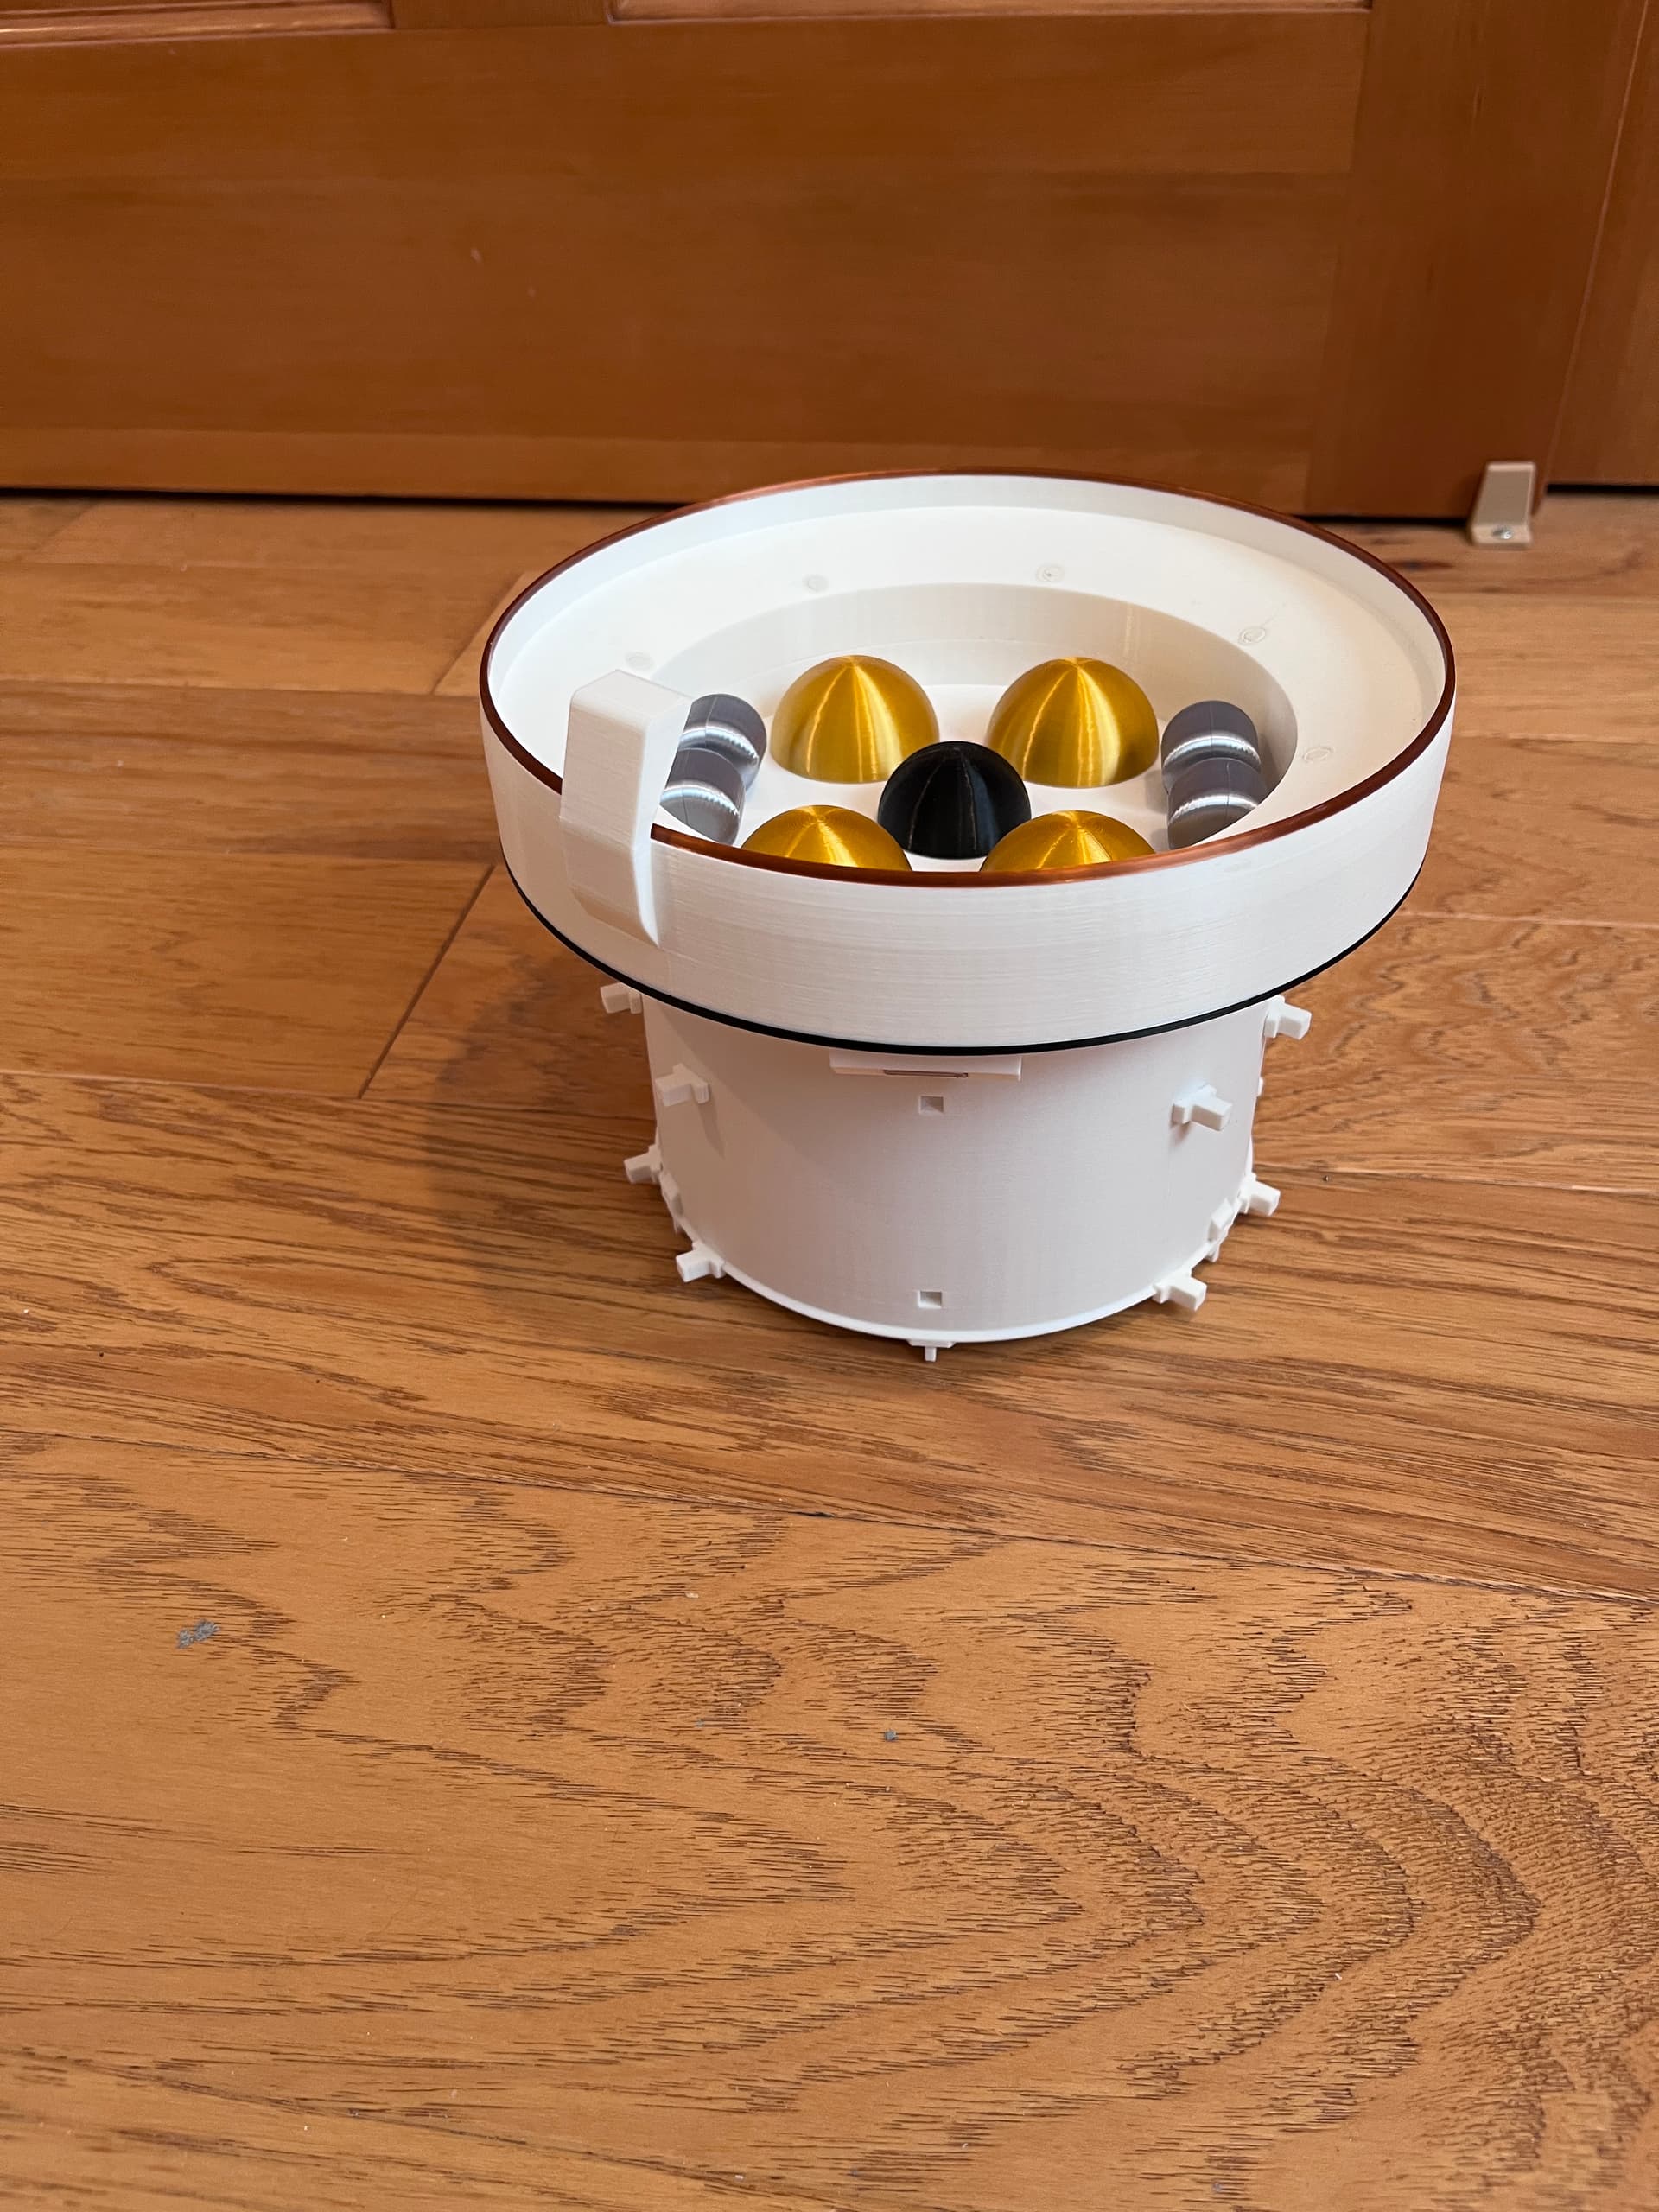
The plan is to have the two parts attach with magnets.
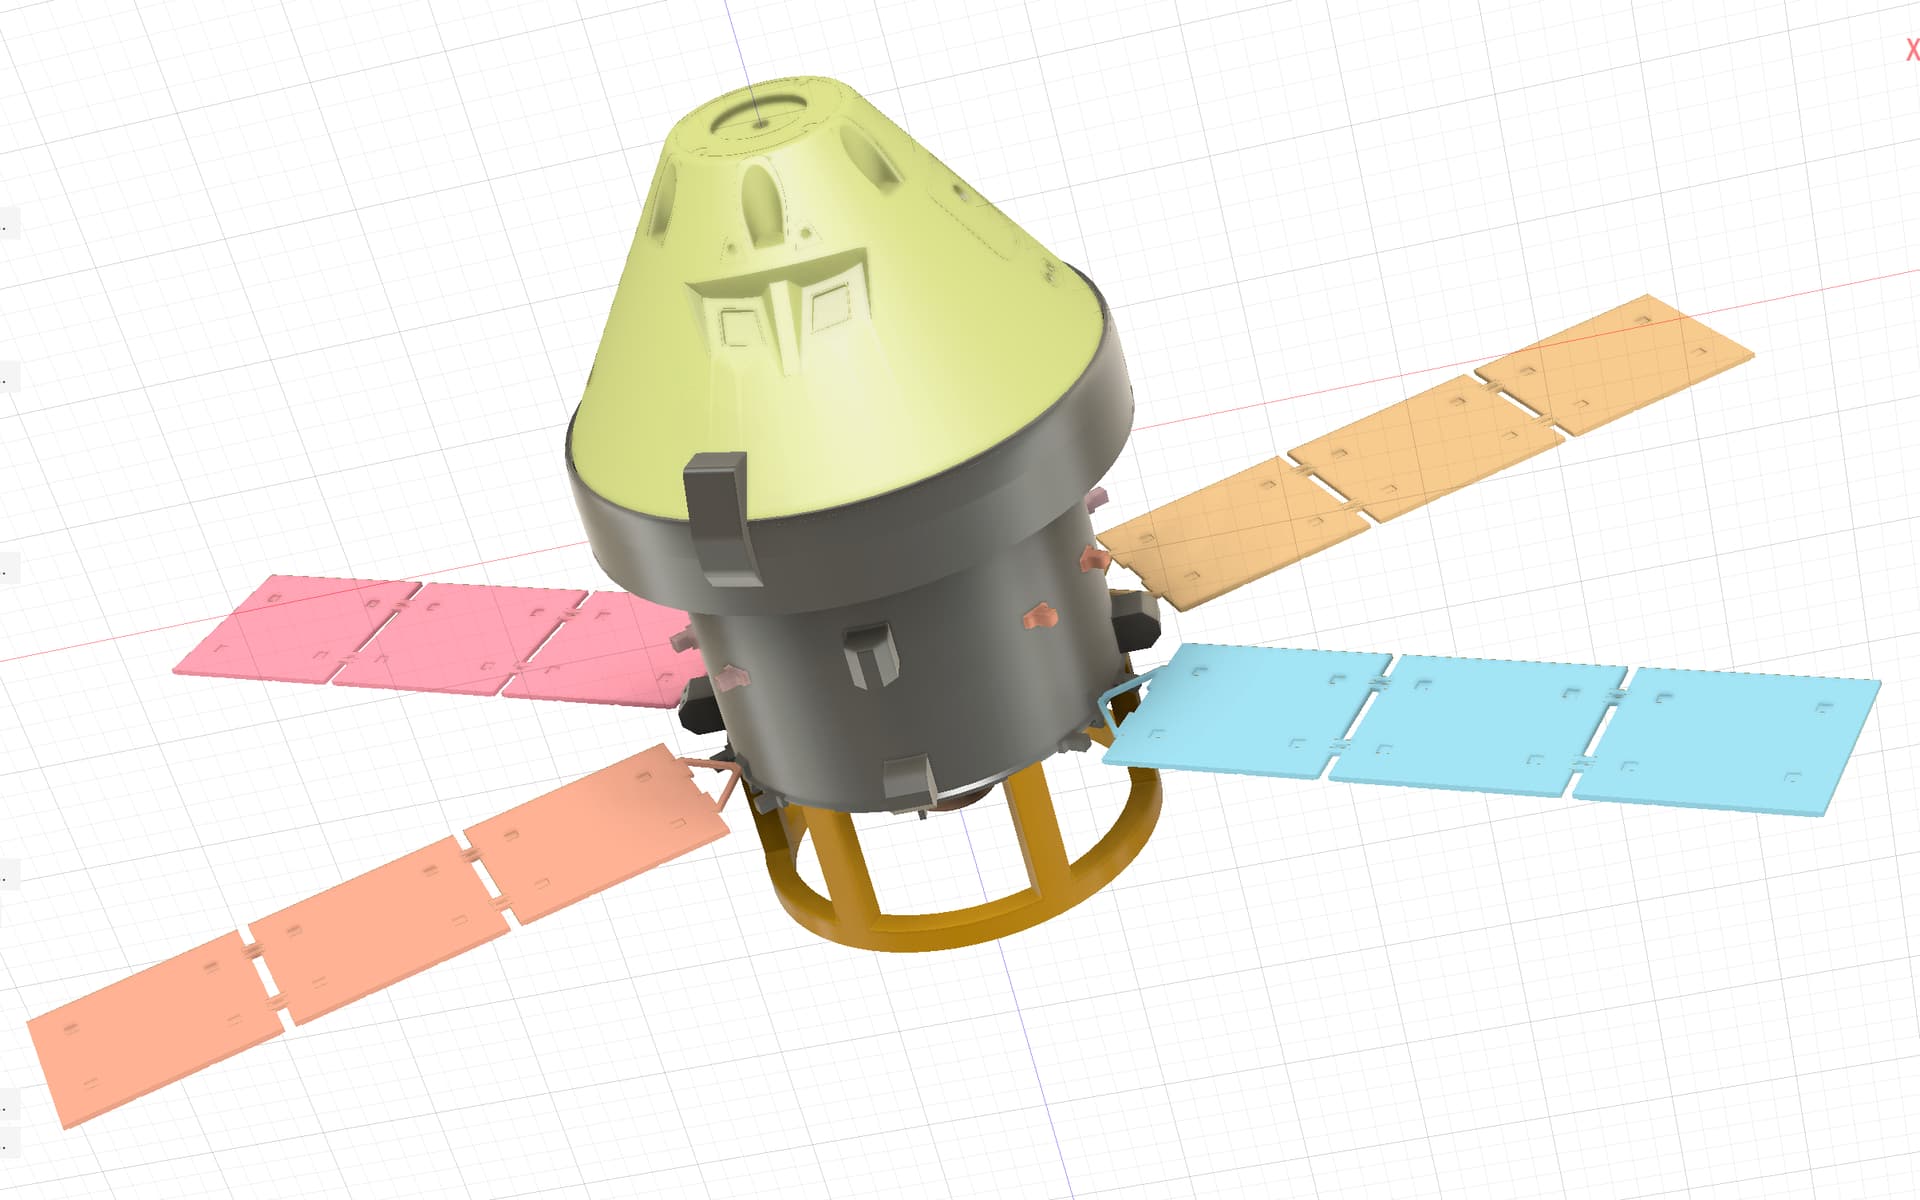
I will provide the solar panels in two configurations; folded and extended. Extended will make a better looking model but a much larger model.
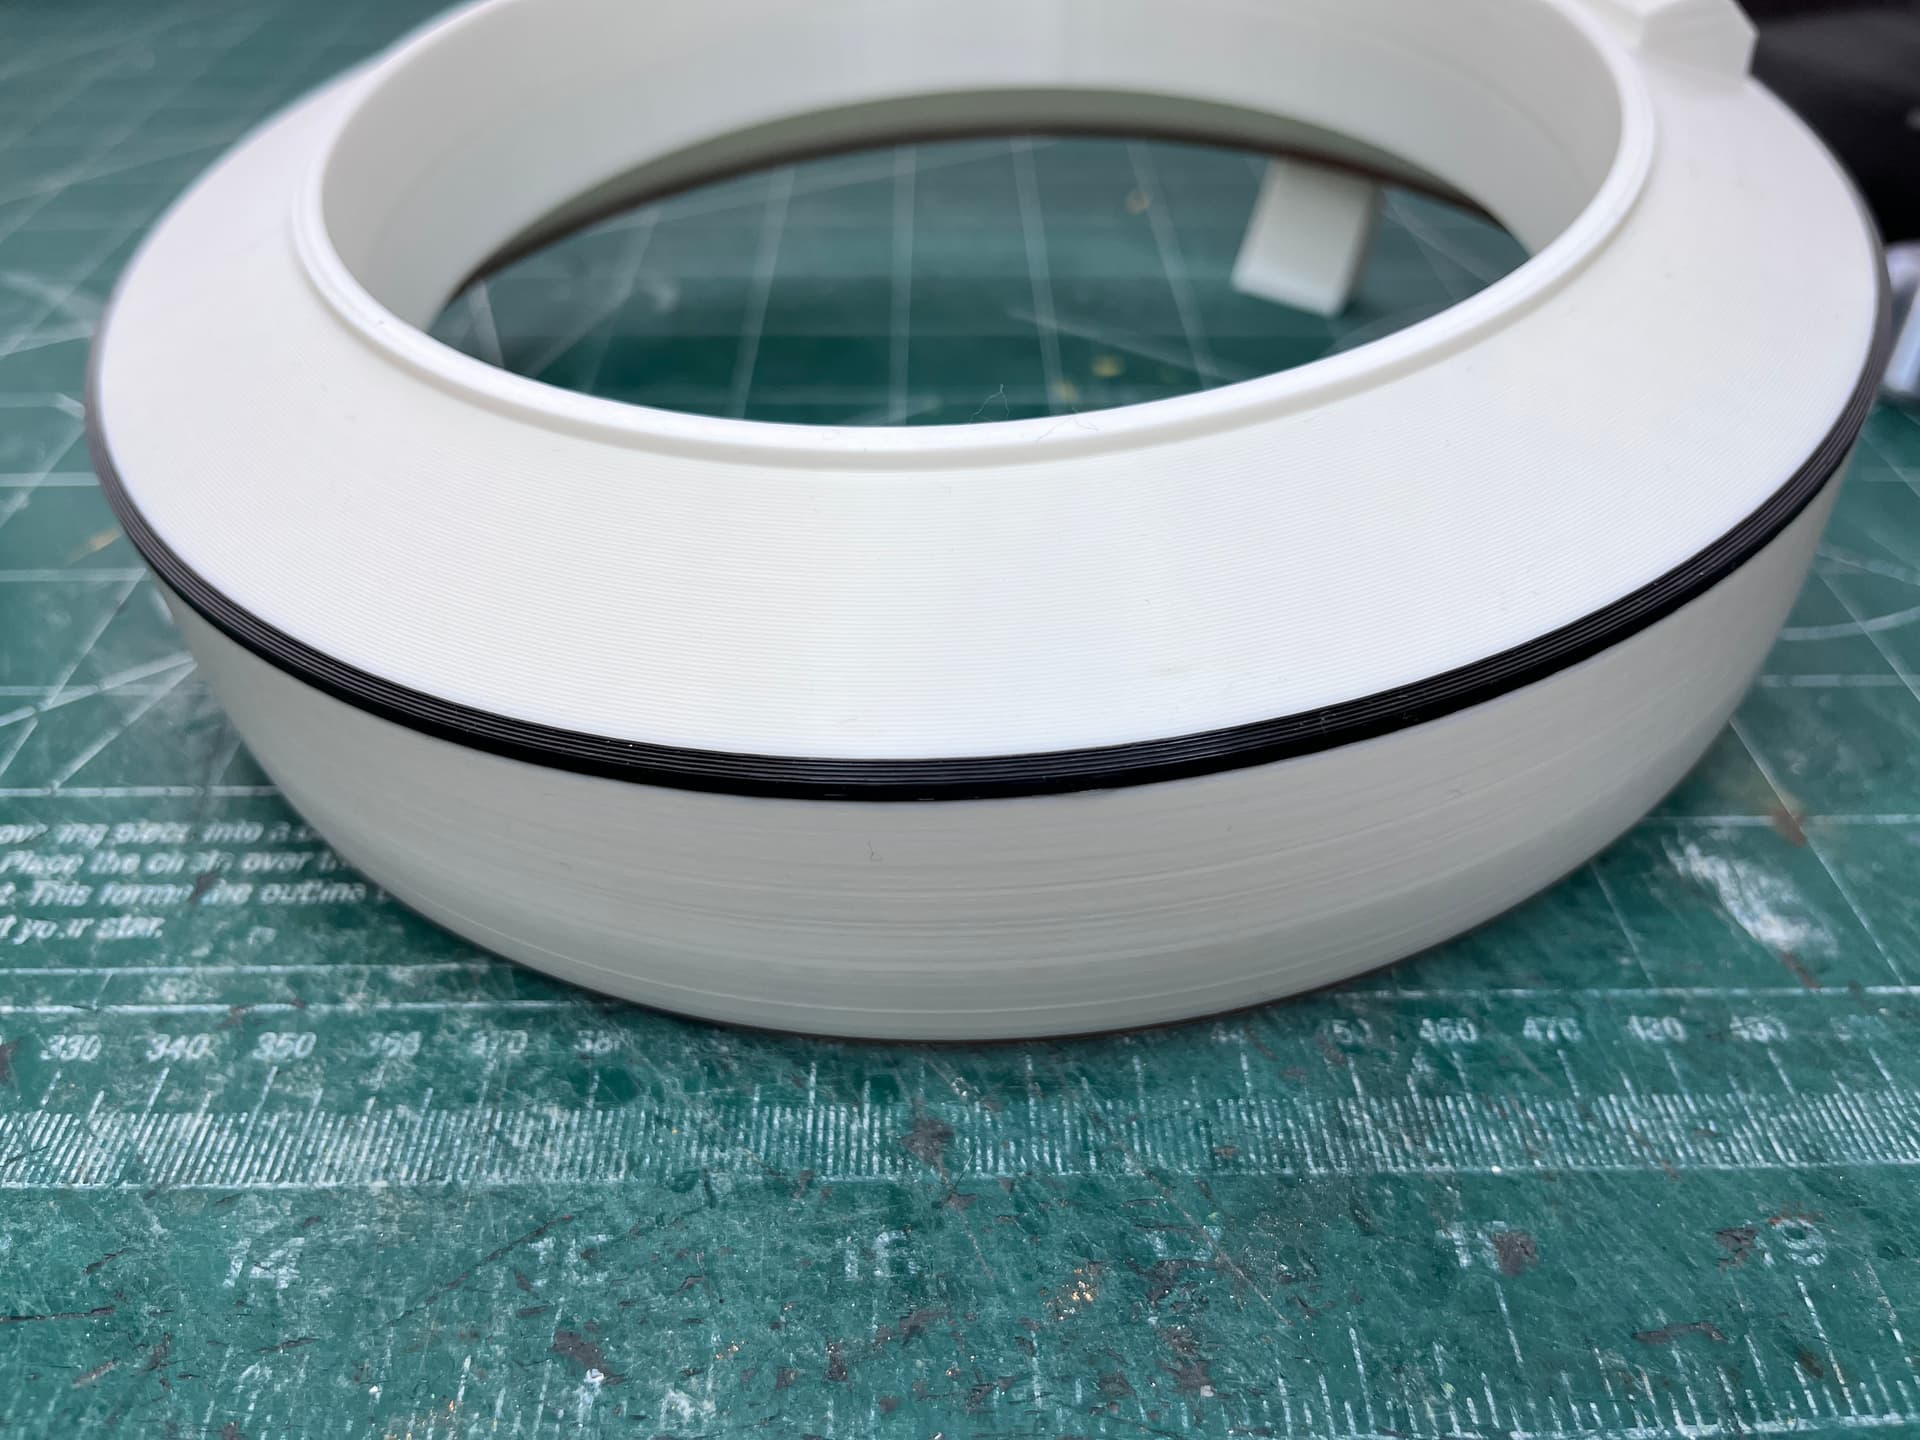
Many of the parts fit together by press fitting them. Some will have to be glued such as the black band on the crew module adapter.
4 Likes
The tanks are installed and the crew module adapter is glued to the service module body.
2 Likes
Wow - those tanks look like real metal!
1 Like
I like the look with the solar panels extended versus folded up. This rules out an angled stand so the stand will hold the assembly vertically. Here are the large parts assembled on the stand. I only added a few of the minor parts like attitude jets since there are over 2 dozen.
1 Like
You could have it sit on a stand horizontally, like this which looks nice.
2 Likes
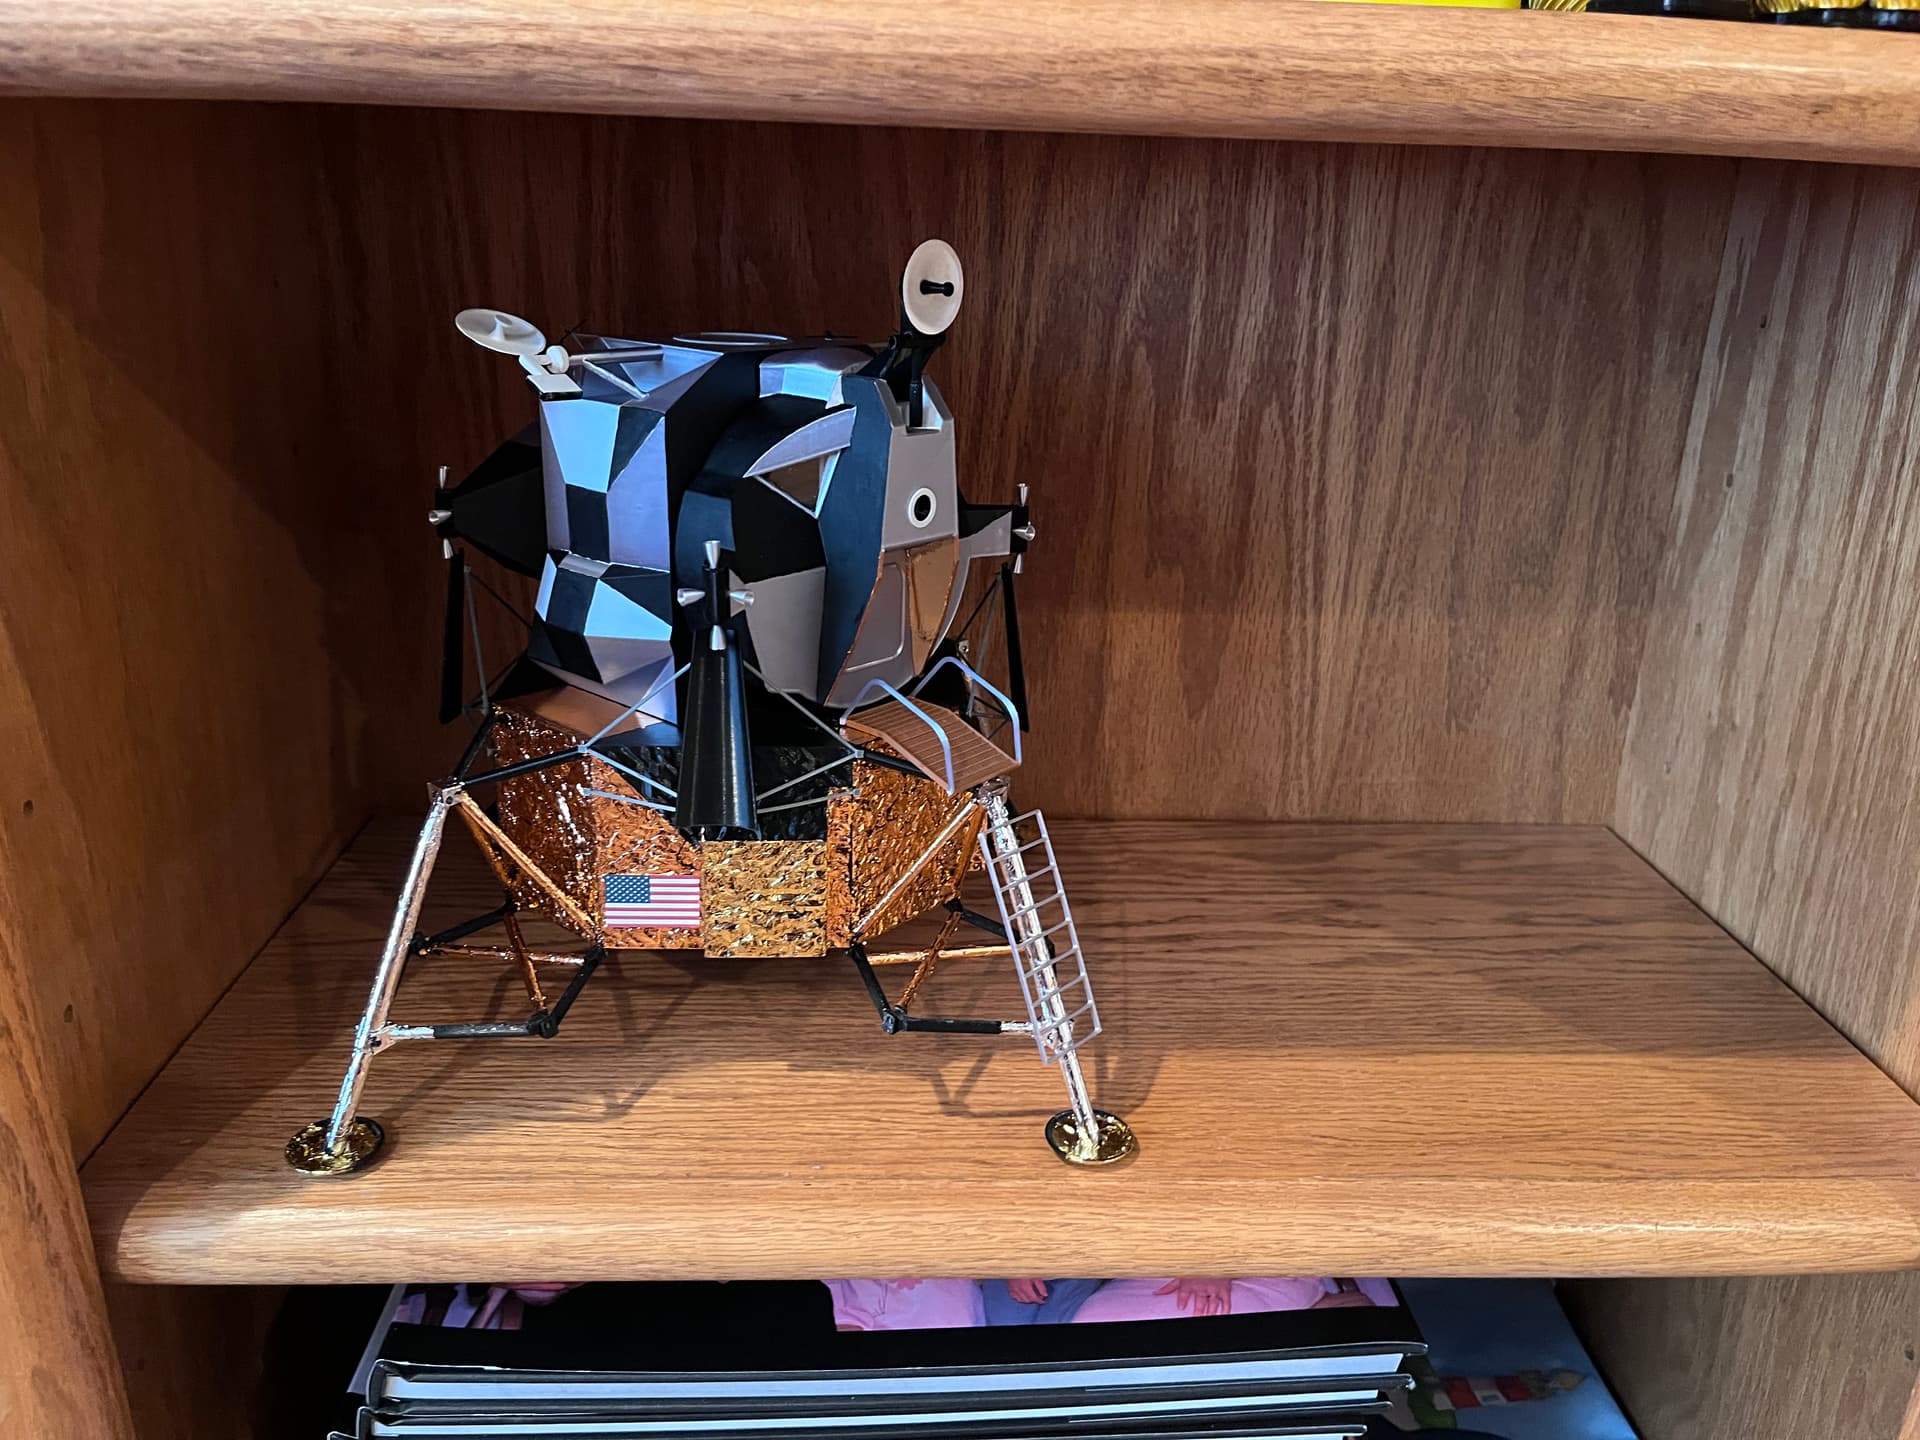
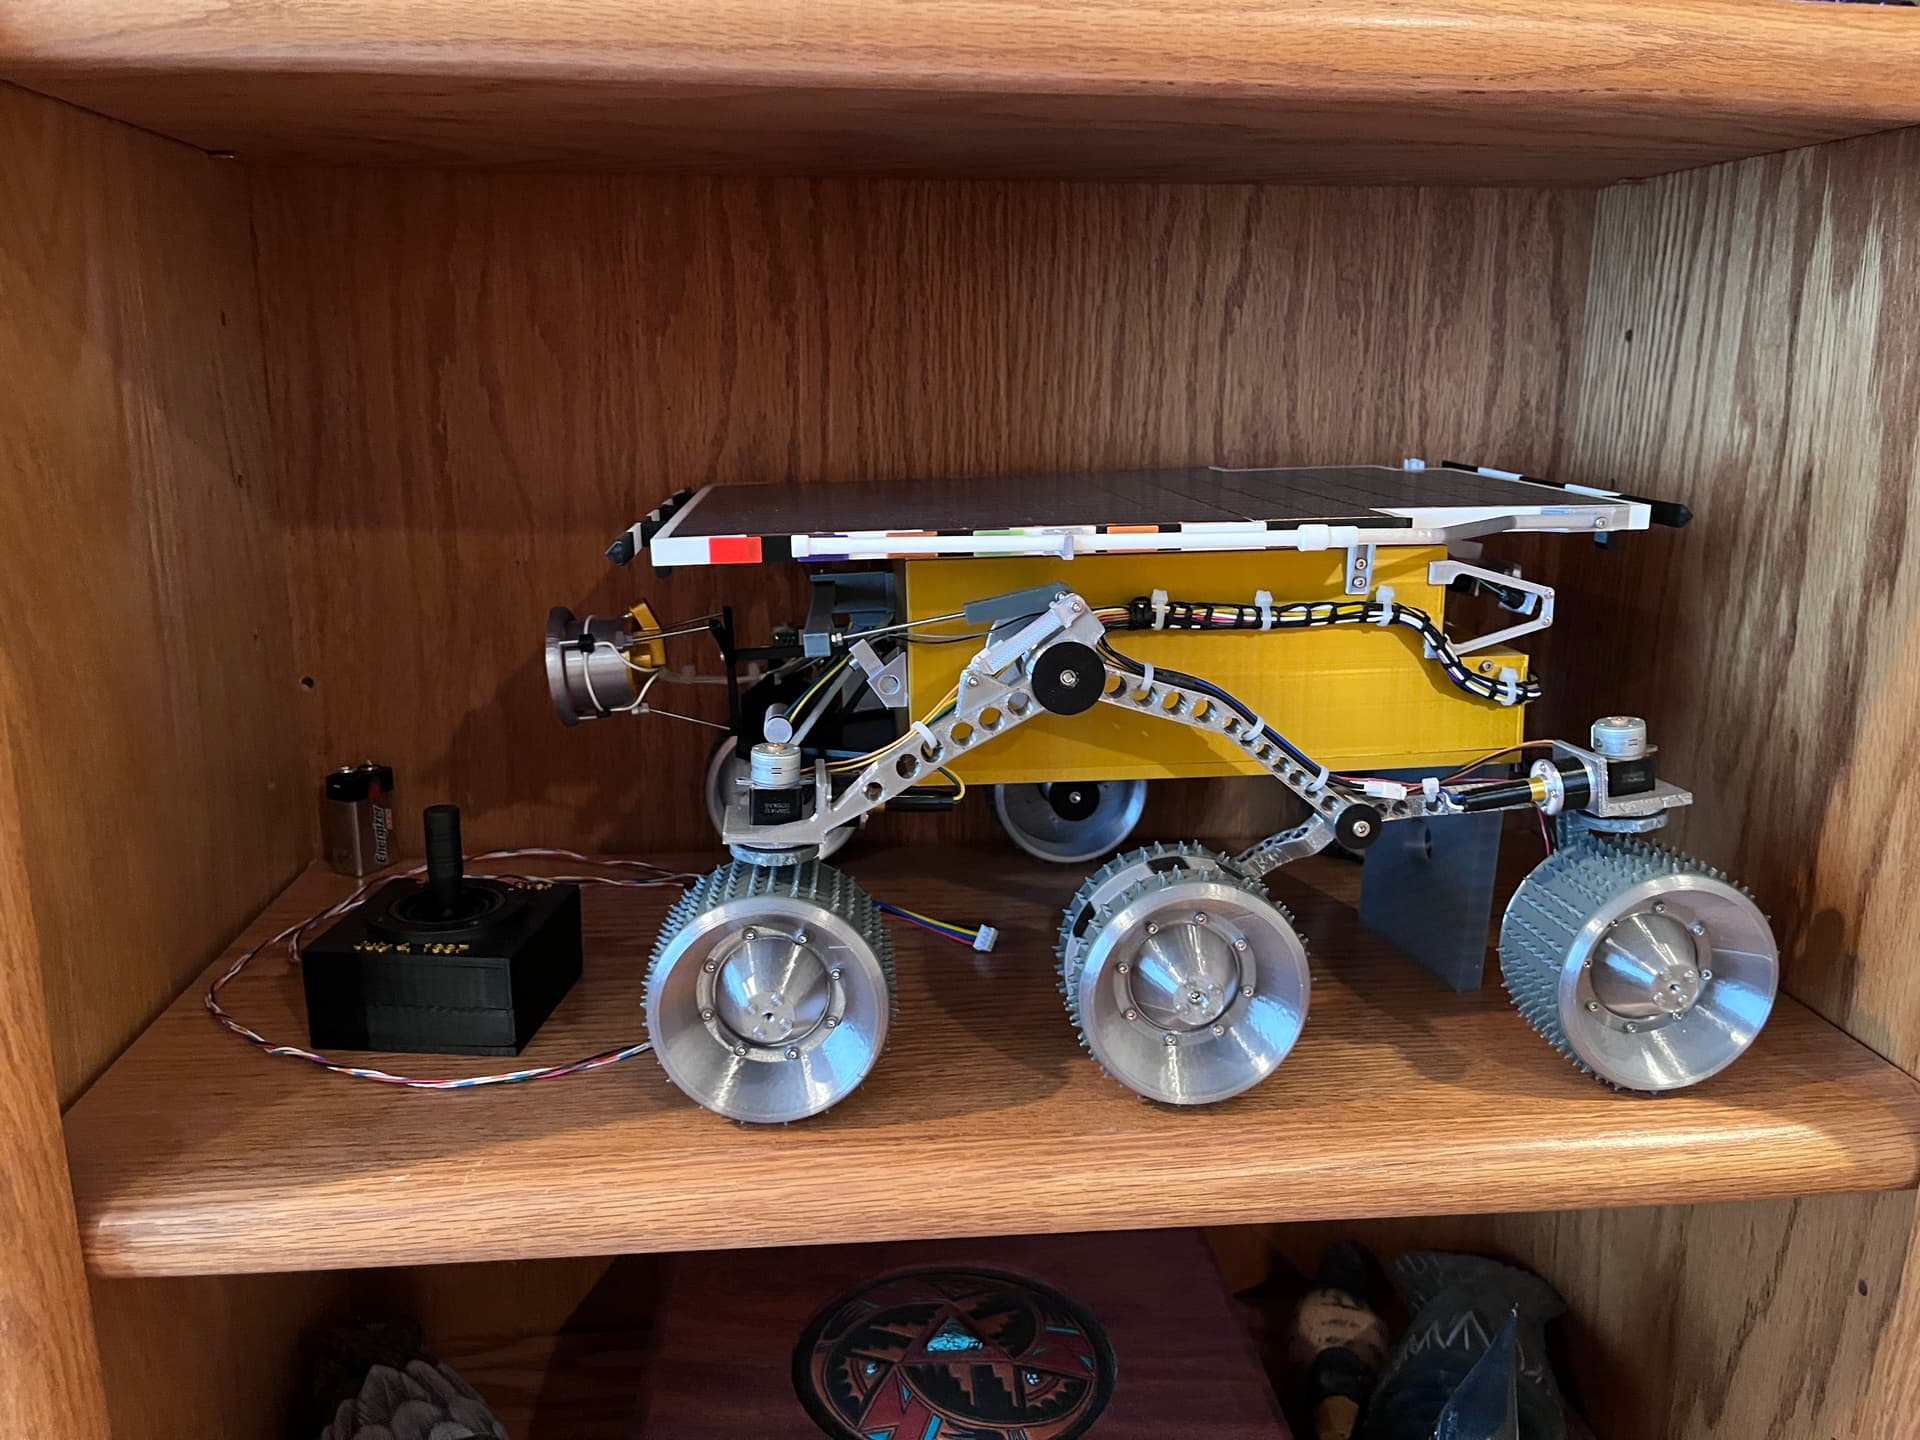
That was the direction I initially headed in but it ends up being too tall to fit in the bookcase and the table tops are all full. Then I thought about turning it 90 degrees and collapsing the lower two solar panels. It will still be too tall so I decided to go ahead and mount it vertically. Here are other bookcase models I have made. It needs to fit into one of these cubby holes.
3 Likes
Looking at the height on the vertical stand and decided to make a horizontal stand as well. This may have to be the one I use to get it to fit. The other advantage is there is a good place in front for a name plate.
1 Like
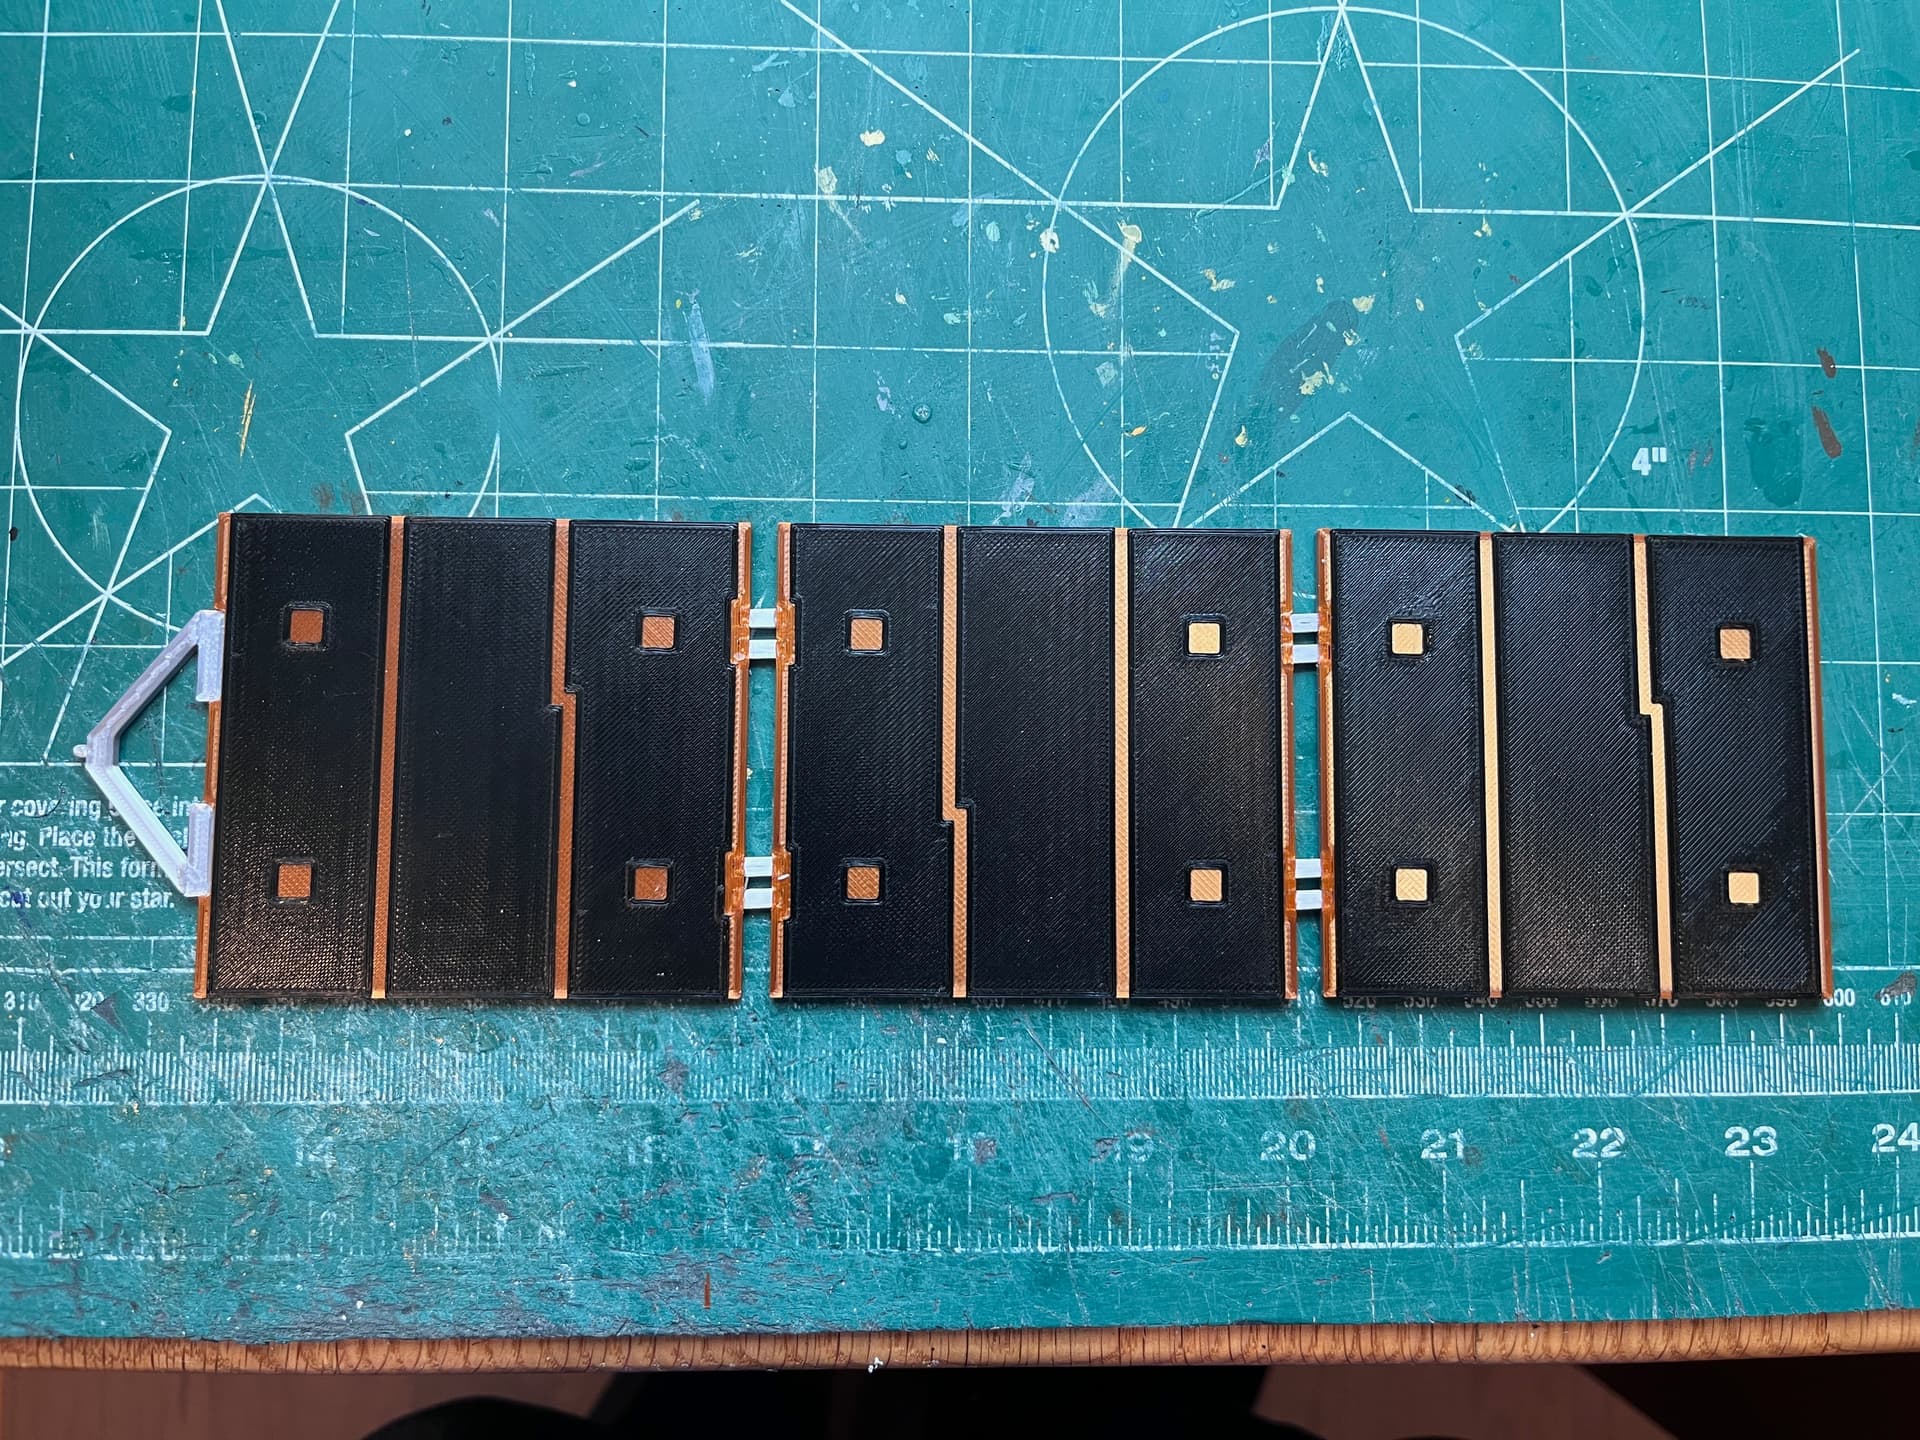
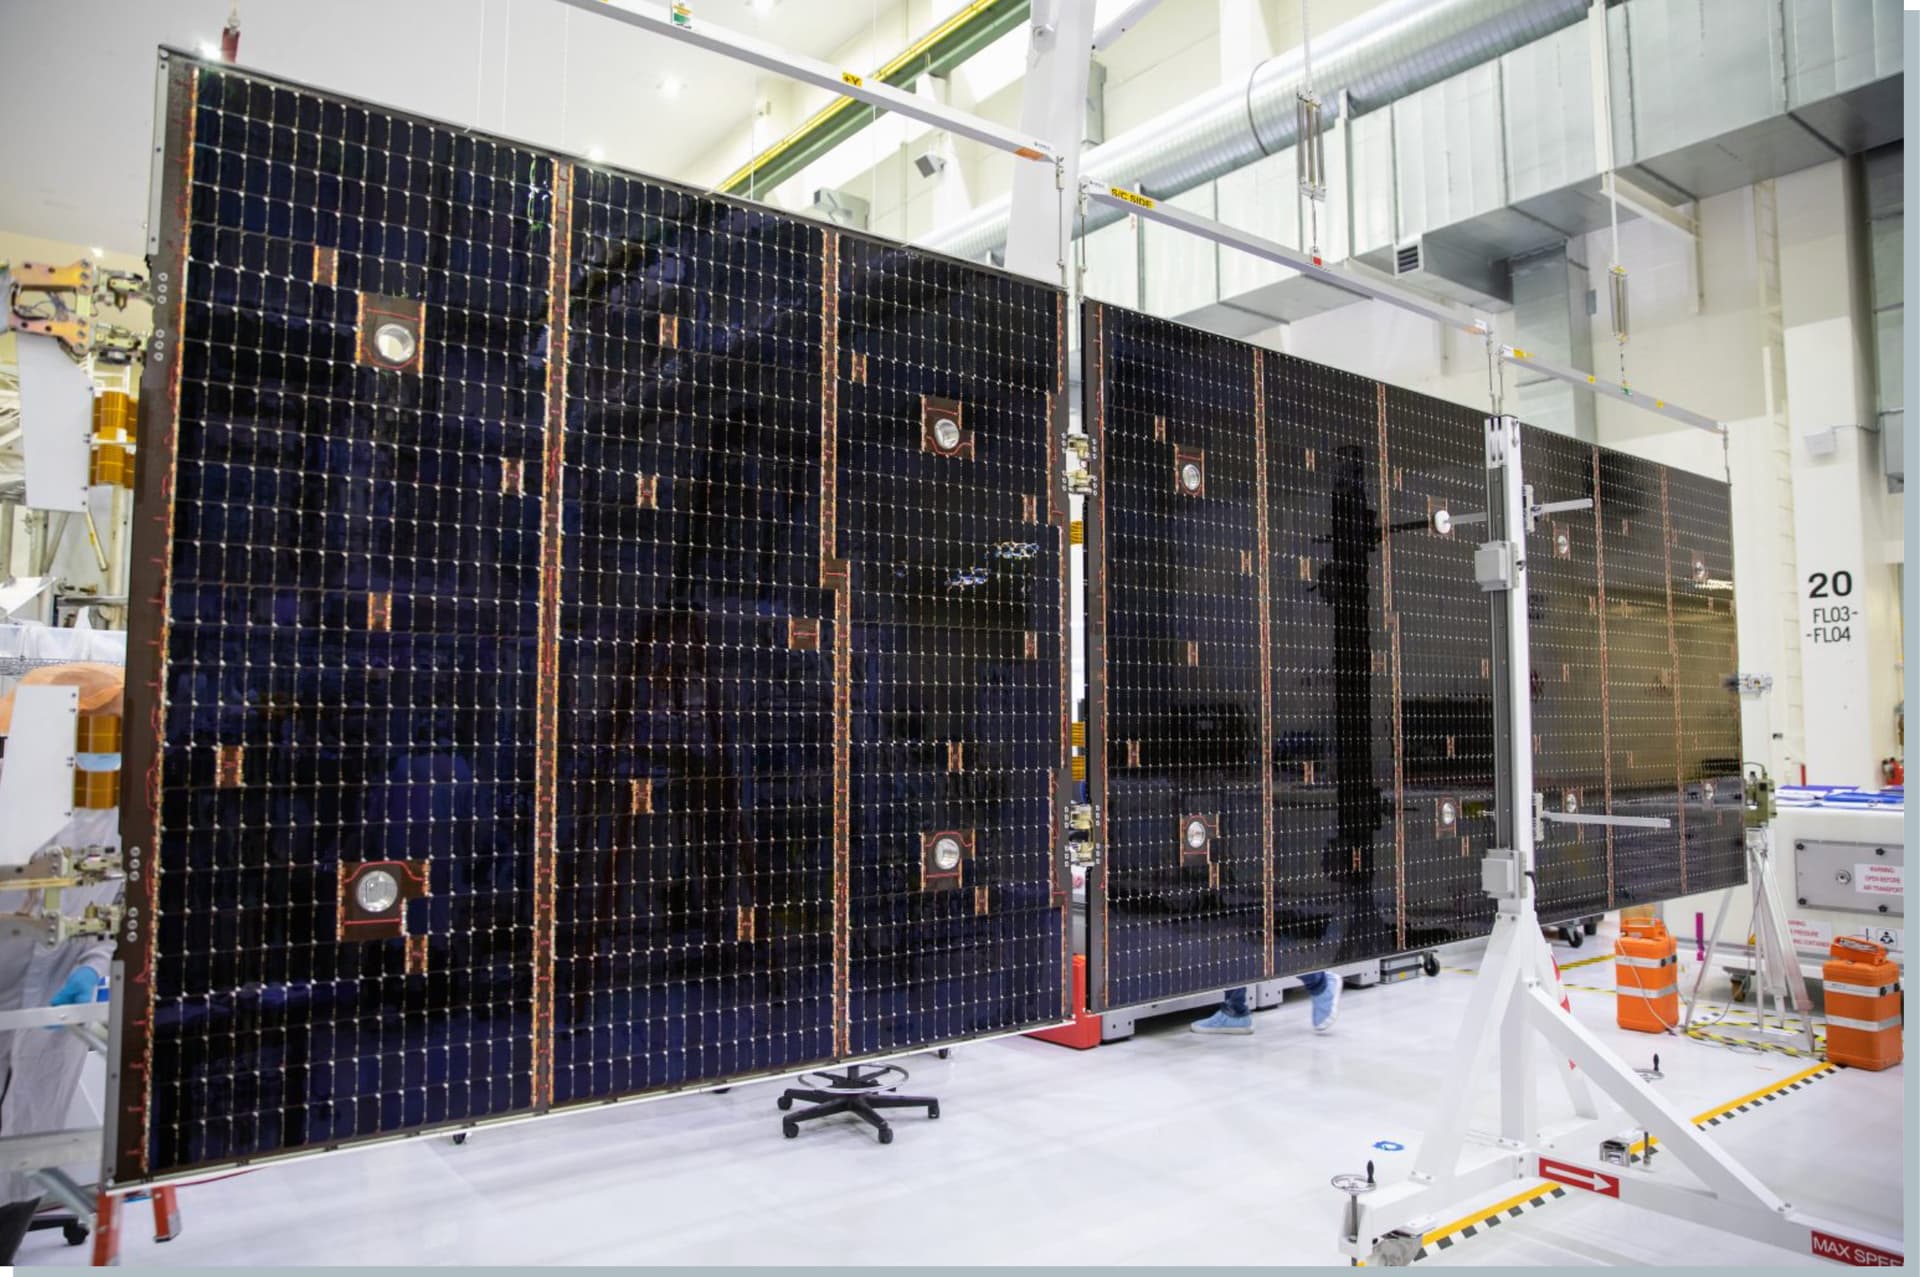
Here is the first cut at a solar panel. It is a 3 color print, gray/copper/black. Color wise it is pretty accurate. Need to do some modifications to the connector to beef it up and a few other tweeks.
1 Like
To be really accurate, I should add the GoPro camera (that you can just see in this picture) at the end of each solar panel.
1 Like