I have a whole list of models I want to create and have been putting off the Apollo LEM/CM/SM because there are so many models out there already but now is the time. I say it will be scratch built because I will use my new preferred method, 3D printing. This model has a lot of gold foil on the descent stage. My plan is to use the new Fusion 360 capability to add a texture to a surface using any black and white photo, i.e. a photo of crinkled foil and then add a gold leaf foil to the textured surface. That should make a fairly realistic looking surface.
The other issue is the scale. As with any scale, the larger you go the more detail that can be added. I have seen many kit models using a scale of 1:32 but I want to go larger. I can go pretty large with a standard printer. The measurement that is driving the scale is not the size of the largest printed part but rather the overall size of the model. The length/width is measured at the landing pads on the landing struts. The shelf I want to set the model on is 11" wide so that measurement drove the scale. This will create a sizable model.
The other thing I plan to do is make the landing struts operable, add the ability to separate the ascent and descent stages using magnets and the ability to separate the ascent stage into two parts to be able to model the interior.
Here is some of the initial CAD work. Each part is a different color. I have only added one strut to the overall model but the other three are the same. I still need to add texture and some external doodads that hang on the outside panels. It appears each mission had different items attached. More research required…
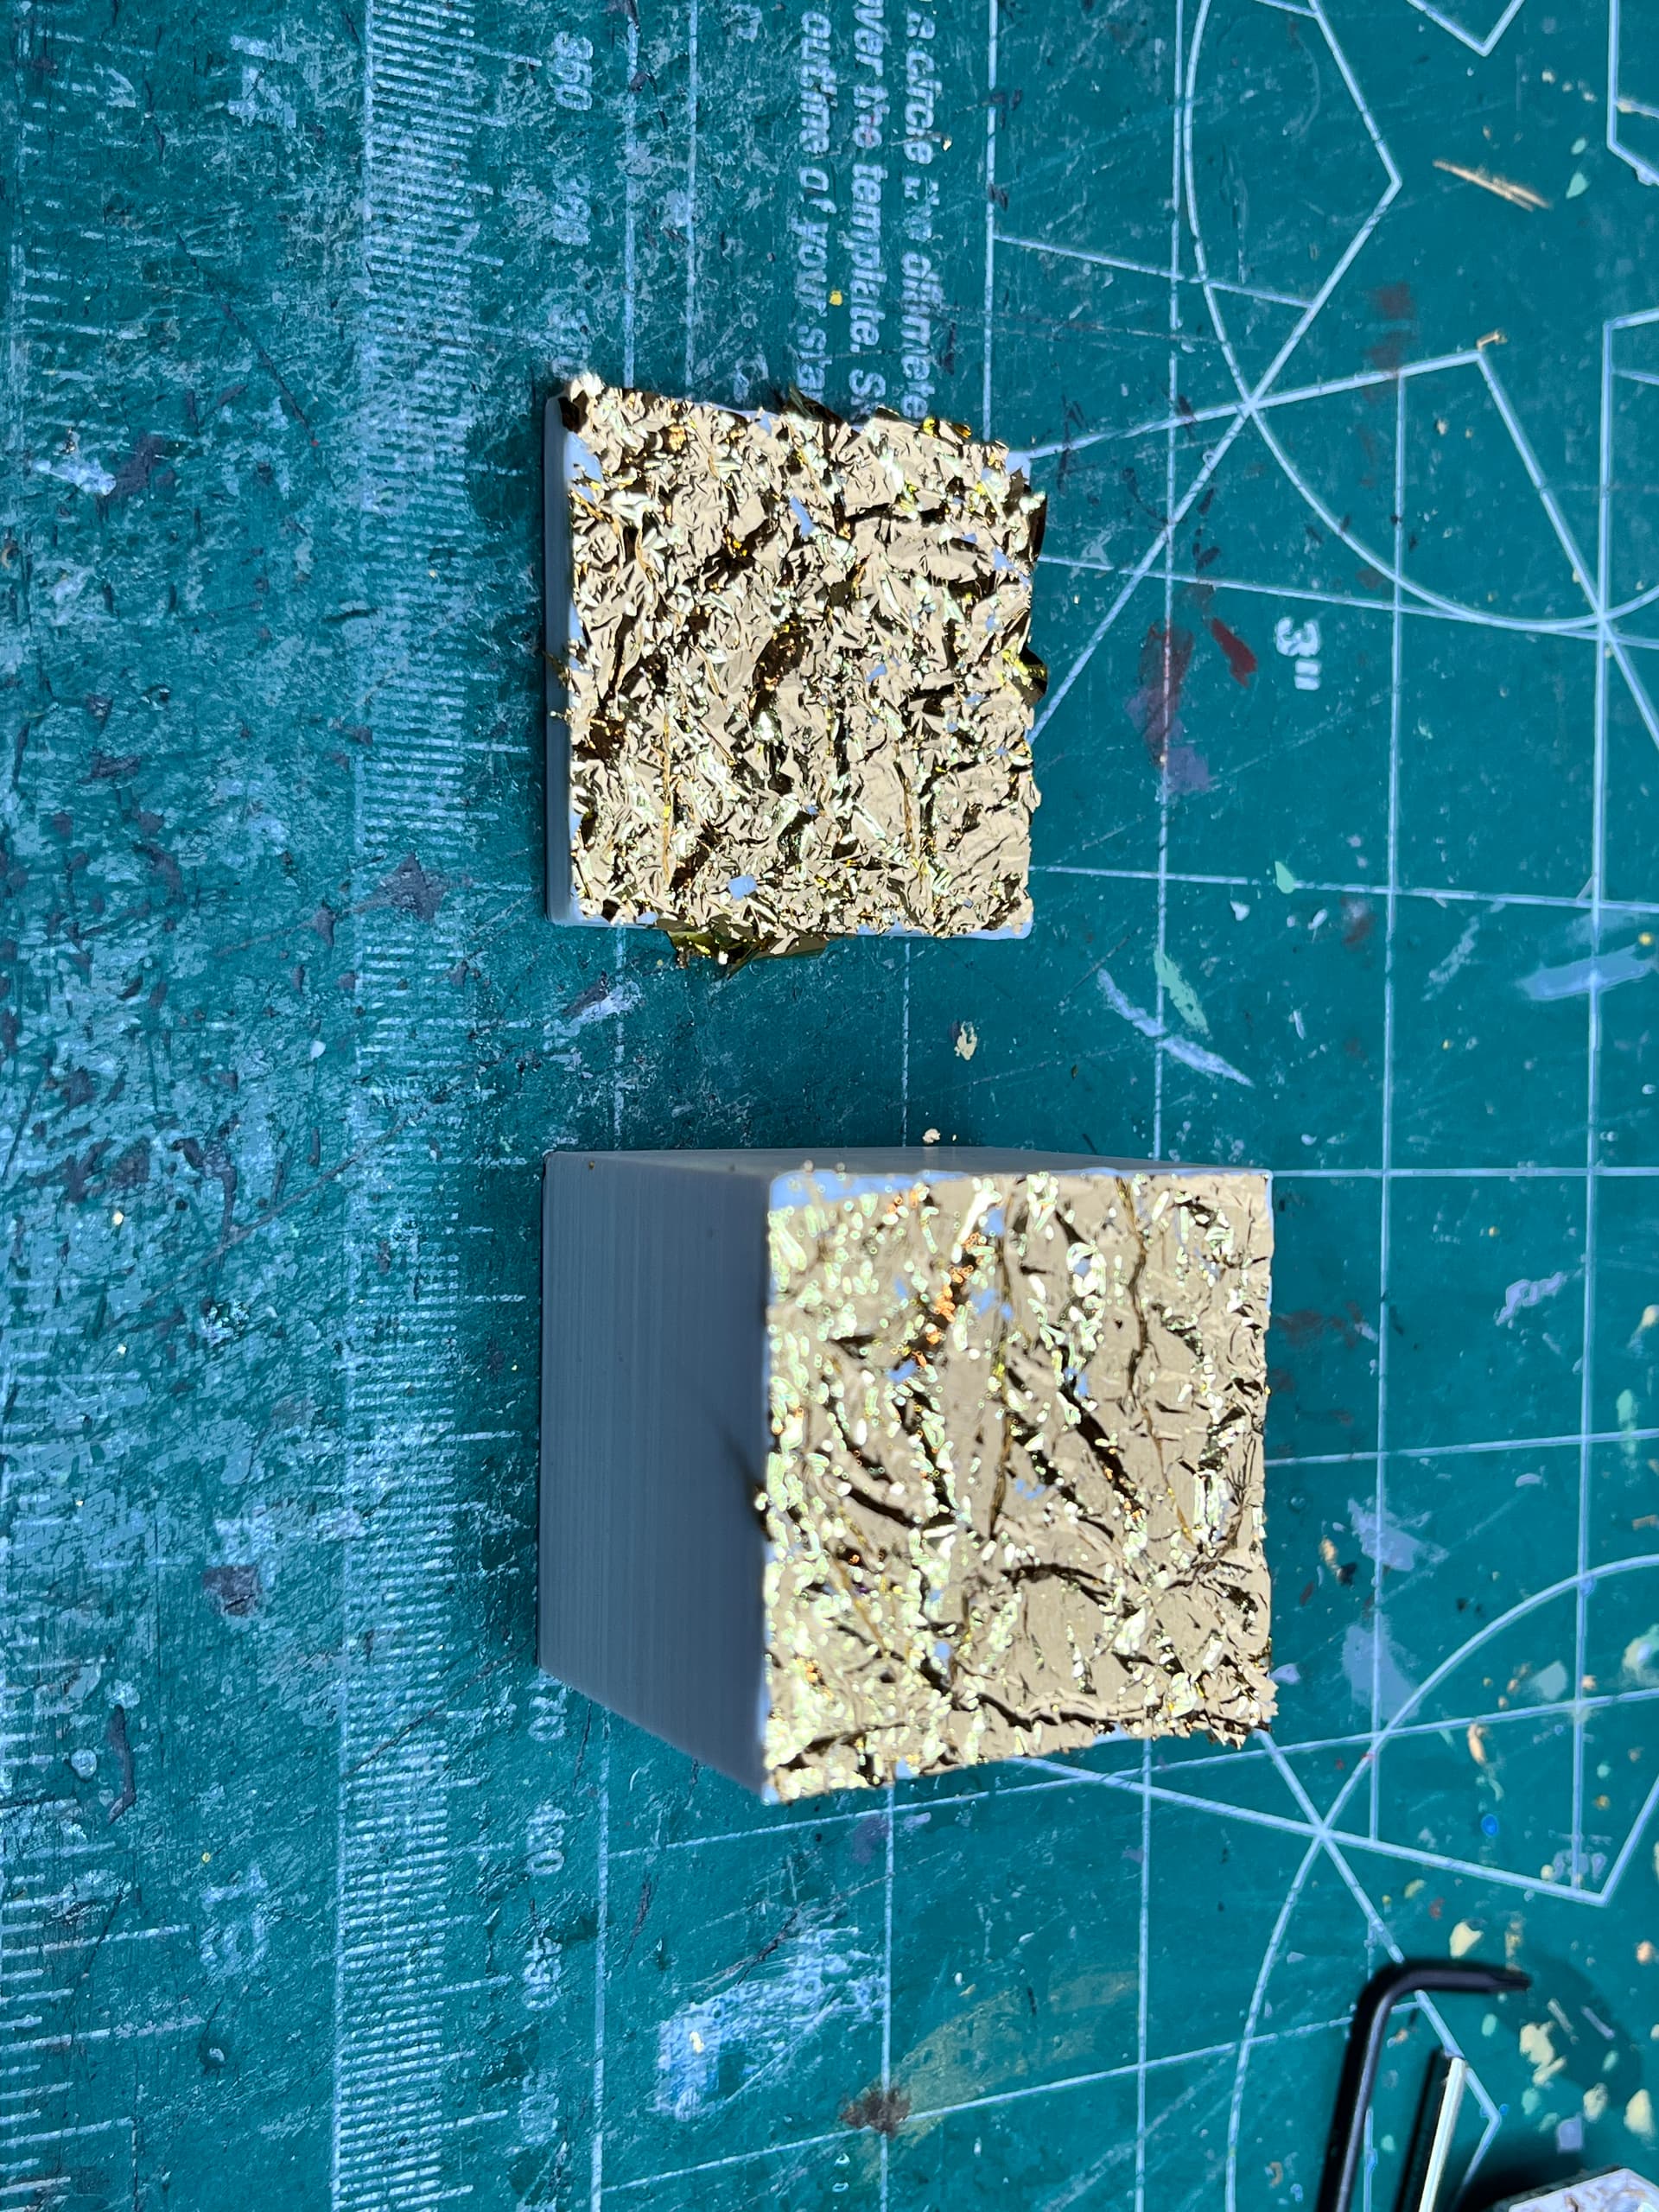
Got some gold, silver and rose colored gold foil and glue. Textured the surface of two different test cubes using different patterns, printed them and here is my first attempt at applying gold foil to the textured surface. I need to get better at gluing on the foil but the end result should look good.
Starting to rough out the ascent stage. There are something like a bazillion angled panels. I want to get the outer shape fairly complete before splitting it into what I believe will be three pieces; the front part that will be magnetically attached to the rest so the inside can be modeled, the center part which will also be hollowed out and modeled, and the third part, the rear part that contains electronics. This part needs to be removed and printed separately to make it easier to print. Depending on how the prints come out I may split it further. Not sure until those first test prints are complete.
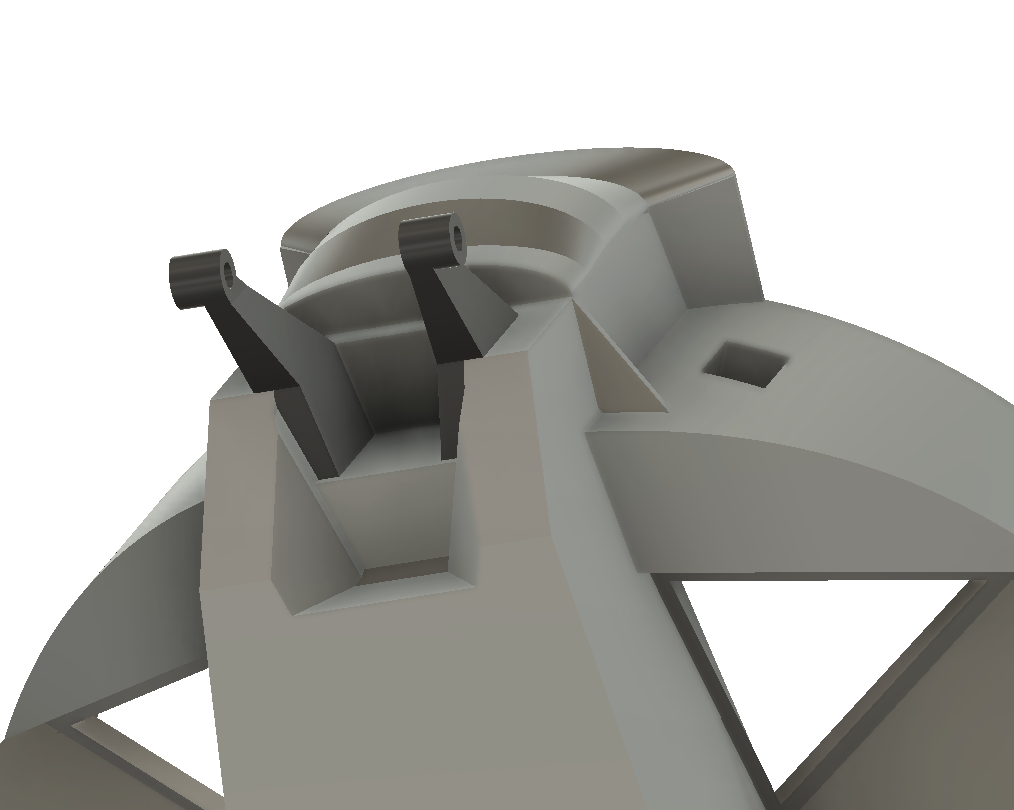
Andrew, thanks for the help. The one item that I can’t seem to find much detail on is the rendevous radar and the mount. I have found a few pictures from below but not from above. Anything you can get on this area from higher up would be greatly appreciated. Thanks.
Thanks for the photos. They will definitely help. Now it comes down to how much detail to add. I will definitely be using a 0.20mm nozzle for some parts. I have not yet decided if I need the details that can be achieved using a resin printer. The resin printer may be used for delicate parts like the ladder and some of the antennas.
Here is the ascent stage with all the major parts on. So many angled surfaces… Have not made the thrusters yet, but they are aligned with the descent stage and each other.
Did a first print of one of the legs. The extended leg works fine. The joints need to be adjusted a bit to get the leg to fold up completely. I usually test print in either white or black because for whatever reason these colors are quite a bit cheaper than the other colors.
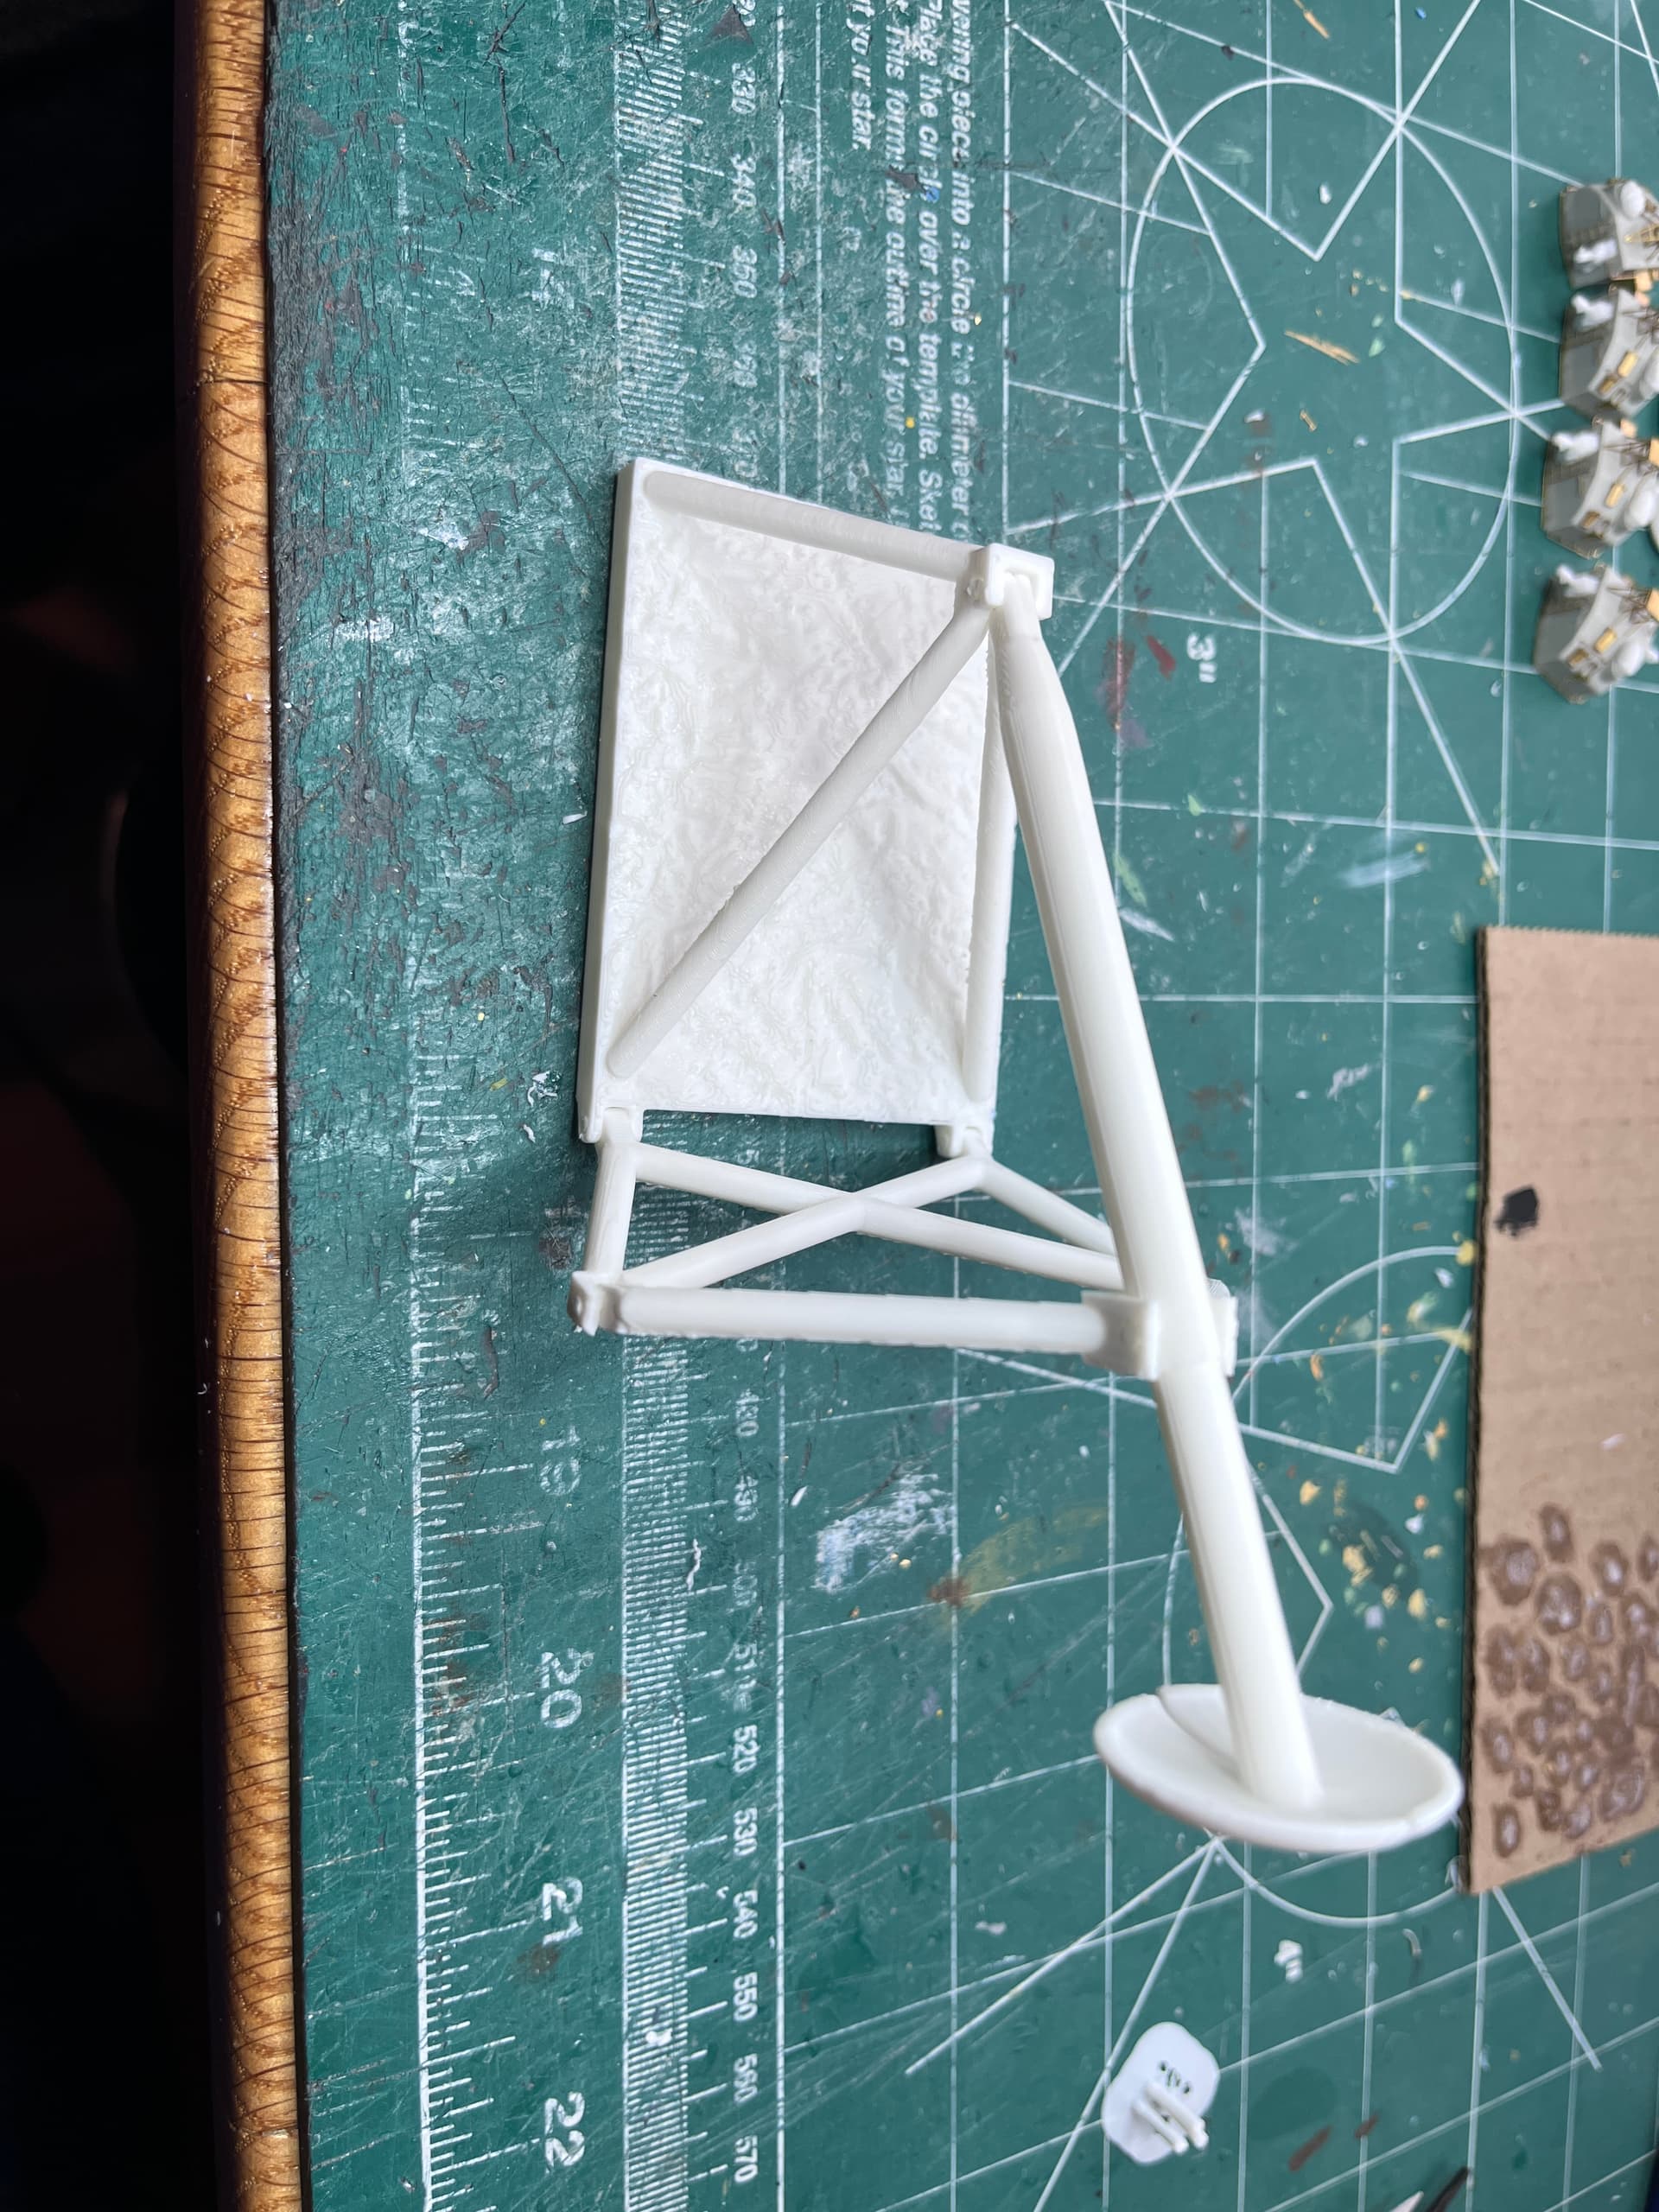
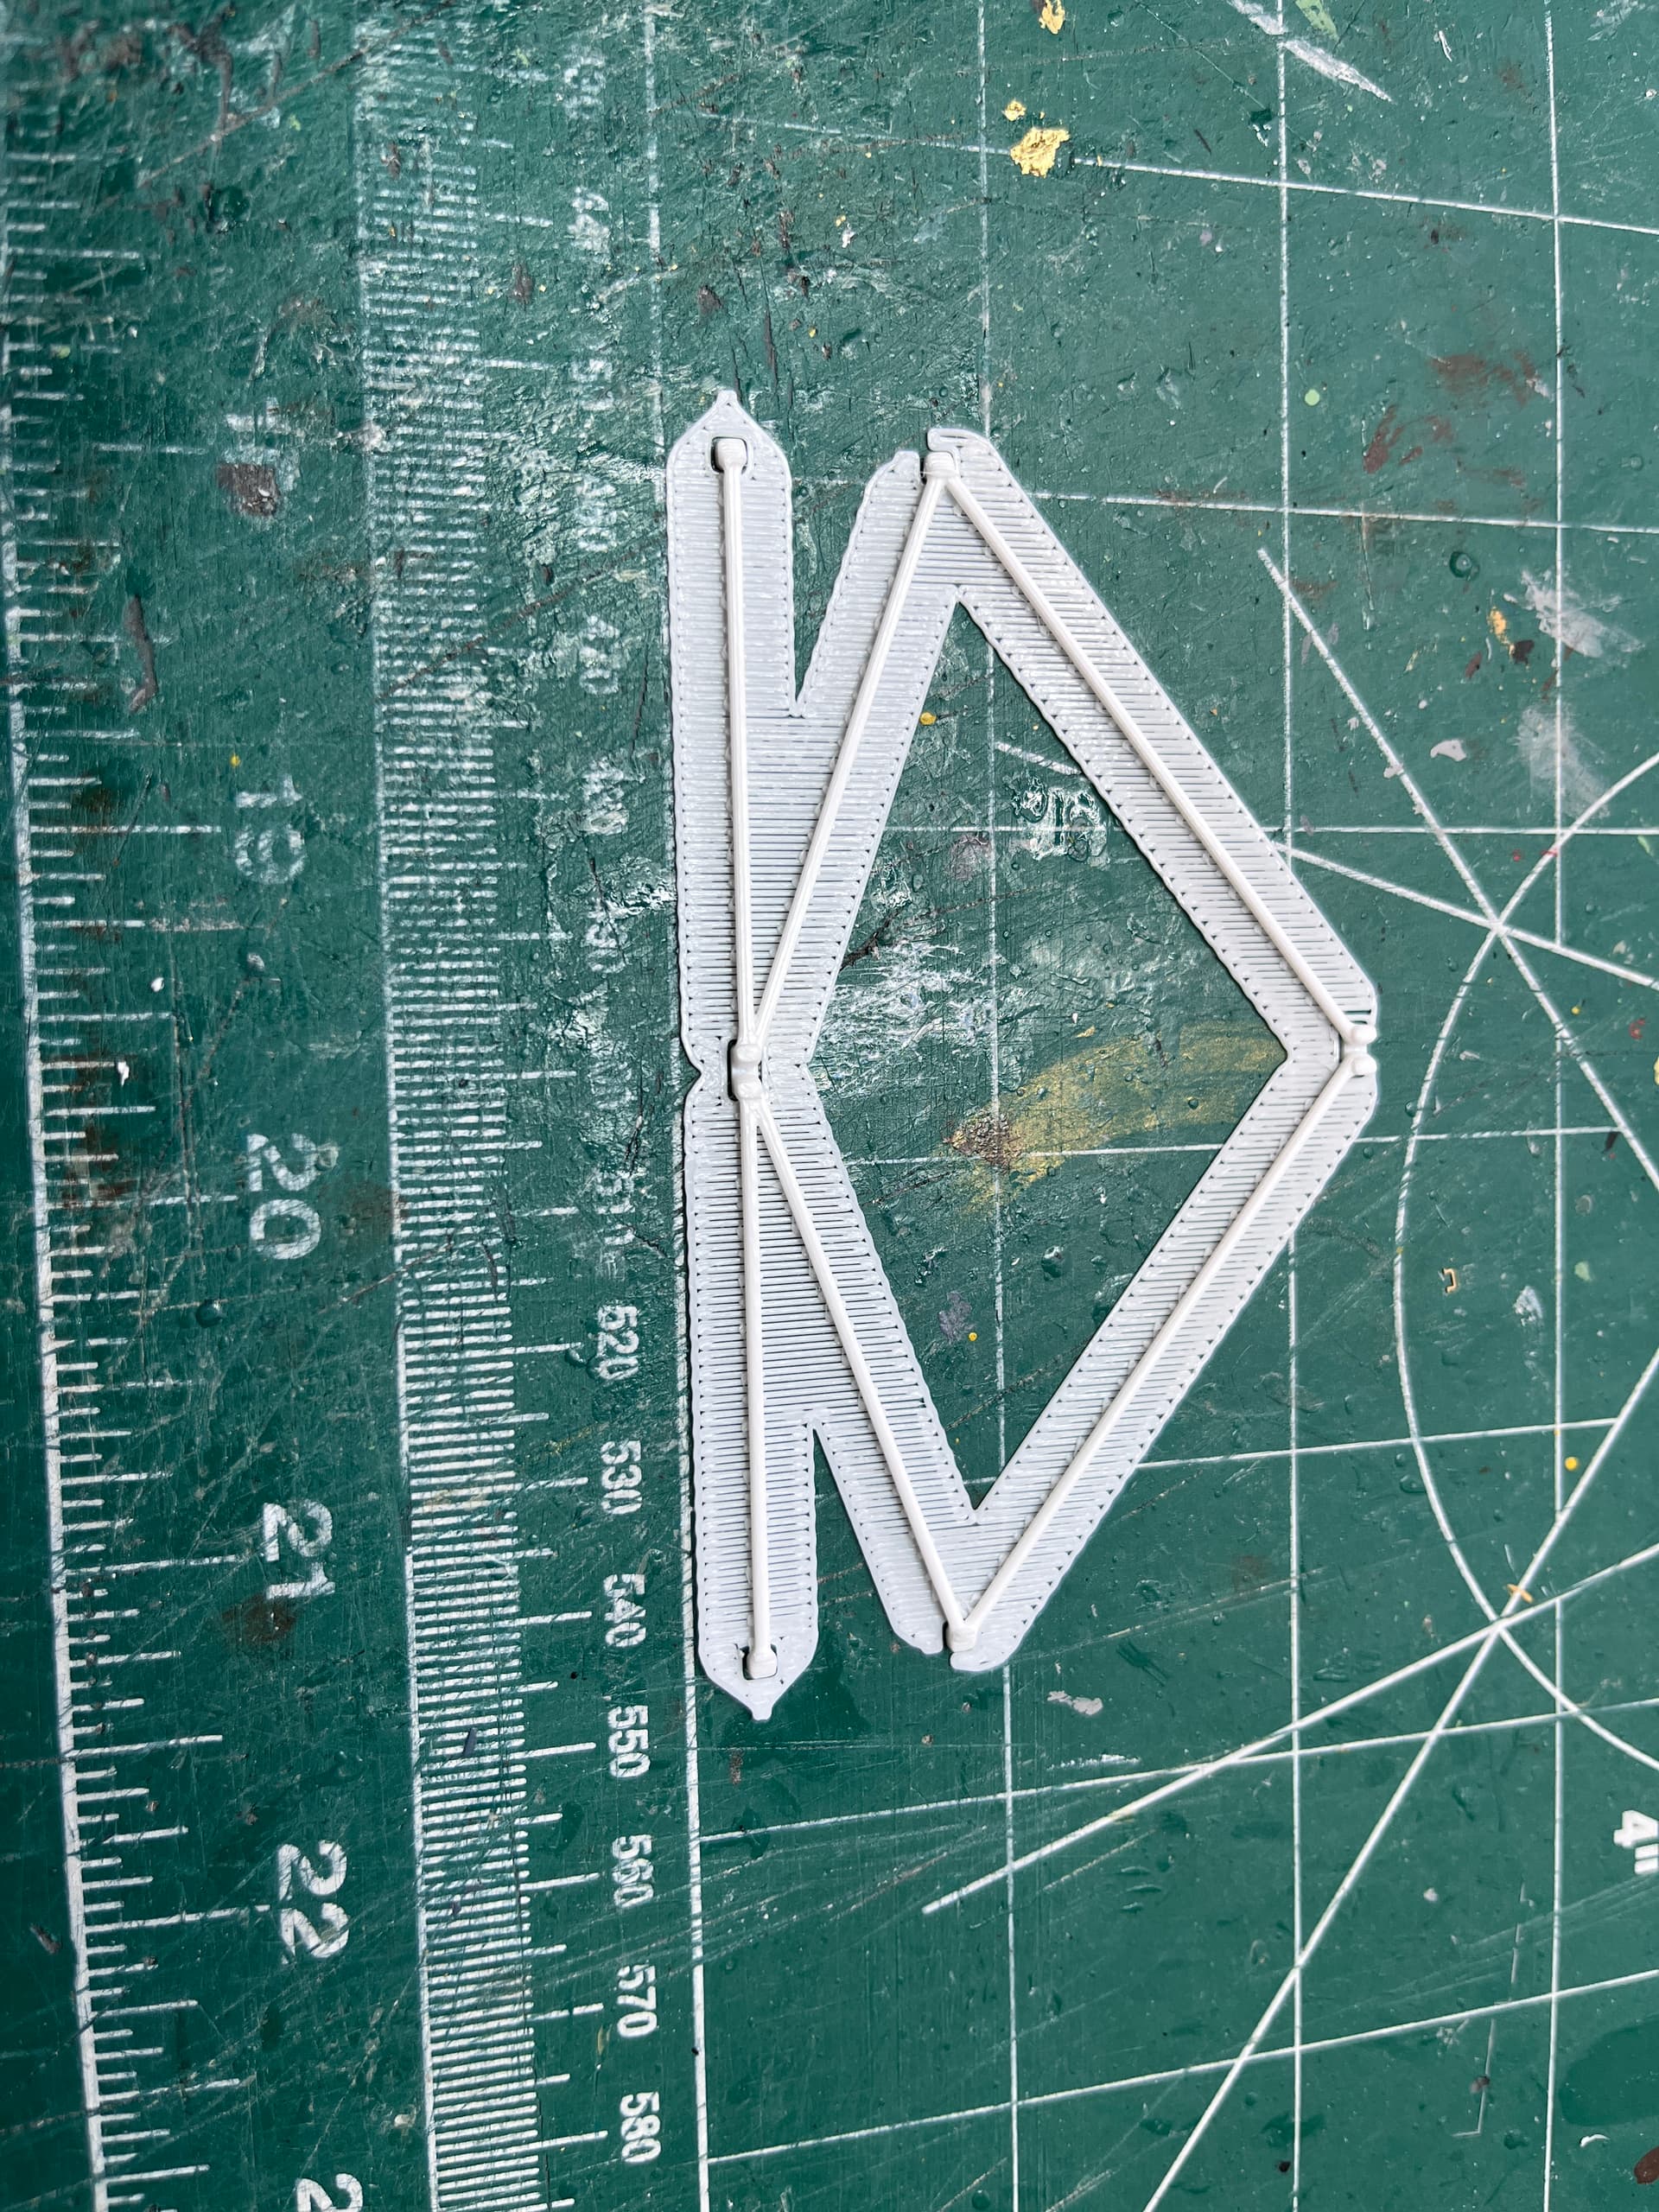
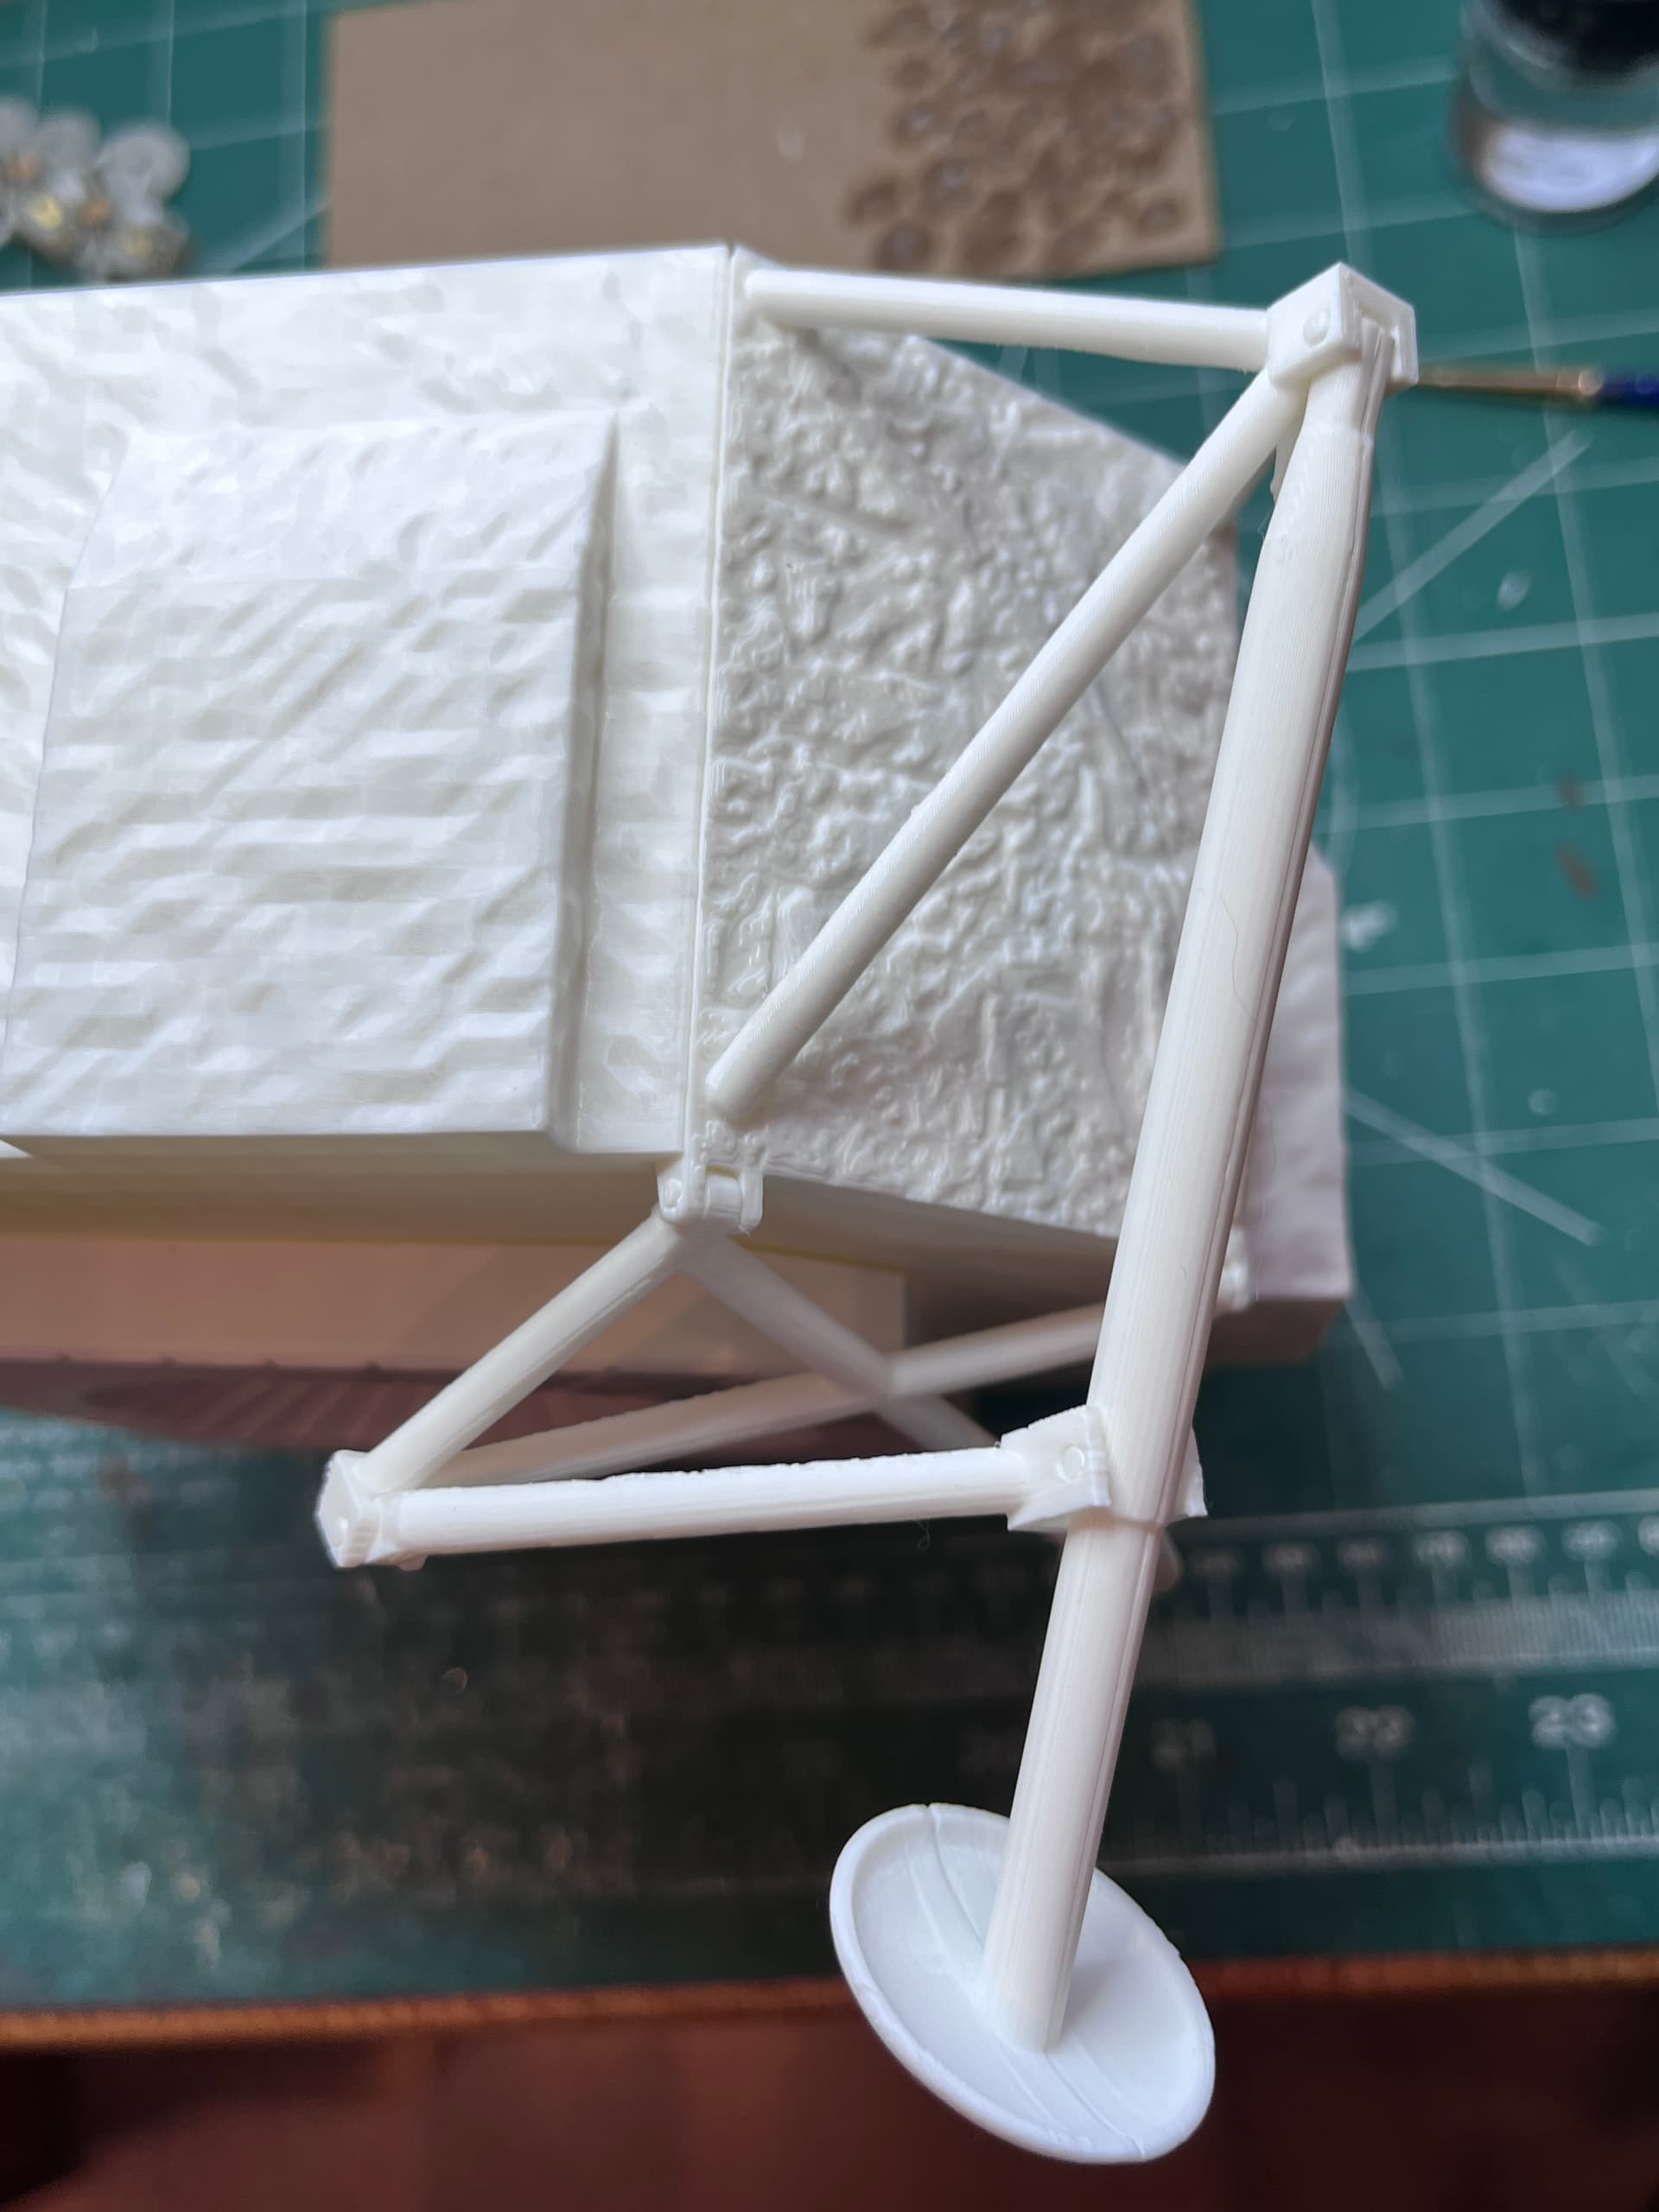
There are four what I am calling the plume deflectors. These shields attach to the descent stage and deflect the gas from the maneuvering thrusters at the four corners of the ascent stage. To get these to scale they are delicate parts and the print orientation is important. The first thing I tried to do was print them as one part. The plume deflector must be printed vertical to get a good looking part. If you print them laying down then there will be strange looking layer lines. To get the struts to print attached to the deflector they must be made overly large and even with supports they do not print well. Skinny little pipes must be printed parallel to the print plate. For these I used a trick where there is a notch at the bend point. They print flat and are then bent and glued at the correct angle. Here is a strut set as printed with the supports still in place.
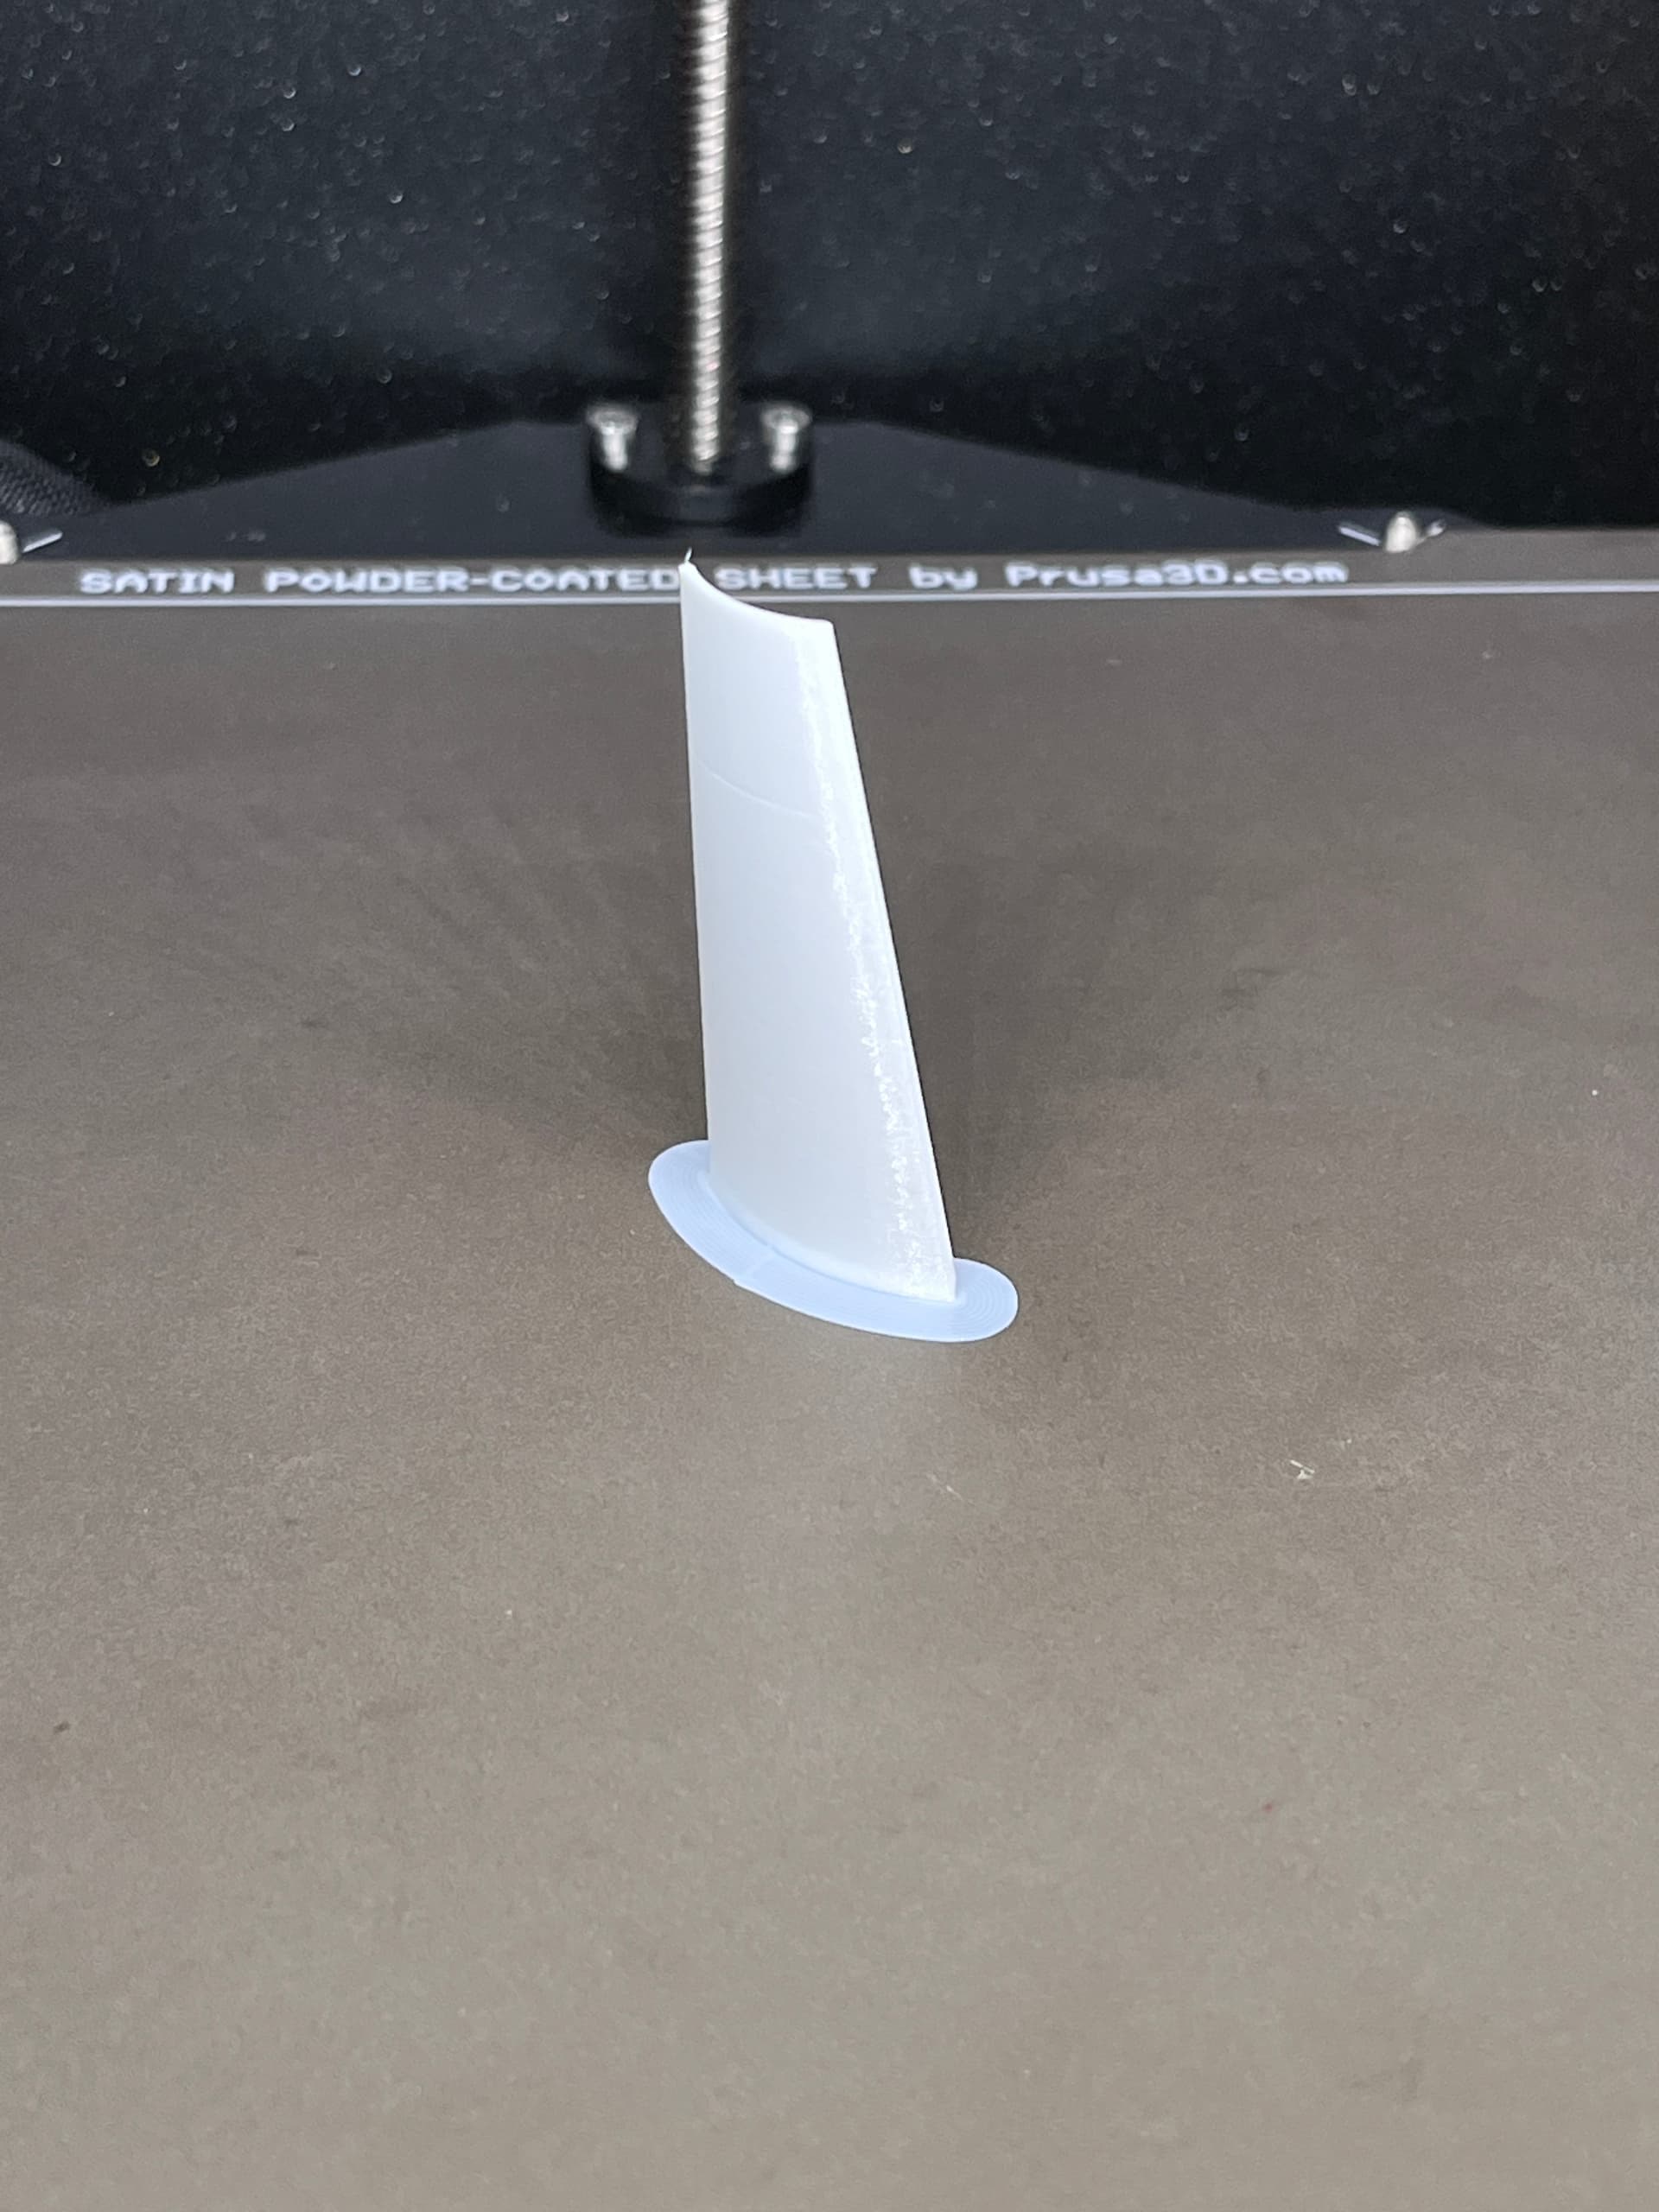
And finally here are the two prints. An attempt at printing as one piece and then the deflector printed as two parts and glued up. Printing as two parts also allows the deflector to be printed as black and the struts printed as silver. The good part has much more accurate struts from a scale perspective.
The redesigned leg joint is complete and test printed. A few of the joints are a bit larger than scale but I wanted a solid working joint that is not fragile. I didn’t spend much time cleaning up the parts, just wanted to test the articulation. Almost all the parts you see will be foiled.
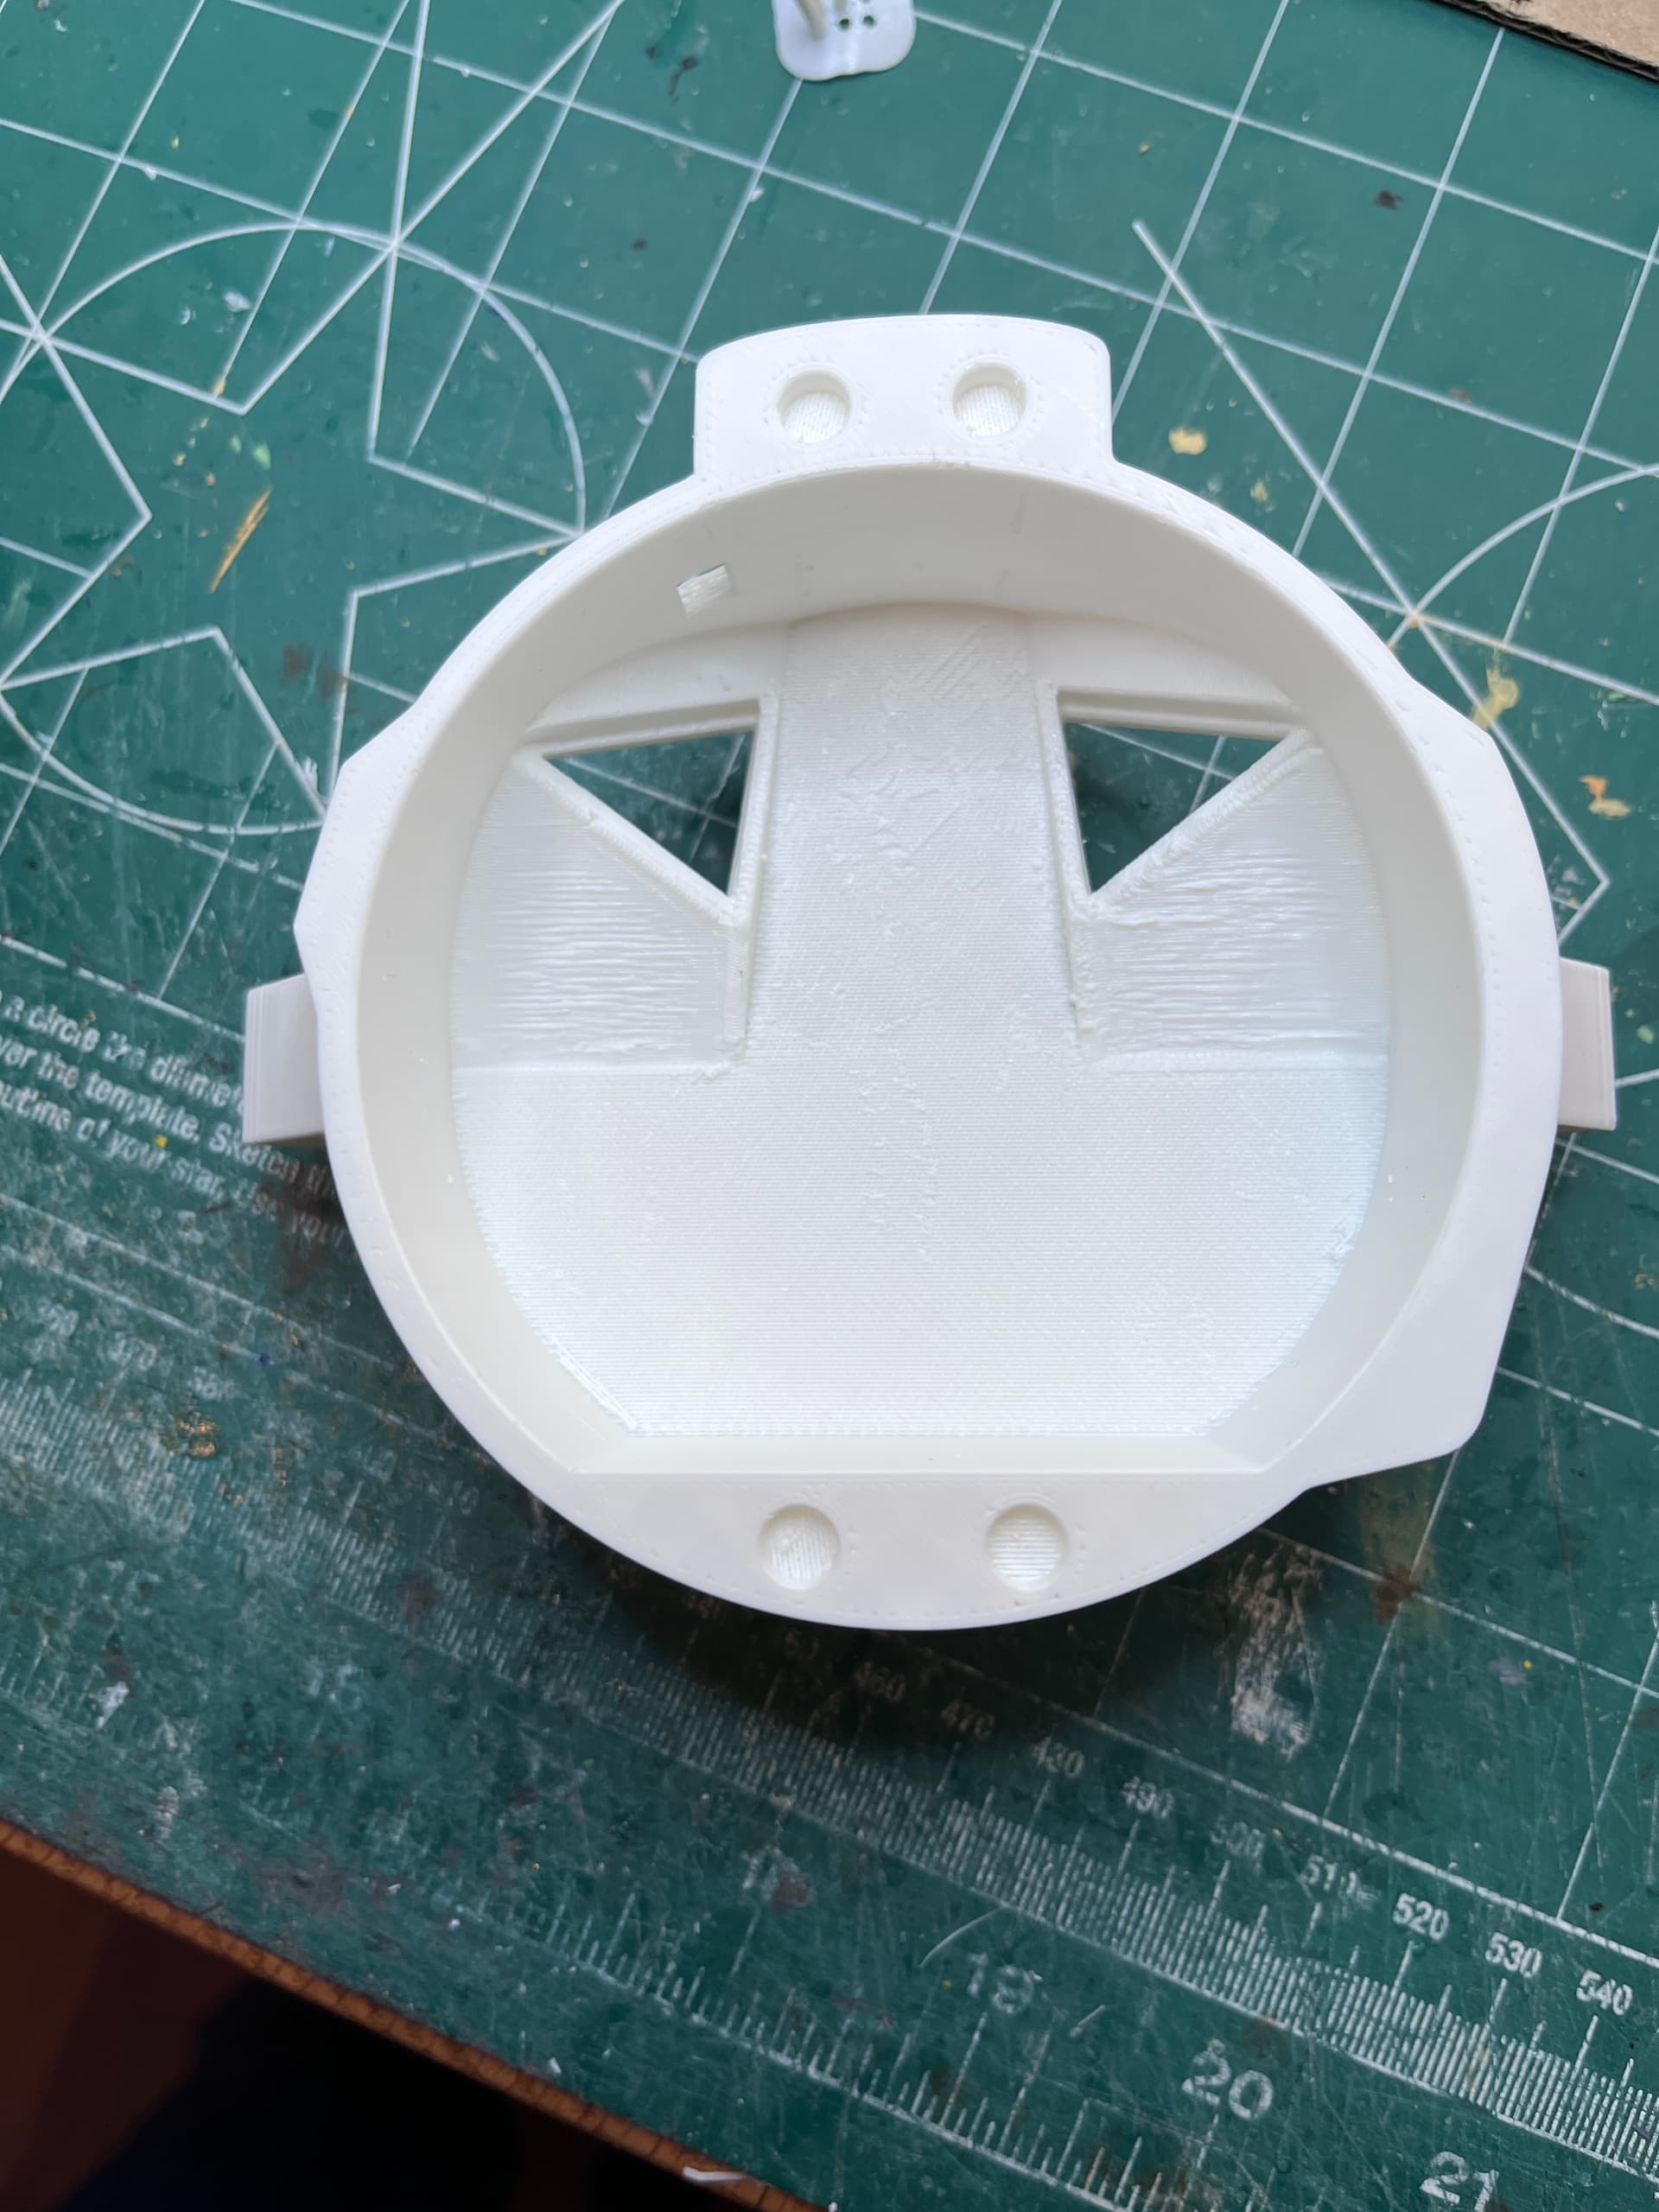
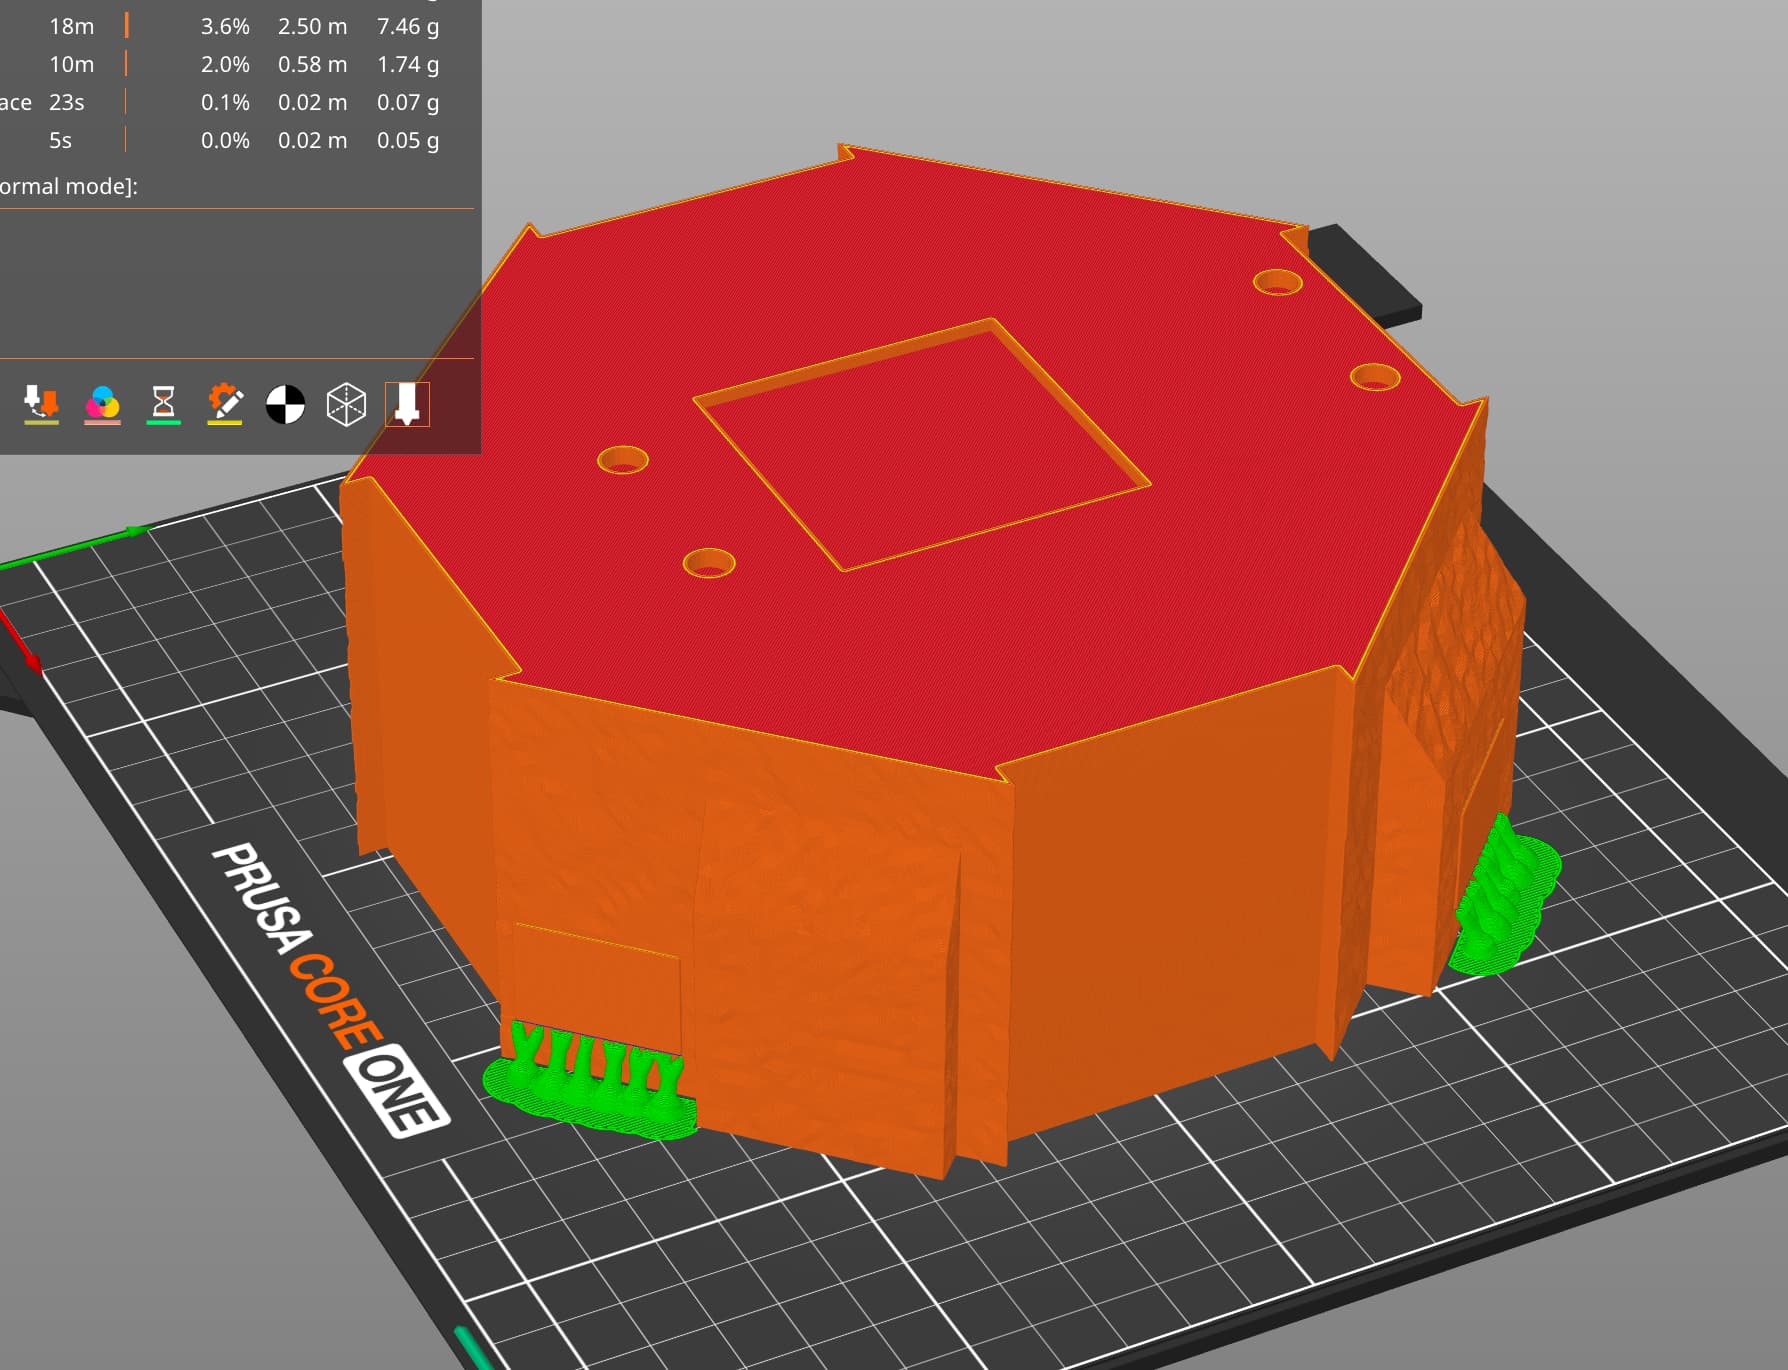
Just finished a first print of the front portion of the ascent stage. This was printed outside (good side) up, leaving the inside rather rough. This is OK because the inside will have all the electronic racks glued in to cover up the rough areas. You can see where four magnets will be glued in to attach it to rest of the ascent stage.
Ready for a final print of the descent stage body. Added two flat surfaces for the flag and United States decals. I make the decals using the home printer and vinyl sticker sheets. This part takes 8.5 hours to print and it is the largest part that determined the scale. Much larger and I would have had to split up this part.


