This is great as I just had issues with windows, I looked up what you posted and I’m going to pick this up for future builds. Thanks for this.
1 Like
Yay! Glad I could assist.
I’ve fixed seams and scratches from being in with the sprue (or my mistake when masking) with this process with basically perfect results. Once I even cleaned up ca glue that has spilled and it still worked. I got some 12000 grit sanding sponges to do the final buff out before the novus fine scratch step but, you can use the heavier nuvus in the same way if you prefer.
1 Like
I’ll pull back on my ambition a bit. Can you replace the Claude with my rollover from 2025: 1/48 Hasegawa Aichi D3A1 Type99 Val
2 Likes
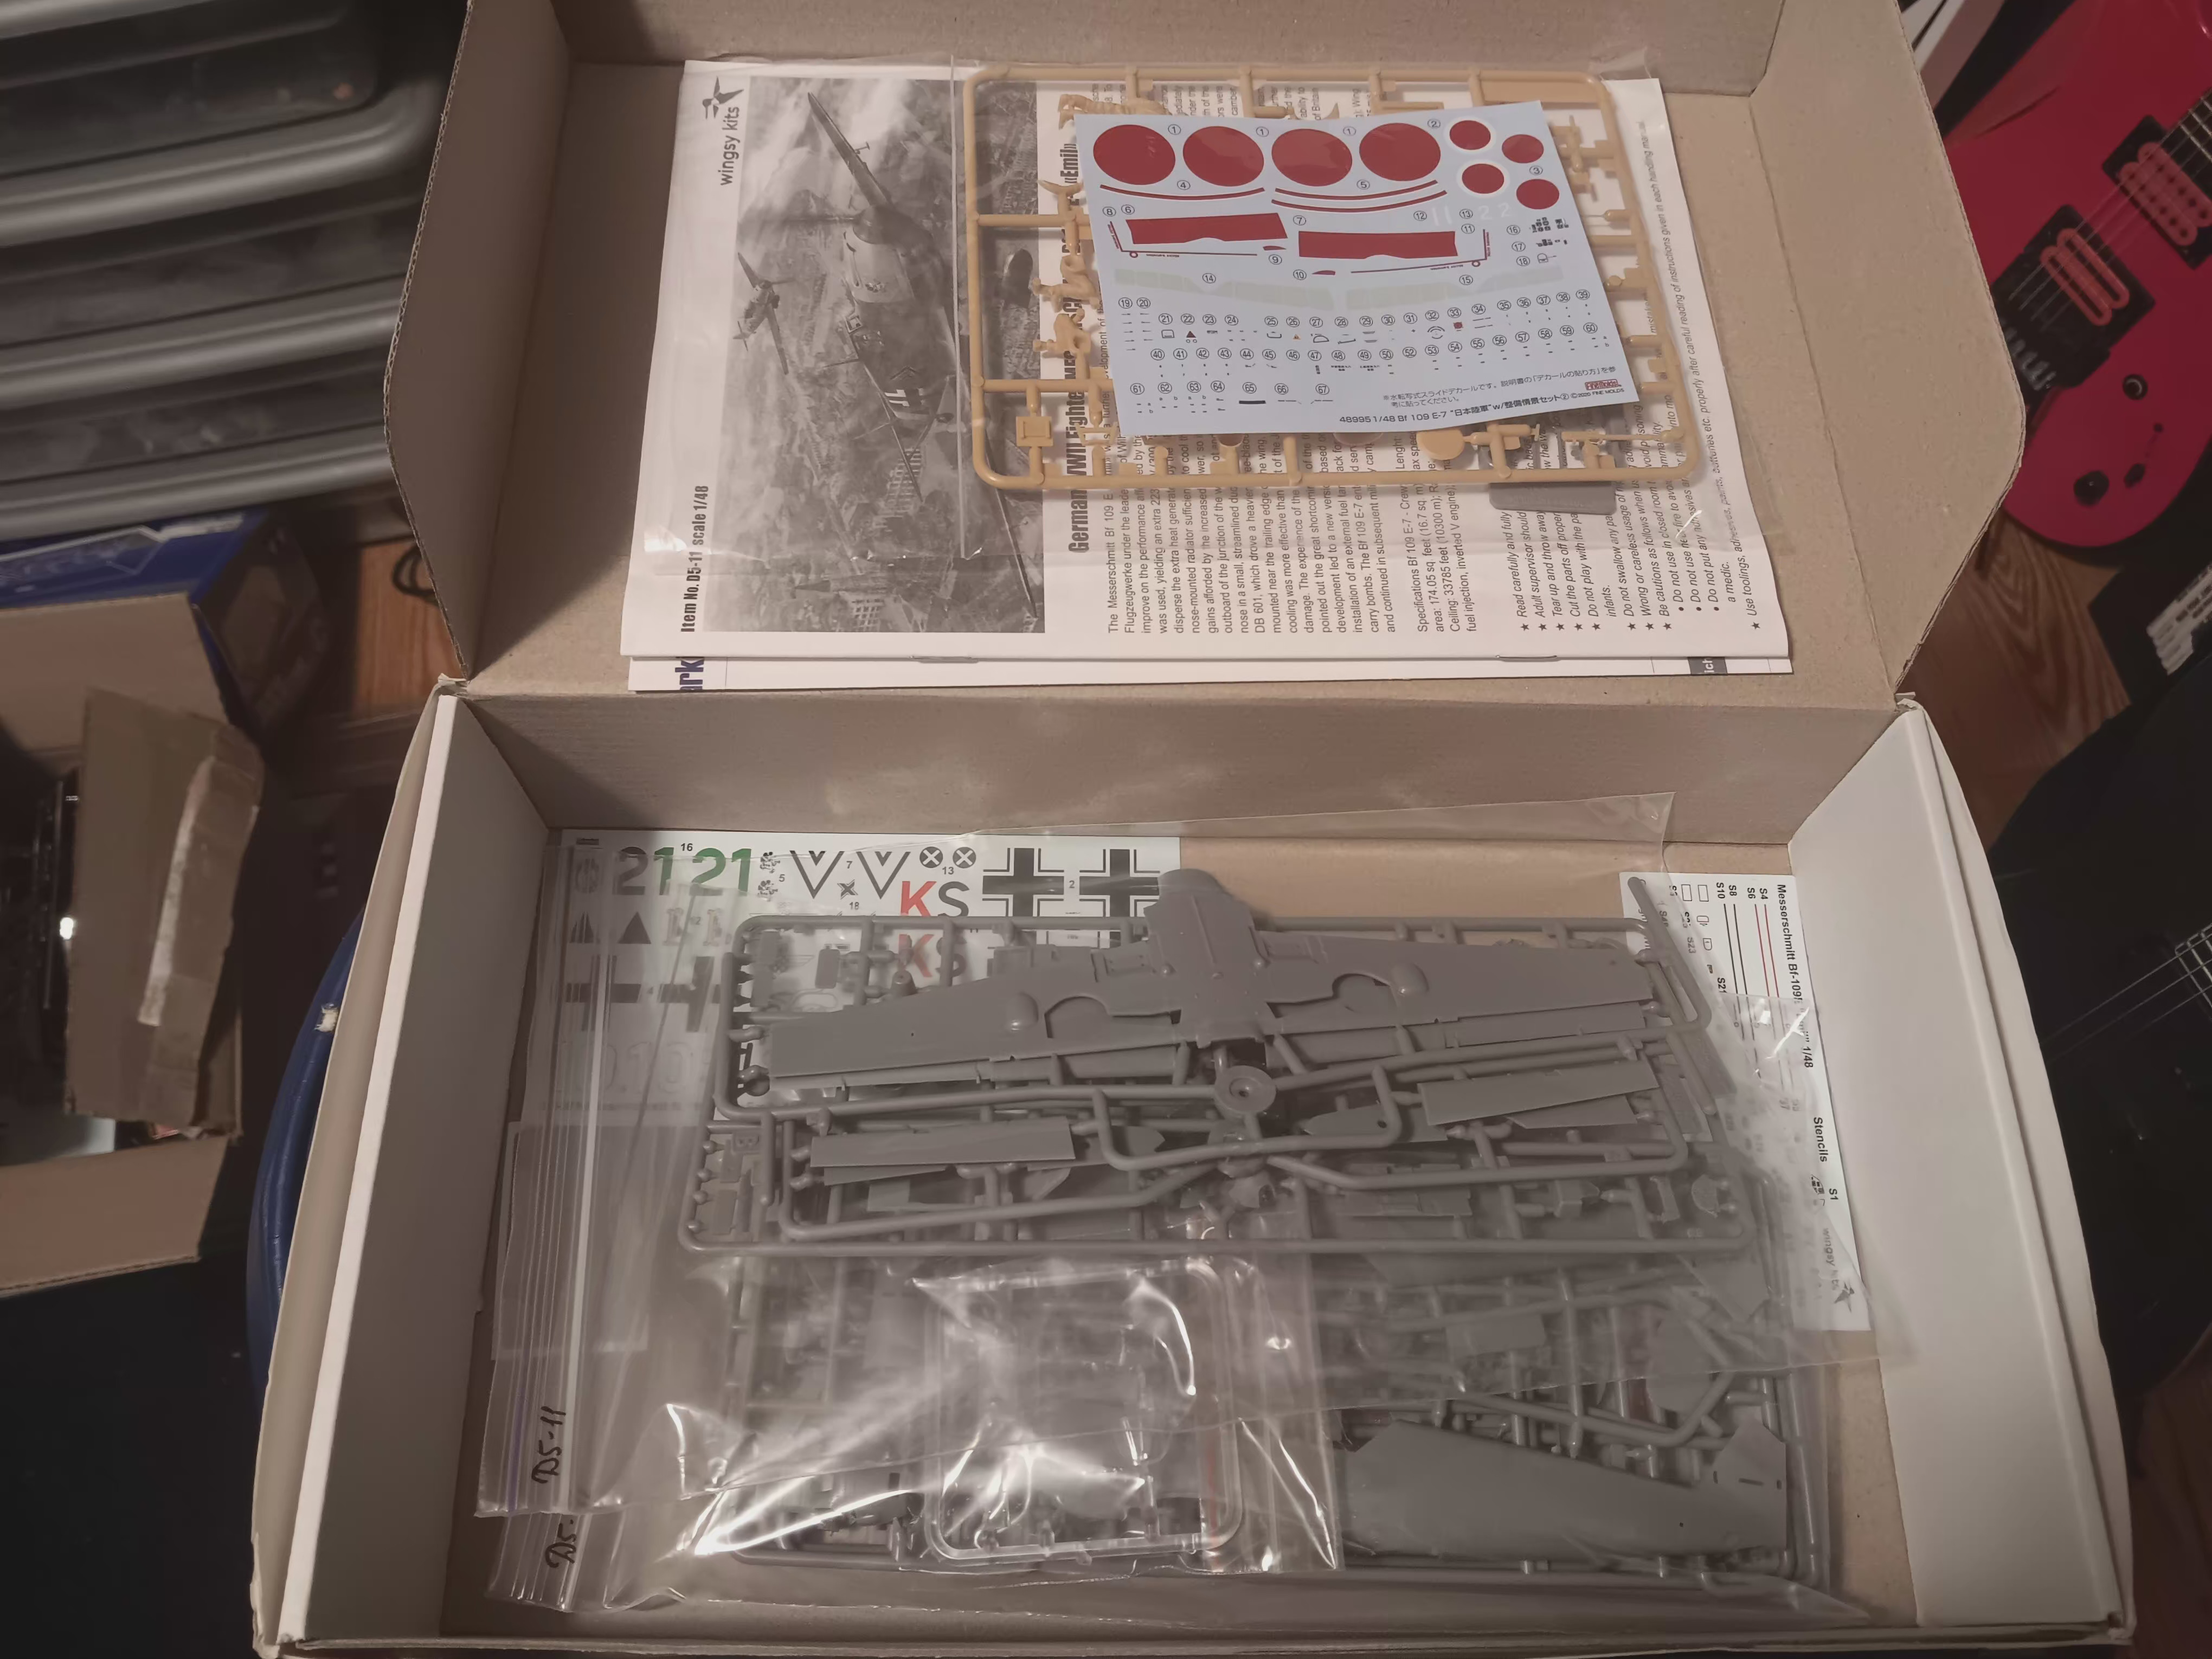
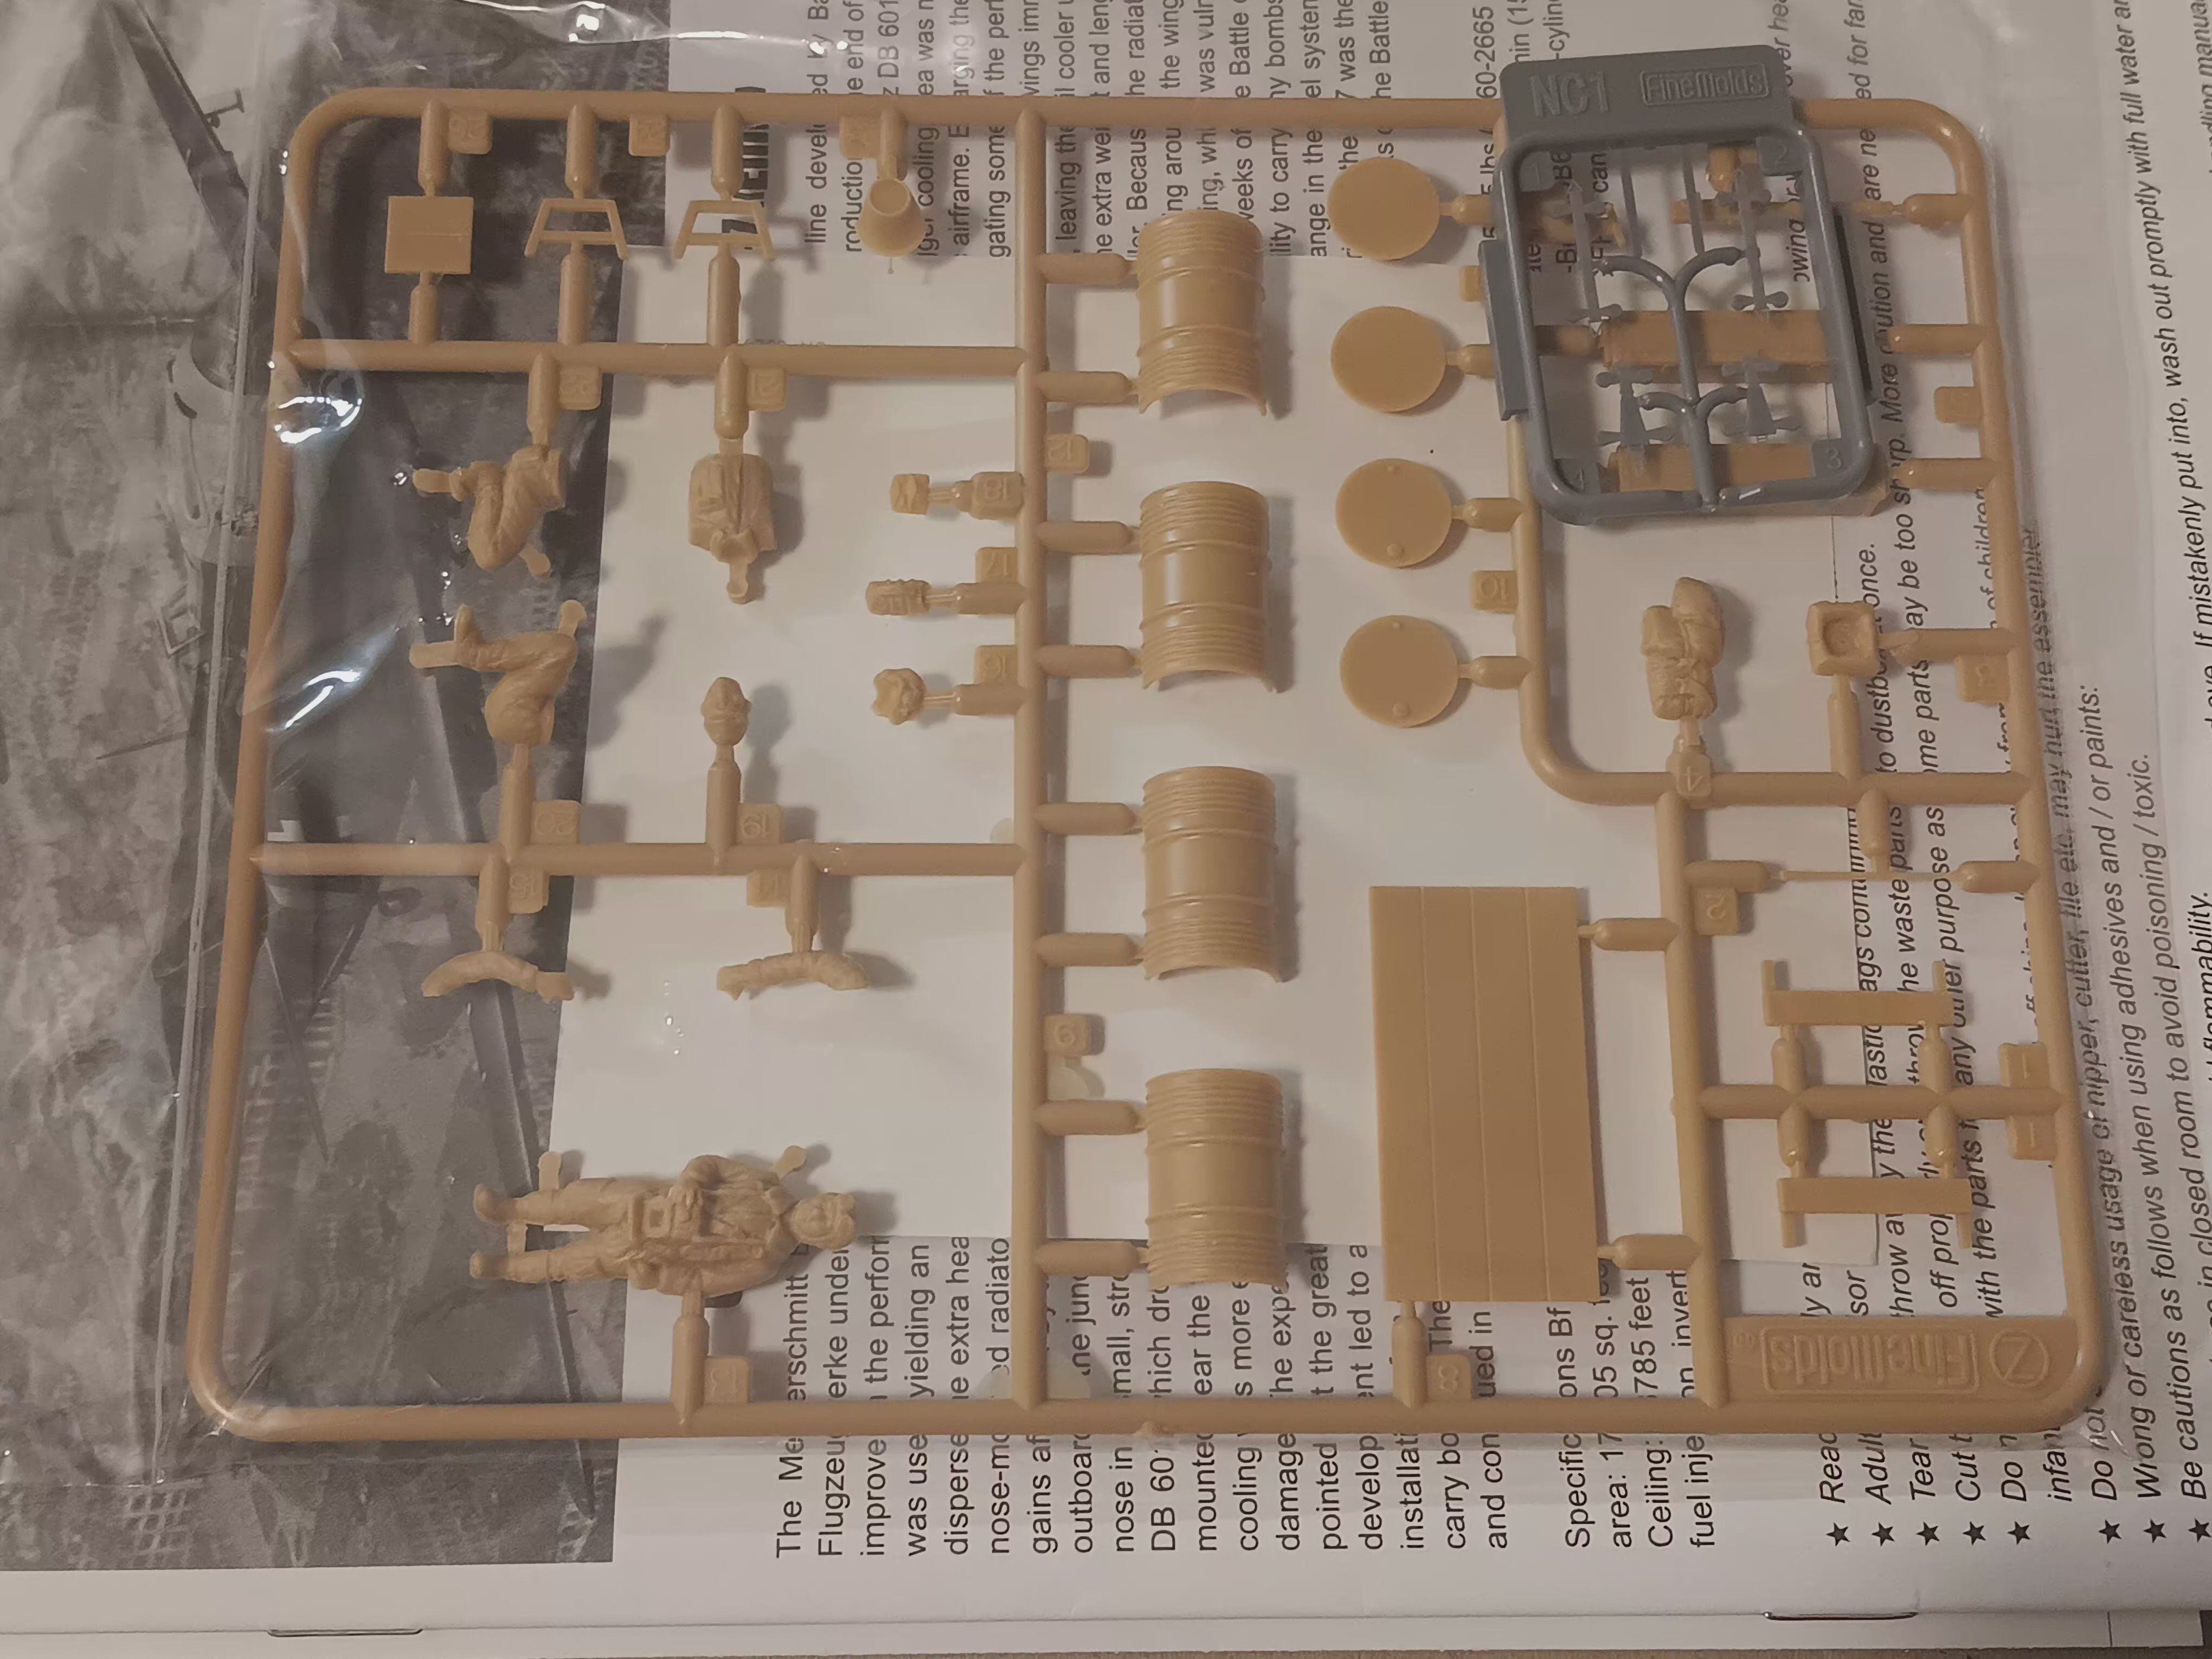
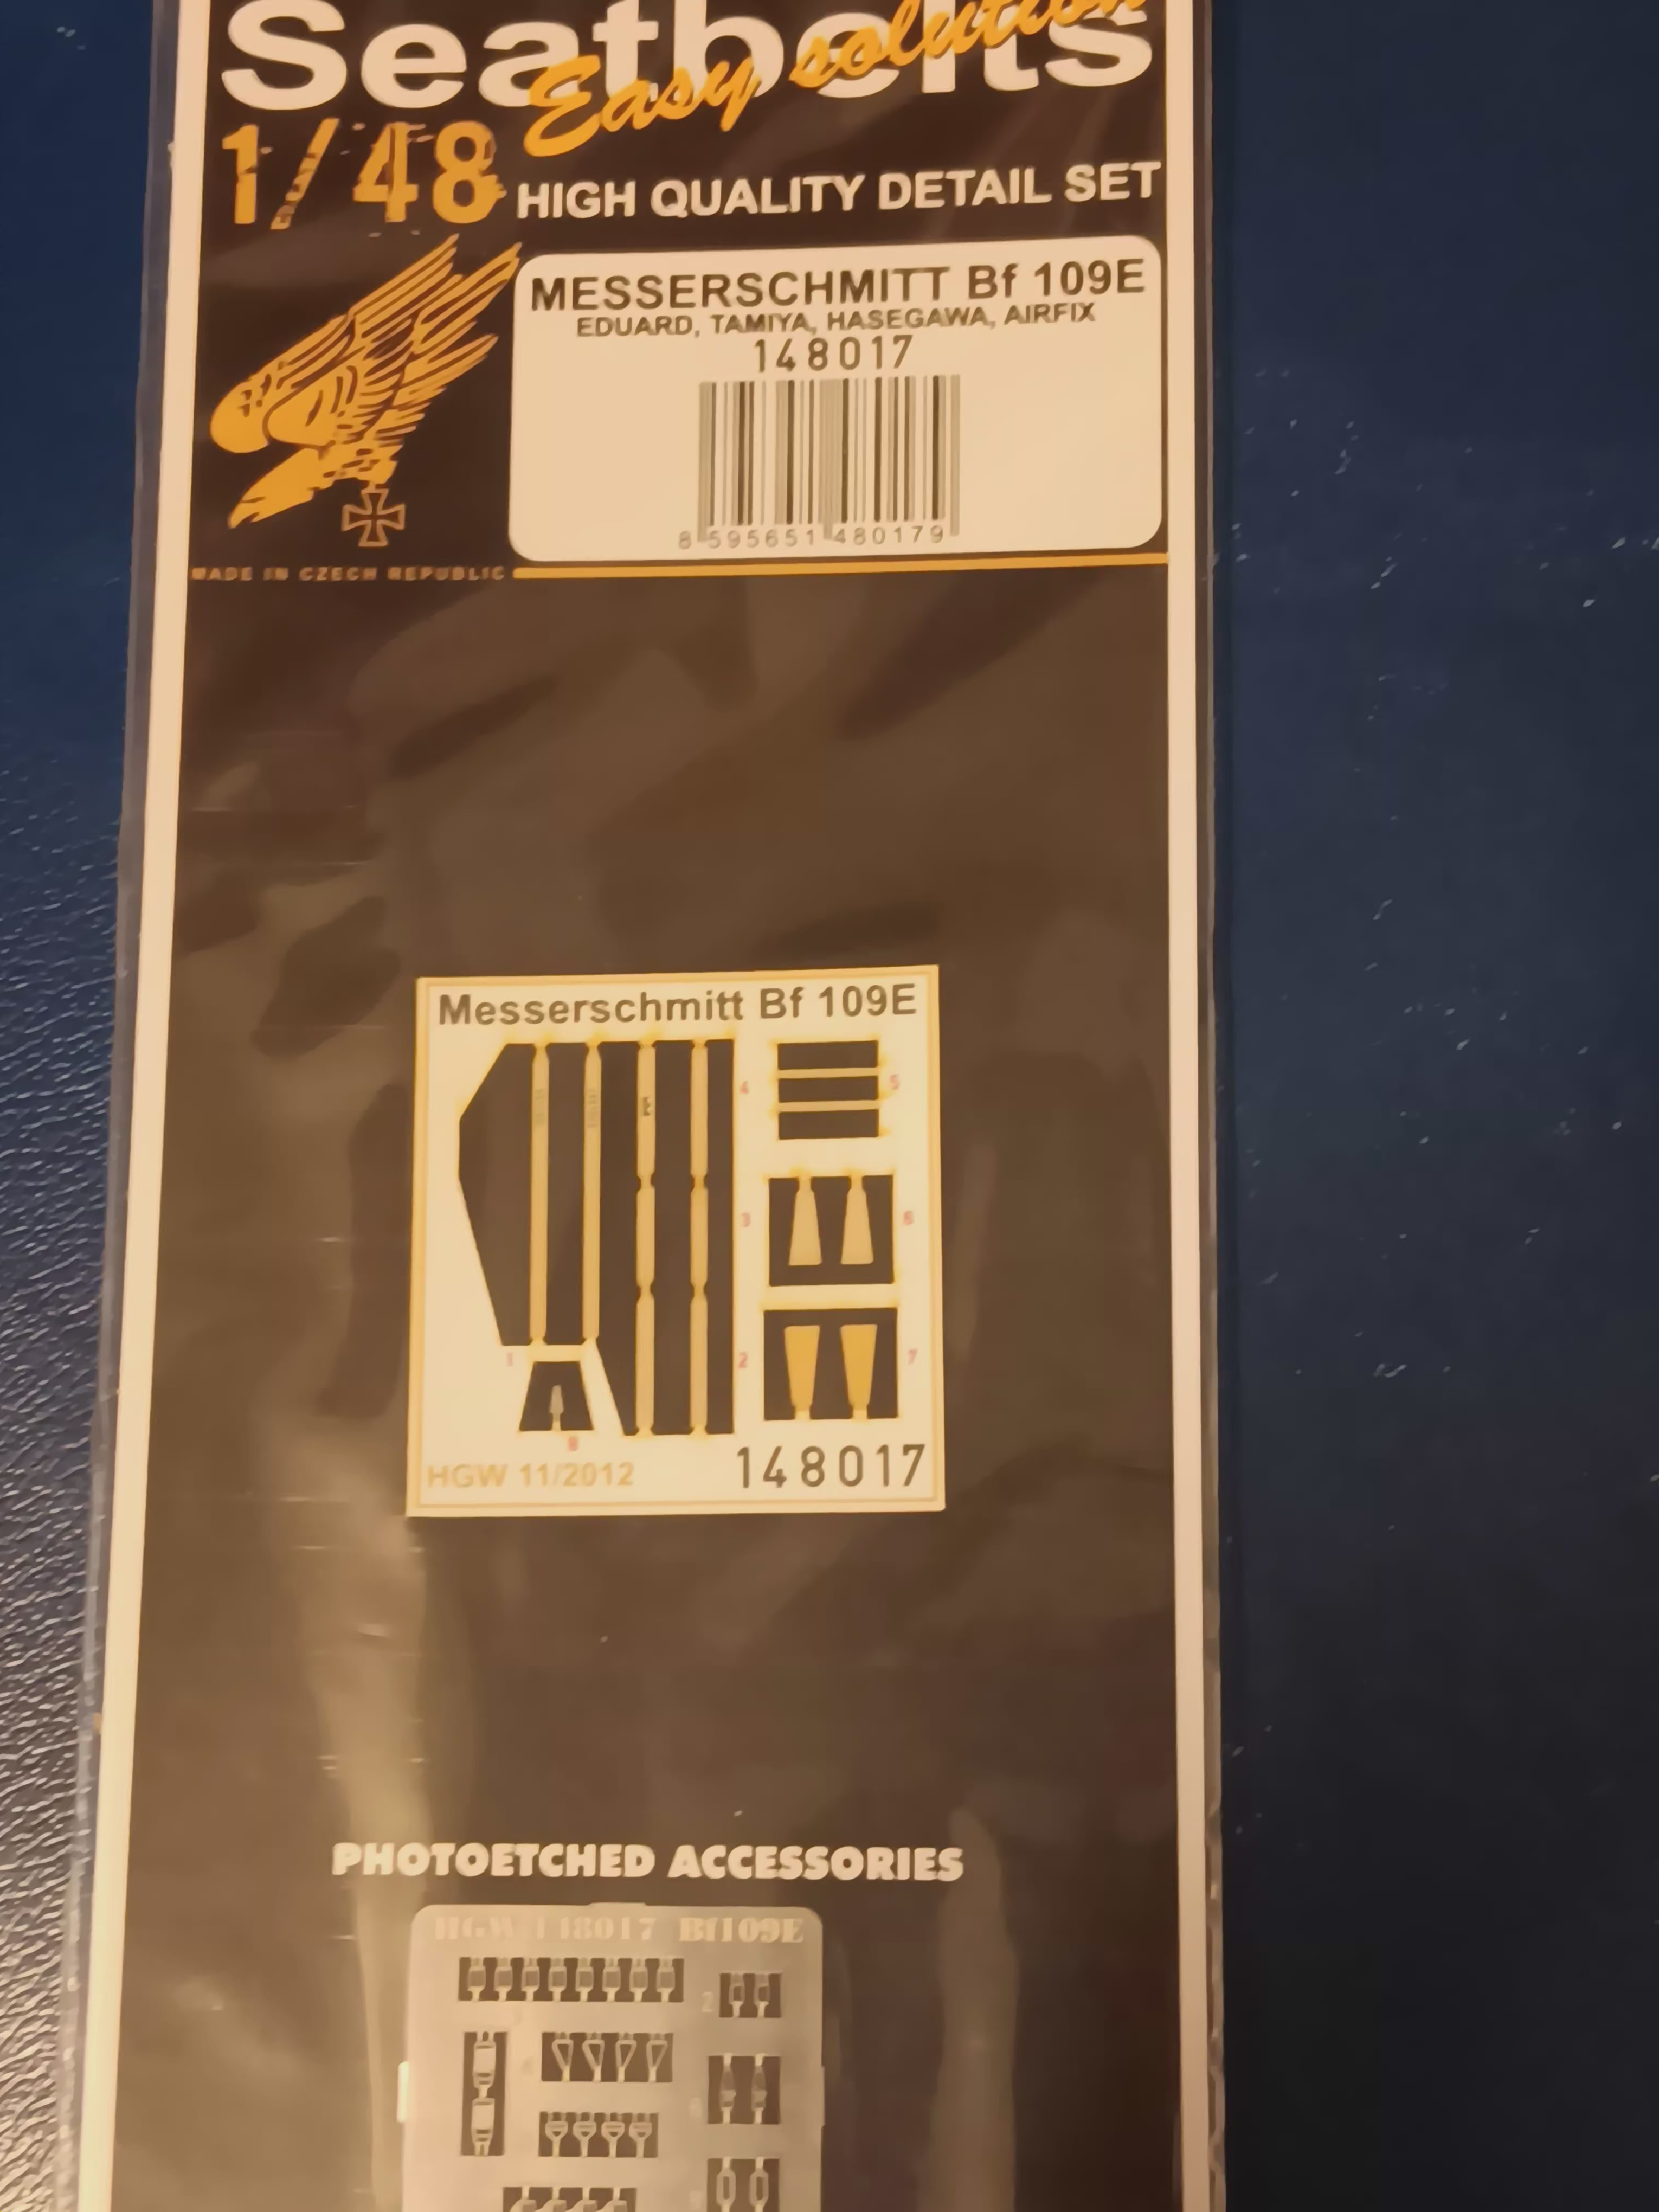
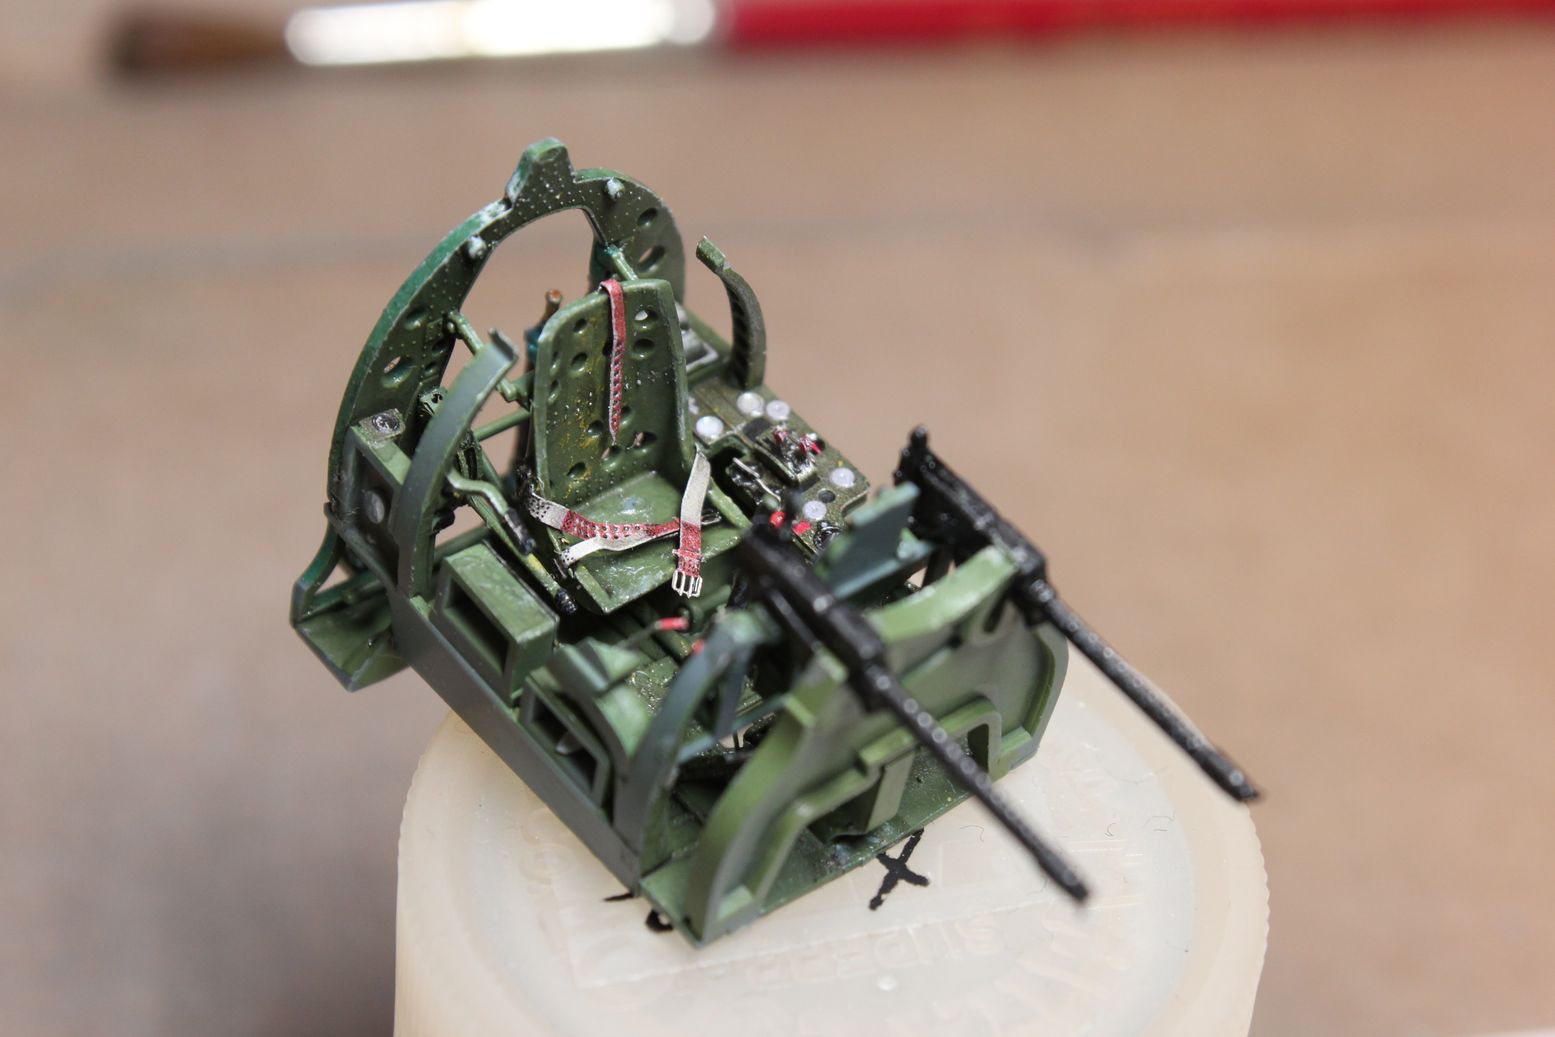
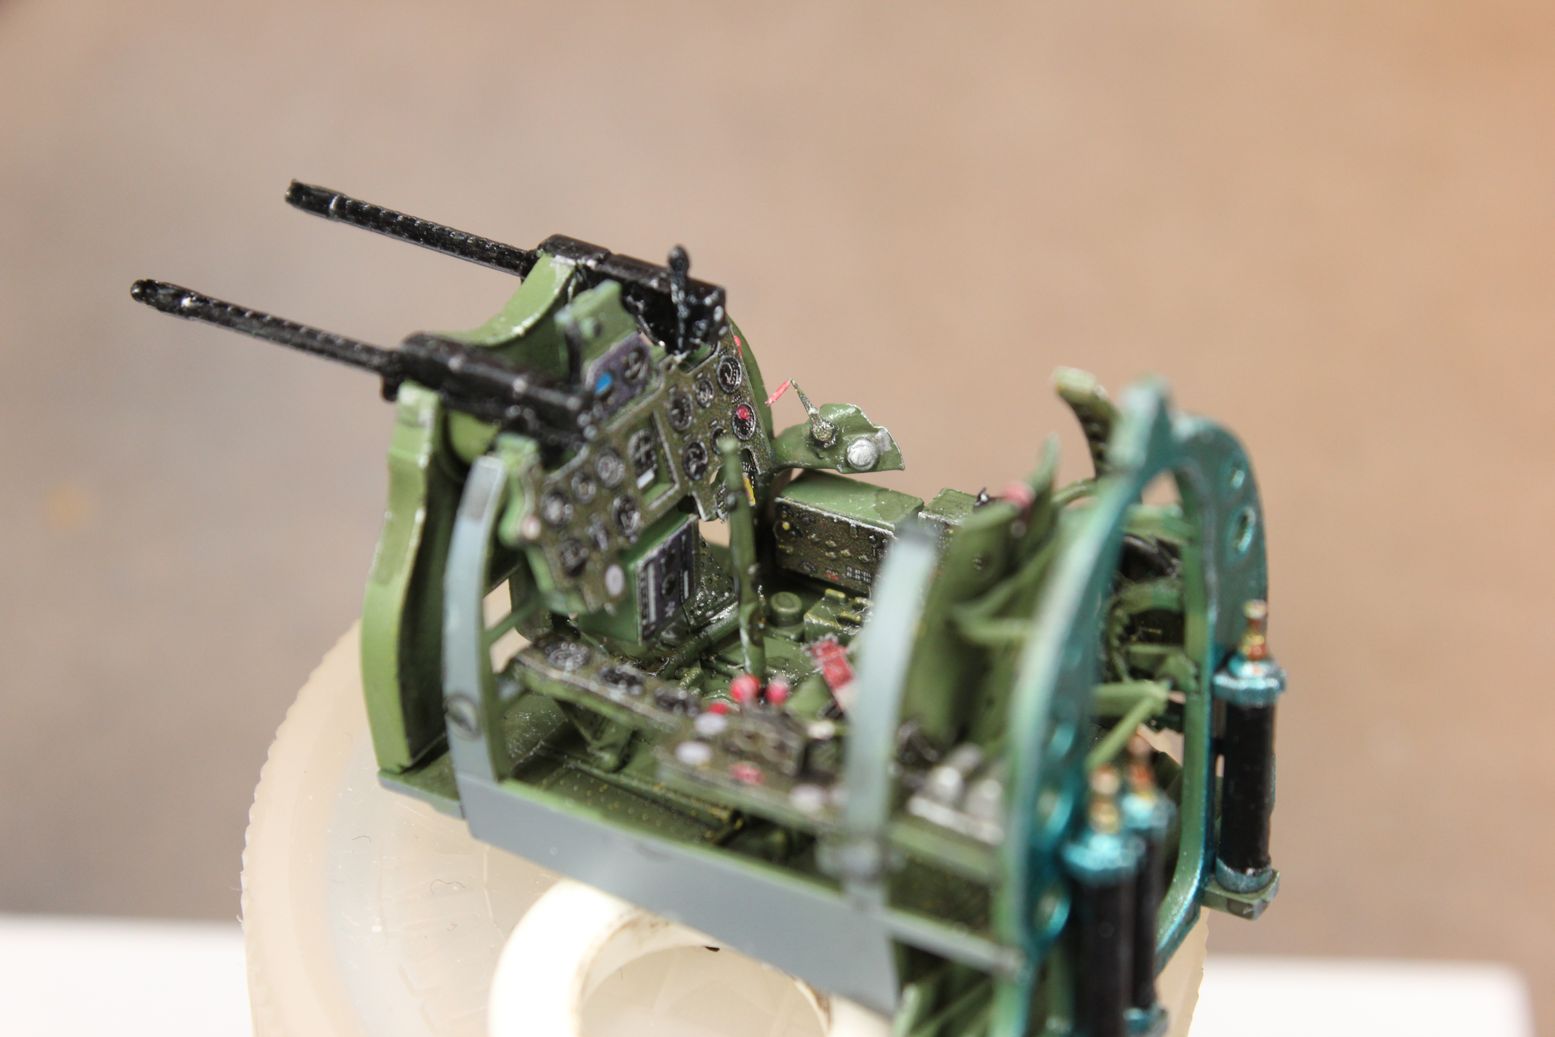
I got a super deal on an E7 from a buddy in our local club. Here’s my contribution to the group build start. I am thinking of just painting all of the markings instead of using the thick decals. I will, however, be using the Finemolds standing pilot figure and maybe some other of the included accessories. It even has some inreresting molded seatbelts, but I will be using the HGW belts and some Quinta 3d decals for the interior like I do for all of my builds.

4 Likes
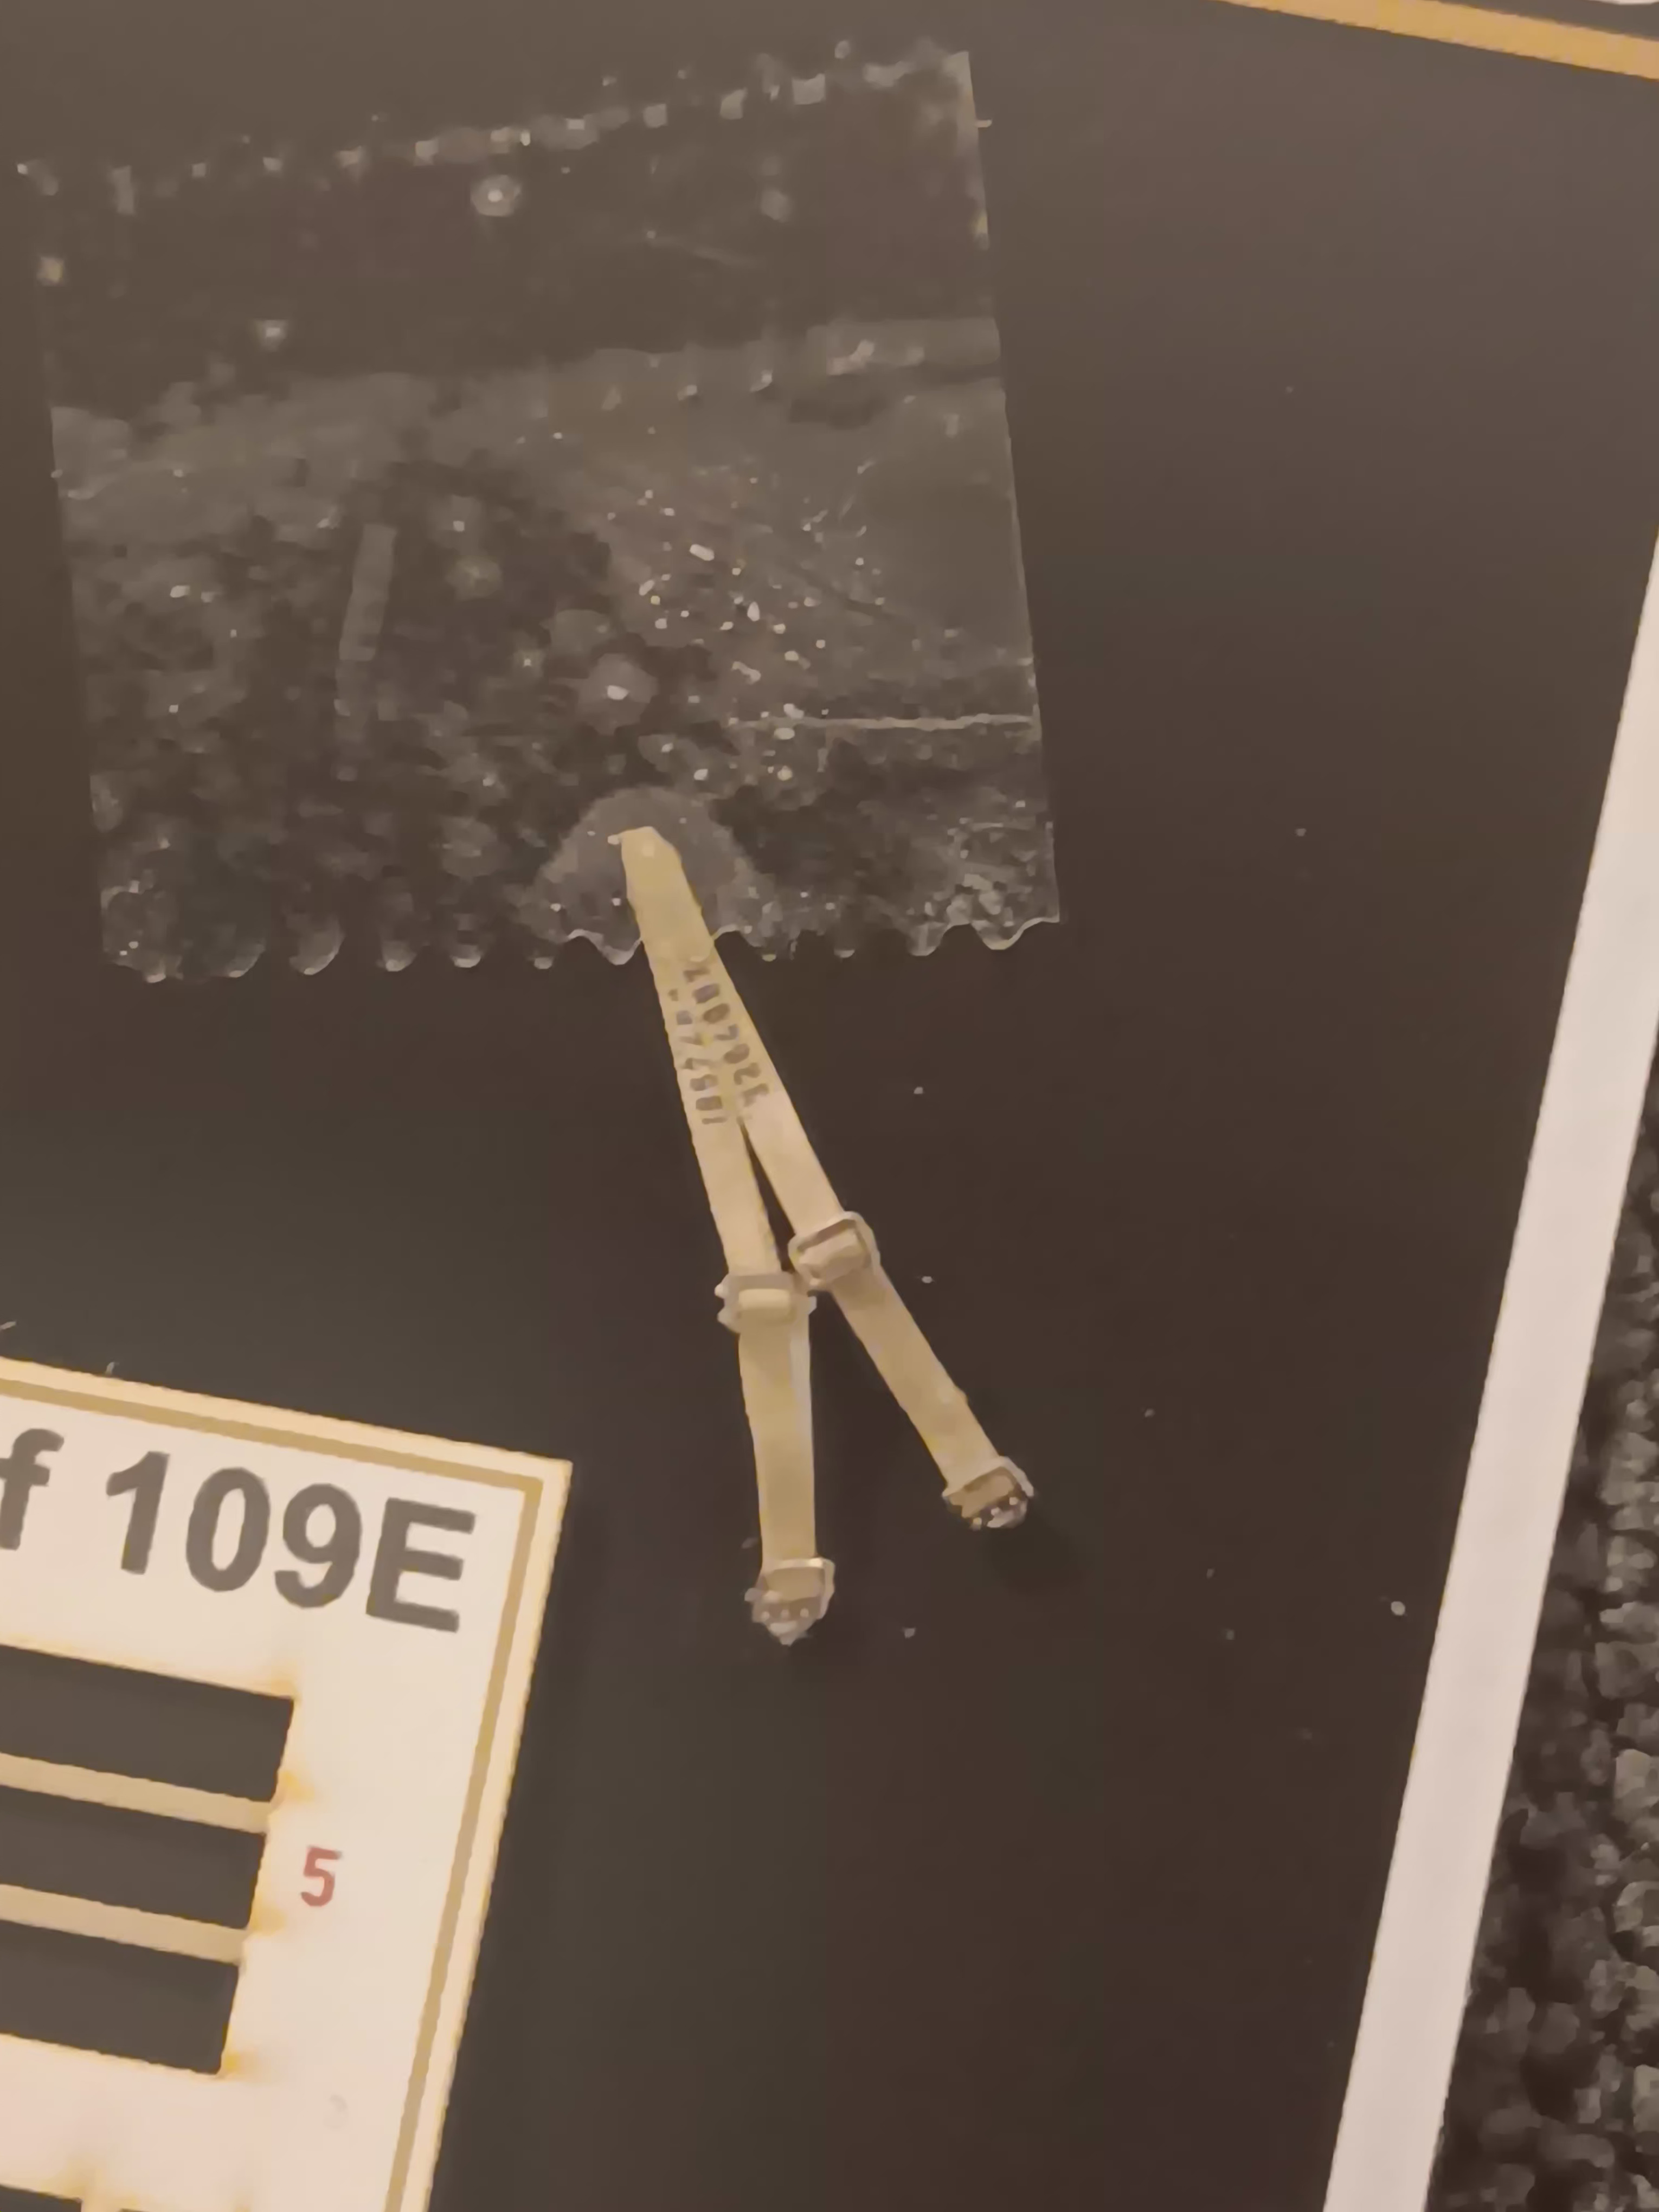
Interior on the 109 started.
I drilled out the relief for inserting the belts. I used some epoxy putty to make a seat pad and started on the HGW belts.
The easiest way of assembling the belts is to start by buying the pre-cut belts instead of the two pack sets, I have learned the hard way. Remove the belt material one piece at a time while leaving the metal parts attached to the tree to allow ease of threading the belts through and adjusting the lengths before gluing and folding over the excess belt. I will touch up and trim the edges and weather before final install. Fitment is great so far.


5 Likes
Nice work. Amazing how a nice set of seat belts can take a cockpit to a whole new level.
1 Like
I agree. Too bad you can’t see much once placed in the fuselage. It sure makes me feel accomplished, though. The wingsy kits have a ton of detail in their cockpits, but most goes unseen without a flashlight and a magnifying glass.
1 Like
I’ll start out with the report this Hasegswa F-4 has not been my favorite kit so far. The seam right down the middle has been, frankly, boring as I probably have 4-5 hours into sanding, filling, rescribing etc. I have another Hasegswa (hi-grade diamond jubilee) kit that’s been in my stash for 30 years that I’ll probably never build now once I’m done with this one.
They have also had me remove a bunch of antennas all over the body to make it correct for the EJ version and it is so time consuming fixing the damage that causes back in. (the ones on the top of the wings are especially egregious.)
Still, I’m making progress and it is going to be a beautiful bird (I hope) once completed.
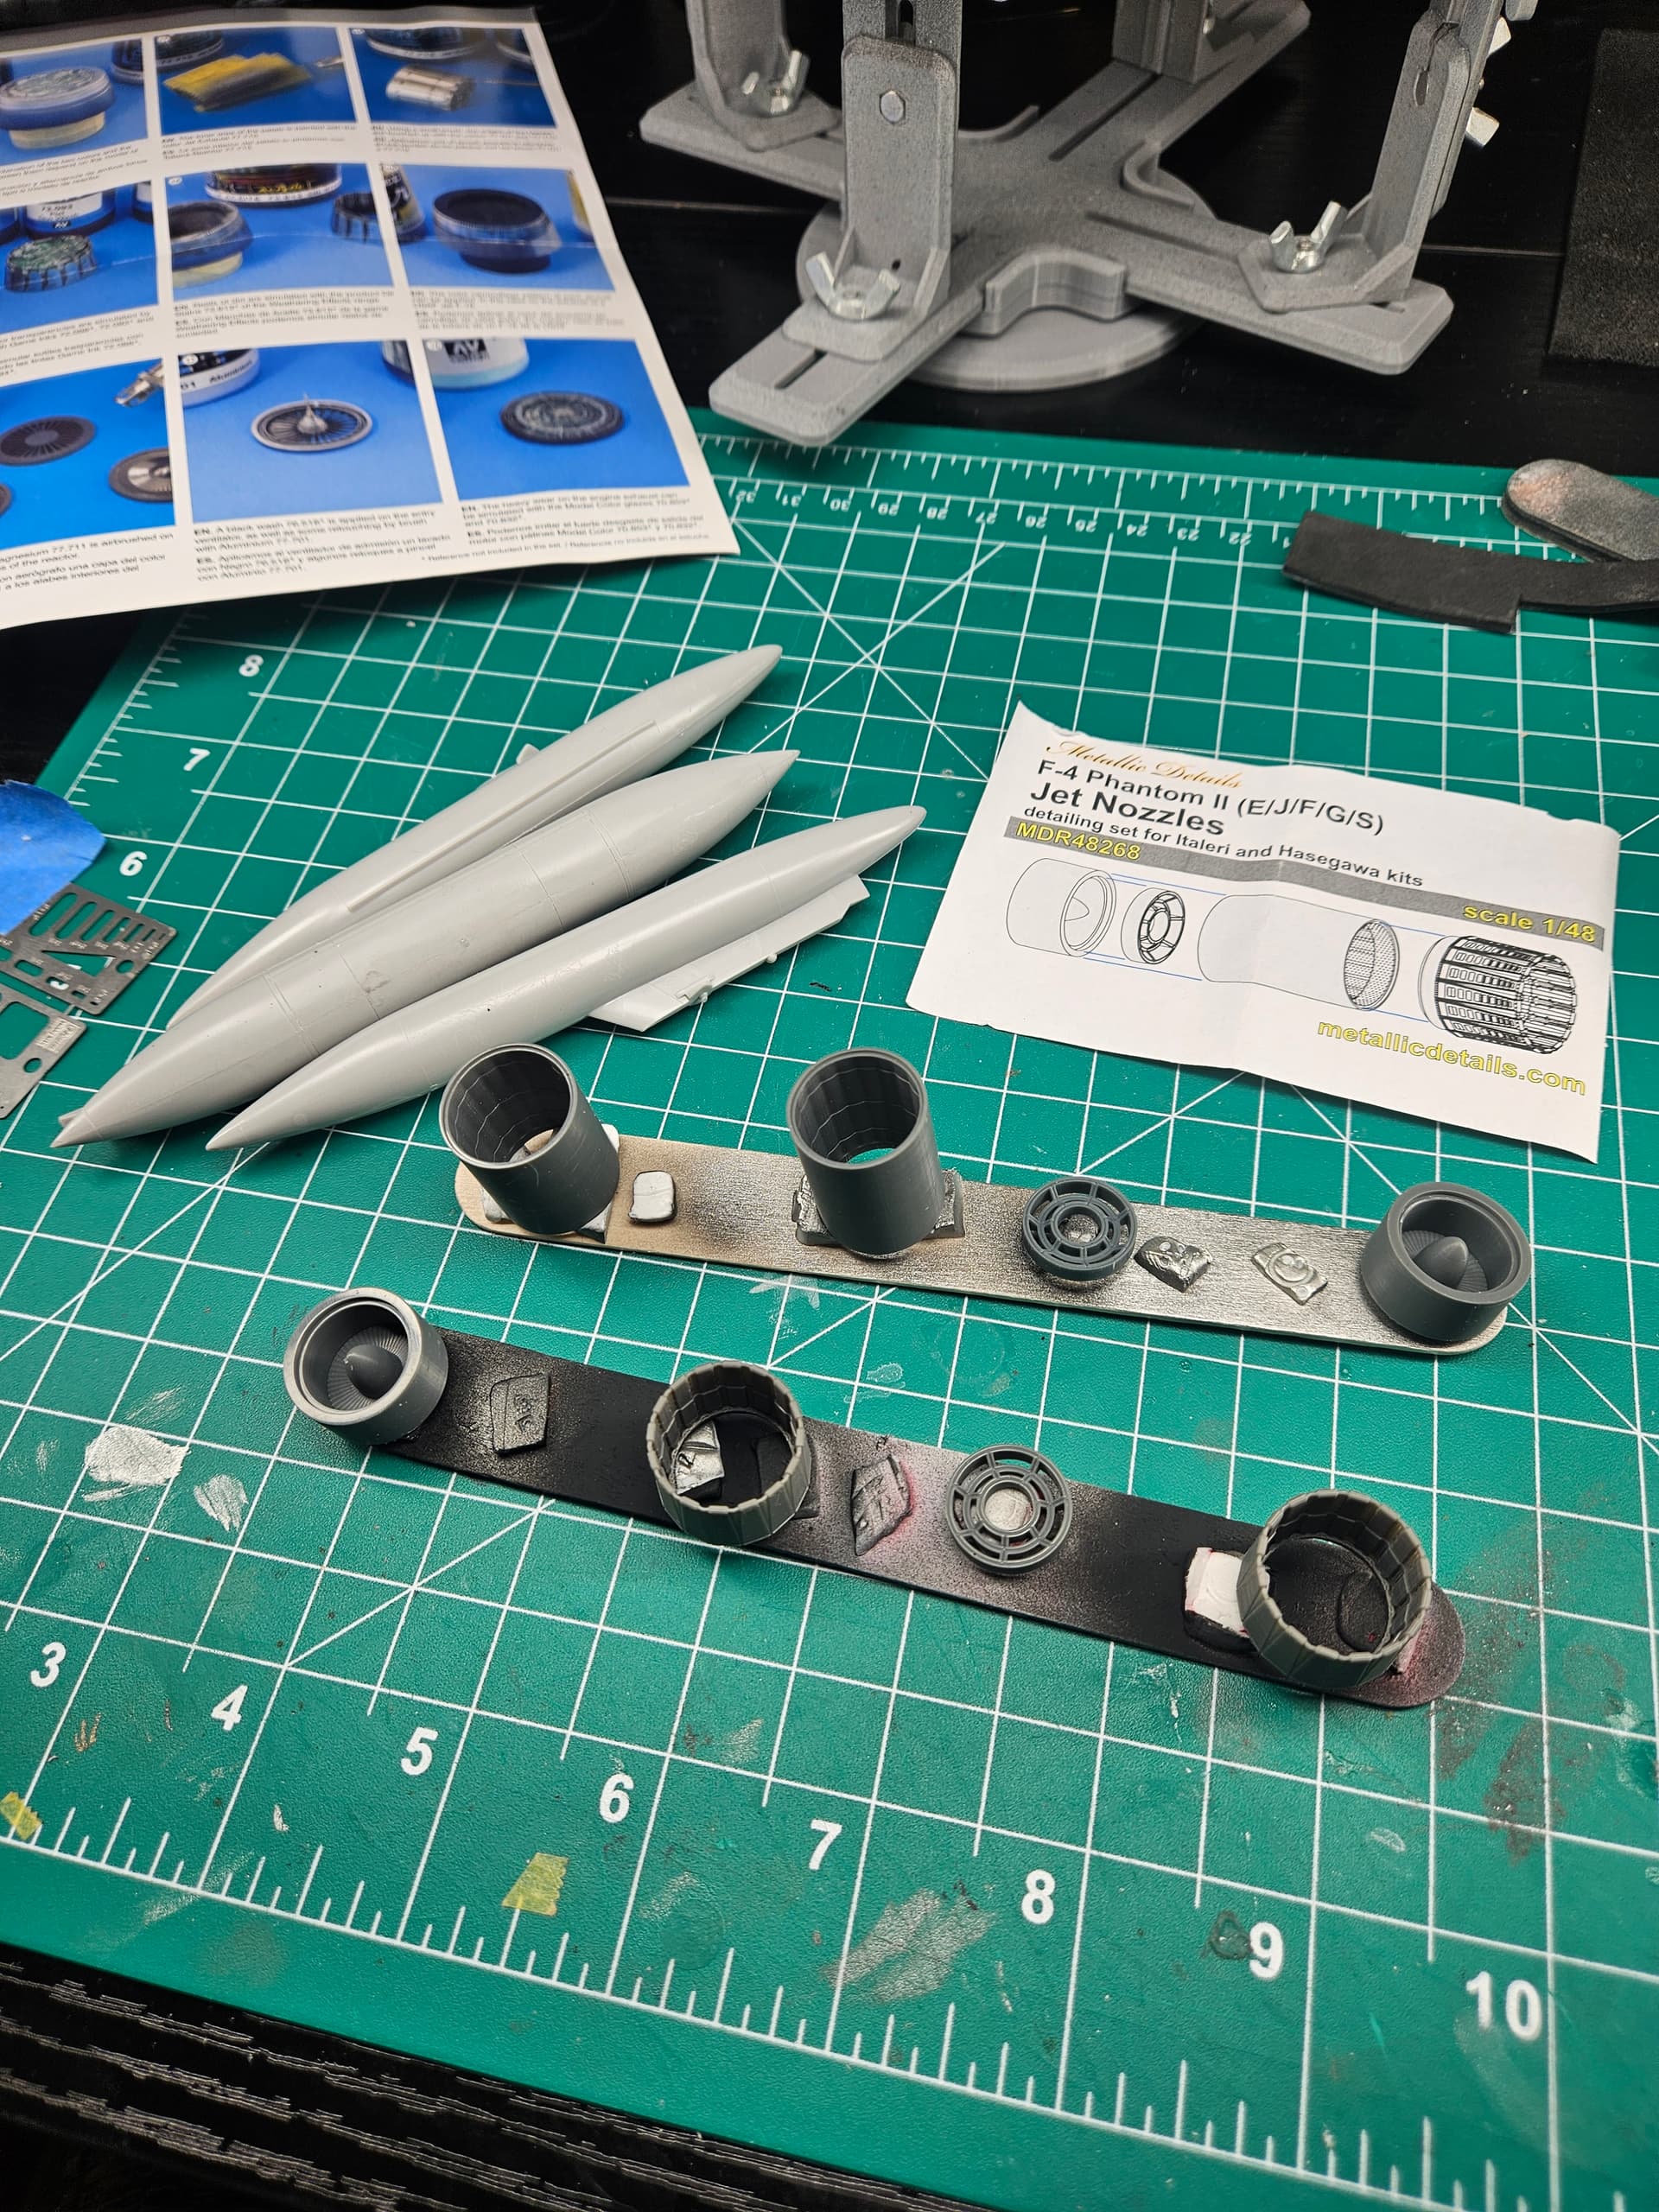
To take a break front the never ending spline sanding, I’ve started working on the excellent Metallic Details engine exhaust and the kit’s fuel tanks. Going to try out the Vallejo painting instructions to see how it comes out.
I’ll know more once I get some primer on it how much more I need to do.


3 Likes
Sanding – It’s just what we do.. ![]() I sure all your hard would is going to pay off and those engines do look quite nice!
I sure all your hard would is going to pay off and those engines do look quite nice!
1 Like
Lack of seam filling and limited rivet/panel repair is for the most part what keeps me bound to building BF109’s. I already do enough of filling and sanding with modifying cars.
1 Like
I have gone deep into the book collection in search of answers. Things about my selected subject matter have been bothering me… and the information on the internet is, well, incomplete or contradictive.
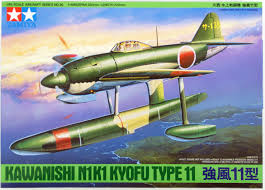
Per RLM documents, only E3’s were slated for export. That means Japan never recieved E7 variants of the BF109 and judging by timeline of shipments, correlates with the last quarter of E-3 production.
First giveaway, there are no physical accomidations for drop tanks or bomb racks regardless of the fact they were shipped without armament. There seems to be no armored glass, either, also debuted and featured on the E-7, but photos do show the armored headrest. Further reading states that 10 were shipped in 1939 and two more in 1940.
Despite finding the information from German documentation, I will be continuing with my E-7 as nothing with the fuselage changed between models and backdating wont effect anything as long as I build the interior per E-3 speficications.
I just need to finish up the bottom belts and then it’s on to the fuselage assembly. These tubs are tiny and dark. I regret not taking cockpit photos before committing to glue.
2 Likes
Greg’s Airplanes youtube channel is a very useful source of information. One of the planes covered is the Ki-61 Tony which was designed around the same power plant as the early 109.
1 Like
I believe that the Germans sent a 109 to Japan via U-Boat, and that was the basis for the “Tony”? If I am mistaken in my recollection, I’ll gladly retract.
Edit - I did some quick research on the subject. It was more about the DB 601 engine rather than the actual 109 airframe. There are clearly similarities in airframes, but it was a fully Japanese design using a license-built in Japan German engine.
1 Like
If I remember correctly what was mentioned in the article was the variable pitch prop control for the early DB engines which were changed shortly after Japan had a licensing agreement.
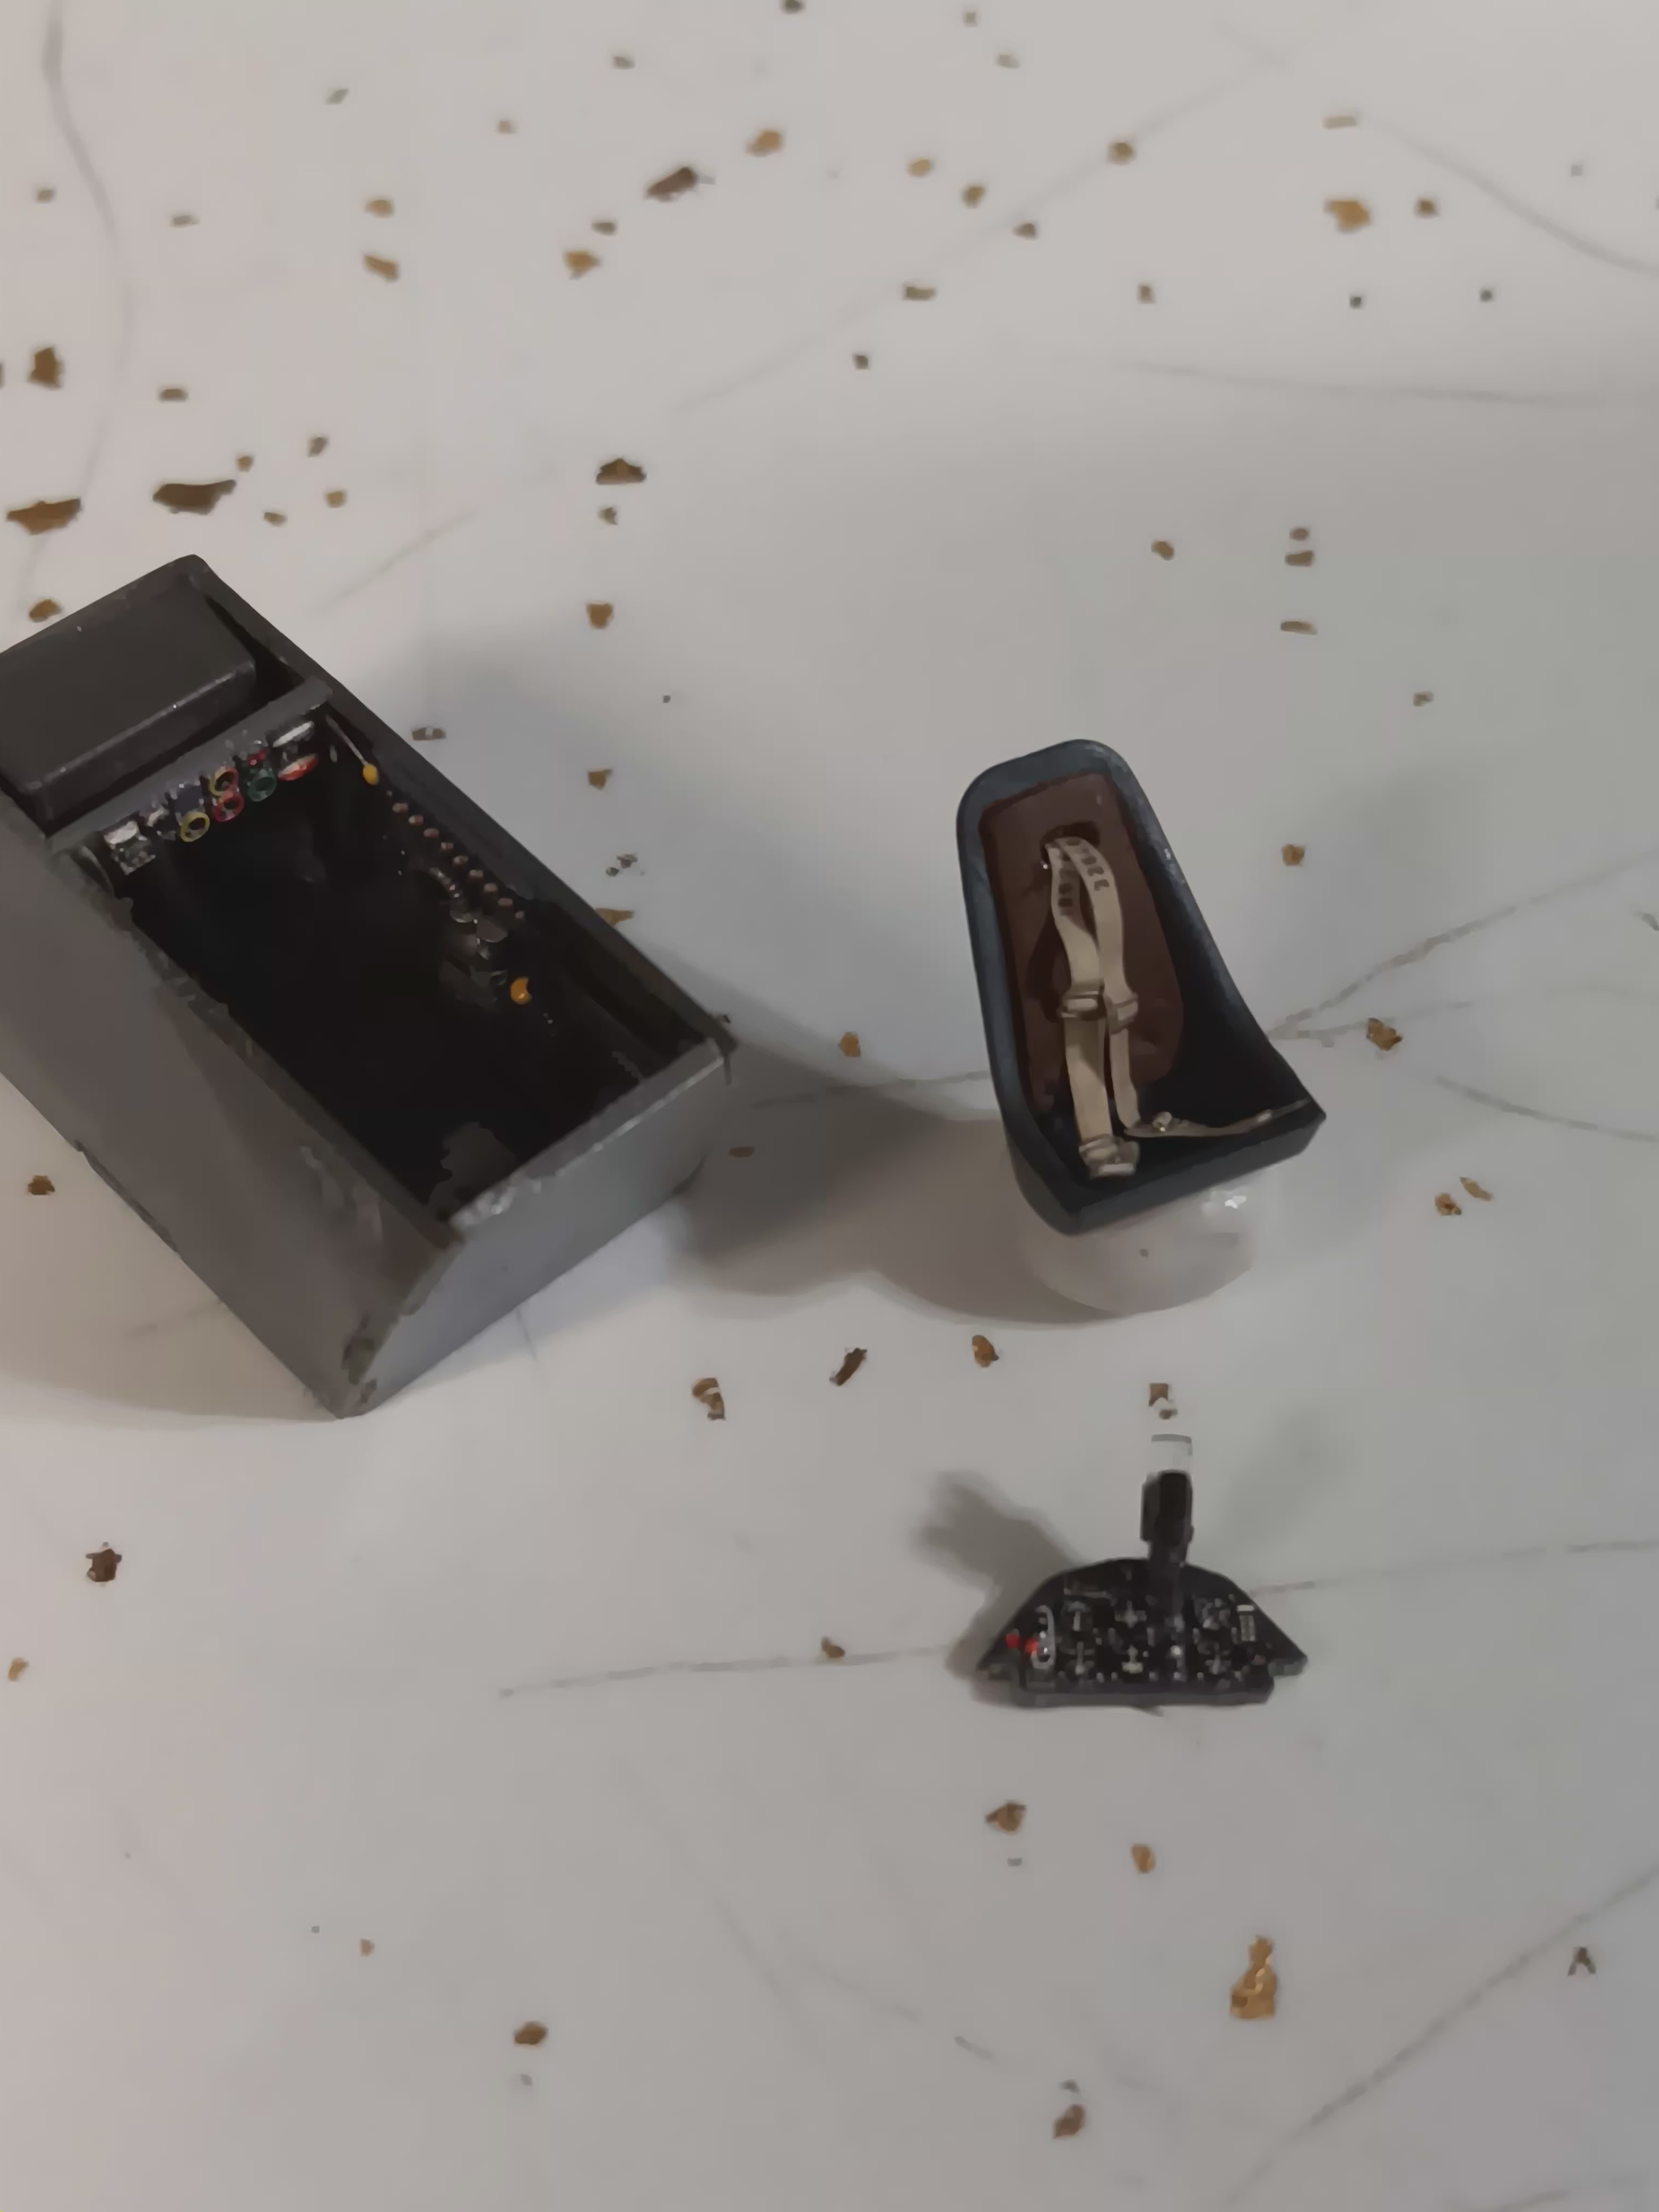
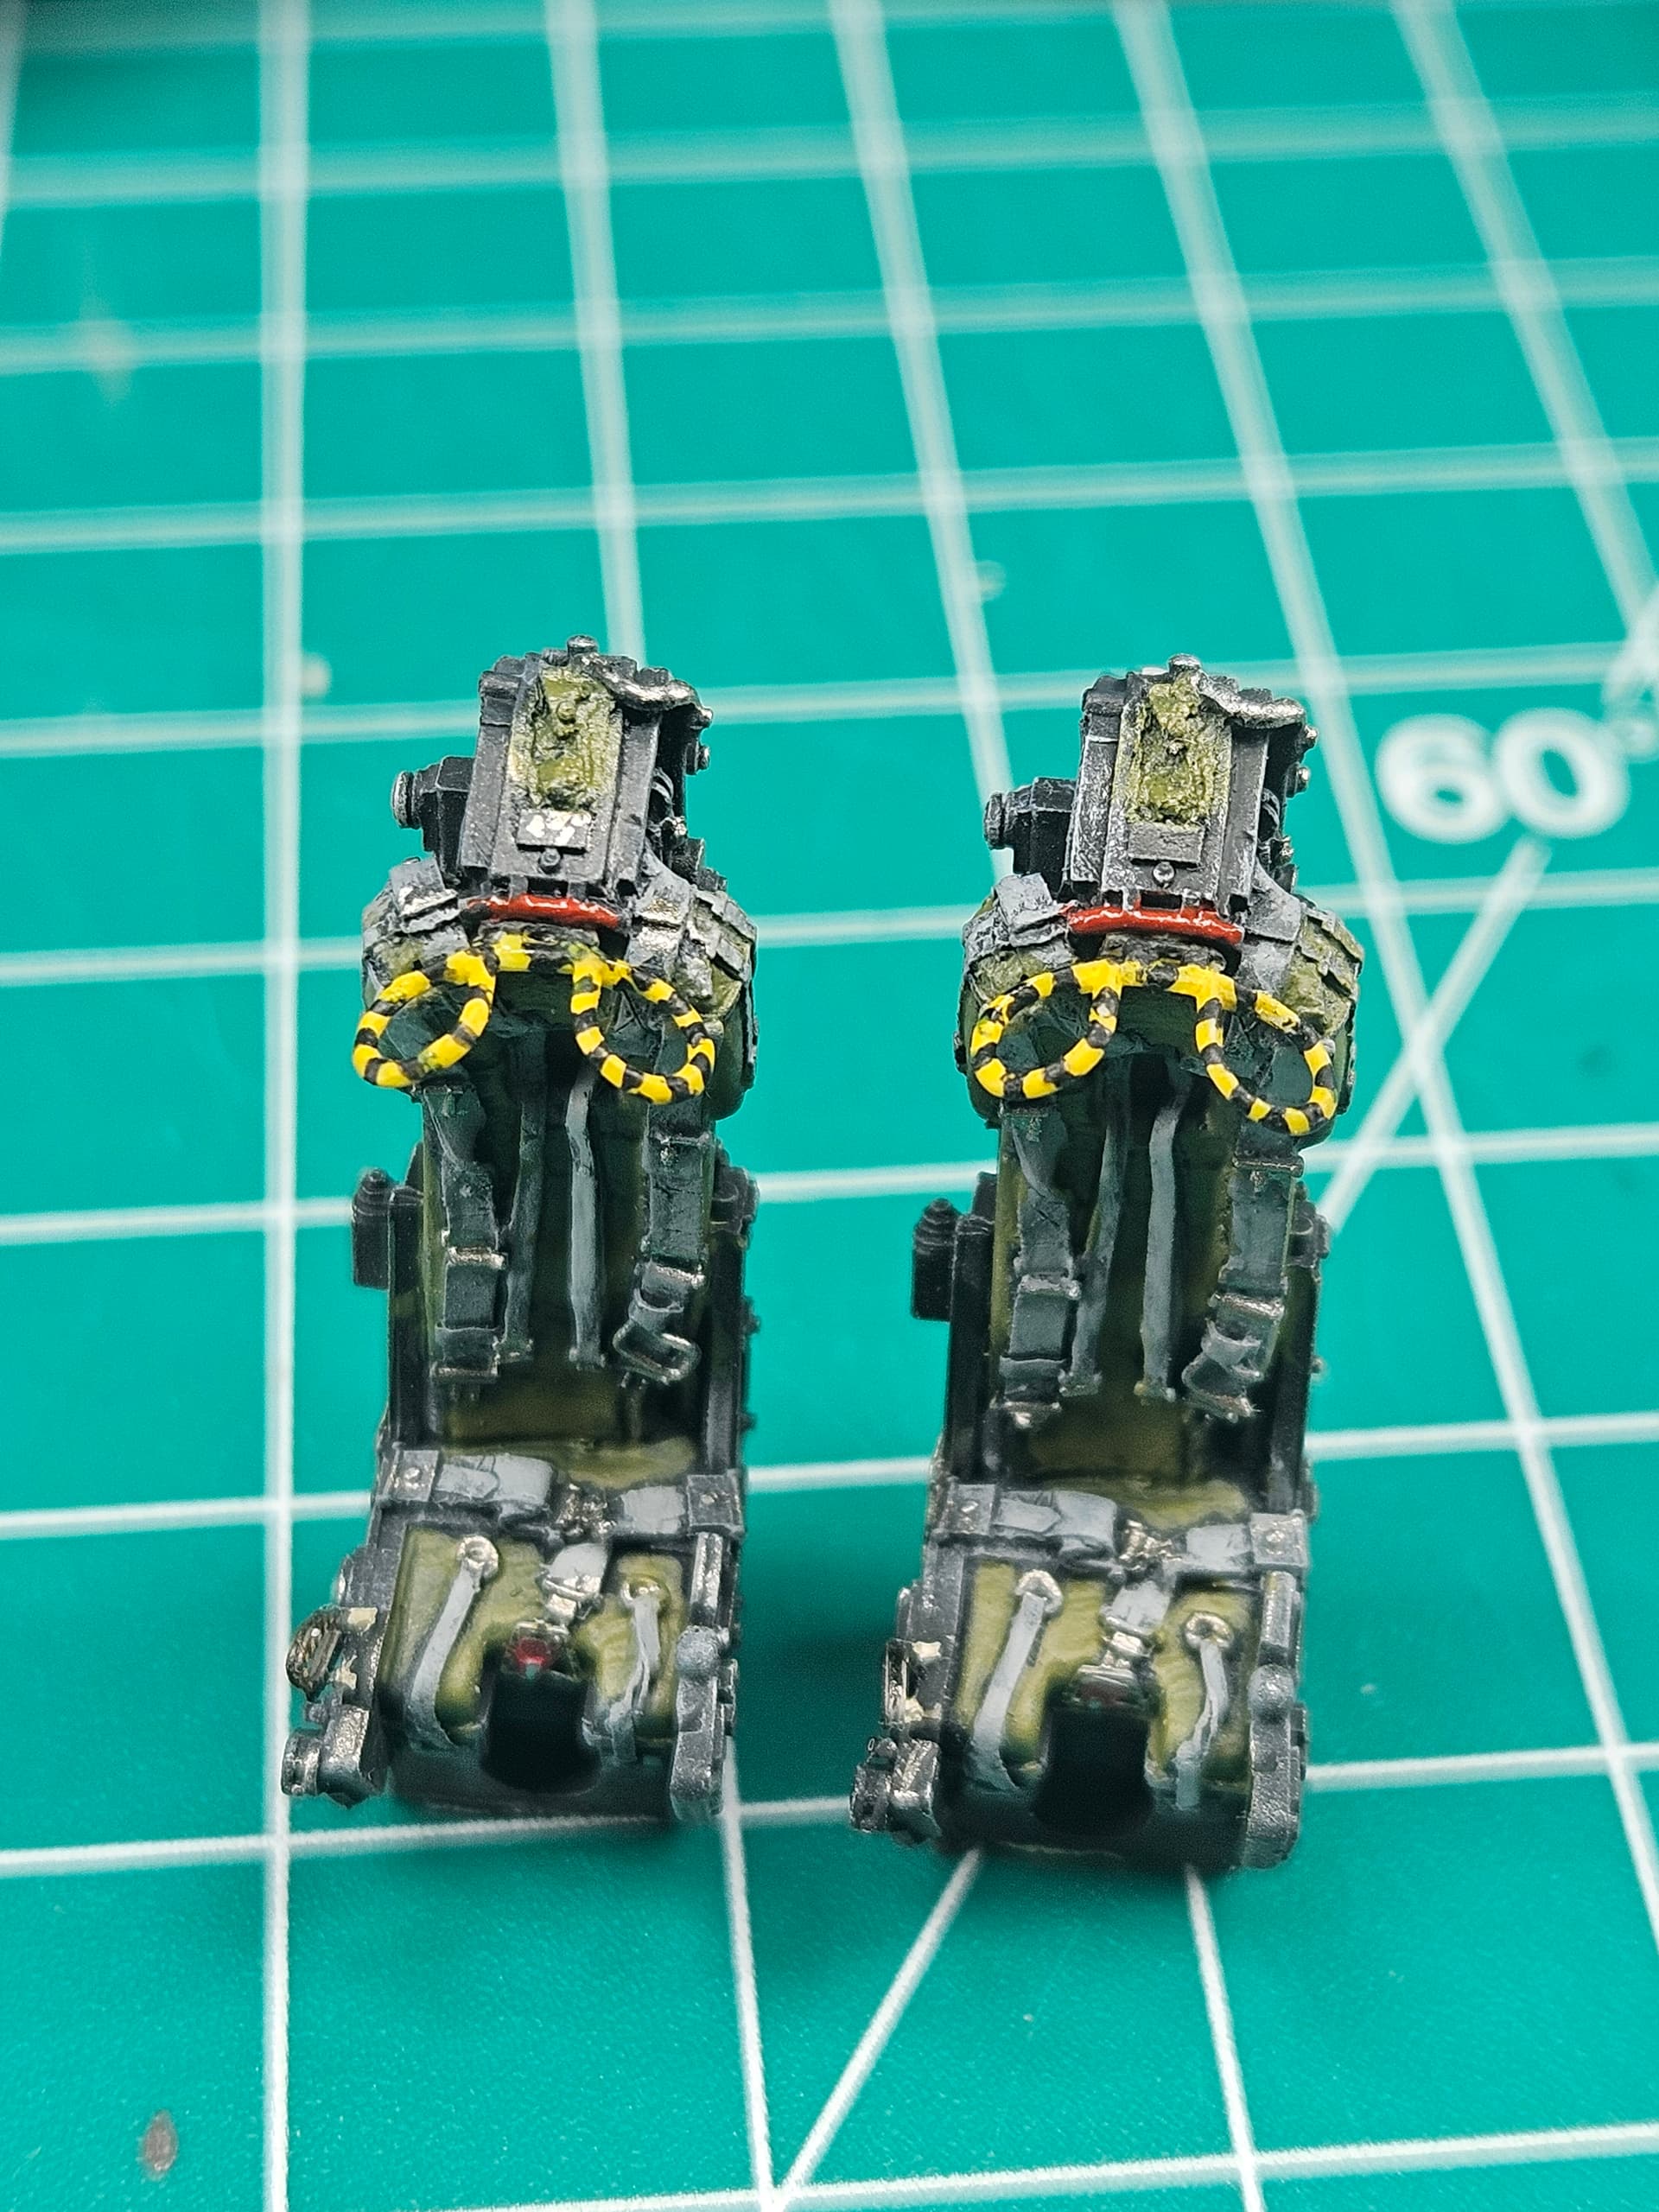
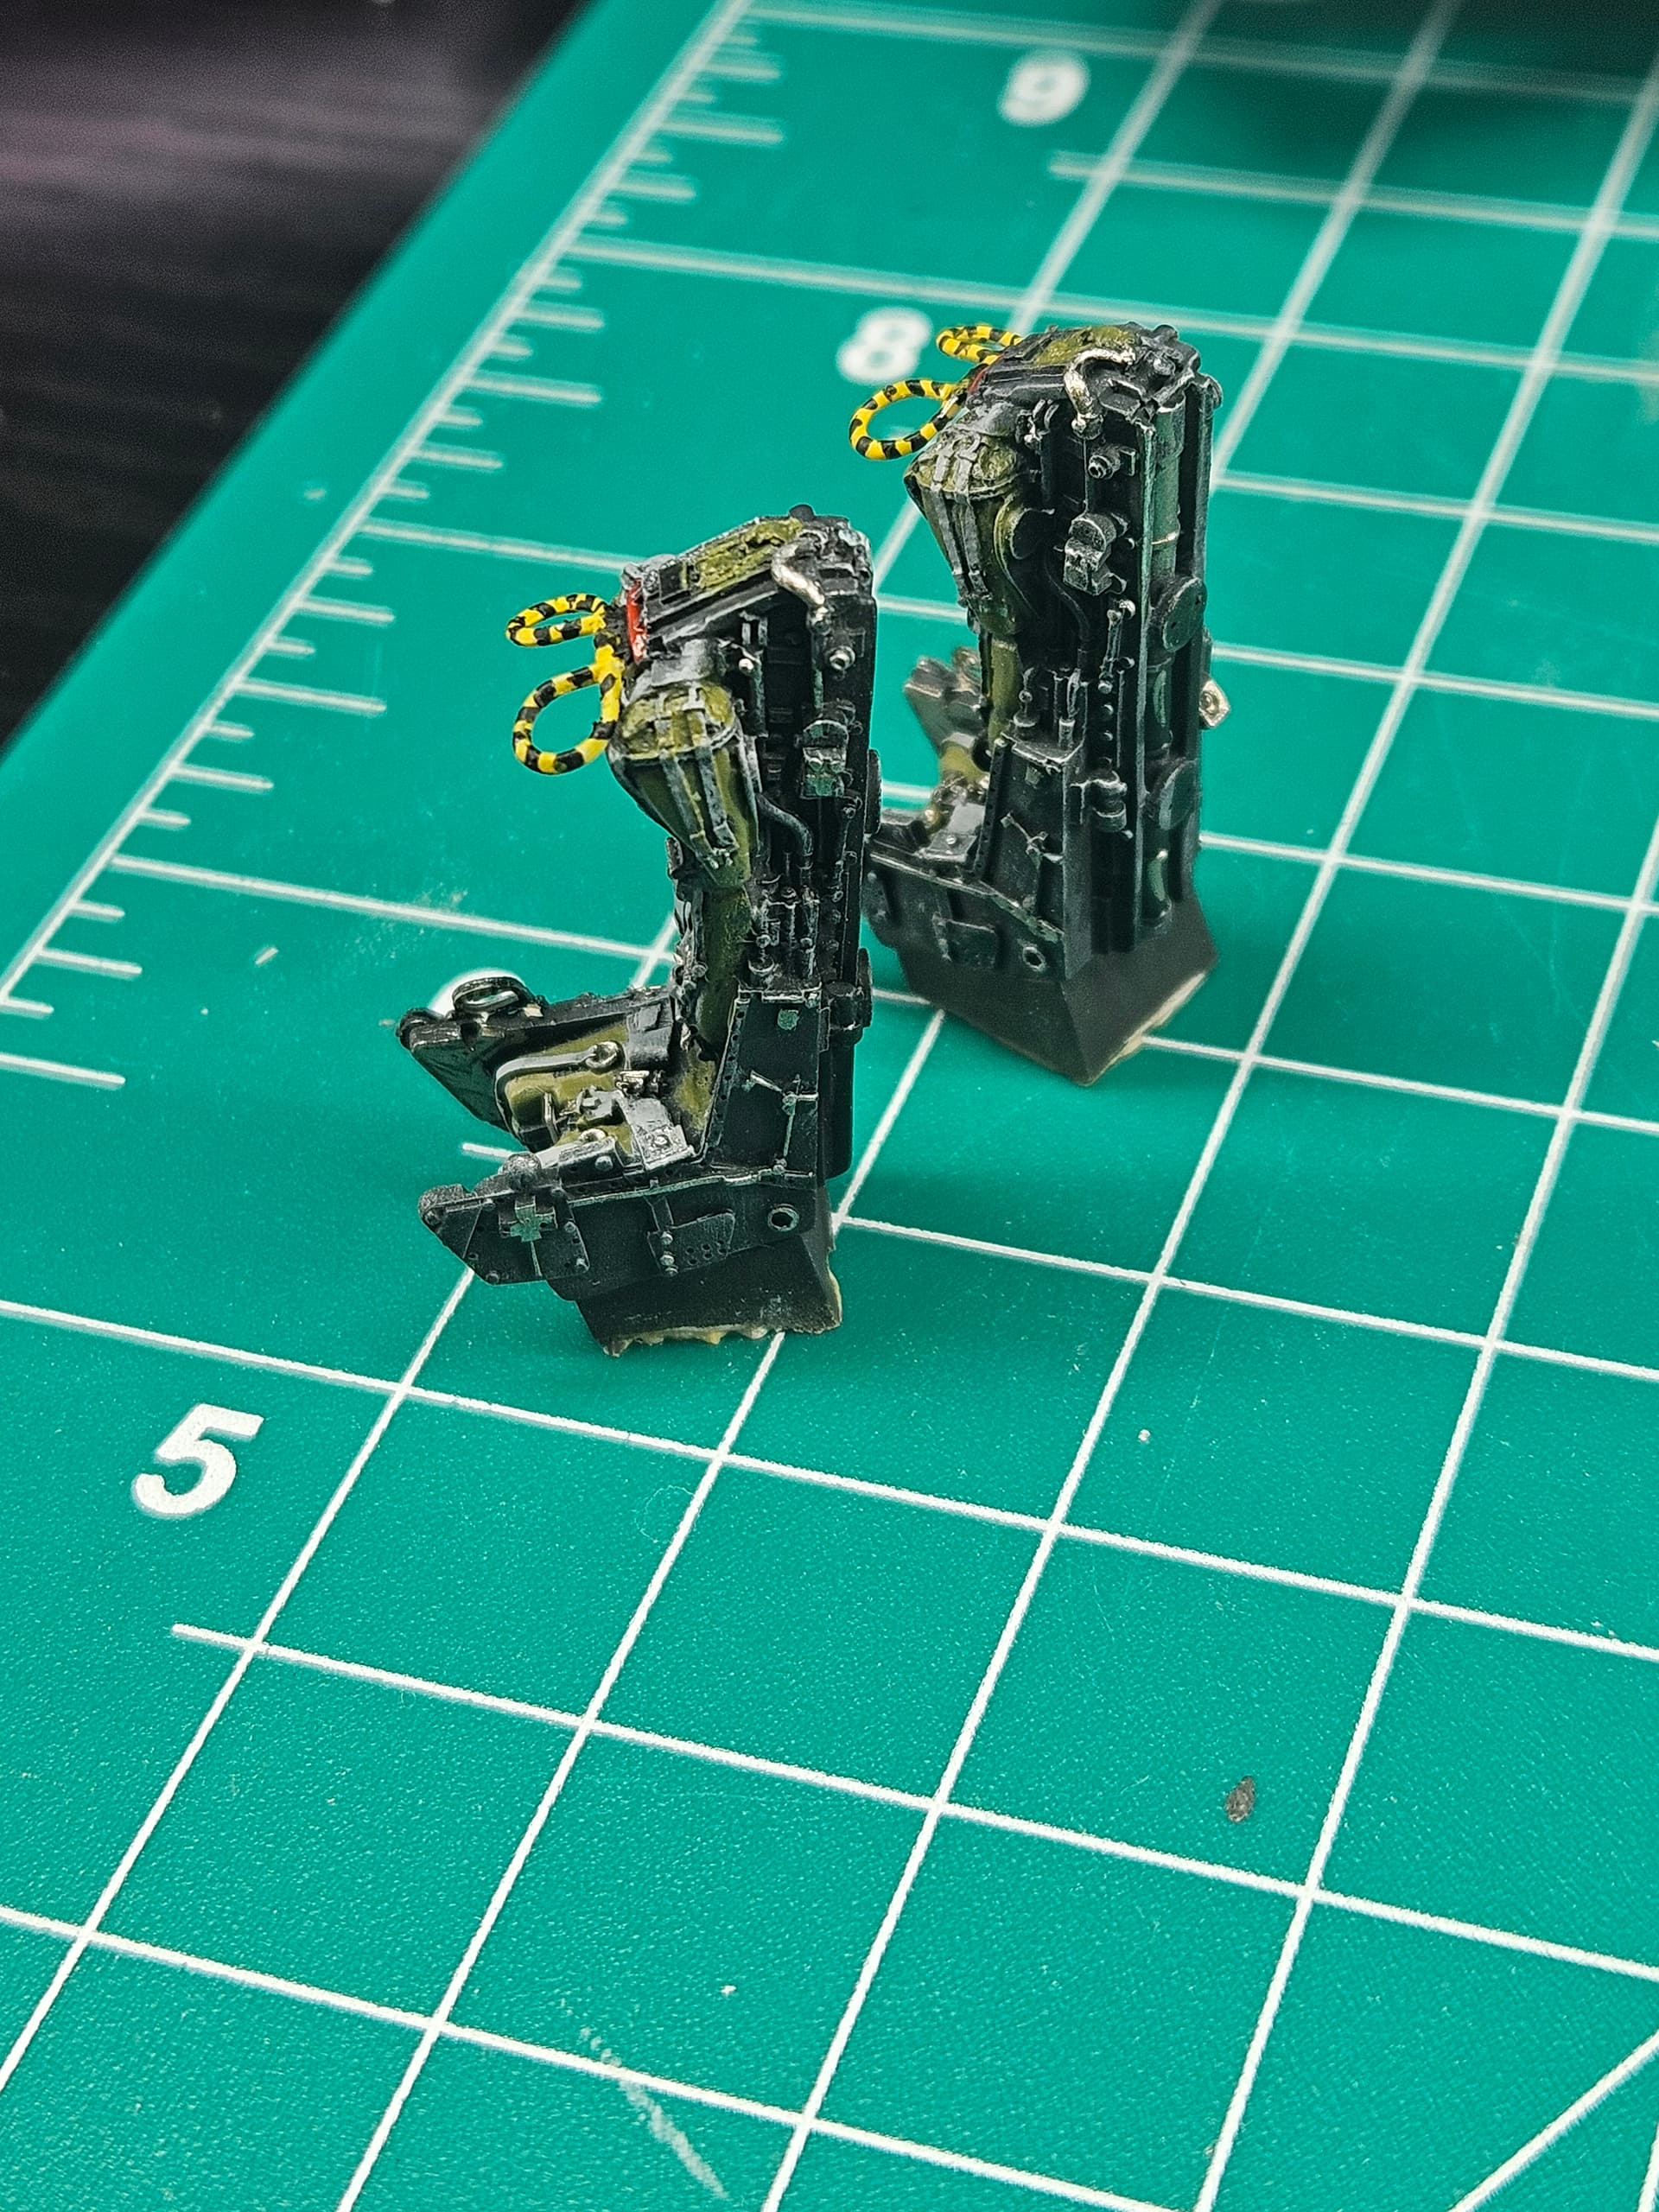
Finished the ejection seats and I have to say, I’m pleased with the final results.
The ejection handles (yellow/black loops on the top) didn’t come with the old verlinden seats I found at a show, so I had to modify the ones that came with the kit. I had do cut them up and mod them to be able to attach them, which was an interesting challenge all by itself.
I also added a couple of PE parts that you can barely see, but they are more accurate than what came with the resin.
By far the most intricate painting work I’ve done so far.

4 Likes
After primer still finding mold lines that I missed. All the extra gear needs work as well. Thankfully the Hornet replacement raisin heads look great ![]() .
.

2 Likes
I hate it when I think I have all the molding lines gone, spray some primer on it and discover I didn’t. I’ve been dealing with that for a month on a couple of builds.
Those are great looking bang seats Samphoto. Those are really going to bring the cockpit up a level. Nice work.
1 Like
Okay getting started too!
With a cockpit, because we often start with a cockpit.


I added a bit of Xf-49 Khaki to Xf-71 IJN Cockpit Green as it seems like the color for early war Mitsubishi Zeros was leaning more toward green-brown than green, and xf-71 is pretty green. Honestly, I could have added a few more drops of Khaki.
The metallic blue-green paint was fun to do, X23 clear blue with a hint of X25 clear green over a previous layer of X11 Chrome Silver works like a charm. I think I could have do one less layer of the mix, but it’s okay.
I didn’t use all the PE parts from the kit. Honestly, I could have, because, to my surprise, I had zero ( pun almost intended ) issues bending and gluing the small pieces, whereas at this step my previous model was already a mess !
At this scale I didn’t realize I was drybrushing a bit too dry ( if that makes sense lol ) and I got some pigment grains or something caught on the surfaces. Only realized that when I went for the close up pictures. It’s no big deal to the naked eye in a place that will be barely visible. Still, we like doing things neatly, right ? Especially since I’d prefer this model to be very lightly weathered since I’m going for a Pearl Harbor plane. They were still mostly neat and clean.
I’m a little worried however as when I tried dryfitting the cockpit in the fuselage, it seems to get stuck. Apparently, I’m not alone with this issue. I mostly built Tamiya models so far, and fitting stuff in this Eduard model ( my very first btw ) is definitely not as smooth. On the other hand, the parts are incredibly detailed, it’s impressive!
Now I’m a bit stuck as I ordered some AM parts and whenever there’s a bit of snow in France, the country is immediately paralyzed. Deliveries aren’t made anymore and we … wait.
6 Likes