I made some more progress on my M16, but it’s not enough for an update. I don’t thinkI’ll be able to build the dio i signed up with though. I really want to take my time with it. Would you mind removing it from the roster?
Do you want us to remove the whole thing or just the dio. I have 5 armour kits completed for GB’s that I couldn’t do the dio’s for and are still waiting, so I know the feeling.
Don’t tell me machine Clemens is feeling the strain.[;)]
Nah, not feeling any strain at all, but this would be my first serious attempt at a dio so i don’t want to rush it. Looking at the end date reminded me that I have only a bit more than 3 months left to finish my entries and I think the dio base alone would take 2 months at least… I’ll try to finish the 88 and the 251 towing it, but I can’t make any promises. I’d like to change the 251/7 to the normal AFV D-version though (the /7 is a Dragon kit). Oh and there’s one question I wanted to ask for quite a while now: Were all german vehicles and guns repainted in dark yellow when they switched over from gray? I’m asking this because I wnat my 88 to be painted in gray while the 251 D entered production after the change to dark yellow paint…
If all the guns and vehicles were repainted, I’ll build the Dragon 251 C instead…
I’ve had to put my SA-2 on hold so I can put all my time in the heroes and villains GB. I will still try to get it finished on time to go along with my destroyer.
i have an AFV CLUB 251/17 which won’t be built for this, probably HG PZ DIV itally for '44 GB. i will have the 88 base done though maybe a figure or 2 and will be starting on JGSDF TYPE 87 35mm(2) SPAA this weekend. except for indy tracks looks straight forward.
Clemen’s, to the best of my knowledge, no they were not repainted. At best they might have got an application of green or brown, I have seen a 251 like this, but not a complete respray, unless perhaps the unit was withdrawn for refit.
wayne, looking forward to that. I have both the AFV club /17 kits, so will be watching that.
Thanks for the info, buddy! It’s all decided then: I’ll build a grey 88 with white stripes painted on for winter camo and a 251 D with complete (but partially washed off) winter camo. The 88 is going to be painted like on the box art:

Was the whitewash applied to the interior of open-top vehicles as well?
Hey, Bish. Could you do me a big favor and send me the instructions for the 251 we talked about a while ago? If I’m going to build it for this GB I’ll need them… Those for the Pakwagen and the Pak 40 would be great to have as well if you have the time to scan them in. You don’t have to of course…
I picked up some brass rods at my LHS today to replace a few rods on the suspension bogies of my halftrack. As I was looking through the armor kits they had in stock this little bugger caught my eye:
The Flakpanzer I has to be the “cutest” (if you can say that about a tank [;)]) AA vehicle ever built, so I simply had to get me one of them. As the most important part of this tank, the gun, is rather poorly detailed I decided to buy one of the excellent Adlers Nest barrels as well:

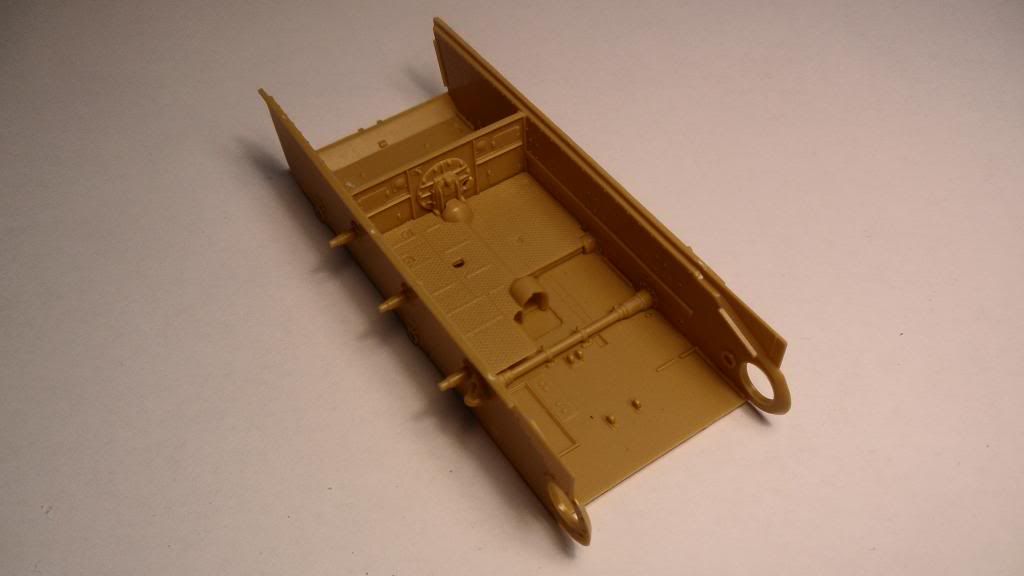
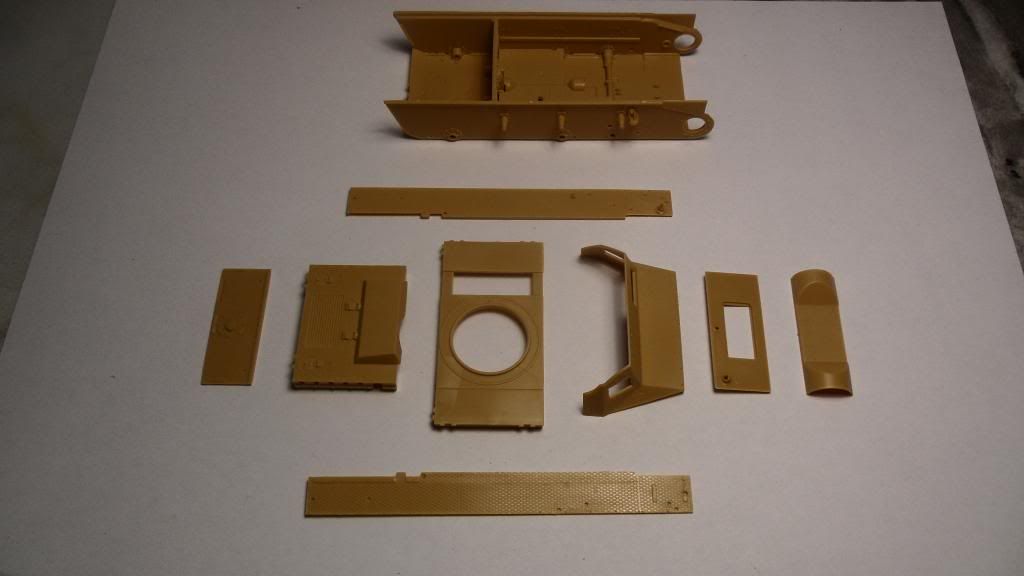
The detailing on this kit is very good, but the molding is kinda inconsistent. Some parts have no flash at all and only minor mold lines, but some of them (even if they are on the same sprue) show a noticeable amount of flash (the plates for the lower hull for example).
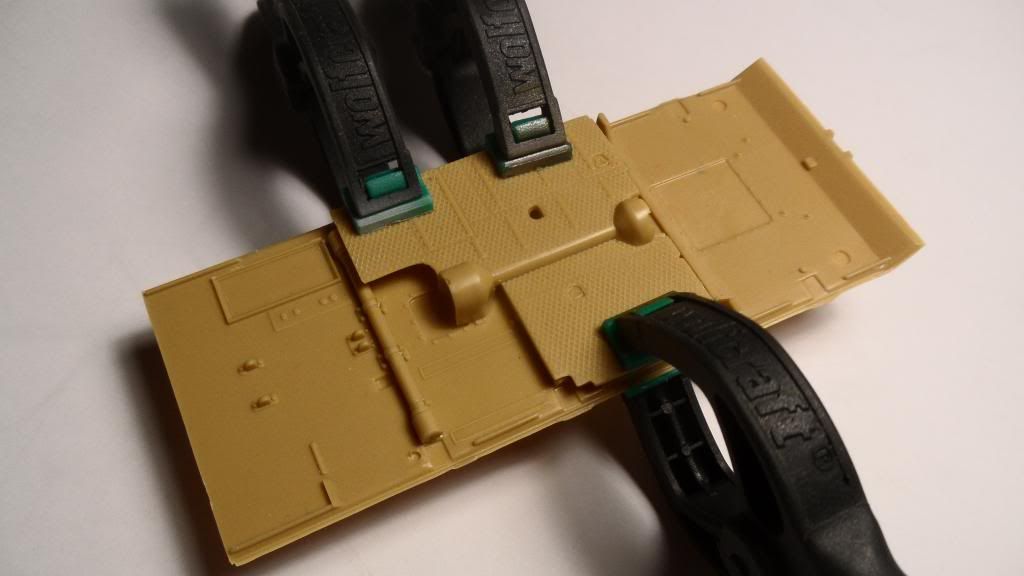
I started construction by glueing the big raised floor panel in place and holding it in place with some clamps:
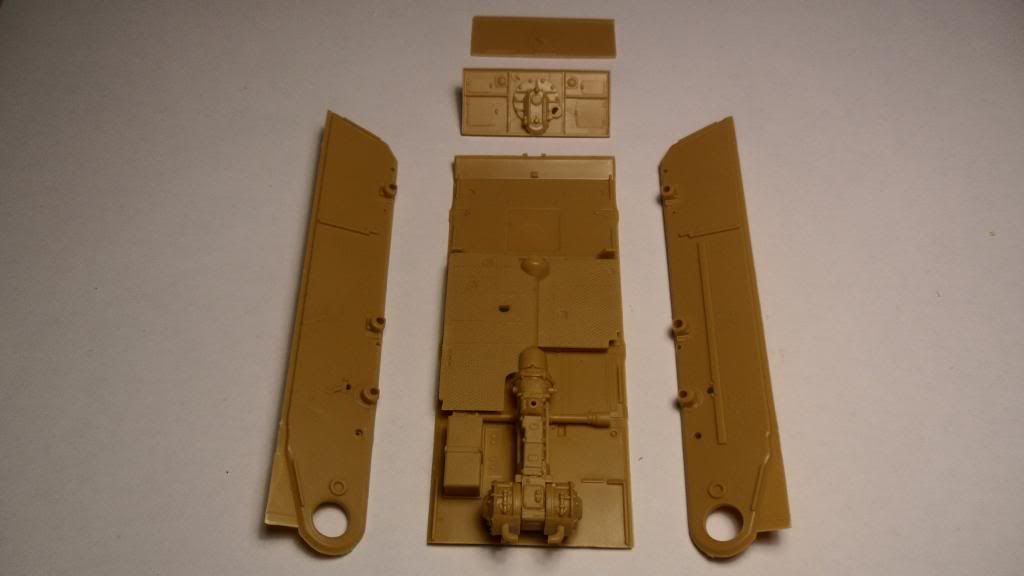
The next task was to clean up the lower plate and the side panels. The transmission is a little model by itself and consists of several small parts that show a lot of nice details. I started assembling the major components of that subassembly as well:
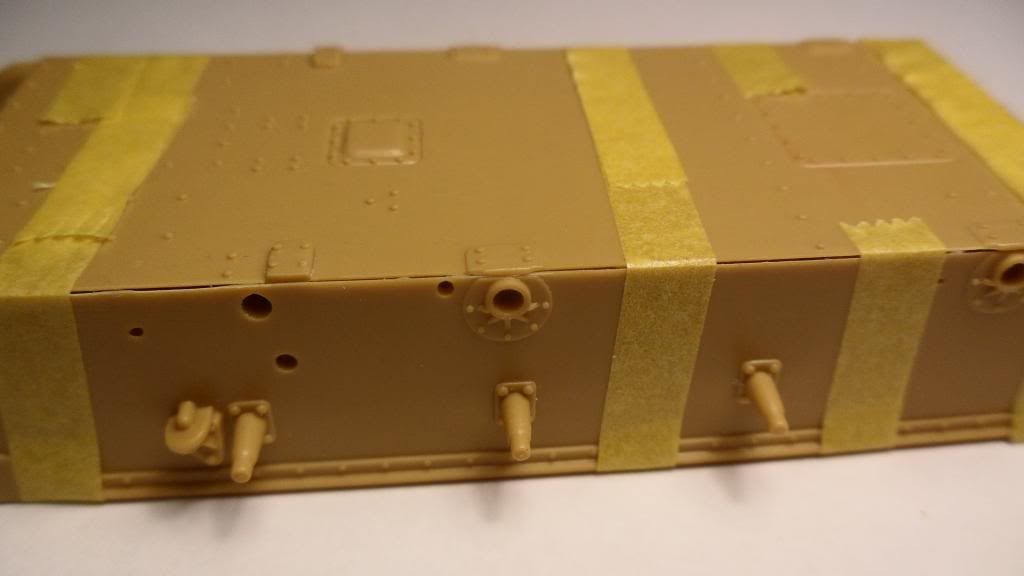
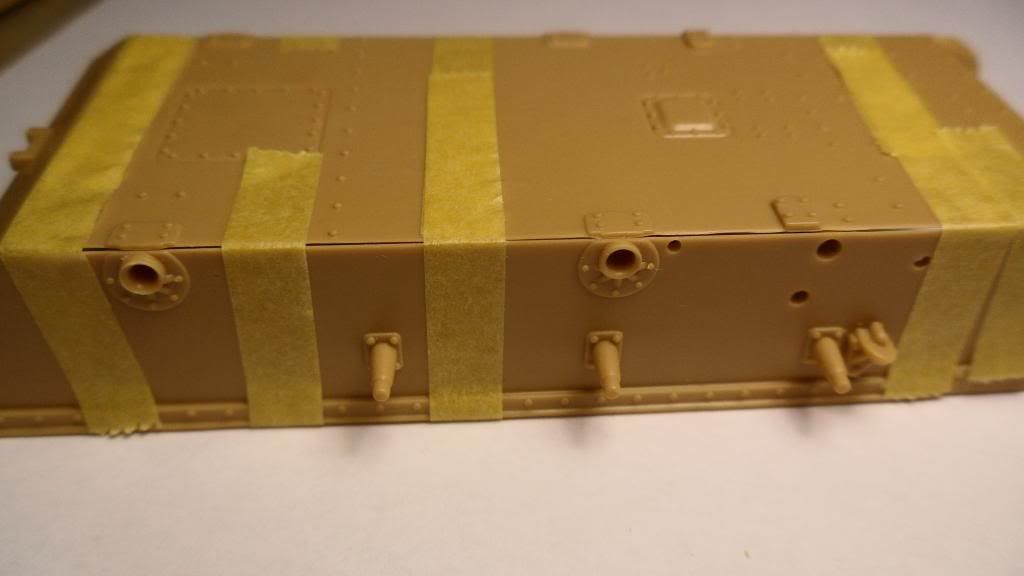
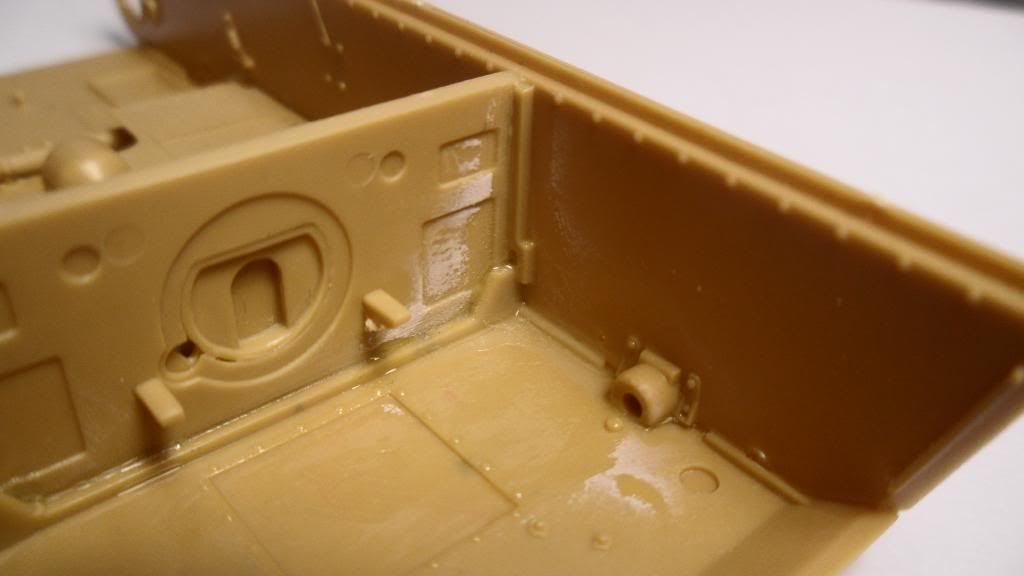
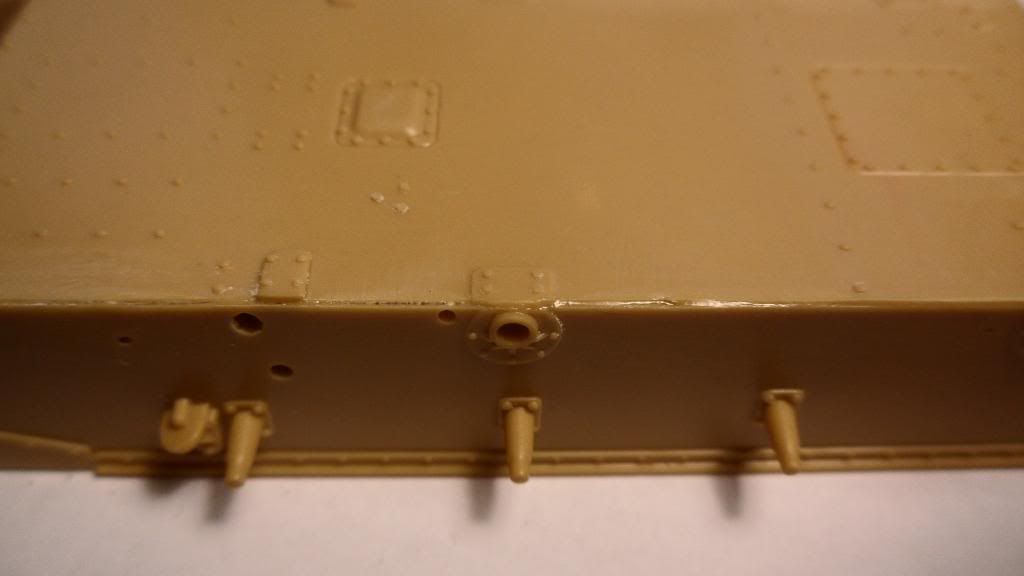
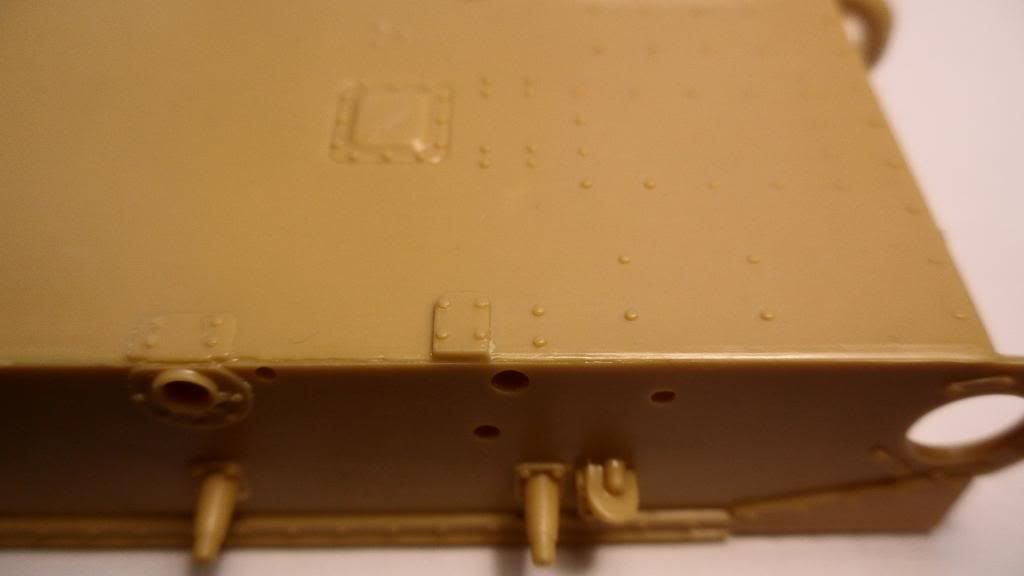
Next I taped all 3 of the large plates together:
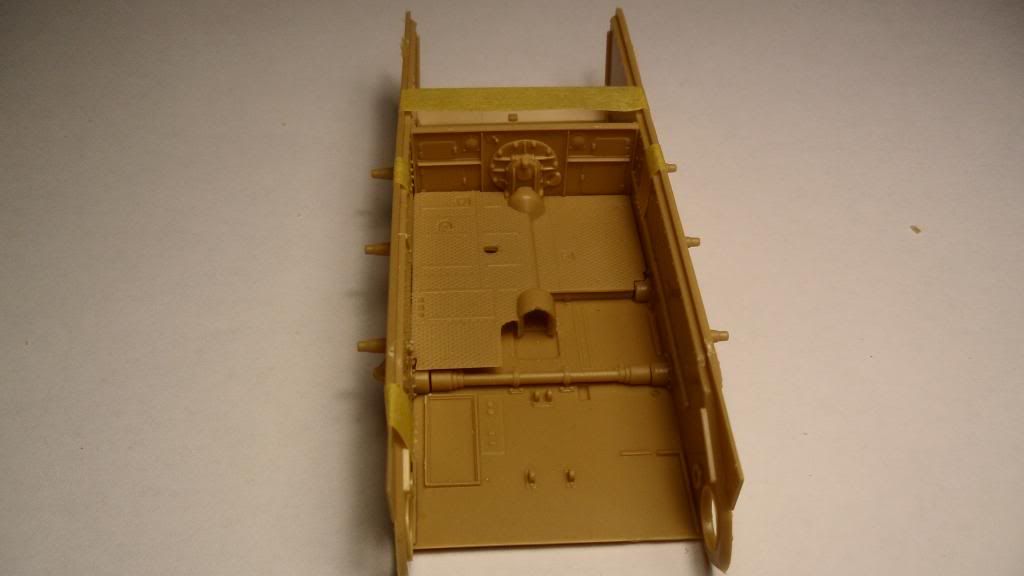
The fit isn’t as bad as i feared it would be, but it’s not perfect either. There were several sprue attachment points on the mating surfaces and a considerable amount of flash didn’t help things either:
That’s it for now. I’ll continue work on this little beauty tomorrow and try to finish the M16’s suspension as well.
Cheers, Clemens
Glad to see you got in the correct GB this time [;)]
Look forward to this one, as I said in the other thread, I do have the Dragon kit of this on the shopping list.
Can you just clear up what you are and are not building now.
Yeah, I kinda failed yesterday… [:$]
The owner of my LHS built both the Tristar and the Dragon kit and he told me he liked this one a bit better (they had both kits in stock).
Here’s what I’m building:
Dragon Flak 36 towed by AFV Sd.Kfz.251 (if you don’t mind sending me those instructions [;)])
Draon M16 Halftrack (suspension is almost finished)
Tristar Plakpanzer I A (i don’t know if I’ll build the trailer yet)
Ok, you have just added the Flak 1, thanks. Yep, I haven’t forgotten, I will get onto it. There is a lot to copy, so I will do the standard one first then can send you the rest later, its been on my rather large to do list.
I managed to get the road wheels and return rollers painted this weekend.

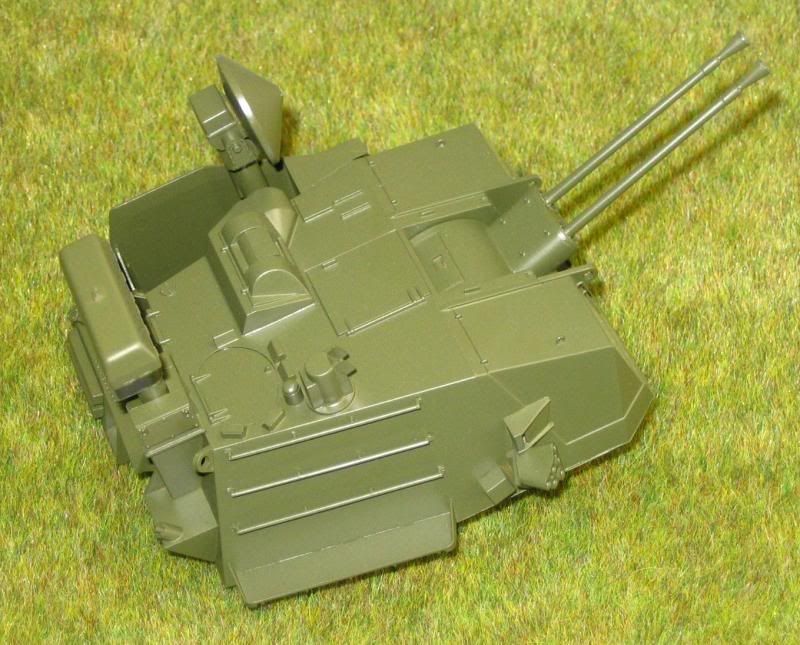
And I basecoated the turret…finally. 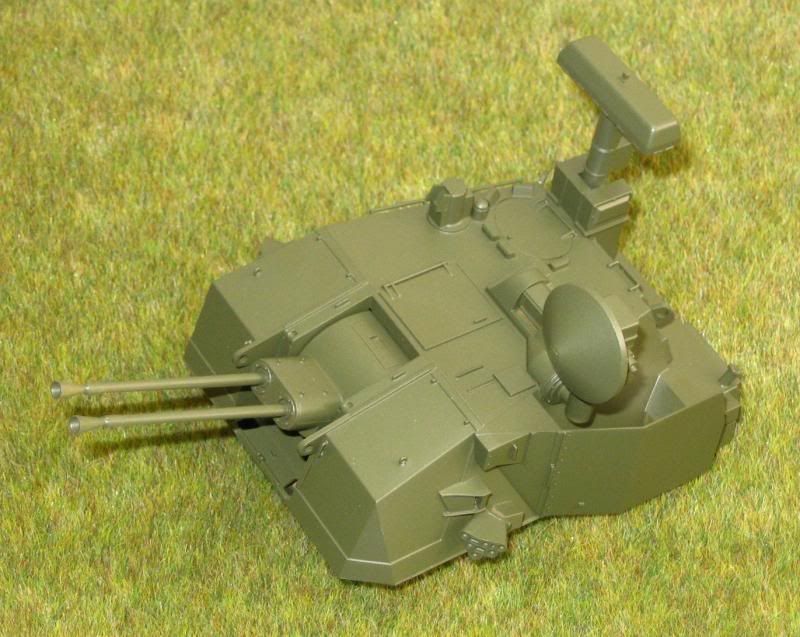
Clemens: I’m surprised that TriStar kit doesn’t have a better fit. The interior looks like it’s coming along, though.
Looking good, Greg!
i just looked and have the drgon one in my stash. interesting my afv club 251/17 has the tristar 20mm for the cannon. and i started the turret of JGSDF TYPE 87. no pics yet being anal about seams
There is a comparison review on the Dragon and TriStar kits at PMMS, theres not much between them really.
www.perthmilitarymodelling.com/…/flakpanzer1.htm
wayne, ye I noticed that with the AFV Club /17 as well.
Greg, that’s coming along nicely.
I should have a fresh up date for the 88 in a day or so. Theres a lot more to do than I expected and just as I think a part is ready, I spot something else.
UPDATE TIME!
I got a bit more work done on the Flakpanzer I and I love this kit so far. The sprue connections on the mating surfaces of the hull plates caused some slight problems, but I think everything will shape up nicely after all.
The sidewalls are in place:
I had to glue the right side panel to the firewall with some superglue because it didn’t want to align with the rest of the hull otherwise:
There are some small gaps were the plates meet. This shouldn’t be too hard to take care of though.
Right side:
The left side is looking a bit better:
One thing I noticed is that this little bugger has a lot of hull parts (especially for such a tiny machine). Even more than most Dragon kits:
Next thing I did was to assemble the transmission:
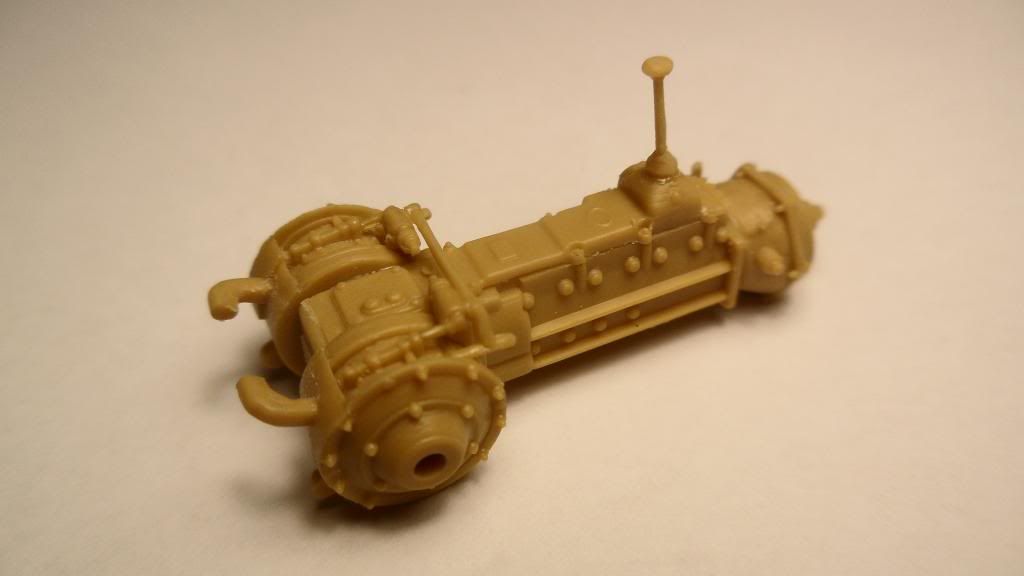
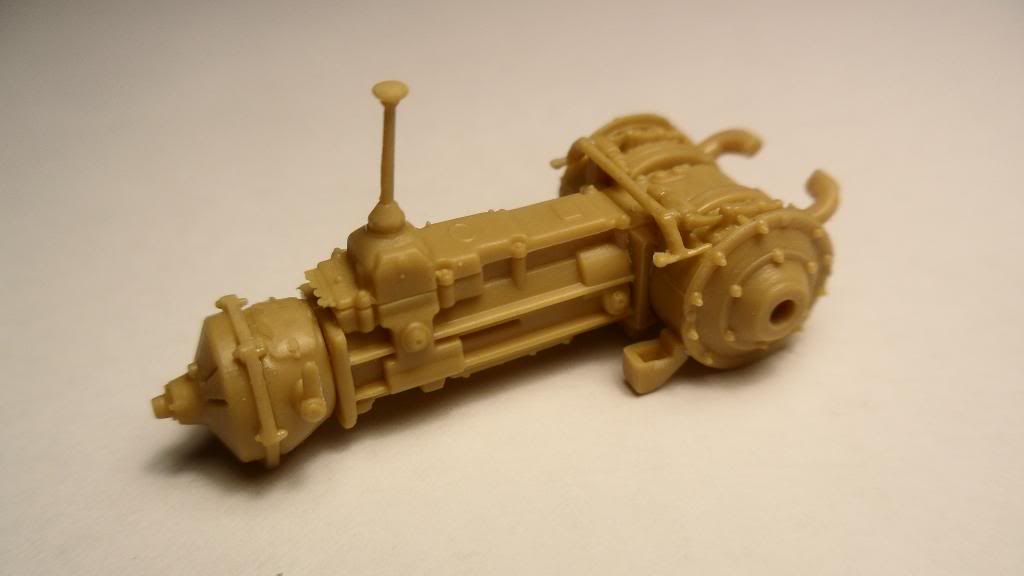
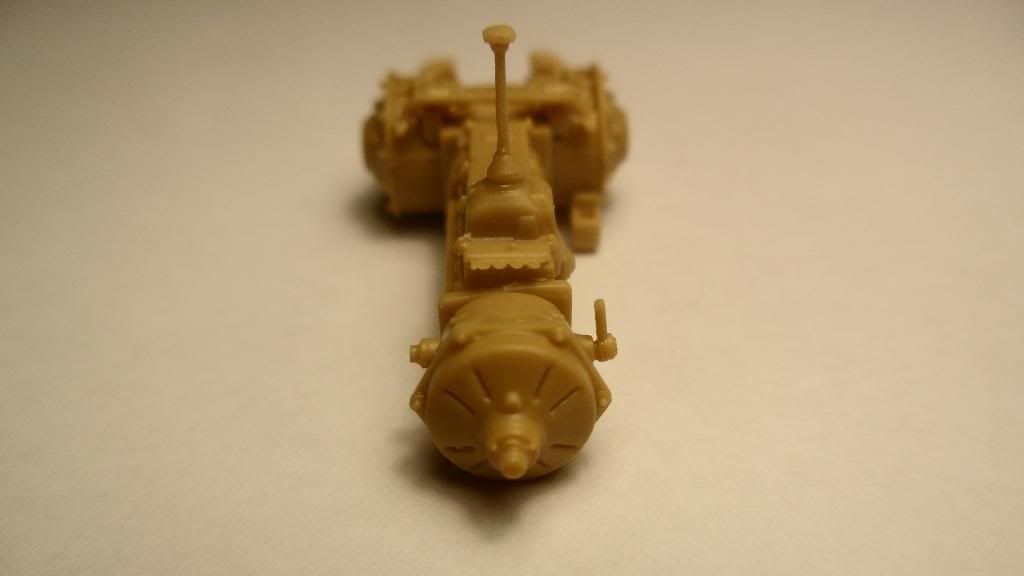
It is very detailed and drops right in place without any fit issues at all:
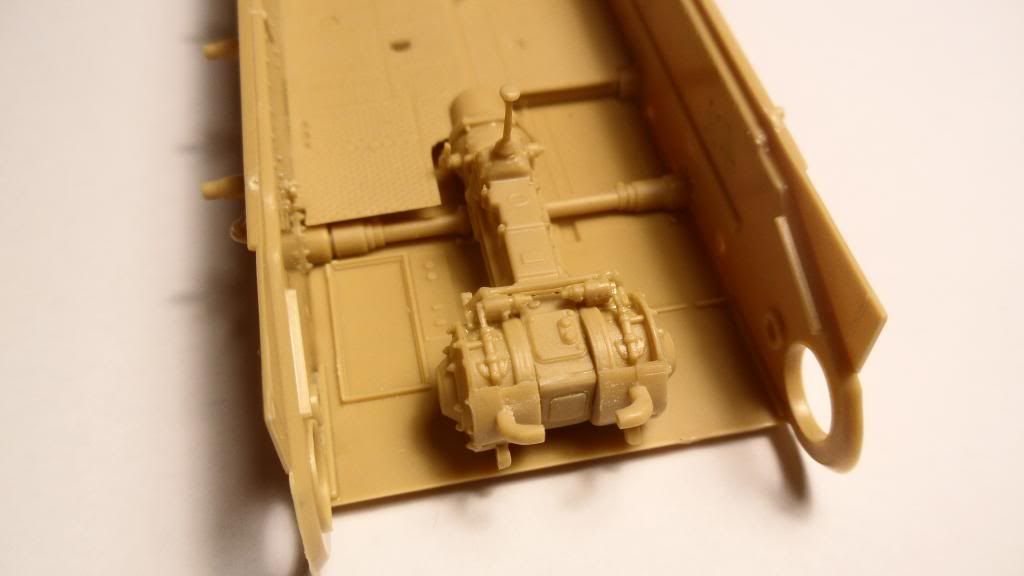
The only thing I’d like to see included in this beautiful kit is an engine assembly, but I guess you can’t have everything. [;)]
I ran out of German Gray (Tamiya) so I’ll get a new bottle at my LHS tomorrow. I can pick up a drill bit with the right size as well. I said I’ll replace some parts of the suspension on the M16 with brass rod, but guess what: I found a brass tube with the right diameter, but I don’t have a drill bit that fits the tube (only one size larger and one size smaller…)
Cheers, Clemens
Looks like a brisk start Clemens, good work. We need a good Pz I chassis in 1/48 now.
Cheers
Tony