Bish: Now that’s a big gun! I know how big it is (there’s one built-up at my LHS), but size comparisons like this still shock me a bit everytime…
Are you sure about that? It’s tiny (and when I say tiny I mean really damn tiny) in 1/35 already. How about a few comparison shots:
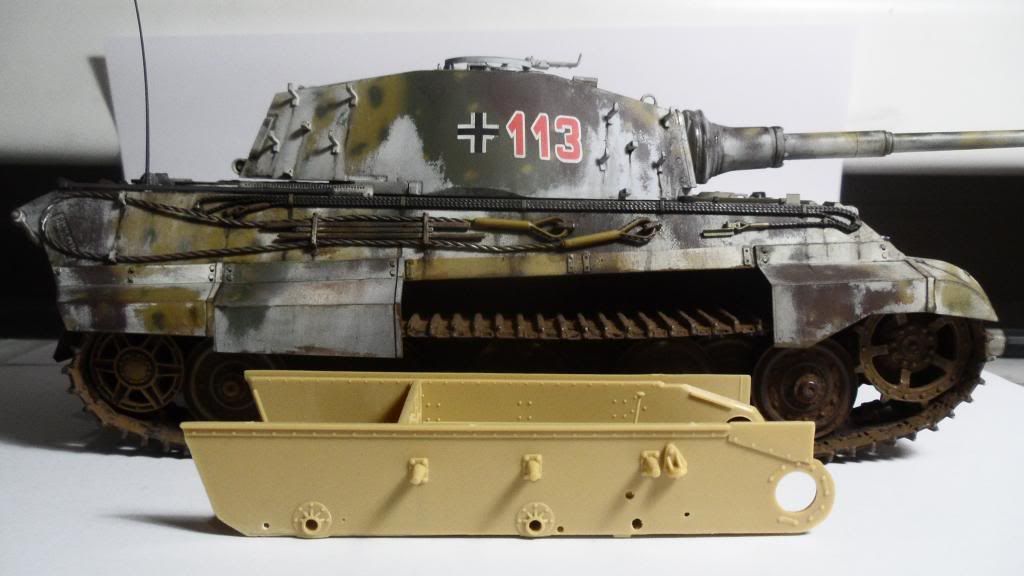
Here it is next to the turret of a King Tiger (1/35 as well):
And in front of the whole beast:
My LHS was out of Tamiya XF-63, so I picked up some Gunze Dark Gray (I like Gunze colors a bit better than Tamiya anyway). It looks very similar, so I think it’ll be good enough.
Ye, is rather big isn’t. And going from one extreme to the other, boy that thing is small. Lucky you didn’t put it next to a Maus, you would have lost it.
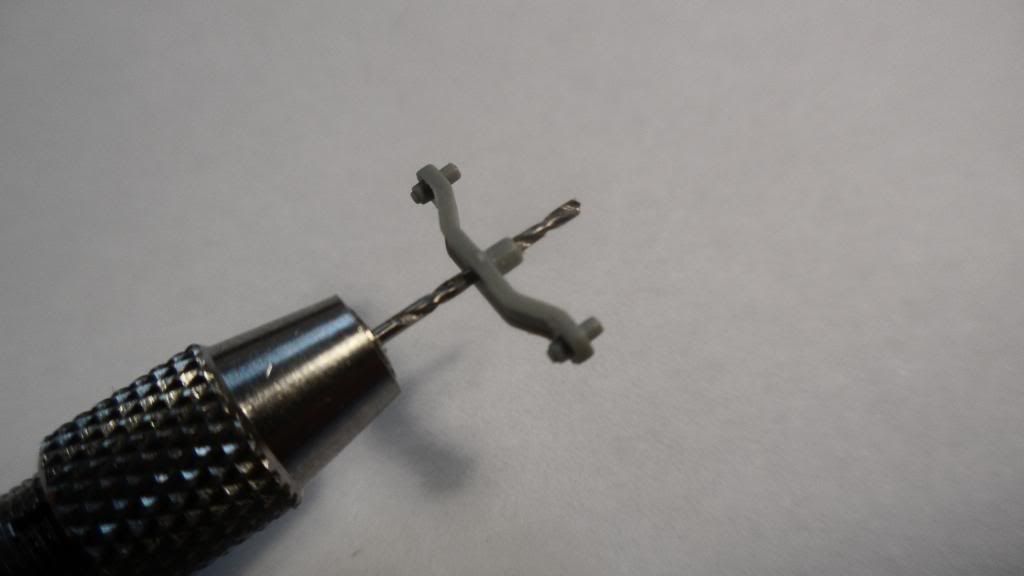
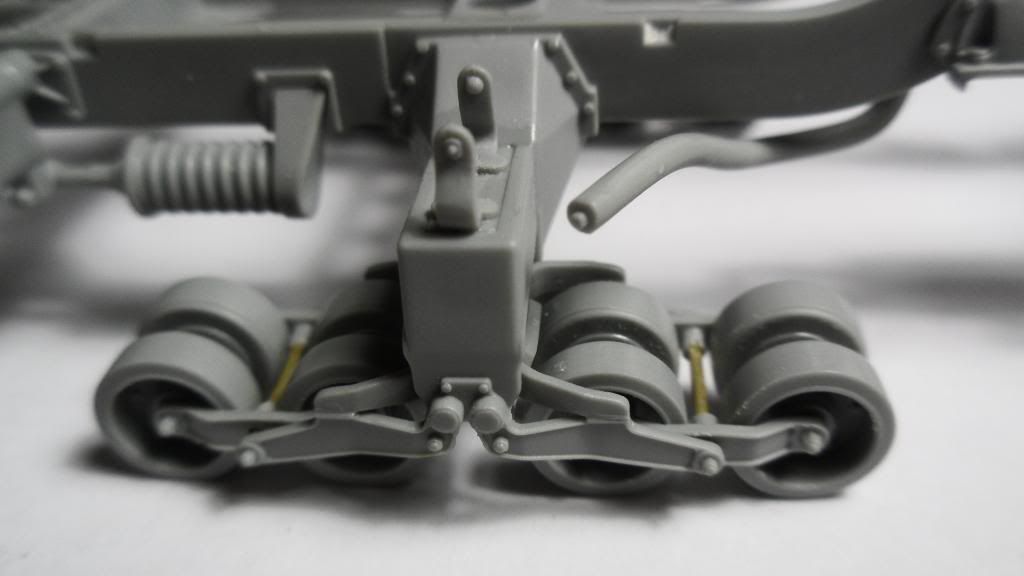
First thing I did was to cut off the axles on the road wheel mounts of the suspension and drill a hole where they attached:
Then I glued pieces of 0.8mm brass rod in place:
This removes the problem of having a seam line right in the middle of the axles.
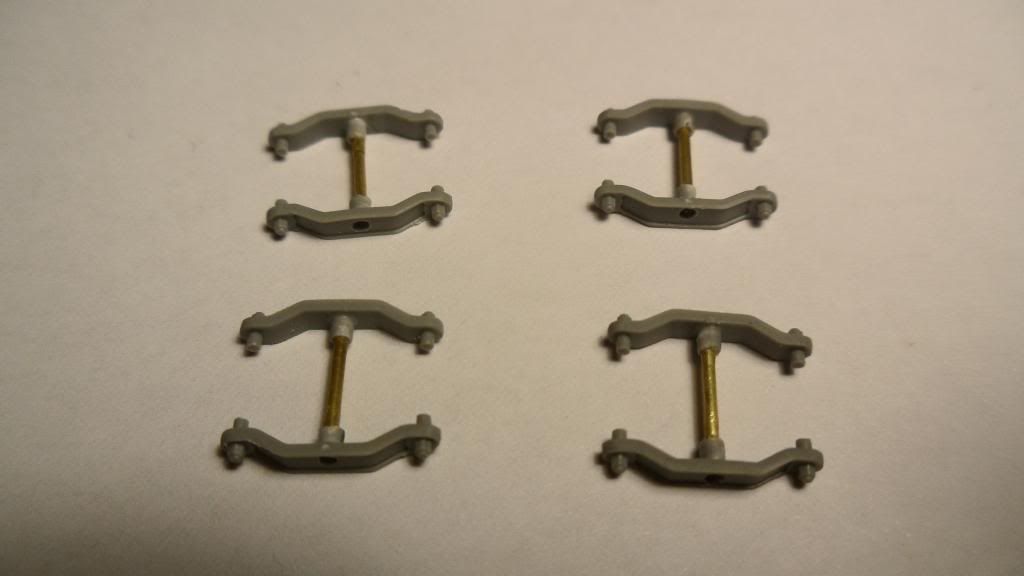
Everything dry-fit together:
The axles don’t look perfect, but they sure look better than the plastic parts. I still have to add a few parts to the supension bogies, but I should be able to get them done untill tonight.
It’s going to be tough to get the roadwheels between those brackets with the axles in place, but I think I’ll manage to squeeze them in somehow.
Greg, ye it is rather large. This is the first time I have done anything bigger than 1/35th, so its a bit of a sensory overload. I am hoping to get some paint on this weekend, but we will see.
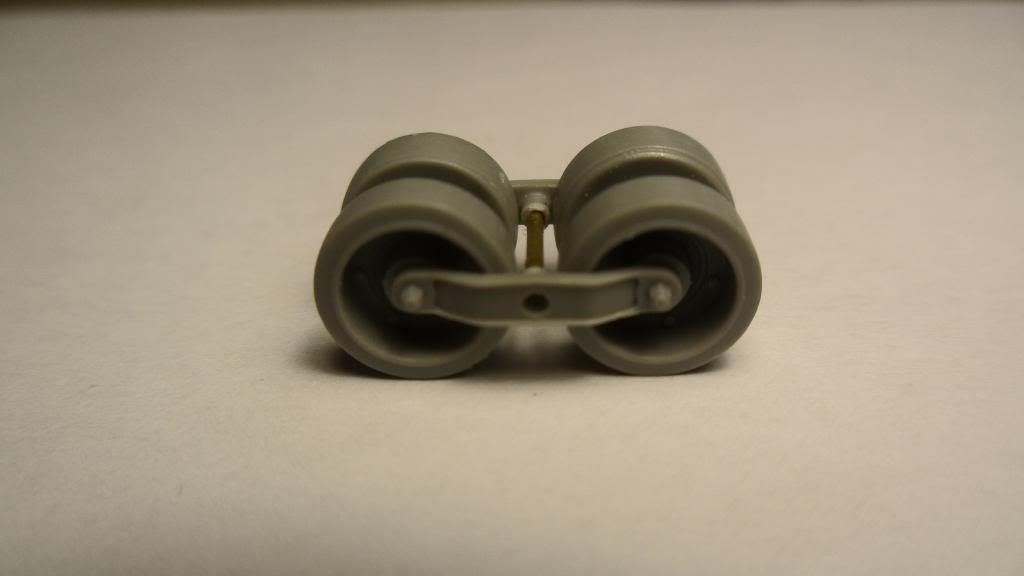
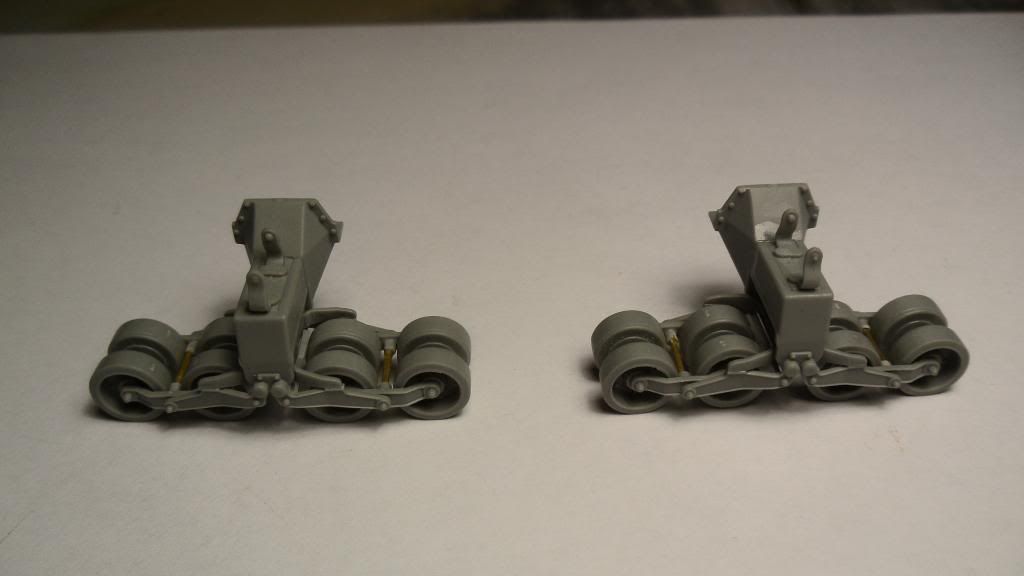
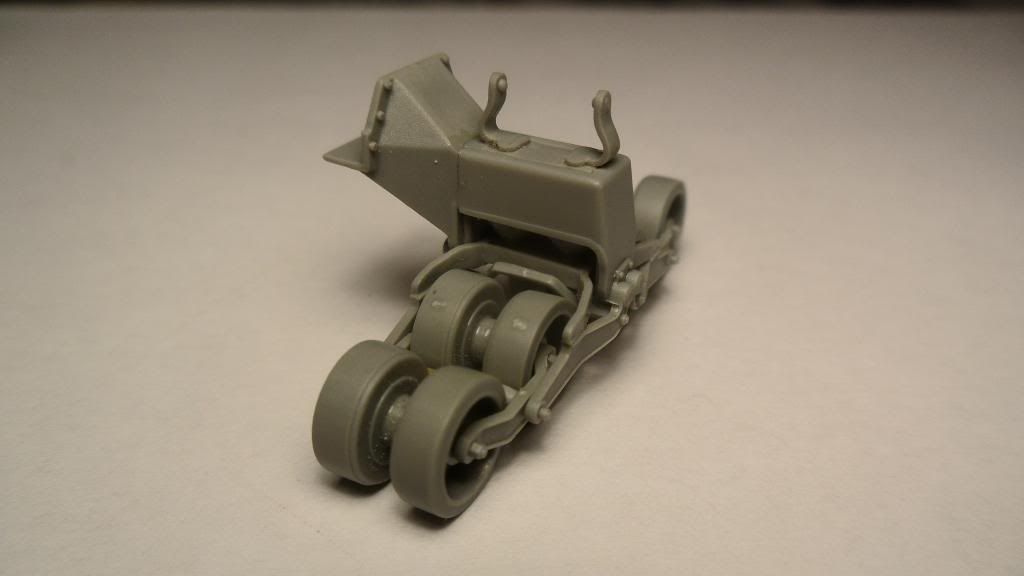
I told you I’d finish the suspension today, so here it is:
Roadwheels mounted in their “clamps”. They are able to turn to make painting the rubber areas easier:
Both bogies assembled. The roadwheel clamps are not glued on so I have less trouble when mounting the tracks:
Those suspension bogies are quite fiddly, but the great engineering makes them easy to assemble nonetheless.
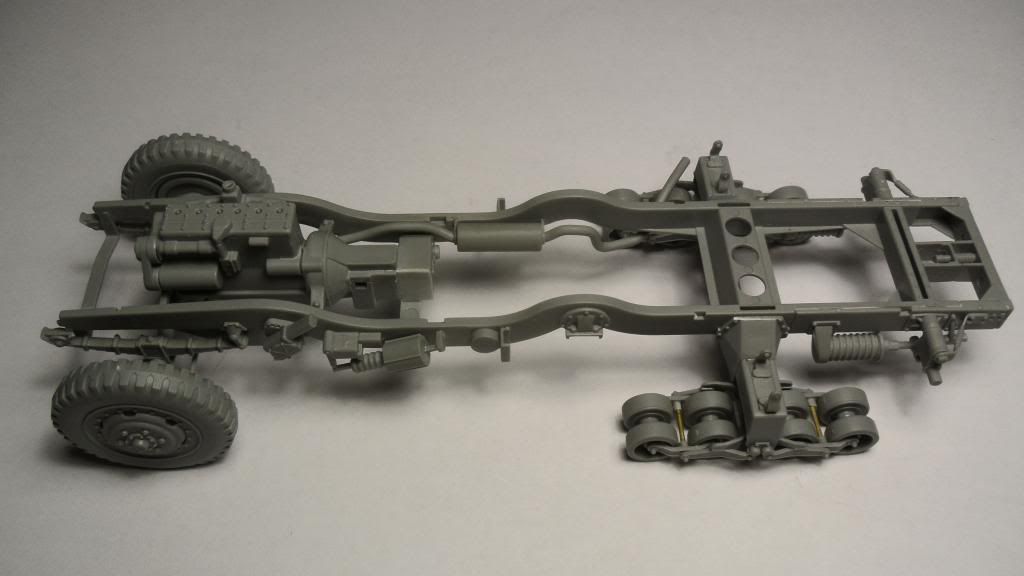
Both bogies glued in place. Dryfitting the forward wheels didn’t cause any trouble. She sits nicely on all 10 wheels:
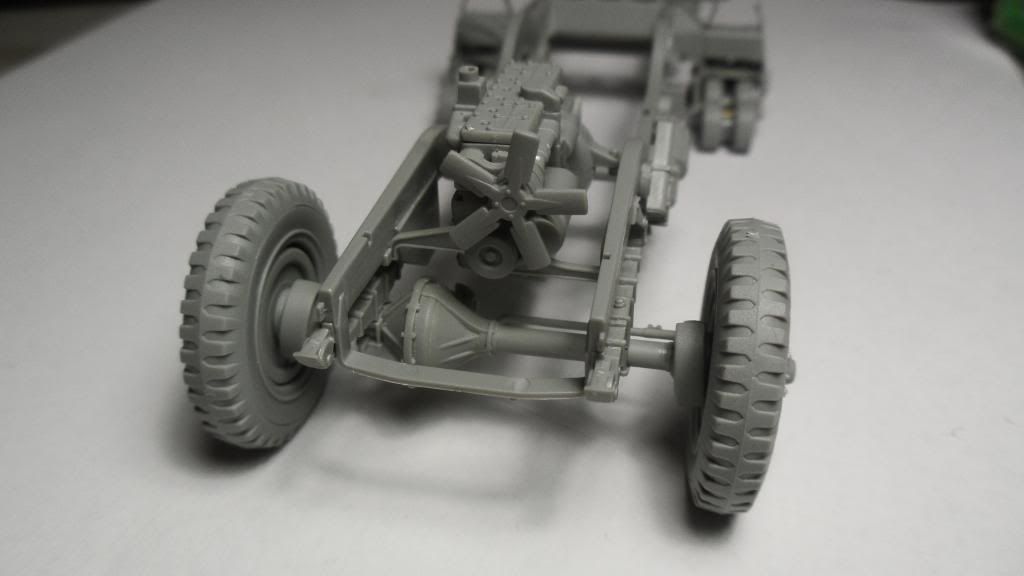
Close up of the forward axle and the engine. I love the amount of details in this kit:
I still have to add the exhaust tip and the bracket that holds it in place (time for some scratchbuilding I guess):
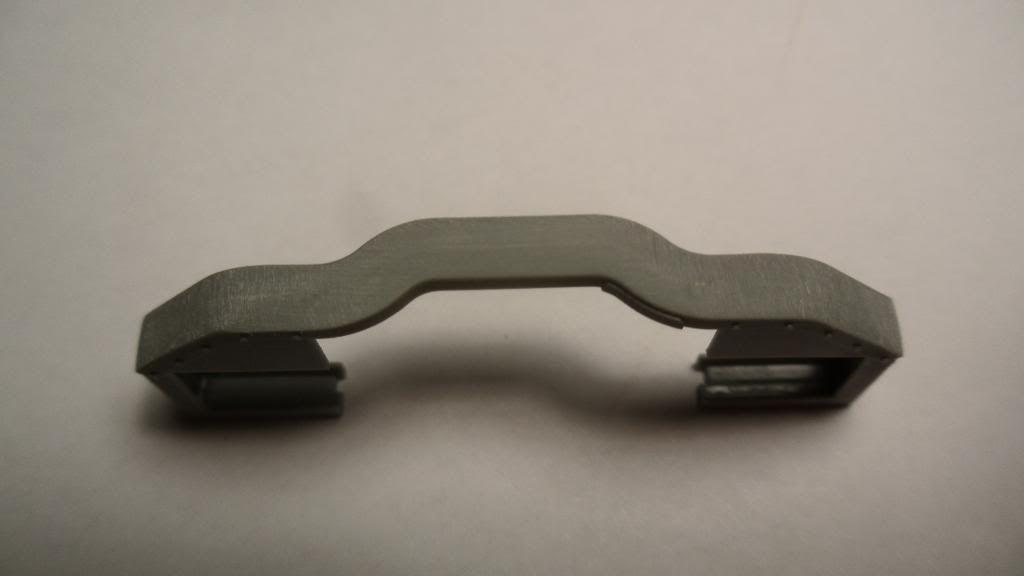
I also started working on the bumper. The two main parts are glued together and the seam sanded smooth. Now I have to remove the scratches using finer sanding sticks:
And the last pic for today: A size comparison with the Flakpanzer. She’s definitely no small vehicle after all.
Sorry I’ve been away for so long guys, classes and work got pretty intense but I’m finding the time to get back to the bench now. Have a couple builds in the way before I start on mine for this build but seeing how it goes until 30 April I reckon I’ve got a chance to pull it off.
Anyways, everyone’s builds look fantastic so far, can’t wait to see more updates from everyone.
Ican write the full post, but when I click on “reply” not everything gets posted. It just ends directly after one of the pics. If I try to edit it and just copy the original text it’s the same thing again. I have to start a new post every time this happens…
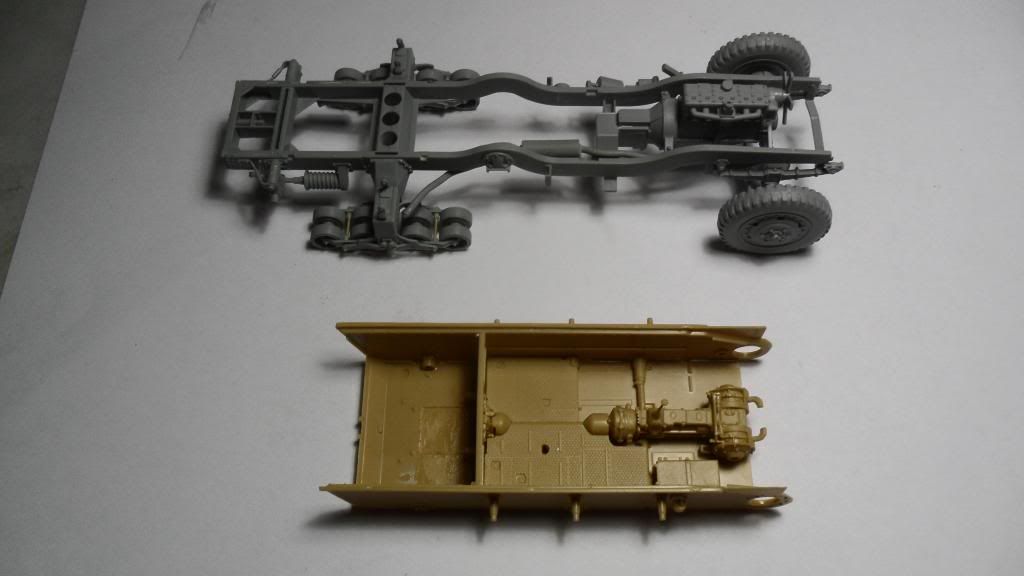
Time for a short update. I have just completed one of the two trailers. Again, I will do some comparison pics in the WiP thread for those interested in the finer details.
You can see by the amount of white styrene how much has ben changed, far more than I expected.
Great stuff on here everyone! Bish! Good Night! I love the way you put the Tiger next to the 88! Wow! You have gone to the extremes! Great work! Great work everyone! I hope to get to the 88 tonight.
bish i will find out what you mean since i seem to have gotten into 1/24 fire trucks.
still working on base/bunker for 88 (and yes jibber (?) i will do a tutoria. lhere is my JGSDF TYPE 87 SPAA. twin 35mm guns. (may have to get that super cool looking russian spaa after this) alls ubassys are not glued so there may be some alignment issues in the pics. pretty much all the holes in the deck are tools, which i do after painting, periscopes and headlights ditto, and handles which i leave until right before priming. this has an adjustable height suspension and can be in up road mode or down in position mode. indy tracks so karl’s tutorial will come in handy and make appreciate my warwheels and war trucks, even with extensive chassis that no one sees.
to ALL thanks. yes it does look like a GEPARD but it’s a JGSDF TYPE 87. similar layout but no return rollers on suspension. i may break my no more tracks and get a GEPARD if someone comes out with a new one. i have a bundeswehr ELEPHANT tank transporter i could put it on.


