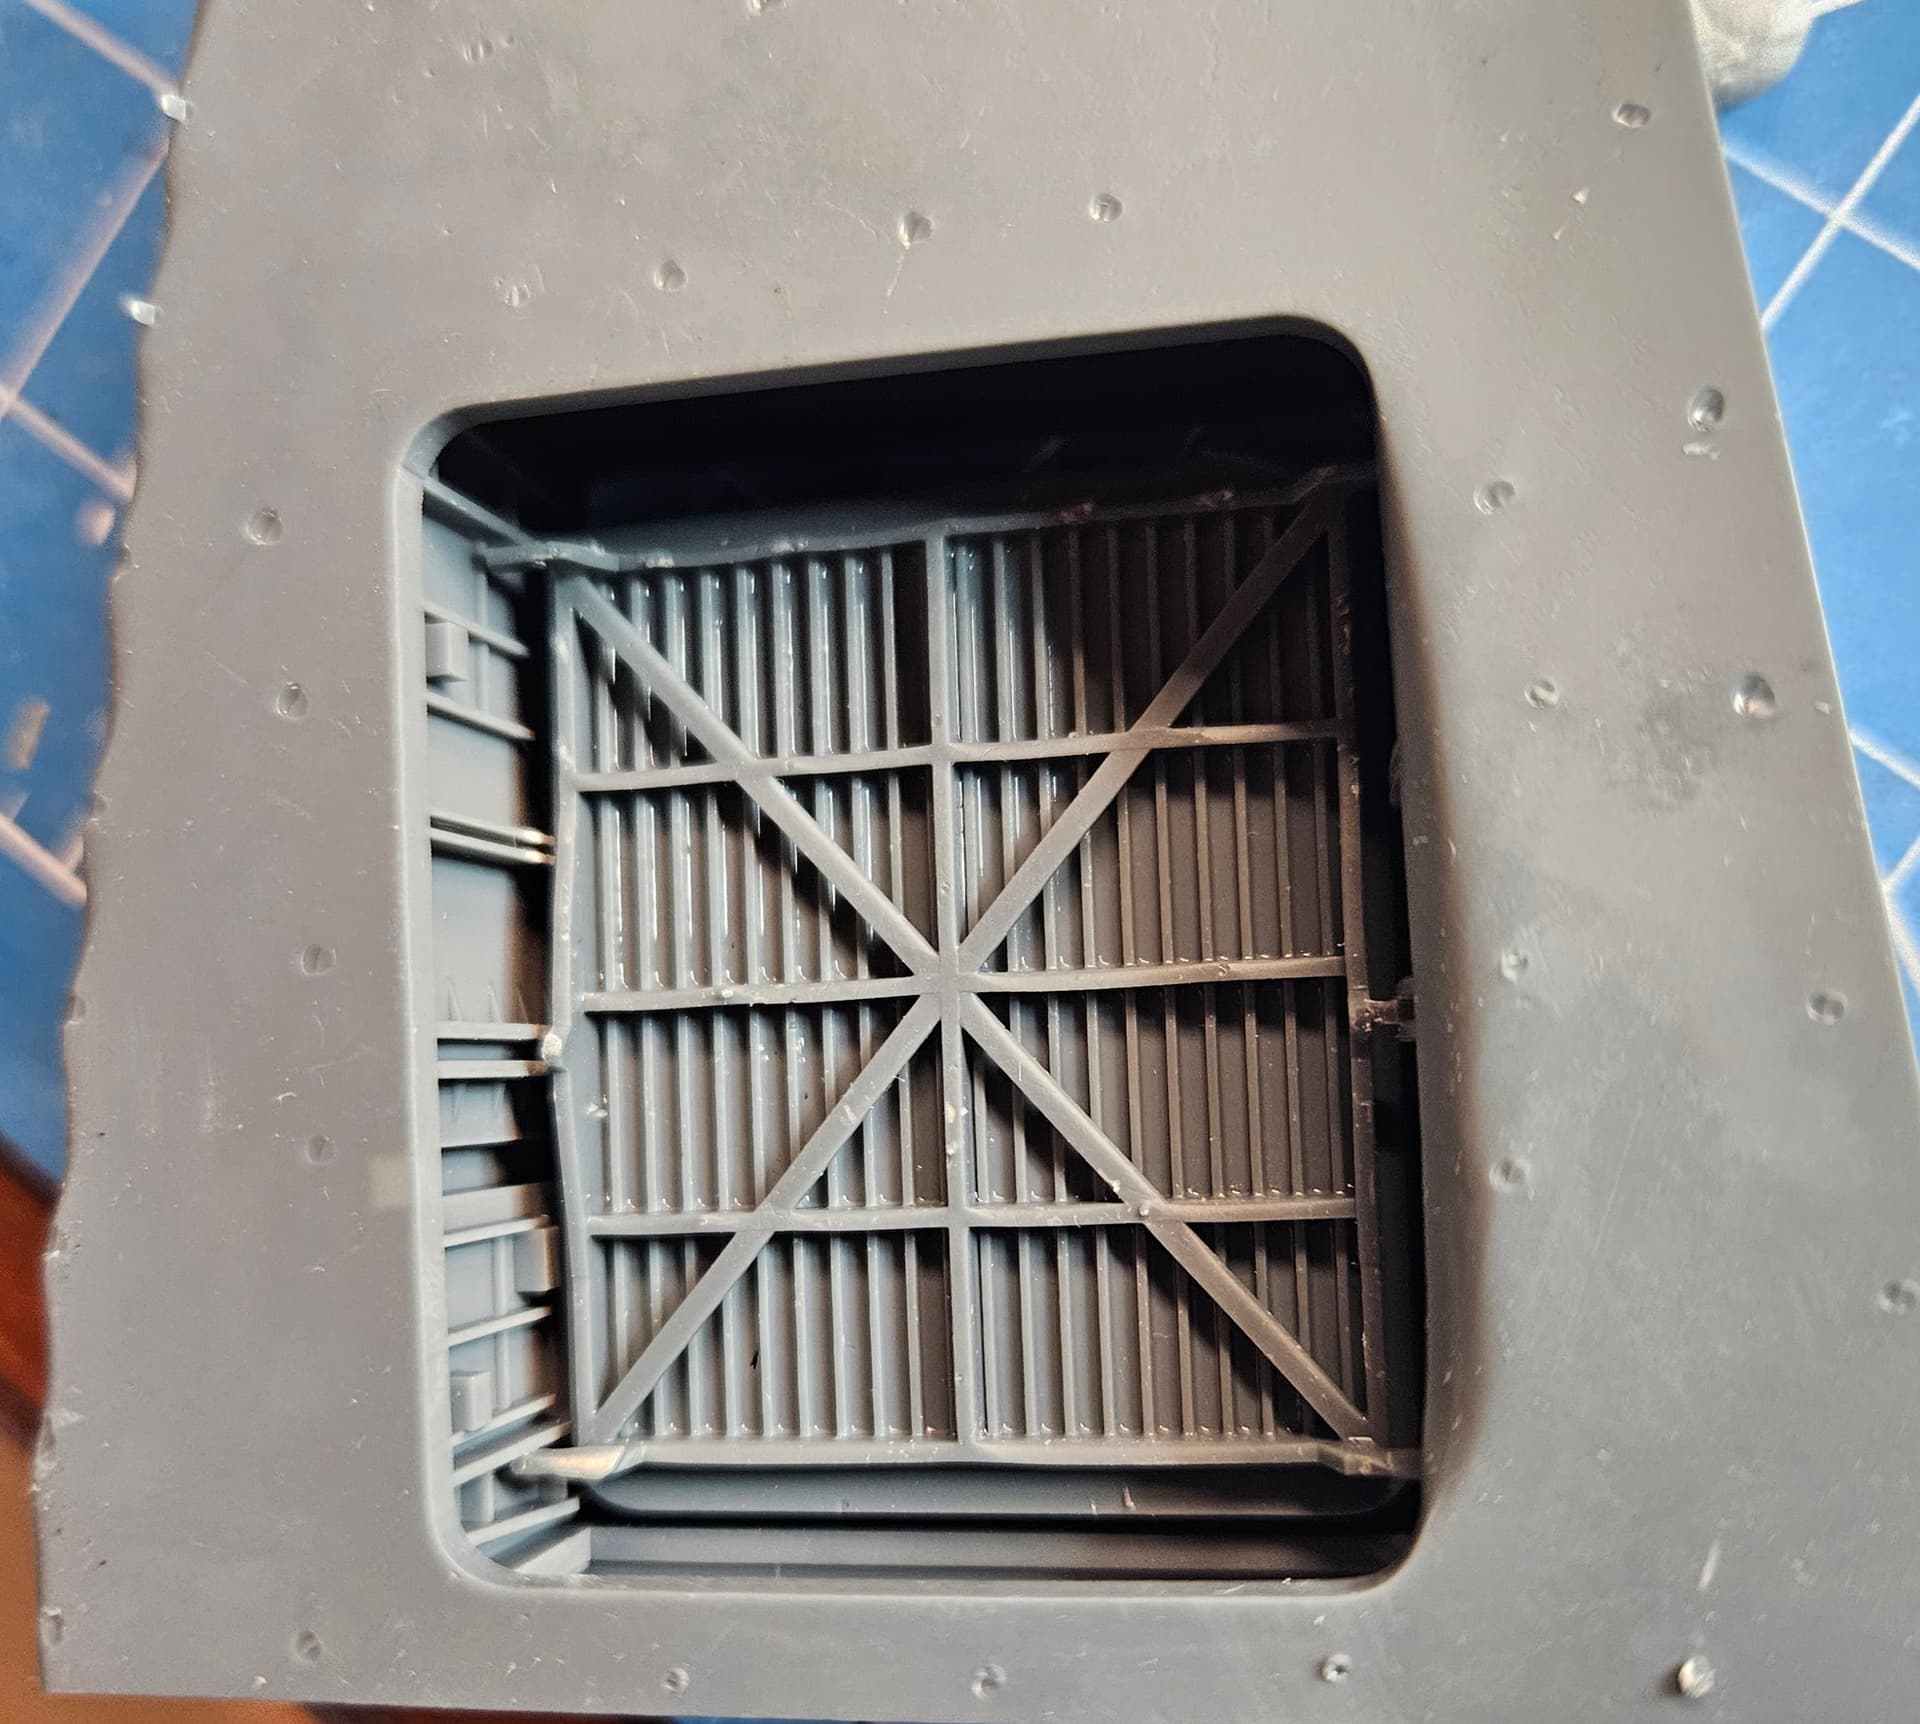
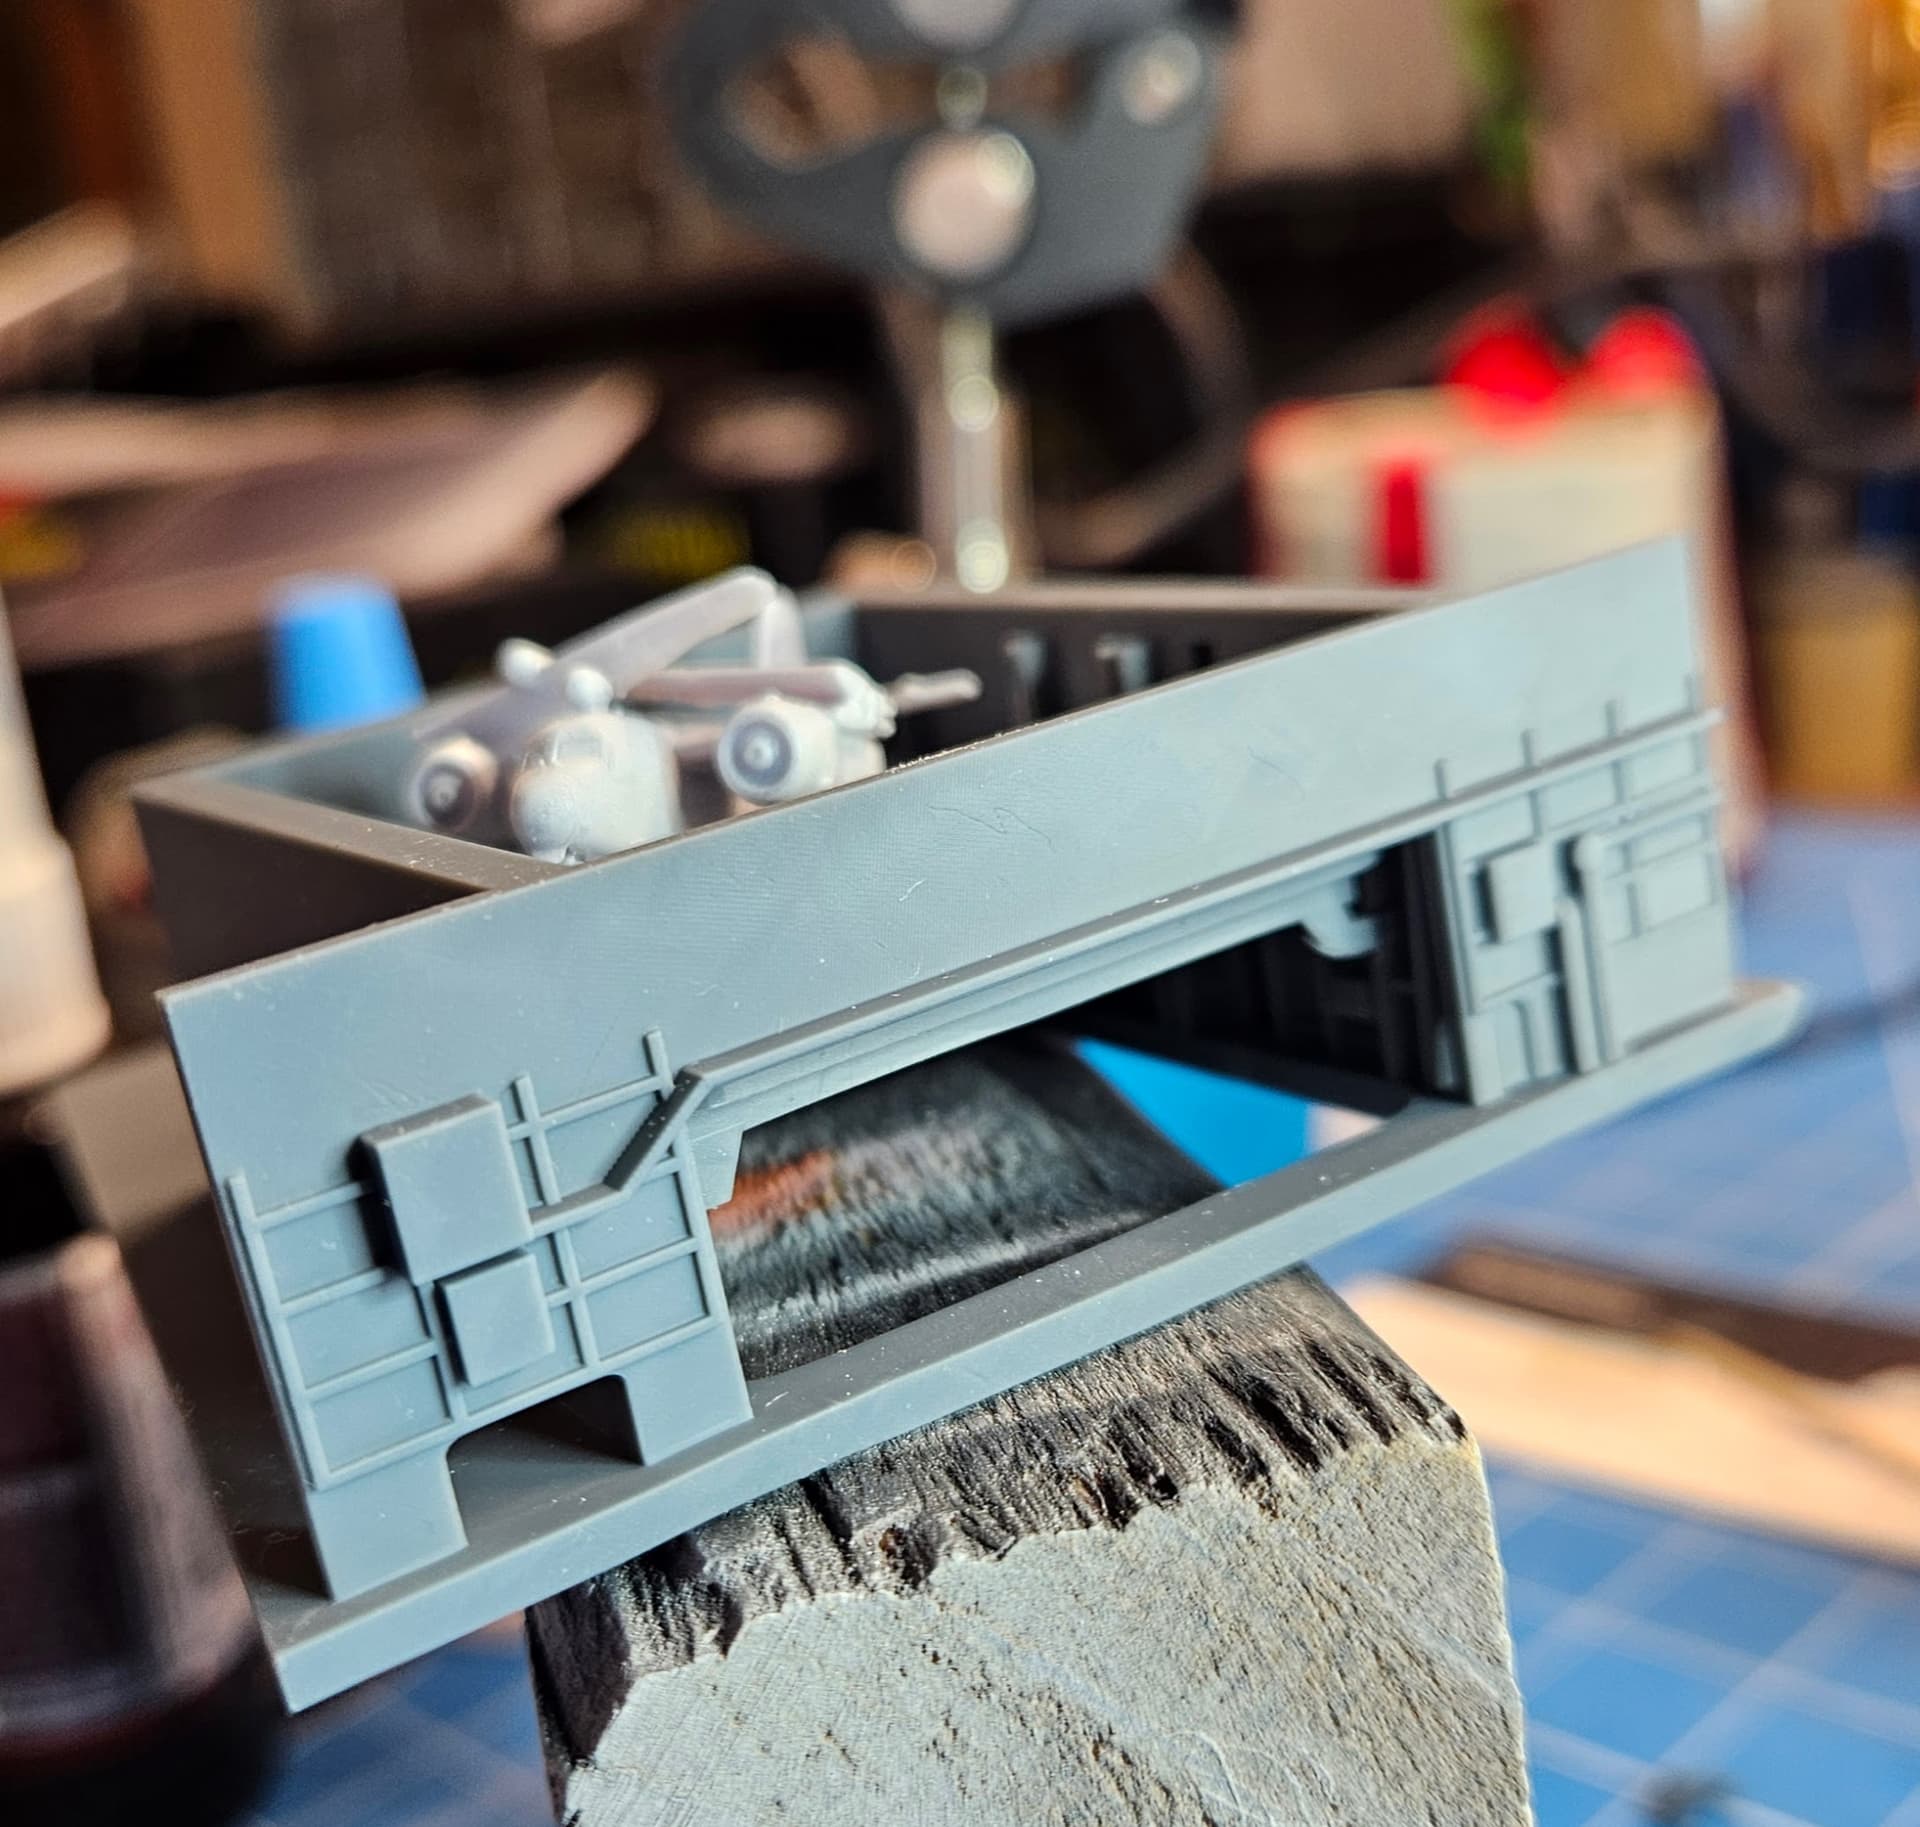
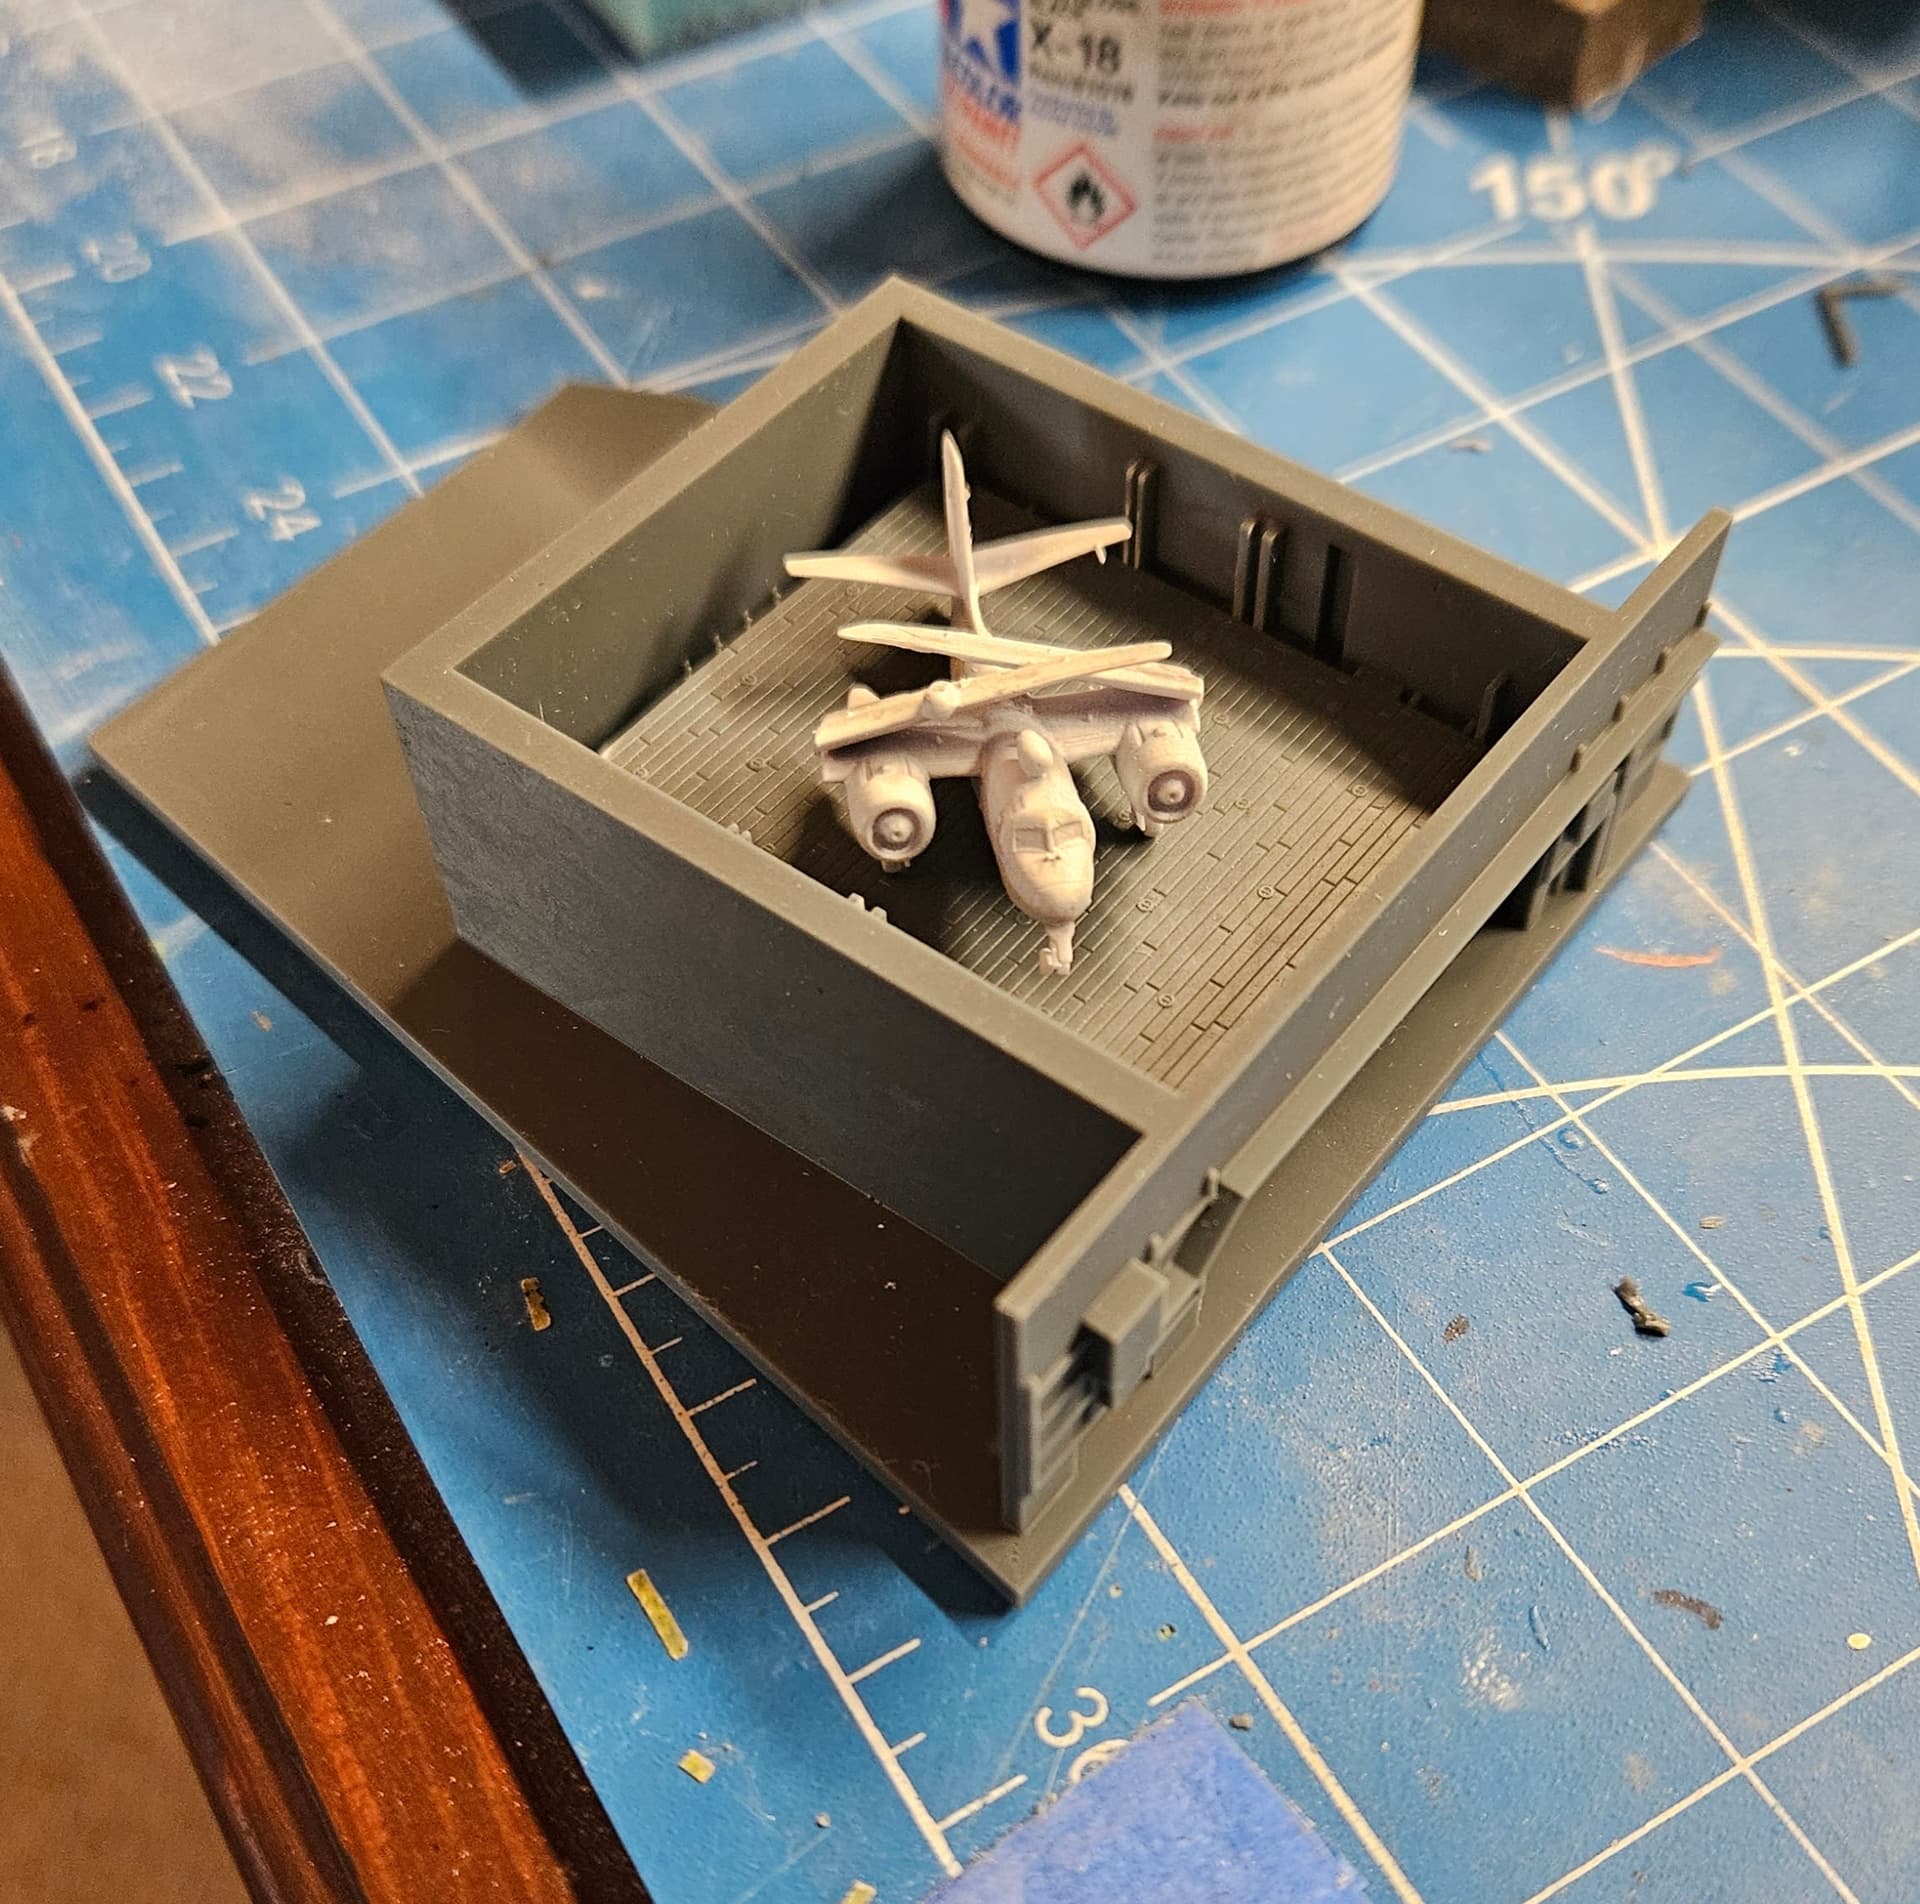
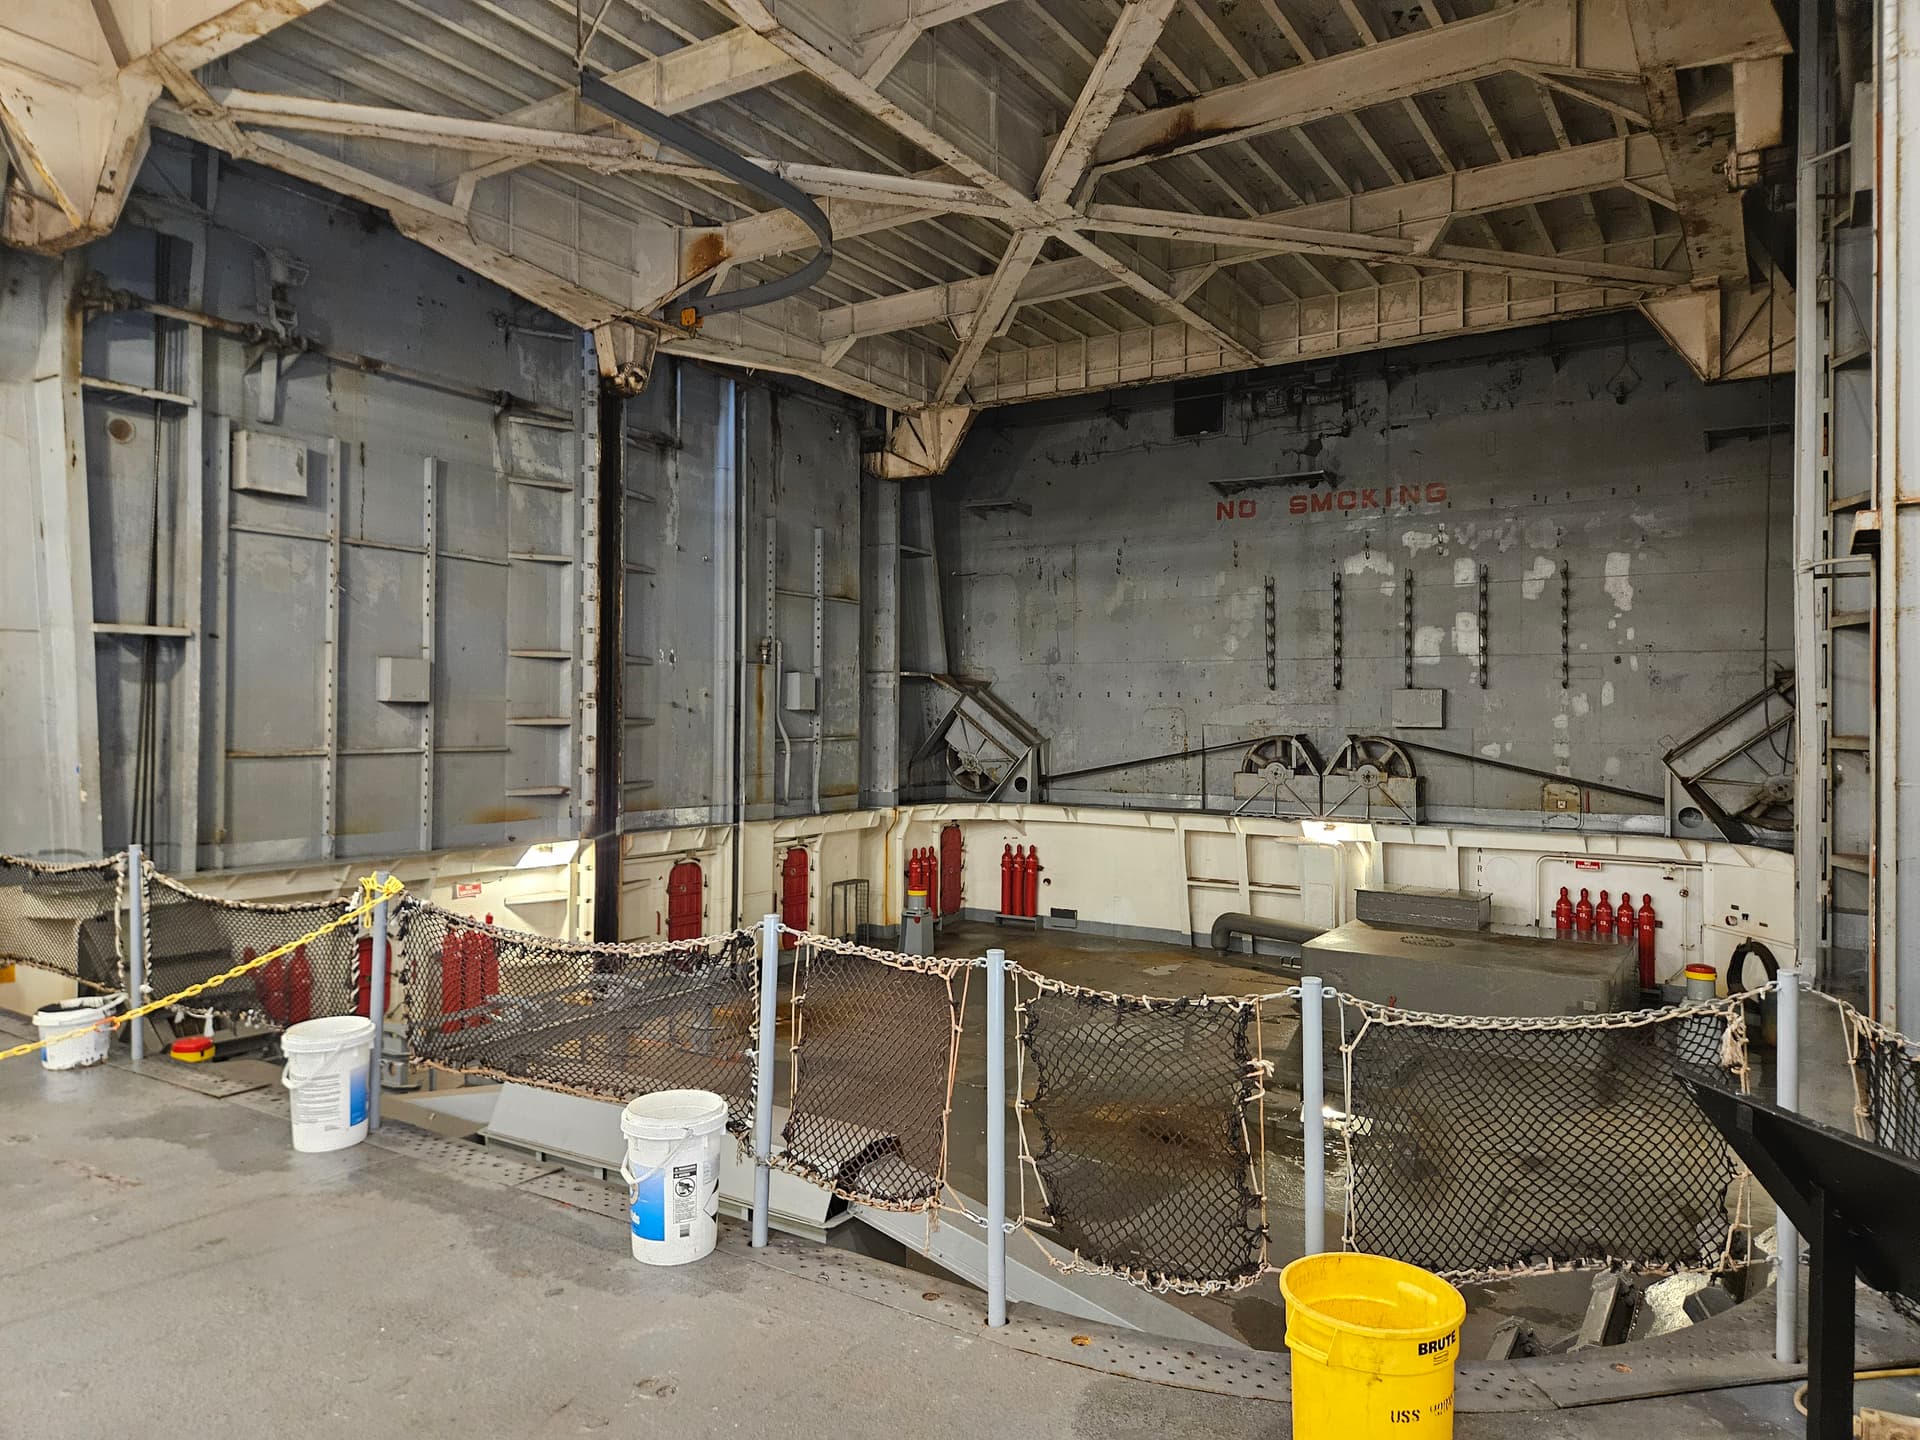
I printed the elevator and test fit it into the enclosure. I put an S2F on the elevator to get a feel for how it would look. I’m definitely going to go with the elevator lowered from the main flight deck, but will probably have it about halfway up as in this picture, so that the detail of the elevator well and the underside will be potentially visible, depending on my LED setup on the hangar deck. I’m going to open the roller curtains that were originally intended for the hangar deck catapult, which will let more light in and make this area visible from the outside. I may still have a few kit pieces in this build when I’m done!
2 Likes
I’m not too sure how I’ve missed this project. The work you’ve been doing is pretty amazing. Very impressed not only by your research and commitment to fine details and accuracy, but by you ability to translate that information into a 3d design to print.
Thank you for the kind words! My personal attachment to the ship is the main motivator for me to do it right. Designing the parts has been very fun, and it’s a challenge for me to see how accurate i can make them. Blender, Inkscape and Lychee are the tools i use. They’re all free and I’ve learned how to use them through trial and error and lots of ChatGPT!
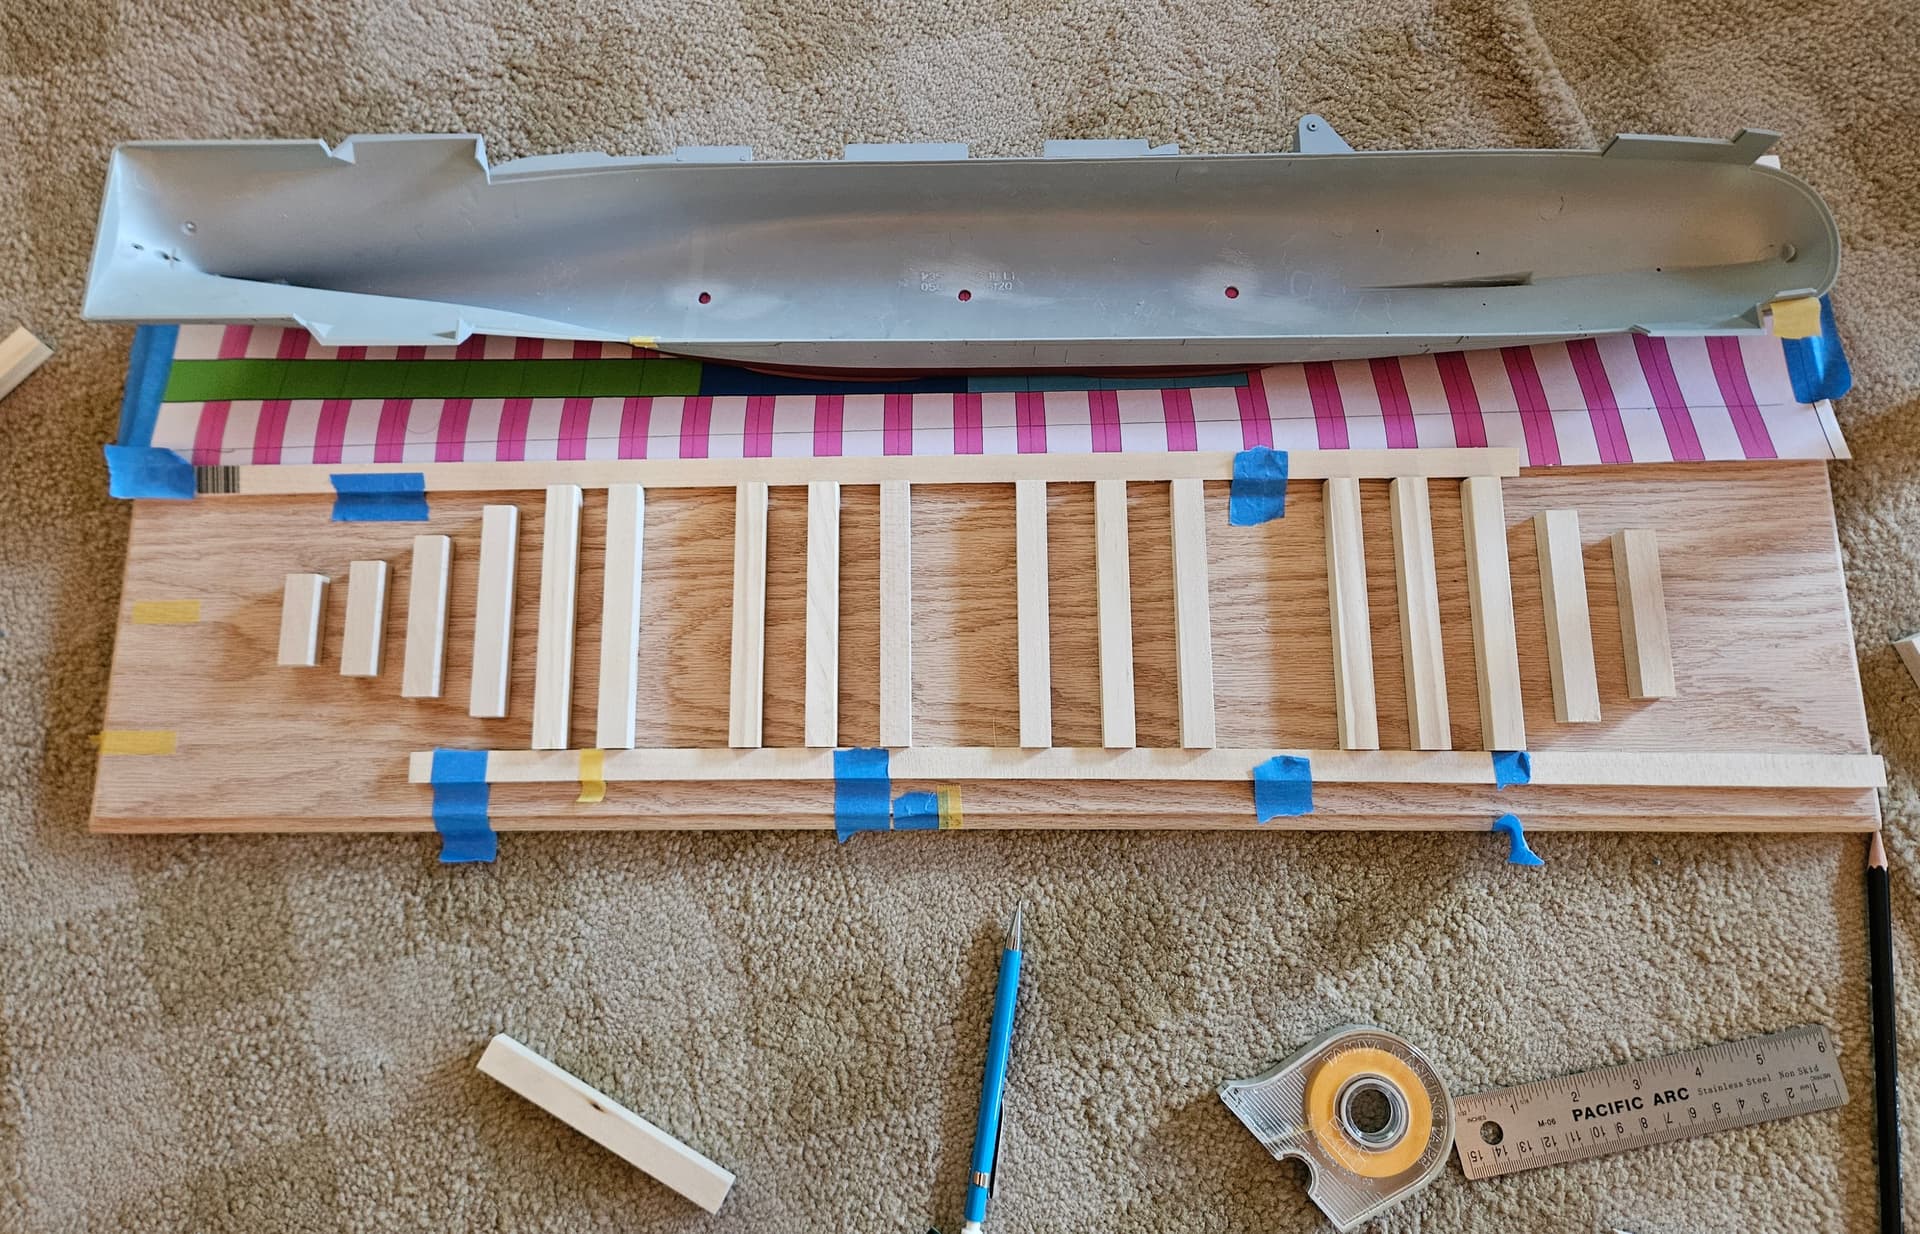
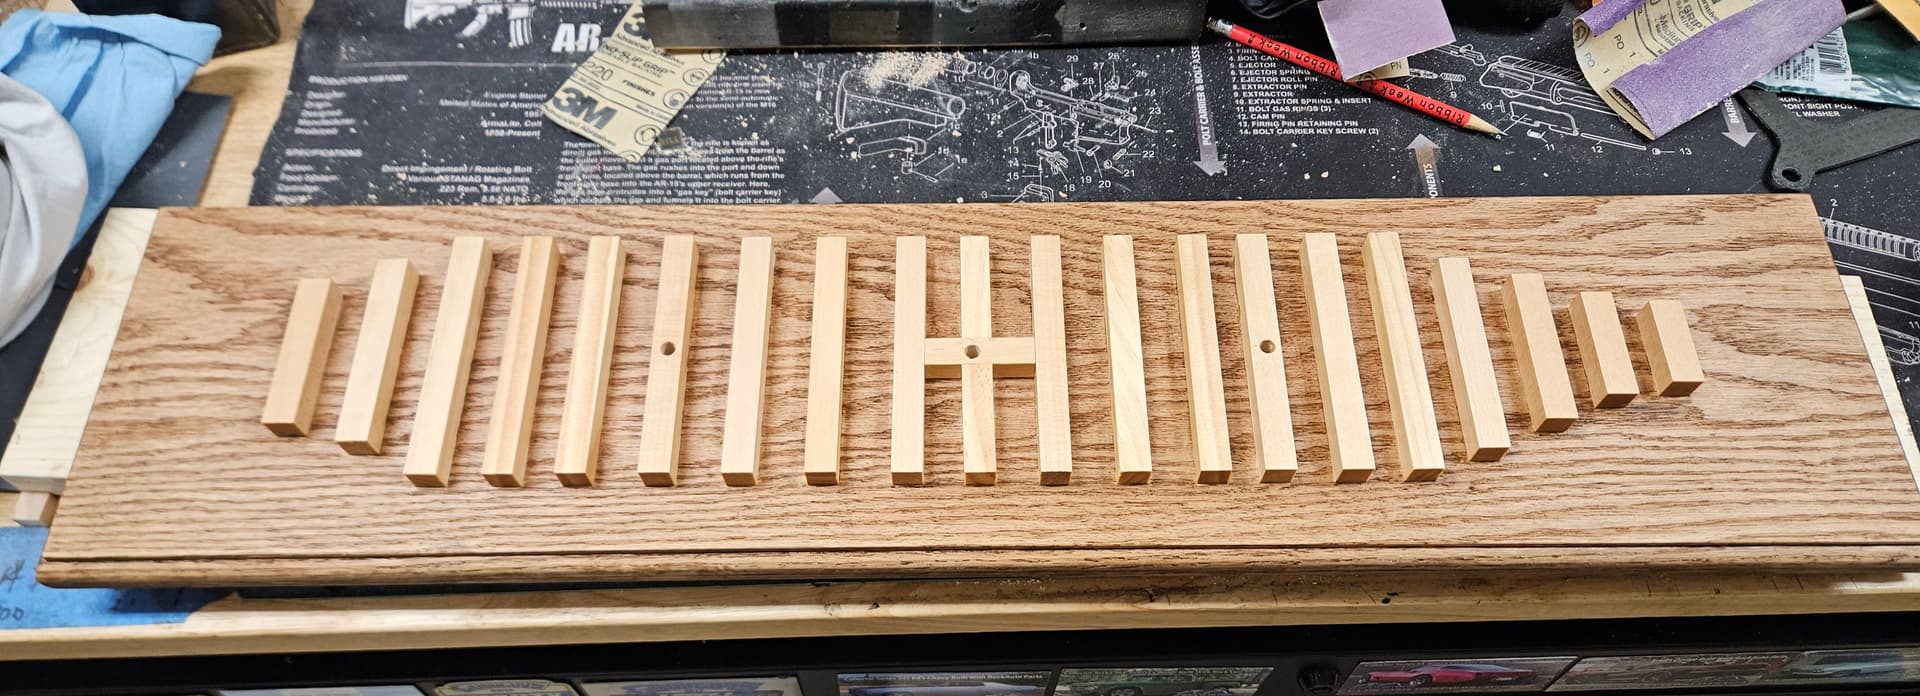
I did a lot of work on the base for the Hornet this week; I have all the keel blocks cut and I have arrayed them on the base. It looks good and I will start mounting them this weekend hopefully. I intend to screw each block into the base, as I have concerns about wood glue interfering with the stain. Fortunately, I have access to a drill press, so that will help move things along. I also printed out a jig that should allow me to get all the holes right where they need to be (I hope!).
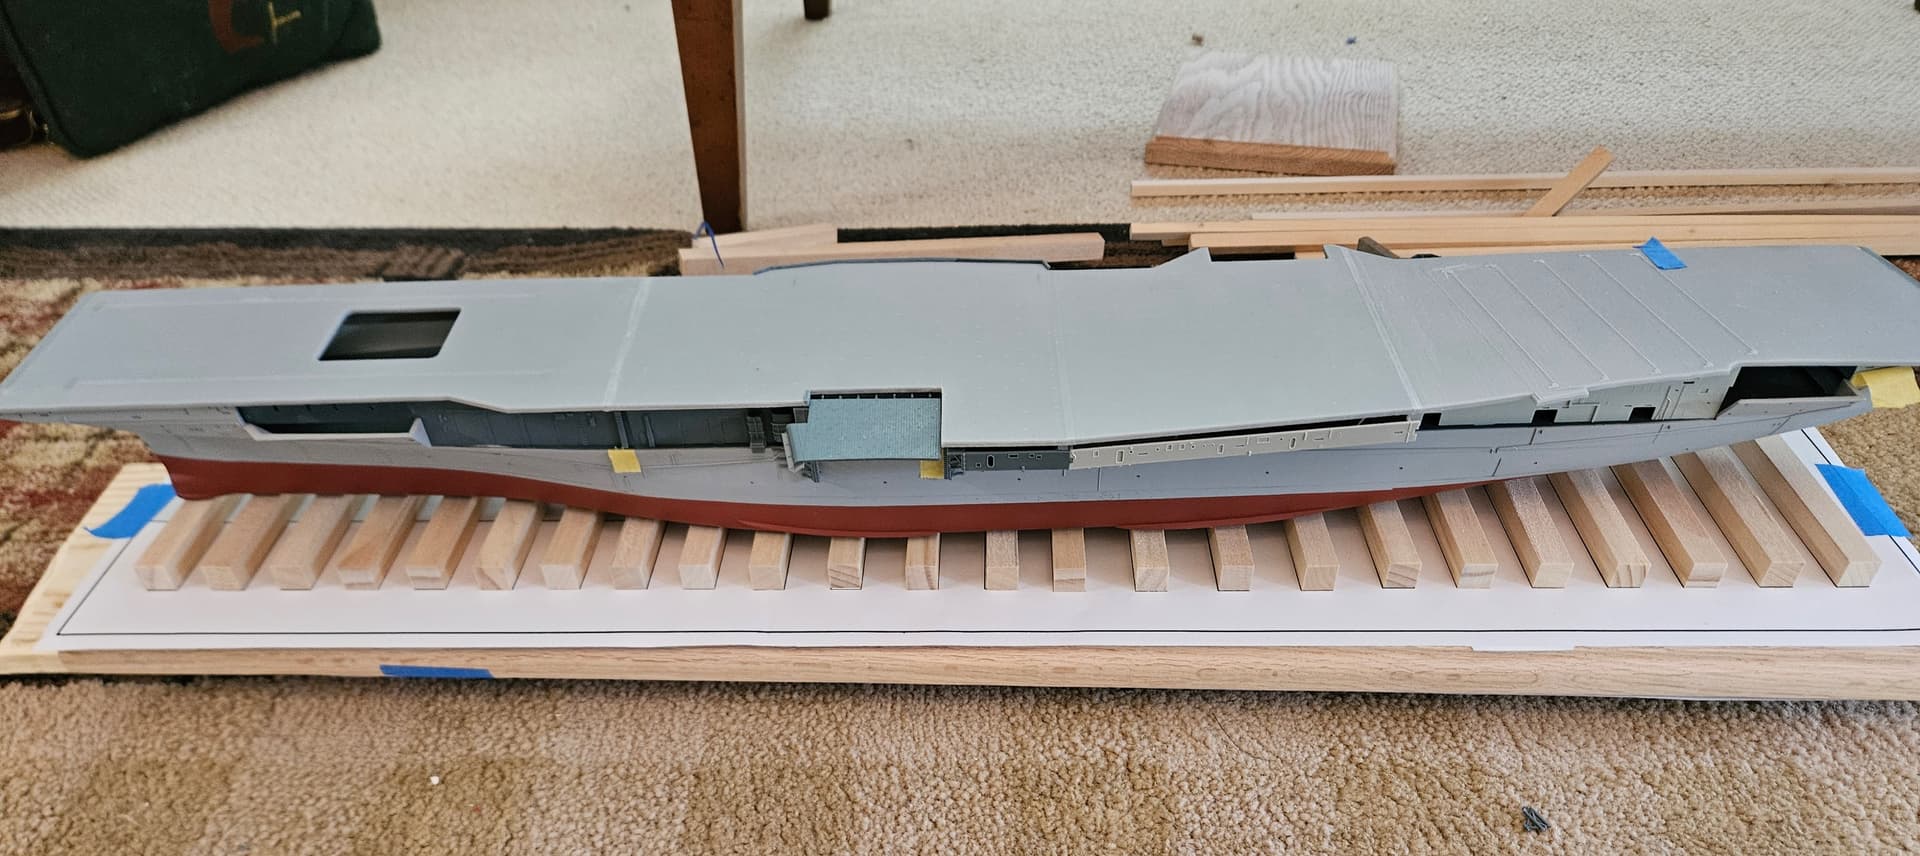
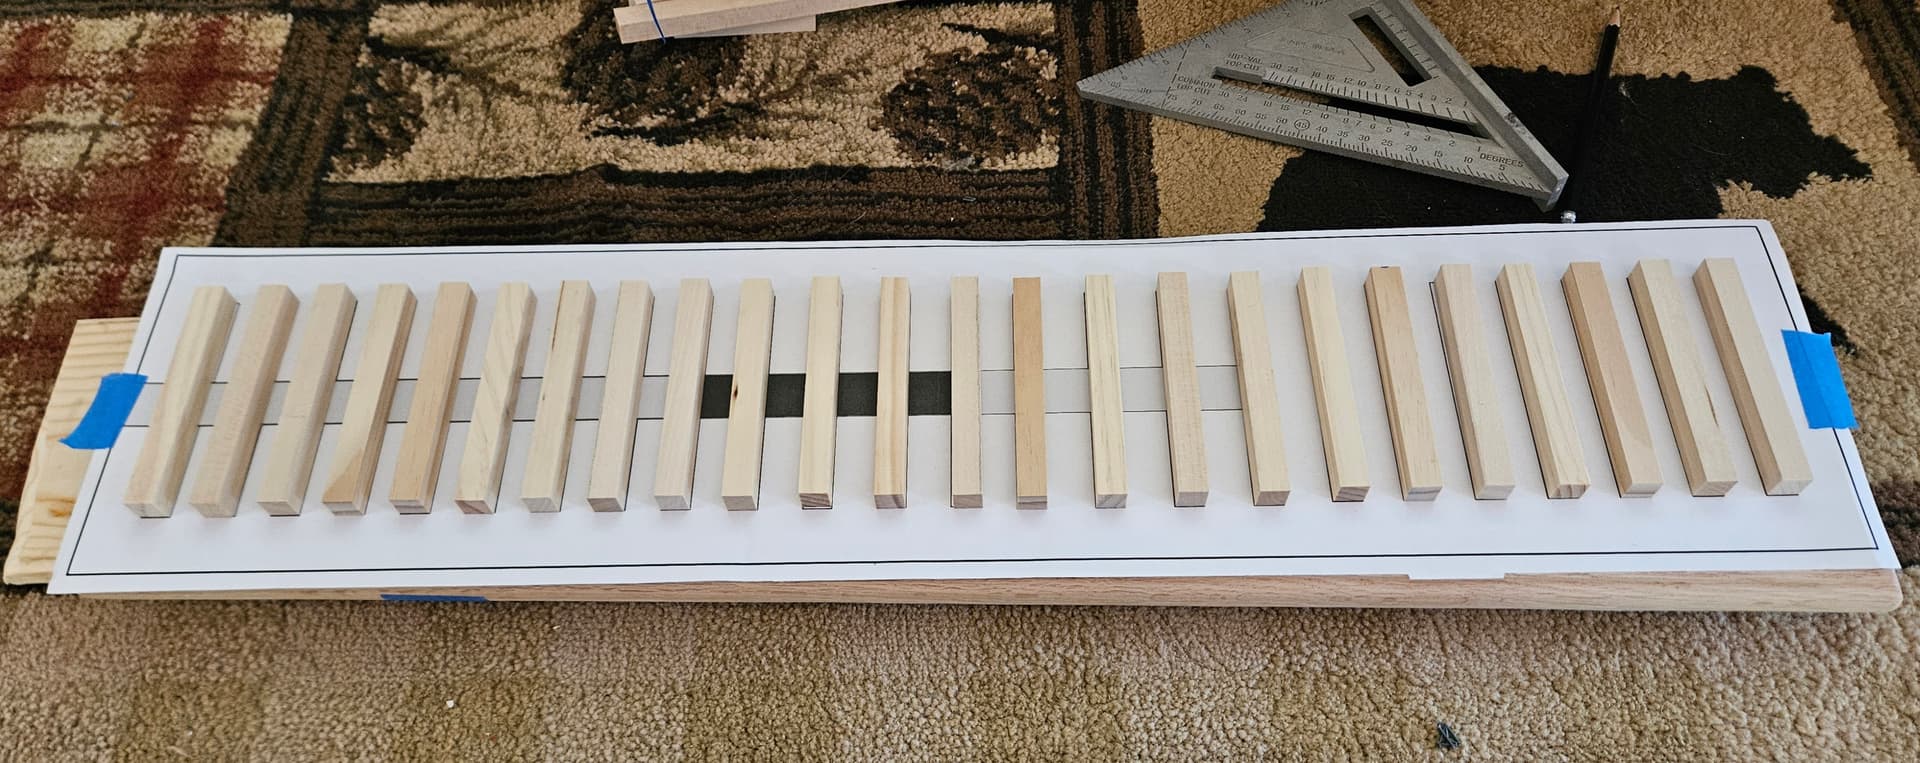
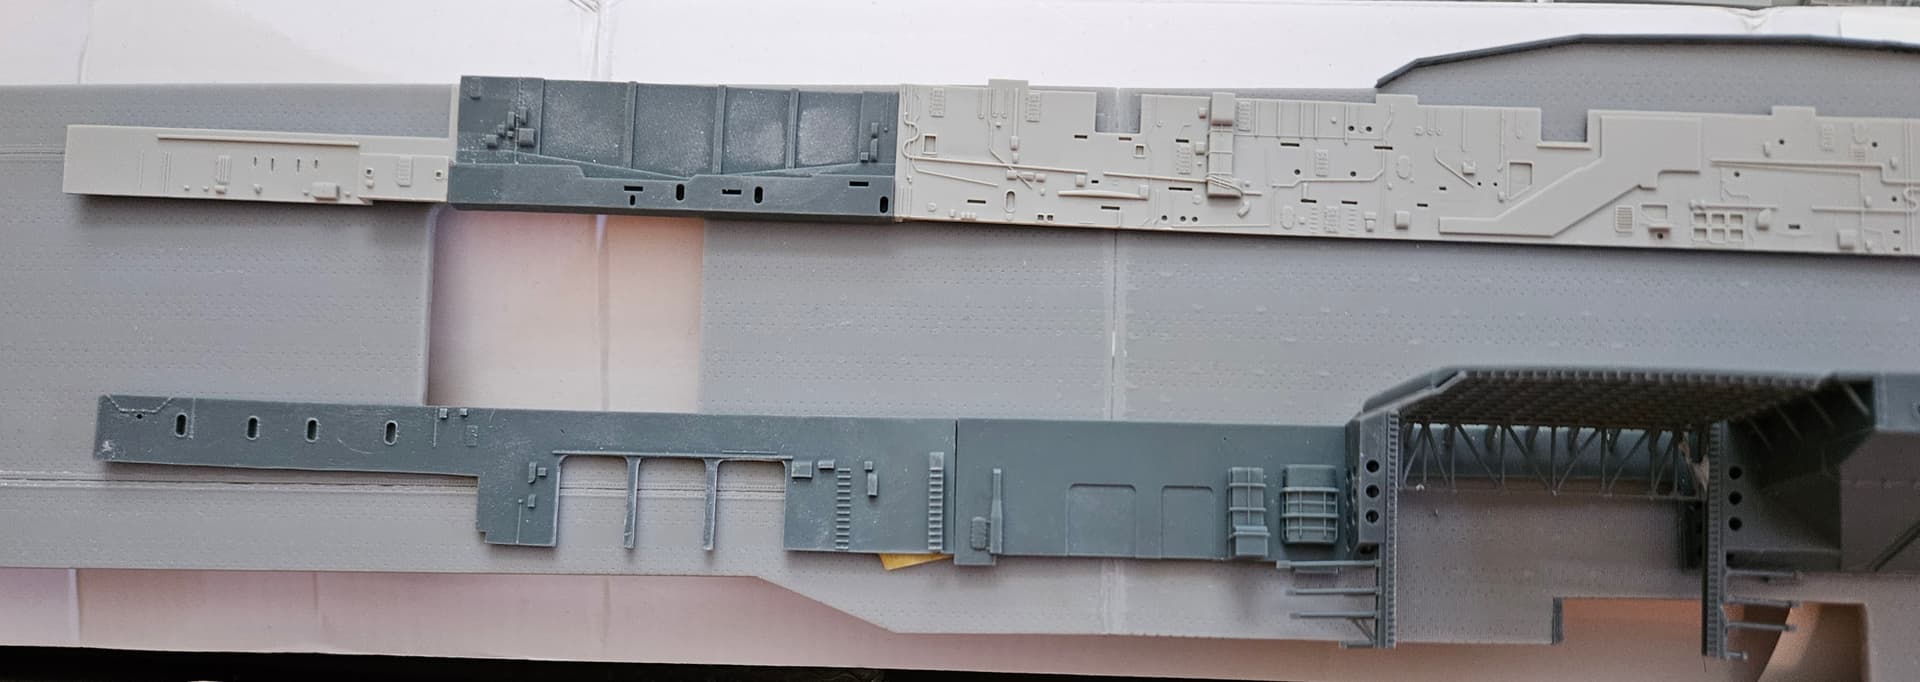
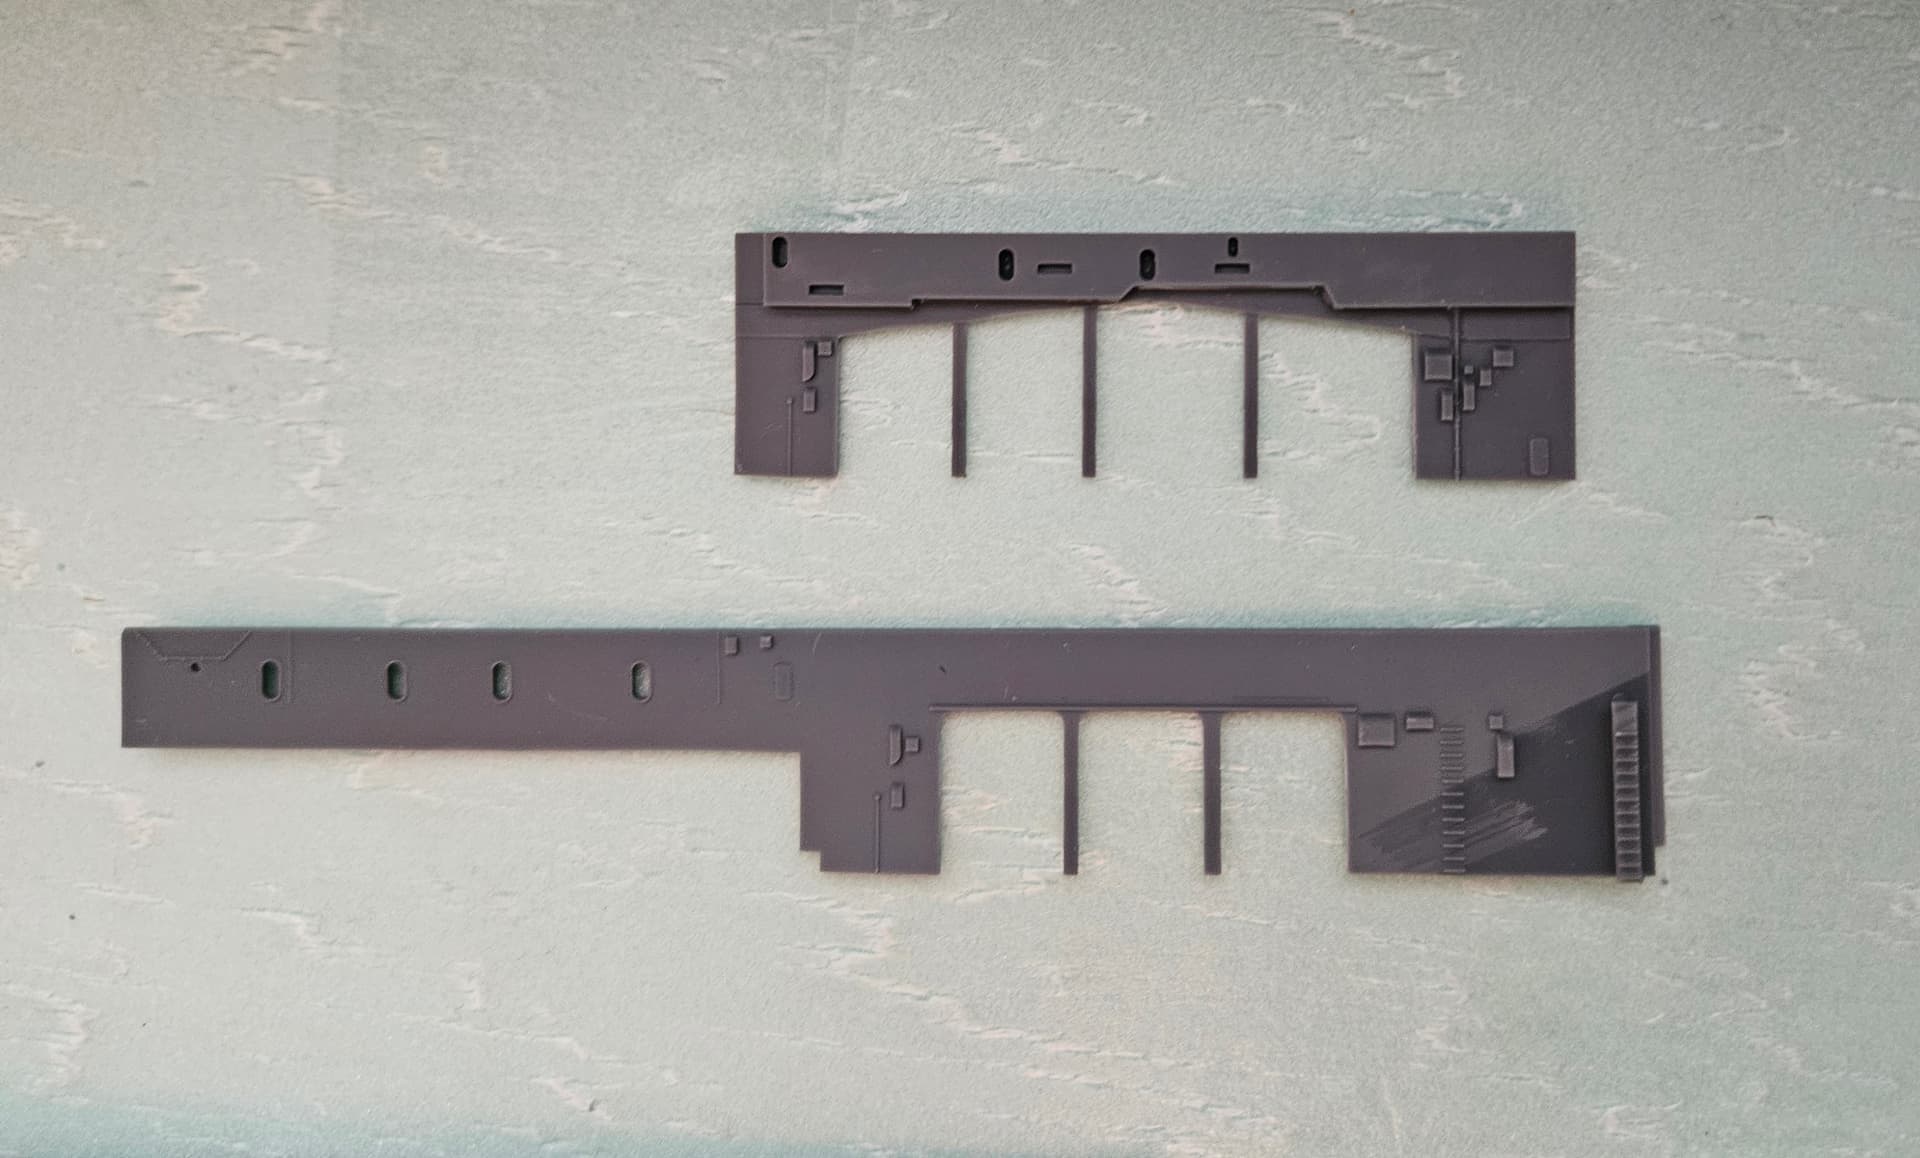
I got most of the keel blocks laid and glued down today. I still need to place the ones where the machine screws will go through, and will go use my Dad’s drill press for that, along with the holes through the base. Once it’s all aligned, I’ll drill, glue the remaining blocks, and prepare for staining and finishing the base. I opted for a tapered look for the blocks as you get closer to the bow and stern, and that will allow me to place a plaque and hopefully some logos. I’ve also been working on opening up the port and starboard superstructure at the hangar deck catapult doors to give more visibility into that part of the hangar bay. I’ve opened the port side already and the starboard side (above in the photo) is being printed with the roller curtains open as well. [Update]: Got the starboard side printed and it’s looking good!
1 Like
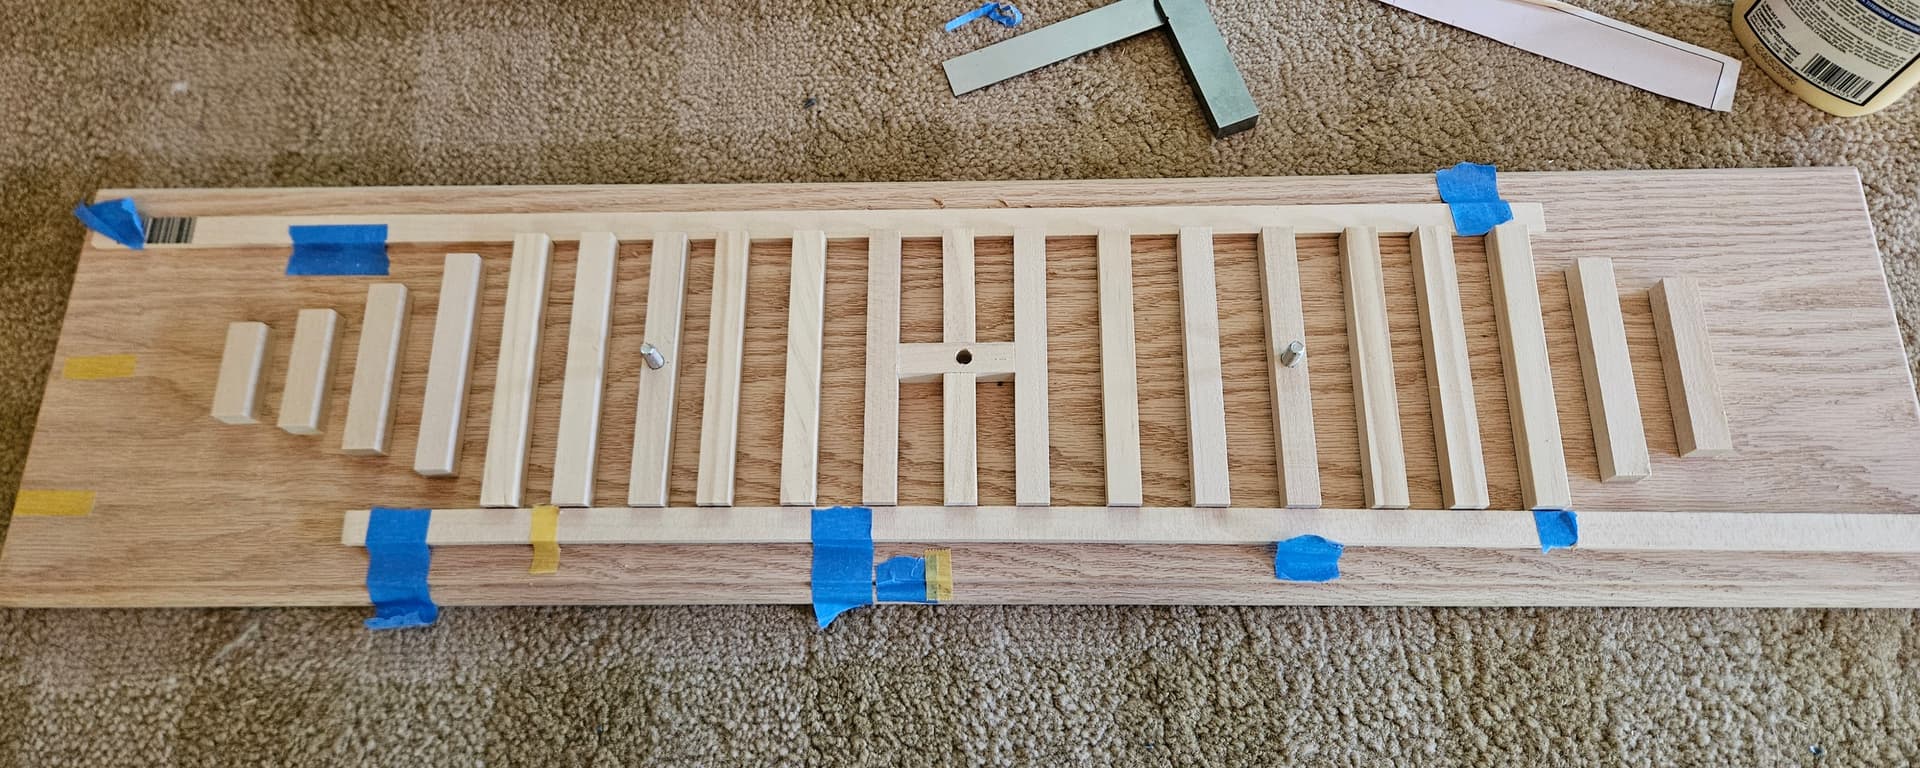
All keel blocks have been laid, the mounting holes are all aligned and now we will stain and finish the base. The Hornet will remain on a temporary base while I work on it. The middle hole is where I will run all the LED wiring for the hangar bay.
1 Like
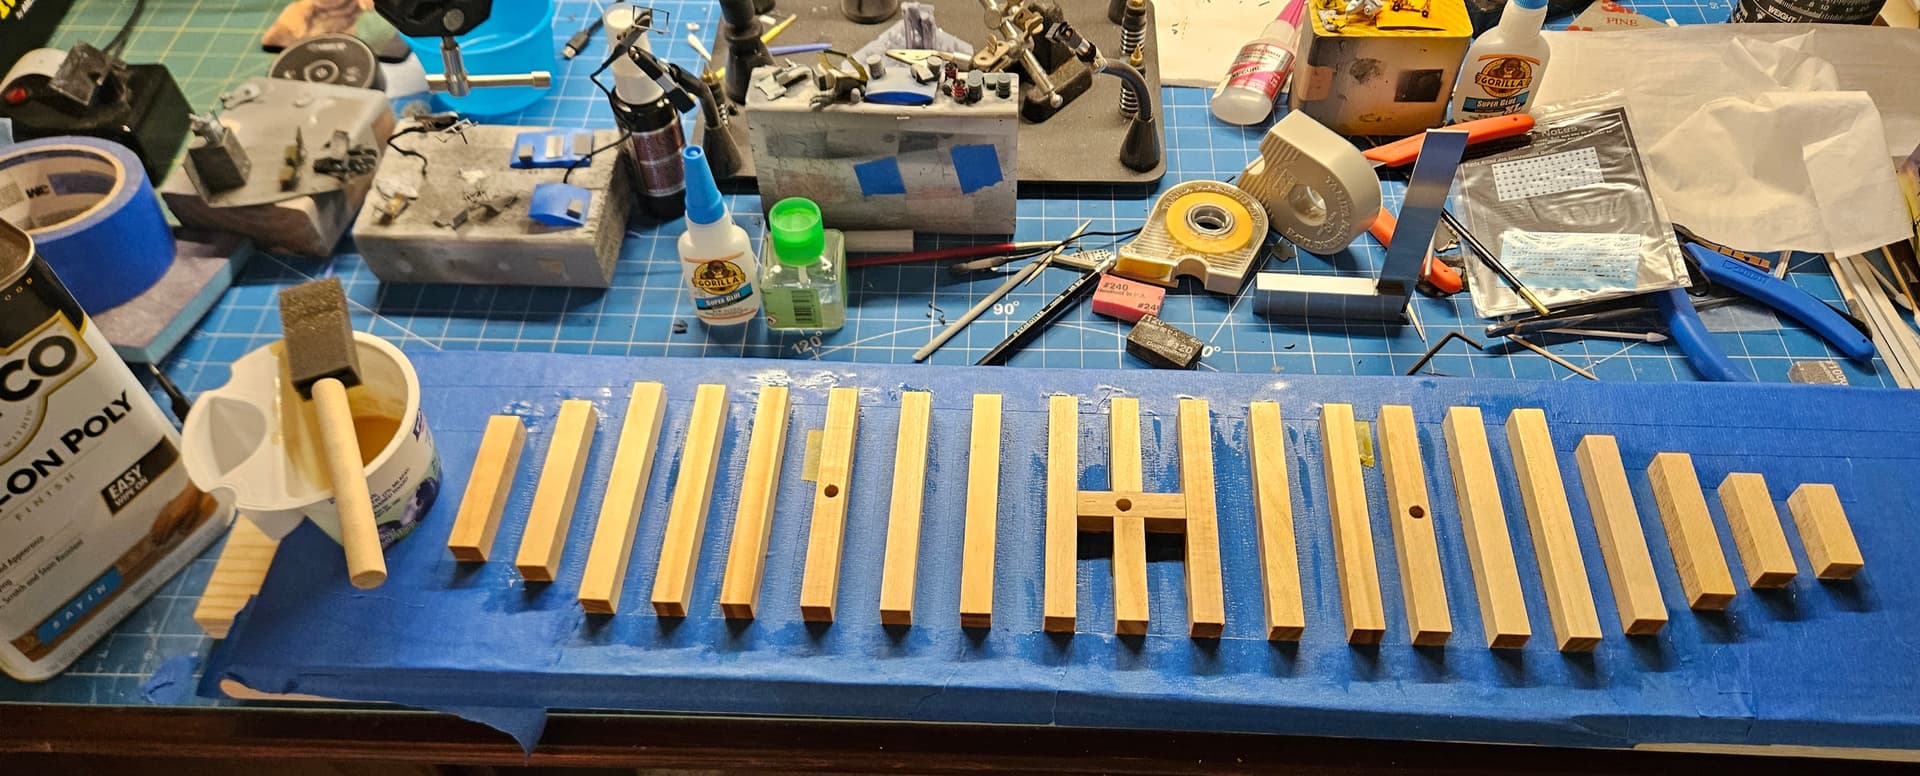
I decided to do the keel blocks in their natural color, which will contrast nicely with the dark walnut stain I will use on the oak base. I laid down my first coat of satin wipe-on poly after I taped off all the oak. I feel that getting the blocks coated first reduces the risk of the stain creeping/seeping into the blocks from the base.
1 Like
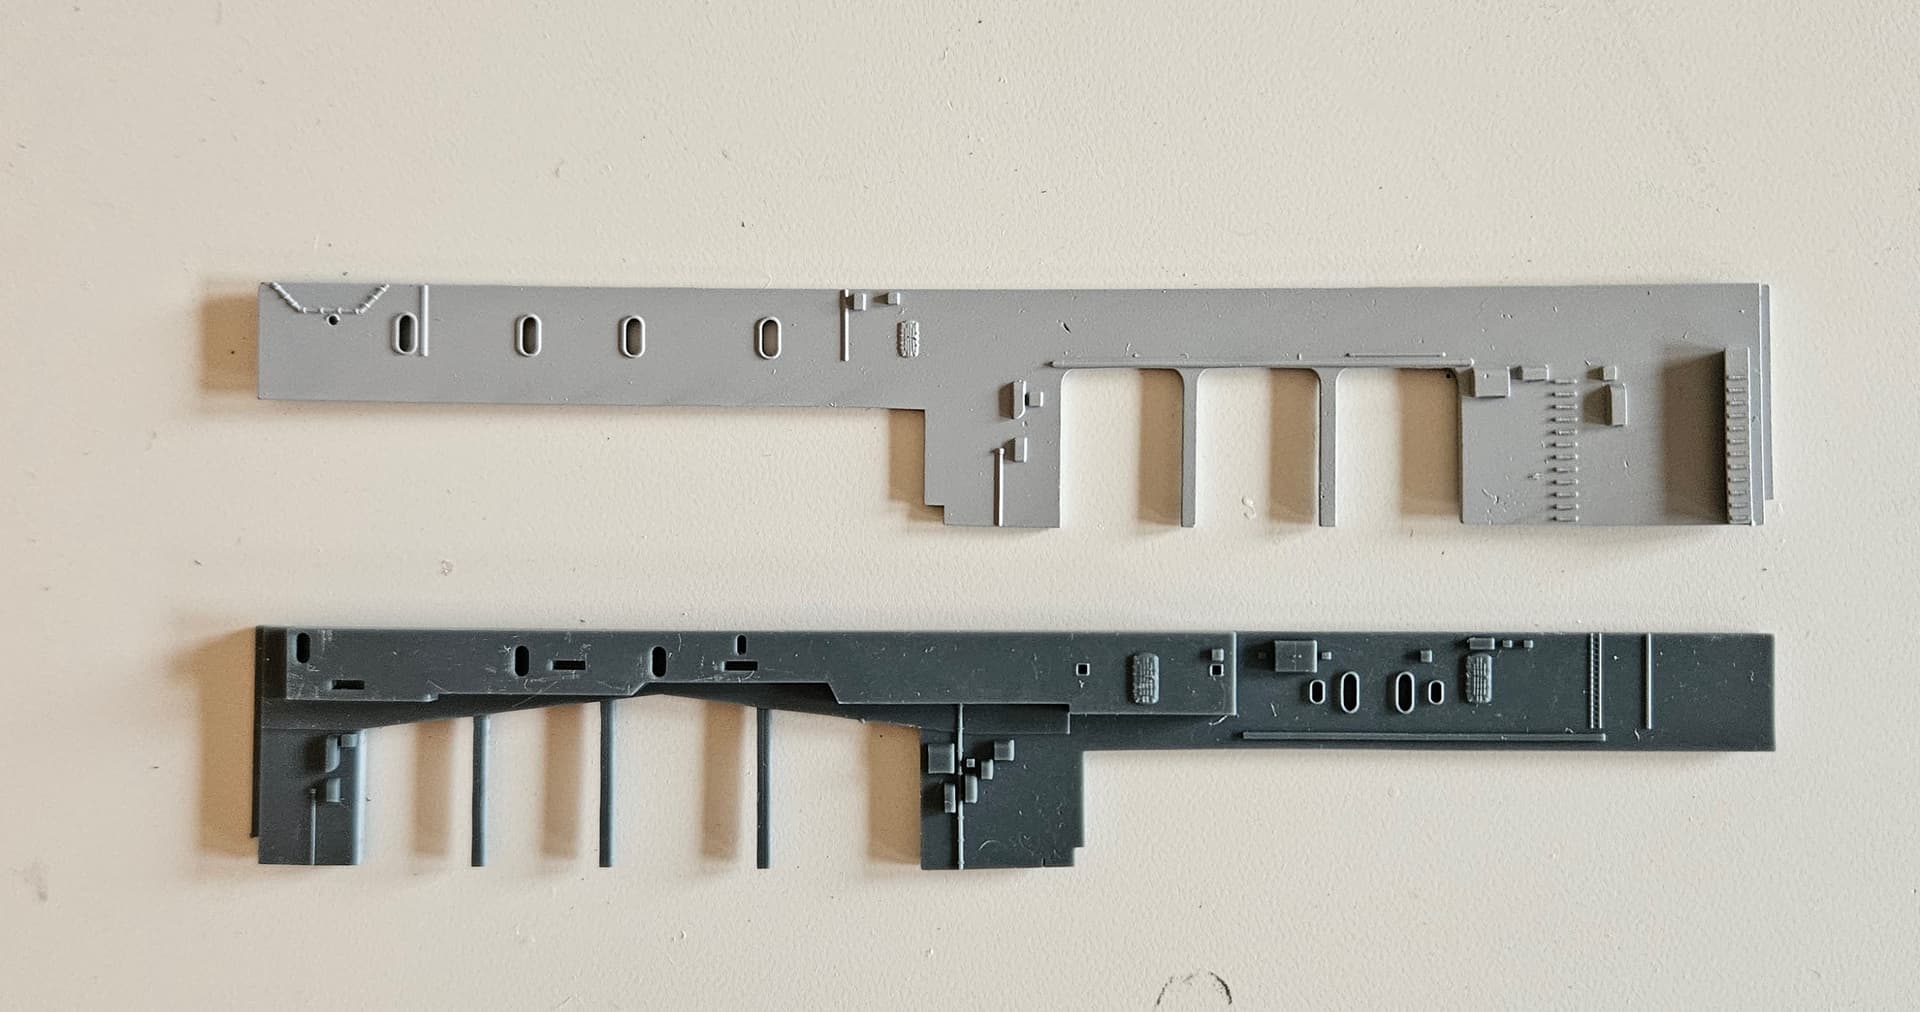
I also decided to re-do the forward starboard superstructure. Originally, I had grafted the small kit section to my new roller curtain doors section, but I did not like the angle and so I opted to do it as I had done the port side. Now I have both sides, with all roller curtain doors opened, so that the forward hangar bay will be quite visible from the outside. The port side is primed and the starboard side is still in raw resin form, drying from a washdown. I will prime it tomorrow.
Also, my re-printed flight deck is in transit, so hopefully in the next week or two I’ll have that, at which point, I can really start rolling on assembly.
2 Likes
I am looking forward to following this build. If I was to build this kit, it would be the Hornet. I’ve been to the ship several times in Alameda.
1 Like
Welcome to the thread! Also, note that all the pieces that I’ve designed and 3D printed will be available on Thingiverse if you’d like to print them yourself or send them out to be printed. Some of the pieces out there may change slightly once I get into final assembly, but I will make sure they stay updated as I make changes.
1 Like
The base is now stained, with a single application of dark walnut. I’m going to let this dry for a couple of days and then I will apply a grain filler in advance of the final poly coats.
1 Like
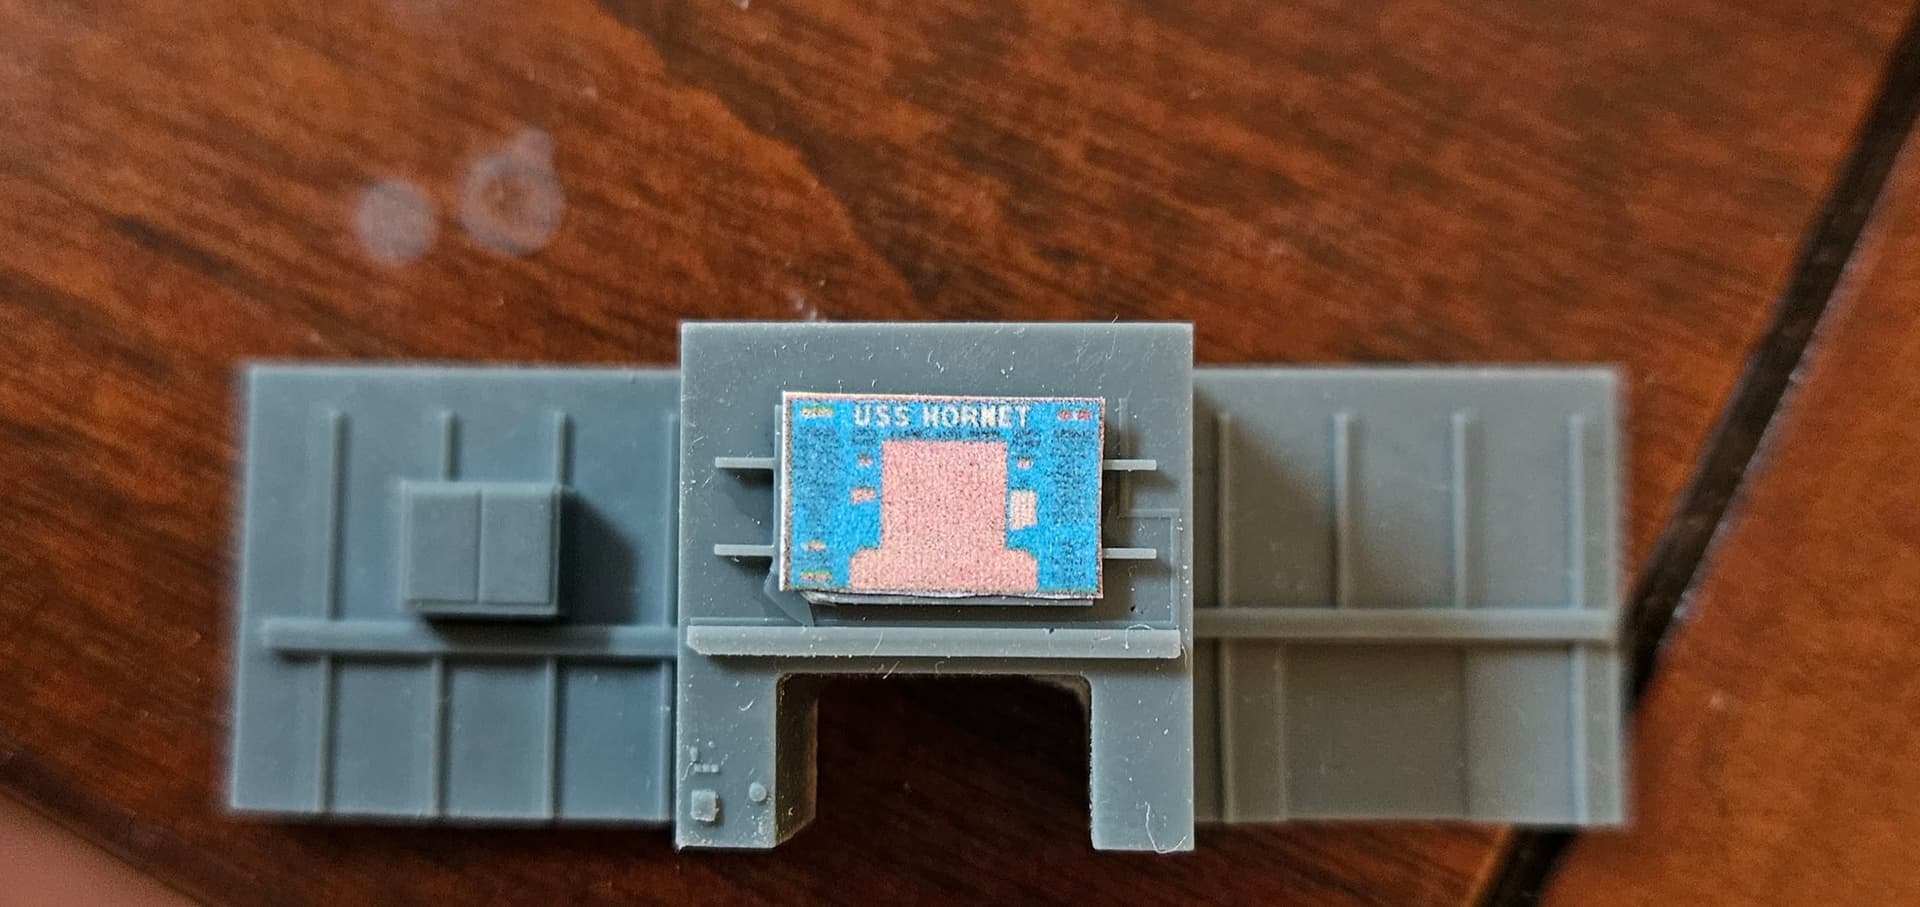
I’m now preparing for the arrival of the flight deck, which will unlock the next major phase of the project–construction of the interior and exterior of the hangar bay and the superstructure. I need the flight deck so that I can be sure all the components fit within or under the flight deck correctly. Once verified, I will paint the exterior of the superstructure haze gray and the interior USN Gloss White. I will assemble the sections, exterior first, then I hope to put the interior pieces onto the back of the exterior pieces before attaching the superstructure to the deck. This will give me much more leeway for alignment and finishing. I’m now working on the last few interior pieces. This small piece is the ammo elevator on the starboard side, just aft of the roller curtain doors for the hangar deck catapult. This is where I believe the original scoreboard for Hornet from WWII was displayed while the ship was on active duty. The original is now in Pensacola at the Emil Buehler Naval Aviation Library, and a replica is on the Hornet in Alameda. They are slightly different, so I opted to print the original one for use in my hangar bay. And in case you’re wondering, it will be visible from the elevator 2 opening!

2 Likes
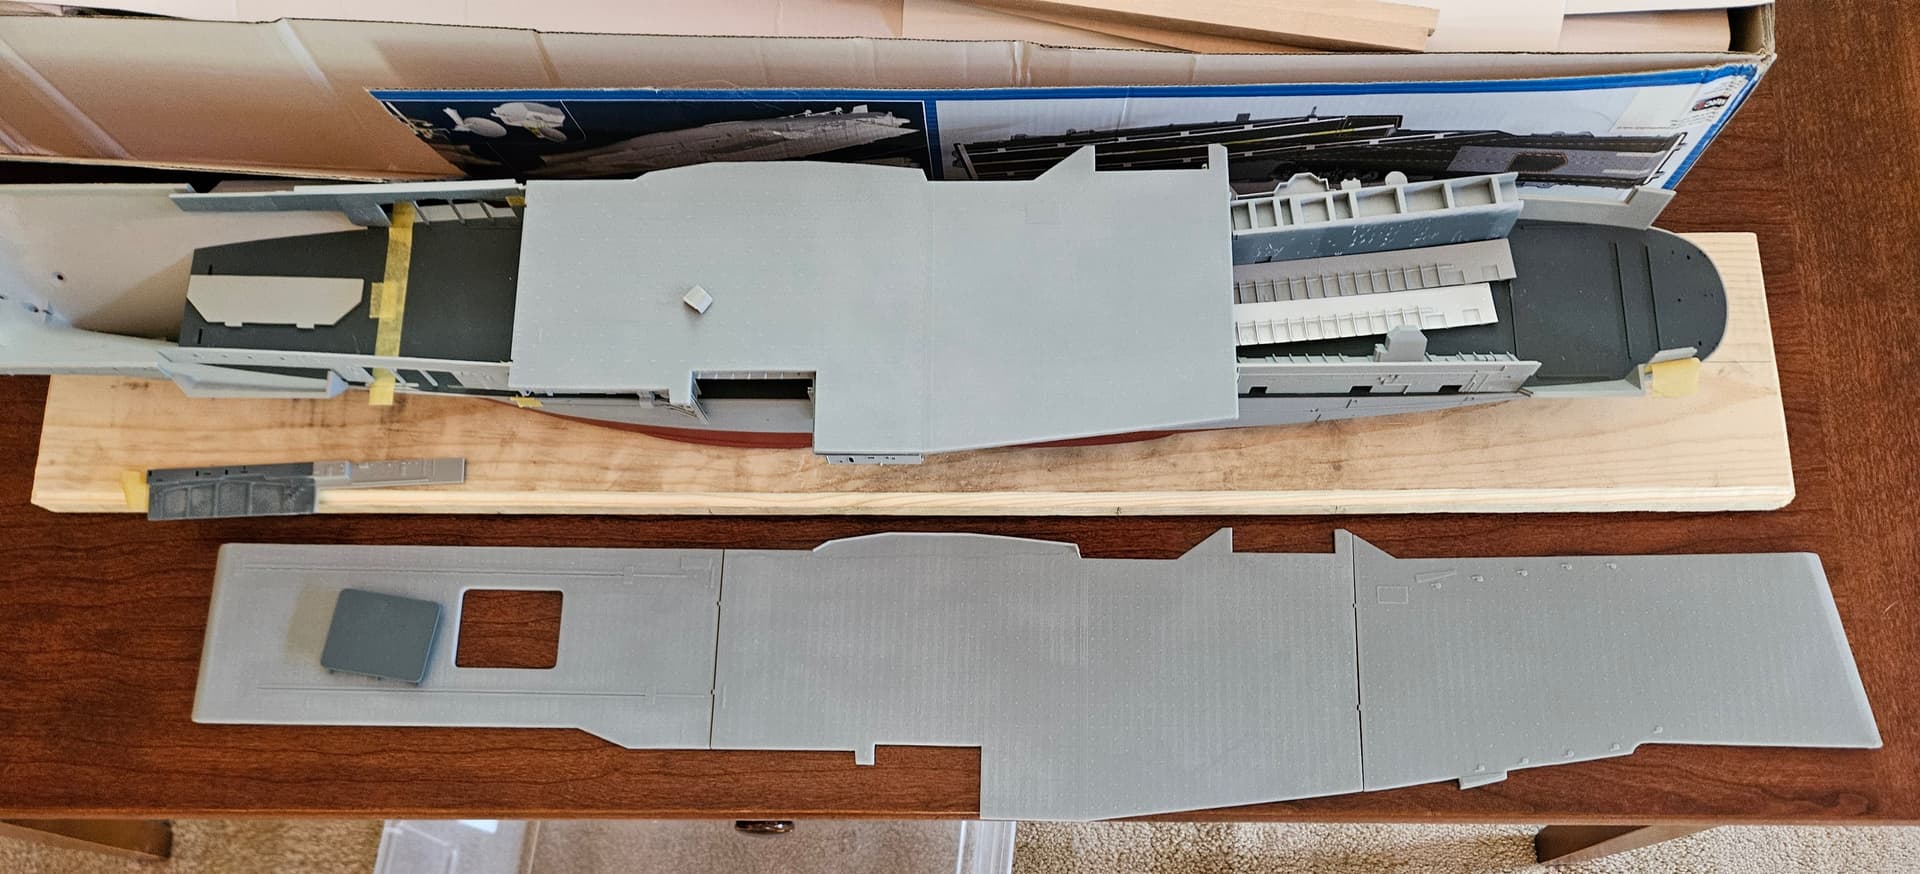
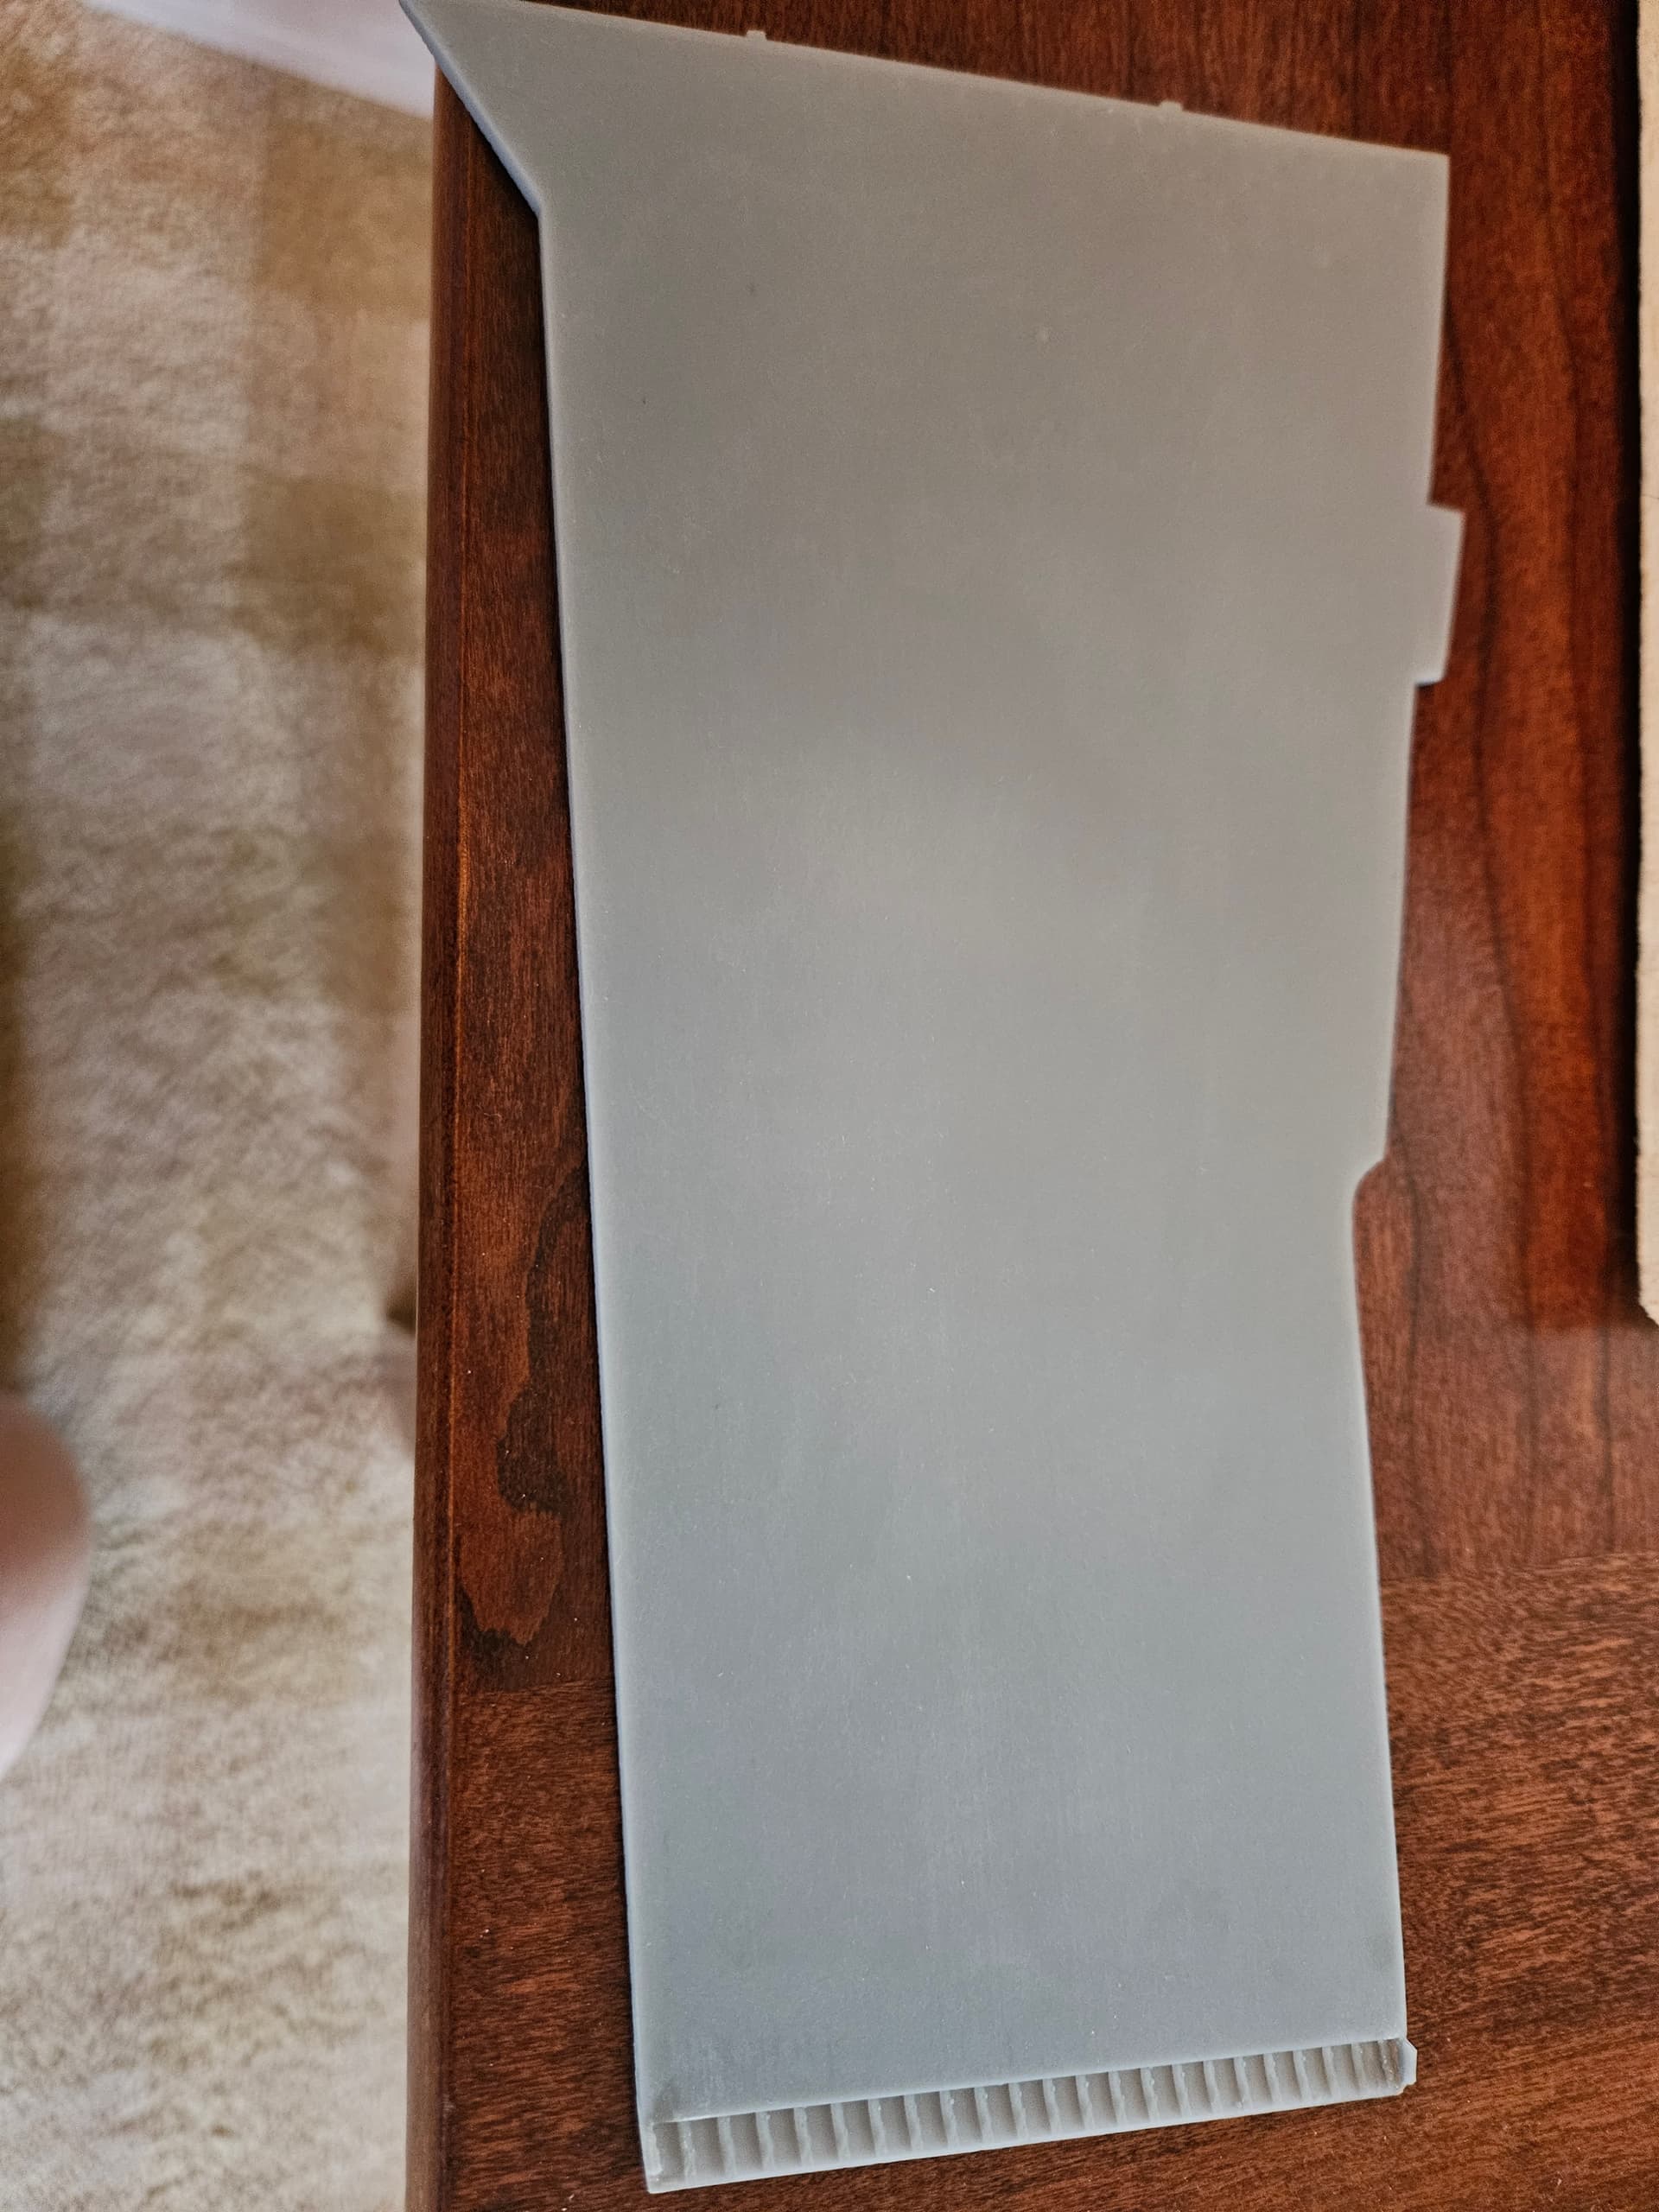
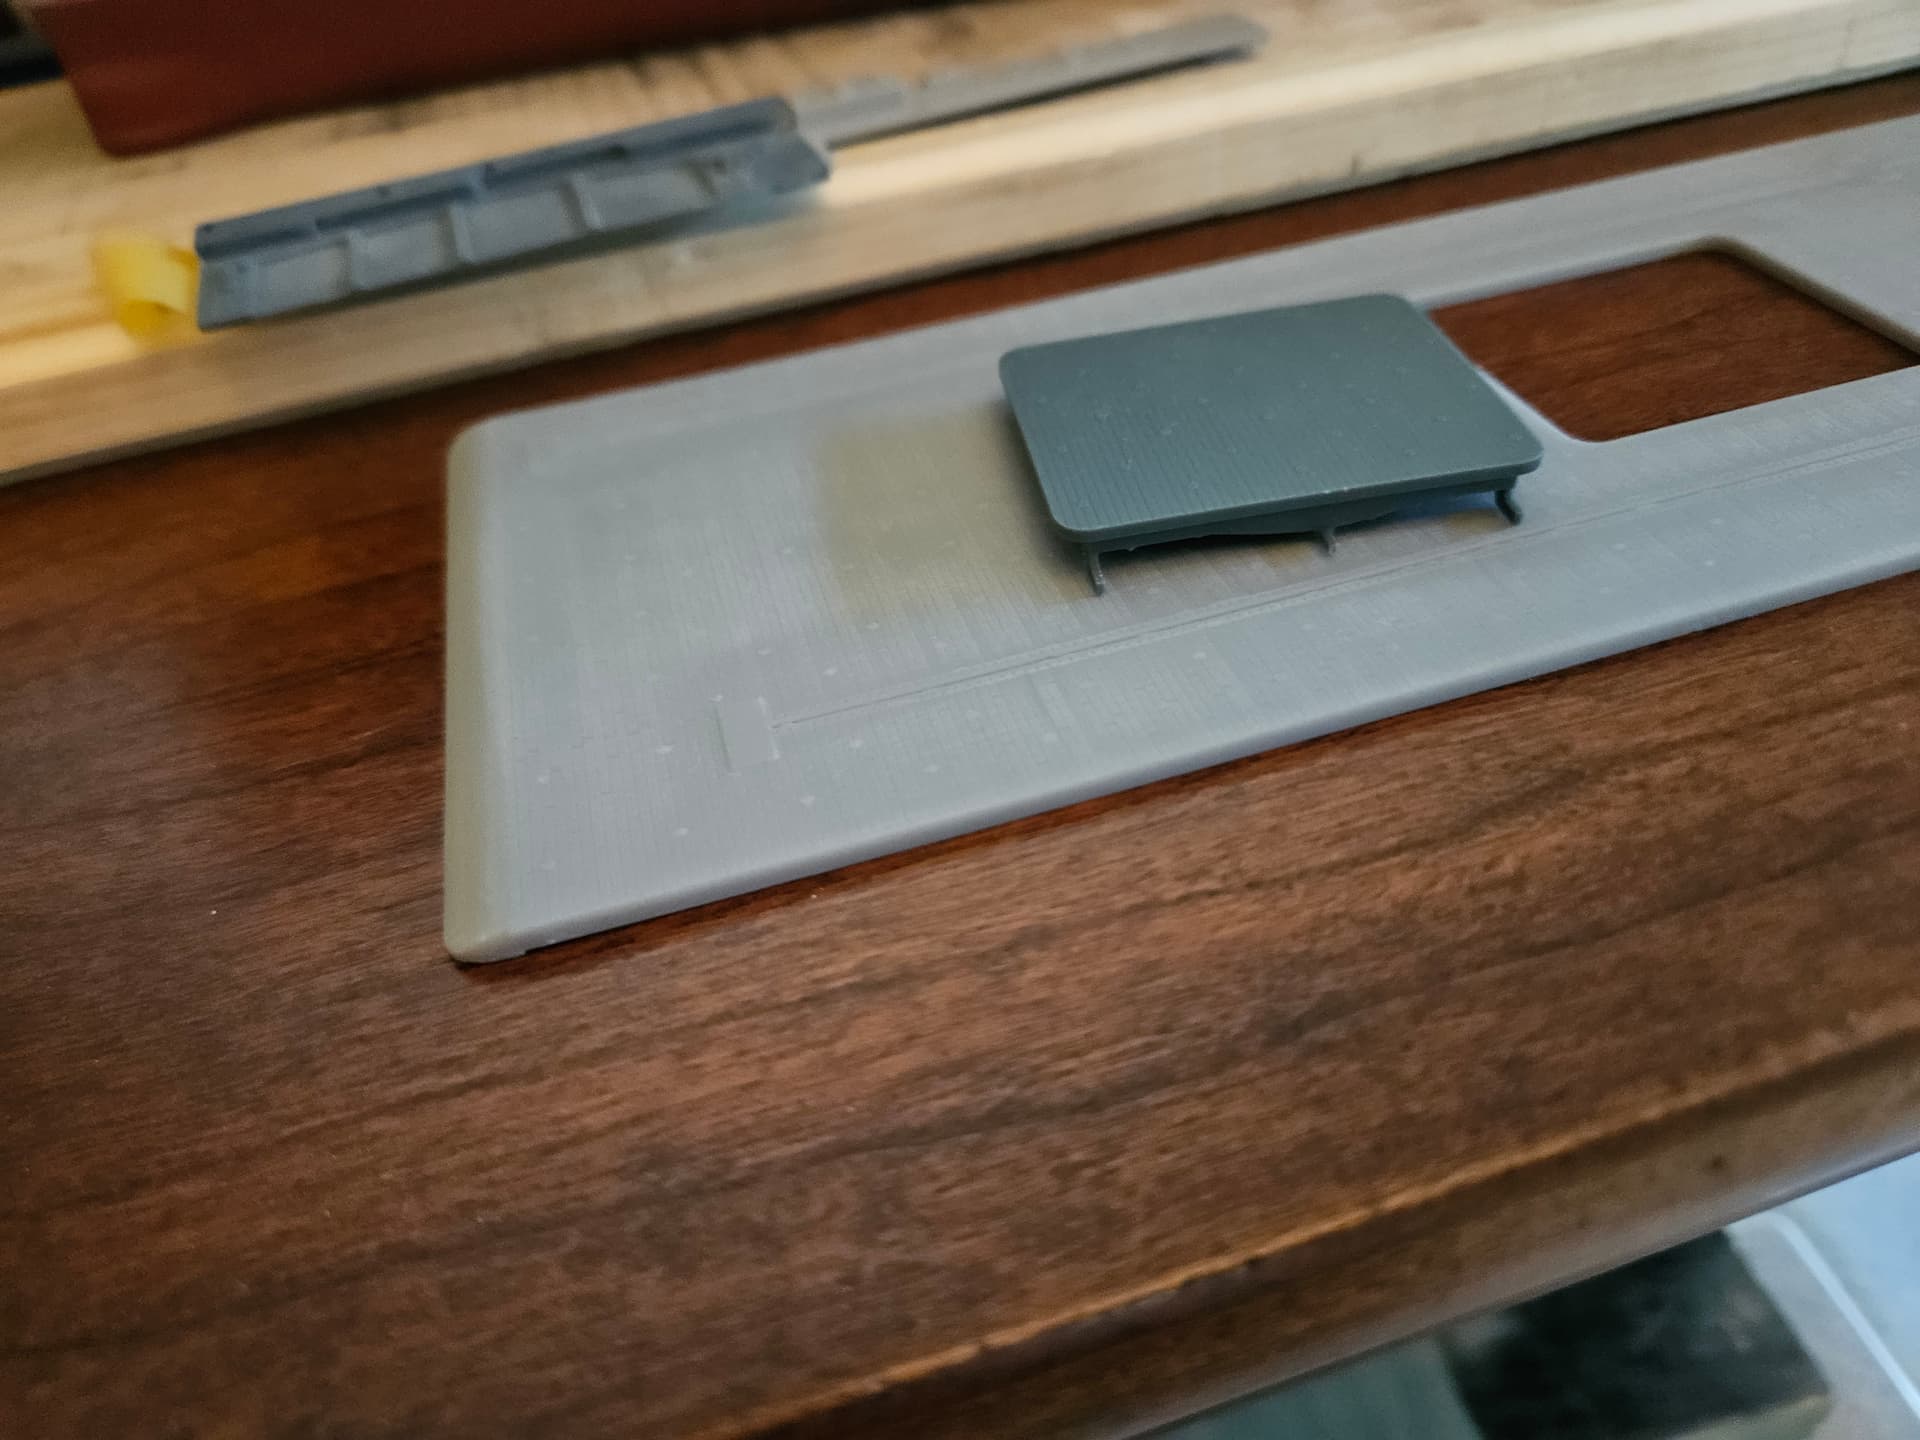
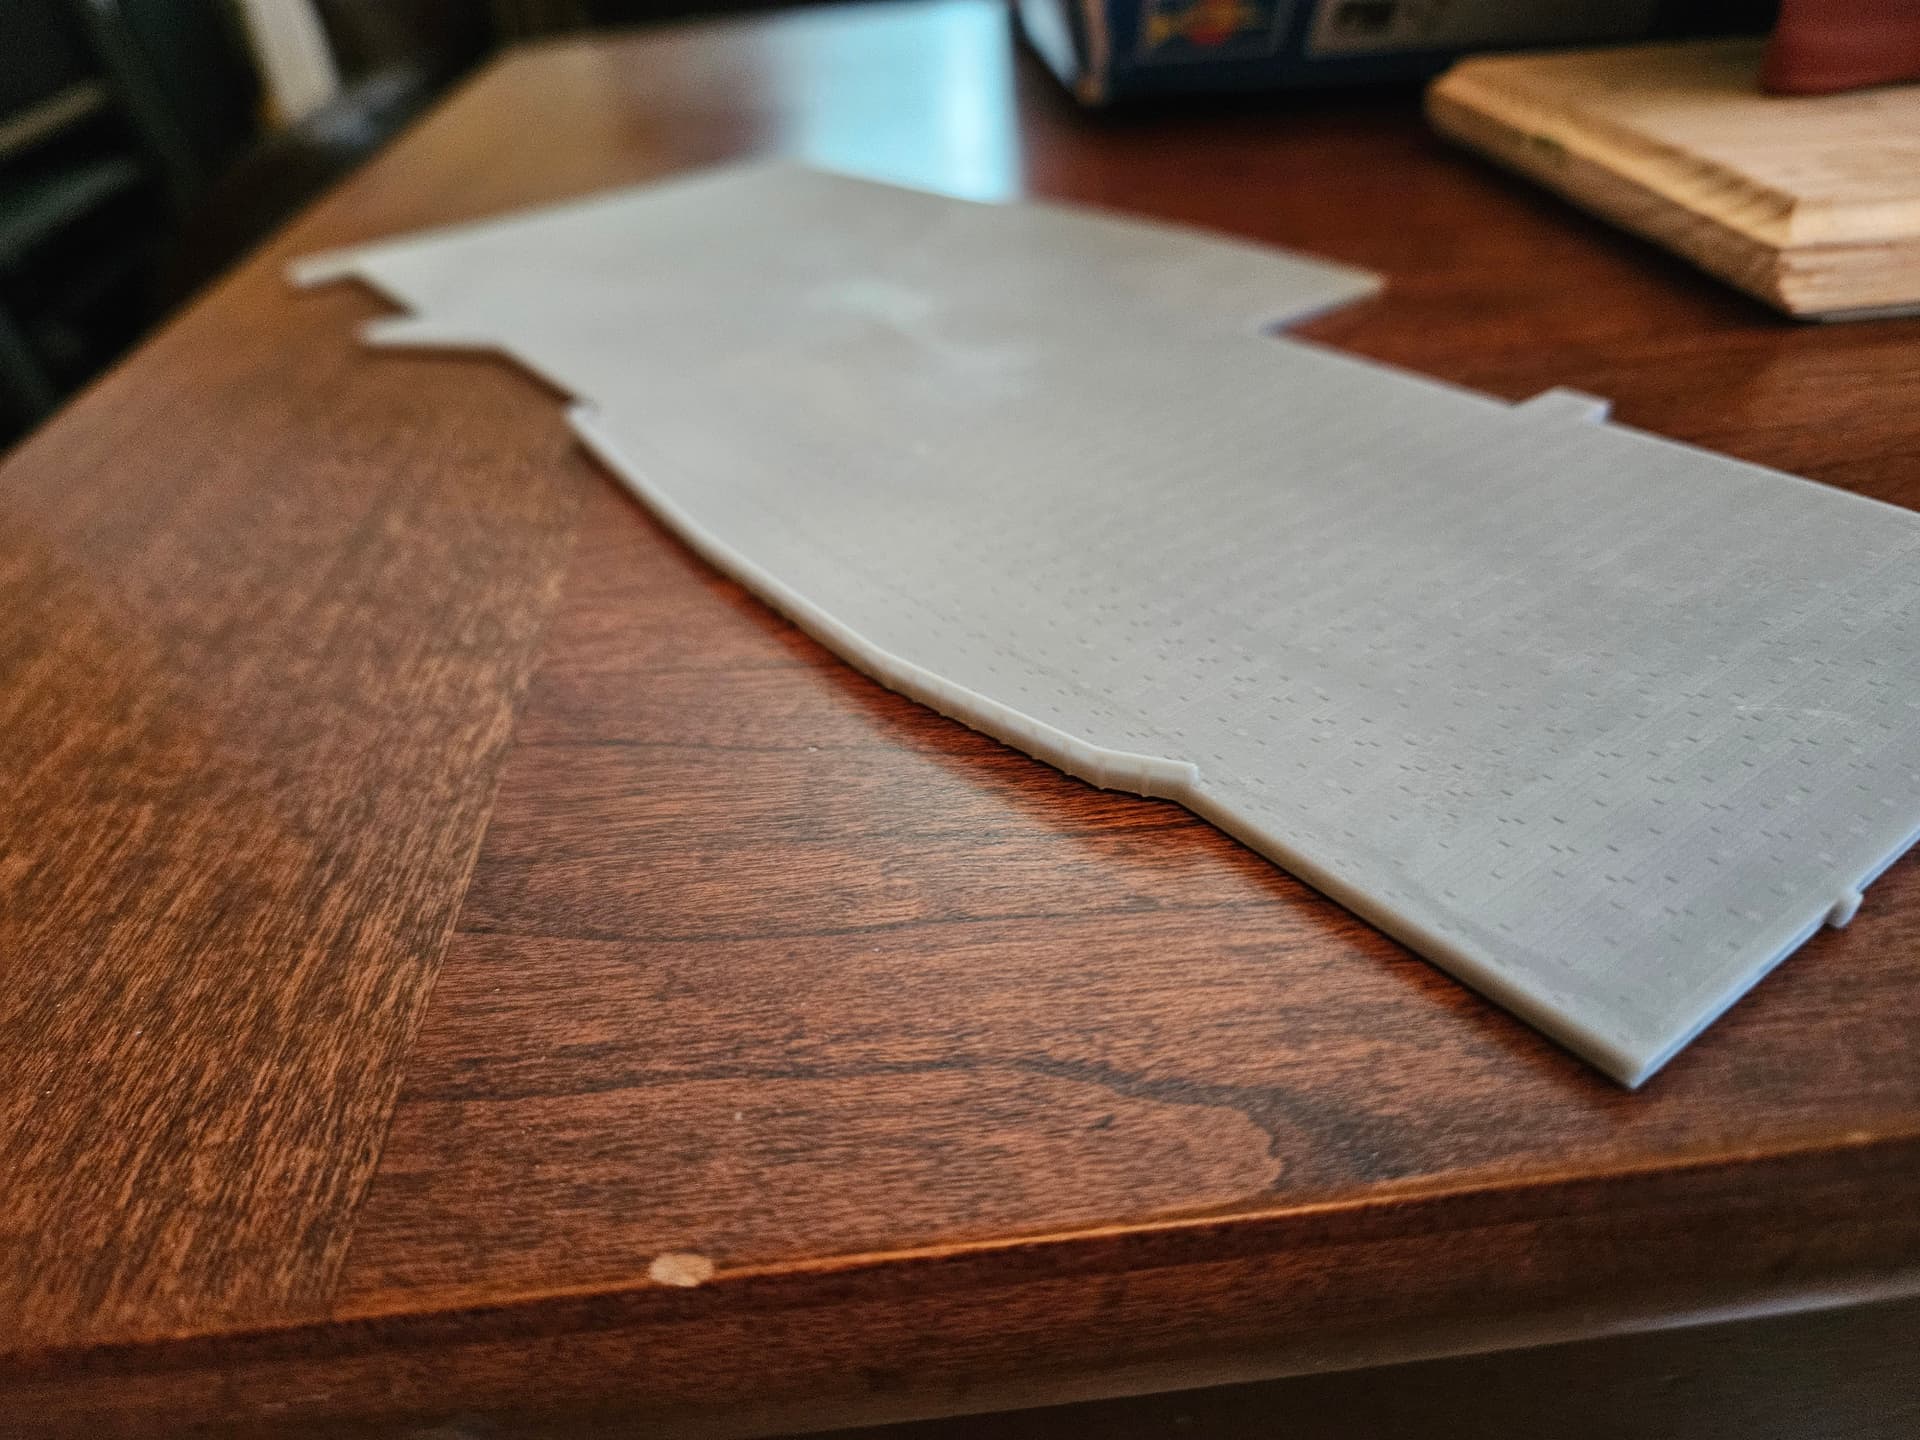
So, just back from a visit to Virginia to see my in-laws. My father-in-law is a wooden ship builder and we talked ships quite a bit during the week. His workshop is incredible and I took a few ideas back for inspiration. My newly printed flight deck arrived today, in 3 pieces as was the case last time. The center section had a slight upward warp at the forward end, but fortunately no twisting. I soaked in warm water and weighed it down for an hour and I think it looks pretty good now. I will leave it overnight just to be safe, then I will probably start joining the three parts tomorrow. I also took the opportunity to improve the forward and aft ramps, focusing on getting the curvature and the shape right, along with adding some structure on the aft ramp. Also, the integrated rail to the outboard of the island turned out great. Overall, everything turned out very well and I can’t wait to get started on assembly!
1 Like
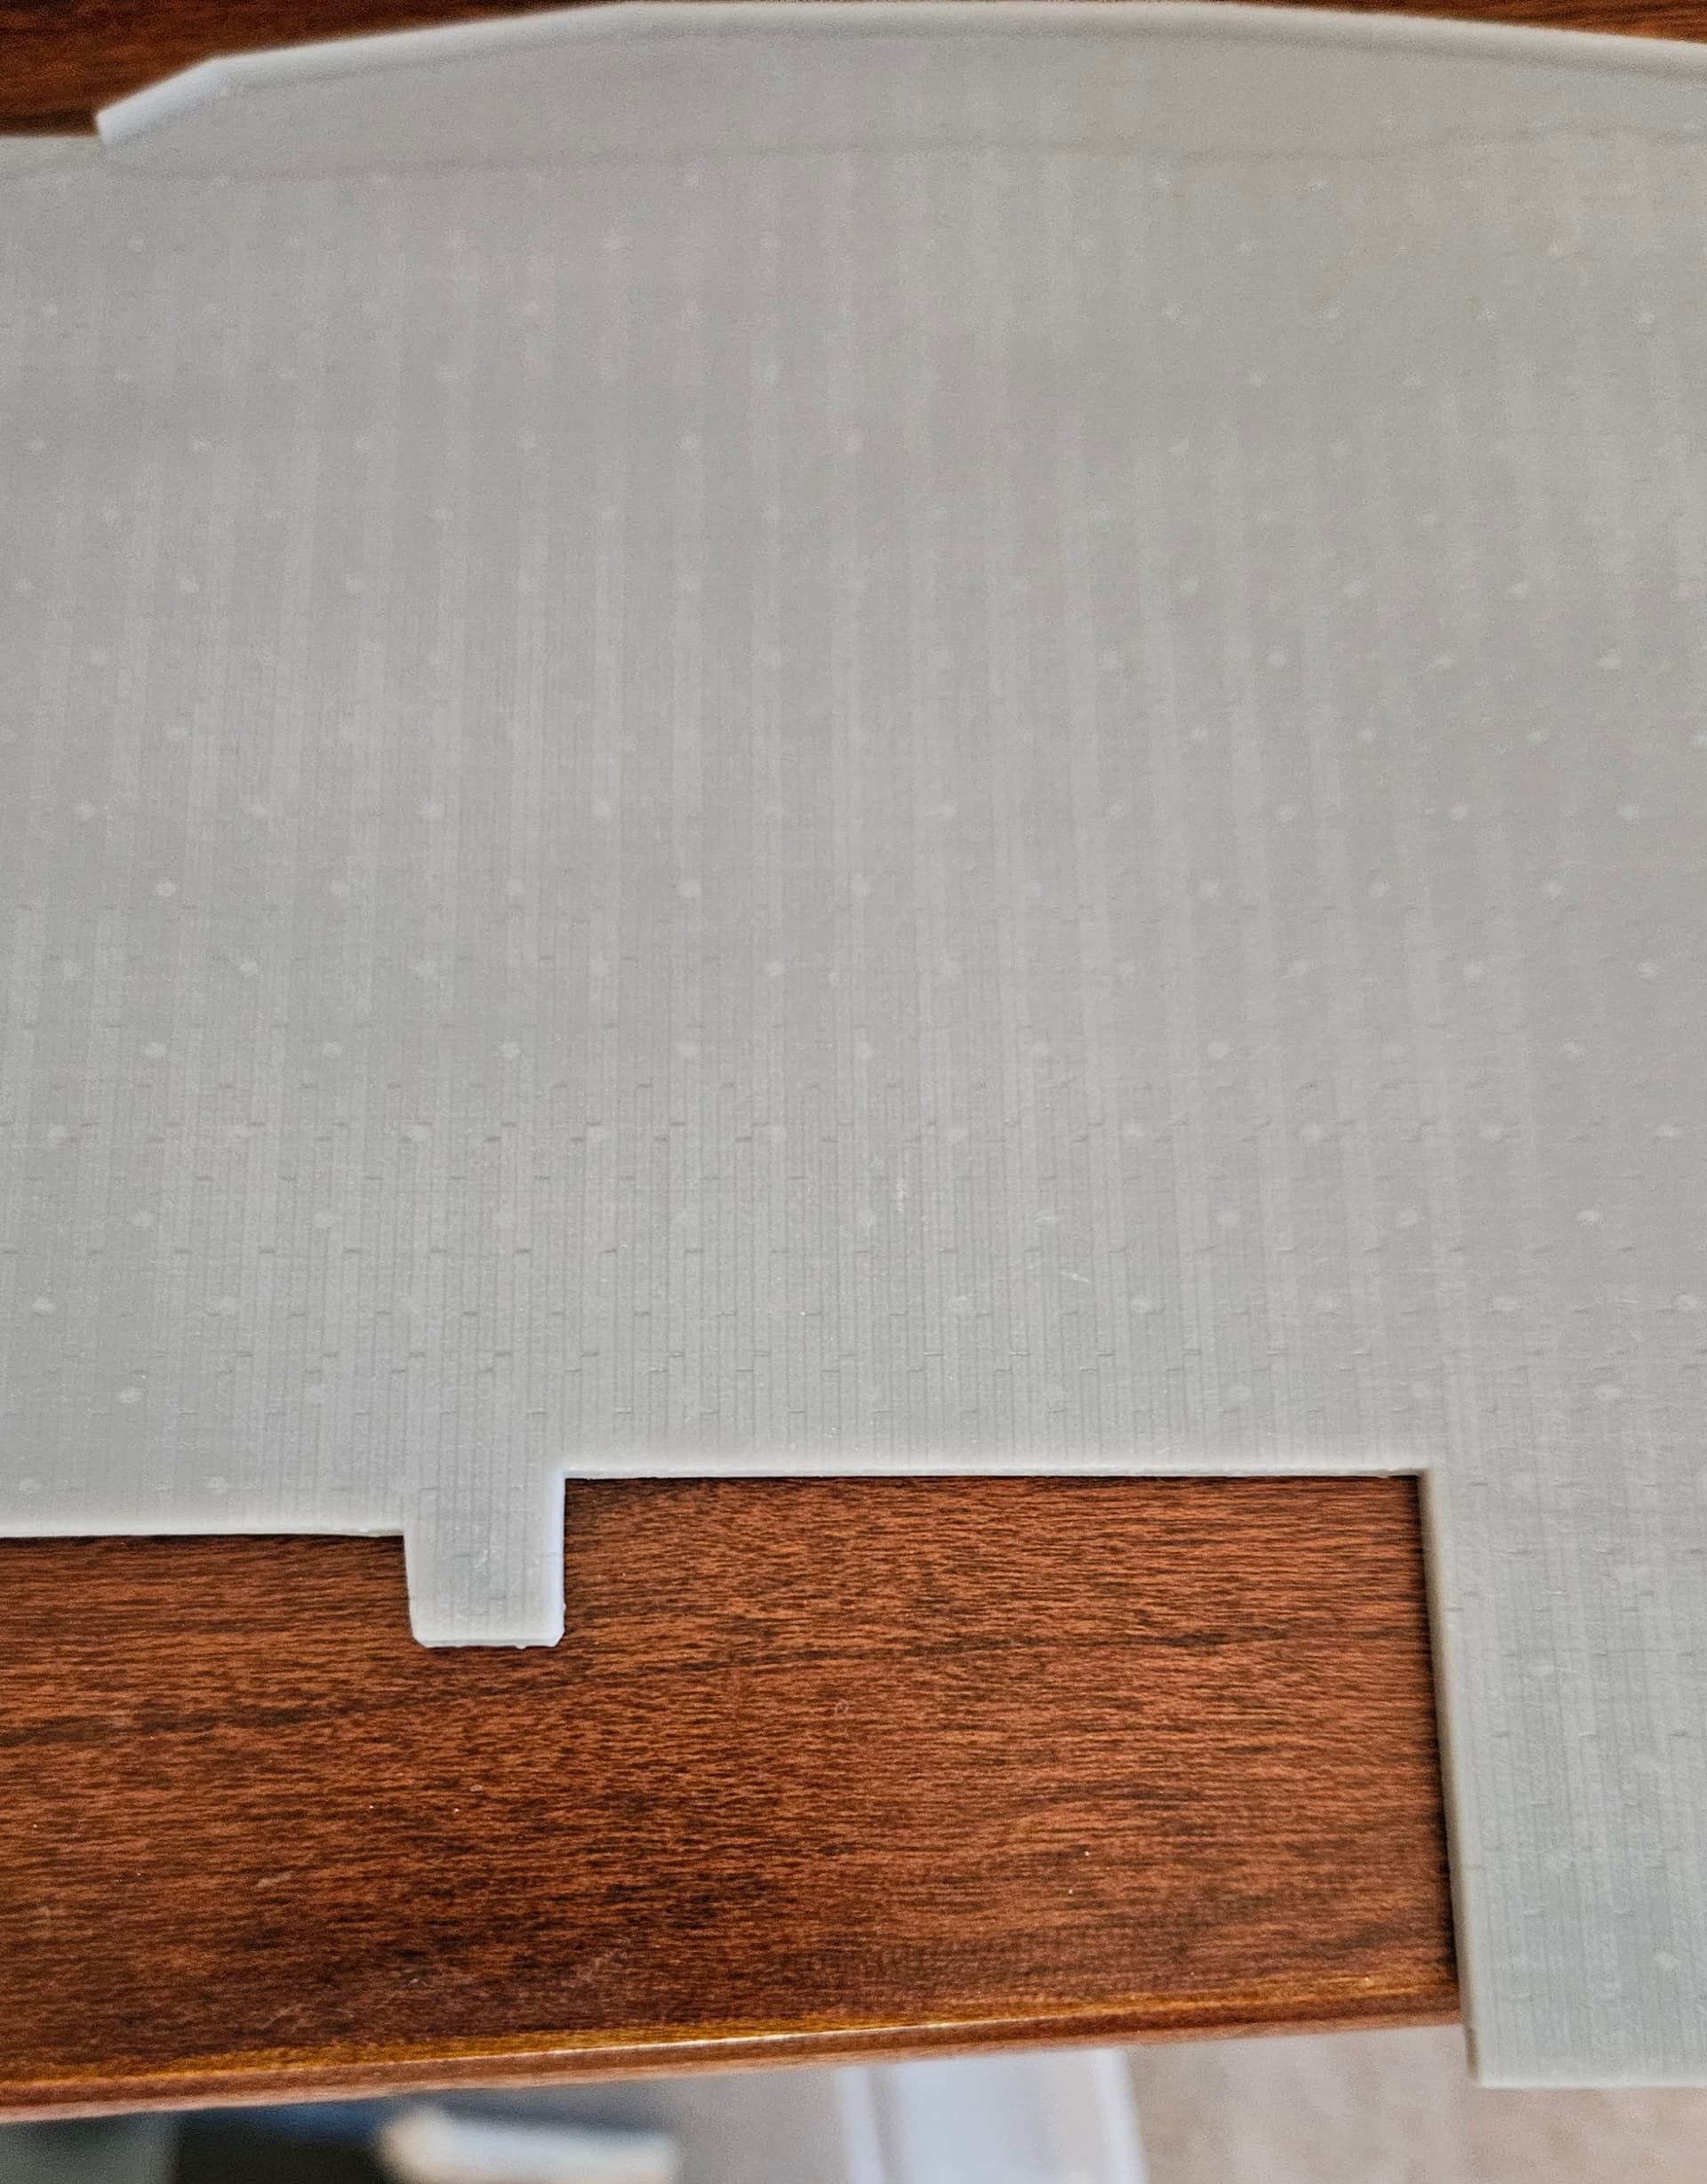
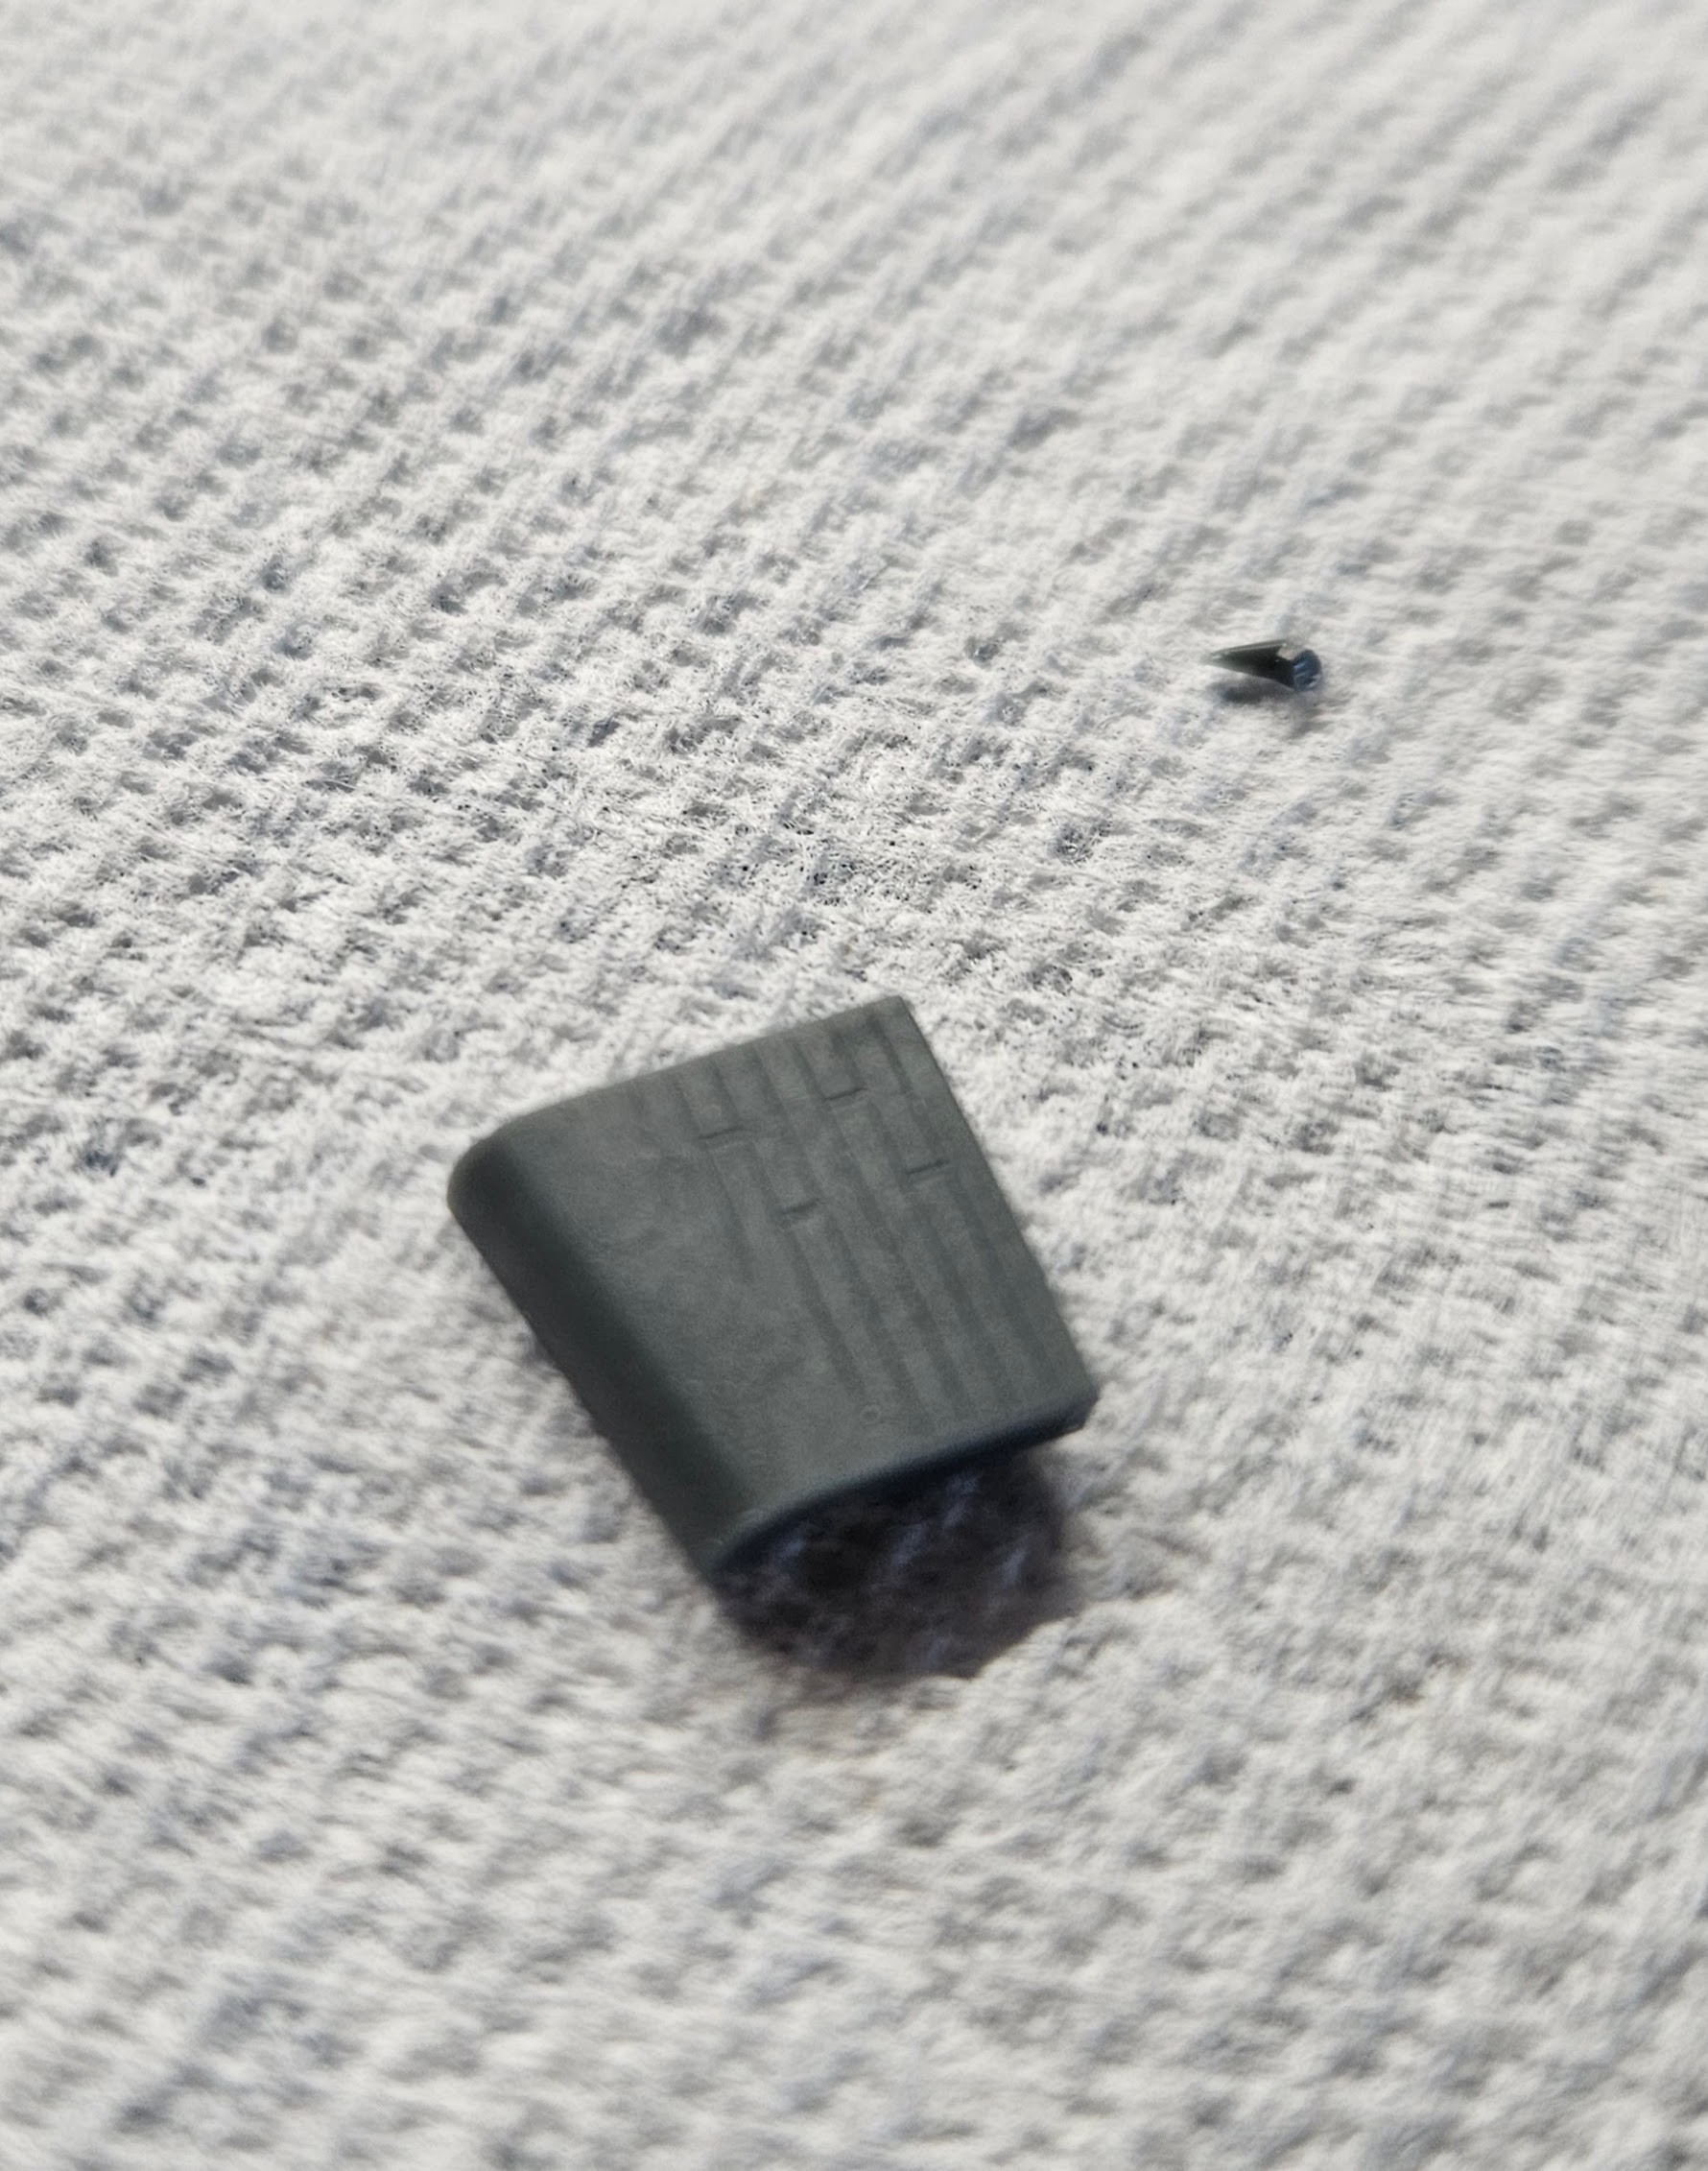
One thing I wish I would have remembered to do on the new flight deck was to incorporate the curved ramp extension just forward of the #2 elevator opening. Instead, I just printed the shape, without the curvature. To remedy this, I printed the correct shape and will remove the extension with my razor saw and epoxy the new piece into place.
1 Like
The new flight deck is now fully assembled. I laid the joints on top of parchment paper then used CA glue to connect and fill the seams. I hit that with accelerator and sanded smooth, taping either side of the expansion joints to prevent damaging the planking detail. With that done, I flipped over the deck and placed a sheet of aluminum over the joint and affixed it with epoxy for extra strength and flexibility while handling the deck. I did one section at a time, and let the epoxy dry for about 4 hours before doing the second section. Now I need to start assembling the superstructure and the hangar interior. Then the hangar overhead and LEDs will be installed before topping it all off with the flight deck.
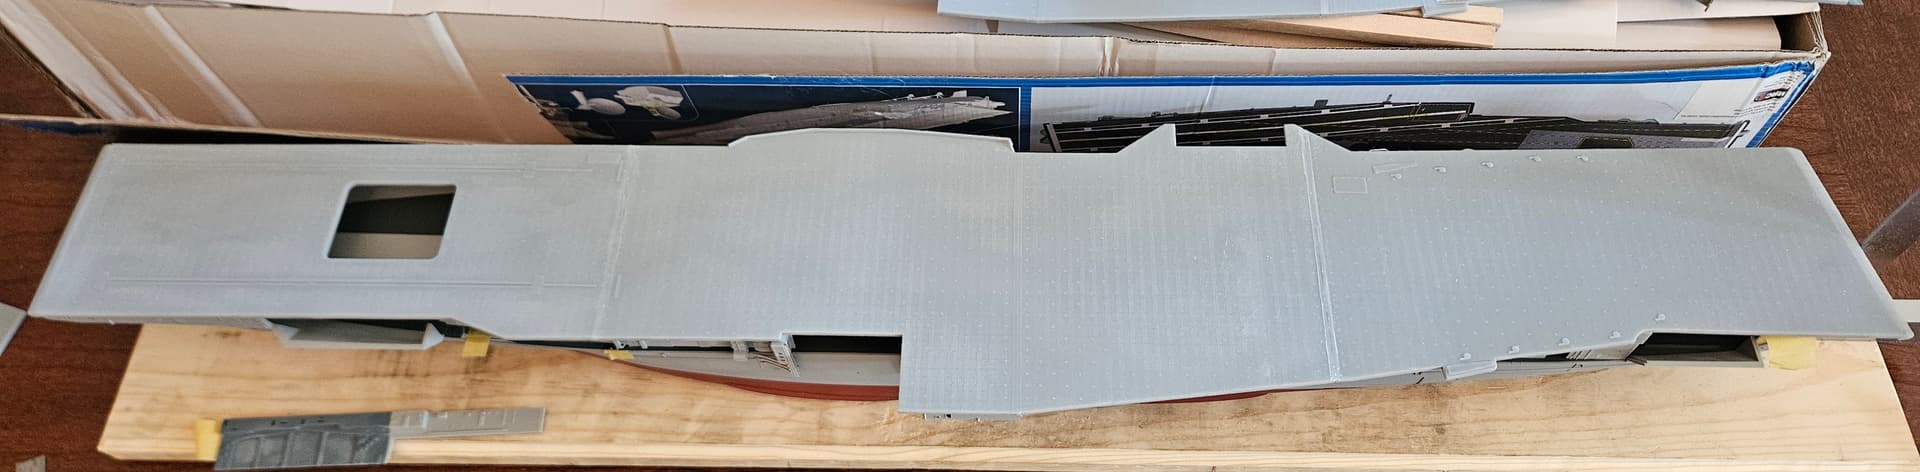
1 Like
A productive morning today! Finished the base, other than getting the brass plate back and mounted, which is not time critical.
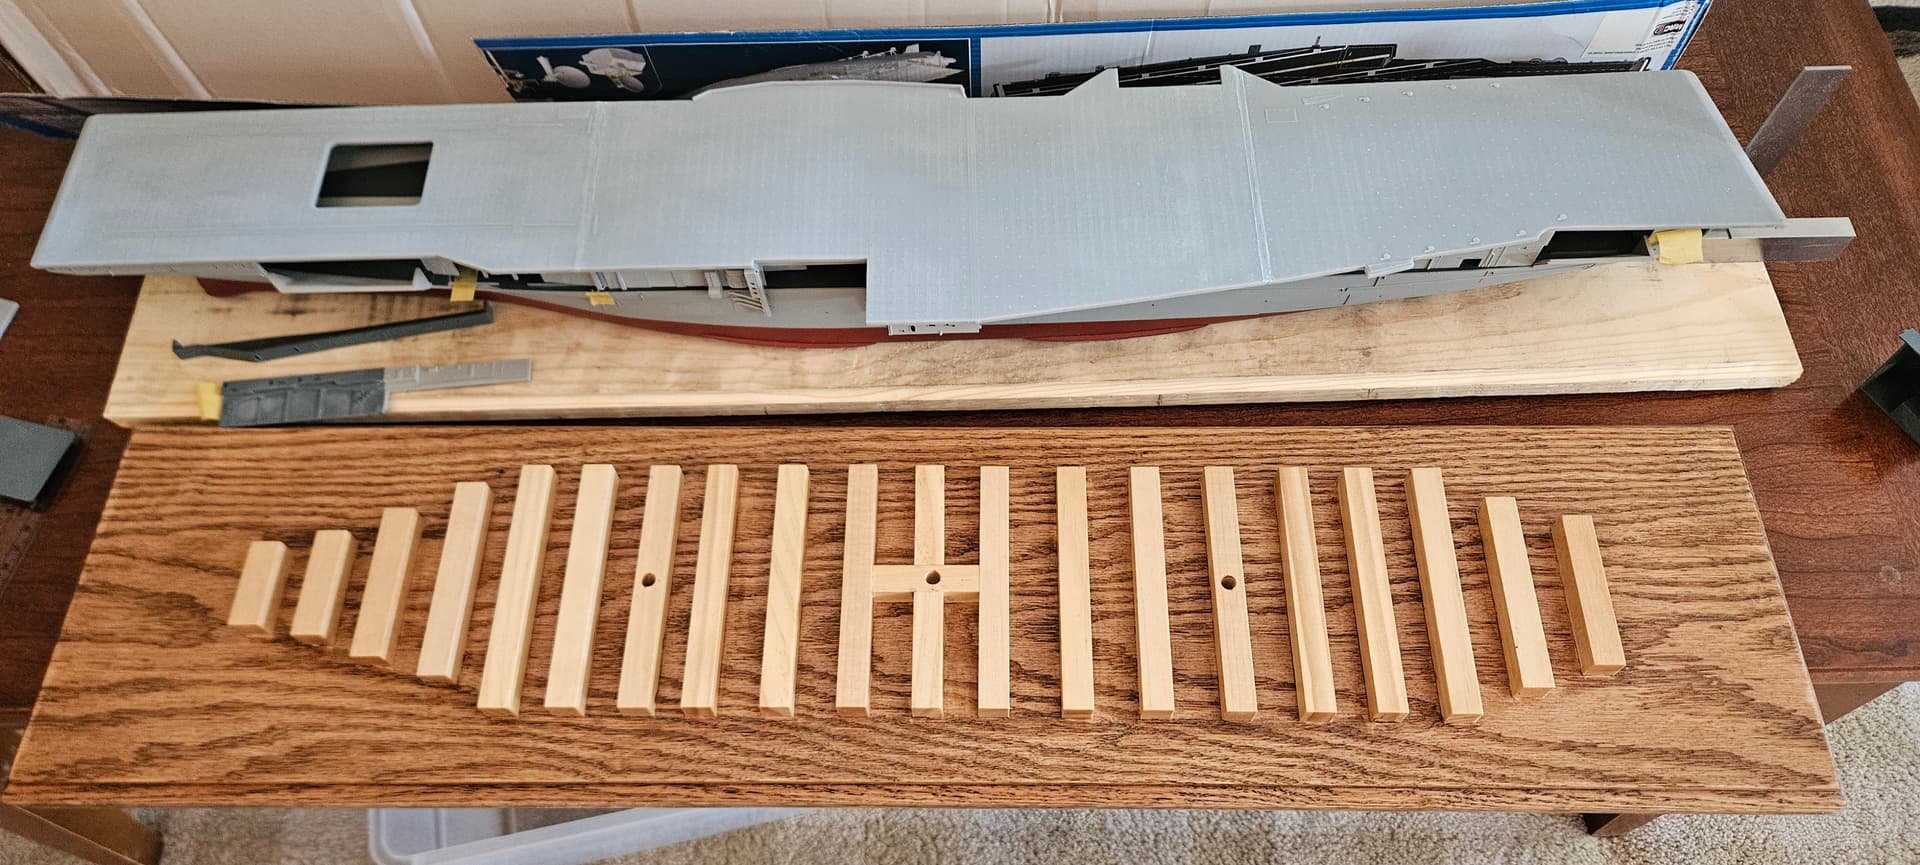
1 Like
I did some more test fitting tonight to see how all the parts come together. Not much above the hull is coming from the kit at this point, other than probably 60% of the starboard side superstructure.
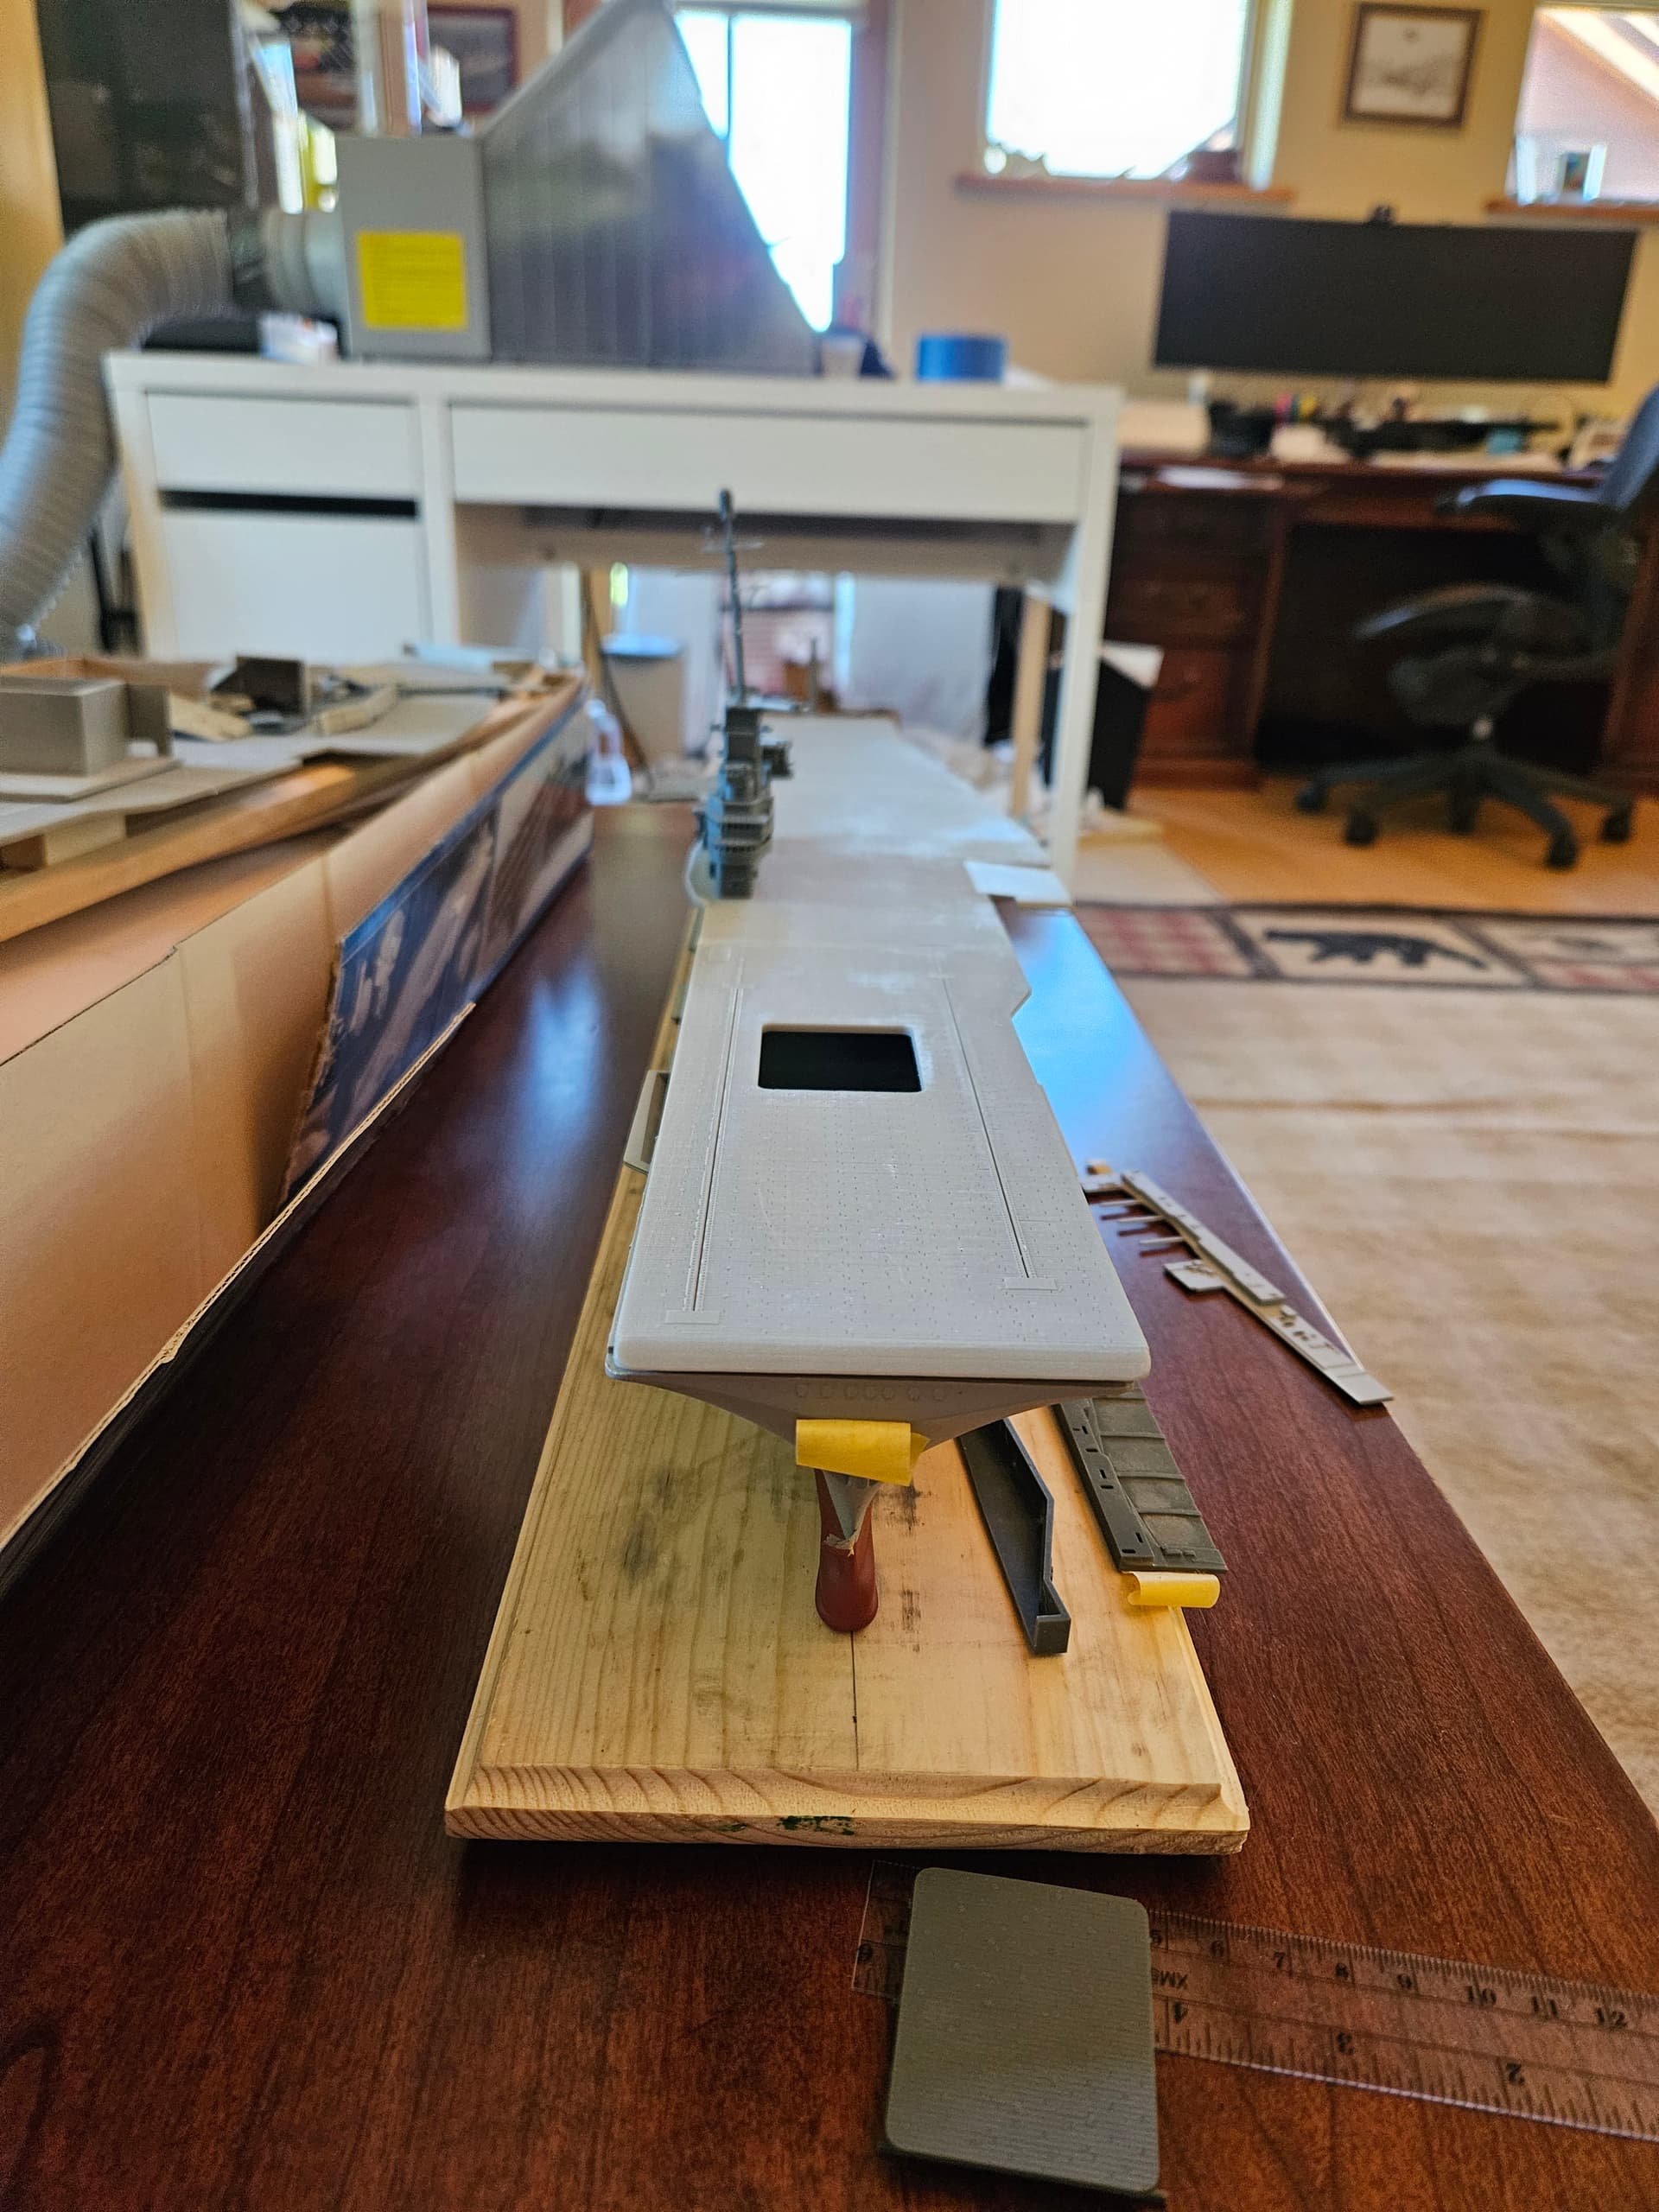
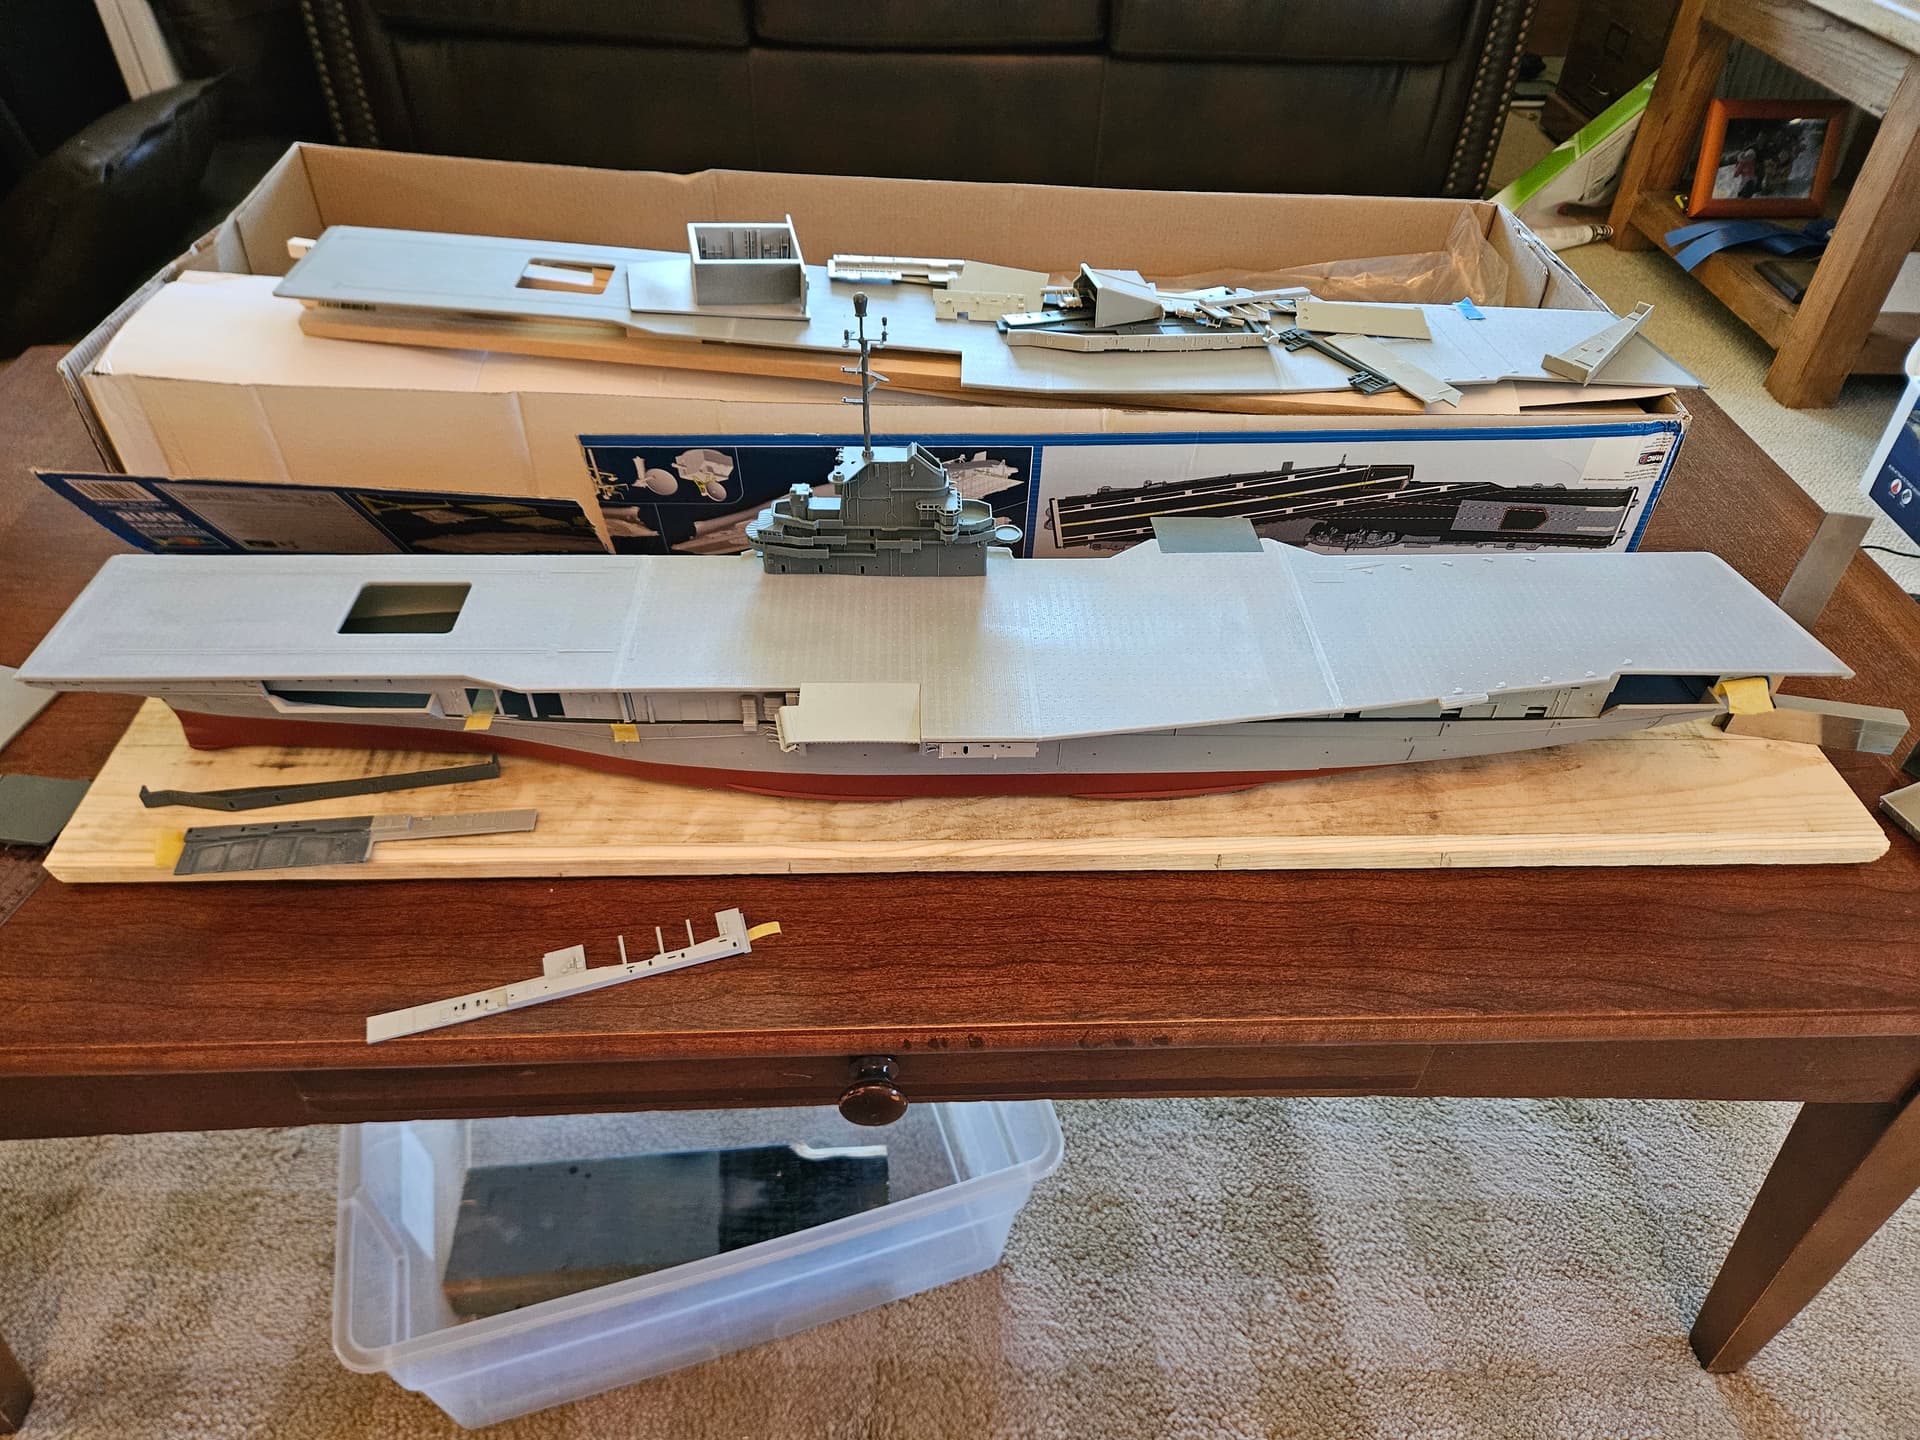
1 Like
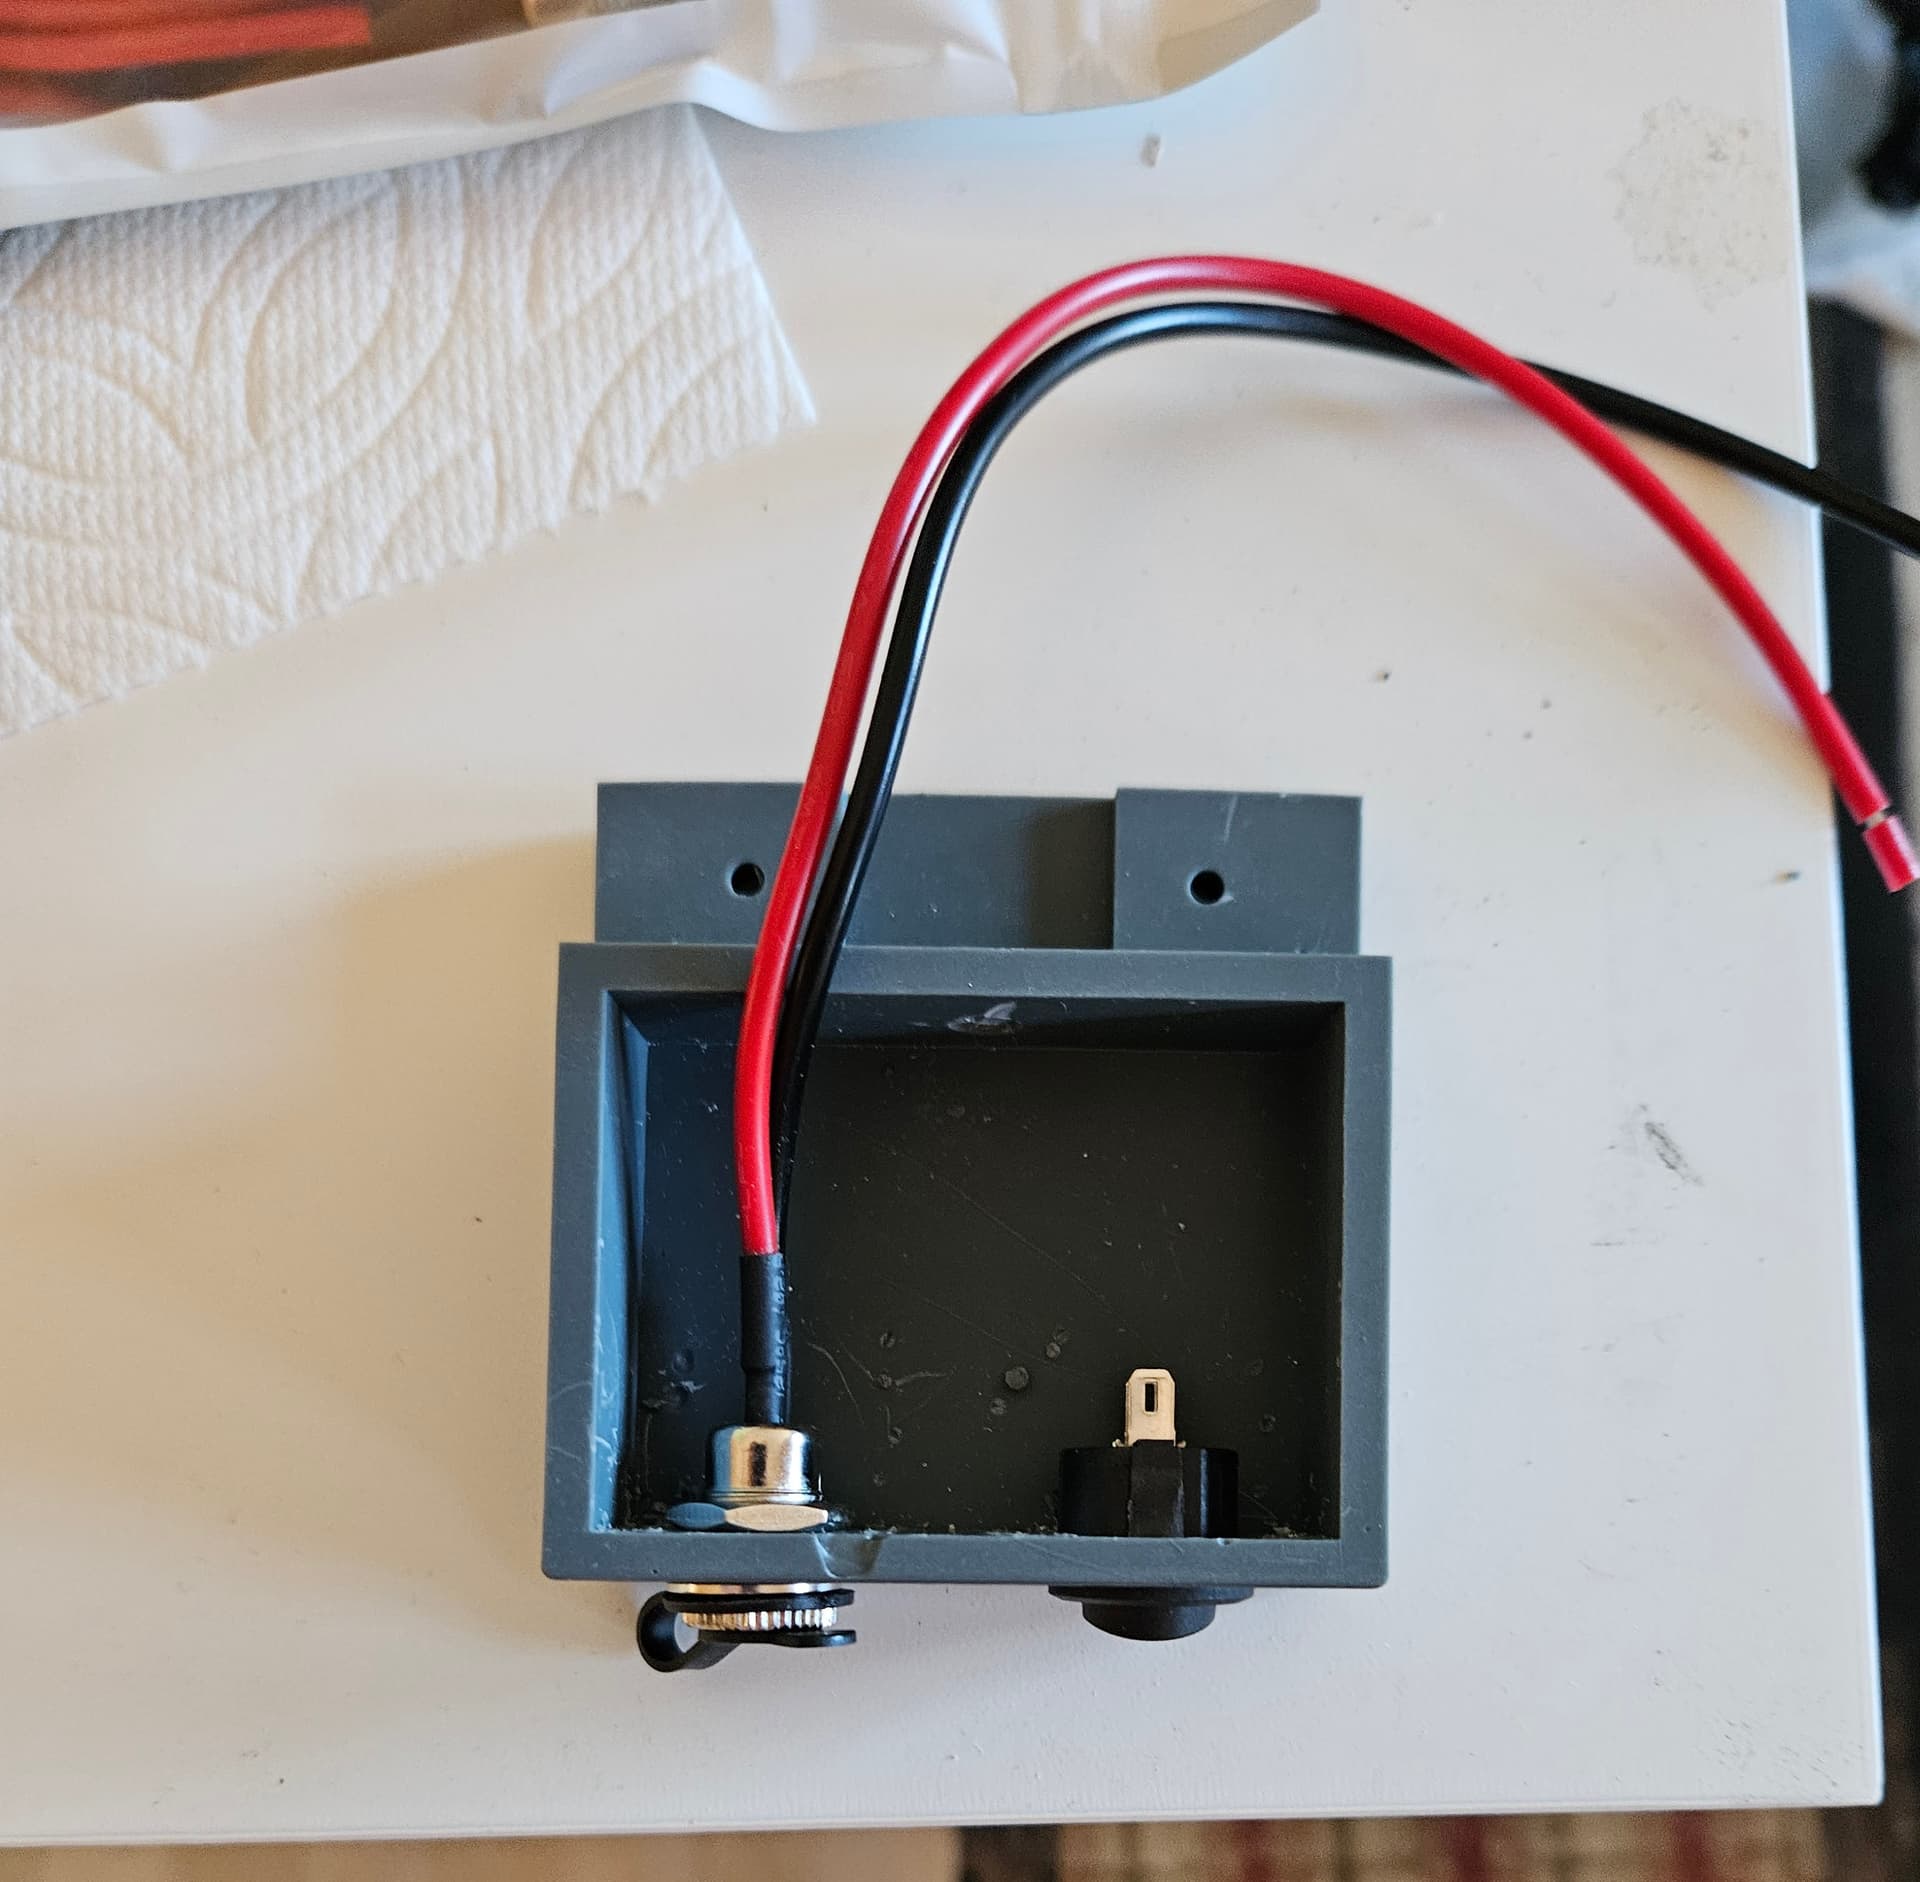
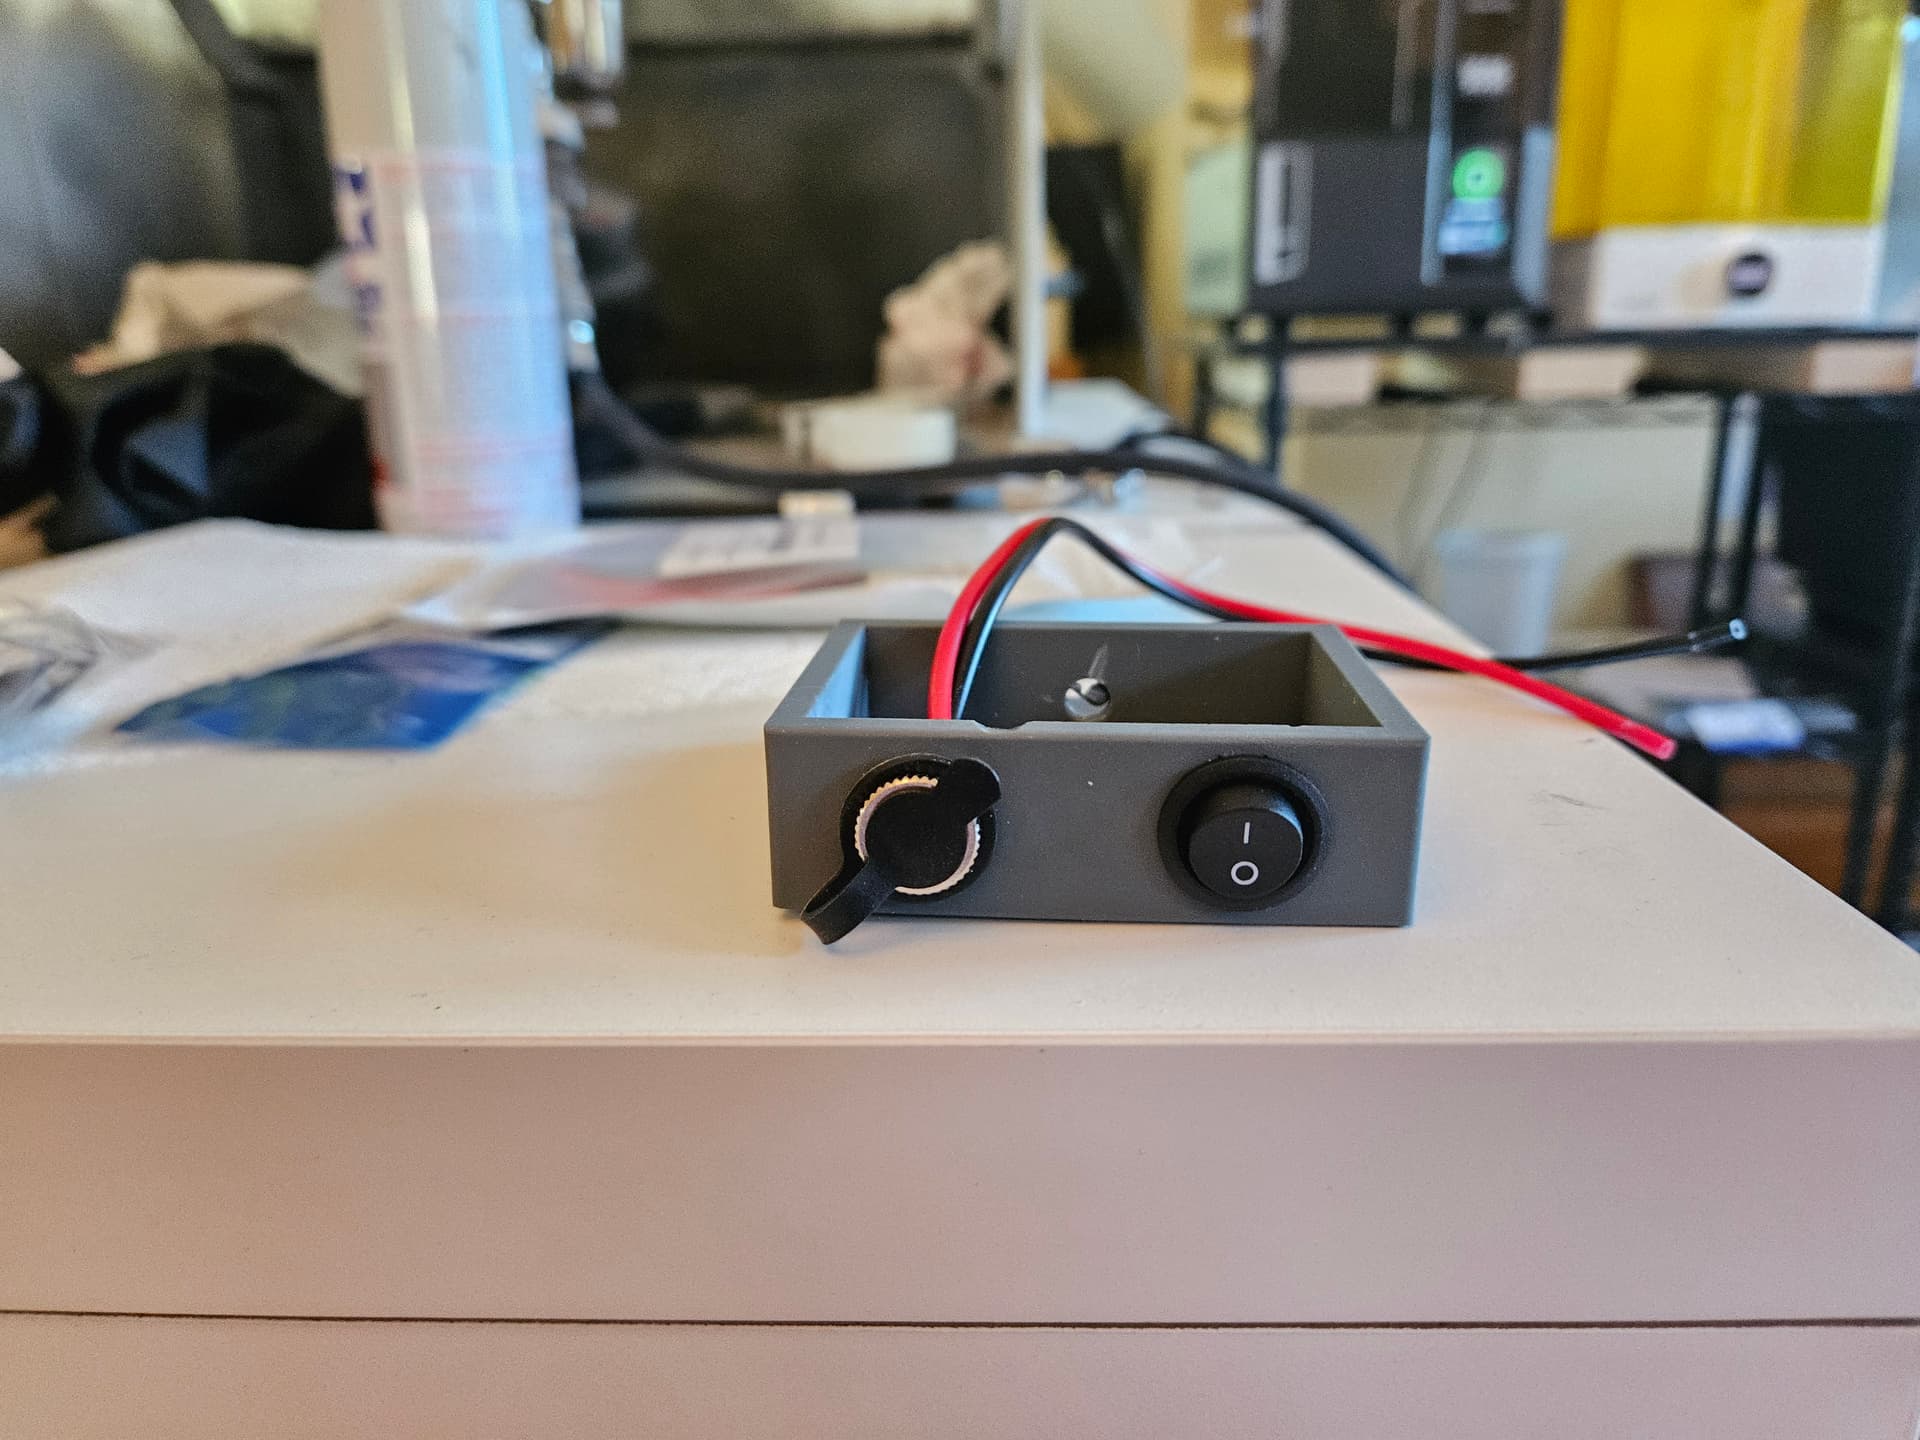
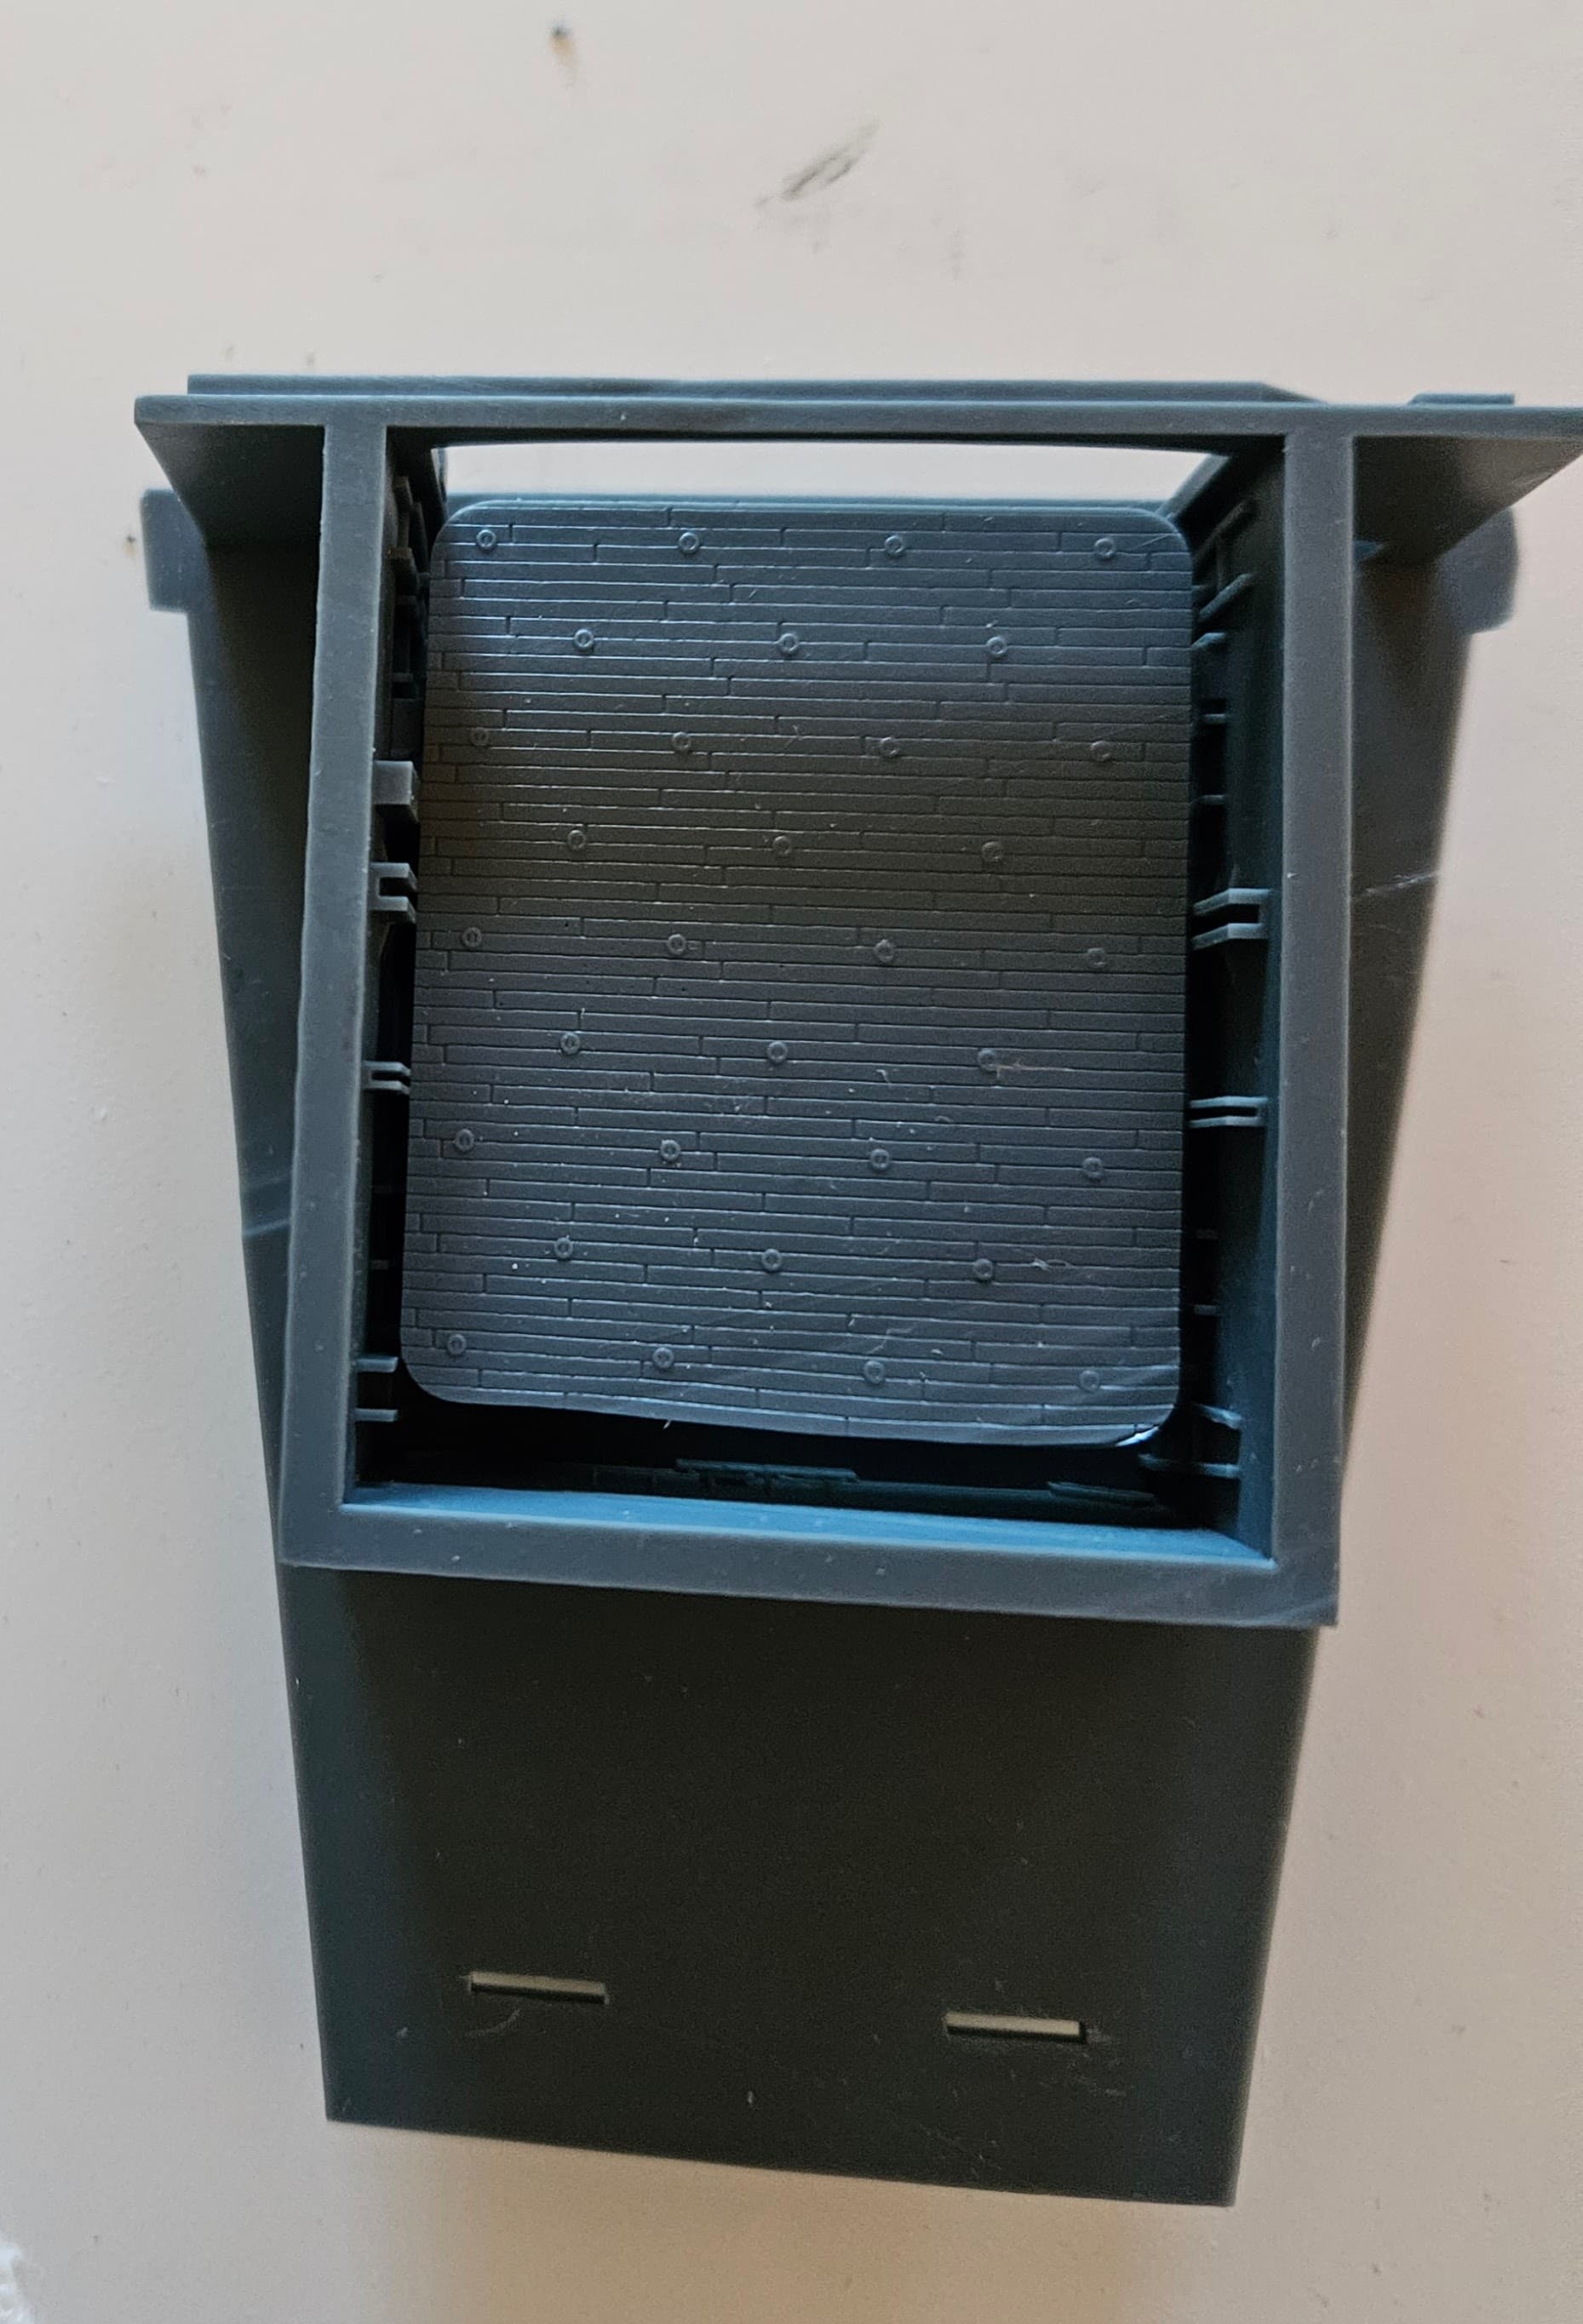
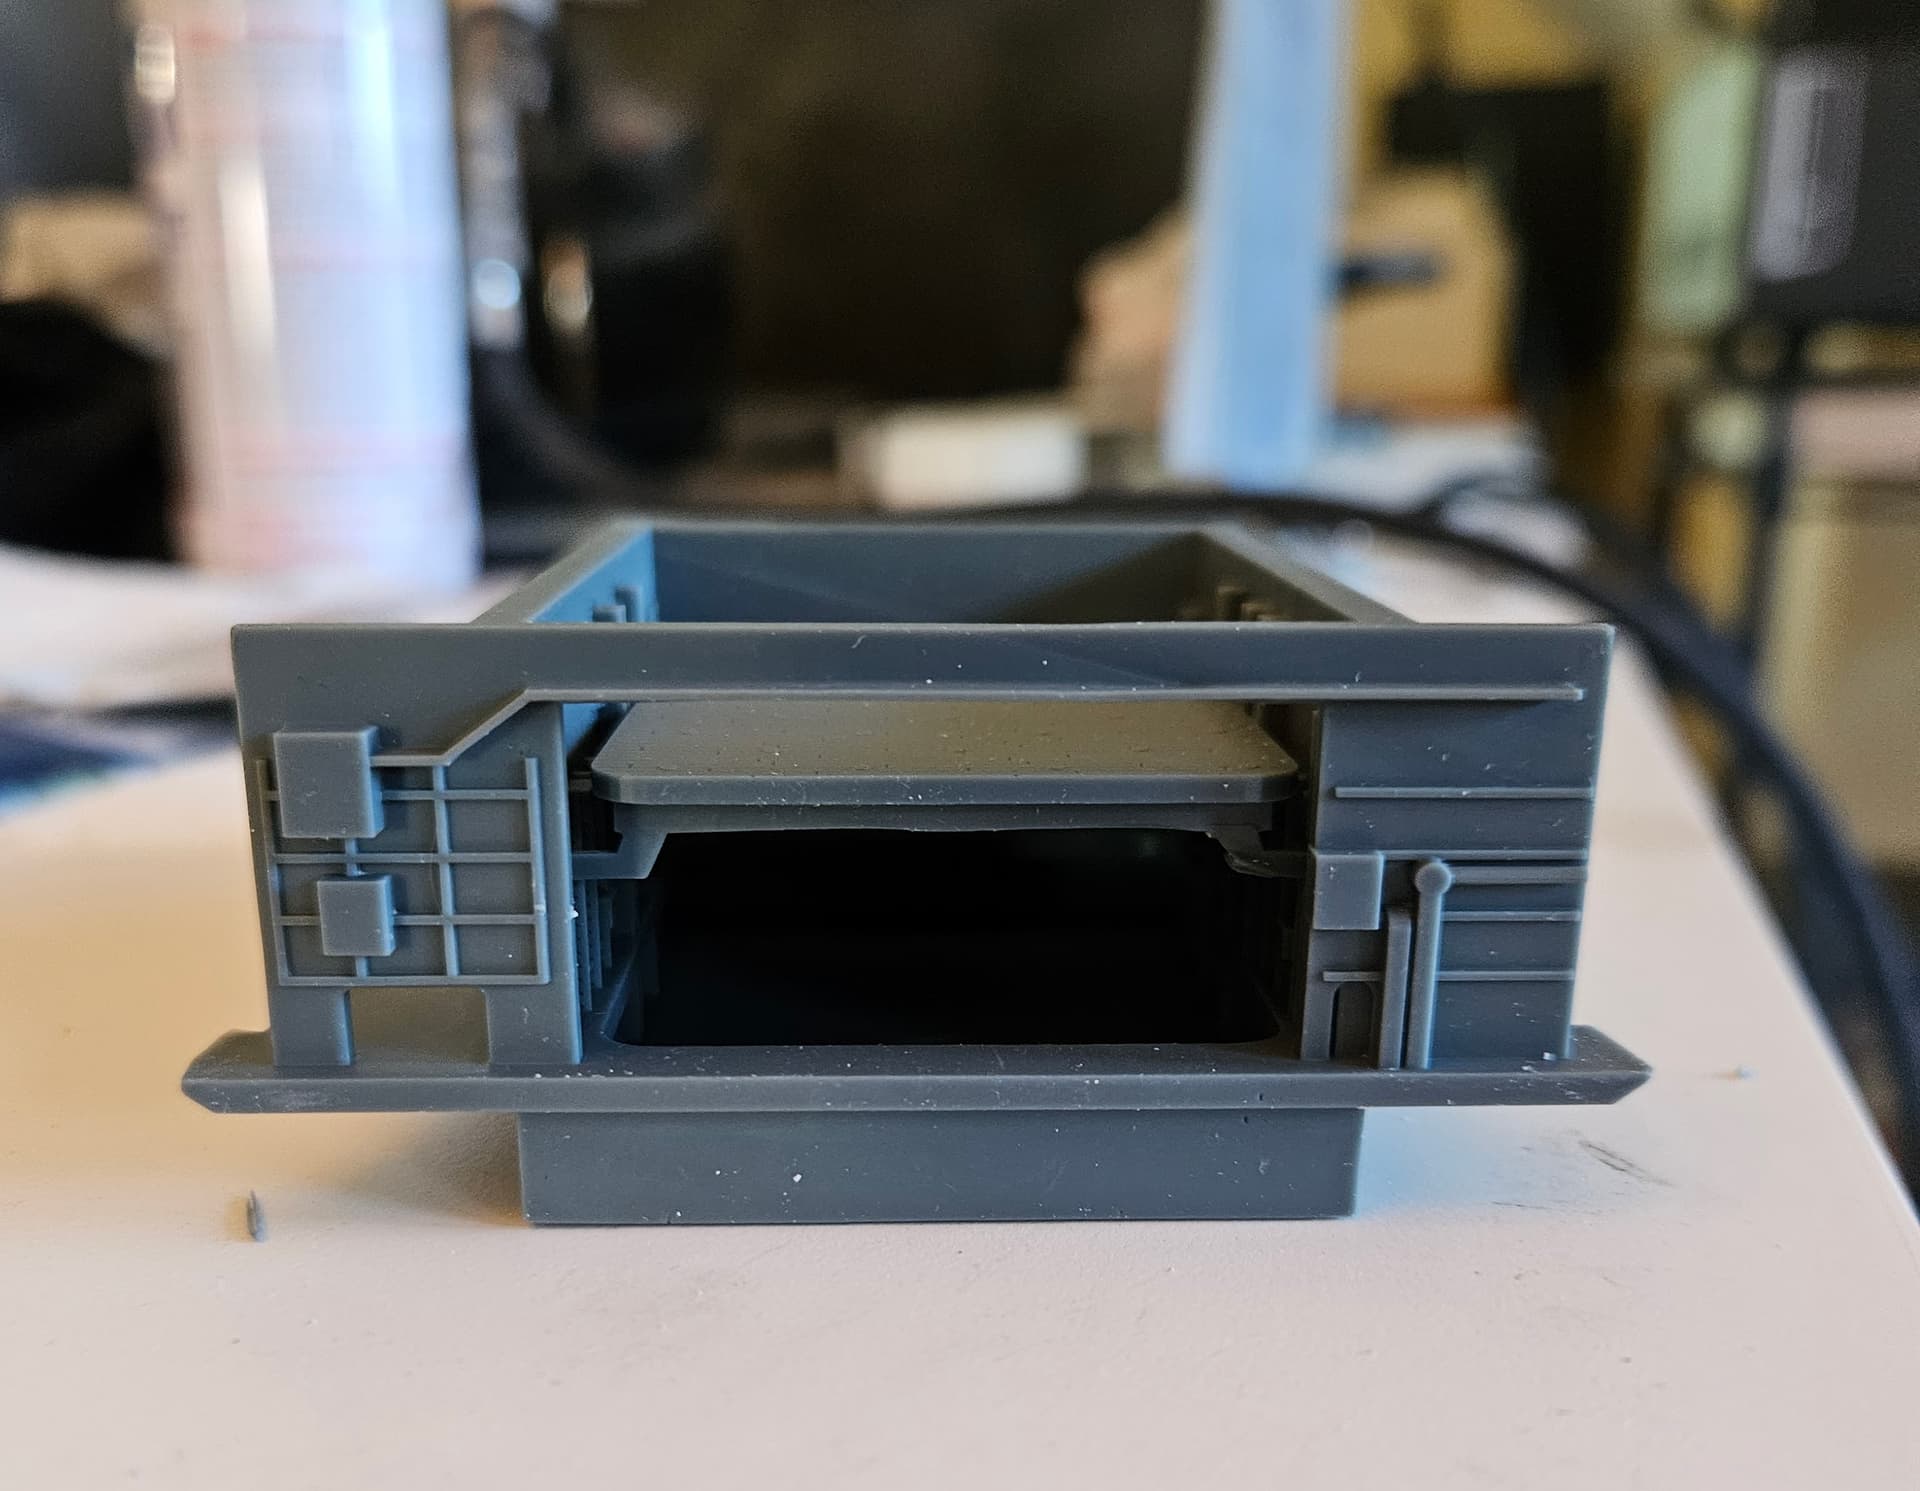
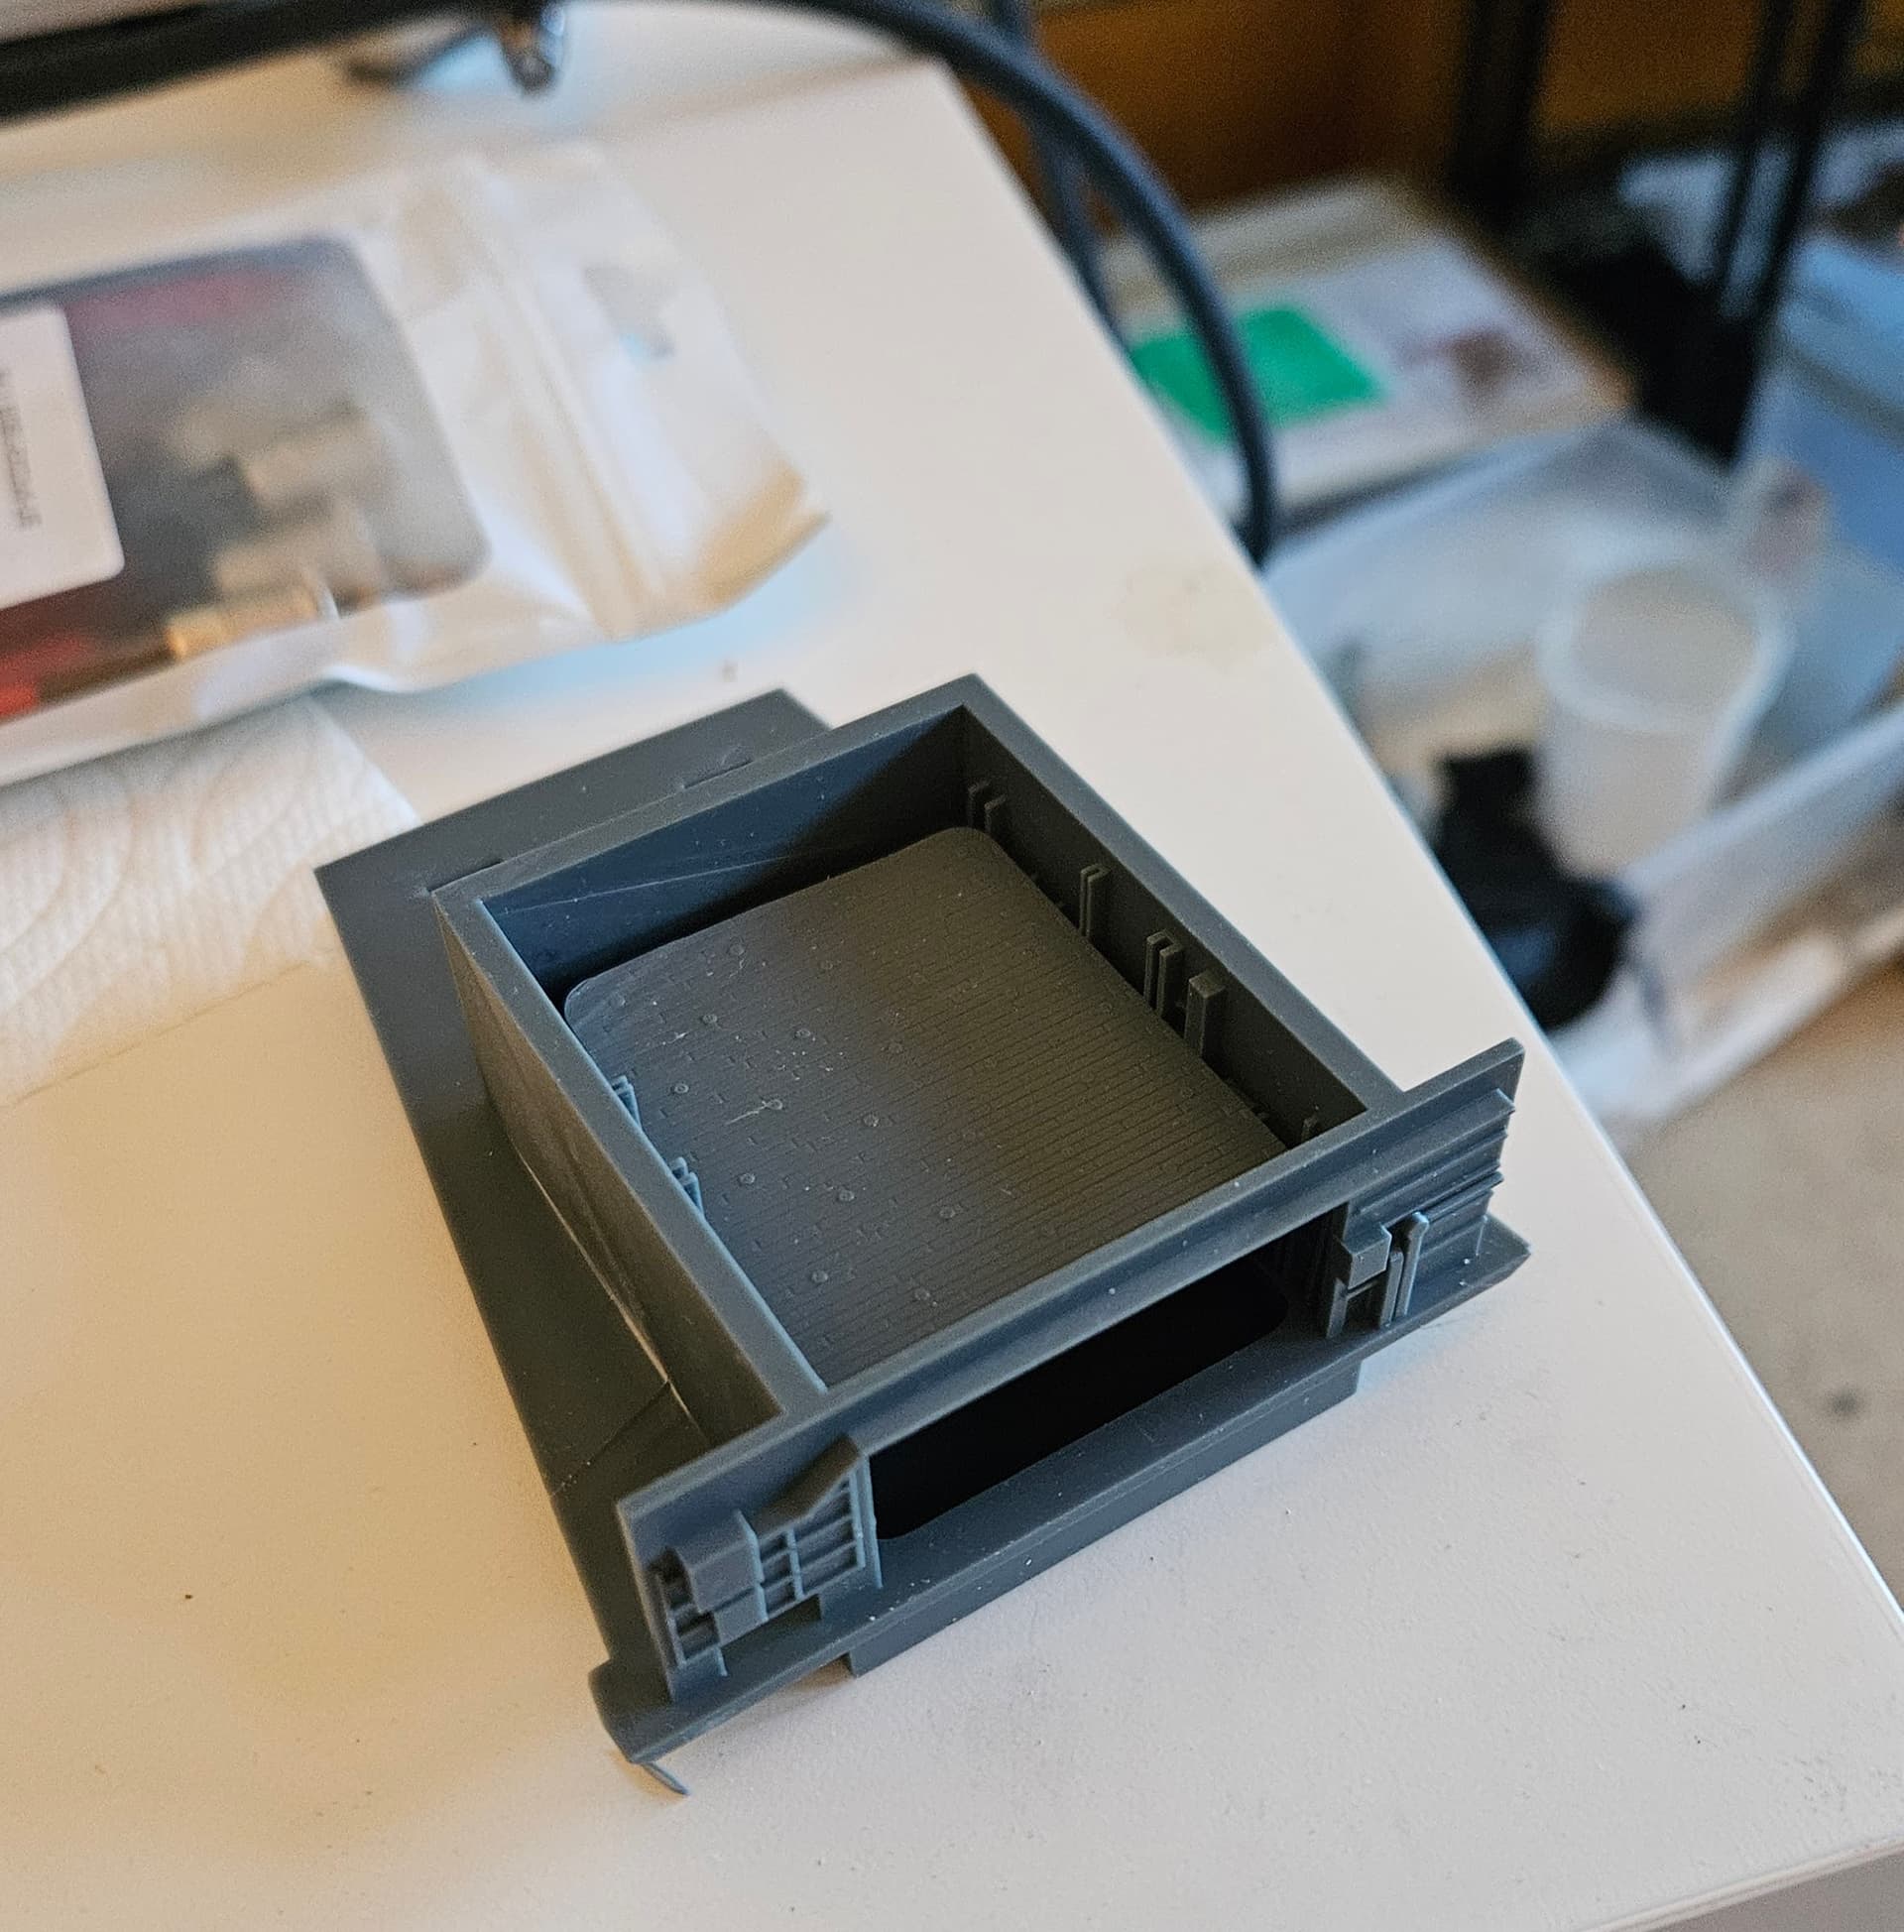
I’m working on the electrical hookups for the LEDs at the moment. I designed and 3D printed this box with a mounting flange to put under the oak base. I ordered the switches and the jack and power supply from Amazon. Everything fits and I tested the power supply with one of the LEDs. It’s all looking good, but I need to make sure of the clearance under the base and also to provide enough room for the wiring inside, but most of the heavy lifting is done. I also routed the wires to the hangar deck and through one of the interior bulkheads, so I’m very close to starting assembly of the hangar deck. I just have to work through a few fit issues with the forward elevator section, which I’m printing as a single piece with the elevator in mid-travel. It was a bit higher than desired for the first print, so I adjusted dimensions, made a fix for the peeling in the lower right corner of the elevator, and am now re-printing.
1 Like
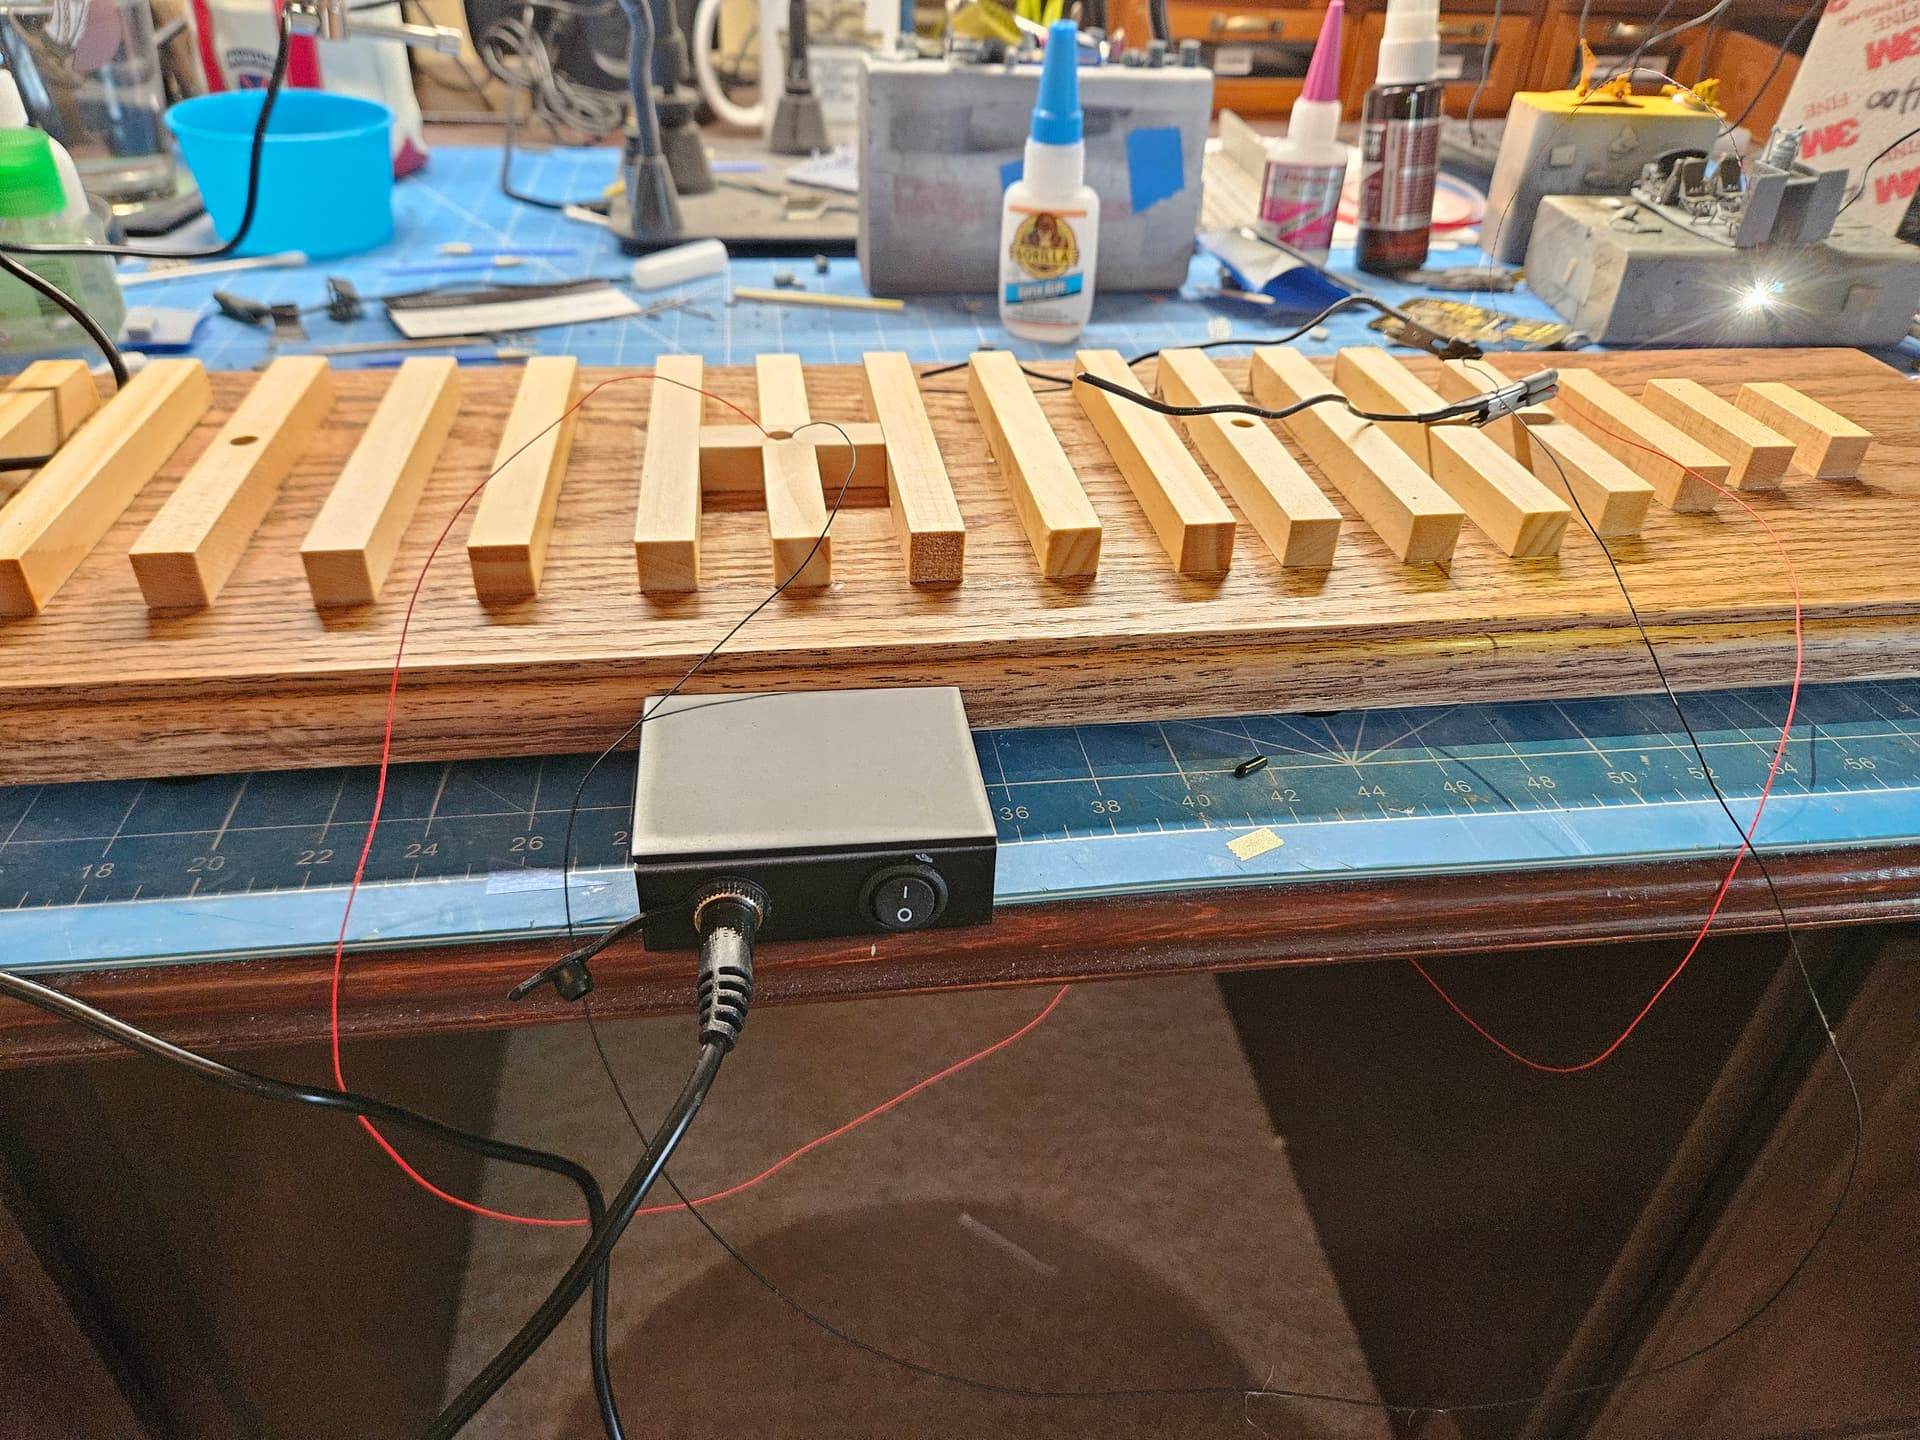
I soldered all the connections today and put them inside the freshly painted wiring box. I then routed everything and did an operational test…you can see the LED shining in the top right, so all looking good!
2 Likes
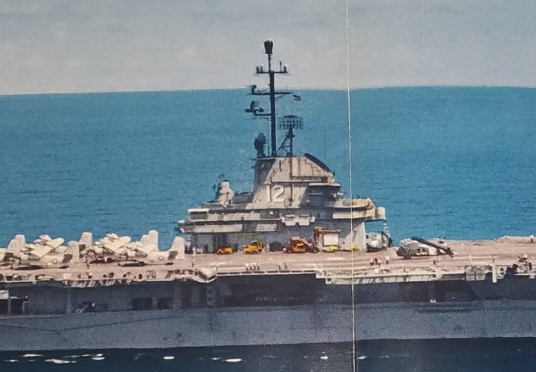
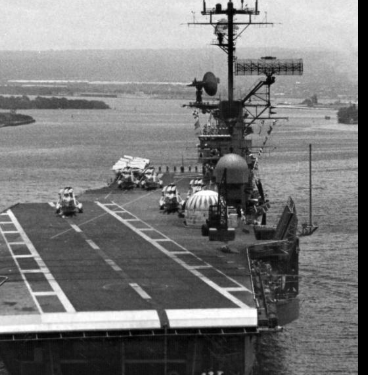
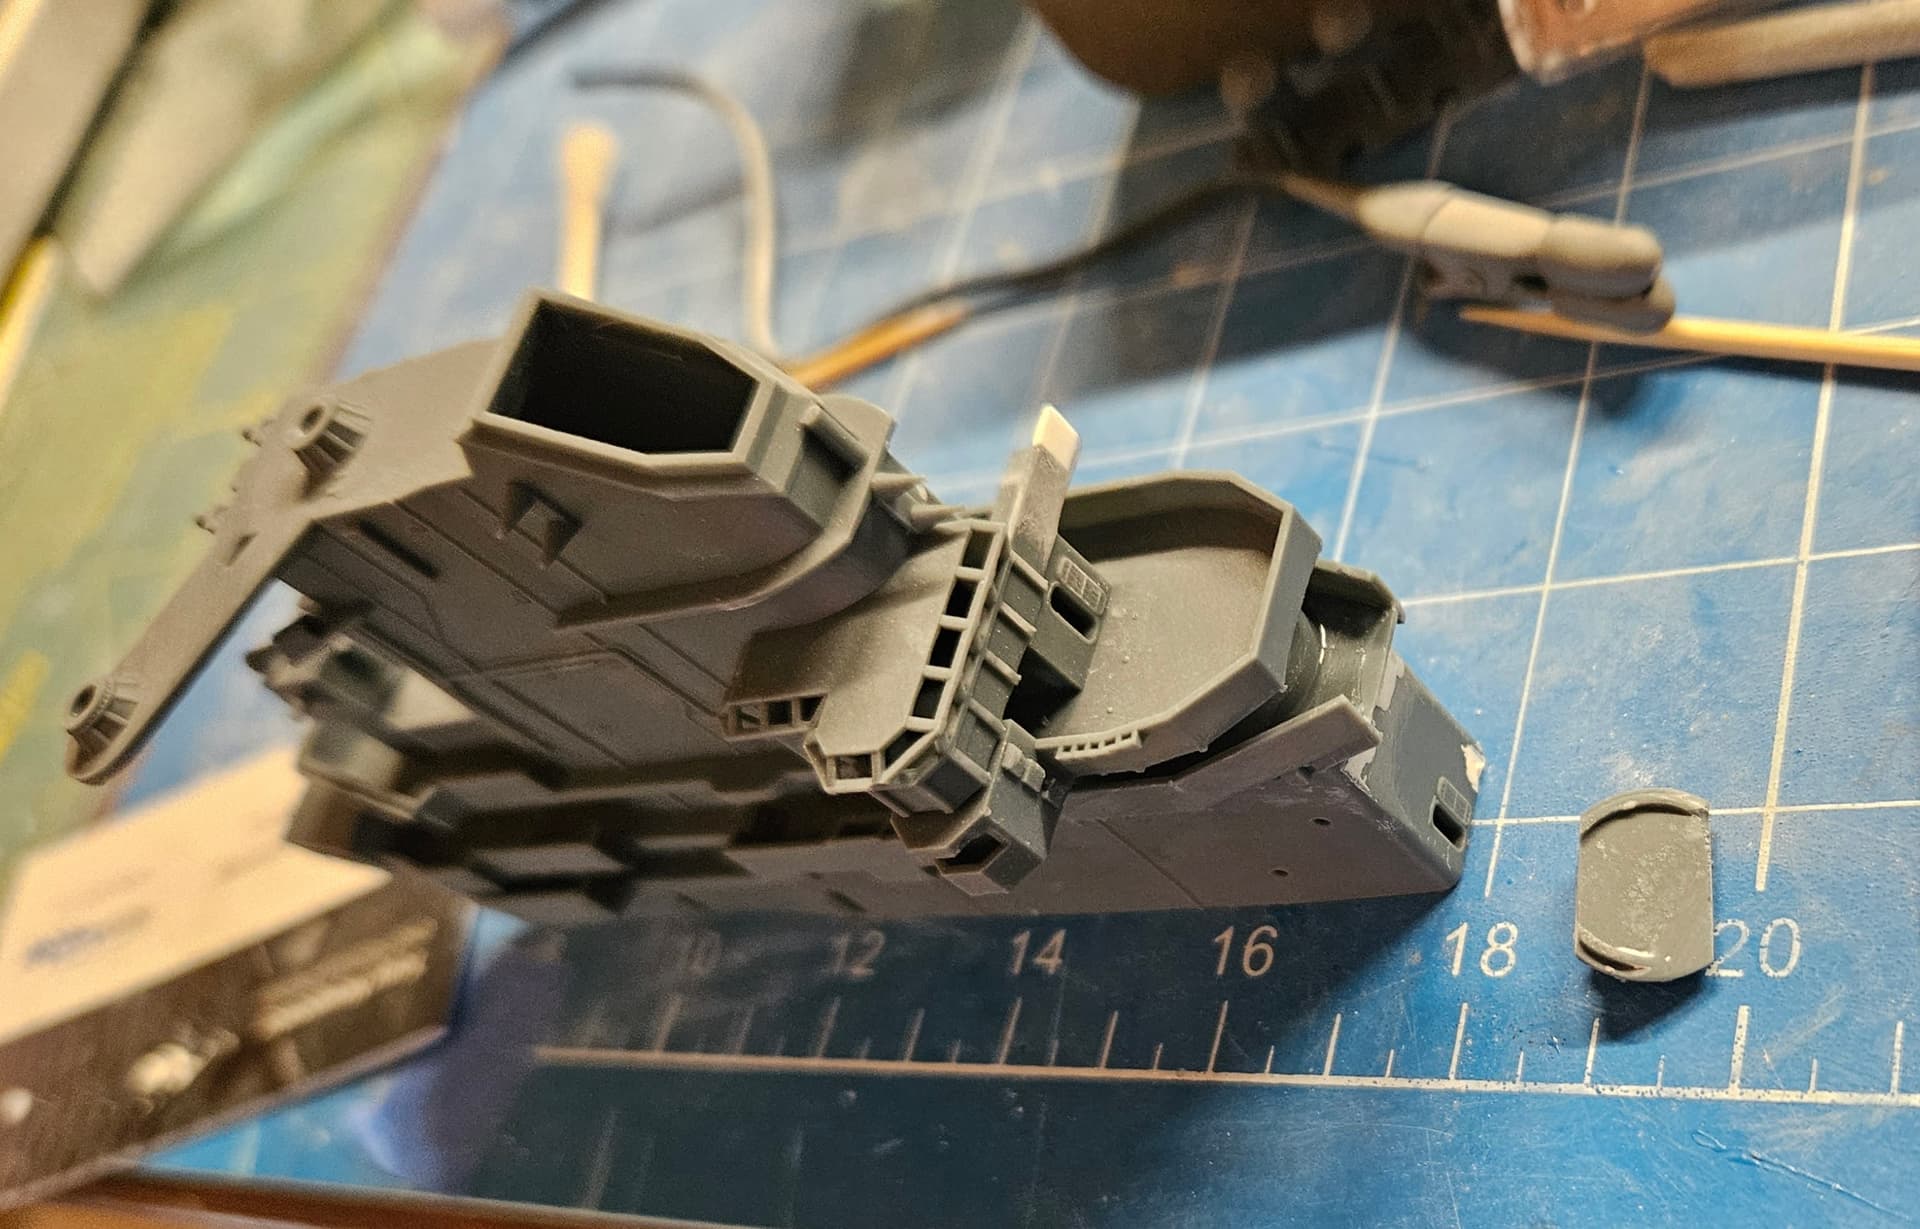
I’m doing a little bit of work on the Model Monkey island. I will probably treat it as a separate model and build it fully, paint it and have it ready to install on the flight deck as a complete unit. This should make doing the rigging, installing antennas, railings, etc. a bit easier. The Model Monkey island is excellent, but it is circa 1969, 10 years after my era, and there were some changes, most notably the SPN-6 approach radar from the 1959 cruise was replaced with the SPN-35. Both were mounted on the aft end of the island, but the SPN-35 sits inside a much larger domed housing than the SPN-6. So I cut off the SPN-35 housing and designed a smaller one that I will 3D print. Model Monkey also provides the SPN-6 in their catalog, so I purchased and will use that on my mount. There was also a semi-circular indent on the deck where the SPN-35 was mounted, so I trimmed off a bit of the original mount and fitted it into that recess. With some CA and accelerator, and a lot of sanding, I’ve got it ready to take the new mount. Patience is key when sawing the resin, as it is fully cured and more brittle as a result. I have the island cleaned up mostly, but have a little bit of filler sanding to do, then I’ll fit the new mount. The first photo shows the SPN-6, and the second the SPN-35. You can see how much bigger the -35 is.
1 Like