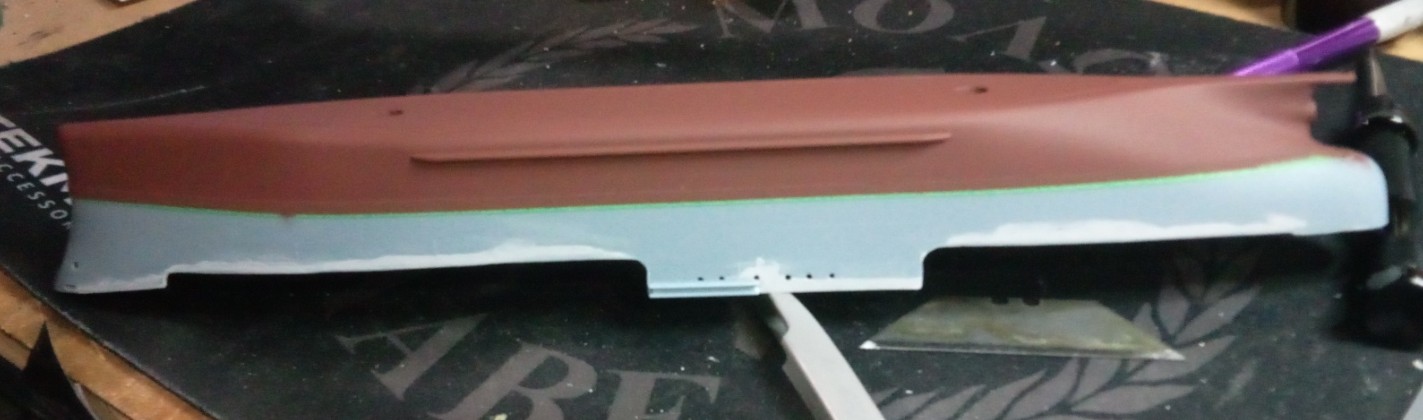
Chapter 4. Wow! Got a full day in on the build, but most of that time was spent removing a multitude of Stairs and railings from the superstructure decks. My hands are all cramped up from this “micro surgery”. The time spent is going to make a world of difference in the appearance of this vintage model. Starting the day, I shot some AK Hull Red on the bottom of the ship. The Hull Red was very dark from the bottle, so I added some of AK Insignia White and water to tone it down and thin it for the airbrush. It looks good to me.
The green you seen is the masking tape protecting the boot line. I’ll be shooting the Haze Gray in a couple of days. I’ve had to mix a custom Haze Gray to match the background of my custom decals, since as you know, white doesn’t print. See chapter 1.
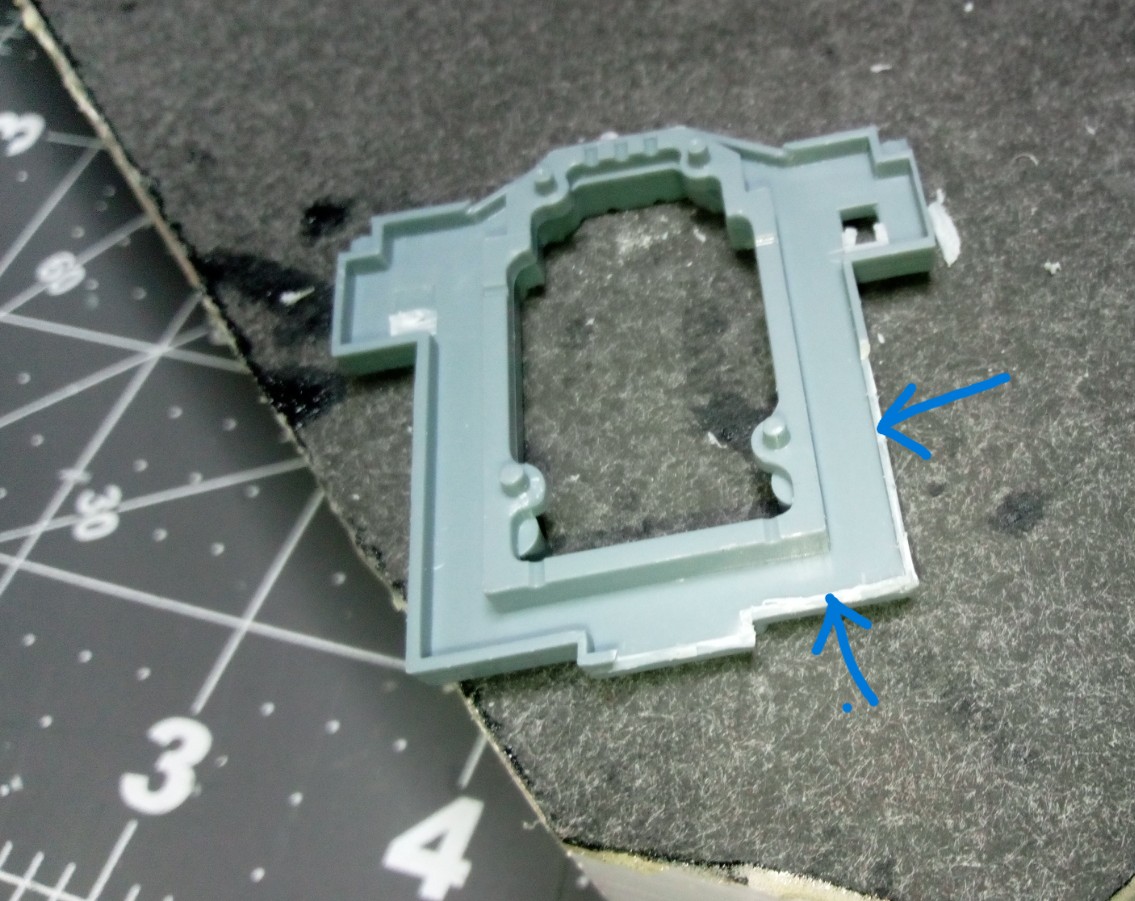
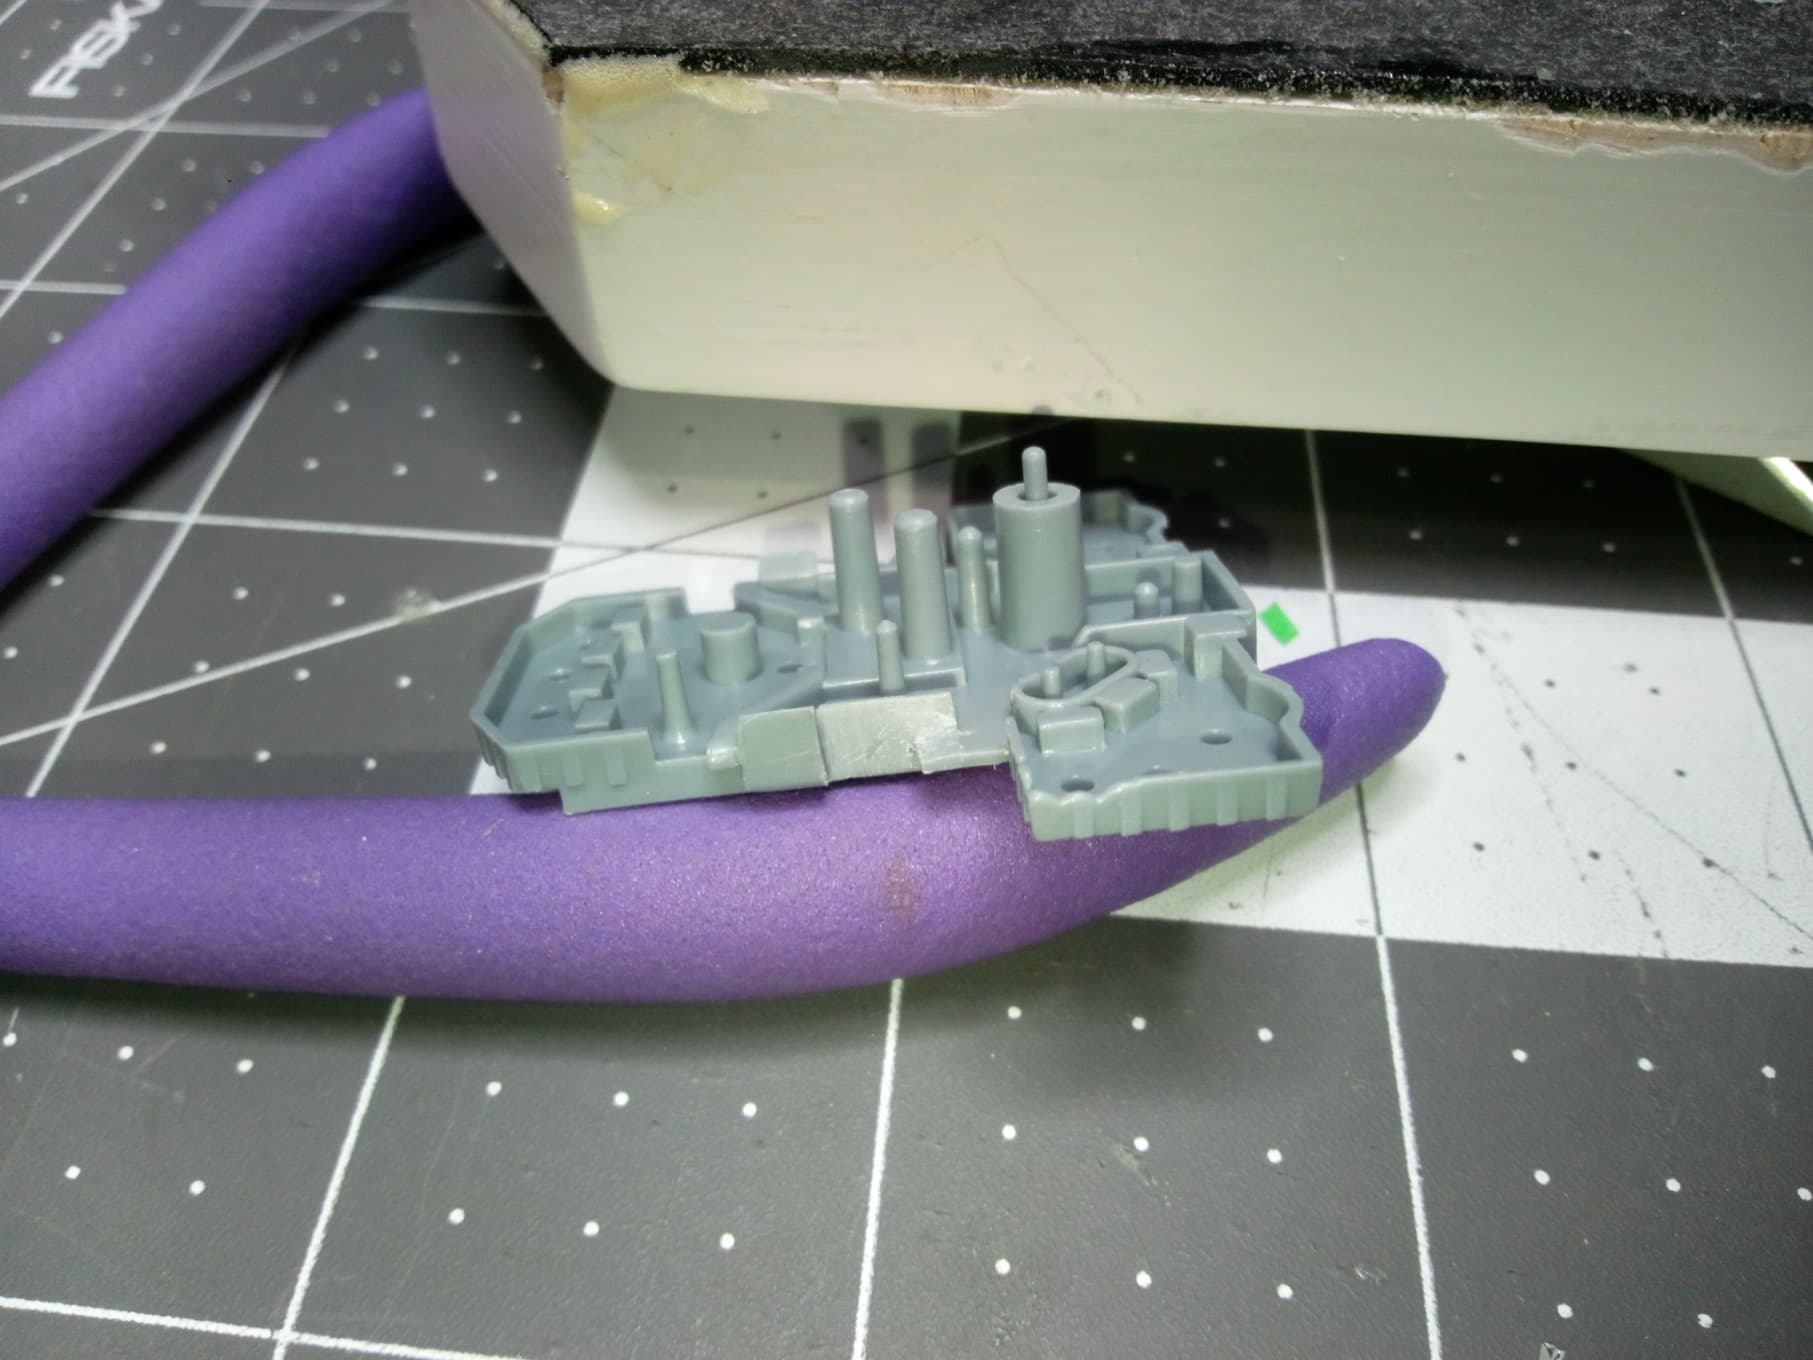
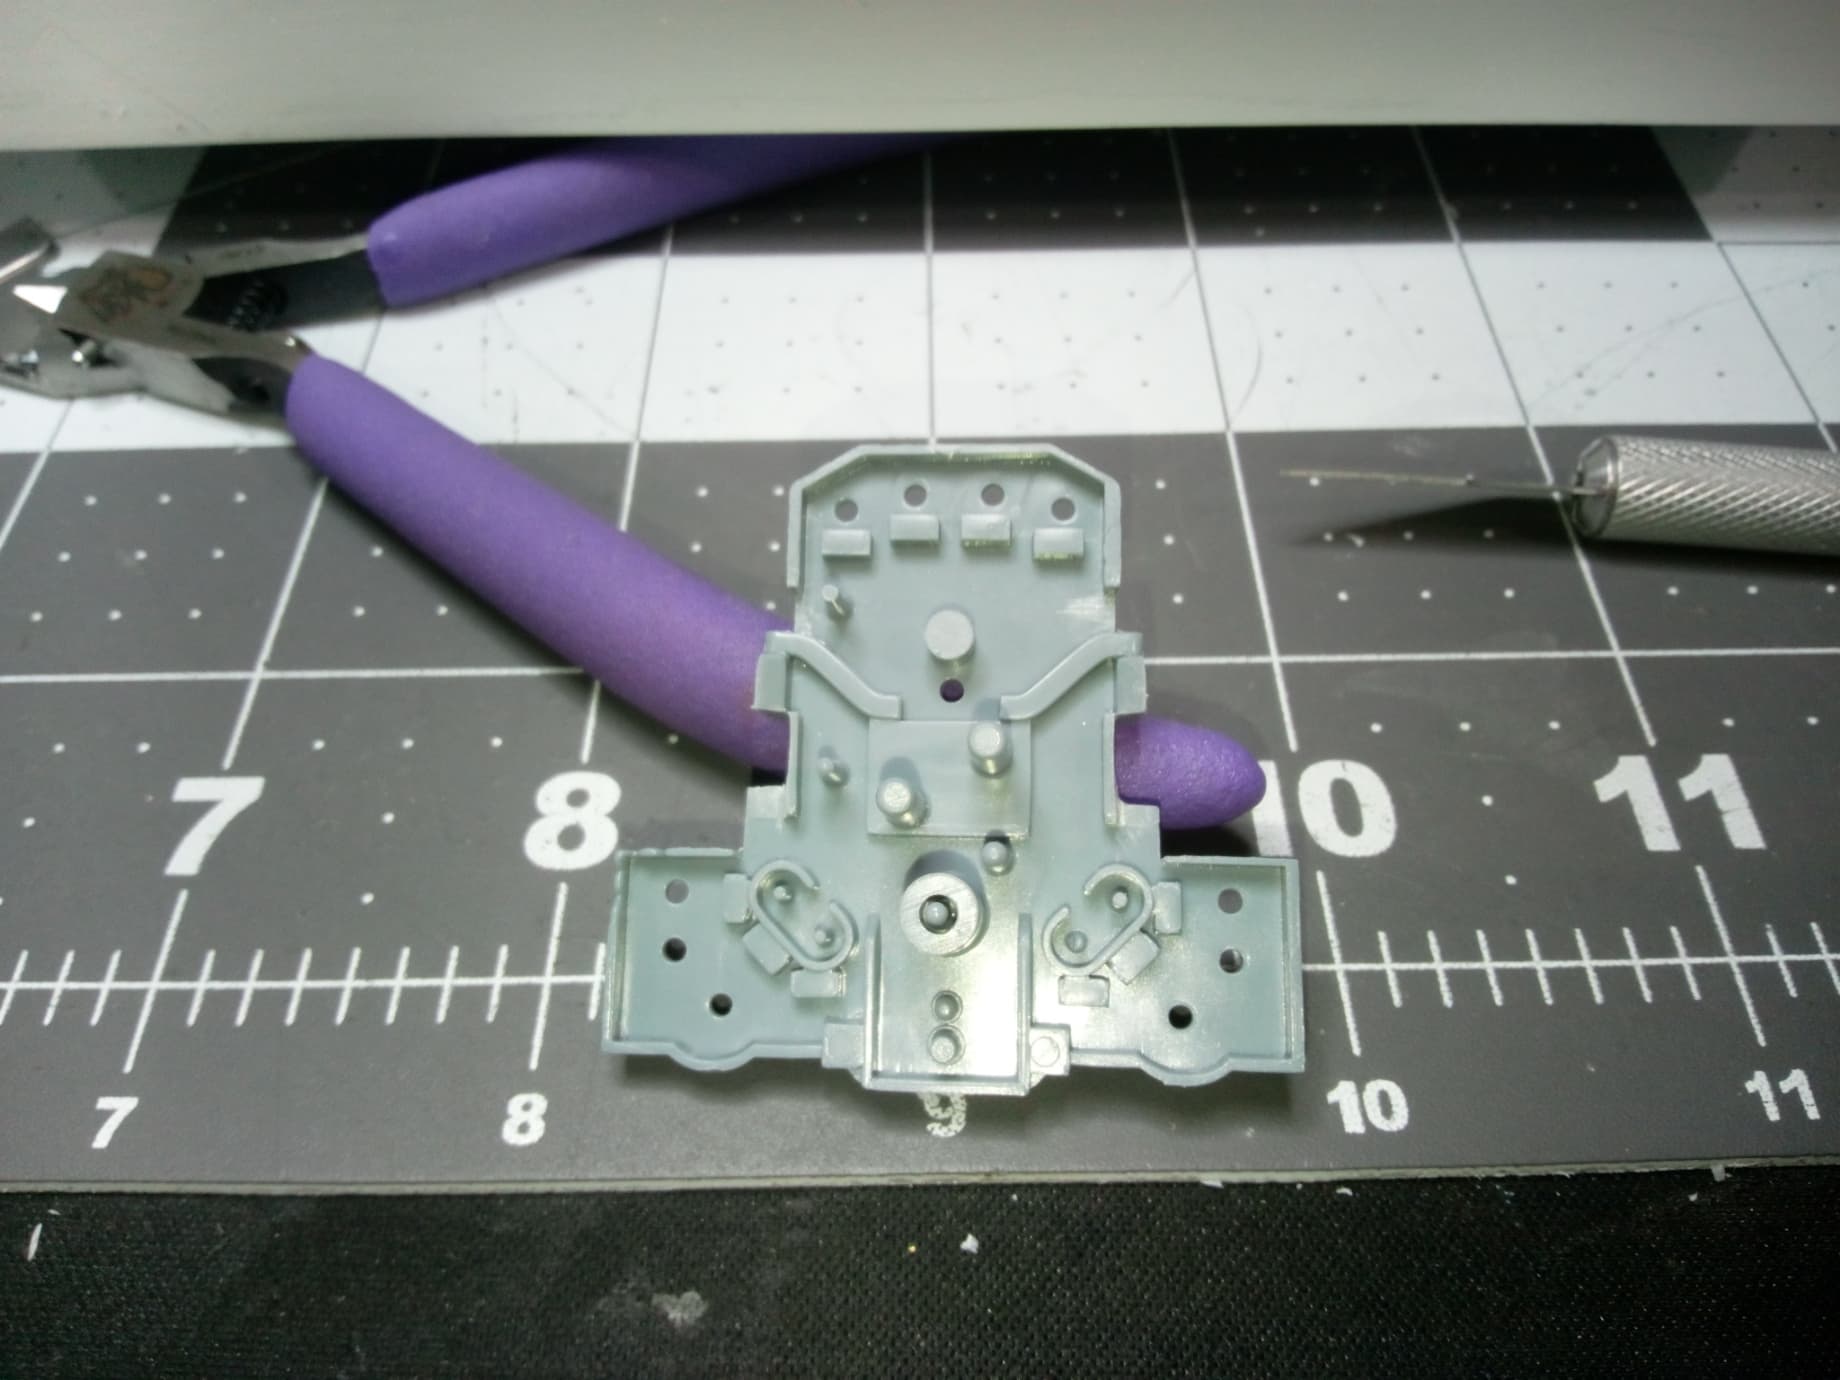
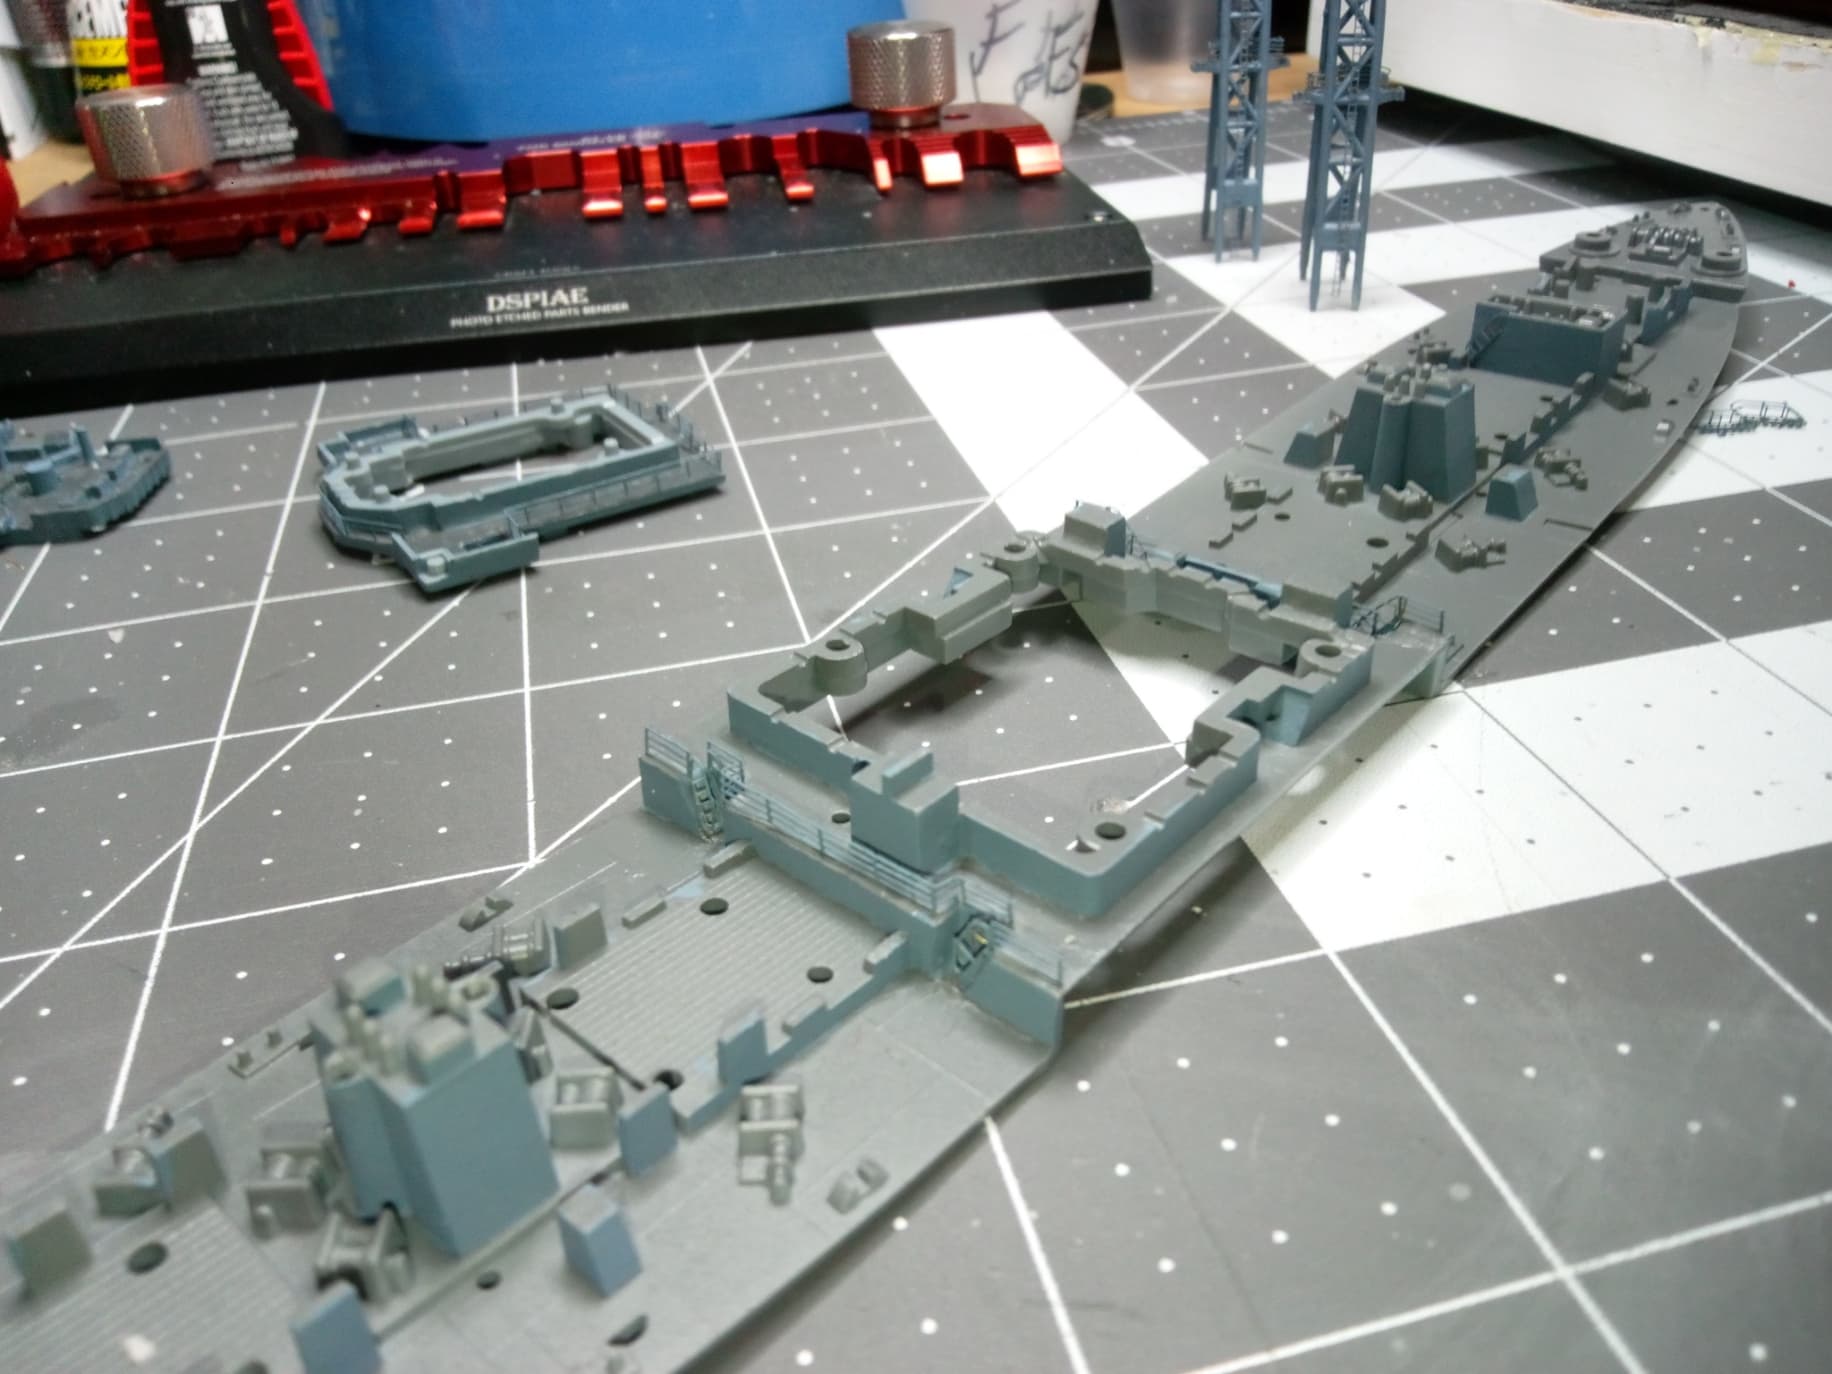
The rest of the day was spent removing stairs and railings from the superstructure and sanding out the aftermath.
I wasn’t happy with the results here. The tight space forced me to round the corners. I fixed this by Cutting some sheet styrene to match the angles at the faces, the results squaring up the stair cases. Much better.
So to sum up, what appears to be little progress as far as building goes, I’m mostly finished with removal of plastic to make way for PE. More to come!
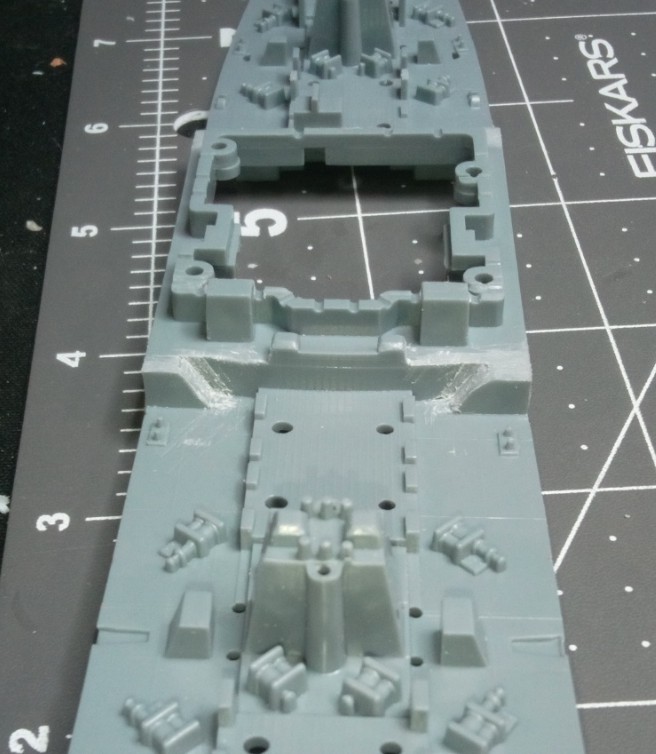
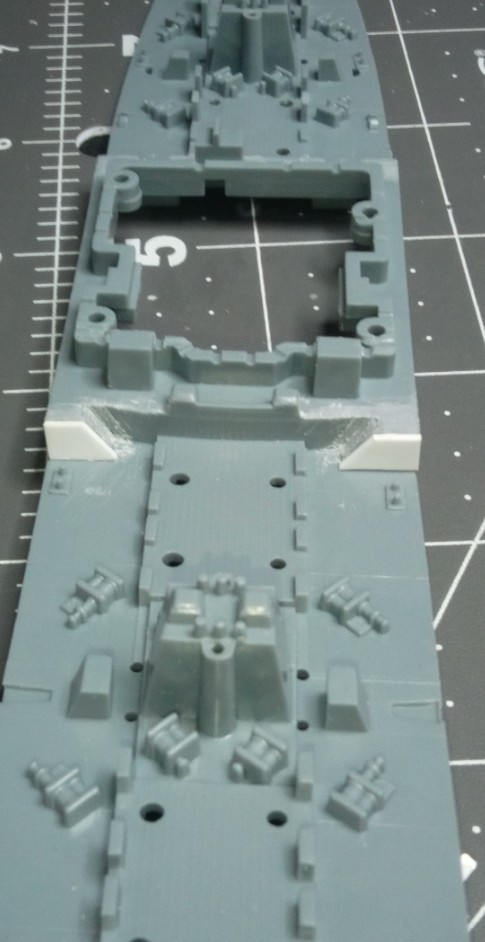
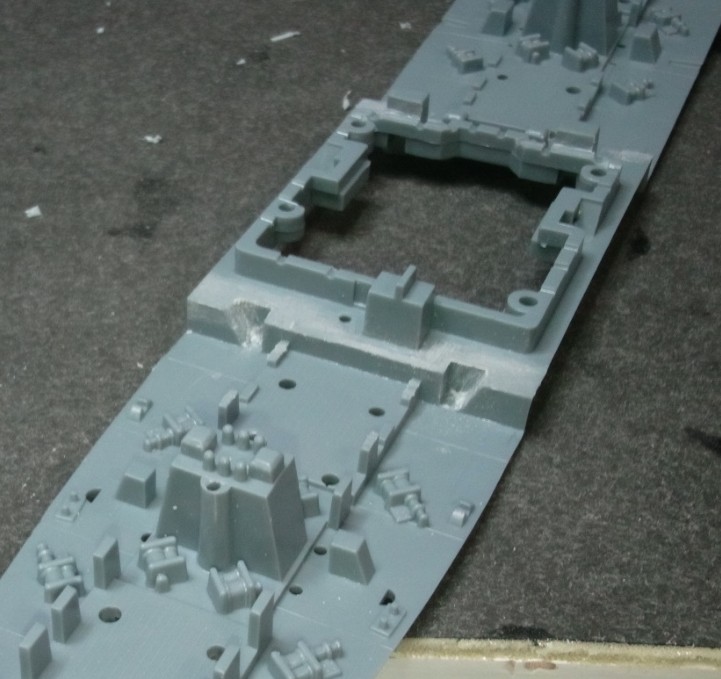
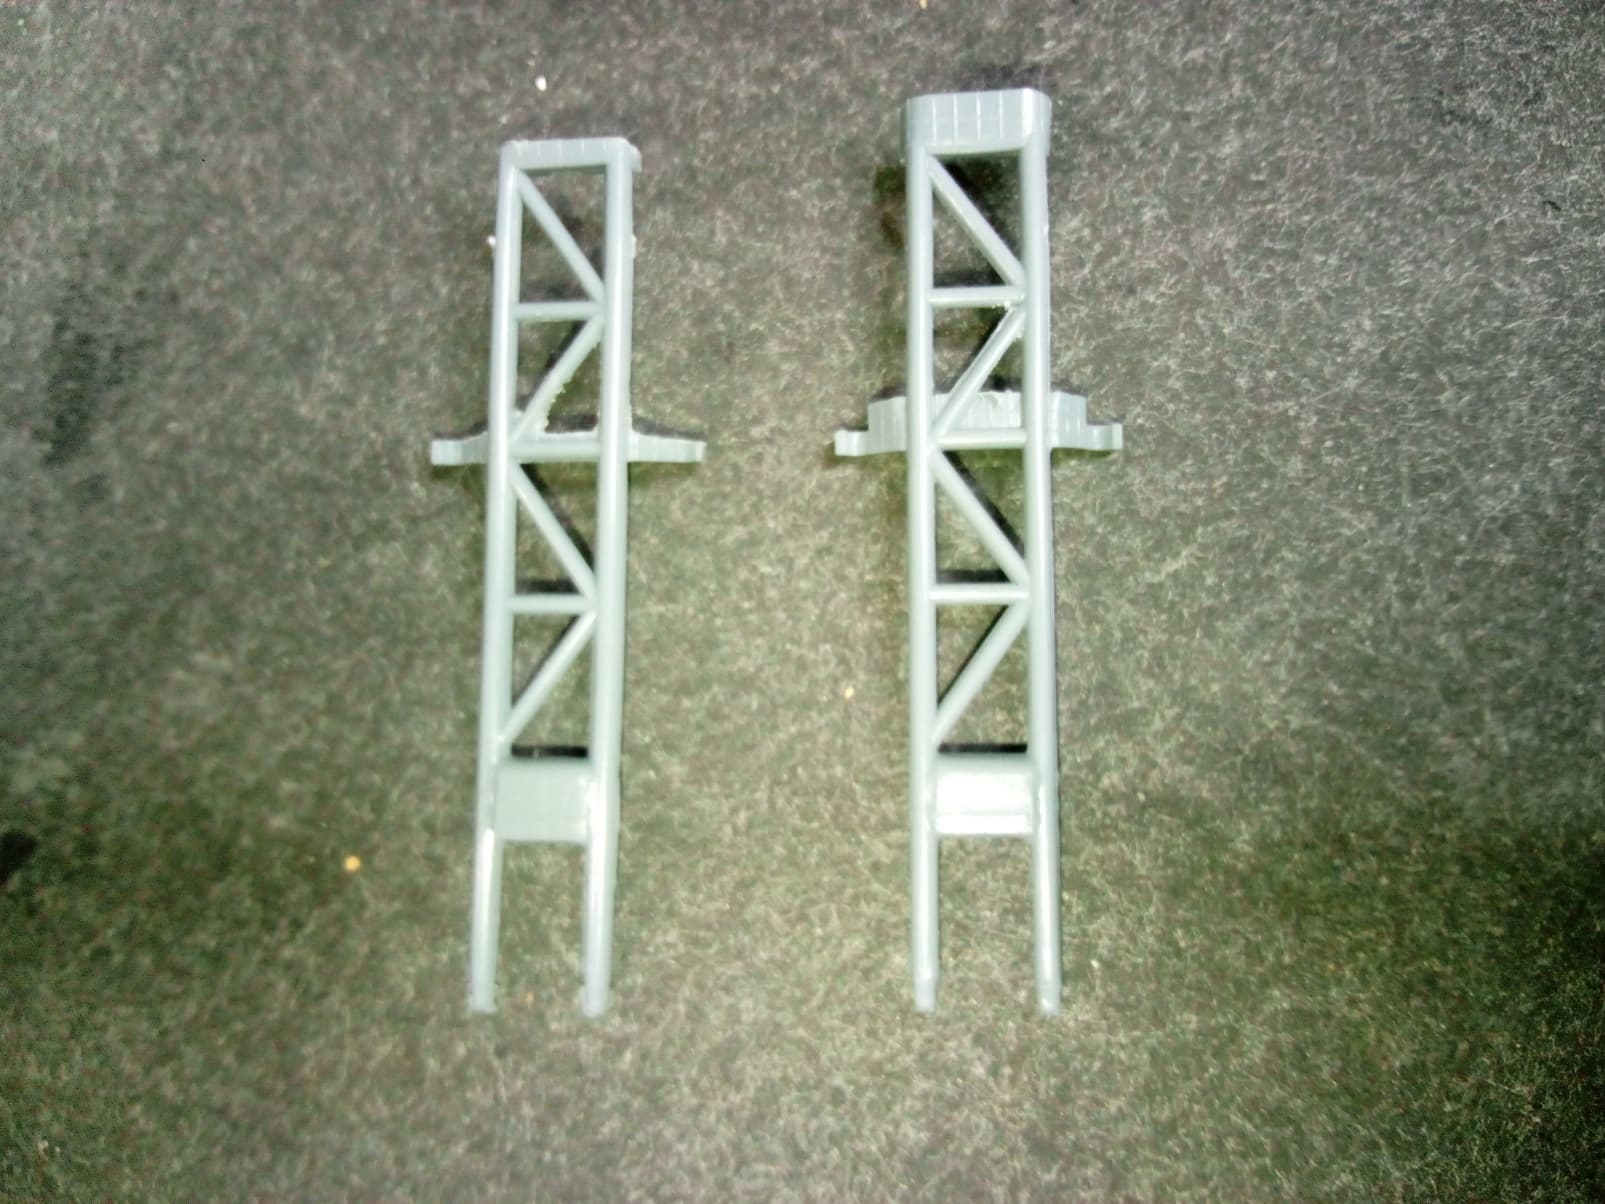
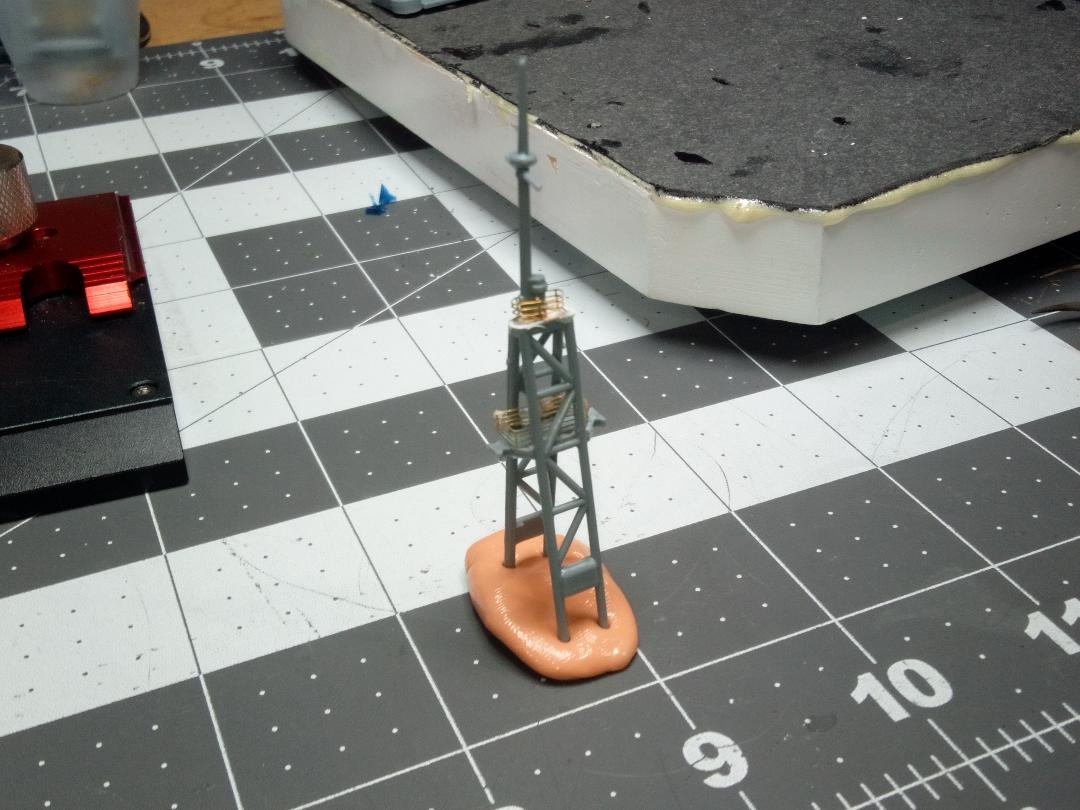
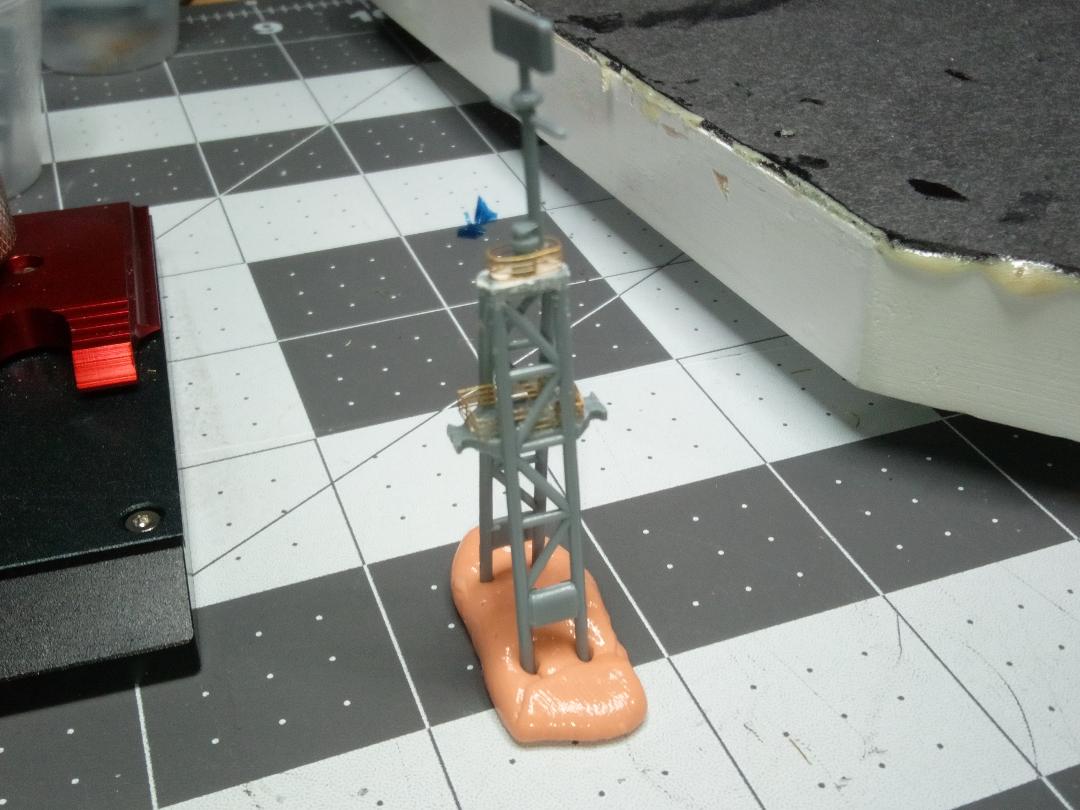
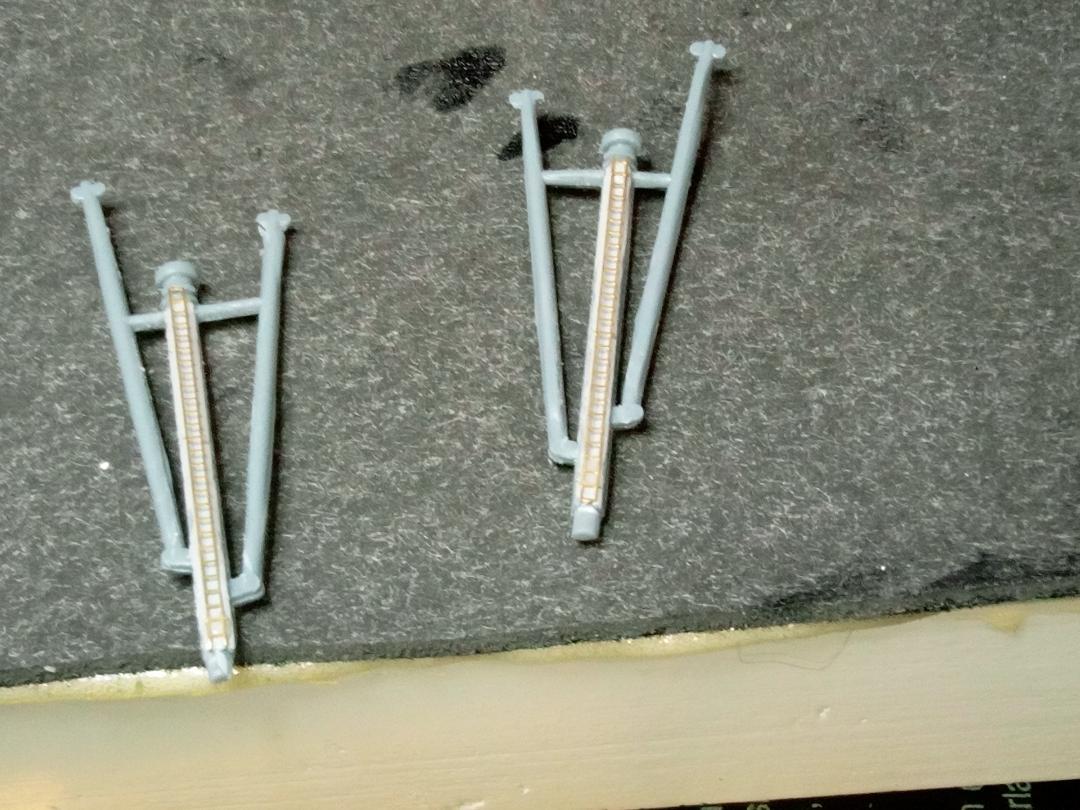
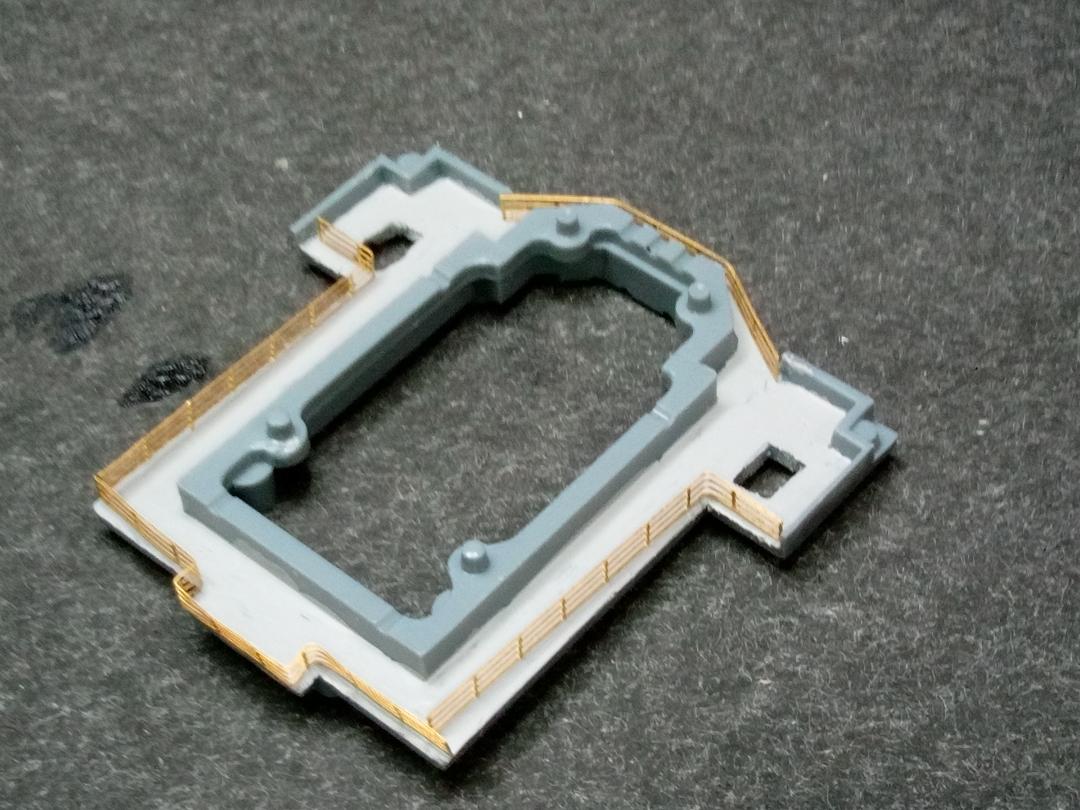
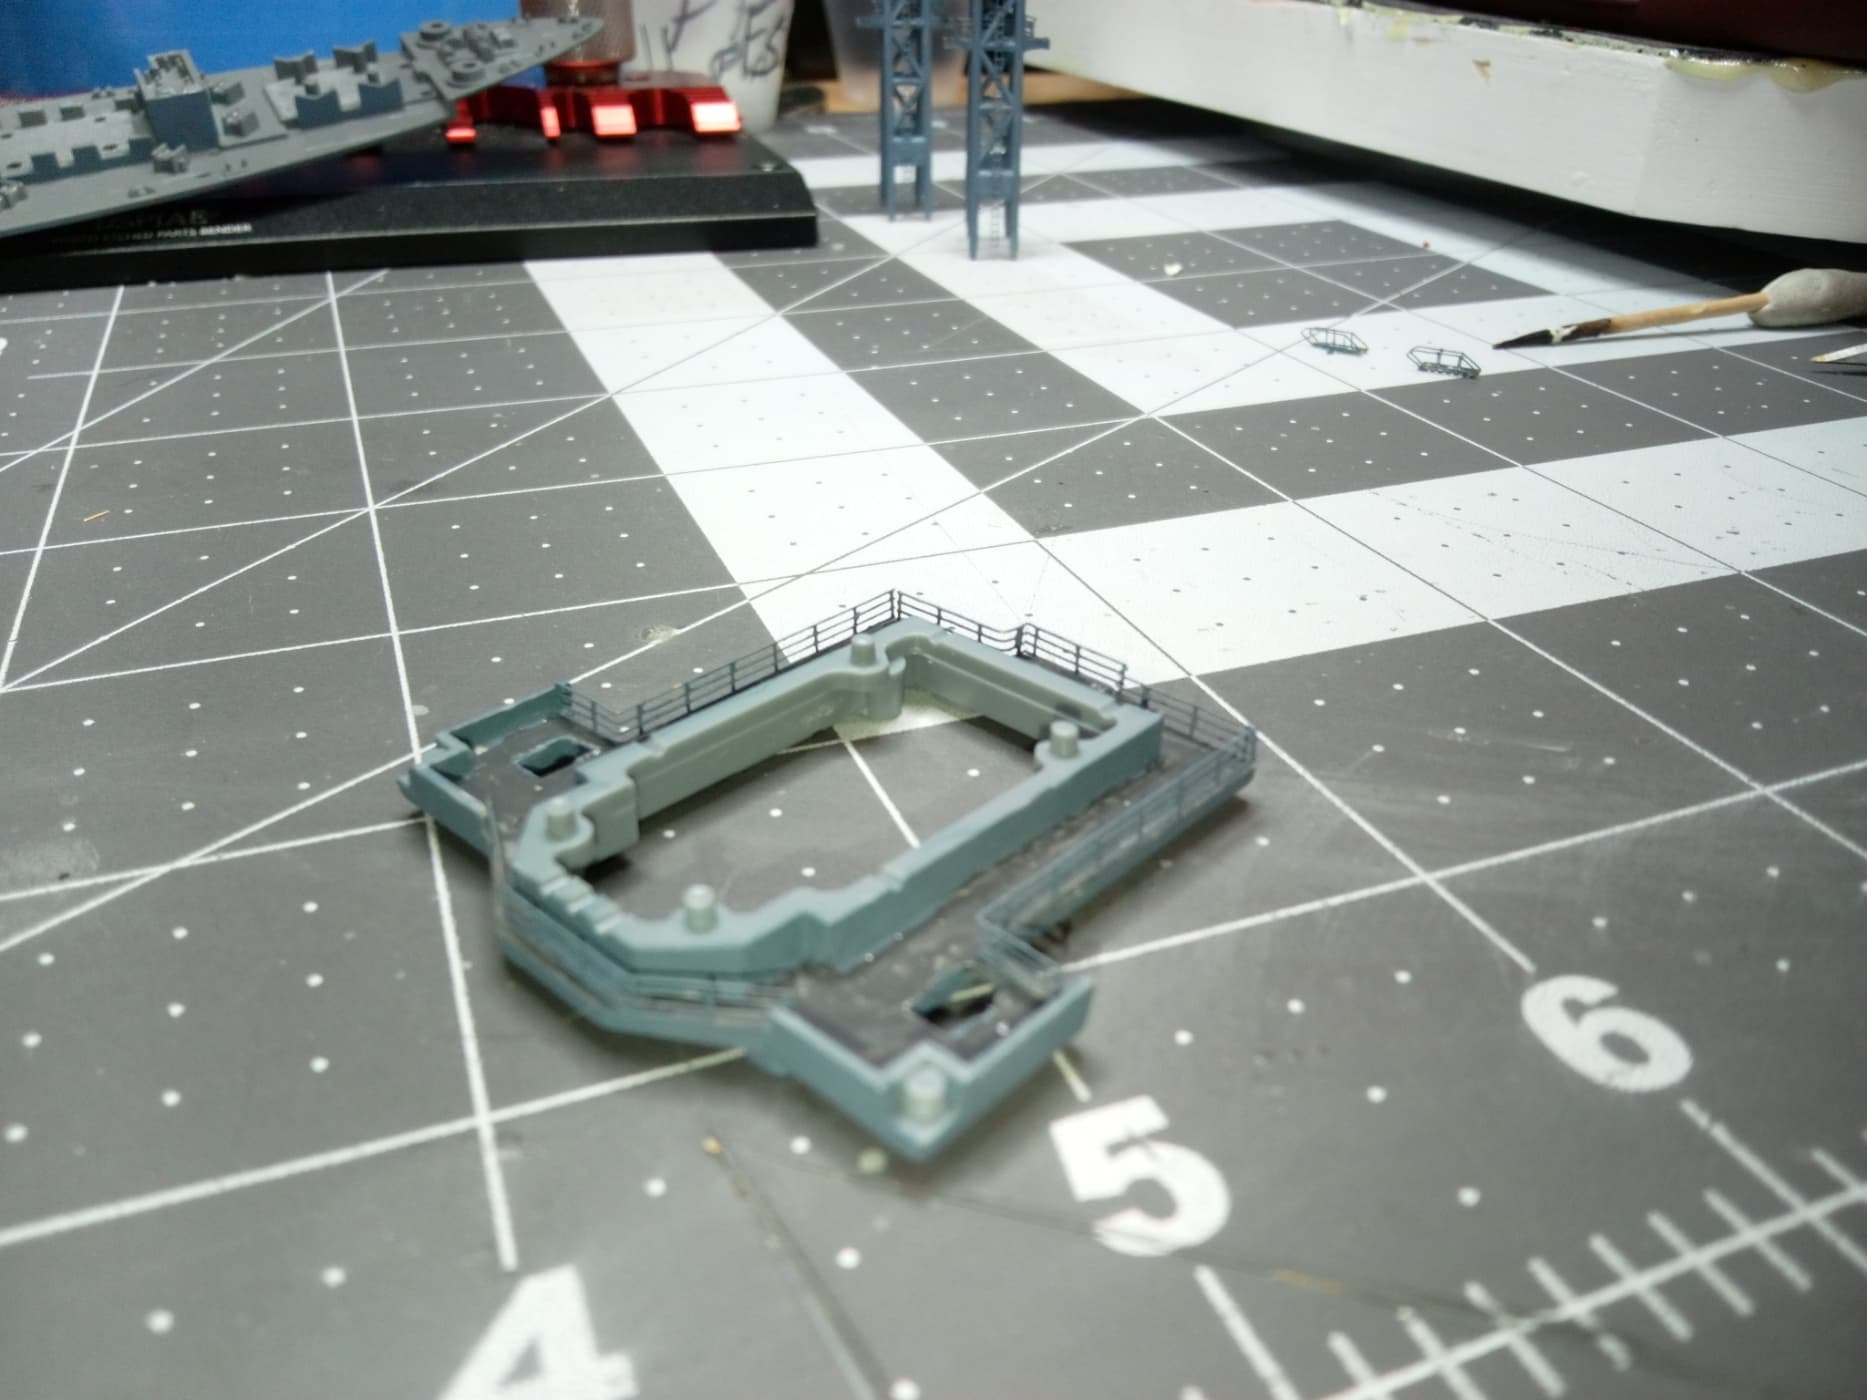
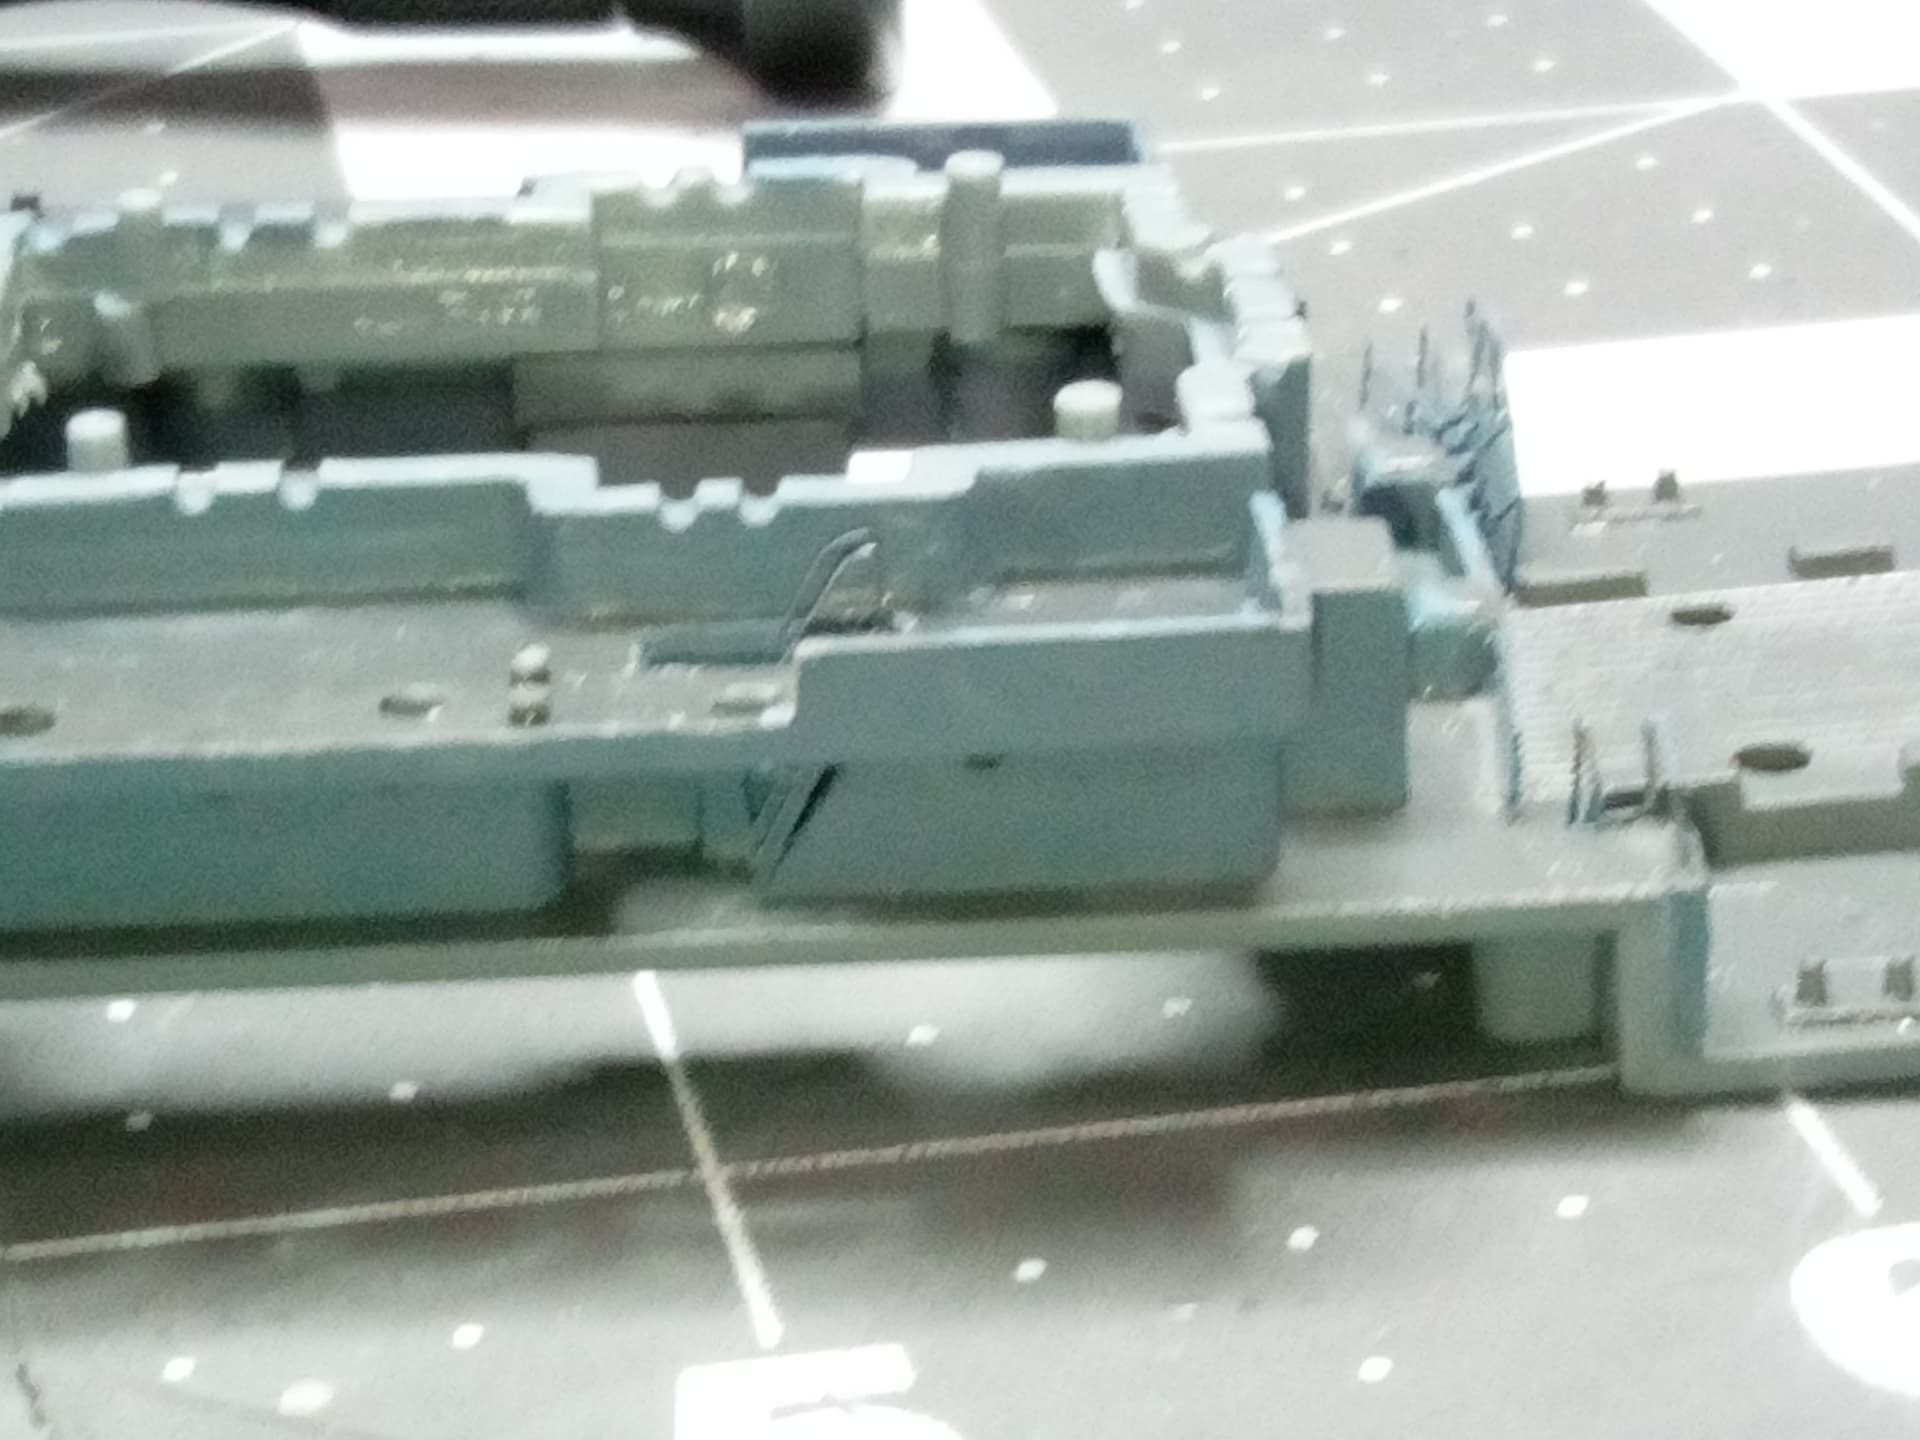
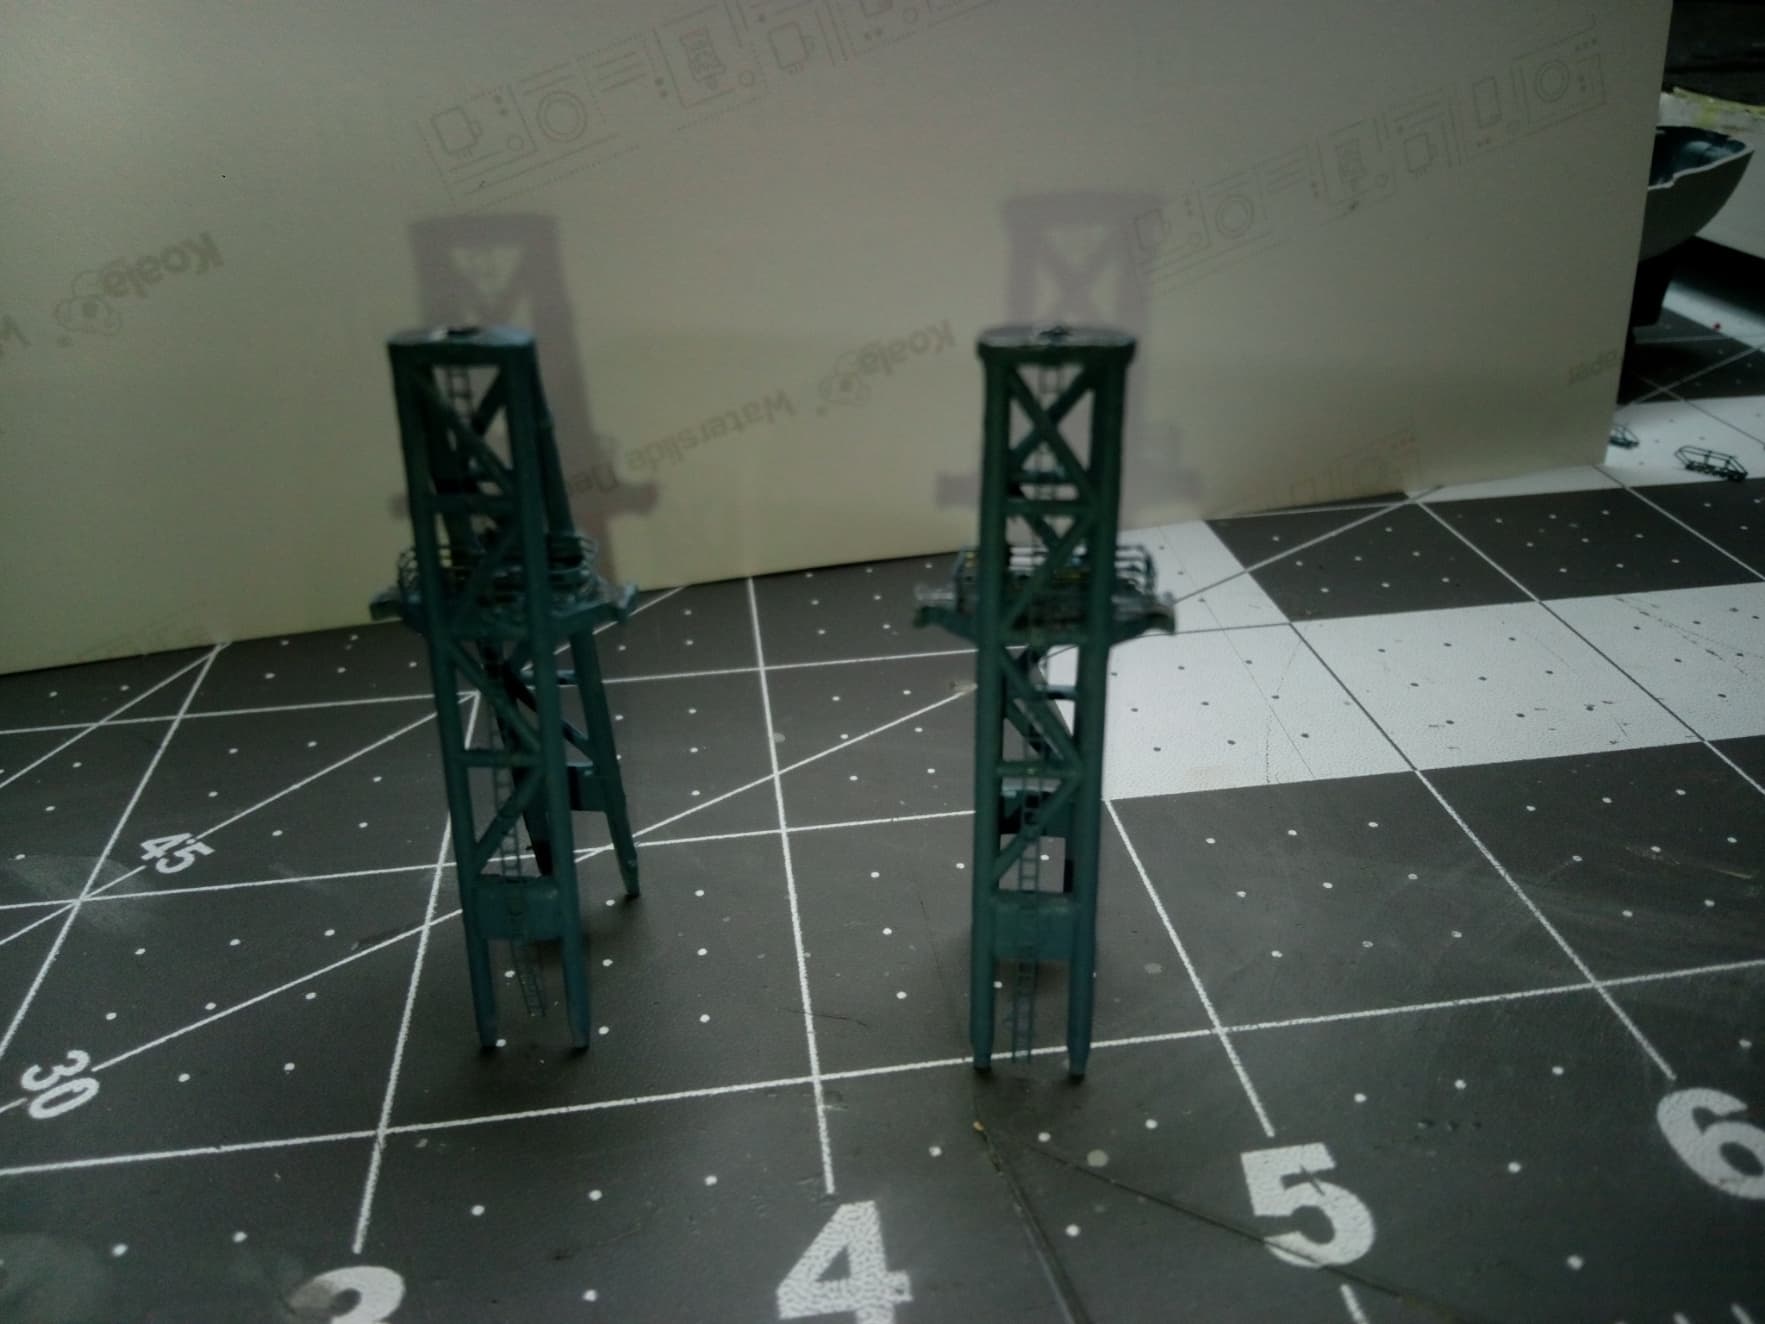
Not a lot of time at the bench lately. I’m waiting on some supplies to arrive and of course life has intruded again. While contemplating the build and the things I need to do in the future, I discovered more molded-in railings. I thought I had cut them all out, but I found them on the decks of the crane hoist towers. A very delicate spot, as they are part of the decks and hidden glue joints. Putting my fear aside, I went ahead and attacked them with some new tools acquired just yesterday. I’ll tell you about those in a minute. Here are the crane hoist towers, original on right, and railings cutaway on left:
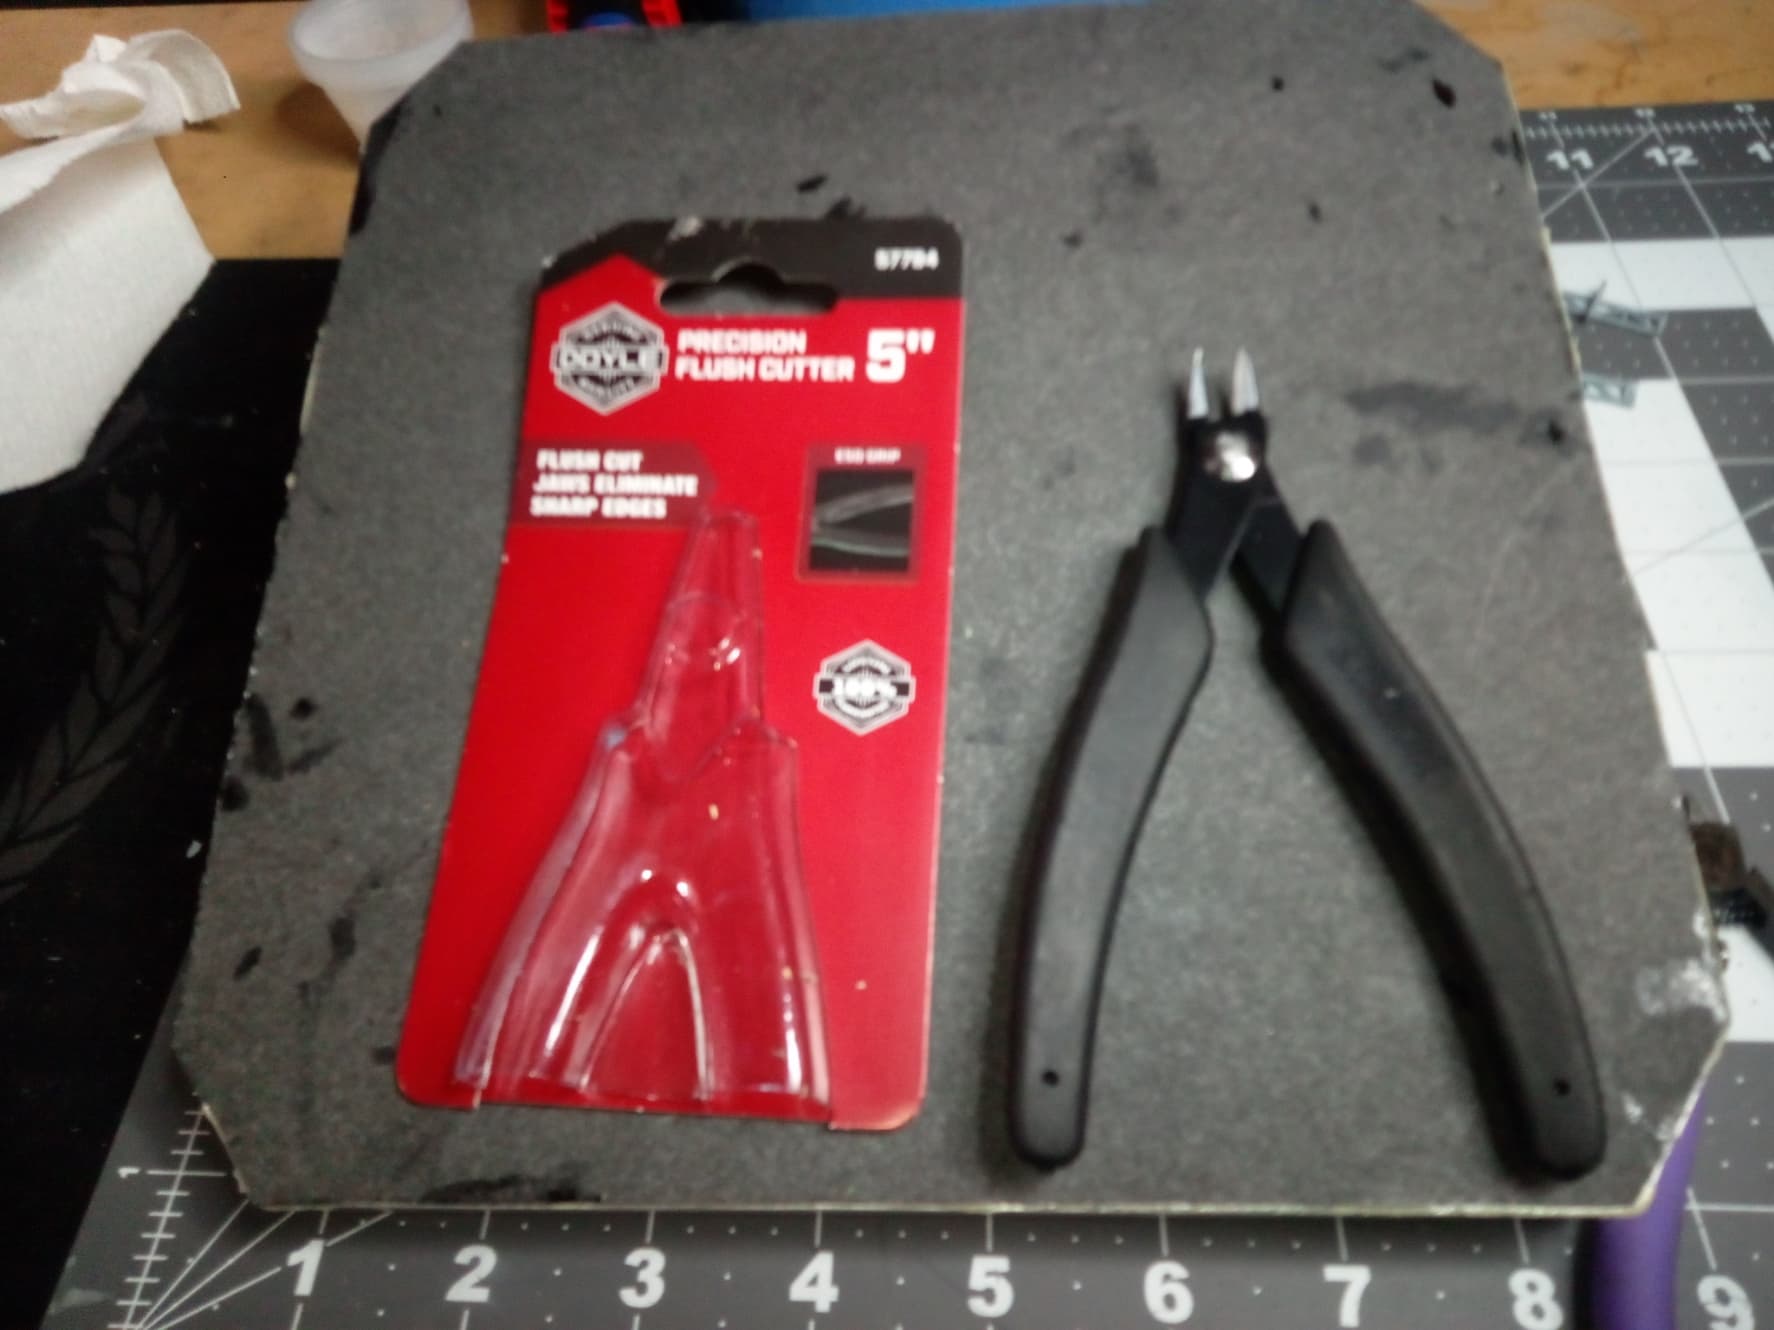
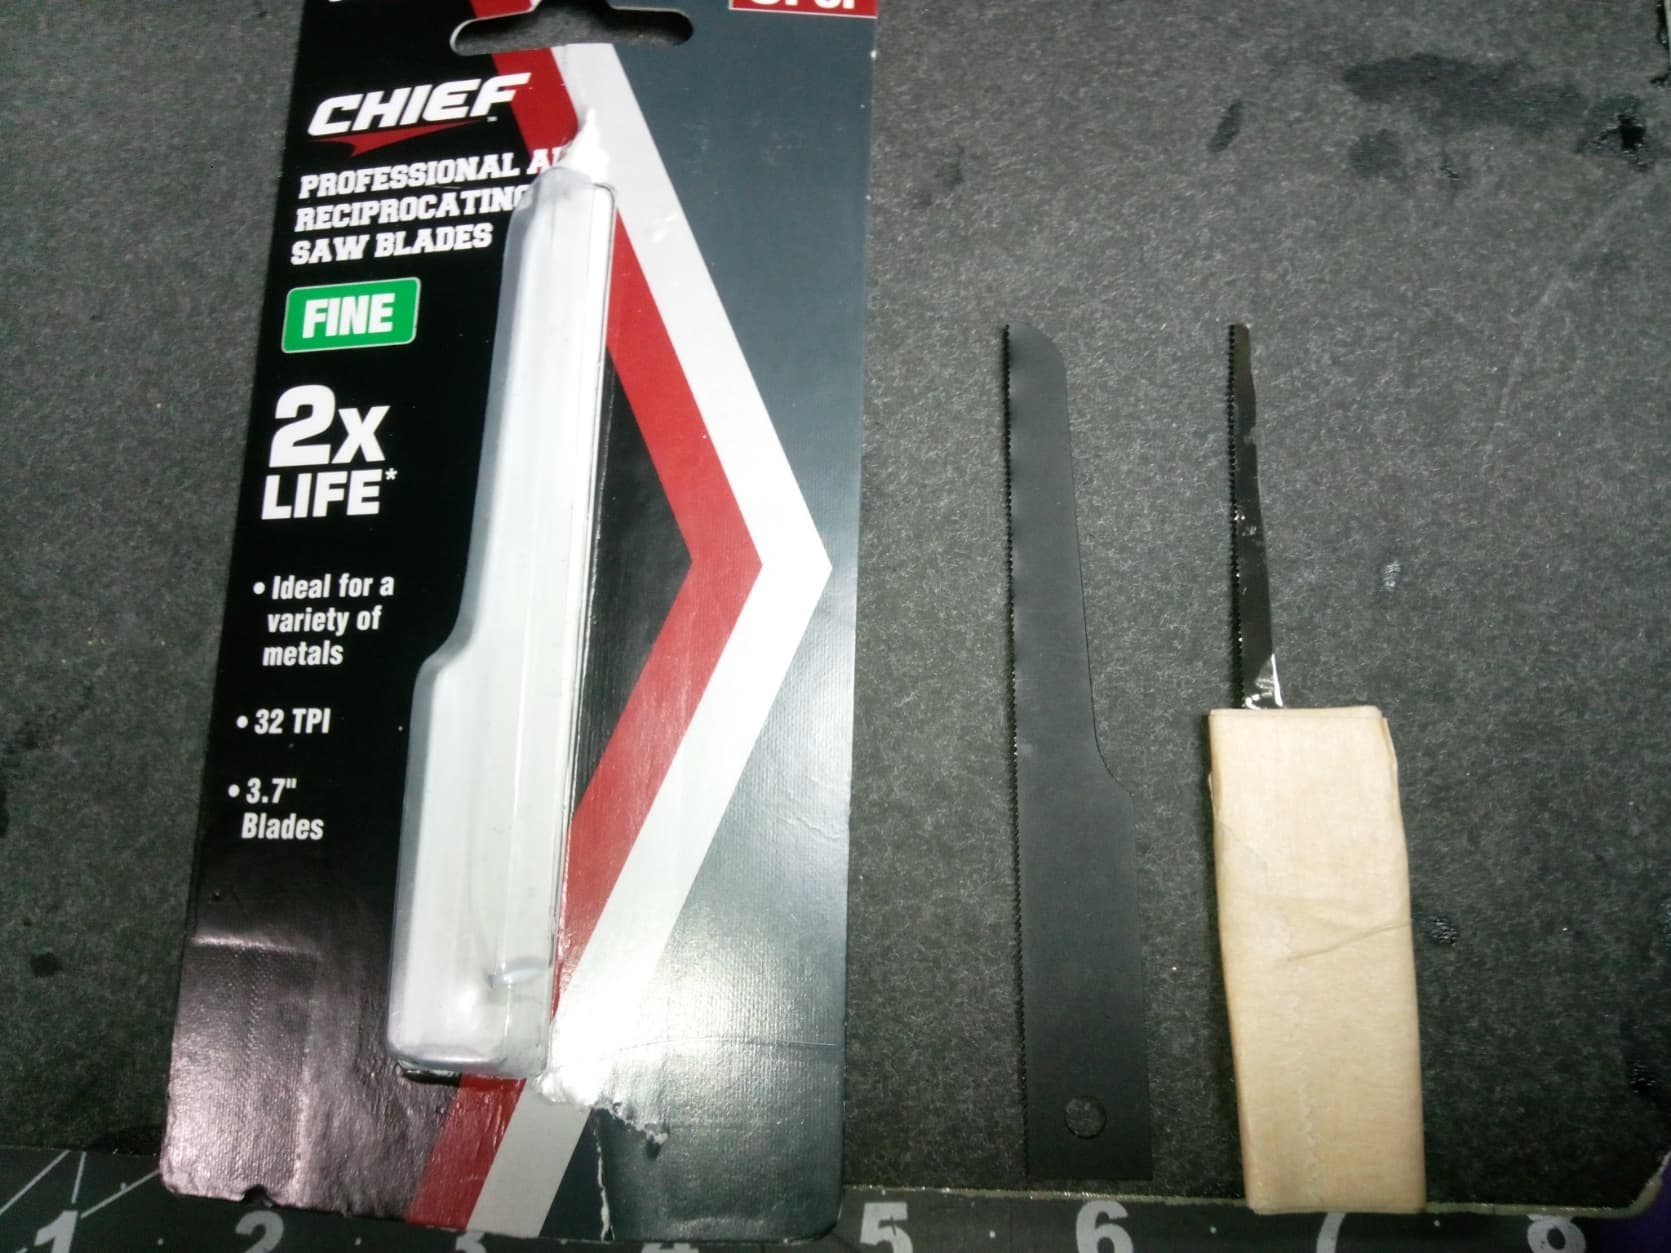
I mentioned new tools. I was at Harbor Freight and saw these Doyle precision flush-cut cutters, and thought it would be good. Turns out, it functions better than my Ruitool cutters! They made short work of those railings. That, and a little saw I created from a reciprocating saw blade shown below:
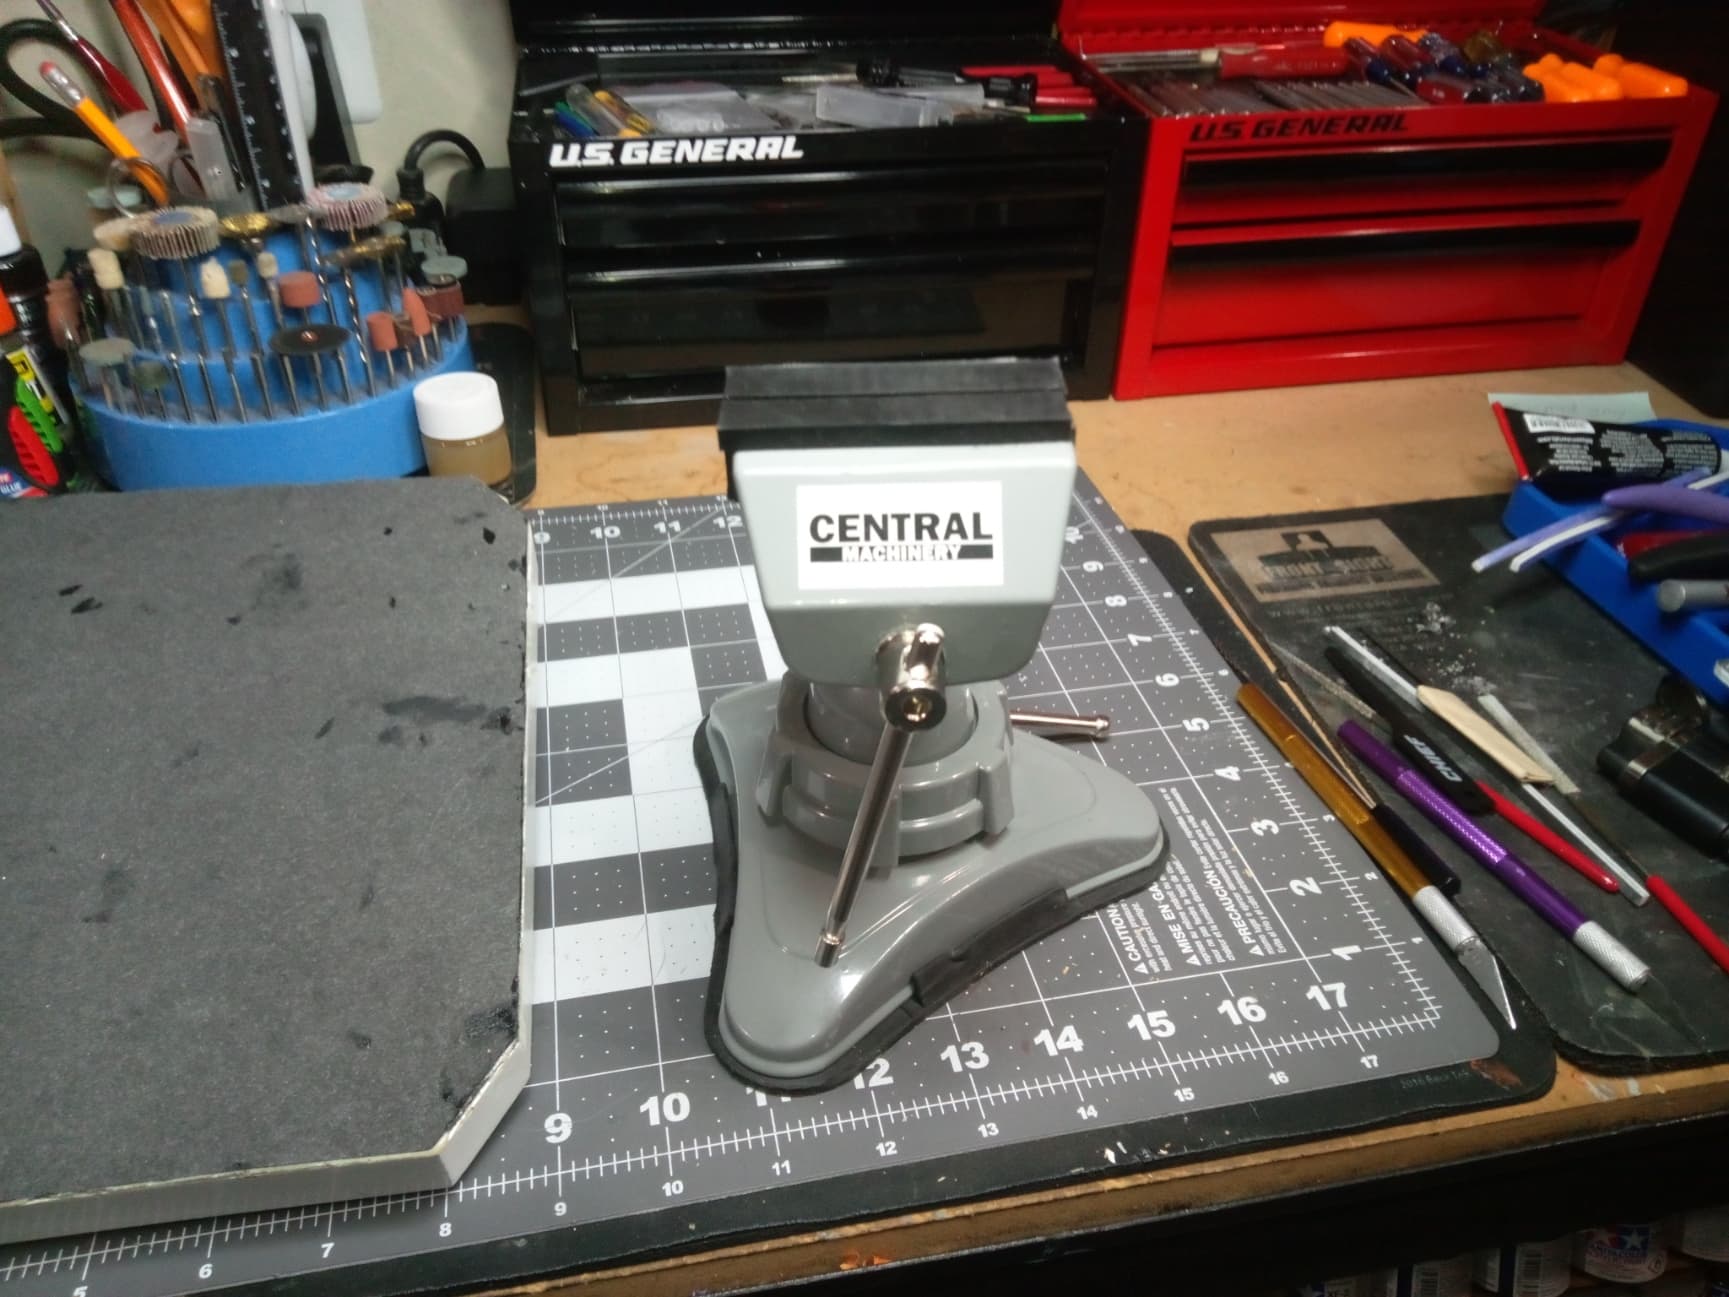
Additionally, I purchased one of their 2-1/2 inch mini vise which paid for itself by holding those towers in place while I trimmed them up. It suctions to the surface it sits on, has soft rubber jaws,
and can swivel every which way, which makes it very handy indeed!
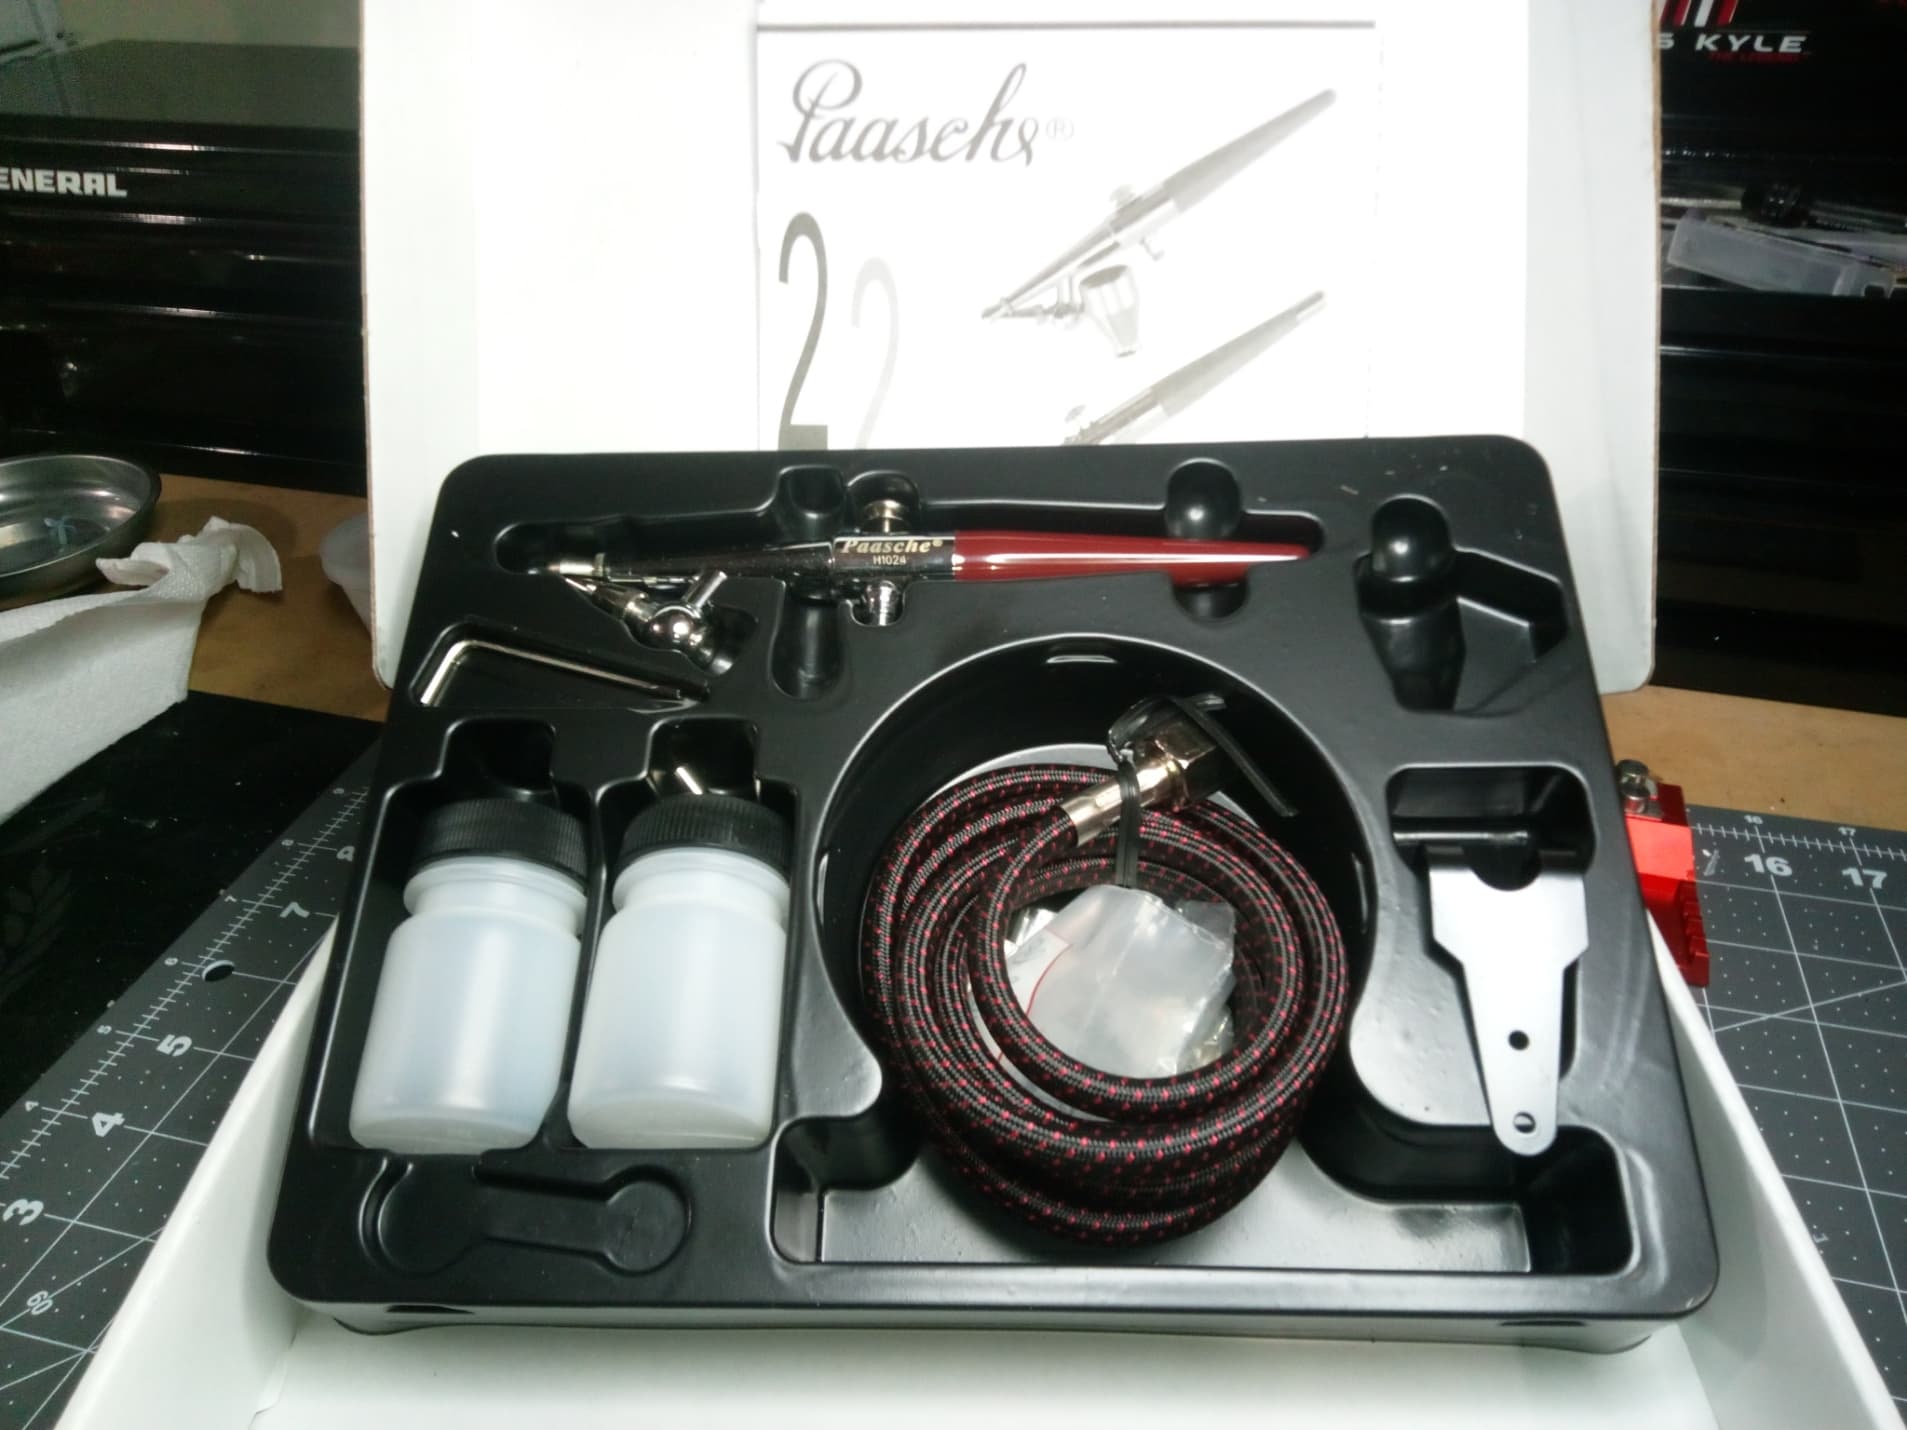
More good stuff: I also received my new Paasche airbrush. I grew tired of cleaning between colors, so this single action, siphon feed brush should streamline the process:
That’s about all I have for today. After leaving my shop last night, I took a bad fall in my driveway and hurt an already destroyed back, so I’m not sure when I’ll get back out there. In the meantime, happy modeling!
mrB, so sorry to hear about your fall and I hope that you’re feeling better and are on the mend. Take some time off from the bench to let those back muscles loosen up. Your work on this ship kit is amazing and truly a project that is very meaningful to you. Rest up Buddy!
Got back out to the bench today after taking a nasty fall in my driveway last weekend. I won’t bore you with the details, but I have a really, really bad back and this fall put me in bed all week.
Oh well. Nothing really sexy in the build to report on. I basically spent the afternoon bending photo etch, puttying, sanding, and applying primer to a few pieces. I did end up assembling the crane hoist towers, as there was no way the PE railings would fit into them unless it was all assembled at once. These things are a pain. They’re angled, and since I cut off the molded-in railings, there are no tabs or pins to hold them together. Thank God for Insta-set CA glue accelerator. So the mid level PE is installed, the uppermost PE around the mast is merely mocked up. The radars will be replaced with PE. Adjustments had to be made to the bottom of the masts so they would fit the towers. I’m finding out that every piece of this kit needs hand fitting. I would have been better off scratch building it!
That’s about it. I’m stymied at this point, because I’m waiting on paint supplies and I’ve done all I can until I can paint. I love Hobbylinc.com, but they take fooooreeever! Gives me time to ponder making all the crane rigging, so no big deal. Until next time…Happy Building!
No, not a tariff thing. It took over a week just to get the order together for shipment, then the holiday, a now the snail’s pace of USPS. It’s just various thinners and retarders. I have the colors, but it has been so darn hot here the paint dries faster than I can use it. If USPS (my local office) doesn’t make their usual errors, I should have the stuff by Tuesday. On the plus side, it has left me time to learn about how cranes and winches are rigged. Found some good info from the San Francisco Maritime Museum in the form of a Deck Branch Training Manual:
[Deck Branch Training - Part 2] (Deck Branch Training - Part 2)
That combined with the ship’s plans and some other drawings I’ve got a plan of attack put together for rigging it all up. I just hope that my eyes and hands are up to this micro task.
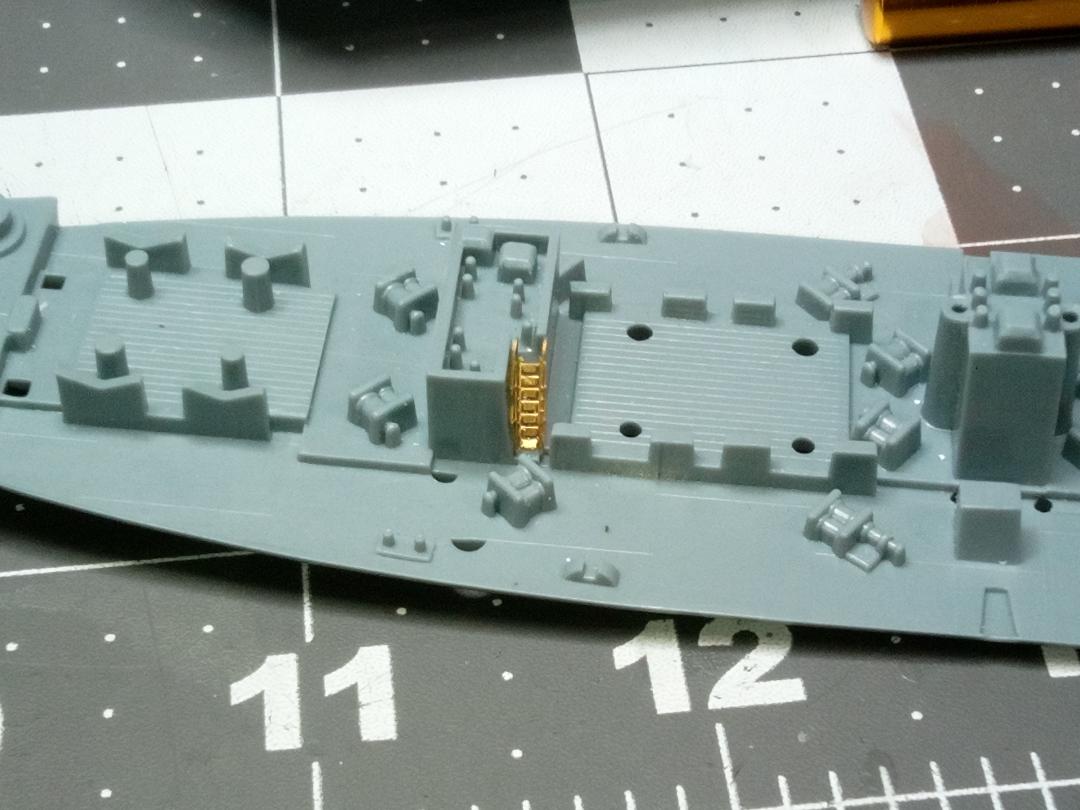
You are doing great. Really like the shot of the ladder instl.that must have made your efforts cuttin’ an’ scrappin’ the plastic worth while. .Keep getting well, and model as you can,
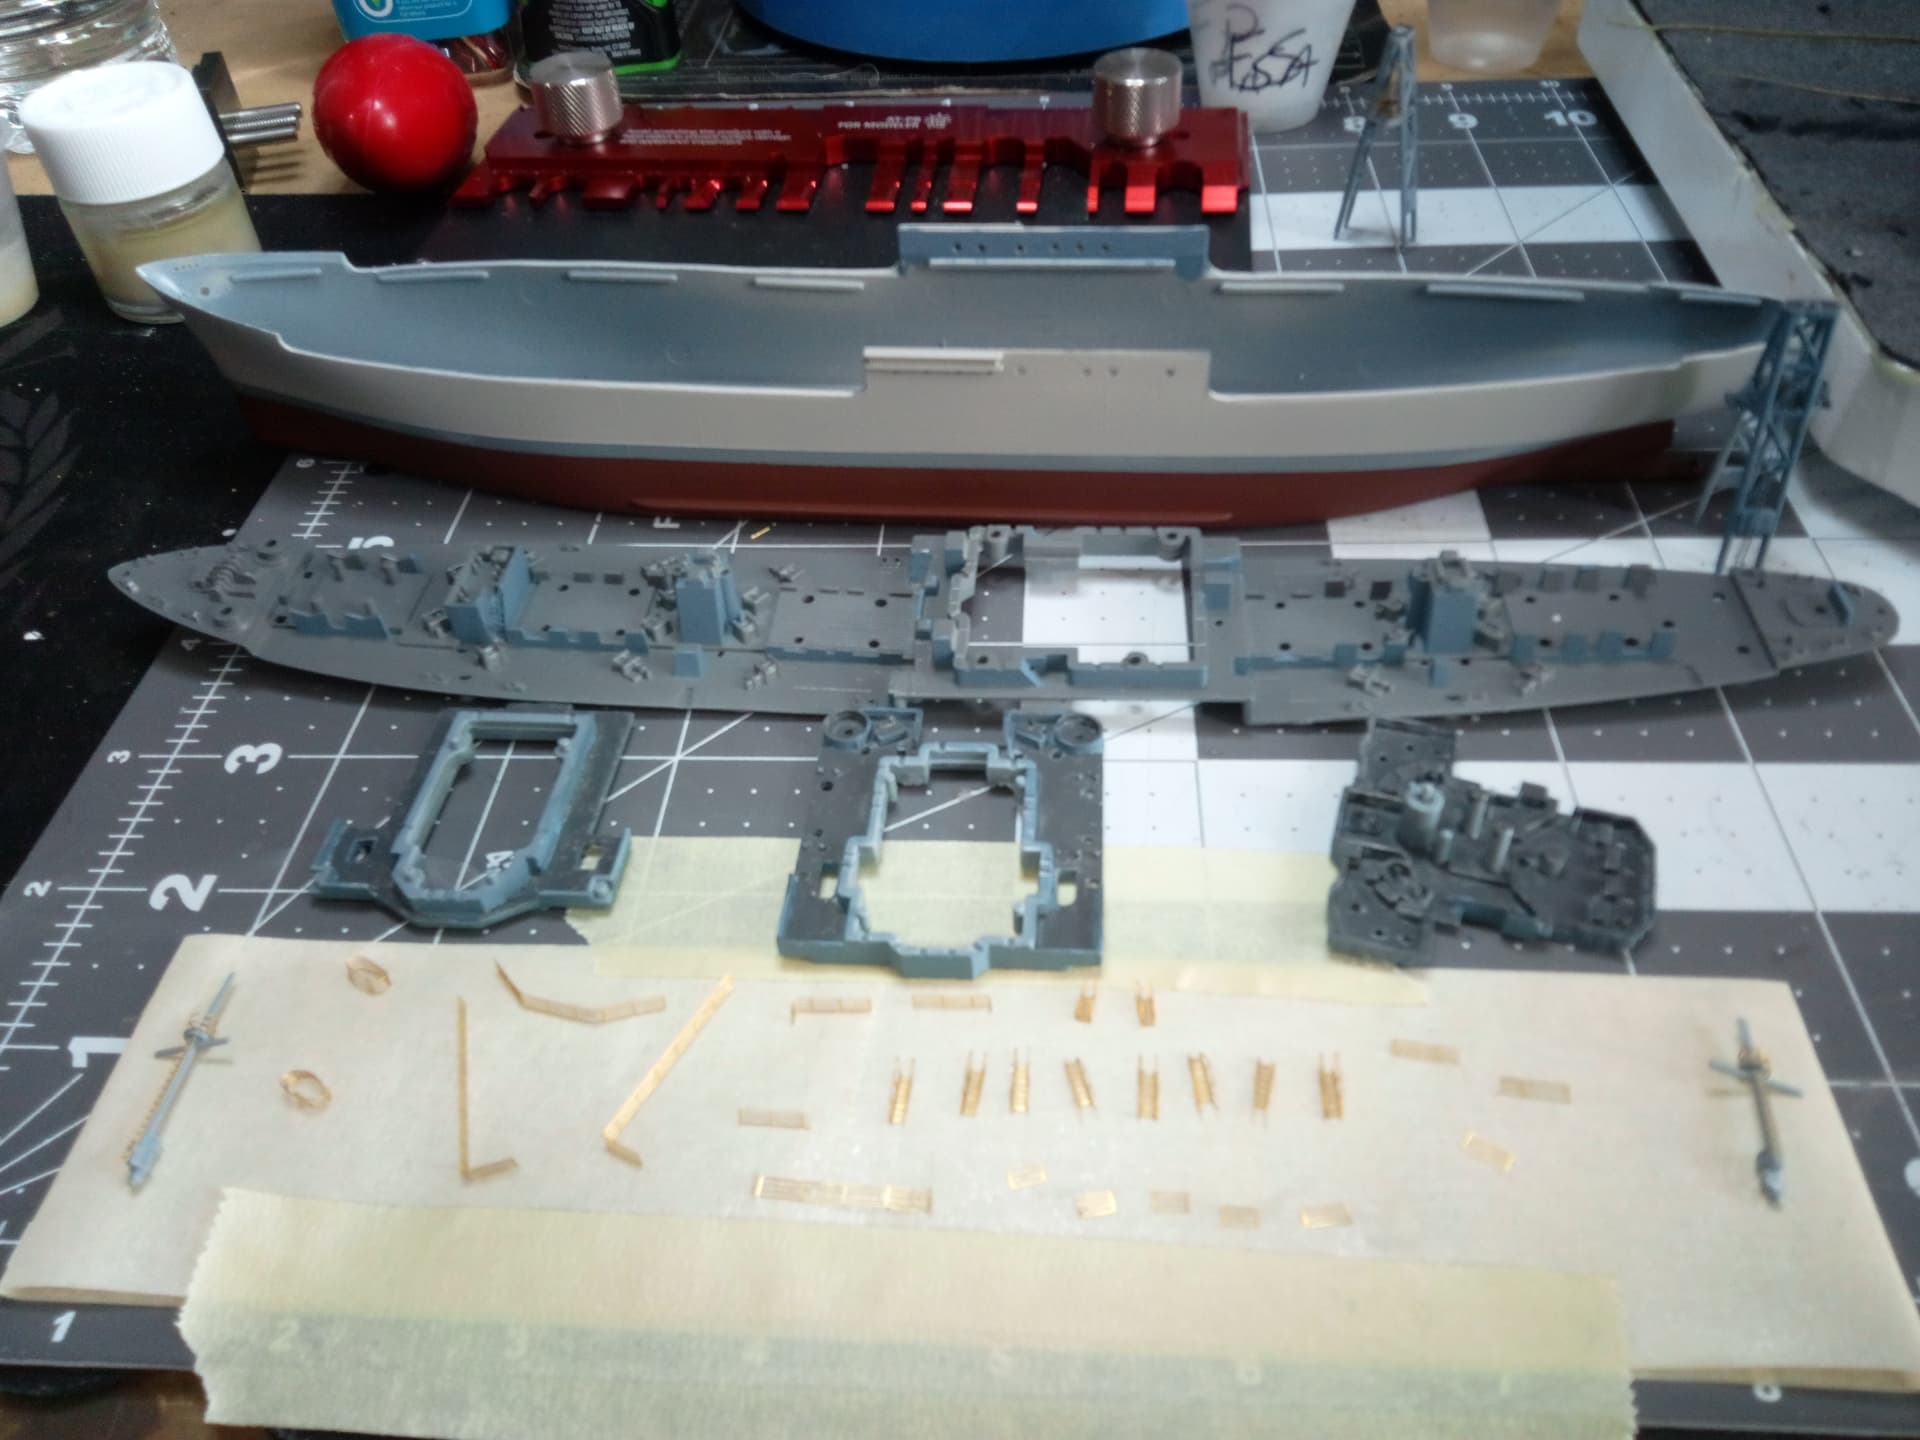
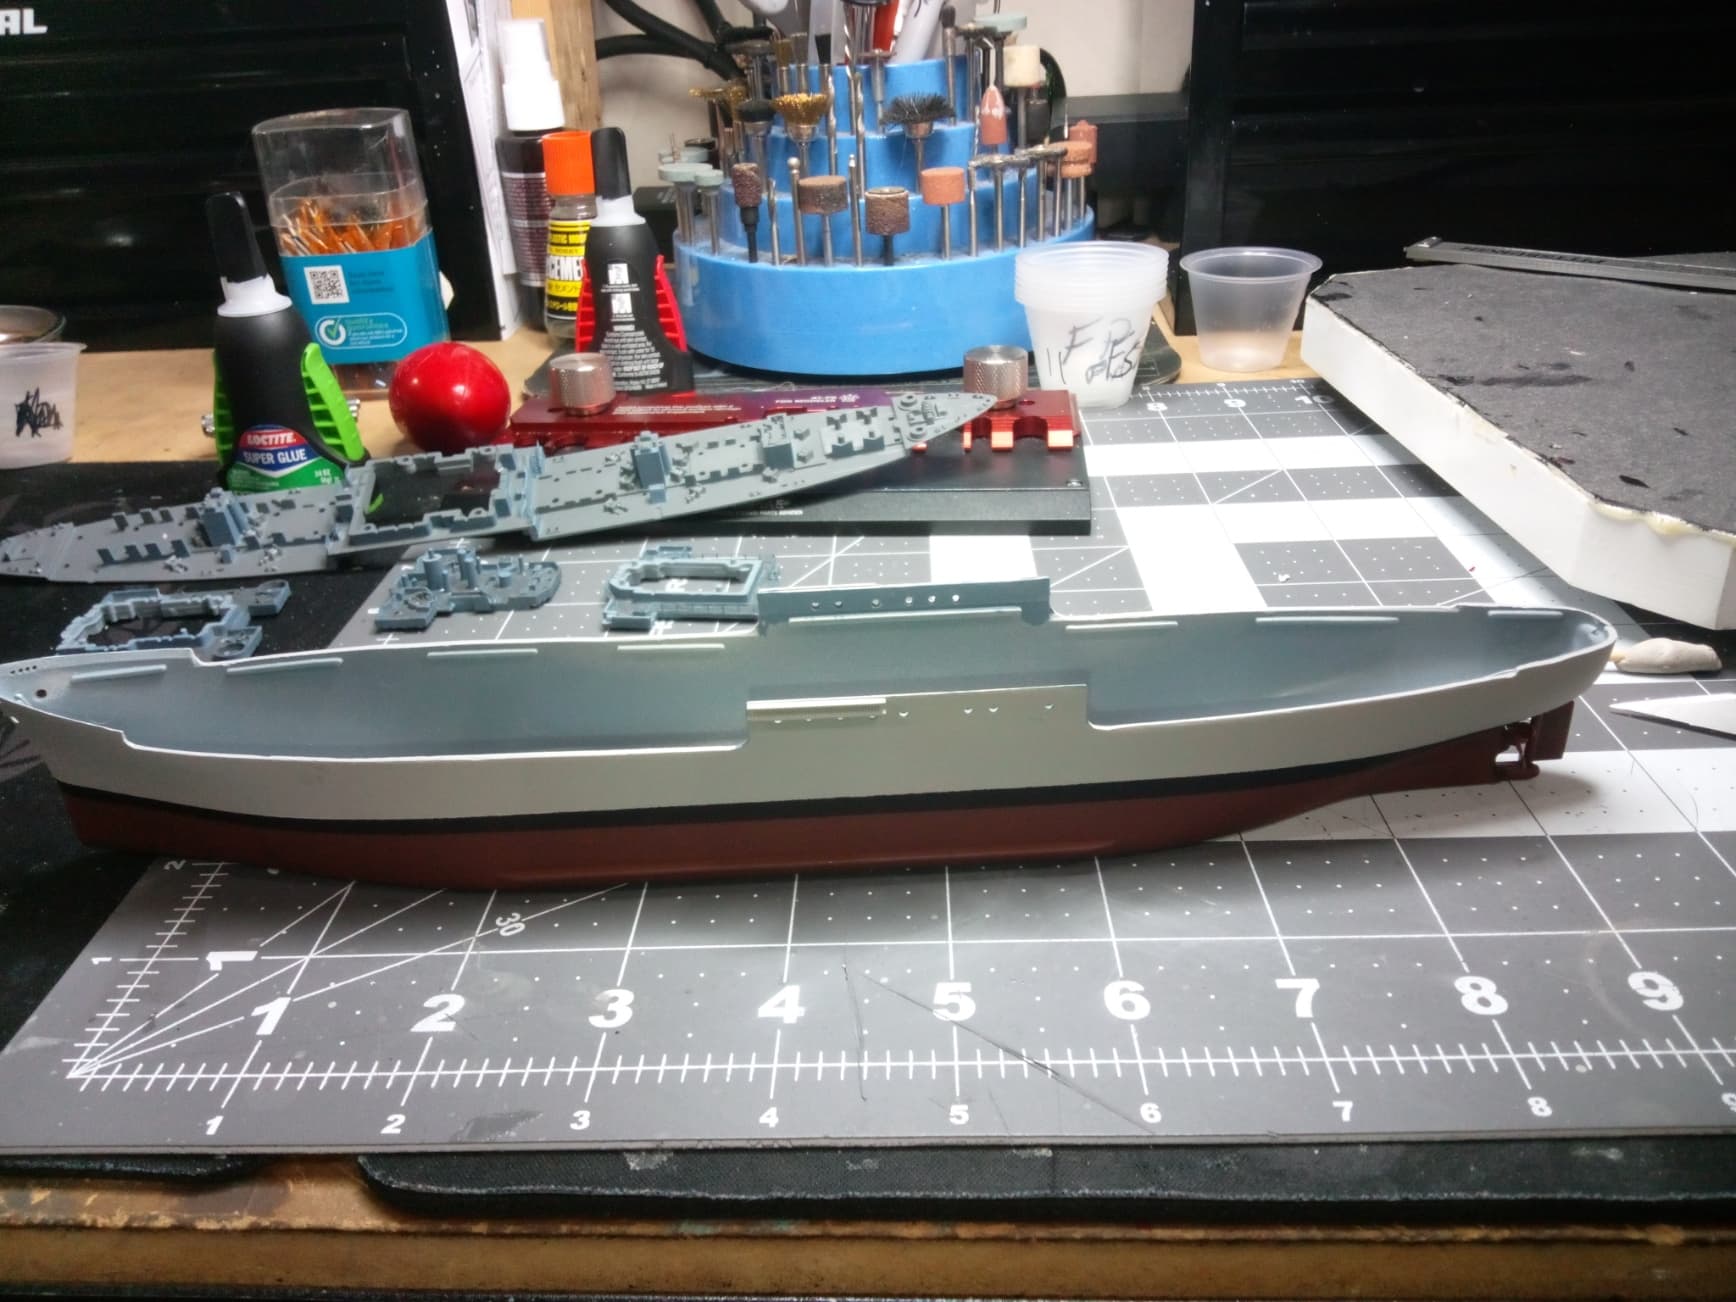
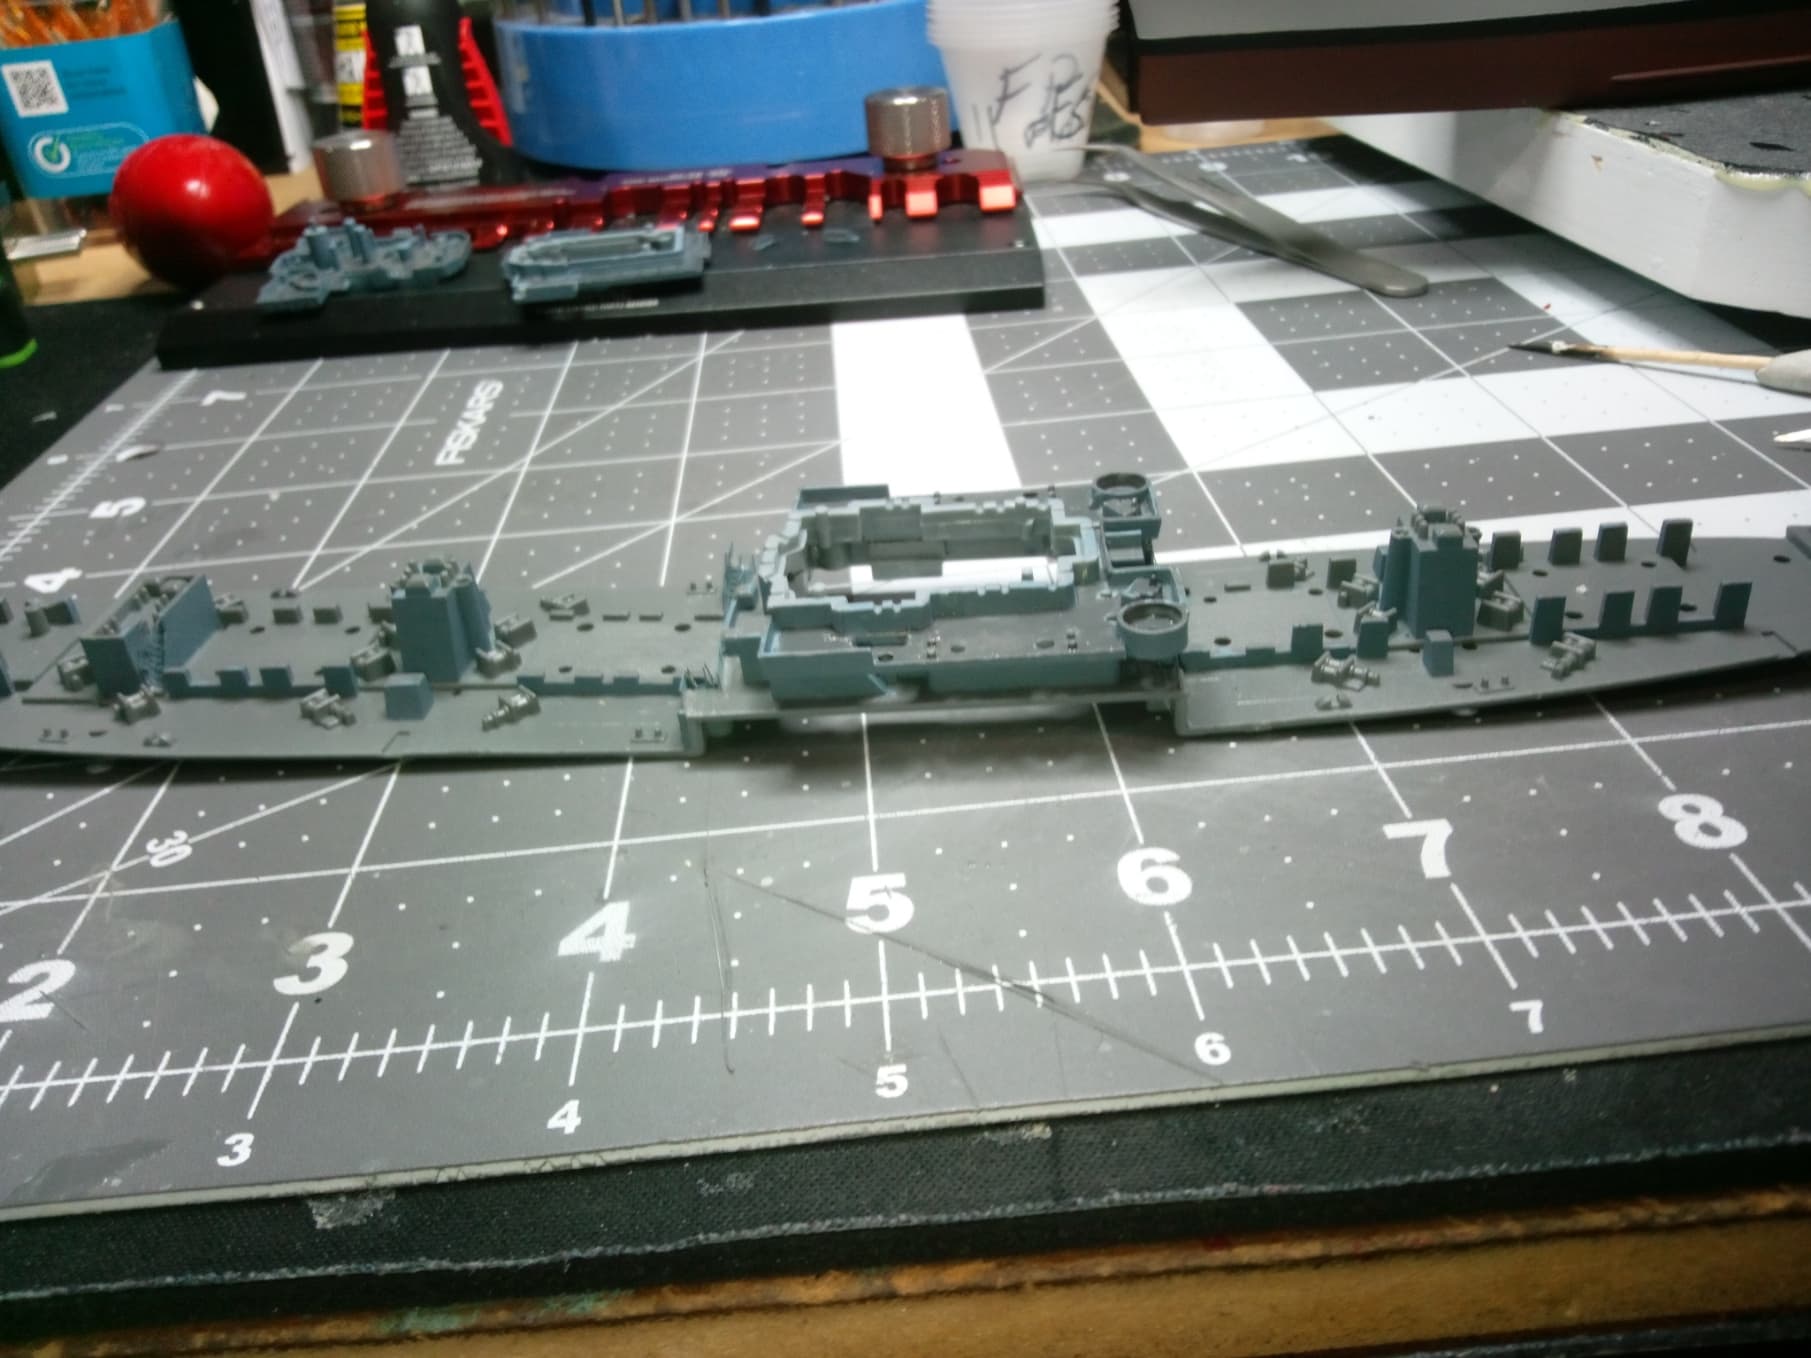
My paint supplies finally arrived, and I got a bunch of painting done between yesterday and today.
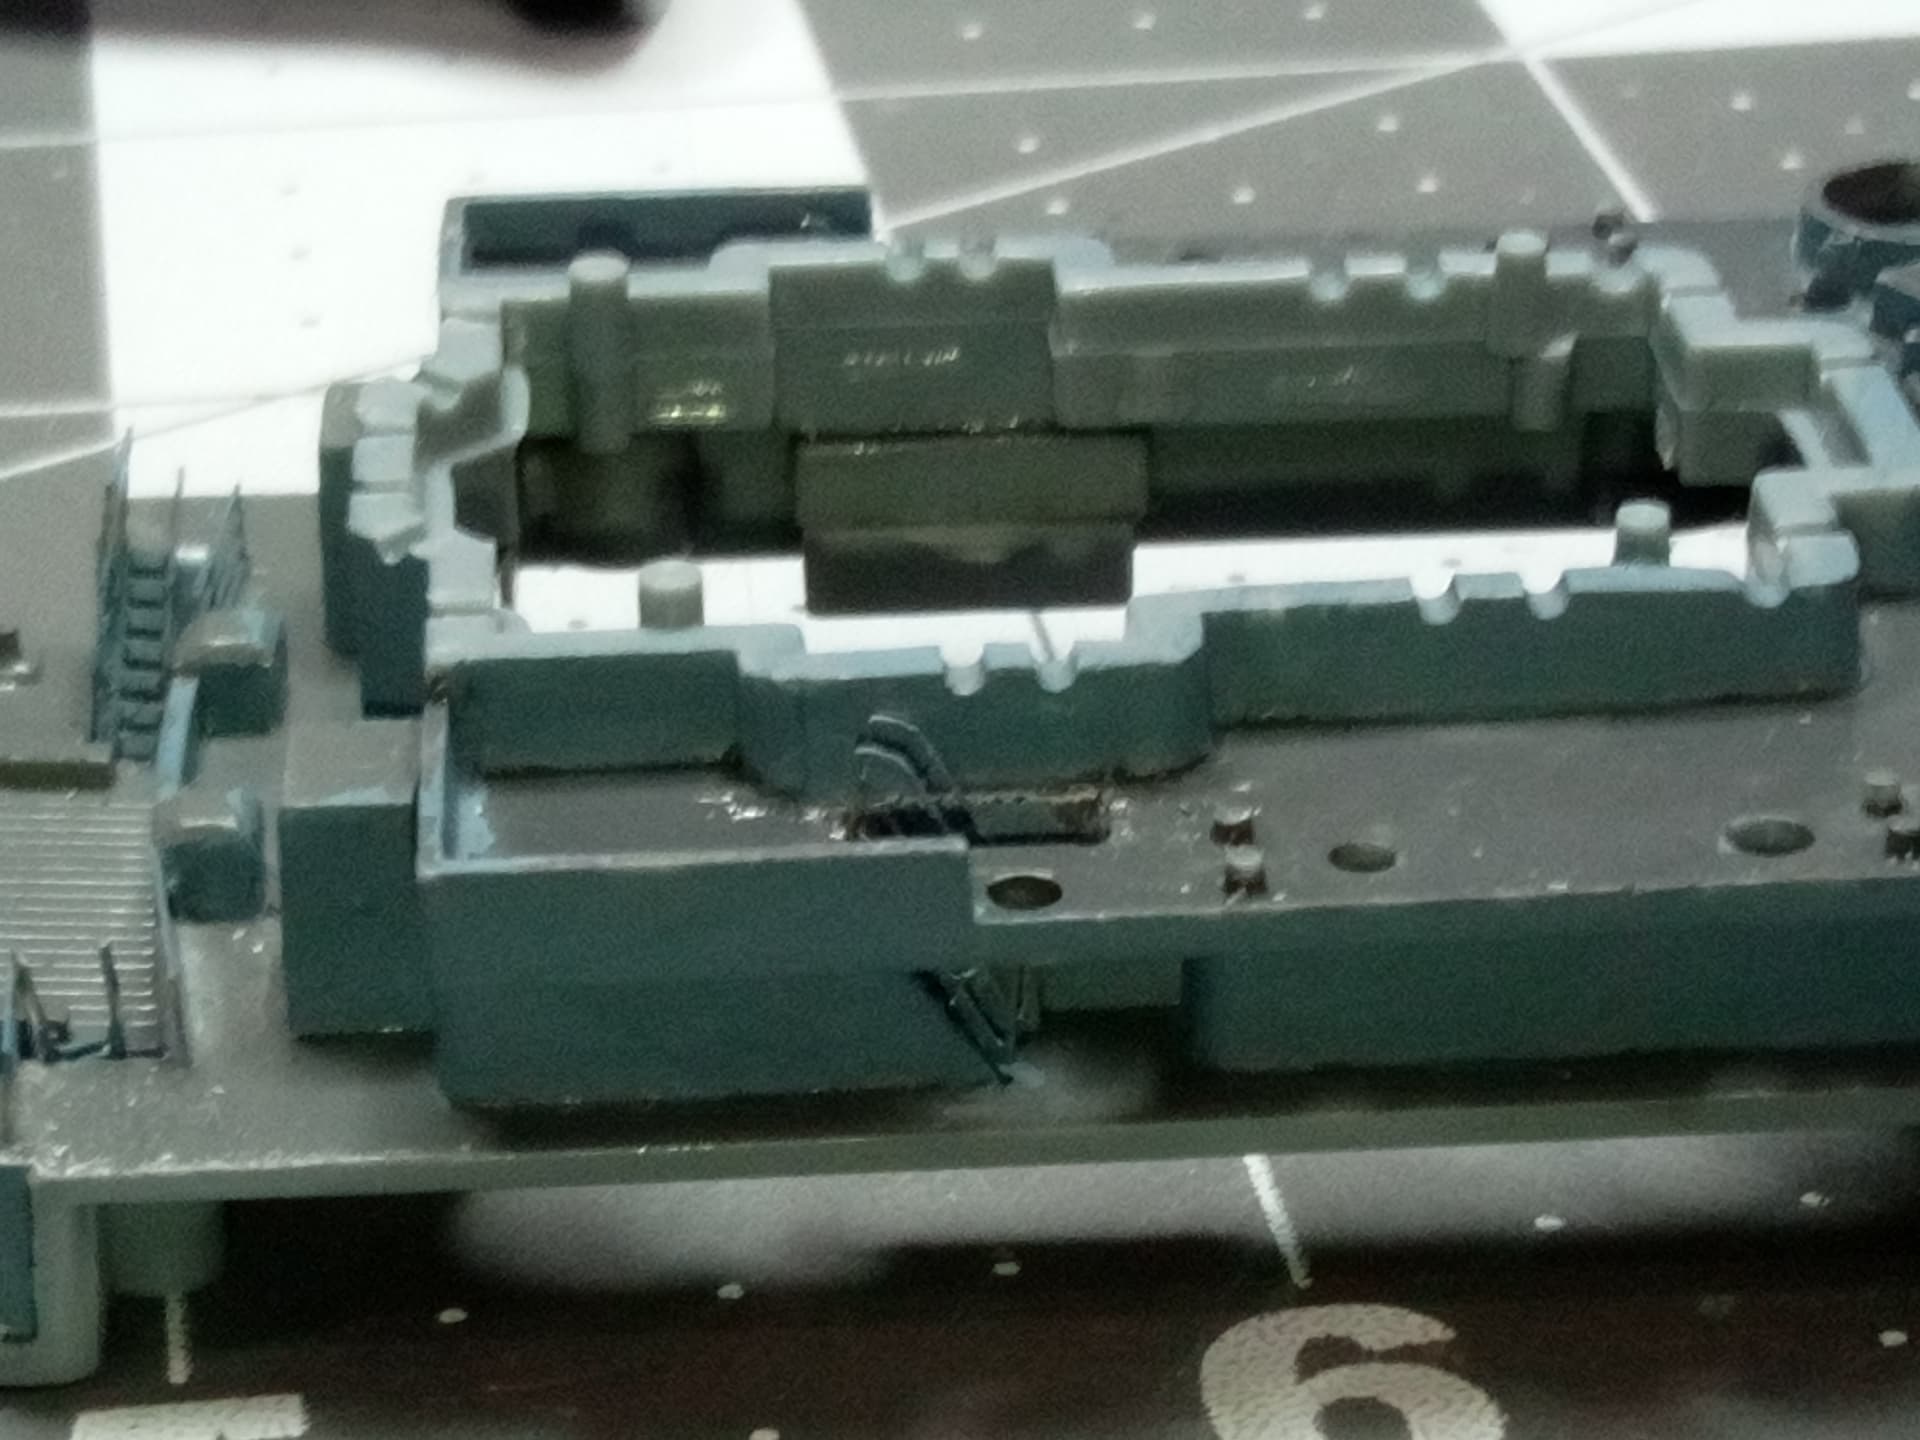
Got some haze gray on the hull (custom mix of Tamiya flat white, Tamiya med gray, and Mission Models haze gray), with just the boot stripe remaining. Painted the main deck with Squadron deck gray, and the vertical structures in AK ocean gray. Same two colors on the superstructure components. Then applied ocean gray to all the little pe parts and masts in the picture.
Found an issue. Renwal left out the mast connected to the smokestack that supports the signal mast (and the halyard). Got some scratch building to do. Took awhile to figure out, but I have a plan and will show you how it goes when I get there. Tomorrow I’ll begin installing pe on the main deck, paint the boot stripe, and maybe install the first deck of superstructure. I’ll also begin prepping all the landing craft for paint. Not sexy work by any means, but things will progress faster now, at least until the rigging phase. Until next time…happy modeling!
Ahoy mrb865. I’ve been following this build since the beginning and find it fascinating. Your approach to building this very ancient kit is a wonderful lesson for us less talented hacks who are lucky just to get the glue in the right spot. You inspire me to do better work on my own models. I’m looking forward to seeing the finished project and to your next adventure, whatever that may be. Thank you for the great writing and photos.
Thank you so very much for the kind words Strongeagle. I have learned much from the members of this community and just want to give back what little I can. I don’t consider myself more than a hack model builder, since I’m just getting back into this hobby after 45 years. But I’m giving it my all, trying to be the best modeler I can be. It is most gratifying to hear that I have inspired you in my endeavor.
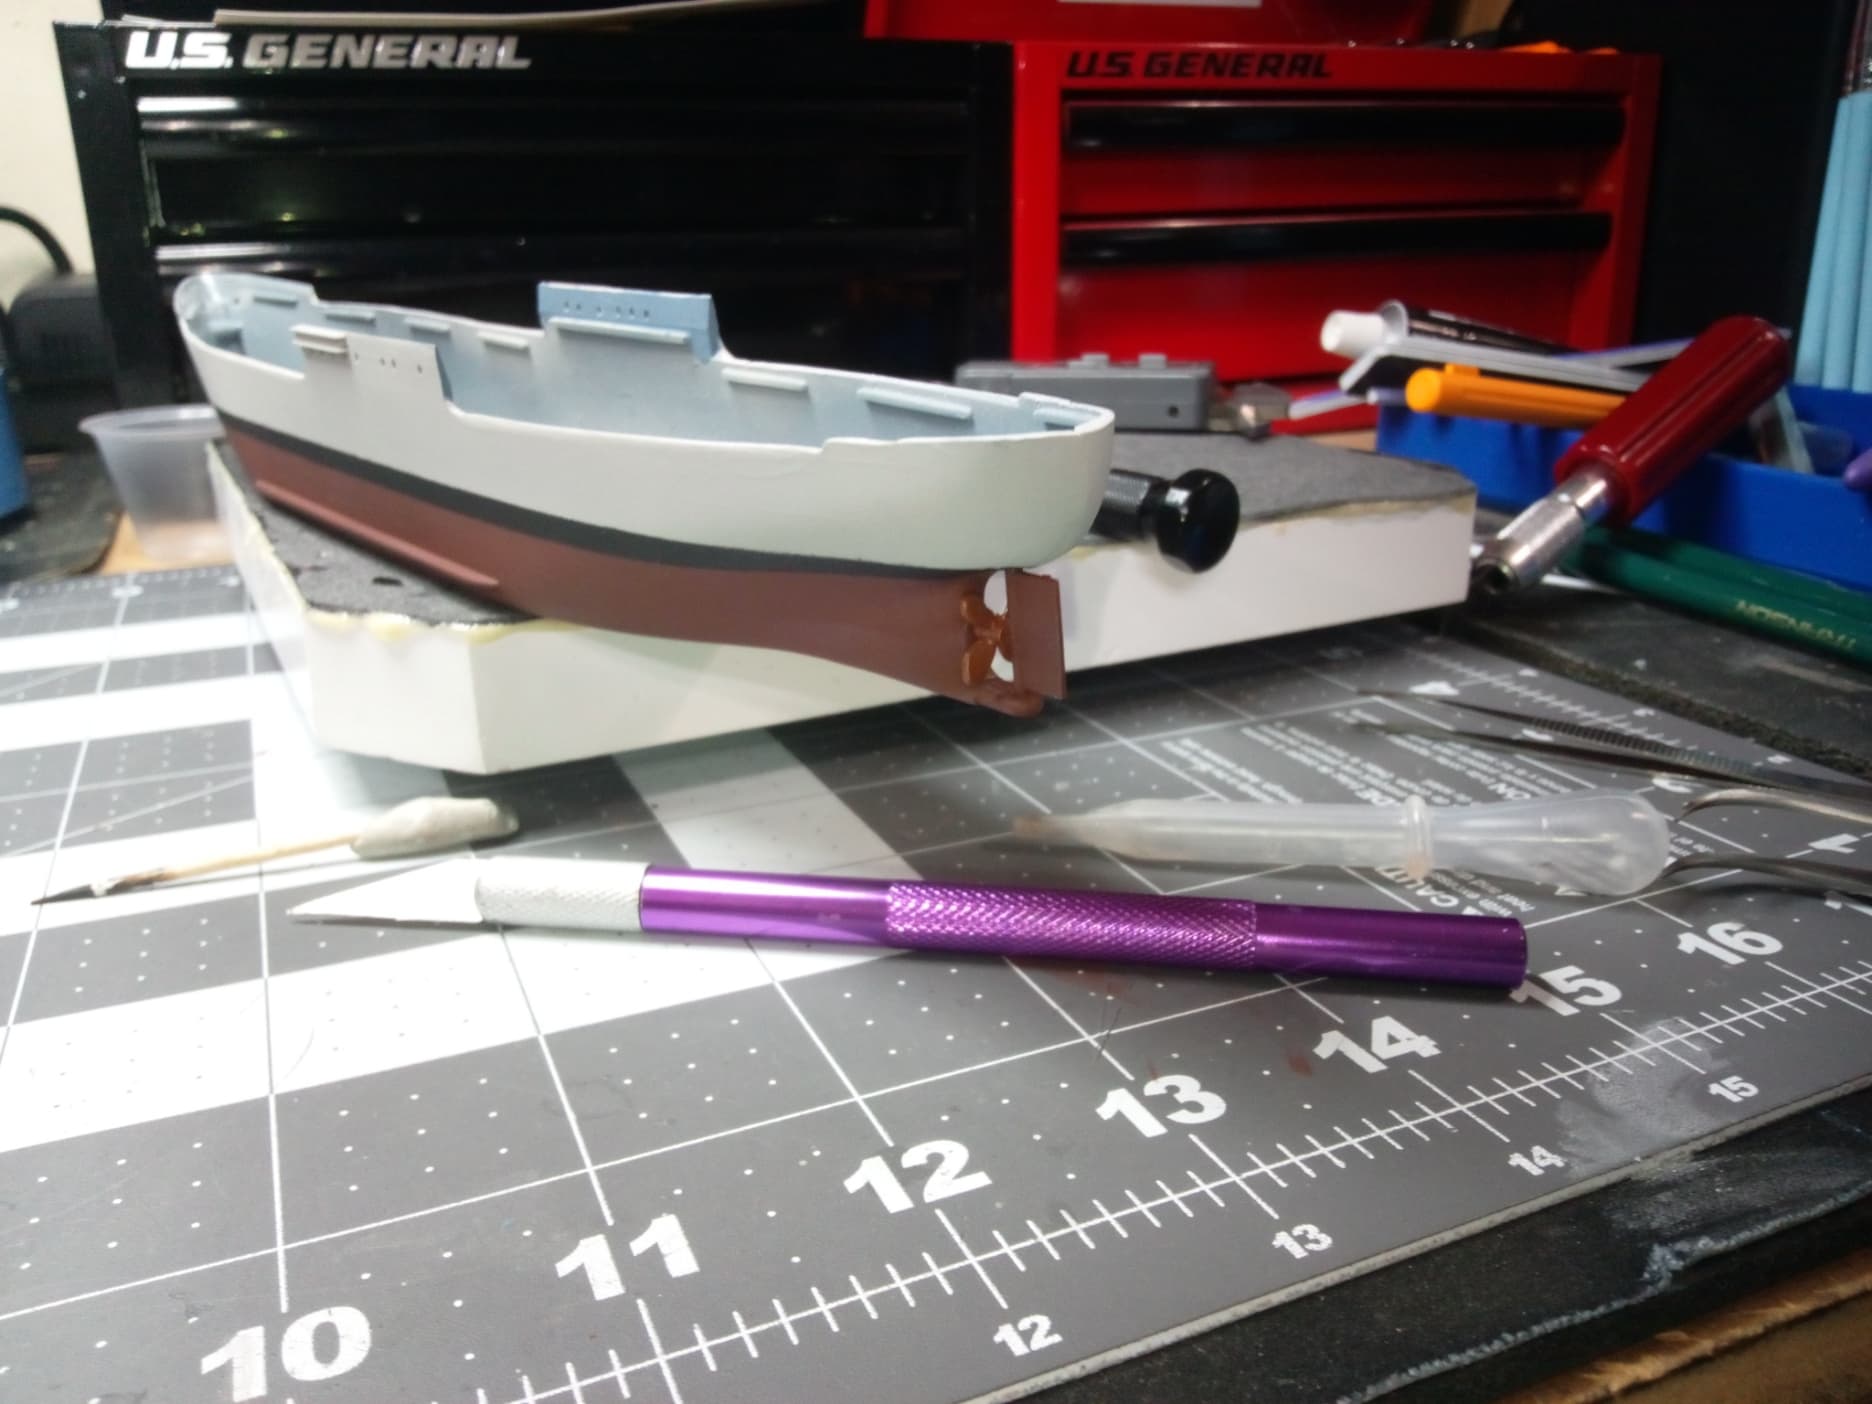
As promised, I’m back with another update. Thank God for modeling. The quiet, the focus, and solitude was just what I needed yesterday. Made some good progress, got the boot stripe painted on the hull and the prop and rudder installed. Tamiya flat black on the stripe, AK Hull Red on the rudder, and a custom bronze consisting of generic yellow and Tamiya Flat red and flat brown on the prop. I don’t like bright gold props on ship models, it just doesn’t look right to me. Tarnished bronze to me is more realistic. The boot stripe really ties the hull together.
Lots and lots of tiny detail painting to do next. Not sexy but critical to making this build pop! I’ll keep everyone posted. Until the next update…Happy modeling
Some incredible work with the PE here mate! I can definitely appreciate why you’d want to use it at this scale though since smaller details will become more difficult to faithfully render in plastic.
I notice you’re painting a lot of the PE prior to affixing - I haven’t worked with PE much but I’ve seen other builds which would install much of their PE prior to an overall base coat - I’m assuming you have method to the madness, perhaps to remedy an incompatibility between metal primers and what you’re using to base the rest of the model?