Build log: Renwal 1/500 USS Seminole Attack Cargo Ship Chap. 10 09/24/25

Well, it’s time for the next project. I am going to build (as I threatened in another post) a vintage Renwal USS Seminole Attack Cargo Transport. I decided to do my first build log and share with everyone here. I was inspired by Builder_2010 and his incredible work. I’m nowhere near his skill level, but what the heck!

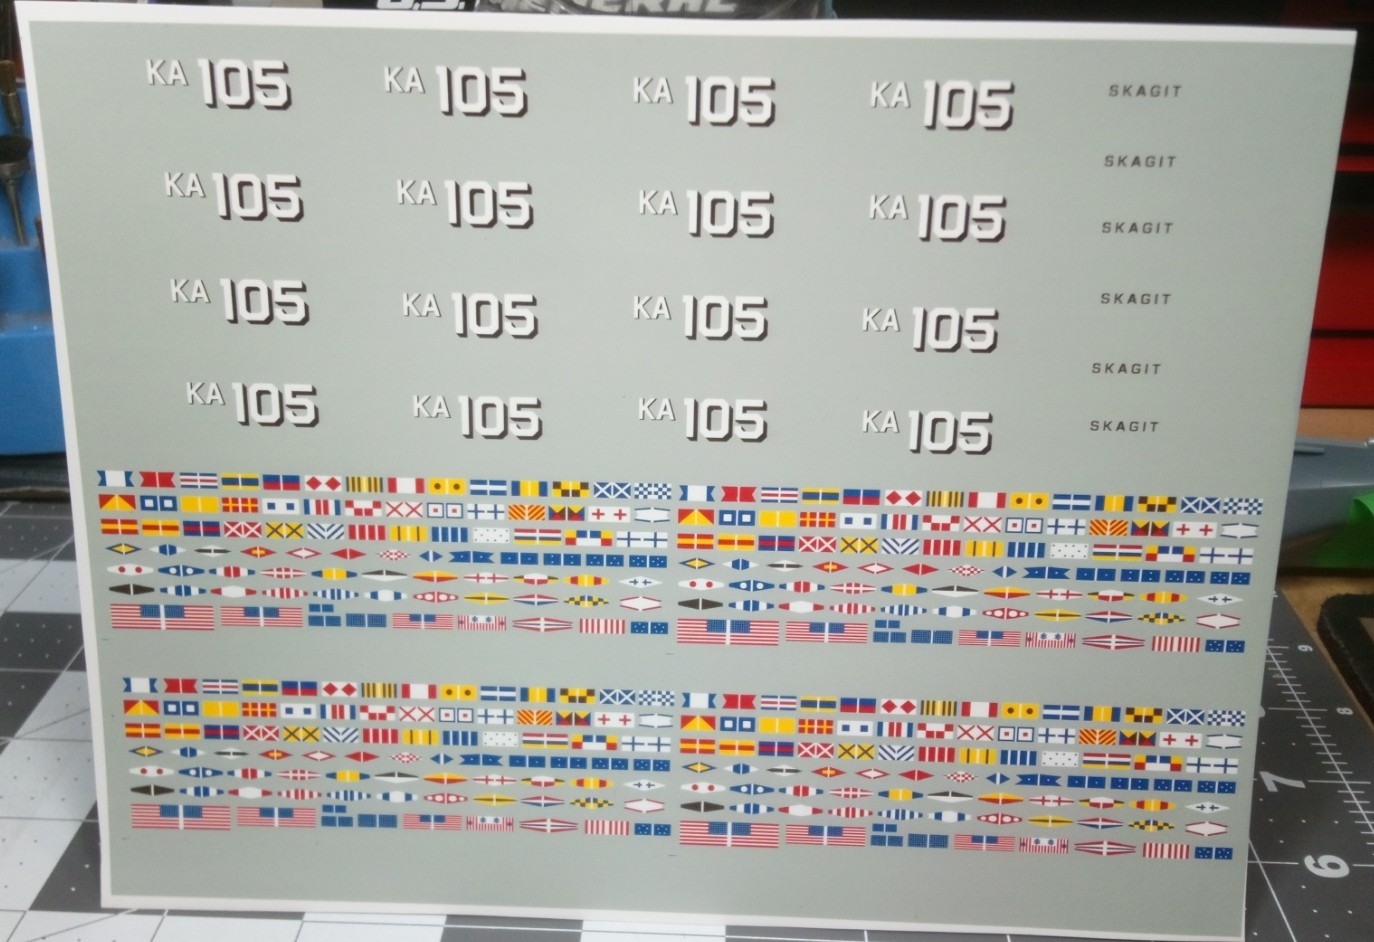
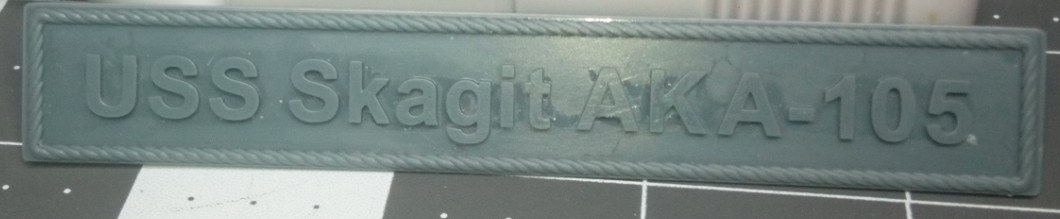
I will be rechristening the Seminole as the USS Skagit AKA-105, as a tribute to my Grandpa who served aboard her from shakedown, Europe and Pacific theatres, and was present in Tokyo Bay for the surrender. The Tolland class Attack Cargo ships were vitally import in the war and post war periods.


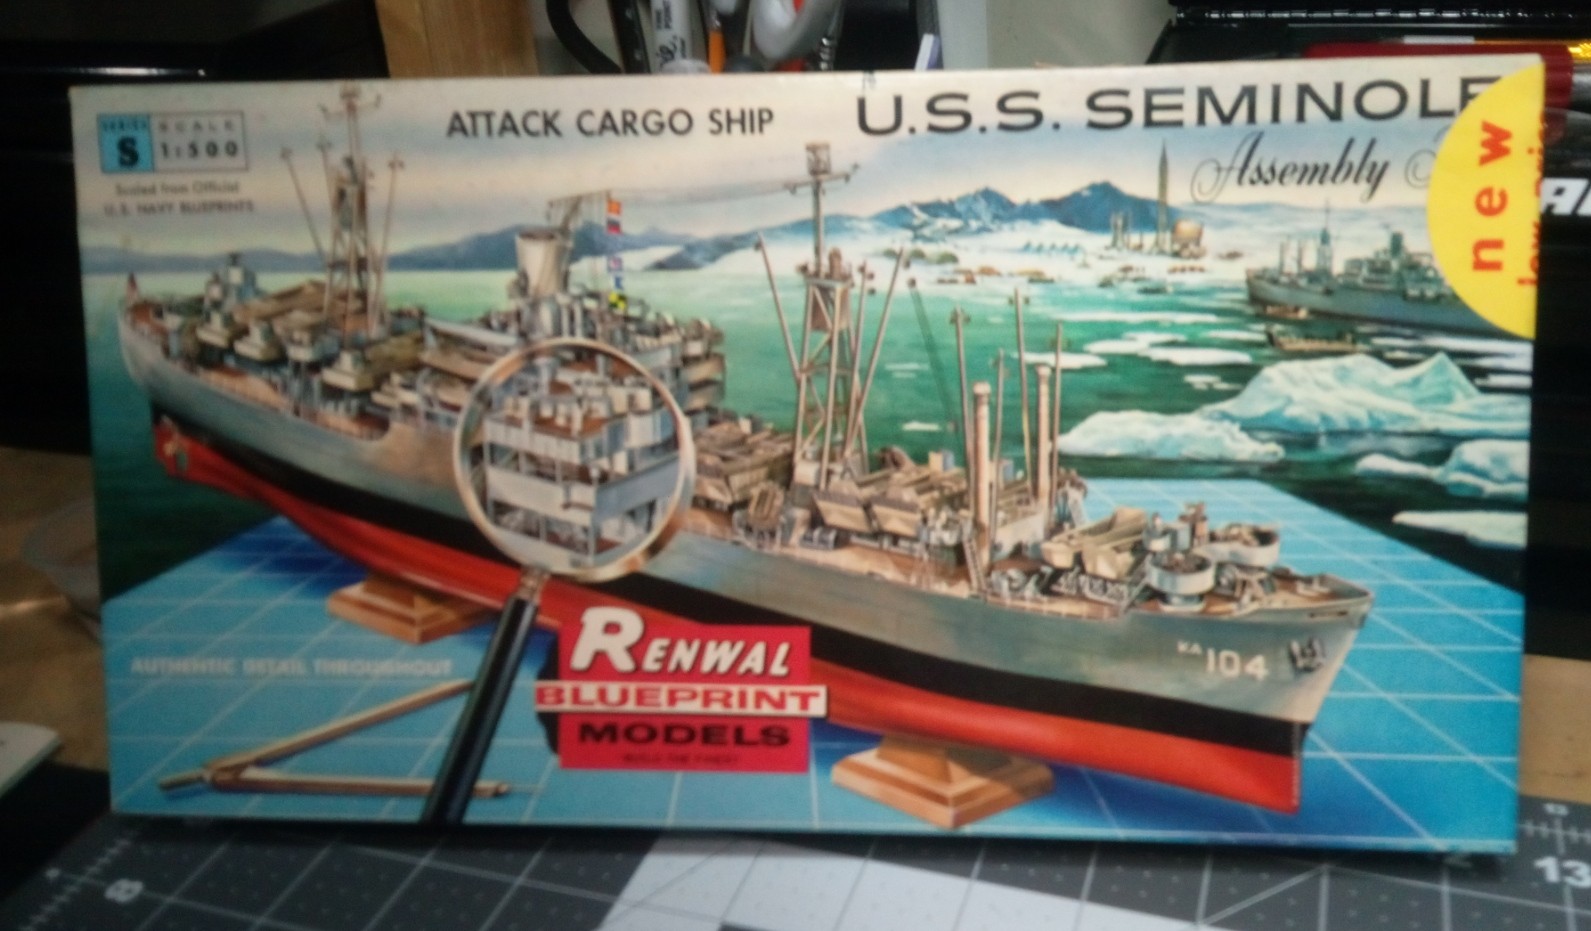
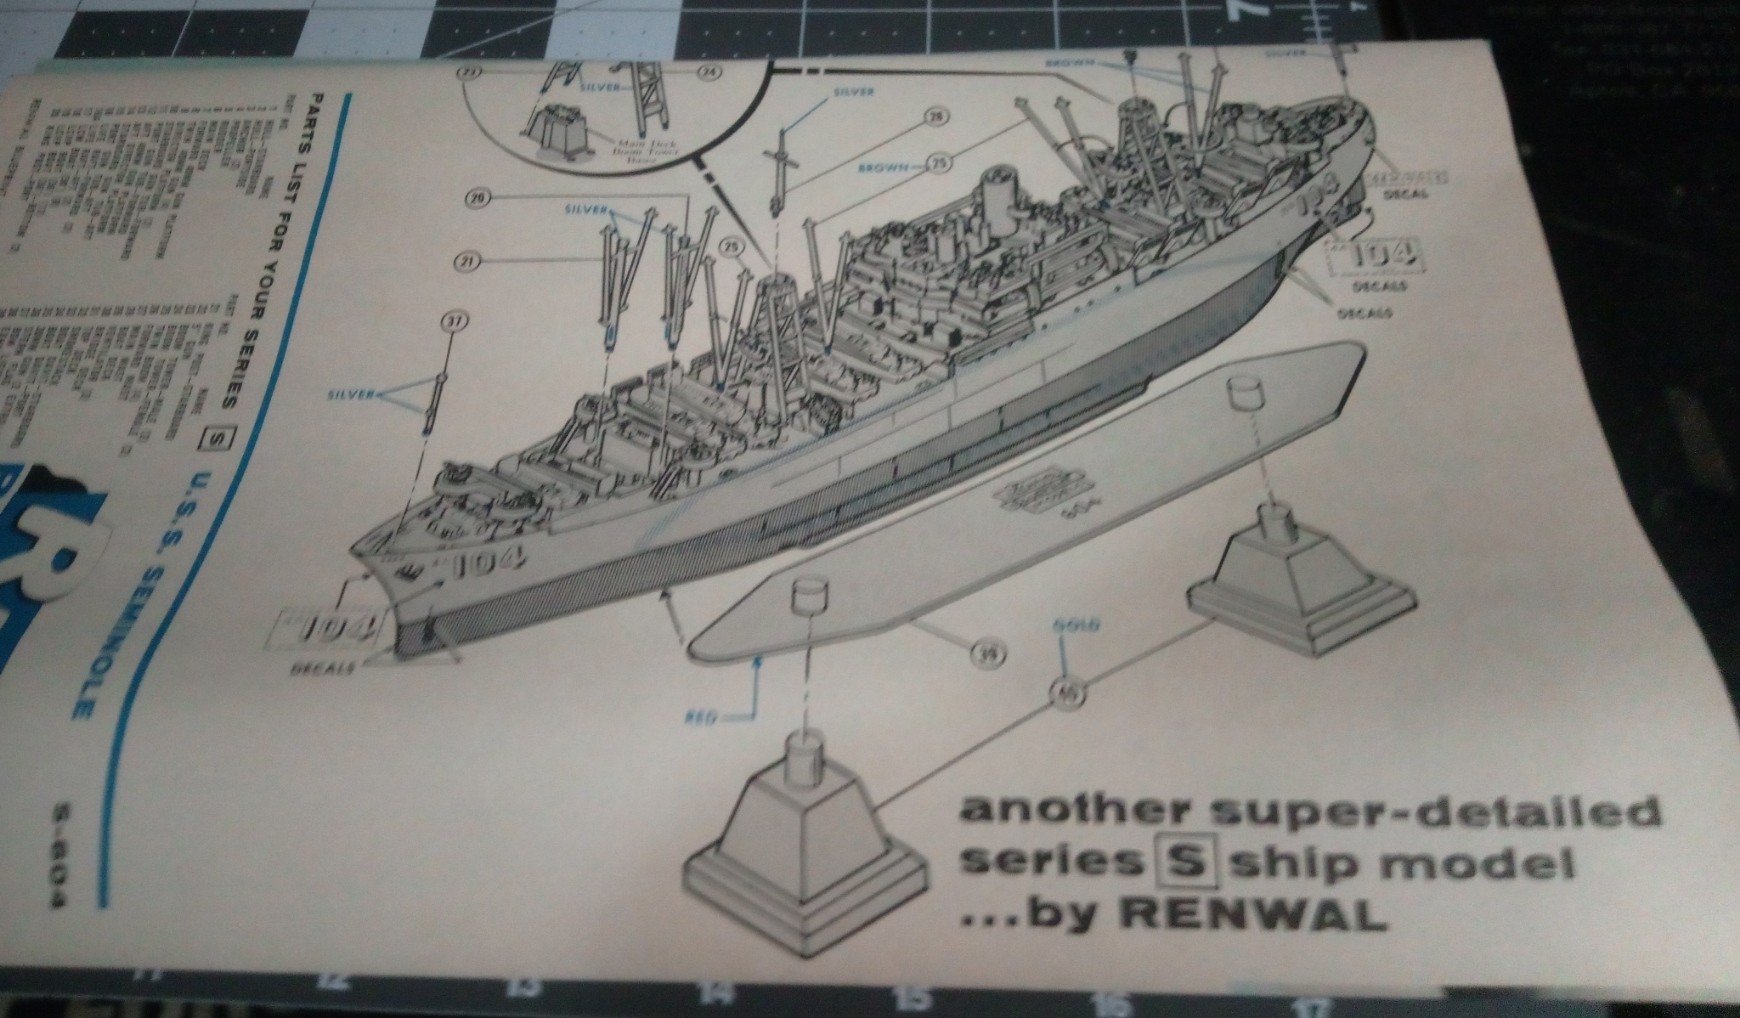
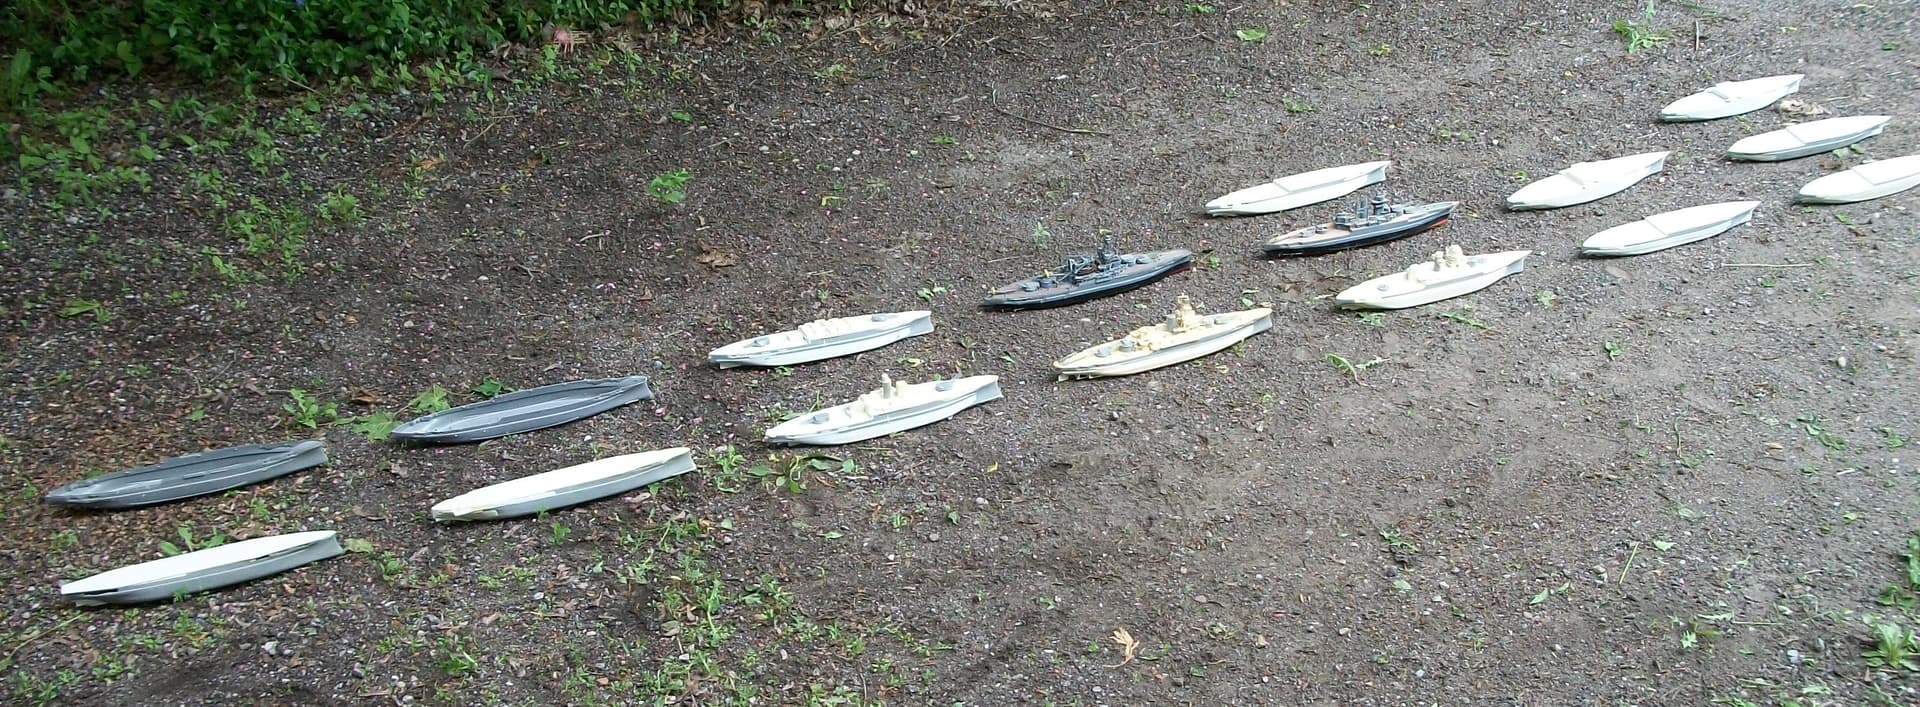
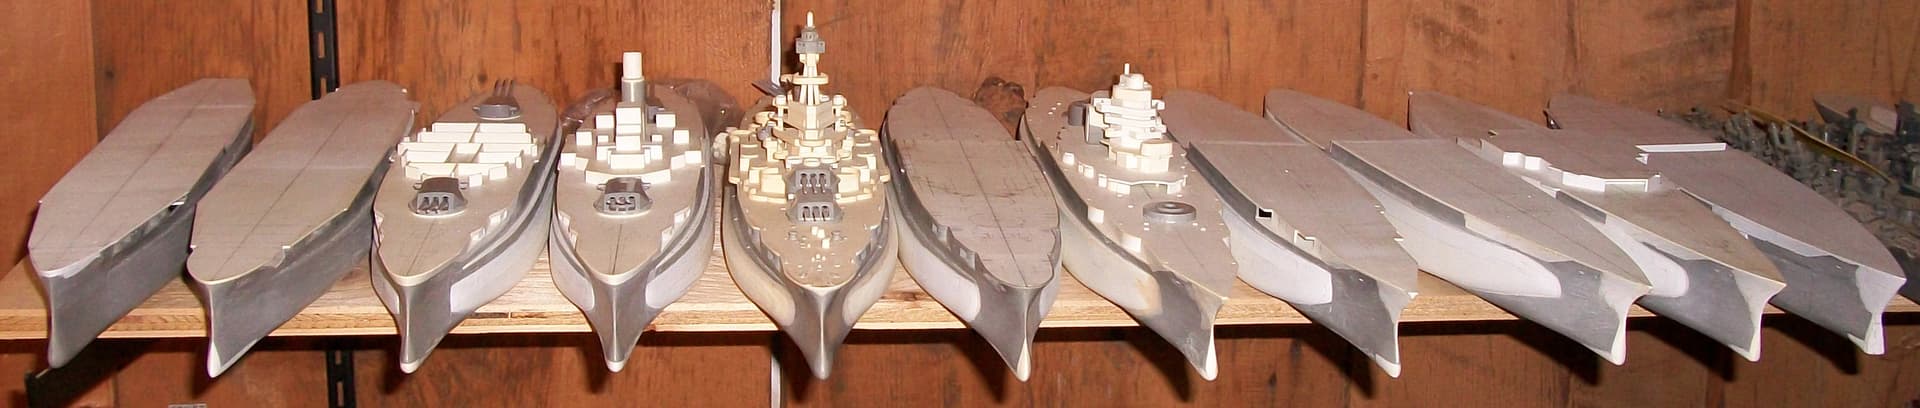
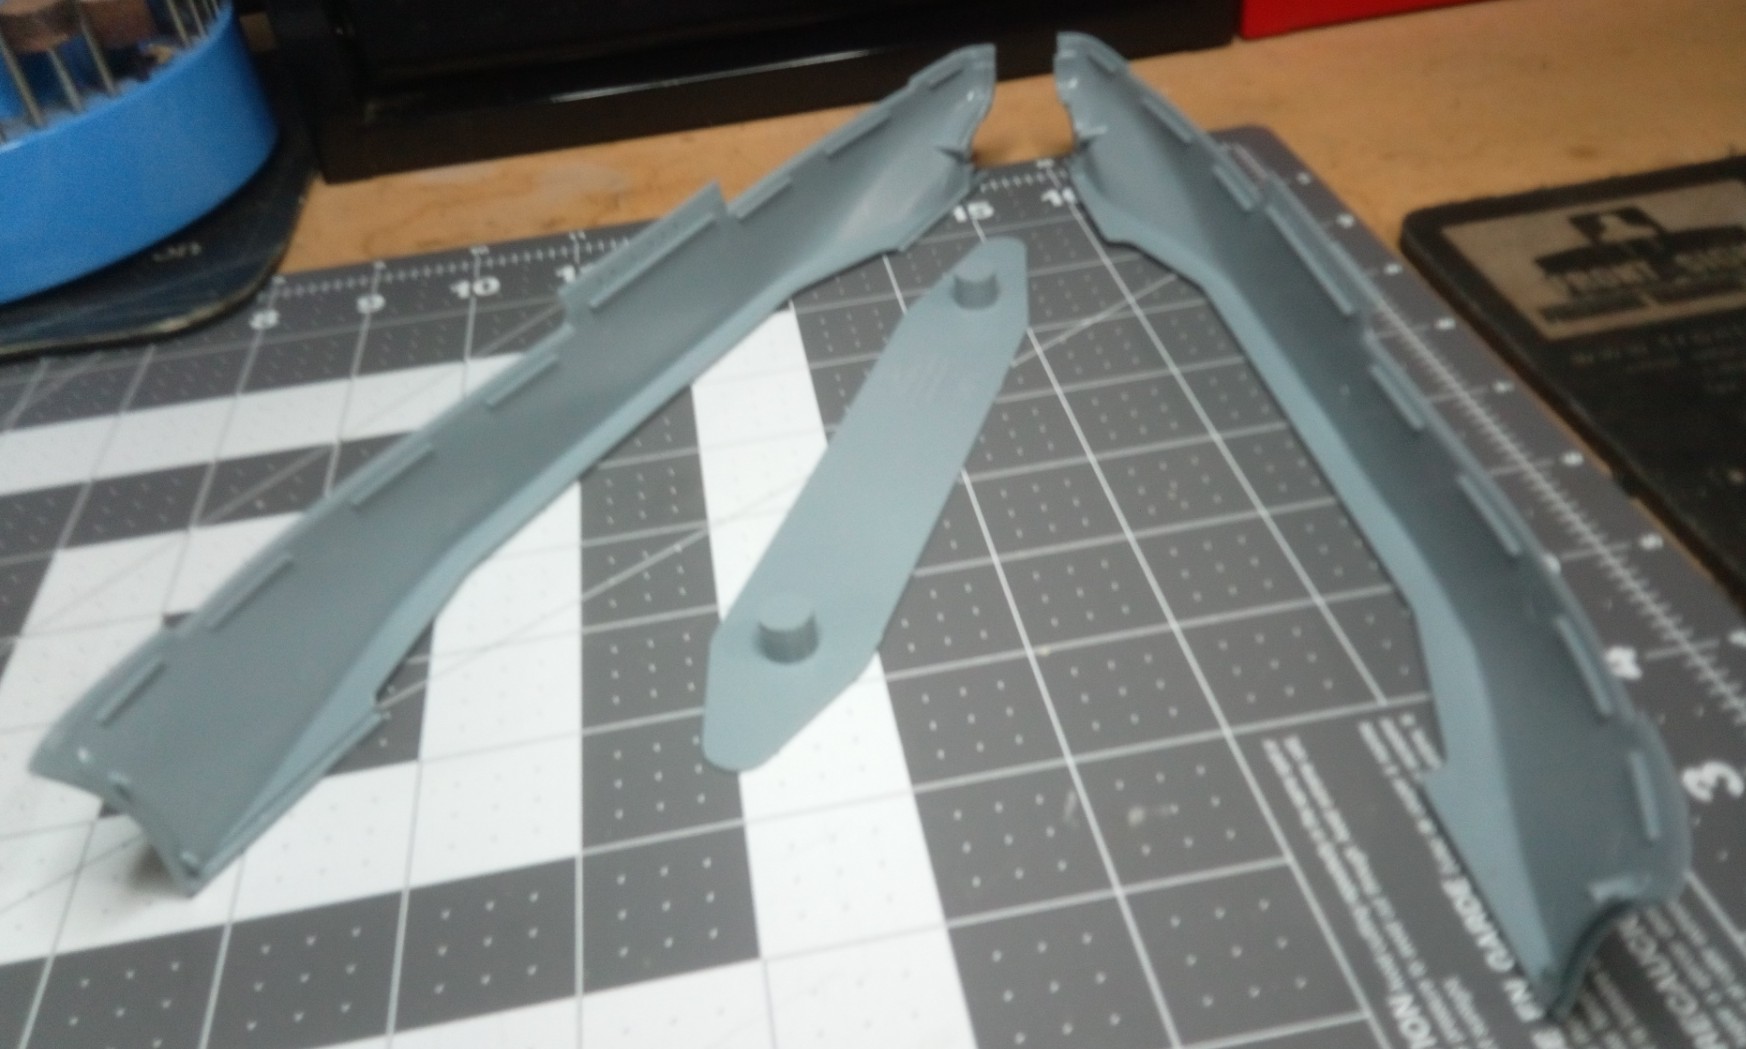
These ships are criminally overlooked by the model manufacturers in my opinion. I was fortunate to score this Vintage Renwal kit on ebay after several attempts. This was all I could find, and I’m not much of a scratch builder. I’ve heard that Atlantis Models in New York have the original molds, and there is a possibility they will be reissuing in the future, but who knows when that will be. Anyway, being made with 1950’s technology it has quirks that you would never see today, like the oddbal 1/500 scale, the 3 piece hull, the superstructure parts split horizontally in the middle, etc.


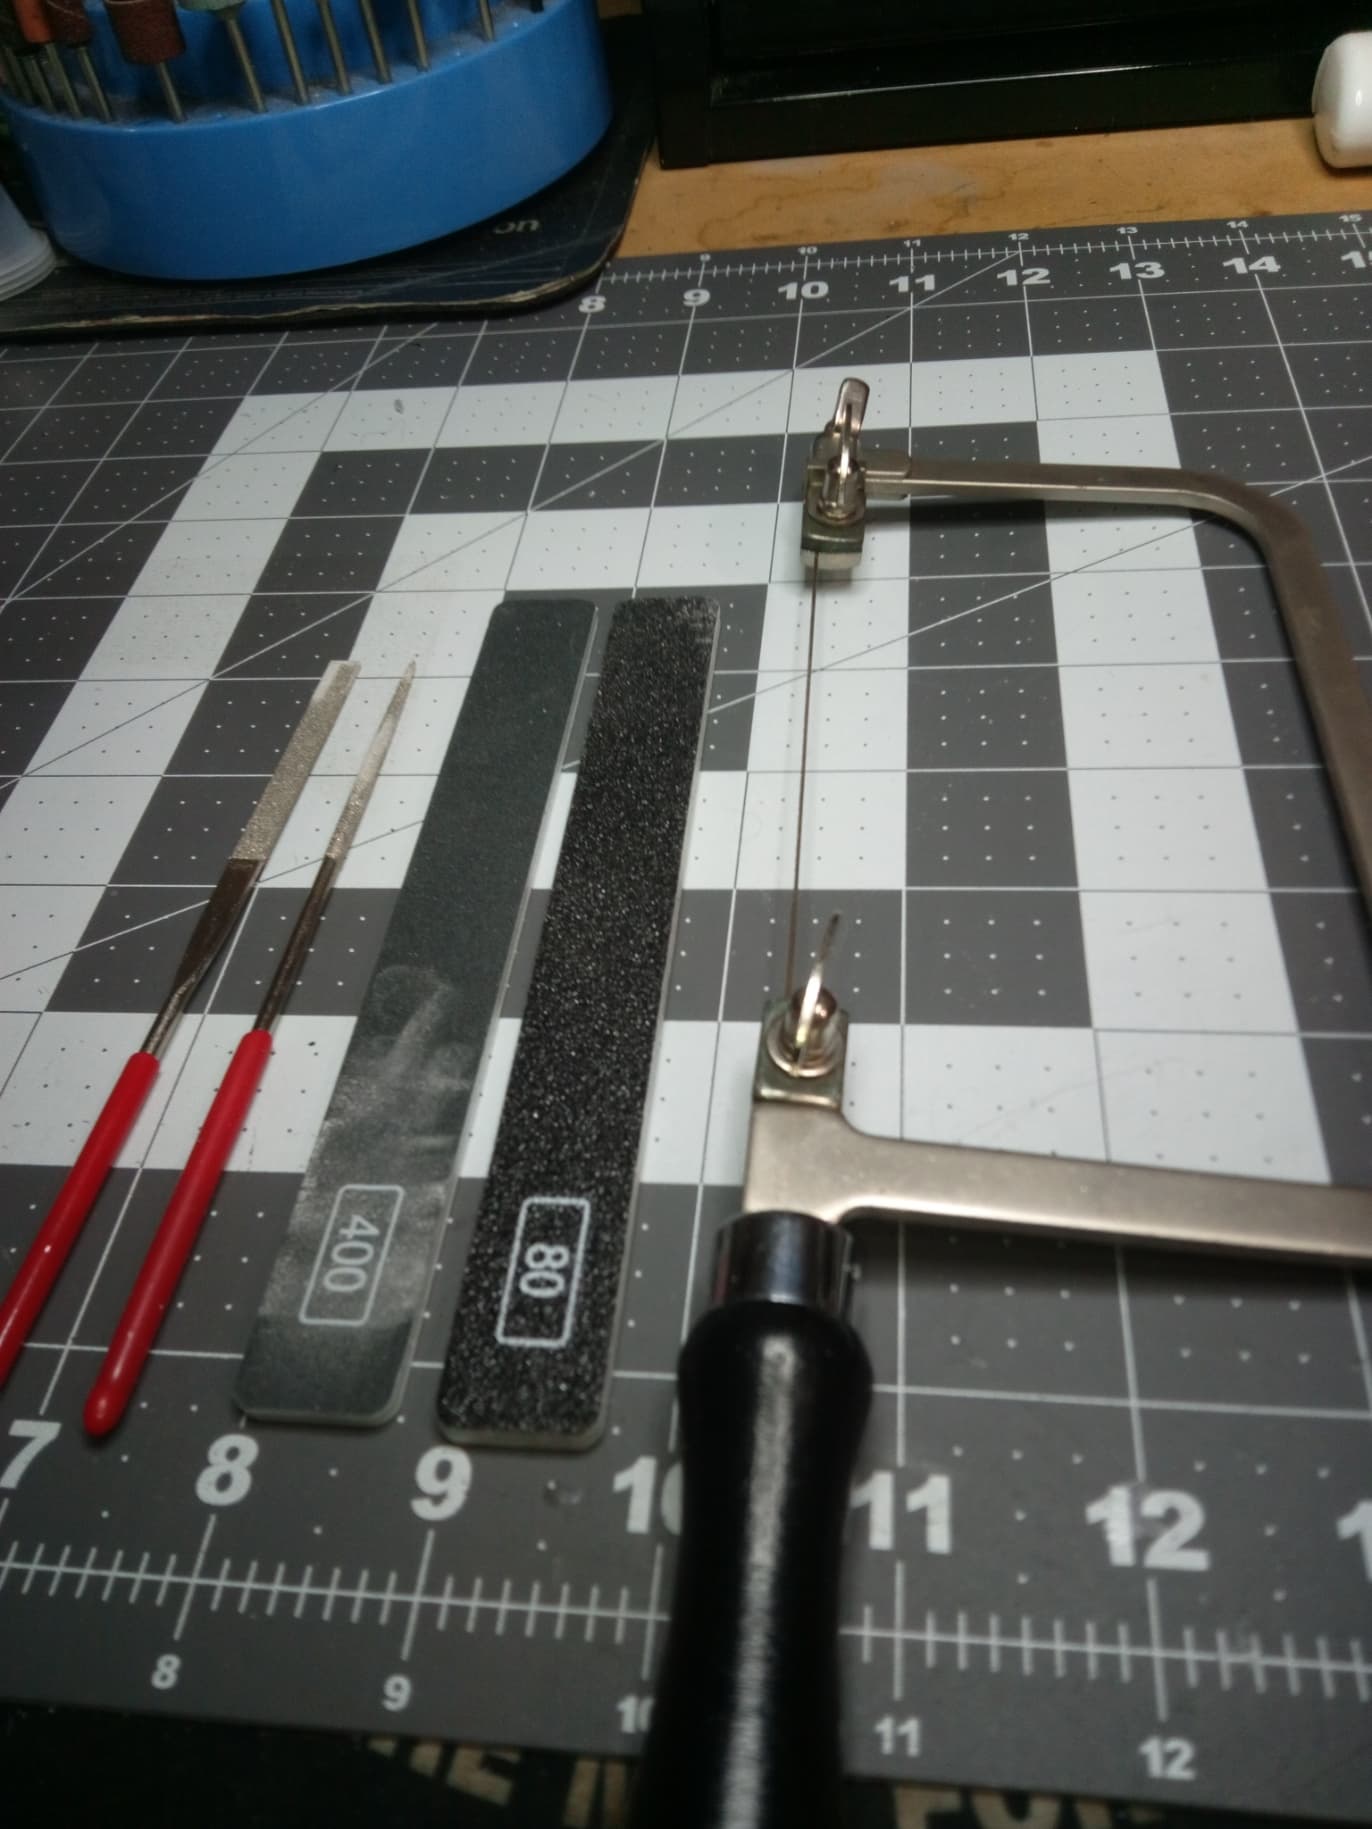
I did manage to find some 1/500 photo etched railings, ladders and stairs, which has exposed a problem immediately, but I’ll get to that in a few minutes. I had custom decals and a nameplate created so the “rebrand” will be fairly easy.

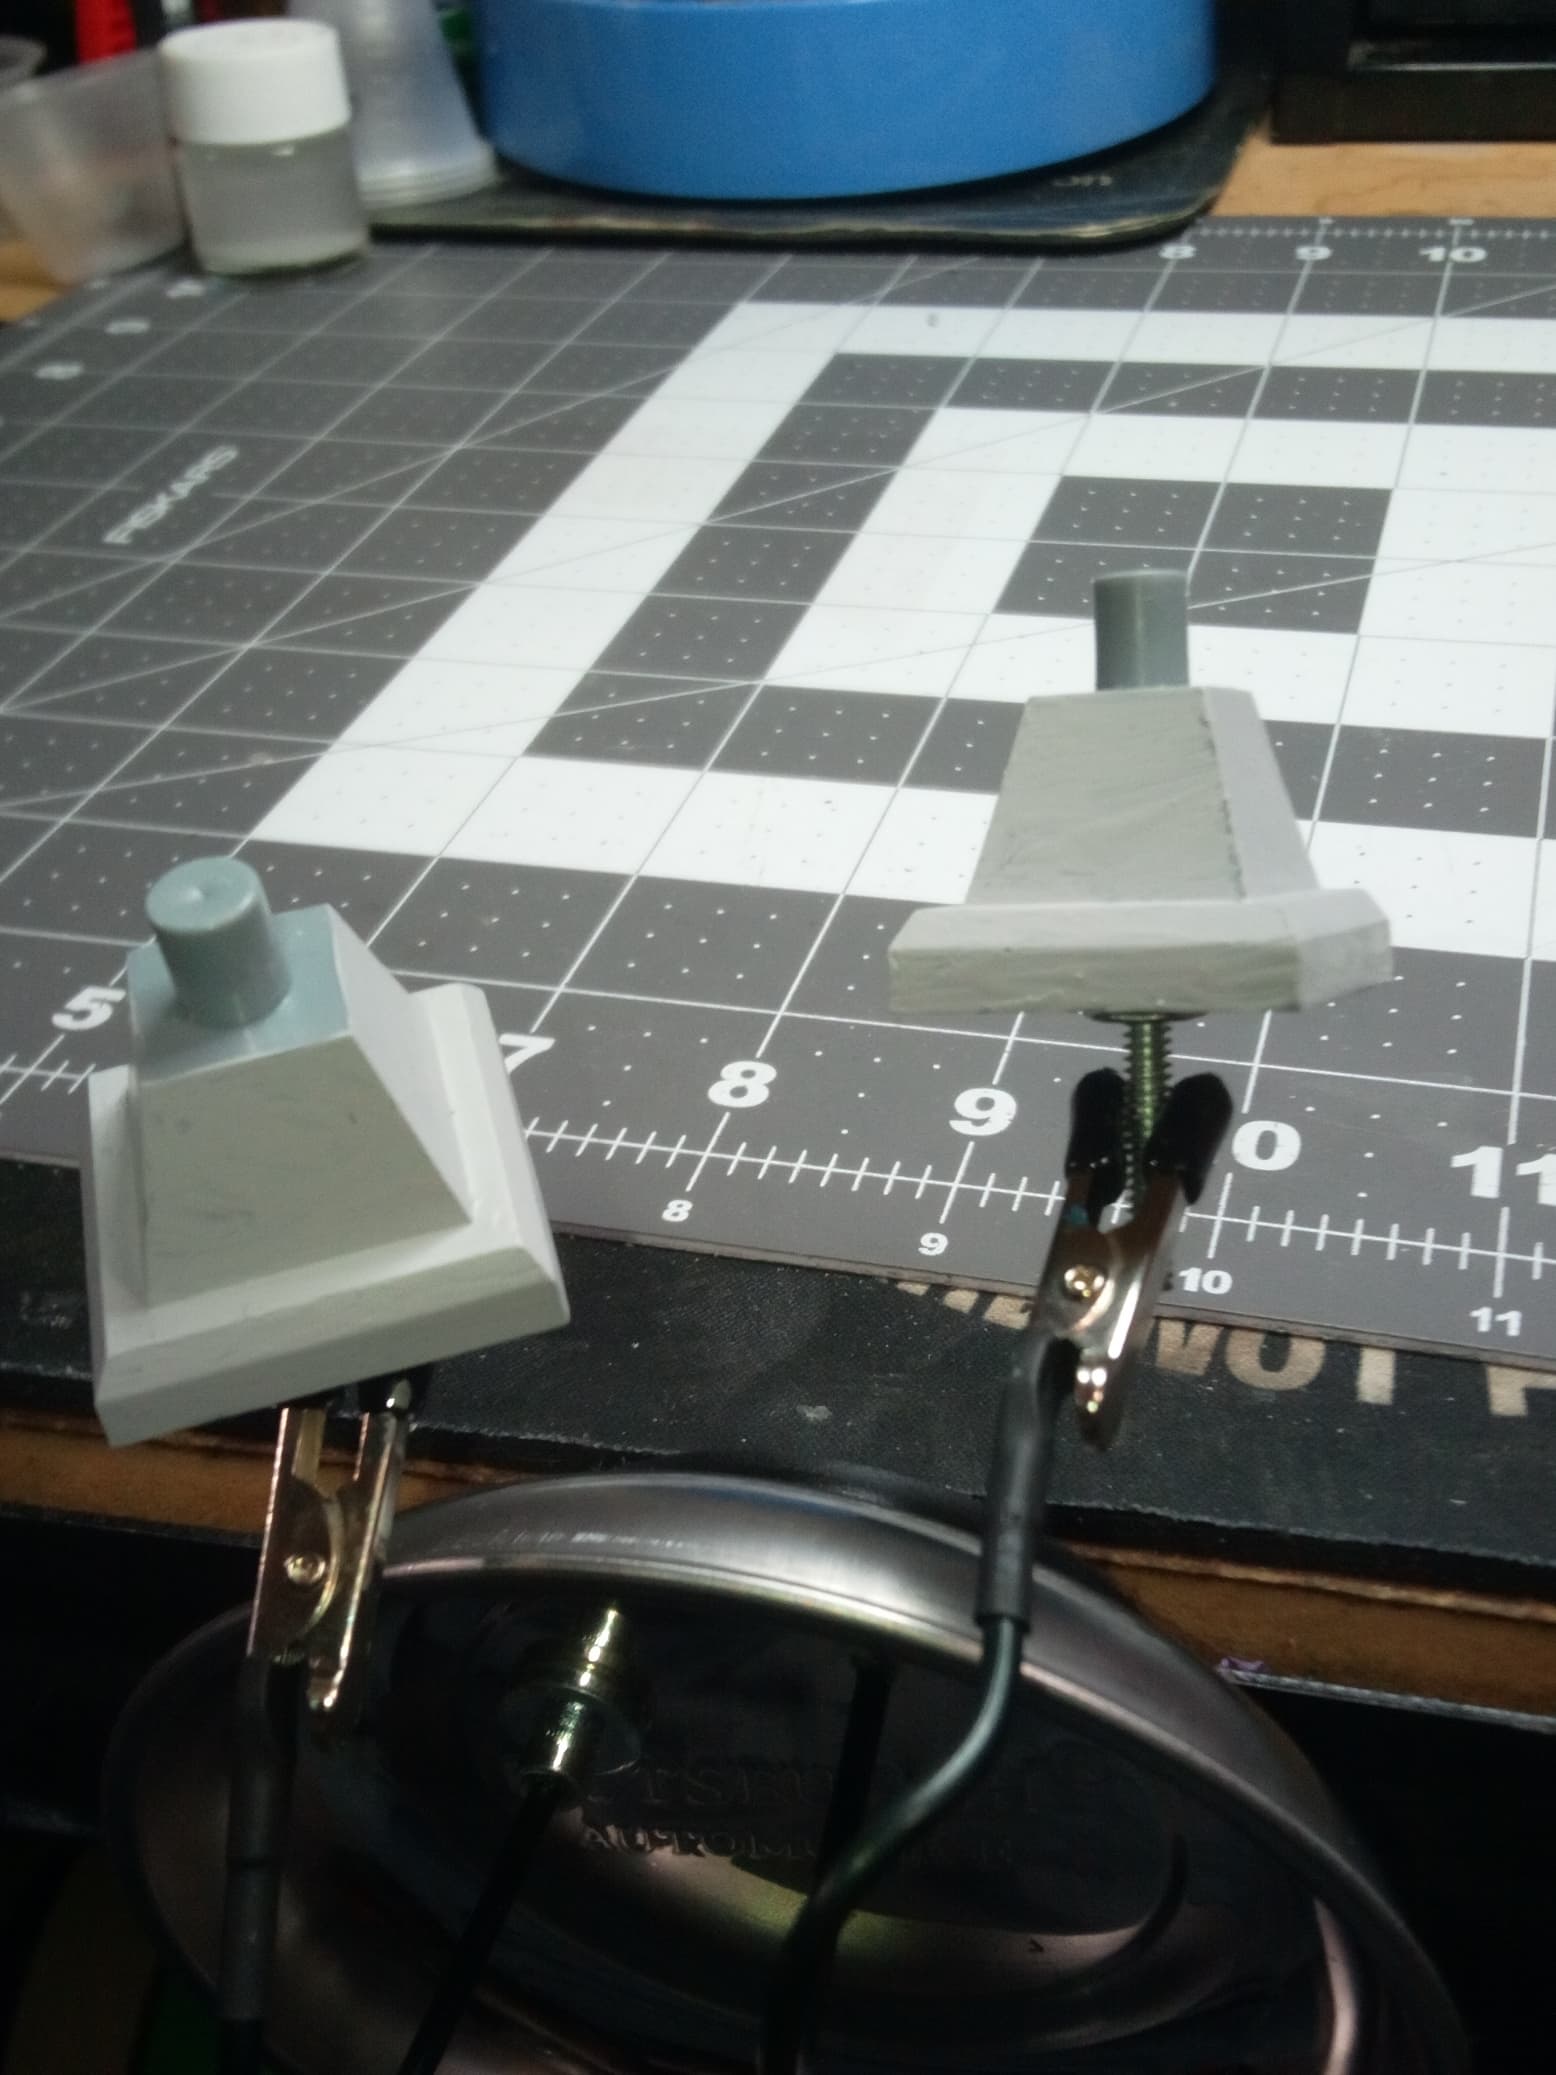
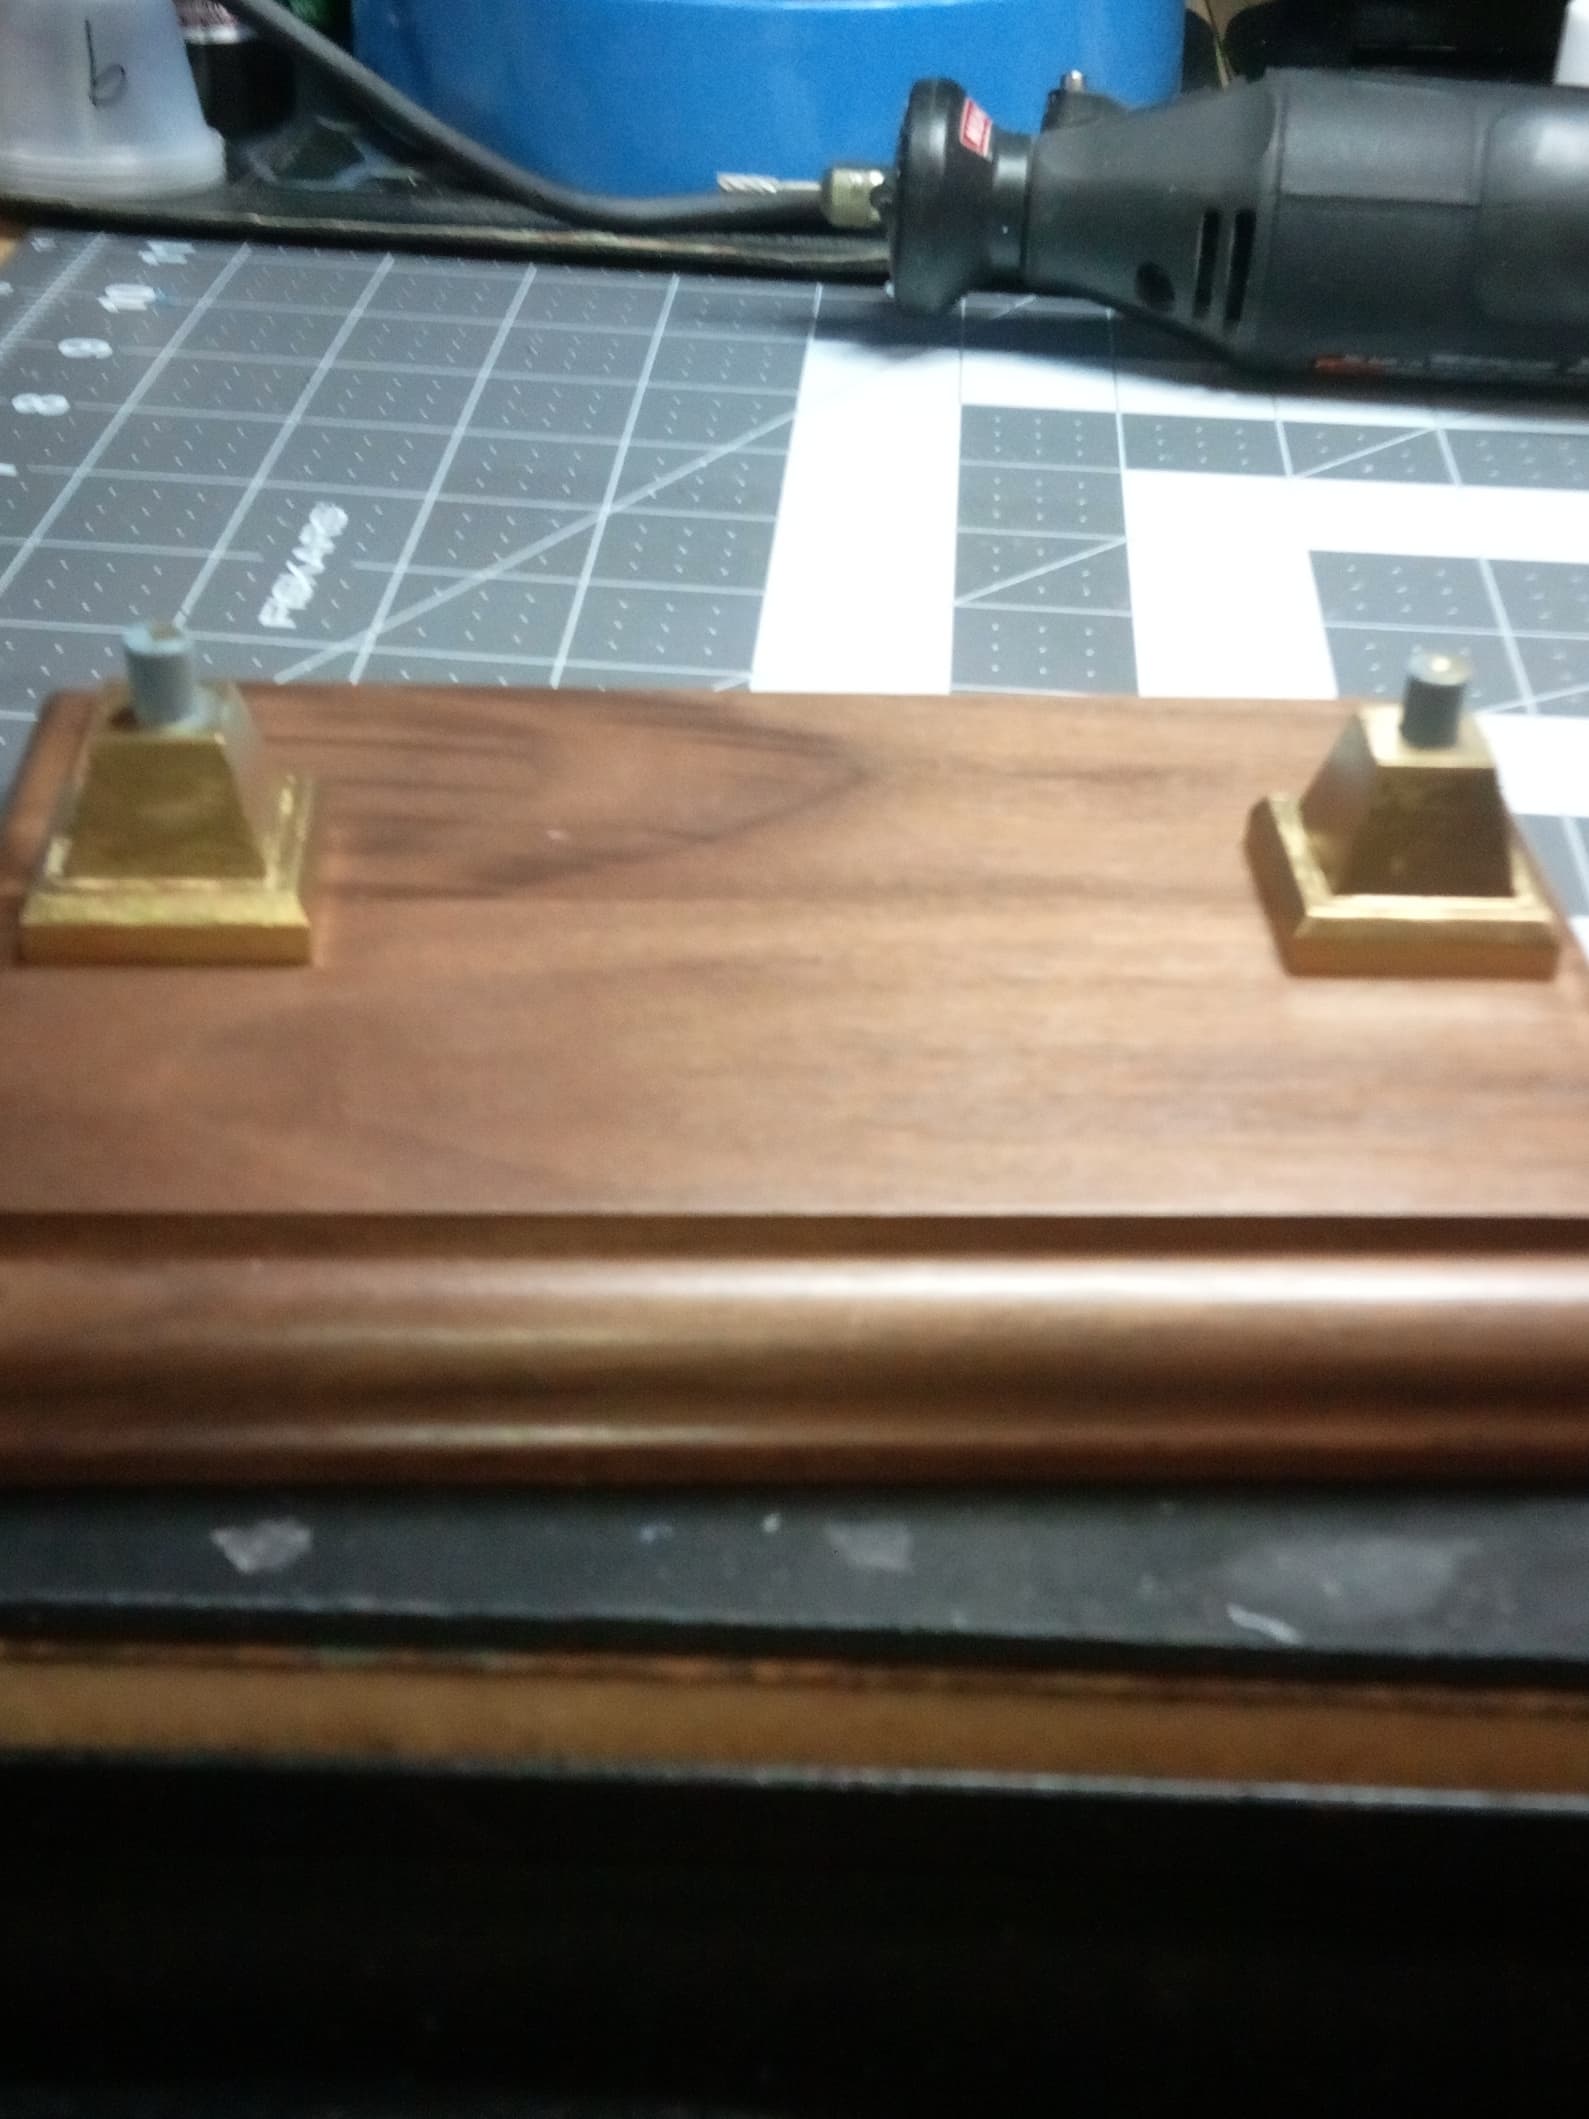
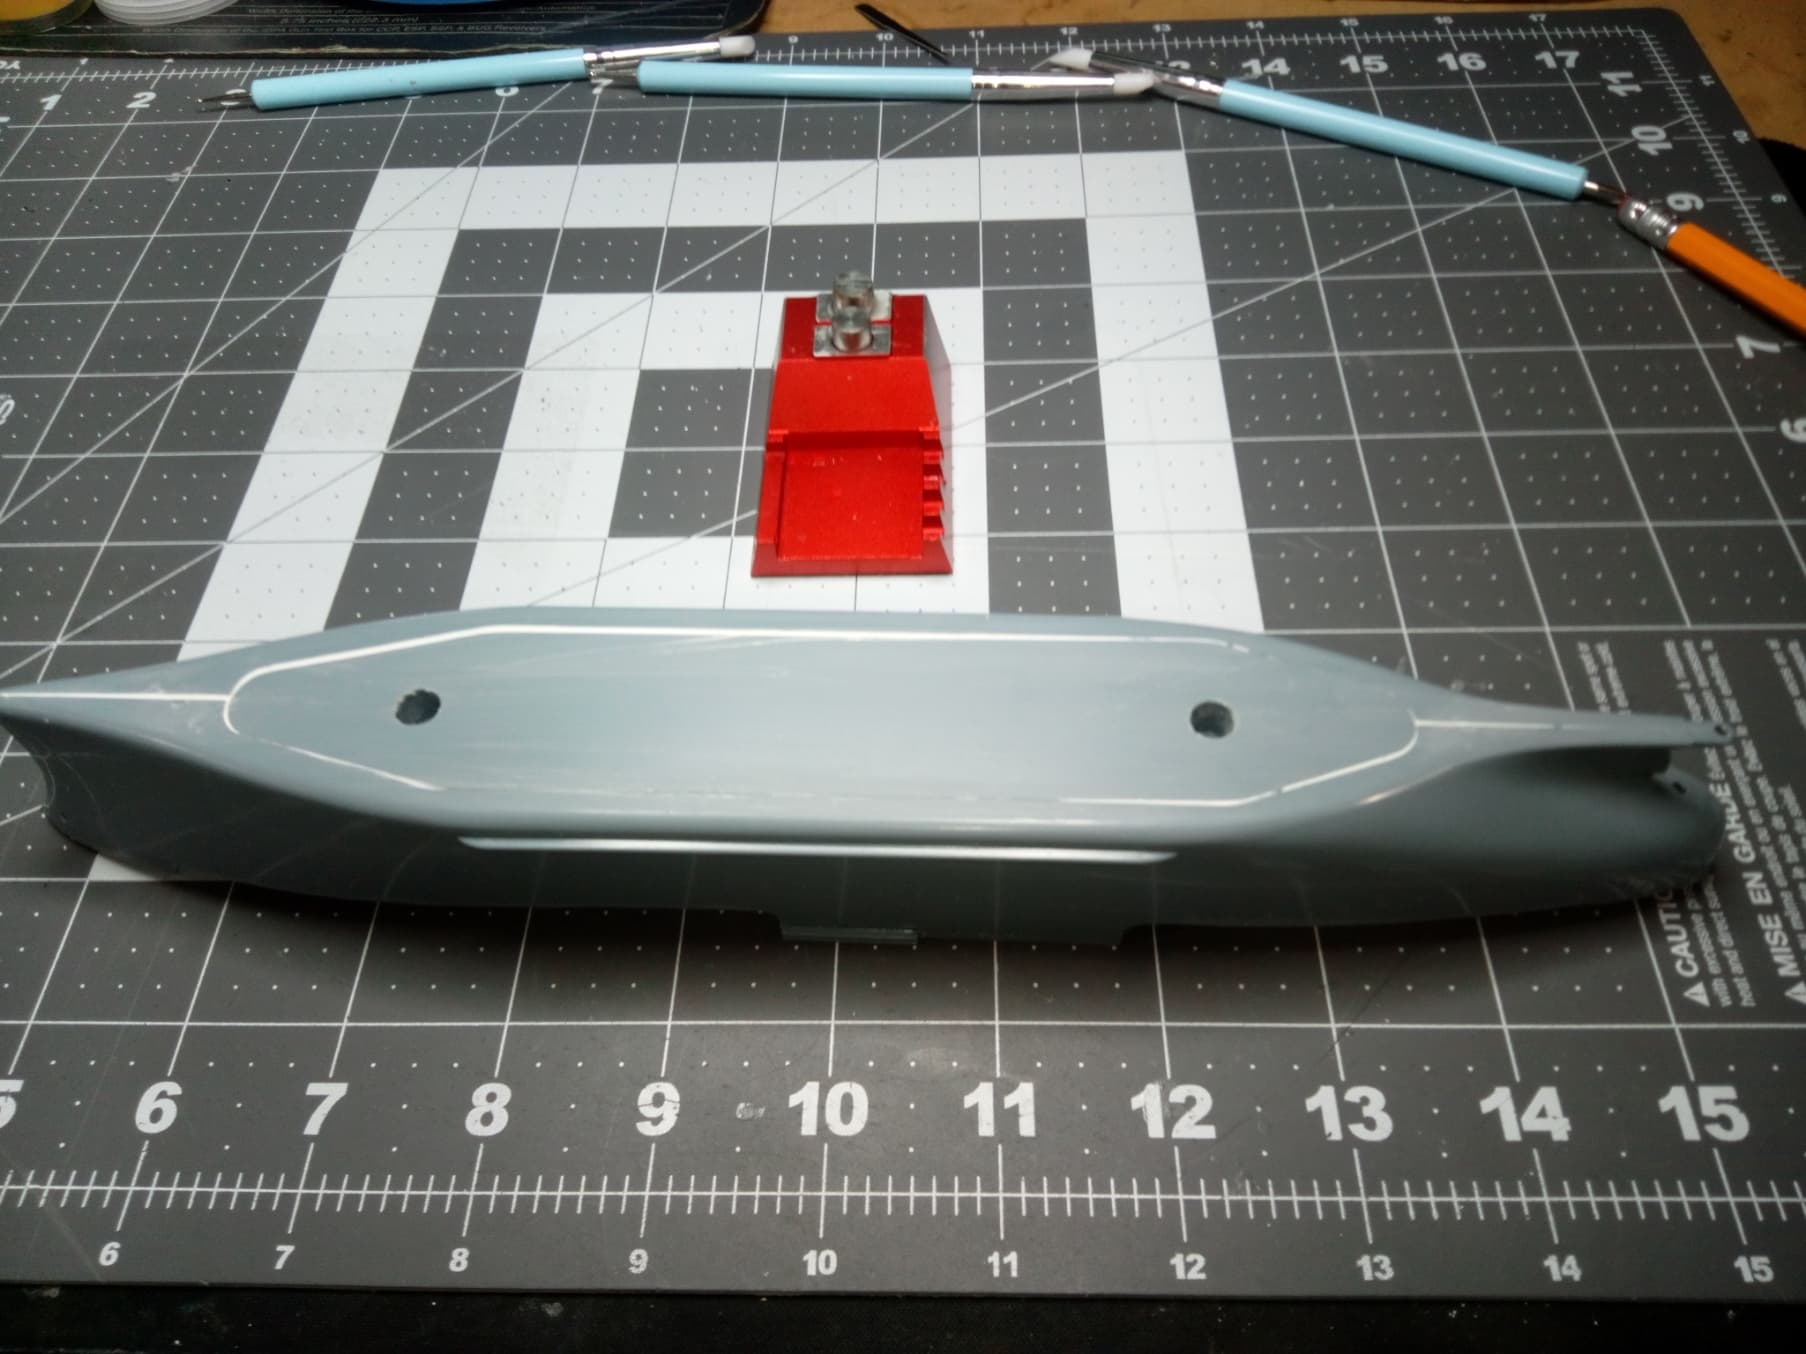
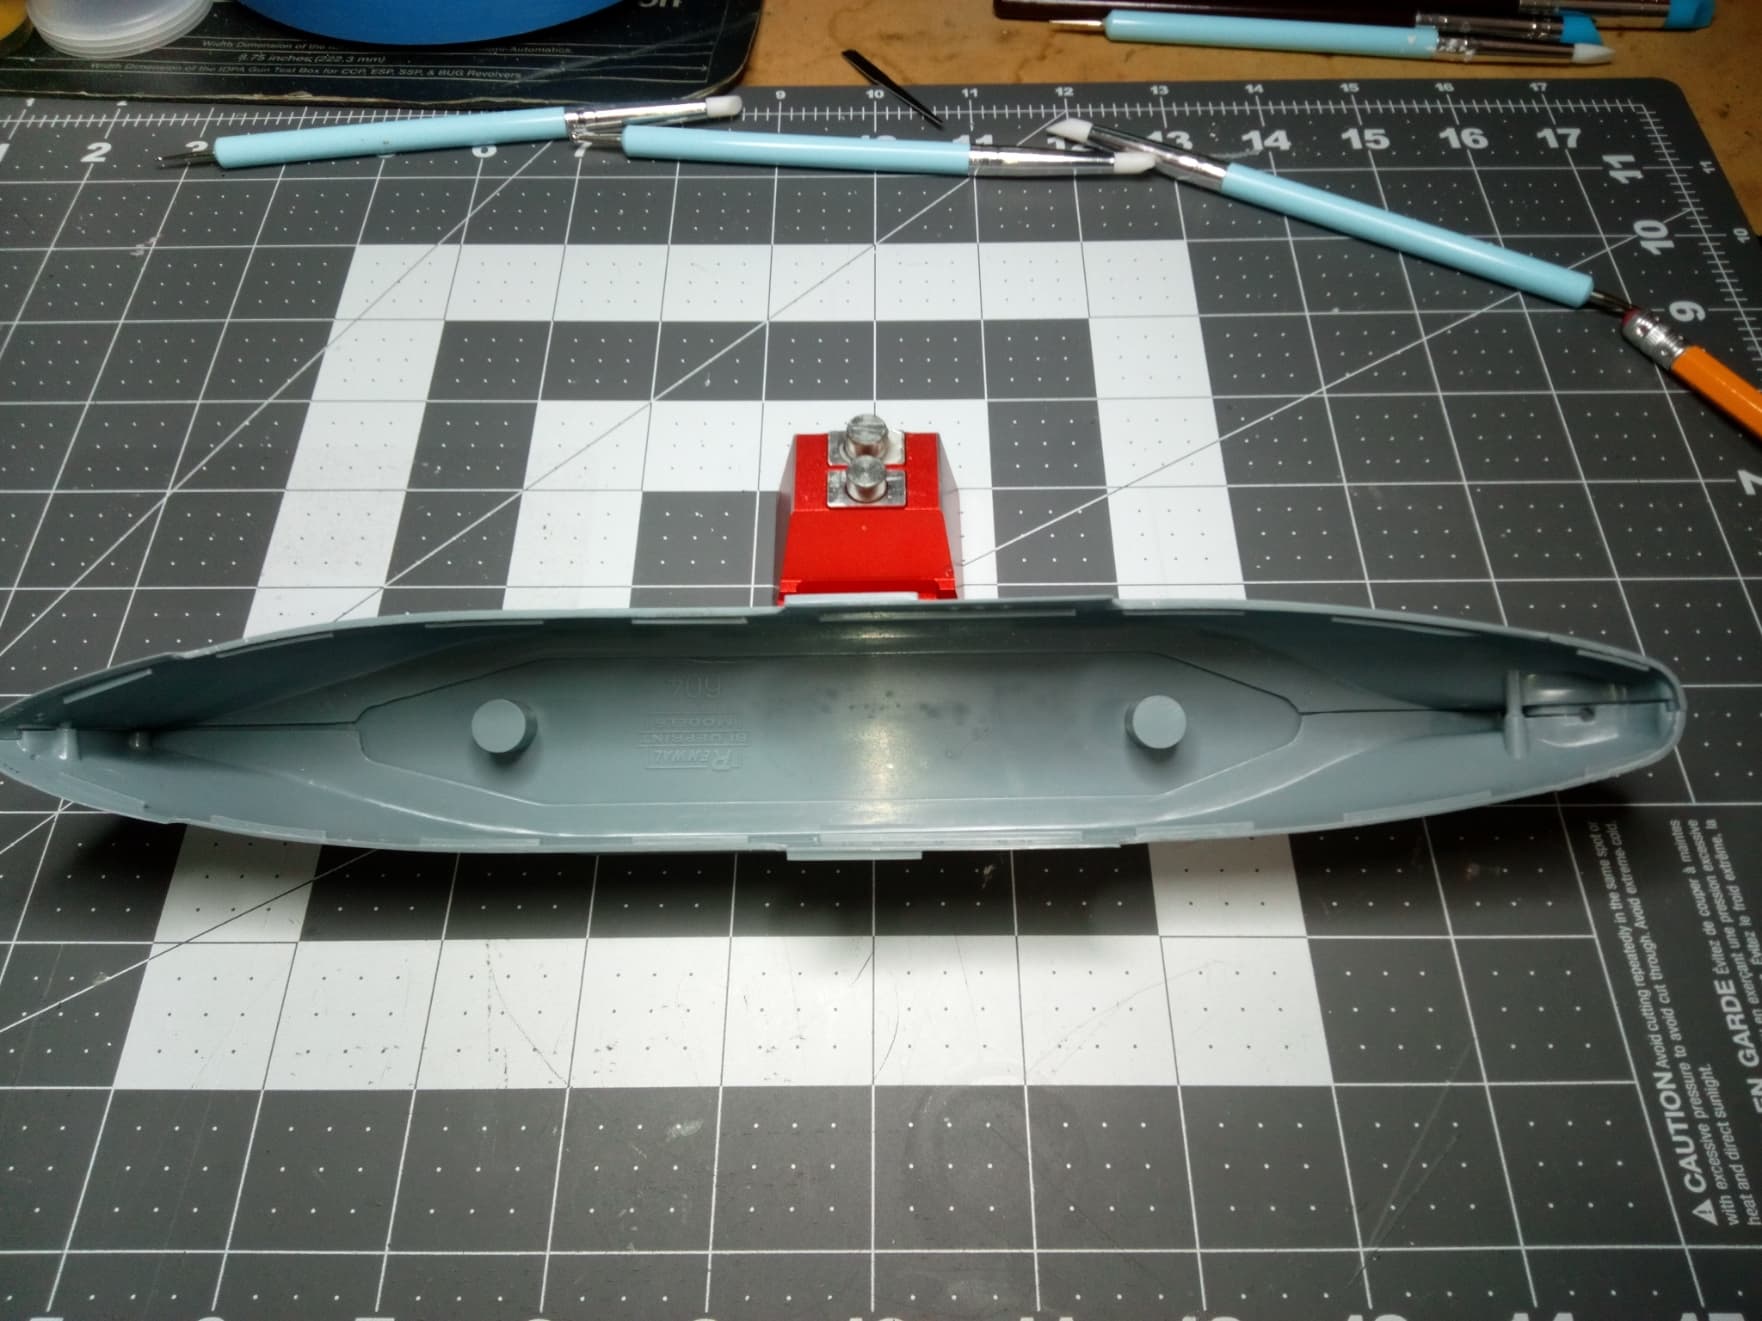
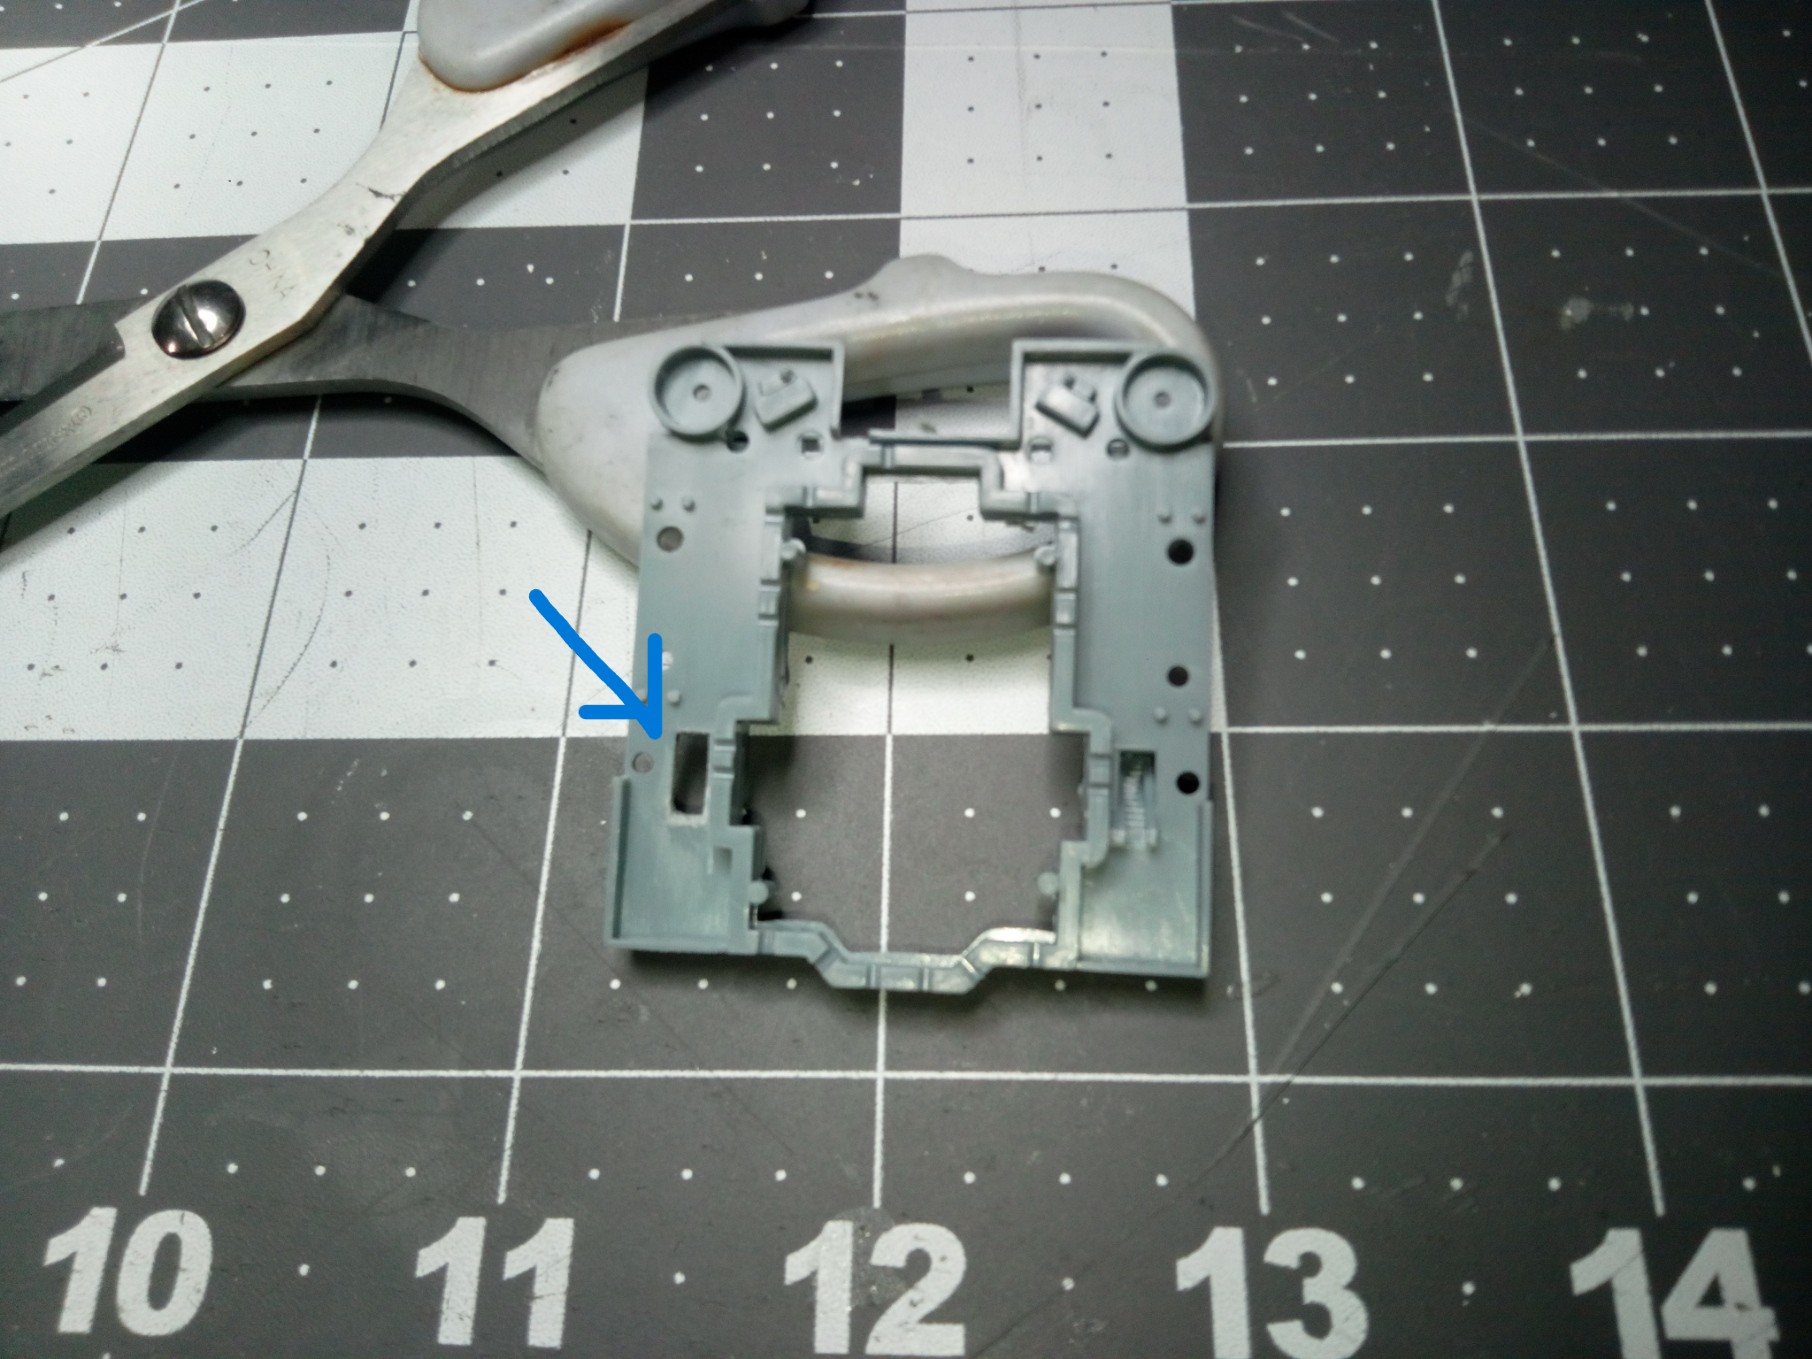
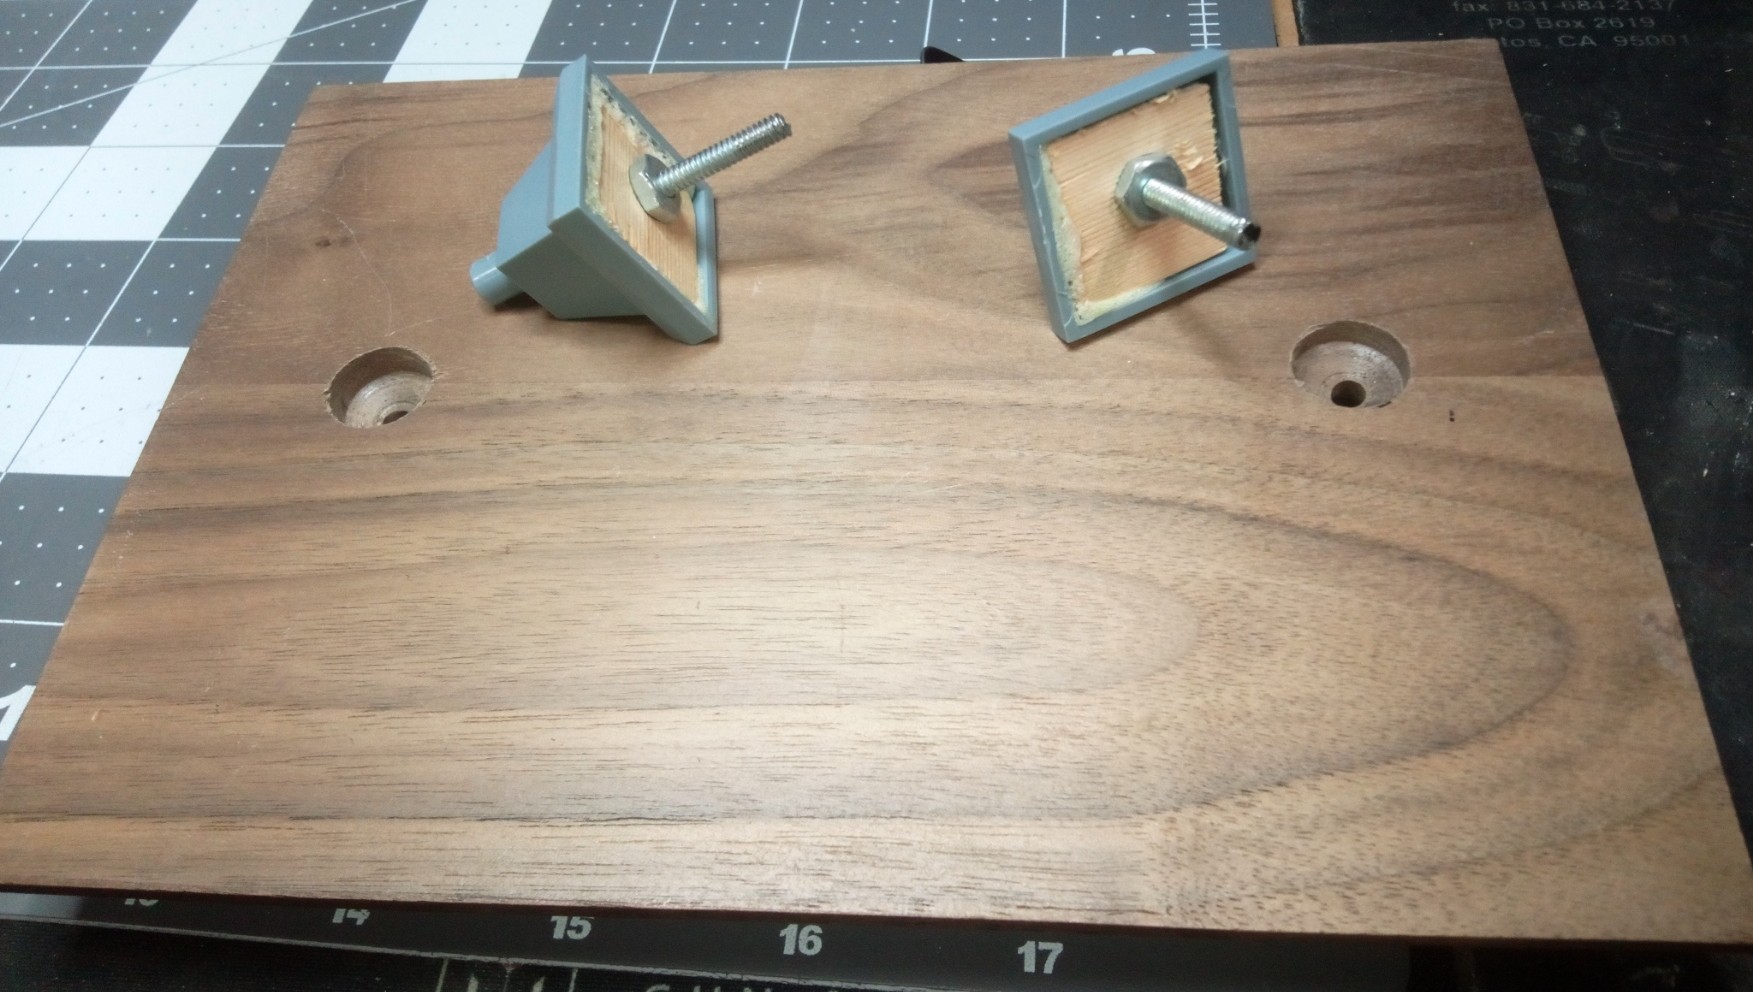
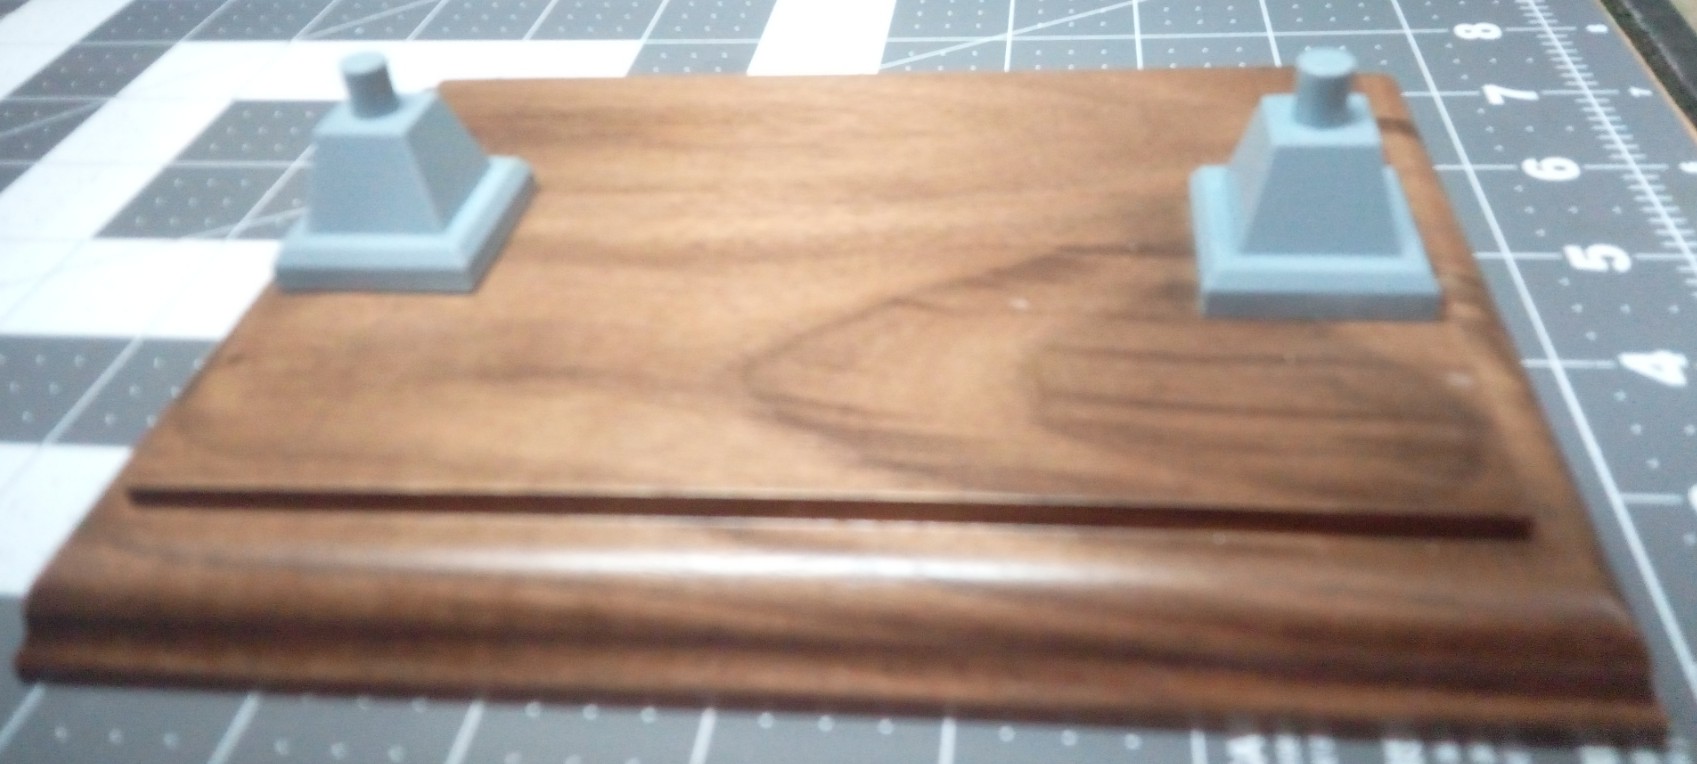
I sourced a walnut base from a trophy shop and had to figure out how to attach the pedestals to the wood without messy glue. The ships hull has two holes in the keel which the pedestals fit into. I have to use them, so I fashioned some internal “floors” out of a paint stir stick, affixed the hardware with Gorilla glue, drilled and countersunk the walnut, and voila, a functional base.


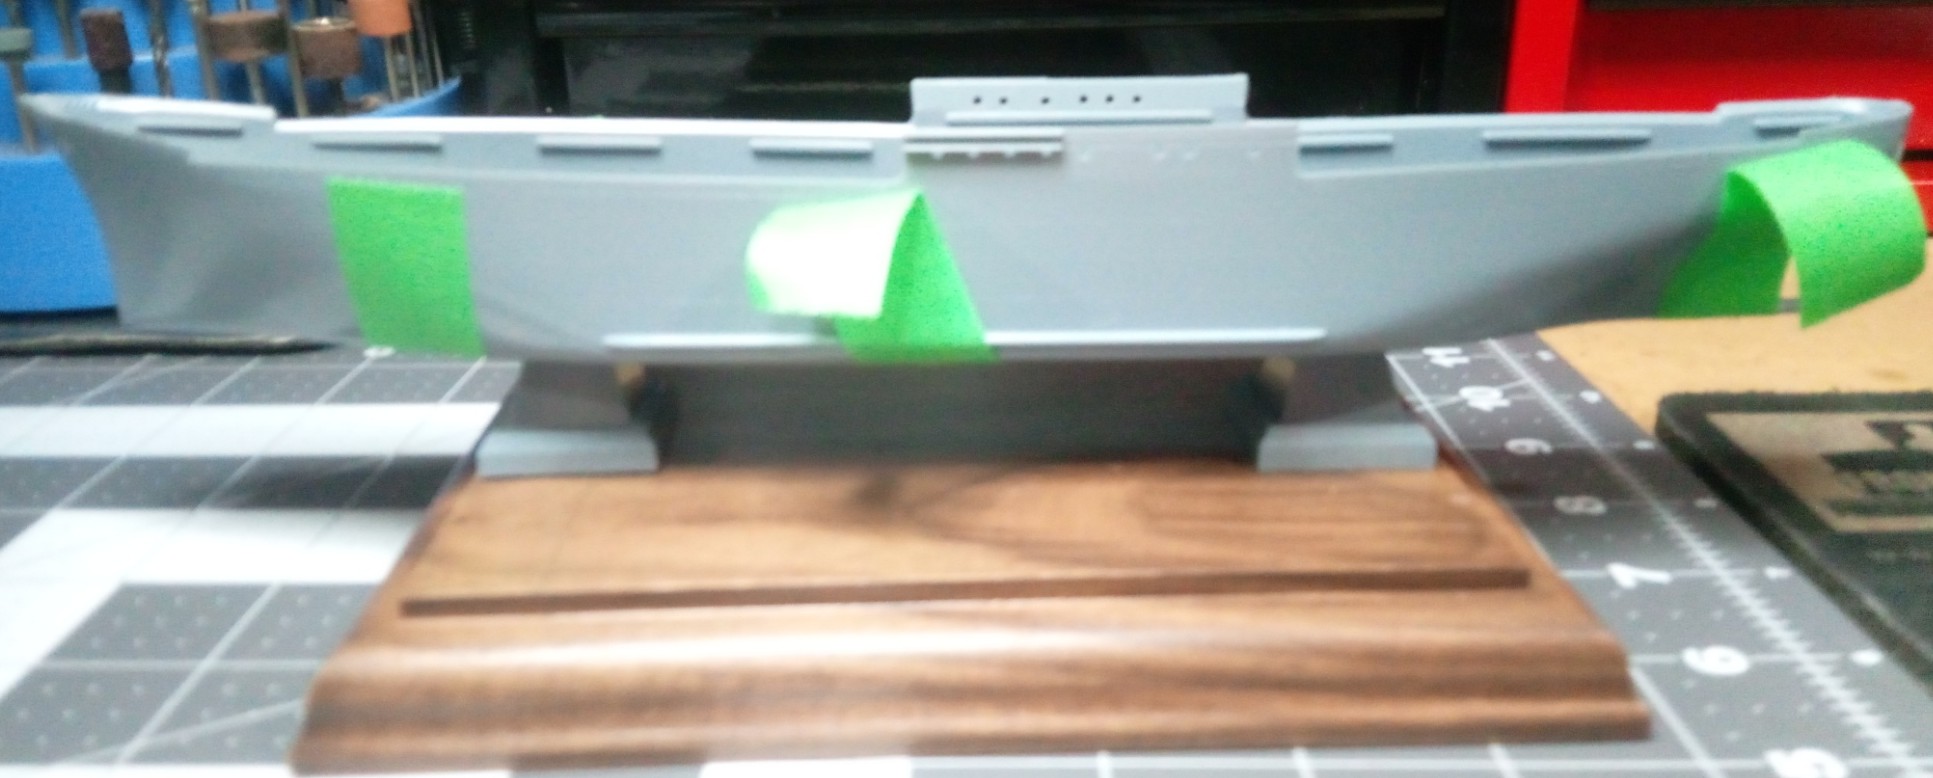
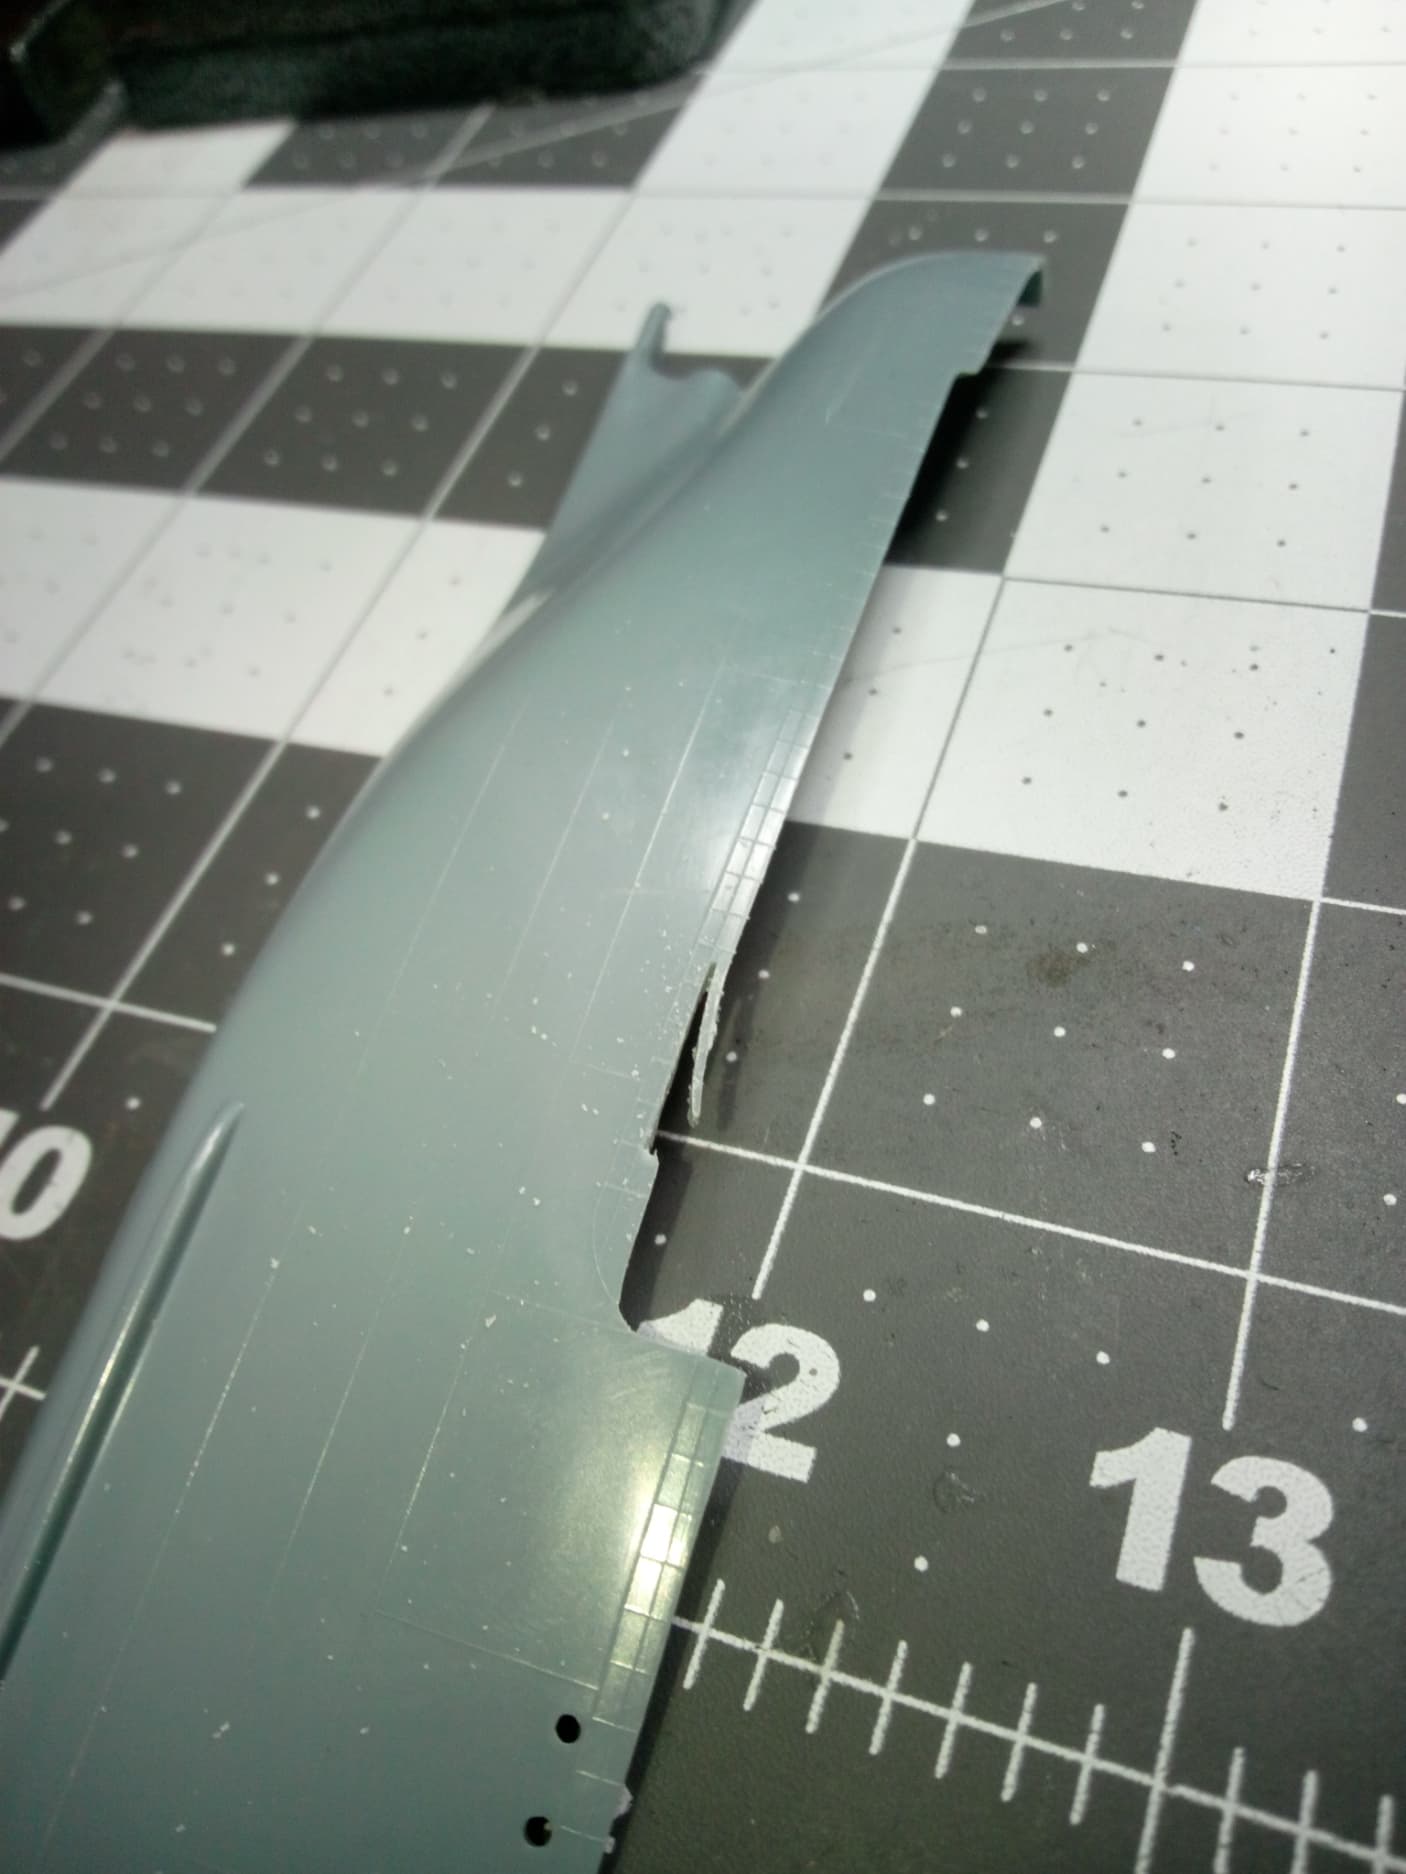
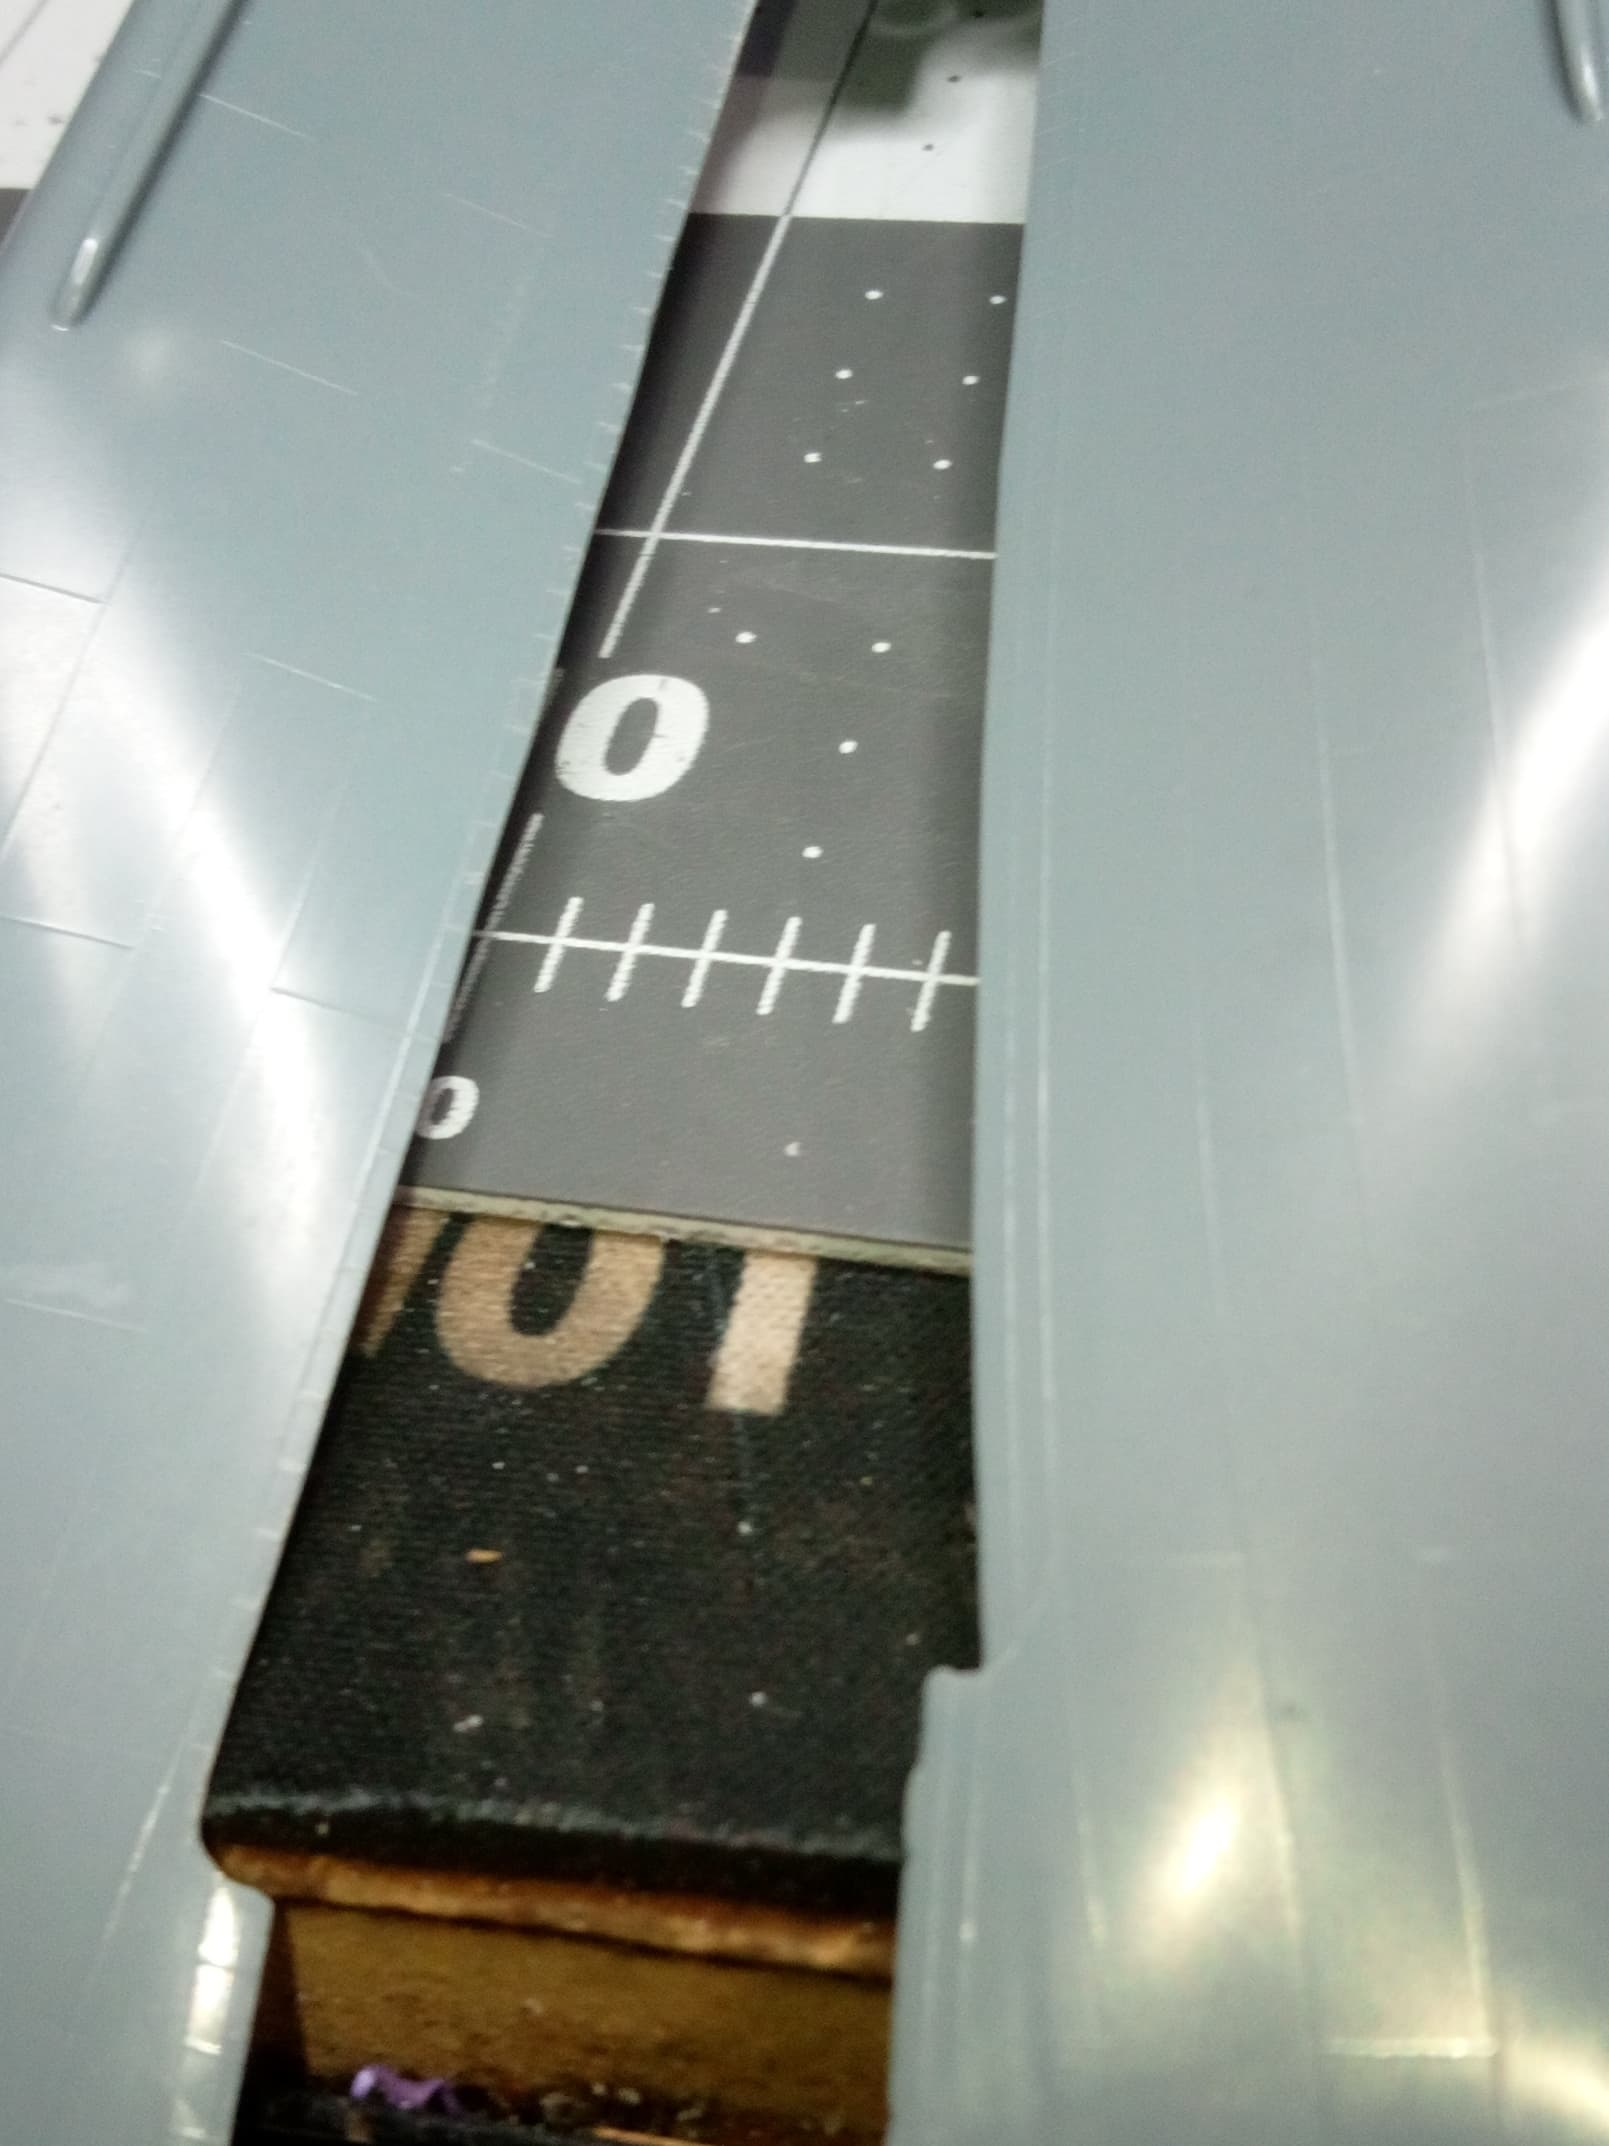
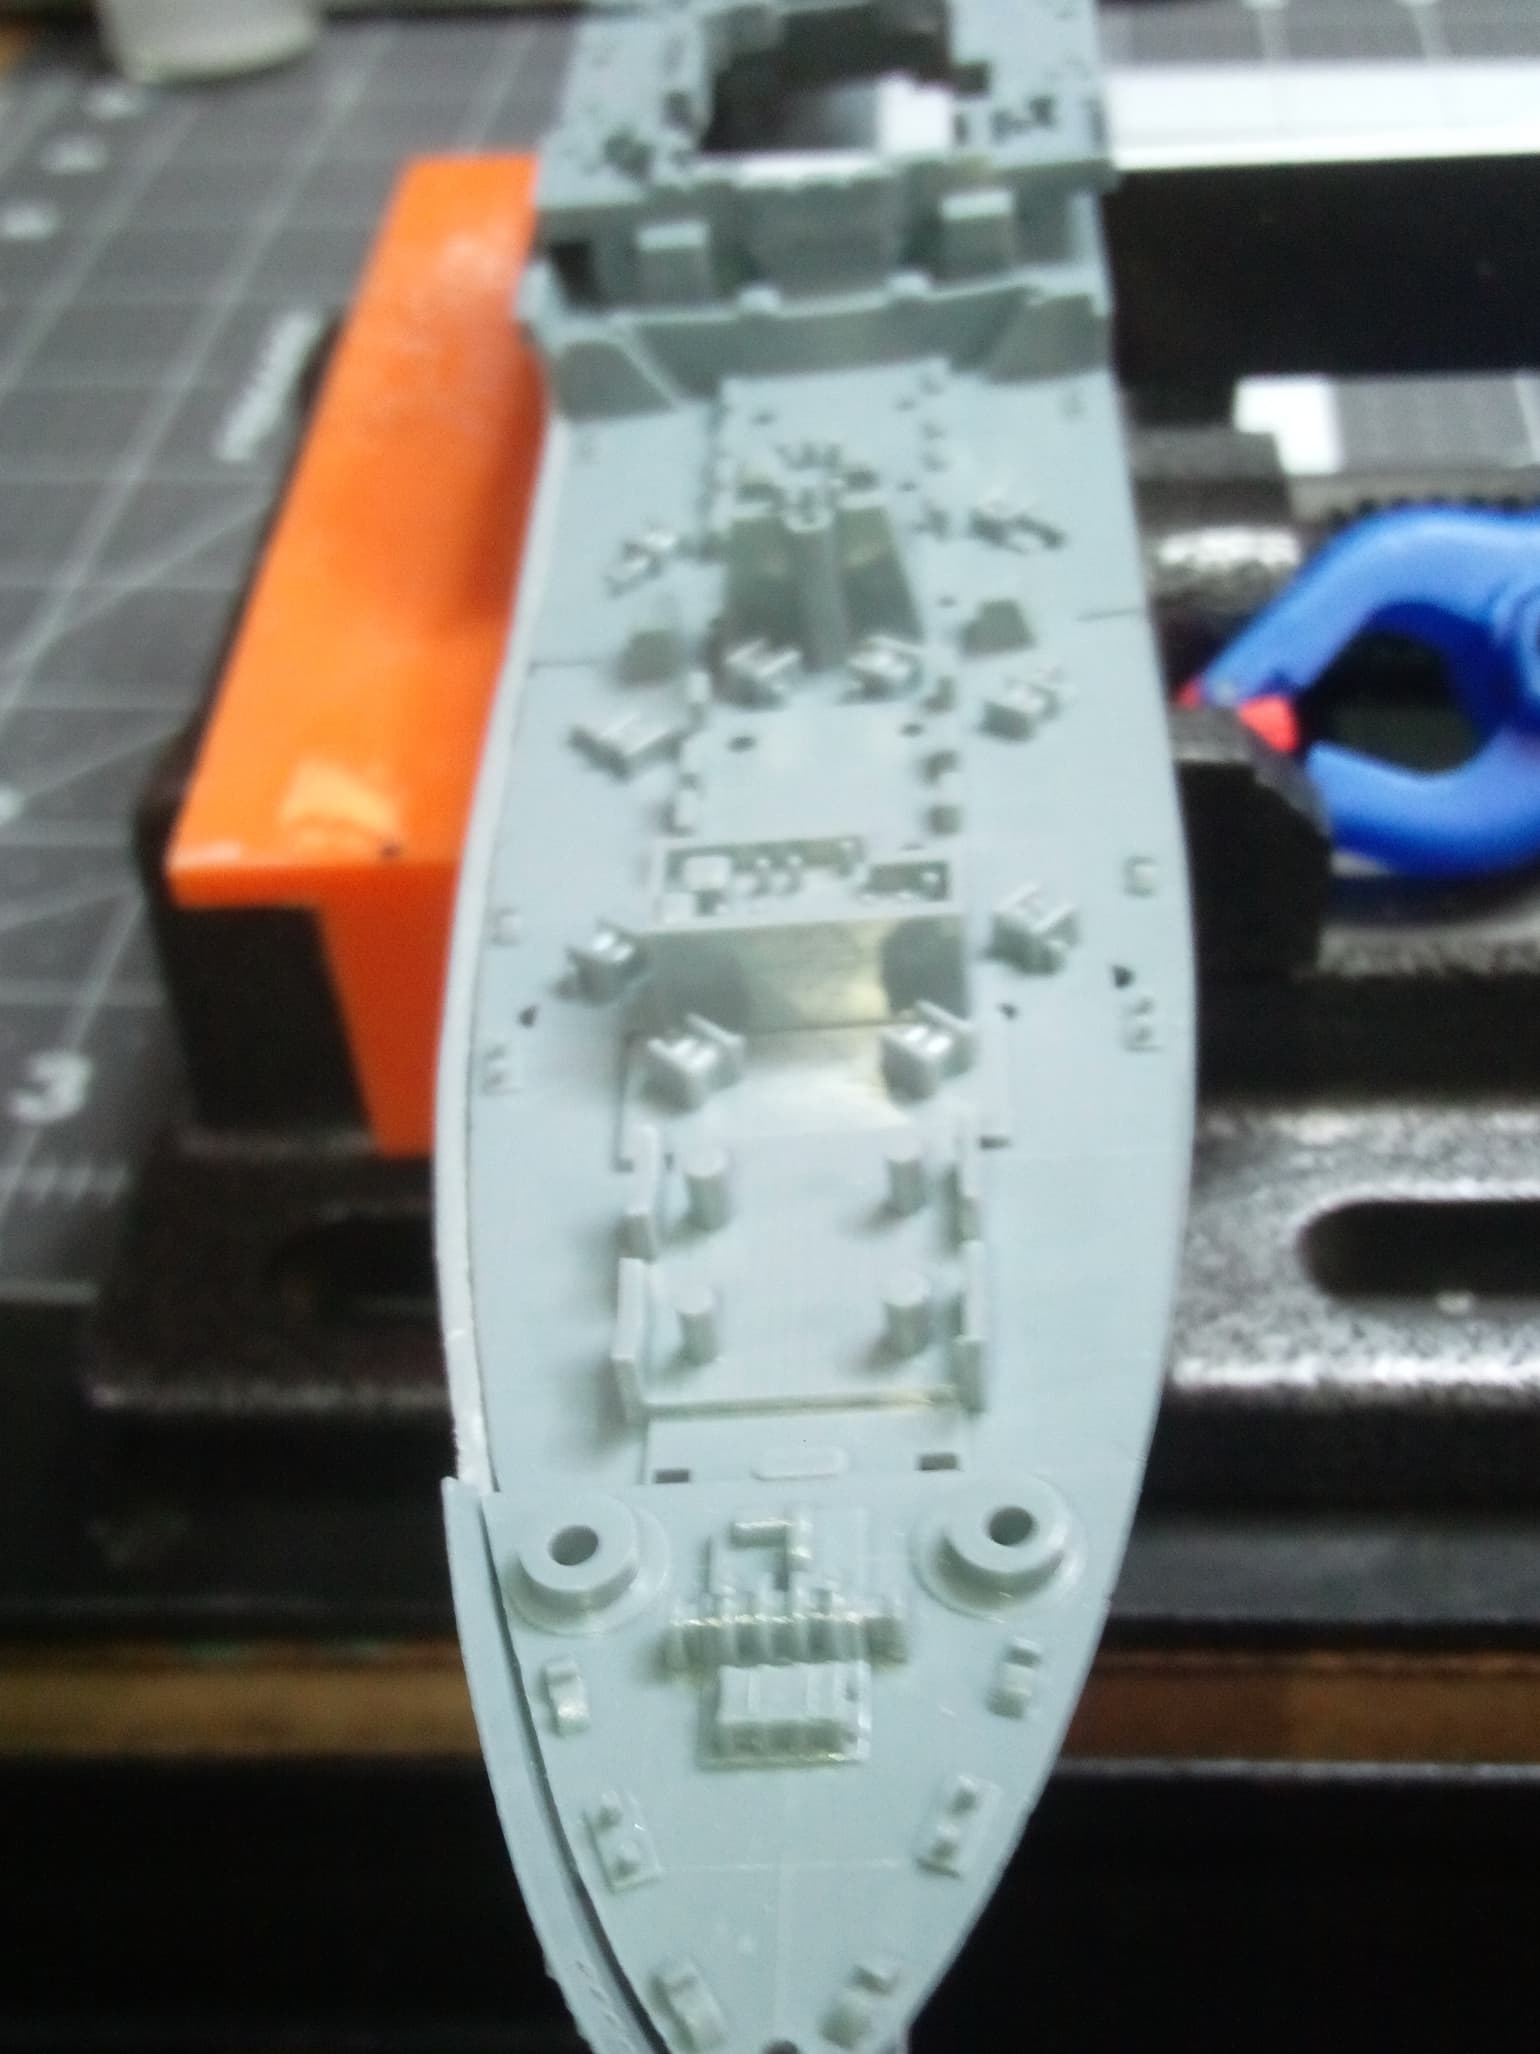
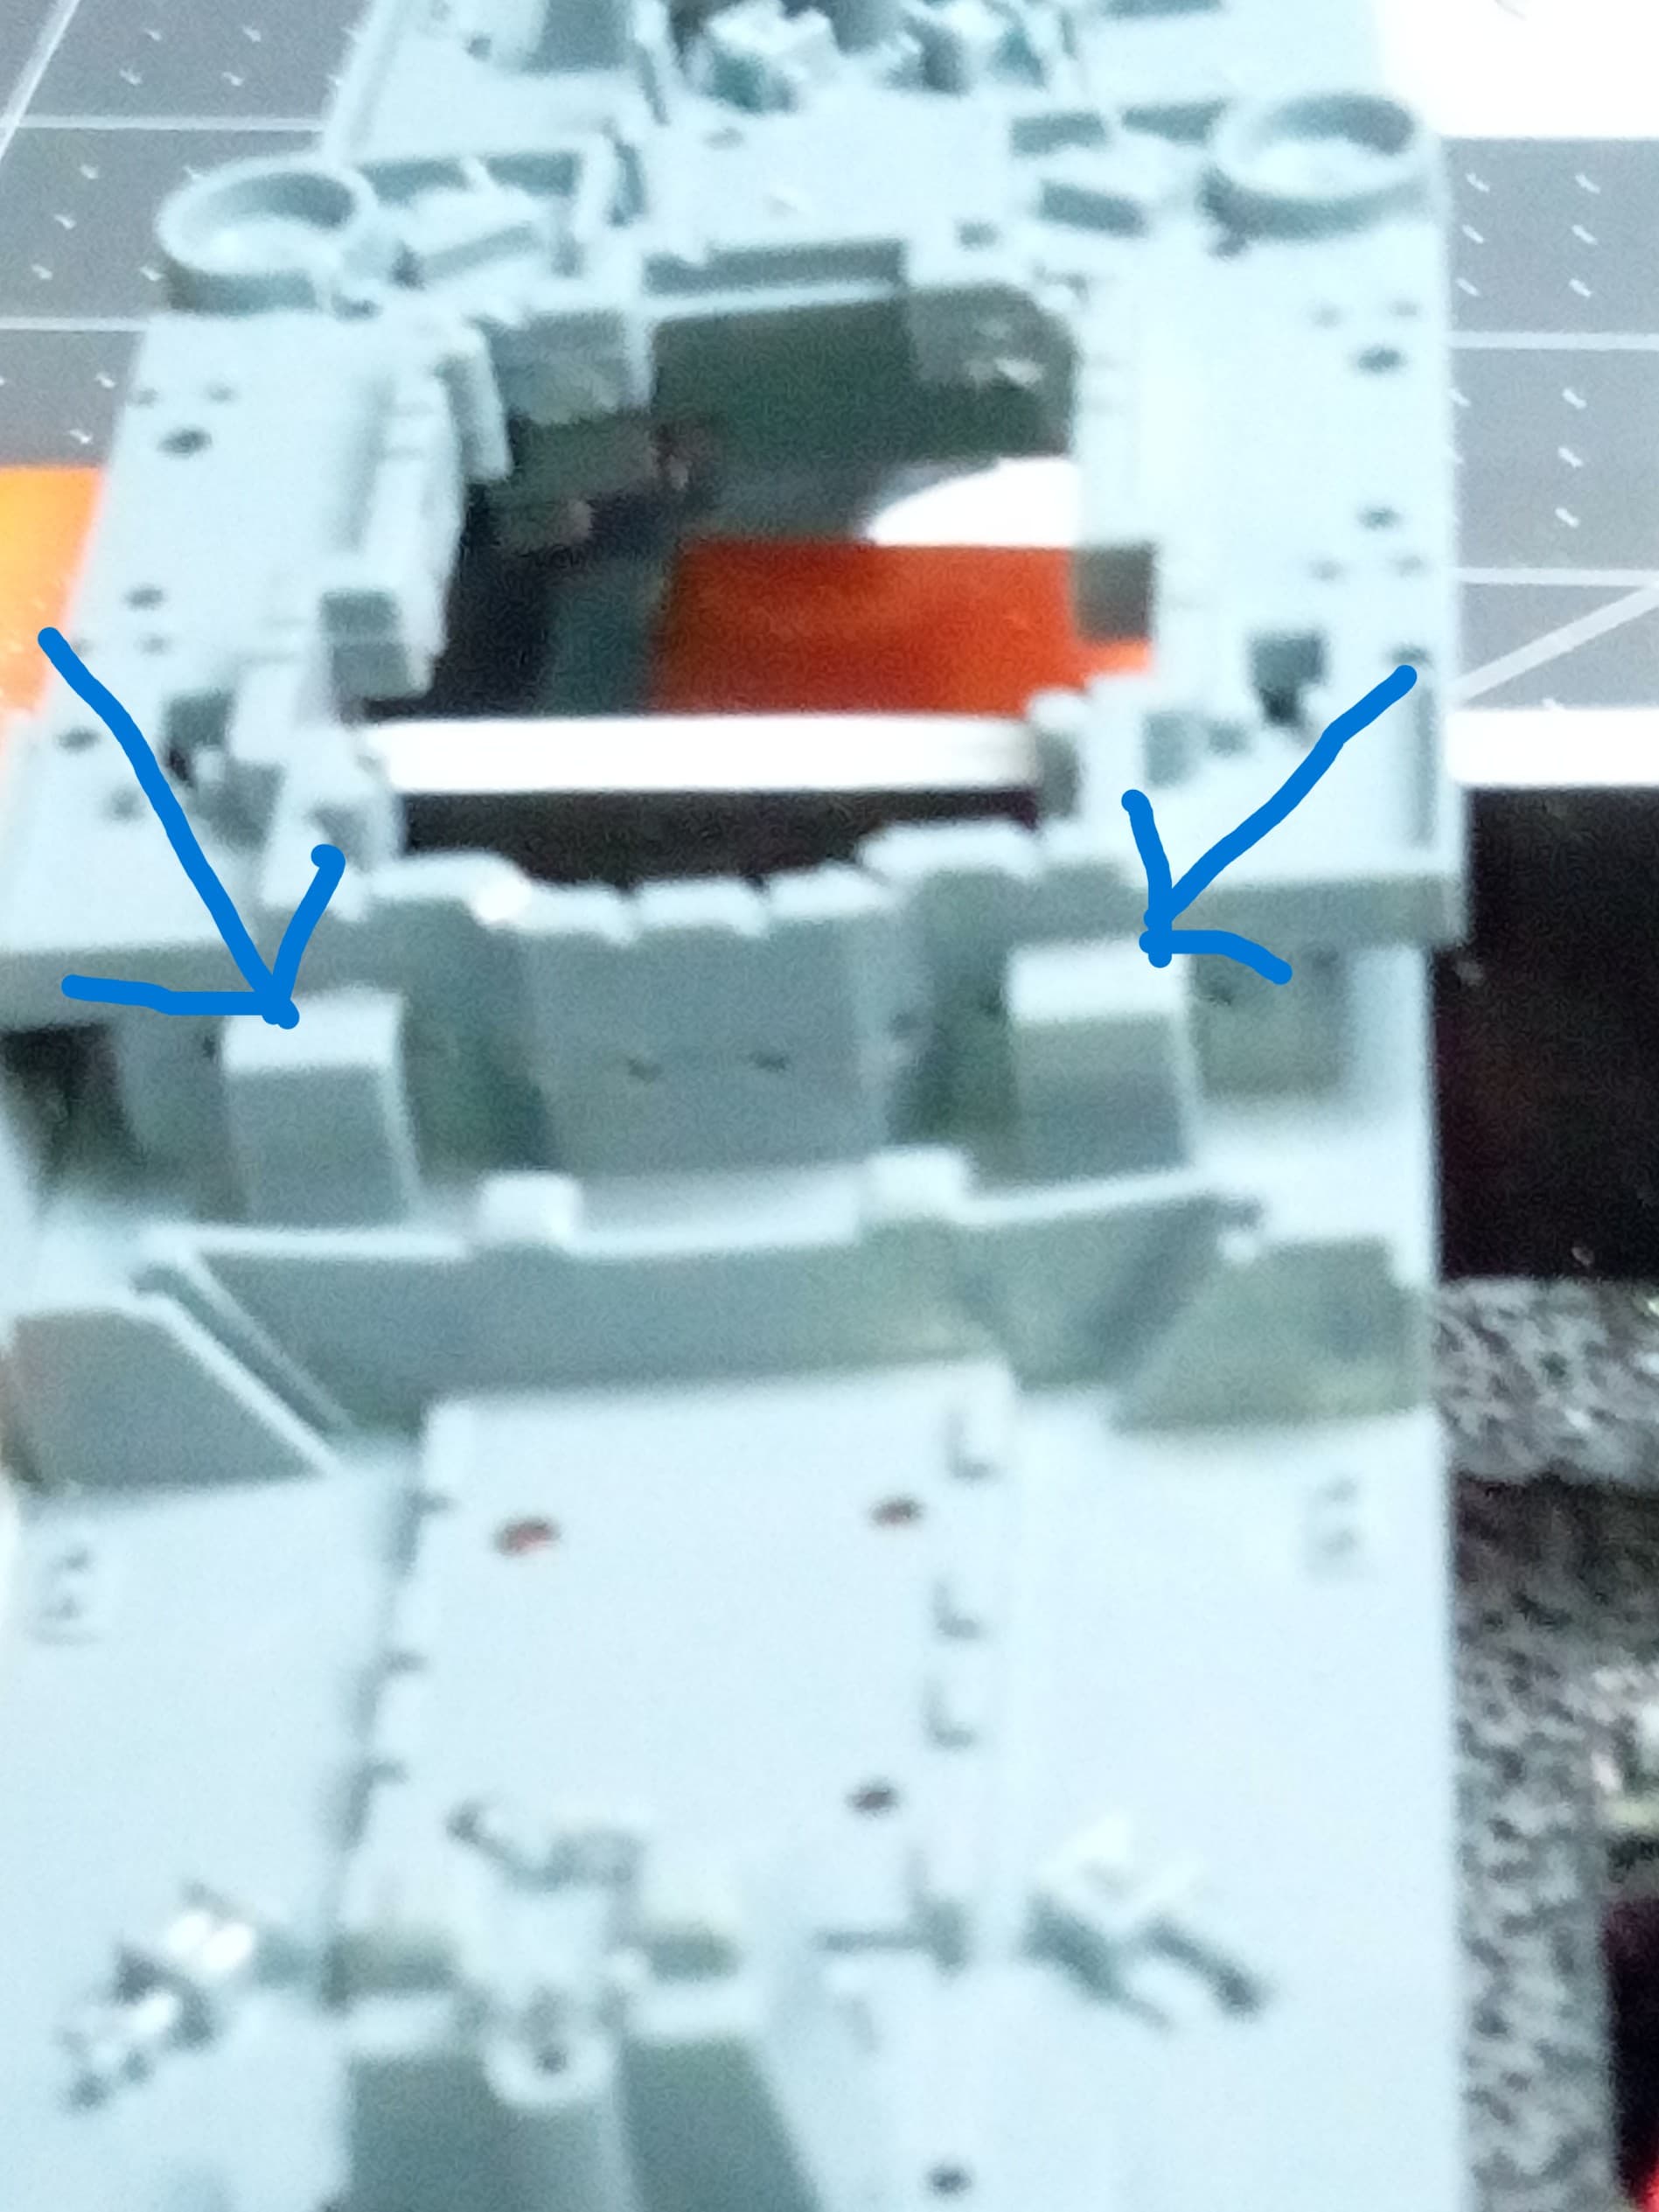
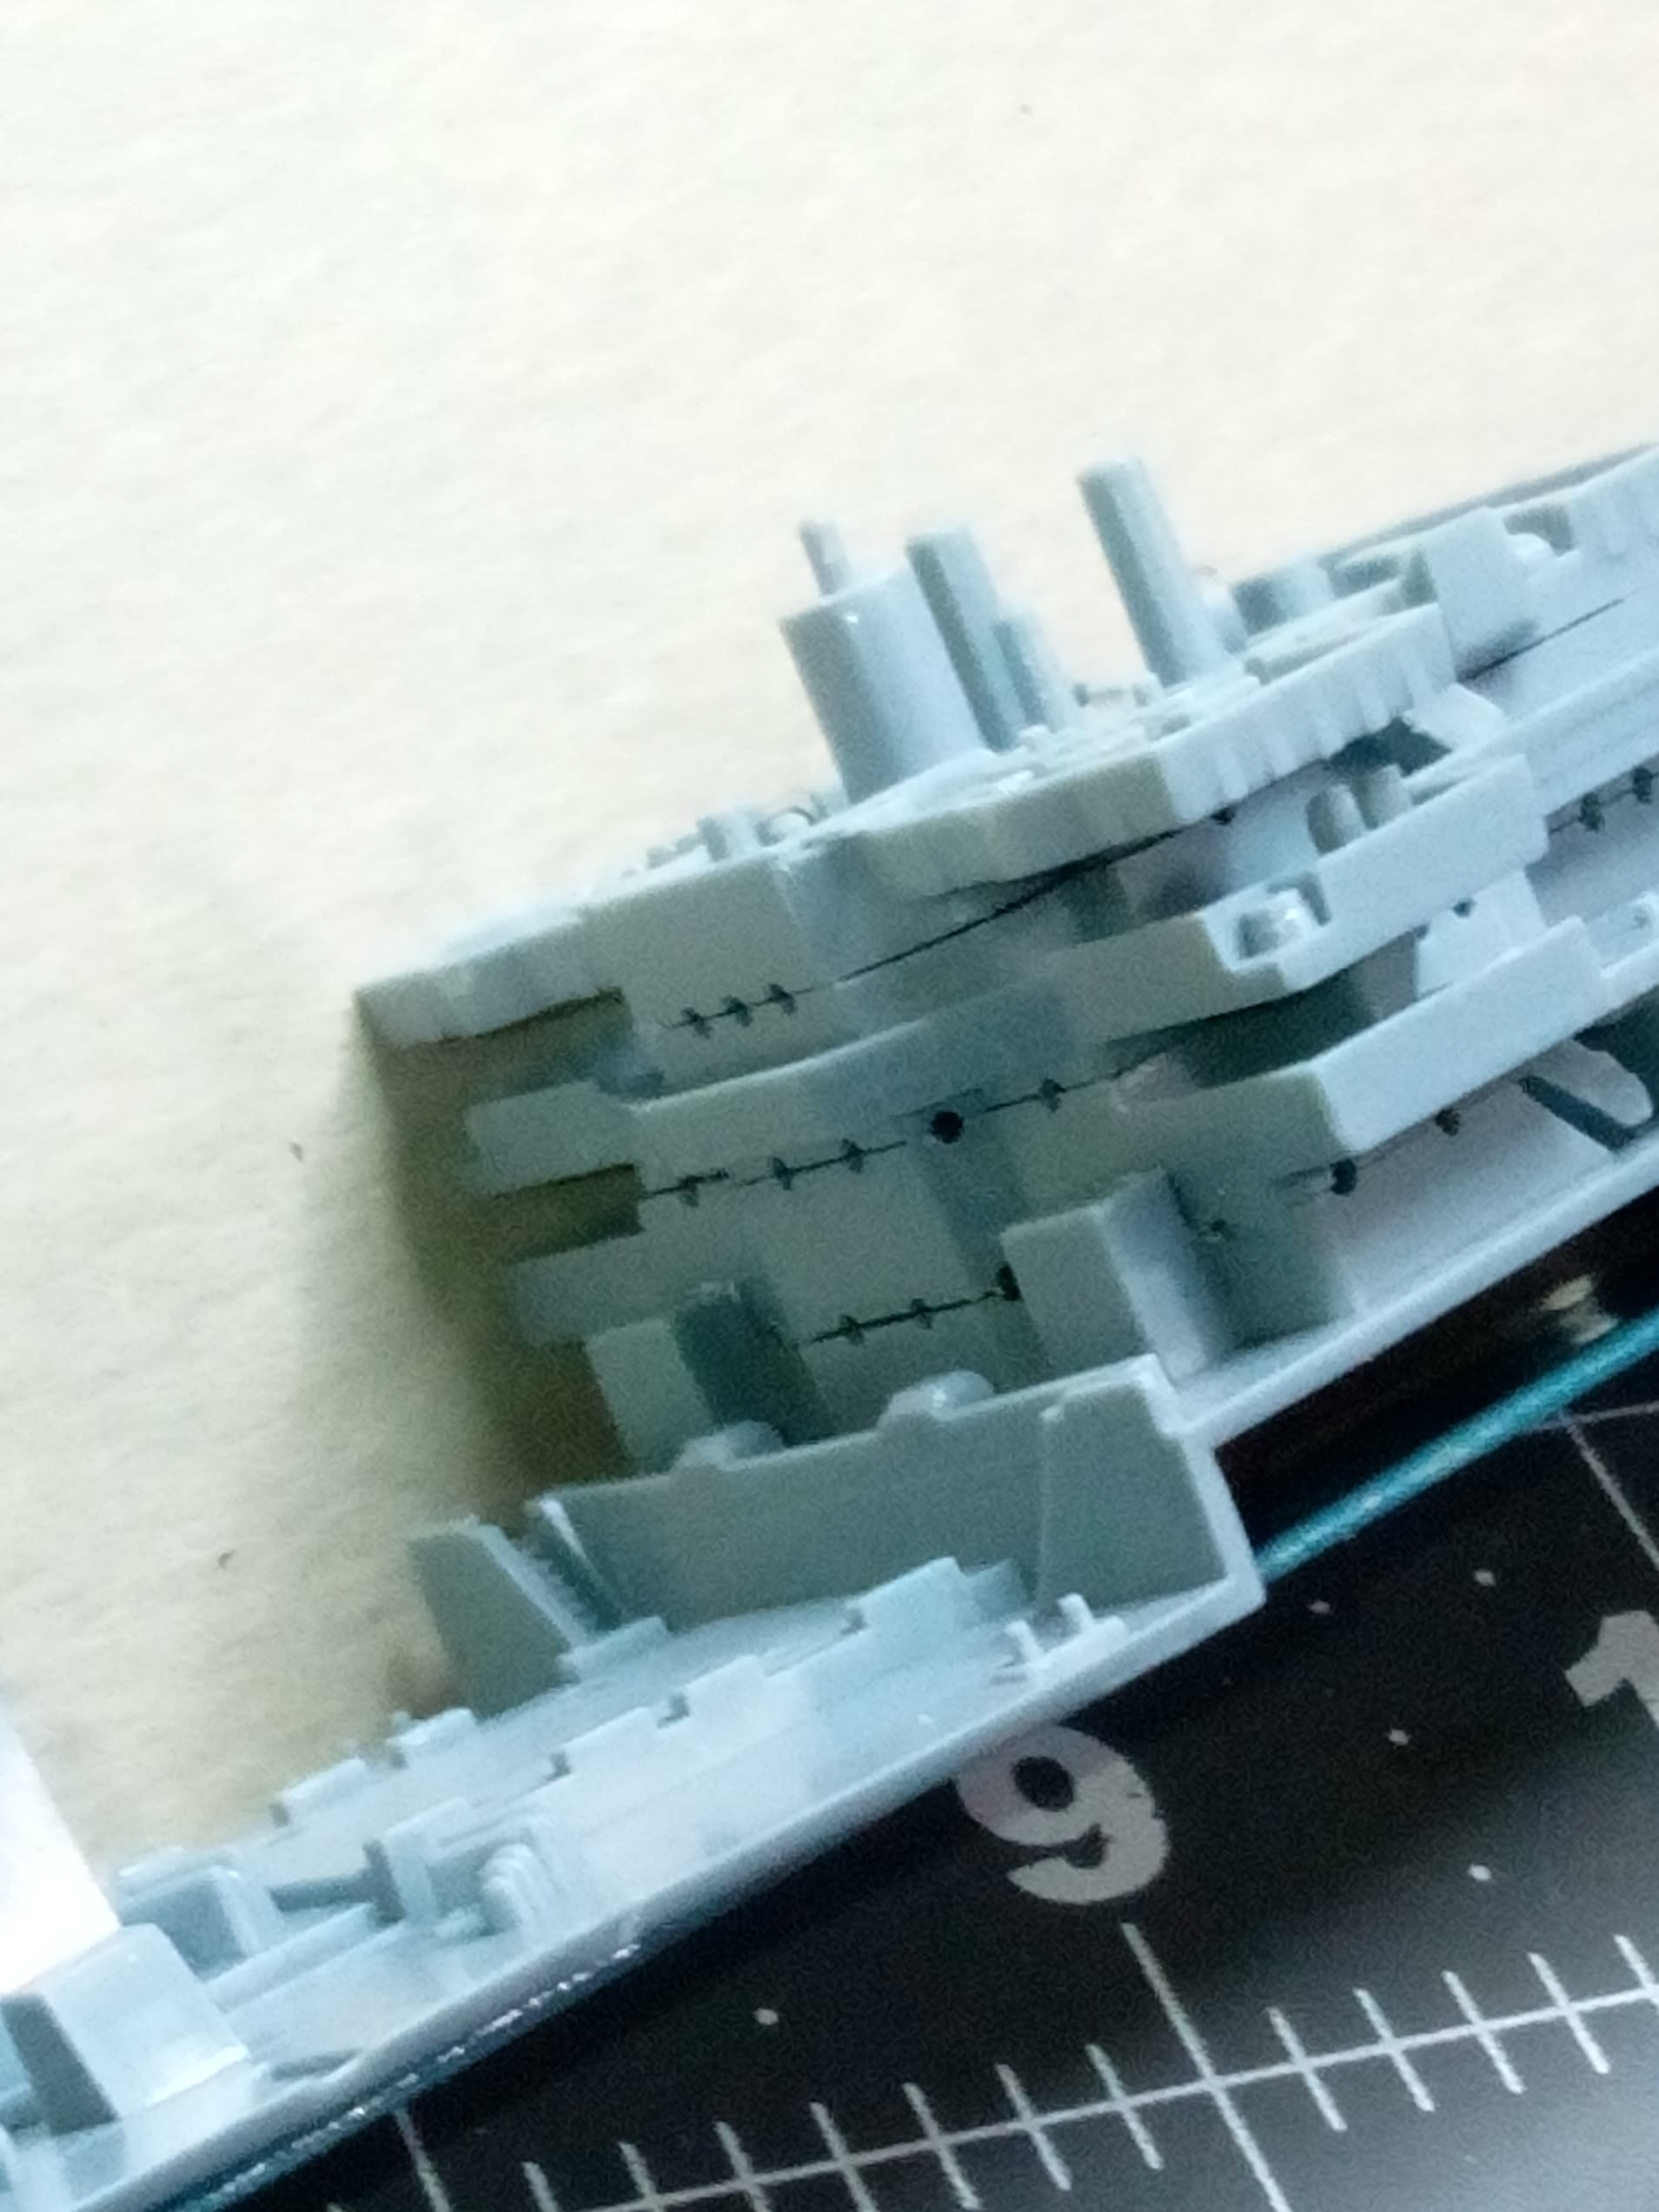
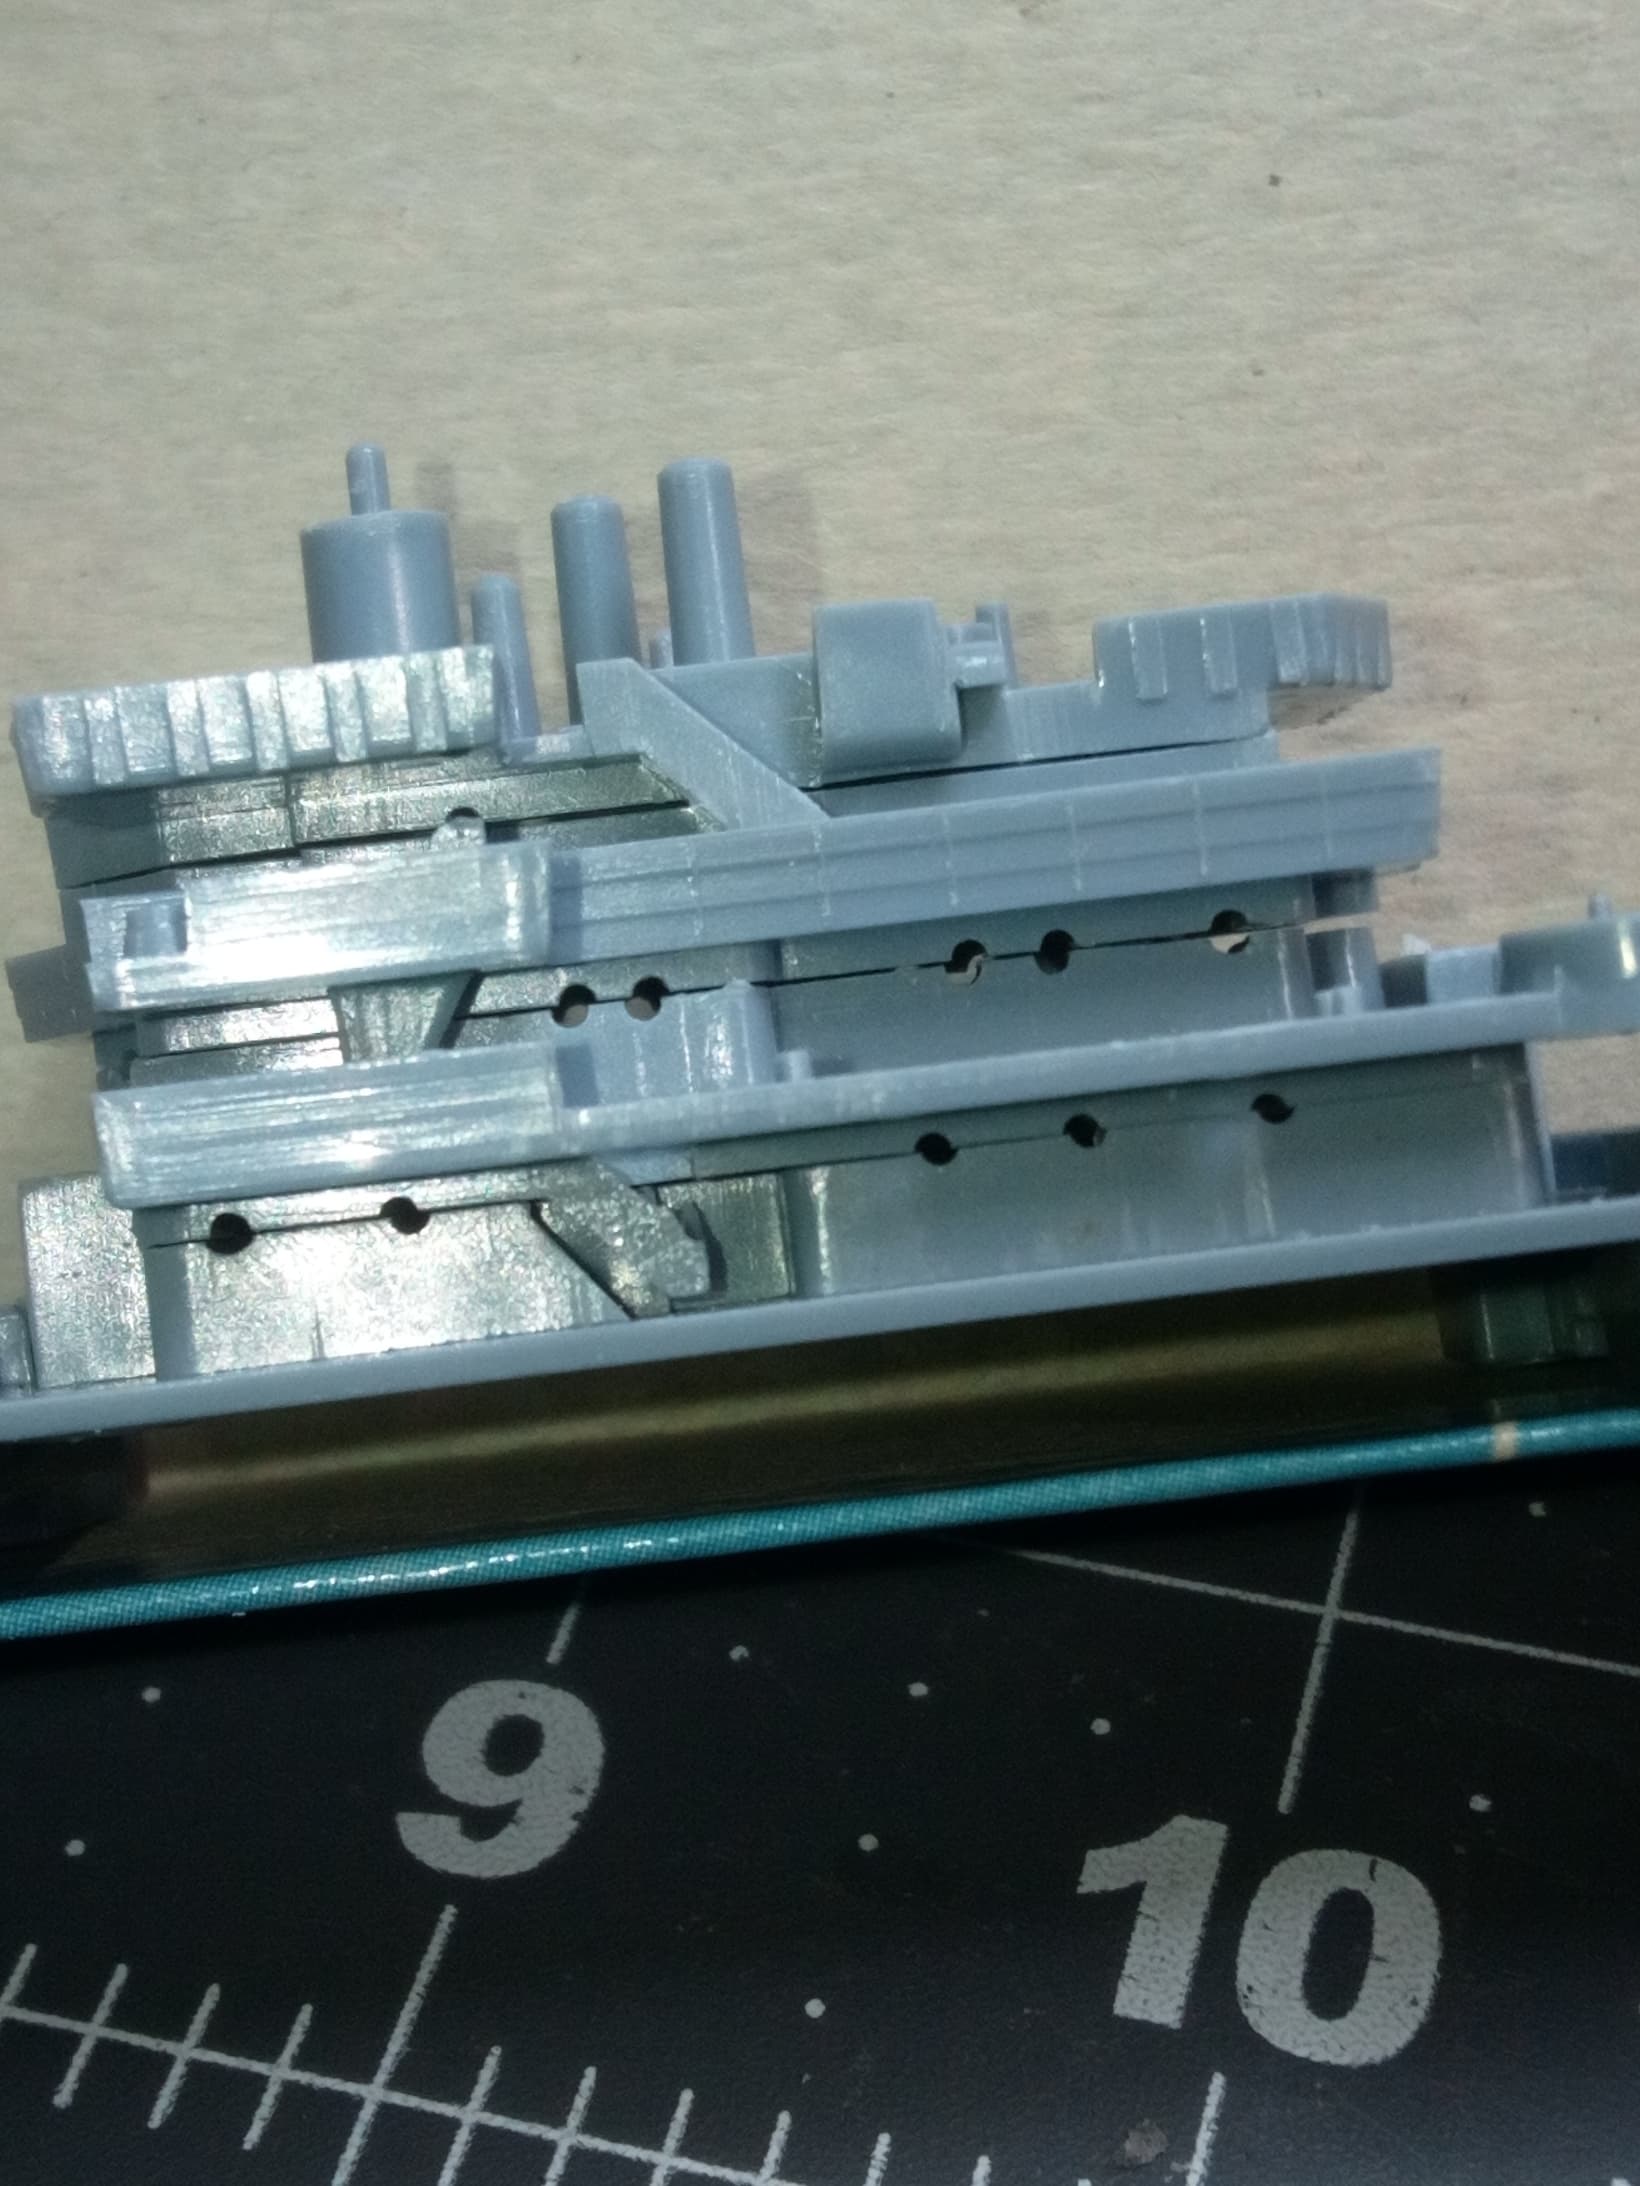
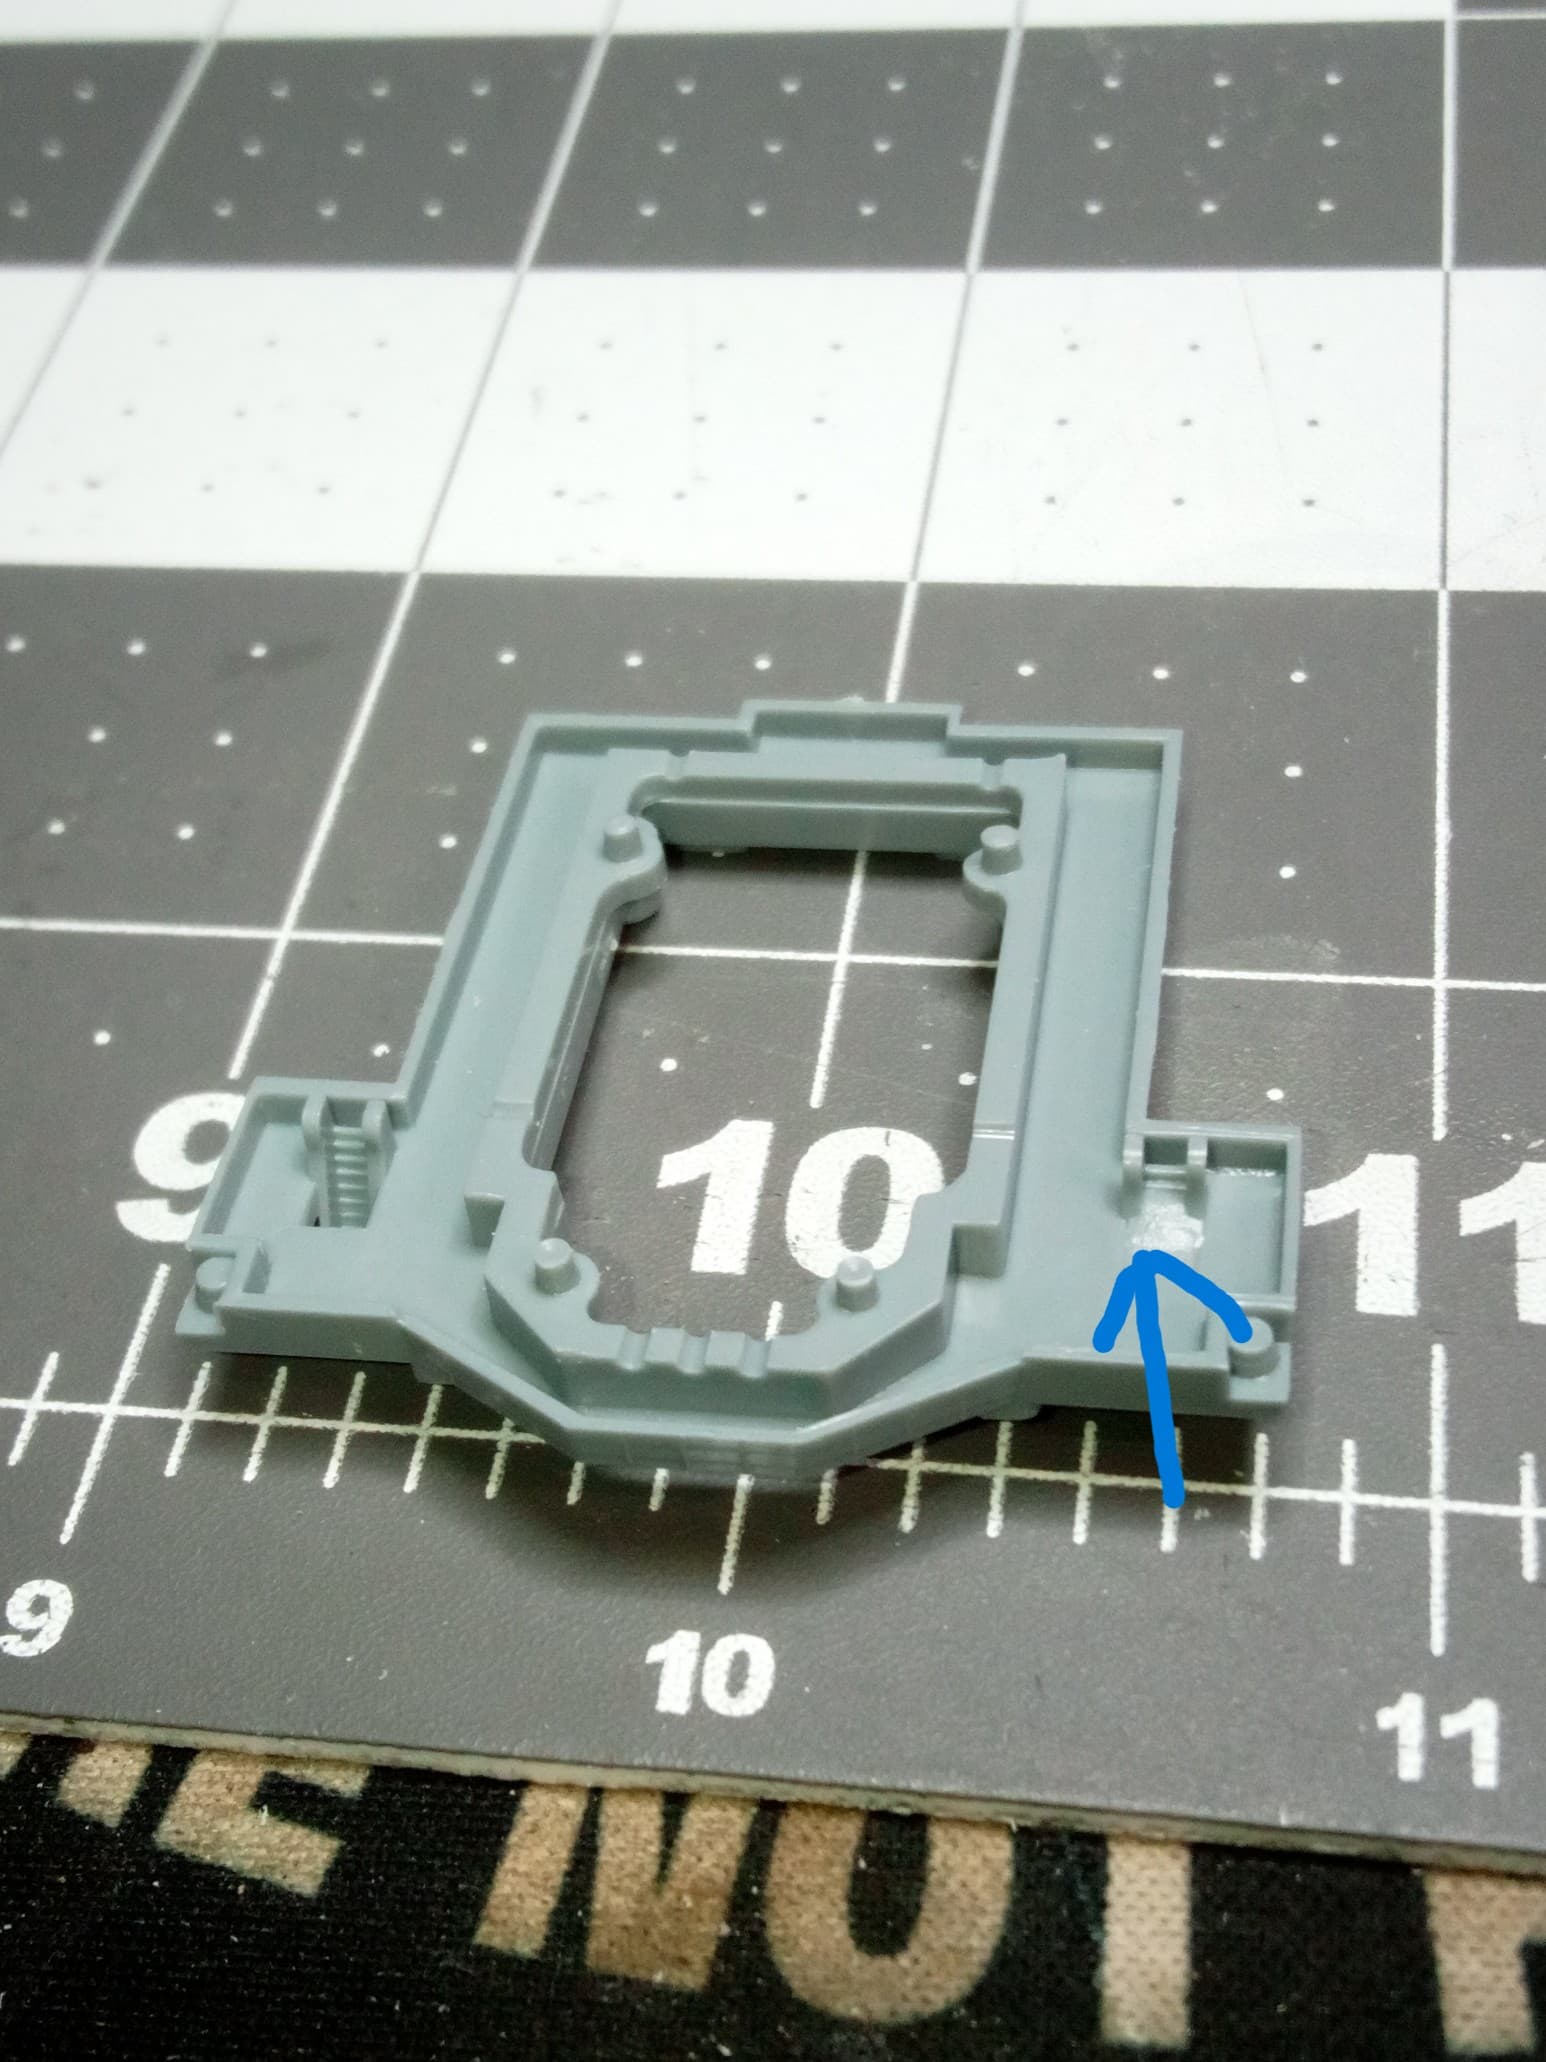
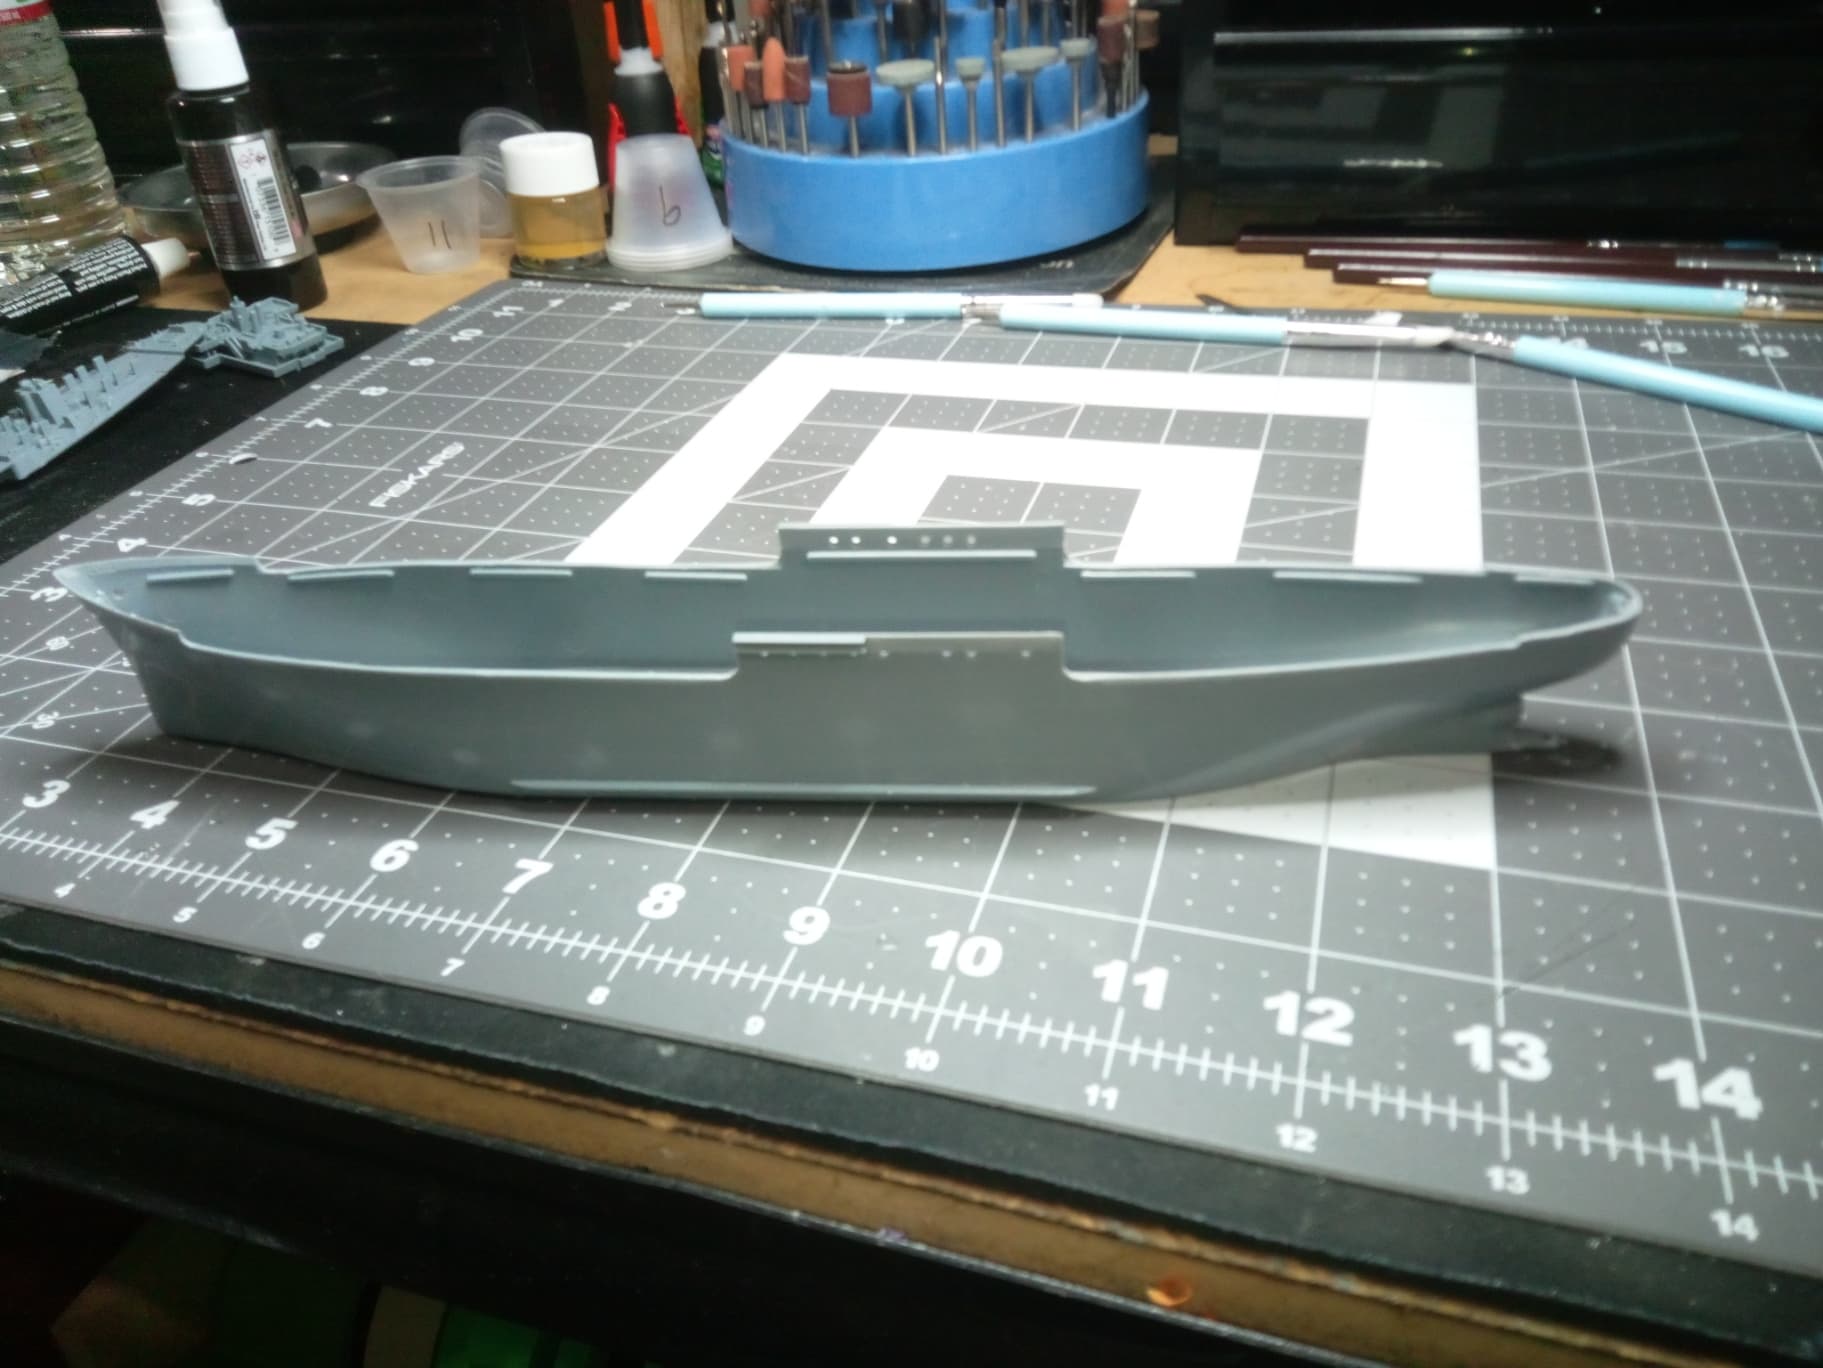
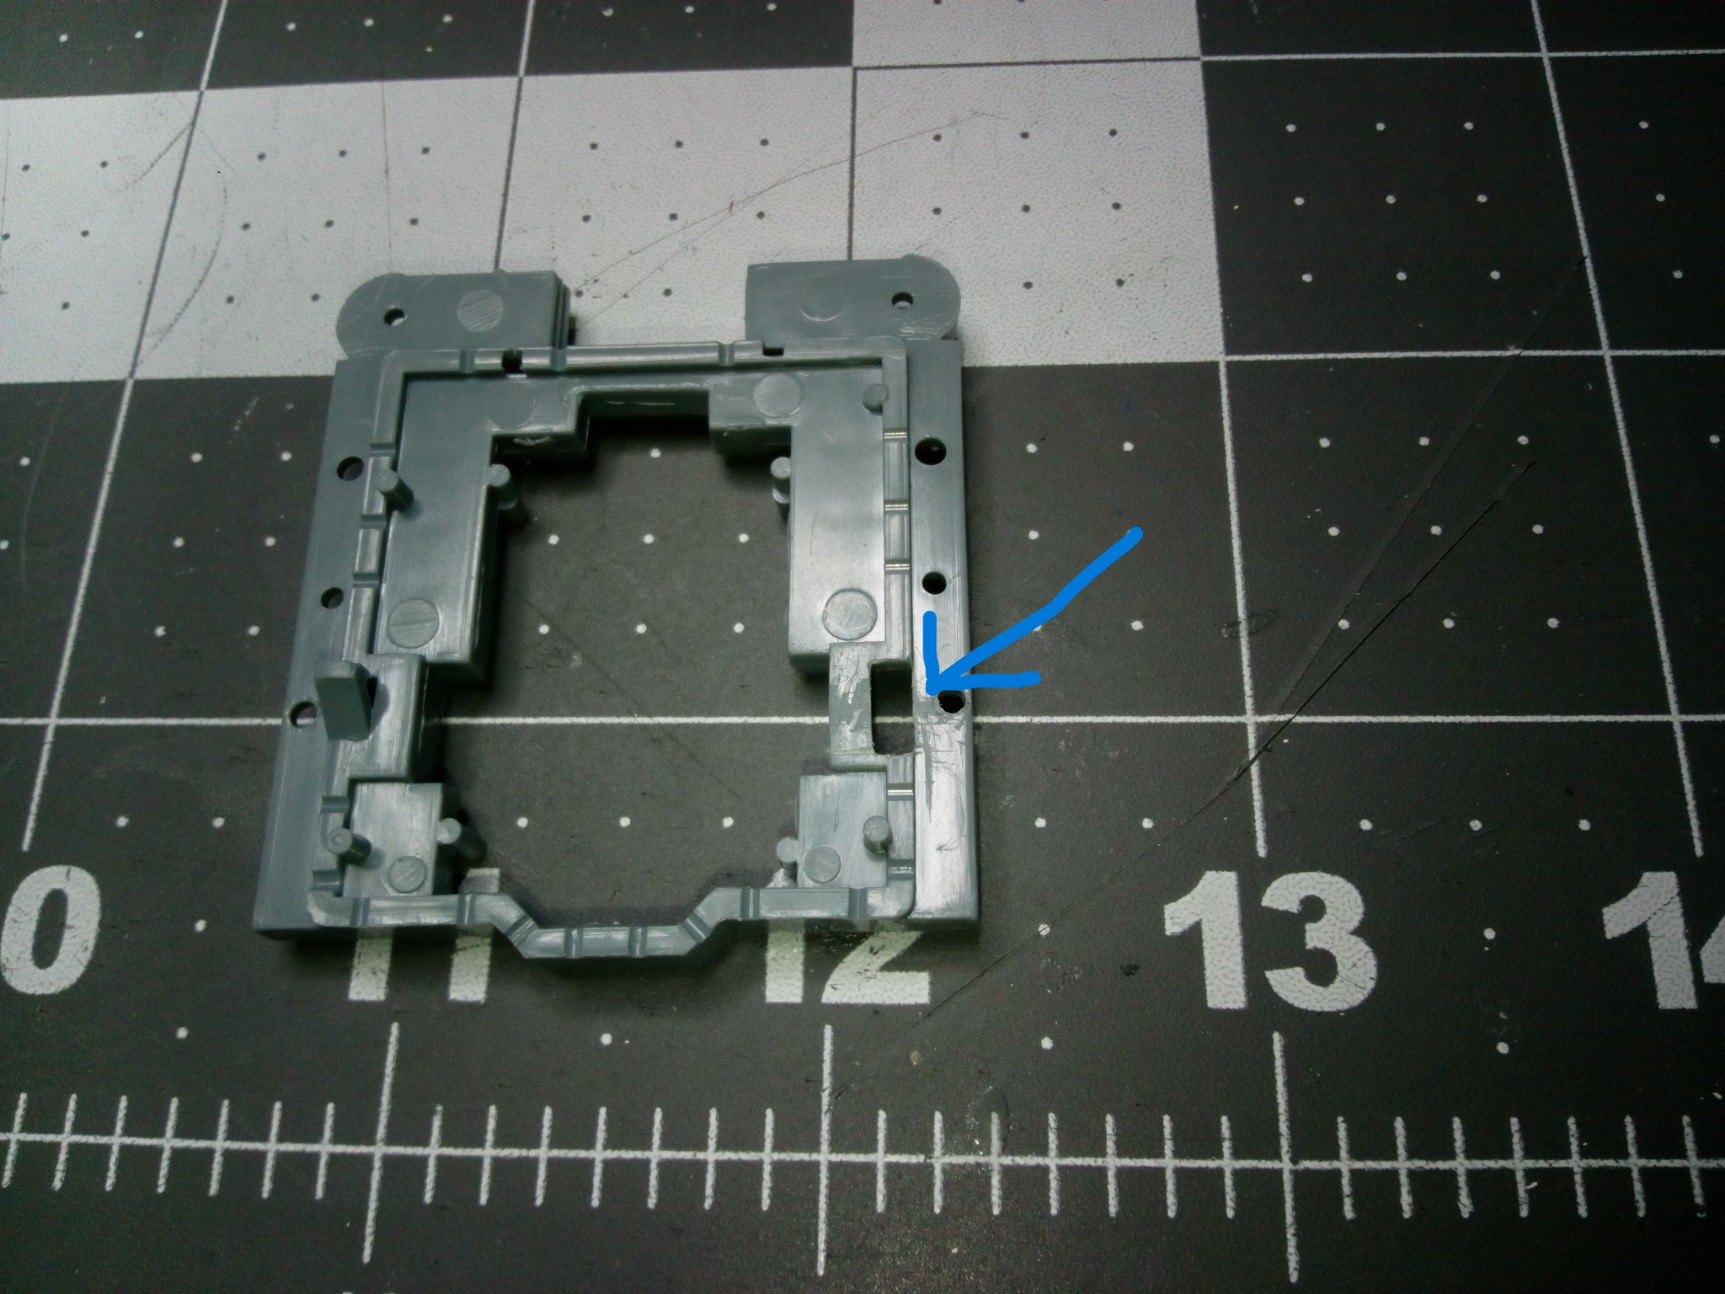
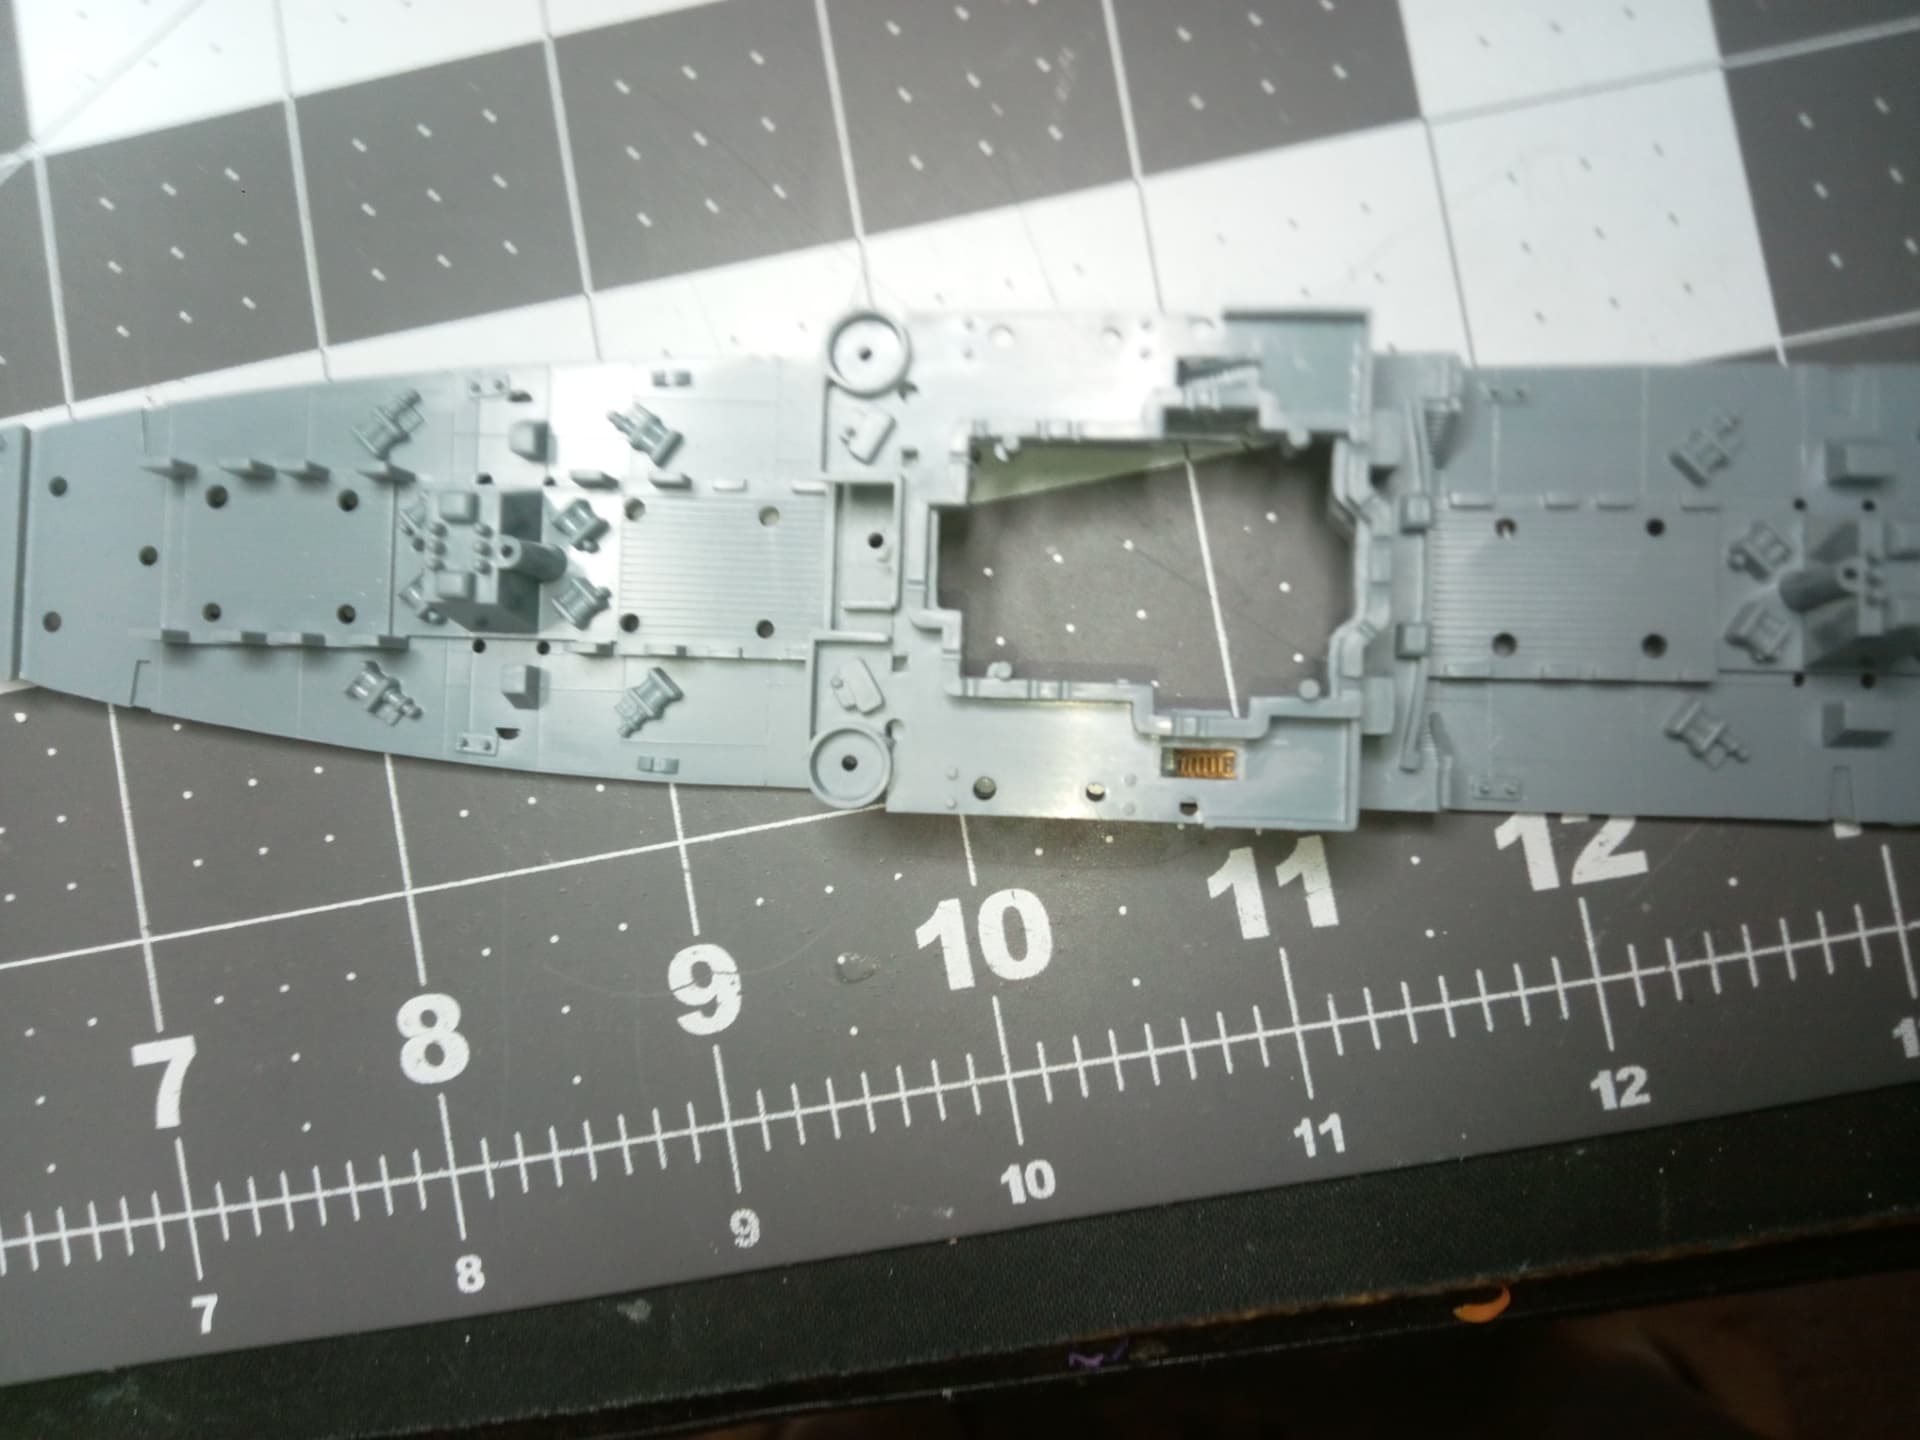
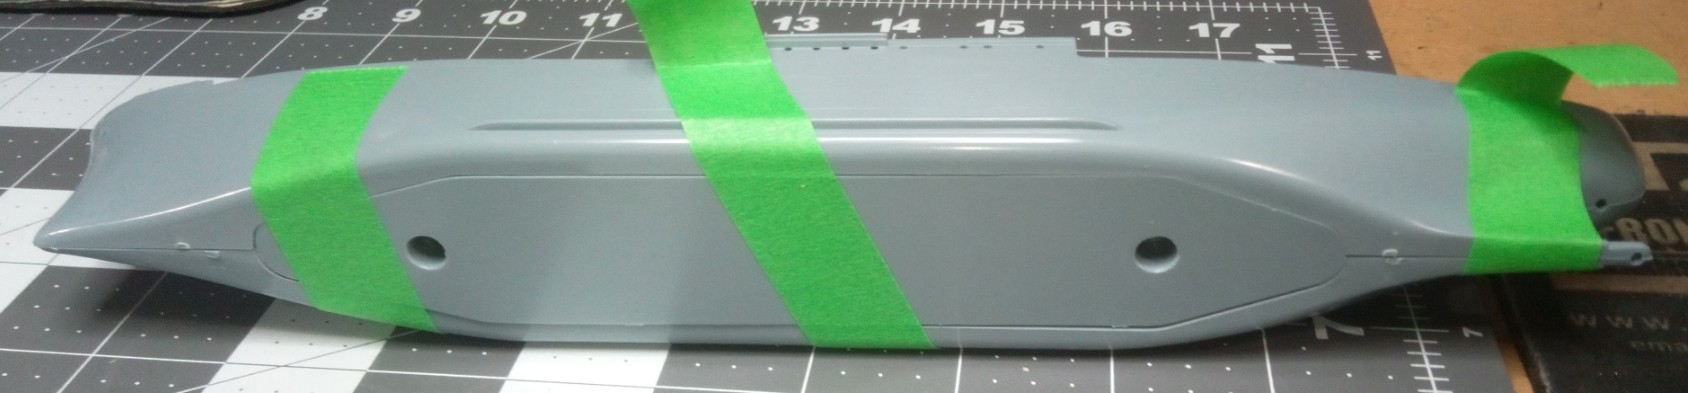
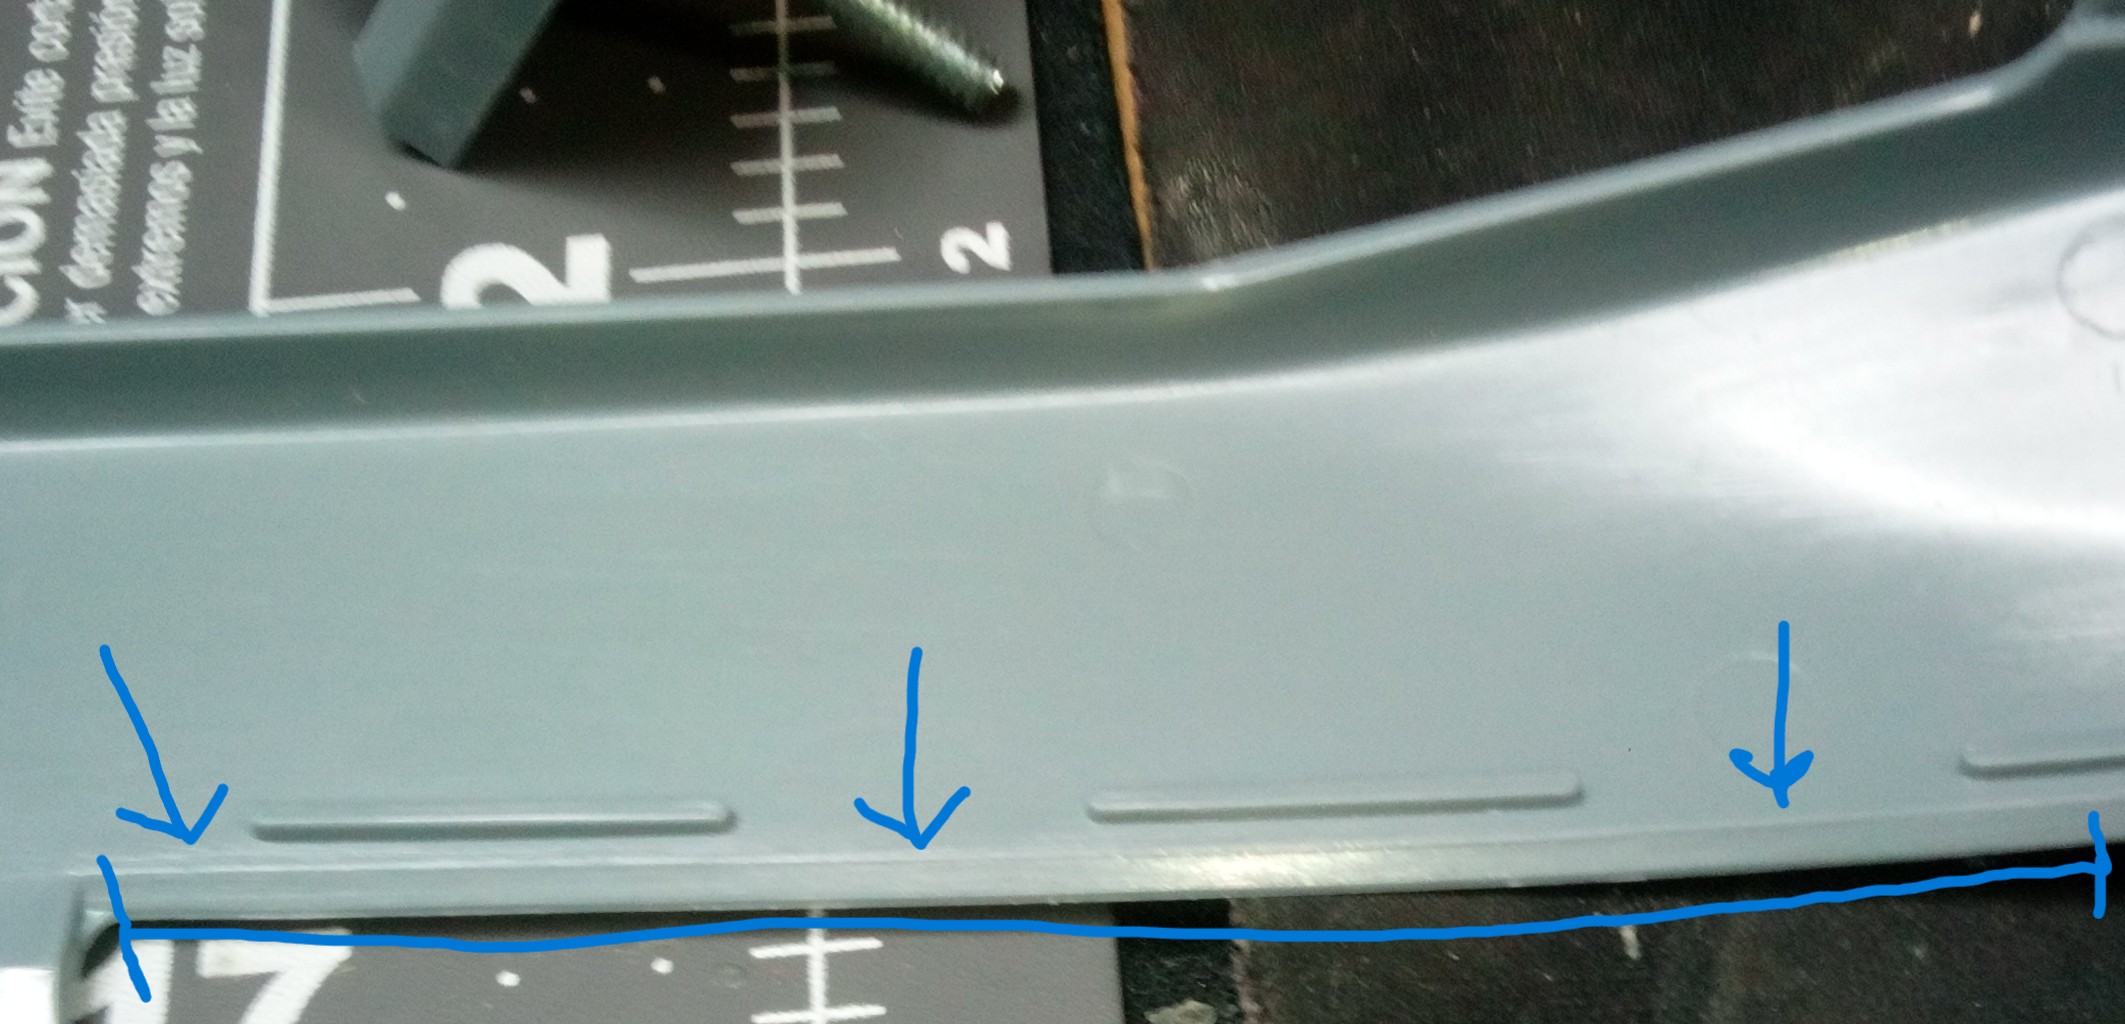
So now I need advice. My intention to use PE railings may be derailed from the jump. In the photo below, you will see that Renwal molded into the hull at the deckline, railing detail.

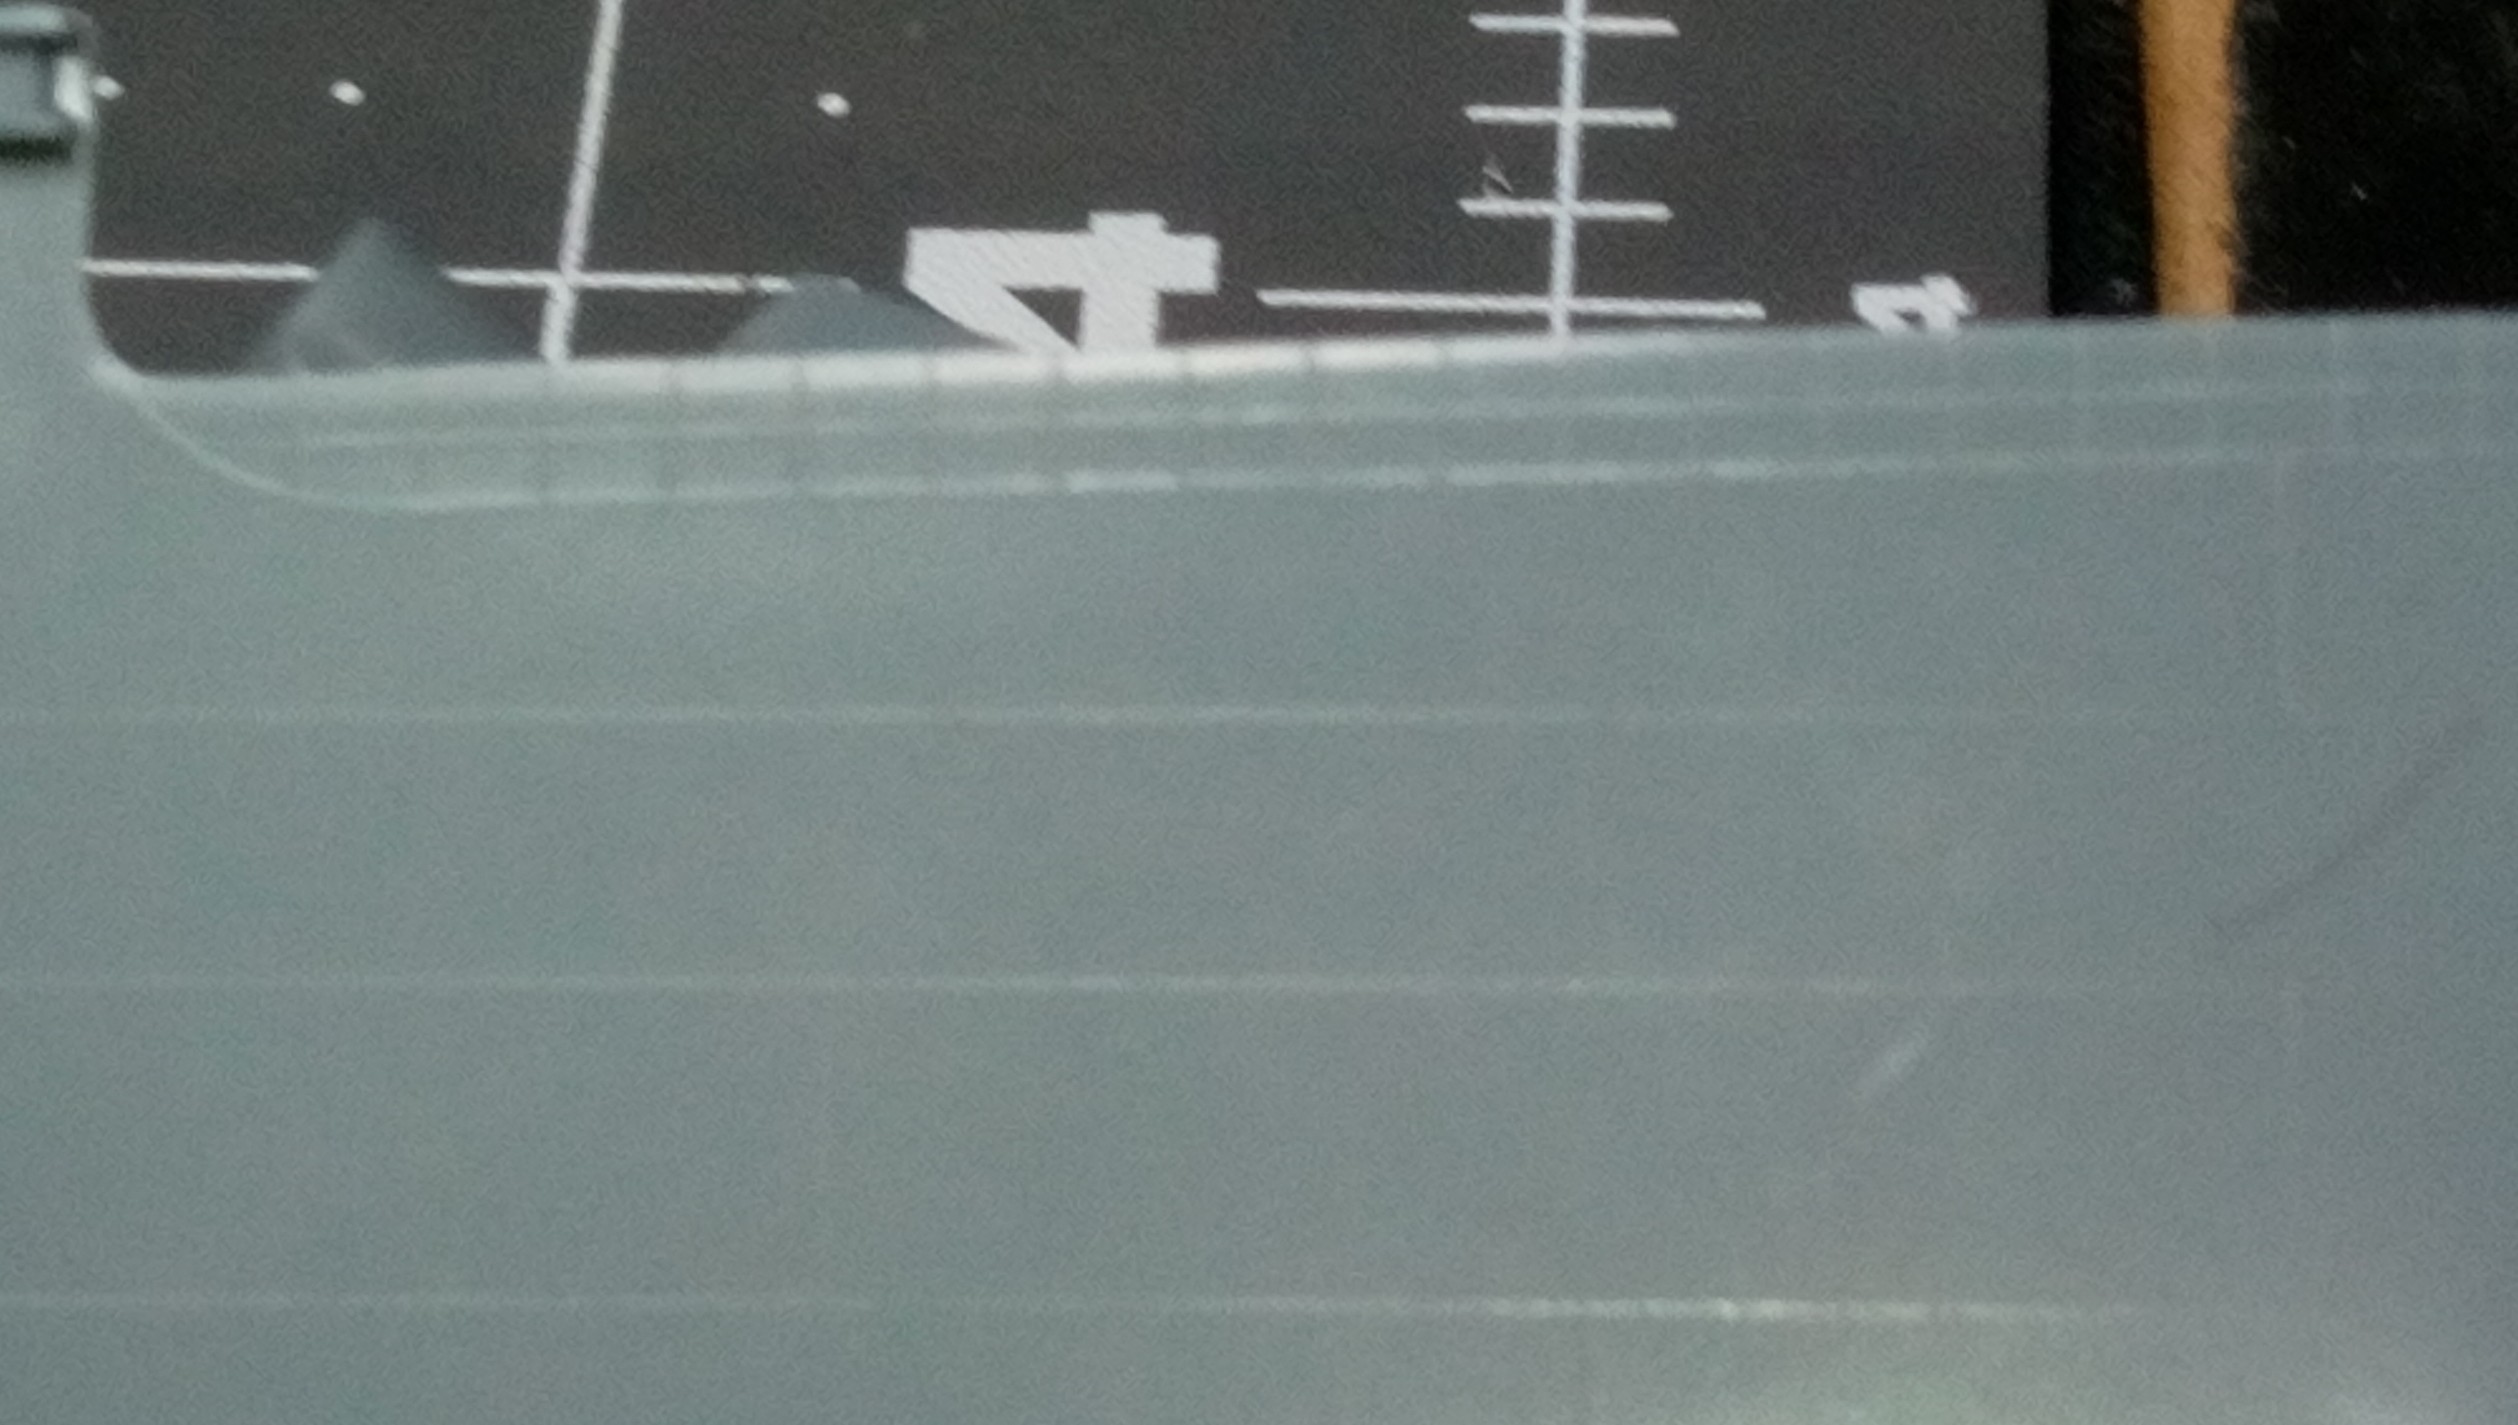
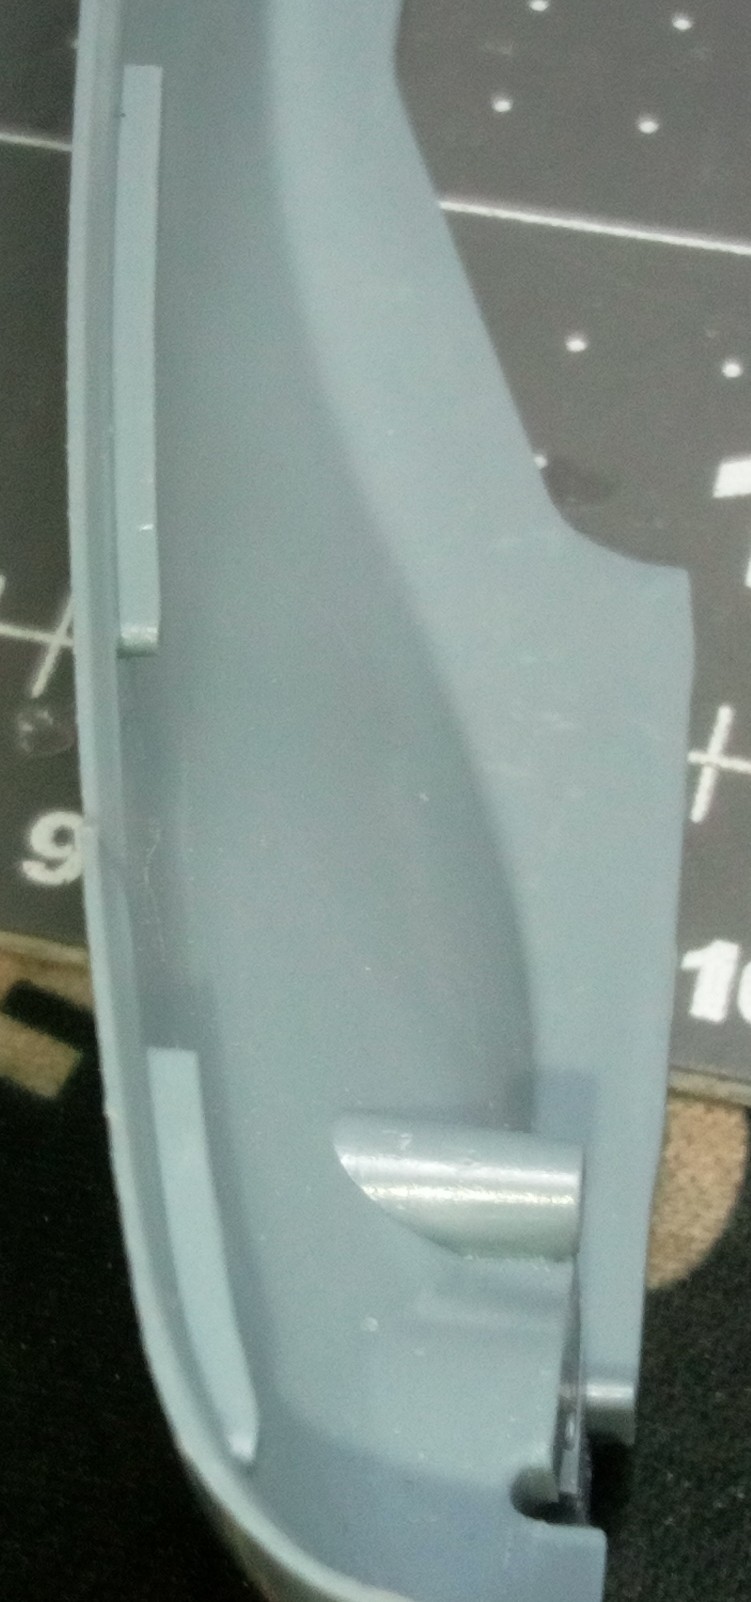
I feel that this has to be removed entirely, not just sanded off. It’s exactly the height and placement of where the pe would go. Frankly, I’m scared to cut this away and possiby damage a scarce model. Cutting may compromise the structure and deck fit. Below is additional photos of the area.


I’m open to suggestions or encouragement. I think I’ve landed on a cutting solution, but want to hear from the community before doing something stupid. Anyway, that’s it for this edition of the build log. Thanks for reading, and I hope you enjoyed it. Stay tuned, more to come!

9 Likes

Good looking start on the base

About ten minutes after you glue the last part on :rofl:

I’ll go be good now

4 Likes

Have you dry-fit the entire hull, including the deck? I would certainly do that to verify if you will impact the ability to construct the hull after having cut away the molded in railing.

1 Like

Most likely sized to fit a standard size of box for shipping and store display. Many model companies did that back in the early days of plastic kits, till around the late 50s it died out in favor of “true scale”, as the kids who built models were growing up and demanding more detail.

2 Likes

It’s a cool project, and a nice tribute to your grandfather! And I like classic kits like this one.

I second Aggieman about dry-fitting, too. Dry-fit, check the fit, do it again.
I’m reminded of Norm Abram’s advice about carpentry: “Measure twice, cut once.”

I look forward to seeing your progress on this build!

Best regards.
Brad

2 Likes

tape the 2 halves of the hull together then dryfit the deck into position to see how well it sits & to see if there are any issues in regards to removing the plastic railings.
take a look at this link as same class as your model.
AKA-107 USS Vermilion Booklet of General Plans (1968) USA - AKA-107 USS Vermilion Booklet of General Plans (1968) (version 1) : Navy Yard, Newport News, Virginia : Free Download, Borrow, and Streaming : Internet Archive

1 Like

Thanks for the advice. And wow on the link! I’ll be studying that intensely! Thank you again.

1 Like

MrB., This is a great project and a wonderful way to honor your grandfather. I go along with everyone else’s suggestion of trial fitting to see if the removal will affect this “rare” kit. I agree with you about these types of ships being ignored by the manufacturers. I’d like to build a model of the USS Mt. Hood AE-29 but there aren’t any kits currently. BTW, I like what you did with your base. Good Luck with this project.

1 Like

mrb865, no problem. i did similar on my OBB(Old Battleship)s build using Revell’s 1/429 scale model of the USS Arizona to build all the old battleships of ww2 from the Wyoming class to the Colorado class plus an extra 1 that was a gunnery missile training ship post ww2.


3 Likes

MR_TOM_SCHRY, take a look at this link.
AE-29 USS Mount Hood Booklet of General Plans (1980) USA - AE-29 USS Mount Hood Booklet of General Plans (1980) : Supervisor of Shipbuilding (SUPSHIP), San Francisco, California : Free Download, Borrow, and Streaming : Internet Archive
see if there is a model ship that uses a similar shaped hull that you can kitbash into Mount Hood.

Thanks ffg7! These are great and I’m going to go over them closely.

Build log Chapter 2. My mom has been visiting for over a week now, so I haven’t had much time to be hands on with this build. I did sneak away last night and got something done.

At the end of my original post, I was agonizing over cutting off the molded in railings to make room for PE. A couple glasses of bourbon, a cigar, and a Xanax convinced me to forge ahead with the cutting. I thought about purchasing an ultrasonic hobby knife for this task but decided to go ahead with tools on hand rather than spending $200 plus on something that I will only use sparingly.

After dry fitting the hull and deck together and marking the inside with a pencil, (no easy feat being as the deck and two hull halves have warped a little due to age) I notched the railings and started cutting with a jeweler’s saw.


I would like to thank William J. Donegan (1923-2006) the creator of Optivisor. Without this genius invention, cutting these molded railings off wouldn’t be possible for me. I don’t know how long it took to cut this first half of hull, but here it it next to the uncut half for comparison.

And when fit to the hull.

I left the bow untouched as historical photos show this as steel plating, not railing, so Renwal made a mistake. Same amidships. I will gently sand these details off.

While dry fitting I need to put the superstructure in place to get an idea about the amidships hull plating and how it relates. I then discovered some more of Renwal’s mistakes. First, the two halves of lower superstructure wouldn’t go together as the two large blocks in front of it were too thick to allow the two surfaces to mate together properly.


I sanded these down and got it to fit. If you look at these next two pics, you’ll see how Renwal split the bulkheads horizontally through the center, the sloppy alignment of the portholes, and the ugly molded stairs.


I see a lot of time and putty be used to fix this. I also found a problem with a set of stairs on the second level. The mold didn’t separate cleanly, leaving behind a plug of plastic instead of stairs.


Not a big deal, as I’m going to replace these with PE stairs. I also found areas on the superstructure decks that have the molded railing, which has to go to make way for PE railing. The PE is really going to dress this technologically challenged model up!

Lastly, I was able to prime and paint the base pedestals.


That’s it for now. I don’t know when I’ll get back to my bench. Mom goes home Friday, so depending on how I feel, I will get some work done on Saturday. Cheers!

3 Likes

Great progress Mr.B. Your work on the hull halves look very neat and precise. Take your time and proceed slowly. BTW thanks for the tip of bourbon,a cigar, and a Xanax. I’ll just substitute a double shot for the Xanax. Cheers and model on!

1 Like

i used side cutters that are made for working in the electronics field & a sharp #11 blade for my xacto knife when removing all the built in railings on the Arizona hulls for my OBB build.
i am using 1mm thick sheet plastic to make all new structures so no split level bulkheads to deal with.

2 Likes

And then taking a page out of ffg7 s book.
ffg7

…i am using 1mm thick sheet plastic to make all new structures so no split level bulkheads to deal with.

:thinking:
Causes me to wonder if you could just completly cover the all the split buckheads with sheet plastic, then redrill portholes. Would eliminate a lot of filling.

1 Like

don’t use 1mm thick plastic if overlaying original structure, go thinner like .5mm or even .25mm.

2 Likes

I’m going to investigate the overlay of the bulkheads. Thank you gentlemen for the idea.

1 Like

Chapter 3: Life has intruded on my build in a big way, I just got back to the bench today. I’ve completed the cutting and sanding of the hull, and removed the remaining fine detail of railings that were molded in. I the assembled the three hull pieces together as tightly as they would go, and filled the gaps with perfect plastic putty.


I then dry fit the main deck to the hull to fine tune the fit. I’m pretty happy with the results, given the amount of surgery I performed. The PE railings will be stunning!

I next moved on to removing the molded staircases from the superstructure. This was not just a simple cut. I had to remove a large chunk of plastic flush with the bulkhead and the deck, and expand the rectangular hole in the deck to accommodate the PE stairs. The blue arrow shows the hole I made. On the other side you can see it’s factory configuration.


Once the hole was completed, I folded a set of PE stairs and fitted them into place to check the fit.


You can see in the photos the split bulkheads. I’ve decided that I going to remove the locater pins on the upper deck, which will allow for better alignment of the two halves, and make the portholes line up better, then tightly glue and fill in the horizontal gap with putty to smooth everything out.
I hate to say it, but that’s as far as I’ve gotten for this go around. Every time I go to my shop, I get pulled away just minutes into reorienting myself to the build. So, no guarantees on the timing of the next update. Cheers!

4 Likes

Regardless, the time spent so far, has been well spent. The PE stairs look great.

I didn’t realize that the hull was in 3 pieces instead of 2; that bottom plate is an interesting way to engineer the hull.

Great progress! I look forward to seeing your next post.

Best regards,
Brad