Somehow I missed you earlier post Phoenix but you’re making solid progress now.
Hope the PPP works out for you. I’ve had good luck with it.
Maybe I’m weird but I’ve had much better luck with putty than superglue. Never had much luck with it.
Somehow I missed you earlier post Phoenix but you’re making solid progress now.
Hope the PPP works out for you. I’ve had good luck with it.
Maybe I’m weird but I’ve had much better luck with putty than superglue. Never had much luck with it.
Good news. The legs turned out great. Only a few small spots that I think are acceptable.

However, the torso still has many visible seams. Not horrible, but they bug me.
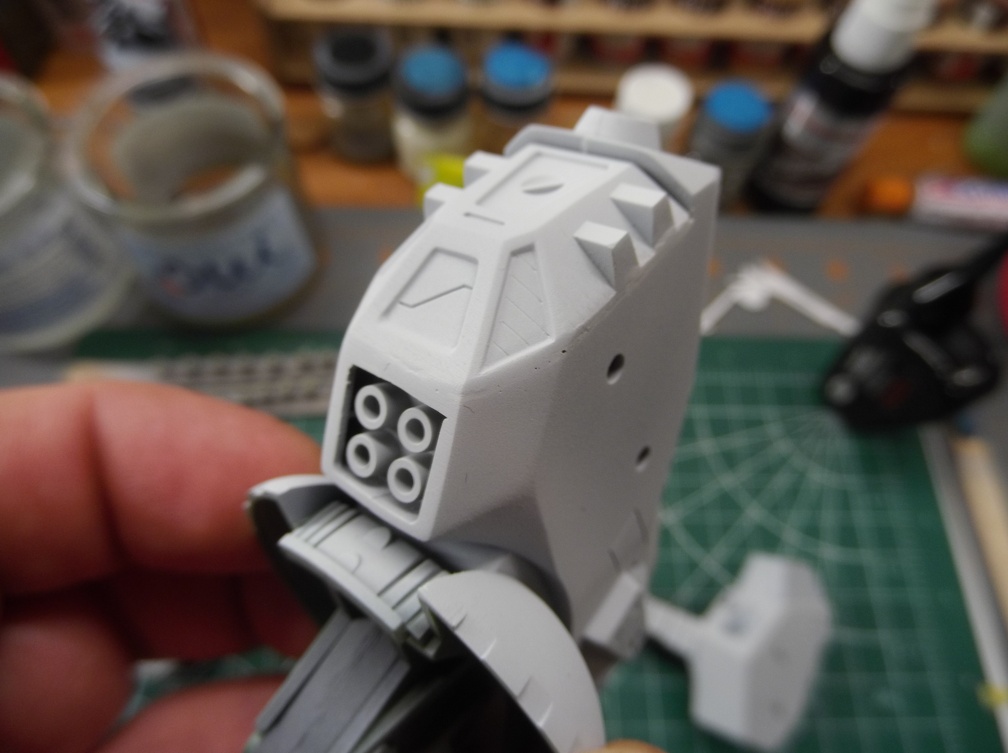
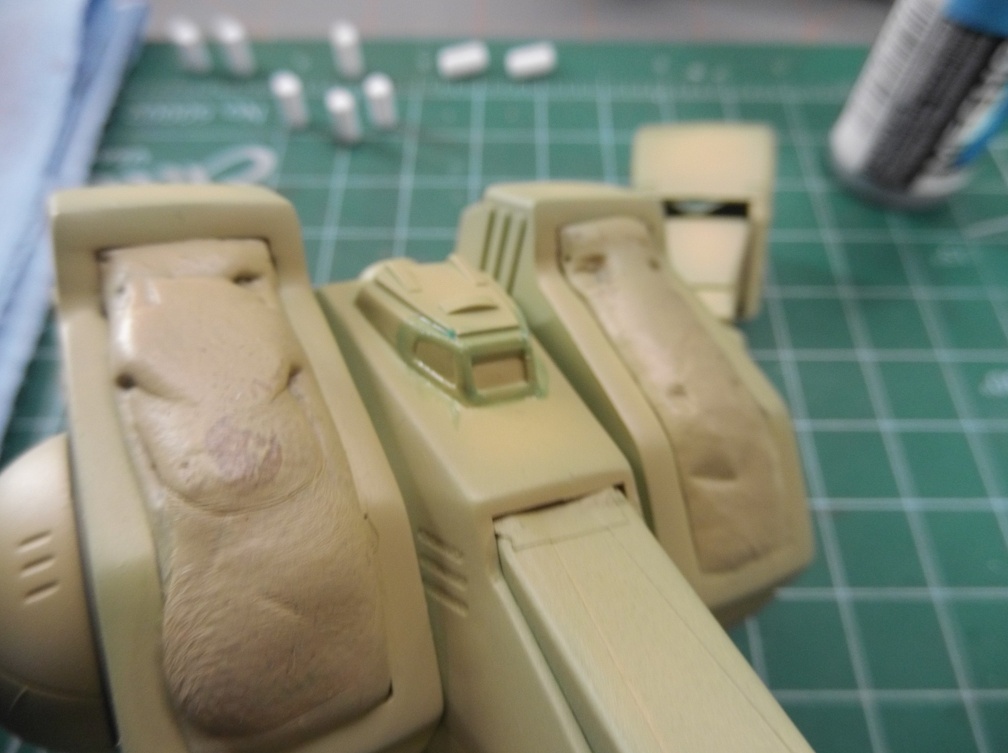
This is effectively the abdomen of the torso.
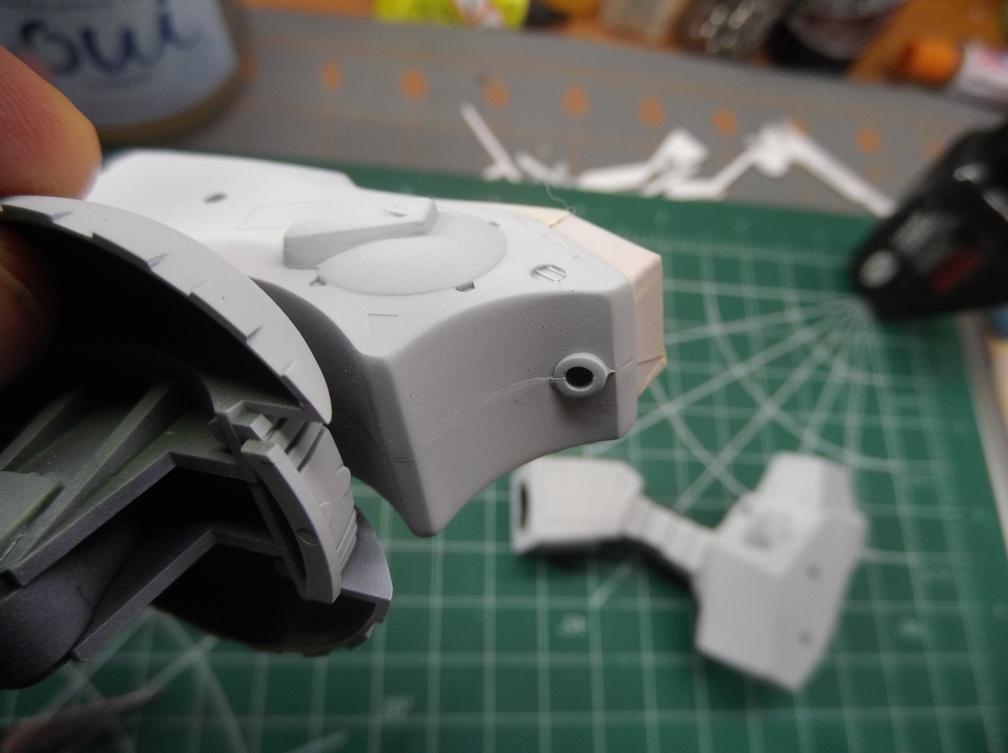
The cockpit canopy has a very sloppy putty bead that I want to clean up. That bit of a dent on the cockpit I believe was part of the mold. Should make for a fun bit of wear or battle damage. ![]()
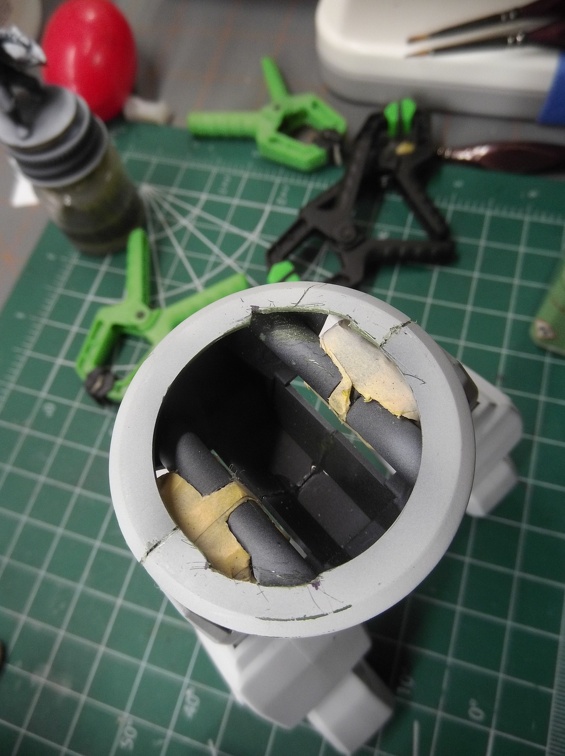
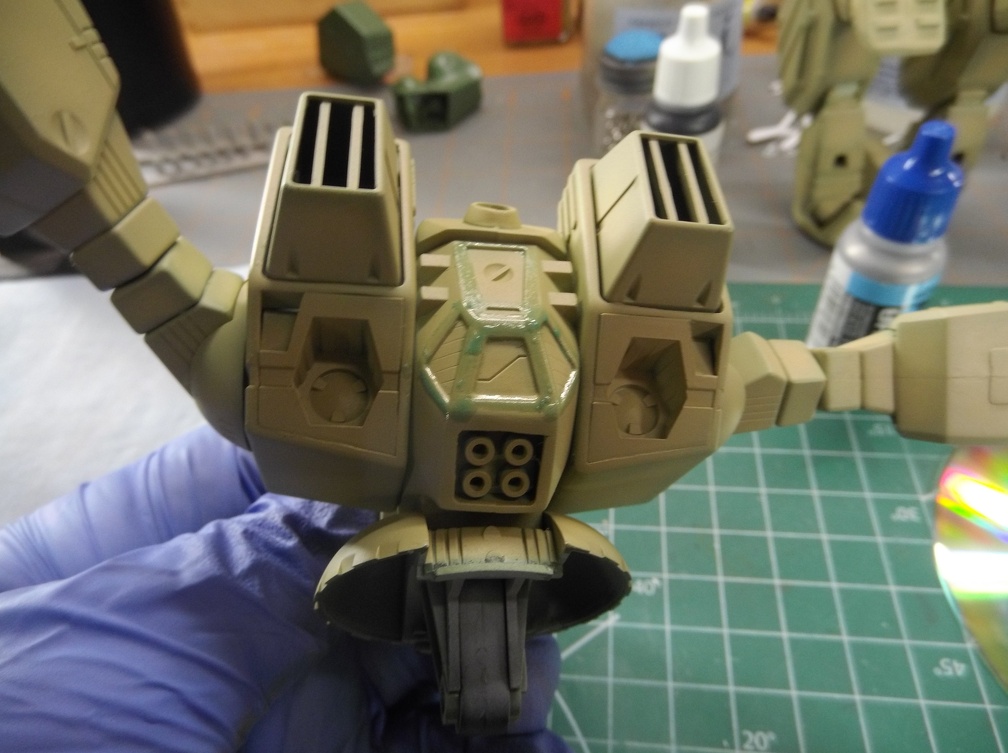
This back panel on the torso is troublesome.
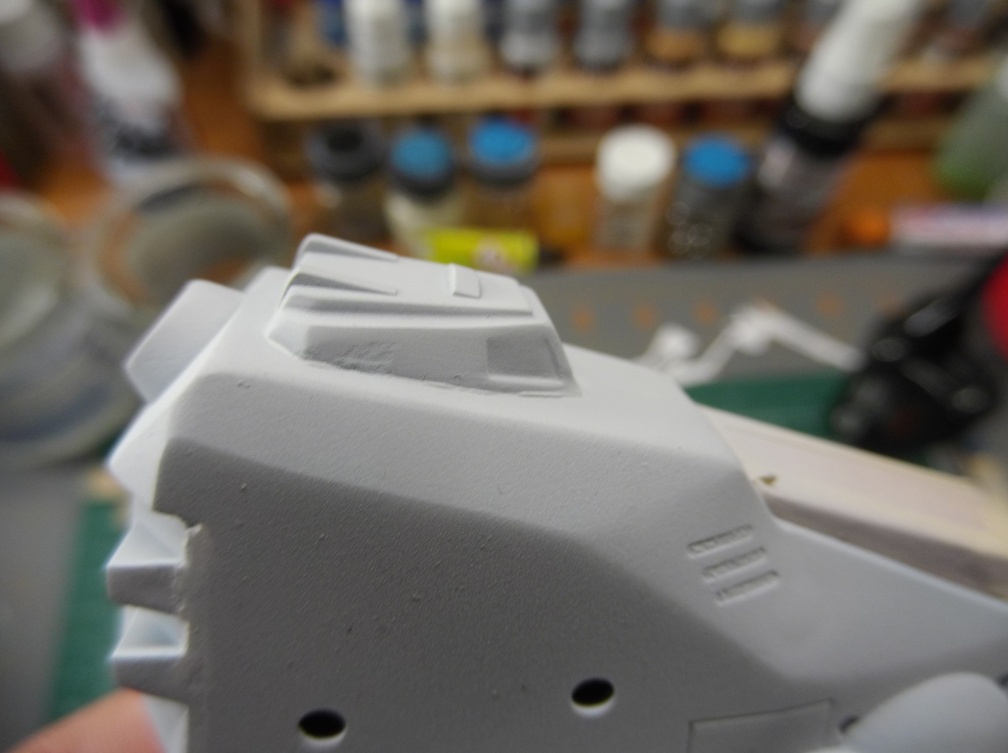
Cleaned and puttied up everything. Left it to cure overnight. Hopefully tonight I’ll get some time sanding and priming. Fingers crossed that this is the final round and can move onto the next step of assembly. ![]()
Hey Gamera,
I’d hoped the ordered PPP would show in time for testing, but I’ve ended up doing everything with the Vallejo.
Moment of irony. Did all that puttying last night and guess what shows up today? That’s right, the new tube of PPP. LOL
I think fillers are kind of like paints. We all have different experiences with them. In the end we work with whats best for us. I just keep hoping that I can find a putty because my biggest fear is that I accidentally glue the model to my bench while trying to fill a seam. [:D]
A small delay in updates as I recently picked up some items to help organize my bench. It took a little time to implement them.
With that, back to where I left off. Which was putty.
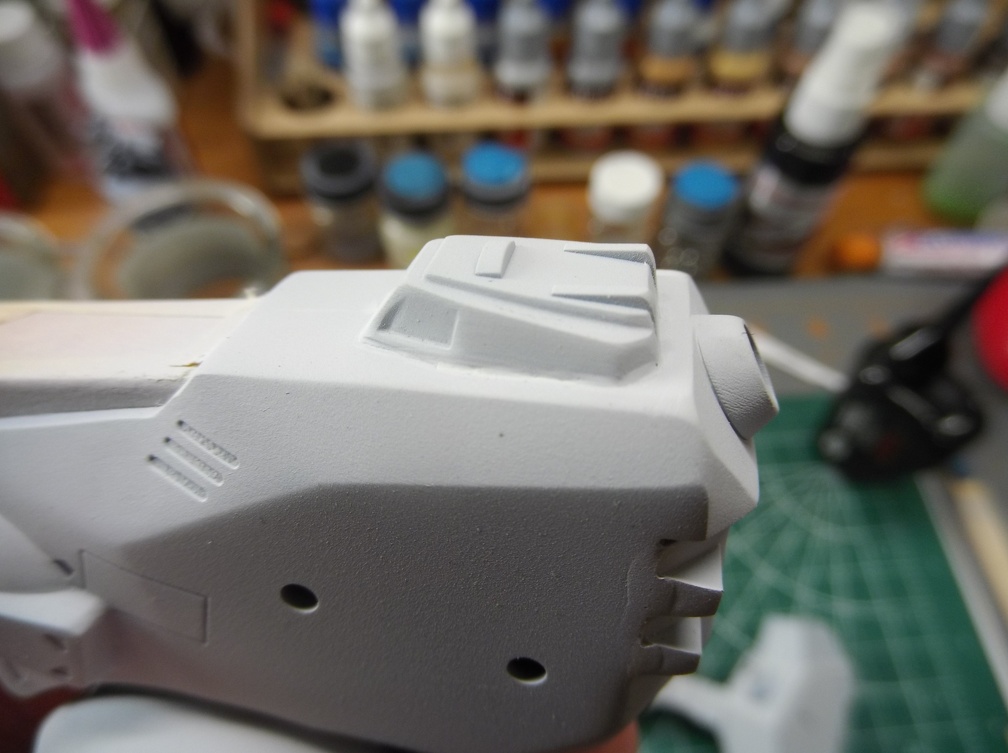
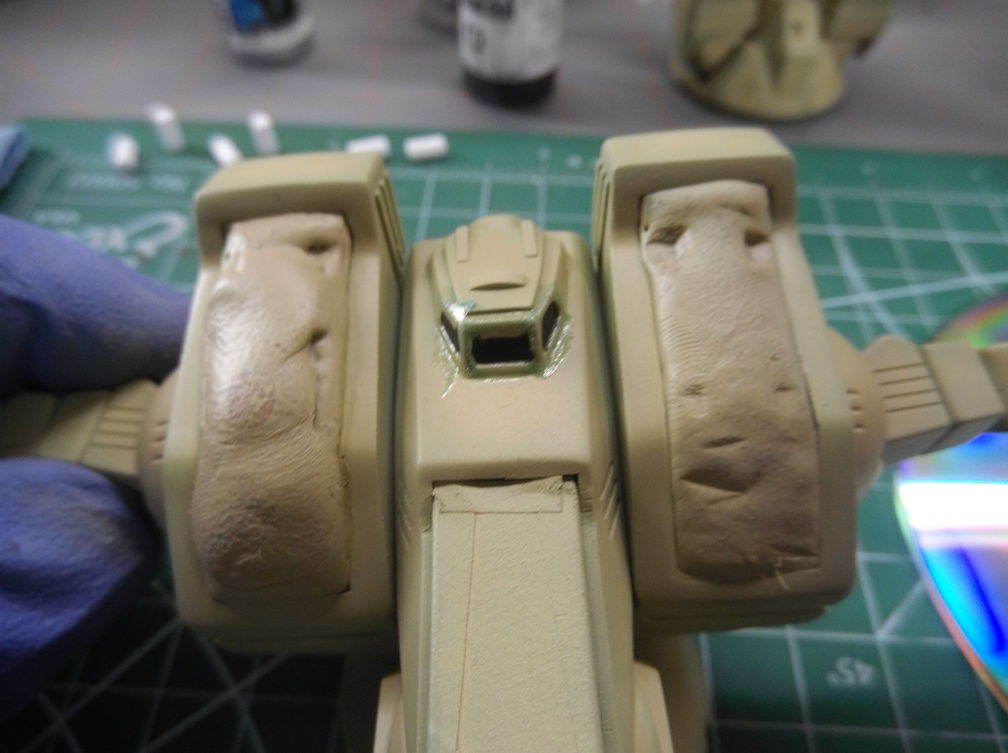
I’ll save y’all from more macro photos of putty and summarize. That last attempt was good enough. Moving on. ![]()
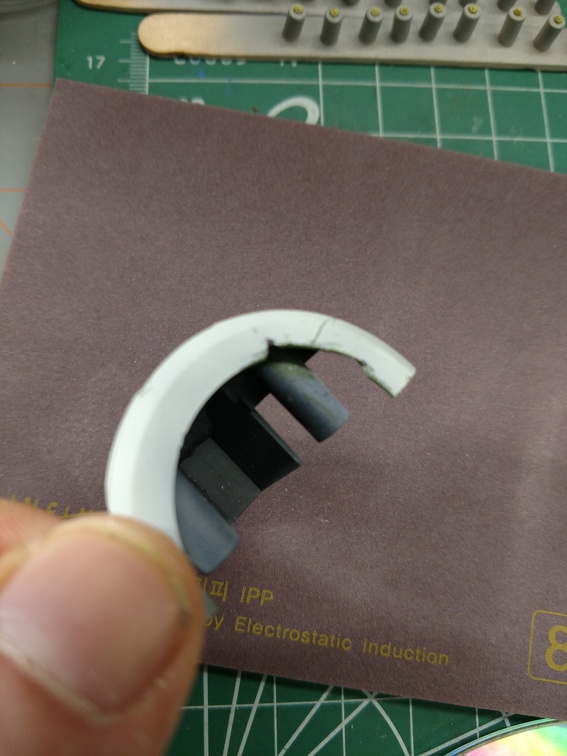
I added slots to the ring at the waist ring so that I could easily separate the upper and lower halves for painting and final tuches.
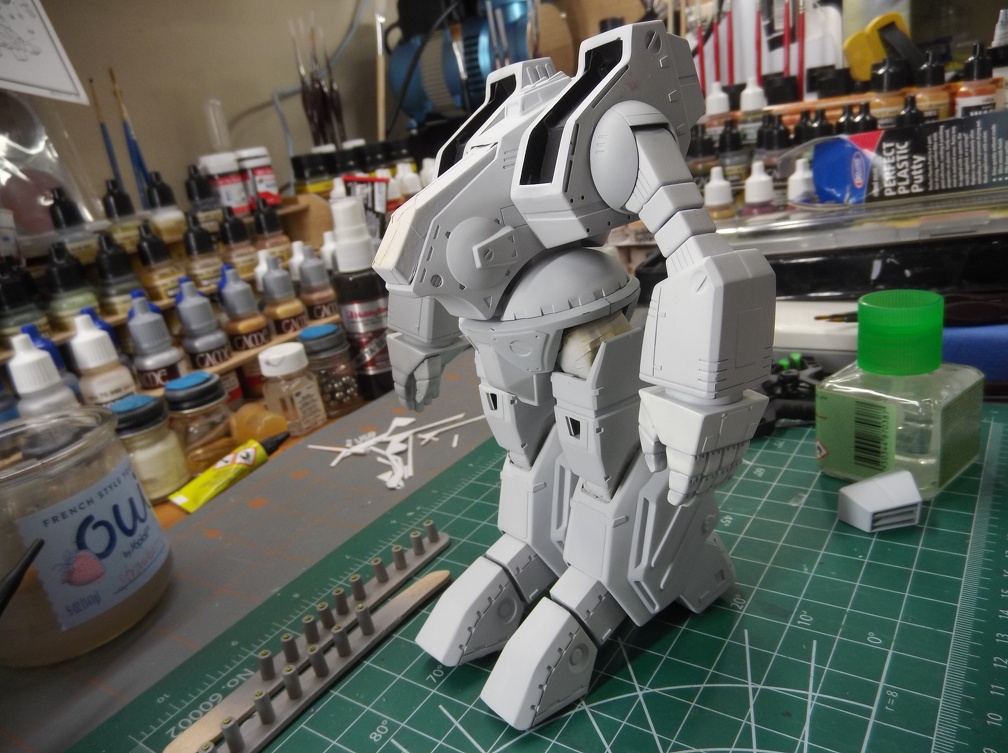
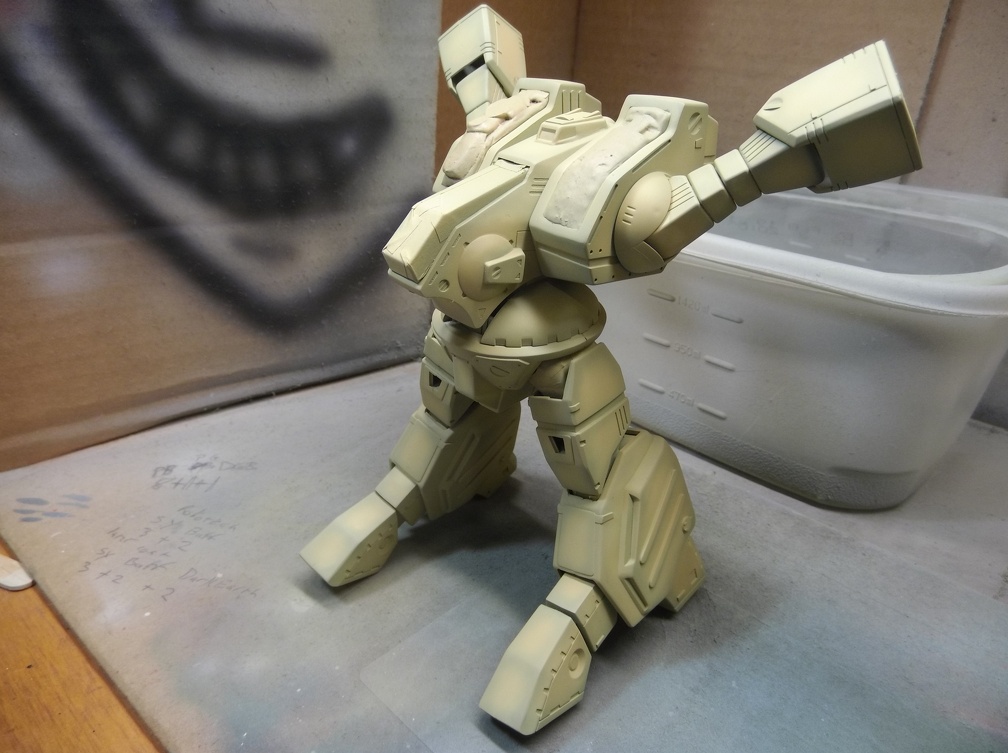
Assembled and primed. Missiles won’t be added till everything else is done.

This will essentially be a duplication of the paint Scheme I did on the Missile Phalanx. Starts with pre-shading with Vallejo Gunship Green.
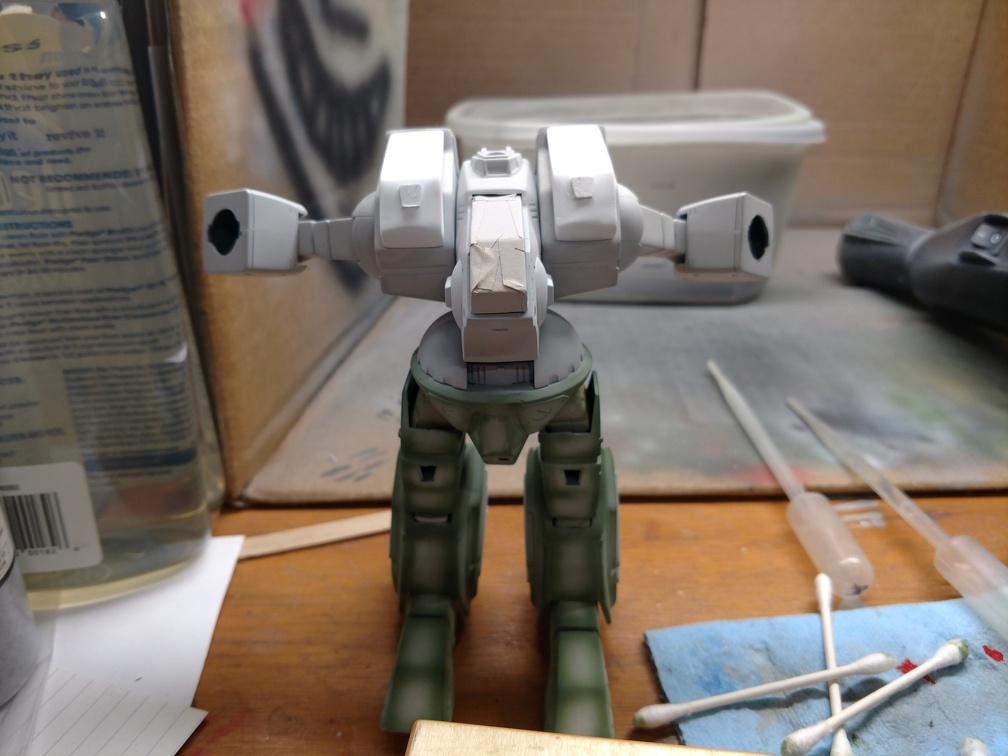
About halfway through I thought I’d grabbed the wrong green. Why? because it was same color as the original plastic!
I placed a part of the model still in bare plastic at it’s feet to show the color similarity.
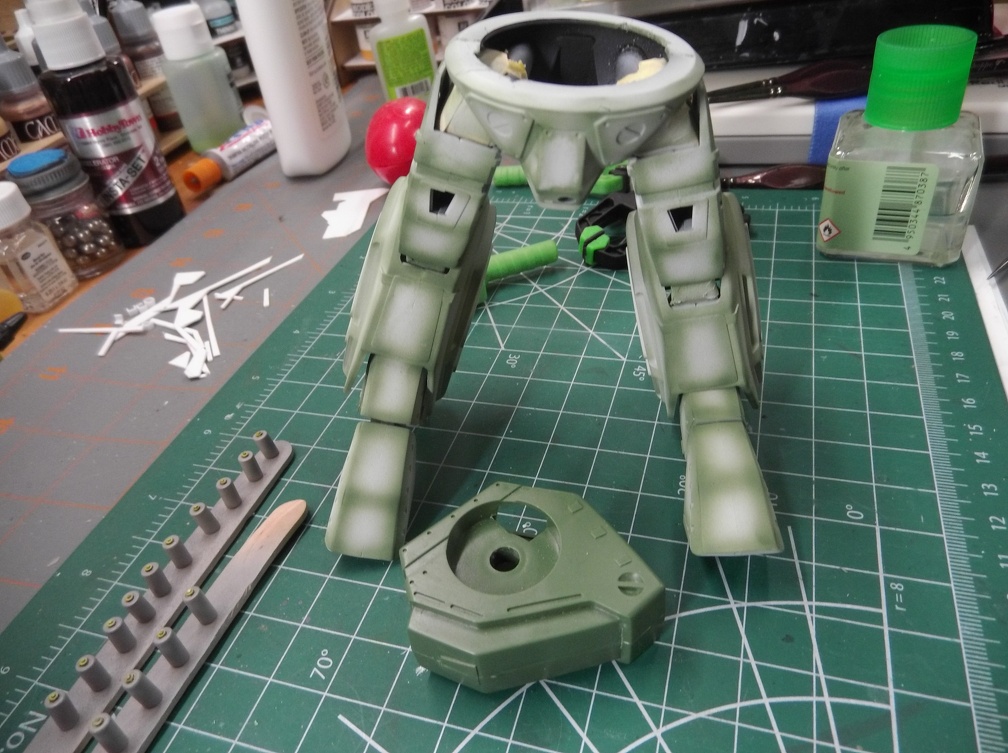
Went back to photos of my work on the Missile Phalanx to verify the color.

Looks like Gunship Green to me. It feels weird painting it the same color I put in so much effort to hide.
Apparently Gunship Green is a good color for pre-shading but not as a base color for the Spartan. ![]()
Now that bit of confusion is cleared up I can resume the pre-shading and get the upper torso done.
Bit of a tangent here. Question for the group. Do any of you keep a record of the paints used on a specific model as well as any notes on custom mixes? I guess it could be called a paint or build journal? Just curious. Now that I’ve been building for a few years I’m finding that on occasion I want to duplicate something I did before but I can’t always remember what I did or find the random notes I may have scribbled down.
Right now my paint journal consists of whatever notes I wrote on the walls of my paint booth. Which isn’t exactly the best place to keep them. Be interested to hear any tips or practices that have worked well for others.
That looks great to me Phoenix! I know what you mean about painting something the same colour as the plastic. When I was a kid if I had a tank etc in the right shade I only painted the tires etc. But the plastic never looks right without paint. And considering you’re puttying and sanding the seams you pretty much have to paint it to get everything the same colour.
Looks like you’ve got all the seams knocked out in the newer photos.
And you’re very right about the putty, it’s just a matter of finding what works for you and then use it. One of the things I like about the PPP is that you don’t always have to sand it. Just put it on and wait five mins. and then rub it with a moist cotton swab and it will take off the PPP except what’s in the gap.
I haven’t cemented a model to a desk yet but I have used superglue to cover seams and had only the outside dry. When I started sanding it broke though and I got superglue all over the sandpaper, the model, my hands, everywhere. I was only using a little bit of superglue or I would have ended up with the model glued to my hands… [:(]
I don’t generally keep any records of what paint I used but I wish I did. Working on a T-64 and I have about five bottles of Soviet/Russian green that are slightly different shades and I’m not sure which one I used on the model. I don’t often mix my own batches simply because if I need to redo something rematching is such a pain.
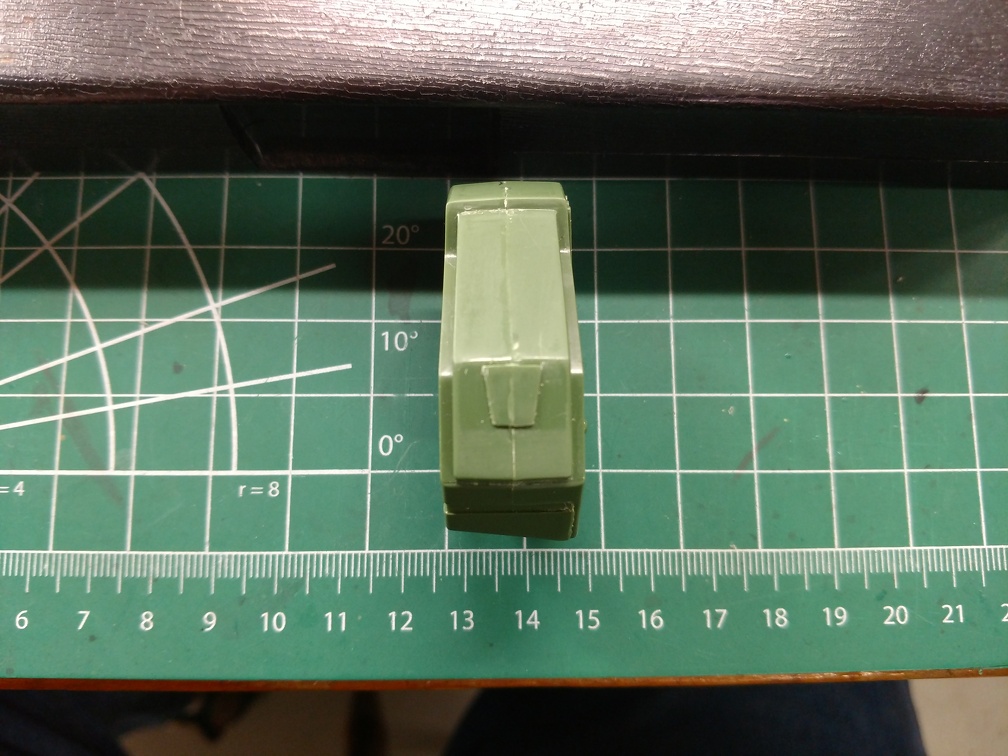
Made the emblems today. Simple trapezoid so I figured I could just measure it.
The original piece
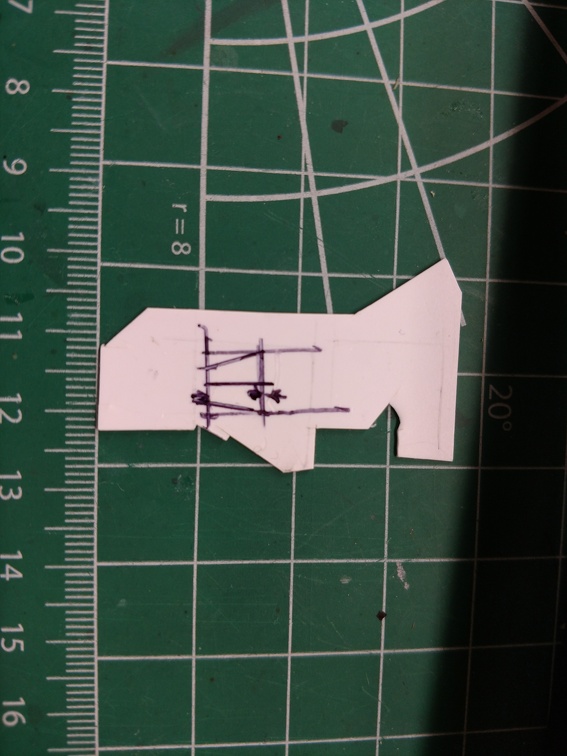
Then draw it out and cut it.
Taped two pieces of sheet together so a single cut would produce two identical pieces.
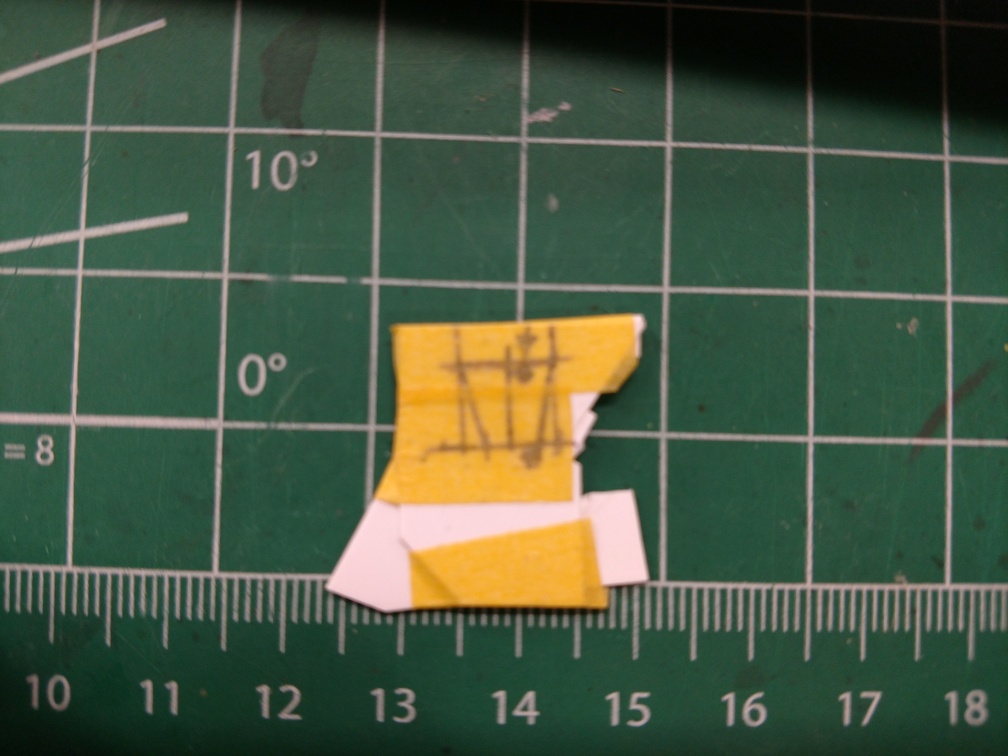
However, my cuts weren’t or diagram wasn’t as accurate as needed. They turned out a little wonky.
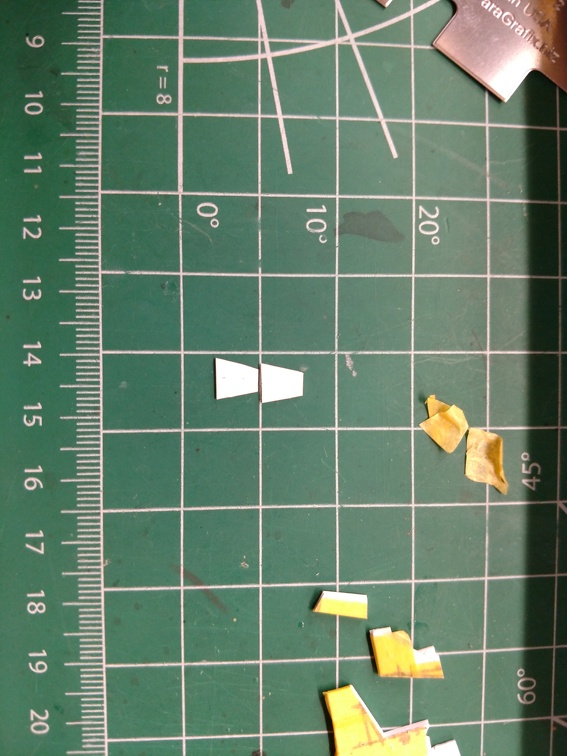
Figures sanding to round the corners would even it out some. It worked well enough. They’ll get some clean up sanding once the glue has set.

The covers just resting on the shoulders.
I must say that I like the look of the scratchbuilt covers better than the originals. Something about the slightly uneven creases gives lends veracity to look. At least to my eye it does. [:)]
Needed to get these done so they could be finished, primed and then preshaded with the rest of the model. Because I painted all the parts of the Missile Phalanx separately the color didn’t look very consistent. My goal here is to get all the major pieces painted together so the overall color scheme looks more consistent.
The covers will be posed open in the final portion of the build. Still haven’t figured out a workable hinge attachement. I tried slightly scoring some sheet styrene to create a hinge but it simply snapped where it had been scored. May try heating a wide strip of styrene to create a soft bend like I did for the tops of the covers. We’ll see.
Thanks Gamera. The color matching for the pre-shade was unexpected and simply surprised me. The final color will be a mix of ochre and sandy yellow. The green pre-shade is to make the edges stand out more.
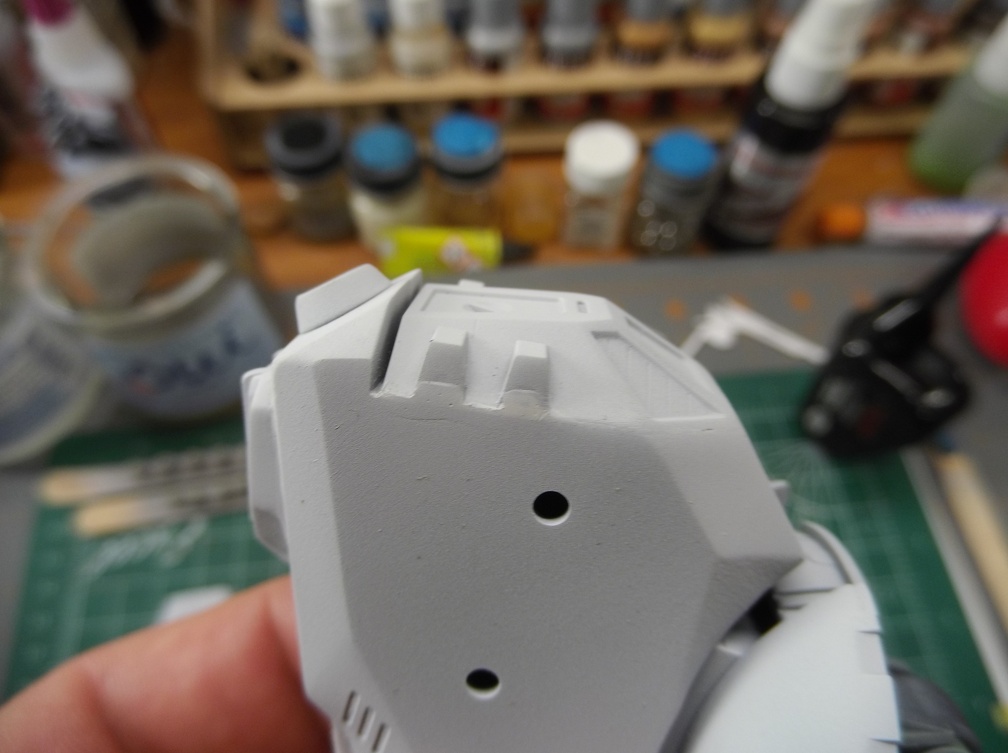
The seams are definitely better and it turns out most of the ones I was stressing about were hidden by the arms when they were attached. Live and learn. ![]()
I’ve had the exact same problem with the center of the CA being wet when the rest seemed hard and dry. Because of that I’ve taken to hitting it with a blast from what is effectively a hot air gun. That’s taken care of the problem with the thickest parts of the CA being unexpectedly wet…
I’m looking forward to giving the PPP a try on my next model. I’d really like to settle on a putty that works well for me and can stop griping about it. ![]()
Most of my models have at least one custom mixed color. It’s been the best way for me achieve a color match. The problem you described with the T64 is pretty much what I’ve been experiencing. My current thoughts are to take something like a composition notebook and label each build with mfg., model, and scale. Including specific paints selected and any details around any customization I’ve done.
For this build I misplaced the sheet where I had recorded the measurements of the missiles. I found it only to discover it coverd with paint from using it as prep for dybrushing. Thankfully the numbers I needed weren’t completely obscured so I’ll be able to cut the rest of the missiles I need to the proper length.
I’m thinking that having a book specifically for recording the info will help prevent the problem in the future. I’m not the most organized person so it’s a new habit I’ll be trying to form. Time will tell as to how successful I am with it.
Nice progress on this and nice work with the scratchbuiding. [Y]
Looking good PhoenixG! I’m liking it more and more as you progress through the build!
Well I broke my airbrush again. Ruined another nozzle and this time the needle too. Apparently I managed to put a pretty significant bend in the tip of the needle and just chewed up the tip of the nozzle. I’m thankful I finished the preshading before that happened. My back airbrush isn’t quite as nice but does a good job of with general coverage.
What the preshade looked like finished.
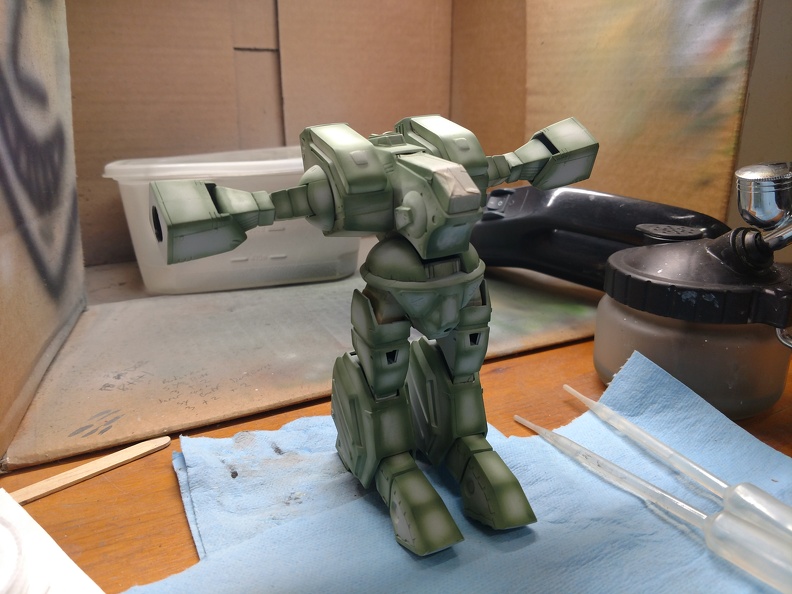
First base color applied.
The light is realy strong so the colore is slight washed out. It’s actually darked than pictured. A second slightly lighter color will be added for highlighting. The missile covers will be done in an off white with the emblems painted a scarlett red.
Then the fun of detailing and weathering will begin! [:D]
Hey Bakster! Good to hear from you and thanks!
Thanks Real G! Glad your enjoying it!
Ouch! I always have a couple of extra needles in case with stuff like that.
She’s lookin’ good, looking forward to how she turns out.
And I need to set up a journal to keep my paint straight. Or two, or three. If I keep one I know it will vanish, maybe with a back-up or two all of them won’t disappear.
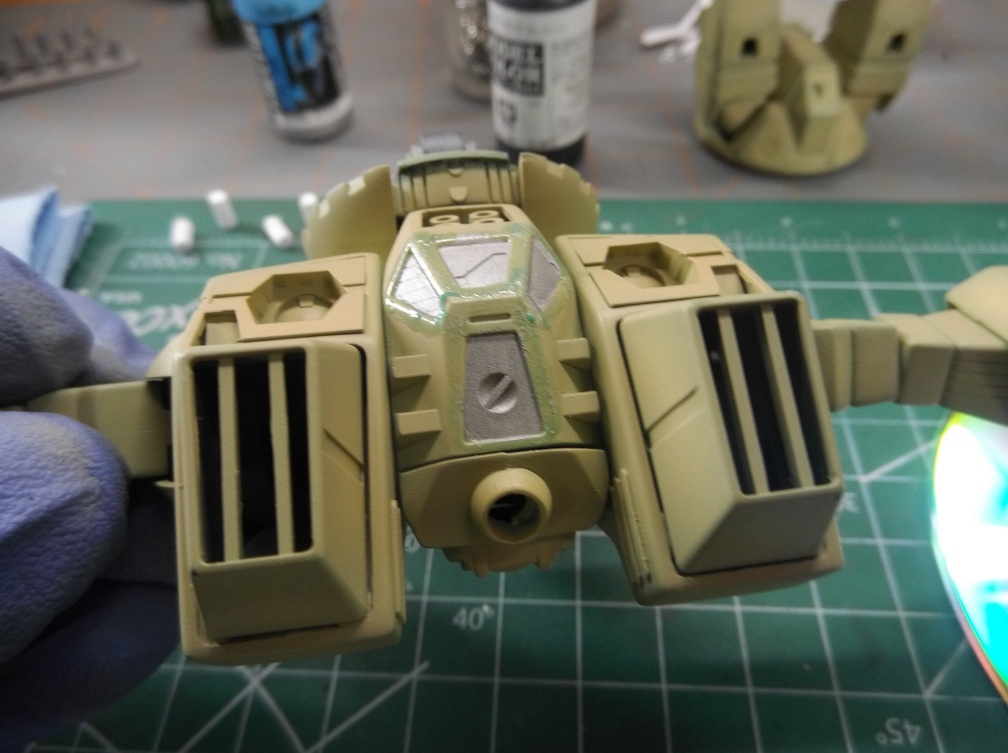
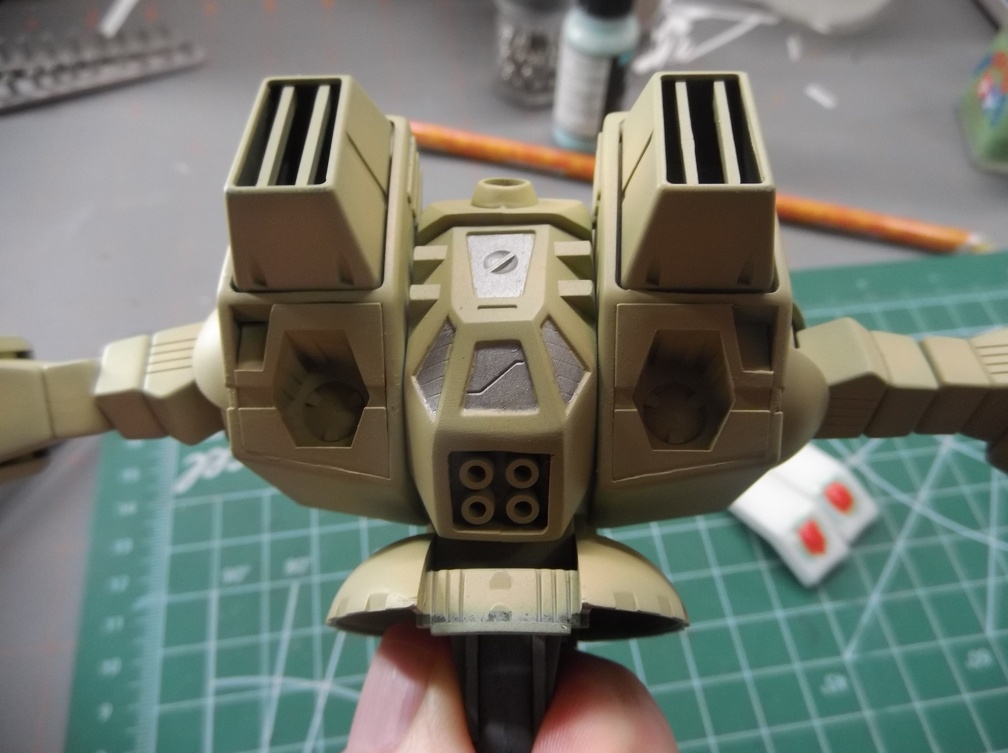
Last couple of days haven’t been without activity, but there wasn’t much new to post as I was still building up color on the body. Pretty satisfied with the way it looks now. I applied a clear coat of Vallejo Mecha Matte Varnish. Which is a misnomer as it’s more of a satin.
Rather than using masking tape I thought I would experiment more with the Vallejo liquid mask to outline the supports around the windows.
It’s a very thin liquid but it dries pretty quick. It also gums up the brush pretty thoroughly so it’s best done with a brush you don’t mind getting trashed.
The panels on the back made me think of some sort of Steel access or airlocks so I outlined those in prep to be painted with steel.
I decided to brush paint everything for this.
Peeled off the mask and the results were mixed. The cockpit needed some touchup as it was looking a little rough.
However, the backpanels turned out really nice.
At the same time I was working on the missile covers. Also used liquid mask around them.
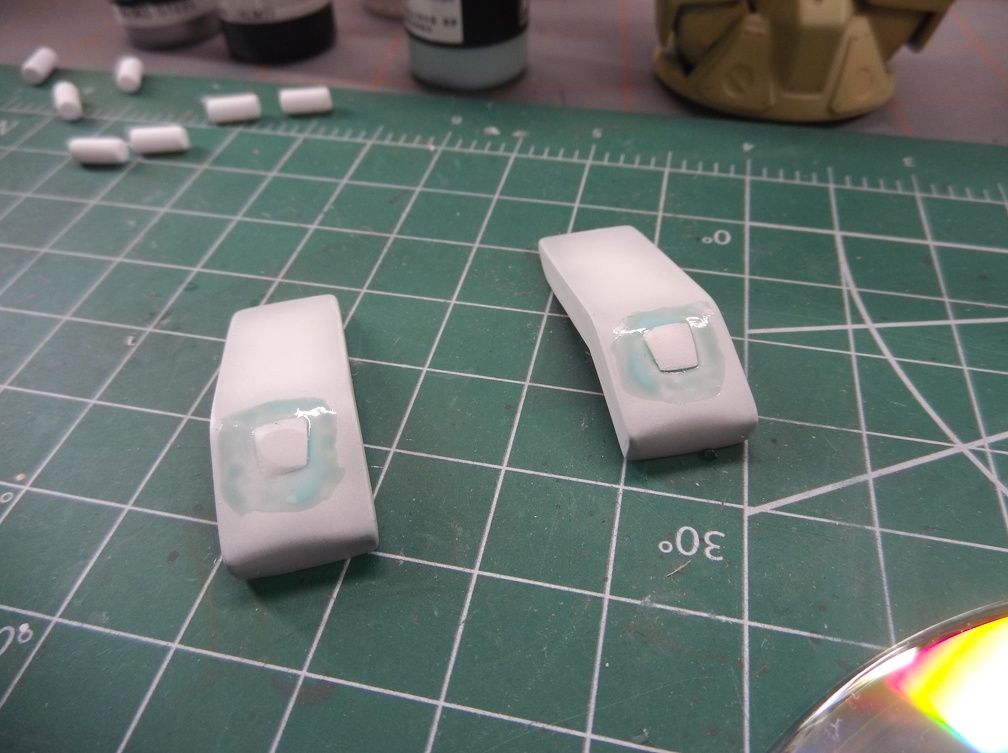
More brush painting.

But I ended up with some really bad brush marks. Not sure what happend as it’s the same brush I used for the steel panels. So next step on those is sanding them down and trying again.
Whoops, almost forgot to mention I’d been building up the final set of missiles during all this as well. Was a busy day today. ![]()
Progress shot. The rightmost two are fully built up.
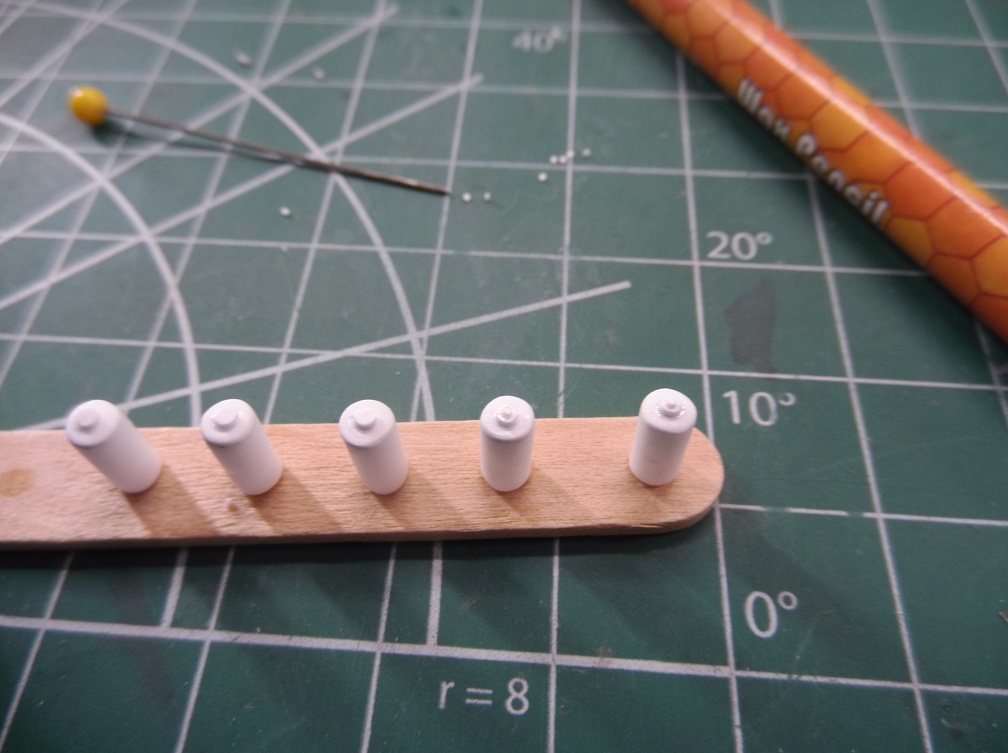
If you look in the background those little white dots are the final piece to be glued onto the missile.
These are actually all finished and are now awaiting paint.
That looks really good Phoenix! I’m sure the brush marks will sand out without a problem.
Thankfully they did.
However, in the process of workng on that I became fed up with the clutter at my bench. I was spending more time cleaning and straightening my bench than working on models. It started a domino effect of reorganization. Centered at my bench and spreading throughout my entire garage.
This whole process is like having a couple of pebbles kicking off an avalanche. It keeps getting bigger and bigger and there’s no withstanding the force of it.
My bench is laid out, but not done. I cleared off one of my other workbenches and added it to my modeling area. It’s now been expanded to nearly 16 linear feet of workspace. It is split amongst a computer research station+printer, brush painting+weathering station, airbrush station, and finally an assembly/cleanup/scratchbuilding station. Hopefully this layout will improve the workflow.
However, I still have the rest of my garage to take care of. Imagine if you will what it might look like if a tsunami could spontaneously form at one side of your garage and works it’s way to the oppostie wall. That’s my garage.All the junk is pushed away from my bench and into the rest of the garage. My goal is to get everything else into a semblance of order. Then I can resume work on this build and get it closed out.The Spartan is so close to be doing done it’s like an itch I can’t scratch and it’s driving me crazy! But not as crazy as the mess that’s piled up around me.
Once more unto the breach dear friends. Wish me luck!
What a cool model – nostalgic, even though I was never into that fandom. Apparently a little aged, eh? A labor of love, for sure, and especially given how nice modern BanDai kits are!
Love what you’re doing with it.
Hey PG, it sounds like you got bit by the same bug that got ME. I had the spray booth revamp, you are redoing your work area. There is no known inoculation for said malady. Simply, one must go through the process until the malady takes it course. [:P] It’s all good. Declutering can be a very good thing.
Good luck with the restructuring!
Good luck Phoenix! I only clean the area when I can’t find something… [:(]