Bandai 1/72 Destroid Spartan

I declare the garage re-org done-ish. :wink:

I can’t believe I spent almost a month reorganizing things. However, I think it was time well invested. I don’t feel a sense of dread when approaching my bench anymore.

Perhaps it’s time for some revealing photos.

This is the sight that would greet me when I’d go to work on a model.

clutter

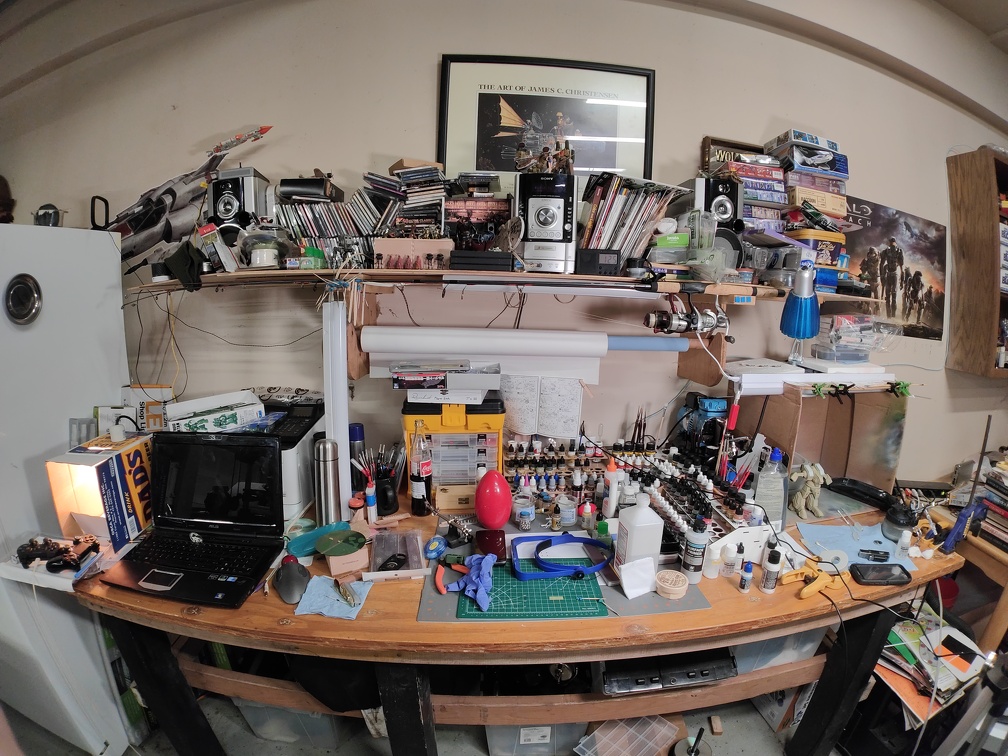
It was overwhelming.

After I got it cleaned up I decided I wanted to spread out. The space to my right was a junkpile.

junkpile

The decision was made to clear it out and put my other bench in its place. Then it could be used as something other than a horizontal plane on which to store stuff.

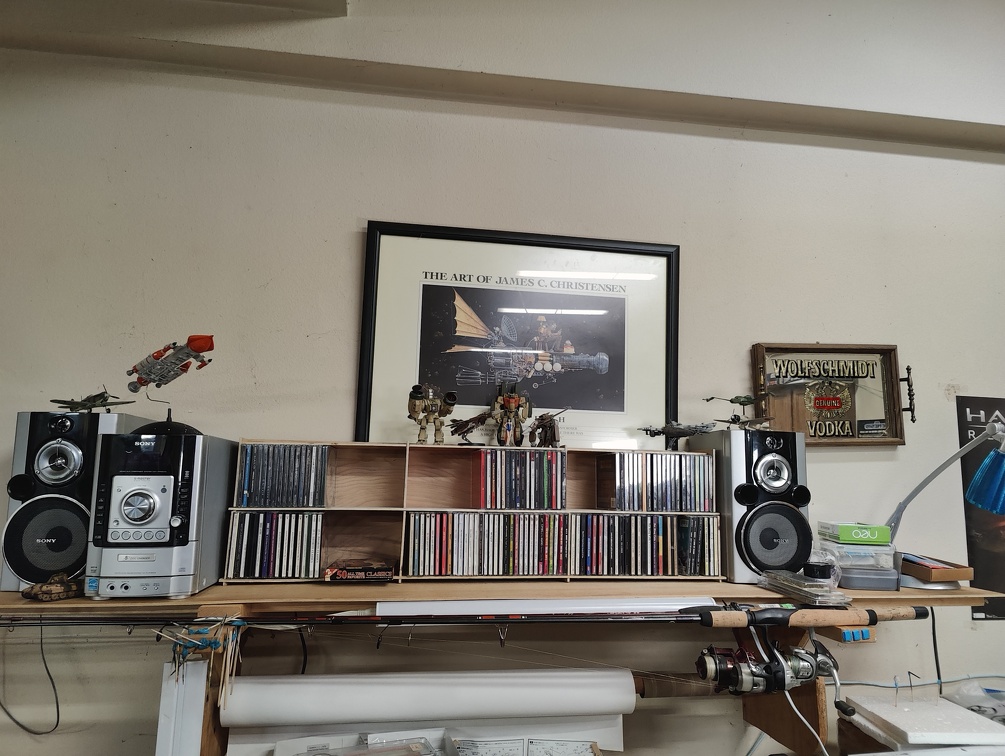
But first I needed to organize the shelf above my bench.

So I built this to fit the space and make all my music accessible and give my models something to sit on.
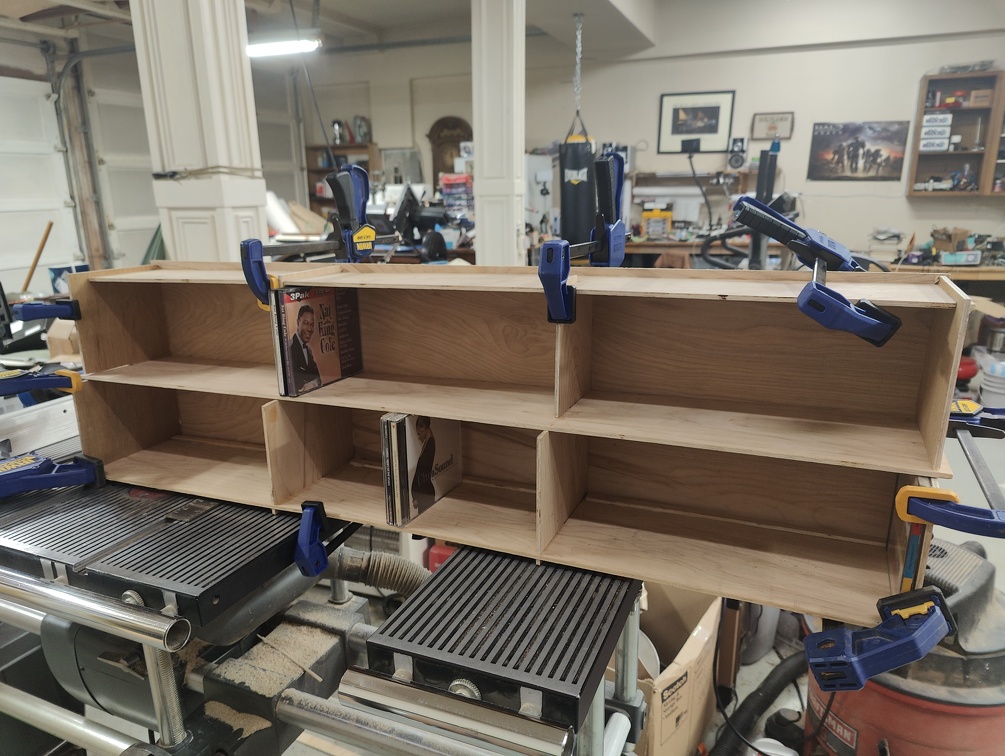
organizer

Sooo much nicer.

installed

That worked out so well that when I looked at the new bench I decided the cabinet above it needed an organizer to hold my sheet styrene, rods, tubes, and odds and ends.

benchcab

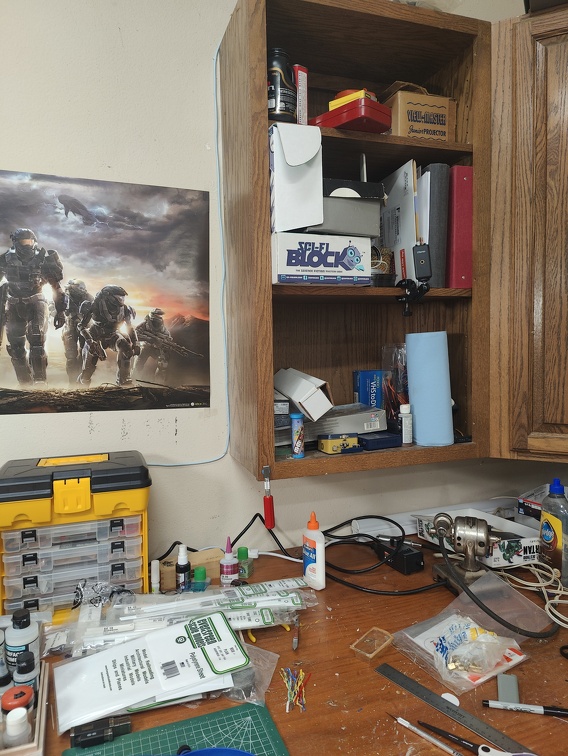
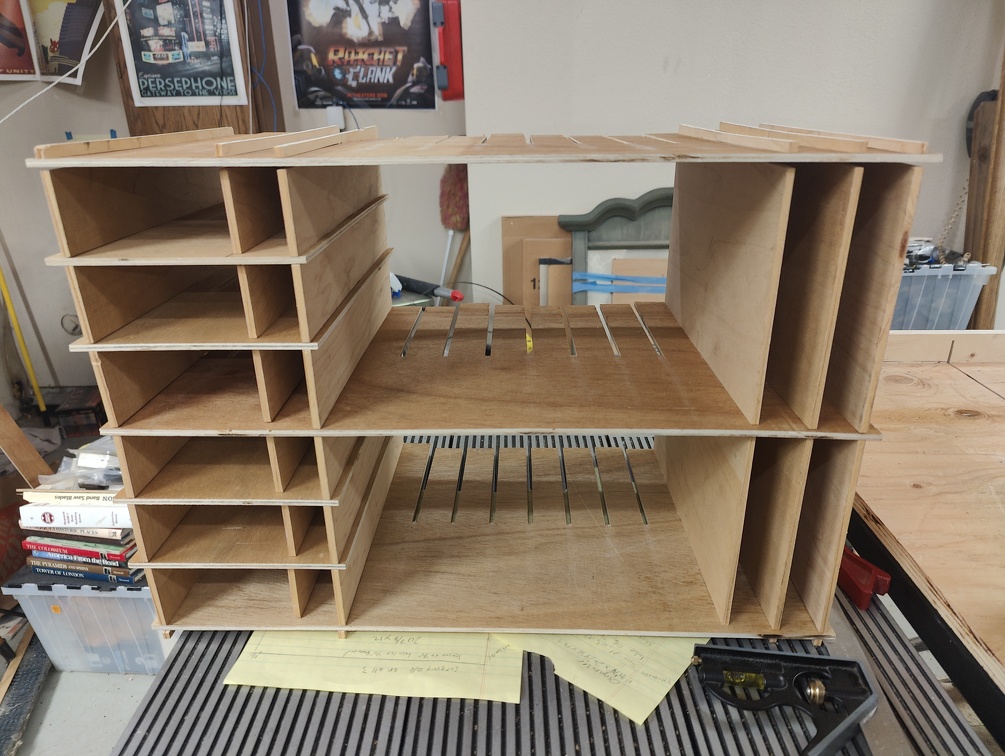
So then I built this to fit in the space, but I ran out of plywood and can’t go more just yet. The truck is in the shop (whole other story there). When it comes back I’ll fetch more plywood and finish that organizer. When completed it will hold everything I have with spaces for more.

caborg

Here it is all nice and finished and installed.

caborginst

While going through this exercise I learned that air compressors have a drain plug because water will condense inside them. I’ve had that compressor for 2 years and never drained it… Ooops.

About 1.5 cups of very rusty water came out of it.
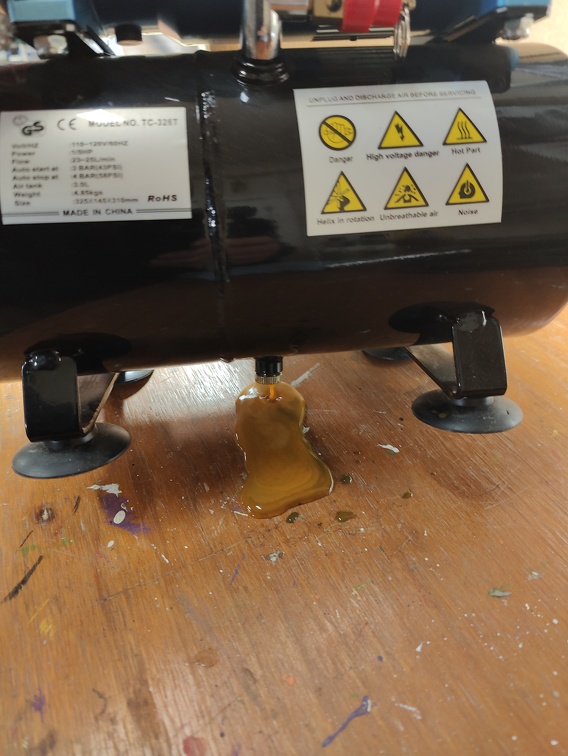
rust water

rustwater2

Disgusting.

The surprising part is the moisture trap was practically bone dry for the last two years. I’ve never had more than a fog of water vapor in it. Weird.

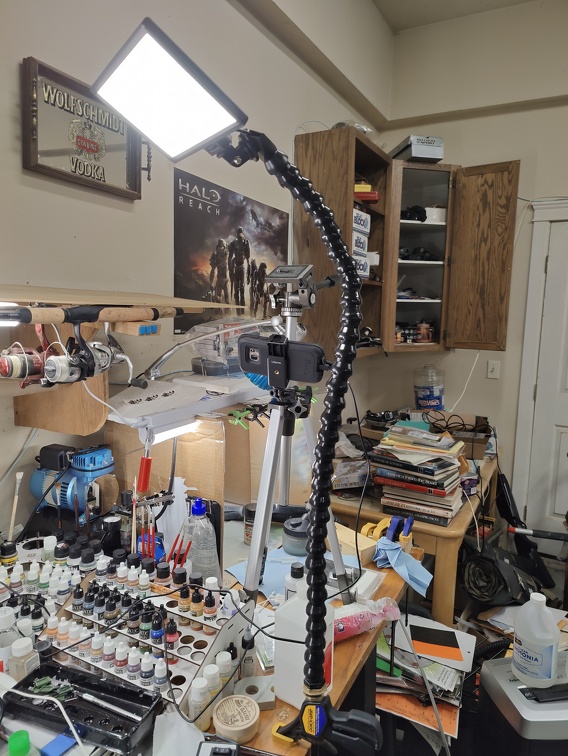
Final shot of the completed overhaul.

overall
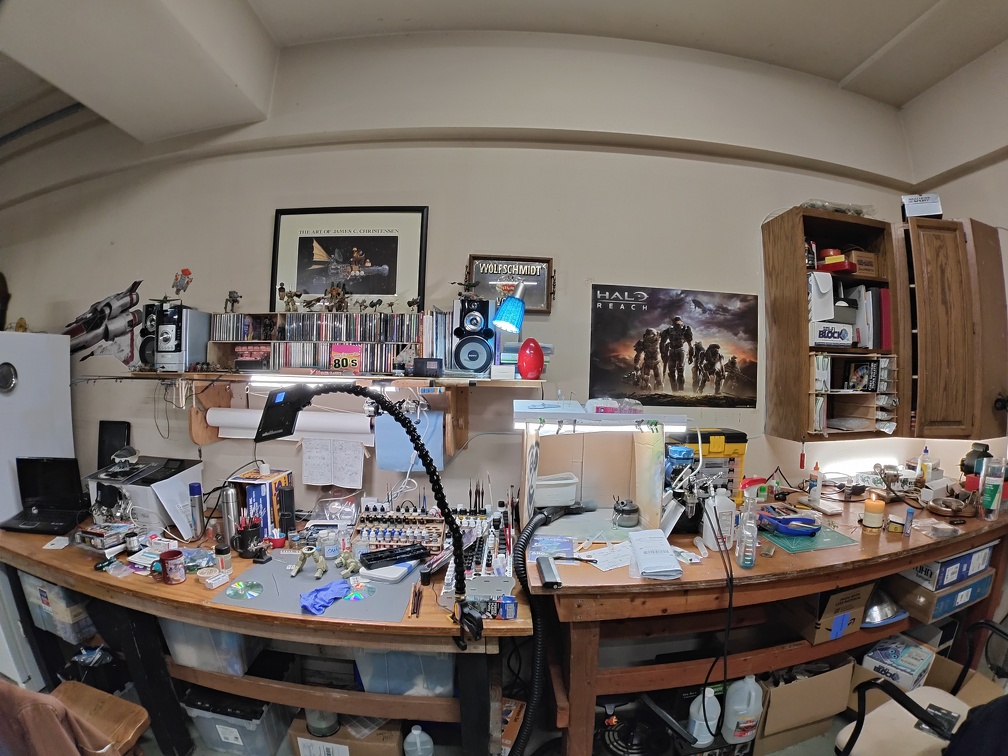
There is still some tidying to be done but it’ll be quick.

Oh! One more thing.

New needle and nozzle arrived for my Iwata. Installed that tonight. Such a difference! I’d completely forgotten what it was like when I first got it. Can’t wait to try it out.

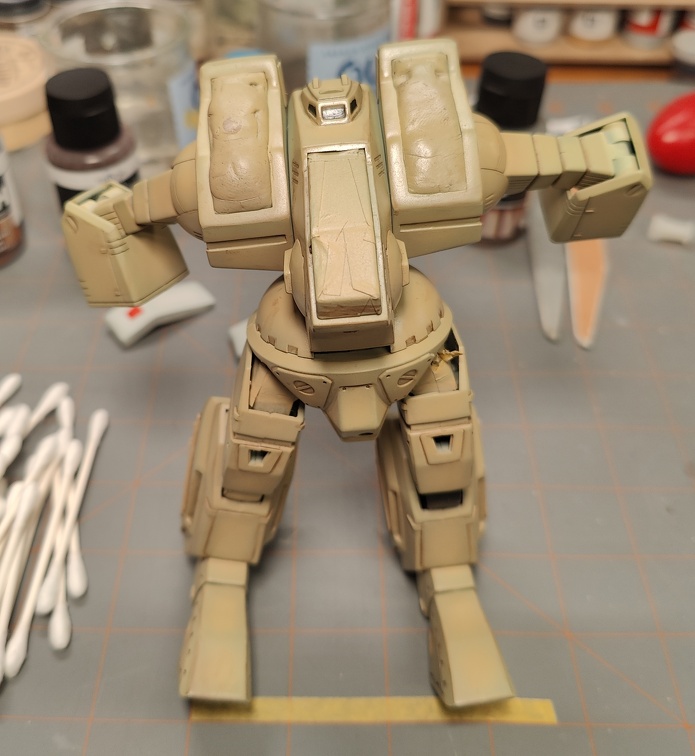
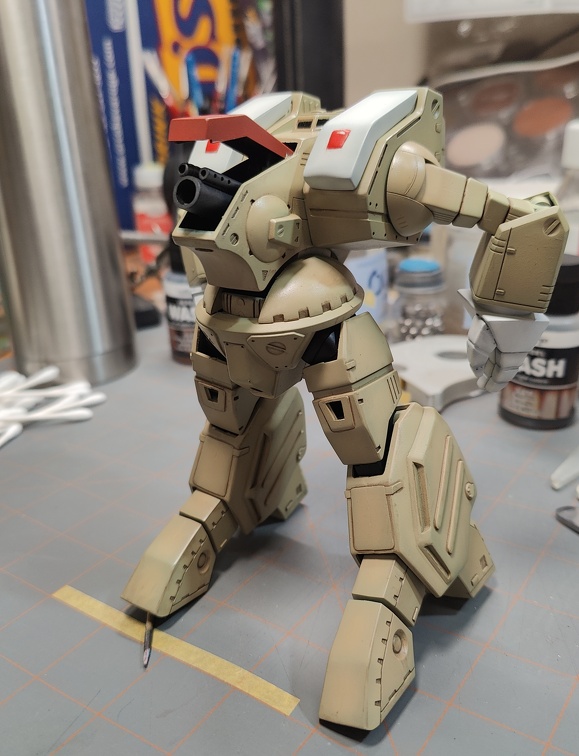
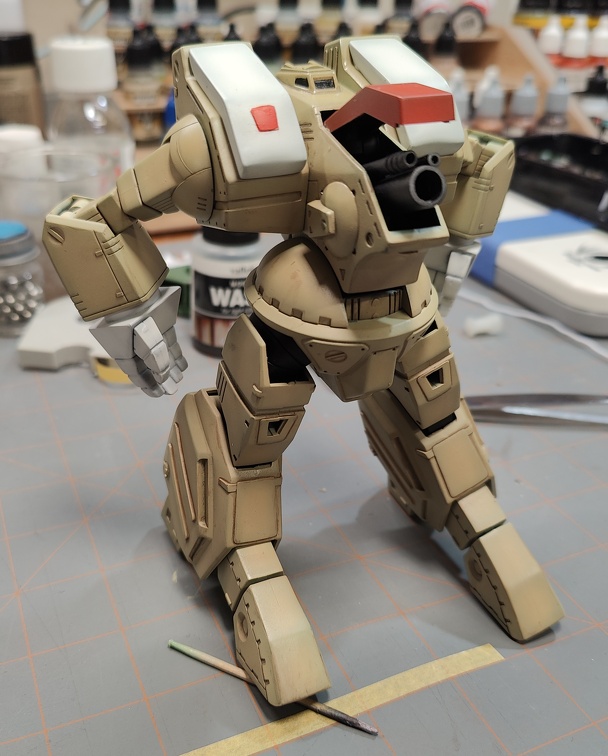
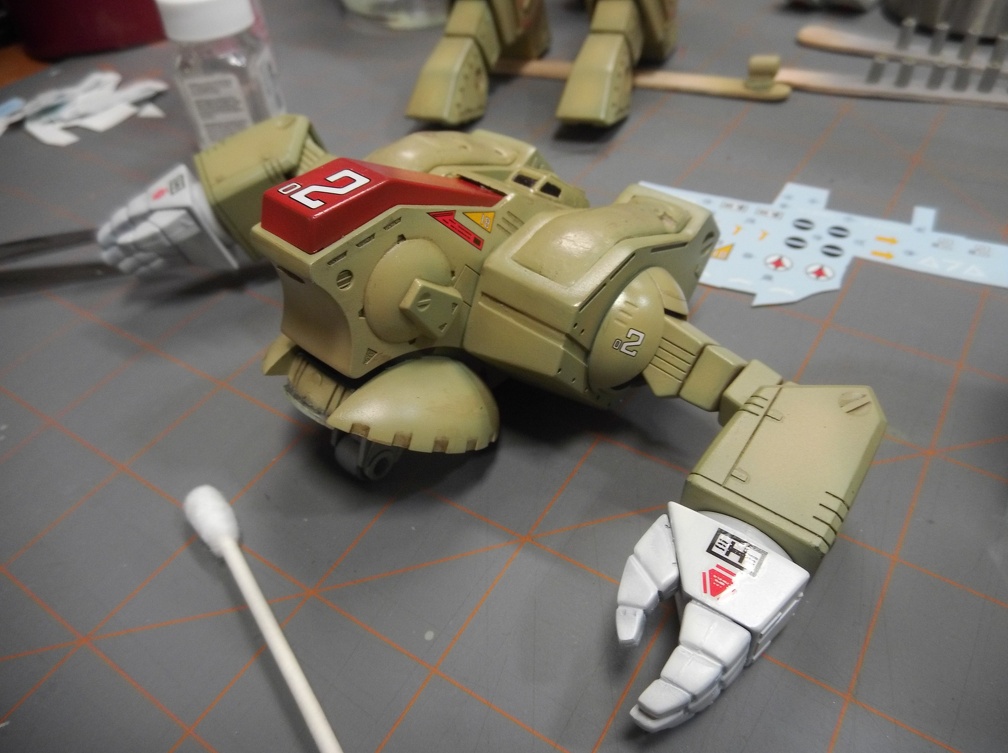
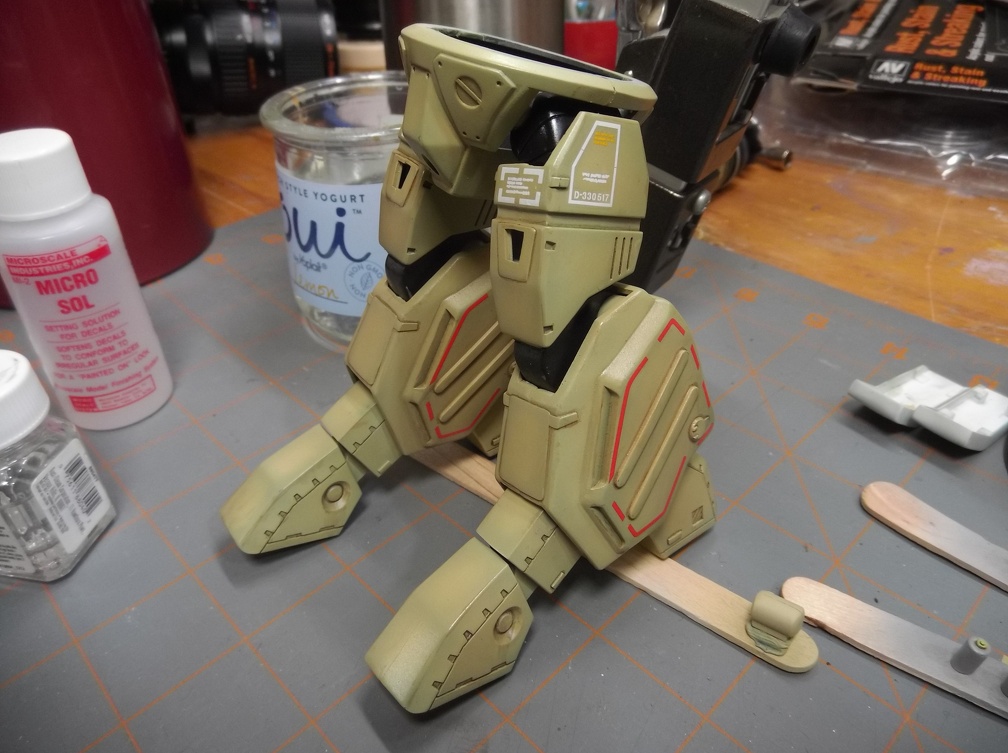
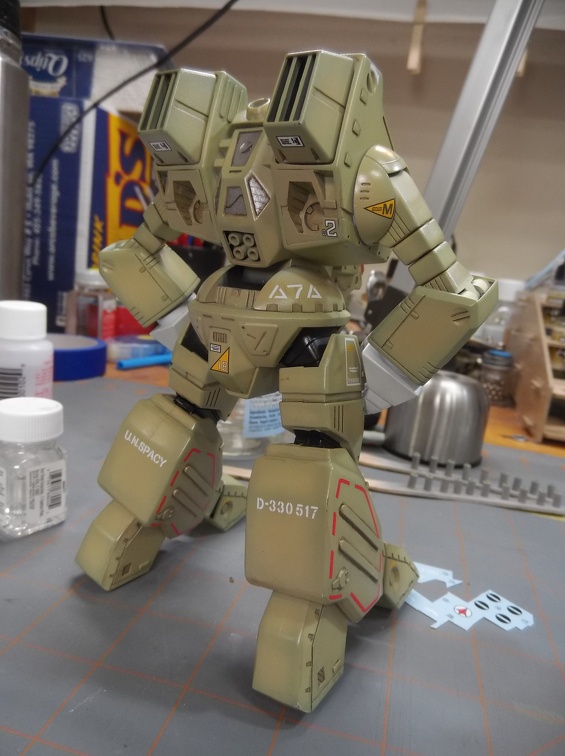
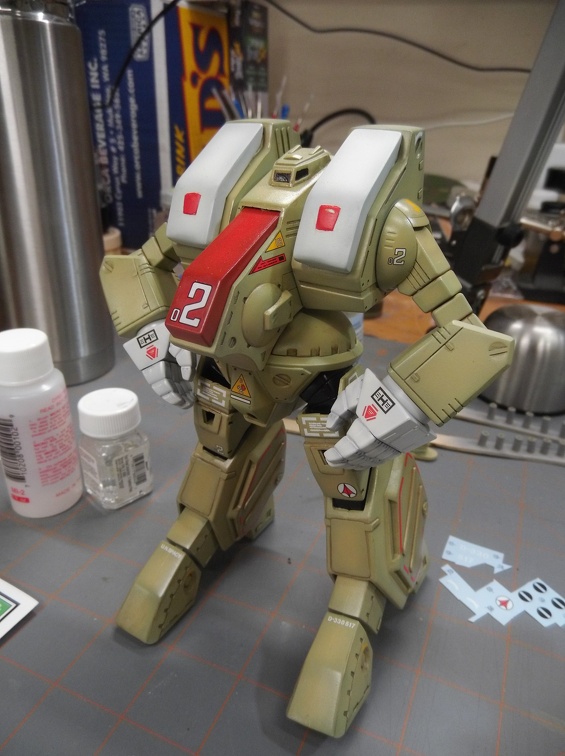
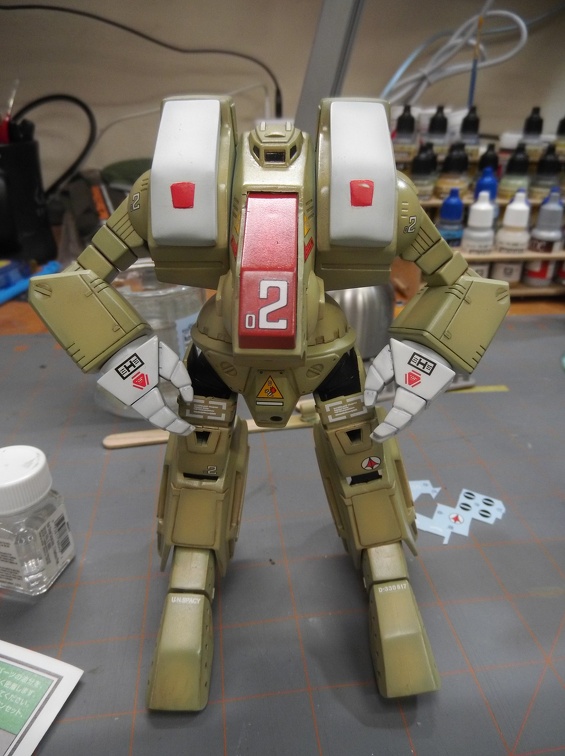
Well enough about my workspace. Back to the Spartan!

Thank you Sumoi! The model dates from the 80’s. Well before Bandai’s revolution. So it definitely needs a lot of TLC to achieve a good presentation, but it’s been a blast to work on. Hoping I’m done with other distractions and can finish knocking this one out in in the near future.

Hiya Bakster, good to hear from you. I must have been bit by the whole friggin’ swarm! LOL [:D]

You are so right. Getting the bench and garage in order was all consuming. The clutter that was hanging over my head was such a mental weight. Didn’t realize how heavy it was till it was eliminated.

Now that it’s done I feel great and re-energized to work on the Spartan!

Thanks Gamera!

Not being able to find anything was exactly my problem! I spent half my time searching for what I needed.

The re-org should help with that immensely. I’m looking forward to giving it a test drive and see how it goes.

Bingo. Clutter can become a mental block!

Your story mirrors an experience I had with a compressor. I never drained it and one day I hear a hissing. Checking the lines, fittings, all looked good. Still hissing. I lift the compressor and find a small hole in the bottom of the tank. Basically, it rusted from the inside out. Who’d a thunk.

I think we all go through the bench clutter thing. As we work, the clear space gets smaller and smaller, until we have no more room to maneuver. And that is the time we have to stop and put everything back.

I also had that compressor experience. I always blow down the tank as the last thing when putting the compressor away. By leaving a small amount of air pressure in the tank, it helps blow out any remaining moisture. It’s kind of neat to see a small amount of ice form from on the paper towel blotter due to the pressure drop.

Rock on with the Spartan, for who knows when the next Zentradei attack will be.

I like the spelling on the old Imai boxes: Zjenthuolauduey! So I guess Meltrandei would be Melthuolauduey?

Gloss coat finished curing and started applying pin washes yesterday.

Decided trying something a little different this time. I’ve several brown washes of various darkness. Decided to use the darkest at the lowest points, medium middle, and lightest at the very top. Theory being the most dirt will stick on the pieces lowest to the ground. It sorta worked.

dirty1

dirty2

It was a little too light at the top. So kept with medium in most most places and reserved the darkest brown for the deepest places.

In the process of dirtying this guy up I decied he’s going to look more “used”. I tend to think of the Spartans as being front line mecha and spending more time out in the field.

Removed all the masking for the next step. Forgot that masking tape left on for months is much harder to remove. Thankfully it did come off with minimal damage.

Posing for the camera with the missile bays closed. Those are going to happen last because the assembly is rather delicate.

pose1

pose2

pose3

The arms are hanging like that because the joints loosened dramatically. This is going to become a fixed pose build when done because the joints are too loose. I’ve already started gluing the feet . Hence the blue tack at the heel and toe. The arms will be done after all the other work is complete.

Next up is decals. Once they are in place the final weathering can begin.

I’m still getting large flakes of rust out when draining the tank. I’m pretty certain what you described will be my experience in the not so distant future.

Exactly what happened. Compounded by the steady accrual of new tools.

Sadly, the only Zentradi craft I have is a single Regult. Their craft are suprisingly difficult to find. I’d love to get a model of the Quel-Quallie reconnaissance craft. Really any of the Zentradi fleet. :slight_smile:

Ah yes, the one-eyed avocado!

Hasegawa shoud do a new series of Zentran and Meltran ships. IIRC the old Imai Quel Quallie was 1/720. Not sure what scale a new tool kit should be. At 1/350 it would be like a very large one-eyed potato.

Ouch that sucks about the arm joints! But looks great nevertheless! I like the idea of using lighter shades for the shadowing as you move up, but as you said I guess it has to be so dark to even show up.

Dang it, my post has glitched and auto-erased twice! I’m getting tired of retyping. And those stupid pop-up ads are like an annoying kid in school that keeps on getting in your face, blocking what you are typing. Except you can’t punch them in the face. [6]

Anyway, did anyone see the Jan/Feb issue of the IPMS Journal? A 1/100 Arii Destroid Spartan is on the cover, and inside there is an article of how the builder added a ton of detail, including the gun and missile bays.

If anyone does not have access to the mag, PM me and I can scan the article for you if you wish.

Any updates Phoenix? I really want to know how she’s going!

Won’t bore y’all with the details of the latest hiatus. Needless to say I’m back at the bench and have a progress update to share.

Finished making the gluing templates for the missiles.

termplate

Tested them out with the my earlier prototypes.

template 2

They’re not intened to be left in place, simply there to help align the missiles during gluing. I want them to make neat little rows rather than wandering around

And even better news. Decals are starting to go on!

decal1

decal2

Made the executive decision to step away at this point to ensure everything is looking good. Don’t want to risk ruining these in the rush to get it done. I’ve got about half of what I want to use in place.

I decided the missiles were a little too plain so I made up some decals to put on them to look like labeling. Should add some additional visiual interest to them.

Been messing around with time lapse photography while building. Intersting to watch myself work at 10x speed. [:D]

I may try to post them in some fashion to complement the usual stills.

I’ve been trying to avoid YouTube. Though I may have give in to the dark side. I’d rather spend my time at the bench than figuring out how to setup video sharing on my gallery. [:P]

Oh that’s really cool. I didn’t even know there was an IPMS Journal before this. I’ll have to looking into the mag. That article sounds right up my alley! [:D]

Great timing Gamera! I just got some new content progress shots up. I can’t believe it’s been almost three weeks since my last post. :frowning:

What I also can’t believe is how long it’s taking me to complete this one. So many interruptions. I had a run of really good luck for a couple of years where time at the bench was not an issue. Seems like payment for that has come due. Now I’m struggling to get any time in. Fingers are crossed that this spate of time sucks will die down and I’ll be able to get some serious time at the bench. [Y] [:)][Y]

OOOH!

Hey Mom! A Mecha. Kin I look, Kin I Look? Phoenix that is looking good. First one I think I could get interested in .Fine paint work too. Are you going for pristine or weathered? I’m gonna follow from here, for sure!

Hey PG, this is looking sweet! Really nice. And yeah… the decals are really starting to pull things together. Your paint work looks really nice too. It looks like it laid down nicely. Lastly, good idea about the alignment guage you made for the missiles.

Btw. Stepping away so as not to rush made me chuckle. I often do the same thing. You invest so much time into a build it can be like walking on eggshells. One misstep and kaboom. I wish I were a seasoned modeler where it’s old hat. I could just bang out models. lol.

Anyway, keep up the good work. This project is gonna be cool when done.

Decals on the main body are complete! I think the paint scheme and decals go well together. Admittedly I had not taken that into consideration when I chose it.

frontnocovers

backnocovers

These will likely be the only shots of the Destroid with the missile bays closed. Once the missiles are in they can’t be posed closed.

closed1closed2

closed3

Going to be a little bit longer before sealing in the decals. They’ve got a couple more rounds with some Micro Sol to finish settling them on. Most went down well but there are several places where there is noticeable silvering. Especially the trim on the legs. The Model has a rough surface texture that creates the challenge. It shows even in their directions.

silveringdecals

While that is happening the missiles will be getting their decals. We’ll do a few of those and share some before & afters. Toying with the idea of possibly doing half the missiles with the decal and half without. We’ll see.