Lotsa work but she’s gonna look great Phoenix!
I need to build a friggin’ mech for a change of pace. But it’s so easy to dig out another tank kit… [*-)]
Lotsa work but she’s gonna look great Phoenix!
I need to build a friggin’ mech for a change of pace. But it’s so easy to dig out another tank kit… [*-)]
Heh. I have the opposite issue. I should probably build one of the tanks in my stash for a change of pace, but the stash ratio is in favor of mechs so if I just grab one…
While building the rest of the templates for the missile box and covers I discovered that I’d misread the calipers and therefore all of the diagrams were off. So they all got trashed.
However, now that I am more familiar with photoshop I was able to redraw them all in a fraction of the time. Here’s the complete set of templates.

The image canvas is to scale (printed it looks right, PC monitor it will look larger) so all I need to do is print them to 100% scale, paste them on the sheet styrene, and cut them out.
Alas, my printer has chosen this exact moment to die. I may be able to repair it, but it’s over 15 years old. Finding parts may be a challenge. So now this is on pause while I consider replacement options. Be interested in any input on brands/models. Especially when it comes to printing waterslide decals.
Hey PG, way to go rebooting through photoshop. [Y]
Unfortunately, I can offer no advice for printers specific to printing decals. I have an $80 Epson that is probably eight years old, and amazingly, still going strong. It gets daily use through work. Actually, the daily use is probably the saving grace for it. No more dried up ink heads. I have printed decals on it and for my purposes, adequate. What current Epsons are like, I do not know. But at the time, they were decent for image quality.
Hopefully, someonelse can chime in.
Bakster, photoshop elements is an excellent tool. It’s an ancient version but it does all that I have needed it to.
That’s fair. The dead printer is an HP that printed nearly 5000 pages over the years. Excellent longevity when you consider the average duty cycle of a home printer.
I think my biggest debate will be inkjet vs laser. I see much research in my future.
Hey PG, I have Elements as well. I also have Paint Shop Pro. I gravitate to PSP more because I know the program better. Both are good programs.
I hear you about inket verses laser. Let us know what you decide and what your learn. I am interested.
Agreed. I use Elements because I’ve been using it since version 1.
There’s a plethora of vendors and functional options. Happy to share highlights and lowlights of my search for a replacement. Once I find one. 
Working on the lower half of the destroid while researching a replacement printer. Lots of clamping needed to keep parts mostly aligned. Good amount of glue used as still plenty of gaps.

While assembling the feet, noticed the articulation on one was really loose. All of the joints are simple friction fit. No polycaps. To help the piece fit a little more snug added a very thin layer of CA to the posts. Just enough to make it a firm fit. Haven’t tried this before. It will be interesting to see how well it holds up.

Lots of filling and sanding of the seams. Putty and I don’t get along too well. Usiing CA to fill the gaps as I find it easier to work with.

Works in progress but the feet are almost complete. After they are finished being cleaned up, will prime them, followed by the preshade, and base color. Then I can move onto the next step in assembling the legs and preshading.
Looks cool Phoenix, you’re making great progress there!
To help the piece fit a little more snug added a very thin layer of CA to the posts. Just enough to make it a firm fit. Haven’t tried this before.
Good thinking. Yet another use for CA!
Thanks for the encouragement Gamera. It’s been a bit of slog compounded by very little bench time these last couple of weeks. I may be avoiding it. Every step forward in assembly has some little niggling issue that slows down the process.
I usually let a lot of these kinds of small issues slide as I’m looking for the thrill of completing the model. I’m working on upping my game a bit with this one The hoped for payoff is a more refined looking model. Fingers crossed!
That thin layer was almost too much. The fit is really snug now. Which is good. I don’t want the foot collapsing when it get’s put on display.
I admit that when I bought the bottle of CA I was half expecting it to dry out from neglect. As it turns out that stuff is like duct tape for modeling!
PG those weird feet are challenging! Keep at it, you are doing great!
I am happy to say that the new printers are on their way. I’ll be able to resume the scratchbuild experiment in the next week or so.
The use of plural was not an accident. There was a sale going on so I got a standalone color laser printer and an all in one inkjet.
After doing some testing with them, will most likely make a more detailed posting in the tools section.
There was much more filling and sanding on those unusually articulated feet, but they were finally good enough to get some primer last night. Given the amount of trimming, sanding, and filling they got I was surprised by how clean they came out.
So much so that I had to take a picture and share. 

There are four joints on this foot and the articulation isn’t typical. The one on the left is what I would call the foot at rest. The one on the right is arched. The pins in the center are actually a ring that fits around an axle that joins the front and back. This makes it so the feet could technically be rocked side to side. Might make this the first mecha I’ve built that could sprain an ankle.

Next step is to test fit the lower and upper legs and see if I need to change my painting plans.
Looks good Phoenix! Seems like it will give you some interesting possibilities as how you mount him to the base.
The use of plural was not an accident. There was a sale going on so I got a standalone color laser printer and an all in one inkjet.
Oh… a Merry Christmas to you! Way to go… [:D]
Your filling and sanding looks sweet! Nice work, sir. It is coming along nicely…
Brace yourselves, this is going to be a rather lengthy post.
Did a test assembly of the legs and it confirmed my original plan for painting.
Lower leg and upper leg assmeblies are clam shells that go around the feet and the hip joint. The right leg’s inward lean is due to the ankle axle. It provides a small degree of side to side motion.
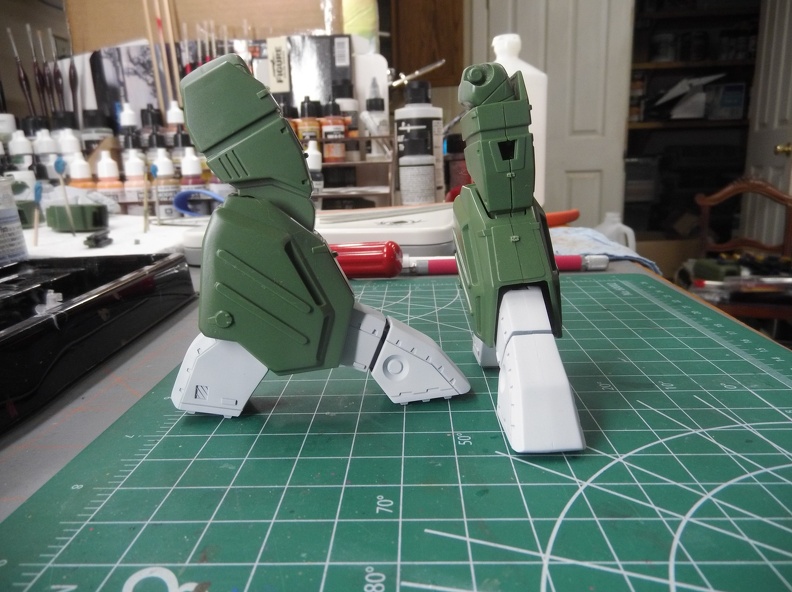
My biggest complaint about this model is the seams. Something about the mold makes every seam have a distinctive ridge that has to be sanded down. Other than that, the legs fit and align much better than the feet did. The joints are somewhat loose so I’ll be doing the trick with the thin coat of CA stiffen them all up.
There isn’t an easy way to paint this so I am going to complete the priming & pre-shading of the feet and hip connector before encasing them in the legs. I’ll likely prime the inside with black before assembly to hide the remains of that gawdawful green.
For anyone who might be interested I counted 8 points of articulation on these legs. about half have a fairly limited range of motion but it does increase the posability of the model.
Onto the next problem with this model.
The chest cannon. The door can’t close with it installed. So it’s pose it open or closed. No in-between. You can change the tilt of the cannon, but if it’s installed there is no way that panel is closing.
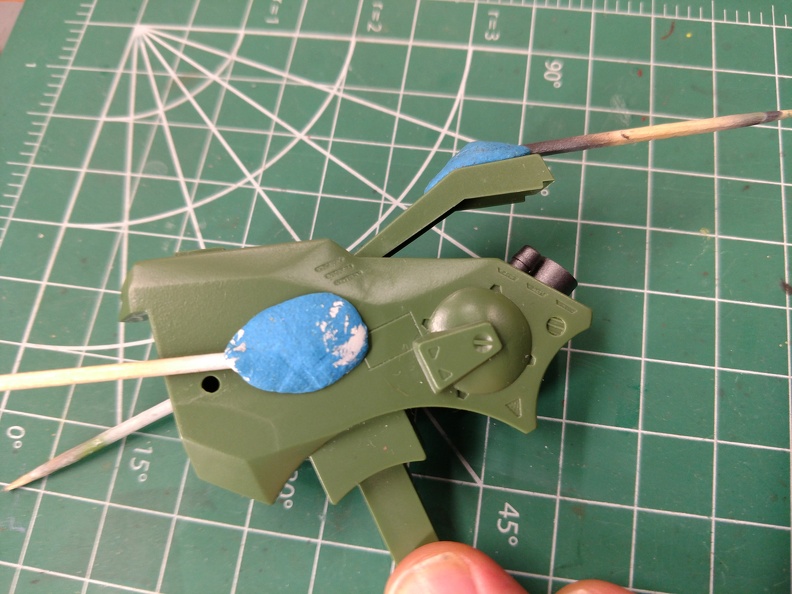
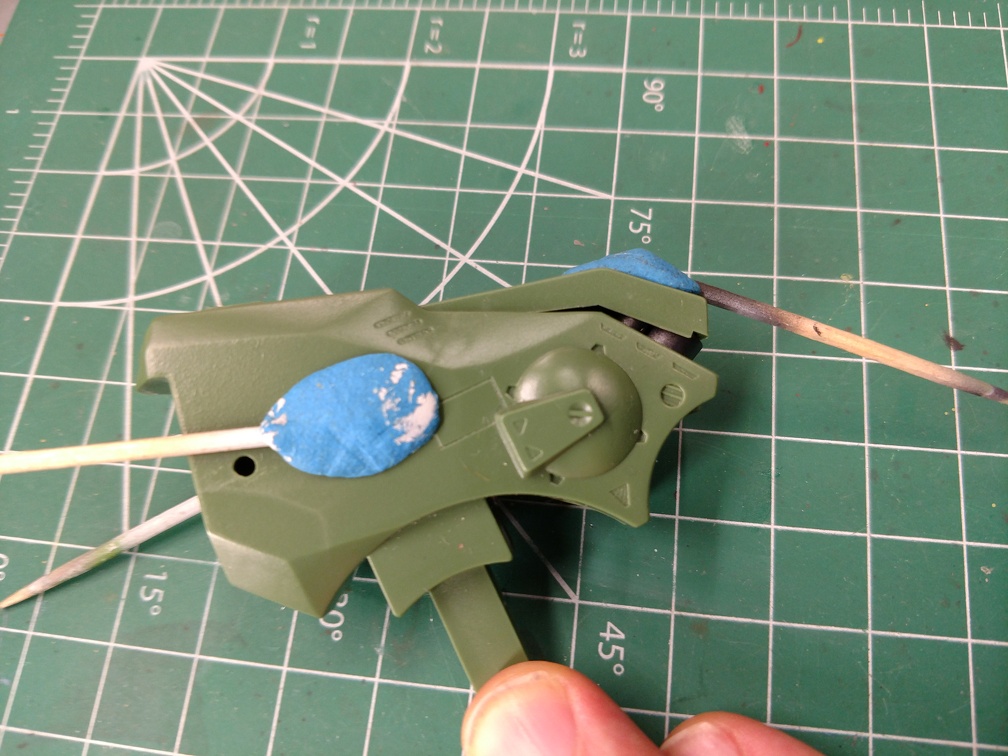
Tried moving the cannon’s position but it just made it worse. The toothpicks are because the parts next step is to paint the inside black.
I could probably cut off the existing mounting points and use some tube styrene to change the location of the gun so the chest could close but doing so requires moving the cannon further back into the chest. Which would make it less prominent. I’ve already decided not to do any modification. Not really interested in making yet another change to this model. Open or closed is TBD. It may depend on whether I can make the shoulder missile bays work.
Speaking of the should missiles. Now that I have a printer again I was able to print off the template!
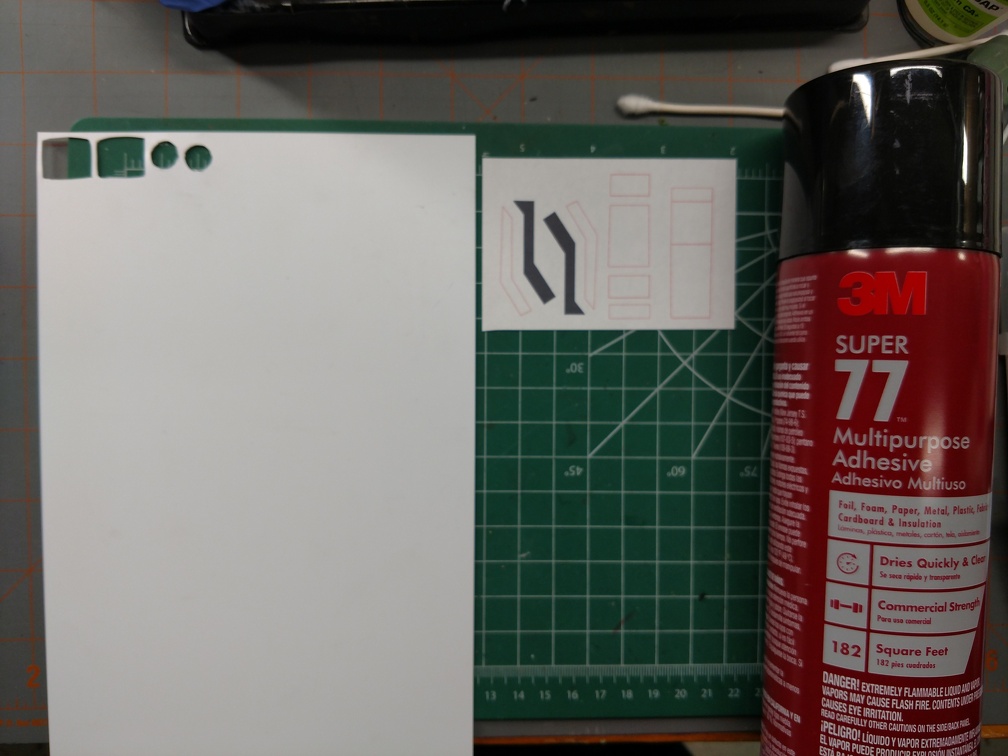
The can is a spray adhesive that I used to affix the template to the styrene. Use sparingly. It’s messy but cleans up pretty easily with some acetone.
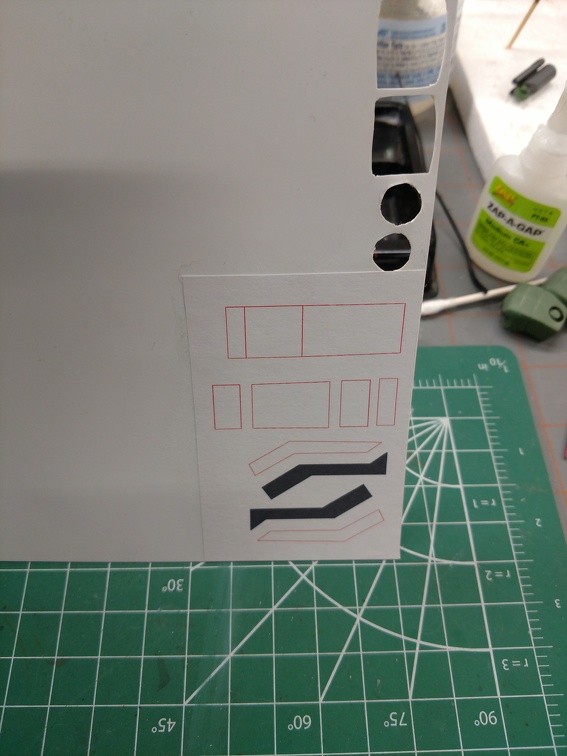
Lady luck was smiling upon me that night. The template went down flat and square on my first try. Murphy must have been preoccupied with making someone else miserable.
Since it is all straight lines, using the good ol’ chisel blade made short work of cutting these out and helped ensure the sides were relatively perpendicular.
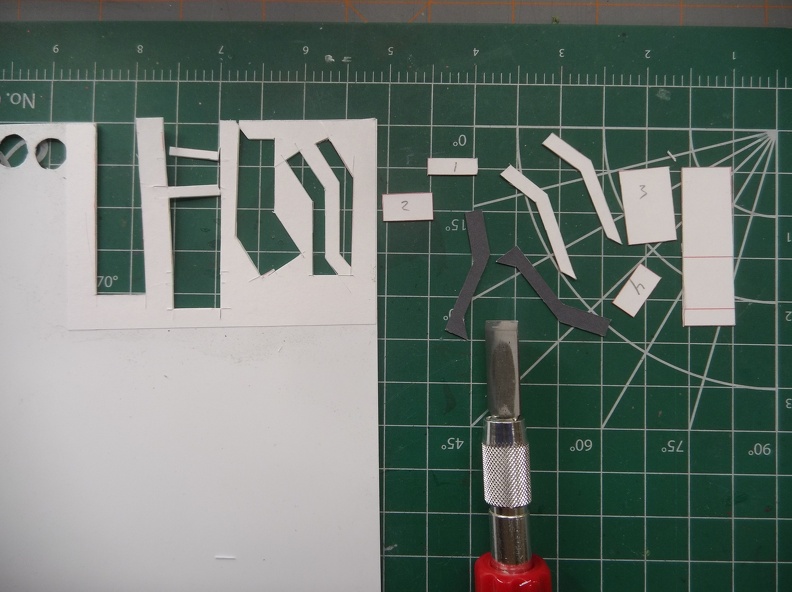
Next up:
Assembling the little pieces to make the lid and box. I’ve an idea of how to keep it reasonably square during assembly.
I like possibilities.
Some day I may start making bases for my models. For the moment they all get placed wherever I have space on the shelf above my workbench. On occasion fights break out between them over placement. [:D]