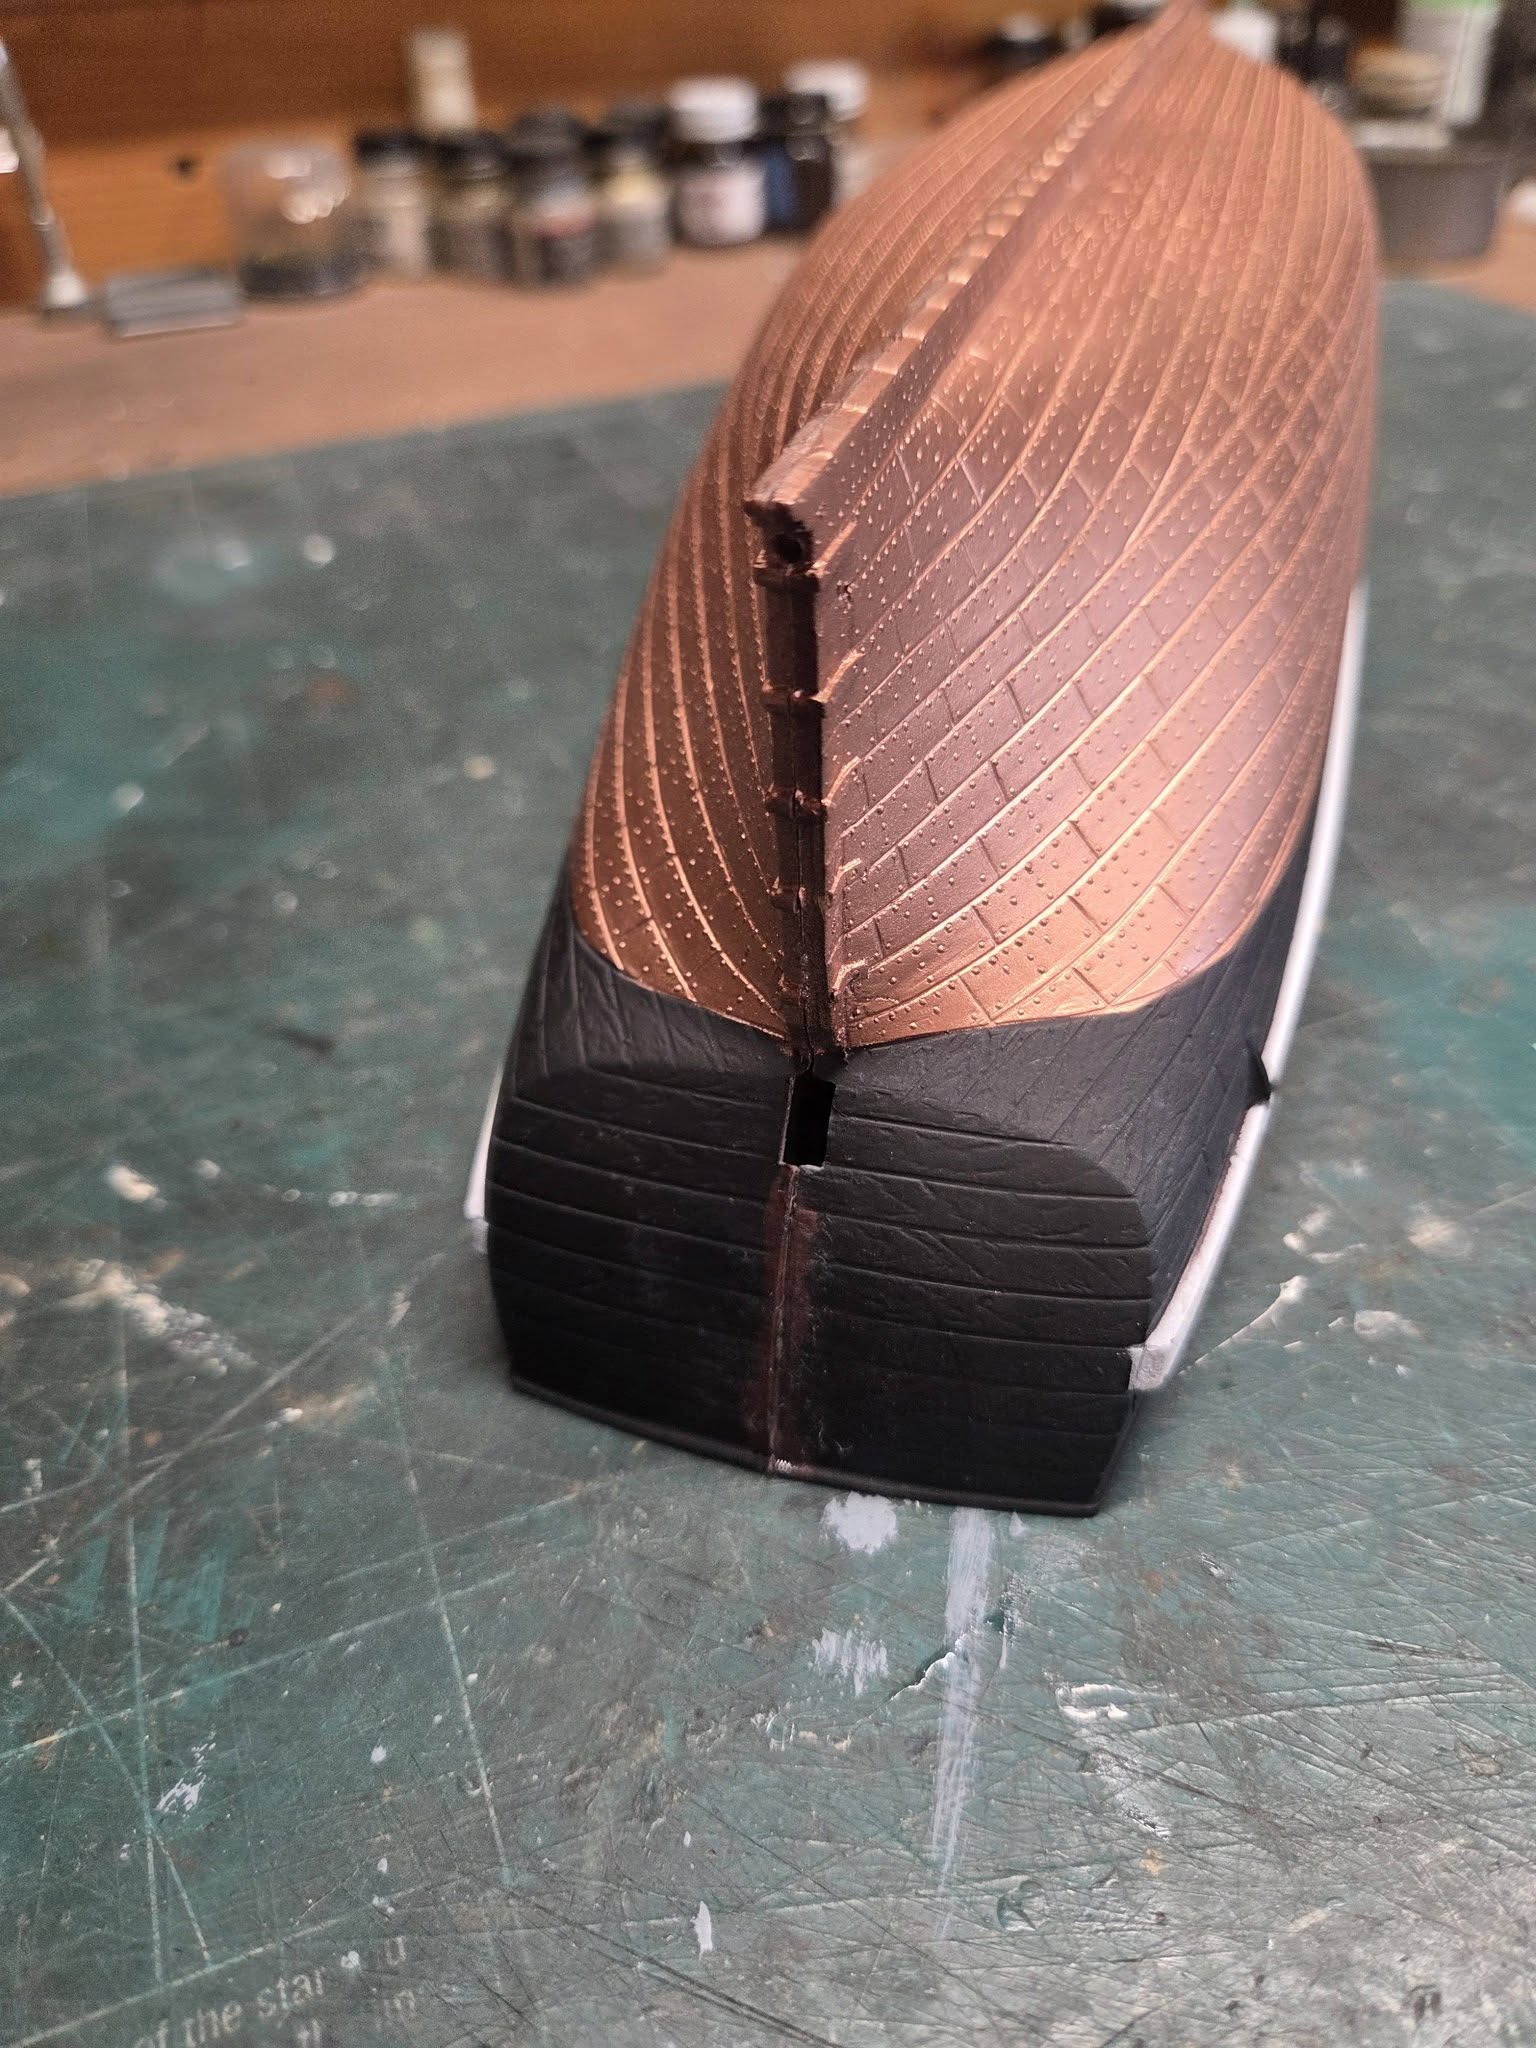
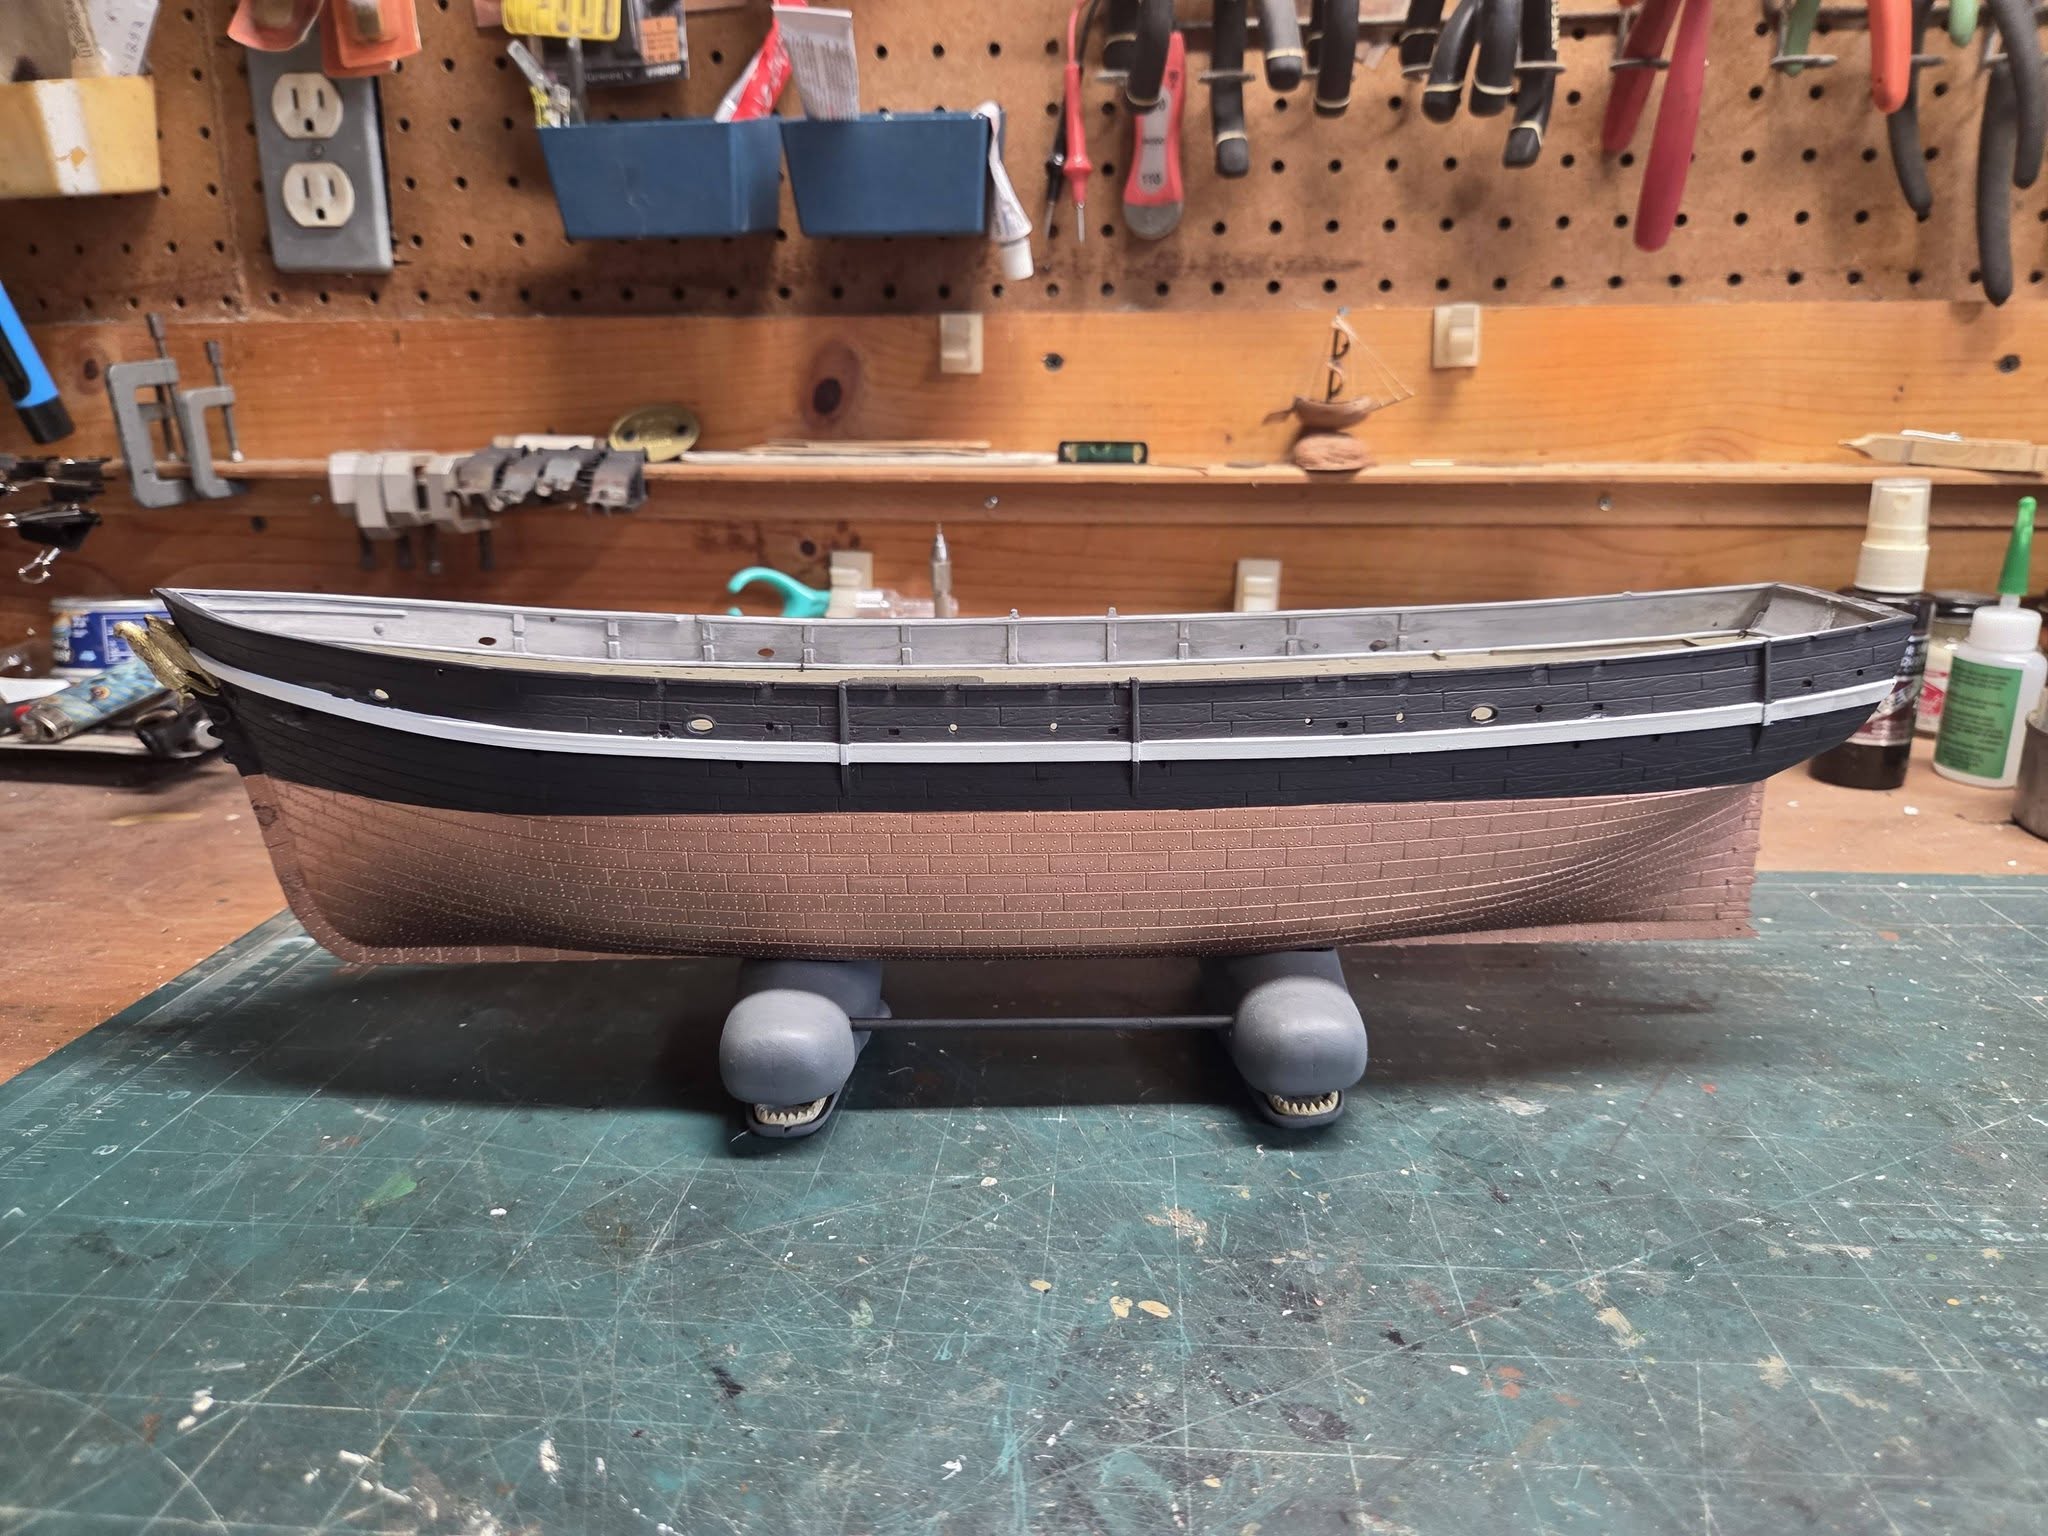
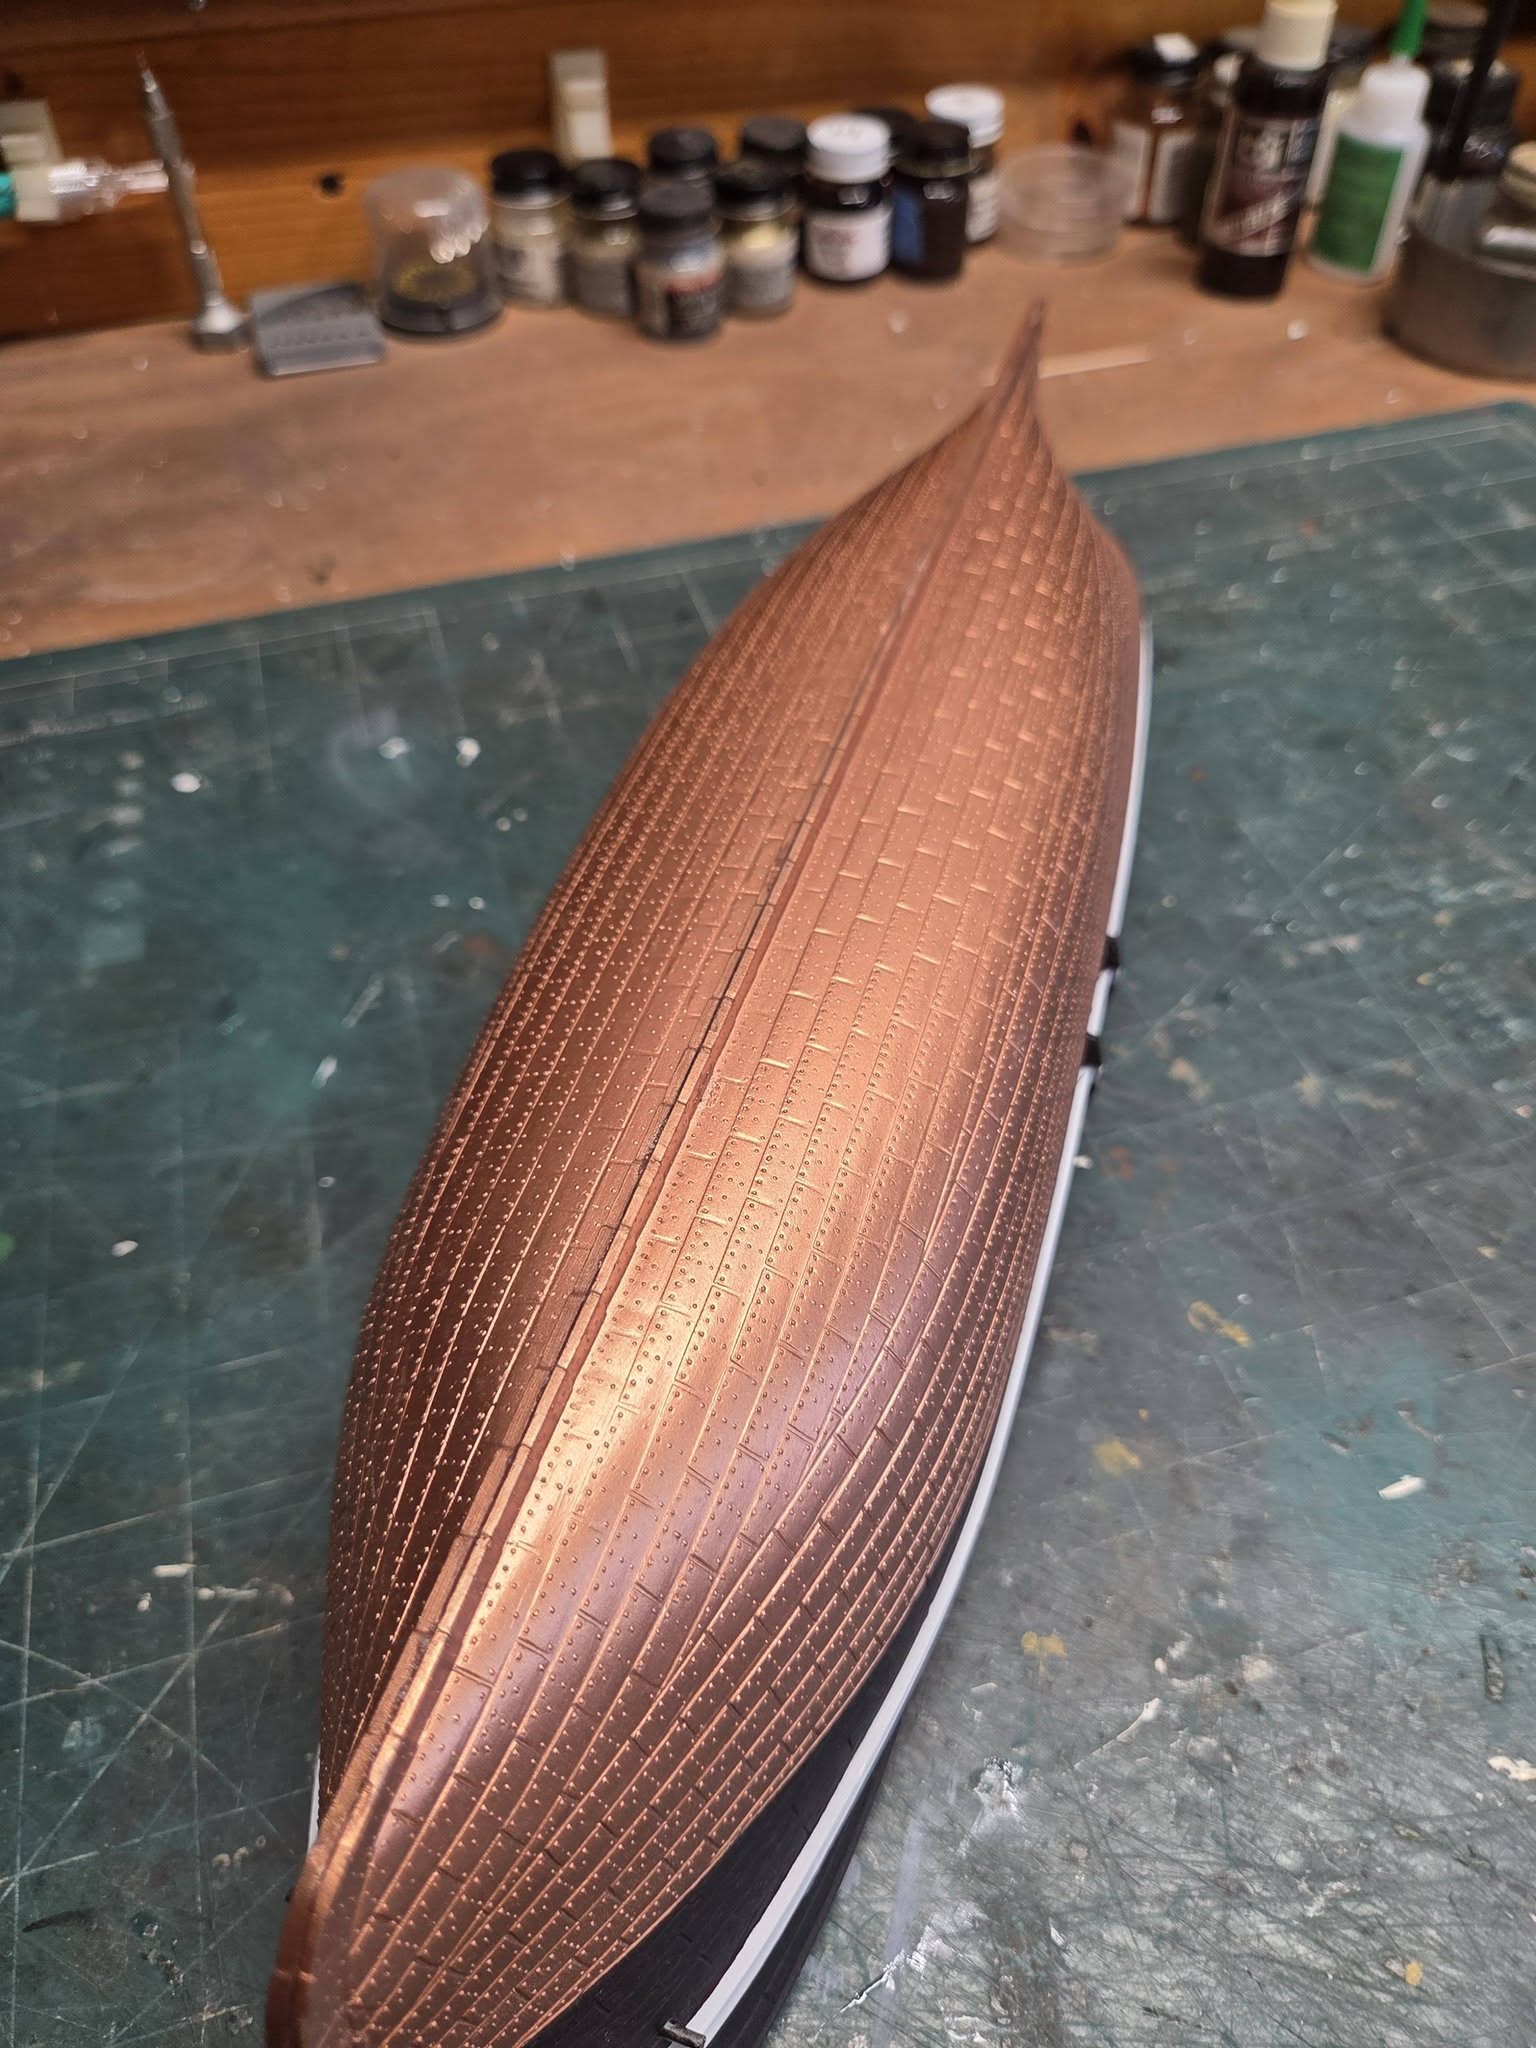
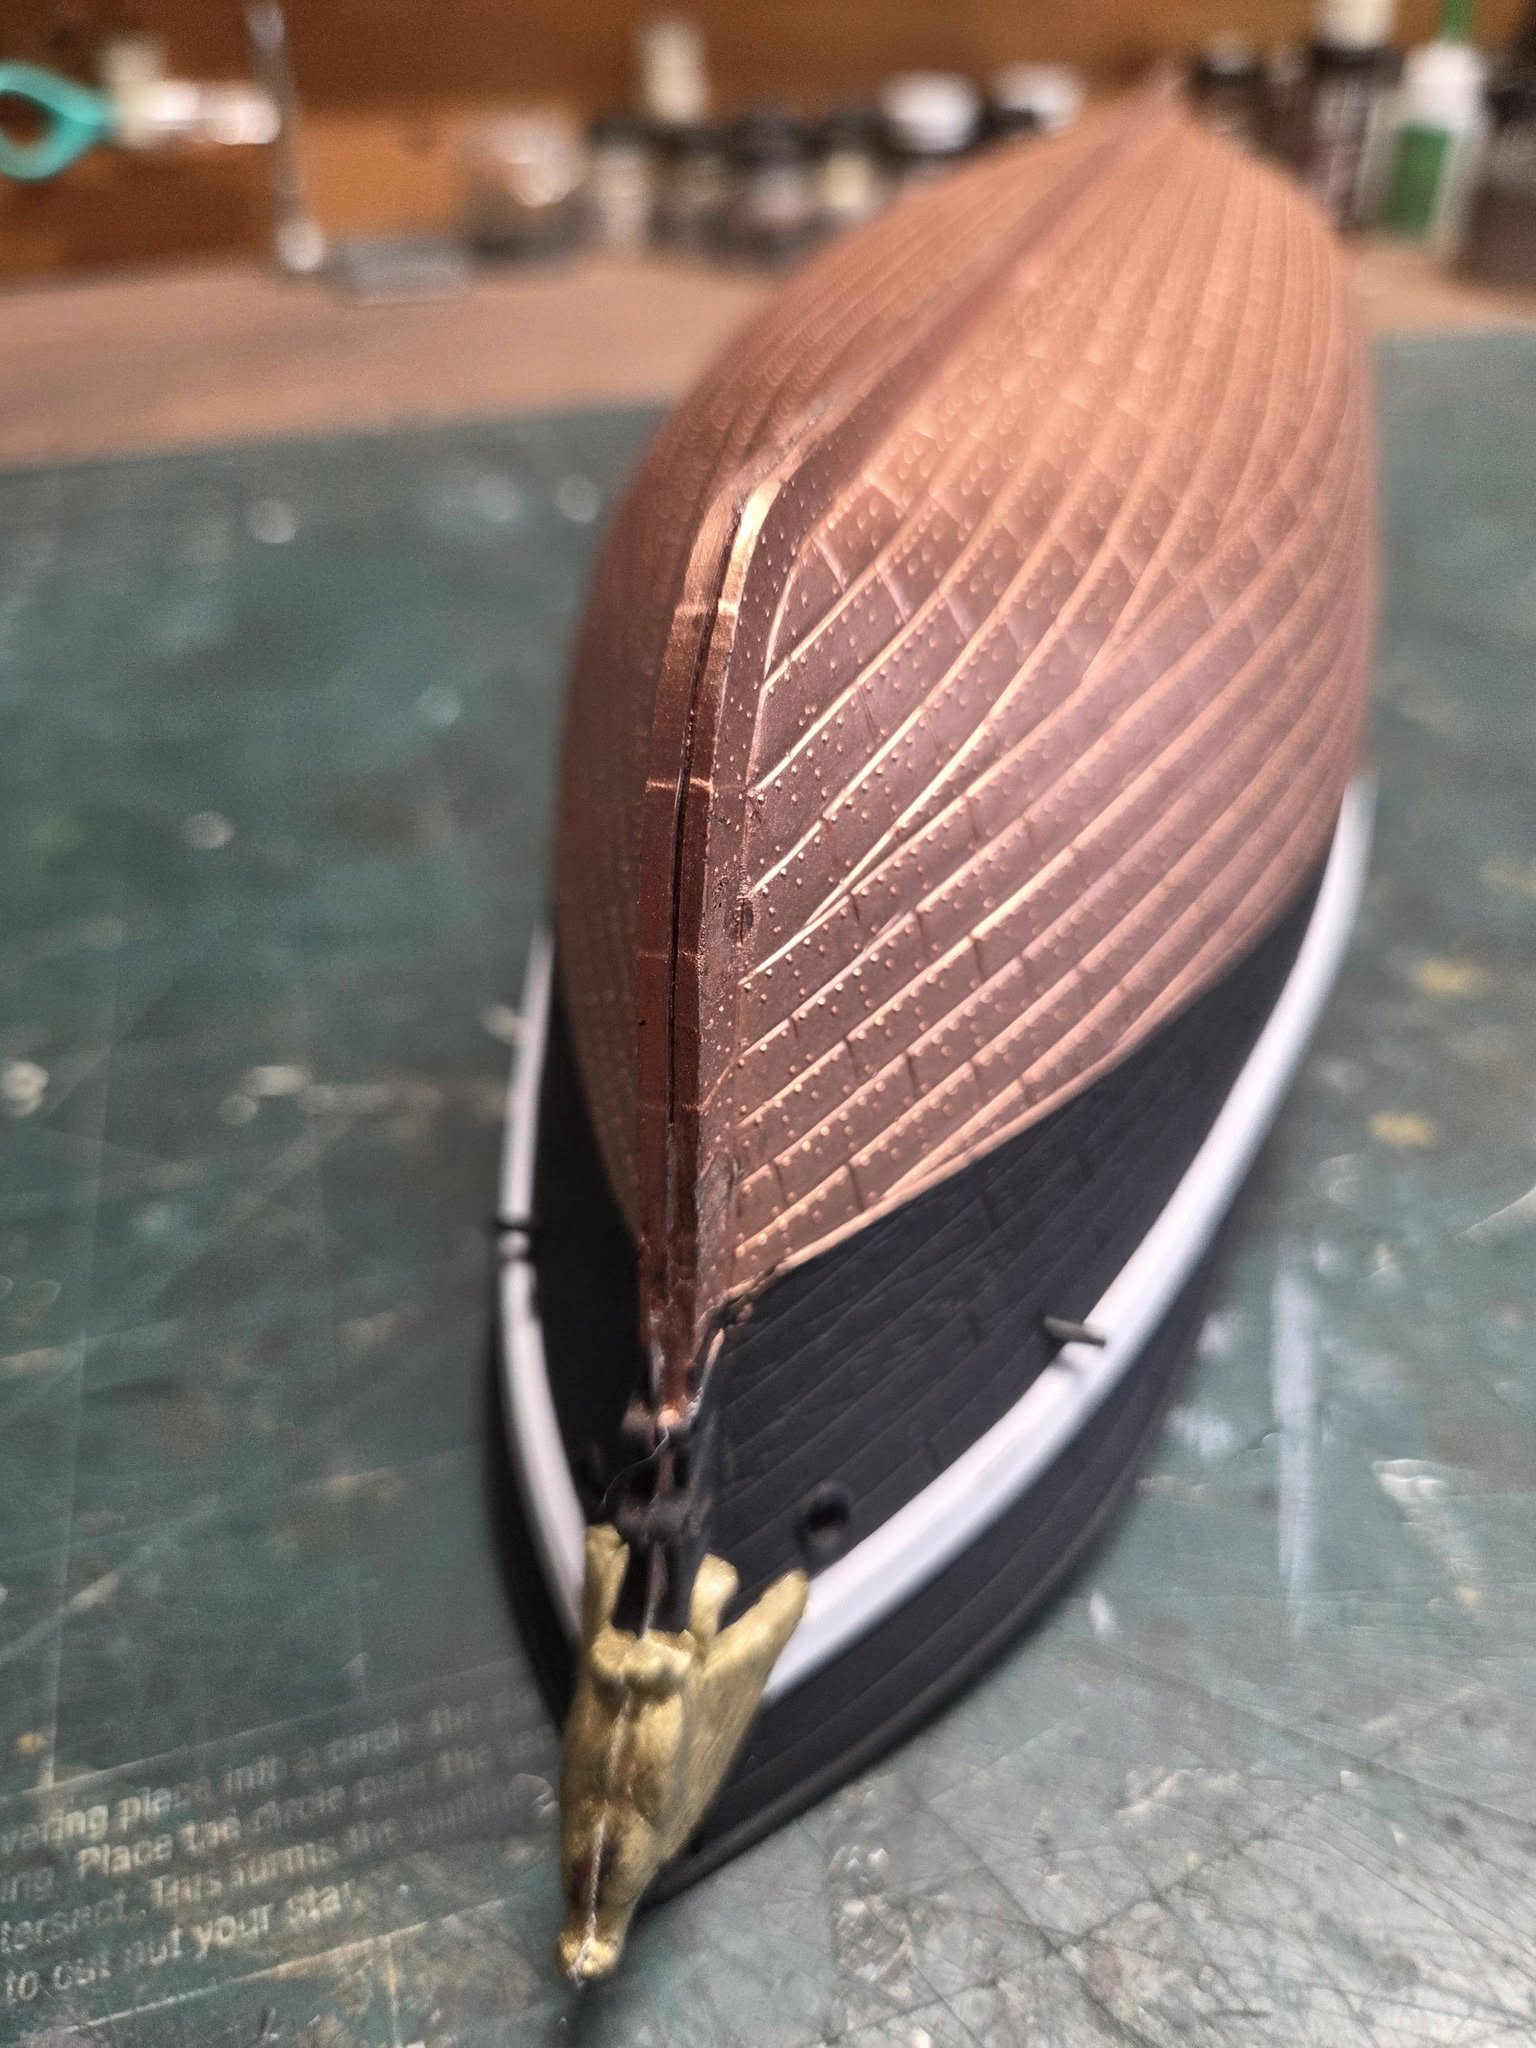
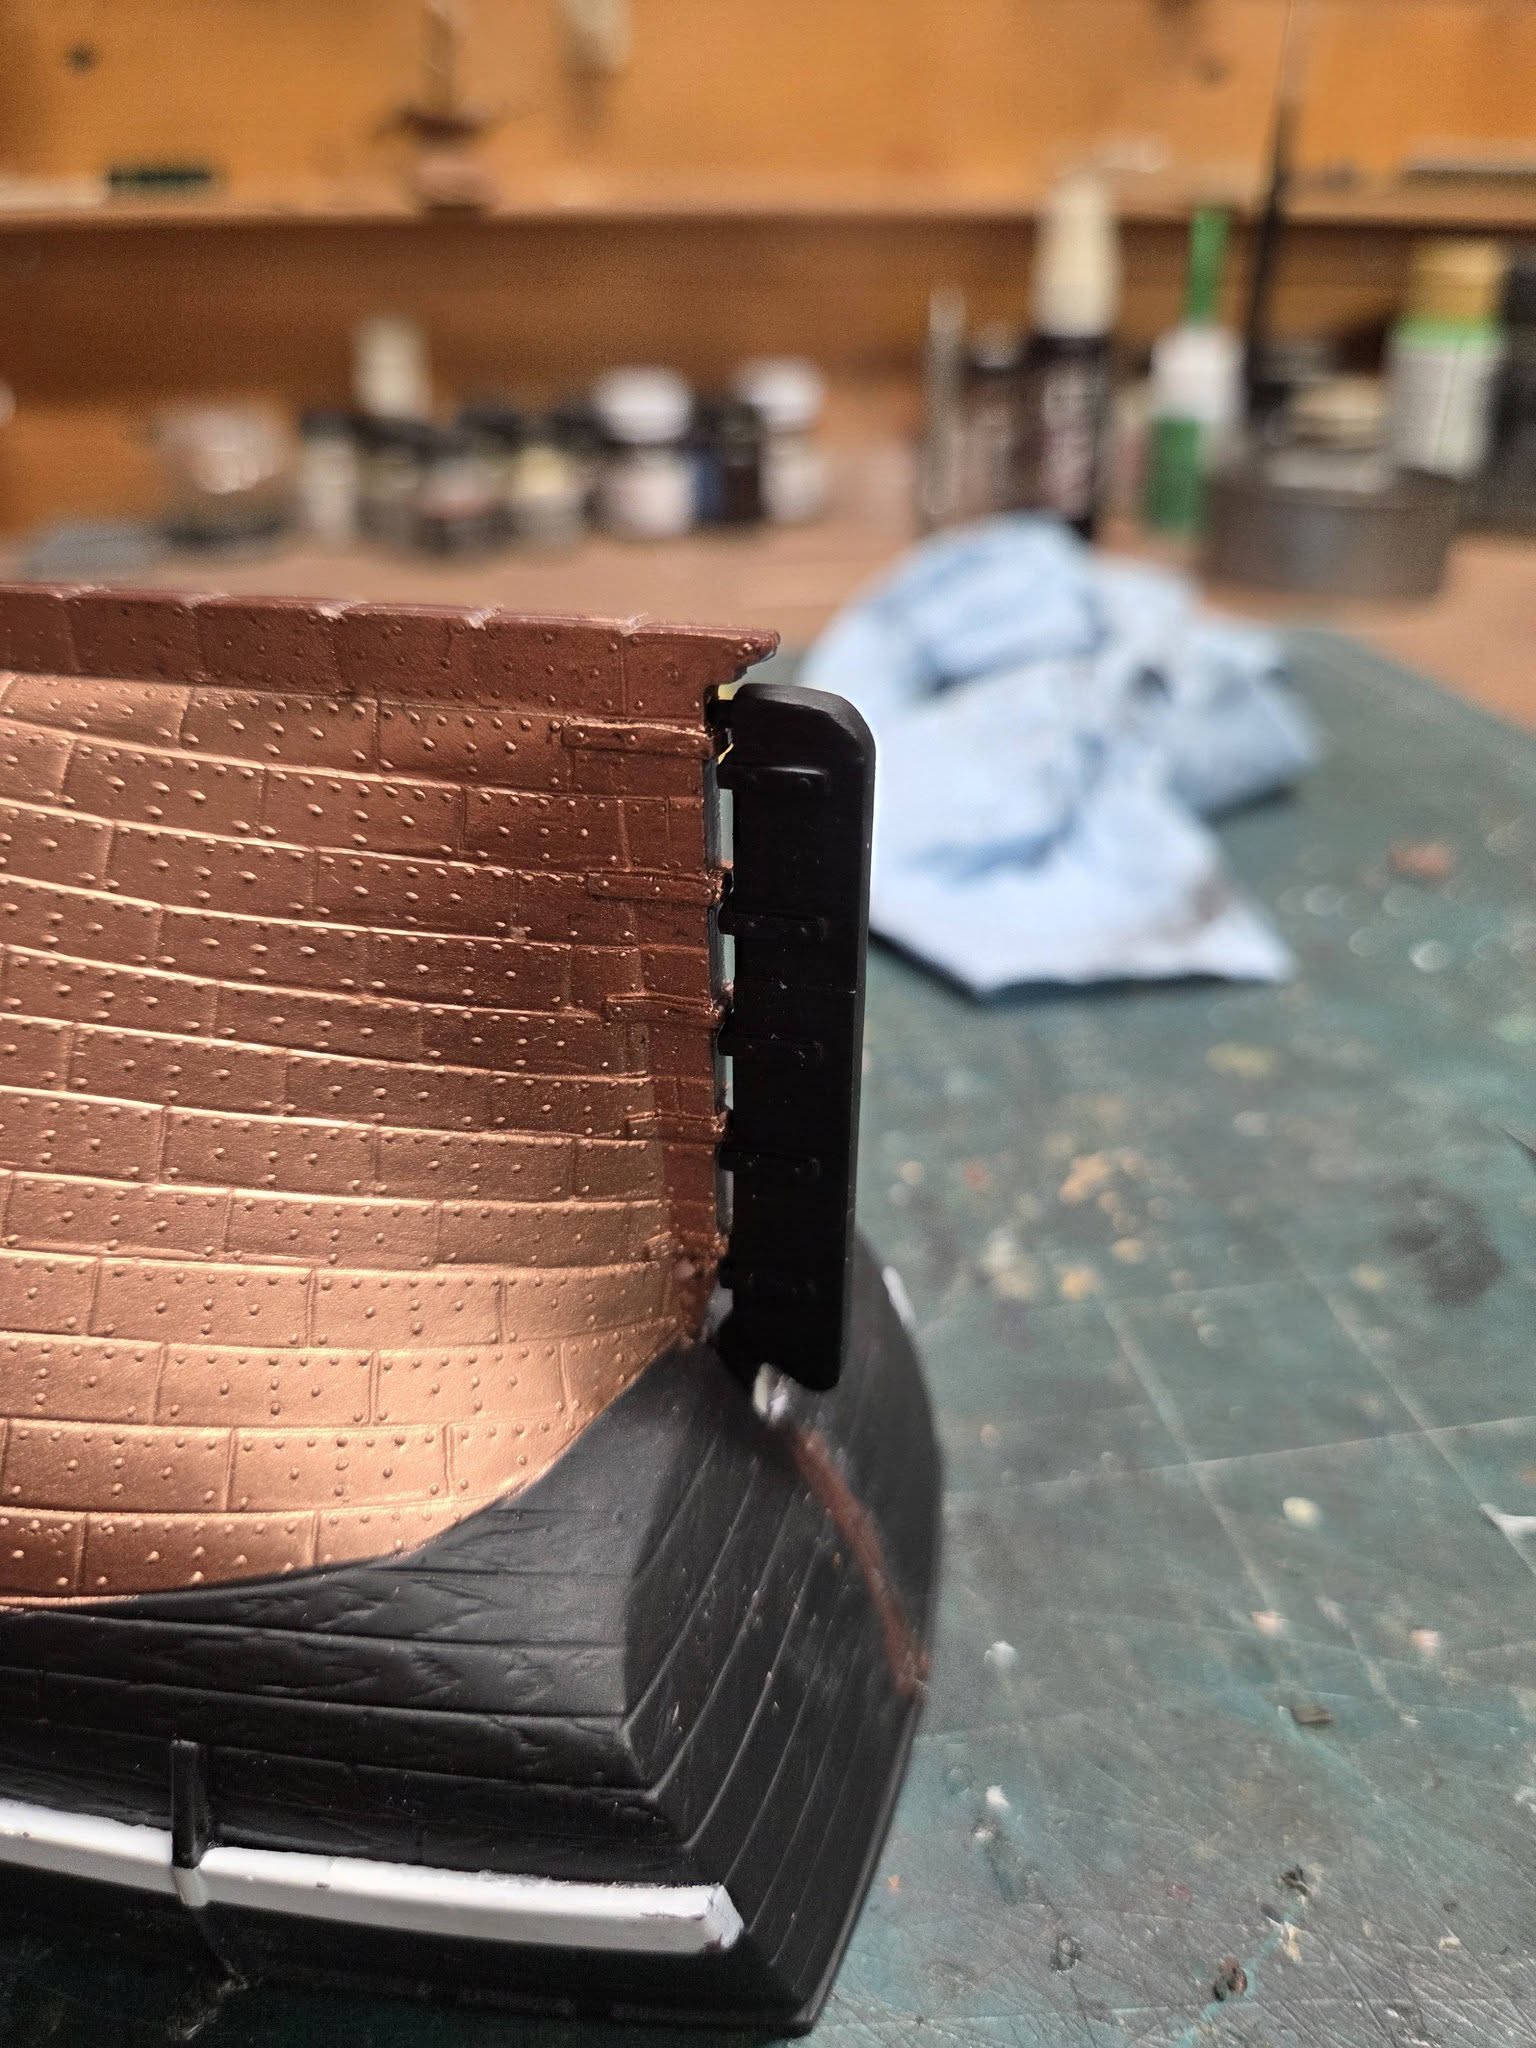
Hull glue is dry, now I’ll be sanding, filing and filling the copper plates to reshape and taper on the bow and stern. You can’t see the keel, but I’ll still sand and fill with putty, it’s the neatness in me.
4 Likes
Coming along nicely. The copper sheathing looks great!
Gary
1 Like
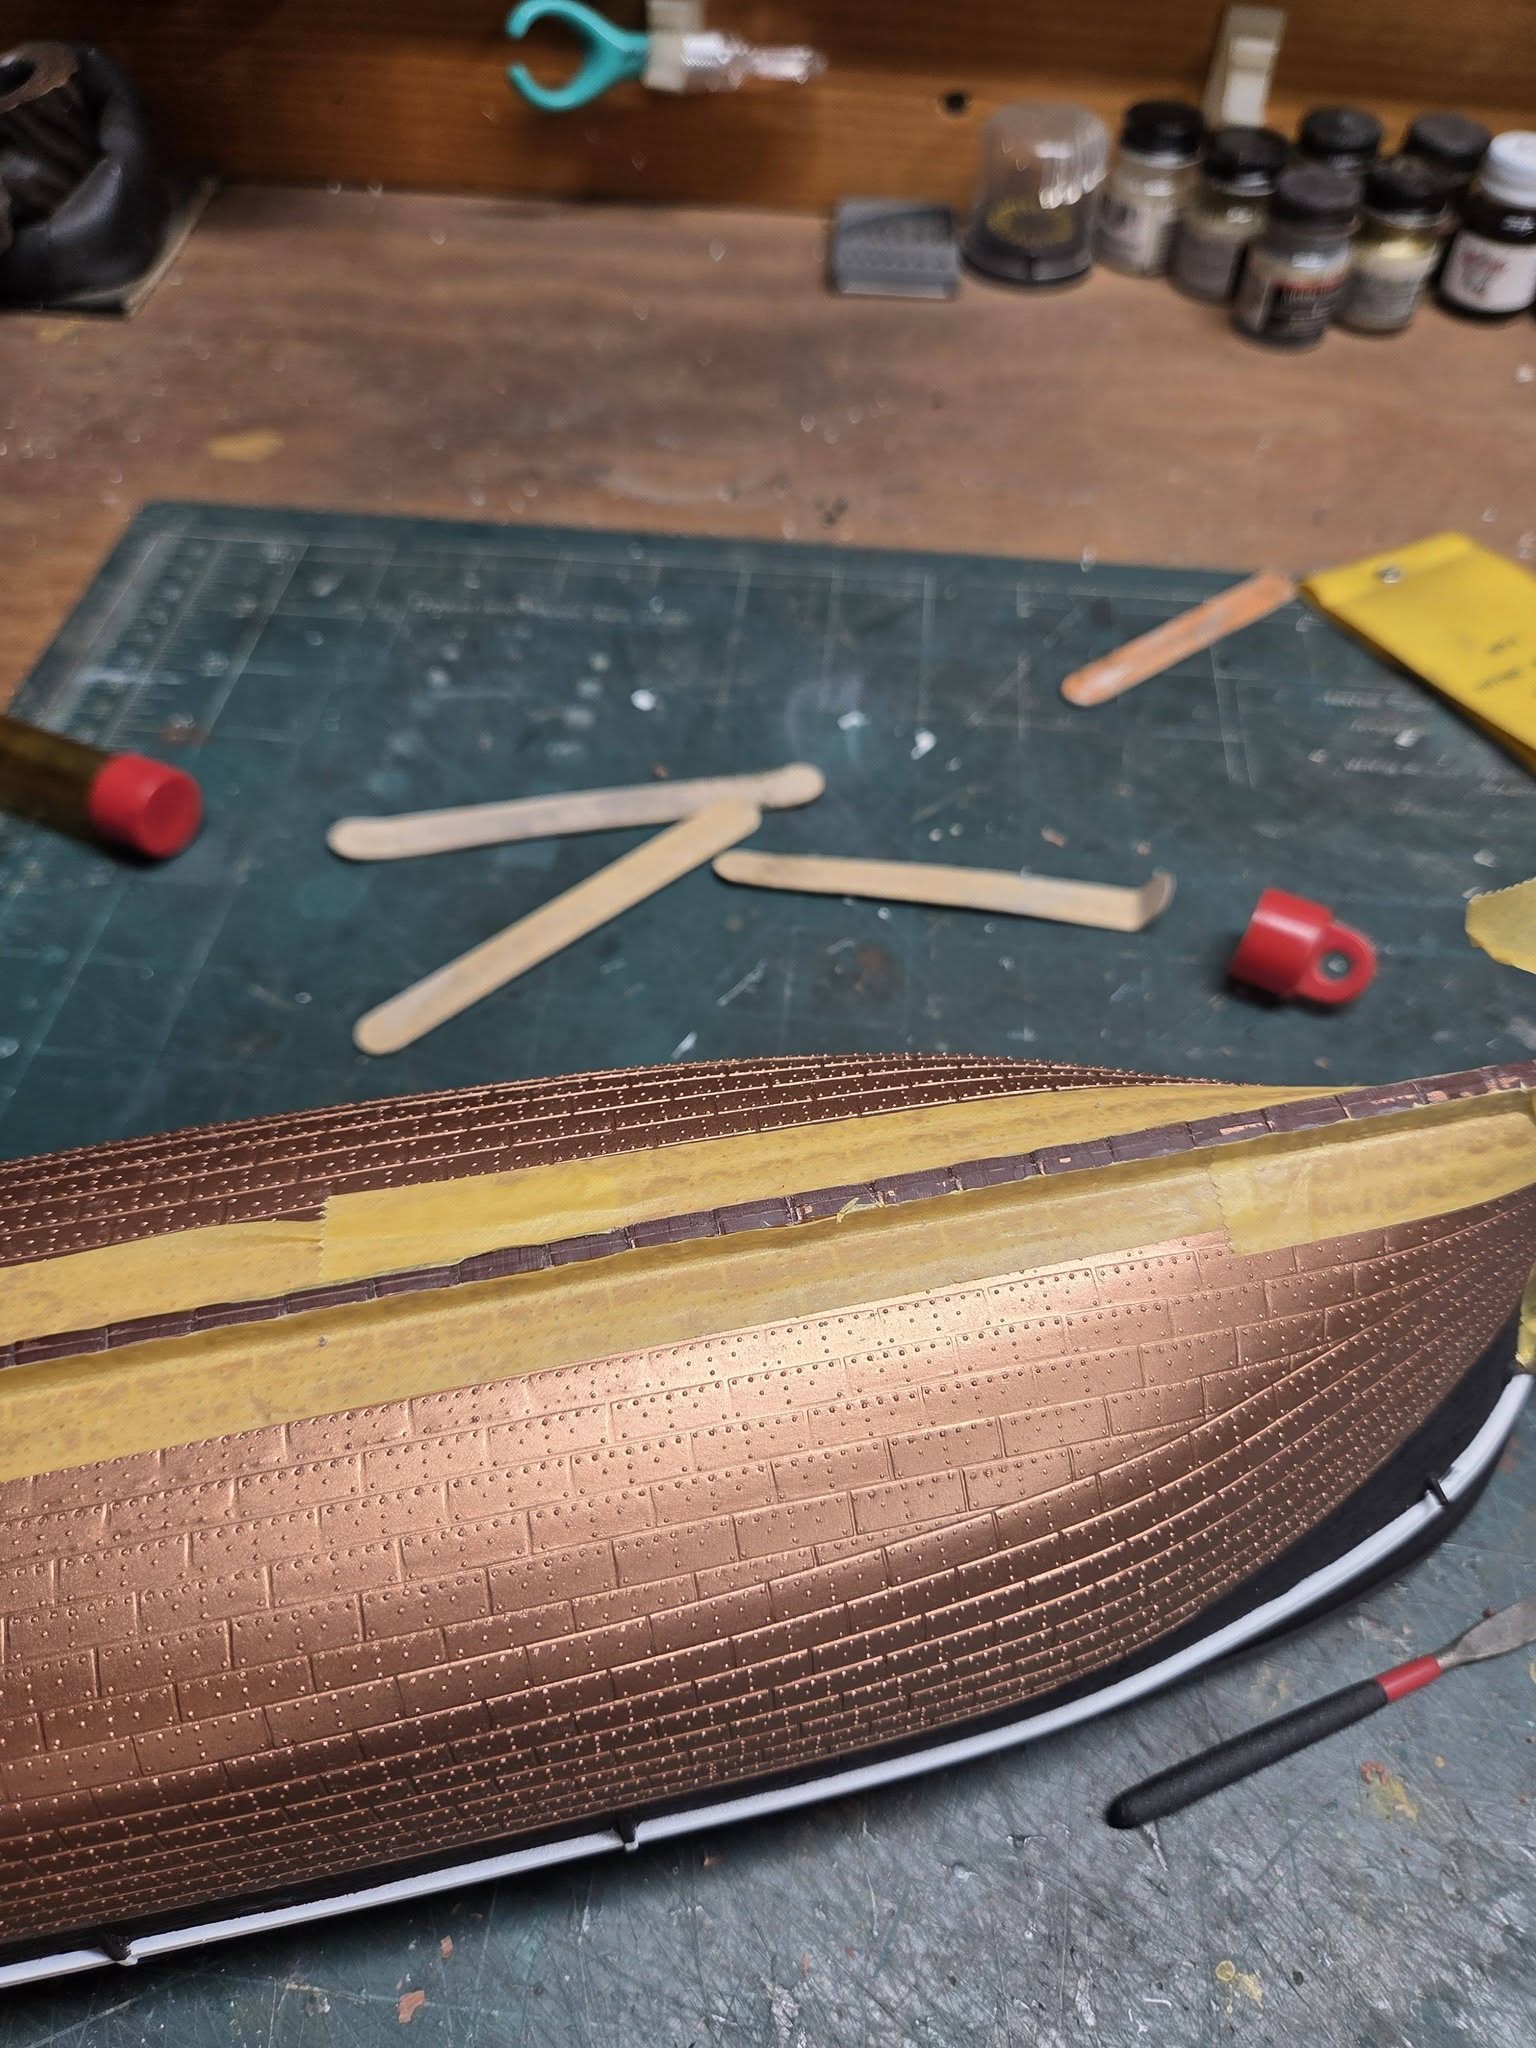
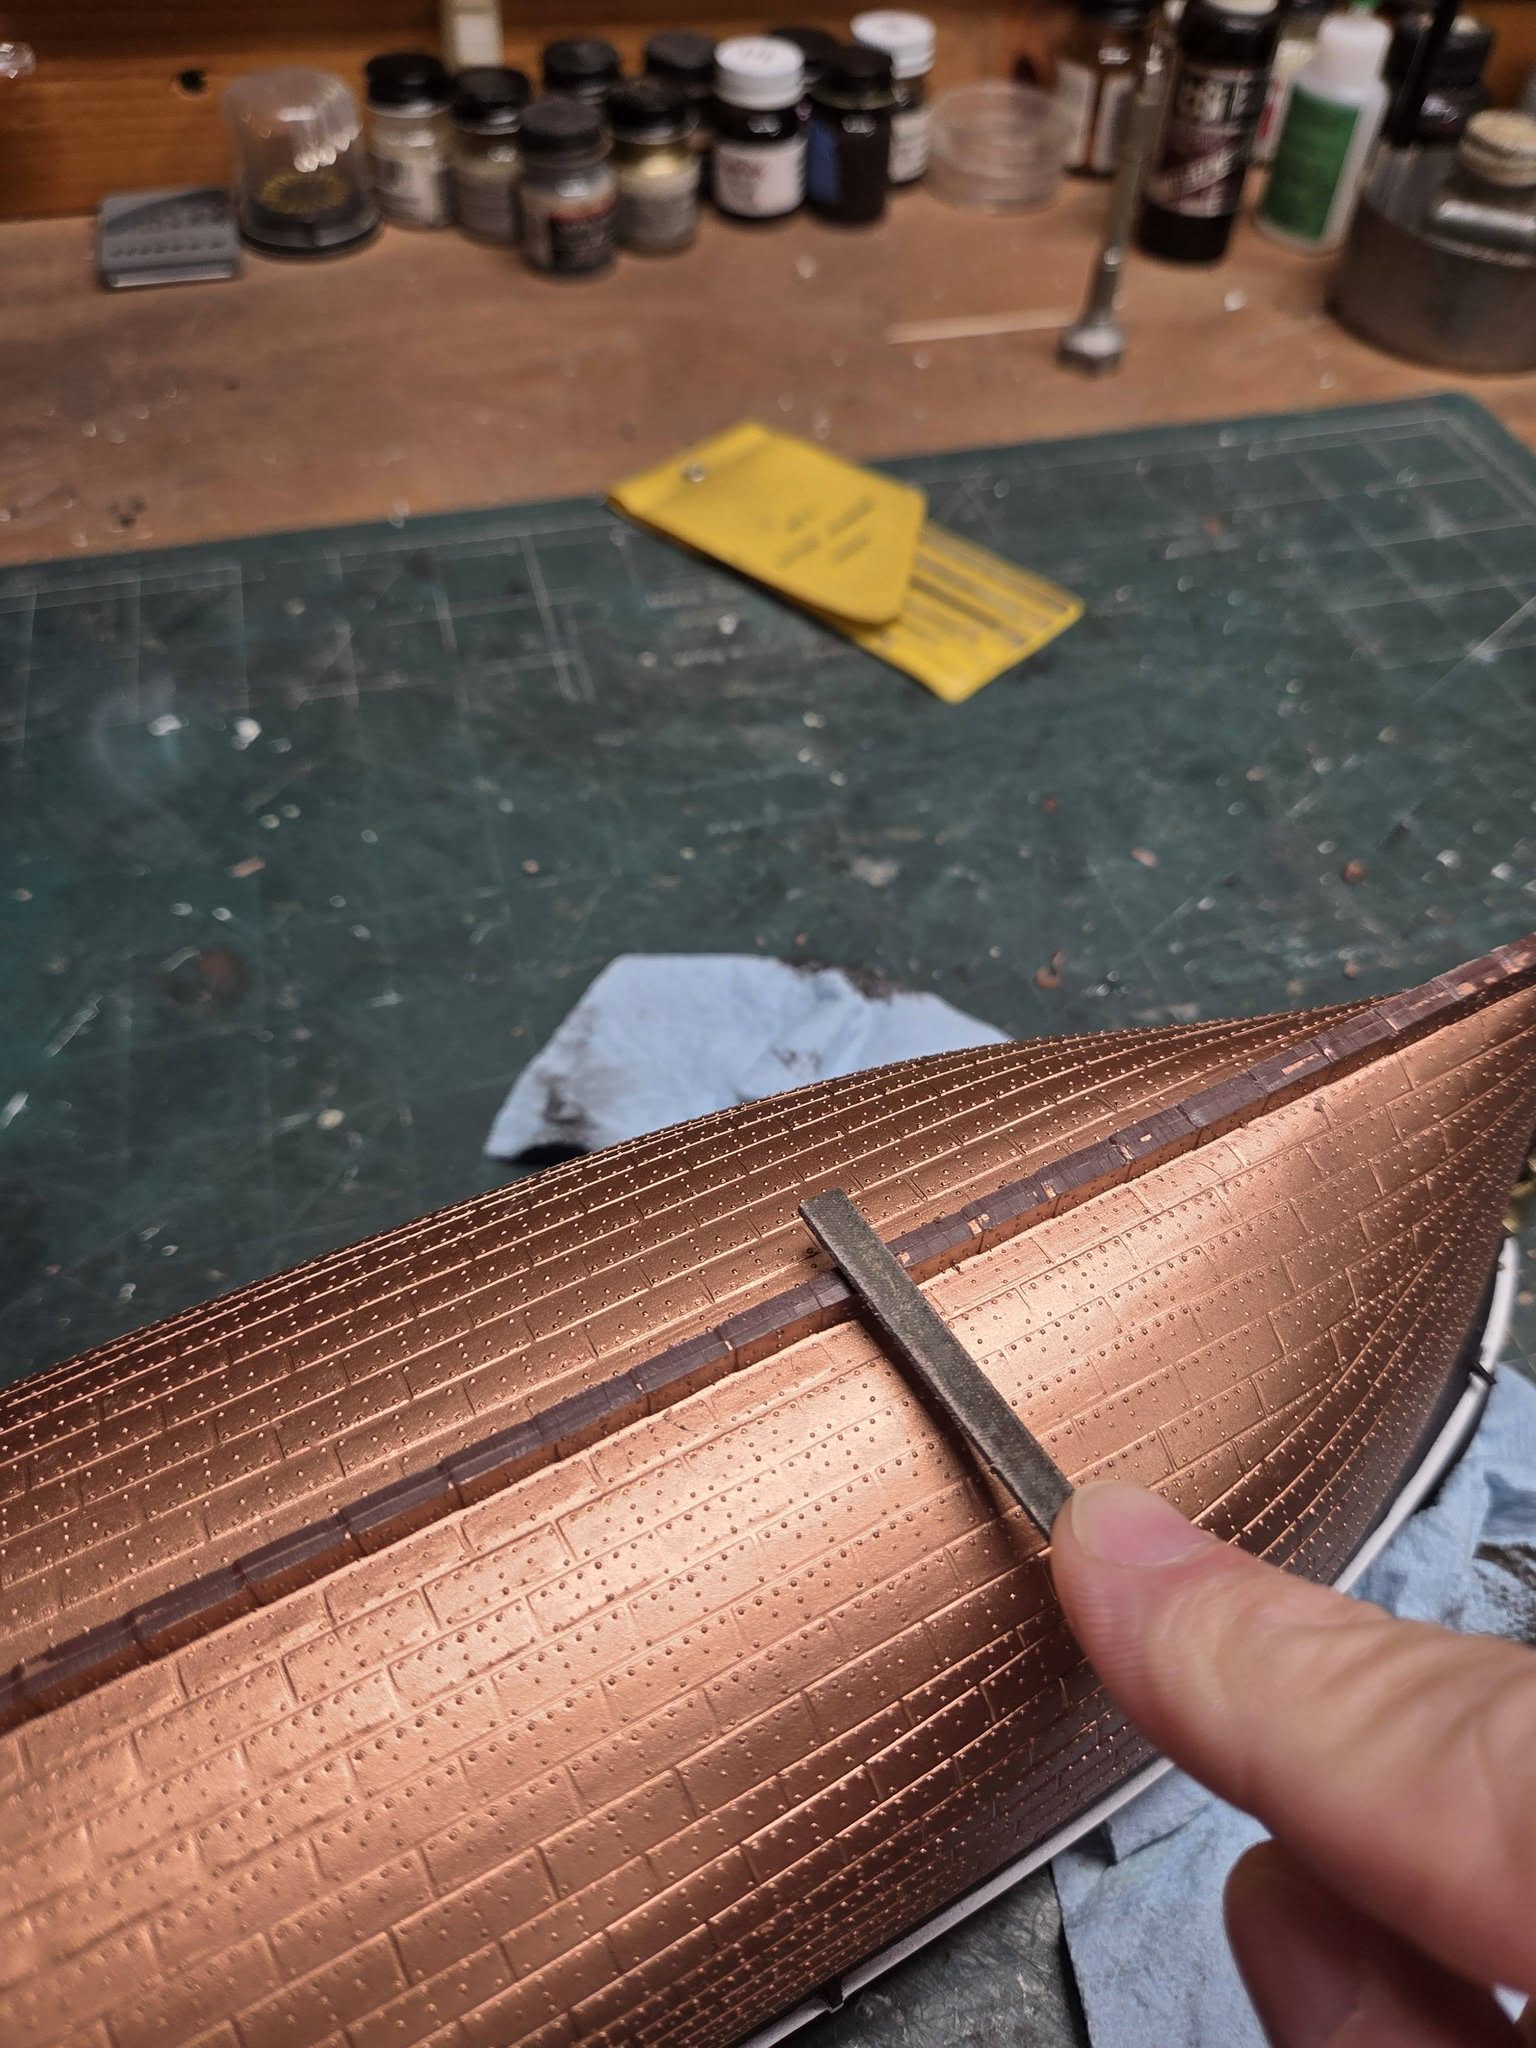
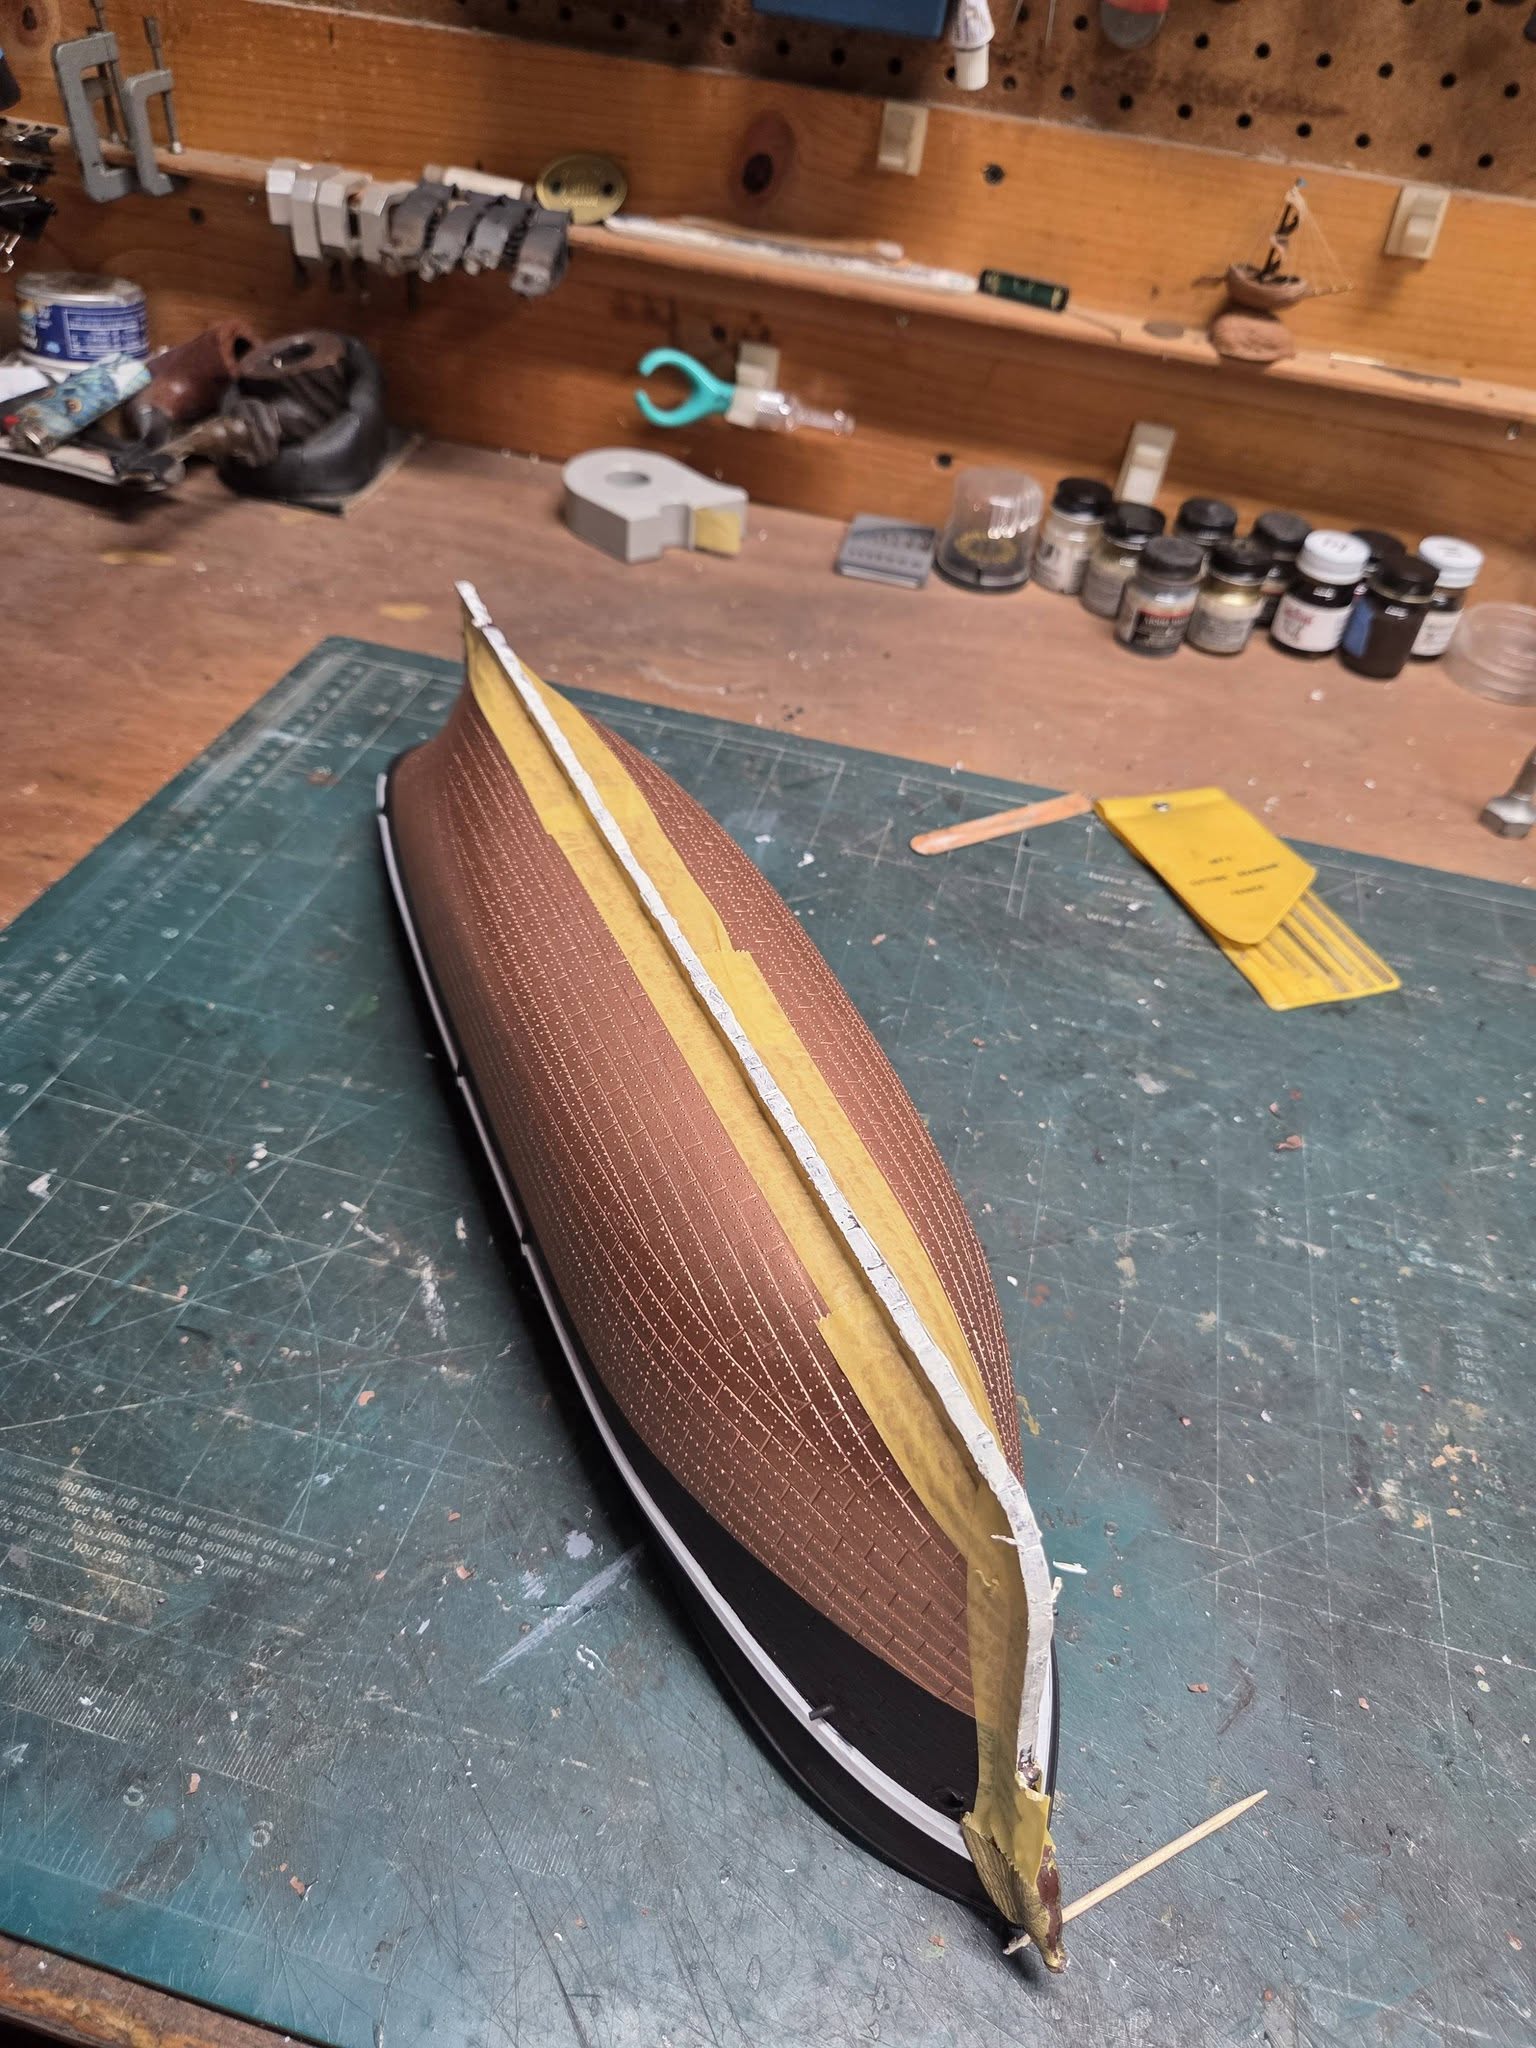
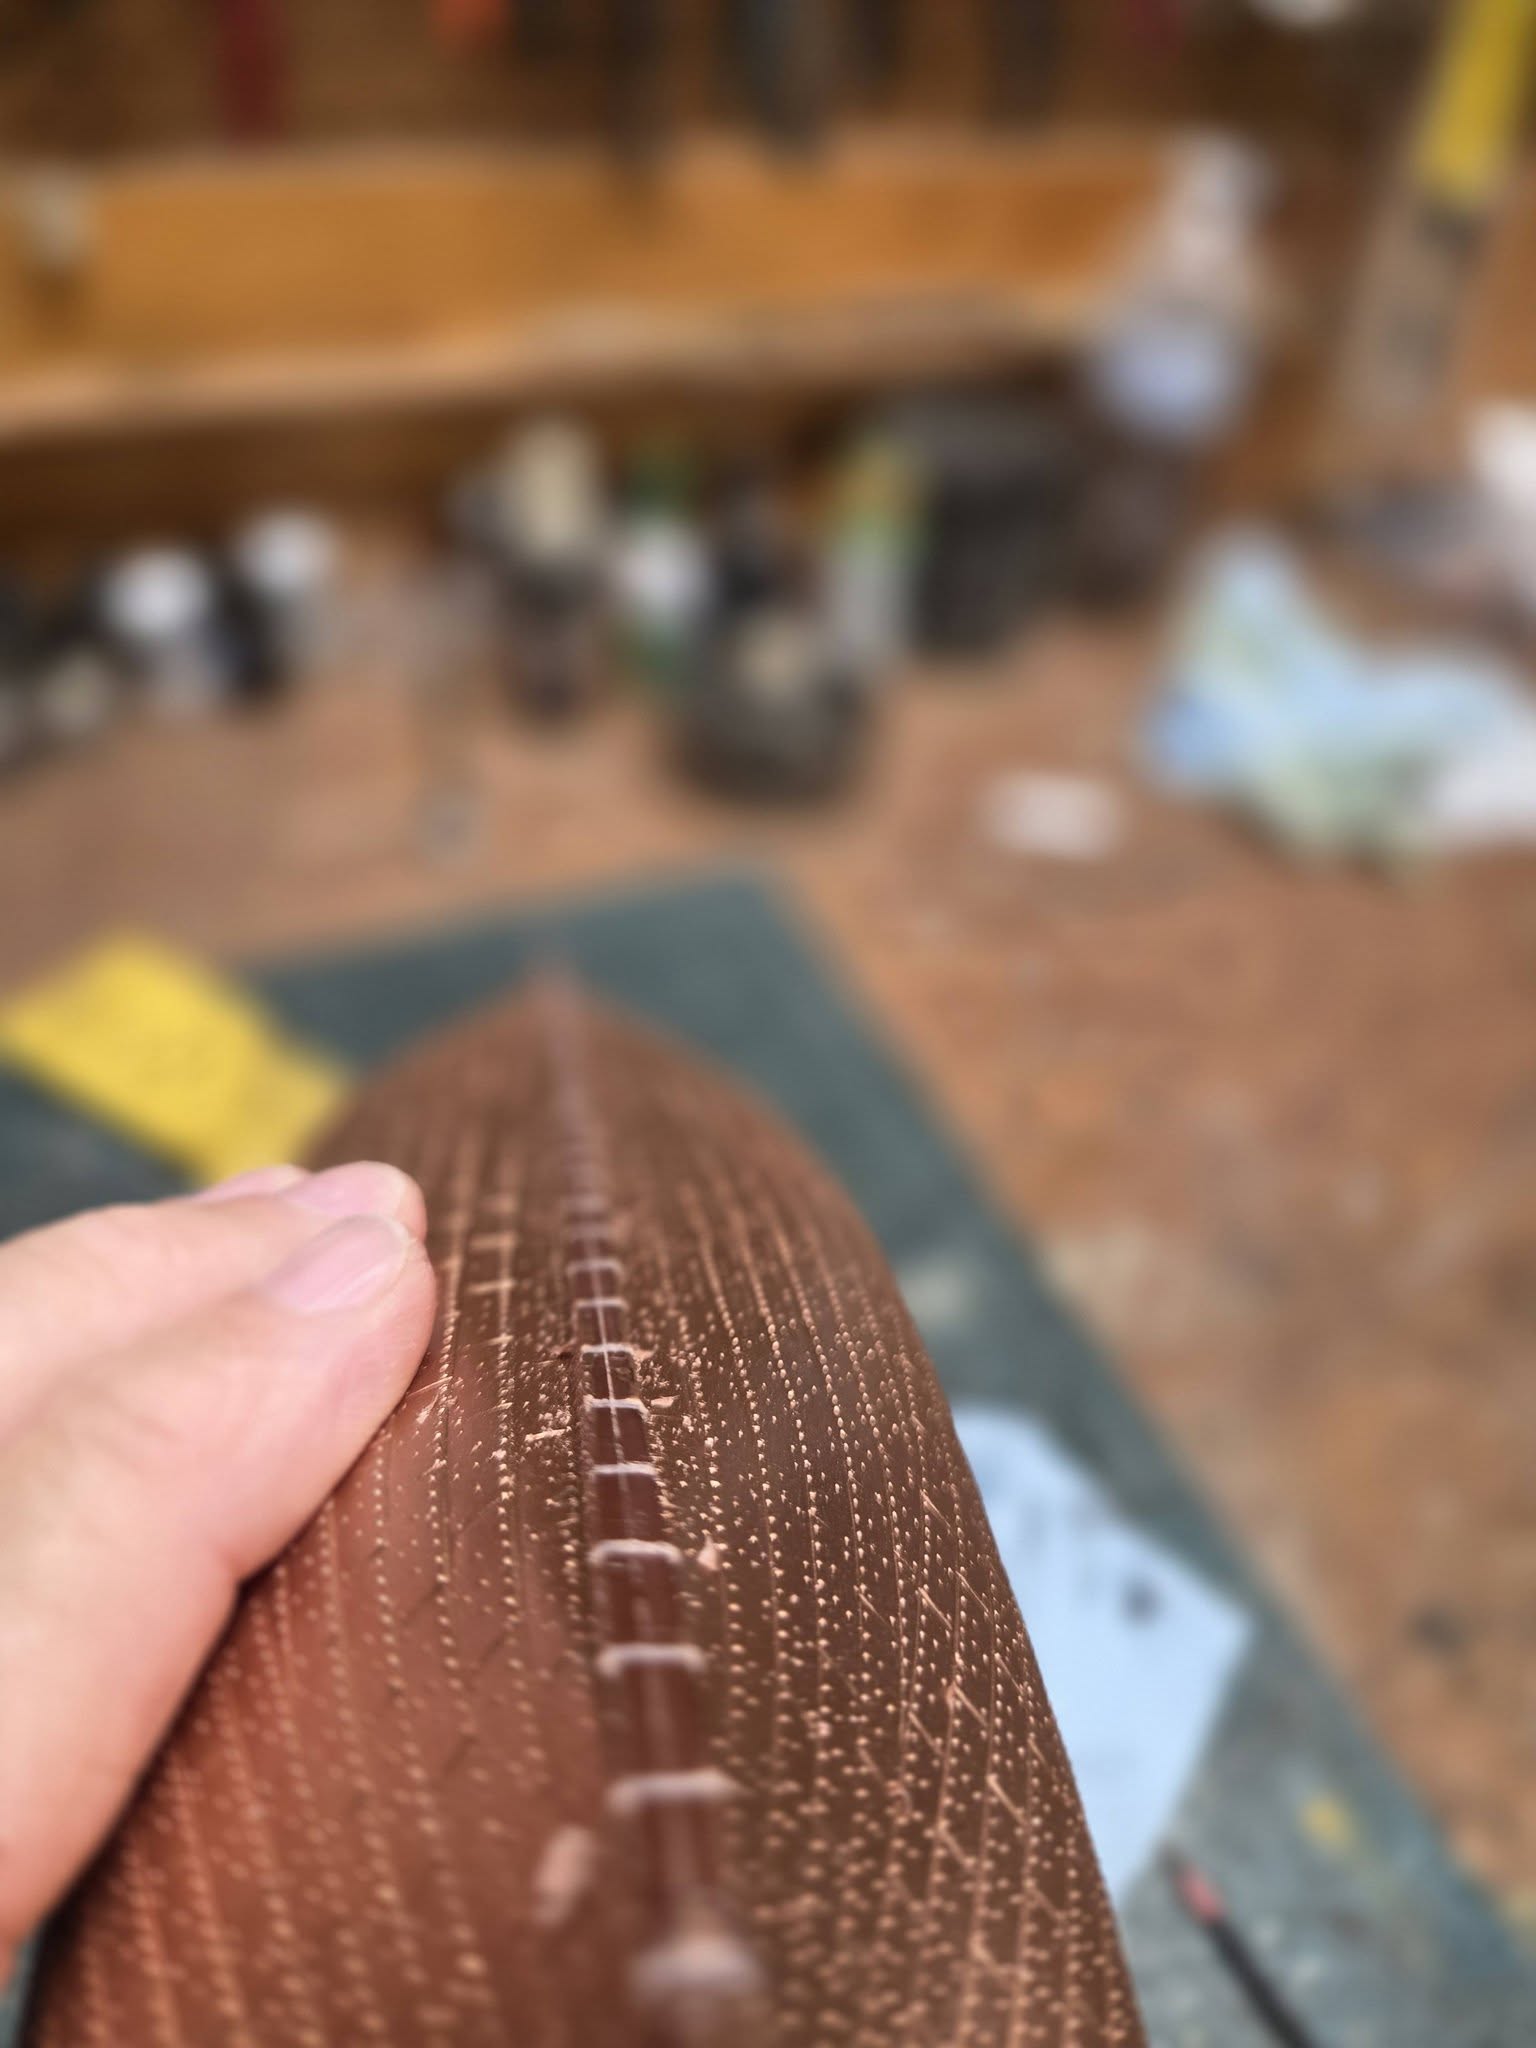
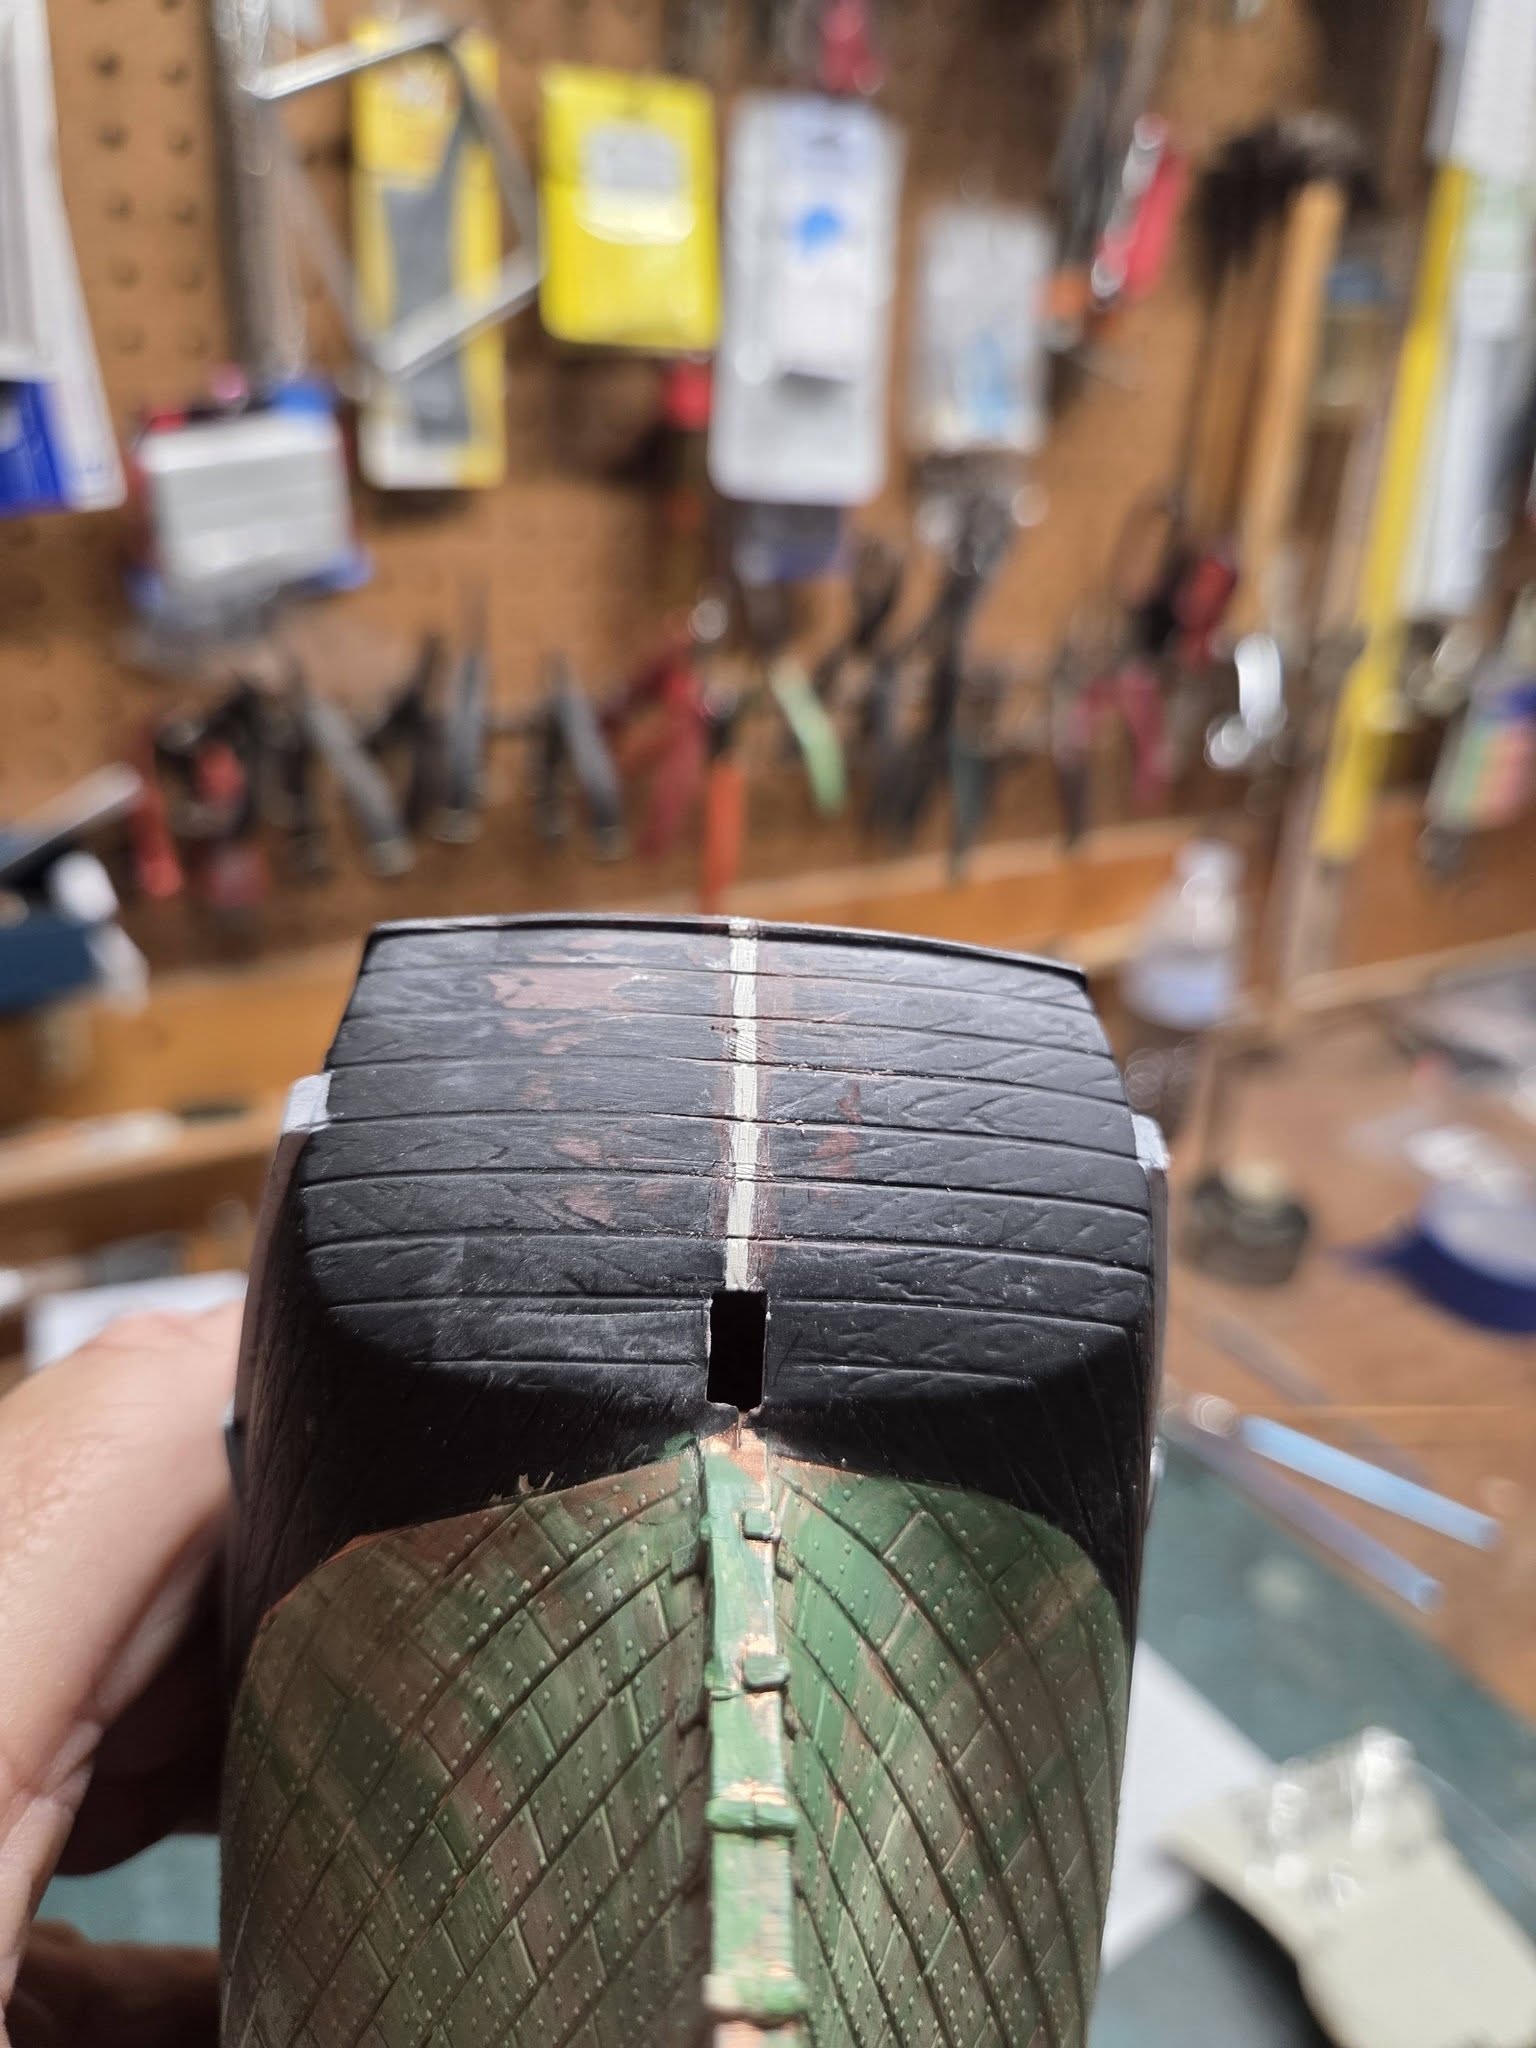
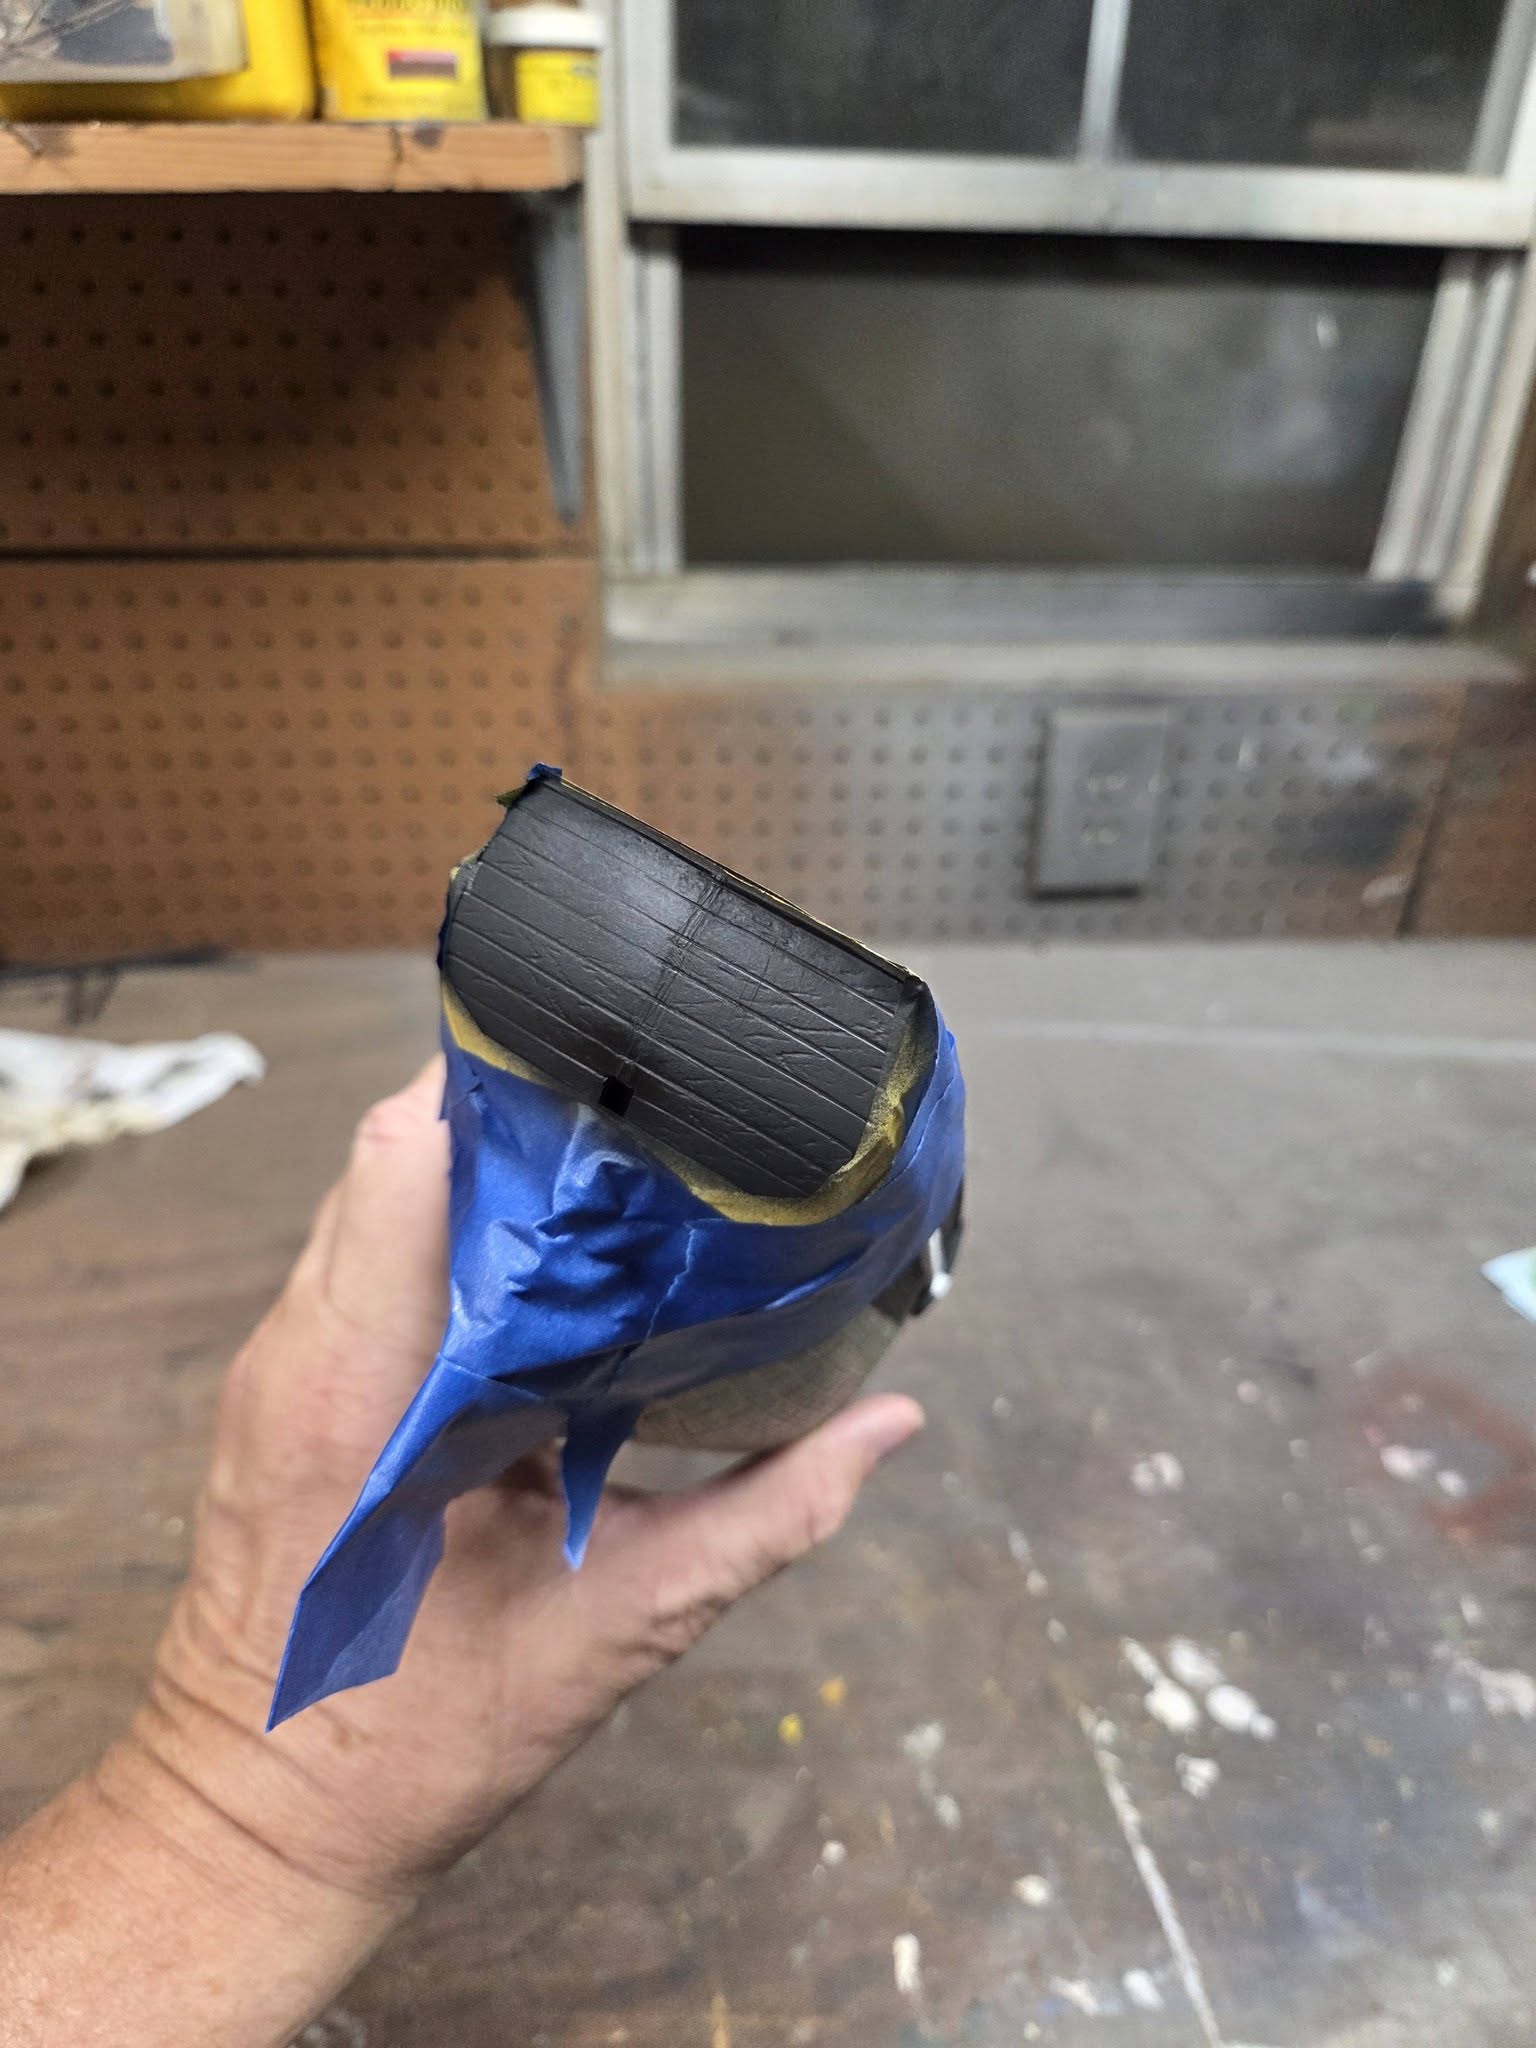
Got the hull seam filed and filled, dry fitted the rudder to see about fit issues, had to trim the stern post down a bit. the tape is used so the filler won’t get on the remaining copper plate. once the putty dries, I’ll refile the plate edges a bit (even though you won’t see 90% of it.

3 Likes
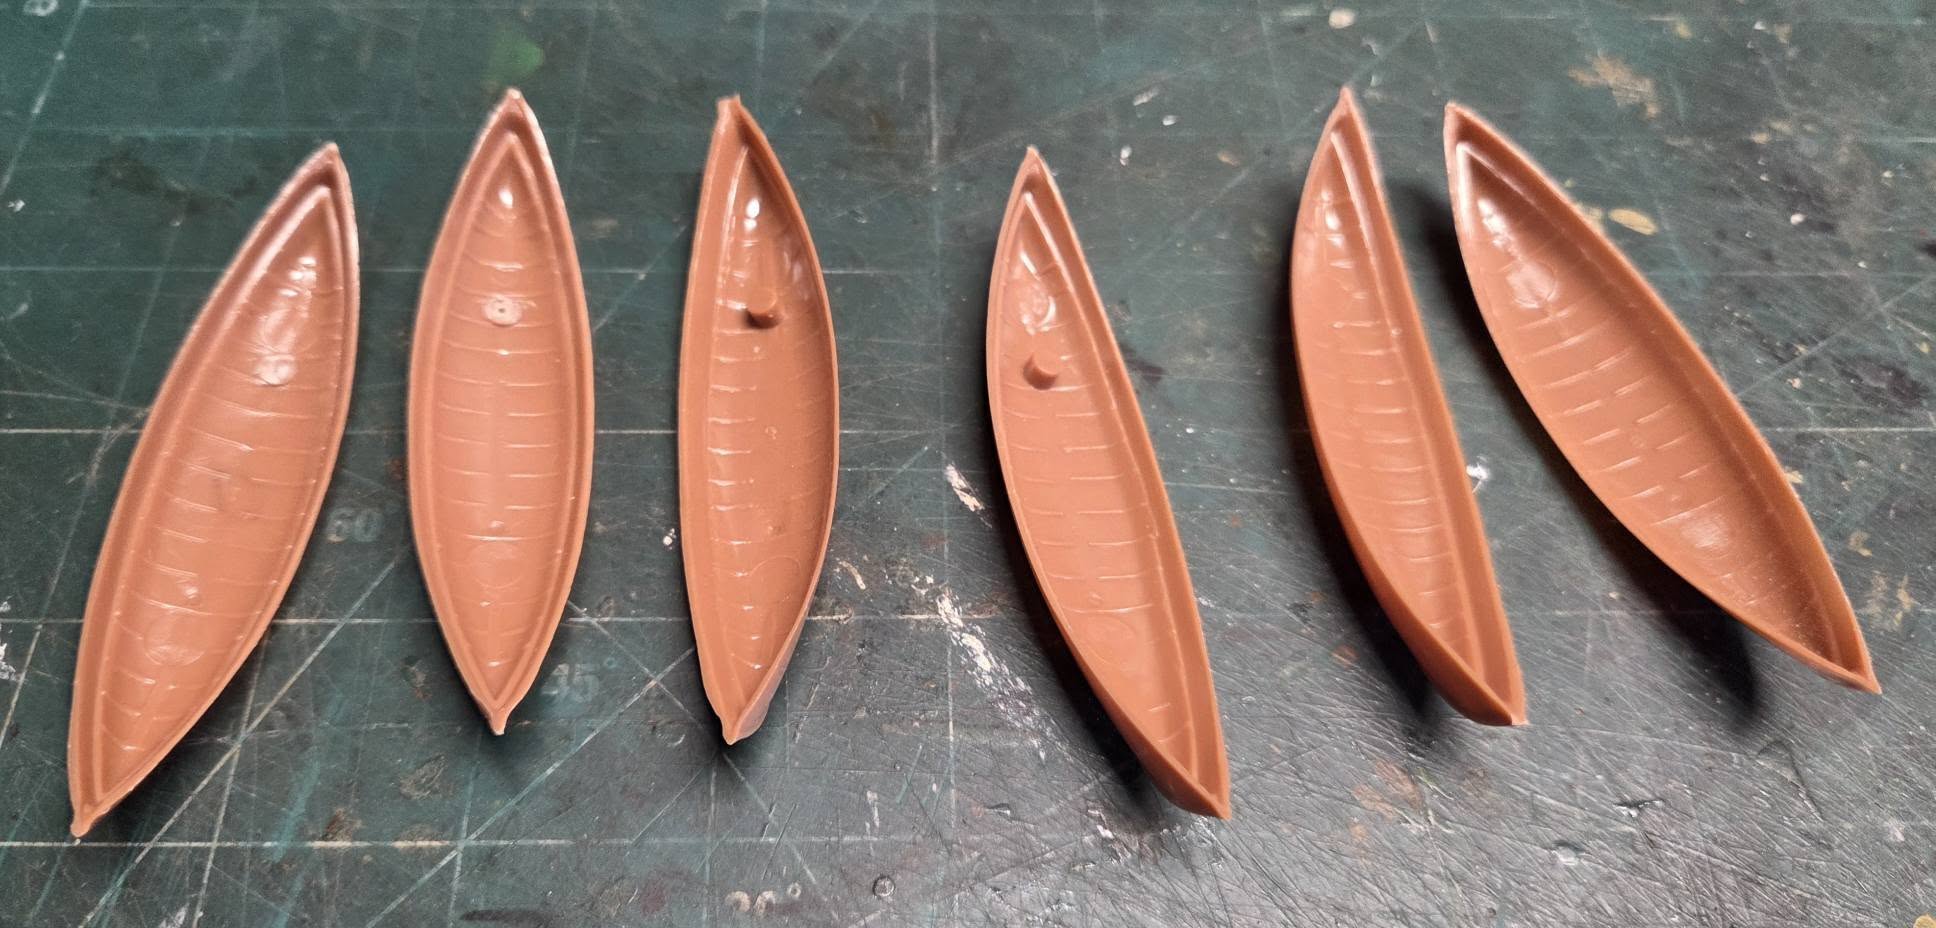
I’ve been working on the whaleboats, all the live long day… parts prep and painting, life of a modeler.
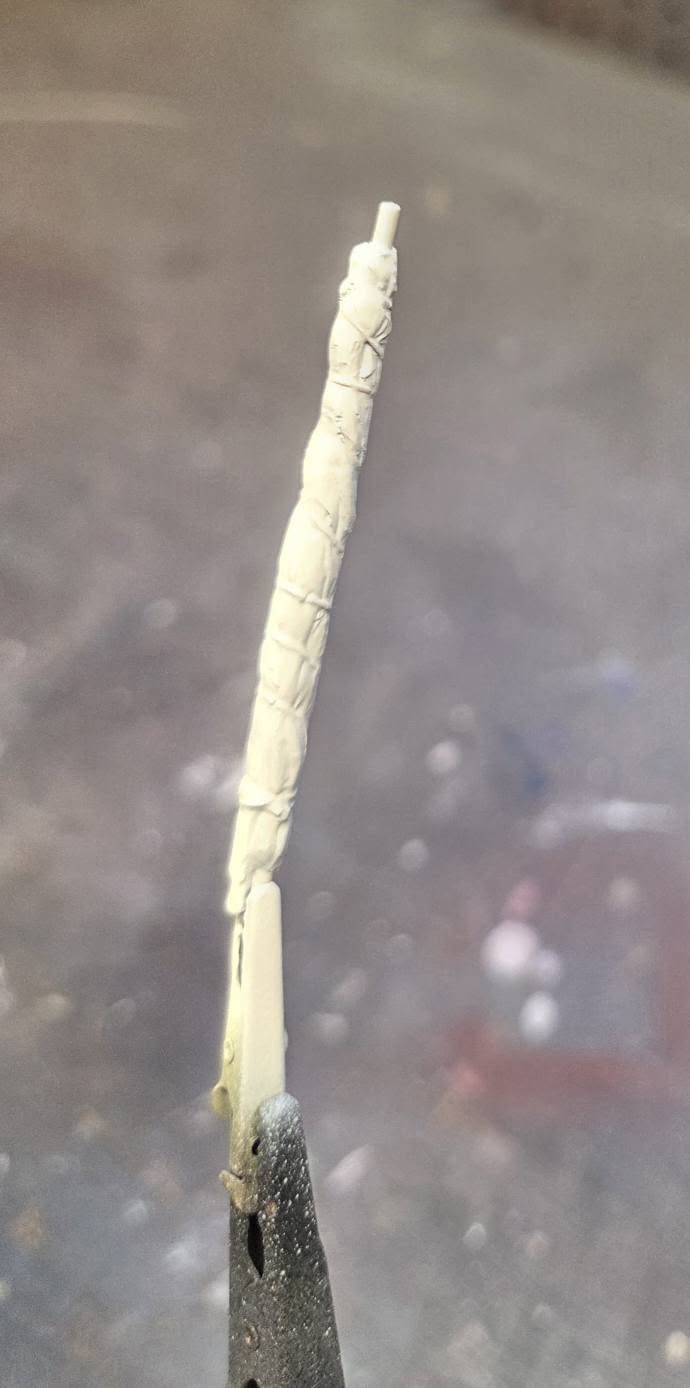
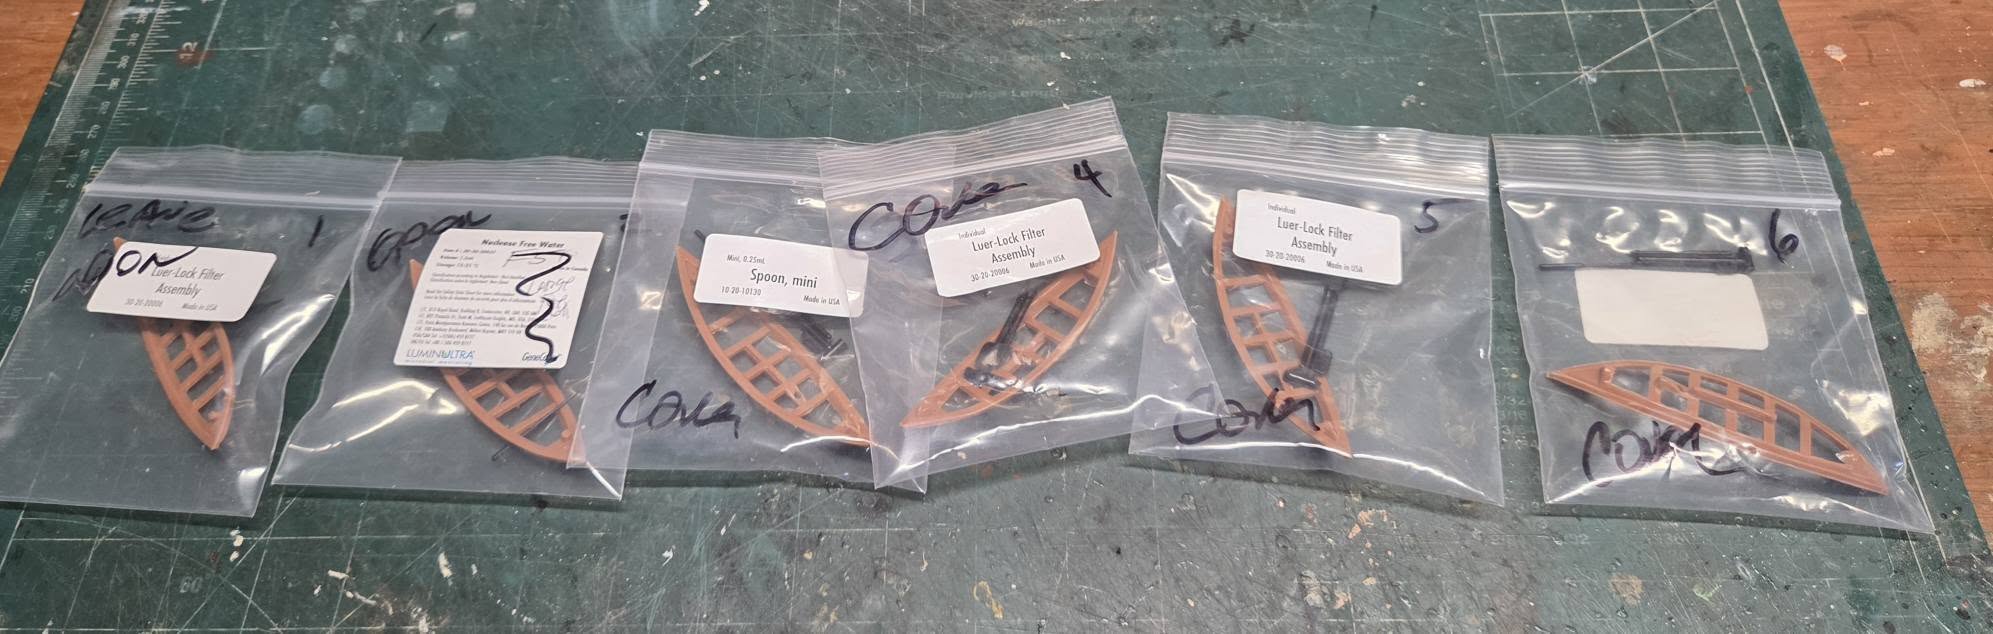
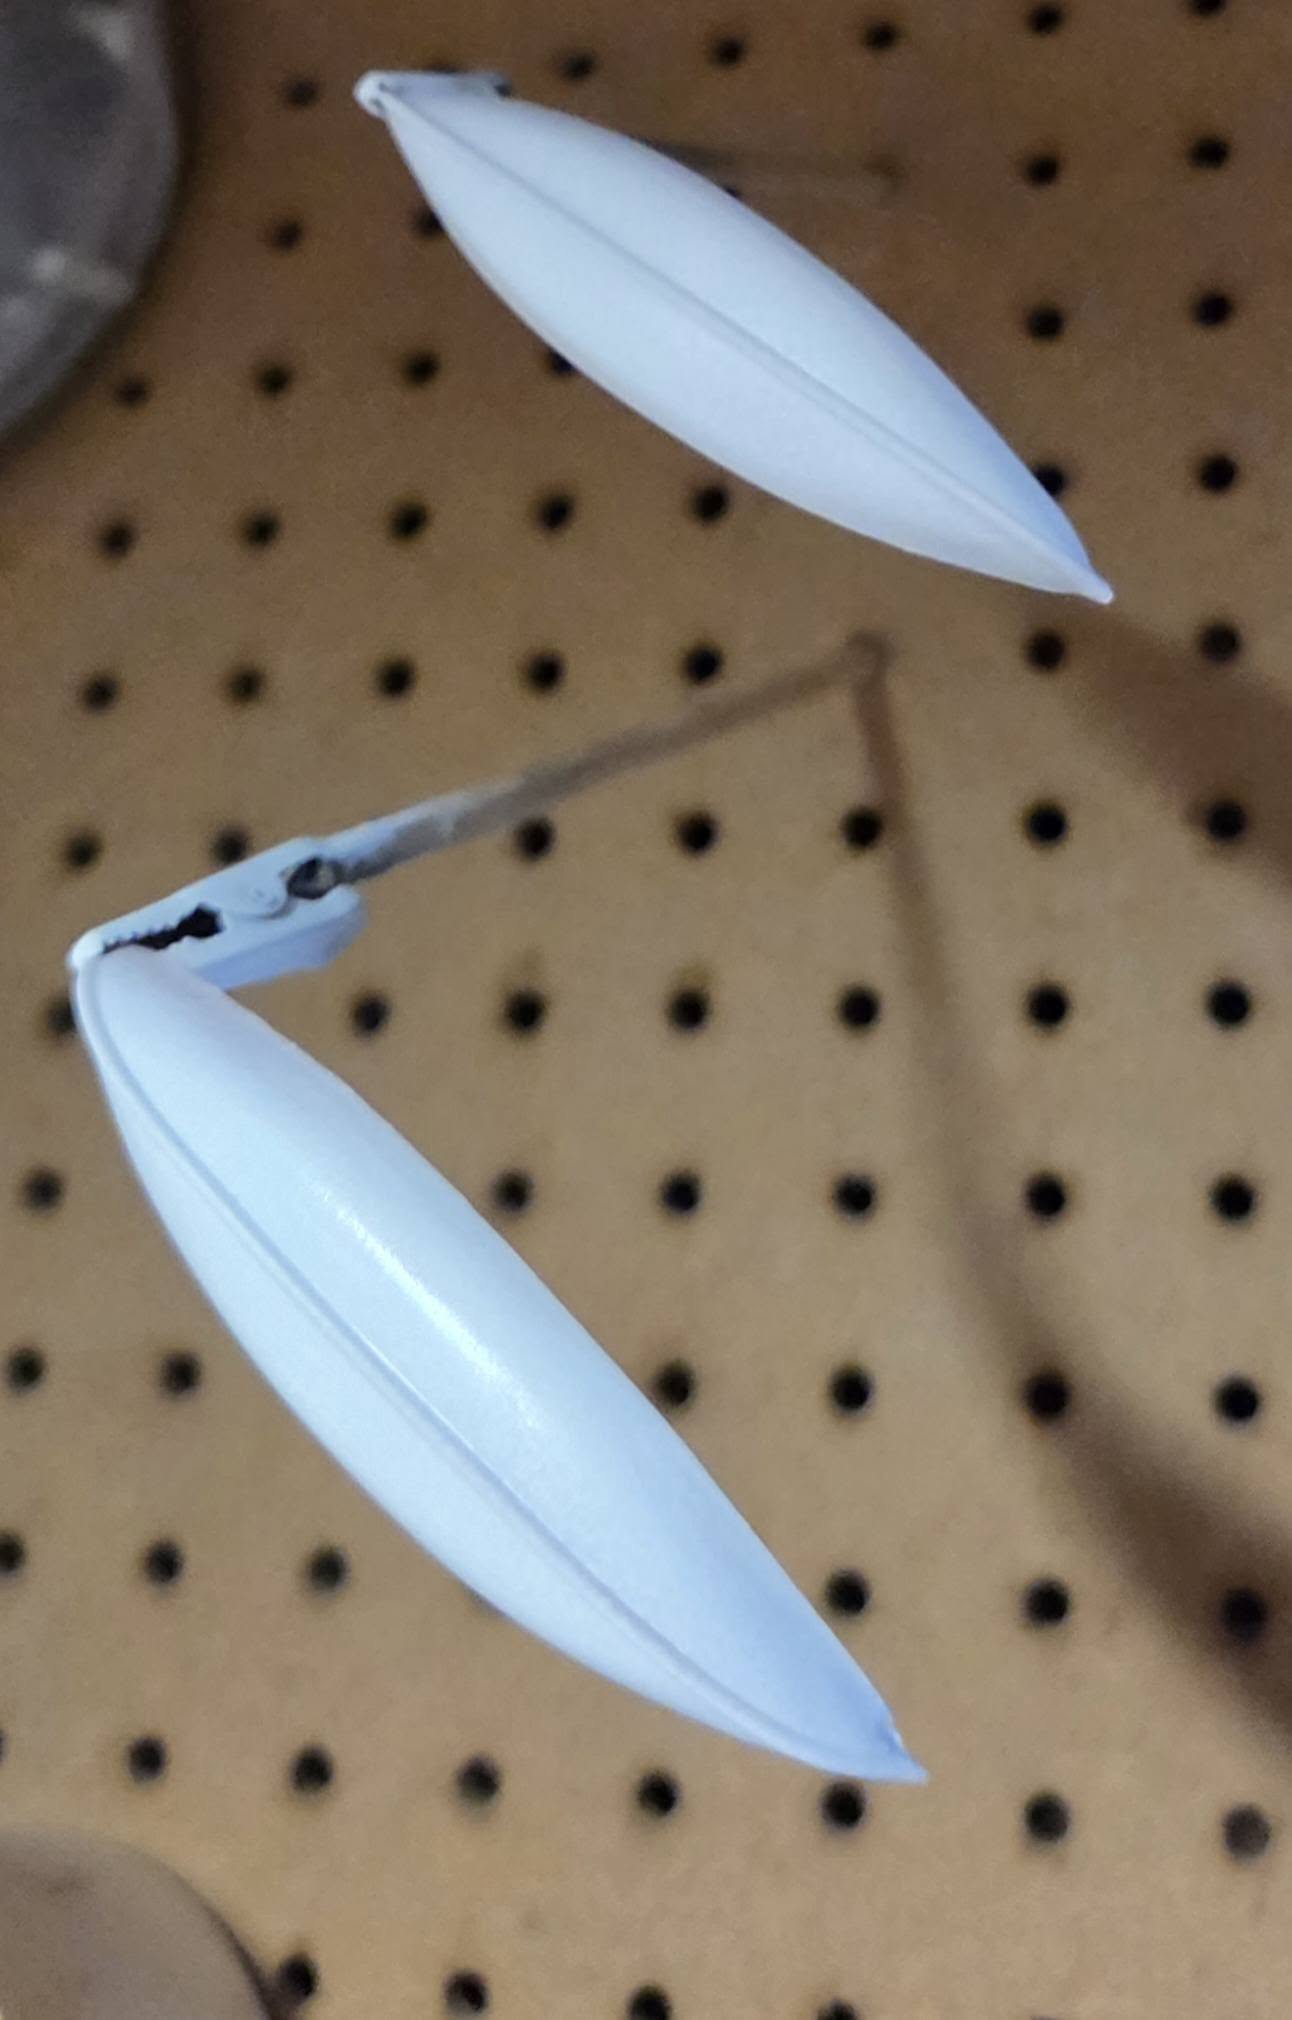
The main color of the boats will be white, the upper seats and frames, I’m still researching what color did the Wanderer may have used. Not a whole lot written on these. Each boat is numbered with the matching seats frames, why I don’t know because they are all the same shape. Two of the boats will be stowed upside down amidship on the racks, the rest will be outboard on the rails ready to launch. The oars will be white.
The sail for each boat is Testors flat sand which will be washed with a slight darker shade to shadow and detail. The rope line for each will be painted armor sand.


2 Likes
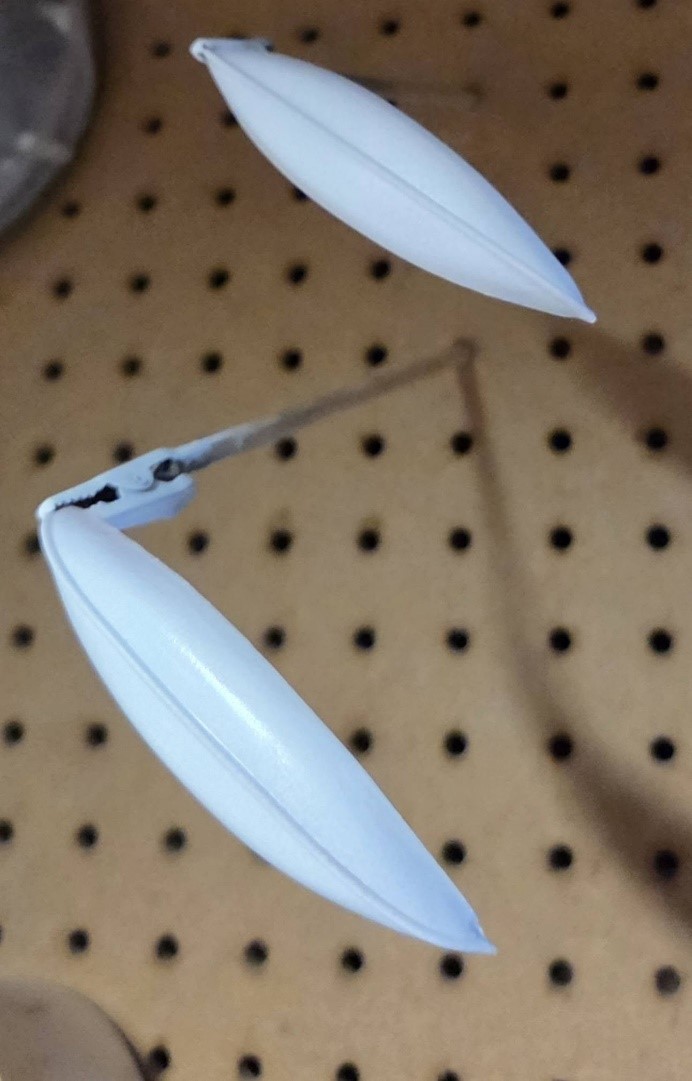
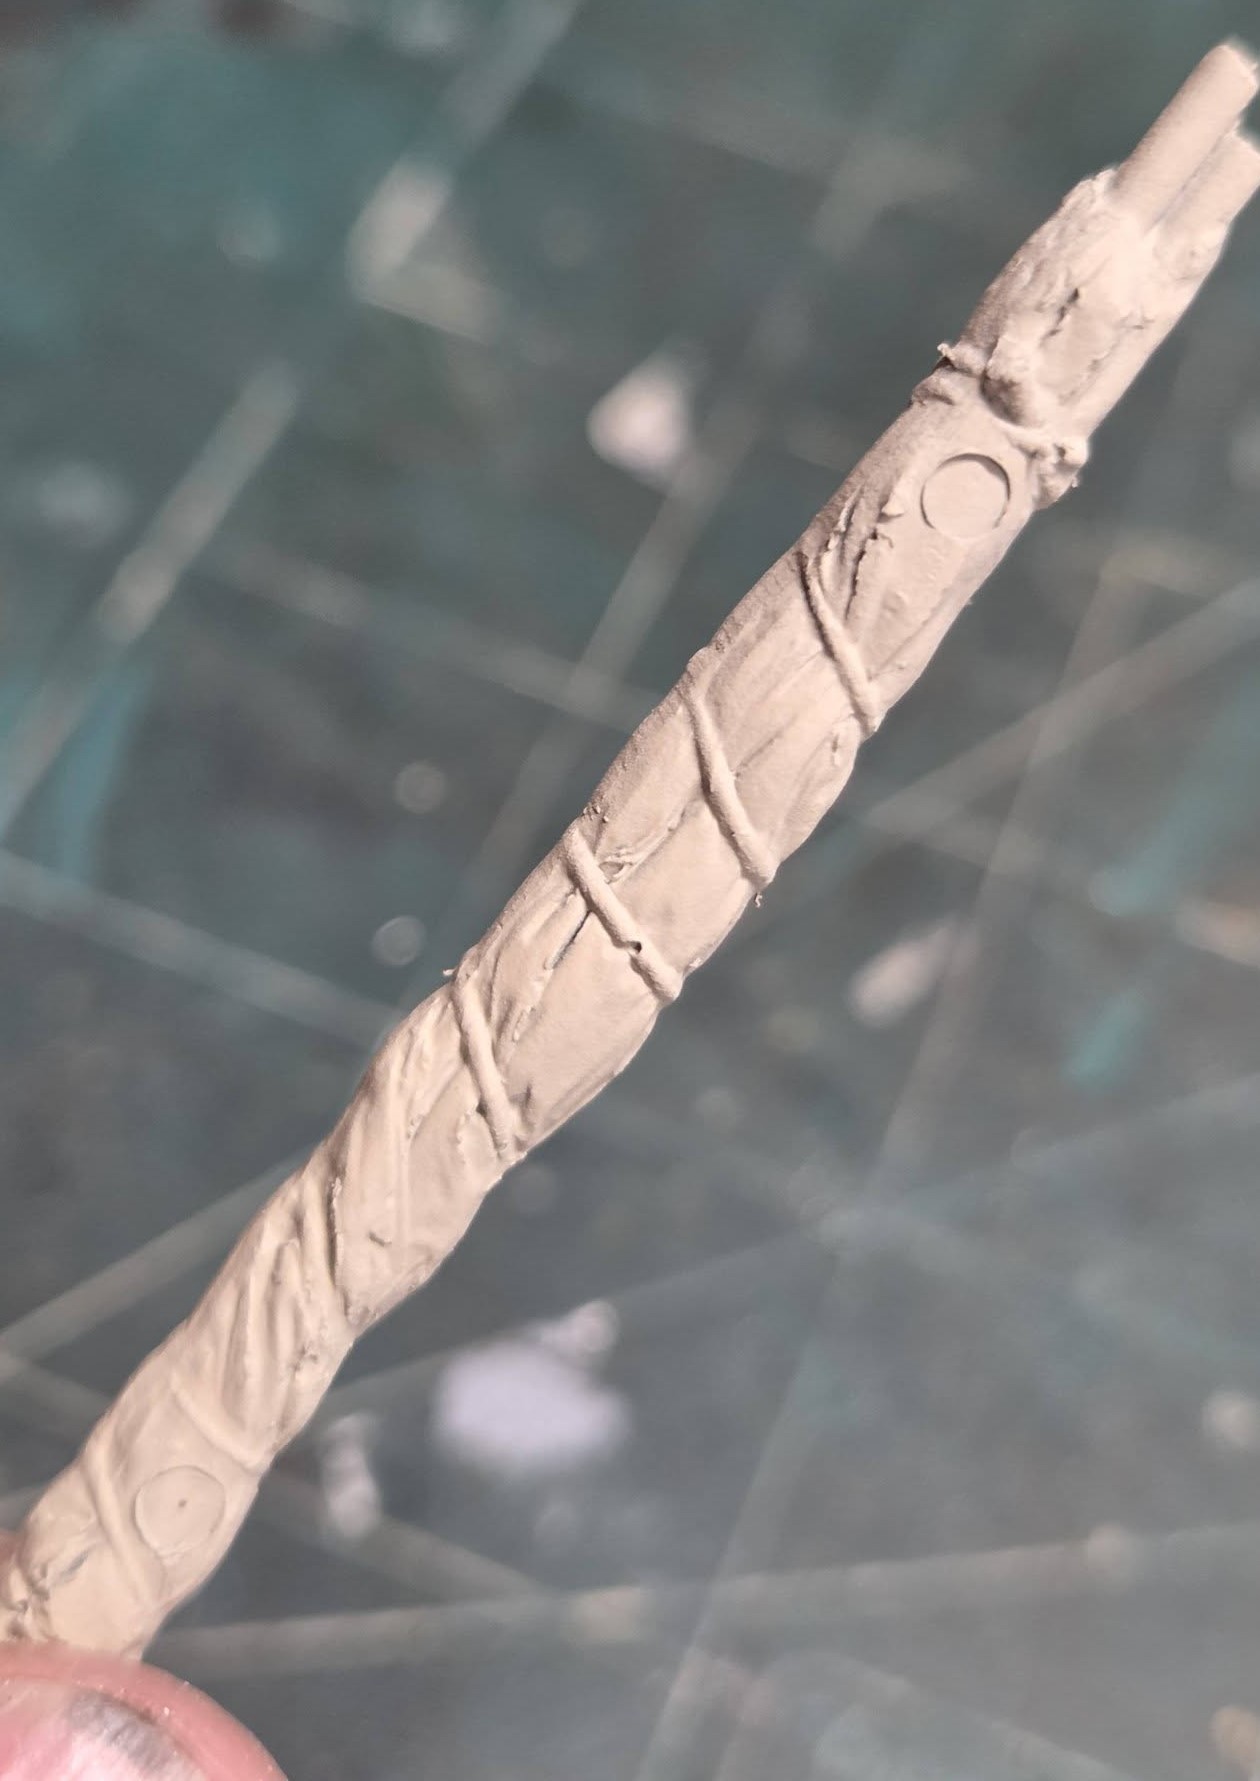
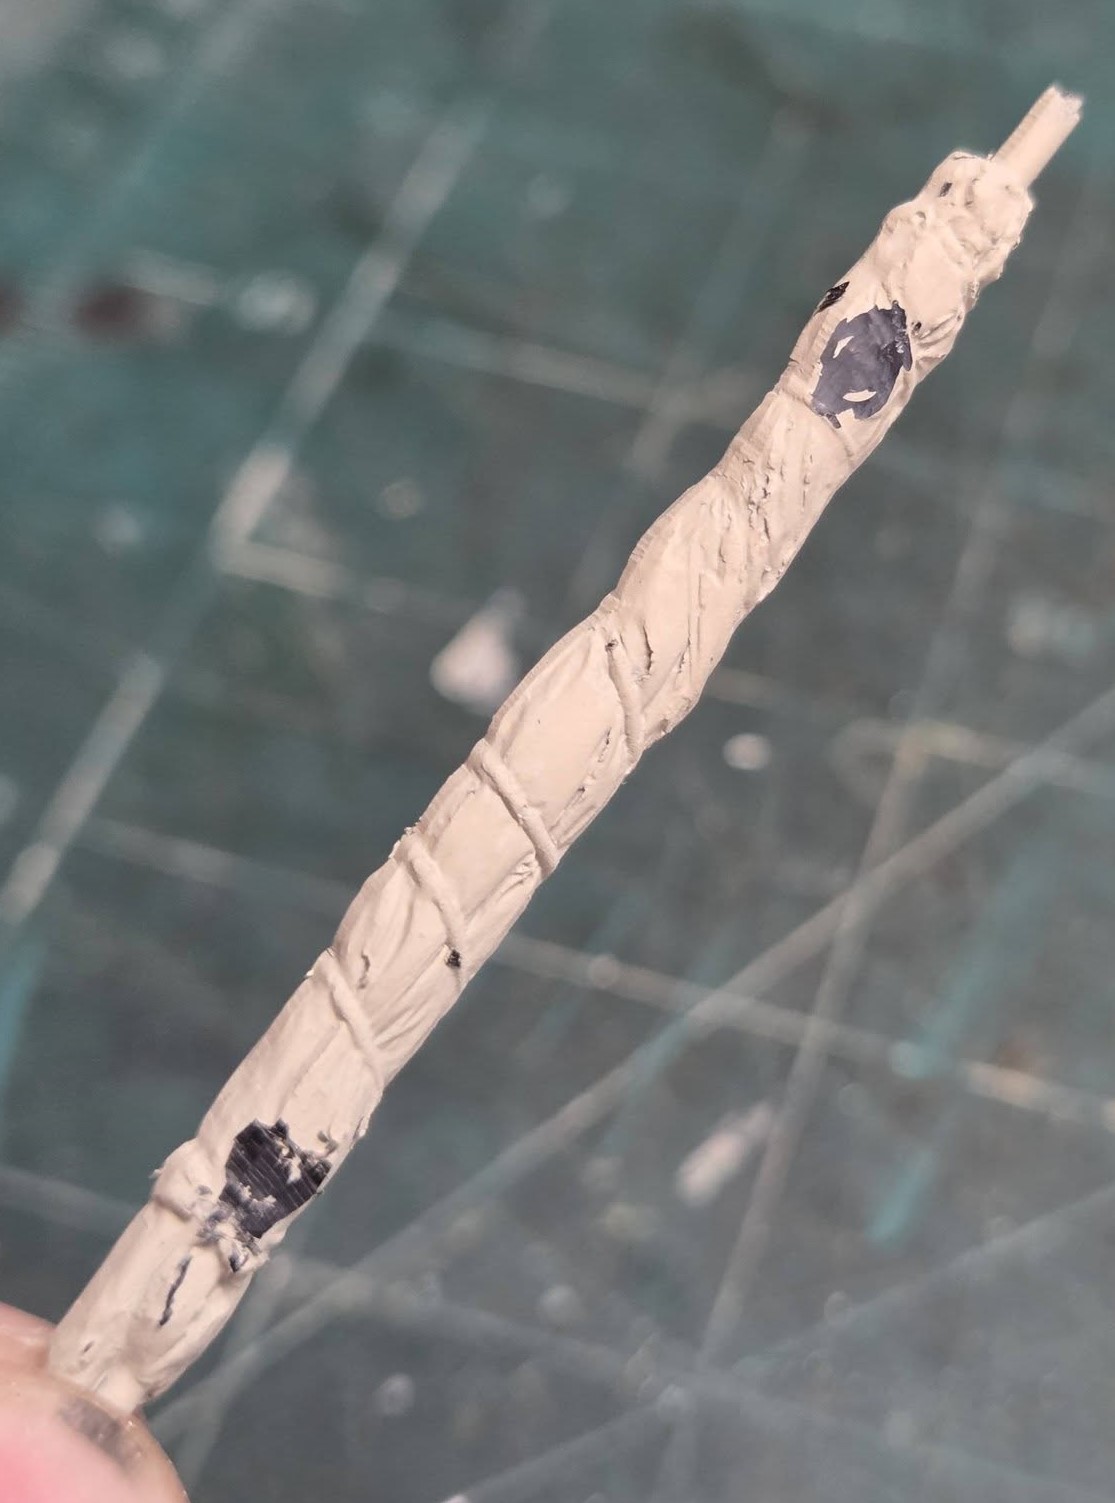
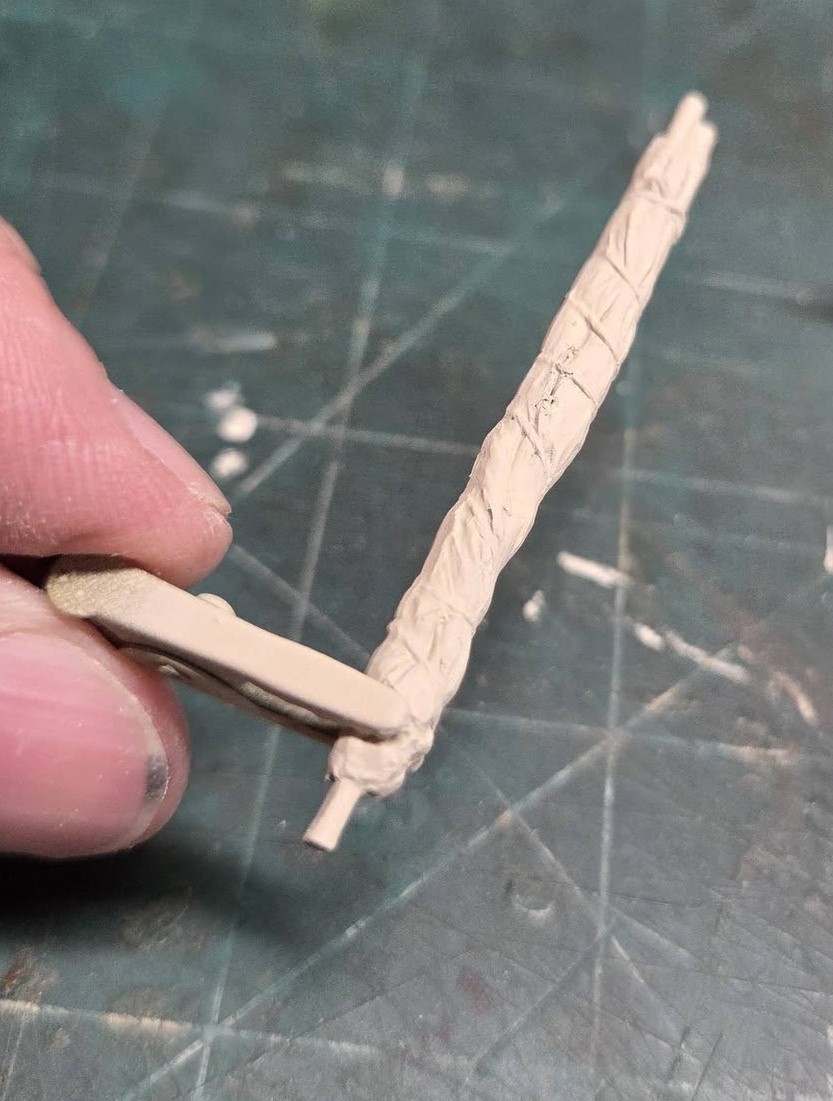
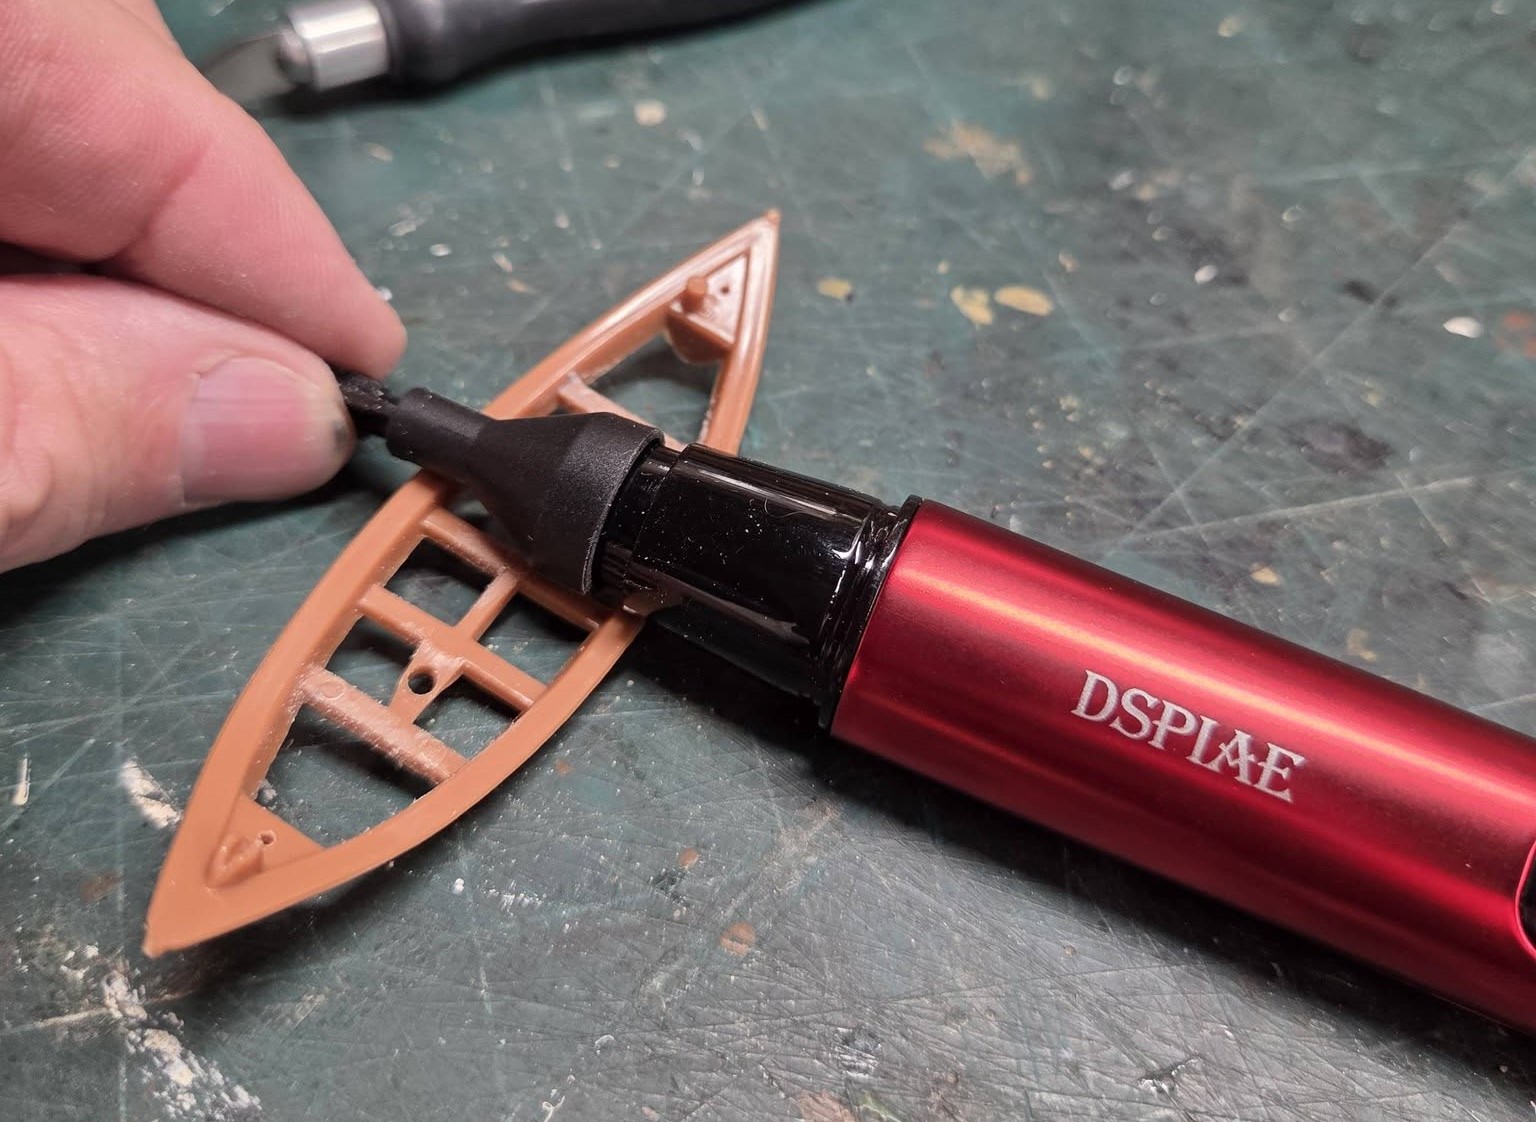
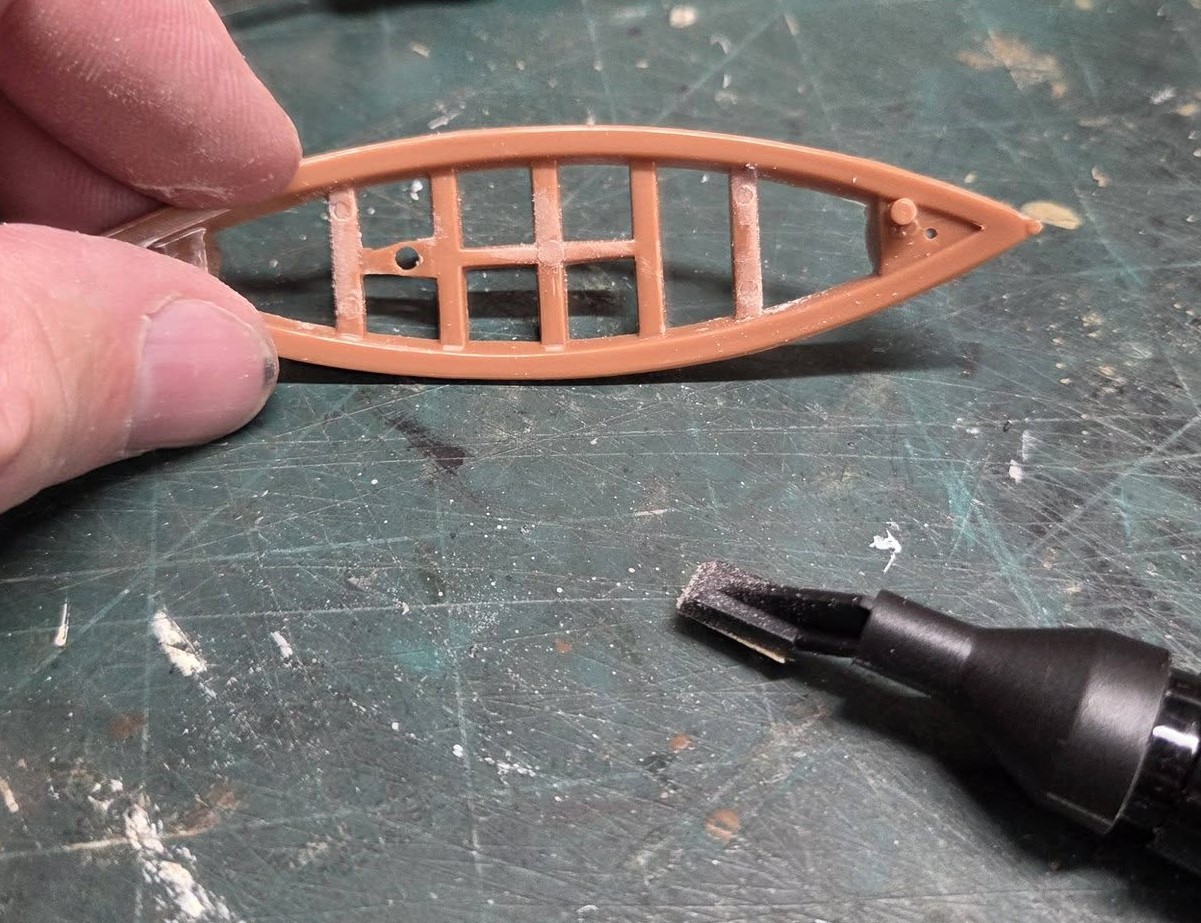
Removing the injection punch marks on the whaleboat sail and benches, the micro sander really comes in handy, I’m using 180 grit paper, I’ve only used it once before, works well. After the sails were retouched up, someone reminded me of what it looked like with the clip…
3 Likes
That little micro sander looks pretty effective. Keep us posted on what you think as you use it more. I’ve been tempted by one, but I’m also a little suspicious.  I’d be interested to hear how useful it turns out to be over time.
1 Like
One tip I’ve learned is you scrape or remove the extra material as must as possible with your hobby knife (use some different ex-acto blades to get in to tight spaces) before sanding, make the pad last longer.
1 Like
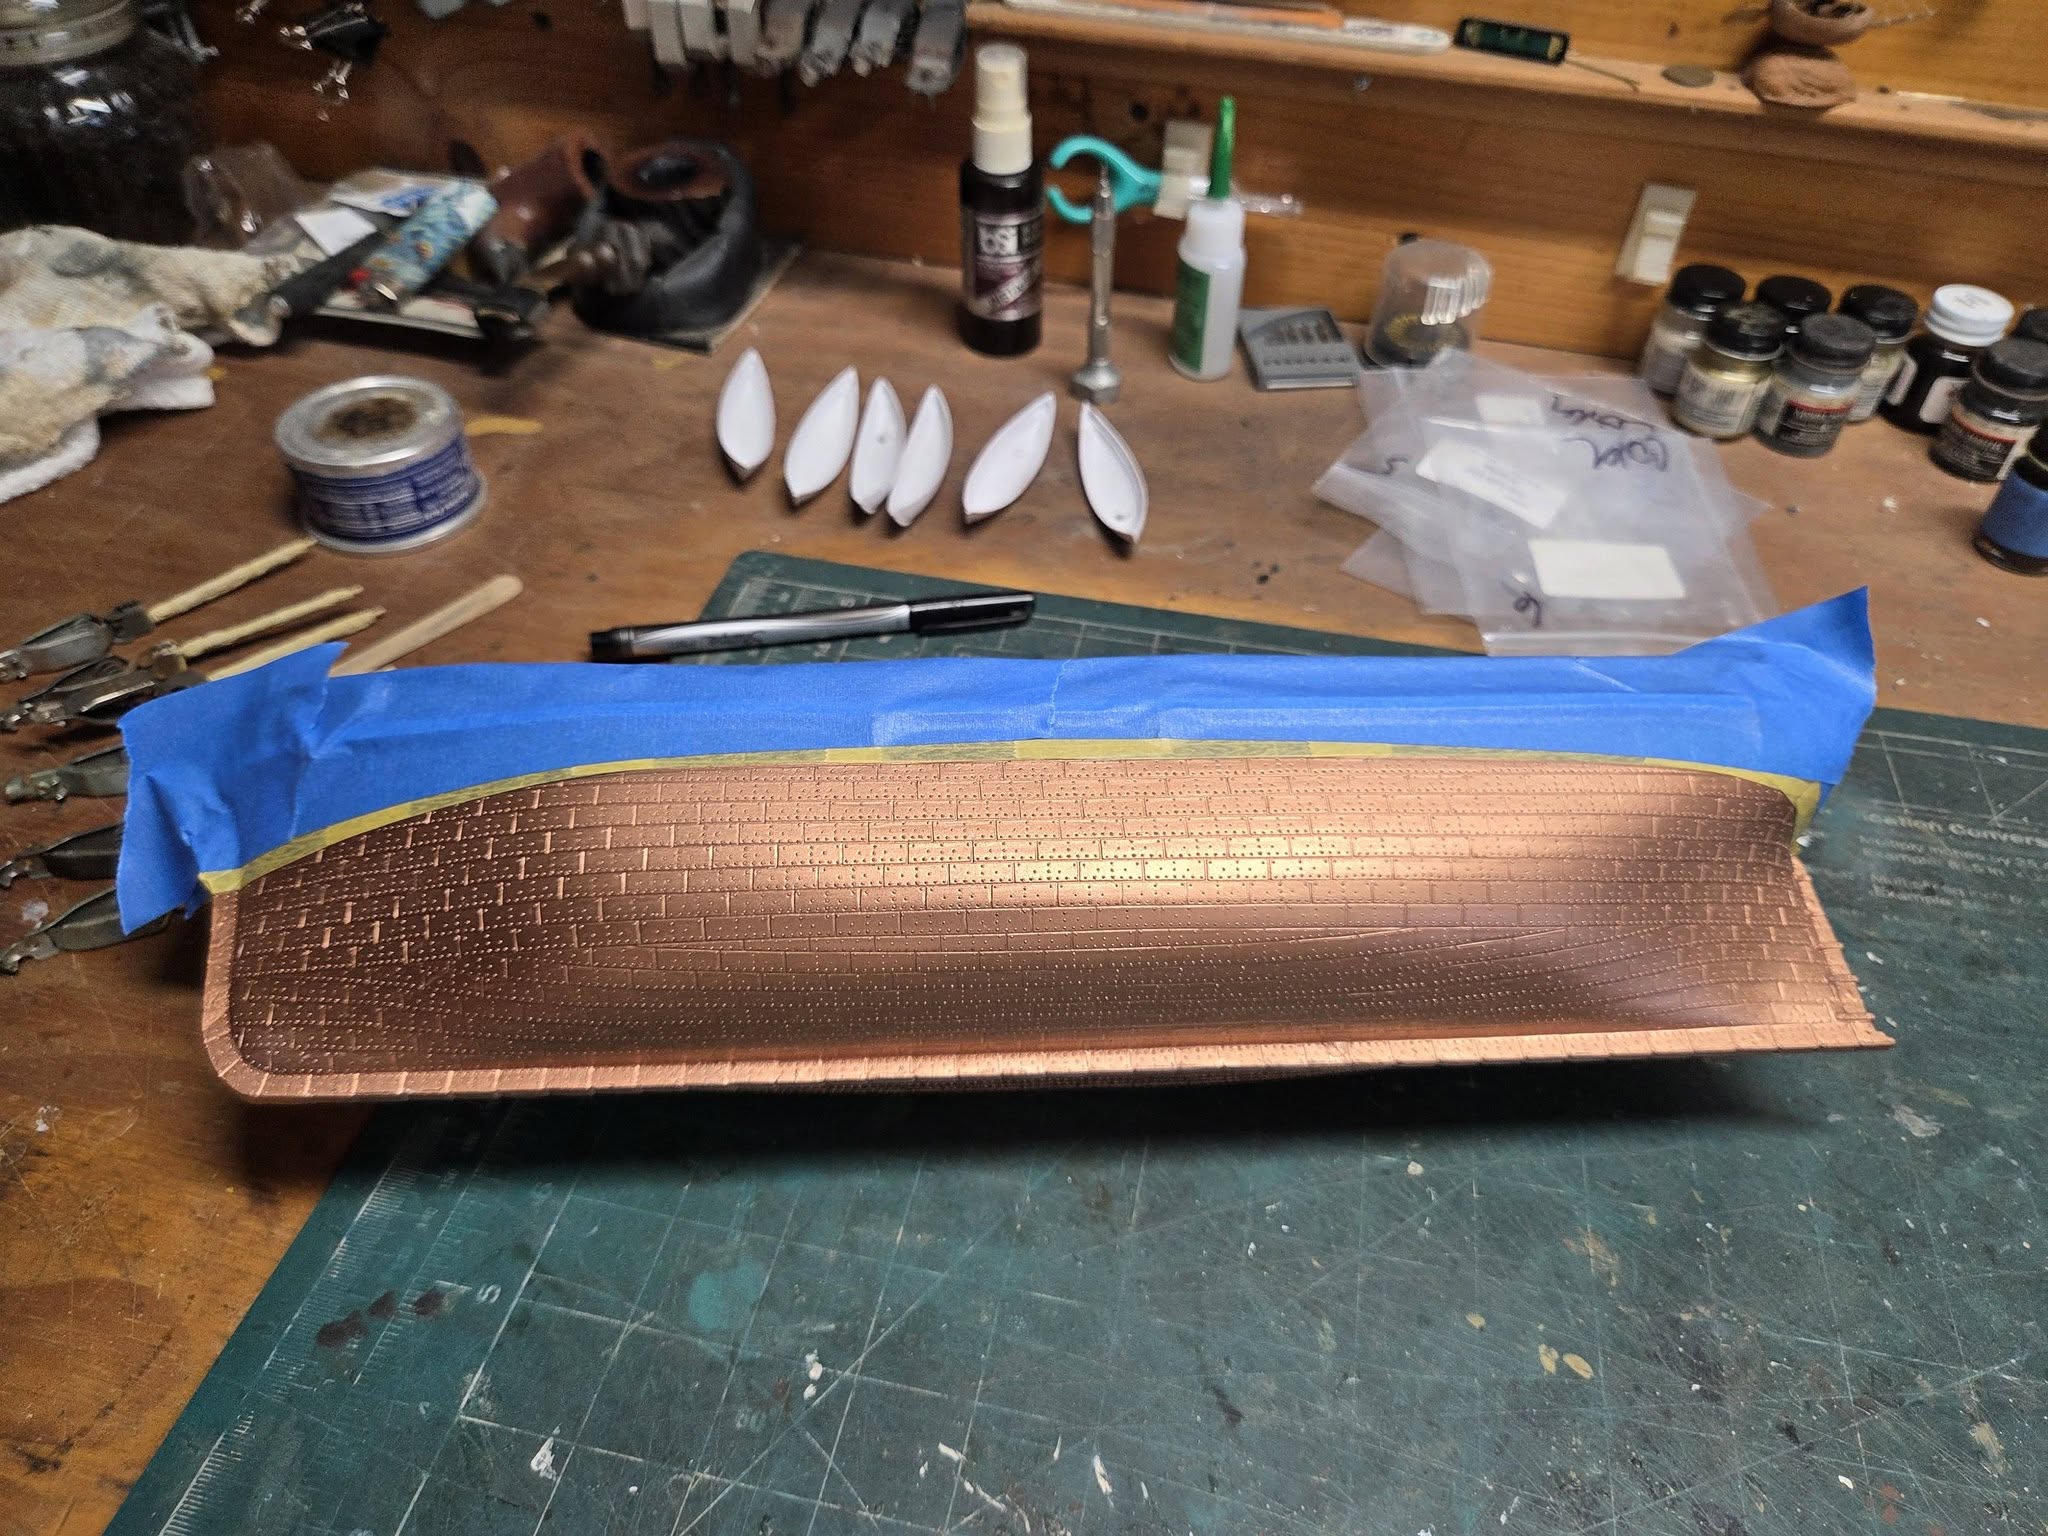
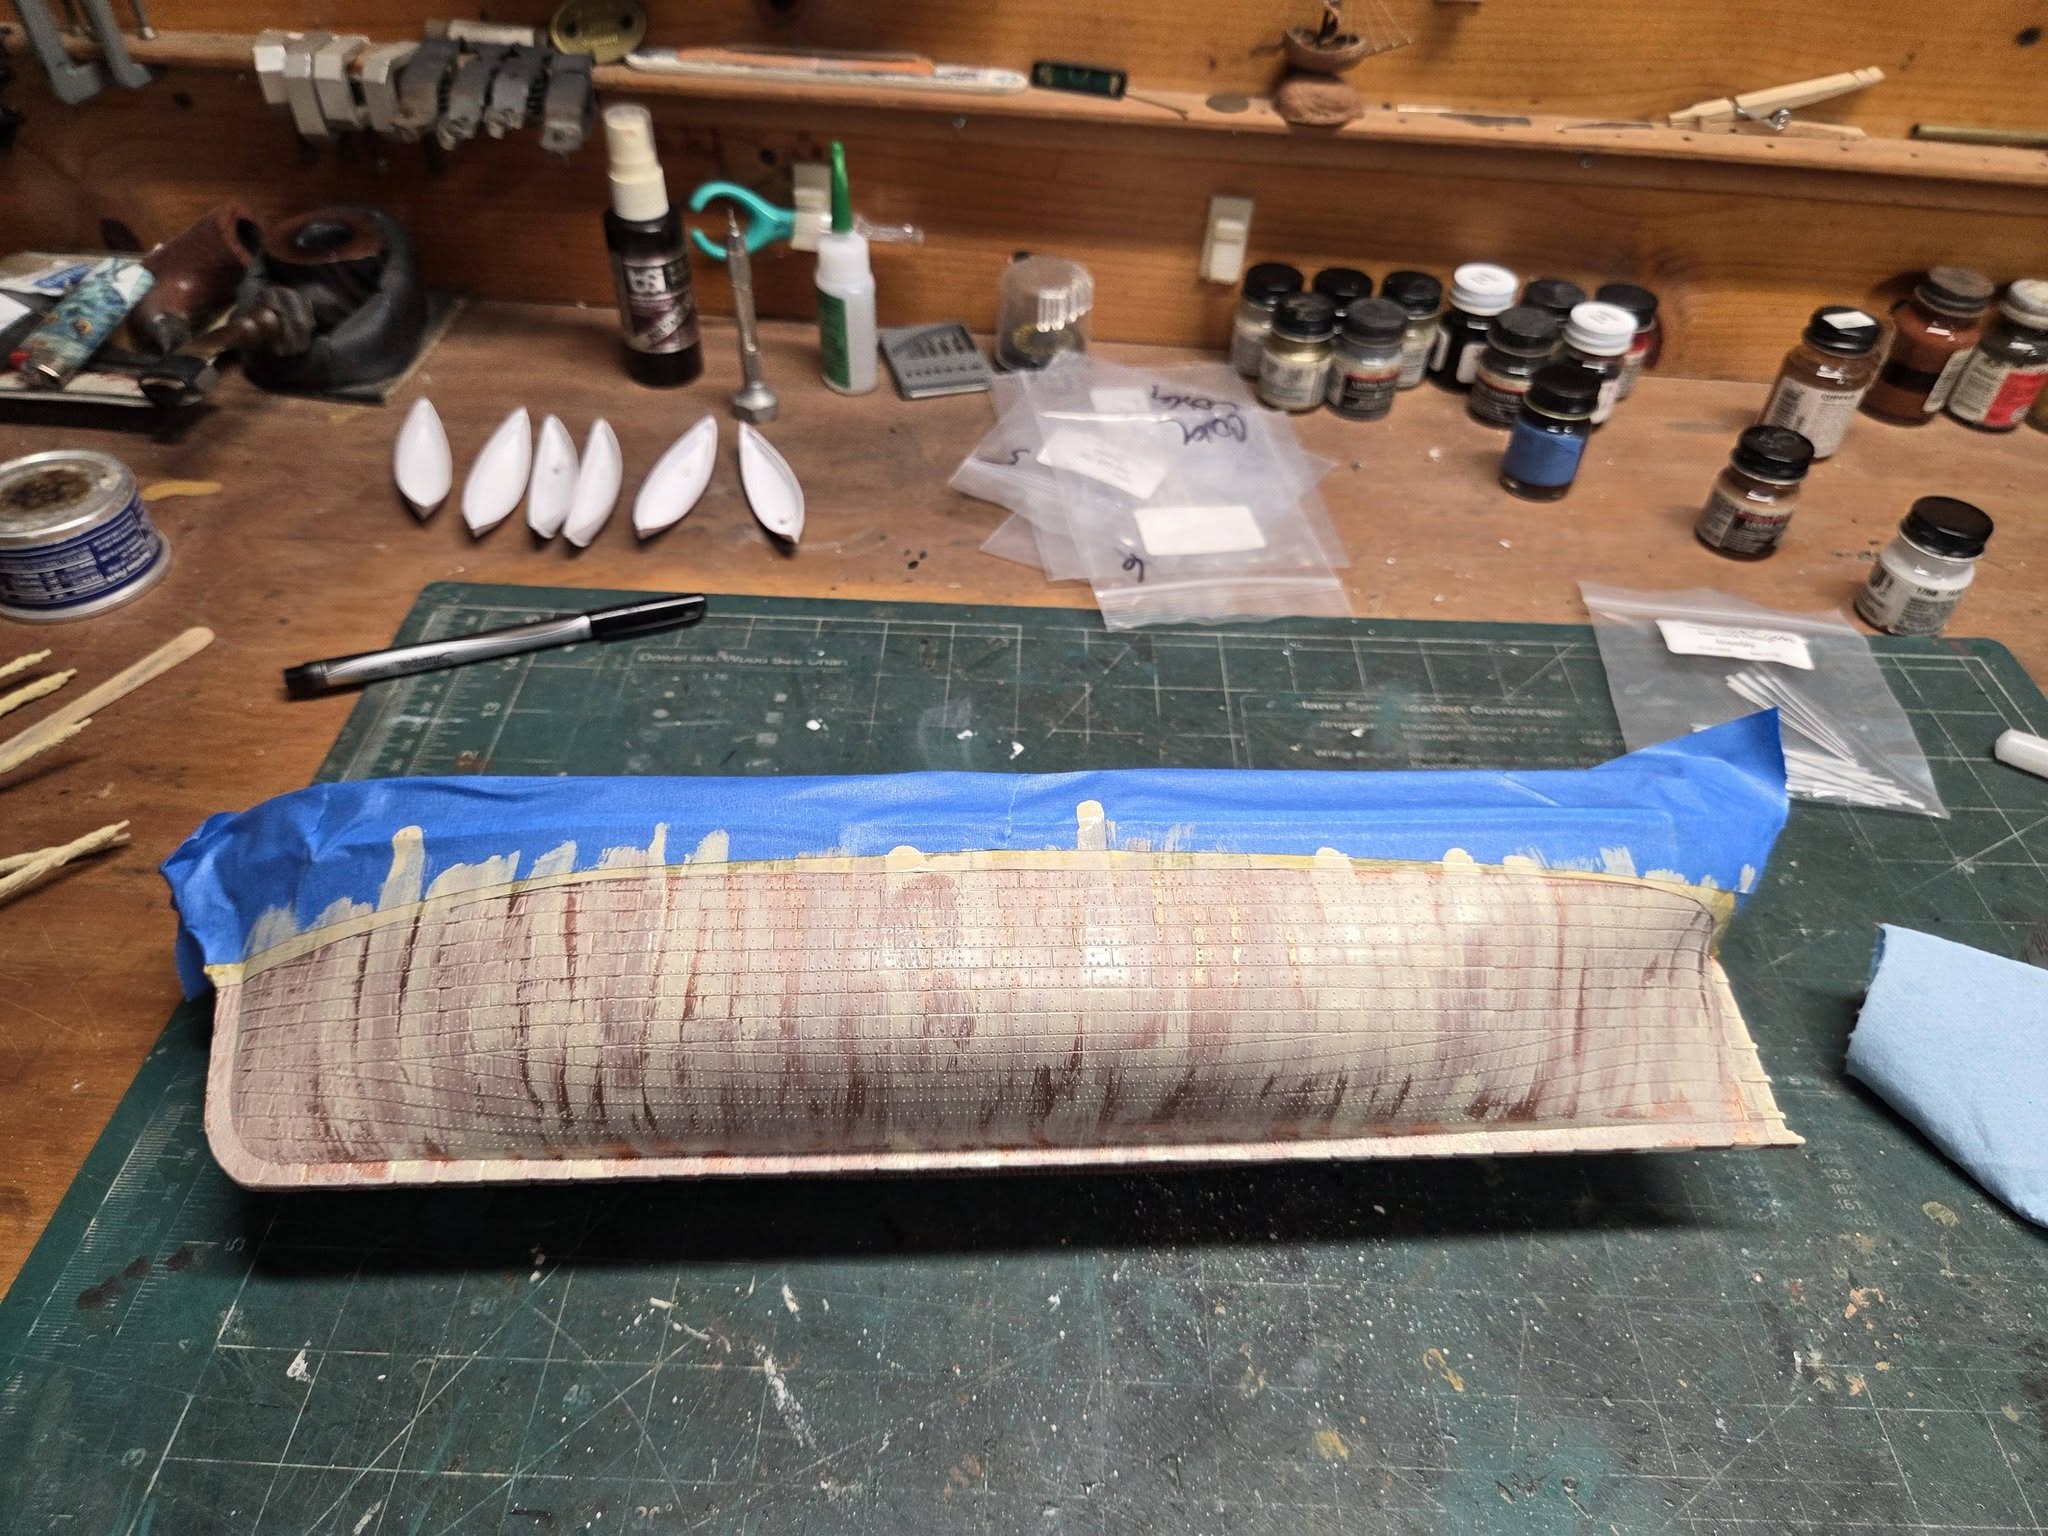
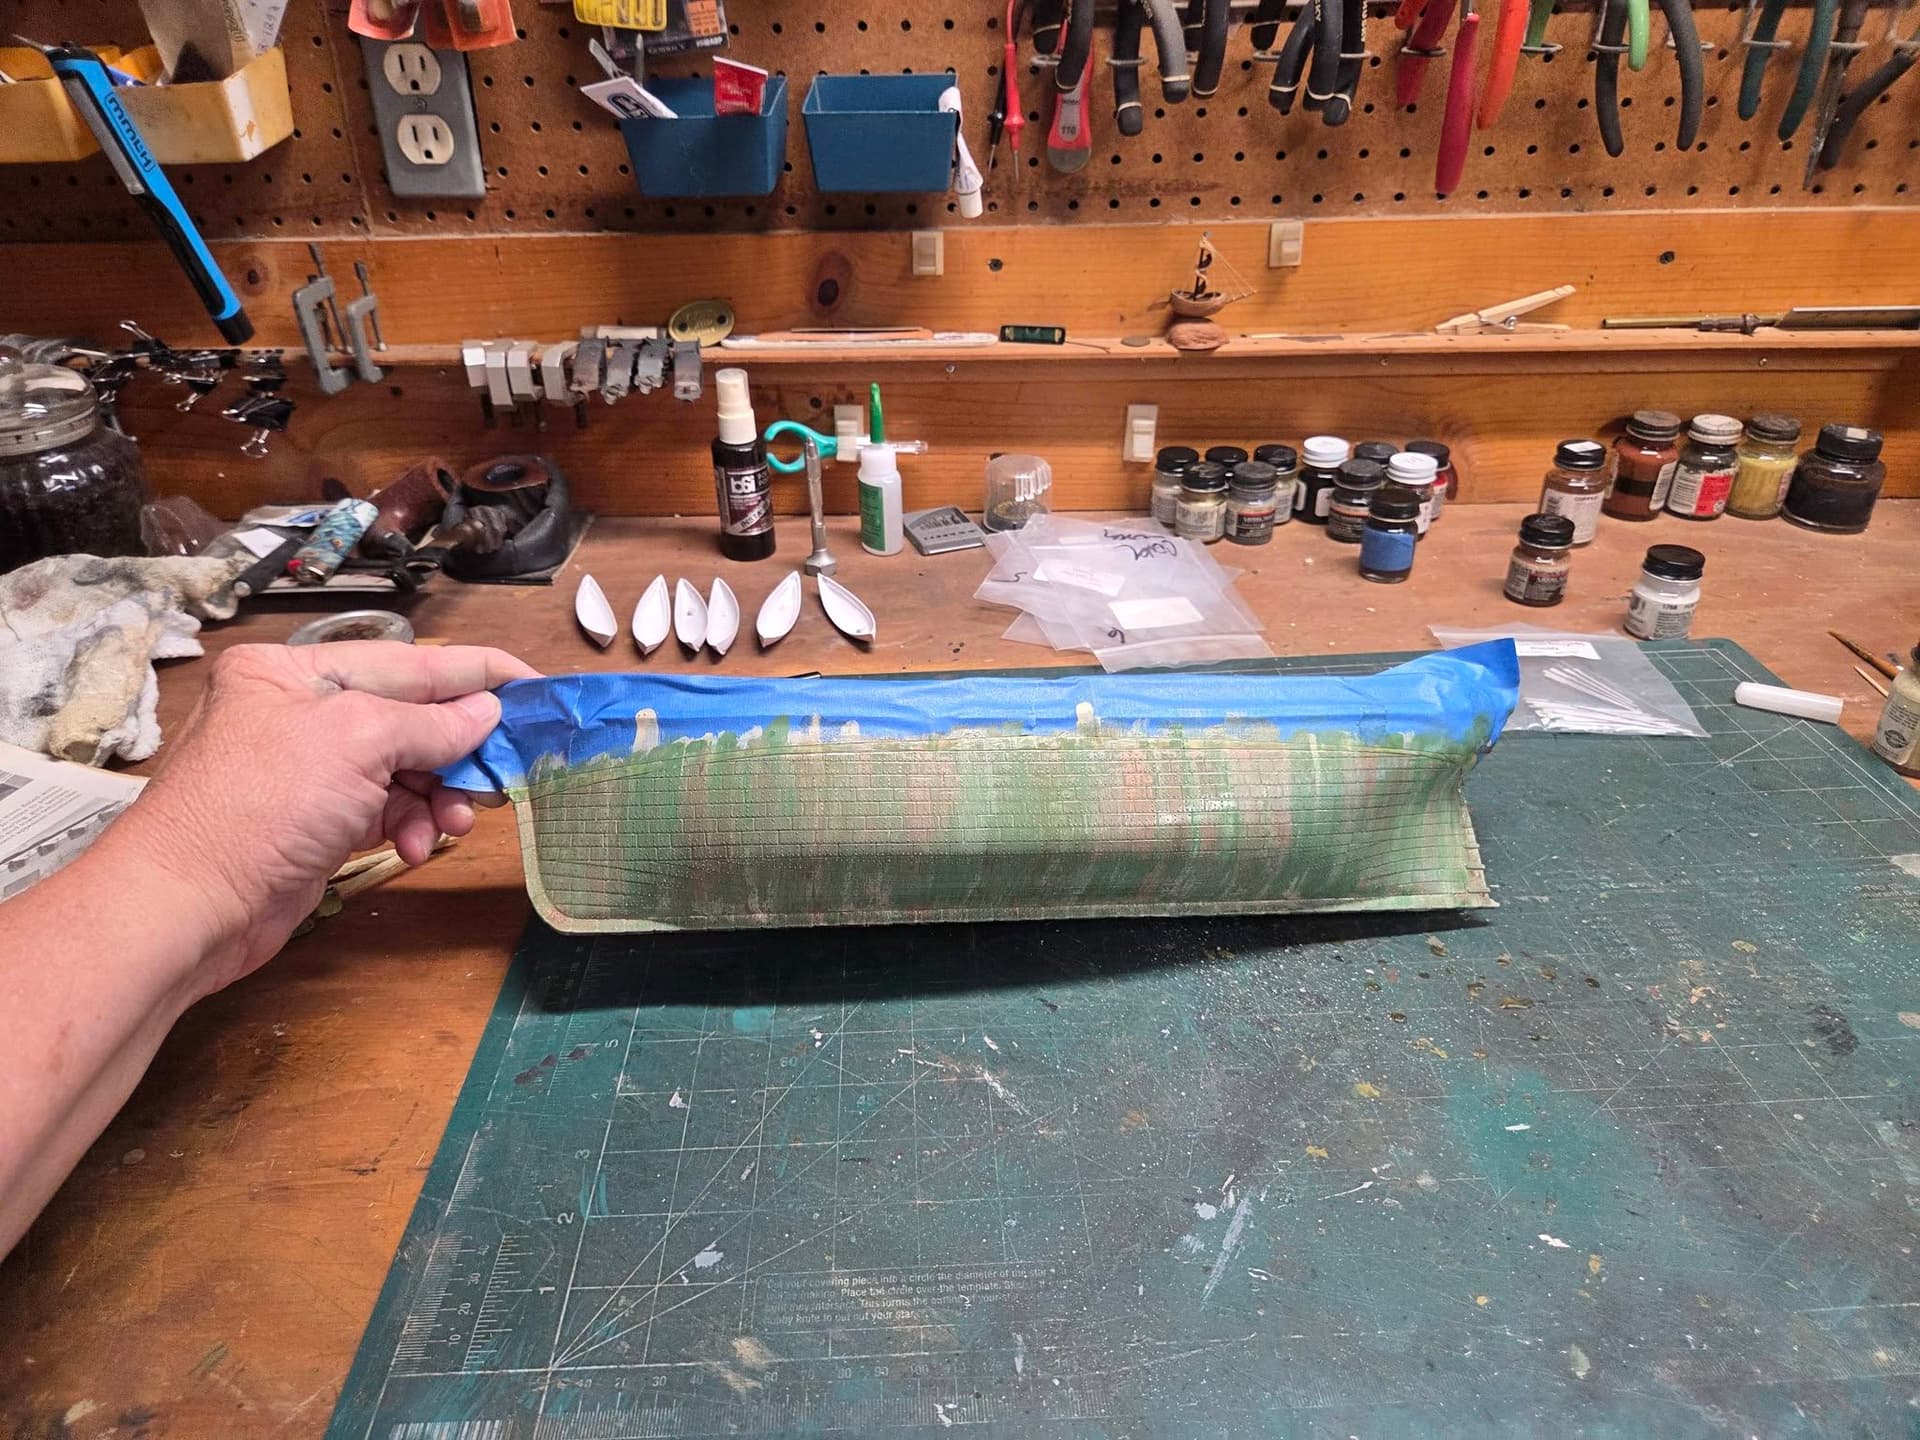
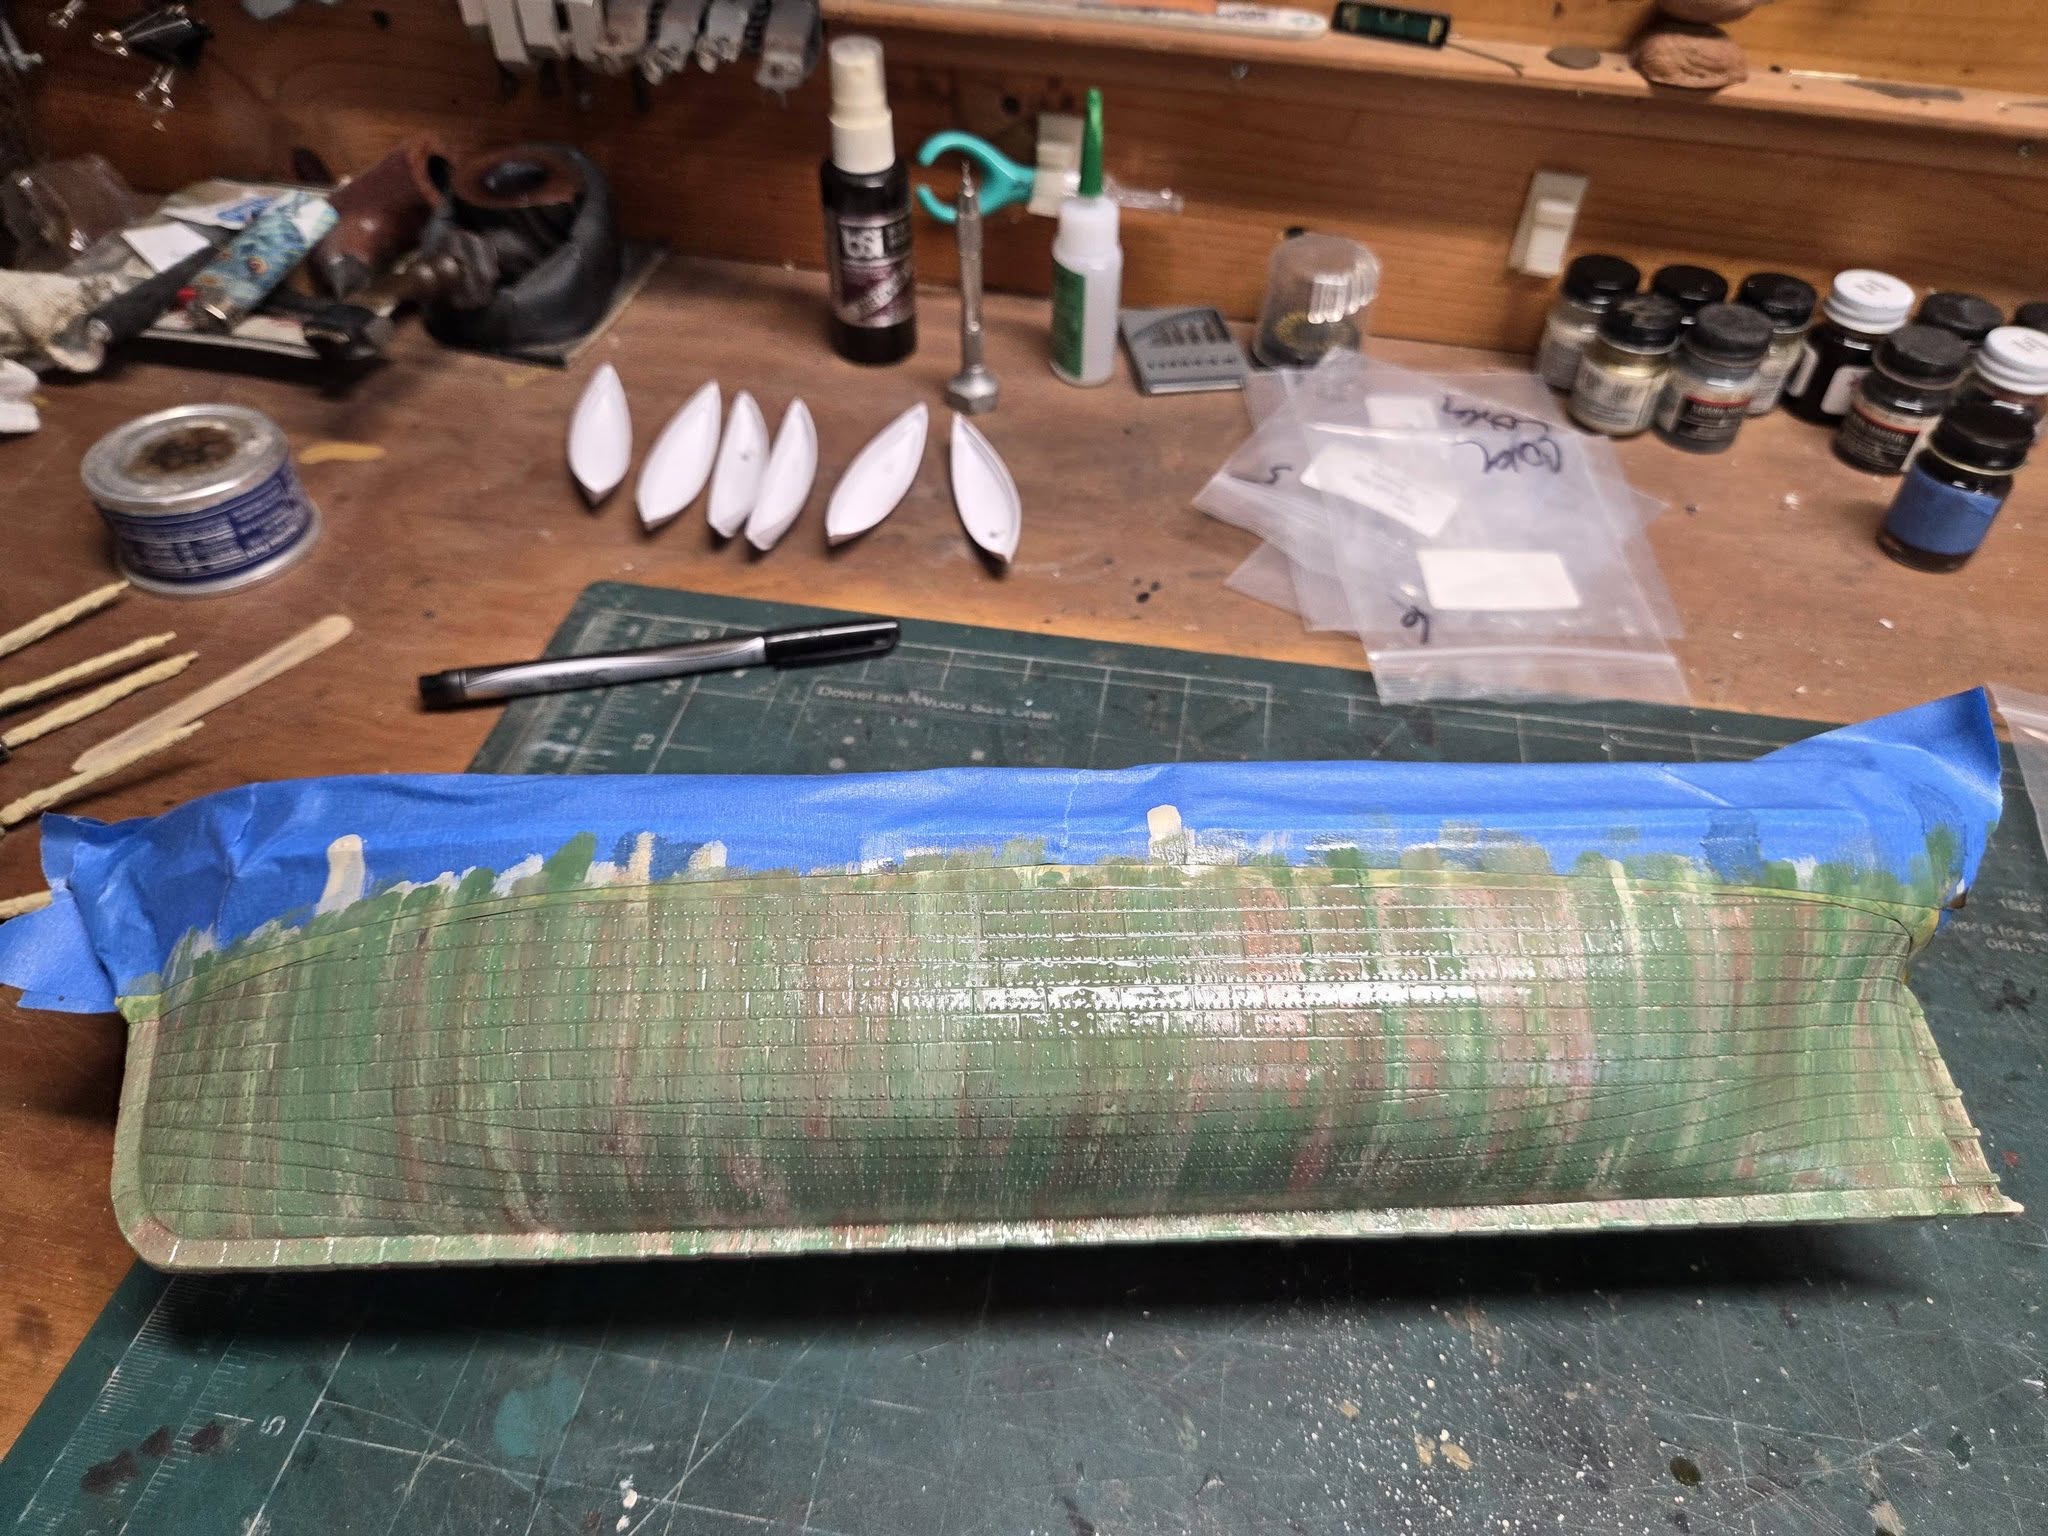
On all copper cad sailing ships, the copper corrodes naturally due to the saltwater environment, the effect that is use on plastic model is one I’ve used for over 30 years.
Base coat Floquil Copper, then brushing down from the water line I paint over the copper with a #2 watercolor brush using Floquil Antique White, then while the white is still wet, I brush over the same areas with Floquil Lt. Green, then brush over that with distilled turpentine, this blends the colors and once dry it will lose the sheen. I’ll seal with Acrylic Future floor wax to seal it.
2 Likes
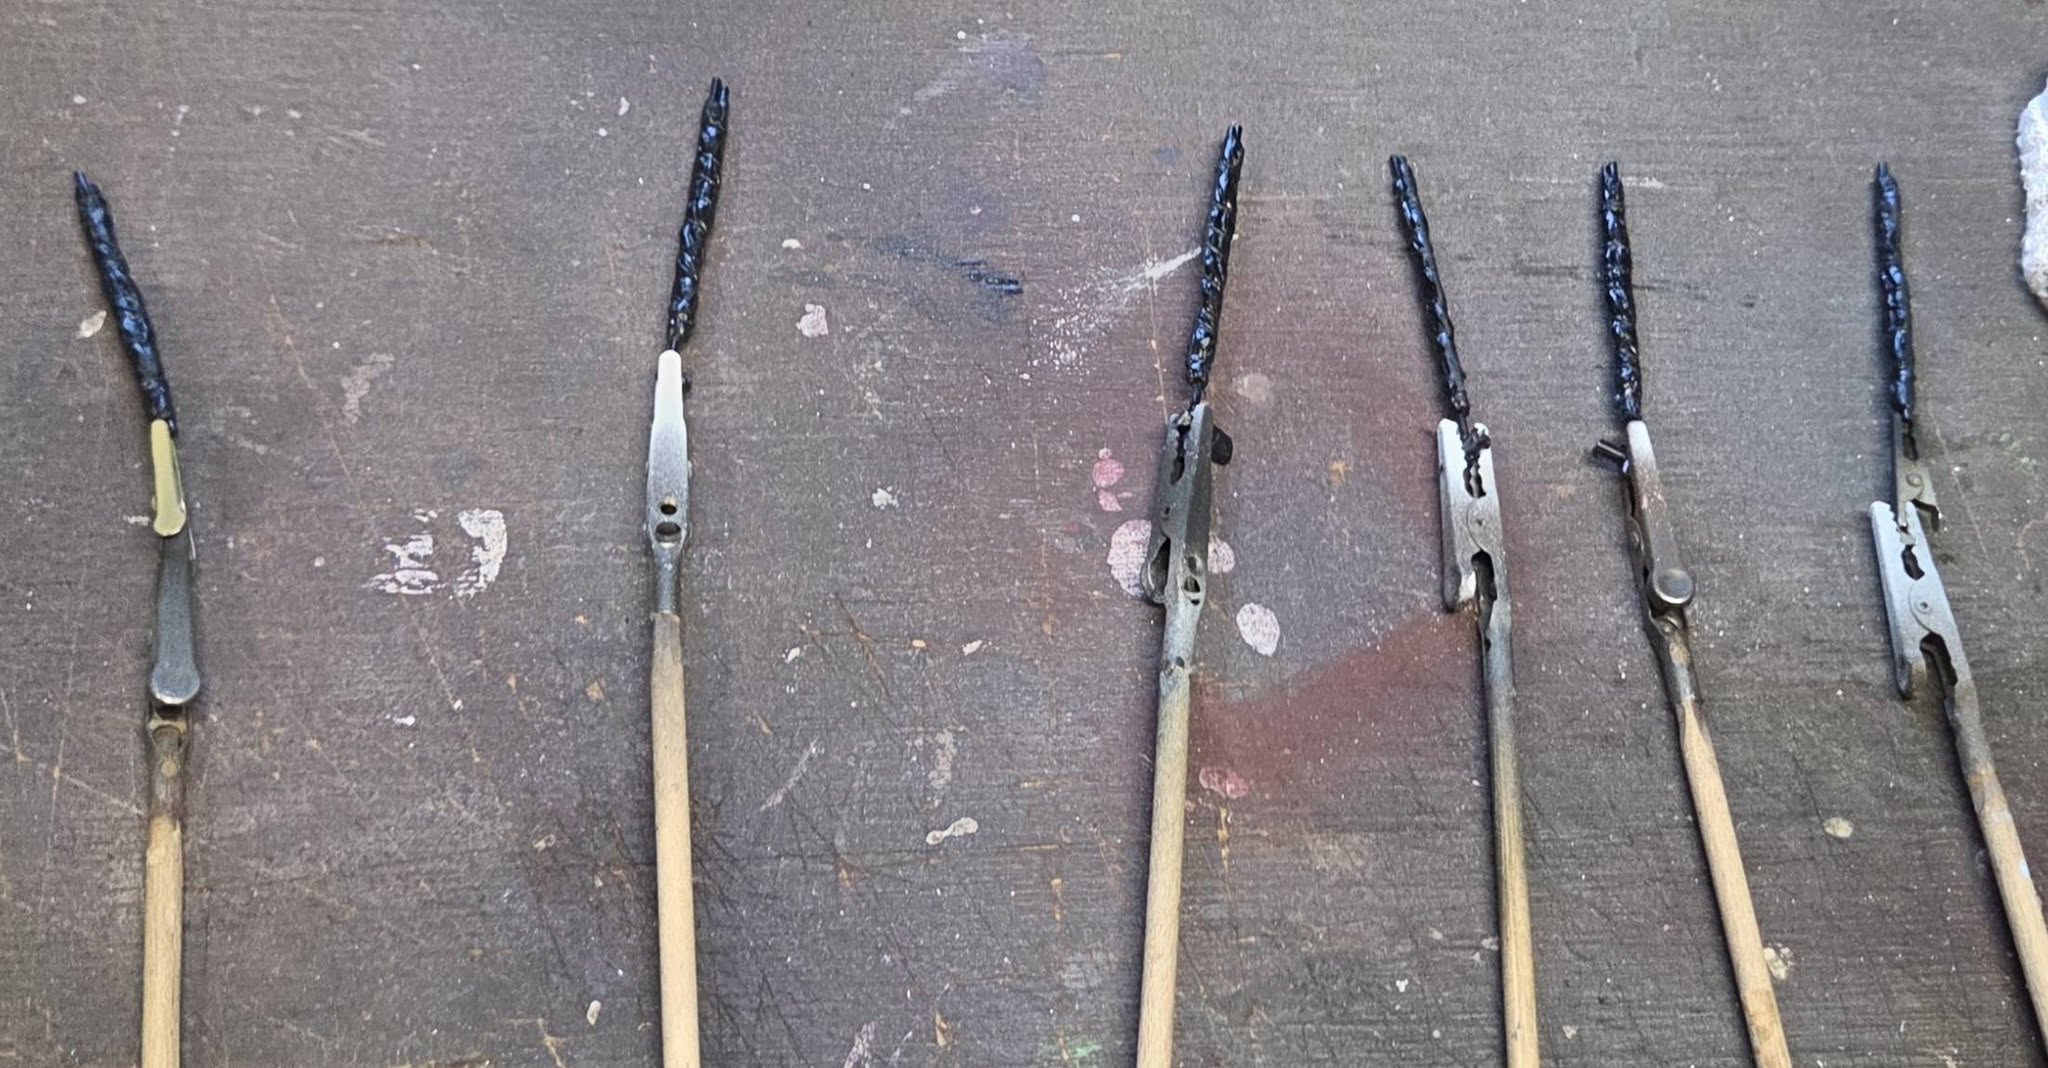
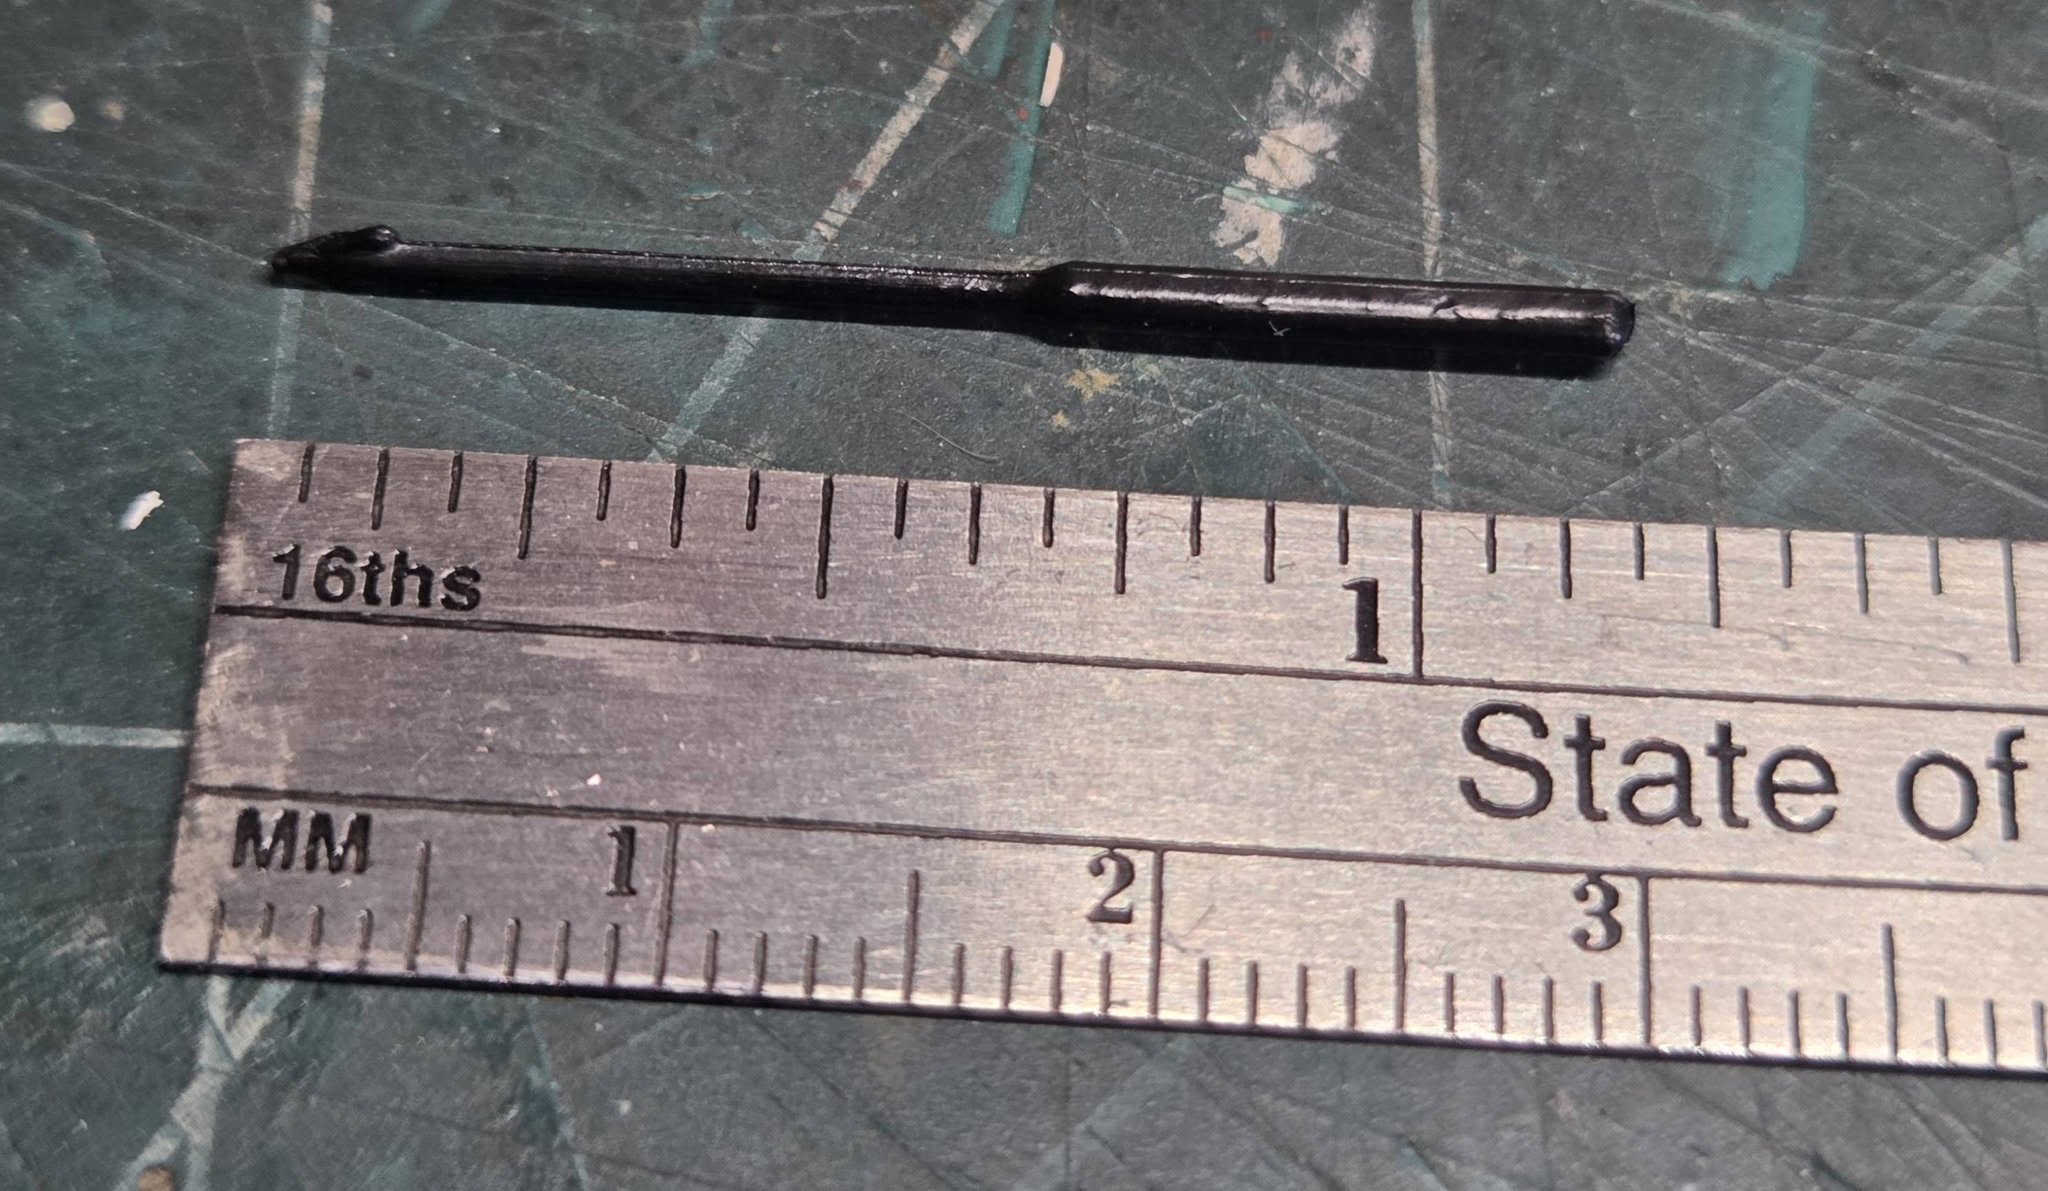
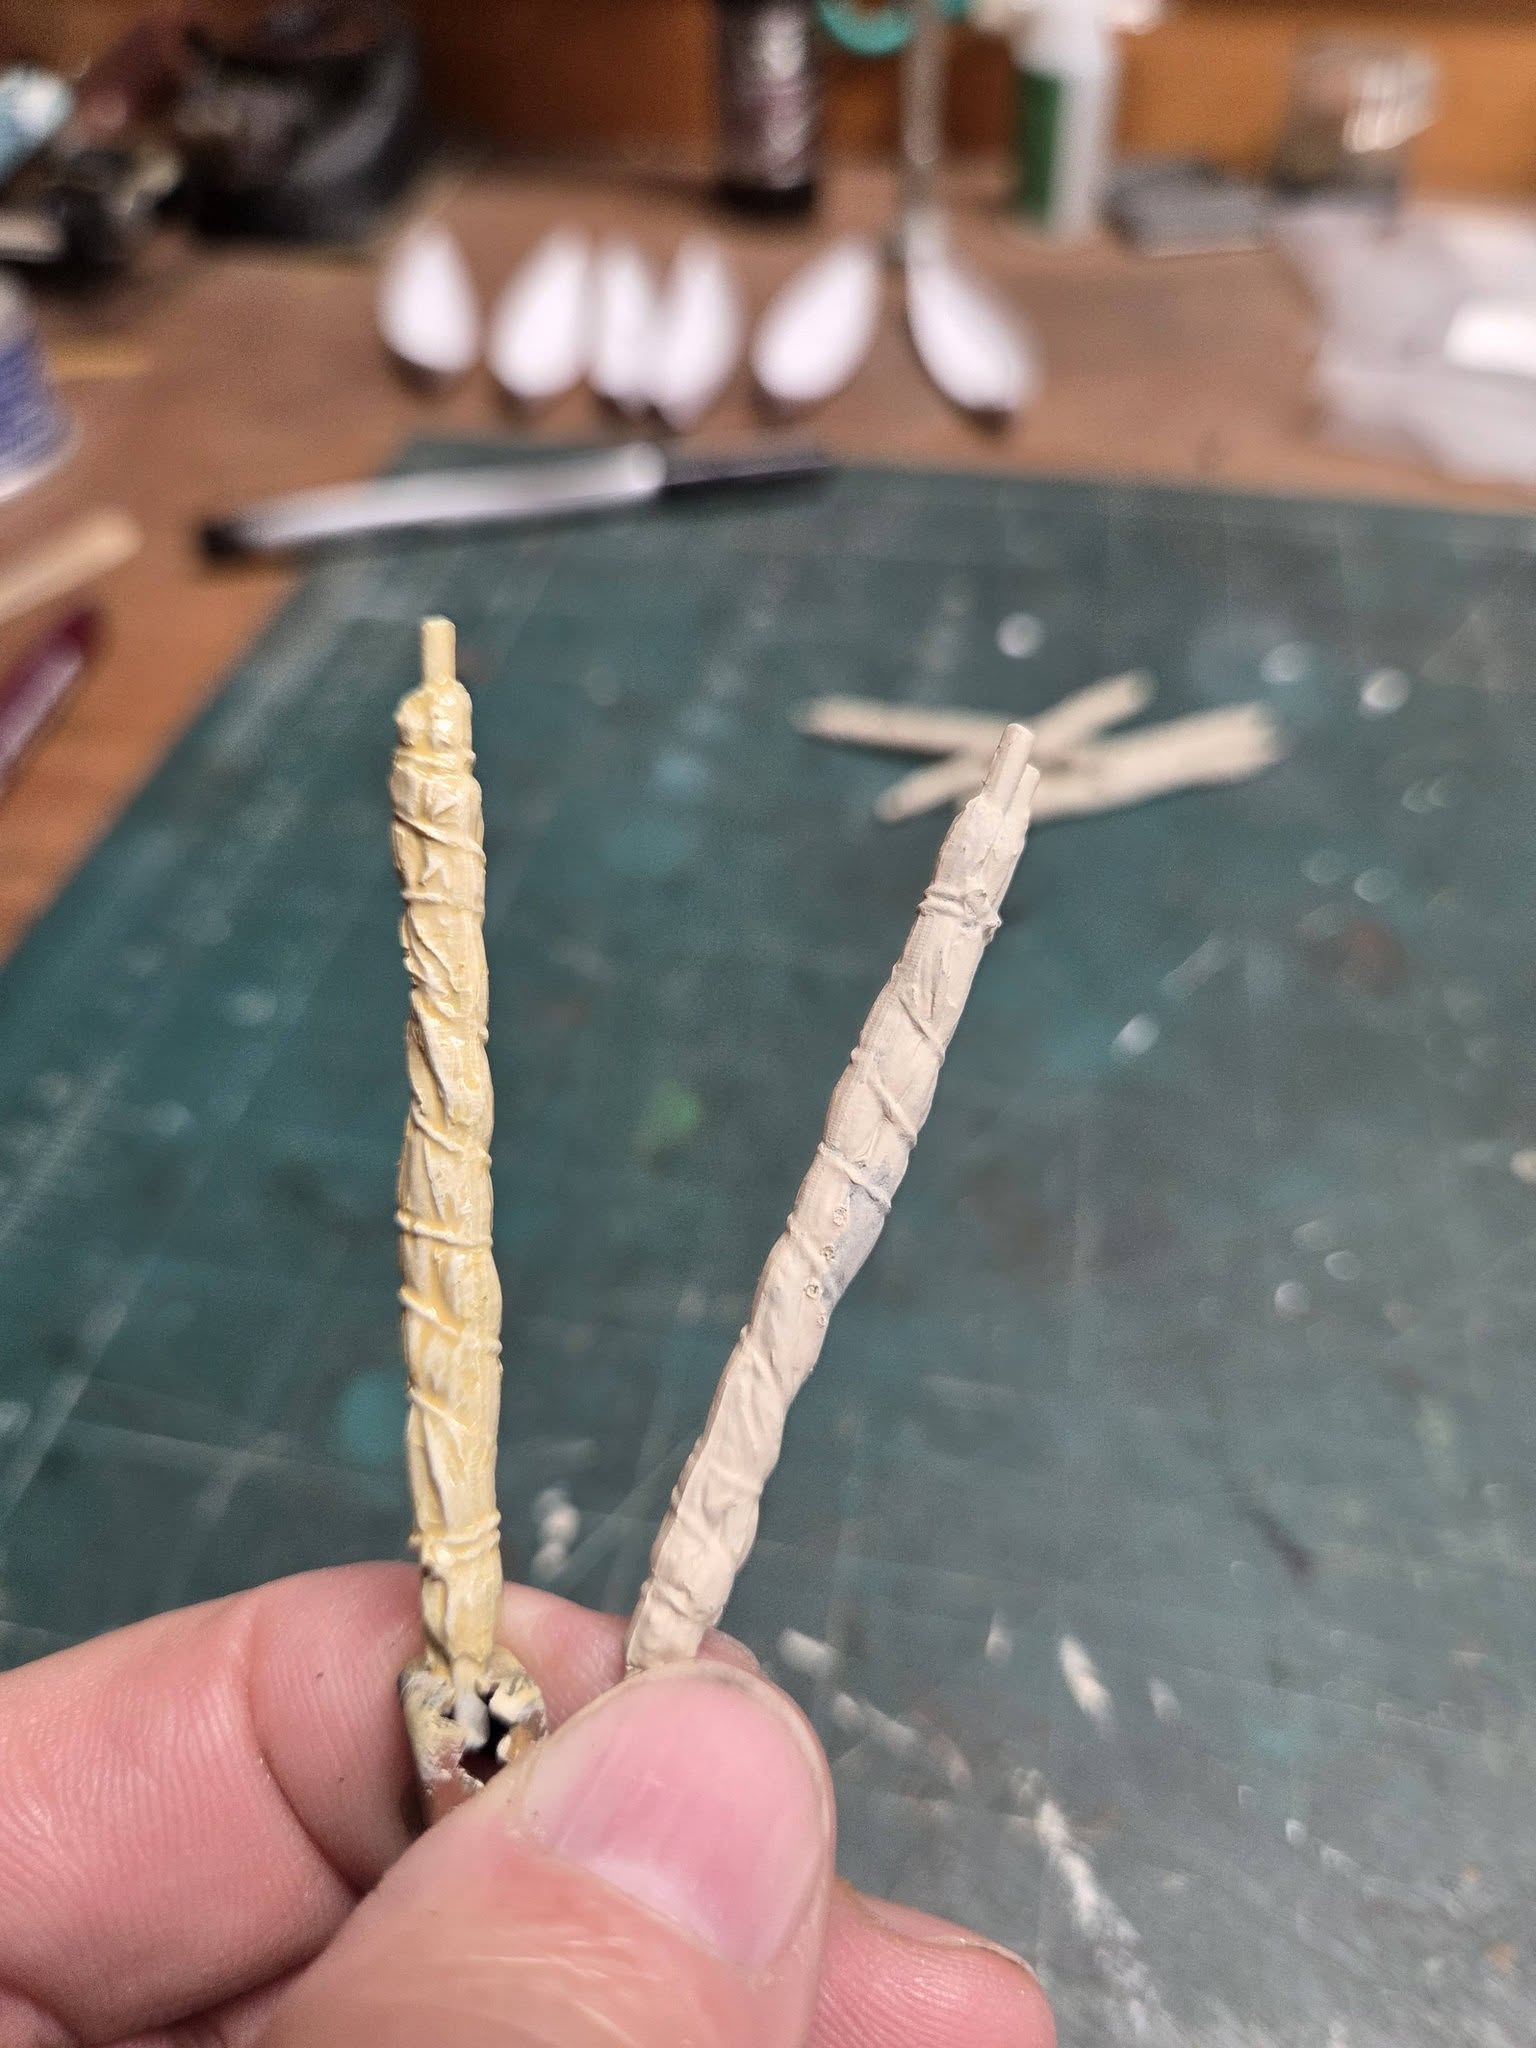
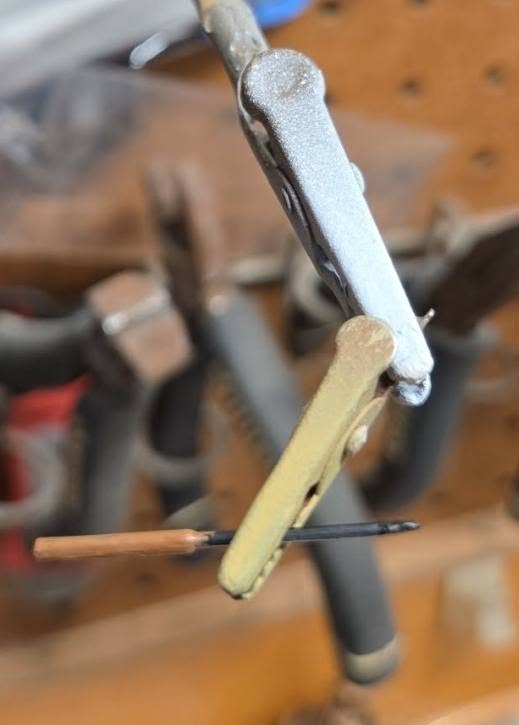
Working on the sails and harpoons. Sails got a washdown with off yellow water base this will be followed with a light grey then a dry brush of white to 'bleach the sails while leaving shadows. After the seams were removed the wood of the harpoons is military brown and will be dry brushed with armor sand and the metal with be black.
1 Like
It’s almost a shame to cover up that beautiful copper! It does make me wonder how long the real thing actually stayed looking that pristine before the water started doing exactly what you’re recreating here.
Excellent job on the weathering. I’m learning a lot following this build. It seems like every one of your updates teaches me something new about boats and how they were built and maintained.
The marine growth and corrosion happened almost immediately, the long over 1-2 years of the whale trade almost all of the ships had to have the bottoms scraped after the multi years voyages.
1 Like
Saw an interesting Youtube short on this. They disliked the corrosion of the copper, so they tried attaching zinc sacificial anodes to the sheeting, which stopped the corrosion but allowed marine growth to attach to the hulls again. It was the corrosion of the copper sheeting that killed marine growth. Live and learn.
Gary
1 Like
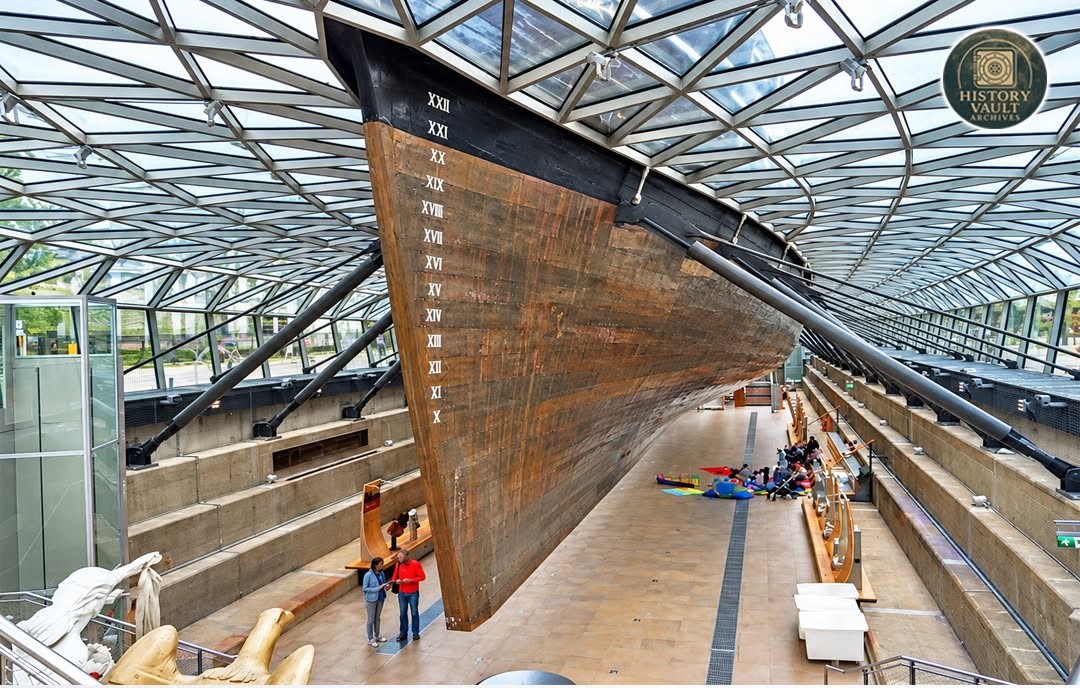
Yep, the Cutty Sark had a cladding called Muntz Metal, this worked better than pure copper and was a little lighting based on 1 sq. foot at the same thickness. I’m not sure of the cost difference. AS you may know the Cutty was the first true composite ship - iron framing, wood sheathing and protective cladding. She’s in a very unique display; I’ll go see her one day.
1 Like
1 Like
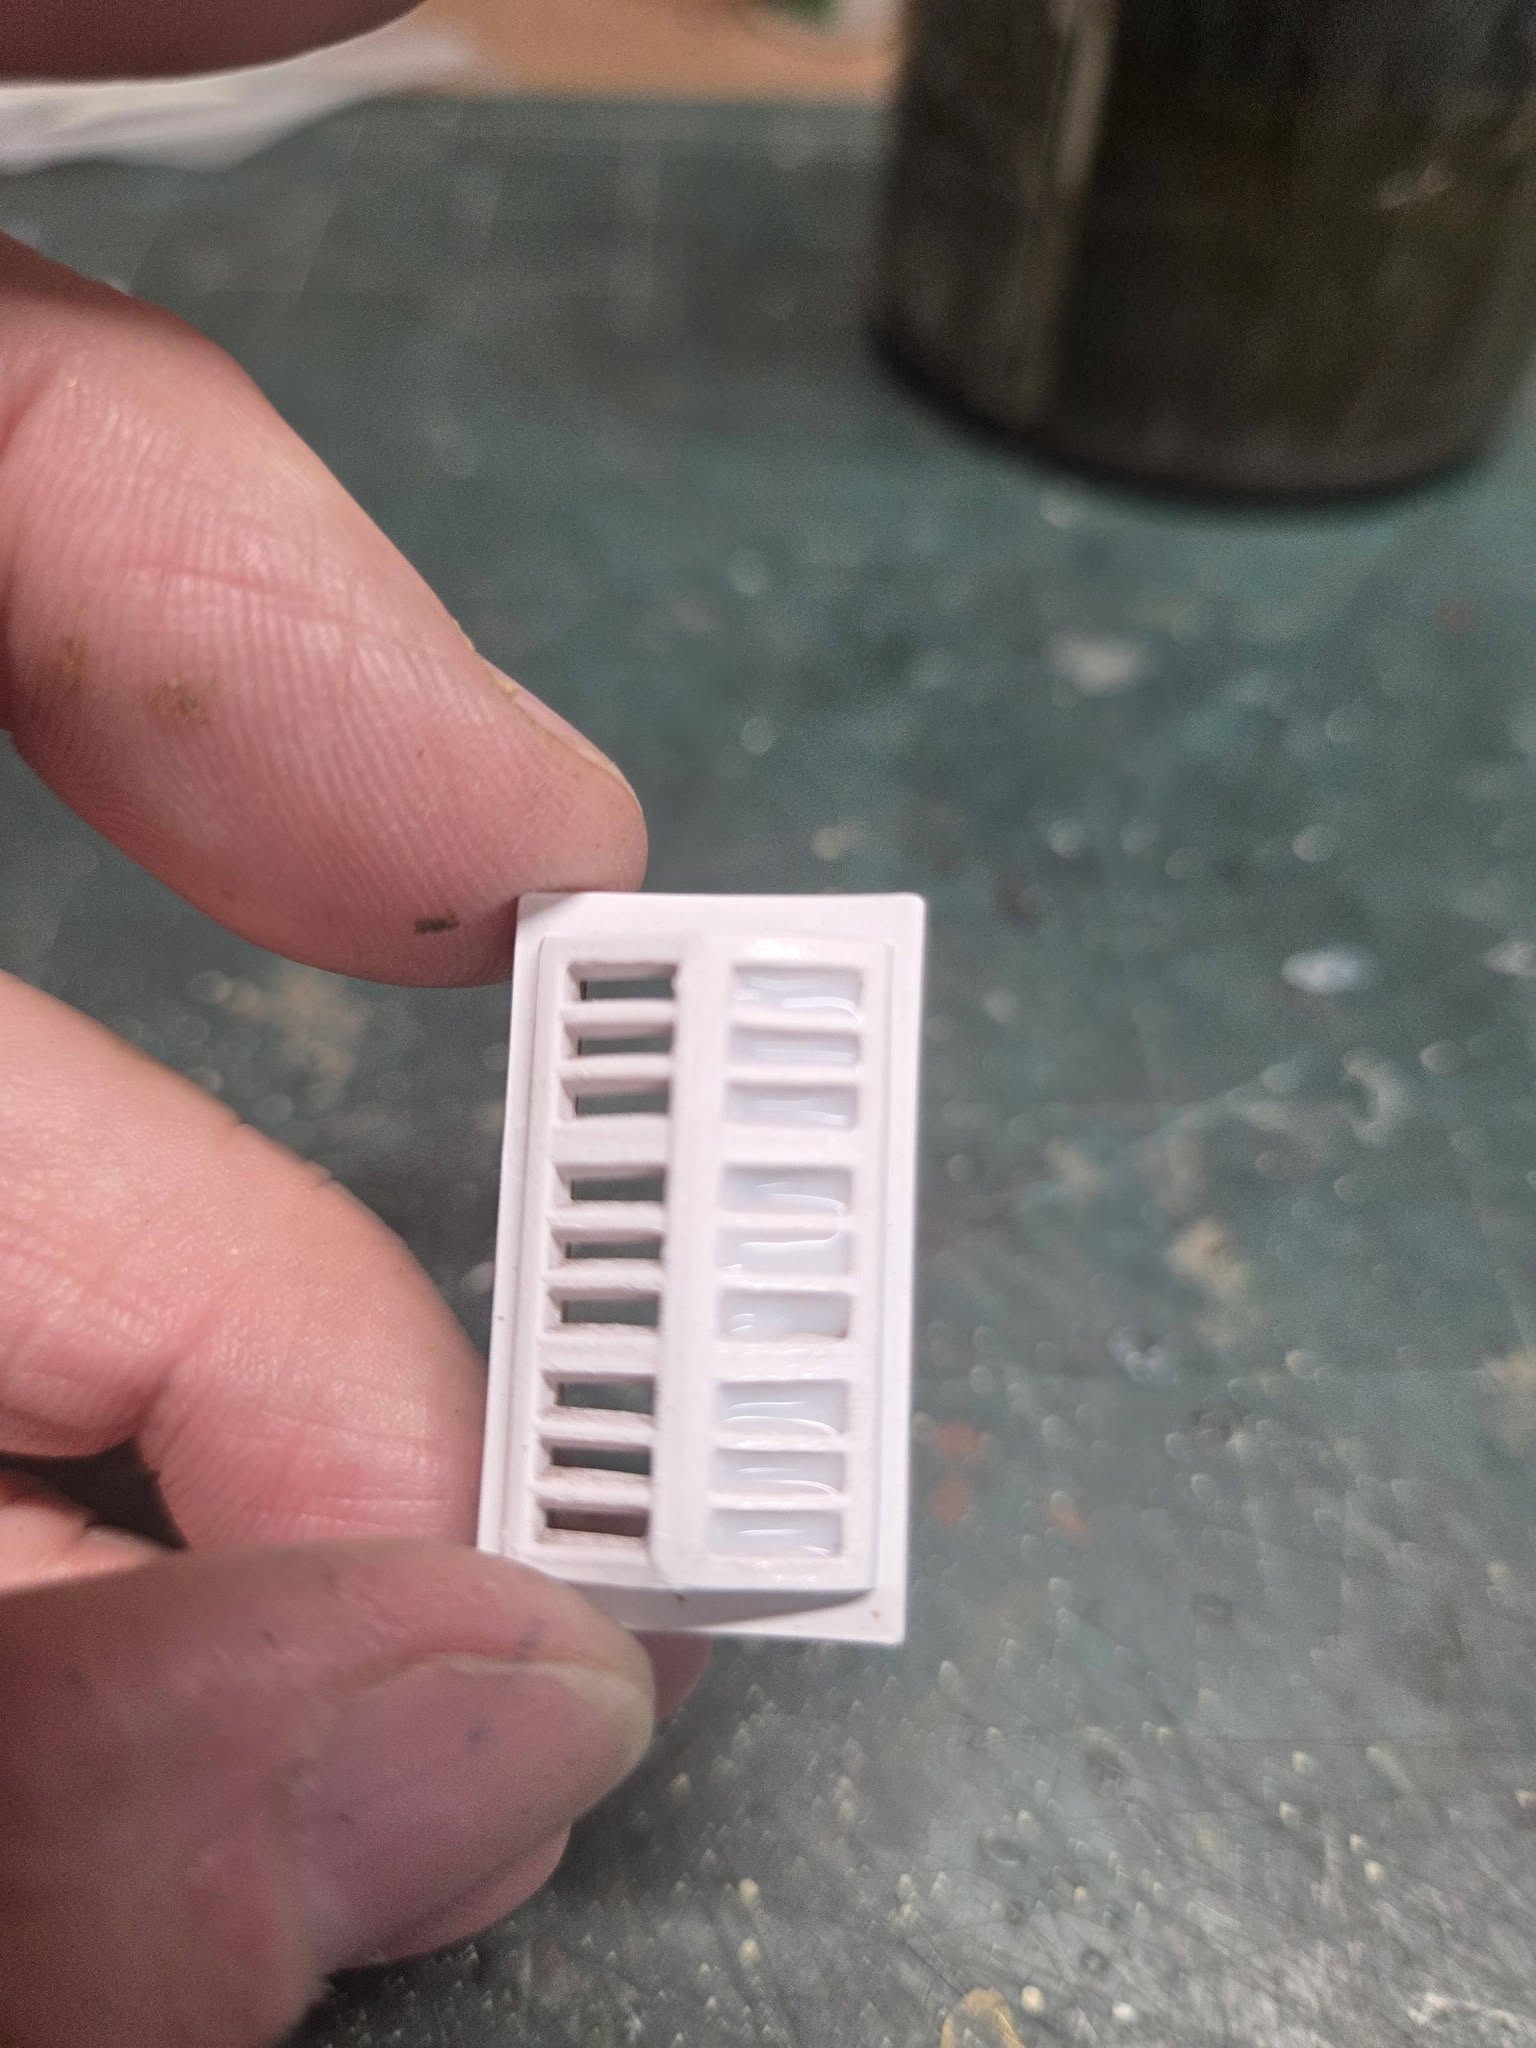
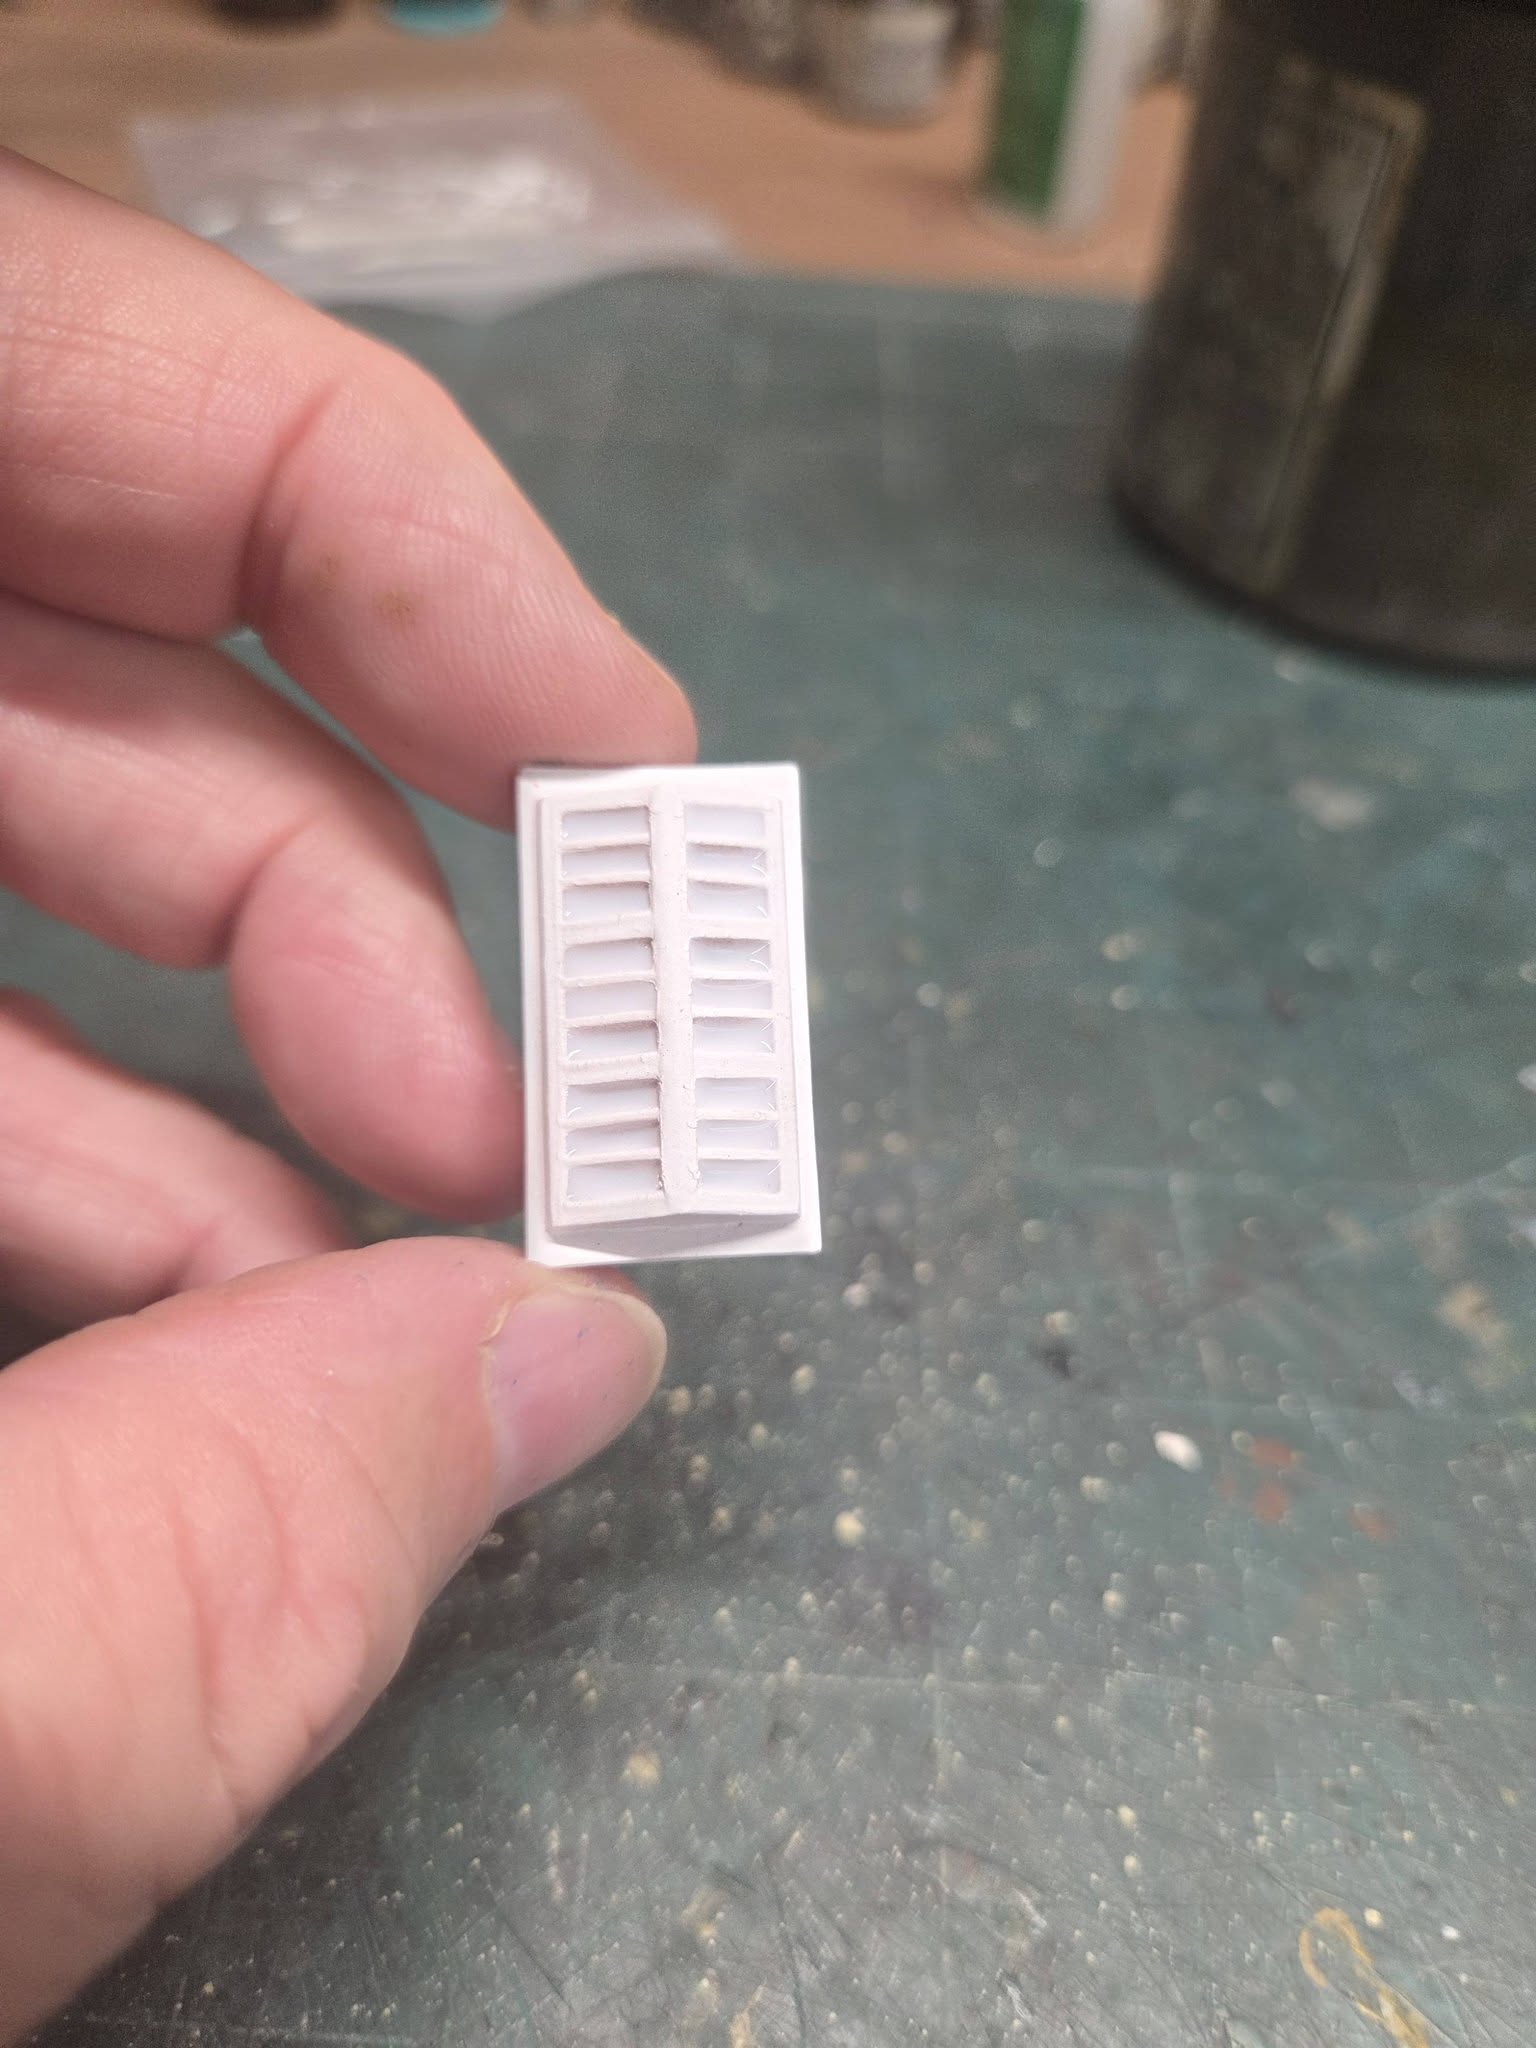
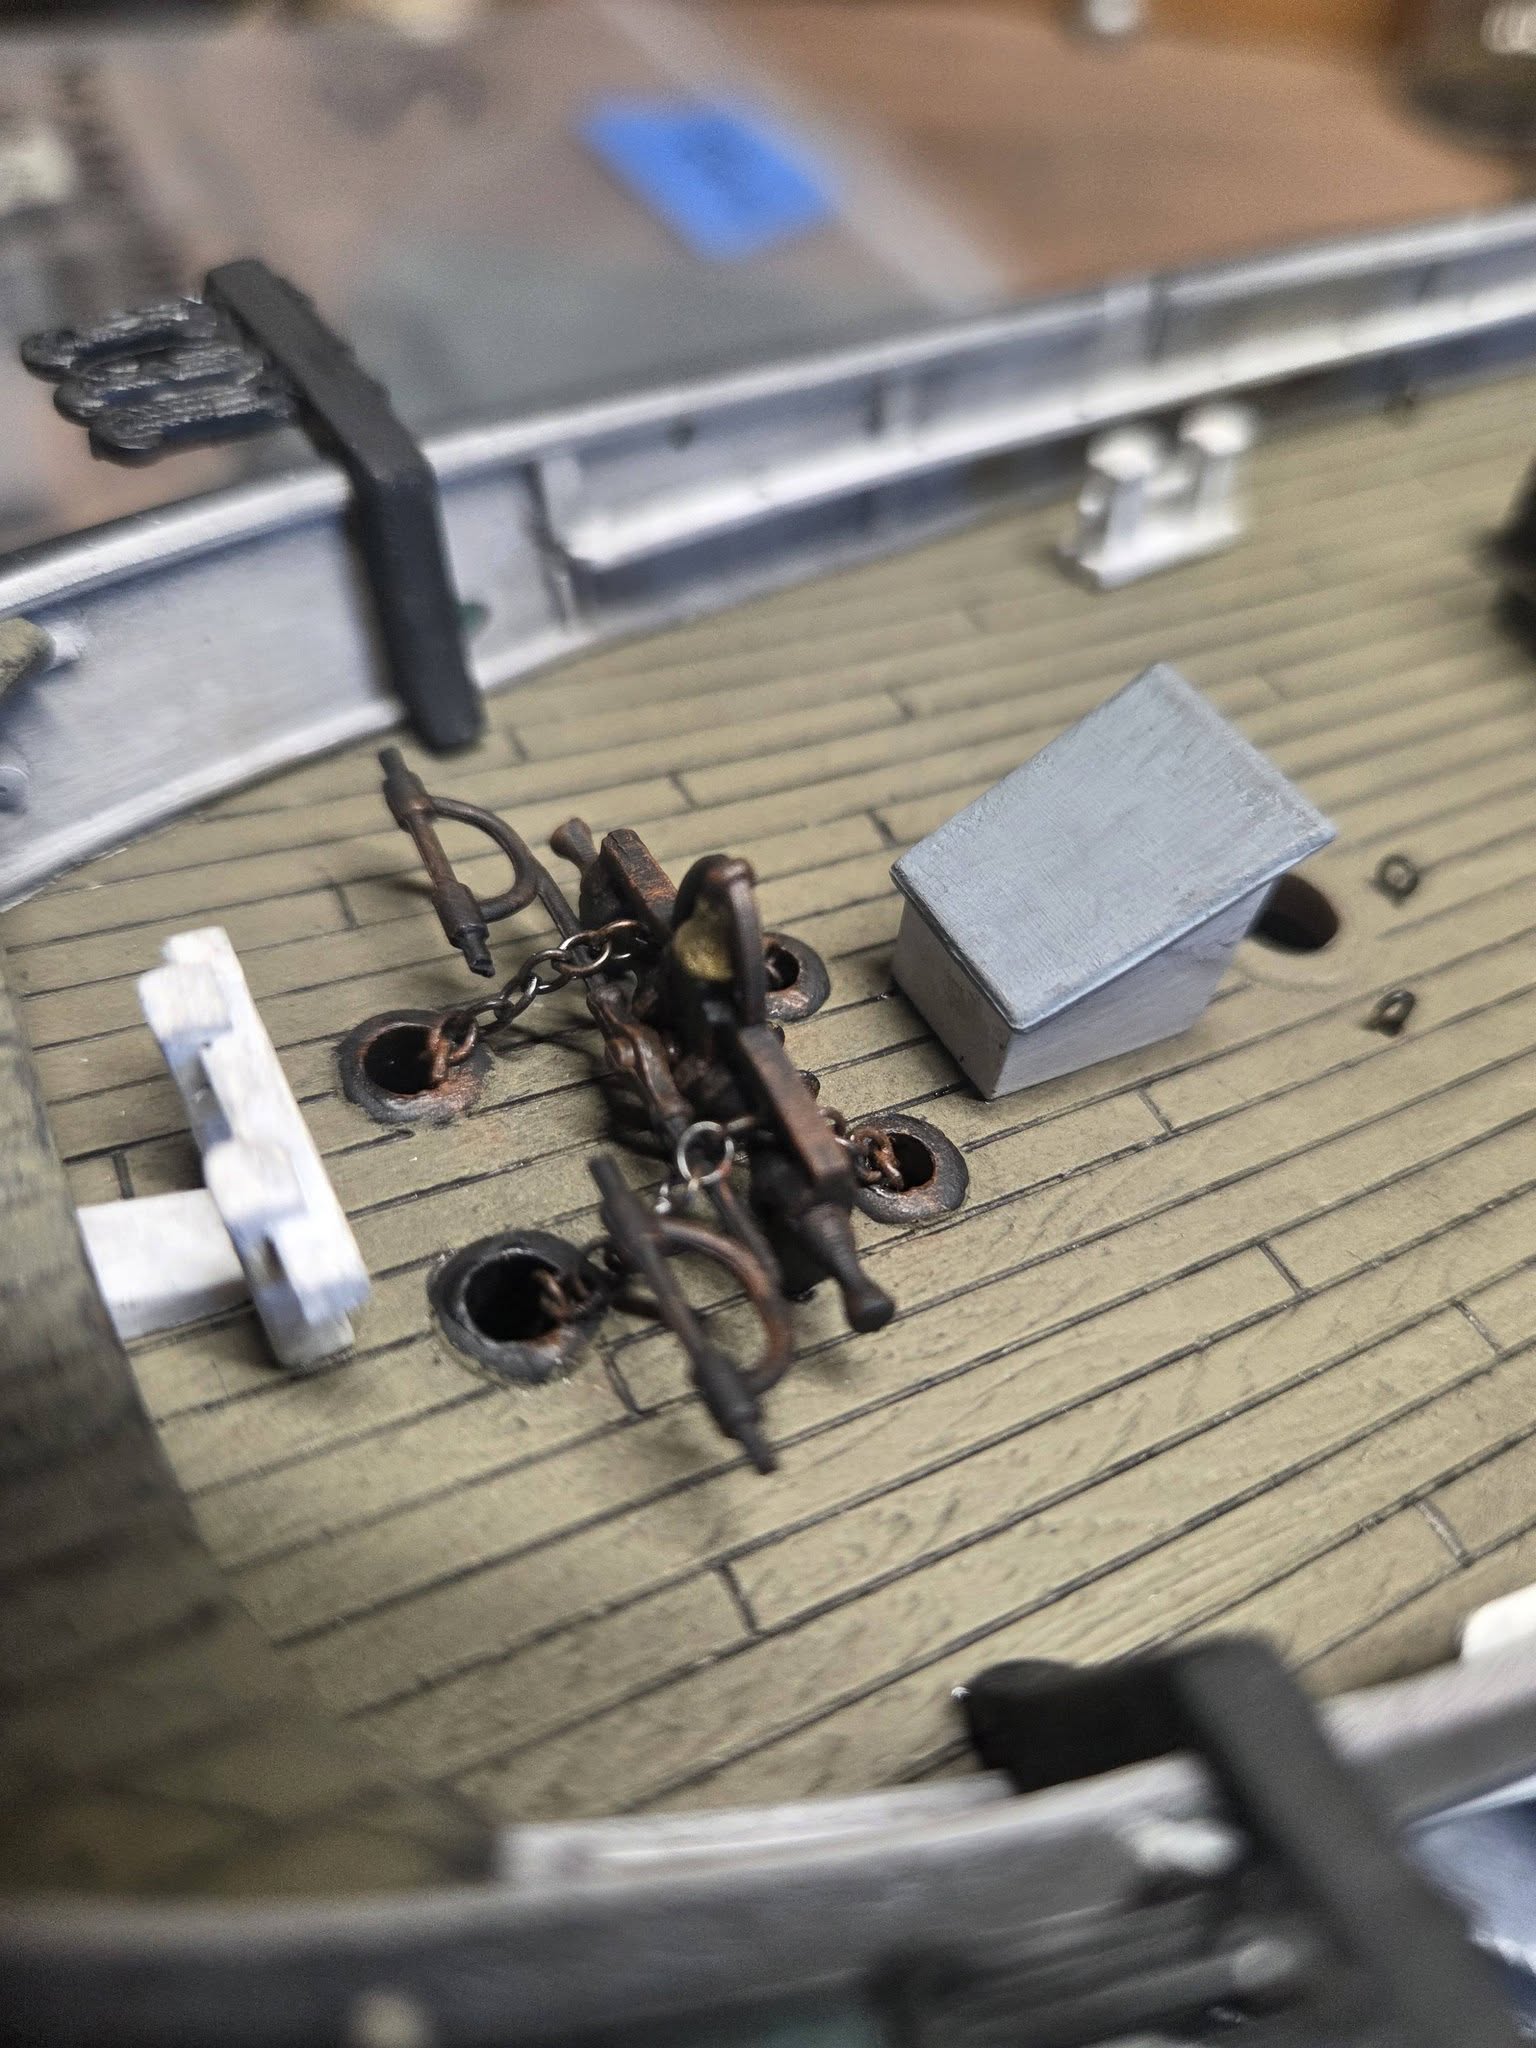
Finished off the stern woodgrain detail, she’ll also have her name and city on the stern, so it will be even better, I added diluted white glue to the skylight, once it dries it will look like glass windowpanes. . First deck fittings in place, belaying racks will get fitted tomorrow and the top rail will be repainted in black.

2 Likes
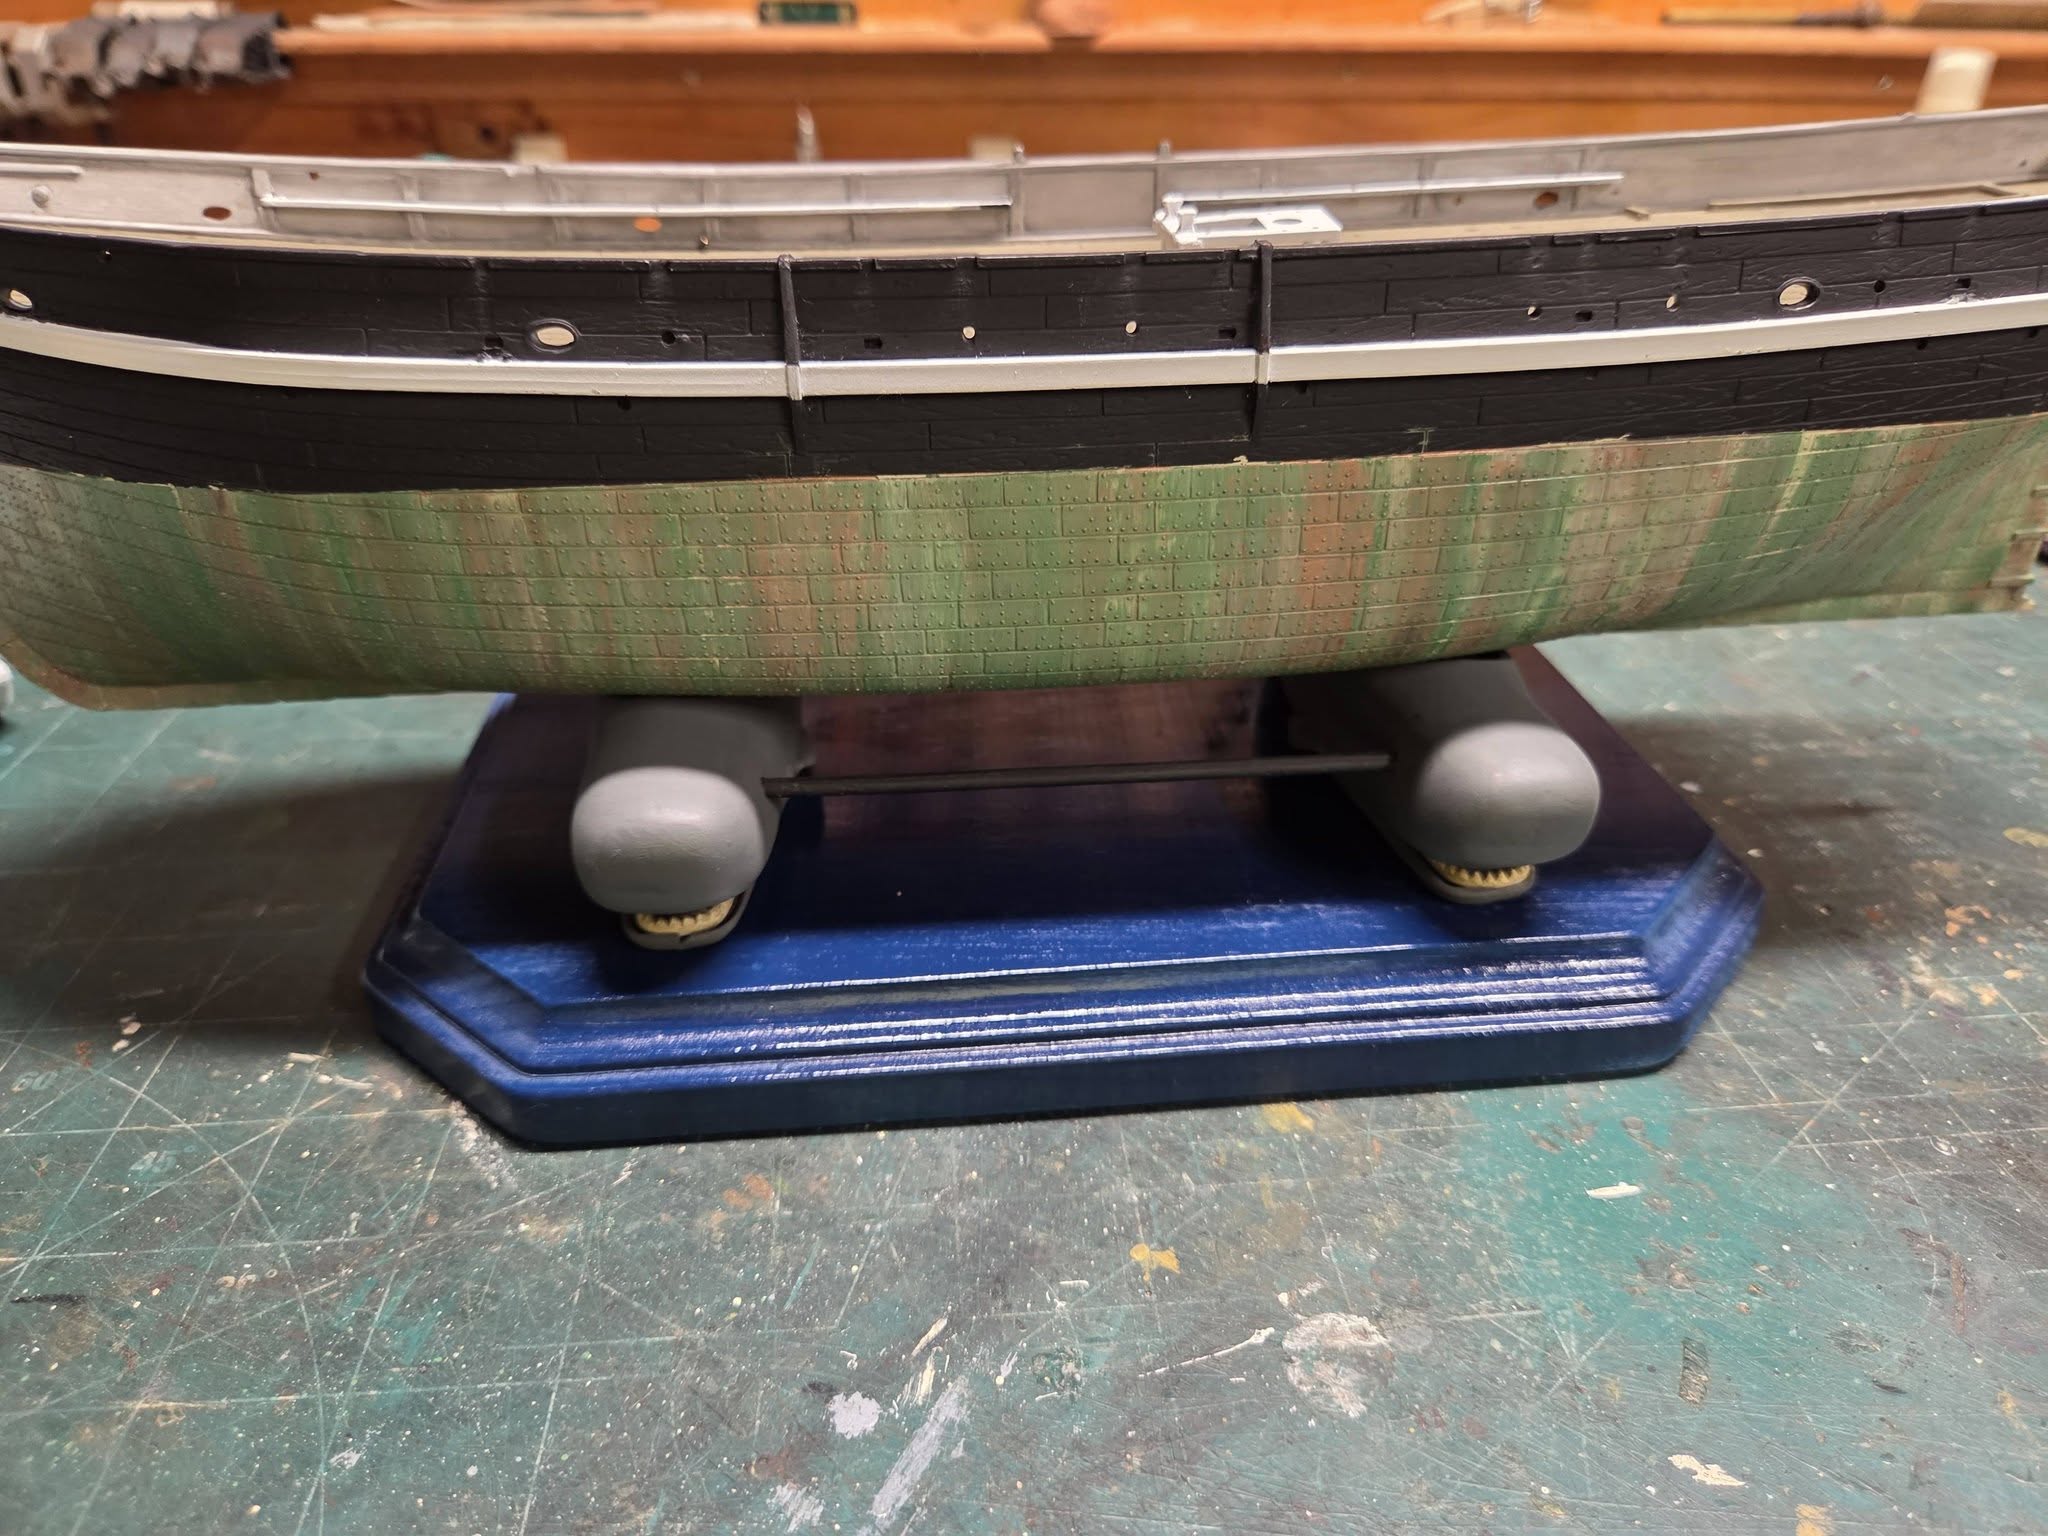
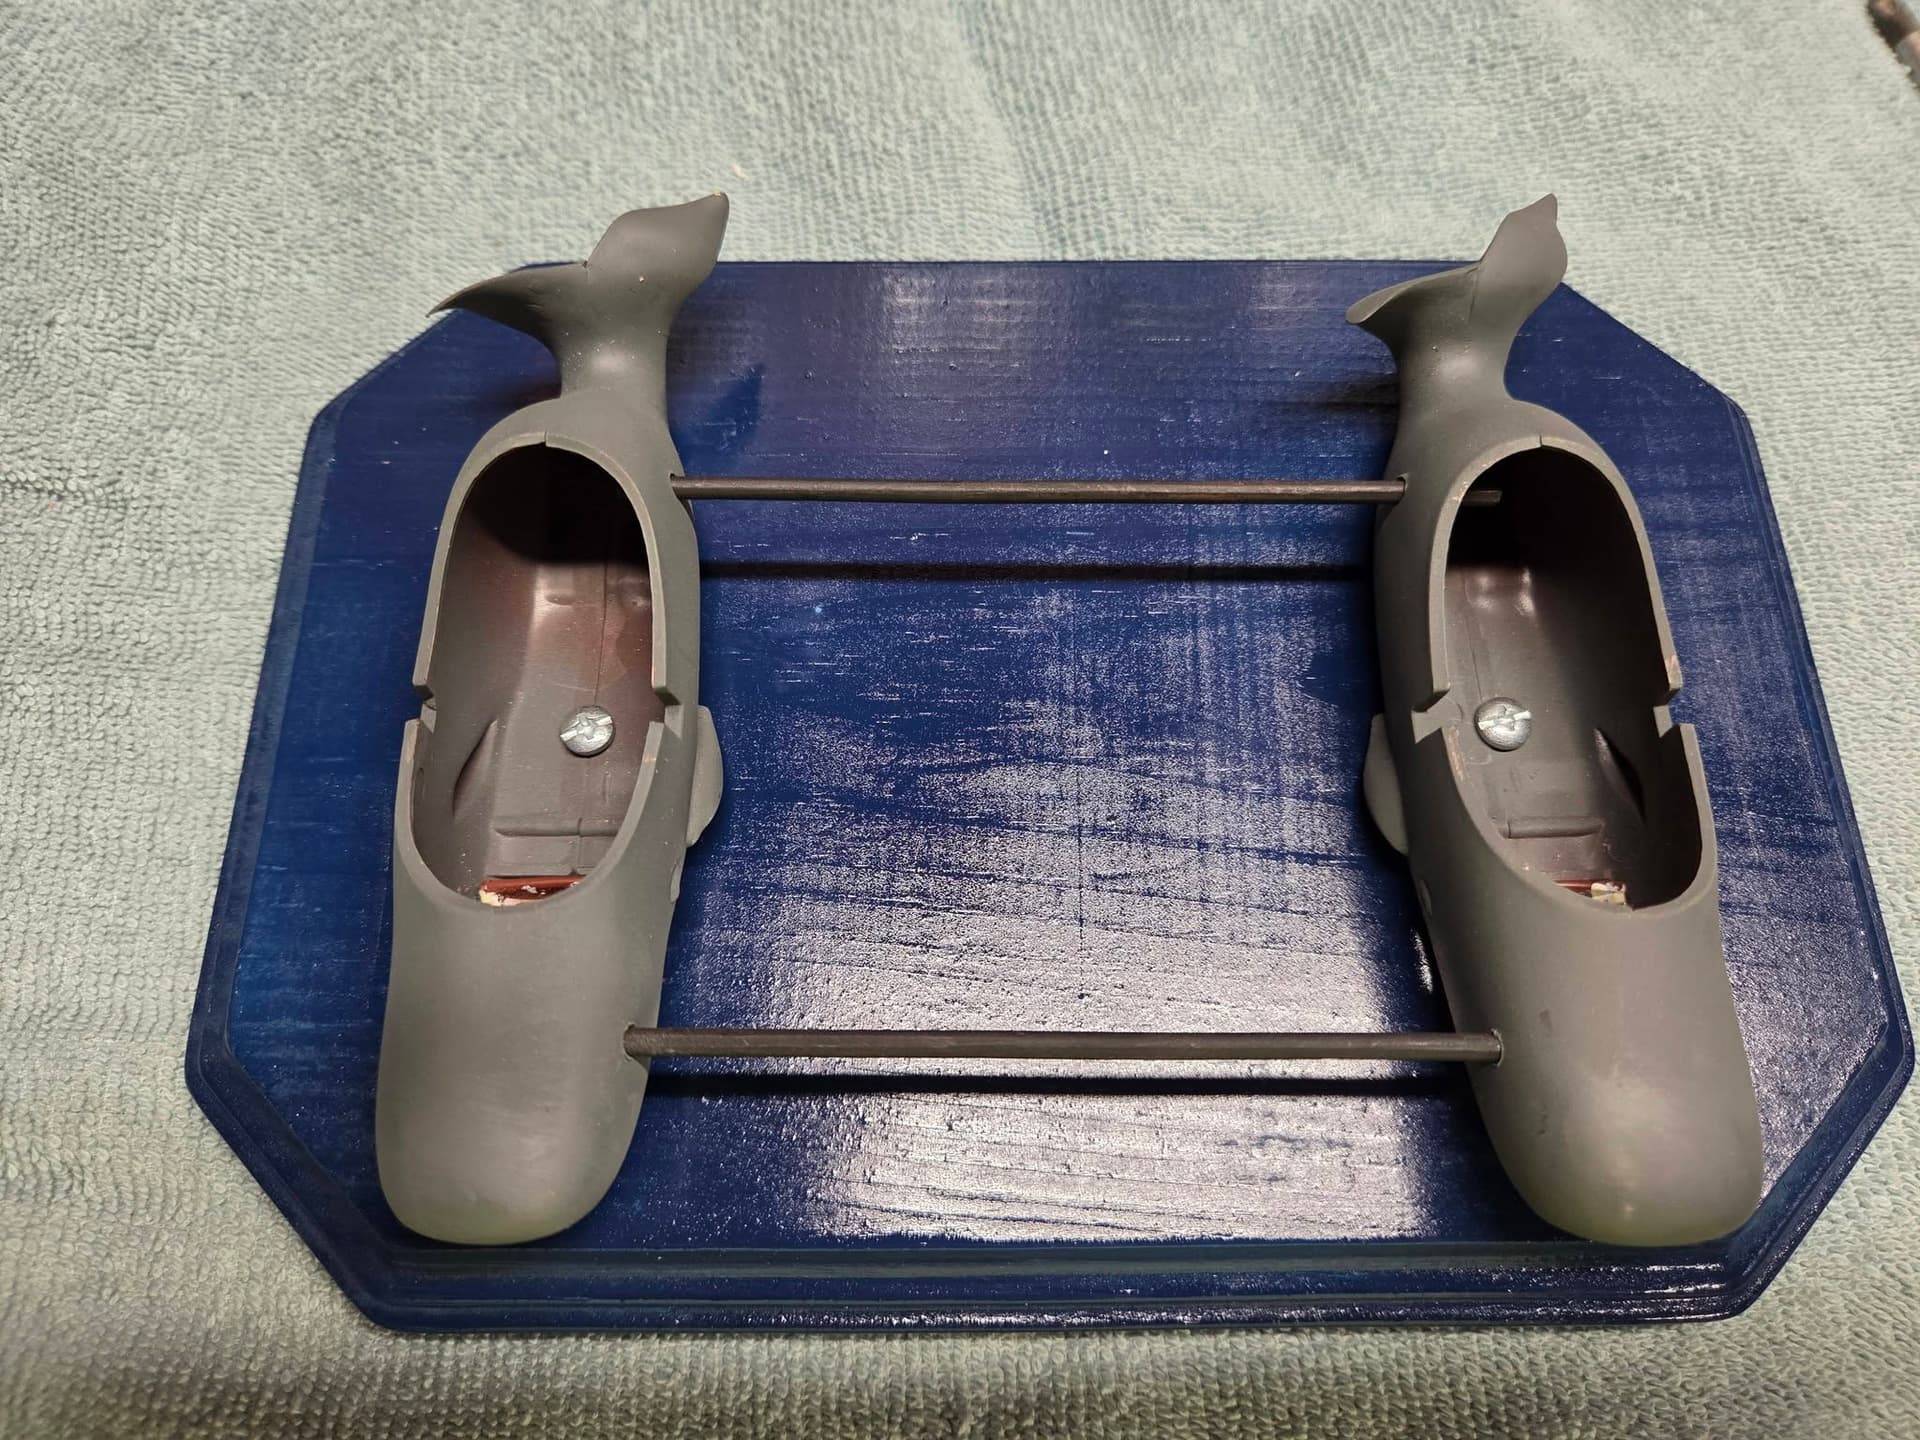
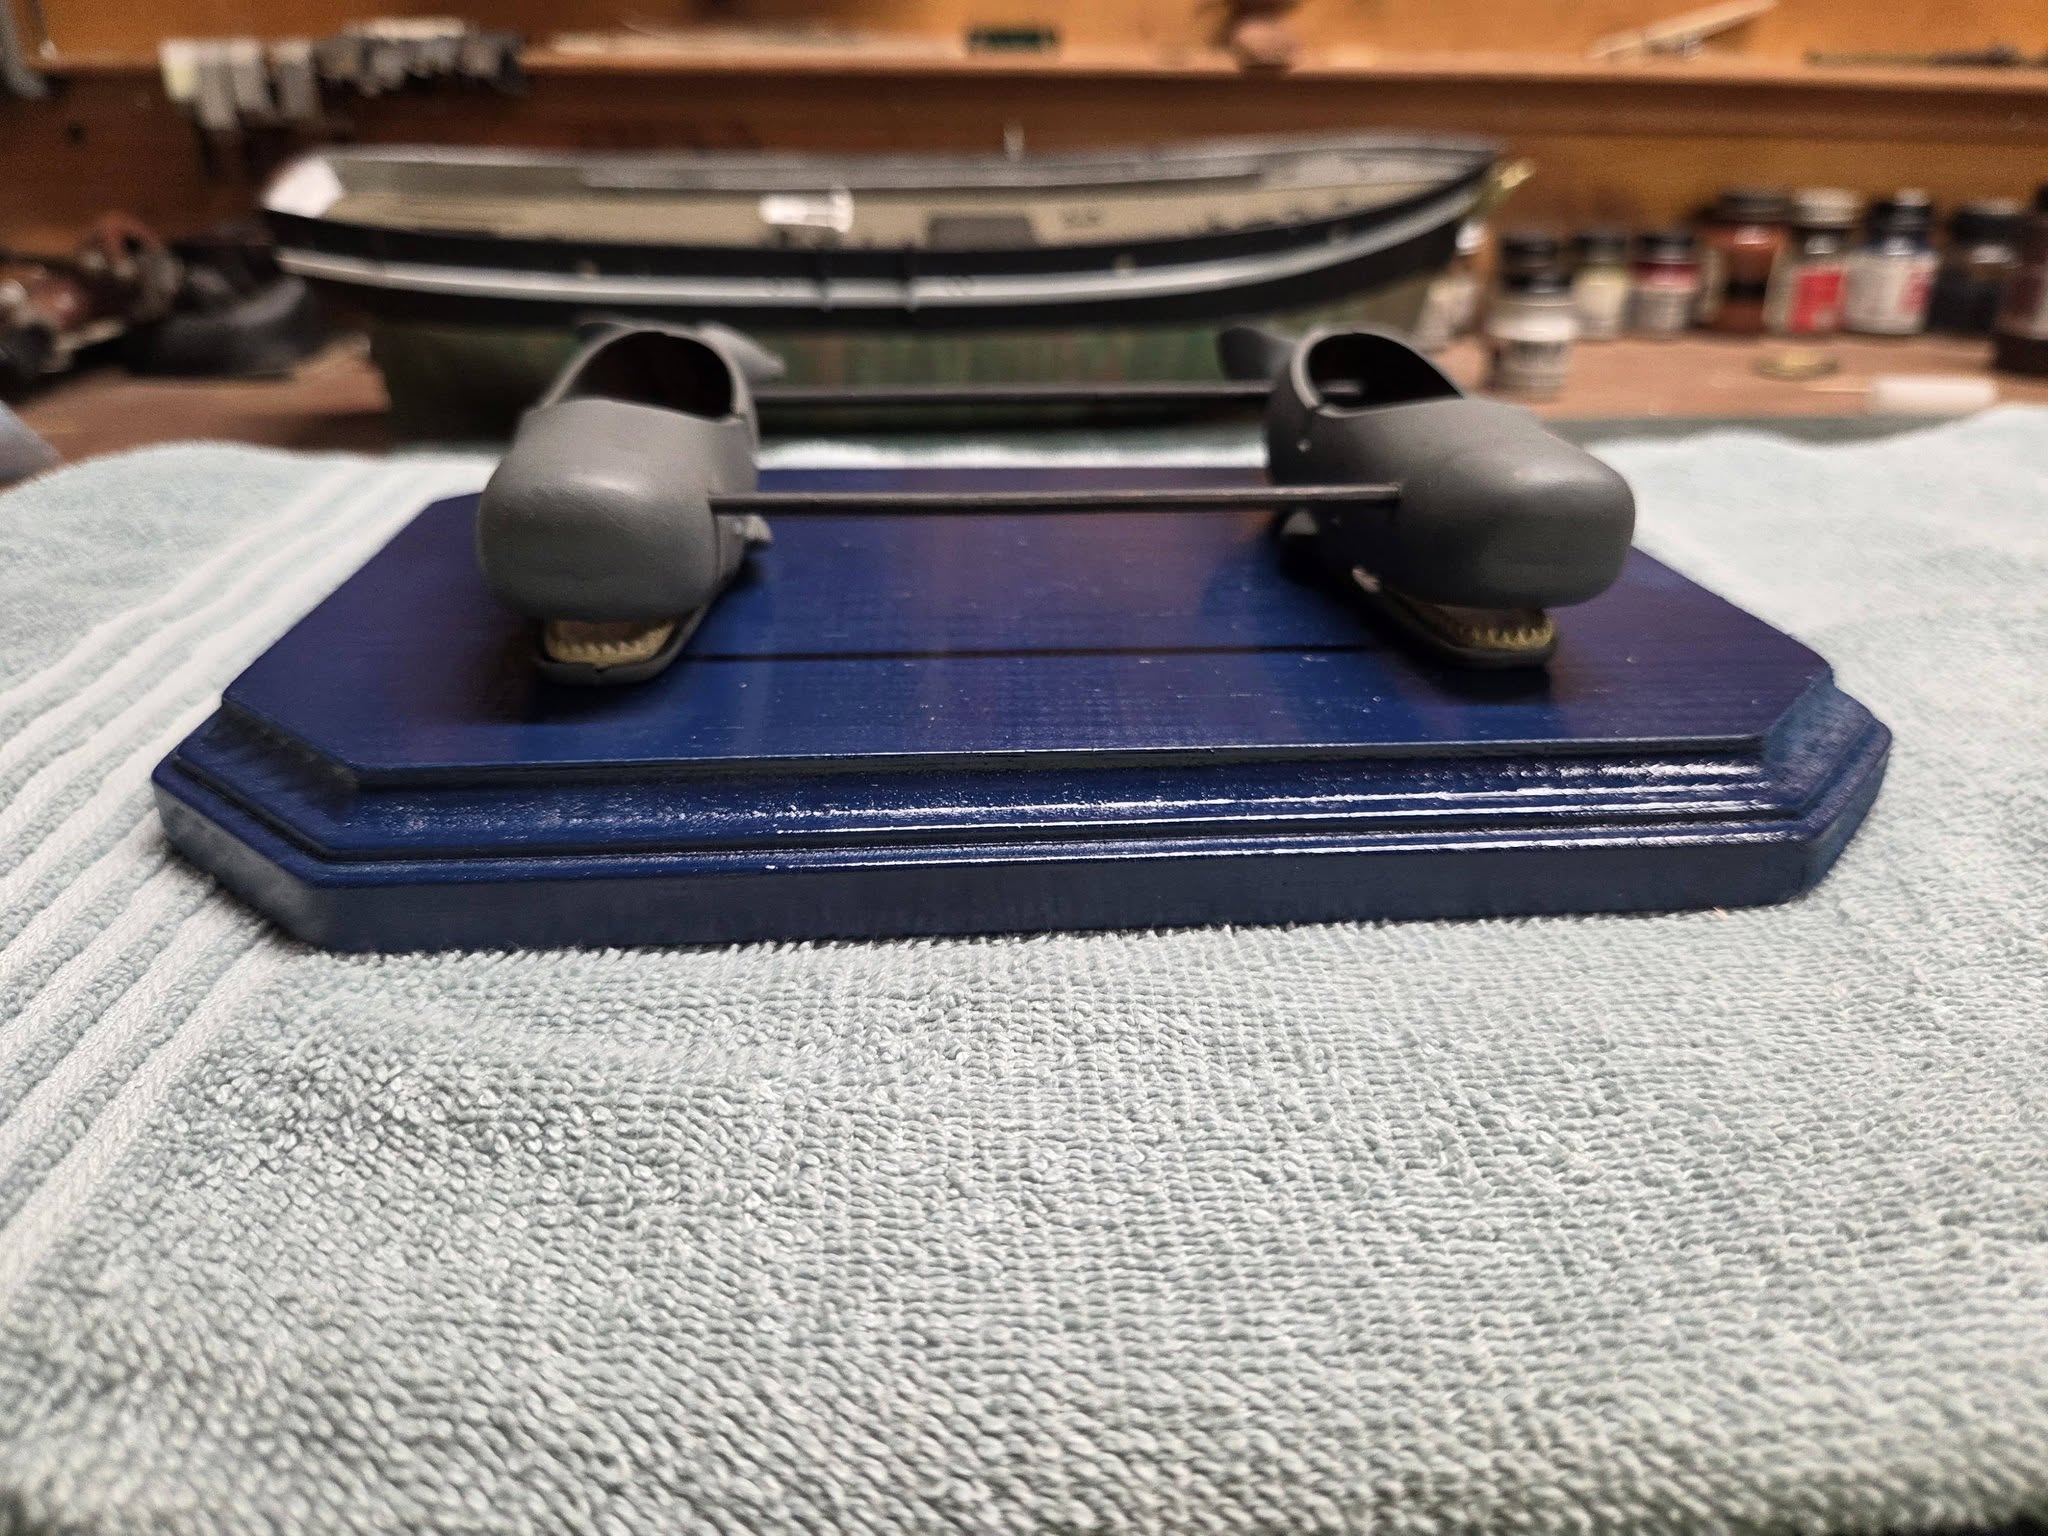
1 Like
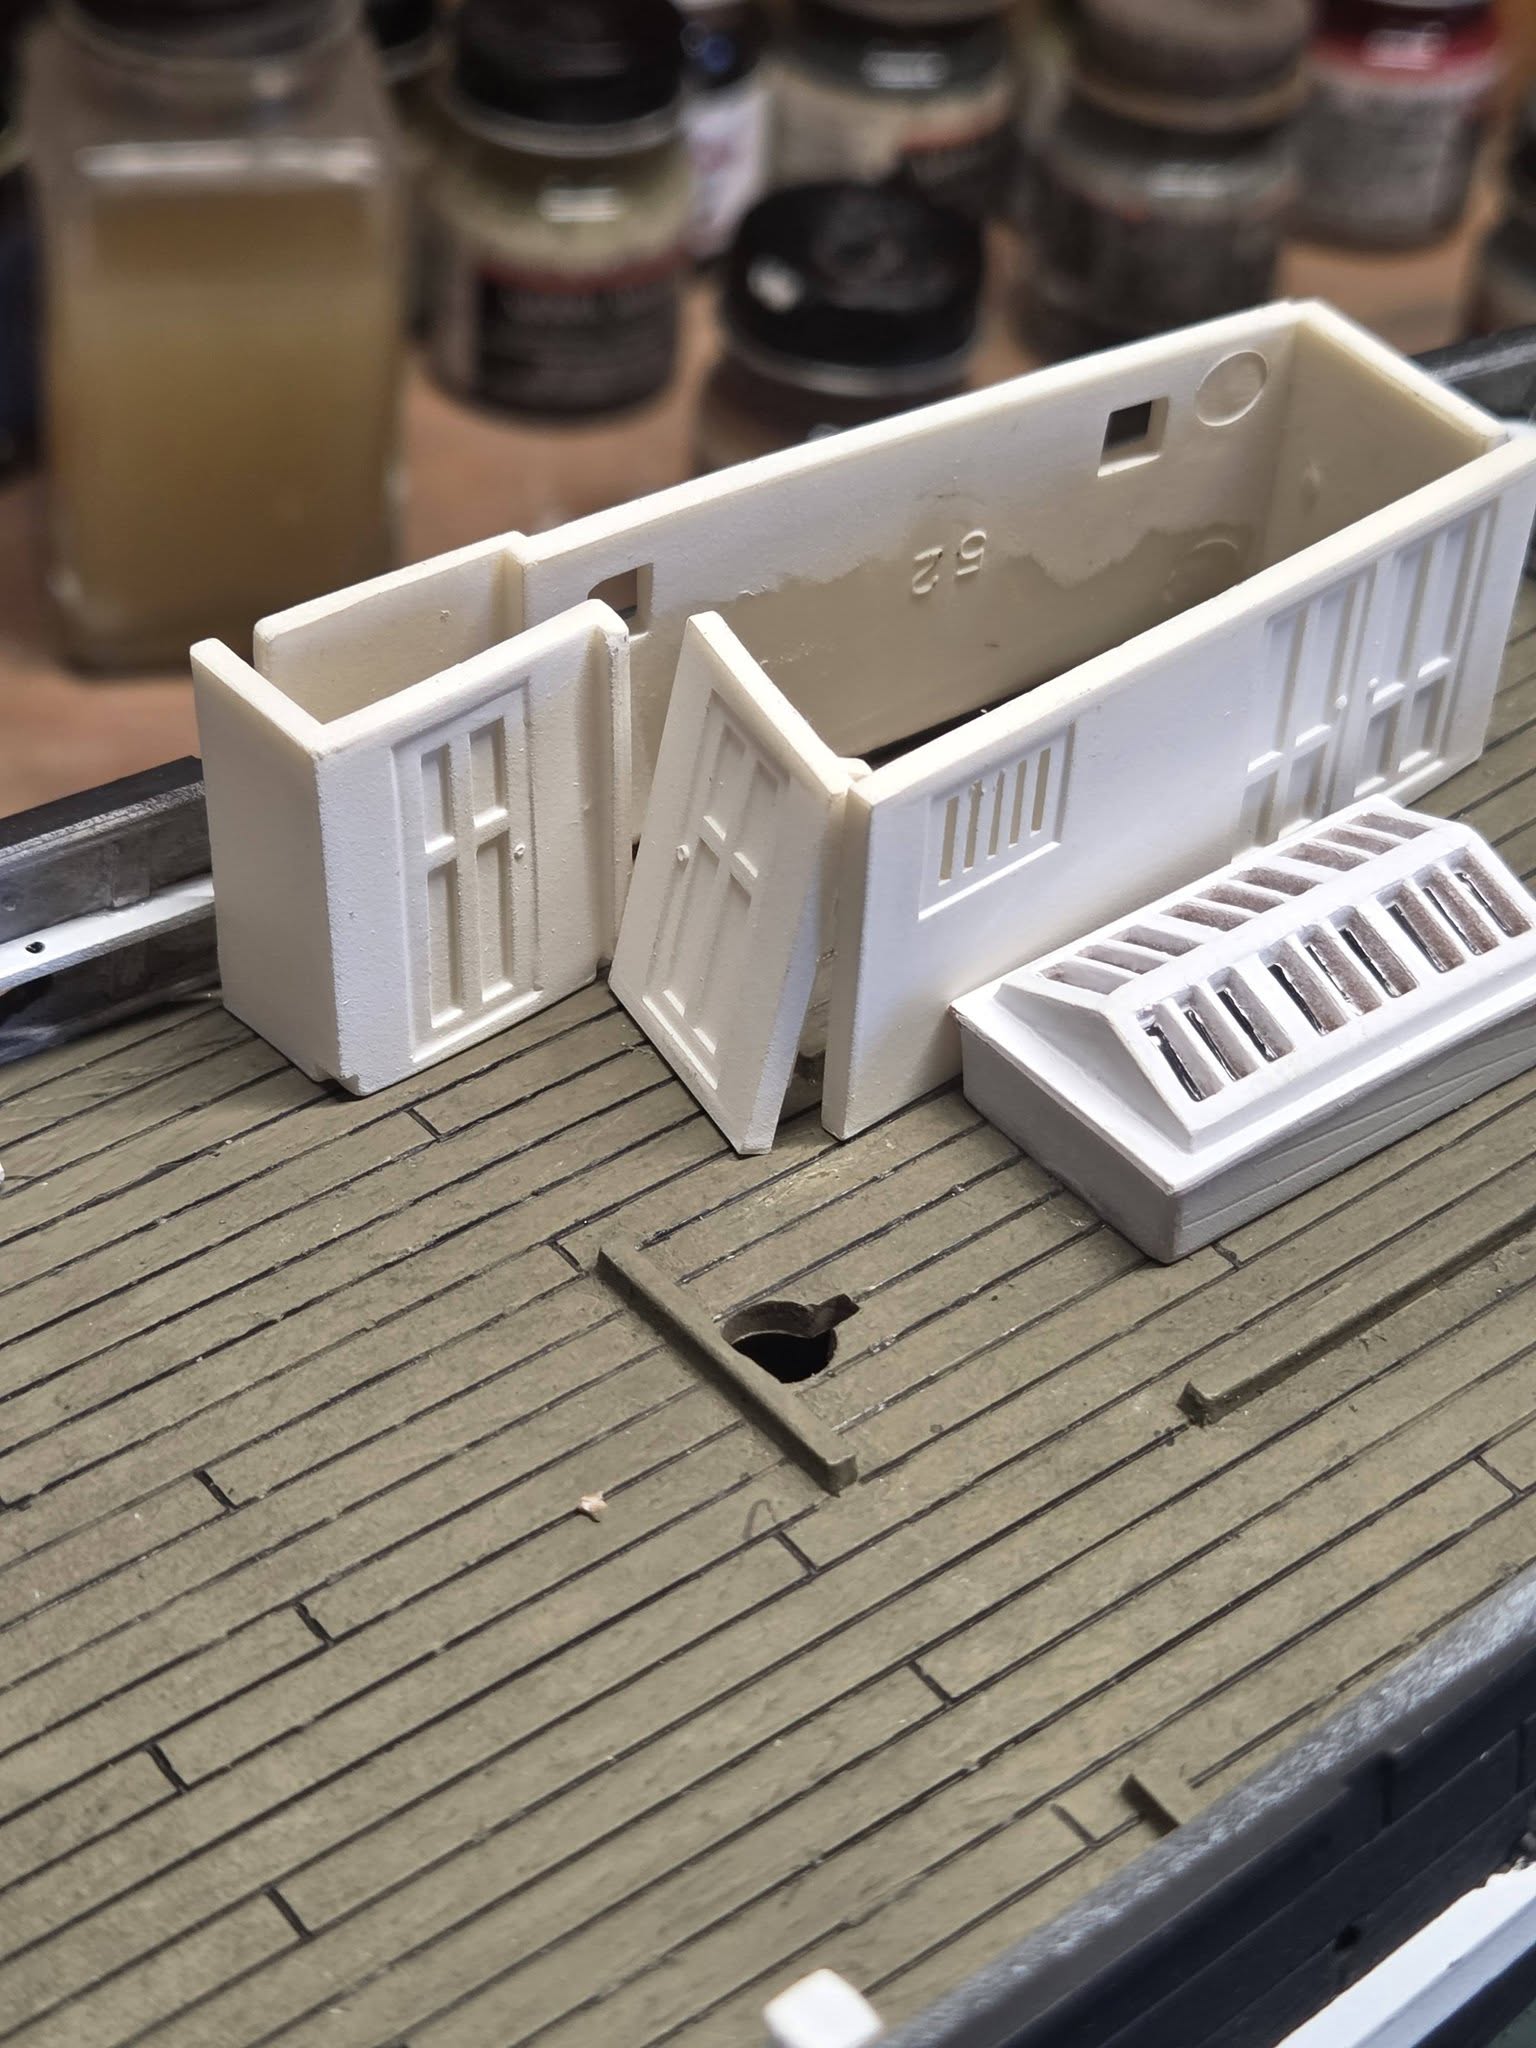
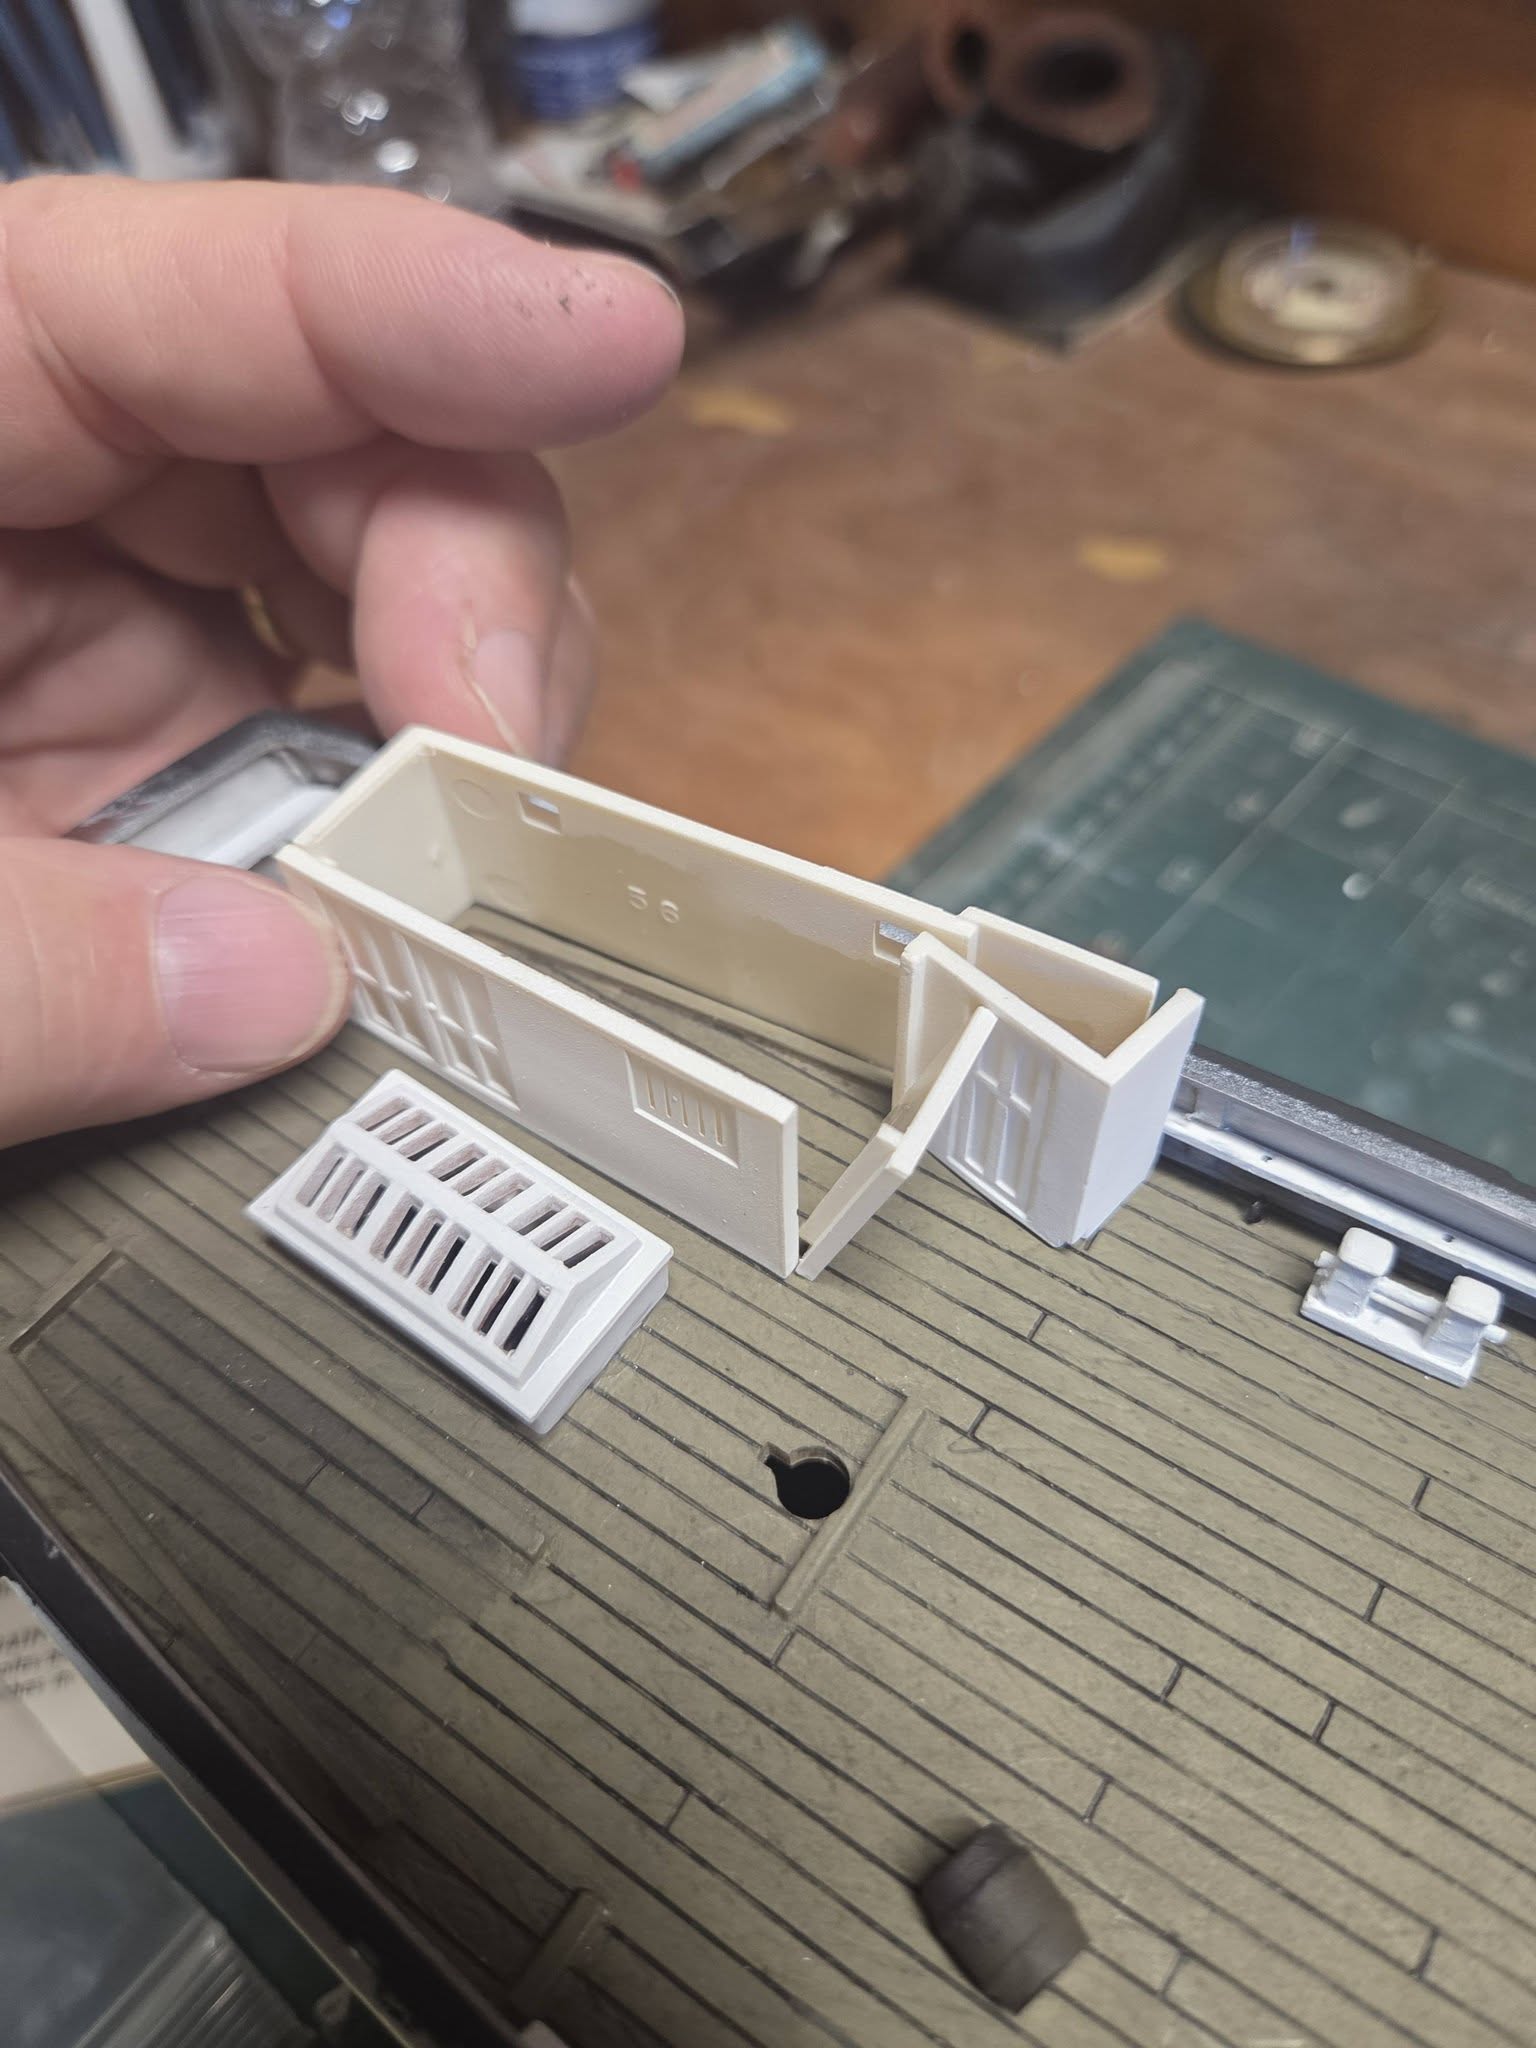
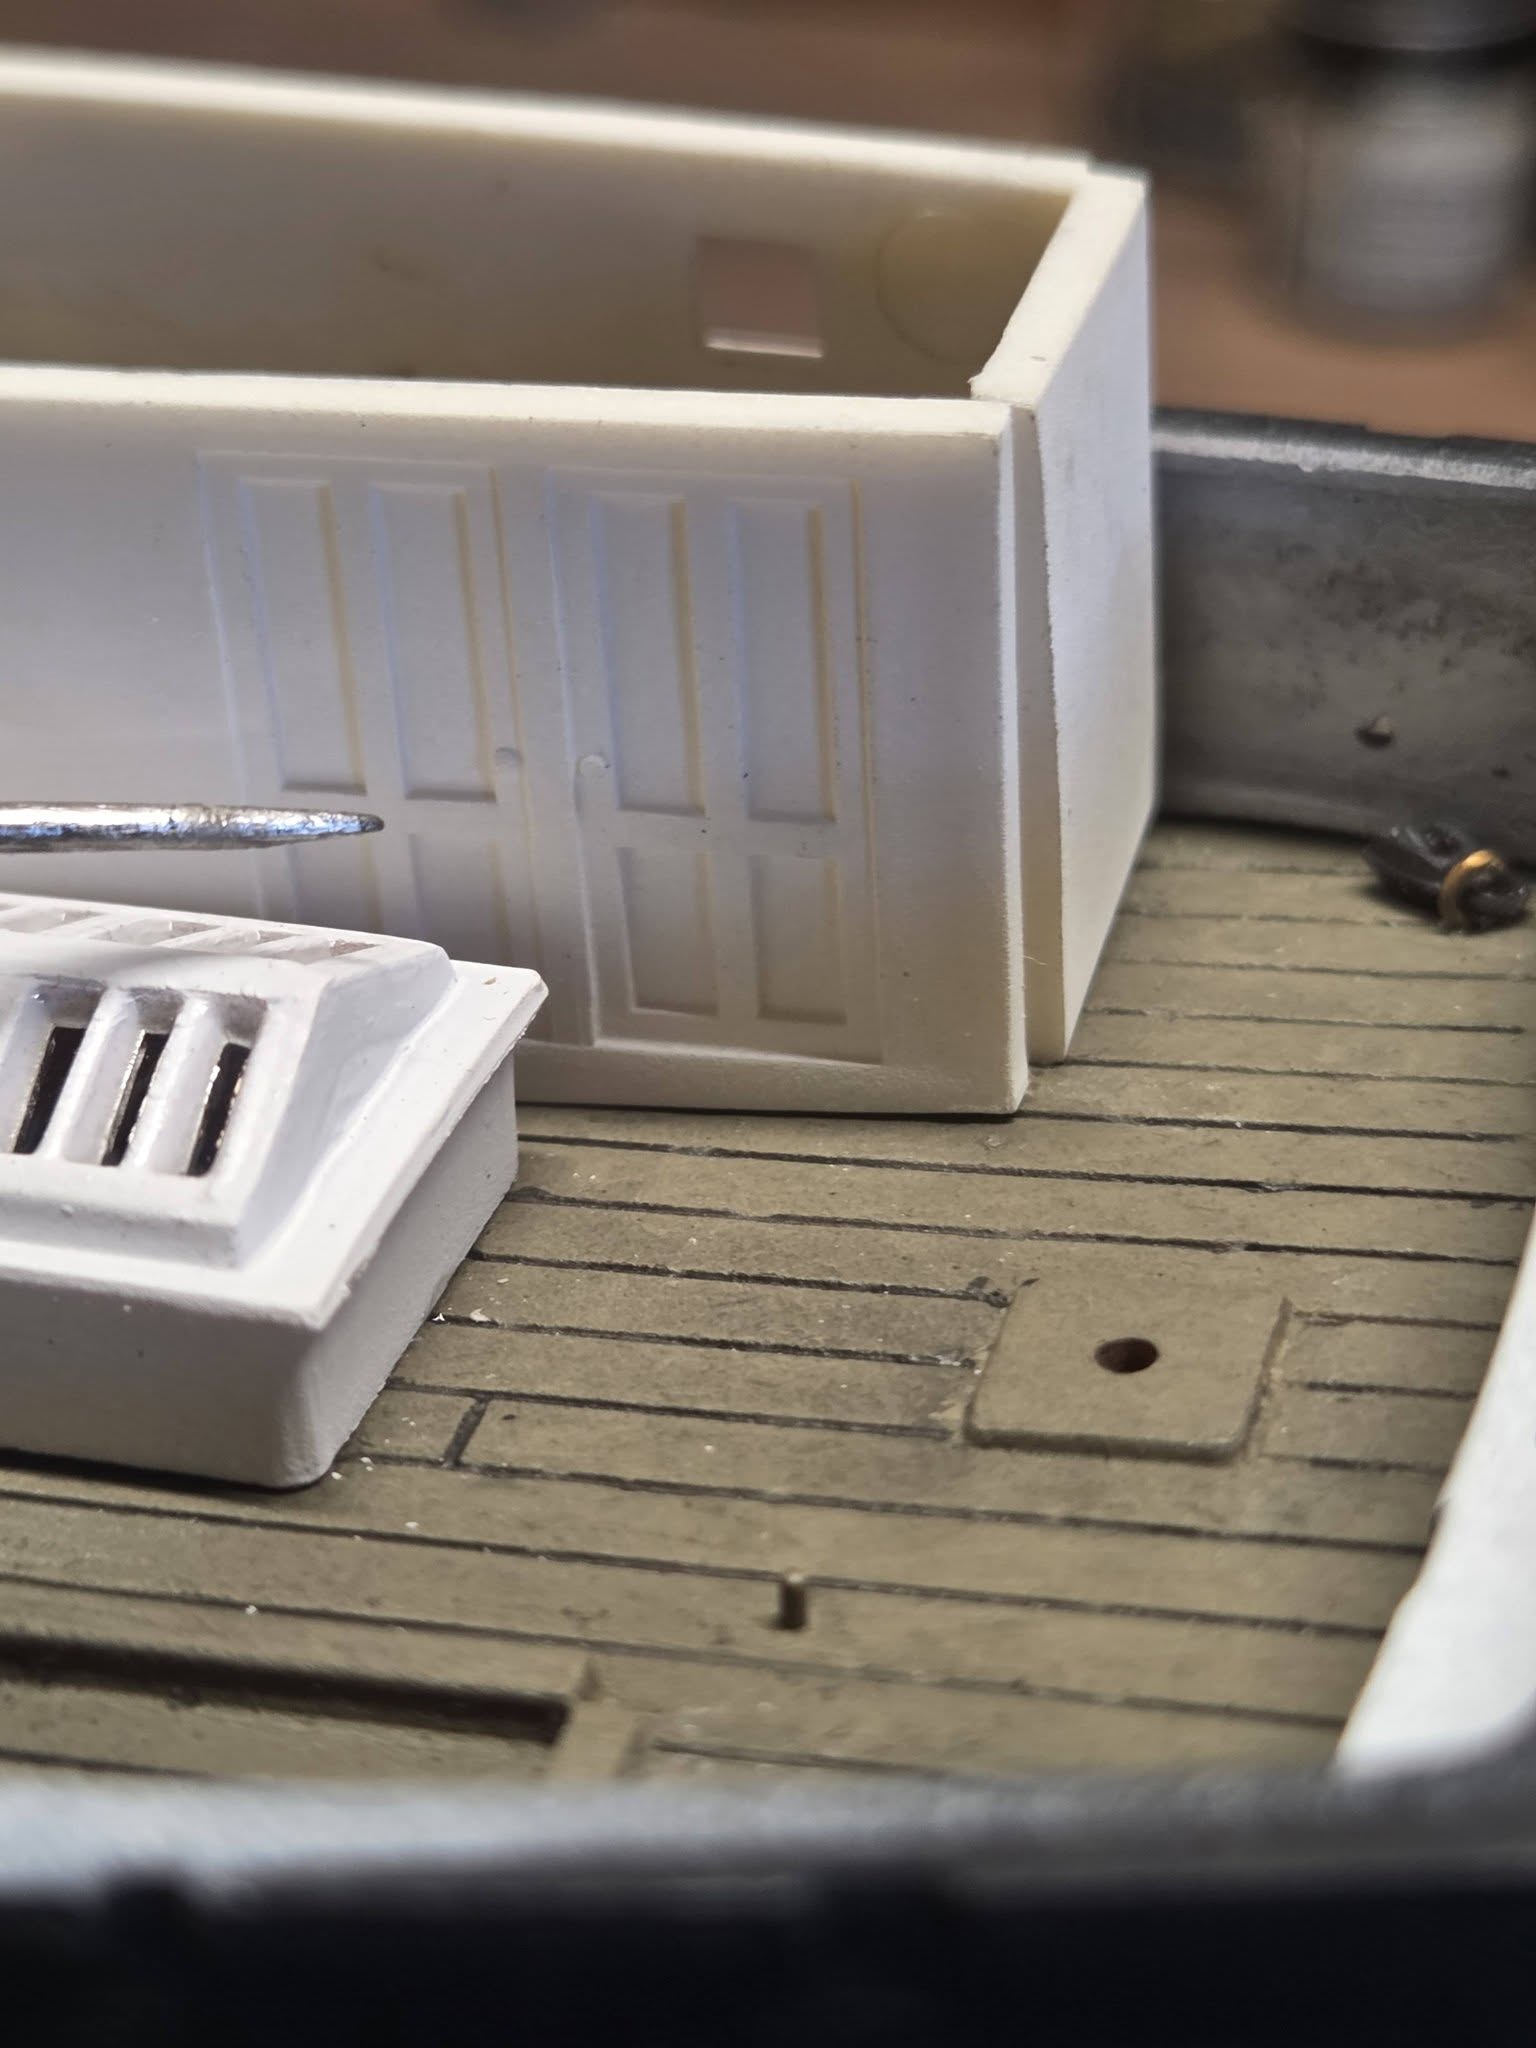
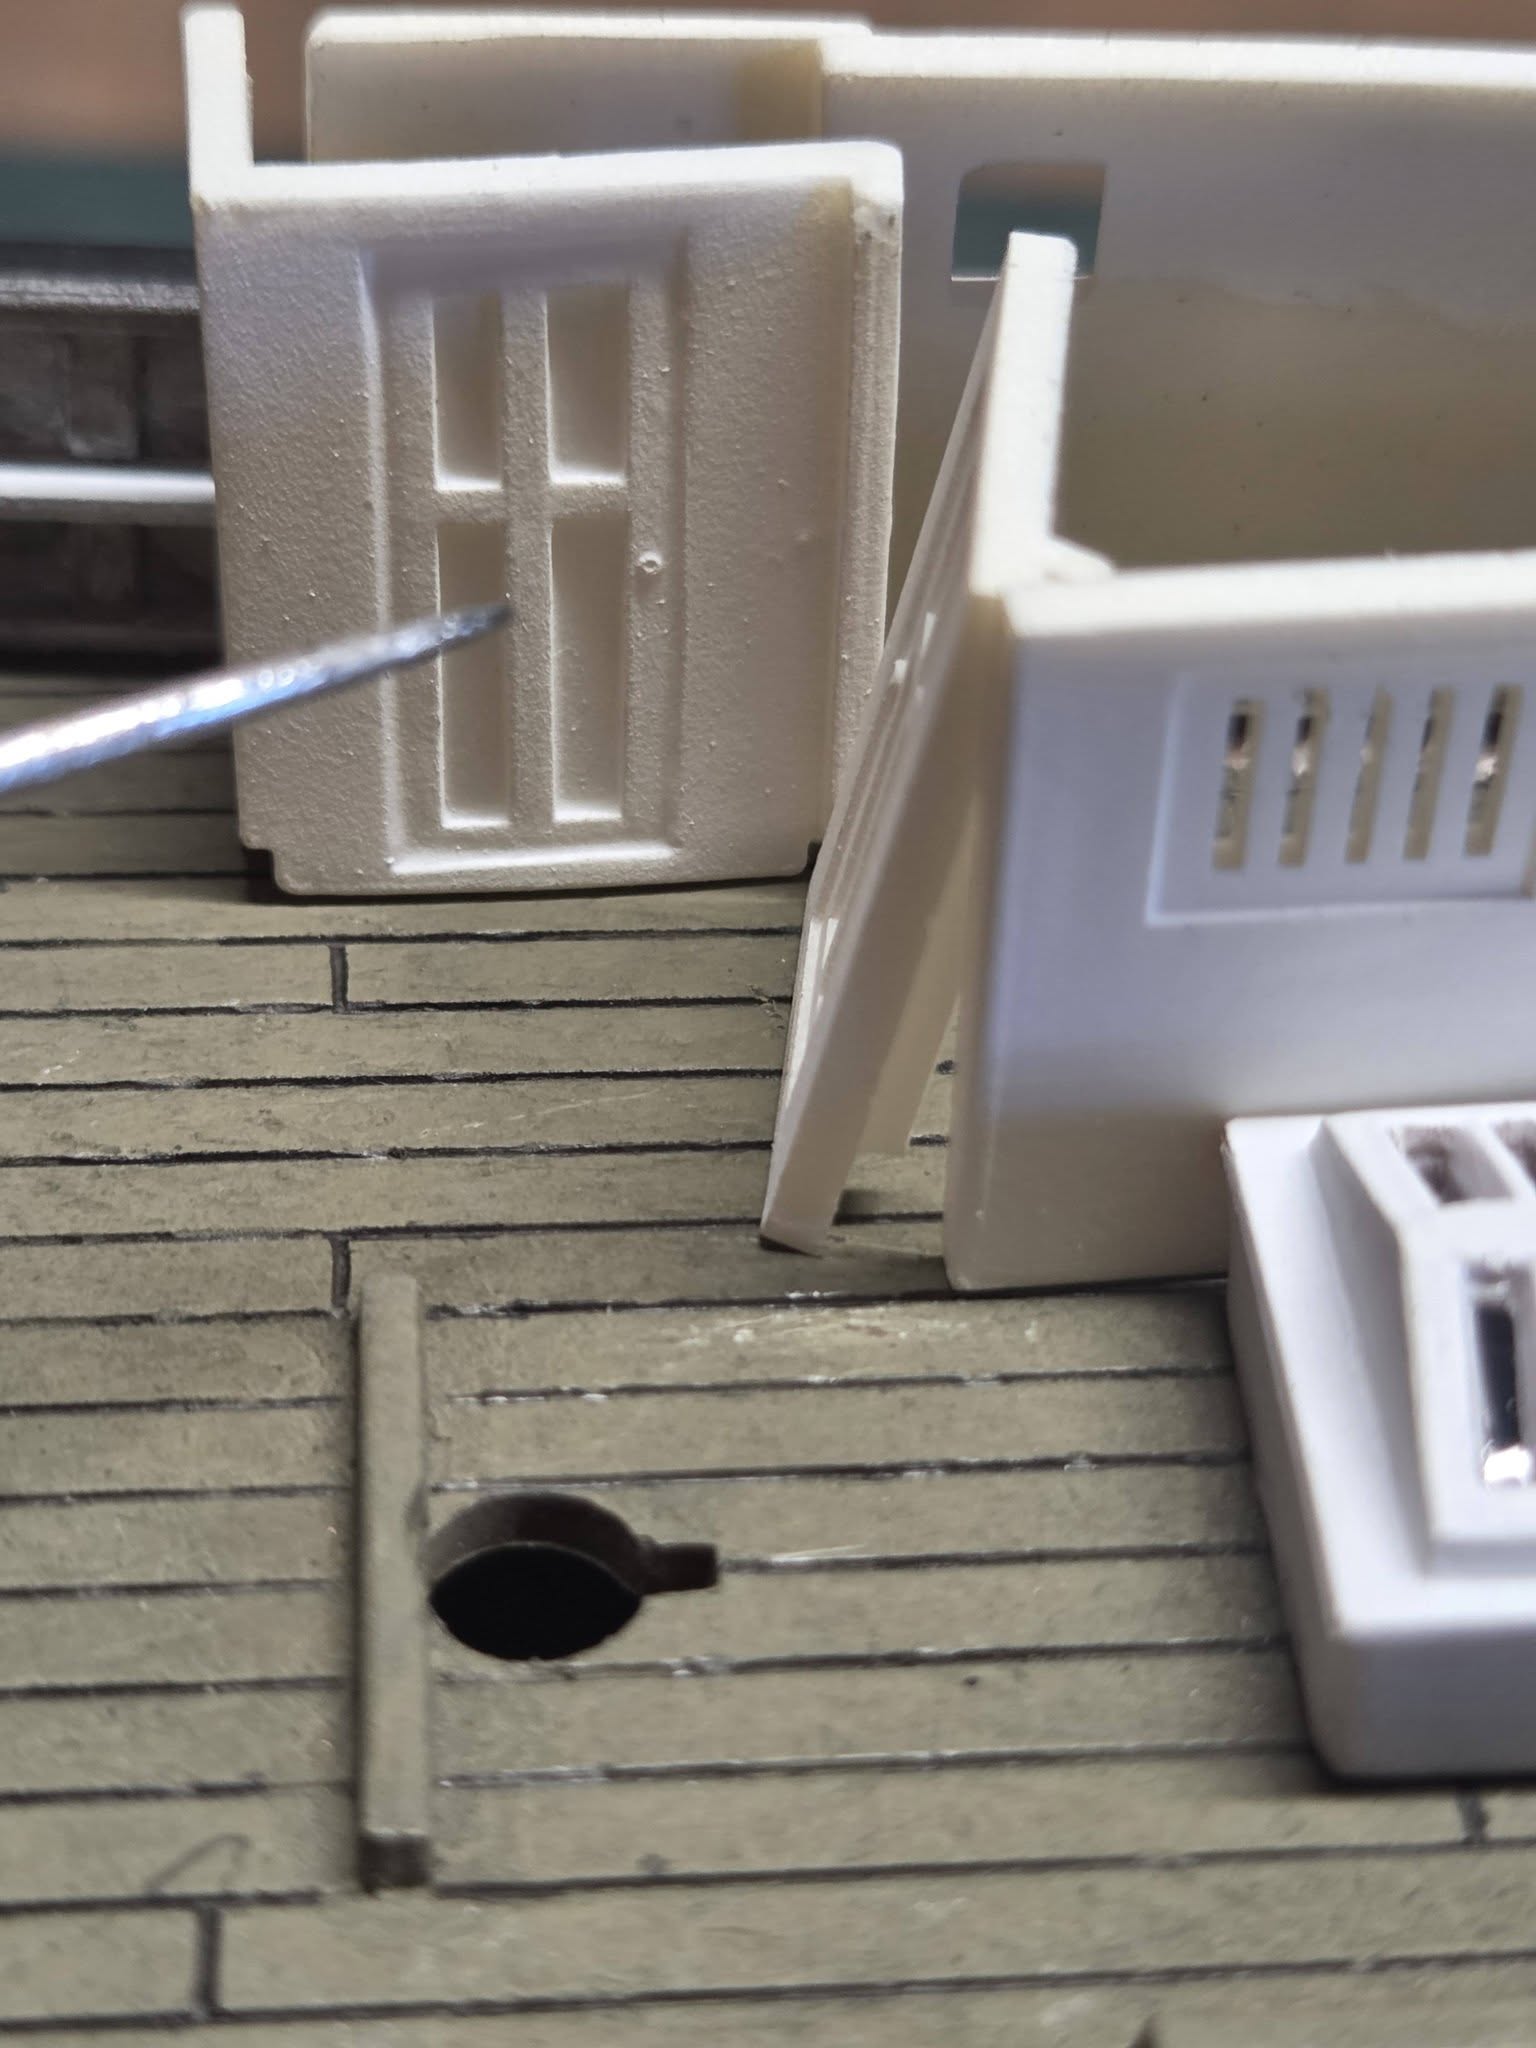
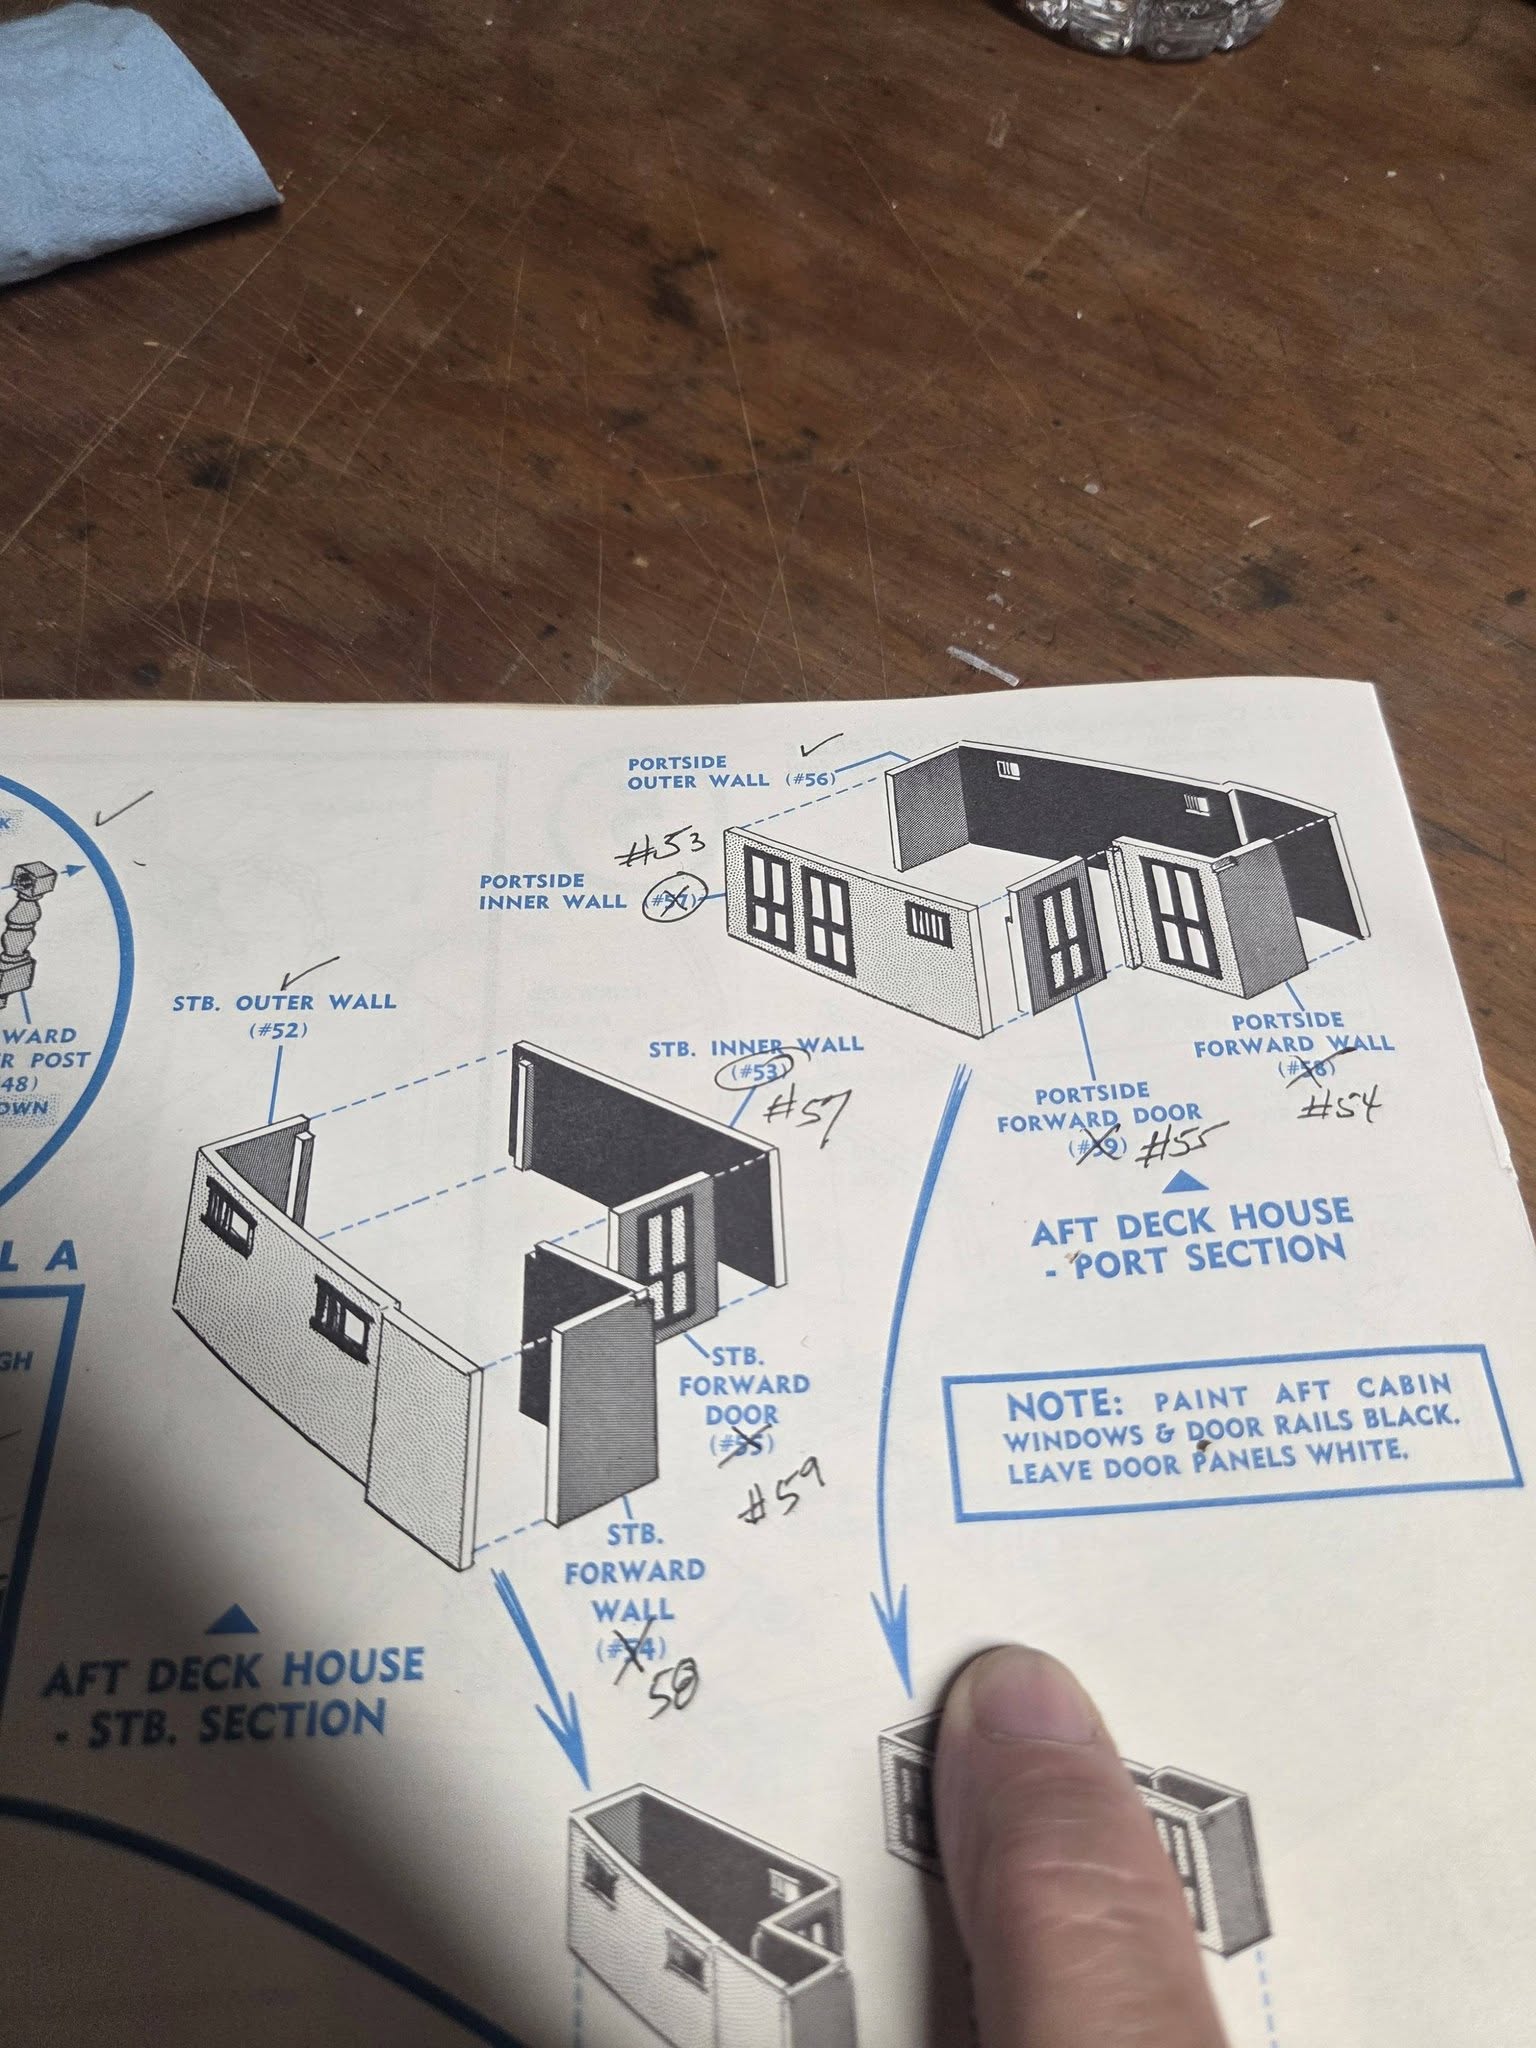
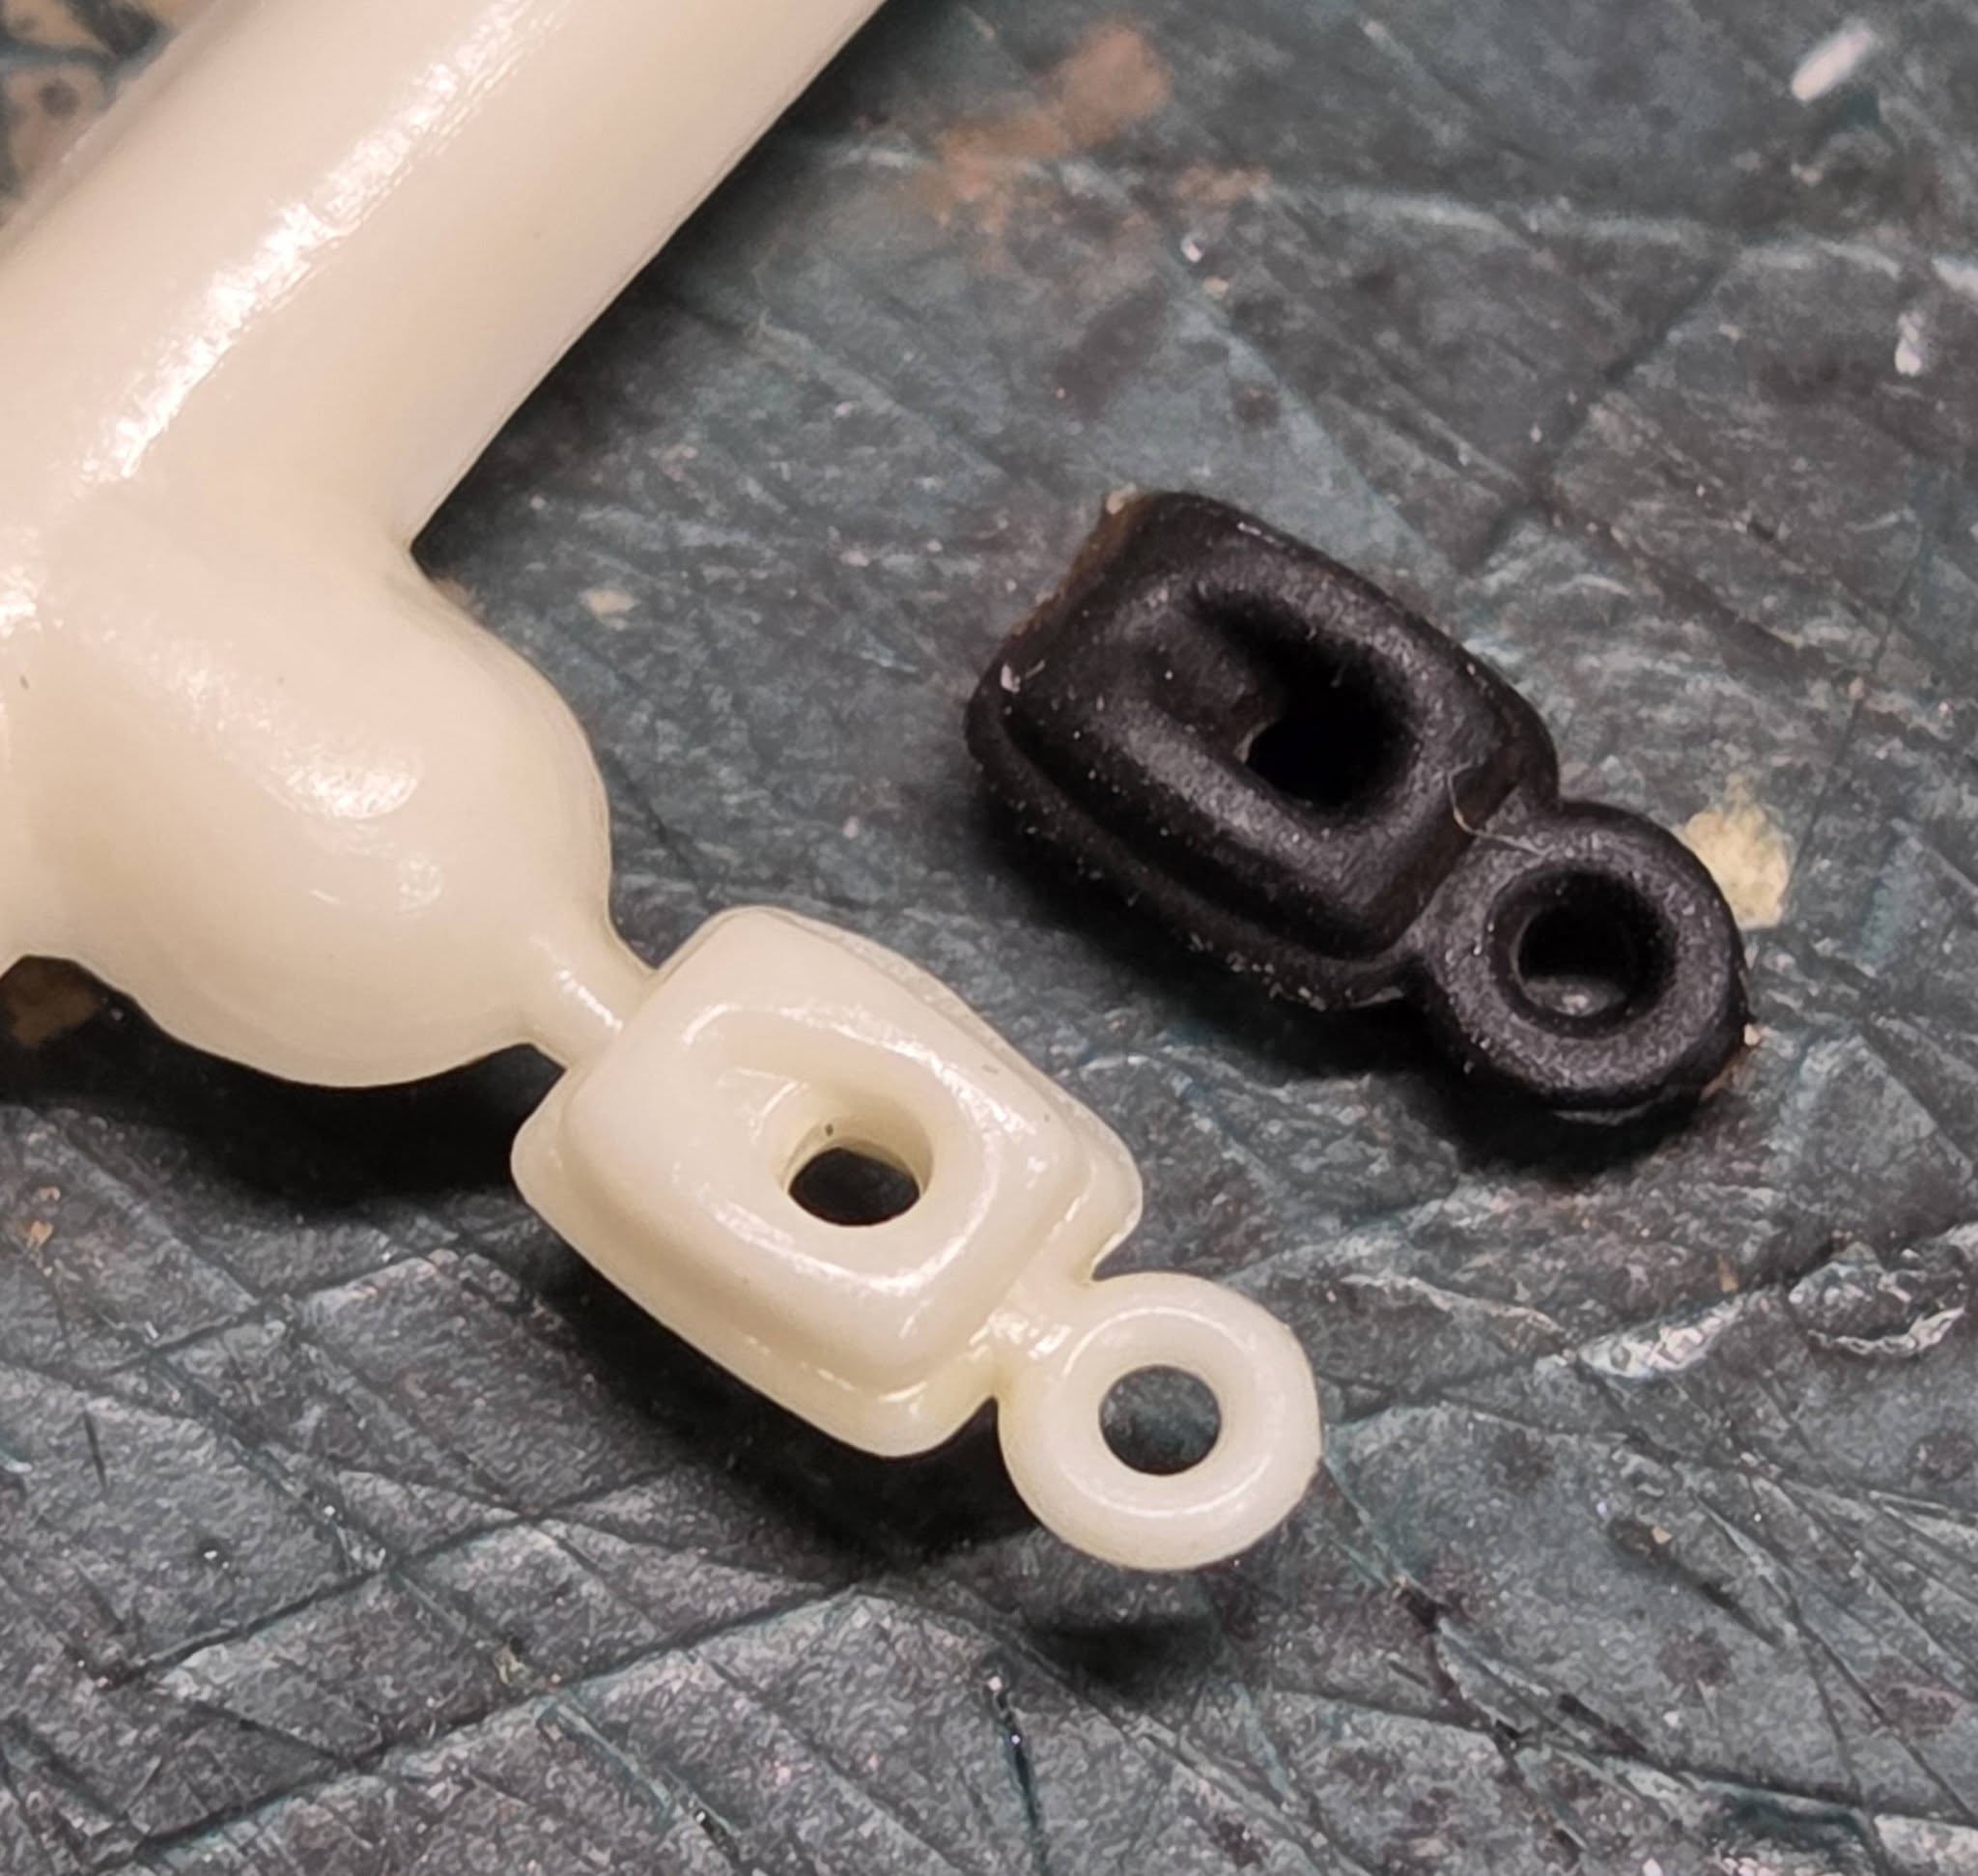
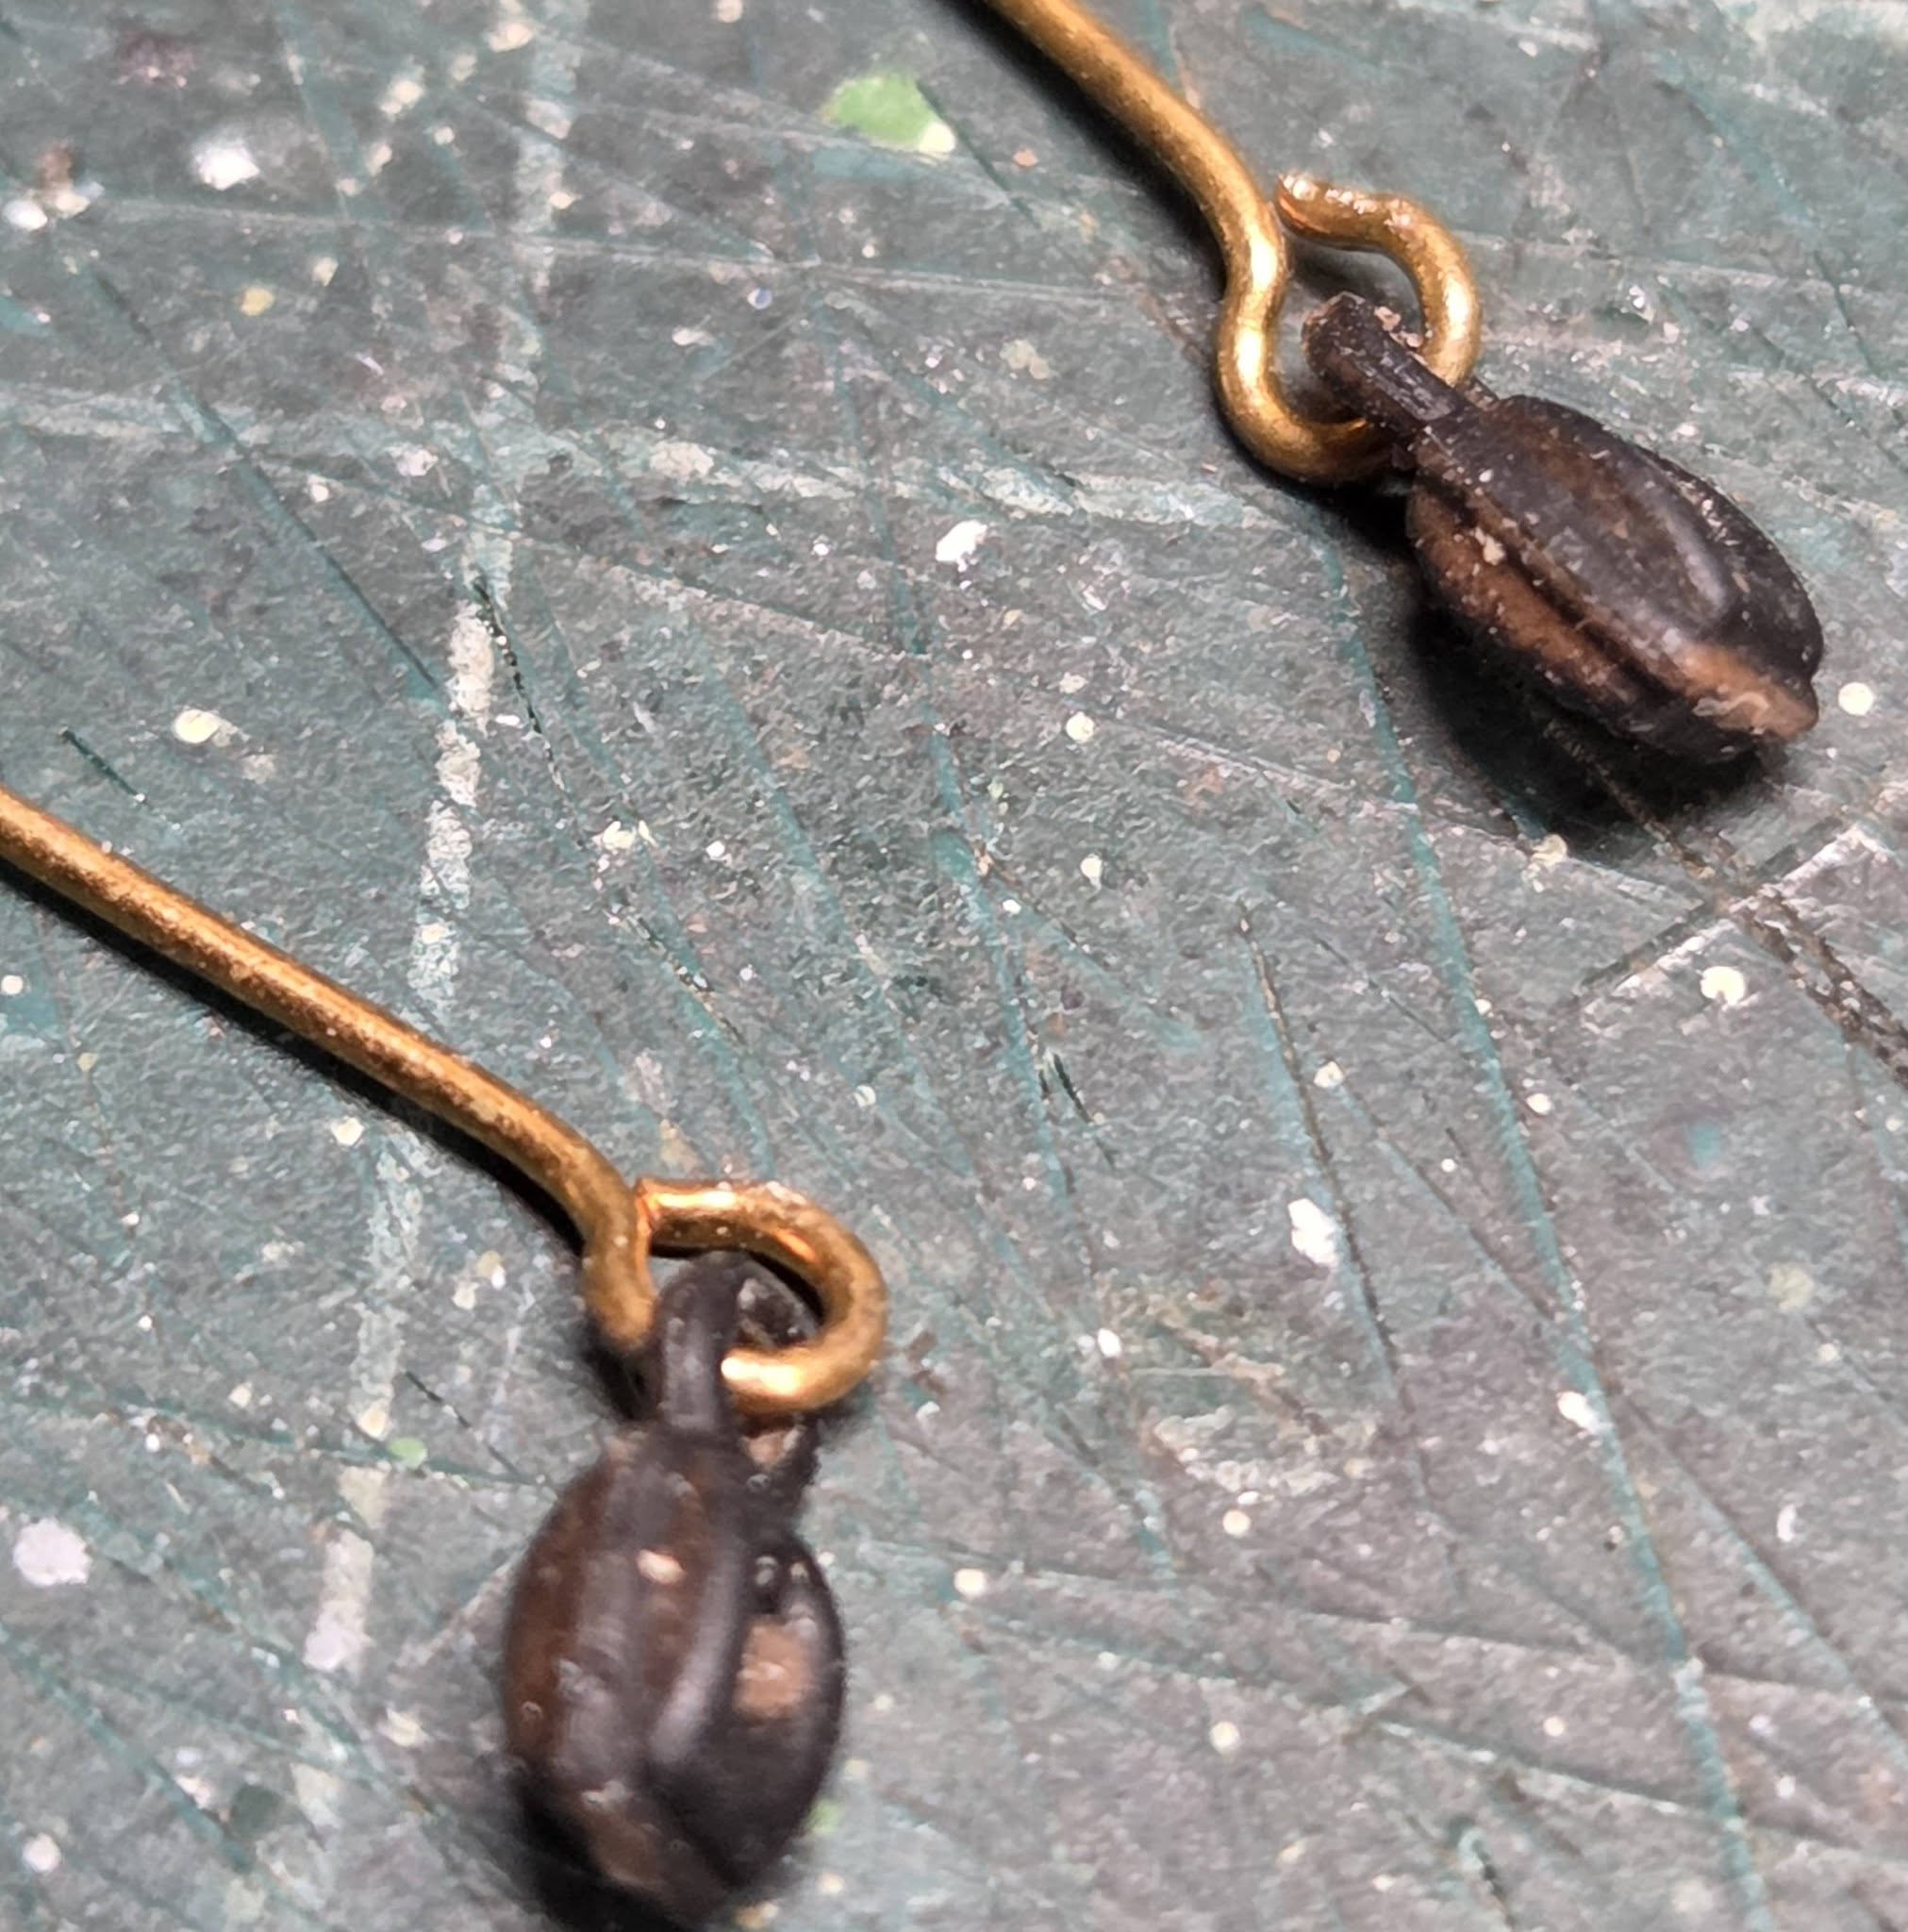
In test fitting the aft cabin I discovered that the instructions as written with the part numbers are backward. What the clue was is the position of the windows and door frames. If you look at the doors, the cross braced are in two different locations (higher than others), so I had to switch sides on the parts. Door framing is lower and some higher. The bow foredeck and windlass are in and detailed. When possible, I try to attach the eyelets to the pulleys without tying, neater that way. The pulleys/blocks that came in the kit (white ones) are near identical to the Revell Models versions, so I use those as they give me more choices and style. I’ll use the plastic deadeyes and chainplates but will hand rig the shrouds as the preformed plastic ones are WAY out of scale.
The group may enjoy this shop clip of the POB. Her sail plan is just ART.