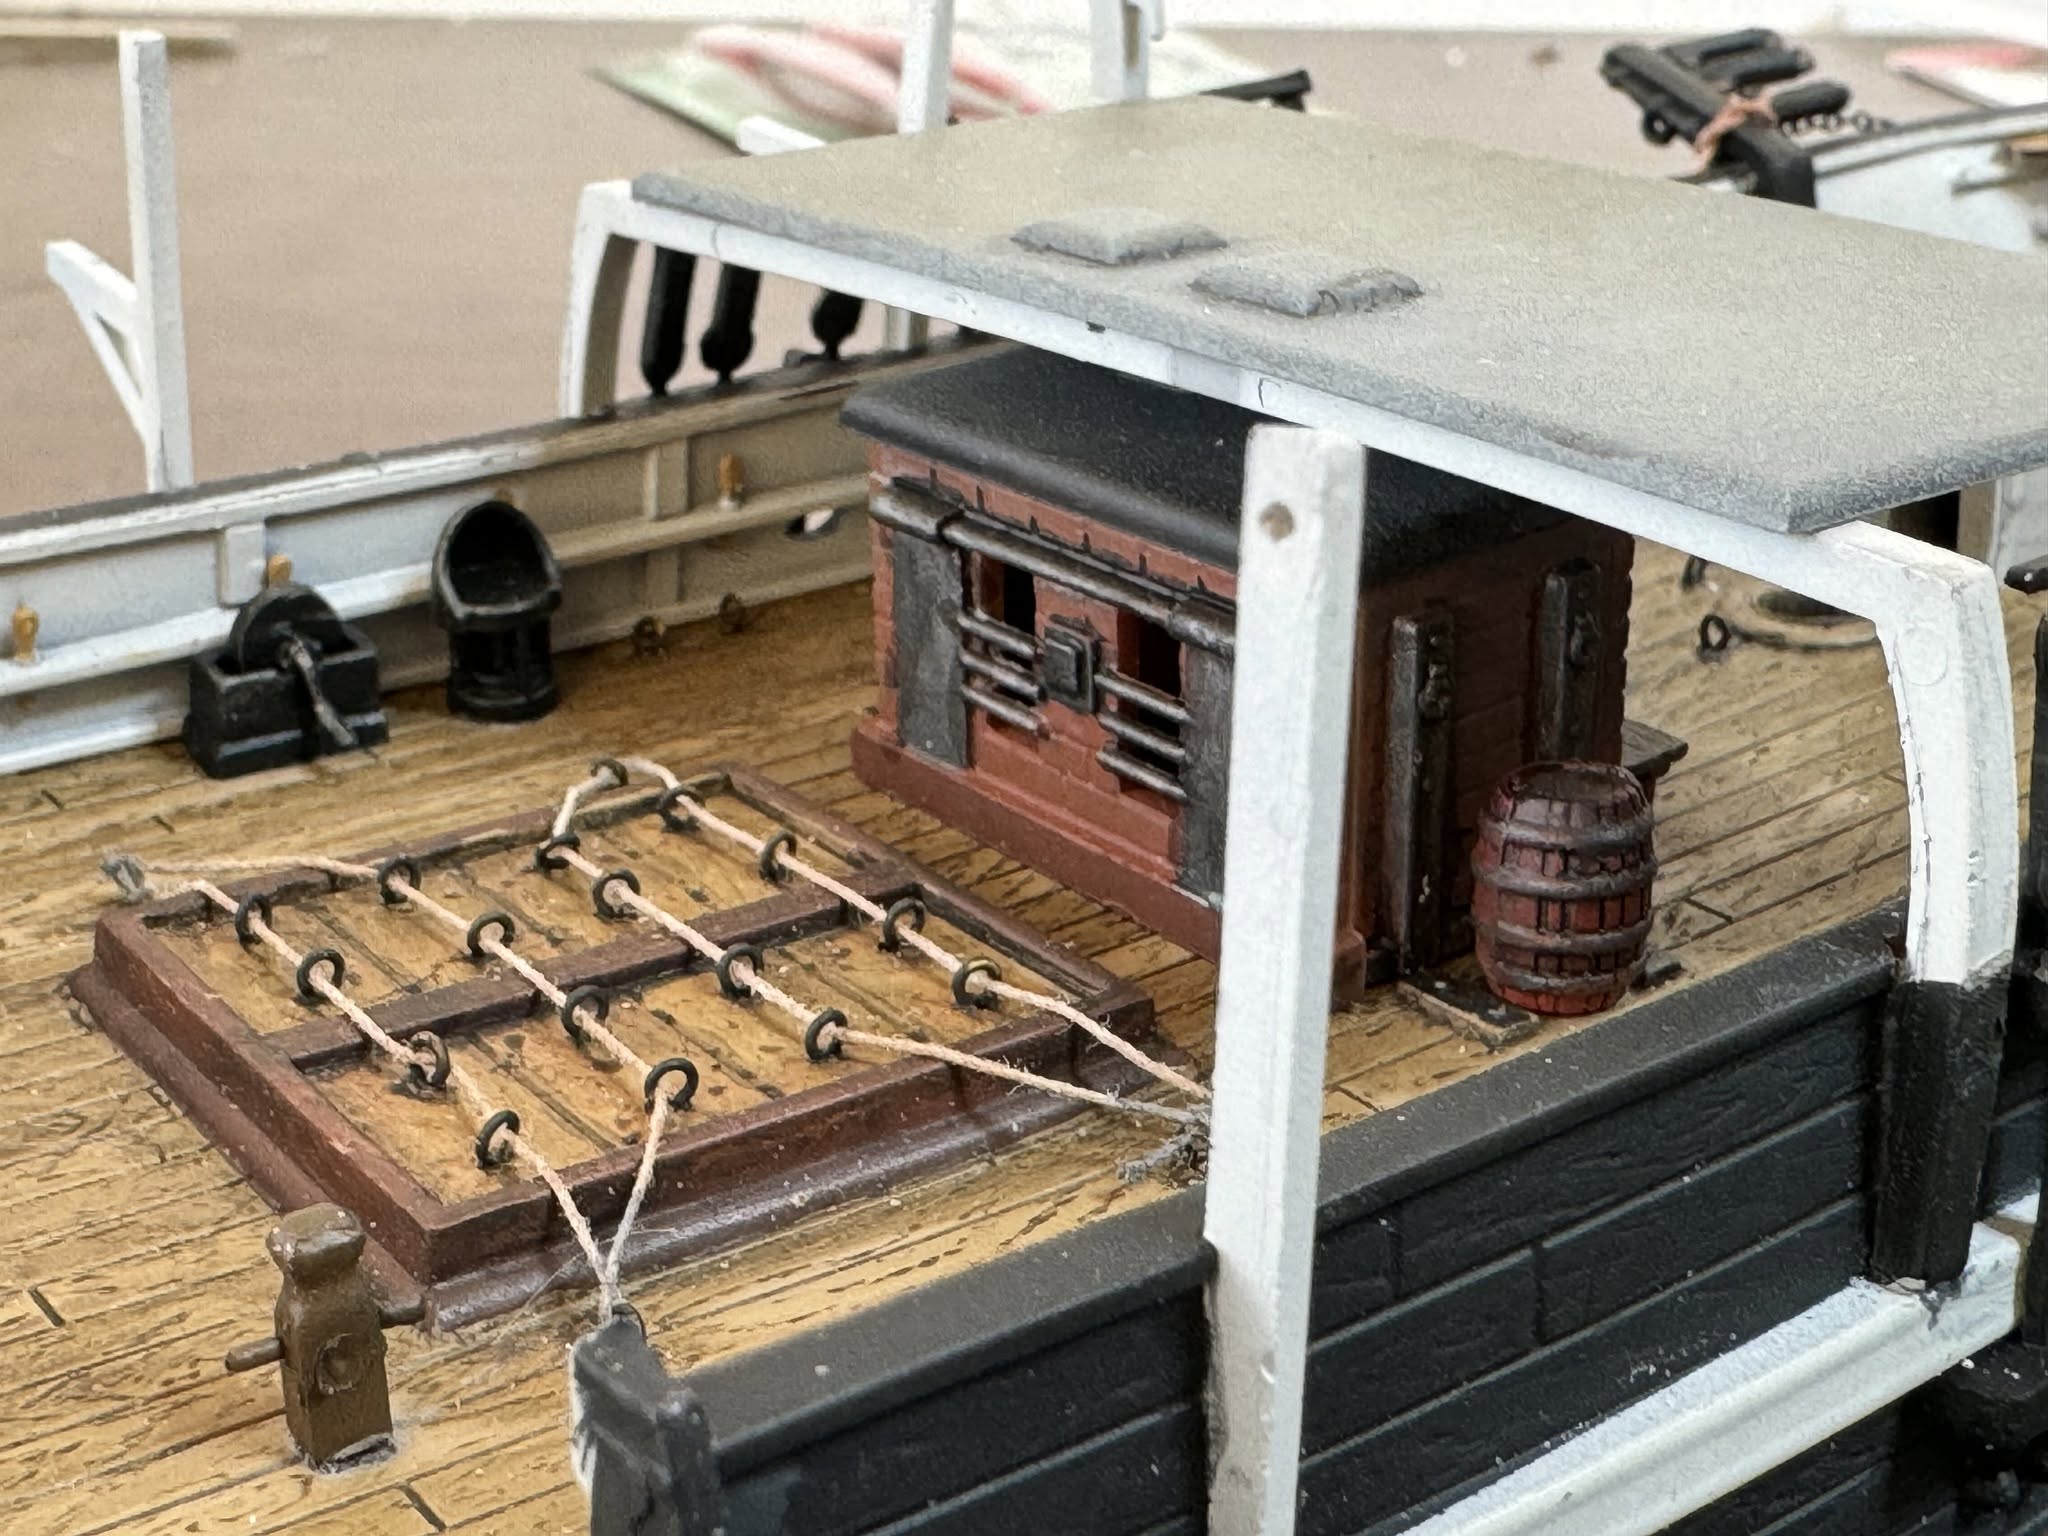
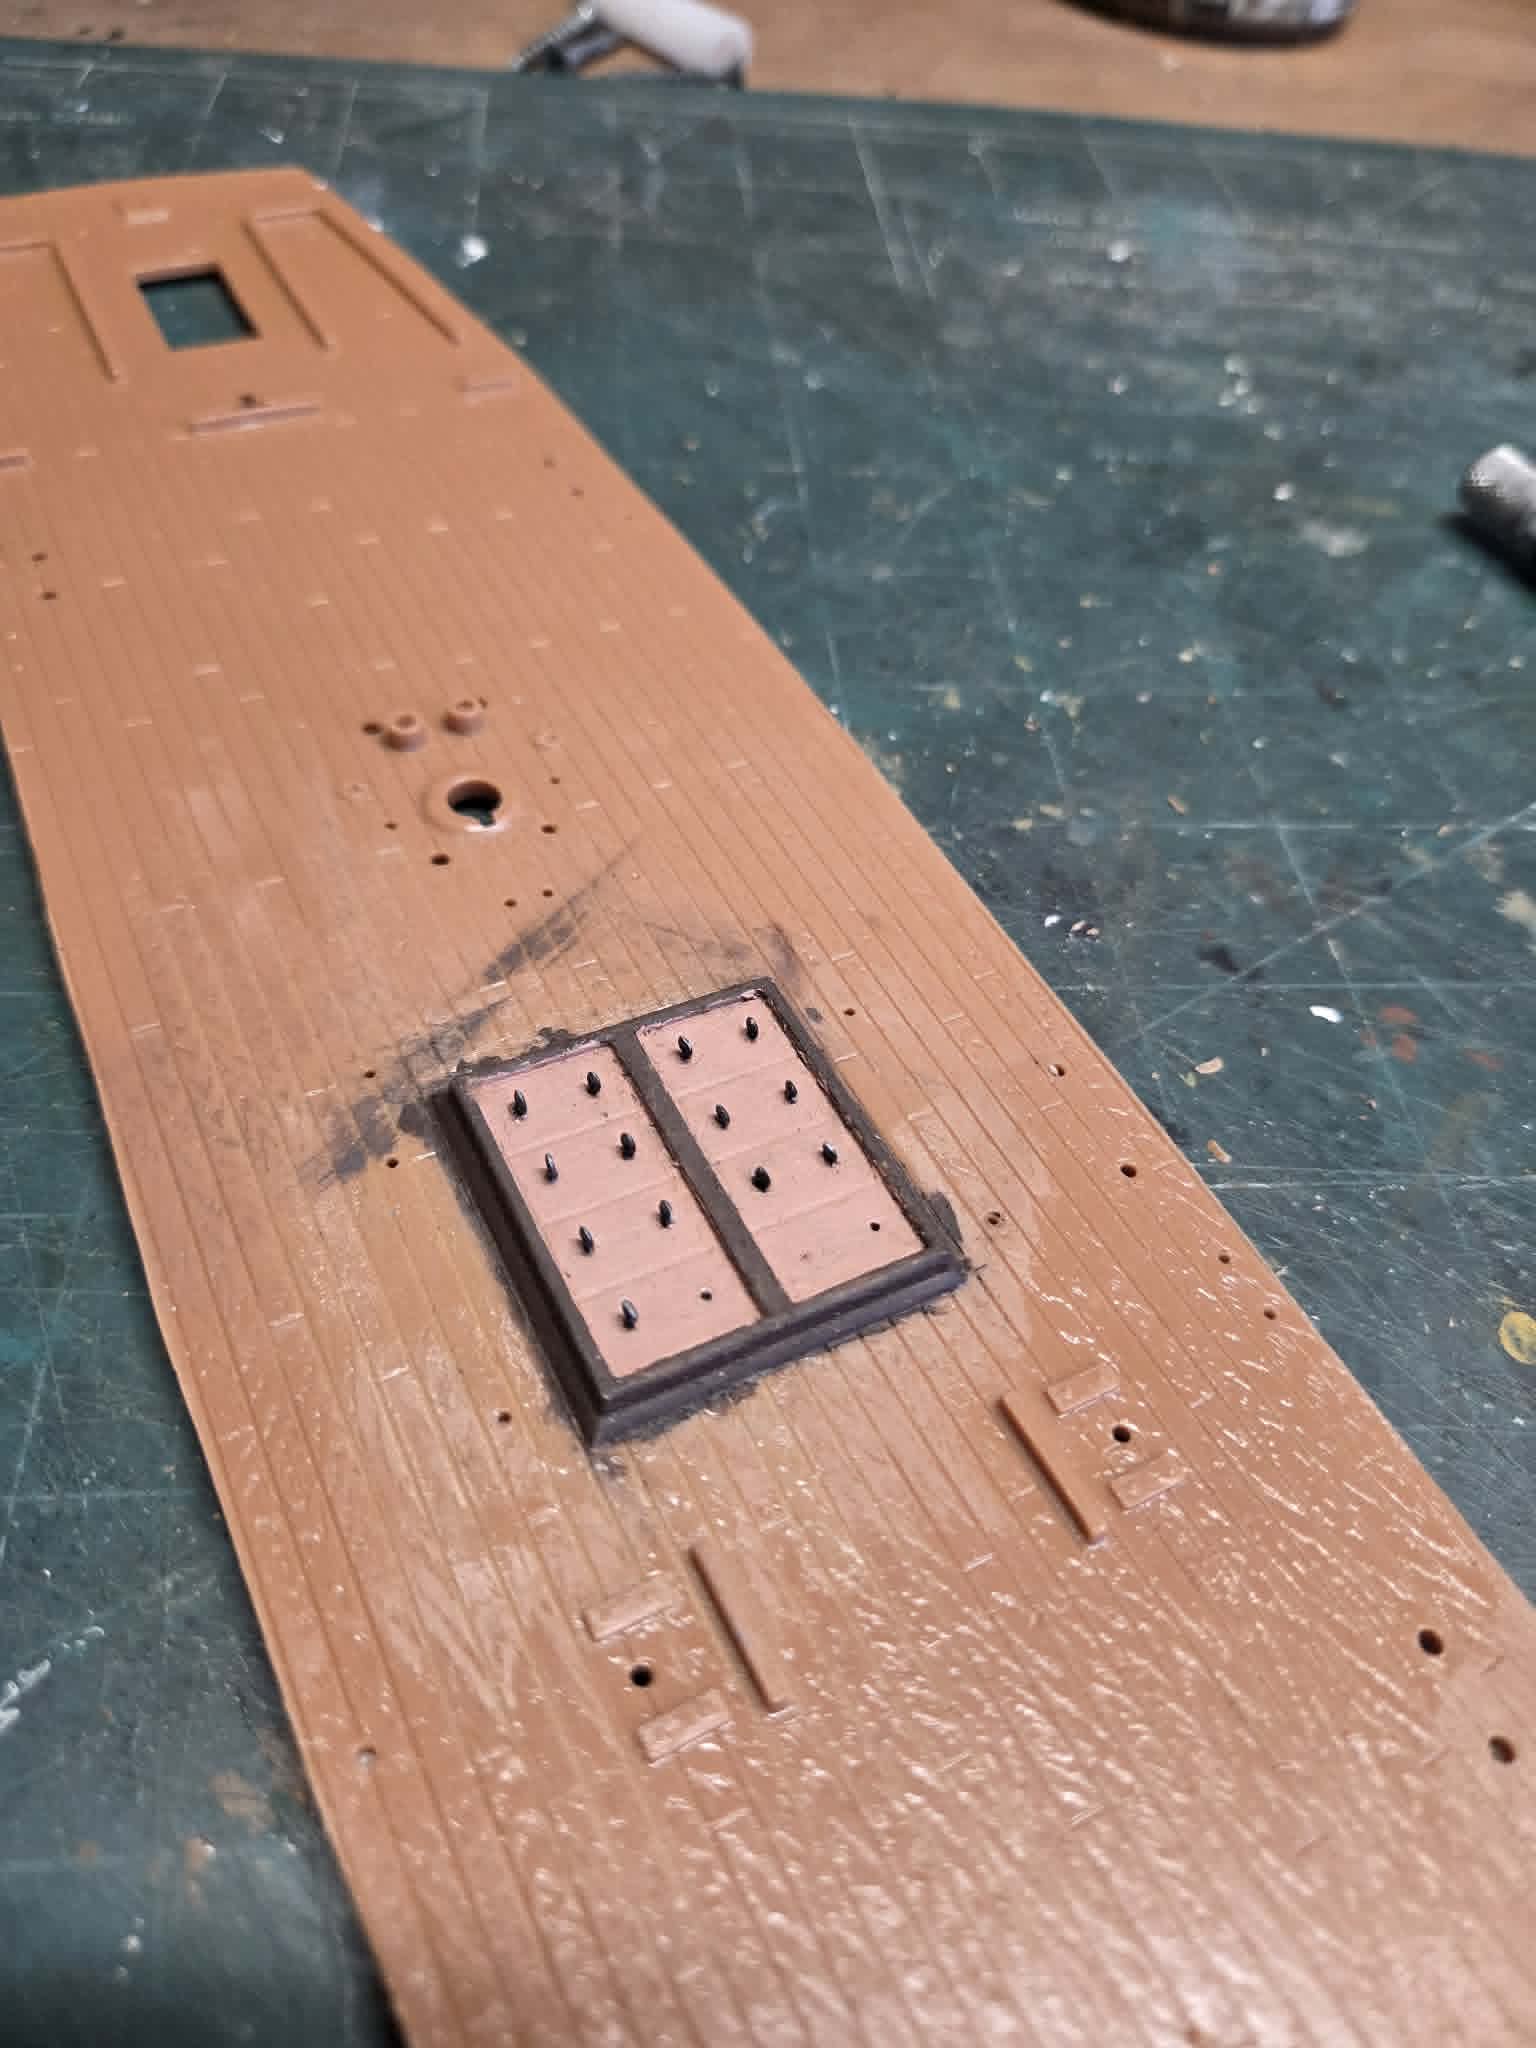
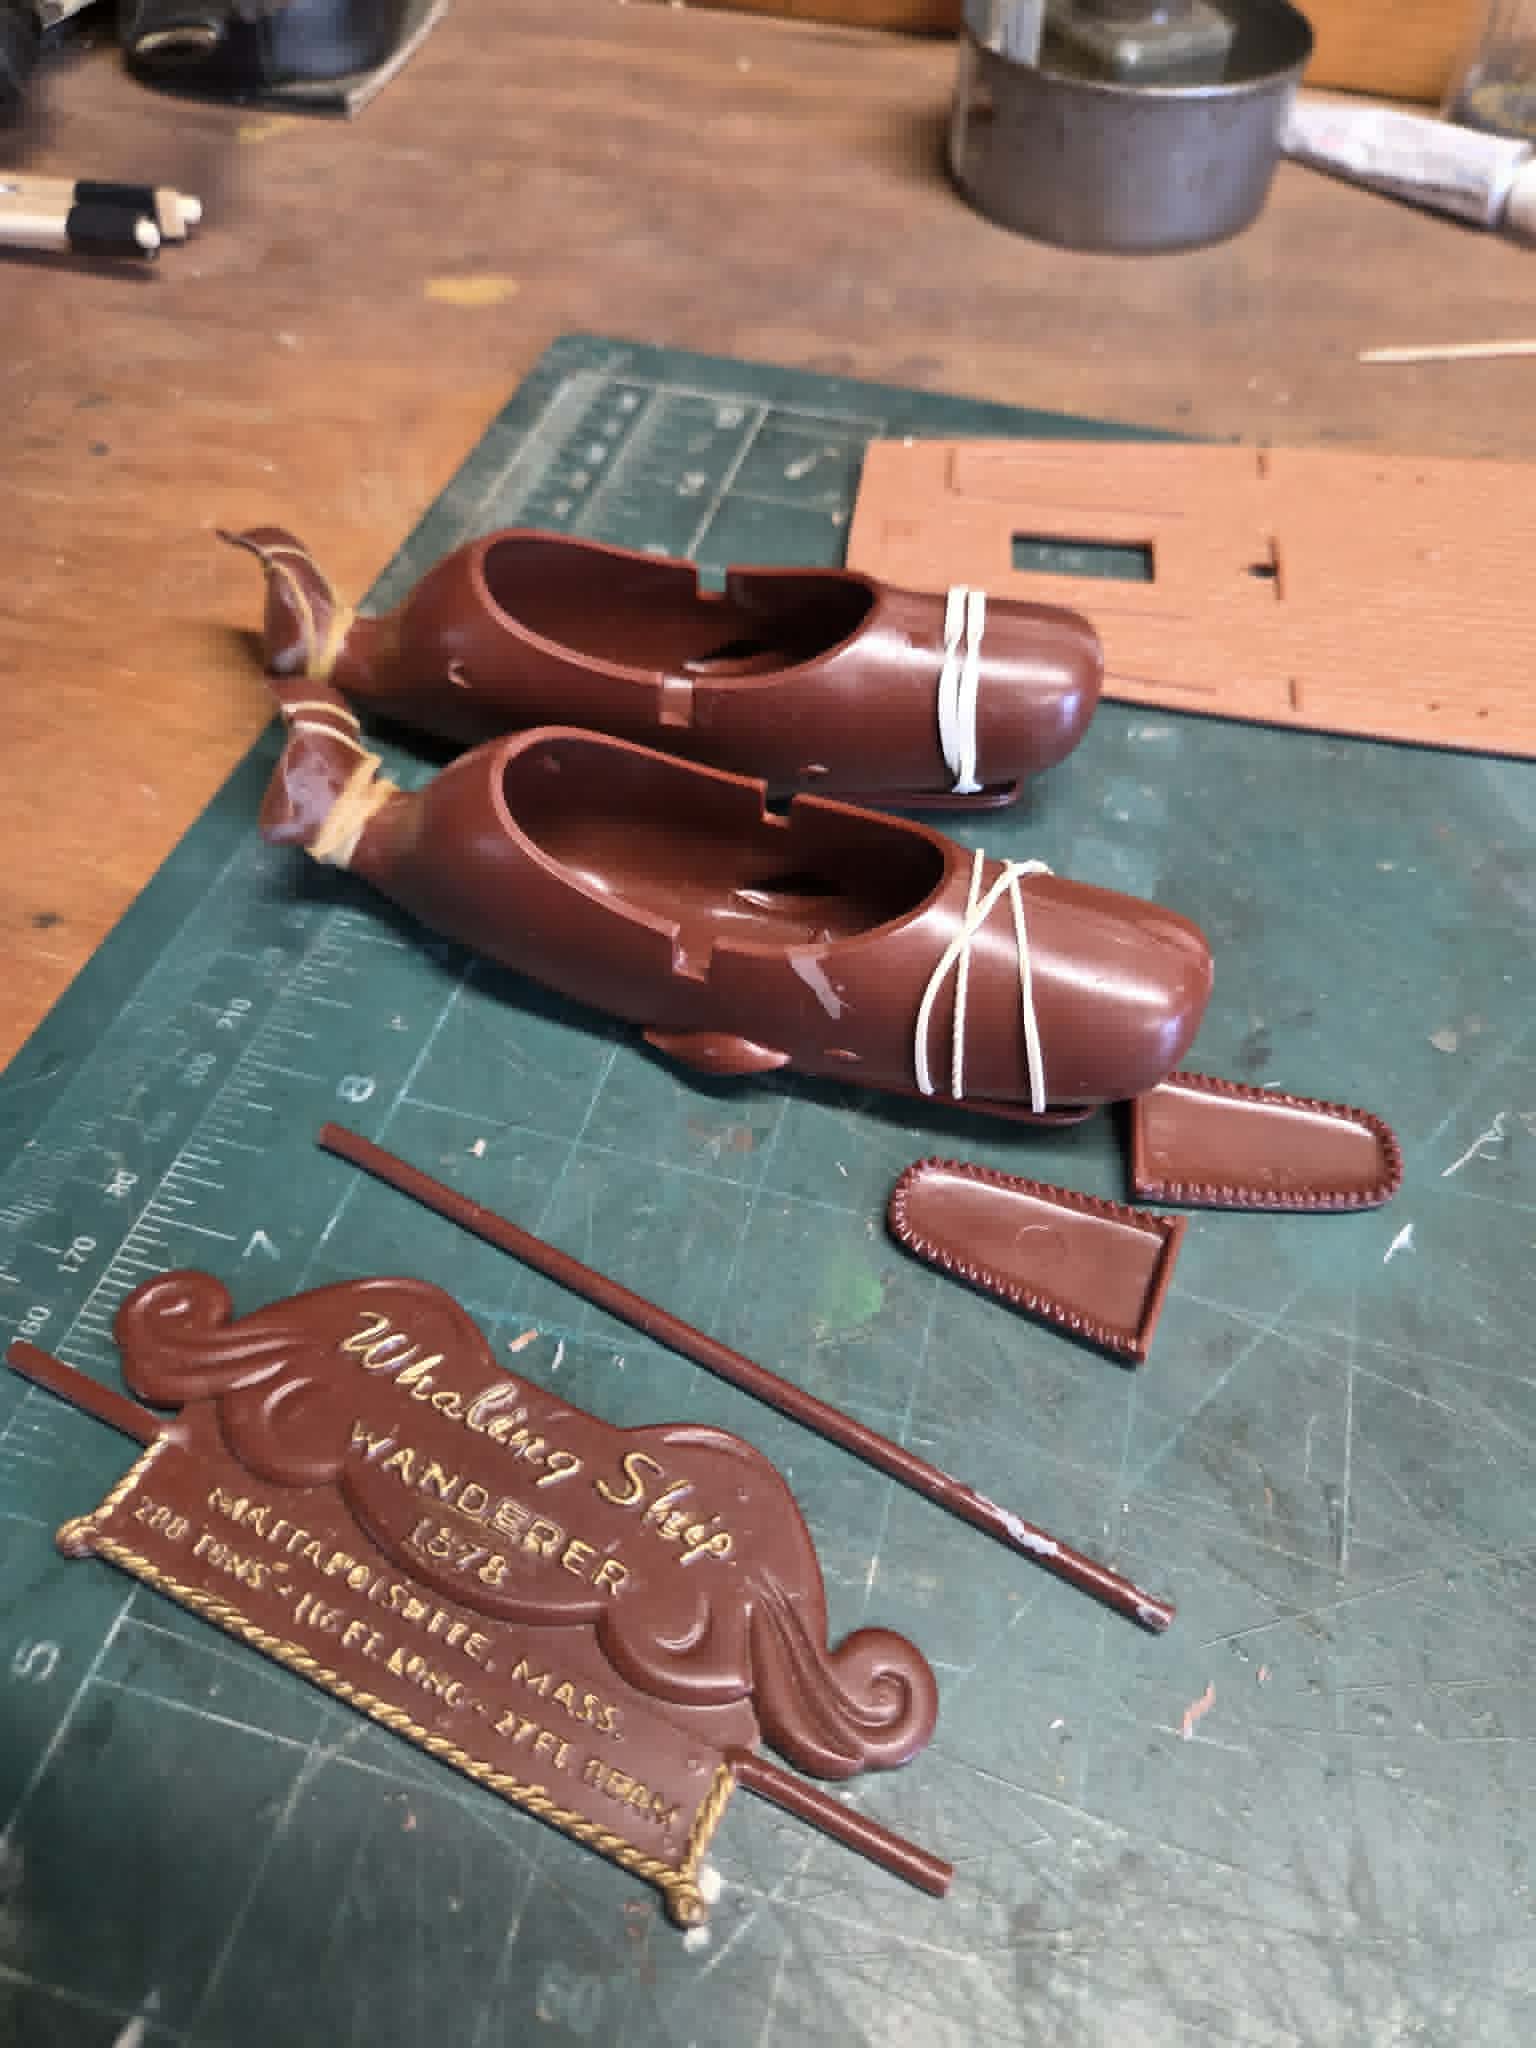
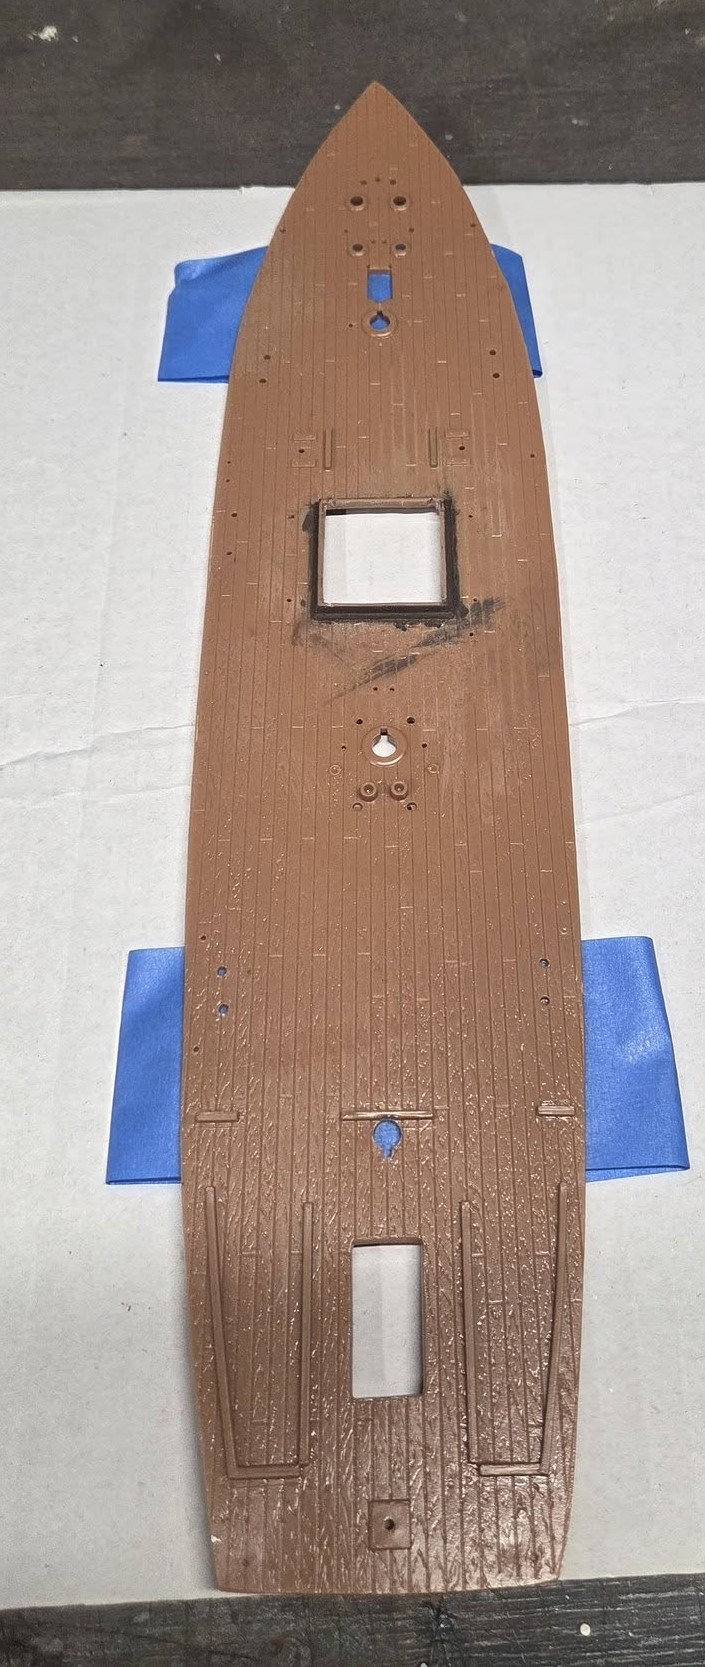
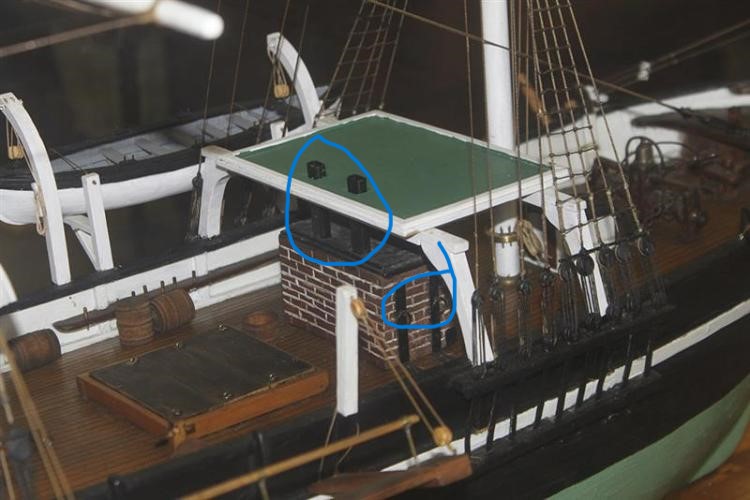
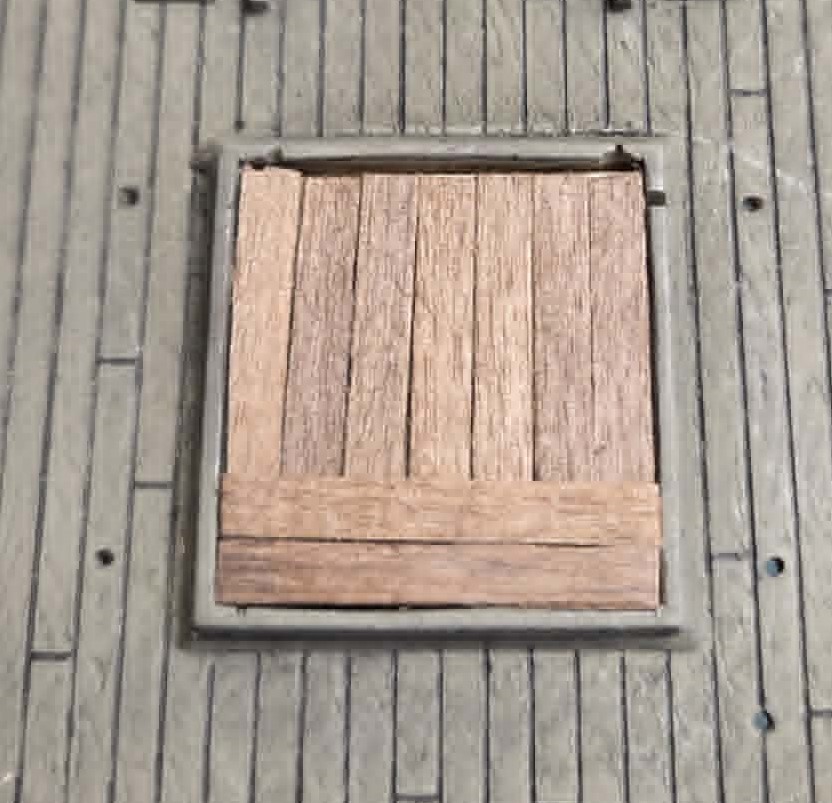
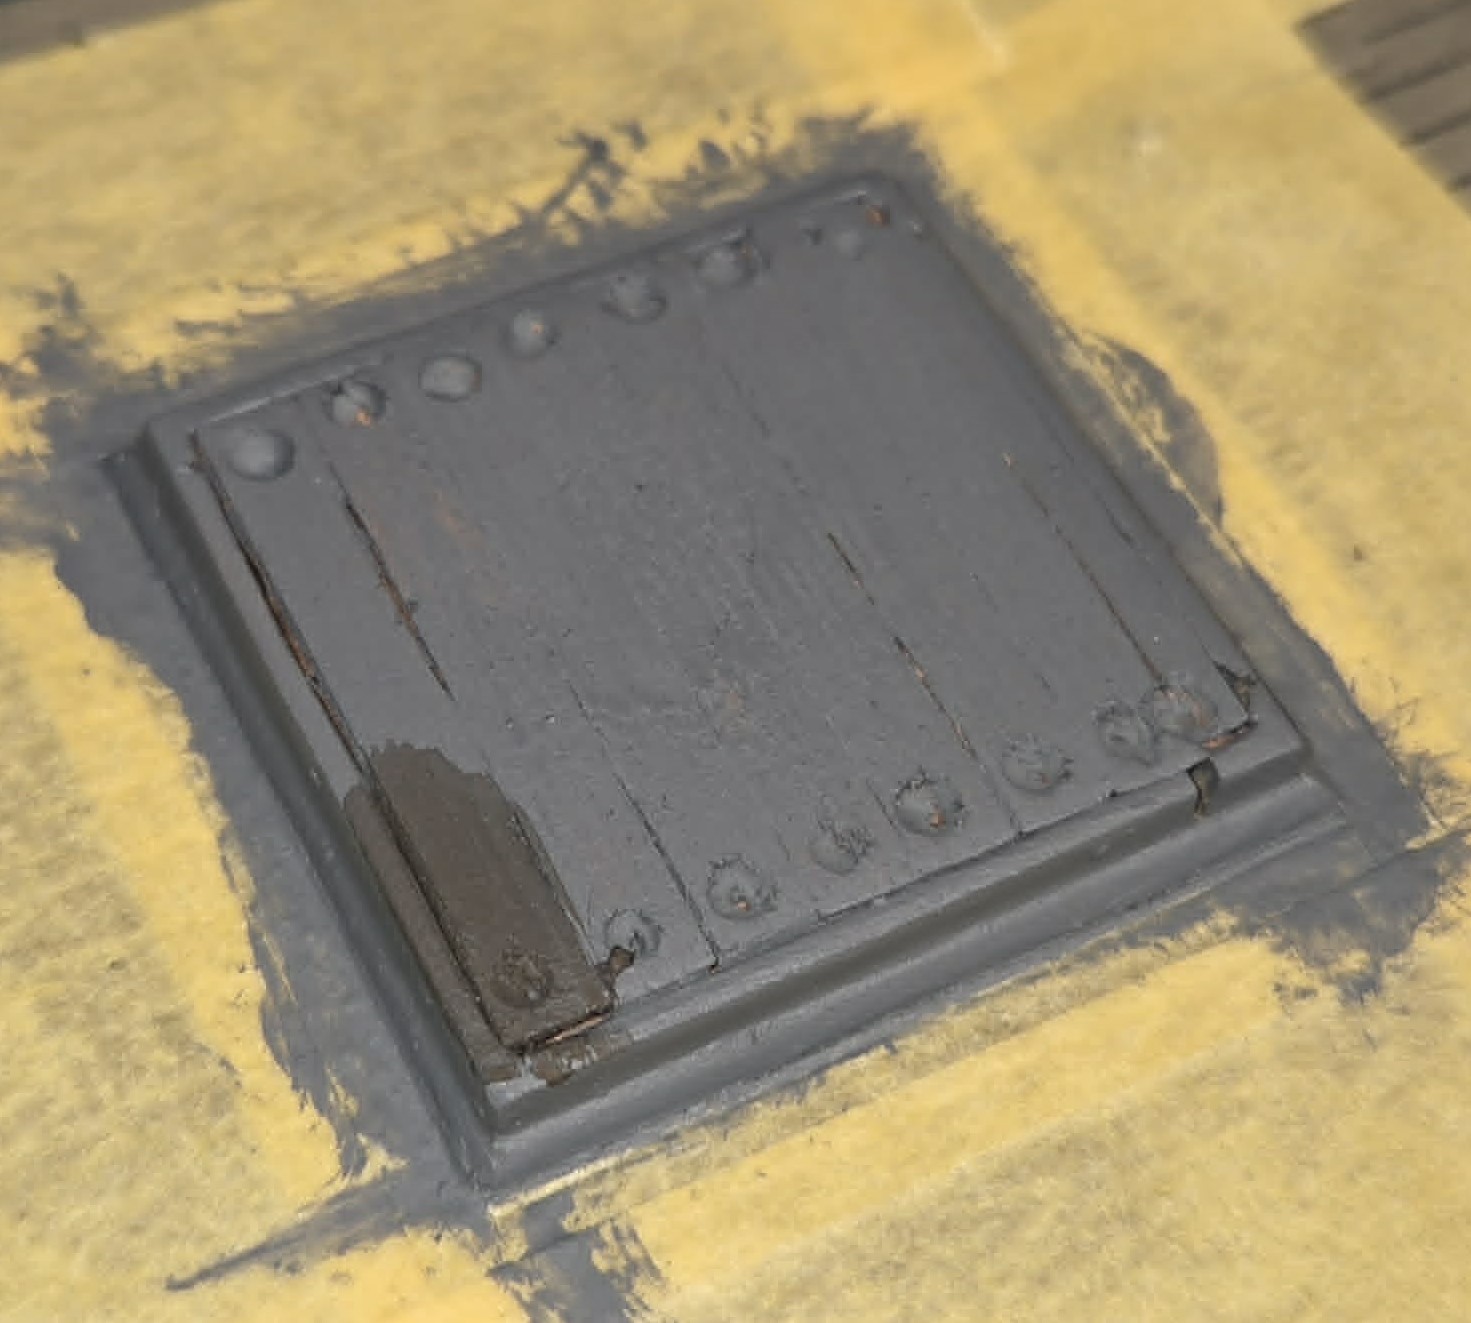
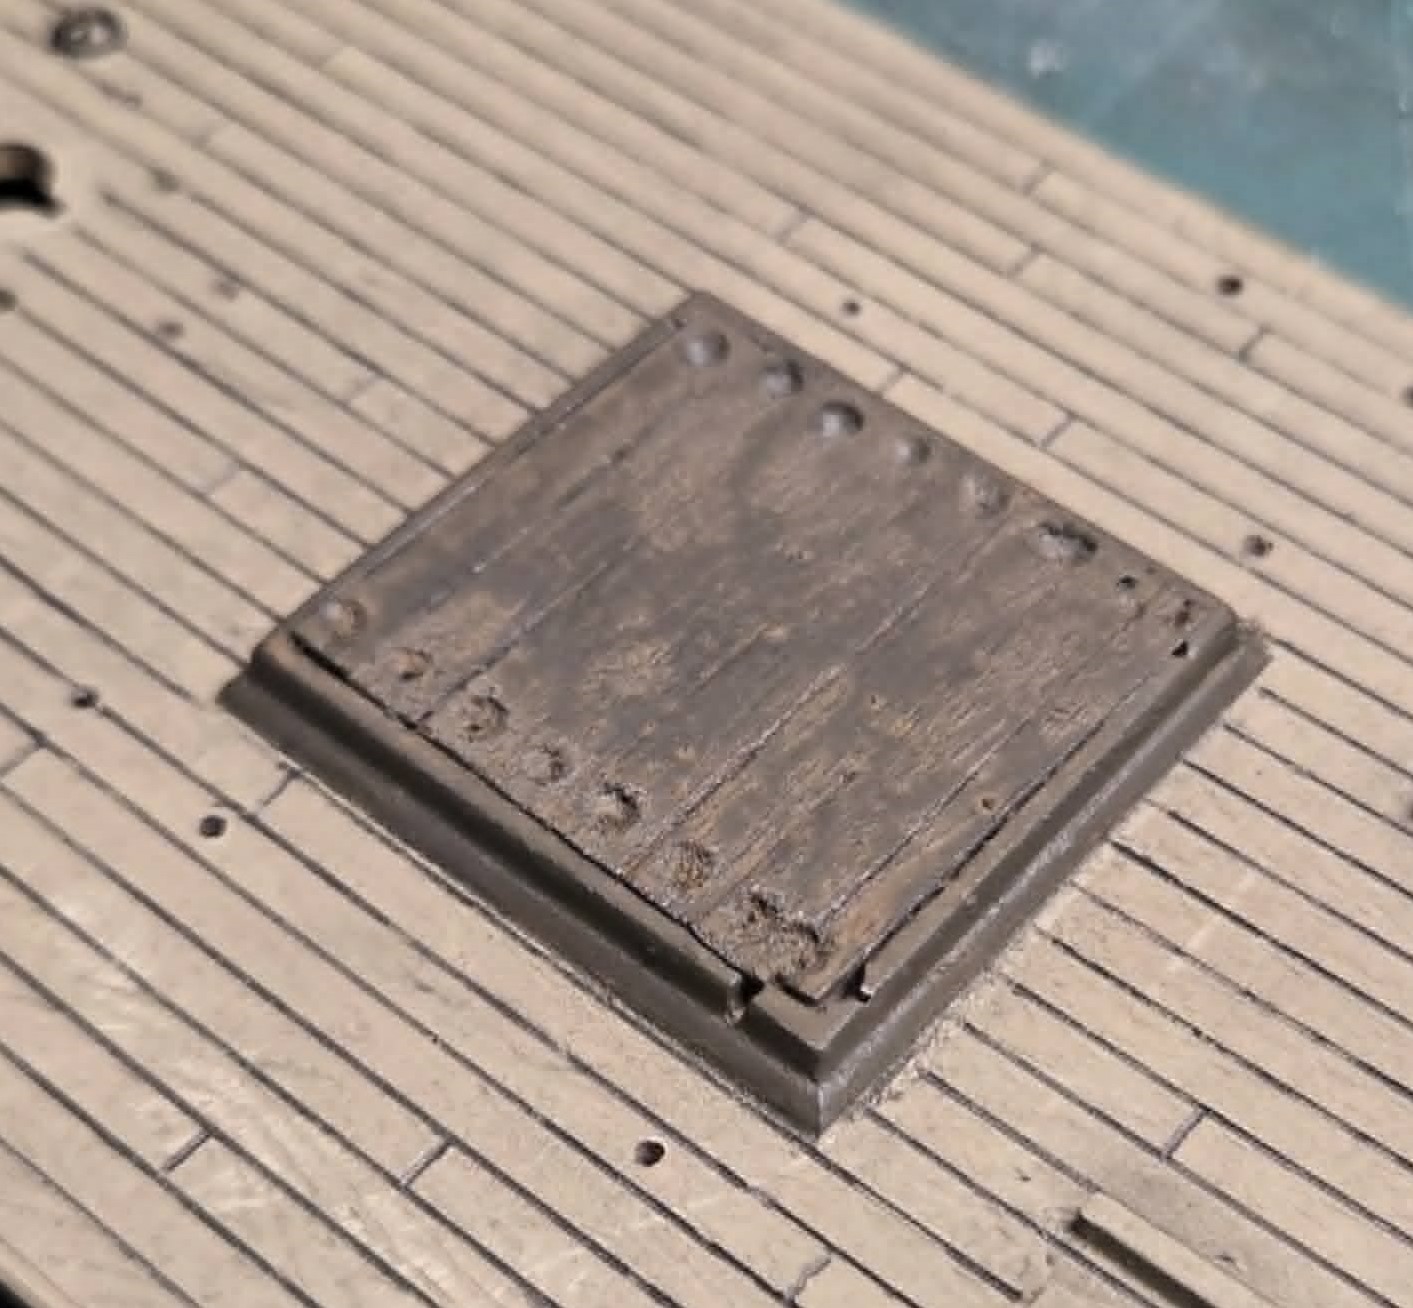
Just sort of a teaser, but my next model on the bench is from 1966 Aurora, going to smell fishy… I do need some help on what the correct way would be rigging the main hatch - the model instructions seem weird. Aside from the eyebolts being out of scale, the way they batten down just seems loose - if that make any sense, would anyone have any historical pictures of the Wanderer’s deck layout? (Photo is another modelers work off the 'net, not mine). I think the deck bolts need to be closer and even into the hatch framing. I’m sure I modify other items as well.
I’m hoping to find a suit of cloth sails, but I suspect the plastic sail as built onto the yards will need to come off, aside from being WAY out of scale, I’m not 100% sure I can make them colored or ever correct looking.
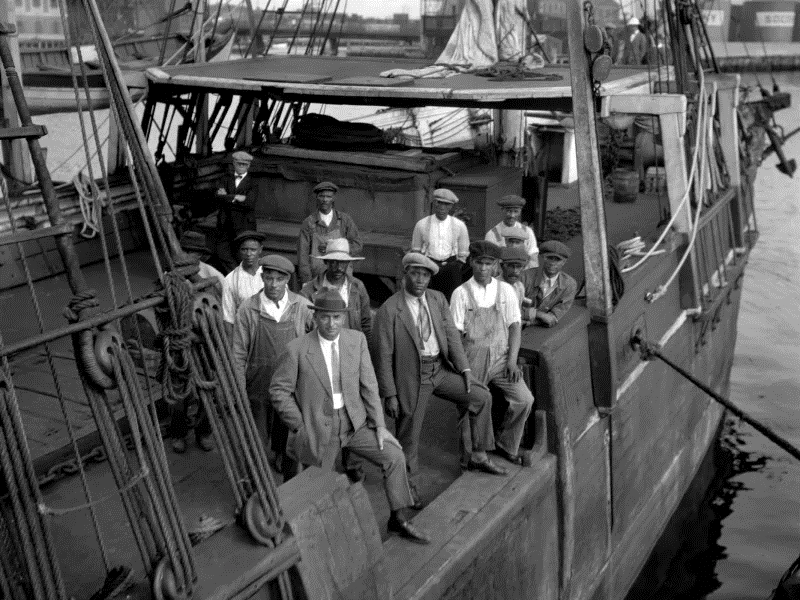
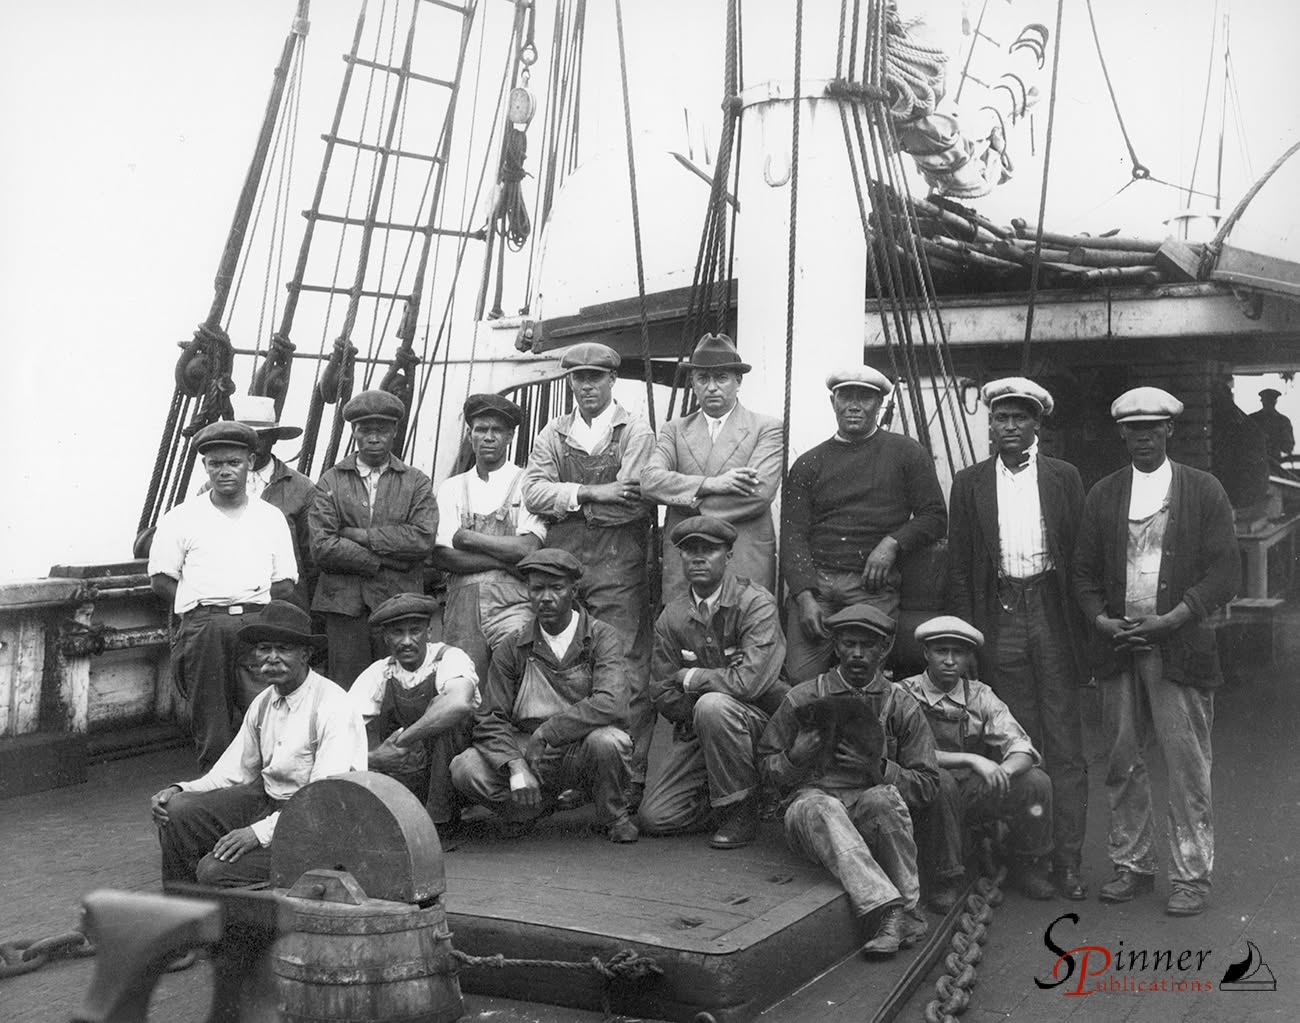
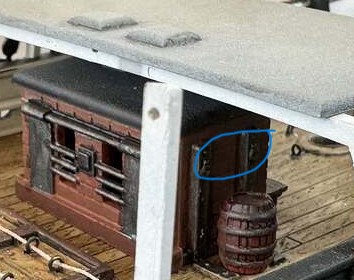
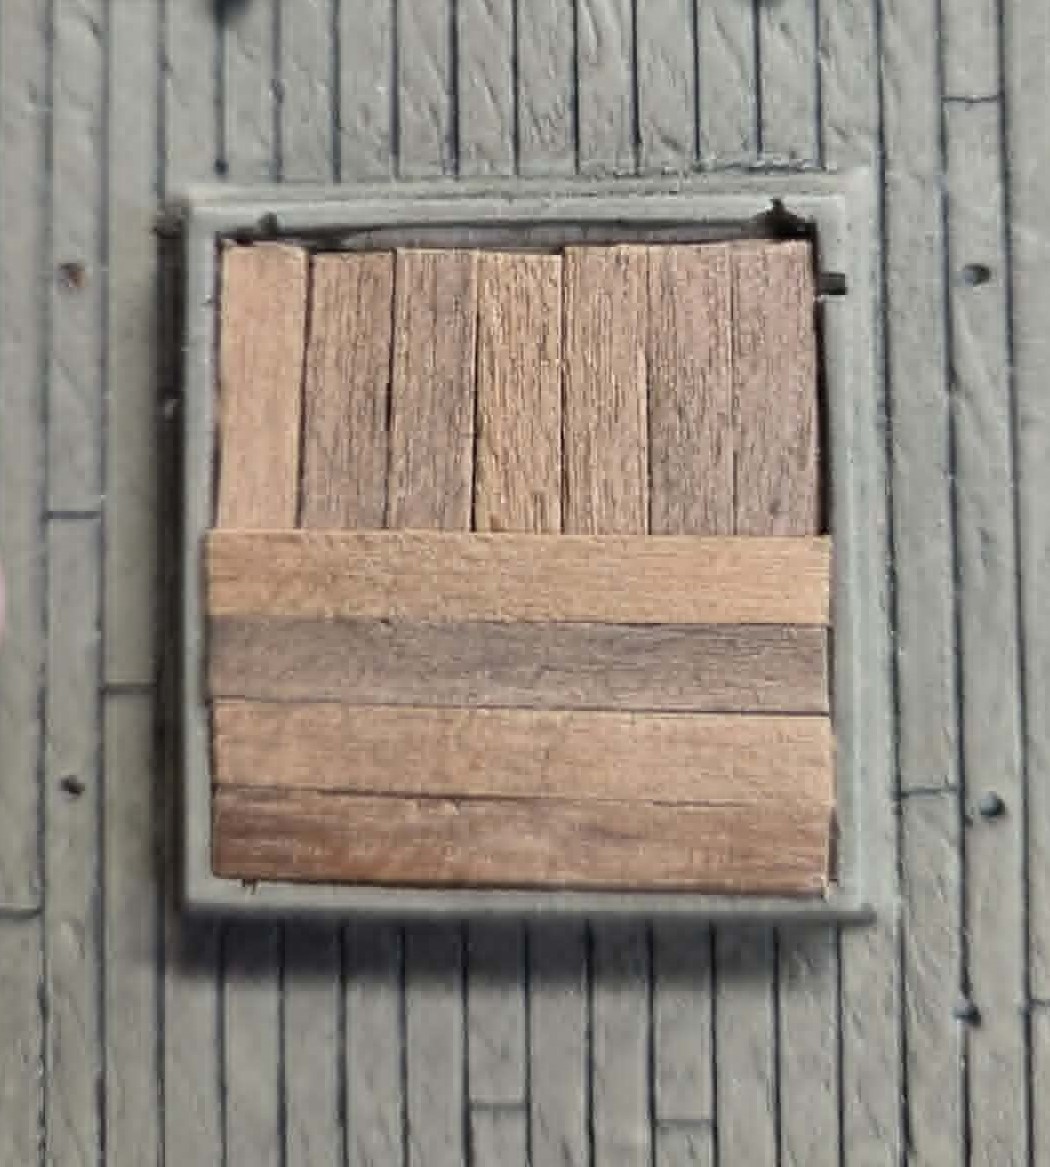
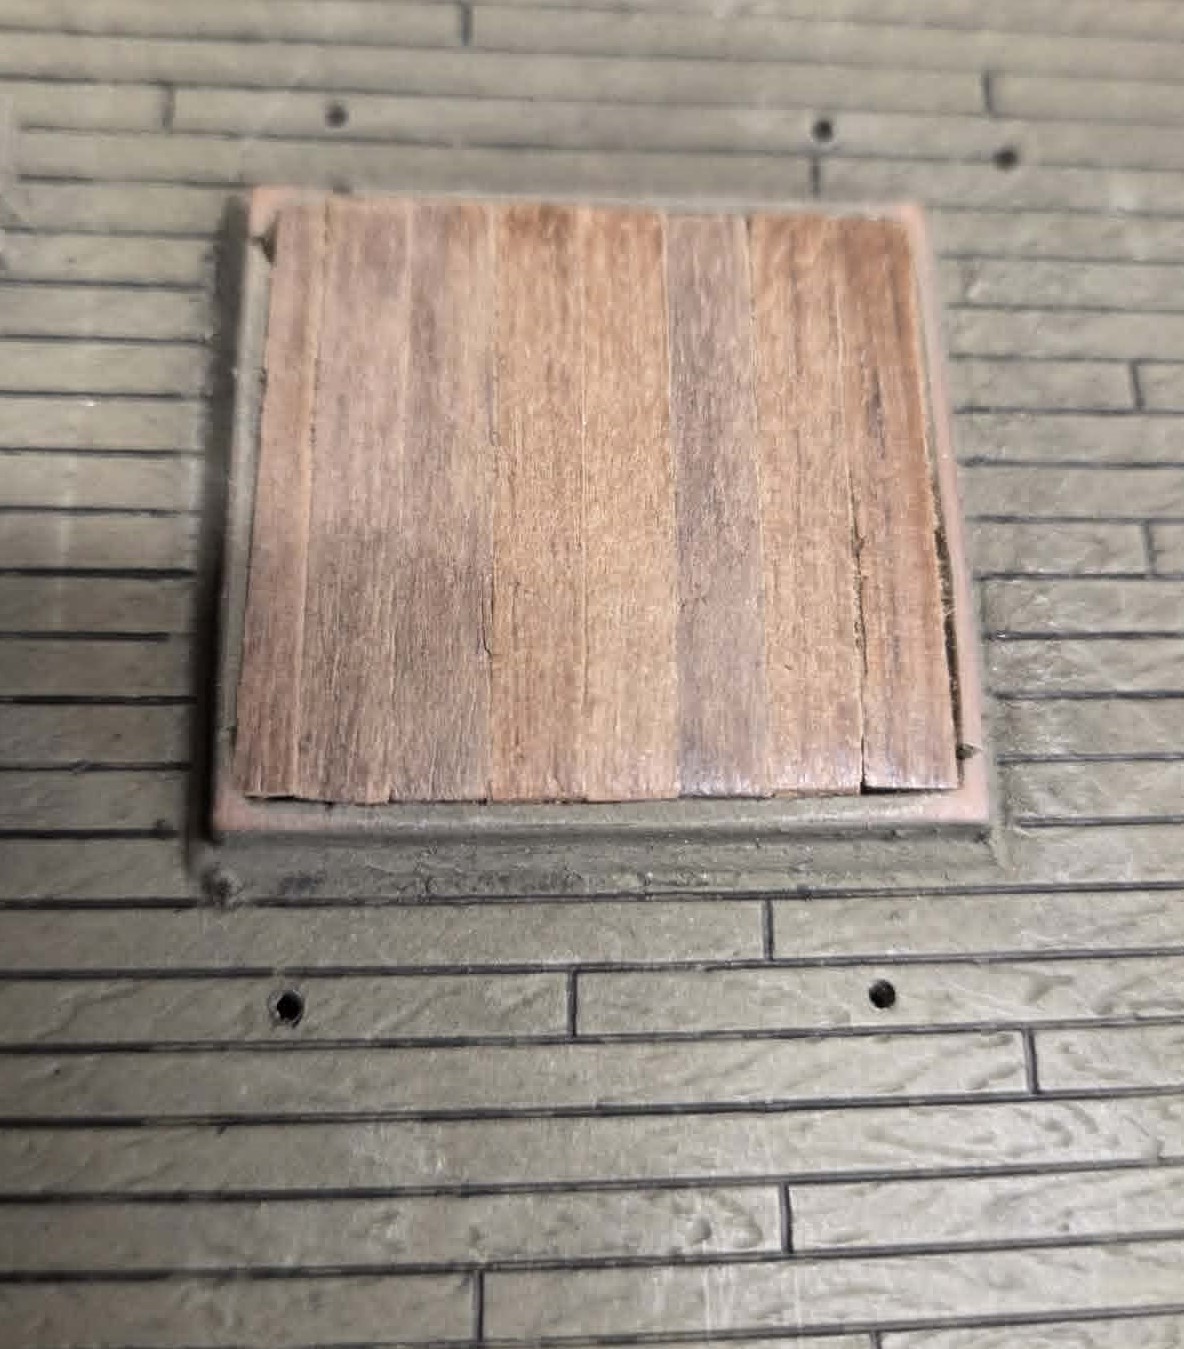
Been digging deep in the 'net tonight and I found these old pics of the Wanderer deck hatch. So, I think I have something to go on when I change the deck. from what I can tell the board spanned the hatch without the center ‘board’.
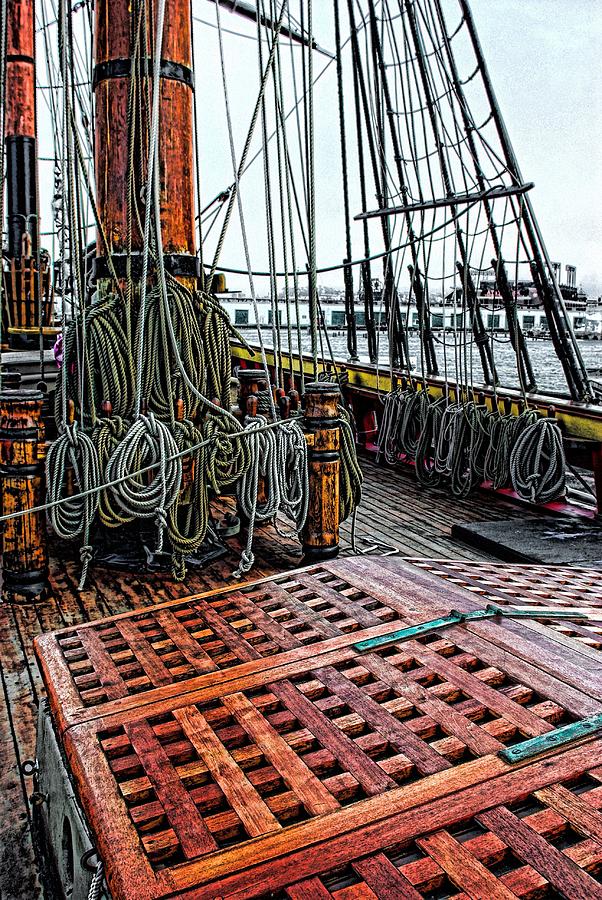
My nautical knowledge is limited to “it floats”. It does seem as if the first picture (of someone else’s model) has too many eyebolts of a large size. My idea of battens were sort of like this image.
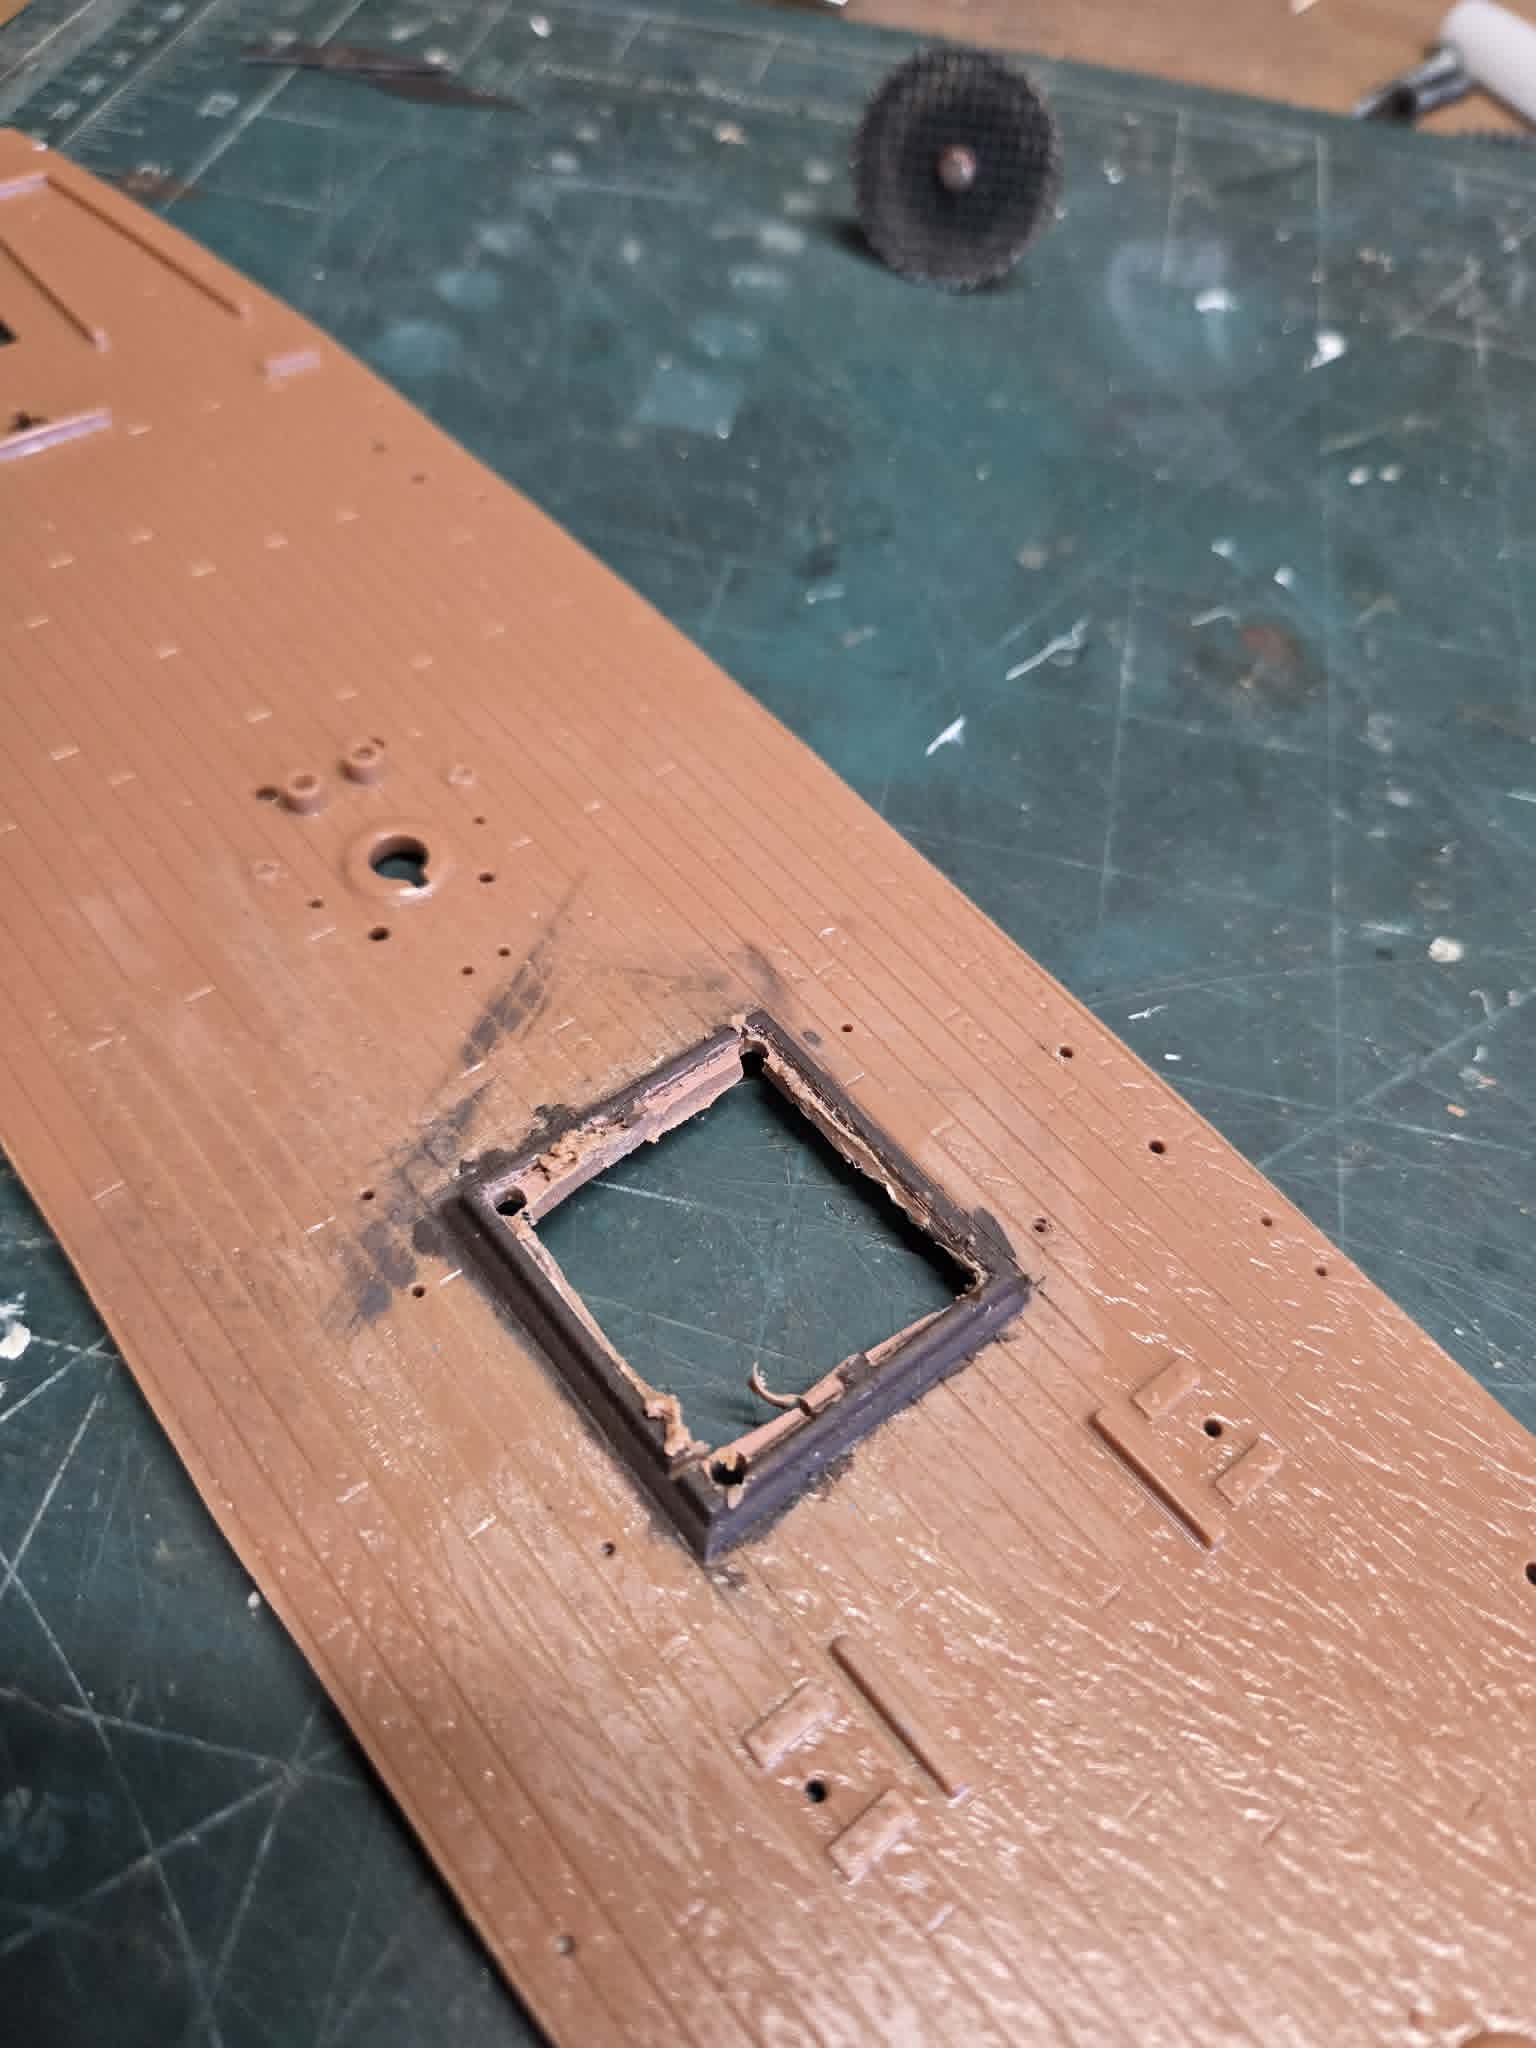
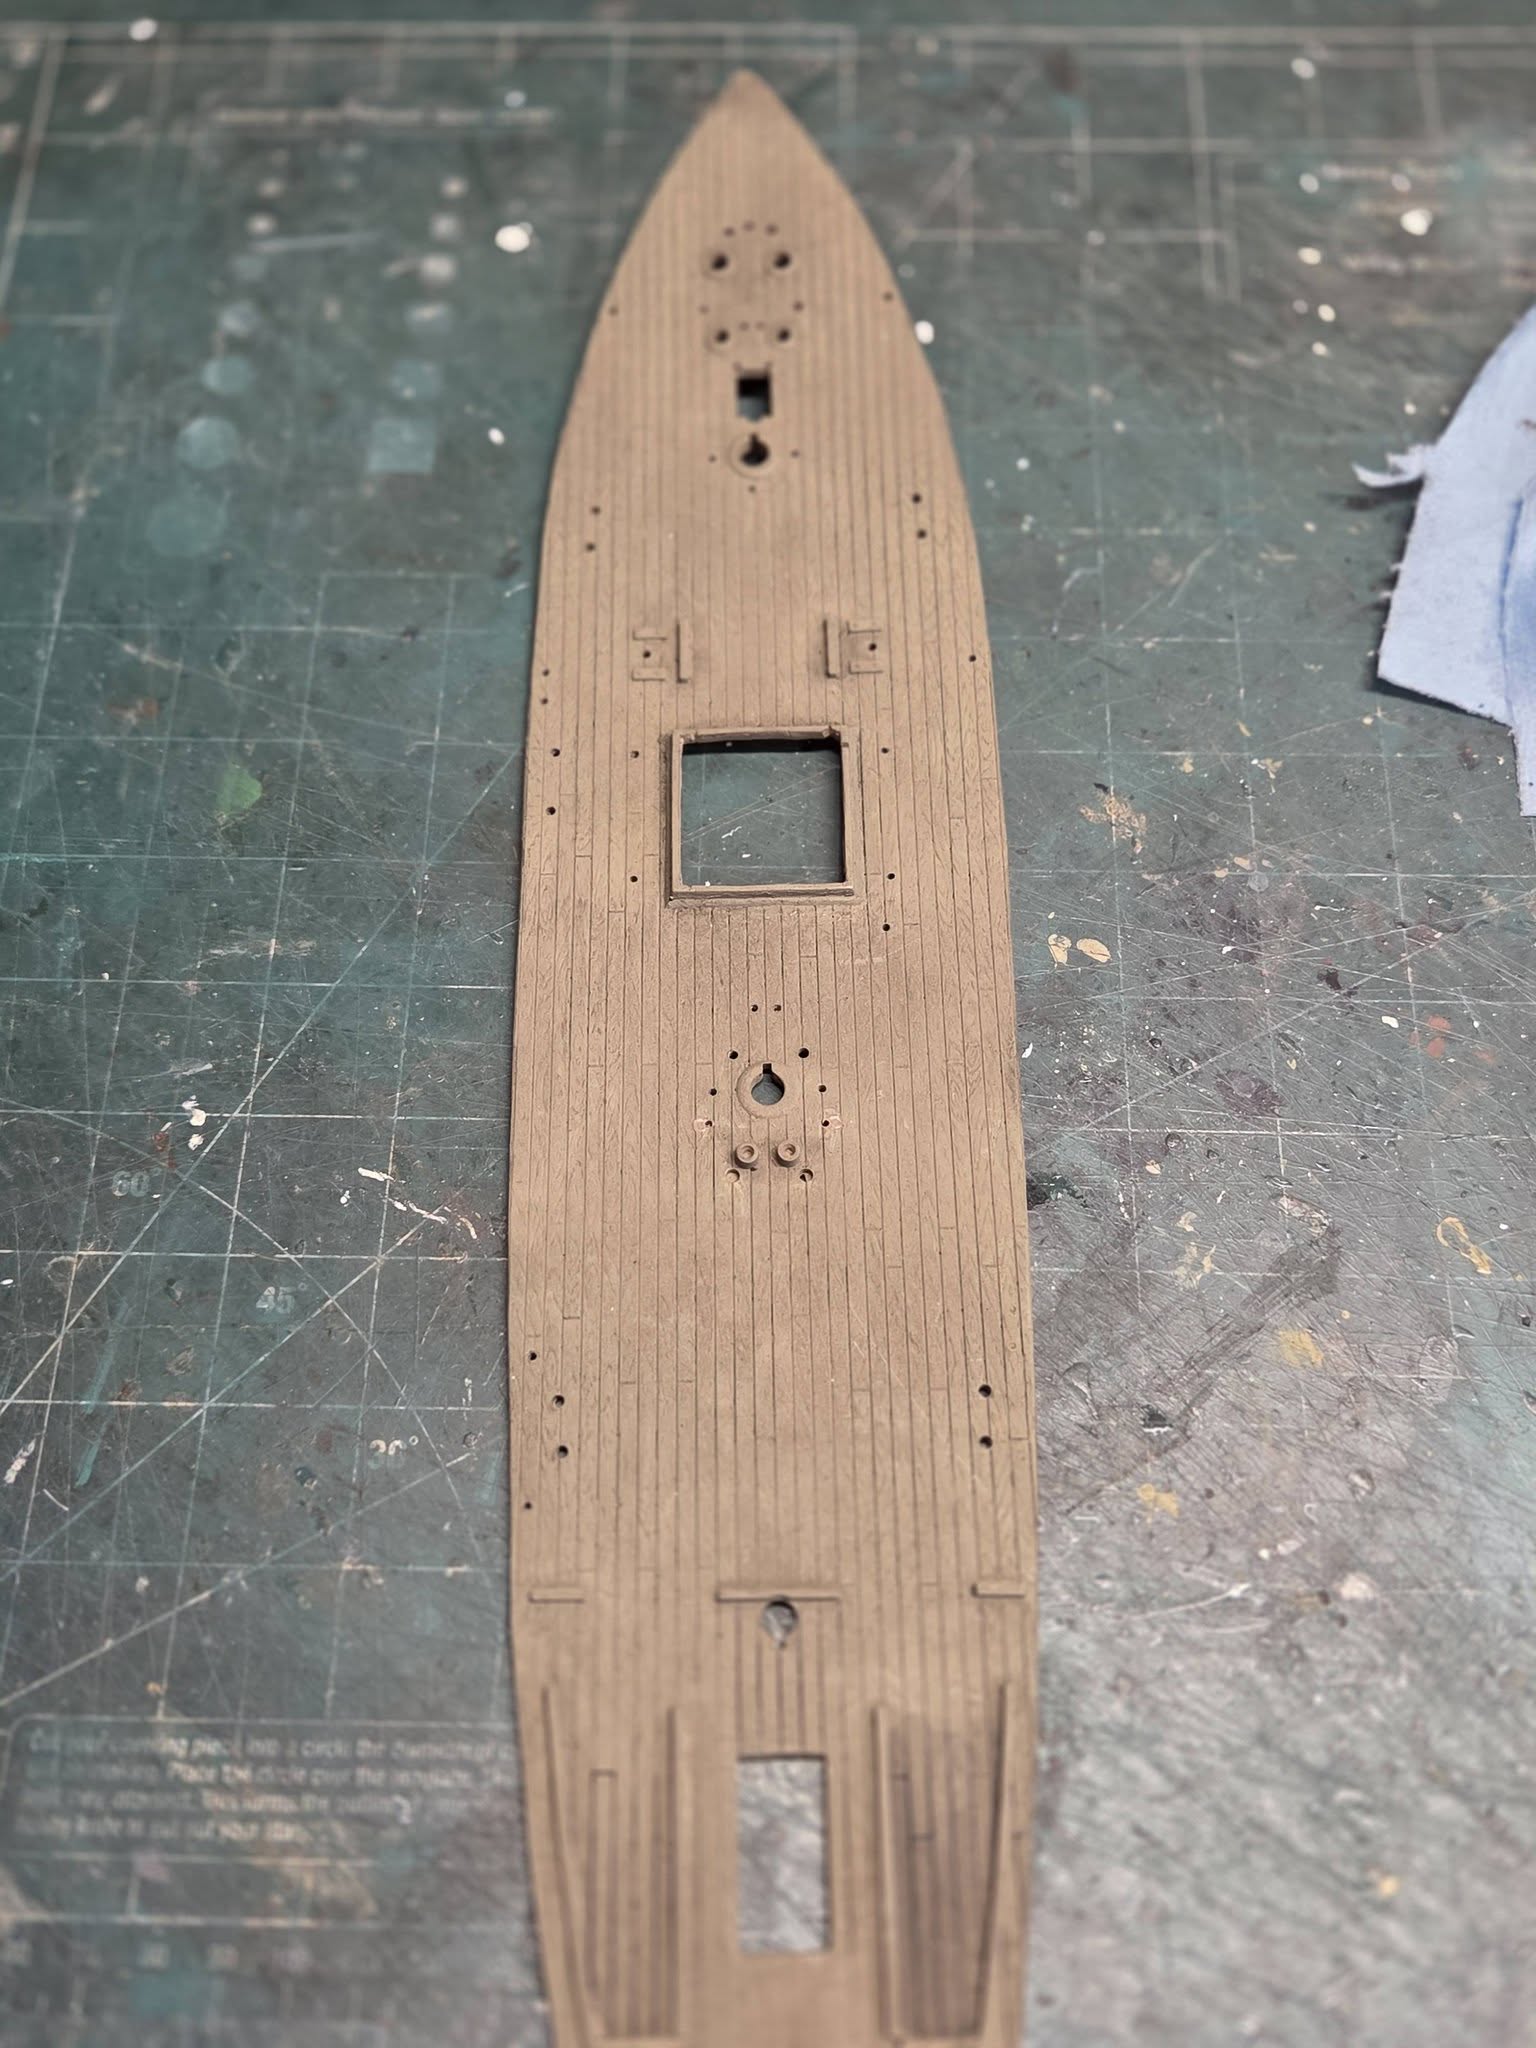
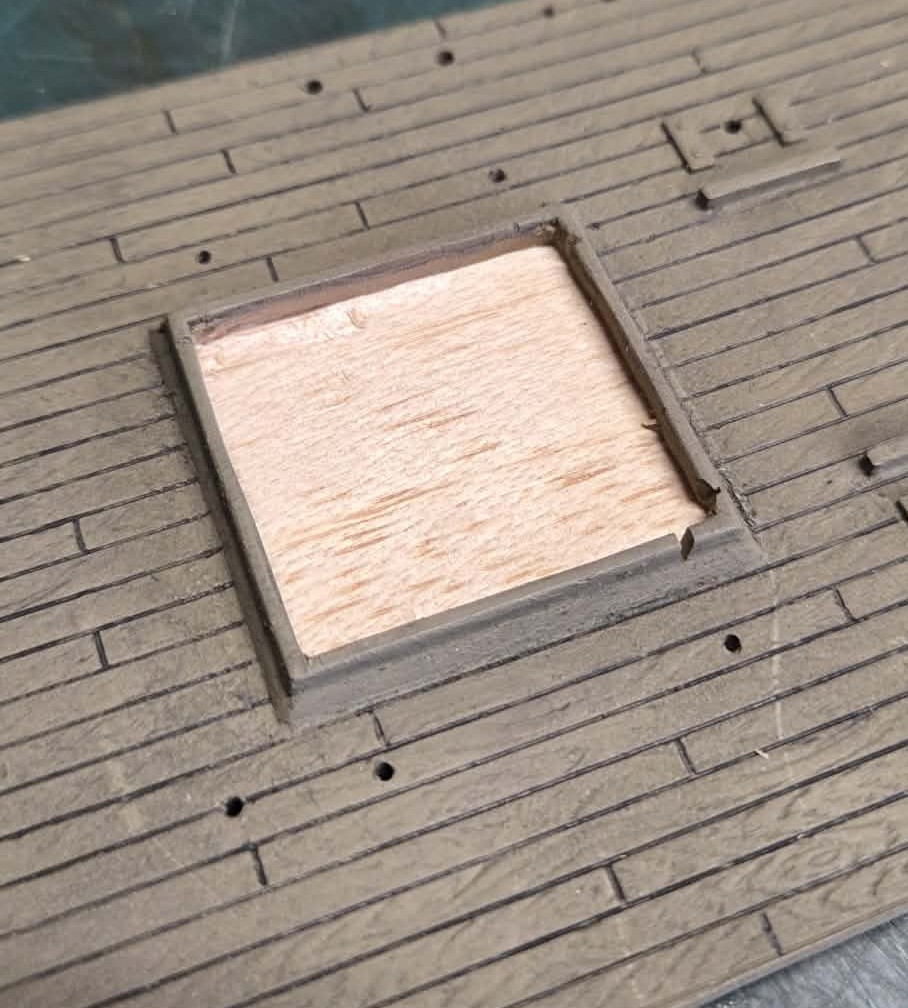
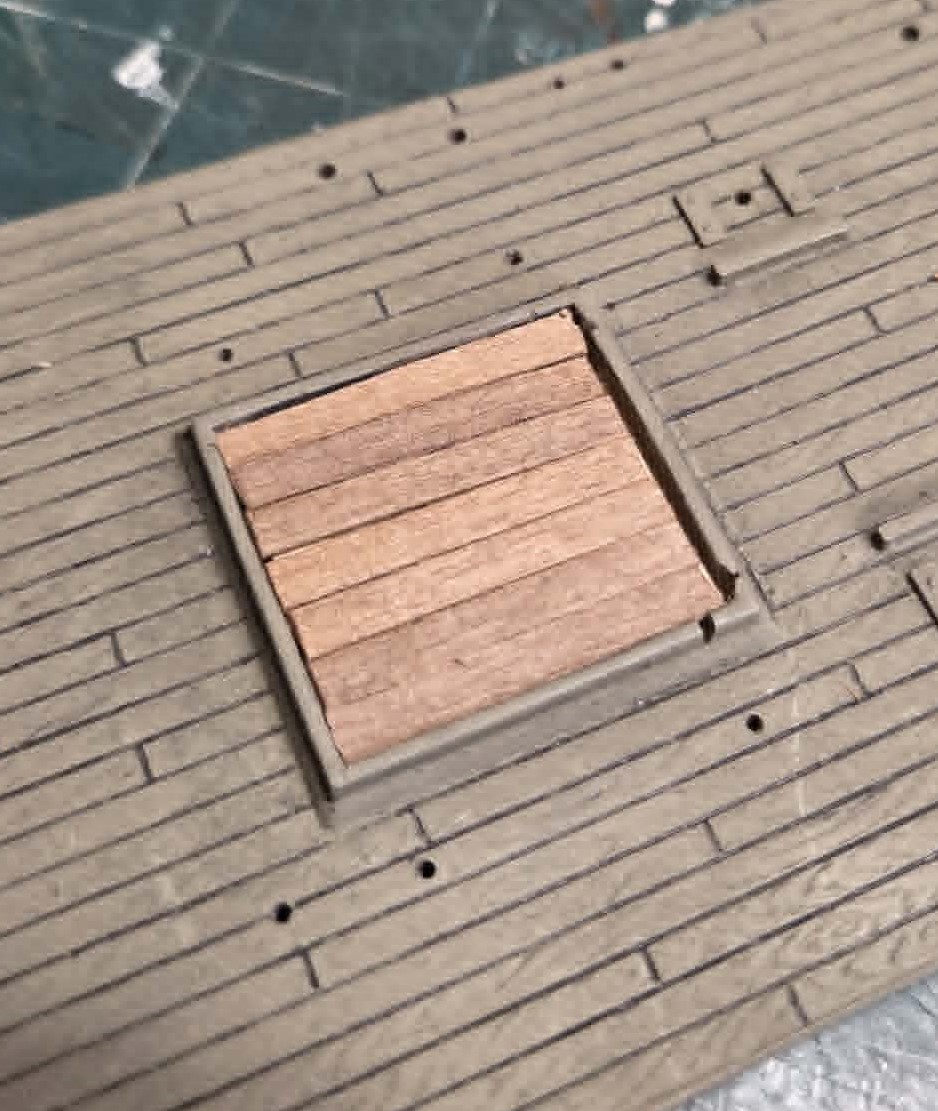
Ok, started the preliminary deck work. I cut out the main hatch board and will replace with wood, assembled the base parts. The kit was started by another modeler, I’ve cataloged all the parts, so I’m to move forward. I’m waiting for some reference books to arrive and I’ll just parts prep for the next week or so.
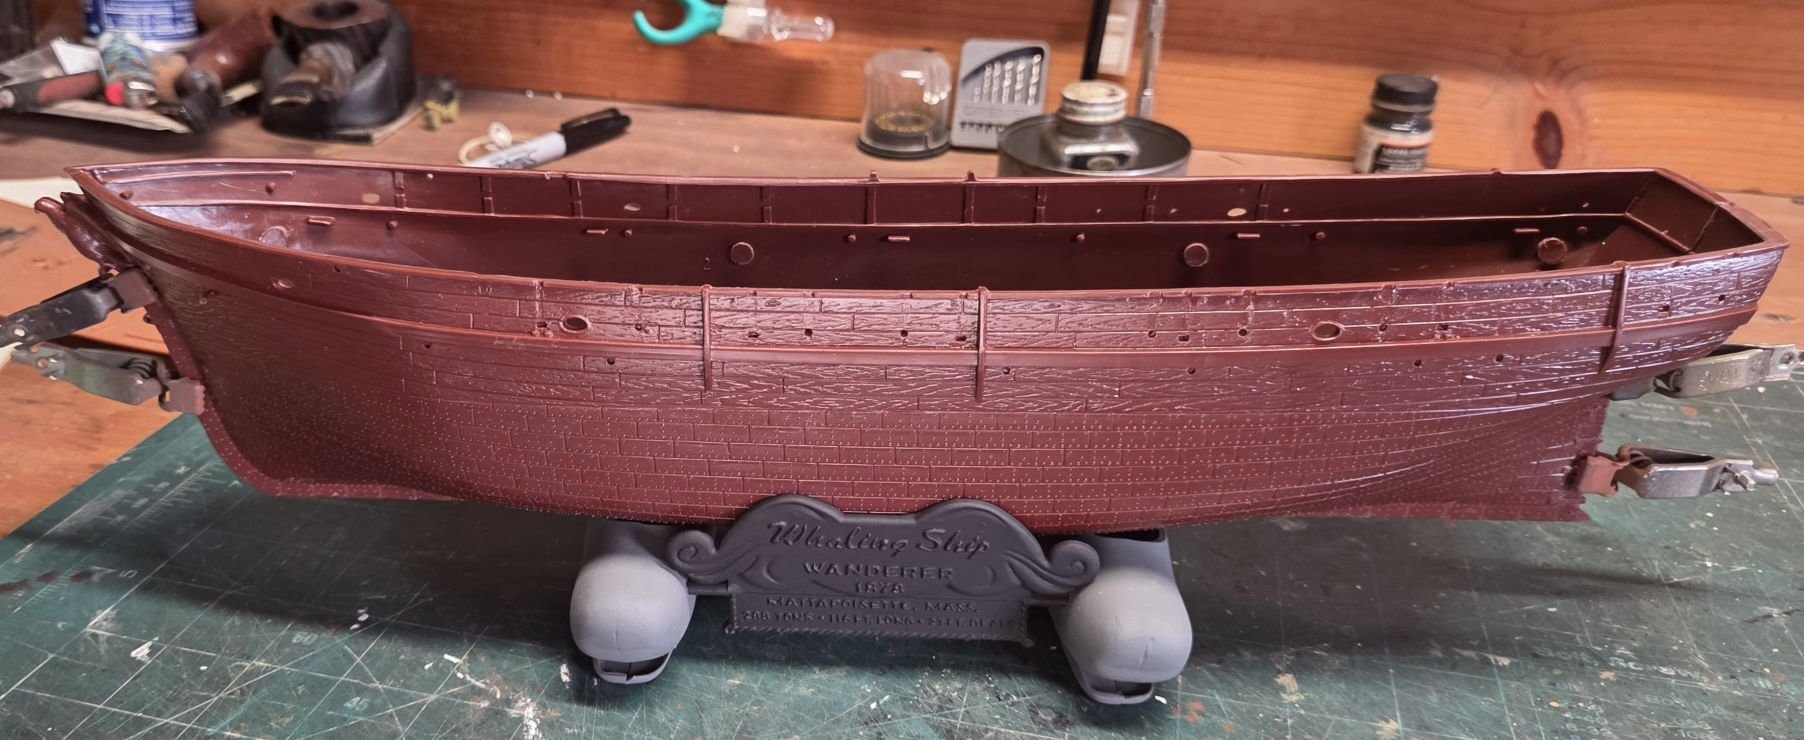
Capt. There Be Whales Here! The base for the Wanderer Whaler model is designed so the hull sits across the backs of 2 (FSM blocked me from using their name) Whales, rather neat.
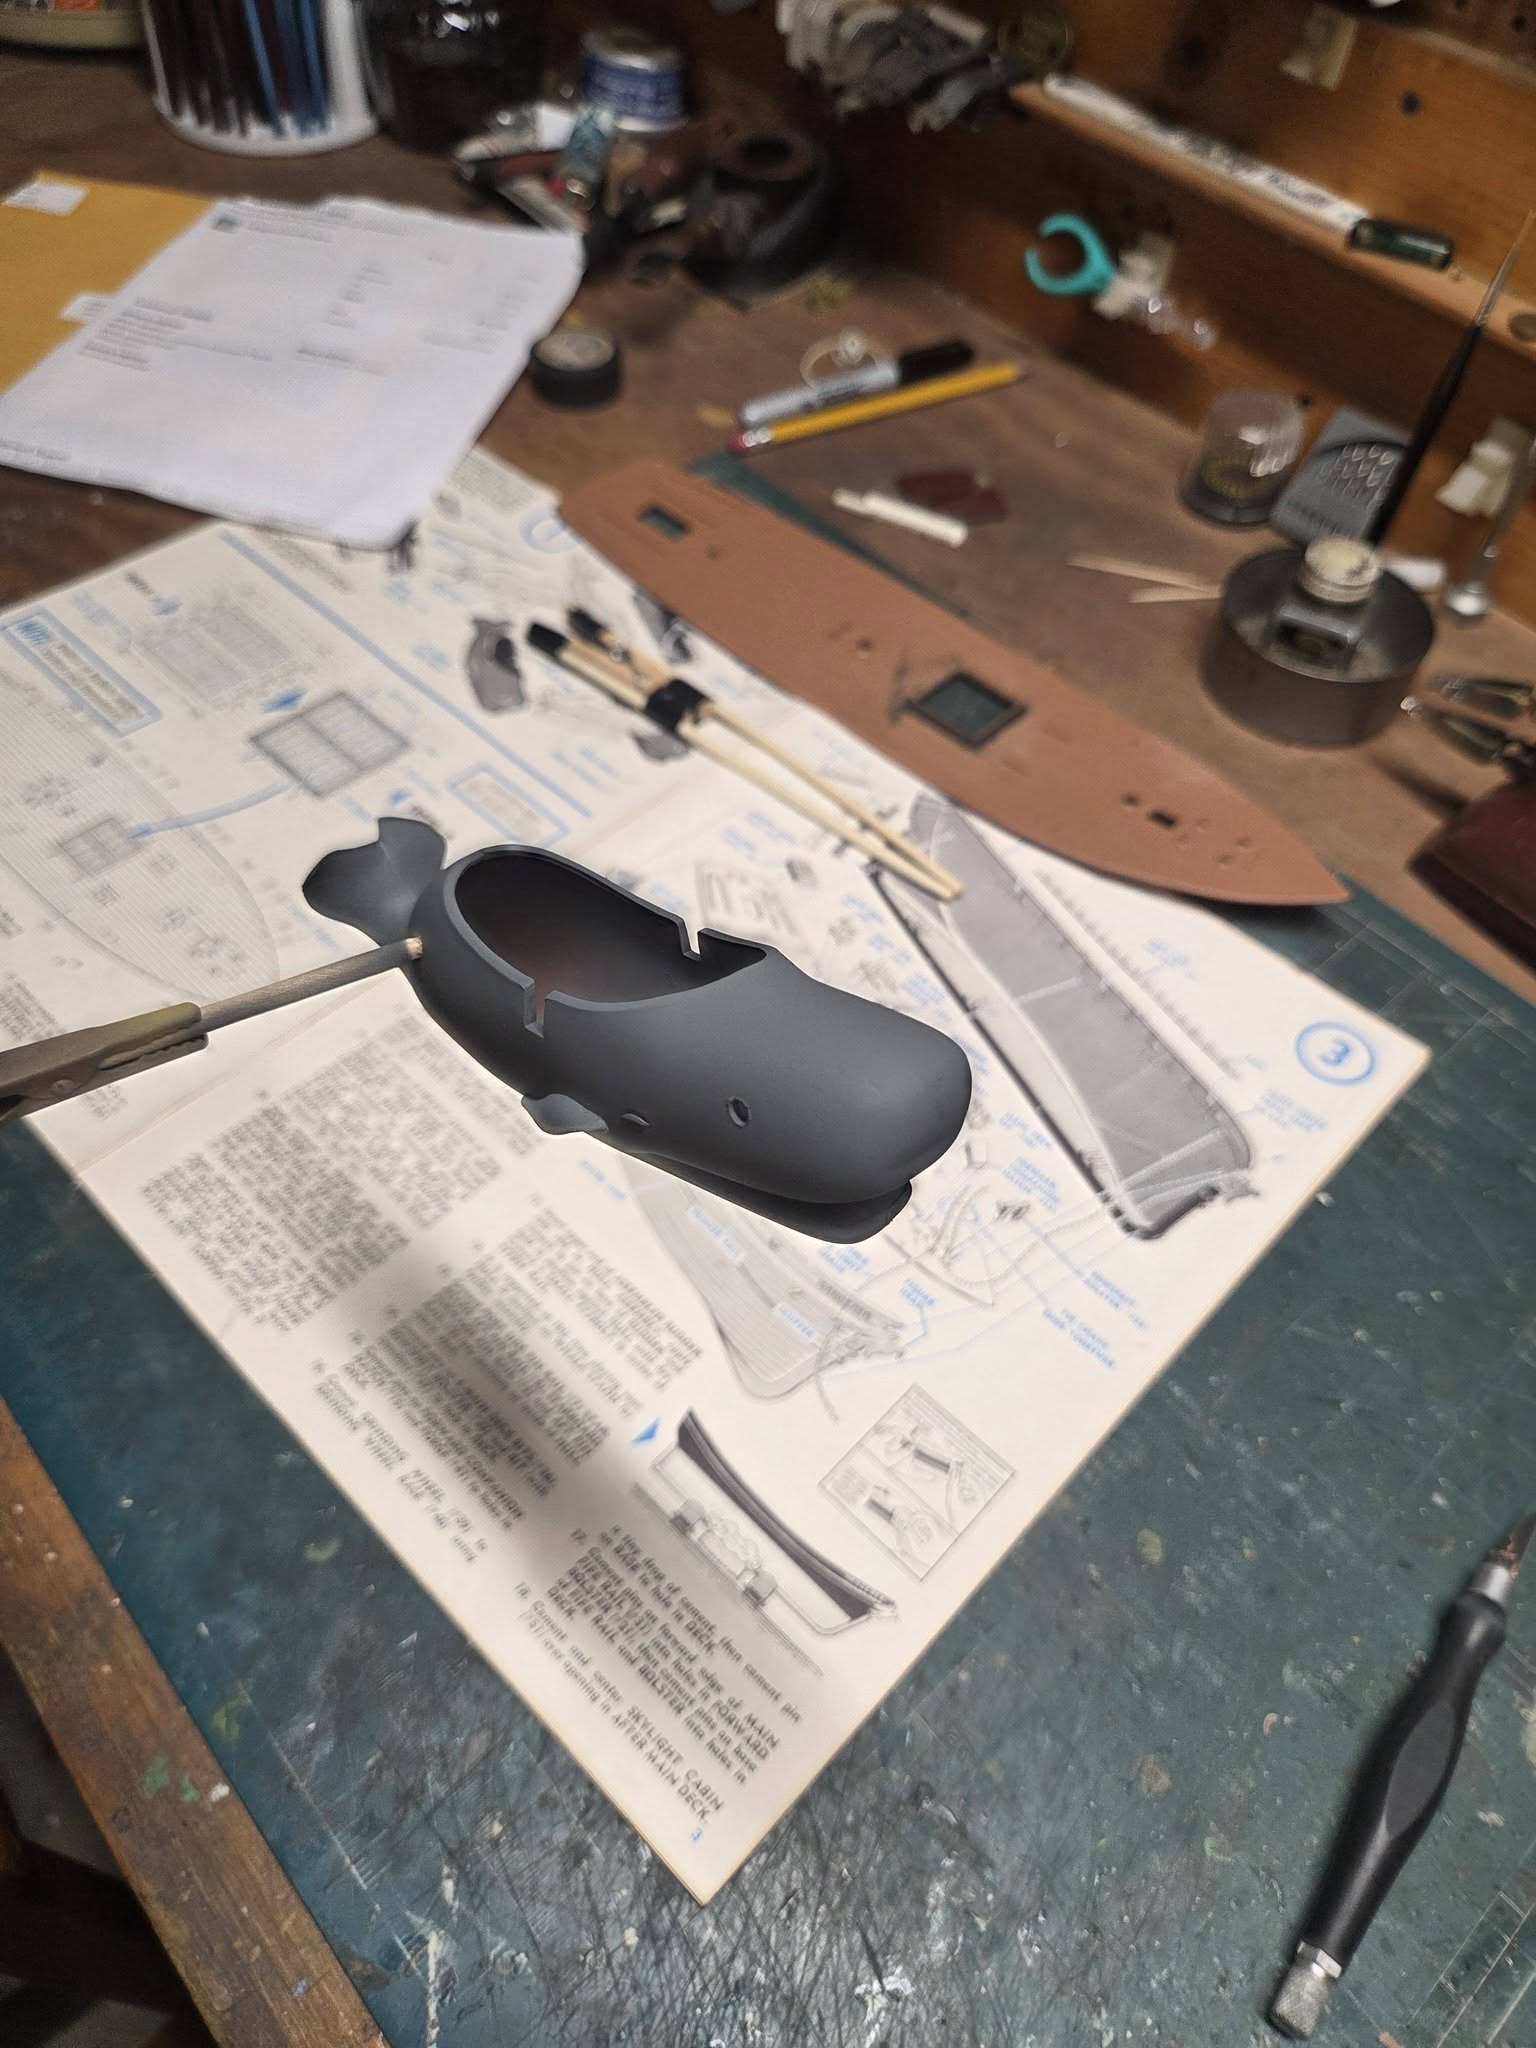
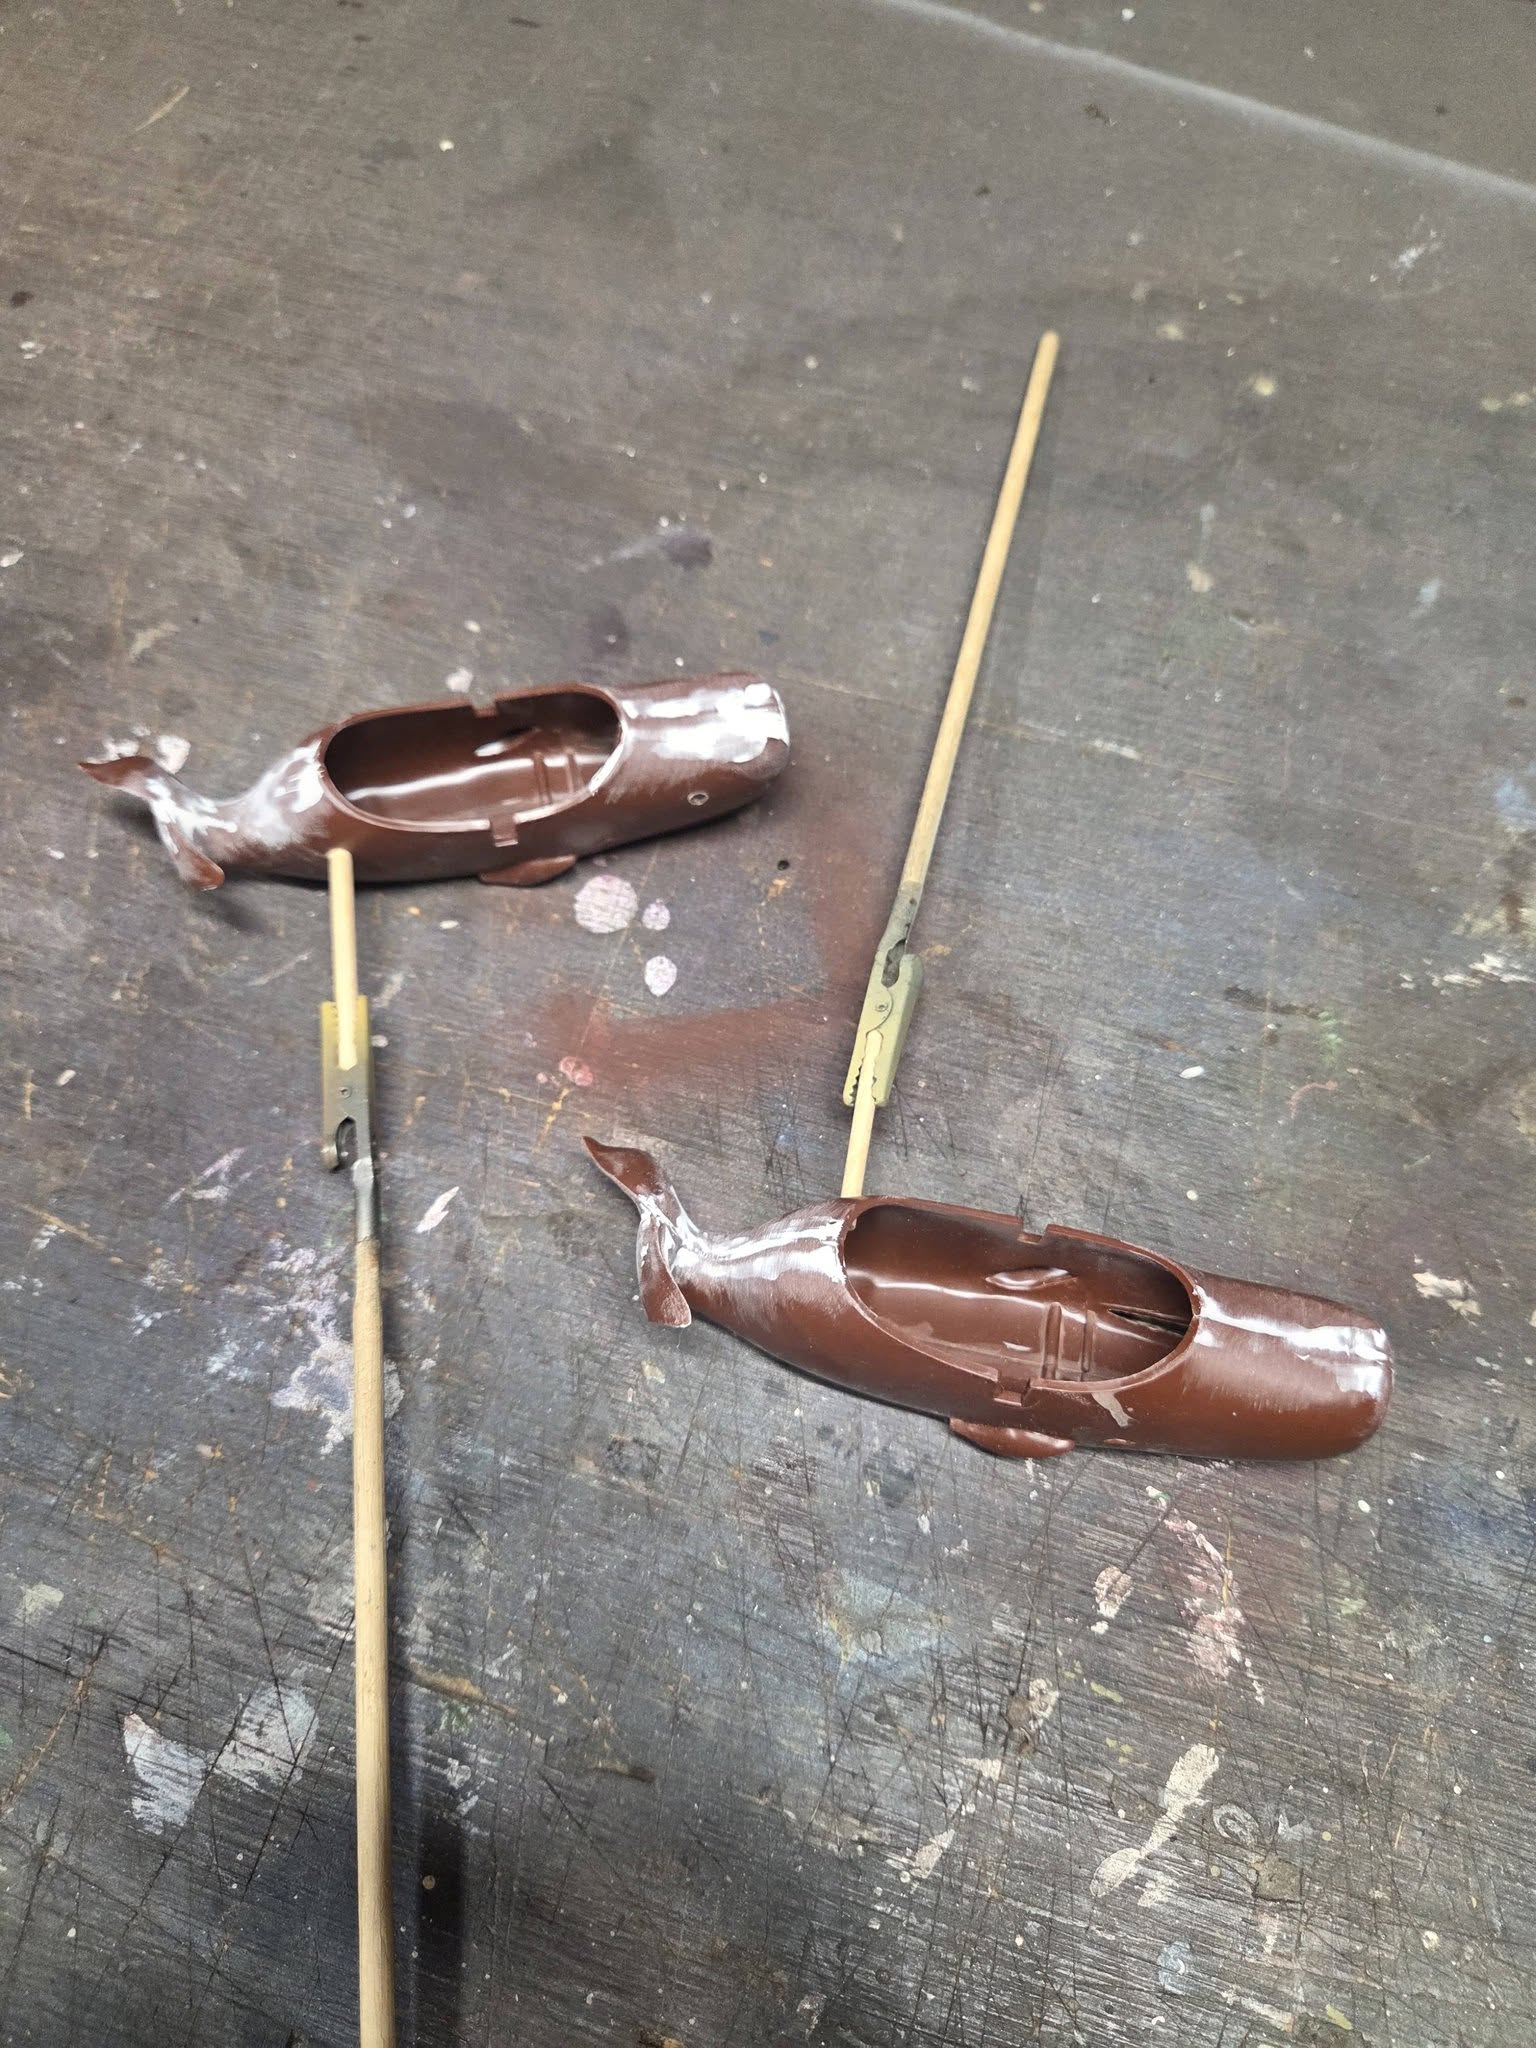
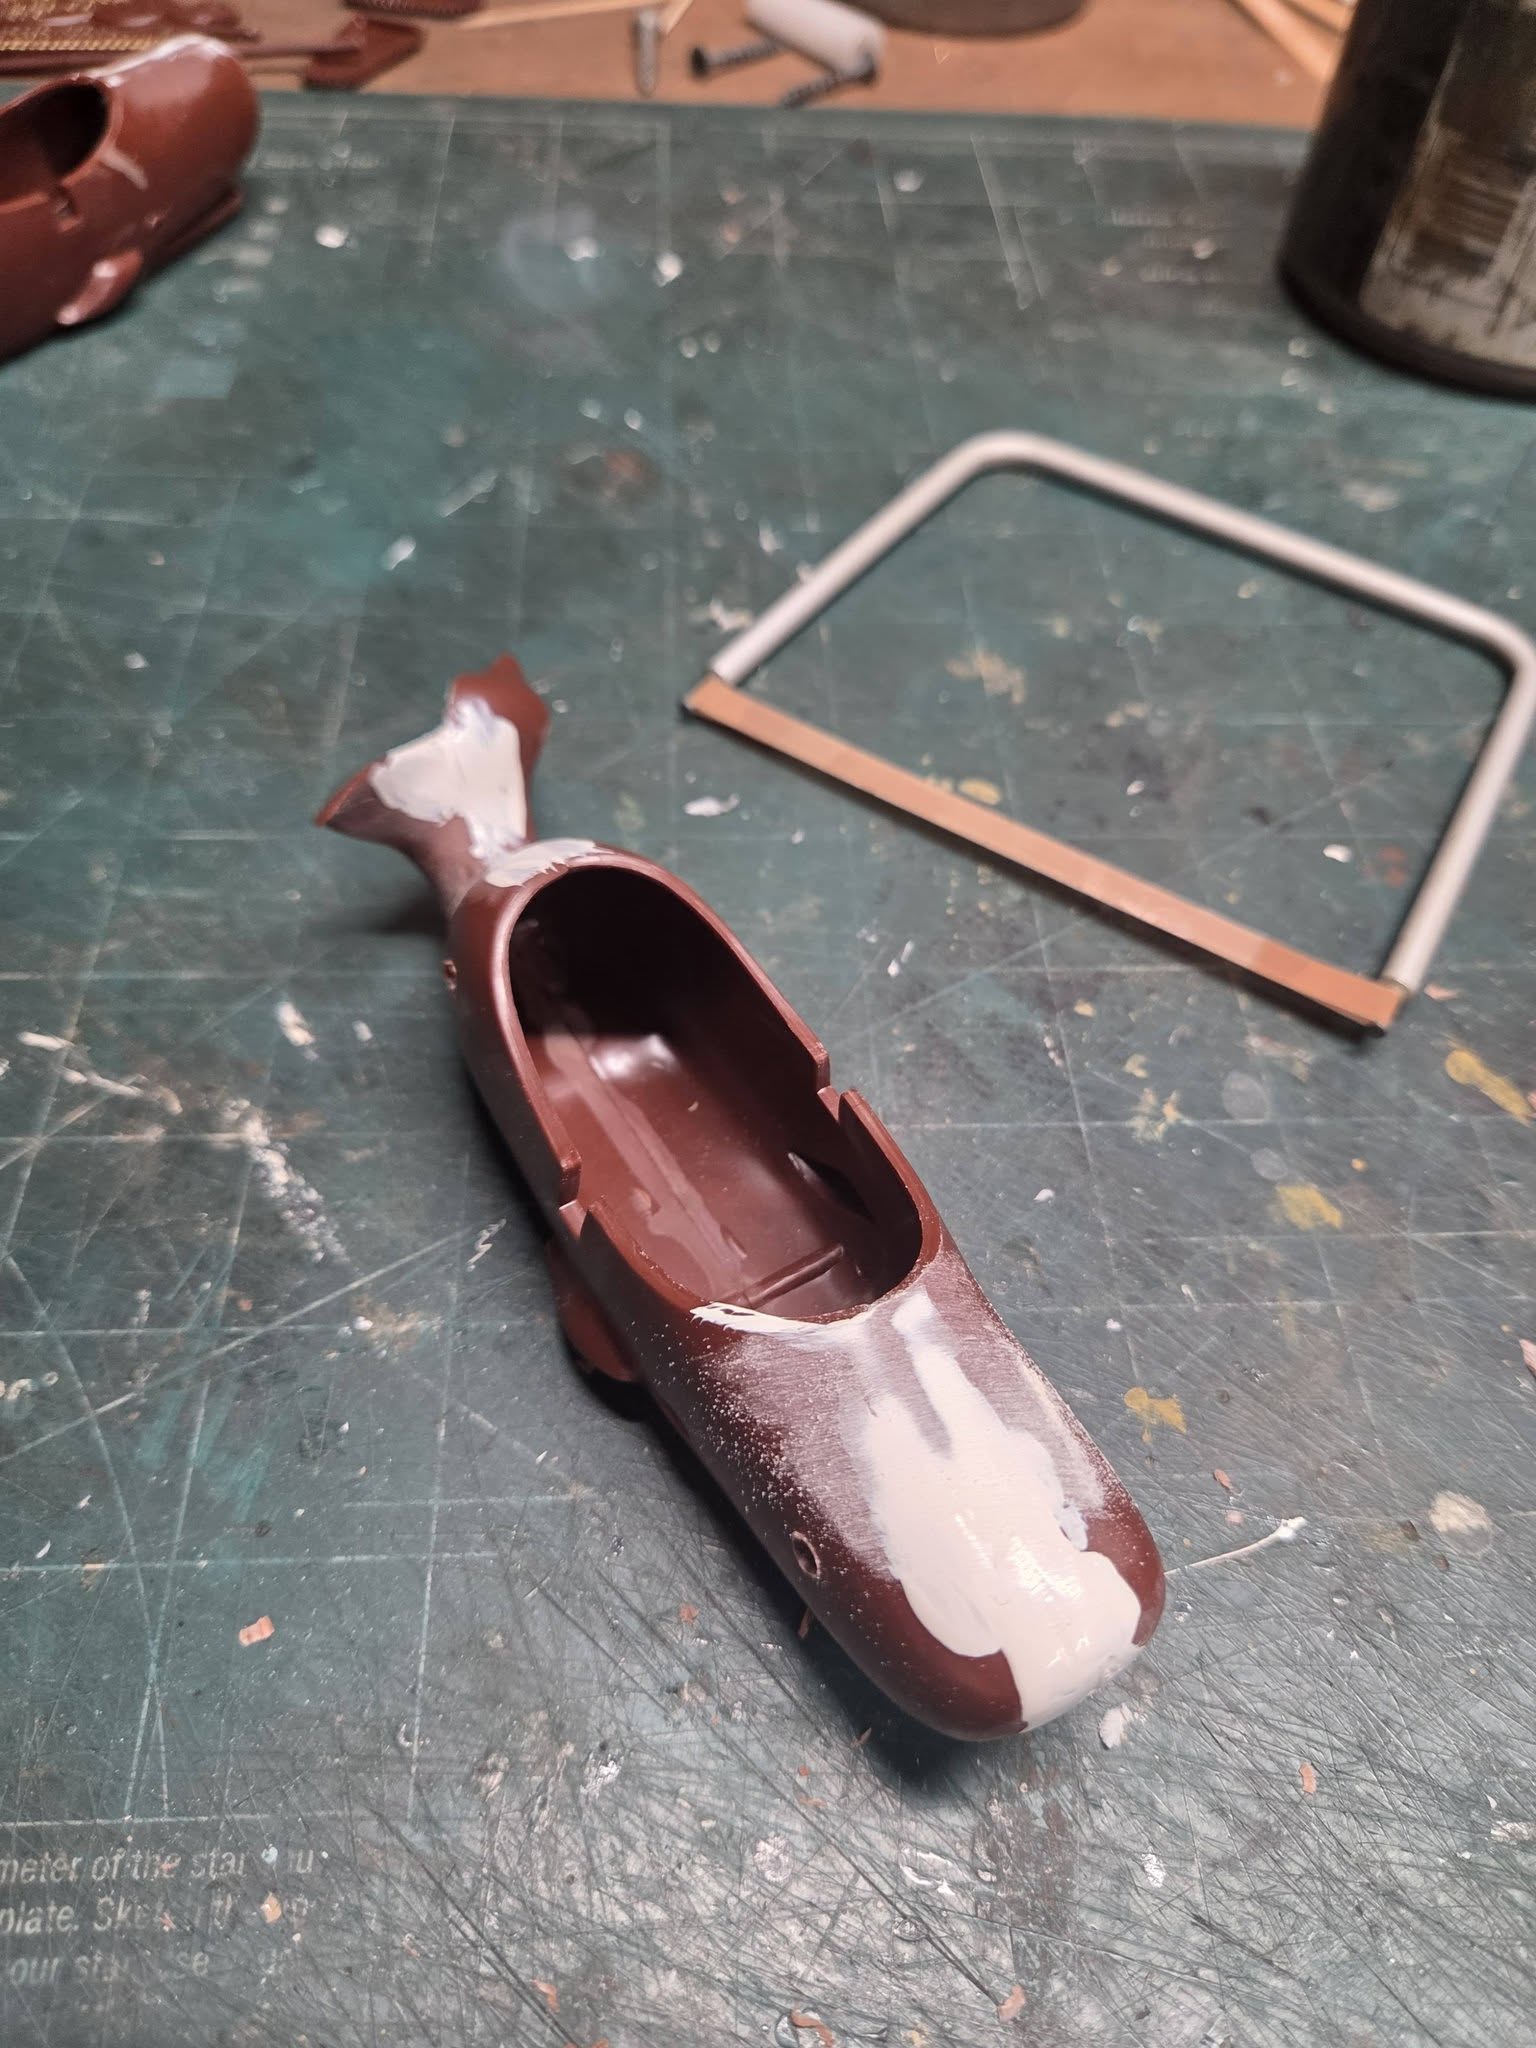
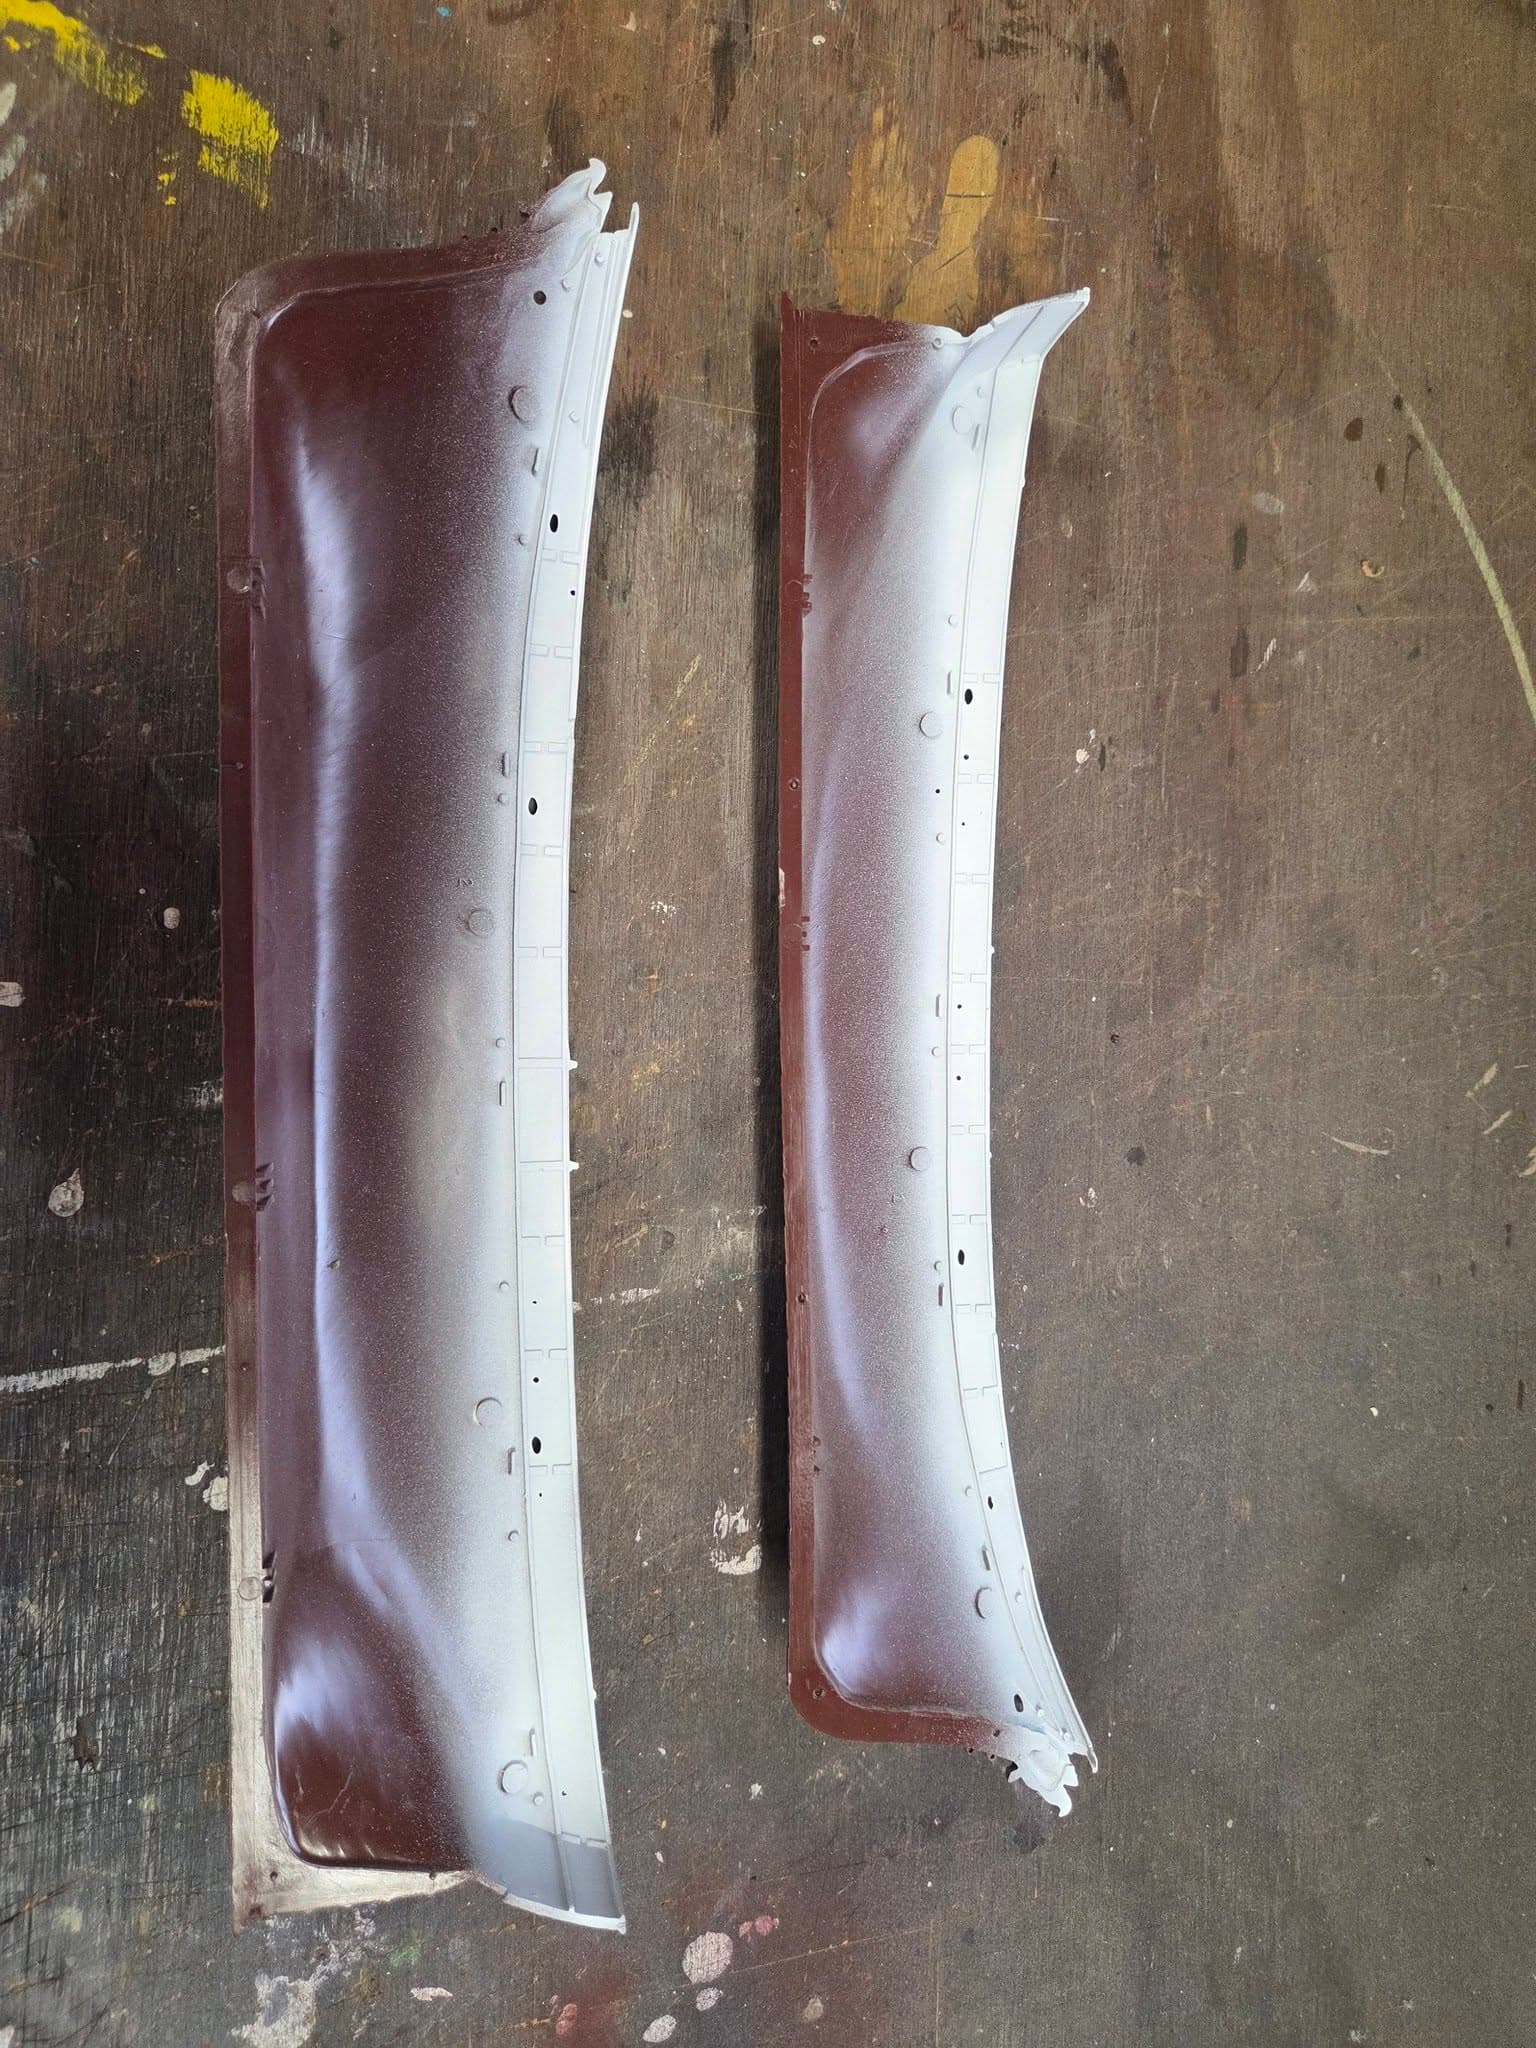
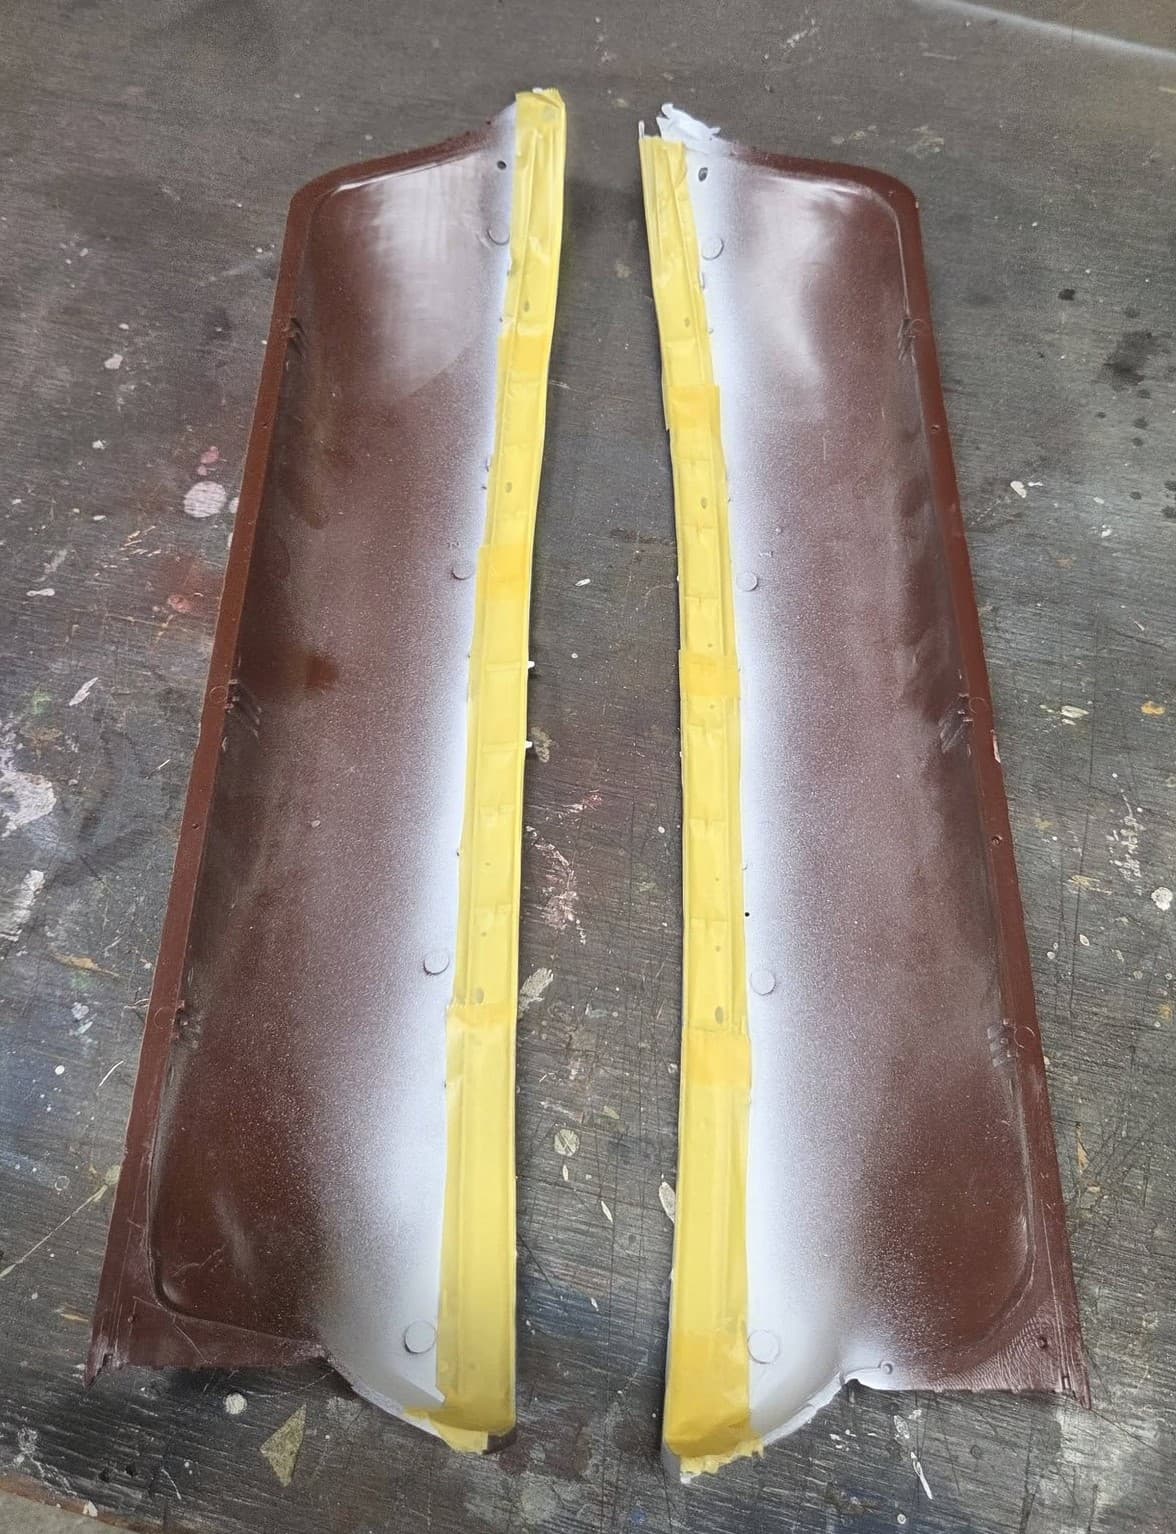
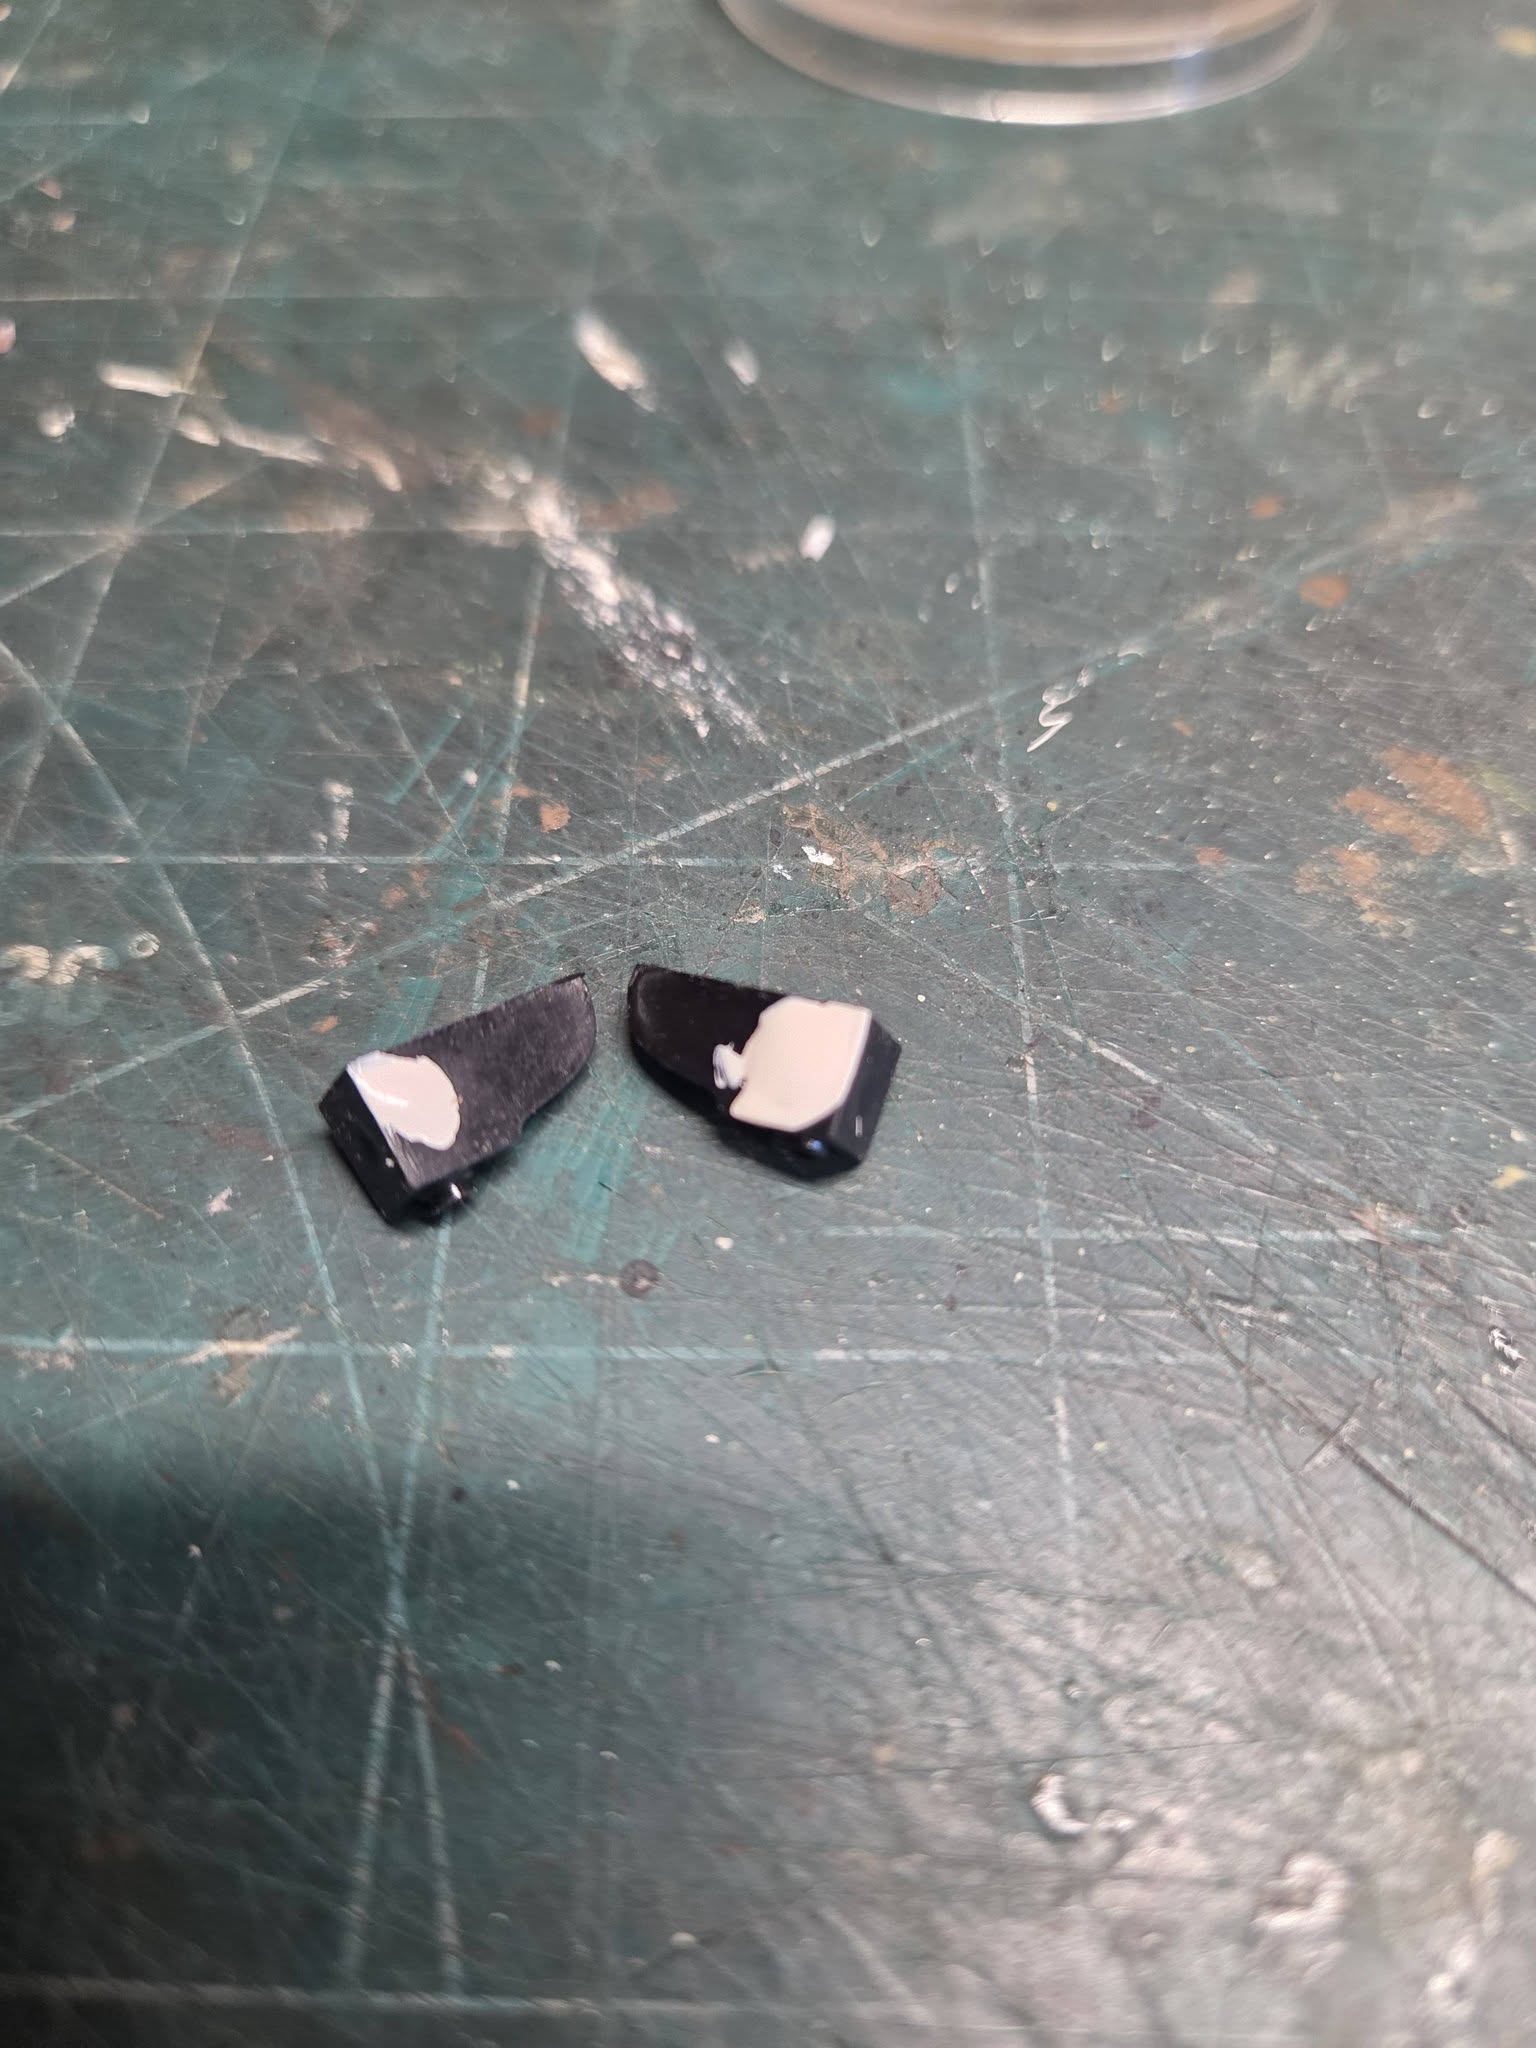
Filling and sanding the seams. I’m probably going to mark up the head of the whale (fights with orcas and other creatures) all whales have these type scars. The color is Testors Euro Gray - this bottle is 21+ yrs old. They no longer make this brand, so I’m really judicial in its use., I’m going to give them a wash down in a black wash as well. I’d paint the underside a lighter gray but they will be screwed to the base, and it won’t be seen
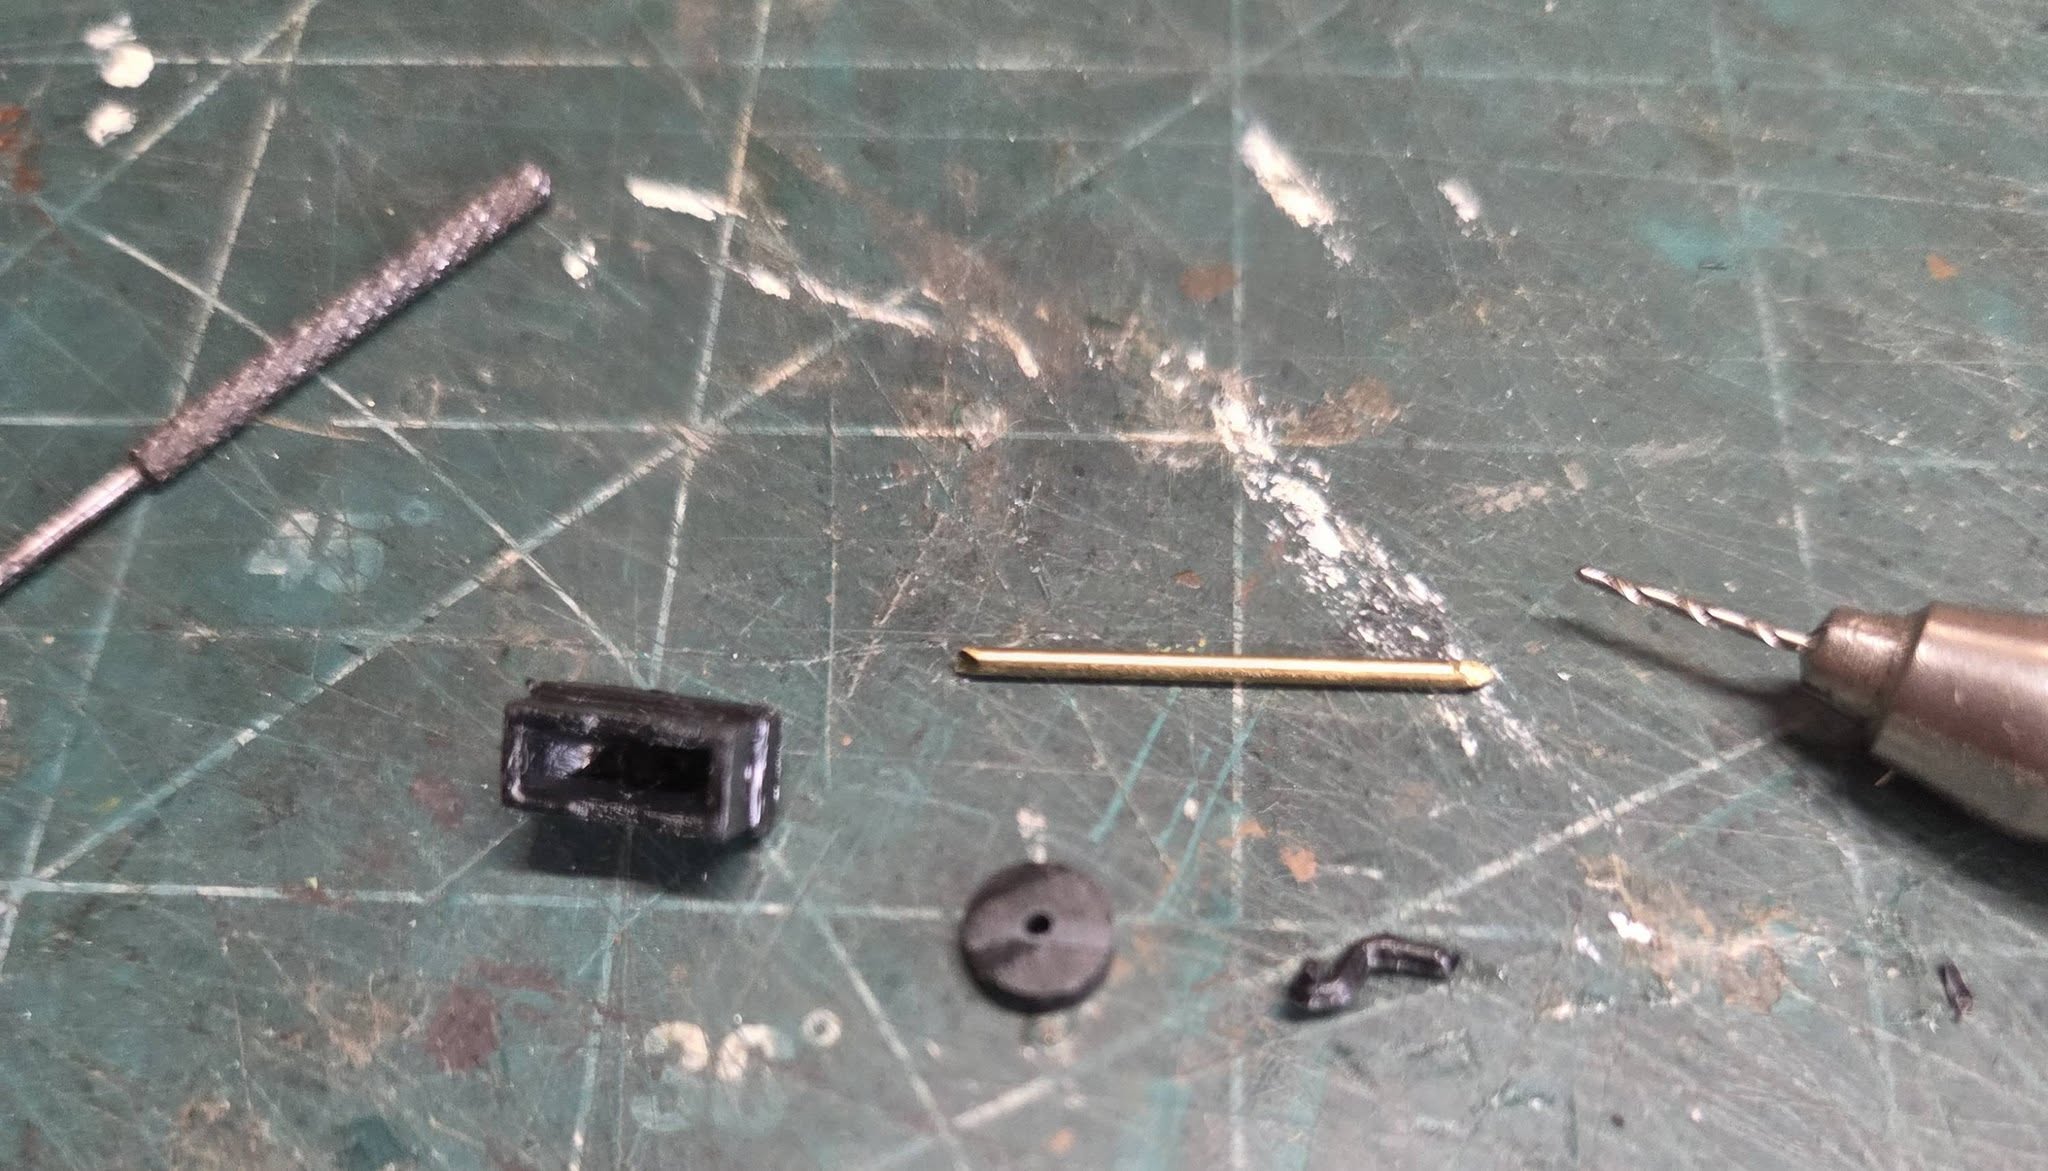
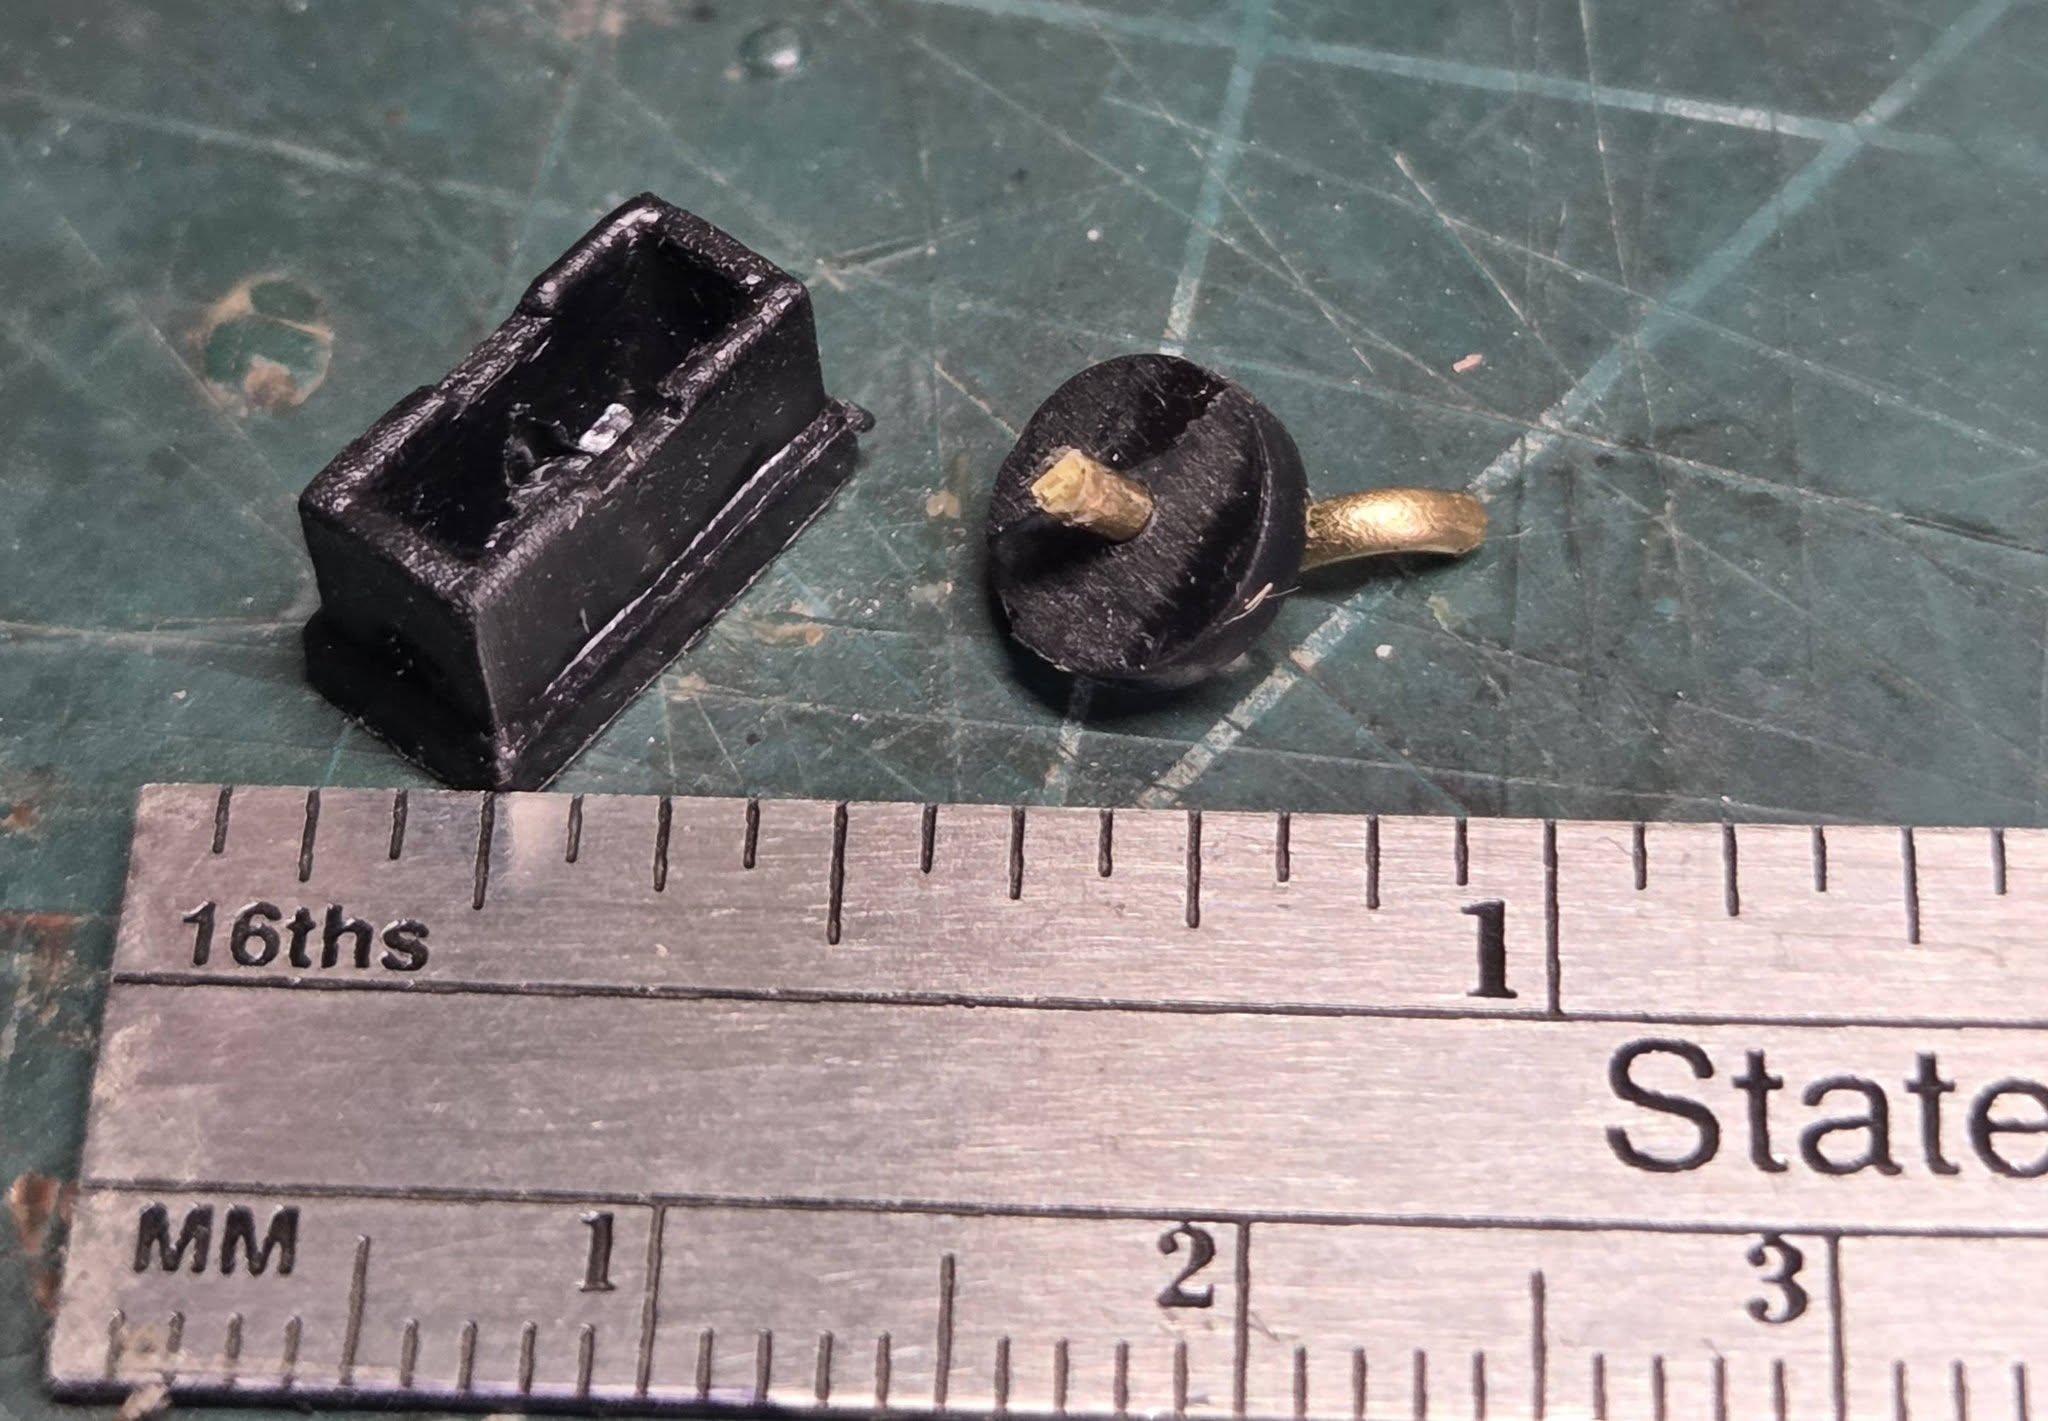
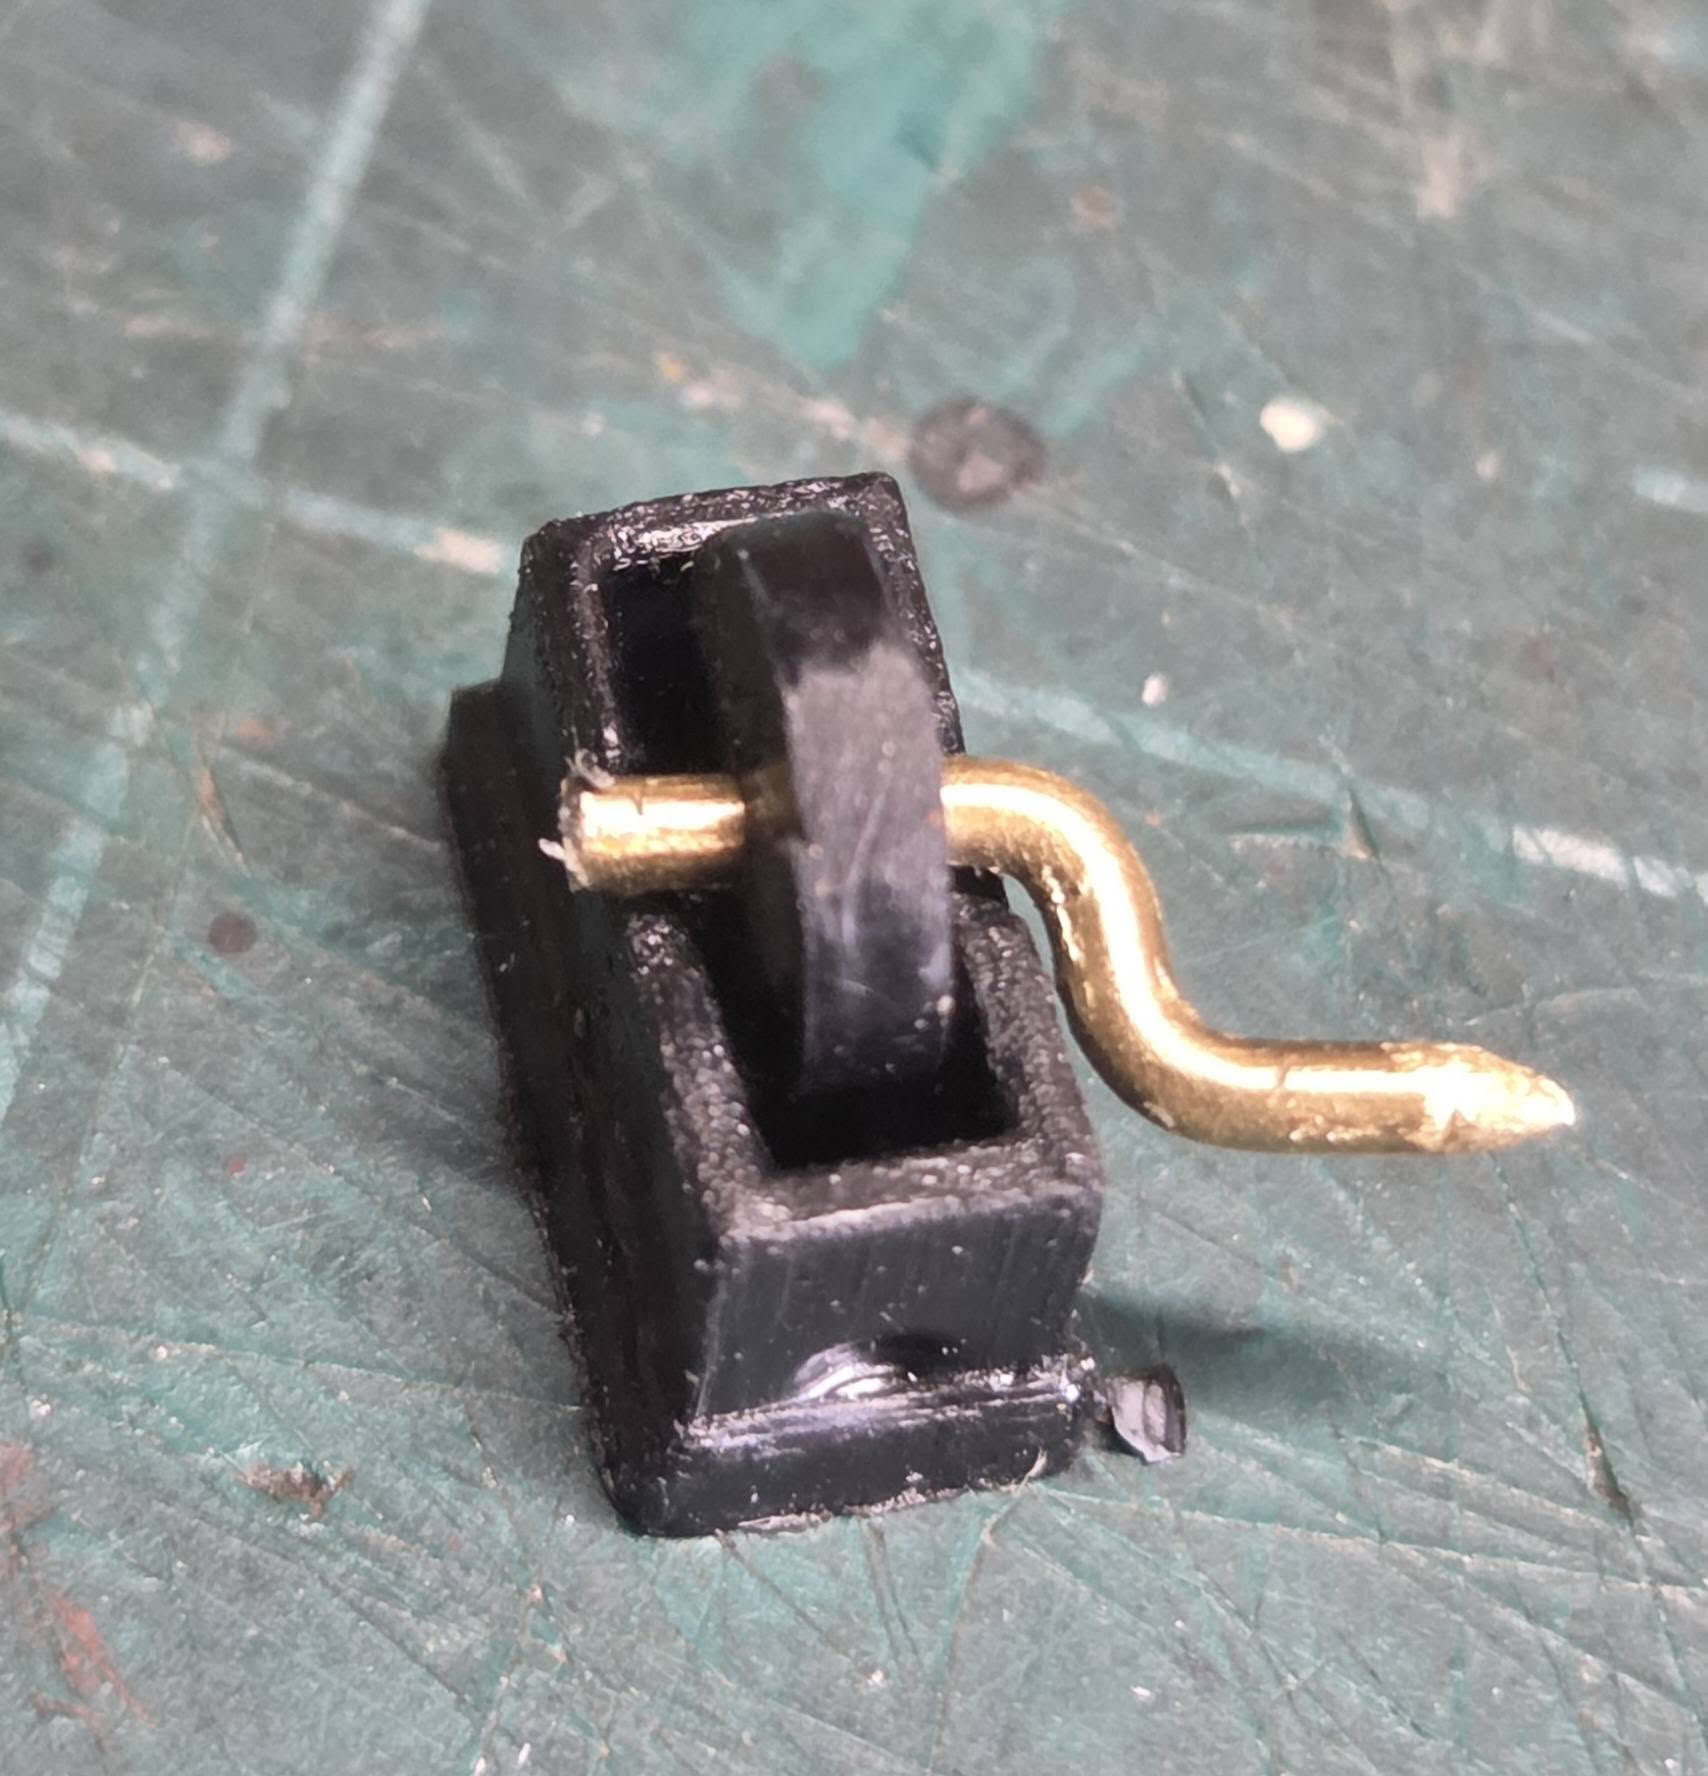
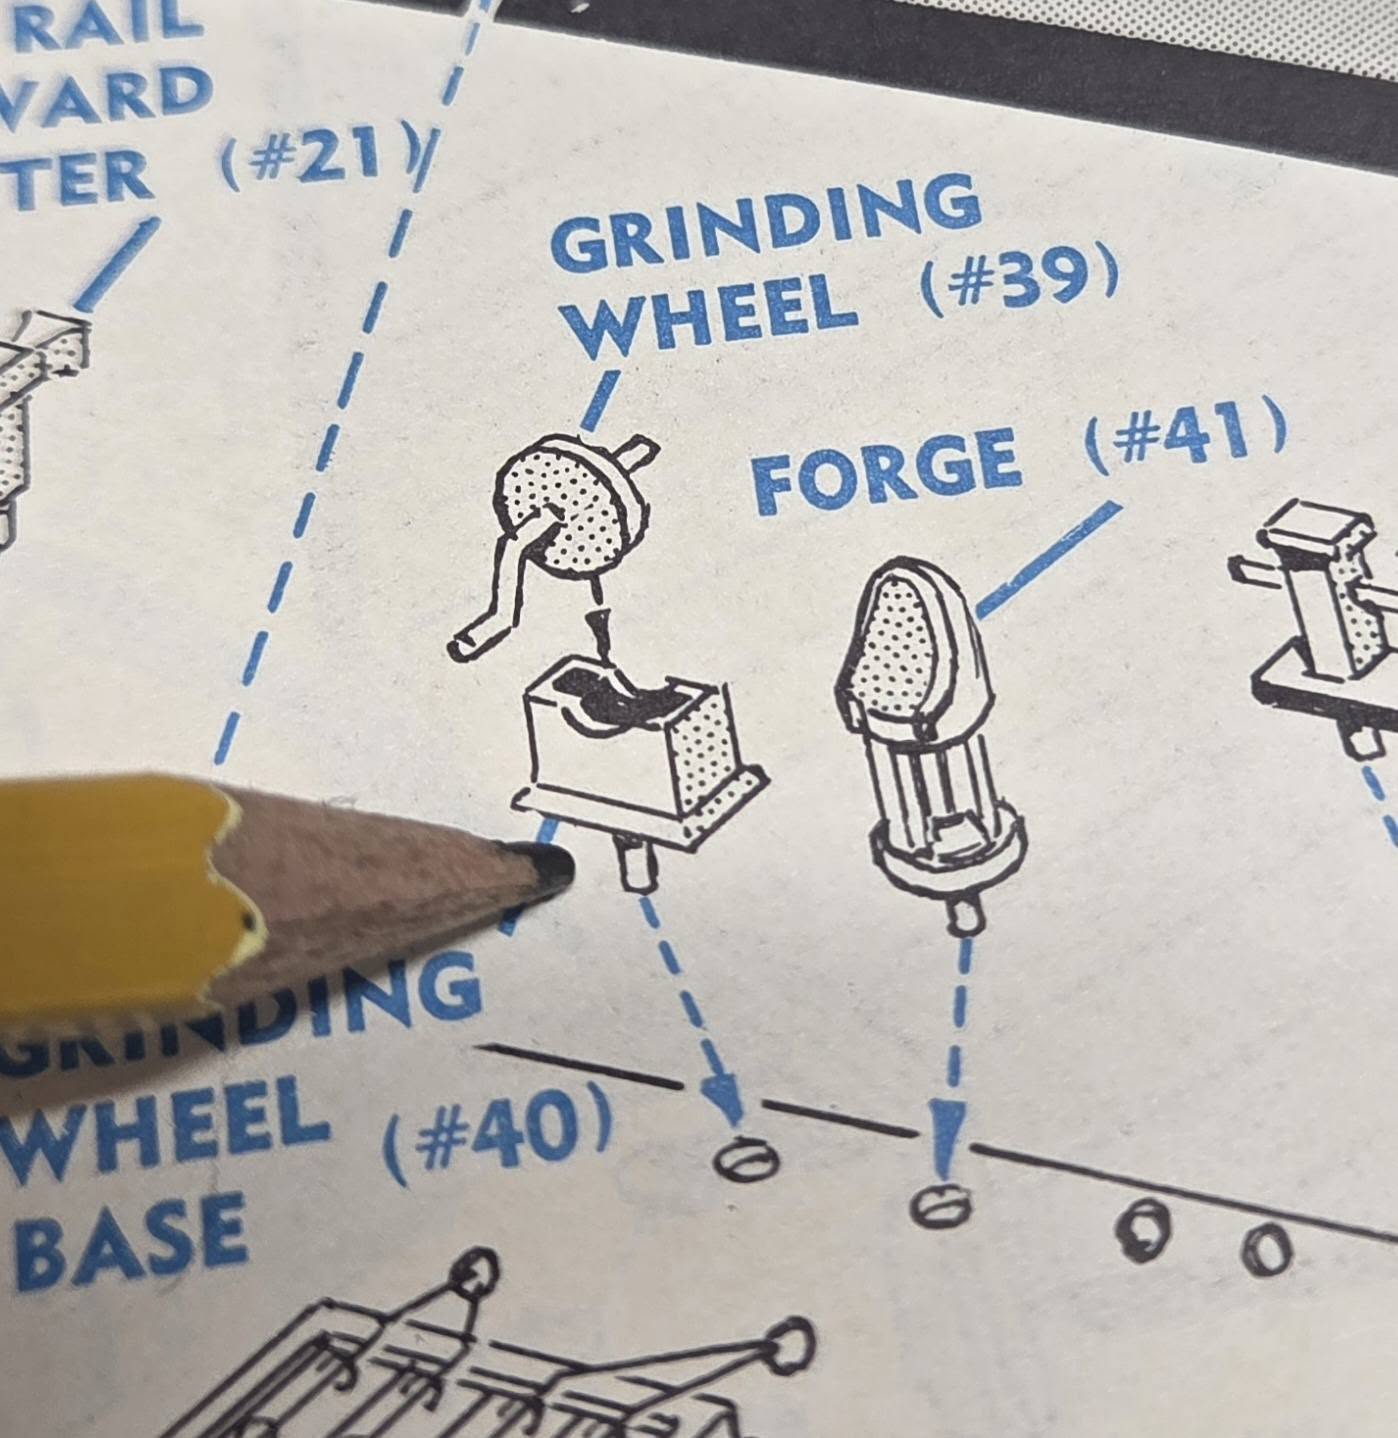
Not a whole lot done this evening, just working on pieces parts. The grinding wheel handle broke off so I had to remake another. When working with plastic that is literally 60 years old, the plastic tends to dry out (degas) and turn brittle a bit, this kit has held up very well for its age. I did a base coat in white on the whale’s lower teeth followed by Floquil antique white. these will get an off yellow wash to detail, even though you had to look to see them, but what the heck. Applied a base coat of white to the bulwarks, this will get a second coat in 48hrs. after these dry well.
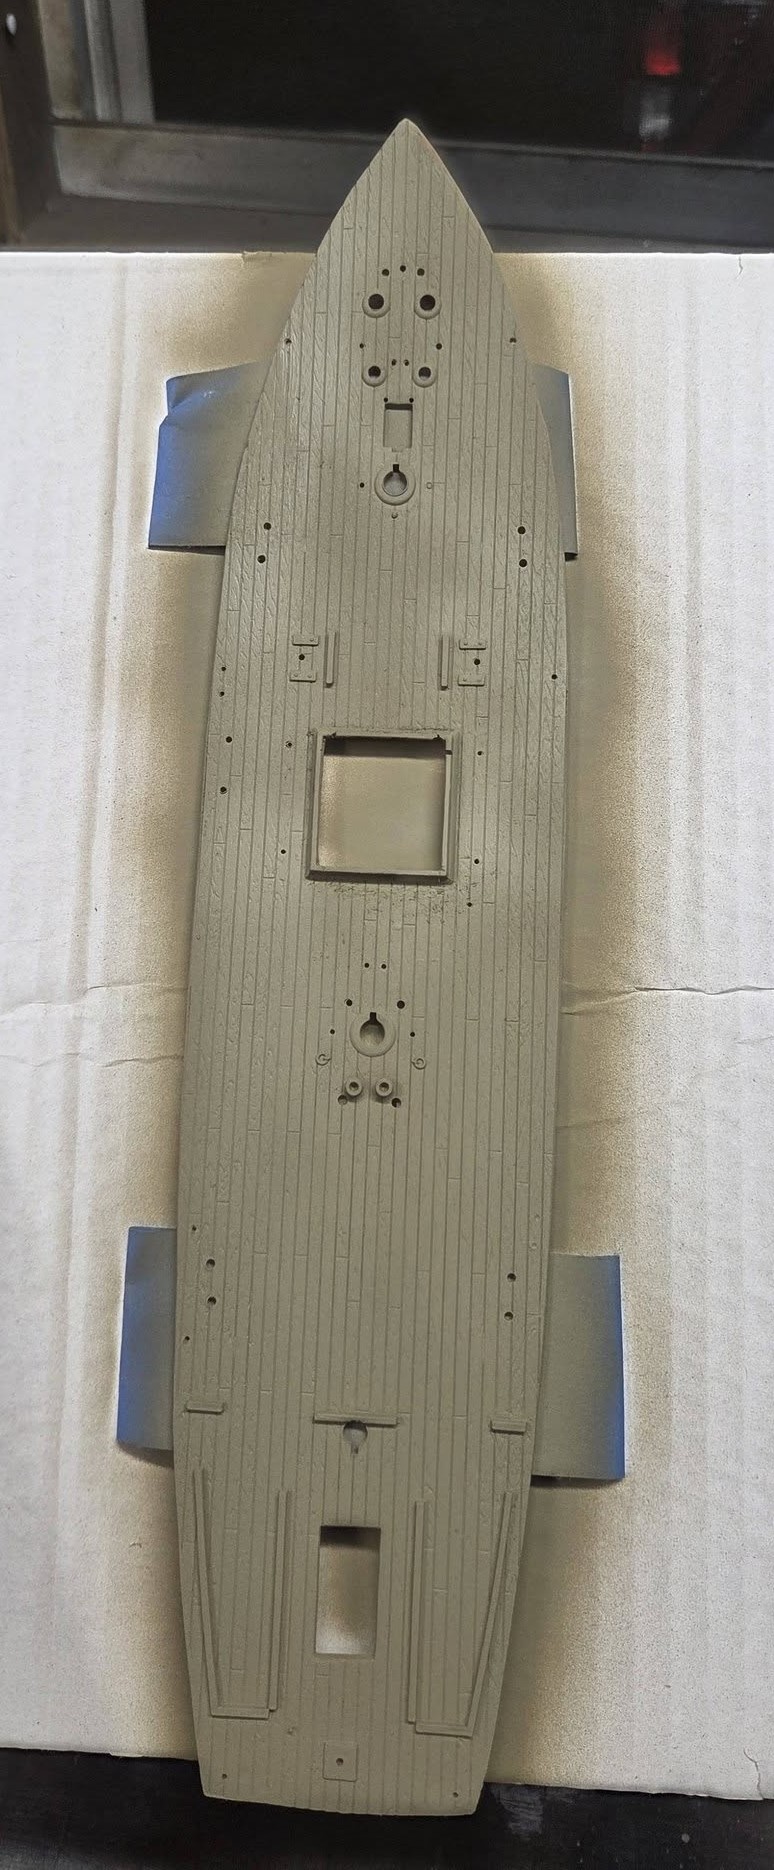
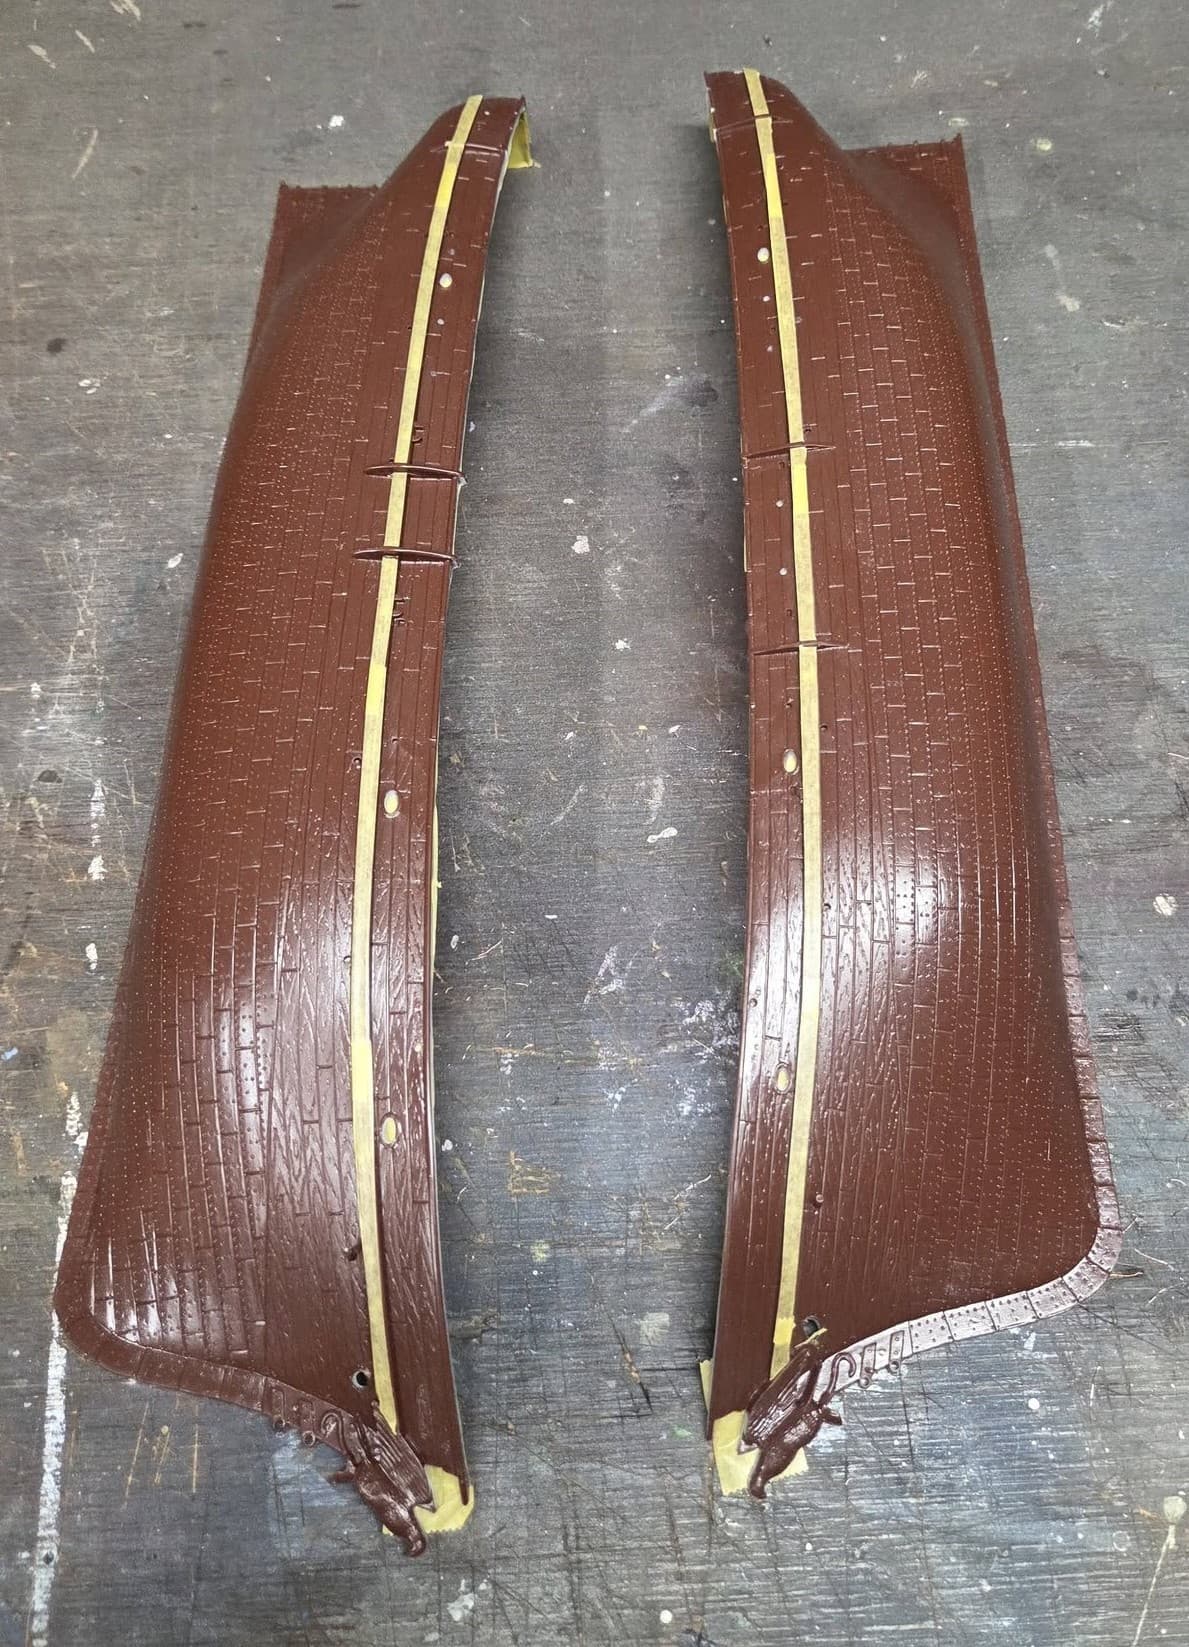
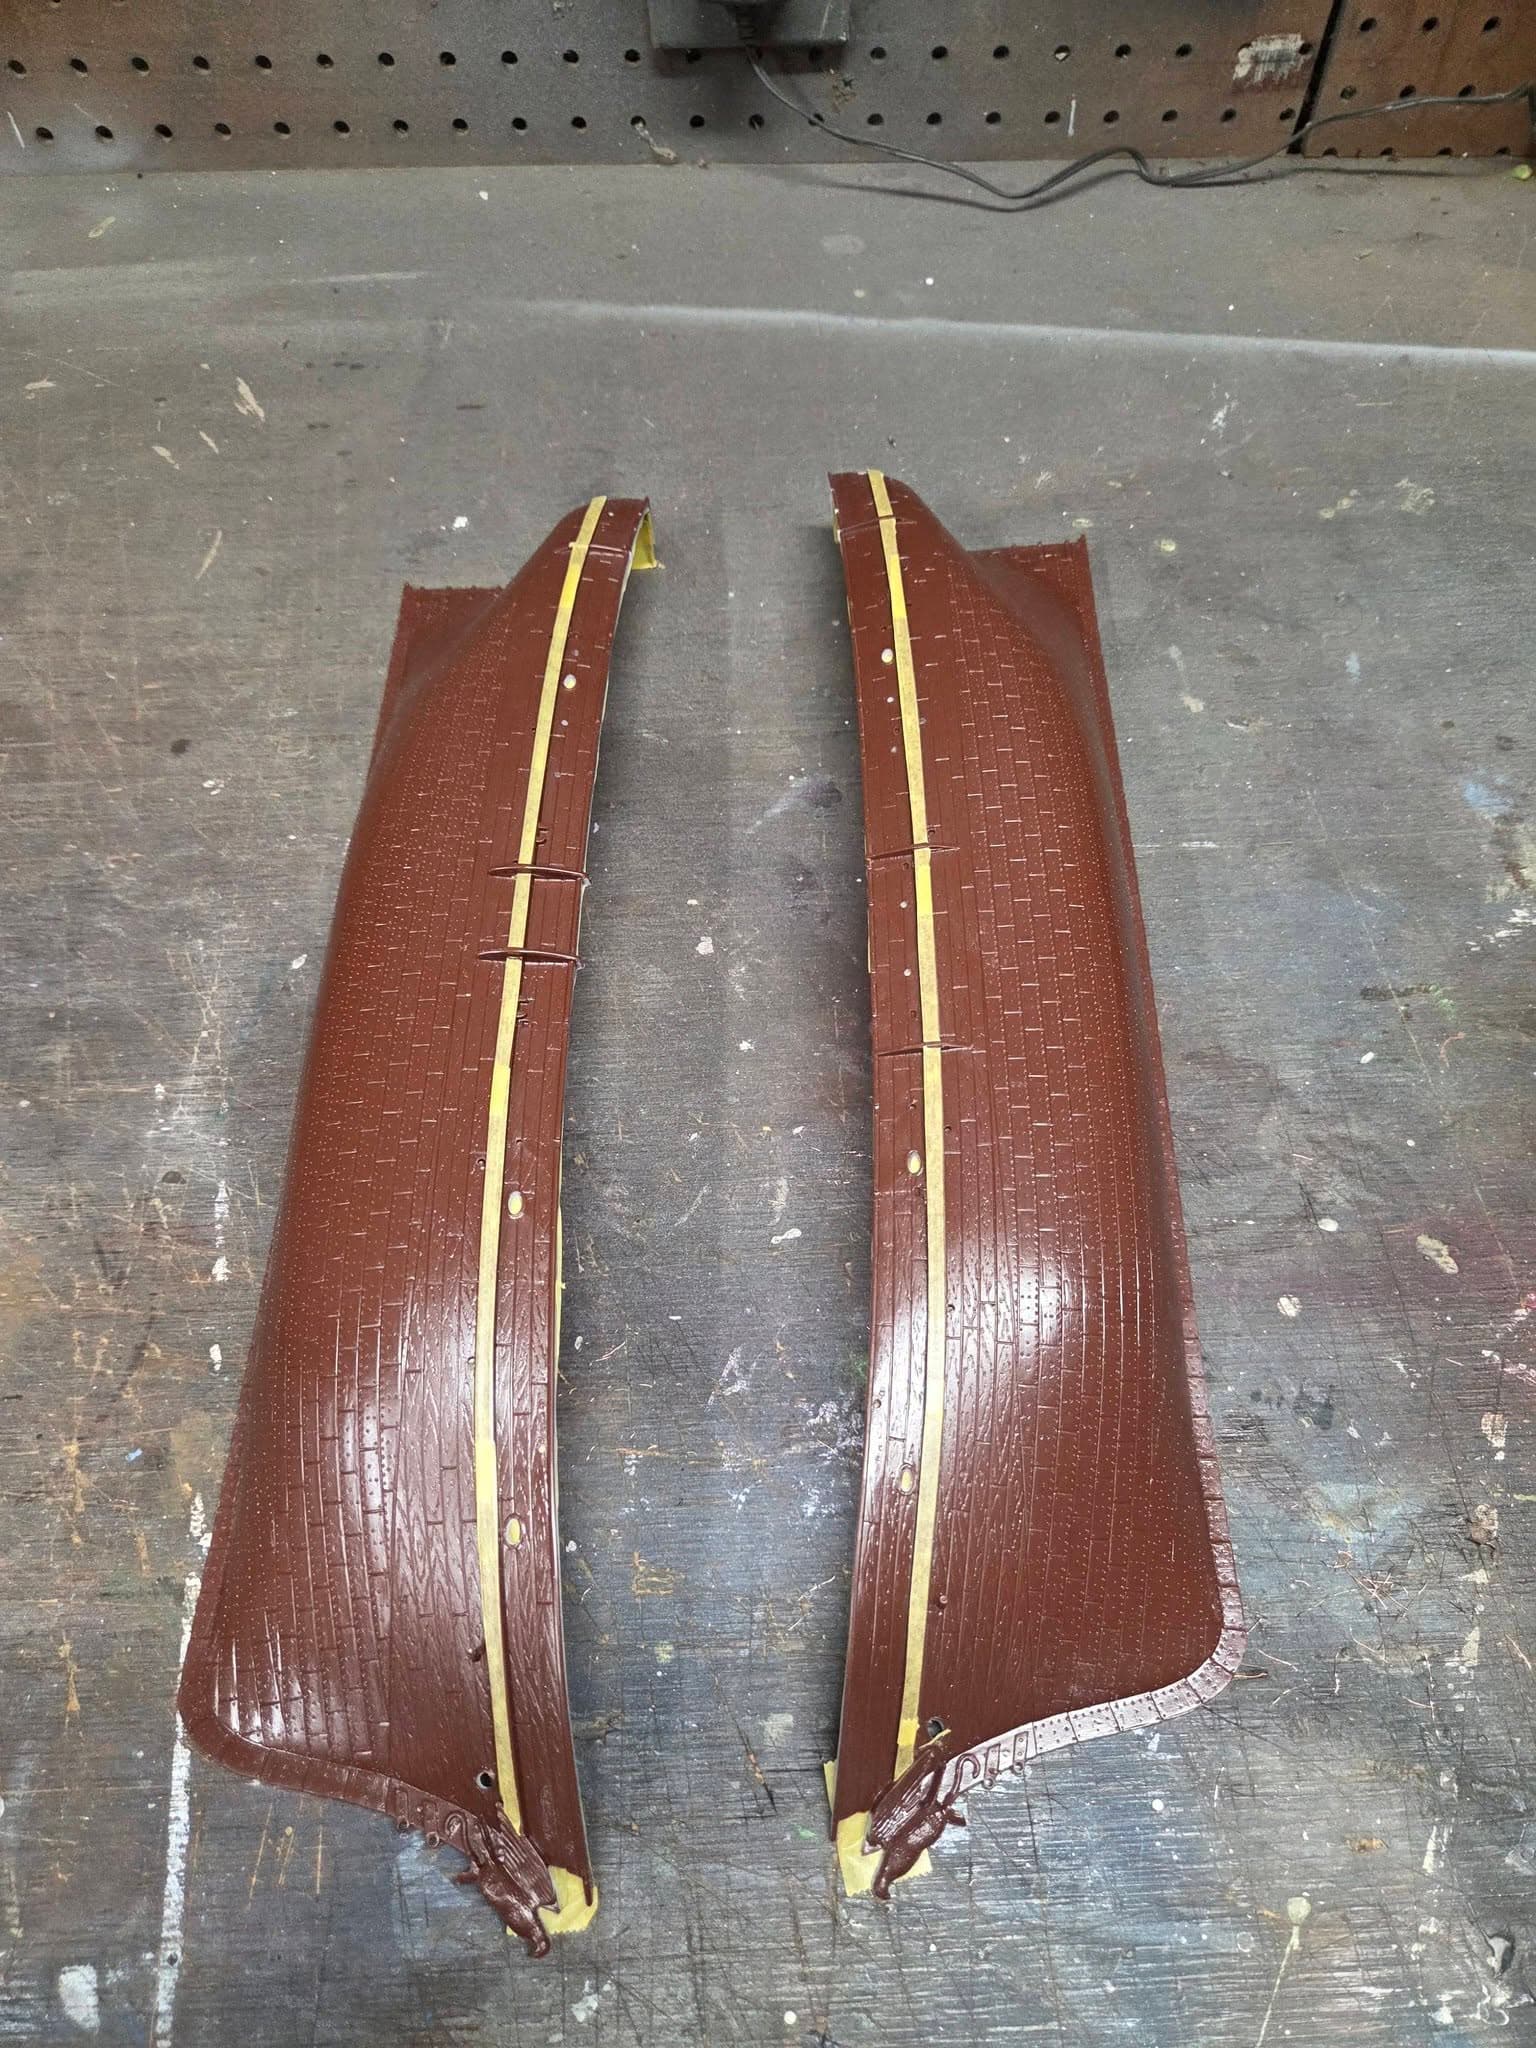
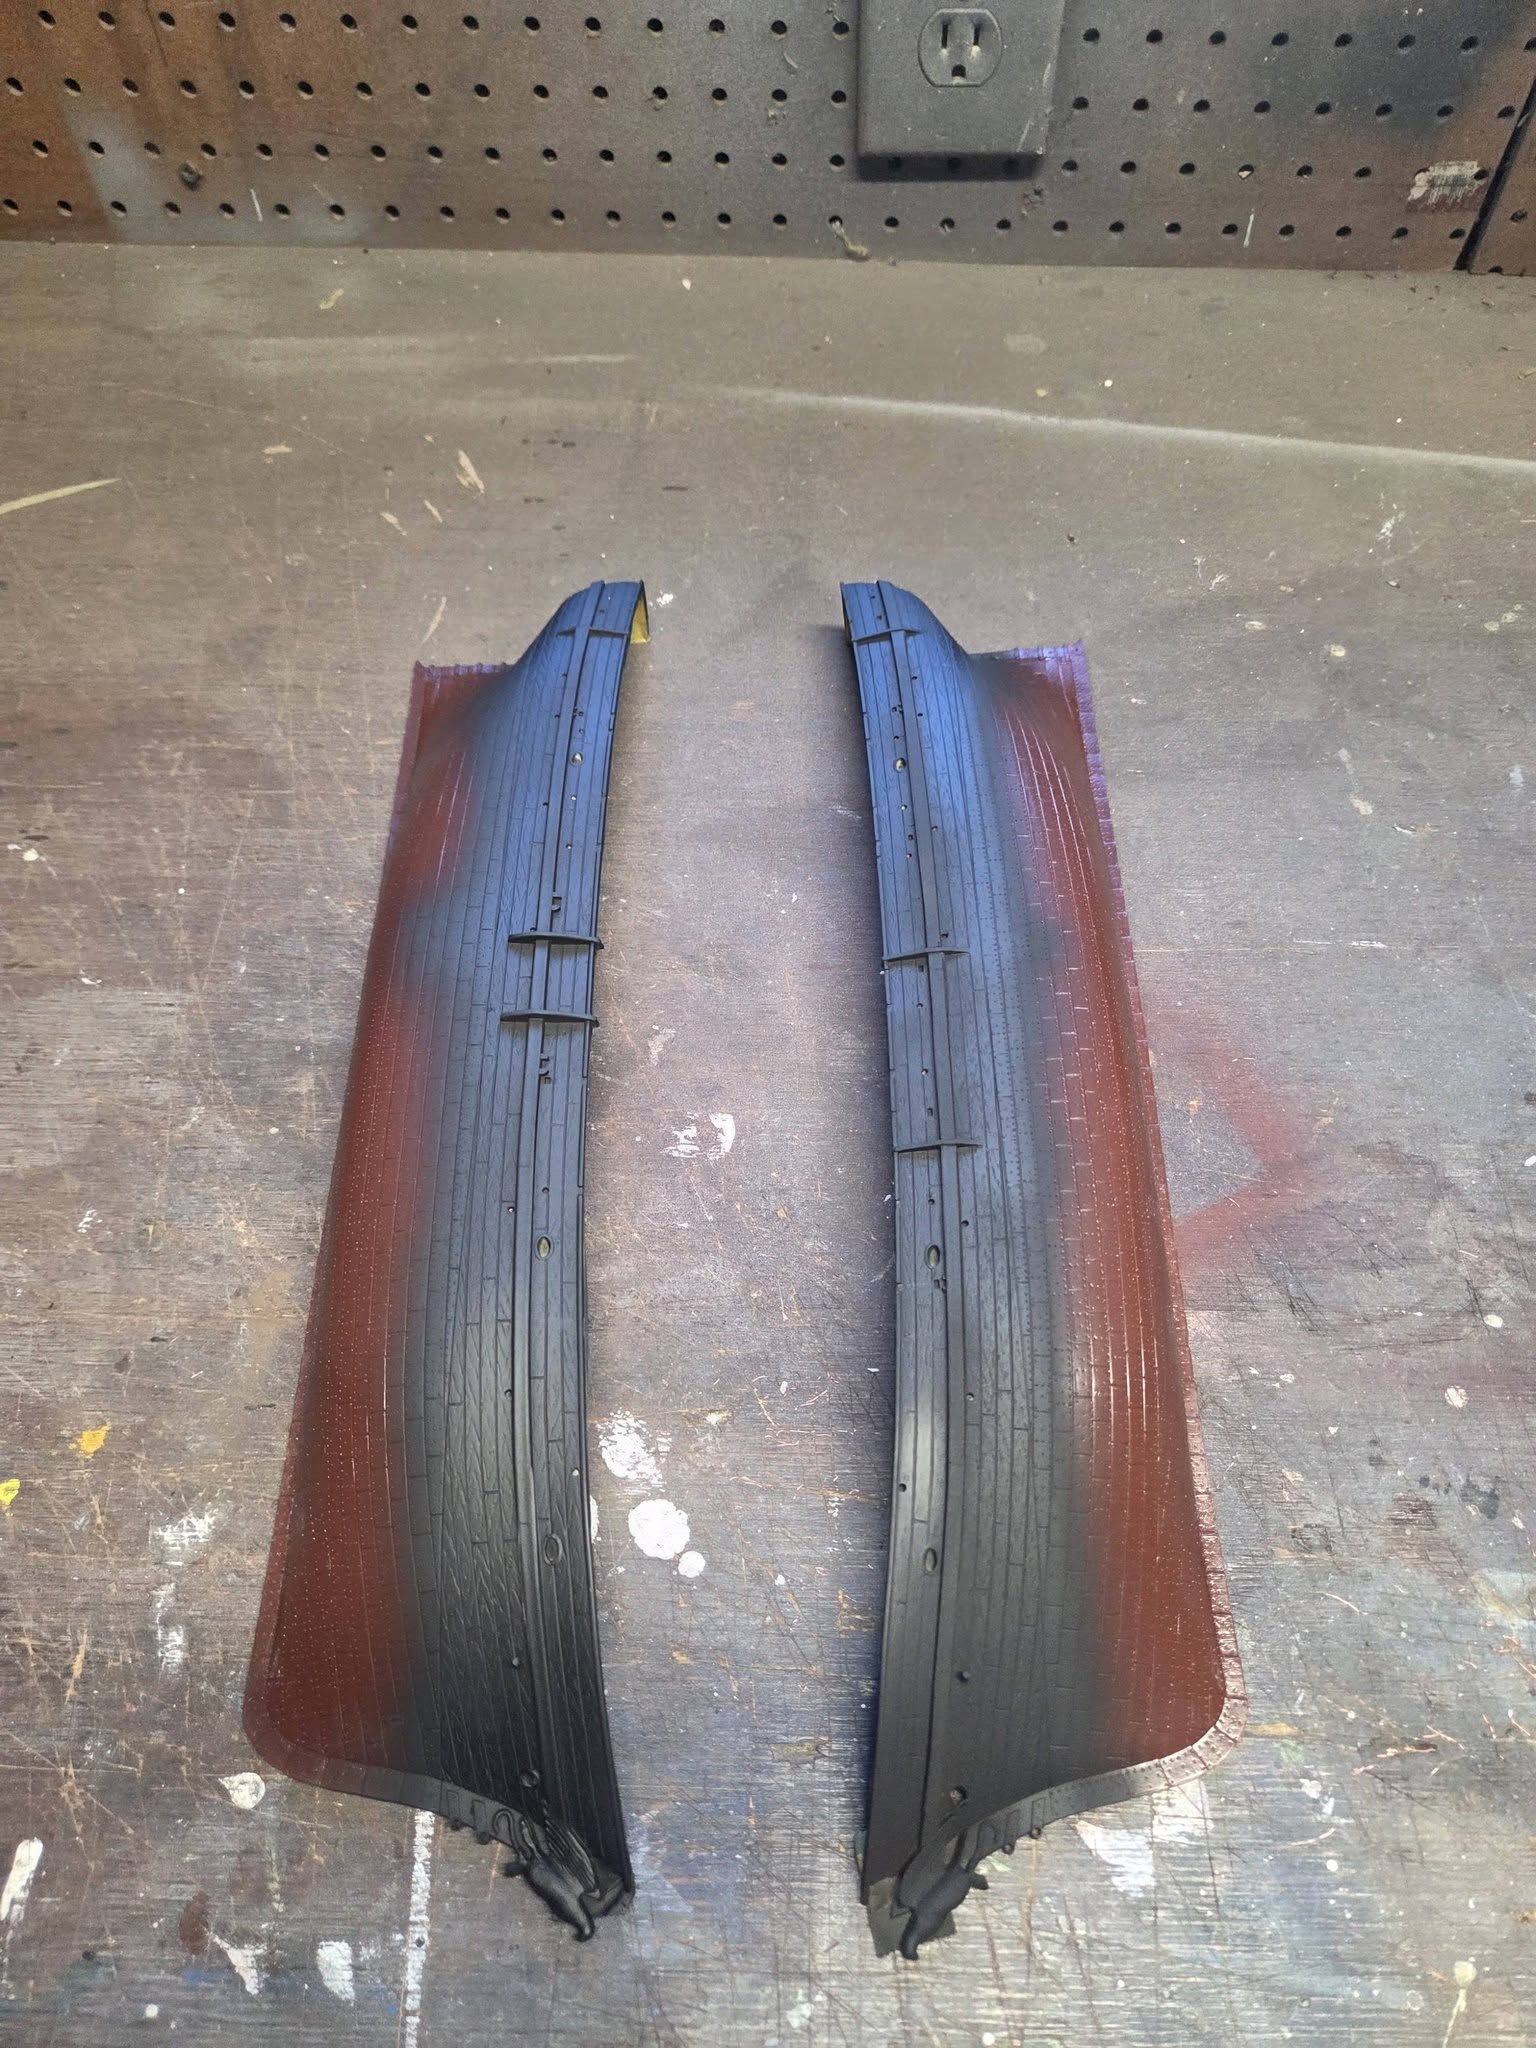
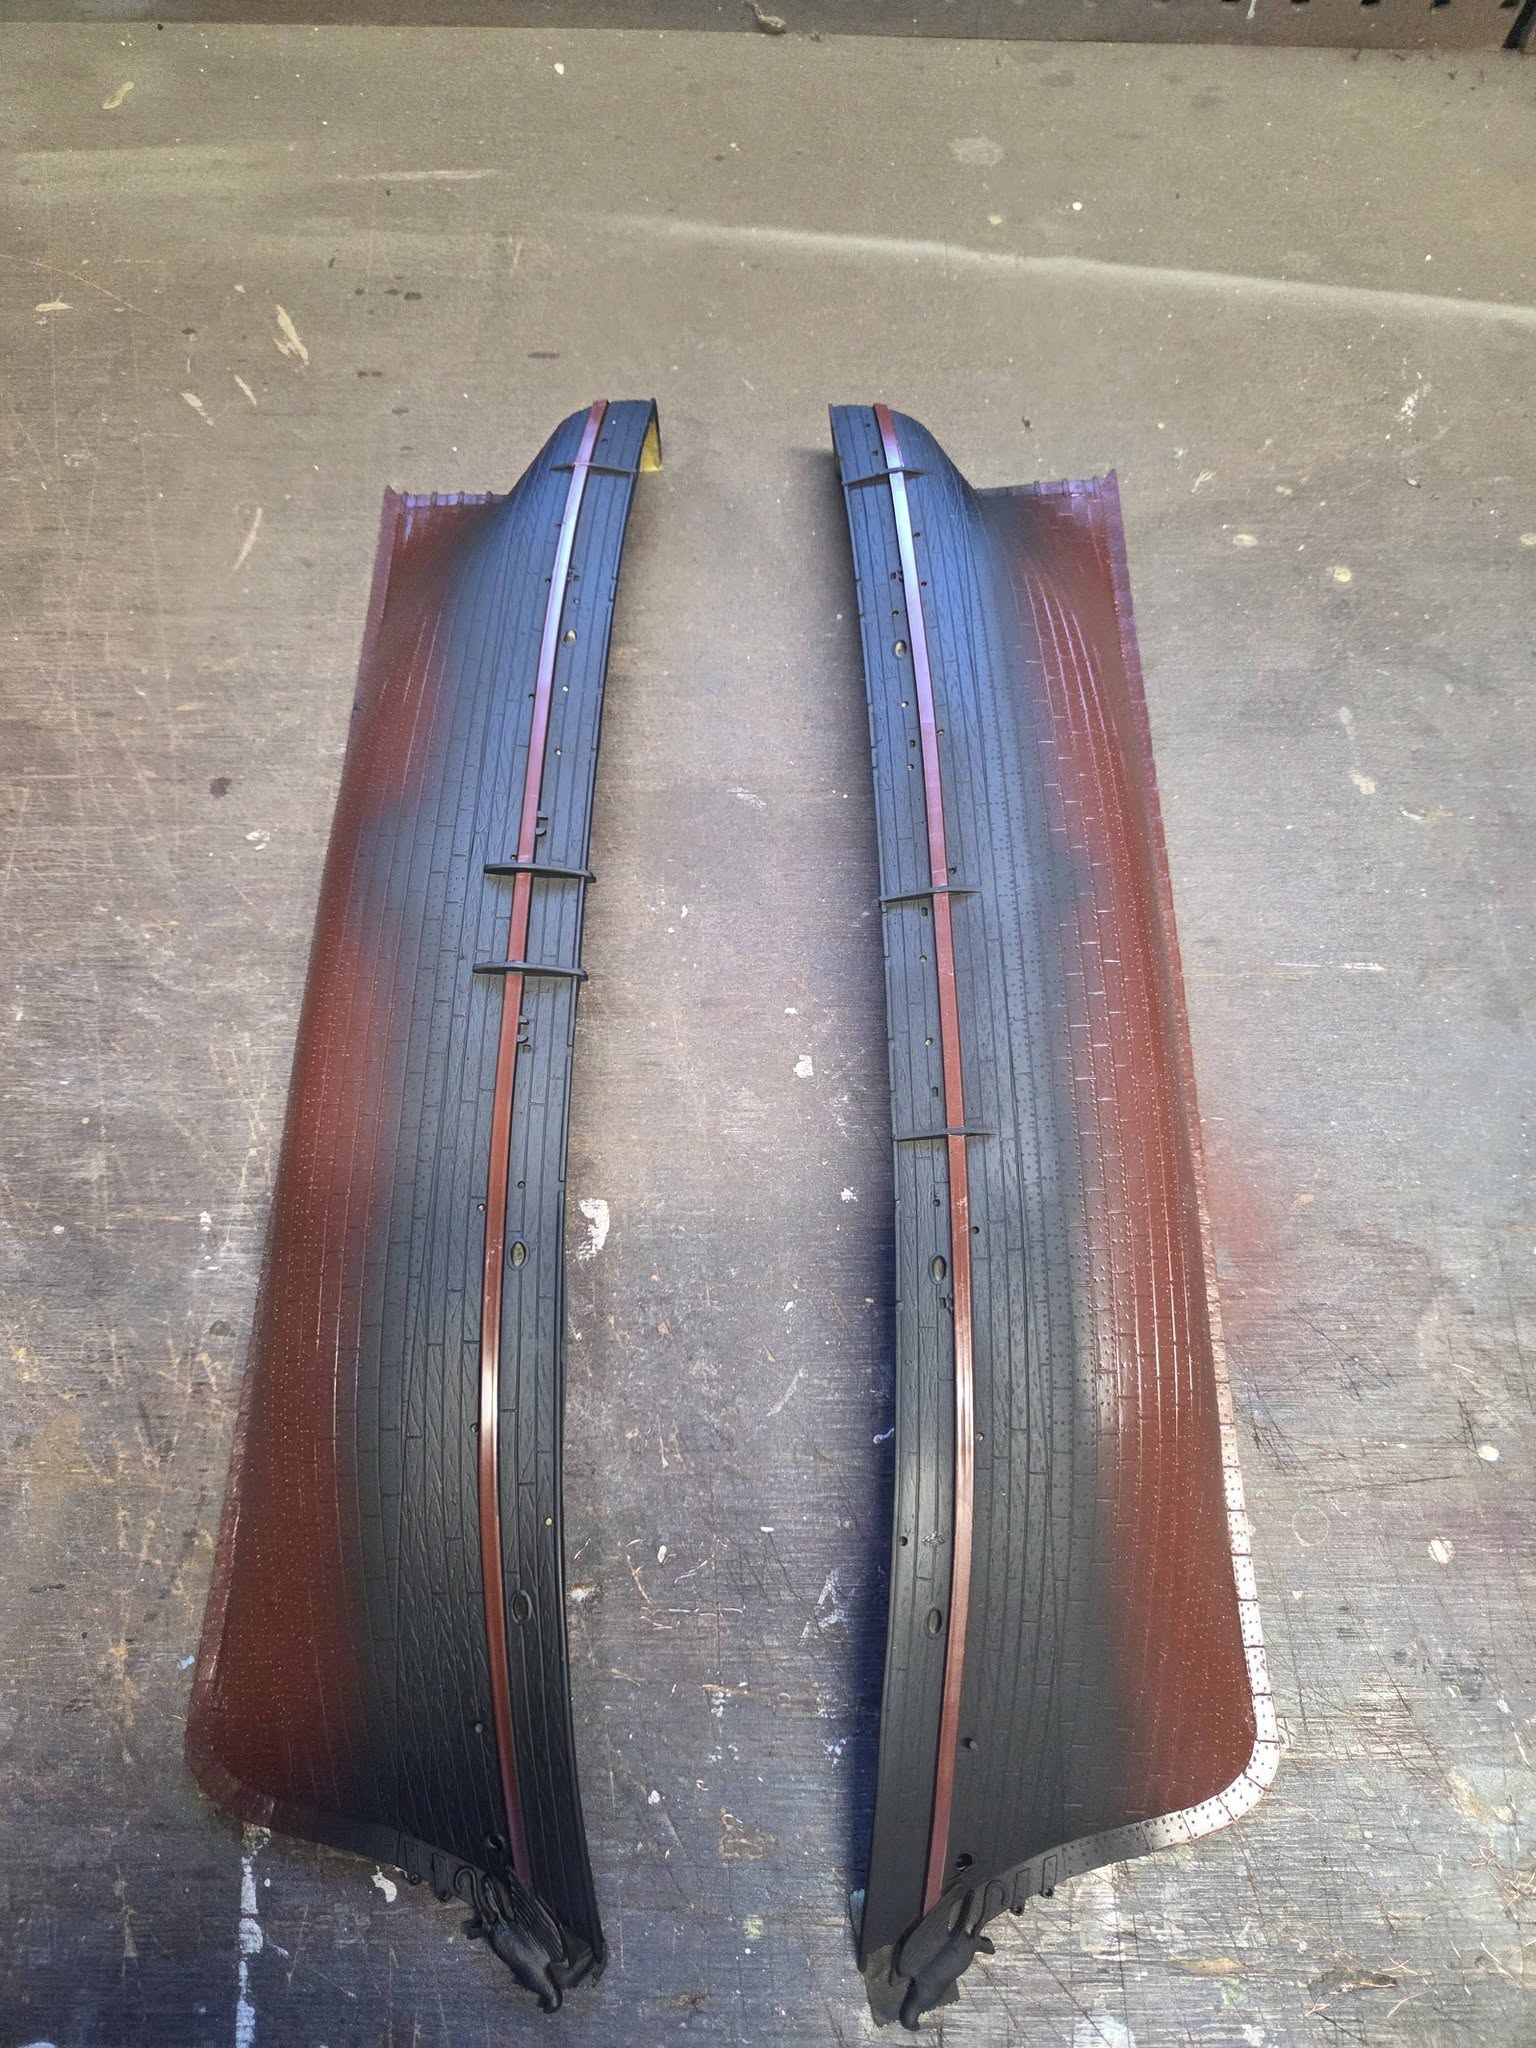
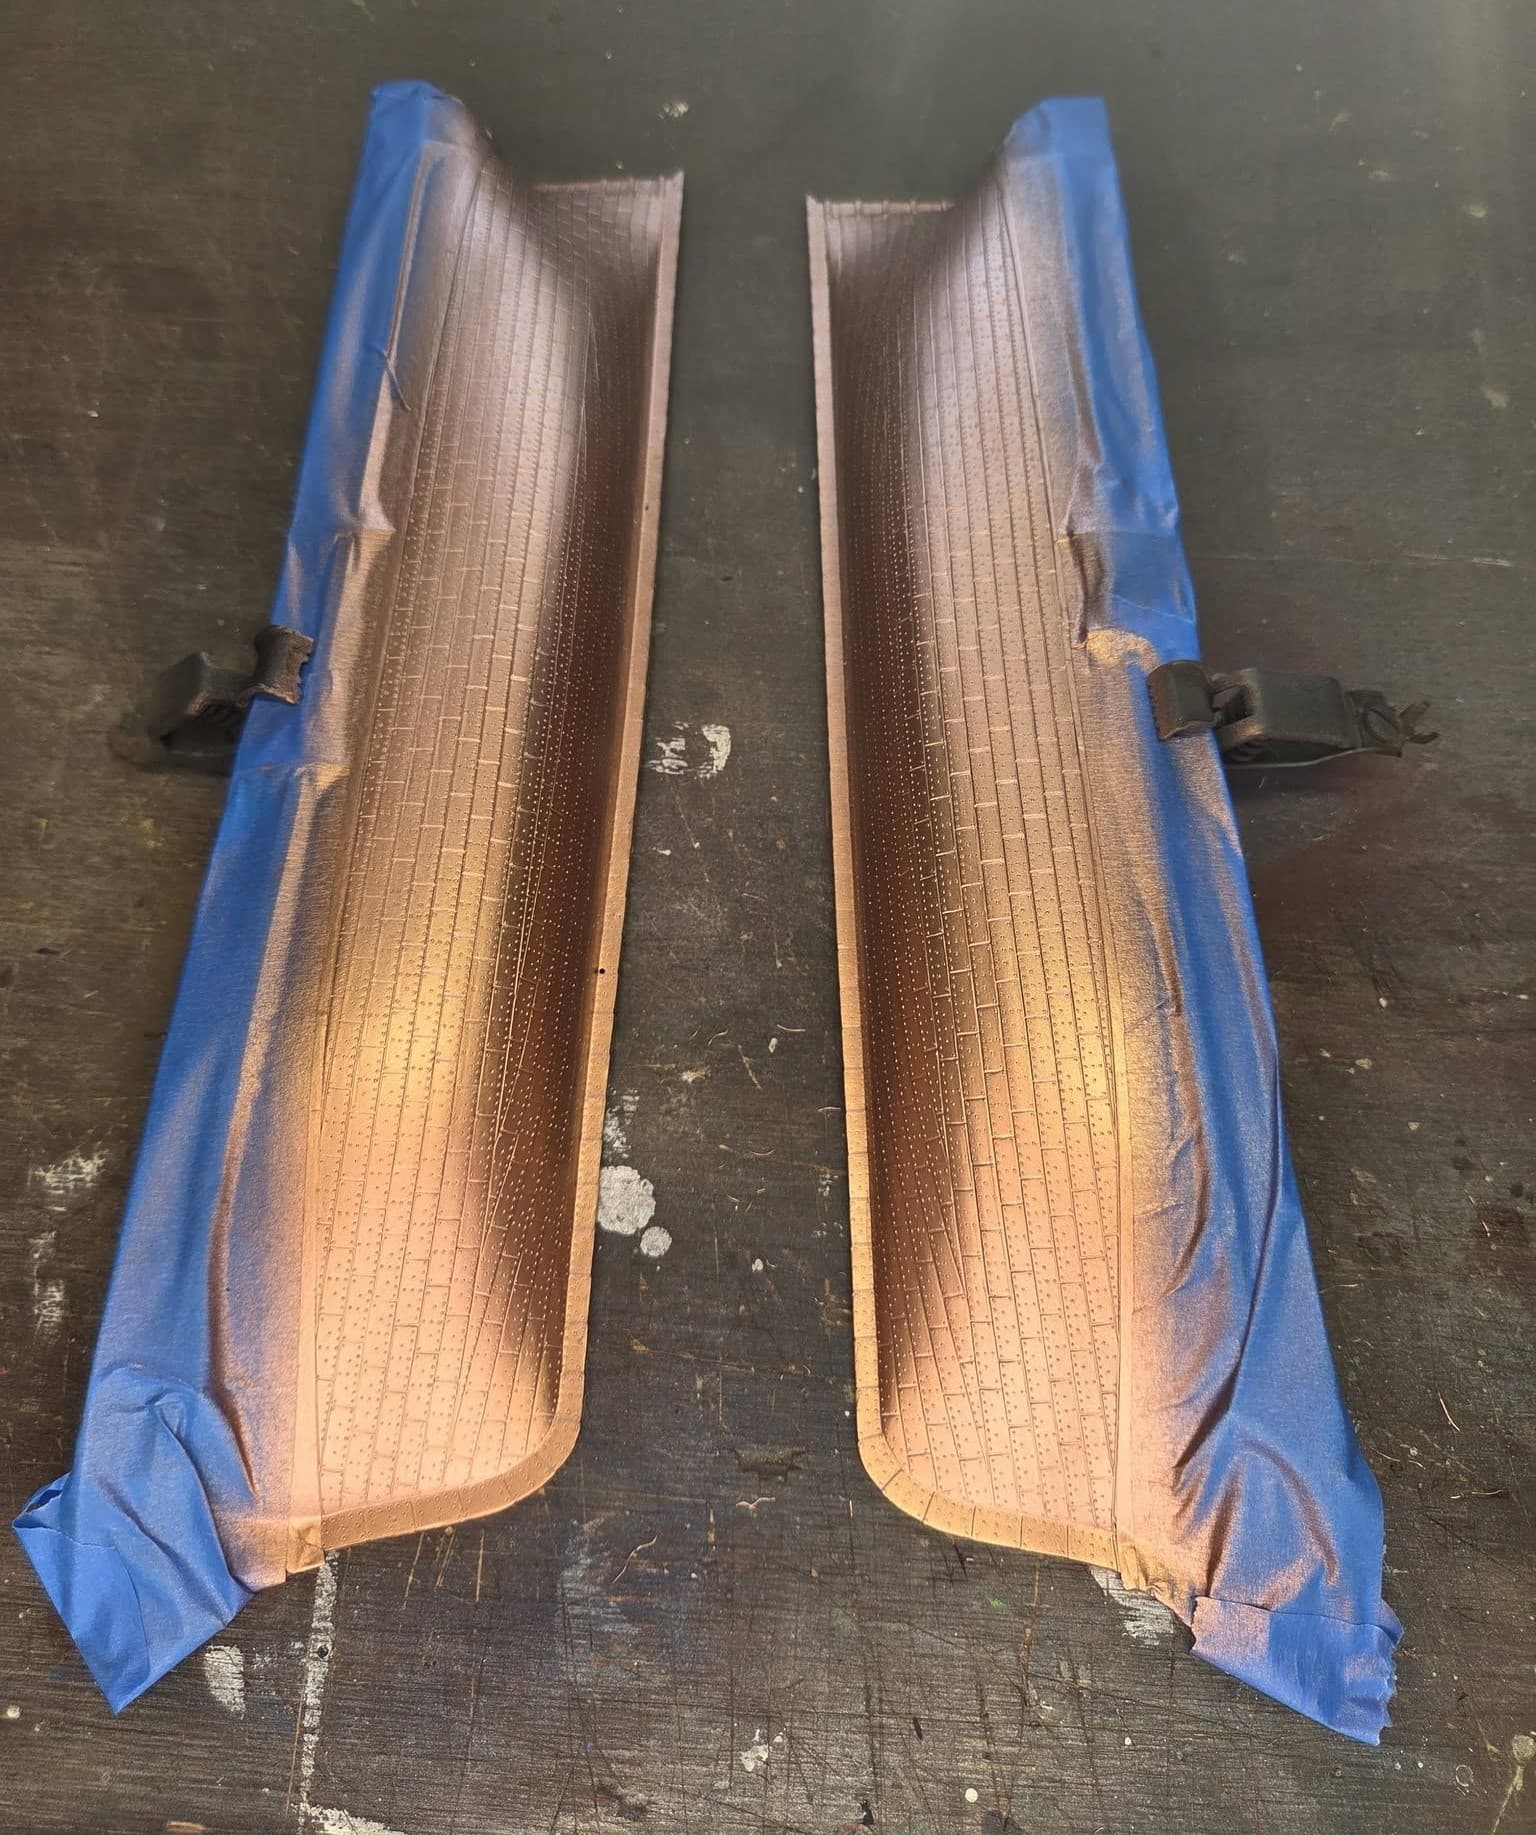
Finally had some time to play with the model tonight, been a busy week. I got the deck base coat down (Testors Israeli Amour Sand) this is darker than the US Armor Sand. Because the deck detail is recessed, I won’t be able to use my standard black base coat with tan topcoat, so the deck will receive a heavy amount of wash. the photos of the real board show near a dark grey but it hard to tell from old black and white pictures. The upper hull was flat black with a white stripe running the from the bow to the stern. The inner bulwarks are white but will be grimy as hell. I’ll paint the white stripe after the black is applied, I masked it off so it would not get bleed through. The copper plate will be a base coat of Floquil copper with streaks of Floquil Lt. green and Antique white, then washed down with turpentine to blends. This is a technique I learn maybe 30 years ago from a booklet from Kalmbach.
Got the upper hull painted and according to the reference book I bought. I filled in some voids on parts, even though you prob. won’t see them - this type of stuff makes me a be crazy.
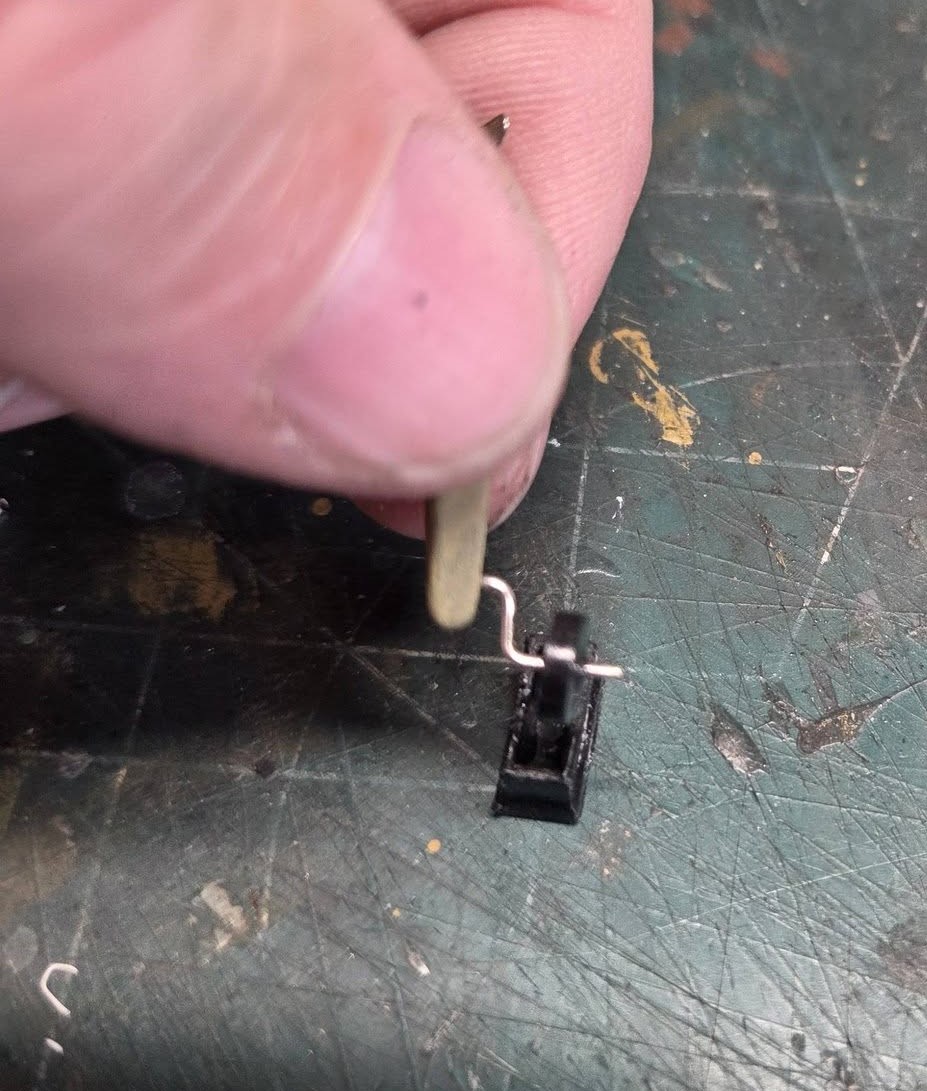
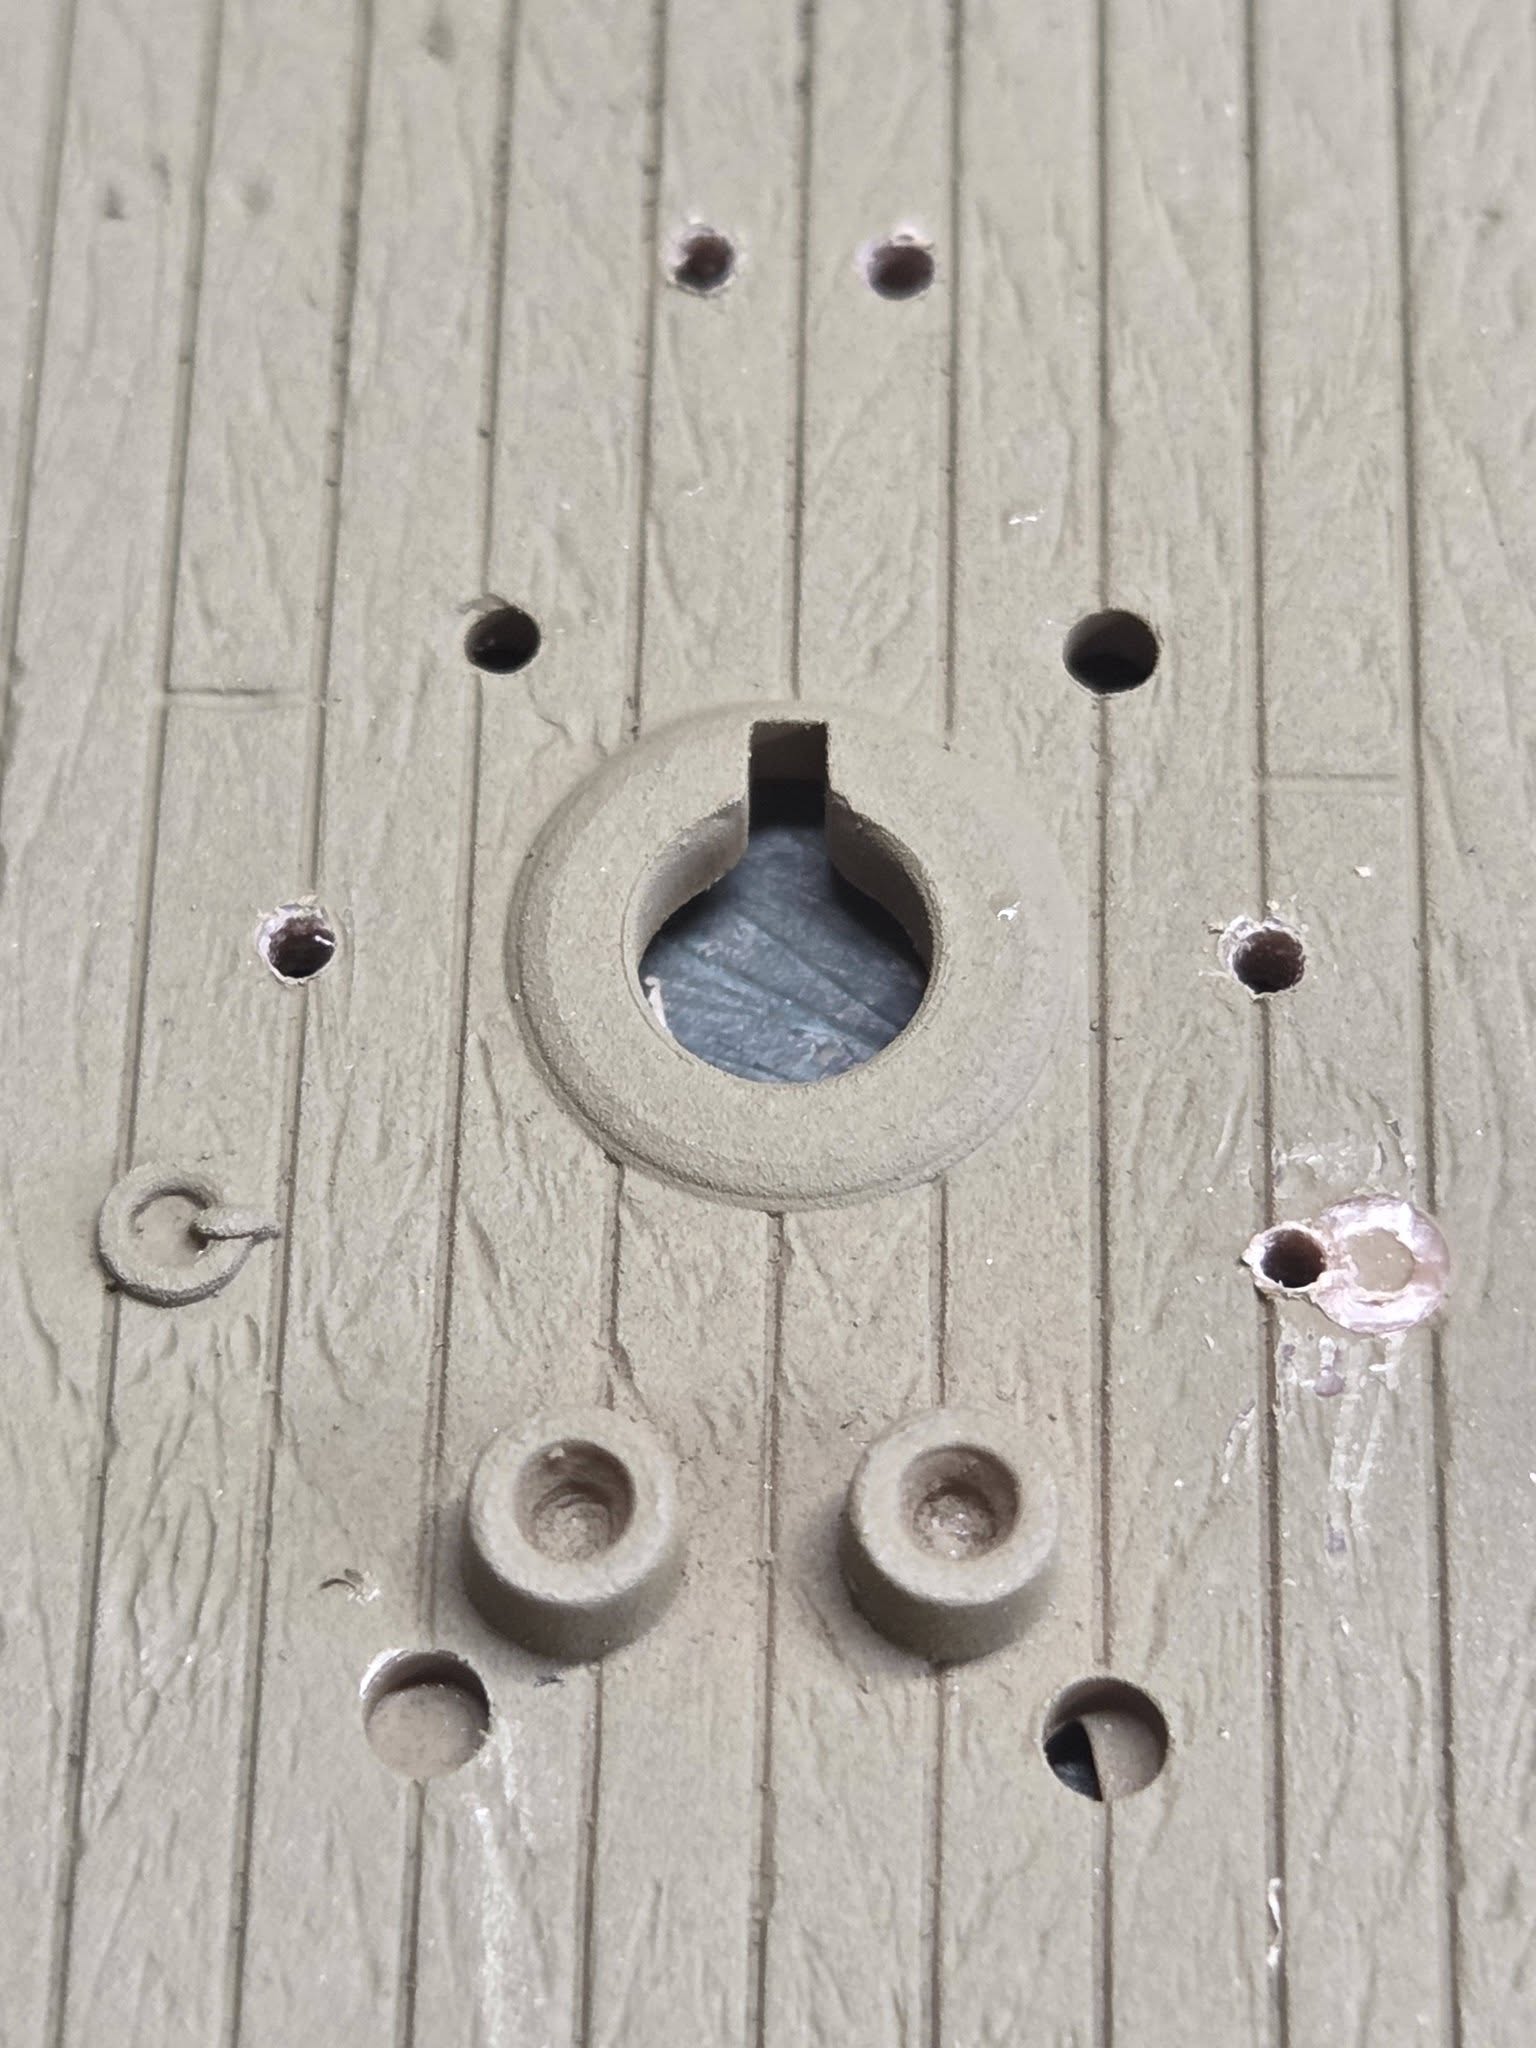
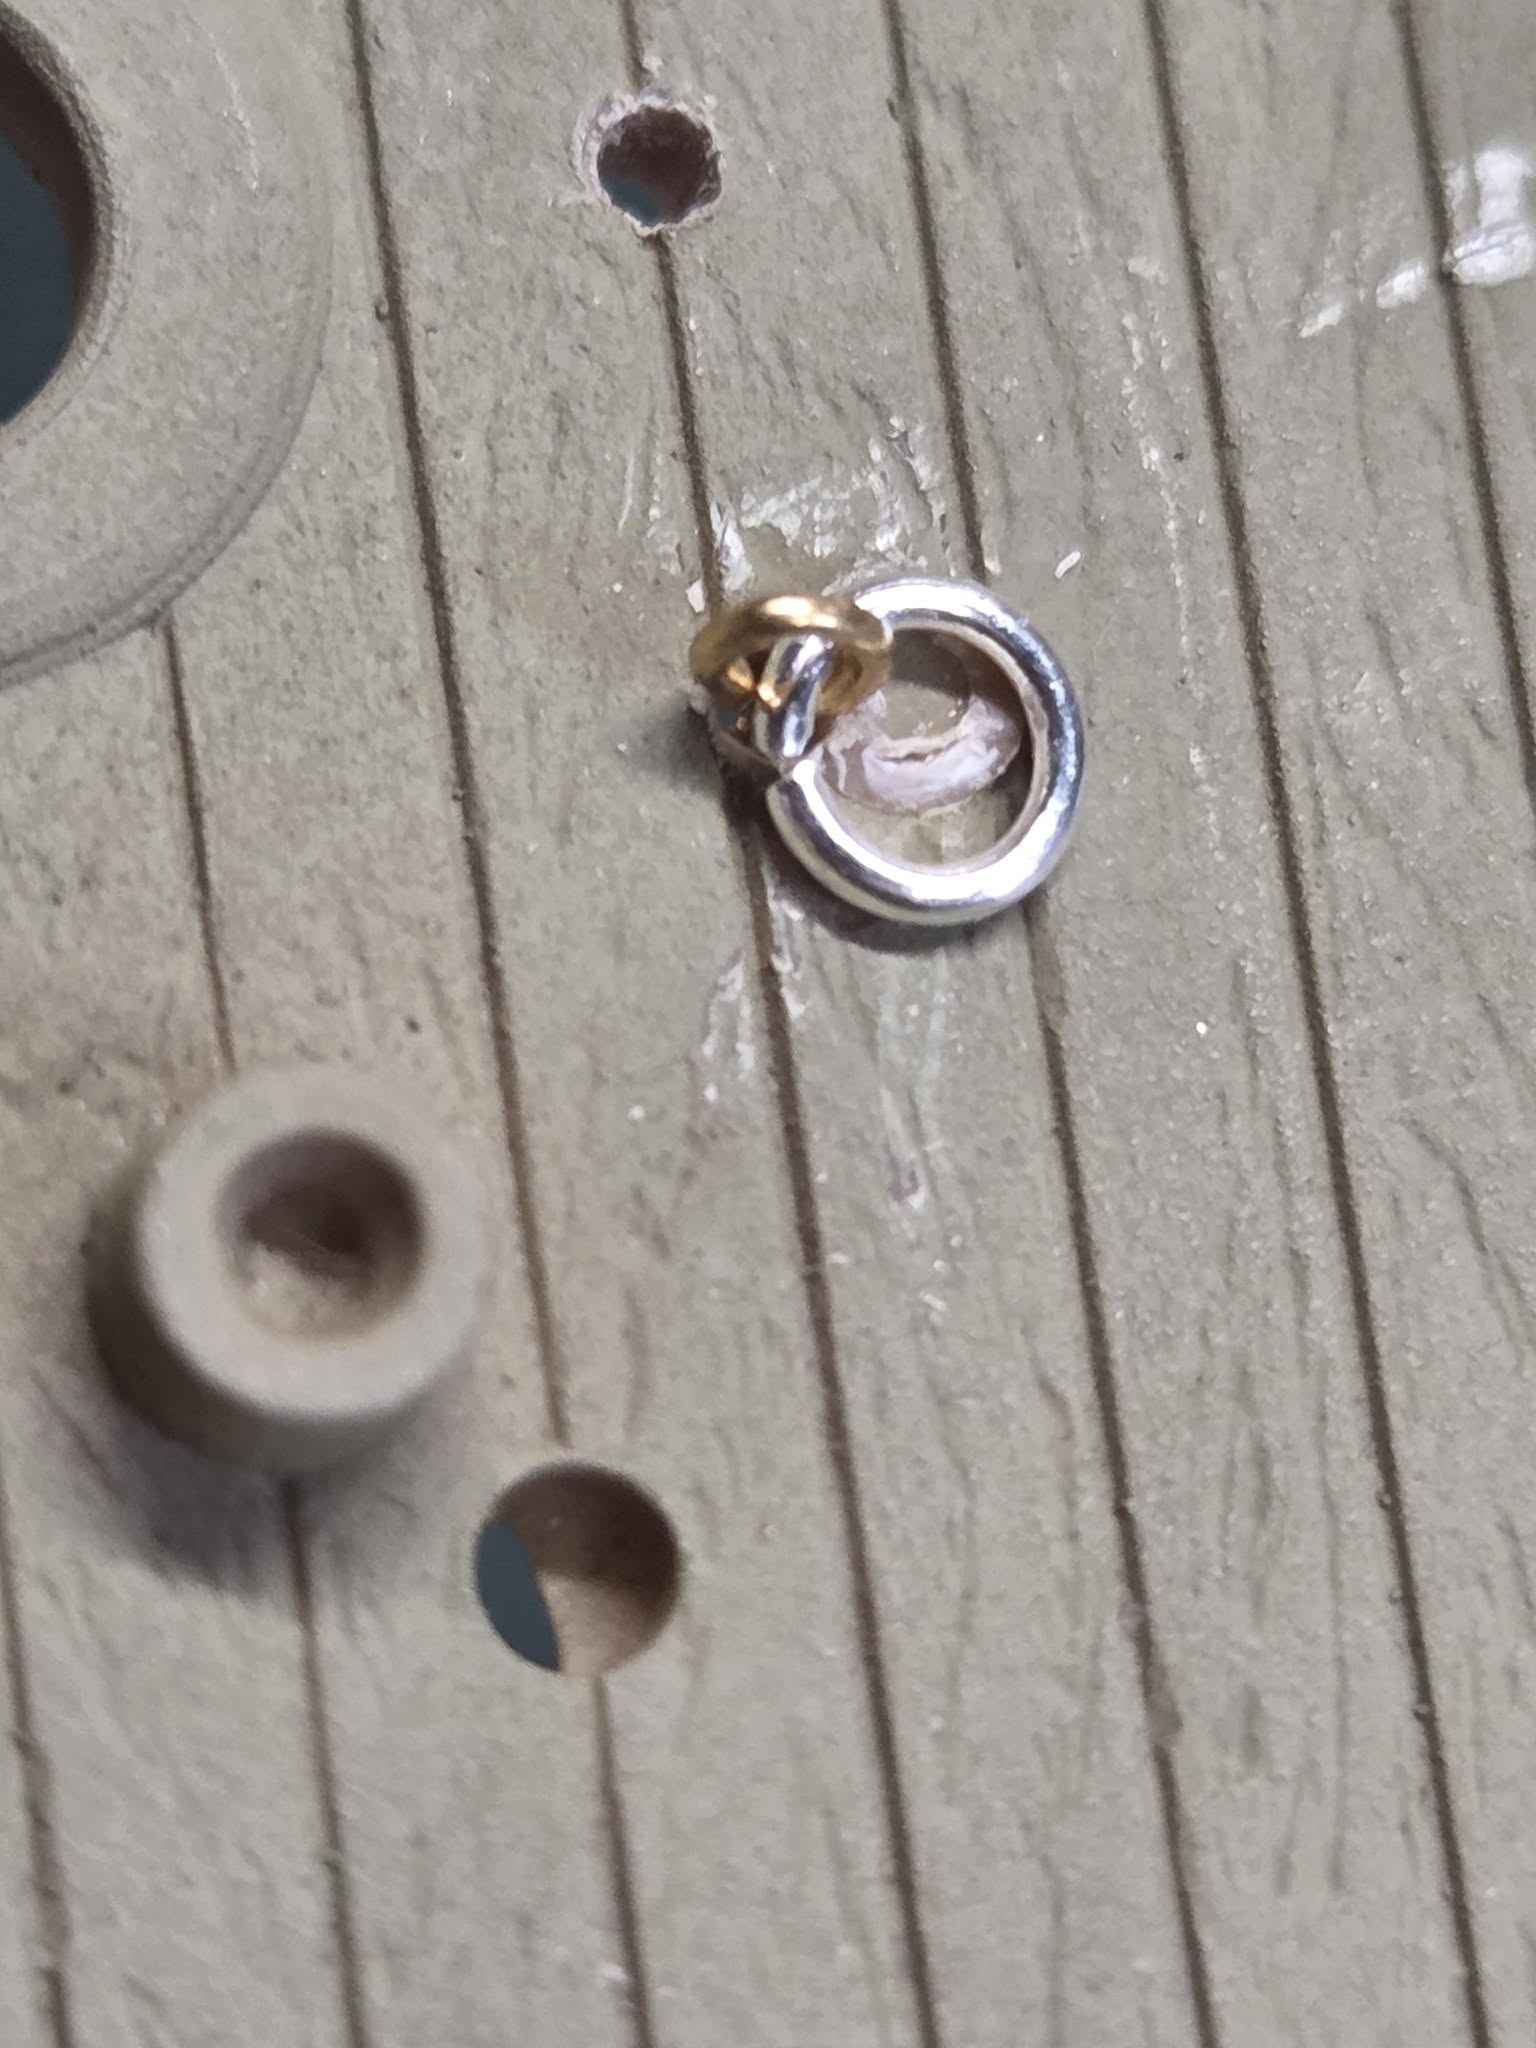
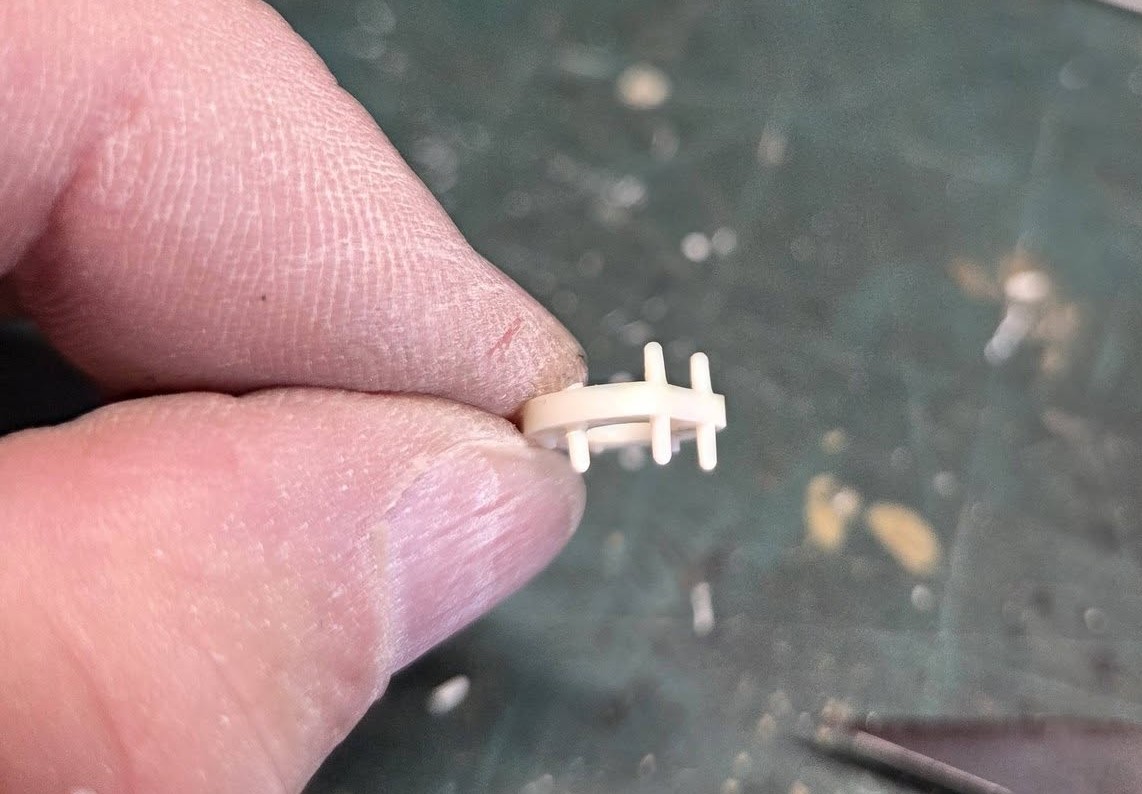
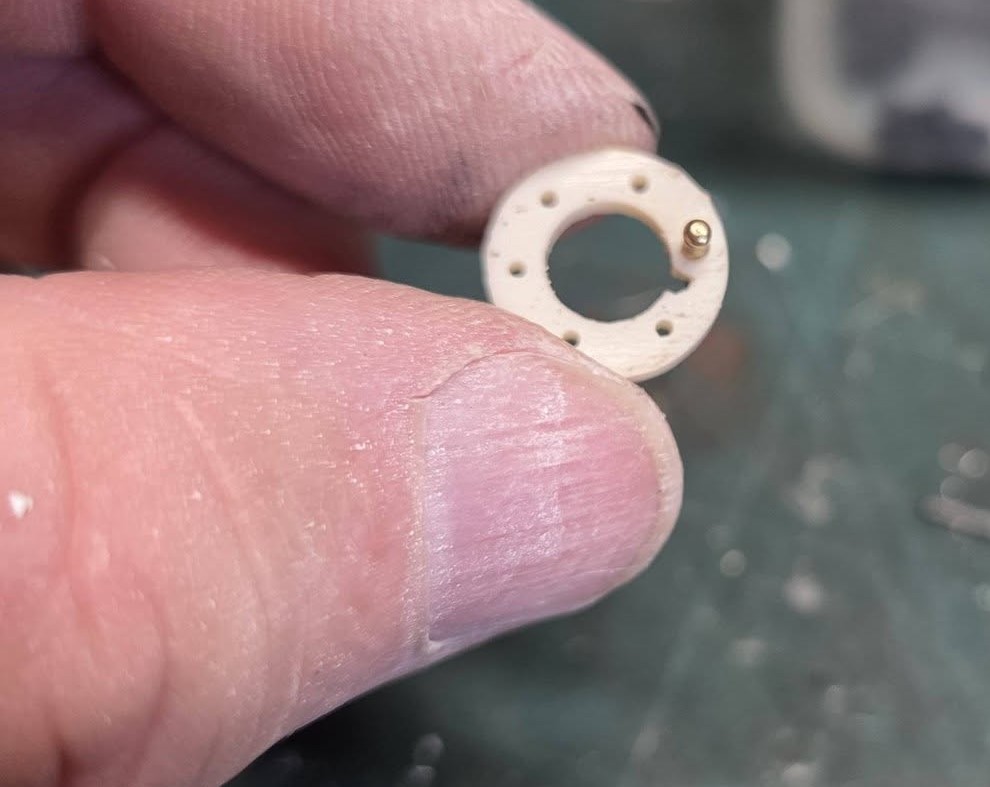
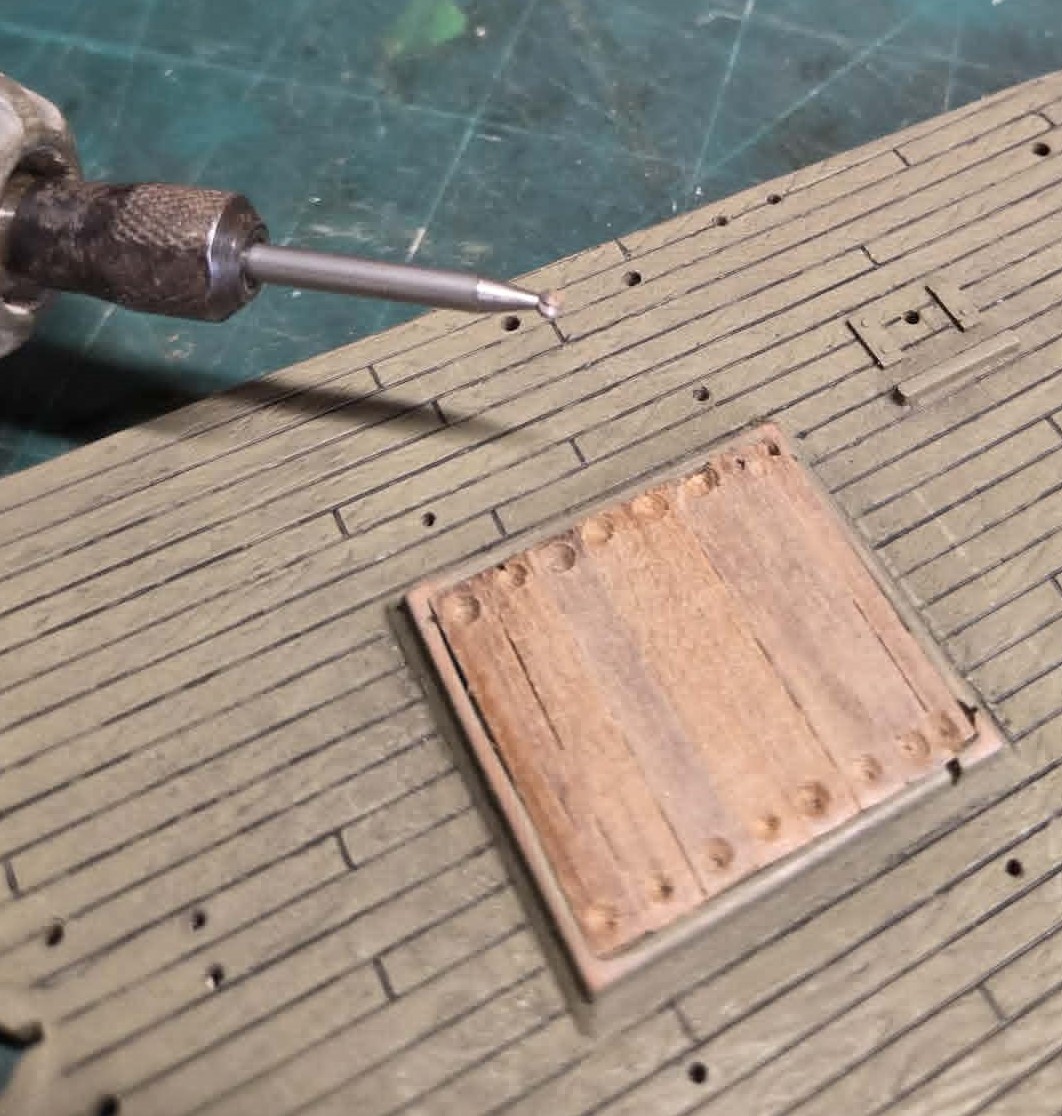
Spent some of the day trimming and prepping parts. I drilled out all the holes for the plastic eyebolts; I always replace with metal for strength. At the main mast they have two engraved/molded eyebolt and rings, I will replace with metal, I made the mockup today.
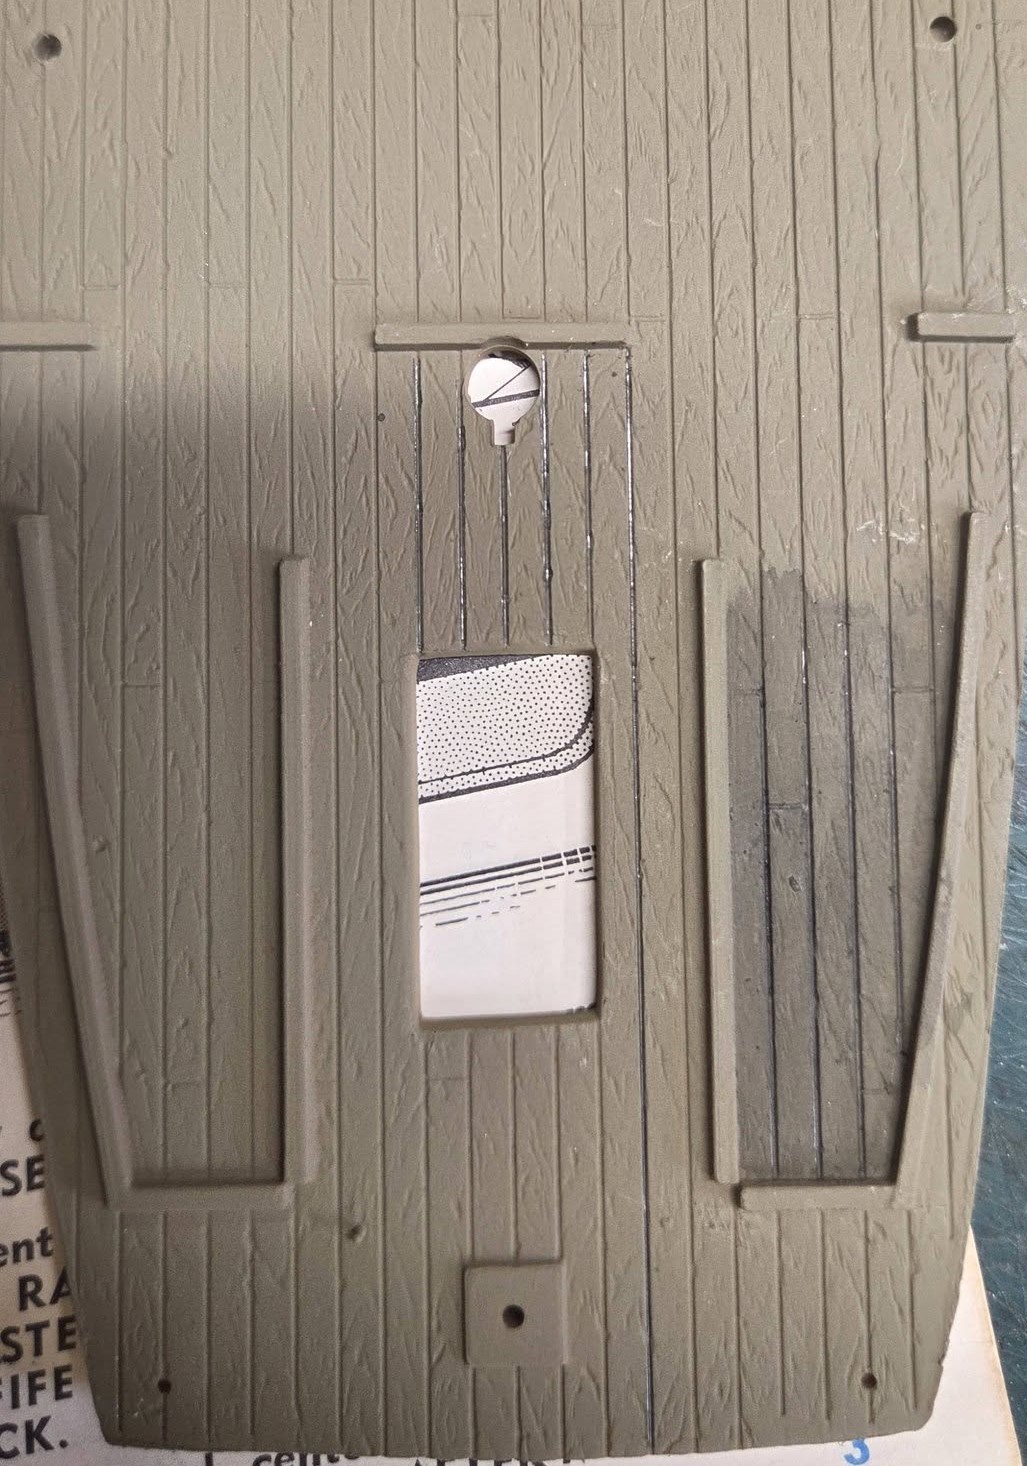
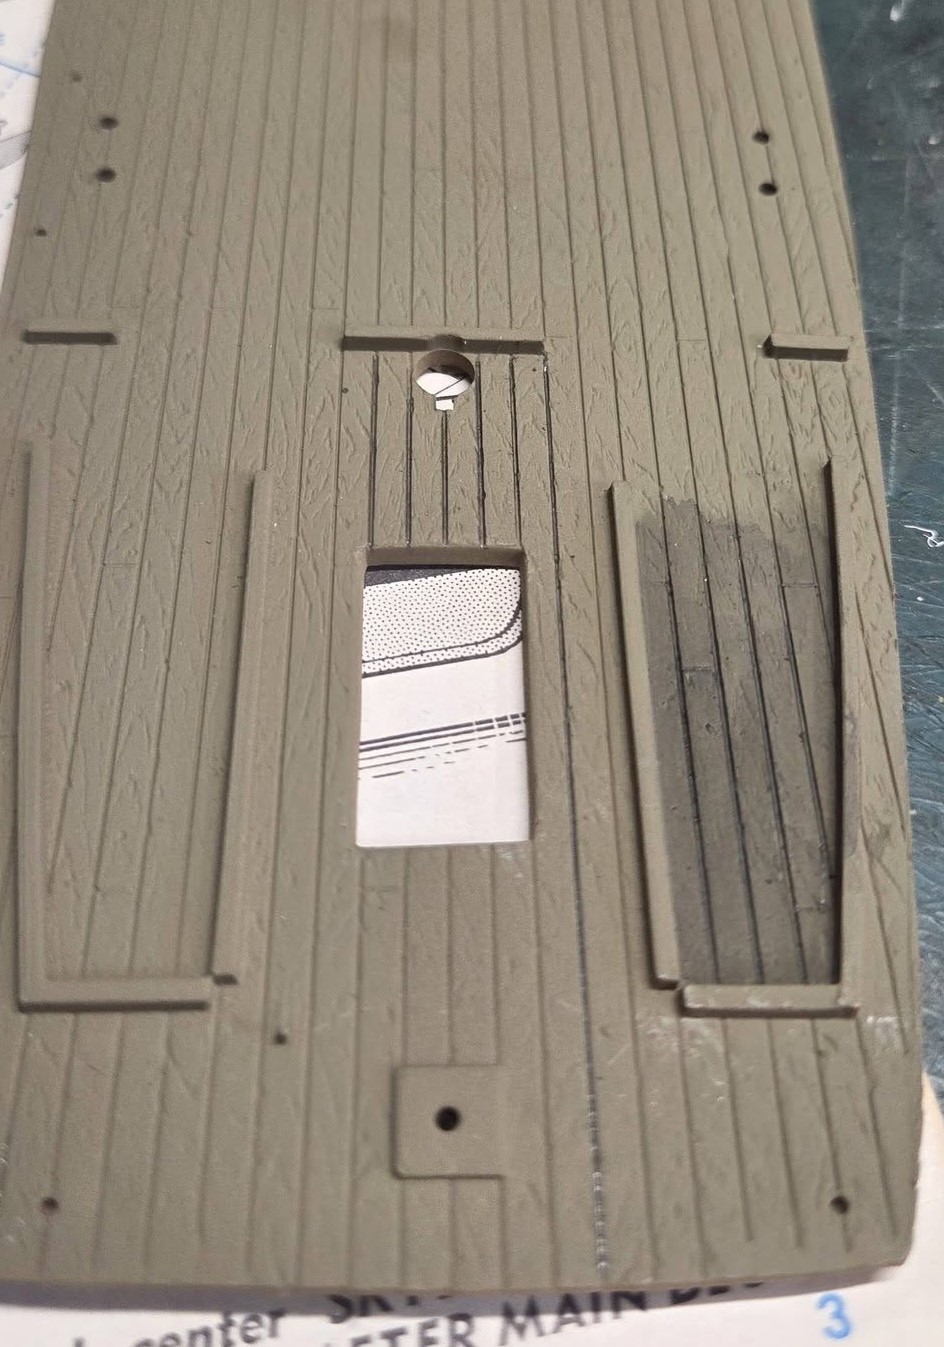
Where the aft cabins go is a section of planked deck that you will not see once the cabins are installed, so I tested a wash to see how it will look, 1st. pic is one coat, 2nd. pic is two coats, I used a mechanical pencil to ‘caulk’ the planks.
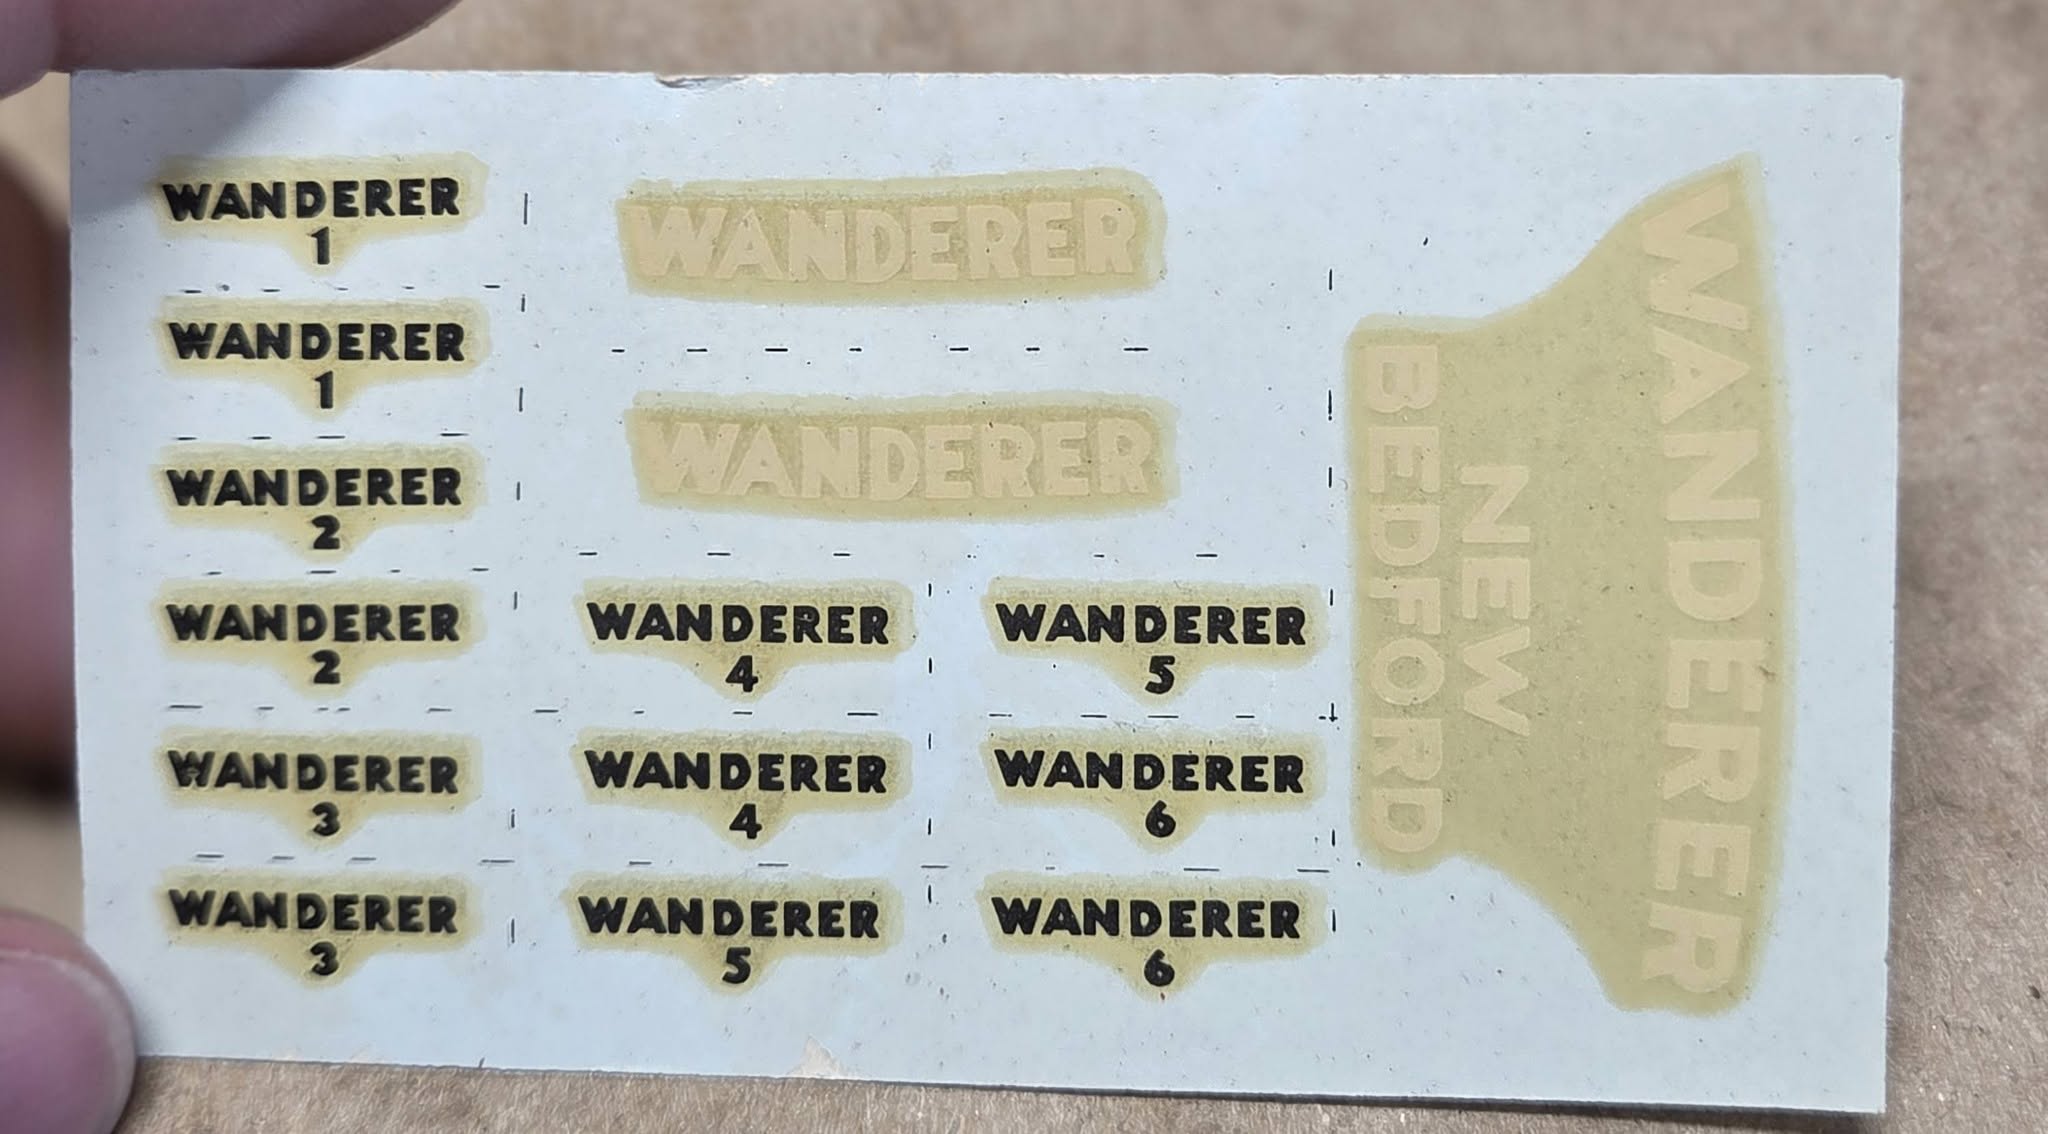
What technique can you use to remove the yellow tint to old decals. I’m working on the old Aurora Wanderer Whaler and while the decals look solid, the white lettering is yellowed from age. My alternative is to use dry transfer decals from Woodland Scenes. The whale boats have black lettering, which I’m trying for verify they even put names on the whaleboats or was that something Aurora came up with.
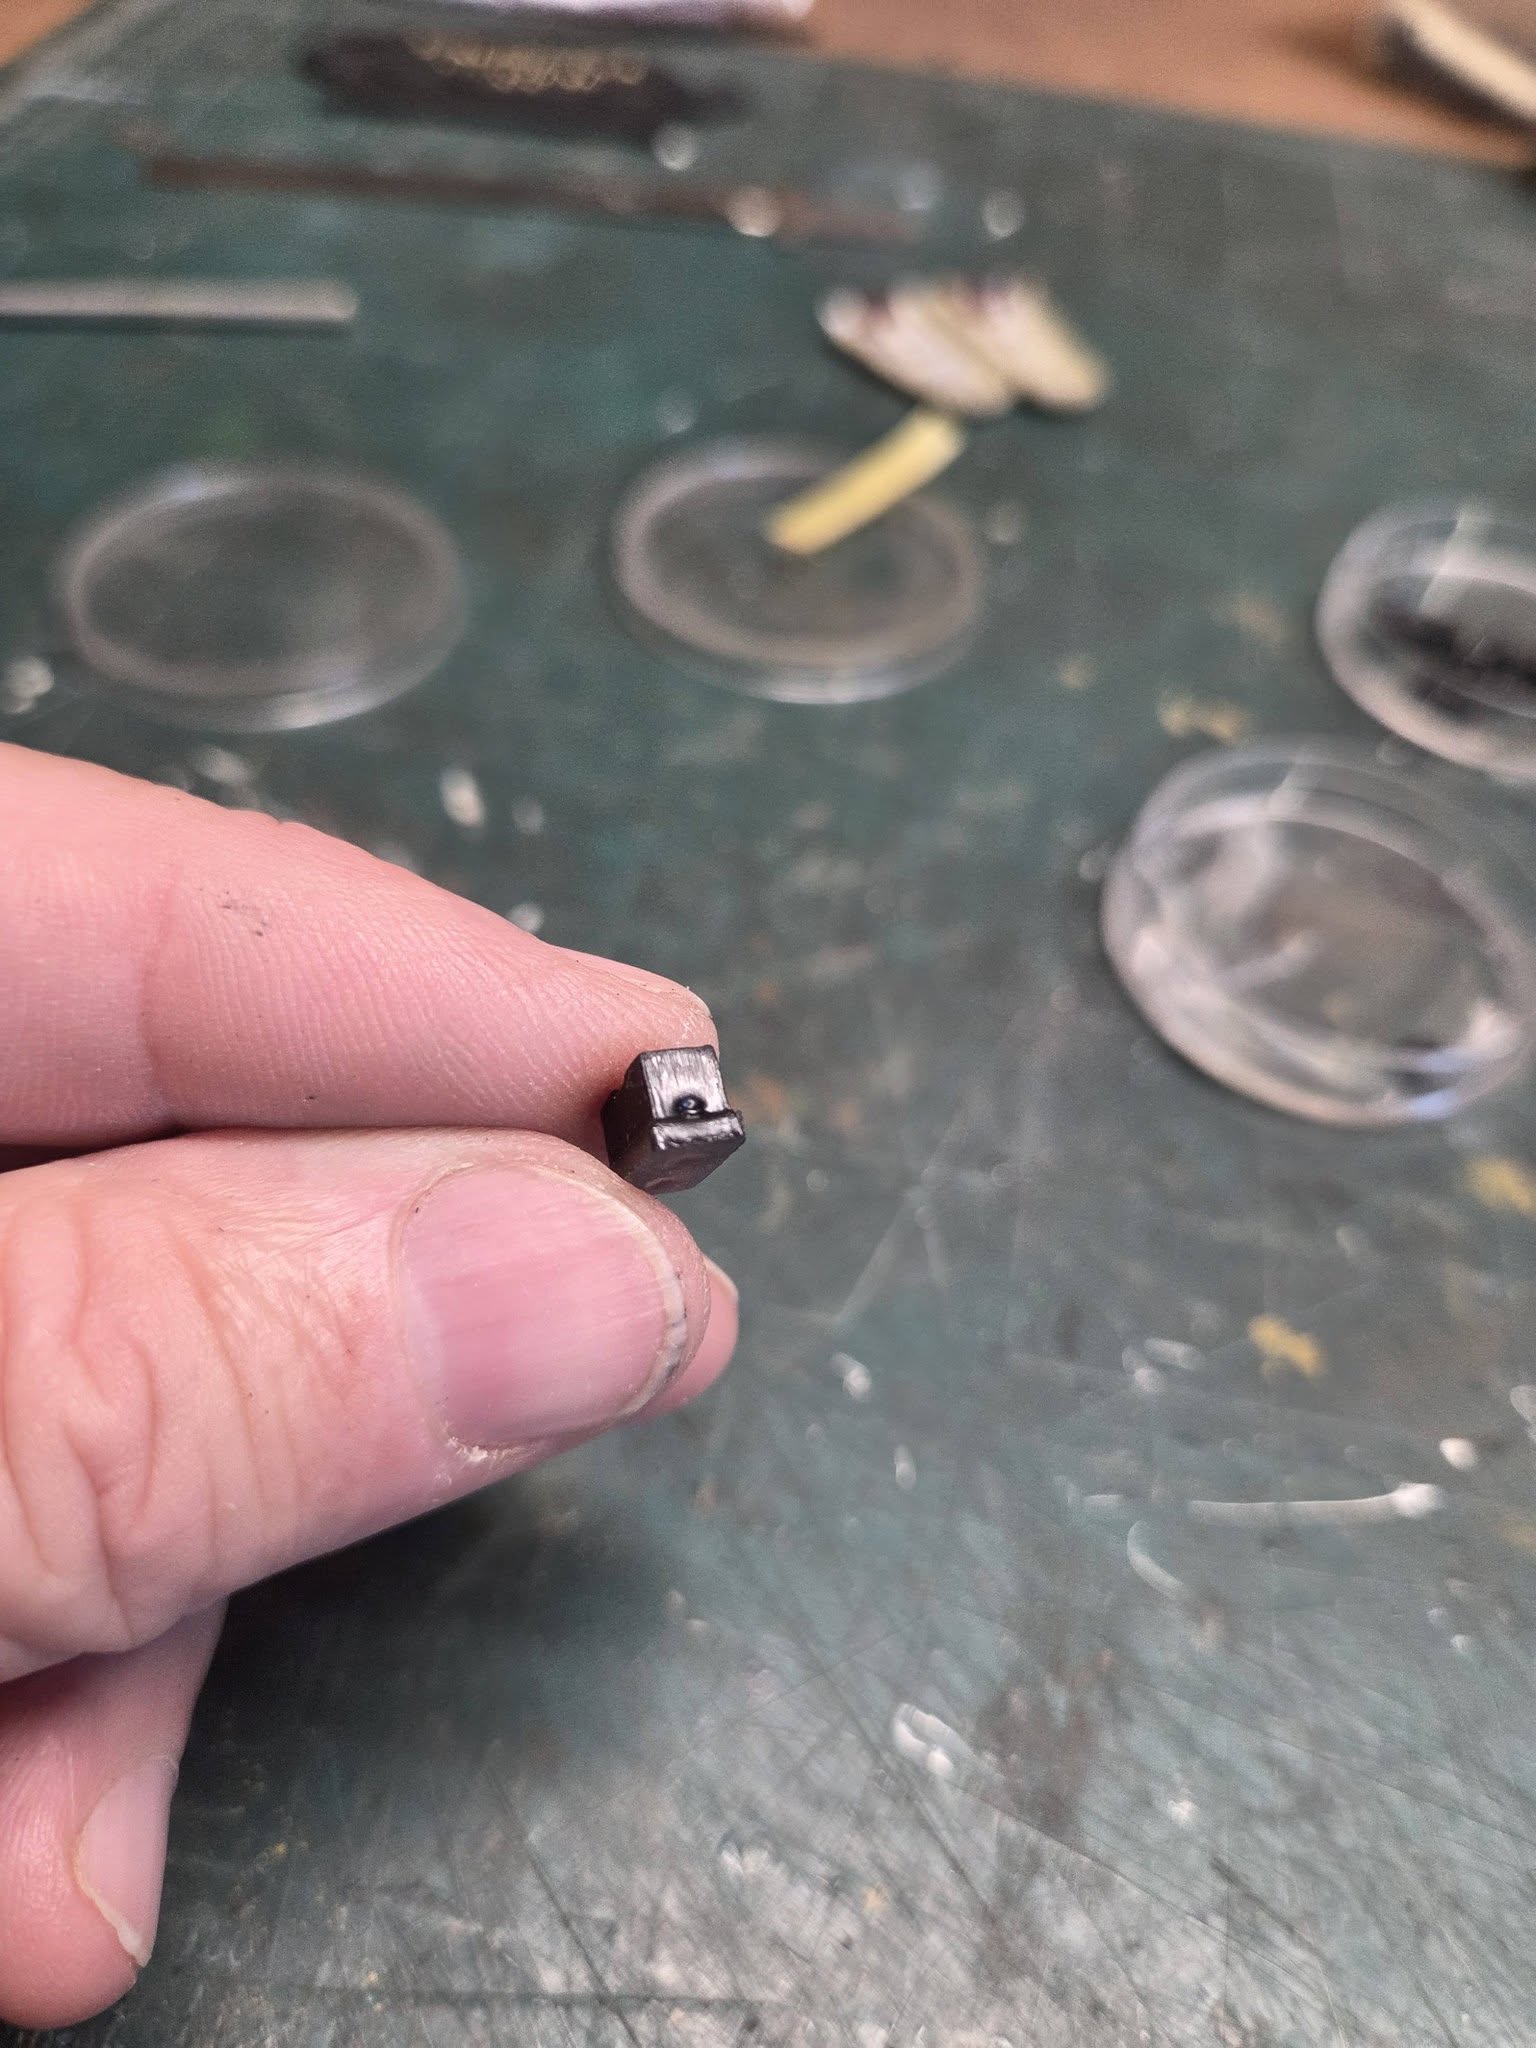
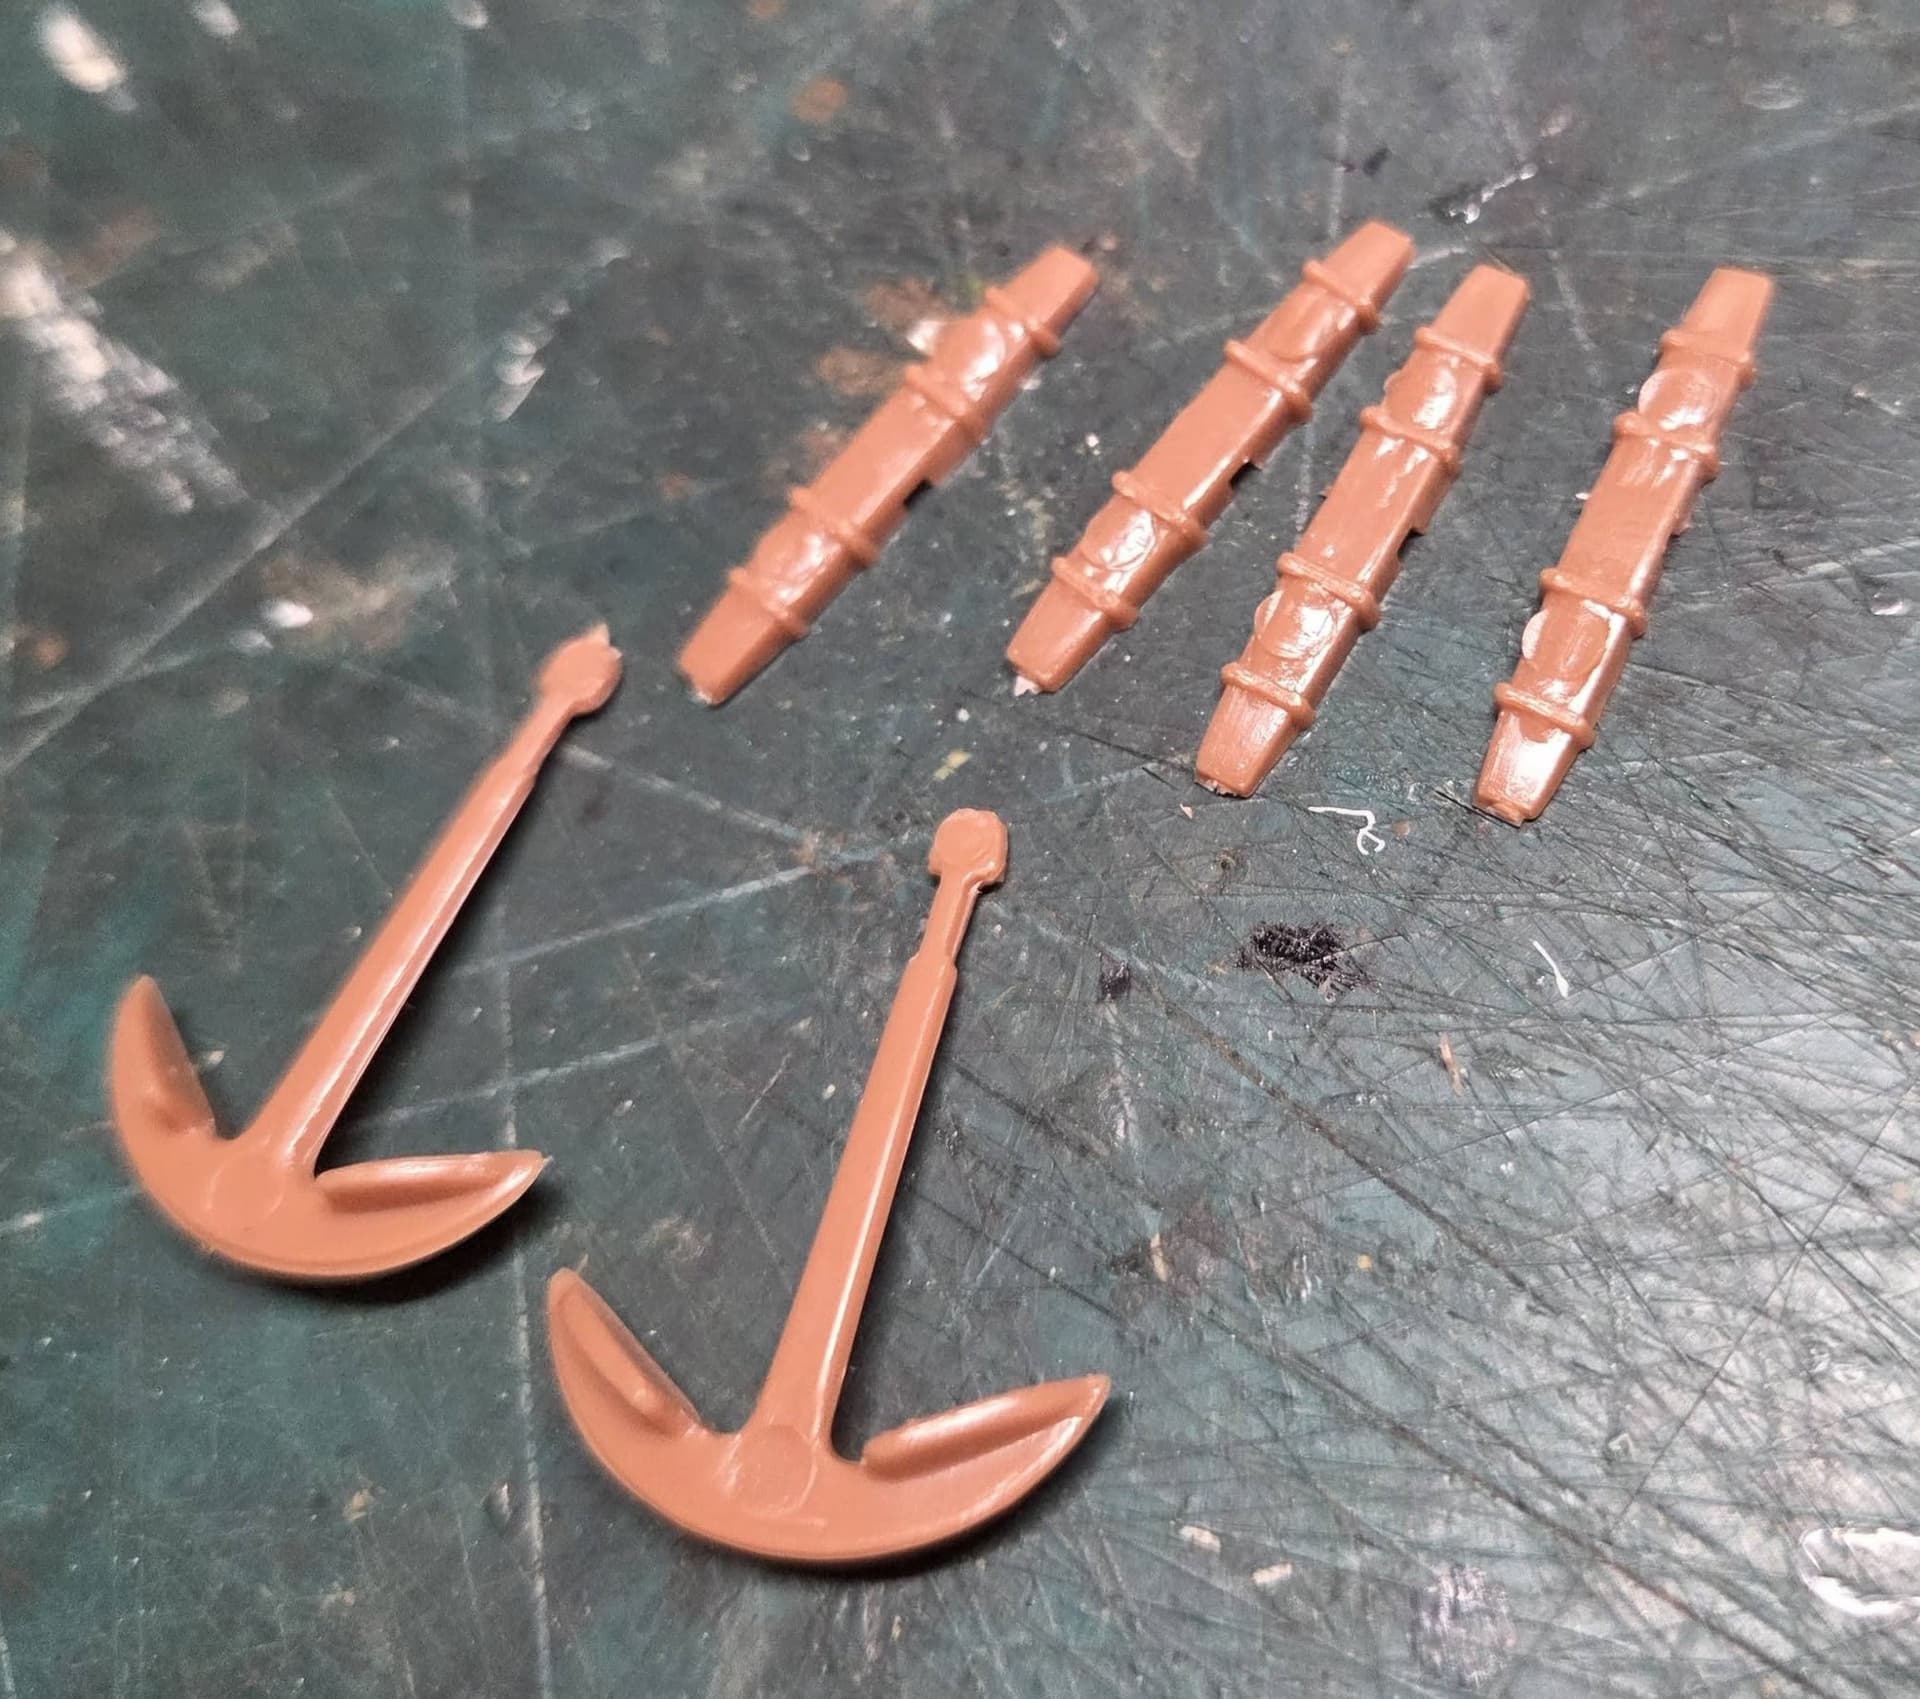
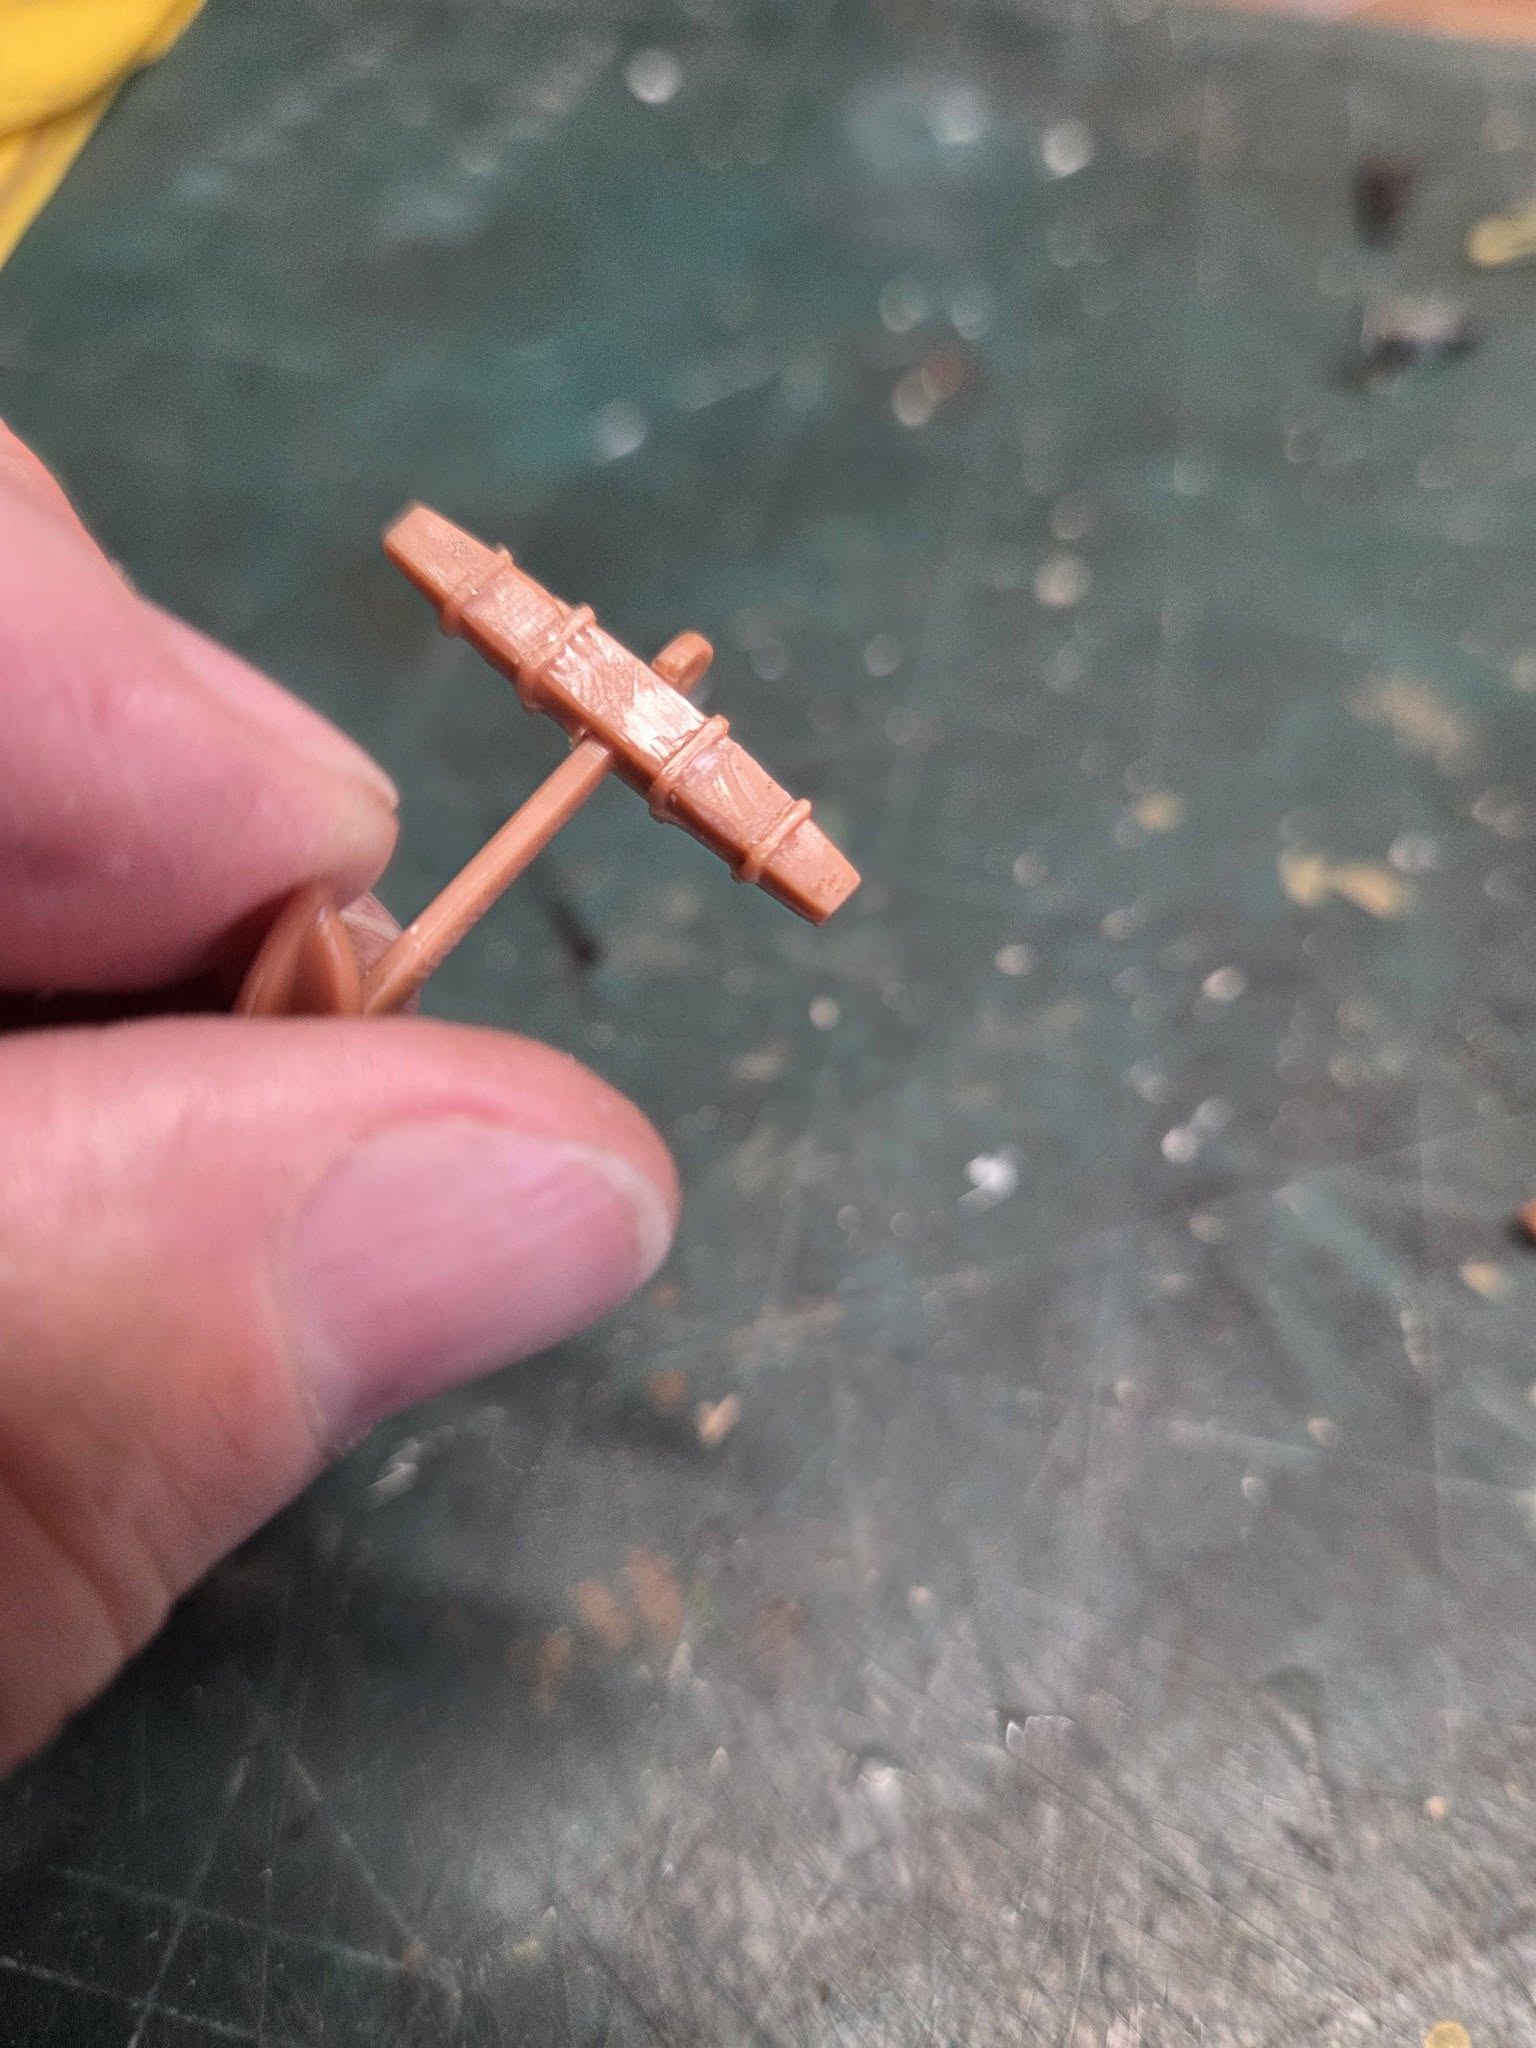
Working of sub-assemblies and other details. The ships anchors were a right proper mess, with more flash than normal for older kits, took about 30 minutes per anchor to sand and scrape off the flash and mold punch marks. Once the stocks dry, I’ll need to go back over them to trim and apply some filler.
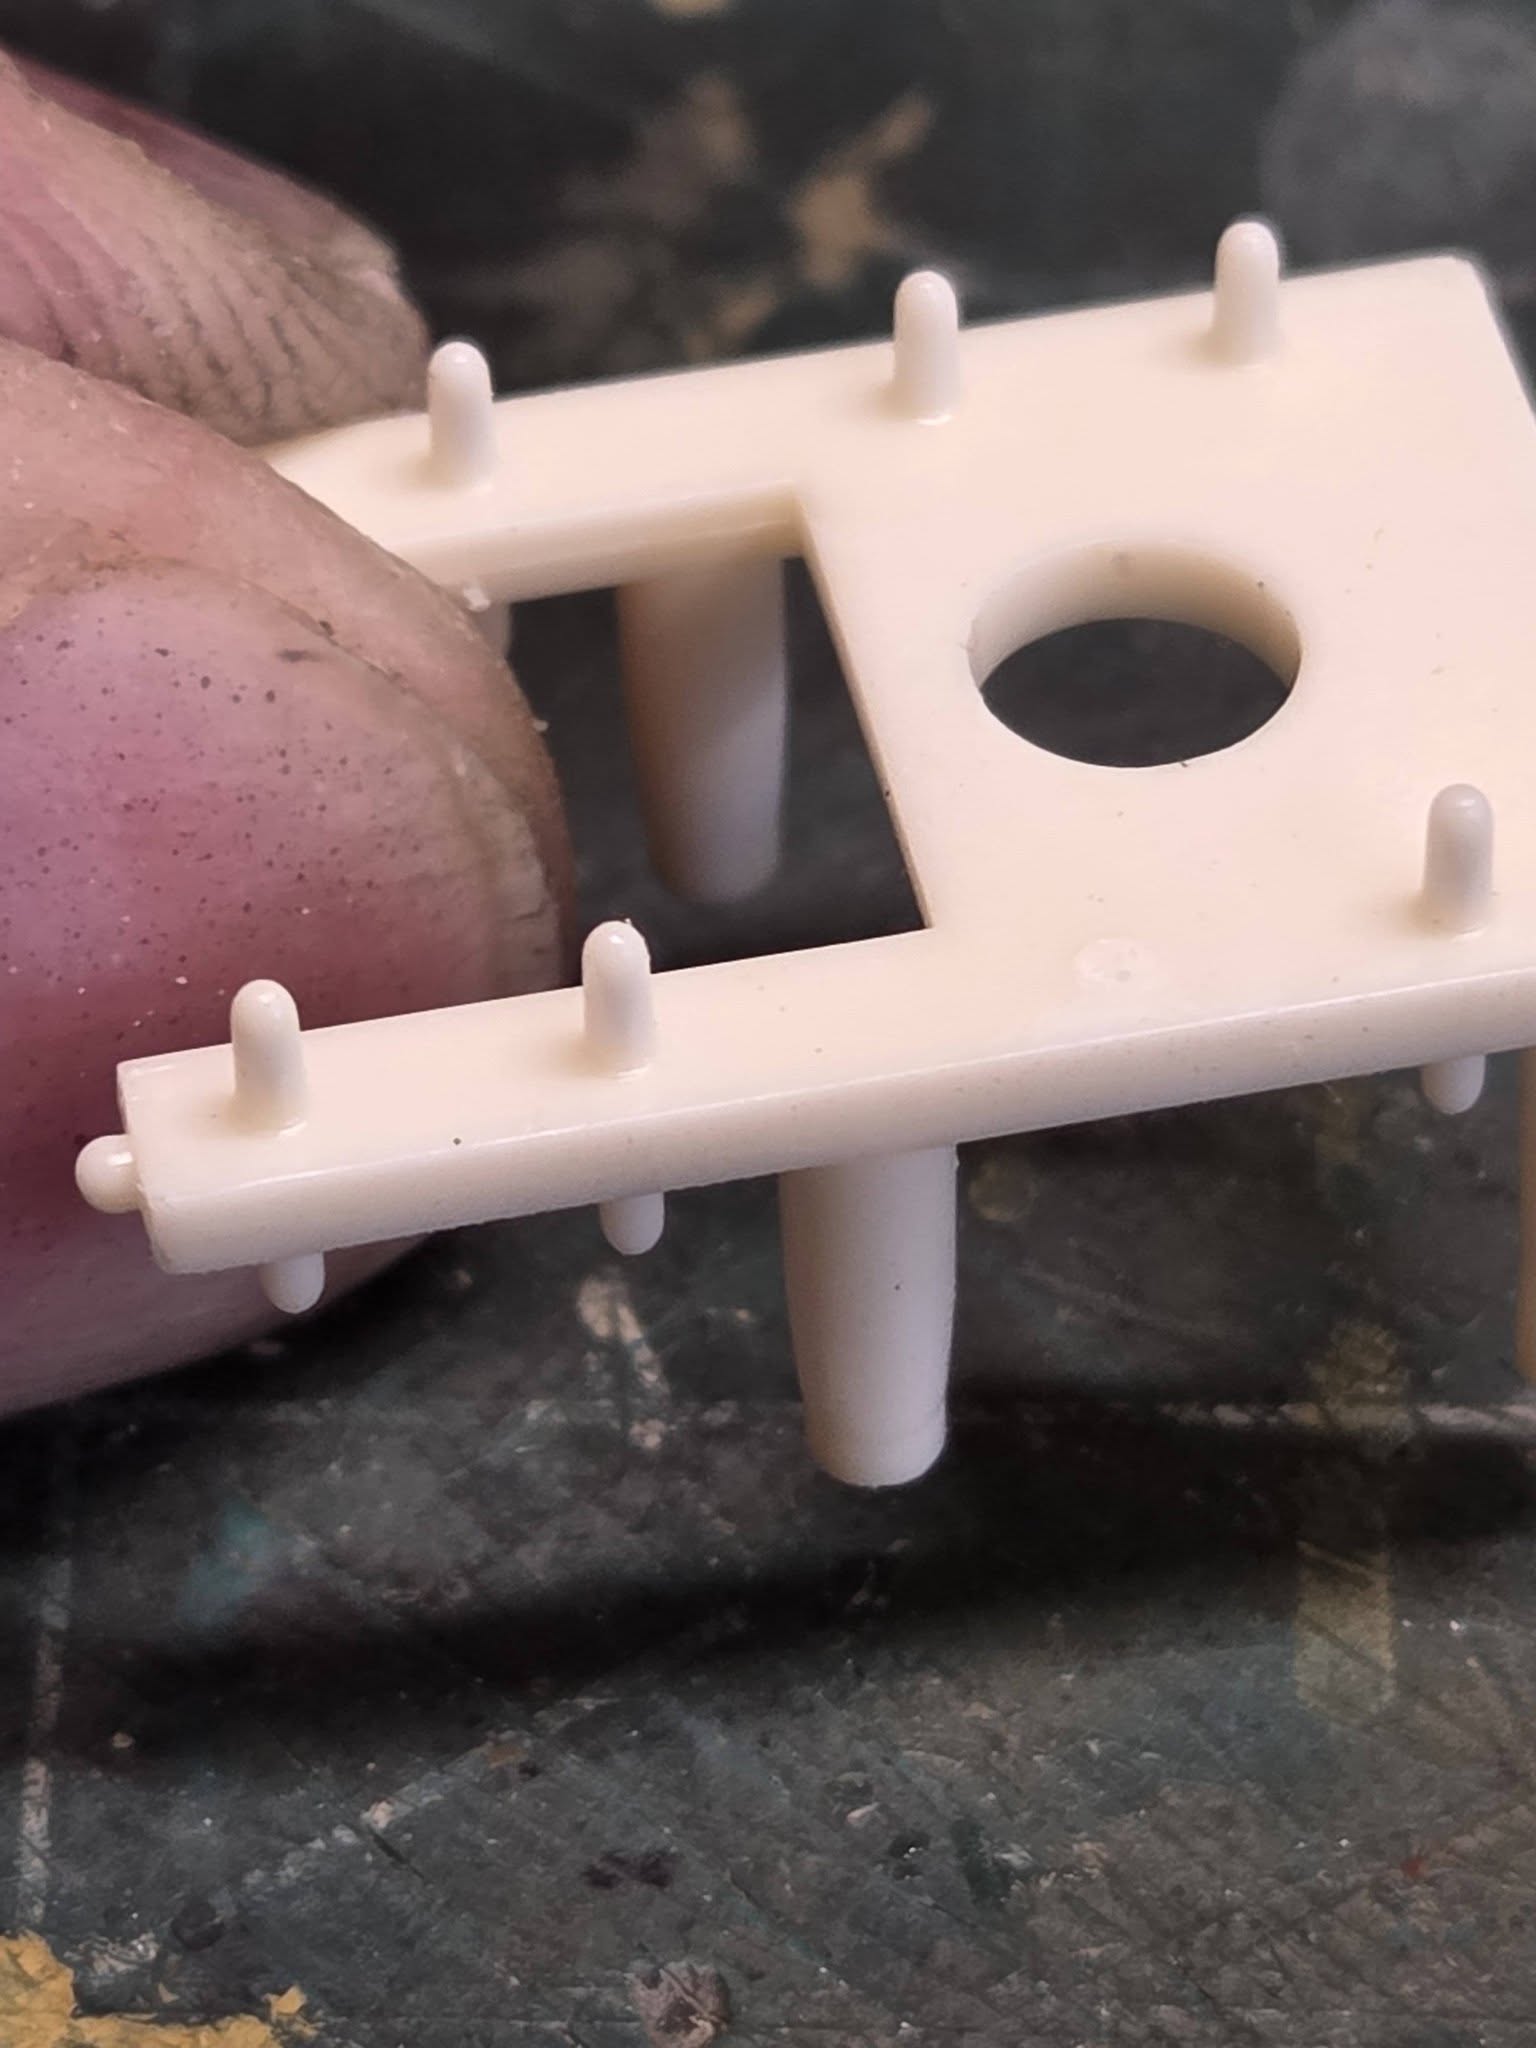
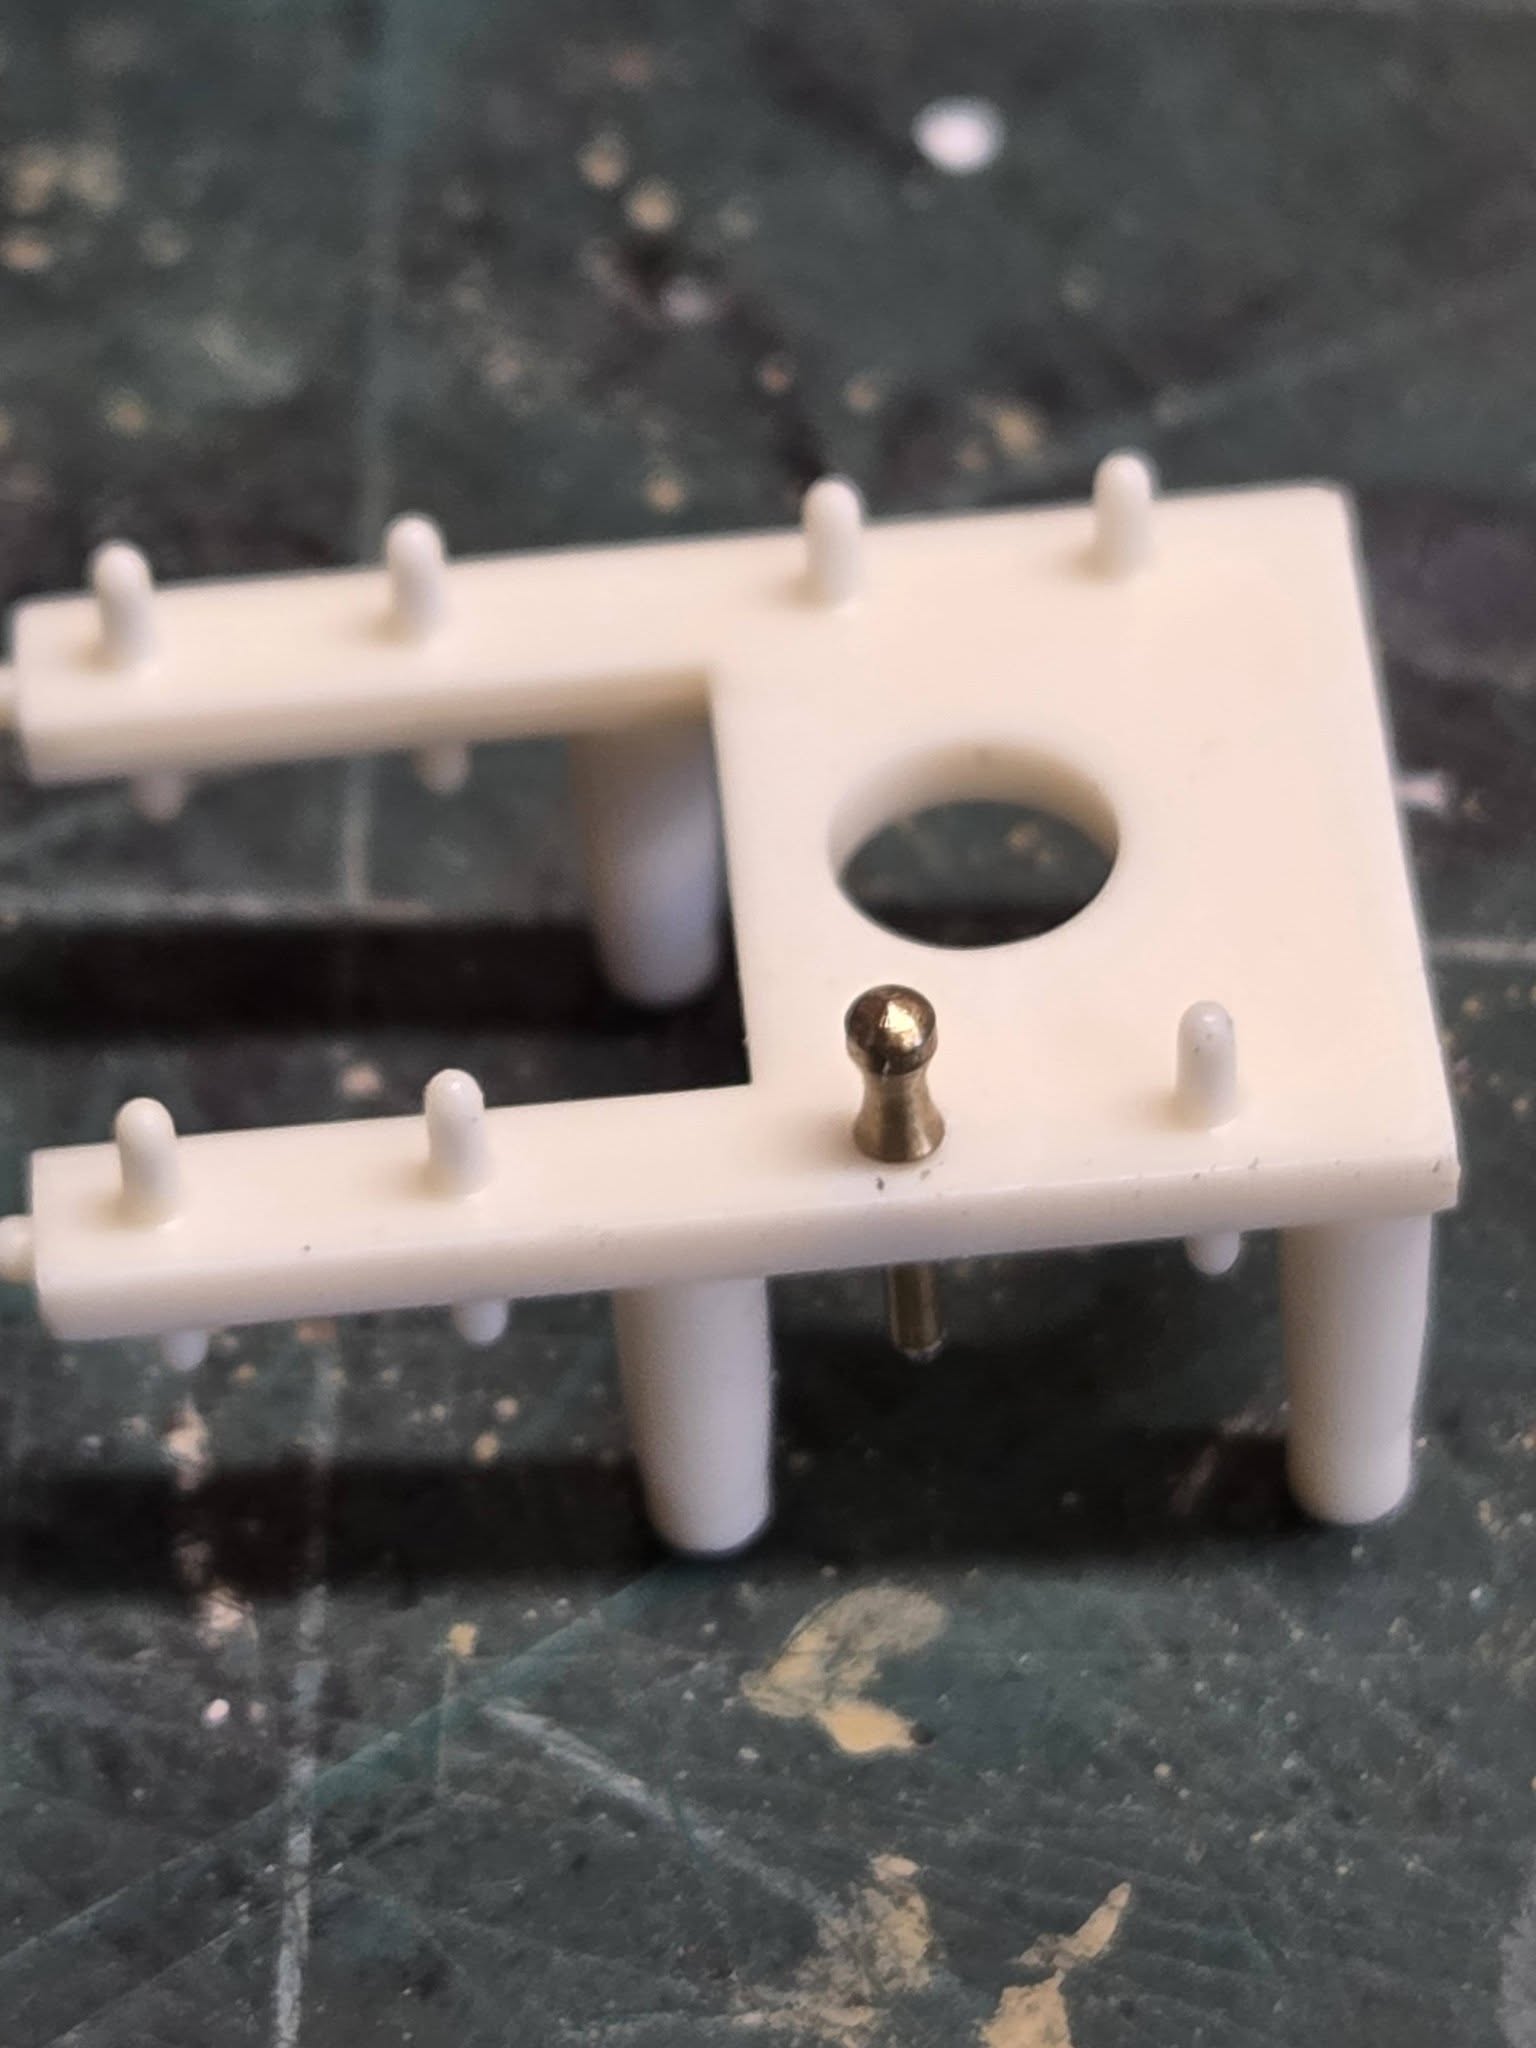
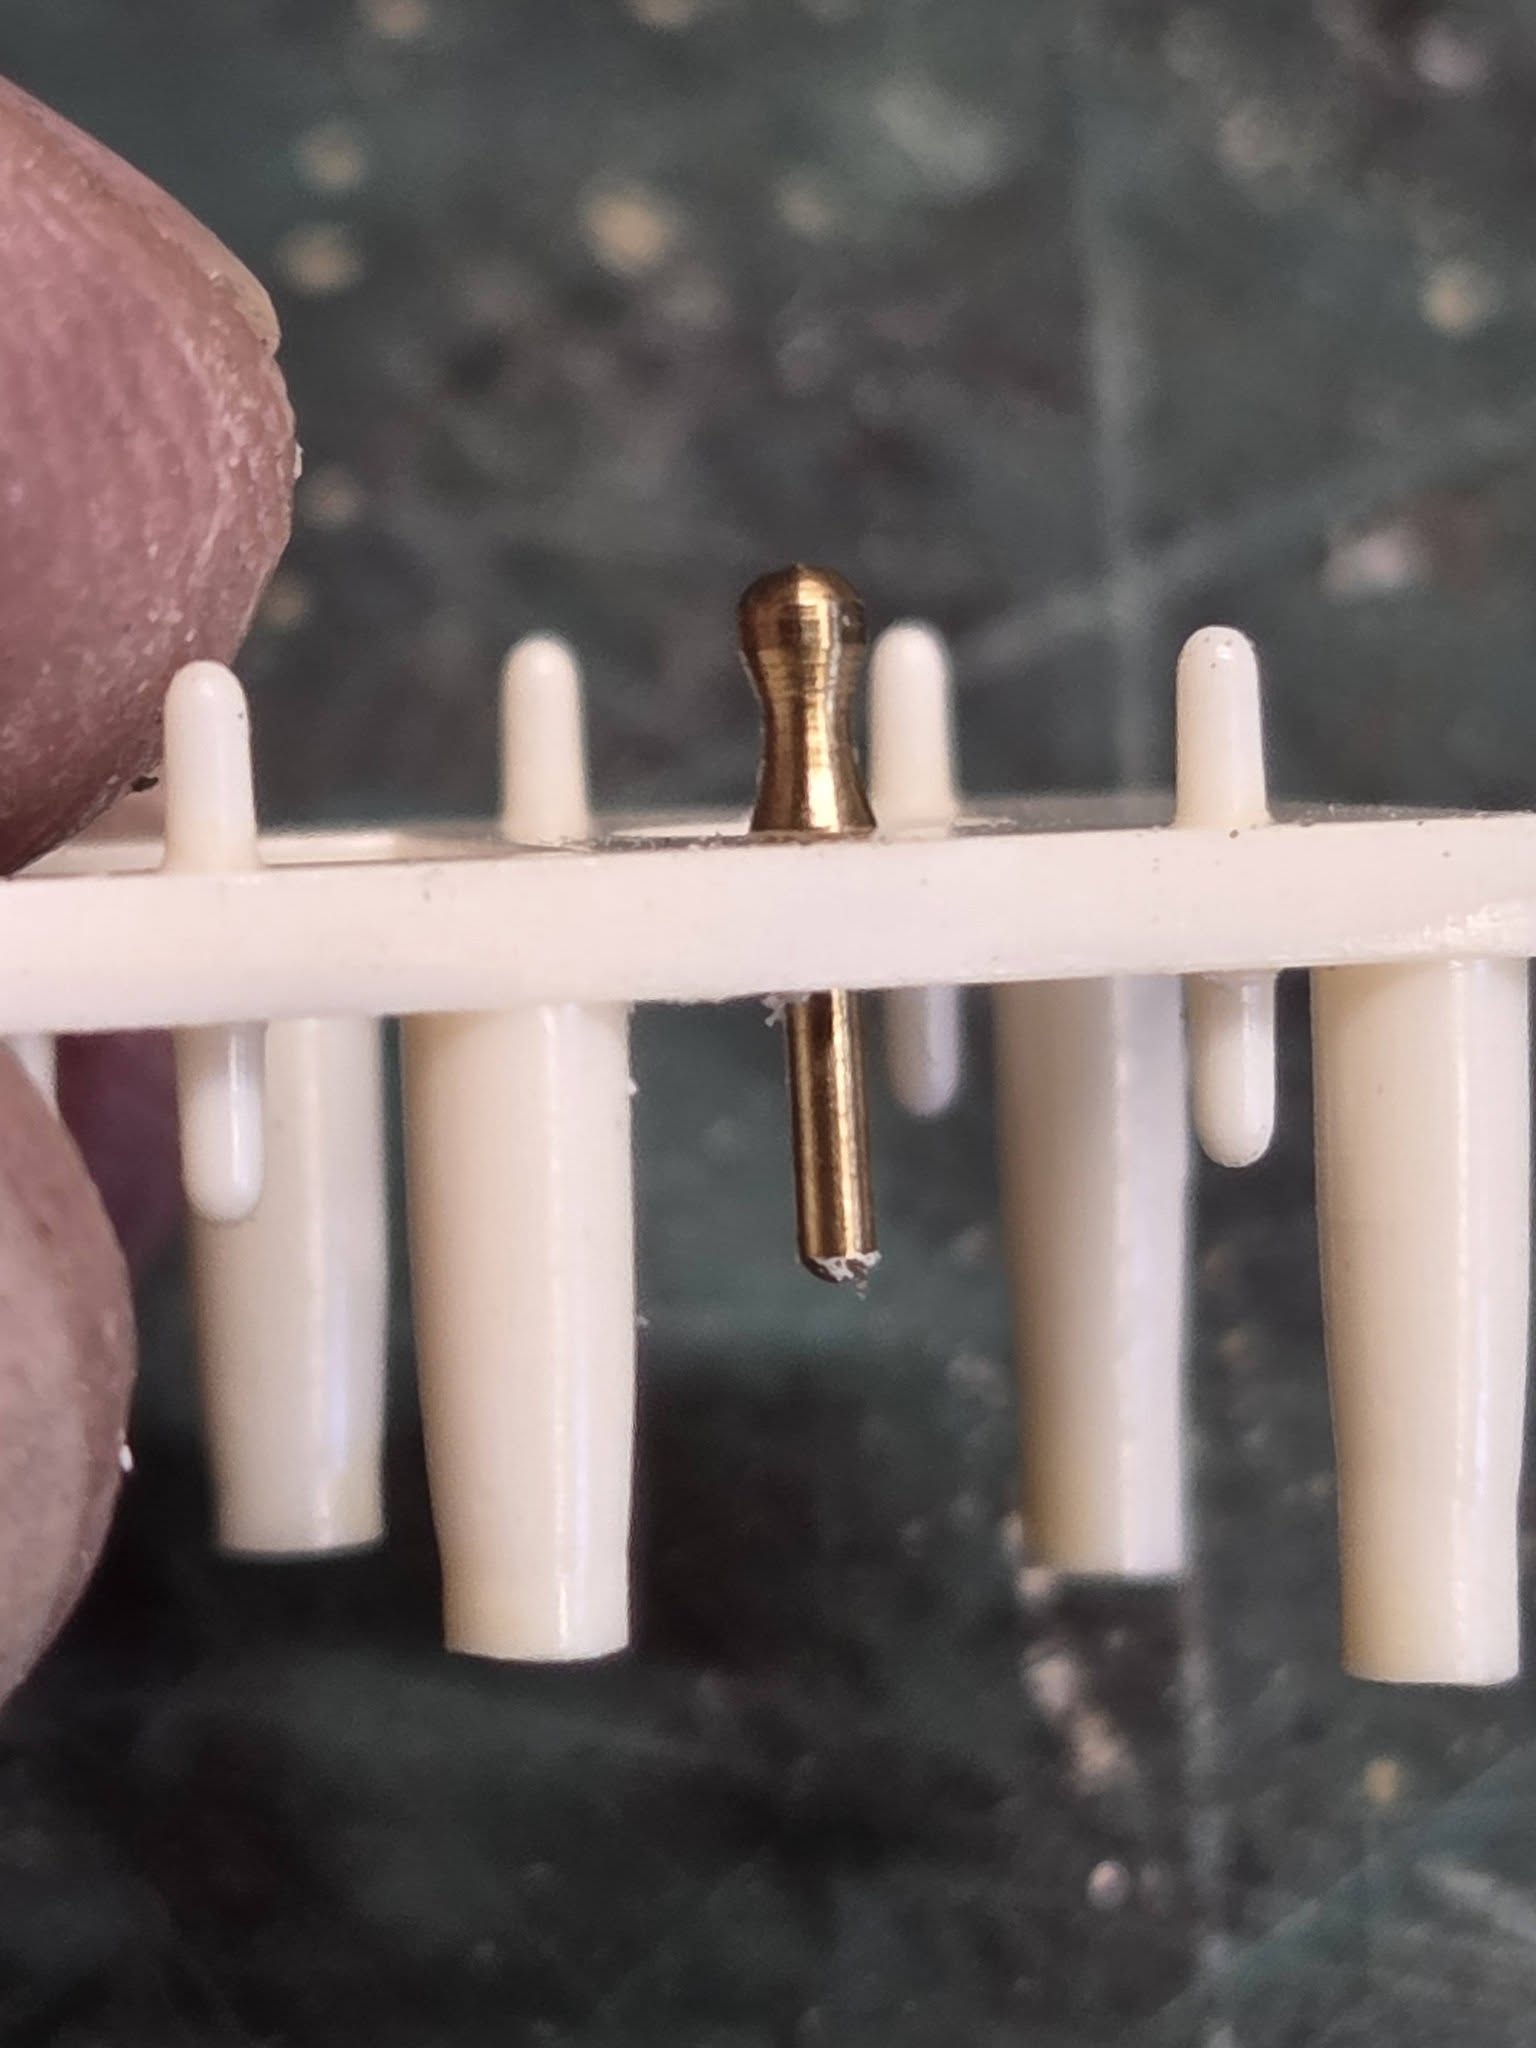
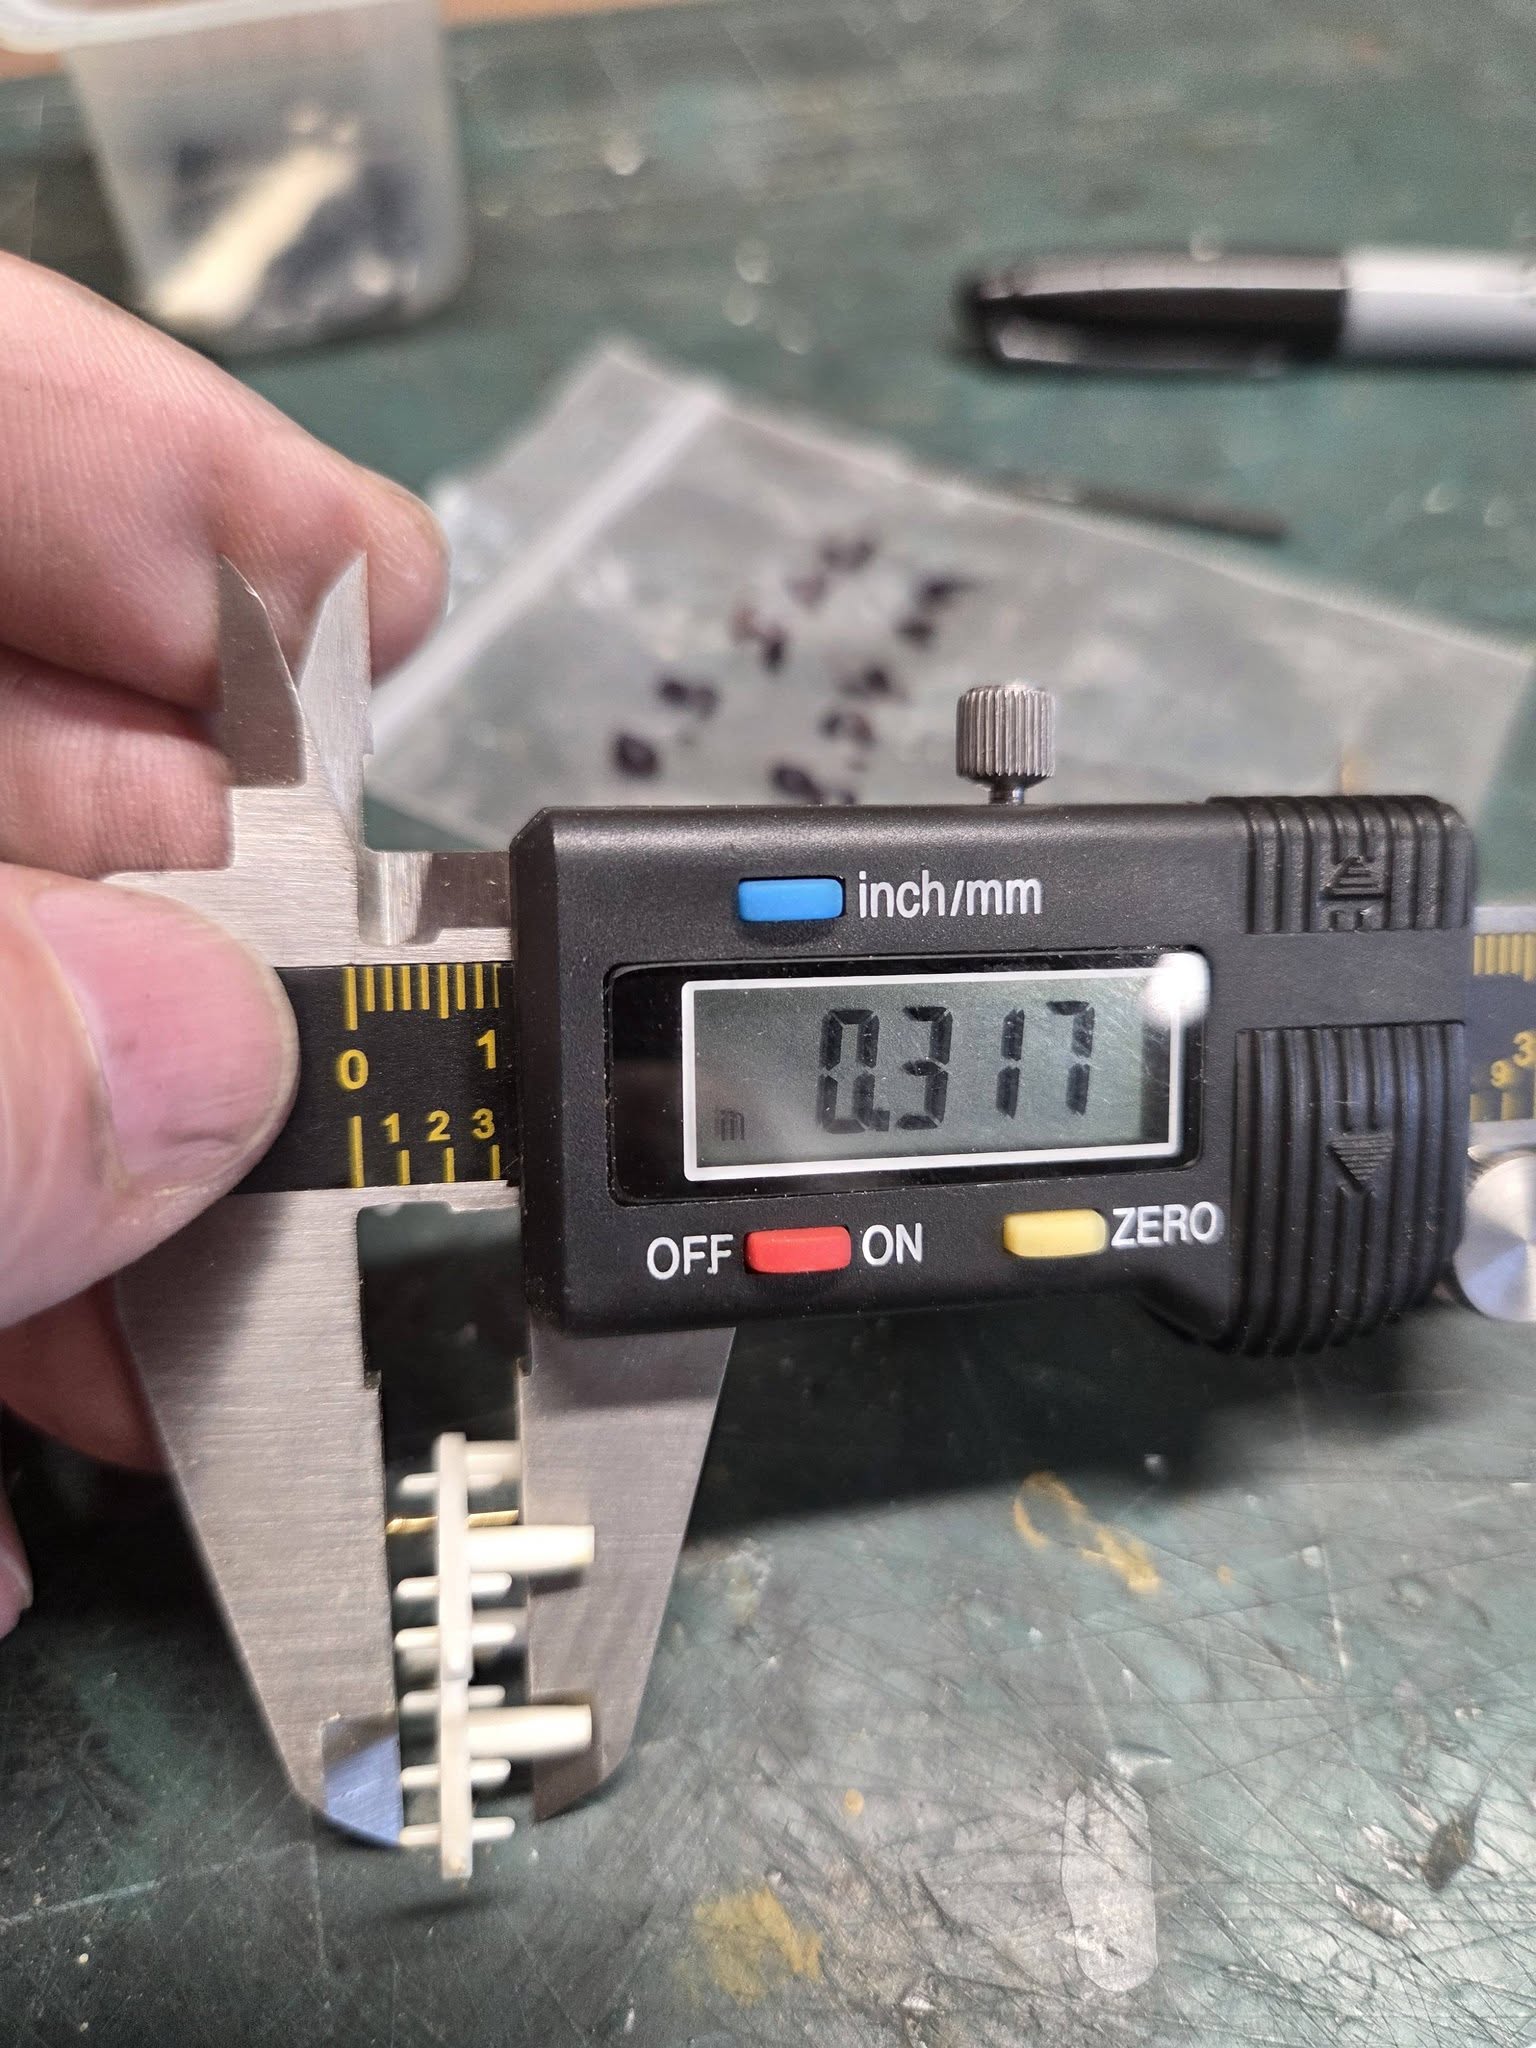
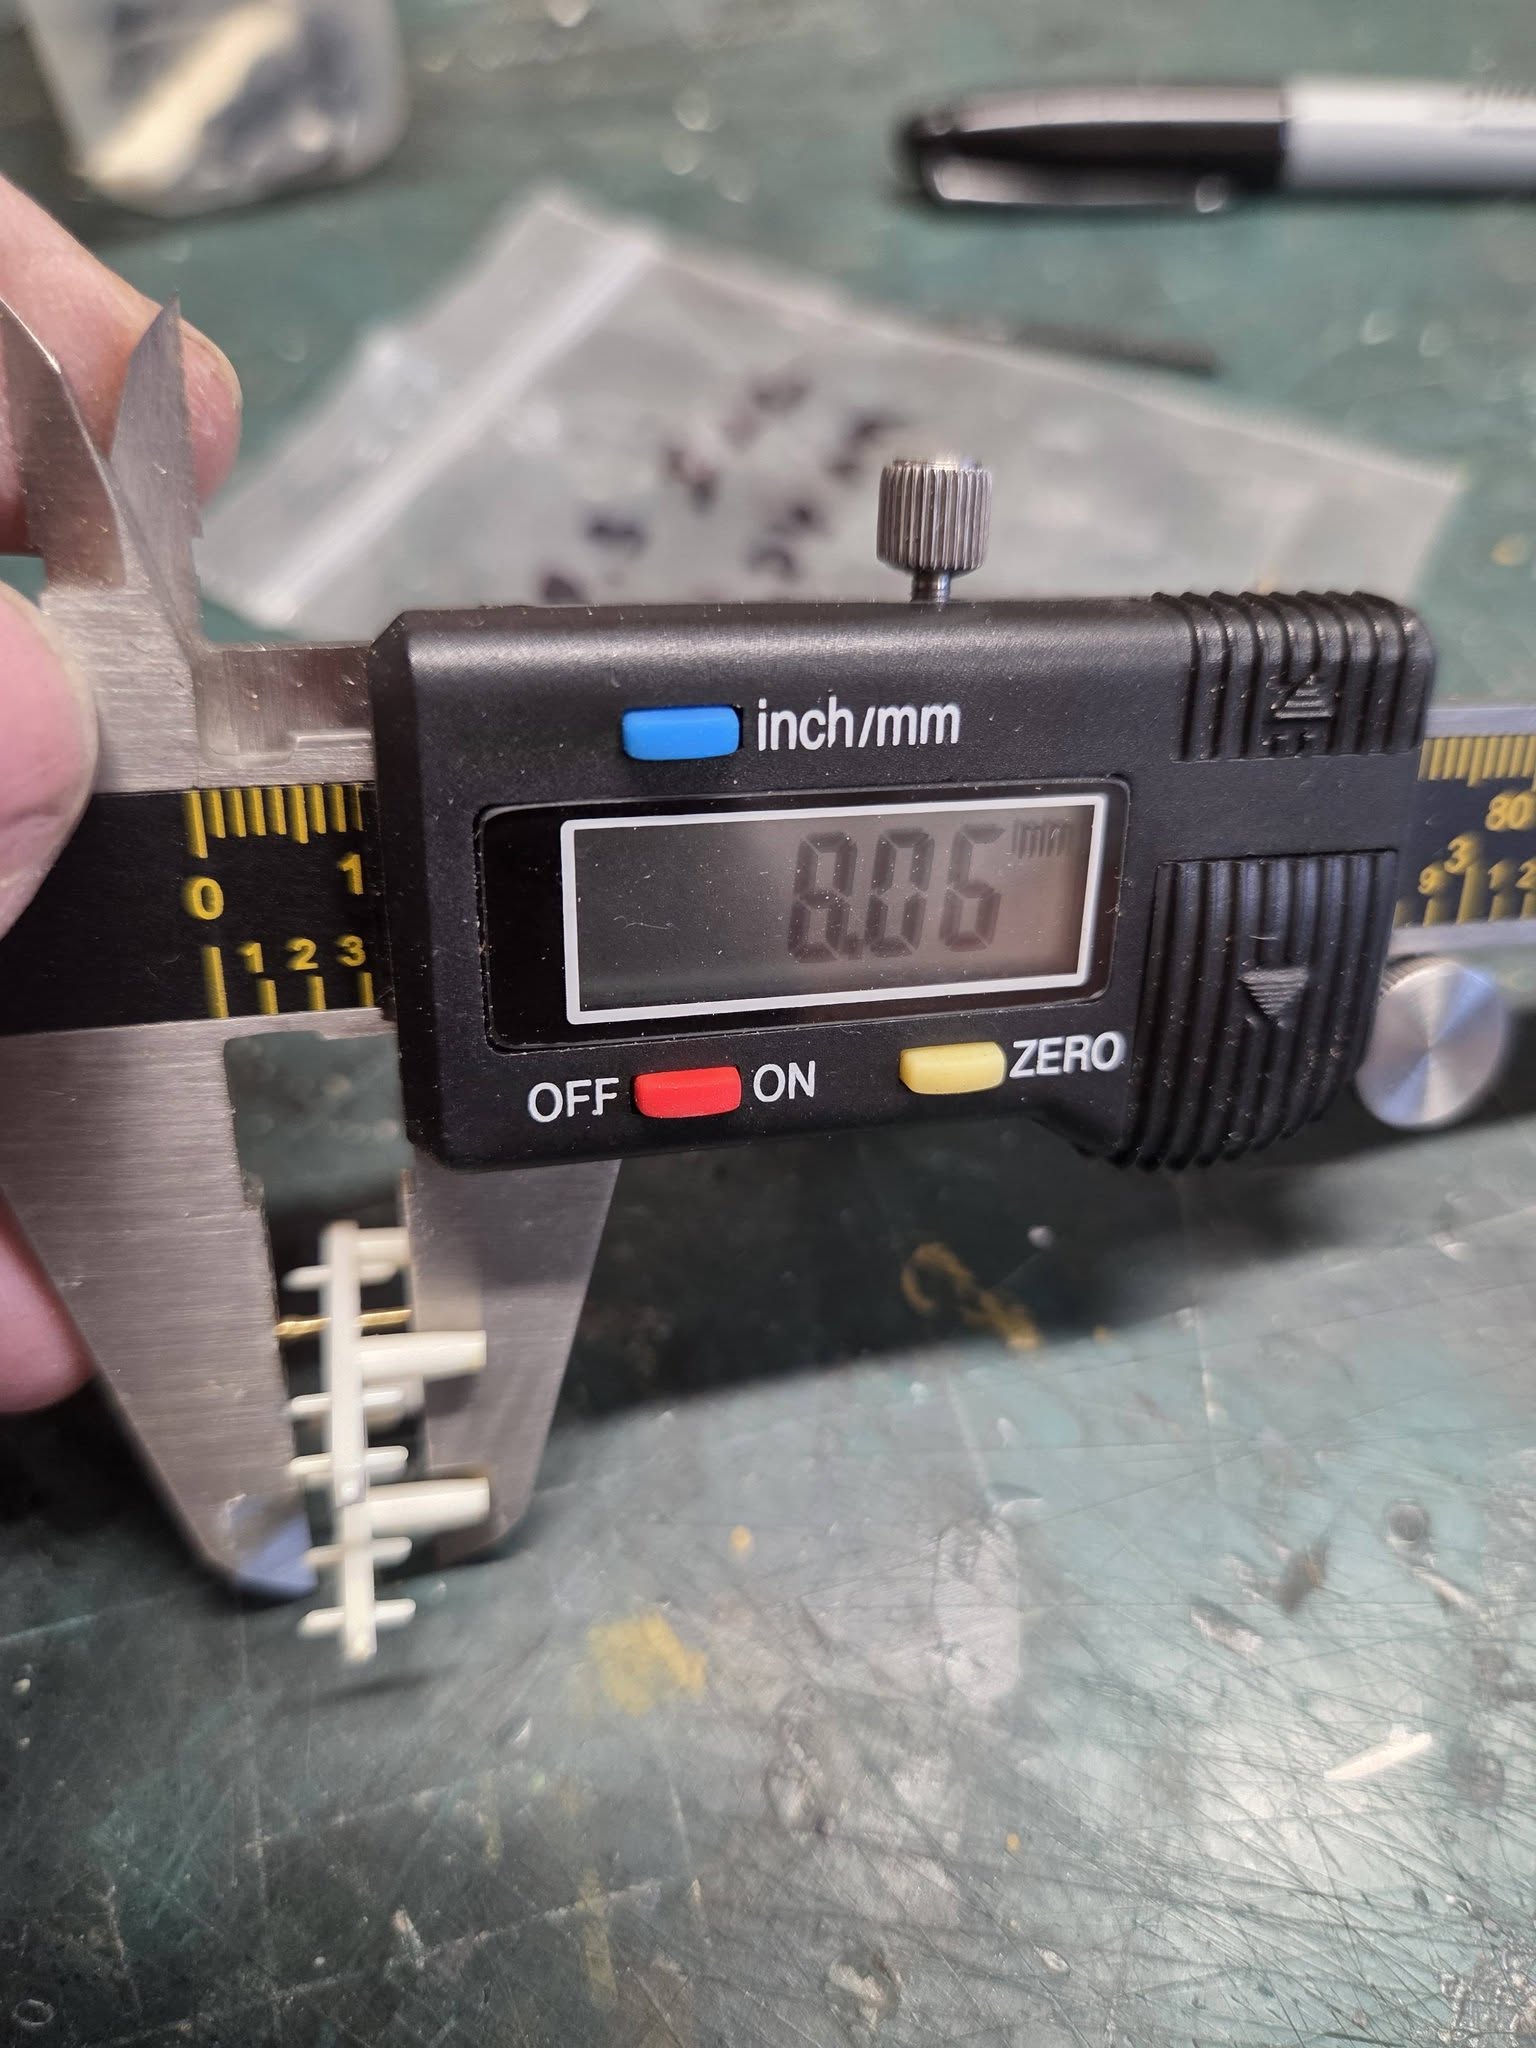
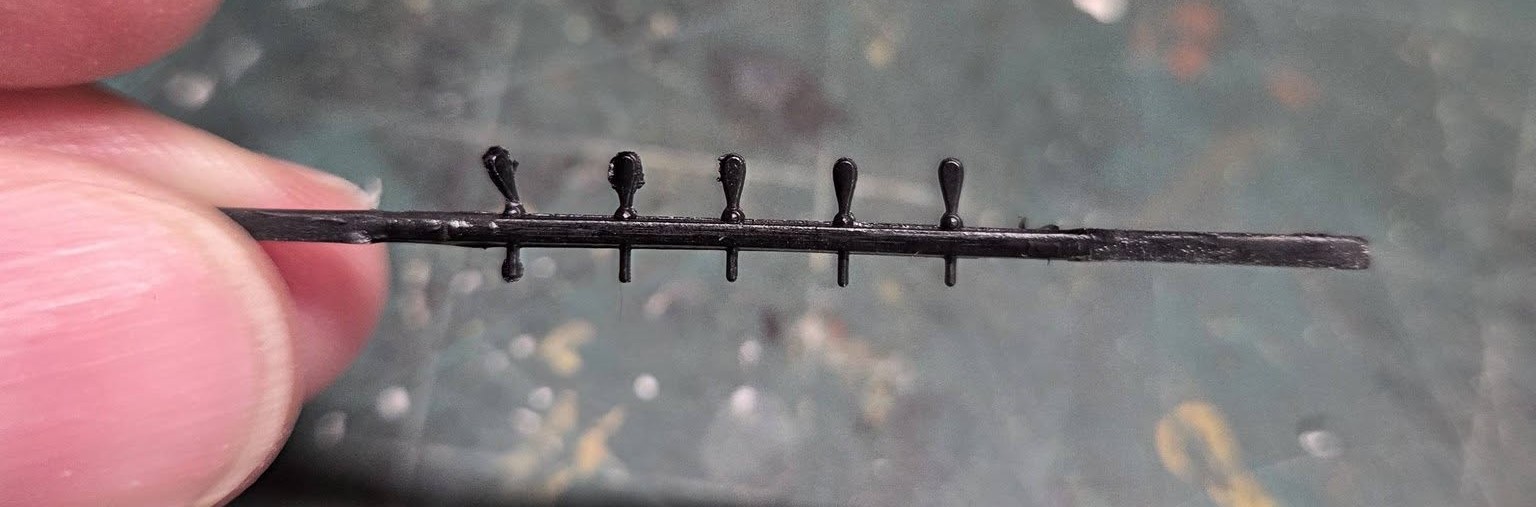
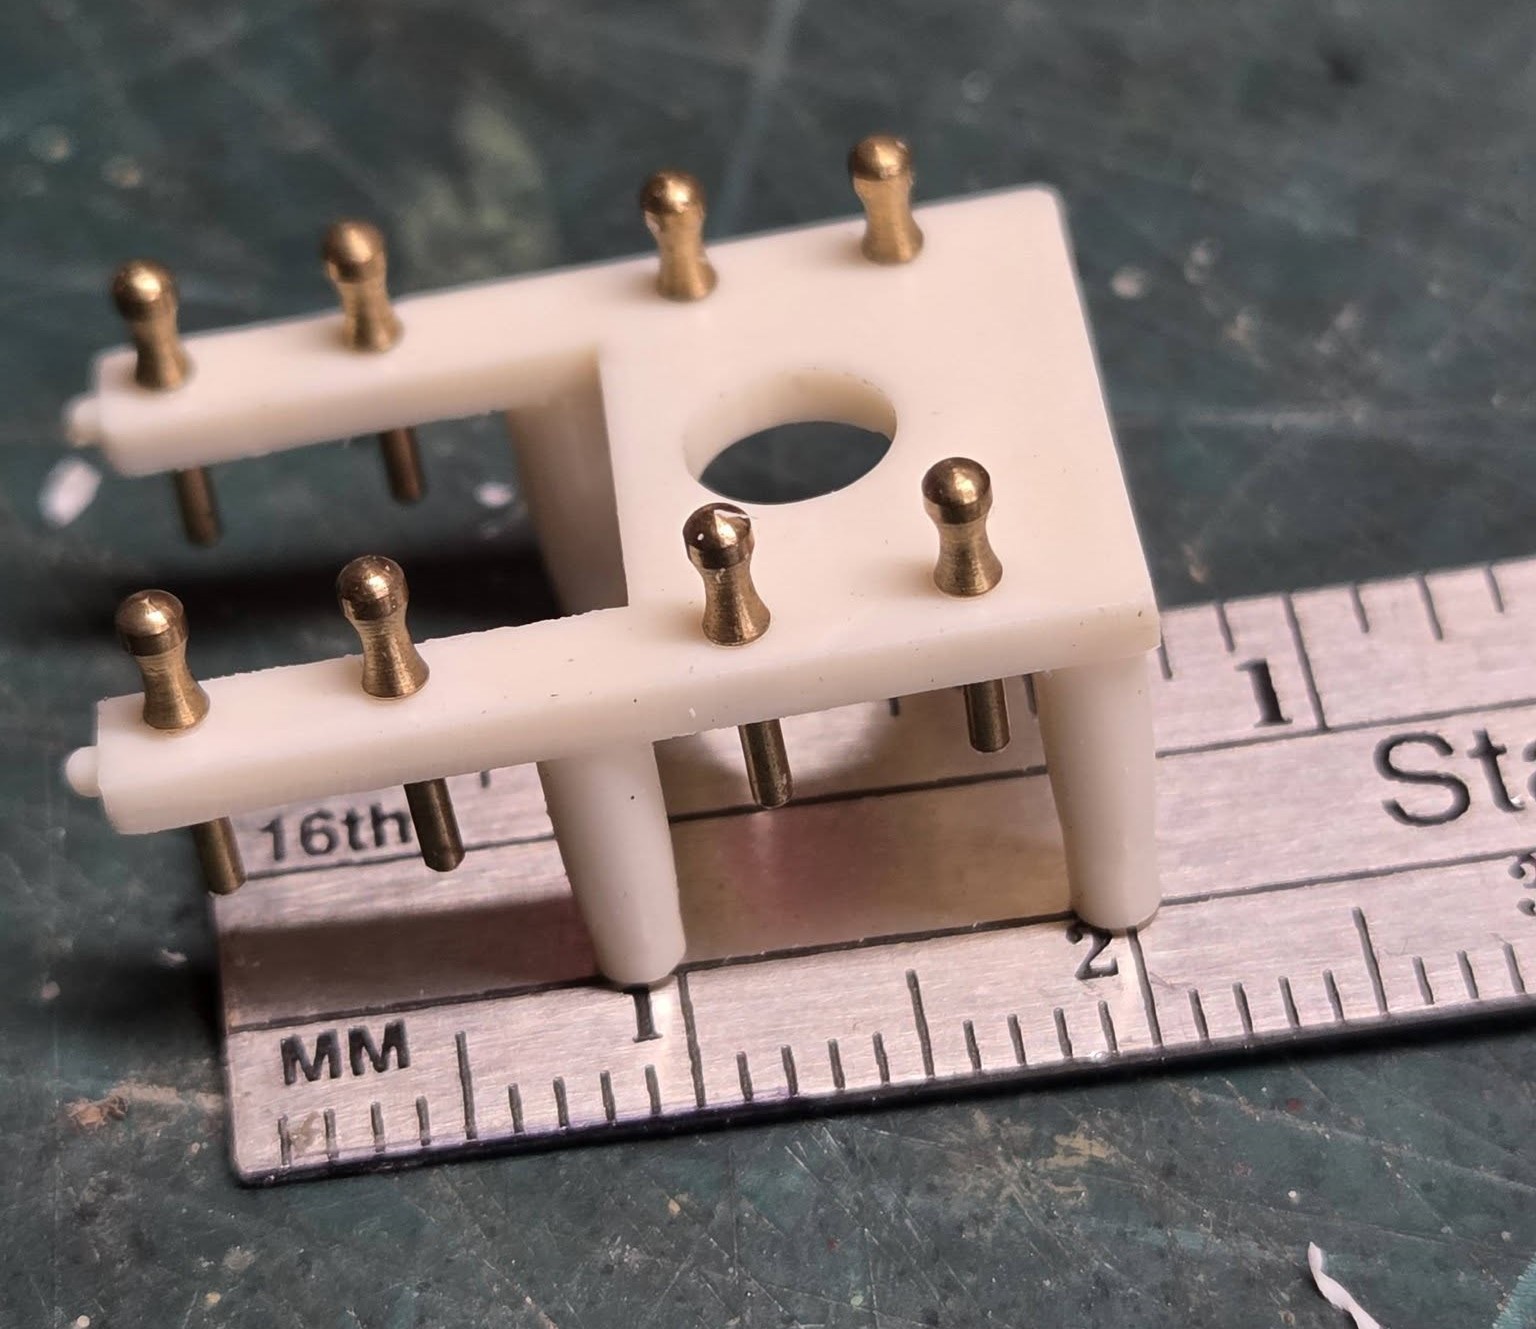
The various belaying pin racks and parts are too plain and brittle to trust, so I drilled one out and replaced with a brass turned pin, all racks pins will be replaced with brass, the size is 1/3" or 8.0mm.
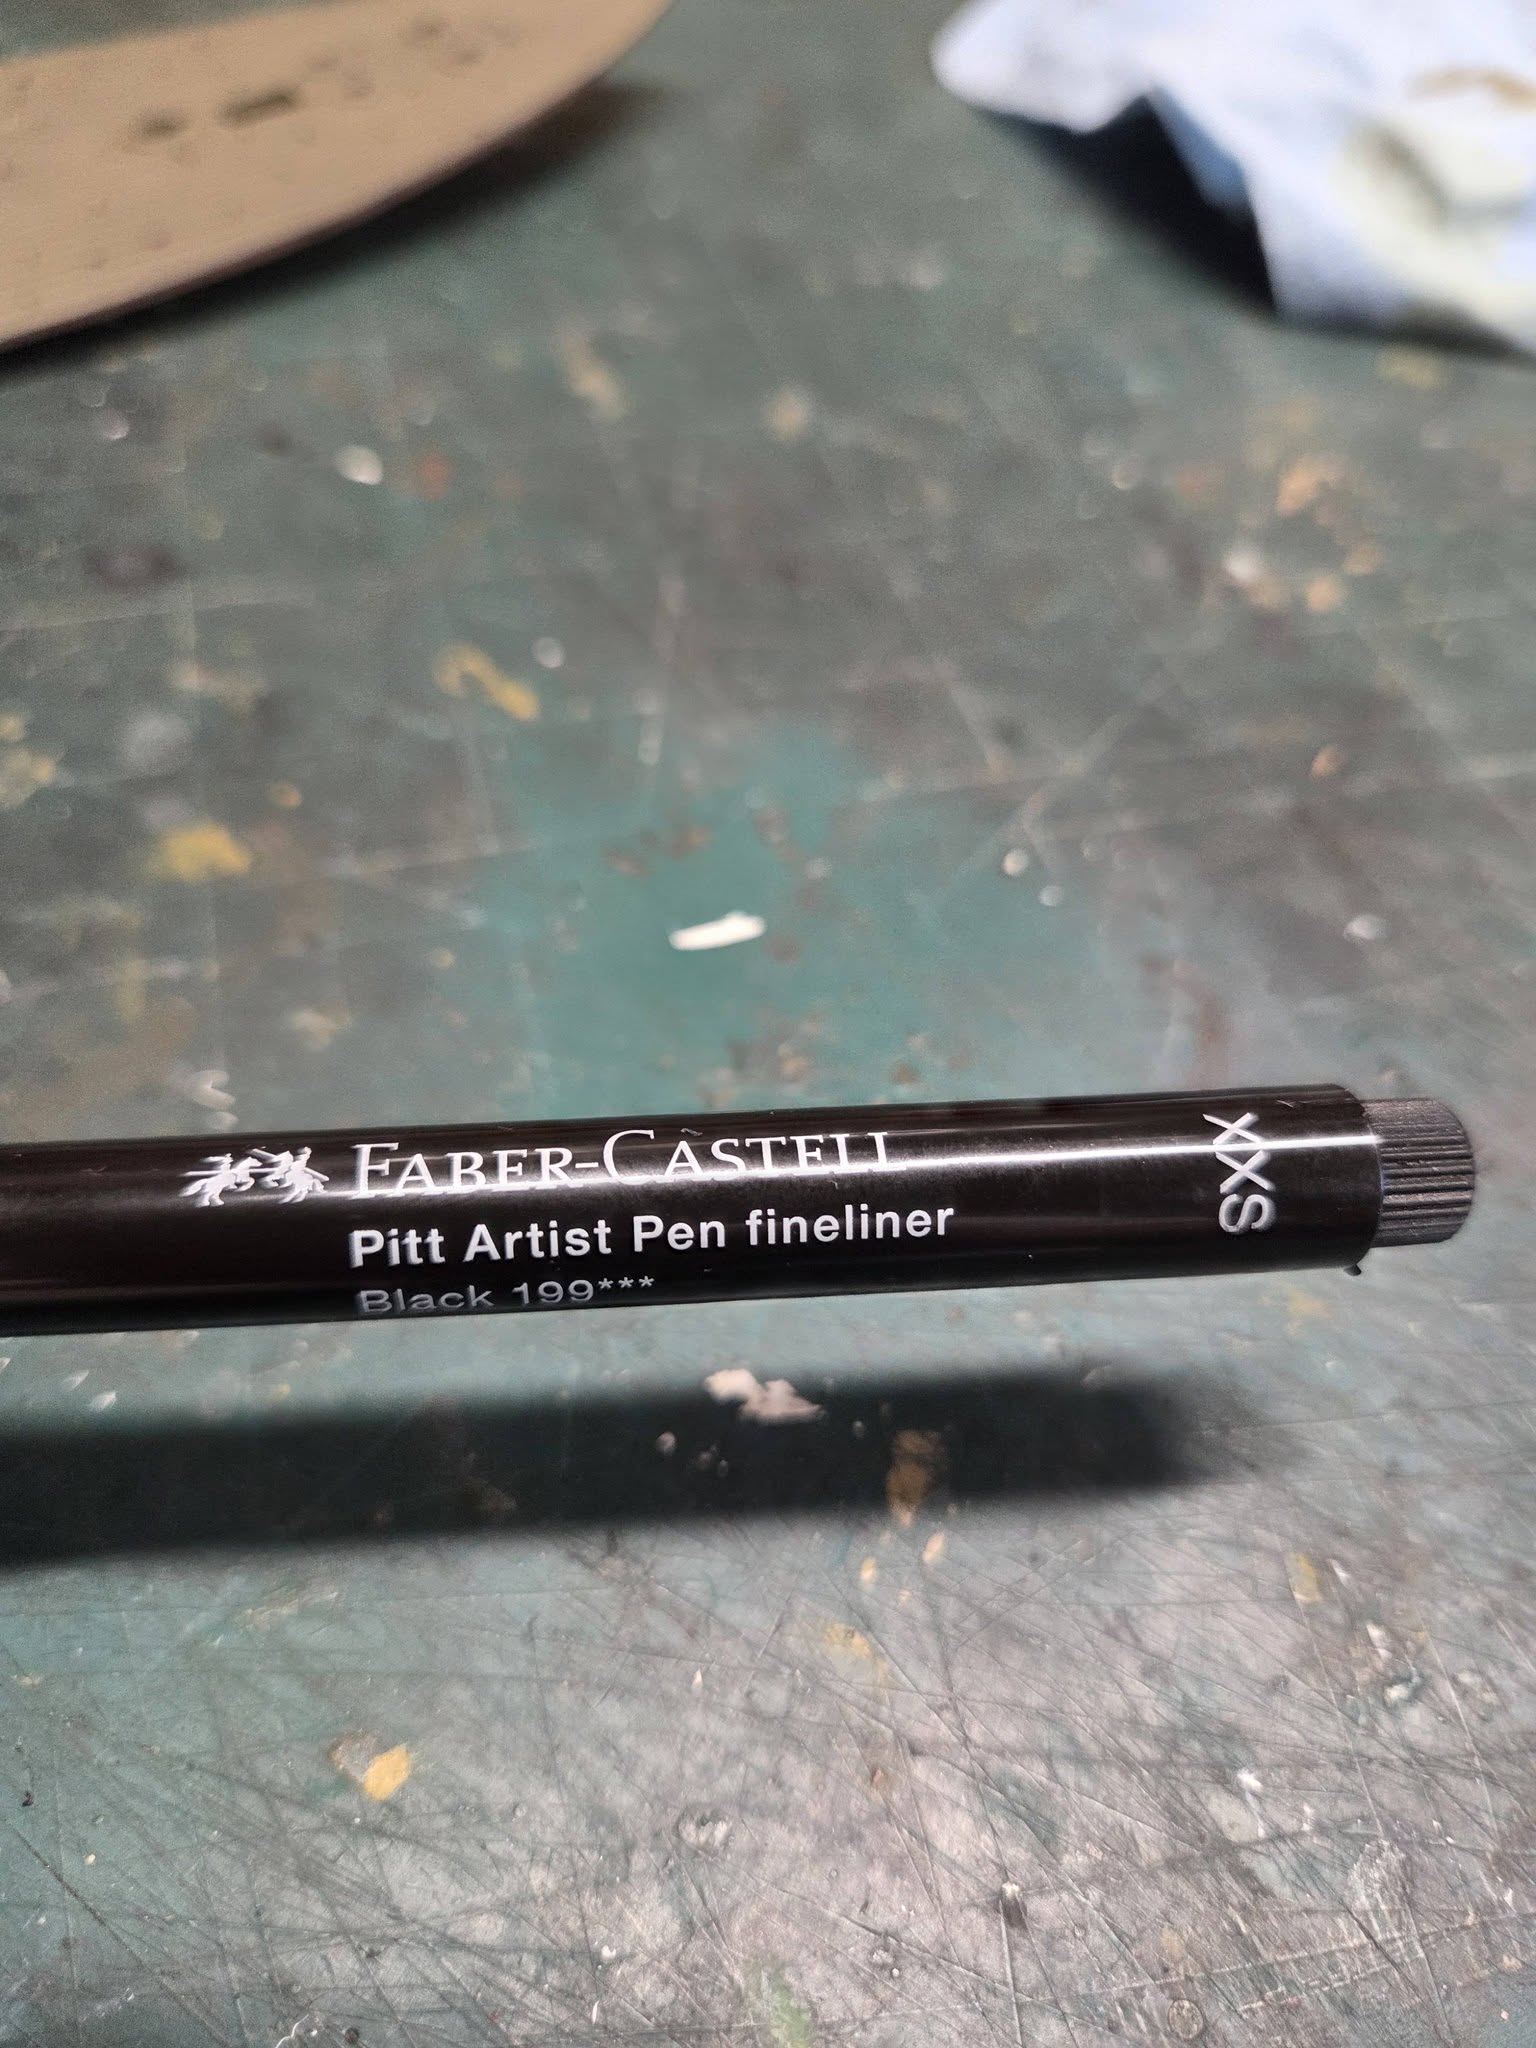
The deck treatment is finished and came out well, the hard part was leaving some areas dirtier than others, because this is a whaler, the deck was fairly stained with oil/fats and filthy, clean as they might the wood deck stays stained. The fine line pen is black India ink 0.3mm tip, if you notice some areas of the caulk are a bit messy, (on purpose) because of the heat of the tryworks, this heated up the caulking tar and caused it to soften and be track outside the seams a bit.
The old and yellowed decals will either be replaced with woodland scenes dry letter transfers, or I will custom order a replacement set from a special decal company called STS Scale decals, which scans your decals and reprints them.
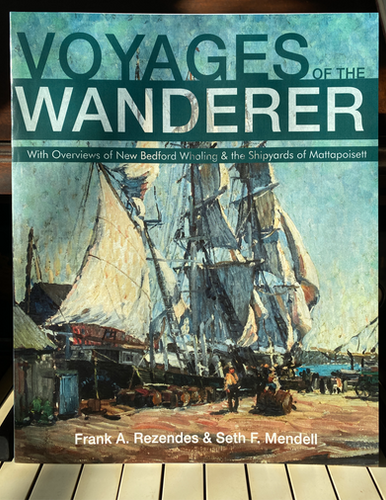
Because the Wanderer Whaler Kit was originally molded/pressed way back in 1966, most of the plastic is dried out (degassed - the volatiles have evaporated out of the plastic) making it brittle and easy to break parts off. The belaying pins on various racks really can’t be trusted not to break off once I start the rigging. So, I removed the thin mis-molded pins, I drilled out the same spot and will place brass pins in their place. Once I glue the racks in, I’ll drop the pins in
Not much done this evening except hand paint about 30 small eyebolts for the deck, assembled the tryworks and painted Floquil Boxcar Red, the top got a coat of Dark Euro Grey and will be grimy washed. I’d like to figure out a way to modify the top to show the open cauldron/oil bowls.
I’ve reached out to the Wanderer Museum to see if they have any pics of the tryworks for reference, while these would be pretty generic, I discovered that the tryworks was built and disassembled many times over the life of the whaler. The 2 stacks that protrude from the roof should go up through the cover over the tryworks (smoke and heat venting, I’ll need to scratch build those as the kit does not have any parts for that. This picture is from a museum model. I’m trying to decide of I want to drill out and make the 2 eye rings on each side of the tryworks as shown, the model also may have the tryworks backwards, I’m trying to find better pictures. Crazy to the length we go to do small details.
Great work so far. Glad you found some sails for the Wanderer. As for the tryworks, haven’t a clue. Guess you’ll just have to go with what feels right.
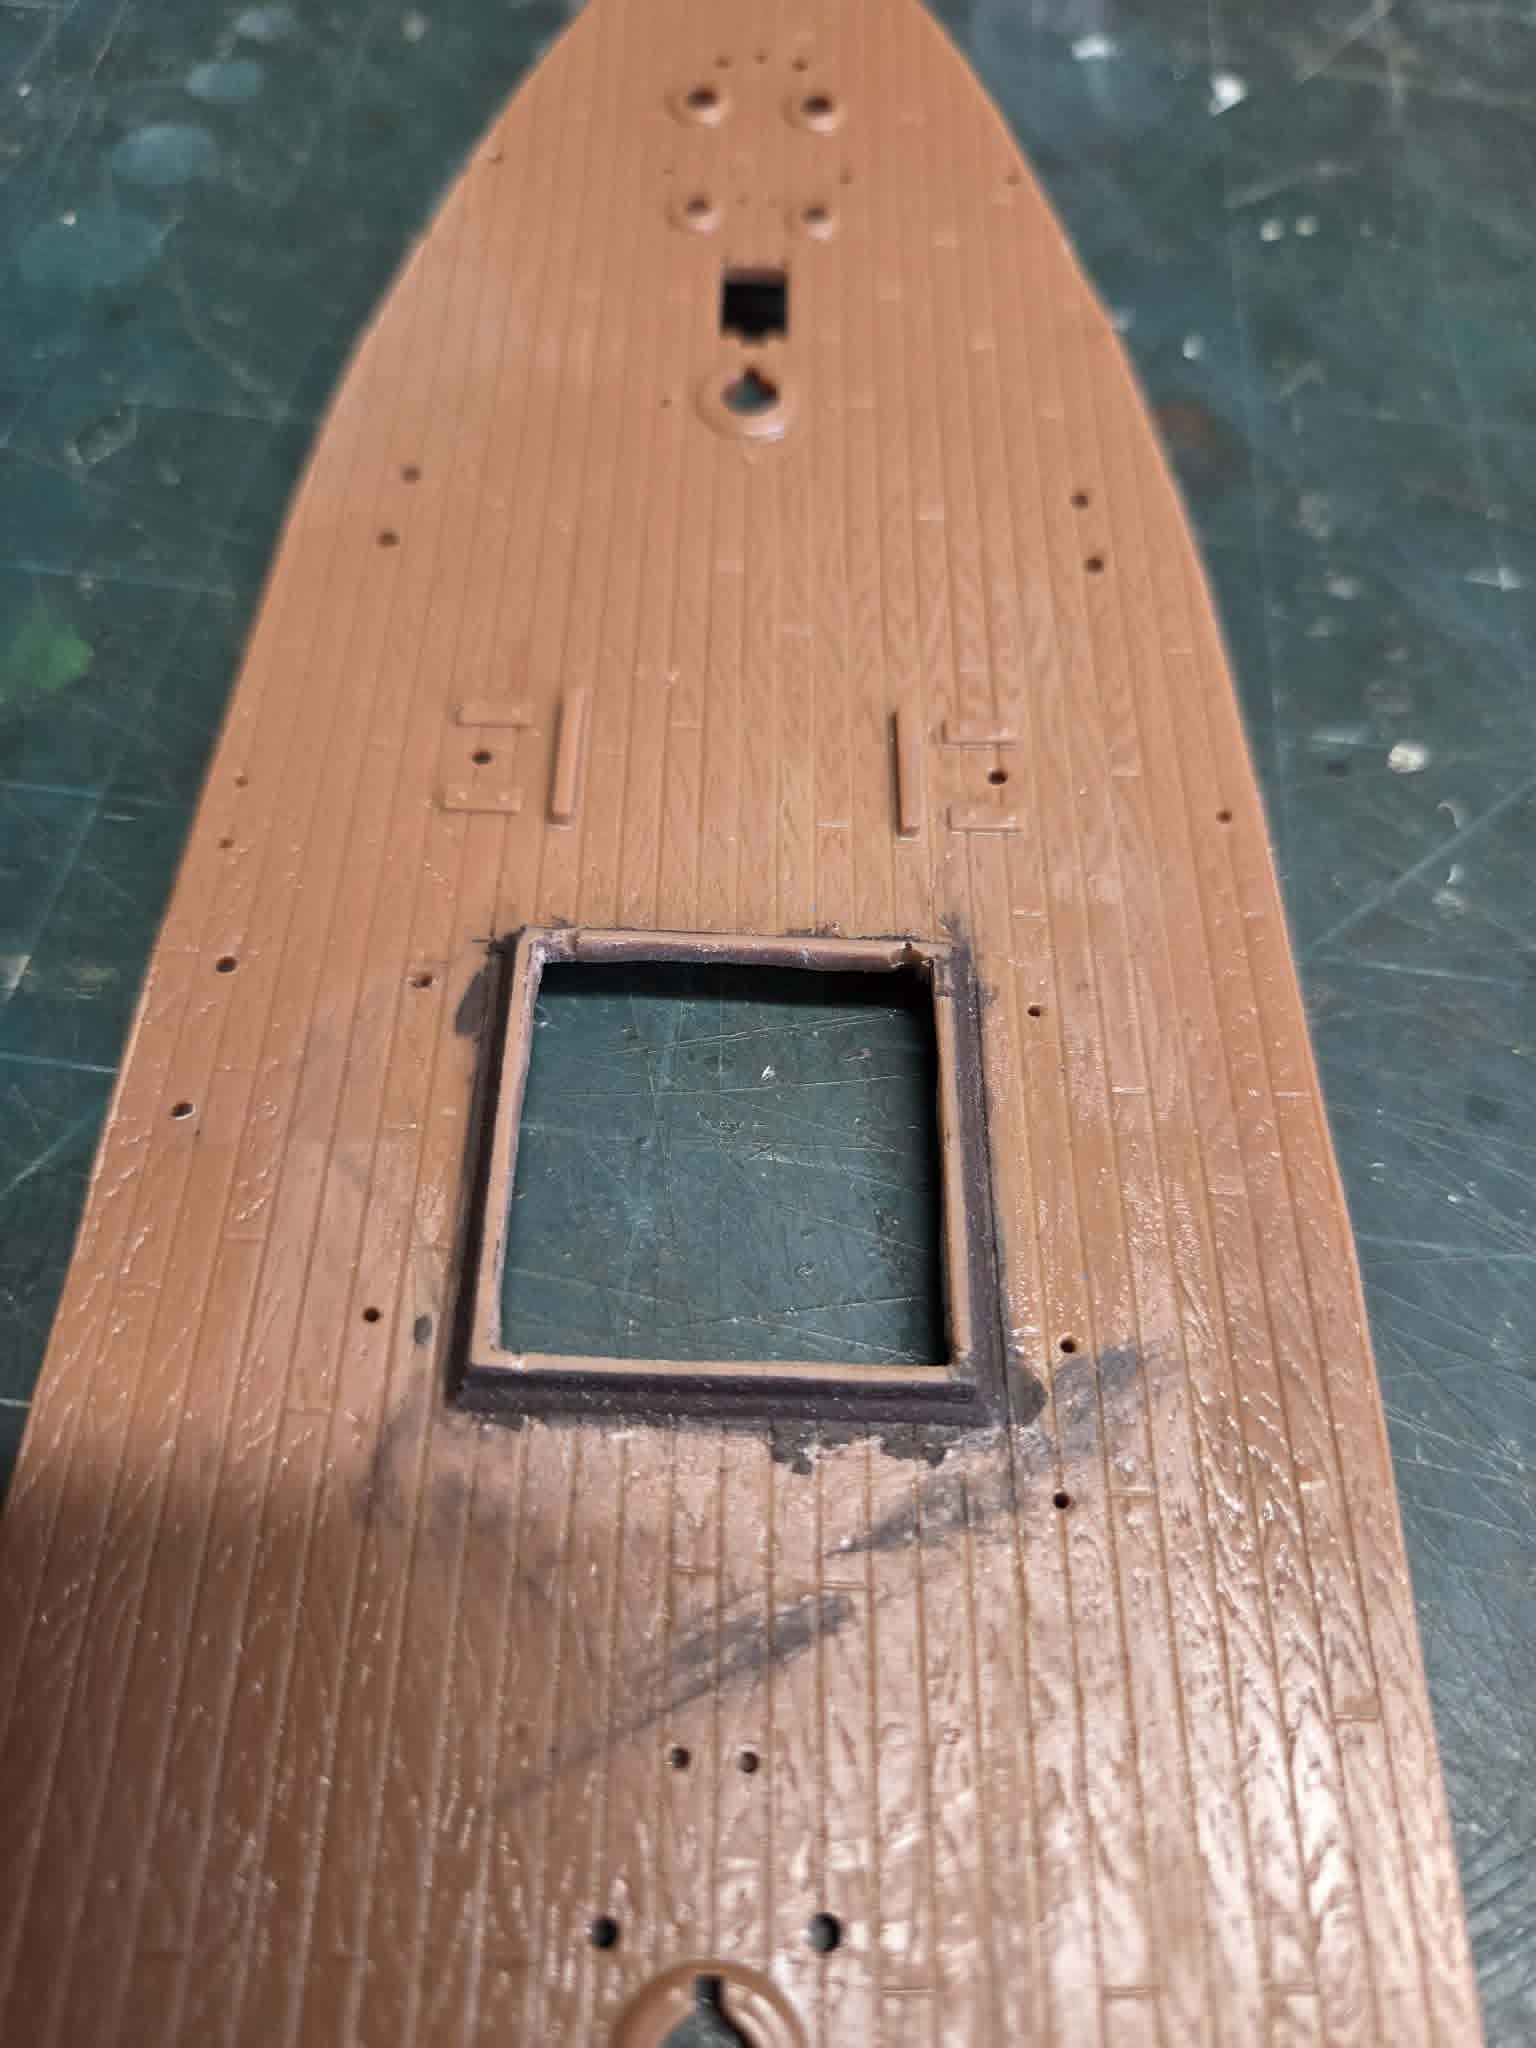
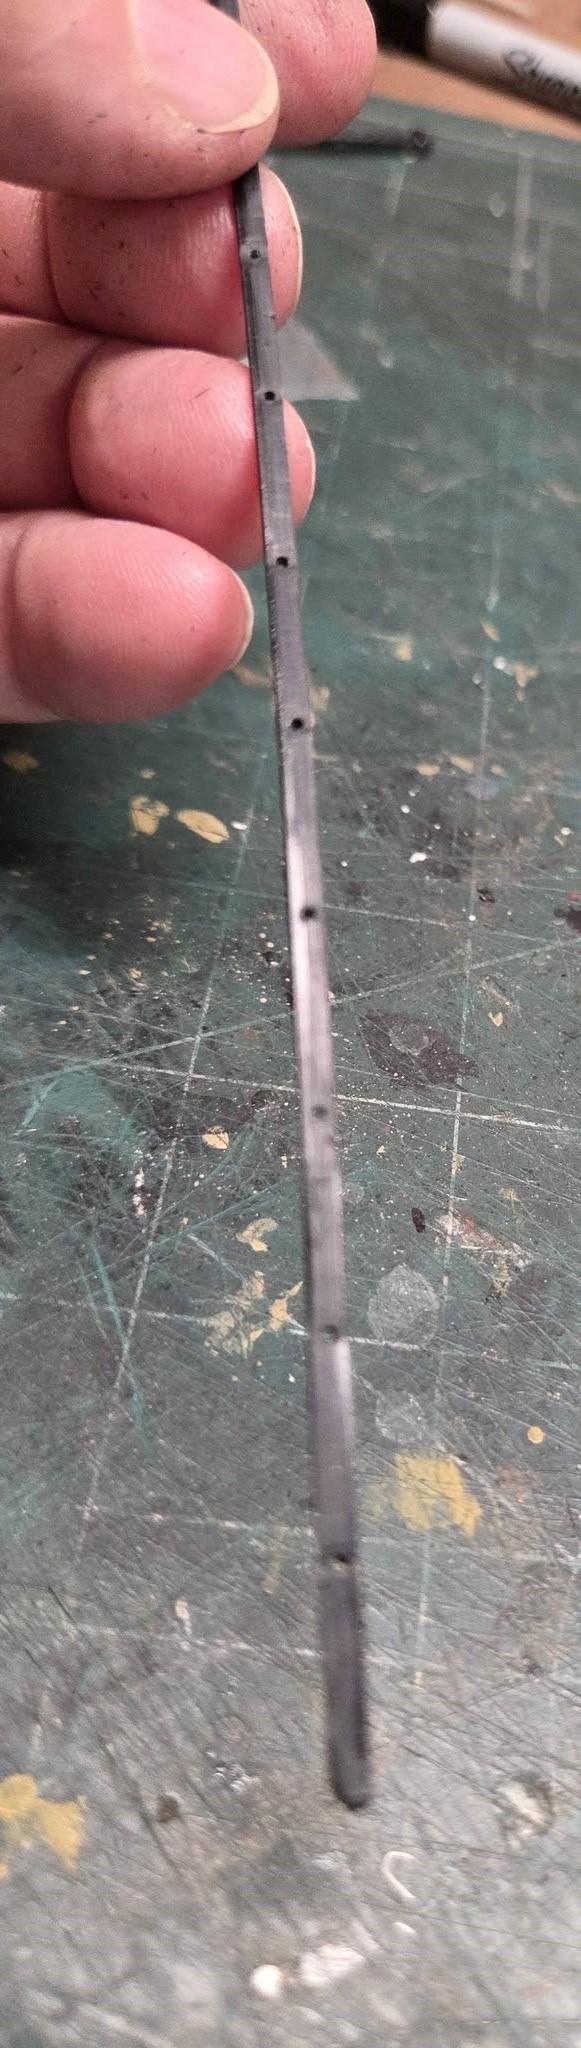
Got a few more hours in today, I worked on the main hatch and got it as close as possible to the real ship board, certainly better than what it came with. I’m trying to see if I can put metal rods in the holes. I first painted it with Testors Euro Grey, but it did not look dark enough, I let dry and them airbrushed Possy S Oily Black, that’s the shade I think looks best. I’ll let dry for a day or so and give a second coat of the Polly S.