Go with what your eye sees as the character you want. Have you considered a Black & White movie version?
1 Like
@SprueOne So frustrating. I can’t quote you as is supposedly easy according to the majority. Not sure what I’m doing wrong. I’m on my iPad right now.
You said. ….and I’m typing this out, btw…”Have you considered a black and white movie version?” A: No, per se. However, in my pursuit of a realistic jaundice colour and my research to determine that, the thought popped into my mind just today of the black/white movie image of the Phantom and that jaundice would not have been portrayed on a 1925 film screen, but a pale flesh maybe would. Having said that, I’m inclined to go with the jaundice representation. However, you have just given me an idea of presenting a whole other model as you have suggested. Black and white. That would be so cool. Might just purchase another kit for that. Thank you for the idea!
Cheers,
Mark
2 Likes
The Mrs. has an iPad and I find it difficult to navigate as well.
You’re welcome  for the B&W idea for your model however it is more difficult than it may seem. I tried it for the first time on my, “Play It Again, Tom” from the Haunted Mansion series kits. I converted the organ player’s head to look like Erick from the “Phantom of the Opera” book. And since it was filmed in B&W I thought it would look cool.
1 Like
Stepping away from the face for a bit. Got some paint airbrushed onto the body, cape, and inside walls of the torture chamber. Took @PhoenixG advice to go with a dark grey for the clothing. This is Vallejo Model Air 71.056 Panzer Grey. Mix is 75% paint, 20% Vallejo Airbrush Thinner, and 5% Vallejo Flow Improver. Still very new to airbrushing. Couple of mistakes…neglected to mask off the shirt cuffs, and…did not mix enough paint. Had to make up a second batch on the fly.
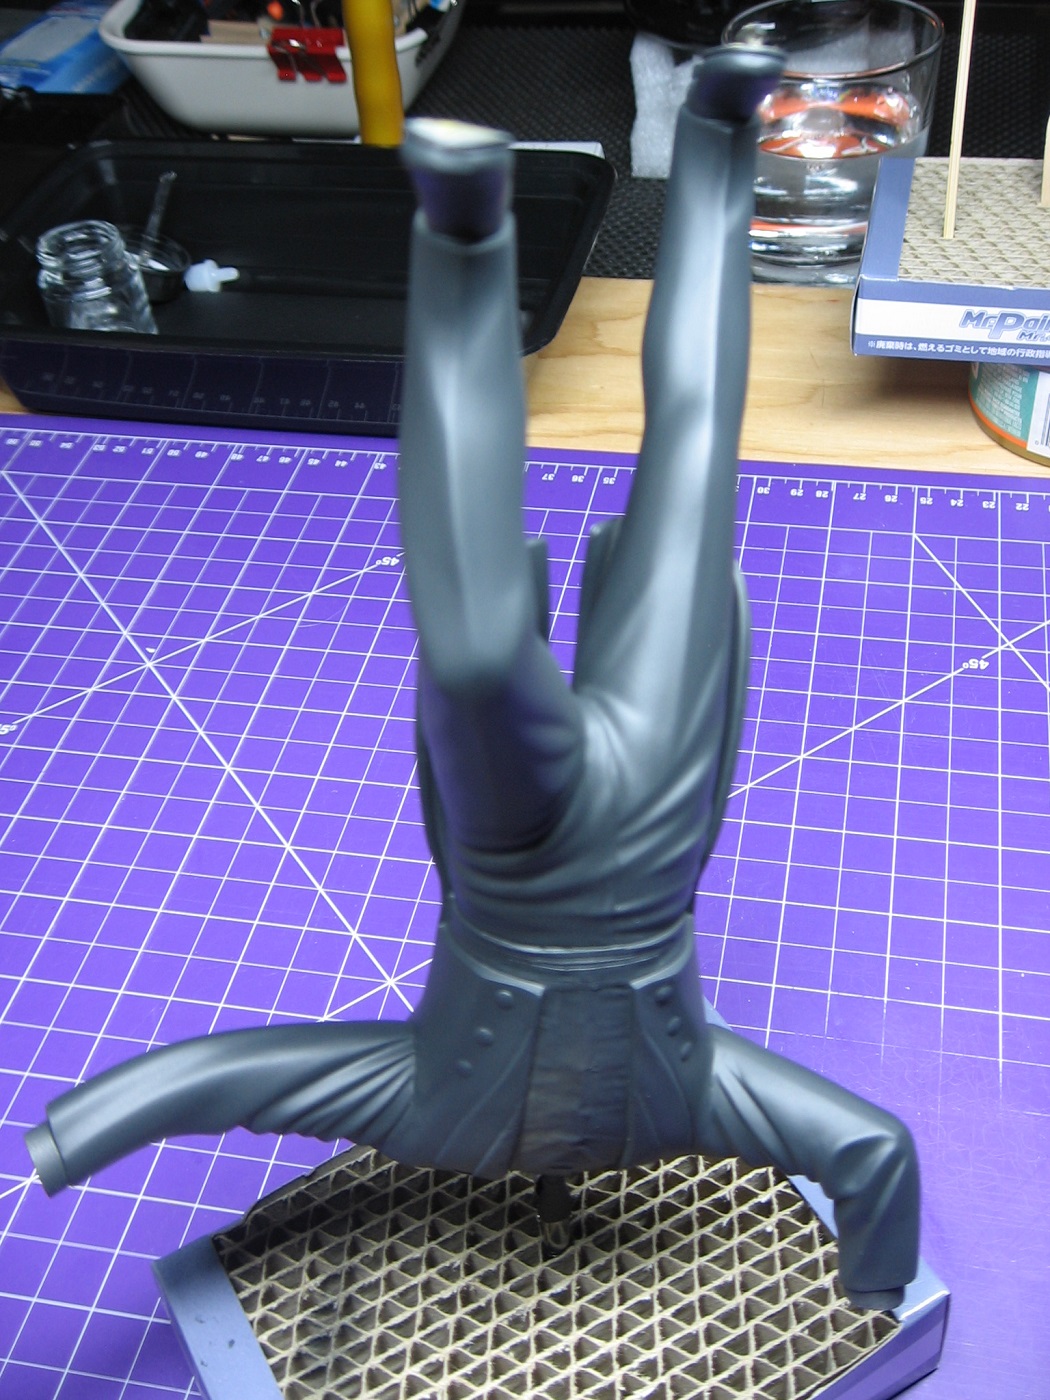
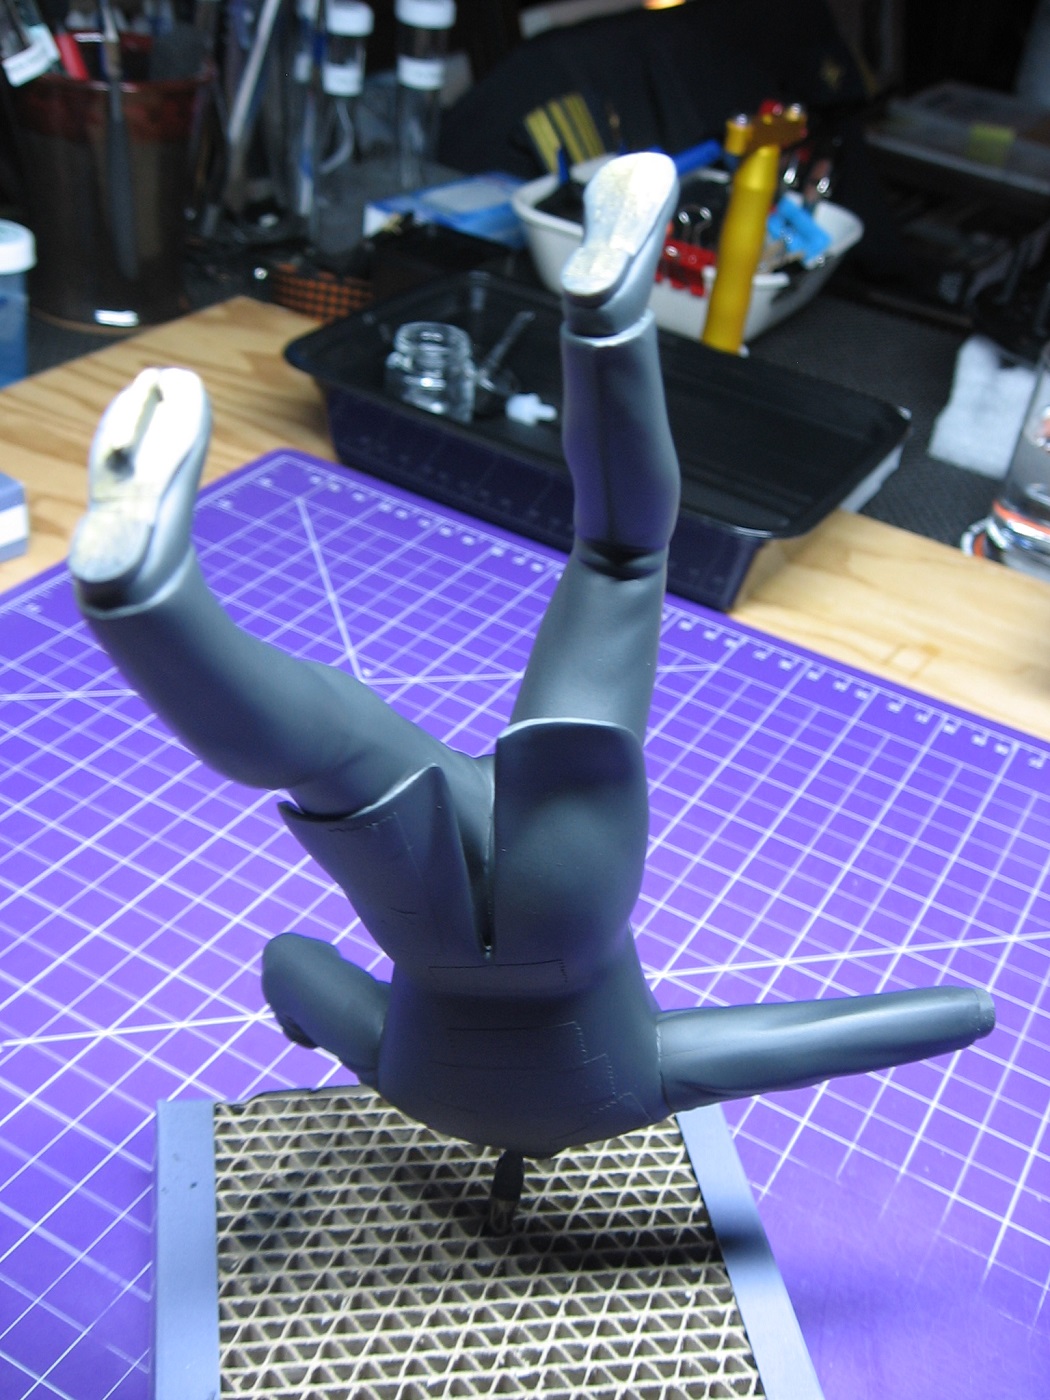
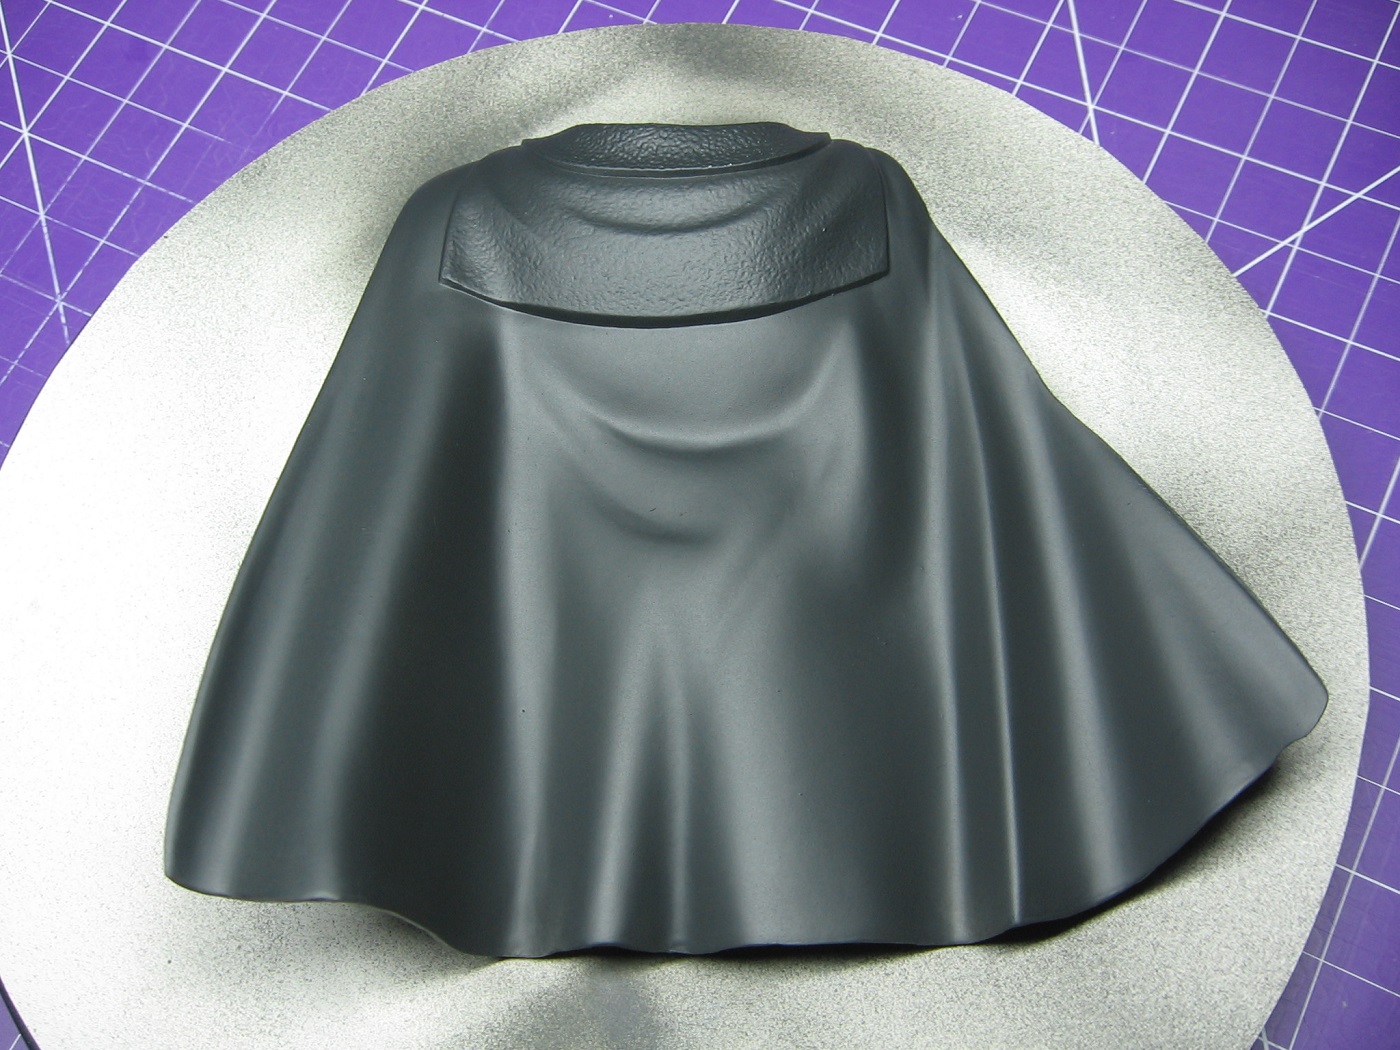
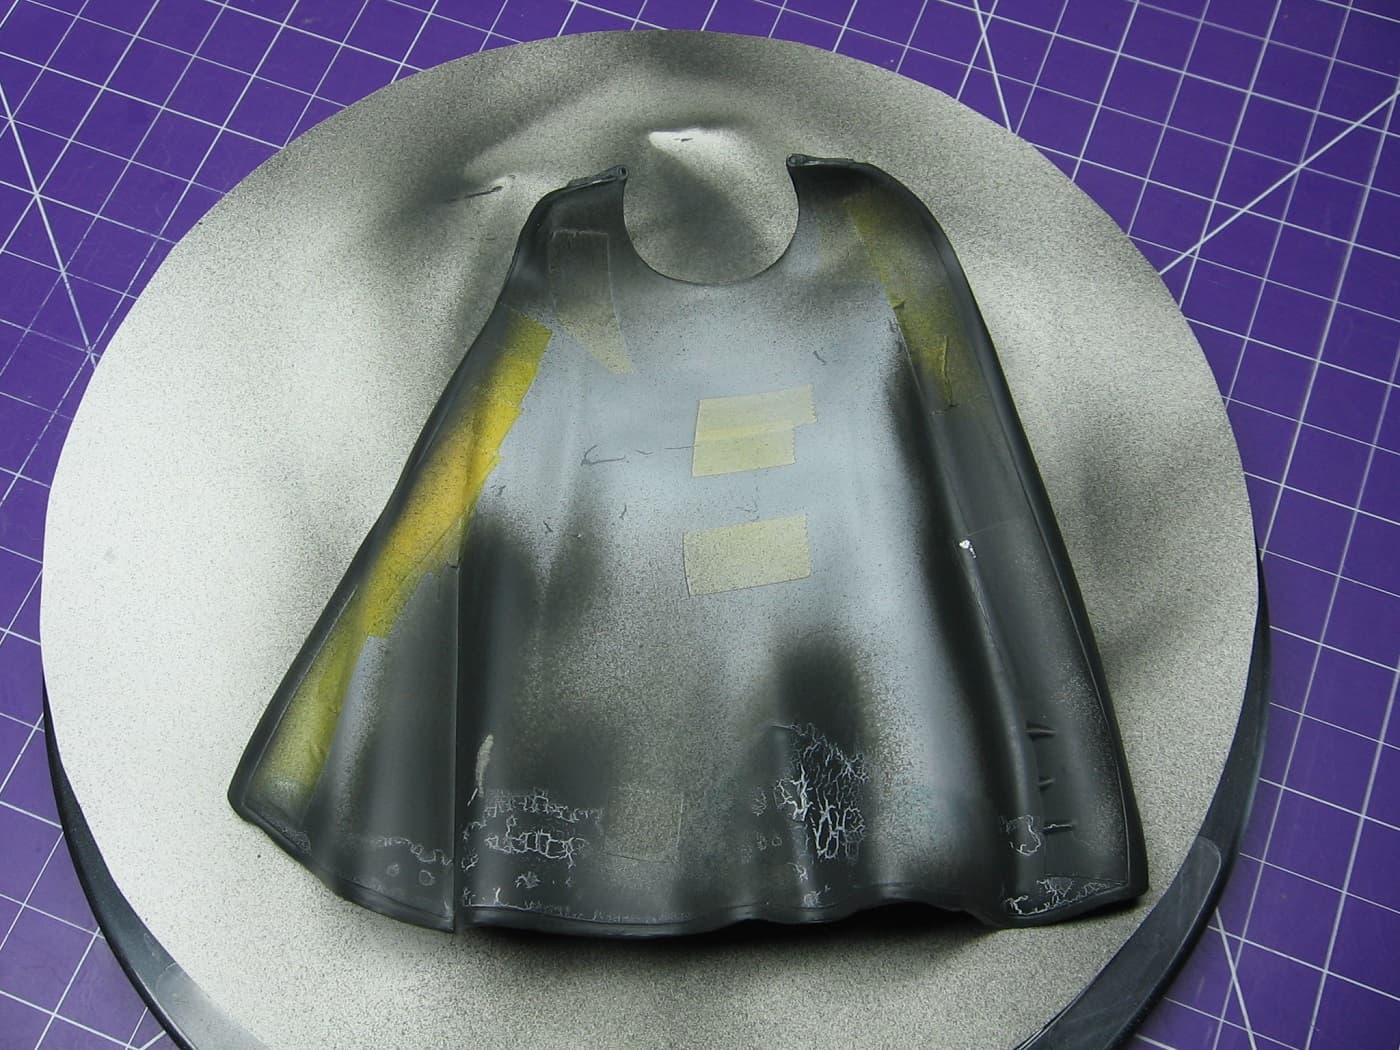
Used Microscale Liquid Mask along the bottom of the cape. Hopefully it worked out and peels off okay.
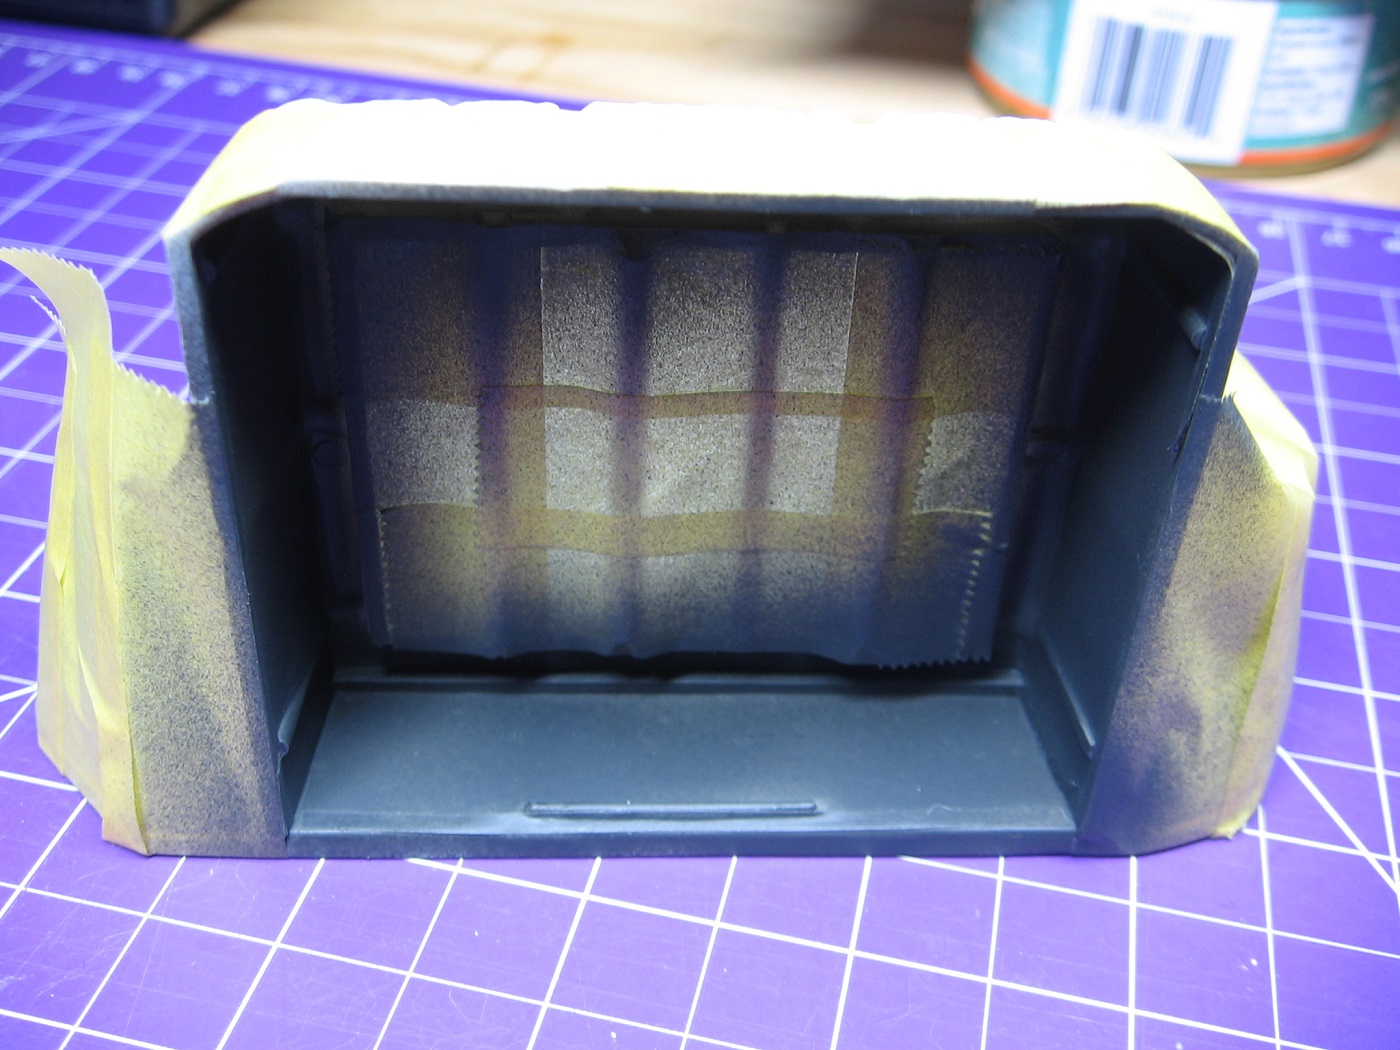
Used my single action siphon feed airbrush at 30 psi. Super happy with how this all turned out. Thanks to everyone for the psi advice discussed earlier.
Thanks for looking and cheers,
Mark
5 Likes
The clothes and cape look very good. The finish is looks so smooth and realistic.
1 Like
Looking amazing! 
1 Like
Good thinking with the cape masking. These two pictures gives me an idea about a B-Boy in a head spin!
4 Likes
Looking good! Time to change over the laundry. It’s how she leaves me alone.
1 Like
That paintwork is smooooth! Looks really nice. Enjoy the catharsis of pulling that masking tape off - you’ve earned it.
1 Like
 + 20 characters…

Continuing onward with some of the simpler tasks before tackling the more challenging.
Today I airbrushed a base coat of Vallejo Model Air 71.047 Grey onto the base, back panel of the torture chamber, and a sprue scrap. 75% paint; 20% thinner; 5% Flow Improver.
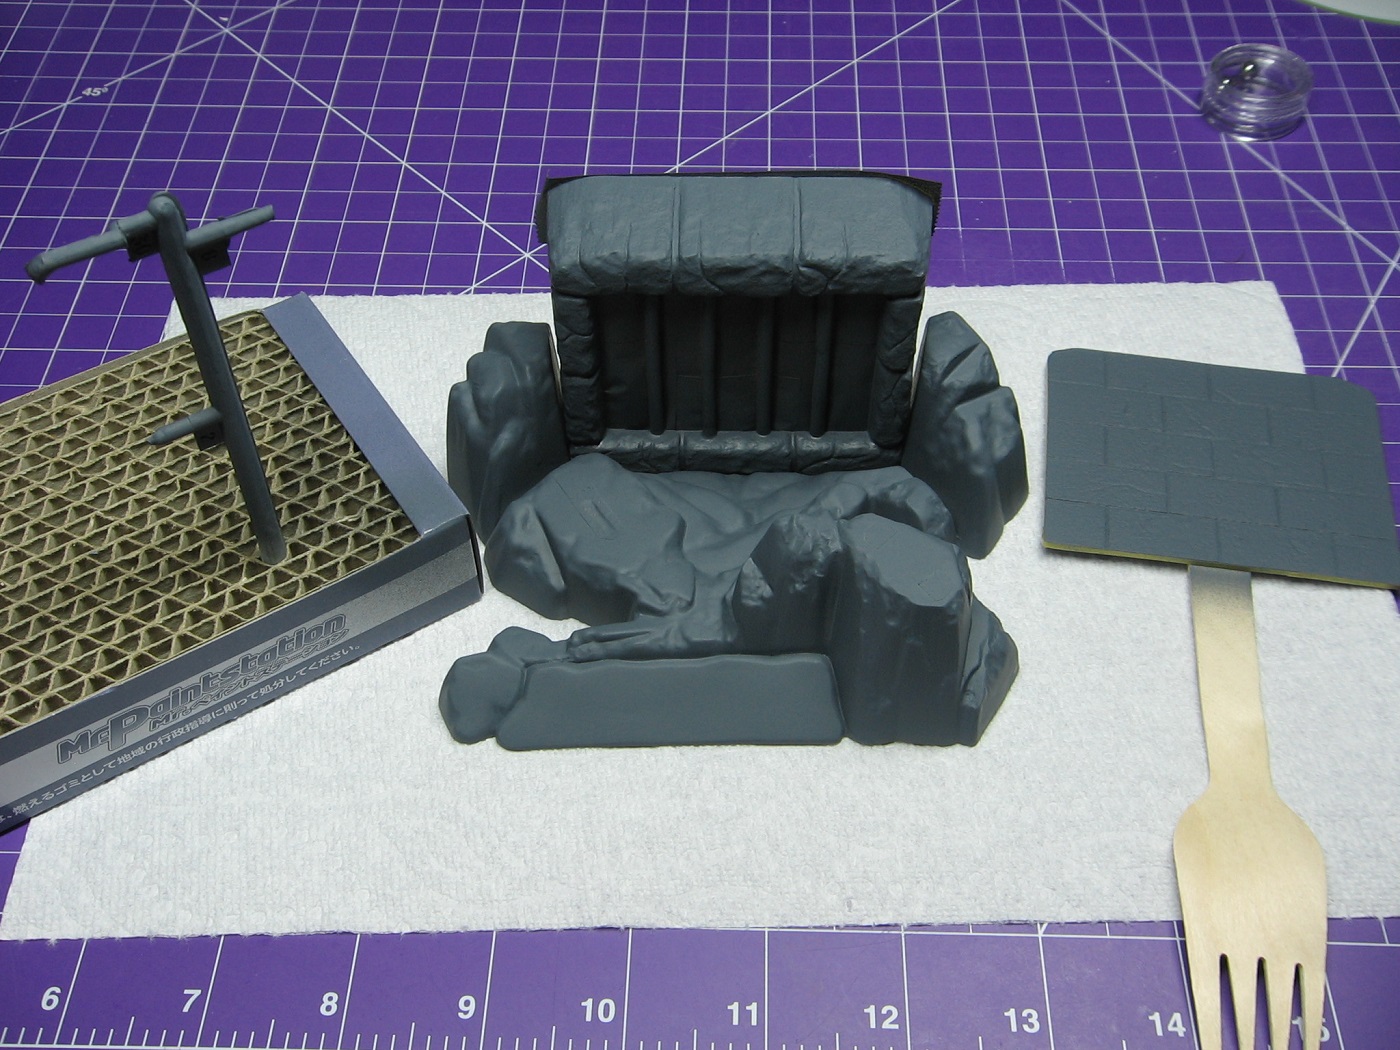
I can not express how grateful I am for the assistance I have received regarding my initial difficulty with the airbrushing. 30 psi has been key with success, IMO. I’m having a lot of fun with airbrushing! Woohoo!
The sprue scrap is for test applications re: weathering the torture chamber bars.
And I masked the cape for a second time. This masking is prep for applying the red. Ugh! Masking is not my favorite part of scale modeling. This took me about an hour and a half. Is that maybe normal, or am I slow?
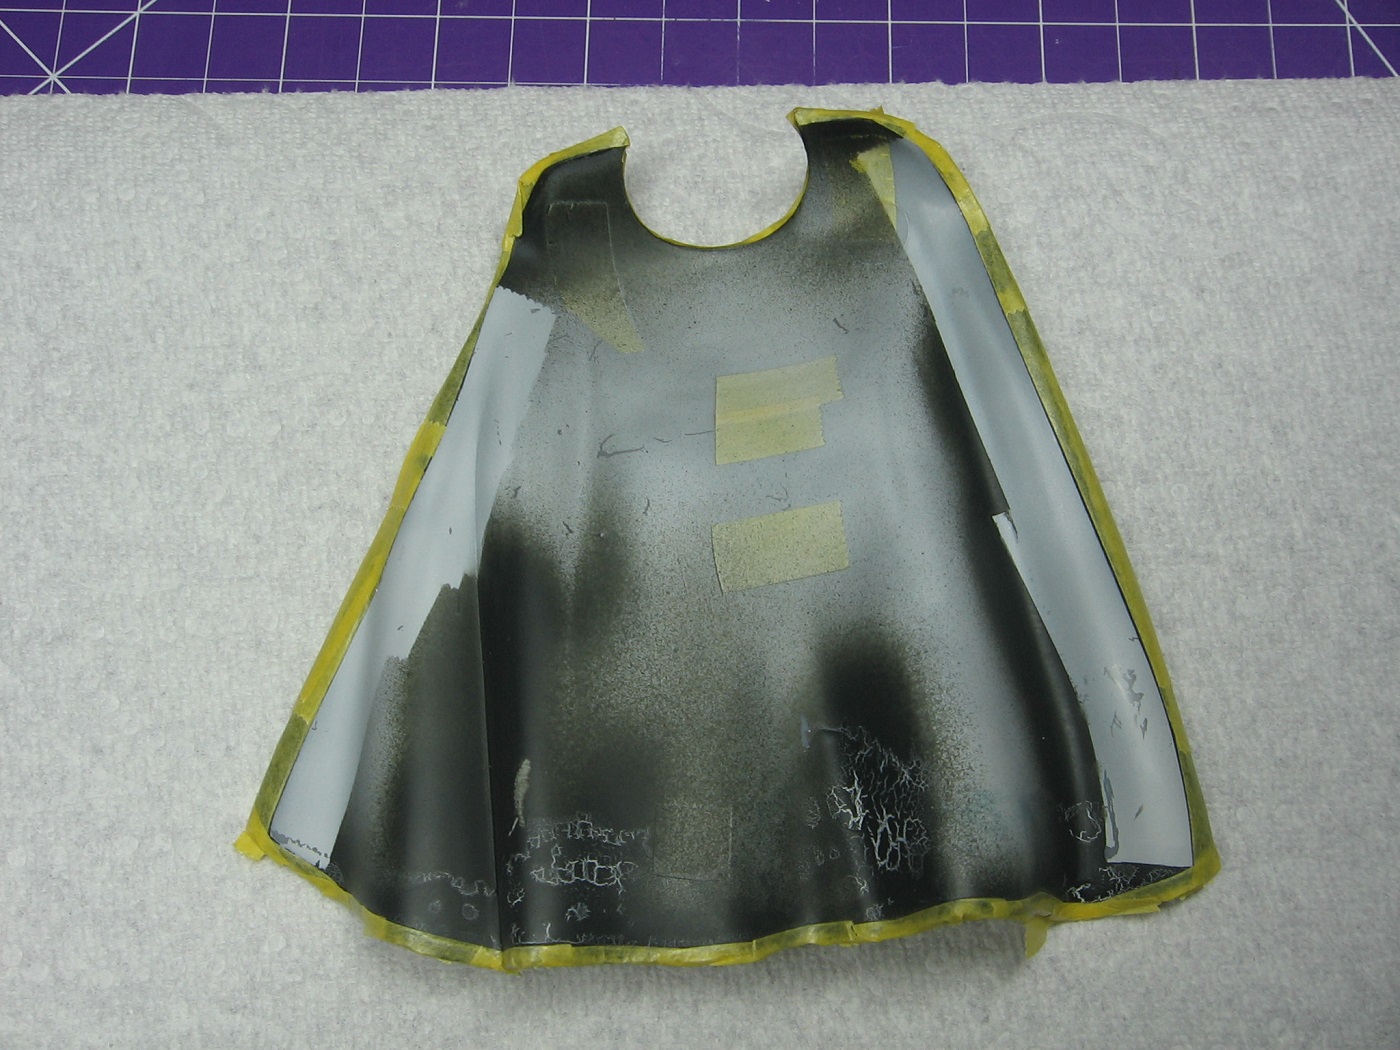
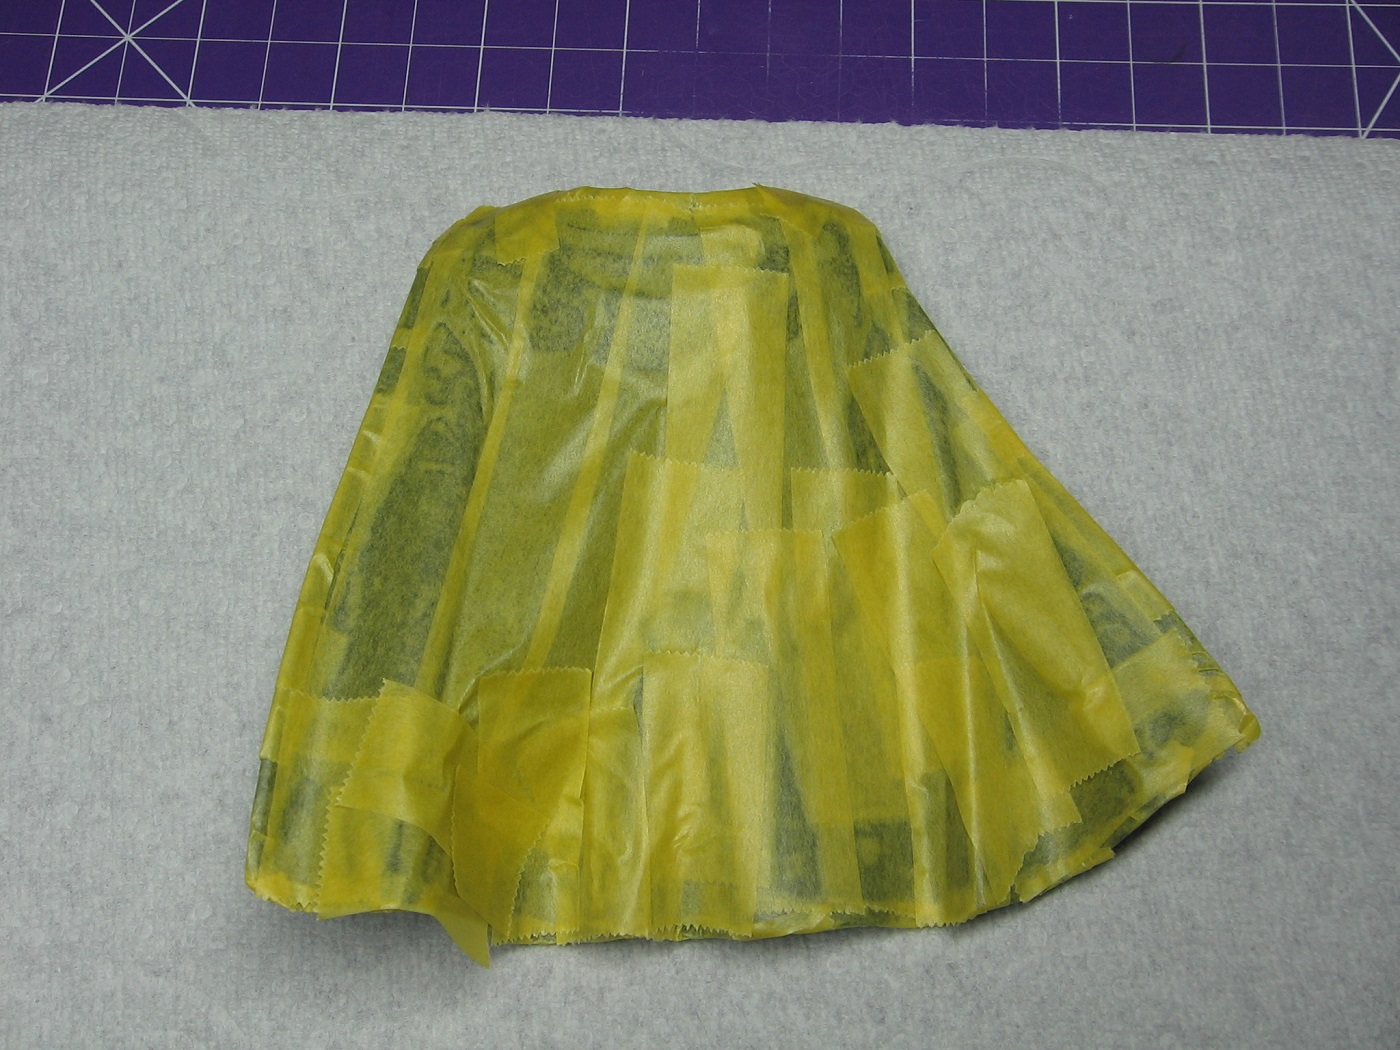
Thanks for looking. Feedback is always welcome.
Cheers,
Mark
3 Likes
Wow! The paint laid down beautifully.
The results you’ve demonstrated with a single action siphon have convinced me to get one of my own.
LOL. At times I find it rather zen.
Not unusual for it take time. Some efficiency is gained with practice.
1 Like
The pieces for your base look very good. So glad that you were able to get the airbrush dialed in.
1 Like
Update: I got another coat of primer on the inside of the cape, as well as pre shading.
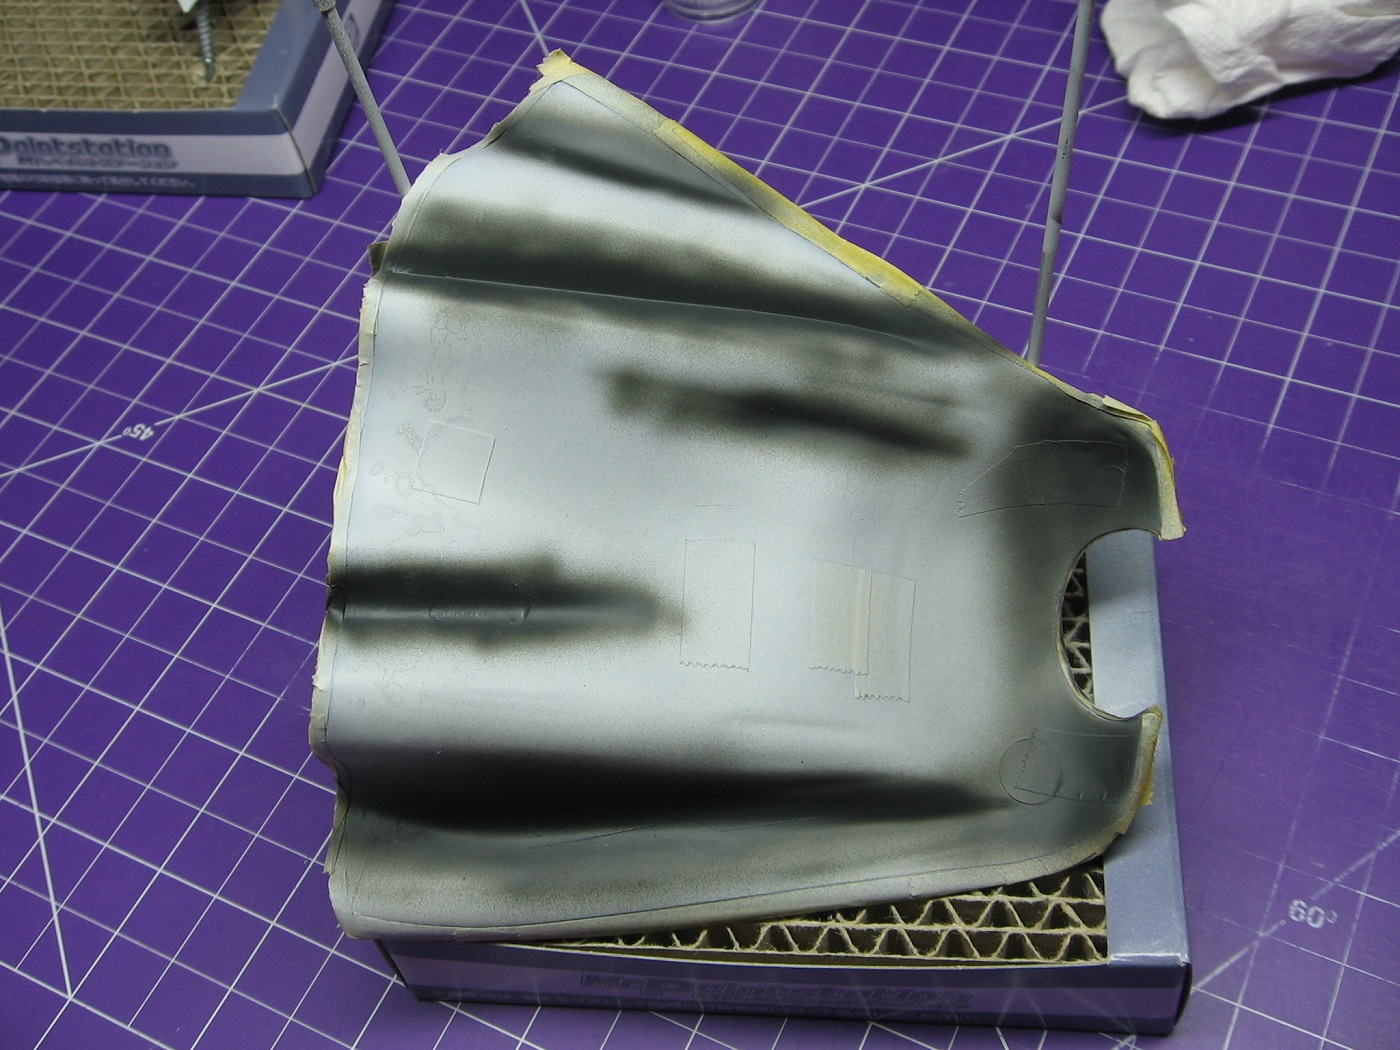
Also airbrushed a coat of Panzer Grey on the cravat and working on handbrushing some of the other smaller parts.
Feedback/critique is welcome. Thanks for looking.
Cheers,
Mark
5 Likes
I think it looks good! Nice control on the airbrush.
What color are you planning for the cape again?
Thanks. Panzer Grey on the outside, Red on the inside.
Airbrushing is taking a bit getting used to. I did tend to spray in bursts, not quite yet getting used to keeping my hand moving. I find it easier with the single action siphon feed. This pre-shading was done with a dual action gravity. That feels clumsy to me, so far.
2 Likes
Ah, awesome. Panzer grey is such a versatile color. Can’t wait to see that red applied.
I think that with a little practice you’ll find that dual-action brush to be a workhorse. It’s an odd hand/finger coordination thing, and it took me a while to learn. But messing with thinning and PSI (generally, thinner and lower PSI) allows some really targeted, detail work.
1 Like
Yes, it is odd. Trying to coordinate how far back to pull the trigger for the amount of paint one wants with keeping the hand moving for even coverage.
I’m a bit concerned that the swaths of pre-shading I’ve laid down are too wide.
I suppose it’s a bit of an odd piece to learn pre-shading for the first time on, what with the cape folds having curves in them, unlike, say, panel lines which are more static.
Should get a coat of the red on today. Hoping I like it.
Cheers,
Mark
With a dual-action AB, I find that what works for me is basically just press down the trigger for air flow and focus only on pulling back a little for paint. I don’t release the trigger until I’m putting the AB down for a break, so I’m only focused on the paint flow. I’ve got a MAC valve on my air hose, so I can make small air adjustments as needed.
Also, I practice sometime on cardboard. Girl kid recently decided to toss an old coloring book, so I kept it and it’s in my workshop now, I’ll practice more with that to get better at control and aiming.
3 Likes
 this! Haven’t really thought about it since I was a rank beginner myself, but yes: the air is either on or off. I’m not using that trigger to control PSI beyond that.
1 Like