The re-scribing wasn’t actually that hard - I spent more time correcting my mistakes [:D]. I couldn’t seem to find two panel diagrams that were the same, and these disagreed with actual photos so it was difficult to decide which lines should be included. I went by the photographs wherever possible, but there are few that show the top wing panels and even fewer that show them clearly.
The hardest part was smoothing and thinning the trailing edges, and cleaning up the leading edges. They’re pretty ragged and needed a lot of filling. And the plastic for the wings was harder than for the fuselage, probably because the plane was intended to be suspended from the ceiling.
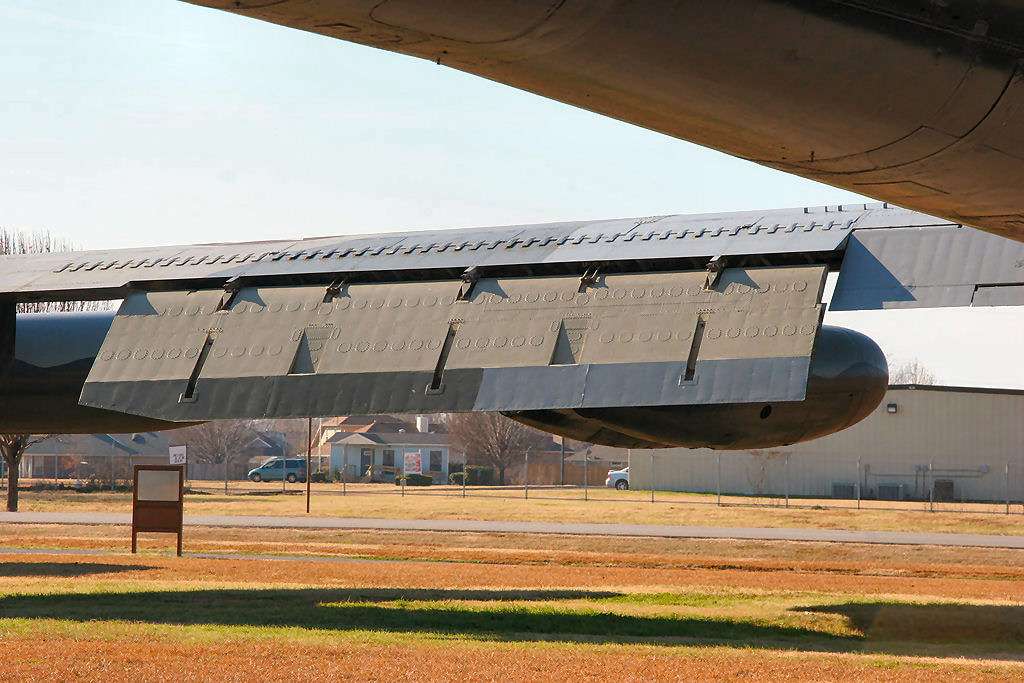
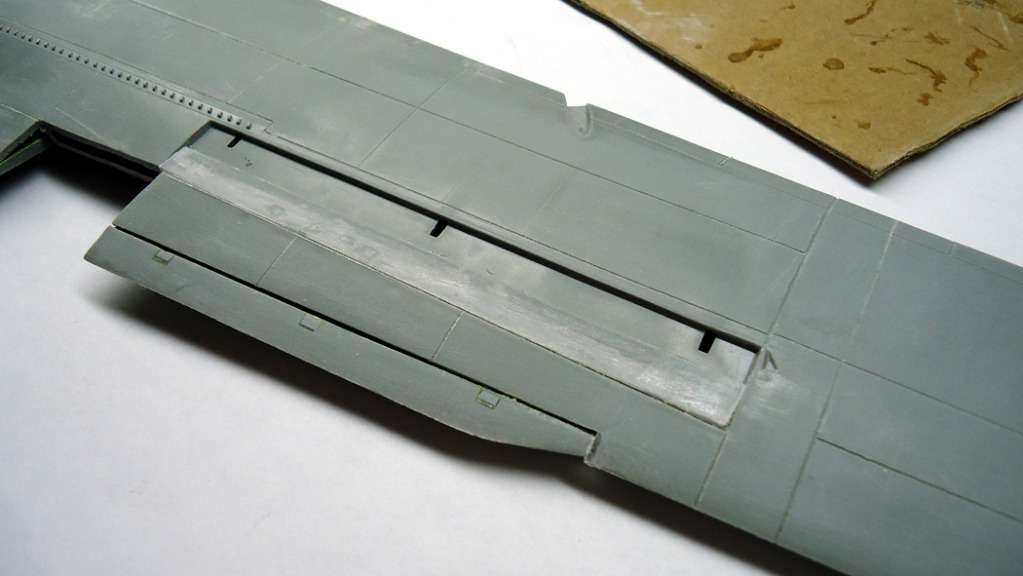
I’m close to finishing the wings and right now I’m tackling the spoilers. The kit has a slot for the spoiler but the whole spoiler assembly (including the “feathers”) fits into the slot when actually, the feathers overlapped the wing as shown below:
I filled in the lower part of the slot with a 7 mm strip of plastic.
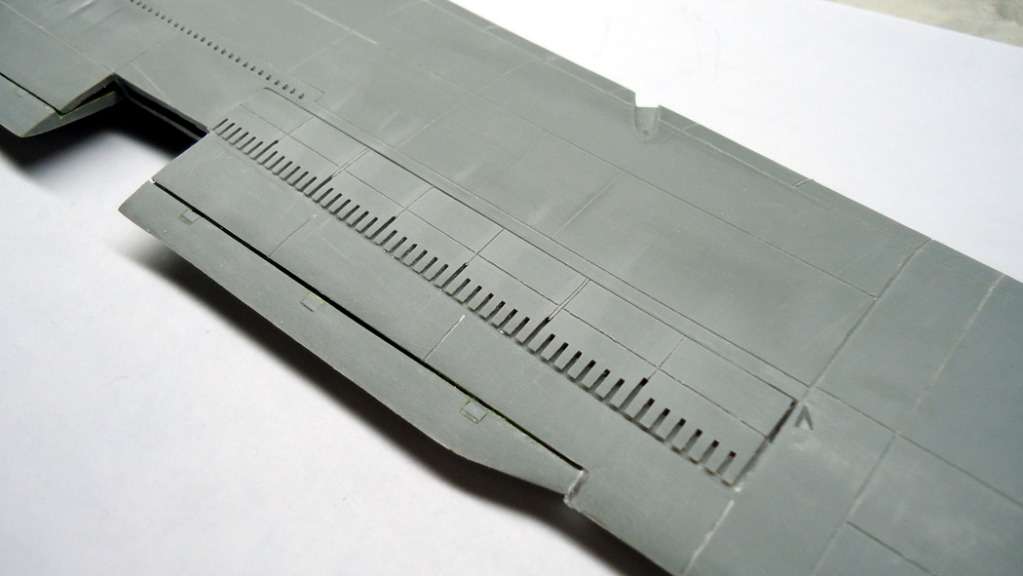
I then had to sand the strip, the wing along the edge of the strip, and the back side of the spoiler behind the feathers to get the spoiler to lay flat. I also sanded the feathers from the top to make them thinner (the spoiler is just tacked on in the picture below to see how it fits).
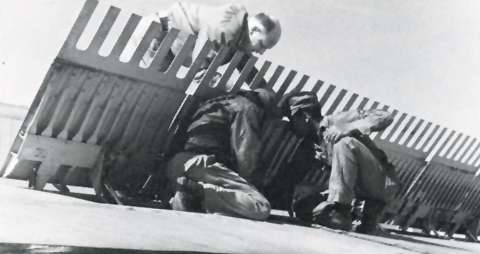
Thanks, Dom. They were actually flat, as you can see in the photo below, just like they were rendered in the kit. On the other hand, the spoiler body was really tapered but the kit rendered it flat. To compensate and keep the spoiler even with the top of the wing, you end up tapering the feathers.
(Photo courtesy The Boeing Company)
I further thinned the feathers so it’s hard now to see that they are slightly tapered. You have to be careful not to get them too thin or they’ll break off. Being tapered slightly makes them a little stronger.
Hey Russ, I’ve been looking at that spoiler shot you provided:
What I am seeing is that the top of each feather on the spoiler has a re-enforcement, like a small bubble ridge that goes from the back edge up past the feather root and a few inches back from that. Maybe to stop those feathers from ripping off?
you can see the arch and shadows of those ridges if you blow up the photo.
Am I seeing things?
Dom
No, no, no. I think you are way off base there Dom. I think they are back scratchers!
Ken
Errrr, that’s very embarrassing Ken;
I thought I was the only one who used 'em fer that!
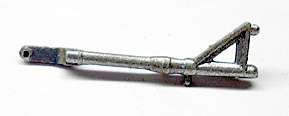
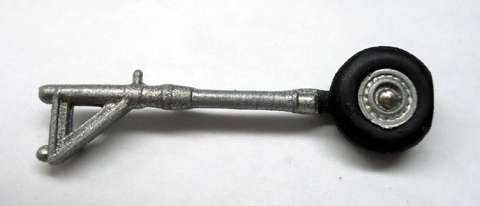
I didn’t care for the way they did the outrigger wheels on this model - the wheels are molded together with the strut yokes. It’s possible they did this for strength so the outriggers could support the pressure from the sloped wings.
I decided to remedy the problem. I happened to have the main gear wheels from an old 1/72 F-4 model that were just about the right diameter. They are a little thick, but you can’t have everything [:)].
For the axels, I used a common sewing pin. I inserted a pin through each wheel with the head on the outside hub and glued it into the wheel, making sure the pin was perpendicular to the wheel all around.
Next, I carefully cut away the wheels from around the yokes. If you use a spru cutter, be careful not to deform the yoke. Then I cleaned out and sanded the yokes. I drilled a hole the size of the pin through each yoke at the axel point.
NOTE: If you plan to flatten your wheels, do not glue them to the struts at this time. Wait until the model is ready to stand on its feet and then attach the wheels so you can match the flat spot to the tilt of the wings.
Once the glue around the pin is hardened, insert each wheel through the hole in the axel and cut off the excess pin, then glue the axel in place.You will also need to file down and finish the hub on the outside of the axel.
I’ve never been happy with the way they did the outrigger wheels on this model - the wheels are molded together with the strut yokes. I know they did this for strength so the outriggers could support the pressure from the sloped wings. Any type of plastic axel that could support the weight would have to be oversized - anything smaller would break.
Once the glue around the pin is hardened, insert each wheel through the hole in the axel and cut off the excess pin, then glue it in place. I also plan to glue the inside of the wheel to the strut for added strength. You will also need to file down and finish the hub on the outside of the yoke.
Cheers,
Russ
Nice work there Russ!
They never painted those outriggers up in Hawaiian colours,
did they?
I don’t think anyone other than the super-geeks will spot they
are from a 1/72 F-4. By the way, nice drilling job there,
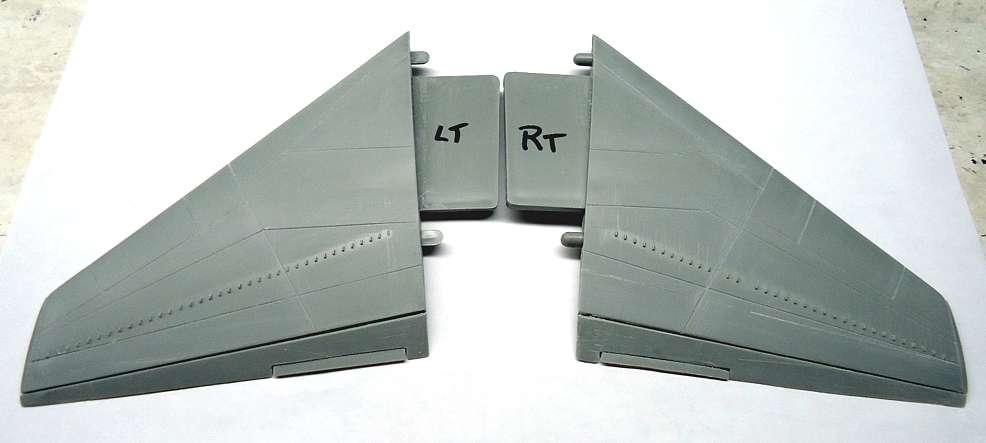
Haven’t made a lot of progress lately - been pretty busy. I did manage to finish scribing the horizontal sabilizers (see below). I cut the trim tabs loose and positioned them at a slight angle. I also thinned out the vortex generators.
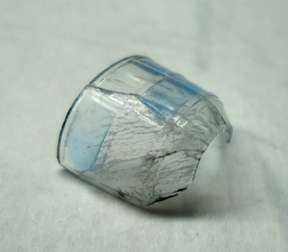
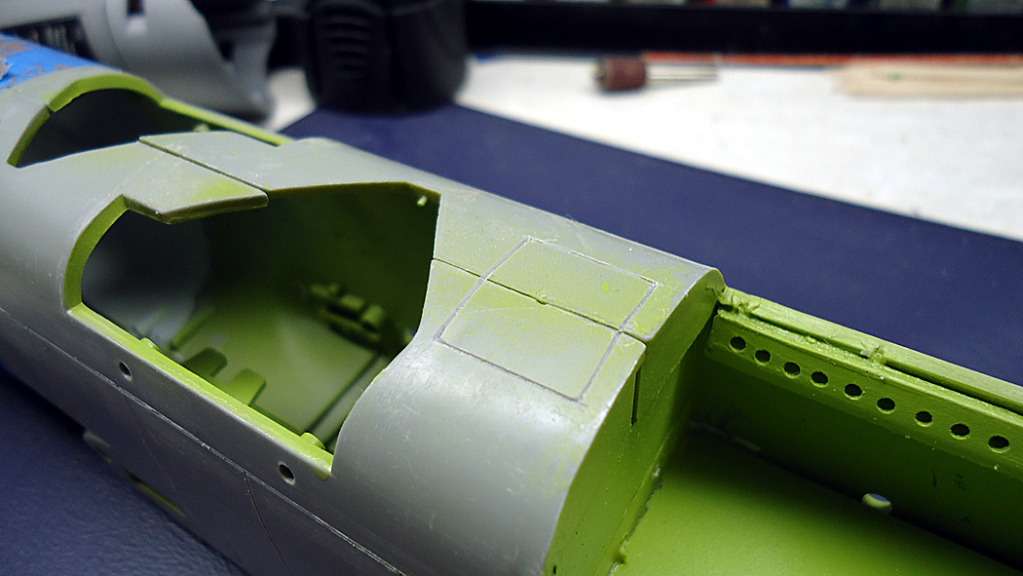
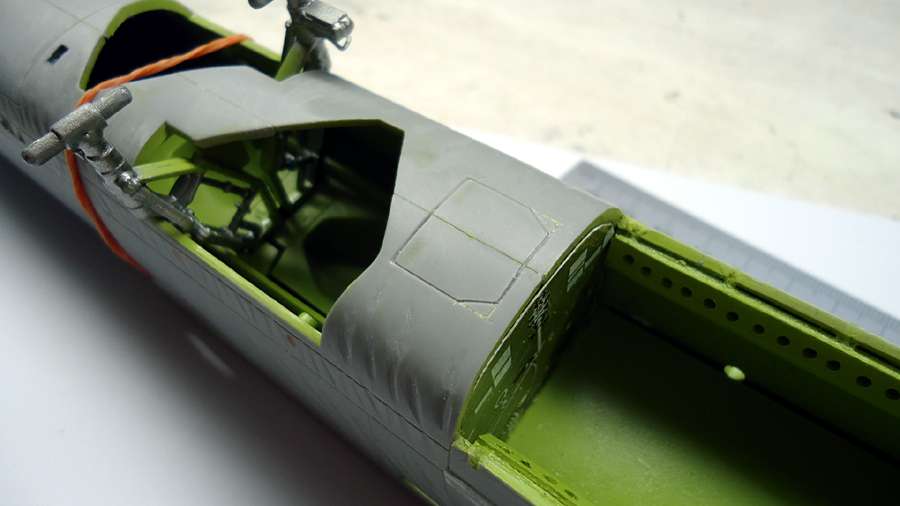
Ran into a bit of a problem. I was masking my gunner’s canopy when it developed a series of fine cracks. They were so tiny I figured I could take them out with Future. But as I was about to paint it, the thing fell to pieces (see below - I glued it back together for measurements). Heartbreaking [:(].
Anyway, I decided to try and build the canopy from scratch. Not sure how this is going to turn out. So far, I have the frame finished and once it’s painted on the inside, I’ll start on the clear panels. Wish me luck! [:D].
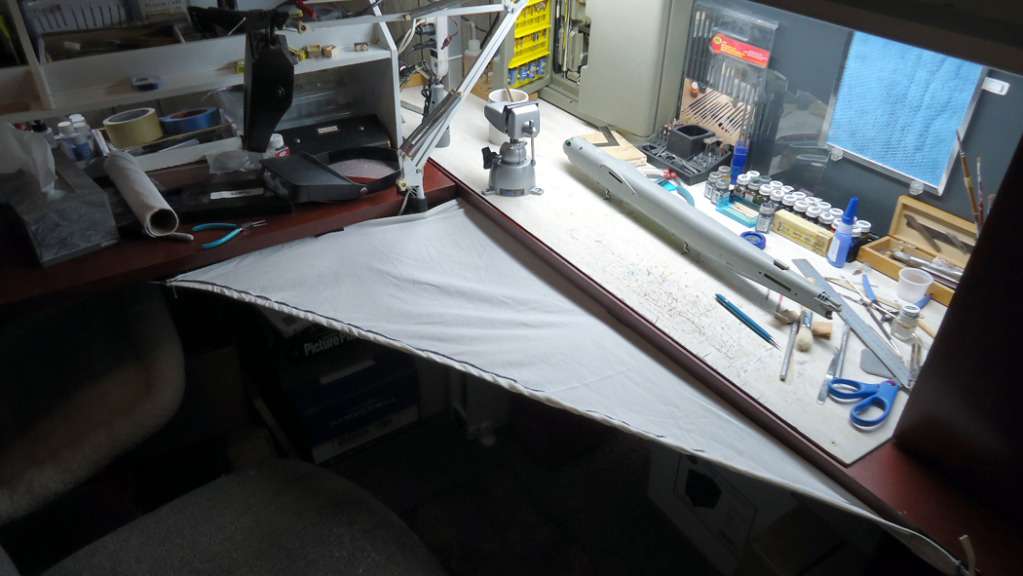
Here’s something that I designed and my wife made for me that may help you save those small parts that fly off the desk. It’s a piece of cloth with some elastic along the front that attaches to your worktable with velcro and hooks.
The elastic keeps the material pressed against your waist and the velcro allows you to remove it for cleaning. The elastic sticks out at either end and is tied to two hooks. The adhesive sides of the velcro are stuck up under the edge of the worktable.
I have mine cut at an angle because it fits my work area better but you could use hinged arms with latches if you wanted a more rectangular or square shape.
Stumbled here by accident. I spent a year at U-Tapao 68-69 as a member of a bomb load team - 4258th MMS. Your work is unbelievable. Stateside I spent a couple of years loading nukes on the H model and one year with the B-58 right before they were retired. Thanks for the walk down memory lane - so surreal.
Thanks for the good words! Great to meet a fellow airman from that era! [:D]. I was stationed at Kadena, Okinawa with the 70th Bomb Wing out of Clinton-Sherman AFB, OK in 68 on an Arc Light deployment. I always admired (and felt sorry for) the munitions folks - no one worked harder or faced greater risks than you guys did.
Hope you’ll come back and visit. If you see any mistakes in my work or have any suggestions or comments, I would really appreciate your posting them.
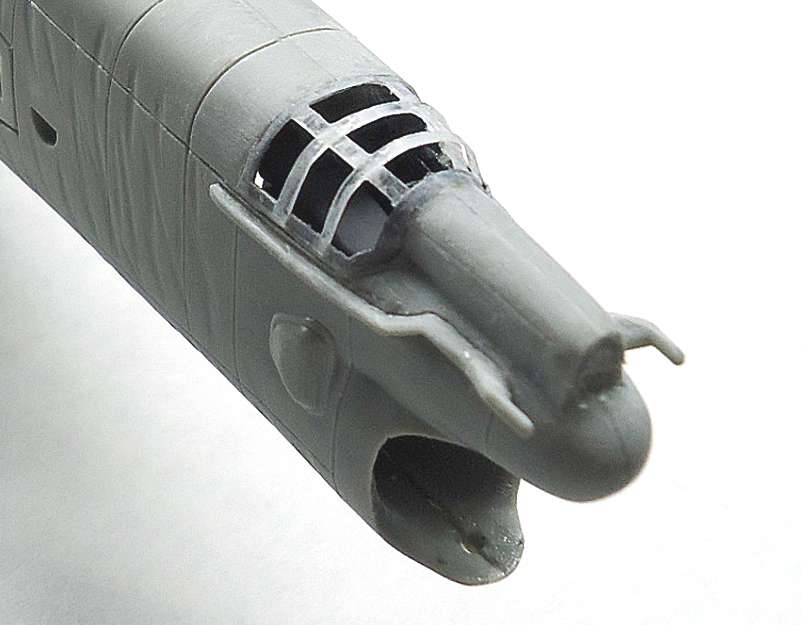
In a previous post, I had scribed the height finder radar cover as shown in the first picture below. However, it’s actually shaped as shown in the second picture. Sorry for the misinformation.
Thank you Russ! I have added this to the long list of details you have already pointed out on this build. You are doing a great job detailing this aircraft and documenting it for everyone’s benefit here. Thank you for spending the time sharing it with us!
The D Model still had an optical bombing system. Apparently, it was a great place to rest your head on those long flights back to Guam. At least that is what an old Radar of mine told me.