Greetings Everybody!
My name is Russ, of R&R Modelers, a friendship and collaboration between two modelers, Ron and I, to make realistic small scale aircraft model displays, for our own enjoyment. We have posted some of our projects (at various phases of completion) on this forum and they may be seen at:
http://cs.finescale.com/fsm/modeling_subjects/f/48/t/158982.aspx
http://cs.finescale.com/fsm/modeling_subjects/f/48/t/159017.aspx
http://cs.finescale.com/fsm/modeling_subjects/f/48/t/159041.aspx
This thread shows the 1/144 Scale Spartan 7W Executive. The Spartan 7W Executive was produced during the depression of the late 1930s and early 1940s, and included several trend-setting features such as retractable undercarriage and an all metal structure, and was far ahead of its time – in performance, in appearance, and in luxury. The Spartan 7W Executive, was the brainchild of William G. Skelly, of Skelly Oil, and was a showstopper. Designed for wealthy clientele, specifically rich oil executives who wanted speed, comfort, and luxury, and were willing to pay for it, the Executive 7W was spacious and featured 18 in (46 cm) of slide-back seat room for front-seat passengers, arm rests, ash trays, dome lighting, deep cushions, cabin heaters, ventilators, extensive soundproofing, large windows, and interior access to the 100 lb (45 kg) capacity luggage compartment. Only 34 were produced and over half remain airworthy.
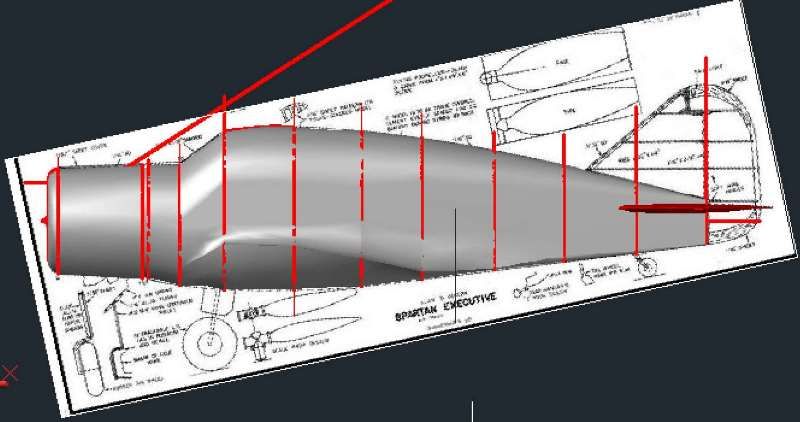
The model was designed using AutoCad, and plans found on-line. The image below shows the fuselage sections I traced, making closed polylines, which I then moved to the proper location on the plan view of the airplane and rotated them 90 degrees.

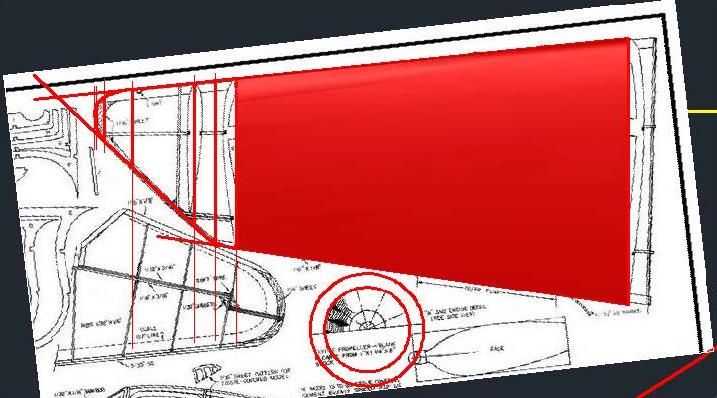
The image below shows it after I lofted the polylines together to make a solid.
The image below shows the wing under construction using the same procedure…
…And the procedure shows the stabilizer.

The image below shows it with the wings and the stabilizer, before I mirrored the stabilizer to the other side.
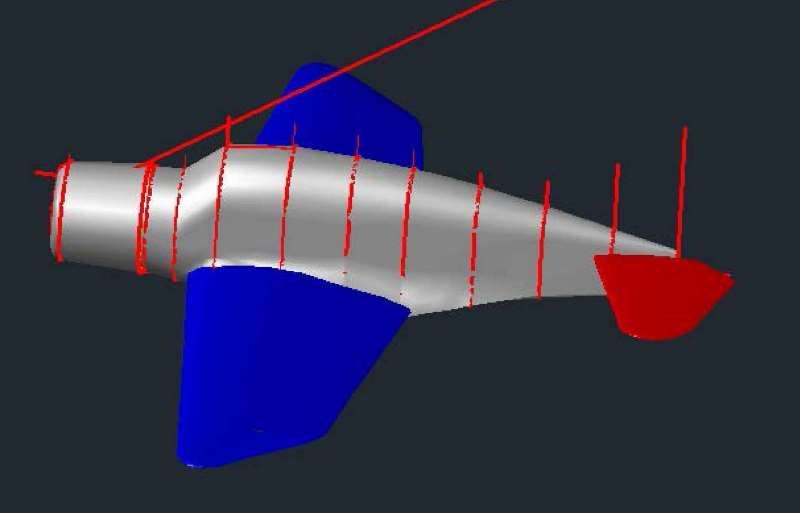
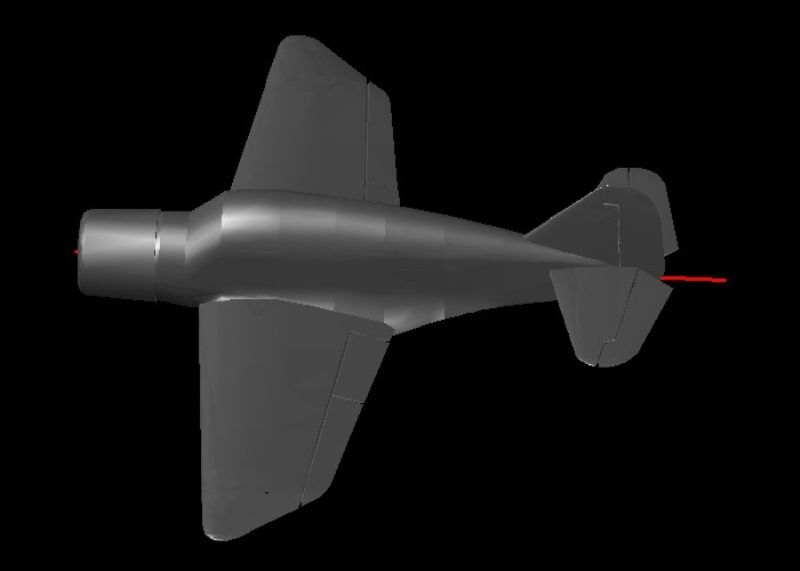
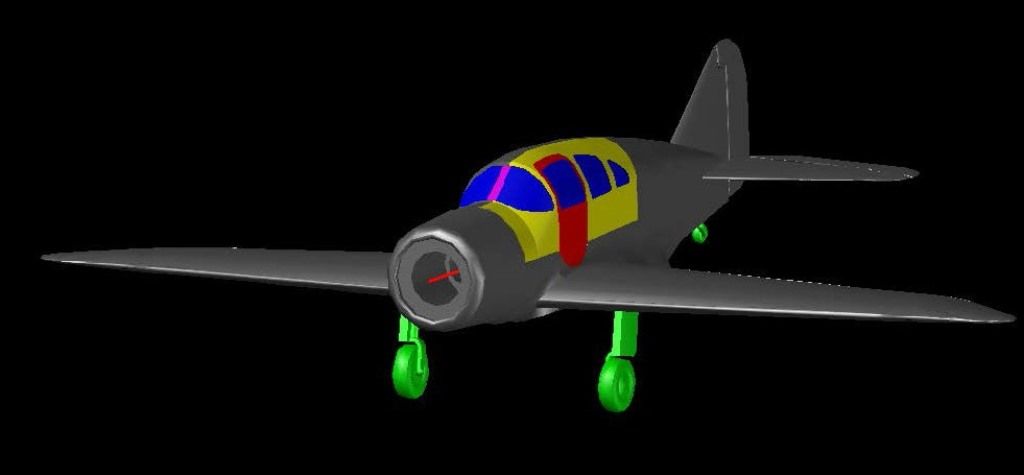
The next 2 images show the airframe after I used the Union Command to join the airframe, wings, stabilizer and tail. Note that I have also “etched” the control surfaces.

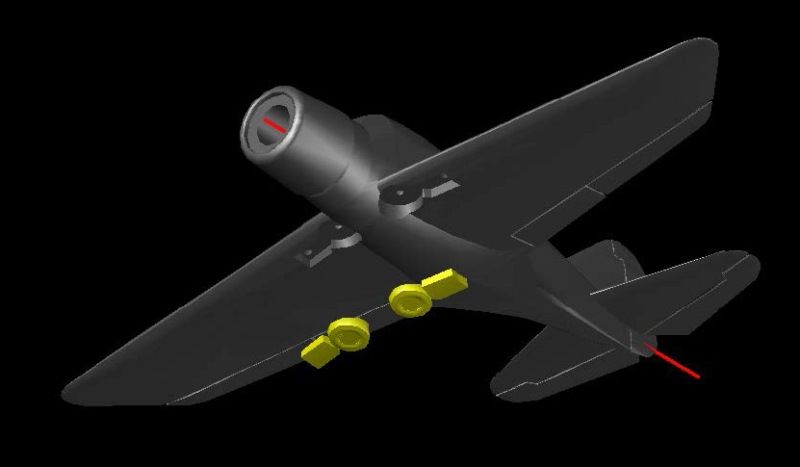
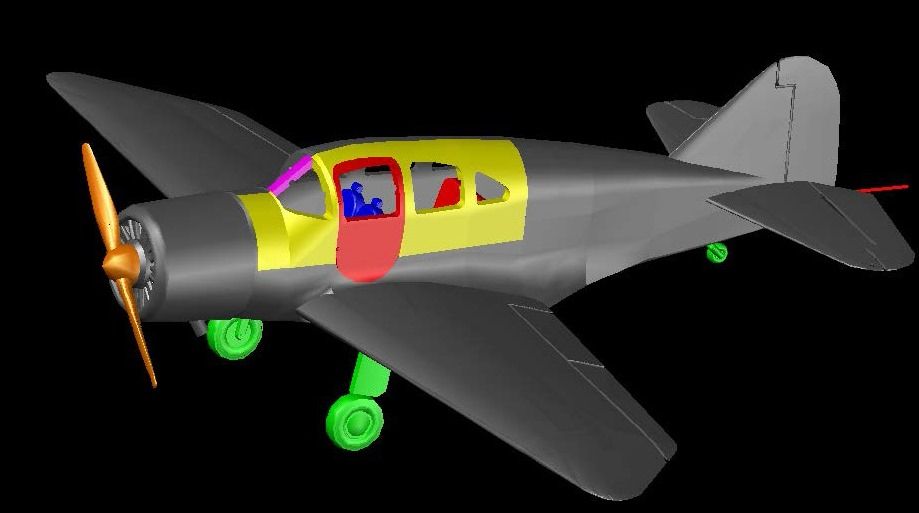
The next thing I did was make the main landing gear. I made them both extended…
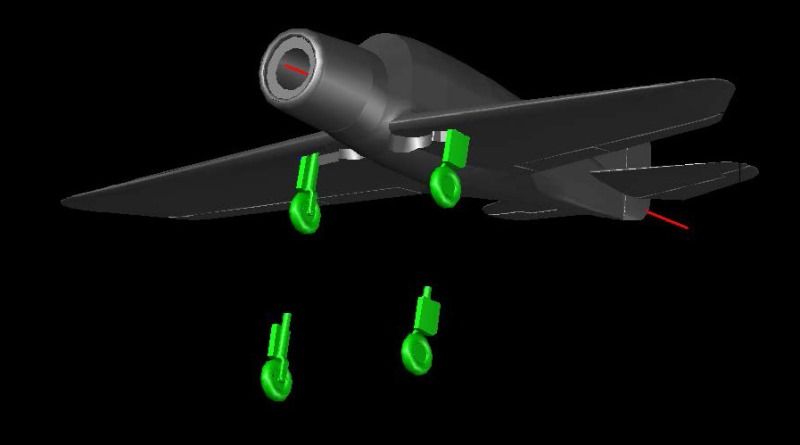
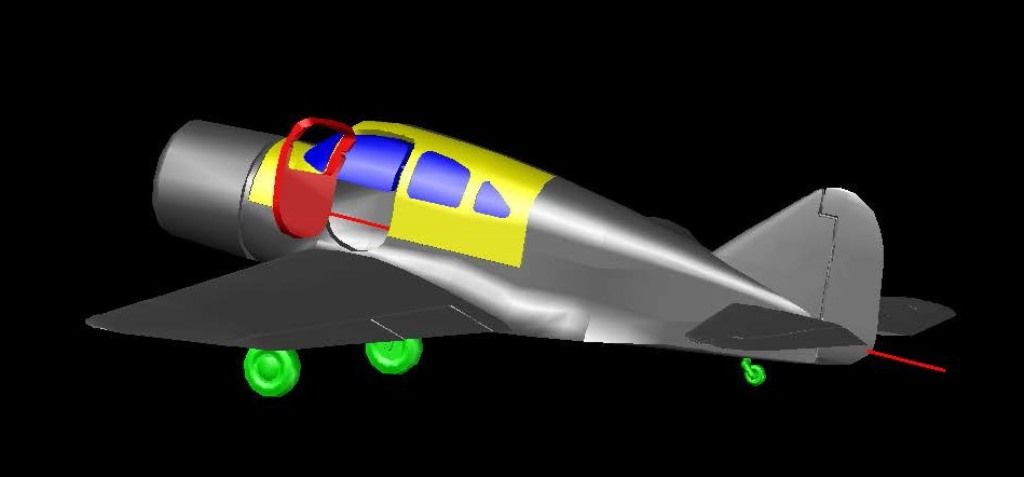
…And retracted.

Next I cut out the glass portions of the cockpit creating separate parts out of them. These parts, shown in blue below, will be “printed” in clear plastic. Note that I also made the rear gear.
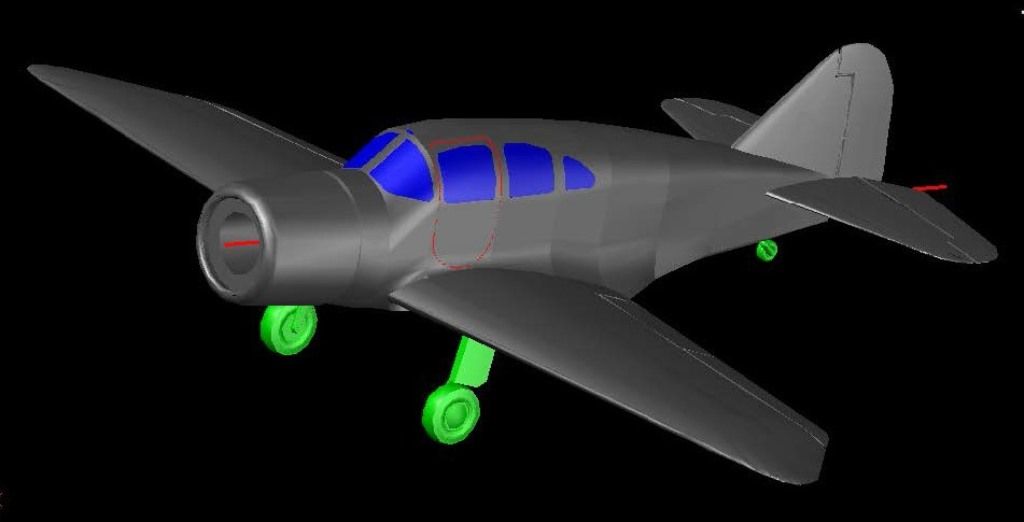

The image below shows windows and windshield part separated from the airframe.

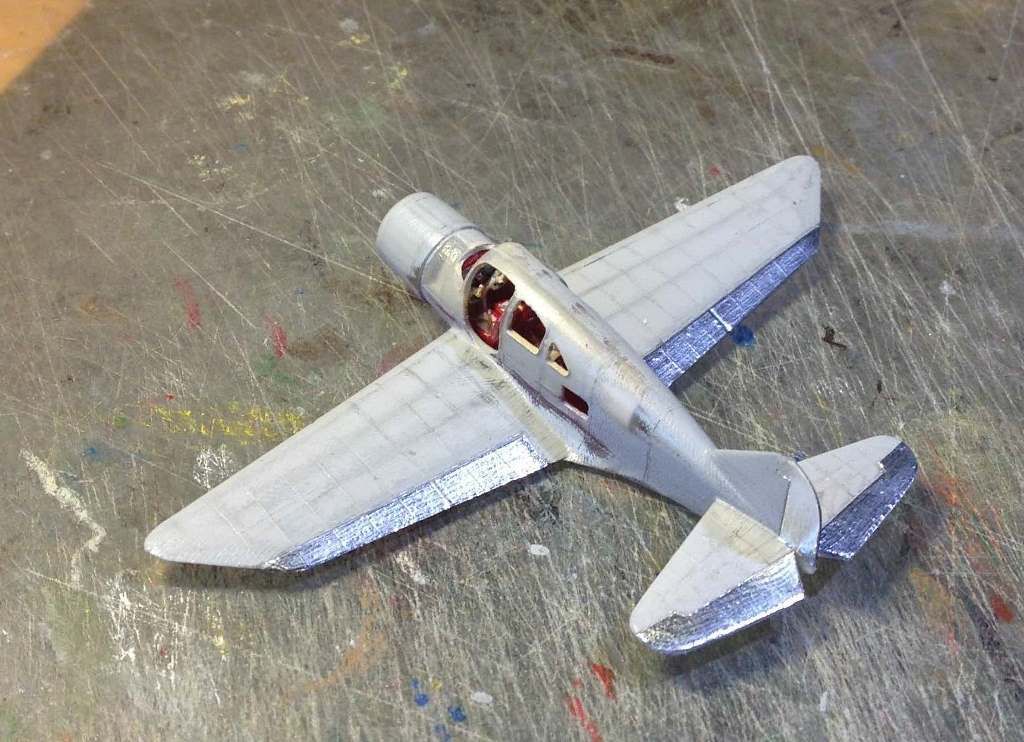
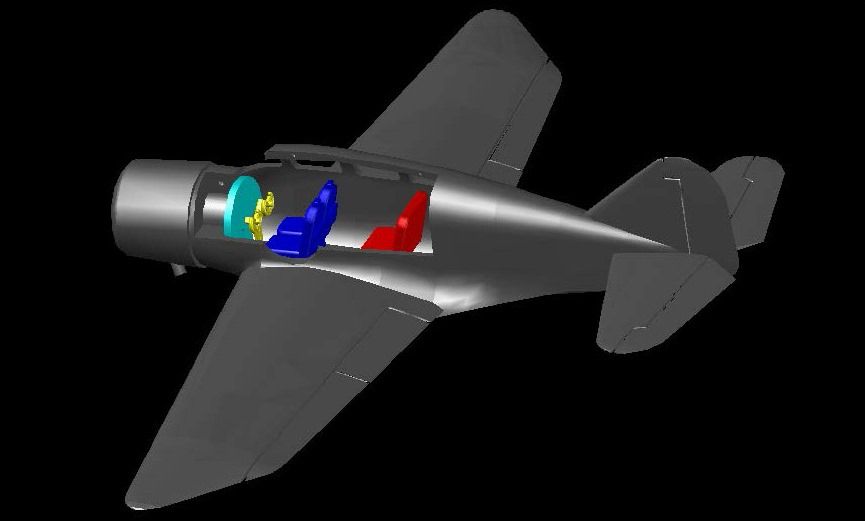
Because I intended to make an interior for the model, the next thing I did was slice up the airframe to make the port side of the cabin a separate piece. I also cut a hole out of the port side piece for the door.
I made the door a separate piece in case the modeler wanted to display it open.
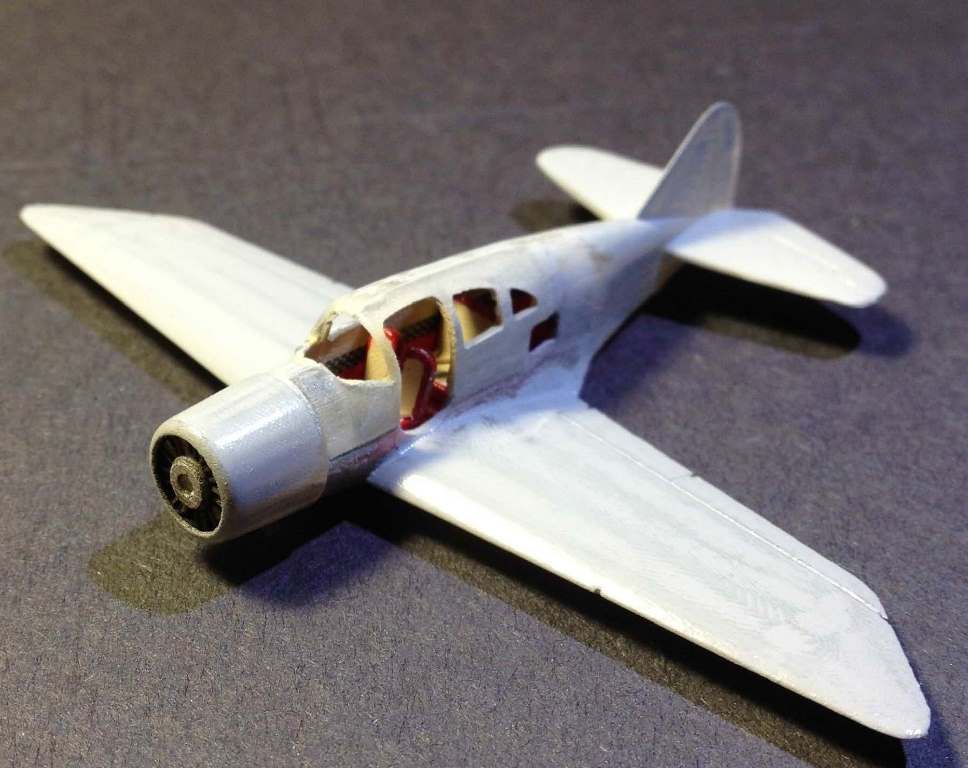
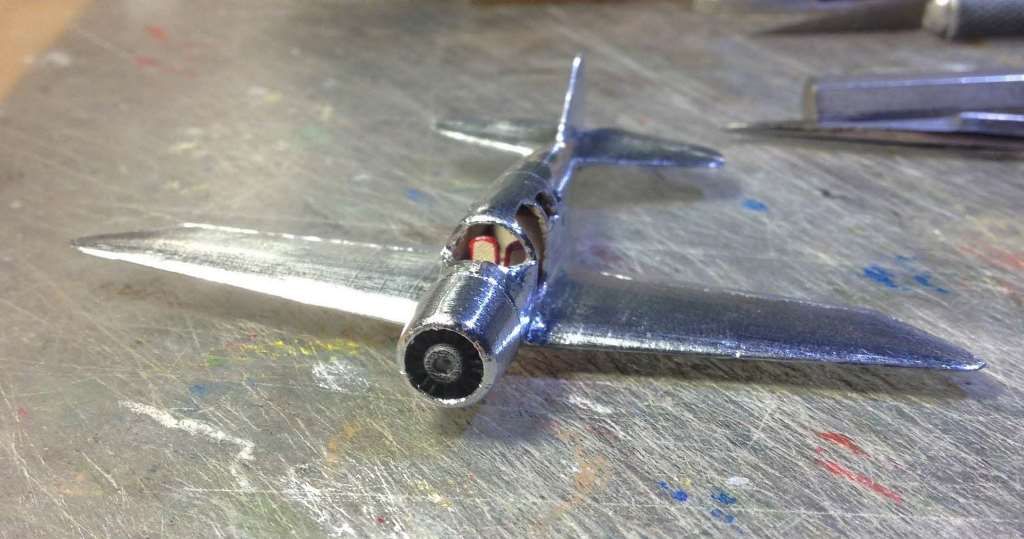
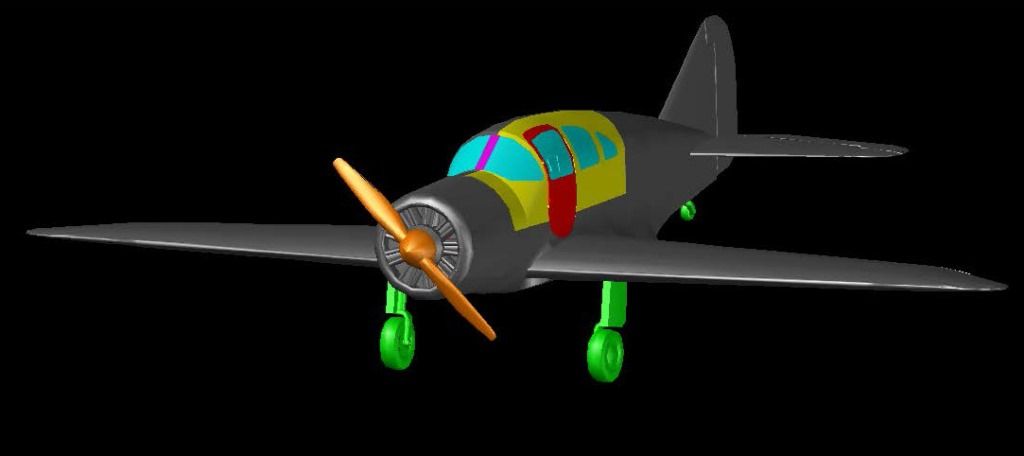
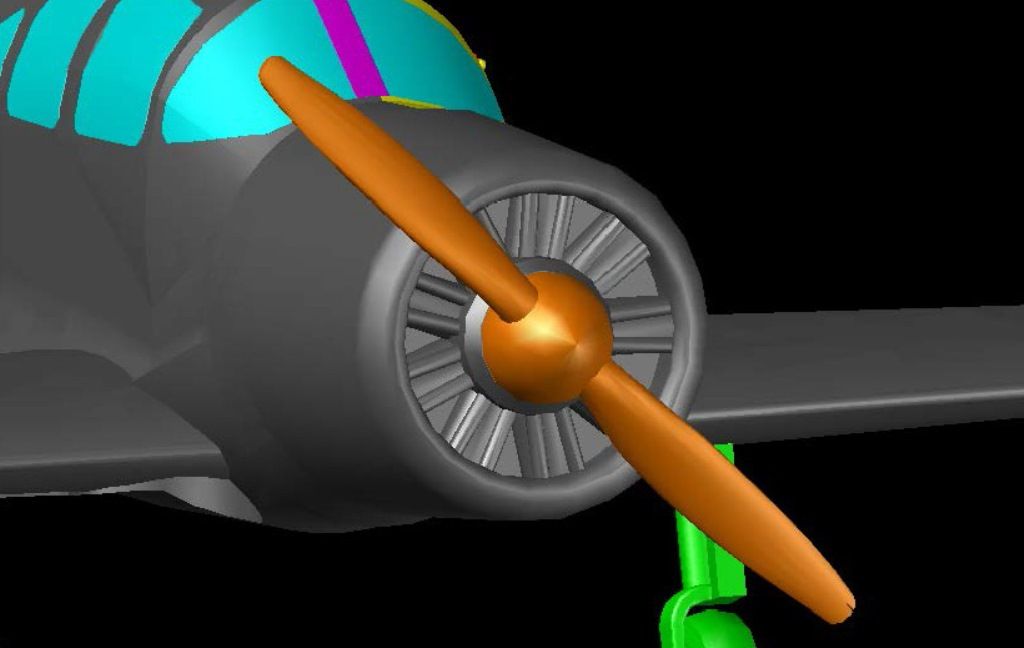
Next, I made the propeller, which I modified slightly from one I had made before.
I had to add the exhaust pipes on the underside.


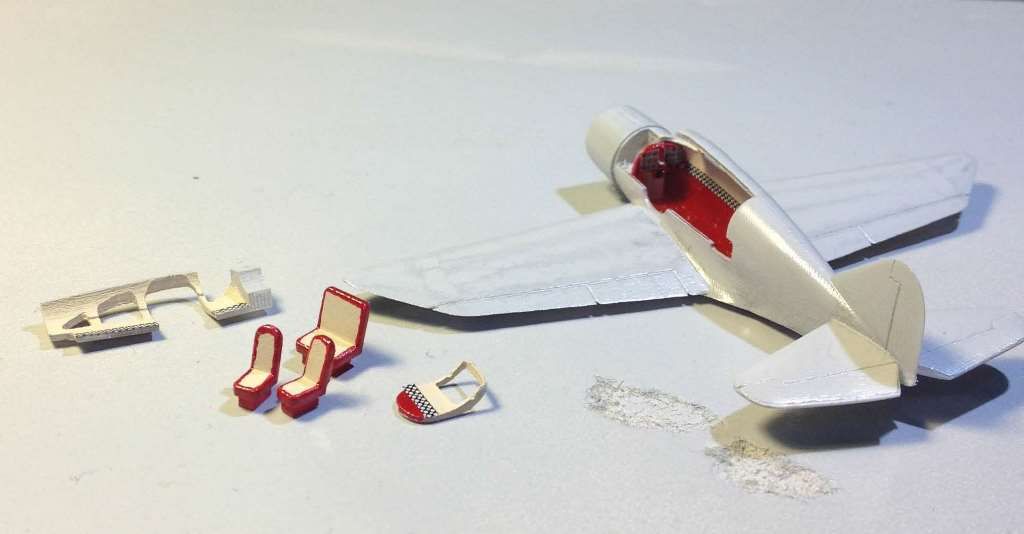
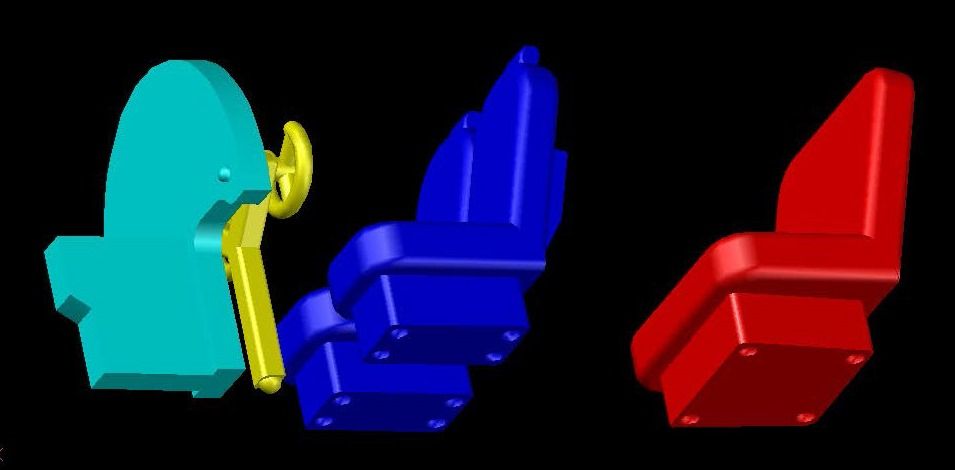
Next, I made seats, the instrument panel and control stick.
I added pedals to the deck and magazine holders to the backs of the seats. Not many will know they are there, but the builder will.

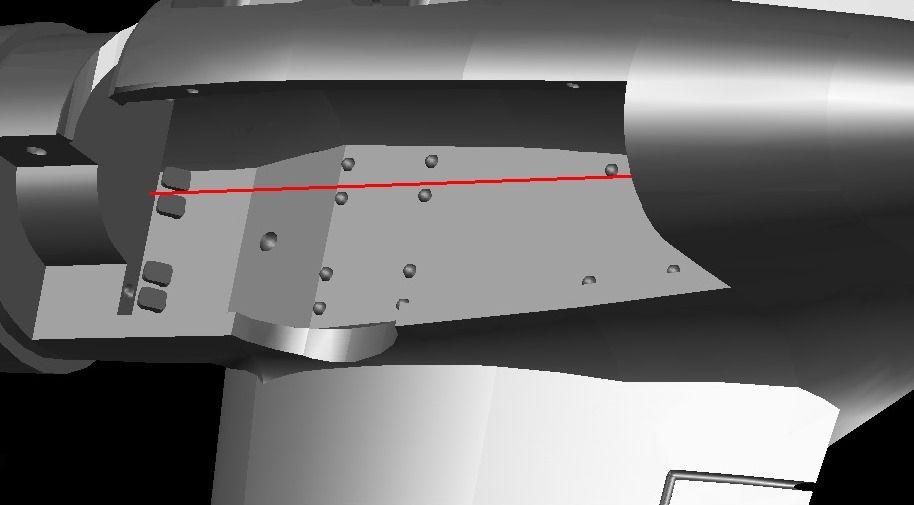
Next, I made connection points for the interior parts…
…With mating parts on the deck on the interior of the airframe.
Next, I detailed the instrument panel. The image below shows the layout I made, based on pictures.
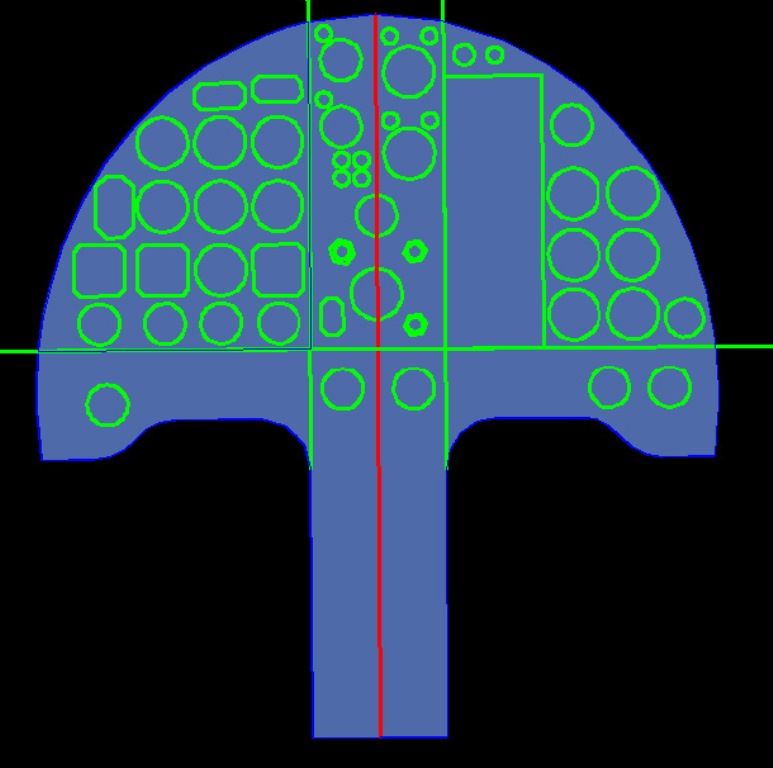
The images below show the completed instrument panel.

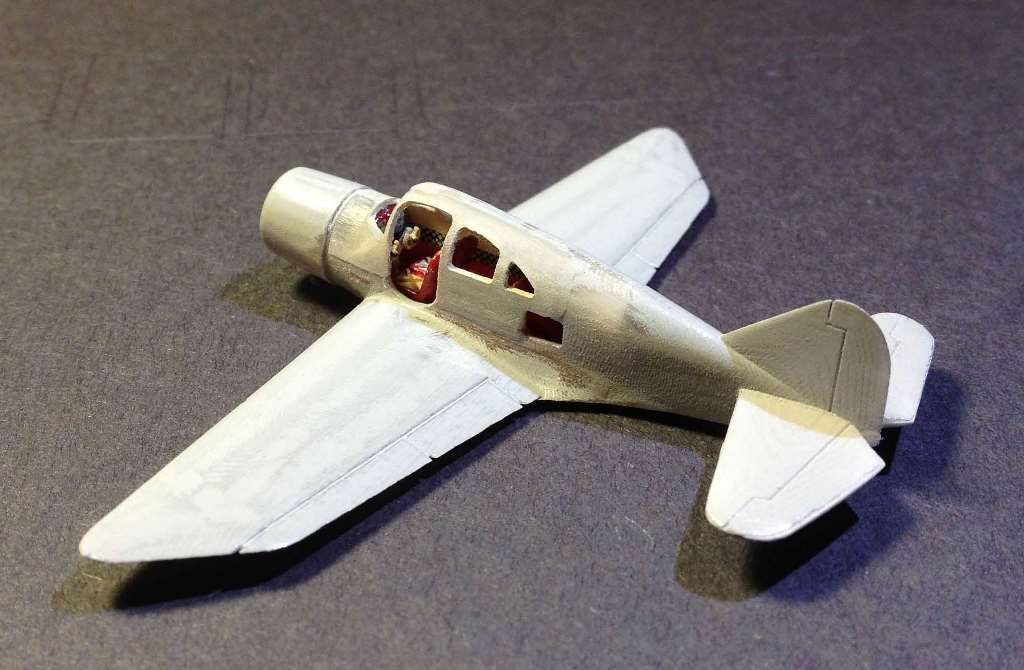
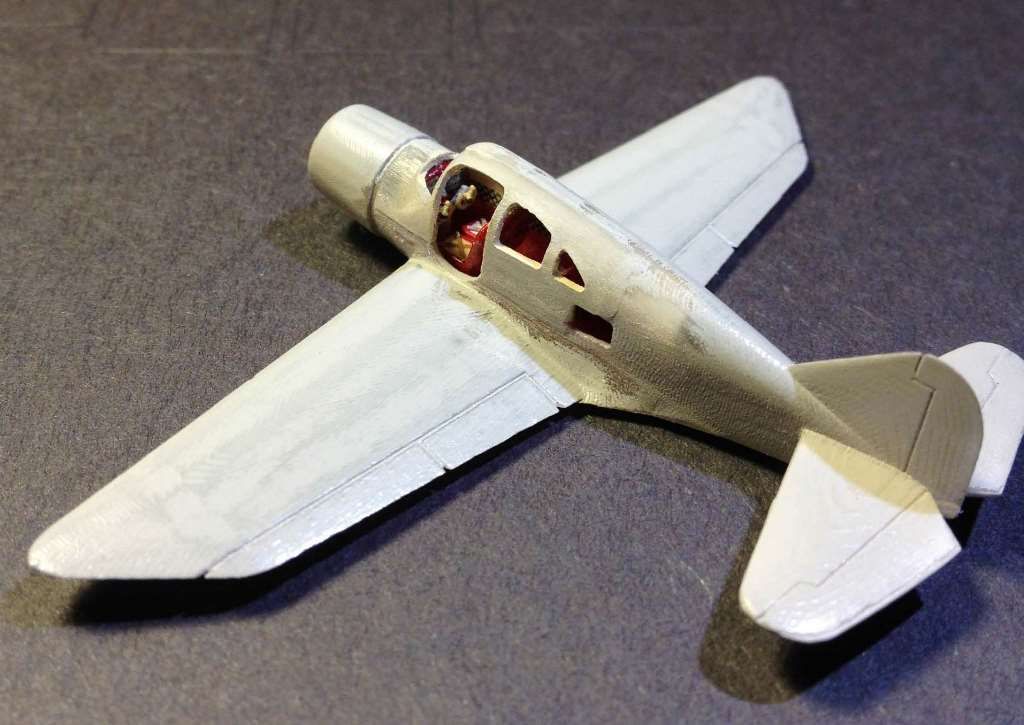
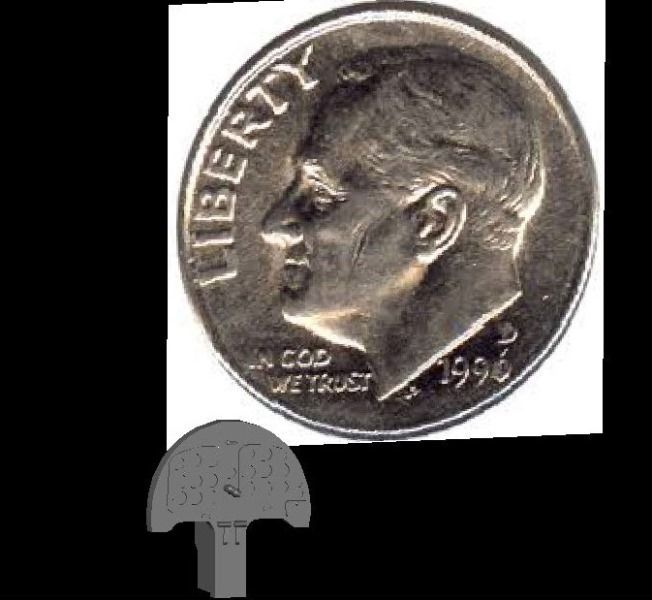
For a reminder of how small it is…
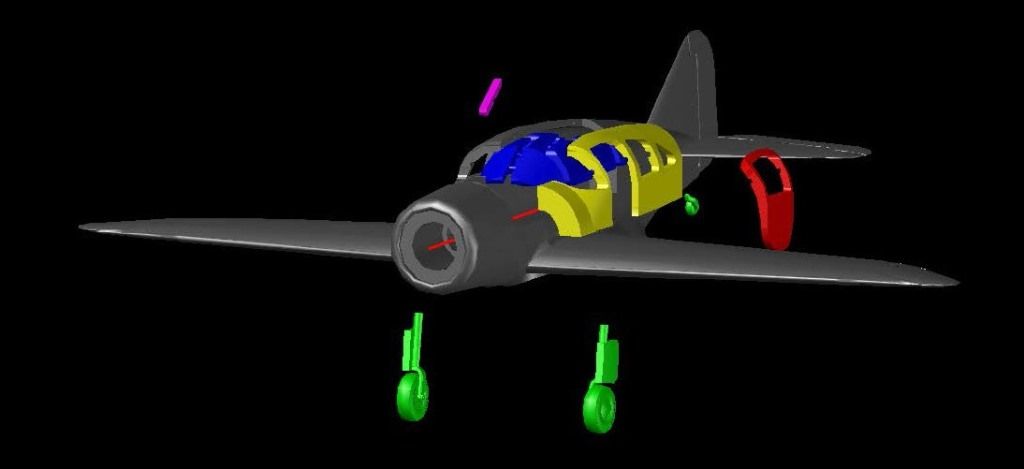
The image below shows the completed model “exploded” showing the individual parts.

The image below shows the parts that make up the kit.

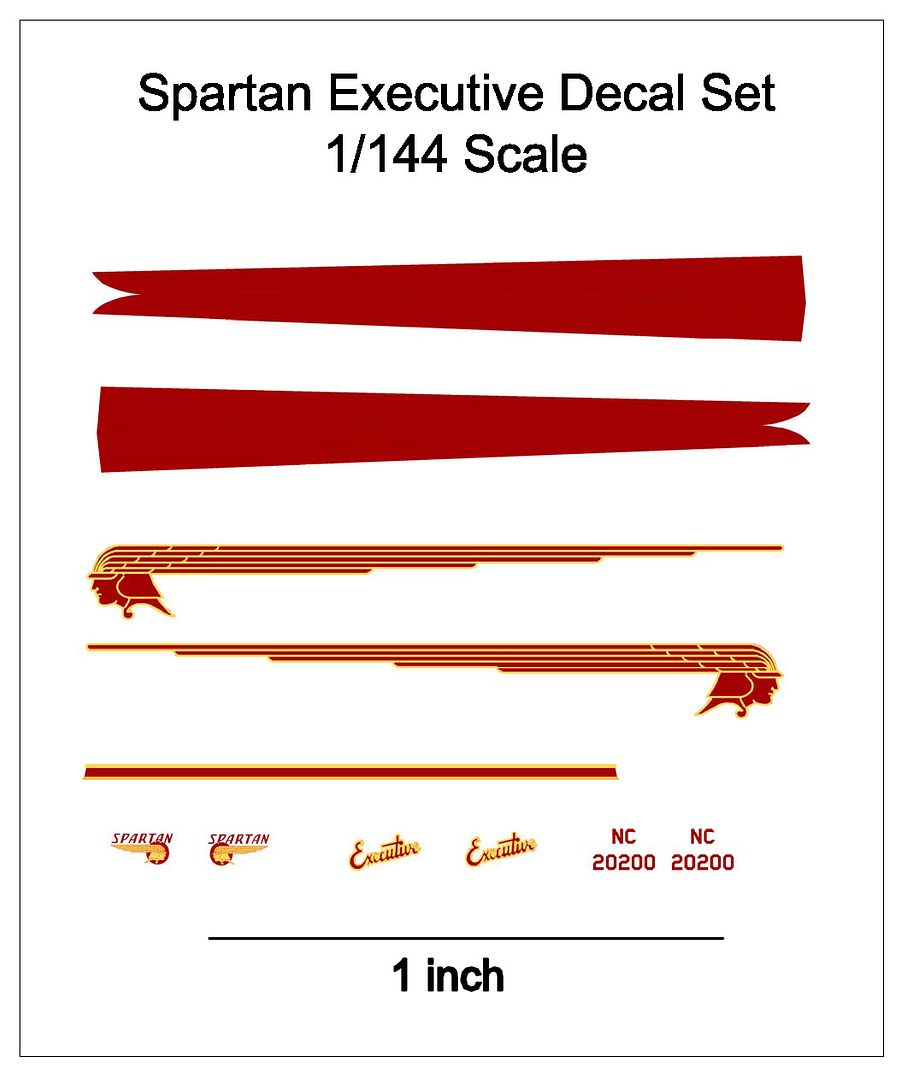
I also made a decal sheet for it. It is designed for printing at 25%.
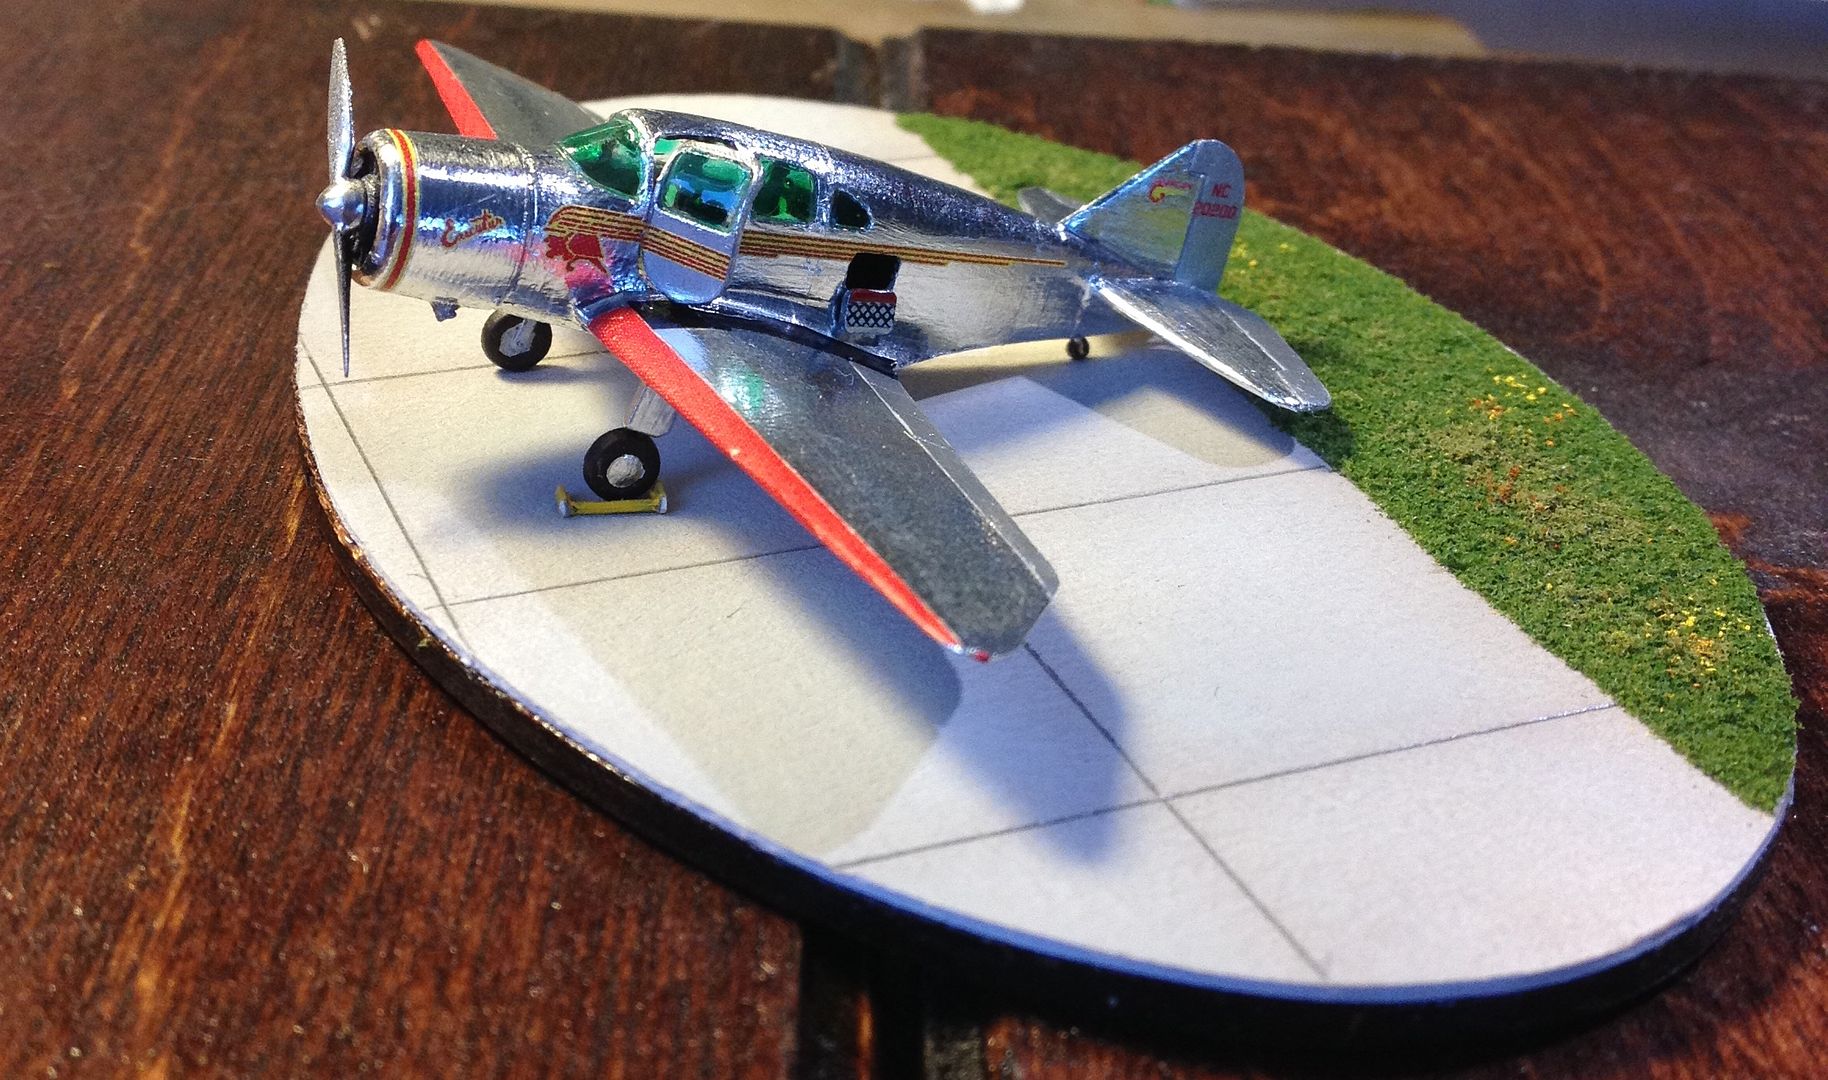
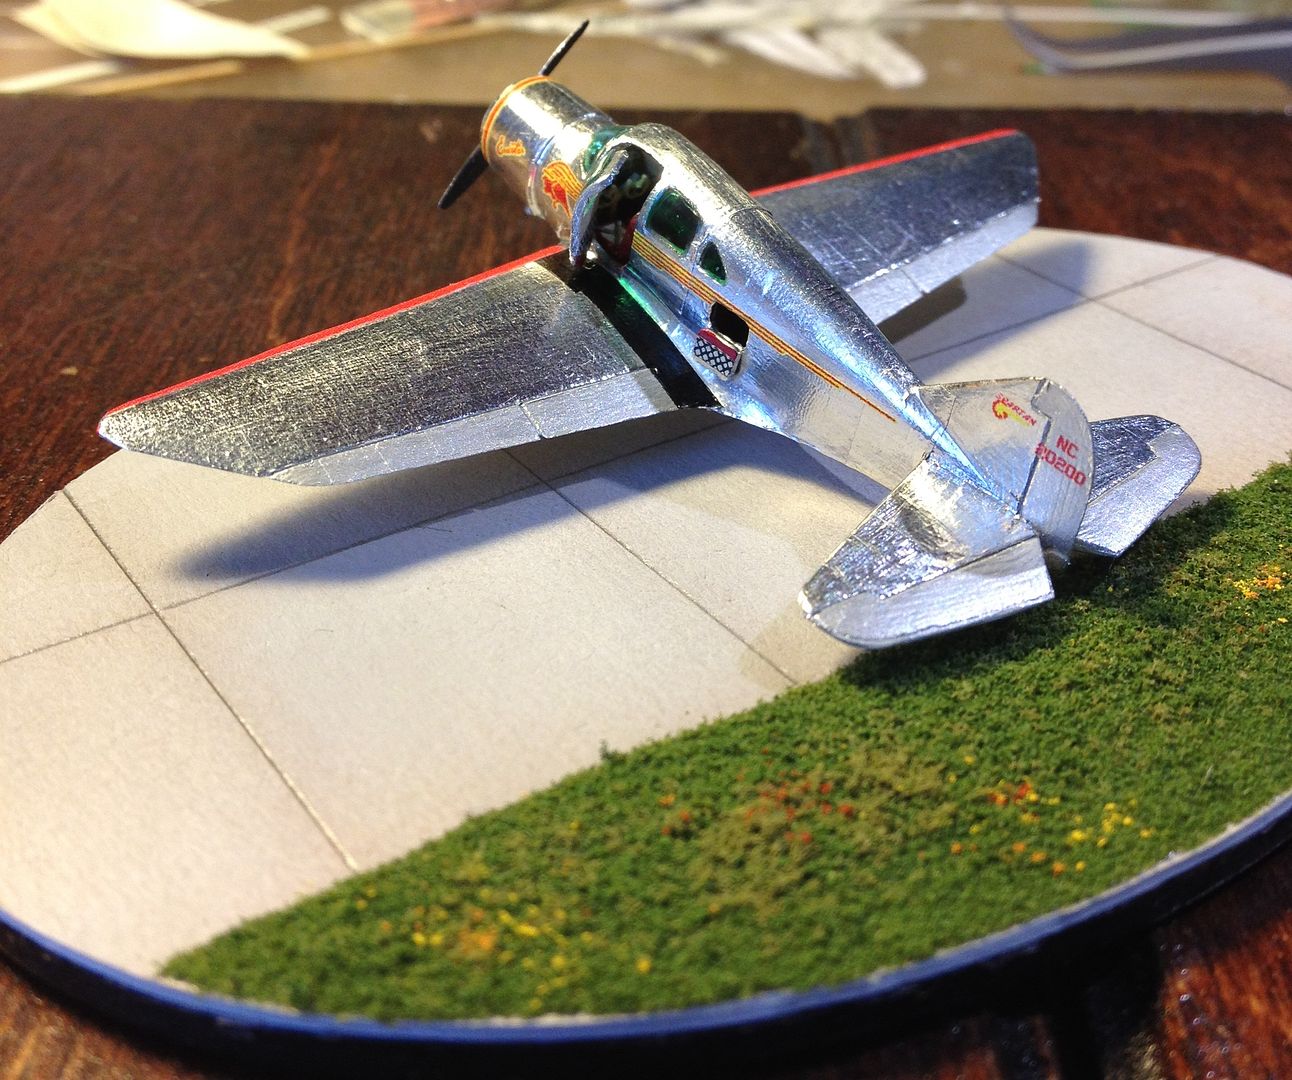
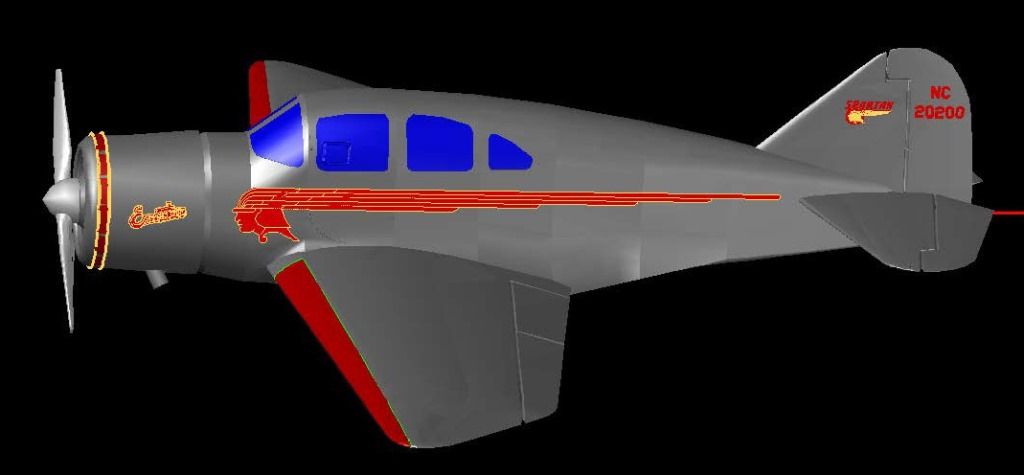
The image below shows it with the decals applied (sort of).
With the model completed, I uploaded it to Click2Detail (C2D), who offers them for sale:
https://www.click2detail.com/store/p170/1%3A144_Spartan_7W_Executive.html
To Be Continued…