Zvesda 1/2700 Star Destroyer with custom lighting

So I got this while I was away as something to do at my folks home while I was helping them out.

Very excited to try this, my plan is to go whole hog and add custom lighting, the whole 9 yards!

In preparation, lots of drill bits!!! 0.6mm with a cheap little rotary tool I got on Amazon for $17. Works fine for this, just have to watch the speed, so it’s not too fast. About 33% of max speed seemed to work ok for me.

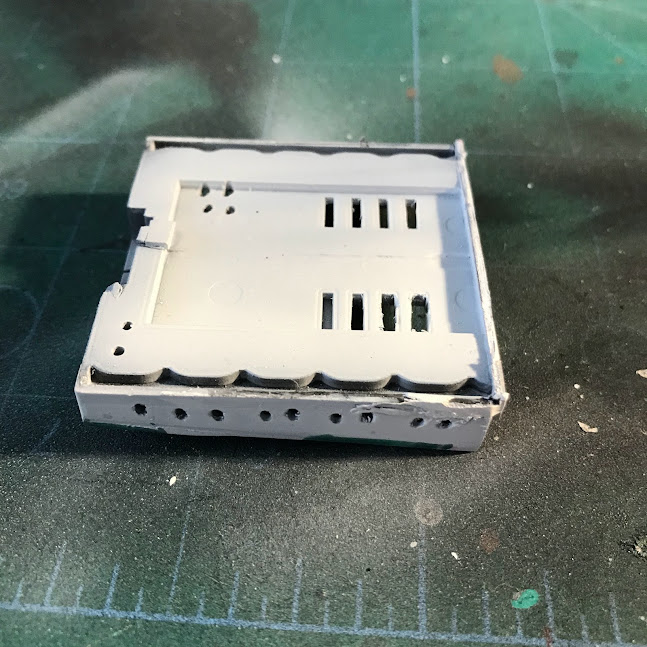
Building the main parts. This is NOT being done in order, so I can have room to drill, etc. The top cover, that holds the roof here and the command tower, that will be removeable so I can access the innards to change battery, replace the brains for hte electronics, etc.

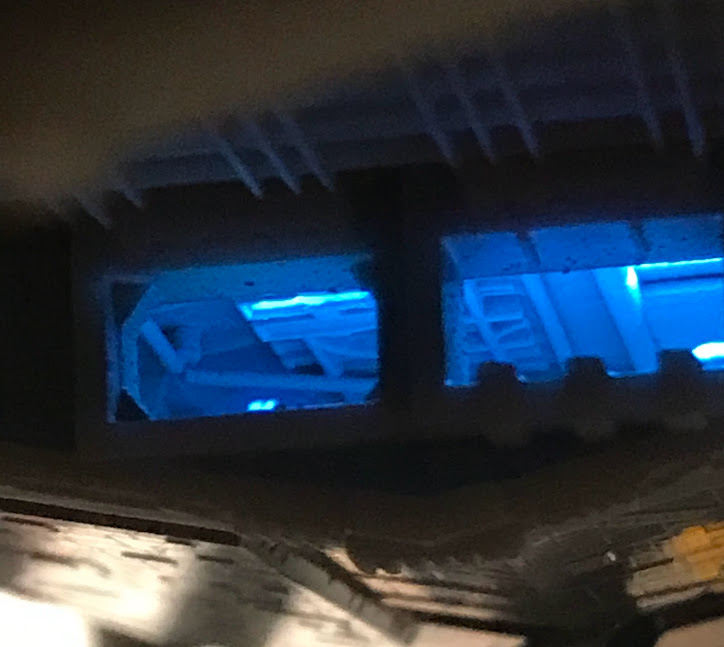
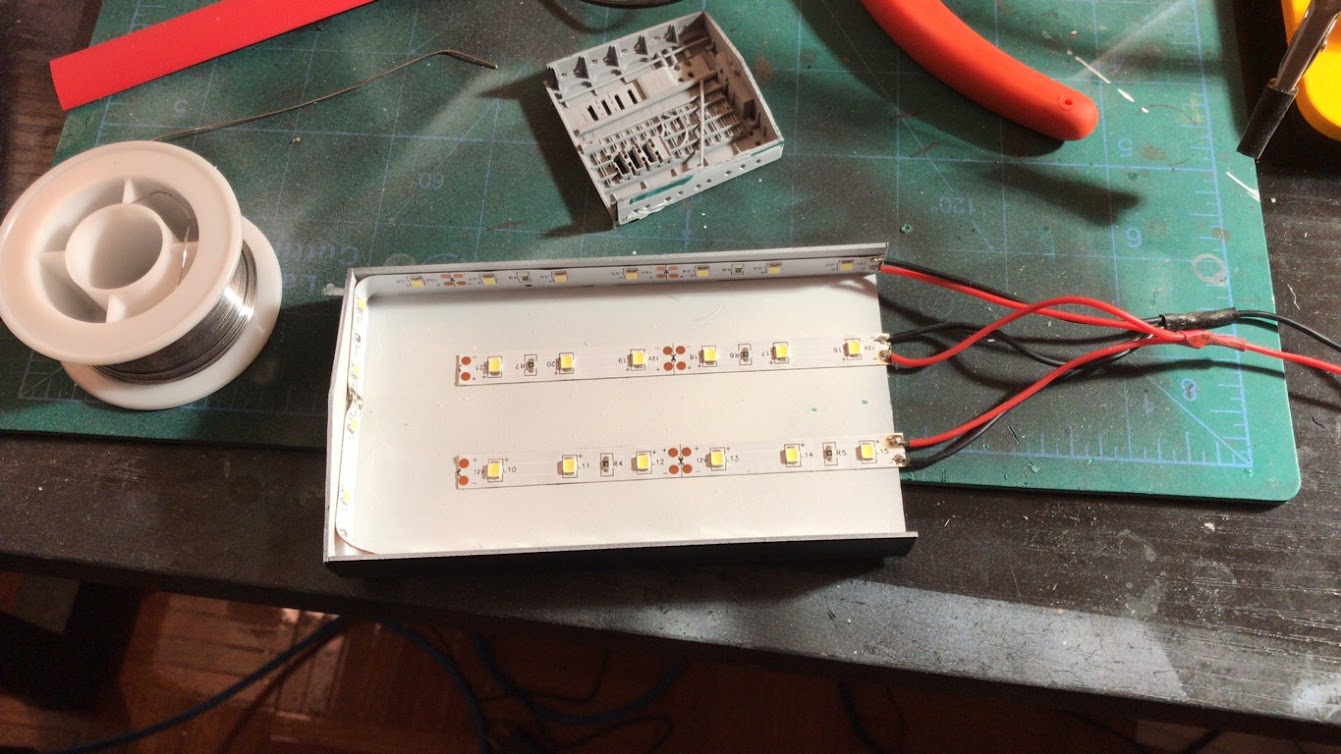
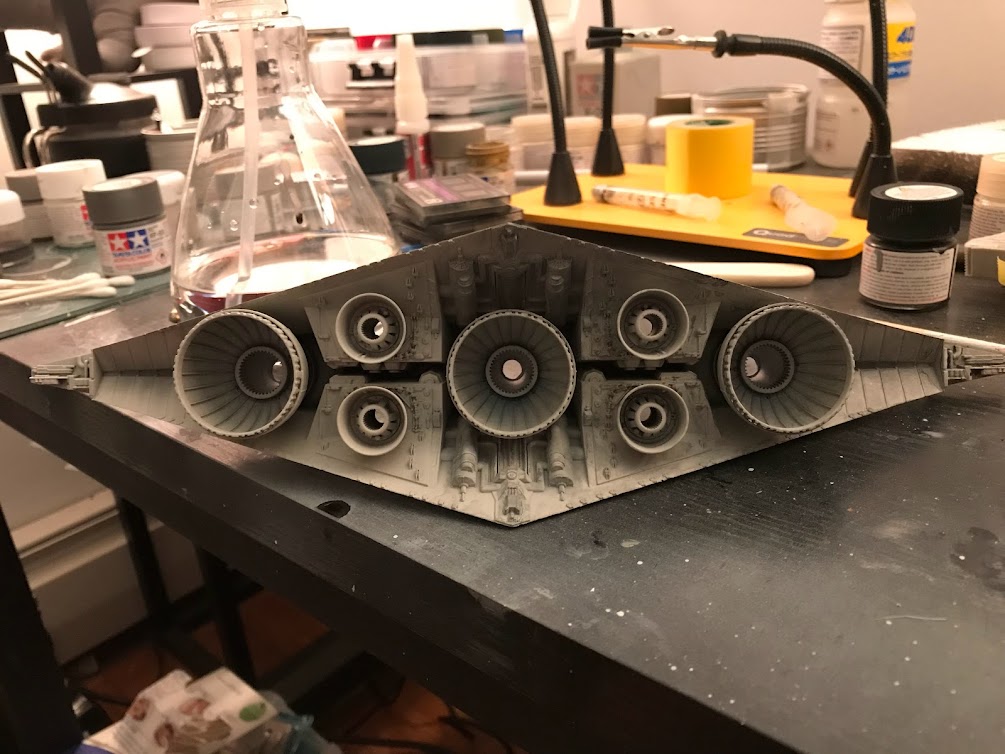
Now on to a lighting test, I’ve removed the hangar bay, because I’m using a custom 3rd party resin kit from Mos Eisley Modelworks, very nice guy to deal with.
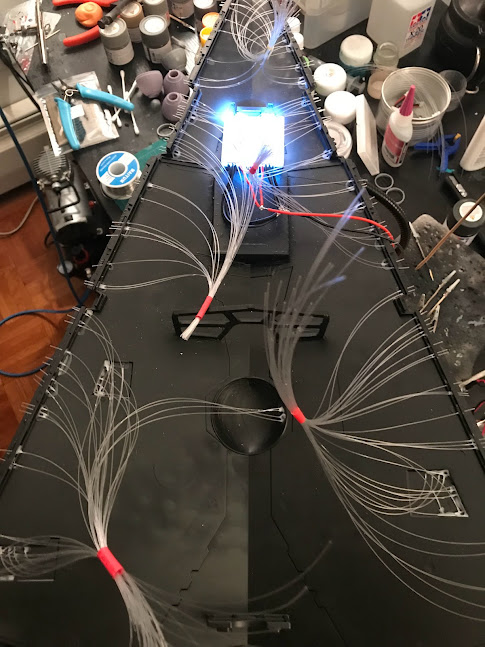
It works!

Removed hangar bay area cleaned up

Drilled holes…

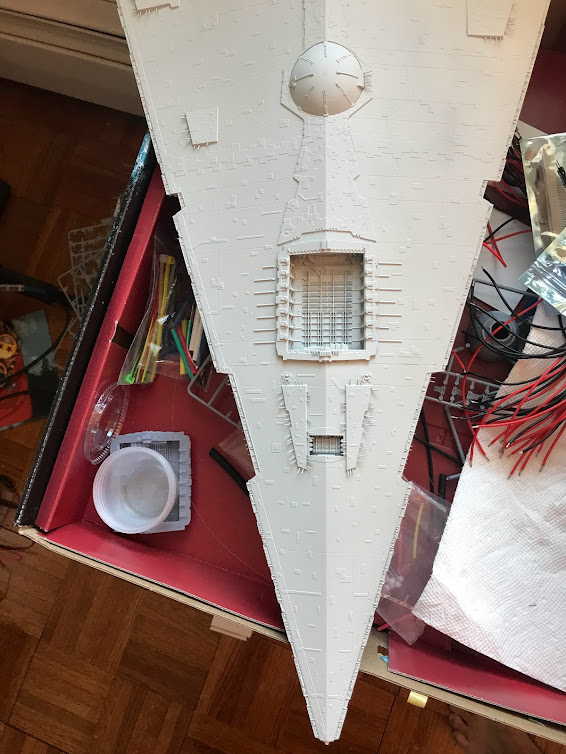
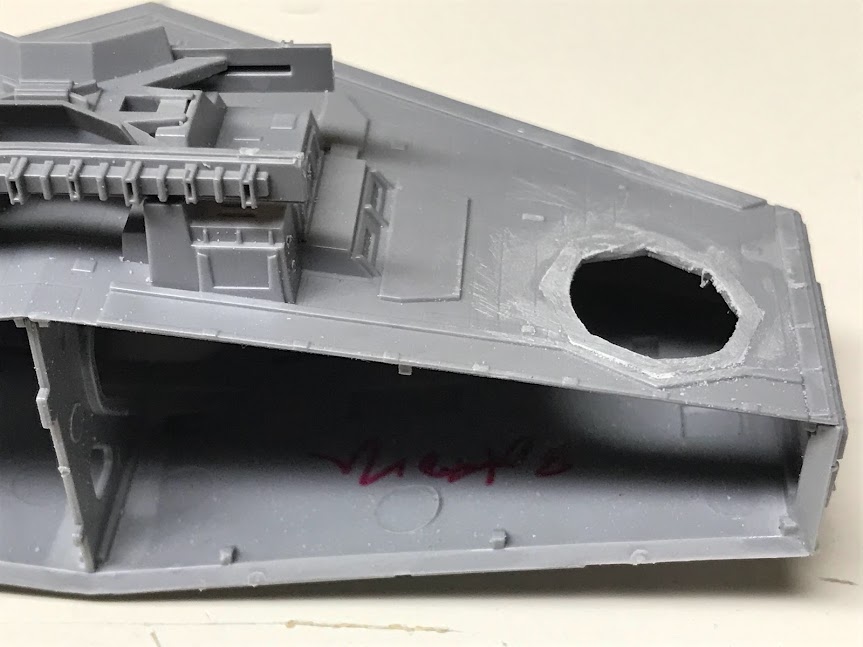
Removed the garbage chute area in preparation for the resin part

Removed the shield generator section, in preparation for the resin part from the upgrade kit

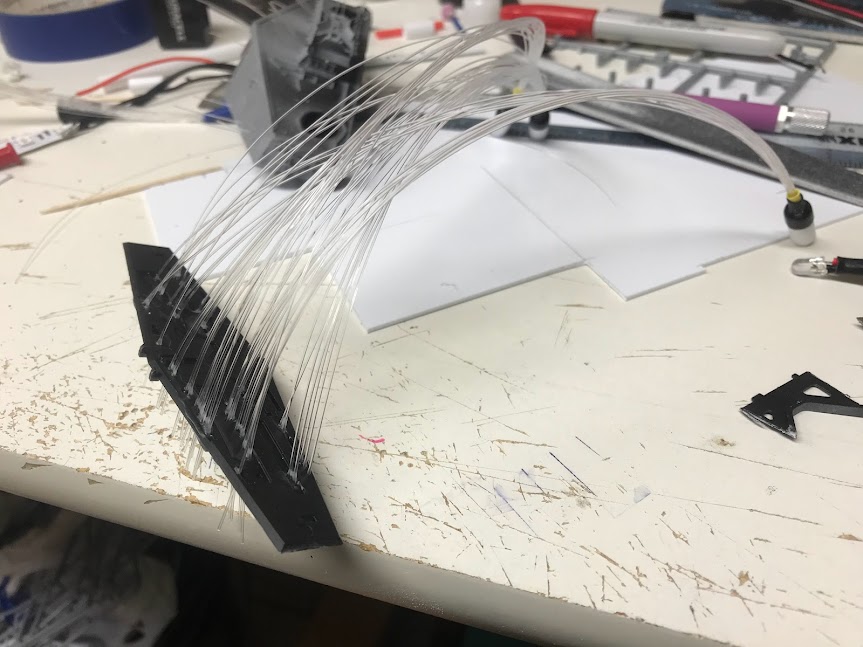
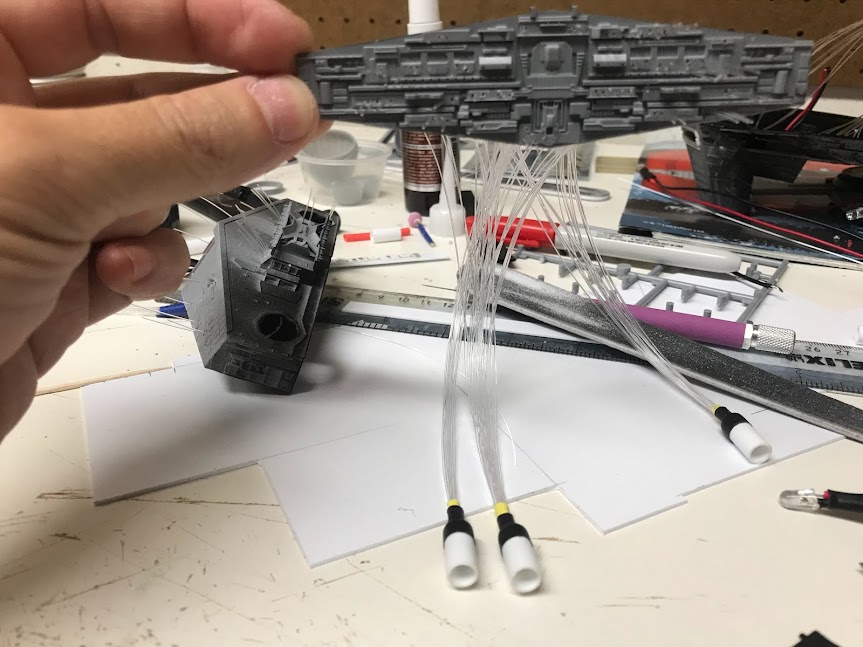
Starting to put in the fiber optic cables

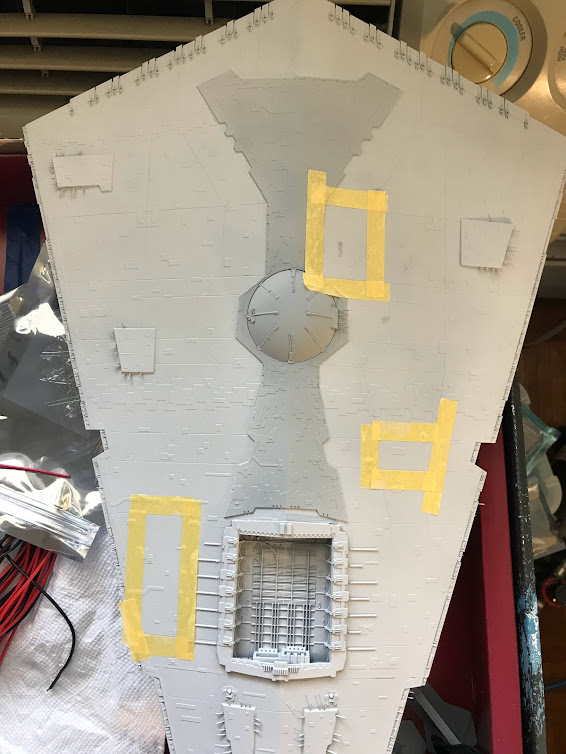
Black primer to light block the insides

Note the 4 tubes, those will hold little magnets, that will lock the top in place

The top, with magnets in place. These little things are strong!!! No worries about this falling off.

Locked into place!

The hangar bay has two exits, that in the current model just exit to empty space, but apparently in the SD, would lead to another section of the hanger. I’d seen a youtube video where the author design a really cool extension that was lit up and provided some extra detail. So i thought it would be cool if I could get something like this to work.

These two exits should show something more interesting…

At first I was going to scratch build the new section completely from scratch. But that turned out to be overly optimistic, ha ha! But once I got the new upgrade kit, I realized that I already had a starting point…

Why not just use this as a starting point? Cut this into a smaller form…

Voila! A new hangar bay extension…

The light would come from the top, with a little “roof” piece:

Painted up:

Now to test how it looks…

OK it works!

Fiber optics…

I made bundles of the fiber, and then used a plastic tube and glued one end in place with CA glue, and then later on will glue the LED into the other end and then light seal it so it doesn’t leak light.

Looks awesome.and cool.project. I will.be following.

Very cool!!!

I love the expanded hanger- great idea!!!

Very impressive, I hear the music in my head when I see the kit.

Beautiful job! I love your fiber obtic cable management :slight_smile: Great idea with the magnets as well; make updating and maintenance a breeze. Looking forward to your next post!

Cheers

Thanks guys. Currently working on finishing up the painting of the hull. Got the fiber optics pretty much done.

Built a light box for the main hanger and the extension

Prepped for it

Test fit:

Added the LED strips

Happy Thanksgiving!

Happy Thanksgiving to you too sir!

Love how she’s going, I see her thundering over my head shooting at that pesky blockade runner when I look at your photos.

I know sound doesn’t travel in the vaccum of space but it sounds so awesome!

New light box working

More painting, getting close to finishing this up

Lightened things up

Some detailing

More weathering, using panel wash made from scrath

Oil wash

Rubbed off, still working on finishing this

Oh wow that looks sooooooooo good!!! [ht]

Would be cool to see you done by the end of the year!

Wow, your work on the Star Destroyer is fantastic.

Omigawd!

That looks like my model of the Titanic before I closd her up! Good job there

Amazing. That lighting alone is an art form.

Thanks, I’m stuck on the electronics, really kicking my butt, I’m still learning how to do this part of it.

Ok some progress finally,

Breadboard test of the first circuit, had to scrap it because I couldn’t get my code to supply the LED’s with enough power, they were always too dim.

New design uses NeoPixels for the 30 LED fiber optic light sockets, easier to control and less hassle circuit wise. So here’s the new circuit board:

Not the most elegant soldering, LOL, still learning on that…

The input cable that will supply the power and data from the arduino Nano that will eventually run this.

LED plugged in

This is the board hooked up to the arduino to test that it actually works.

This shows the it plugged into two of the command tower LED sockets. Just 35 more of these cables to wire up!

Oh wow! That’s a lot of wiring! Looking forward to seeing how she comes out.