I mostly build aircraft, but this Monogram kit has always had a special place in my heart because of building one as a kid.
I wanted to do something a little different with it. The idea popped into my brain to do a crossover of sorts. A WW2 themed Corvette. I’m thinking I saw something similar on a forum or in a magazine but I have no idea where.
Olive drab outside, interior green…on you guessed it the interior, yellow chromate under the hood, under the car, etc with some neutral gray as well. Of course there are some areas that don’t cross over exactly, but it’s more about seeing if I can do it than anything else…
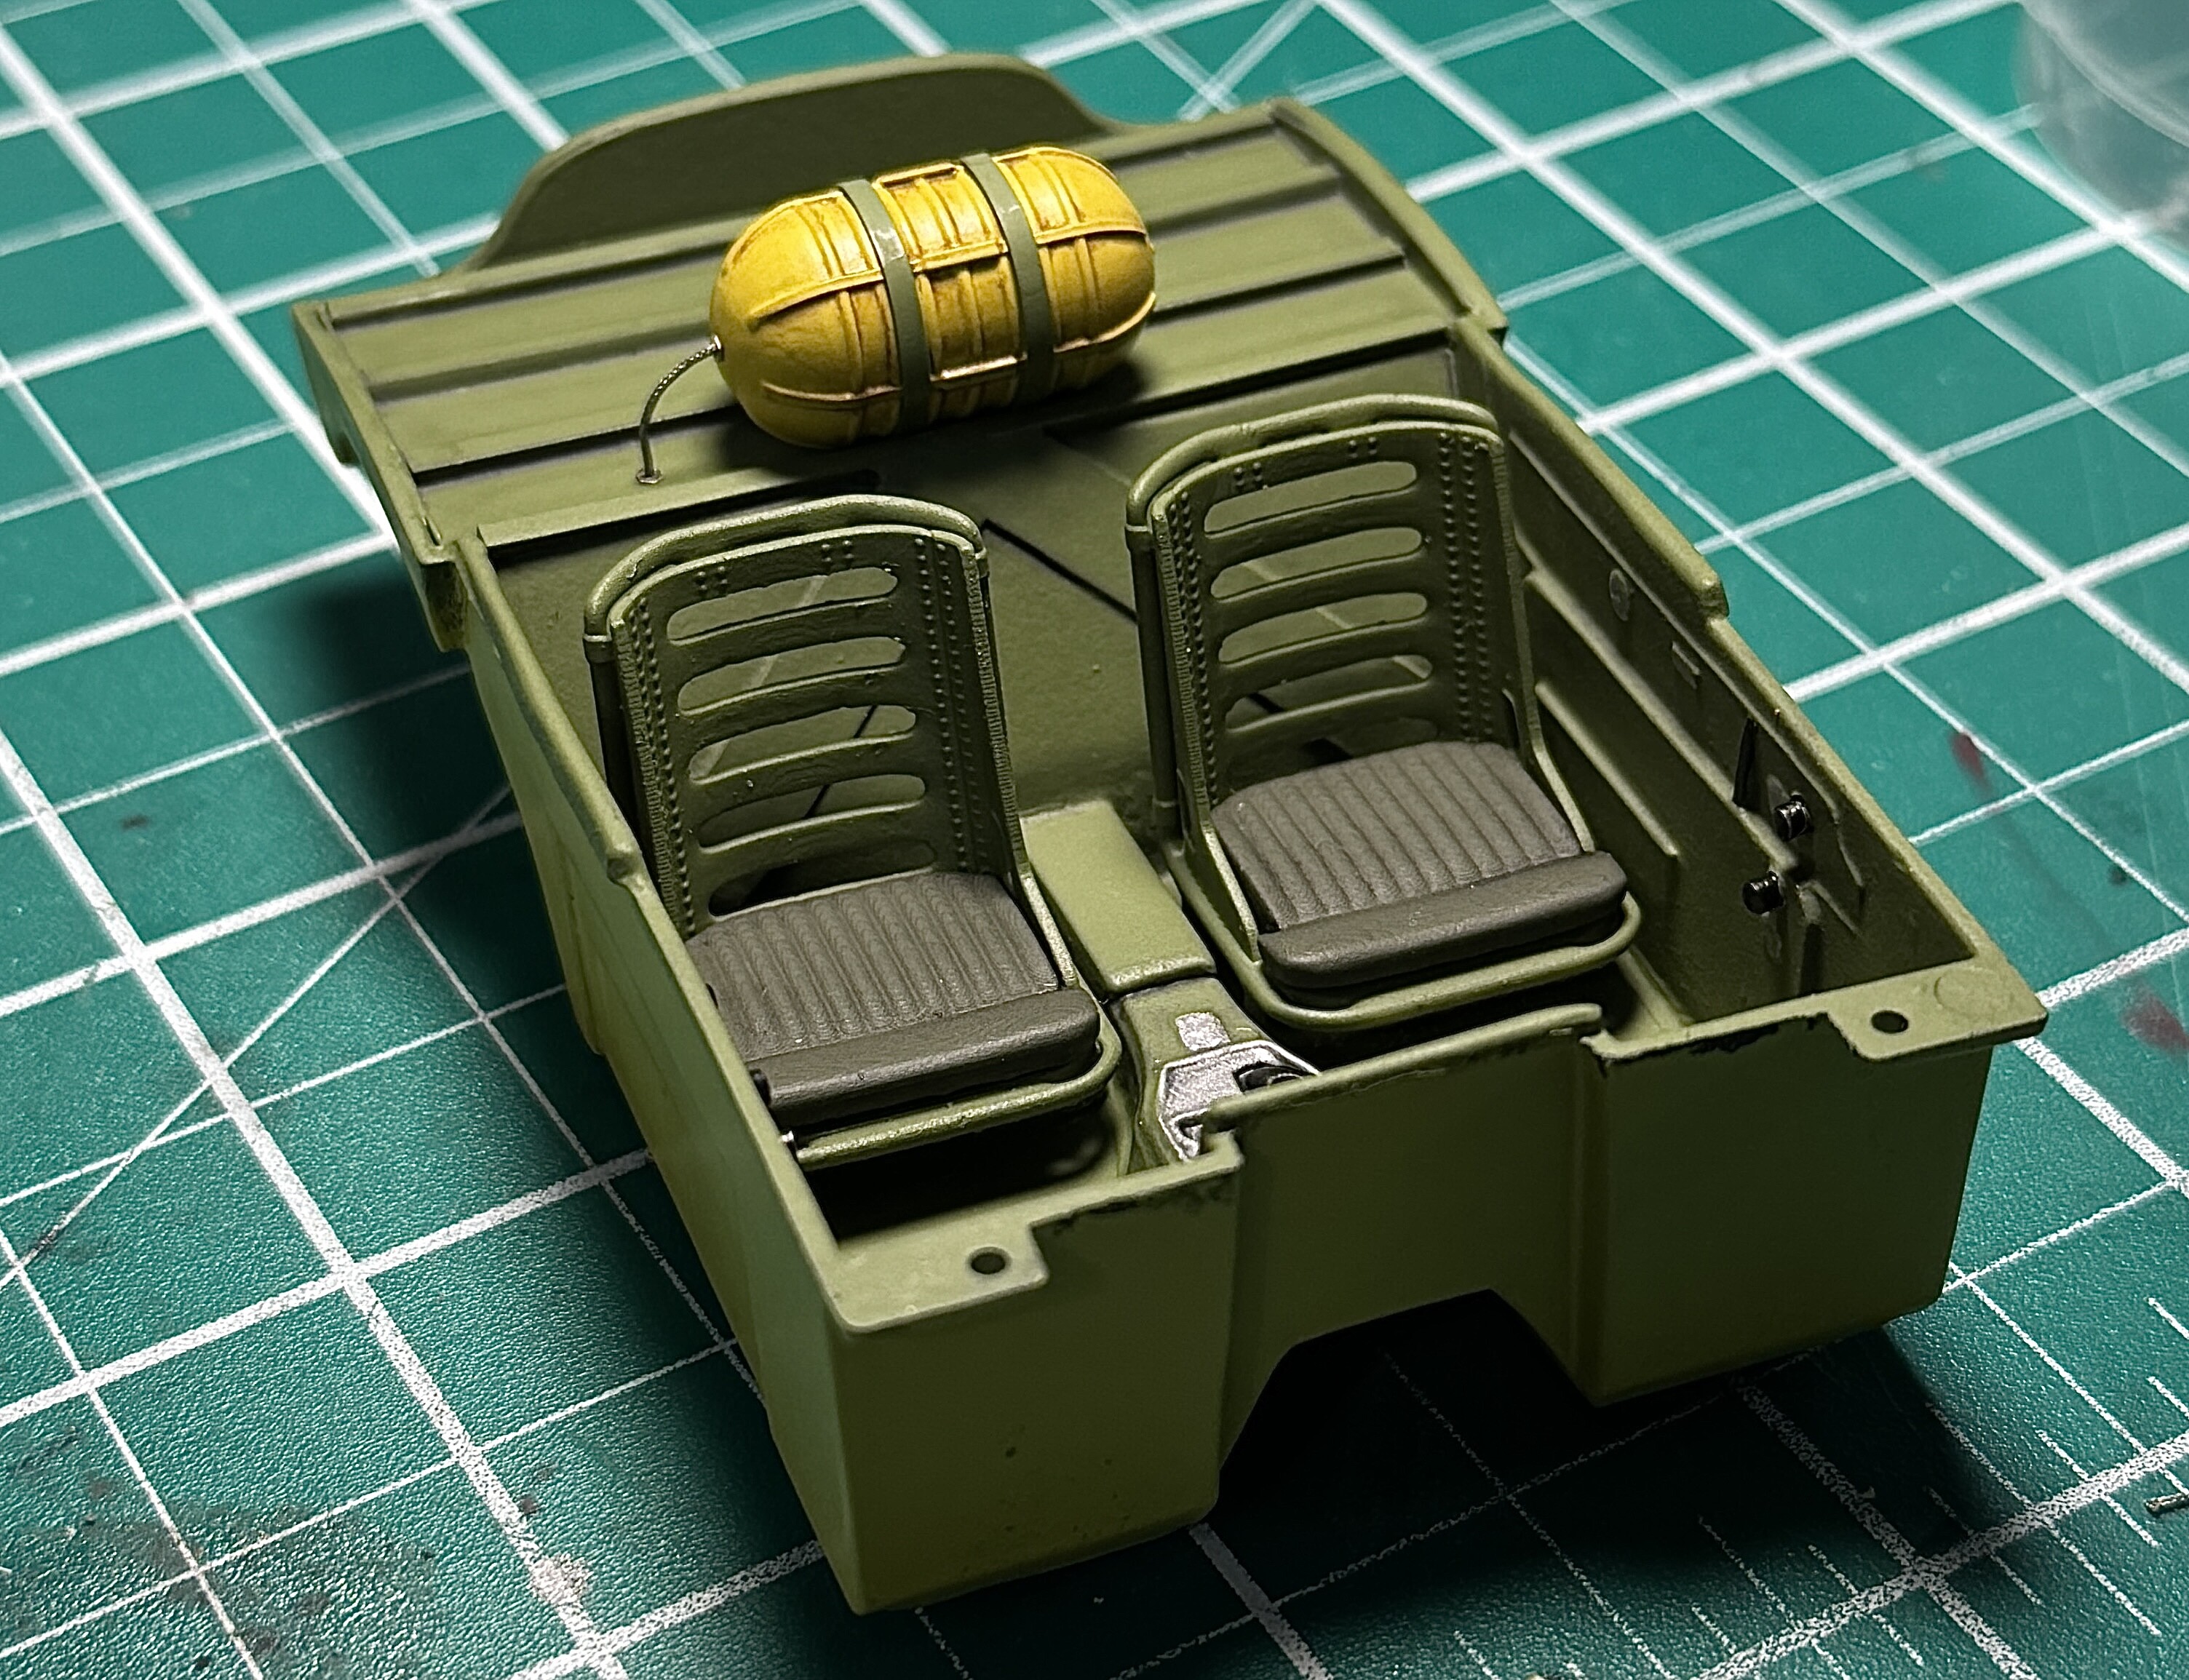
I started with the interior. Initially my plan was to soak it all down with interior green, paint the details and move on. Once I took a closer look at the carpet texture and the storage area behind the seats,I realized that wouldn’t work.
The decision then was to use styrene sheets to make a more angular and less carpeted interior. I added strips of styrene to provide the look of reinforced panels. Along the way I had a friend 3D print some seats. Finally I used styrene rod to make the flat door panel details more three dimensional.
After all that, I was looking for ways to increase the busy-ness of the cockpit.I figured if someone wanted NOS on their WW2 themed Corvette, what better place to put the bottle than inside one of those yellow oxygen tanks that were common in aircraft. So back to the 3D printer again lol
I like the idea, especially that it’s not just paint on the outside. Having the grey come about 1/4 to 1/3 up the side would look great. Have it start at the front at the body line from the point of the nose.
As well, it might be interesting to be able to either have some checkerboard on nose or tail, or maybe incorporate some d-day stripes.
Which ever way you go with it, you are off to a great start. I’ll definitely be checking back in on it.
While I wouldn’t do this personally, I do enjoy watching others take these kinds of themes on. You’re off to a great start on that interior with those seats and added features in there.
No sir…you aint gone crazy…you’re just havin’ some fun here. Looking forward to seeing more.
A little more progress. Here’s the undercarriage and the tires. I’m trying to strike a balance between what I see in pics of the real car and utilizing the aircraft colors. Thanks for taking a look!
So working with an Eduard 1/24 harness was a new experience. I also dug around in the spare box and found a a fire extinguisher that sorta matches the shape of the USAAF fire extinguishers. I painted it up and threw it in to add some color.
That interior looks the “business” and I’m liking your work on the chassis, tires and body so far. Coming together in good fashion. Are you going to leave the body glossed or do you have other plans for it?
I have two friend with printers, I provide bottles of resin from time to time and they print what I need. I may get a printer eventually, but my house is in the middle of a remodel and there’s no room right now.
What I’ve really wanted was a P-38 flight yoke for a steering wheel.
Unfortunately, 1/24 scale is way too big for any sane company to make a P-38.
Therefore a readily available aftermarket one is not out there, nor have I found any STL files.
I’ve got this same problem as I’m doing house modifcations as well BUT…I also don’t have the room for a building area, display area, stash and THEN a 3D printer. lol
Looking forward to seeing what’s next on this bad boy
This build is so cool. The interior looks fantastic! Great thing about this hobby… you can step outside of the box with your ideas. Kudos to you Sir… I’m here to the end.