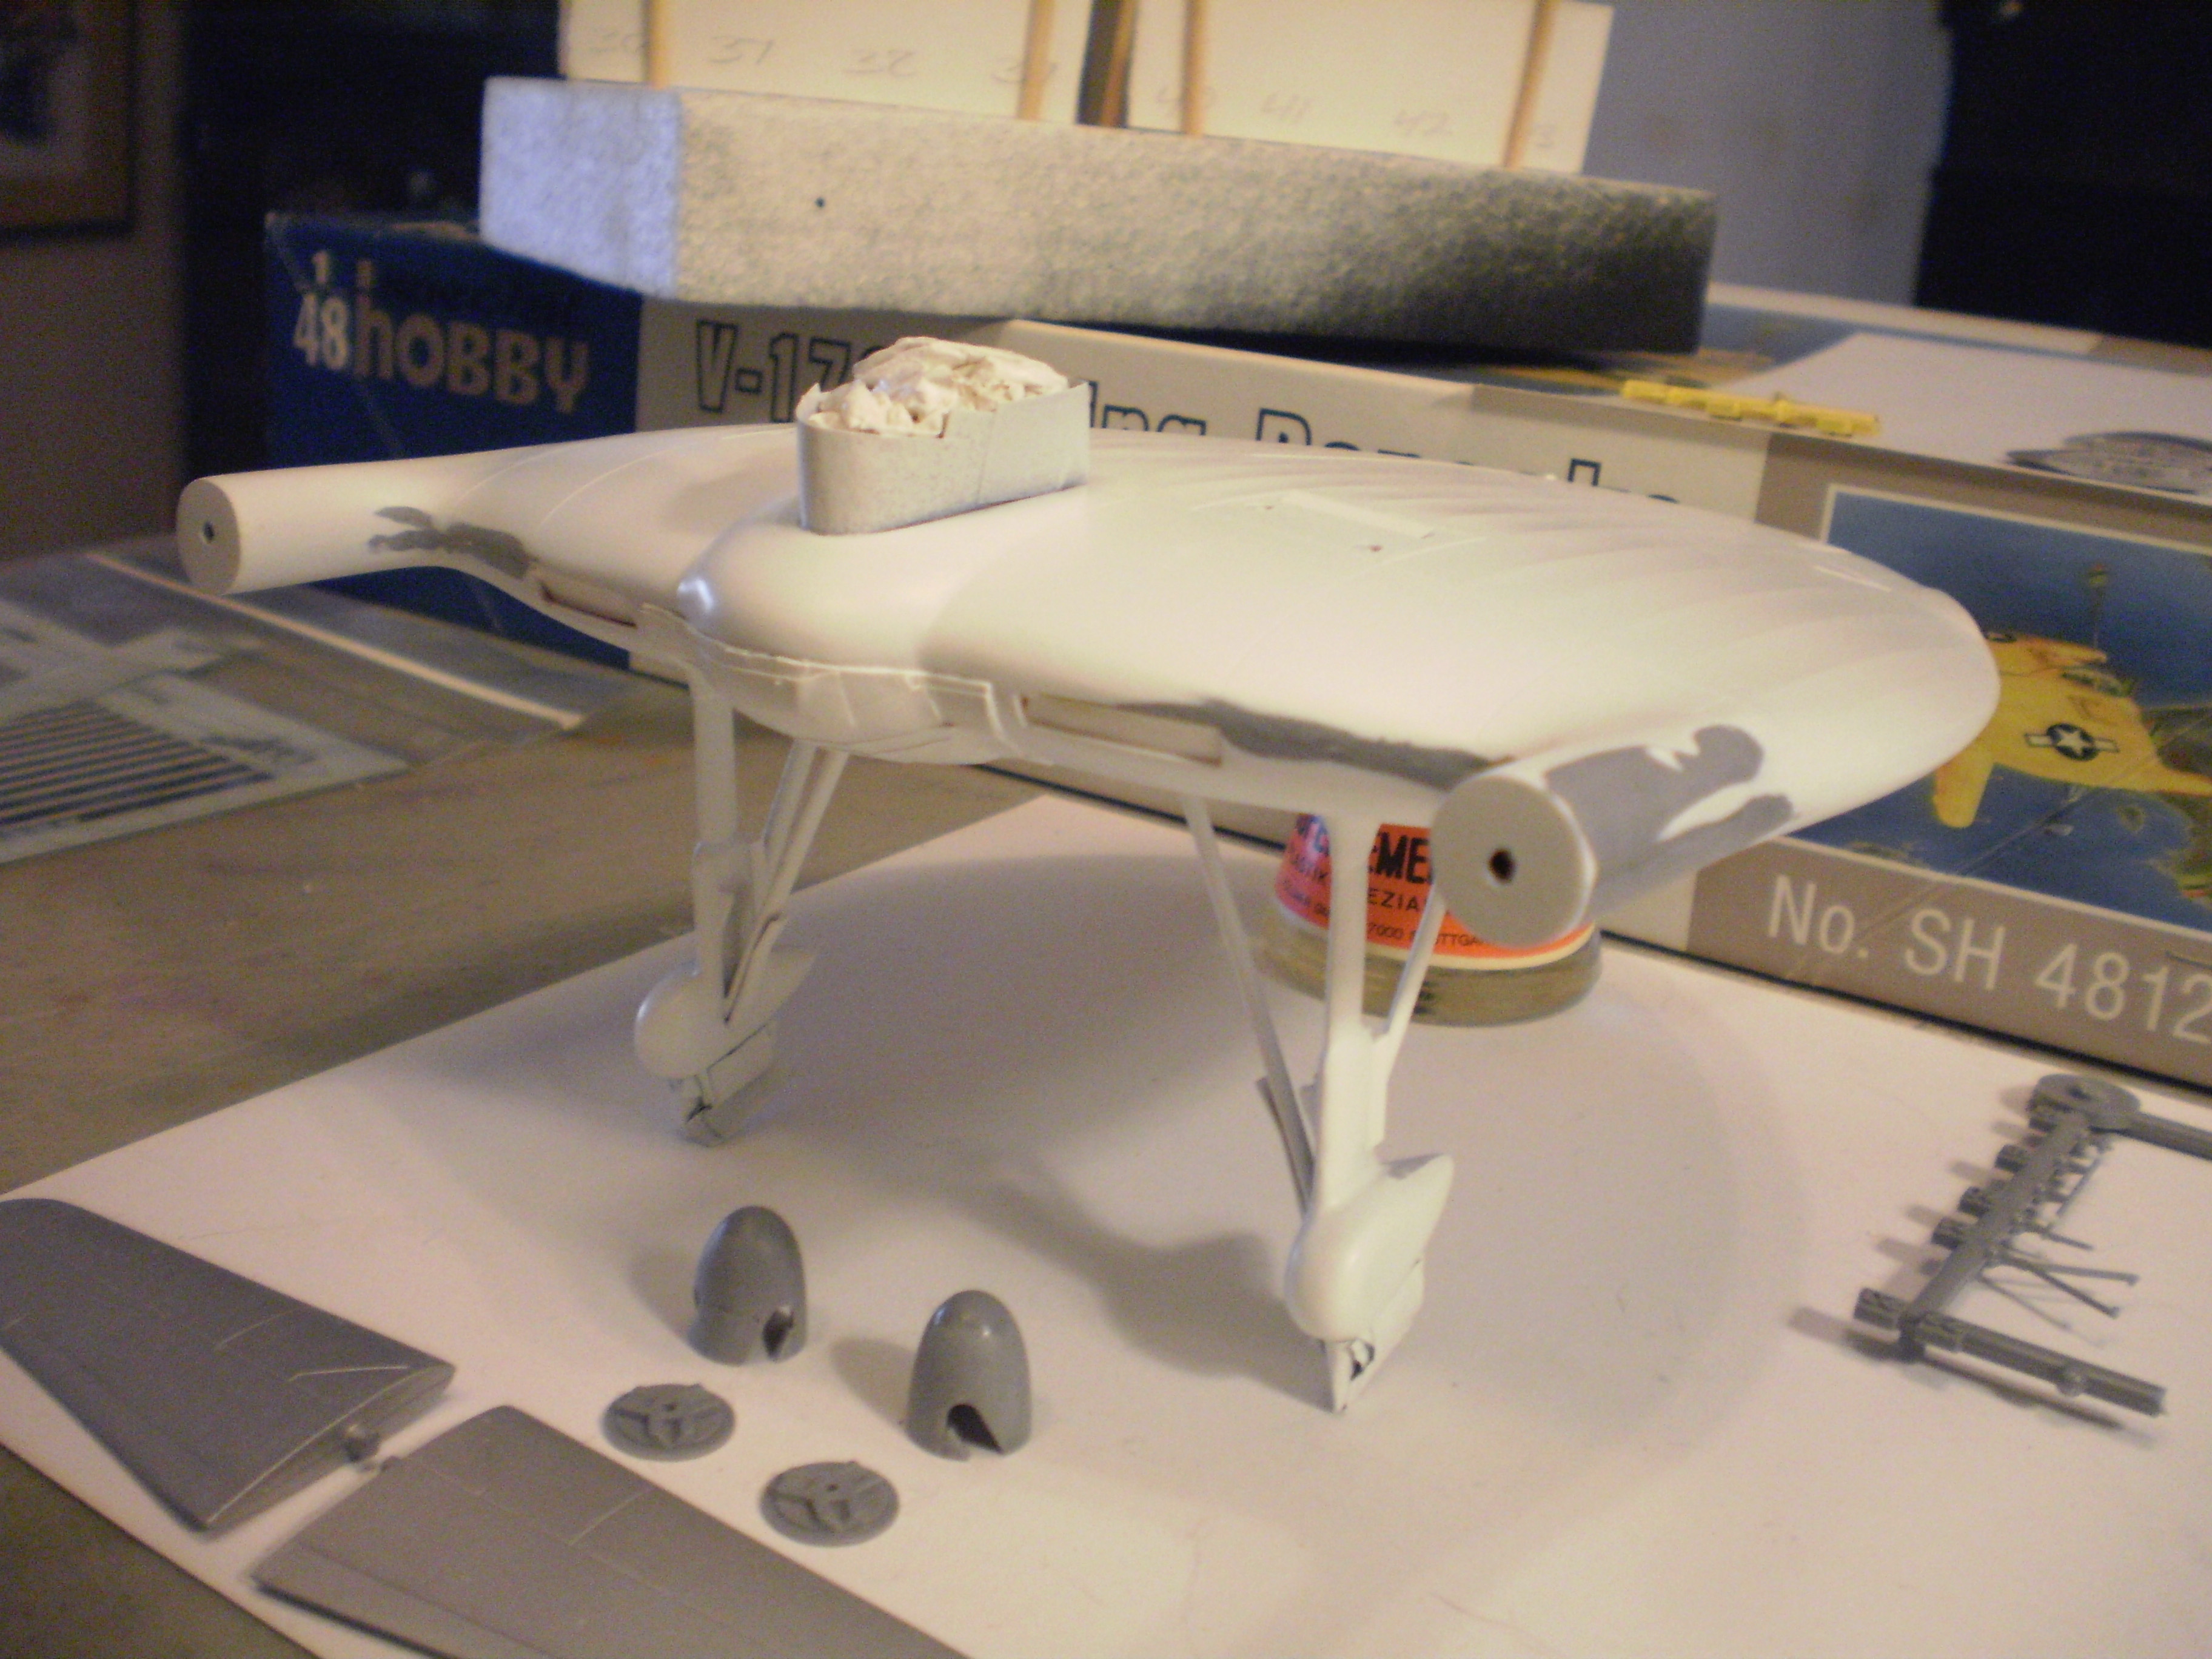
More seam flaws than I thought. Finished fixing them with CA and Vallejo Plastic Putty #70.401. Also did some corrective sanding on the port prop arm. During assembly, on the outside of the arm, there was a step between the upper and lower halves, which I tried to blend. Primer revealed I had created a noticeable flat along the join.
A note on the Vallejo putty. It must contain air bubbles, because I see a lot of pinholes after it dries. Two or three applications are required to fix this. The putty is a water-based mix of acrylic resin and marble dust. Same as Liquitex Light Modeling Paste, found in arts-and-crafts supply stores. But the Liquitex is much, much cheaper per ounce, and can be thinned to the same consistency as the Vallejo.
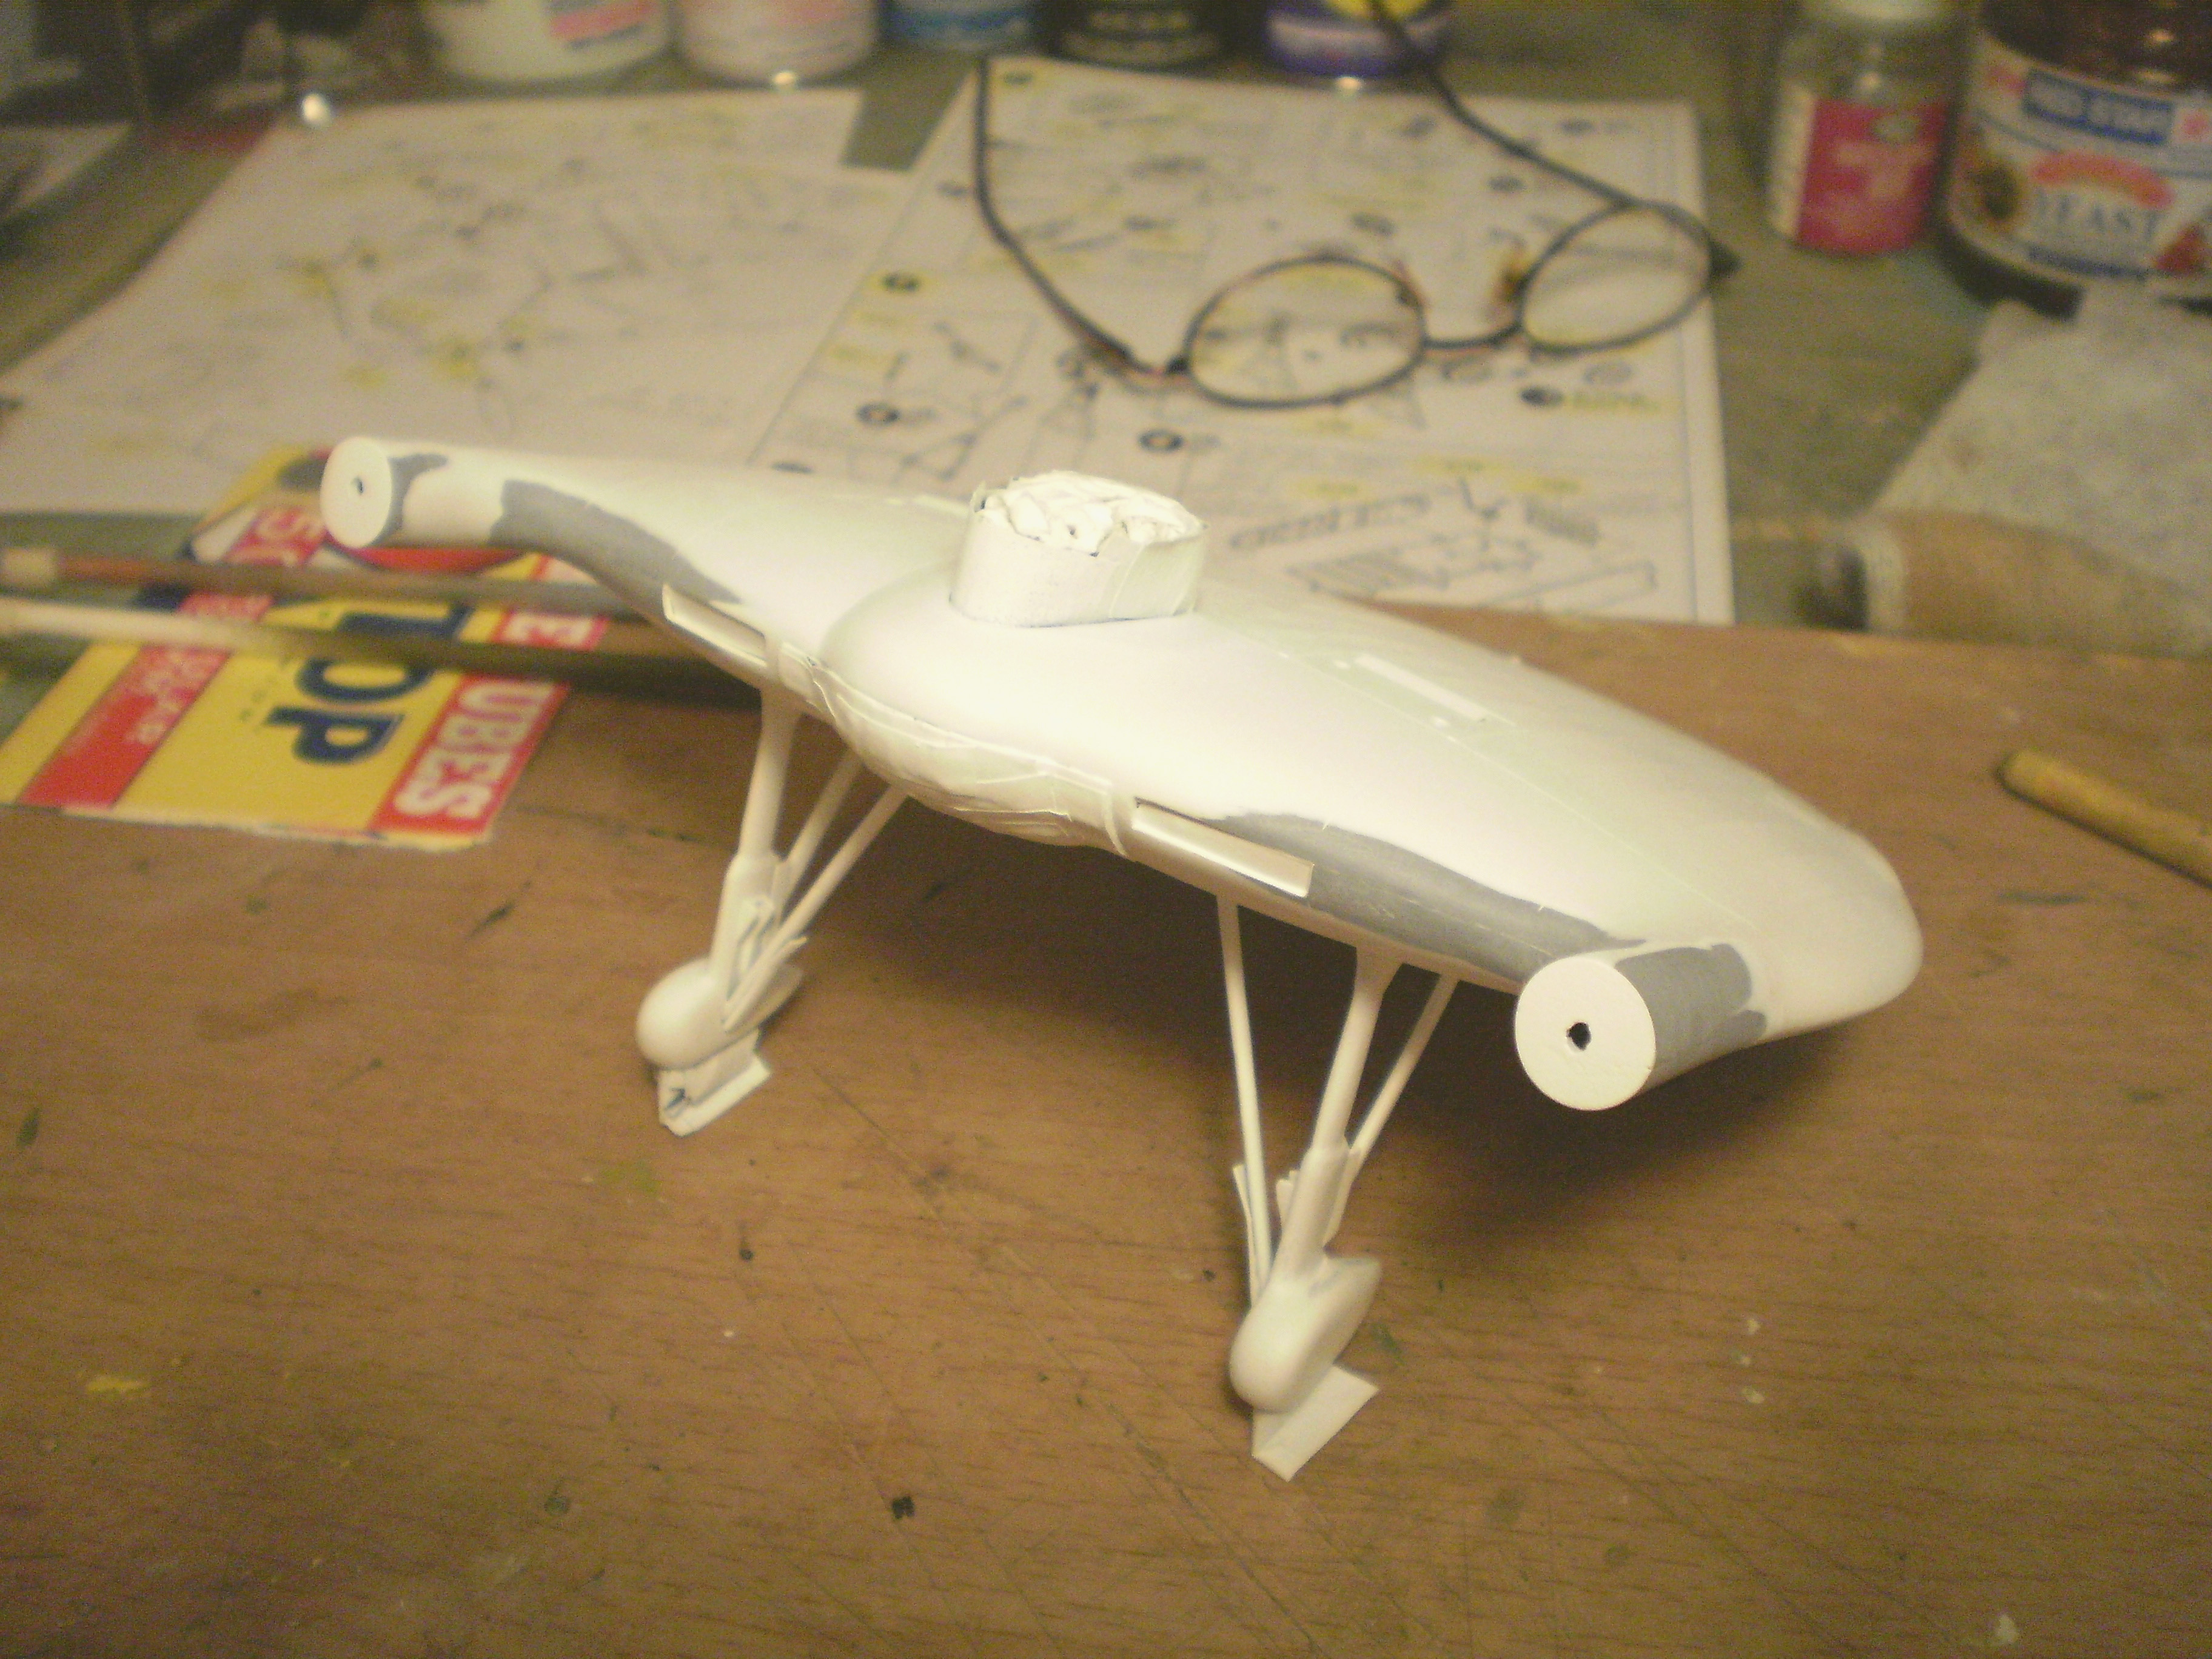
I guess I’m not finished fixing things after all. It’s taking a lot of work to be happy with the transition between the upper and lower halves of the plane - along the prop arms and the leading edge. Prime and sand, prime and sand, prime and sand.
Success at last! A hairline crack opened up along the seam on the port leading edge, requiring one last session of filling, sanding, and priming. However, there are no more flats now - everything smoothly curves the way it should.
The V-173 kit seems to be made of a soft, weak plastic. The hairline crack along the port leading edge was jagged, and ran through the plastic next to the seam, not through the seam itself - perhaps because the plastic was under stress there. And when I was attaching tiny bits to the spinners, a large, thick chunk of spinner just cracked right off. I’m guessing the plastic is sensitive to chemicals and chemical fumes (primer, CA, accelerator), causing it to fail in spots.
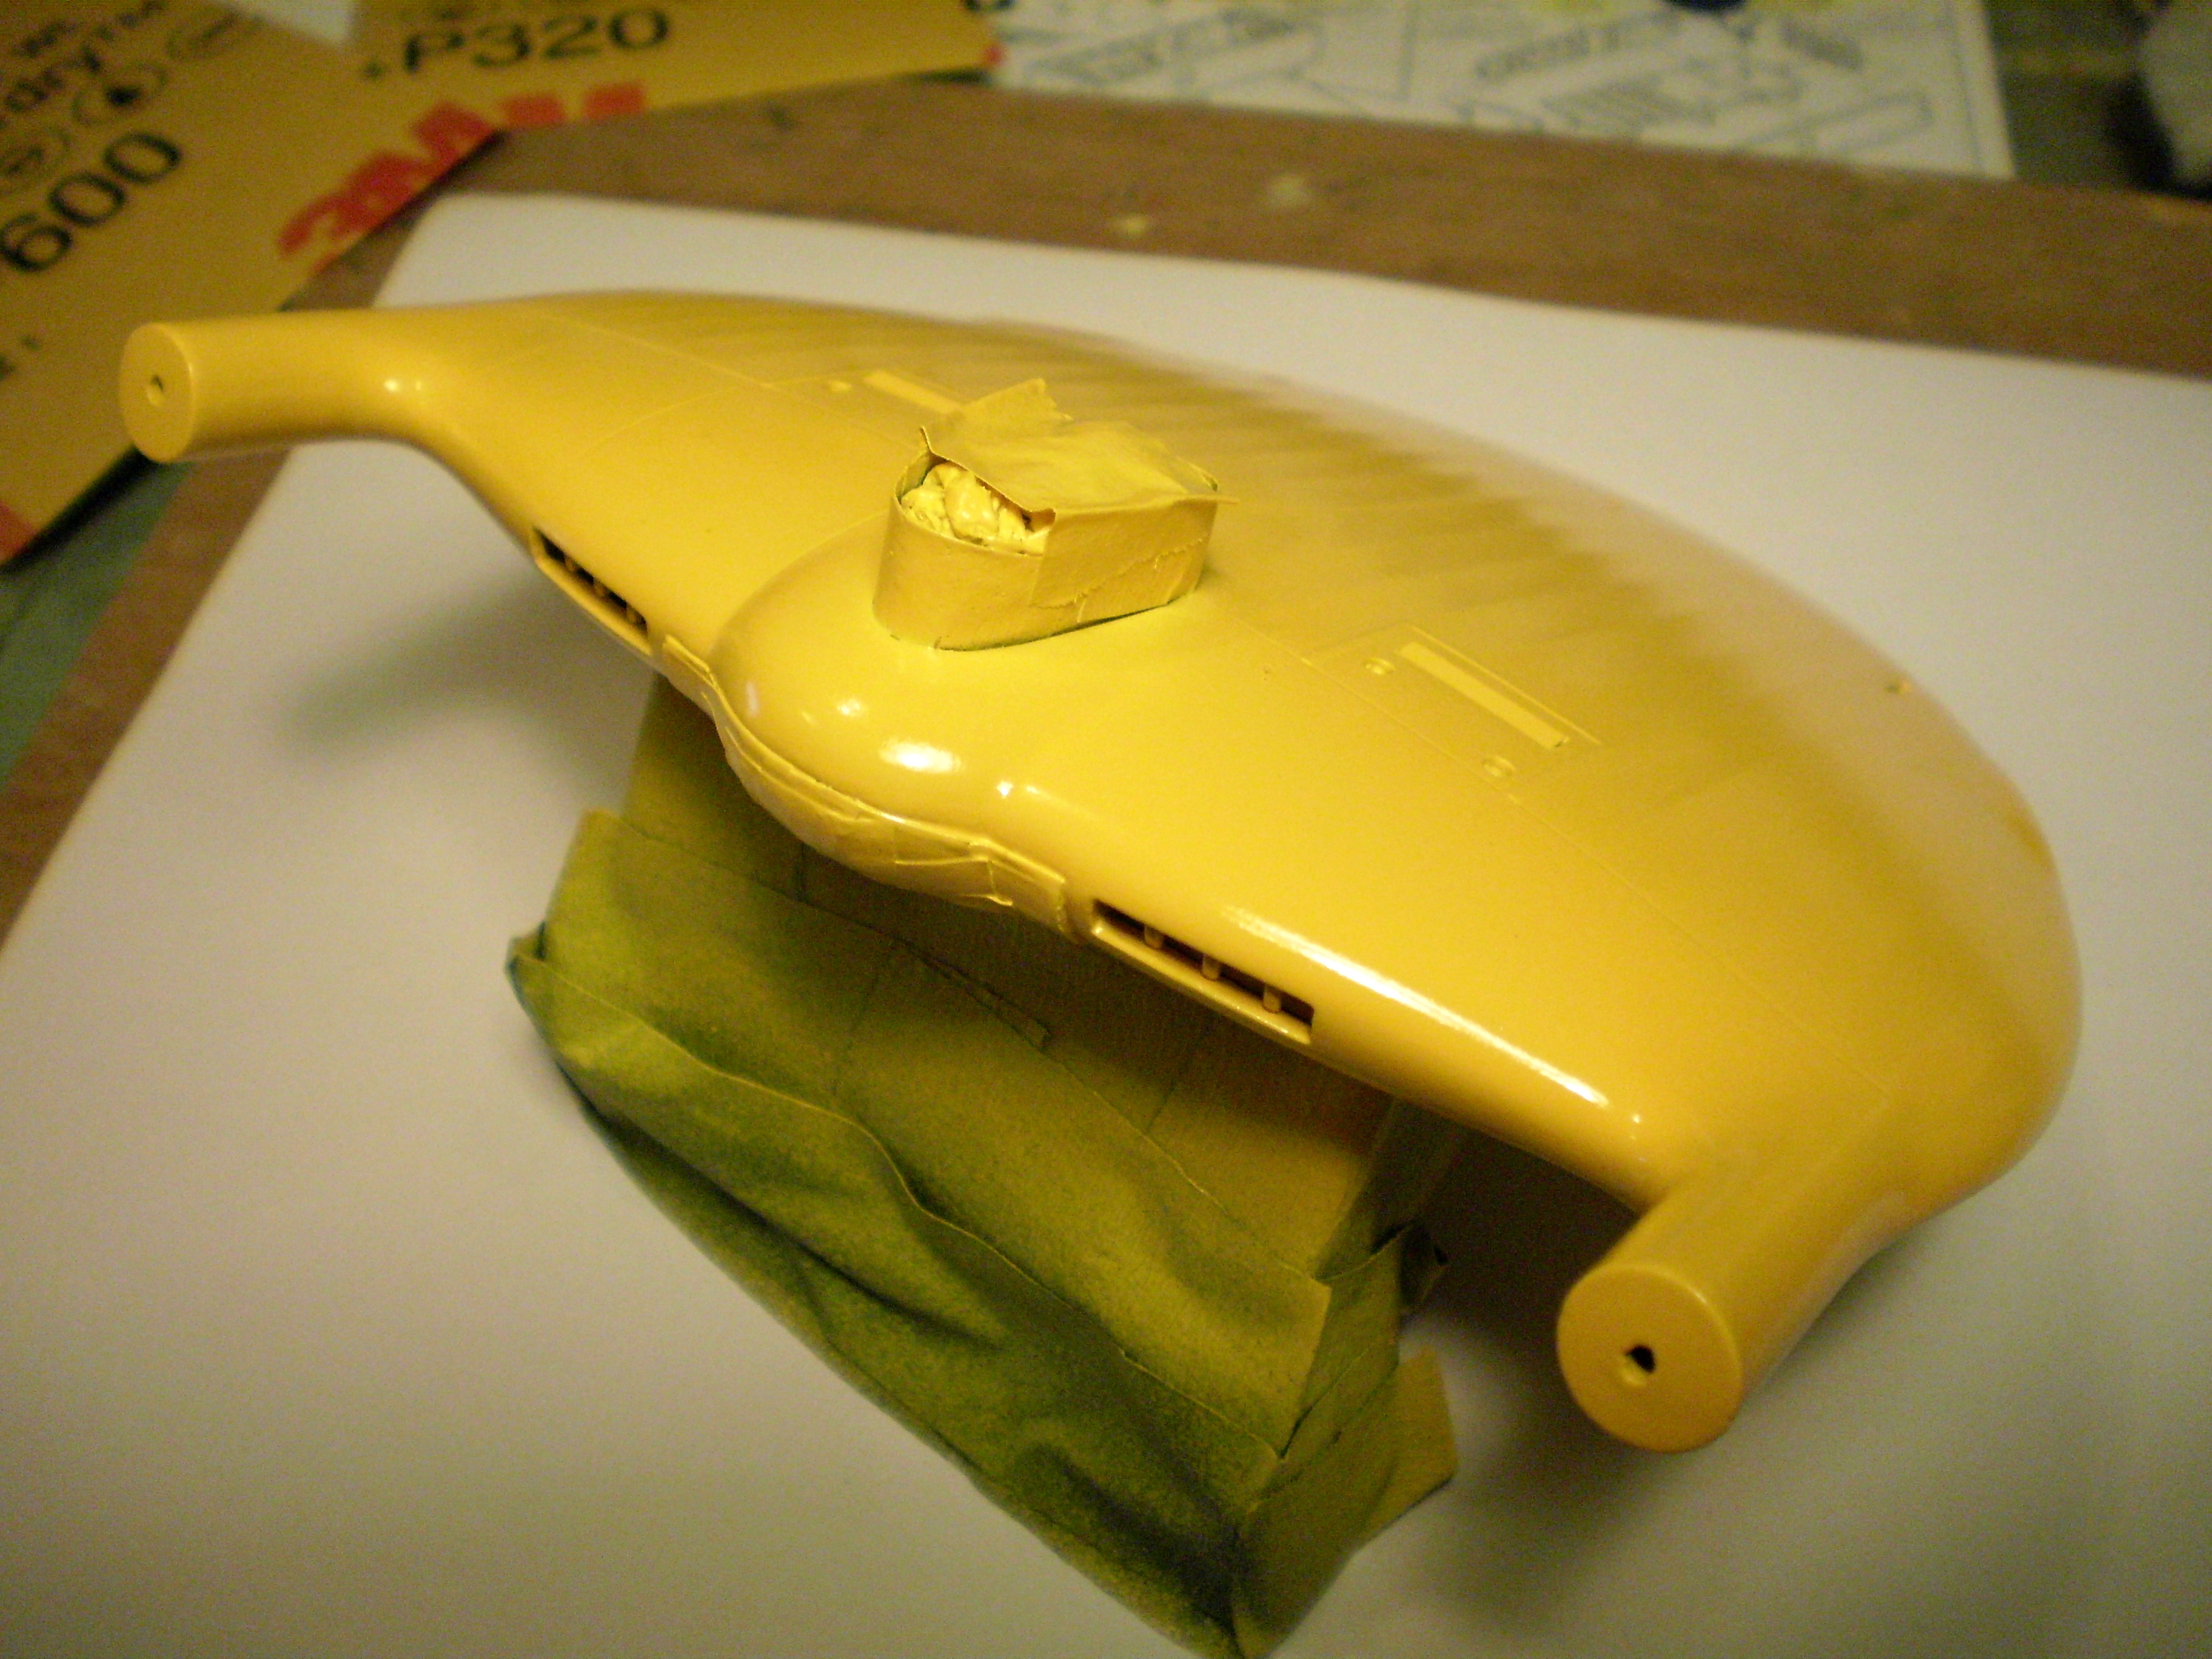
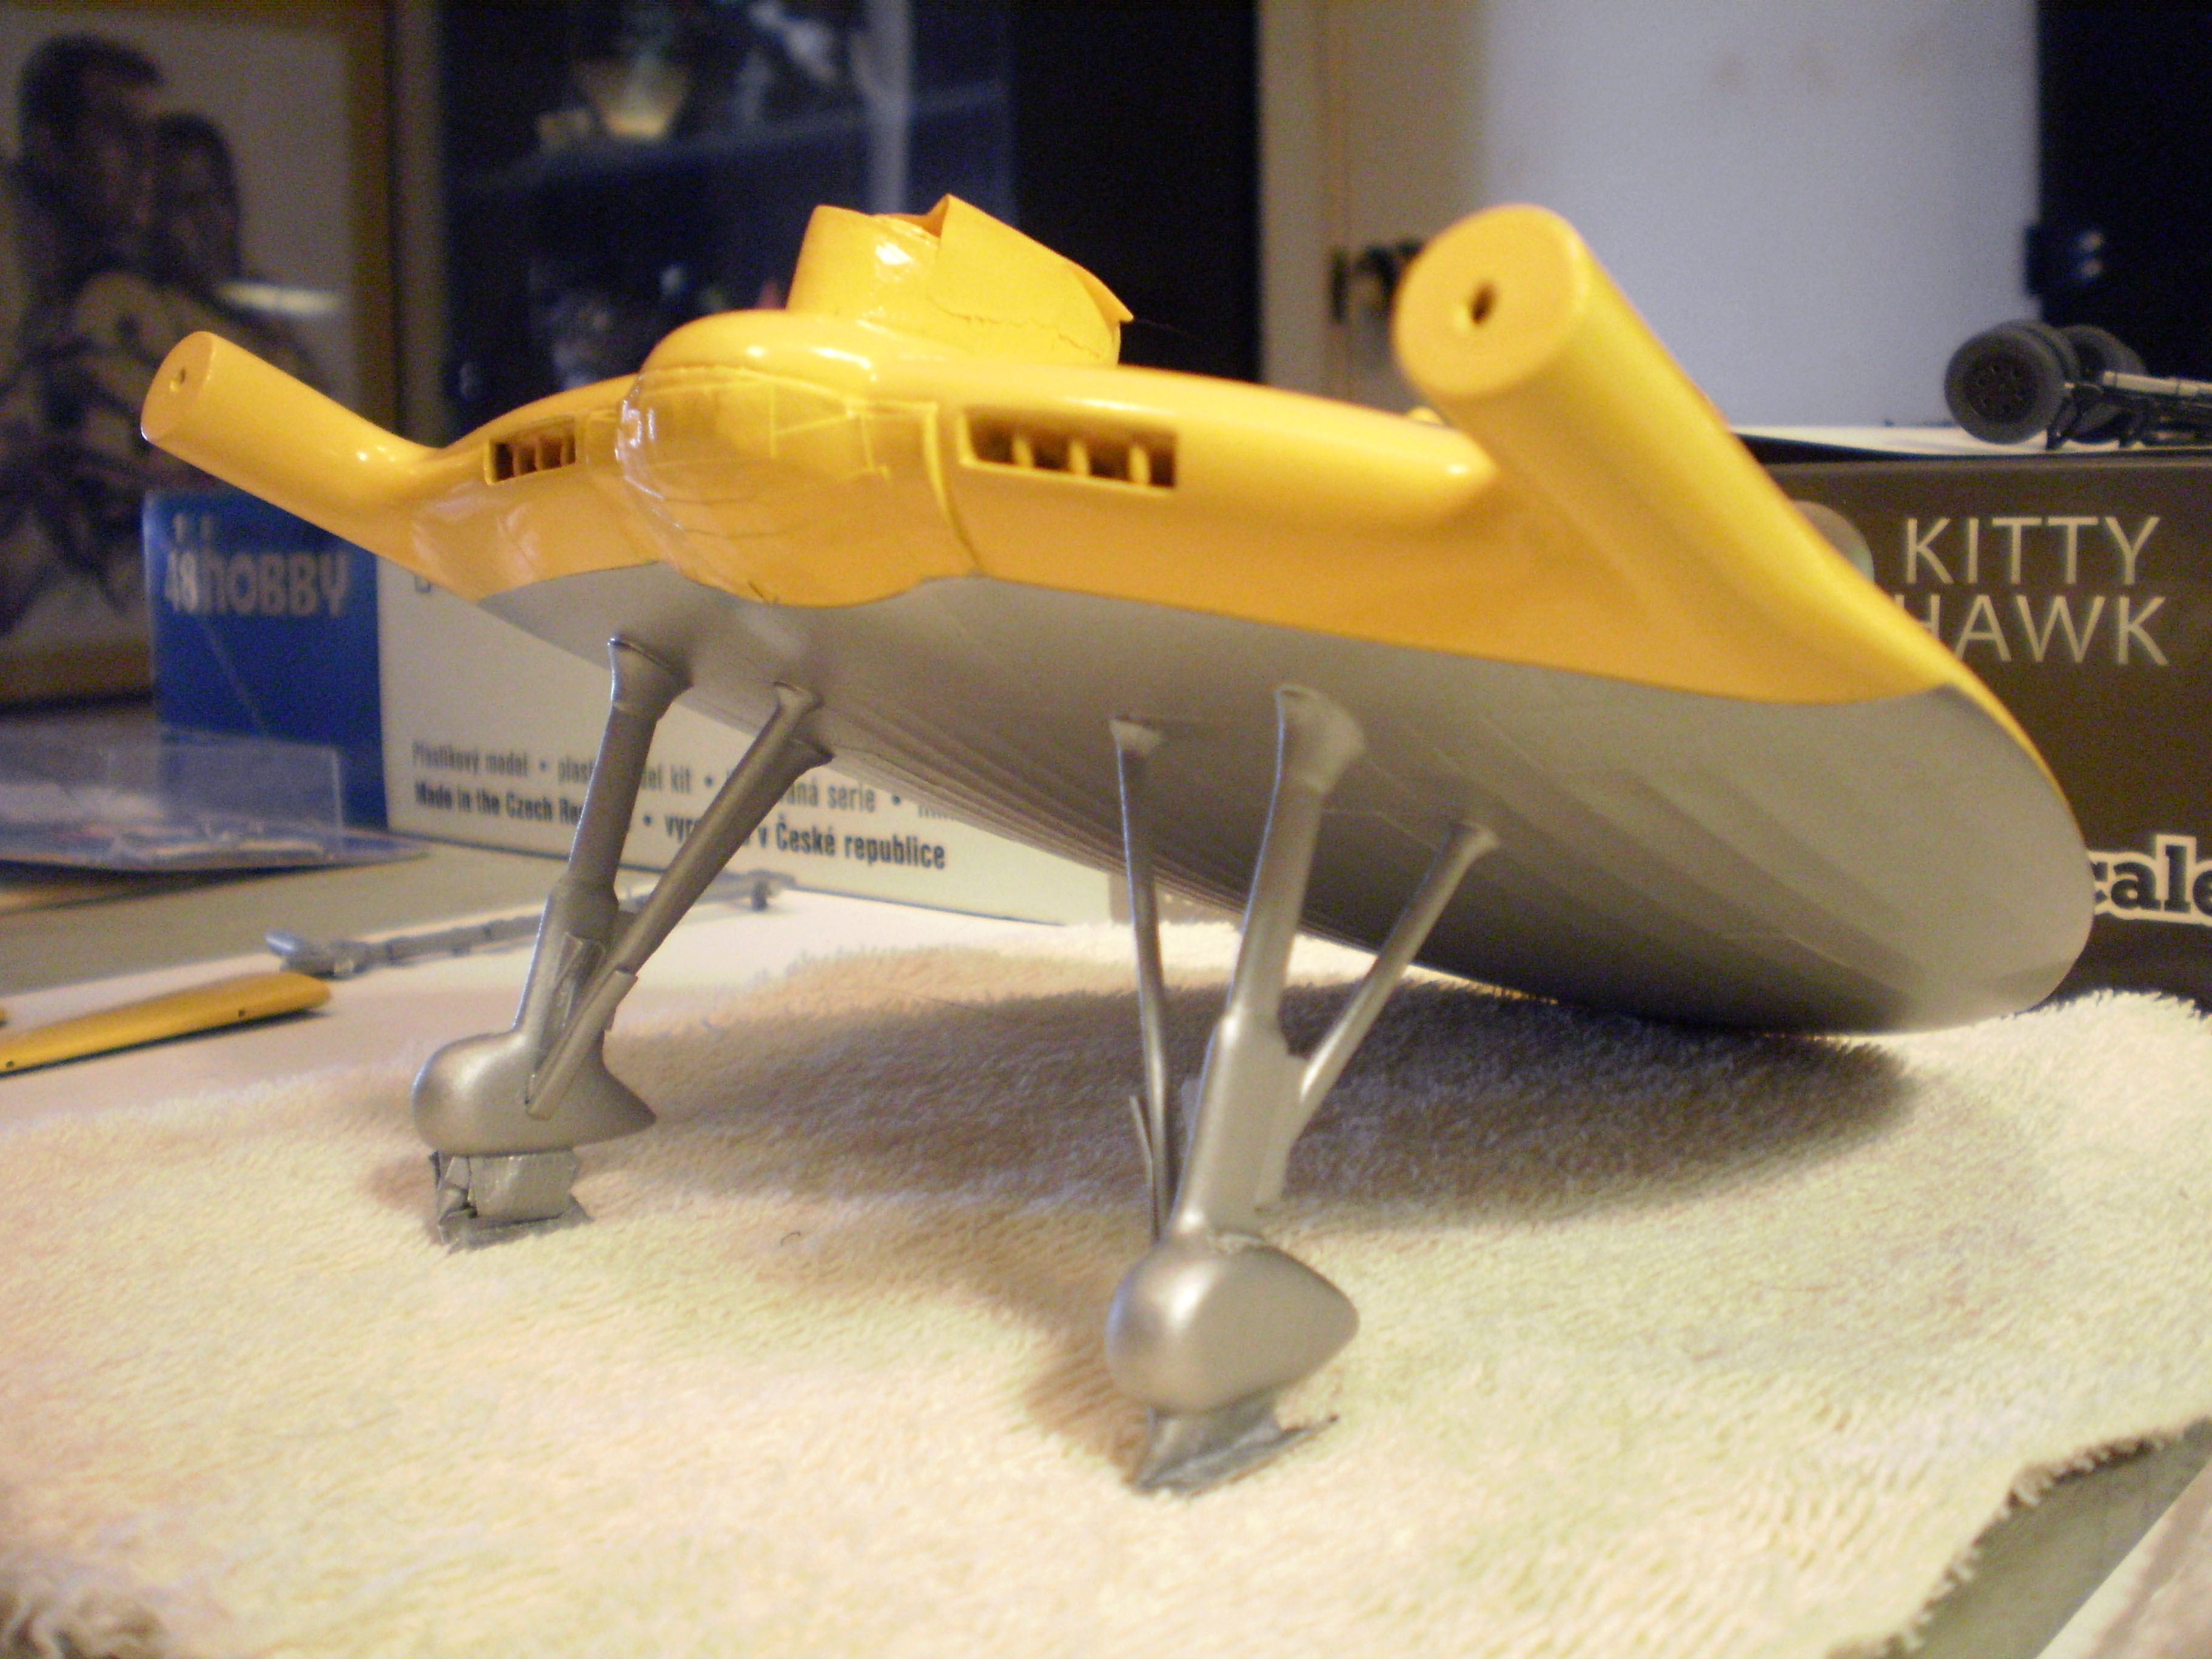
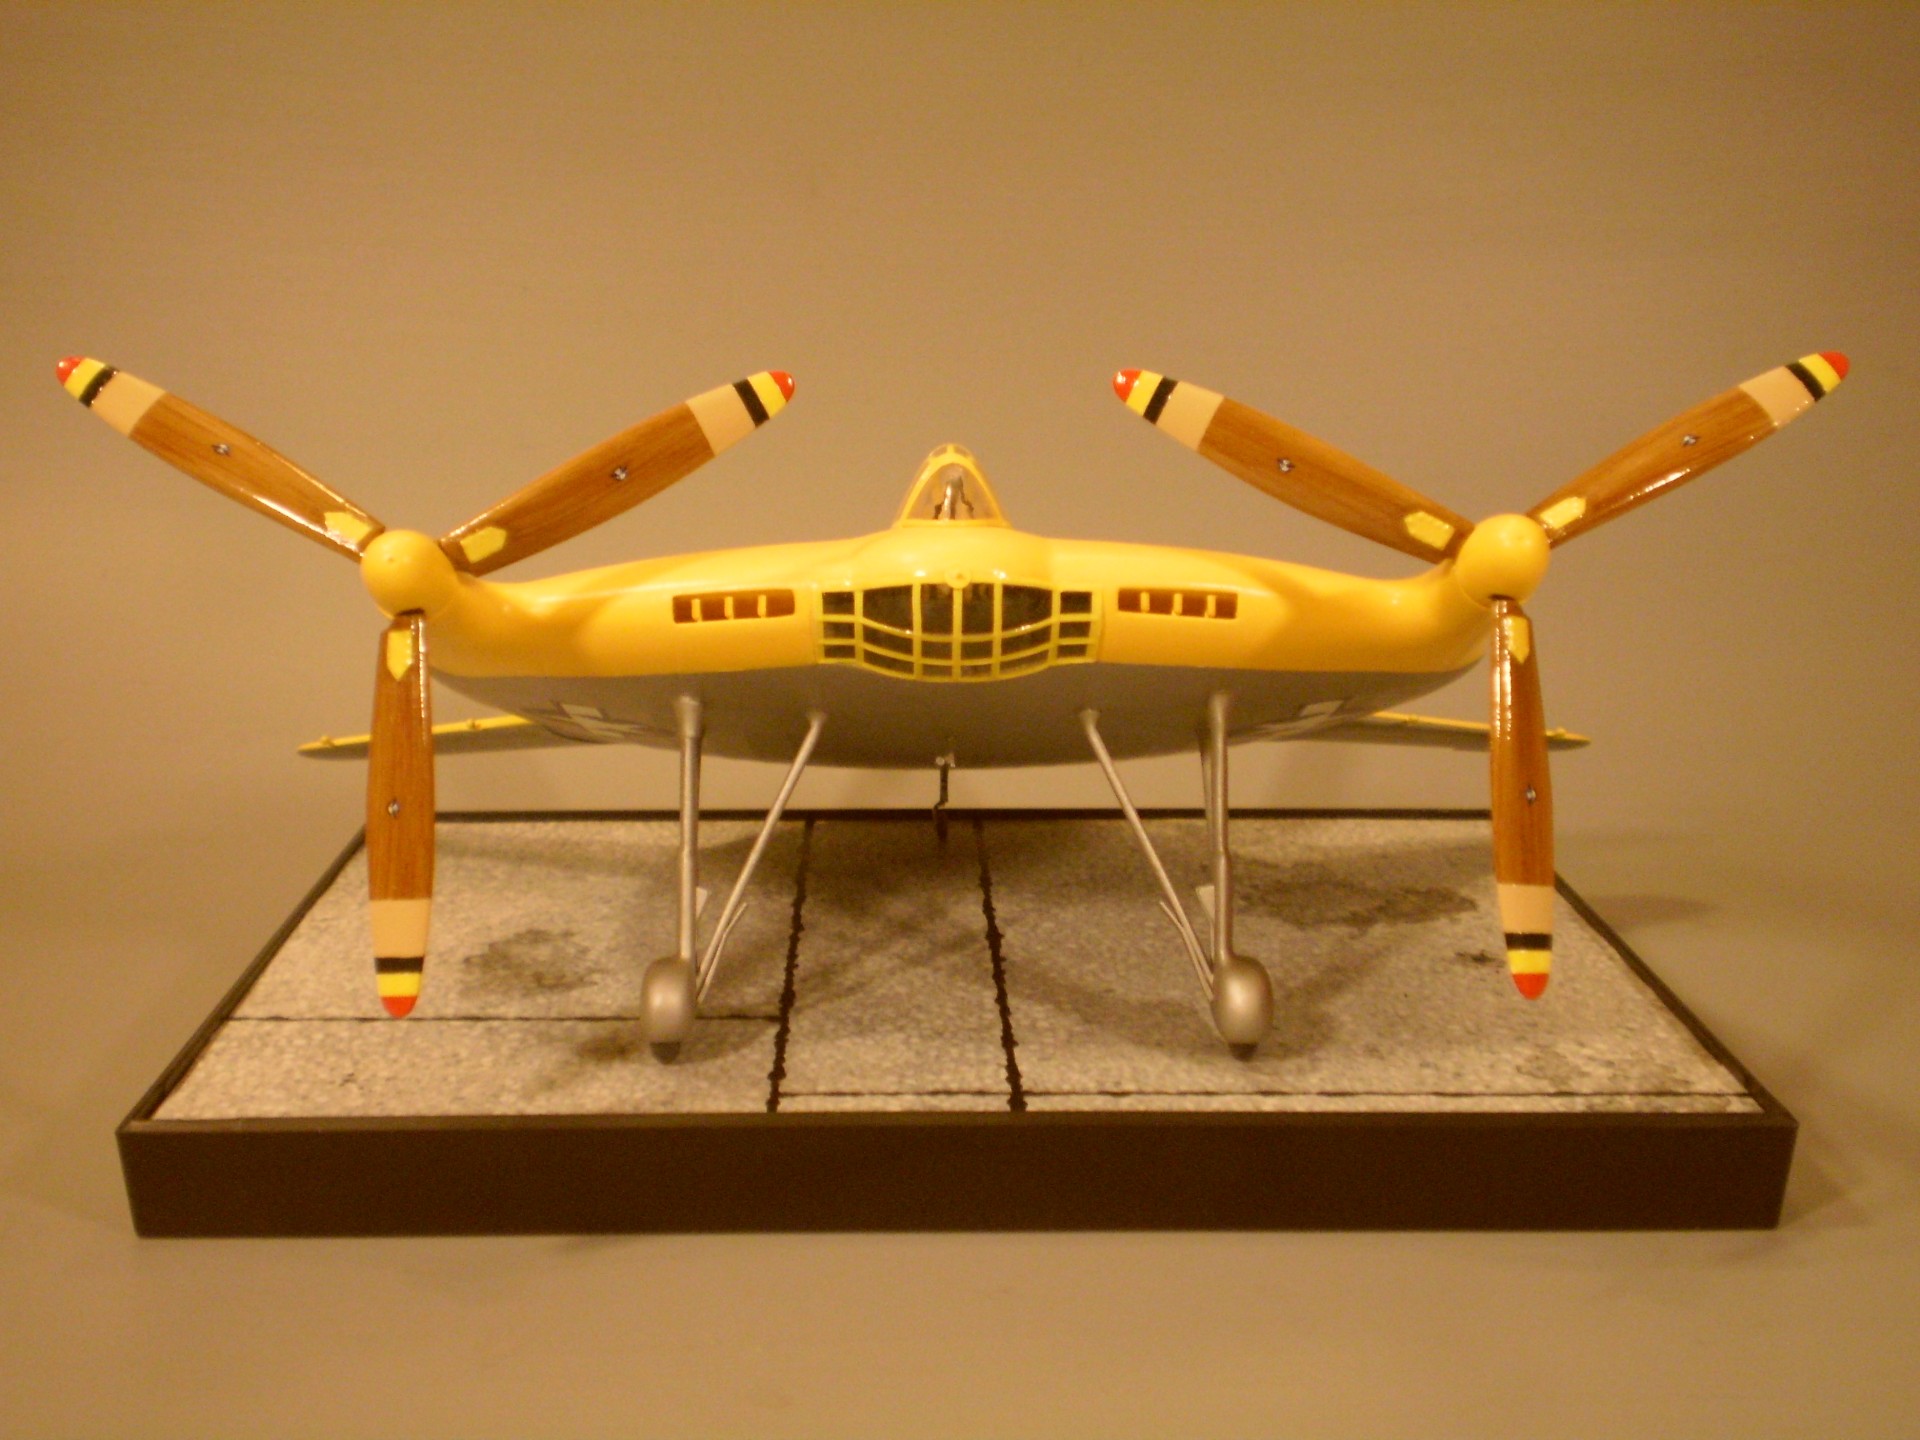
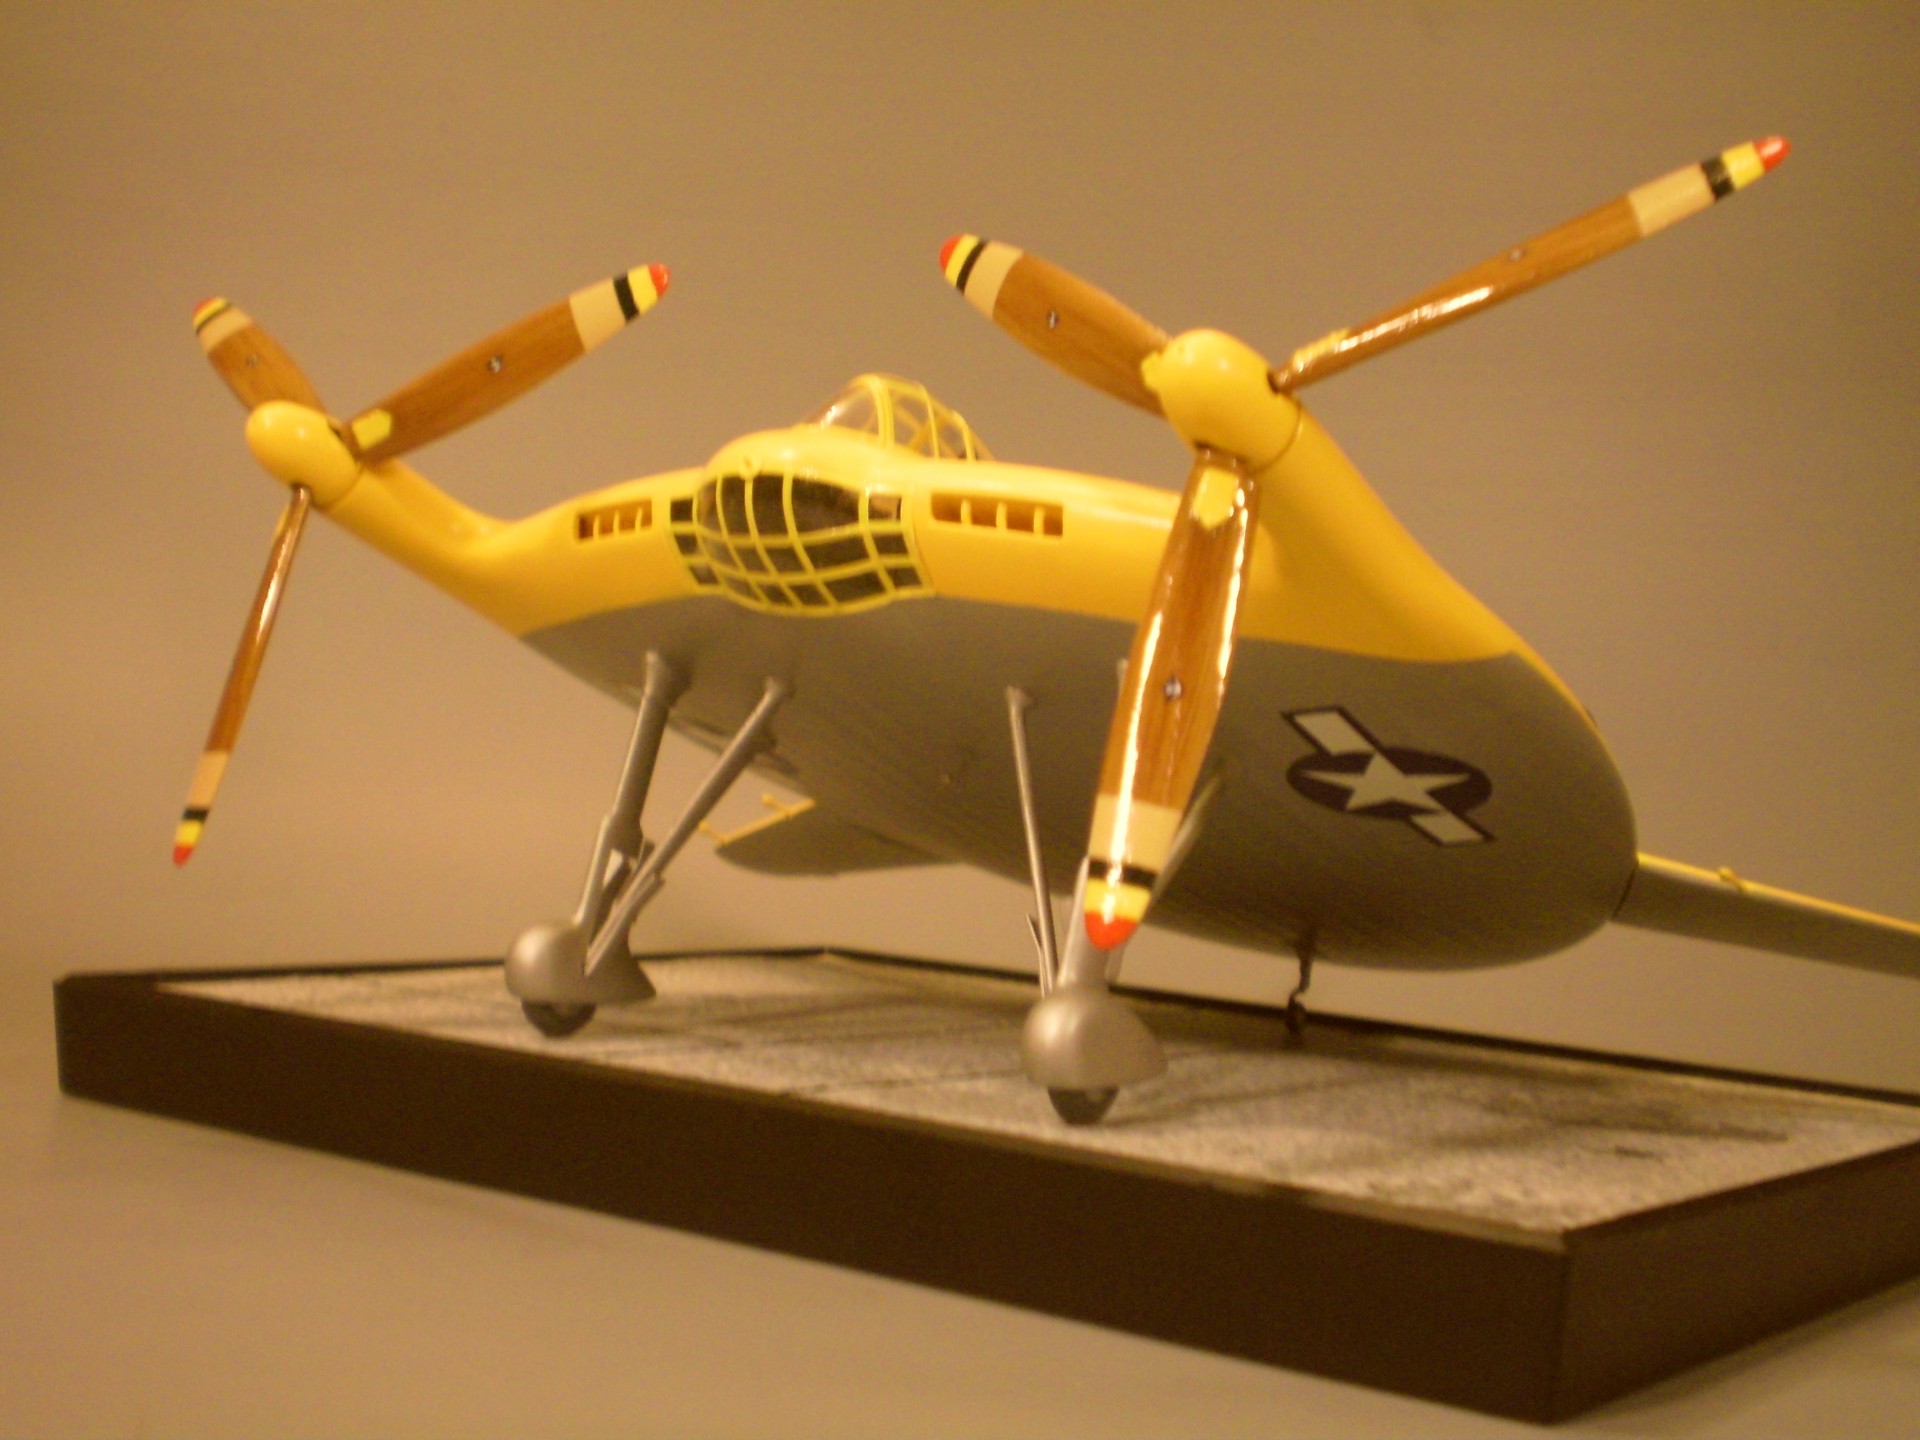
After a week of heavy rains, high humidity, a straight-line wind storm (80 MPH), and a 27-hour power outage, I was finally able to put two coats of Testors 1214 Gloss Yellow on the V-173.
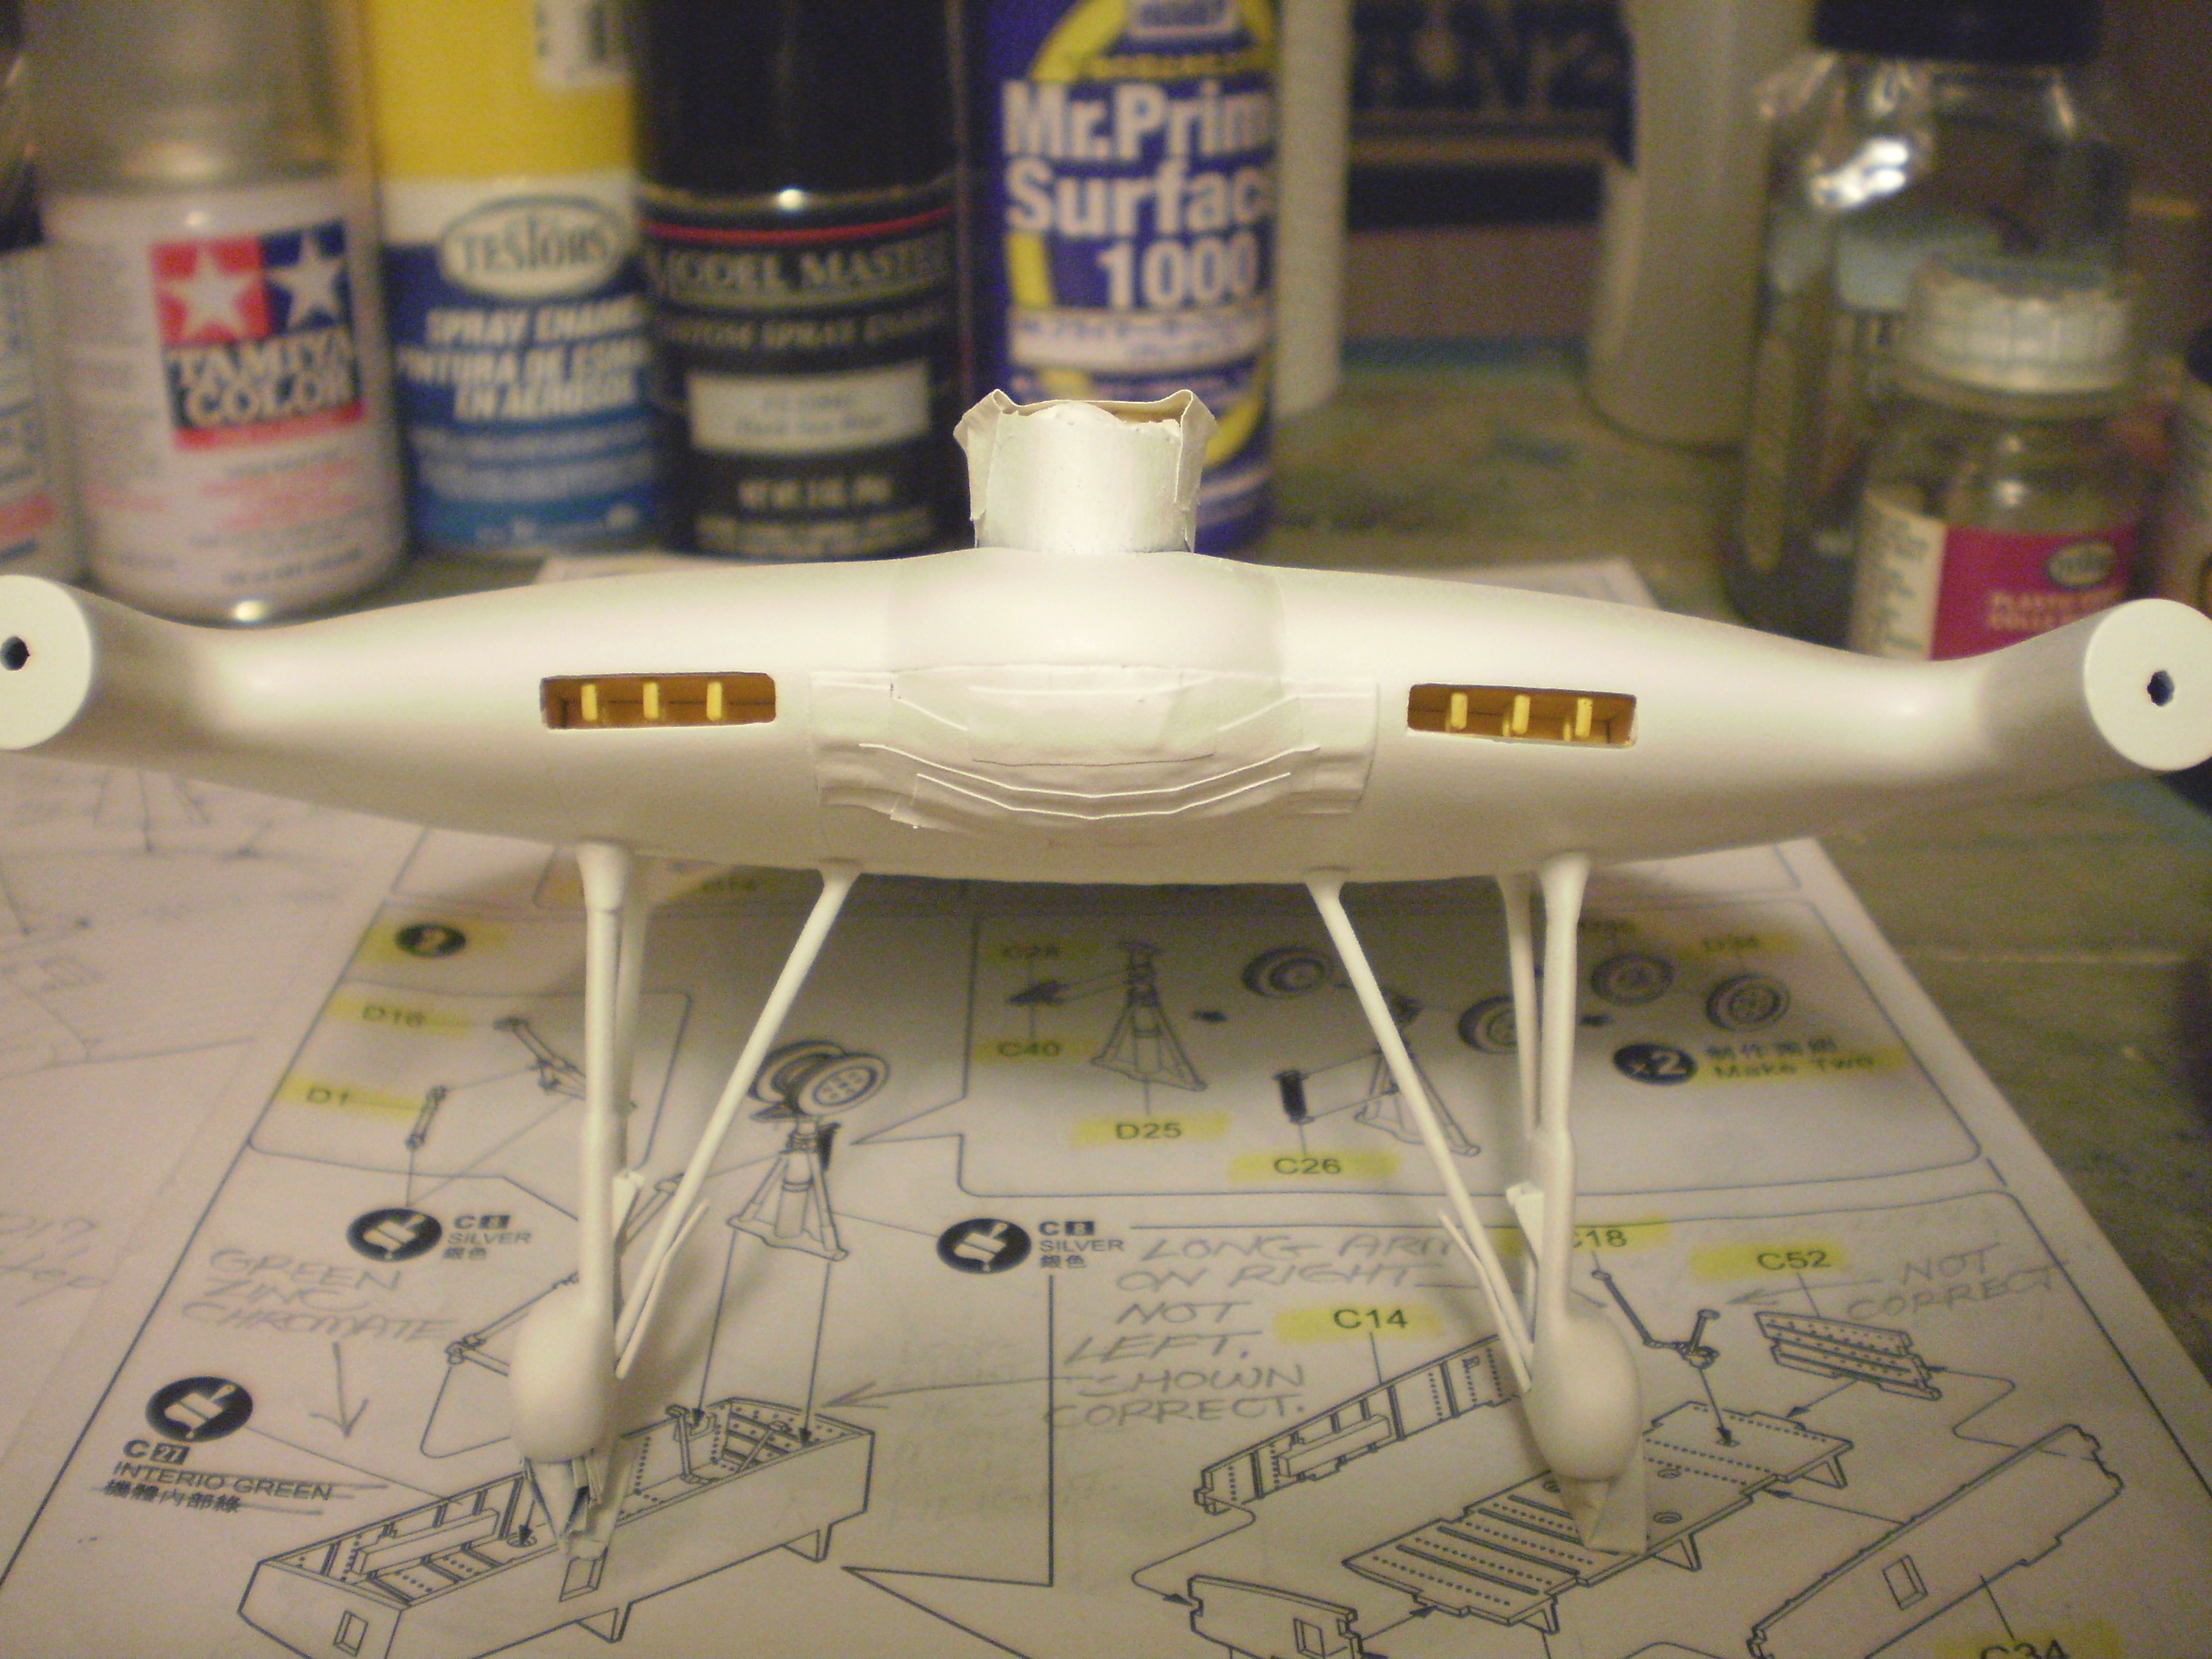
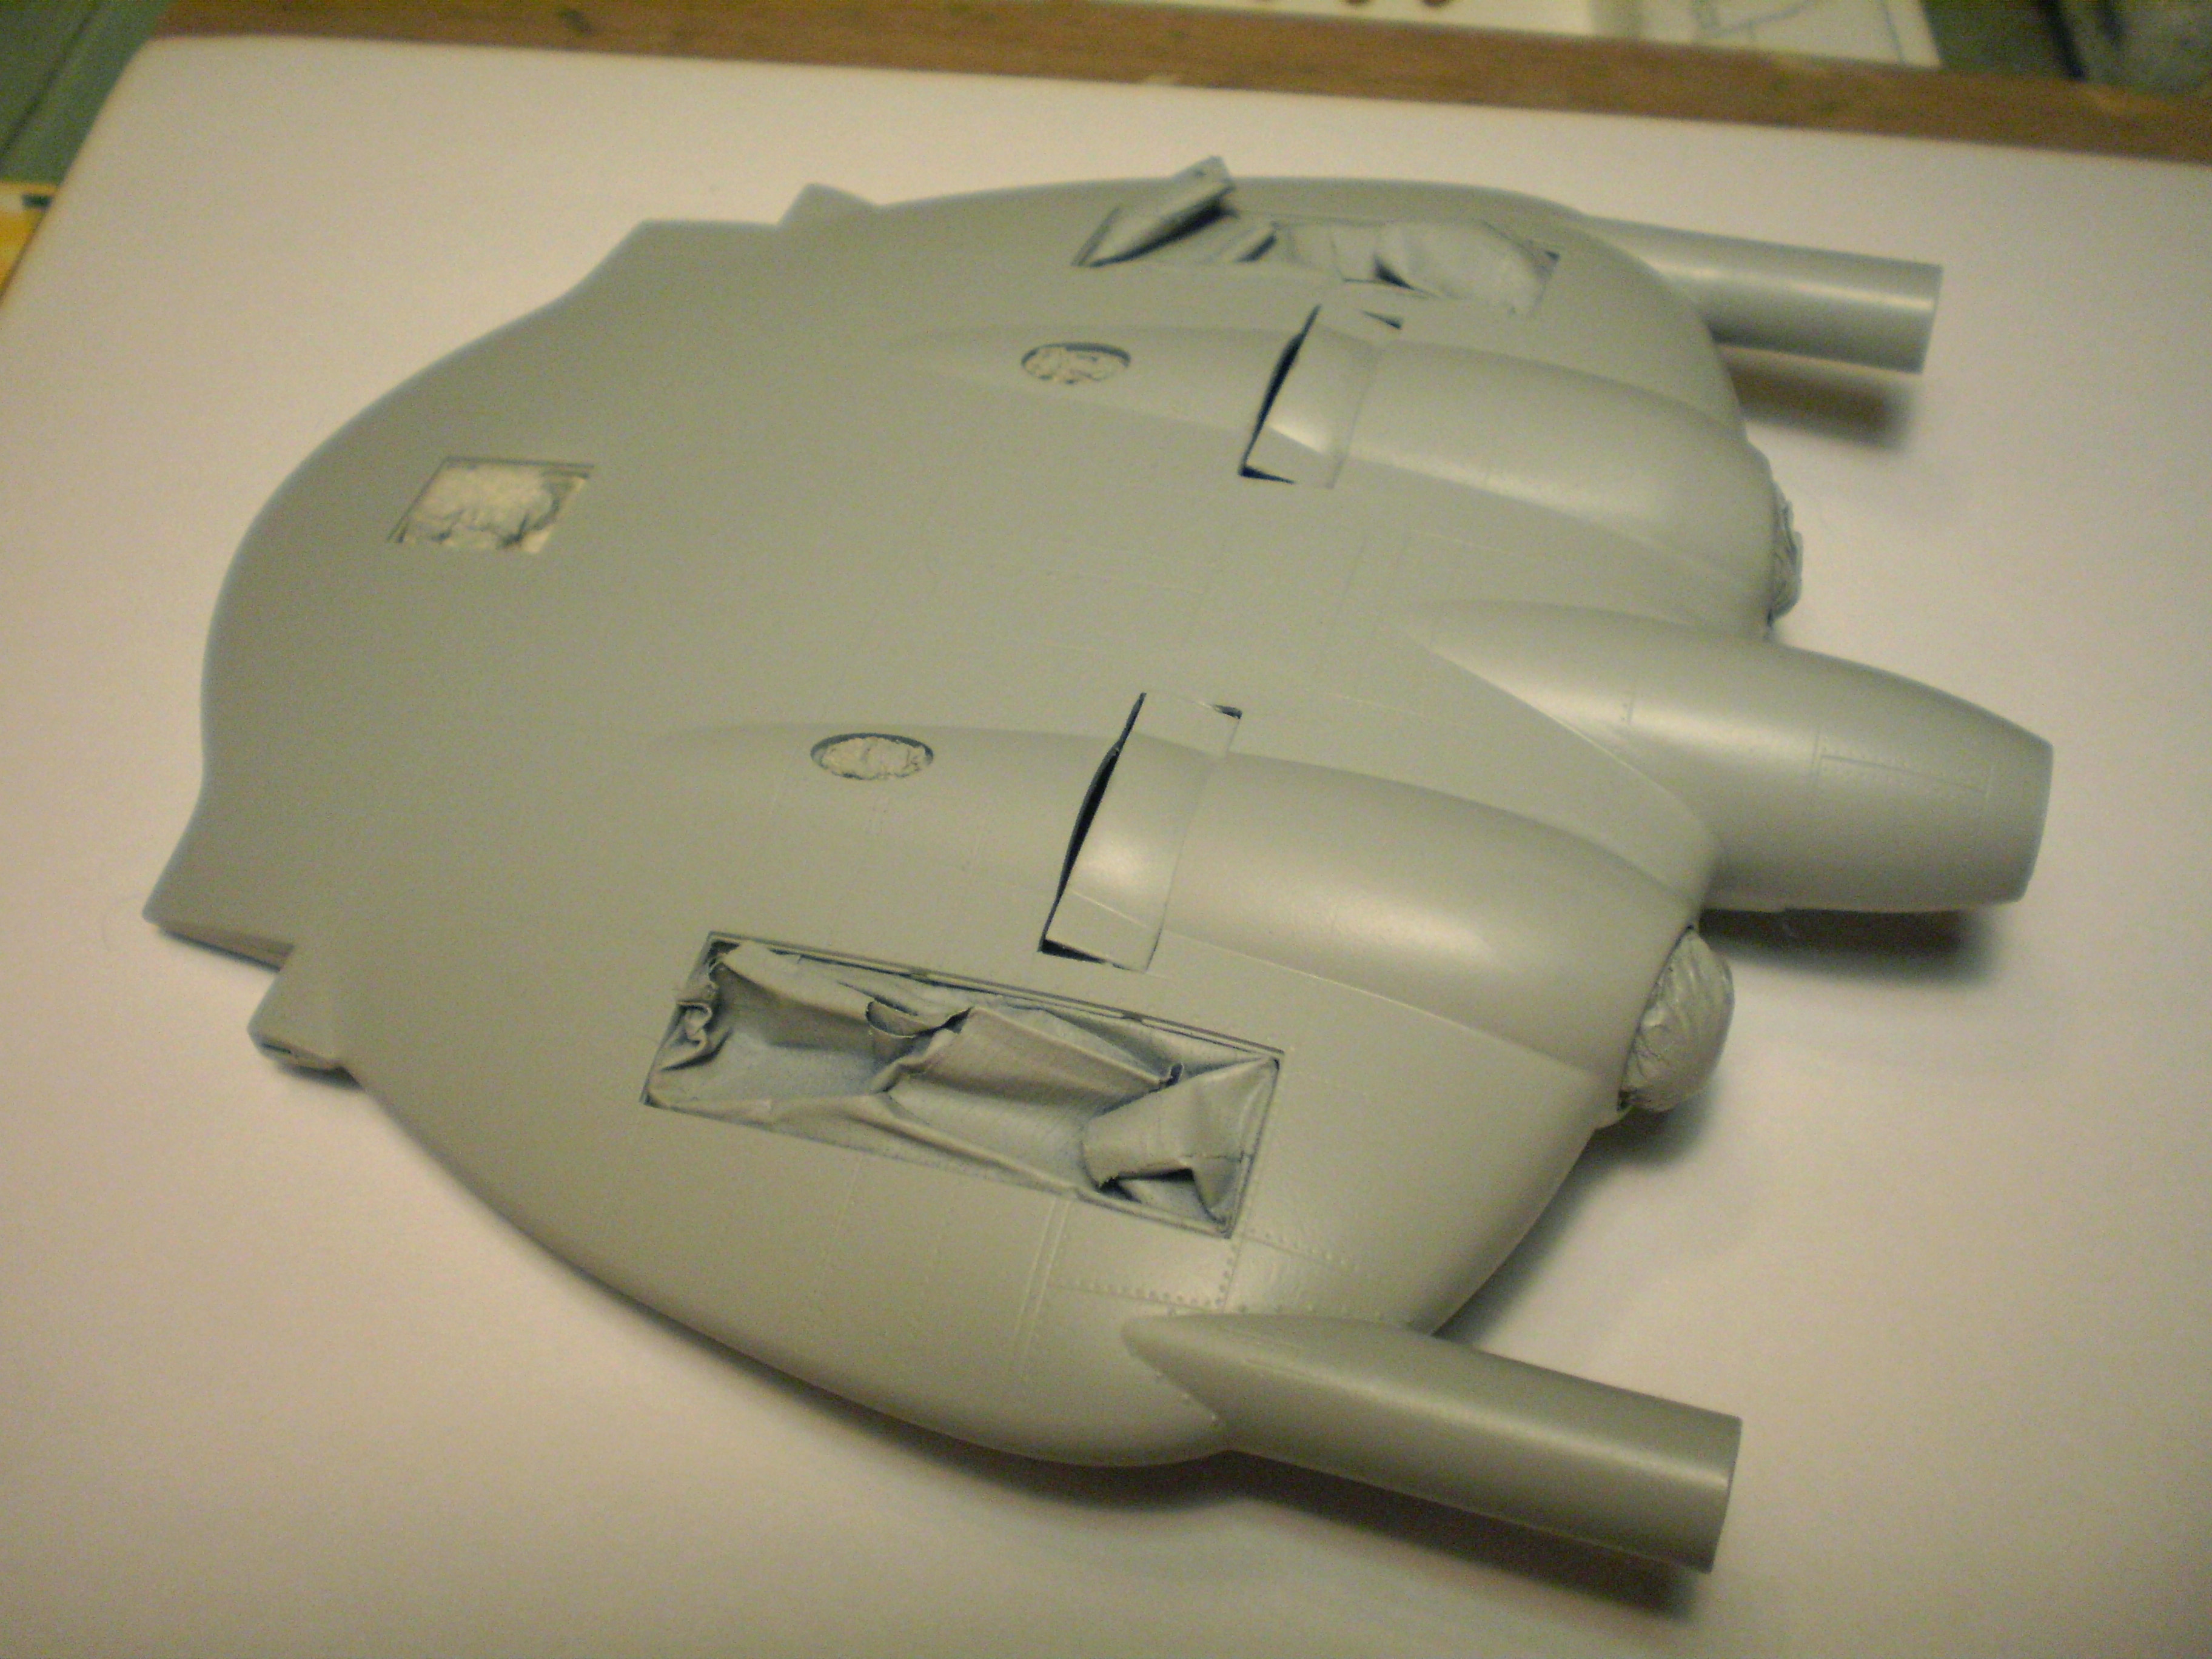
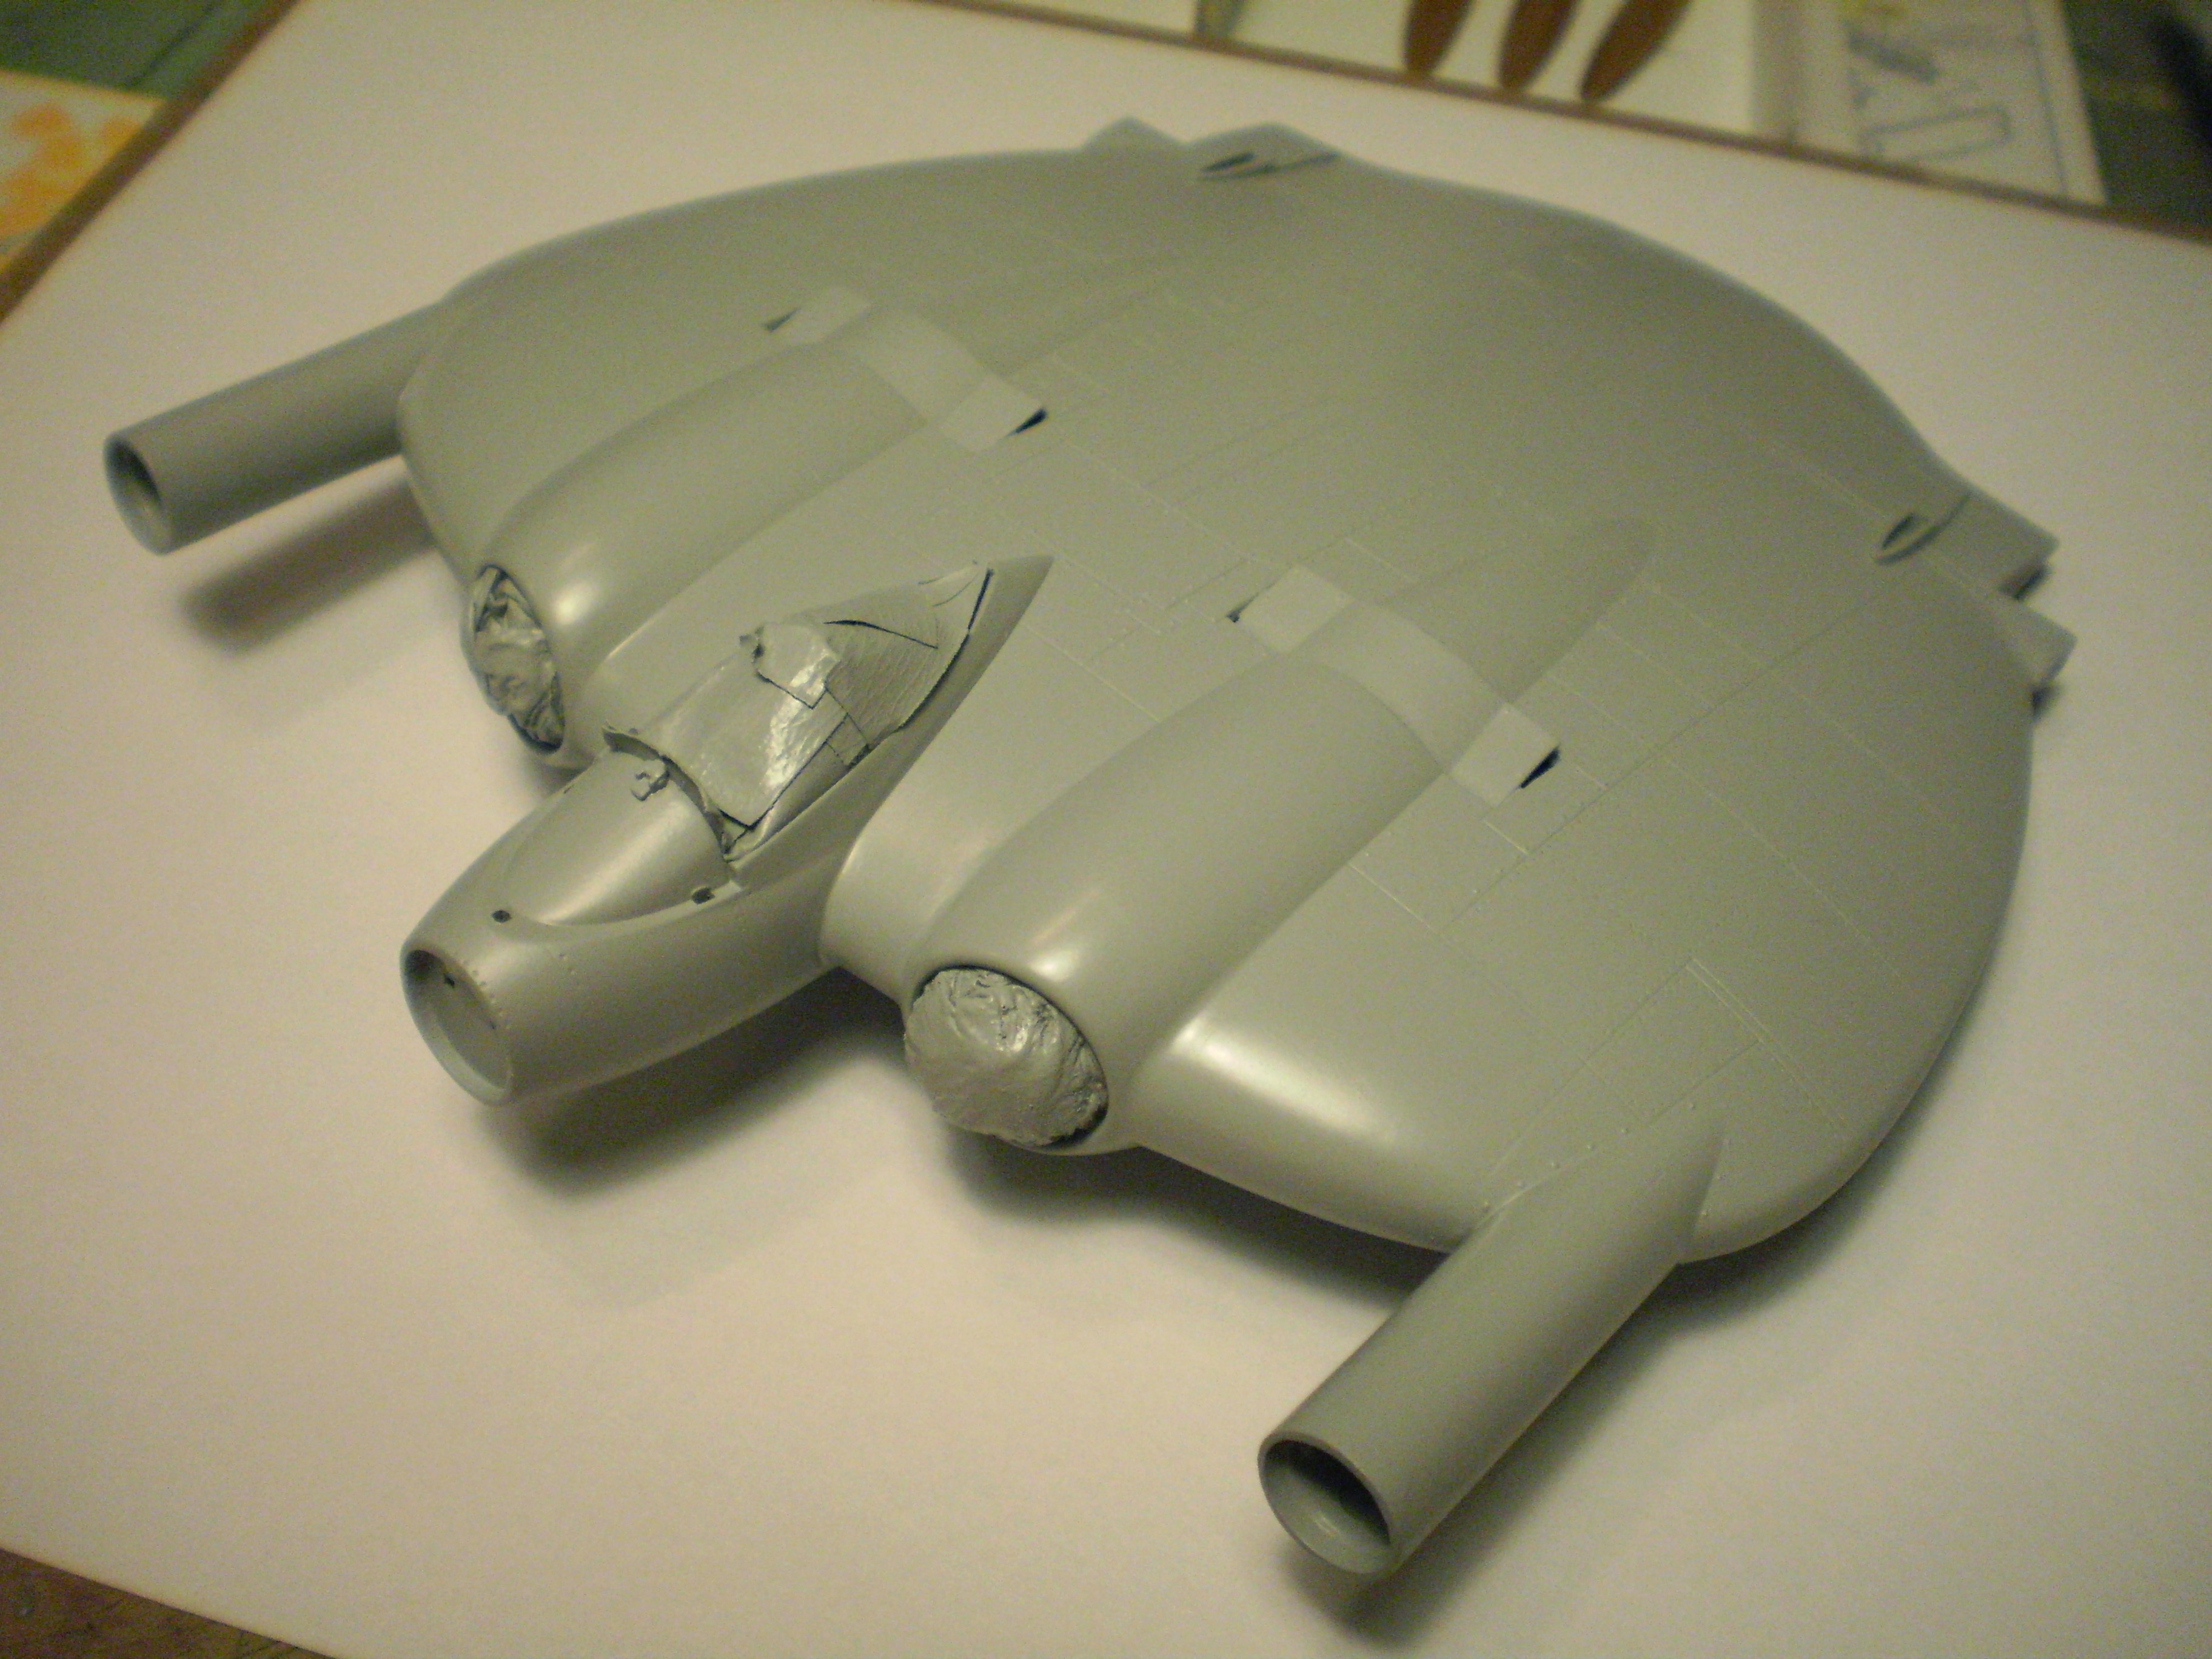
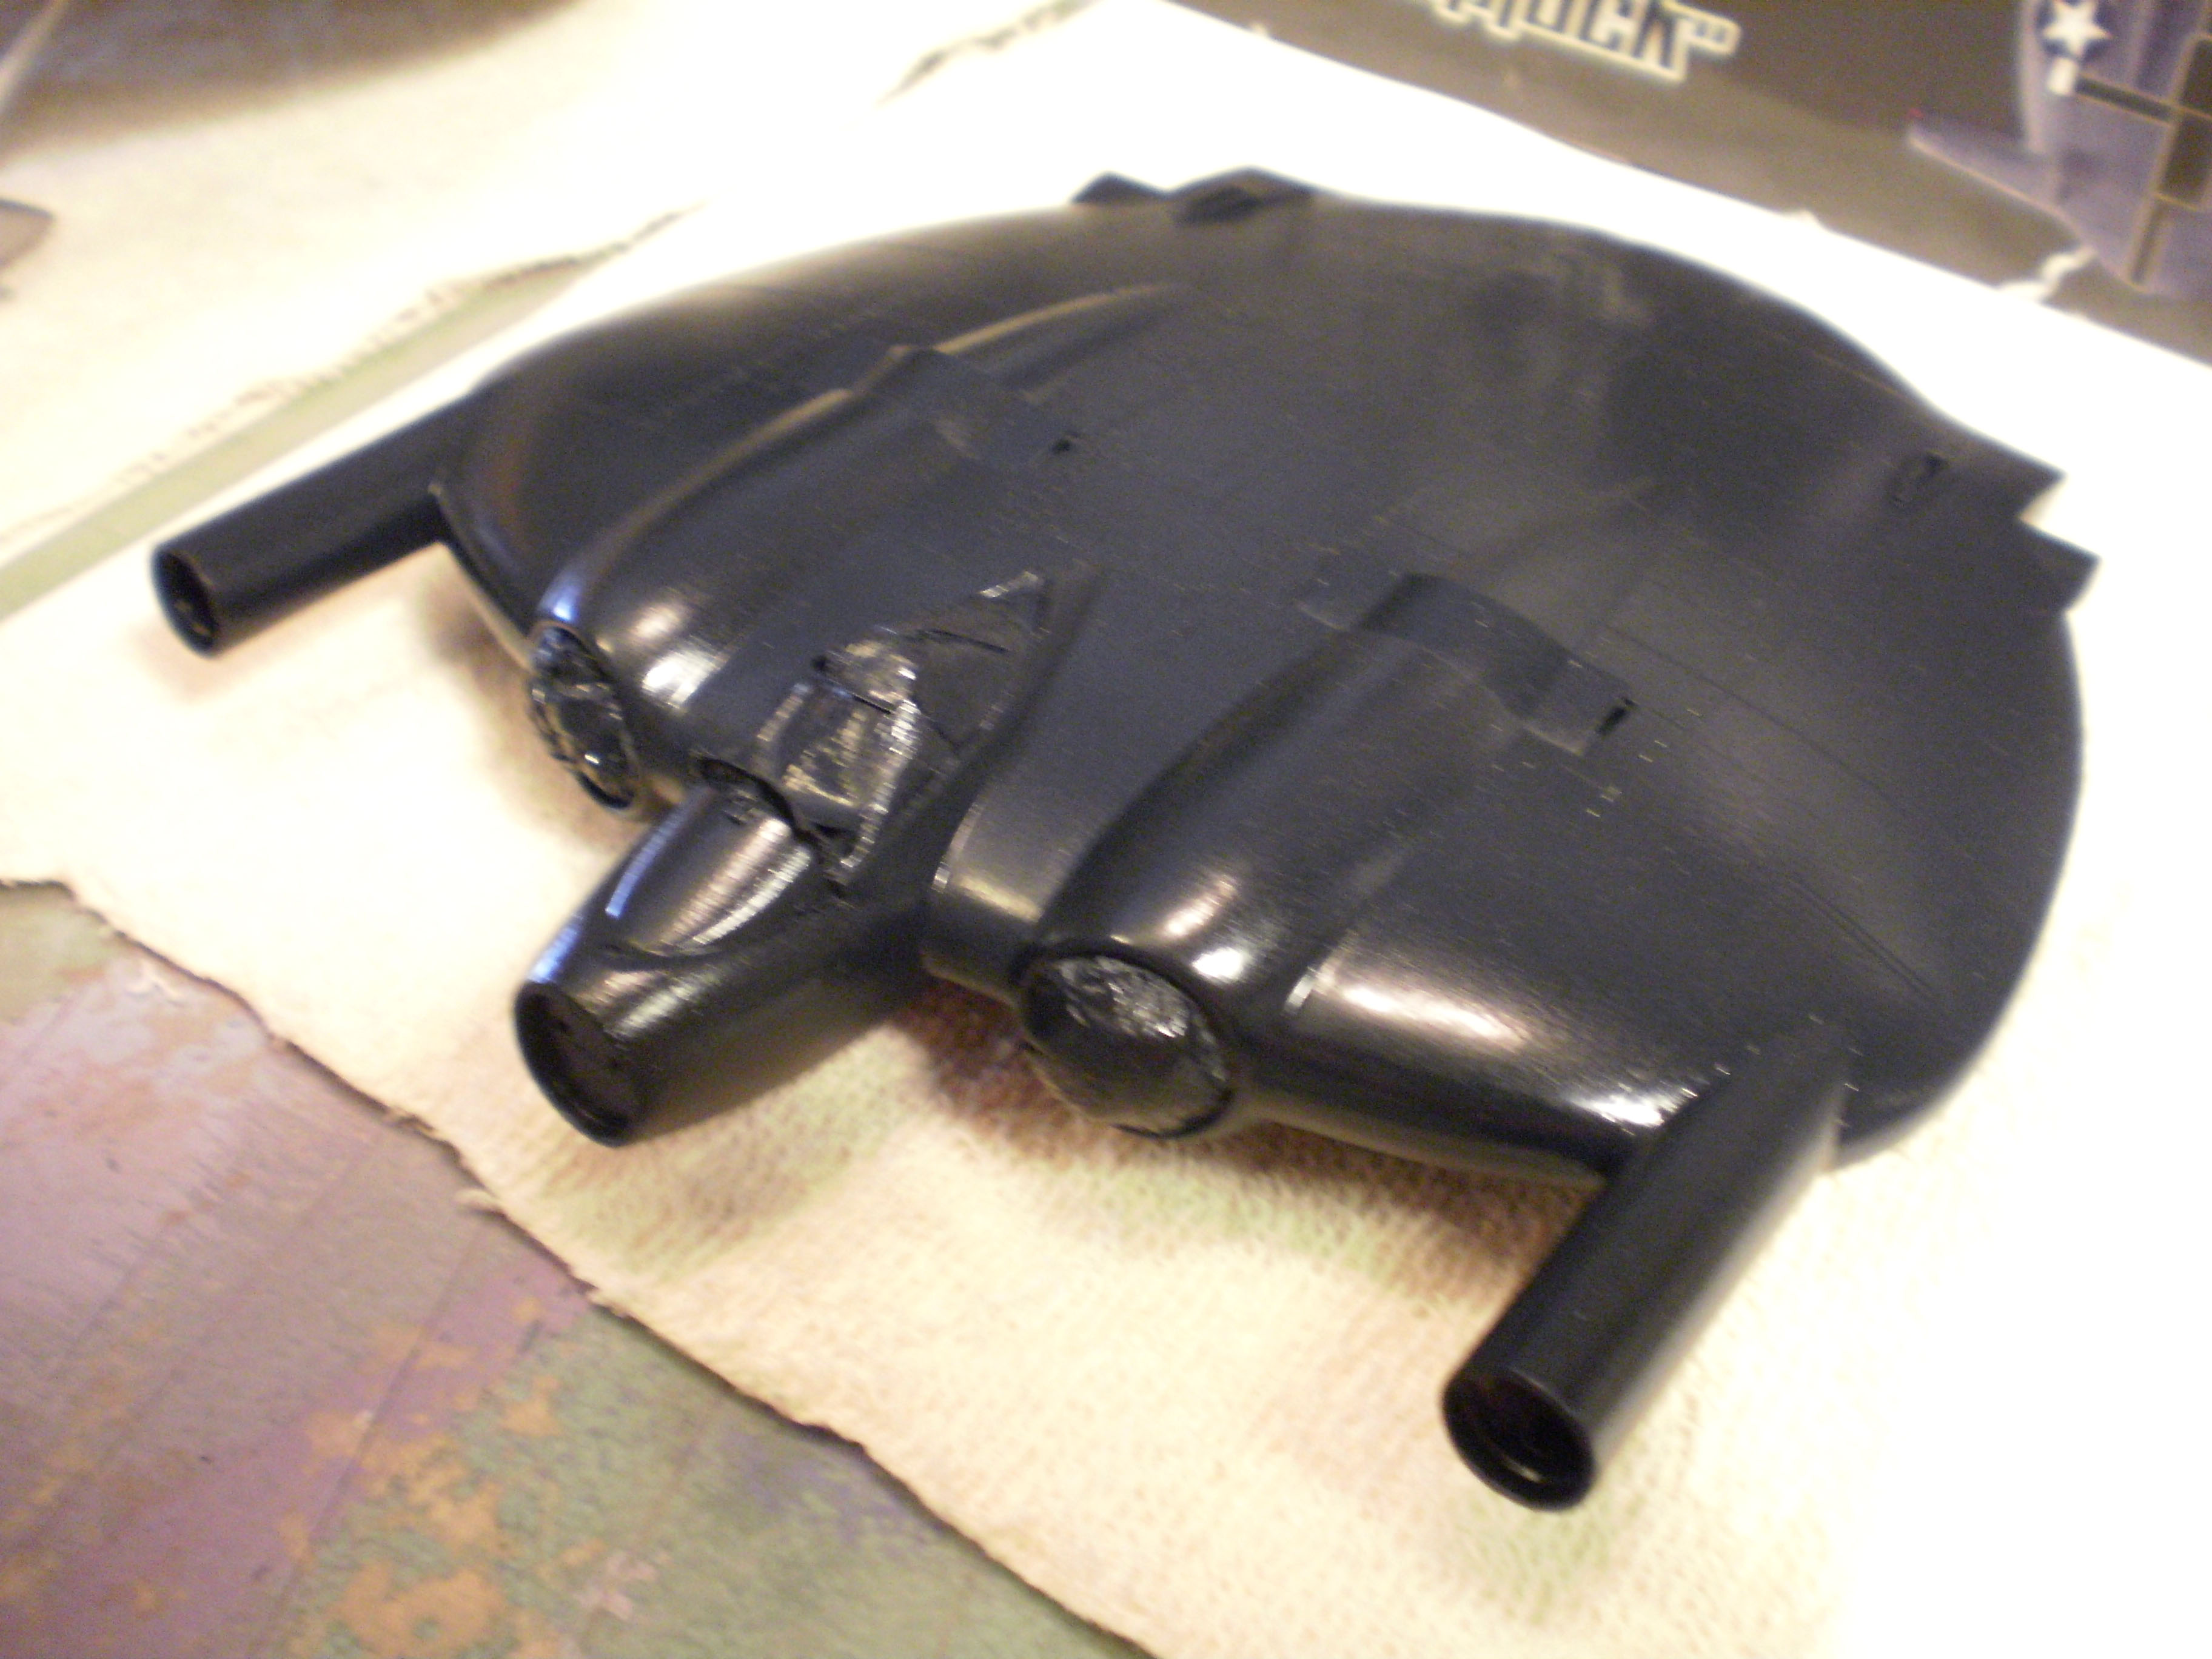
The XF5U-1 is ready for paint, after filling, sanding, and priming - over and over again. Like the V-173 kit, getting all the seams and contours to look good was quite a job.
Thanks Gamera. Repeatedly correcting and refining a model can get frustrating and exhausting. But it feels really, really satisfying when you’ve finished.
That sounds more like the XF4U-1 (V-166B) than the V-173… Supposedly, the V-173 flipped over on it’s back during an emergency landing on a beach. The Corsair made an emergency landing on a golf course, and ended up on it’s back as well.
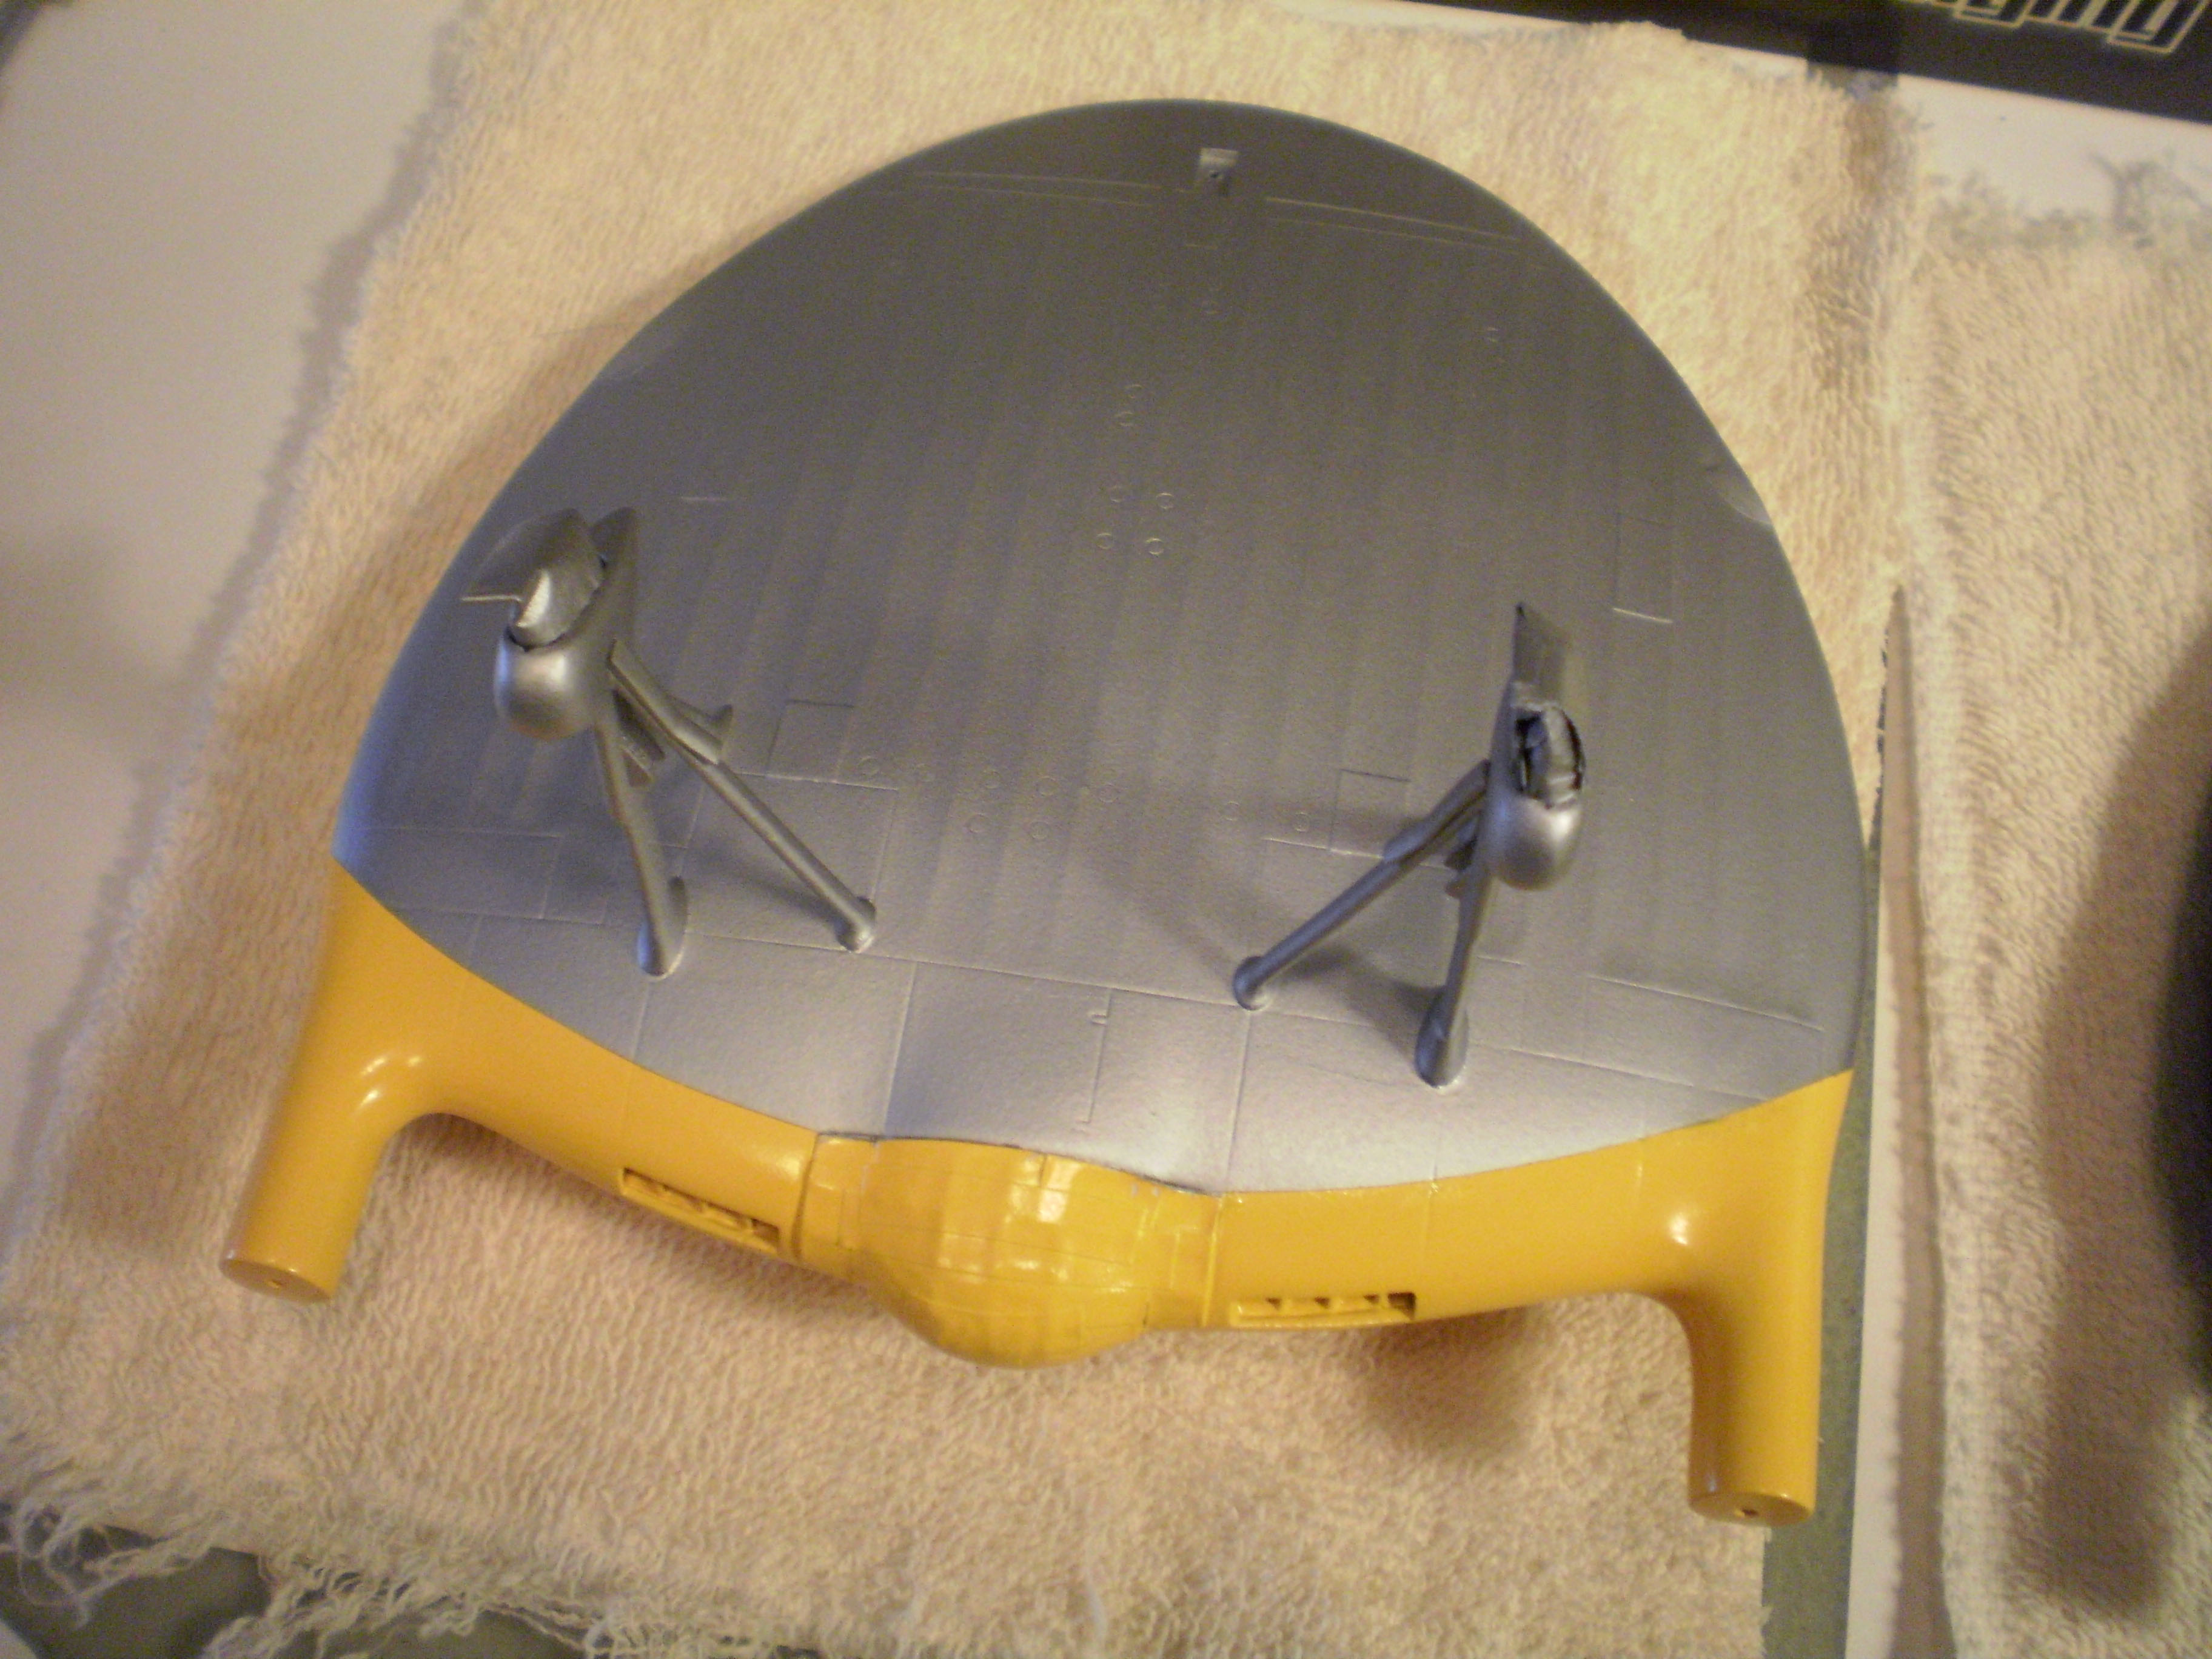
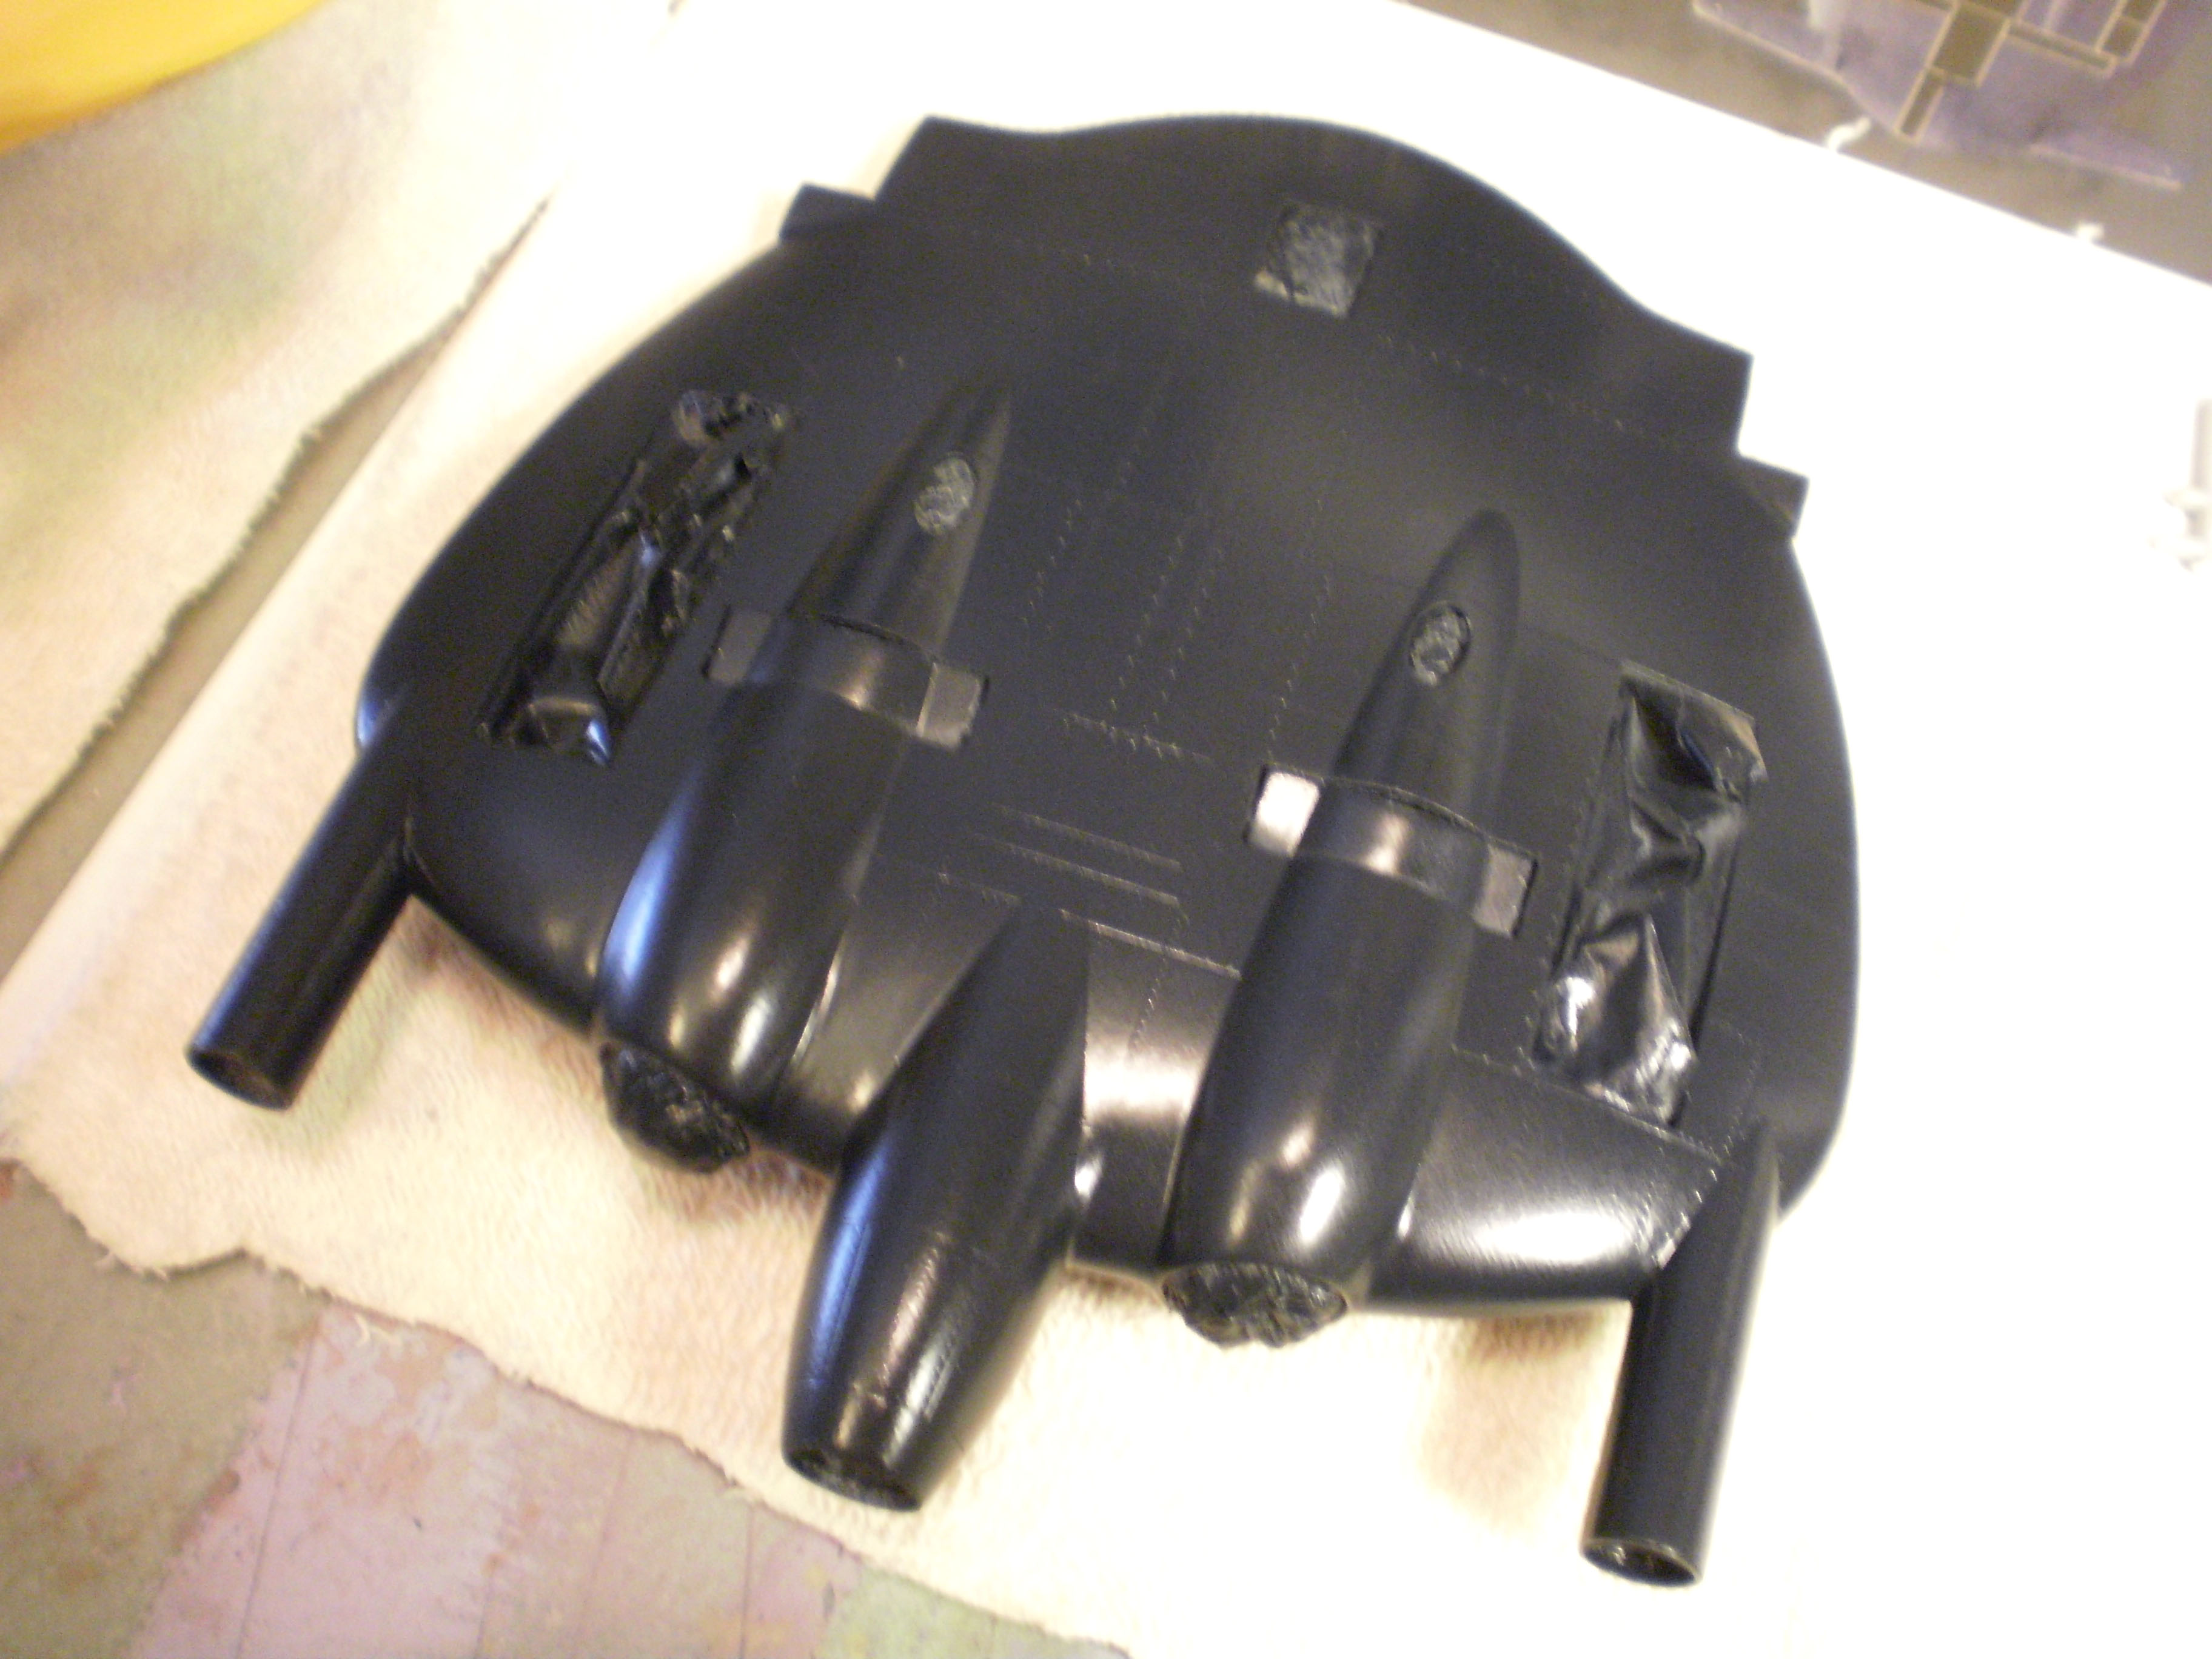
After a few weeks of feeling burned out on this two-plane project, I’m back at it. Put down a coat of Testors #1246 Metallic Silver on the V-173, and a coat of Model Master #1917 FS15042 Dark Sea Blue on the XF5U-1.
Thanks Gamera! I have good results with spray cans by doing the following.
Shake the can for two minutes.
Hold the model at arm’s length.
Keep the can 12-18 inches away from the model.
Lightly spray the model with a series of 1/2-second shots, covering it with a patchwork of spots, rather than trying to cover the whole model with a continuous spray.
Build up a solid, uniform color in two or more sessions, rather than trying to do it with one coat.
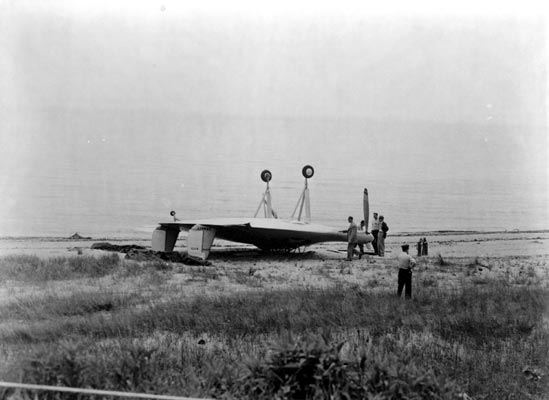
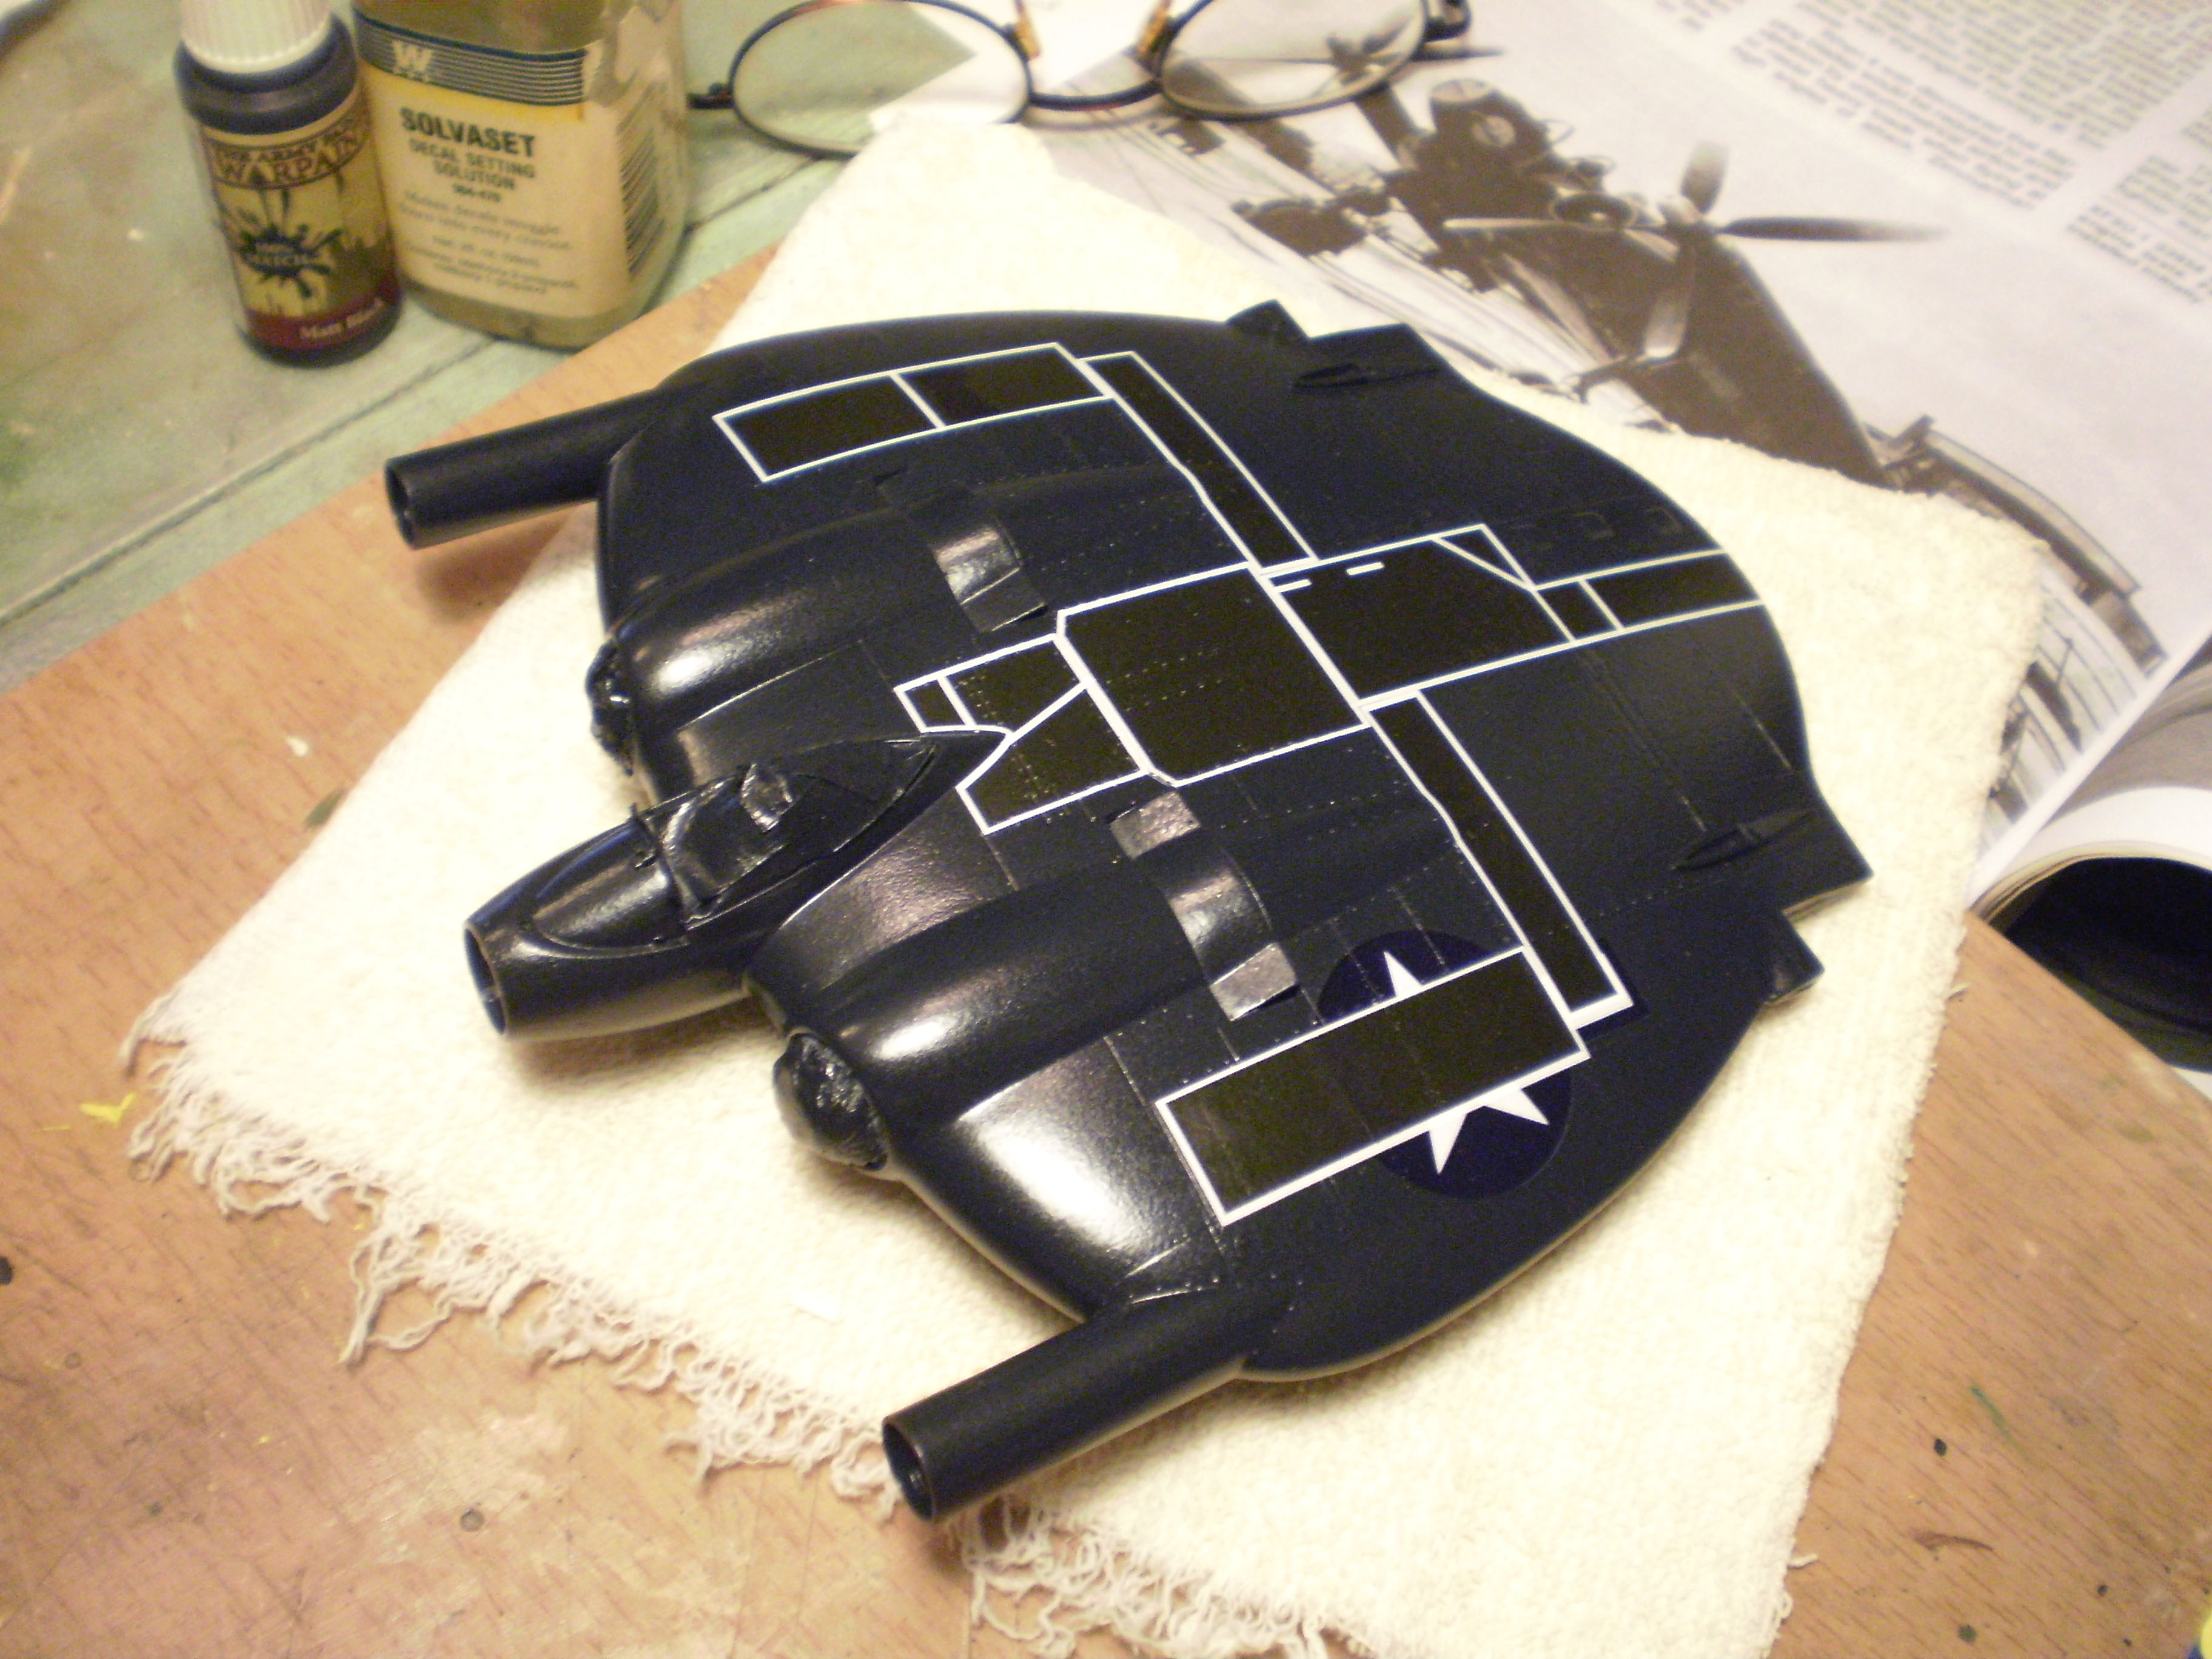
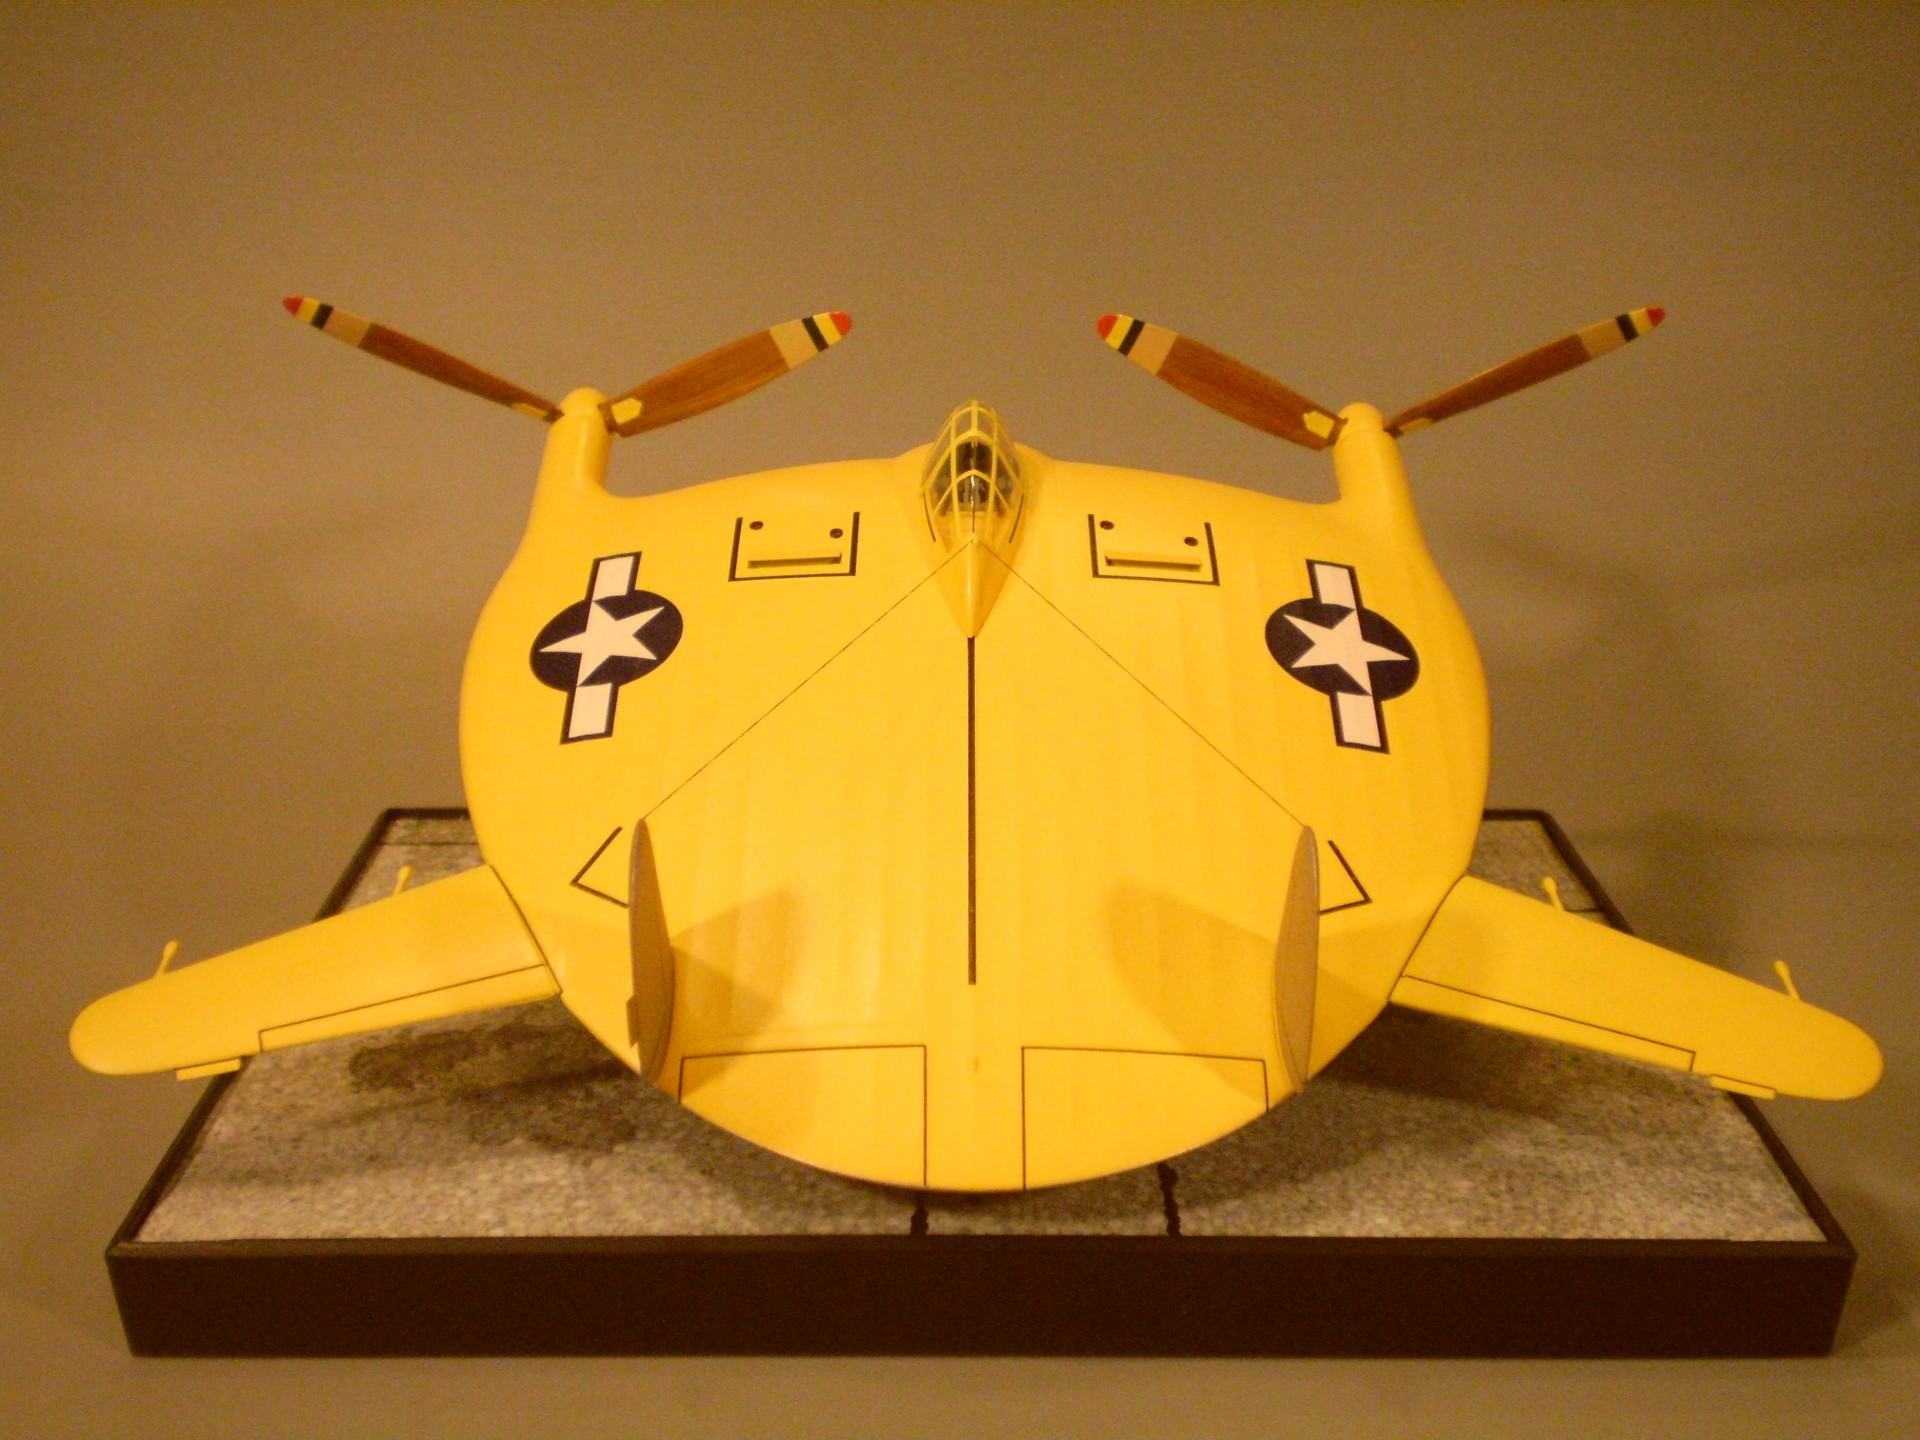
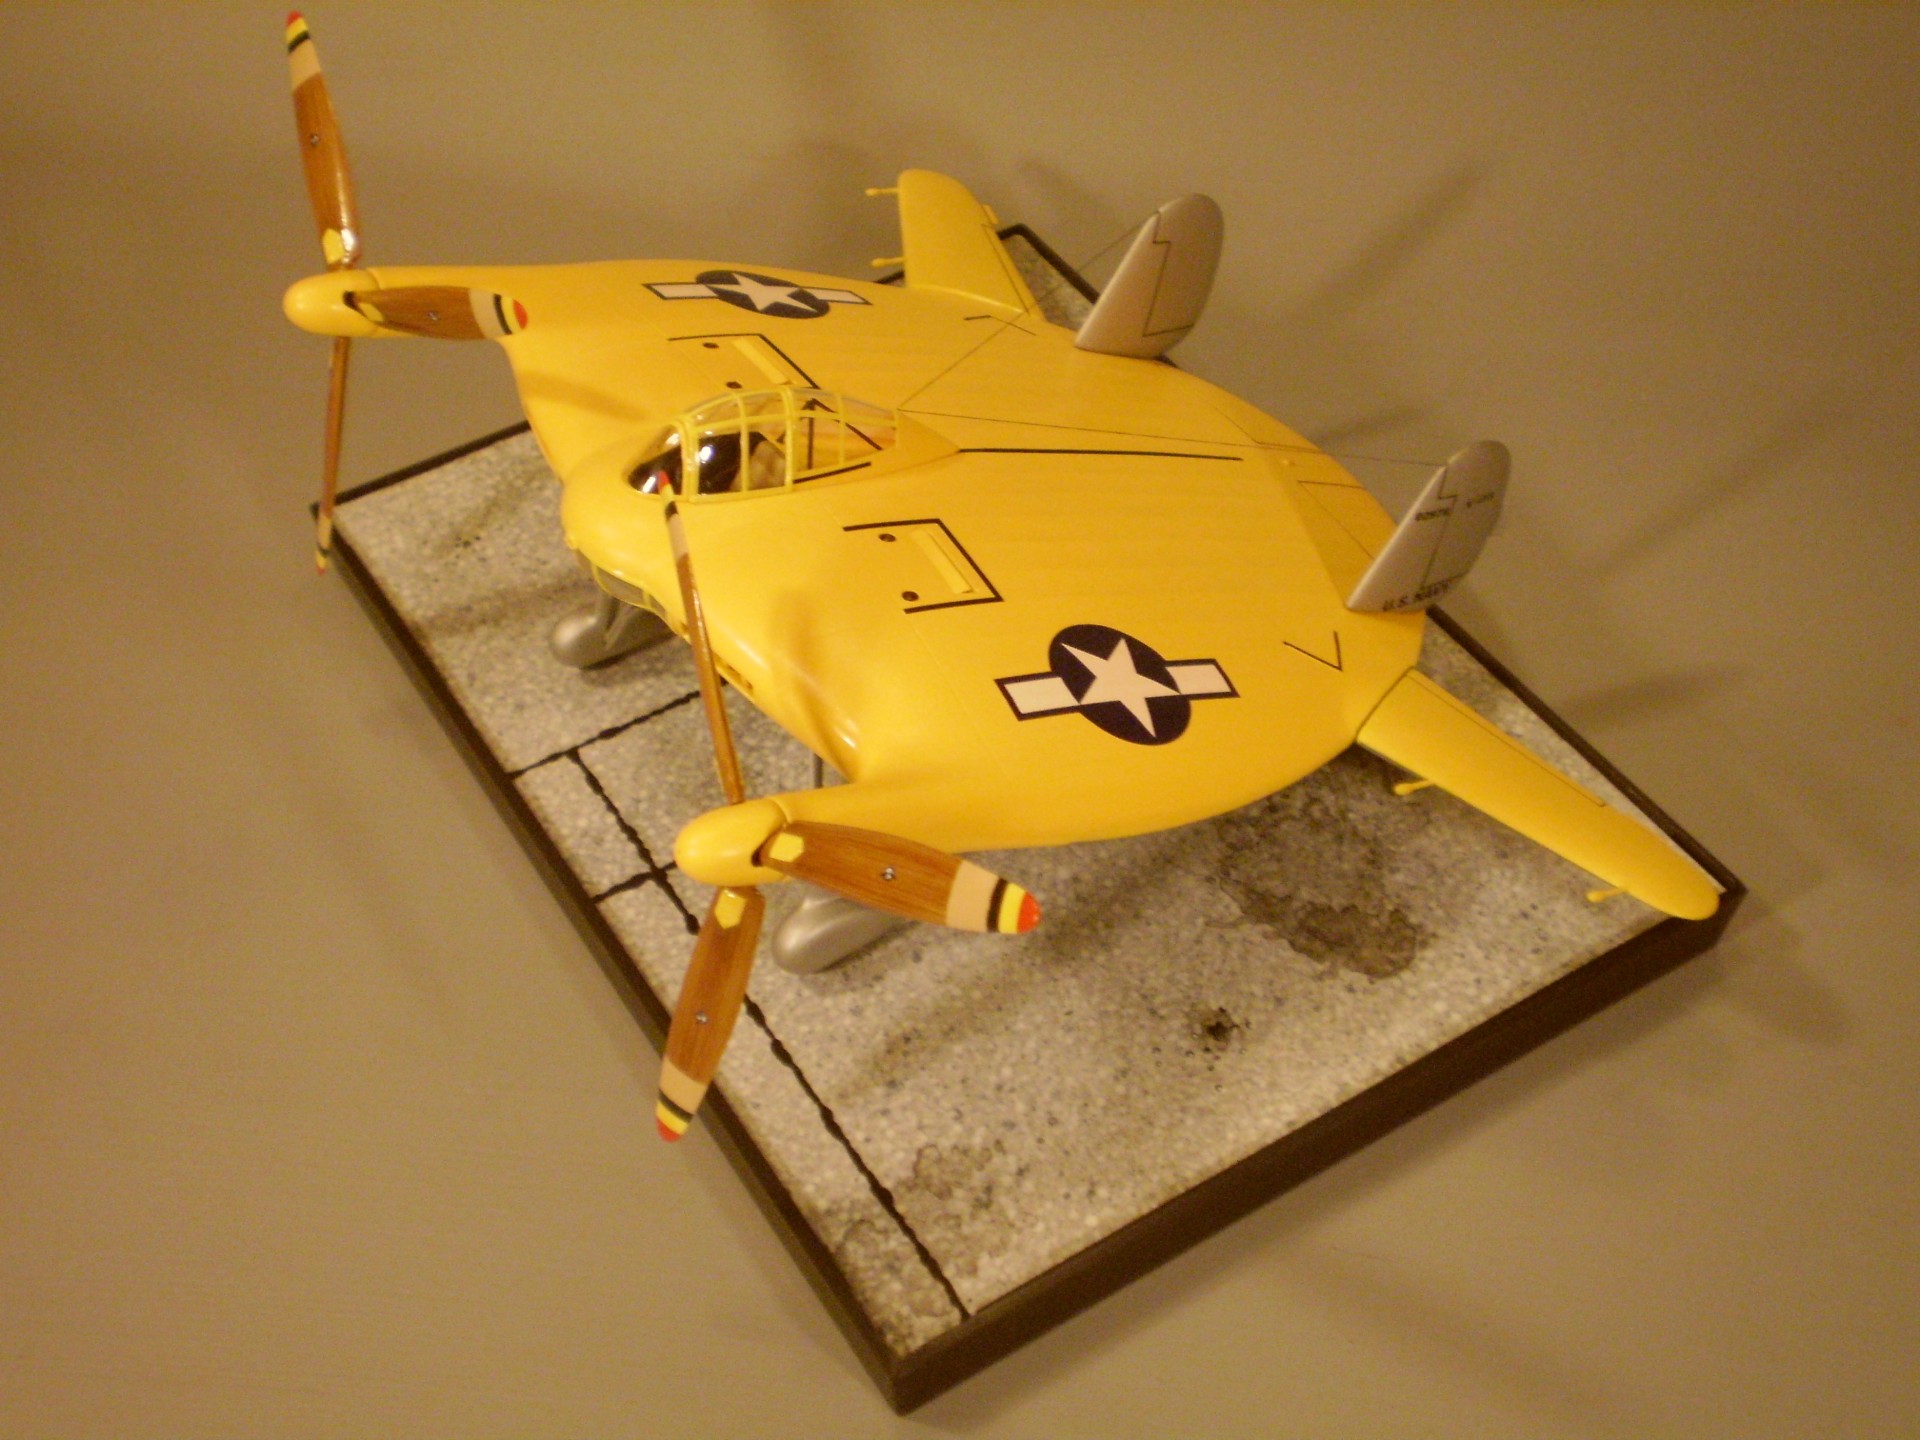
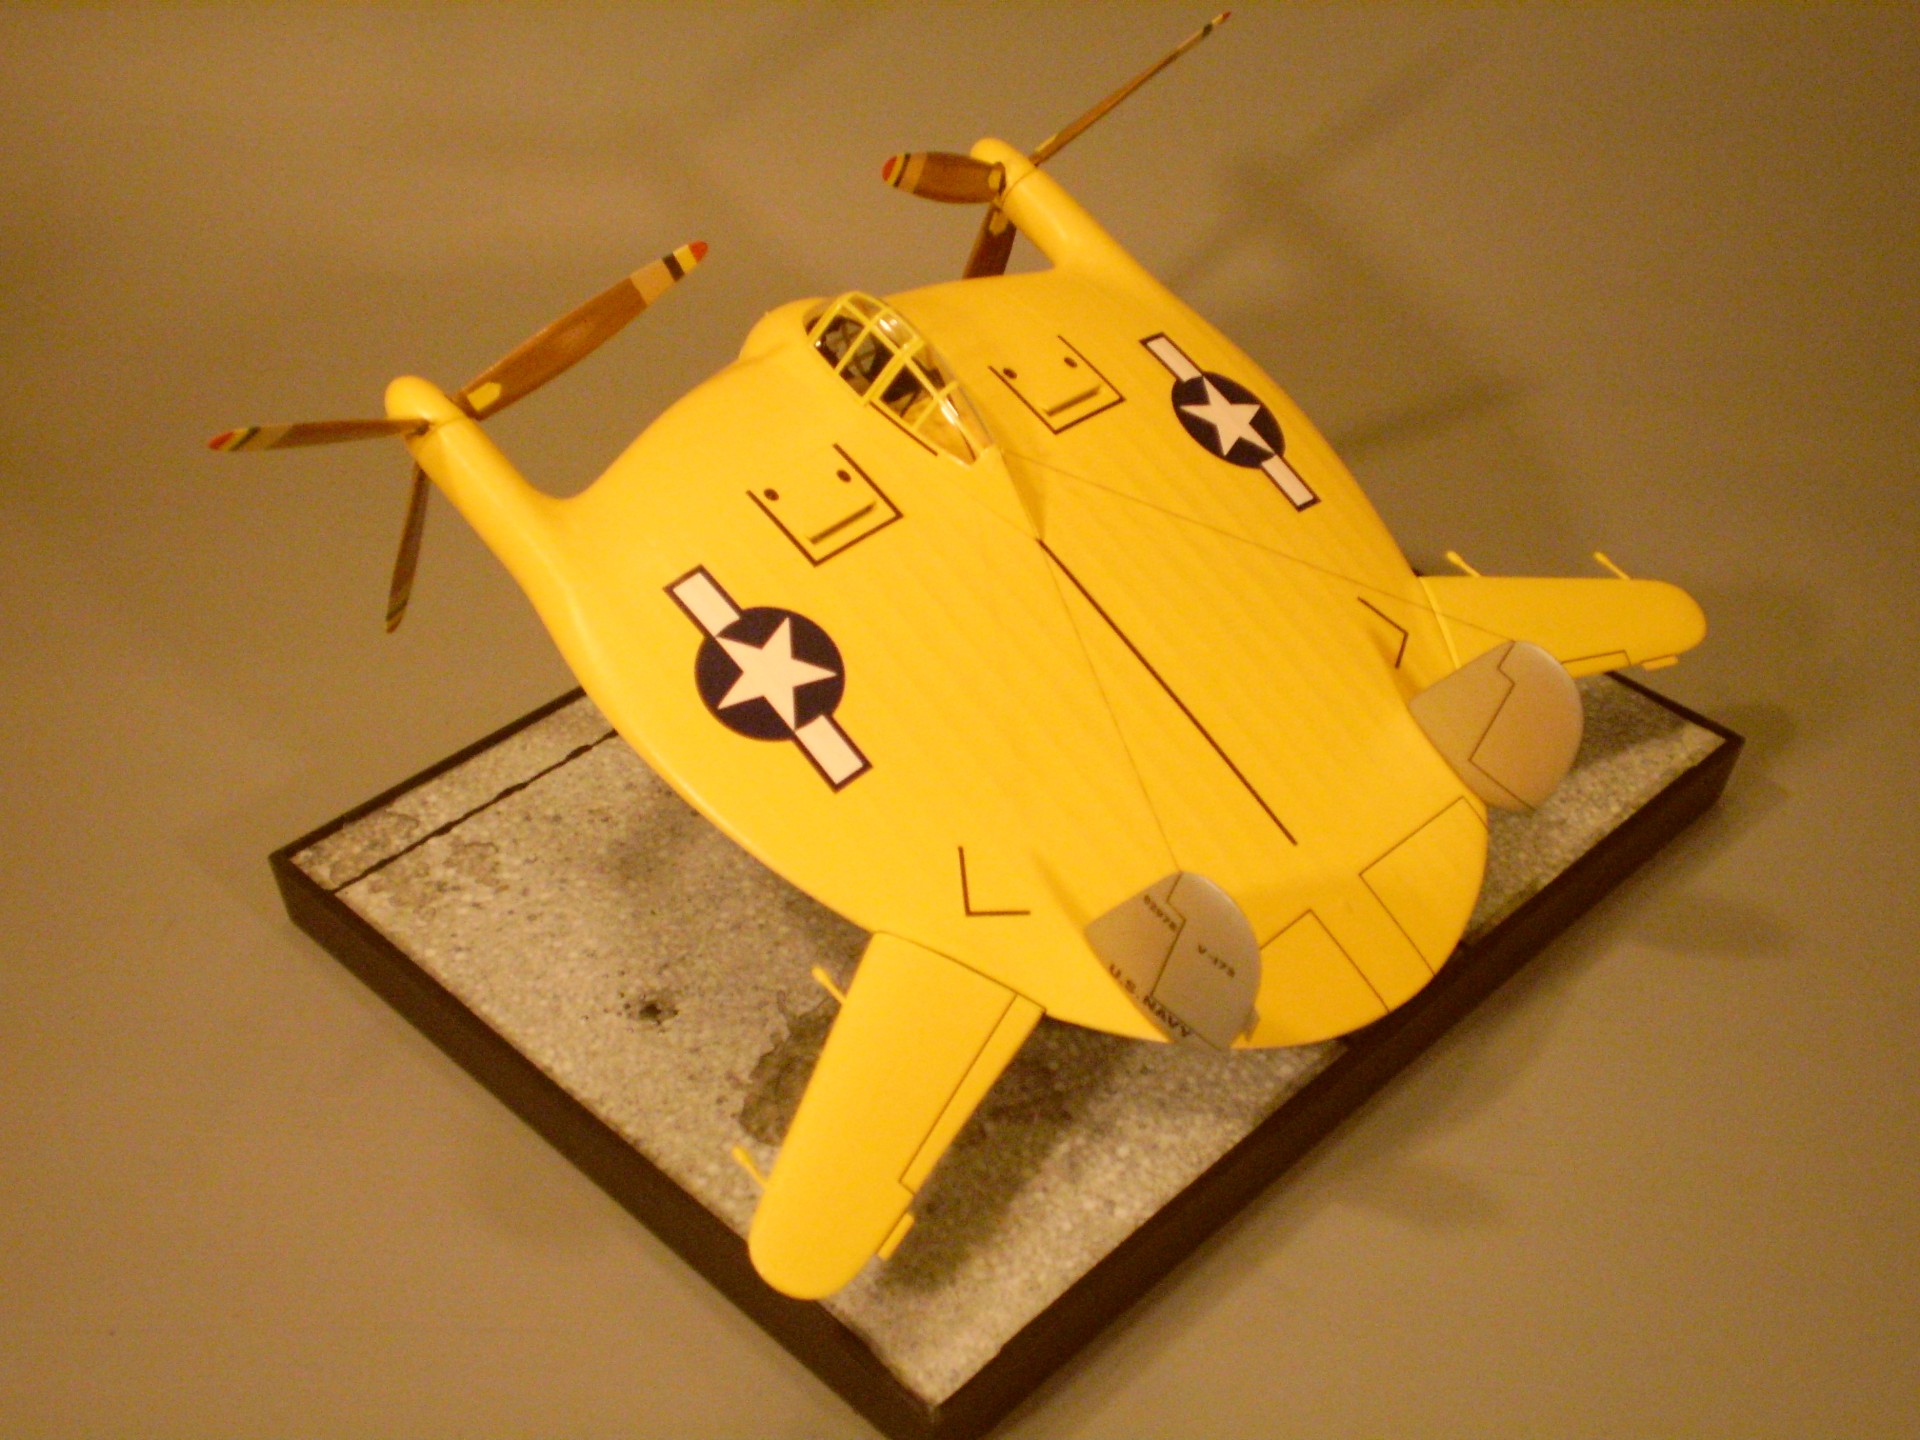
Finished applying the XF5U-1 kit decals that are supposed to represent temporary, taped-on walk/work panels. (Judging by the box art, instruction sheet, and Kitty Hawk’s photos of a built example - second photo below - the kit’s designers seemed to think these were permanent panels, as the national insignia is shown painted on top of two panels, and the tail hook is shown emerging from a panel.) I used a lot of Solvaset, both under and over the decals. I also accurized the kit decals using flat black acrylic and white stripe decals (page 28 of the Ginter book was my reference for this).
It’s been a year since I posted anything about this project. It was a long Winter of modeling doldrums last year, with nothing accomplished. Then Spring and early Summer brought two major surgeries, and recovery time. But I’ve now finished the V-173. Finishing the XF5U-1 is next!