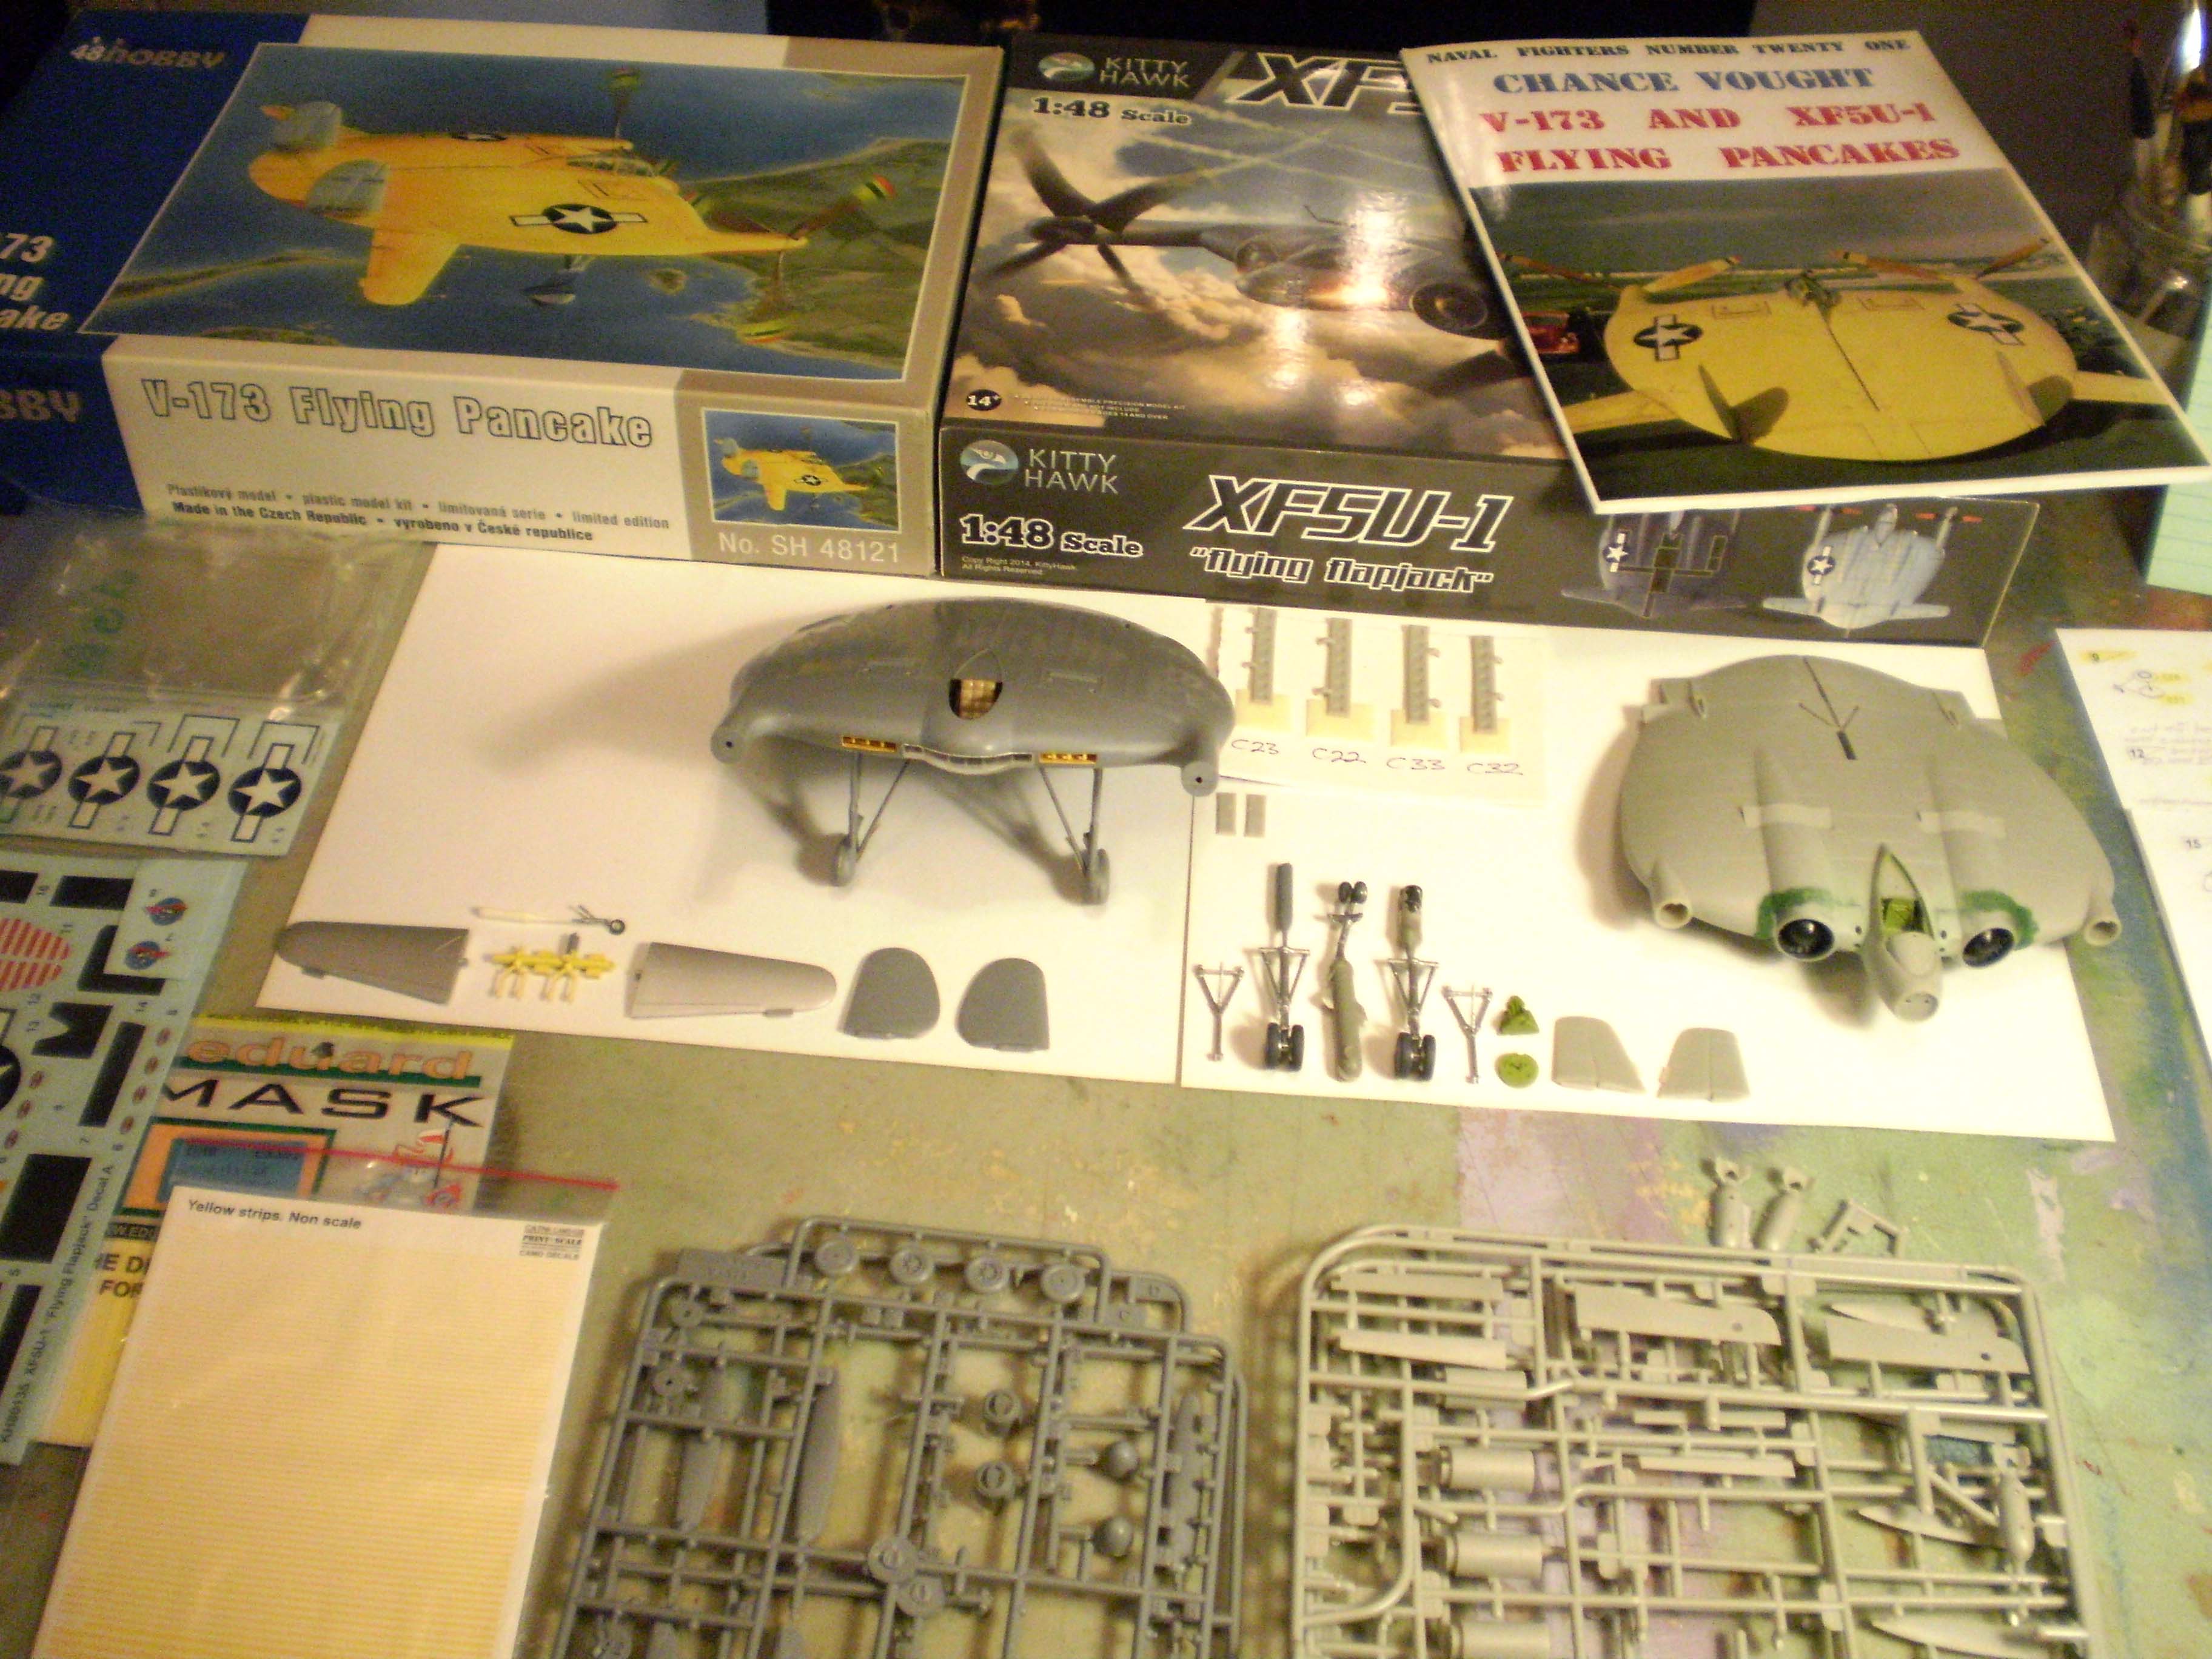
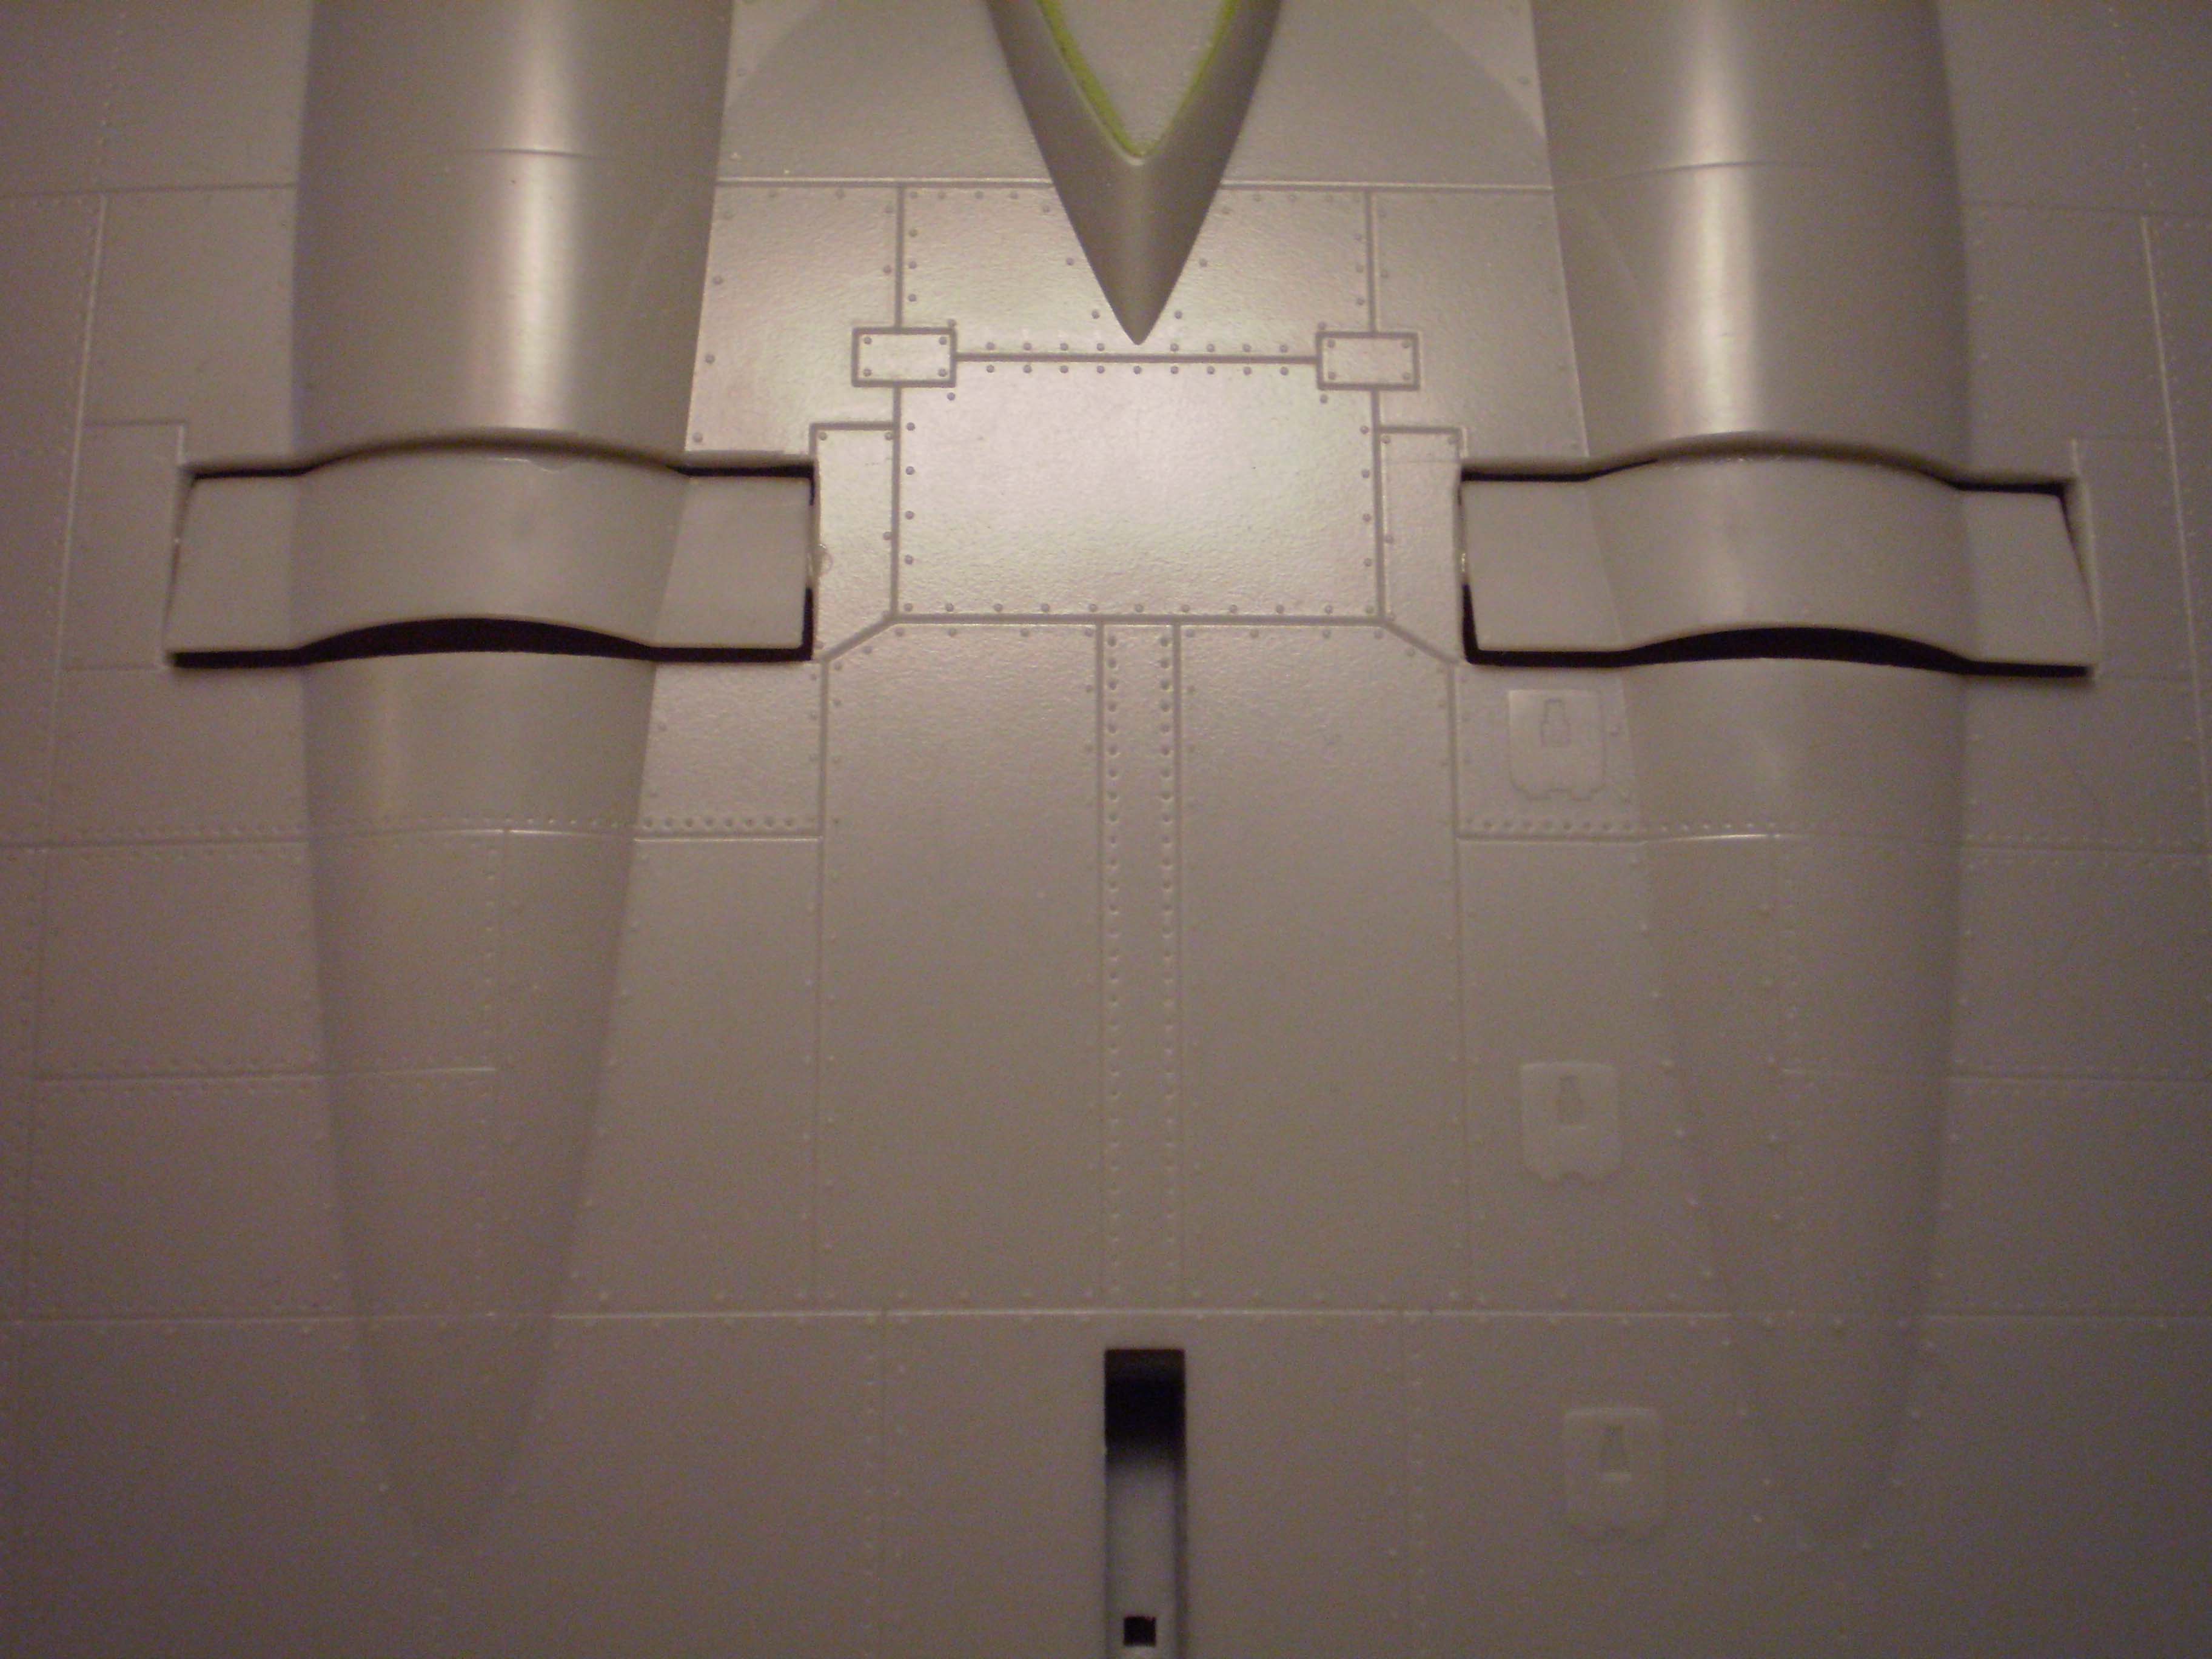
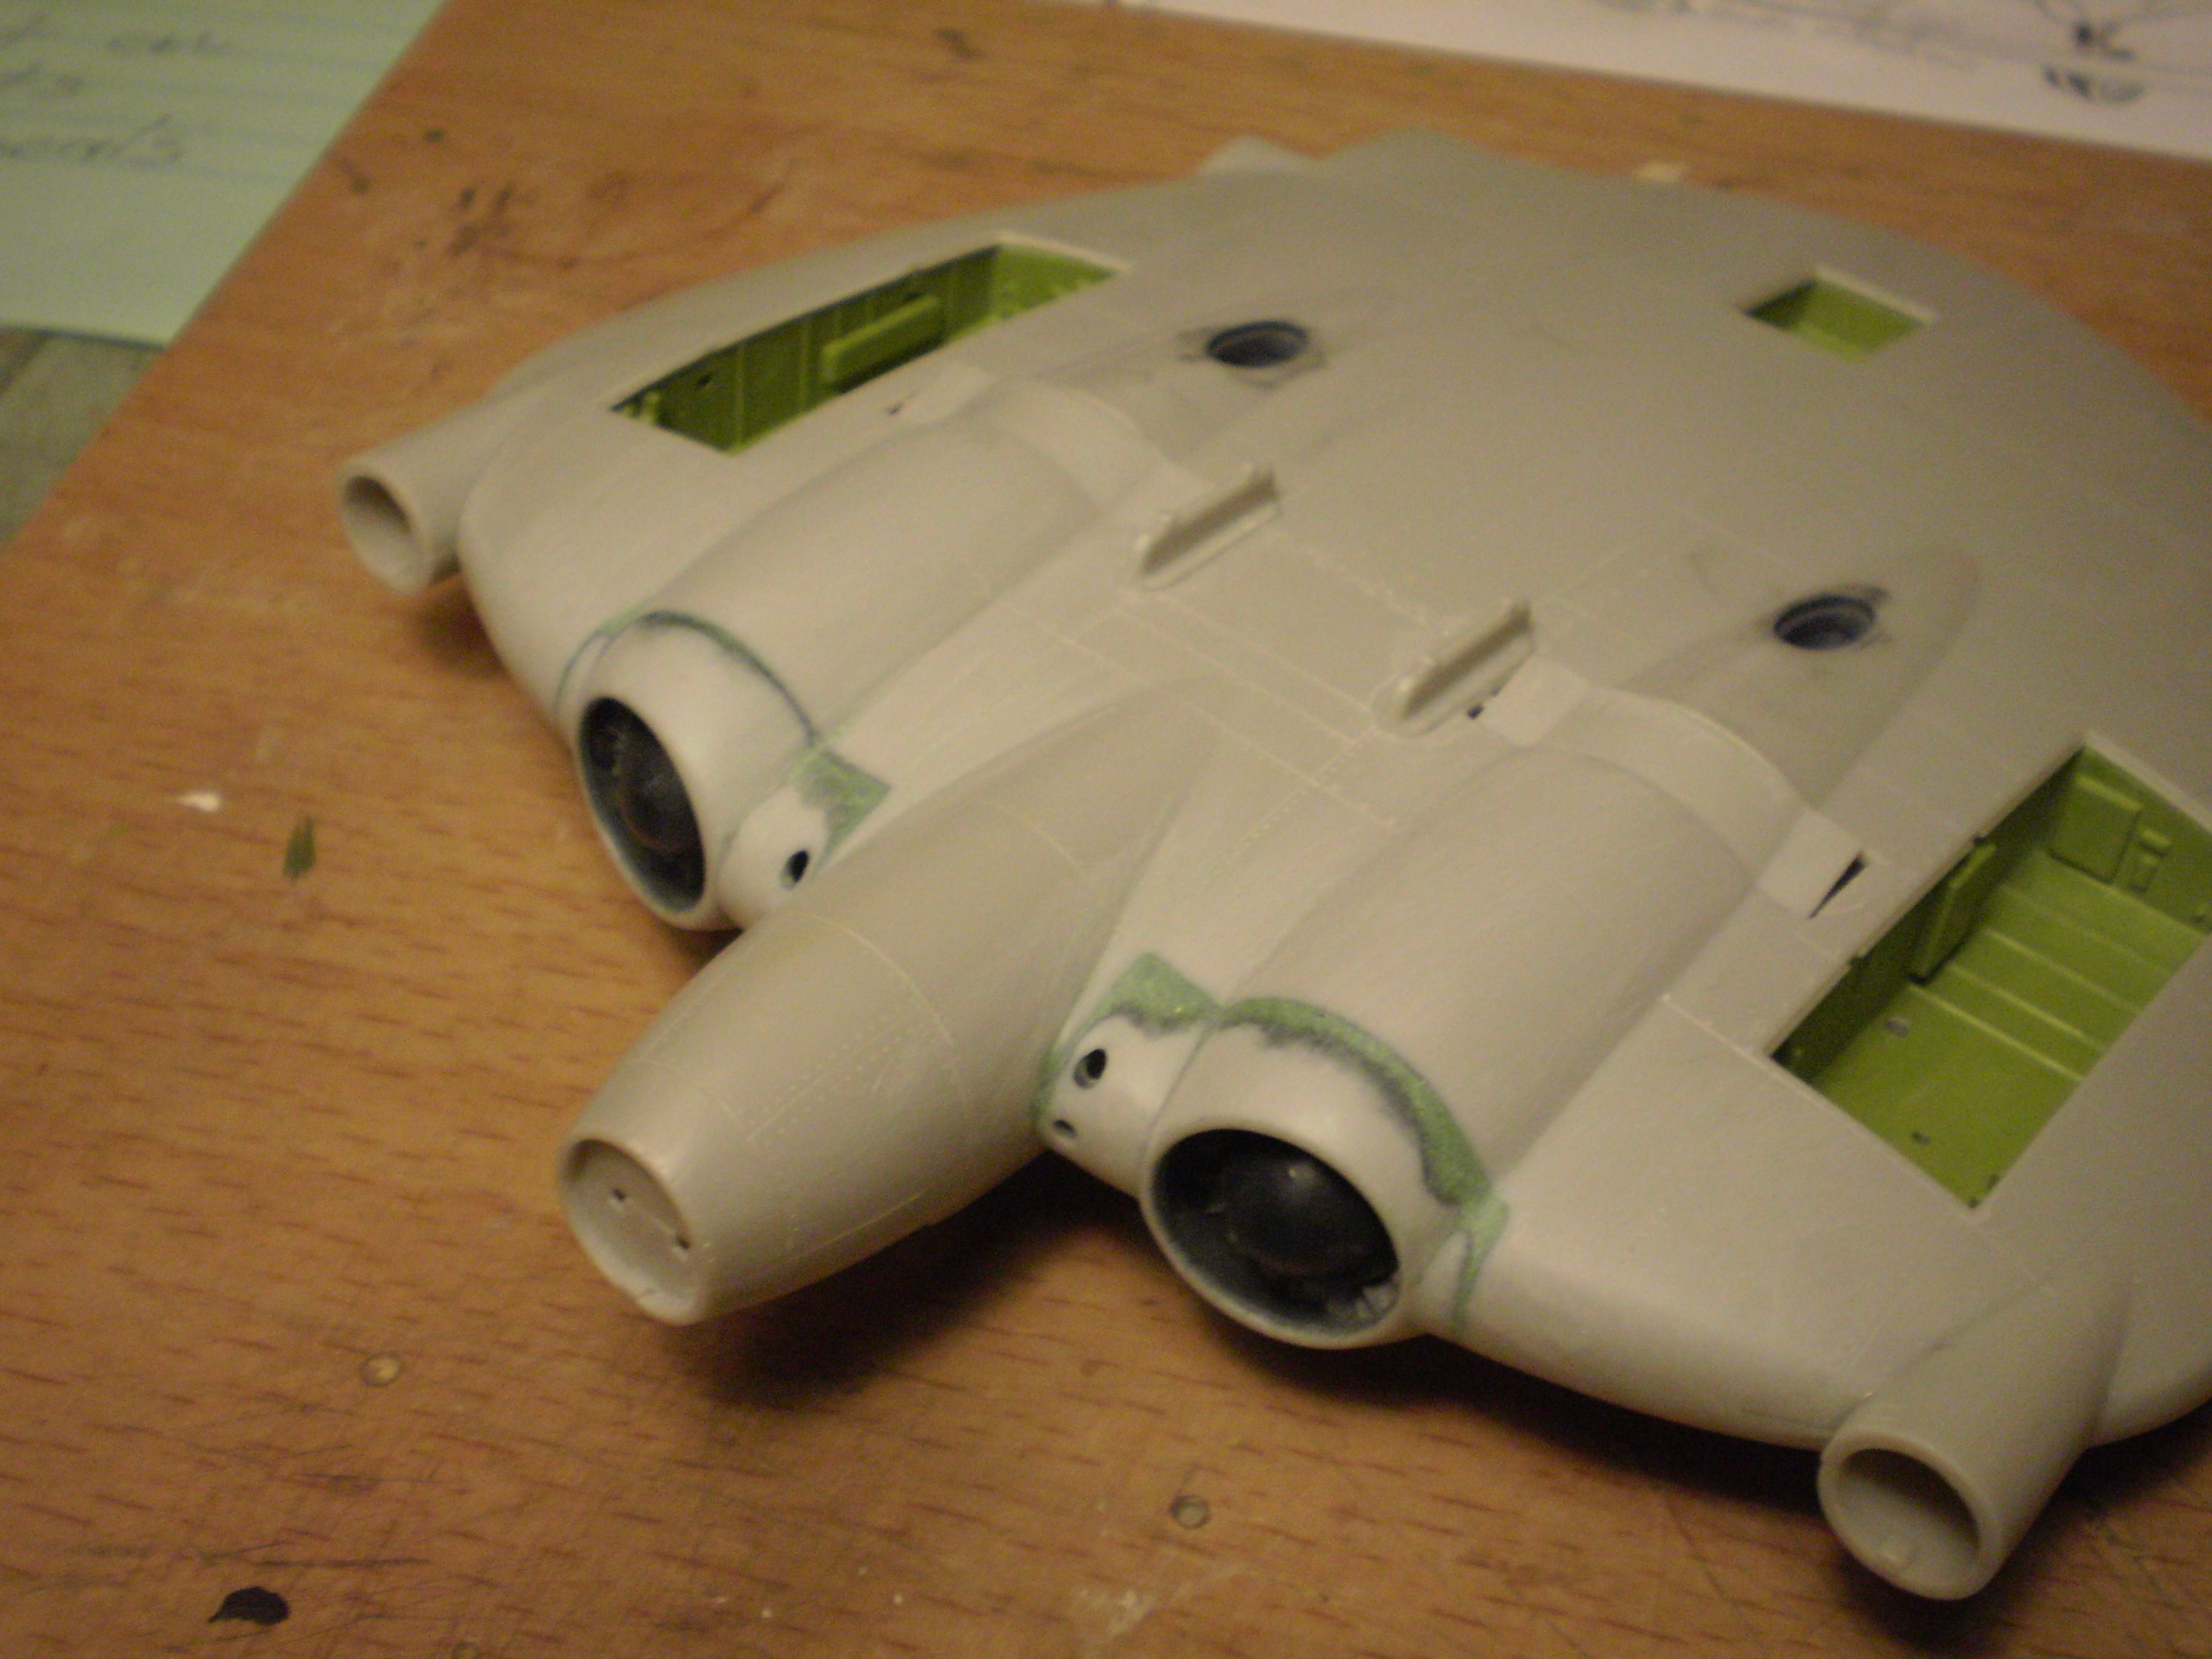
Special Hobby 1/48 “Flying Pancake” and Kitty Hawk 1/48 “Flying Flapjack.” Challenging kits with serious fit issues, but I’m enjoying them nonetheless. The detail pics of the exit flaps (for engine cooling air) on the XF5U-1 show the modifications I made to pose these flaps in the open position. Apart from this, I’m building both planes straight-out-of-the-box.
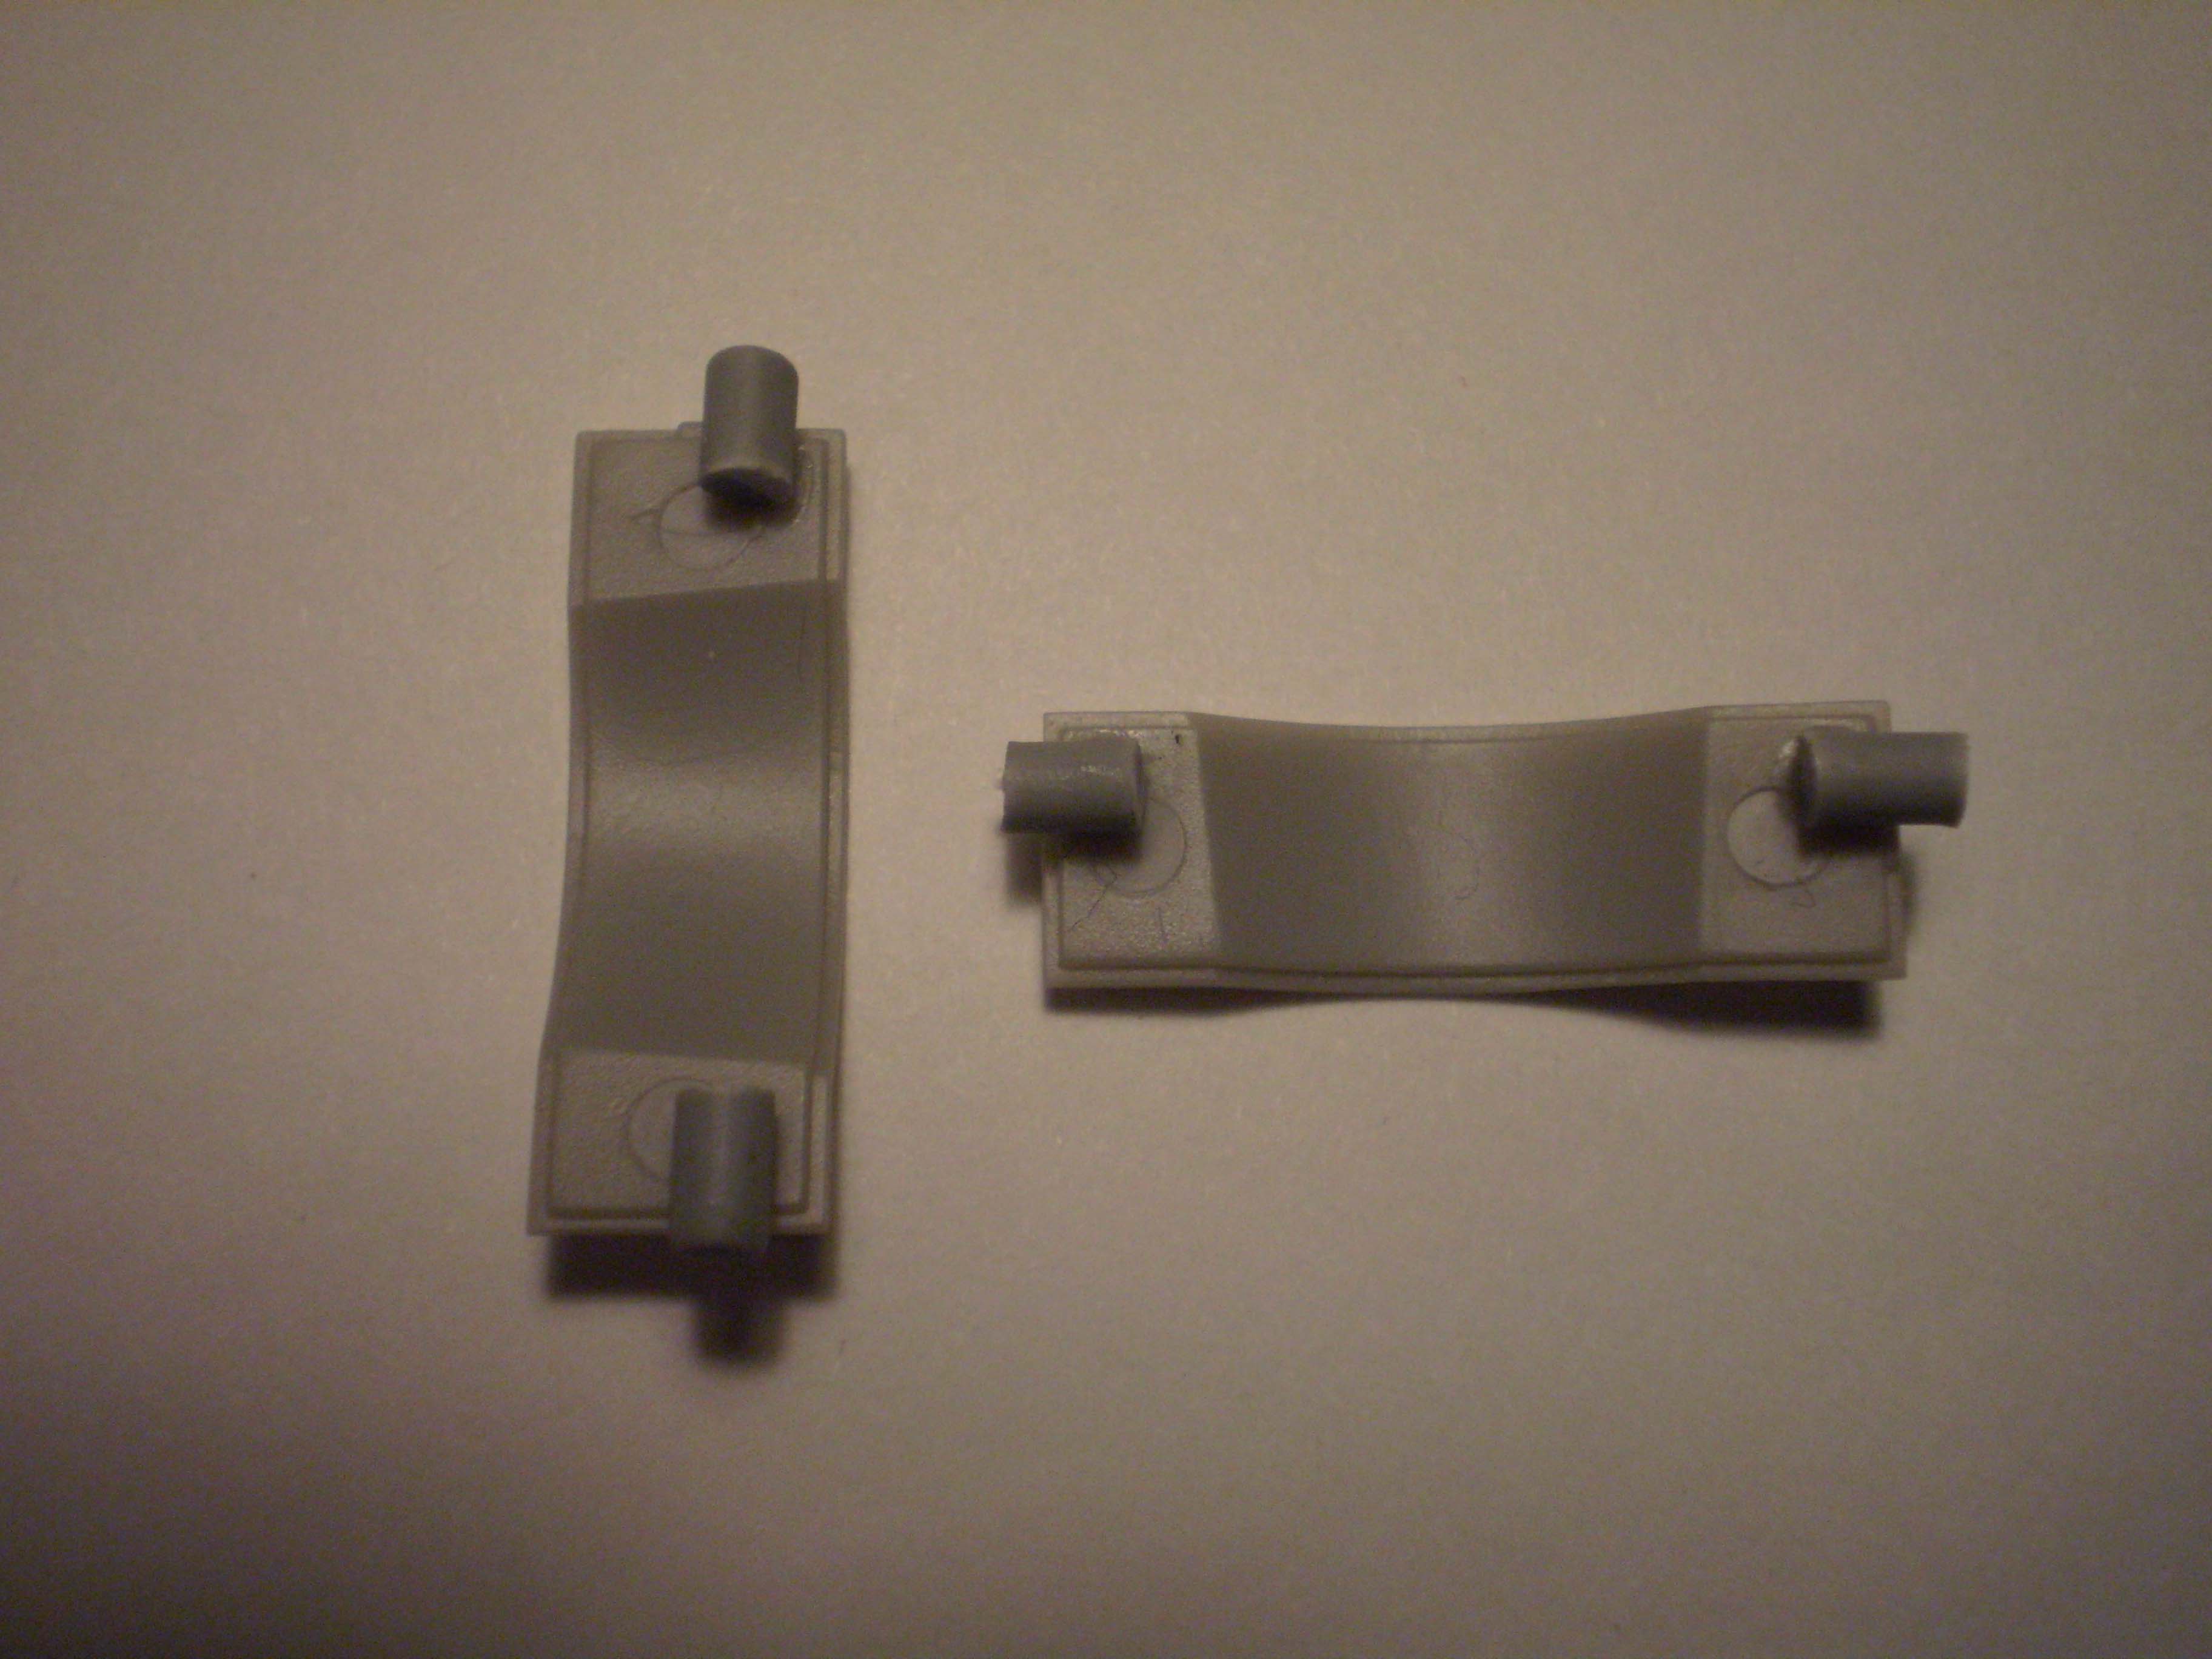
Pivots cut from sprue added to the exit flaps for engine cooling air on the XF5U-1.
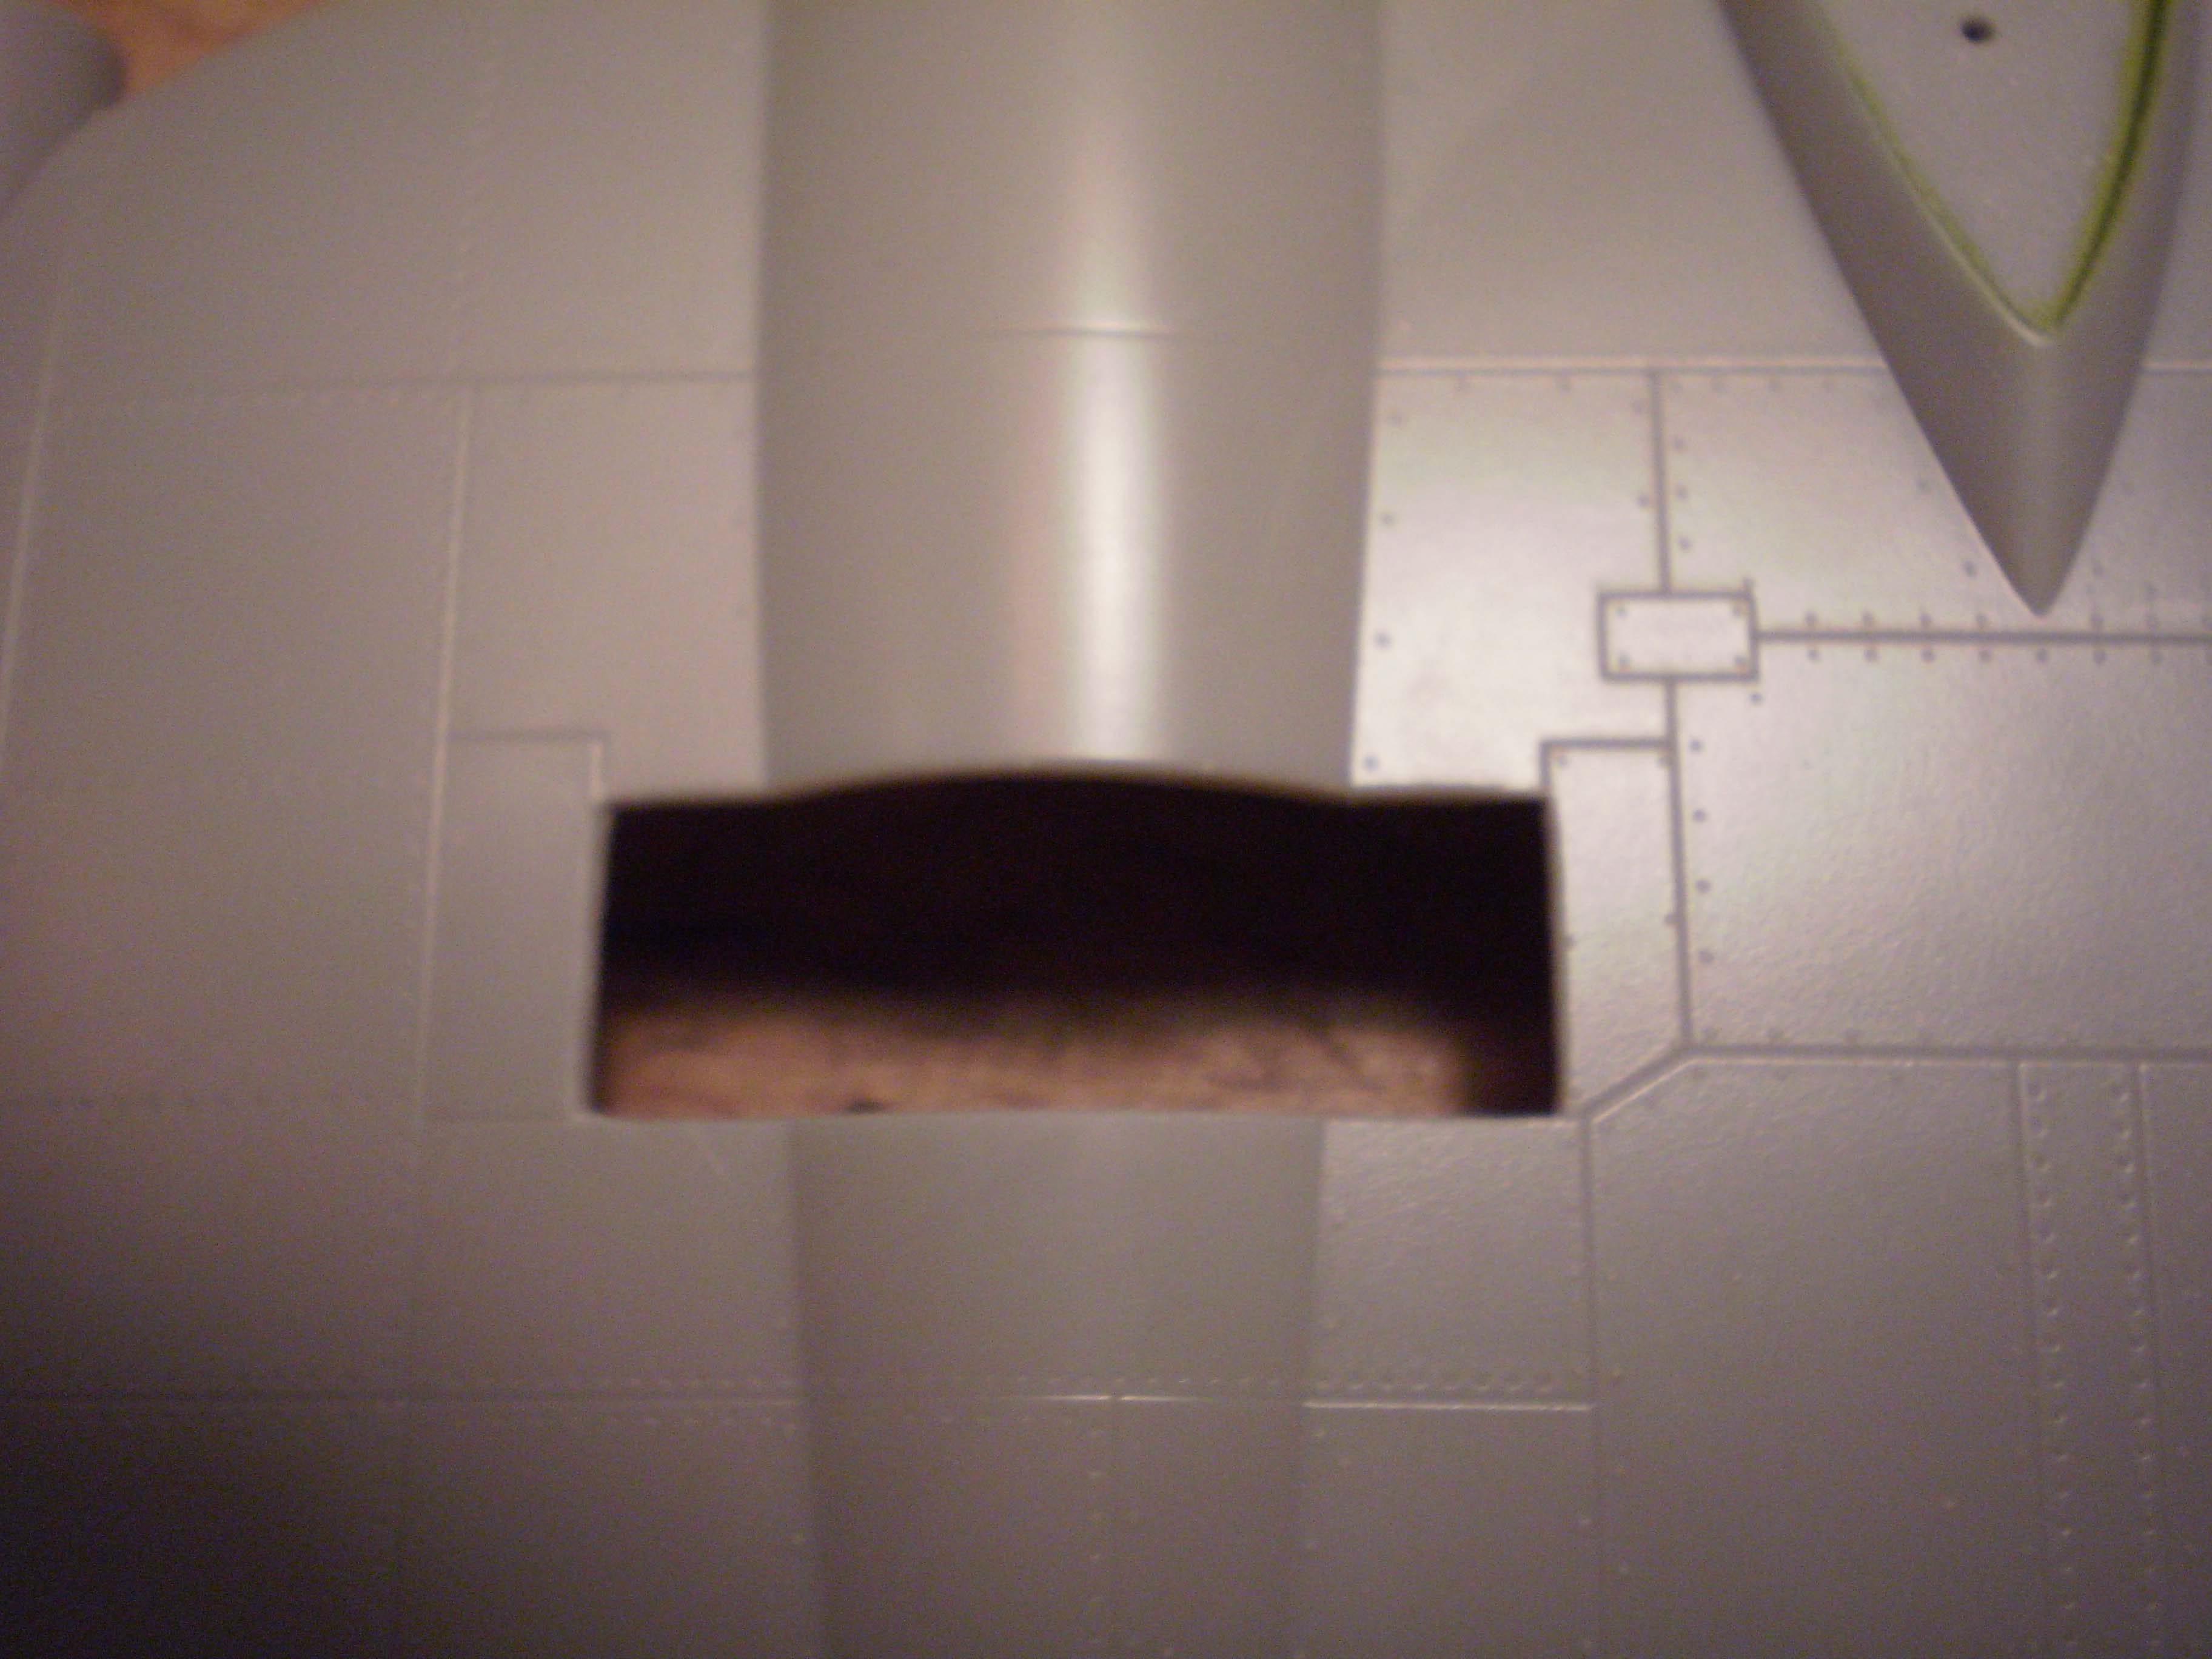
Mounting lips removed from the openings on the upper disk half of the XF5U-1.
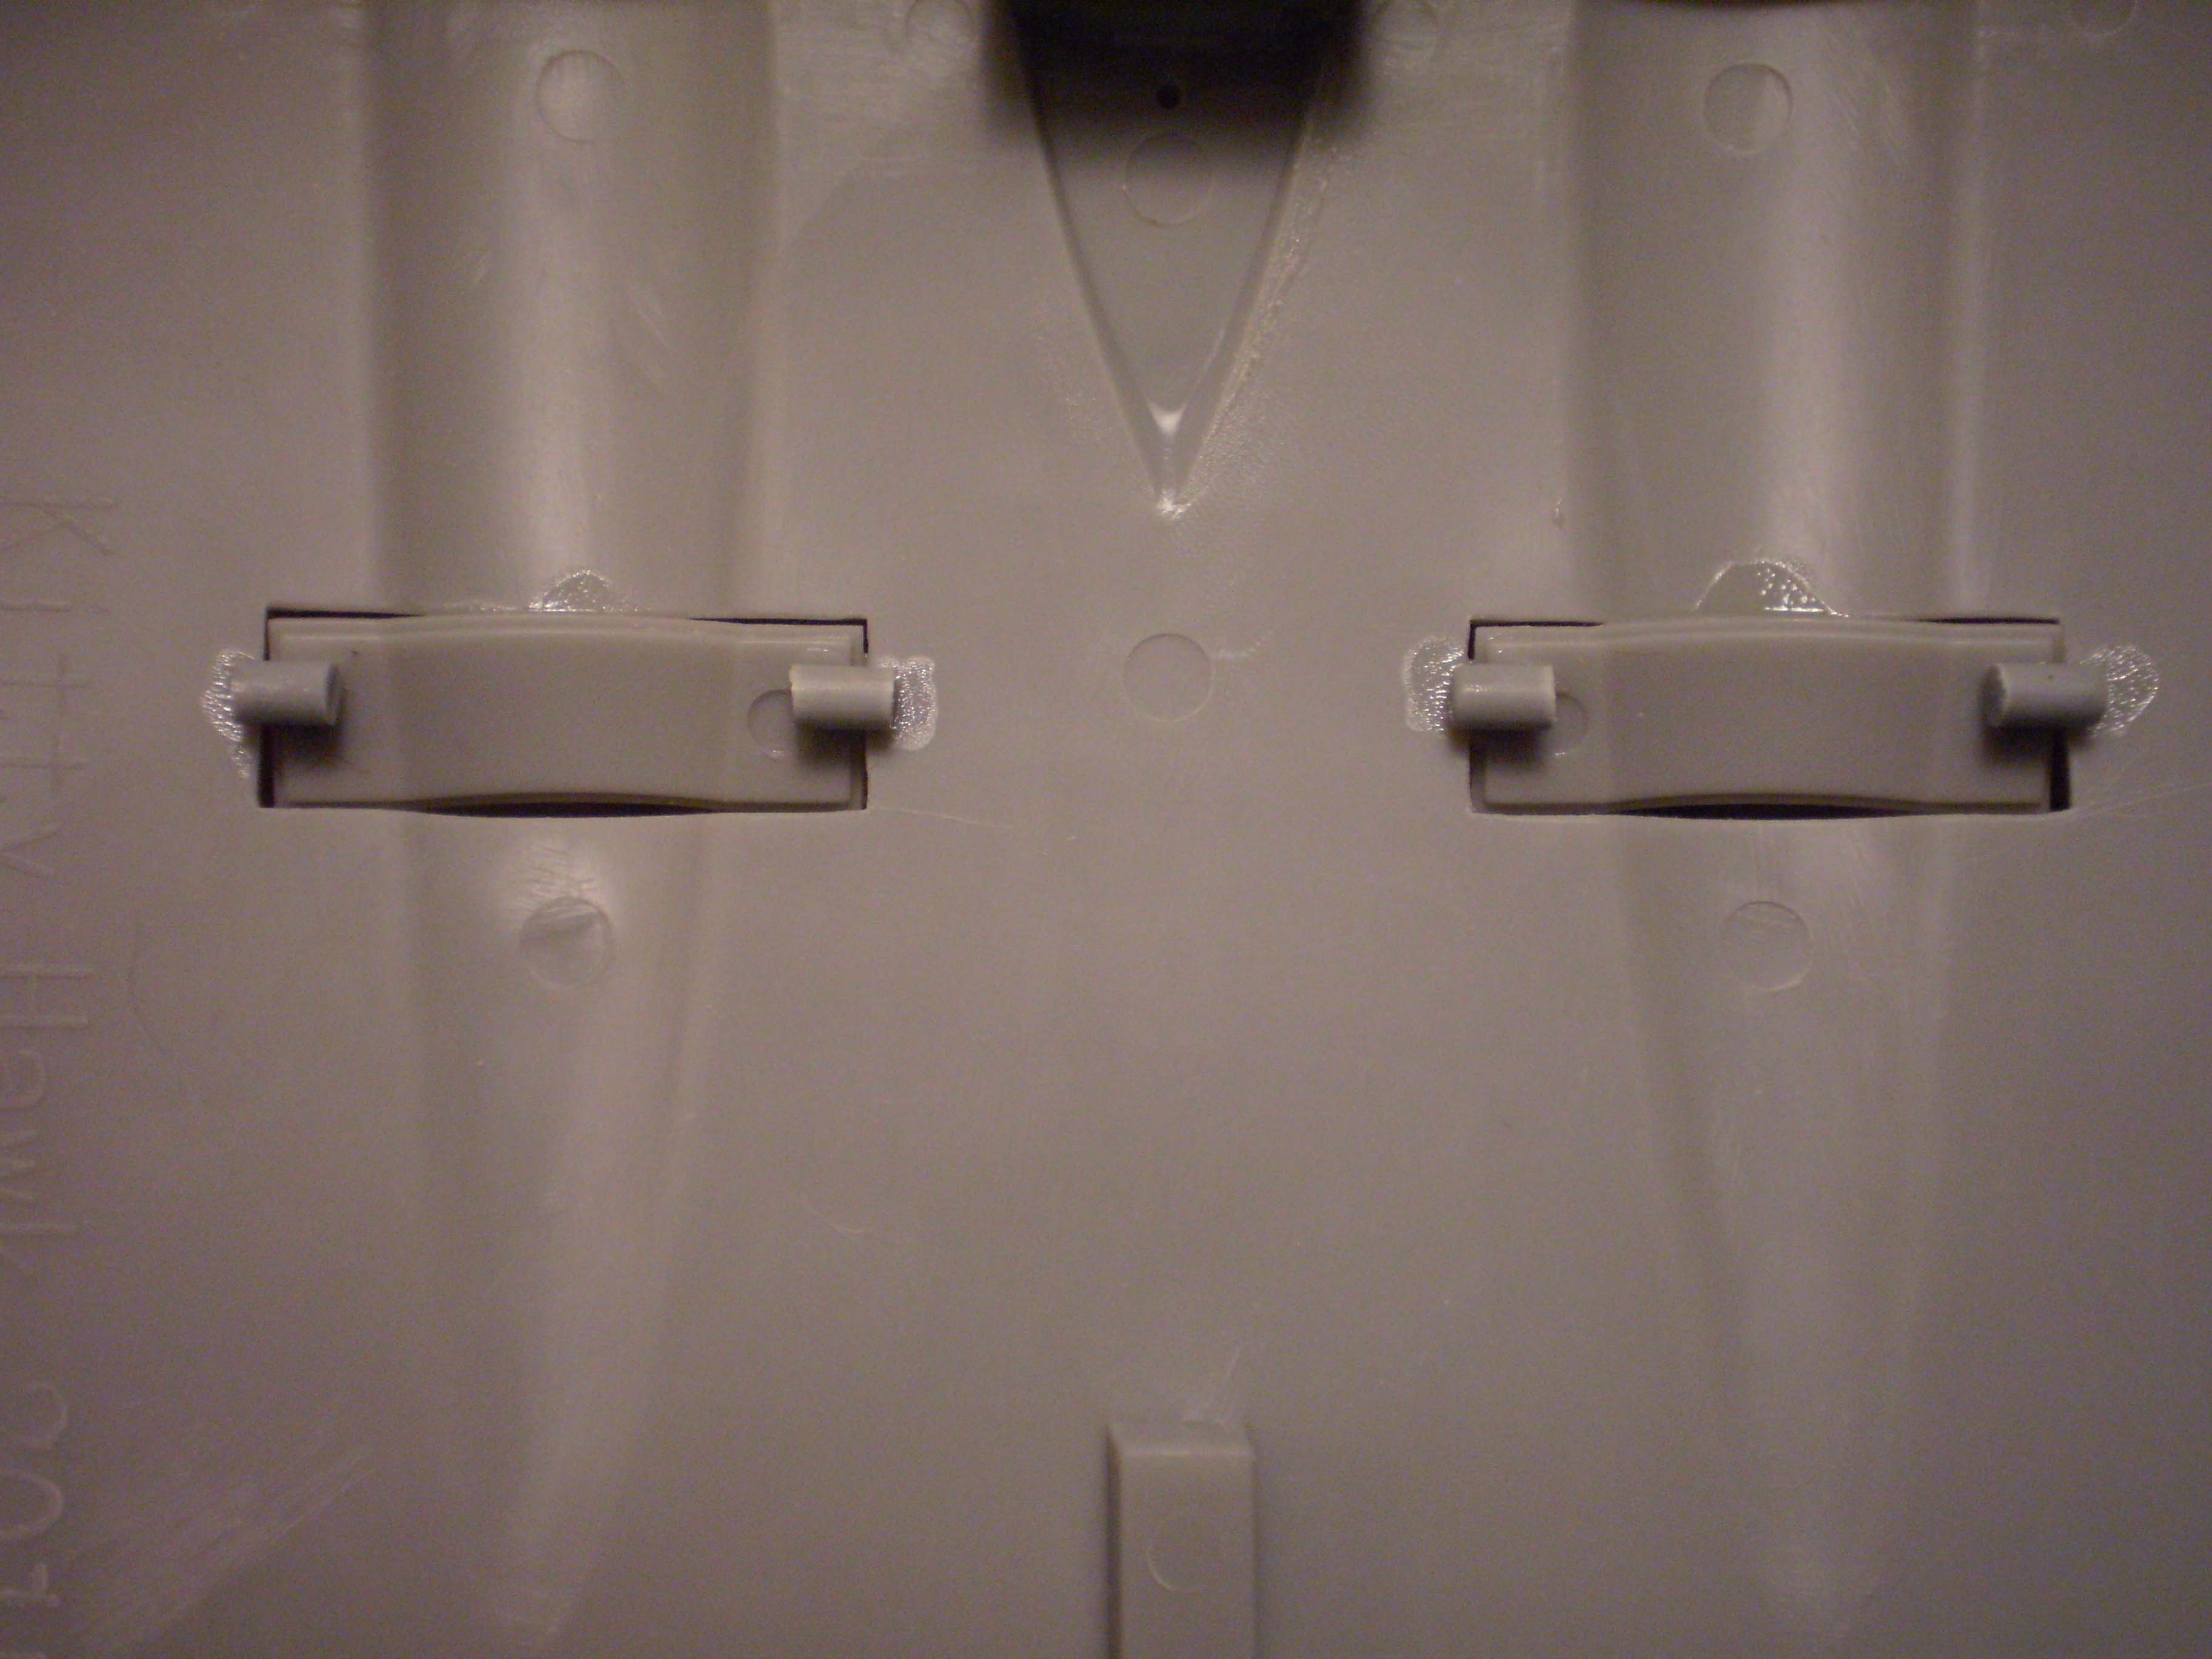
Exit flaps mounted to the underside of the upper disk half.
Top view of the exit flaps in their modified, open position.
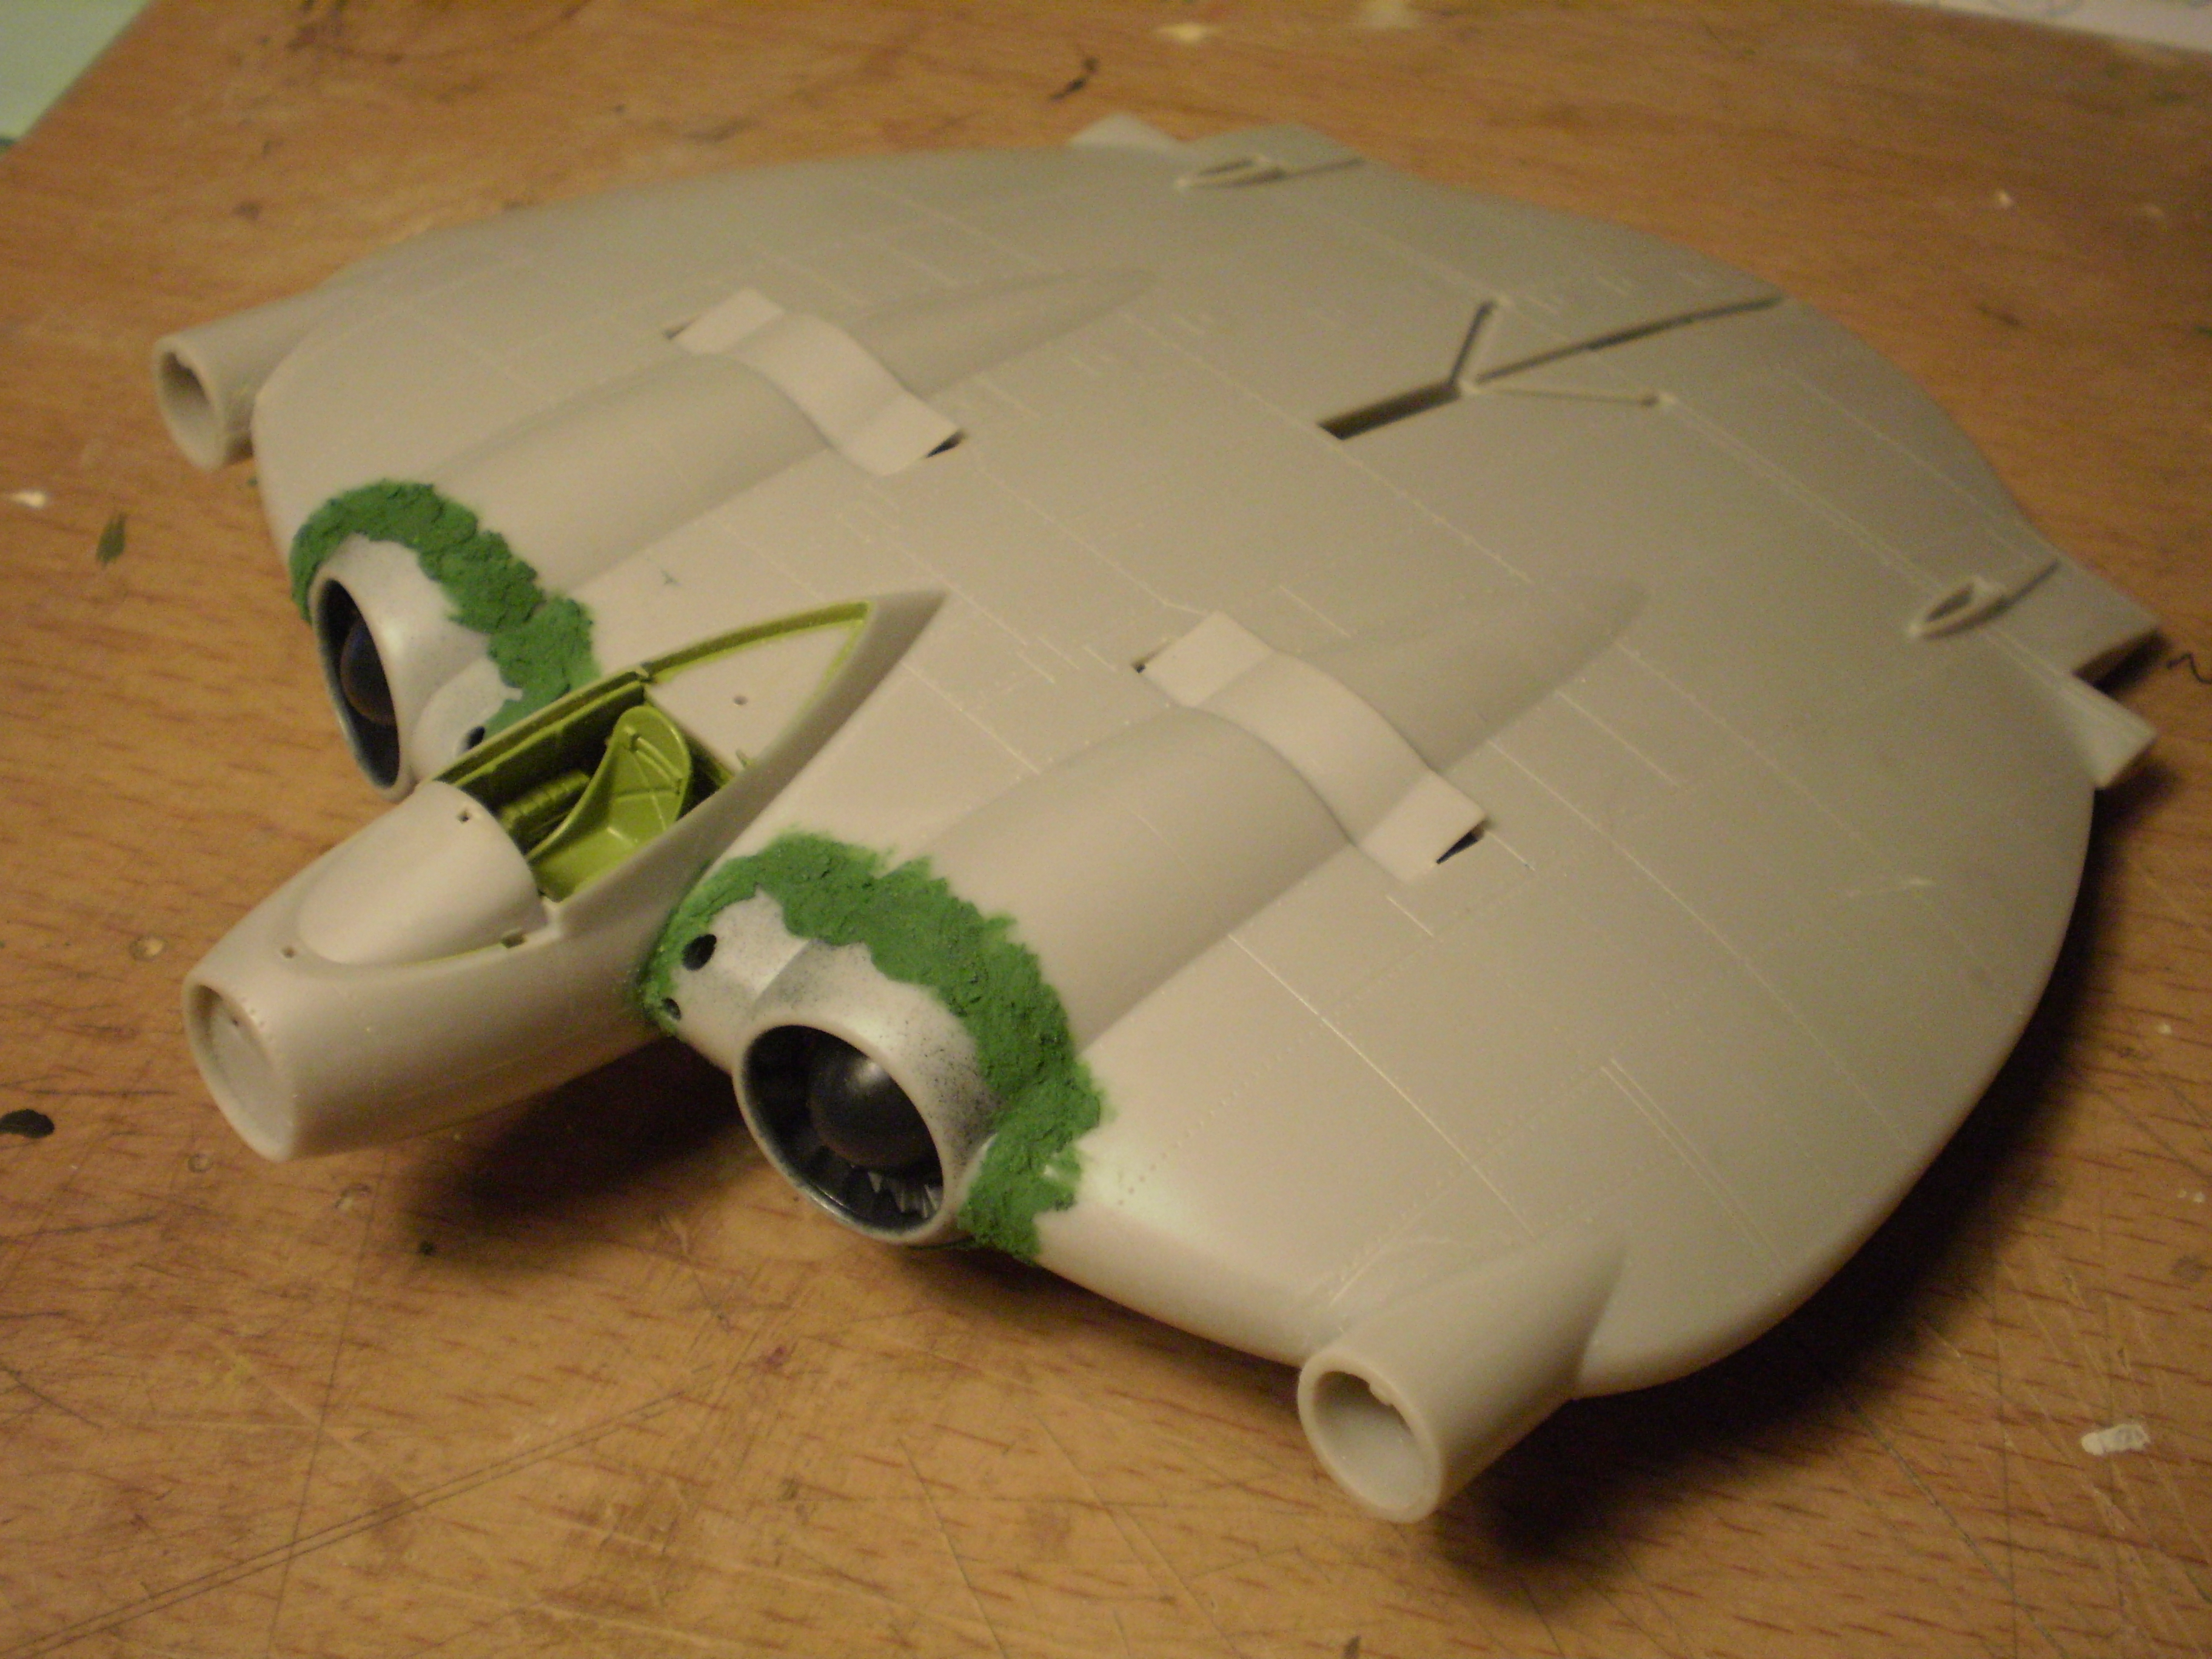
The engine cooling air intakes are slightly undersized, so putty is needed to blend them into the XF5U-1’s wing.
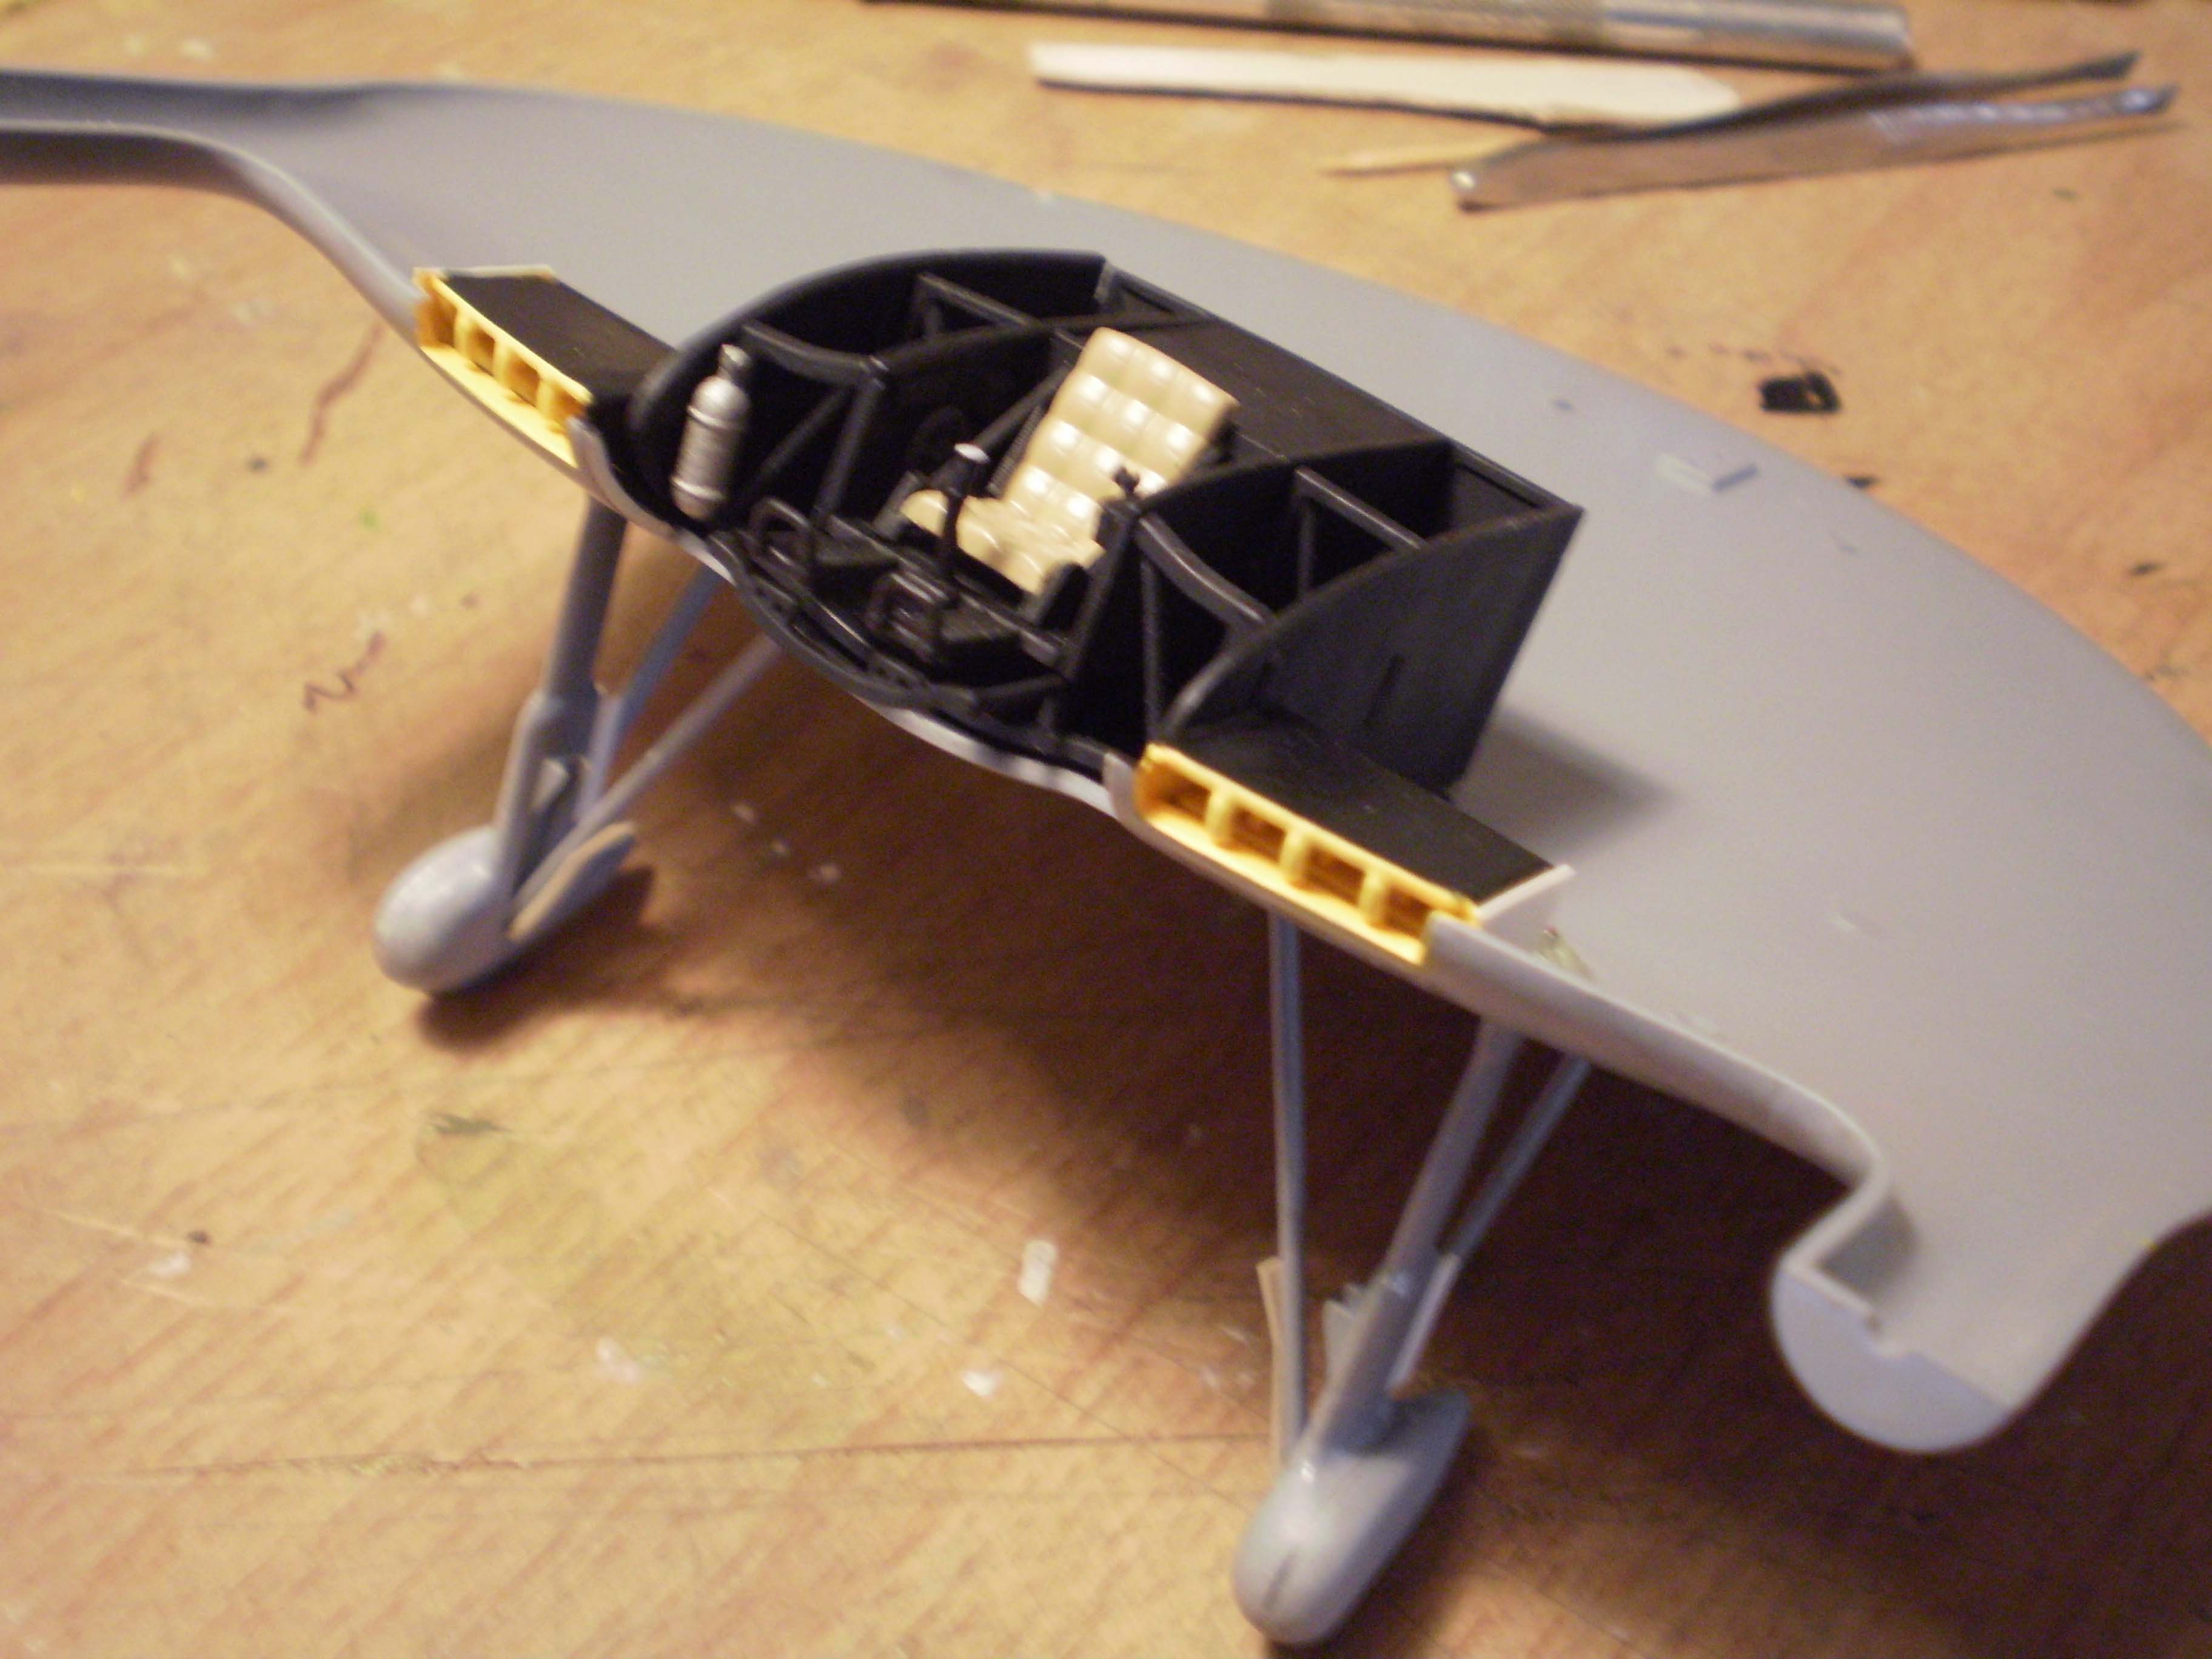
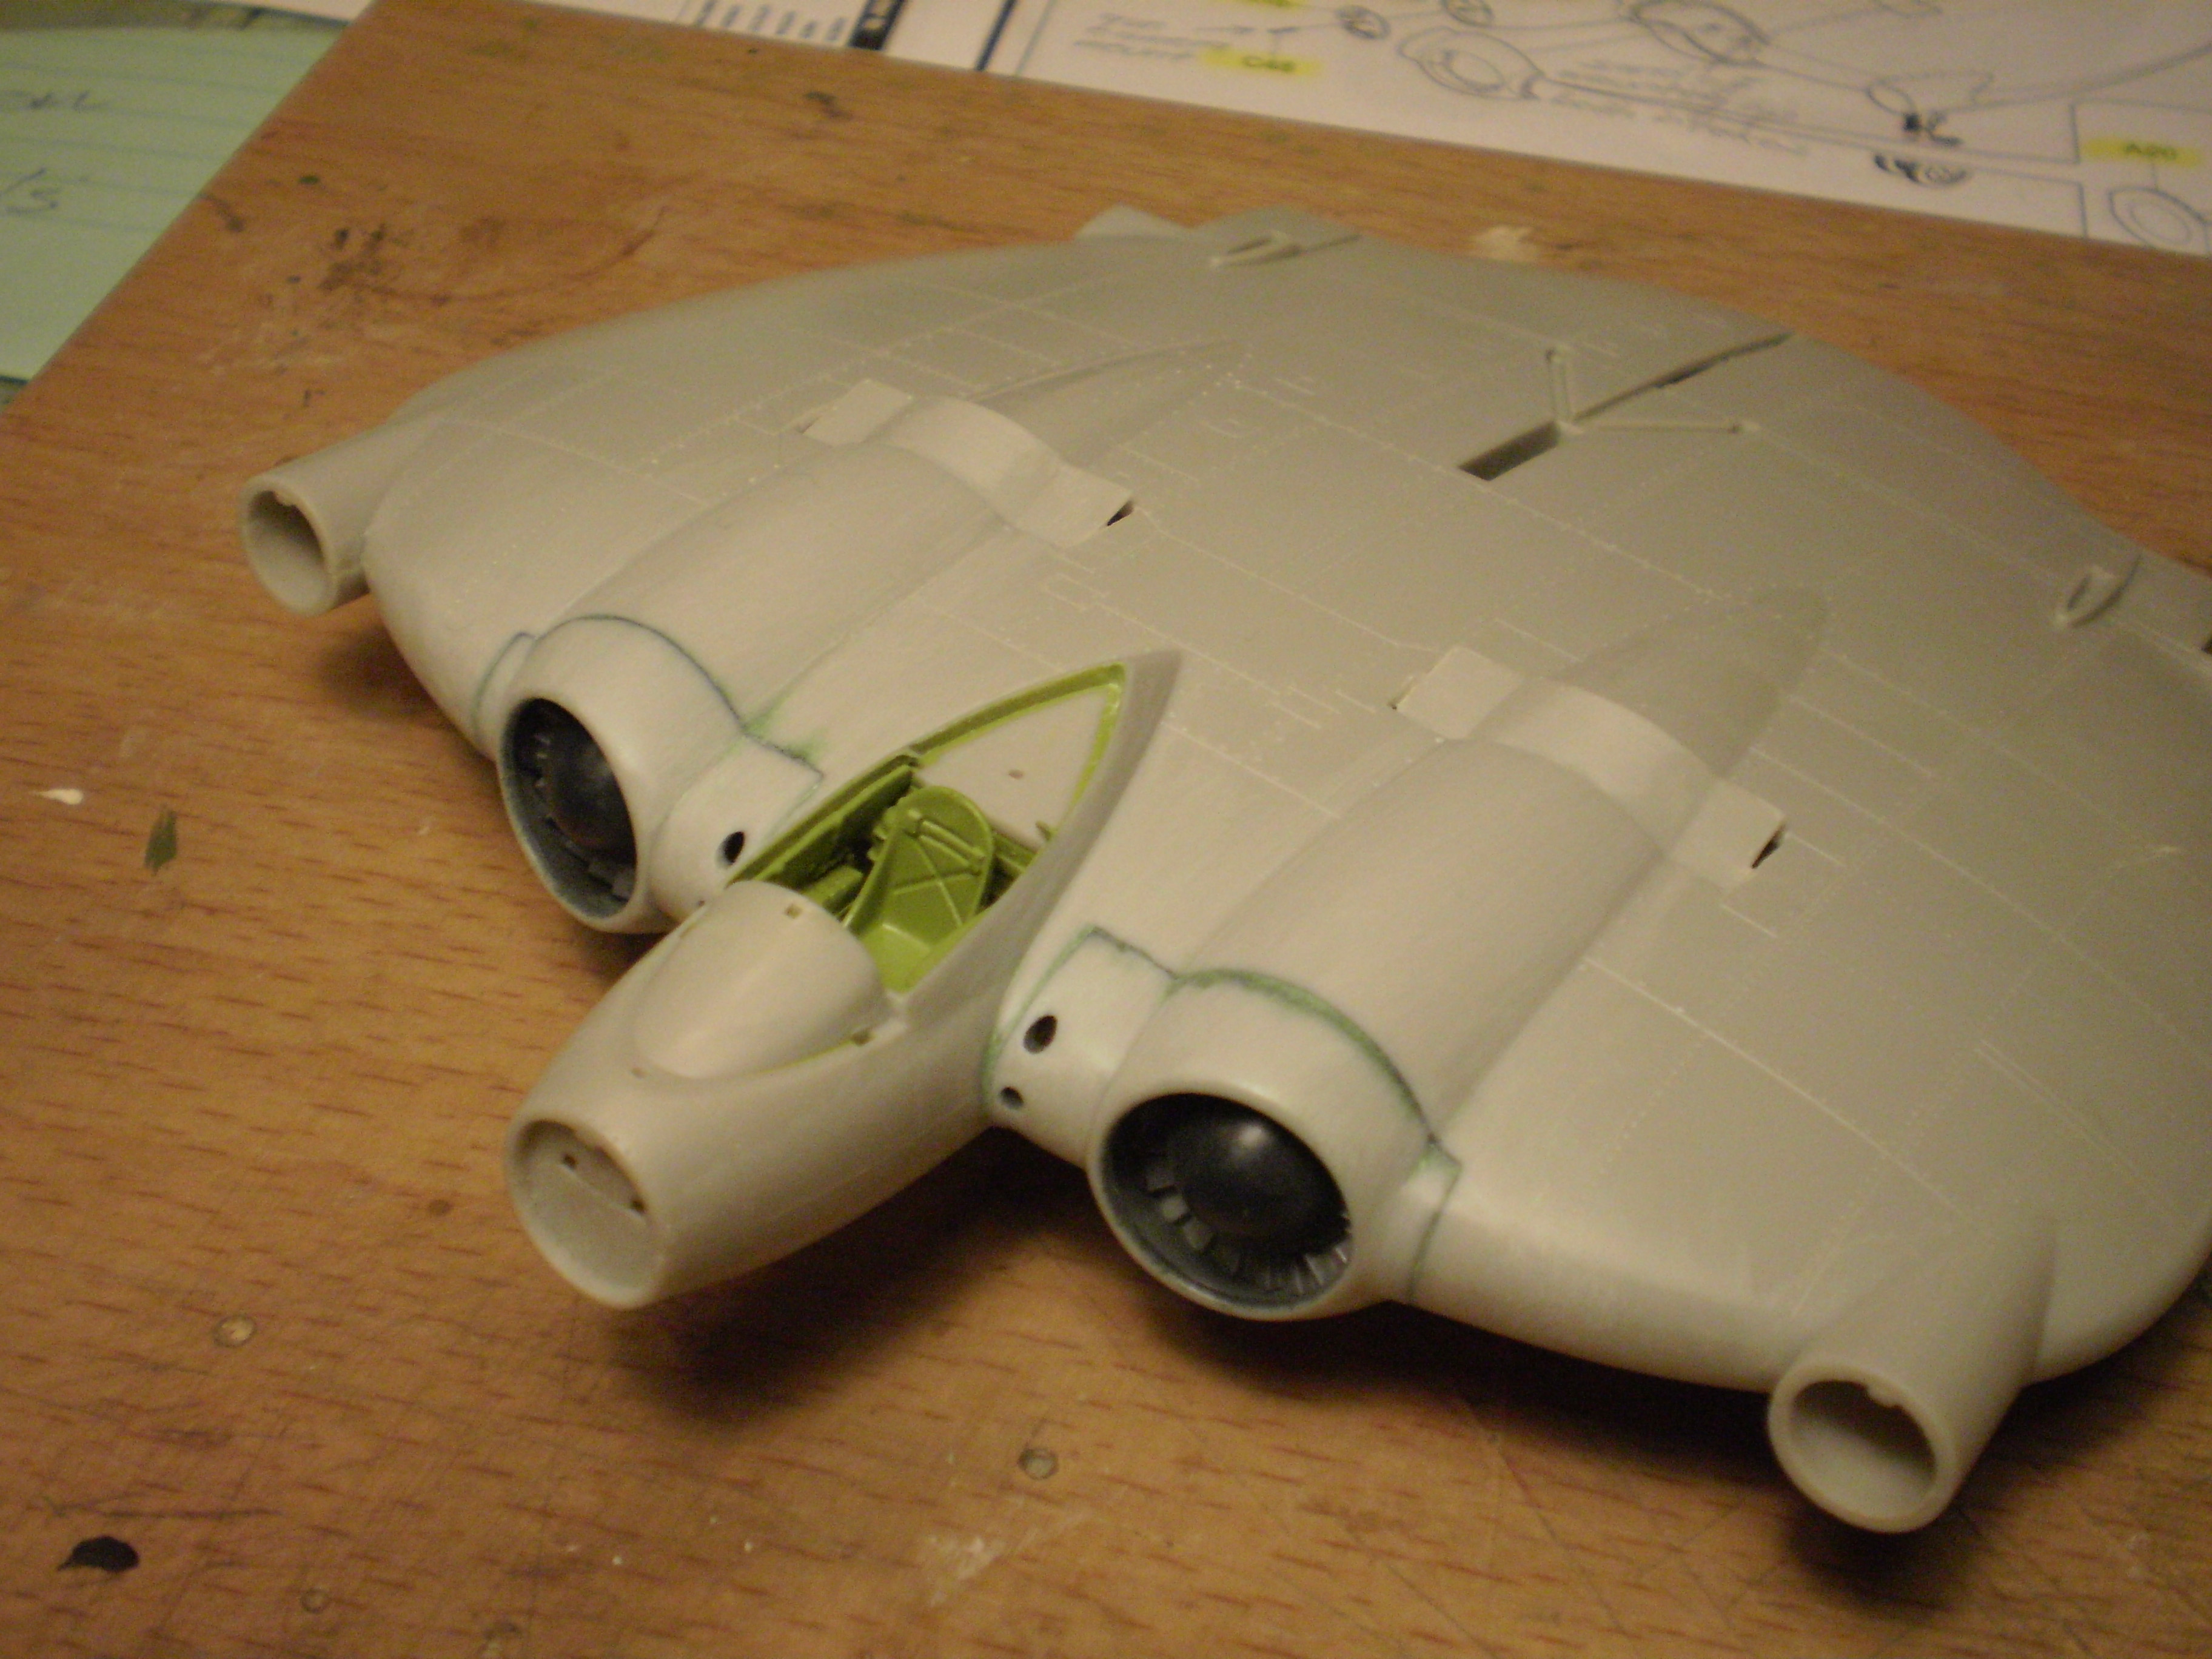
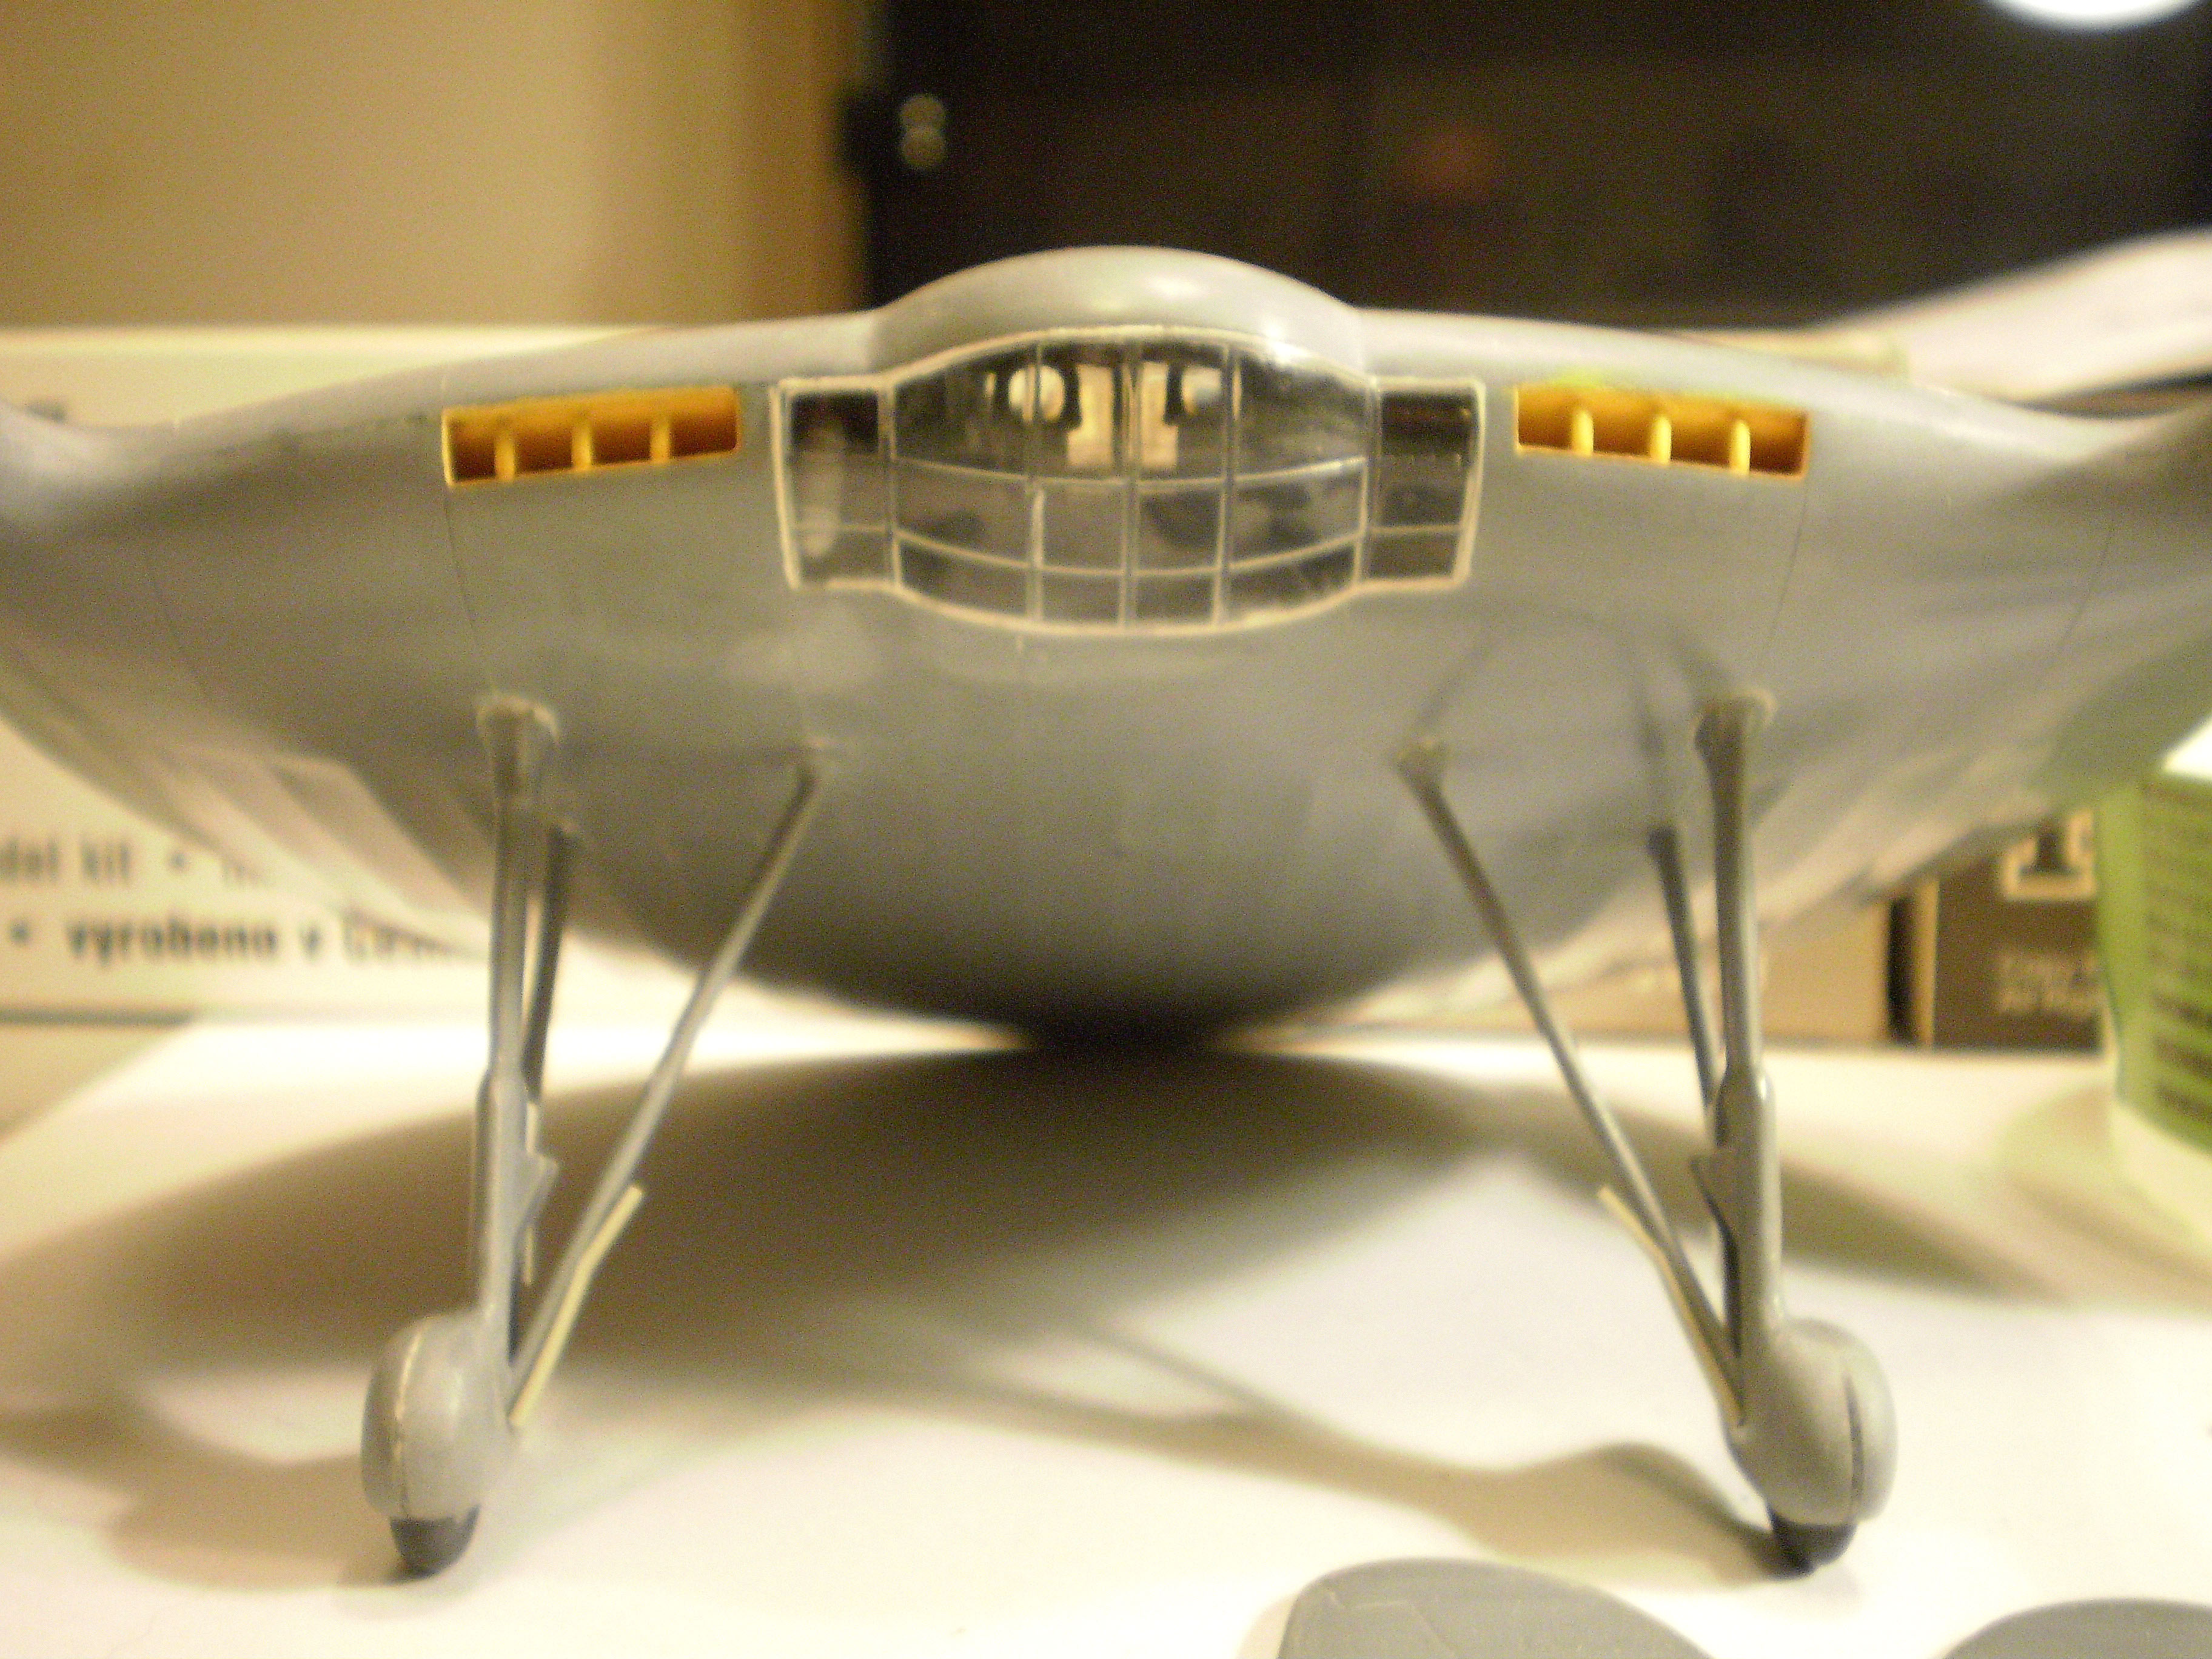
Test fit of the V-173’s cockpit assembly. To make the upper disc half fit, I had to (1.) grind down the top of the cockpit assembly, behind the seat, (2.) sand the bottom of the cockpit assembly flat, (3.) grind away the locating strips on the bottom disc half, and (4.) trim 1/8" off the inside ends of the “wells” on the upper disc half. I also had to grind out the back of the upper disk half’s leading edge, directly above both engine cooling intakes (the yellow units in the photo).
The V-173 made over 190 flights between 1942 and 1947 (one with Charles Lindbergh at the controls). Yes, it generated UFO reports. The XF5U-1 never made it past taxi trials. When the Navy canceled the project, they ordered the plane destroyed.
Finished blending the engine cooling intakes to the wing of the XF5U-1. I let the Green Putty dry and shrink completely - for 48 hours - before I started sanding.
I’m using a variety of fillers - whatever works best. Squadron Green Putty for the XF5U-1 intakes. Vallejo water-based putty (acrylic resin and marble dust) around the bottom window on the V-173. Gel super glue and accelerator all the way around the disc halves of both planes, and on the V-173’s spats.
Aw, poor kitty! I have a cat that washed up on our shores (figuratively!) that is 16 or 17 years old now. He’s not cute like Alfie though.
The Kitty Hawk XF5U-1 kit has some weird things going on. The cooling fans are not full circles and have blanking plates molded to their sides. And Kitty Hawk seems to have been unable to decide on raised or recessed rivets. Did the kit’s stabilizers have the round landing lights in them?
According to the Ginter book, one of the props on the real XF5U-1 was missing logos, but I’ll ignore that when I build mine! The Ginter book also mentioned that the V-173 once ended up upside-down on a golf course, but the pilot escaped serious injury. It would have been interesting to see how the XF5U-1 would have flown, even for just academic reasons.
I’ll be watching your progress with great interest!
I’m sure you love your long-time feline companion, cute or not. [:)]
Yes, the way Kitty Hawk molded the cooling fans on the XF5U-1 is very odd. I don’t usually buy aftermarket parts, but I would make an exception in this case (if anyone actually made replacement fans), because the blanking plates can be seen after the fans are installed.
The horizontal stabilizers have formation and navigation lights. The landing light was going to be located in the plexi nose (makes sense), along with the gun camera mount (it’s not an antenna).
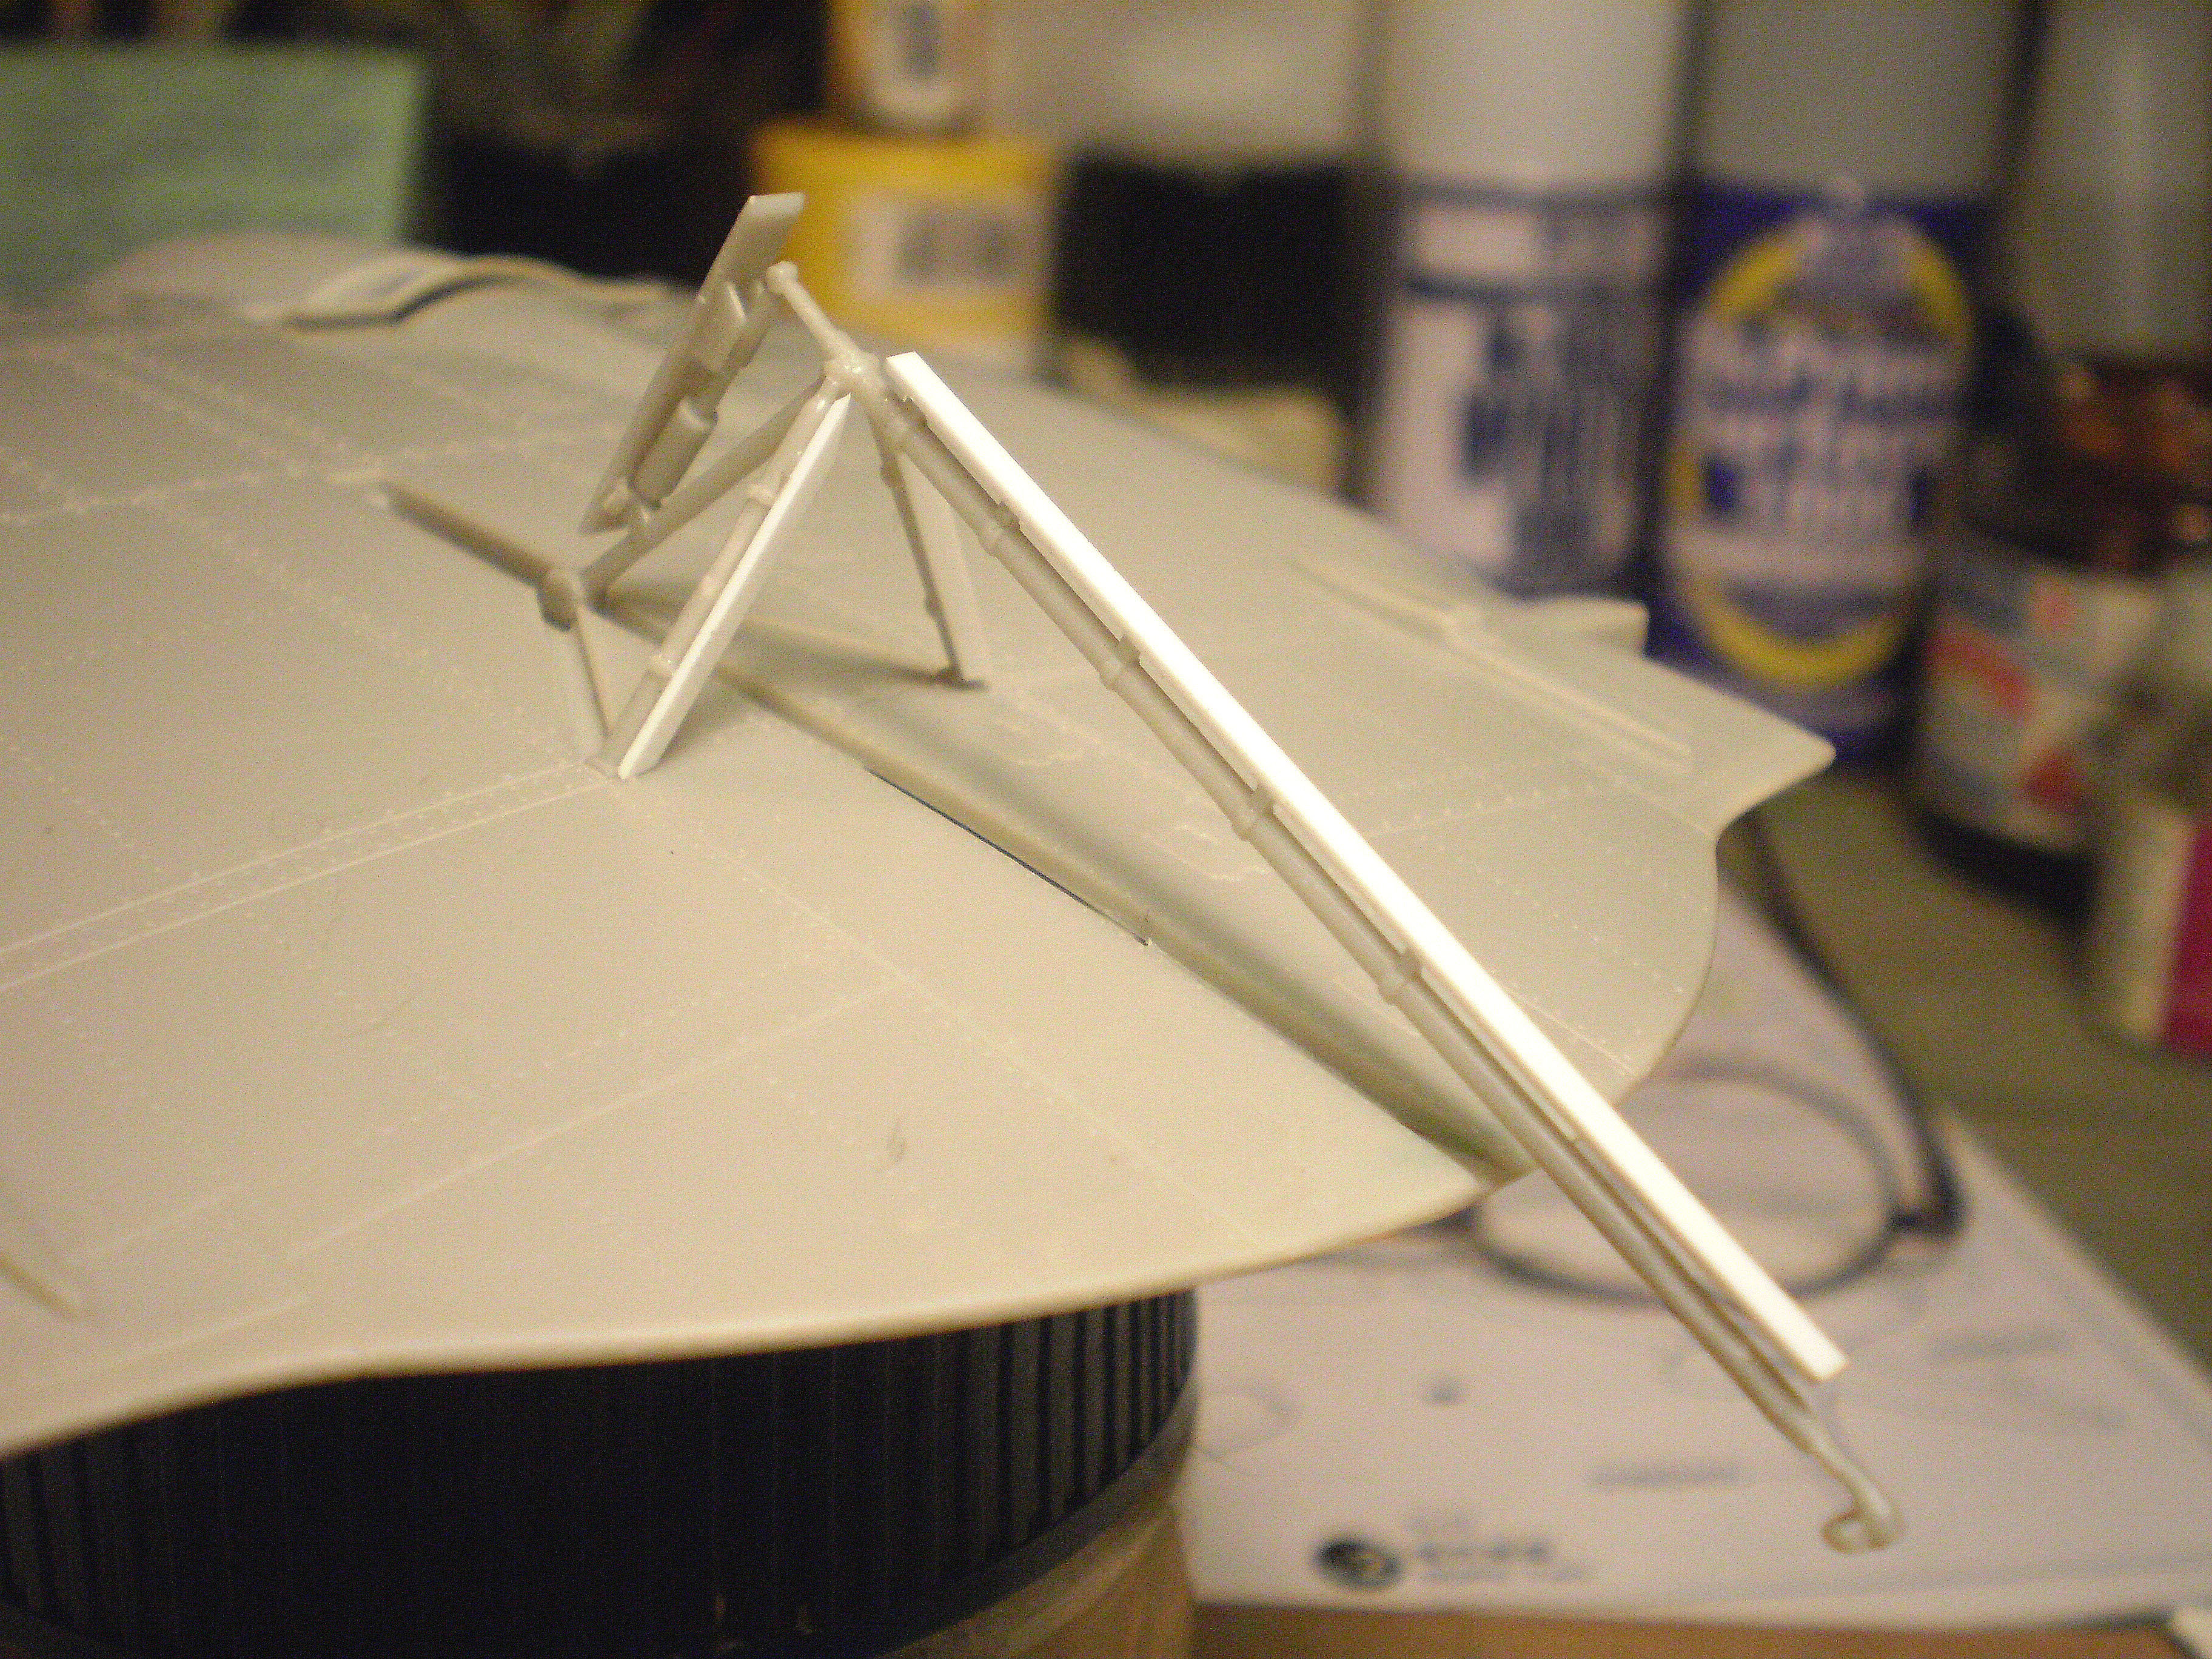
The most frustrating thing about the kit is the extremely thin and fragile parts. I ended up breaking all the wheel door actuators when removing them from the sprues (so I’m leaving them off) as well as the rudder pedal assembly (I replaced it with a scratchbuilt unit). The extendable tail hook (in seven parts) is very fragile too, but I managed to assemble it without breaking anything. I did, however, use 0.020 styrene to replace some of the cover panels for the tailhook mechanism. There was no way to clean up the kit parts satisfactorily - tiny, tiny parts with up to five sprue gates each!
The V-173 crashed on a beach. The pilot flipped it upside down trying to avoid a sunbather (her towel was found under the plane). Lindbergh had initially refused to fly the plane because he feared that both the canopy and he would be crushed in an accident like that. But when he saw that the canopy and pilot survived intact, he changed his mind. The V-173 was an extremely strong wood-and-fabric design (and the all-metal XF5U-1 had to be destroyed with a wrecking ball!).
Thanks! Before the Special Hobby and Kitty Hawk 1/48 injection kits, there was an Eagles Talon 1/72 V-173 vac kit, a Sword 1/72 V-173 multi-media kit, an Airmodel-Combat Models 1/72 XF5U-1 vac kit, a Pegasus 1/72 XF5U-1 injection kit, a Hasegawa 1/72 XF5U-1 injection kit, and a Planet Models 1/32 XF5U-1 resin kit.
Test fit of the extended tail hook on the XF5U-1. Three cover panels (kit parts C5, D4, and D30) have been replaced with 0.020 styrene (white). These panels cover the channels that the tail hook mechanism rises up out of.
To make the landing window on the V-173 fit, I added 0.010 styrene shims to the sides of the opening in the bottom disk half, and sanded down the right side of the nose on the top disk half. This still left a step between the bottom edge of the window and the bottom disk half, which could be corrected with some putty work. But I decided not to go that far, as the step won’t be very visible when the finished plane is mounted to its display base.
The flared mounts at the top of the main wheel struts are molded with the wrong mating angles. Each is the opposite of what it should be, causing the struts to splay outward when attached, instead of being vertical. So I cut off the upper halves of both struts and switched them around.
Note the filled gaps in the spats. The kit’s wheels are too thick.
I also have a 1/48 V-173, Sword I think, and the landing gear are not all that great. The Ginter book describes how the actual gear strokes, so it is an invaluable reference to fixing up the kit parts. The Sword kit had awful intakes molded to the wings. I wonder if Special Hobby used the molds and improved them?
Thanks! I took a look at the Sword kit online, and the intakes are actually more accurate on that kit. The three dividers for each intake are a continuation of the plane’s skin, which is the correct appearance. The dividers in my Special Hobby kit are separate, recessed parts. No idea why Special Hobby chose to do it this way. (The kit is full of mysterious mistakes.)
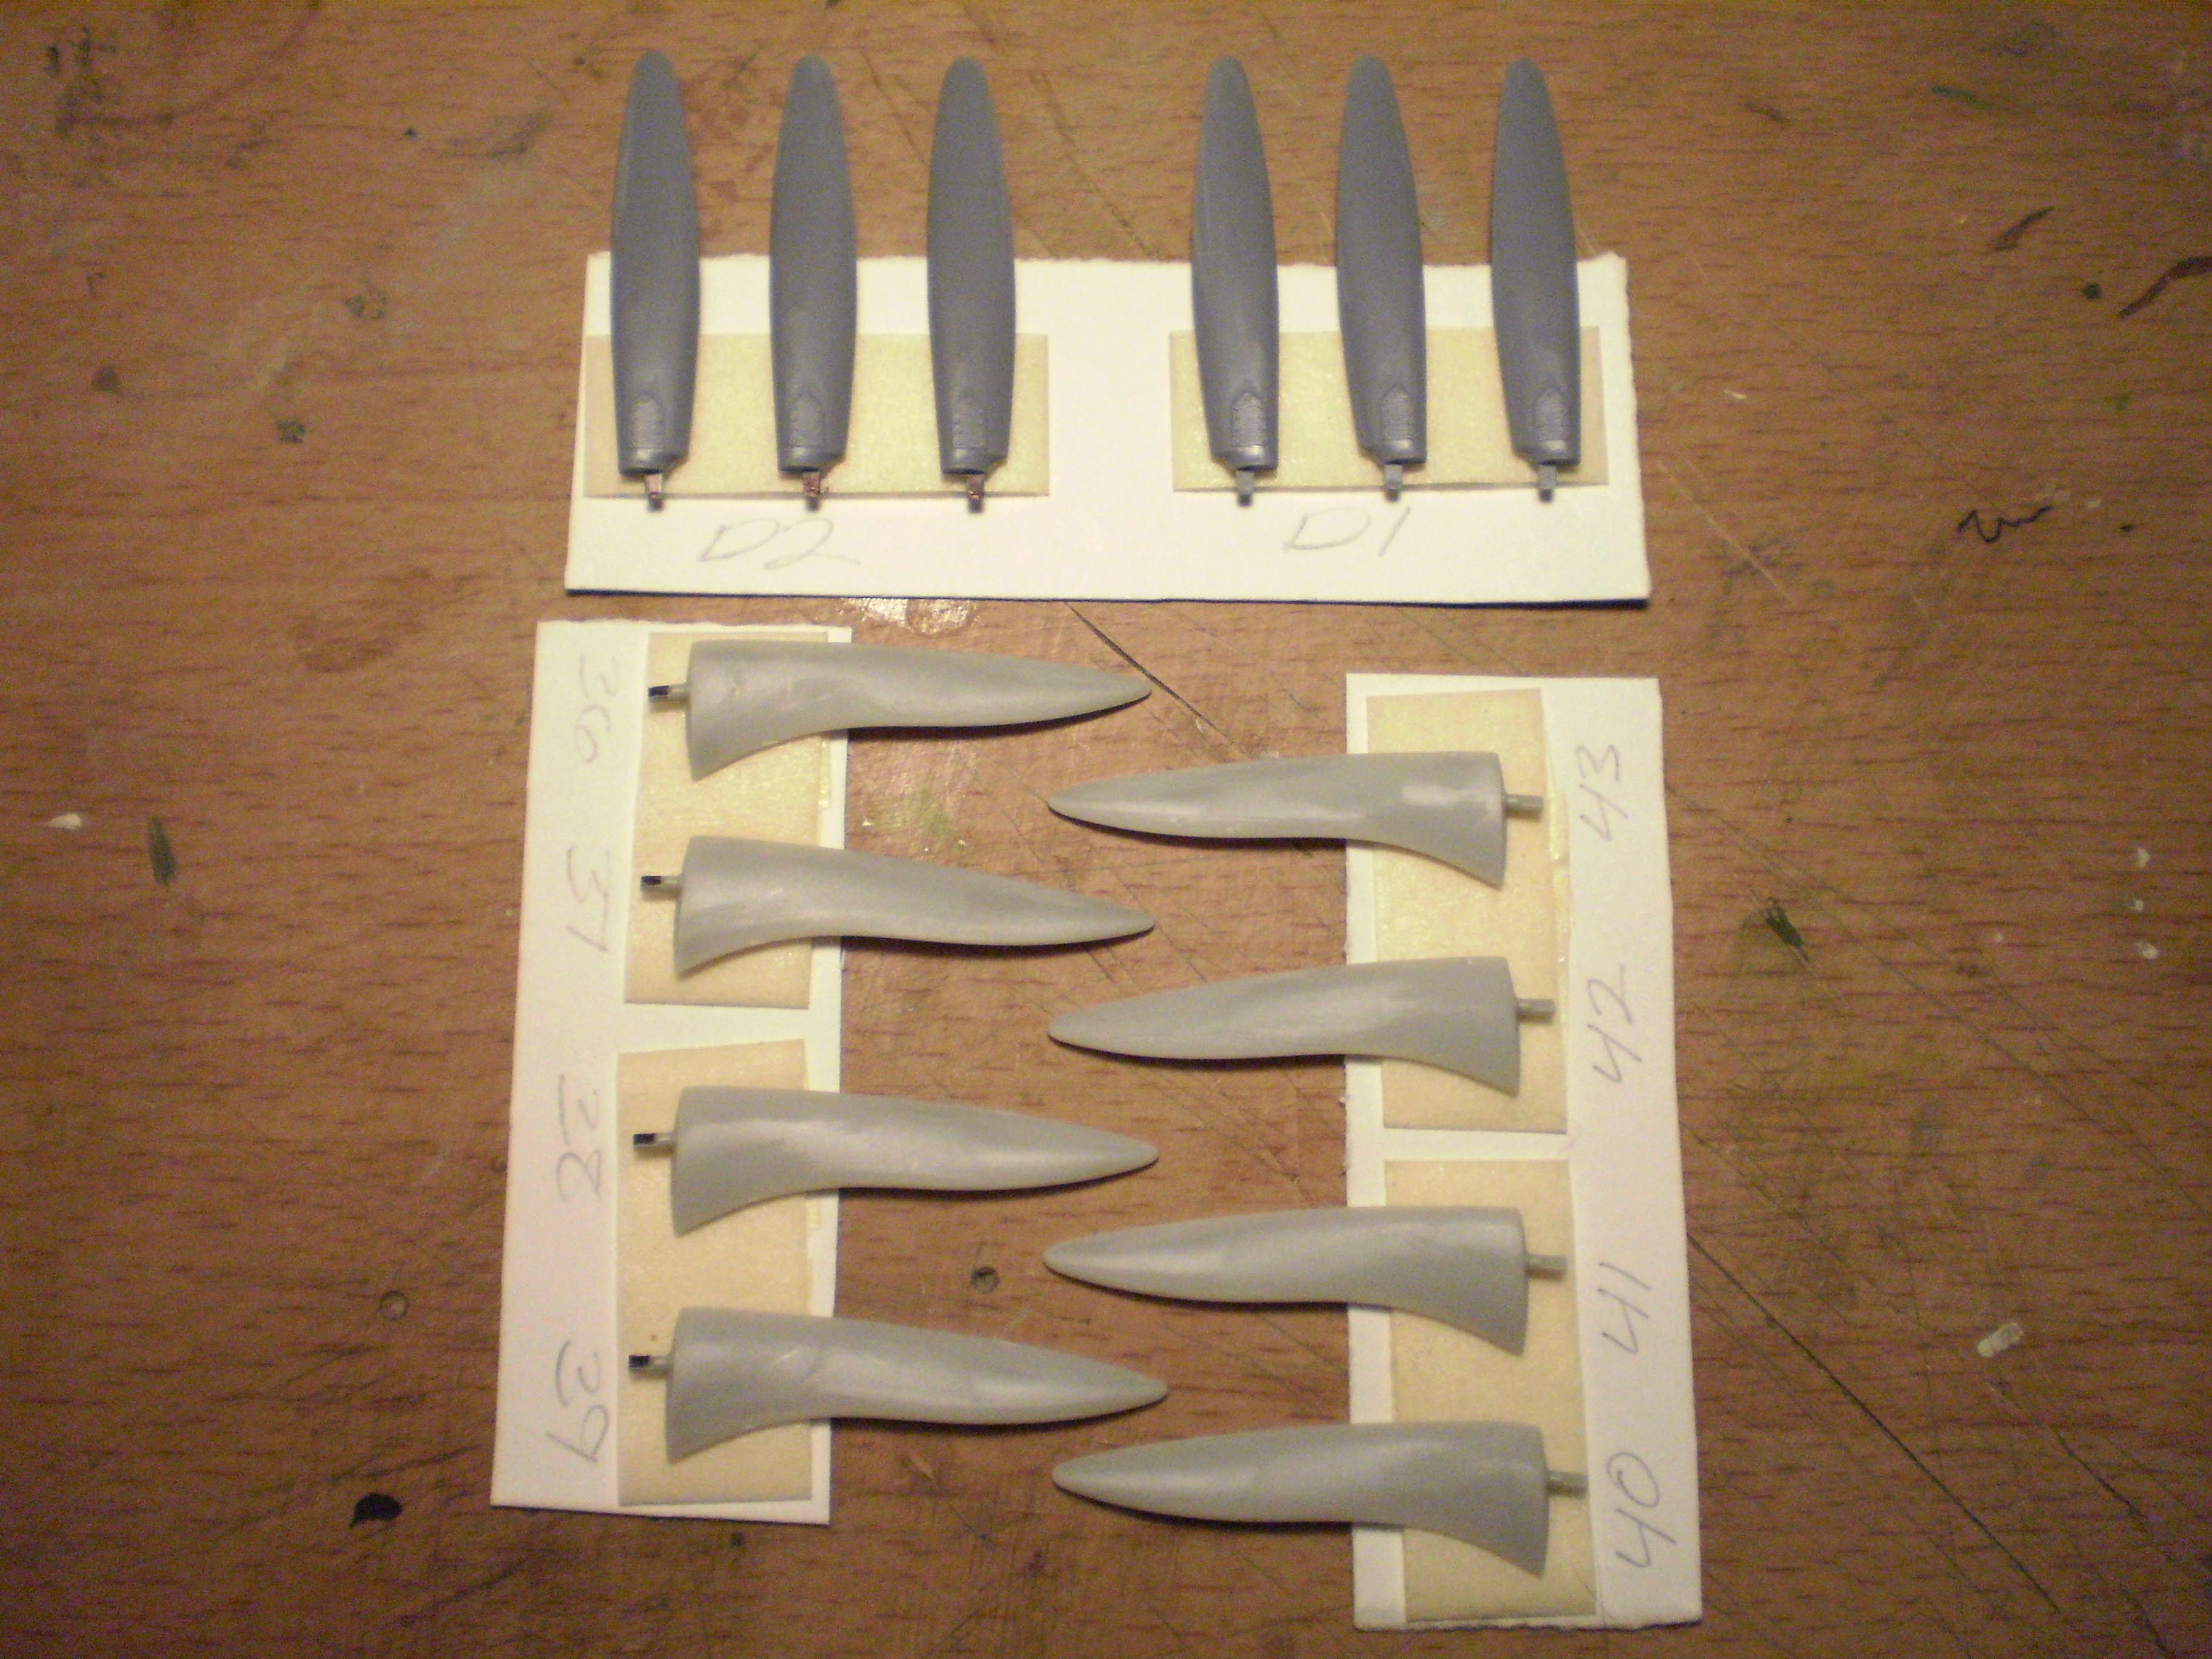
Props cleaned up and ready for paint. Each of the XF5U-1 props (bottom eight in the photo) had three gates attaching them to the sprue - and all were on the edges of the blades. Oy!
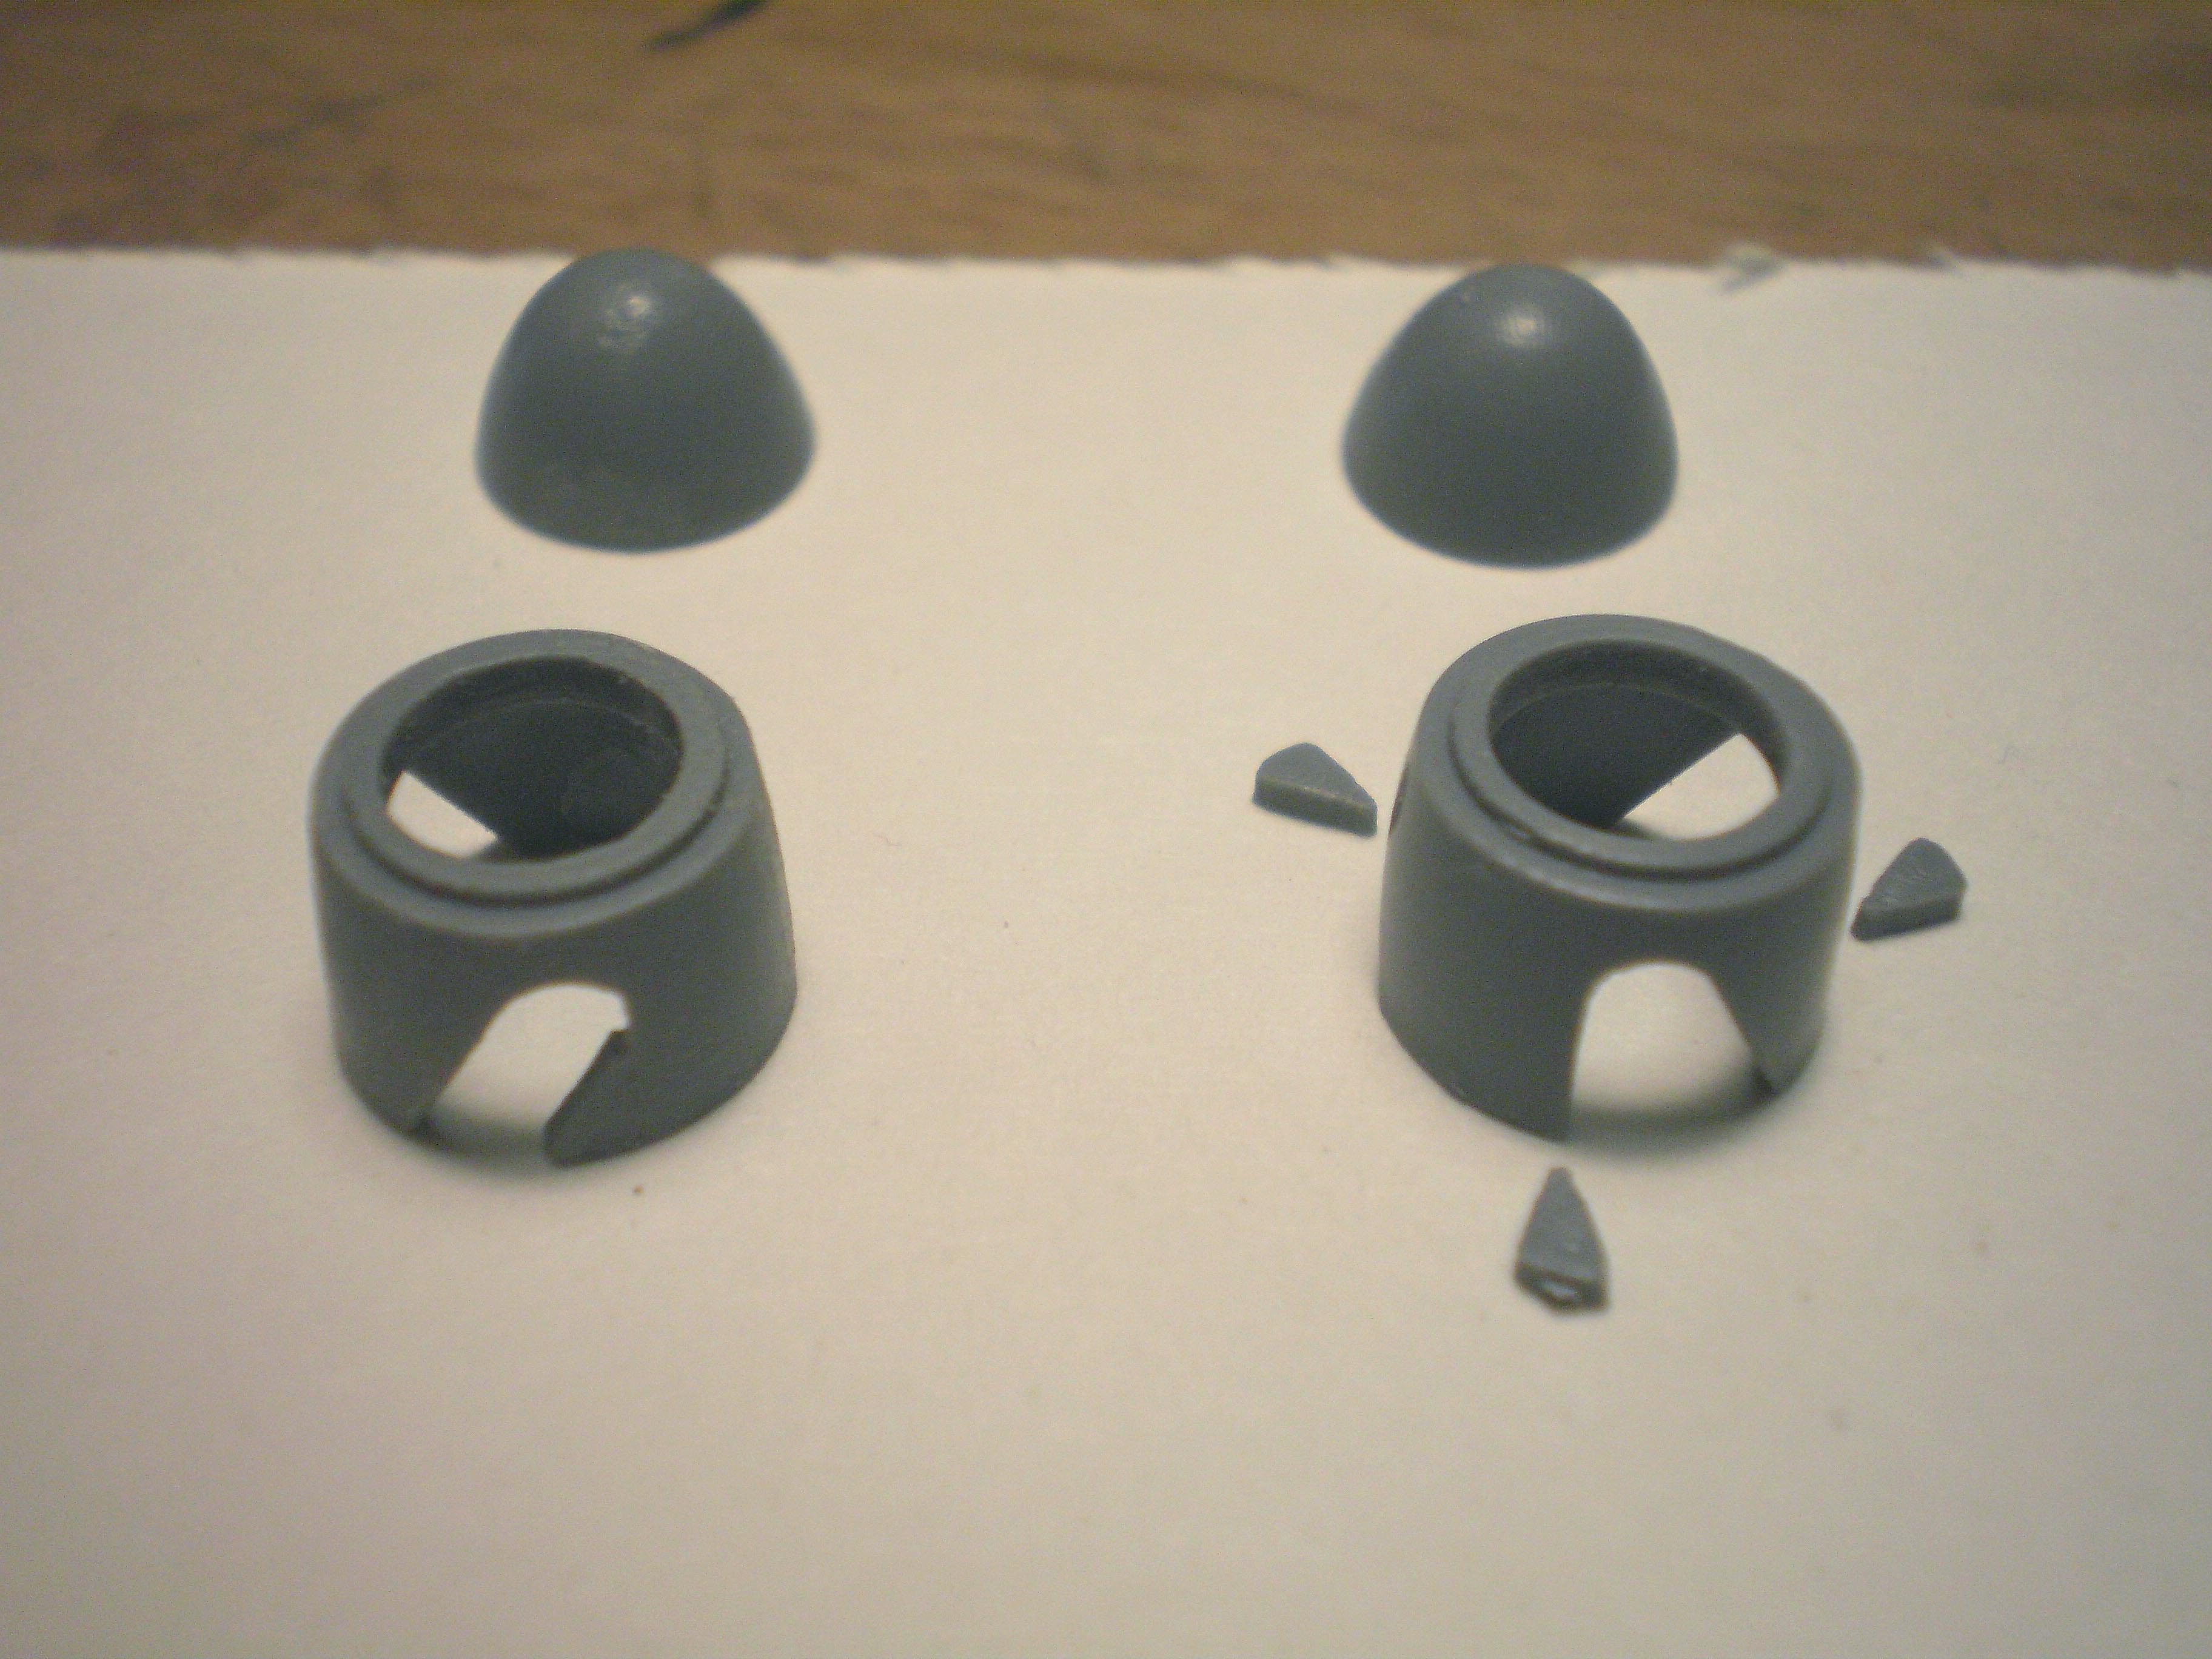
Three teensy tiny pieces (right) create diagonal slots (left) in the V-173’s spinners. I tacked them in place with a micro dot of liquid super glue, then filled the seams with gel super glue and accelerator, on both the outside and inside surfaces. Then the assembly was strong enough to sand smooth. One has to be careful to attach the three pieces so they follow the curve of the spinner body. One side is concave and the other side is convex on each of the three pieces, and the two sets of three pieces are different from each other. Tweezers and toothpicks are a must for this job. (The spinners on the XF5U-1 are a much, much simpler affair.)