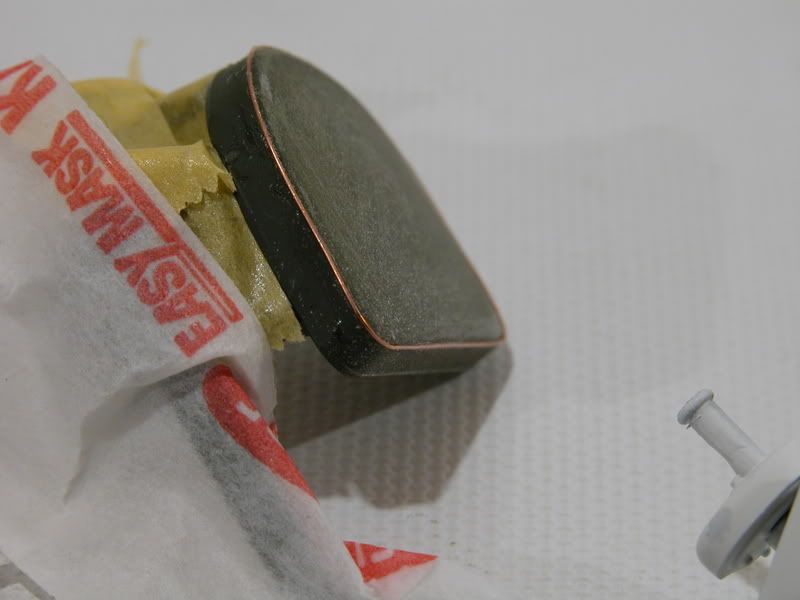
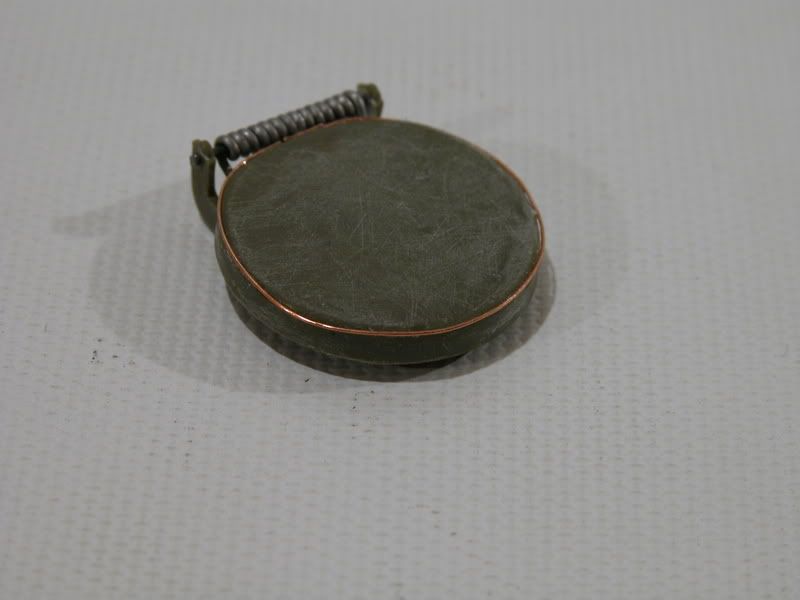
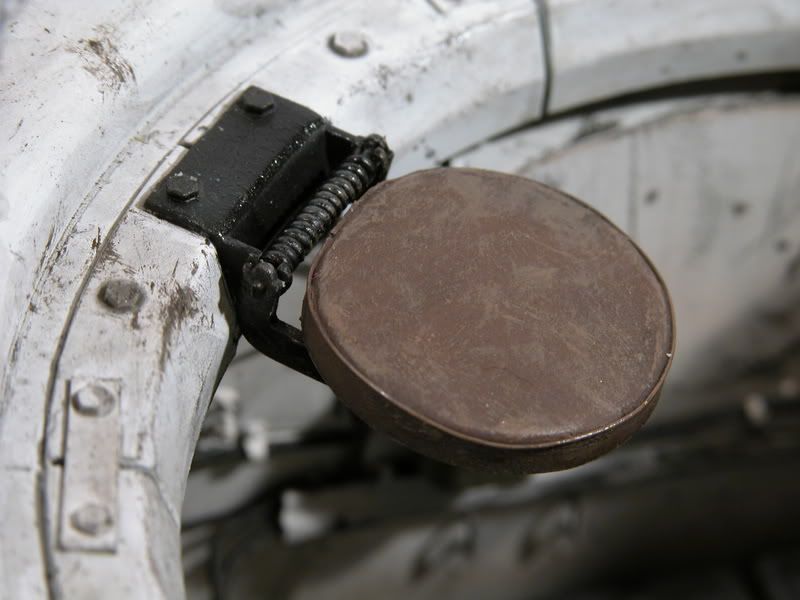
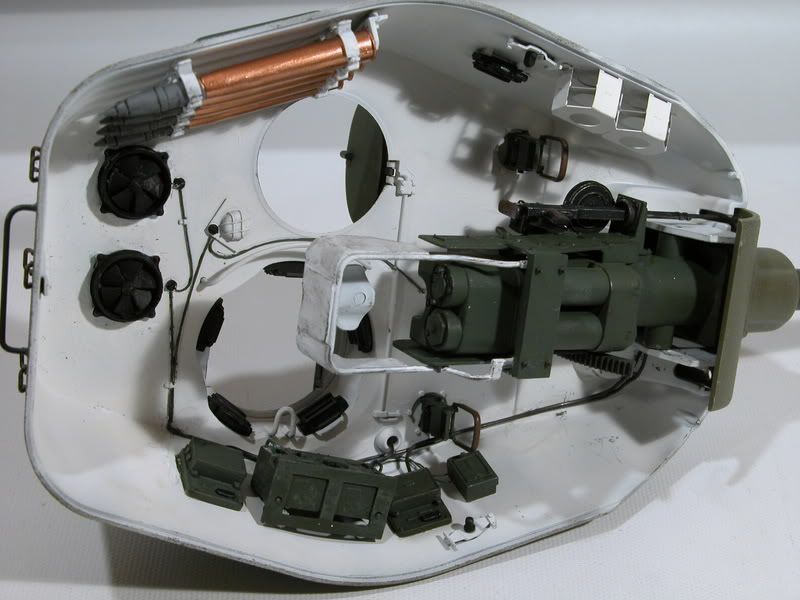
Here is some more progress. On the photos of the real tank, it was obvious that the seats are in leather and have that “lip” around them. I tried to replicate this with a piece of copper wire. Then added texture on the seats using a coarse sand paper.
Some paint, wash and dry brushing and it looks not so bad,but it is not the result I was looking for.
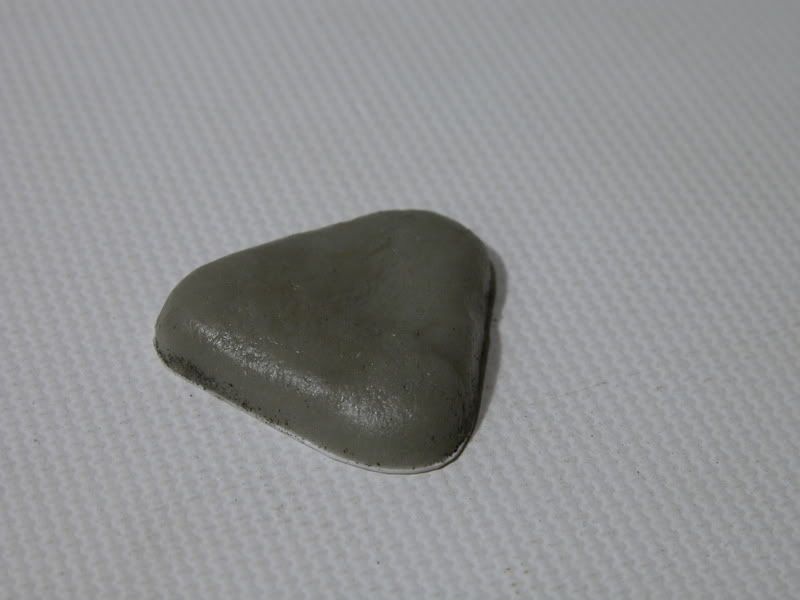
Also, I had to scratchbuilt the seat for the loader/machine gun operator. Here is a start:
It’s made of a styrene sheet for the main plate and Apoxie Scult for the cushion. I still have to add the tubing around it and the straps.
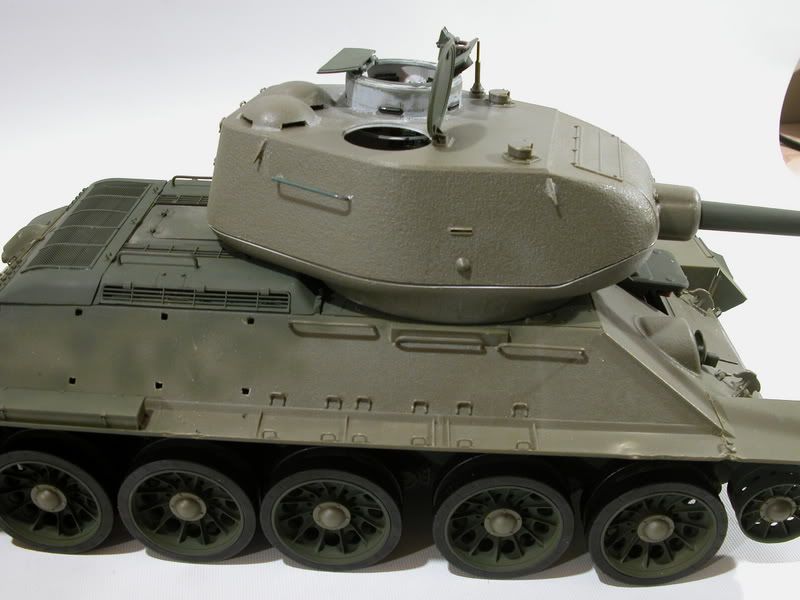
The tank itself is almost done, here is a dryfit test:
Some more work inside the turret.
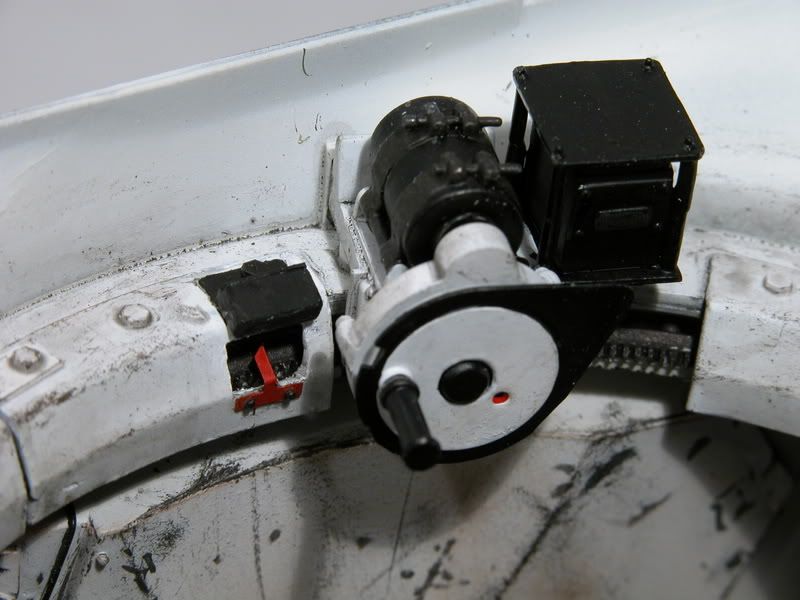
The indicator for the traverse is scratchbuilt also.
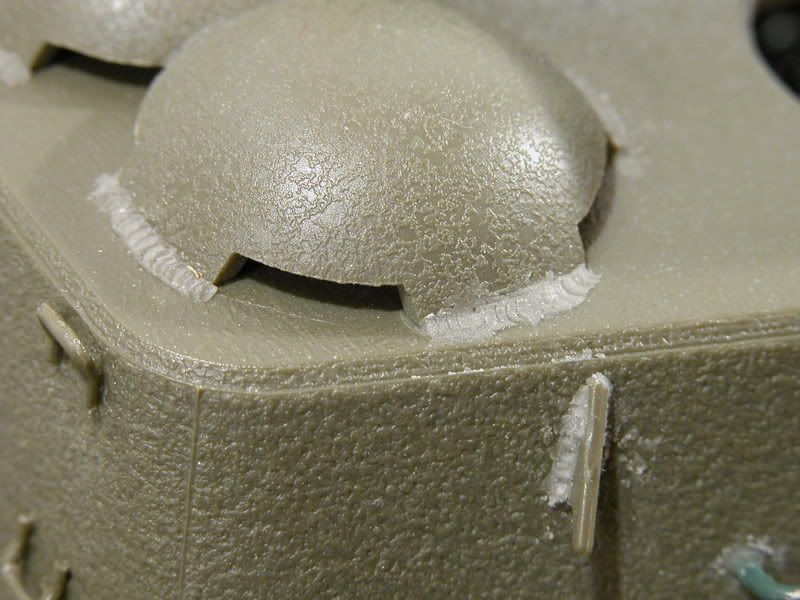
Here are some welding that I did using Apoxie Scult. It works very well.
No comments other than it look great. The wire on the seat looks terrific. Not 100% sure but that might be called a “bead”. Sounds like something I may have heard on The Learning Channel once.
I do have a question regarding real tank construction. Would the sides of the turret be cast as a single piece? Or would there be welds at corners like around the top. I ask because I really have more than one question. That line down the side corner in the bottom photo… Is that a mold line in the kit or does it represent where 2 parts of a real casting mold may be. Last one… really… if it’s not supposed to be there… what is your technique for getting it off when there is a textured surface? Remember… we “wingnuts” sand everything nice and smooth. It’s an airflow thing[;)]… not a big concern when you’re punching through a stone wall.
Ok, first you need to know that there is no rule about casting turrets and if you take the T-34 for example, there are about 10 different models of turret built with different techniques (welded steel plates, two pârt casting, four part casting, etc…) with different molding qualities and mold forms. Depending on which mold was used at which factory, during or after the war. You really have to make an extensive research to be fully accurate.
For my tank, I haven’t completed the research yet cause I was not at that step but I saw several pictures of the fact. no.174 one and I must say I’ll have to add some texture cause the finish was really rough on these things.
The line you see on the turret is a seam line on the existing turret but it is too clean to be used as is. I might modify it using Apoxie Sculpt.
Let’s say that line is a mold line from the kit and shouldn’t be there. I would simply scrape it off with my x-acto knife and/or sandpaper and then I could add texture with a dremel rotary tool. The idea is to gently touch the surface for a second here and there to damage the surface lightly.
Get some practice on a piece of styrene first. It’s not hard but you need to get it right on the model so …
Excelent job so far, still the best tank I’ve ever seen, I like the welding mark on the tank looks real, the inside of tghe turret is good too but why did you bother to do that when the viewers won’t see it when the model is complete?
Actually, most details will be seen thru the hatches that will be hinged. And the turret will be removable if you want to have a closer look inside.
Concerning the mine-roller … I’m finishing this tank first. Then I’ll probably finish my Bismarck and pickup truck before getting back to it. My plan is to have it finished by the end of summer so I can bring it to a local show/competition. Thanks for asking.
Wire, sanding and painting…riiiiiight!! We all know thats a photo of a real leather seat!! Did you take apart a bar stool for the photo? [(-D] JK!! That is amazing!! Great work sir, I love your handmade weld beads! Apoxie Sculpt is really nice stuff! I am just starting to use it and love the way it works. Nice, nice work Cptn Solo!!
looking good[:D]Yann!!— you will be done soon I am sure!-- any plans for markings on the turret, or you gonna go with decals or what? Hussar makes some nice alternate choices-- tread[8D]