I thought about that. But I don’t have any spare photoetch at home that I can use to scratch build a cage. I’m going to have to search through all my model kits and rob some parts that I can use to make one.
1 Like
This was supposed to be a 2 day build on my b-day weekend but I didn’t get the full 2 days. This is my Testors F-19 stealth fighter. I’m building it in flight mode. I have a lot more work to do on it but it’s coming together.
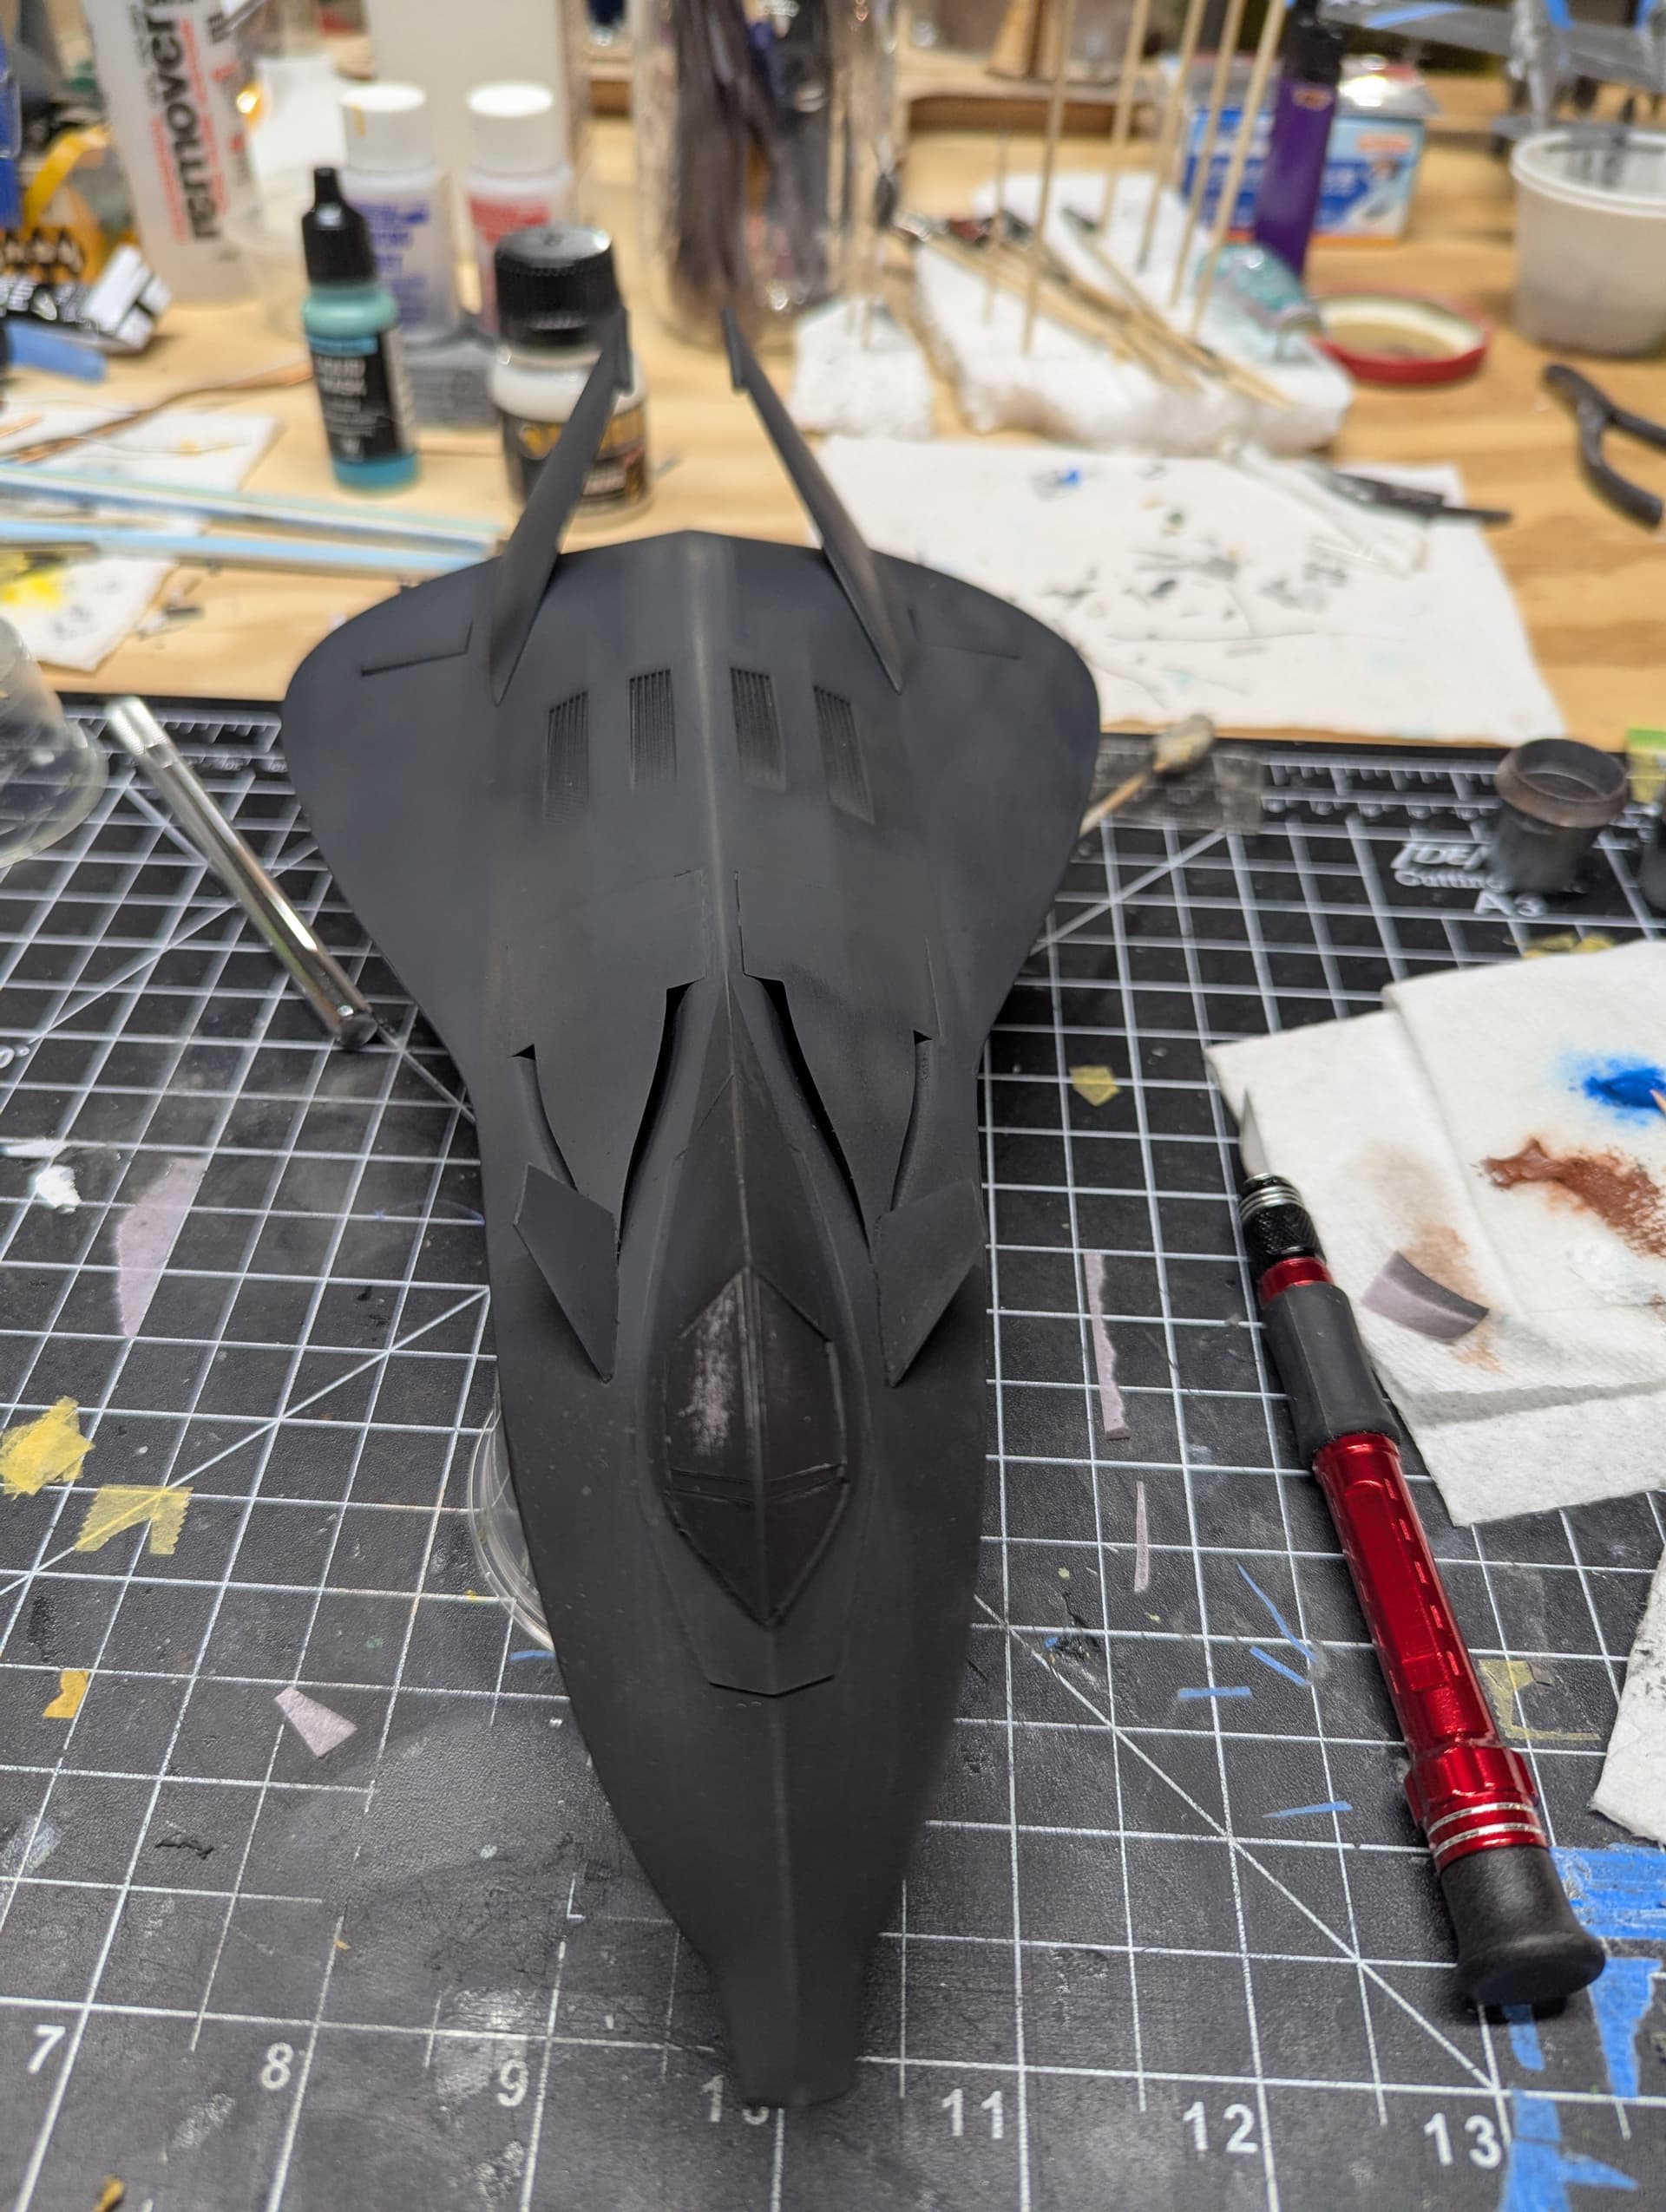
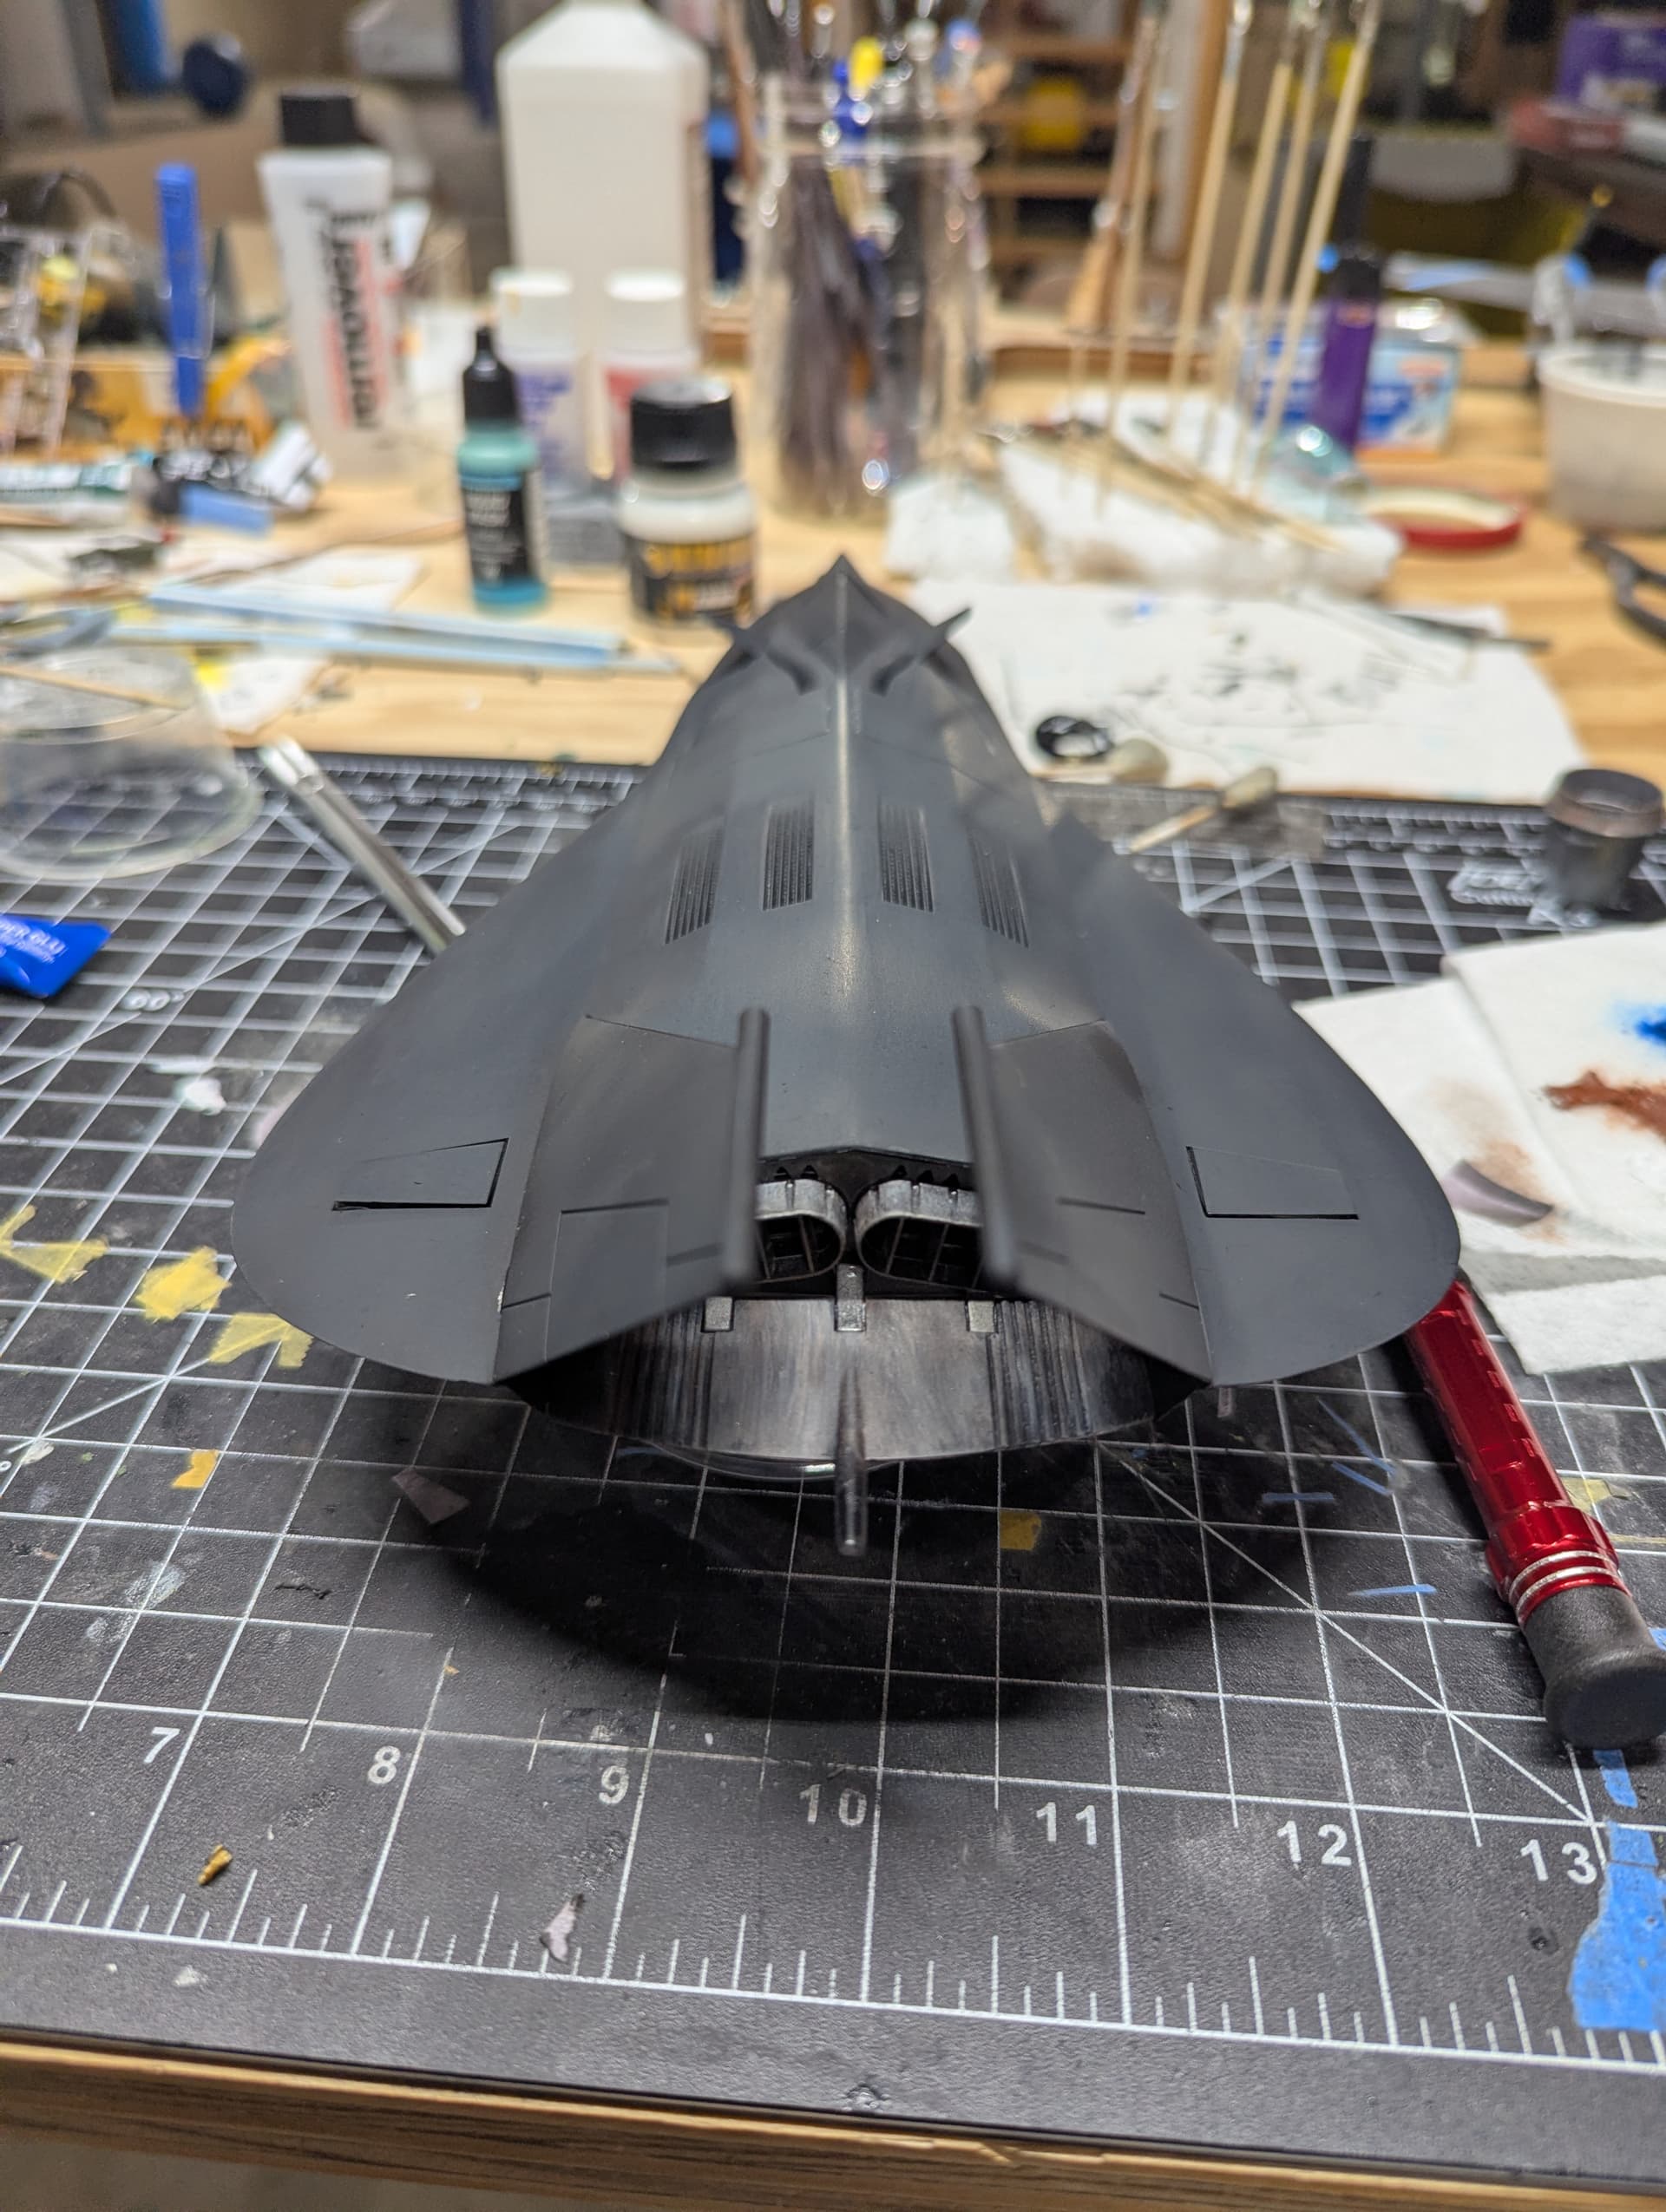
I’m working on my jet exhaust skills. I started by laying down Vallejo jet exhaust and let that dry for a few days. Then I brushed on oil colors (white, burnt sienna). I think it turned out ok for my first time.
13 Likes
Would you like a B-Day present?
1/32 scale model in line with your B-Day model?
James Esq.
P.s.
dadoffour
P.m. me for more details…..
2 Likes
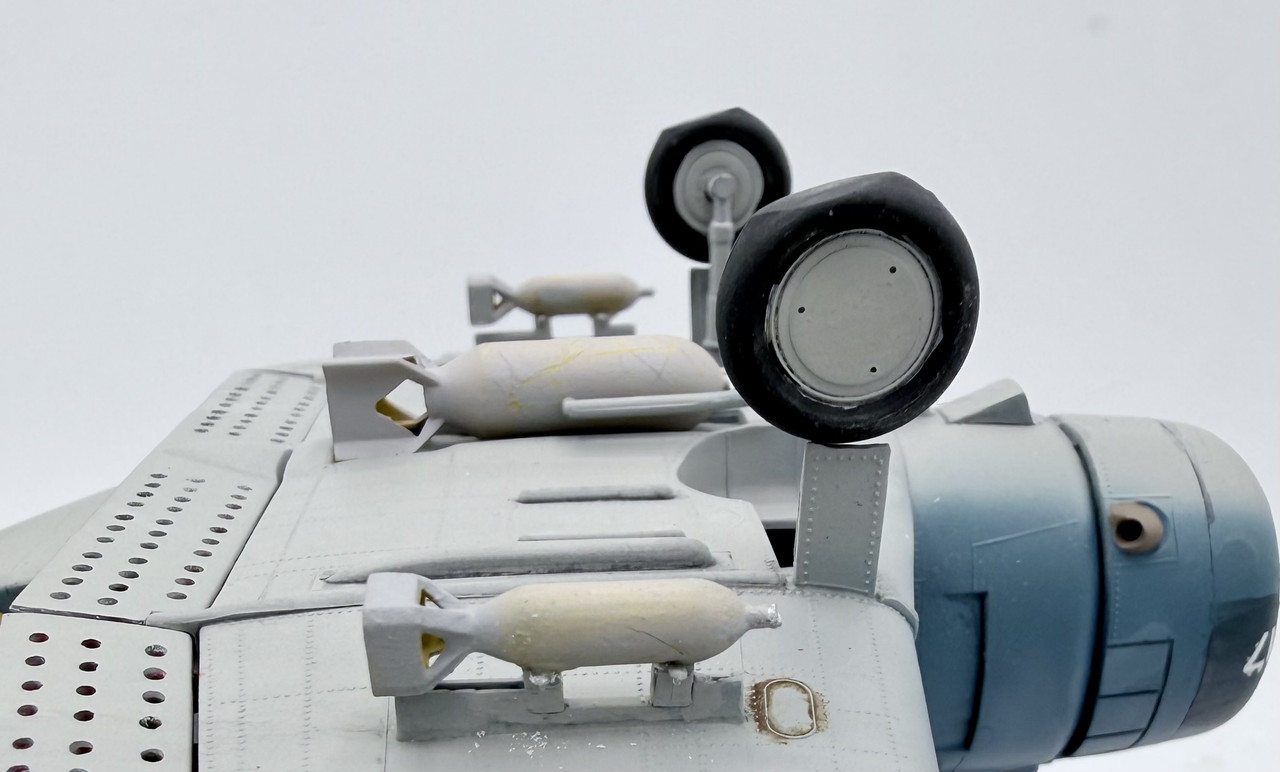
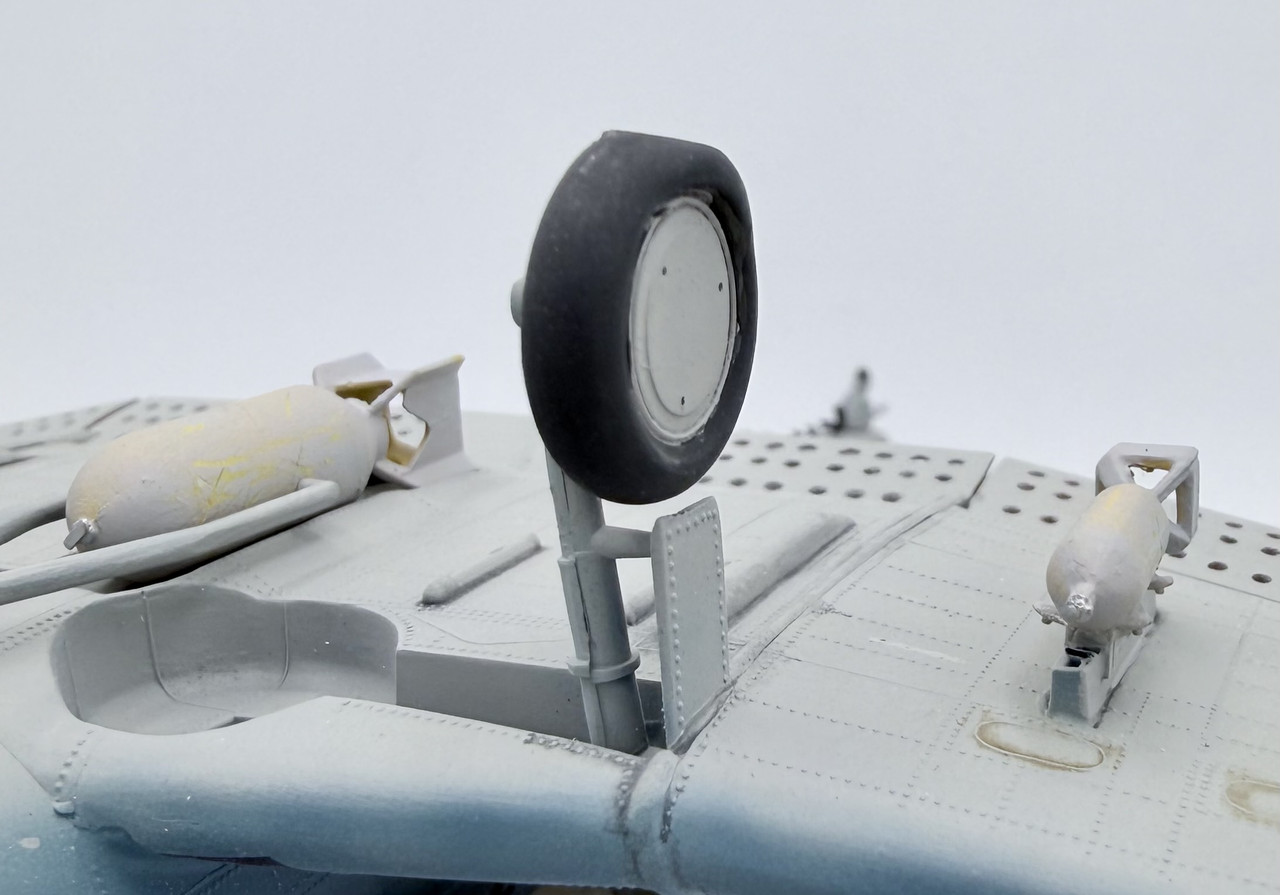
Yesterday I airbrushed on the flat coat…. Today was lots of little steps all day long… some final bits of detail painting such as the exhaust stacks and tail wheel… I took this tail fitting from my Hasegawa A-24 kit, which does not use the item.
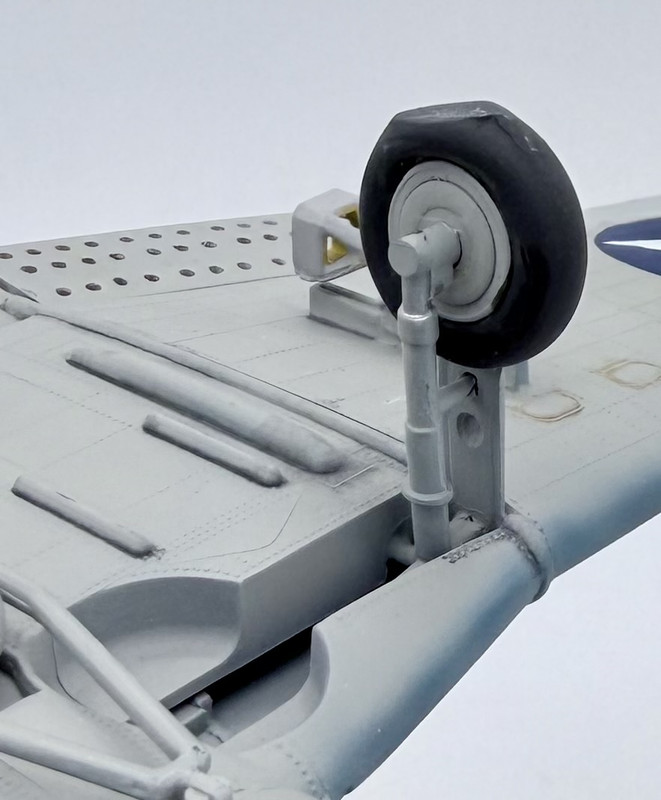
Then I added some sway braces to the wing bomb racks, as well as later gluing the bombs in place and finally gluing the main landing gear wheels in place using some True Details resin wheels
After the glue had dried on those items, I removed the cockpit masking, exposing that area for the first time in many years
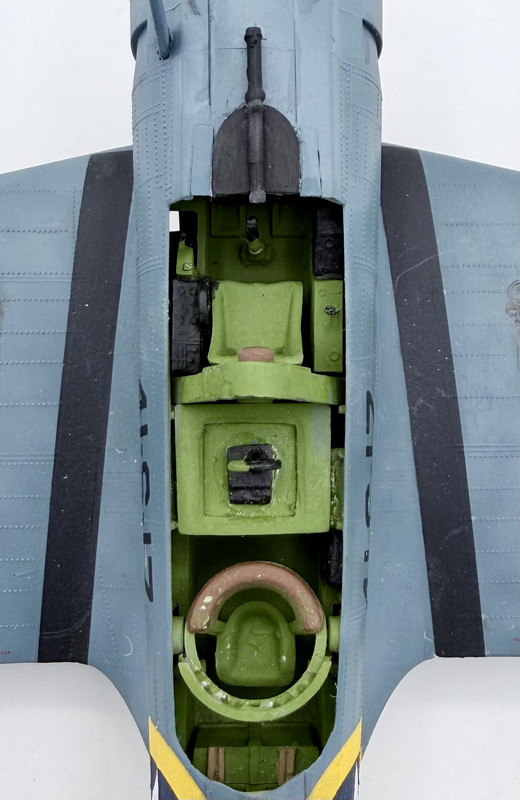
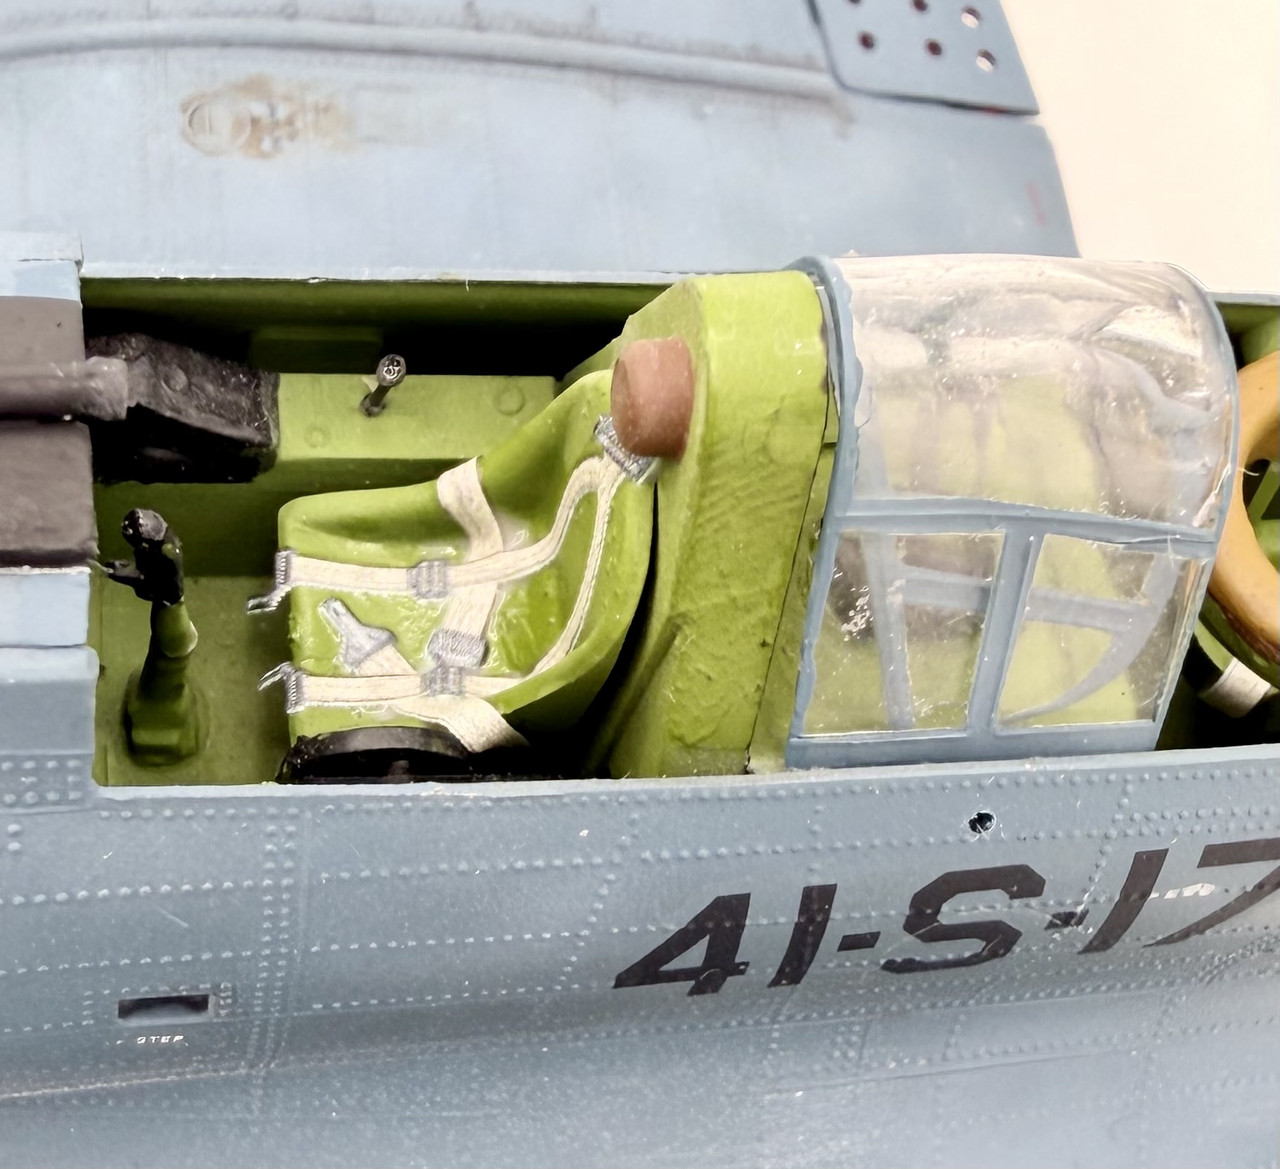
I then added some Kits World 3D decals seat harnesses to the pilots and gunners seats, as well as adding the rear canopy hoods into their open stowed position
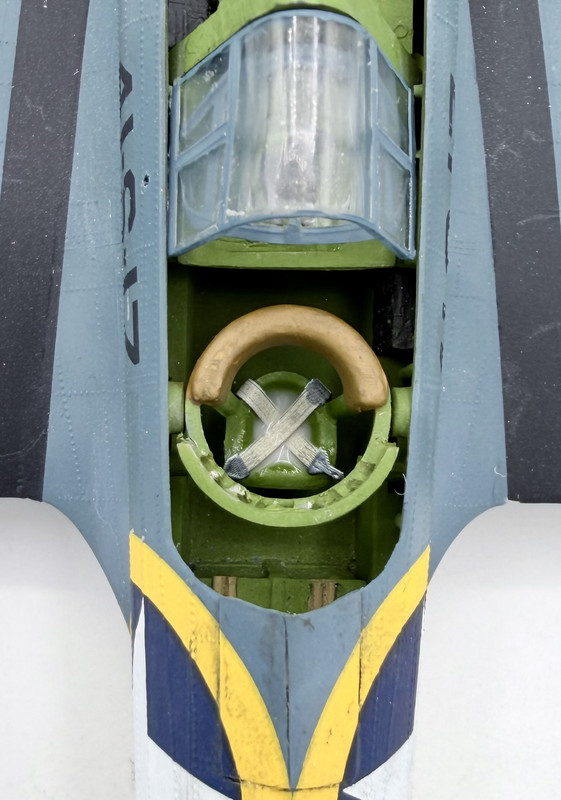
Then lastly I did some bits of dry brushing, added the canopy and windscreen, the rear twin gun mount taken from the same Hasegawa A-24 (that kit is getting a single mount .30), and then I added the antenna line…
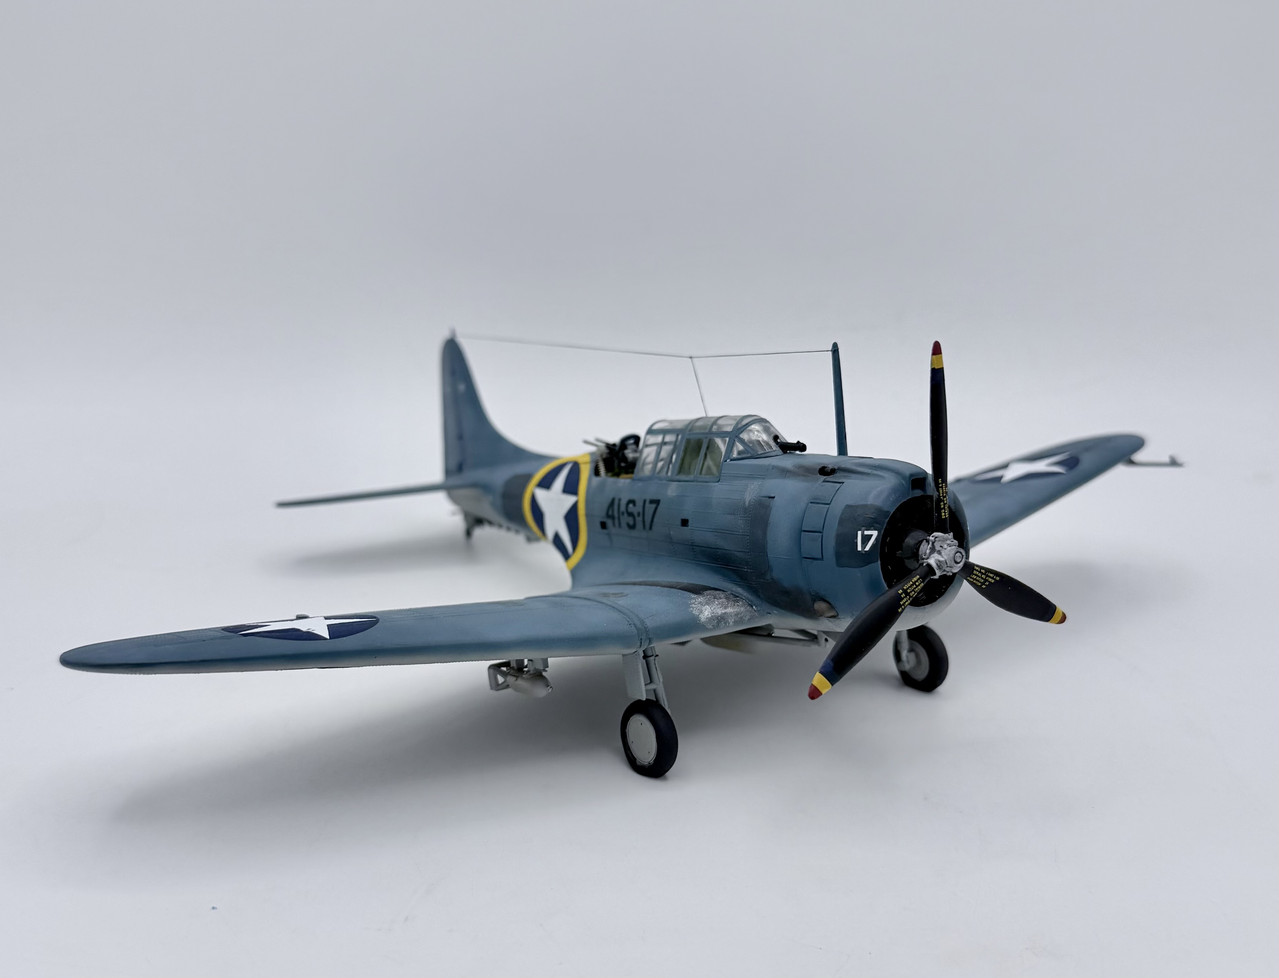
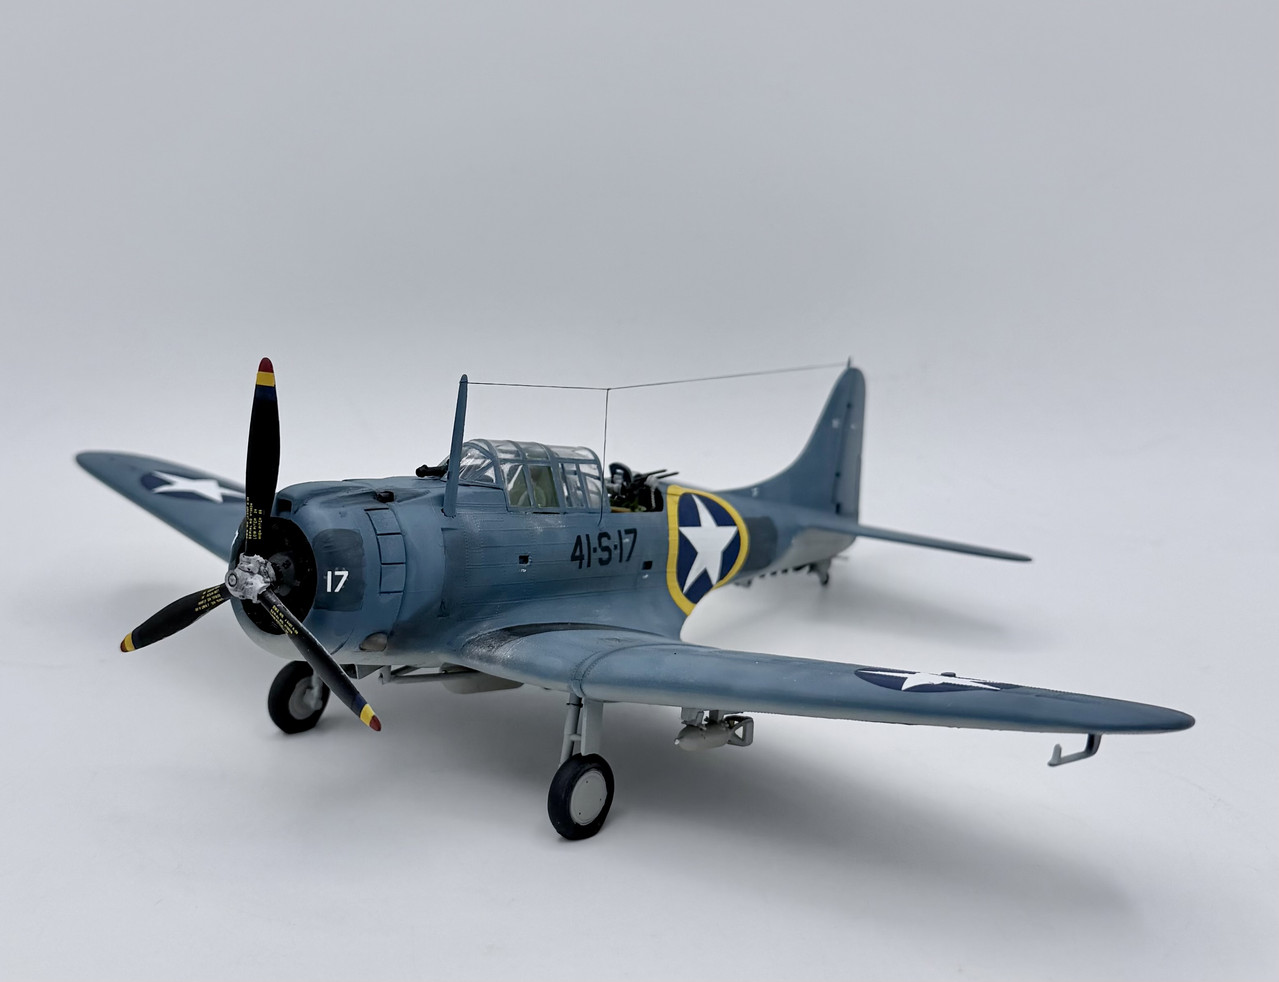
She is now all finished after all these years. I will get up a multi angle series of photos up in the appropriate finished section tomorrow or Monday. My first completion of 2026!
12 Likes
I have some of that tape, but never tried it. Next canopy I’ll give it a try.
1 Like
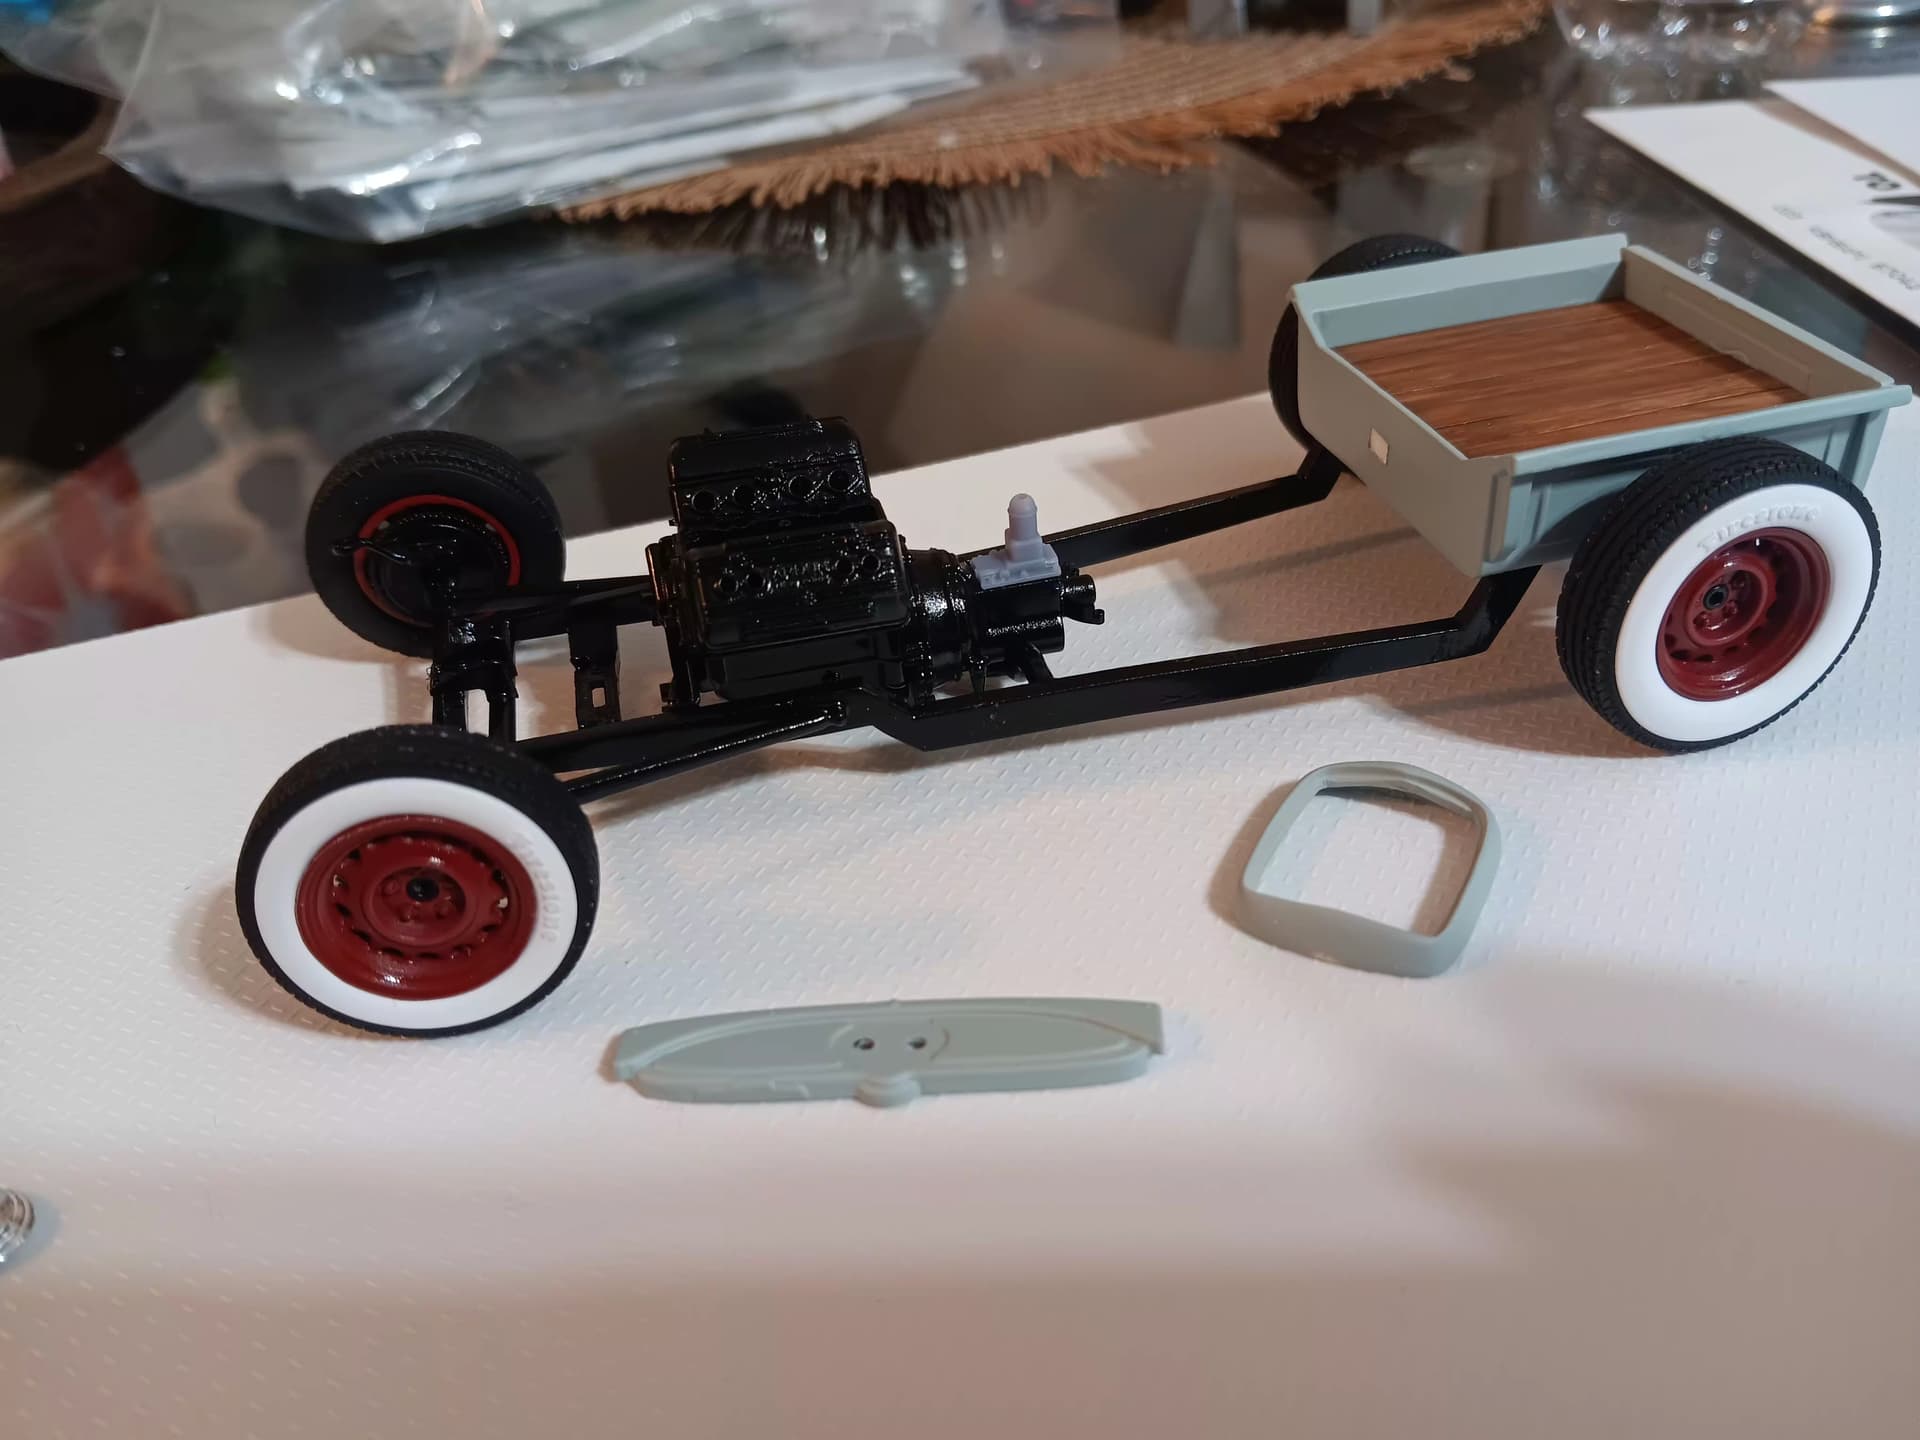
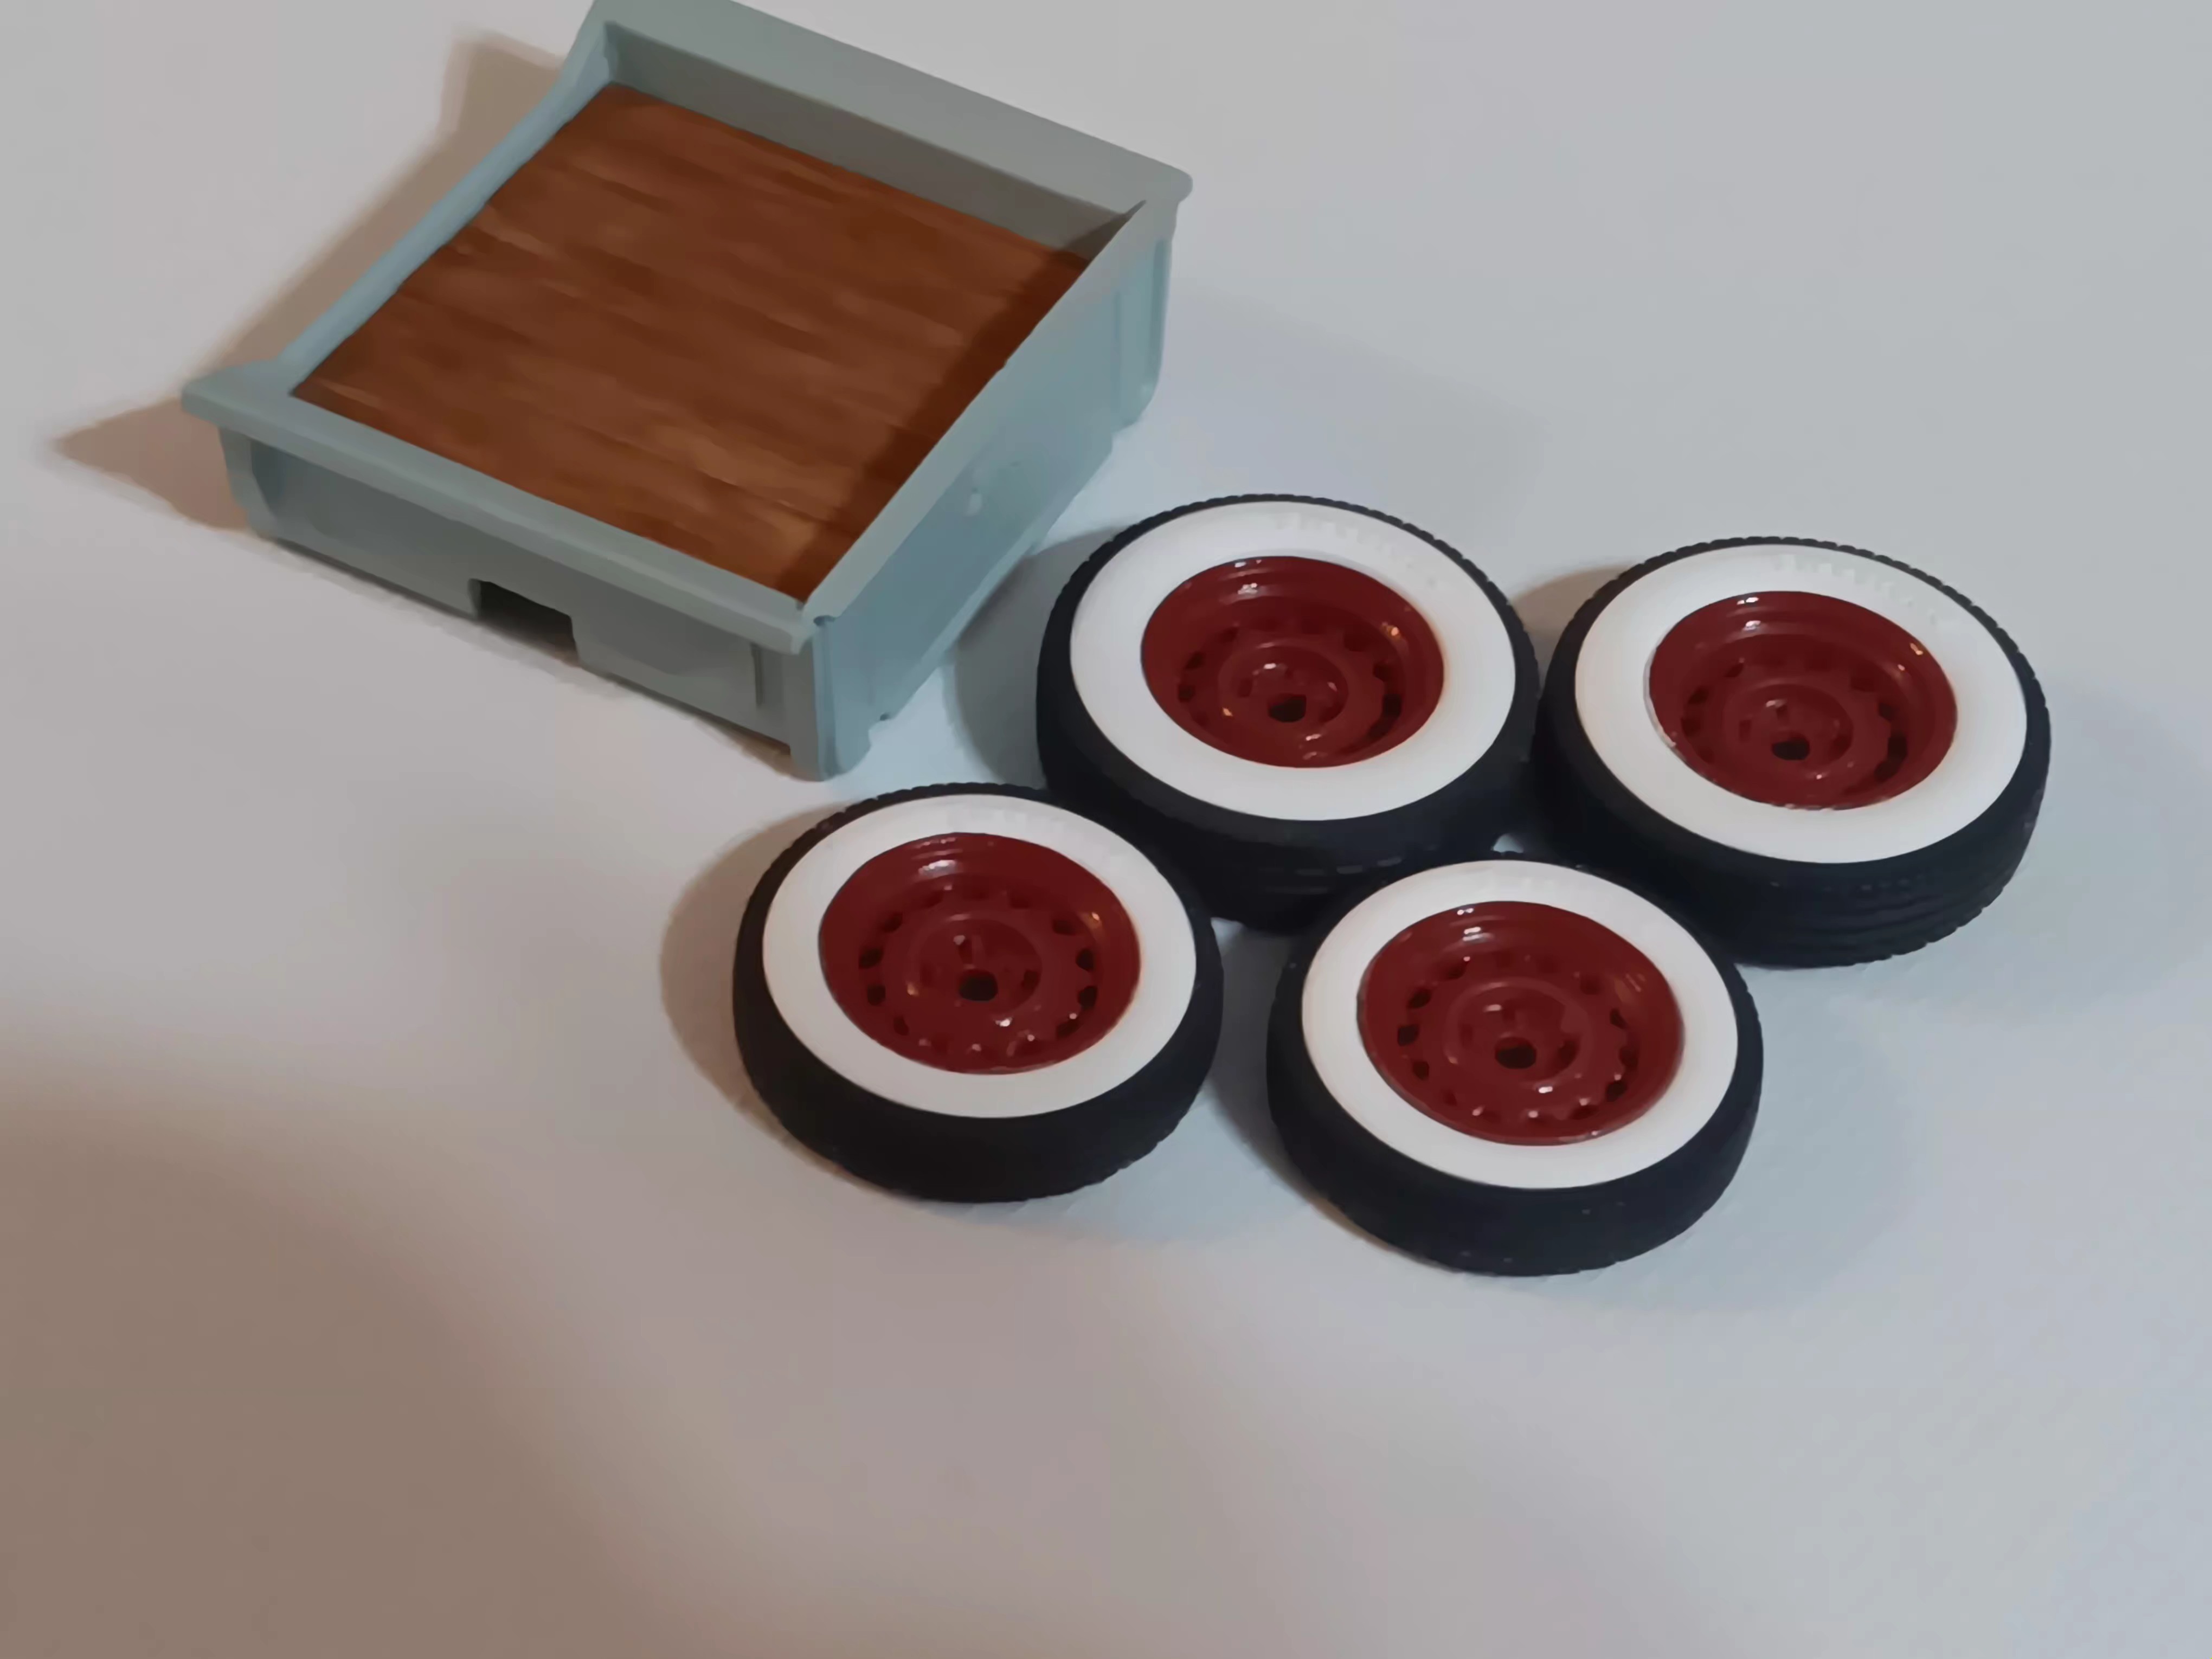
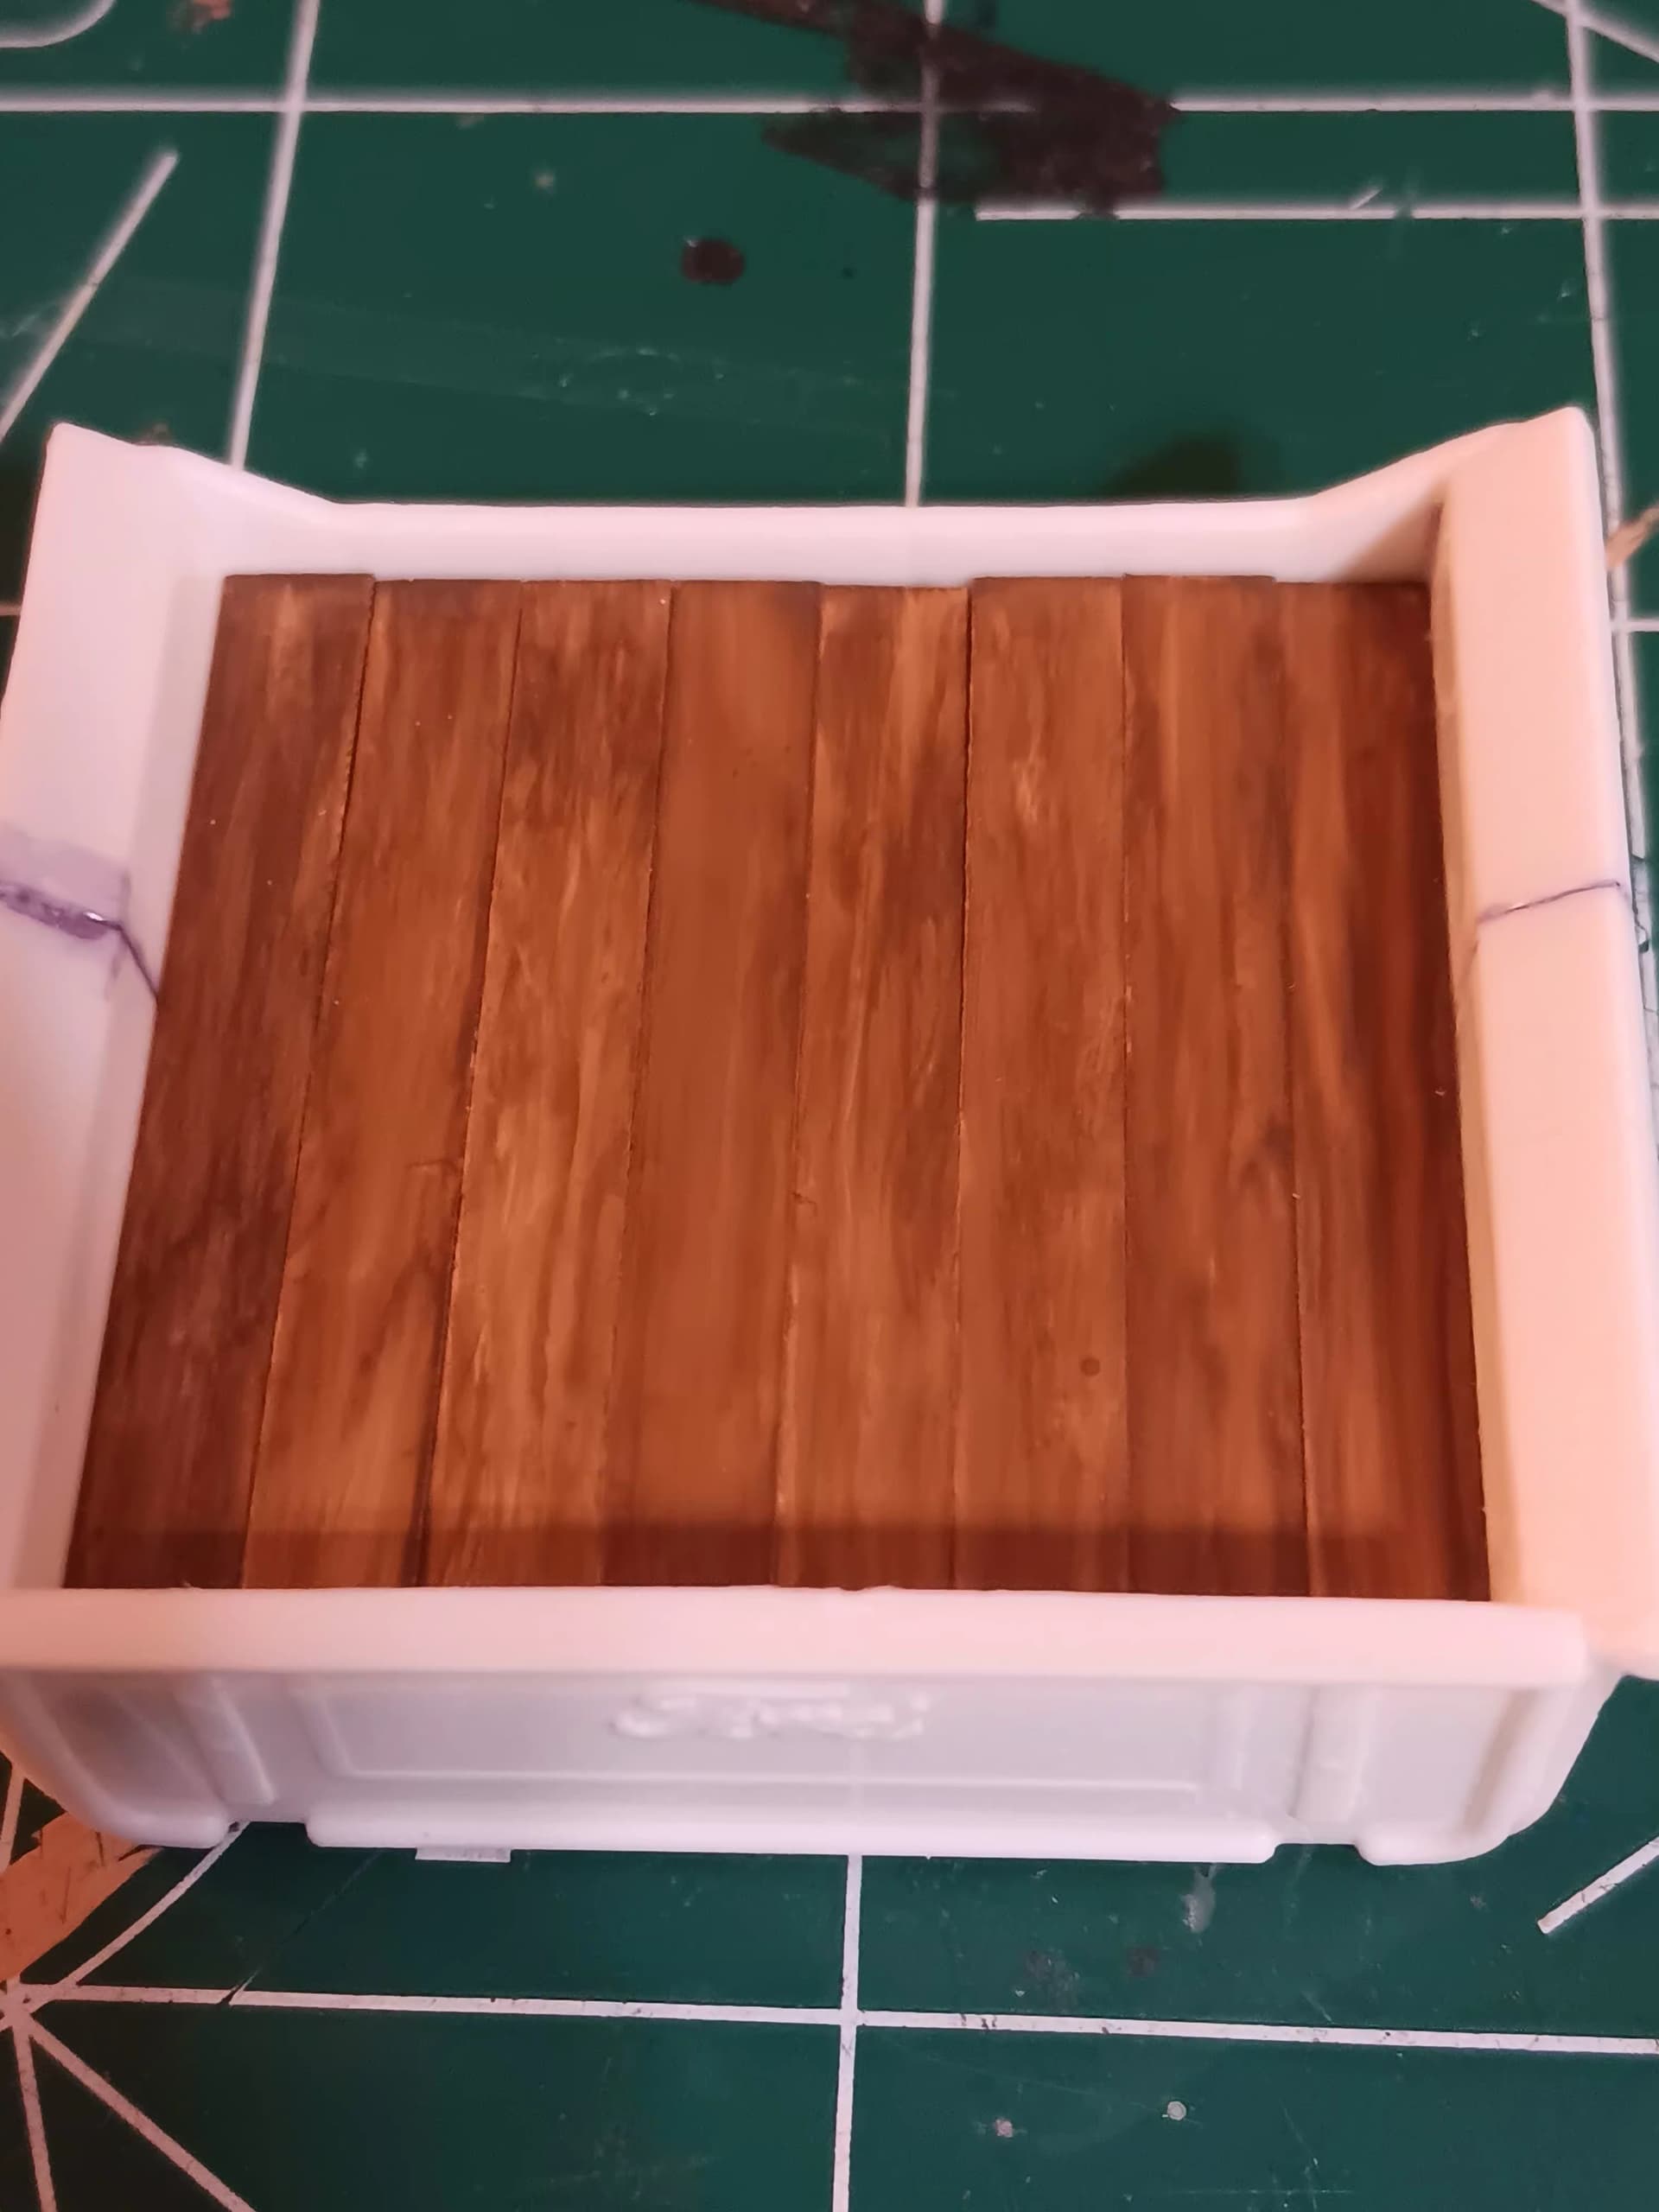
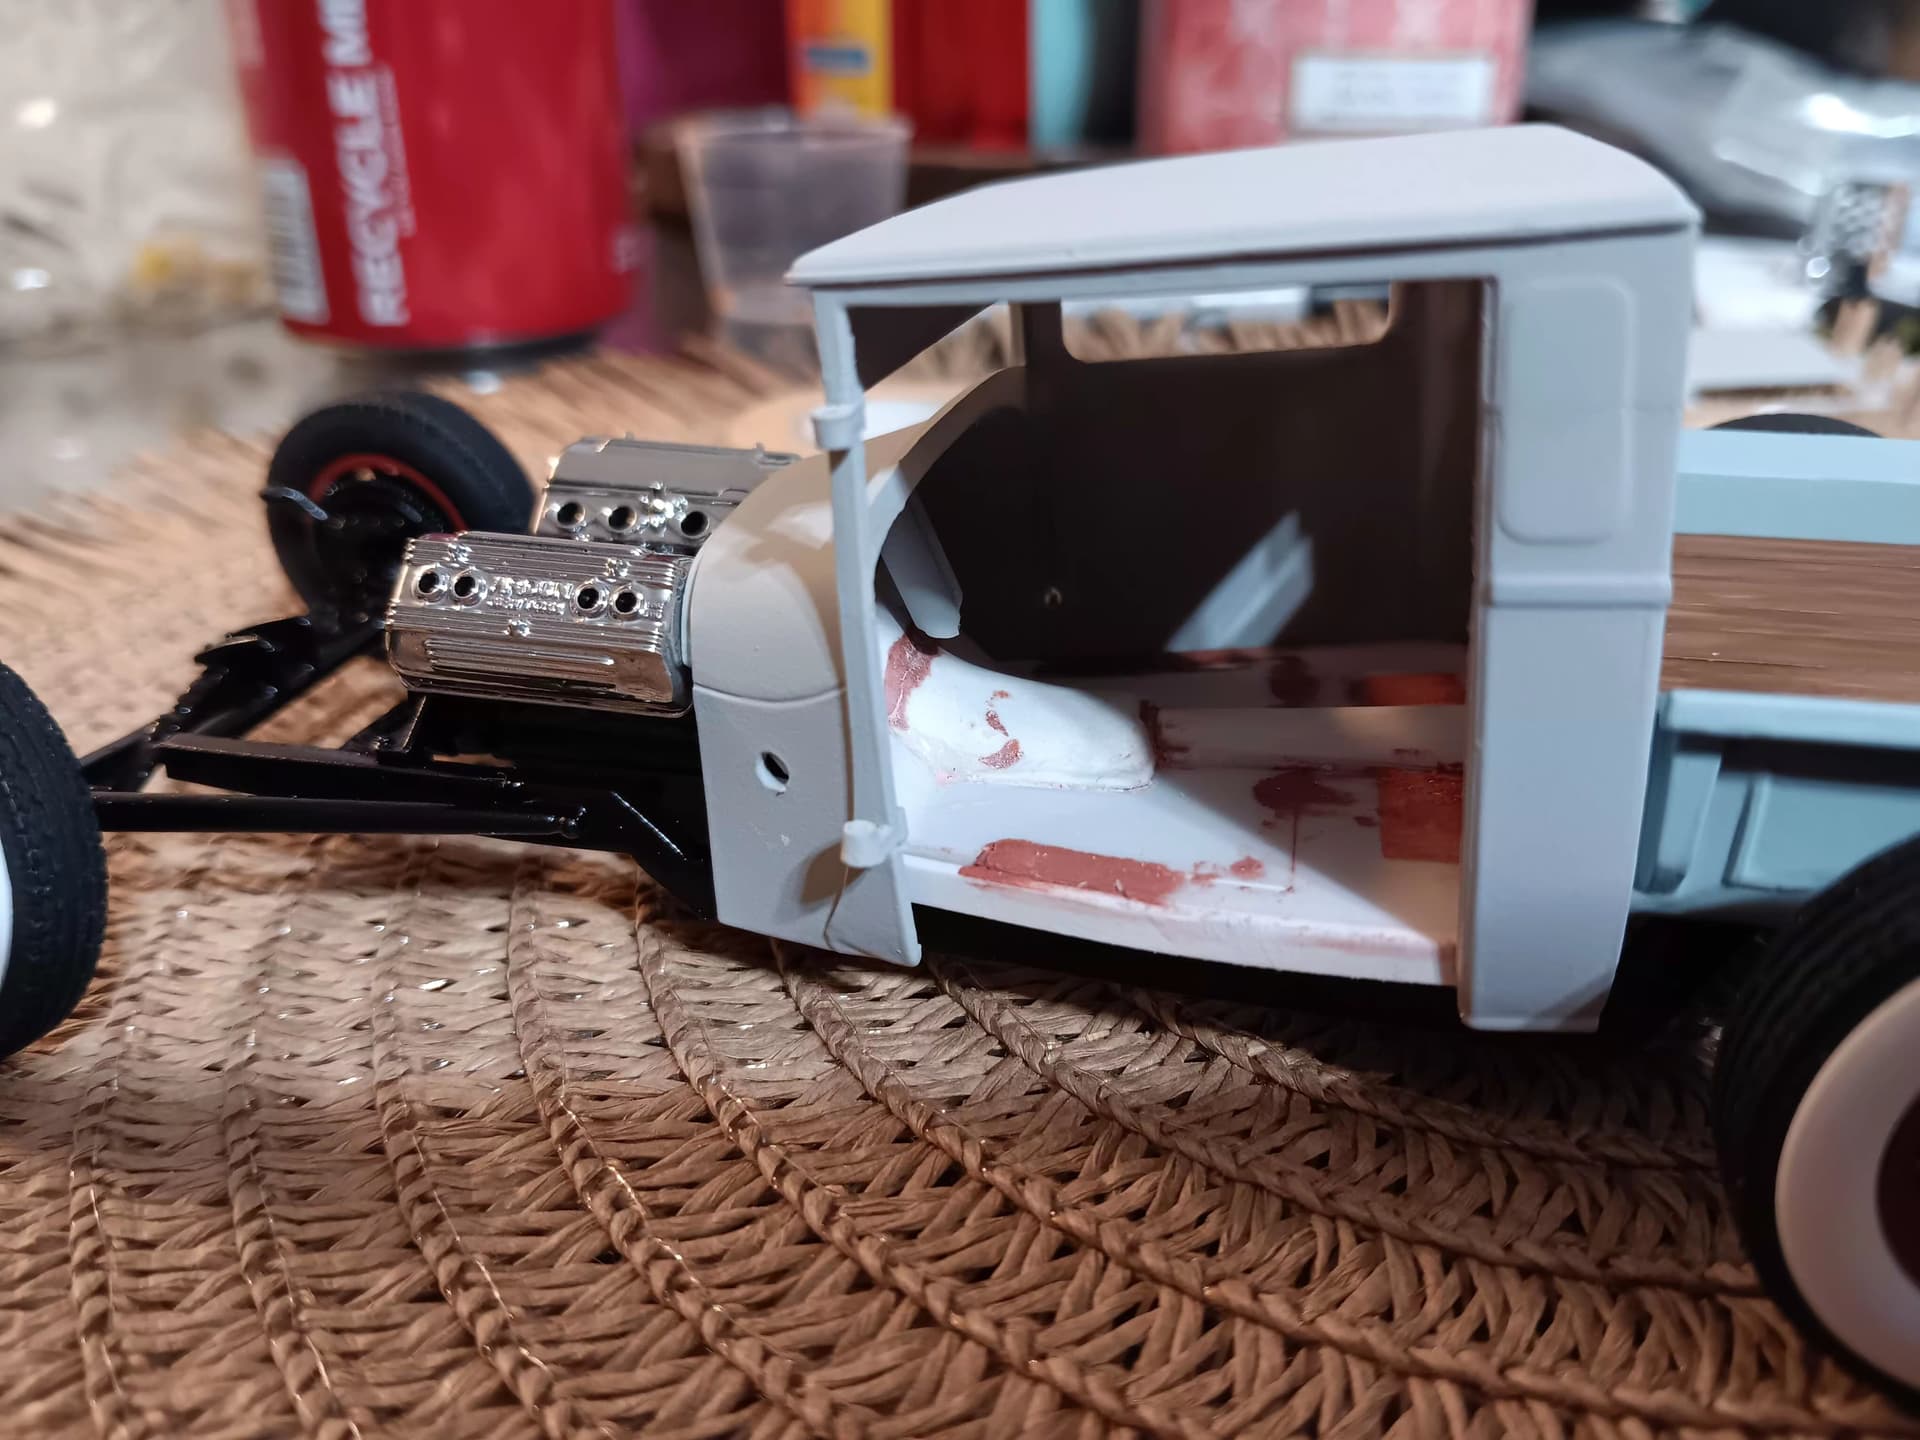
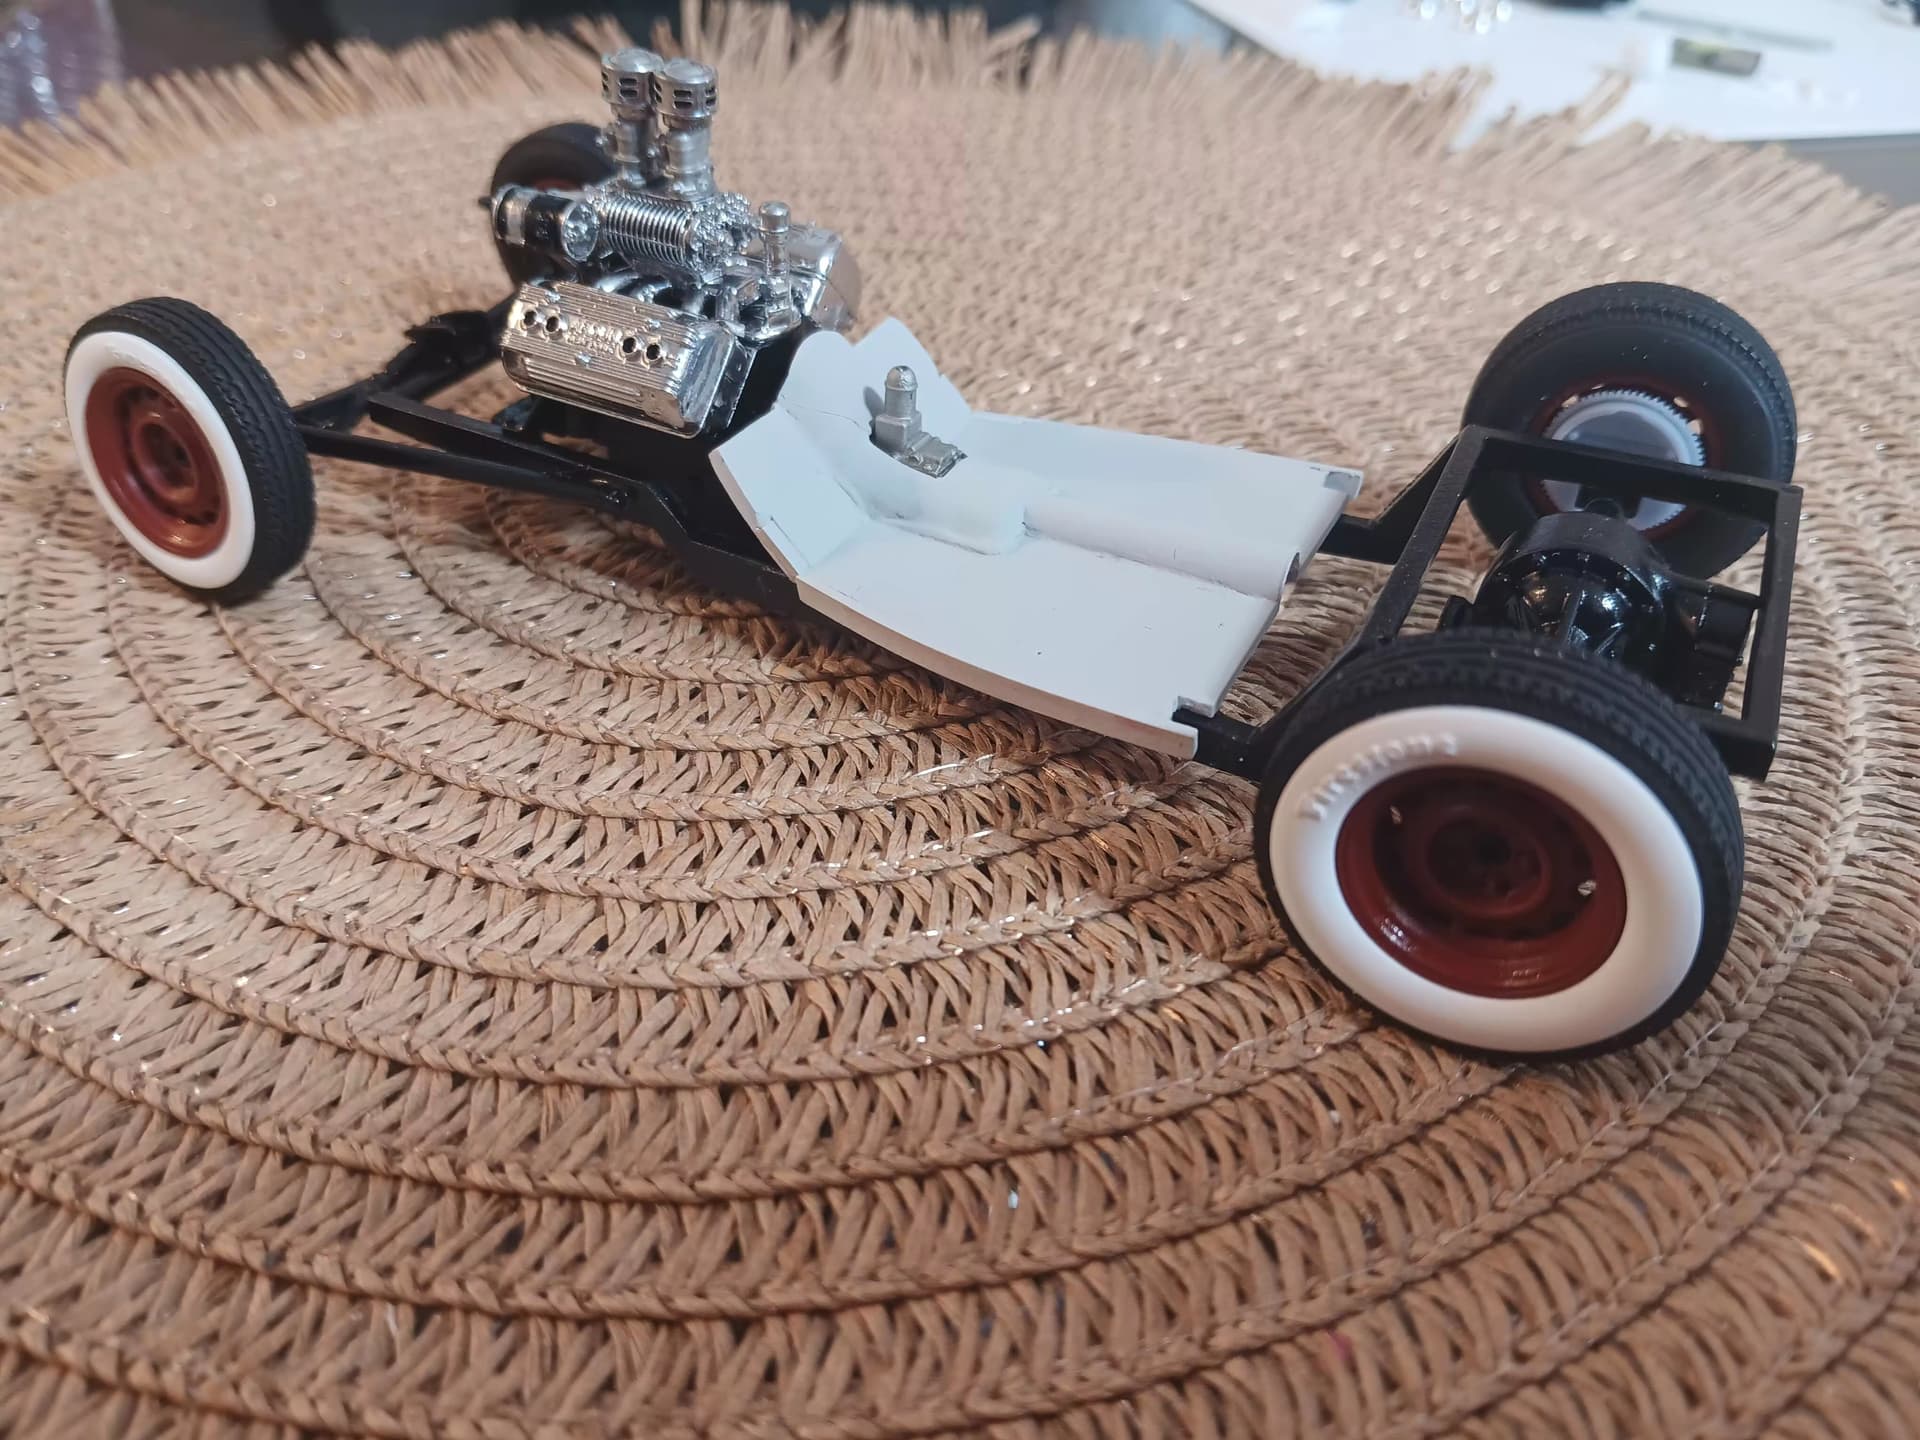
Wow, those tires/wheels look perfect. And the wooden bed! Wow!
2 Likes
Another one completed just some decals and to put on and a little bit of weathering then off to the room with the rest of them.
11 Likes
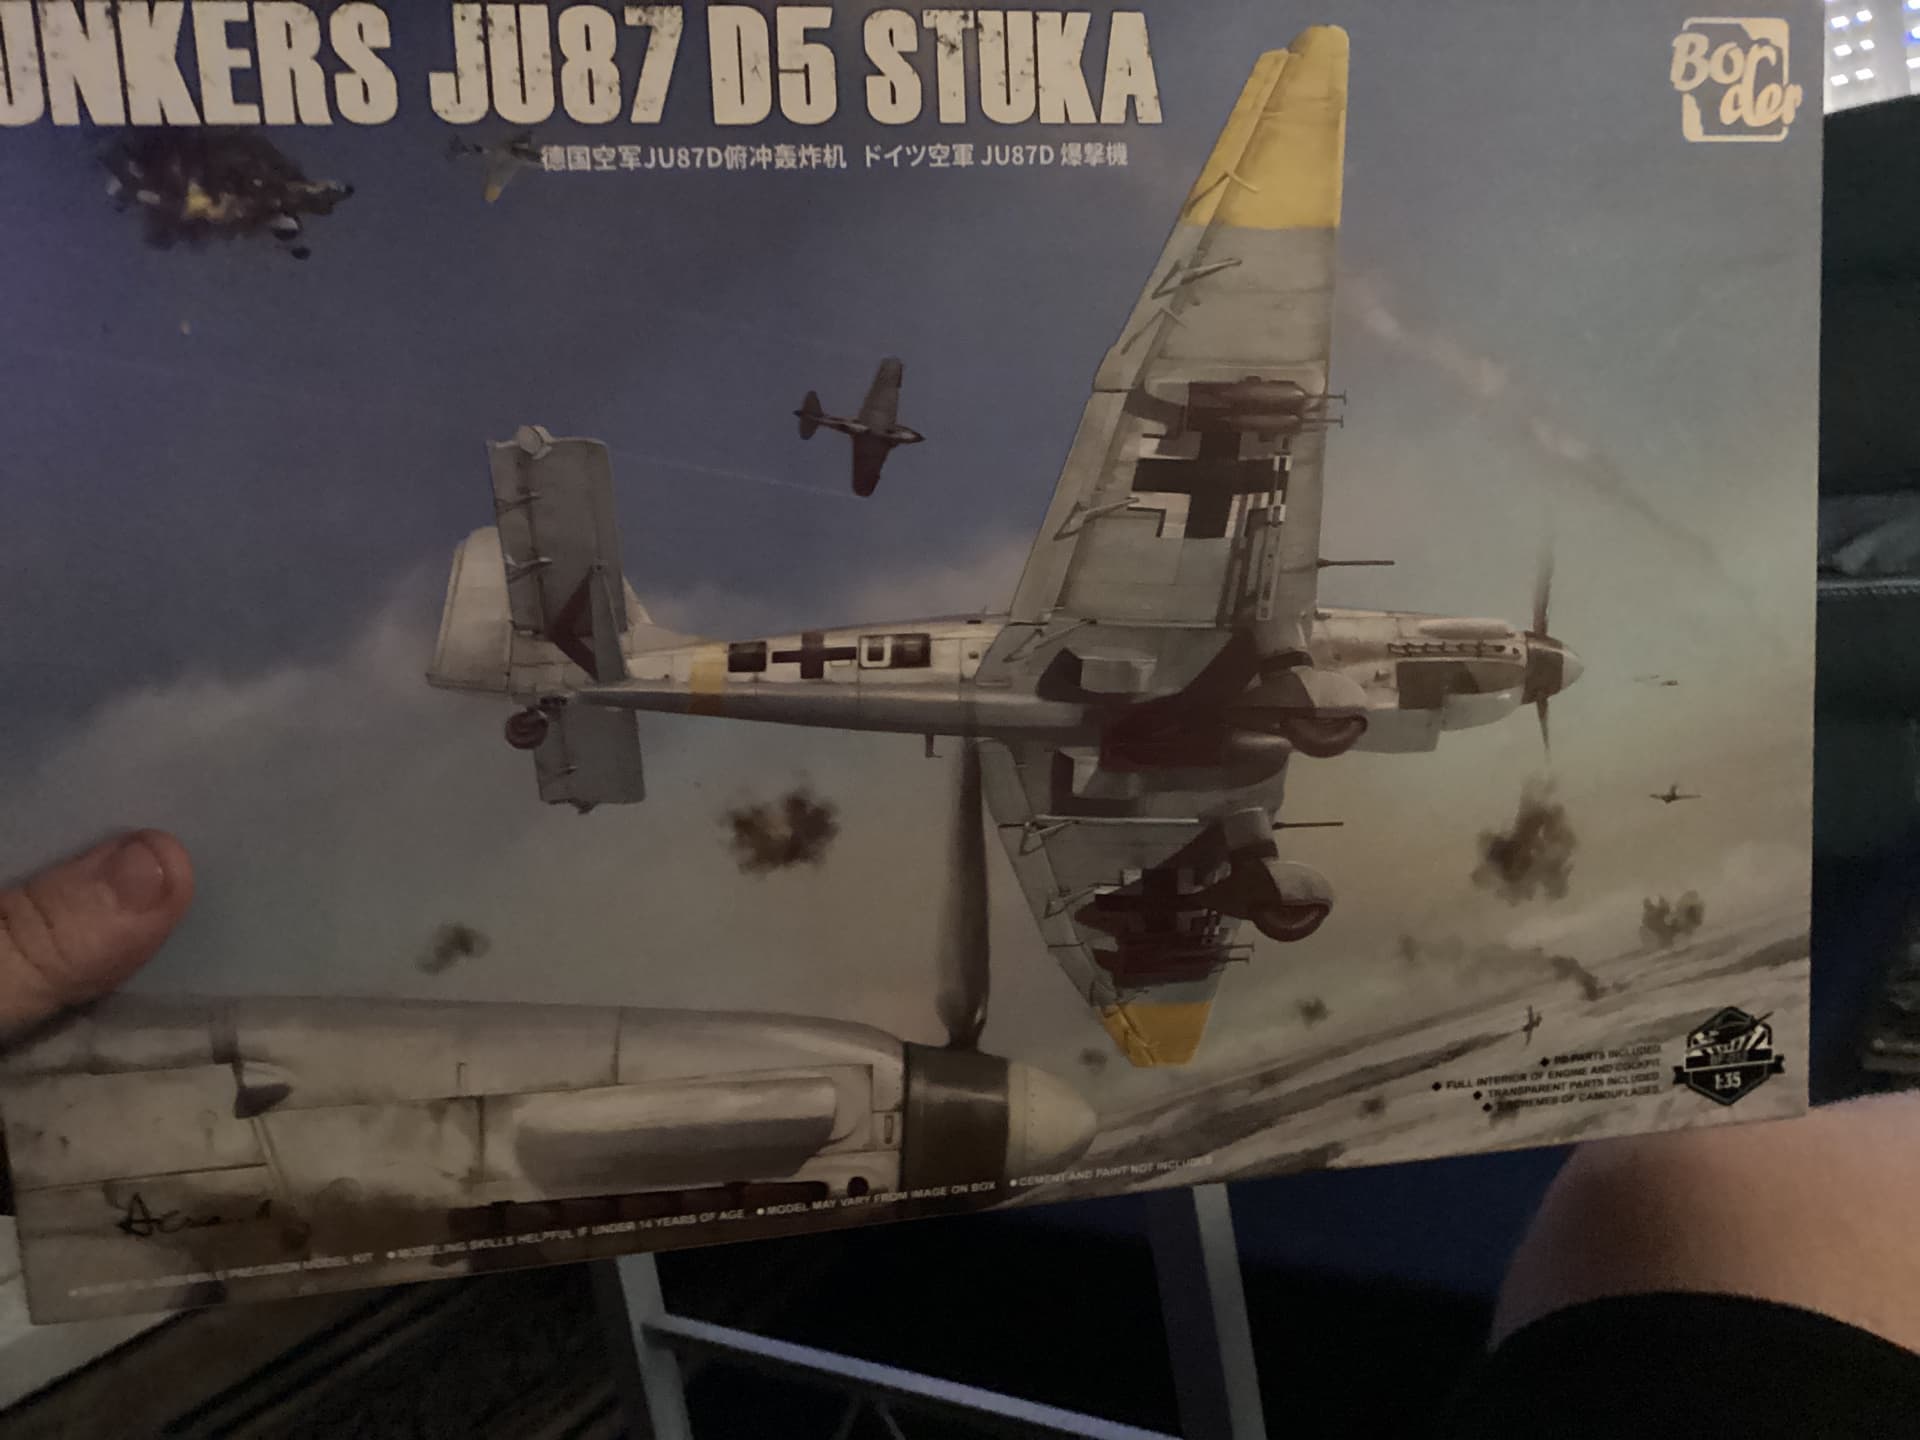
Holy crap! i just found a semi-completed gluebomb of this kit this weekend and i’m starting to disassemble and rebuild it! Such a neat kit.
2 Likes
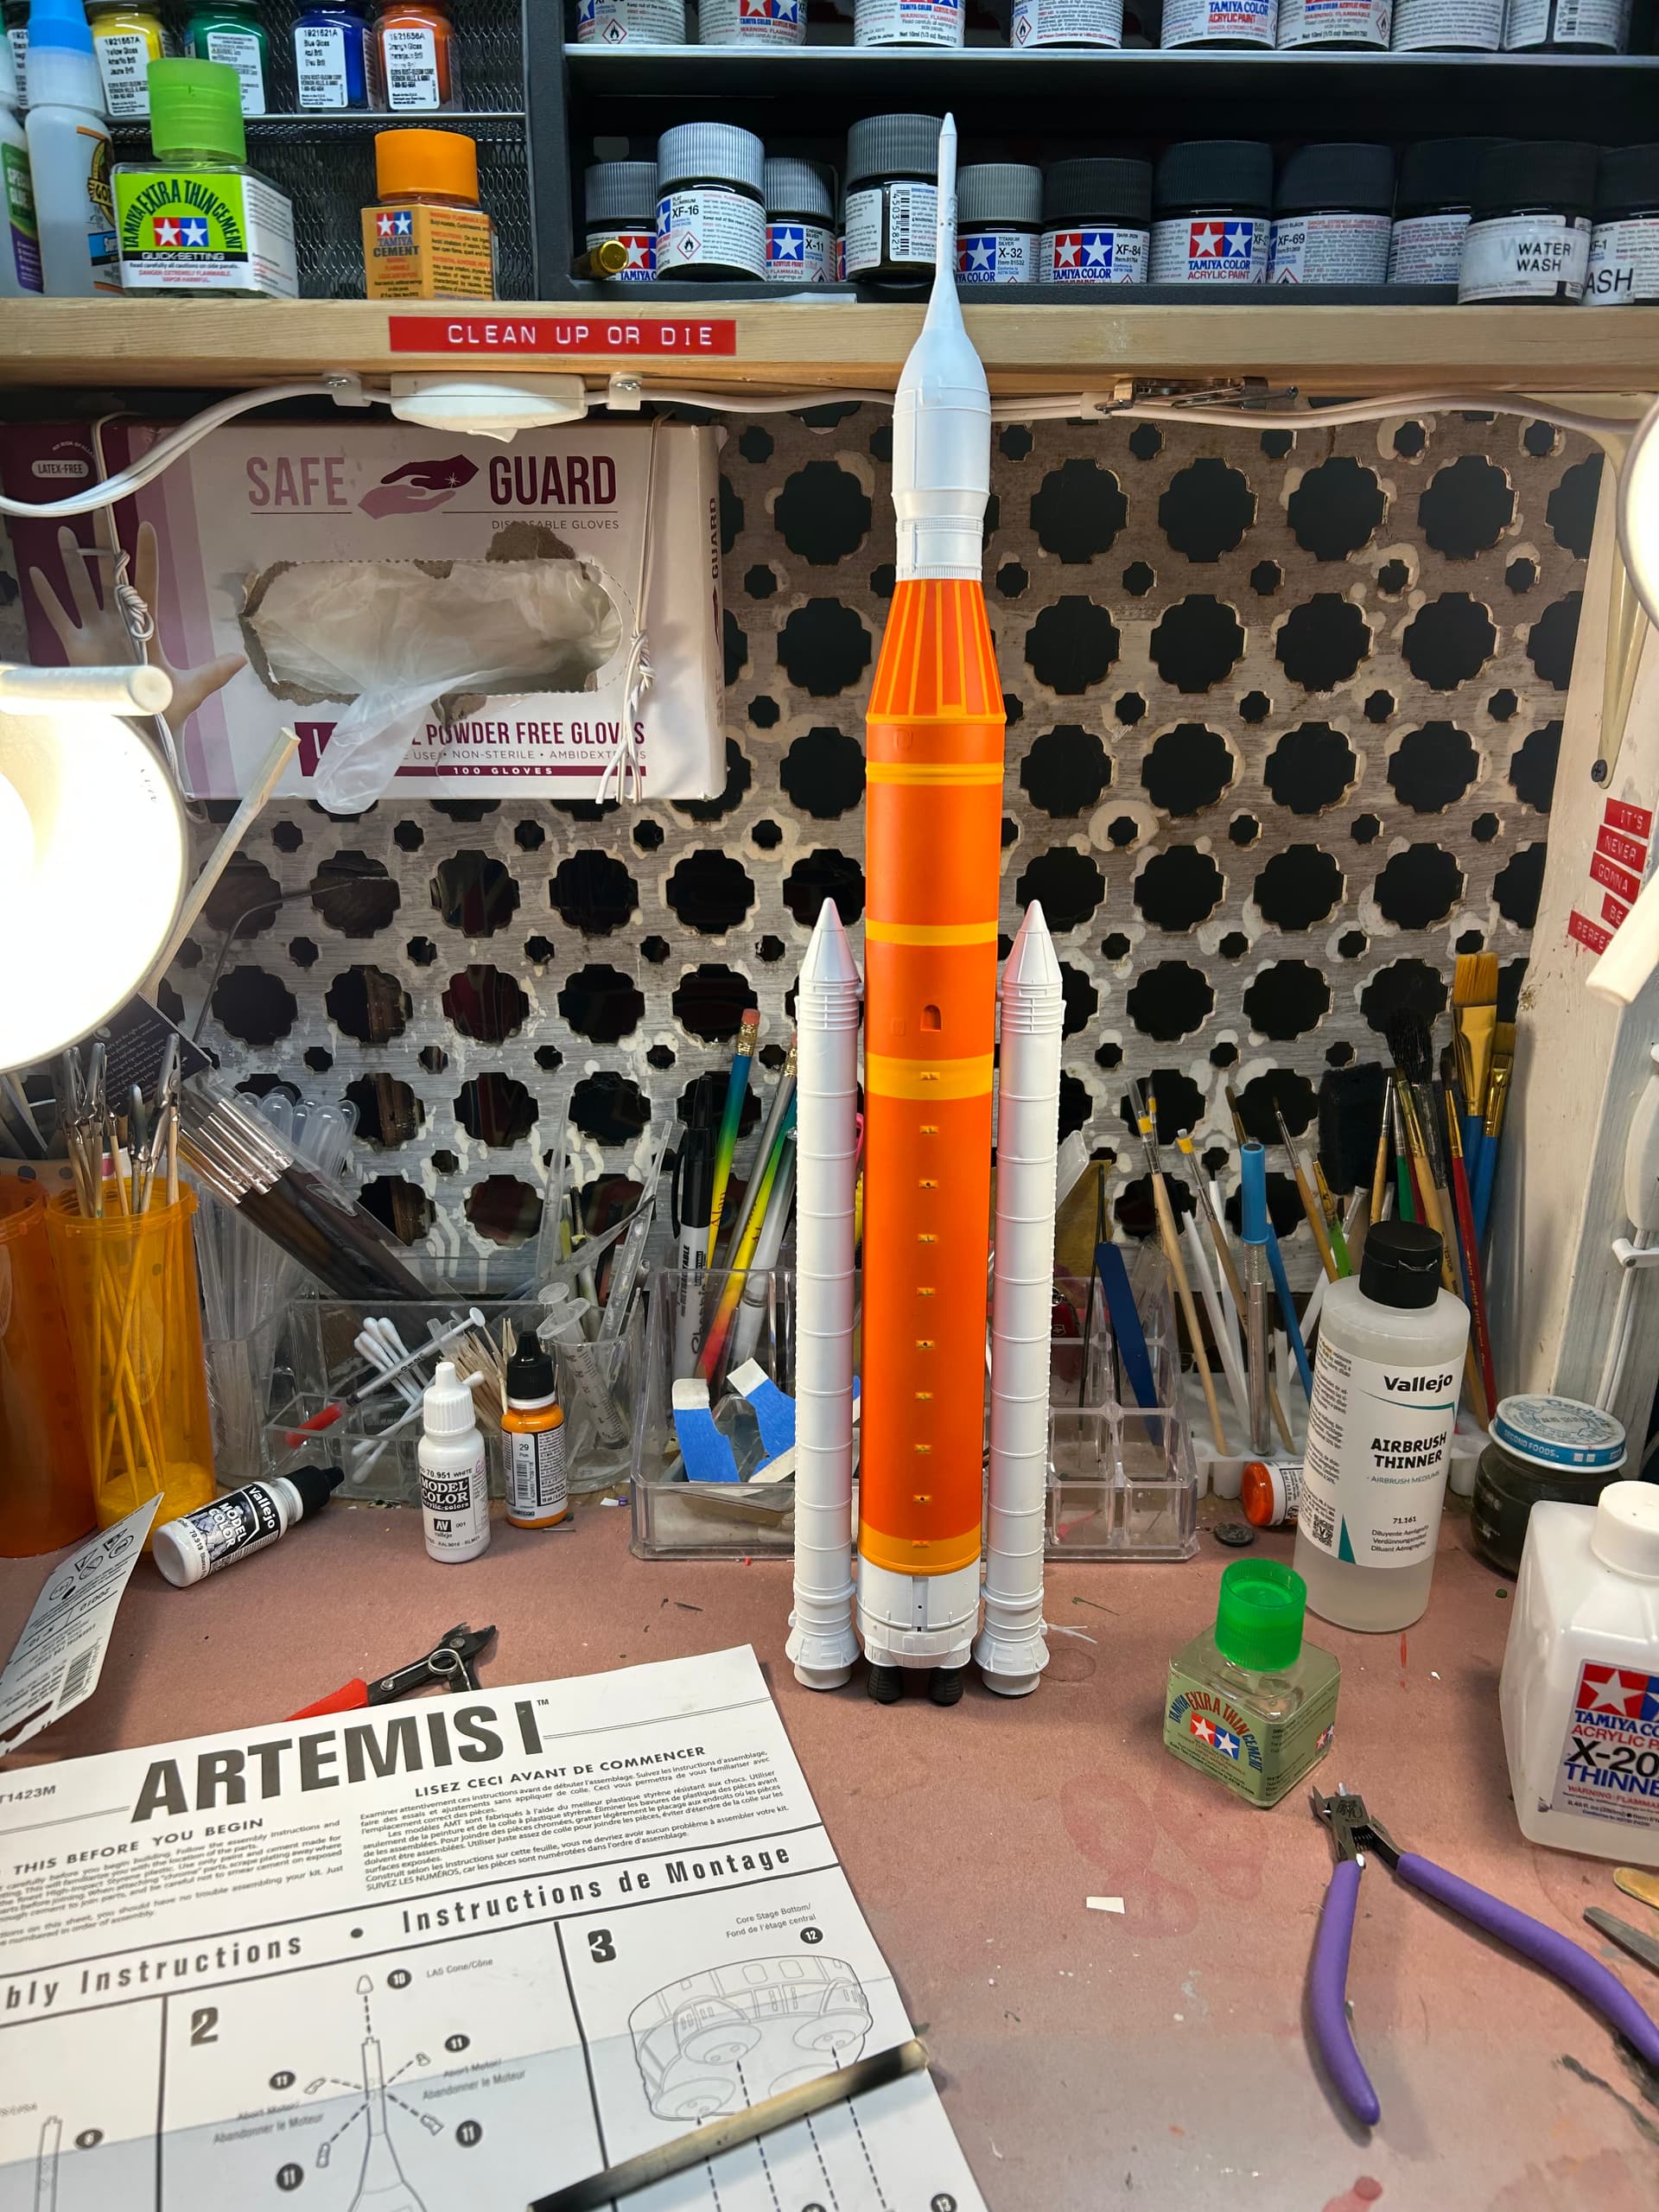
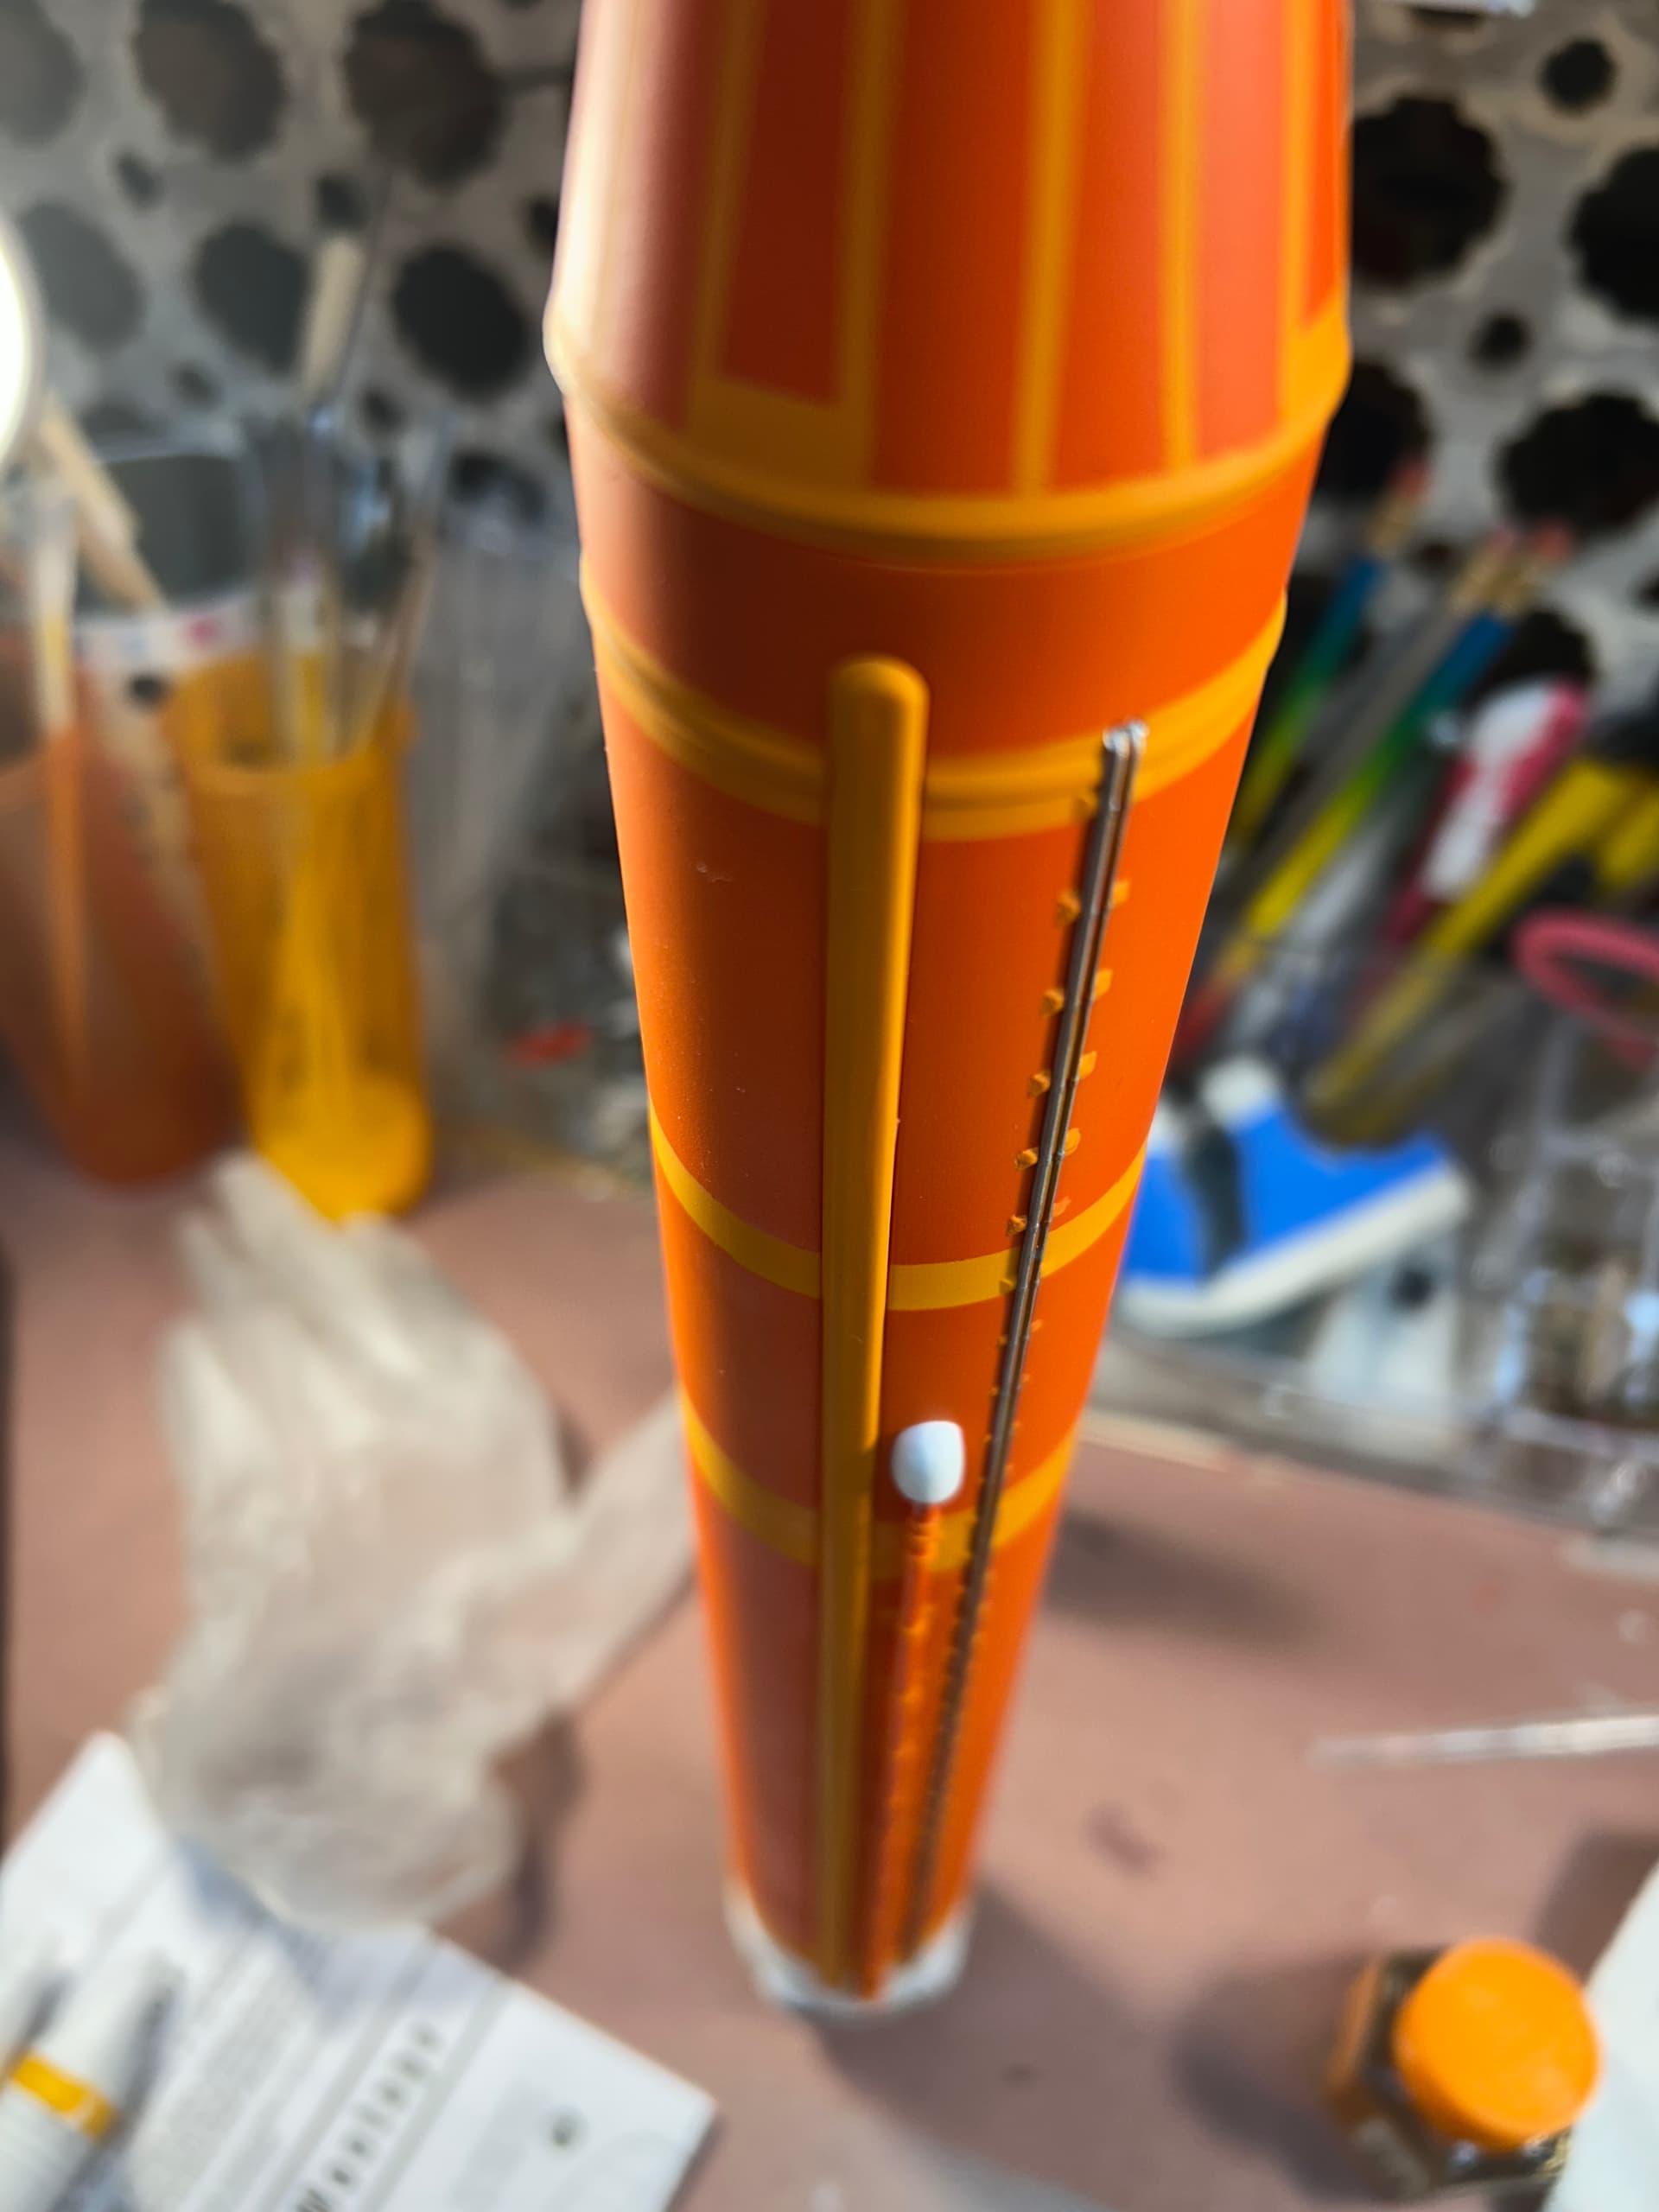
I worked on the Artemis I kit yesterday, with the goal of finishing it before the launch of Artemis II. The colors I put on (Vallejo orange and light orange) are not totally correct, and the bottle of Vallejo white got clumpy and clogged my airbrush, forcing me to detail clean and replace some o-rings. I’ve learned that I hate painting white, and orange. But it is progressing.
8 Likes
It is! Looking forward to seeing your restoration of the kit!
3 Likes
Nice work on the interior. The seat harnesses are very convincing.
1 Like
I have not posted here for well over a year. Sorry for not being as active as I once was.
A month or so ago I started on the 1/18 Hobby Boss AV8-B Harrier kit. For anyone involved with these large scale models, you know that this is detailed at the “toy” level. This was a wonderful opportunity to make a detailed kit but unfortunately that did not occur.
So I’ve just recently been working on upgrading the cockpit through some scratchbuilding. Here is what I’m currently working on:


Next thing up is upgrading the landing gear…
8 Likes
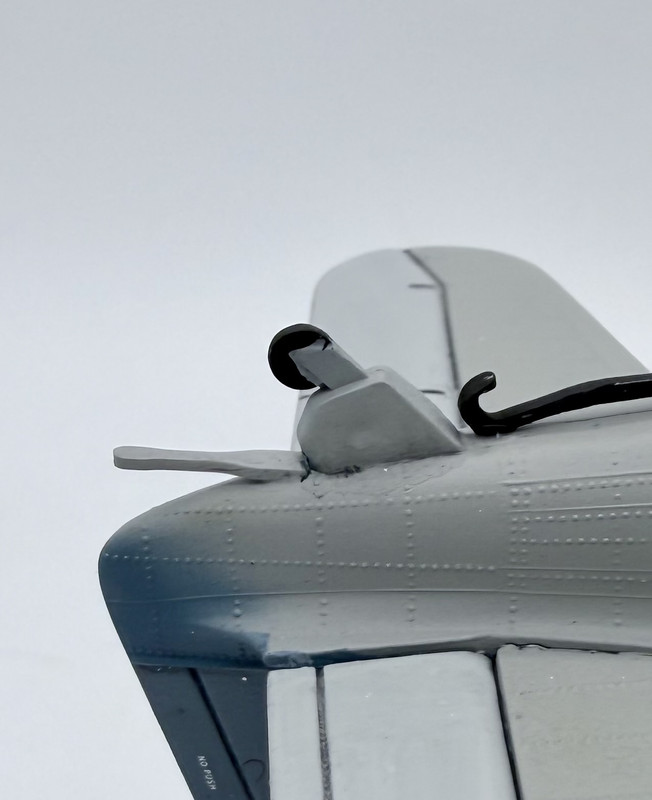
One of the vertical fins on the back of my 1/350 scale Flying Sub broke off when the sub accidentally took a nose dive onto the floor. ![]()
![]()
I never was able to find the piece that broke off.
So I glued on a small piece of styrene strip and will be spending time trying to sand and file that to shape to match the other vertical fin on the sub.

5 Likes
Thanks, man. I am having a lot of fun.
1 Like
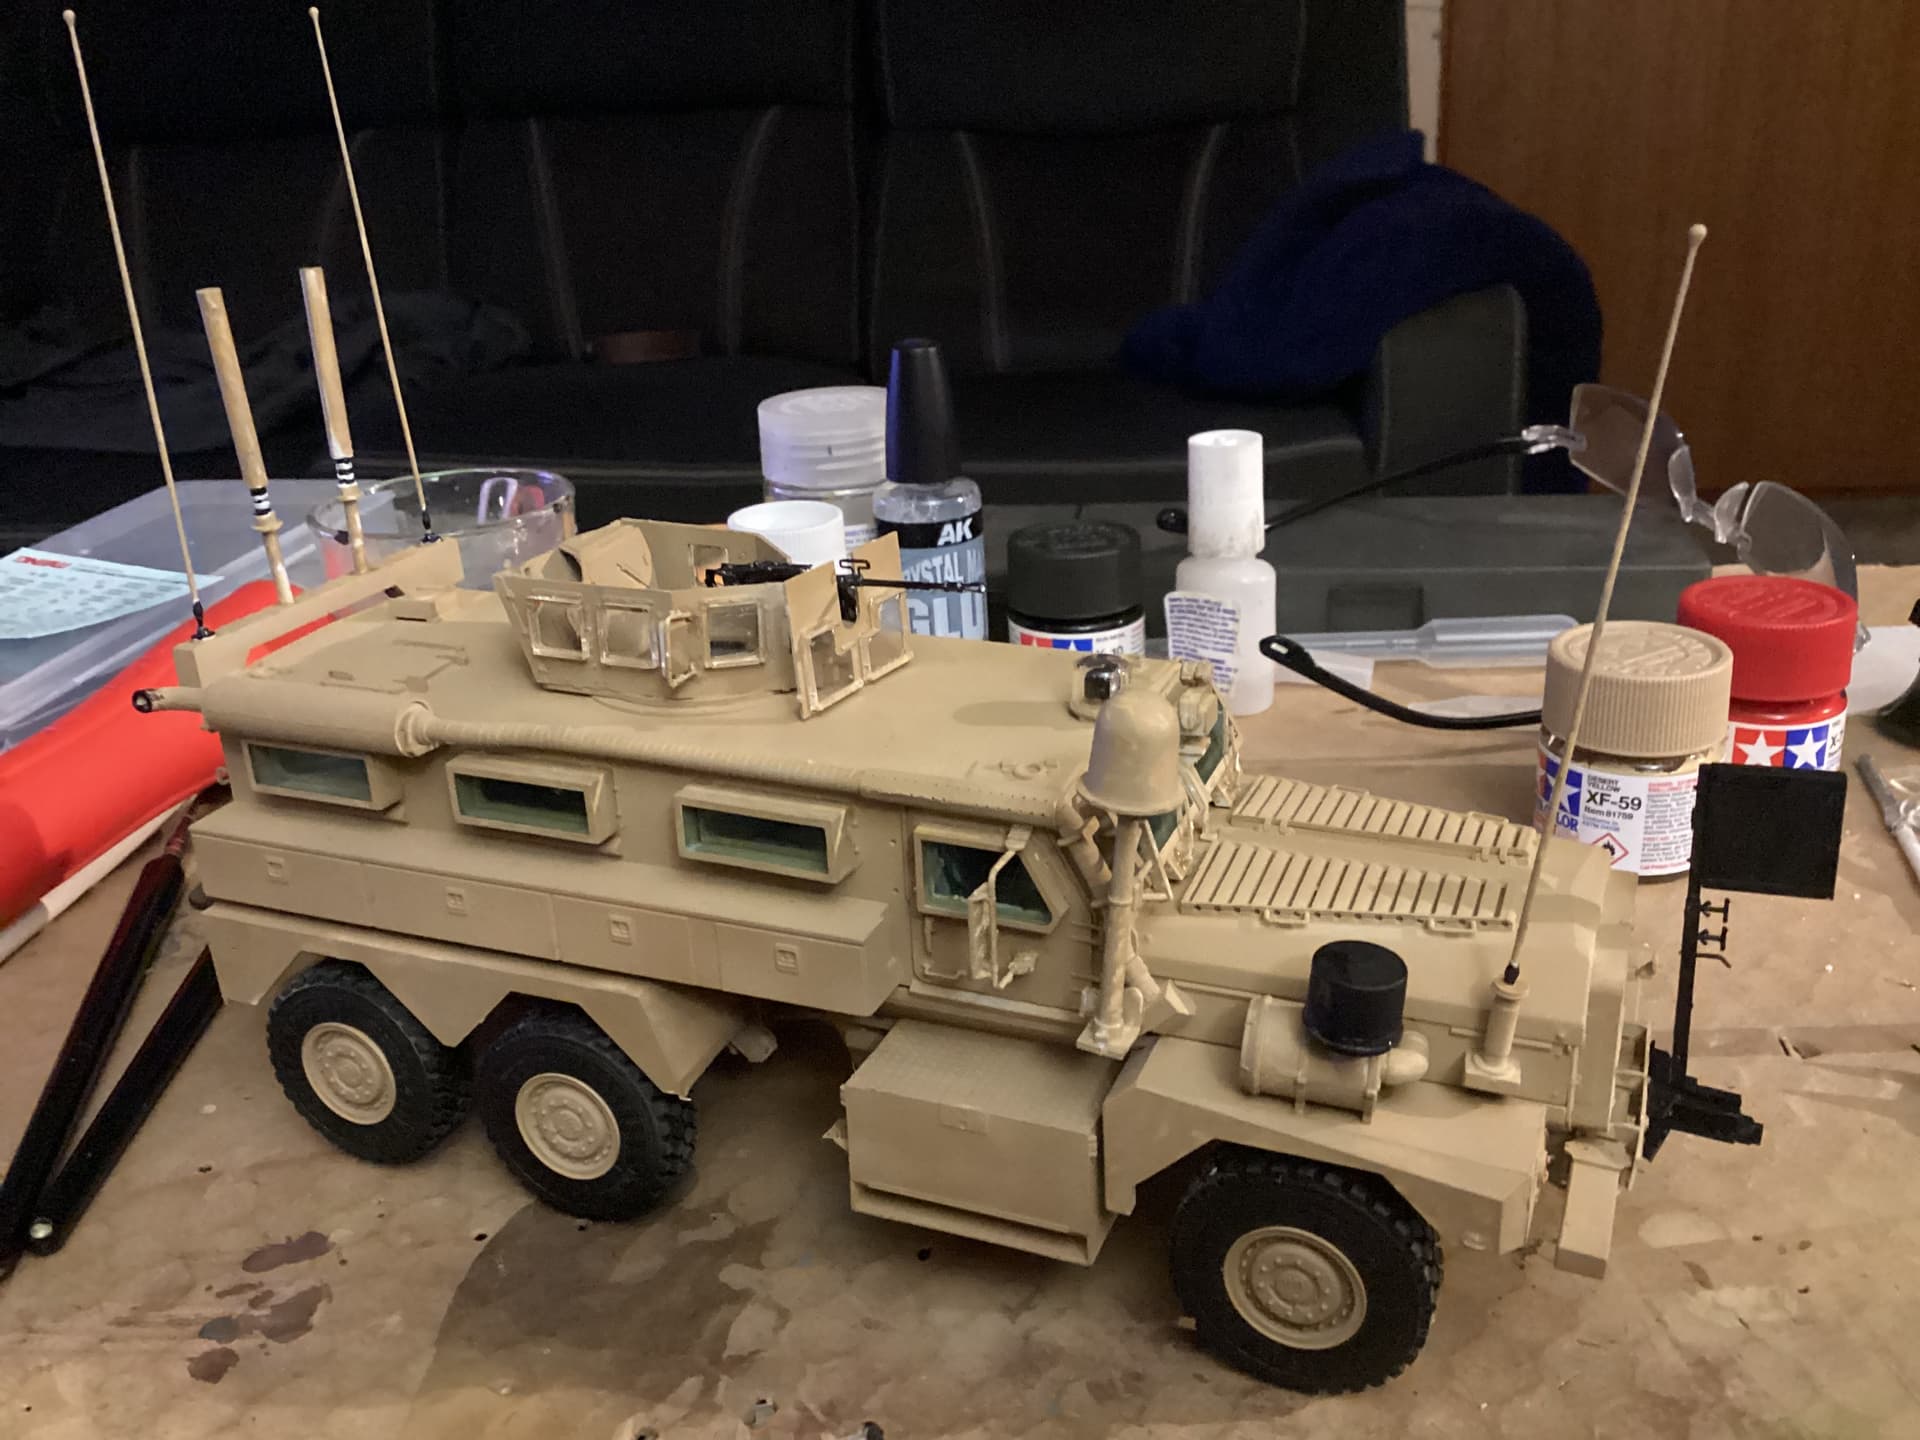
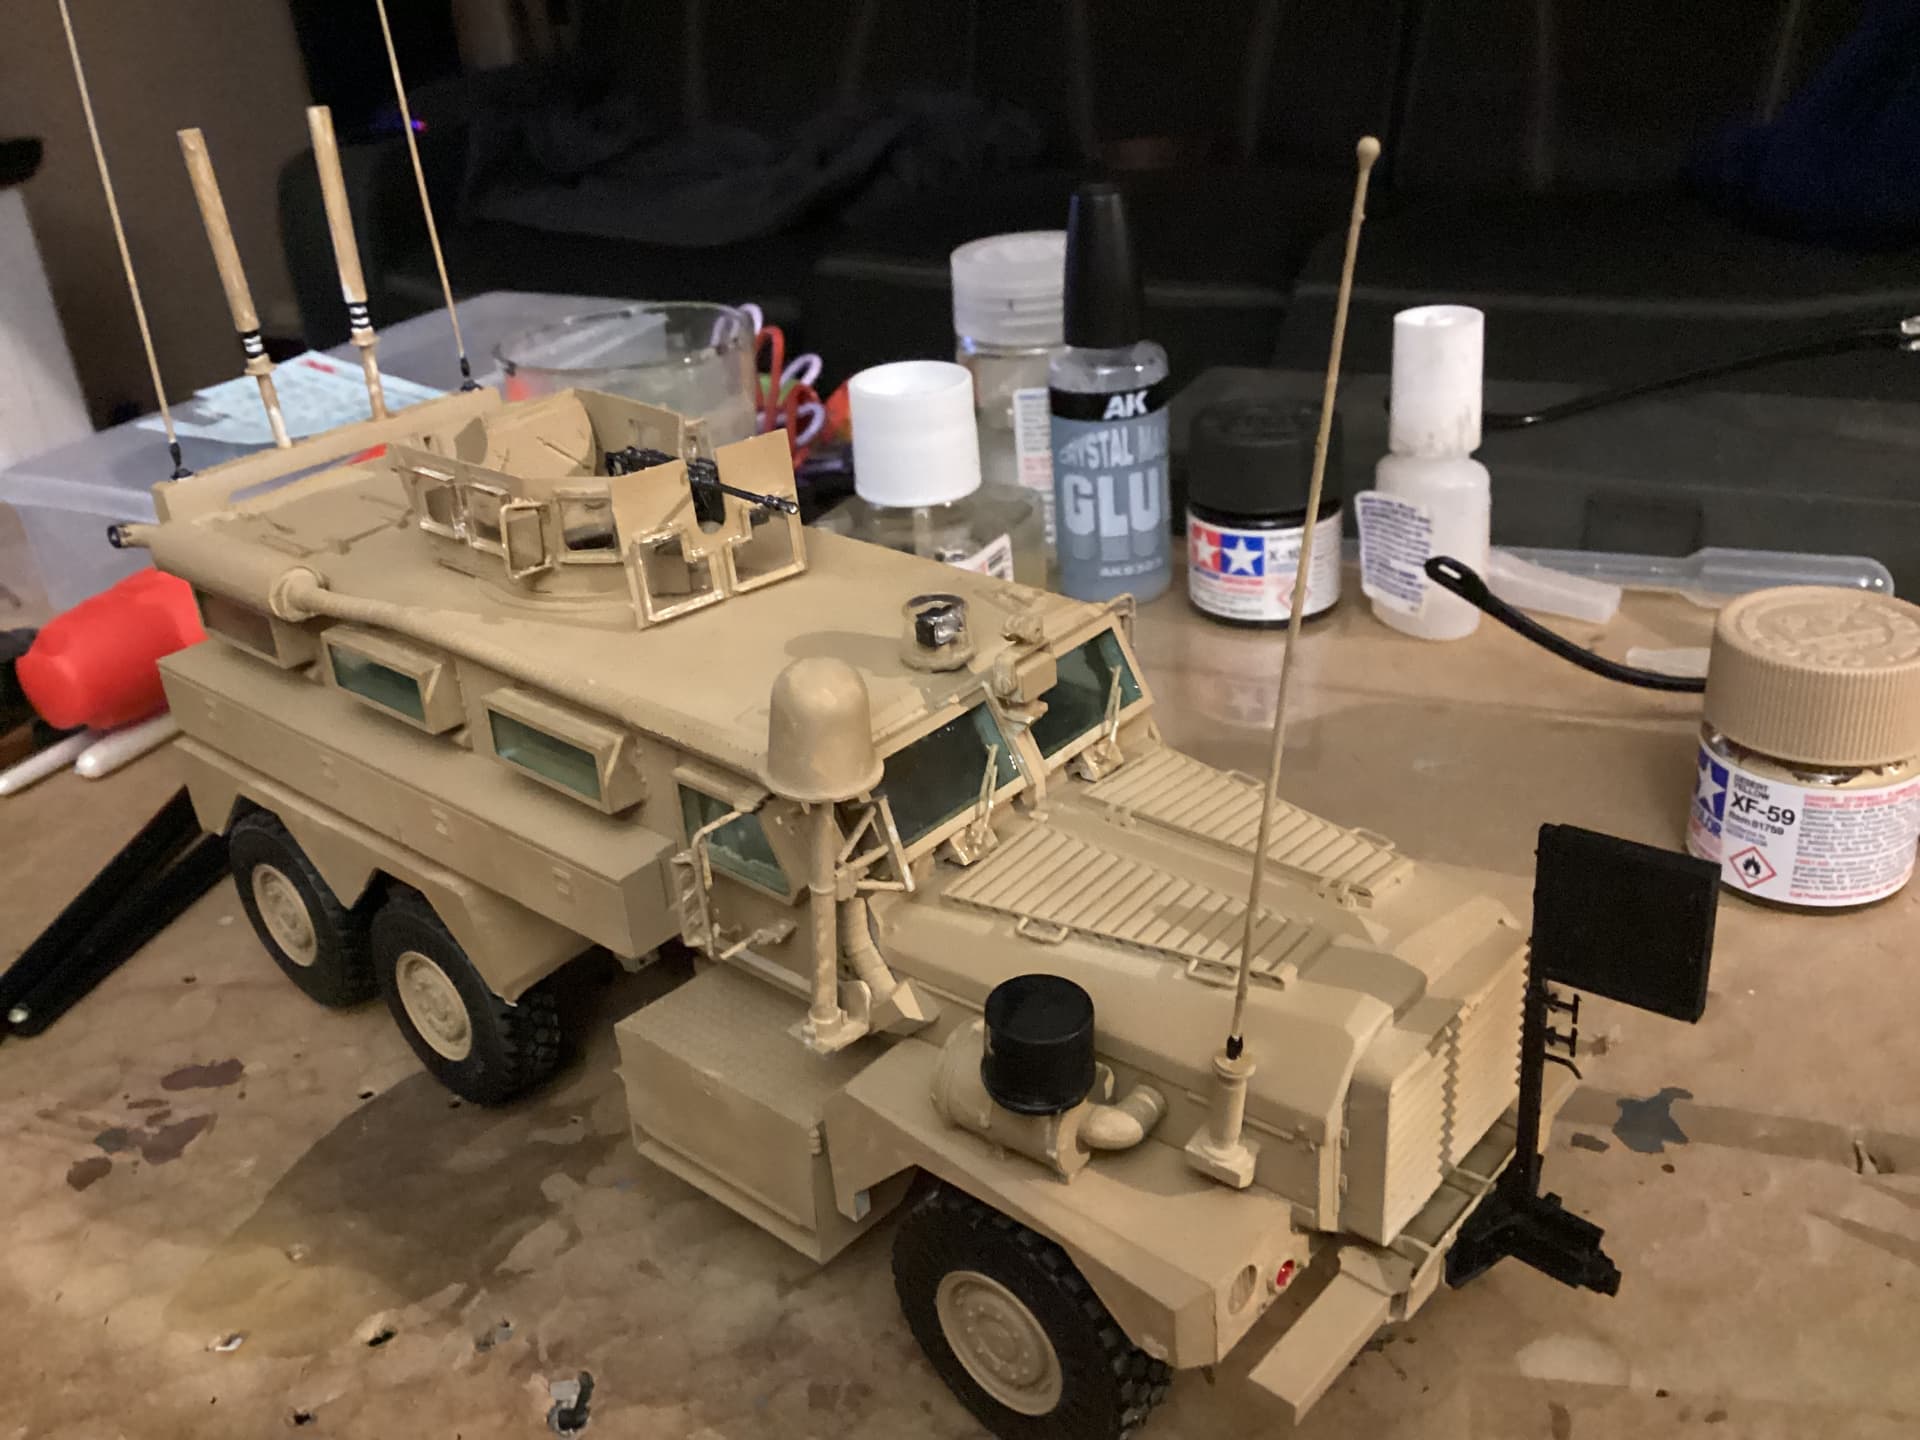
This would look spectacular in a convoy diorama with my Husky leading the pack. Great work, man.
1 Like
Later today, I’m going to install all the deck pieces to these six 1/350 scale IOWA class battleship hulls.
Now you’re probably wondering: How the hell did I get SIX Iowa battleship hulls/models? ![]()
One will be built into a what if after WW2 configuration with 3"/50 guns instead of the regular 40mm.
Three hulls were given to me by a friend who didn’t want them anymore. But I only have parts to complete one full New Jersey modern battleship.
And the other two hulls are leftovers from long ago when I was robbing parts from battleship kits to kitbash onto other models.
I don’t have enough parts to build all these ships into the configurations that they are originally meant to be in.
Some possible scenarios for future builds might be:
Humorous take on the sci-fi concept of a “land battleship”.
A Space Battleship Iowa similar to the sci-fi cartoon ship Space Battleship Yamato.
A what if Iowa battleship concept with all three 16" gun turrets removed and replaced with VLS missile systems.

7 Likes

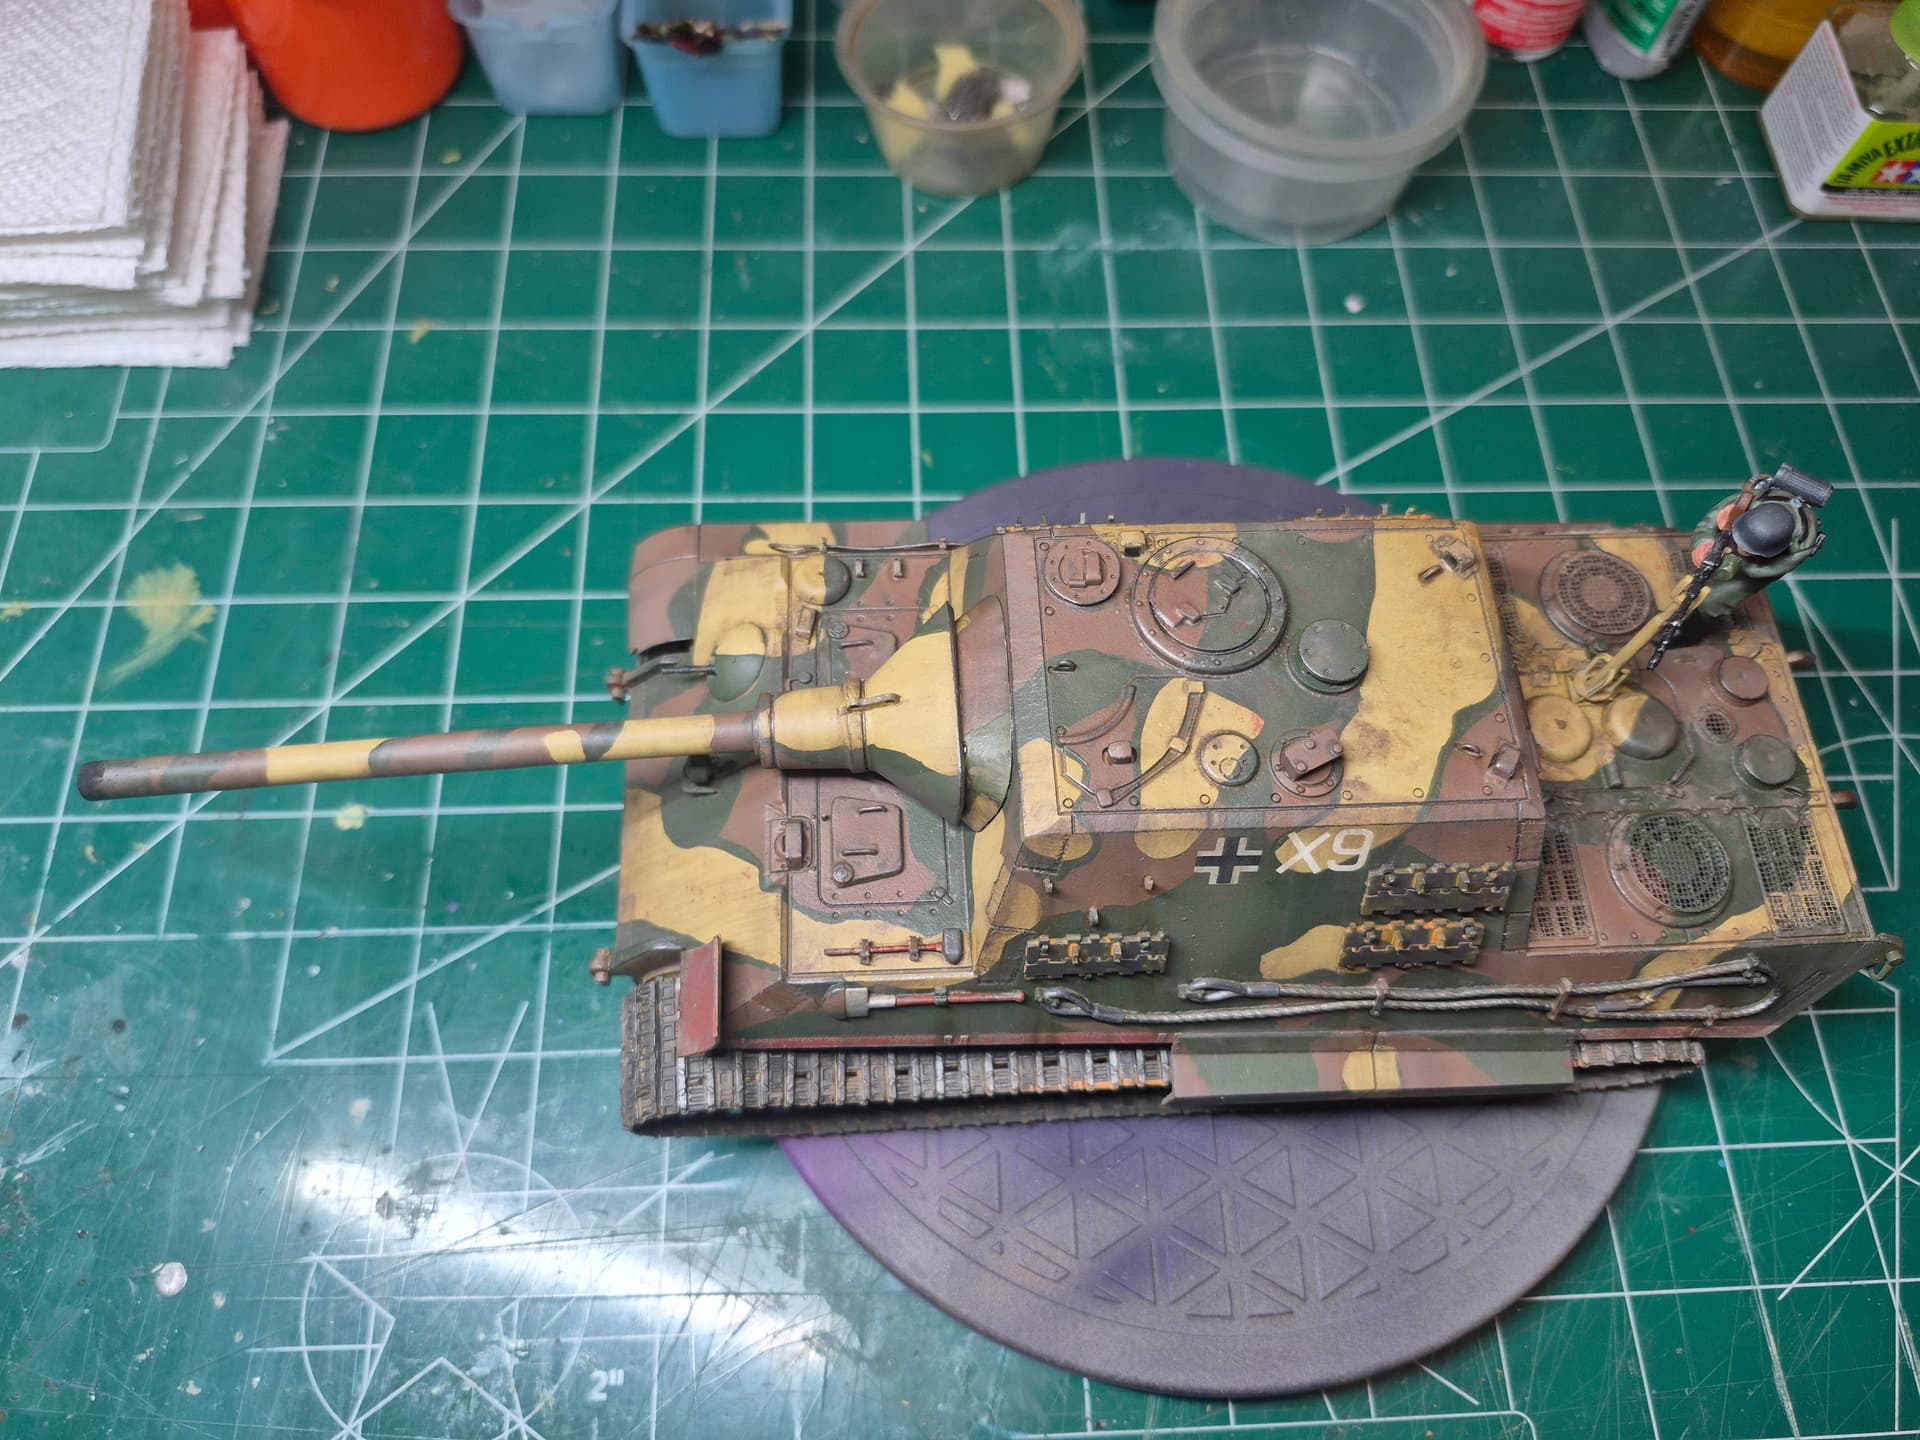
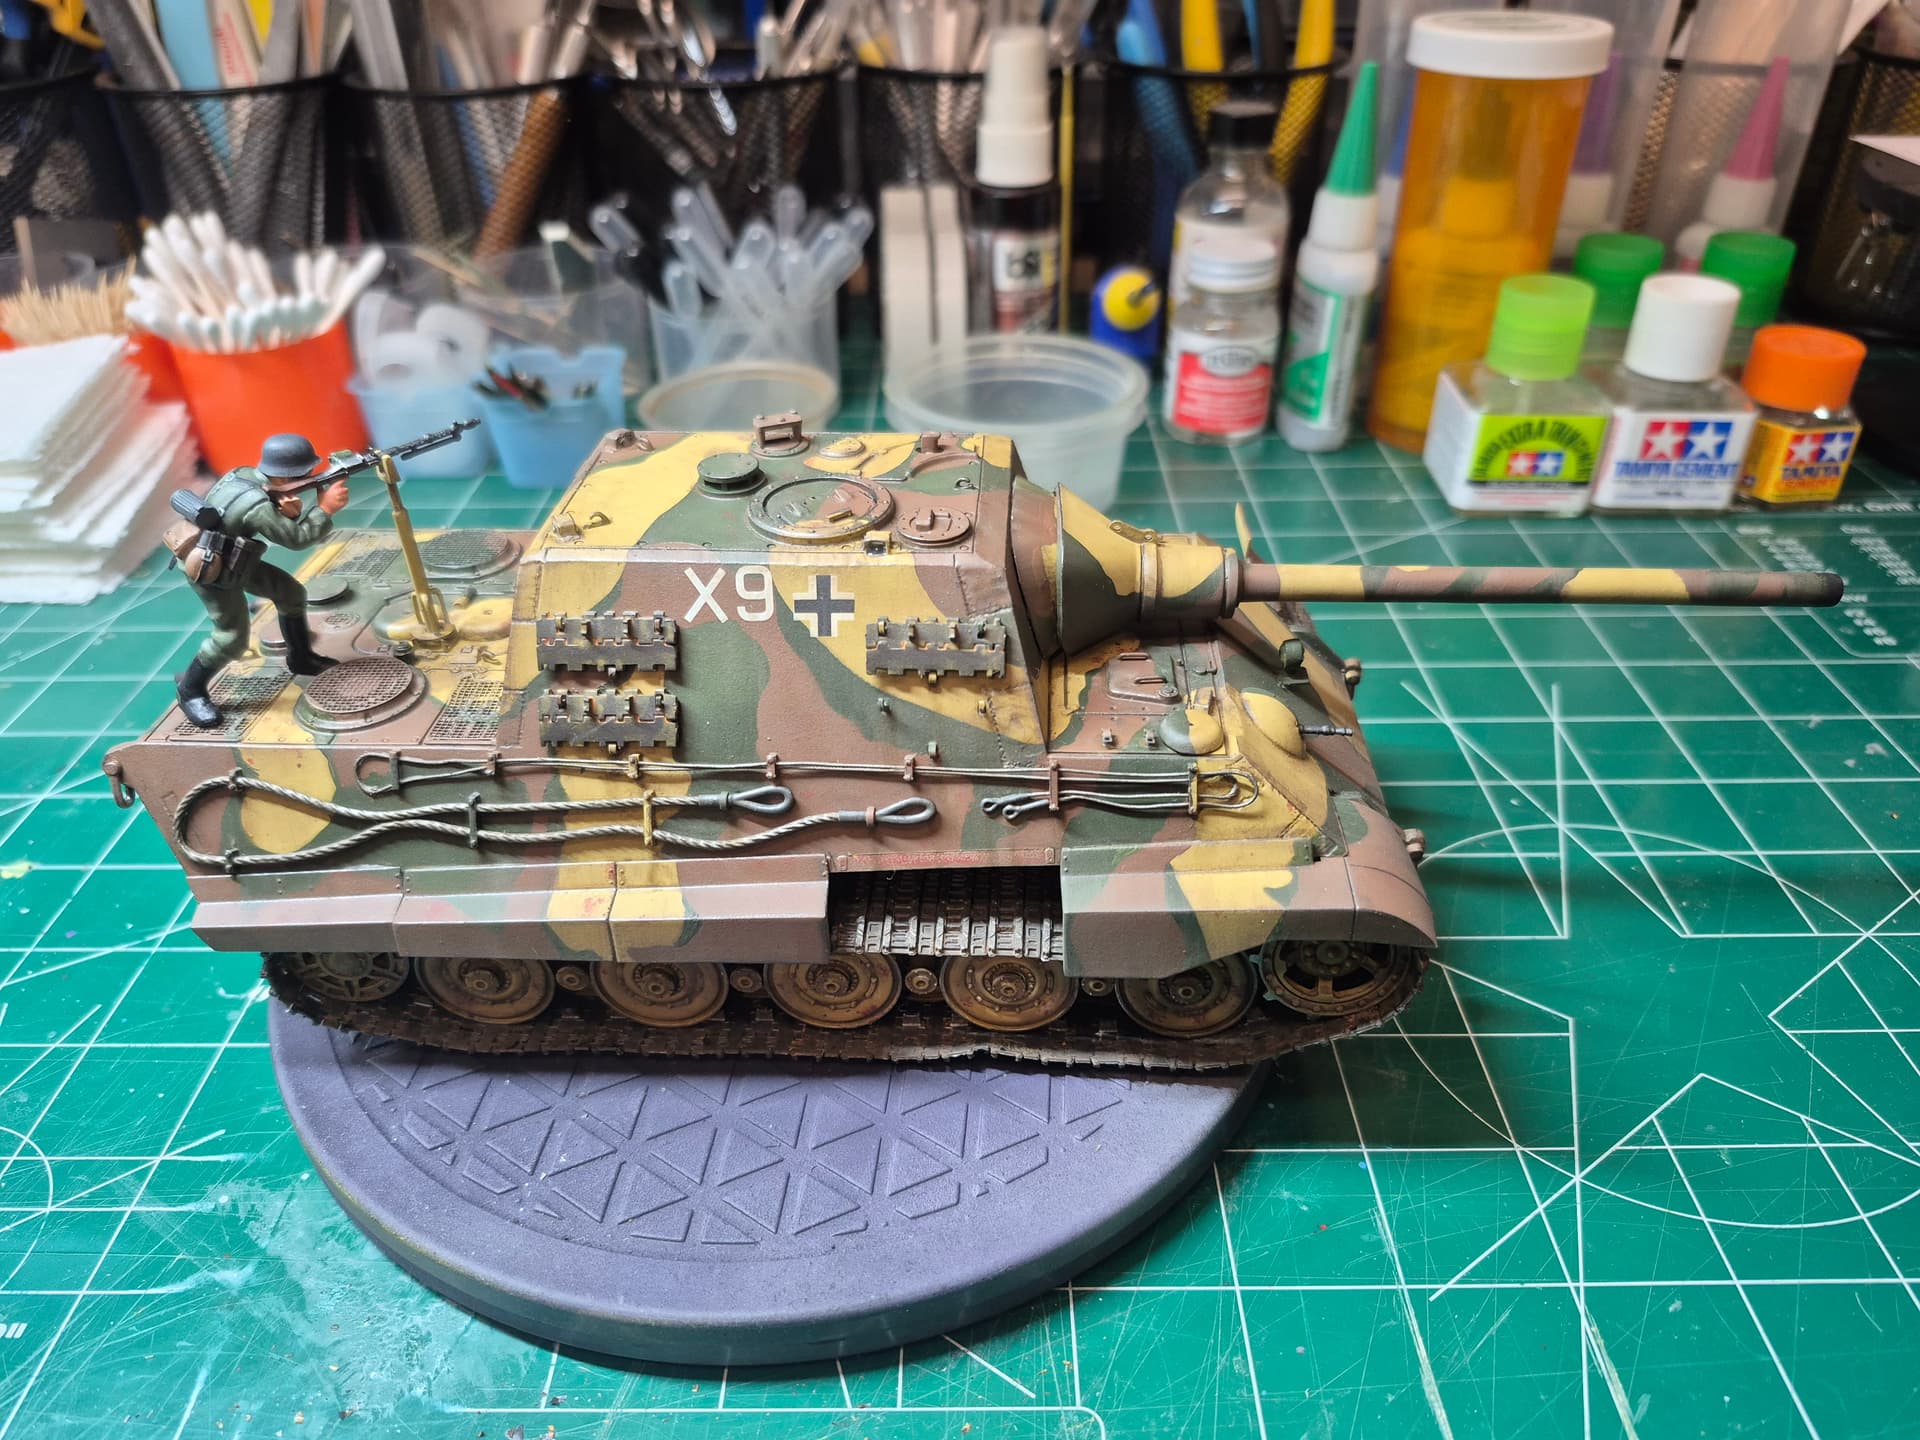
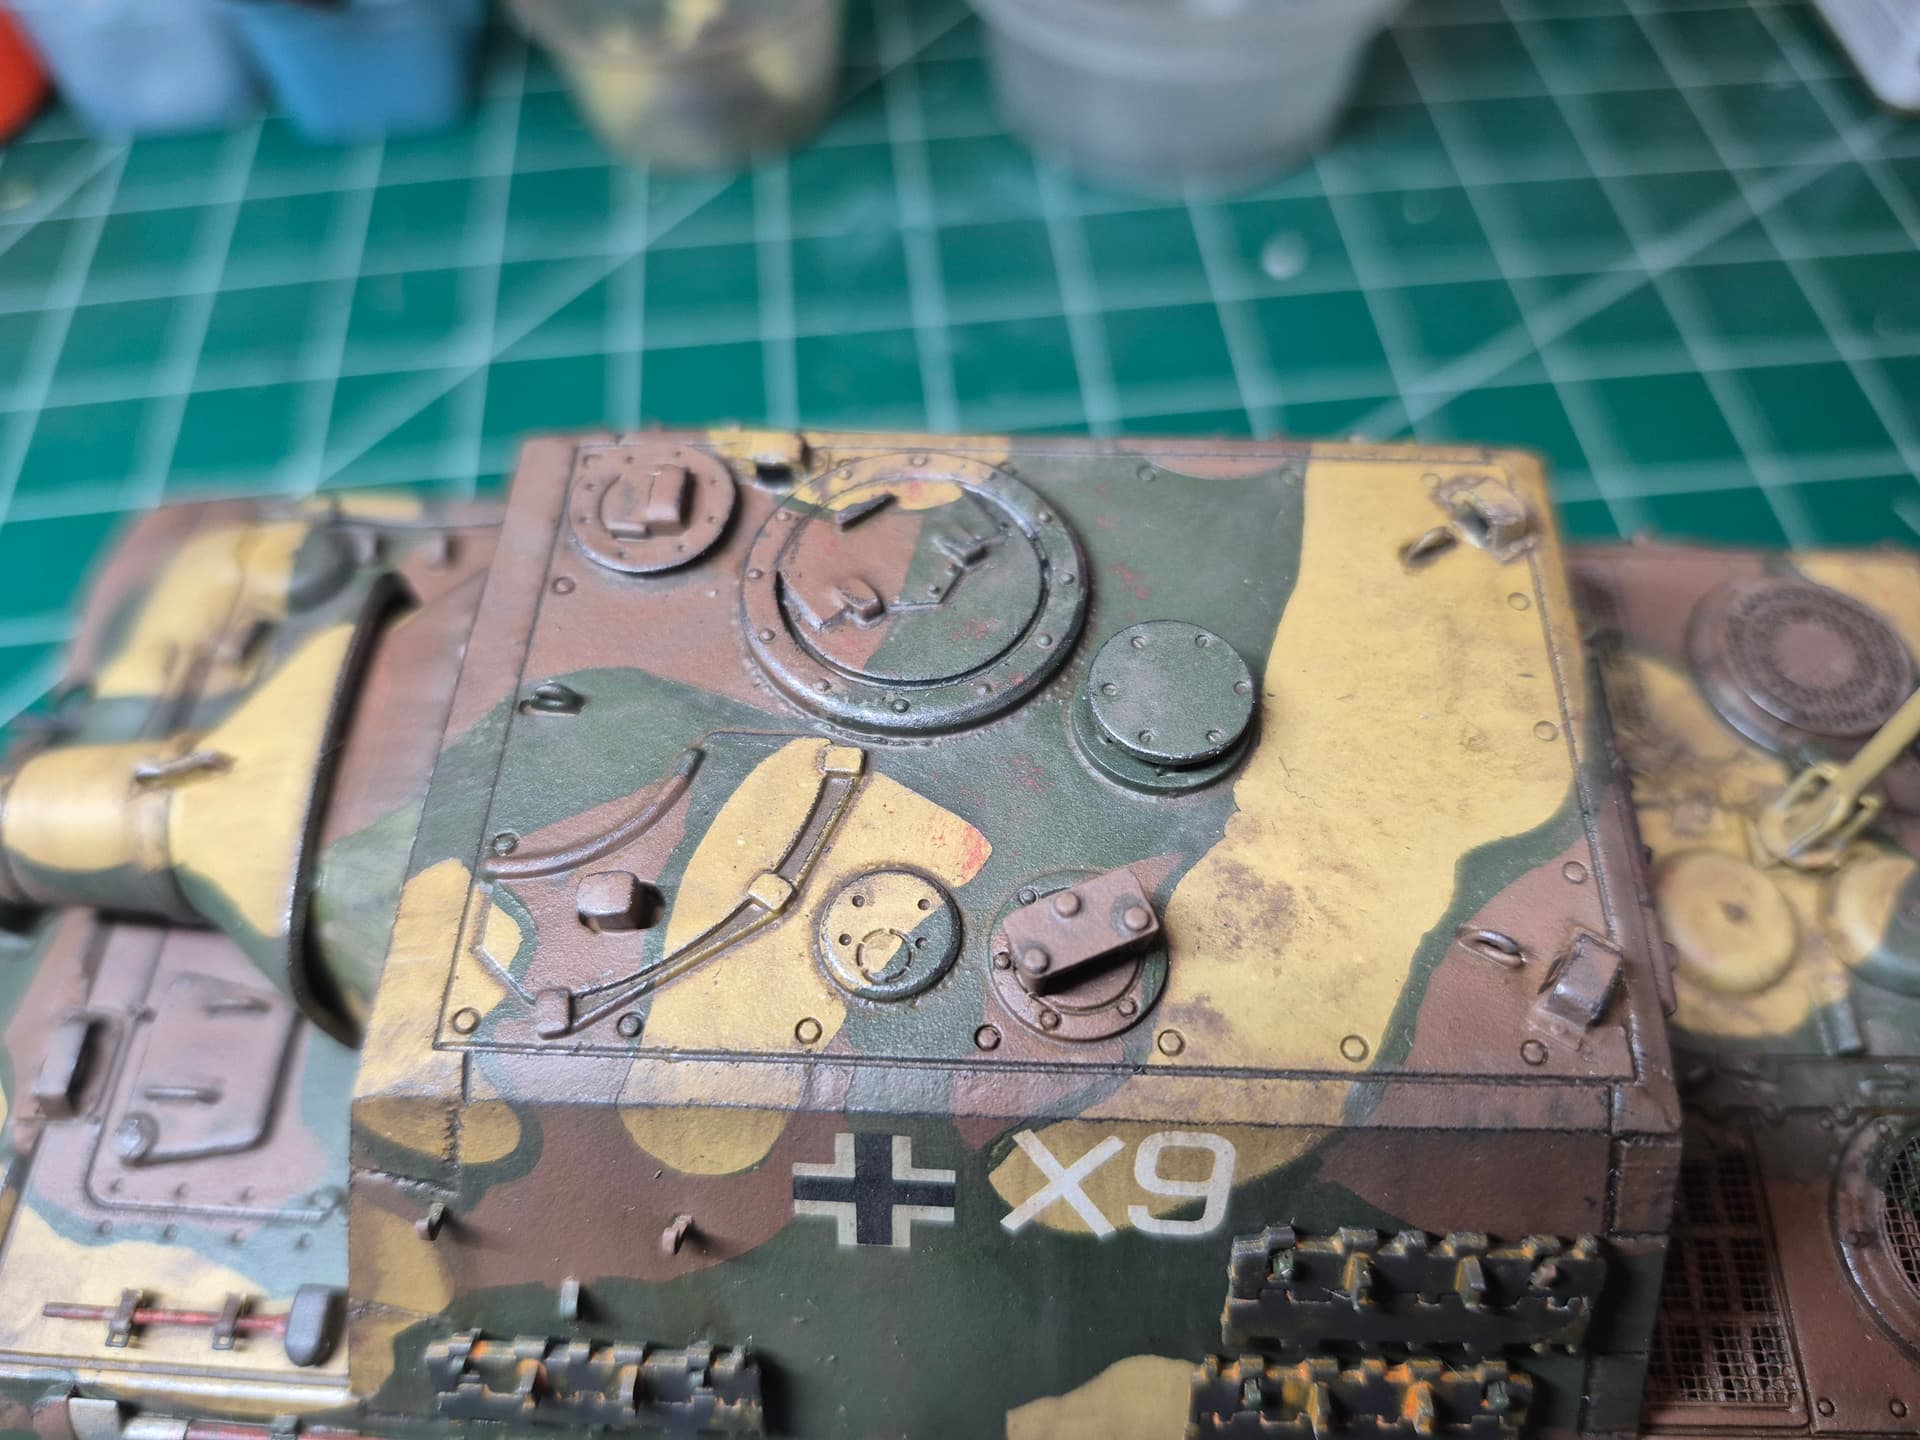
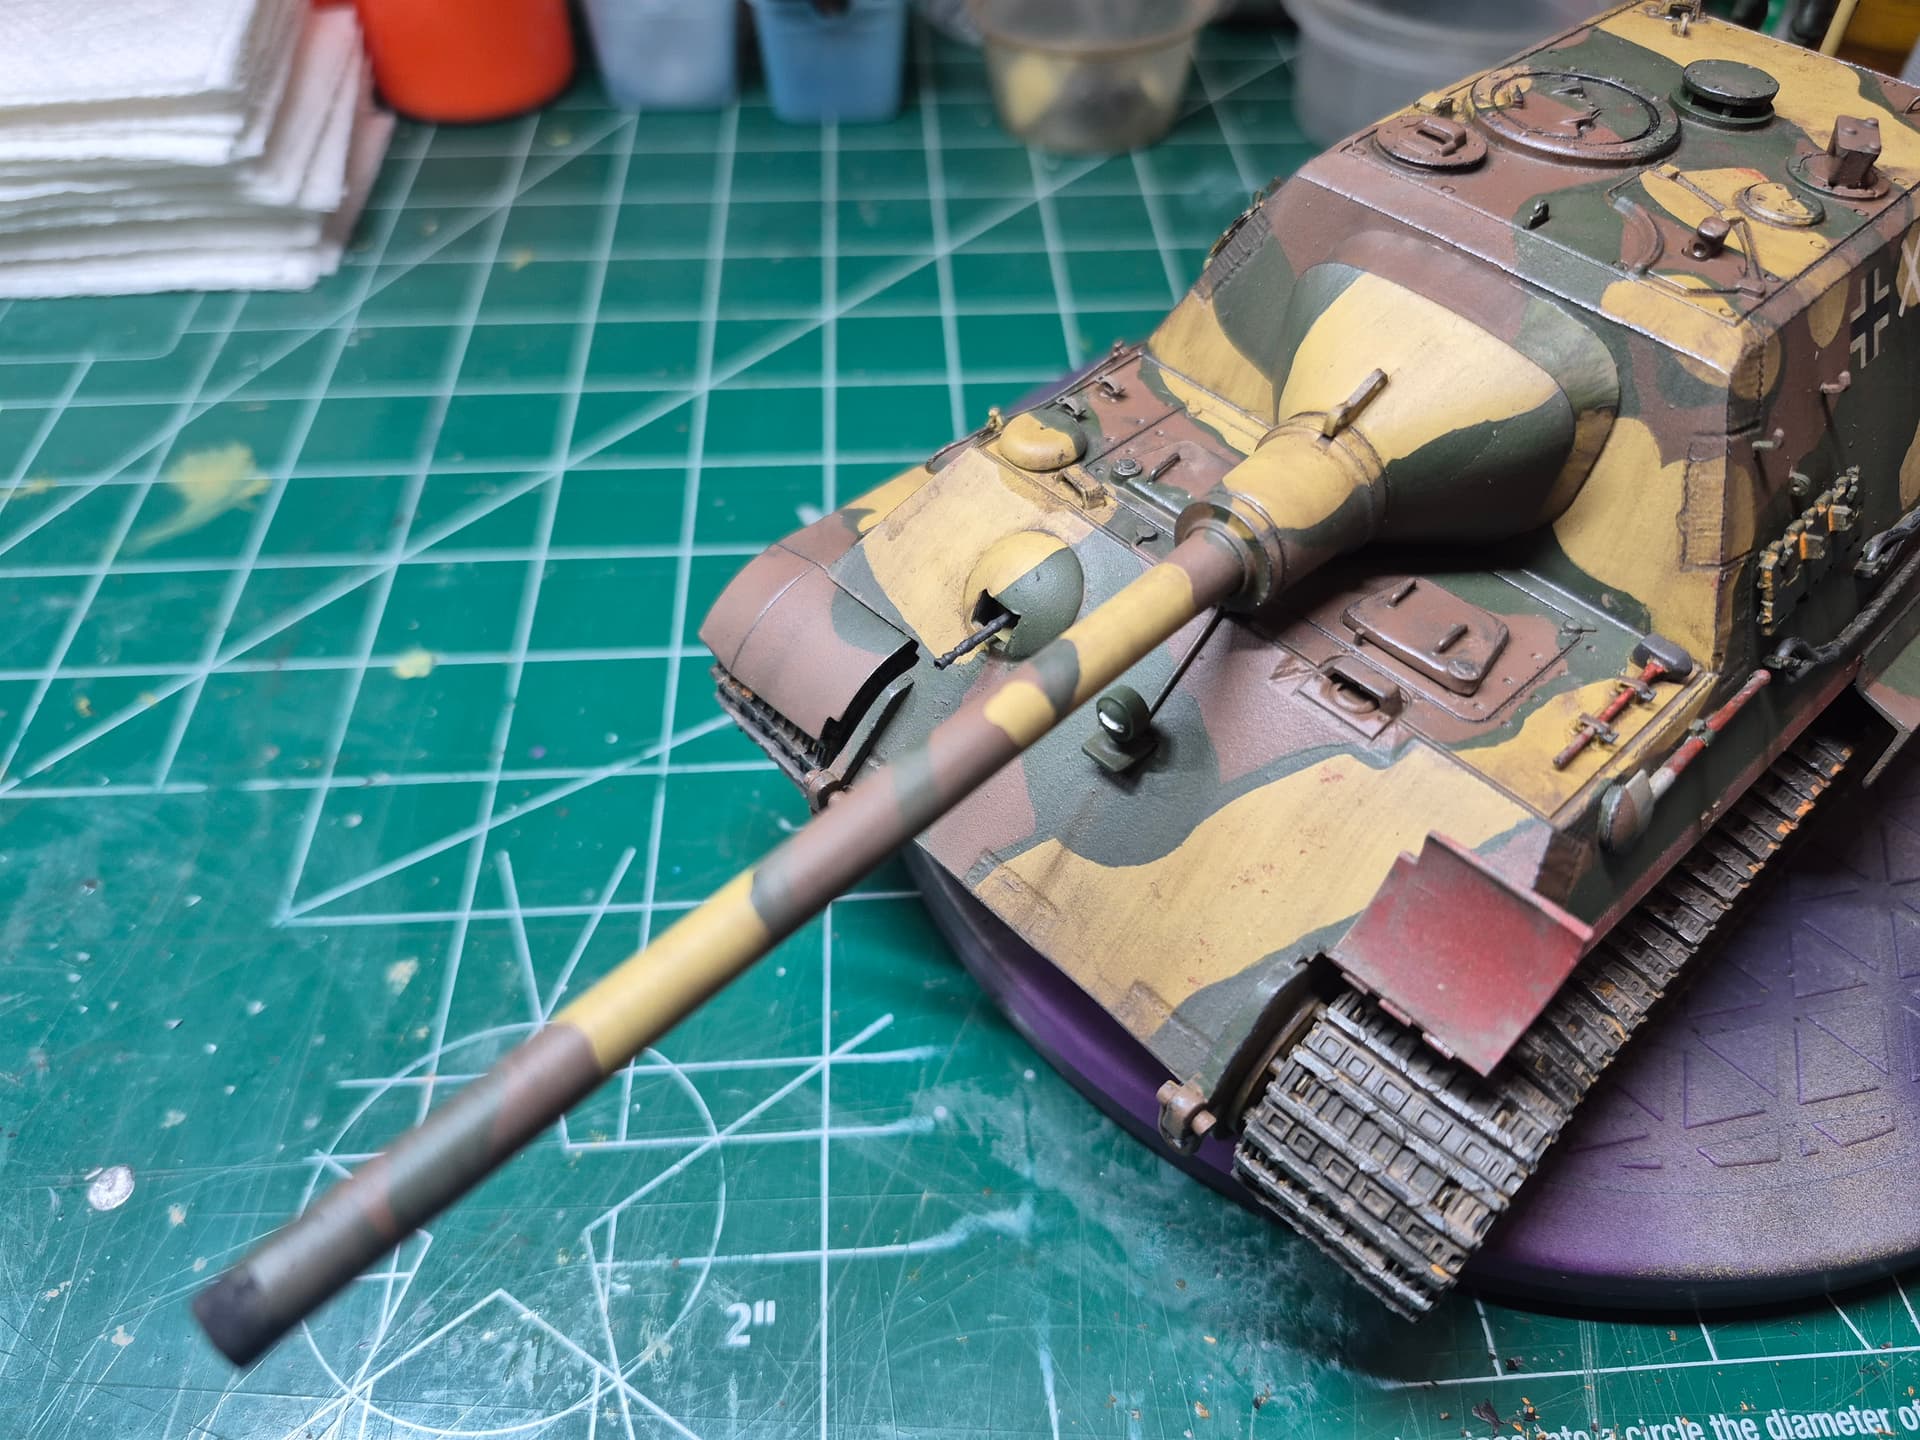
A WIP. Calling this done, though I have still to build the diorama. This is the 1970s vintage Tamiya Jagdtiger. I added photoetch screens on the engine deck. I rebuilt the commander’s hatch, the commander’s periscope hatch and the gunner’s sight to make them more accurate. I sanded off the moulded track cables on the right side and replaced them with Eureka cables. I replaced the handles for the driver and radio operator hatches with copper wire (and added a second handle for each). I added stretched sprue hatch stops. The front light has had a power point and conduit added. I cut the fenders into sections for a more candid appearance. The anti-aircraft machine gun is taken from the Tamiya Horch with a scratchbuilt mounting point on the rear deck. The machine gunner is wearing high boots which were phased out around 1943. Since I plan for the diorama to take place in the first week of May 1945, I rationalize that the older boots were issued in the general chaos in the last days of the war. I could not find replacement tracks so I had to use the kit tracks. I developed a new level of loathing for rubber band tracks from the experience of painting and installing them. I used kit decals and Echelon decals. I am trying to have the diorama completed by end of March and will post pictures once it is completed. Thanks for looking in!
13 Likes