Fantastic finish mate! If it doesn’t fit in the cabinet…

Hopefully there’s some wall space there!
Fantastic finish mate! If it doesn’t fit in the cabinet…
Hopefully there’s some wall space there!
When you’re done have her call my wife so I can do something similar with my 1/48 B-1 bomber.
Just saying. I used to follow this guy and liked his content until he made a non-model video stating his political views. I unfollowed him after that. It’s not that I either agreed or disagreed with him. The point is I don’t watch these peoples videos to hear there political views.
I second that and say the same thing about modeling forums,sporting events,award shows,concerts,sitcoms,and movies.there are plenty of other places for political opinions,just stay in your lane and do what you do.
Like we do here 
Thanks for the heads up - I think Michael Jordan said it best when he was asked whether he’d publically endorse a North Carolina Democrat Senate candidate, Jordan is reported to have brushed off the question saying “Republicans buy sneakers too” - Entertainers and businesspeople generally do better when they stay in their lane and avoid politics lest they risk the ire of half their prospective audience or customer base
I was having some unexplained airbrush issues from my steady, predictable workhorse Paasche H. I had all the spare parts so I tore it down and replaced the entire paint flow bits from color cup to the nozzle. Also installed the quick disconnect bits for the air supply

That looks just like the Paasche I had about 35 years ago! It’s nice to see one of those old workhorses still going strong. Must feel good to have an old friend back up to spec!
Since my last update I’ve made progress on this project
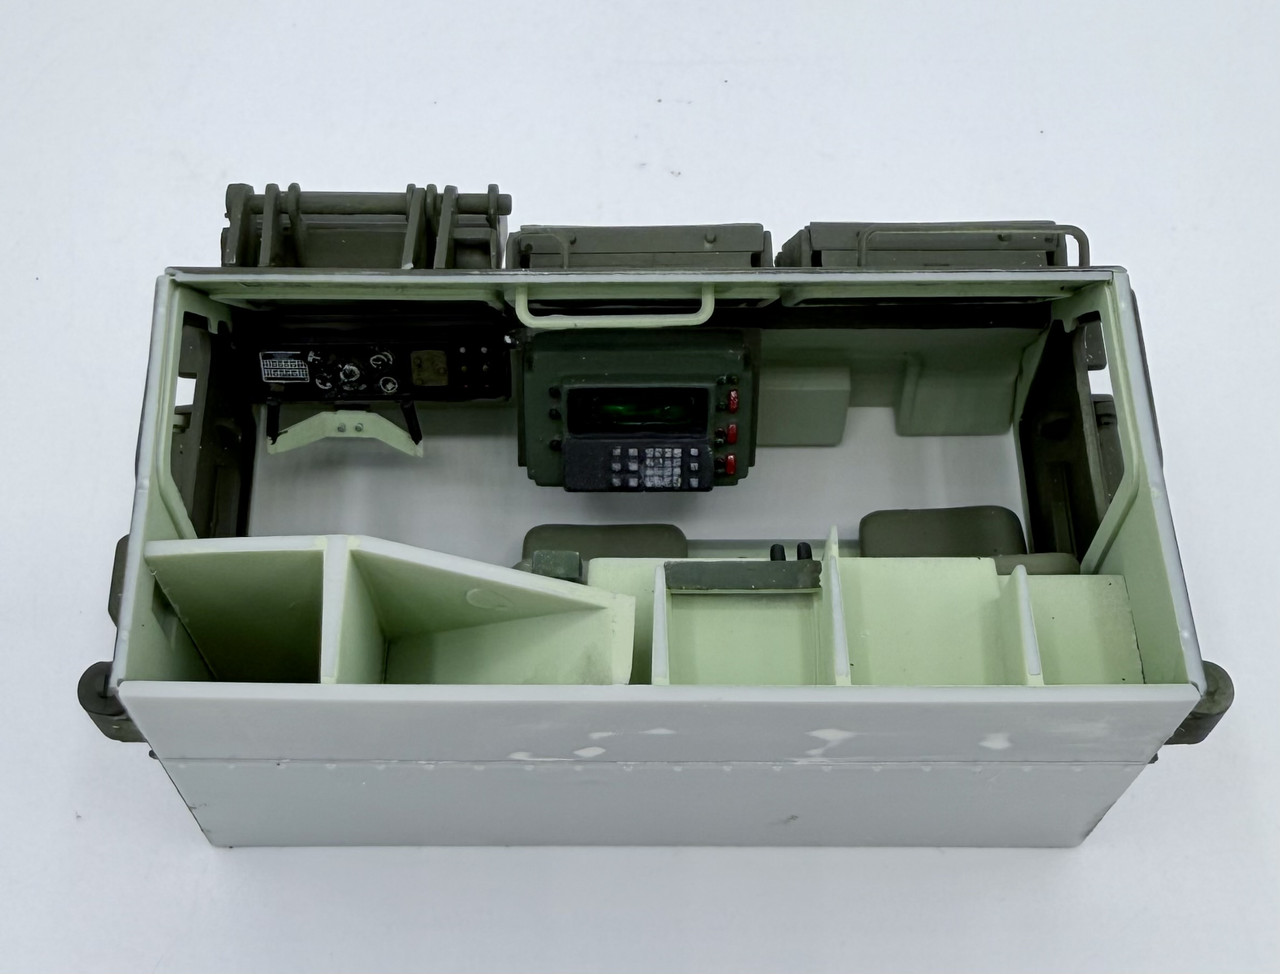
I went thru my decals and found spares that would work as placards inside the cab. They are not accurate but the do give a decent rough approximation of that part of the interior
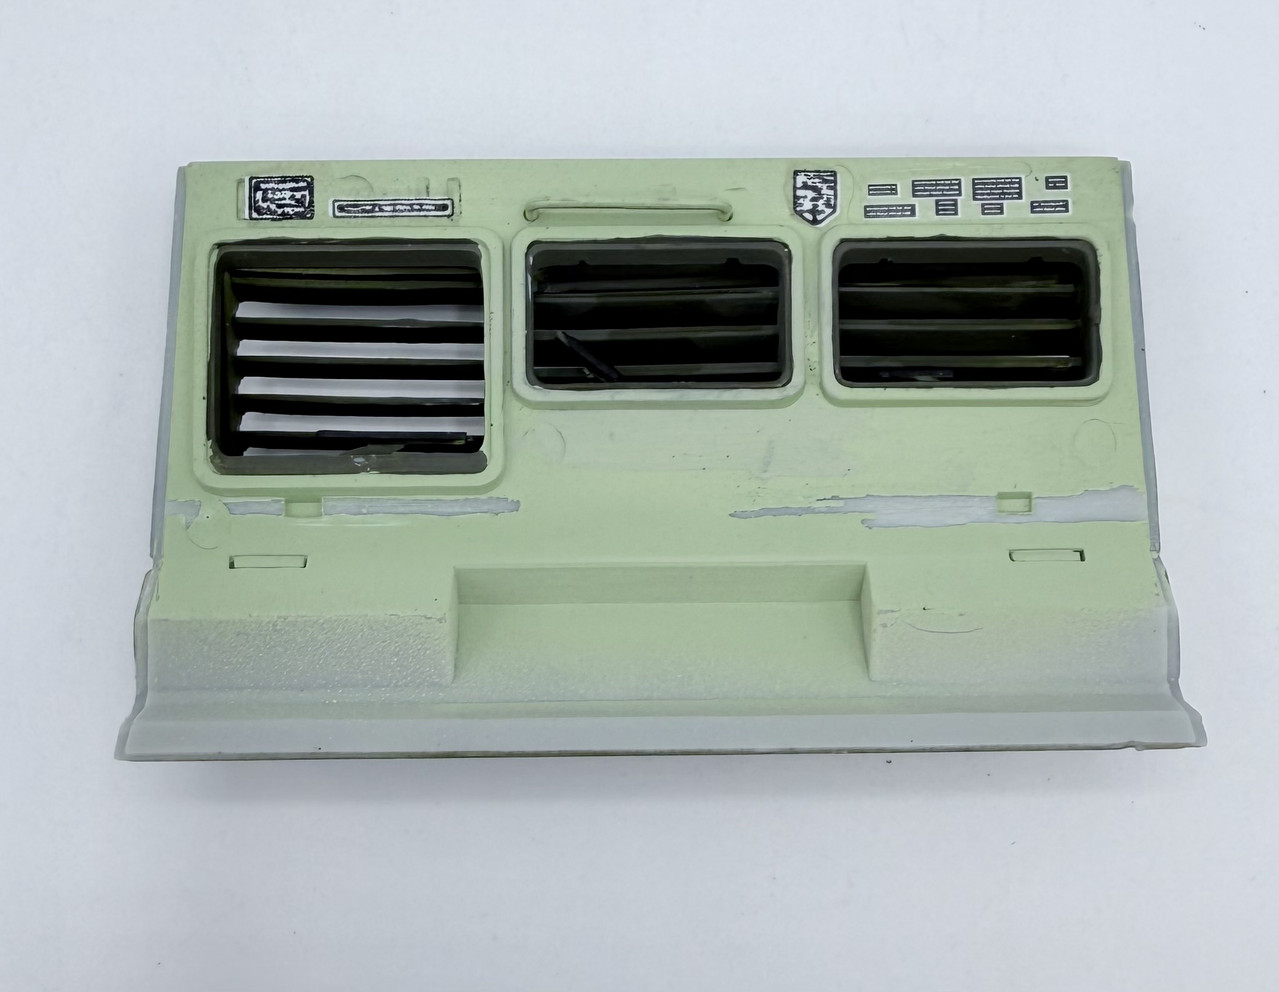
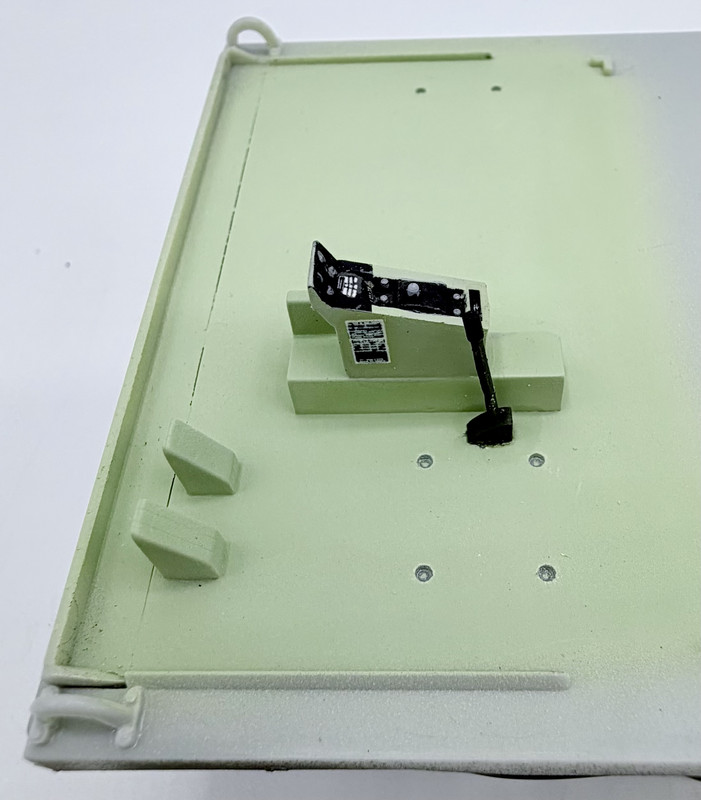
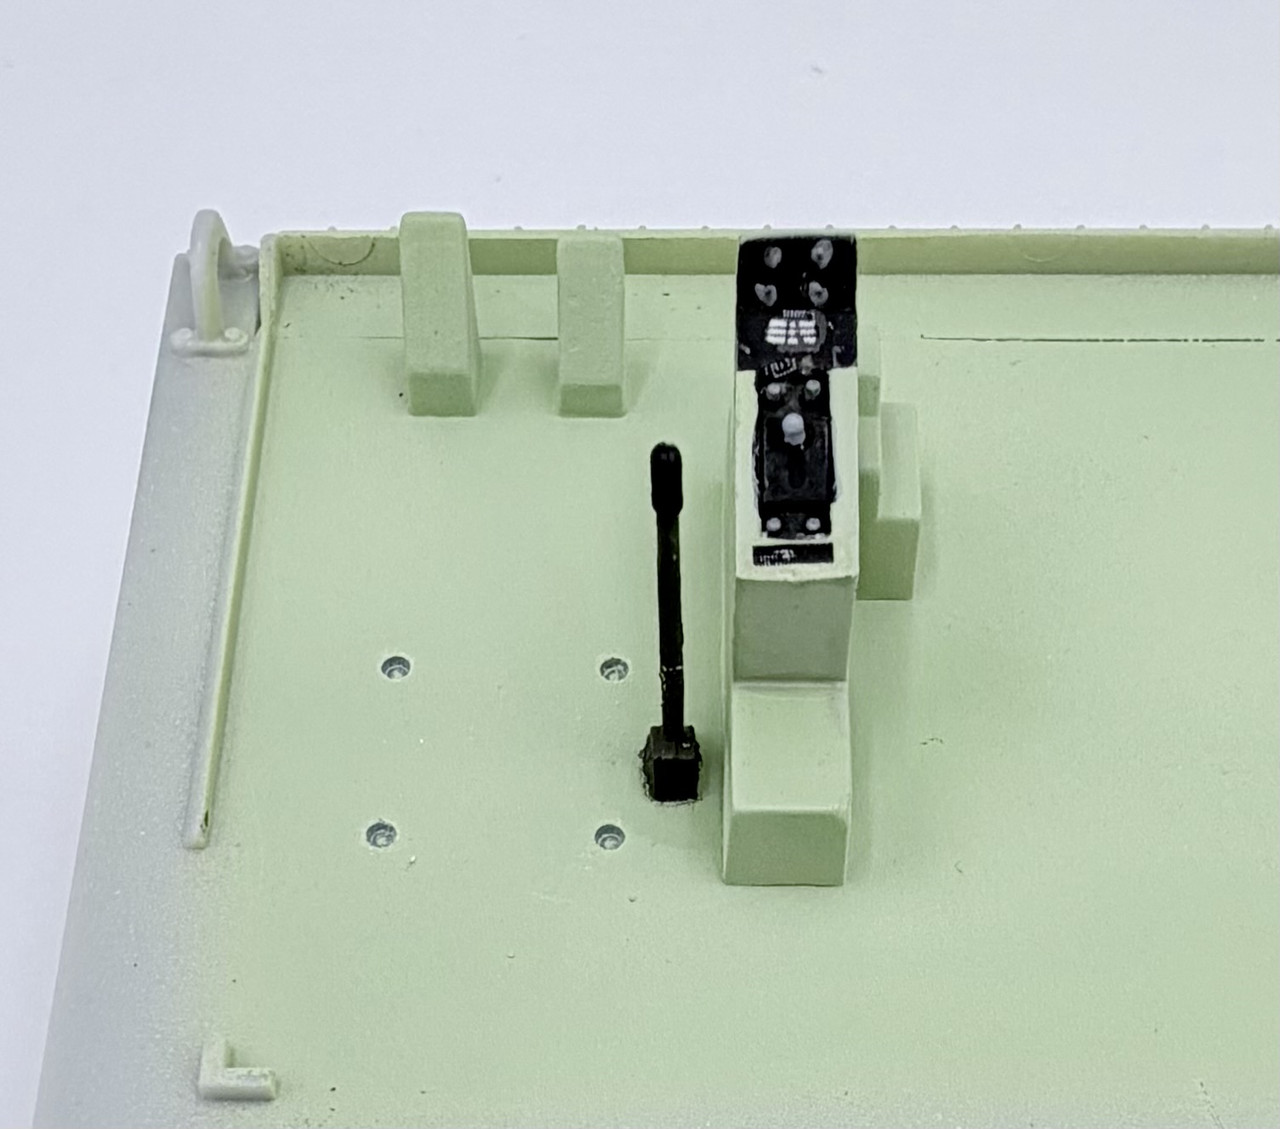
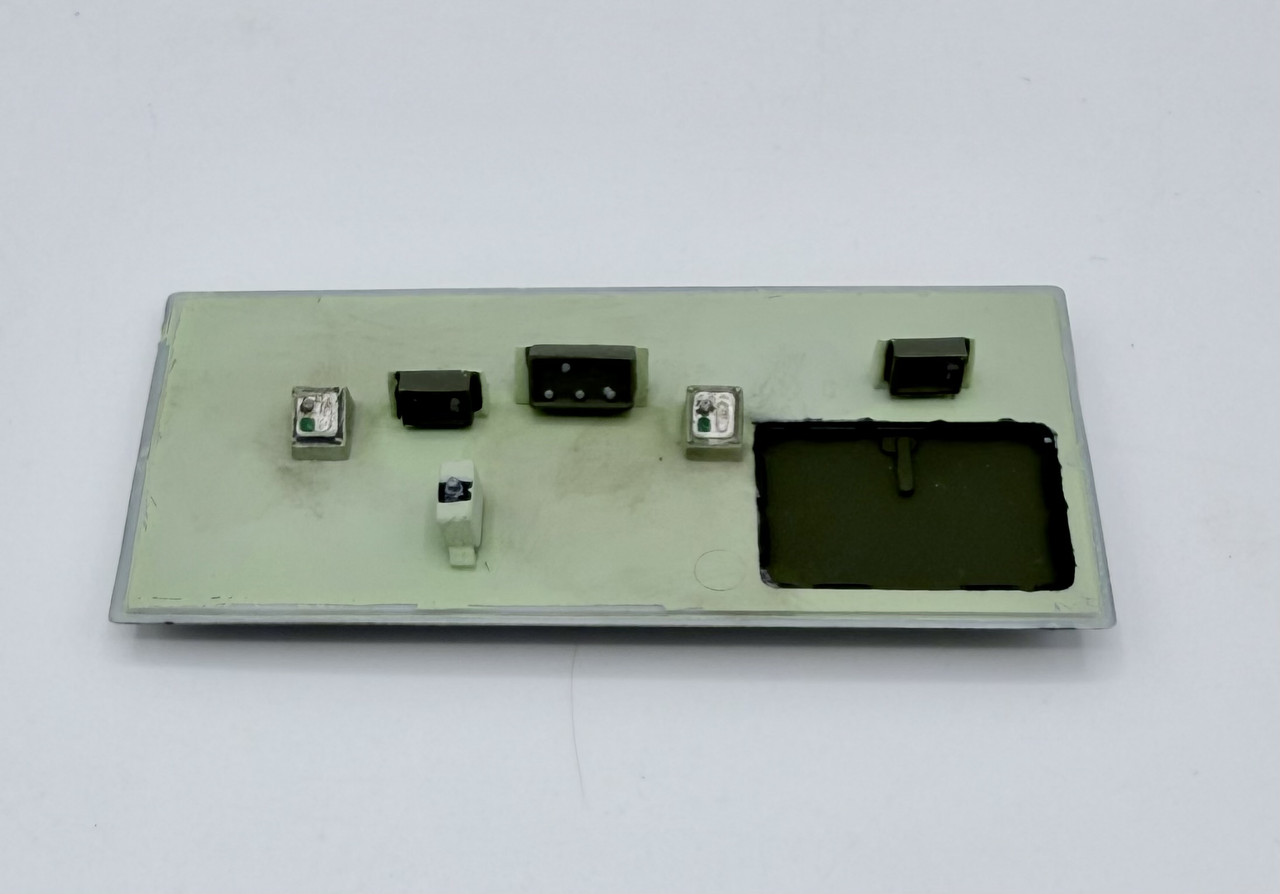
I also did detail painting on the fire control panel according to reference photos and added some decals to represent the gauges on the instrument panel, and completed detail painting on the overhead fixtures
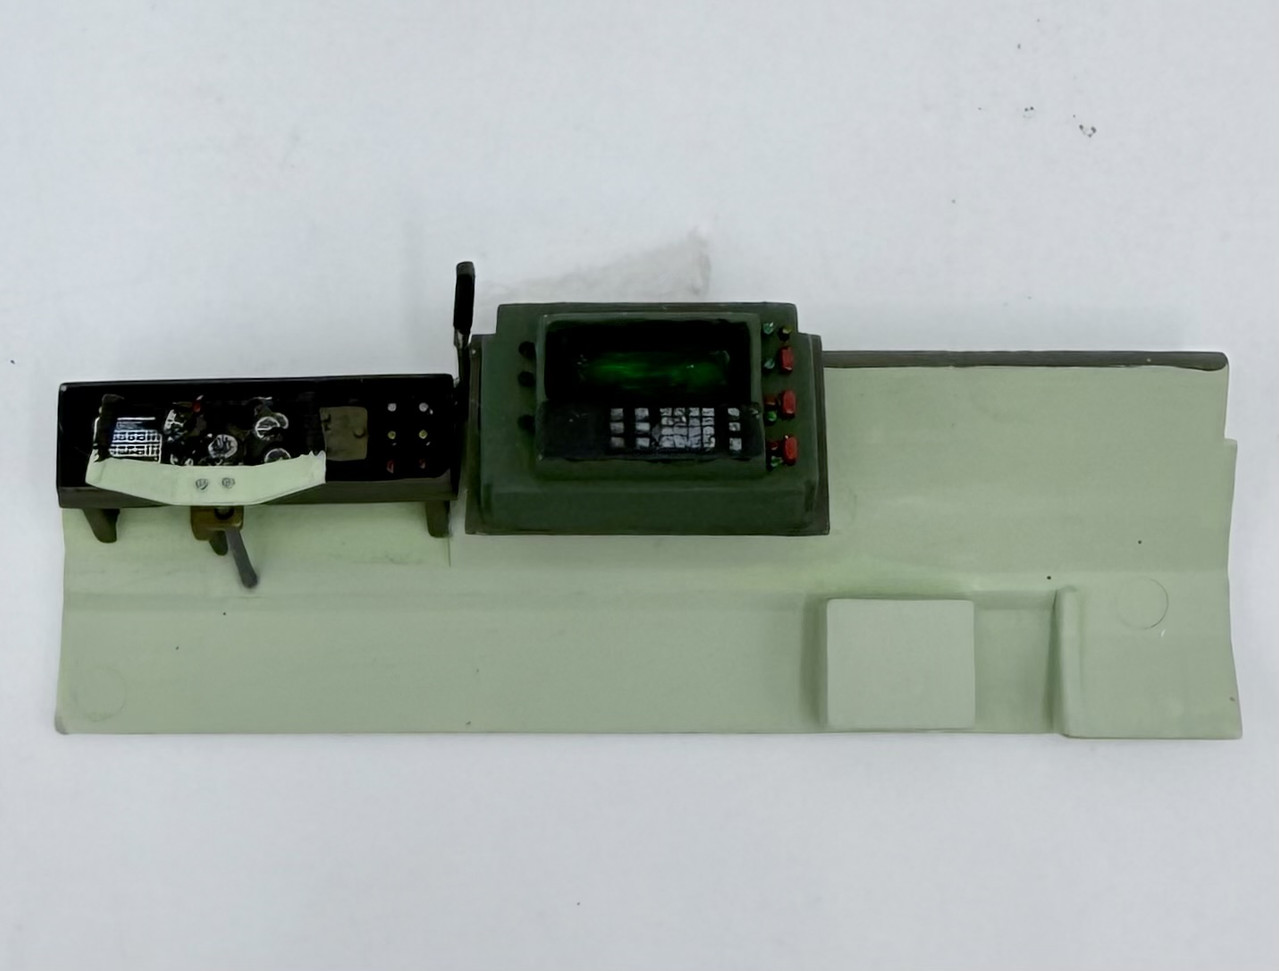
I also painted up the radio boxes and other stuff on the cab rear wall, but without knowing what the actual gear looks like it was only a best guess scenario
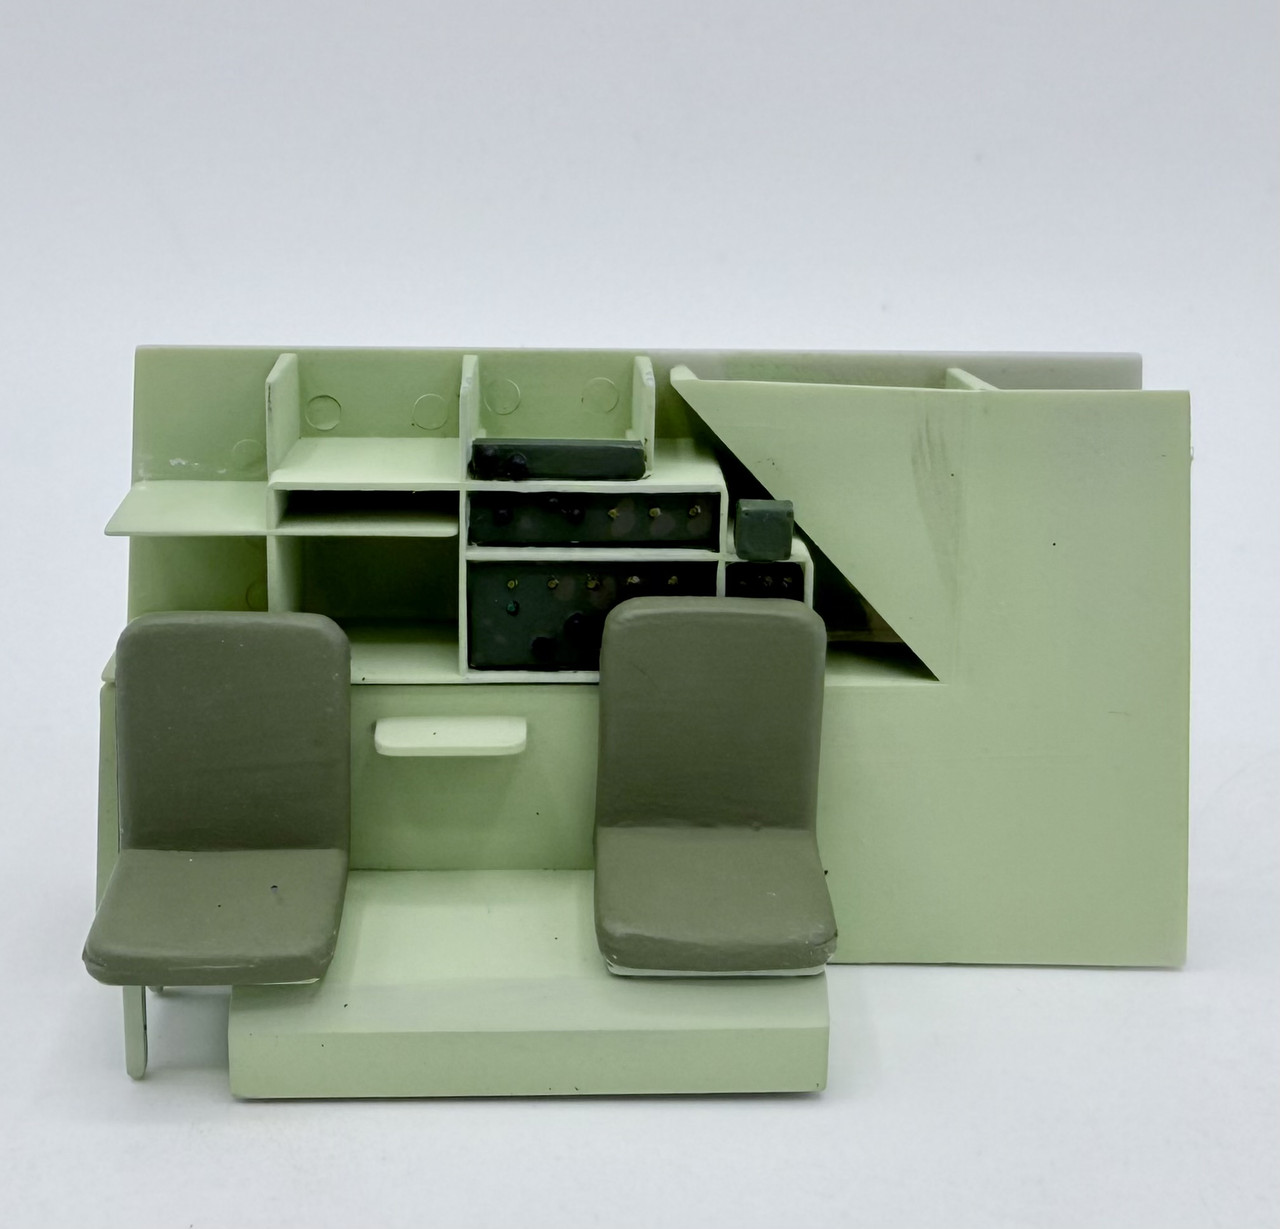
Next I got the cab exterior sidewalls assembled… I left the top and dash area off so I can install the armored windshield glass
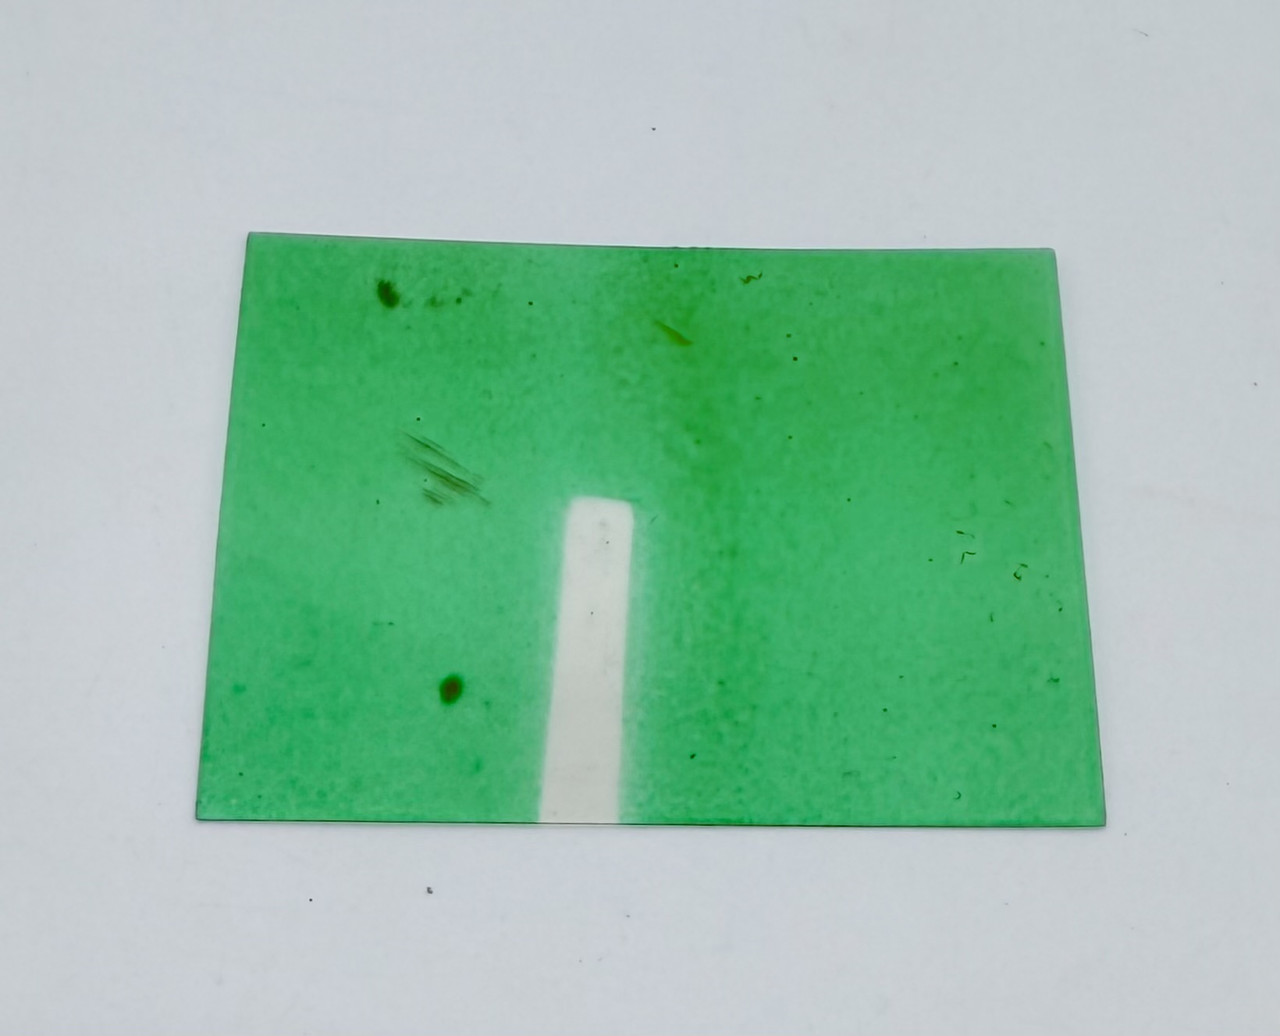
and I tinted the clear acetate that will be the armored glass with Tamiya Clear Green
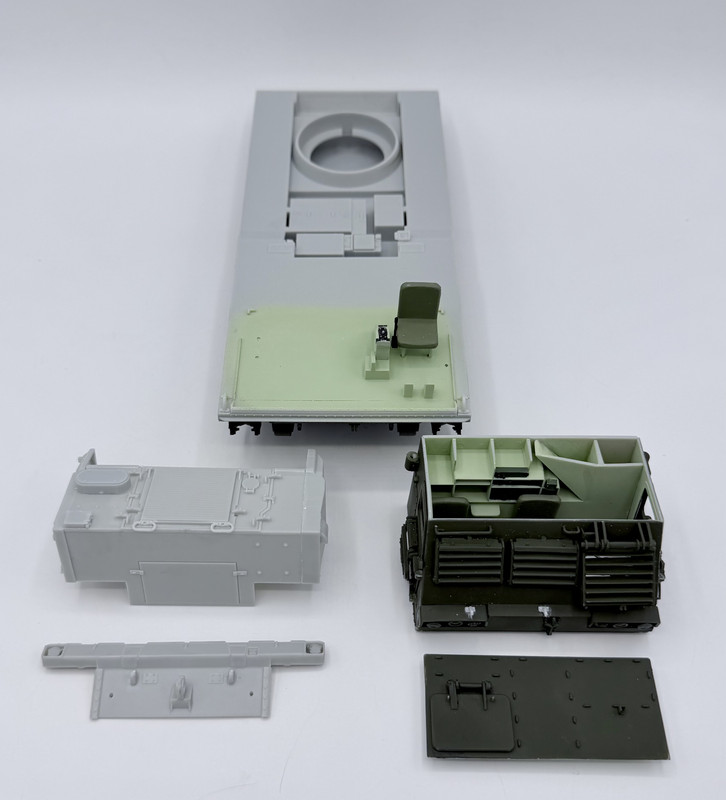
Next I built the engine box area and some other sub assemblies and test fitted them onto the chassis
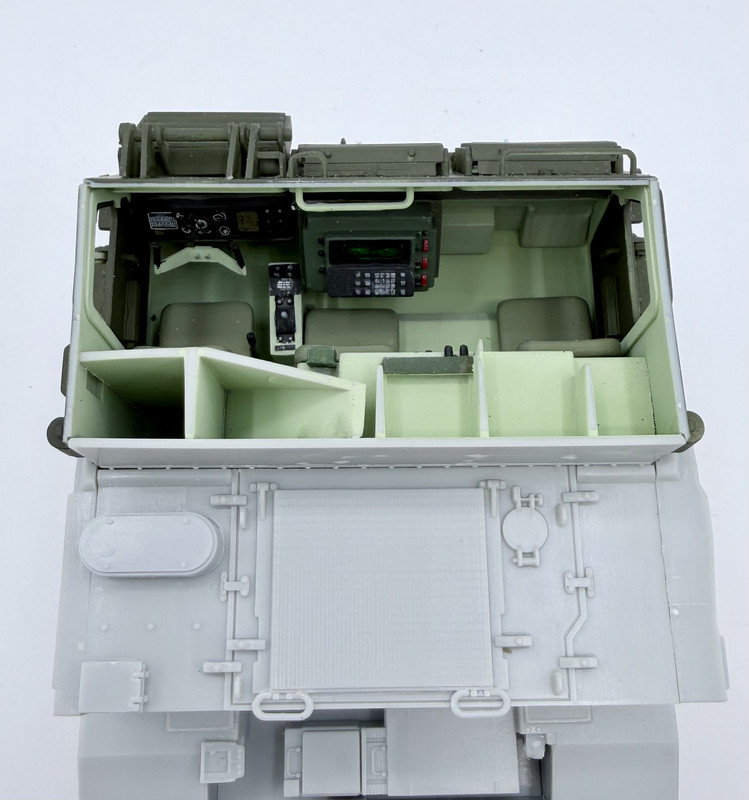
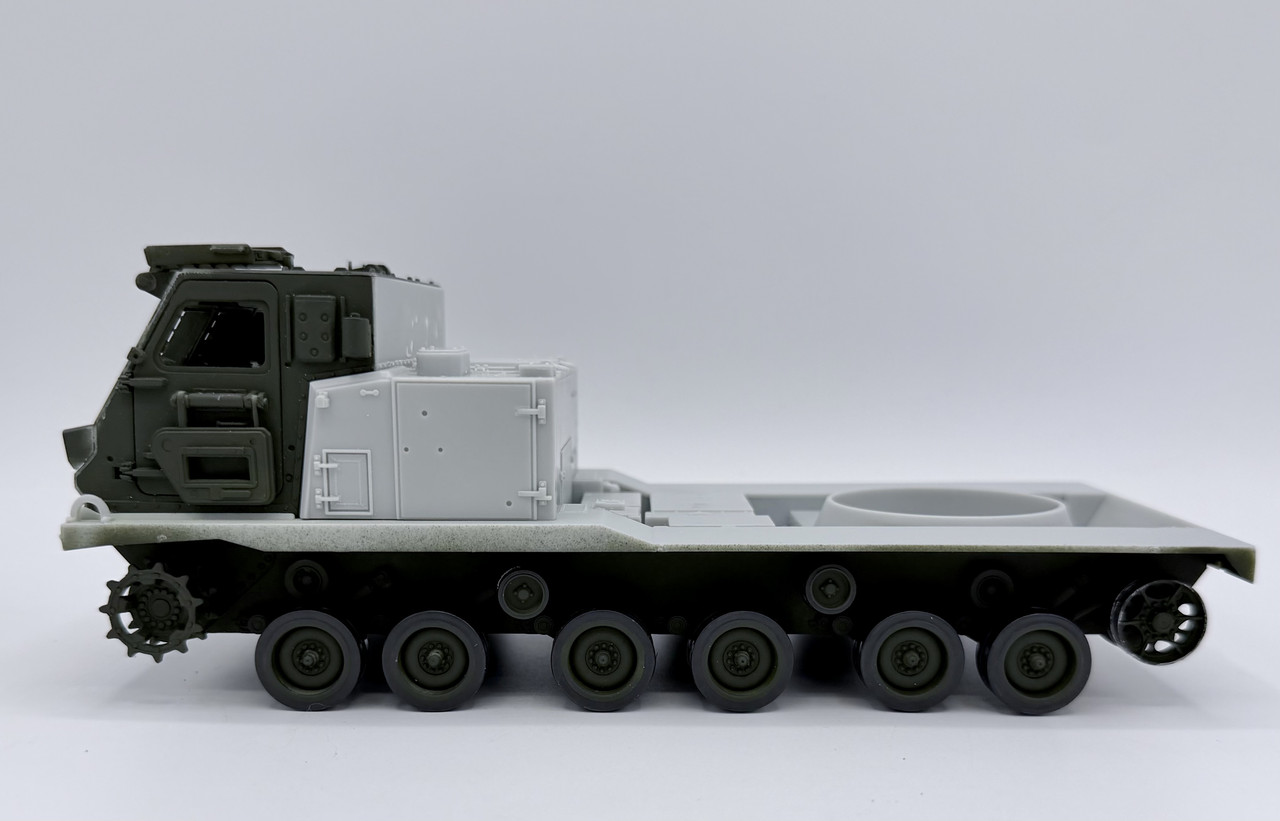
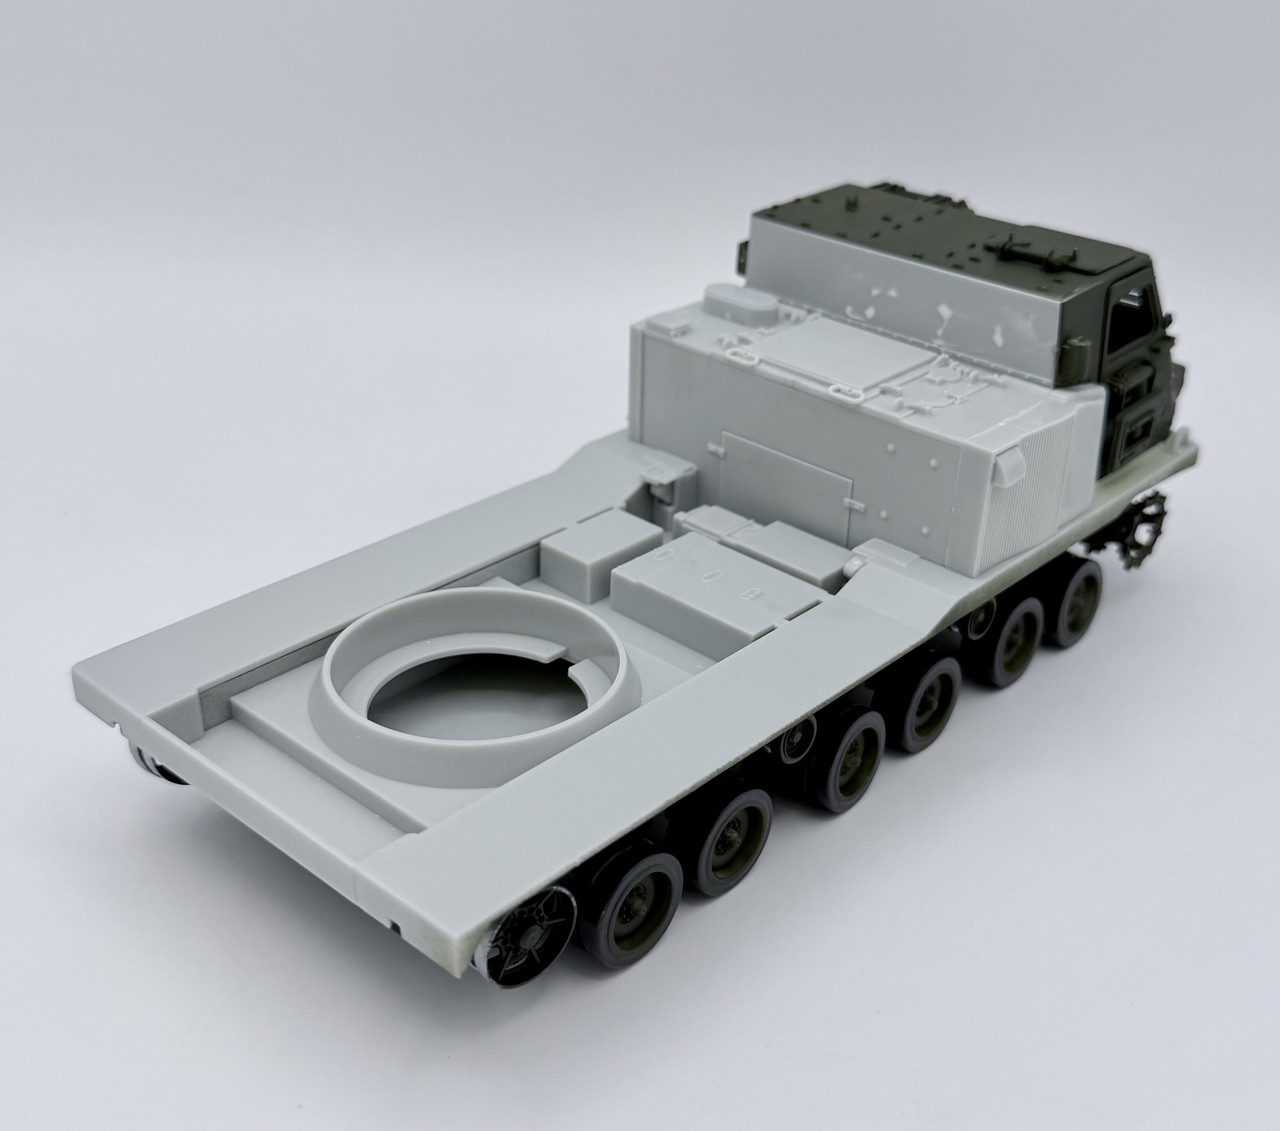
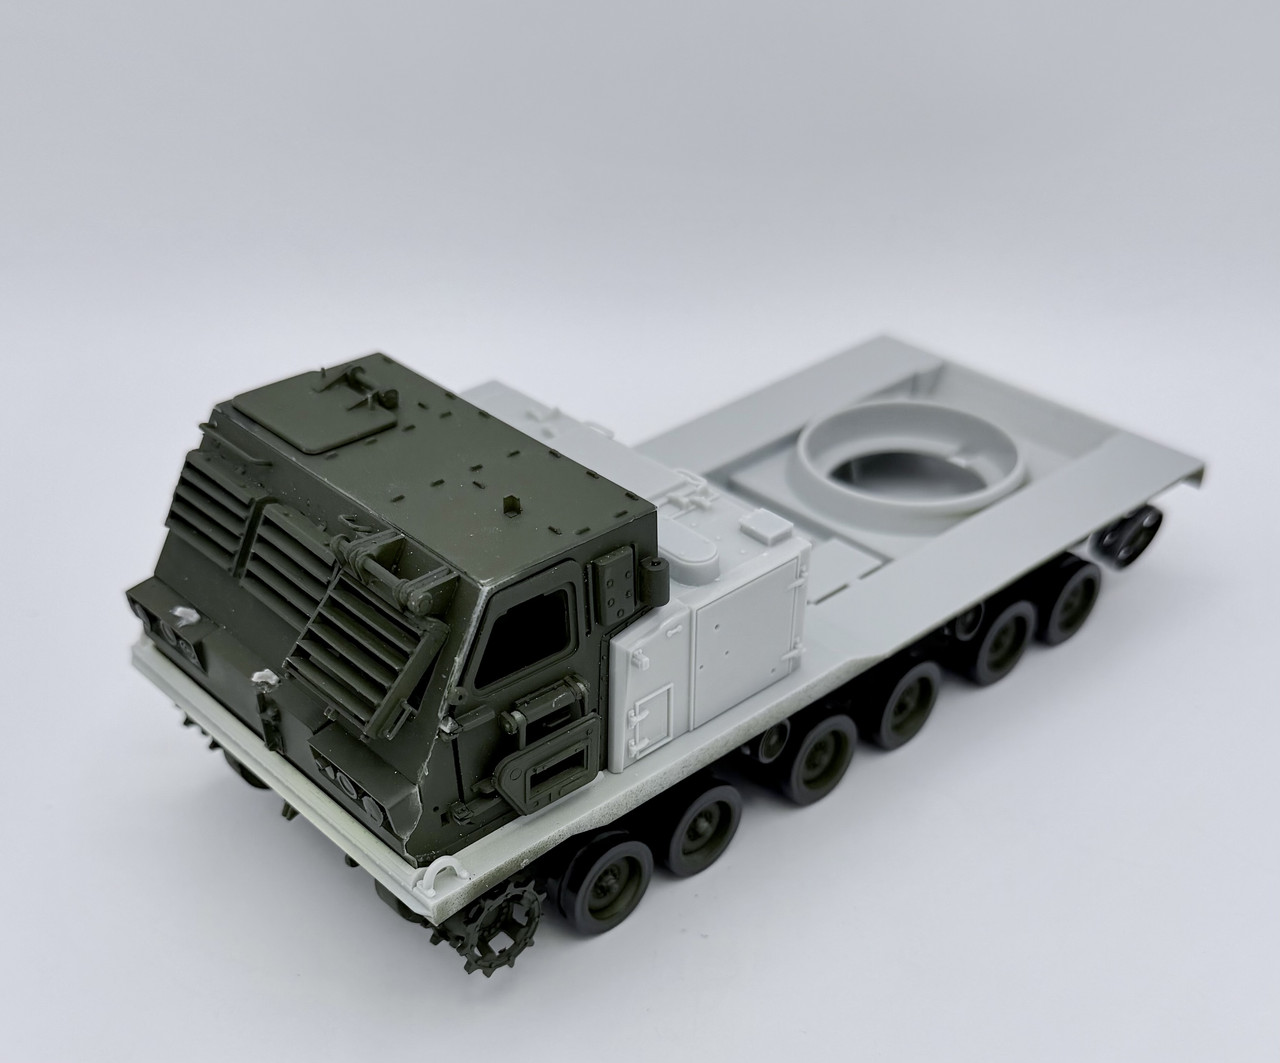
The next stage is to start construction of the launcher unit assembly… stay tuned for that…
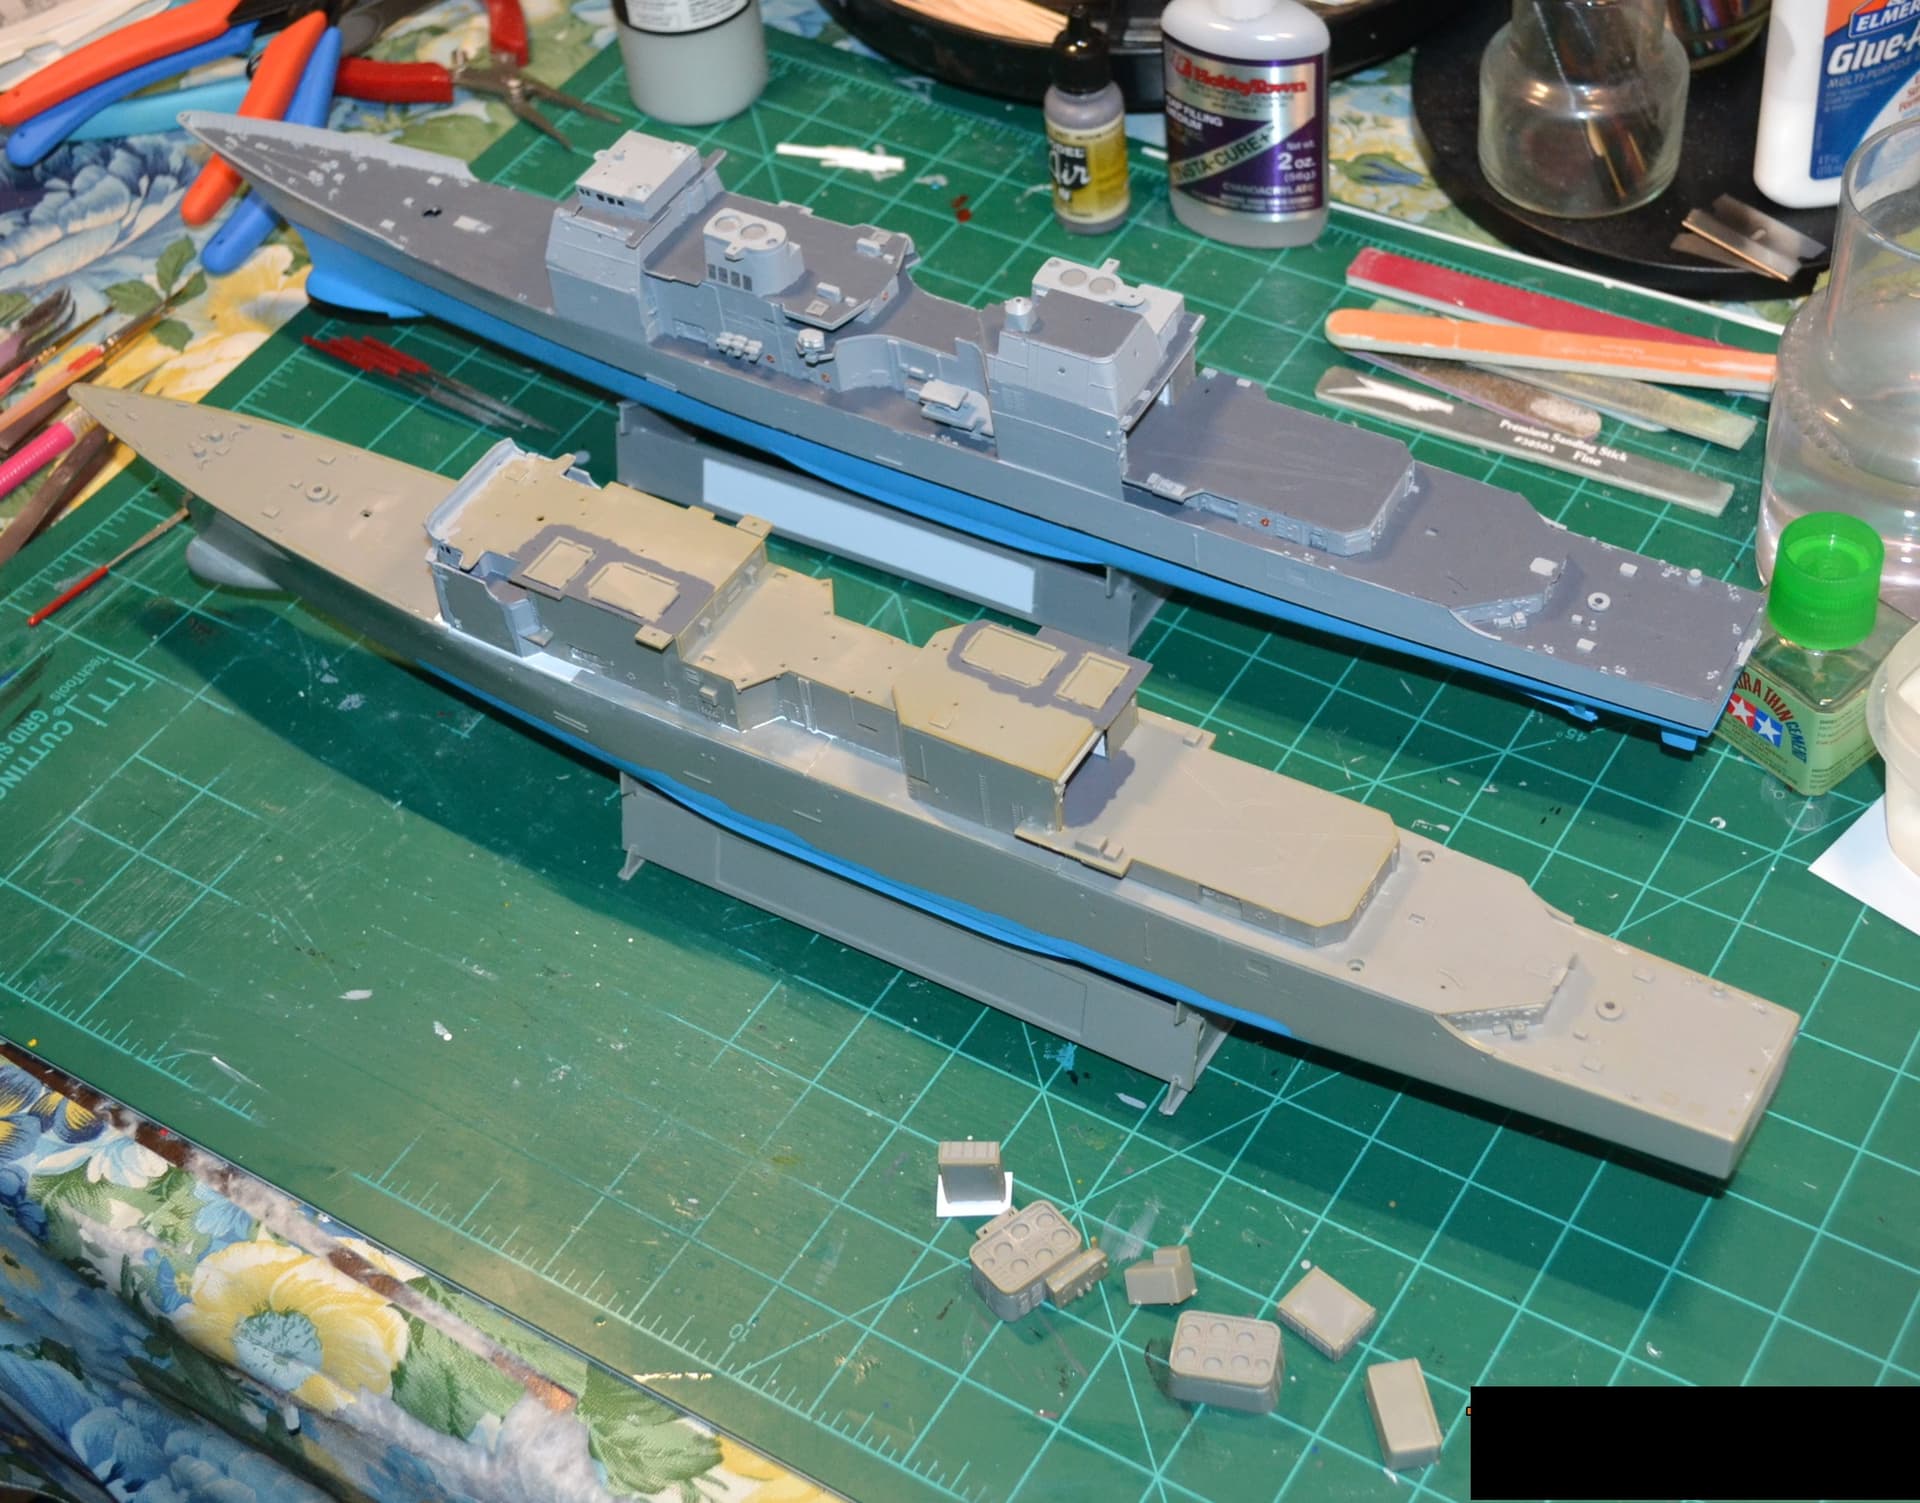
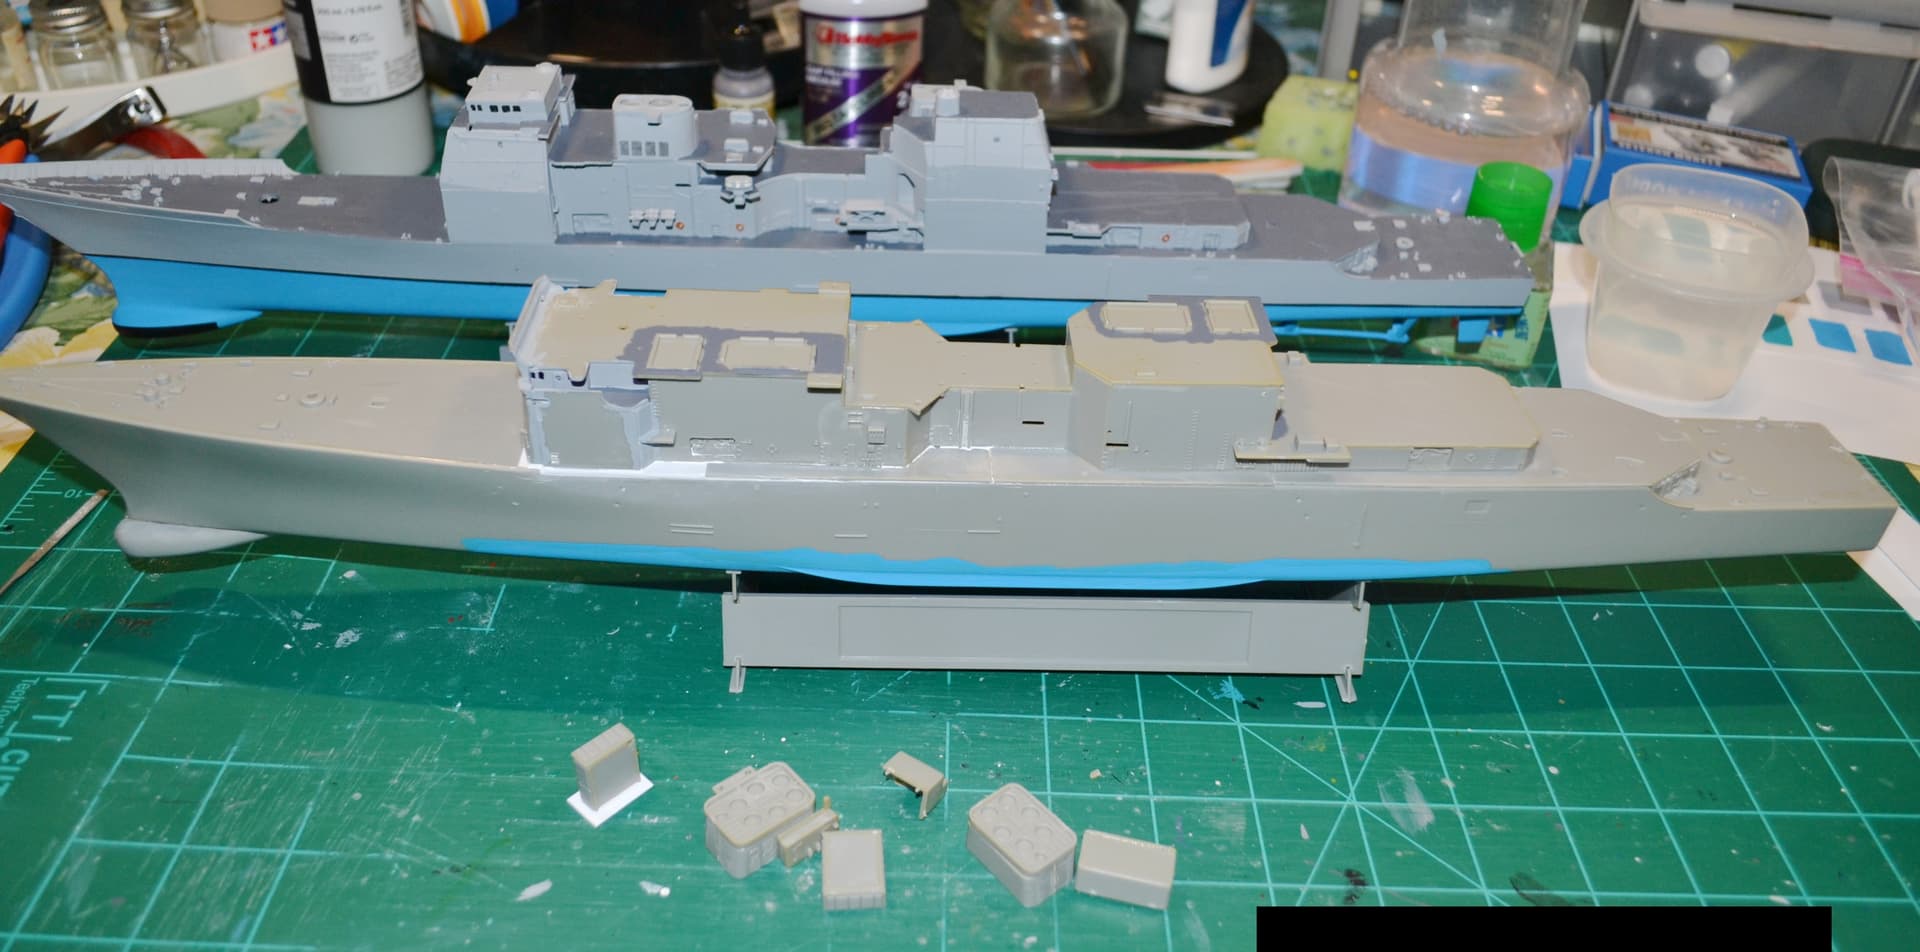
As I said in my last post further up this thread, I’m working on the Mini Hobby 1/350 scale USS Spruance destroyer that my best friend used to have.
Got some of the main superstructure put together recently. The lower hull will be painted blue just like I did for my Ticonderoga class cruiser which I still need to finish also.
But like I also previously said, the Spruance kit is missing parts.
The bad news: One of the radar mast assemblies is missing. Spruance class destroyers have two different radar/sensor masts. But I only have parts for one.
The only solution I can come up with for a second radar mast is to rob parts from a 1980/1990’s IOWA class battleship kit and use the modern radar mast from that on the Spruance kit. I’ll have to modify the mast a little bit. But it’s the only solution I can come up with.
I’ve got at least 2-3 modern Iowa battleship kits that I can rob parts from.
I love F-111’s, I grew up near General Dynamics and seen a lot of F-111’s,F-16’s and B-52’s… I miss the F-111.
Wow, thank you for the flashback! I haven’t seen that in about 43 years!
I have to laugh because I’m wondering what happens two years from now when you get around to building those other ships and discover all the missing parts!  I certainly understand the challenge, though. This seems like exactly the kind of situation where 3D printing could come to the rescue!
I hate to rob parts from one kit to put onto another, but I really have no choice.
And when I have a kit that’s missing parts for various reasons, there’s ALWAYS something I can do/make with it. An idea might not hit me right away. But I can always find something to make with the kit. There’s no shortage to my creativity and imagination. 
As for 3D printing, I really don’t have the money, apartment space, or other resources, etc. to do 3D printing. It’s a non-starter for me. Sometimes, I actually prefer to scratch build and kitbash stuff. I’d rather do things with my own mind and my own hands. Not let a machine and/or AI do things for me. Where’s the creativity in that?
I can certainly appreciate the financial and space considerations when it comes to 3D printing. I have some of those same constraints myself. Sounds like you’ve got the scratch-building skills and a well-stocked stash to work around just about anything, though!
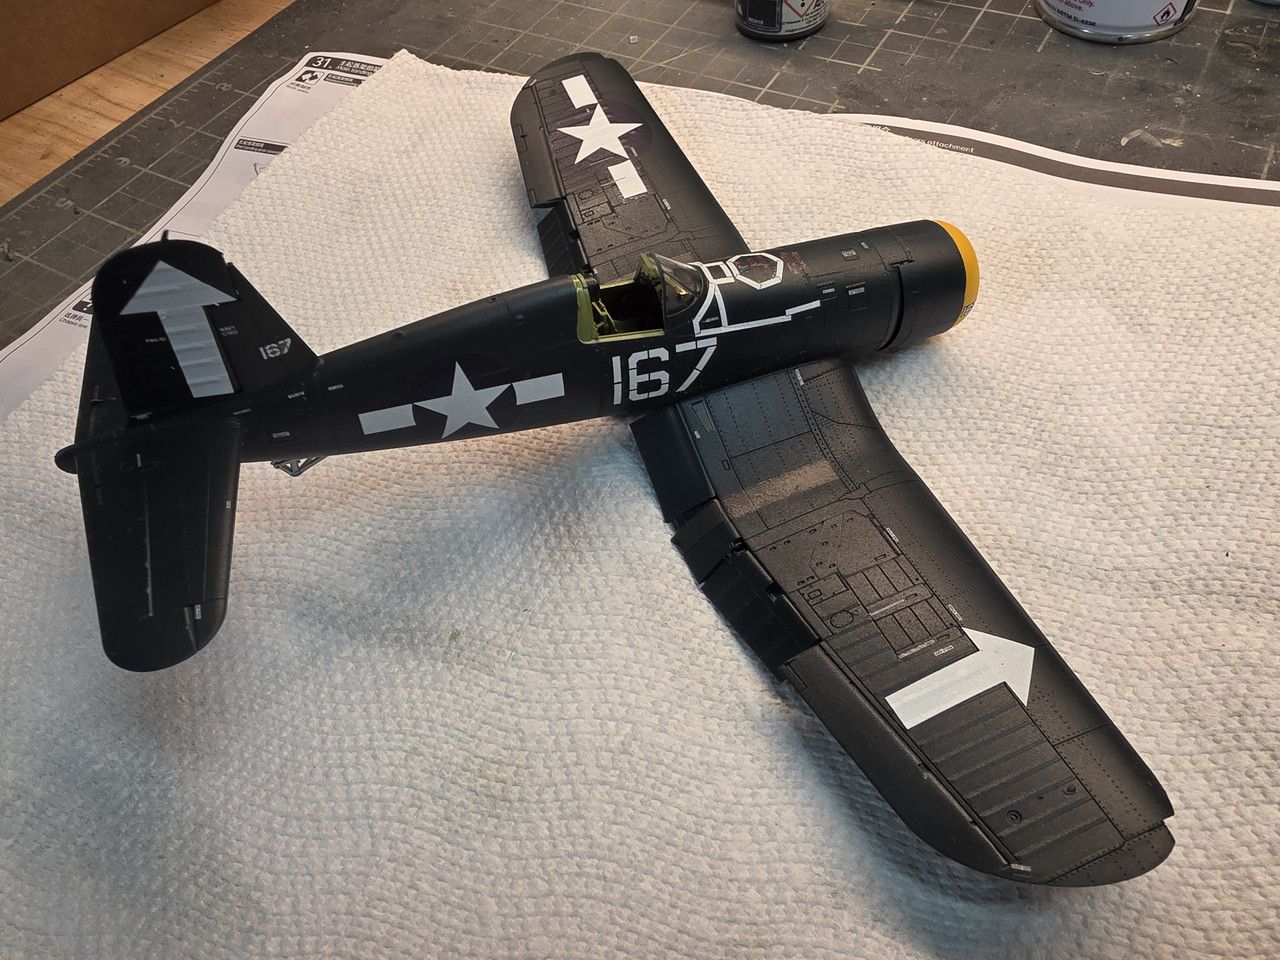
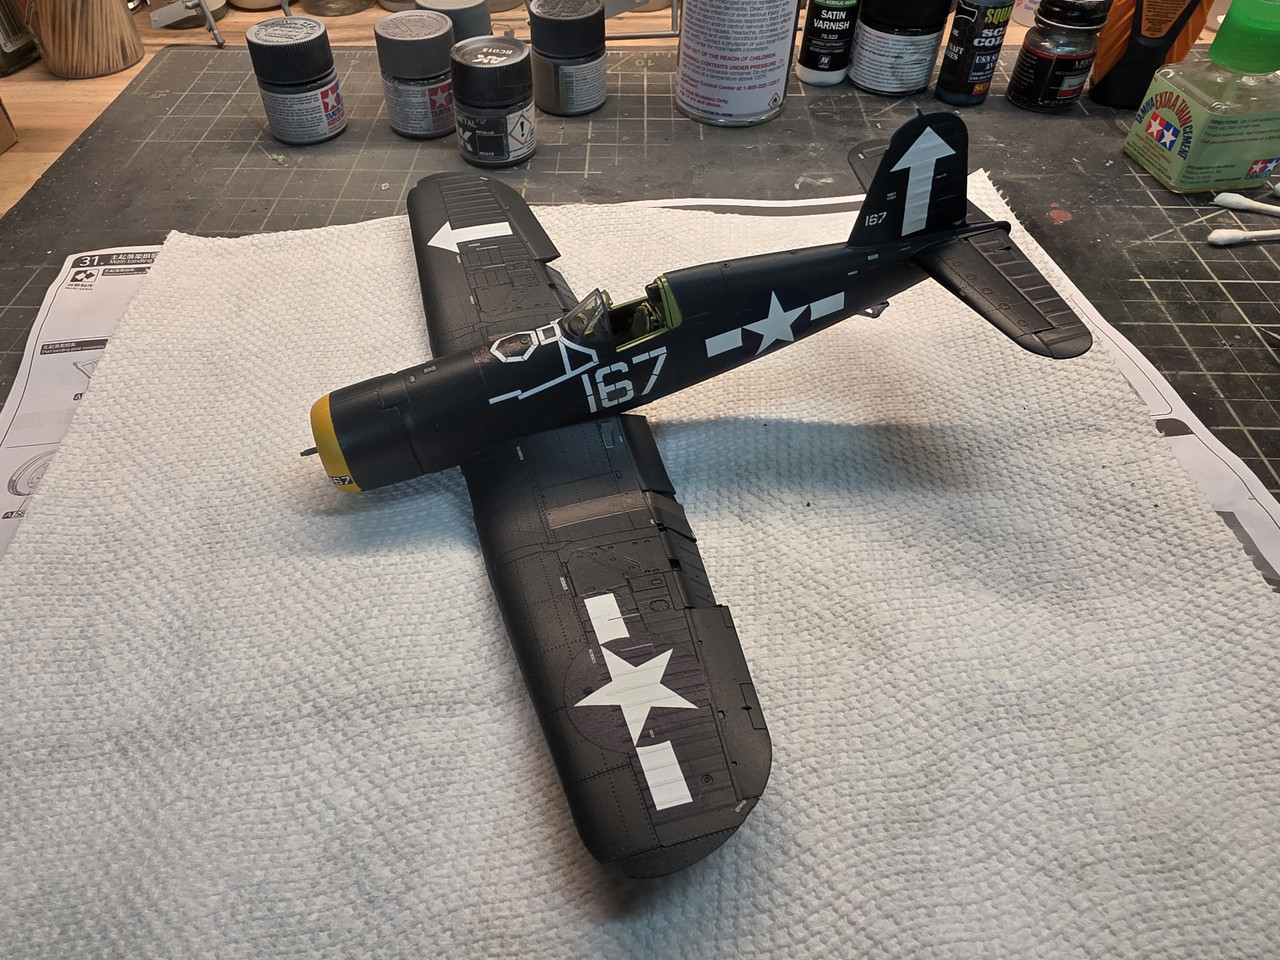
Worked on the Corsair,put down a large amount of decals and a satin finish.
You may have already covered this when you first started the build, but I couldn’t easily find it, so I’ve got a question!
I’ve never seen a black Corsair before, and it really caught my attention. I did a little digging and discovered that some Corsair night fighters were painted black during the Korean War, including ones flown by the Marine Corps. Is that what you’re modeling?
I have a particular affinity for Marine Corps aviation, and I’ve got a Corsair in my stash. This has certainly given me something new to think about when I get around to building a Corsair. Very interesting subject!
It’s not black,its the classic ANA623 USN Sea Blue,must just be the lighting or the photography.
I could just see a hint of blue, what I believe is the case is its a FLAT dark sea blue. Angle and brightness of the light plays into it…
Your F4U is beatiful
Oh okay yeah sometimes white balance can shift colors especially dark Blues, so that makes more sense.
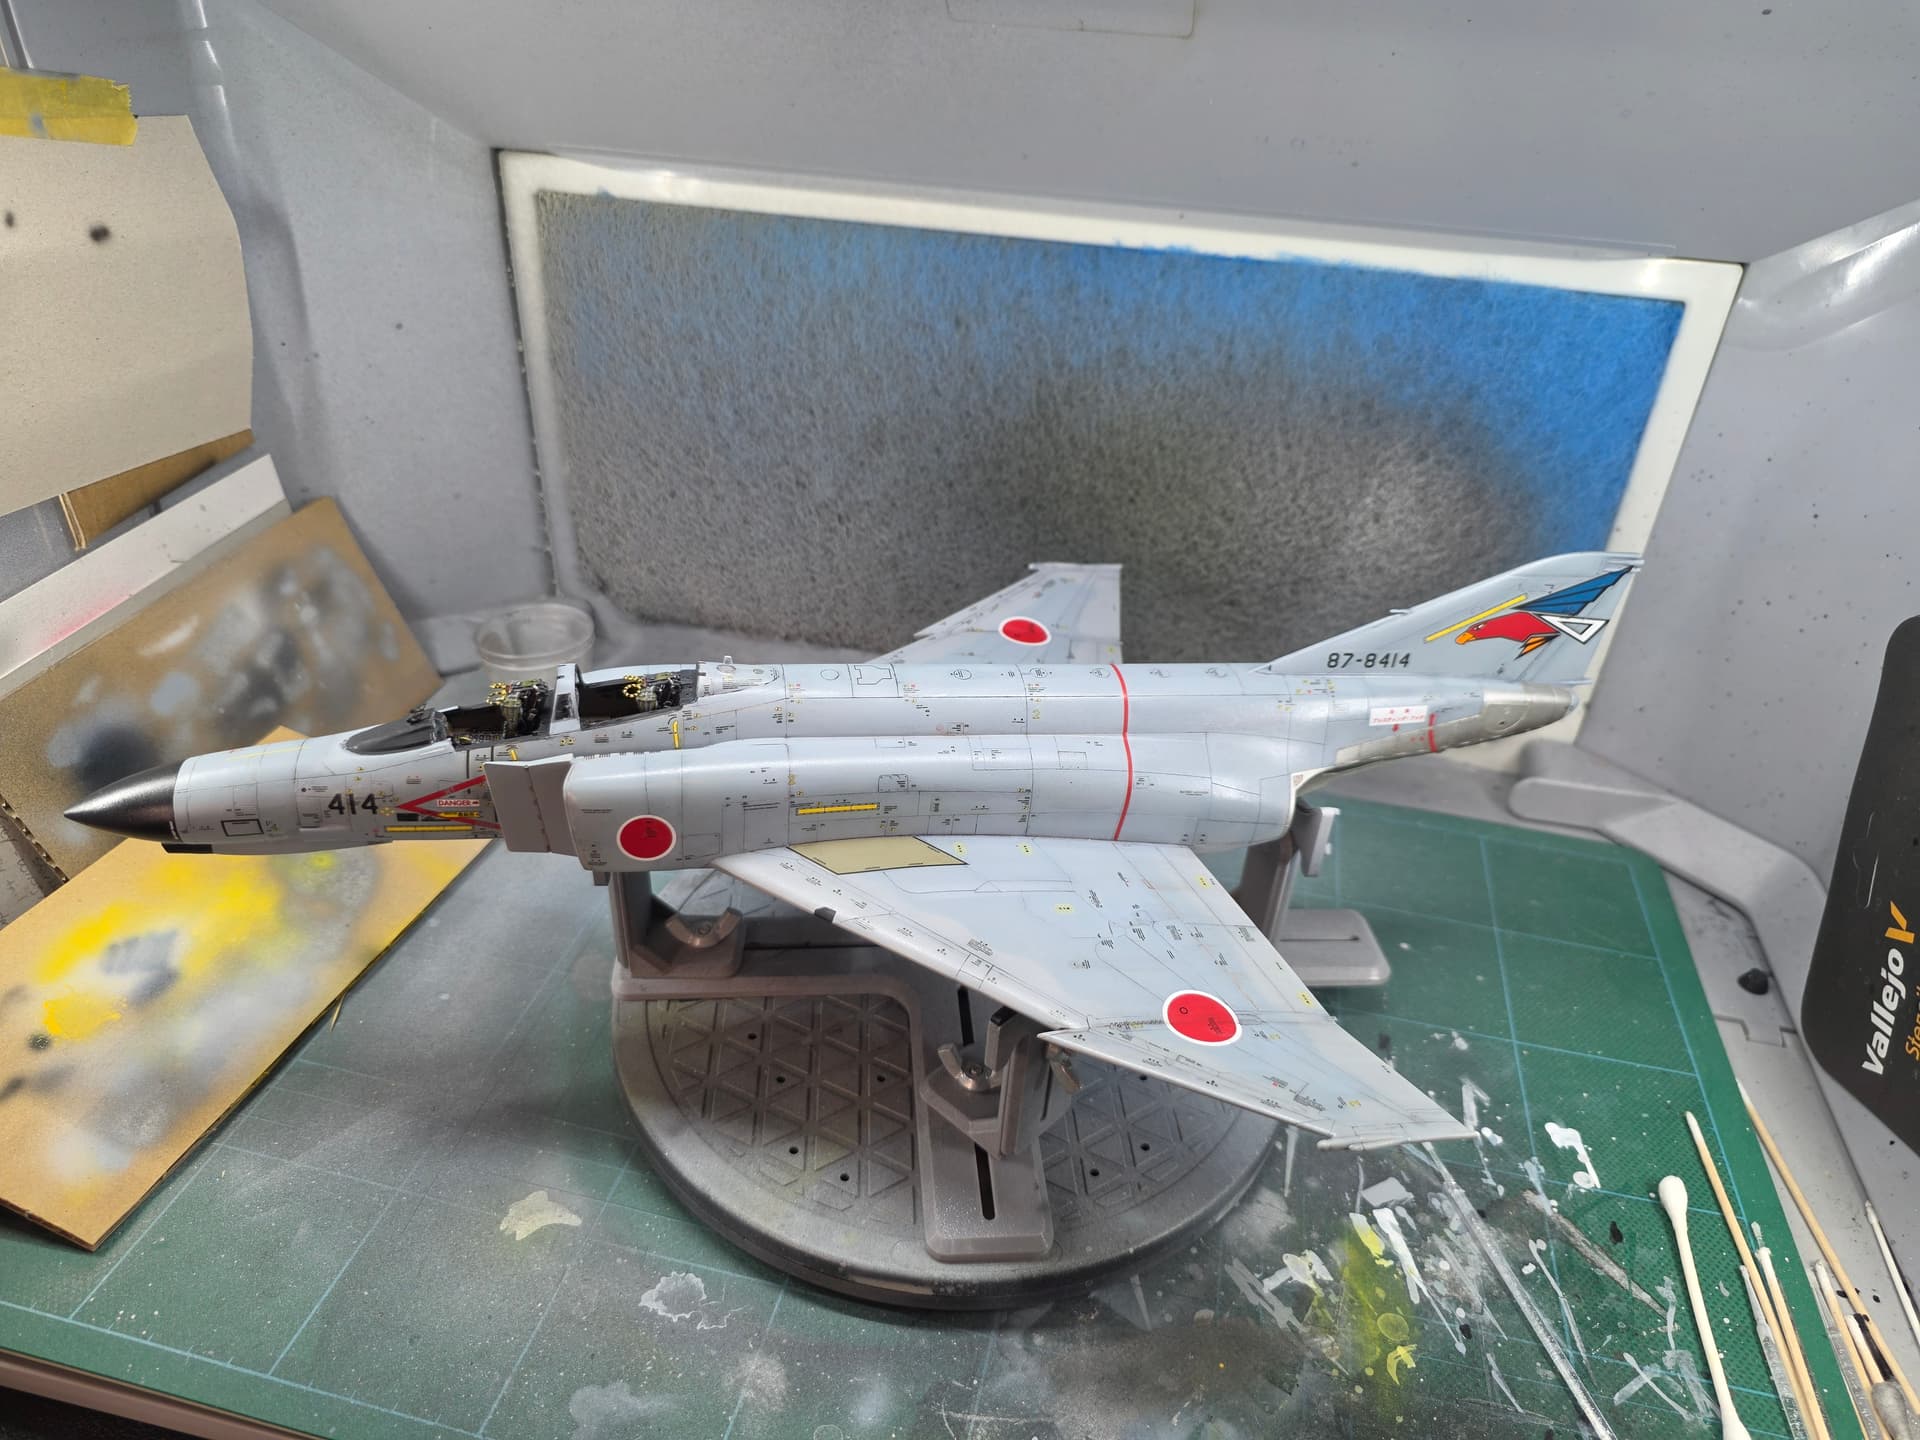
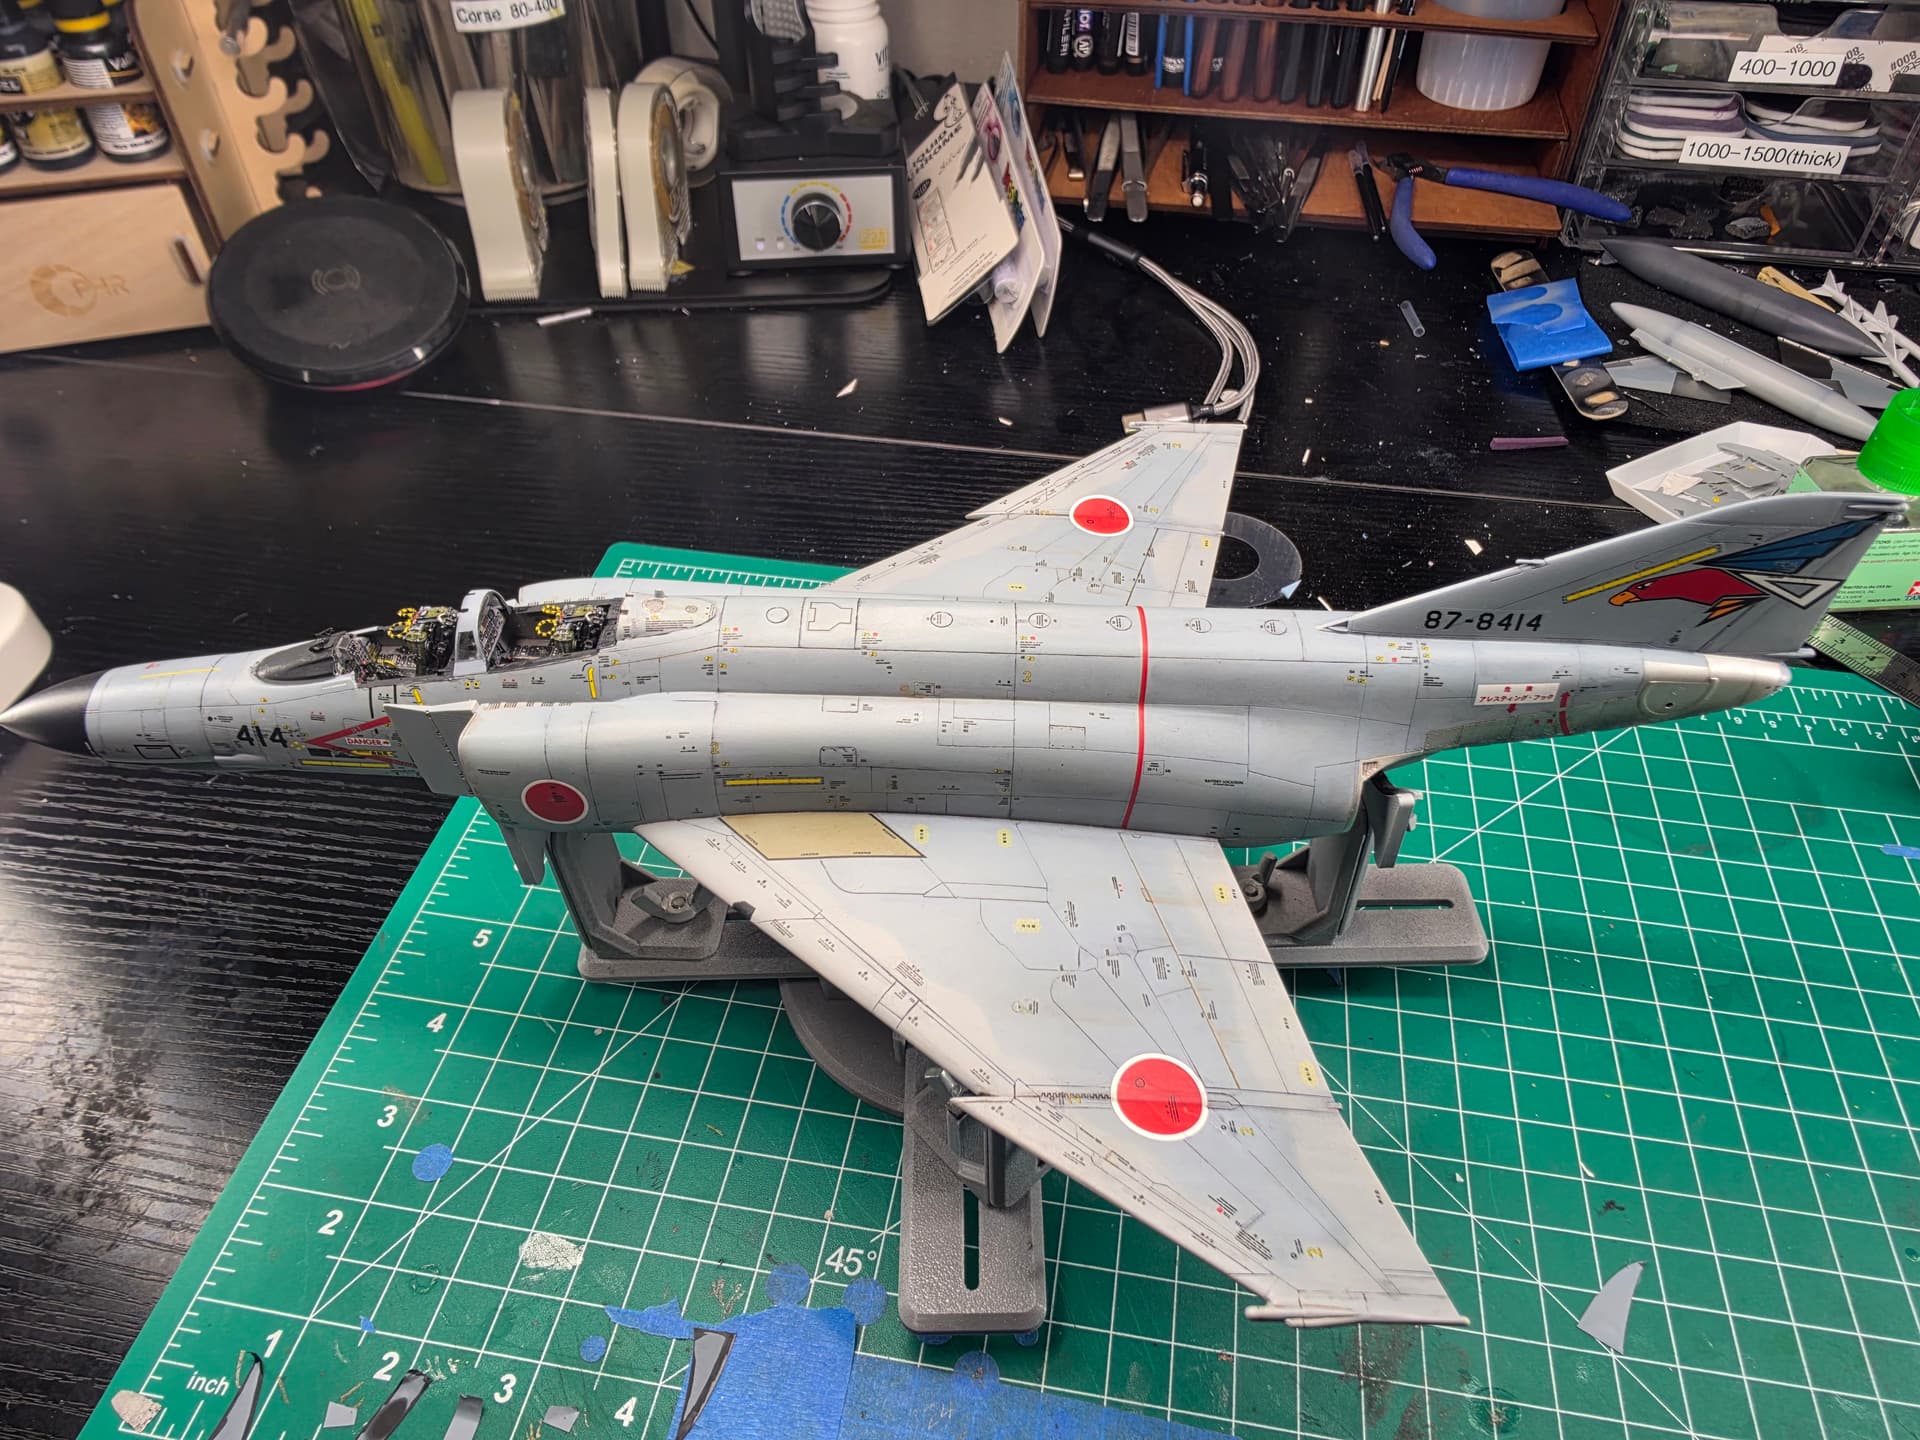
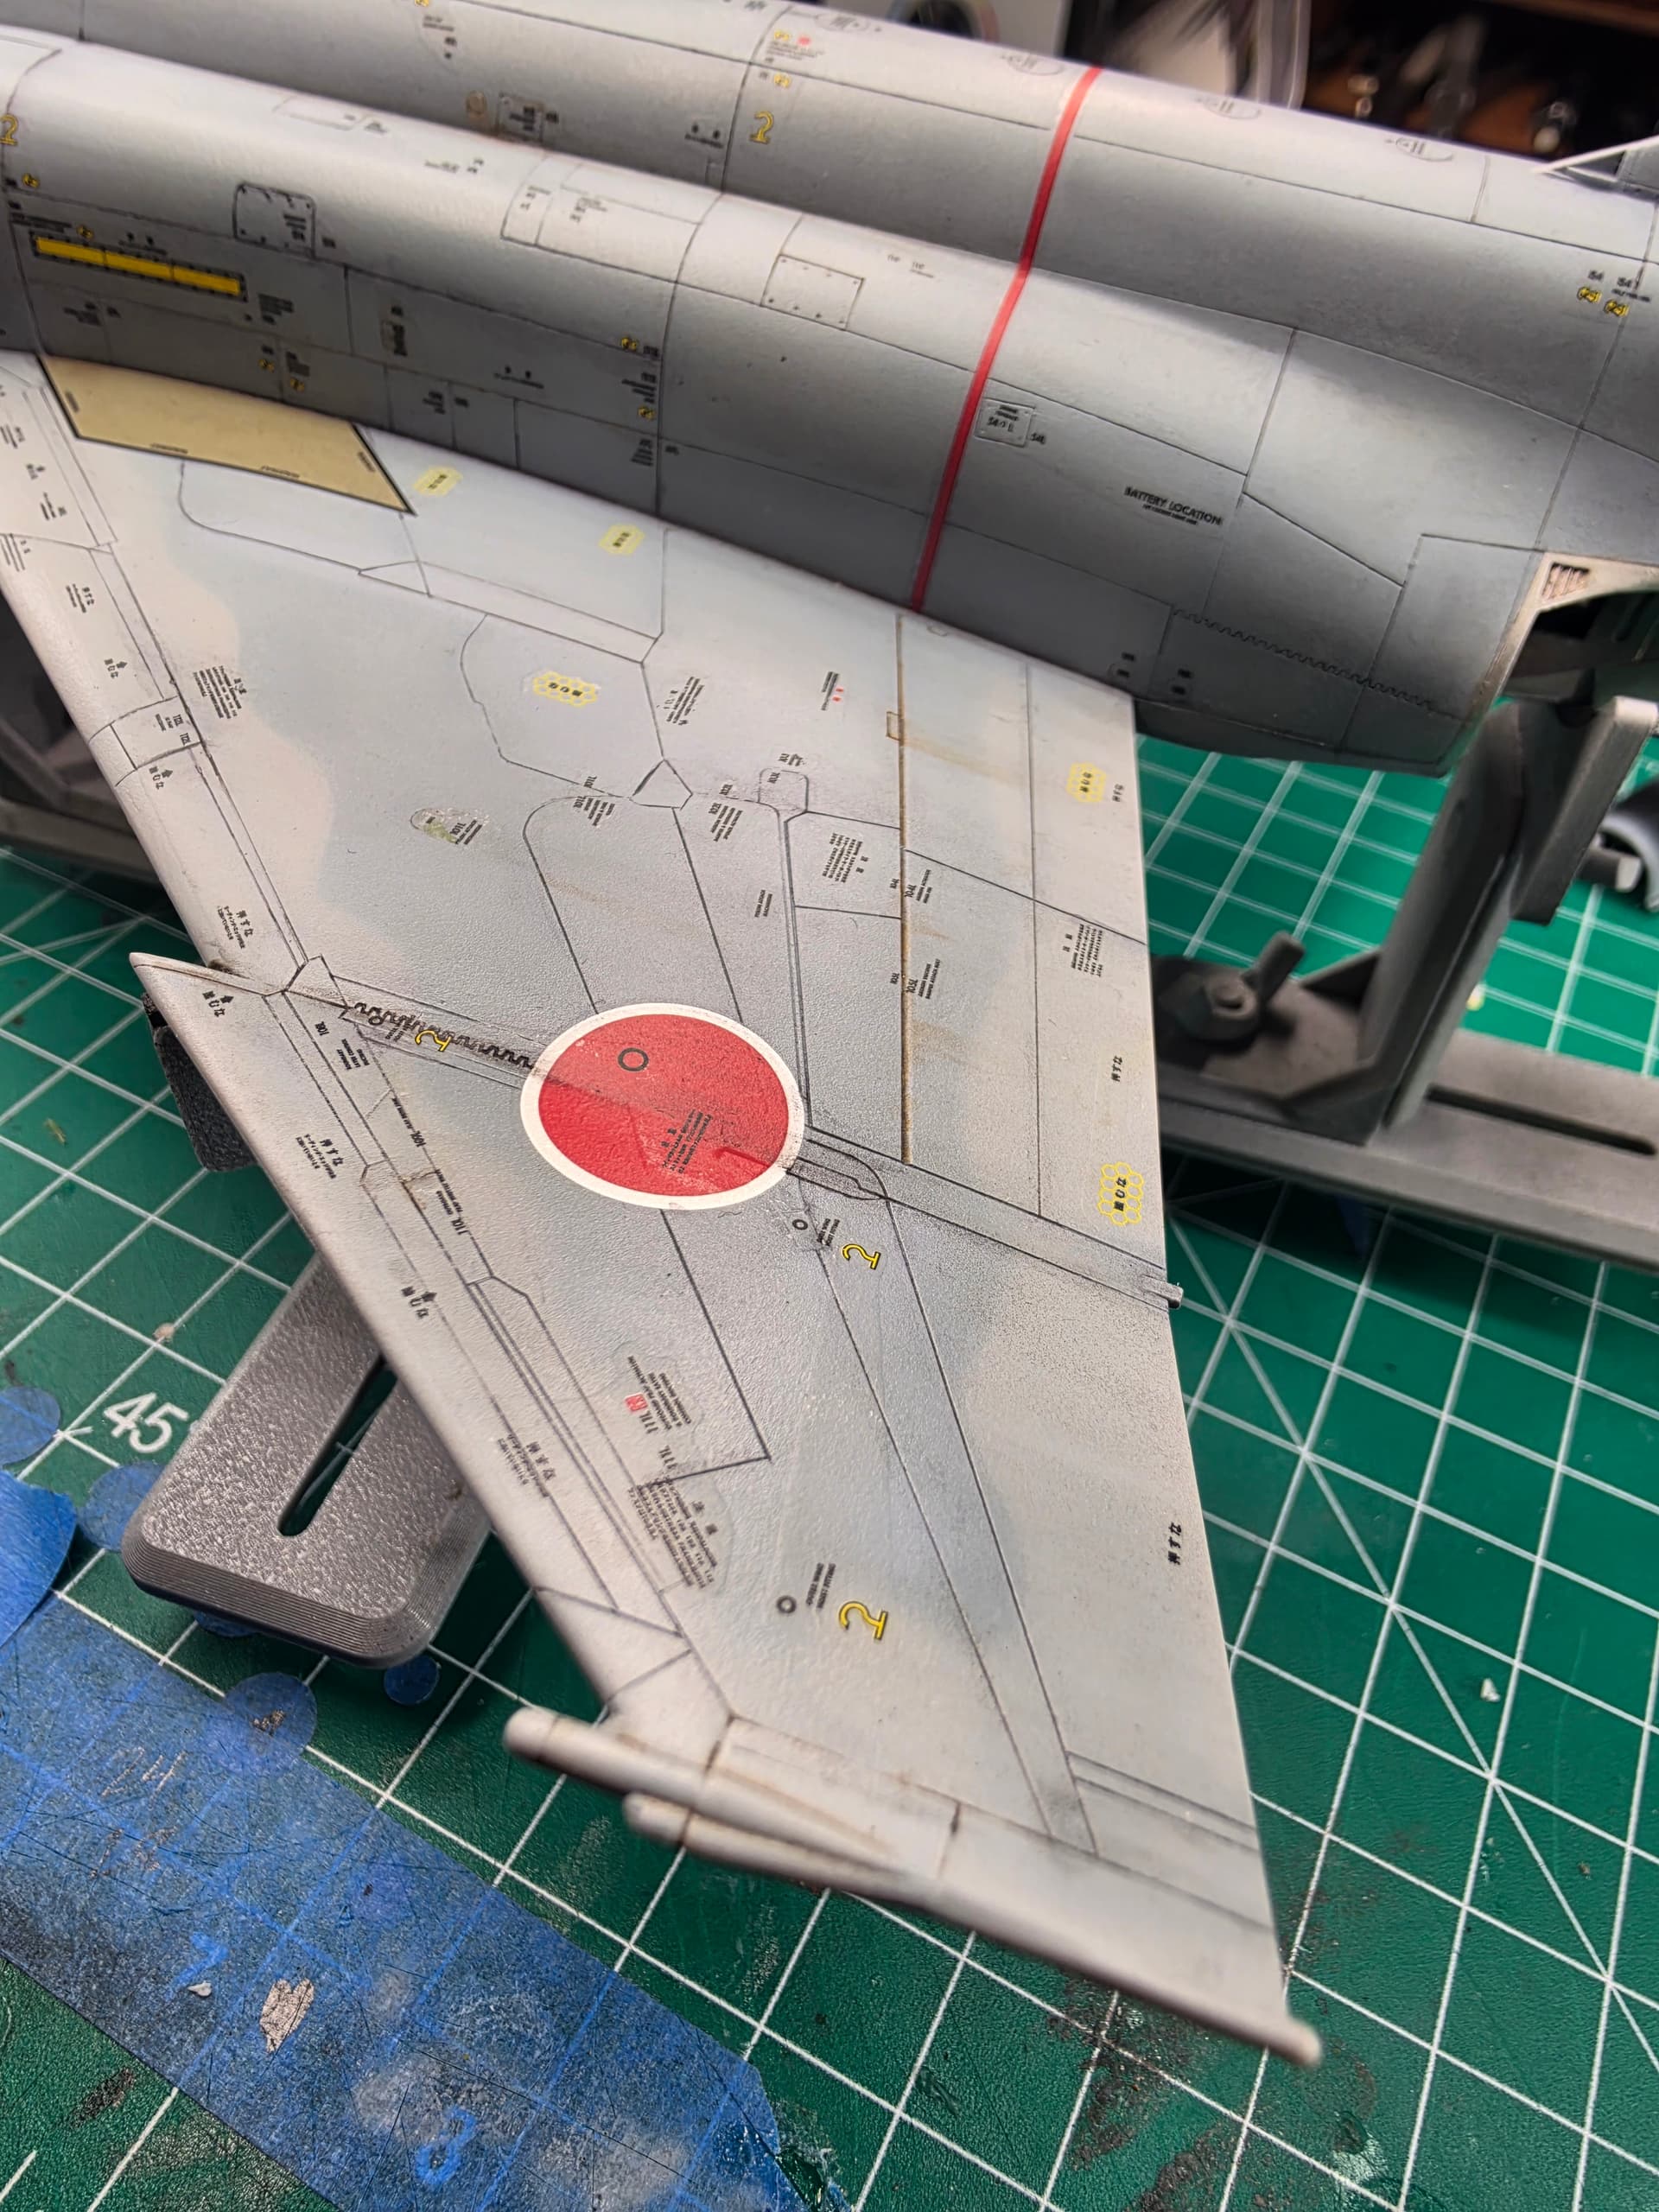
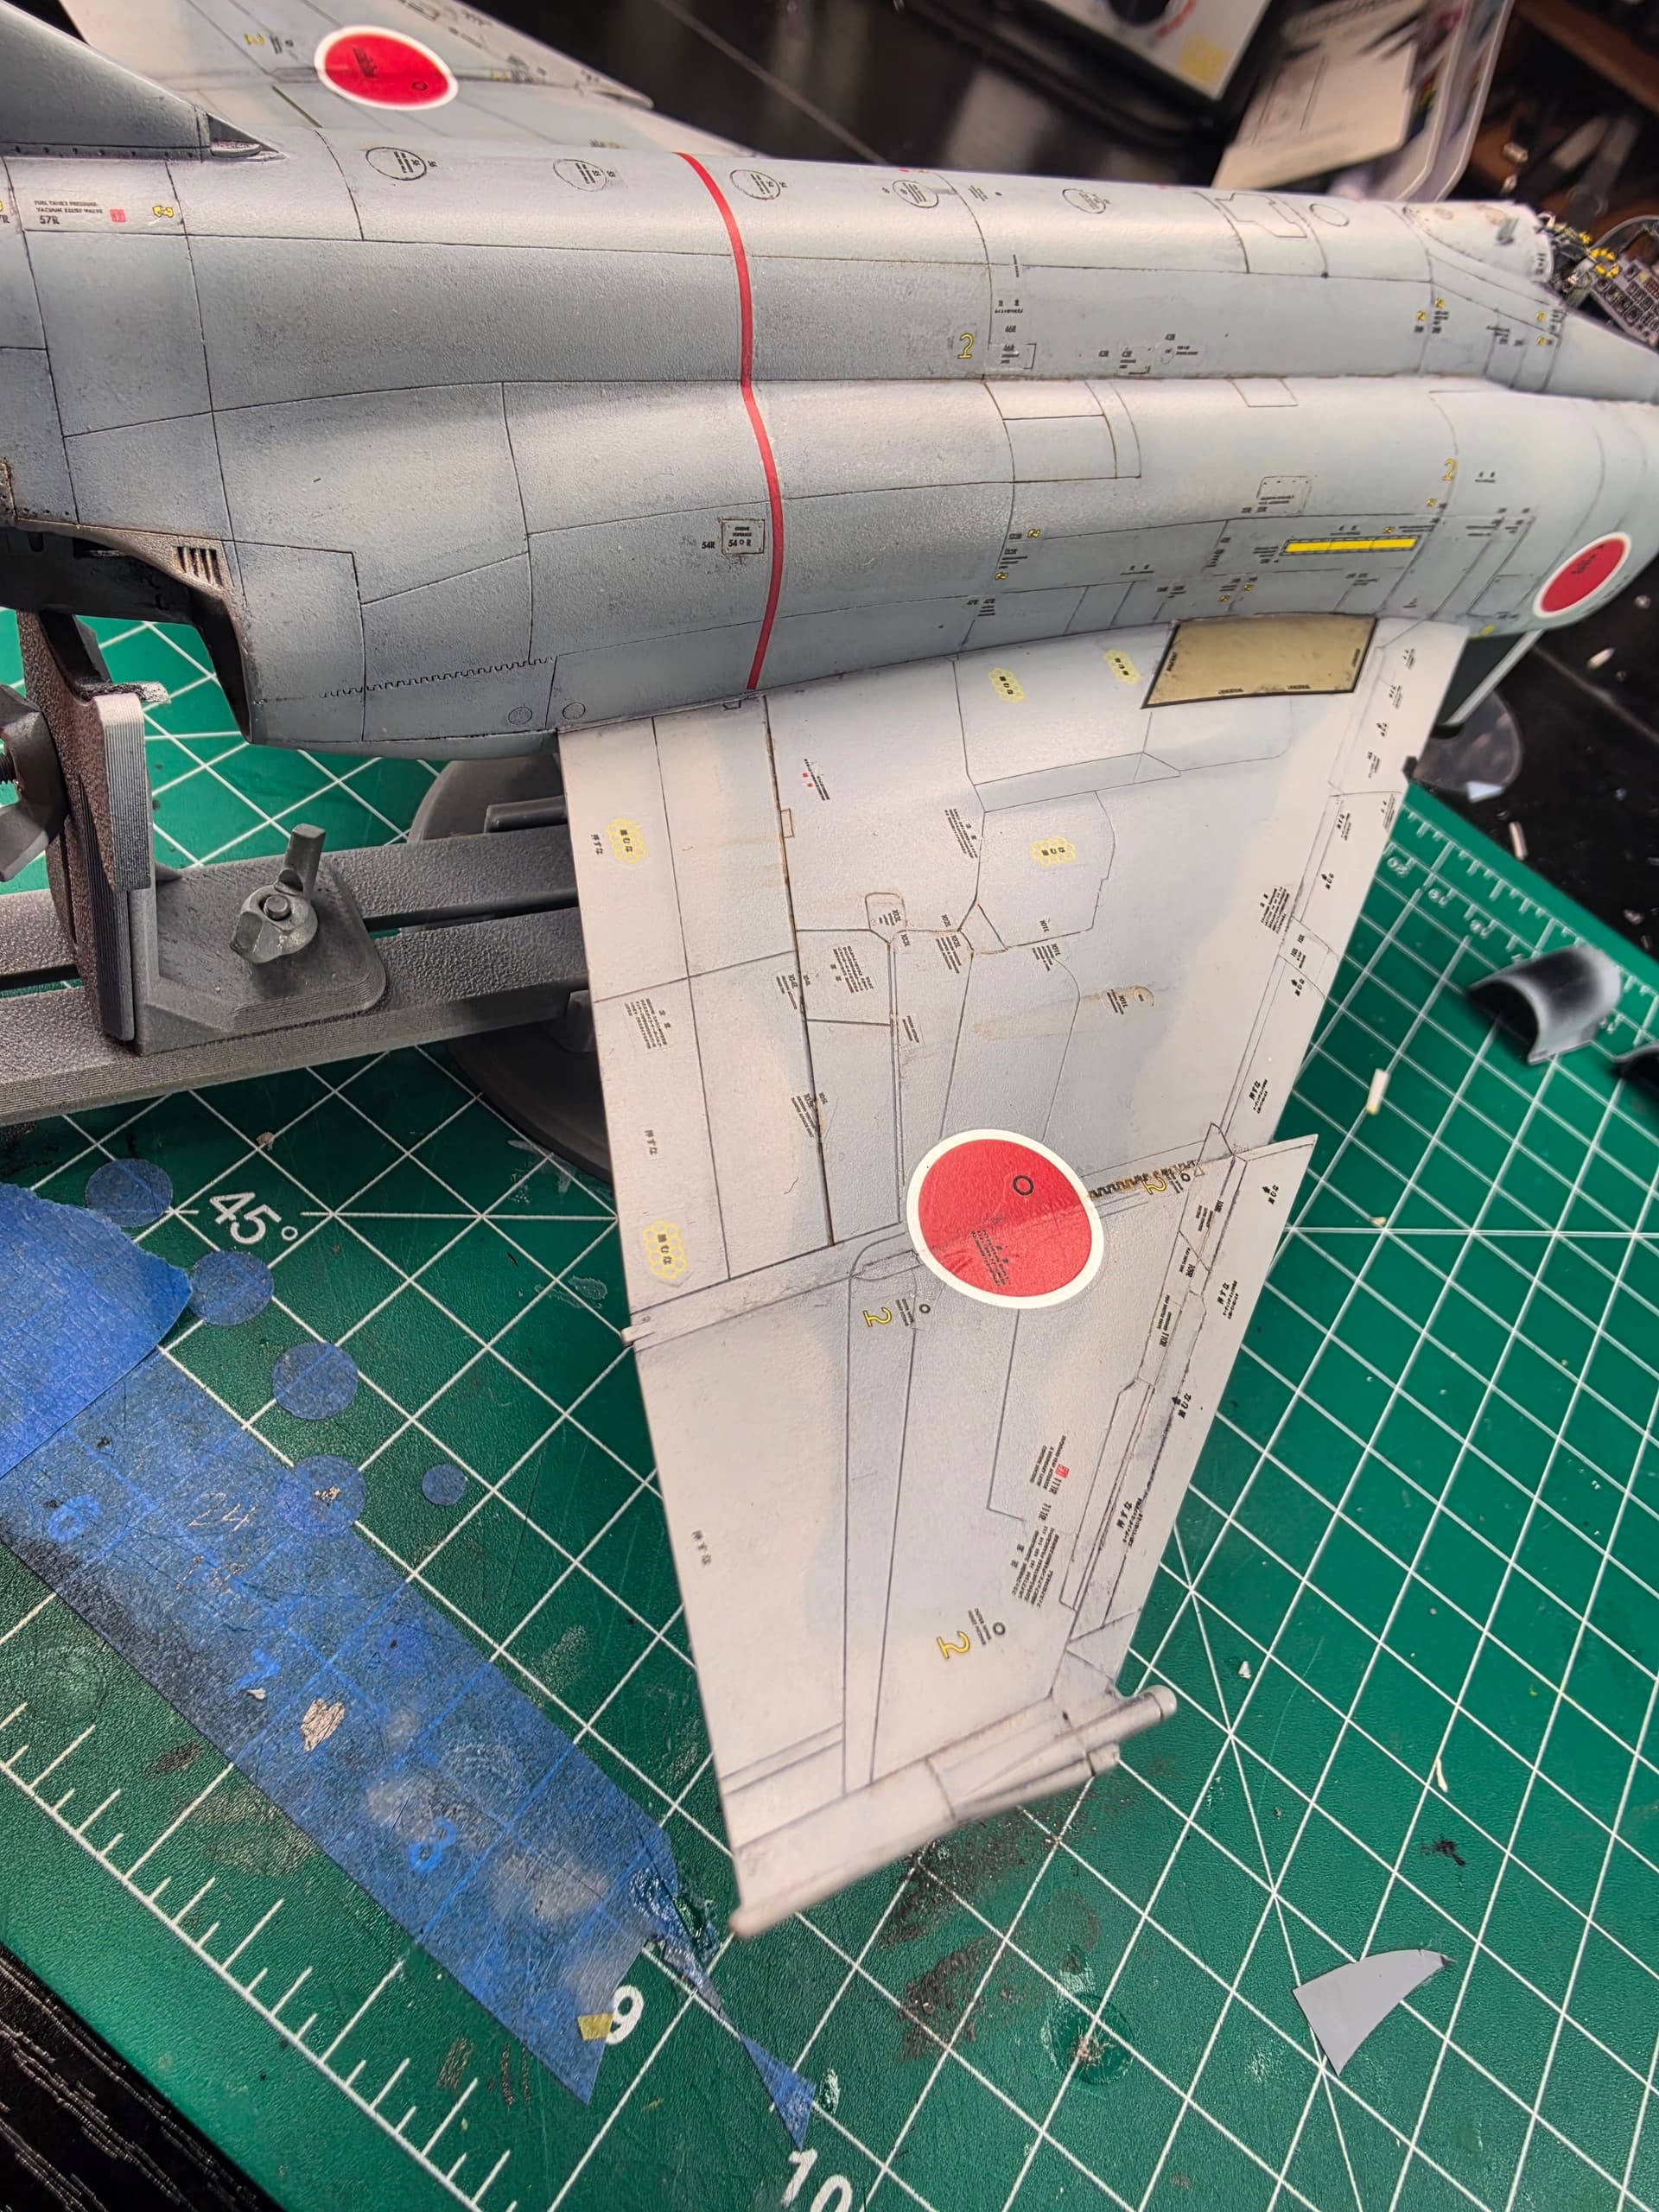
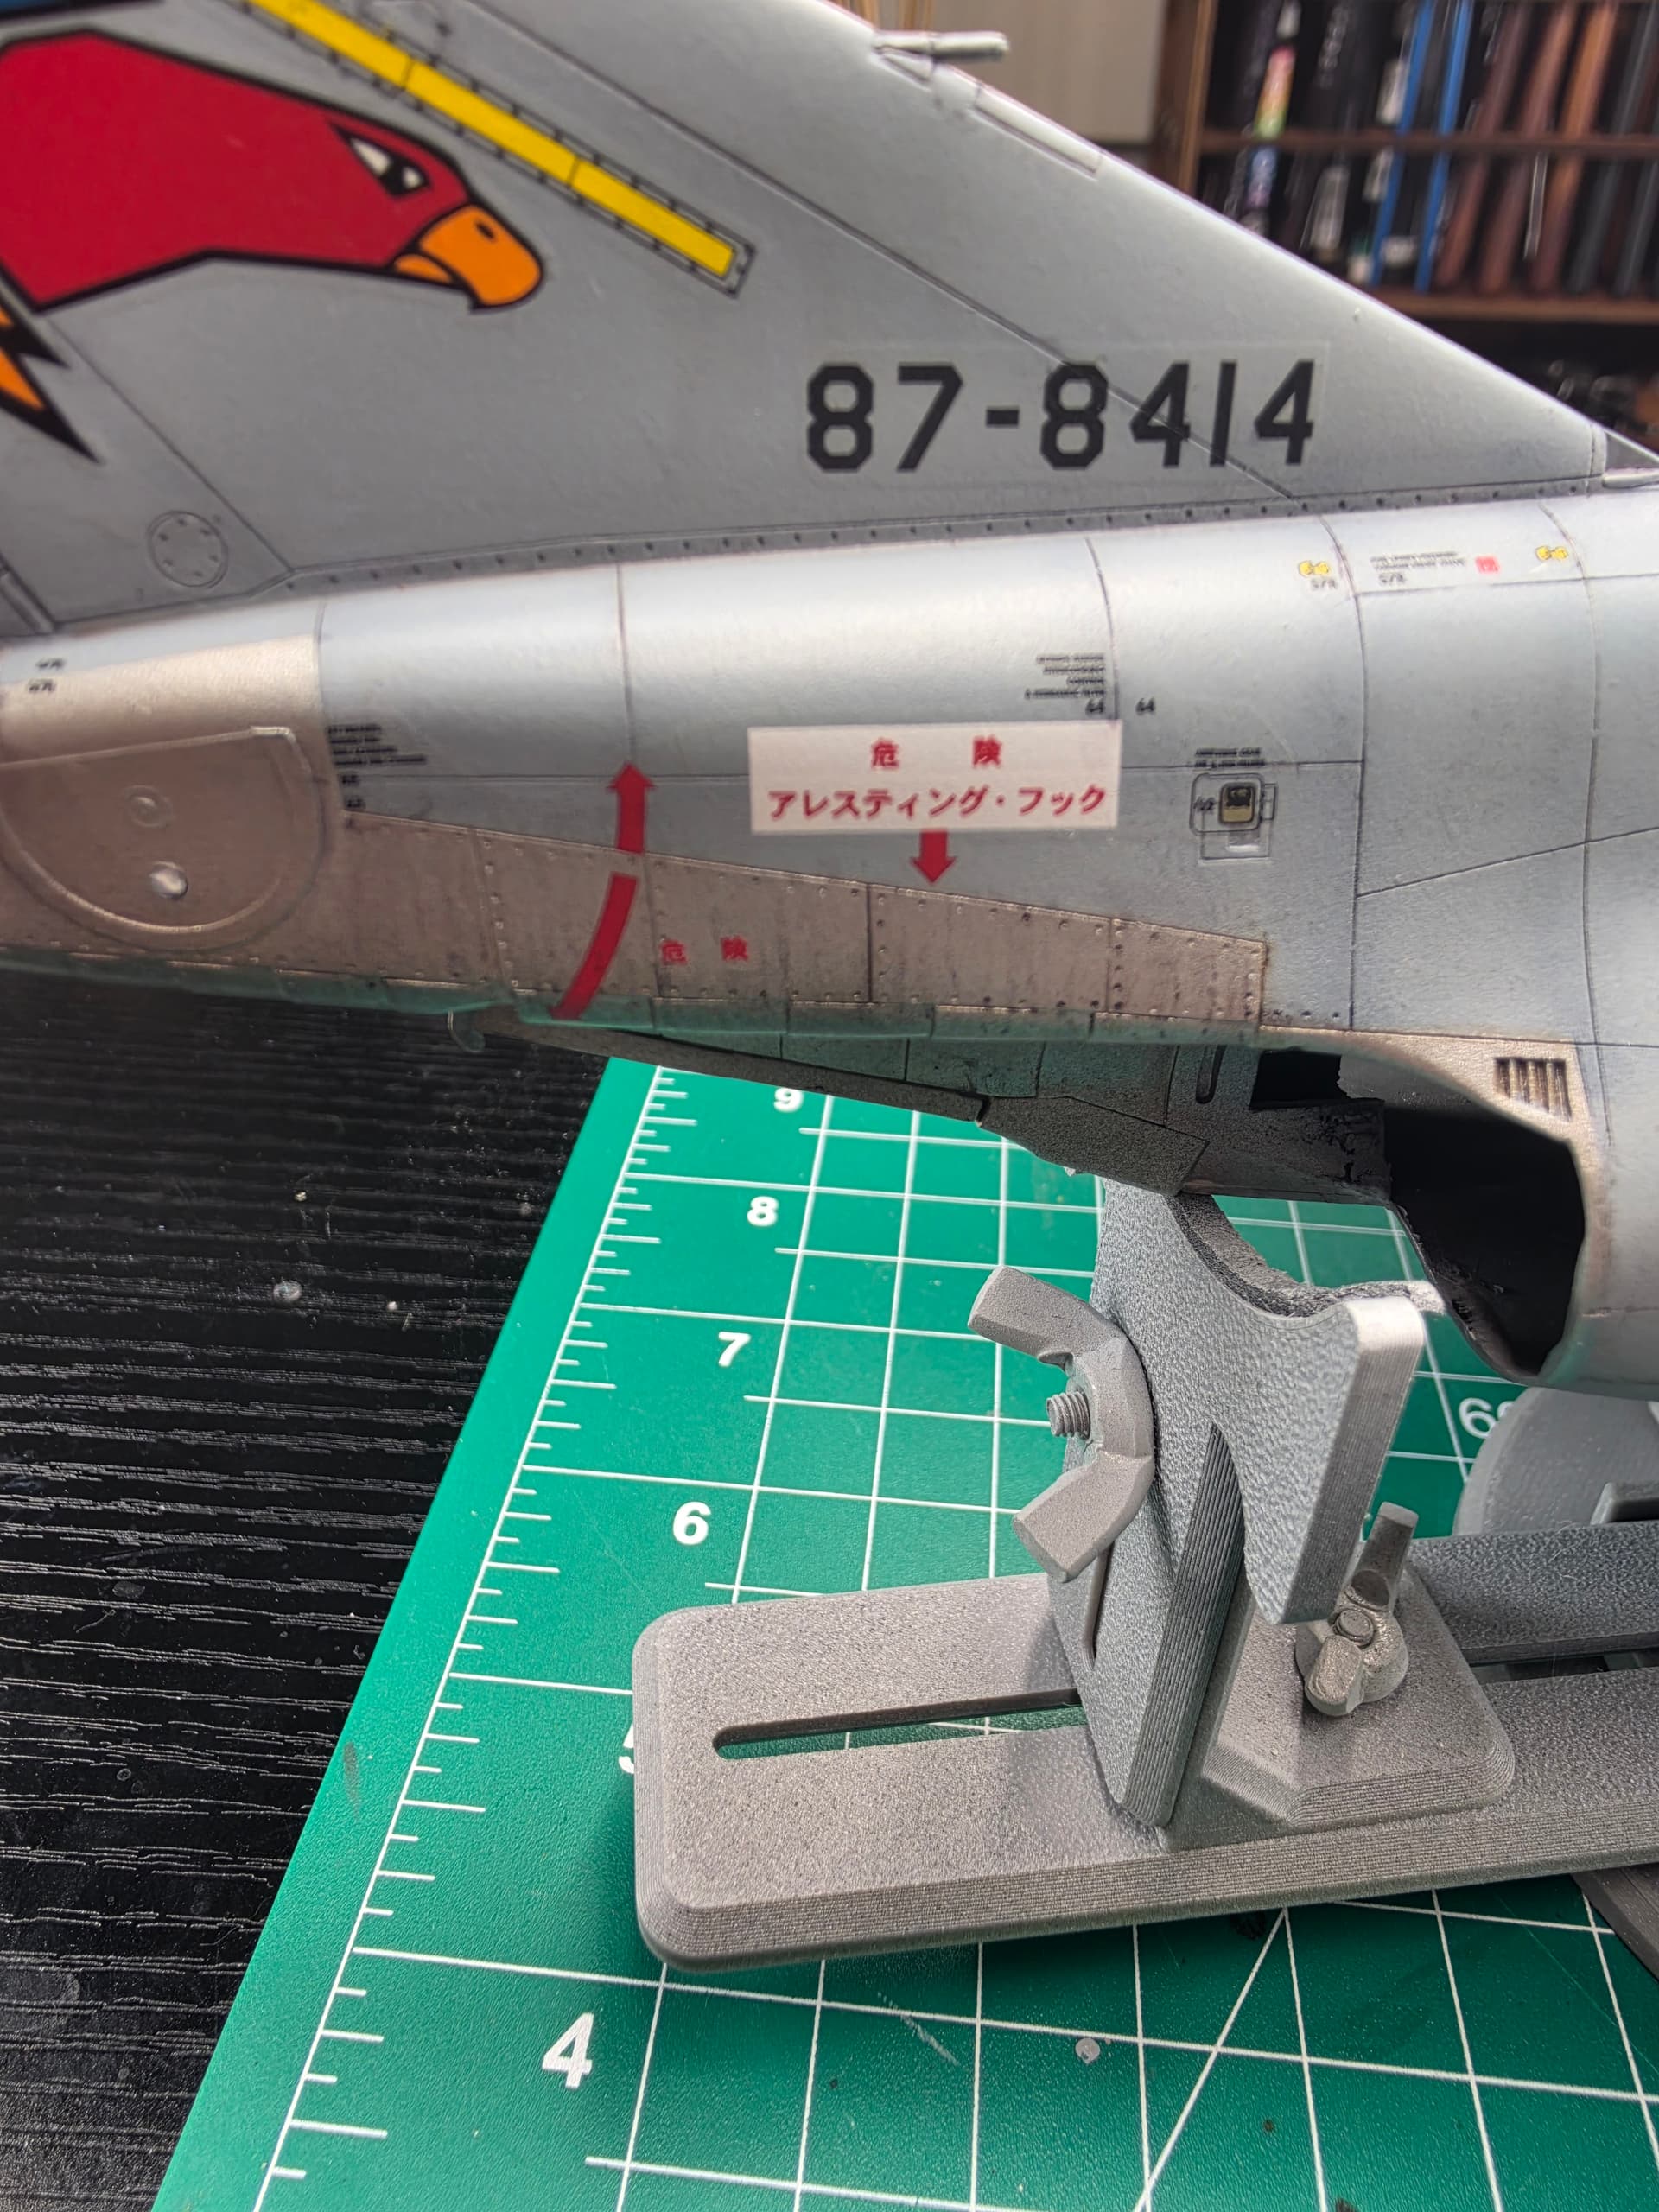
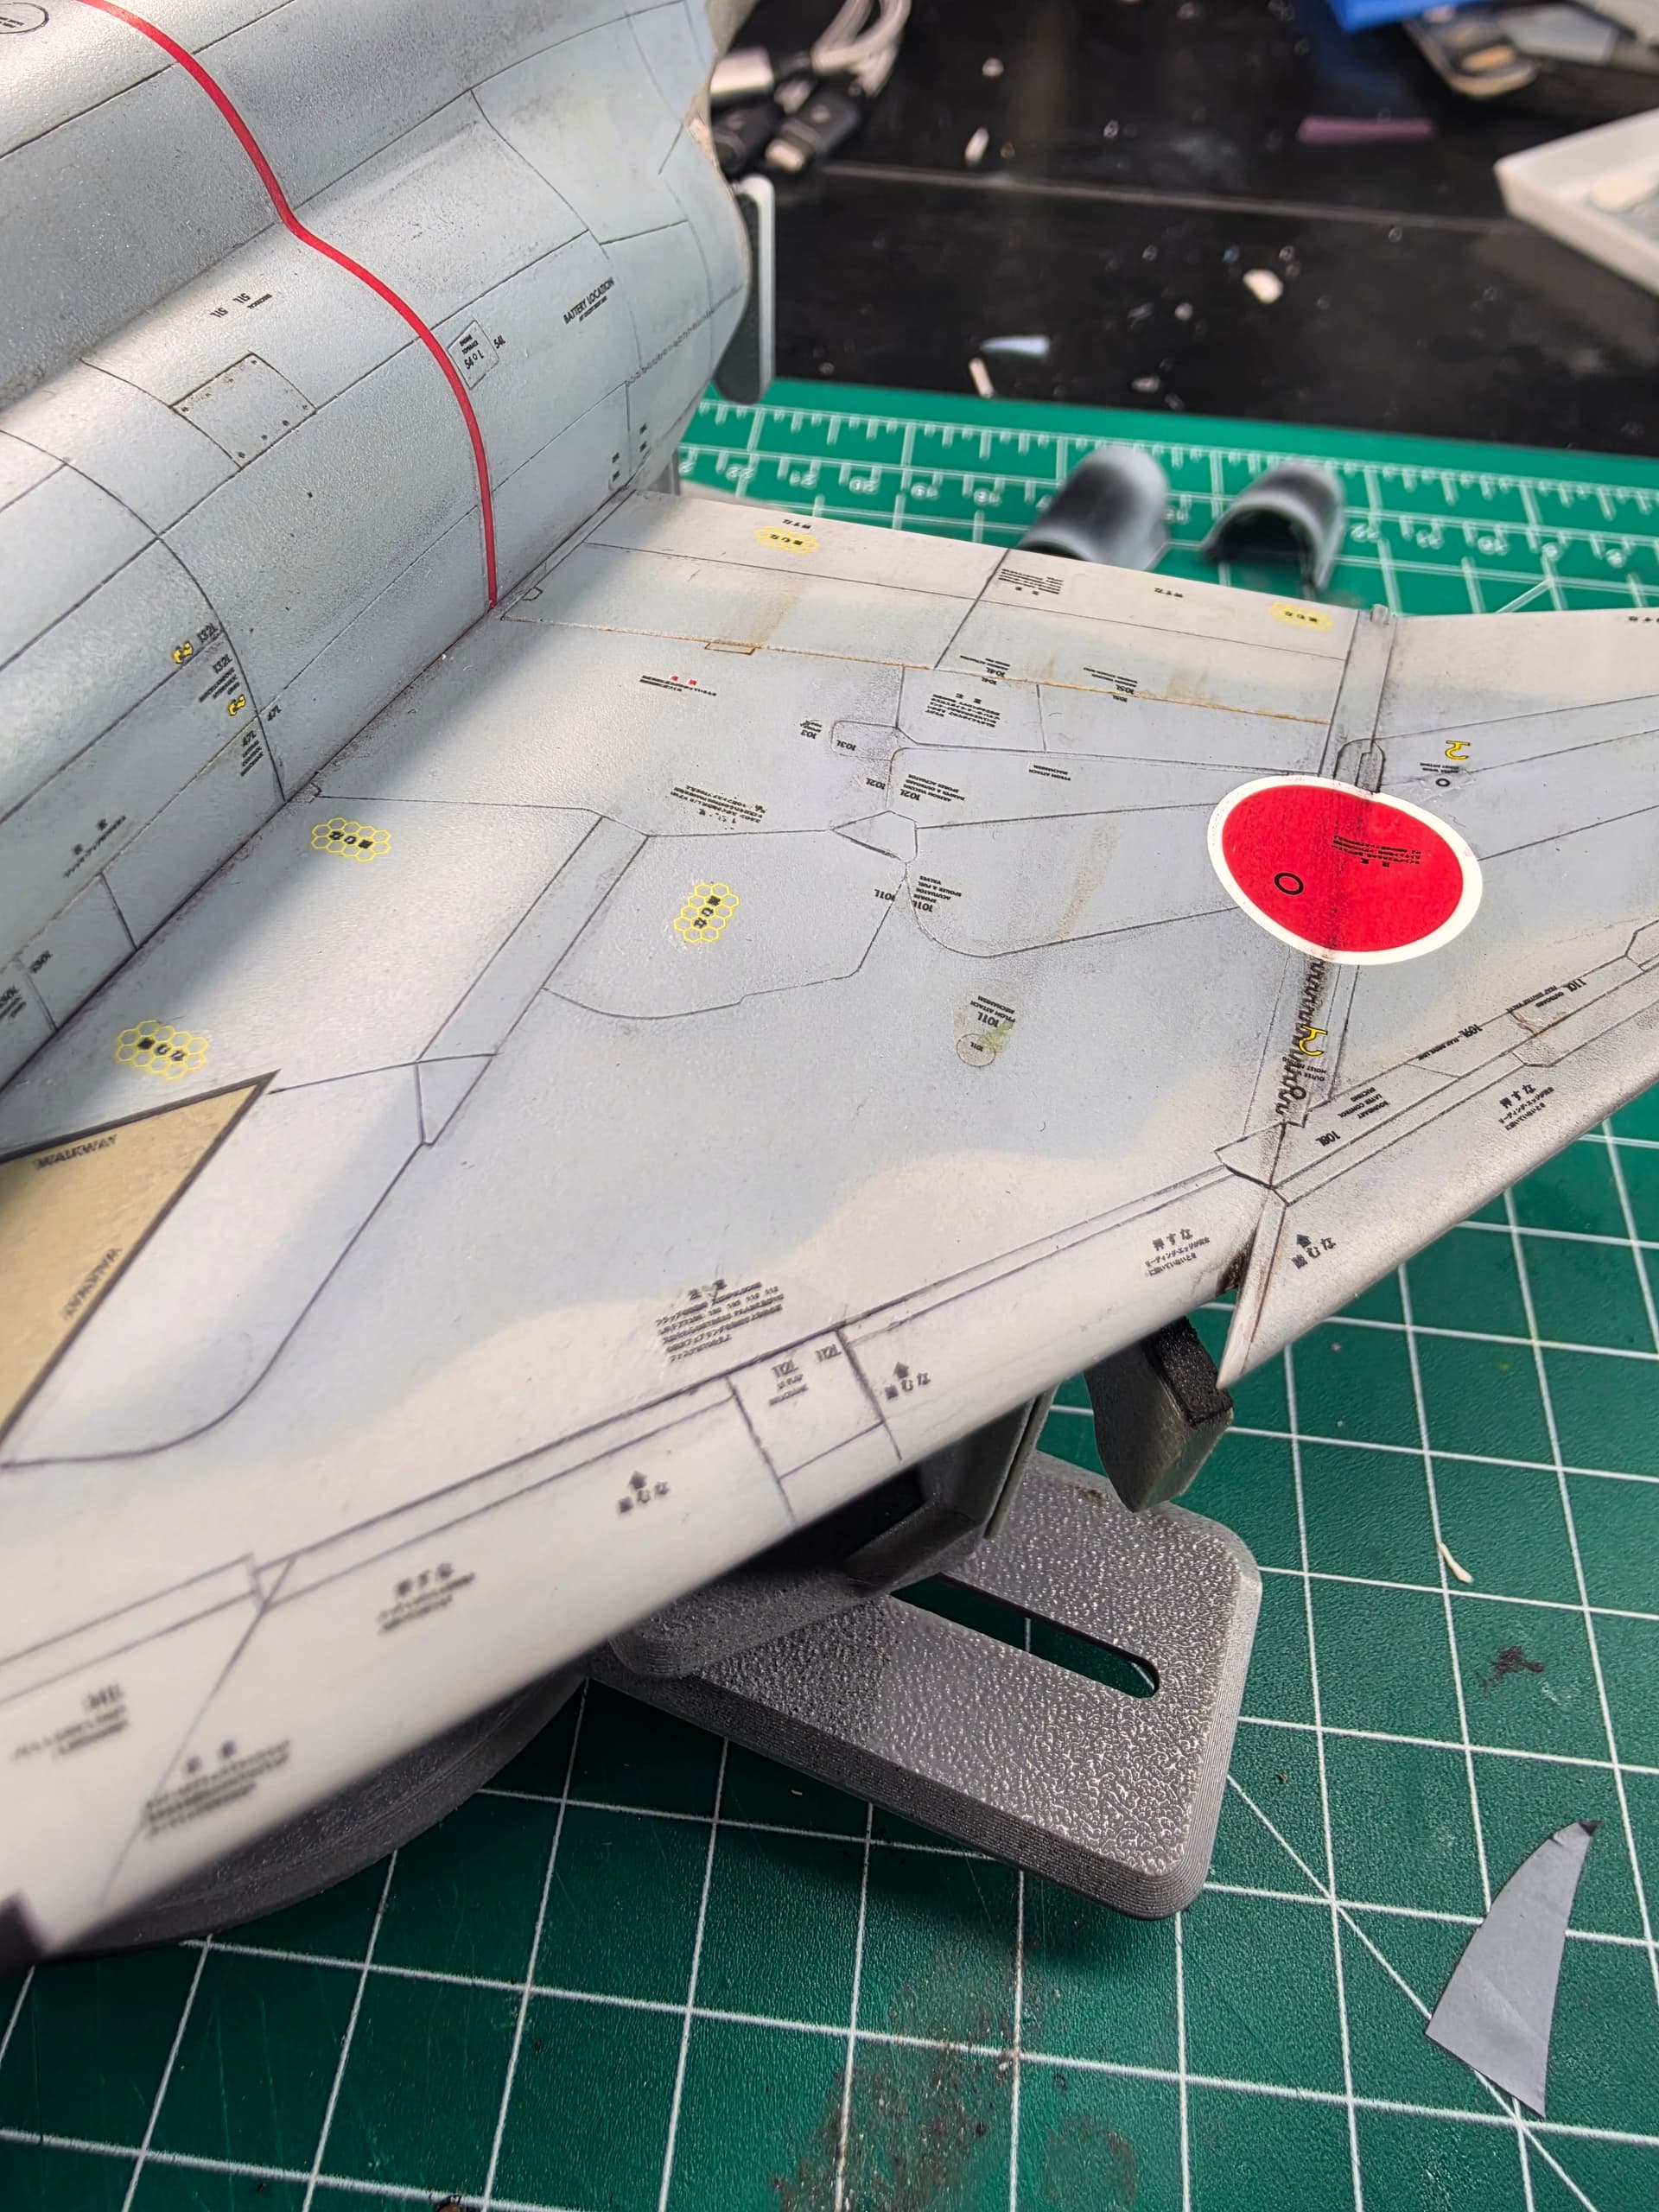
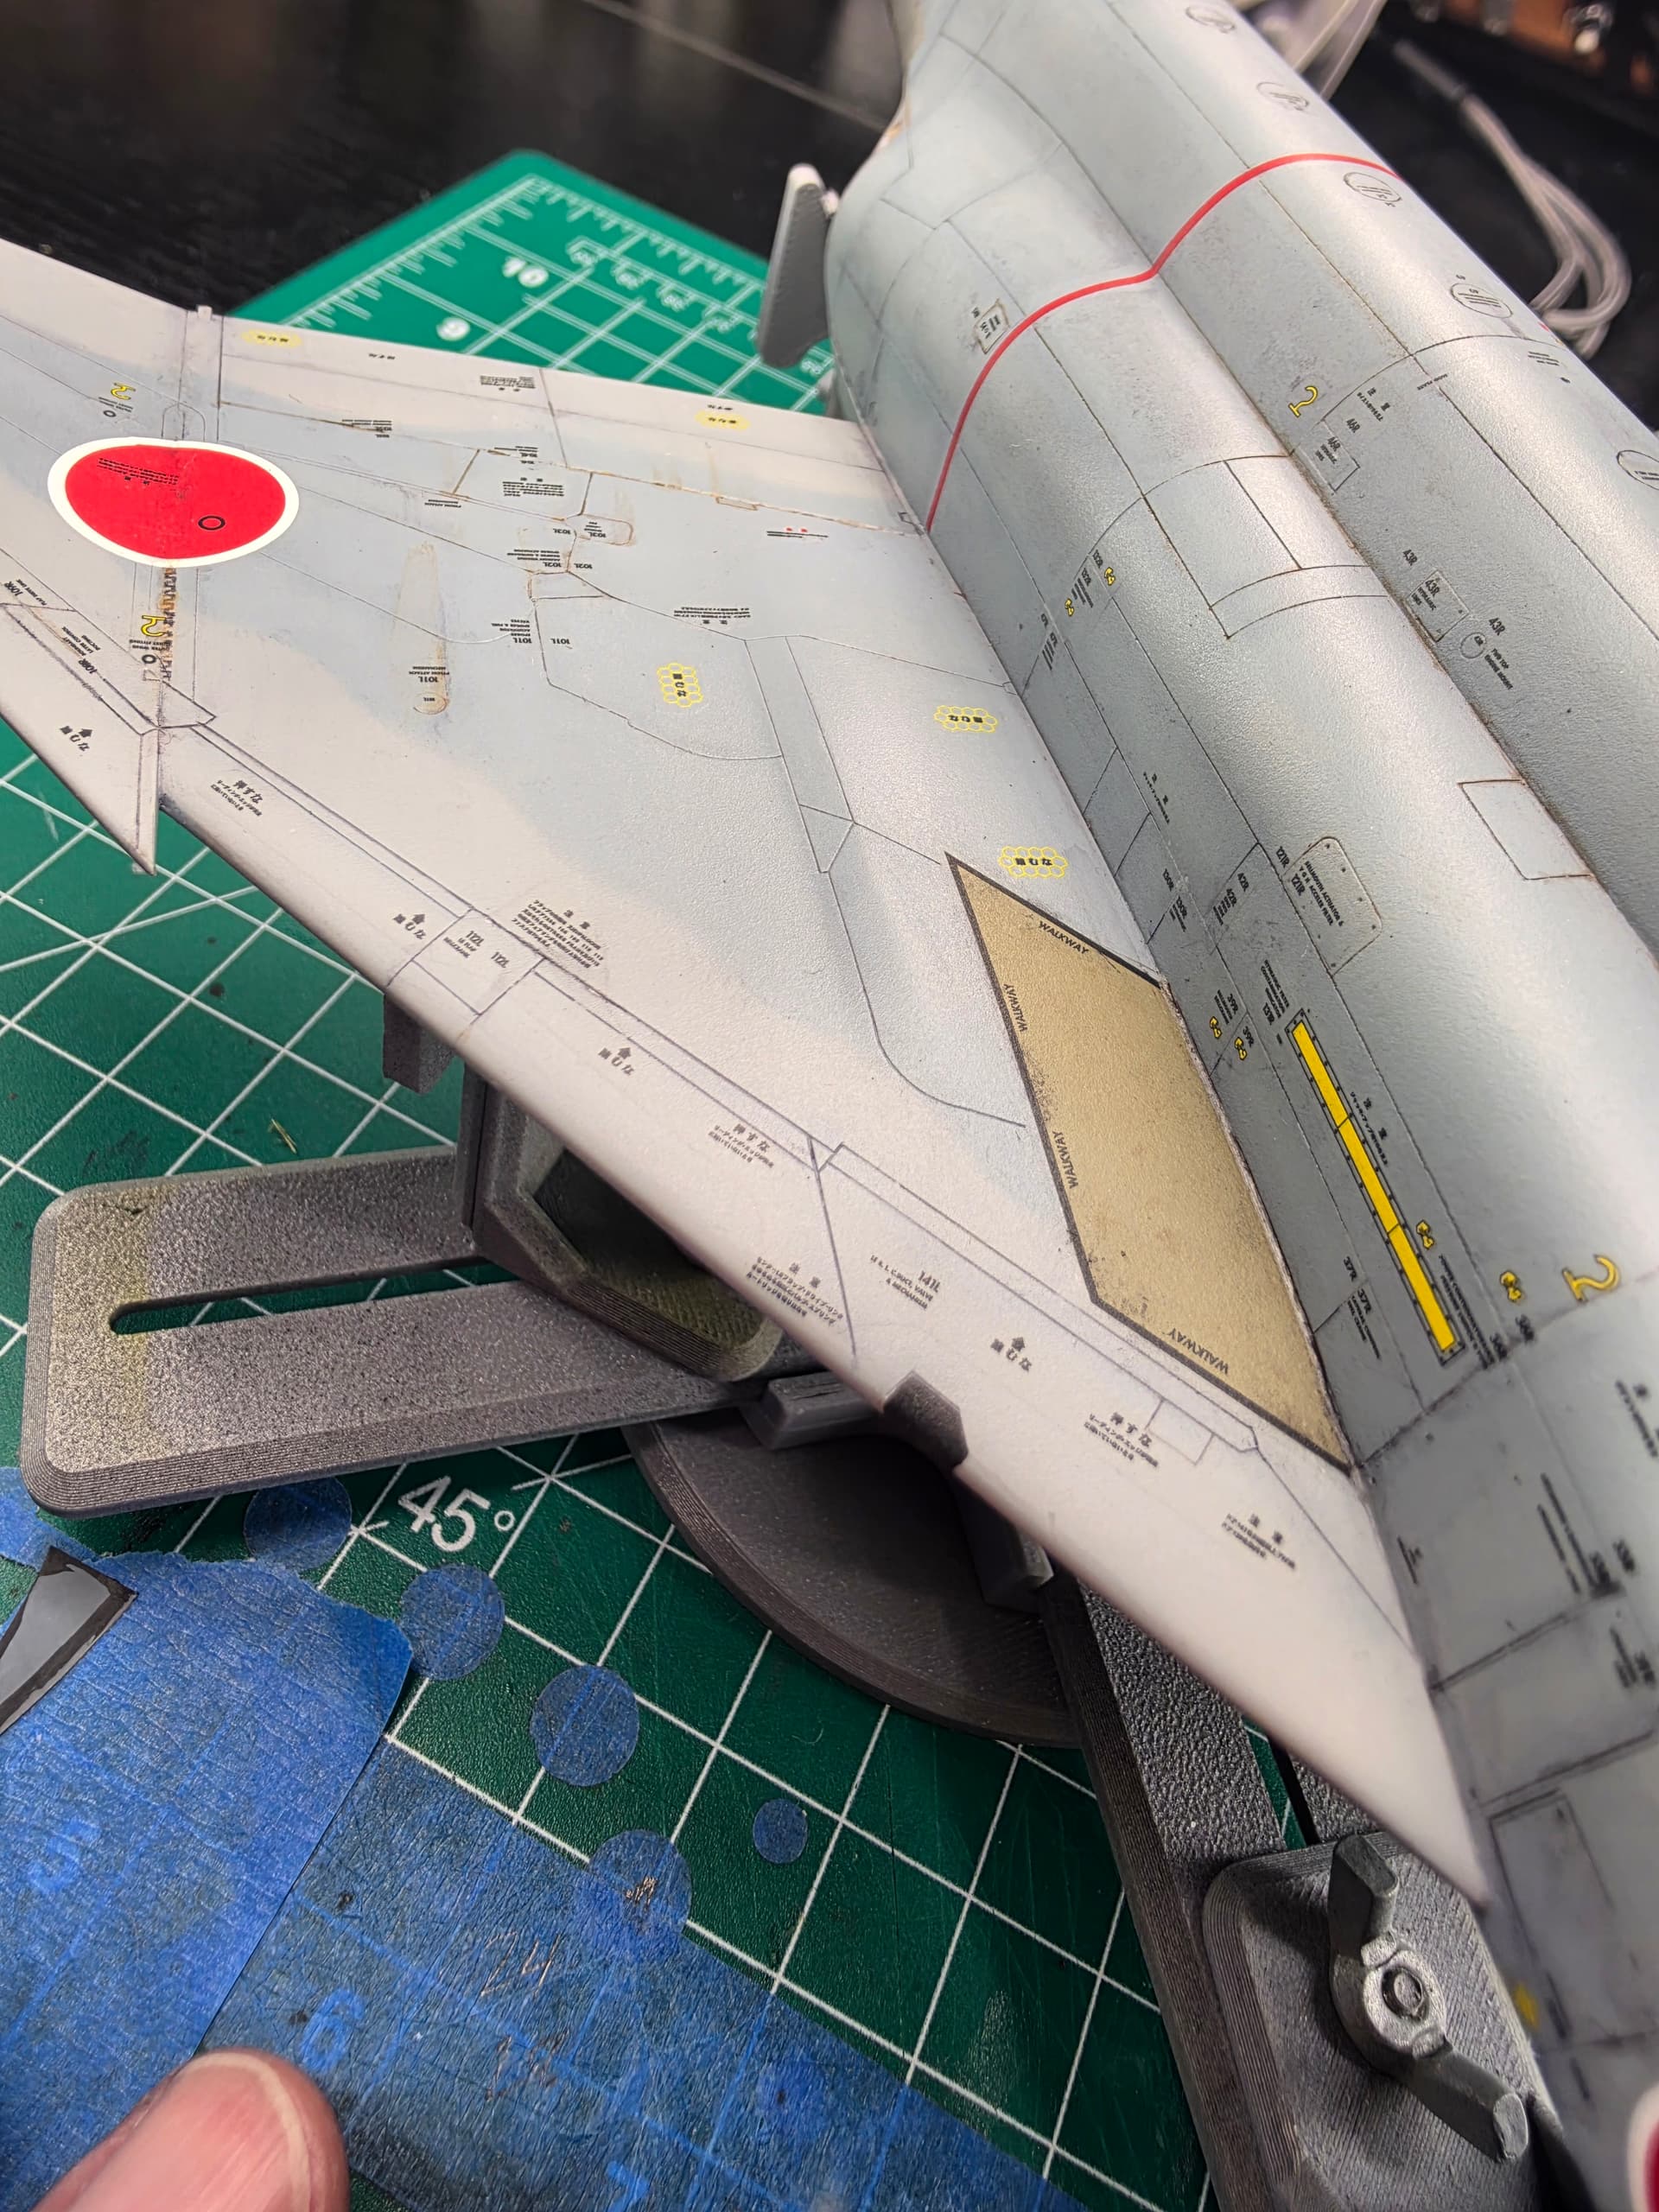
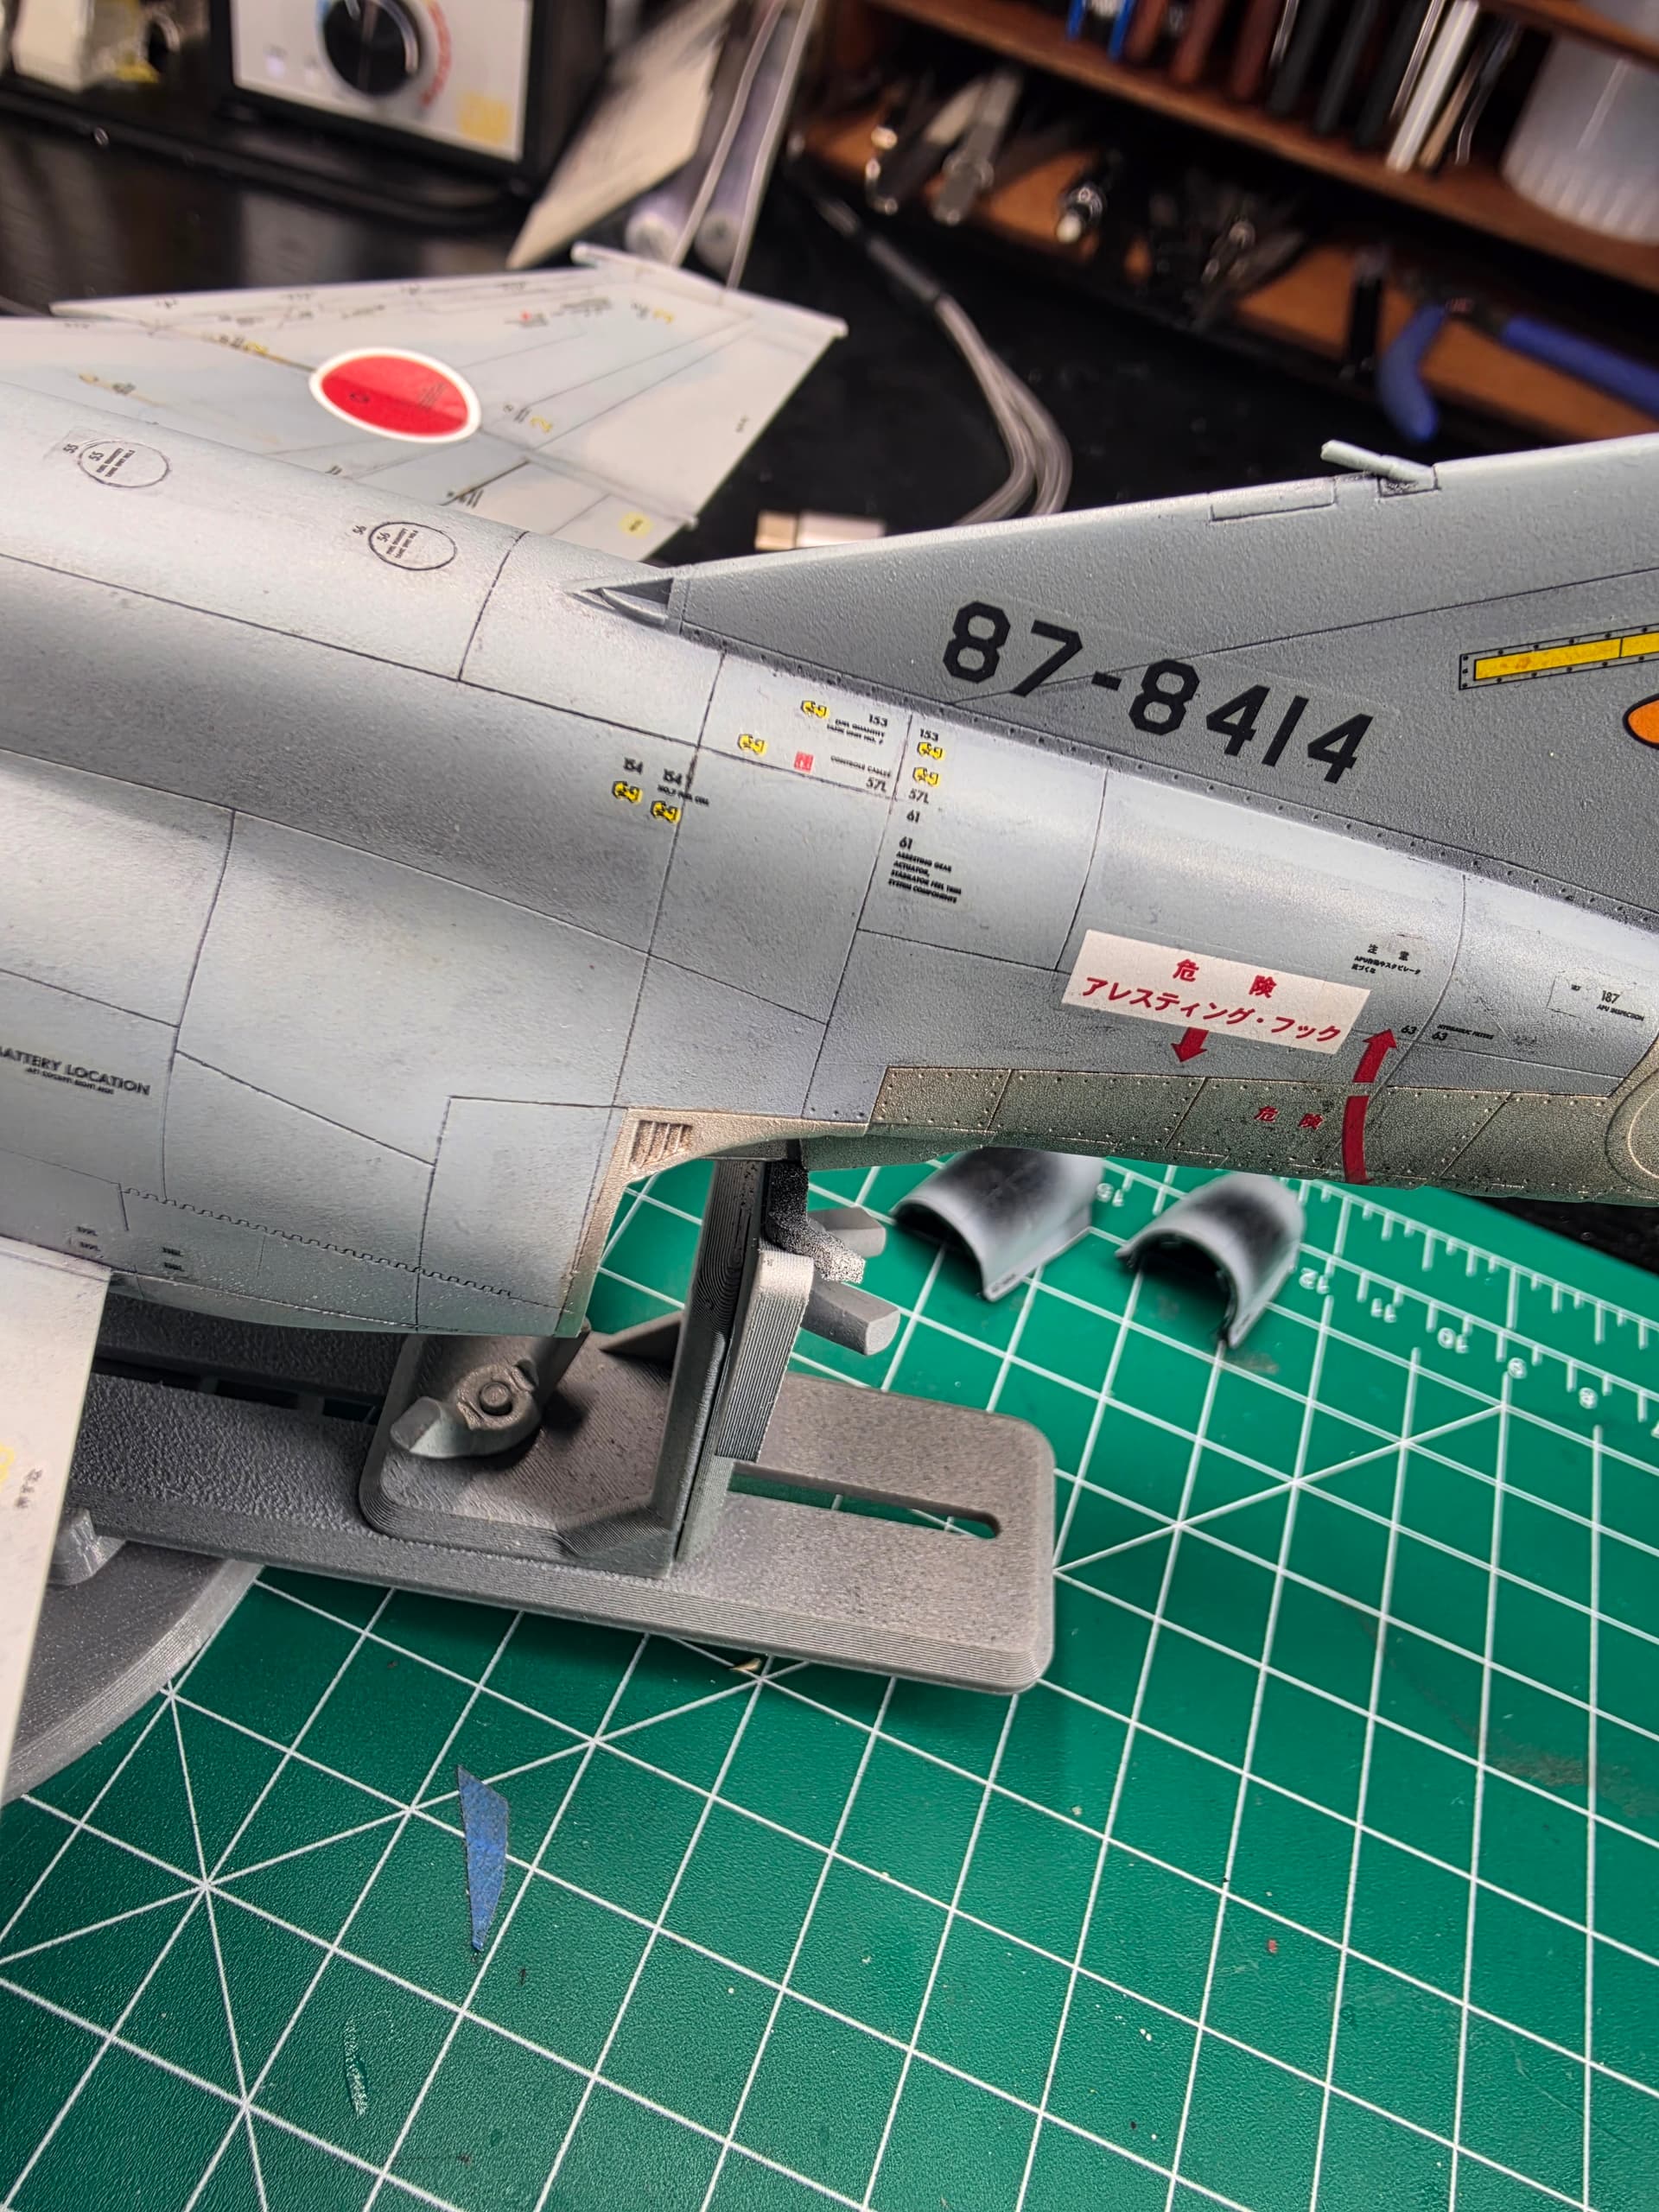
A pretty significant milestone on the F-4 tonight. I finally got the weathering on the upper surfaces sealed in.
It may not look like much of a change in the photos, but as anyone who has sealed in their weathering knows, it’s a big moment in a build. The weathering I’ve been using can be rubbed off and reworked, so up until tonight nothing was really permanent. I’ve spent a lot of time adding a little, taking some away, changing colors, deciding I’d gone too far somewhere and backing it off again. Tonight I finally reached the point where I was happy enough with it to say, “That’s it,” and put the clear coat over it.
I went with a 50/50 mix of Galleria gloss and matte varnish, which gave me about the semi-gloss/satin finish I was after. It sprayed beautifully smooth with no blotching or other surprises. I did get some tip dry, but considering varnish isn’t all that far removed from spraying glue through an airbrush, that’s probably not surprising. Next time I’ll add about 10% thinner/retarder and see if that helps.
So the weathering isn’t finished quite yet. I deliberately haven’t done the underside because I didn’t want to be handling the model and rubbing that weathering off while I worked on the top. I still need to weather the bottom and the landing gear doors, and do a little more on the fuel tanks, then those can all be sealed too.
But this still feels like I’ve crossed a line in the build. After something like 28 hours of decals and stencils, then clear coating, panel lines, weathering, reworking the weathering and finally sealing it, the upper half of this Phantom is no longer something I’m experimenting with.
A wise forum member once told me something along the lines of, when you think the weathering needs just one more pass, that’s probably when you should stop. I don’t remember who said it or exactly how they said it, but I’ve remembered the advice.
So I stopped.