Thank you! I don’t go for the appearance that is so trendy today where the aircraft look like they’ve been sitting out in the boneyard for a decade or so with super faded paint and heavy chipping. This particular aircraft that I’m modeling had only been in service a couple of months up to the point where it had its major incident and was heavily damaged. I’m aiming for how it would have looked before that flight. I have a tad bit more wear wreathing to do, but otherwise that part is done.
5 Likes
Not fresh out of the assembly line, but not exactly new is hard to achieve. You’ve done a great job here!
Gary
2 Likes
Agree, just a wonderful job of weathering - it looks fantastic
2 Likes
I agree, the very weathered (and accurate) look is quite difficult to pull off in scale, it usually looks overdone to me, even if it is an exact replica of a real aircraft. You did a nice job staying on, what I feel is the best side of the line.
2 Likes
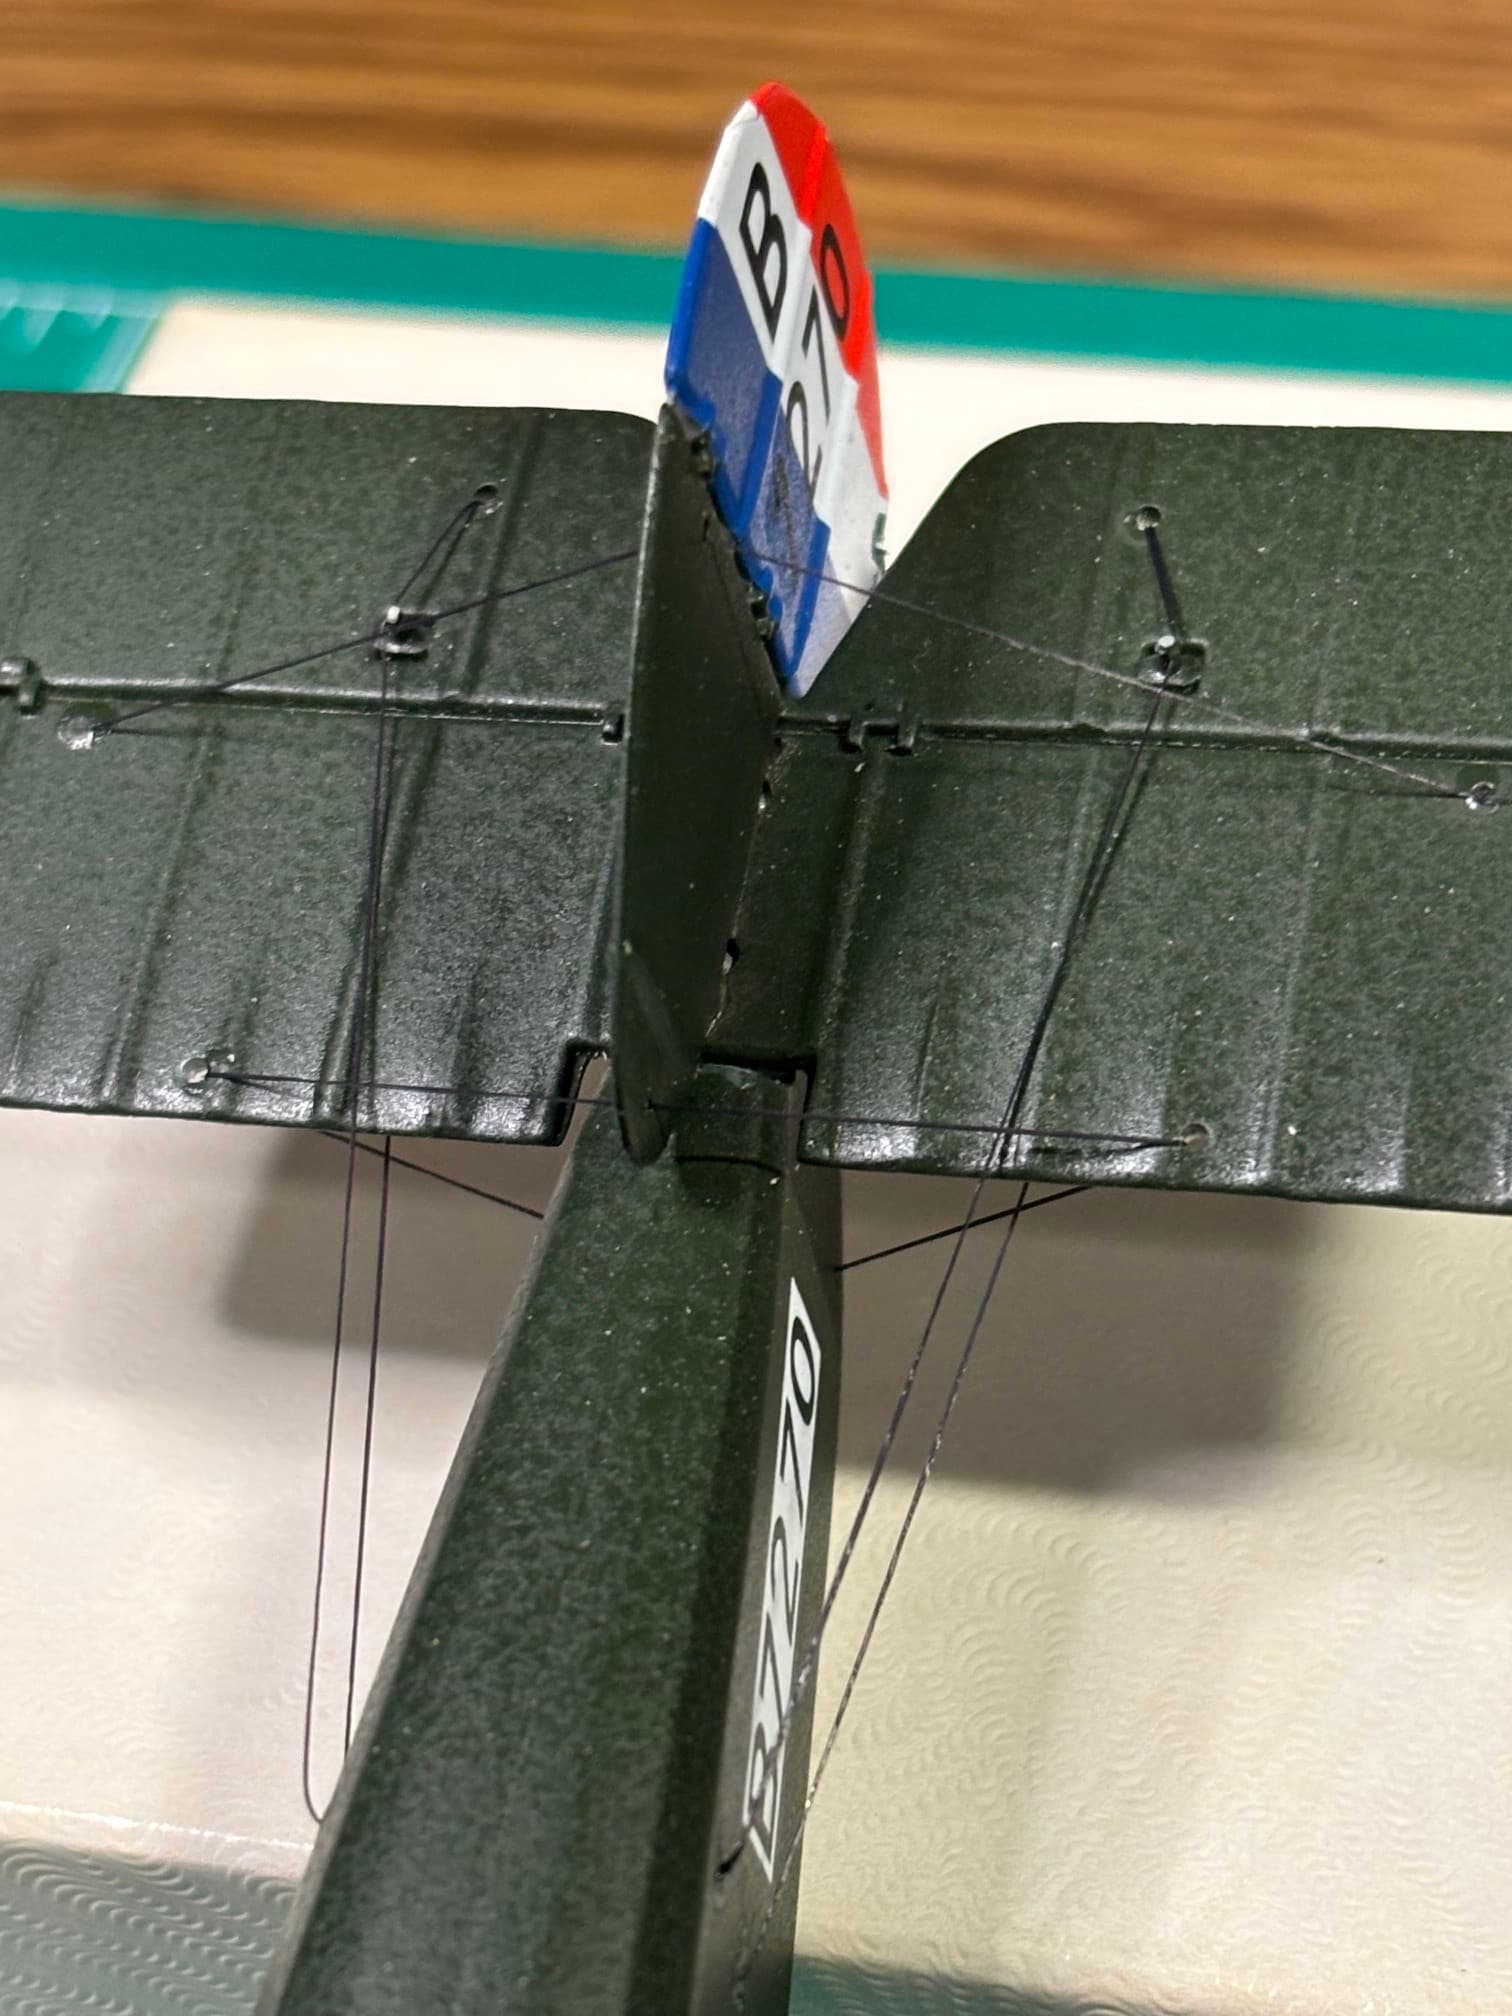
I did the rigging on my Academy Sopwith Camel but made the mistake of using the line that came with the kit – stiff, kinked and clunky. So today I’ve torn it out and started doing it again using EZ Line which I’m finding much easier to work with.
10 Likes
Looks great and I’ve never needed to do rigging, but I have a F4-U build coming up and I was wondering about it. Another thing to buy!
1 Like
7 Likes
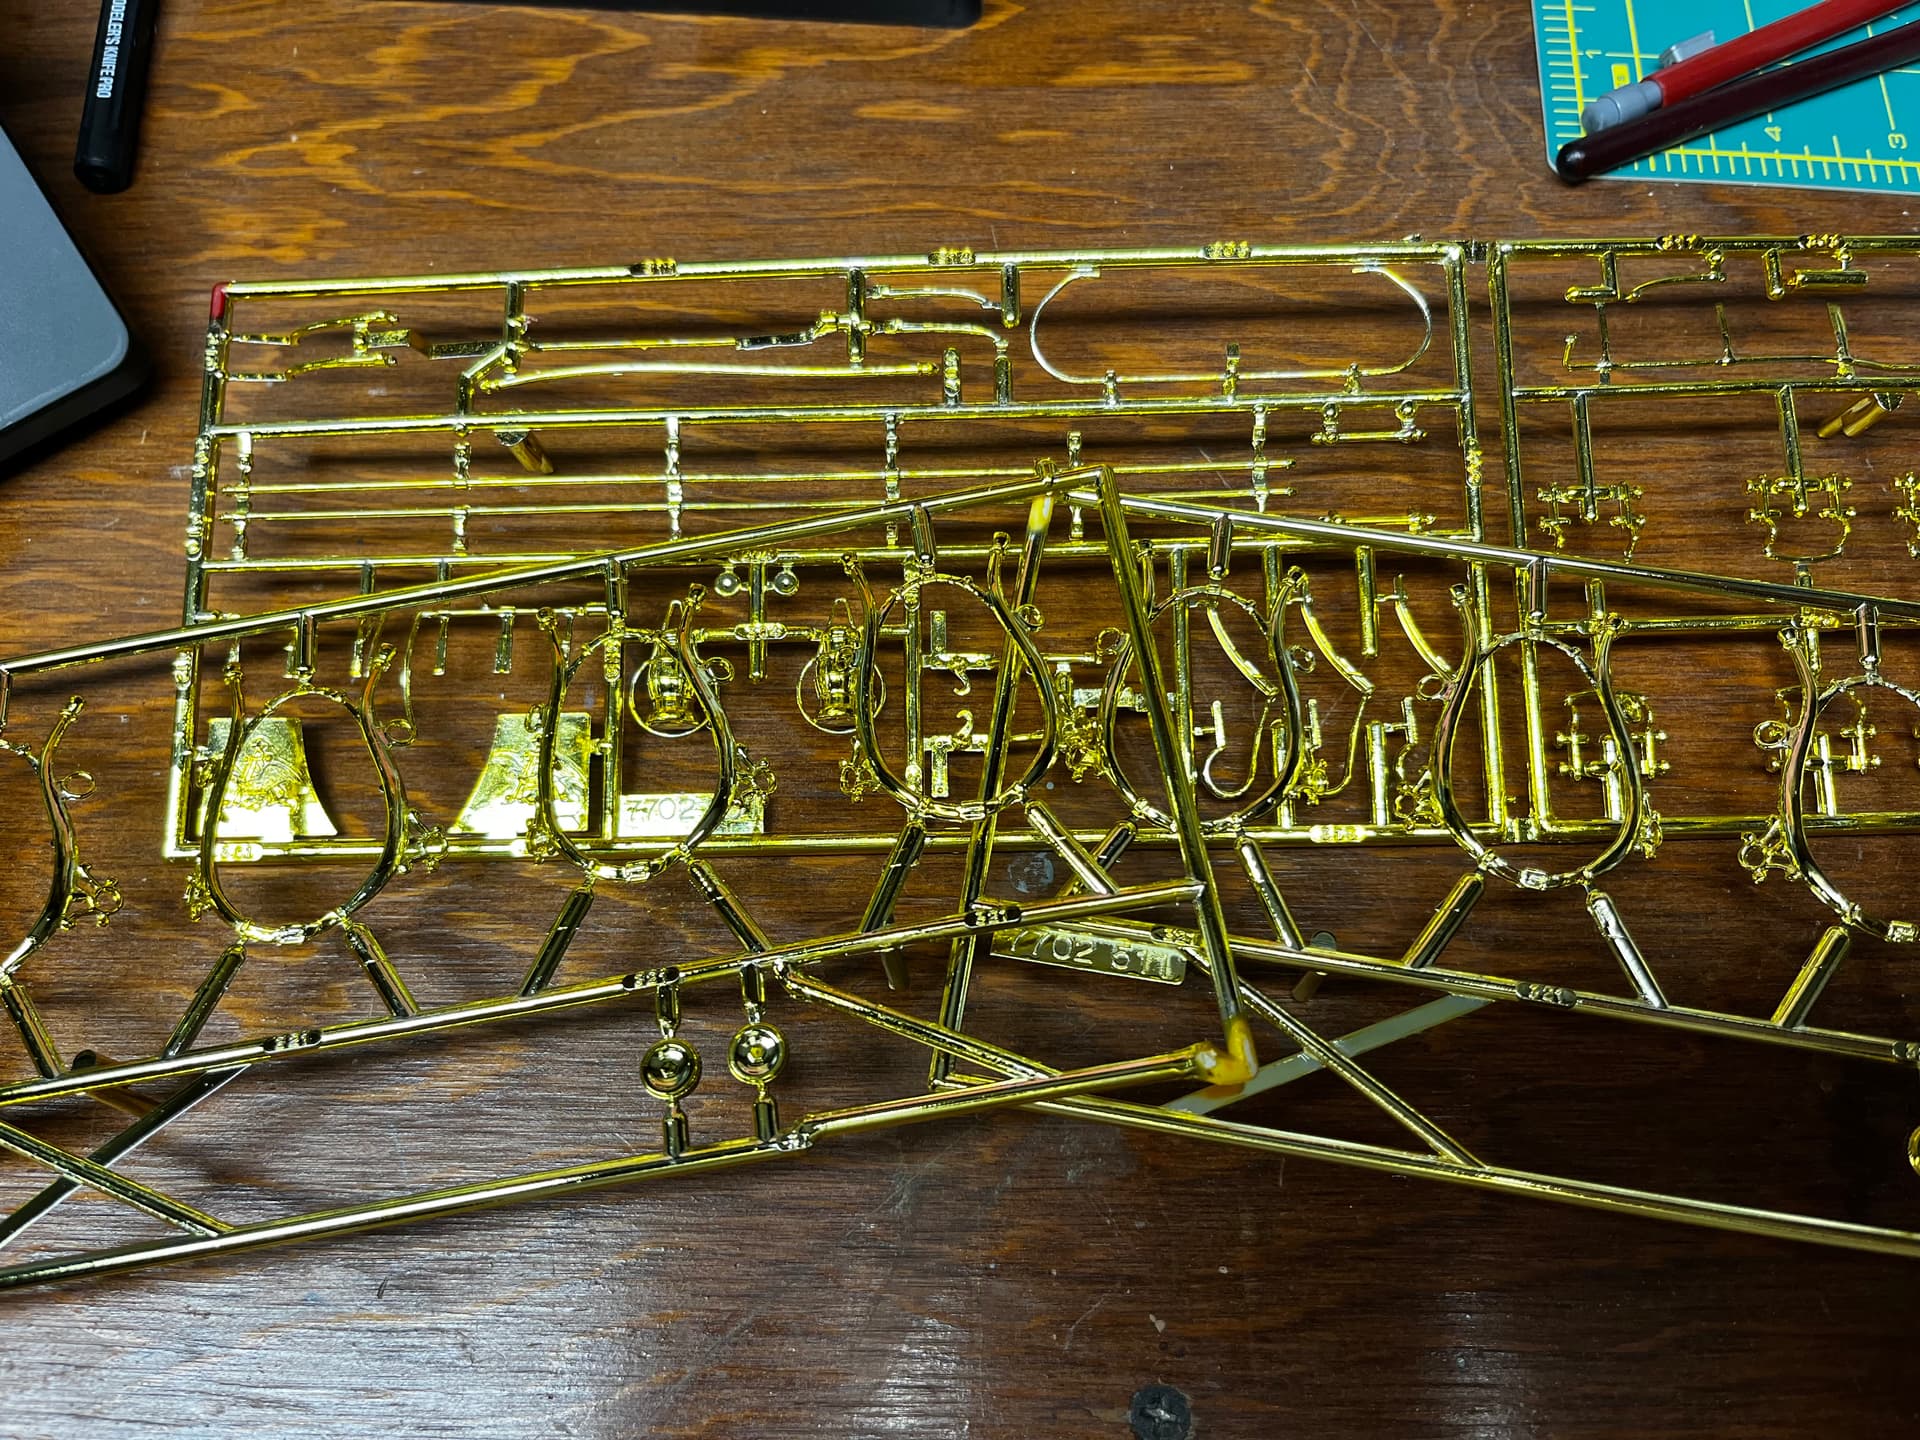
Educate me, what does that do to them?
I’m going to use it to strip the chrome plating off the parts because it’s thick and nasty. Then I’ll repaint the parts.
Fast forward to around 7:30 on this video
Or here’s a Snapshot about it
2 Likes
Those are both very nice 
2 Likes
The load for a 1/24 van, all 3D-printed. I mostly build 72nd aircraft so this feels like doll’s-house scale, especially since it’s furniture! The rusty fridge was just a painting experiment, not sure where it will end up.


16 Likes
That’s really cool. The fridge looks awesome!
1 Like
Holy FRIJOLES…that looks like the one my Mom had when I was a kid…( a loooong time ago…in a galaxy just around the corner… in the suburbanite zone)
2 Likes
Ok…I should have stretched a lot of sprue rather than use the thread that came with the kit…
How about a diorama with a nuclear explosion and Indiana Jones standing beside a knocked over frig? 
Gary
3 Likes
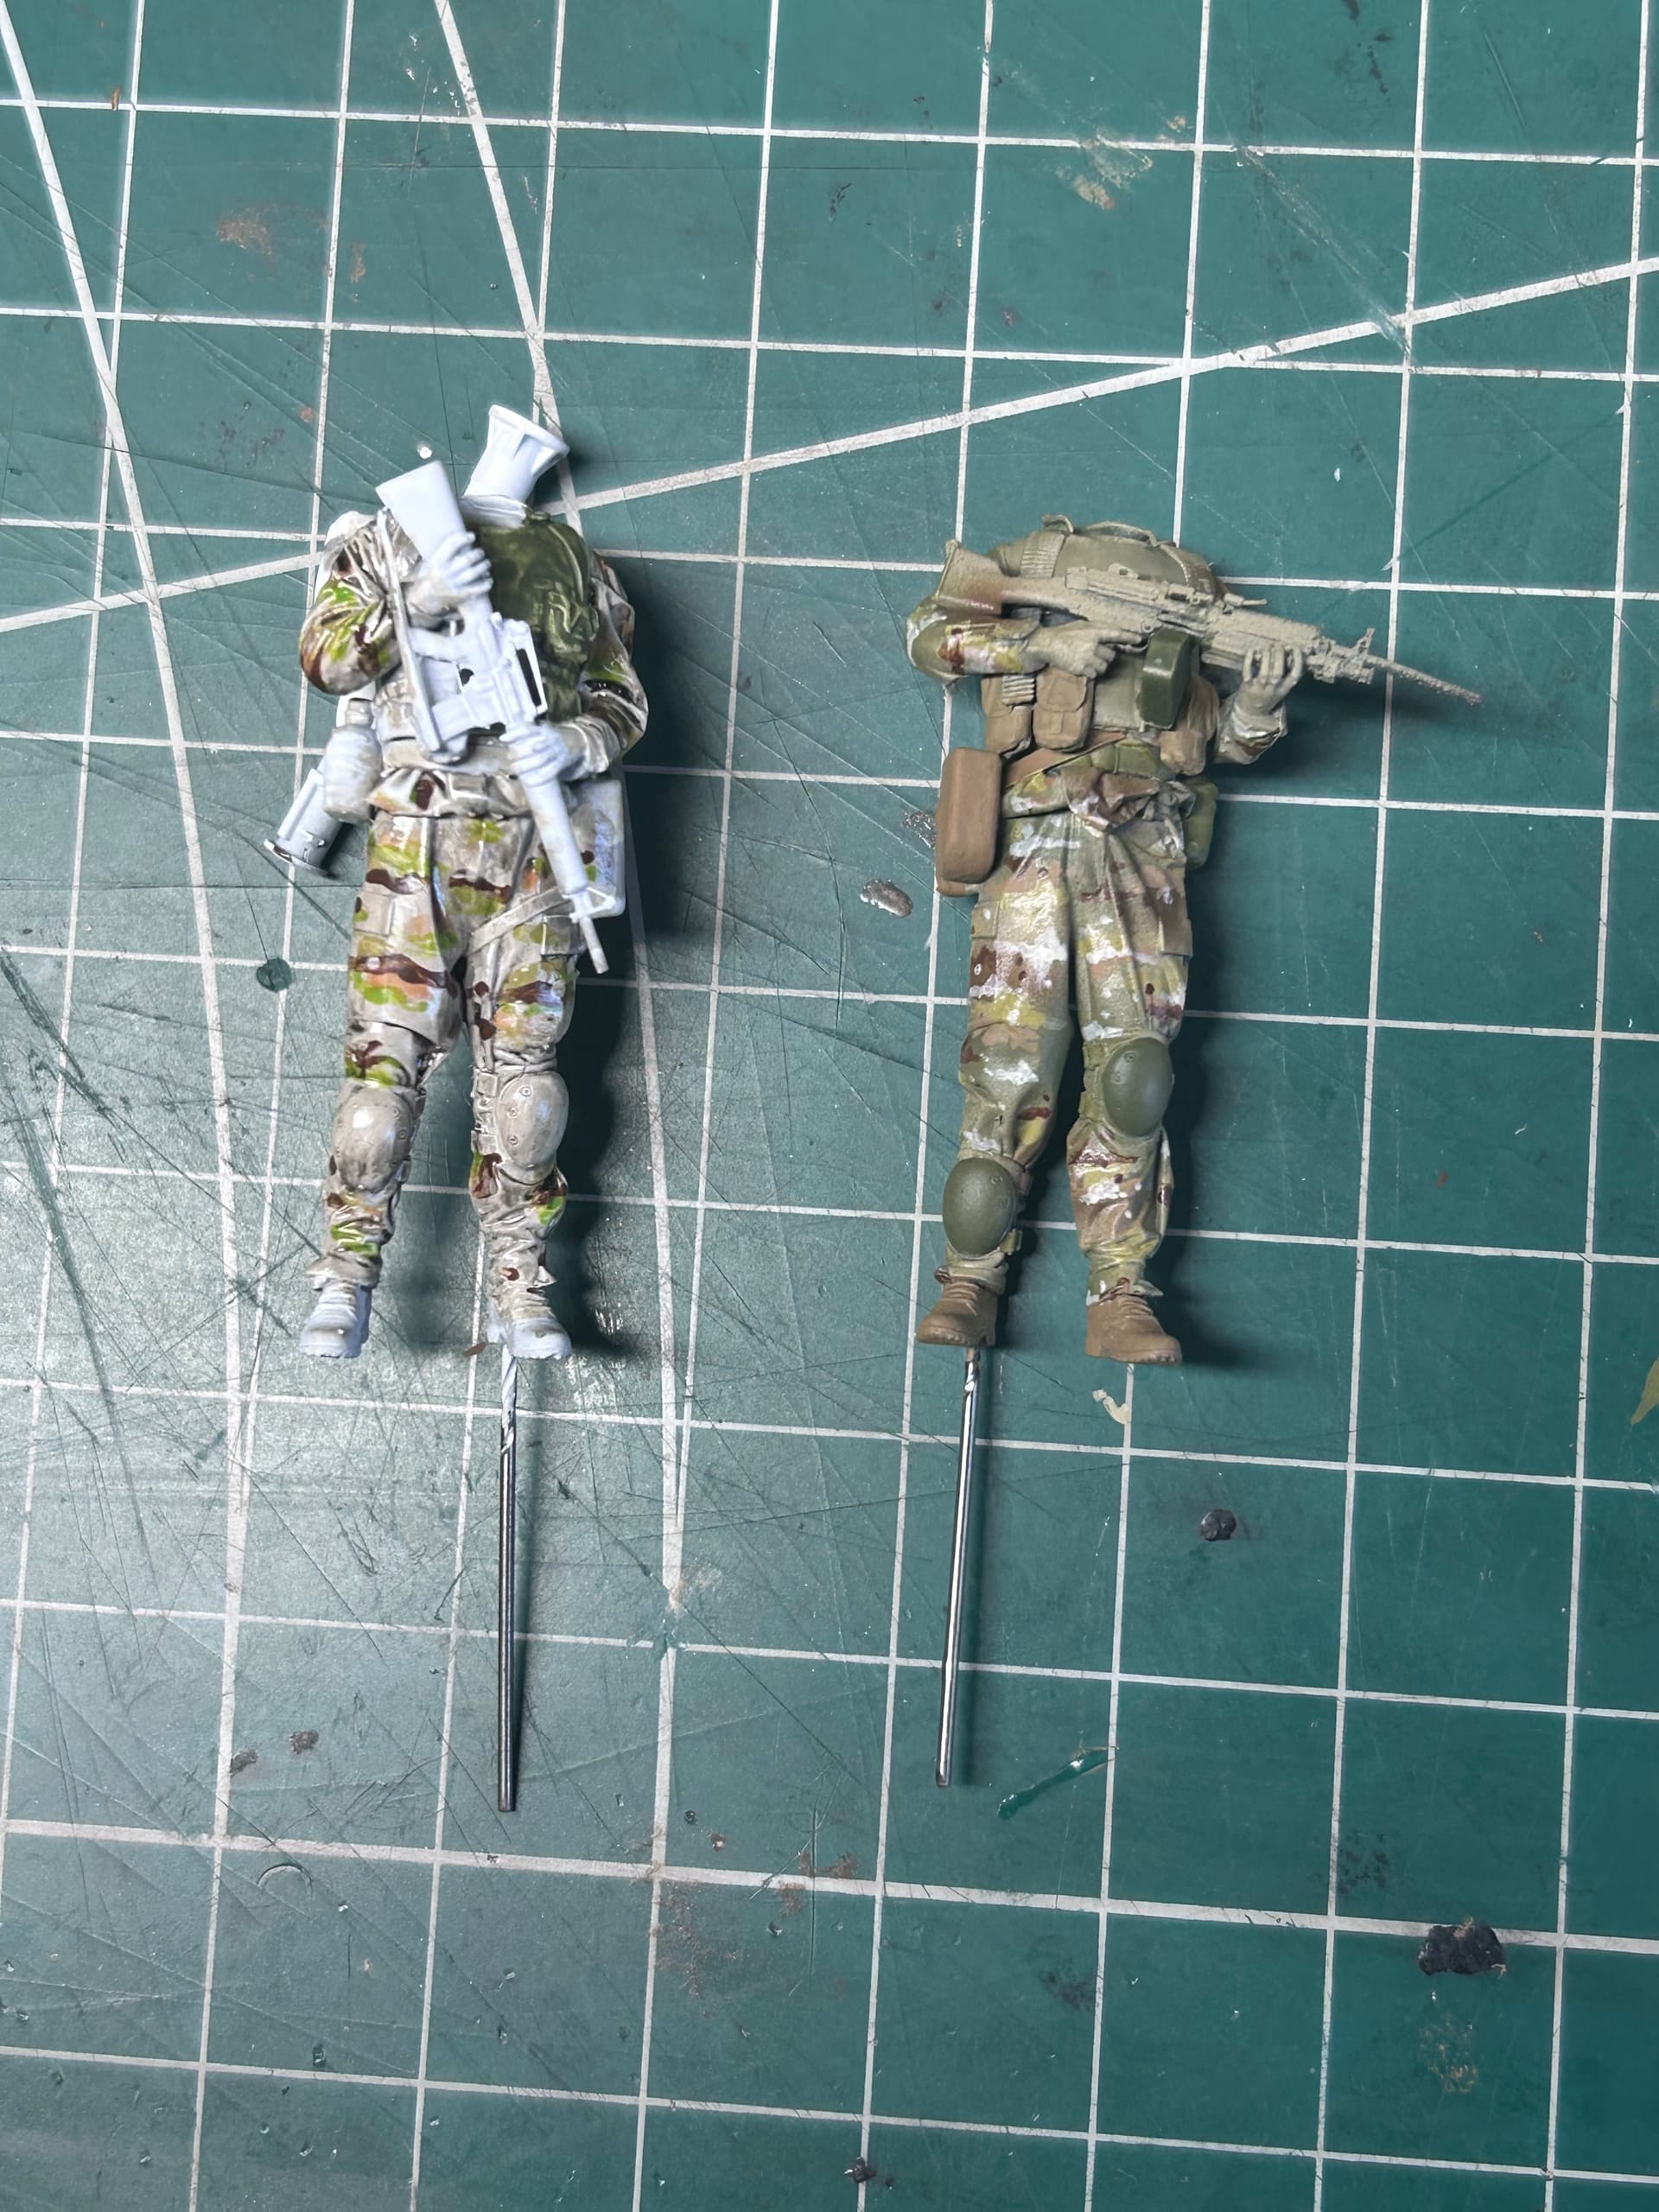
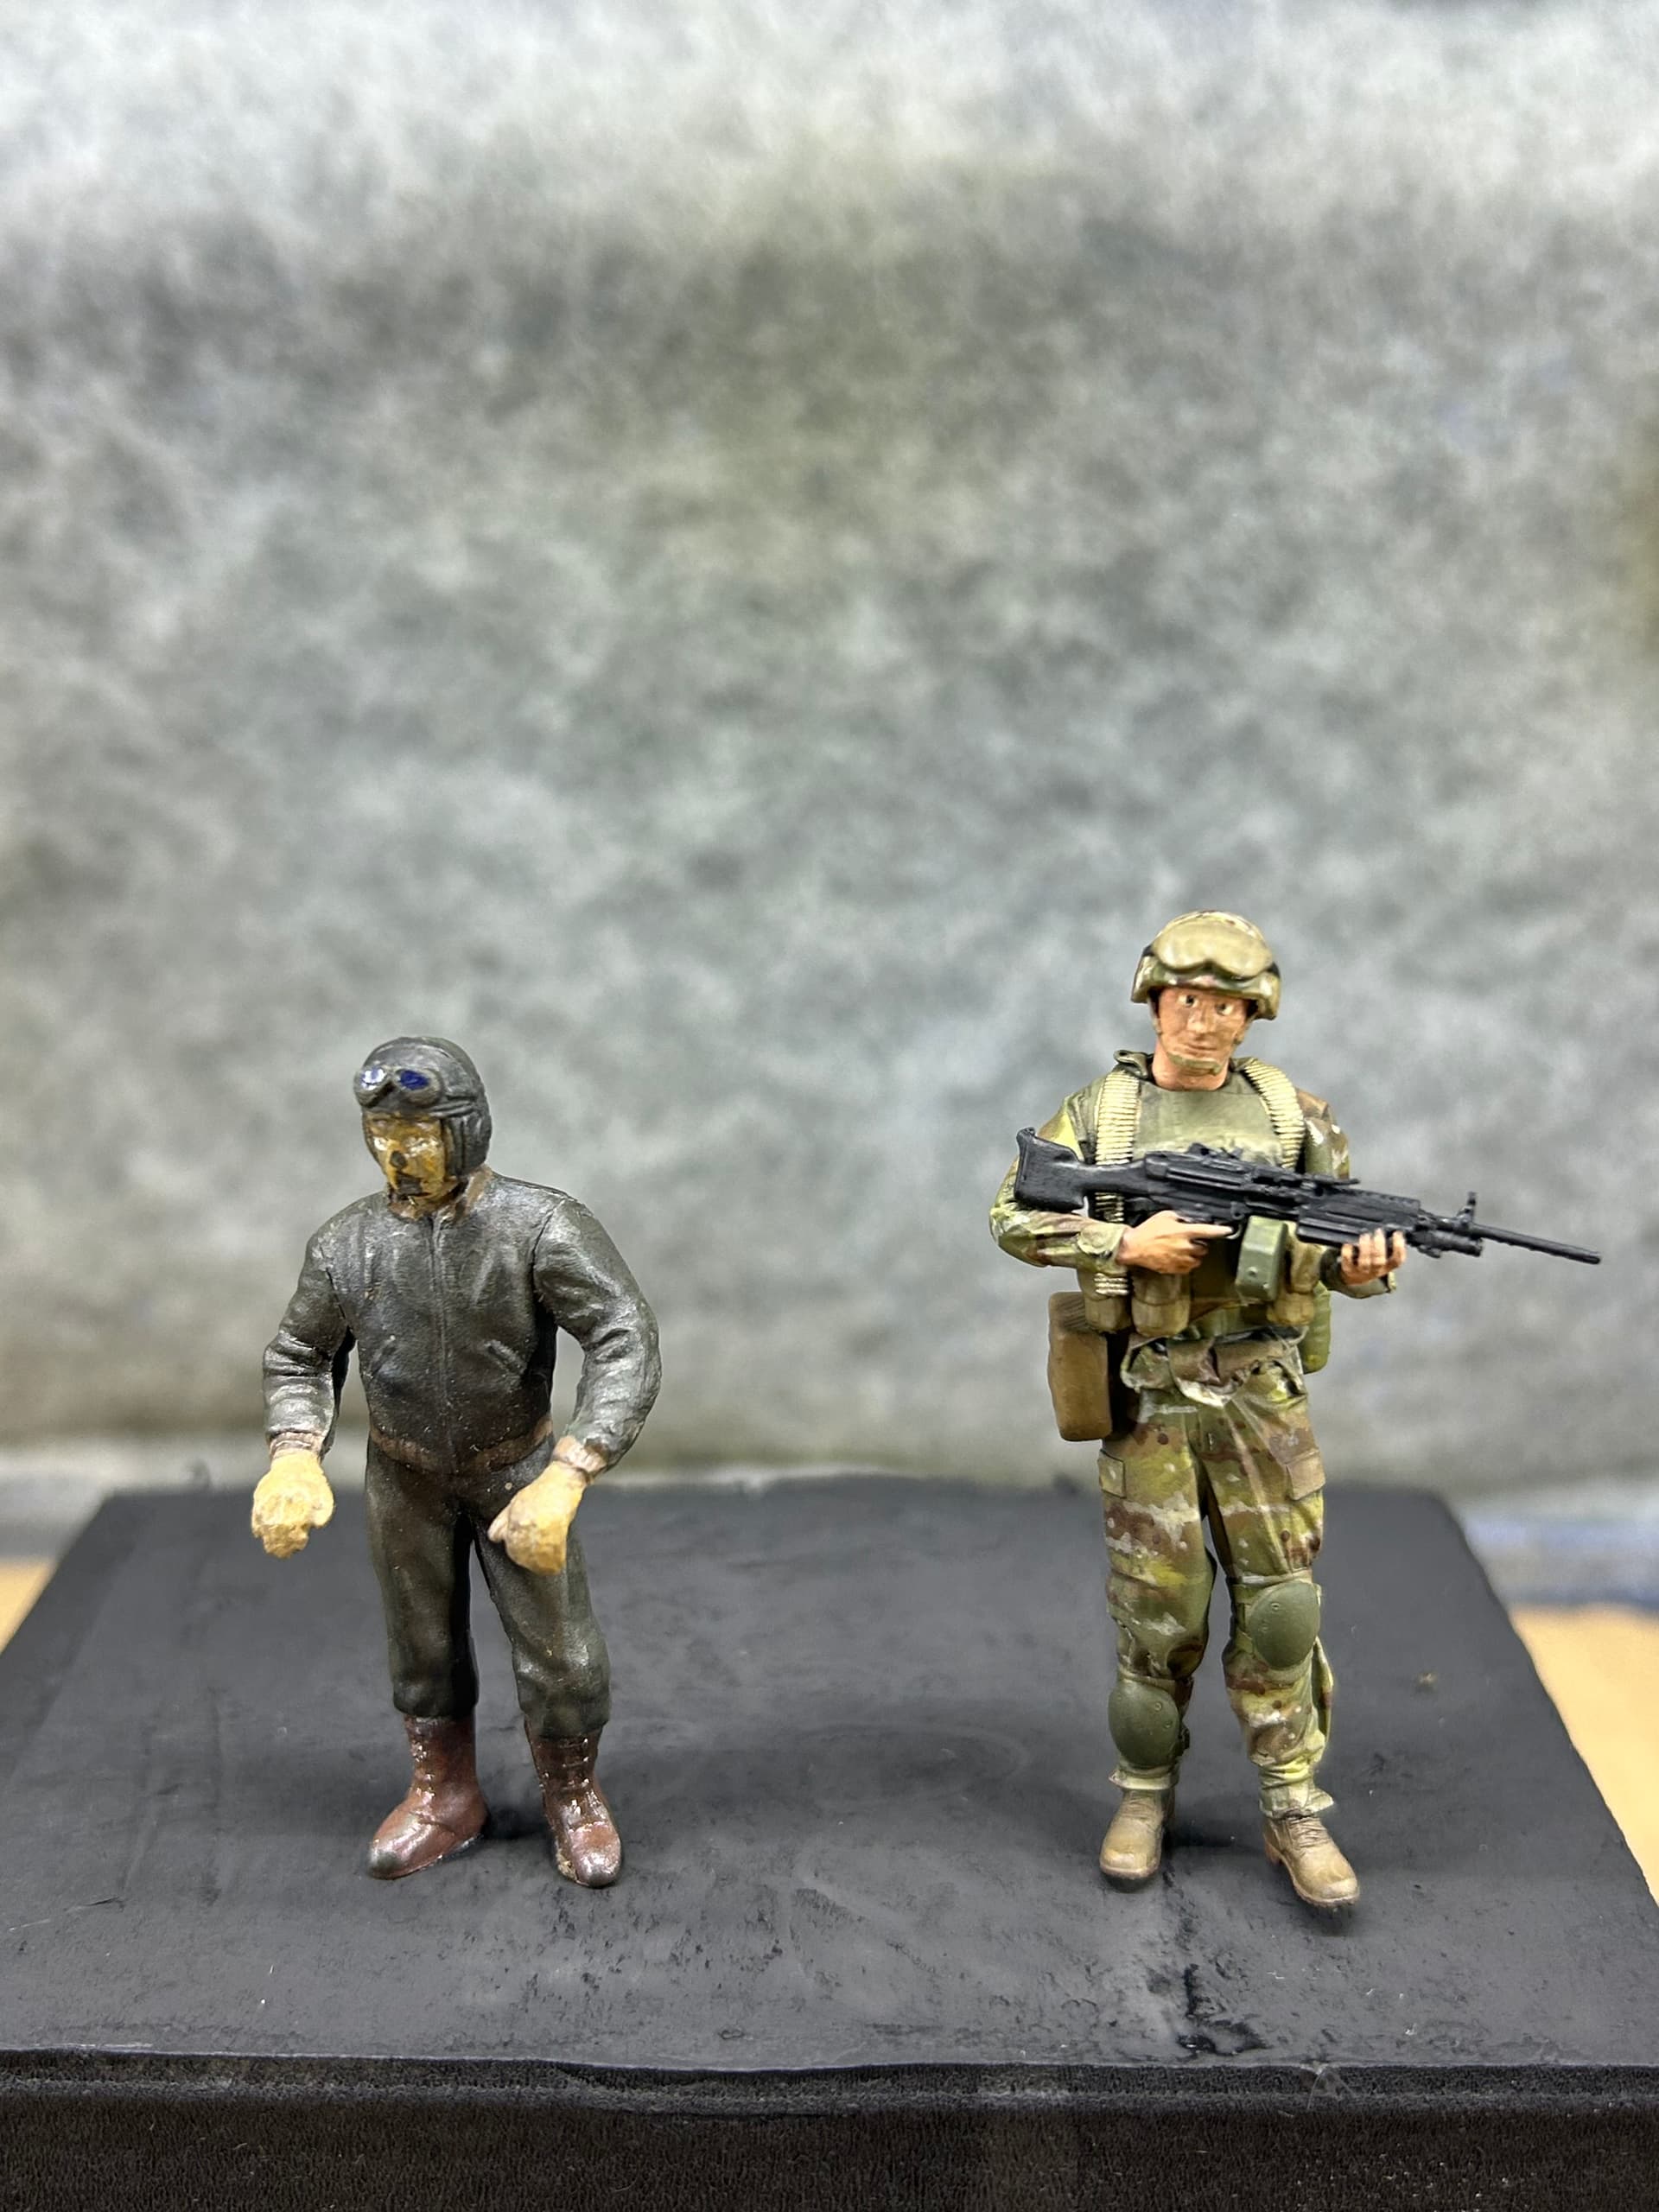
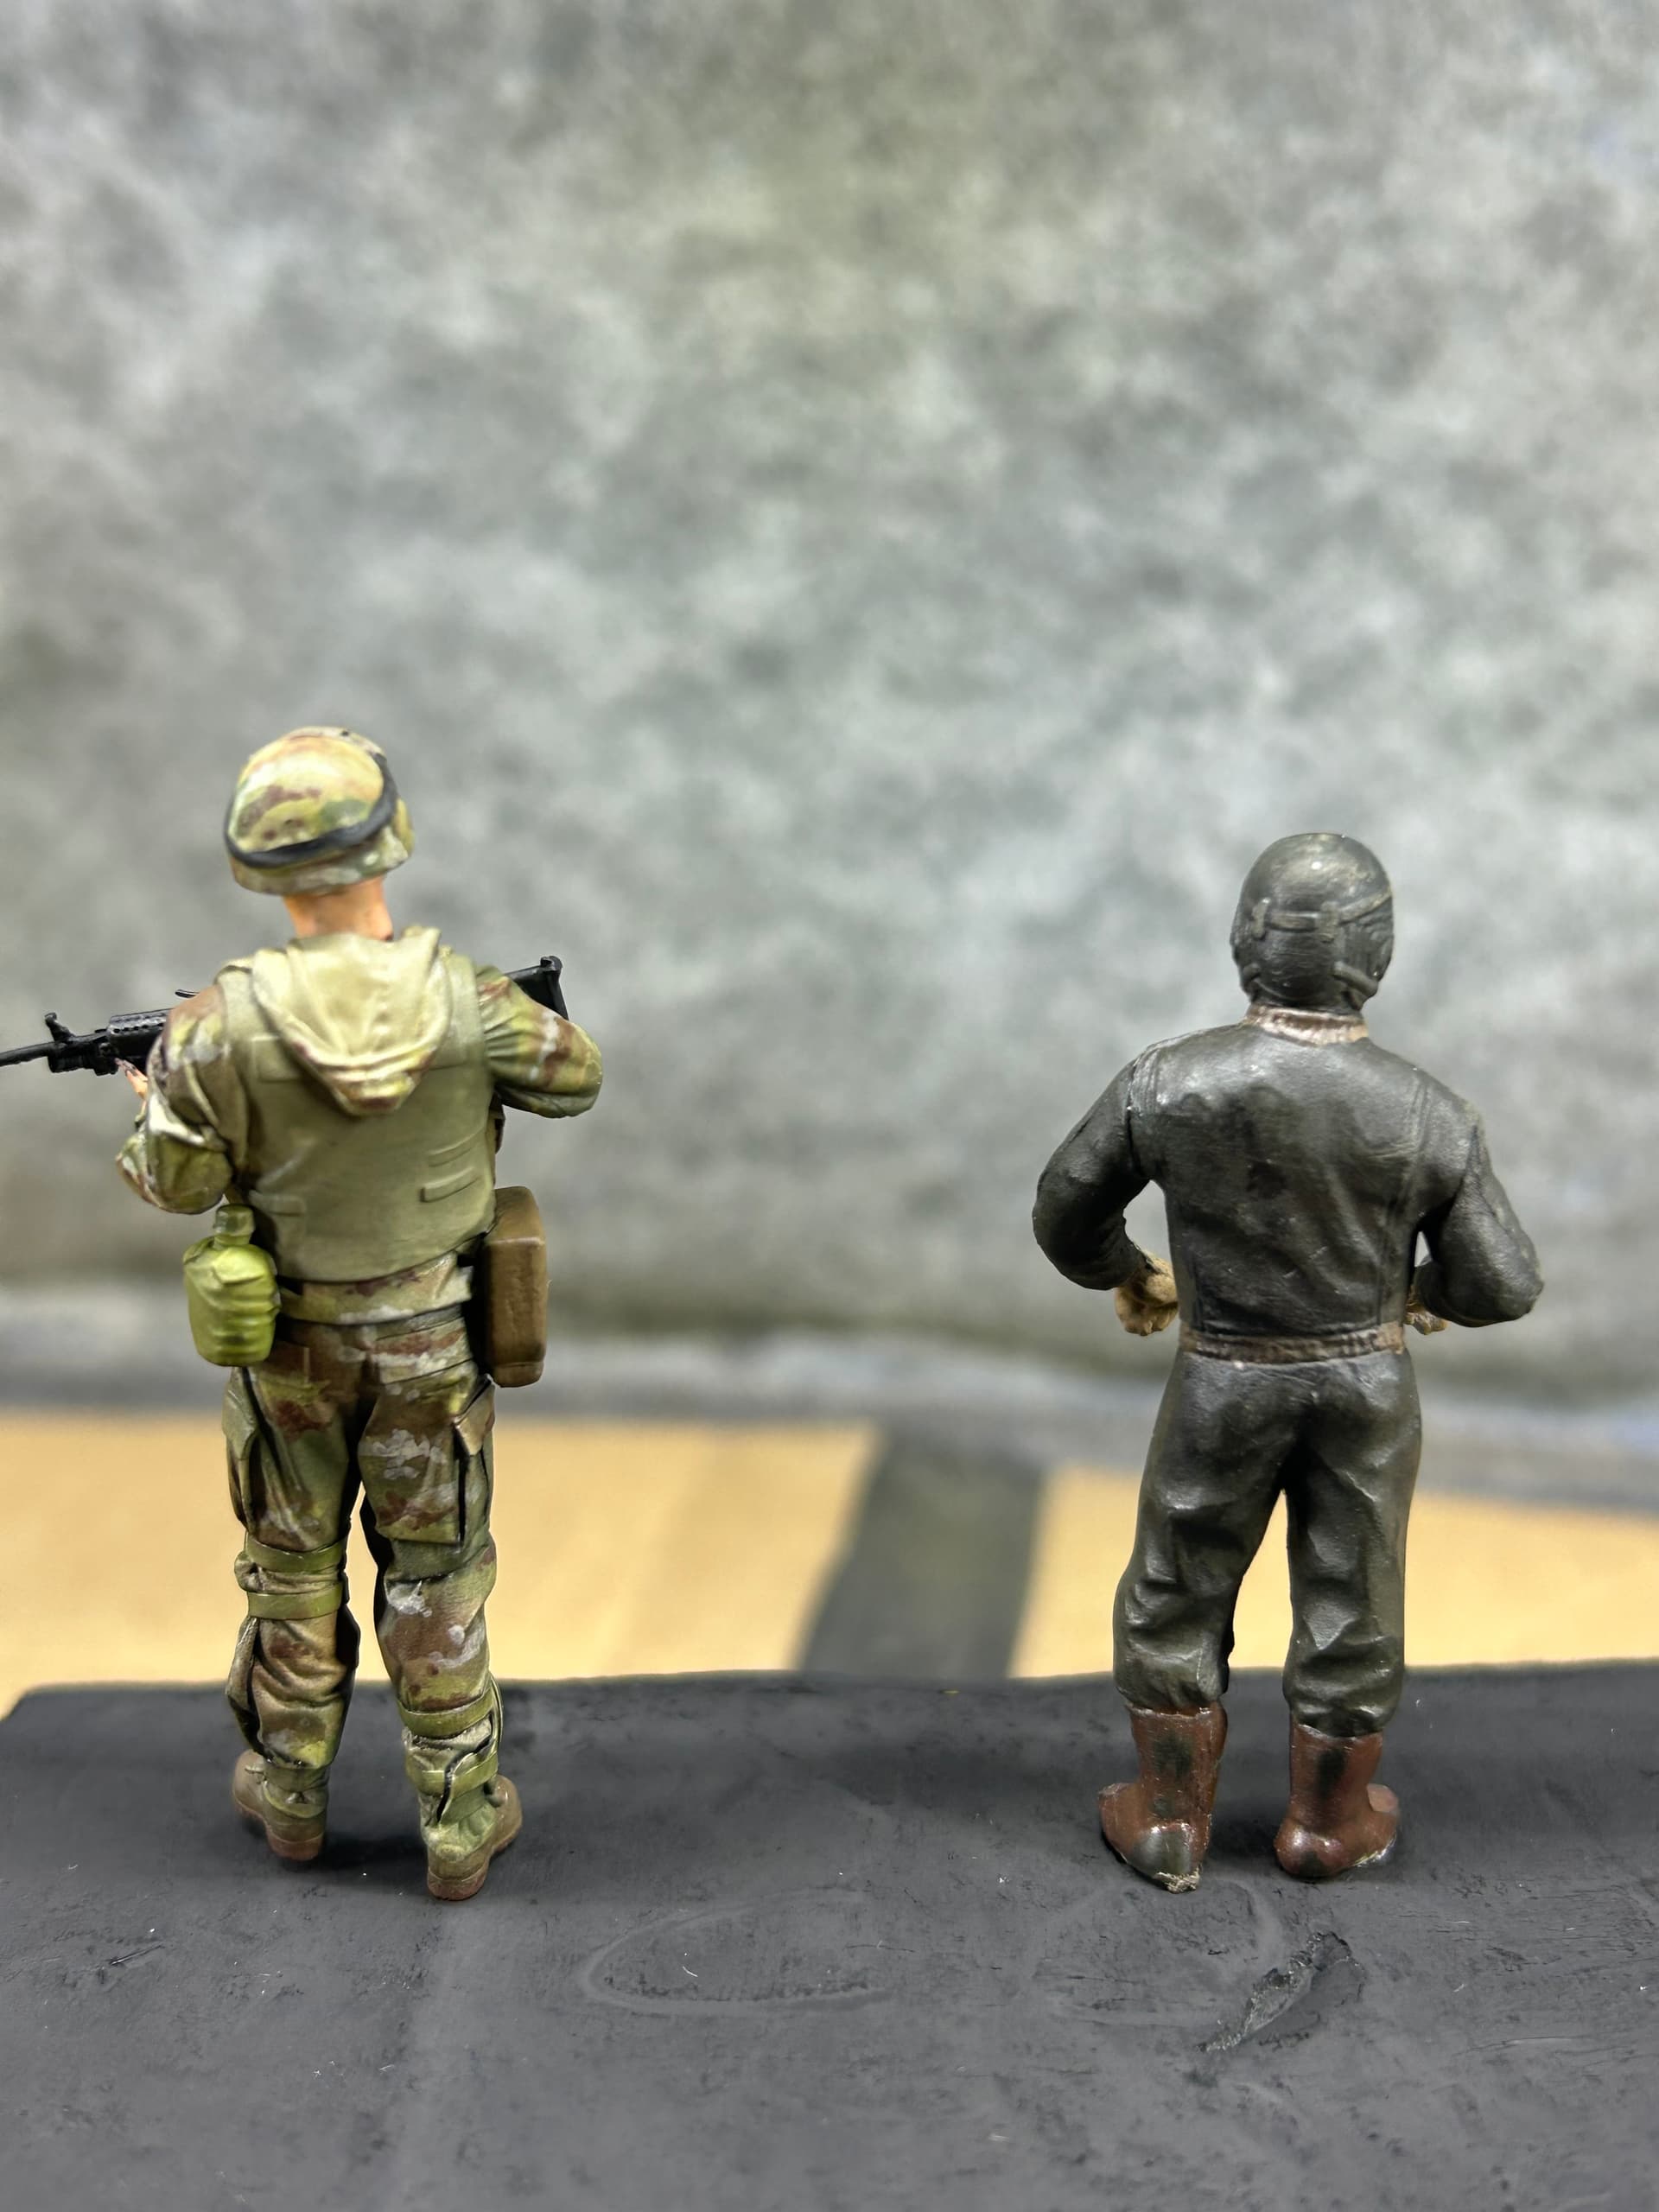
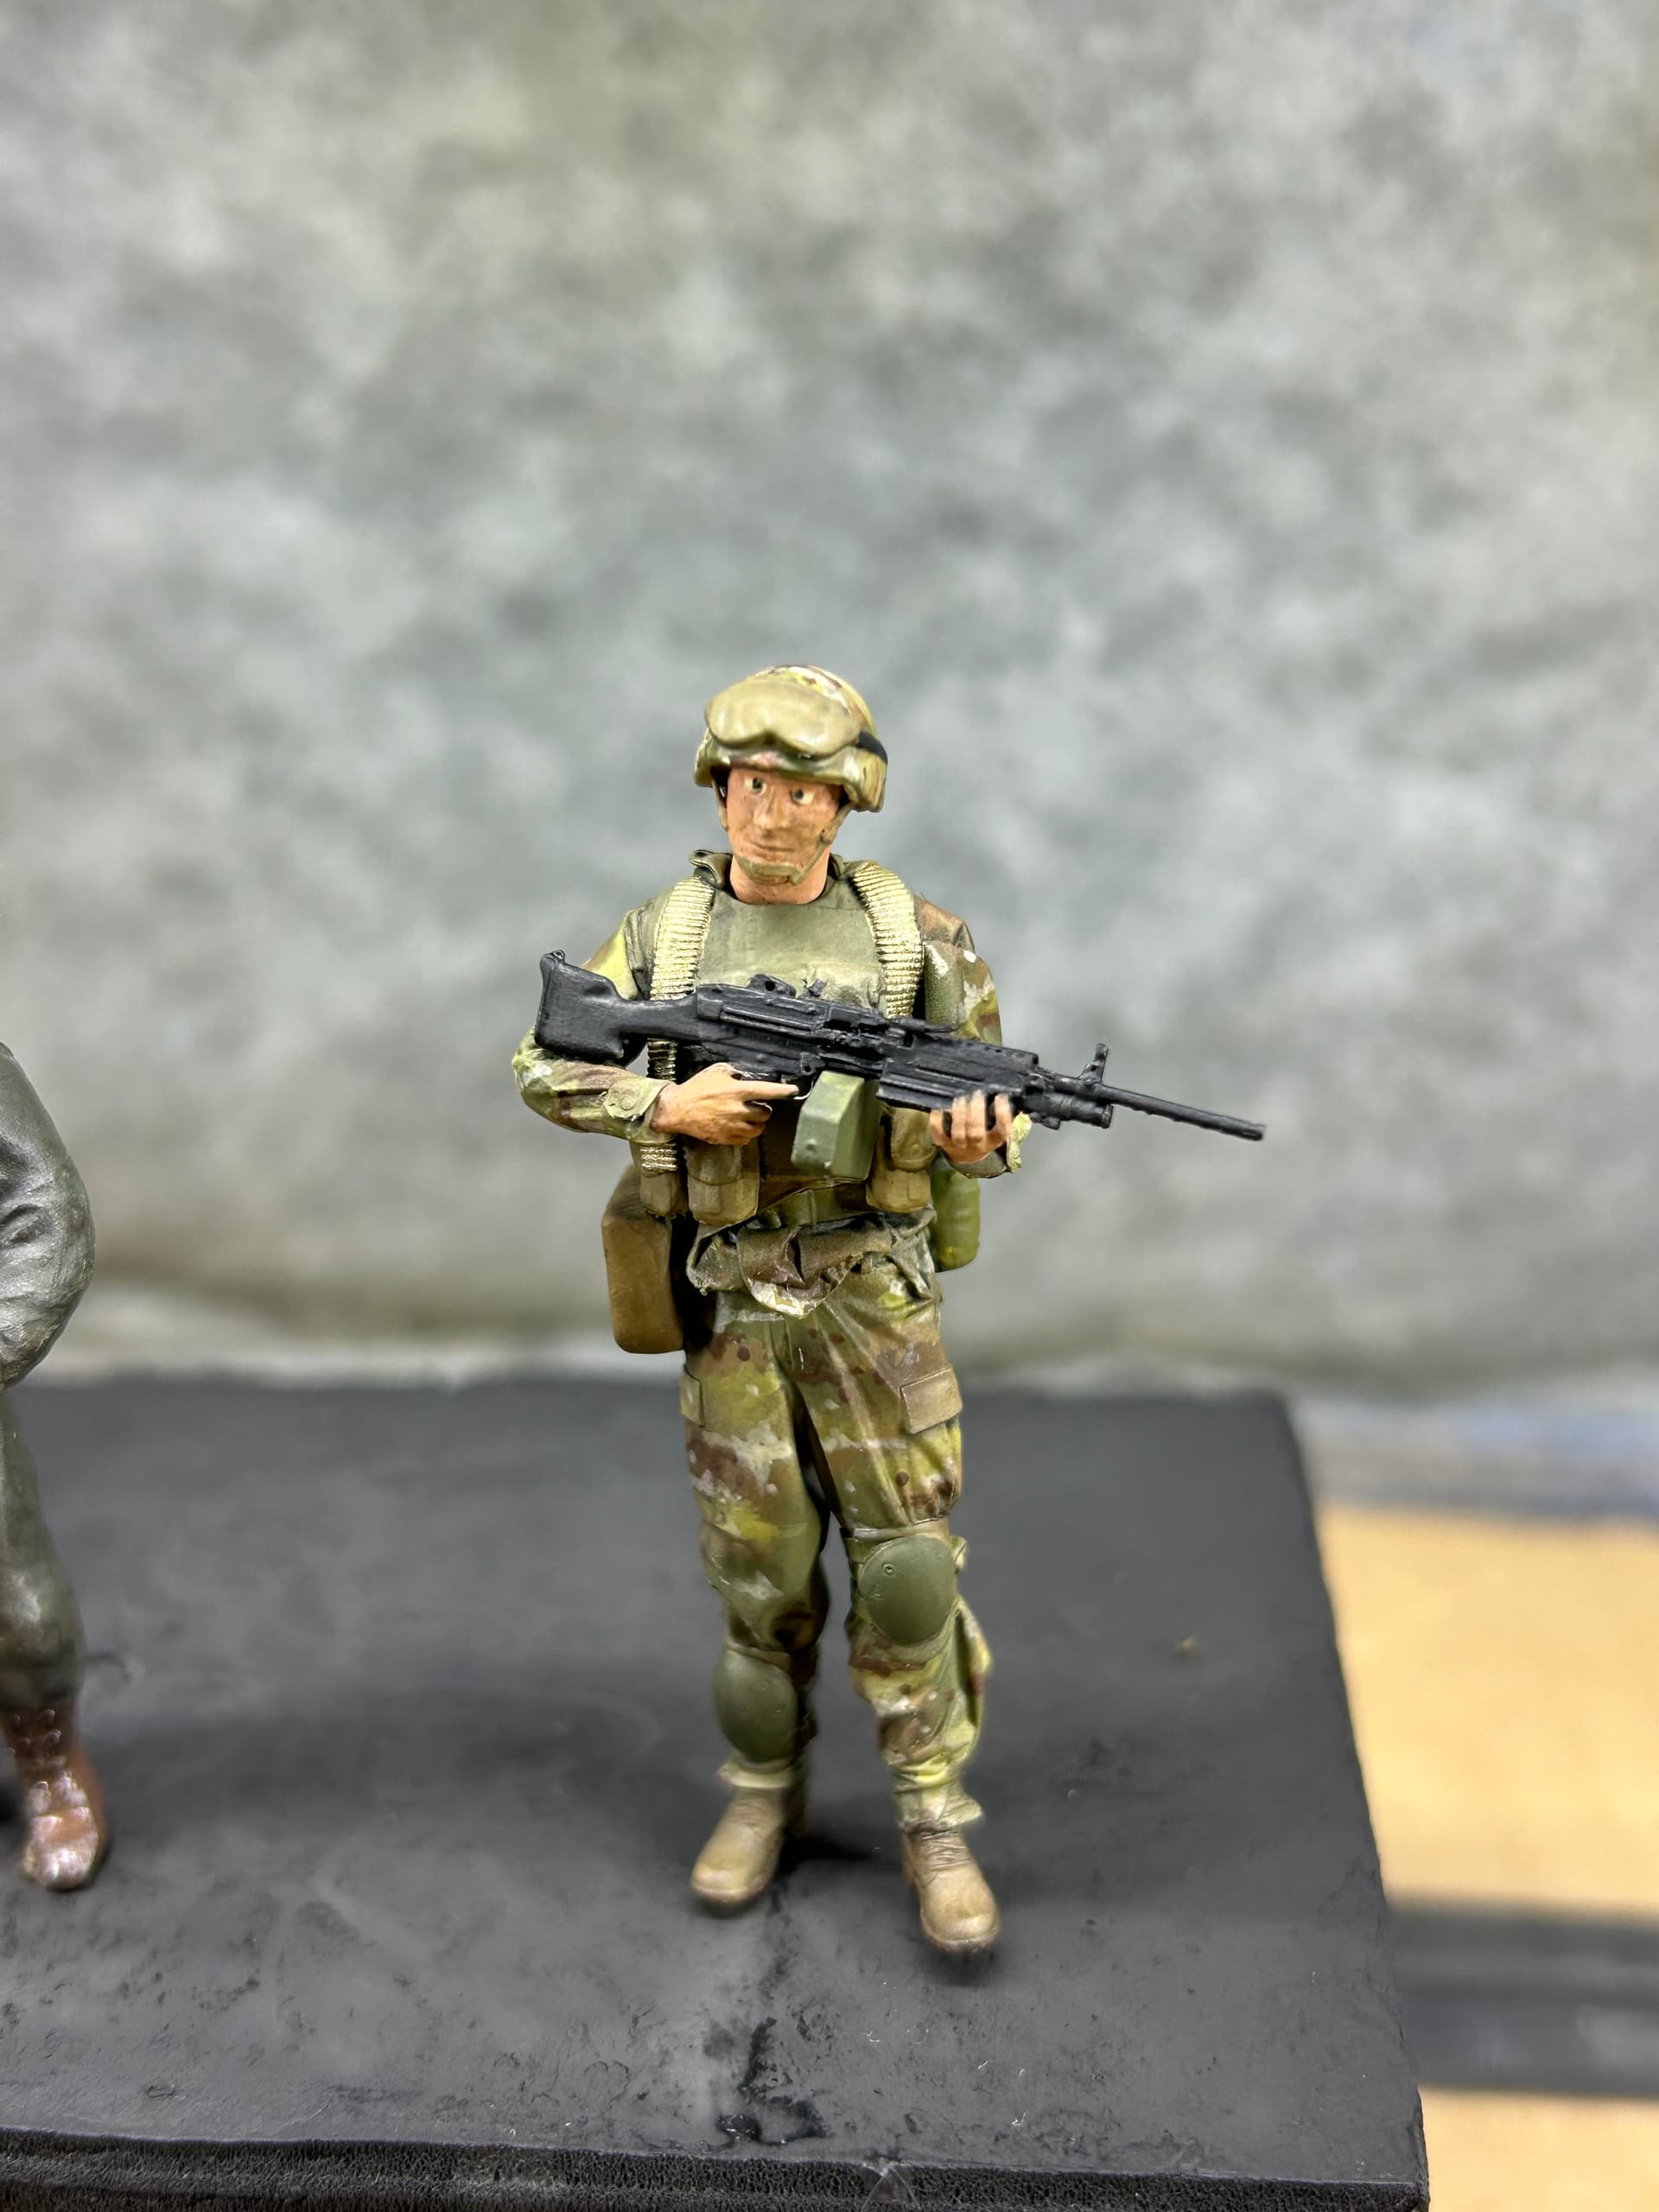
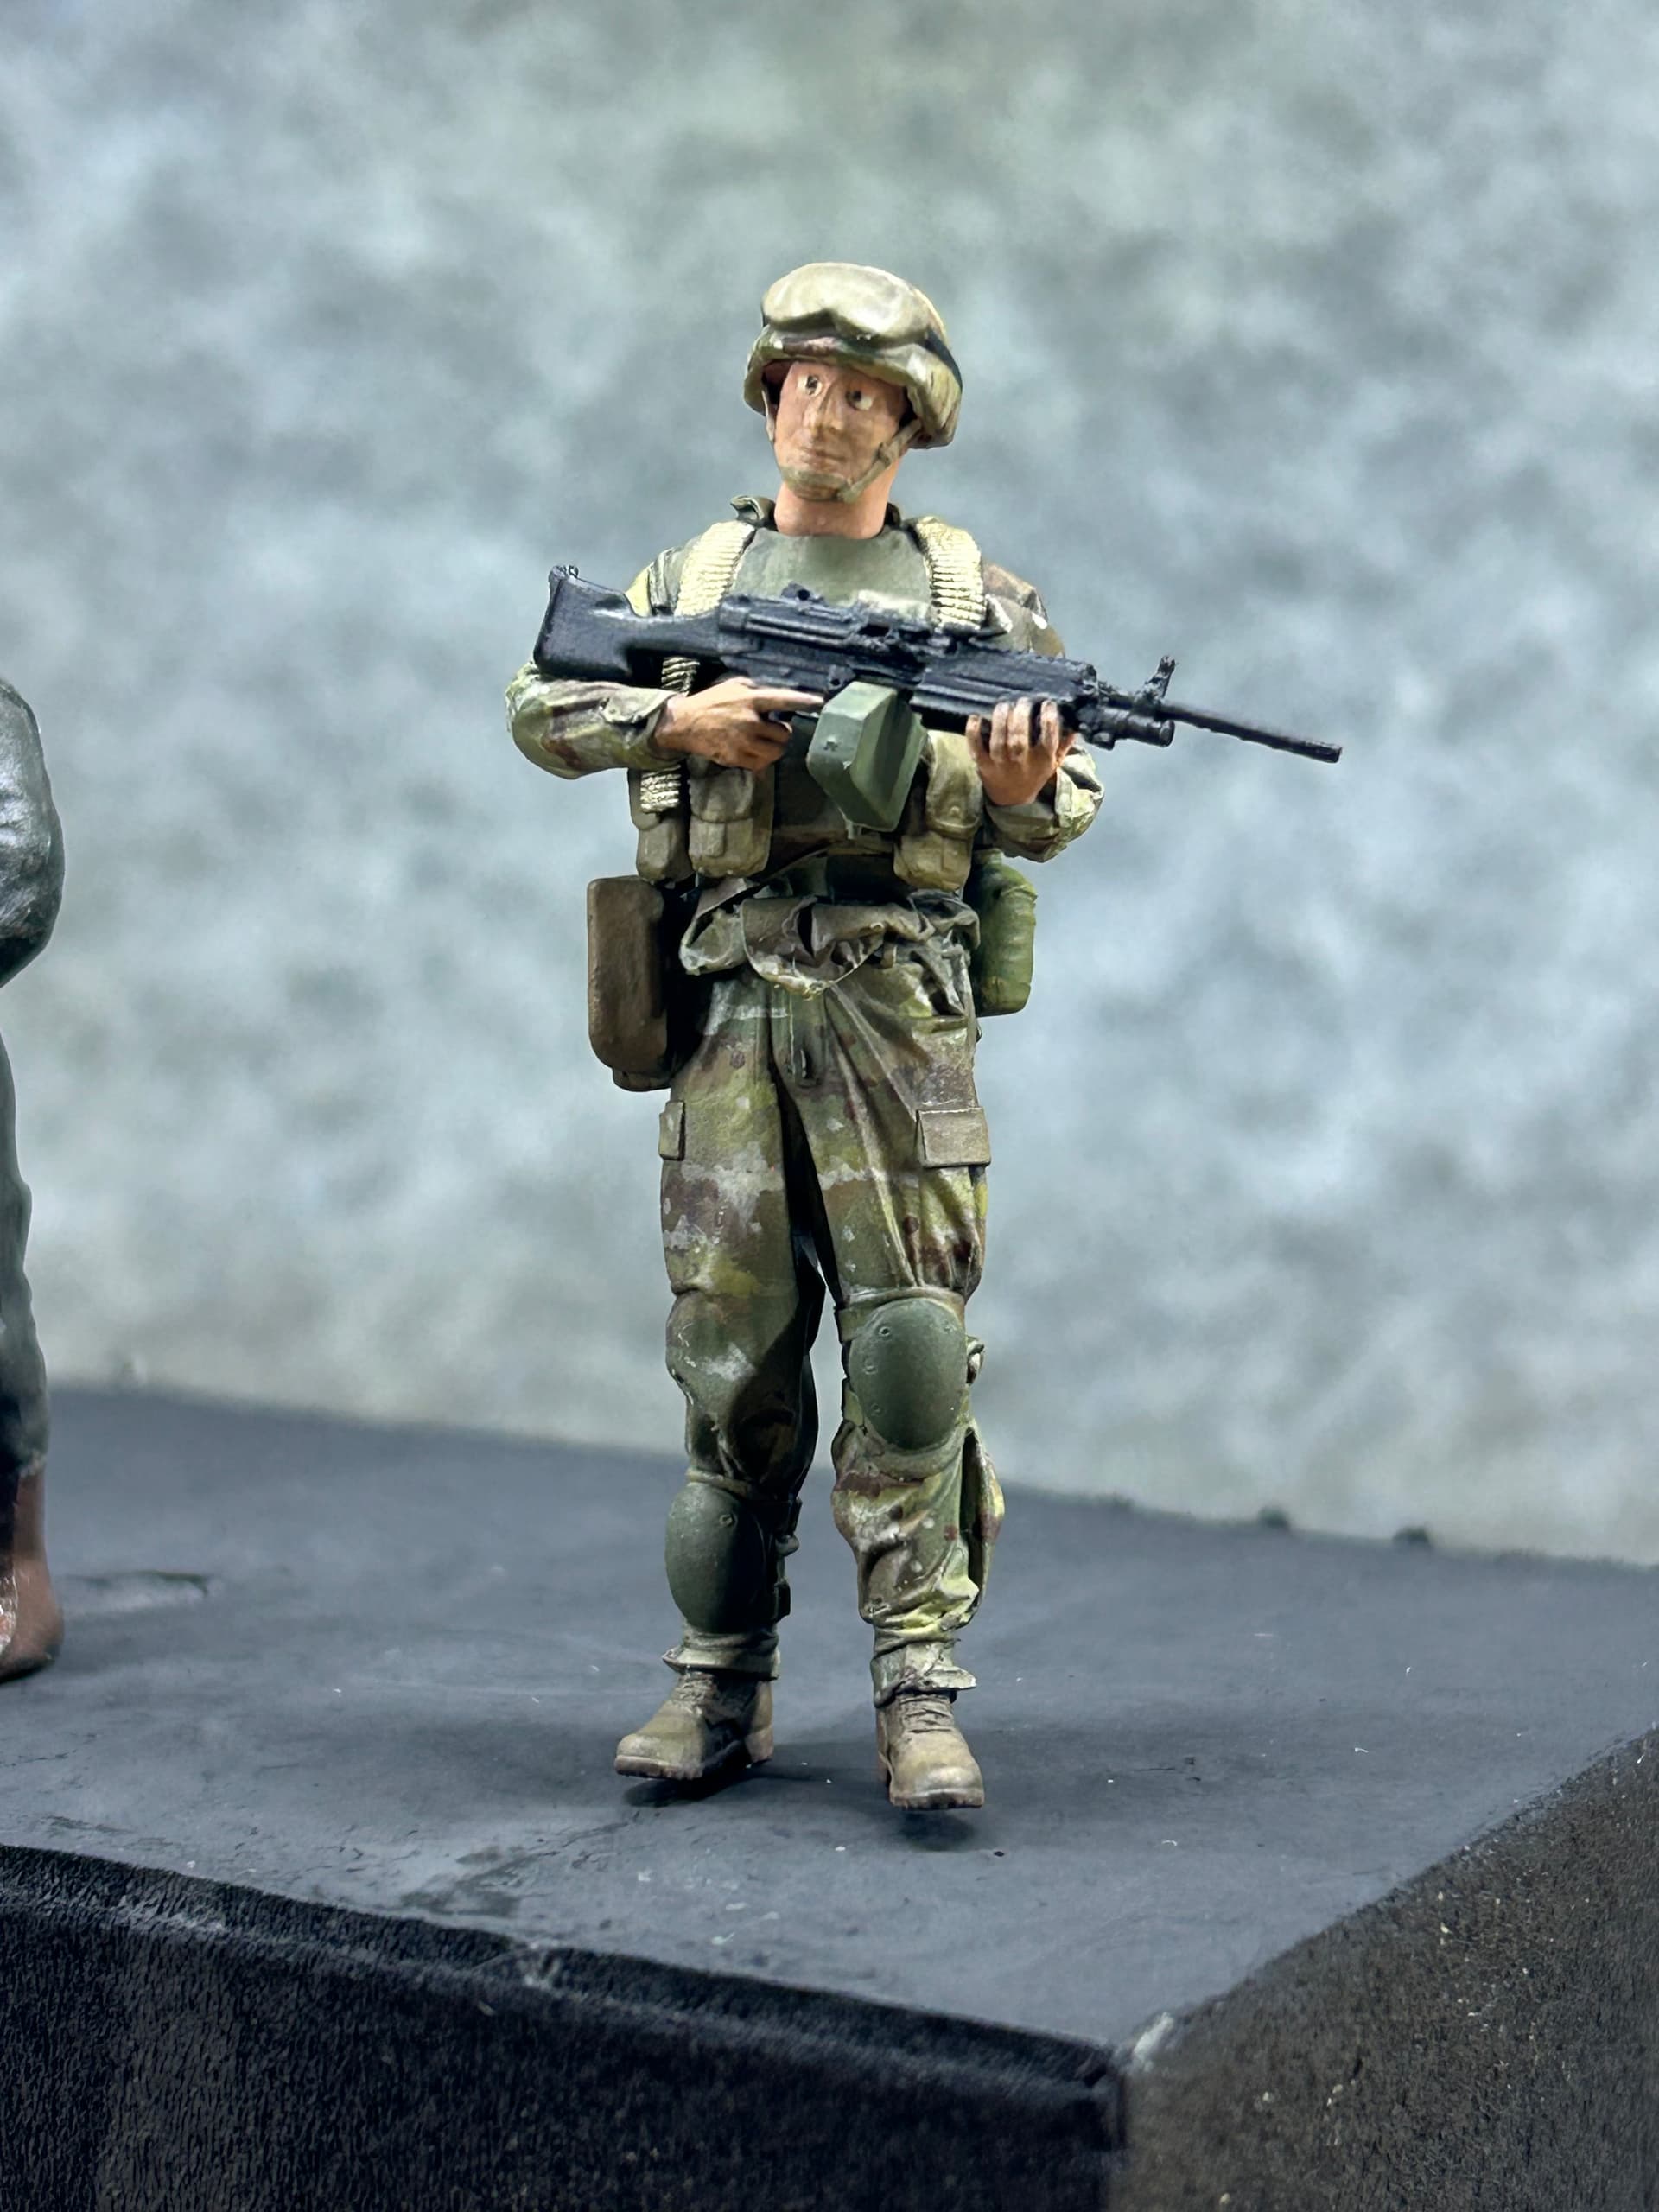
Made my second attempt at painting multicam. I think it turns out pretty well. Need to practice painting faces and skin tones now. In the first photo, my first attempt is on the left and my most recent attempt is on the right. Other photos are comparing my first to my most recent figure.
10 Likes
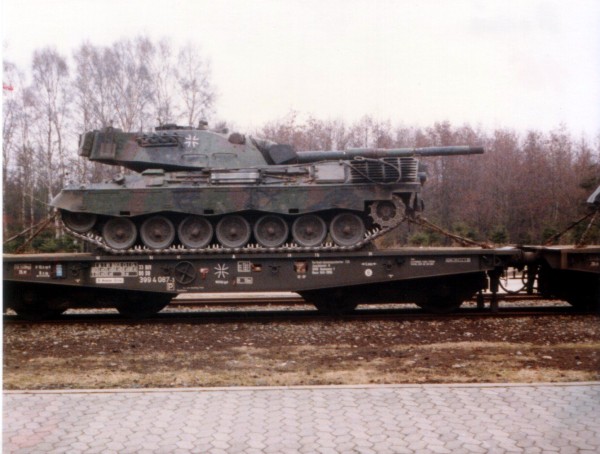
Completed the construction work on a T-Model flatcar Rlmmp700 and Revell Leopard 1A5.
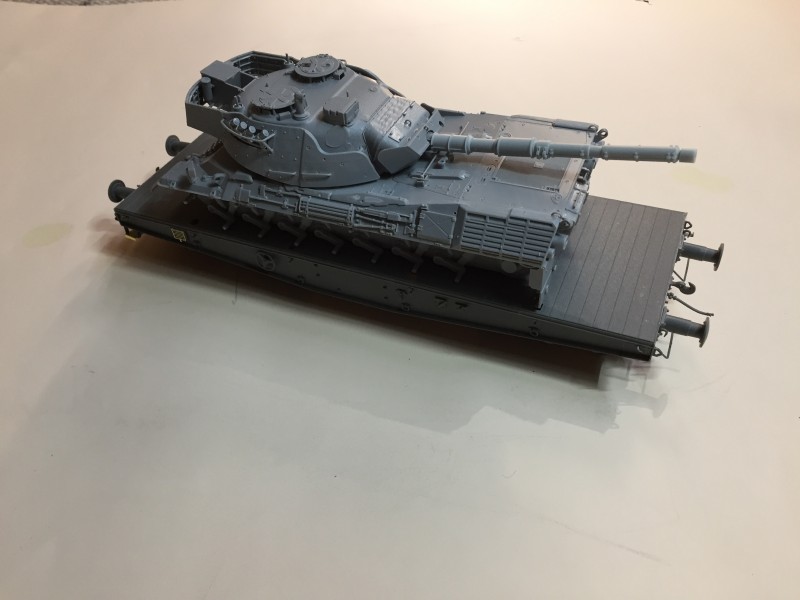
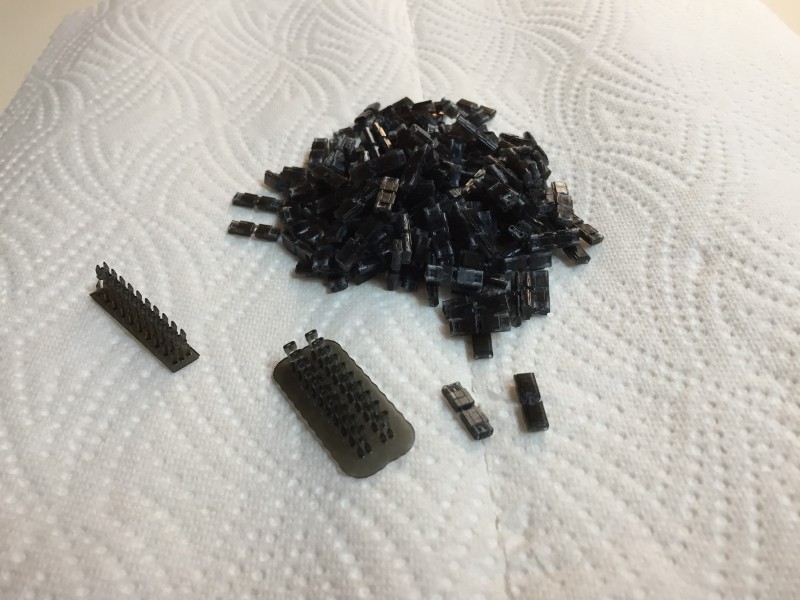
To replace the rubber bands I printed off a workable track set.
My plan is a diorama similar to this reference photo …
8 Likes
That’s a really cool project. I especially like the idea of displaying the Leopard on the flatcar rather than just building the tank by itself. The reference photo should make for a really interesting diorama.
But printing your own workable tracks? That’s next-level stuff. The fact that you can design, print, and actually articulate something that intricate is pretty amazing. I’m starting to see just how far 3D printing can take this hobby.
Looking forward to seeing how this one comes together.
1 Like
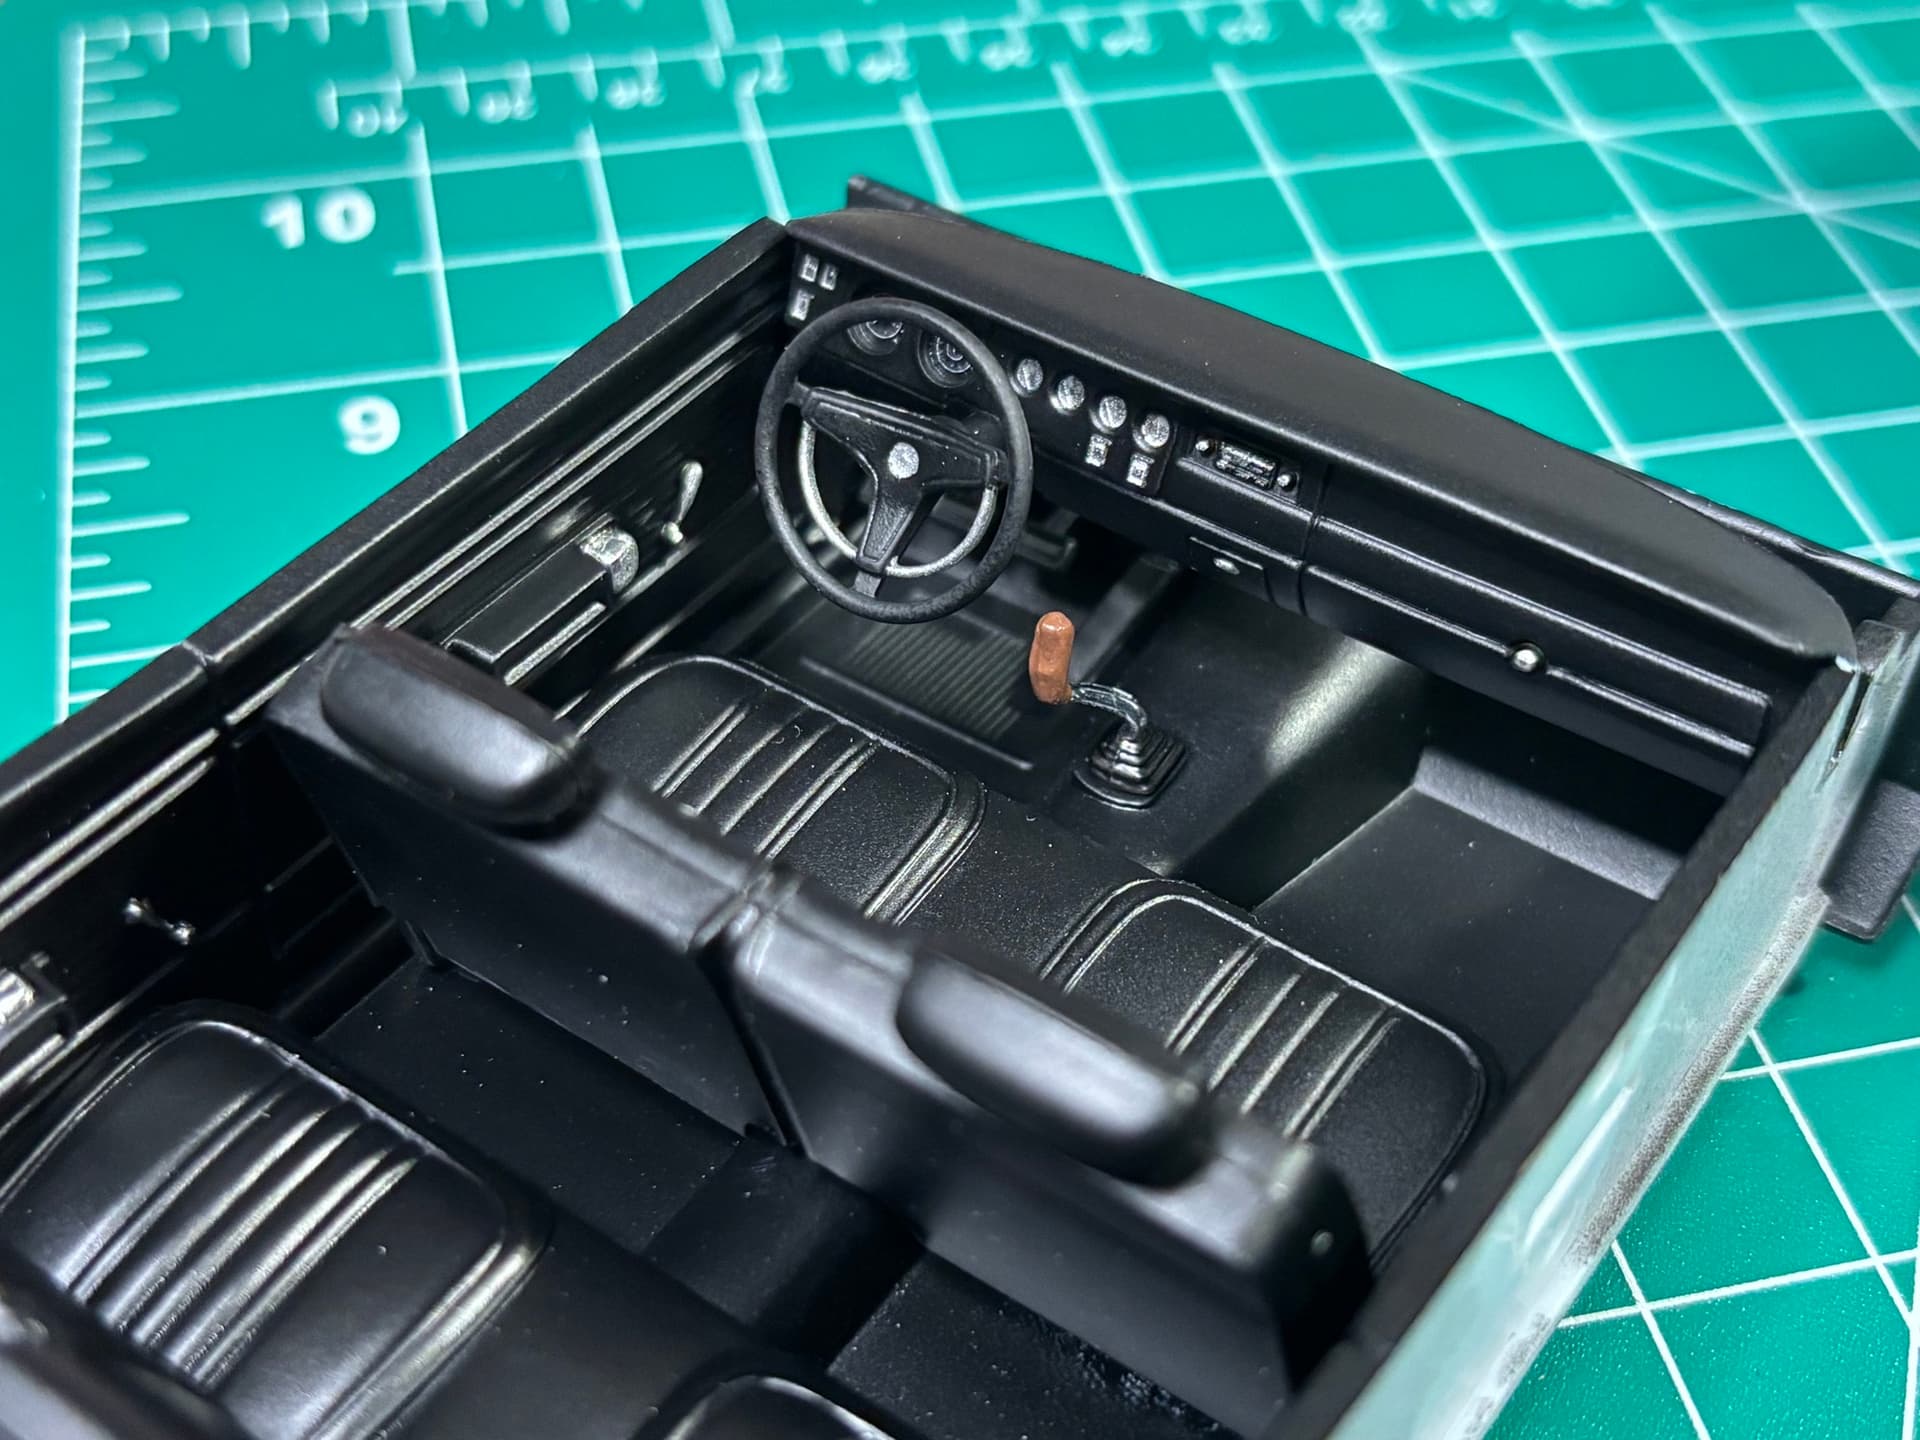
That interior turned out really nice, Troy. What really caught my eye are the seats. You’ve managed to give the black vinyl that slightly textured look of real period upholstery rather than just painted plastic. Very convincing!
That’s going to look great once the body is on it.
1 Like