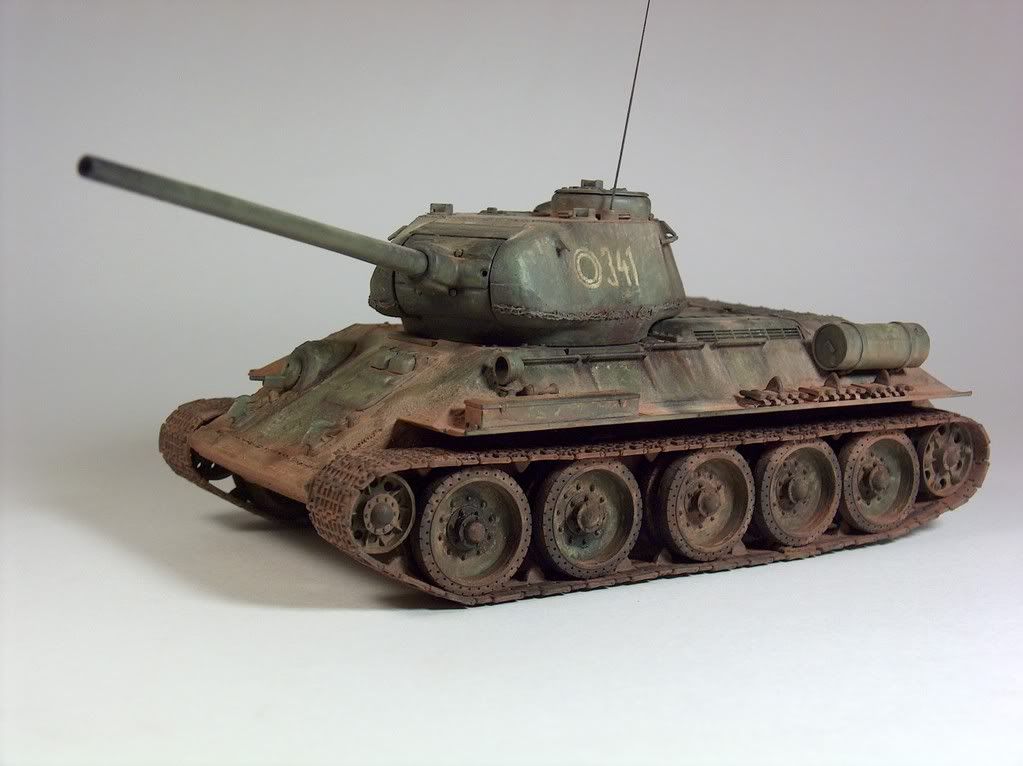
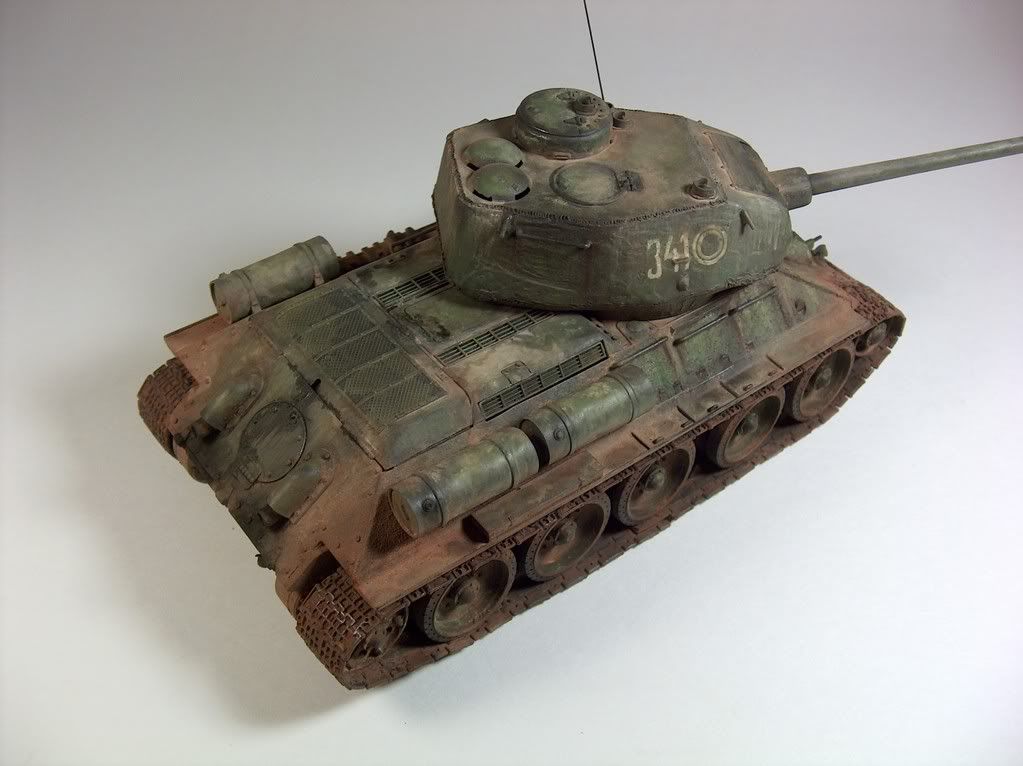
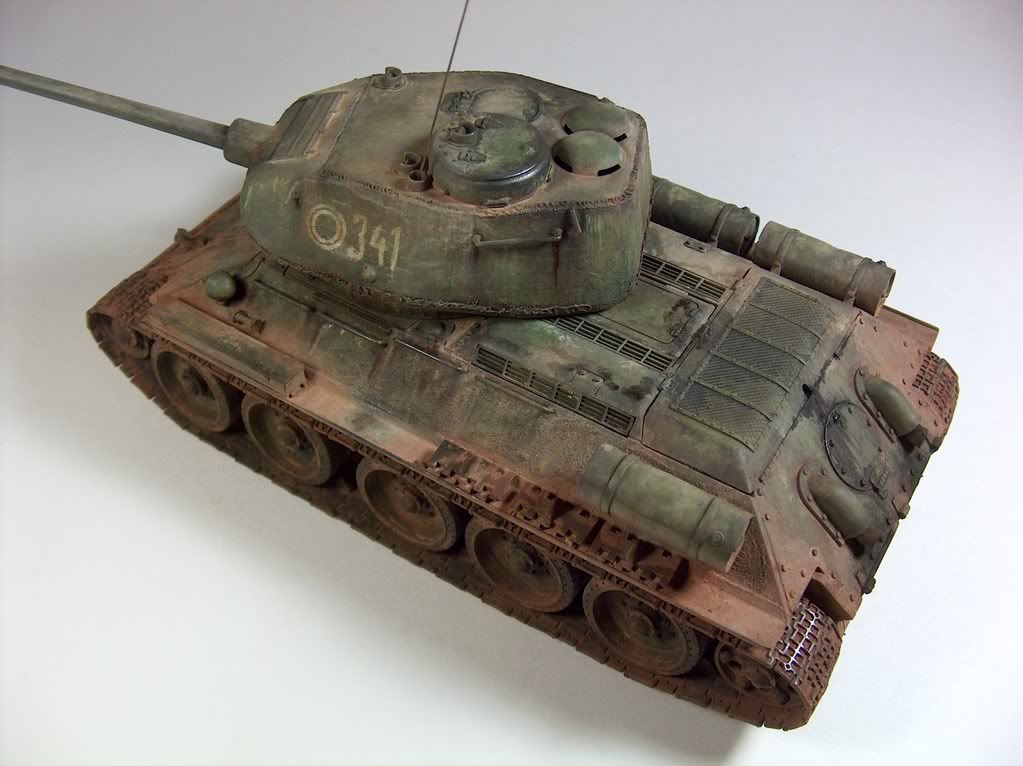
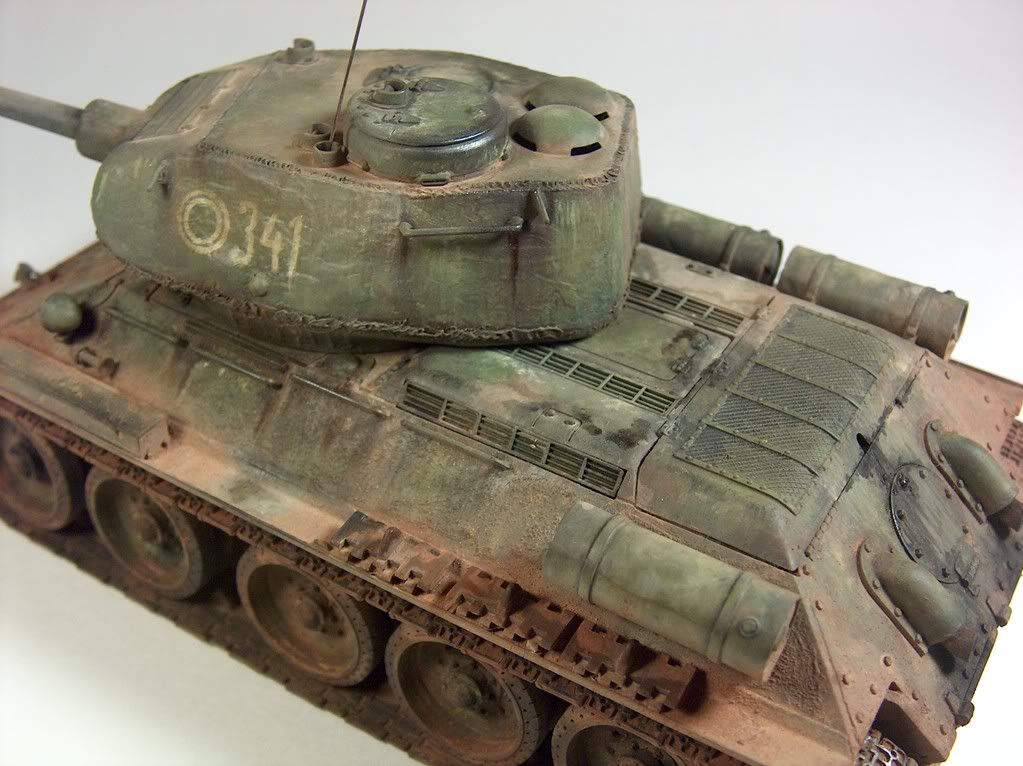
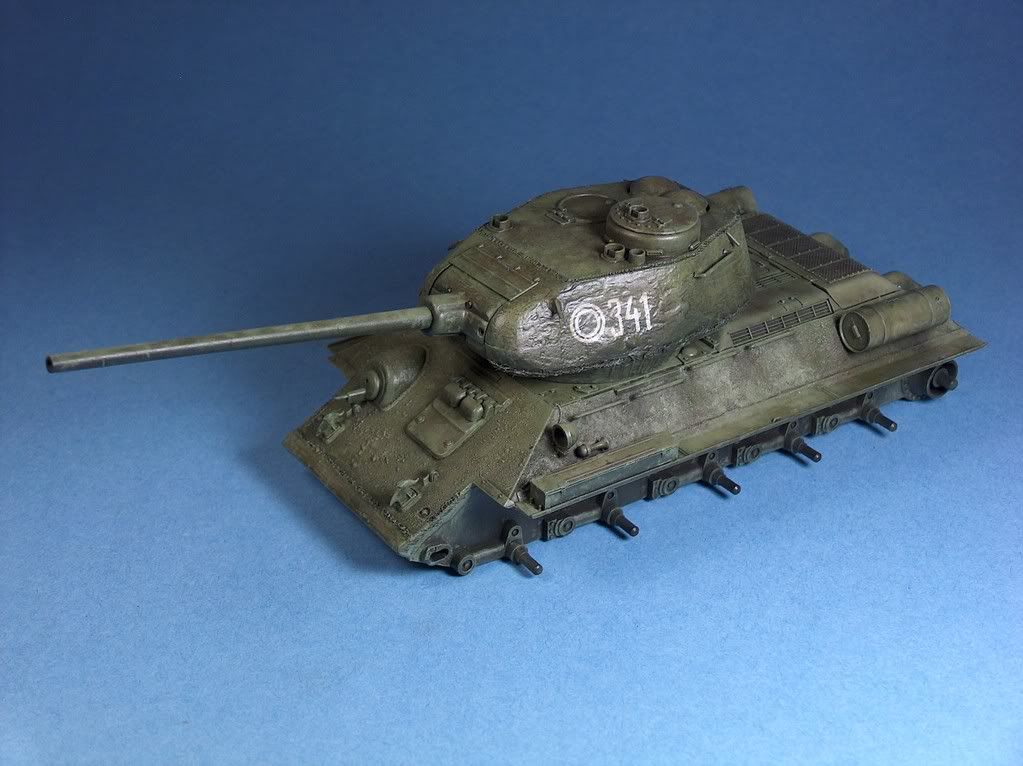
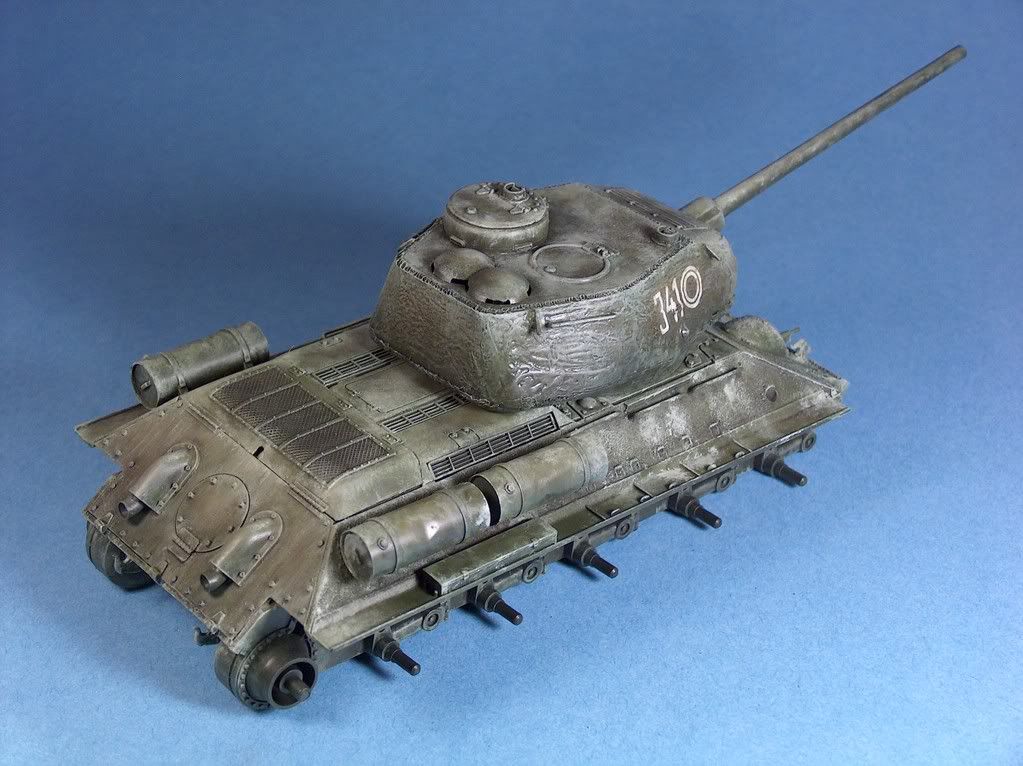
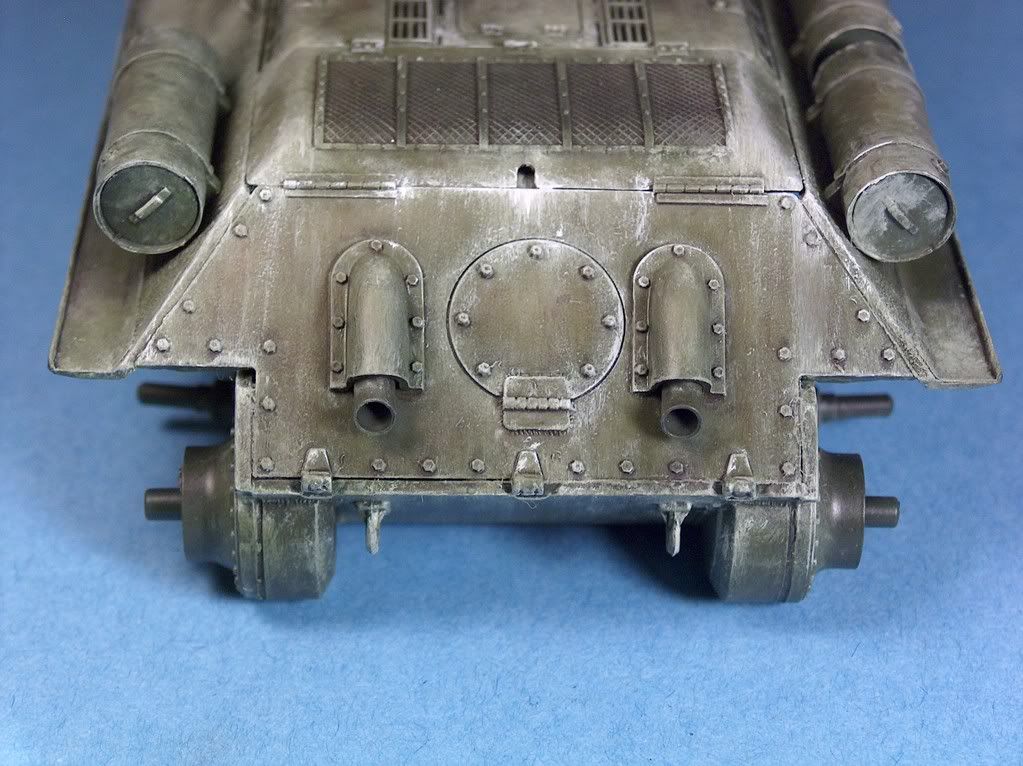
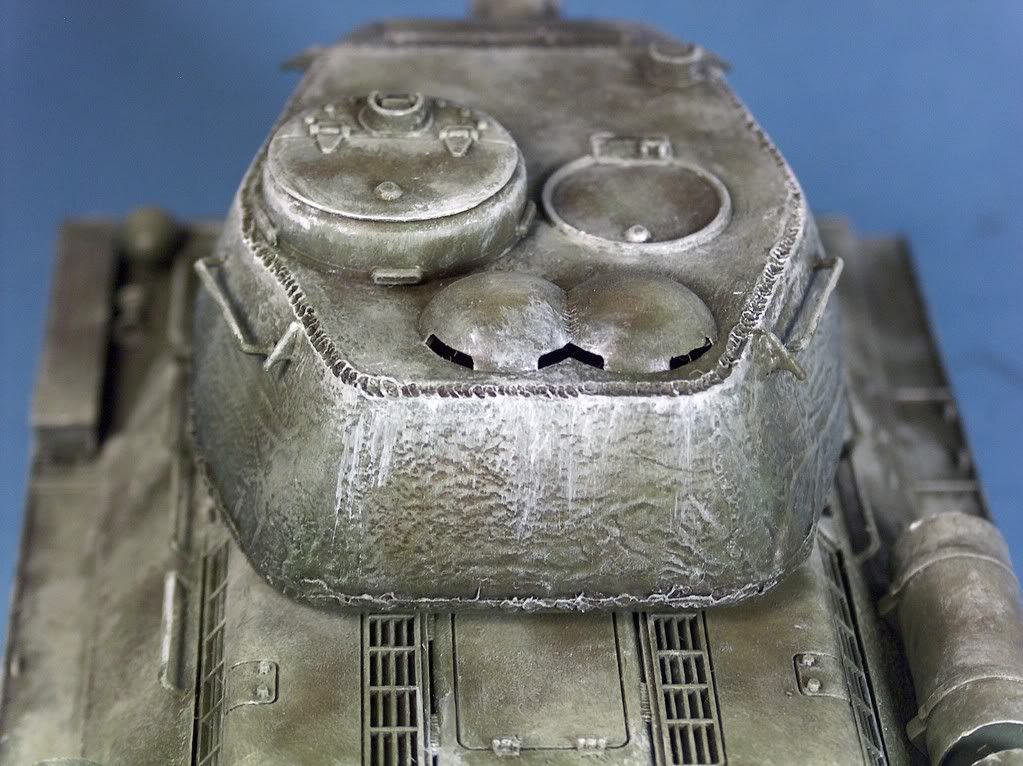
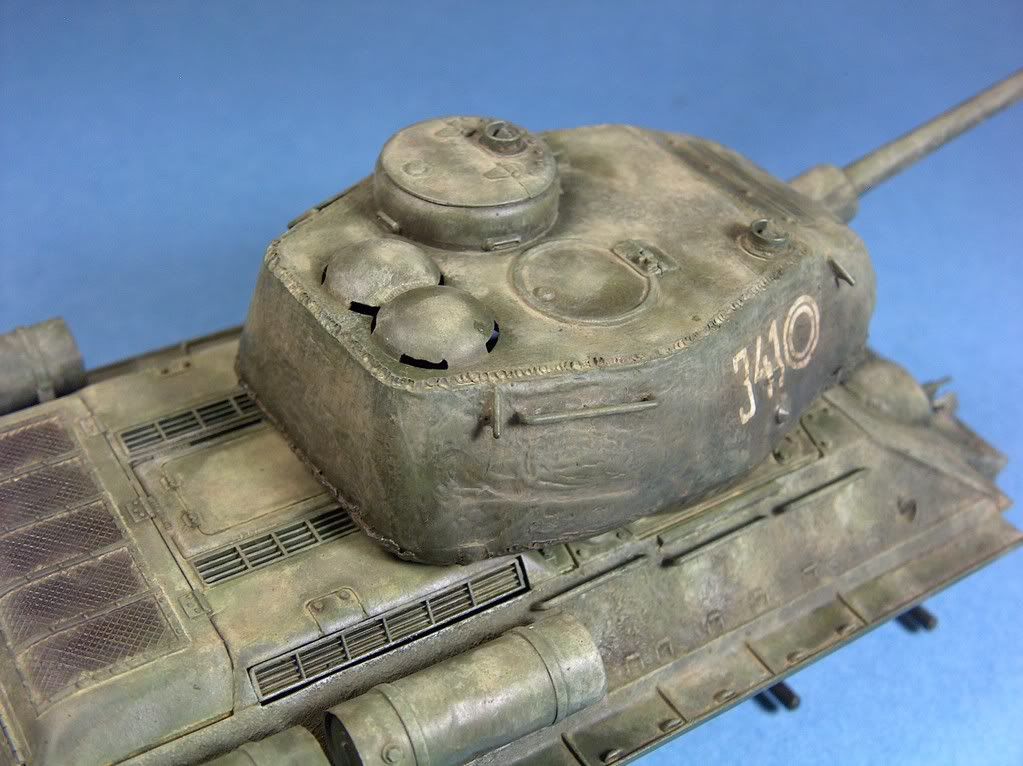
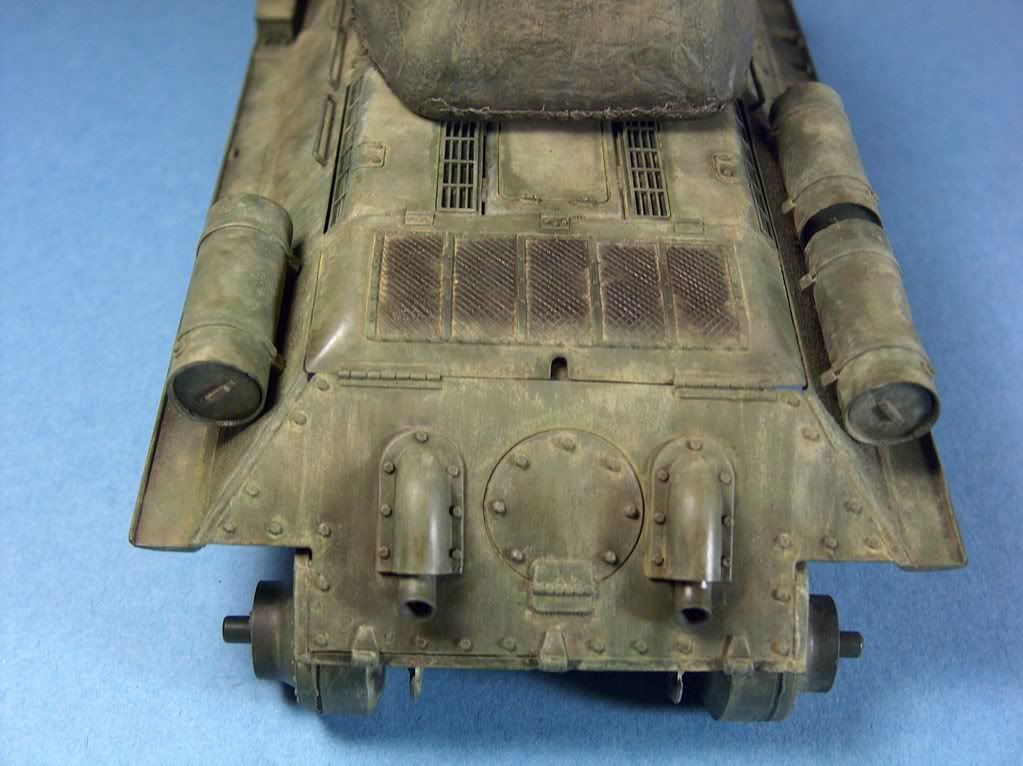
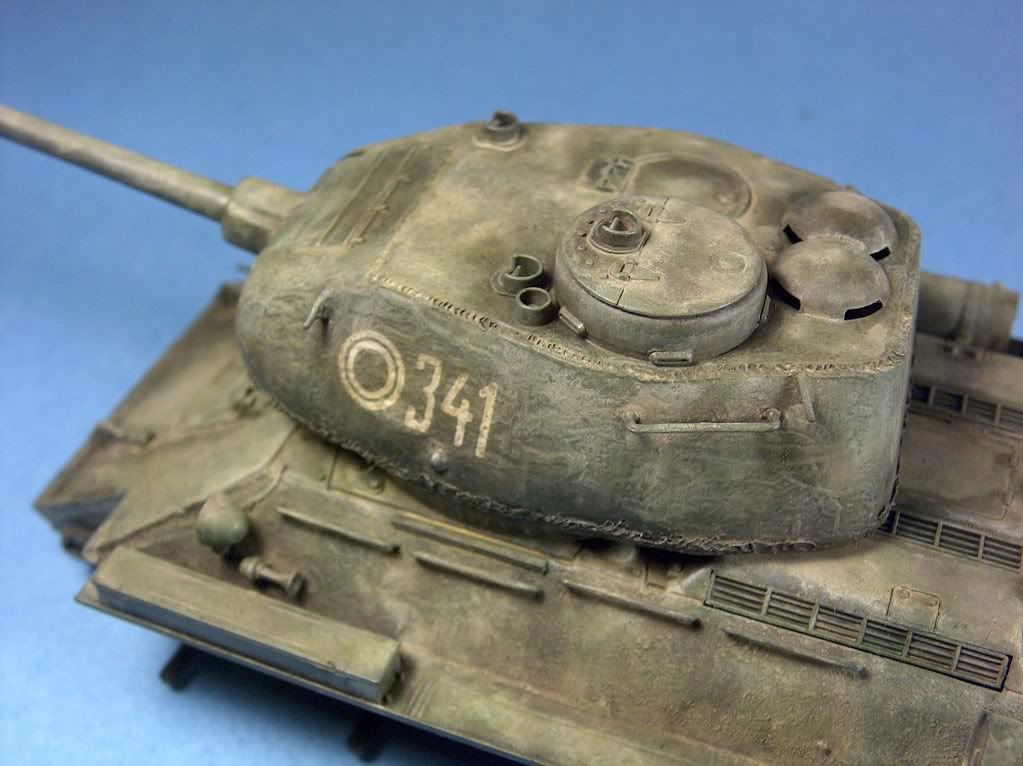
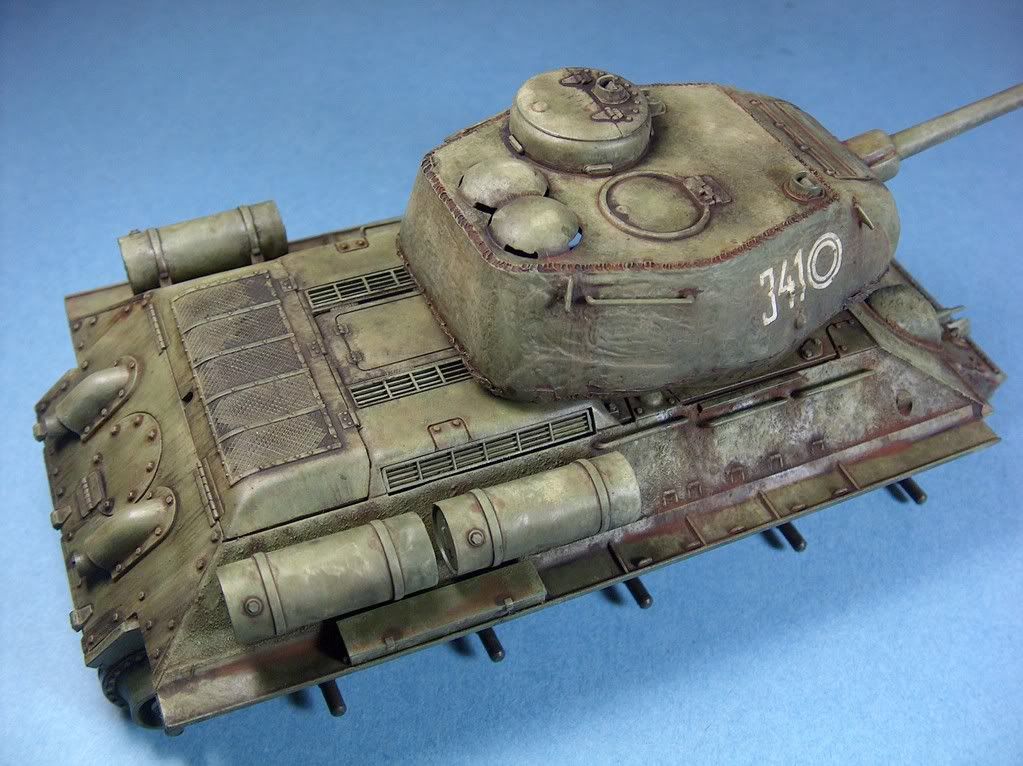
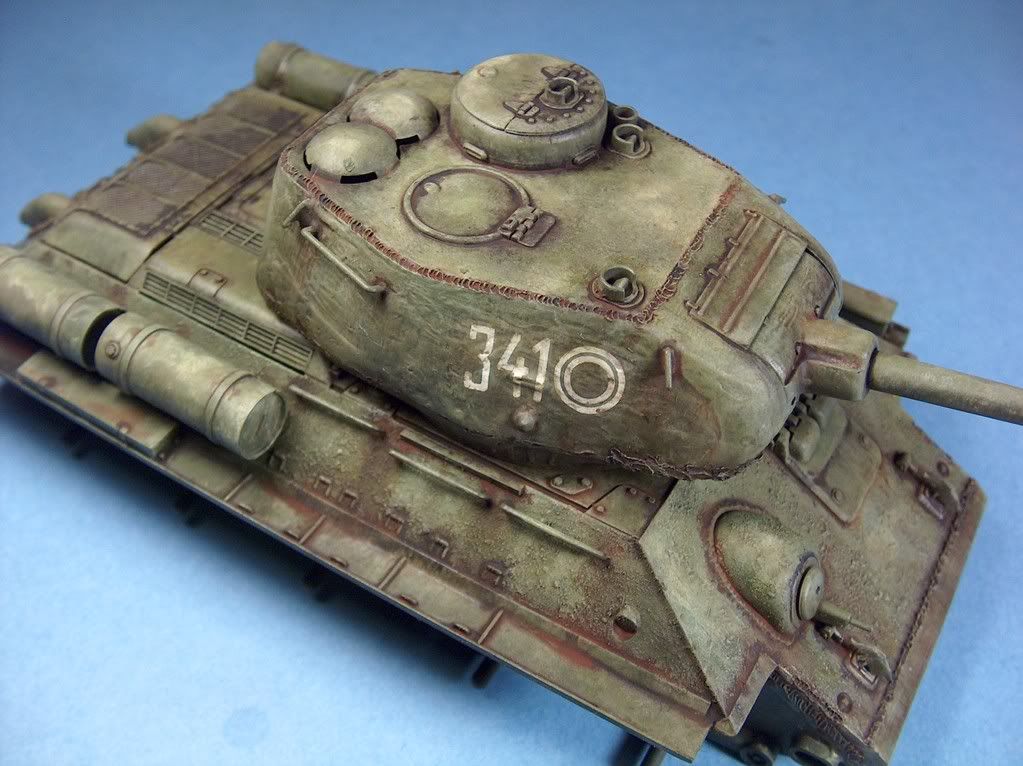
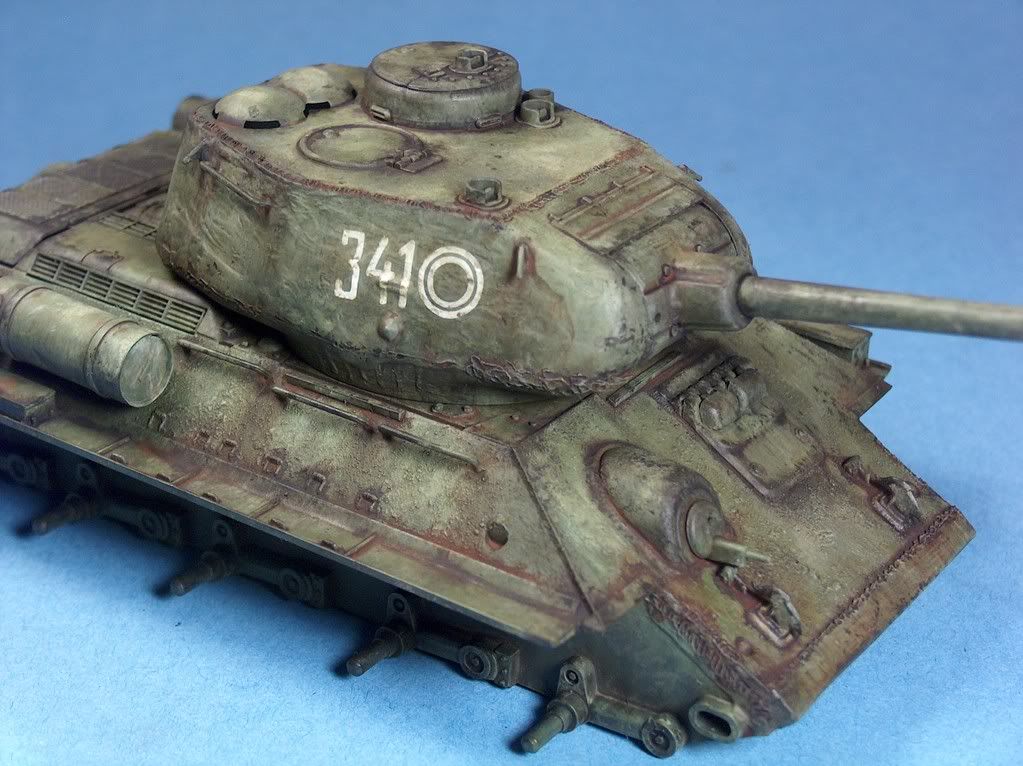
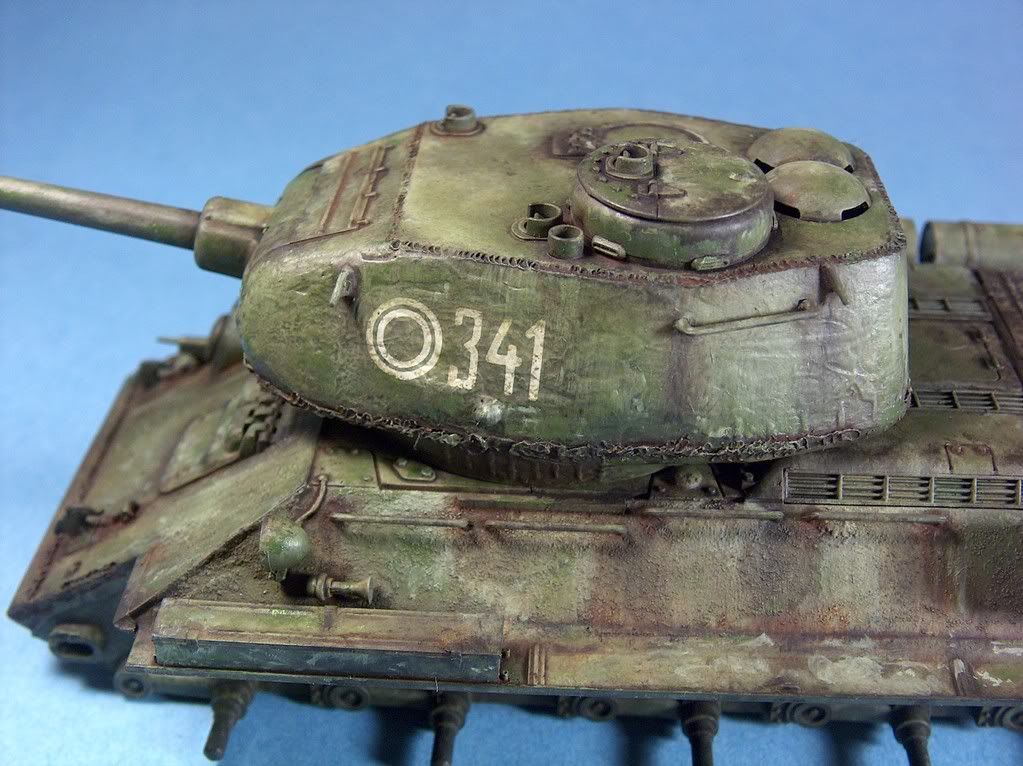
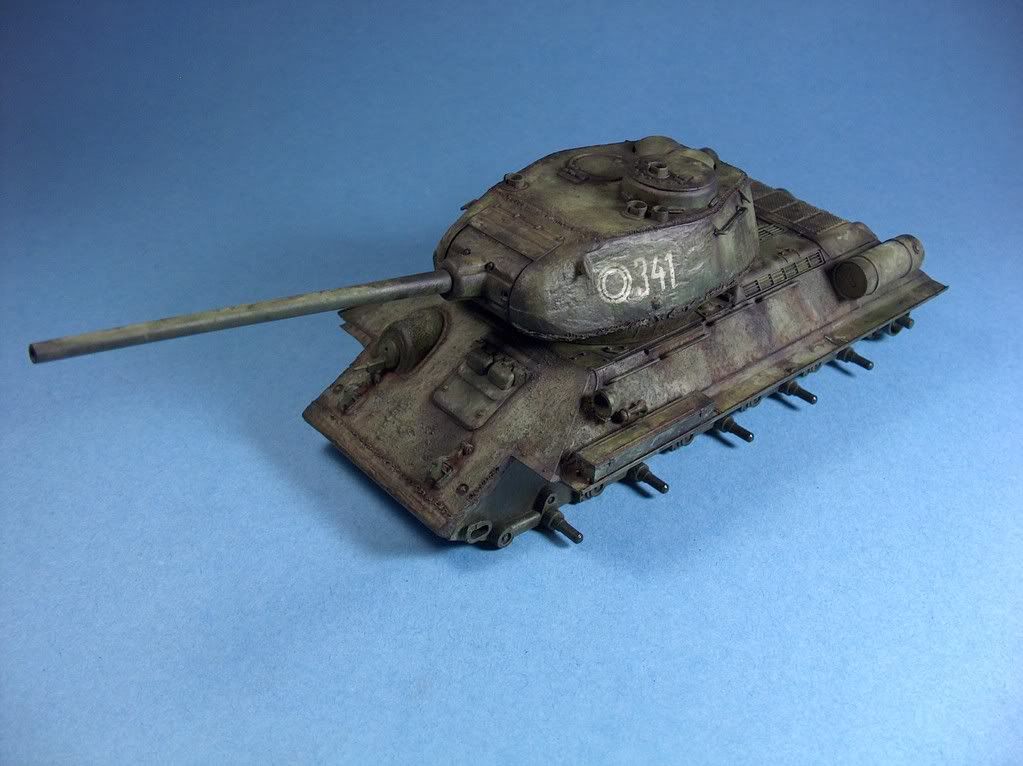
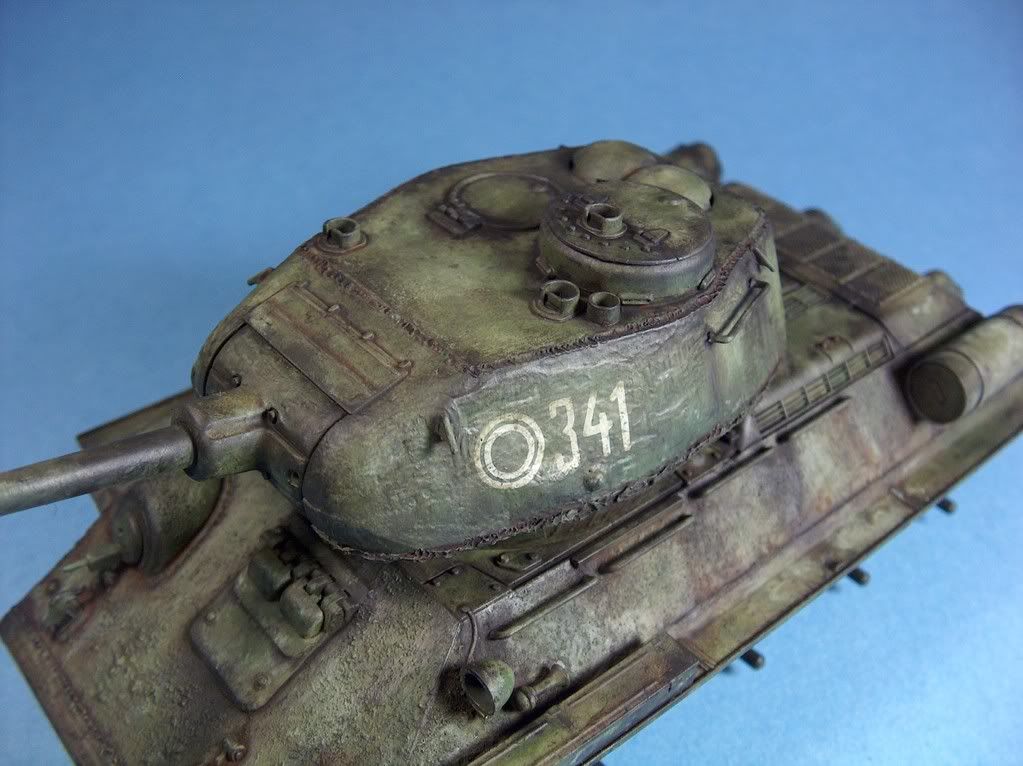
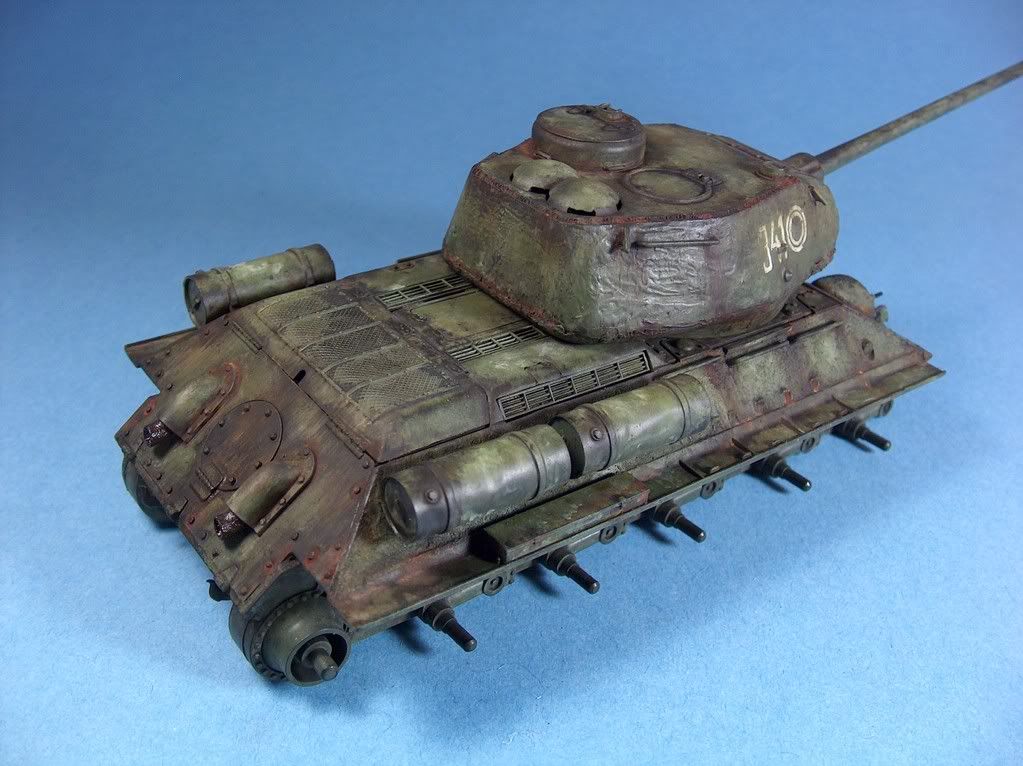
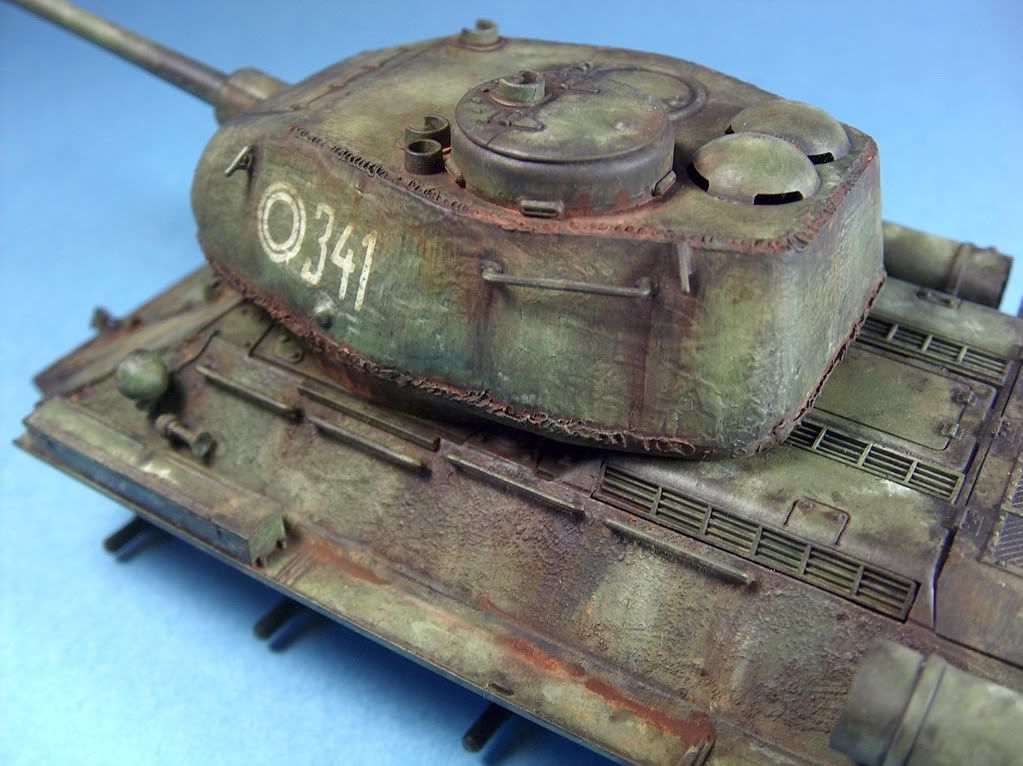
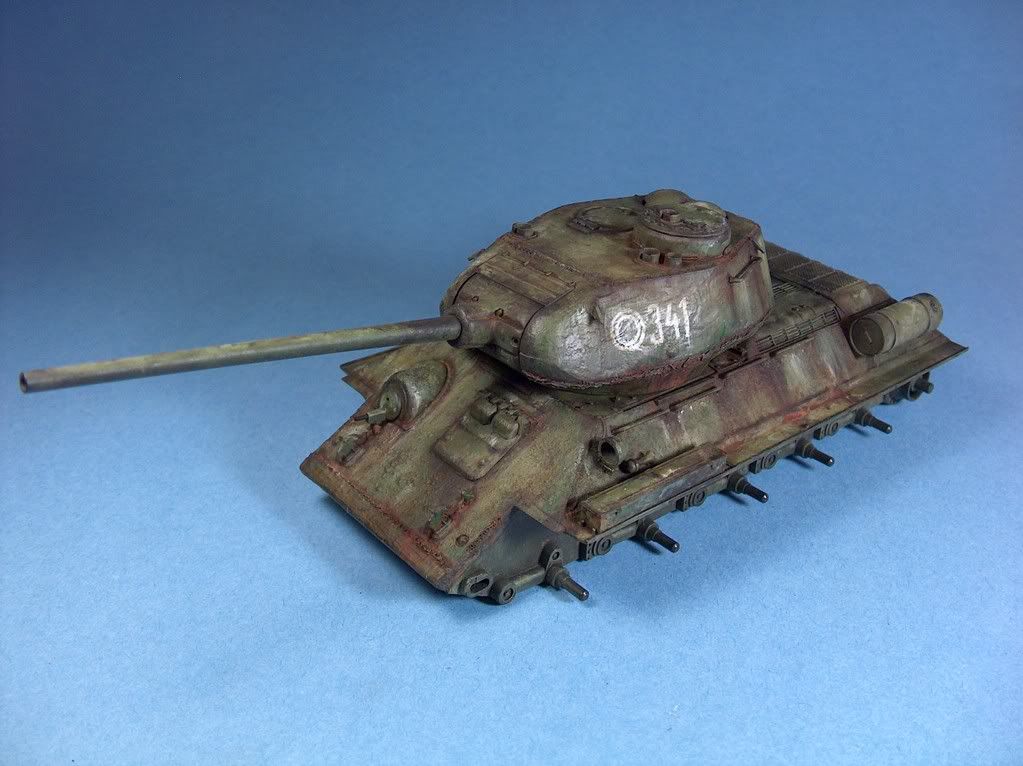
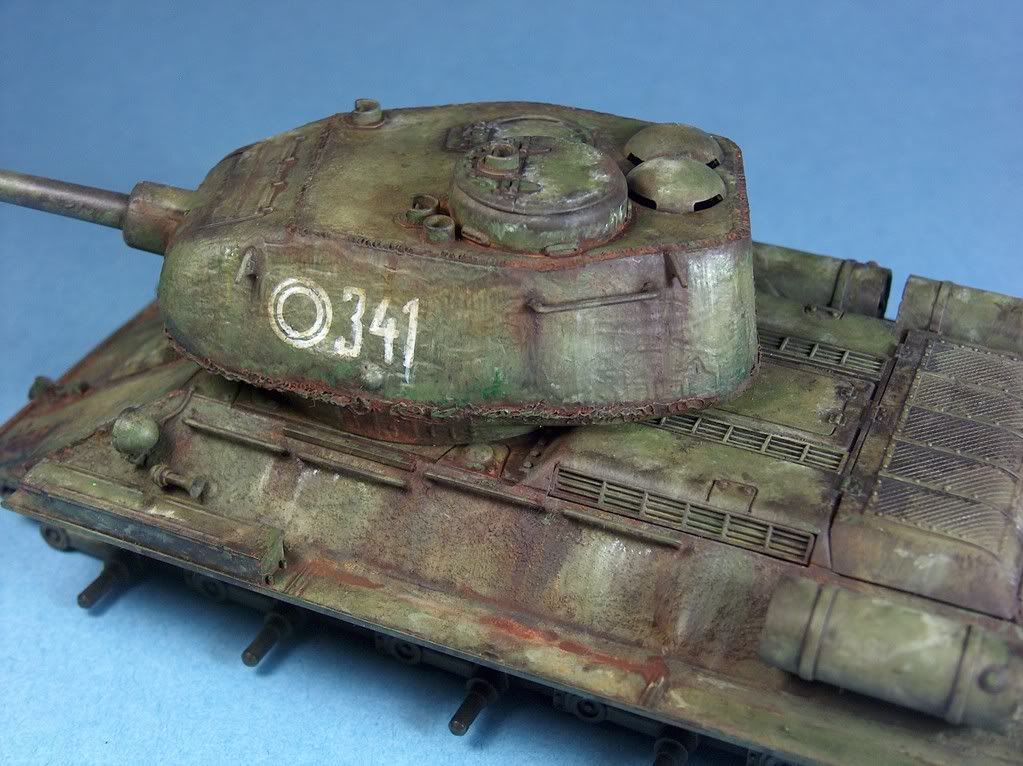
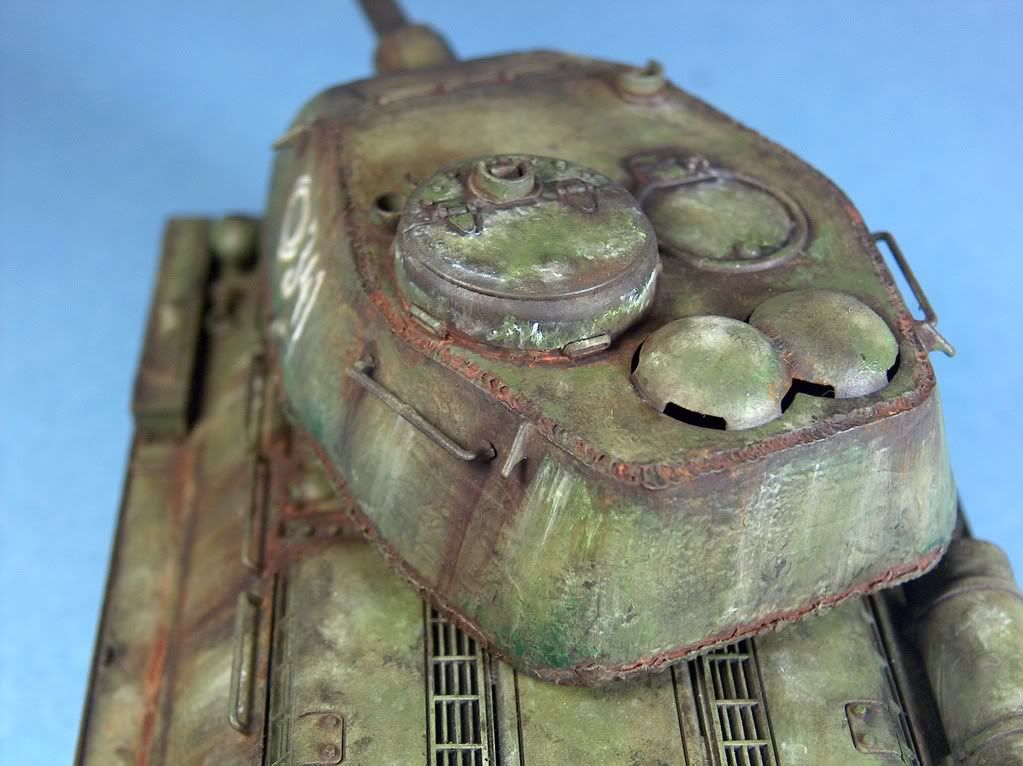
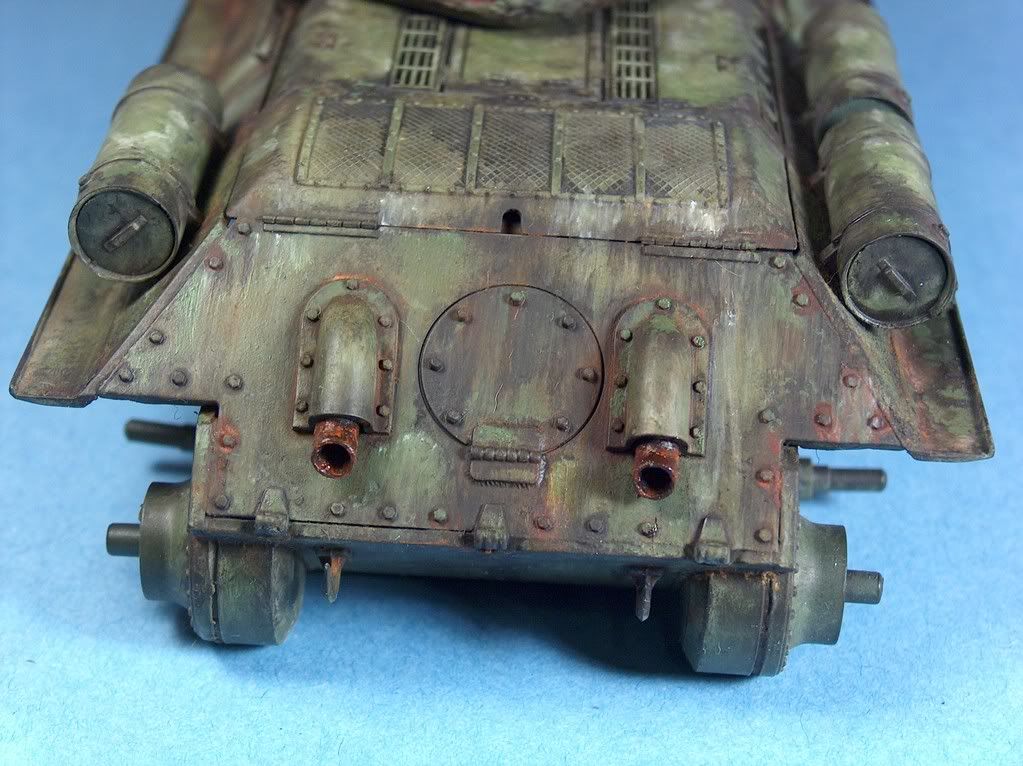
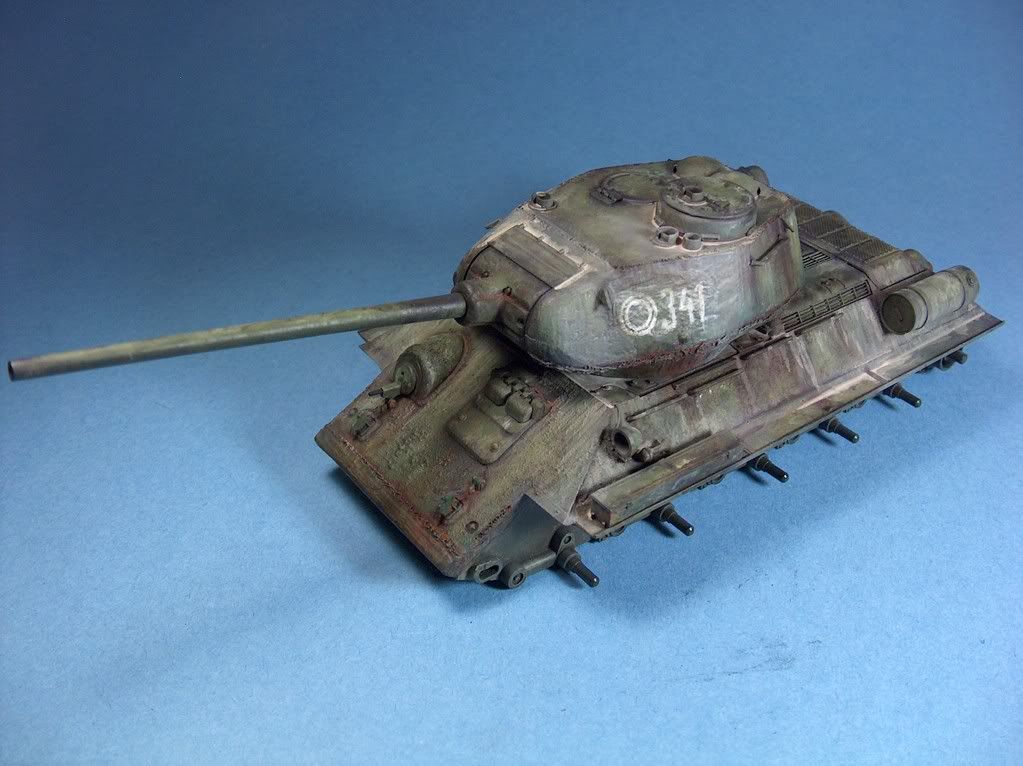
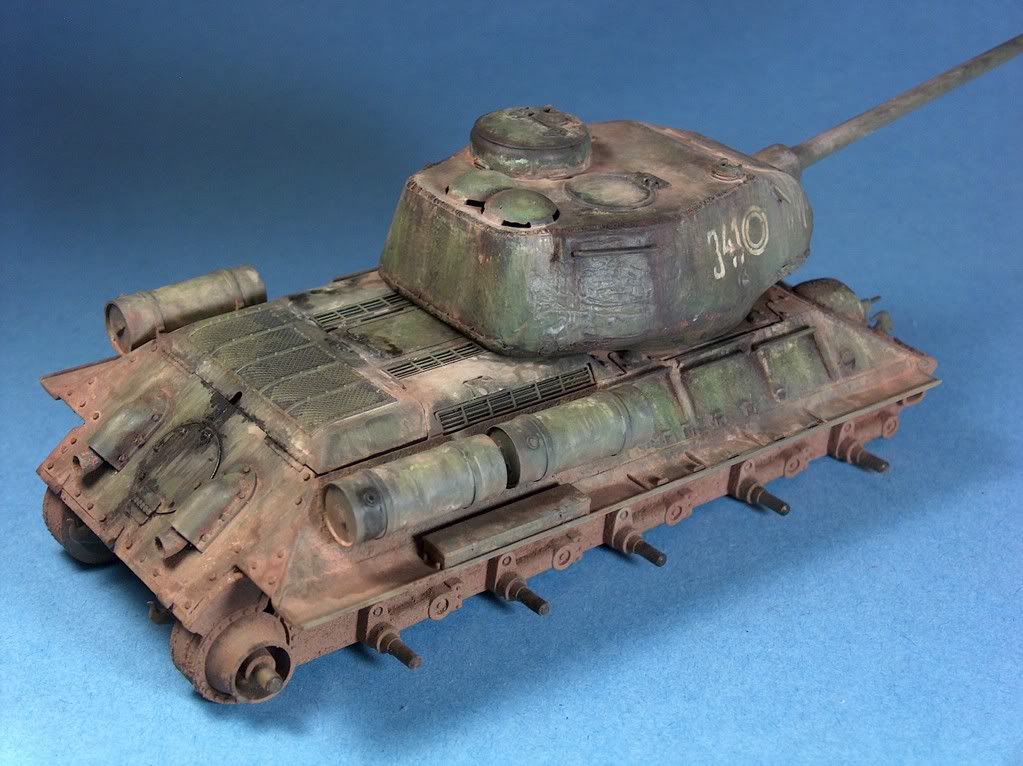
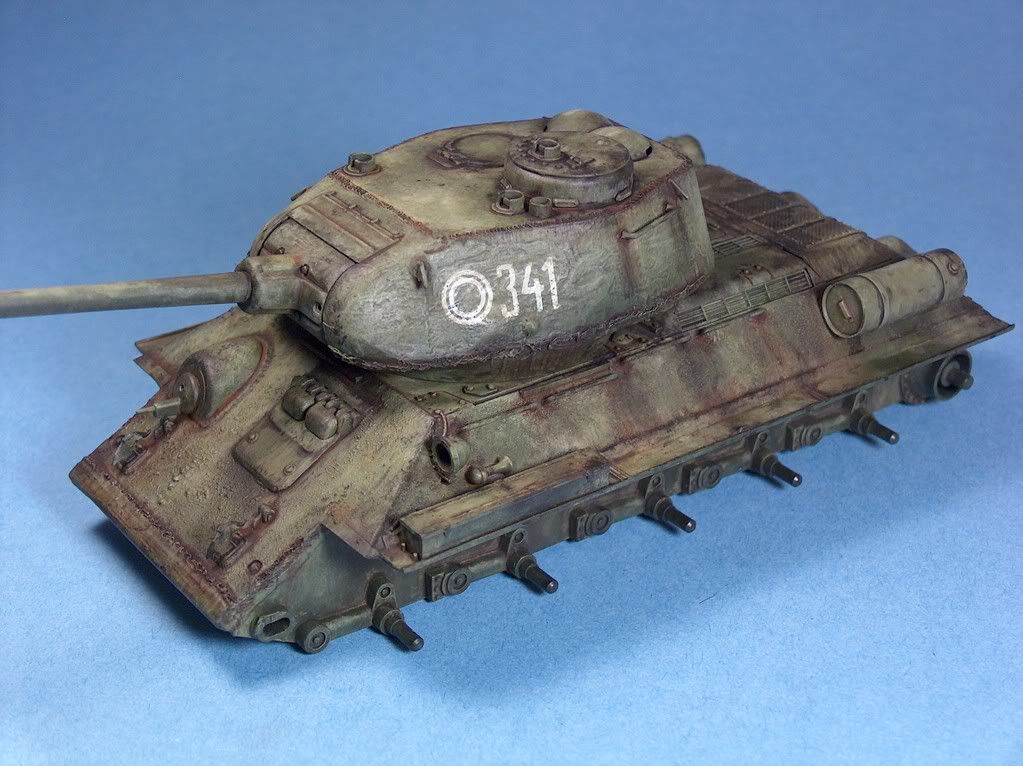
Guys: Here is my completed T34/85, an OOB build of the old 1/35 Tamiya kit #35138. I expect to display it in the future with my Panther G in a circa 1945 Berlin diorama.
Despite the obvious shortcomings, most notably the vinyl rubber band tracks and one piece molded deck grille this was a very enjoyable build! I chose to go OOB and by doing so on an inexpensive kit I felt free to really get my weathering steps clearly defined and documented. The following are photos of the finished build and then a step by step progression of how I got there, I hope you will find it helpful. Thanks for looking!
FINISHED MODEL:


STEP BY STEP PROGRESS: EDITed 1/28/09
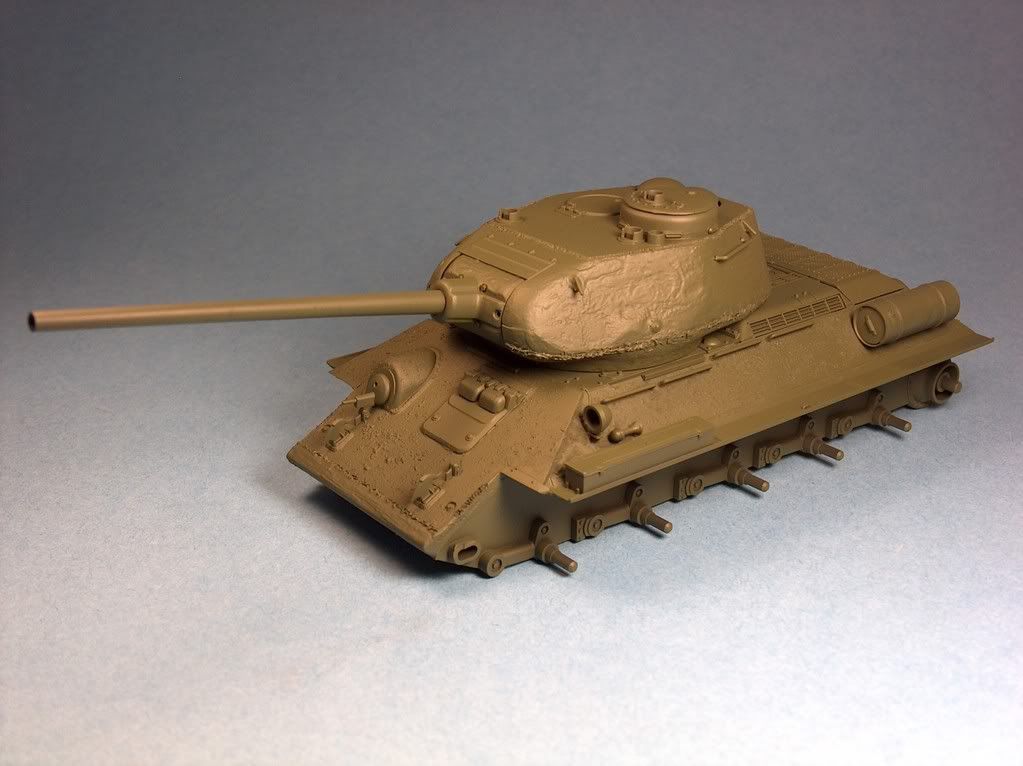
Although OOB rules do not allow after market additions like PE or indi-link tracks, etc…, they do allow creative changes to the model. I wanted to do the best I could to NOT make it look OOB so I made the following alterations first:
- Removal of all four corner fenders
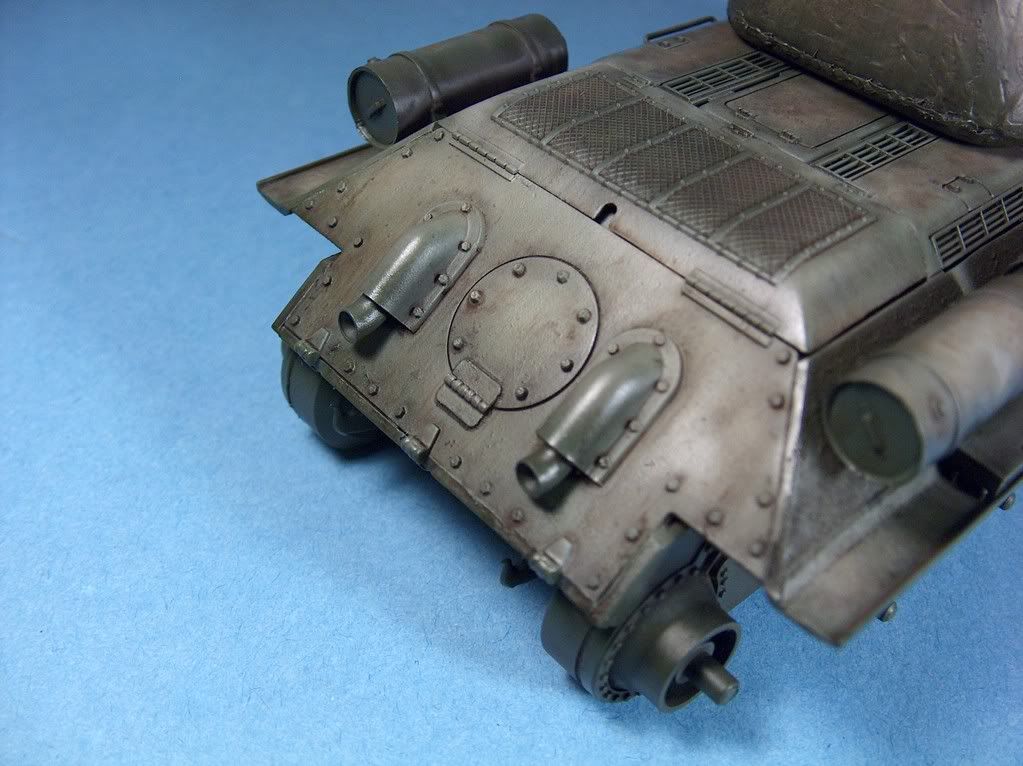
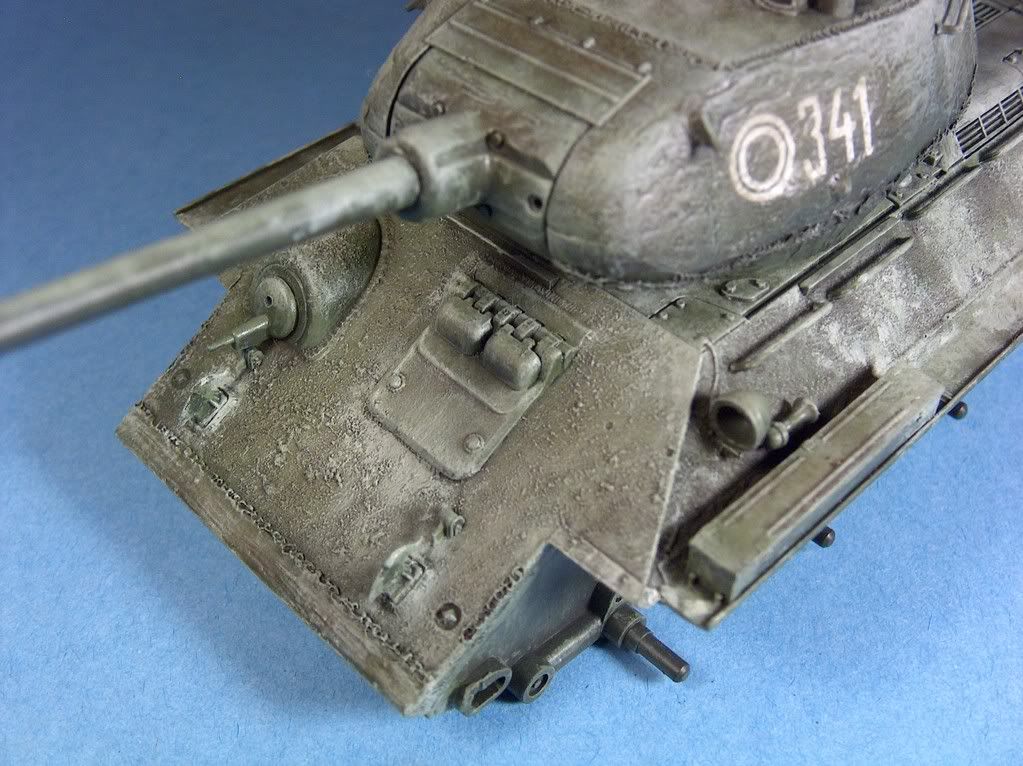
- Textured sloped flat plate hull areas: Mix of plaster, and Rubbing Alcohol, set down with Mineral Spirits and a pinch of H2O
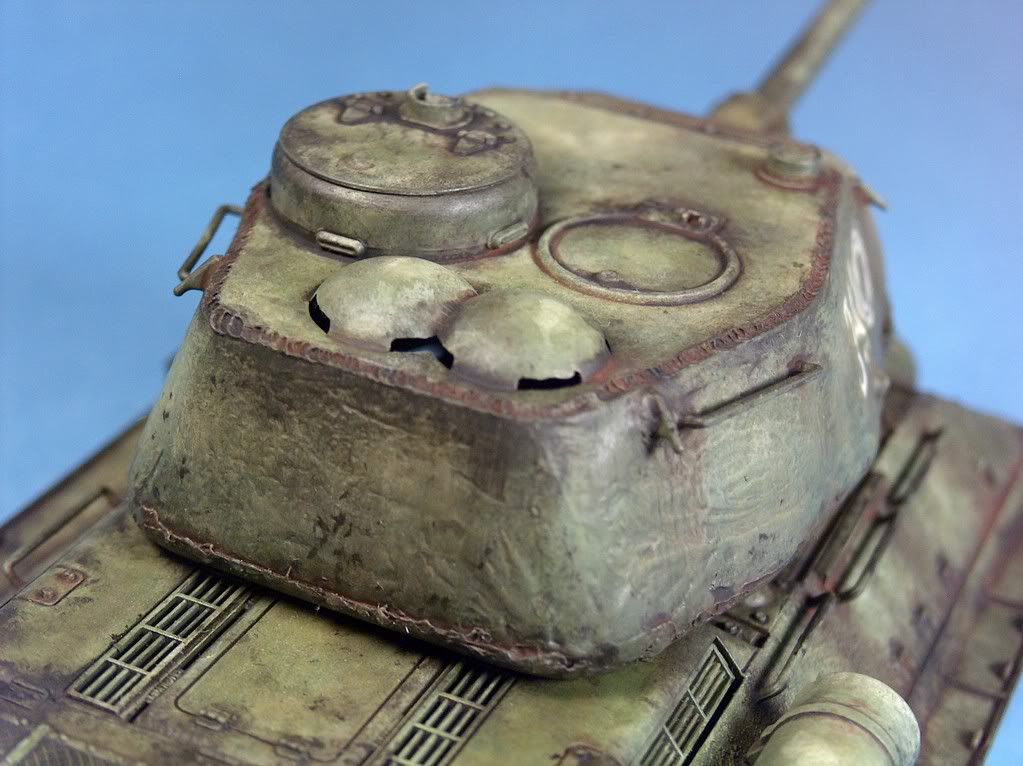
- Textured cast turret: ZAP-A-GAP glue and Zip Kicker Accelerator (this is a mini-toot’ in the making, it worked well and was FAST!)
- Weld Seams: Stretched sprue added and textured at lower glacis and lower turret perimeter
- Kit-molded Weld Seams: Seams accentuated with wood burning tool
- Antenna: Stretched sprue
Note The terminology may be different from what the model community uses…but they are my way of remembering them.
Primer: Black-“rattle can”:

Base Color: Tamiya NATO Green XF-67-Airbrushed Acrylic:
Post Shading: (First Coat: One shade lighter than base color. Second Coat: Two shades lighter than base color)-Airbrushed Acrylics:
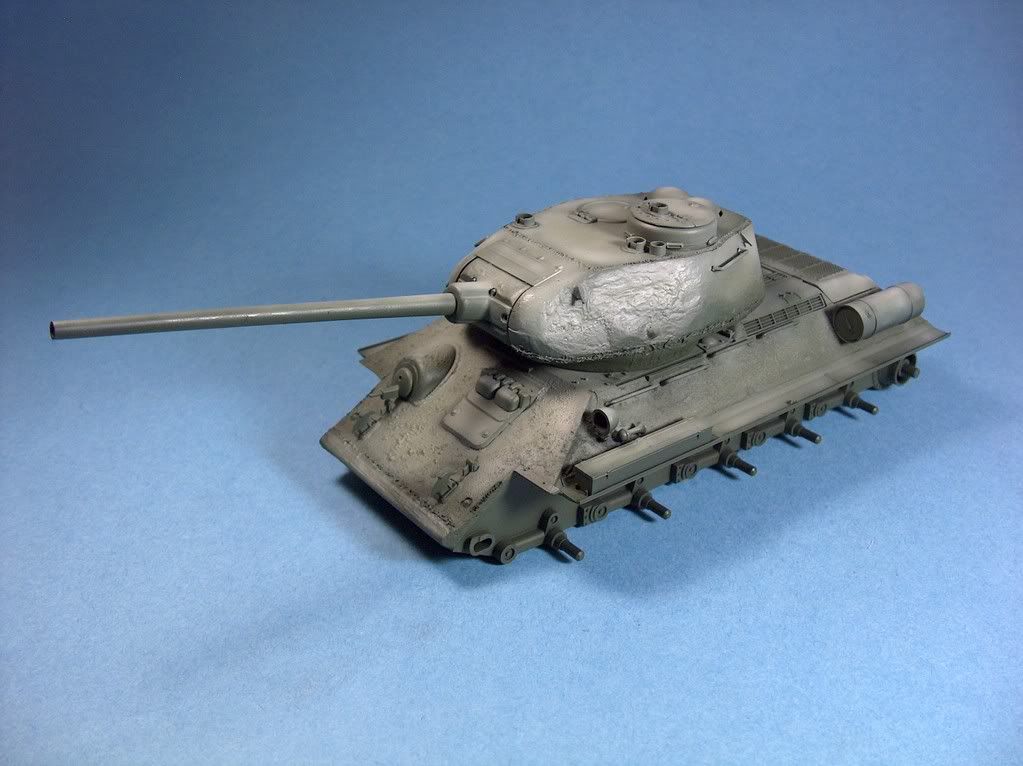
Filter Washes: (VERY thin mix of paint and mineral spirits): Lamp Black, Burnt Umber and Raw Umber-Oil Paints:


Seal Whole Model: Tamiya Flat Base and Future Floor Polish Mix-Acrylic
Dry brush #1: (custom mix of oil paints): Match Base Color:


Drybrush #2: (custom mix of oil paints): Lightened Base Color:


Dry brush #3: (custom mix of oil paints): Even Lighter Base Color:


Dry brush #4: (custom mix of oil paints): Near White Lightened Base Color:

Seal Whole Model: Tamiya Flat Base and Future Floor Polish Mix-Acrylic
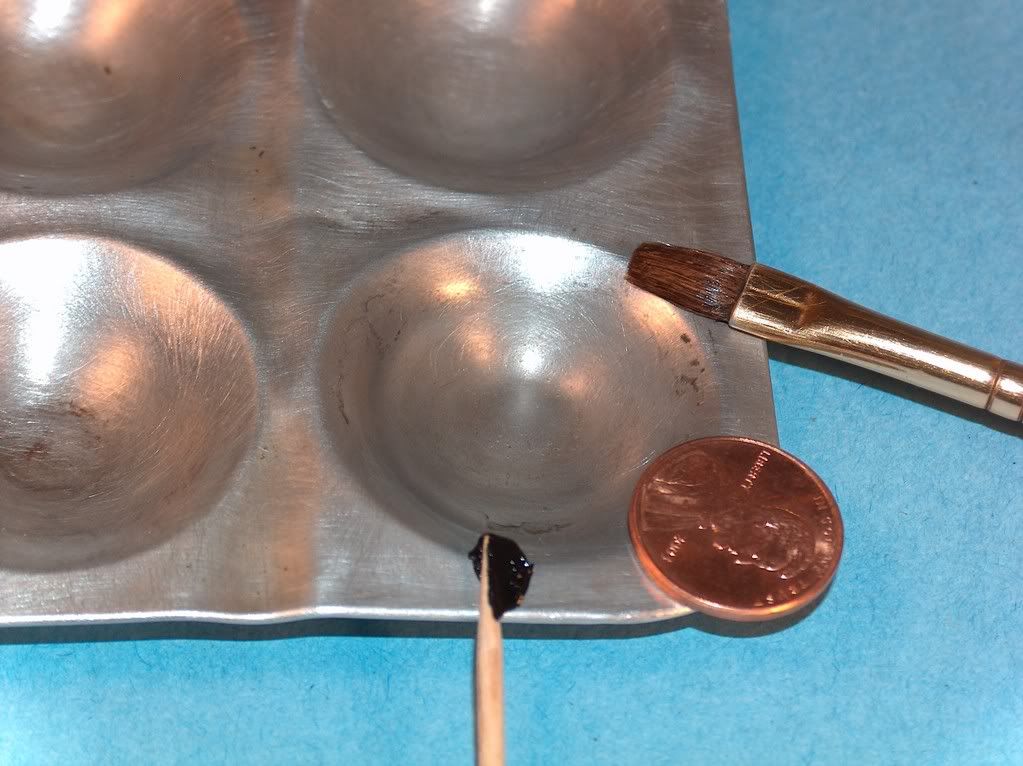
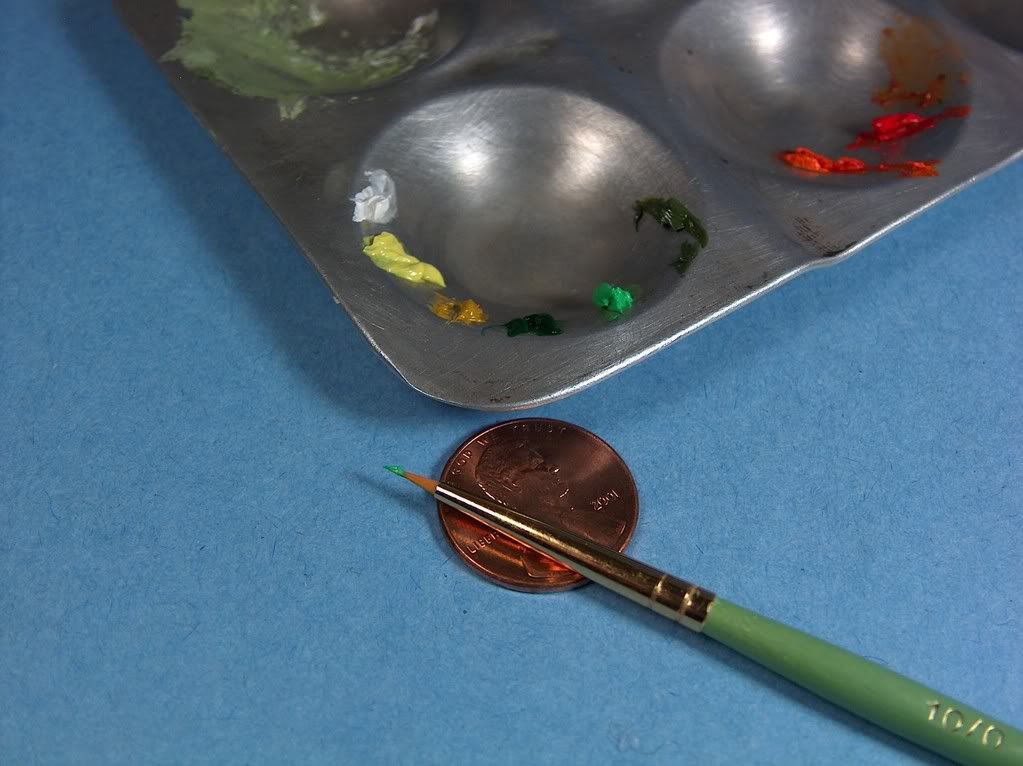
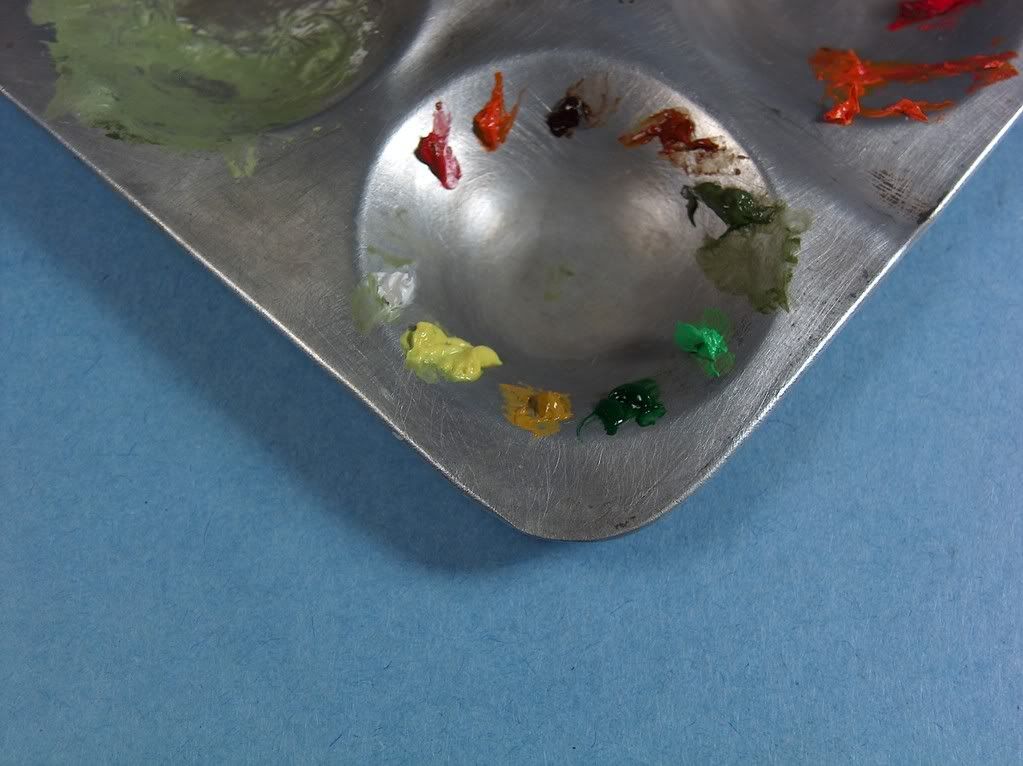
Color Washes: (thin mix of paint and mineral spirits): All were applied with a brush and then, when almost dry, streaked with a CLEAN and slightly dampened ¼" brush:

The following are the colors and # of coats applied (clockwise starting from the left): Raw Umber (1), Burnt Umber (1), Custom Mix to match Base Color (1), Sap Green (1), Permanent Green Light((1)-Top Edge of Vertical Surfaces and Horizontal Surfaces ONLY), Yellow Ochre (2), Lemon Yellow ((1)-Top Edge of Vertical Surfaces and Horizontal Surfaces ONLY)-Oil Paint


Pin Washes and Panel Line Washes: (mix of paint with mineral spirits) Raw Umber, Burnt Umber-Oil Paint:

Seal Whole Model: Tamiya Flat Base and Future Floor Polish Mix-Acrylic
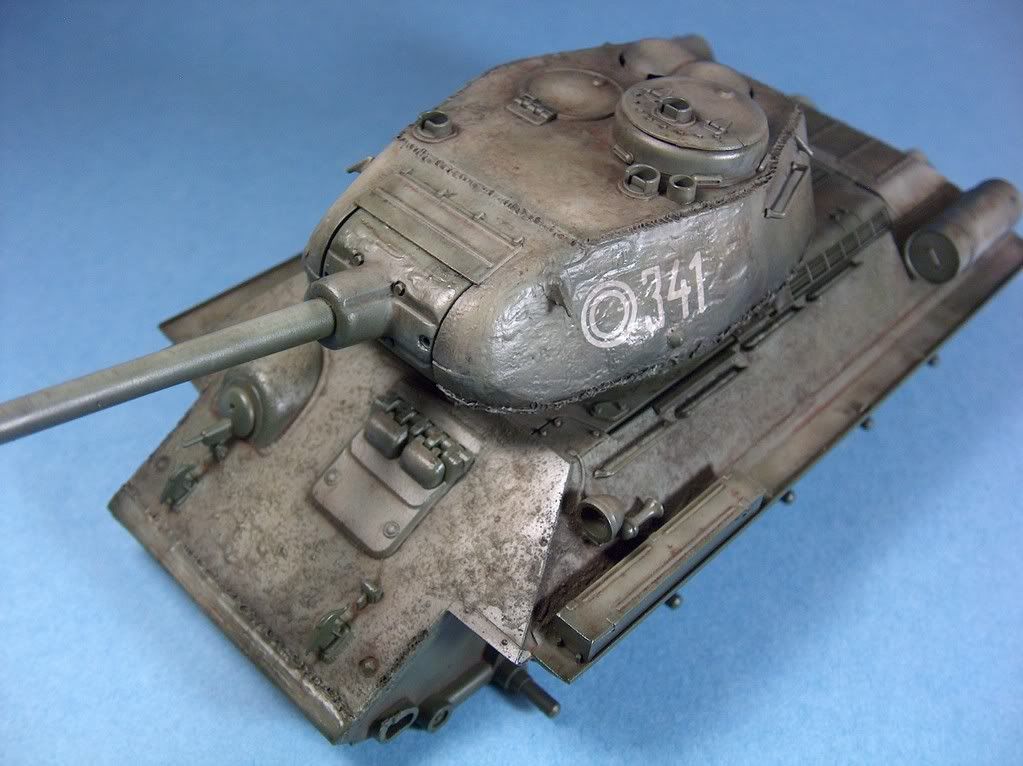
Chips, Scratches and Exposed Steel Drybrush #1: (Lamp Black 1/3 and Raw Umber 2/3, NOT thinned)-Oil Paints:


Color Accents: (adding more vibrant color over most prominent existing colors) Custom Color to Match Base Color, Lightened Shade of Previous Color w/touch of Yellow, Even Lighter Shade of Previous Color-Oil Paint:

Exposed Steel Drybrush #2: (Lamp Black 1/3 and Raw Umber 2/3, NOT thinned)-Oil Paints:

Rust: (various pin washes, streaks, color accents) Burnt Umber, Orange, Brilliant Red-Oil Paints:


Color Streaks: colors AND white: (similar to “dot” technique but the colors are not mixed all together after applied. Instead, colors are applied in tiny amounts over most prominent existing colors and are intended to add visual interest and texture)-Oil Paint


First Layer of Dust & Dirt/ Streaks: Dust-VERY thin mix of Tamiya Deck Tan XF55-Airbrushed Acrylic. Streaks-Tamiya Buff XF57 mixed with water applied with small brush:

Second Layer of Dust & Dirt/ Streaks: Dust-VERY thin mix of Tamiya Desert Yellow XF59-Airbrushed Acrylic. Streaks-Tamiya Desert Yellow mixed with water applied with small brush:
NO PICTURE
Third Layer of Dust & Dirt/ Streaks: Dust-VERY thin mix of Tamiya Flat Earth XF52-Airbrushed Acrylic. Streaks-Tamiya Flat Earth mixed with water applied with small brush:
NO PICTURE
Fourth Layer of Dust & Dirt: (Various colors applied with old paintbrush and then set down by using eyedropper to apply mineral spirits)-Chalk Pastels
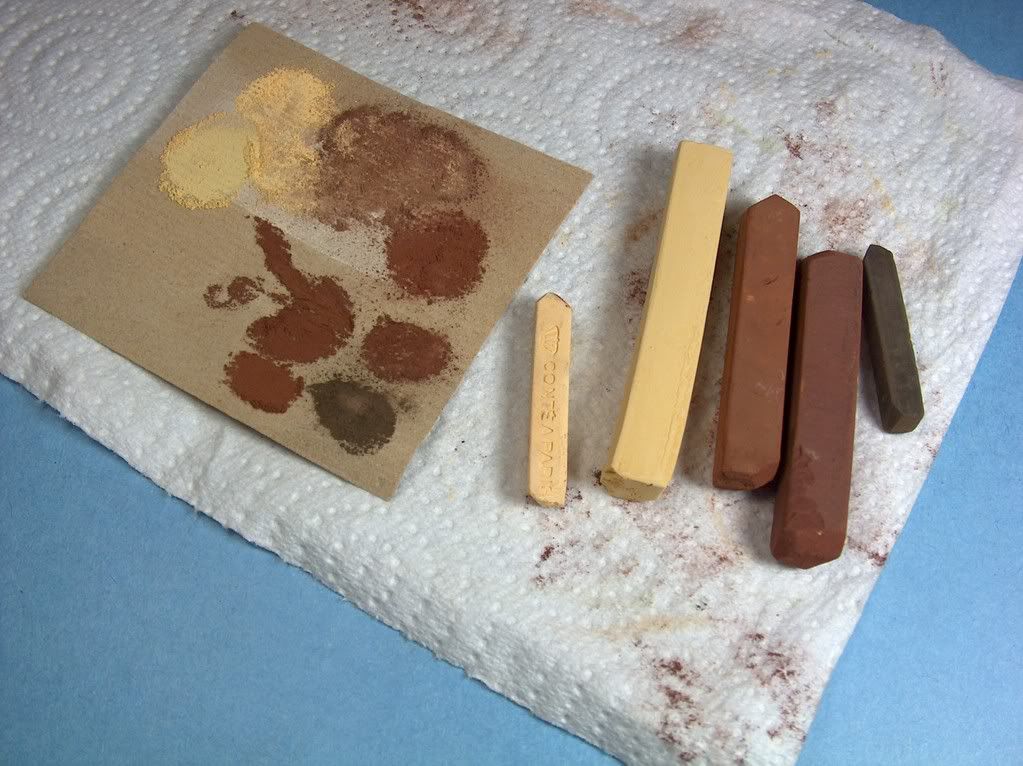

Tracks: I did not document the process for the tracks, but here is what they look like:

Note I saved the road wheels for last, but I went through the same weathering steps, somewhat condensed, as the rest of the tank.
Other details: (not photo-documented)
Grease, Oil and Fuel Spills: Raw Umber/ Mineral Spirits and Artists Oil Medium Gloss Varnish Mixes
Exposed Metal: Graphite Pencils
Exhaust Stains, Gun Barrel Soot: Chalk Pastels
Exhaust Pipes: Flat Black Acrylic, Burnt Umber Oil Paint , Chalk Pastels