Better late than never right? Doing my own challenge as I missed another groups group build called 48 in 48…
Not bad for two days…
So far the fit has been spot on but the only slow down was doing the individual tracks. I dry fitted the drive sprockets, road wheels then began to layout the tracks.
Now when it comes time to prime and paint, the track assembly will be a separate piece and the running gear falls into place.


5 Likes
As you can see, once the tracks are in place, the rest of the running gear falls into place.
Again, this is all dry fitted…

4 Likes
This was a blast to build- love the figure you have…where is it from?
2 Likes
Awww thats so cute, seriously,that looks like a fun kit,cant wait to see it painted
1 Like
Very nice looking! Figure is great.
1 Like
Nice small scale tank and figure!
1 Like
Thank you so much and so fsr no complaints! As for the figure, he is 3D printed and got em through a friends friend… Ugh, at the, his name/business escapes me.
My daughter said the sanw thing haha… I cant wait to get some paint on it and hopefully that’ll be soon!
1 Like
Thank you and that figured was 3d printed. Pretty amazing detail…
1 Like
Indeed it is and it truly is a nice tank and the fit is amazing so🤞🏼
I really like your way of doing your tracks off of the vehicle with the road wheels and drive sprocket. I’ve got to try that on my next armor build. That crew man figure is also very nicely detailed. A great project and I can’t wait to see your next update.
1 Like
Thank you so much Tom! As I was assembling the rest of the tank, in the back of my mind I was trying to figure out to do the tracks.
I’ve done it before where I put a whole tank together but the painting/detailing is a bit of a PITA…
So i figured that try this route and man, its going to make painting and weathering so much easier!
Love that 3d printed fig! Not sure if its this guy but I have one other 1/48th fig where you can see his wedding band!
This is looking great. I really like how you have done the tracks.
2 Likes
Thank you so much Shoop! It was early morning when I started to think out how I wanted to do this.
Once I had my first cup of coffee, I was off! This will definitely make the painting/weathering process a lot easier… Hopefully haha
I am moving right along on this build and one thing is for sure, I definitely have surpassed the 48 in 48 timeline haha
There are a few items that need to be placed on the tank still but overall, I am set.
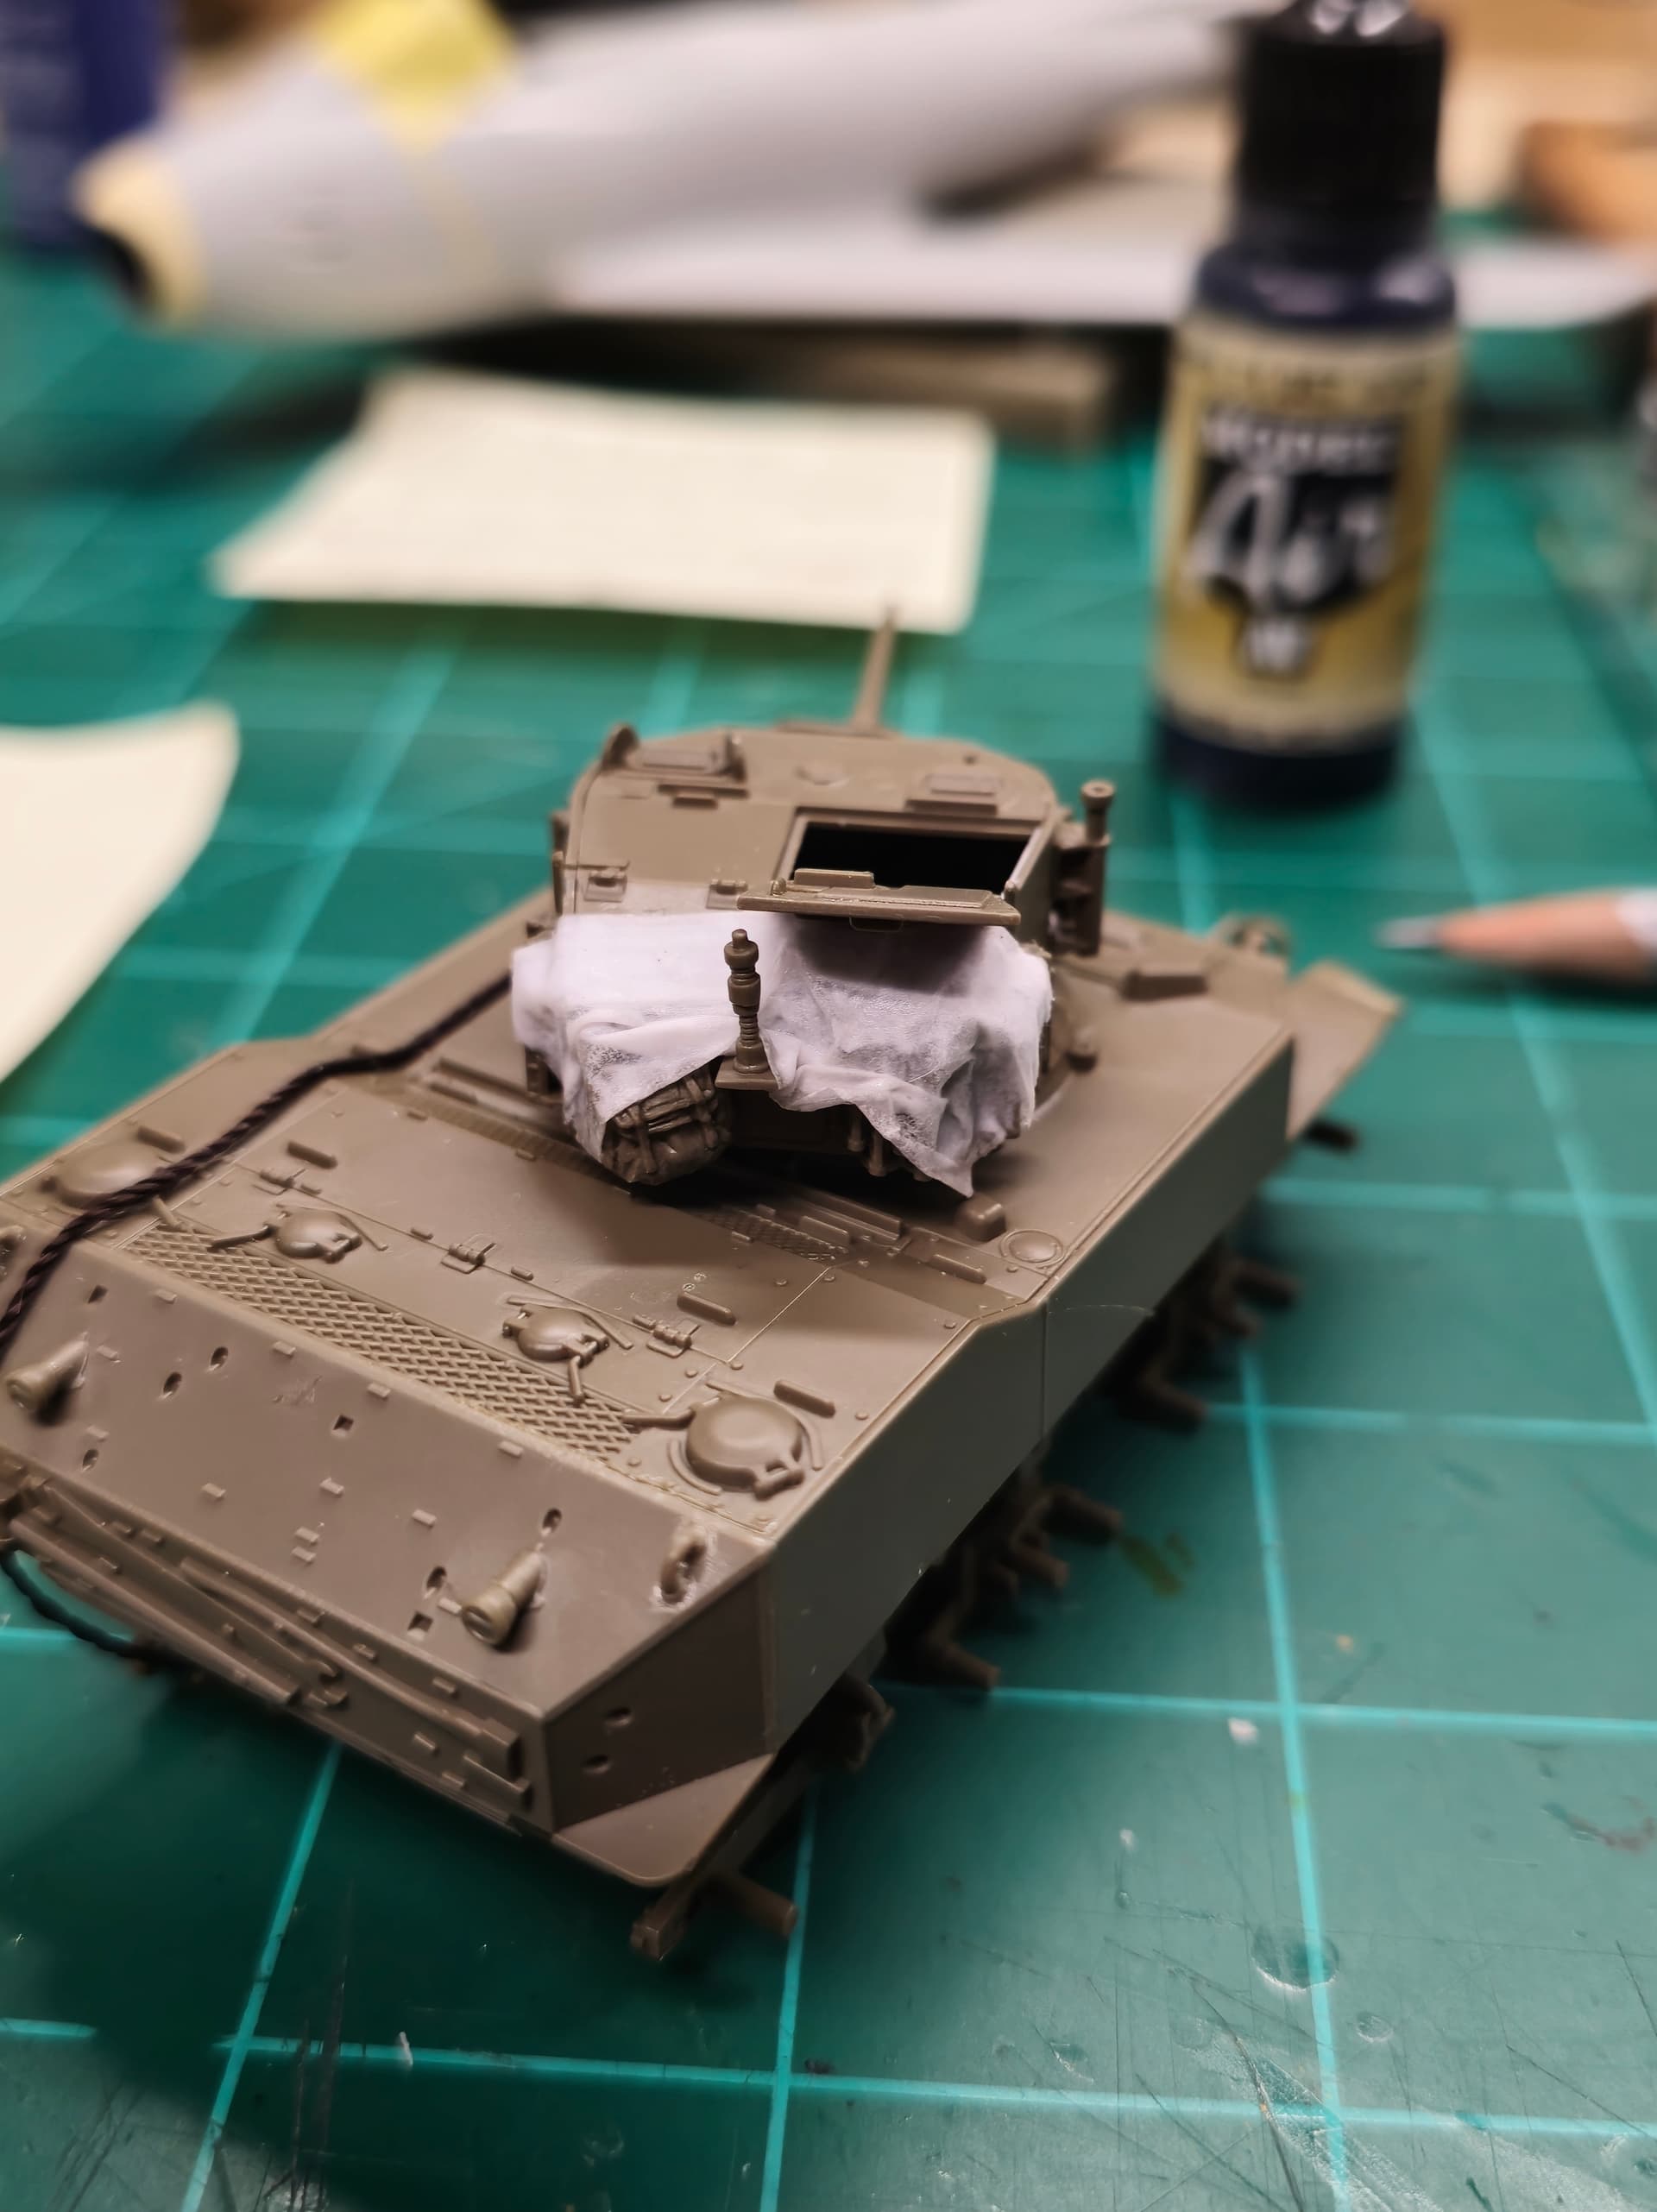
I did not like how Tamiya molded on the lift hooks on the turret so I removed them and used thin Evergreen rod and made my own.
So far their M8 HMC and this kit are the only ones that have this which just doesn’t look right.
Now its time to add some stowage and tarps… I will start off by adding a tarp and a rucksack on the back portion of the turret and go from there.


Thank you for stopping by! Any and all comments welcomed!
3 Likes
I’m sure those scratch tow hooks are a vast improvement on the kit ones. That’s the only thing that annoys me with modern Tamiya kits is sometimes they go for simplified molding.
1 Like
These Tamiya 1/48 armor kits just keep getting better and better all the time and this is building up good so far Mike.
These little Stuarts are quickly becoming of great interest to me.
2 Likes
Lovely progress so far, I just got this kit also. 1/48th armor power!
1 Like
Actually Grey, the tow cable comes with the kit as it is thread.
Next build, I’ll hunt down an aftermarket to cable.
Waikong, you’ll definitely enjoy it that’s for sure! The only down side is that they have molded on solid turret lift hooks yet the other ones are separate.