My current kitmash project in 1/25.
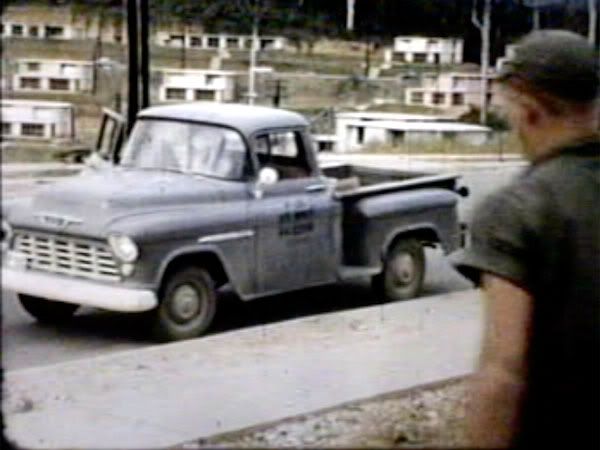
This is a pre-CUCV and pre-MILCOT, U.S. NAVY '55 Chevy Step Side Task Force Second Series.
The prototype picture is from my dad’s film footage of this pick up truck in the Philippines around 1955 - 1958.
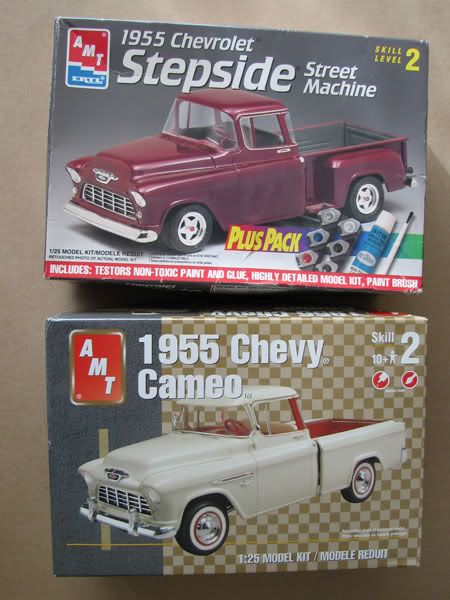
These are the two kits where most of the primary parts will come from.
I start with the Chassis and suspension
The holes are tooled onto the wrong side (top side) of this part. I have to drill new holes using the holes on top to register the correct positions.
The iSheets indicate location for these exhaust parts, but there are no holes for the pins.
I had to drill hole at 1/16" through the top side of the chassis frame part.
I love it, it’s a great idea, I know nothing about the subject but I sense from your work so.far that this will be a build close to the heart. I look forward to seeing progress.
Thanks for all the replies and looking in on the build.
The interior door handle deatil tooling wasn’t satisfactory so new ones were scratch built from parts from a cassette recorder and a disposable lighter.
Then some work on the seat back detail with filler putty
Careful and extensive online research revealed pictures of what the shifter base plate and auto-tranny cover plate looks like. Then I realized that I’m going to install a floor mat so the hole and any scribed in plate parts will not be seen anyway . . .
I found a picture online that was directly behind the cab. After resizing the image it was printed to scale. From this I can cut out the shape and use this for a template, as pictured in the above post.
I didn’t take measurements from a 1/1 pickup truck to scale from. I’m working this one visually which is the way I usually build models. If it looks right then it is
the window part has a weatherstrip detail along the edge around this part that has a thickness beyond the glass
I needed to uniformly fill the ‘glass window’ area inside the weatherstrip bead with material cut to the correct shape. I don’t know the thickness of this material, I just placed them against each other and ran my thumb over it. It felt smooth and flush so I used it.
To get the exact shape right, I burnished a piece of paper over the detail shape of the window part
Then this was penciled in for better clarity. This was then cut out with scissors and transferred to the styrene (for sale sign) sheet. Then the styrene material was cut out to the proper shape
This was then shaped over a steel block for better conformity
Crazy clampidge while the glue set
After glue set, automotive product Body Filler was used to fill the gaps around the ‘glass window’ part that this kit is famous for


