Trumpeter U-552 in 1/48

I have searched every book and enginering diagram I have and I cannot tell you what those “waffel” marks are.

I CAN tell you they are Not for ventilation. Kind of defeats the need for a water tight door!

The few pictures I have seen of this bulkhead are covered in wood so you wouldnt see the waffel marks anyway.

Dont fill them in just yet, let me do a little more digging and see if I can figure it out.

They could just be some sort of specialized ejector pin marks.

I give up! I cannot figure it out. I searched every book and schematic I have but no dice. Theres nothing on any of the sub websites either.

The waffel marks look familiar to me … somewhere in the back of my head my subconcious is screaming DOOFUS ! YOU KNOW THIS !

So I’m sorry but your on your own. Just watch… someone else will come along and answer it in seconds flat!

I’ll ask someone on the “SubCommittee Forum”. Maybe the answer can be found there.
If this had been a U.S. Gato class sub, I would have bought one!

Hi,

I’m not real familiar with WWII German Subamrines, but in looking at other models and other info on the internet, the bulkhead shown with the waffle pattern appears to be between the officers berthing and the galley (I think), and is not meant to be watertight. In a non-watertight boundary to the galley it wouldn’t surprise me if there were some natural air vents for the galley space to help with the heat & steam generated within it, during food prep.

Just a thought

Pat

I will not do anything with those marks for the time being as there is lots to do elsewhere:)

Well, I finished up that compartment for the most part. This is a long compartment, so please forgive my lighting. Here she is:

Now there is some more to add to the top section and a torpedo has to be added, but you get the idea of this compartment. My wiring nest is at the top. Here is better look at the aft section of the compartment showing the torpedo tube and the other “thing” that is attached. There is some bracing to attach that is not shown:

I filled the sink marks and the gaps at the end of the compartment as this will be visible when placed into the clear rear section of the hull. Here is another photo looking aft down the length of the compartment. The instructions have the door closed:

A couple of seams I could have done better on, but I think the crew figures will hide them. This photo shows the length of the whole piece. Pretty good size:

Lastly, here are the two compartments that I have done loosely mated up to show the progress.

The lighting is exterior and not the LEDs that will be there at the end. More to come later as I think I will setup the hull and dry fit these in to get some ideas about where my wiring needs to go and how it is going to look. Thanks for looking.

John

Sorry, so far no one on the SubCommittee can identify the “waffles” for you.

Well after a few months where all sorts of things got in the way, it is time to get back to this one. I certainly don’t want to rush it.

It is time to tackle the wood effects which are pretty extensive in the remaining compartments. The panels will be fairly dark and not seen up close like on a plane or ship, so I decided to forego any reall micro effects like knots, differing grain patterns, etc. The technique I used was to first of course prime with my grey primer. Then I sprayed down a base coat of Vallejo’s Natural Woodgrain acrylic. This will be the underlying color that helps pop through. Here is one piece with that woodgrain acrylic applied:

The next step after letting this dry very well and then giving it a glosscoat to seal the acrylic, is to add the oils to simulate the final wood effect. I mixed up some Raw Sienna, Burnt Sienna, and Raw Umber and then applied it with some simple brushes. I always kept the brush strokes in the same direction to give the wood grain a consistent look. By mixing various amounts of each of the oil colors, I got different shades of the wood. Here are a couple of examples:

Once the oil was applied, I let it dry under cover to keep the dust off for 4 to 5 days. You can see how the different colors blend in for the tones I wanted. I deliberately kept from using darker oils as the pieces will be in the dark so-to-speak on the kit.

Next will be to start putting these pieces into one of the compartments.

john

I totaly forgot about this one. Thanks for getting back to it.

YAY !!! My favorite show is back !!!

Did you ever figure out what the “waffel” marks are ?

Yes, I believe that they are nothing more than extensive ejector pin marks. I looked at all the other sprues, and found this. The first picture shows a sprue with the halves of a torpedo tube:

Next, here is the opposite side of the sprue and the same tubes:

Seems odd that they would need to be that forceful to indent the plastic to that degree, but those are the insides of the tube and not visible, so I cannot imagine they are anything else.

john

Nicely done on the wood efects, filing away in mental bank, hopefully not to be lost forever.

Wow, this is amazing! If you stopped here you would have a prize winner! I look forward to seeing the rest of the build.

Just a bump… cant wait to see more.

Hard for me to believe I didn’t catch this when you first started the thread. Just outstanding, patient, fine workmanship on this build!

Wow - for your work (really clean build and paint) and the magnitude of this build! Also, you may get called out for calling the bunks ‘soldiers’ quarters - lol. Though I don’t know what they referred to the Kriegsmarine personnel, particularly those on submarines. This is a really cool build and I’m dying to see some reference to the scale when complete. Will be following.

Well, I have finally gotten back to this one so the timing is perfect. So we had done the wood effects and are ready for the front torpedo compartment. The first thing I did was to mask off the “beams” on the ceiling. I think the wood was just placed on top of them and not the whole thing. I did just do the wood effects on the surface of the beams, so any error there in authenticity is my fault and not the kit. Here is a picture of those beams all masked off. I used Washi tape that I got on Amazon. I am finding that so far I like it just as well as Tamiya and it is a lot cheaper:

After spraying the ceiling the gray again to clean up the wood effects work. I like the result.

Now to make the mattress sections for the bunks. There is a small separate piece that has some undulation to the plastic parts. These get glued to the bunk section. I used some brown combo that I mixed up and then put a small darker wash on it. I honestly went a little off the norm and just mixed some of this and that. Not to bad:

Now the small bulkhead at the front that the torpedo tubes will attach to. There are two small pieces that get glued to it and one of those gets the large decal with the red pieces. I put the decals down just on the painted plastic and then use Walther’s to get them to conform to all the dials. Works really well. Most of the decals will not be seen in any great detail, so I don’t even seal them off.

To the side of each of the holes for the tubes is a slot. Each slot is a different size and corresponds to the tab on one of the torpedo tubes. Now, here is why I really made a error. I got sloppy and after looking at the instructions for the torpedo tubes just went to work. You do have to make sure that you get the correct halves for each tube lettered A – D so that the tabs align to the correct slots in that bulkhead. Seemed easy enough. I was lamenting doing a lot of work on those torpedoes just to close them up but oh well. This shot from the instructions seems harmless enough:

Well, then you get to add a whole lot of little pipes, lines, valves, fiddly bits, etc to those round tubes. There are only a couple of locator points on the tubes. The rest just kind of pin to the tubes according to the instructions sheet. I did install F24 first and then surrounded it wit the rest. F28 (looks like a big leaf blower to me) seems to just fit on top. The attachment to the post on top of the tube turns out to be CRITICAL:

Even though you can’t really mess up on the tubes attaching to the bulkhead, it turns out that there are some pipes that attach between the tubes and that mean everything must line up just perfectly. I decided to leave one tube hatch open to show a torpedo in the tube and close up the other three. Finished the tubes and slid them into the bulkhead… What the heck? There are two pipe sections from the top tubes to the tanks attached to the lower tubes. You can see from the pic that I am not even close on the left and I didn’t even try on the right.

At this point I considered scuttling the boat☹ I put it aside and enjoyed Thanksgiving. I kept trying to think of something to do to “fix” this. I finally decided to carefully cut the long pipe and work on extending it. That would still leave too much of a seam for my tastes. So I decided to the use a small wrap of the tape to simulate some kind of collar placed over the tube. I had nothing left in the brain to try so on I went. First to cut out the section and put in a small piece of sprue from the spares box that was the same diameter, fit it in and then wrap the tape and CA glue it around the pipe:

Not too bad. After some clean up and painting, it should pass inspection as long we keep the lights pretty dim.

Now to correct the misalignment looking down from the top:

I thought I would try to rough things up a bit to help try to conceal the gaps, but it just seemed to make it look more sloppy than anything else. Some paint and I decided that this was all the further I could go. Some small paint work on the handles and the green “thingies” and then the decals. Oh yeah, I got the decals out of sequence for the four tubes. Arrrgh; I then inserted the four torpedoes into the tubes and called this part done. There are also a lot of ejector marks on the inside of the tube sections as well that became very obvious to me.

So I had to get things back on track, so I finished up on the items that will attach to the top of the compartment.

The square piece is for the option of whether you will leave the deck section open and pose a torpedo being slid down into the compartment or close it up. A lot of ejector pin marks and I was tired of all the extra cleanup, so I will just take the option of leaving the deck section closed. That means that no one will ever see this piece except from the side. The other long thing is beyond me. My naval knowledge is as I stated very poor.

On the home stretch now, so I added the bit and valves to the larger bulkhead at the other end of the compartment. Getting the groove back and it looks pretty good. There is supposed to be some different color to the small lines but I couldn’t imagine painting anything that thin. I think maybe a subtle wash to bring our the relief detail. I will have to wait and see after final assembly if it will make a difference.

I then added the bits to the ceiling and the tanks to the floor.

Now there is a section under the floor that keeps some extra torpedoes at the ready. Not much to it, so I lined up four torpedoes and glued them down.

Now putting the two floor pieces to the large bulkhead, then adding the rear wall and the bunks, then mating the front of the two floor pieces to the small front bulkhead.

Also, now I had to attach the small railings for the bunks. Be careful, they are of different heights and widths and I had to start over a couple of times until I finally figured that out. Moral of this story; don’t cut away from the sprue too fast. And NEVER assume that you can sort out all the pieces later in the correct sequence. Here some pictures of the compartment without the ceiling after it is all together. I did decide to close up that one tube. Wasn’t sure I could get the hatch set at the right angle back in there and my luck had been not so good with that sub assembly.

One last piece to the ceiling is the rail that is used to hold another torpedo as it is ready to be put into the tube. I tried a little chrome paint for the teeth on the rail. I also have placed the four lights that I will be using to light it up.

Well here is one last picture with the ceiling just tacked on. It needs the torpedo to be hung, but I don’t think I could get the crew figures in with the small space left, so I will wait until after I put them in to complete this one. The warp in the picture is a puzzle to me as all the lines are straight, so I must have jiggled the camera a little. I am using my cell phone for the pics. I also realize that there is a small hole just to the left of the fire extinguisher for another light fixture. I will be short some little LED lights for a bit until I get some extras. I may use some pigments on the wood area as it seems to “smooth”. And I still have those couple of things to attach to the top of the ceiling.

Well that is all for now. Thanks for taking the time to go through this one. More to come over the Holidays as I get a whole week off so I can hopefully get another compartment done.

john

It is a very interesting project and I will be following you, I like it because you work very clean and with patience and you are very precise … good luck! Adrian

She’s coming along nicely !!

In the movie Das Boot, the bunk matresse’s were white with dark Blue or Black pinstripe’s.

I have no idea if that is correct.

The blanket’s were Grey and had Kregsmarine spelled out on them.

Don’t know if that’s correct either.

Not saying you have to do this,just food for thought.

Can’t wait to see the next section!

That would have beed very cool to try. I am not sure I have enough space to do anything in this compartment. I may try it in one of the others, but I don’t want to mess up the symmetry too badly.

john

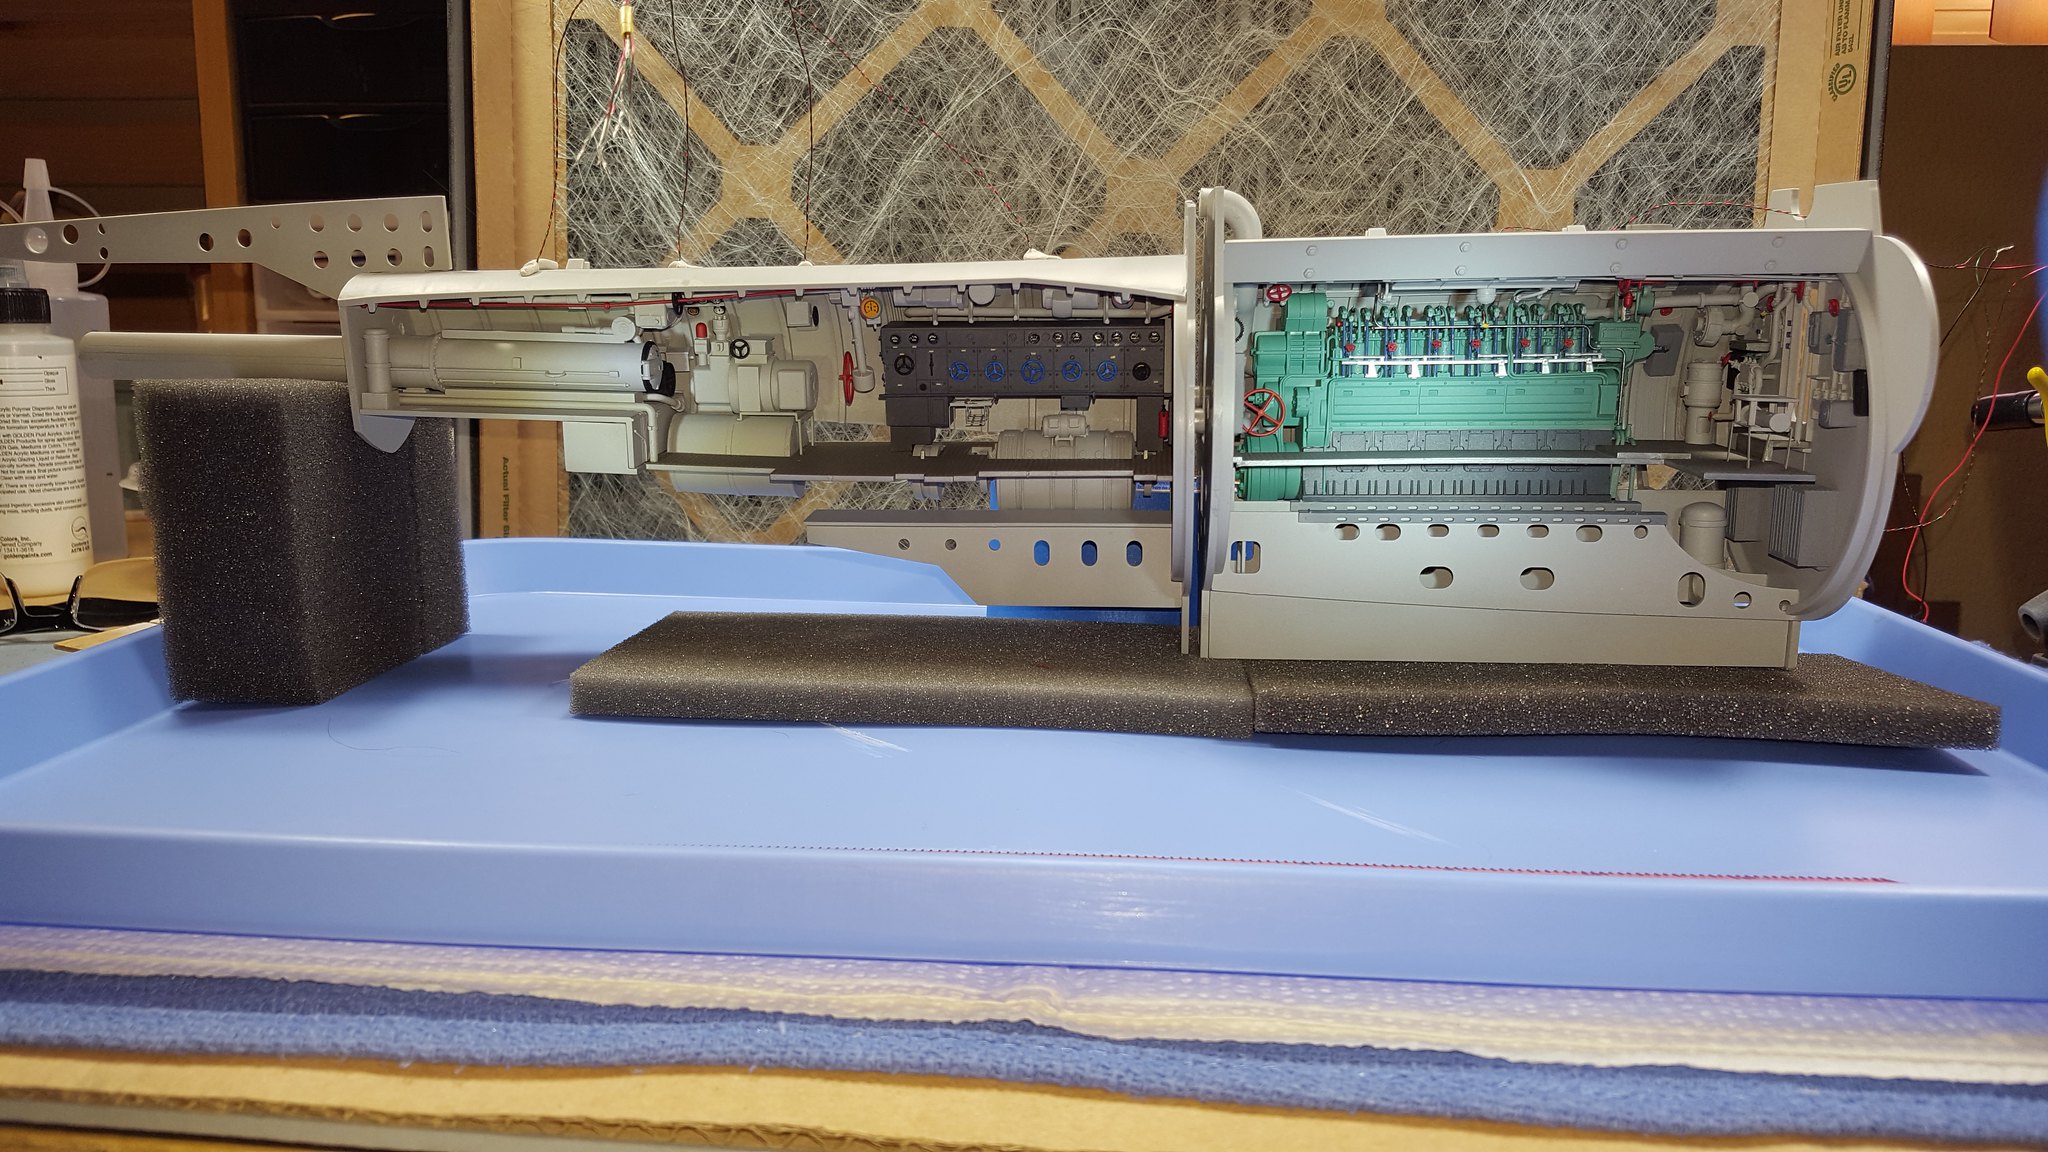
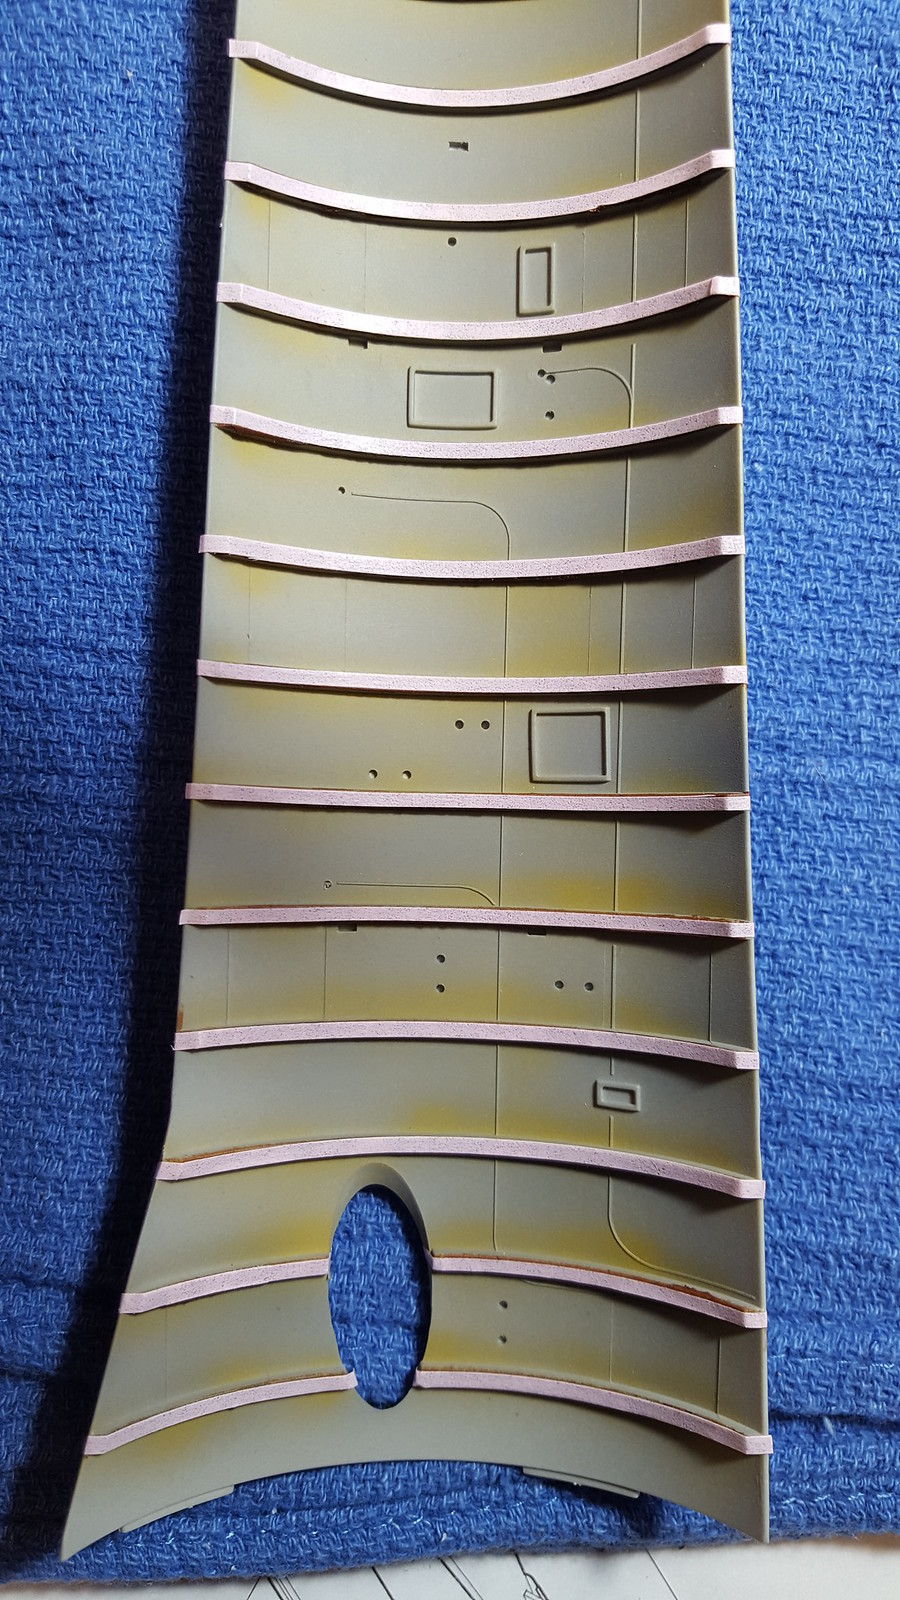
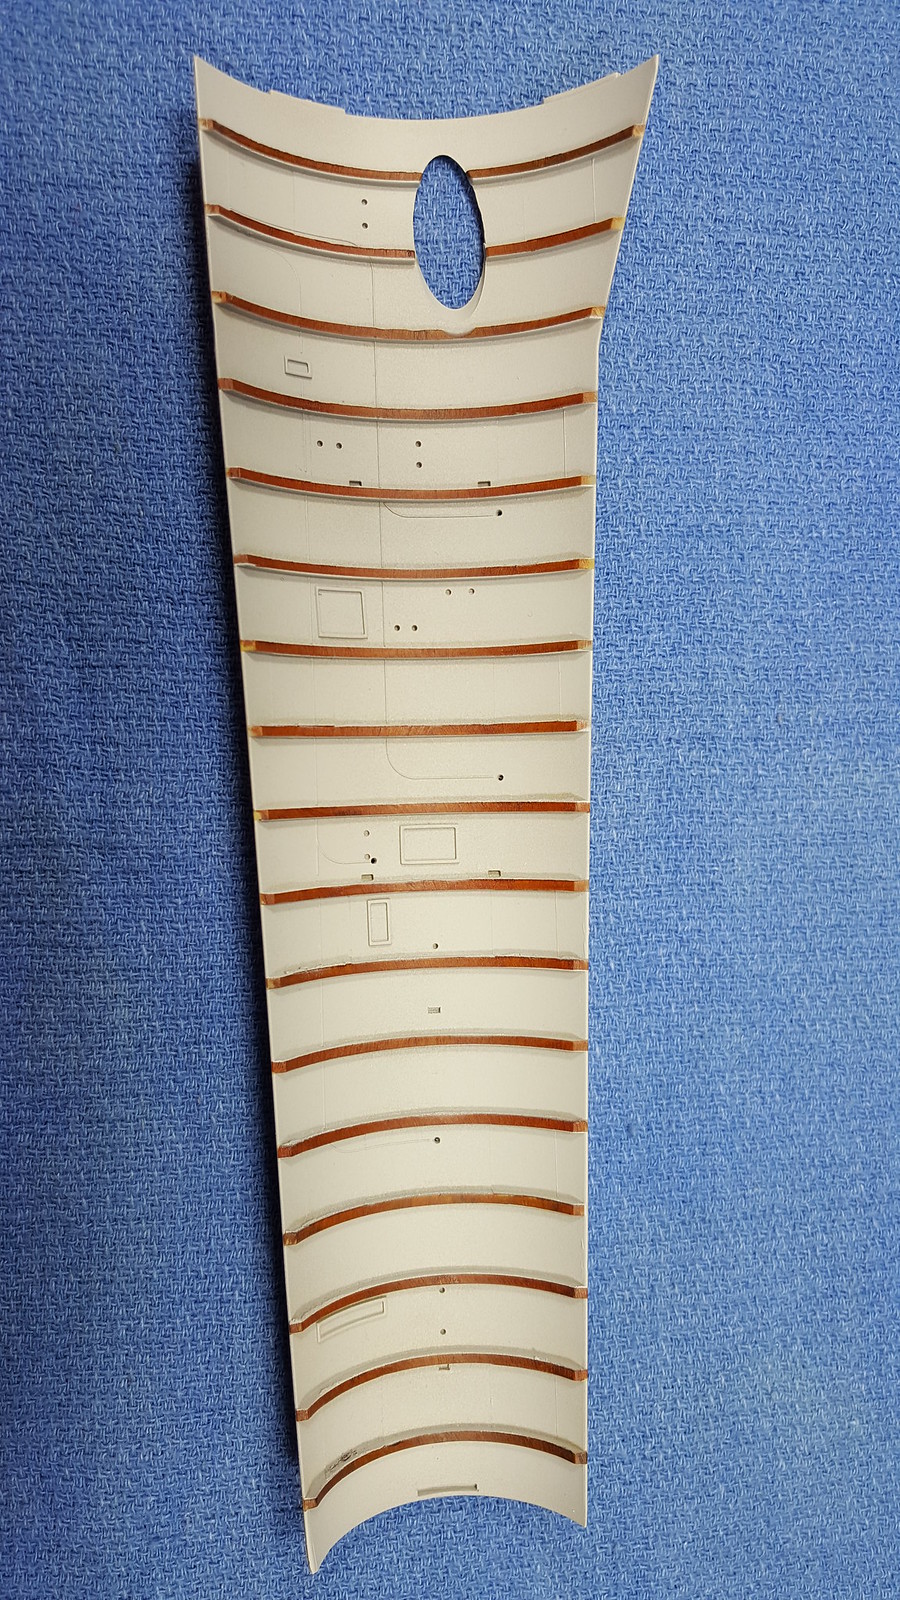
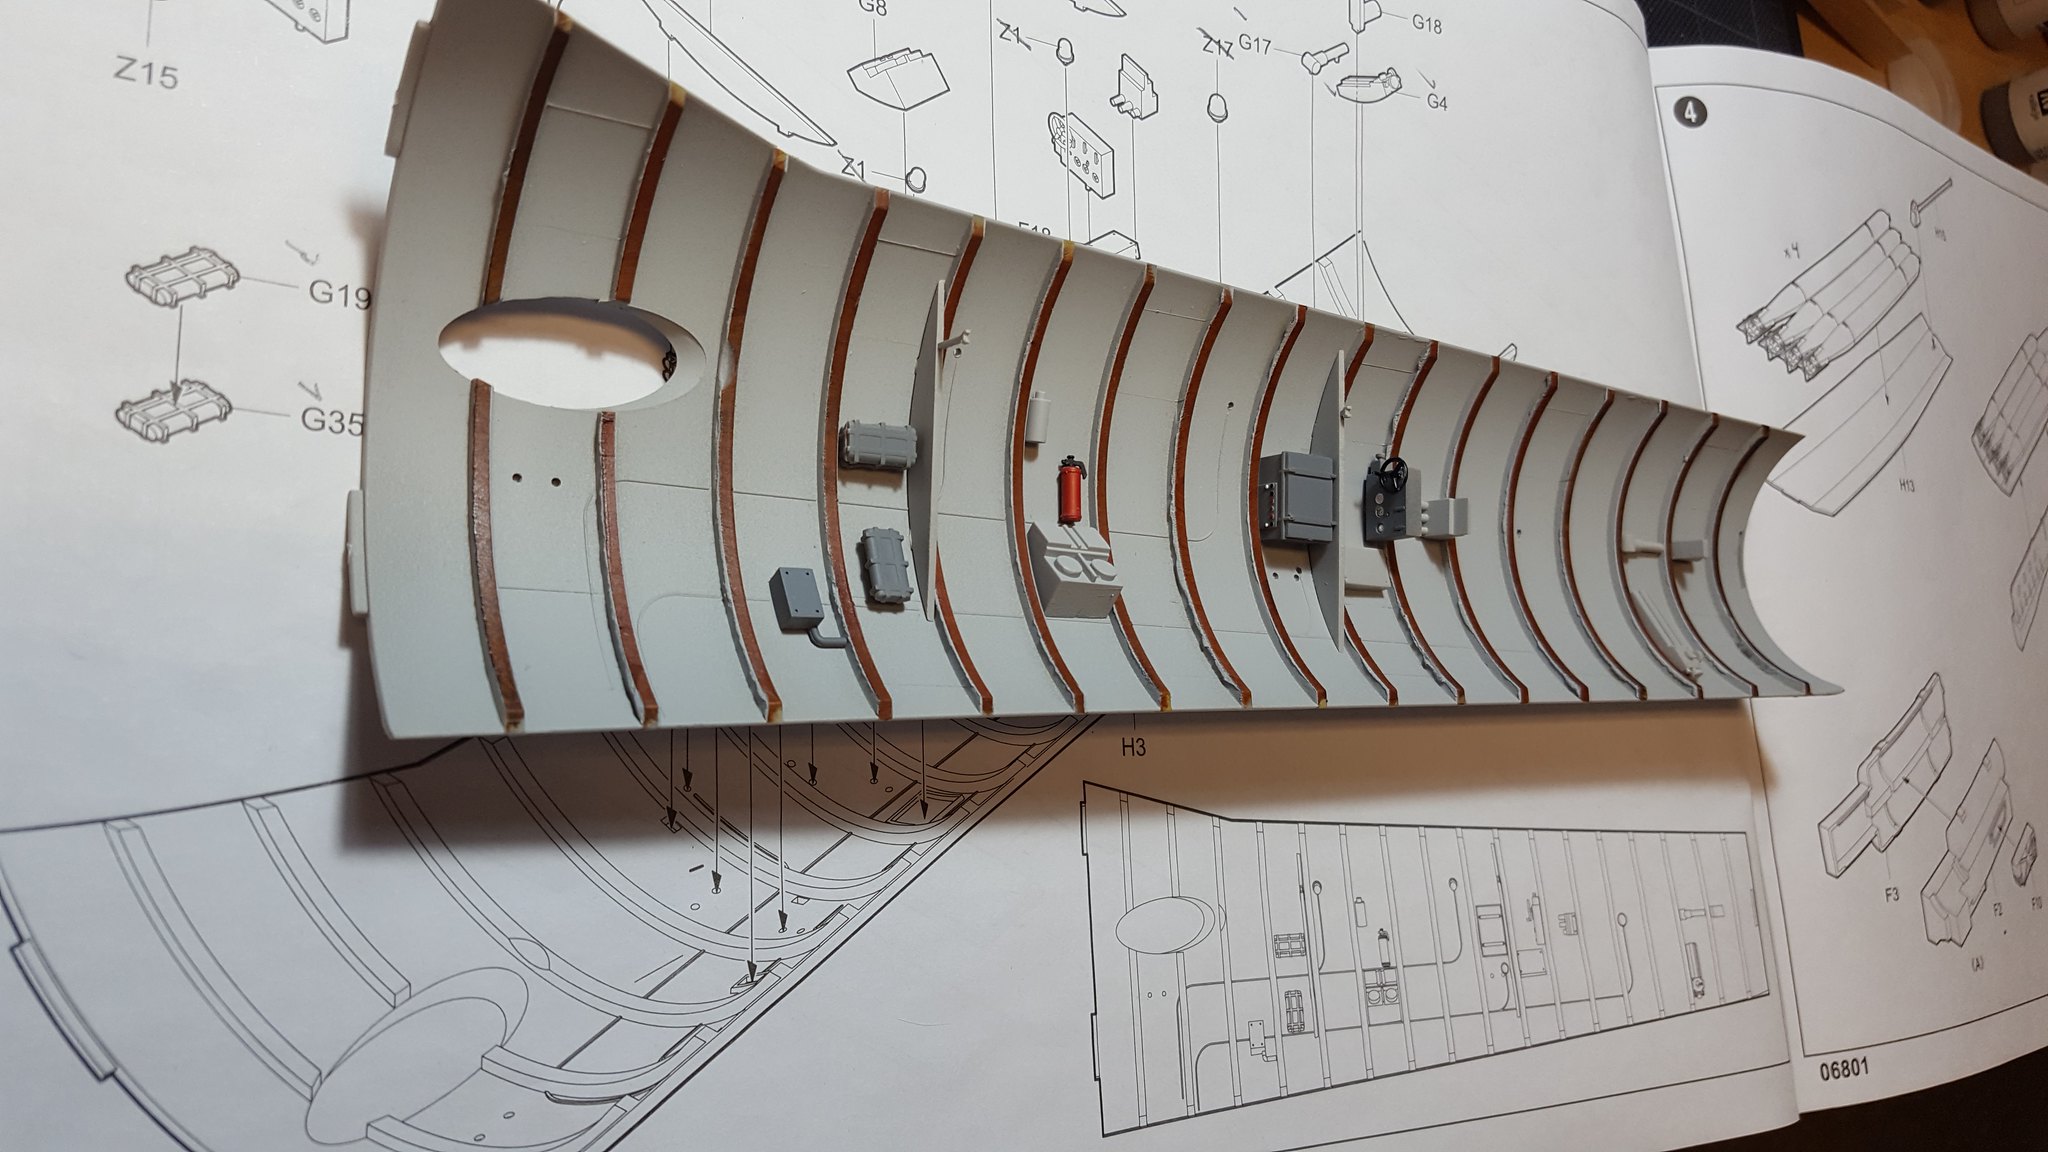
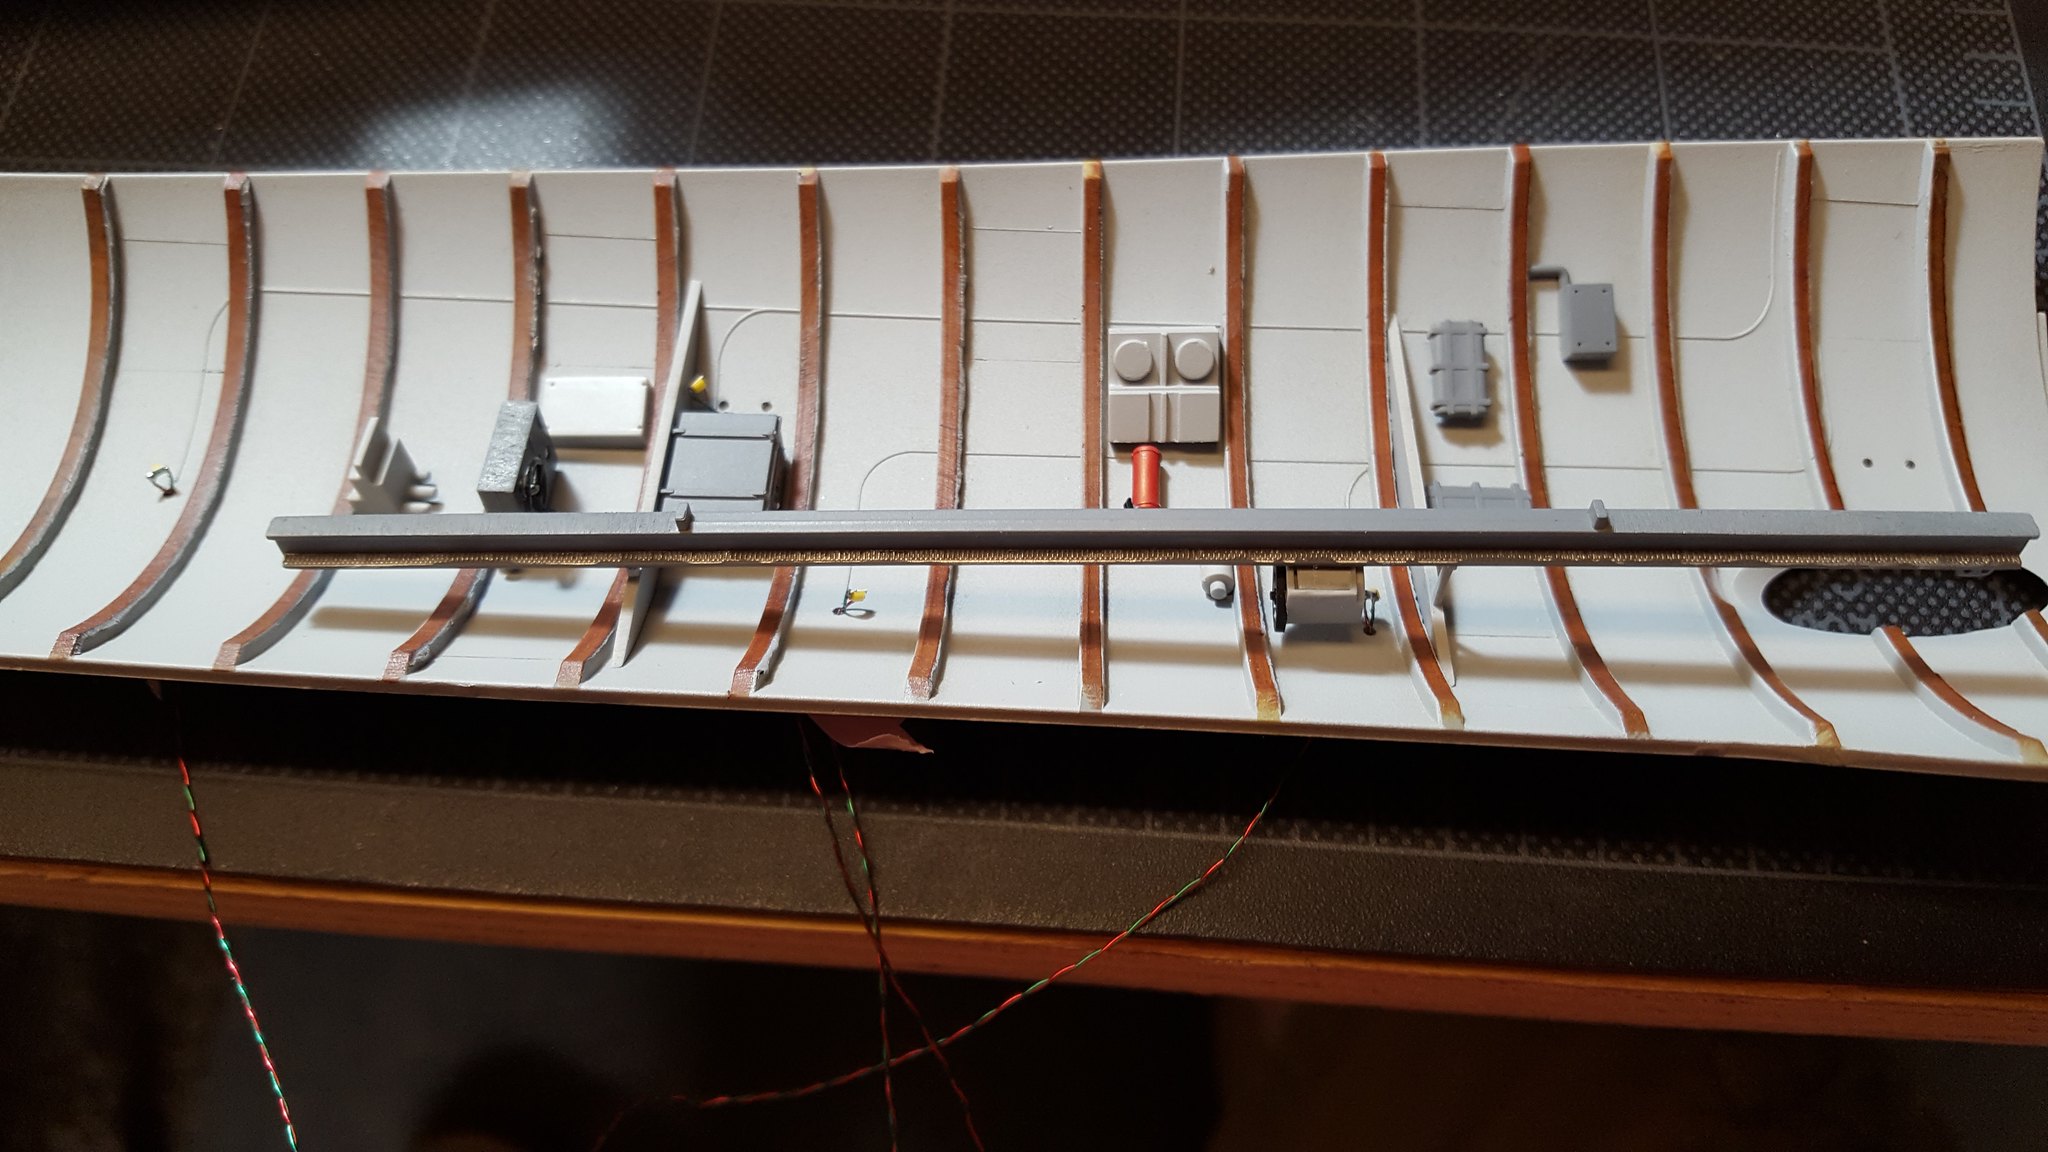
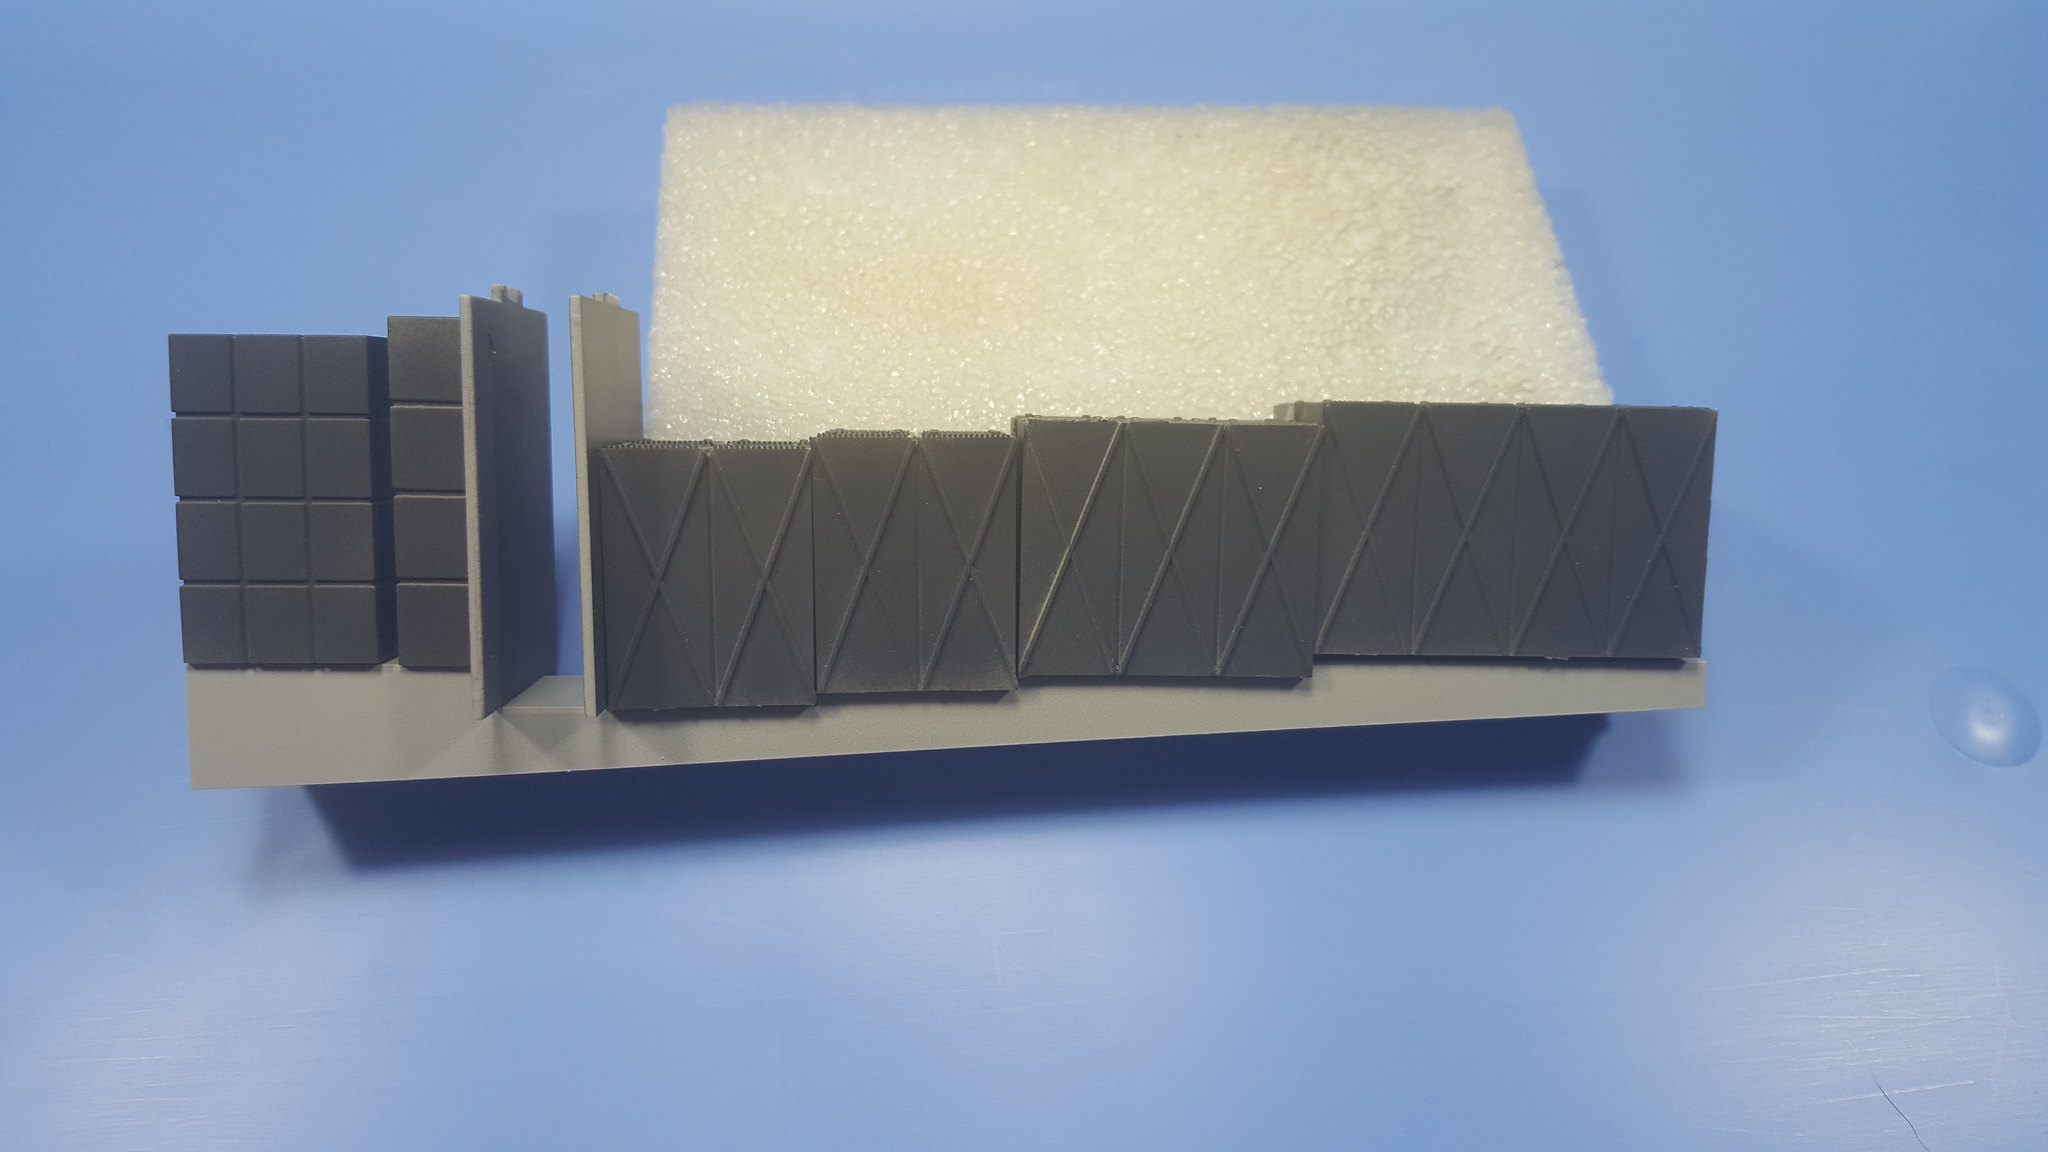
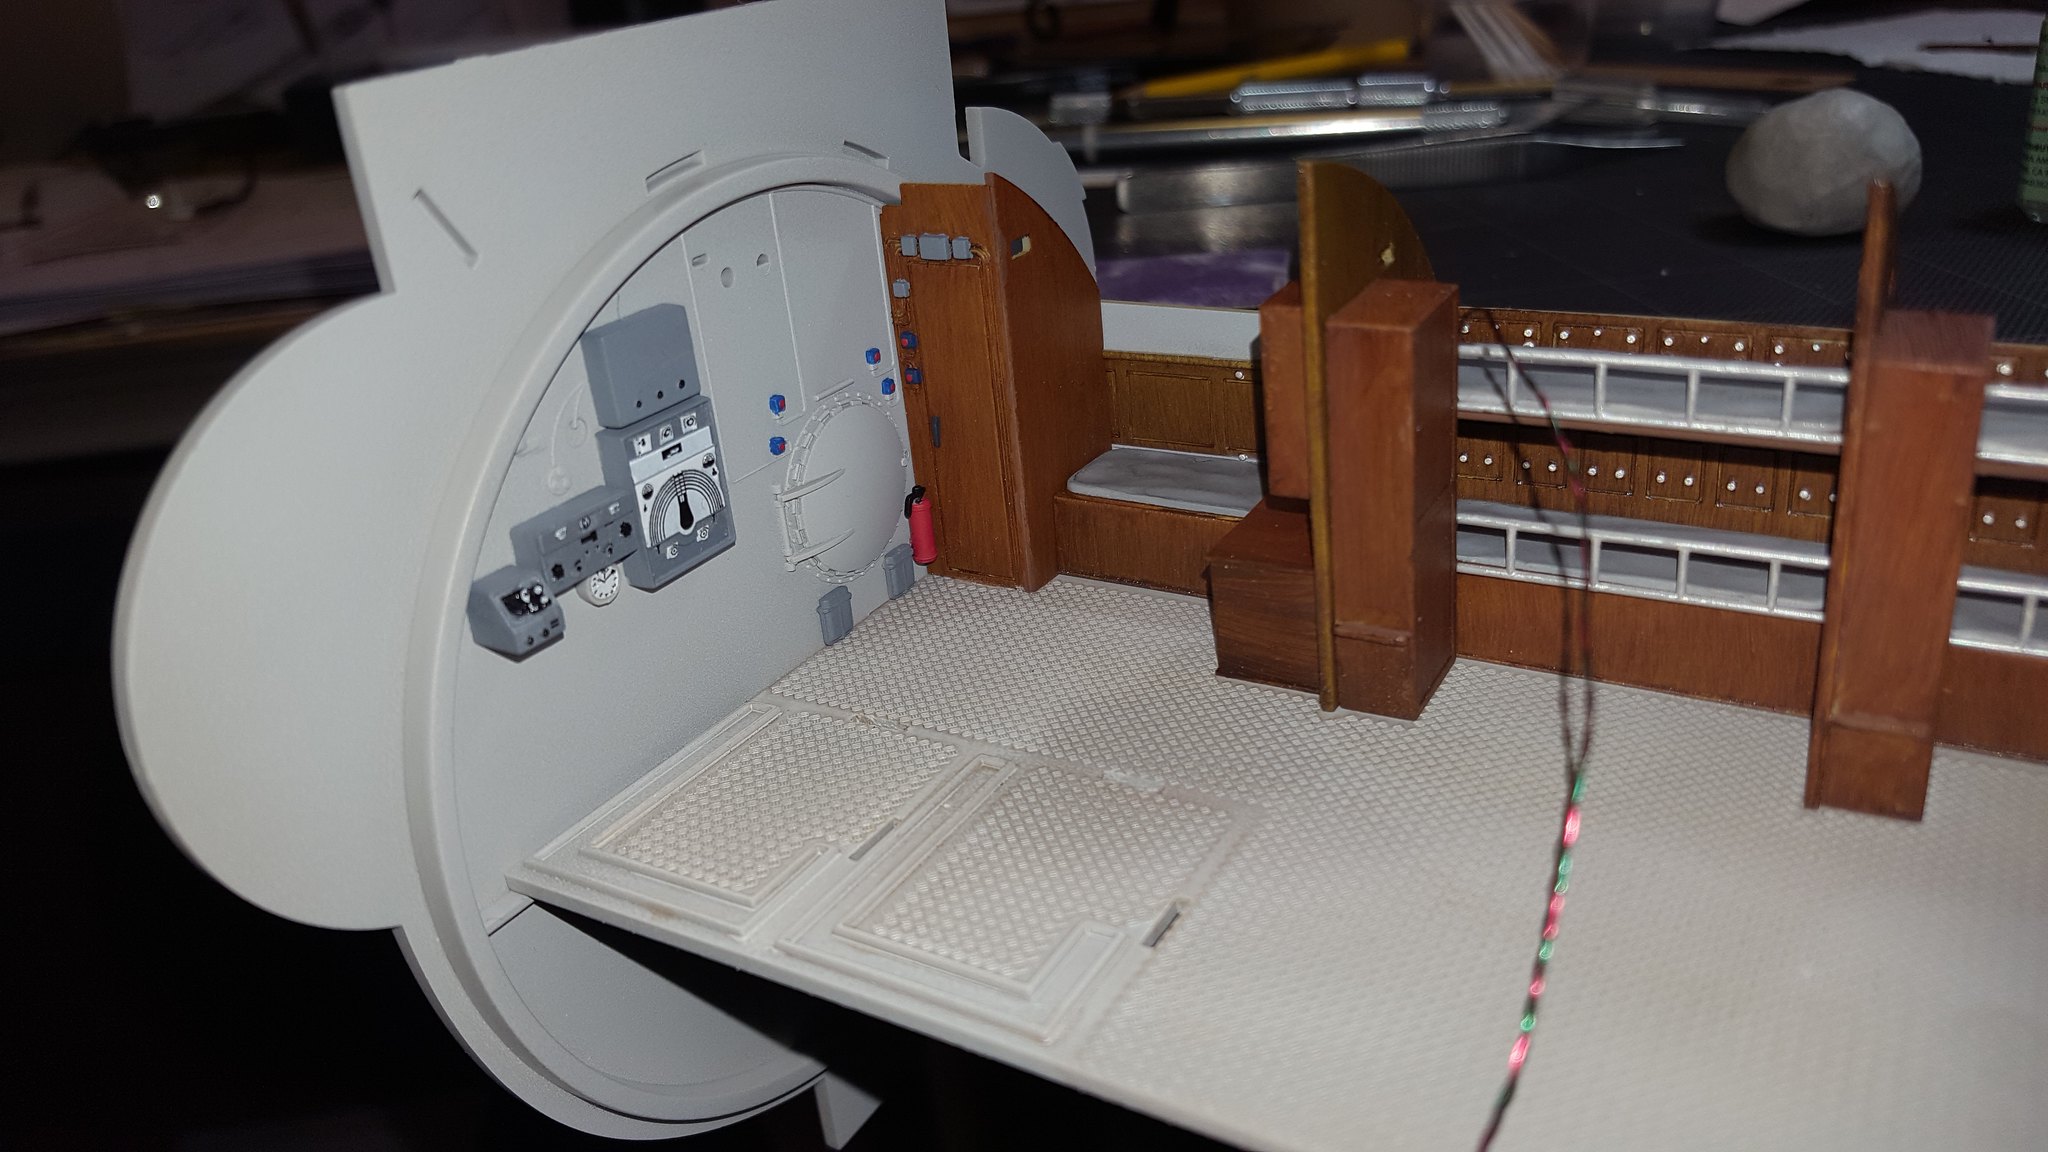
Well time to move on to the next compartment. This is what the instructions label the Front Soldier’s Living Room. It is a lot of wood and many very tiny fiddly bits and pieces. The roof again has the wooden covers over the beams so we can skip that as it is the same as the last compartment. Each bulkhead is pretty simple this time. The smaller one does have a sink a some plumbing for the head.

Next the back piece which has the lockers for the crewman in there. Also, the toilet is attached to this wall but is in its own separate room.

Next one of the two piles for the batteries is below the floor. Not much here except some grey squares all glued together.

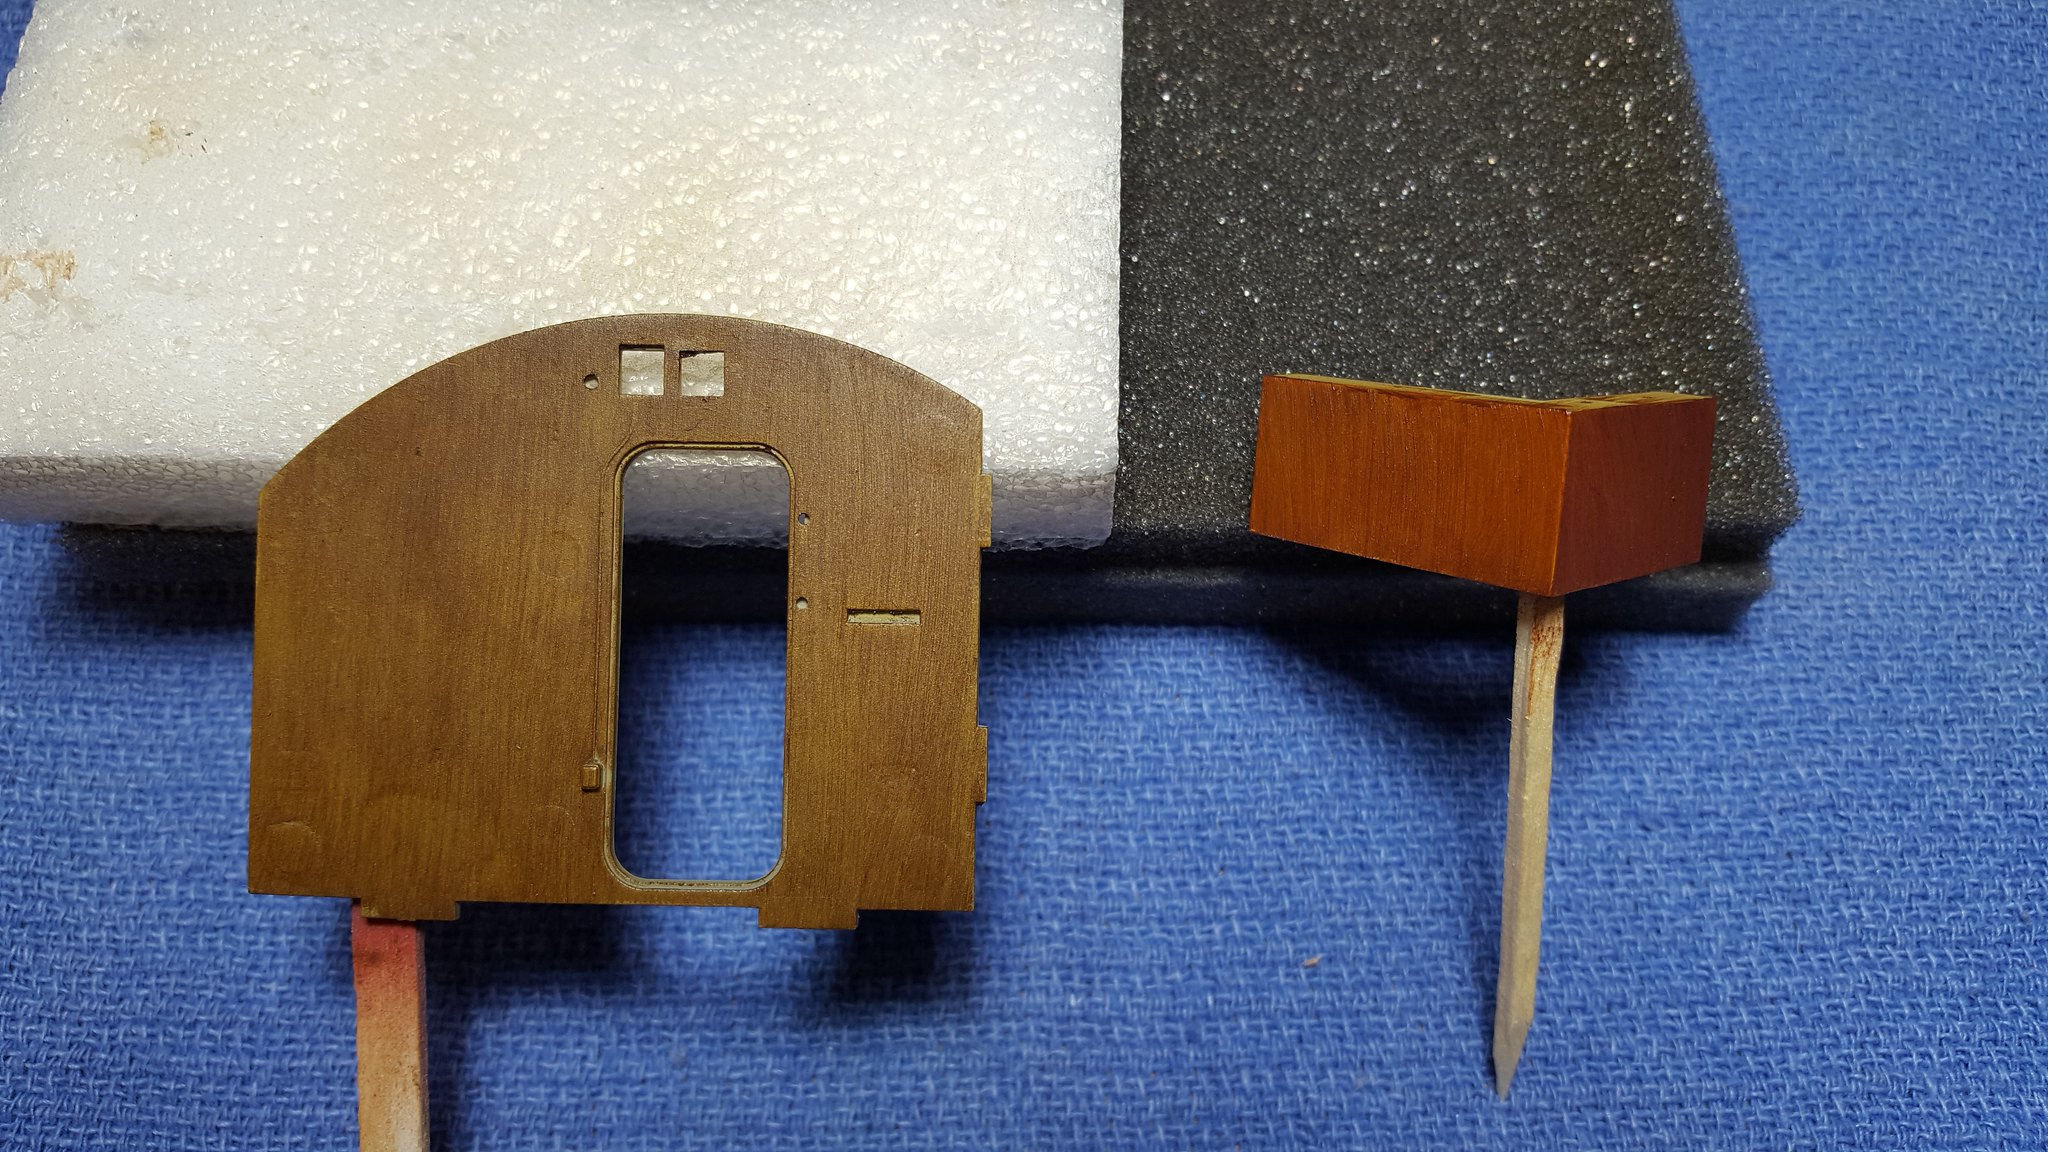
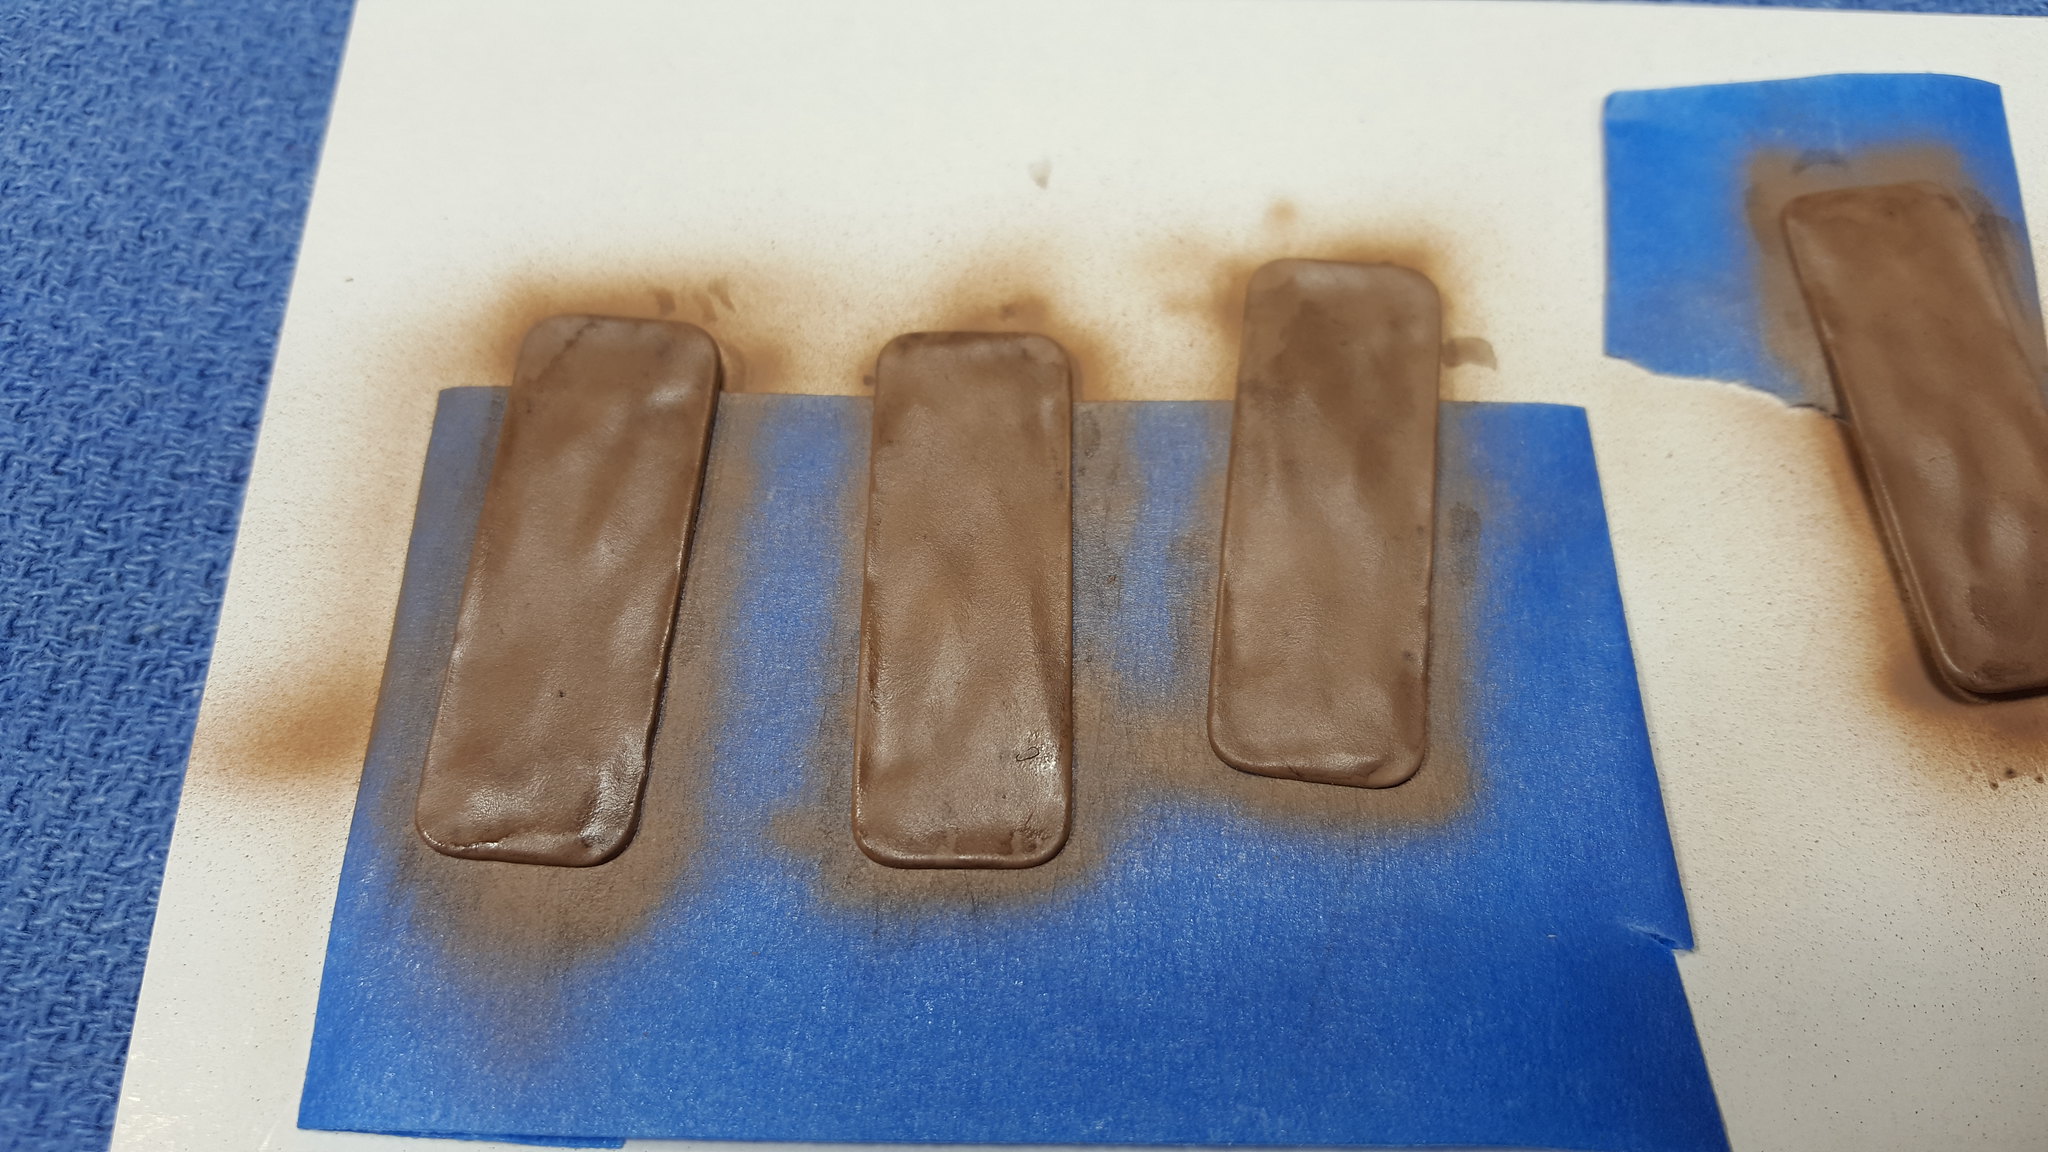
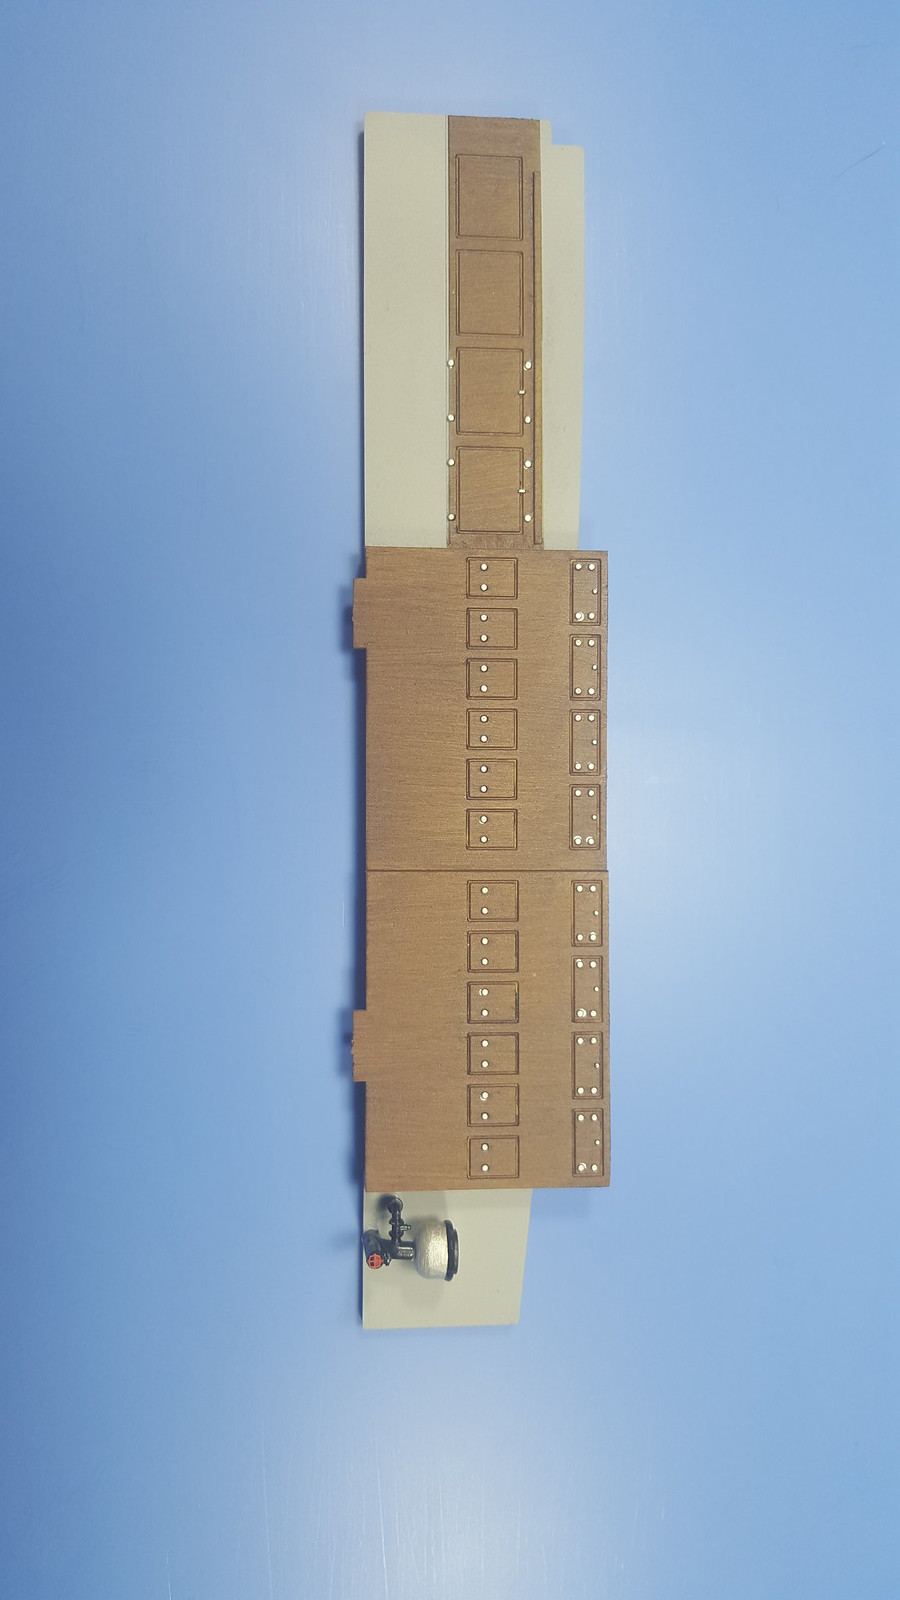
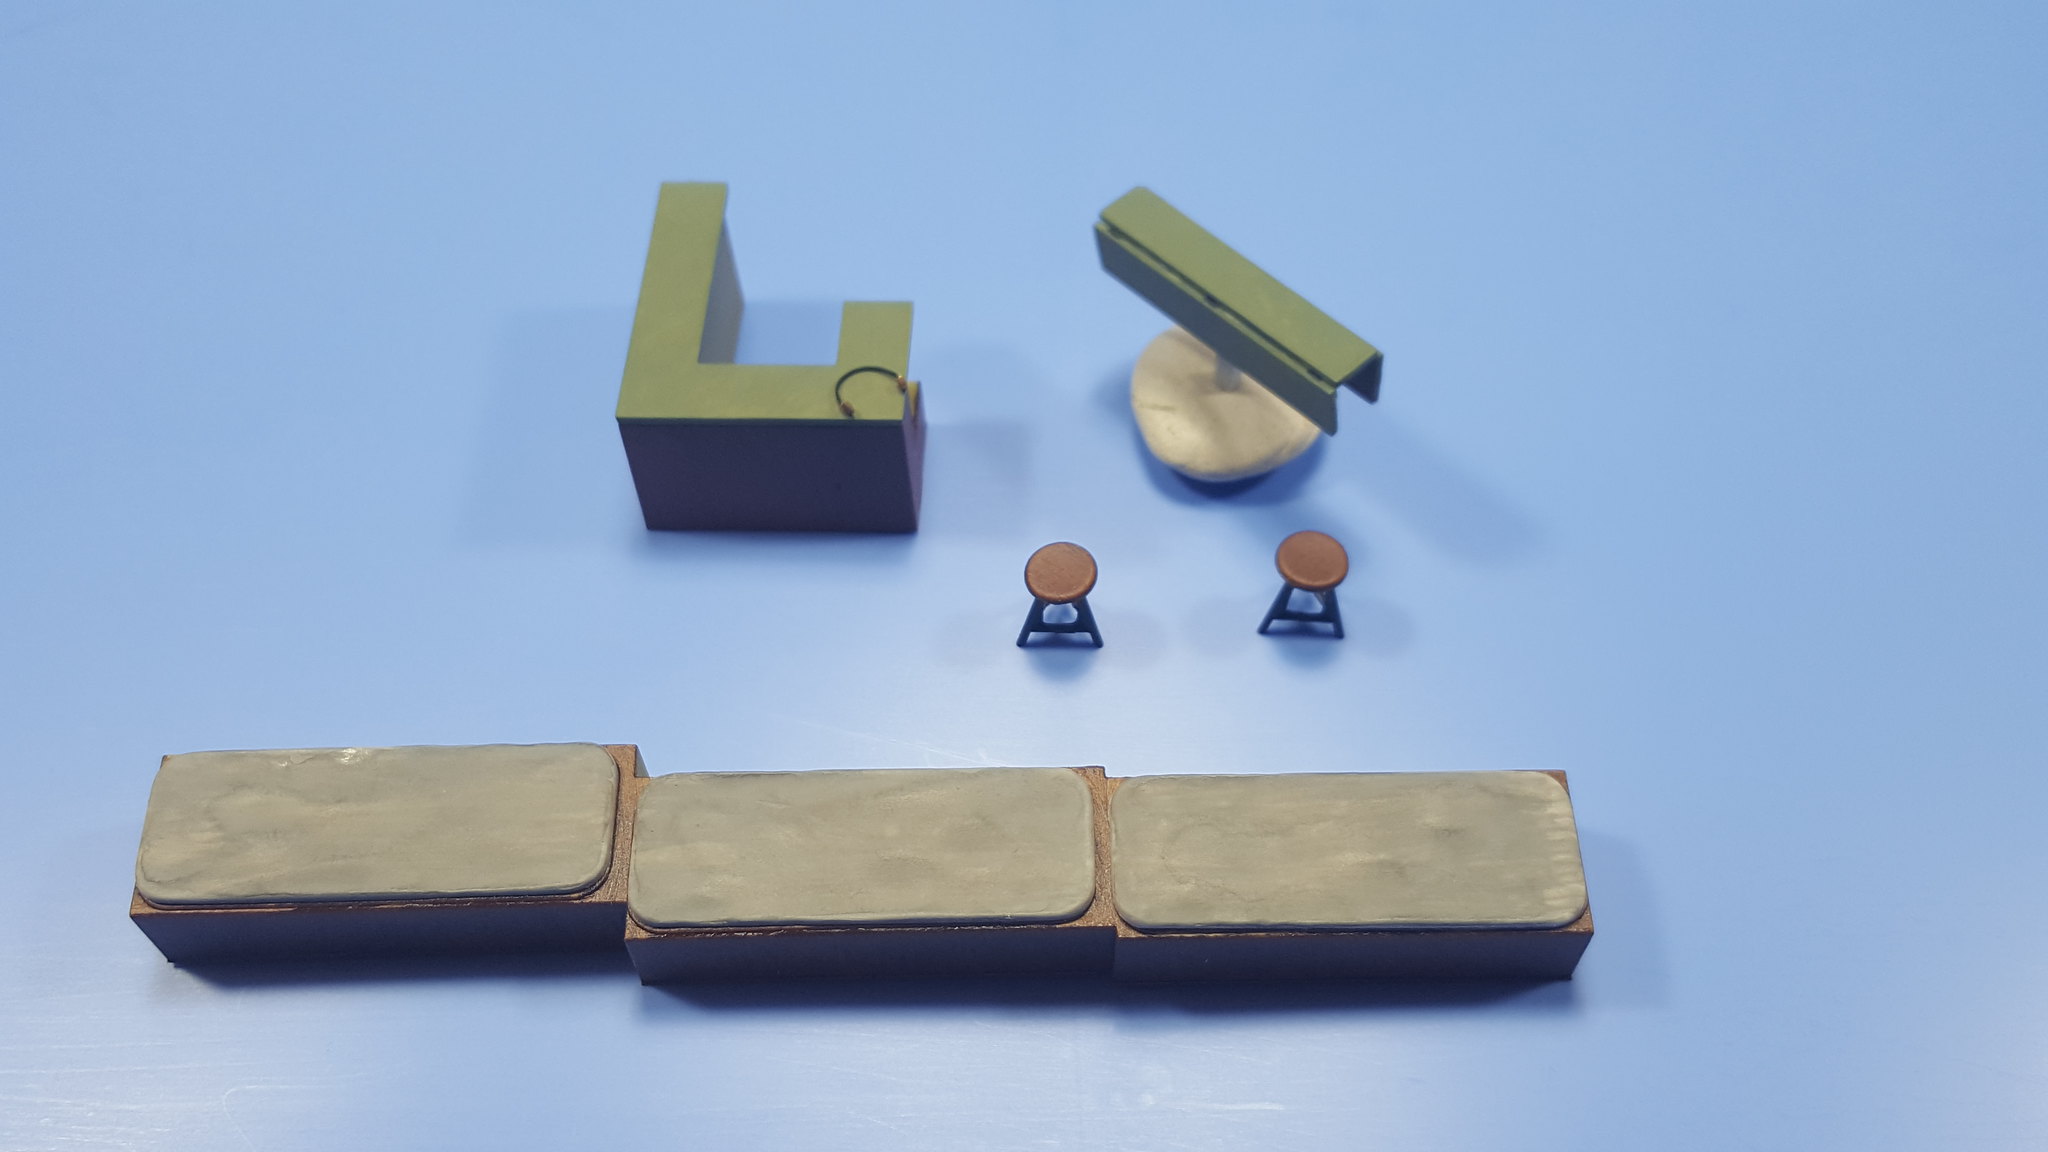
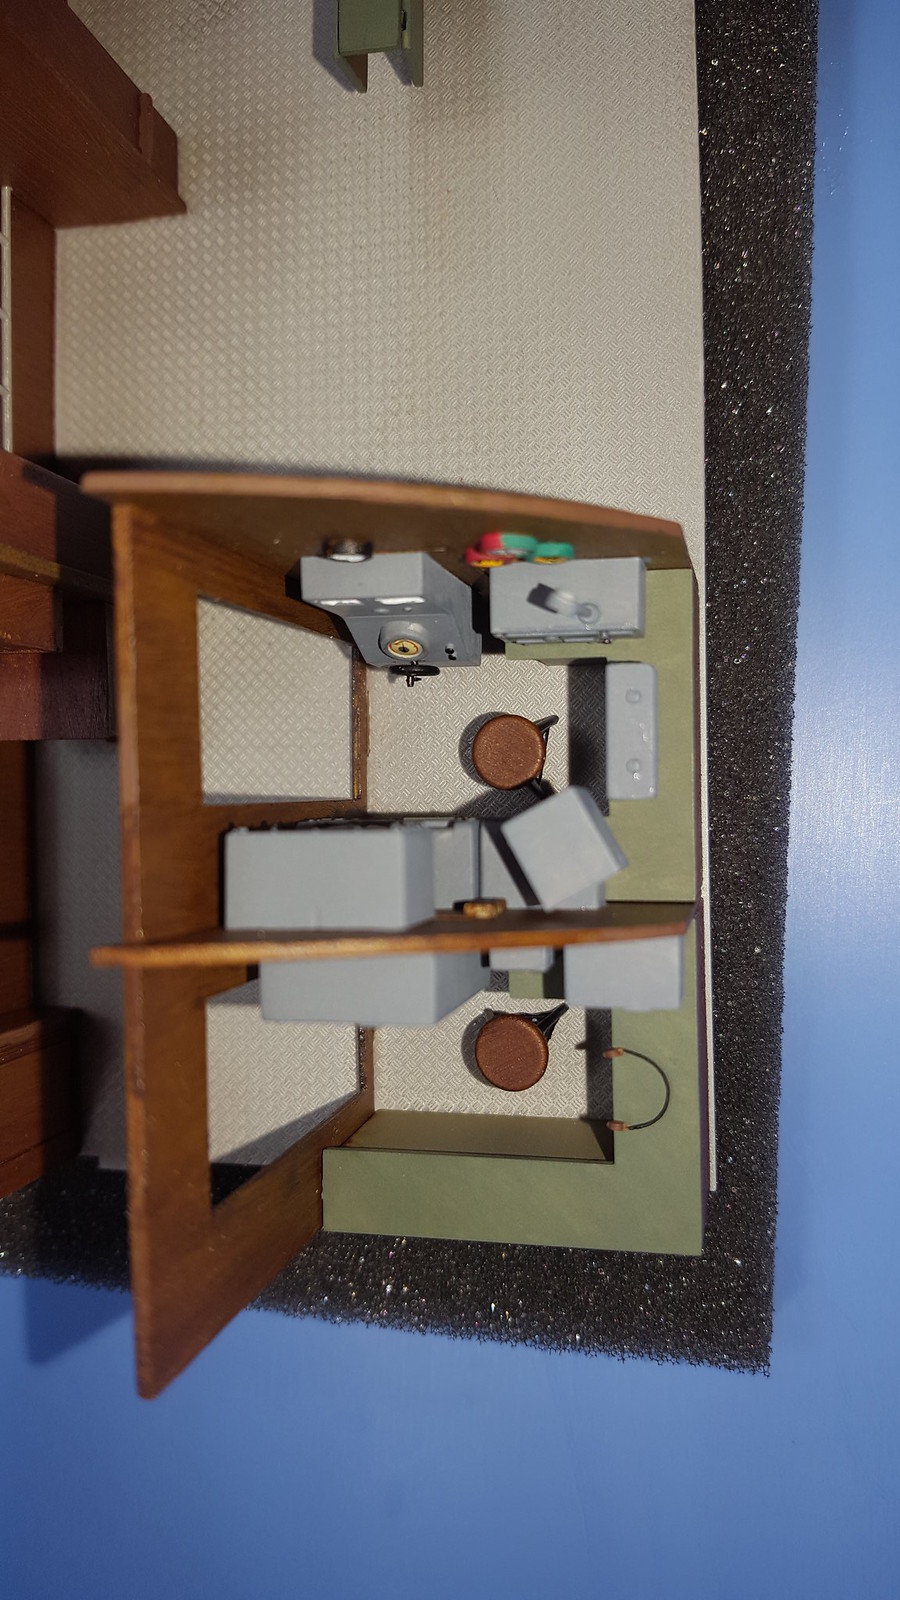
Now there are some of the very small bits. Here are two stools, one of the desk sections, a flod-down table, and a section of the bunks. I did these in grey with a black wash this time. Thanks to Timmy for his suggestion. Also on the desk here is a PE headset that has been folded and painted. I matched is to a crew figure and it looks like it is in excellent scale.

Now this is where planning the assembly is critical. With all the pieces that have to fit together in a very tight space, you have to make sure you stay in sequence. The instructions are accurate but not always the clearest as the best way to fit everything together. After a lot of dry fitting and trying to play it all out, I was ready to begin. First I attached the “closet” and the lower bunk section to the floor. It is a shame that one of the bigger storage units will be hidden behind that door.

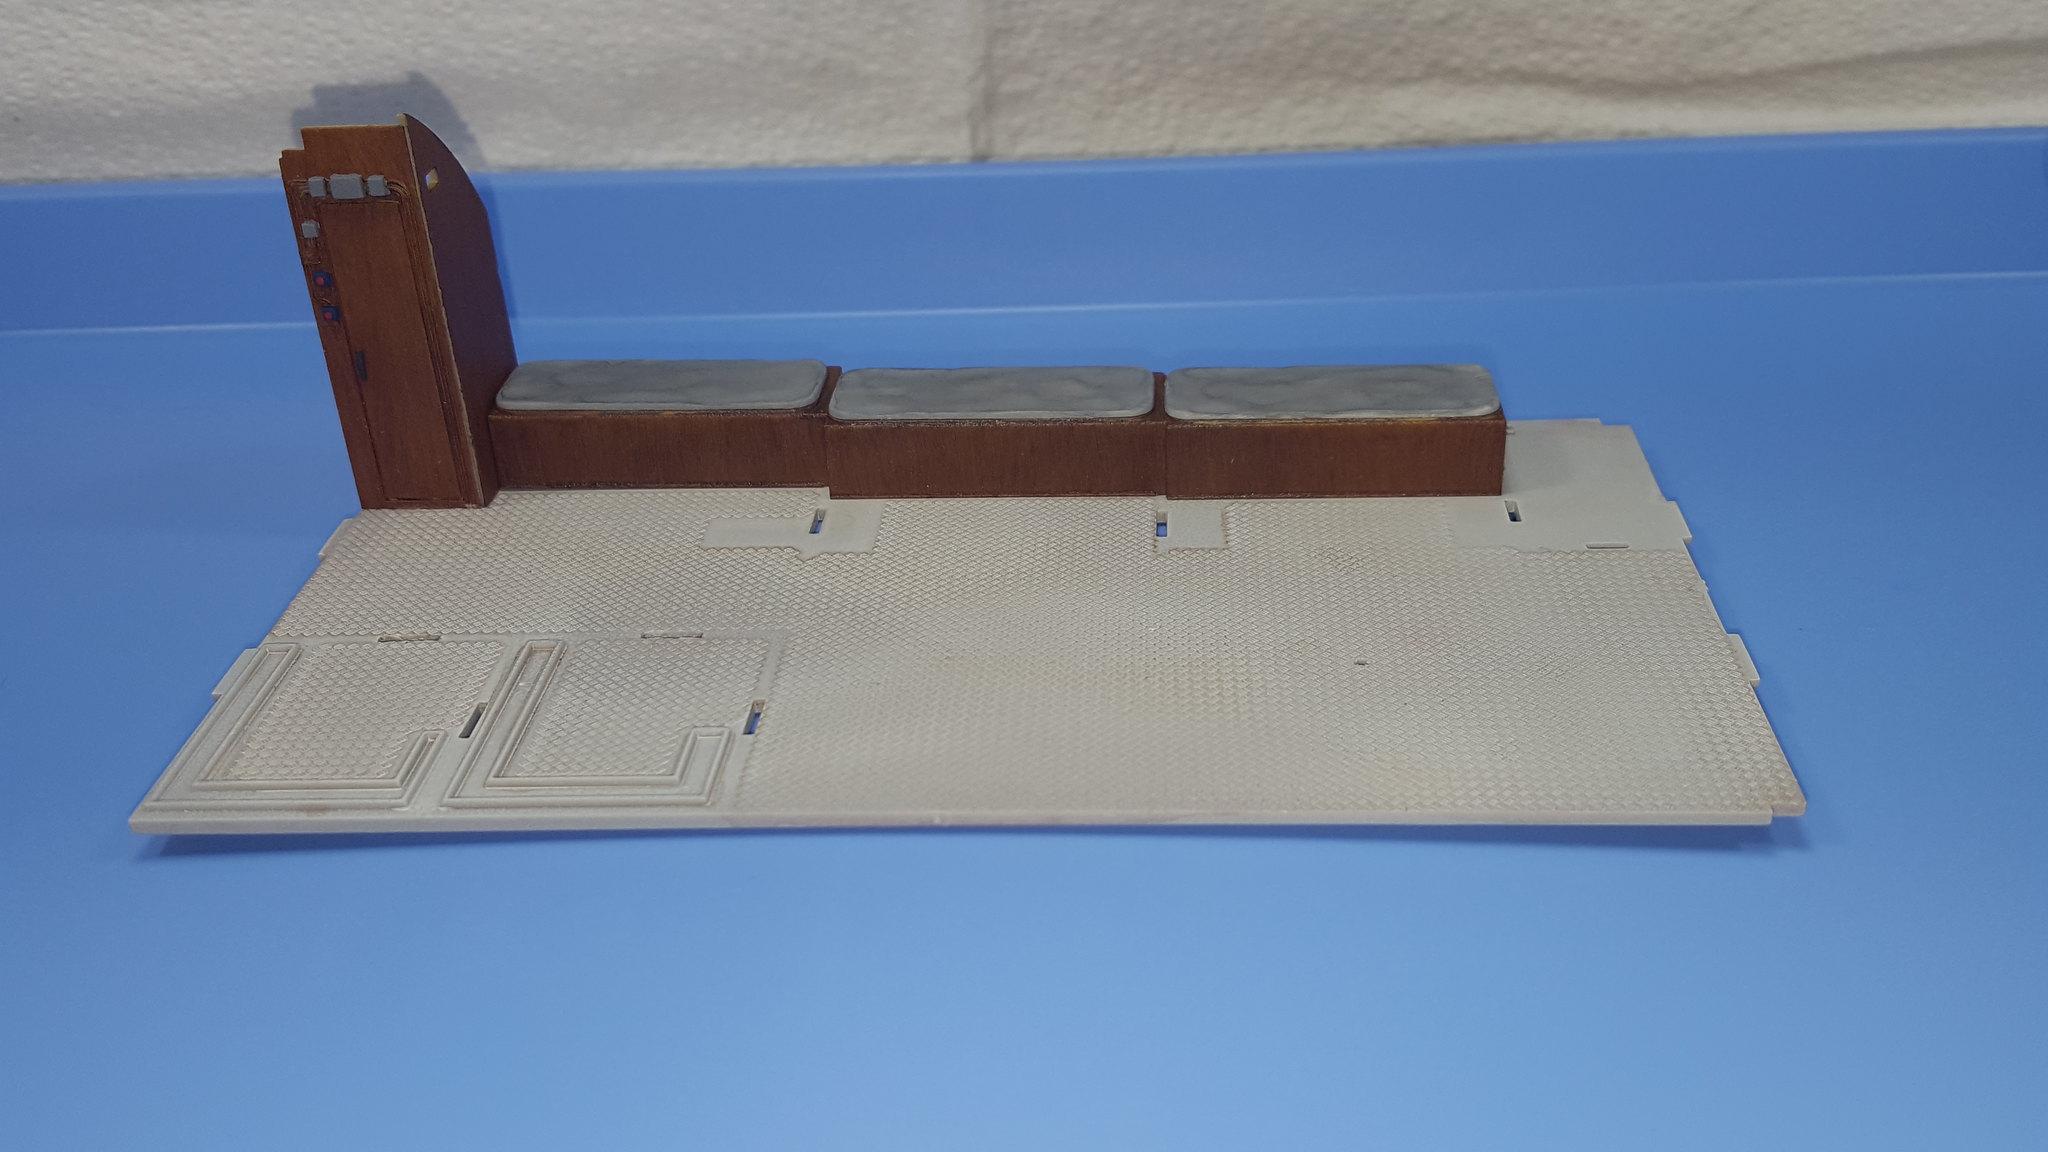
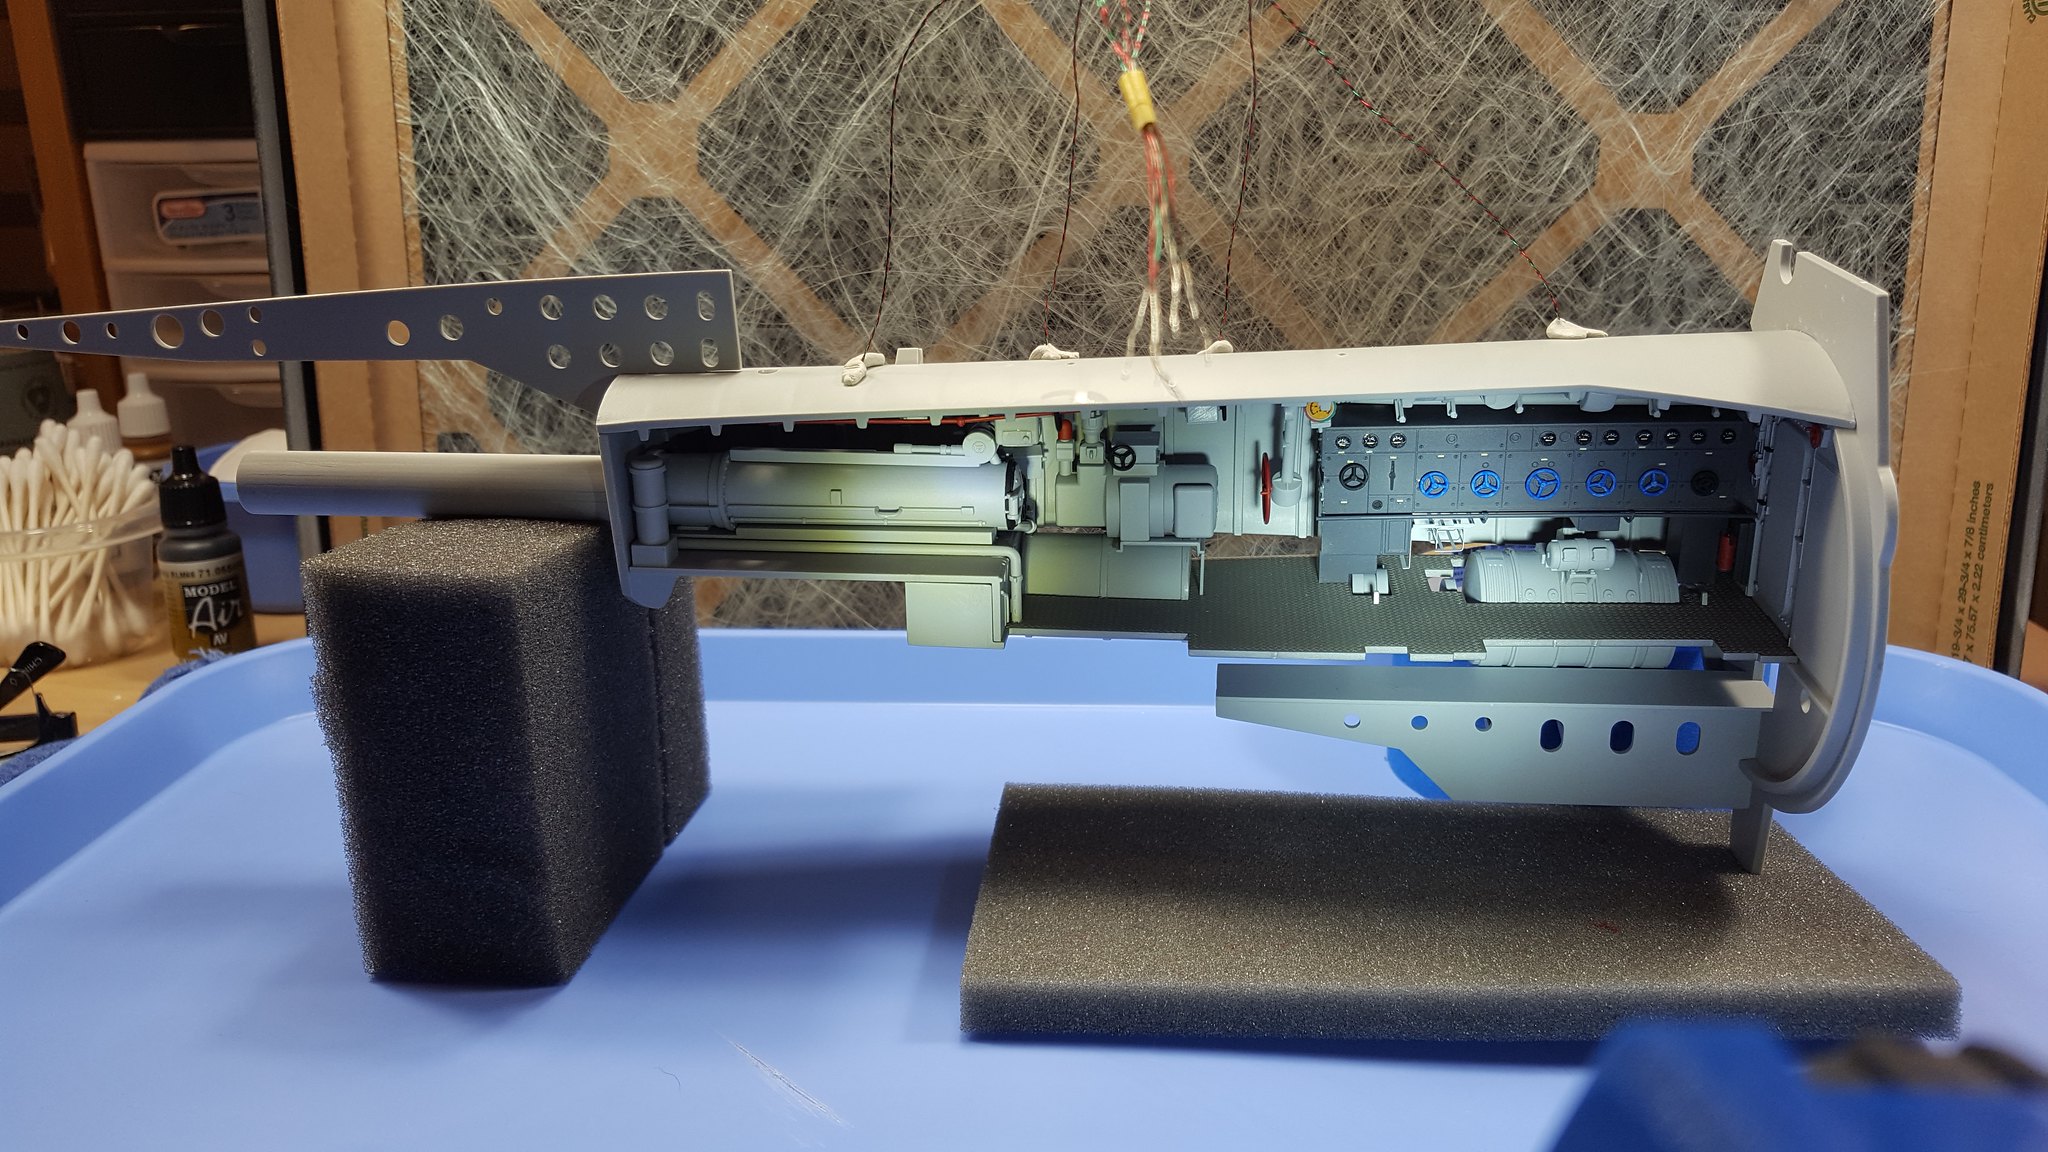
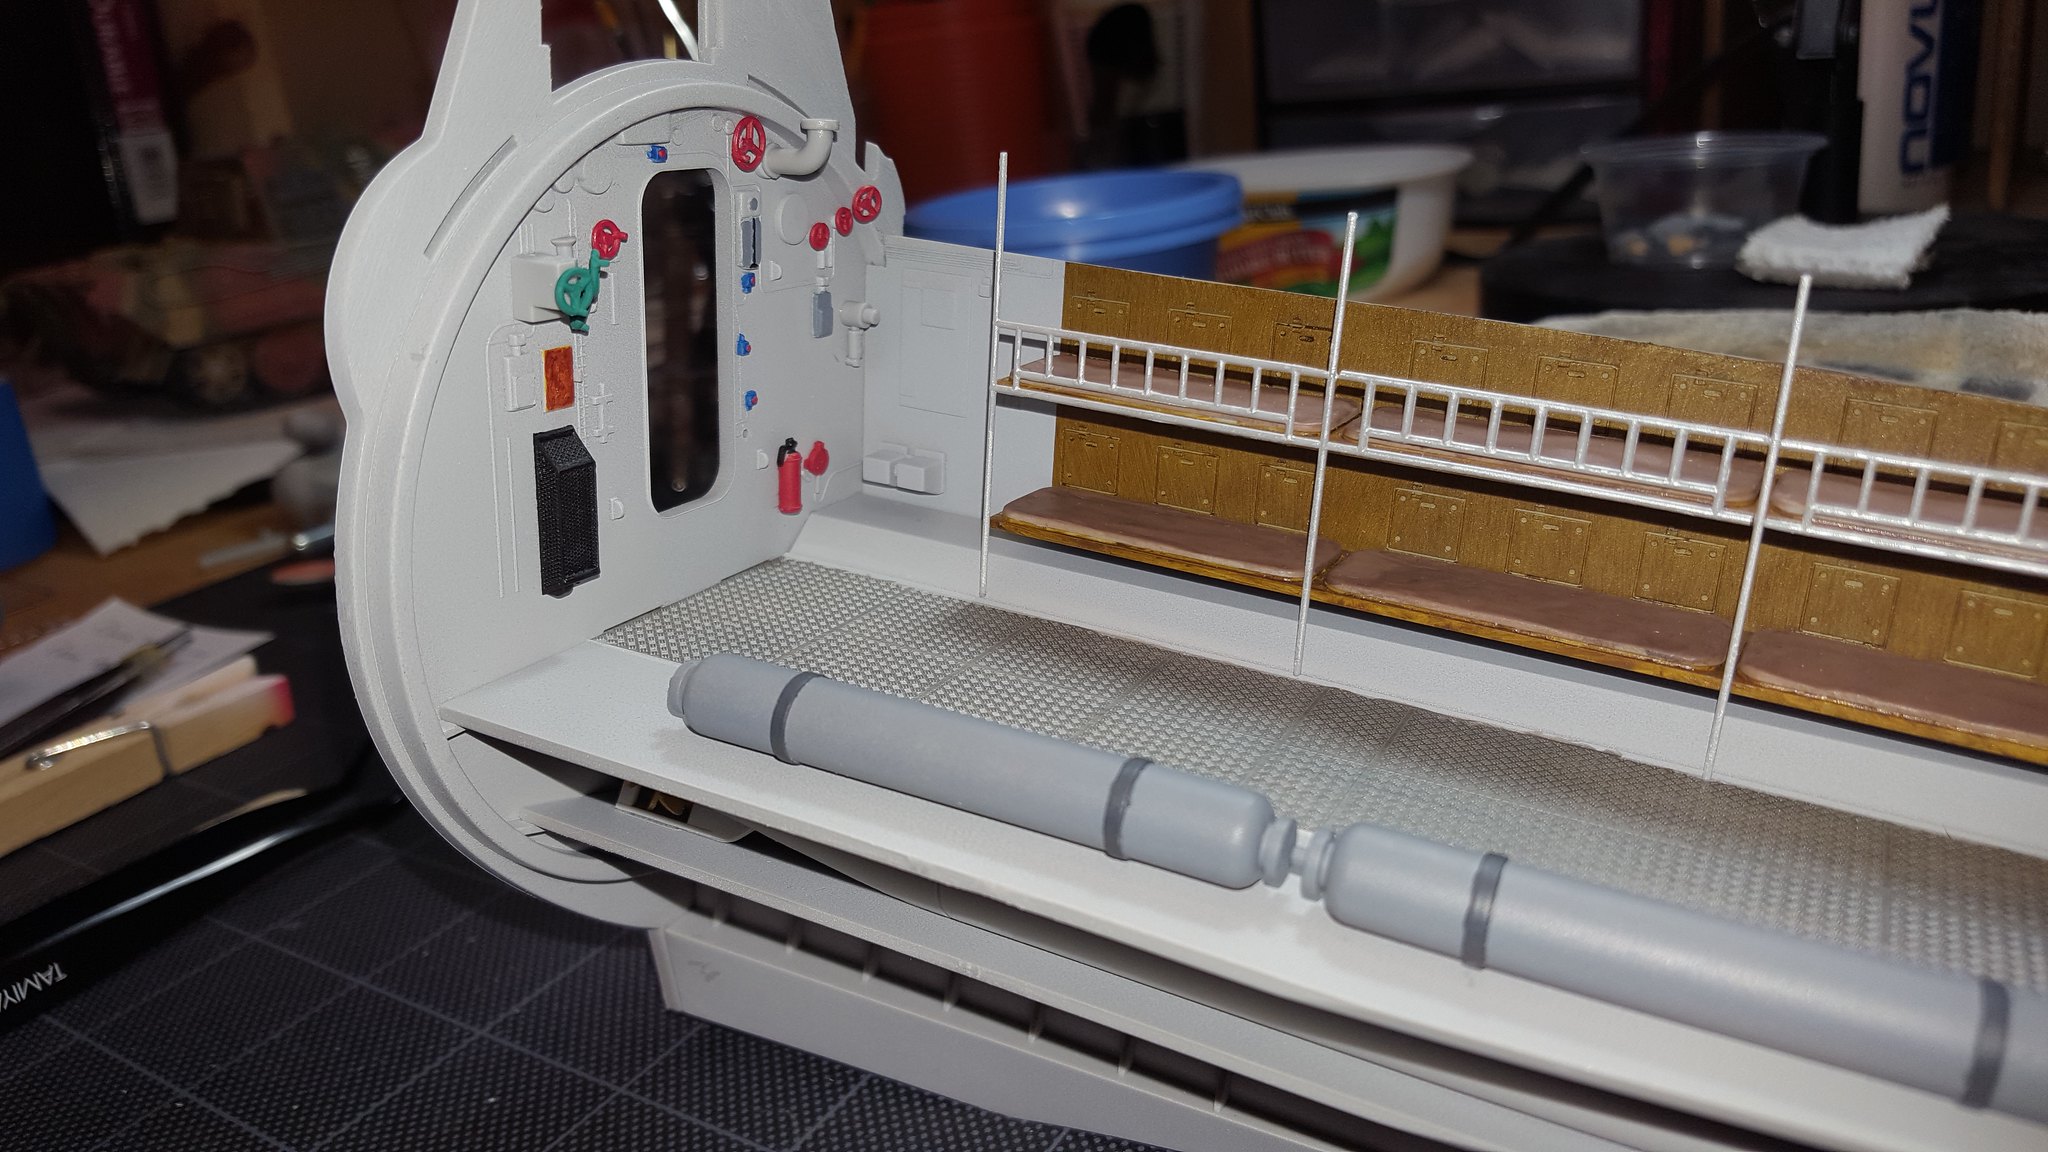
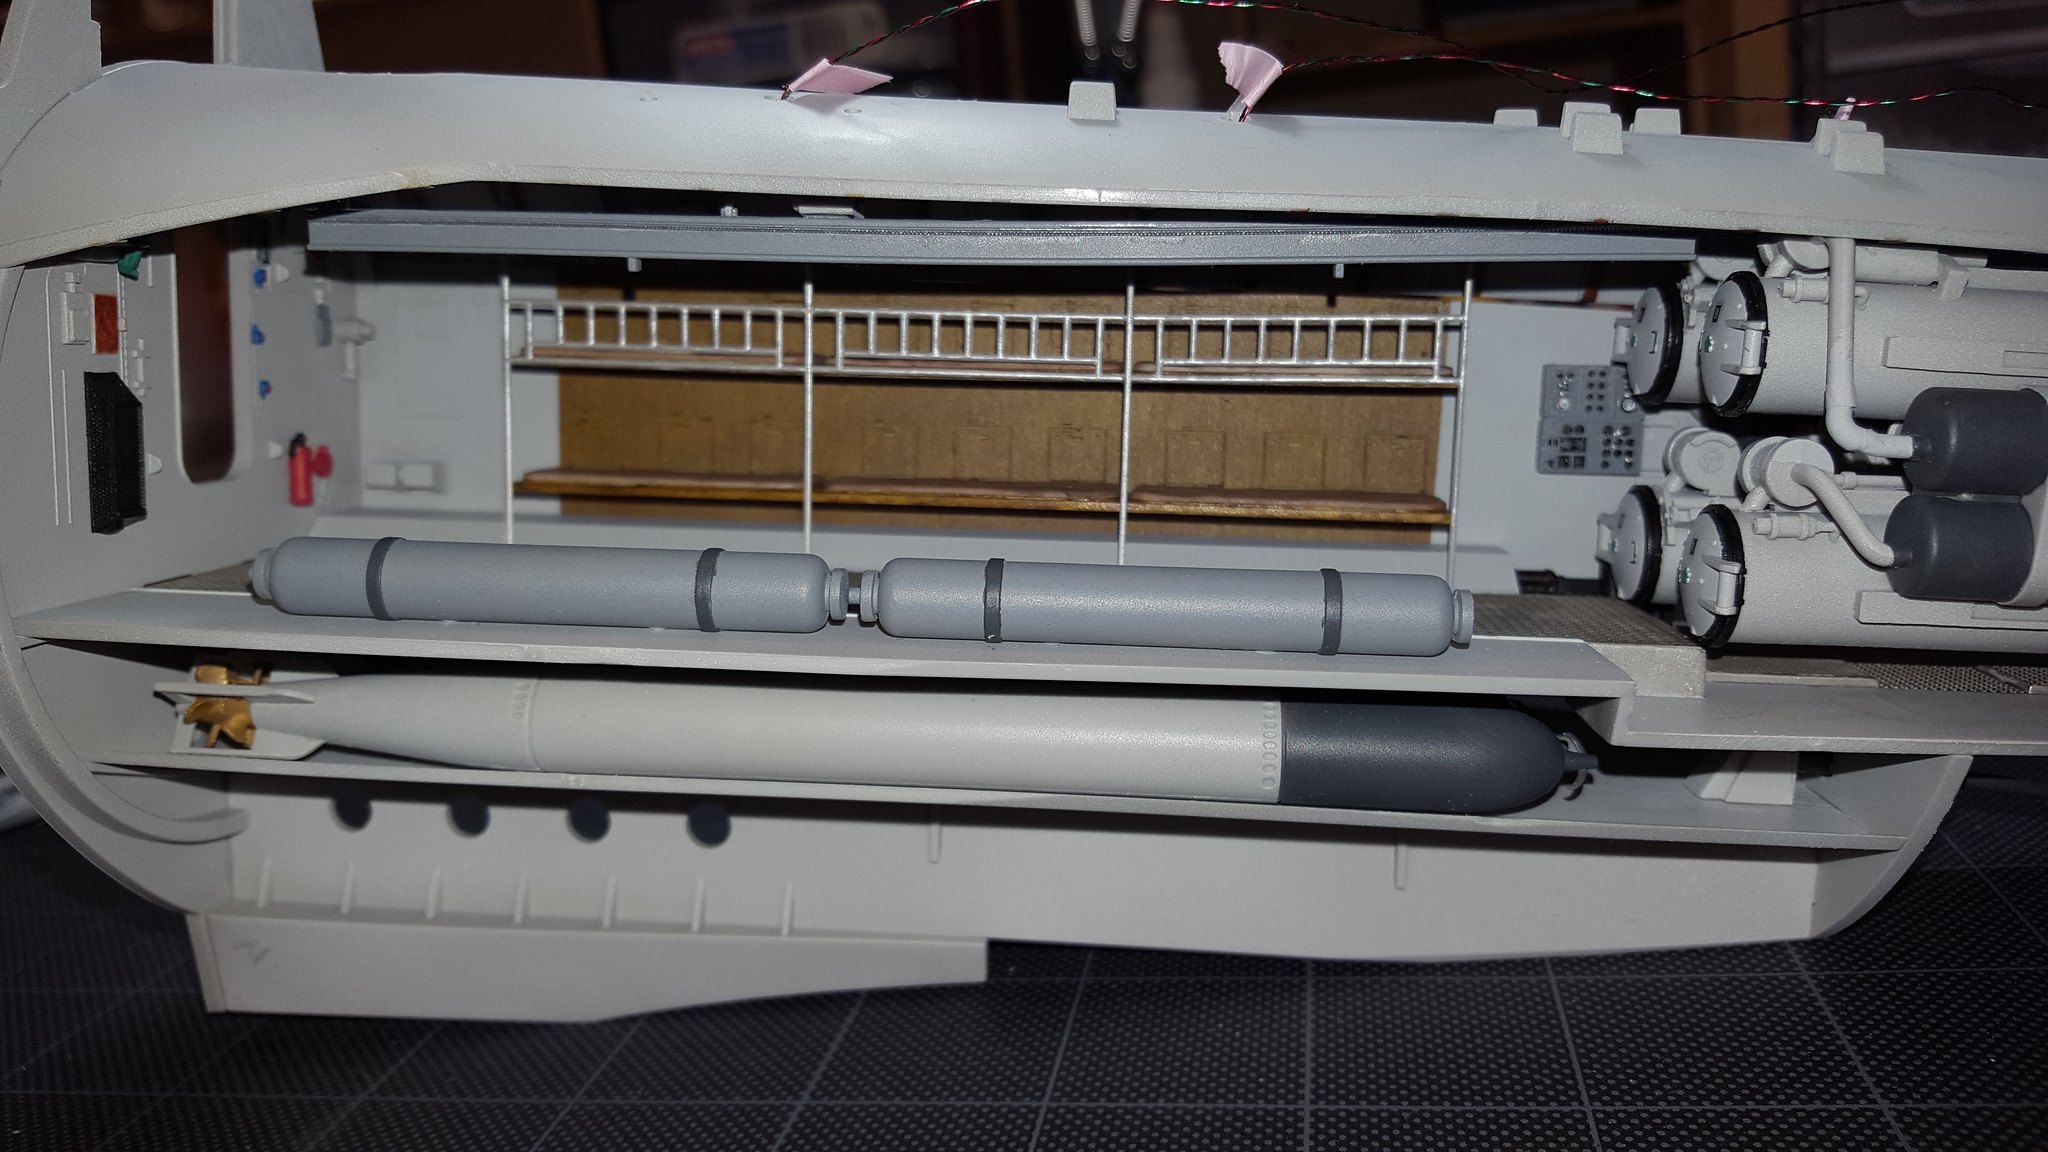
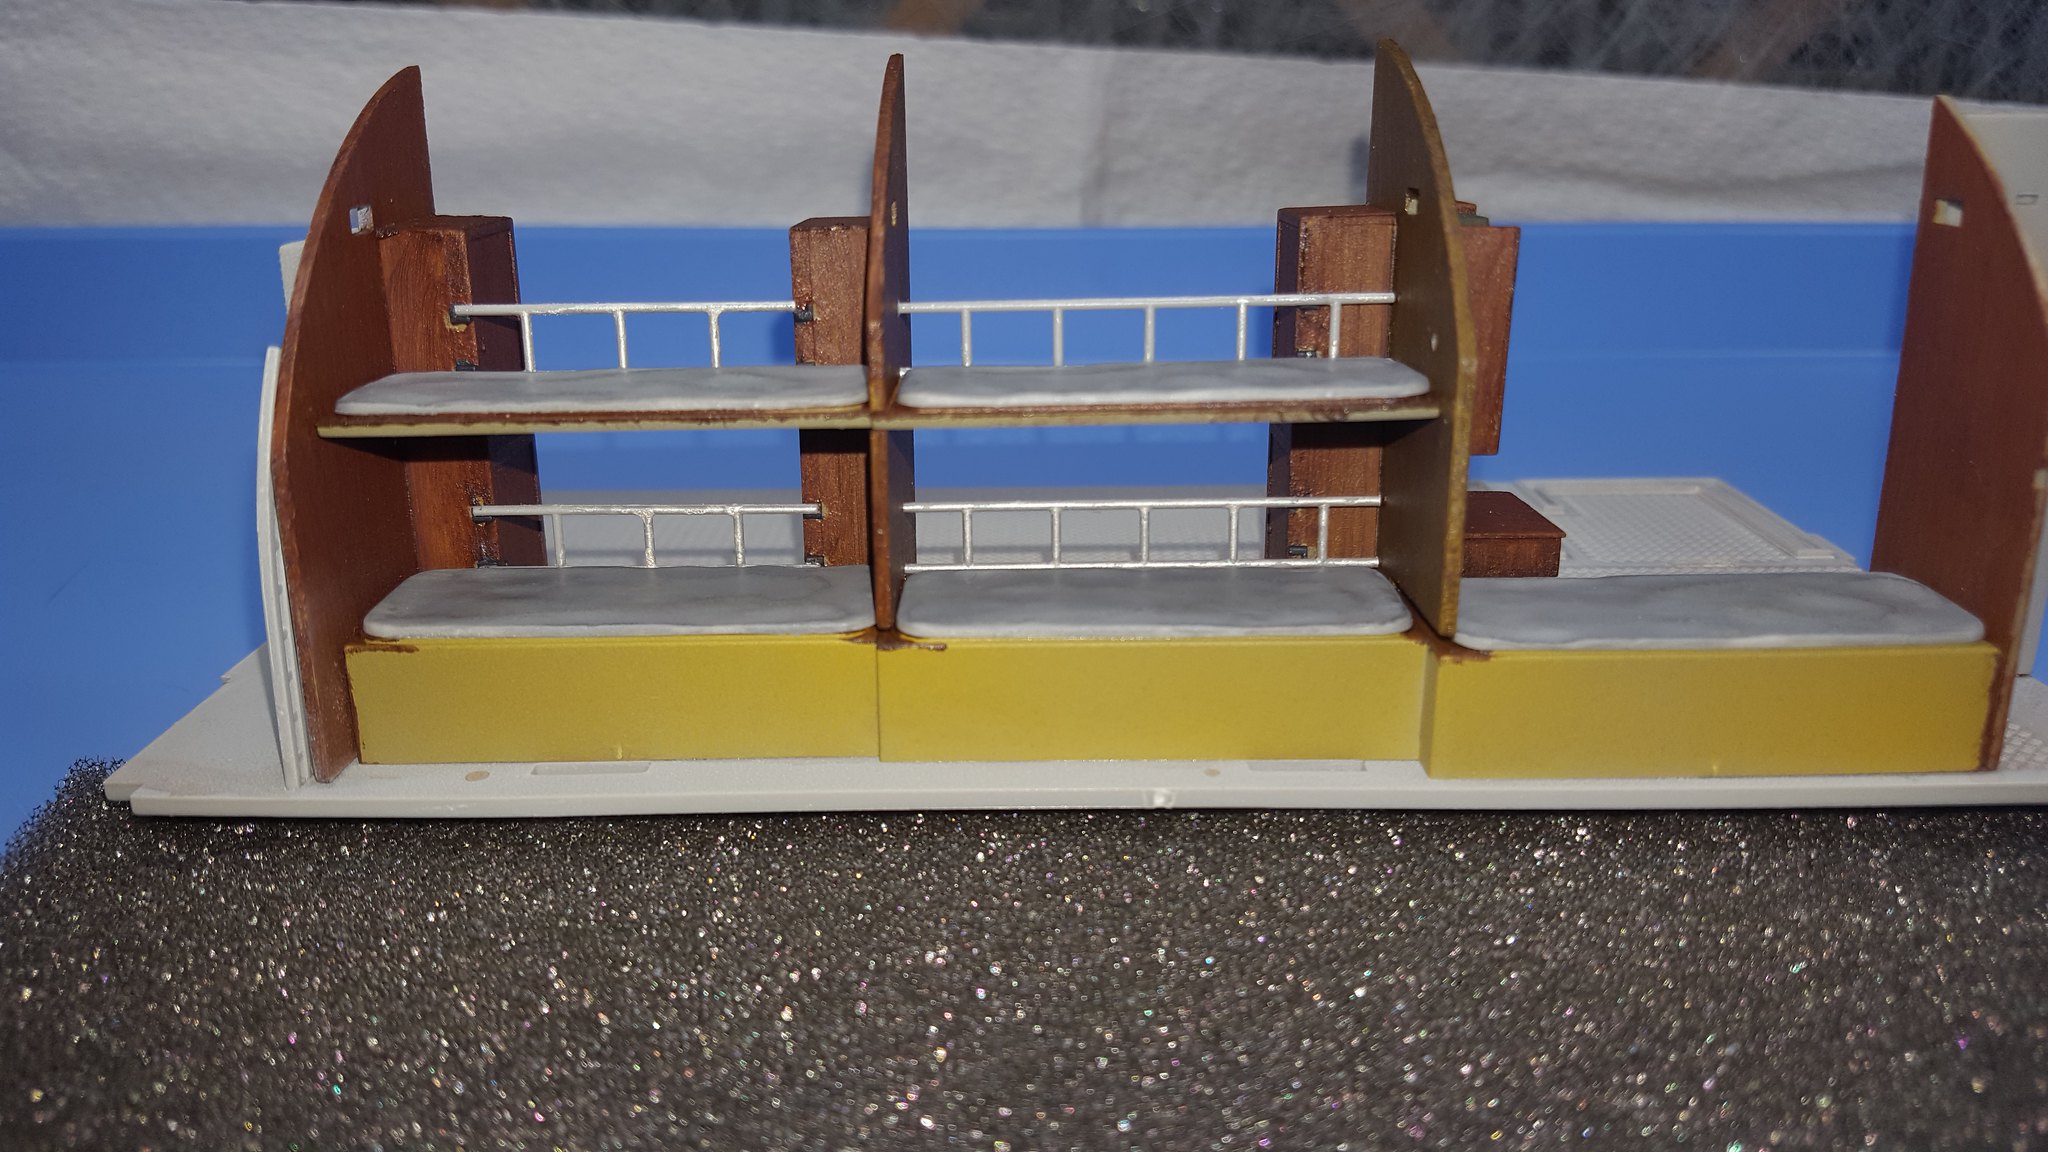
Next I placed the cross sections into the main bunk. The Captain’s area is to the far left.

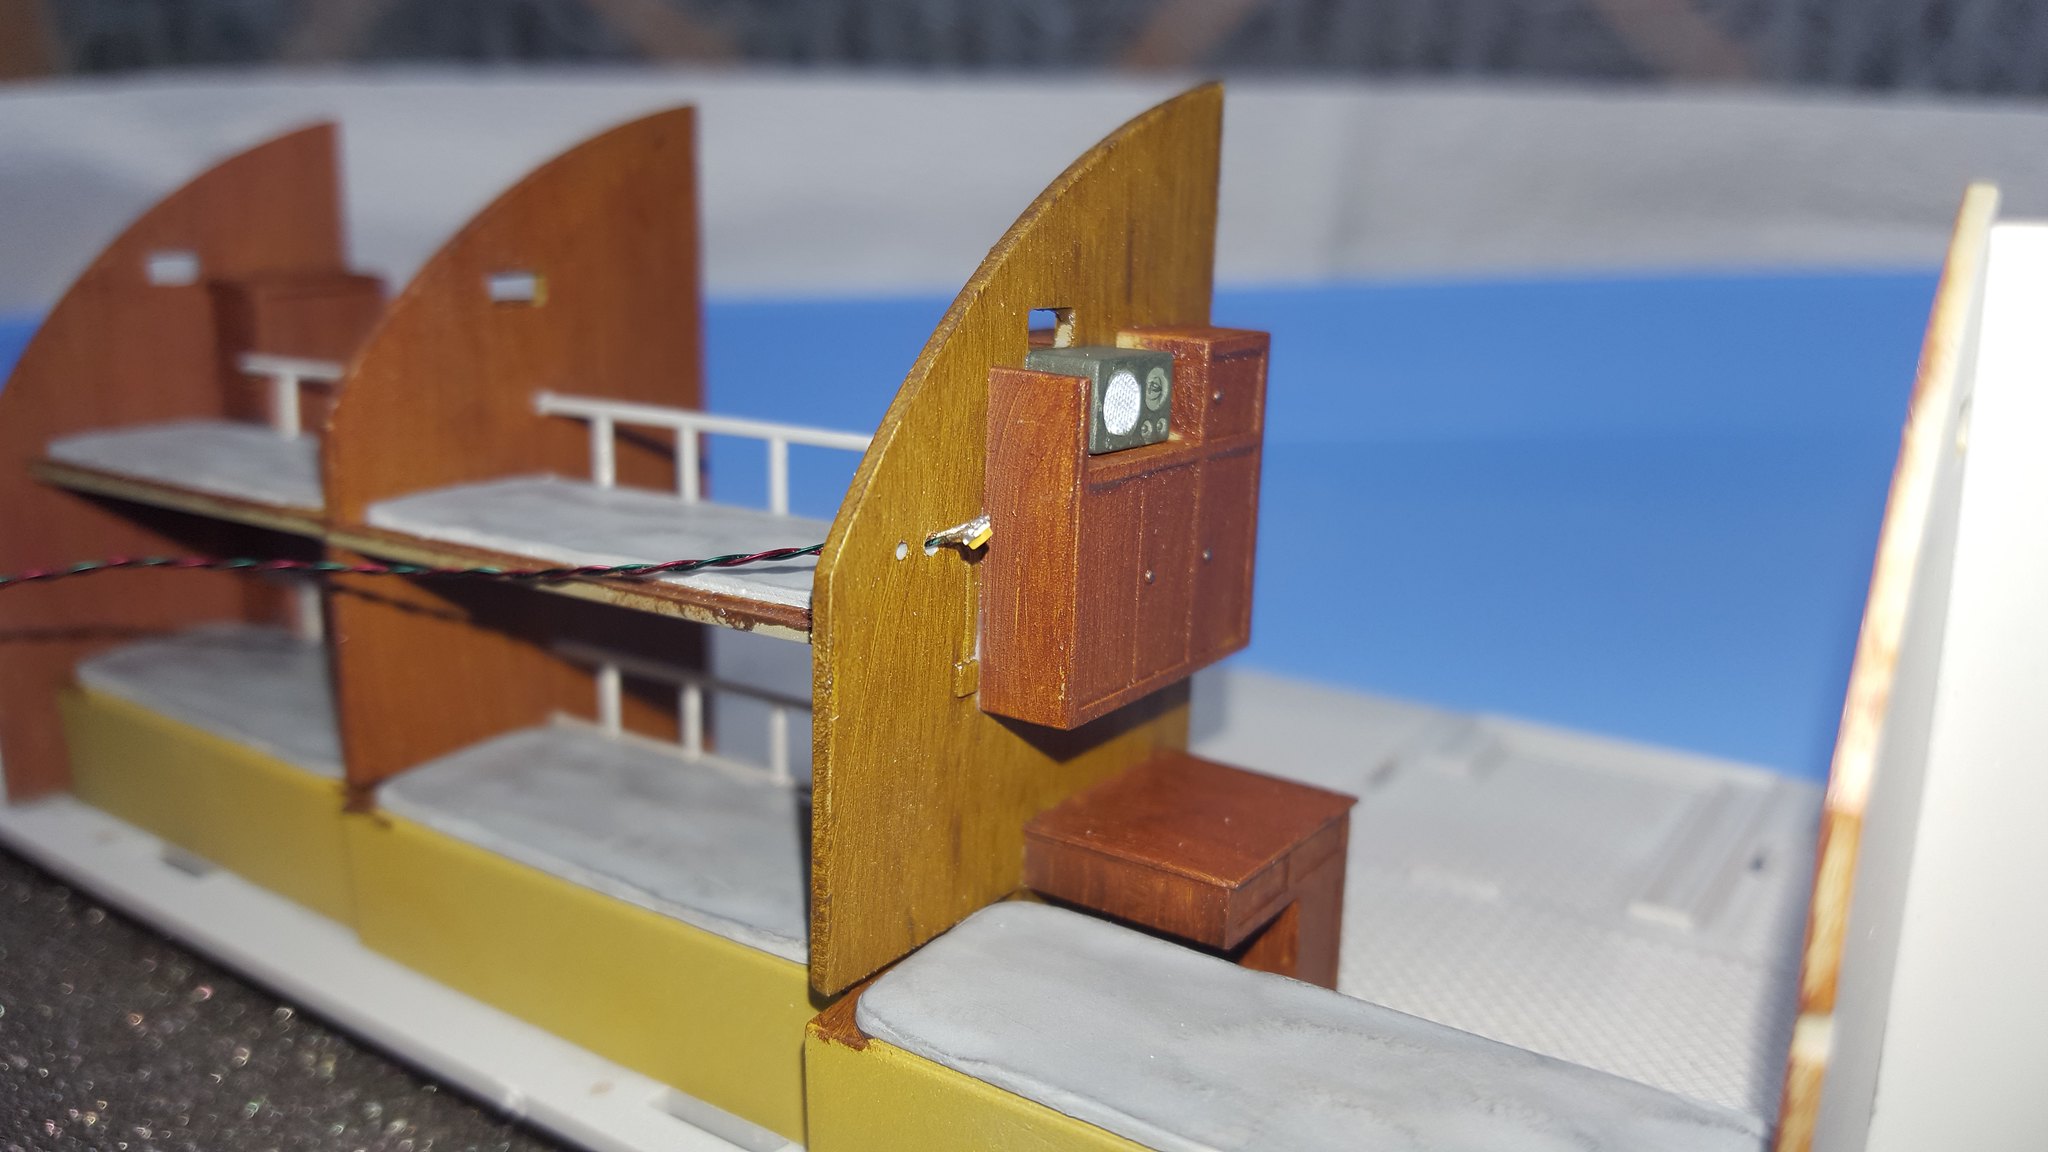
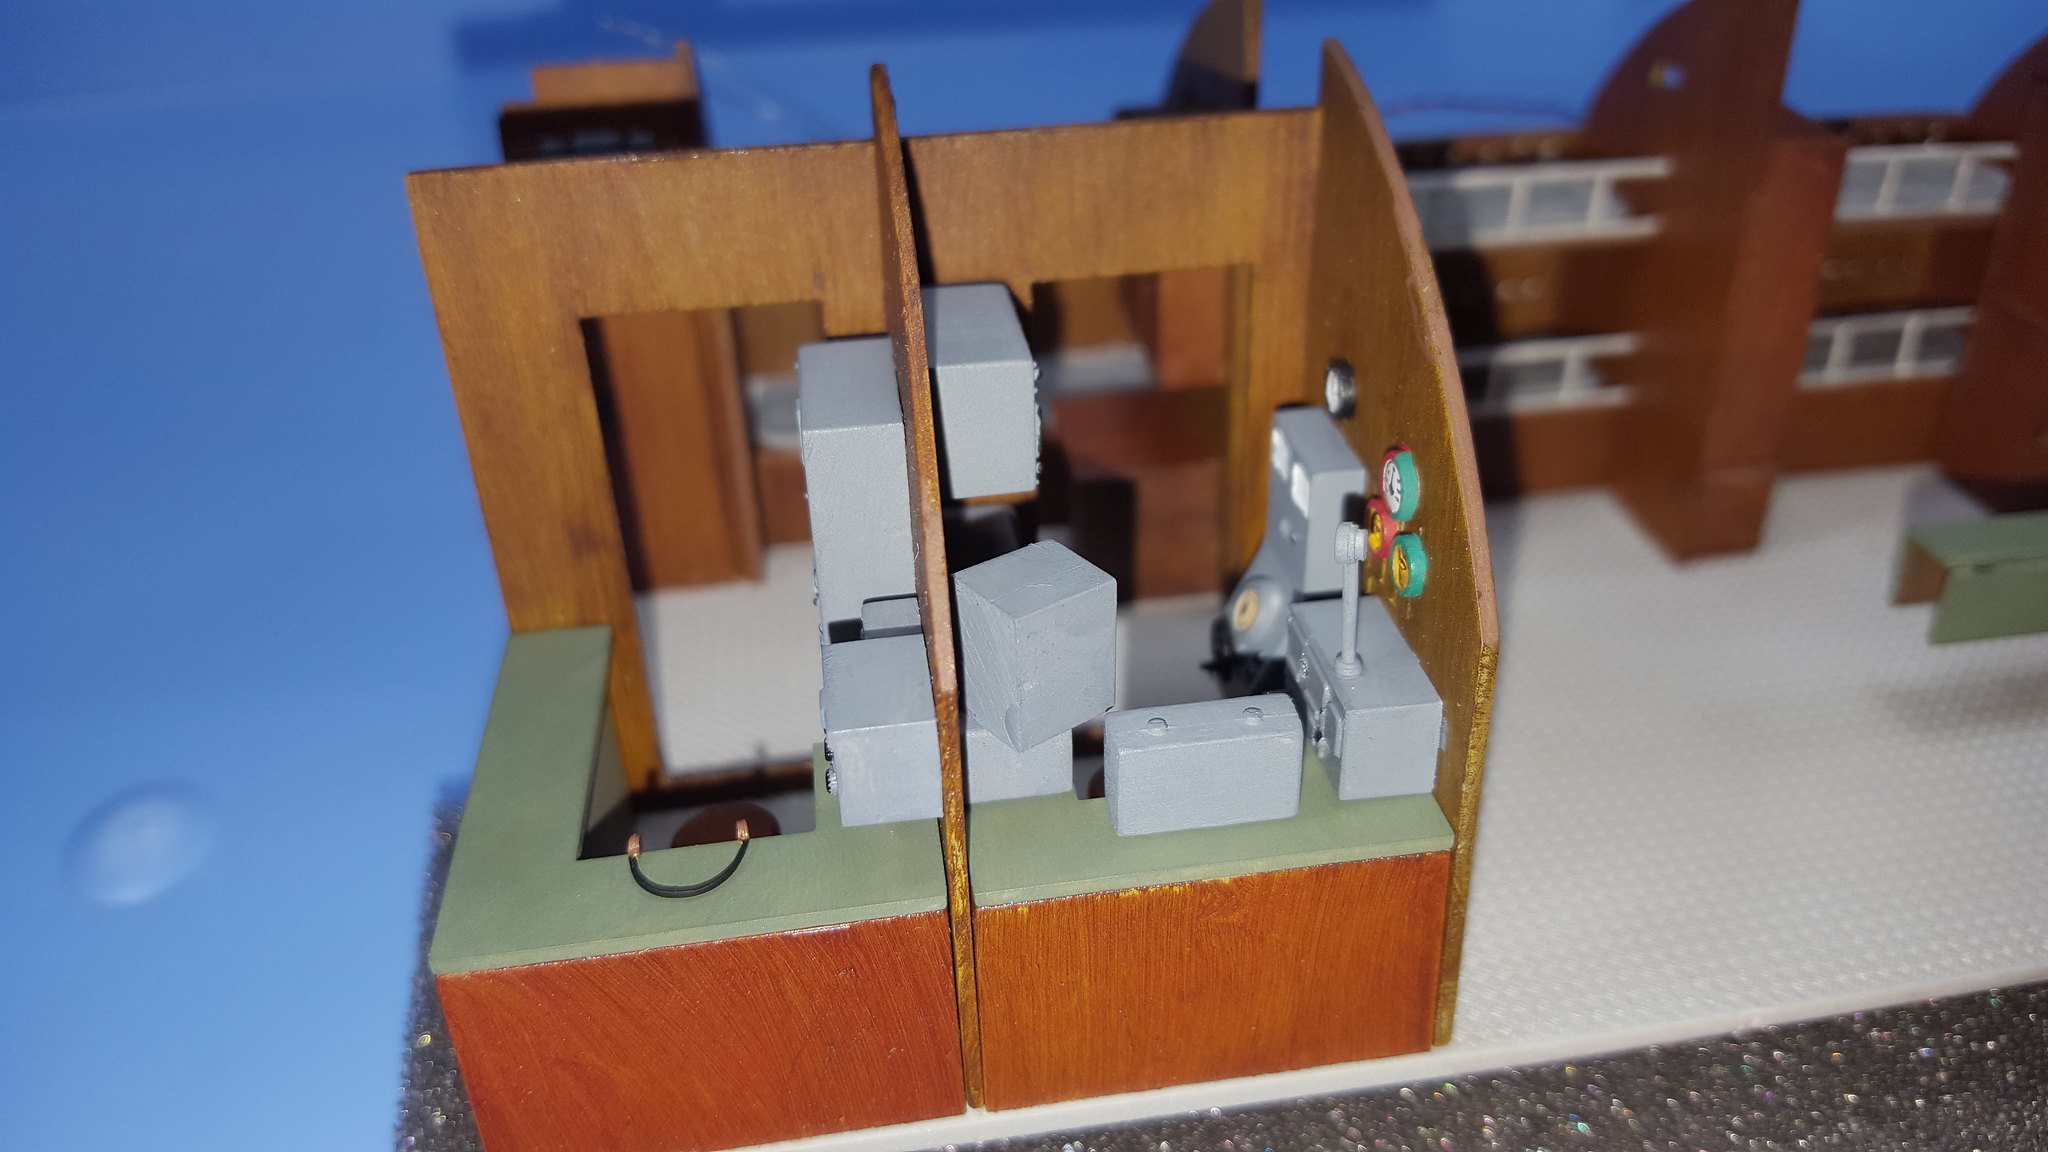
Here is a better picture of it. I assume that is a radio on the top shelf. He has his own little desk as well.

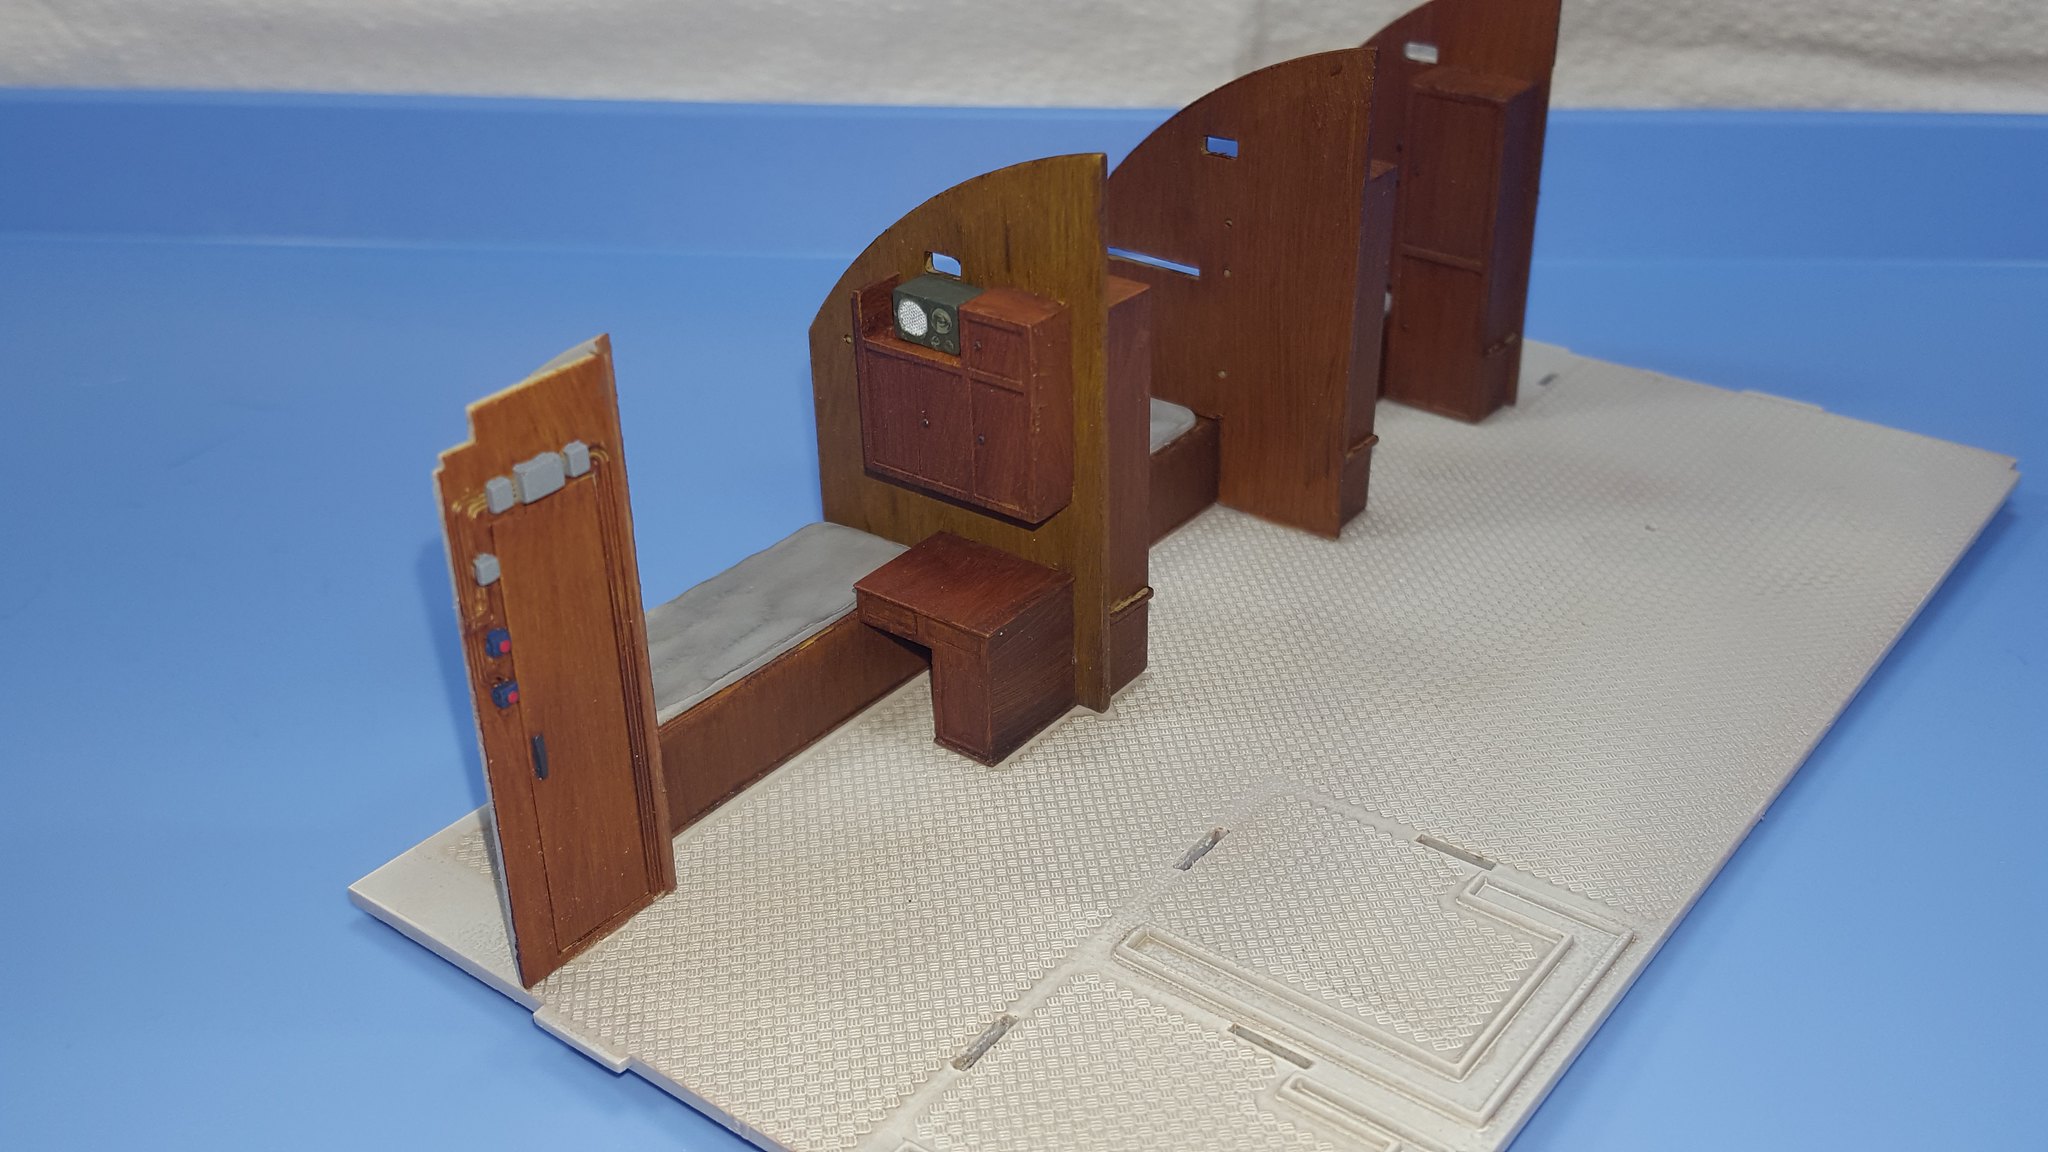
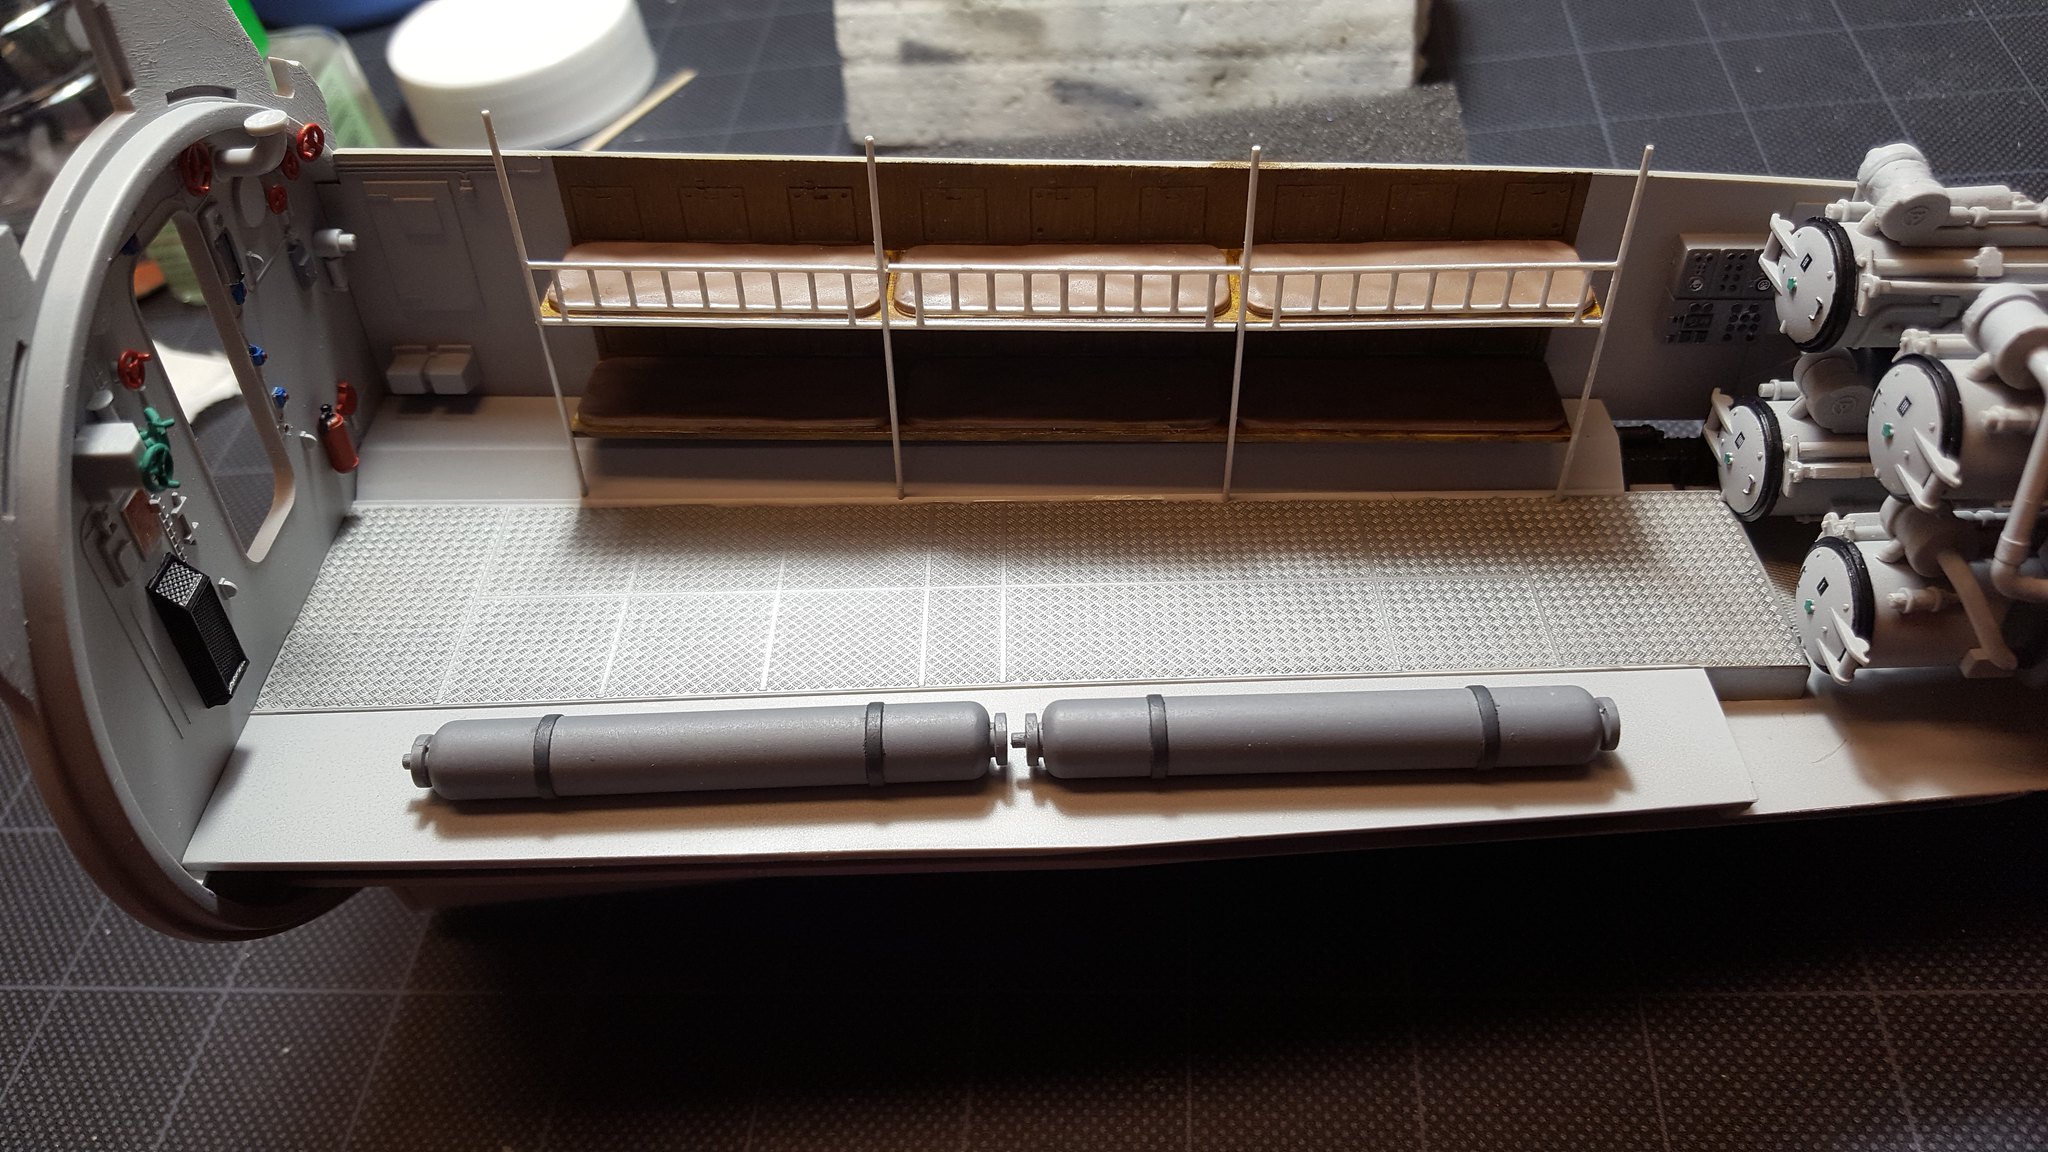
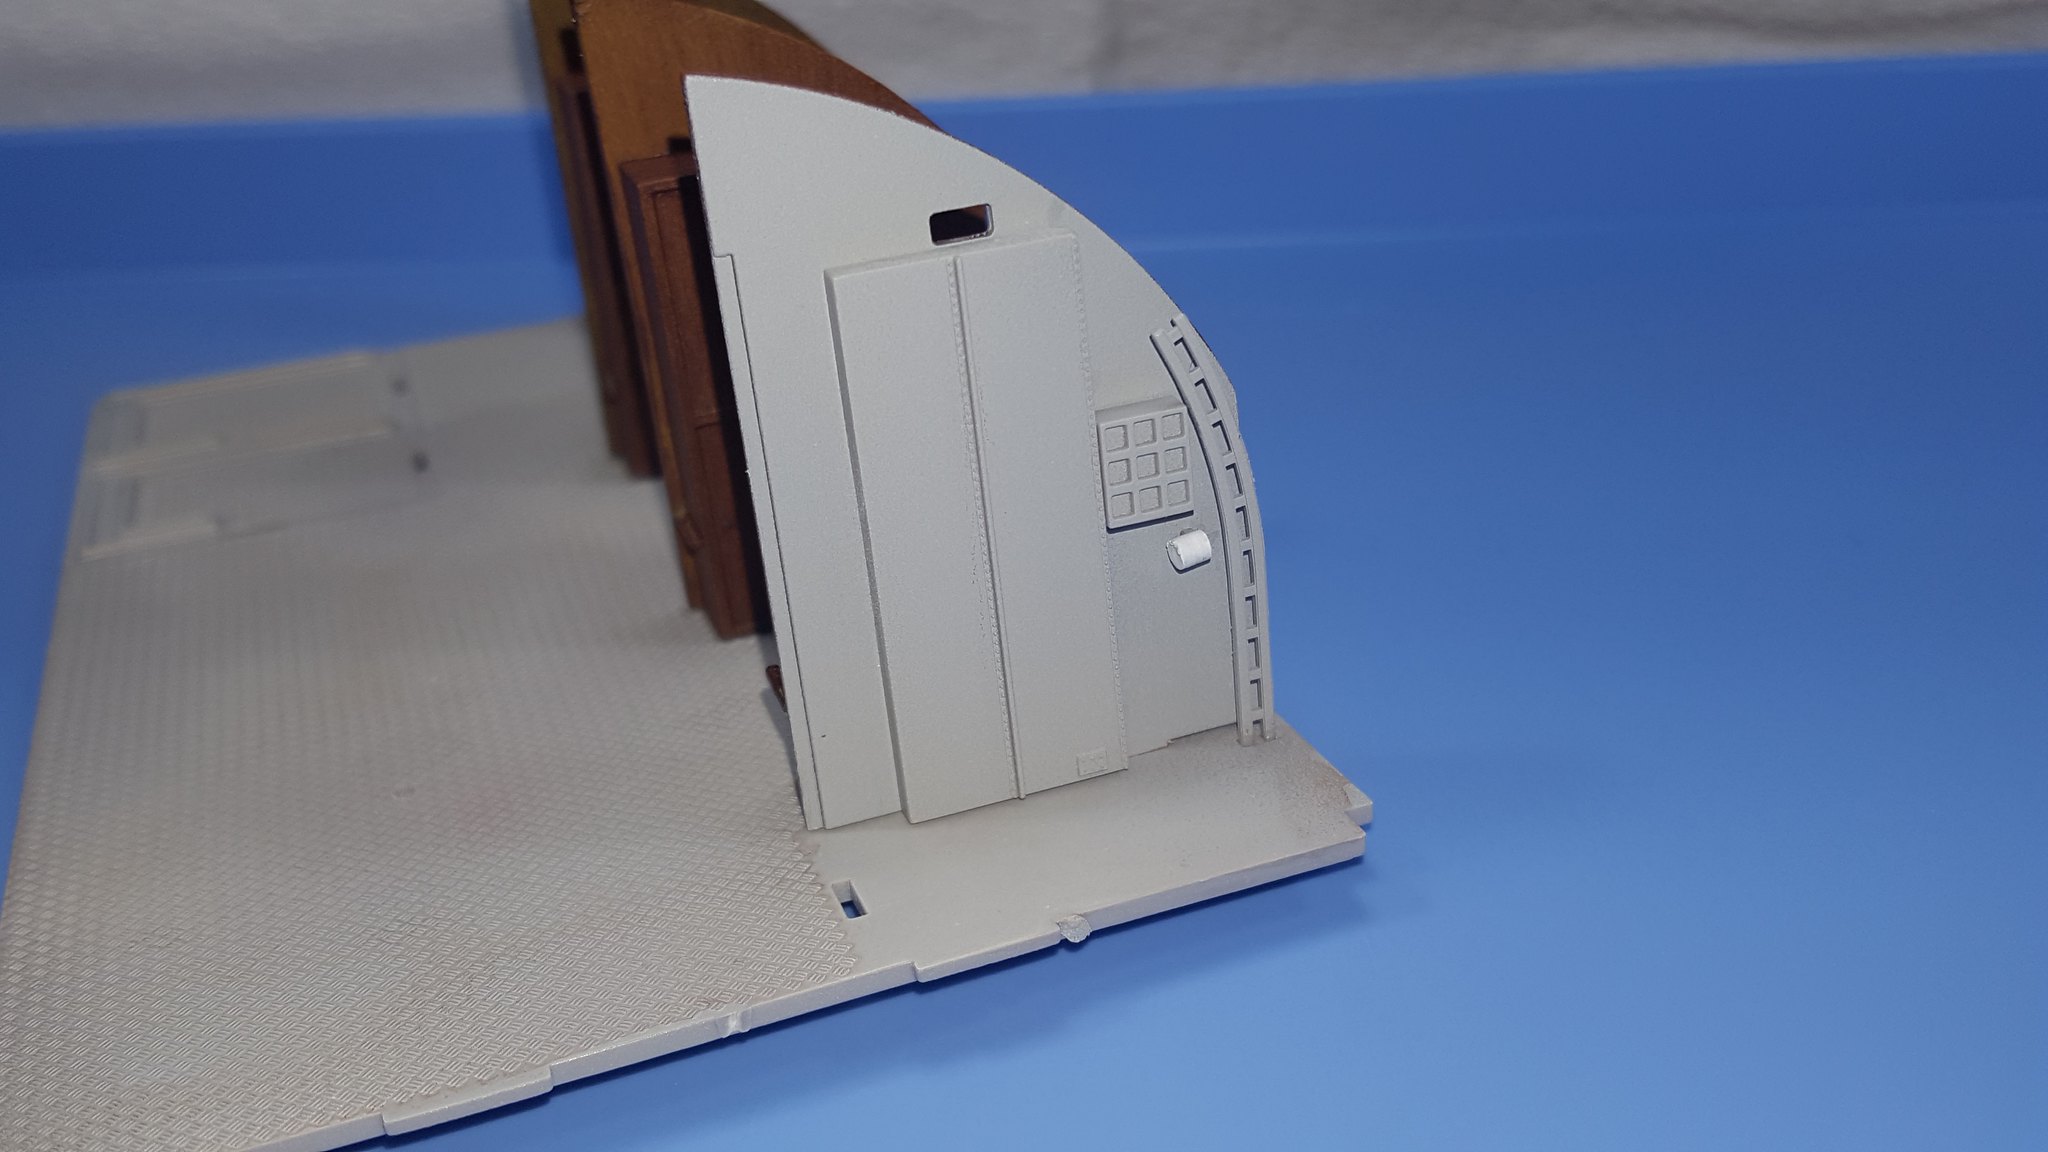
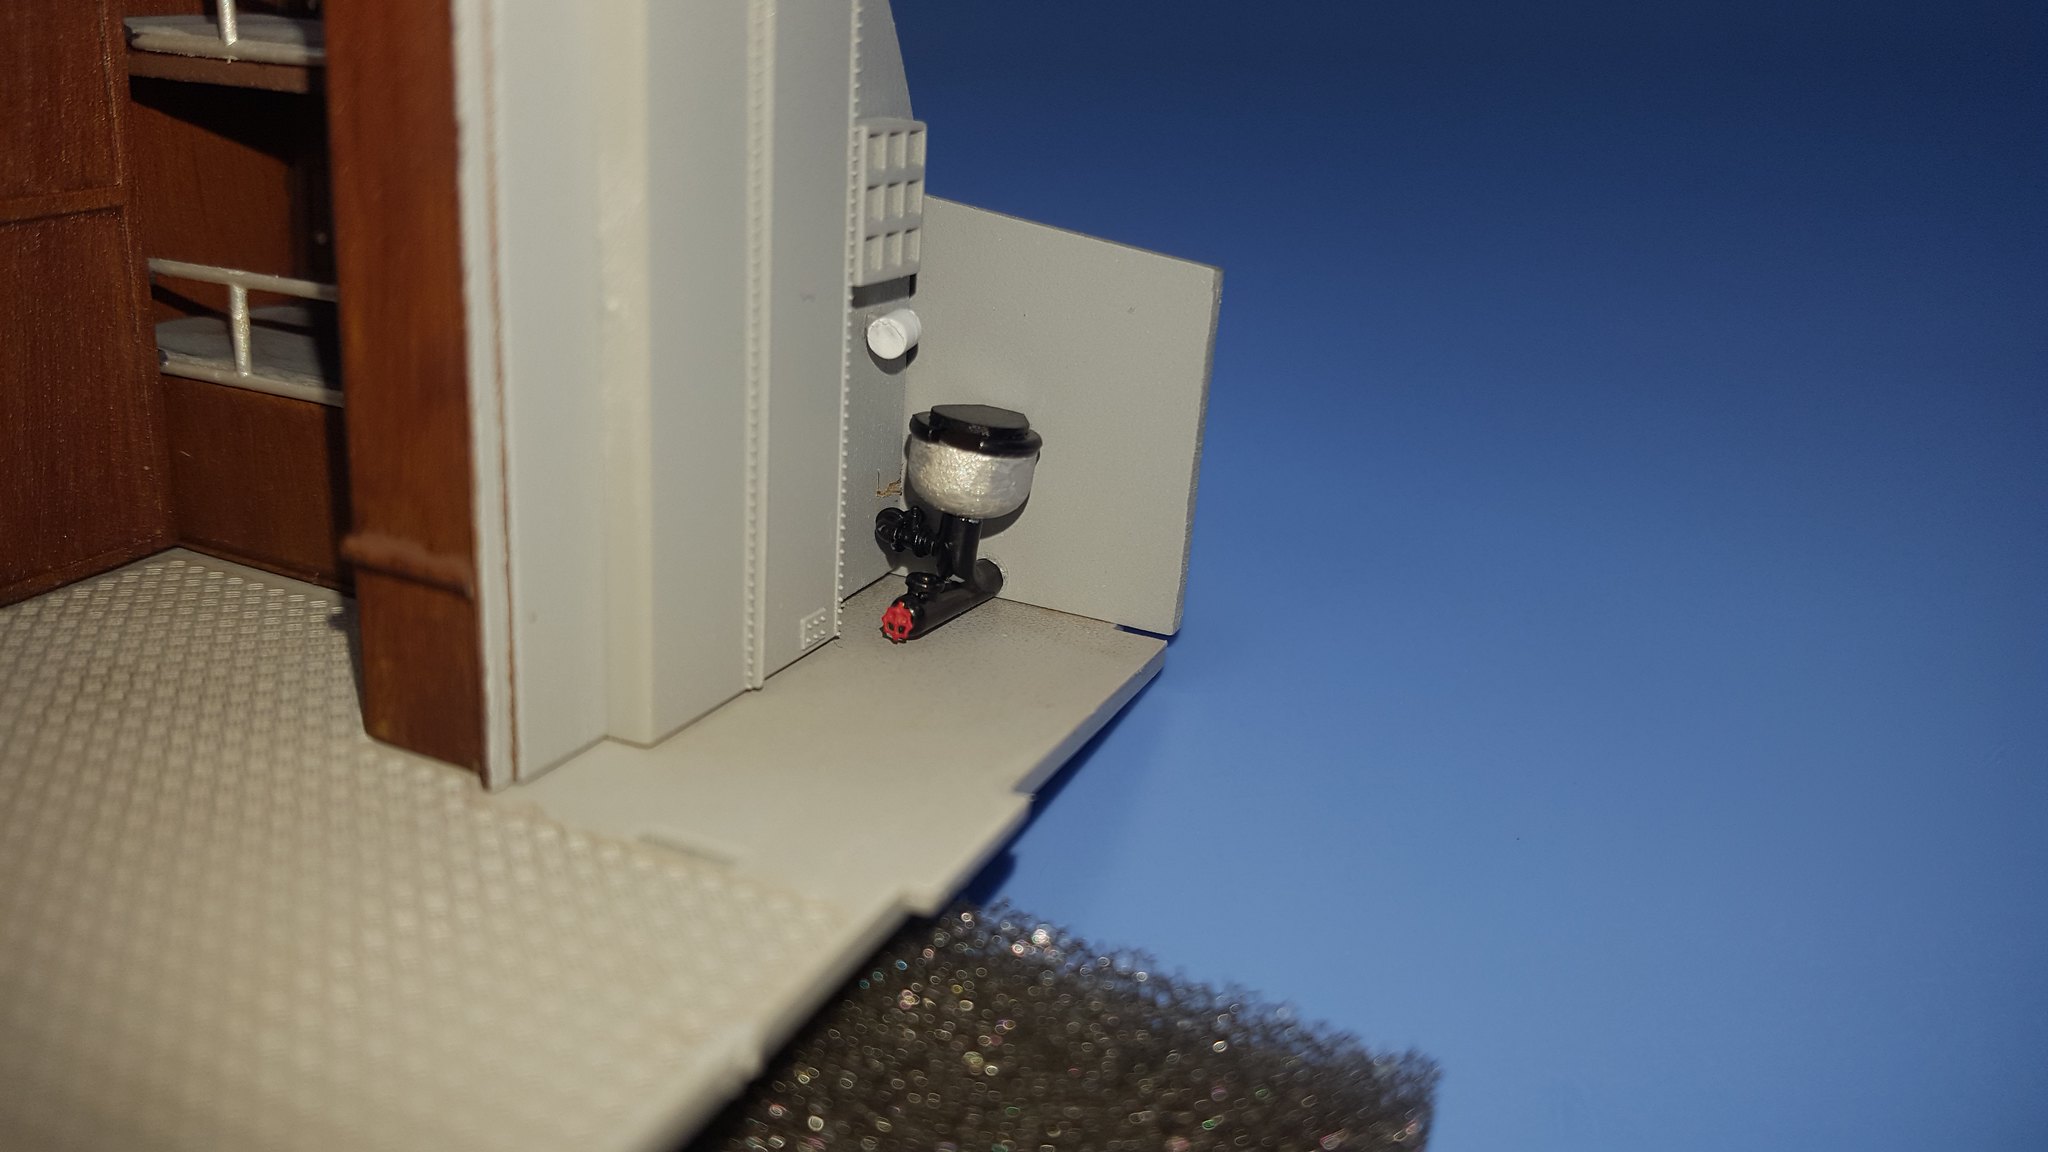
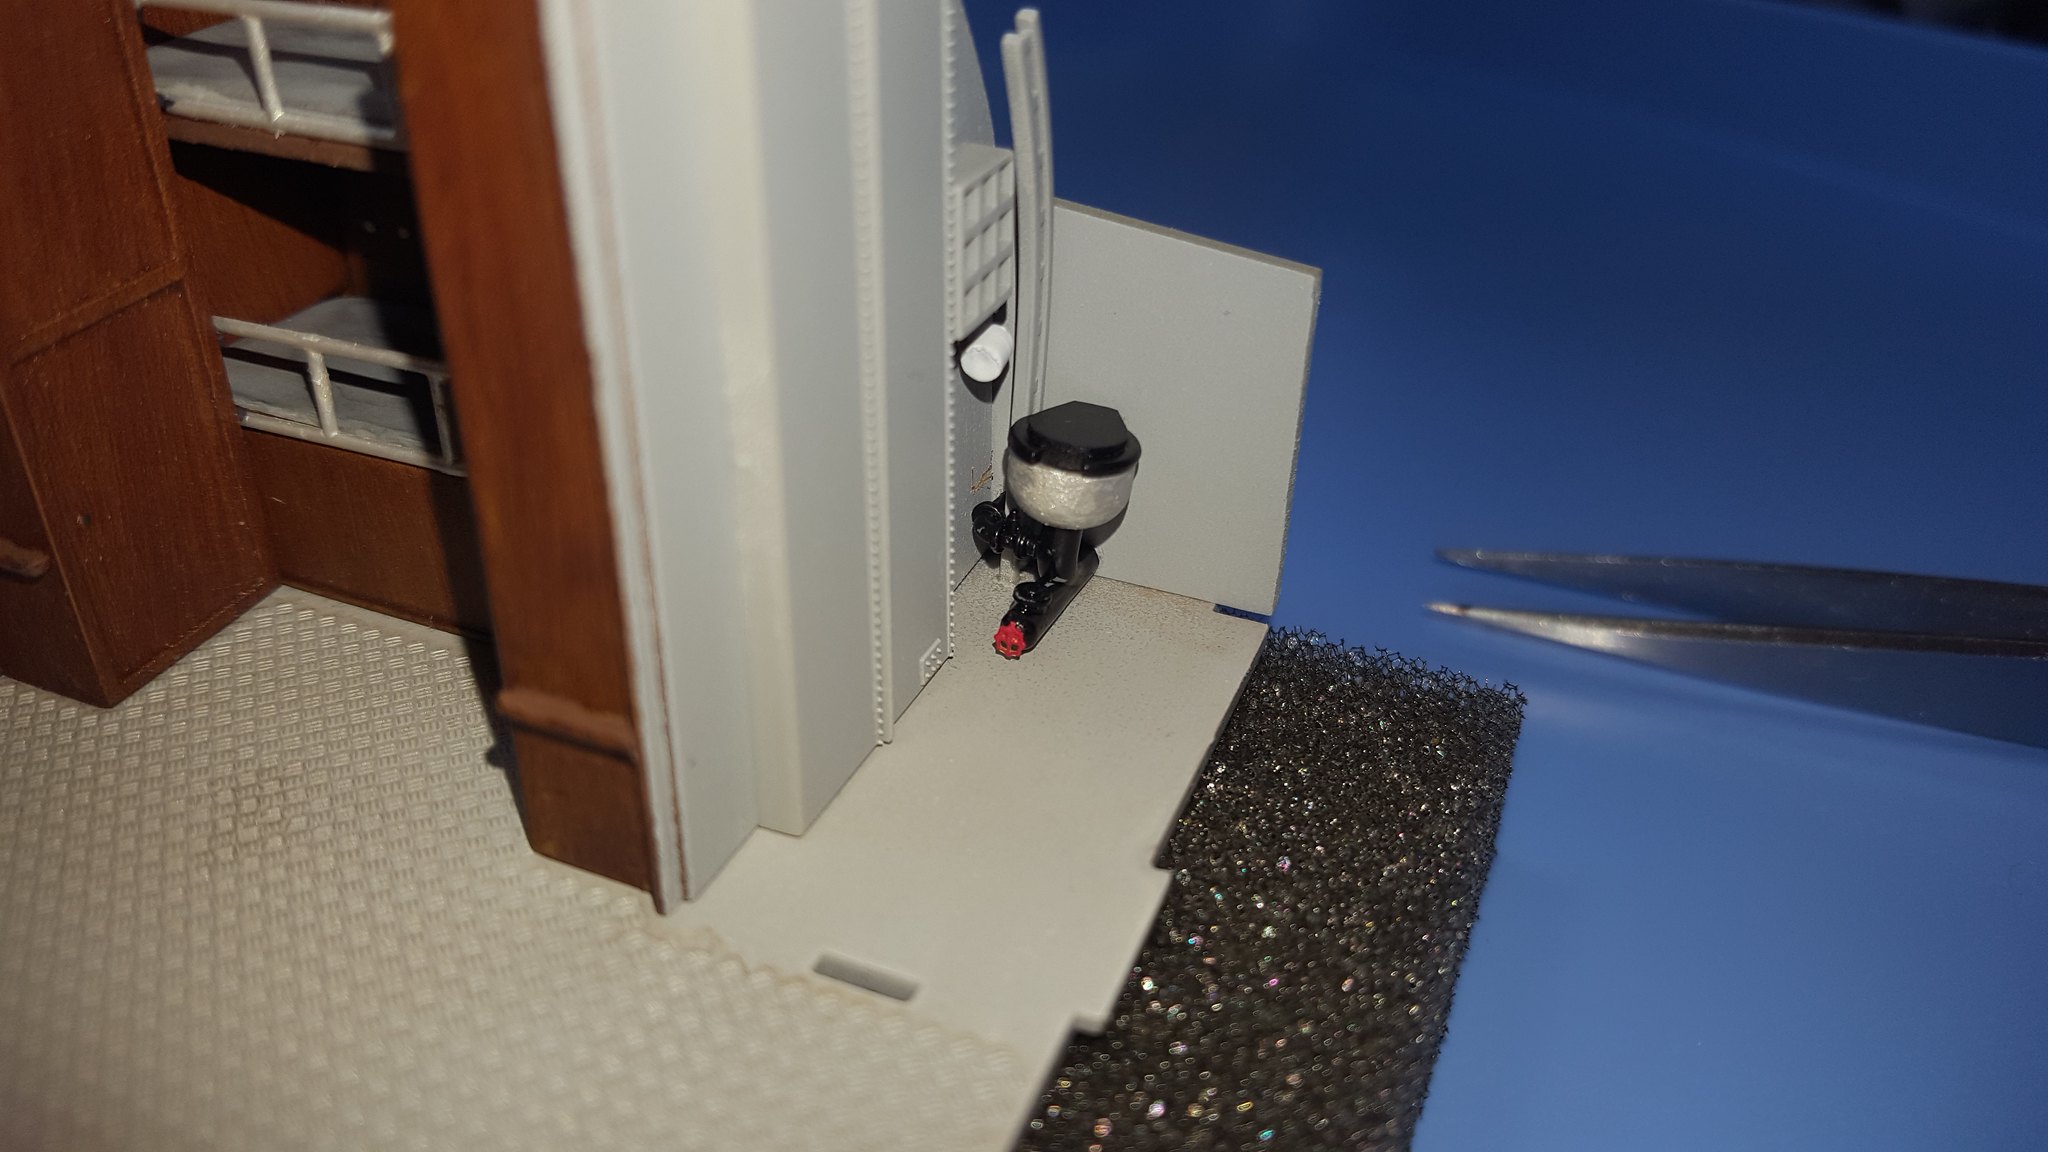
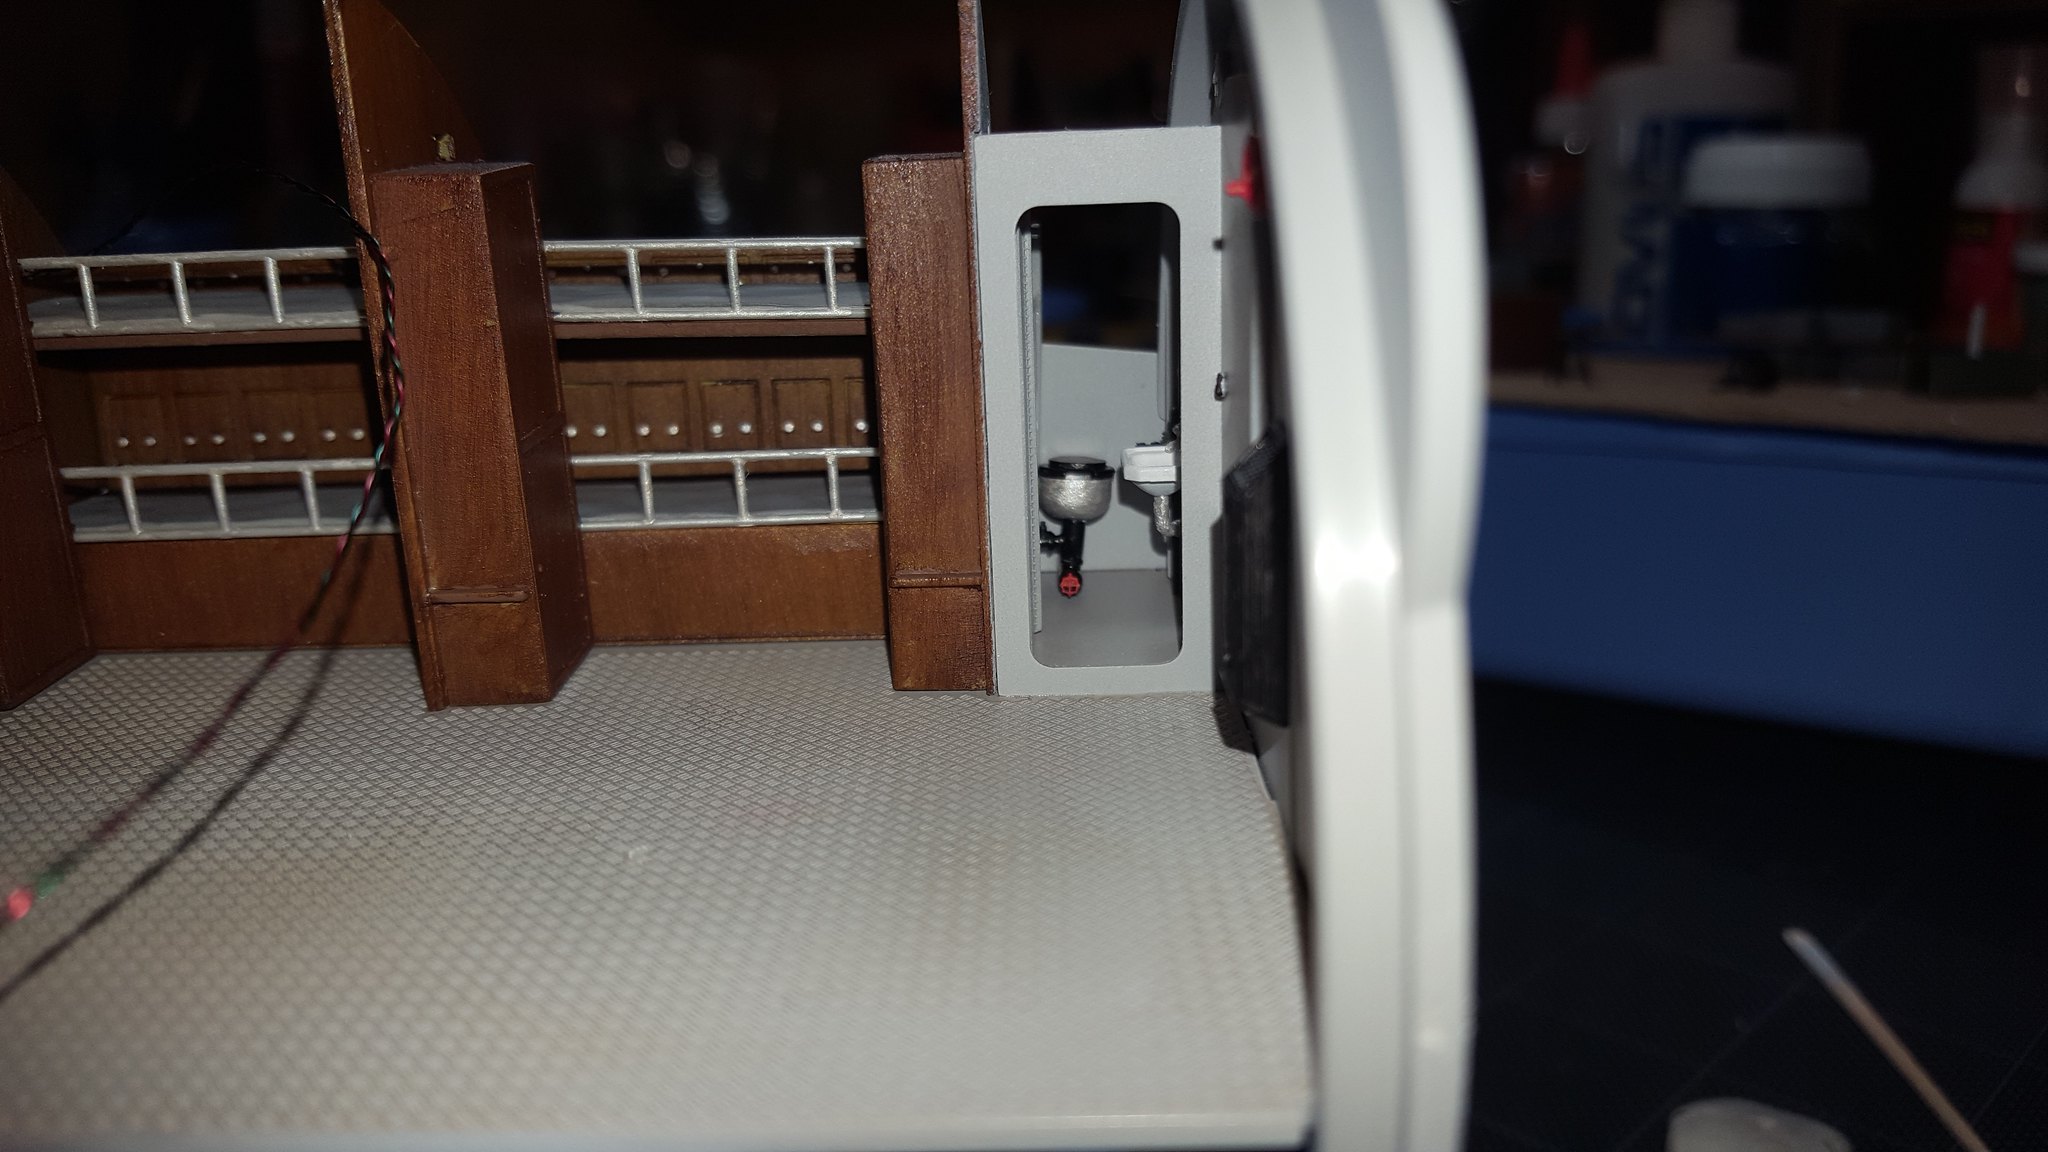
Now at the opposite end is the space for the head and the toilet. Yes, that is a toilet paper roll

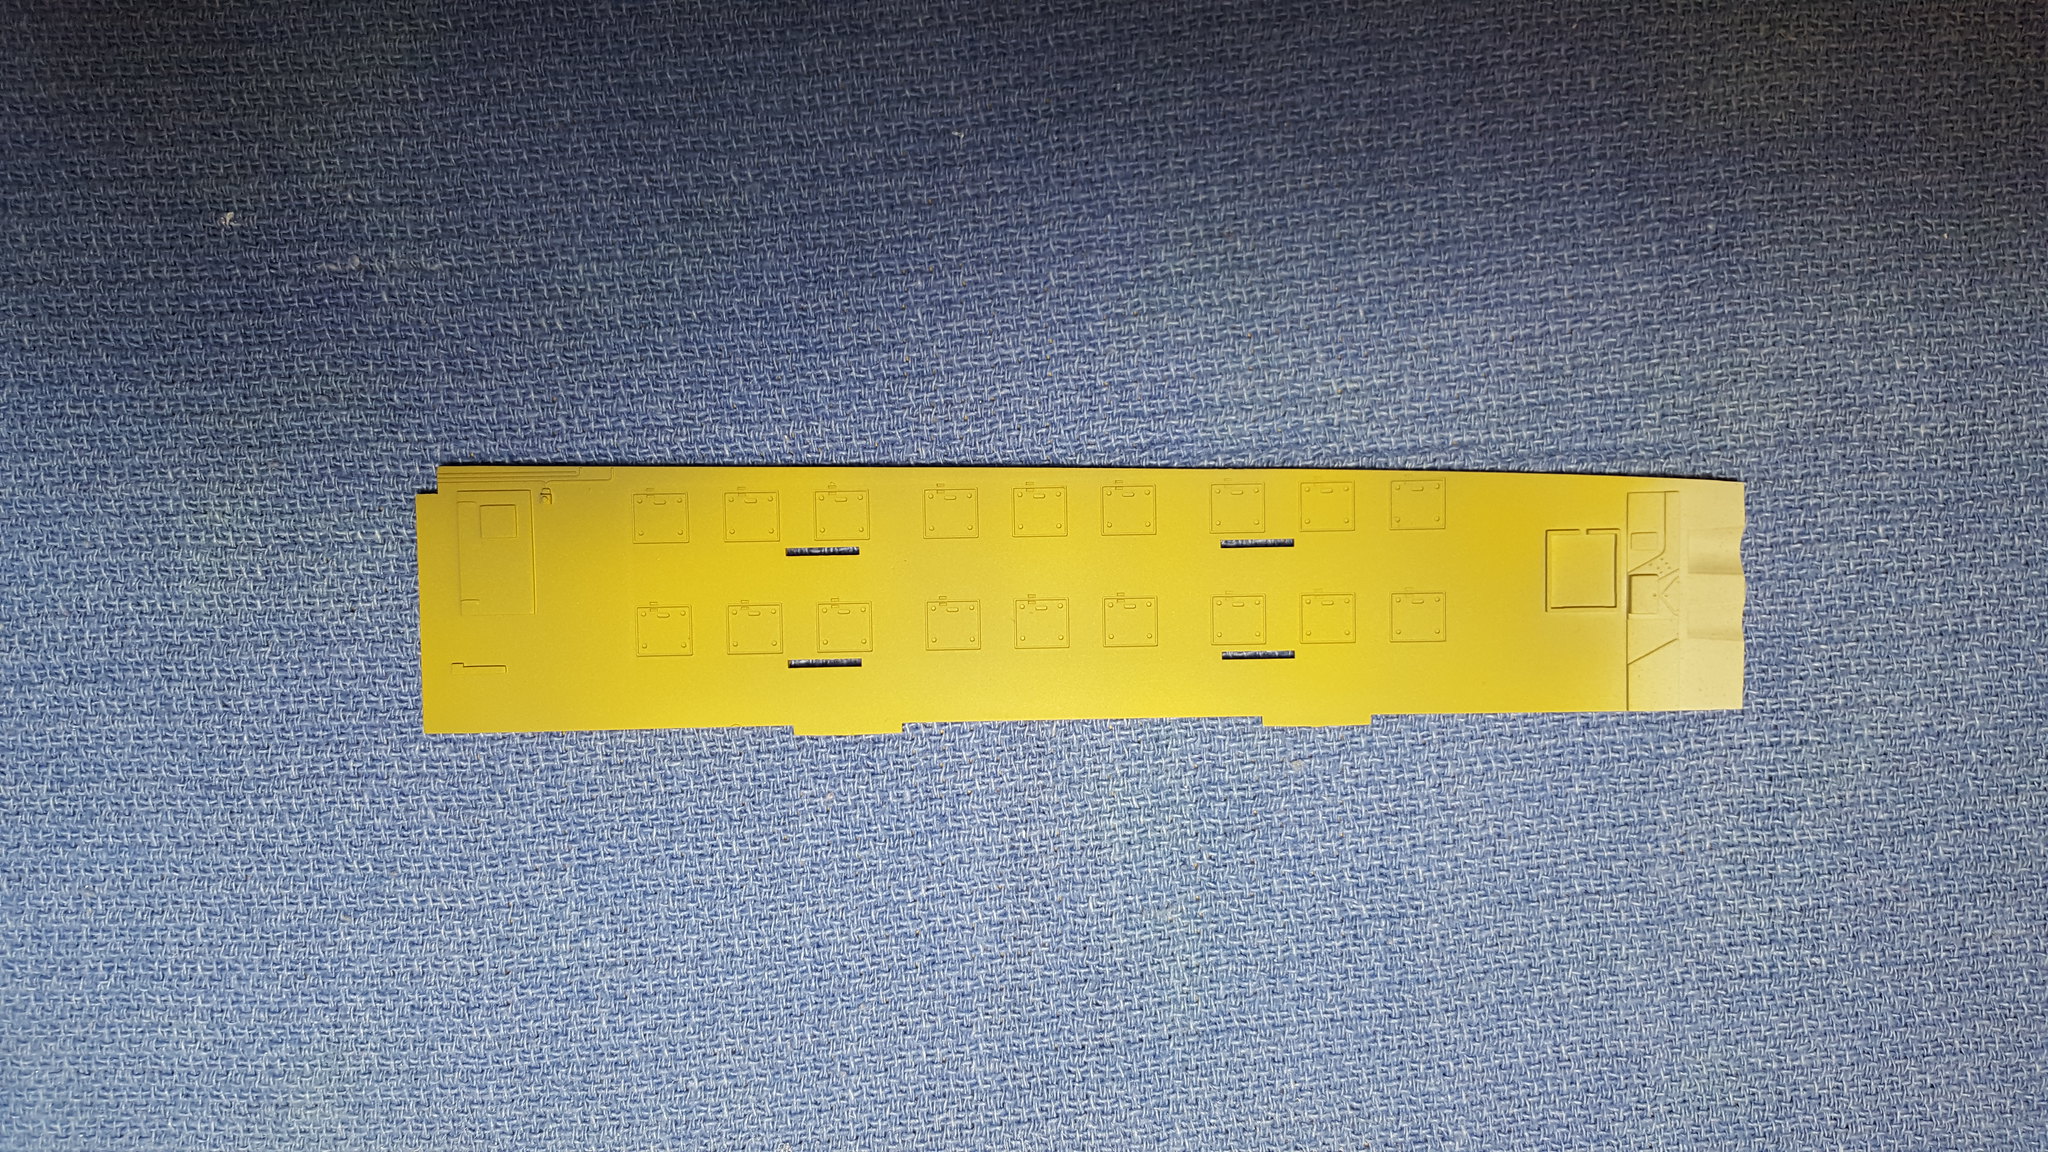
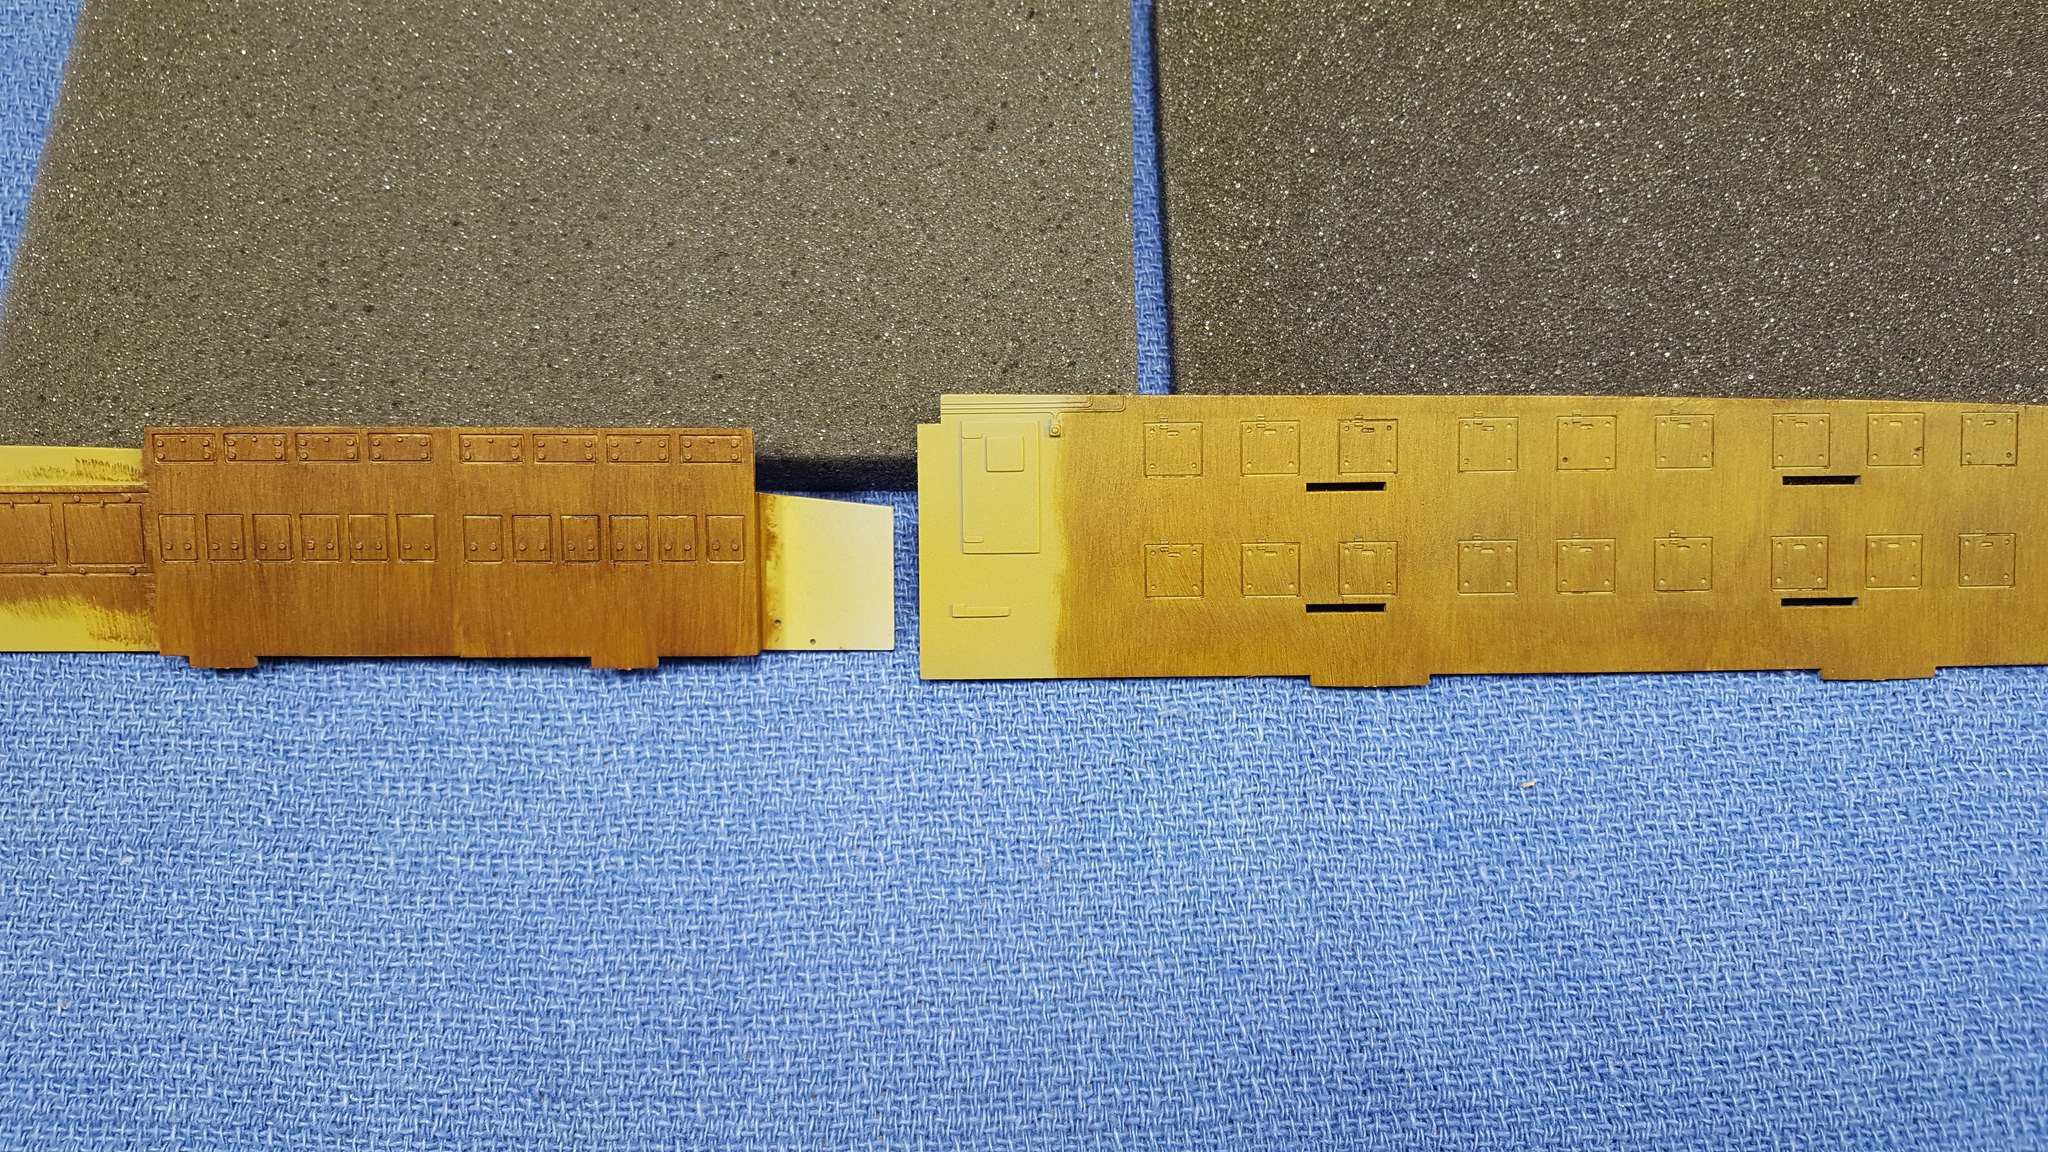
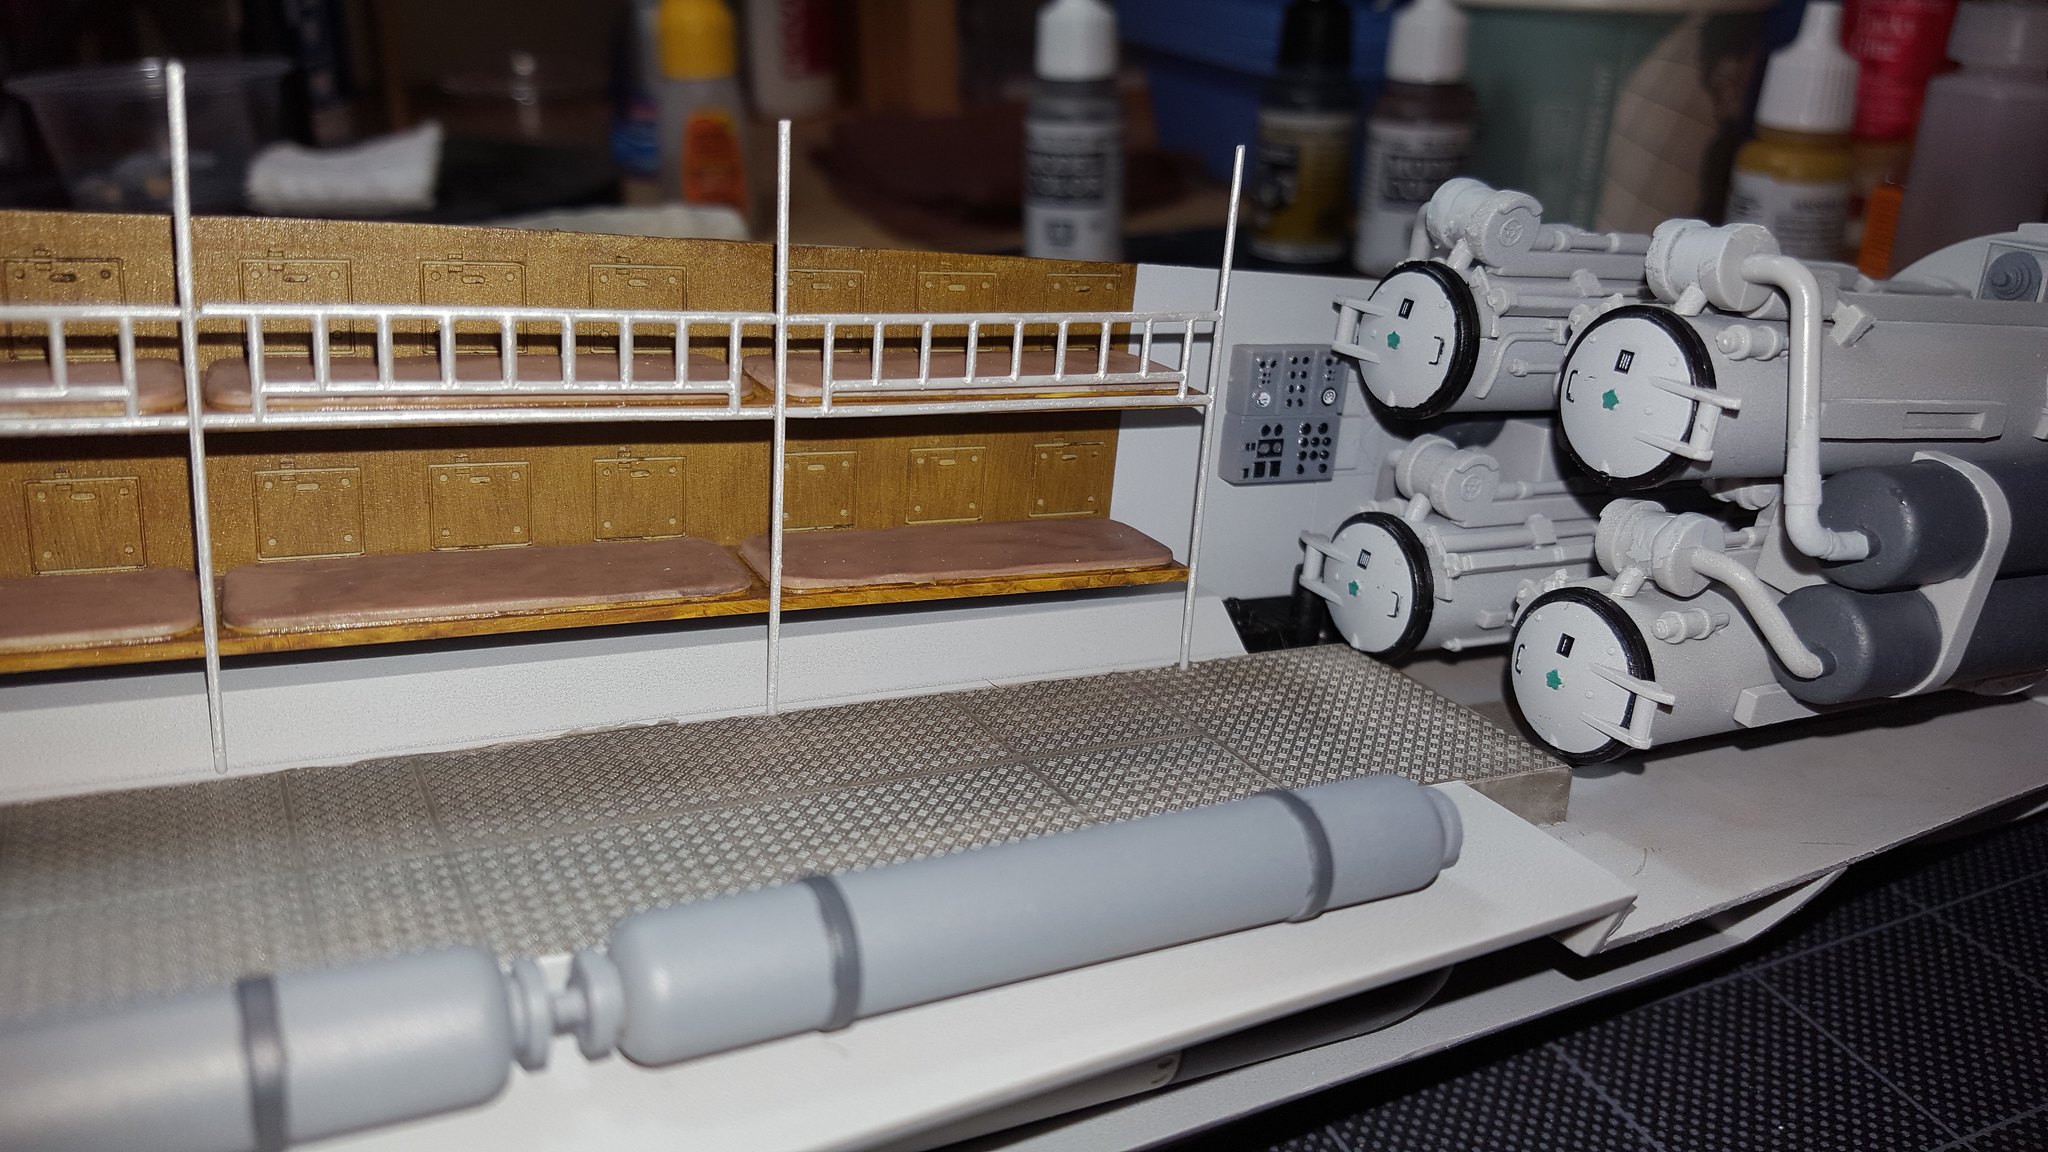
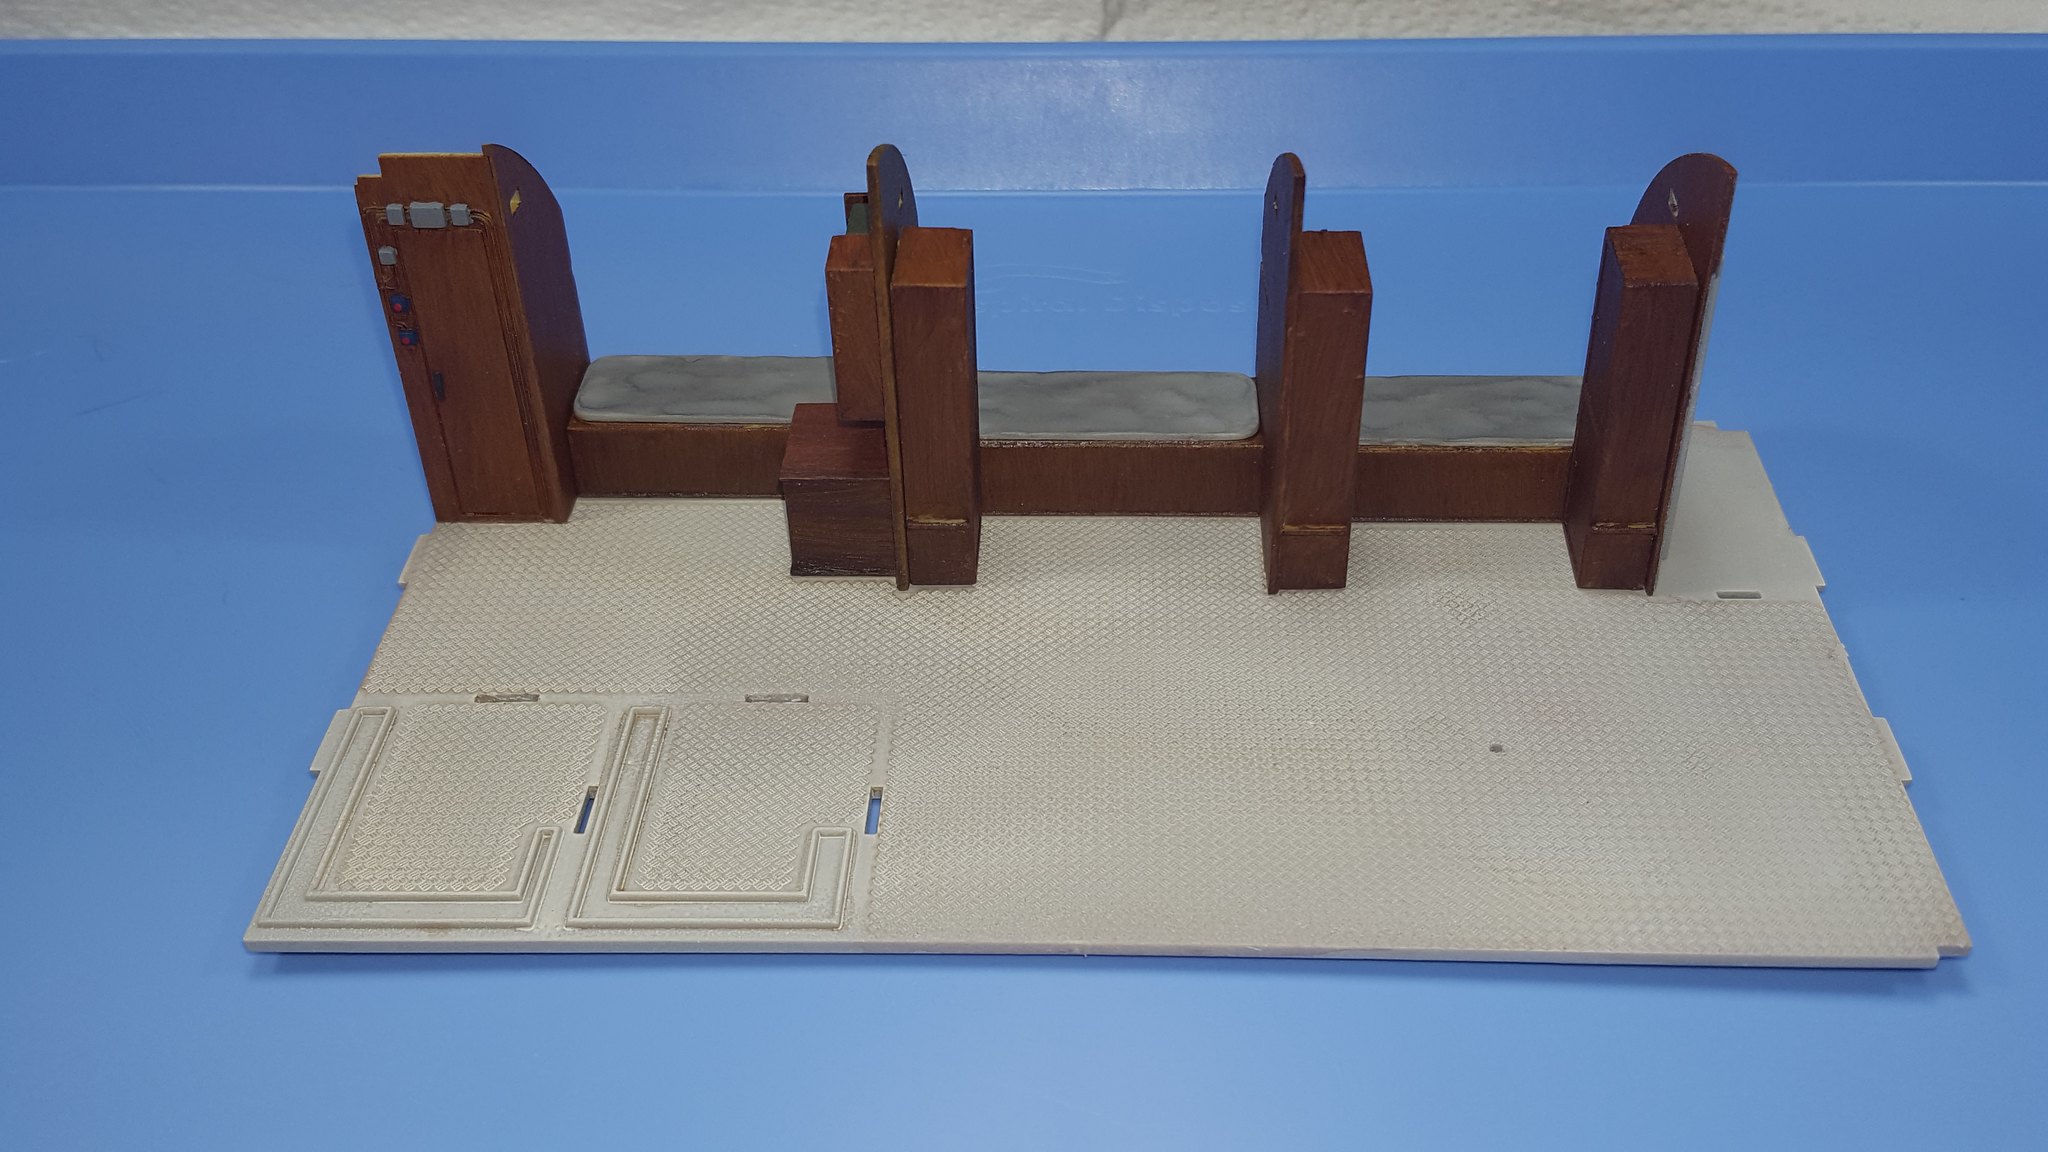
Next are the railings for each of the bunks.

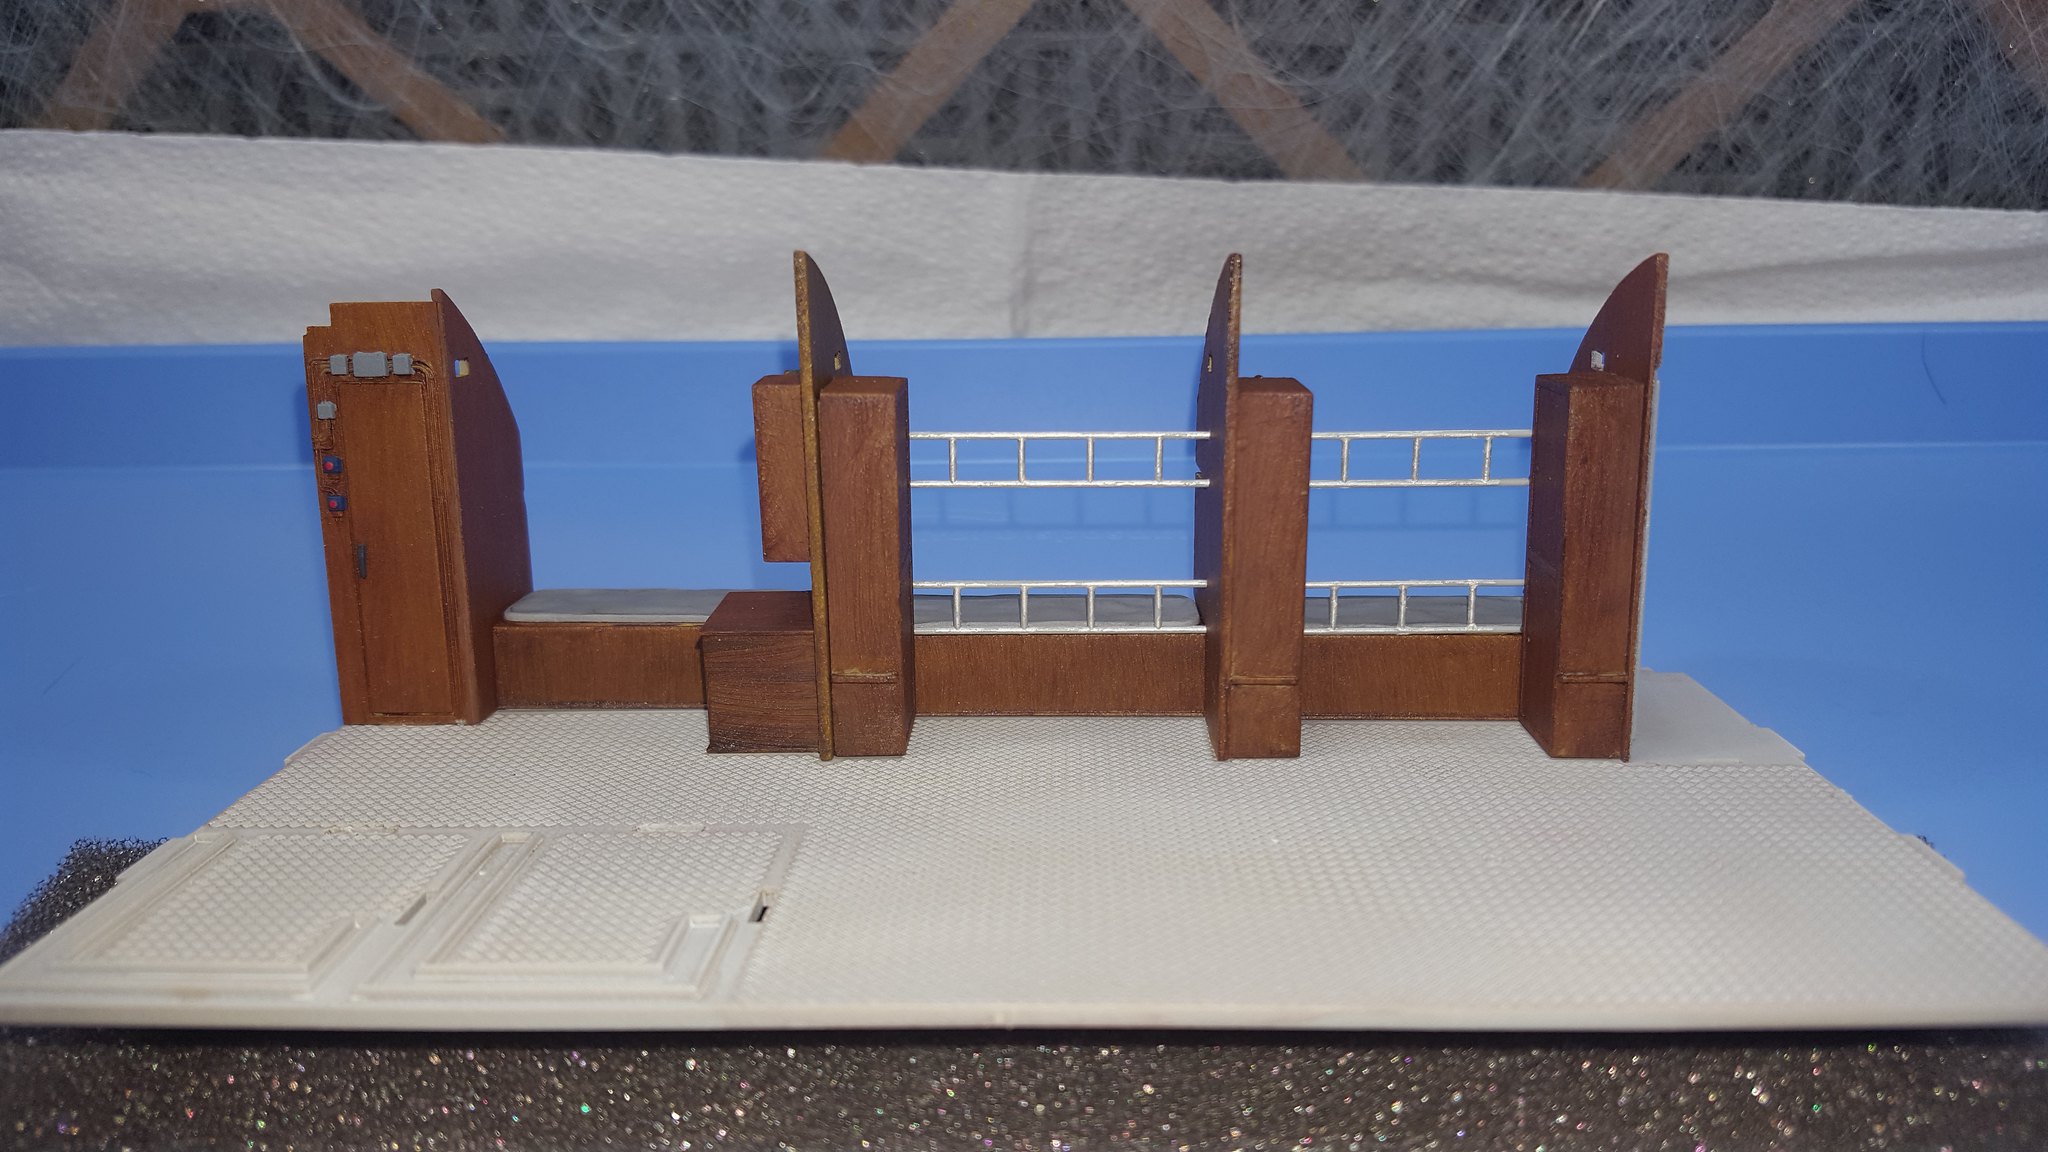
Here is where the planning starts to be important. You need the working space from the backside to attach the railings properly. Here is a good view.

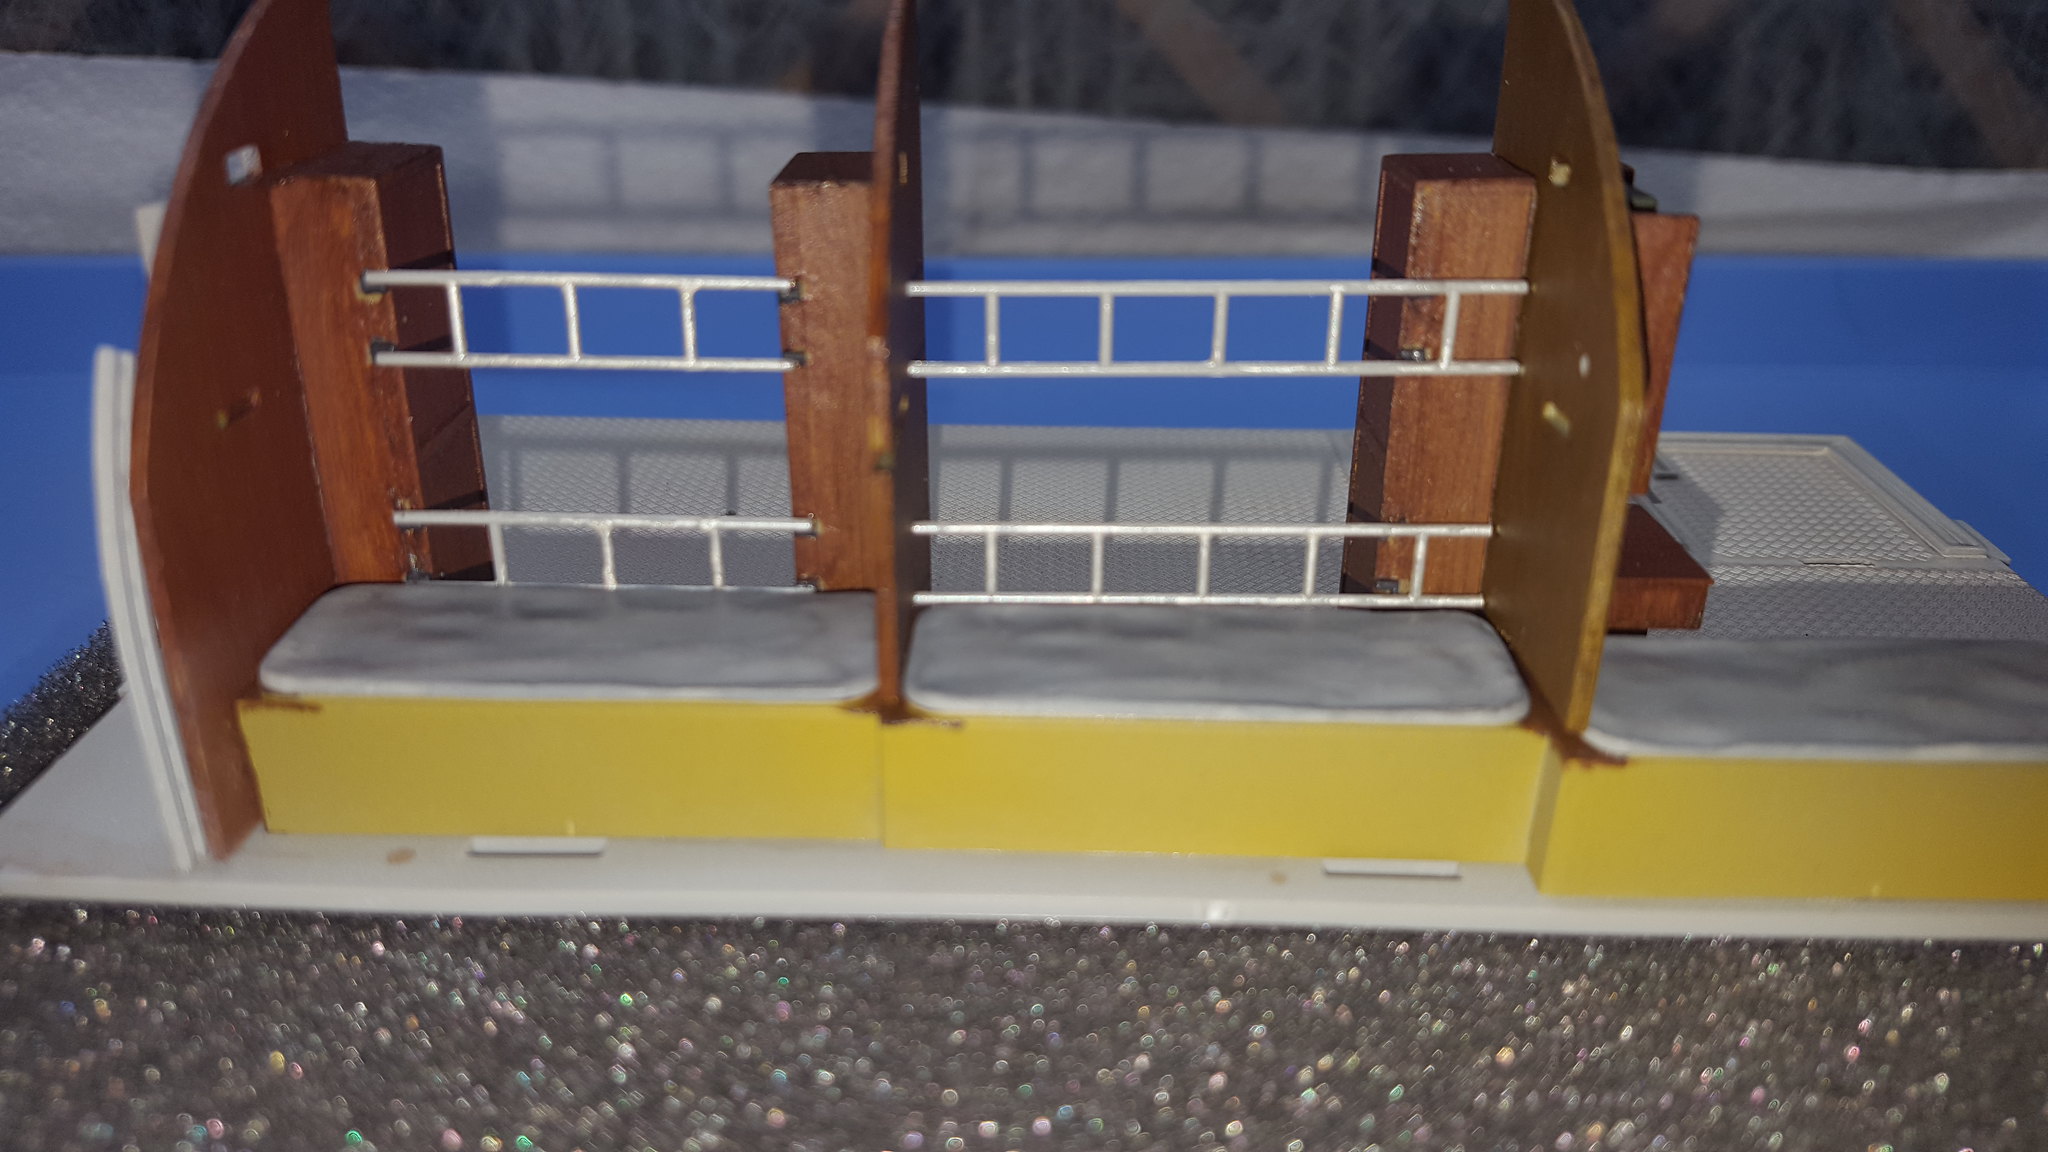
Next, you slide in the upper bunks.

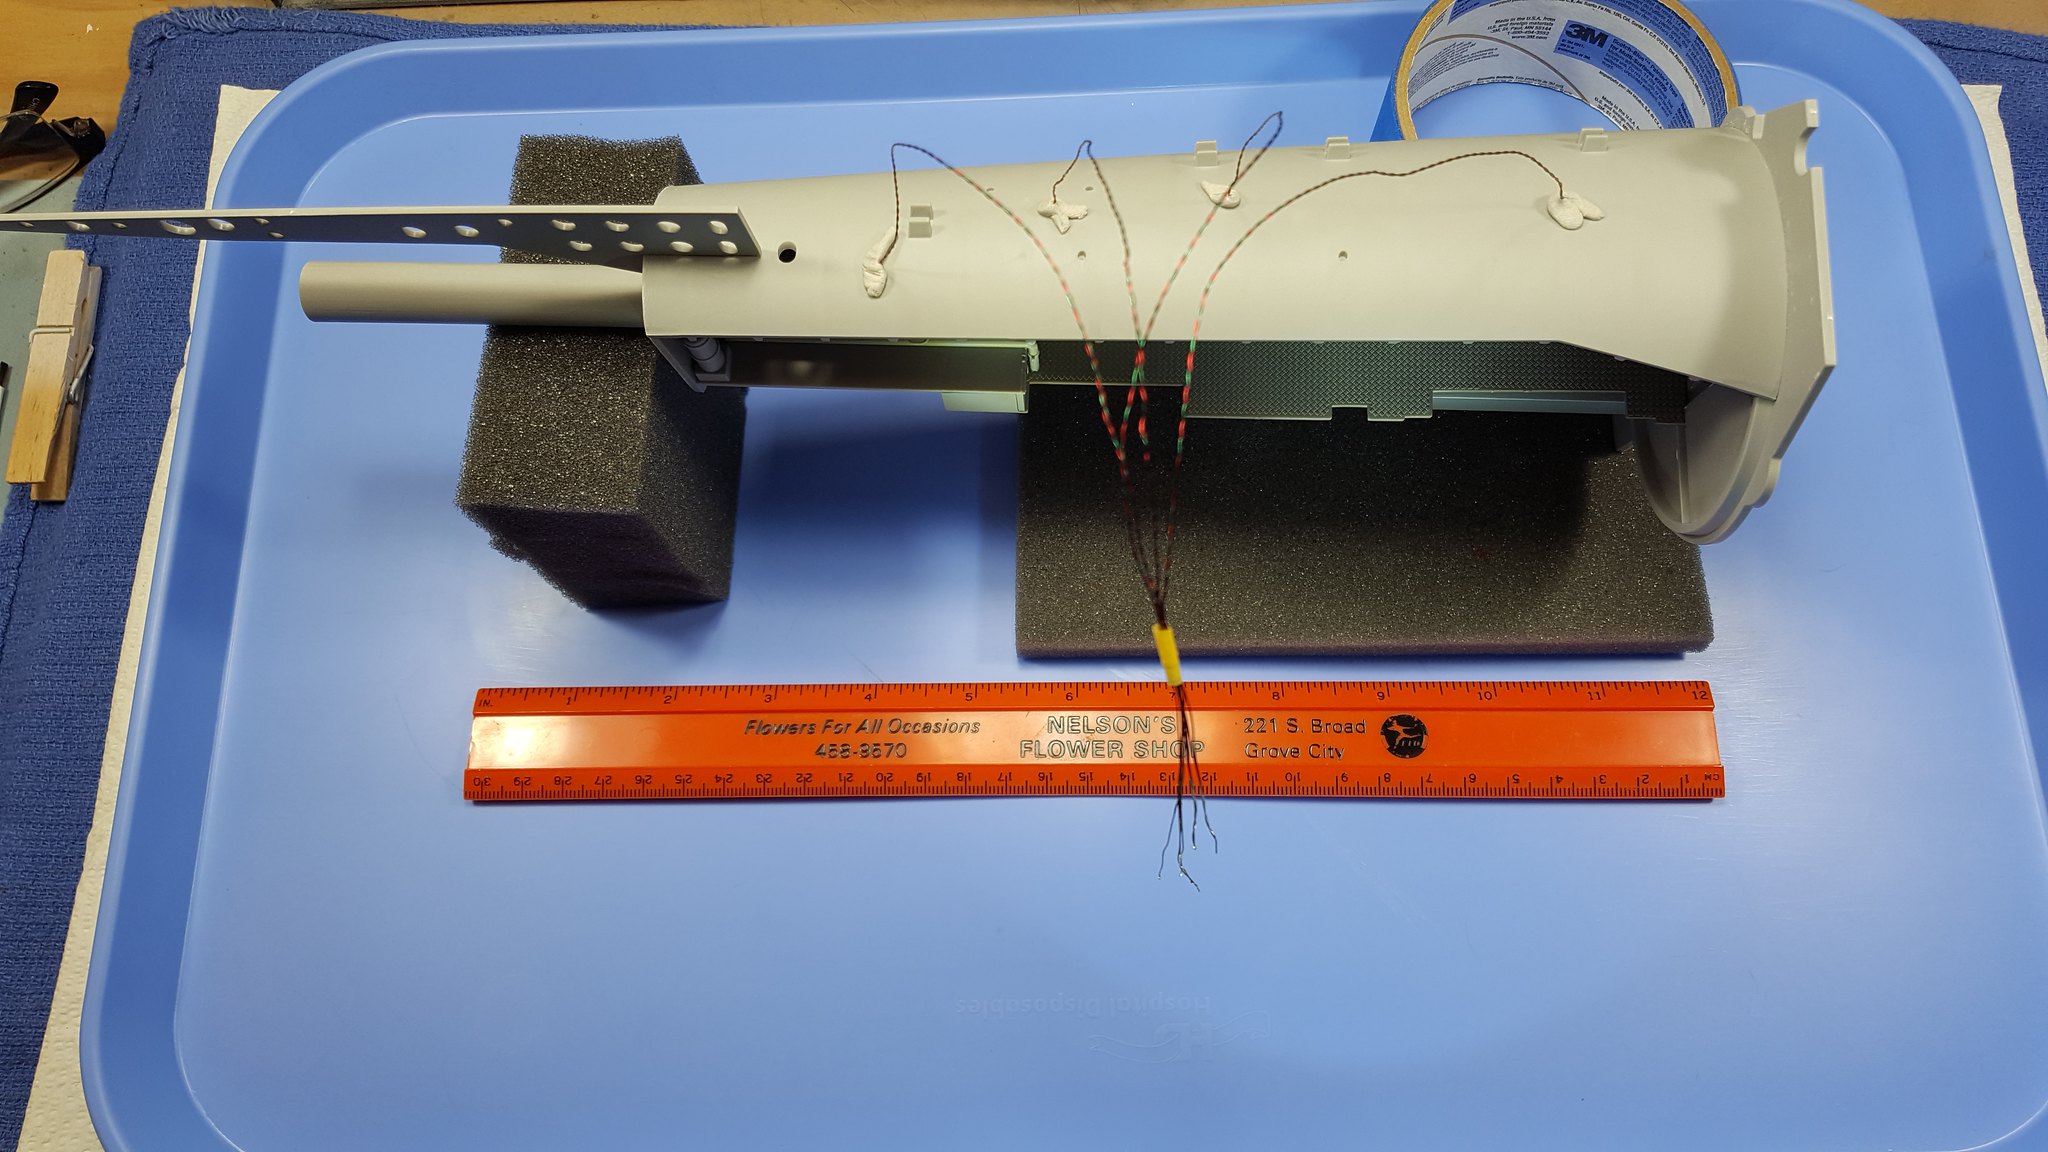
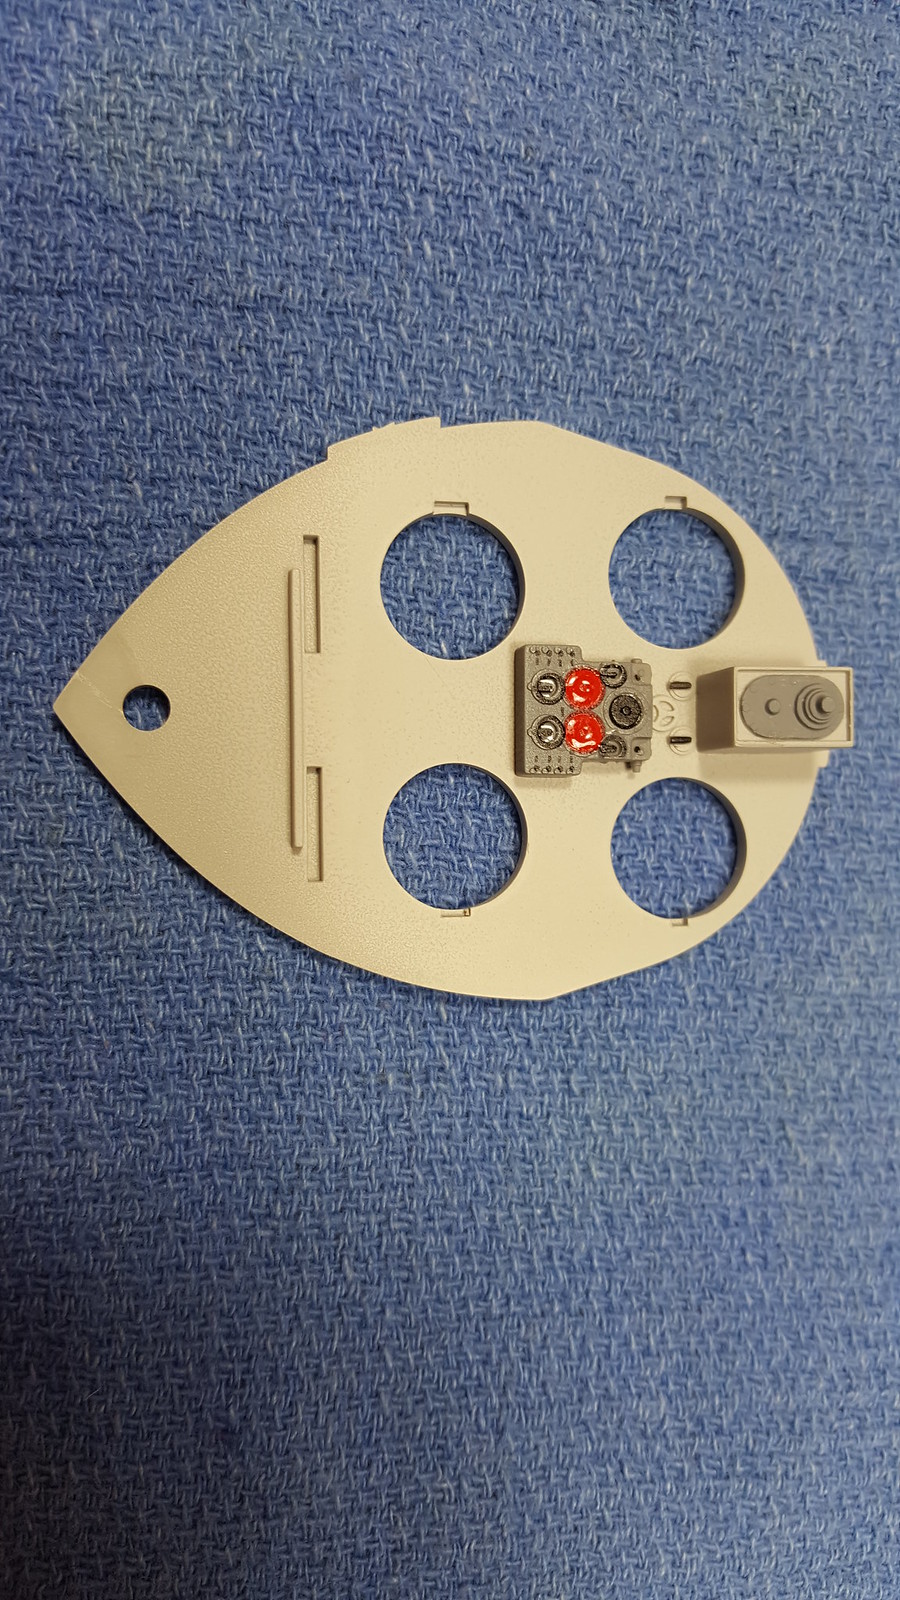
Here is shot of the Captain’s area from the backside. The wire is attached to the small LED I will be using to light it up. There was supposed to be just a plastic light fixture glued to that section of the wall. I am still not 100% certain how best to get that wire “outside” the compartment.

Now I slid in the back wall. The toilet piping was VERY tight to its wall section. I then realized that the one long curved piece that was glued to the floor has to go in after the back wall is in place. The instructions do seem to show that once you have it figured out.

After the wall was in, I glued that piece back in place. If you look closely you can see that it fits behind the one black pipe section.

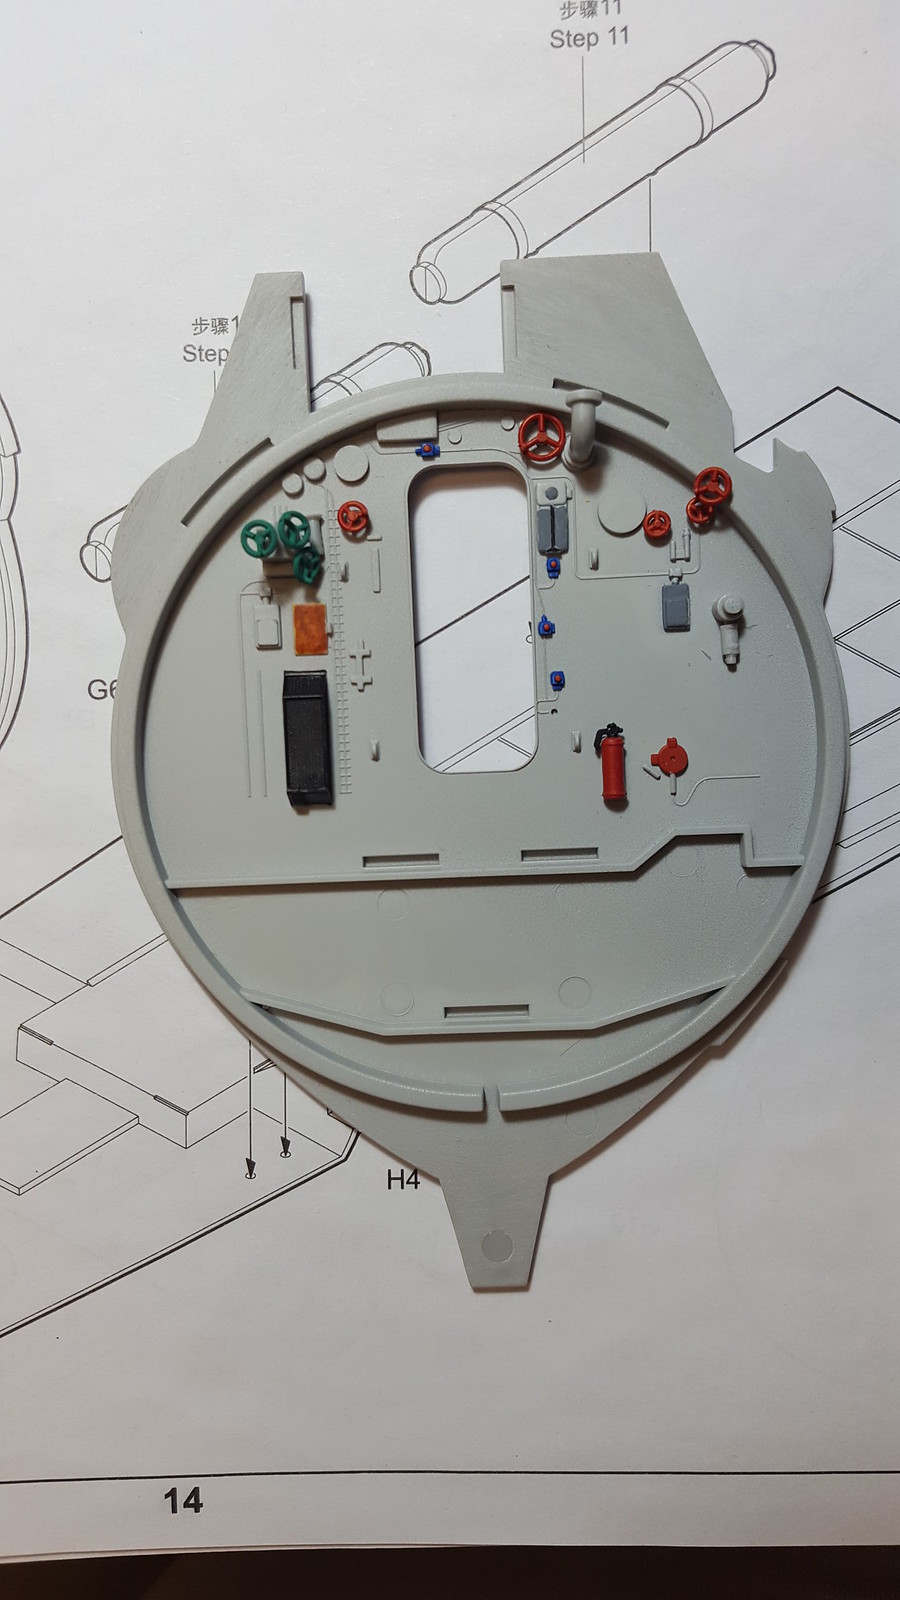
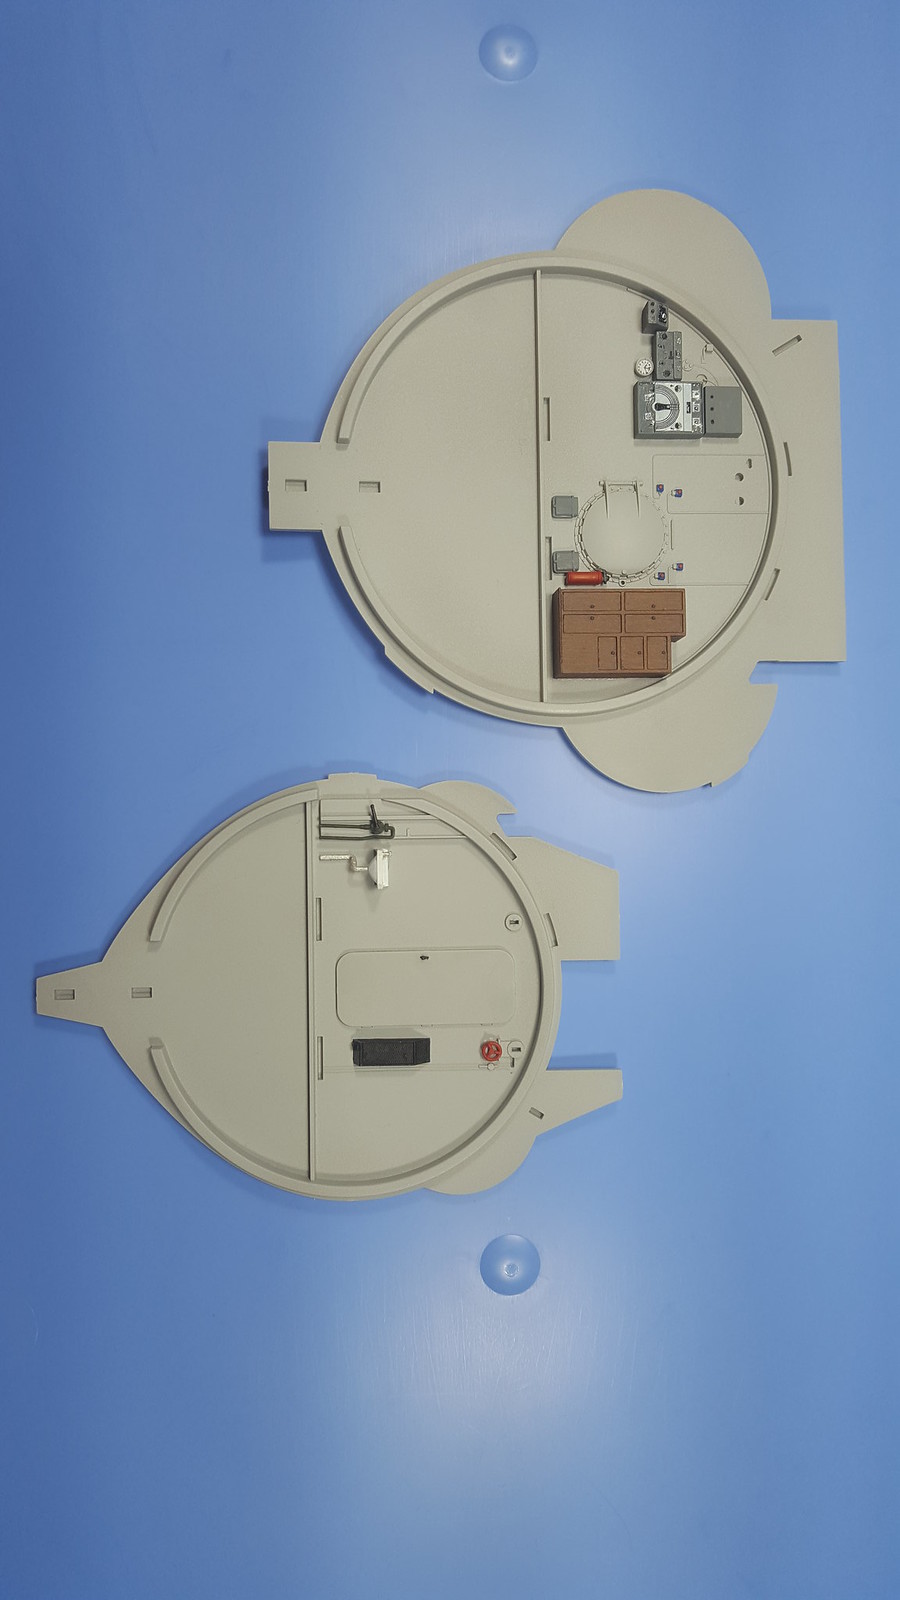
Now time to dry fit the bulkheads again to make sure things are lining up. Here is the large bulkhead. That wire is again for my lighting.

Here is the smaller bulkhead. You can see how the sink fits into the head.

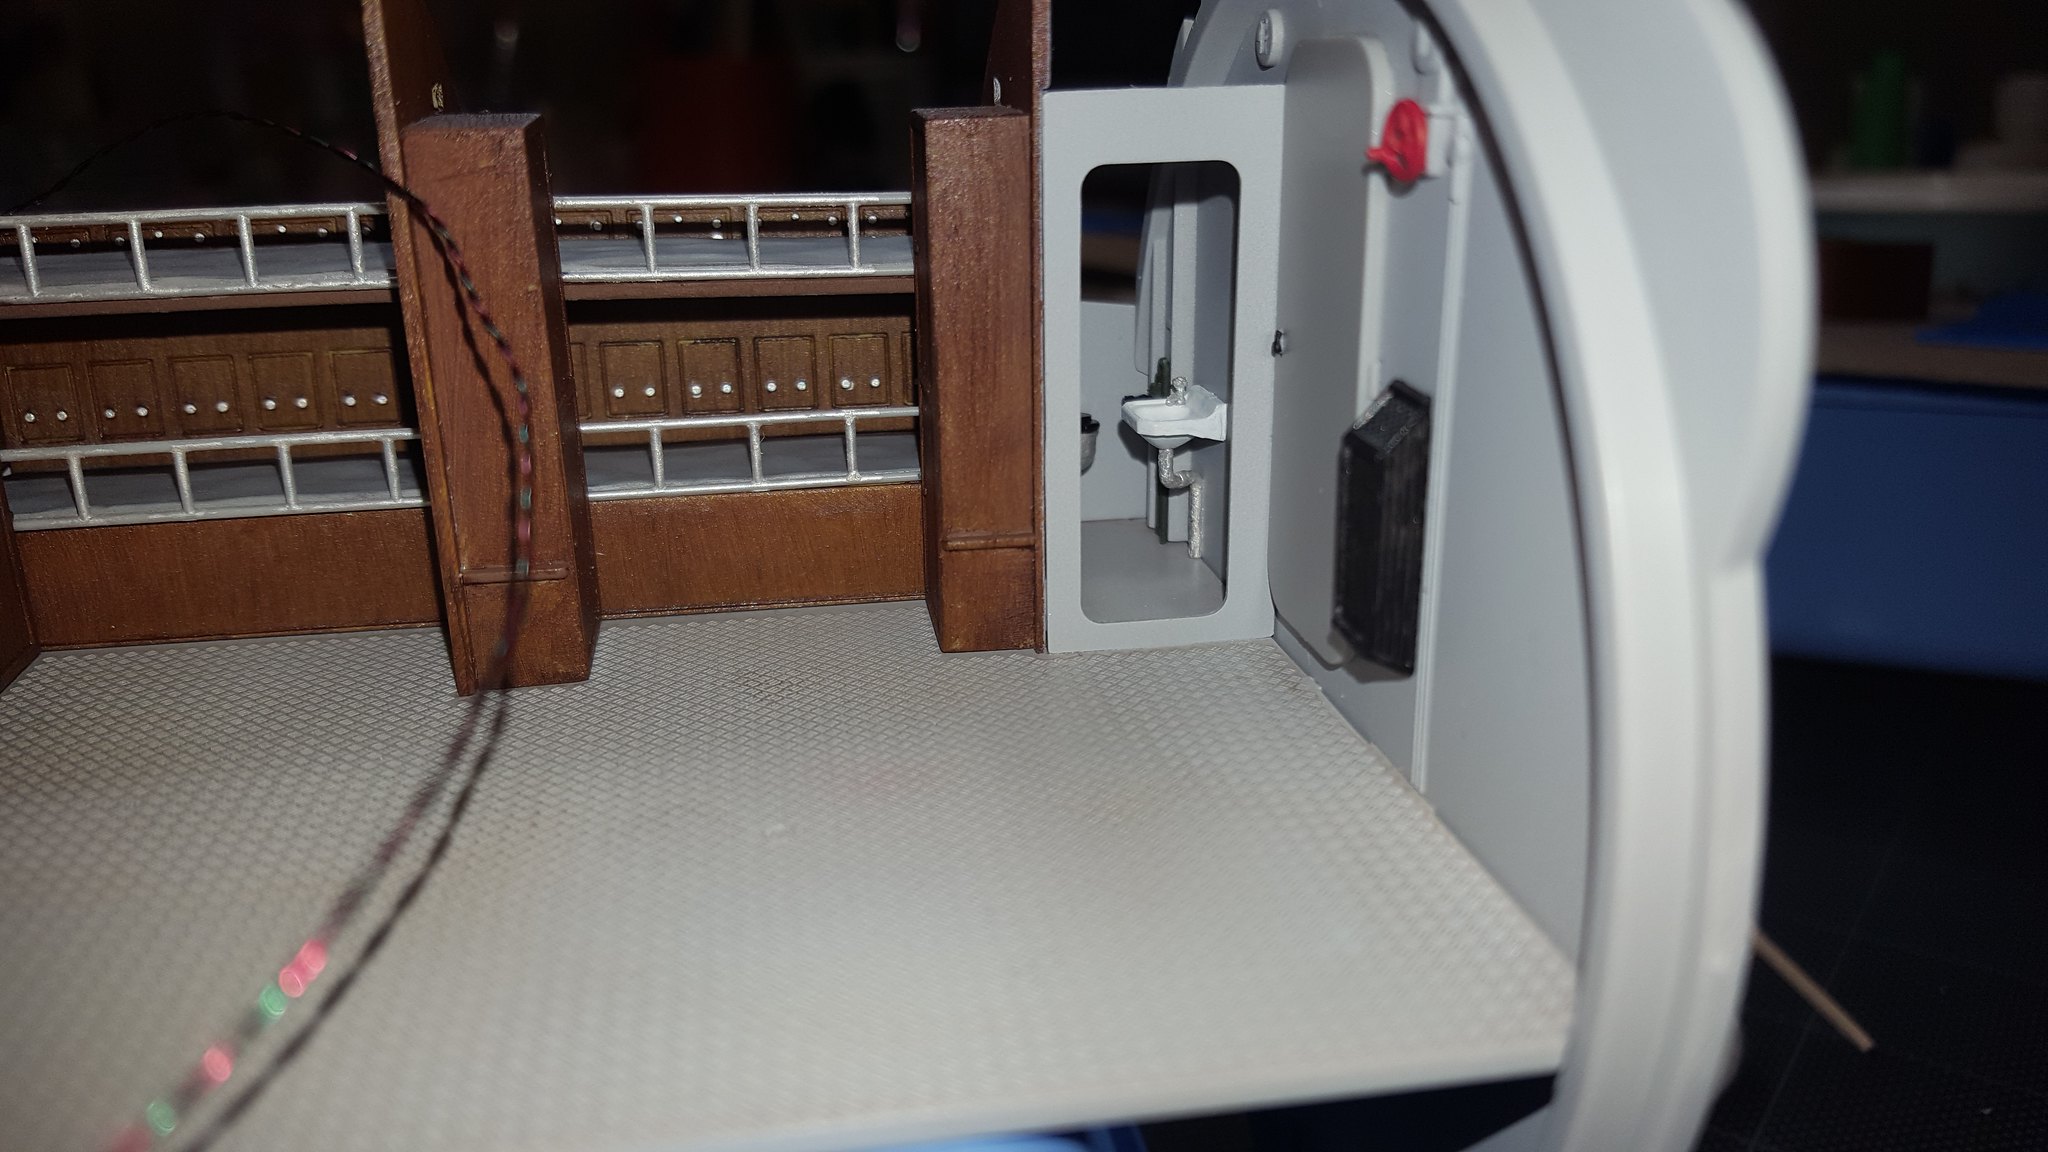
Here is a better angle showing the sink and the toilet.

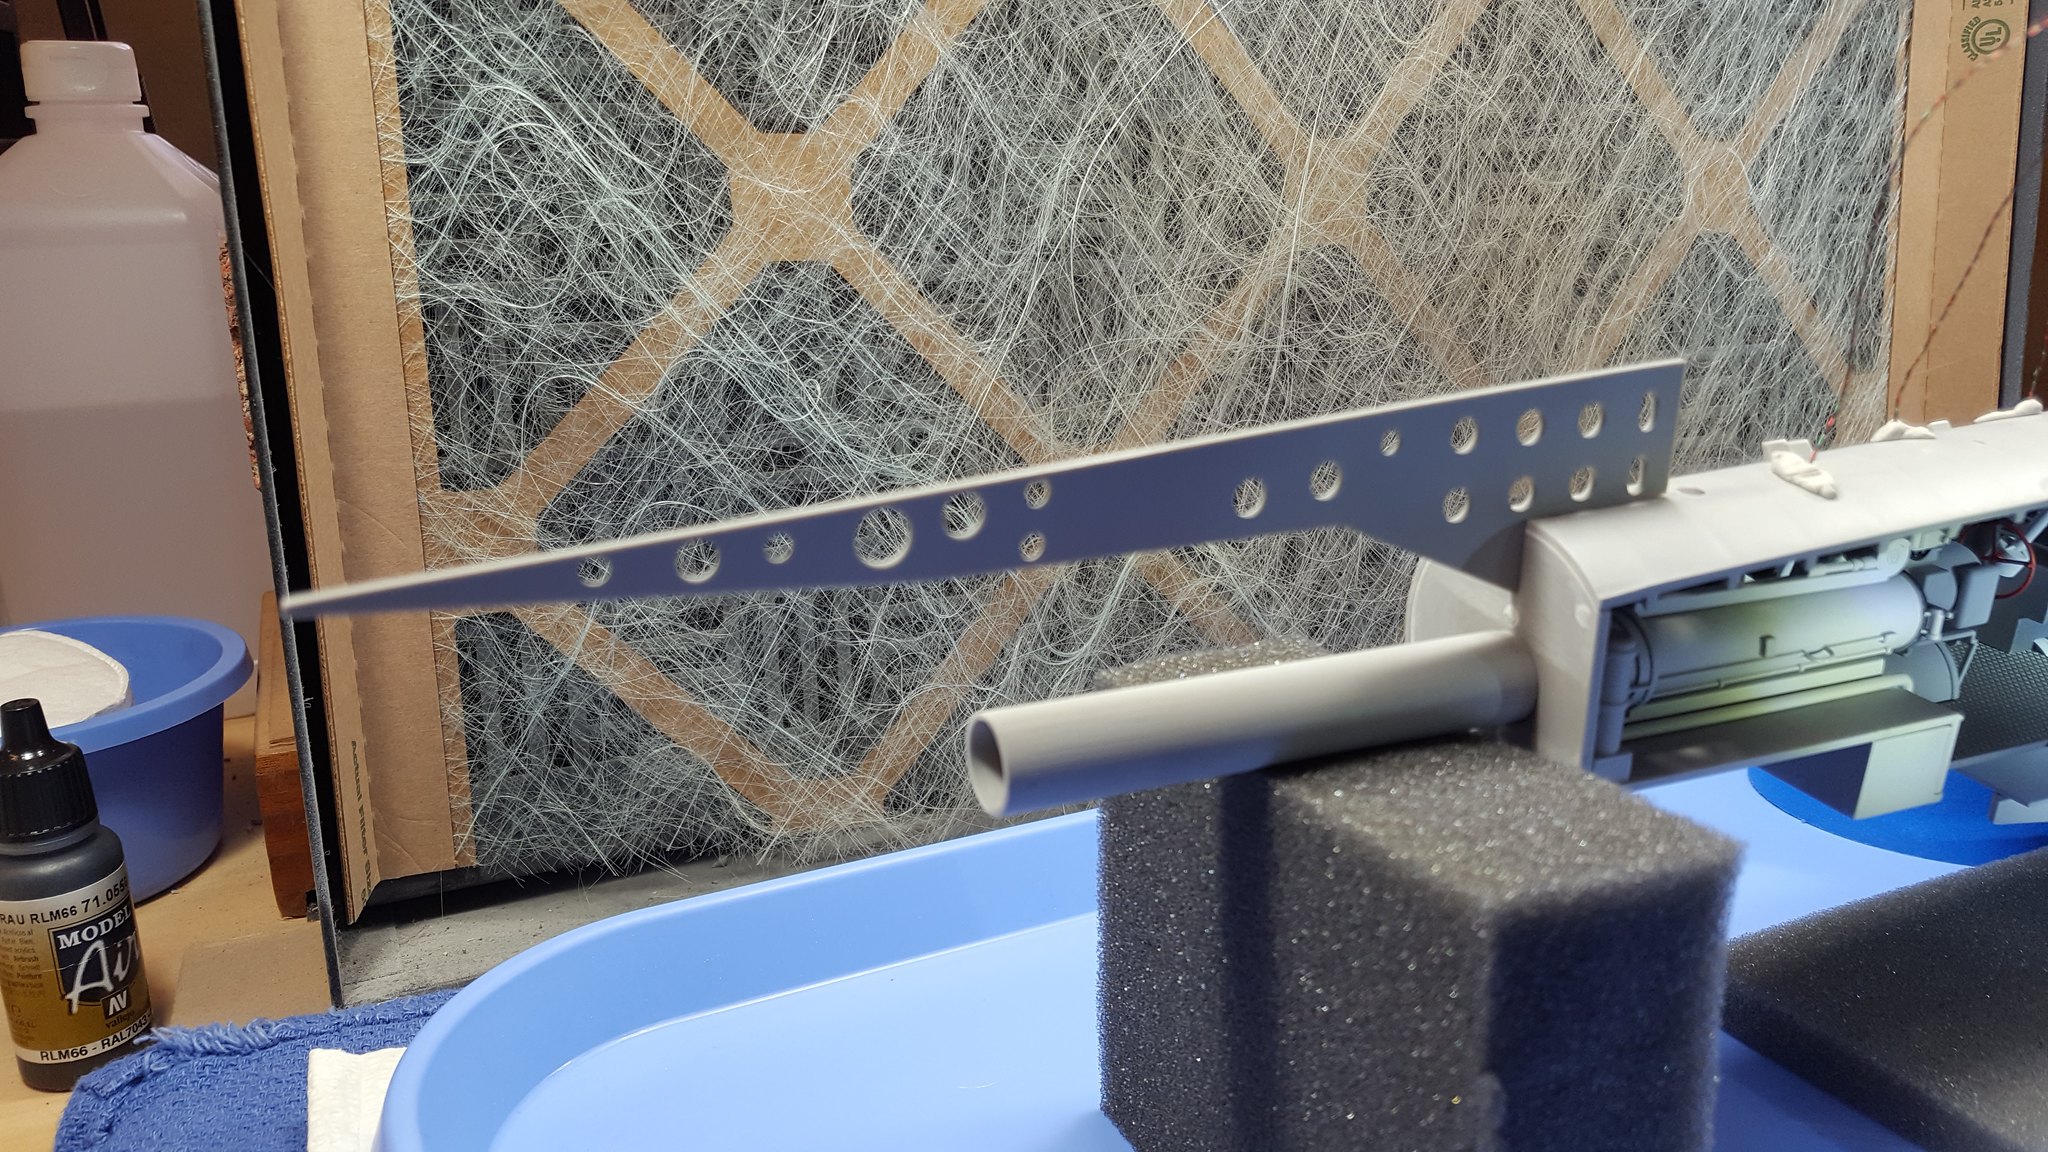
The fit seems to be very good, so I will next dry fit the roof section to make another check.

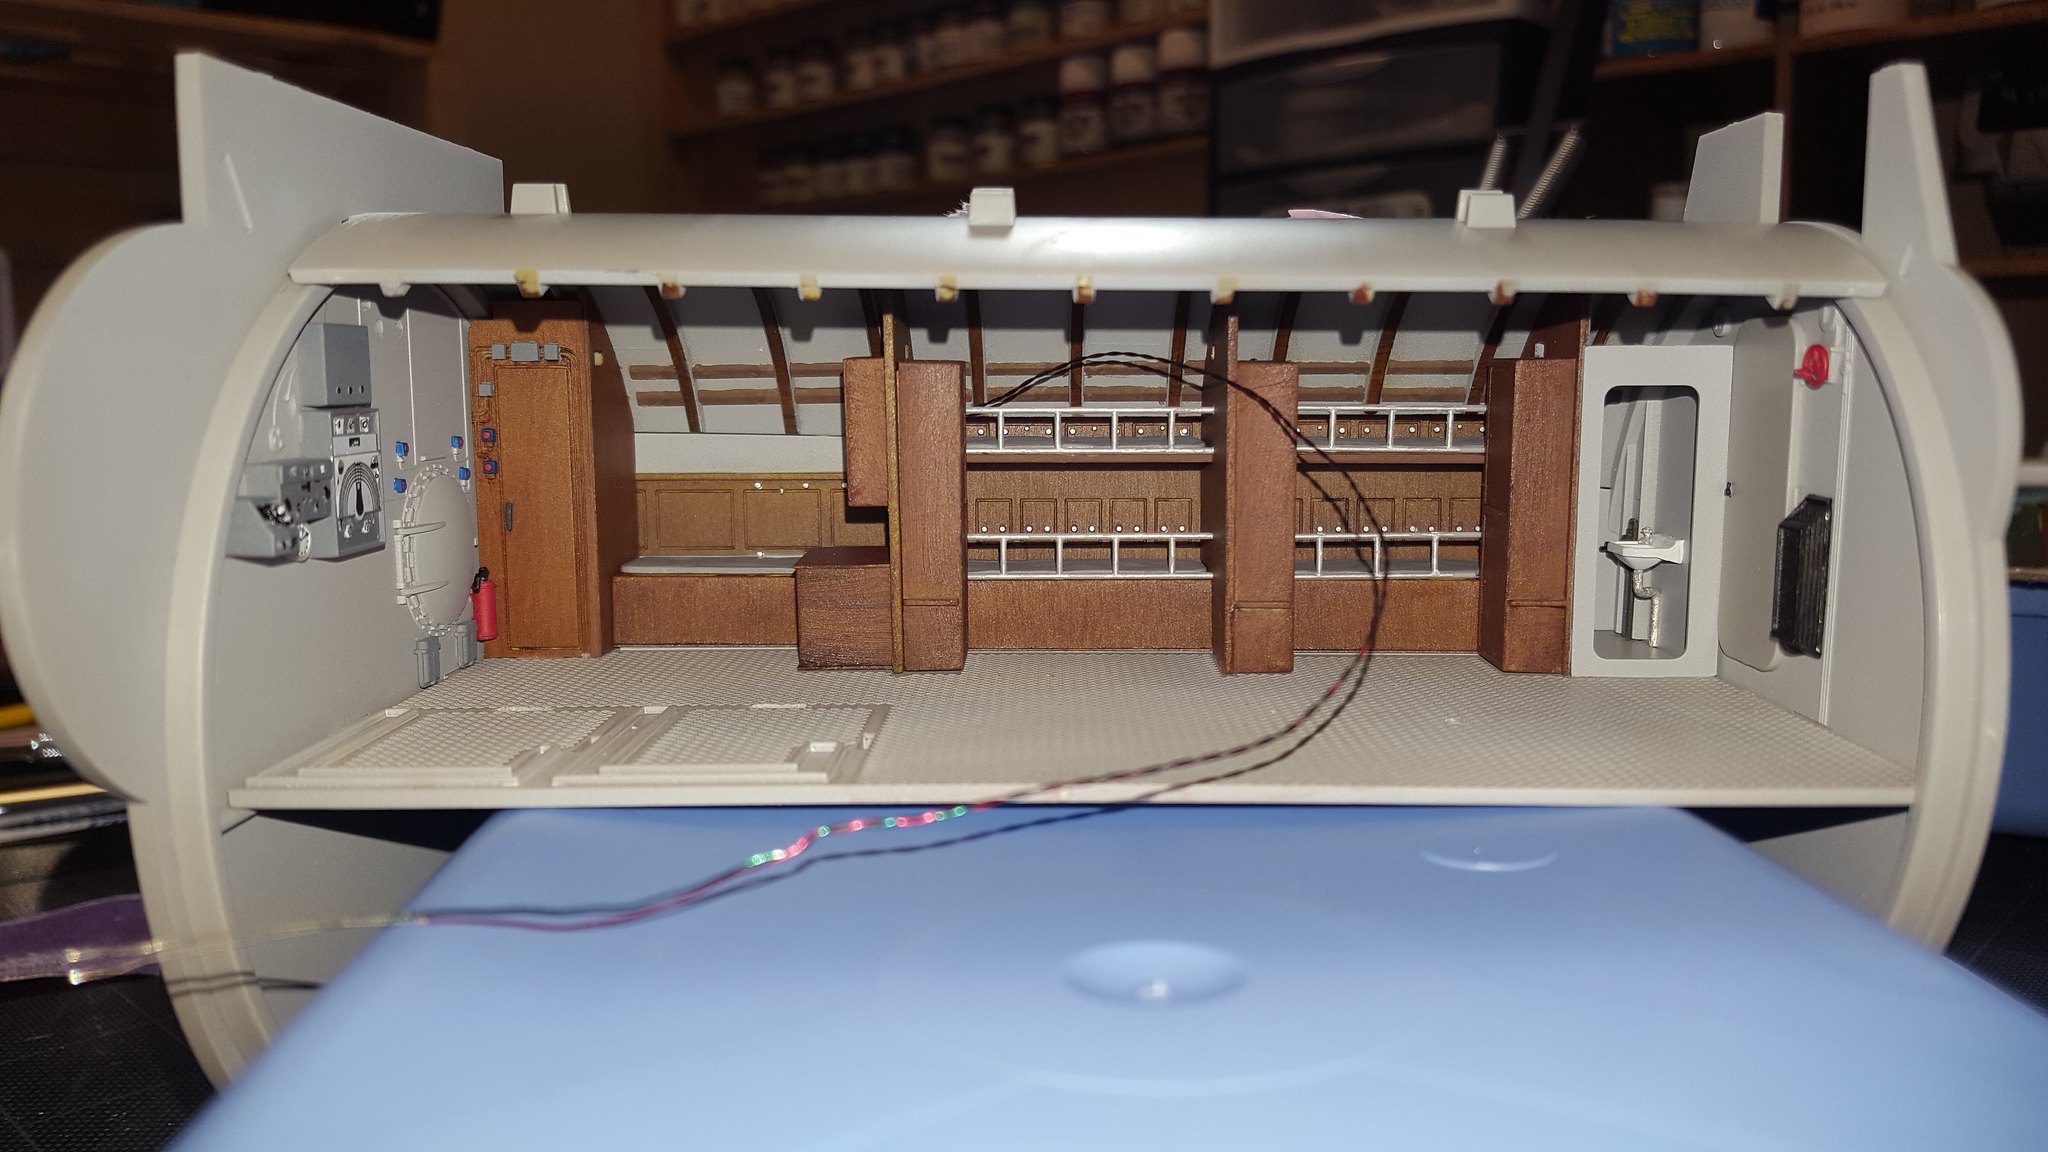
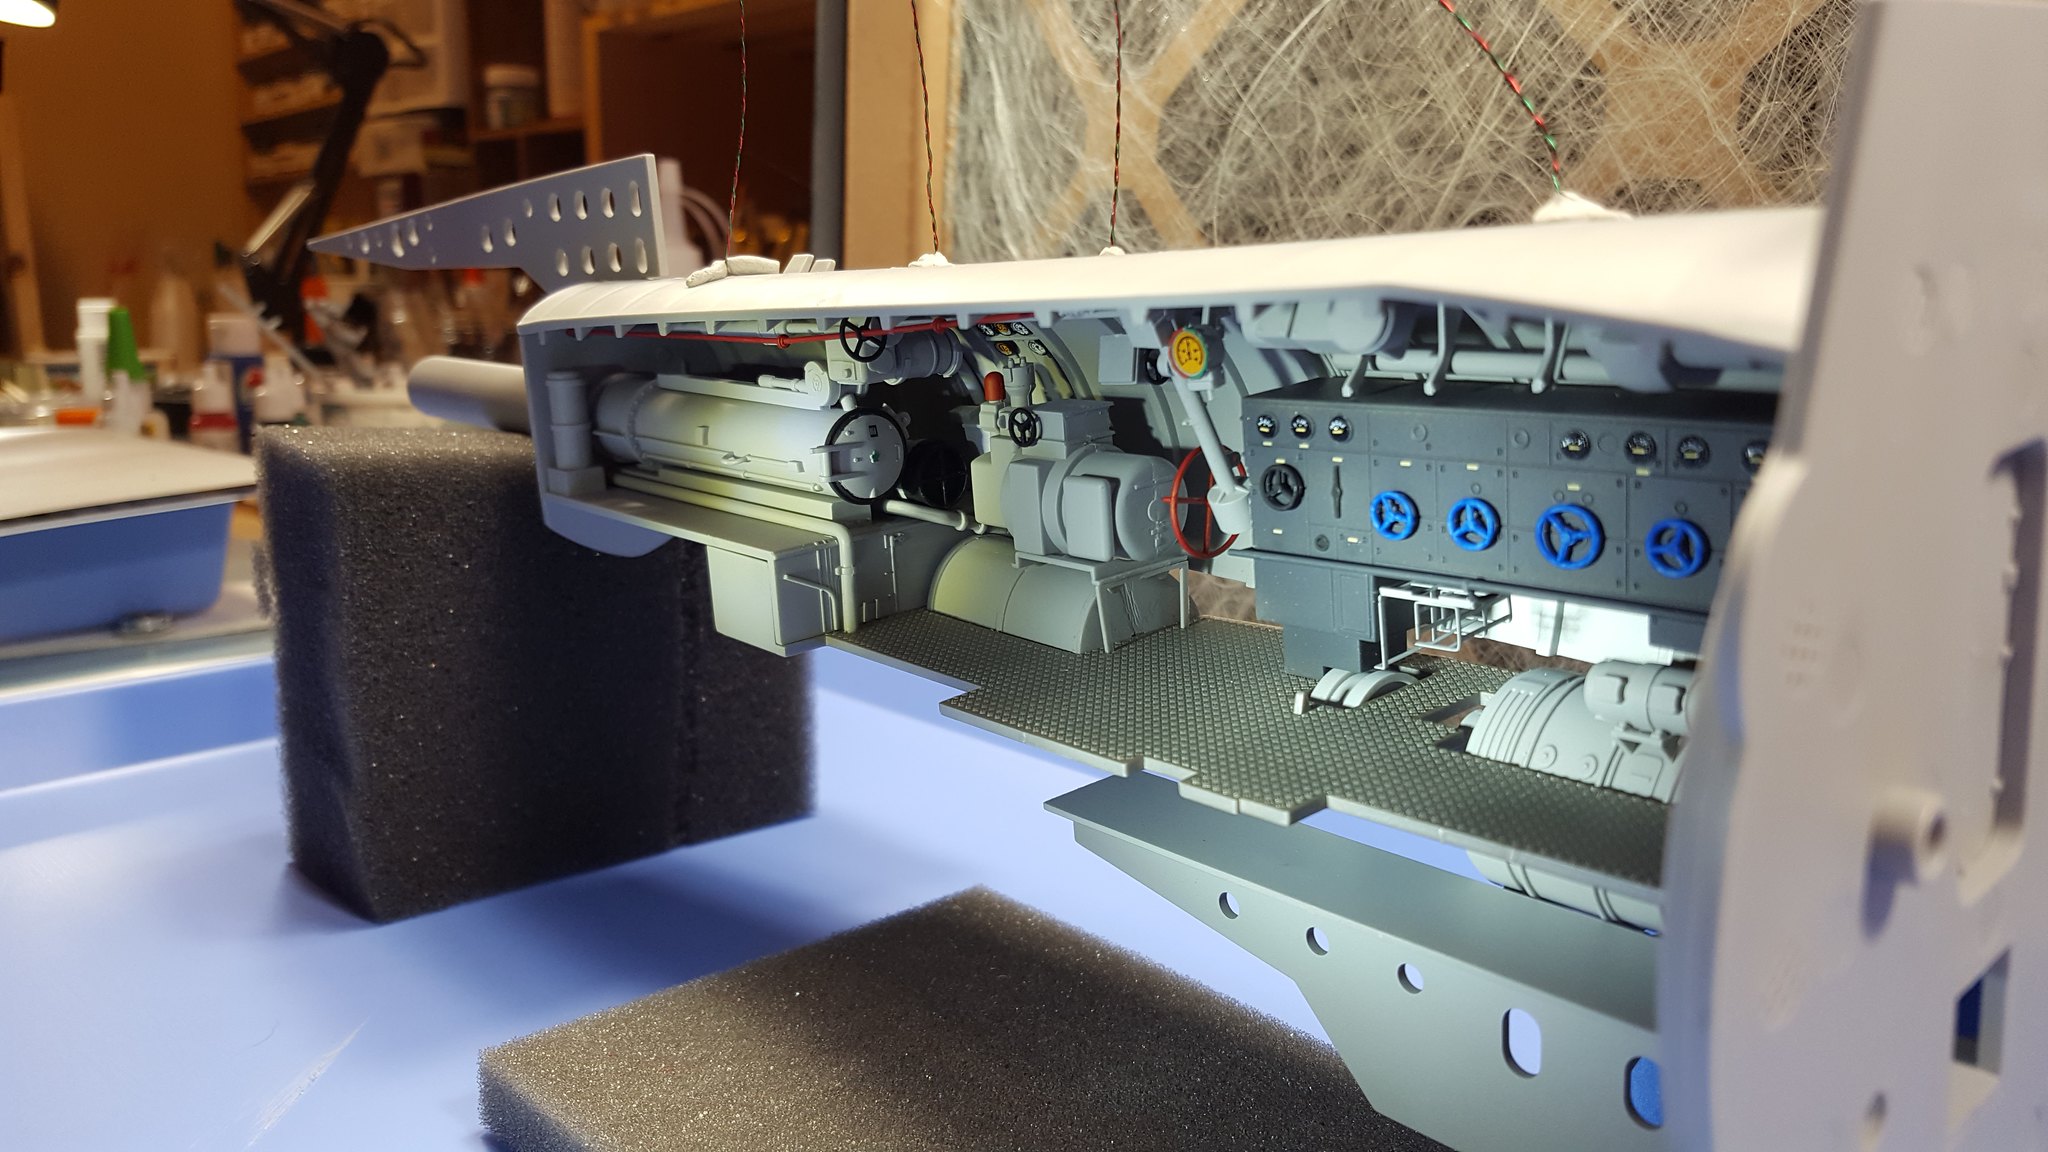
Still seems good, but I have some cleanup painting on those back beams to do. Now lastly, to fit the two front rooms to the floor. Here are two pictures of them attached from different angles. The folding table is also attached to the floor.

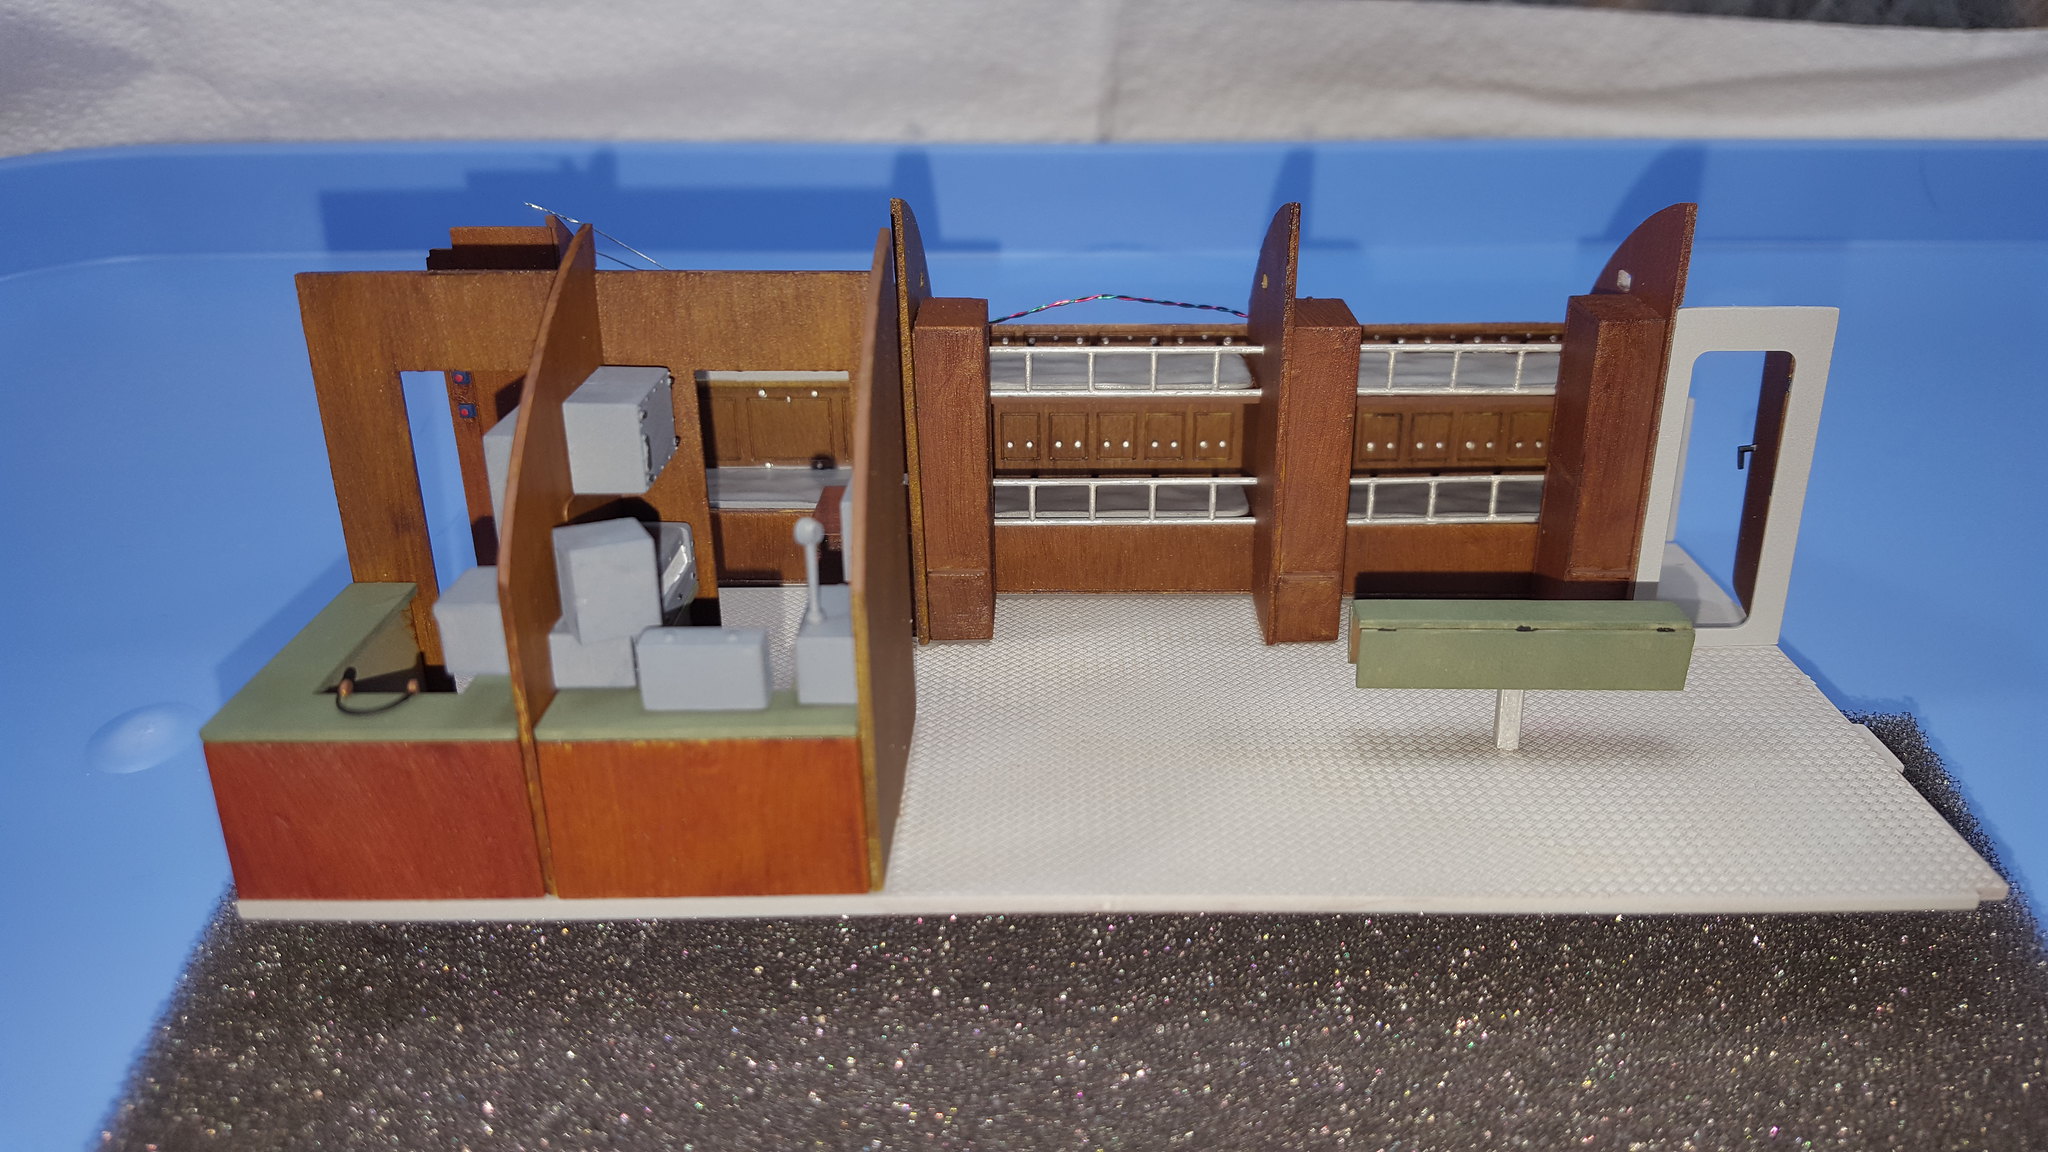
Here is a top down shot. I have no idea how I am going to get any actual figure in there…

I realized that I need to stop putting the compartments completely together until I get the figures planned out. There is no instruction on where they go. There are some photos on the side of the box, and the figures on the painting sheet also say what compartment they go into, but not where you place them. I need to spend some time figuring that out before I continue. I only have two compartments left to go!
So after all of this, what are my thoughts?

Pros:

This kit is a lot of fun, but along the way I have stopped thinking of it as a U-Boat model and it is more of a series of small dioramas that will come together.

The amount of time this one is taking is huge. So even though this is a very expensive kit, the hourly cost is no worse than a large AFV or 1/32 modern fighter jet.

The fits are very good and the couple of issues that I have had are actually of my own making. So, like everything, the second time around would be much easier. Will there be another one; no.

Cons:

This is a BIG kit, so if you don’t have the space to place it I would not recommend you spend the time and money on it. It deserves to be prominently displayed somewhere.

The hourly cost is not any more than other modern kits, but it will still take a long time and it can get very tedious. I am finding myself taking more and more breaks from it. You can’t rush this one.

This kit has LOTS of very fiddly parts and you must be very careful and thorough or you can get in trouble.

Well that is all for now. I am going to step back and do another small kit so I don’t get too burned out from this guy. There are 48 figures to do and I am not a good figure painter, so that will be challenging. Thanks for taking the time to read and follow along. Happy New Years to all.

John