Thanks a lot Gamera, I’m glad you like it!
Hello everybody!
I didn’t update this one for quite some time… But in the meantime I started working on the “quad” and the first thing I need to do is to “frankenstein” a gunner for it. Lot’s of hacking, filling, fitting and filing - and still more to come - here’s where I am right now:
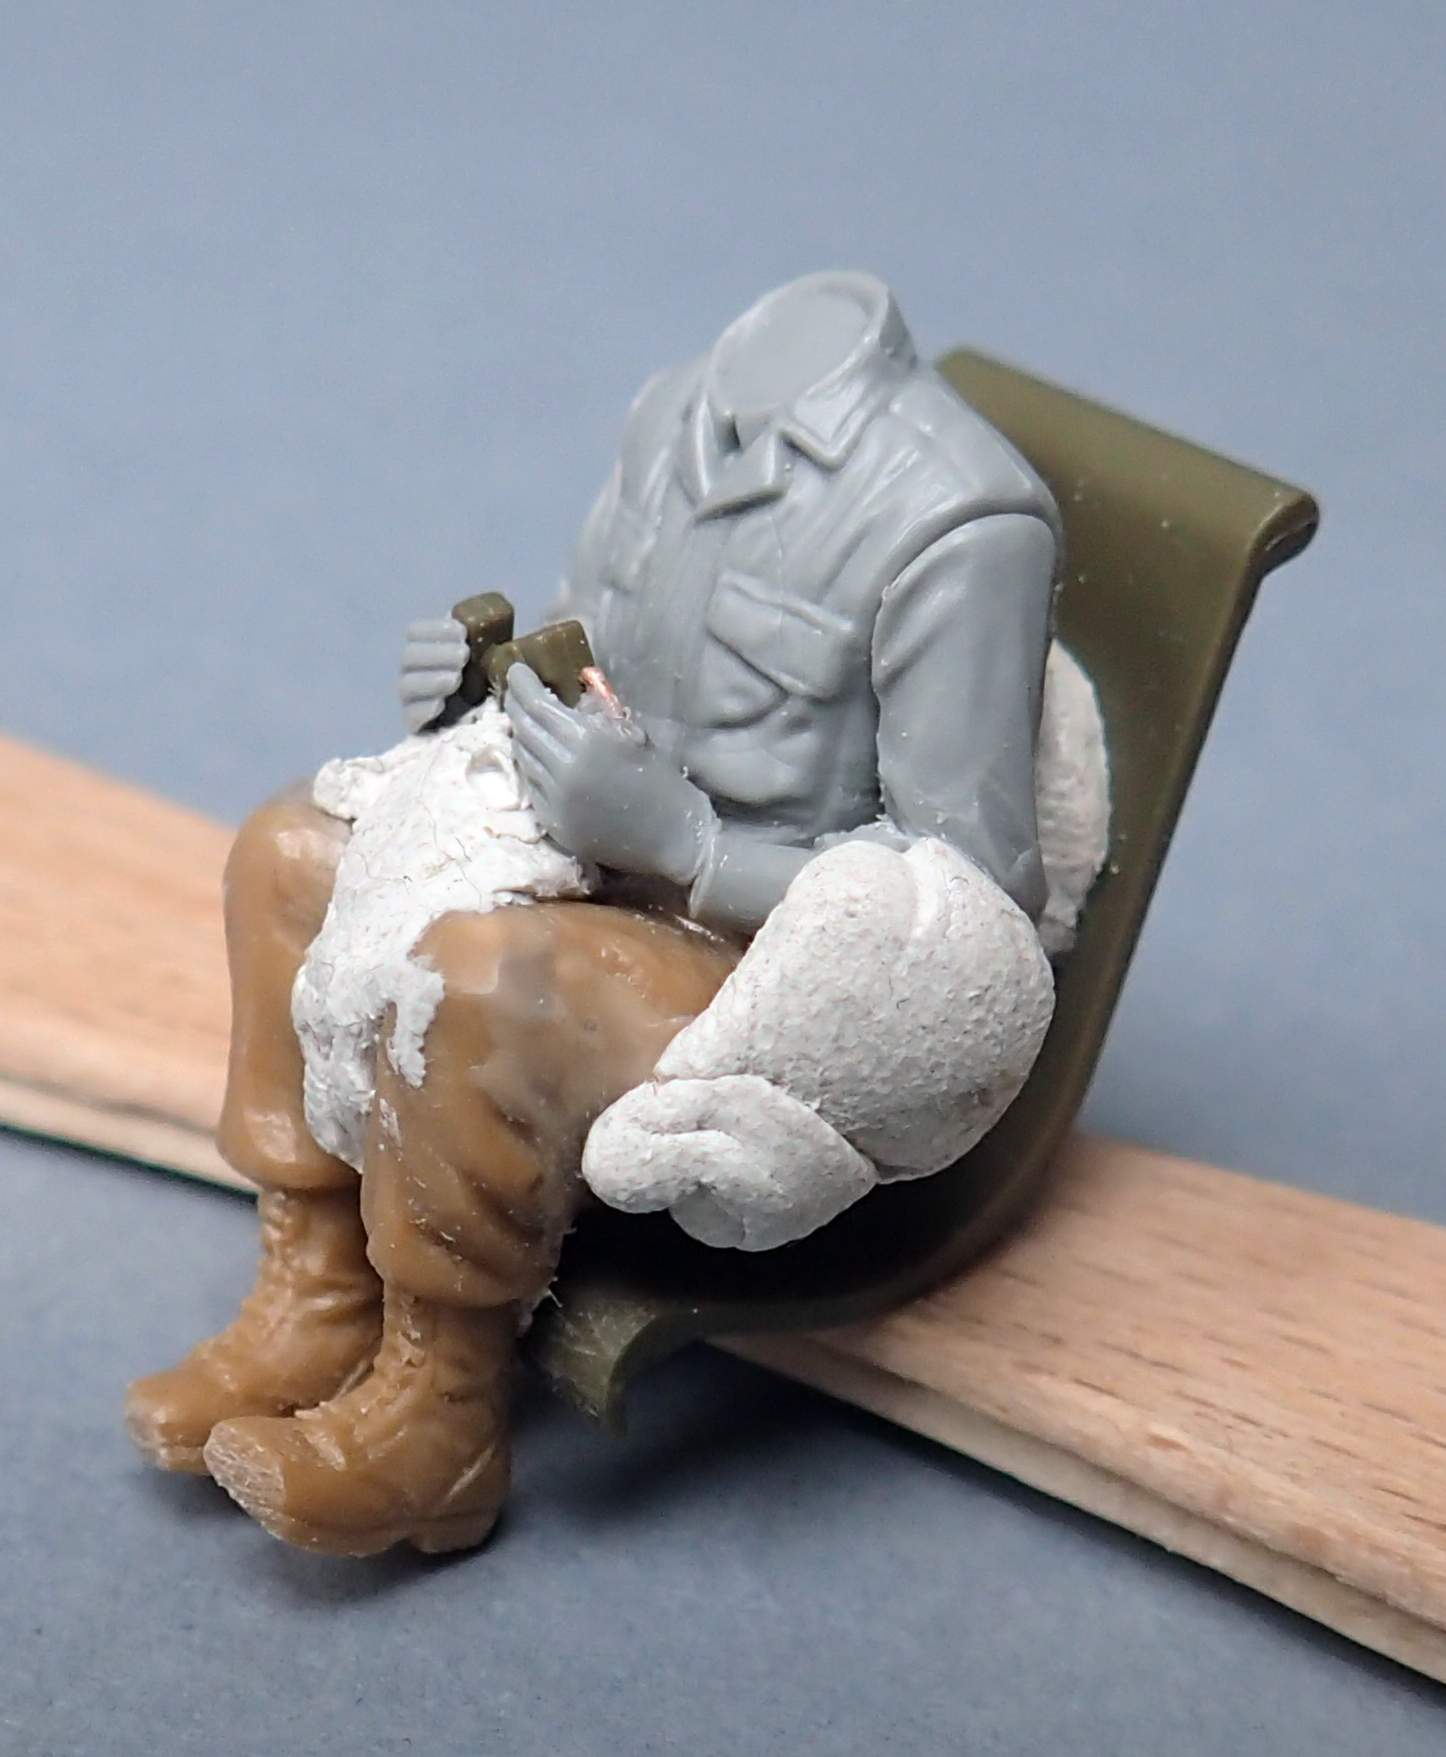
That white thing is “Patafix” - sticky stuff that I used to hold the parts together for fitting.
Thanks for looking and have a nice day
Paweł
Gee, I’d forgotten about this one! Nice work on the conversion Pawel, looking forward to seeing how he looks when he comes out of plastic surgery.
Hello Gamera!
Thanks a lot fo your comment! Yeah, this one got stuck a little, but let’s hope to get it movin’ again!
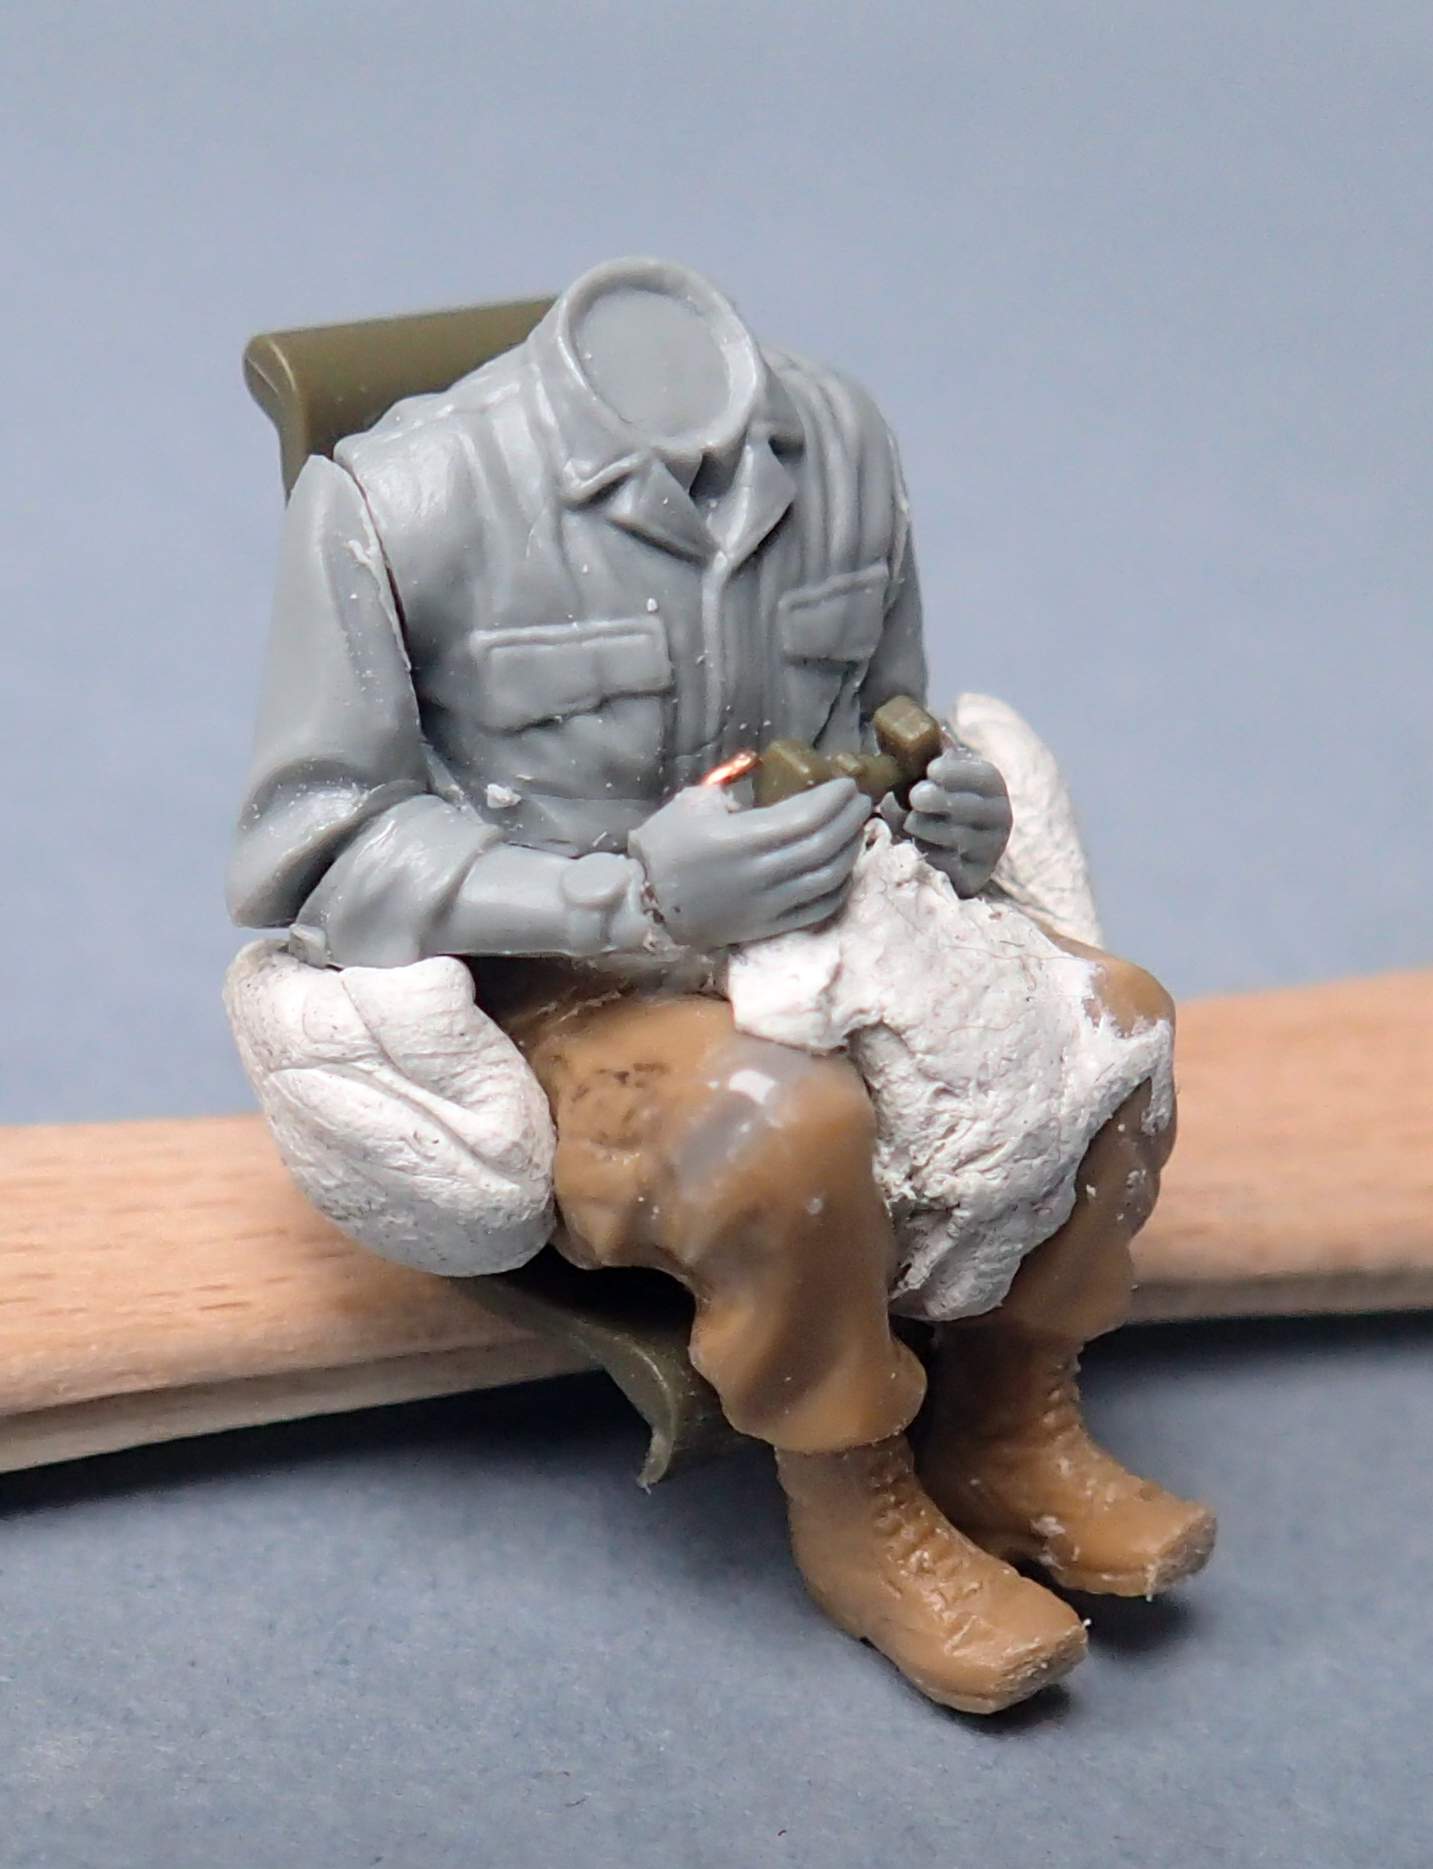
So this guy still isn’t out of surgery, but now a few operations less to go:
The photos show him still with a “dry fit” but I hope to glue everything together and start painting soon!
Thanks for lookin’ and have a nice day
Paweł
That looks damn good Pawel. A little primer and paint to cover up the different colours of plastic and he’ll look like he was molded that way.
Hello Gamera and merry Christmas everybody!
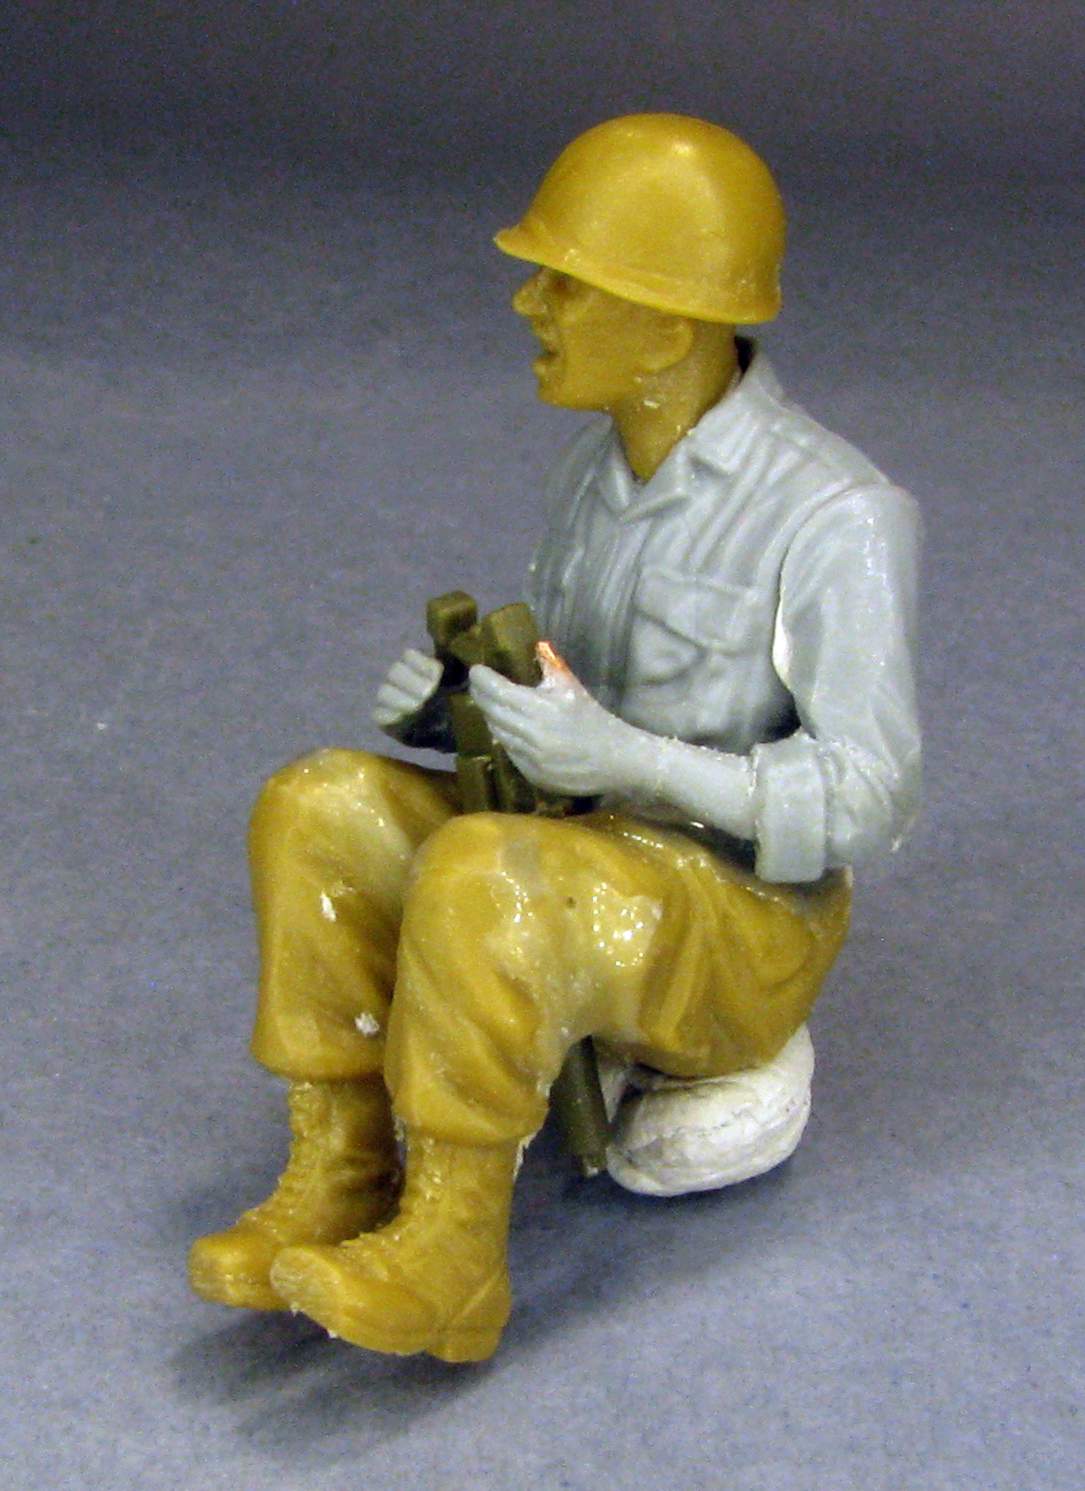
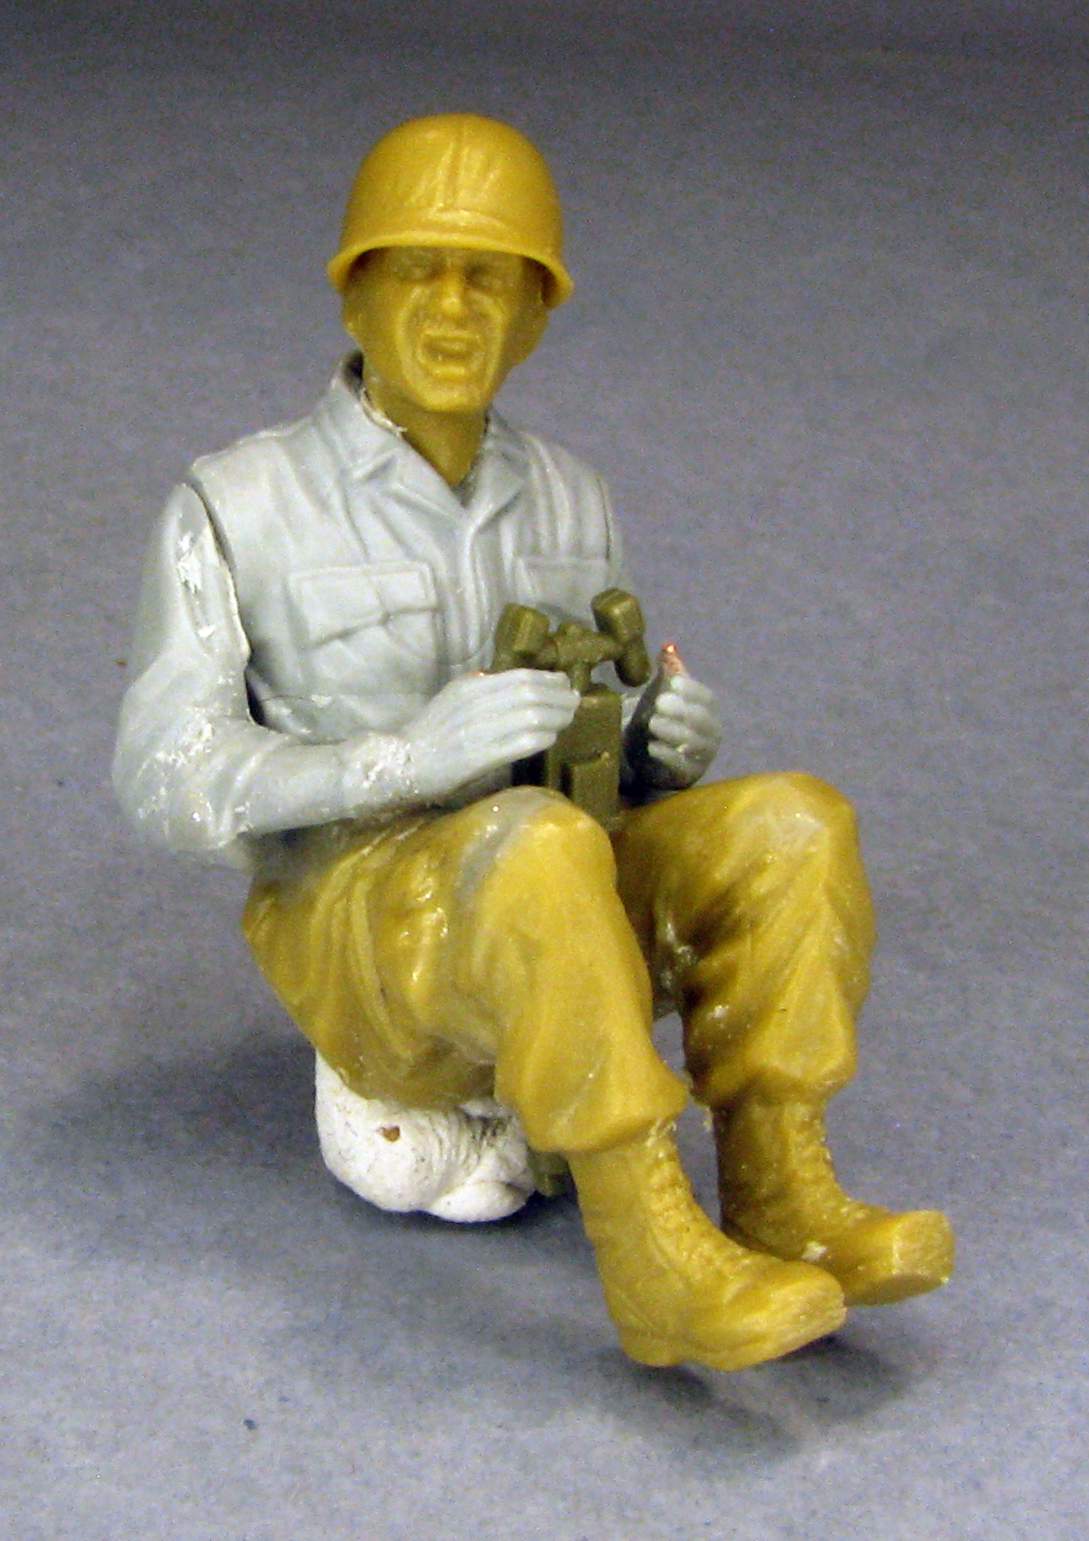
So I’ve got an update on the gunner. I have painted him with acrylic paints and here’s what I got now:


Hope you like it - thanks for lookin’ and have a nice day
Paweł
Oh wow Pawel he looks like he’s ready to kick some butt!!!
Merry Christmas to you too Pawel!
That figure turned out really good, Pawel! I really like the camo on his helmet, that is my favorite part. Nicely done with such a modified bunch of misfit pieces.
Like Cliff said, he looks ready to kick some butt!
Cliff, Mike - thanks a lot for your comments! I’m glad you like what I have so far.
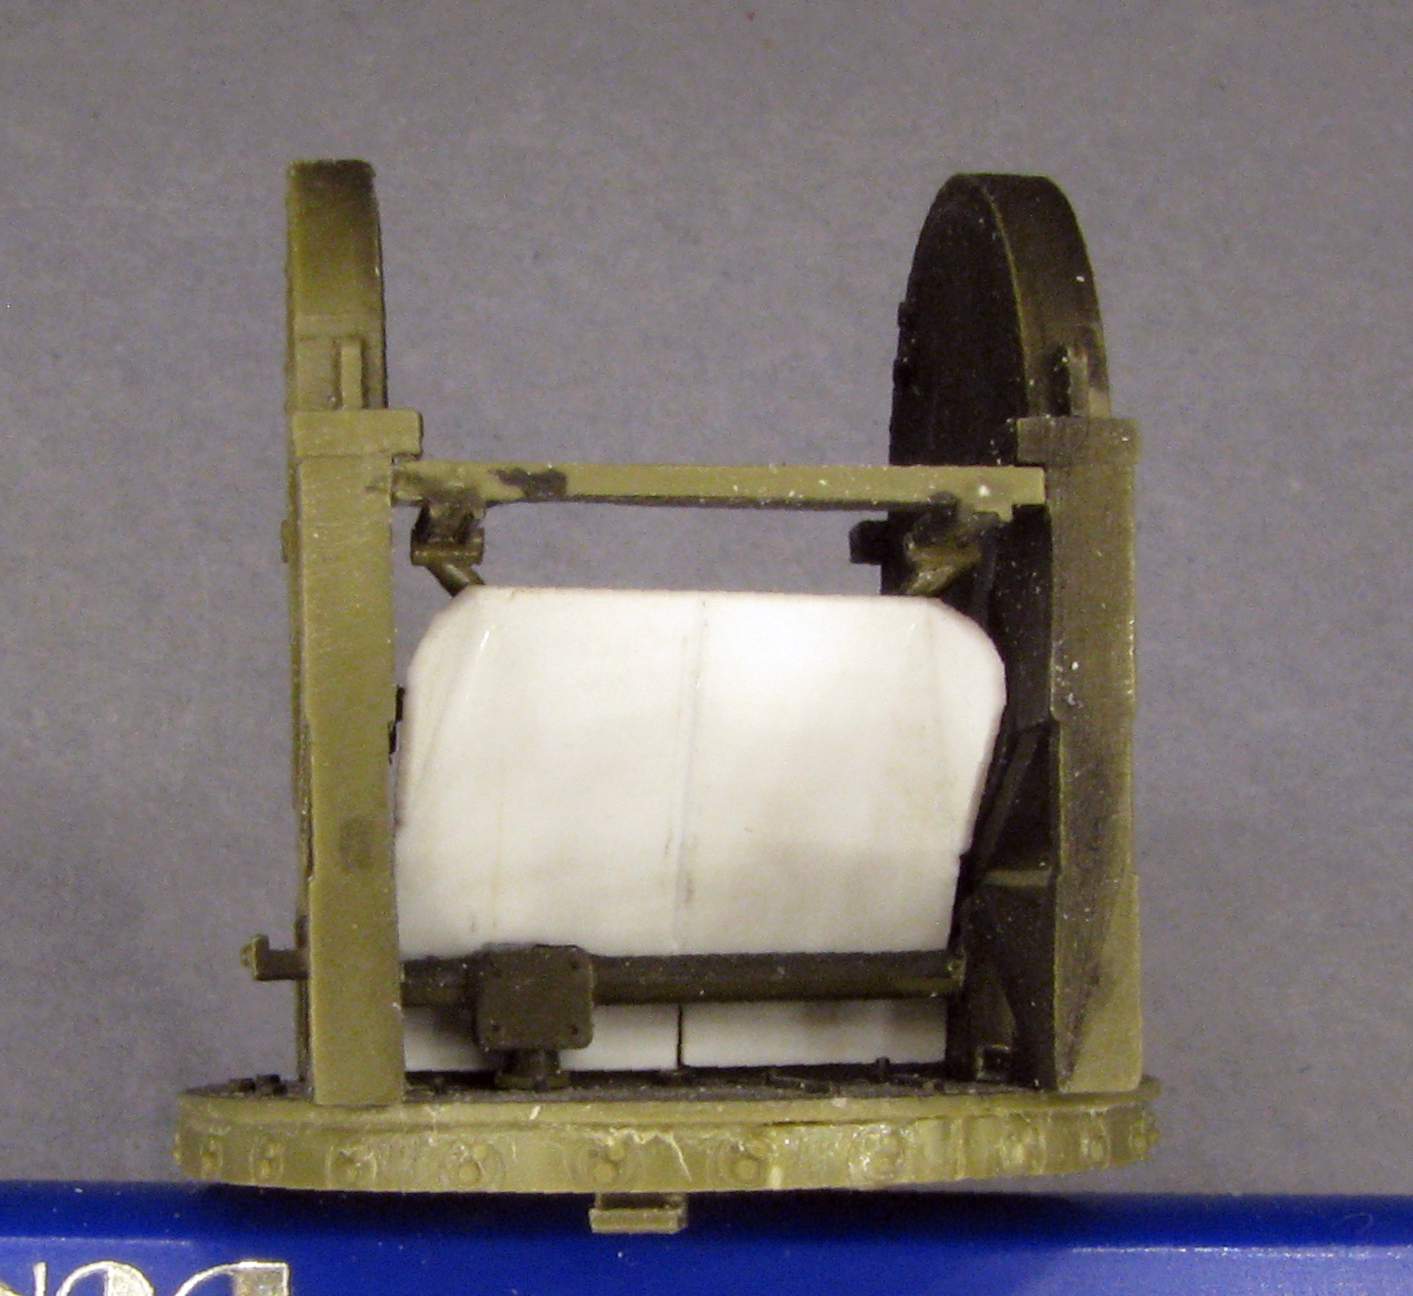
One of the vets I’m in contact with told me all the Quads he had seen in Vietnam had the “plate” behind the gunner’s seat, and not the “cross” as depicted in the AFV Club model. So I added the appropriate part - in white in the photo below:
I have also been looking at the resin trailer AFV Club supplied in the kit. While it’s not bad, I would have to remove the tow bar (this was done a lot to save space and keep it from getting in the way) and work hard on the two rear jacks (shown in the wrong position by AFV Club). So I decided to go for something completely different - I drew up a 3D model and a friend printed it out for me. This way I won’t have to do much more here, and everybody needing a part for a gun truck (it’s missing in the “Nancy” kit for example) can also easuly get one. Here’s what I’ve got:
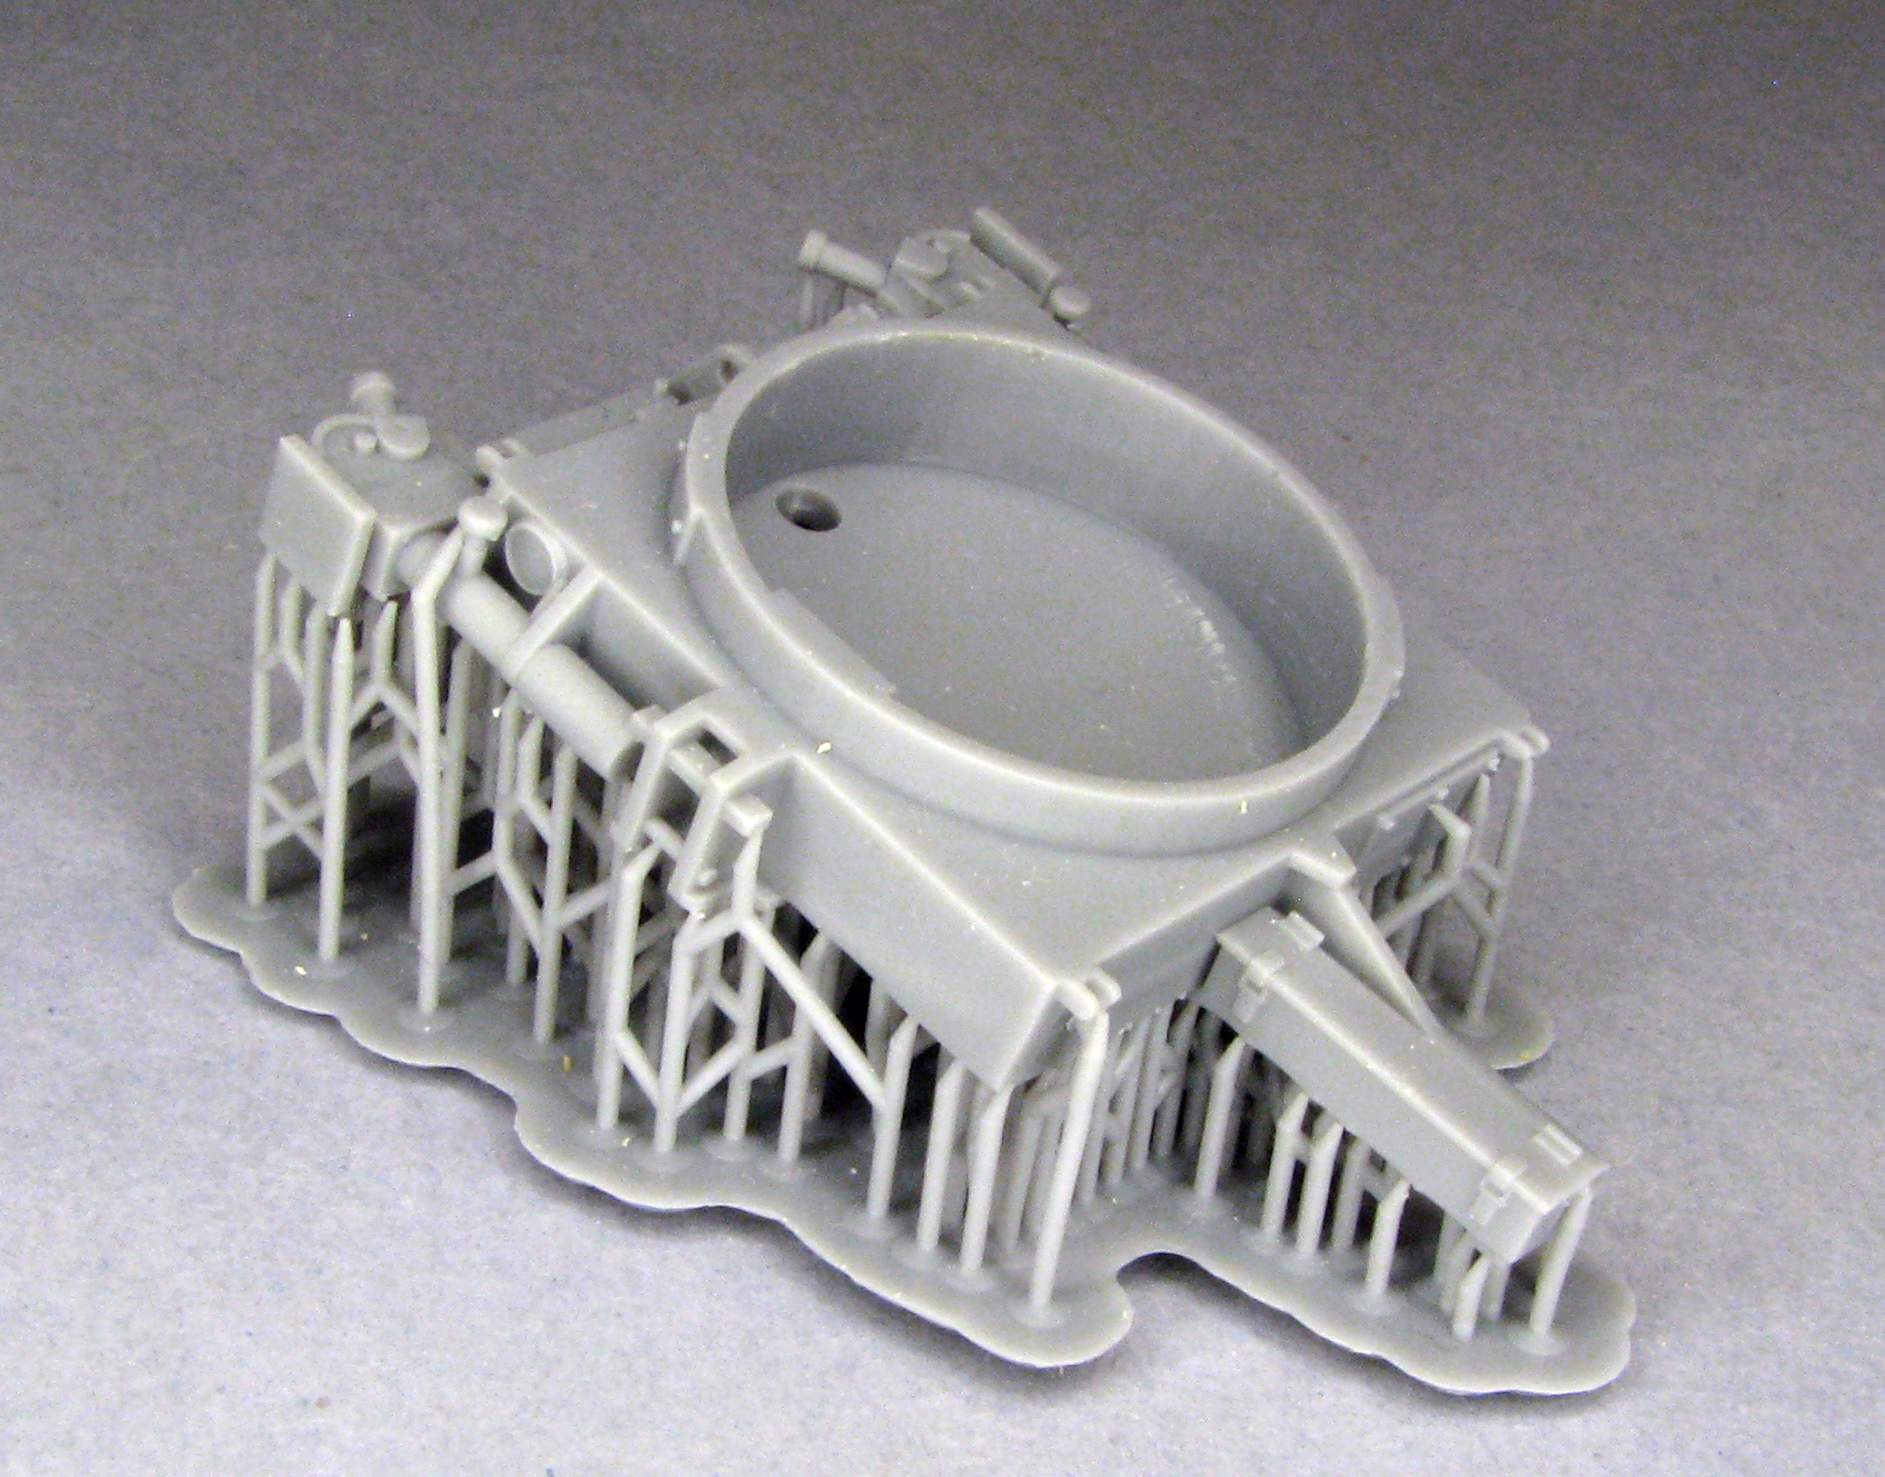
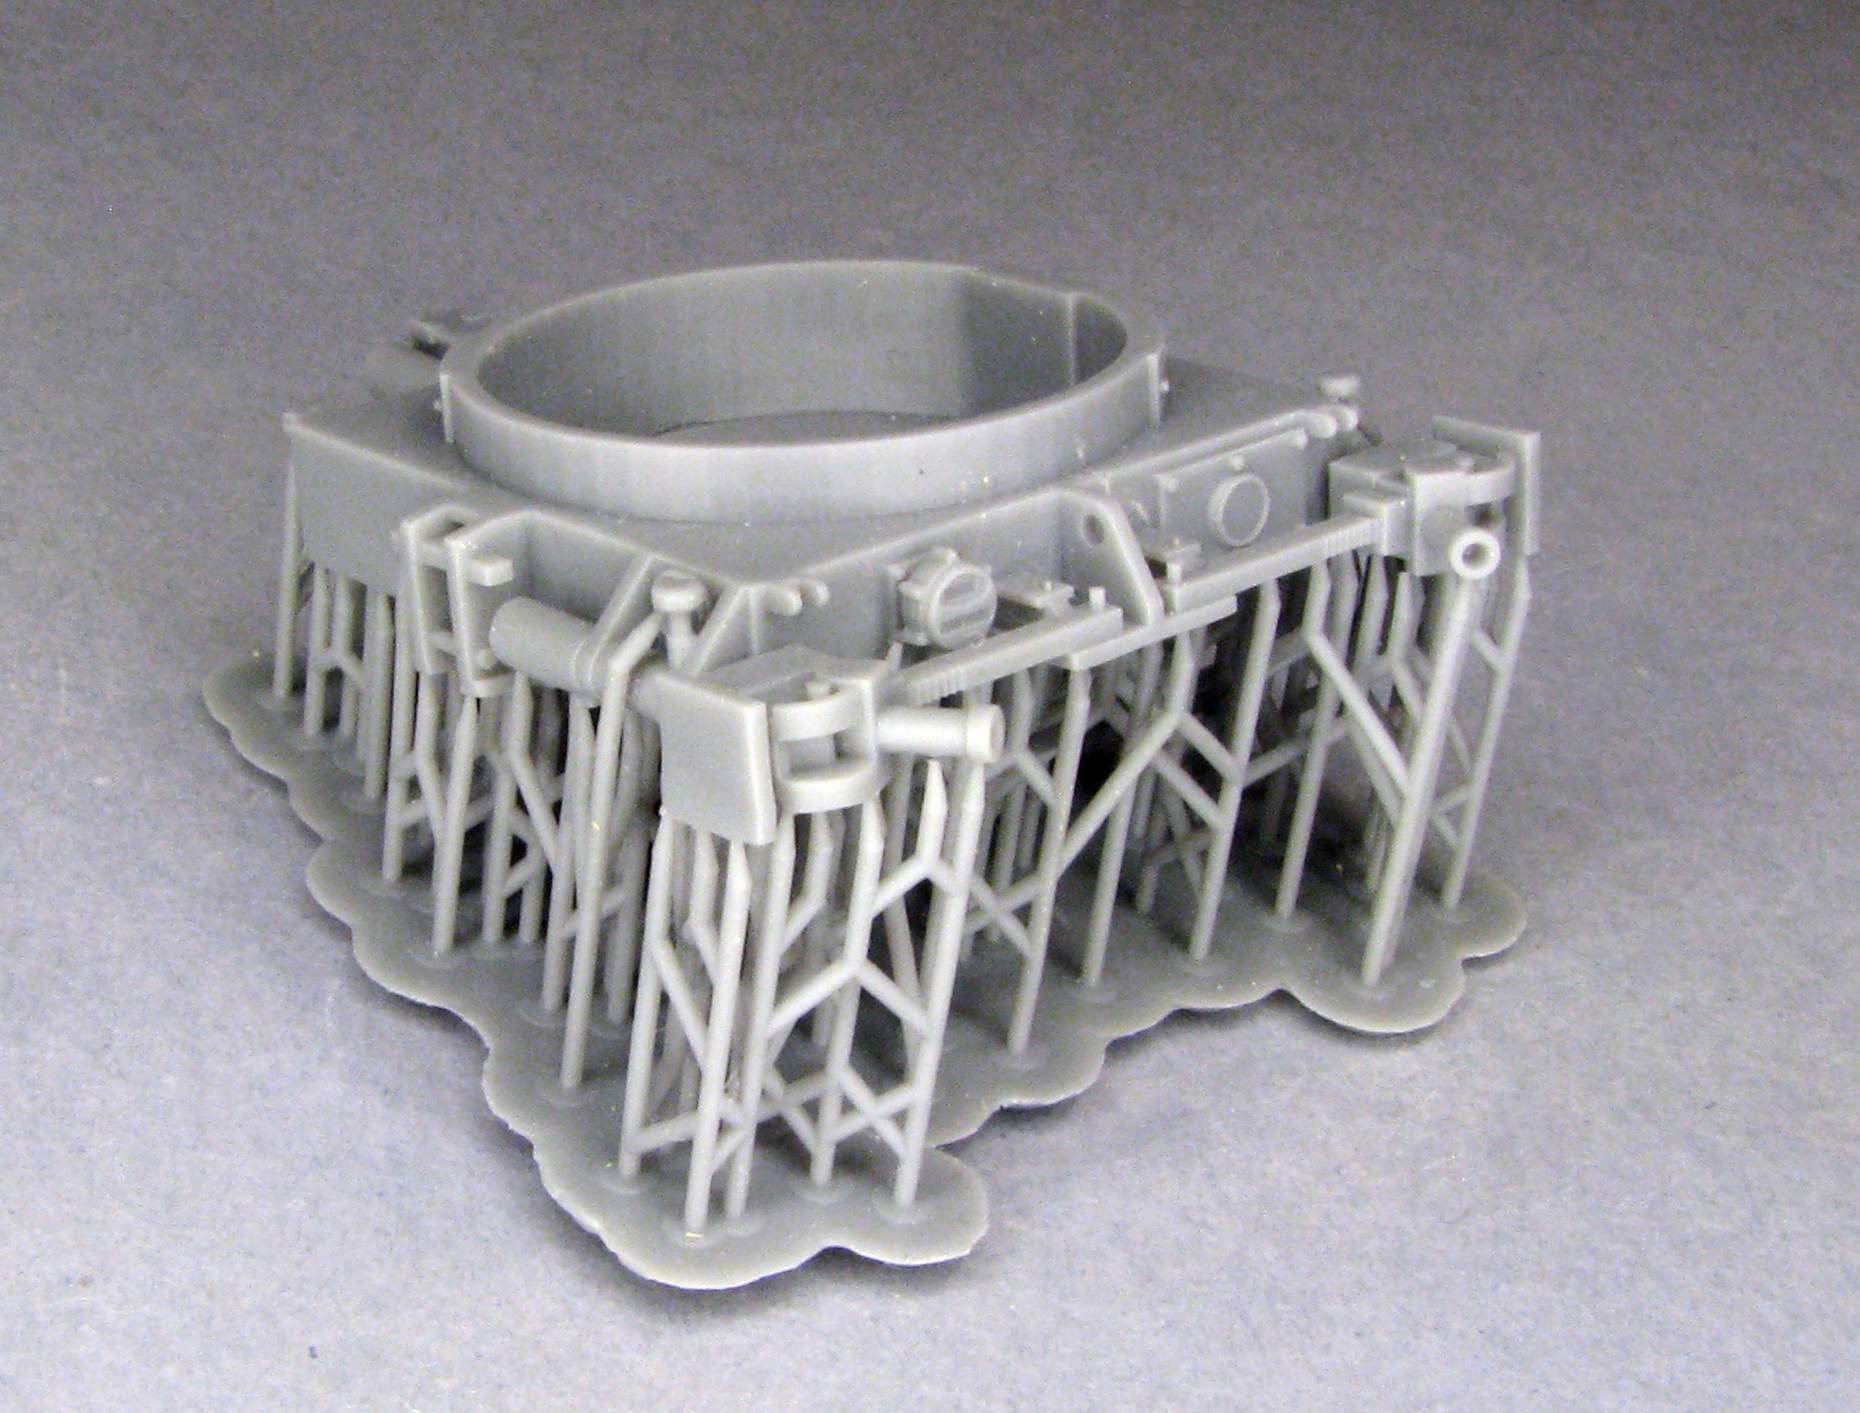
More details can be seen here: https://www.shapeways.com/product/2XCT87TWN/1-35-trailer-base-for-the-m55-quad-50?optionId=335442207&li=shops
Ok, I’ll get back to work - thanks for looking and have a nice day
Paweł
Whoops, double post.
Looking good. The base is nice as well, and a good option. As you know, the AFV Club Quad .50 isn’t correct for a Vietnam version though. It is a WWII M16 Halftrack version that they added to the M35 kit. To get a correct Vietnam version, go with the Dynamo Models kit. It is really nice.
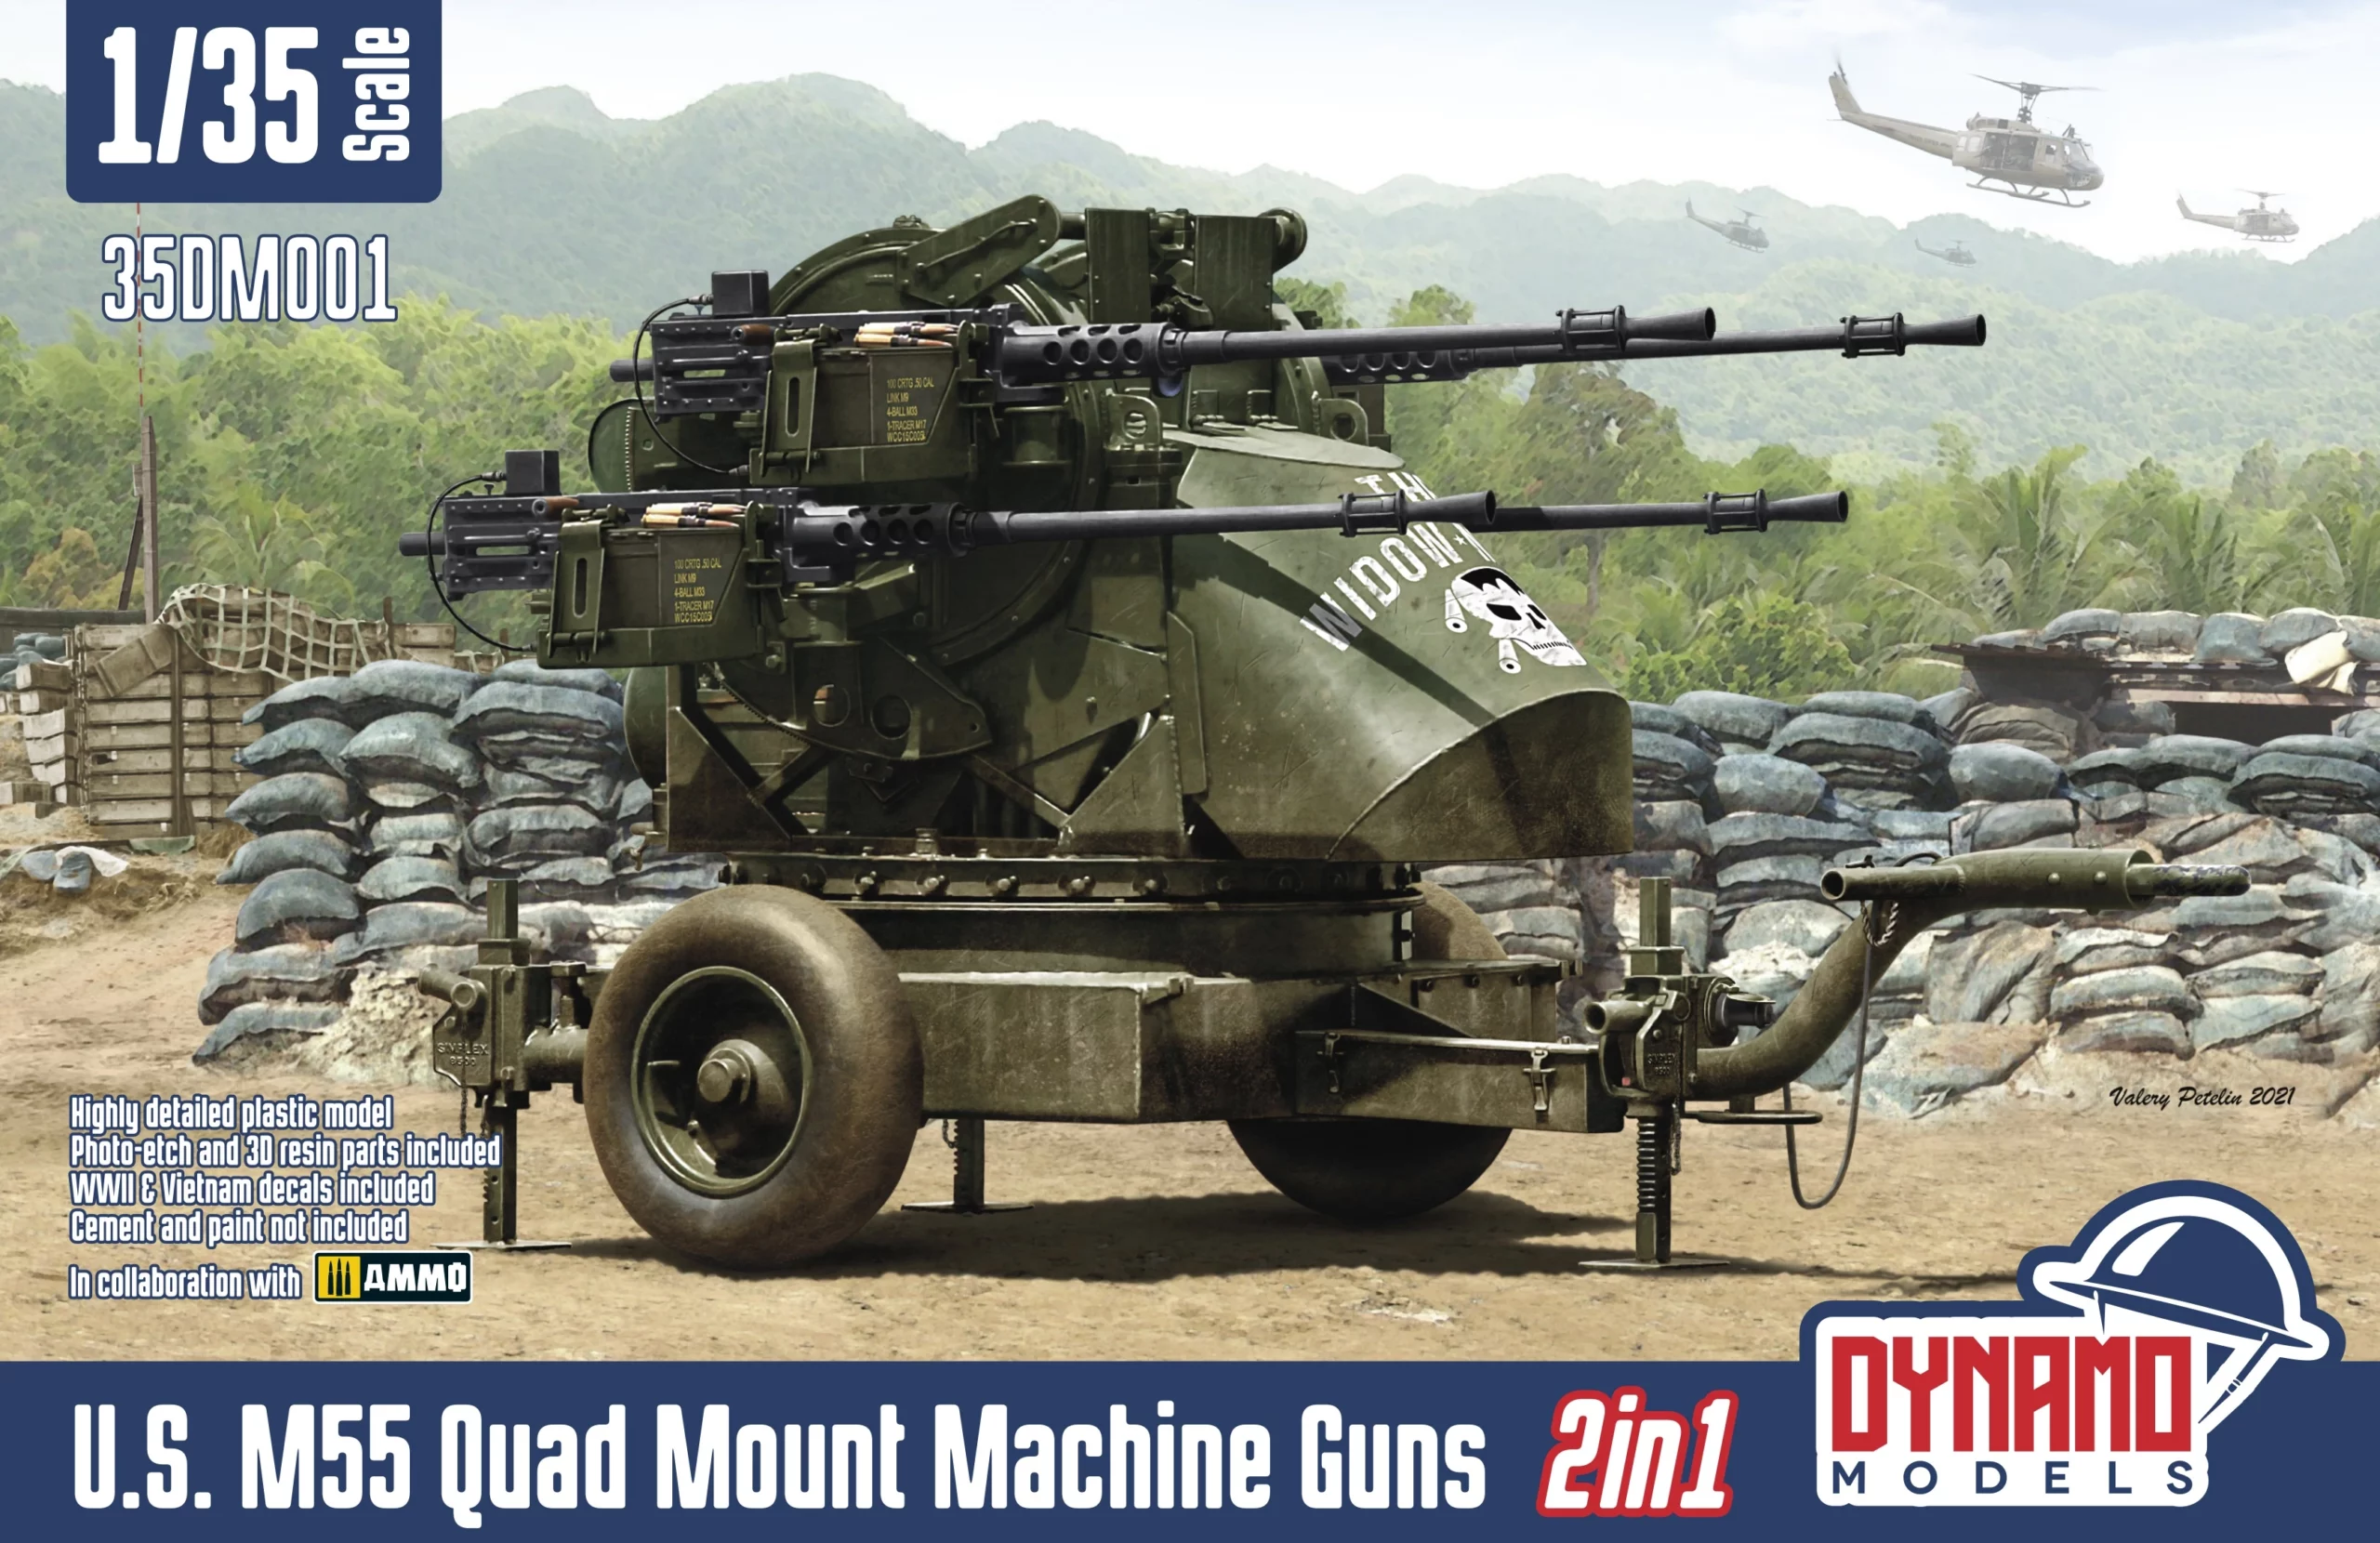
It is the Dragon M55 kit with Vietnam era 3D printed parts that include an updated generator, new .50 cals, ammo cans, commo box, etc… It can be built in the towed or ground-mount positions as well.
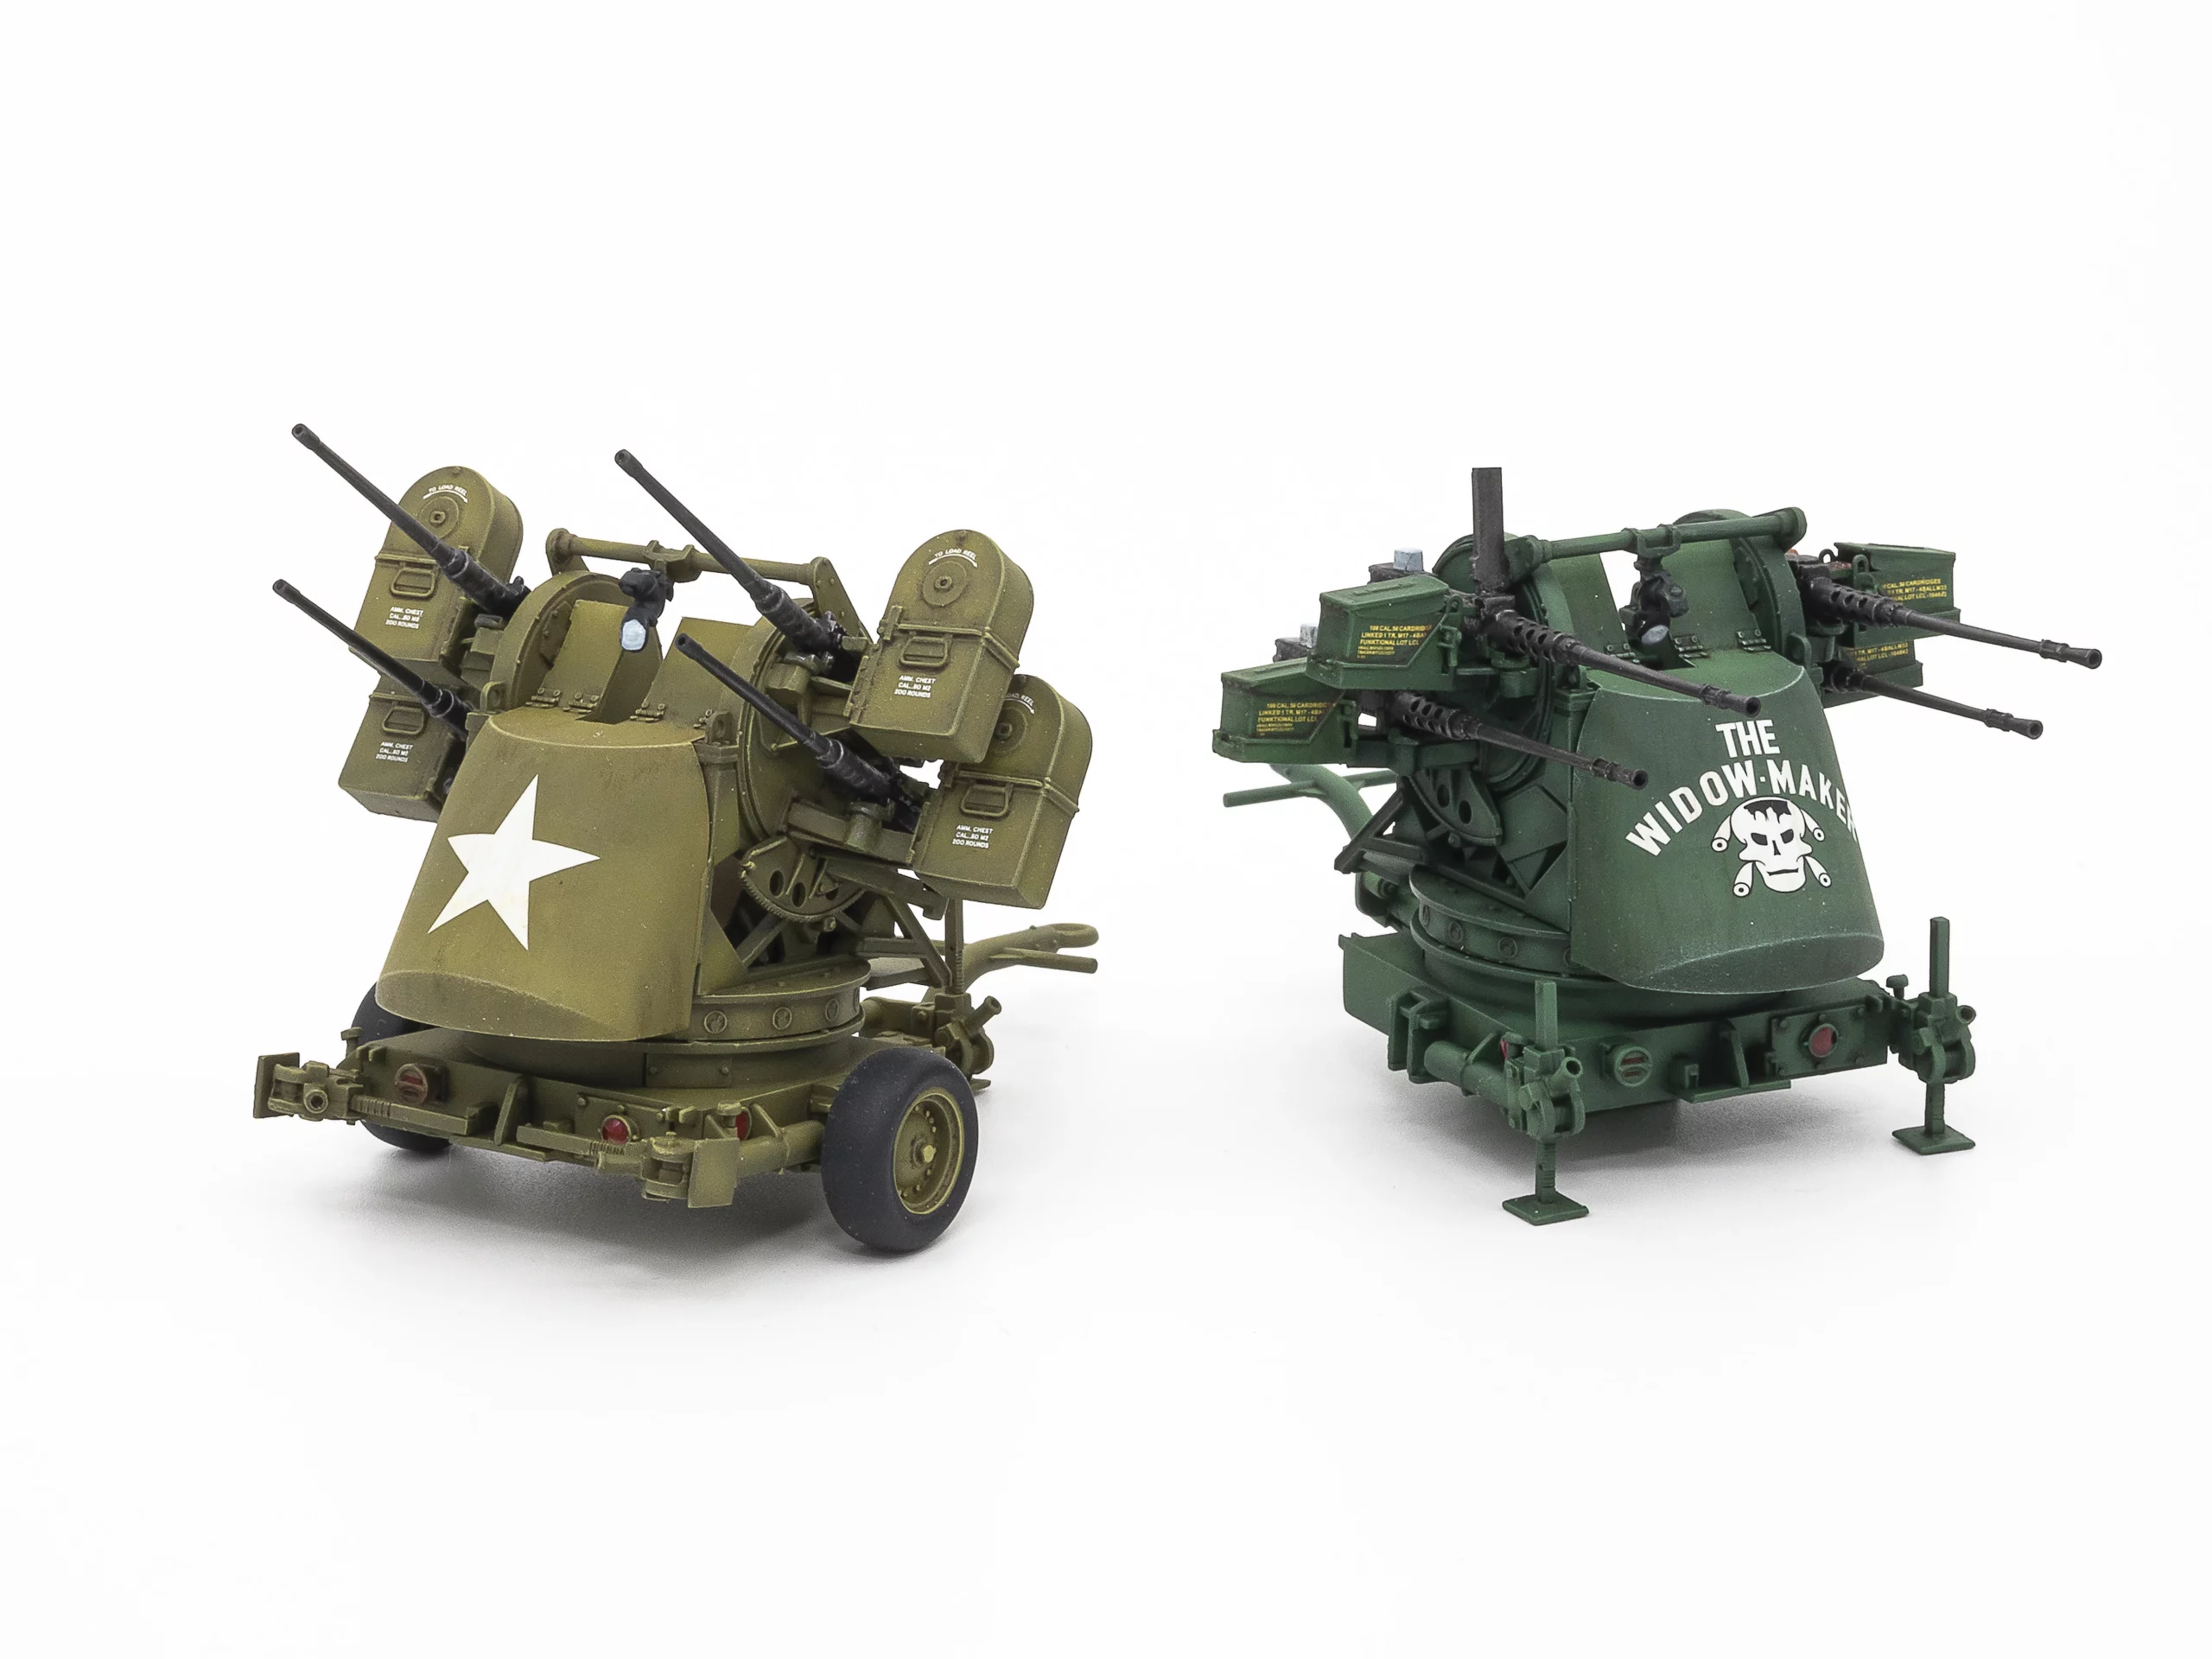
3D printed parts are in the darker grey.

Hello Gino!
Thanks a lot for your comment!
I’m aware of the new Dynamo Quad, I’m even working on one for a review. I have also posted in this thread:
https://cs.finescale.com/fsm/modeling_subjects/f/3/t/191830.aspx?page=2#2223462
Now here the idea is to use some of the AFV Club parts and supplement them with some of the Dynamo parts to get an accurate, Vietnam-Era quad 50.
In the moment I’m painting the gunner for the Dynamo quad, let’s see how he will turn out.
Thanks for reading and have a nice day!
Paweł
I know you were aware of the Dynamo kit and what needed to be done for a Vietnam M55. I posted so others would know and could follow along. Yours is coming out great.
I plan to do the same. I bought an extra set of just the Dynamo 3D printed parts to update the AFV Club M55 parts as well, along w/the resin base from the M548 set. Sounds like we had/have the same idea. I bought another full Dynamo kit for an M54 Quad guntruck too.
Excellent job on a less well-known Vietnam lead slinger!
Gary
Hello everybody!
I’m reviving this one like the Frankenstein monster! I hope I can finish this project this time.
I finally got the 3D printed parts from Dynamo, that I wanted badly for this project, so I could resume working on the “quad”. I also started working on the crew - the people in the cargo bed as seen in the photos of the real thing.
In the photos below you can see the loader’s shields and the power charger of newer type (that was the type used in Vietnam) and its control box installed rotated 90 degrees - like in the photos:


I have also - from parts from different sets - assembled a team of 4 figures that will be posed in the cargo bed, like in the photos of the 1:1:

Thanks for reading - have a nice day!
Paweł
2 Likes
Hello everybody!
I’m working on mounting the weapon in the cargo hold. Here are the Ma Deuces, practically done - the barrels and the ammo boxes are 3D prints from Dynamo:

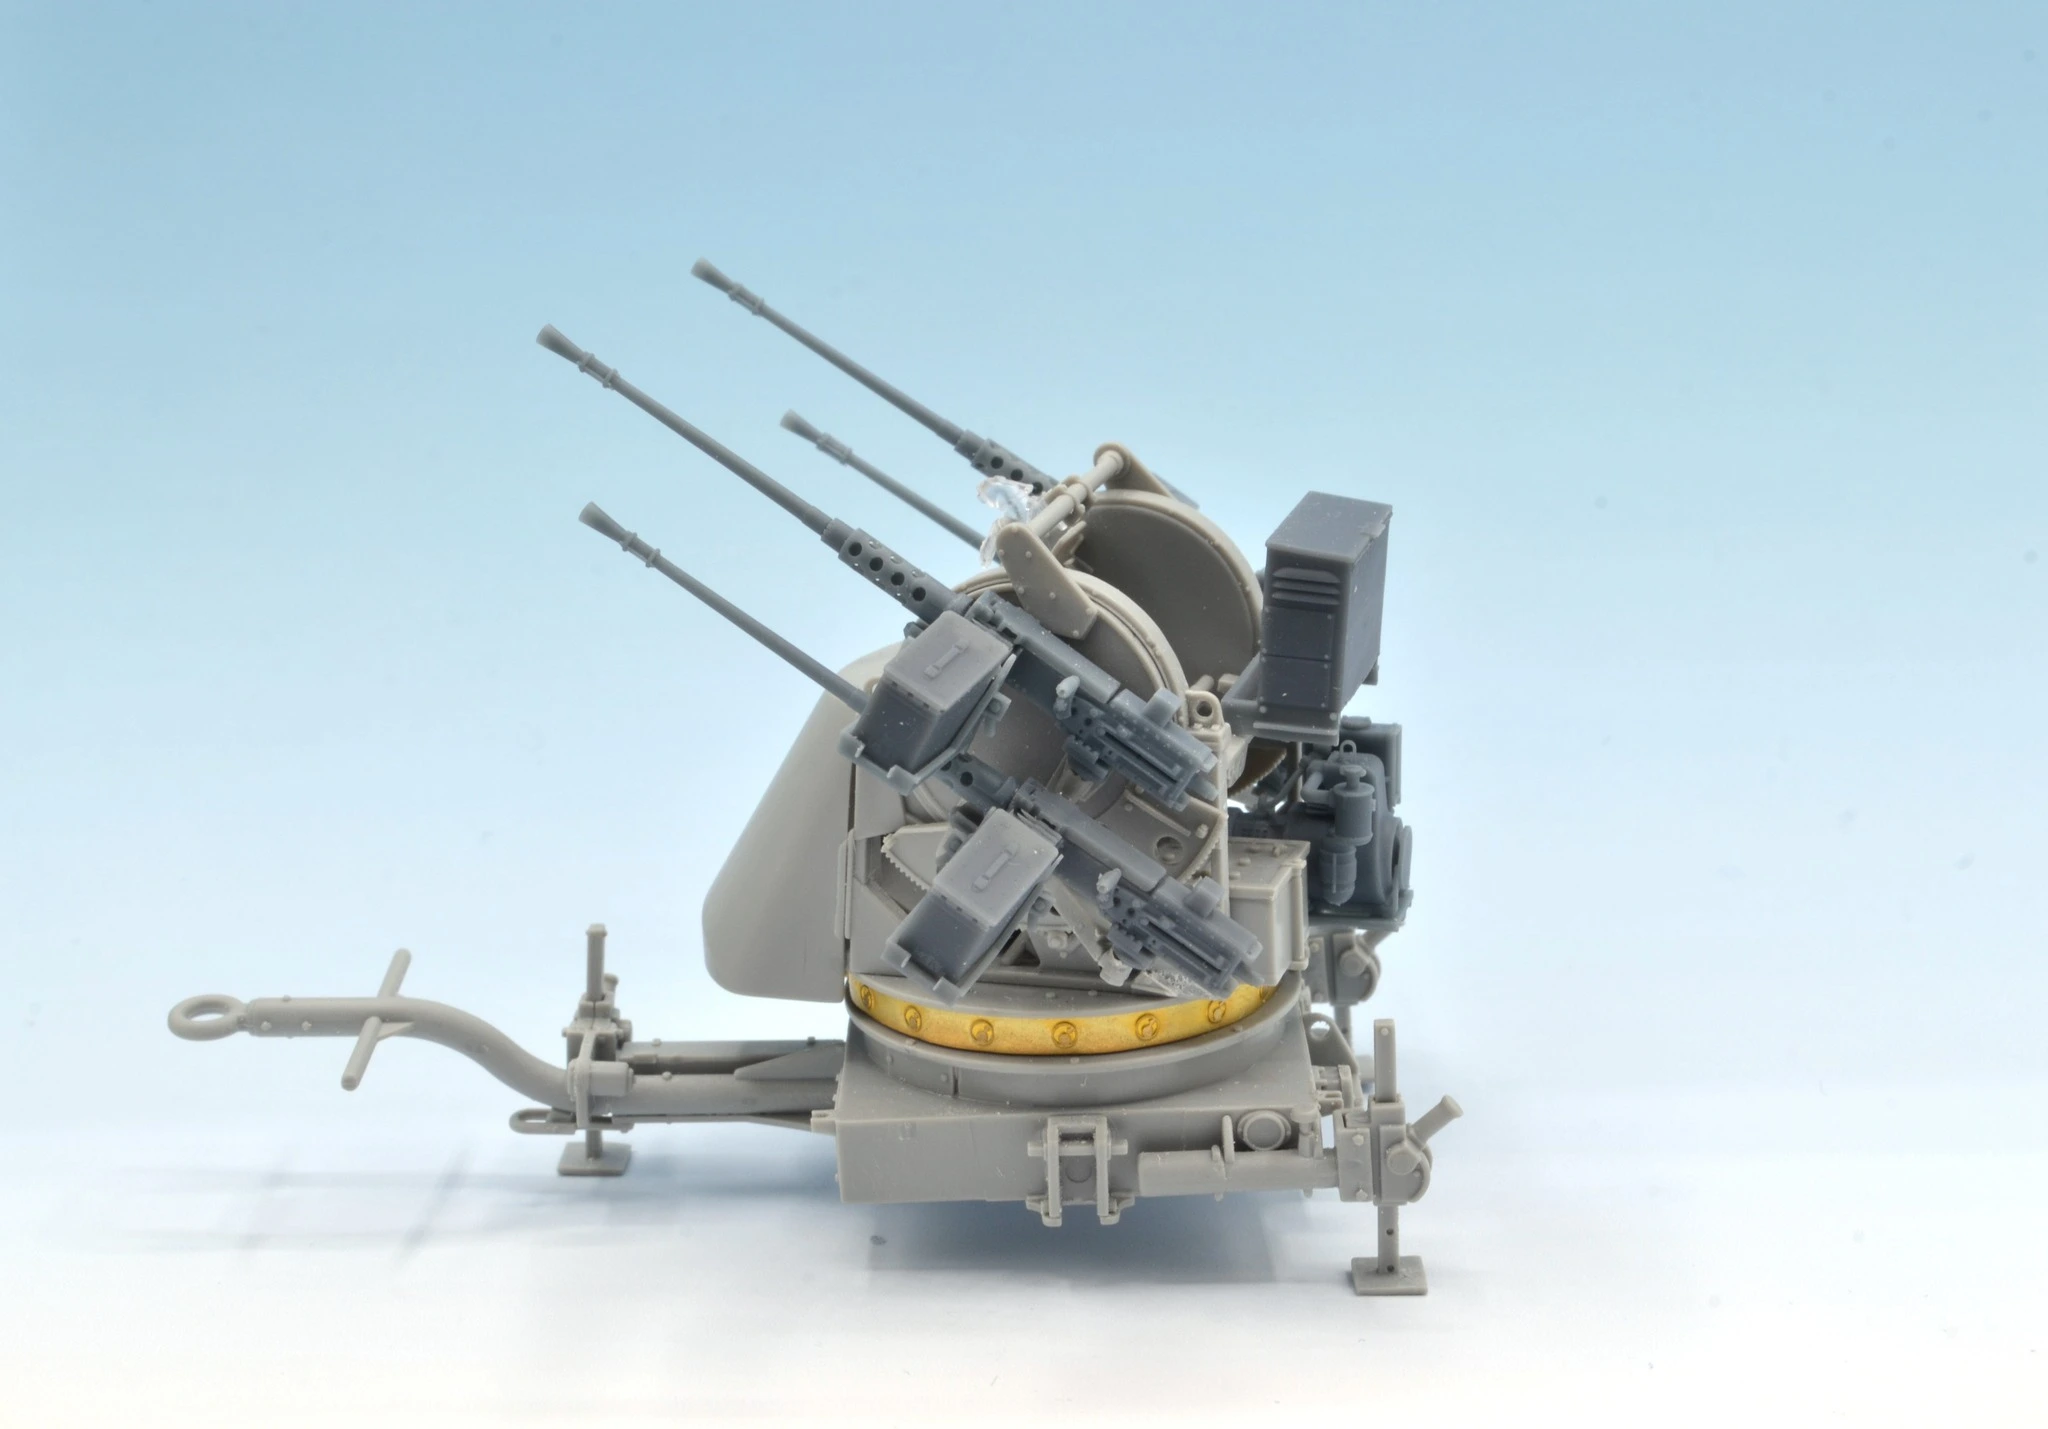
And the mount after painting looks like this:


To refresh your memory - the chassis looks like this:

Thanks for looking and have a nice day!
Paweł
2 Likes
Hello everybody!
Another update: I started building the ammo supply. I’m using the great AFV Club set:


From another angle it looks a bit surprising:

And here it is fitted in the cargo bed:

This is turnng into a figure project now:

Thanks for looking and have a nice day!
Paweł
2 Likes
Hello!
One more thing I managed to do yesterday - the faces:

Now I have to think about painting up 4 helmets… It sure would be cool to use decal for the Mitchell pattern - but I have a bit of a problem finding 'em…
Thanks for looking and have a nice day!
Paweł
3 Likes
Hello!
I’m movin’ on with the figures. I sourced a decal sheet from Korea with 1:35 Mitchell pattern and put them on the helmets - here’s how it turned out:

Where the decal wrinkled a little it looks a lot like fabric on steel. Decal also has some dithering (raster) that can be seen in extreme close up - then again after wash and pigments the contrast isn’t too great (just like its supposed to be). So I like how it turned out, I’m curious about your opinion.
And more work on the figures:

For this I mainly used Games Workshop contrast paints and I like how they work.
So I’m moving on to finally finish this and start something else.
Thanks for looking and have a nice day
Paweł
4 Likes
They are looking great! I appreciate your concern around the look of the Mitchell Camo decals with the “twig” part of the camo being washed out, but once you account for scale effect and wear and tear I’d say you have a faithful representation on your hands ![]()