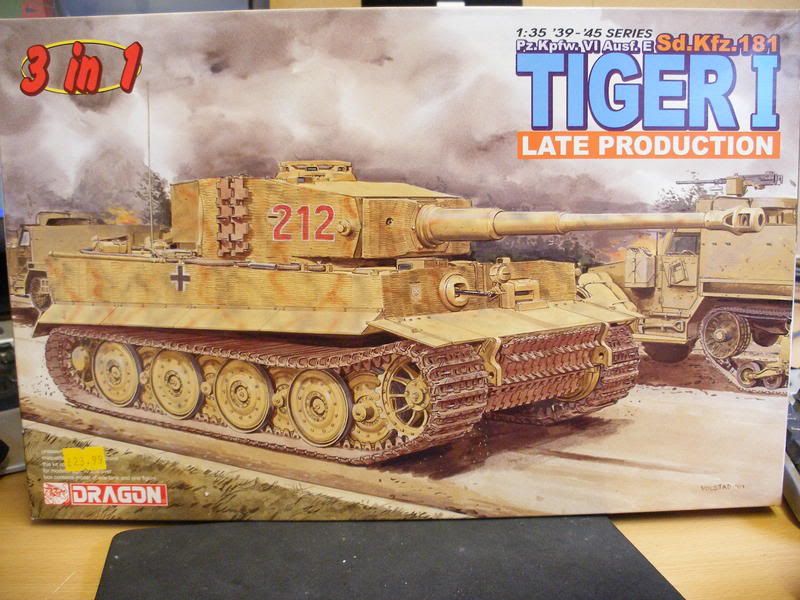
well here we go we yet another build.
thought i would show you all whats been done.
started yesterday and thought i would post progress pics.hope you all enjoy.

well here we go we yet another build.
thought i would show you all whats been done.
started yesterday and thought i would post progress pics.hope you all enjoy.
Lookin good so far, what AM sets did yu use because they look really good.
David
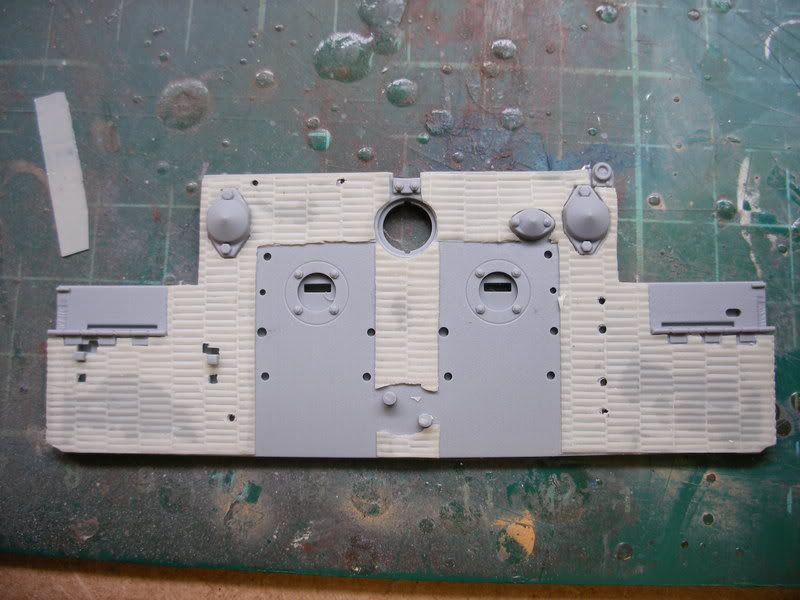
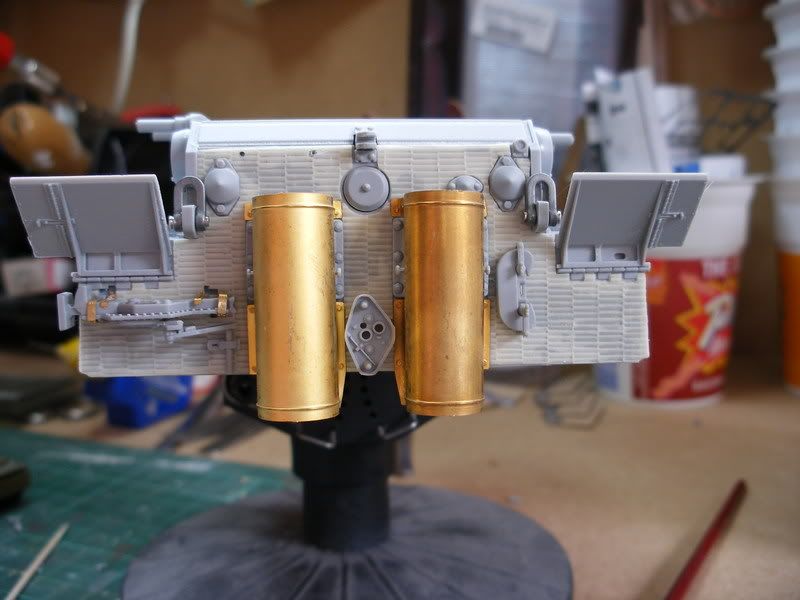
the pe is the dragon supplied.
the zim is from atak which is really good
Your doing great, I love the anti mine skin you made and the PE part of the back of the tanks.
I just can’t beleive I’ve been working on my tiger 1 for now three months and its still not finish.
(Stupid Camo,[:(!] its driving me crazy!)
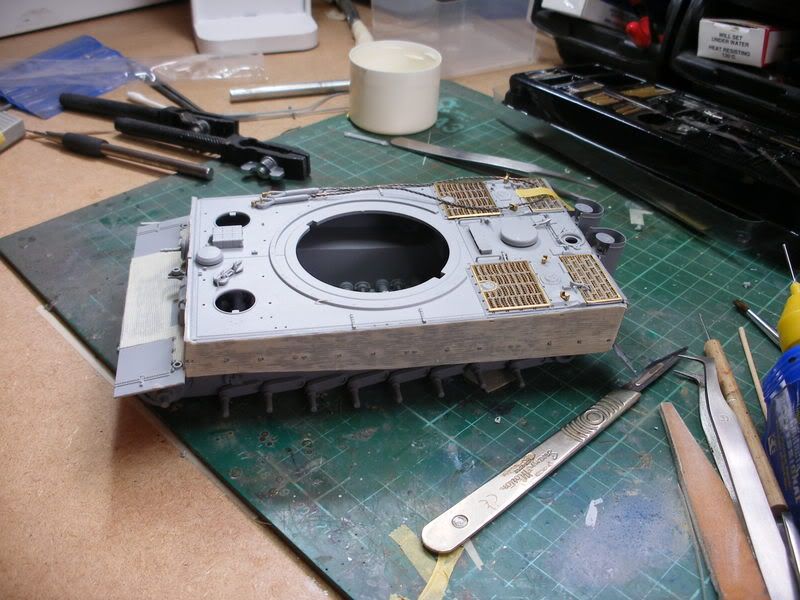
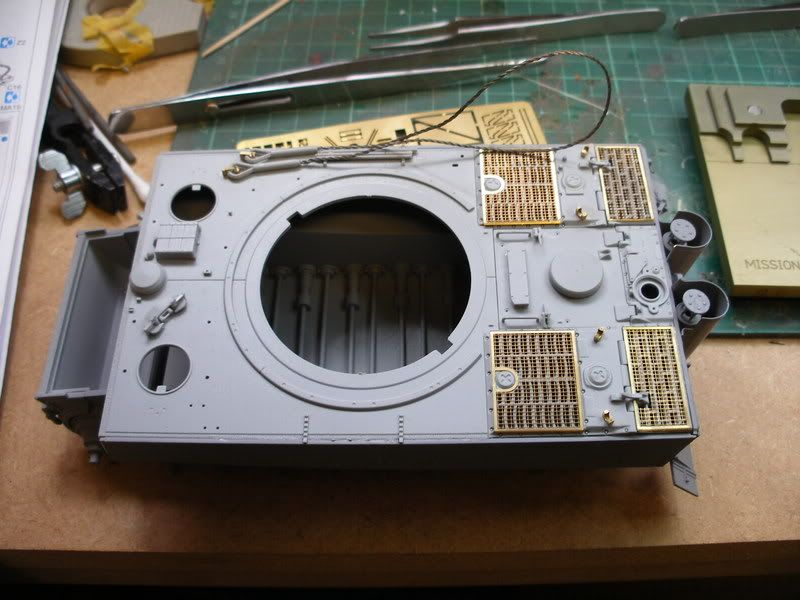
Looking good shroomy ive been working on Dragons tigers myself only i used the cav zim set these kits are nice but there is a lot of work to them, looking at your rear (on the model of course) you may have attached the starter adjustment plate on upside down (the diamond shaped thingy) or else i did heh, looking forward to following your build.
Ron.
edit now im curious about the starter adjustment plate it seems the dragon instructions may be wrong and what you have done is correct?
Dragon instructions wrong? You sir are a heretic! LOL
Burn him!!!
what instructions?[%-)]my head was spinning after the first look at the tiger initial instruction sheet.
biffa you right
omg i cant belive i done that lol it was because i was working upside down(thats my excuse)
ref page
http://tiger1.info/EN/DragonStarterAdapterPosts.html
i did rember to shave 1mm of the length though so i got a bit of it right lol
thank you for the heads up
here we are starter repostioned thanks biffa

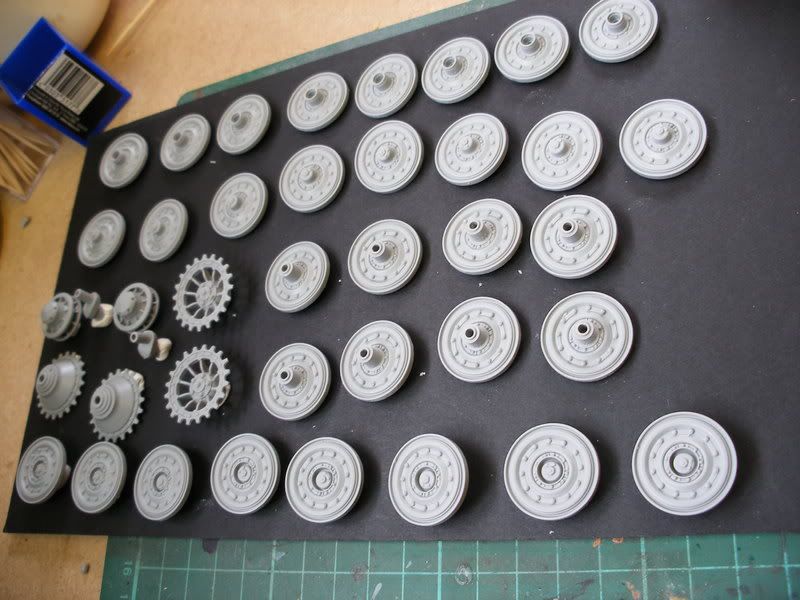
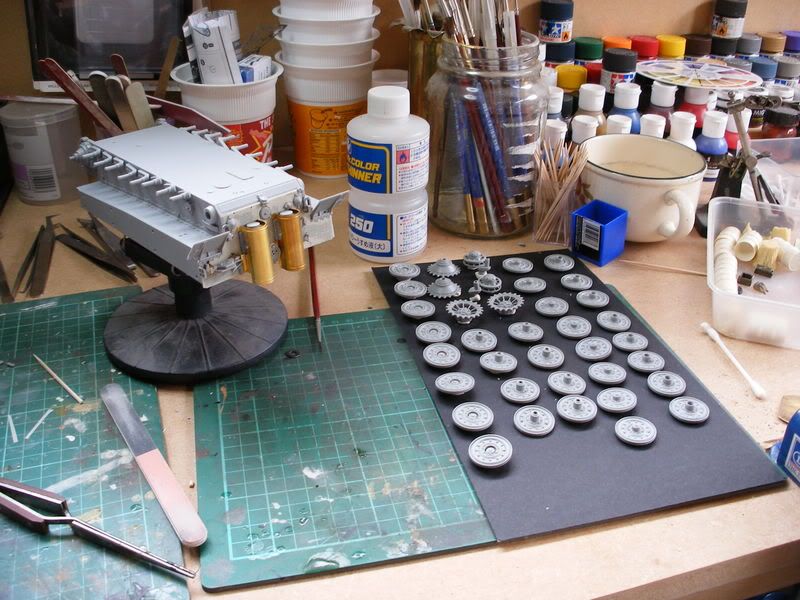
you have got to admire the detail in this kit look at the butterfly screws
a bit more work done.
a bit slow going,just trying to find the time ![]()
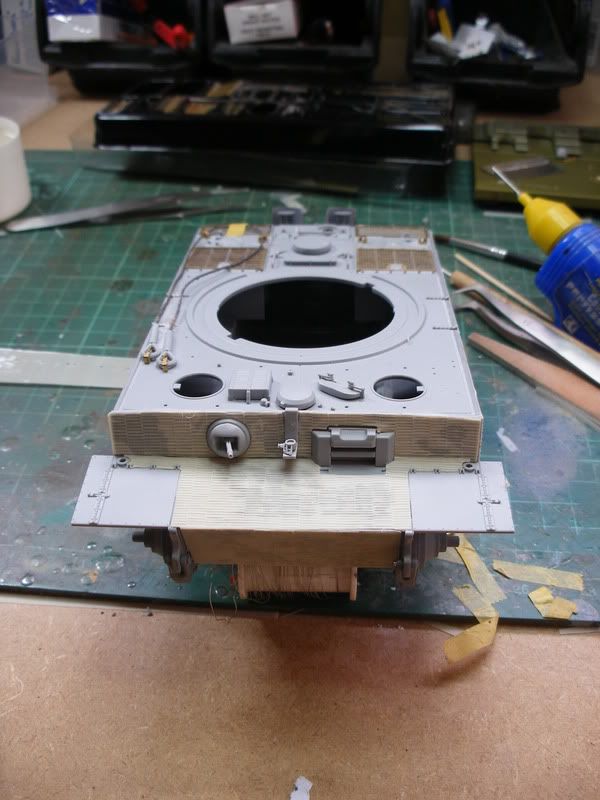
Glad to see you back at this guy. Cav’s zim looks great as does the rest so far.
Nice going with that tiger Shroomy.
Are you going to add chipped zim to your weathering ?
If so, you need to glue evenly on that resin zim, otherwise when you are trying to pull a small part of it, you may rip a huge portion of it.
Ben
thanks tigerman
i had not intended to but you never know with me ![]()
although why it has come out blotchy i dont know,all glued on using pritt stick great stuff
How does Atak and Cavalier compare? They look like they are pretty close. Does how it’s produced or materials used give one an advantage over the other?
ps: the Tiger looks sweet
looking good shroomy!
looking forward to more updates ![]()
Doh, I reread and see that it’s Atak not Cavalier. I don’t think there’s much visual difference other than the price. Cavalier is cheaper and more prolific.
Looking good, keep up the progress, Now if only mine look good as that.
How did you do the Zimmer coating?
Nice…I noticed you chose to zim the hull front glacis plate, careful, a lot of controversy here…some hold that even though it’s in the shake and bake resin zim set, that it is incorrect, especially for a Normandy SS 101 vehicle. there was some discussion a while ago about these Viller Bocage pics…some say the “rough” texture is zim, others disagree…


Don’t know what is right, but, there are some close up shots in TIC 1 and 2 that seem to suggest this plate was considered a “horizontal surface” and not coated. I’ve modeled both on my late models. I took a lot of flak over on ML for applying it though.
Good luck on you Tiger…
Steve