The F-4J didn’t have the gun because the Navy didn’t want it. They were offered a navalized version of the F-4E with a gun but turned it down and went with the missile armed F-4j.
Am I stuck with only one bird, or can I add another one?
Berny – thanks for the info, you’re a Phantom guru!
Km – not at all, build as many as you like! The more the merrier, I’m hoping for at least two myself.
Cheers, Mike/TB379
Berny,
Thanks for sorting that out for me. As a follow on question for you, when the N and S models came on line with the Navy, I thought the squids had wised up and fitted them with guns? Or atleast I though I had run across photos of them in that configuration.
Thanks again.
The only guns they could carry was gun pods. The Marines carried gun pods on the centerline for ground attack. The Navy did not arm their F-4B/J/N/S with gun pods. It could be the gun pods were designed by USAF engineers and built for USAF Phantoms, the Navy didn’t want to use something designed for the USAF. Eventually many other countries bought the gun pods and used them on many different type aircraft. For some reason the USN didn’t.
Jarhead,the USN/USMC gun pods were Hipegs, not the SUU-16 or 23,all three are in Hasegawa weapons sets in 1/72 and 1/48
if you use a Hasegawa Hipeg,the nose is just a square,it should be a figure 8 seen from head on,with one muzzle above the other
Sorry for the confusion gang, but Mike’s right. I’m not trying to cross-build. I can build a -N from the Hasegawa boxing (not Revellogram’s), and that’s my plan. I may have not been clear in my original post, but my goal is to build two Navy versions without fudging Hasegawa’s USAF cockpit. From what I understand, the cockpit molding in Hase USN/USMC is USAF’s version. So I’m building two USN jets using Hase’s USAF plastic. I only omitted the control stick; I didn’t hassle with the cockpit panels. Hopefully that makes sense.
Hey Berny, from what I gathered you’re the resident FSM Phantom guru. Is your expertise in USAF or USN jets? Or across the board? I’m hoping I can pick your brain during this build, since I know nothing about the Phantoms…and it’s many many versions.
If I’m lucky, I’ll have more to post today sometime…
Stay tuned!
-O
I worked on USAF Phantoms for over twenty years. I also worked DEPOT during that time on the F-4. While at DEPOT I had the occasion to work on Navy and Marine F-4B/N/and J models. I also worked training GAF ground crews on the German Phantoms. My last trip to Germany I was certified on all NATO F-4 aircraft as well as USN and Marine Phantoms. So you might say I know something about every F-4 Phantom built.
Well Berny, I hope you don’t mind me asking stupid questions because I’m sure I’ll have a few over the course of this build…
Anyway, let’s get on to part two, shall we?
If you remember, one of my second-hand Hase Phantoms had all the cockpit sidewall detail sanded off for an aftermarket ‘pit. Since I’m on a pretty tight modeling budget, I opted to use the kit’s ‘pit. I also decided to add the pilots to the office to hopefully distract anyone from noticing the missing detail. In my first attempt at modeling some figures, I thought I’d take a little extra time and try a few other firsts with the pilots. (Thanks for the inspiration Gamera!)
I started with some solder and fine copper wire (taken from an old electrical cord)…

and wrapped the former with the latter to create new oxygen hoses.

(Disclaimer: Sorry, but since the wife had the camera for the day, I was unable to take some in-progress shots of the following sequence.)
I also hacked up the back-seater’s arms and posed ‘em in a more relaxed position (i.e. holding on for dear life). On the driver, I used some arms I had in my spares box that allowed him to hold the stick & throttle better than the kit provided arms. Some white Milliput filled all the gaps on the crew. After the guys were painted up, I brushed some Future onto their bone-domes and visors. The glossy finish gave me the right look and helped with the next step. I used some spare red decals to create their helmet art. I busted out an old-school hole-punch (sadly, no punch-n-die set for me) to get a dot of red, and then cut that in half for the semi-circles. Then I cut thin strips for the “rays.” Once in place, a little bit of Solvaset got everything to snuggle down nicely. After the decals were dry, I brushed on a little more Future to seal and shine everything up. The pilots were then set in place and next came the hoses. I CAed those to the masks, and since the solder was nice and flexible, I was able to position ‘em right where I wanted ‘em. Finally, I cut some thin strips of masking tape for seatbelts; three strips per figure. They each have a lap belt and a shoulder harness. I know the pattern isn’t accurate, but it does make the crew look like they’re strapped in and ready for action. I left the belts the tape’s original color. I thought it contrasted nicely with their green flight suits.
Seat backs and tray tables in their upright and stored position:


Back-seater:


Driver:


Beyond that, I was looking at the Hase kit and realized that, with a little work, it can be built as –B model. I decided to build the –N of VF-111, then build one as a –B and use Superscale’s VF-84 decals. I know, I know, some people are sick of the bones, but I really like the look of their early “pirate flag” scheme.
So to start, I filled the back end of the –B’s tail ECM with Milliput. Since it’s hollow and gonna be sanded off, I needed something back there to fill the void.

While the putty dried, I took the time to clean up the three canopy sets and dipped ‘em in Future.
Wait. What? Did he say three?
I did.
While out walking the dog early yesterday morning, I run across a house having a yard sale. The family asks if they can meet my pup, and while they do, I take a sec to have a look-see. Guess what I find…

Now I have something to dress up in VMFA-333 colors! (I also pick up Revell’s 1/48 F-15E. Each for a buck!)
Since my Hase Phantoms are in between subassemblies, I start on the Revellogram –J.

And that’s where I stop.
So, what? That makes three Phantoms now? This is turning into a personal group build within the group build! I just hope I can get ‘em all done before the deadline. gulp Wish me luck!
Again, thanks for looking. Feel free to comment. Stay tuned for part three!
Cheers!
-O
Hey Bushi-
Where is that Phantom in your picture. Looks like a nice outdoor museum!
Sub: This is located in Hickory, NC at the Hickory Aviation Museum. Here is the link. It i’s not very large but is does have some nice aircraft. The musem is run by volunteers of the NC Saber Society. Free admission but they do ask for donations, plus are looking for volunteers to help run the museum and help with restoration.
http://hickoryaviationmuseum.org/index.shtml
When it warms up some I’ll go take some photos to post. Temps right now in the 19 - 30 range. Way to cold to take photos.
Bushi
Time for an update: Basic assembly coming along well, the fit on this old mold is really good, I think RG did some work on it before the re-issue. I am only going to have to use putty on a couple of places.


Thanks Thunderbolt for letting us build more than one at a time. Hey, you’all remember the Austin Powers movie where the bad guy had a “Mini-Me”? Well, my Phantom is going to have one- Academy’s 1/144 F4E!!

For a size comparison:


What do you think so far?
Great work, KM! You’re pumping that build through! I’ve barely cut sprue yet!
Cheers, Mike/TB379
I will be happy to help with any question you might have. OBTW, put some gloves on the pilot. They NEVER flew without gloves.
Bomber Boy
this is mostly only helpful to you, but, when you build Revell’s Phantoms,it’s helpful to dryfit the fuselage and wings,there is a gap between the sides of the fuselage and the top portion,it can be pretty large,it seems to be on all of them,the T-birds set, the Blue Angels set, and any individual aircraft releases,so it must be in the molding
what I did is to make spreader bars to go inside, three per fuselage,to push the bottom of the fuselage out to make even contact with the wing tops

hope this shows what can be done with that kit
Rex
I’m not seeing my name on the “Order of Battle” list. I thought I had thrown my hat in on the other thread but I guess I didn’t/ Silly me.
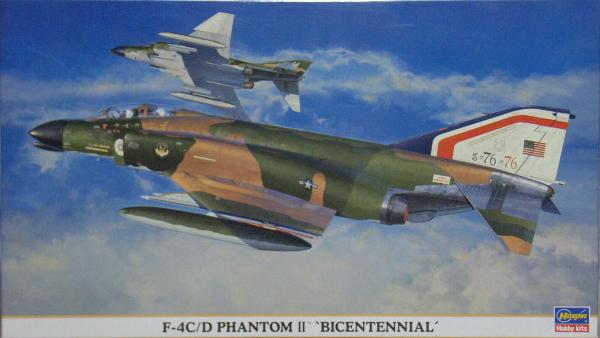
I will be entering with a 1/72 Hasagawa F4 Bicentennial bird that I hope to build into the aircraft used by Robin Olds.
Here are the ejection seats I picked up yesterday.
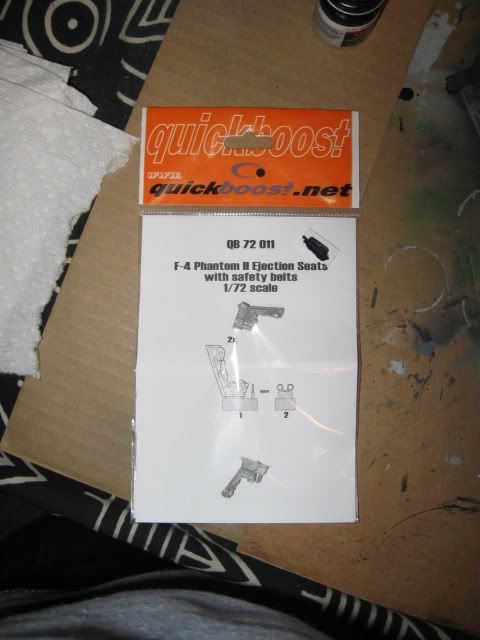
All I need now is the correct decals and I’m off. Anyone know who might make them?[:$]
Yo Dirk! Great to have to aboard, guy – didn’t see you come through the recruiting office (the other thread!) so consider your papers processed and you’re in the squadron! Report for kitting out and briefing at 09.30 hours…
Order of Battle updating now!
Cheers, Mike/TB379
Thanks Mike, I look forward to it. Like I said in the previous post all I need now are the proper decals for his plane, a little research and away we go. I had also thought about doing a navy Phantom (Love the paint scheme) but I hate painting white. I can never get it to look right.
O- great looking pilots. And fantastic helmet decaling.
Great photo Bushi- looking forward to more.
Finished off the crew’s ‘office’ with Eduard ‘ZOOM’ PE. It’s for a F-4E but I hope a F-4EJ isn’t too different.
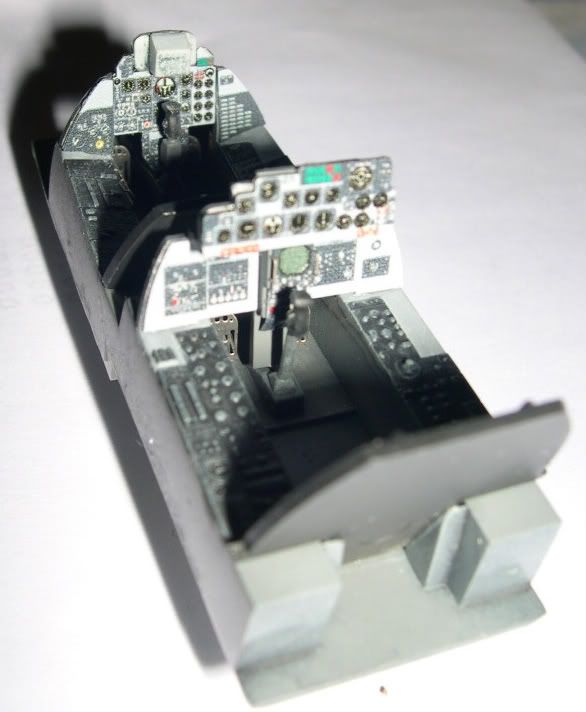
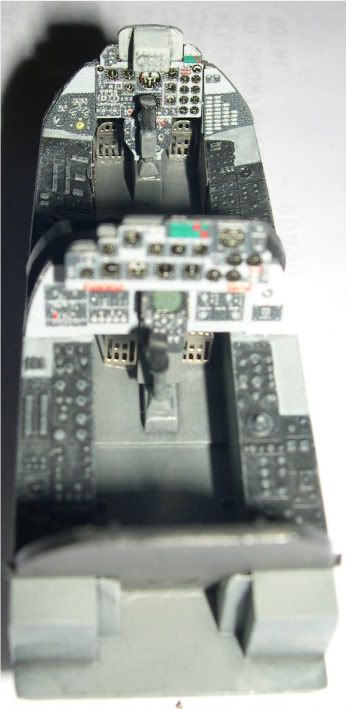
Closed her up:

Only bad thing about the Hasegawa kit is there is an opening in the bottum of the intakes. Using the article in the new FSM as a reference I closed the gap with some sheet stock and putty.
Next problem is the Kai has strengthening strips placed on the radome. Working on finding a good way to stimulate them.