Looks good Rh! Where does the Roman numeral marking go on the tank?
2 Likes
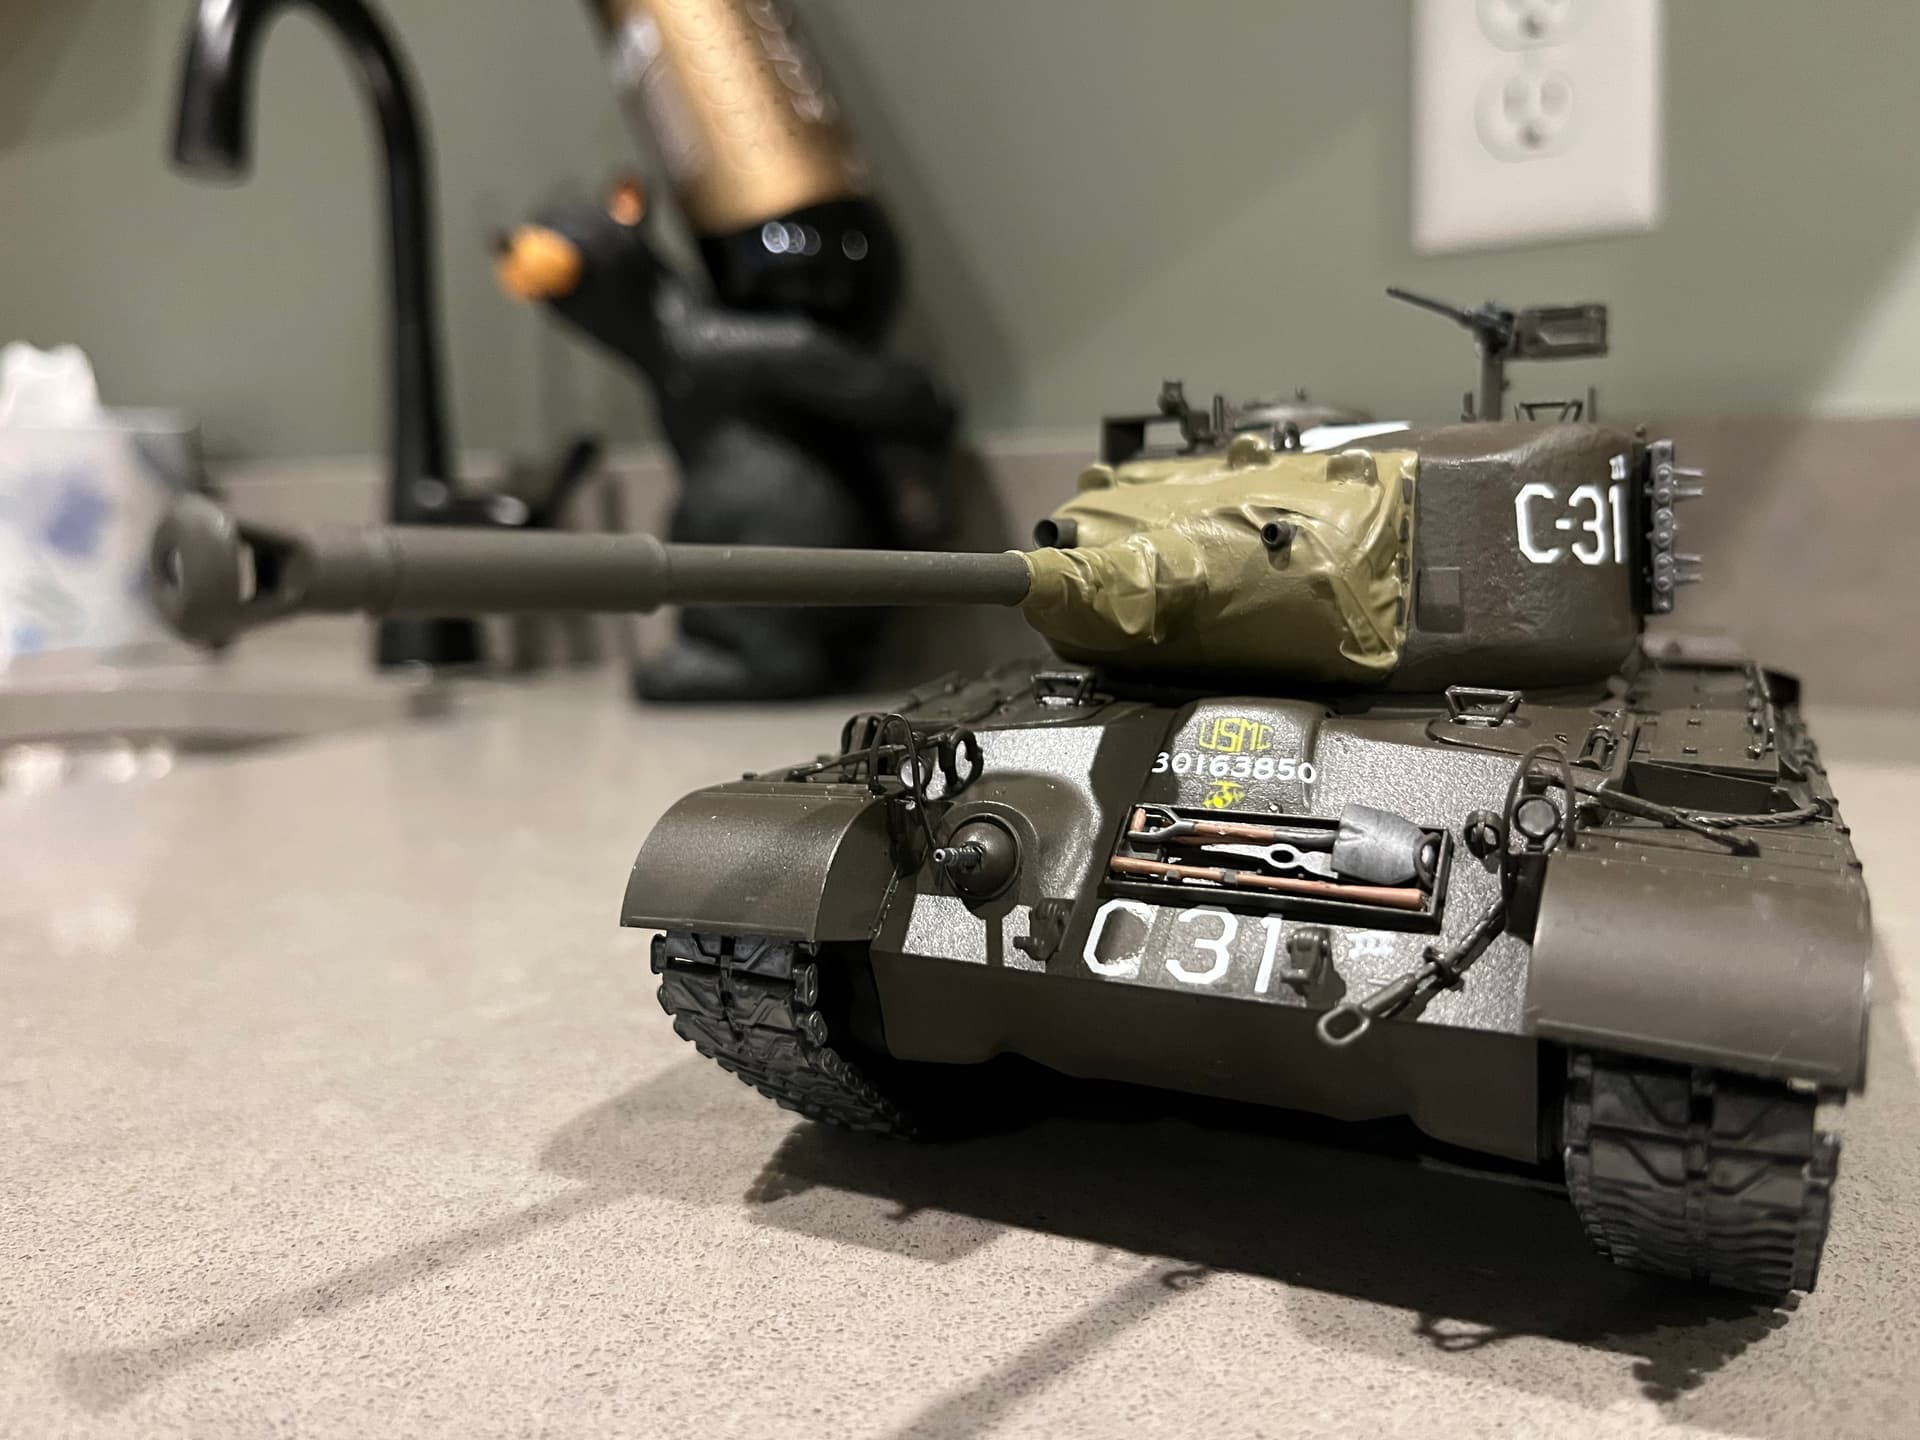
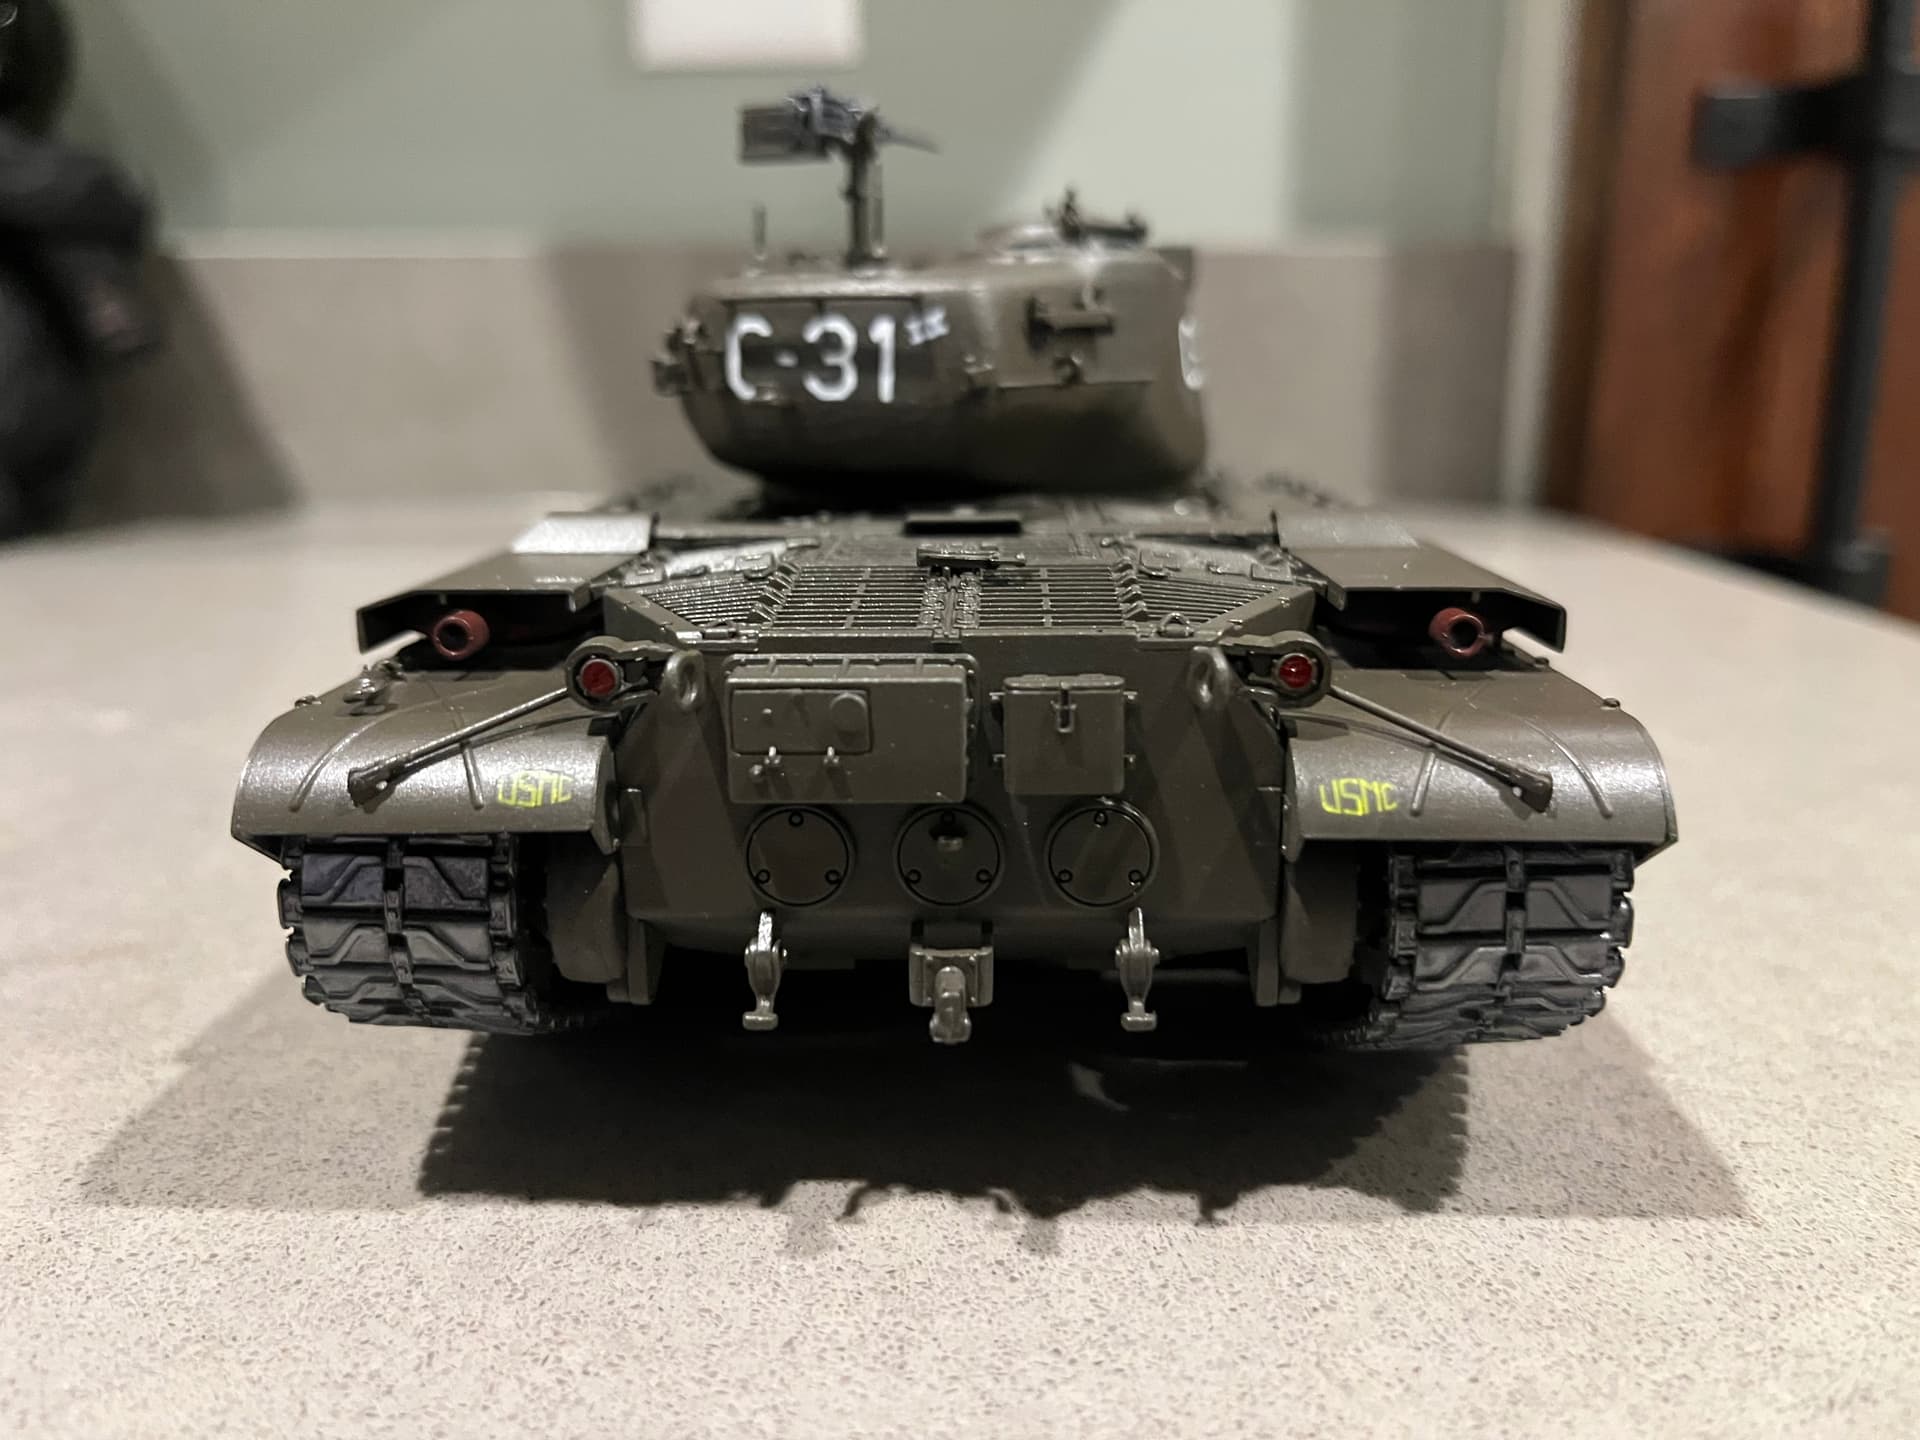
There are four locations. Upper right rear of turret, left side of the turret to the right of the 31, front of lower chassis to the left side of the 31 an just below the tool holder, and the right side of the turret to the right of the 31.
3 Likes
Gary,
With the weather here, it will probably be about a week until I can get to the local Hobby Lobby to get the ink. So, I think that we can wait until I get the ink.
I am very surprised that my first name is banned.
Thanks,
RH
2 Likes
Almost there!
Underside decals and weathering going down. Using the new ammo missing link weathering pens is a joy! Note, this is just the first weathering phase, most of what you see will be wiped off or blended in. I’m going for a lite look.
A dozen more of these microscopic stencils that no one will ever see, and all that will be left is the painting of the theater stripes, and final assembly.
Hope to be done in a week.

7 Likes
Sorry for the late reply. I’ve been under the weather, both figuratively and physically.
Nice job on the Sabre. Hope to see it finished soon!
Gary
2 Likes
Your reply isn’t late, it’s right on time. My Sabre is late, by about 6 weeks by my projected finish date.
I have all the decals done, weathering done, just need to learn how to paint the theater stripes (this has me nervous), and final assembly this weekend and clear coat the entire thing… Done!
Hope you feel are feeling better my friend.
2 Likes
Thanks! A bit better. In fact, I managed to get some work done on the Corsairs. Like you, they’re so close to being finished, but I haven’t had the energy to push them to completion. Let’s hope for better days!
Gary
2 Likes
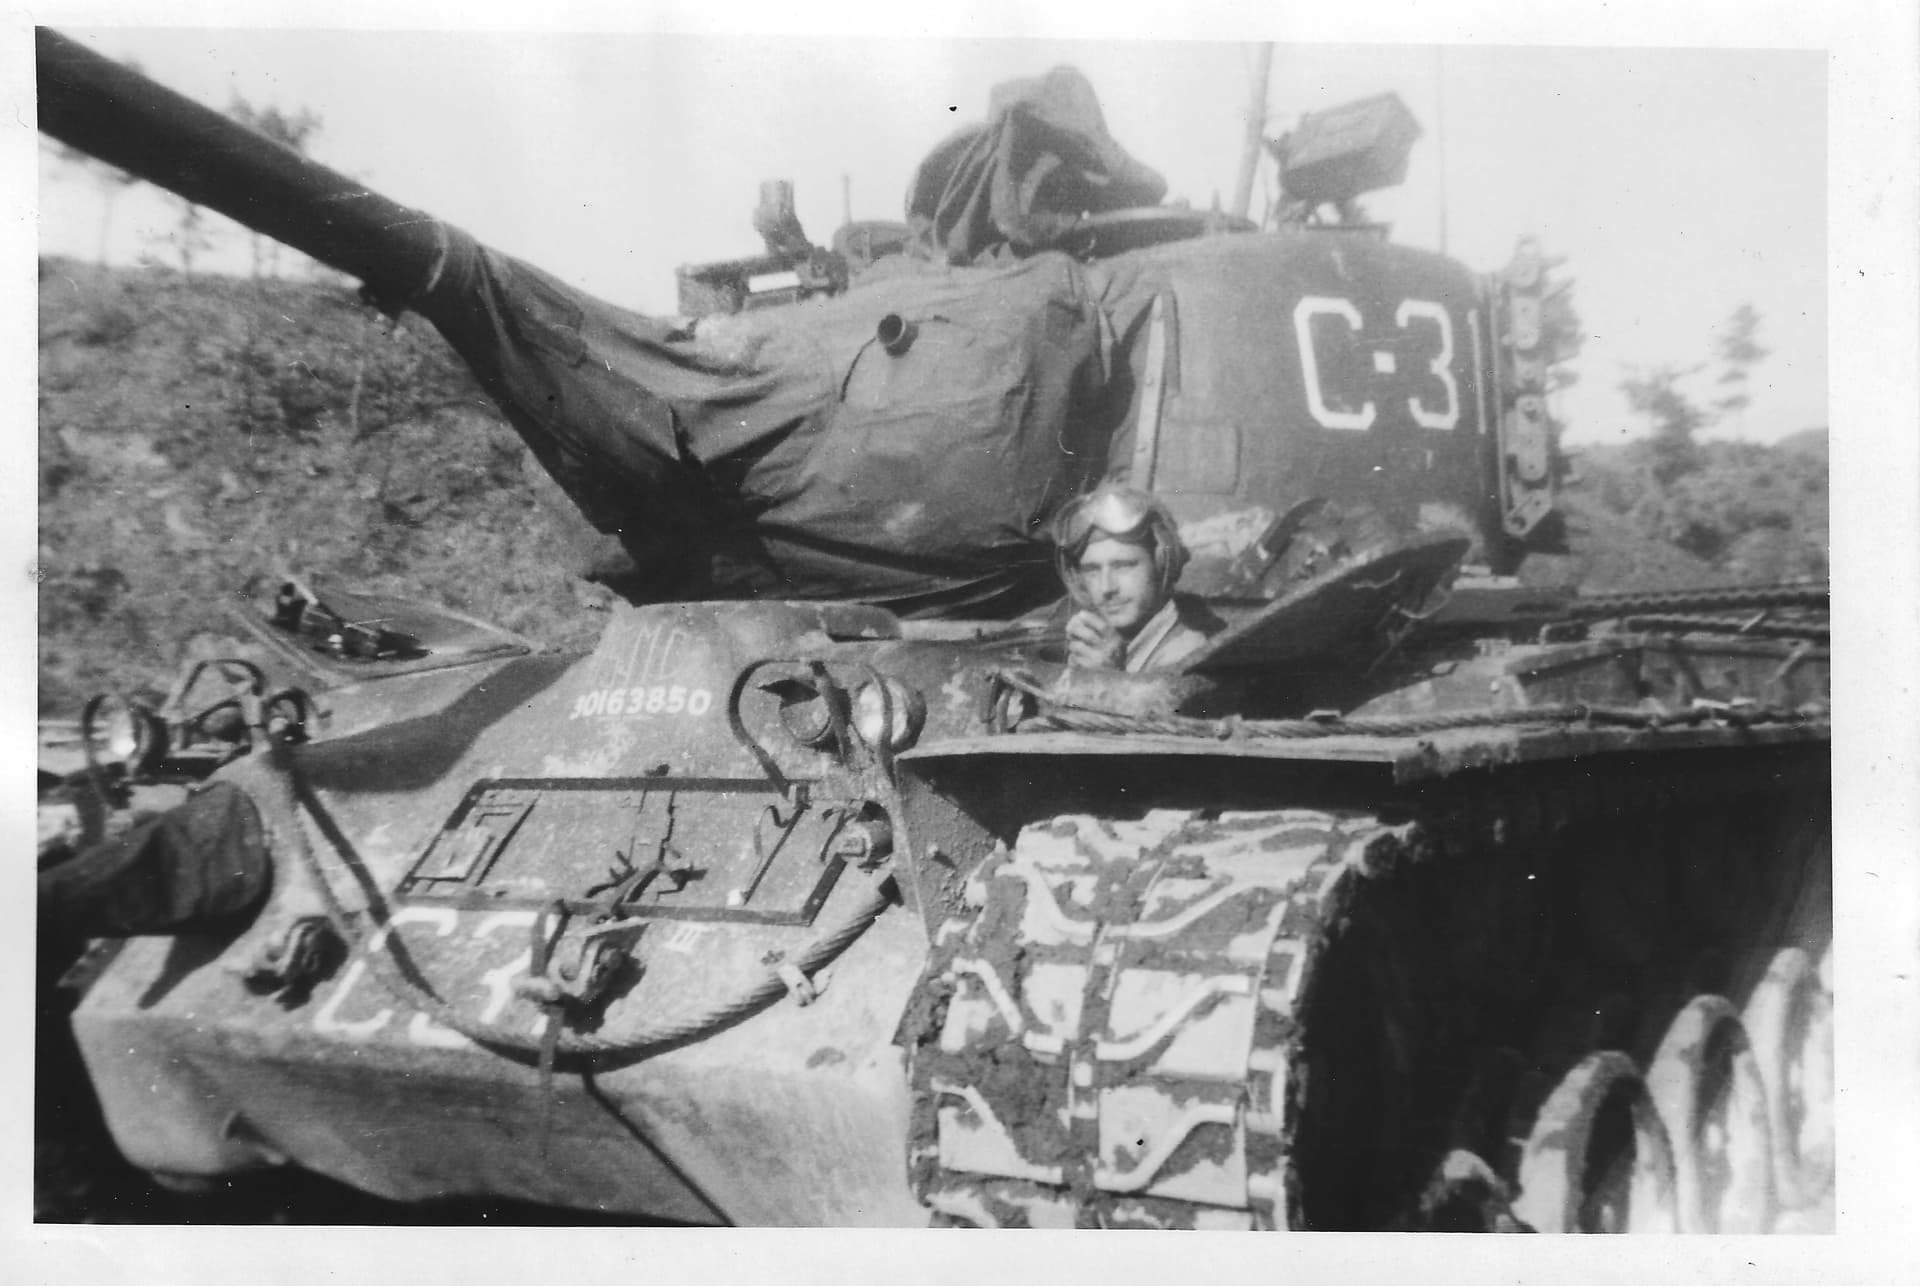
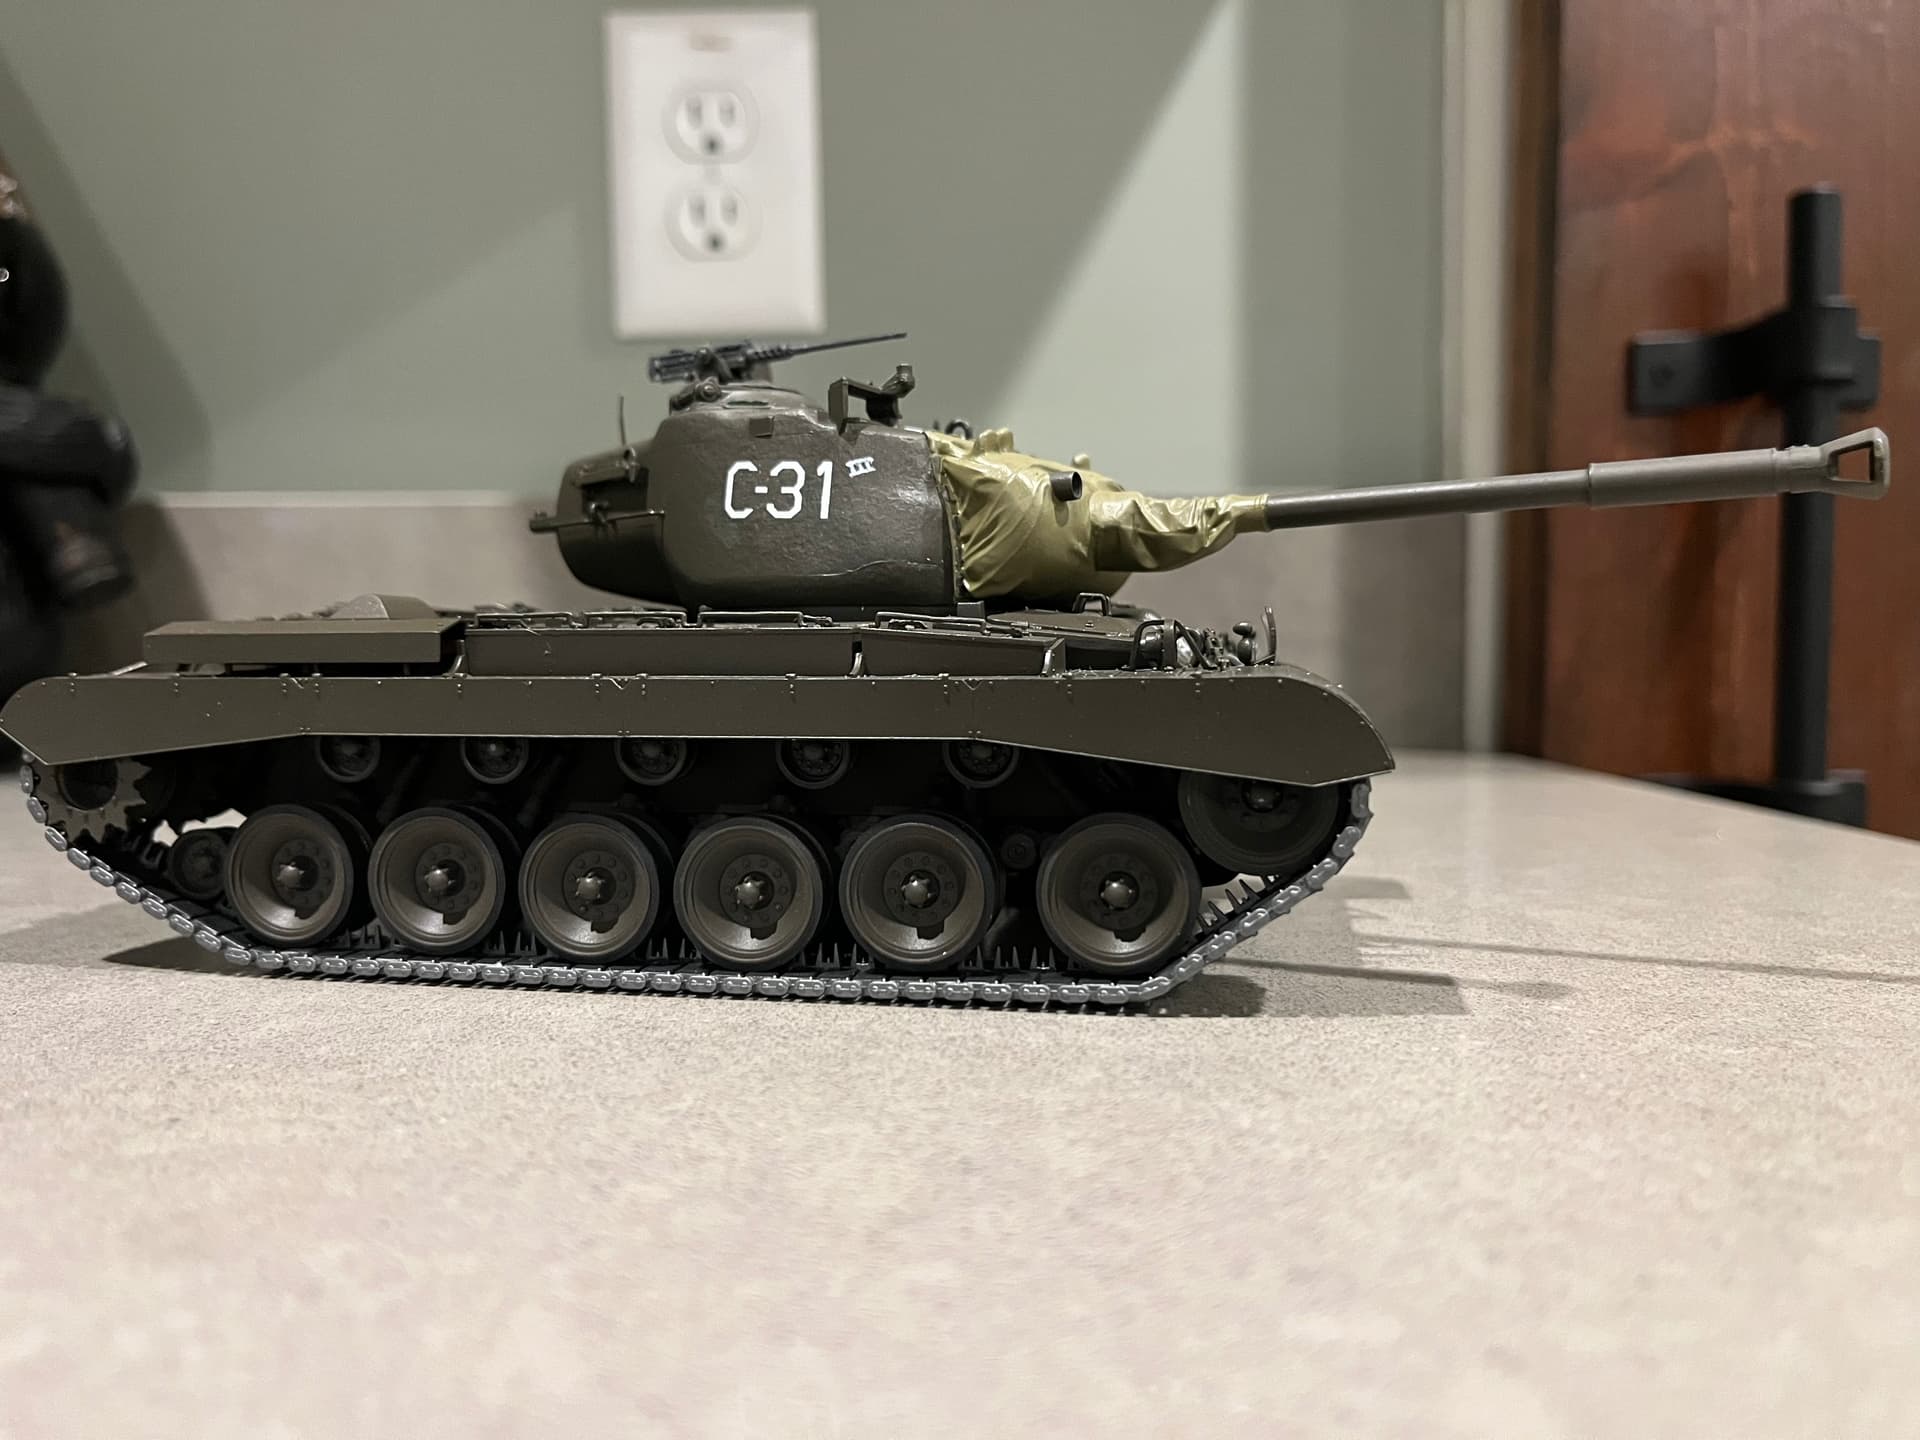
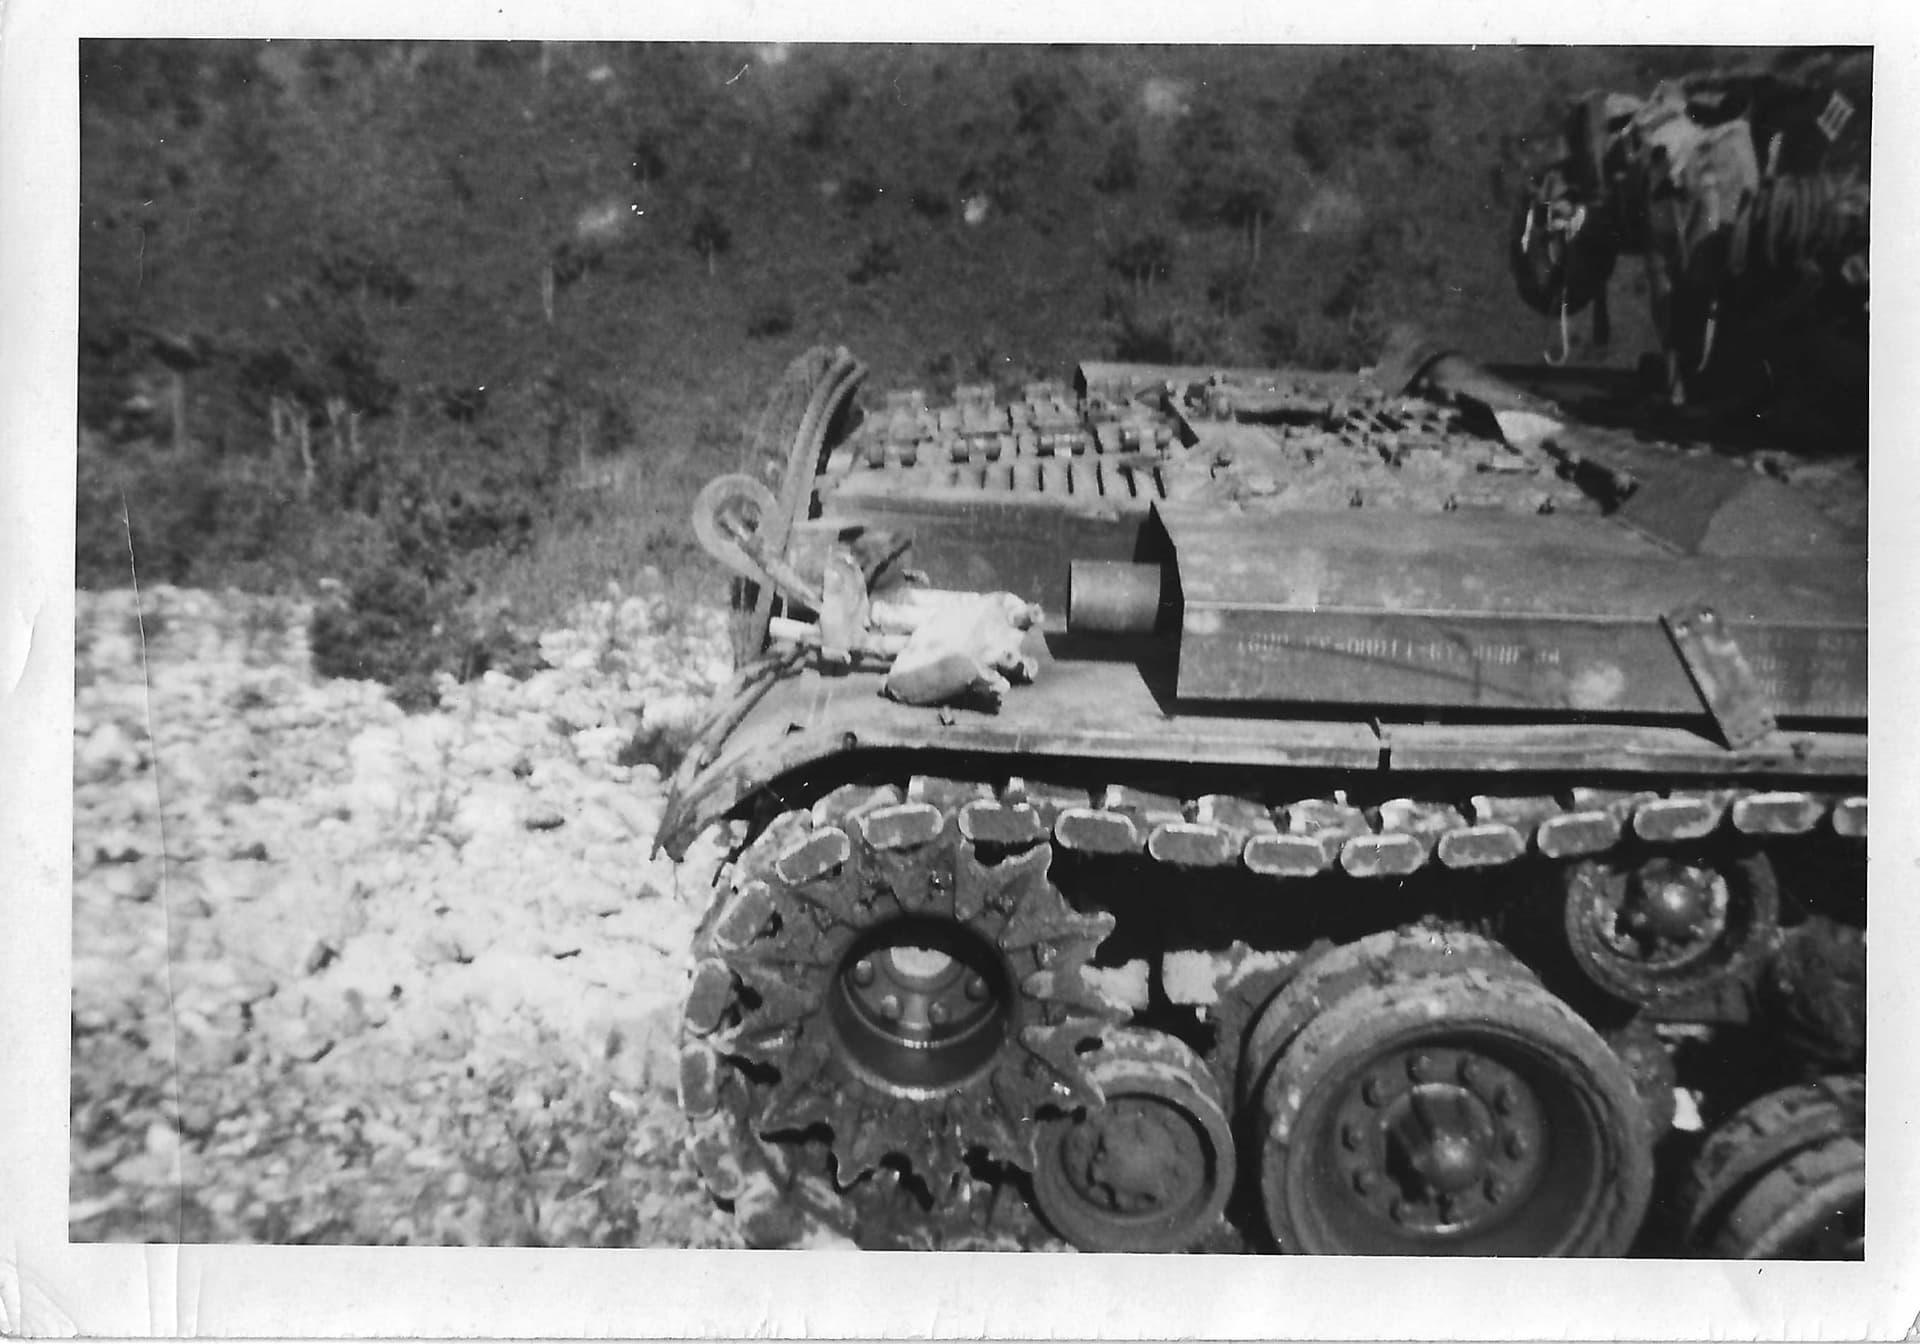
Finally done. The white India ink in the Rapidograph drafting pen worked great. I used a #0 (0.3 mm) for the Roman numerals.
8 Likes
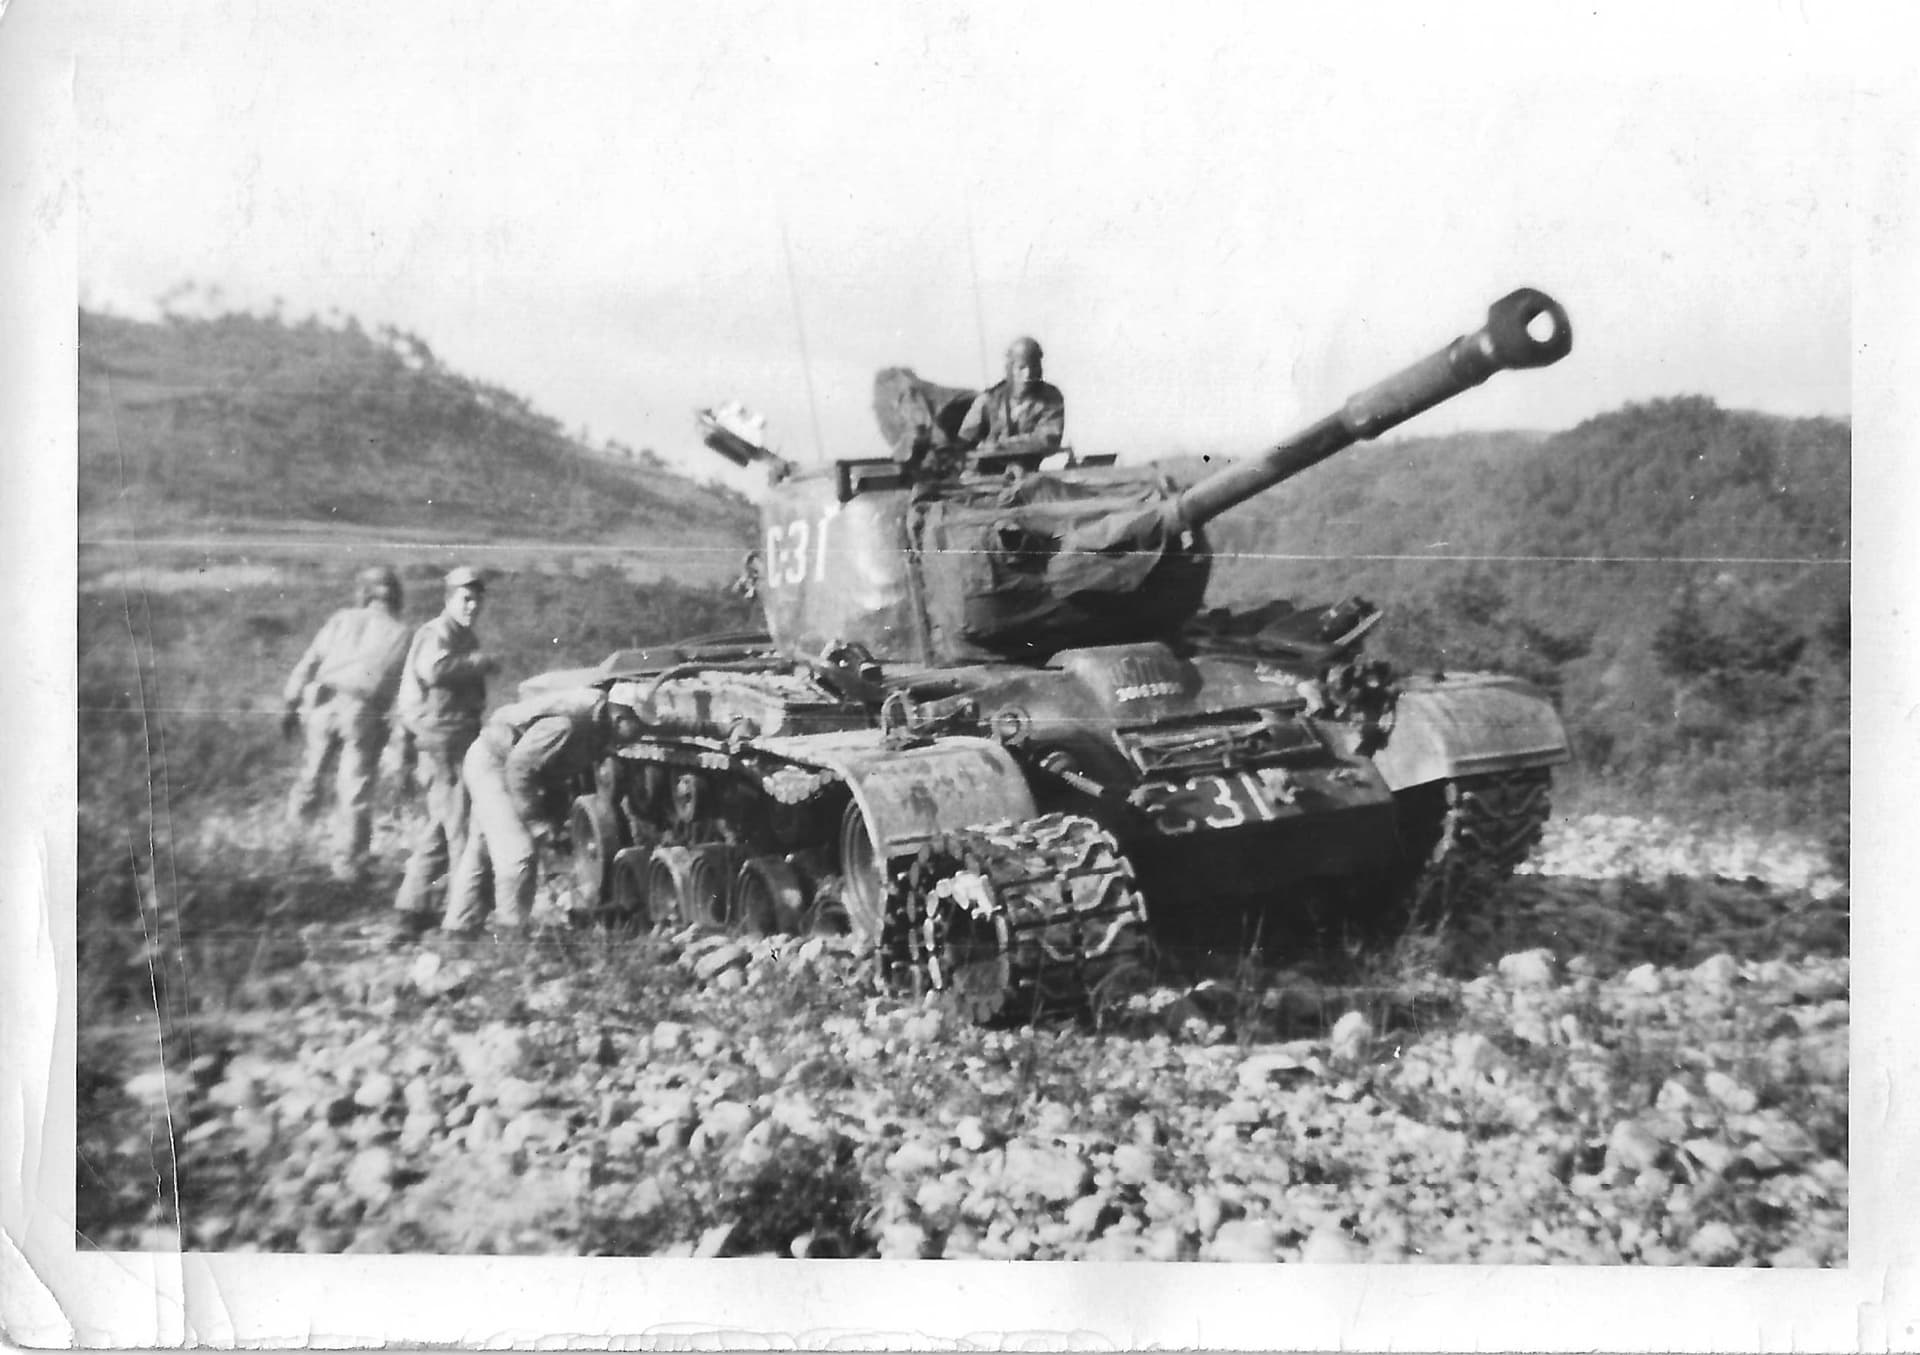
The way the Roman numeral III is applied by the tank ID makes me wonder if it was this crew’s third tank that they had been issued, and not some battalion marking. Perhaps they served on two previous tanks also designated C-31? From what I’ve read, prior to the outbreak of the Korean War, the USMC tank Battalions had only M4A3 Sherman’s. That would be C-31 I… they partially re equipped with M26 and M26A1 Pershings prior to entering combat in 1950, potentially making C-31 II. Then when re equipped with M46 Pattons in 1951, C-31 III is their new mount. Pure speculation on my part…
Btw, nice clean looking build!
3 Likes
The roman numeral stands for the 3rd Marine Division. It was his only tank for the time that he was there. He did have a mine strike and he told me that he was happy that he was in an M-46 as it had better armor in the belly of the tank compared to the Sherman.
6 Likes
Great work on the M46! Looks like the rapidograph did the trick. It’s a great way to honor your dad’s service.
Got you posted on the front page! Congrats!
I need to get busy and finish those Corsairs!
Gary
1 Like
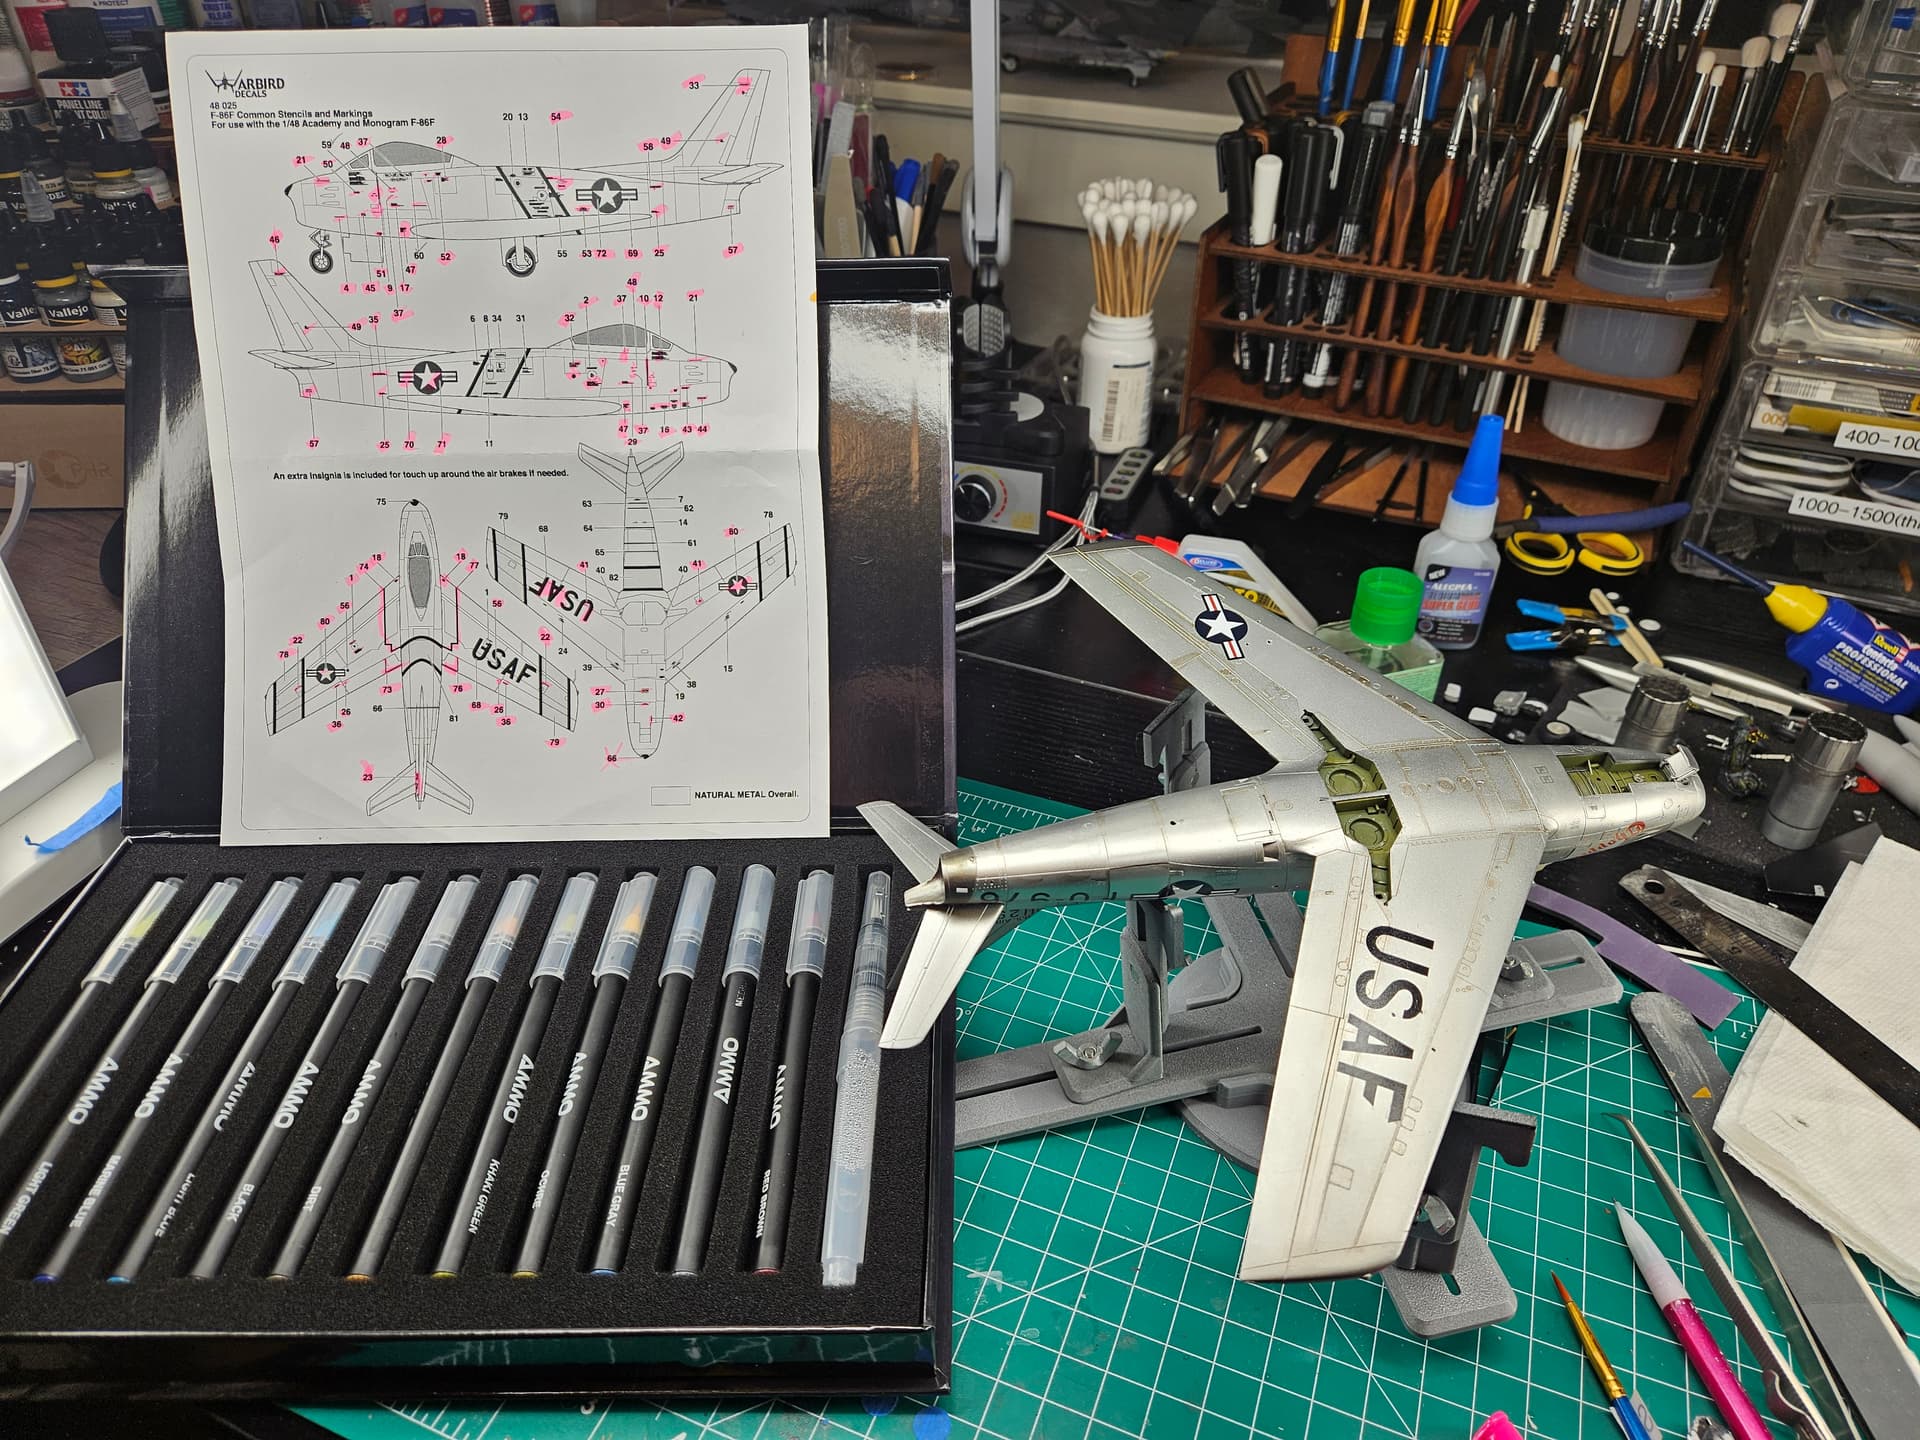
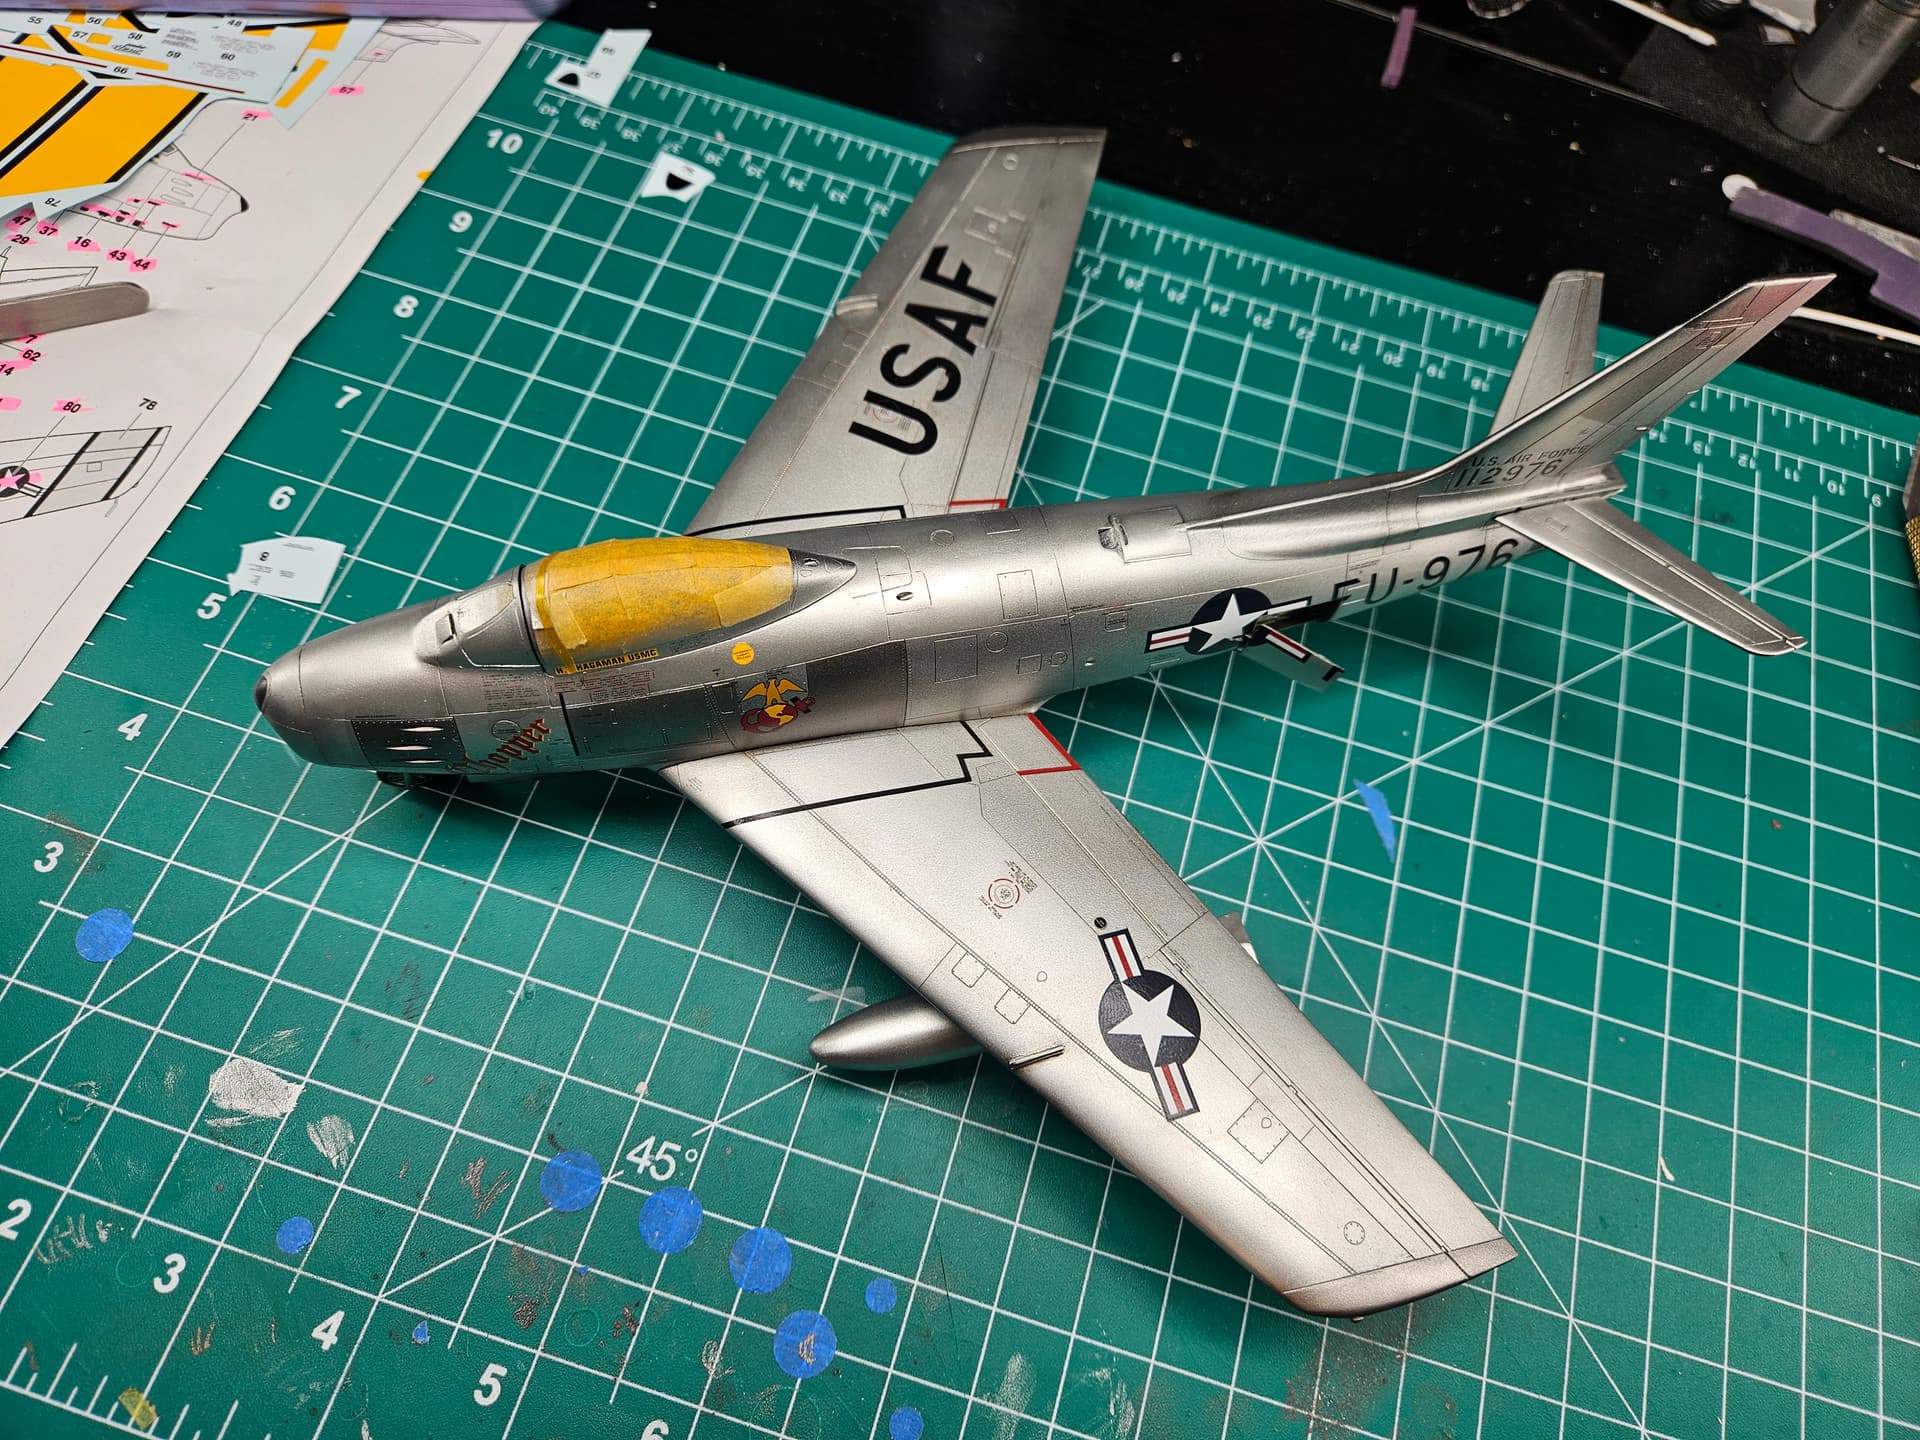
Introducing, for the very first time, my F-86 Sabre is standing on its own three legs!
Assembly is nearly completed, just need final theater yellow paint on the wings and center fuselage, which scares the heck out of me .

5 Likes
You’re making great progress-fantastic job on the NMF
1 Like
Don’t be scared of yellow. It’s only a color. Mark it out with thin Tamiya tape, paint it, and then edge it with black decals. The ERTL kit came with black decal outlines and expected you to paint the yellow!

Gary
2 Likes
Oh, I’m not scared of yellow, I’m just worried about messing up my paint job at the very end of a three month build. I’ve never done masks like this before and learning at this point in the process, where it could all go terribly wrong is what I’m scared of.
The black decals would actually be easier I think, as that seems like the hardest part to get right, especially on the center of the fuselage.
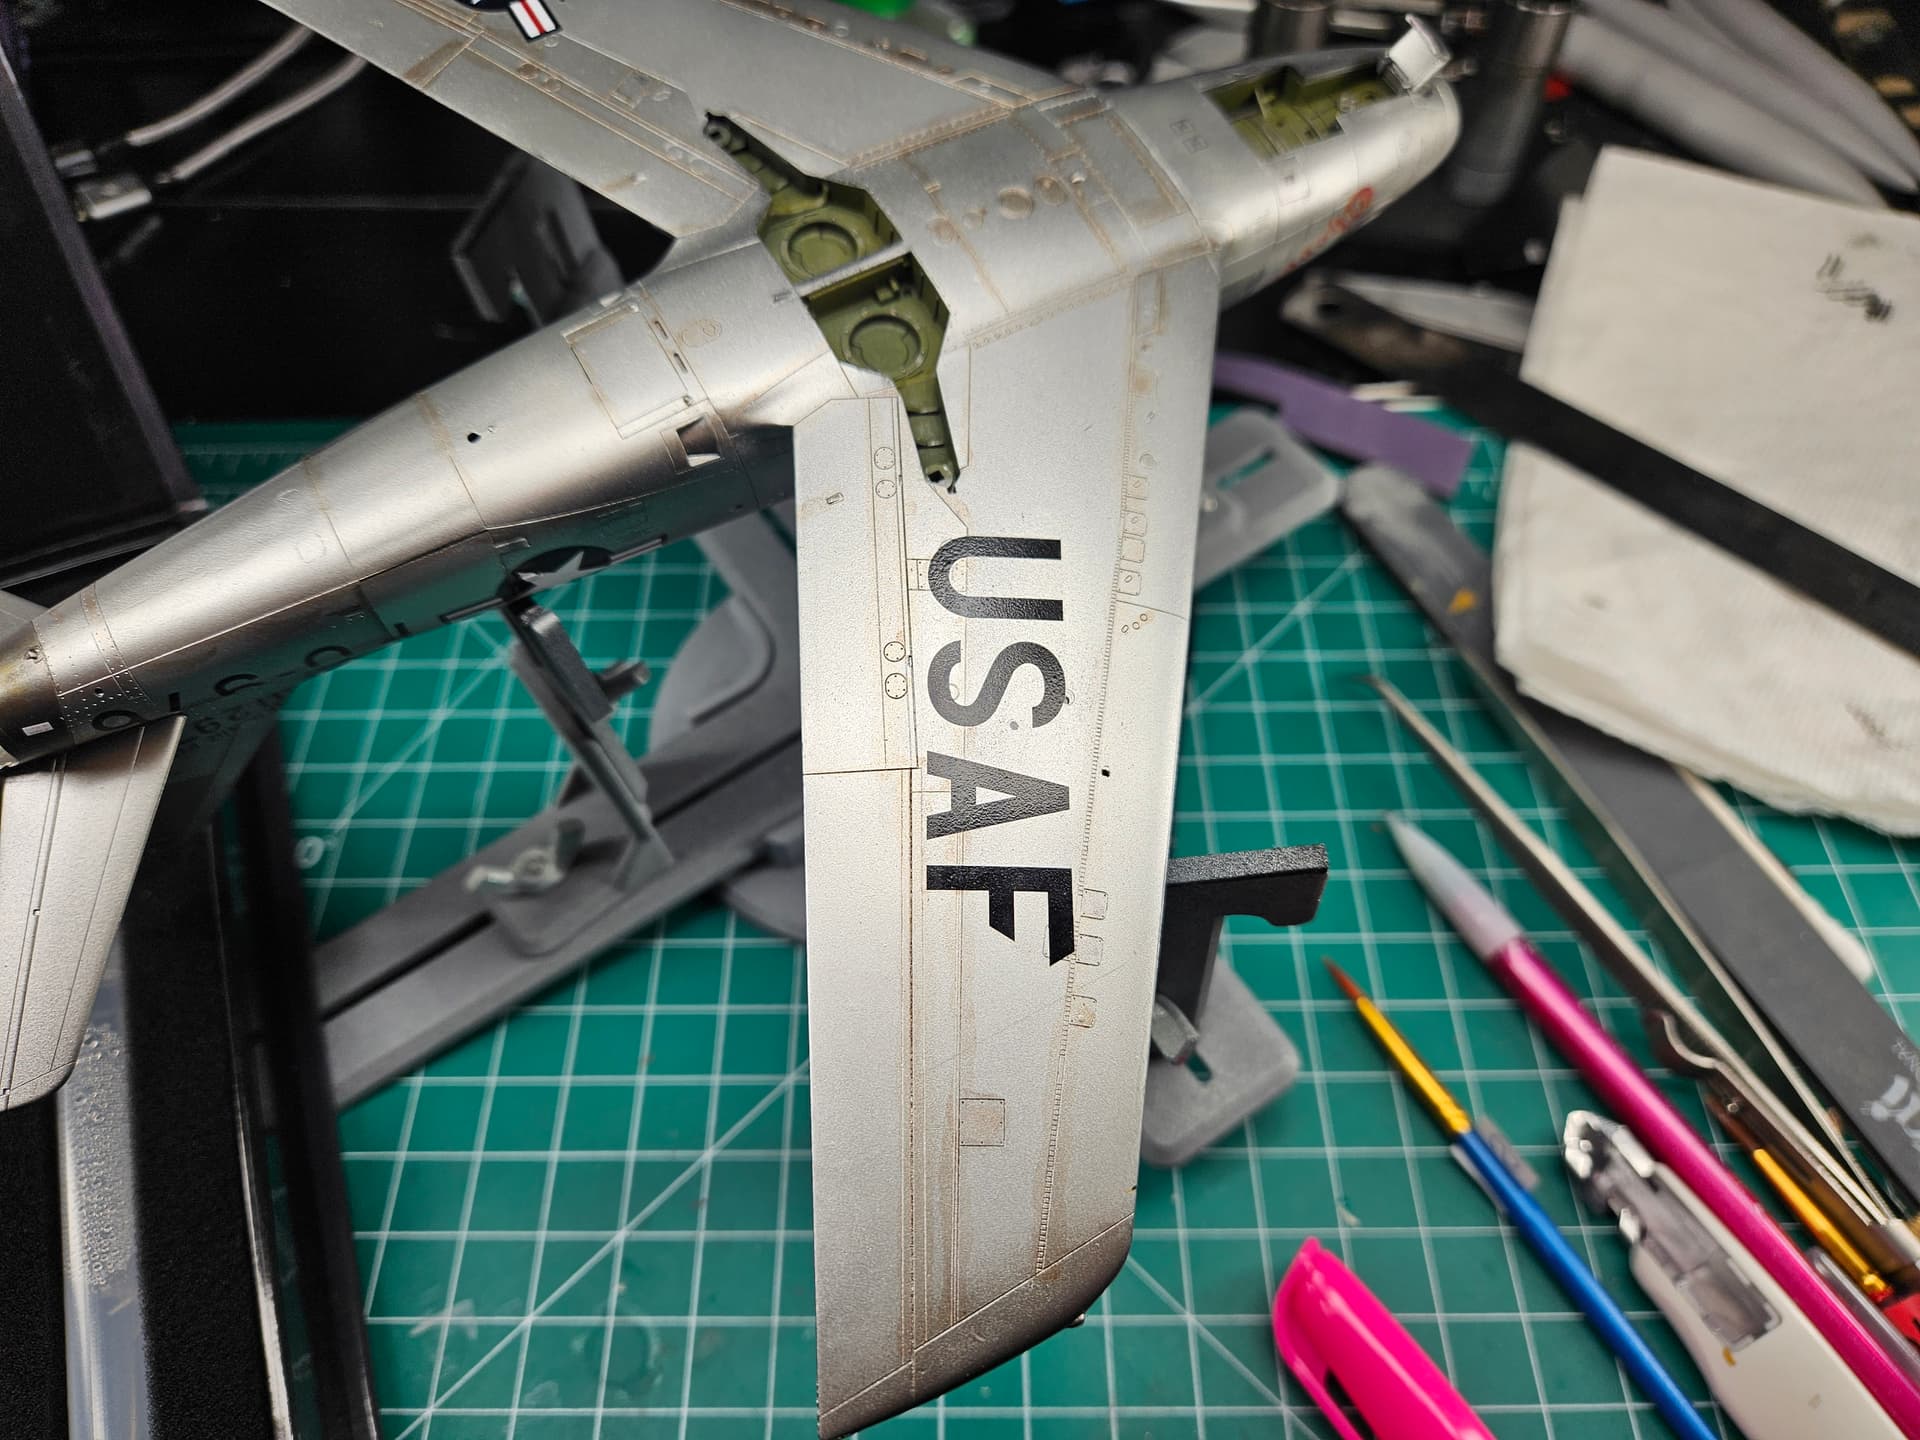
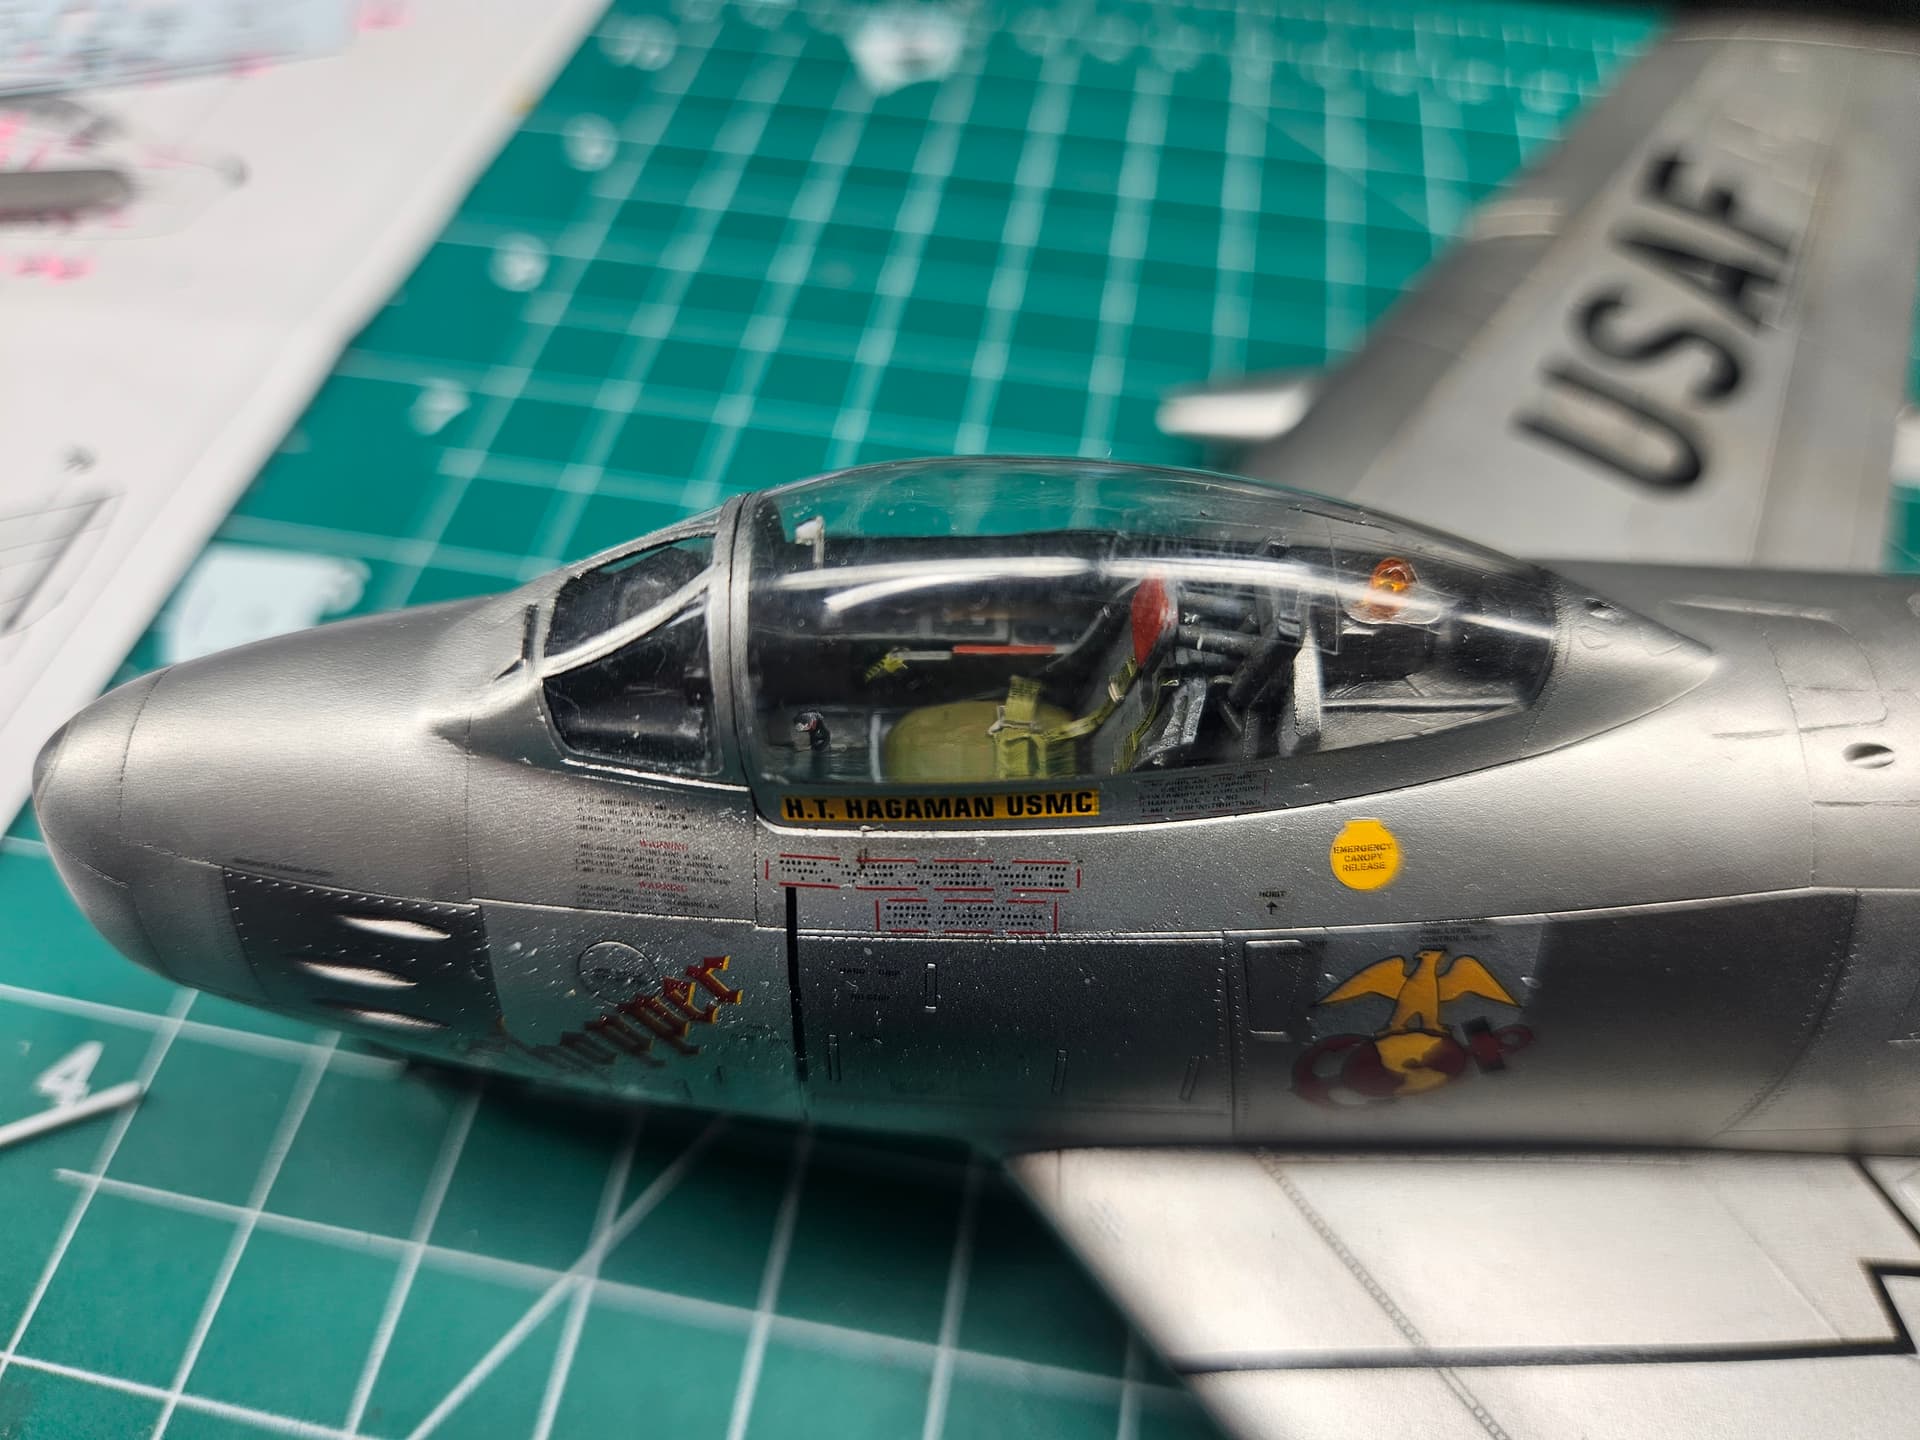
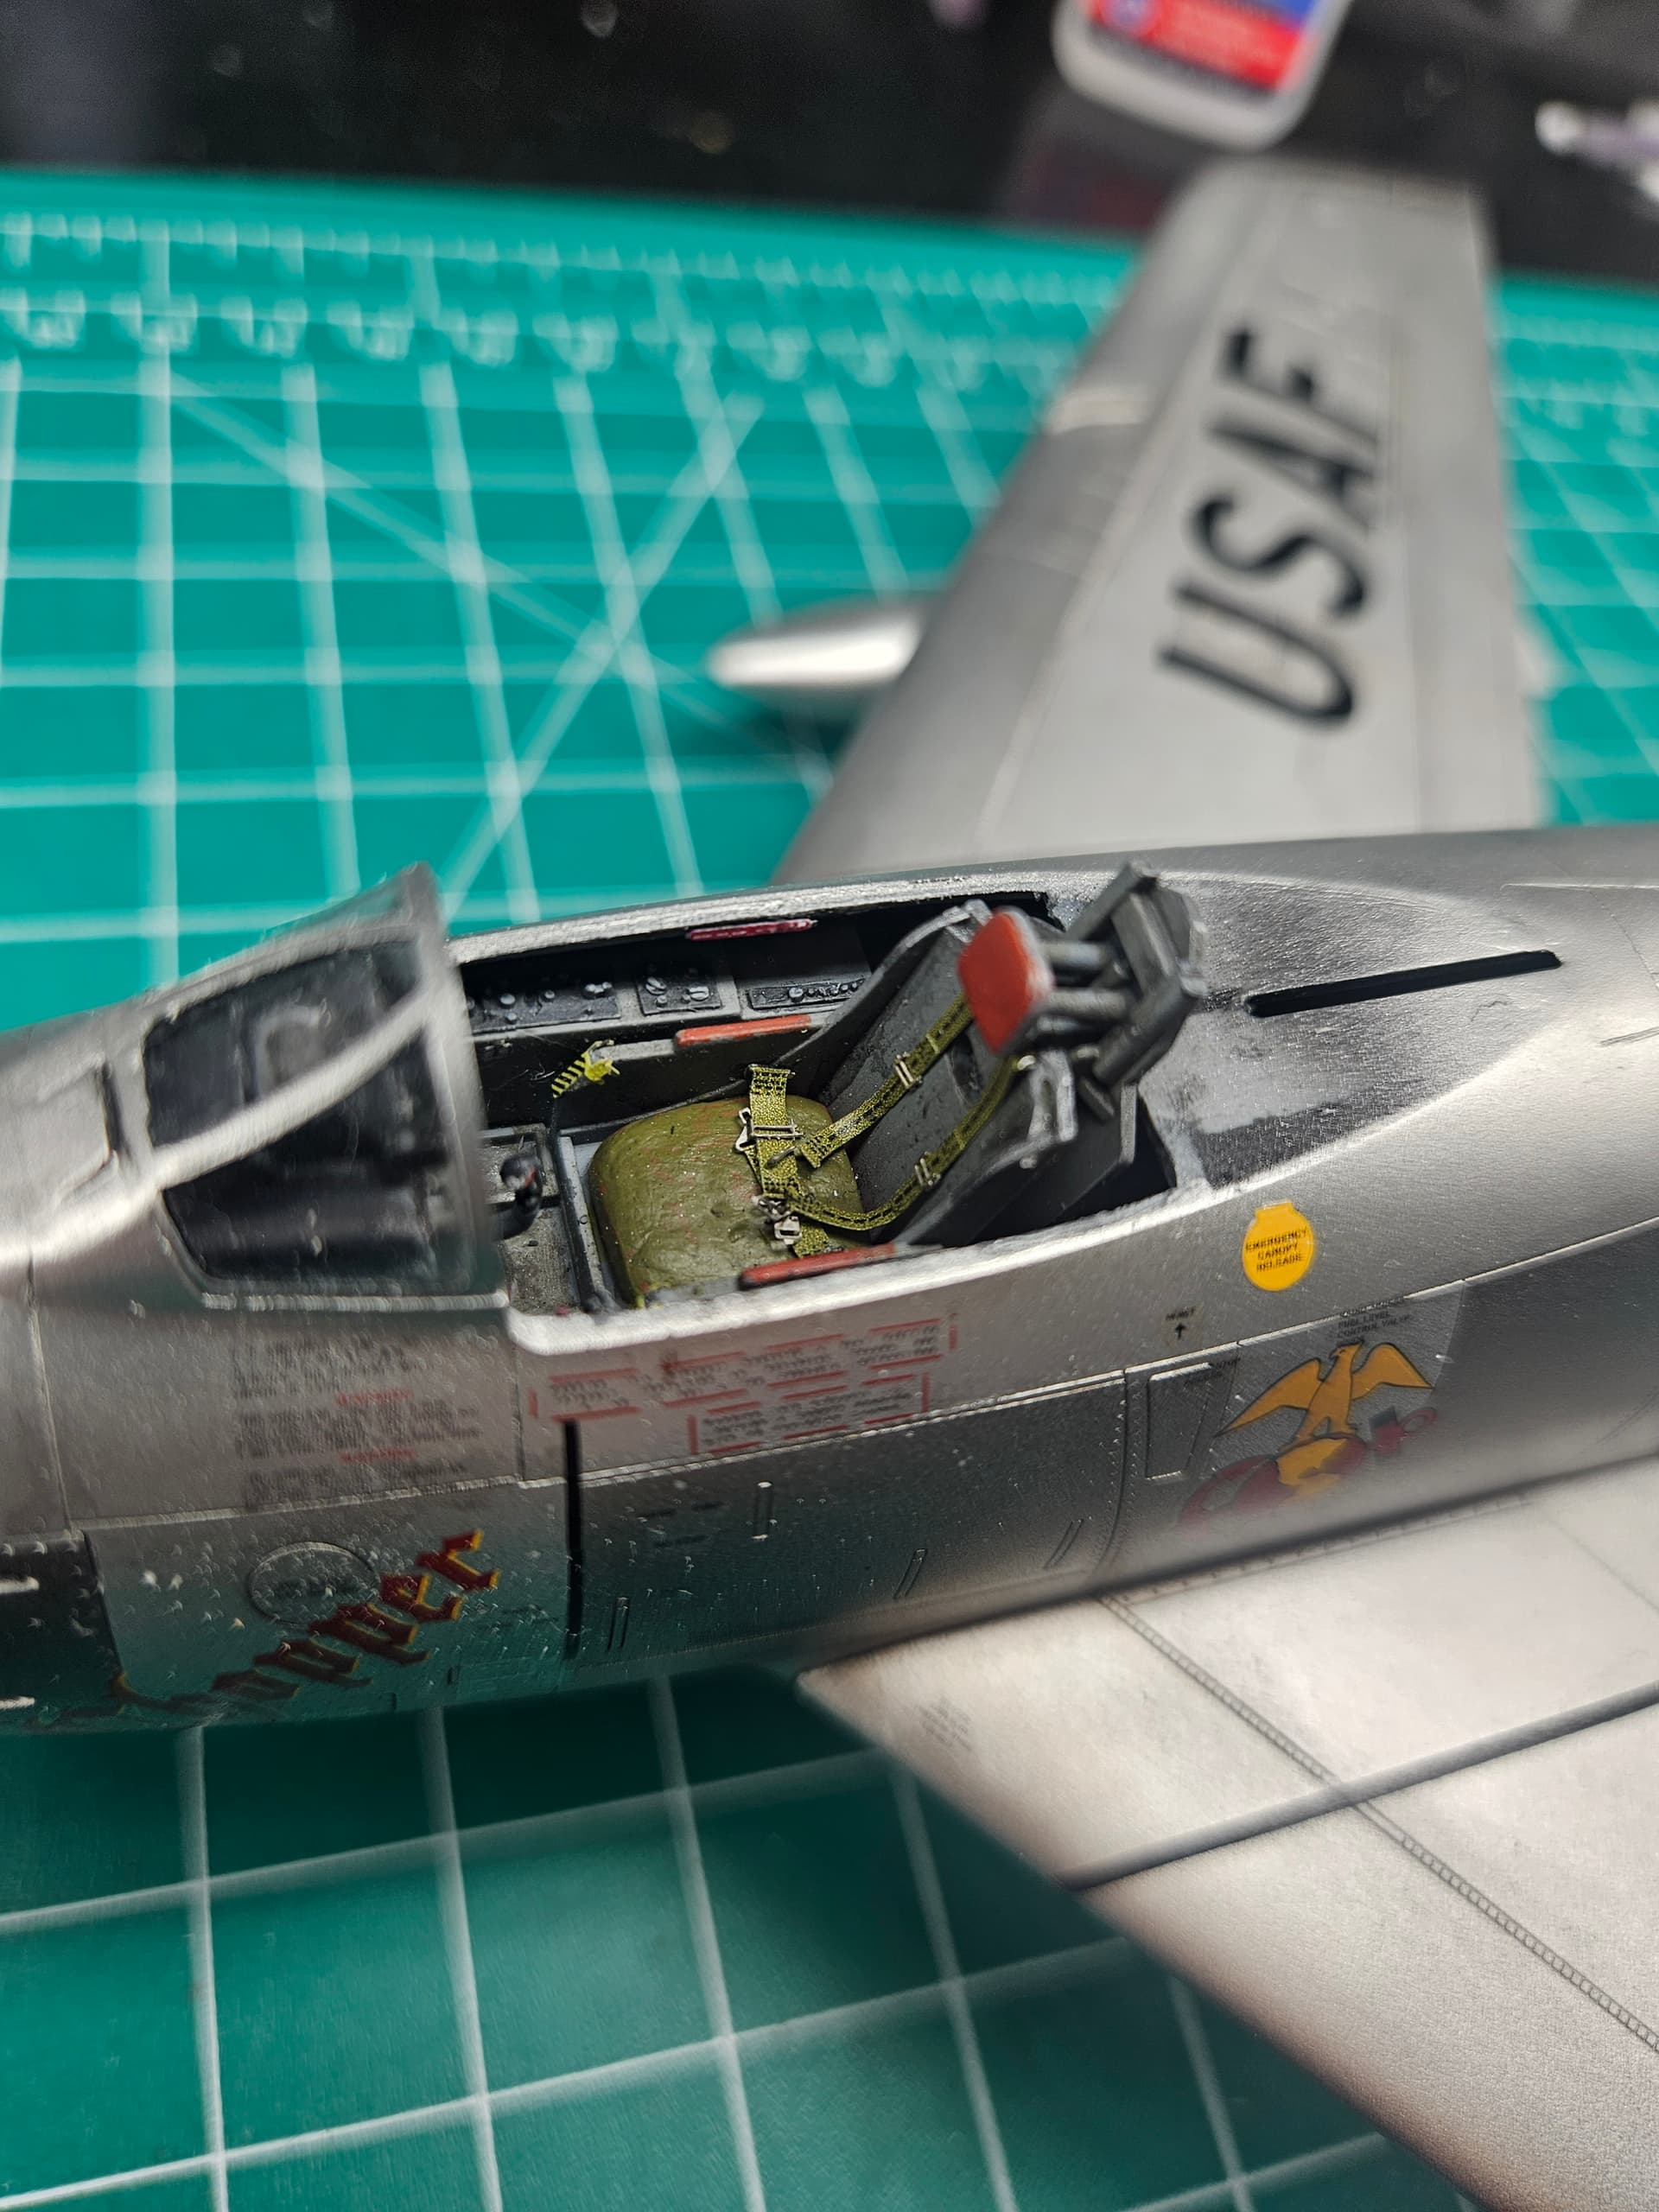
Removing the masking from the canopy is one of the best but scariest things my modeling self can do… And tonight it came off perfectly!
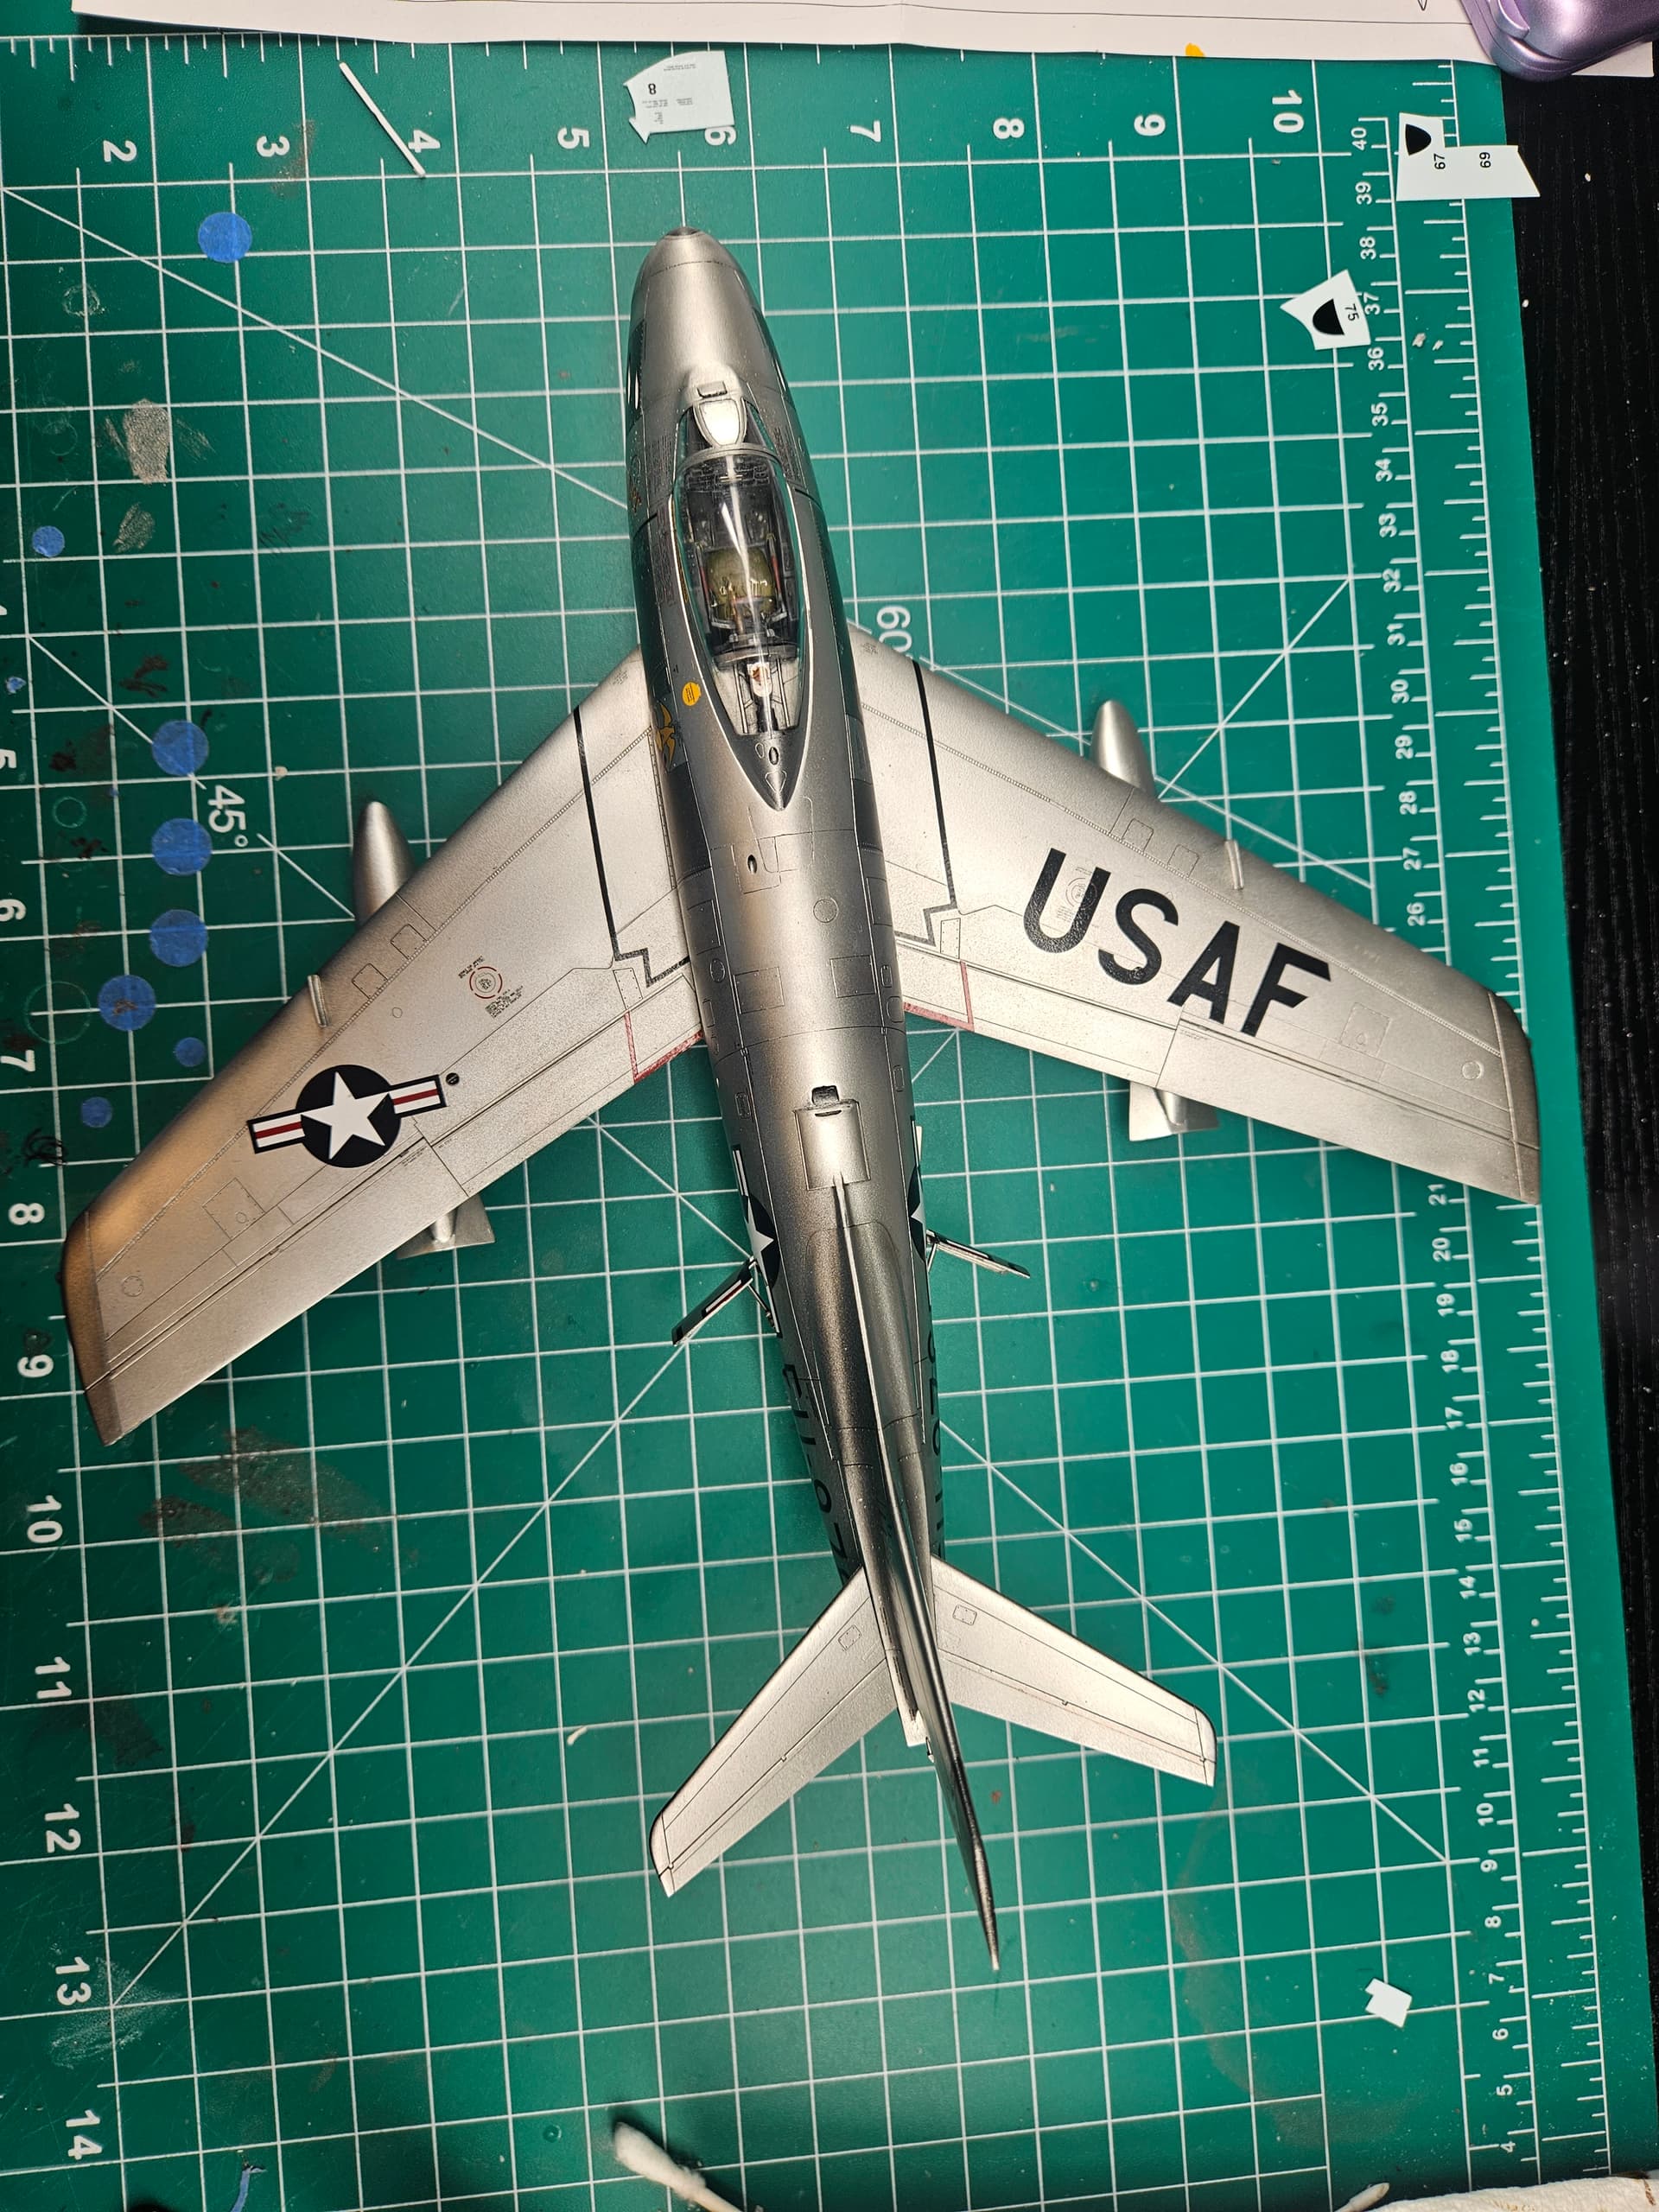
I have also completed all the assembly, just need to mask and paint the yellow stripes, which I will do this weekend now that football season is over.
I’ll post final, formal images after that painting is done, but I was just so excited to have completed all assembly (except the pitot tube, which I’m saving until after the paint so I don’t break it), I had to share.
Comments and critique are always welcome. This is my third completed (almost) build and I’m still very much learning, but it is my best so far.


7 Likes
Looking good so far! As for the yellow, do the wings and tail first. You can do the waist a little at a time.
Gary
1 Like
I’ve been applying decals a little at a time. I had no problem with the Revell decals, but the Academy decals are giving me some trouble. Who decided that printing white decals on white background paper was a good idea? In addition and to my surprise, the first one started to crumble when wet. I decided that spraying them with Decal Bonder was necessary, and that seems to have fixed that. As of right now, I still have some ordnance to attach, and I’m working on a vacuform canopy for the Revell. You may see a pilot figure with a red head. That is the Revell supplied pilot with a clay top shaped in the form (sort of) helmet. Korean War pilots had switched to hard coverings, so a minor modification.
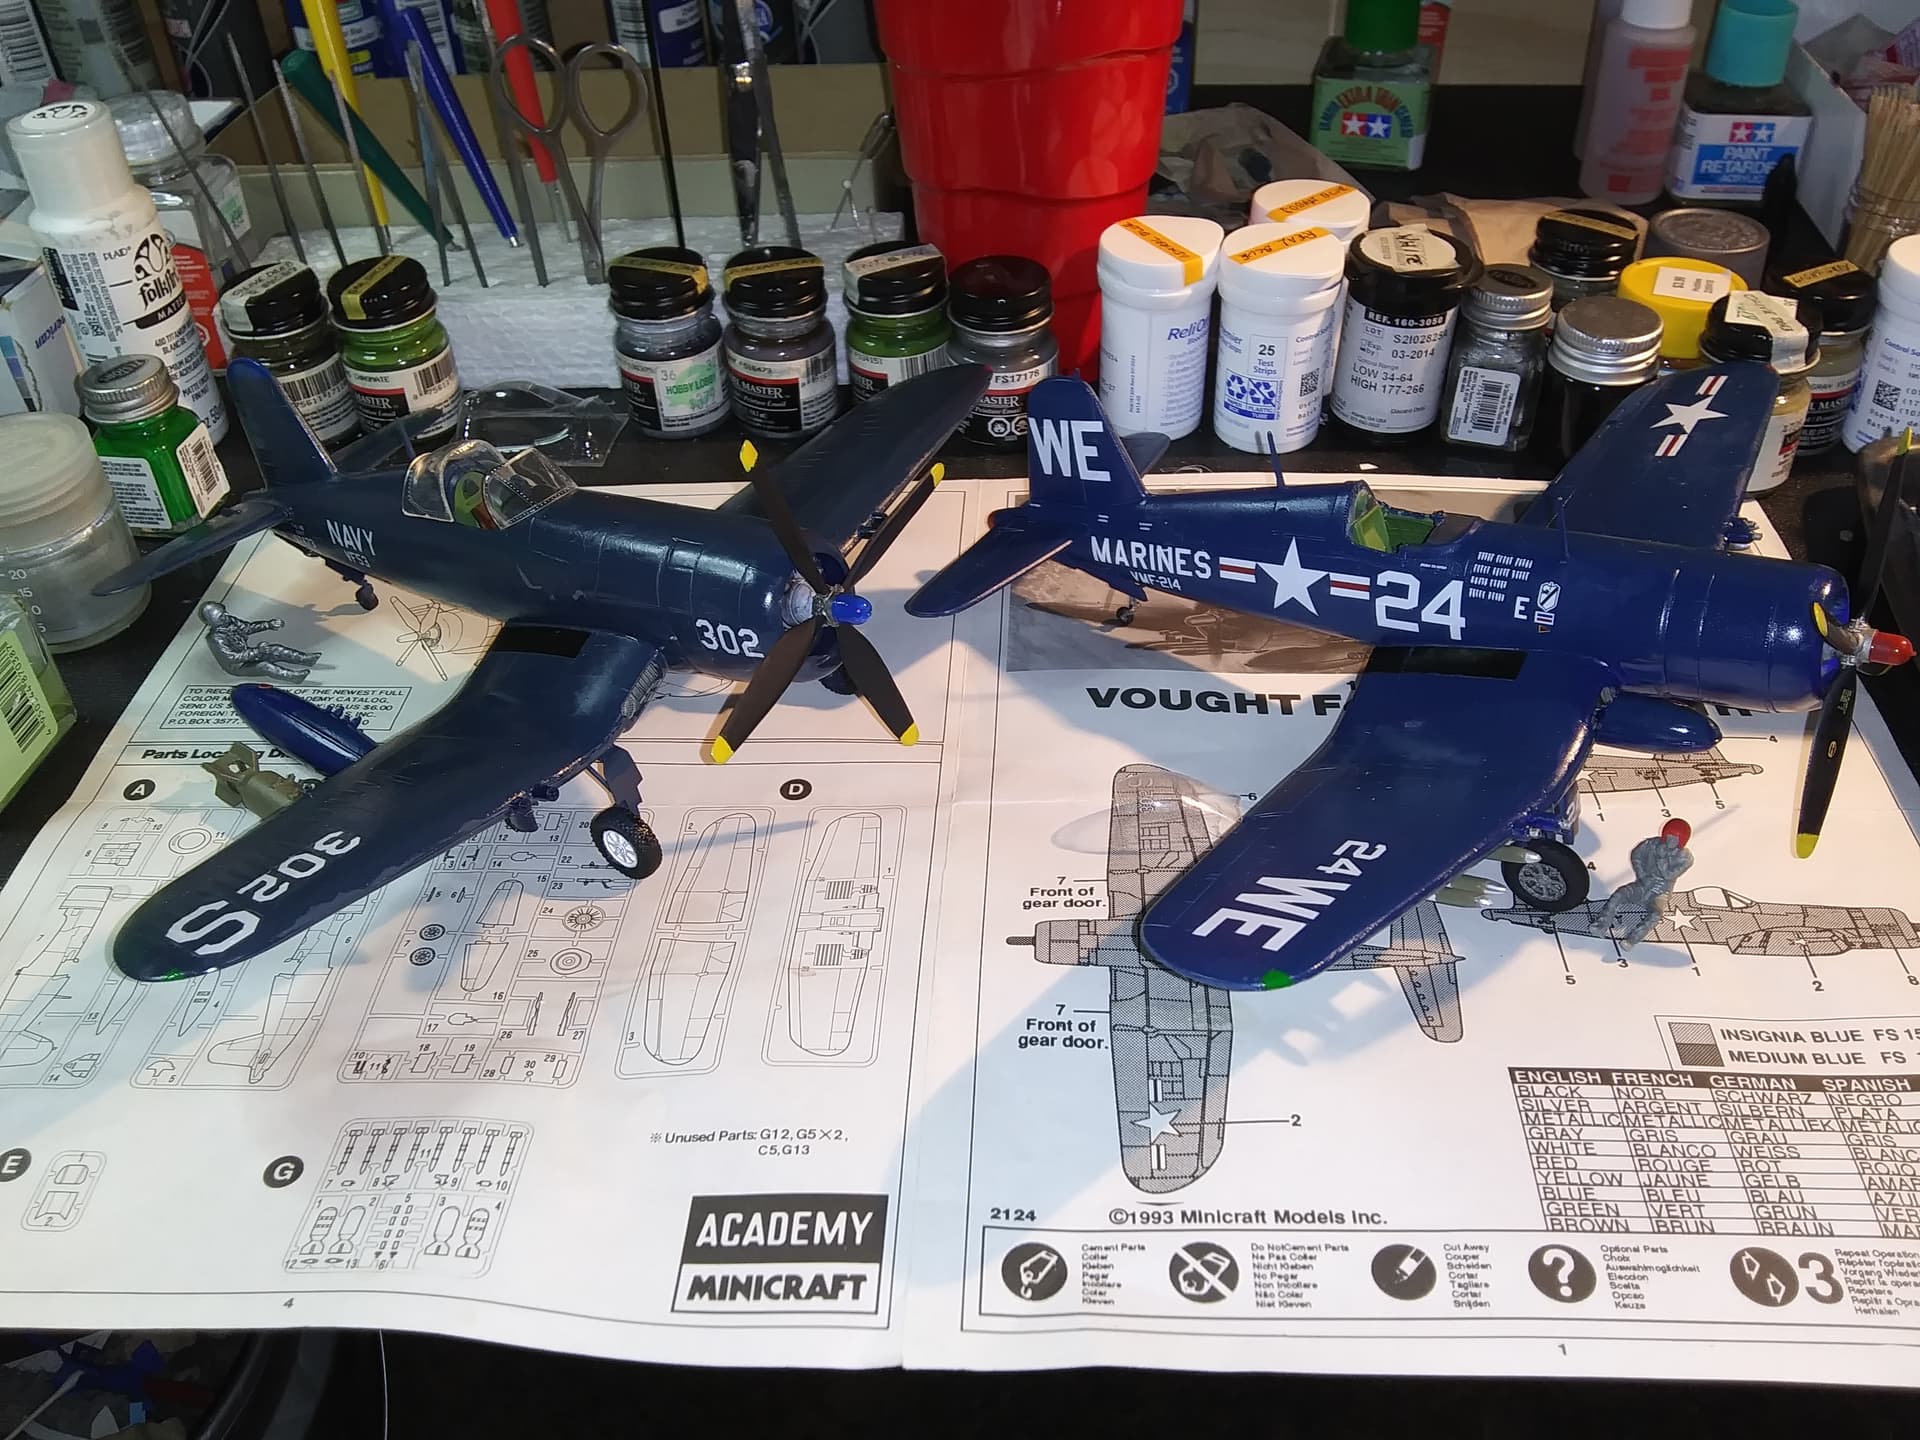
Still a lot of work to do, but at least they’re progressing!
Gary
6 Likes
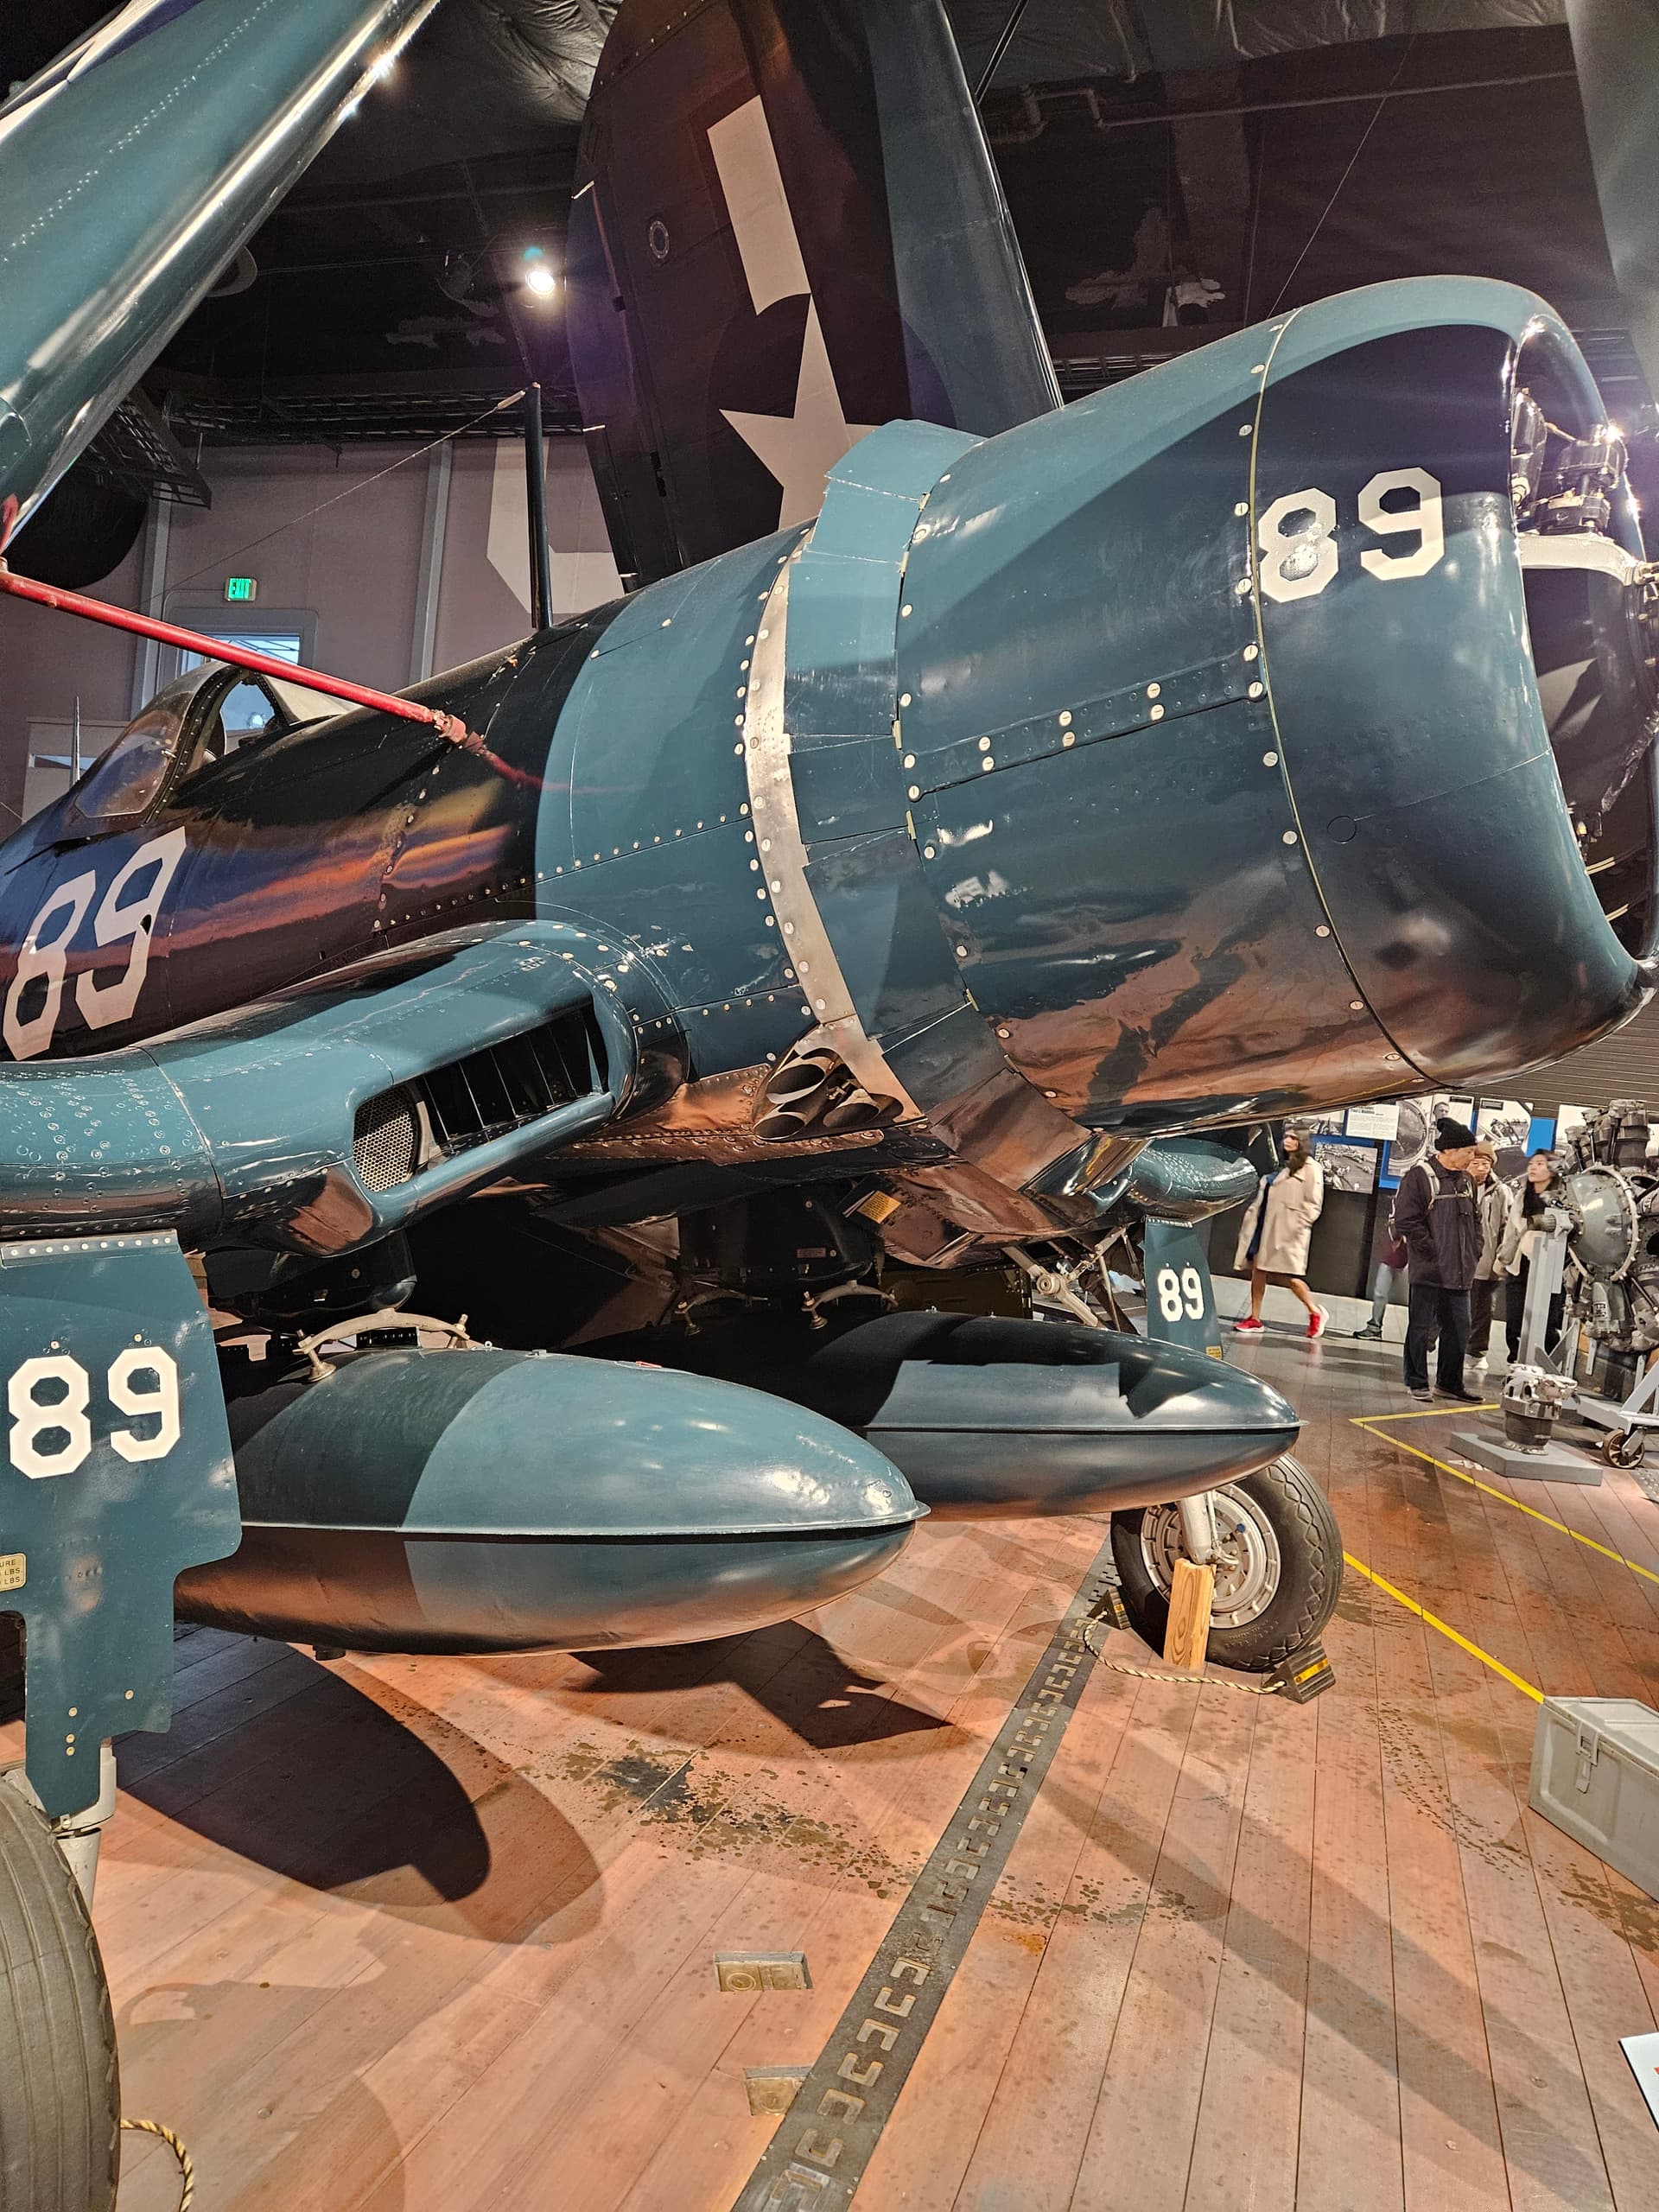
Love the Corsairs, especially in that deep blue.
1 Like