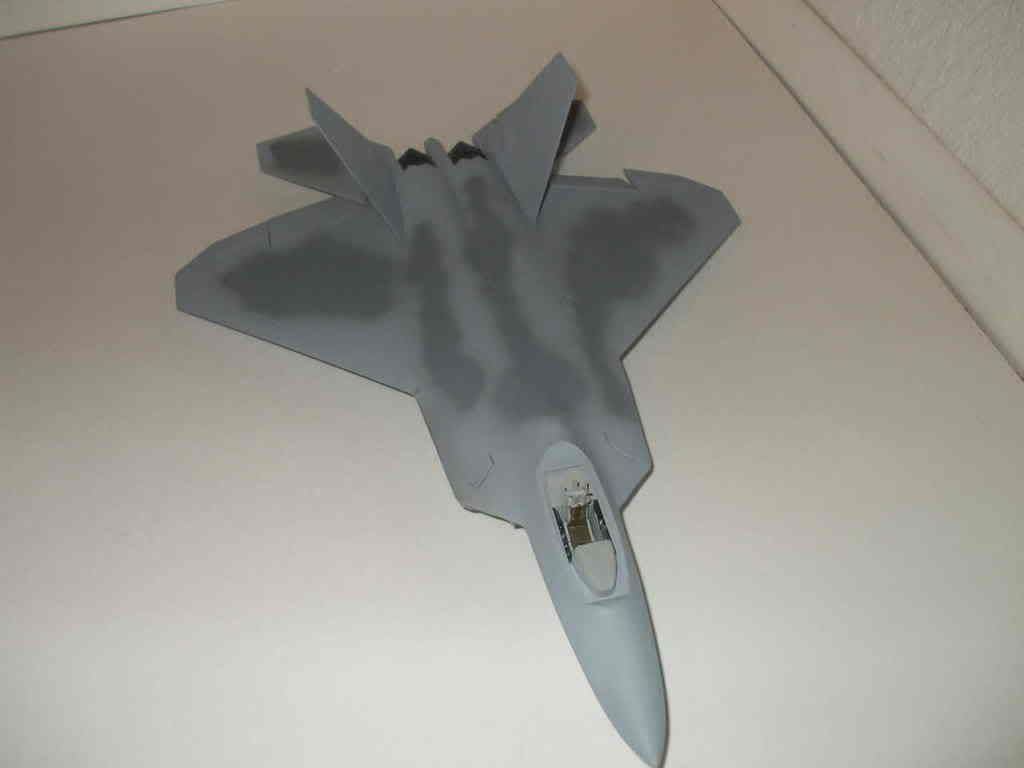
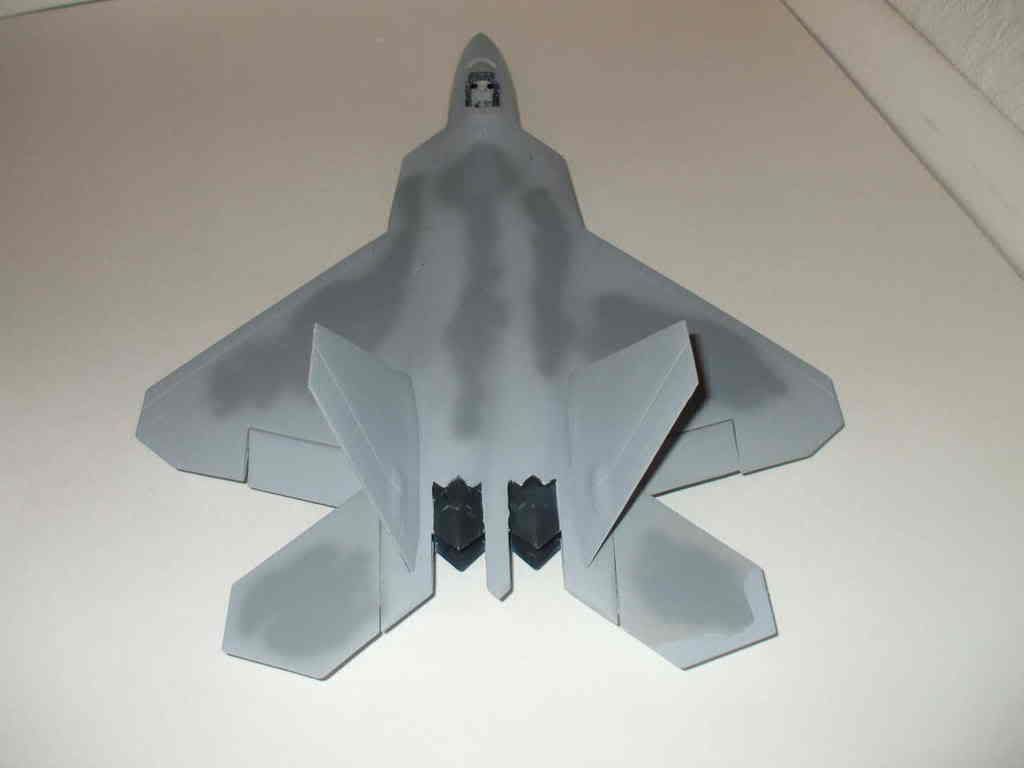
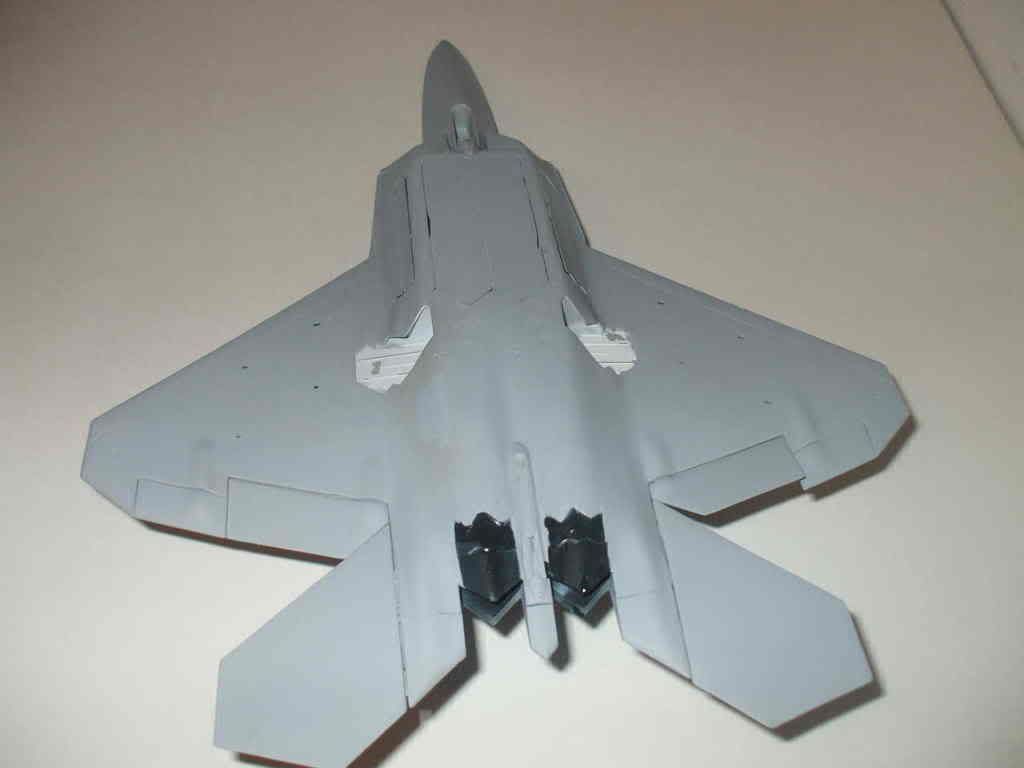
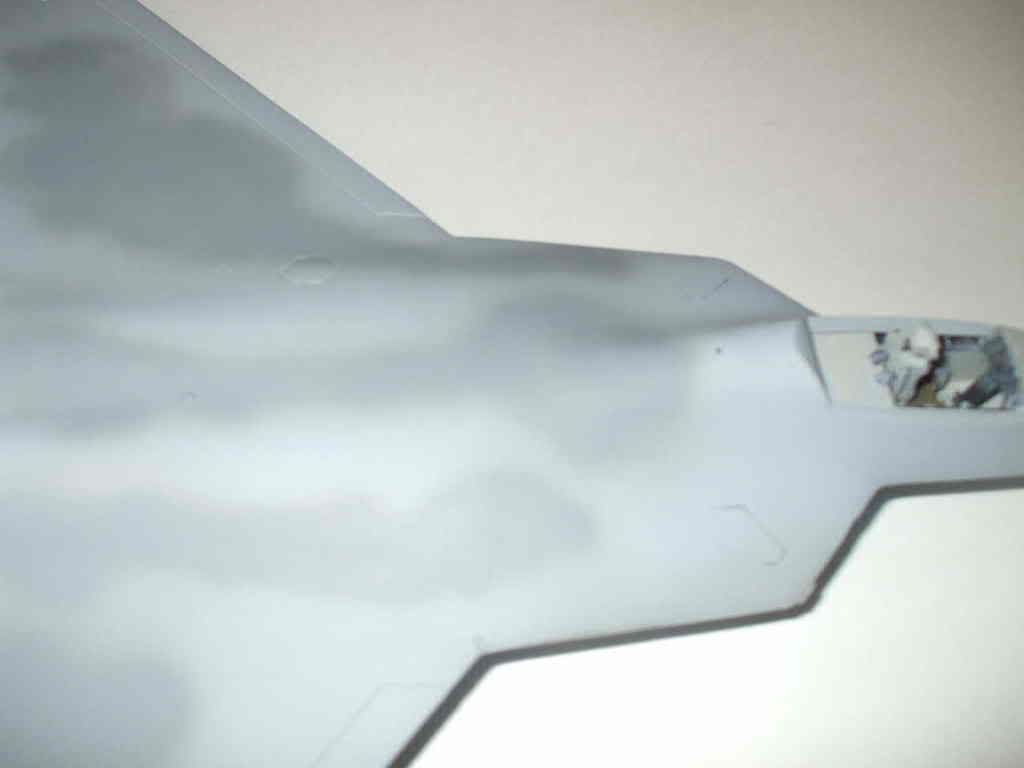
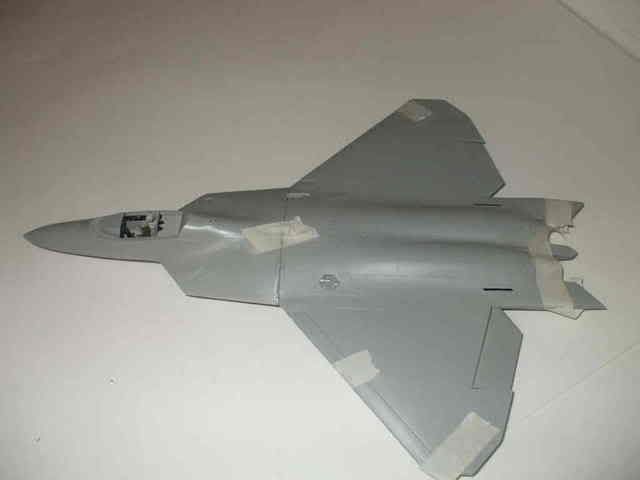
Hello guys, great progress from you heres mine. I just got finished airbrushing it. Still got to do a little touch up. That seem up there was a pain to fill it was1/8 inch thick. I used primer to fill it up and it worked ok. That just created hours of sanding. Well thanks for looking, hope your progress go’s well.
Thanks for the info HK and IL2. I have been surfing around the net also trying to get any refrences. From what I have seen it does look quite a lot like the Brit interior green. Went to the LHS who have a full range of MM enamels but no interior for Russian birds. I did pick up the green and brown and underside blue so I am set there. I am going to try to do a winter white finish that is fading a lot.
OK, who’s da guyz who voted fo da Airfix Big beautiful doll?[}:)]
I want all of your home addresses sos I con send yous parts to clean flash off and fill sink holes. [}:)]
This kit will look like a cheap toy if I don’t spend the first four months of the build cleaning and fitting and filling and filing. And it’s big. The big part is ok when it comes to making minor corrections and drilling holes where there are none. The engine detail is good and has an option to display it with the cowls off.[:)]
will post pics when I have enough parts cleaned to put some together.
Well, got to bench this w/e, but no pics yet. Just got the engine compartment together and all the wings, front and rear. Got the Fuse glued, but after sanding and sanding AND SANDING, i wasn’t in the mood to start assembly. Now i have detail painting to do before the main colors.
Suck it up Tony. After you’re done it WILL be a big beautiful doll!!
What is…is I will try my very bestest. After all, this kit was a gift and I have no room to complain after seeing what you guys do to every kit.
That goes double for you Kenny; using paint by the gallon and spending more time masking than anything else. I just had to vent because I thought this would be a shake and bake because of the size.[:I]
Hi, did a bit more this weekend. I’m still juggling with tiny tiny pieces of photoetch. I am waiting for resin wheels to arrive, but I think I can get the fuselage together without them. I have to get the main undercarriage bay together, without the wheels, before the 2 halves can go together. Hoping there’s not too much work required to fit resin wheels to the u/c legs. So far so good. I’ll post some more pics when I have all the various parts ready to go together.
Well TG, I am one of the guilty as charged voters. That one just stood out in the stash and as I have built two of them I thought you should have some fun with it also. It does take a little extra work from the normal kit but I am confident you will do it justice. Go slow and be patient.
Steve since you have had experience with this kit do you think the color callouts are correct? I have been looking on various sites and can’t get a real feel for the engine color. On some sites it looks either steel or aluminum and on others it is a satin black or very dark gray. Any help would be a plus.
The callouts are pretty good when checked with photos but artistic licence can be taken in places. The cockpit callouts are good. With the engine on both of mine I did them in Gunmetal. It was the closest that I could match to so photo refrences that I have. it will have some steel or aluminum details. It does look a blackish colour but gunmetal I think looks best. Hope that helps.
Well, TG, I guess I’m one of the guilty too [:)] It’s a lovely bird and I wish you good luck with it.
Talking about engine colors, does anyone have a good suggestion on the Napier Sabre engine? I’ve seen black, green and grey on the exhibition pics I’ve found so far.
Azgaron the Napier Sabre’s I’ve see are gray. My old Squadron 438 RCAF was given a Napier Saber that was dug up in Belgium and belonged to one of it’s aircrafts downed in 1945. We cleaned it up and put it on a pedistal. One of our unit veterans was a consultant and told us they were gray. Sorry for being long winded.
Then I’ll go for gray. Forgot to ask, are the radiator and air duct supposed to be painted in some metal color like aluminium? or perhaps steel? The instructions says silver.