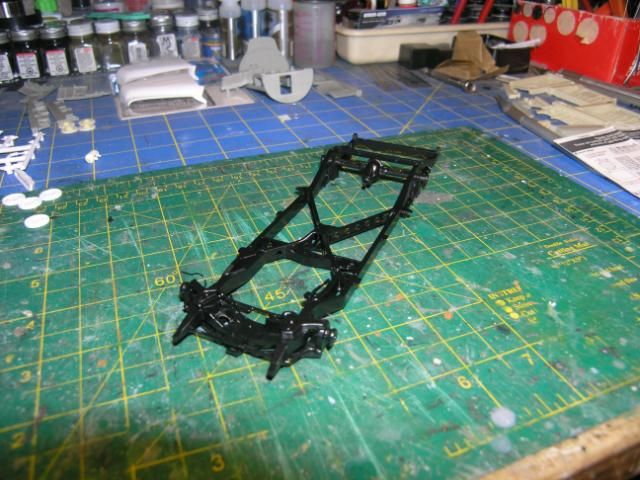
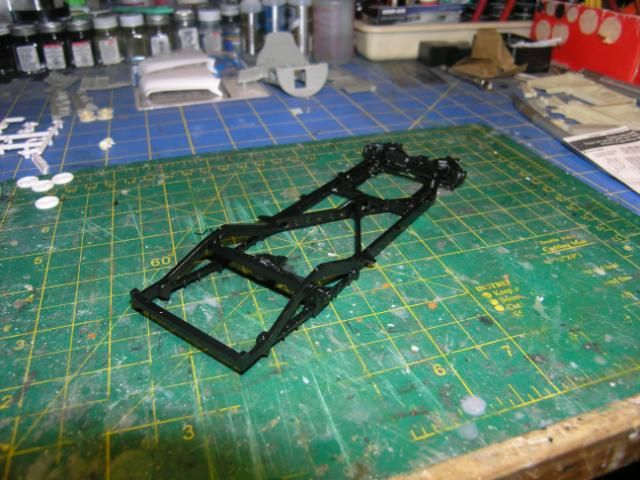
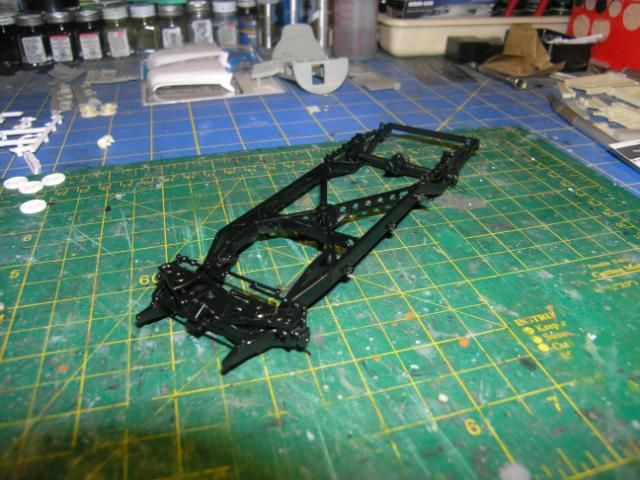
Just started the 48 Hearse Hauler yesterday. Cut the chassis, floor pan and interior for stretching. Will fabricate new spans for them.


Also started filling the sinks left on the frame.

Just started the 48 Hearse Hauler yesterday. Cut the chassis, floor pan and interior for stretching. Will fabricate new spans for them.
Also started filling the sinks left on the frame.
pyrman64,
Right now she’s kinda mad because I’m buying car kits. My brother-in-law works for Academy so every time I go for a visit he loads me up. I have quite a few tanks, planes and ships so she doesn’t understand why I don’t finish those first hehehehehe.
Tony,
I will be stripping the chrome so I can clean the flash. I have already stripped the rims and the intake. I’m not using the tires and rims that came with it. They like 17" rims with super thin tires. I found some rims and tires on ebay to fill the tubs properly hehehehe. With the touch-n-flow it has a long needle and the solvent evaporates with no mess hehehehe.
Dogfish,
I’m looking forward to seeing your sedan finished. That’s a lot of detail in the chasis. ![]()
Thanks. Managed to fit the pans and frame today, as well as sand the body, scribe doors, etc.\


Enough for today.


Ewheeler - you’ve talked me into it, I’m going to order some touch-n-flow, but I suspect it will take some time to get here due to it’s volatile nature.
Dogfish - I’ve added you to the build roster, thanks so much for joining. I am really interested in the way you extend these parts, I’ve never seen it done first hand. Please keep up the photos and descriptions. One question - what material did you use to extend the chassis rails ? Is it a part cut from another chassis ? It looks to have the same shape as the kit chassis rails. I can’t believe how much you’ve achieved in such a short time, that would have taken me weeks.
Cheers
Tony
Monogram 1/32 1966 Mustang GT-350
Well, here’s my update for last night, as it turned out, only had a little time at the bench.
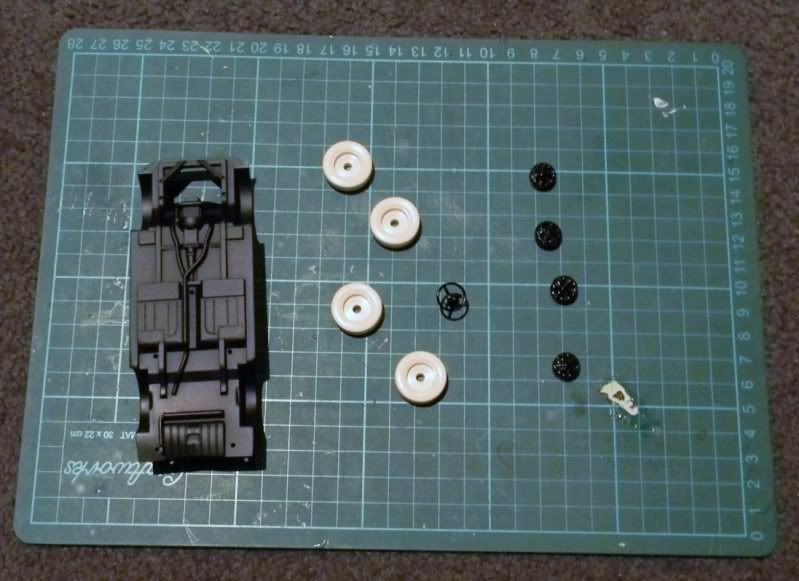
I’ve cleaned up and primed the the hub caps and steering wheel with gloss black. I’ve also sprayed the underside of the chassis and body black. The seam lines running around the tyres has been cleaned up and filled with CA where necessary. I find the lack of tread on these tyres disturbing, however the intention I had with this kit was only ever to build it. When I do a detailed model of this car, it will be in 1/24 or 1/25.
Cheers
Tony
Here’s what I have so far. Body is painted, and the chassis is mocked up. The only modification so far is substituting some coiled wire for the front springs. I still have to detail the wheels and give the chassis a drybrush and a dusting.
Glenn


I forgot to add that I’ll need to straighten up the windshield framing, as it became warped. The wheel flares on the rear fenders fit really well…I’m just hoping the paint will polish out.
Glenn
That’s looking pretty neat Glenn. Your statement " I’m just hoping the paint will polish out’ is a sentiment I share with every car model that I build. I’m still to find a gloss coat that I am 100% happy with, but I keep experimenting.
I finally solved the ‘pebbling’ problem I had when spraying Future, and I’ve tried that on my Alfa, out of necessity, as the decal manufacturer warned against solvent based clear coats, but I haven’t tried to polish it out yet.
I sometimes use Tamiya spray bomb gloss clear, but it’s really aggressive, and can make decals bubble and disrupt other paints underneath,so it has to be used with extreme care.
I’ve tried a few others, they all seem to have their ways. I guess I’d be really happy if the Future thing works out, as it’s cheap, doesn’t yellow and is pretty forgiving.
Cheers
Tony
Dogfish7 killer scratching going on!
Glenn looking sweet!
Tony totally agree about the rattle can tamiya clear it will do a lift job if sprayed even a little heavy handed
I’ve gotten the brake lines run and the rear axle assembly in place
then some semi gloss black
Good progress Trey. Is the S-G Black from a Tamiya rattle can as well ? I find it very easy to use.
Cheers
Tony
Trey: Looks good, so far.
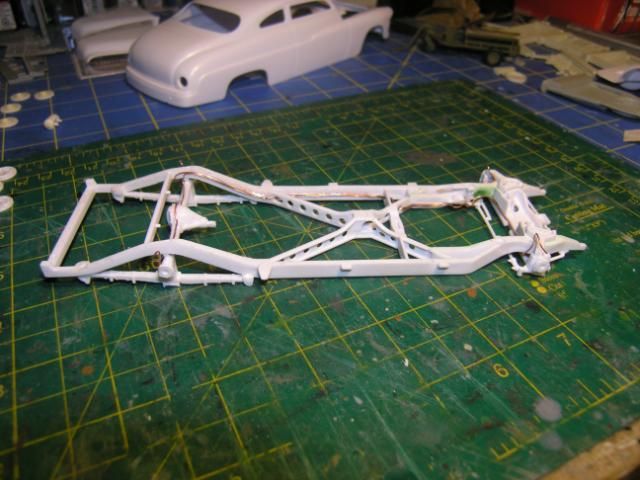
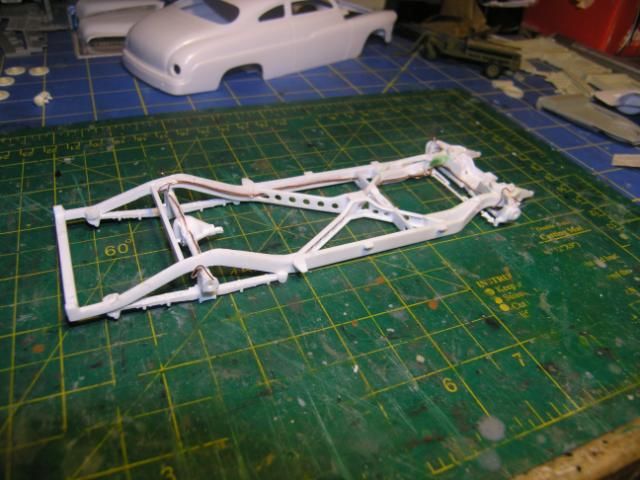
As requested, used Evergreen Styrene sheet, square tube, 90 Deg angle and rod. Picked the best places to cut the interior floor and body pan.

Laid the sectioned pans in the stretch body; measured the span ( 1.17 mm). Cut the sheet first and glued the sections back together.

Laid the square stock in place, measured,cut and glue with Pro Weld.

Cut a narrow strip thw width of the fram and glued it to the frame rail. Then laid round rod, where the bracing is.

Cut 90 deg. angle for the floor edge and glued. Will also make short pan reinforcement lines on the underside to blend the extension.

That’s pretty much it. Just add details to taste:)

I would like to join the group build. Monogram 1/24 64 Mustang Indy Pace Car. Thanks!
I don’t want step on anyone’s toes, But I think I have a group badge. This shows everything but race cars and construction vehicles, so I think it would make a great badge. What do you all think?

A bit large.
xradio - thanks for joining, it’s great to have another 'stang on the GB. I have this kit in my stash, so I’ll be paying attention to yours. You’re on the build roster.
Dogfish - many thanks for the detailed update. Well explained and thanks for the learning opportunity.
Greentracker - if you’ve stepped on any toes, they’re not mine. Thanks for working on the badge, and nice job. I’d be happy to include it as one of a small number of options. I’ve taken the liberty of downsizing it a bit. I think it’s a bit hard to read the title in the smaller size. Would it be possible to emphasise the text a little more? Maybe we could delete the dates and increase the font on the title ?

I’ll post my update a bit later on.
Cheers
Tony
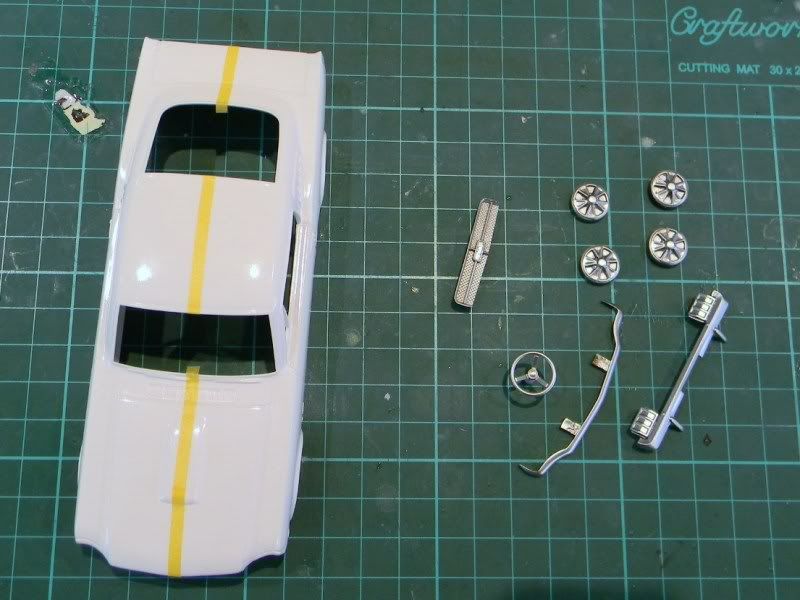
Monogram 1/32 1966 Mustang GT-350
Chrome has been sprayed on the various bits, using Tamiya aerosol TS-83. I’ve started masking the stripes on the body, I’m a bit nervous about getting good alignment.
Cheers
Tony