Here is the camaro. Here is the one the car dealer had last summer. I sat in it for about 10 minutes. it cost more than $42,000.
This kit didn’t come with the engine, only what was molded into the bottom of the chassi. I got my LHS to go half on the Revell kit and I got the motor out of it and cut out the molded engine out of this chassi.
That’s a great photo of the truck Ken. I can fully understand why you would want to build one. Nice dog too. Looks like you’re on the way with the wheels and chassis.
There’s no photo of the Camaro, but I know that will get me going too.
Yeah, I knew I would want one too. Looks like you are doing some good work on it. What’s the rationale for building the AMT kit with a Revell donk ? Is the AMT a better body ? It will be good to see this one coming together too.
I really love these late model Camaro’s, and Mustangs for that matter. Same for the muscle car era ones. I think I have every 64-73 Mustang kit in 1/24 or 1/25, except for the 1970 Mustang Grande that Revell once did. I think I will try to squeeze one or the other into this GB later in the year.
I didn’t think it was a donk, The AMT kit has the same wheels that the 1:1 has. The only Revell parts i’m putting into it are under the hood. I got this kit because it’s a convertible. Revell only has the hard top
I’m not much of a Ford person, even my models show that LOL I’ve always liked General Motors
Can I jump in with Revell’s Rebel '69 Corvette? It was a road race car, and I do have a layer of paint laid down on the body and the chassis is mocked up.
I came of age in the early 70s and tried to let my hair grow long. The only problem is it get down to the top of my shoulders and stops getting longer: then it grows thicker LOL
Since I’ve got multiple builds in progress, I’ve decided I will identify which one I’m working on in each update, with a heading.
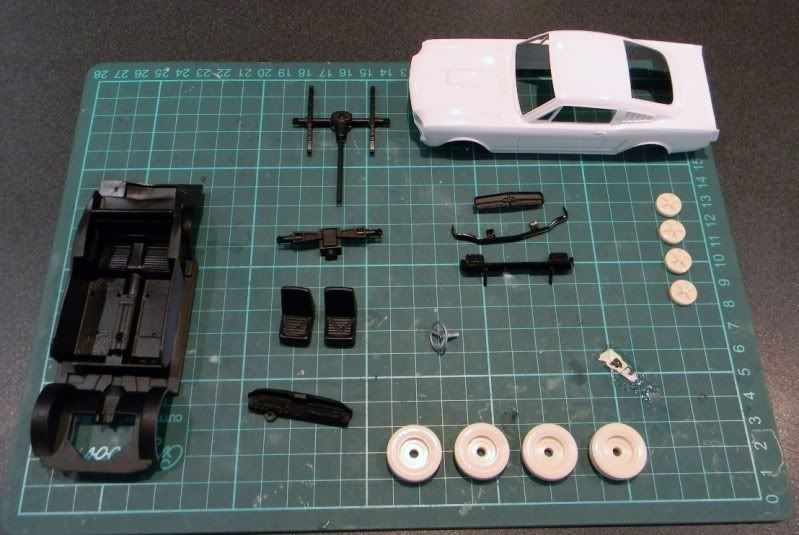
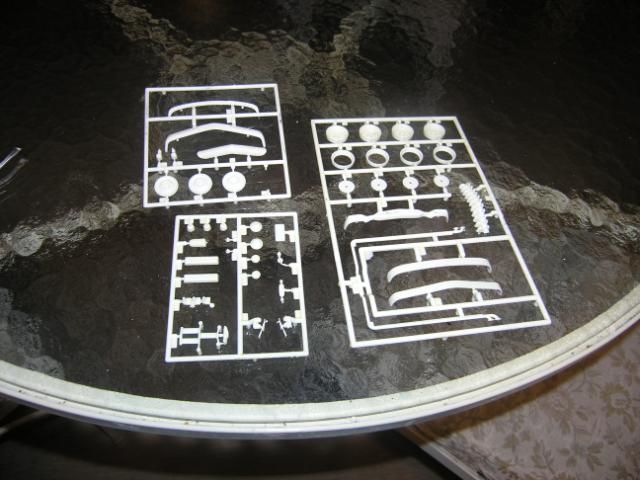
I did some of the hack work on this one last night, removing parts from the sprue, clearing flash and filling ejection pin marks. I also removed the kit chrome using a weak solution of caustic soda.
I then set about spraying and some basic assembly. So the interior pieces and the axles got semi gloss black, some of the chrome bits have been primed with gloss black, in preparation for a subsequent coat of Alcad II Chrome. I still have more cleanup to do on the hub caps, so I didn’t prime them. The tyres are two piece (right and left) solid plastic, but I’ll have to remove the seam line before proceeding.
At some point, I’m gonna have to bite the bullet and mask up so that I can paint the blue stripes on this thing, but wasn’t in the right mood for it last night.
The reason I’m building this simple little kit is because it’s a reprise of the first car kit I ever built, back in the late1970’s. There are four car models from early on that I don’t still have, otherwise my collection is complete. I’ve decided to gradually build these up to complete the collection. The others are all Airfix 1/32 kits, the 1933 Alfa Romeo, the Bugatti 35B and the 1912 Model T Ford. I guess I have some hard work to do !
Anyway, here’s the solitary progress photo for today.
Tony the 'Stang is off to a full gallop,looking great!
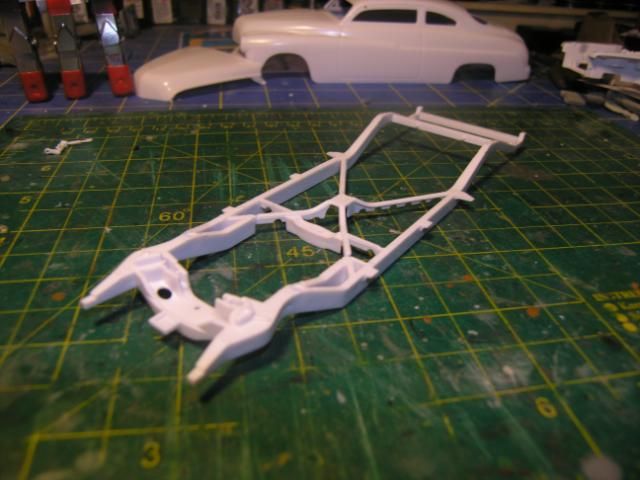
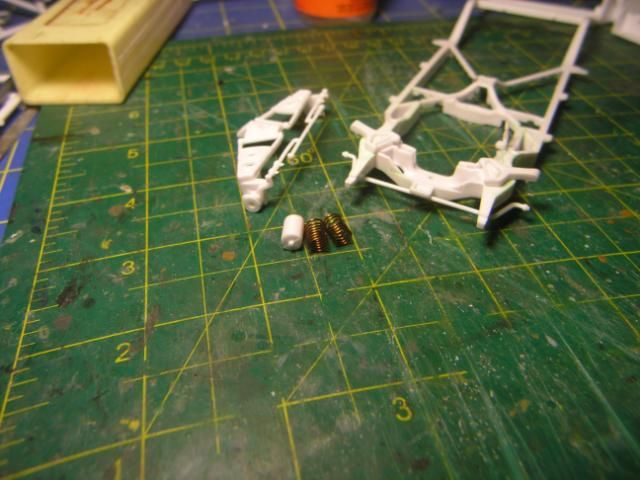
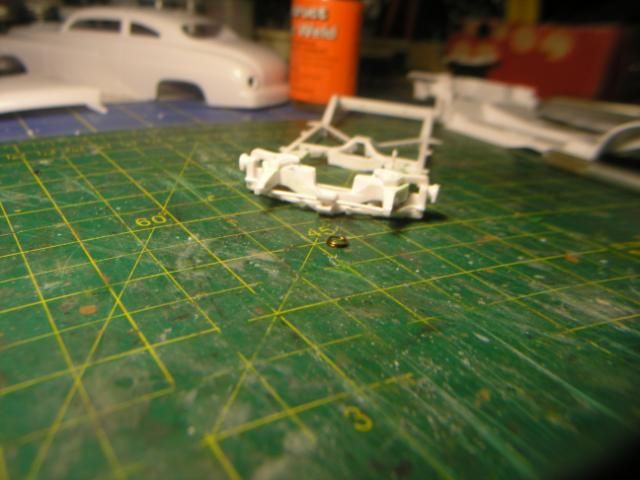
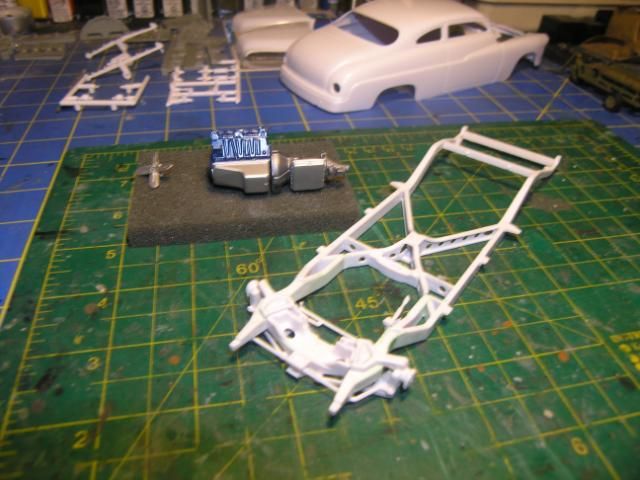
I got started on the Merc ,first up cleaning the frame up and replacing the coil springs
I used some copper wire coiled around some sprue for the front coils
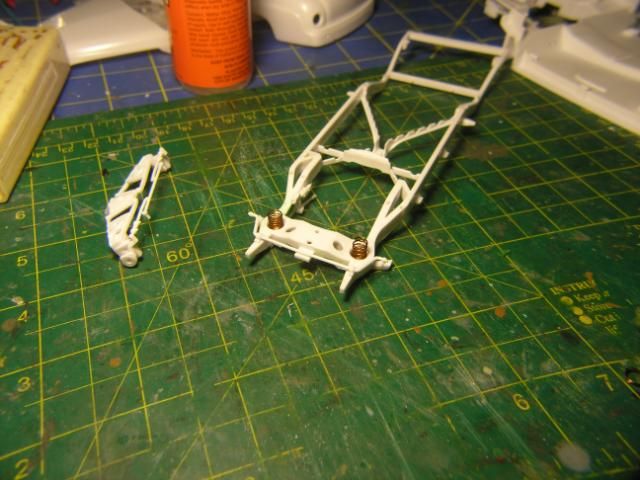
I used ca to glue them in the retainer cups and trimmed them to the right height
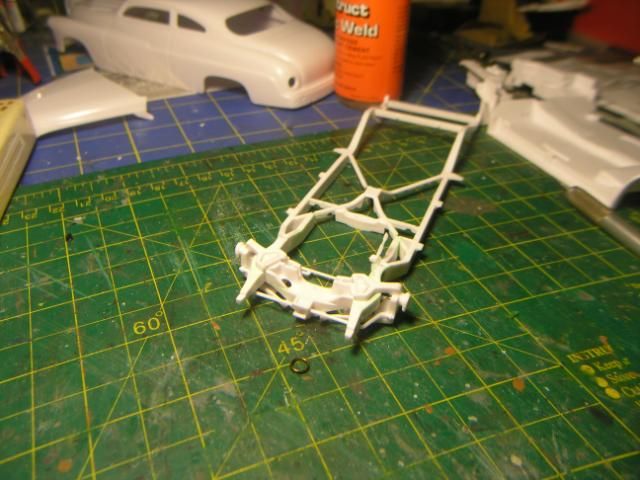
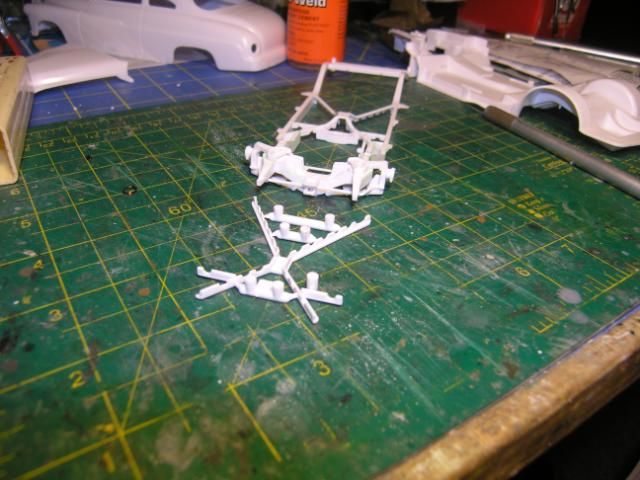
This nasty bit of frame support is the same molding as the Woody I did last year and its a bear to get in place and keep the holes lined up while the glue sets. I learned from doing the Woody to start glueing from the rear and let each section set before going to the next. I rushed this on the Woody and wound up spending a lot of time filling and cleaning up the misalignment,totally my fault.
This time around the patience has paid off and no filler will be needed just a little fine filing and sanding. Started working on the mill and going to keep it basic out of box except the exhaust manifolds,and some detailing such as plug wires and a few fluid lines.
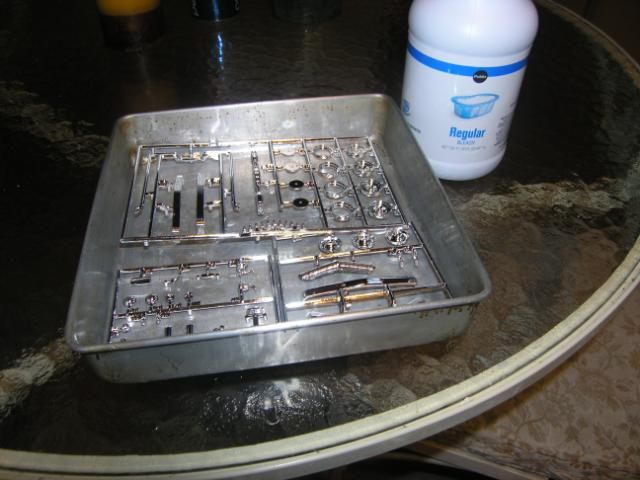
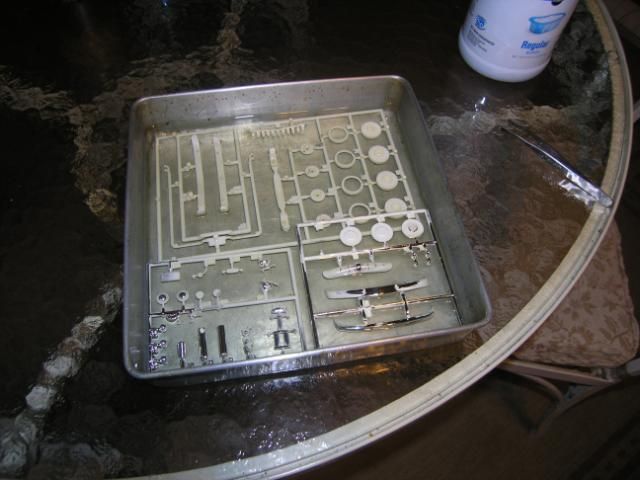
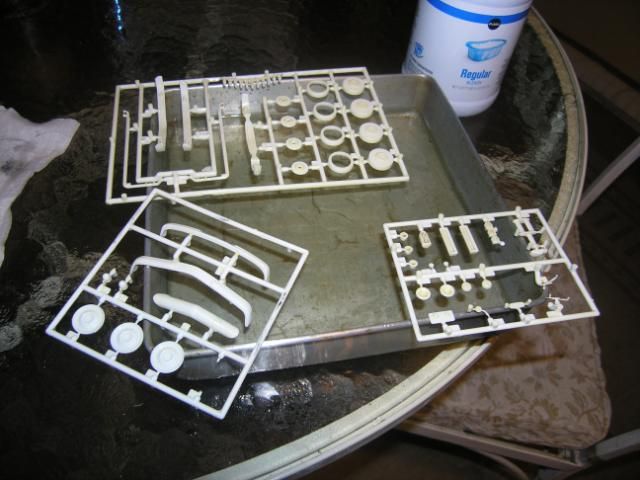
Before I can finish the Mill the chrome needed to be stripped off . I use straight bleach and it really works fast,the stuff literally dissapears before your eyes.
now just pour the bleach back into the bottle and sneak it back in the laundry room and the Missus never missed it!
I really would advised against pouring it back for your missus to reuse on her delicate unmentionables…did you notice the residue after you deplated the chrome? [+o(] Do you want to wear that?!
I guess it’s ok if you use the bathroom cleaning bleach rather than the unmentionable washing bleach !
A bit of glitter in the bowl never hurt anyone
My caustic soda is really drain cleaner, so I guess it fulfils it’s real purpose after I’ve finished with it.
Great update Trey, I din’t expect you to start so soon. I particularly like the springs, I’ll use that when the time comes.
I’ve never seen photos of in progress chrome removal before.
The ride height on my Mustang is a bit of an issue too, it sits way too high, even on the box art. I’ll have a look tonight as to how I fix it, before we get too far down the line.
I often use your ‘patience’ method for gluing problematic aircraft fuselage halves together, start at one end, align it, let it set, then proceed section by section.
The mustang is looking good. Have you tried the Touch-N-Flow plastic welder? It works great putting body parts and engines together. It actually welds the plastic together.
I’m not going to be guilty of encouraging you to use those decals. Yuck ! I don’t think they’d even go on a VW Kombi. Did they have something like that on the side of the Mystery Machine ?
Are you going to use the chrome on your Pro-street Nova, or strip it ? t least you’re under way, and have made some good progress.
I don’t have access to Flickr from here, I’ll check that out later when I’m at home.
I usually use Tamiya Extra Thin Plastic Cement, which also works by capillary action. The difference is that its applied with a brush, but it doesn’t mar the surface of the plastic, except for the weld obviously.